When we were given the second project brief, the silkscreen part of the assignment brief instantly caught my eye. I was super excited and looked forward to it the most. At long last, there came the week i’ve been waiting for. We were actually going to our very own screens to print one of our chosen compositions onto a plain tote bag that’s provided as a deliverable for submission. (*internally screaming* :D)
I’ve always wanted to experience the silkscreen process from start to end as I’ve only ever tried printing before where there’s already an exposed screen (like a stencil). It was a really fun experience: From emulsifying the screen to exposing the design onto the screen and then trial printing on newsprint paper. Spreading emulsion over the screen to prep for exposing was quite tricky. As to coat the screen evenly, a correct angle is required when applying but everything worked out eventually.
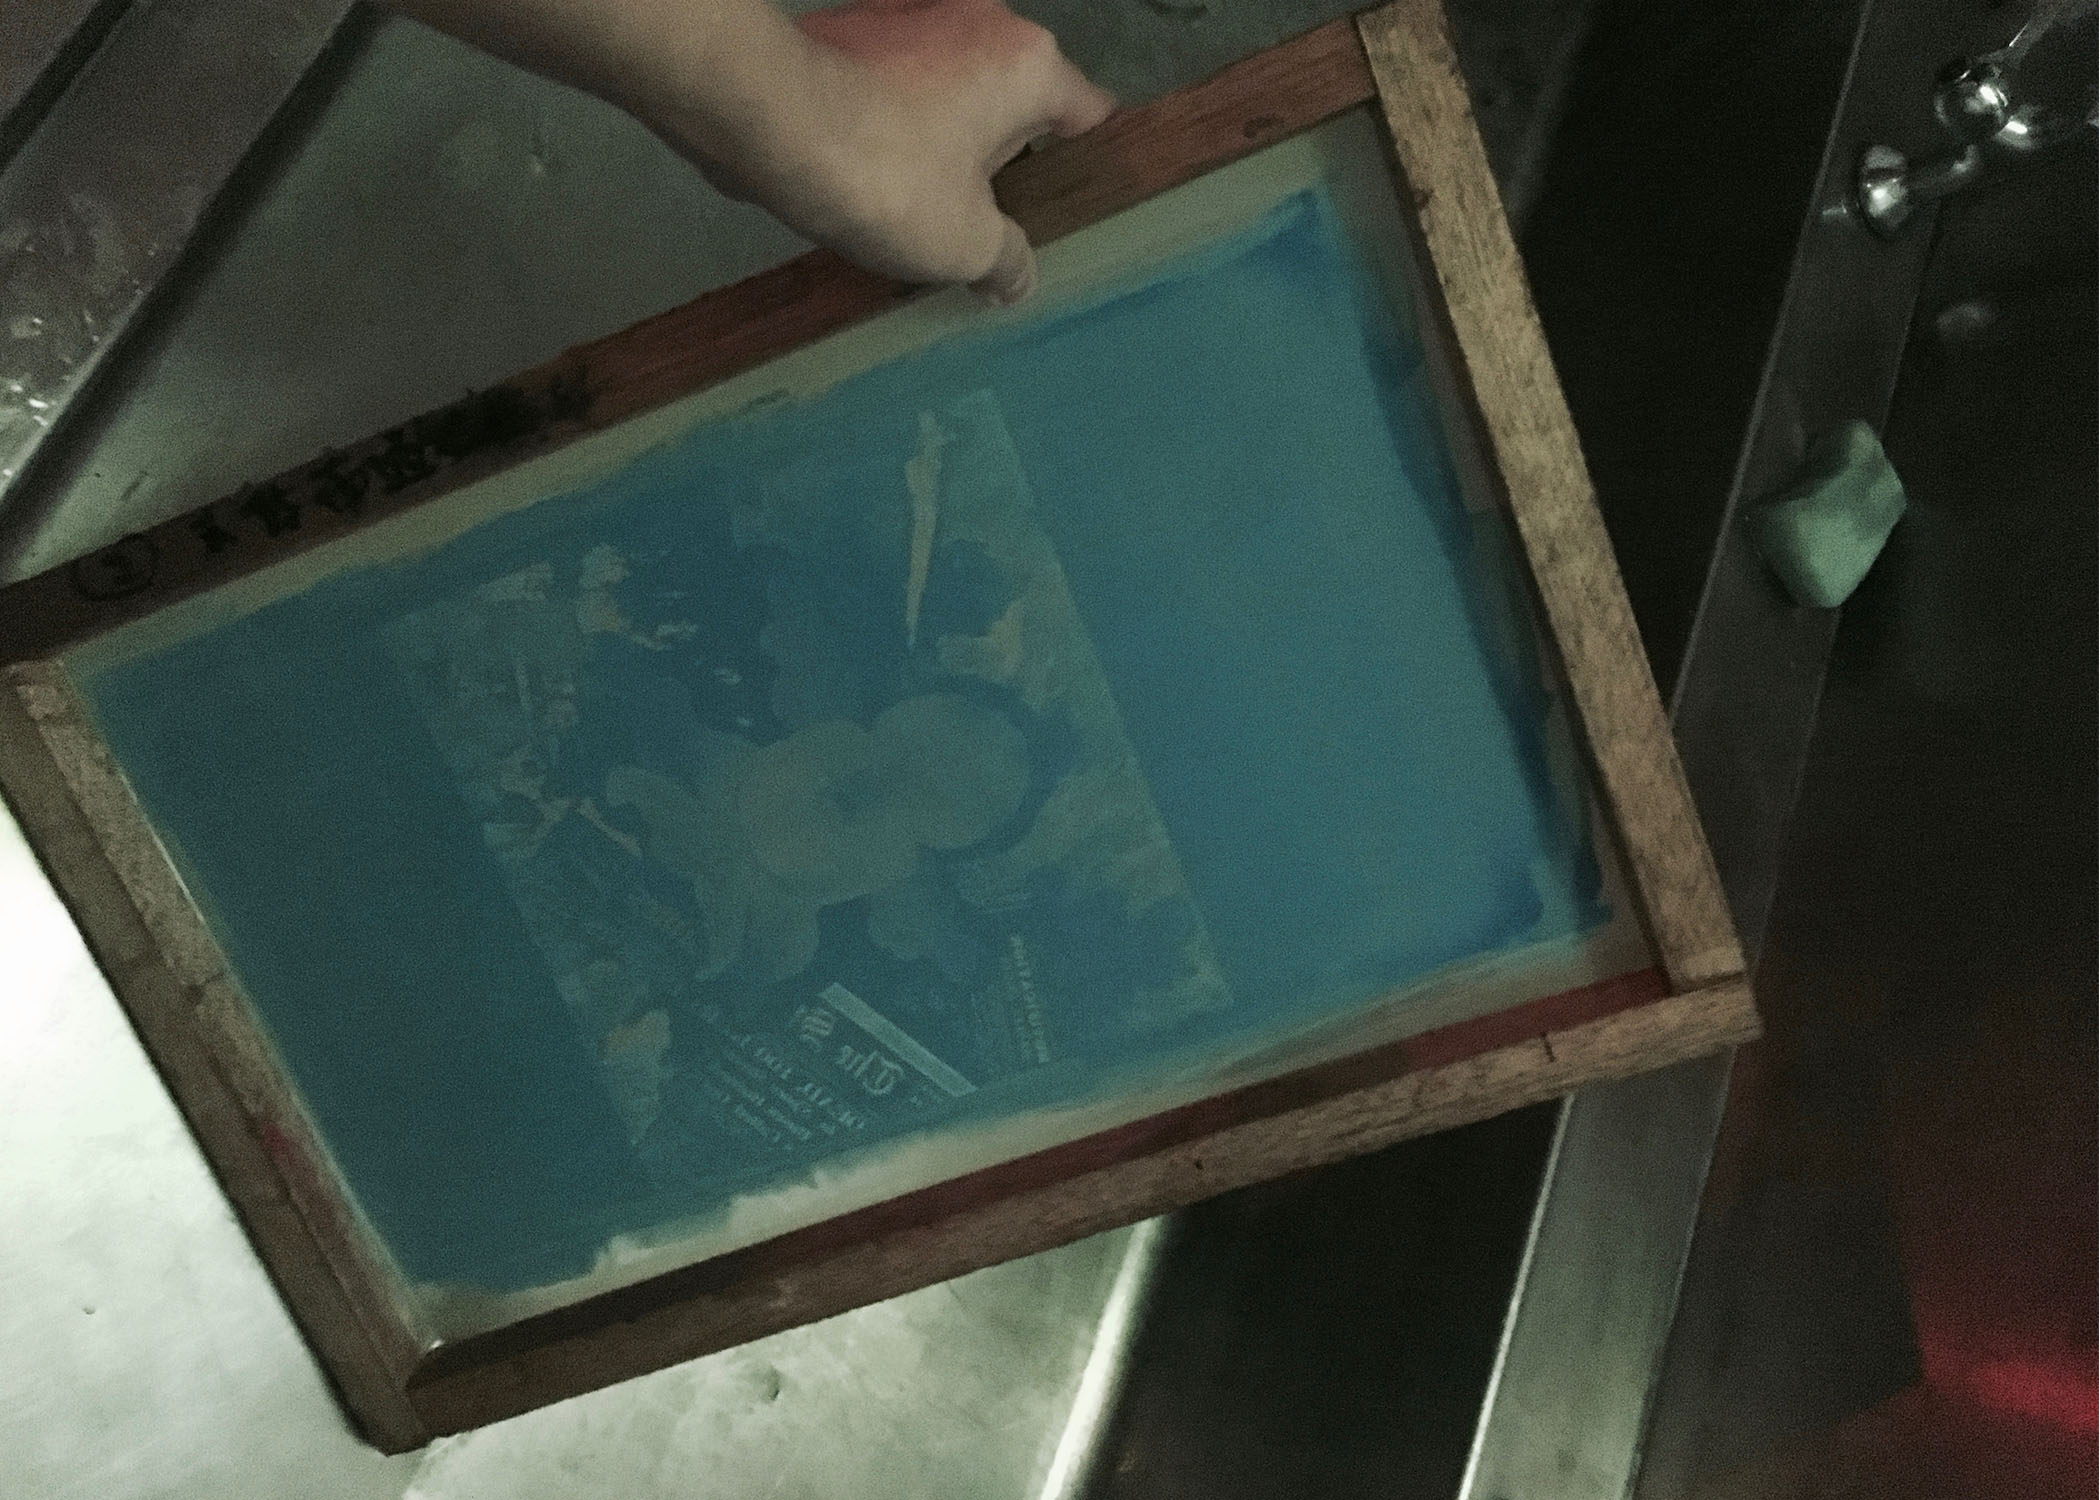
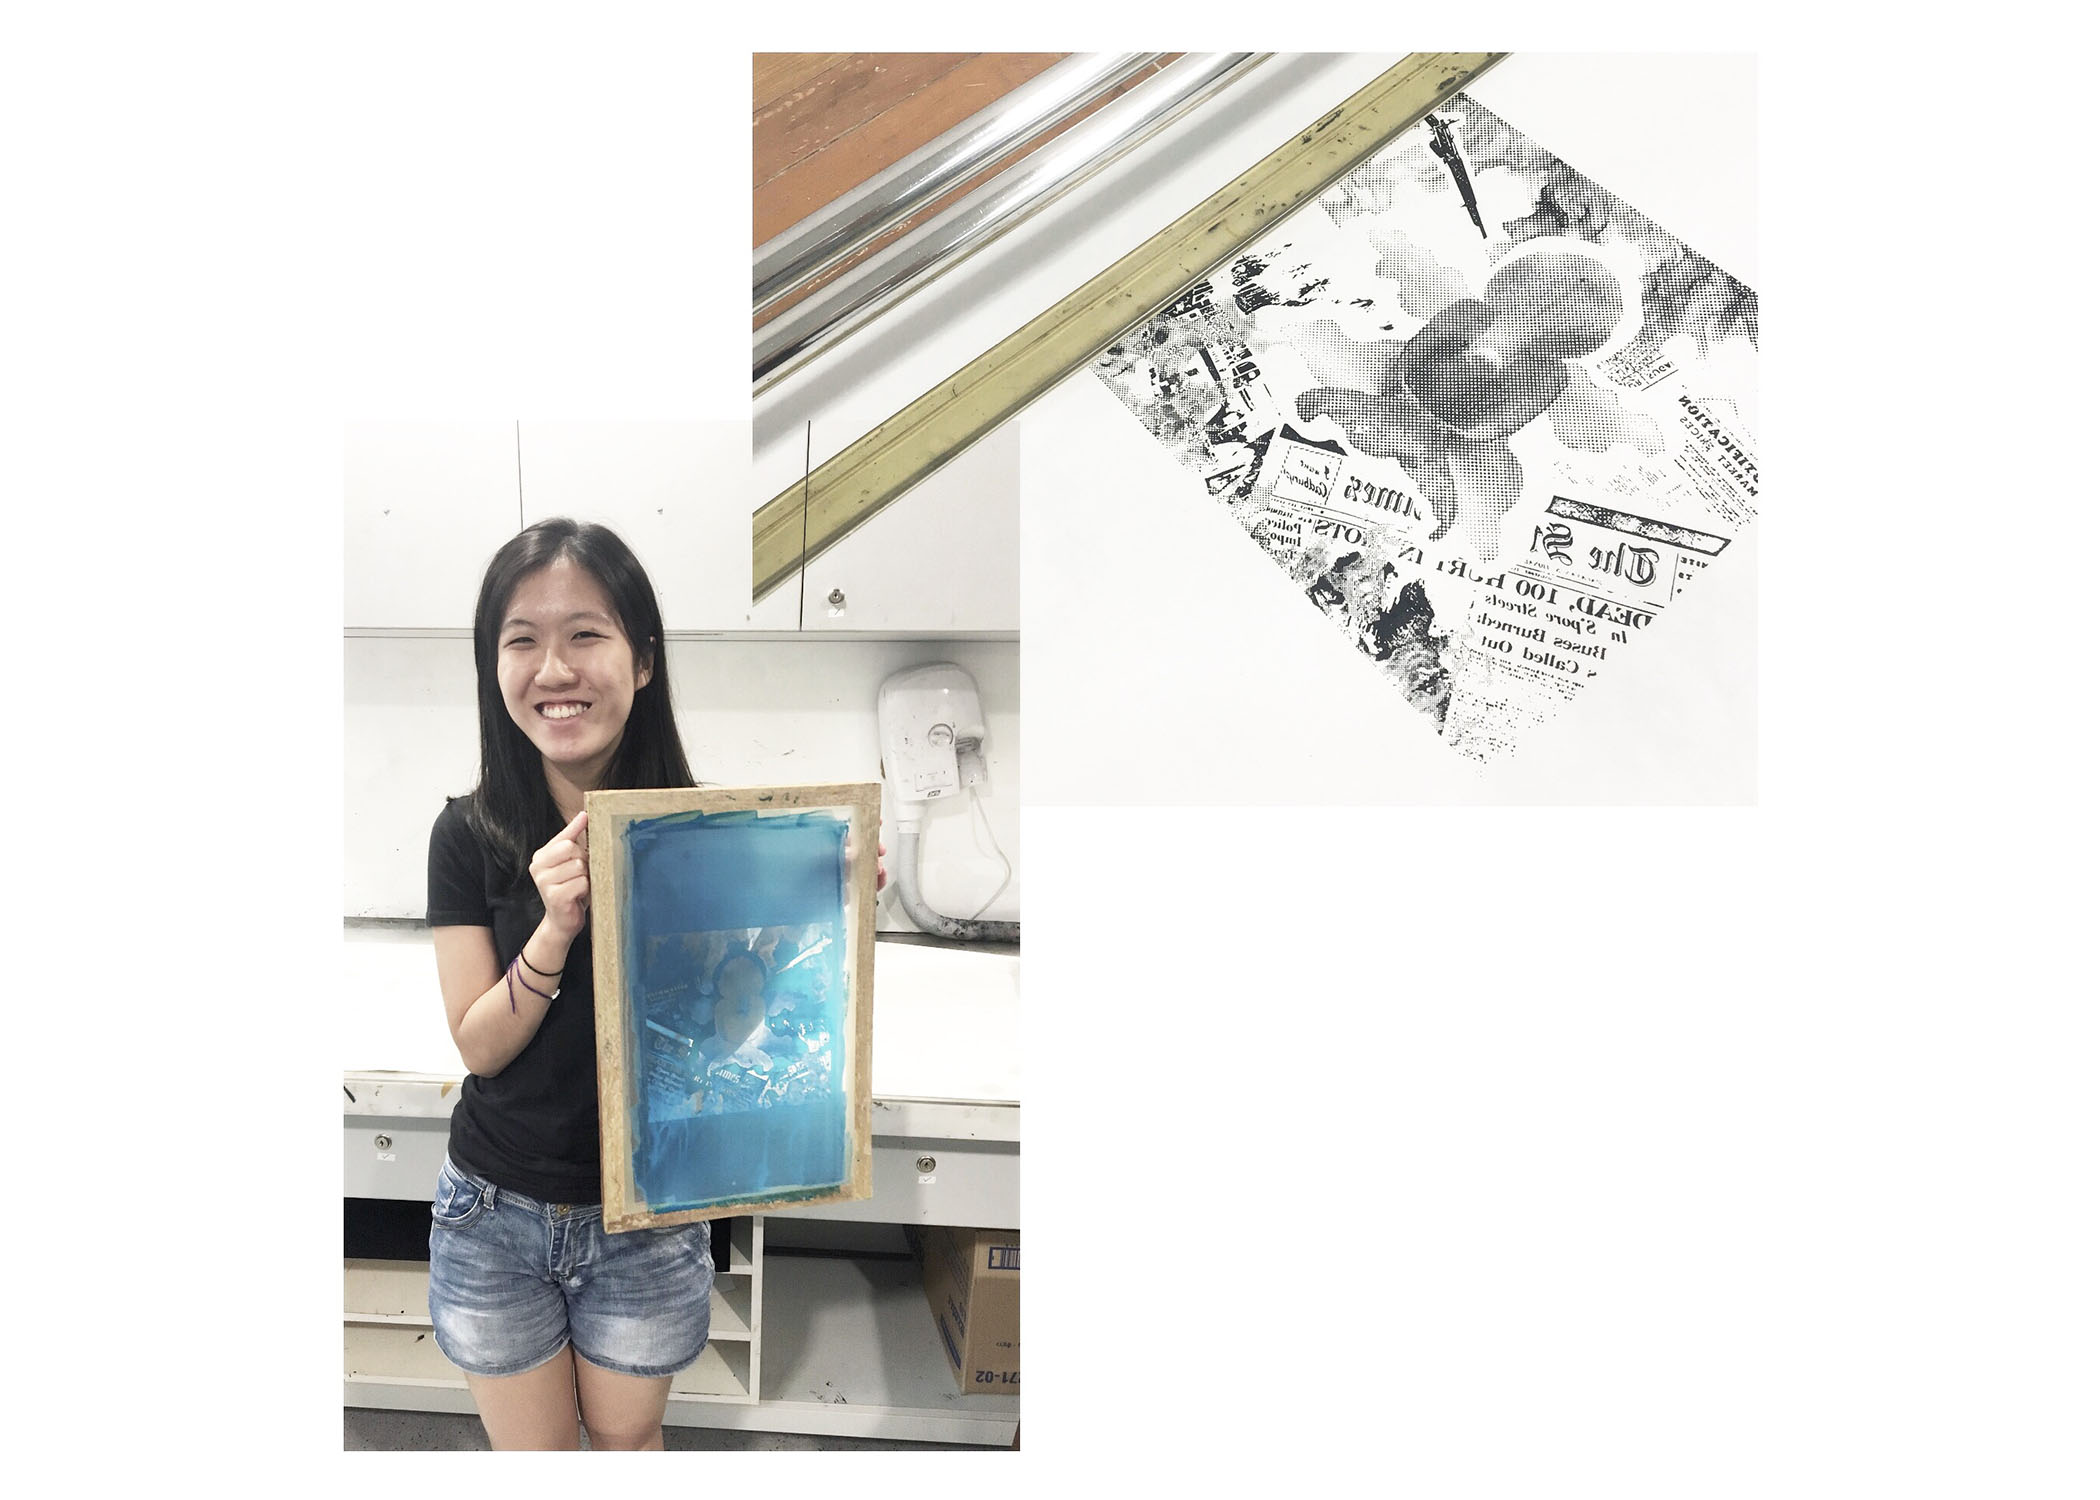
Here’s my screen after exposing 🙂 It was so cool to see the design slowly and magically appear on the screen as we used the water jet to spray.

Drying the screen before printing.
Prior to the silkscreen workshop, we were given a quick crash course on Illustrator & Photoshop by one of our seniors, Xiuming and also how to achieve gradients in our compositions when doing silkscreen through halftone that’s achieved by bitmapping the images on Photoshop. That tutorial session was really helpful as I only ever knew that halftones was required to achieve a gradient look for the composition when printed using silkscreen, but didn’t know how to get the effect using photoshop. So thank you Xiuming! 🙂
I couldn’t wait to get the design printed onto the tote bag already! But ah, printing on the tote bag itself… that was quite a bit of a mess. I’ll share more about it in my final post under the challenges faced.