
The place that I was assigned was Little India. For me, some of the words that came to mind were colourful, loud, exciting and fun. For me, I also wanted to include a cliche and fun narrative that flows throughout the story, because i felt like appreciating the basics. In terms of design, I also wanted to reduce the shapes seen in little India into the most basic forms, so that my work would be more graphic.
Things I wanted to feature:
Garlands
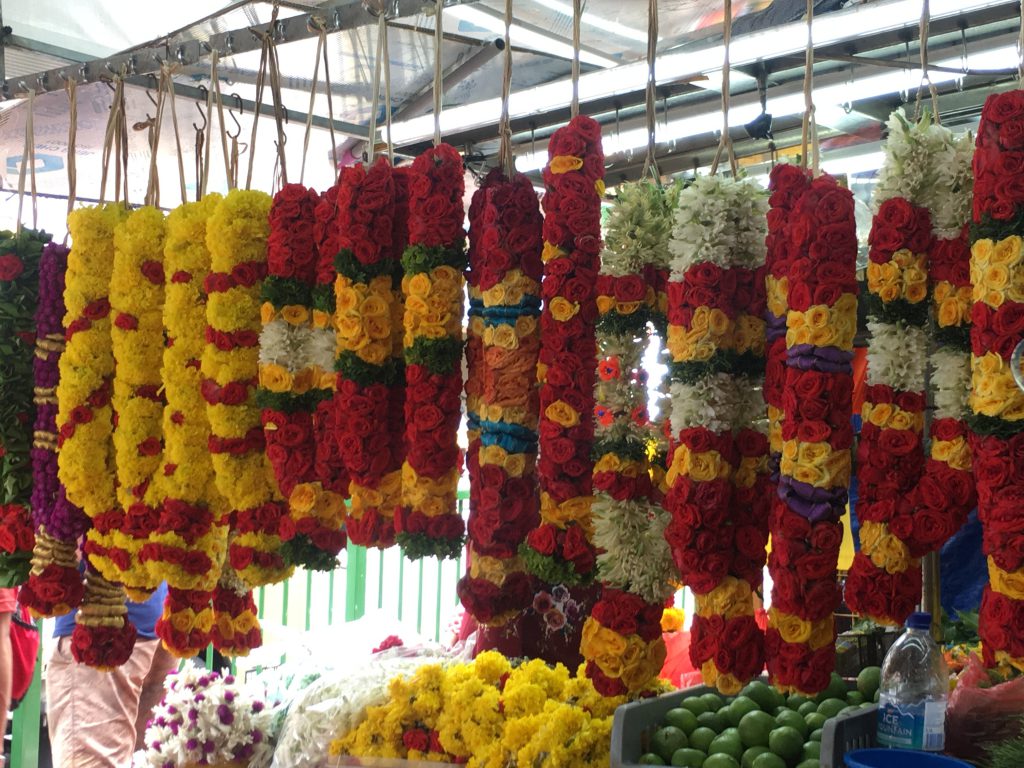
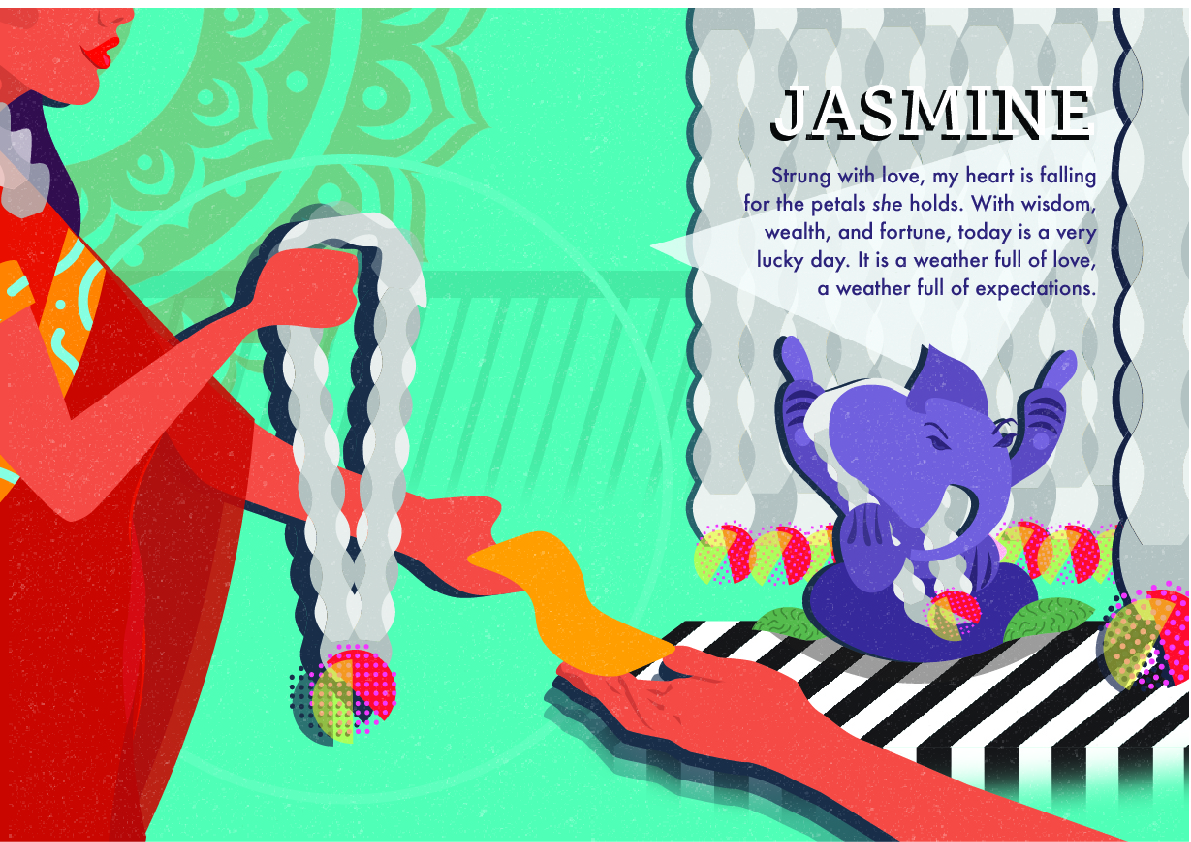
No matter which corner you go to in Little India, Garland shops were everywhere, and there was always someone buying something. I felt that this was an iconic symbol of Little India, so I wanted to make the zine focus on the garlands and garland shops.
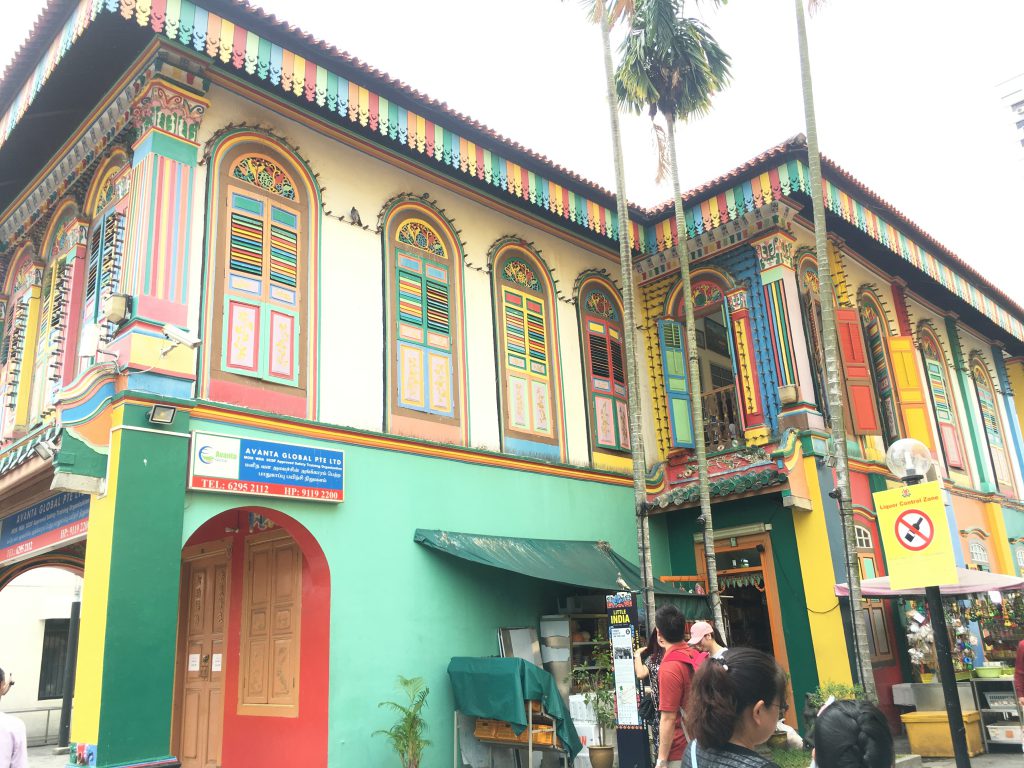
Tan Teng Niah House
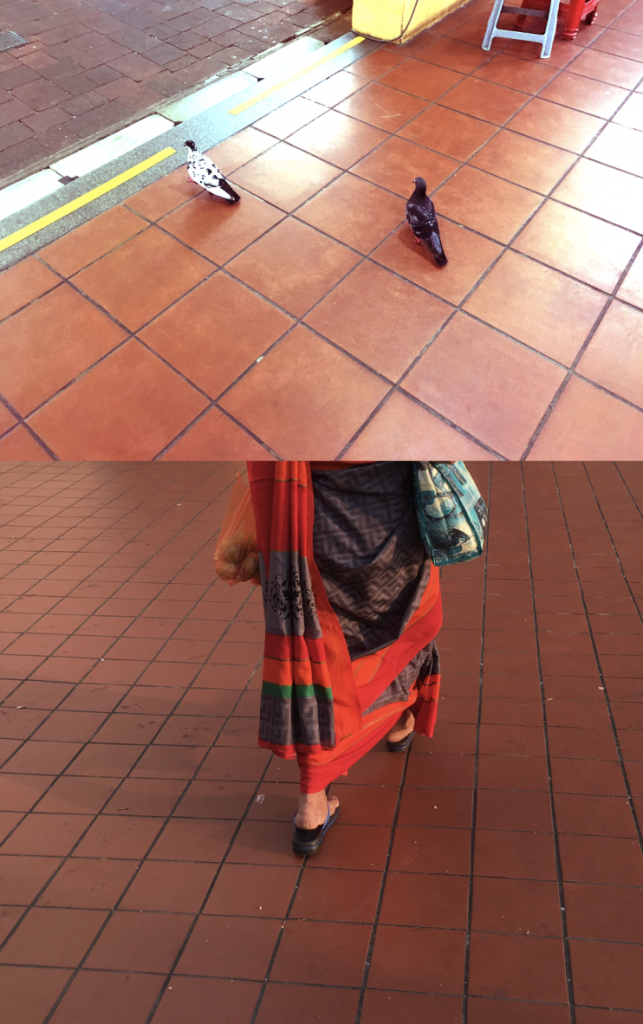
Traditional Clothes
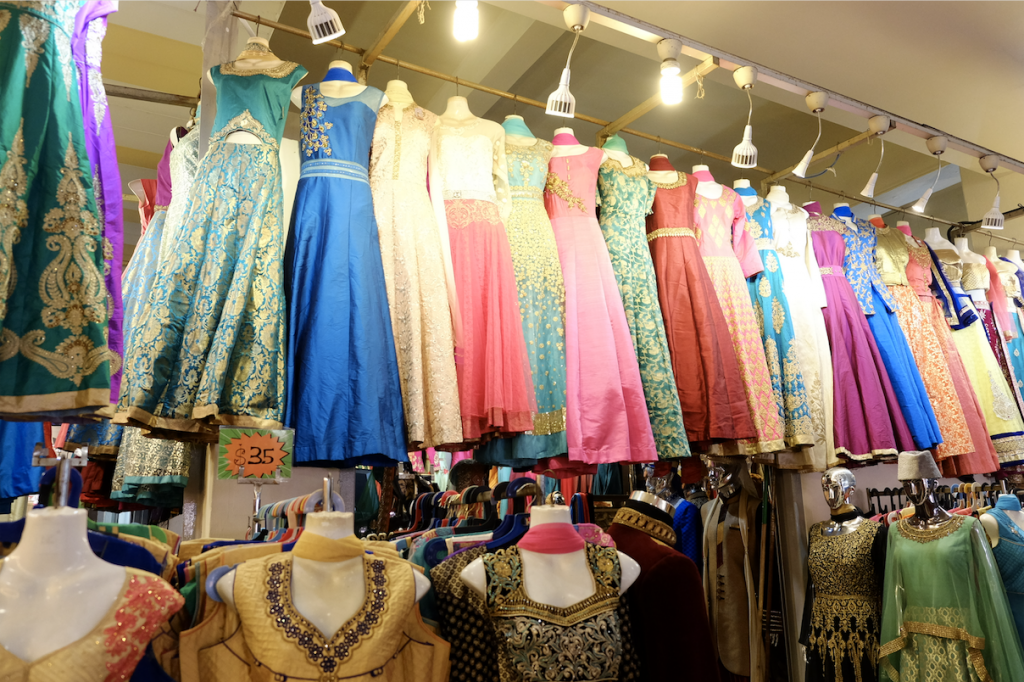
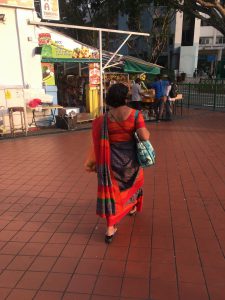
Little India is a place where people still wore traditional clothes, and it made the precinct very colourful.
Hinduism
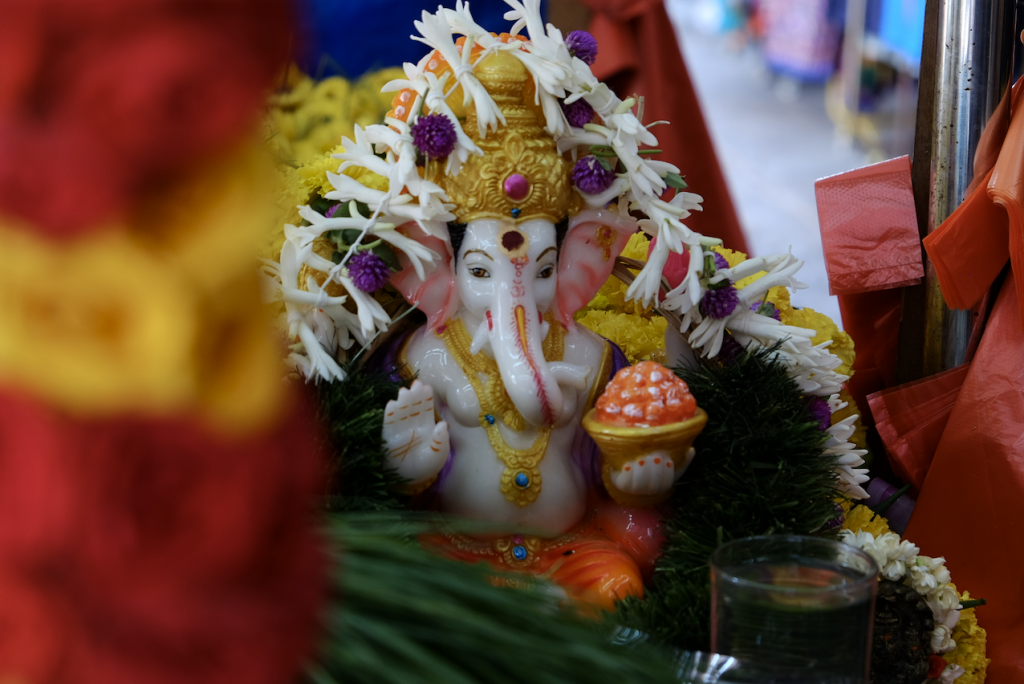
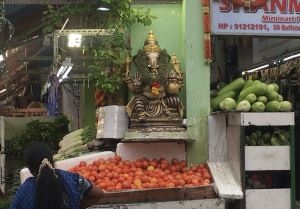
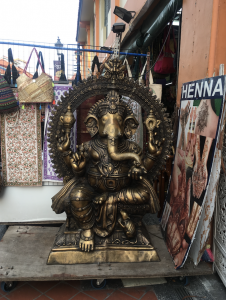
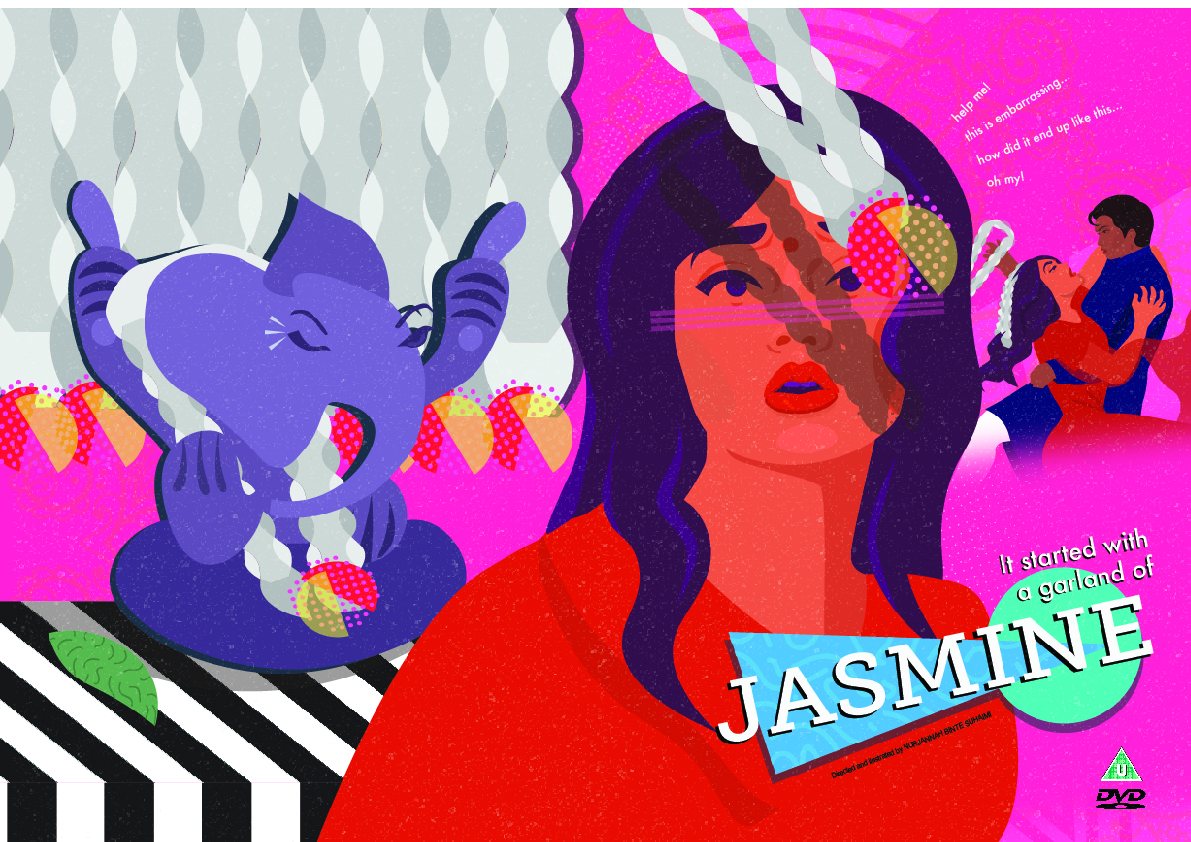
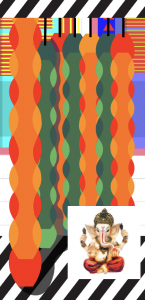
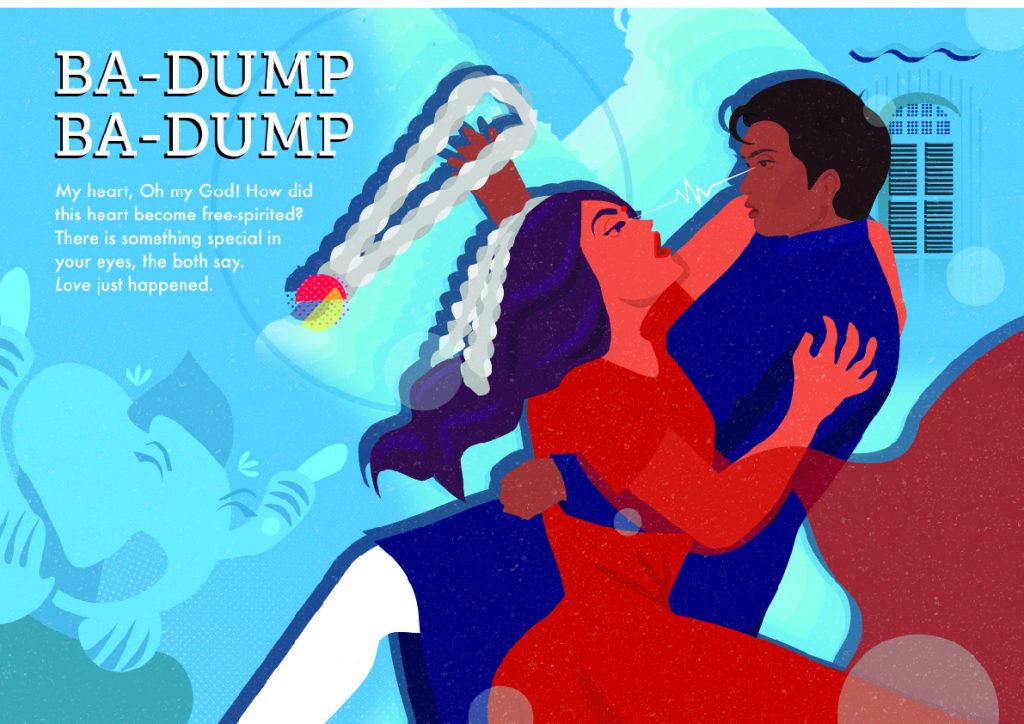
I chose the image of Ganesha as I observed that the god was very prominent in Little India, because he would be put in shops and stalls because he represented prosperity and good luck.
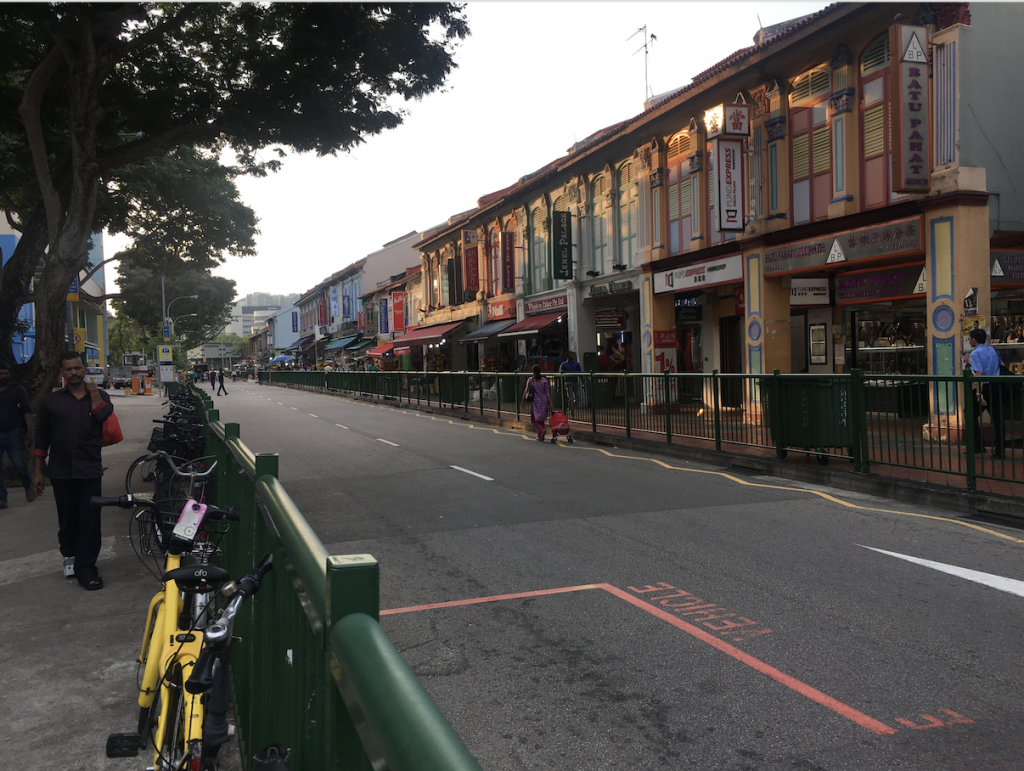
Infrastructure
In order to separate from India and Little India, i felt that railings and shophouses made the precinct distinctively Singaporean. I also felt that the orange tiles were a subtle icon of Little India.
Process
Tekka Centre
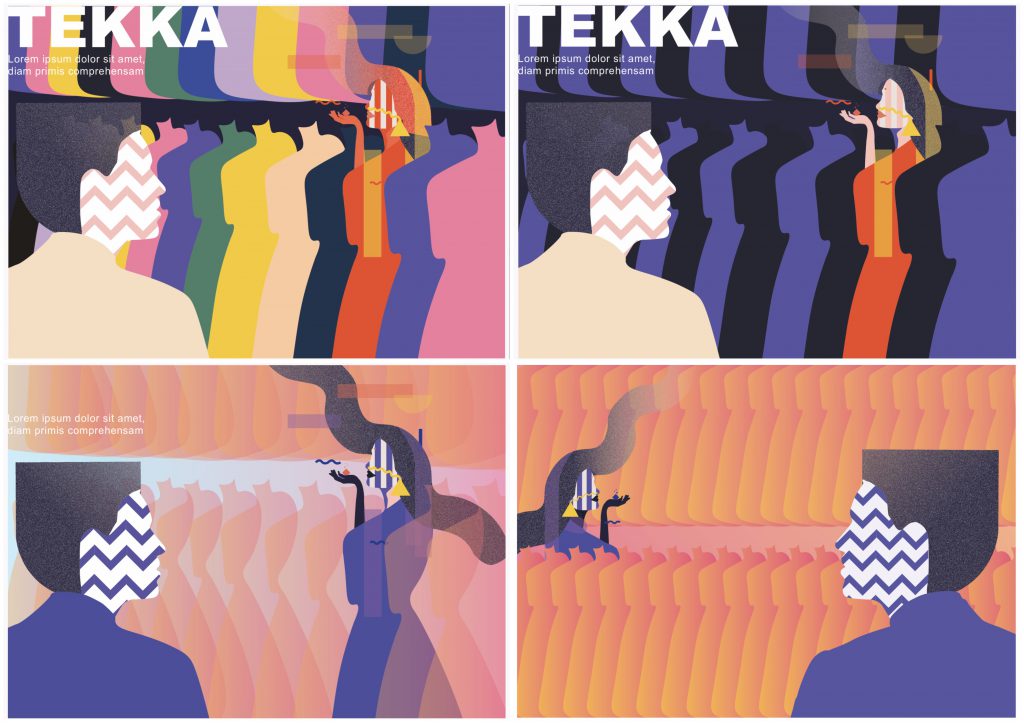
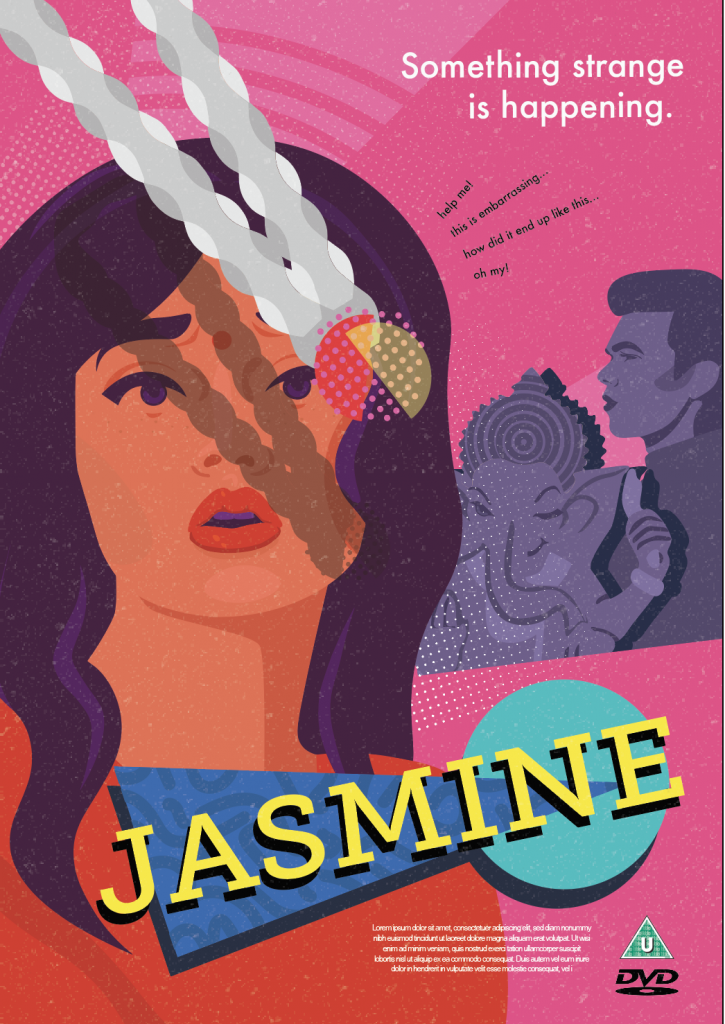
Initially, i was very inspired by the Memphis design movement, but after feedback, i felt that it did not represent Little India, rather it represented India. Below is a draft of my first design for the two main characters of the story:

I tried to represent the Tekka Centre by reducing the shape of the traditional clothes displayed and hung into a basic form, however i felt that I could not tell what it is when out of context. As such, I decided that i did not want to include an image of the Tekka centre in the zine because I felt that I was not able to represent it well.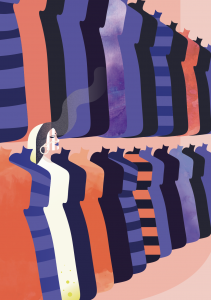
Here, I decided to showcase traditional clothes on the main characters themselves:
Garlands
In the first picture, it is the first design of garlands that i had, which featured almost close to reality jasmine flowers. However, I felt that it was still too illustrative, so I tried to reduce it to a basic shape, as seen in picture 2,3, and 4. I had issues trying to represent the garlands using the basic shape, as i felt that it did not look or feel like garlands. After looking at other designs, I was inspired to design my work as seen below, as I felt it looked more like garlands.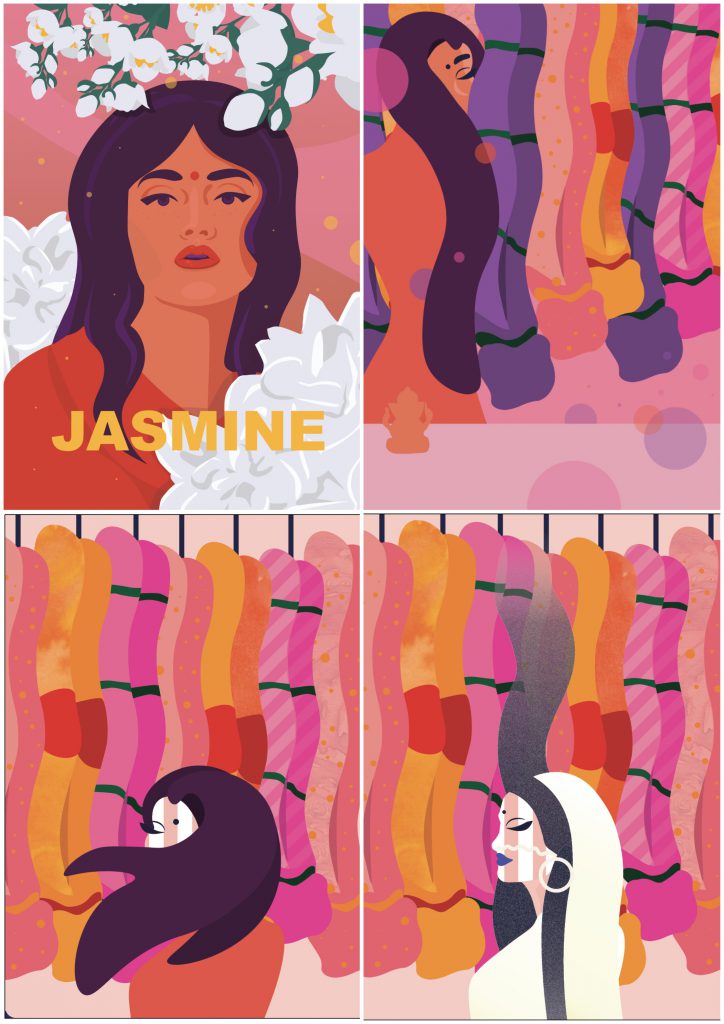
Shophouses
Here, I had illustrated shophouses to be close to reality. I also tried to put a garland shop there, but whilst I was doing this i felt unsatisfied because it did not push any boundaries and looked very normal.

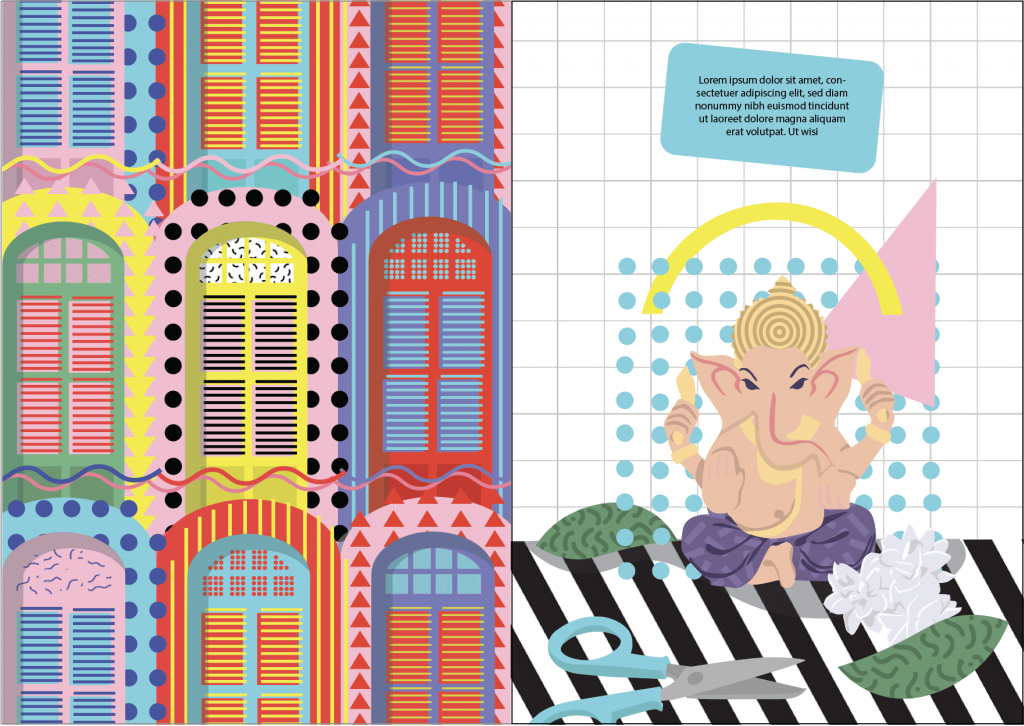
Here, I tried to manipulate the shophouse windows to look more graphic. I felt that the page is too messy as there were too many elements and colours fighting for attention. I also wanted Ganesha to be featured on every page of the zine, because I wanted to make it seem as if he is the one who is in control of the two characters meeting each other. On the right, it is my initial design of Ganesha, which was still illustrative at the time, which i decided to change it for the final.
Layouts
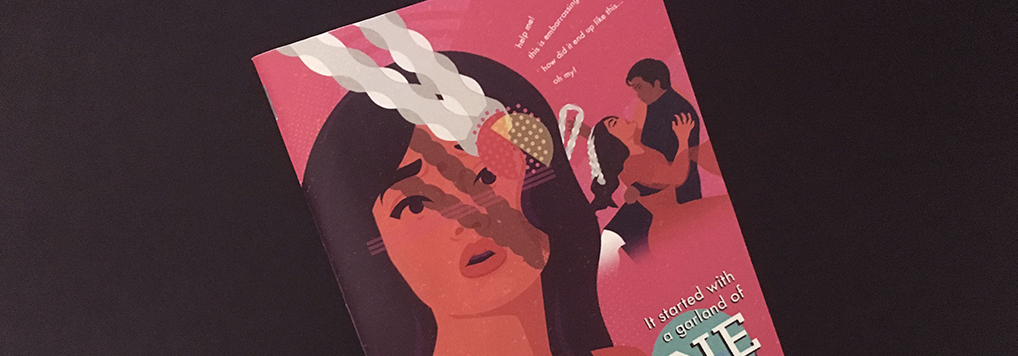
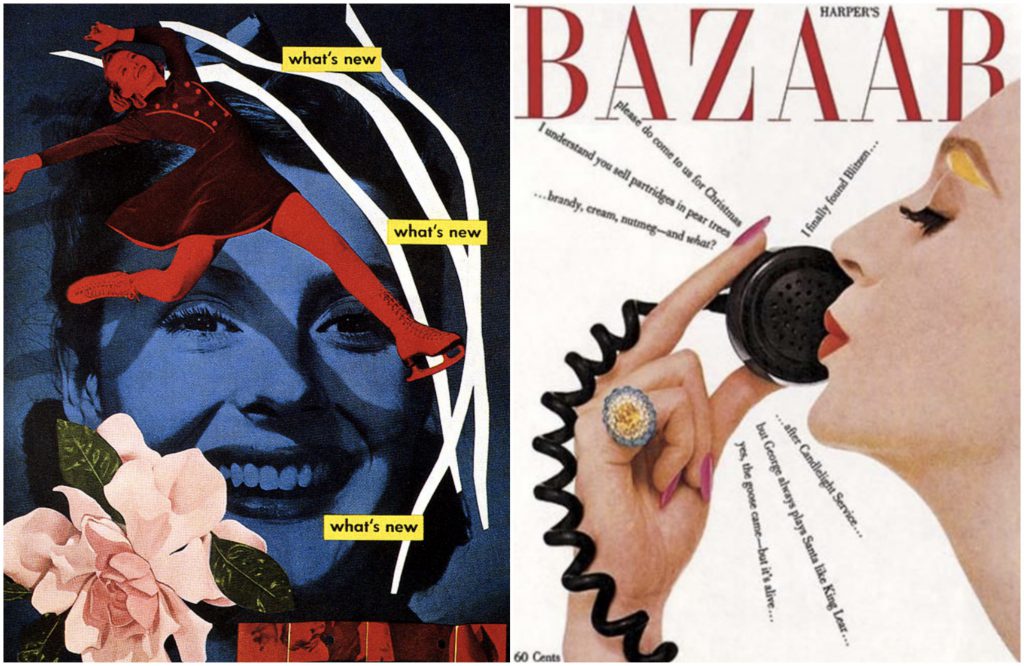
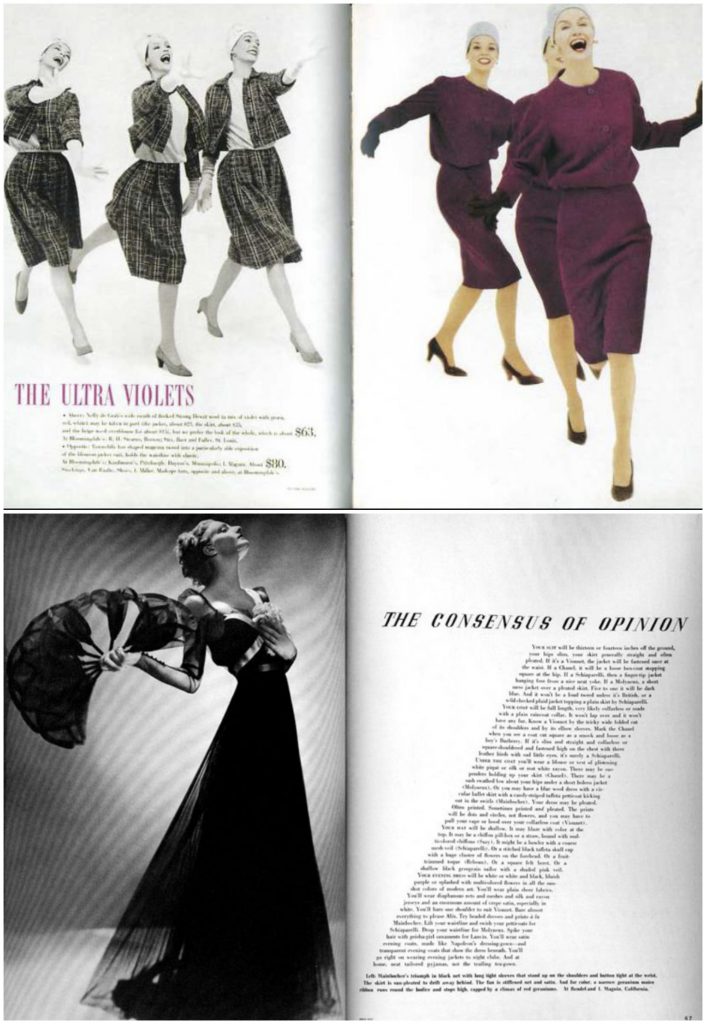
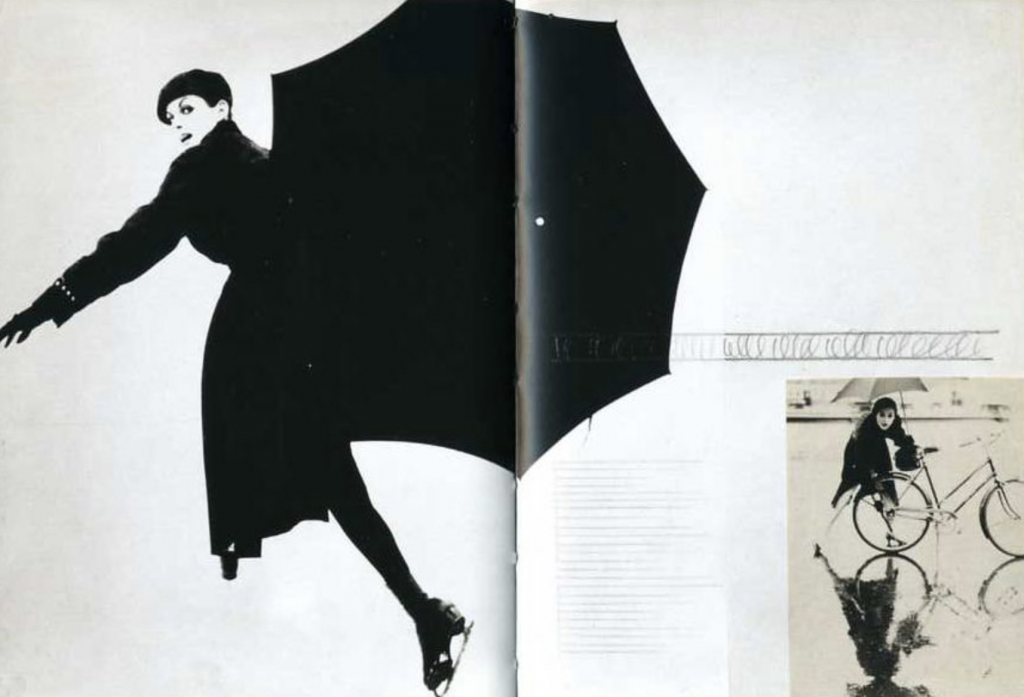
Inspired by Lester Beall and Alexey Brodovitch, I liked the way that their graphics were able to tell a narrative without much use of text. An example of this is the cover page, where I obstructed the main character’s face with the garland and garland’s shadow:
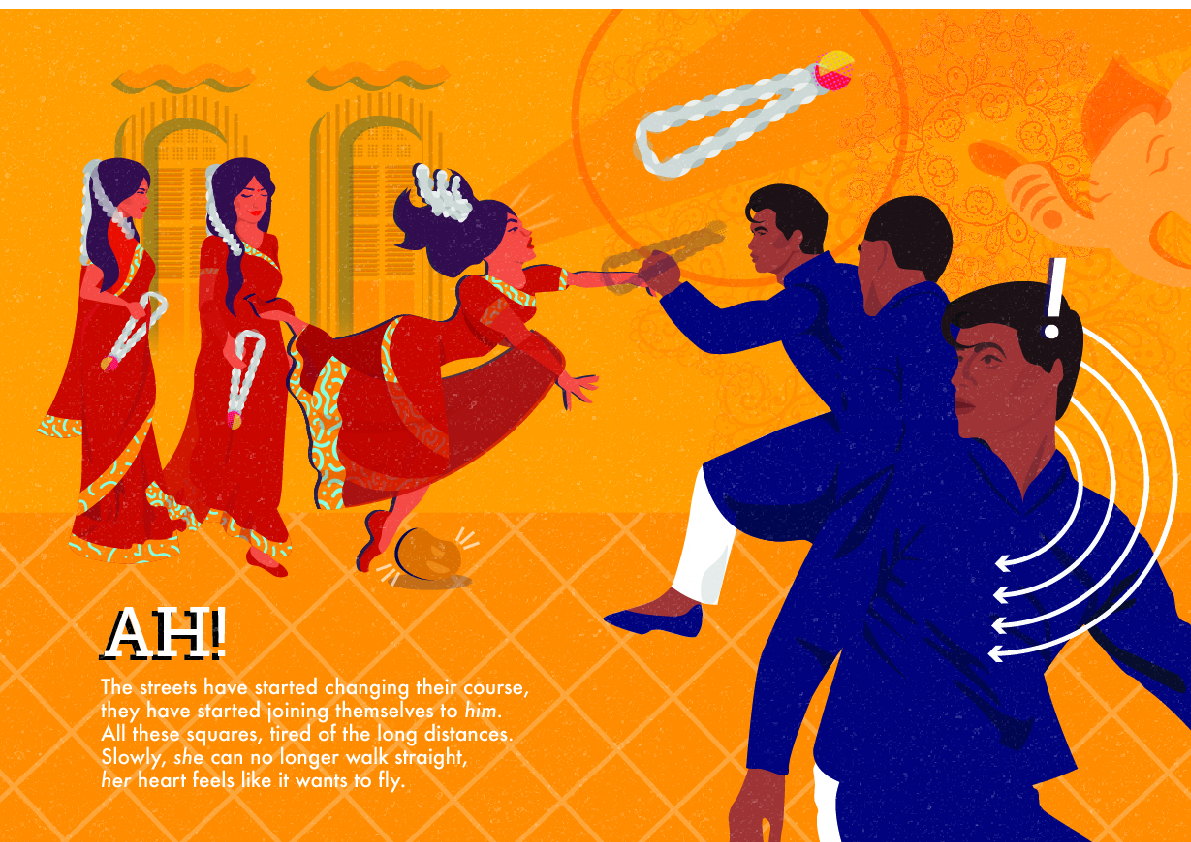
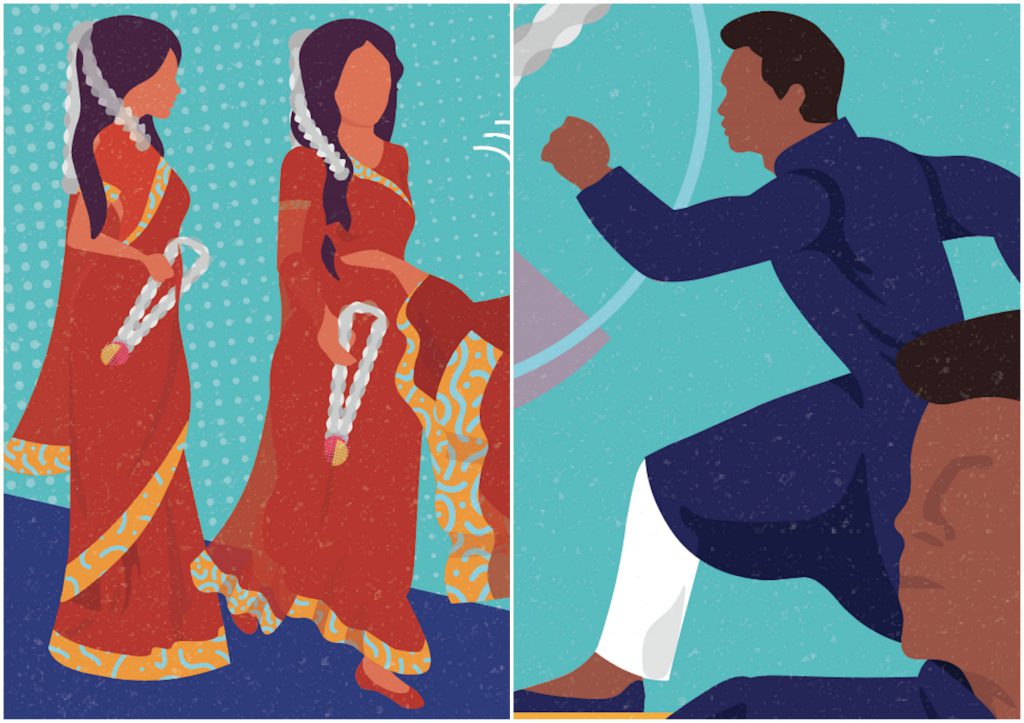
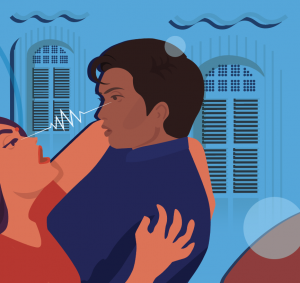
Another page was the scene where the female character falls, where I wanted a more horizontal line for the layout. In the first two pictures, i was inspired to use the sequential imaging and slanted text, but i felt that there were too many things fighting for attention. I also wanted to explore using directional lines to show movement in the work, inspired by Lester Beall:

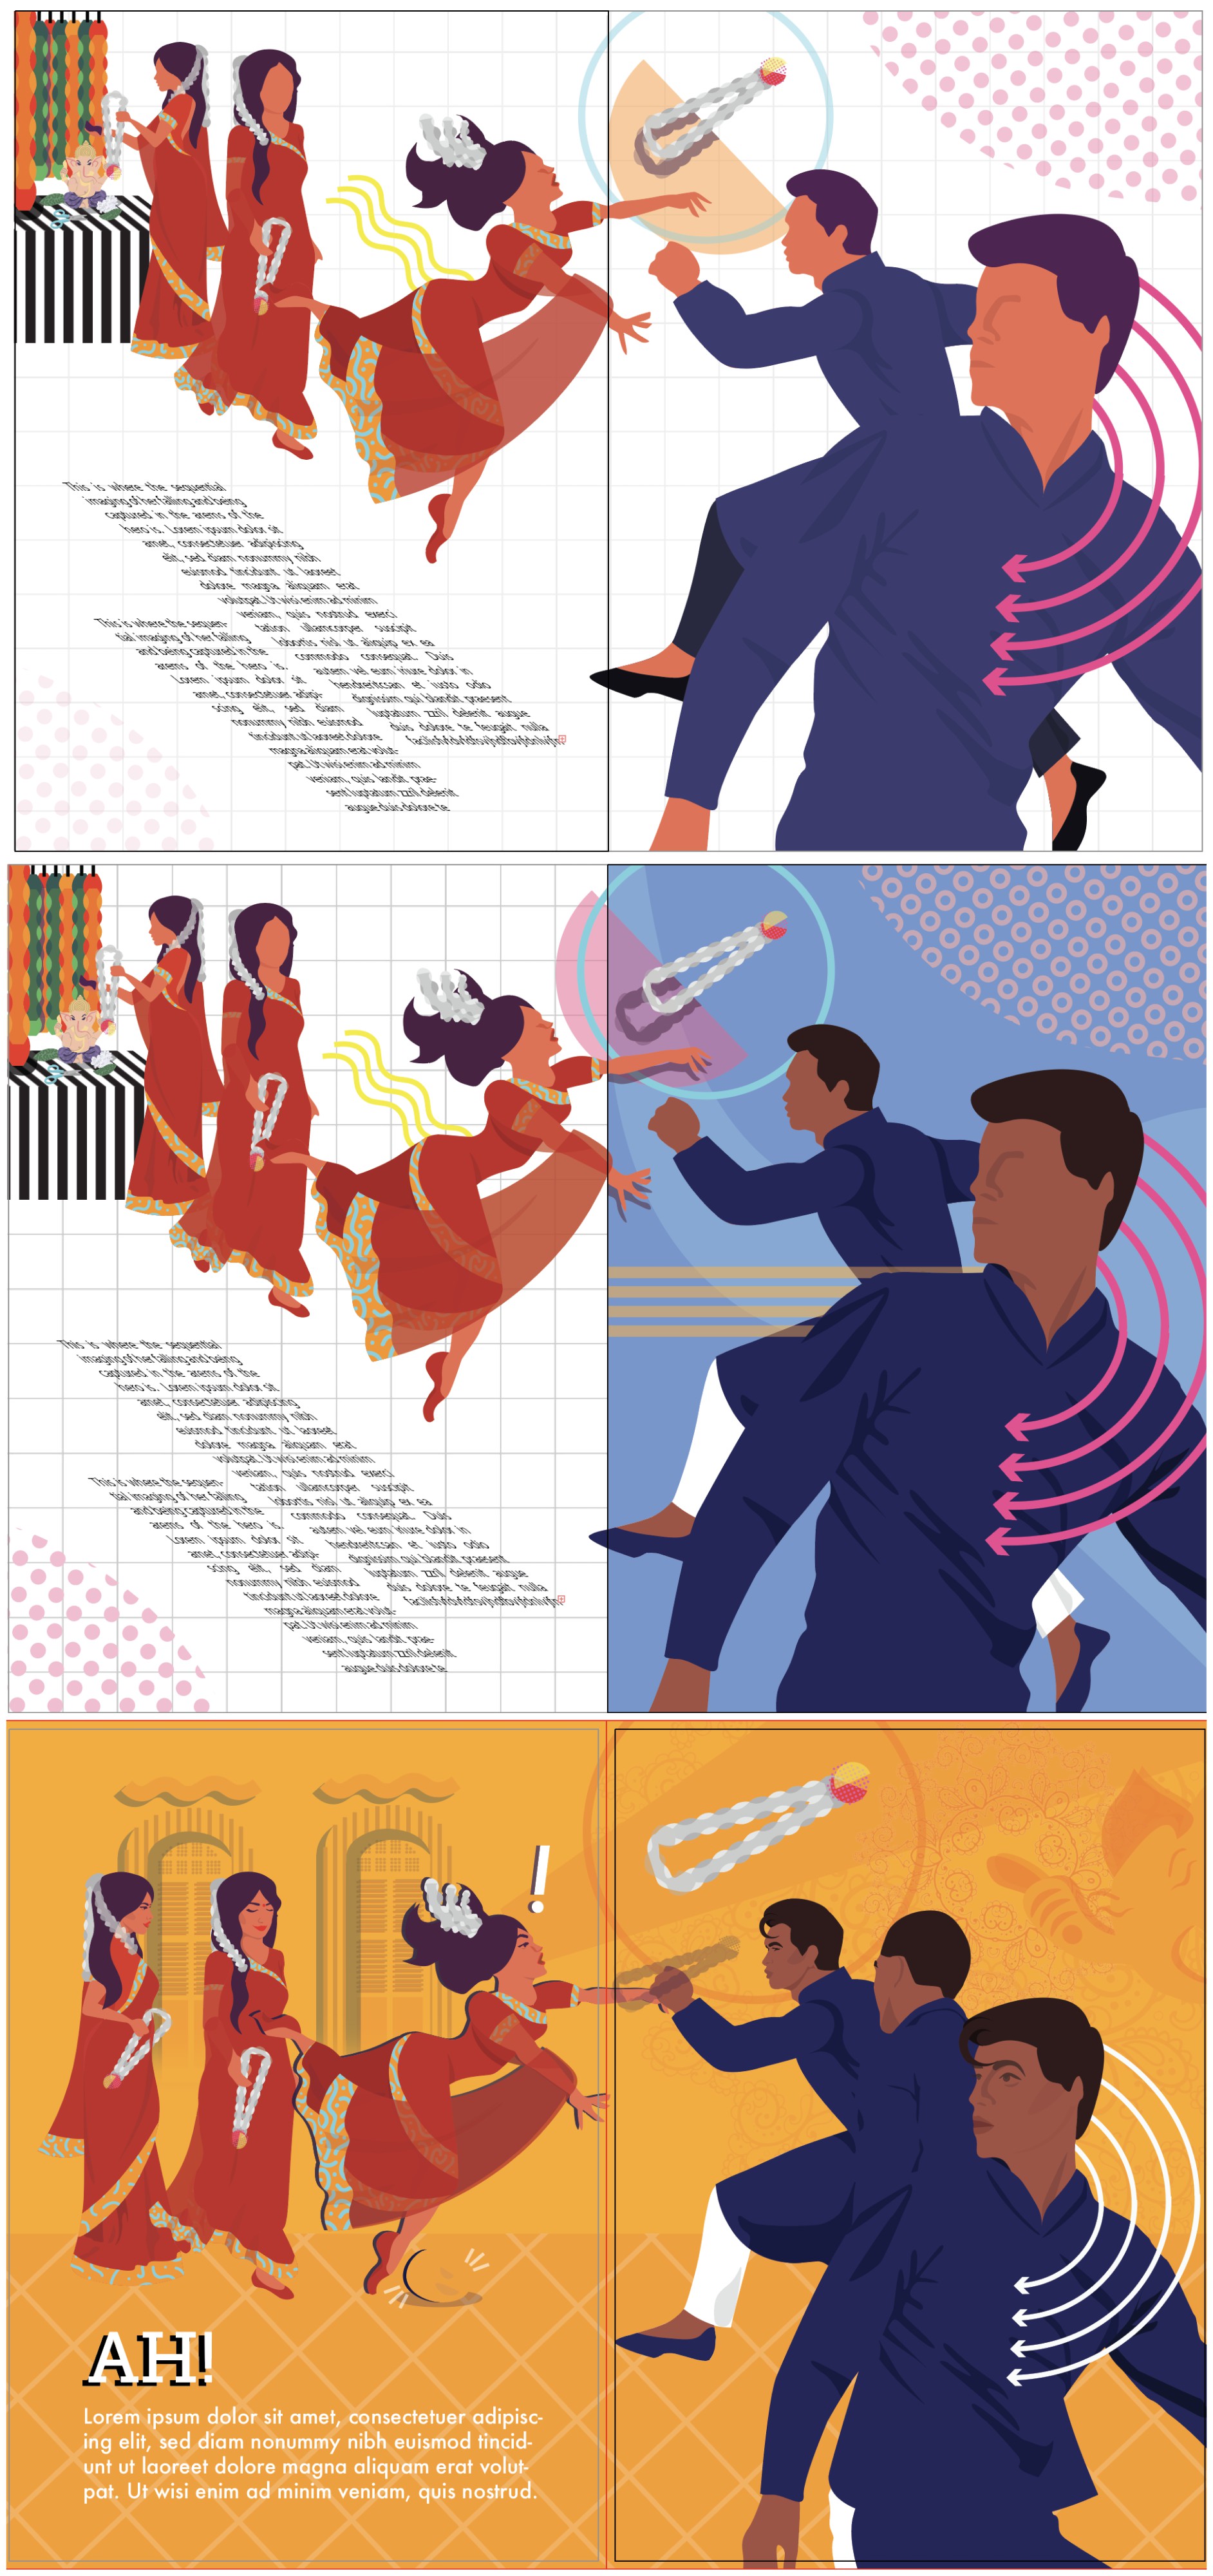
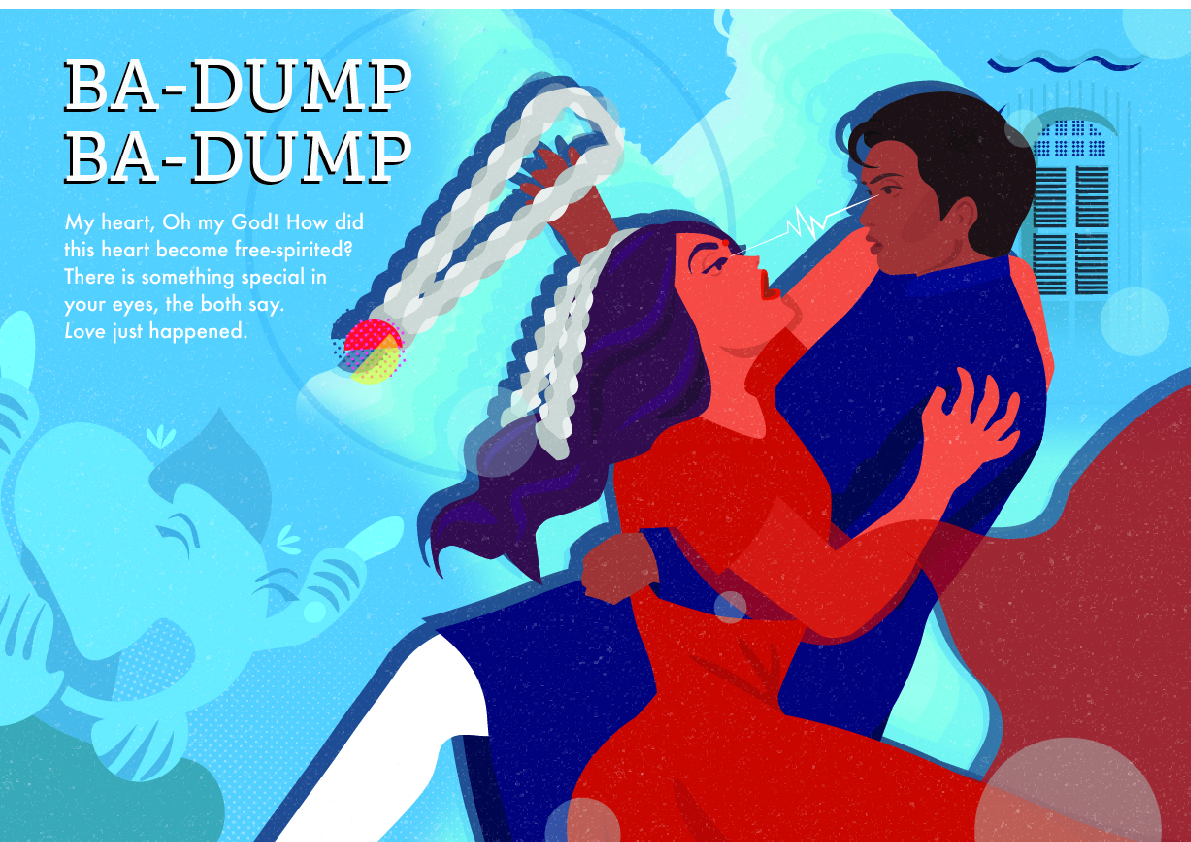
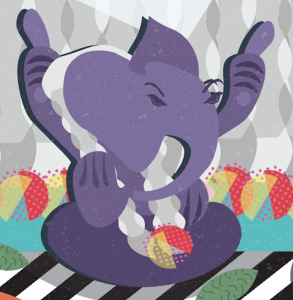
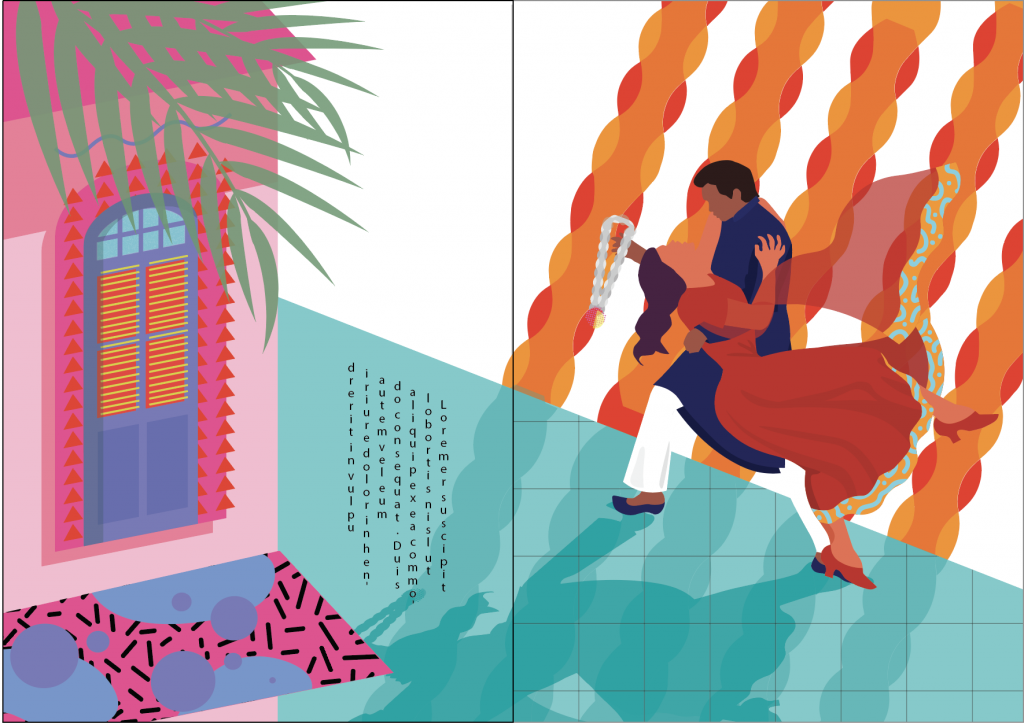
In the last page, I wanted to make it dynamic because it was the climax of the story. As such, i wanted to use diagonal lines for the layout. In the initial design, I found it too messy. In the final, I added drop shadows behind the human figures, to sort of show a fast-motion direction of which the male character caught the female character. I also had to be wary of leaving a space for Ganesha’s character.
Colours & Text
As I was not able to showcase the Tan Teng Niah house, I decided that i would use a colourful palette, similar to the building, throughout the zine, which also represented the colourful and exciting atmosphere of Little India.
For the text, they were all from translations of Bollywood songs that sung about love at first sight, which would explain why they might not make so much sense. However, i felt that the content of the text was not that crucial in this project, because i was more focused on creating the forms.
Reflection
For me, i felt that this project was very difficult because I was very out of my comfort zone in creating graphics instead of illustrating. I had never actually considered graphic design. However, I felt that this being my first try in trying to differentiate myself from what i know, there was still a lot of my personality being injected into the final outcome. After this project, I think i want to explore more into creating a visual language.