With Part 1 done, I wanted started to think of ideas for my second part. Really liking and being interested in the two objects below, I wanted to make my vessel based on them.


I later decided to focus on the bound chopsticks and thus began my part 2.
__________________________________________
I unfortunately had much difficulty thinking of an idea. It had been suggested that I make a lantern like shape first and then see if I could work on it further.
I thus started doing some sketches and making a prototype, using collected yakult straws I had in my house that would have been otherwise wasted and thrown away.


The design on top in the first picture, and bottom in the second is the one that I initially planned and then attempted to do a prototype of.


It was a rather interesting shape, however, I wanted to make something that could actually be used, or turn into something that had more use than a lantern. Thus, I decided to make a bag instead, and then drew up the second design in the pictures of my sketches. The above prototype however was also a fun experience as the smoothness of the straws actually made this prototype a challenge and also opened potential ideas, considering that the joints where able to be slid around freely. This is something I would like to experiment in the future.
Using the same, bound chopstick pattern, I first bound 2 of the same pieces, for the prototype, using straws. I found a reference which I really liked, which is the one shown below.

https://naiise.com/products/mini-origami-bag?variant=25306588752

Sadly, as earlier mentioned, the straws had been too smooth and I hence made it using older chopsticks that had edges; something I did not want in my final piece. 
It had been too plain and I thus decided to the twine on all 4 sides instead of just two.

Deciding I liked the way it looked, I made a cleaner better version with rounded chopsticks to form the piece below. And doubled it, to be used for the frame.


Fooling around with the pieces, I really liked the way it connected when I placed it criss-crossed.

I thus made a piece that could be slot into the already made one. While it was able to stick together just through the arrangement and slotting, I added a tad bit of glue to ensure that it had been well secured.


I then did this for both sides, and then, tried to use the previous prototype to test out how to connect the pieces.


However, I did not really like this method of connection as I thought with the confusing pattern it would have been too boxed up and odd. Hence, I decided to only box up the sides.
Using a leftover carton box, I made a frame for the bag.


I then bought imitation leather, and weaved it.


And then, attached it to the cardboard, making a nice cover.


I then made the base blue, and this was roughly how the bag looked, with the frames crudely taped to the sides.

After this, I went on to add a handle as well as make the insides of the bag blue, using blue imitation leather. The below are pictures of the final product.


__________________________________________
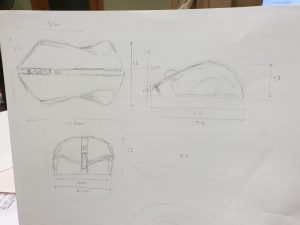
DRAWINGS:
Clearer drawings may be found in the google drive folder in the link below. The orthographic drawings are done in a scale of 1:2.
https://drive.google.com/open?id=1pZ0_HMc5vNESt4MVPLNkzwEs9pknbpES
Orthographic

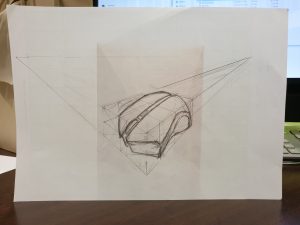
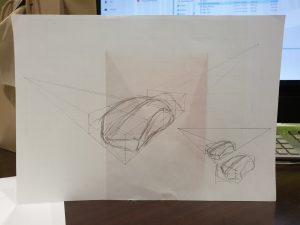
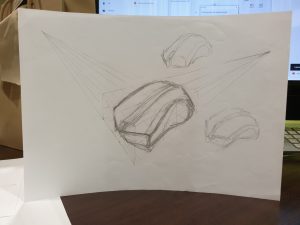
Isometric drawings

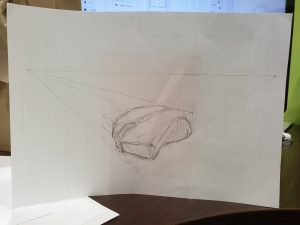
2 pt perspective