
Last Week
On Week 10, we have presented three variation in different material combinations.
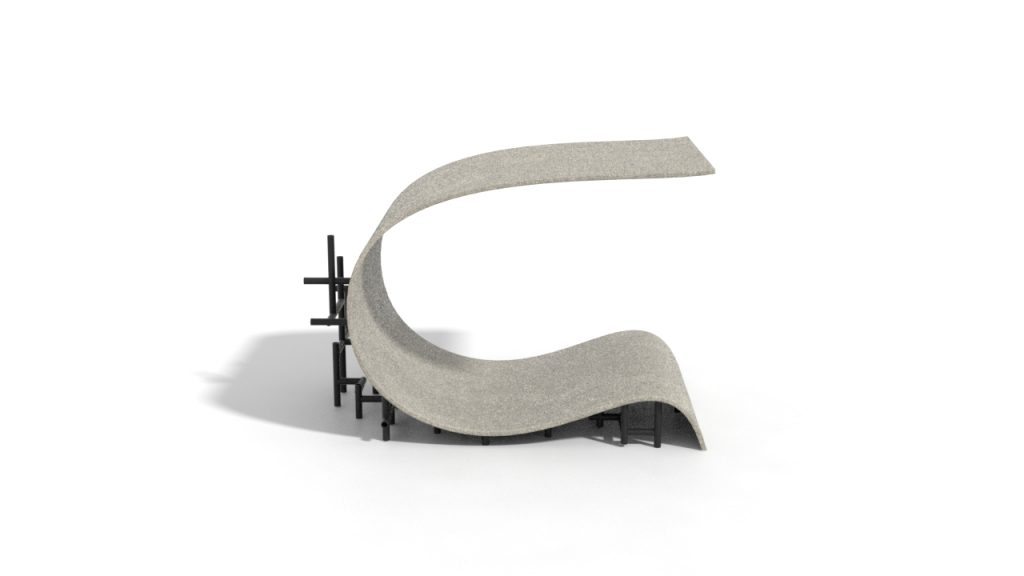
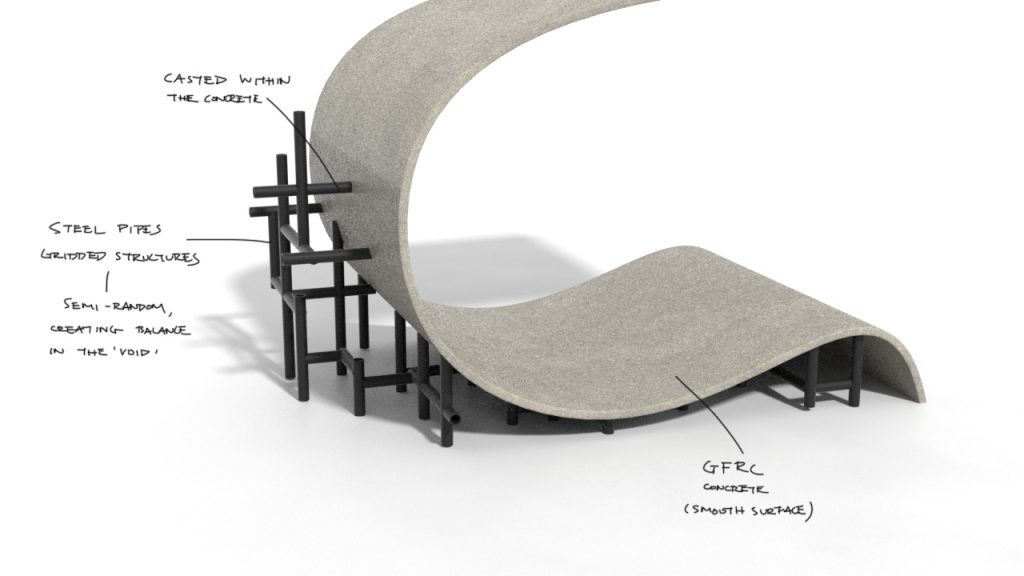
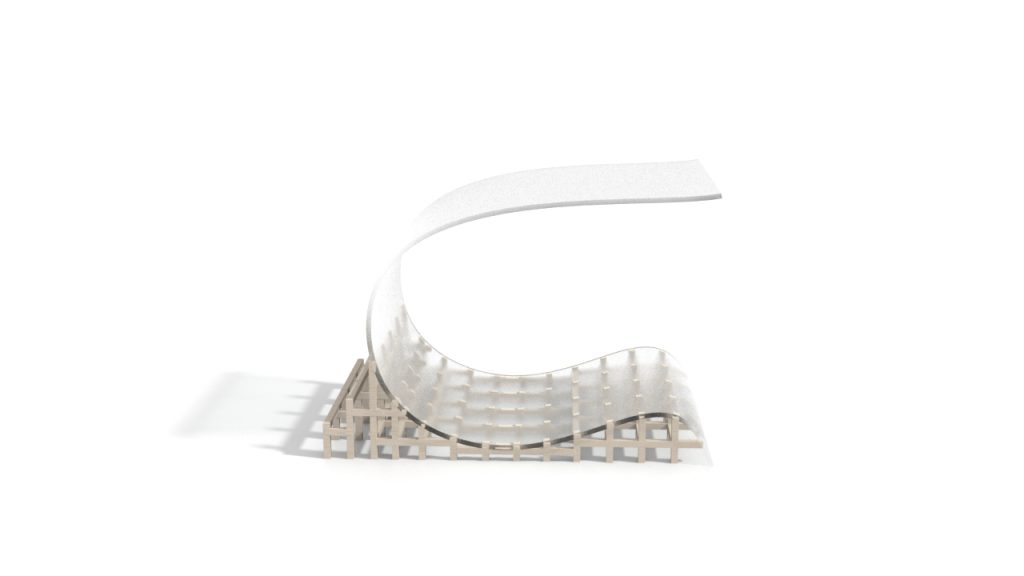
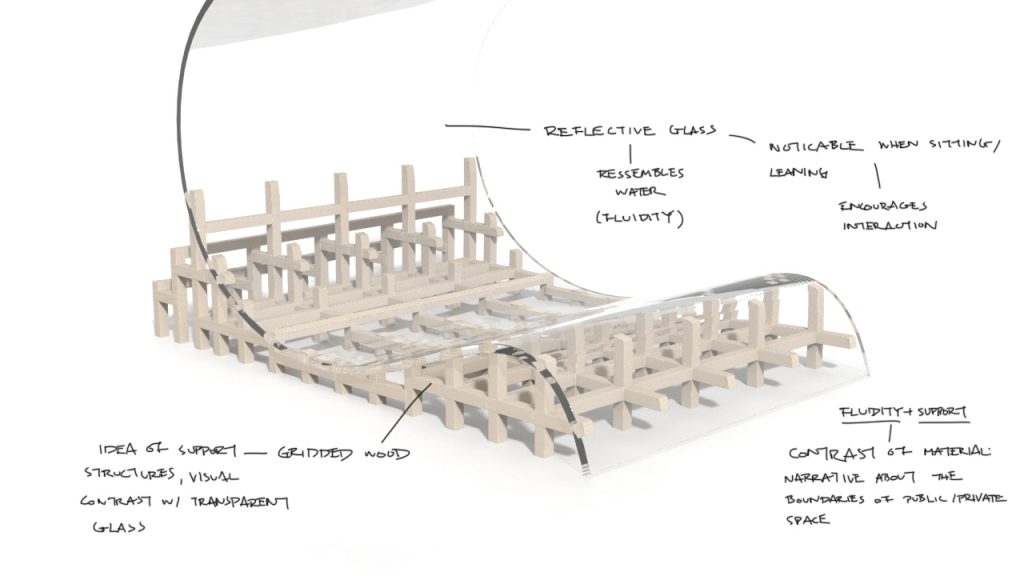
We have decided to use wood and metal as the material for the construction of the installation as it seems like the most economic, sustainable and feasible choice of building material out of the other two (Concrete and Polycarbonate).
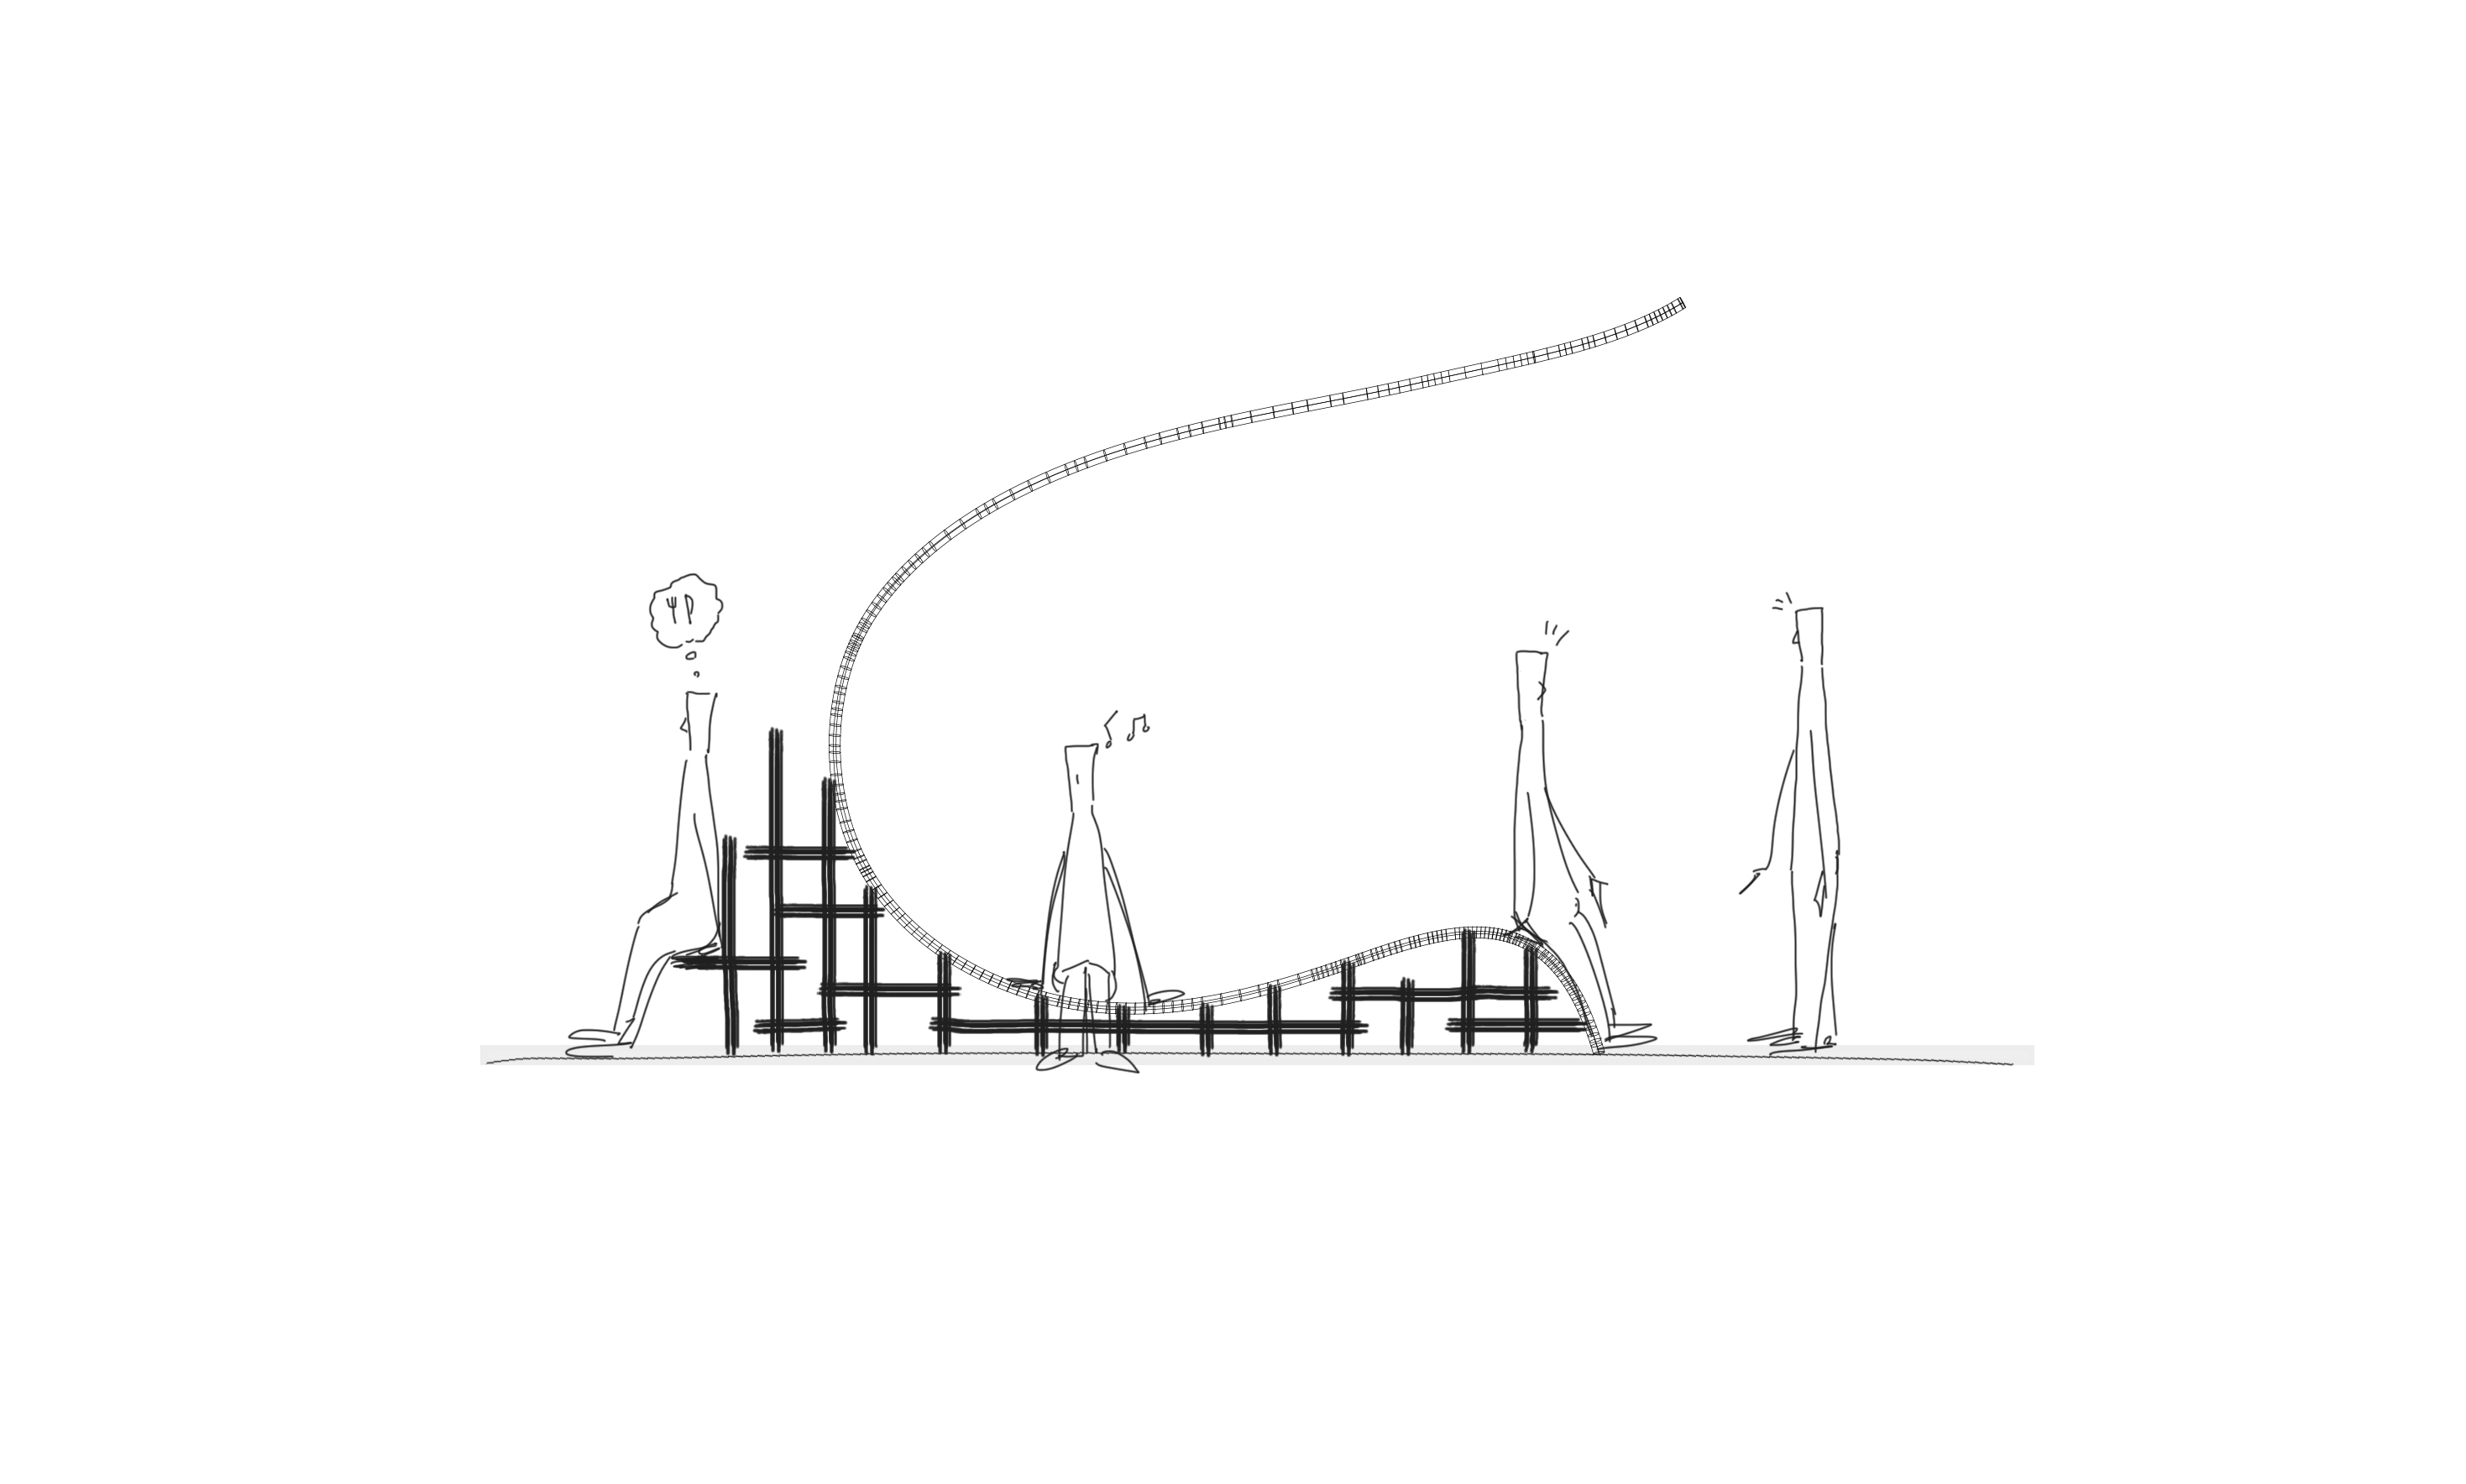
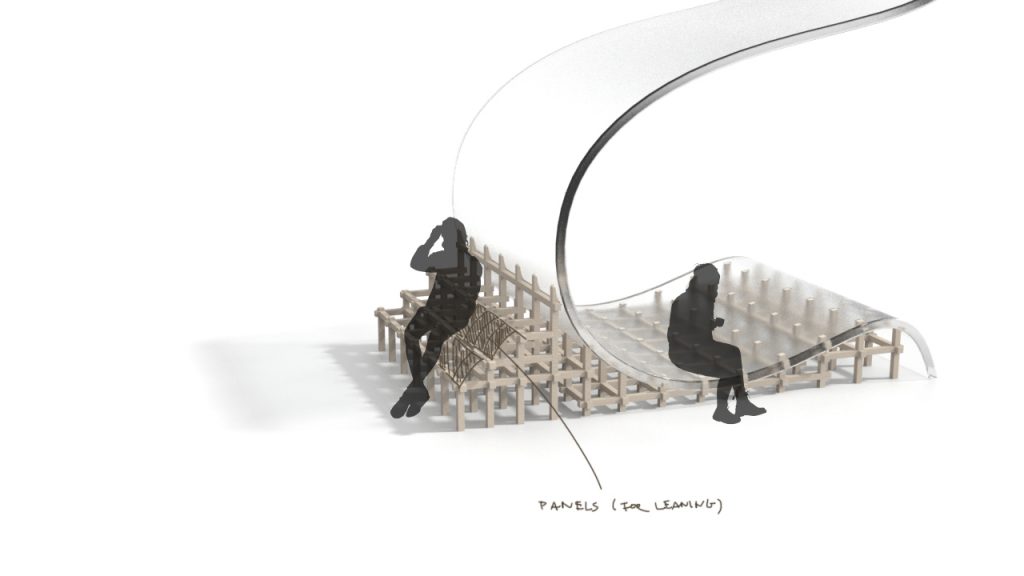
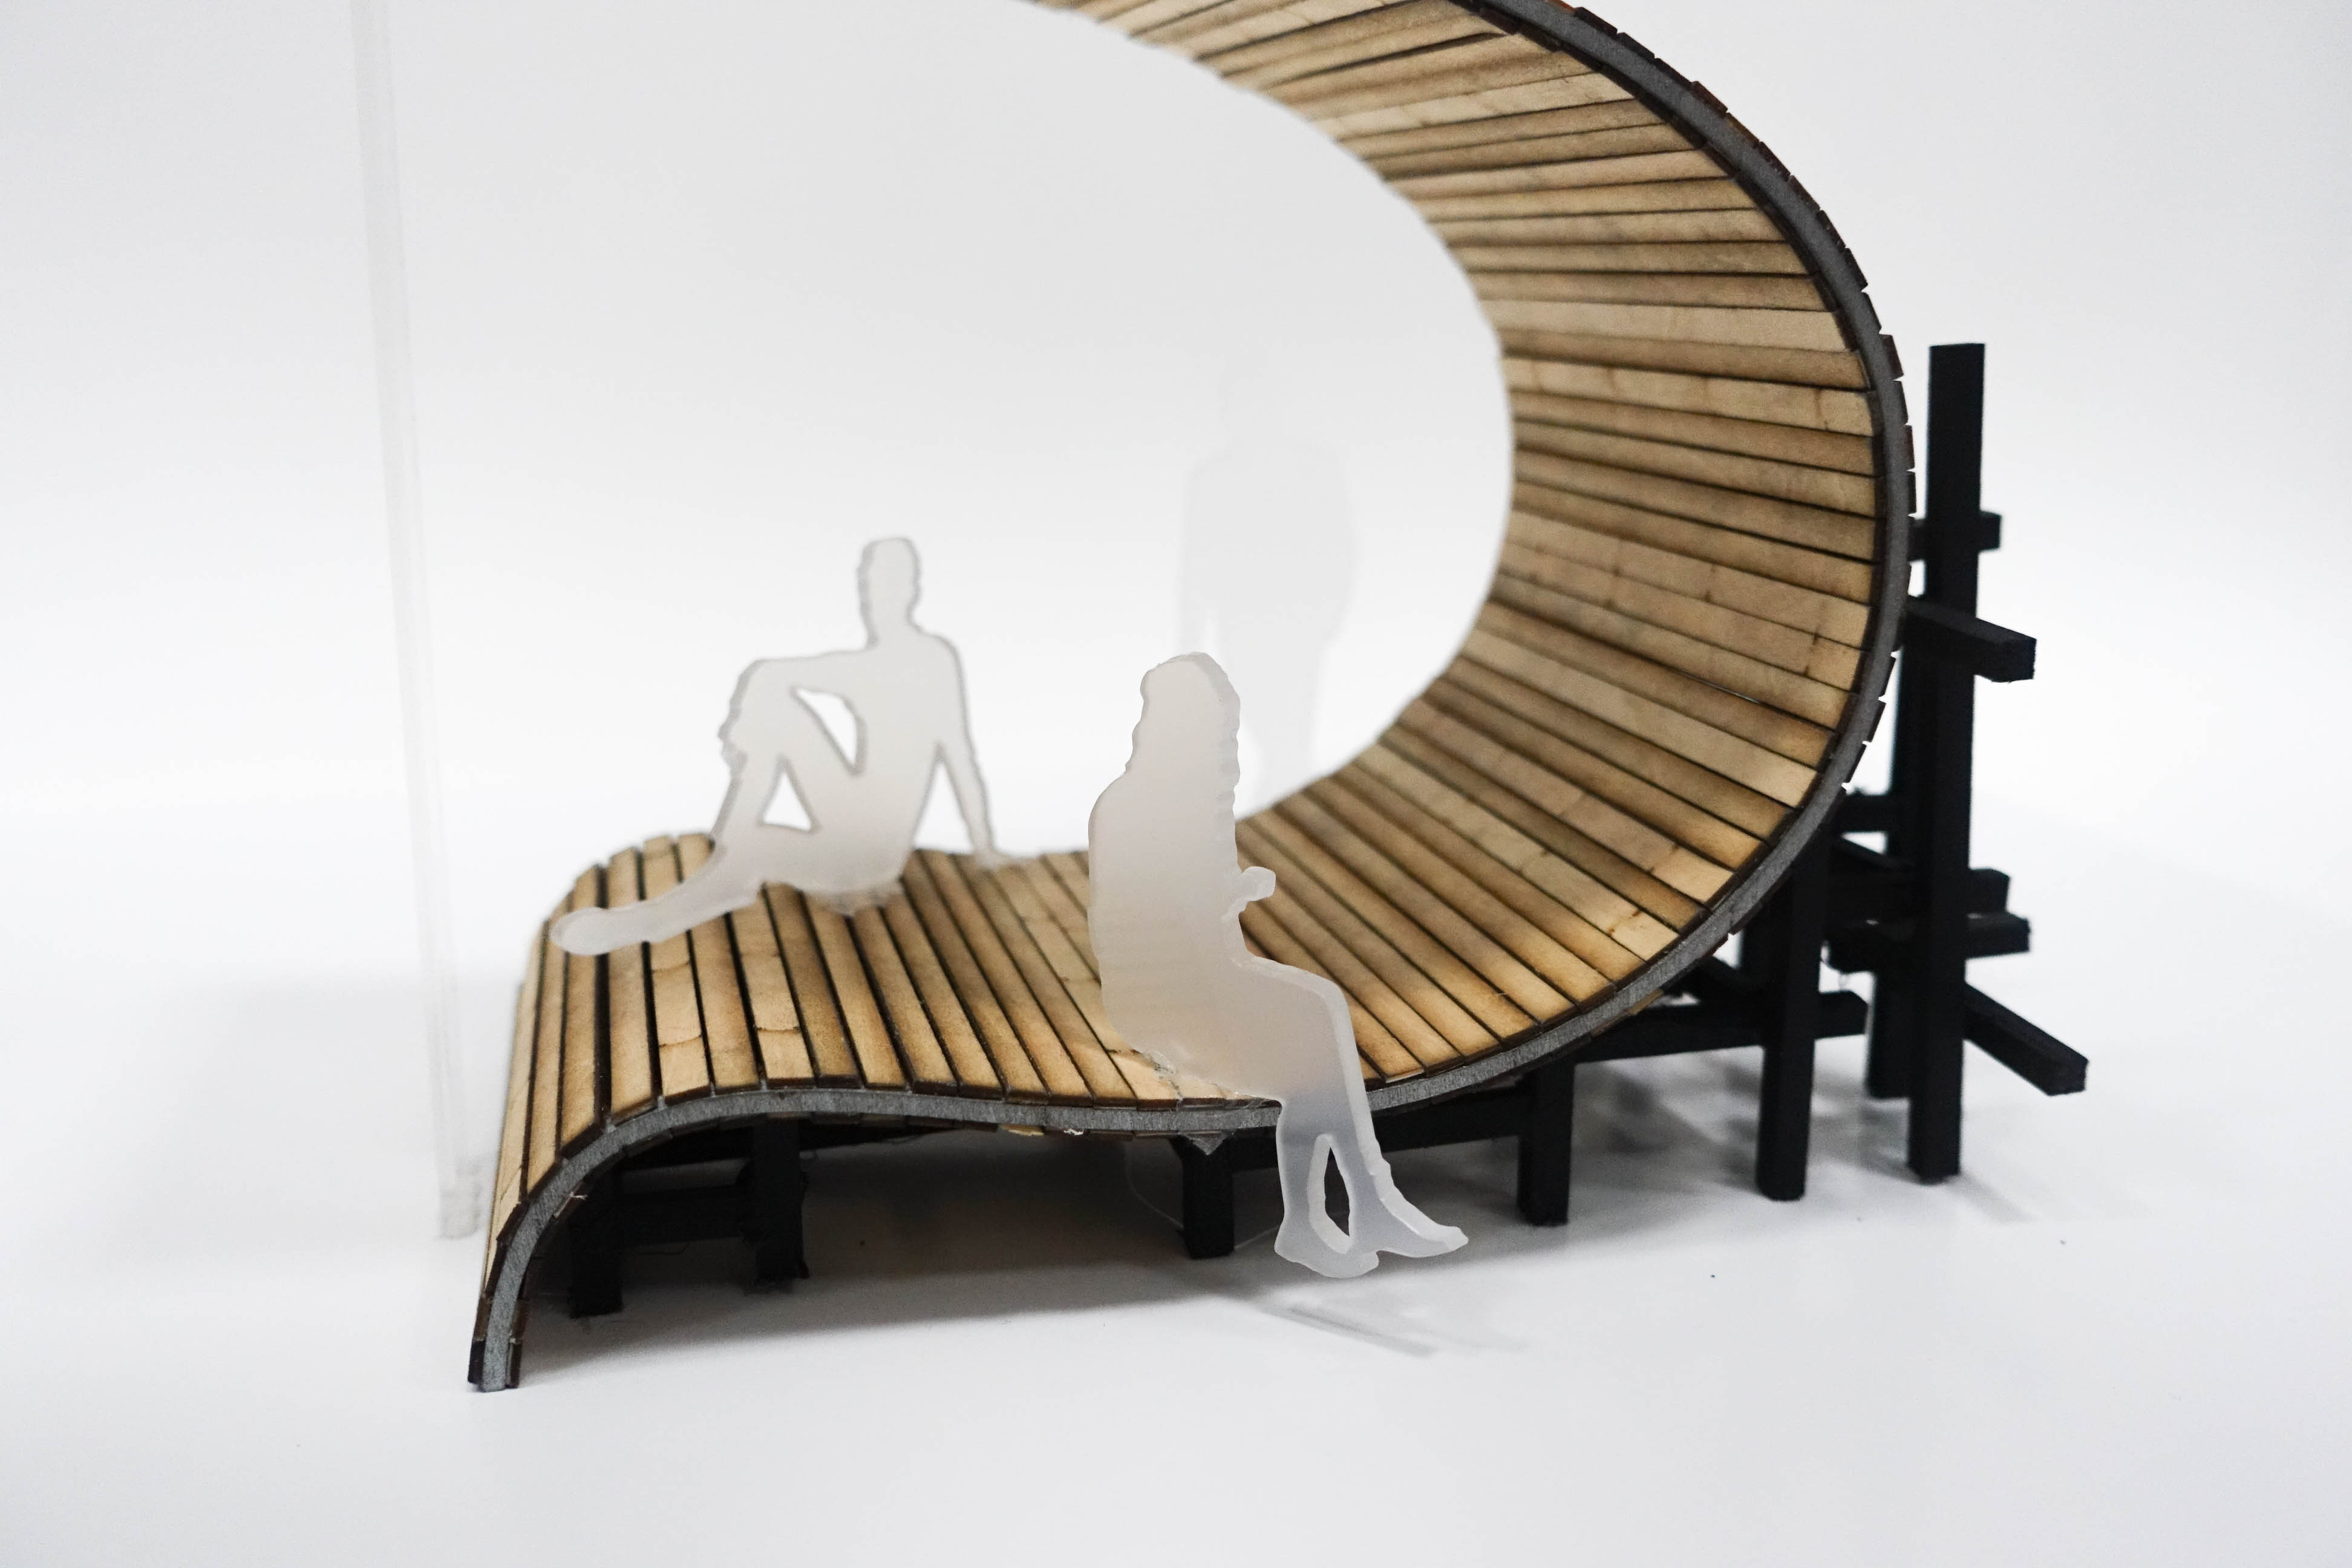
The following illustration depicts our chosen conceptual form and interaction for our installation that is inspired from fluidity and dynamism. The installation aims to provide students of NTU with both personal and public space within a singular sculpture.
Sketch Mock ups
At the beginning, we experimented making the curve with acrylic sheet using a hot air gun. To do so, we made a jig to secure the acrylic in shape.
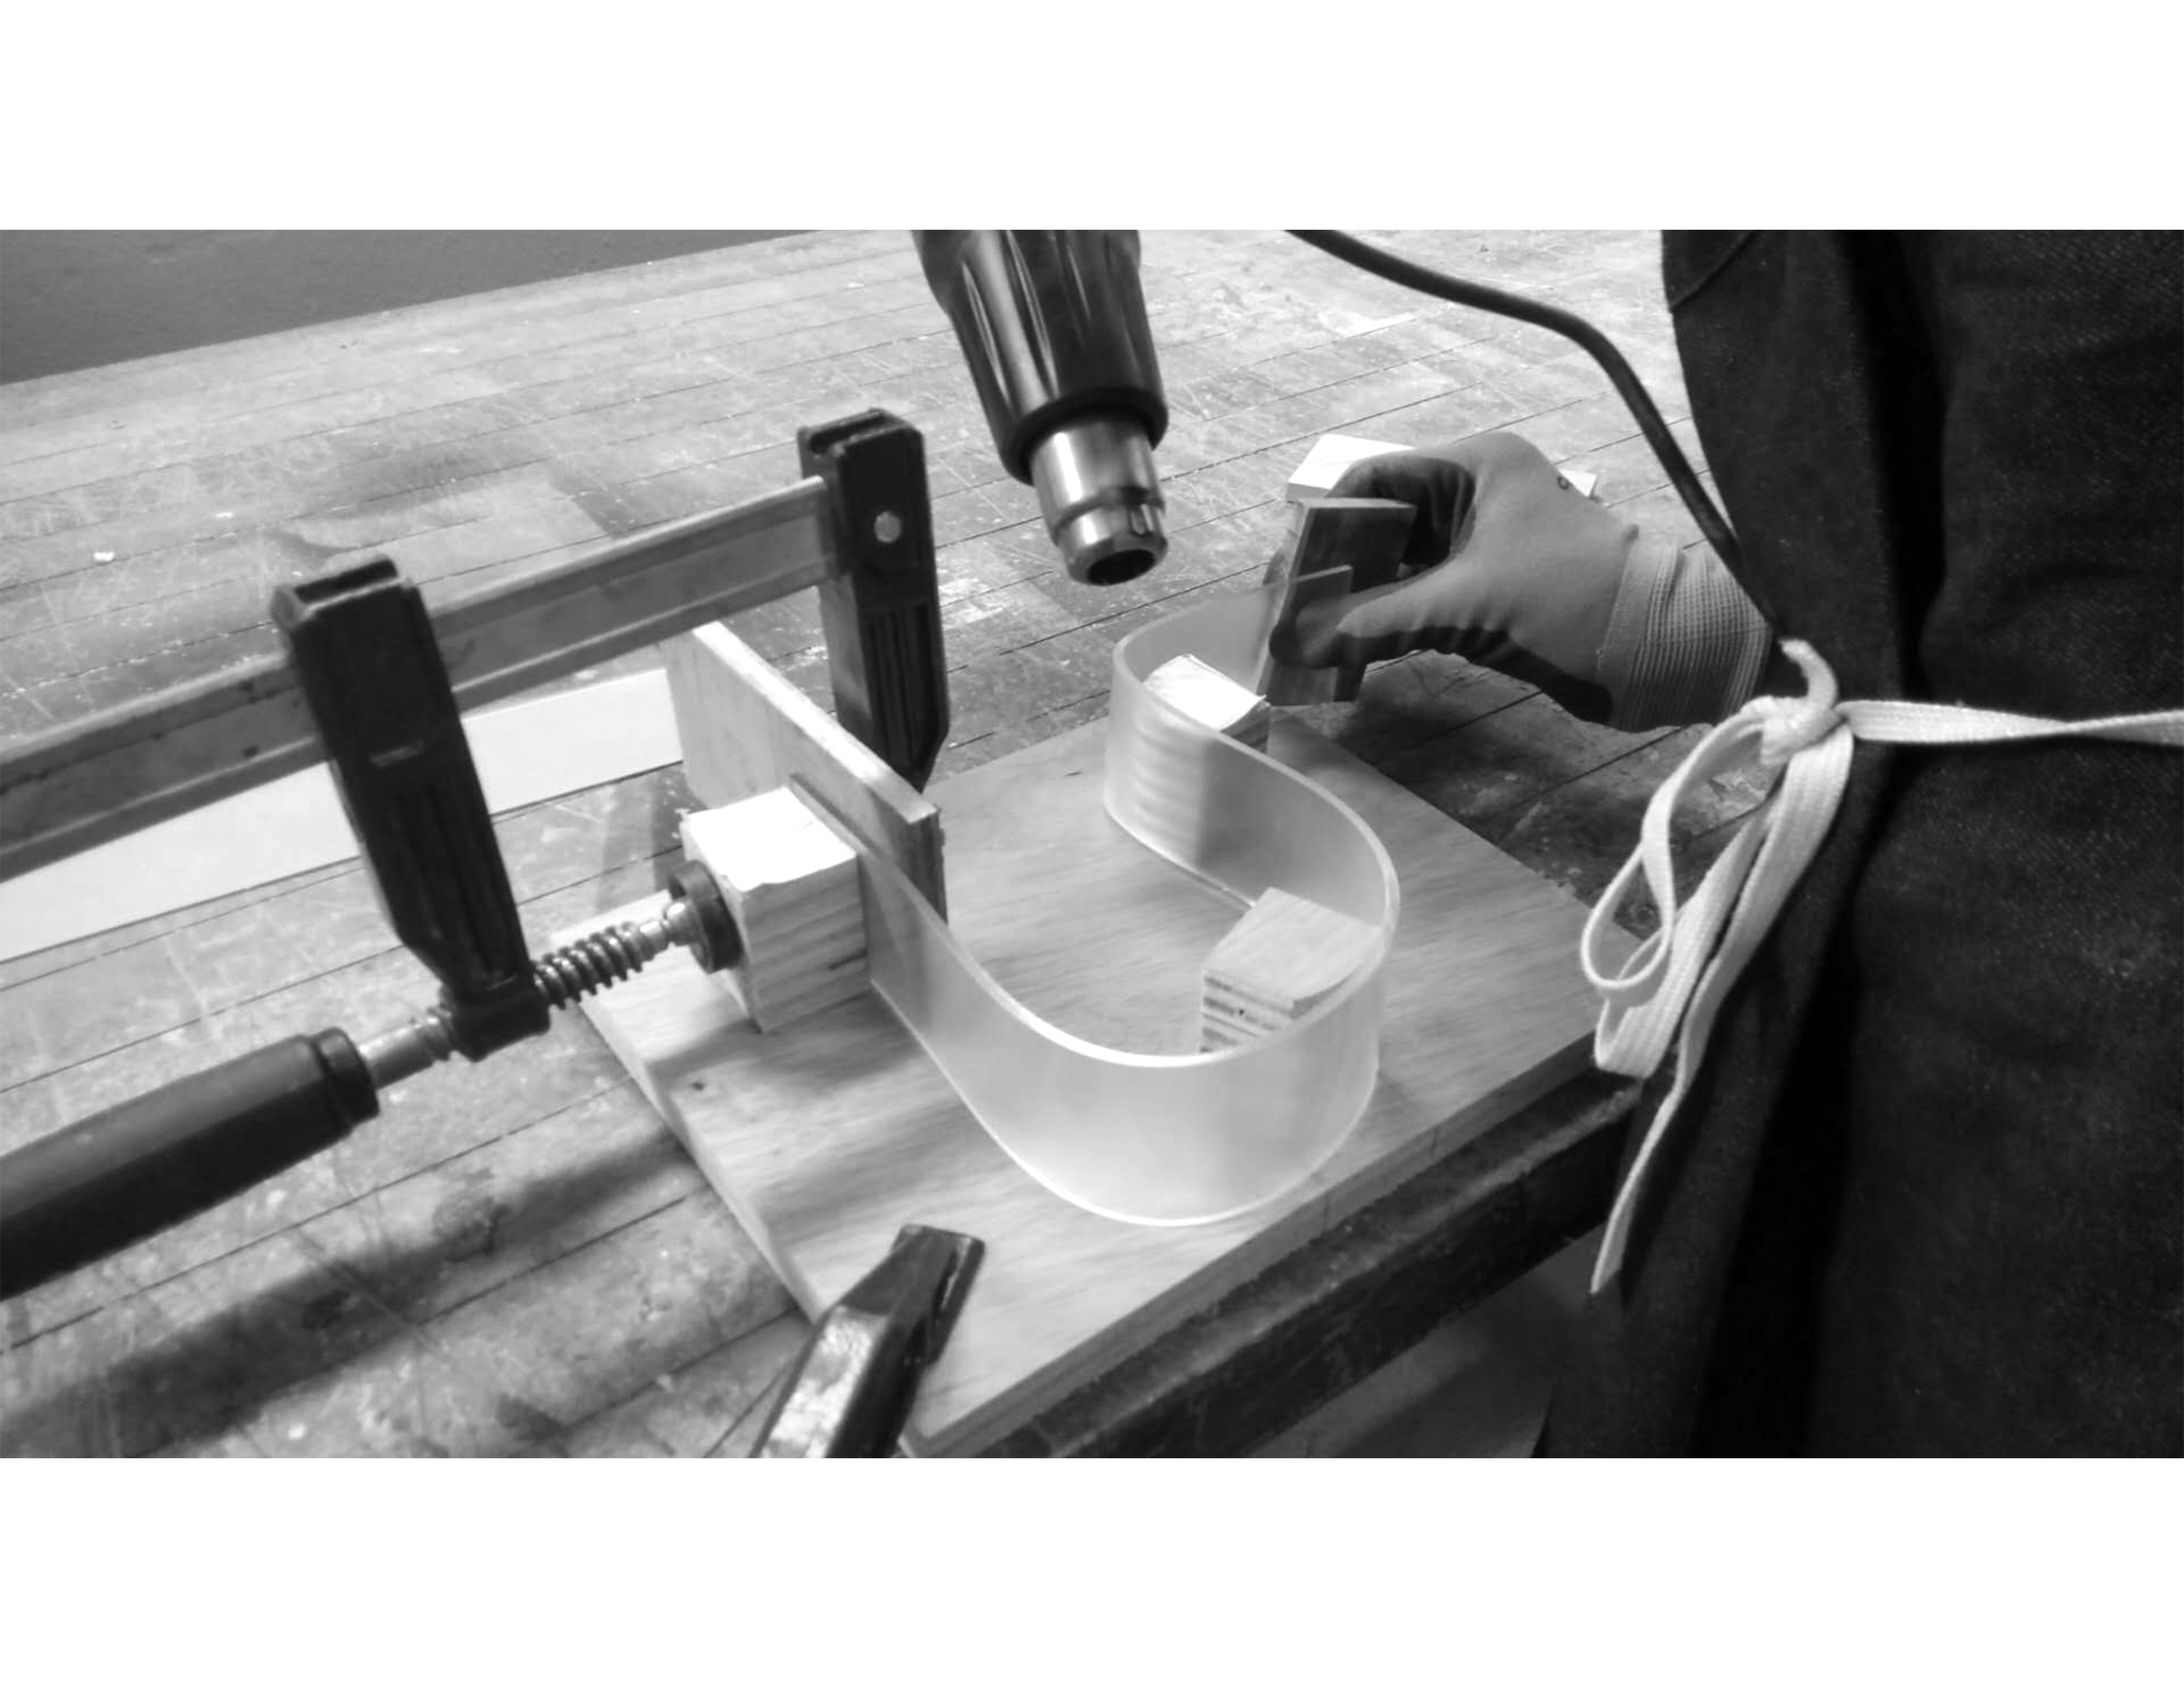
The process was quite tedious. We had to be attentive to the temperature and distance of the hot air gun to make sure we keep a safe distance so that the temperature is not too high. Ultimately, the experiment did not turn out as expected so we have discarded it. We realised that we would need more practice to ensure that the acrylic do not overheat but is heated enough to retain a shape.
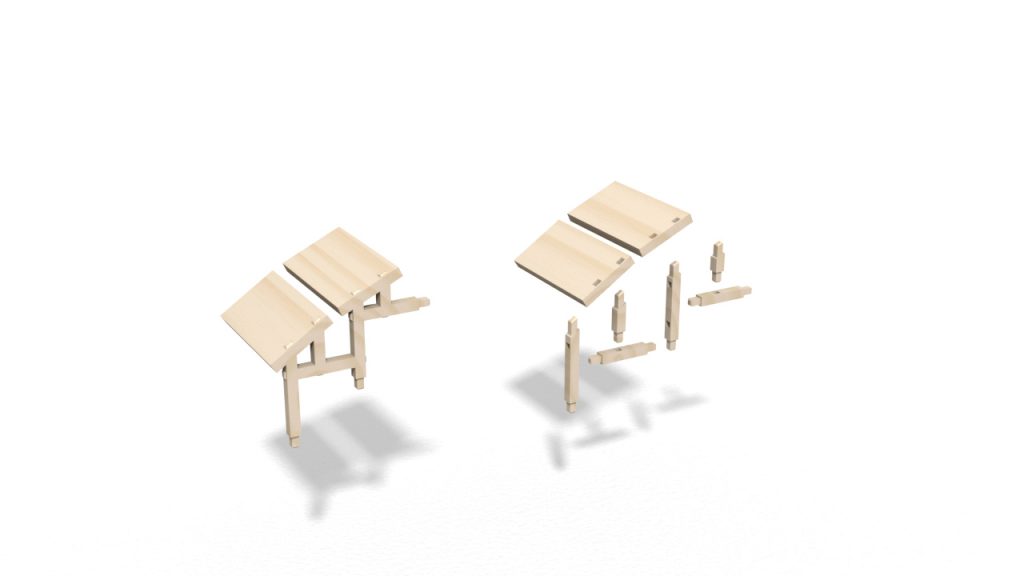
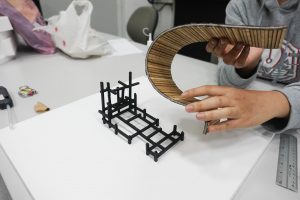
In preparation for the final prototype scaled model, we moved on to working with plywood for a more accurate representation of the installation that we propose to construct with wooden panels. Uploading the dimensions at 1:50 scale, we laser cut numerous repeated panels and two identical cross-sectional profiles.


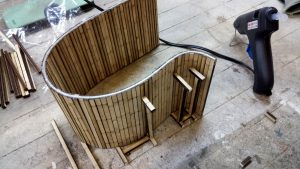
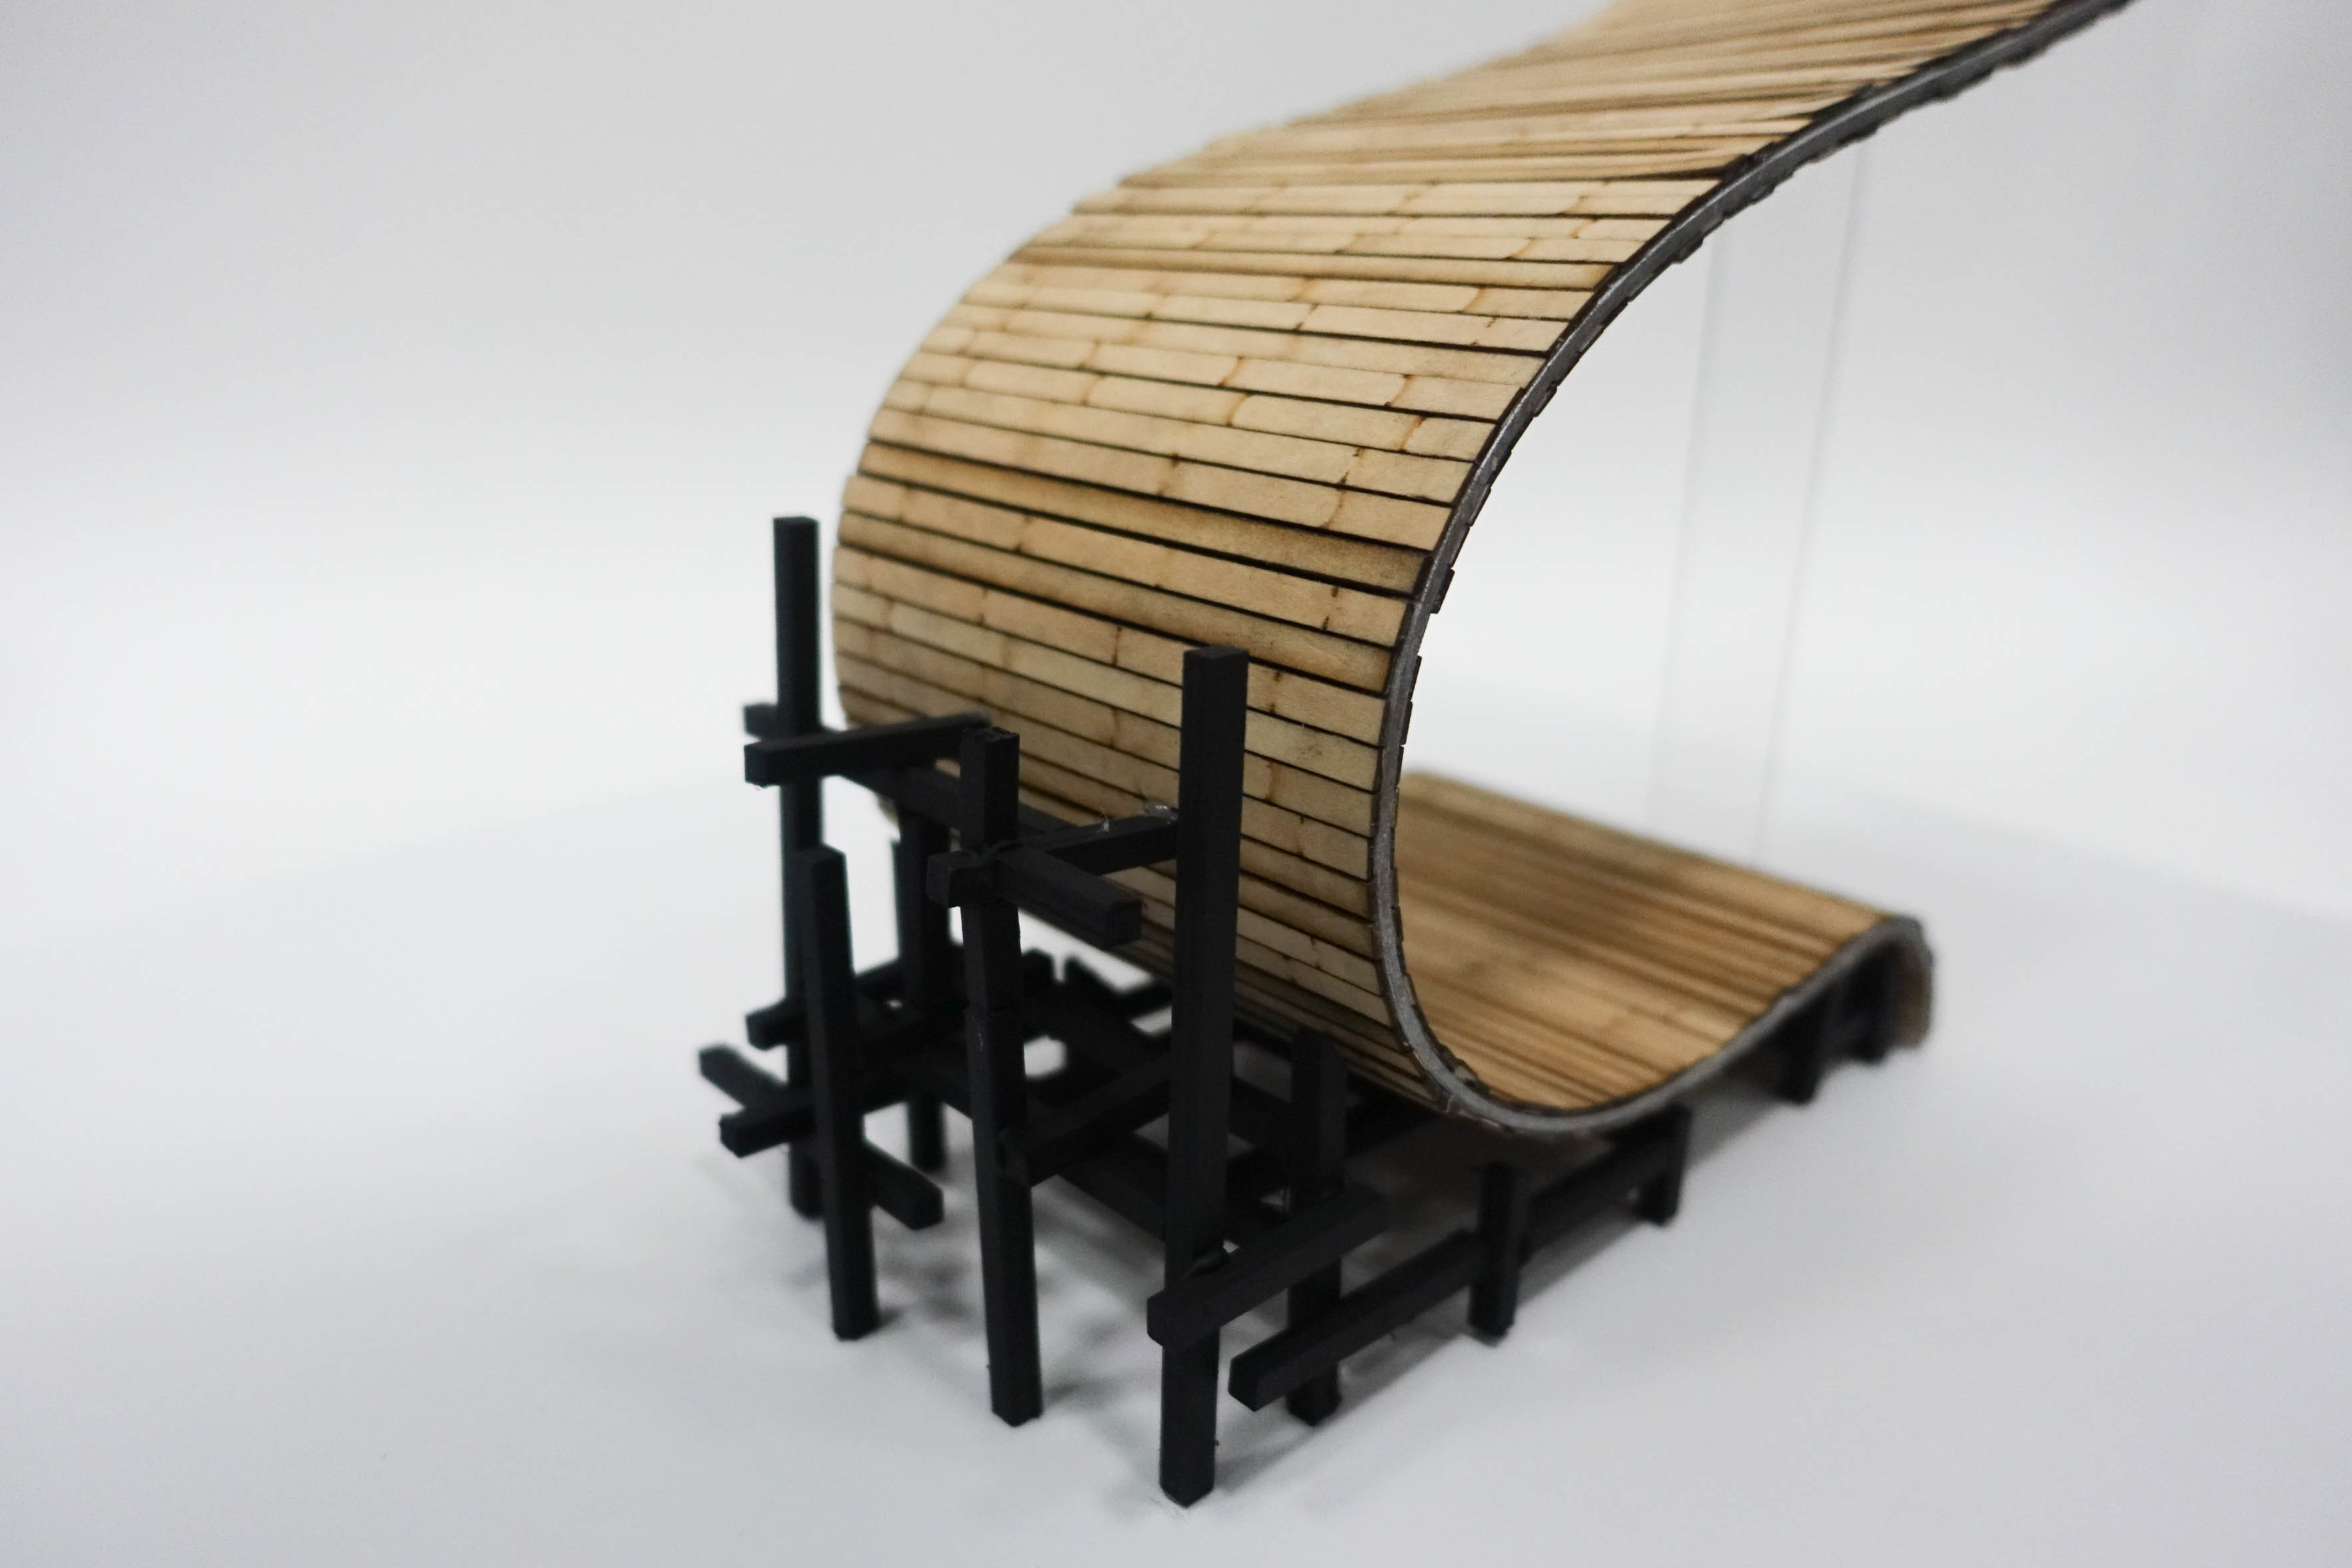
The two identical cross-sectional profiles are spray painted in metallic coating to represent the internal metal support structure. With the help of the bench saw, we made miniature grooves at each end of the laser-cut panels to allow the cross-sectional profiles to slot into the grooves to connect all the panels in a continuous curve.

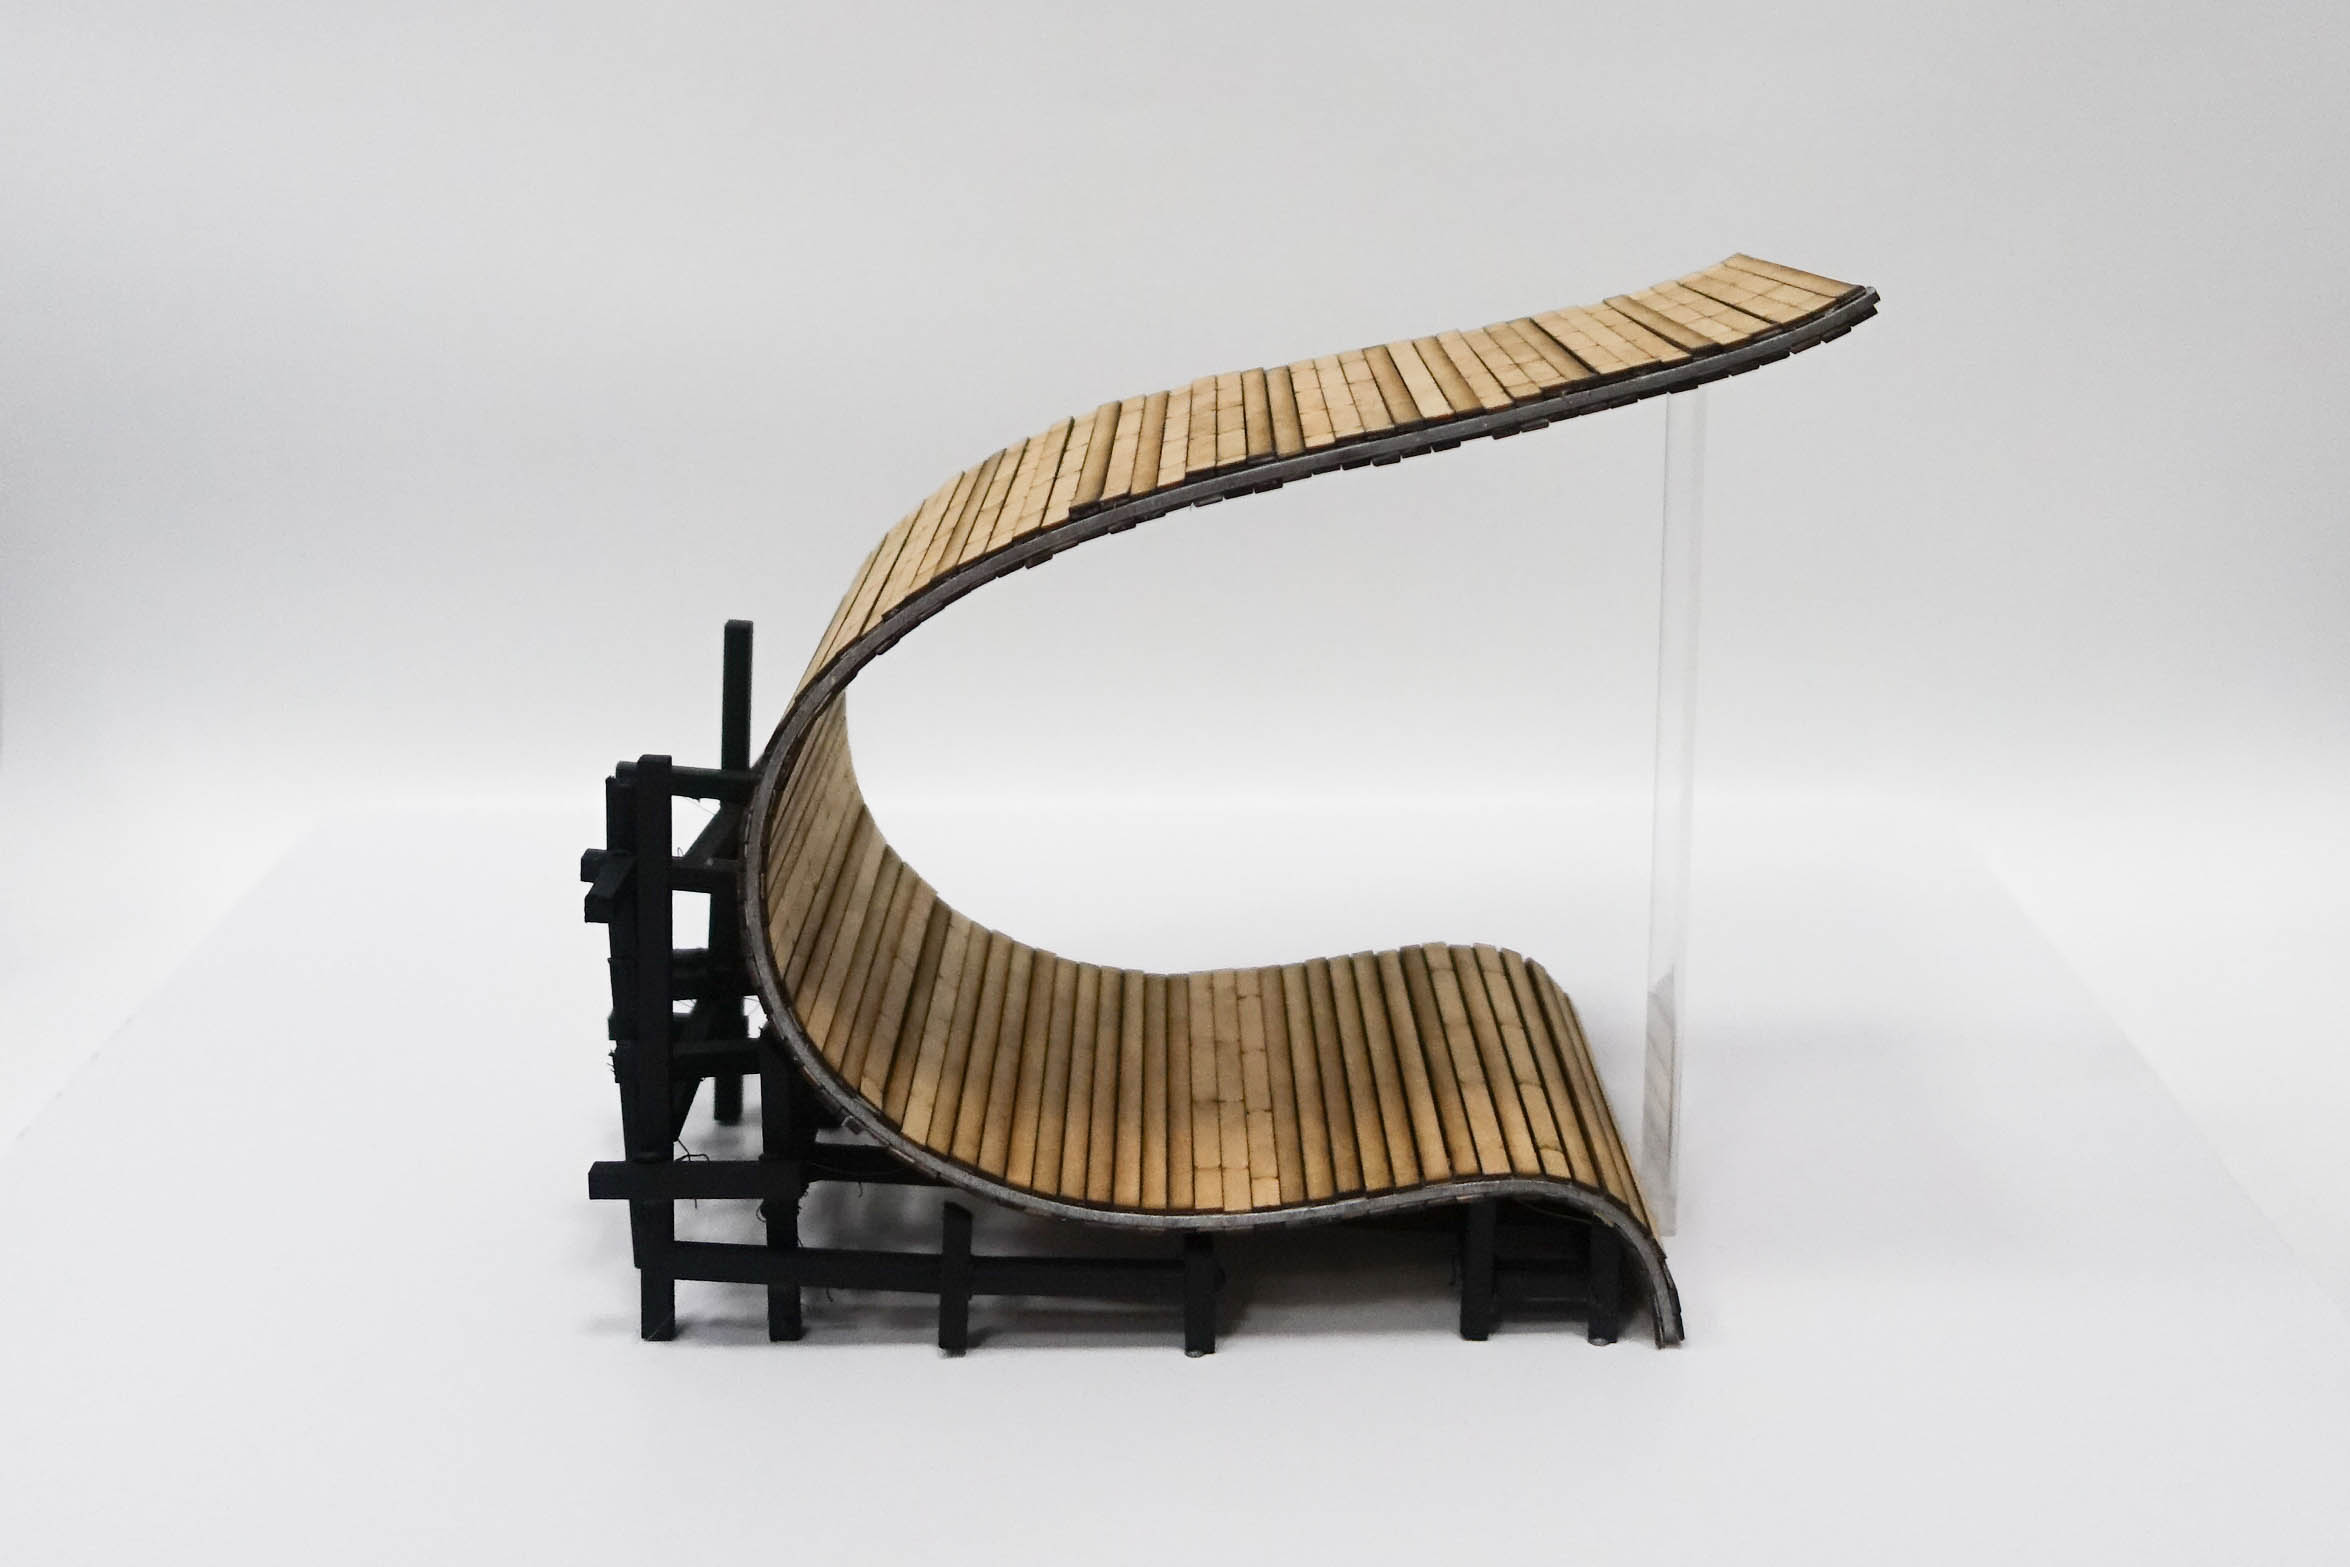
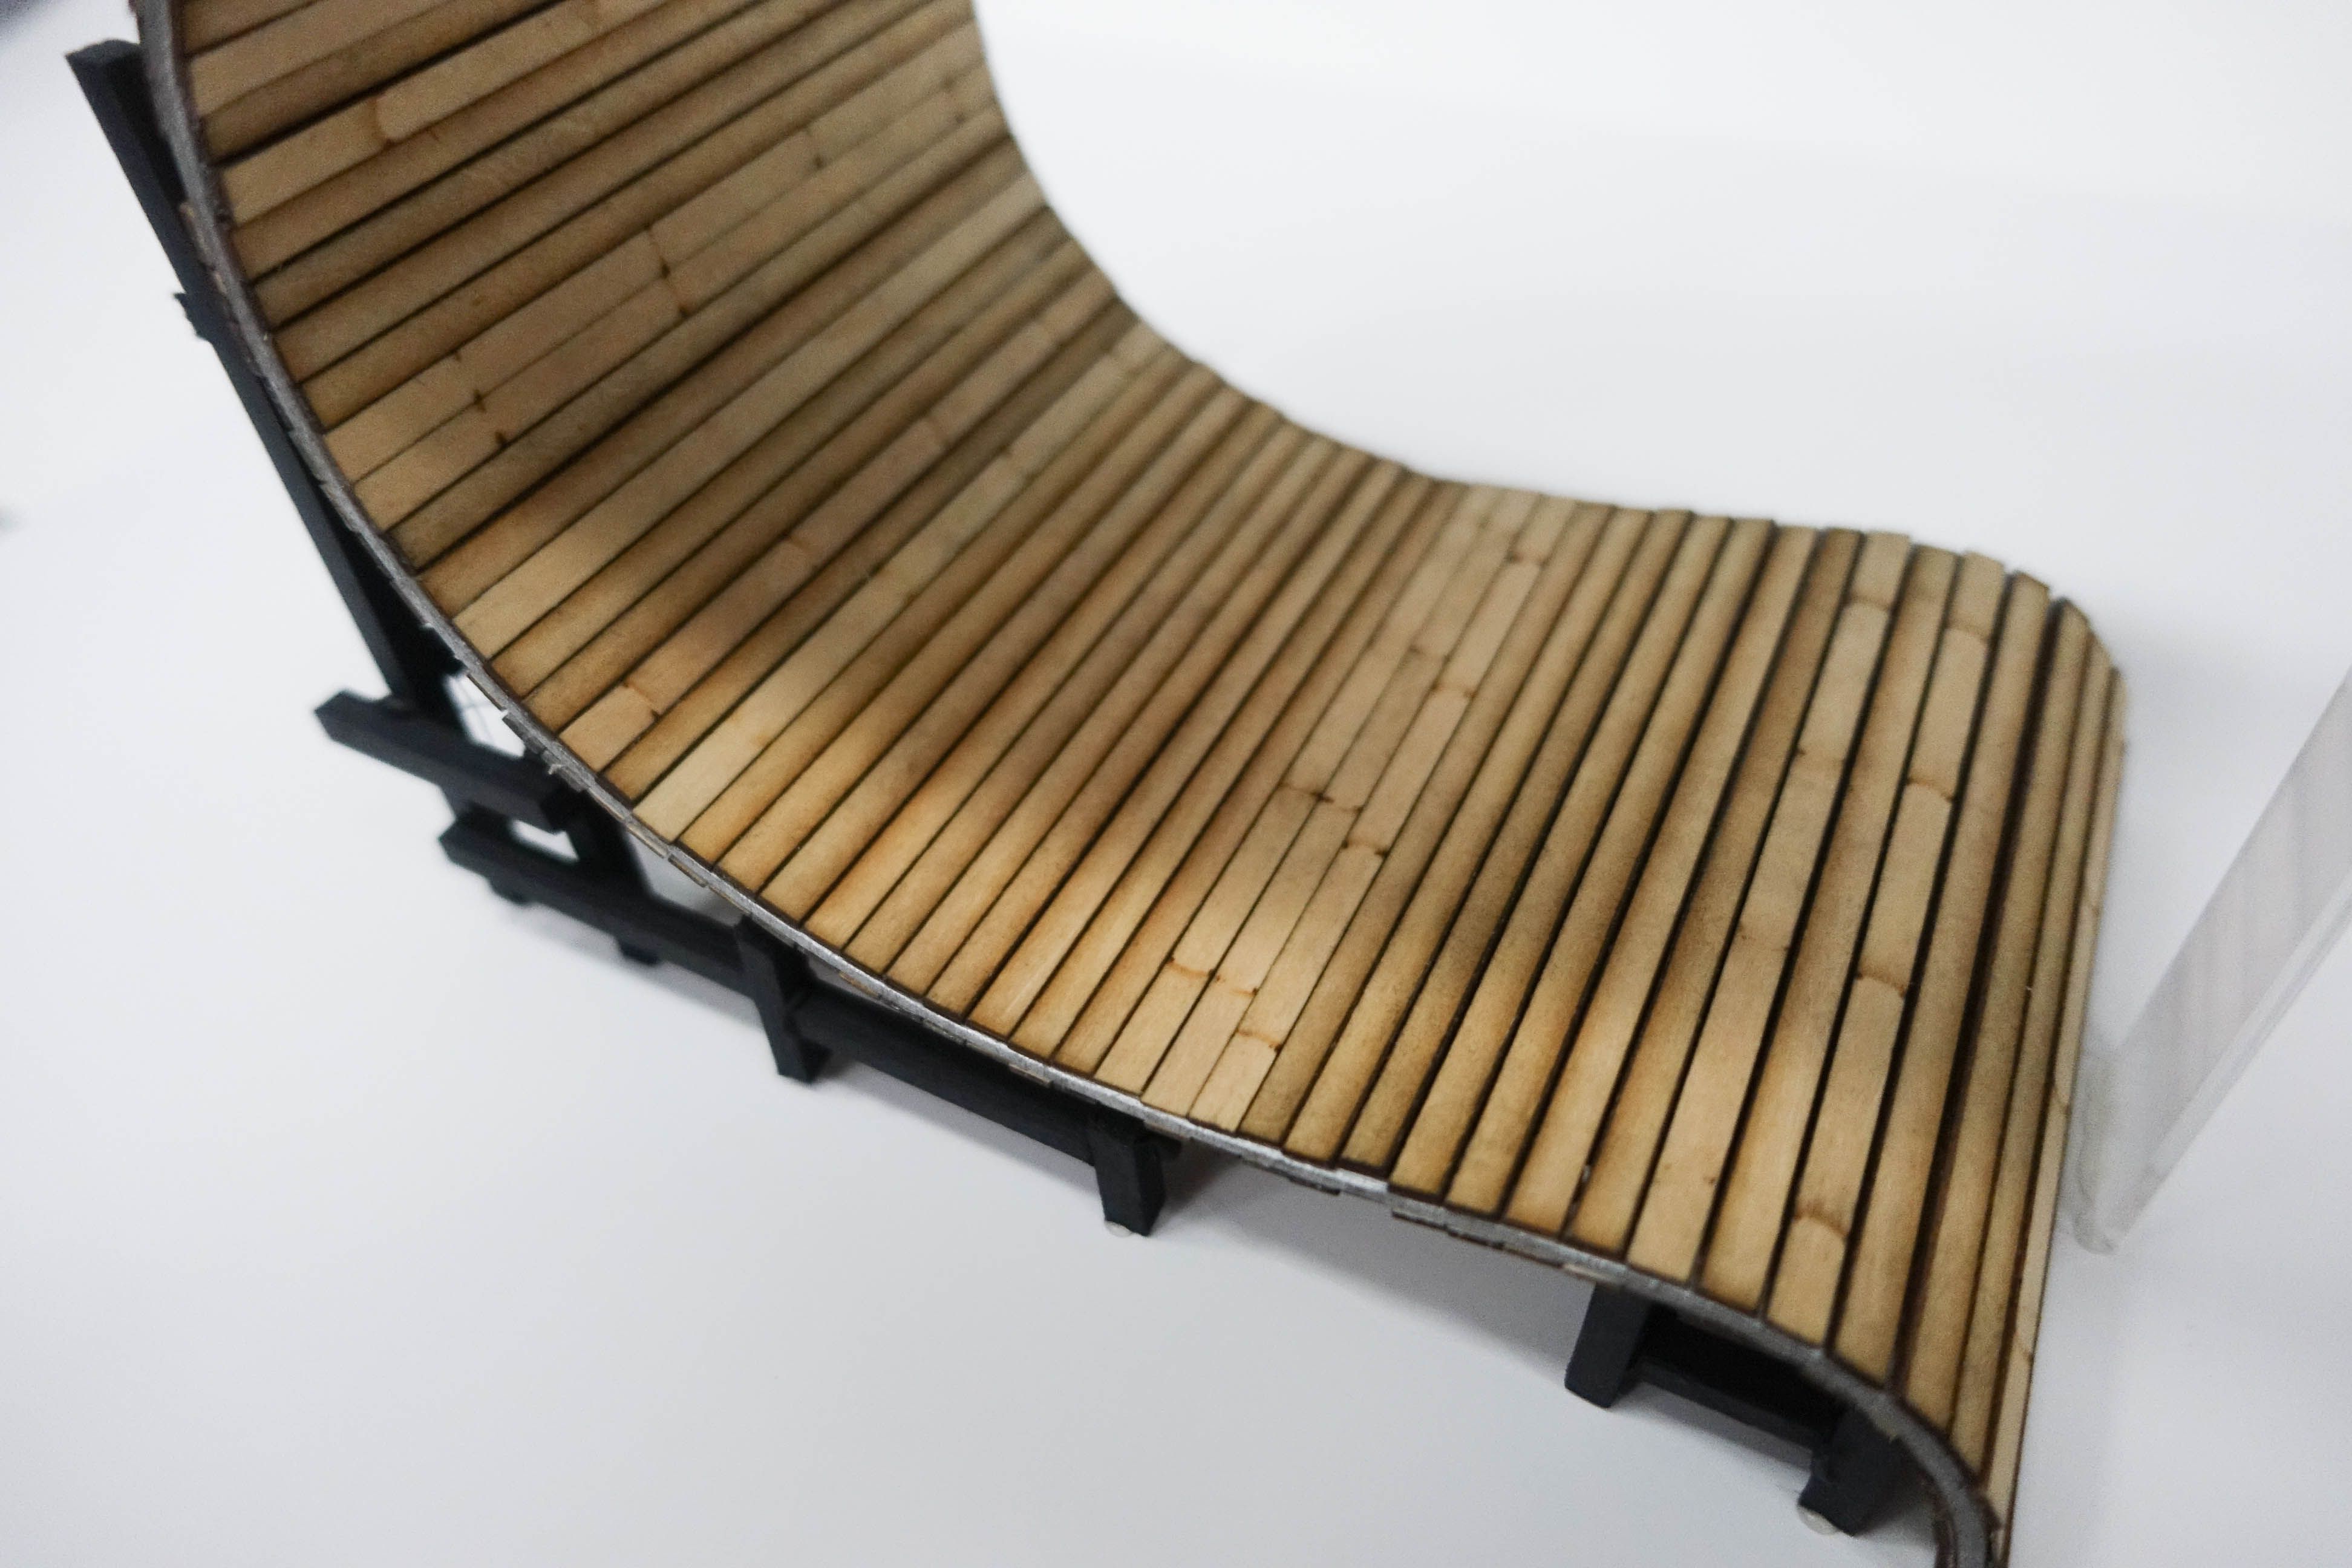

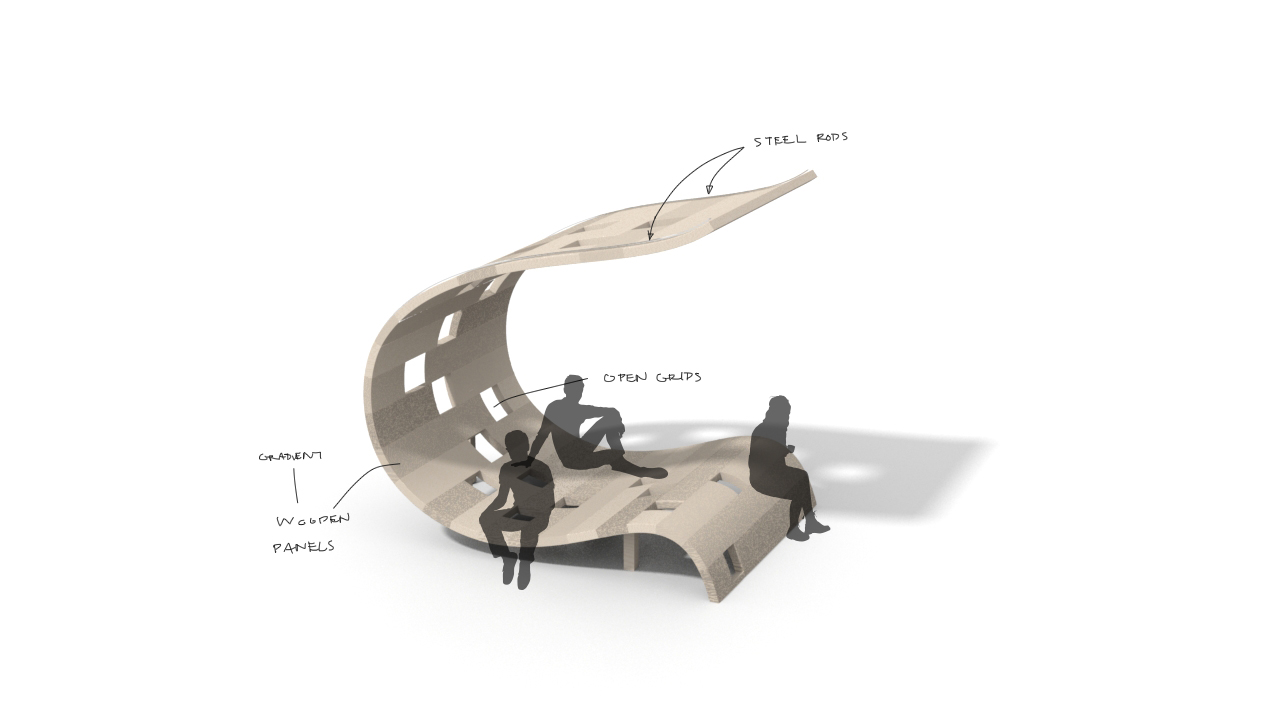
For the virtual 3D model, we have constructed each wooden panels with the dimensions 2500mm long, 120mm in width and 25mm thick. There are a total of 142 panels in total, about 70 panels on the inner wall and 72 panels on the outer wall. A continuous metal rod that serves as the supporting internal structure will be sandwiched between the outer and inner wall of wooden panels.
Click on the image above to watch the installation in movement.
We realised that the weight of the plywood is pretty heavy when arranged along the cross-sectional profile curve that is made similarly out of plywood. To remedy the heaviness of the roof, we have placed a transparent acrylic sheet at the overhang to hold the roof up.
Reflection
During our explorations with making small scale sketch mock ups, we are able to have a better understanding of the different materials to know what are feasible to work with. Through our trial and errors, we are able to have a better plan for the making of our final prototype through improvisations and practice.
Next week
For the following week, we aim to have a final rendition of the installation for a more finalised form with the details included.
Also, we will continue to work on the making of the final prototype model. We thought of using wire to make the cross-sectional profile curves instead of plywood for a stronger internal supporting structure to ensure that the weight of the roof will not alter the shape of the intended curve.