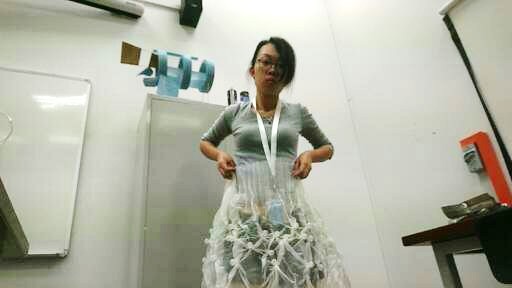
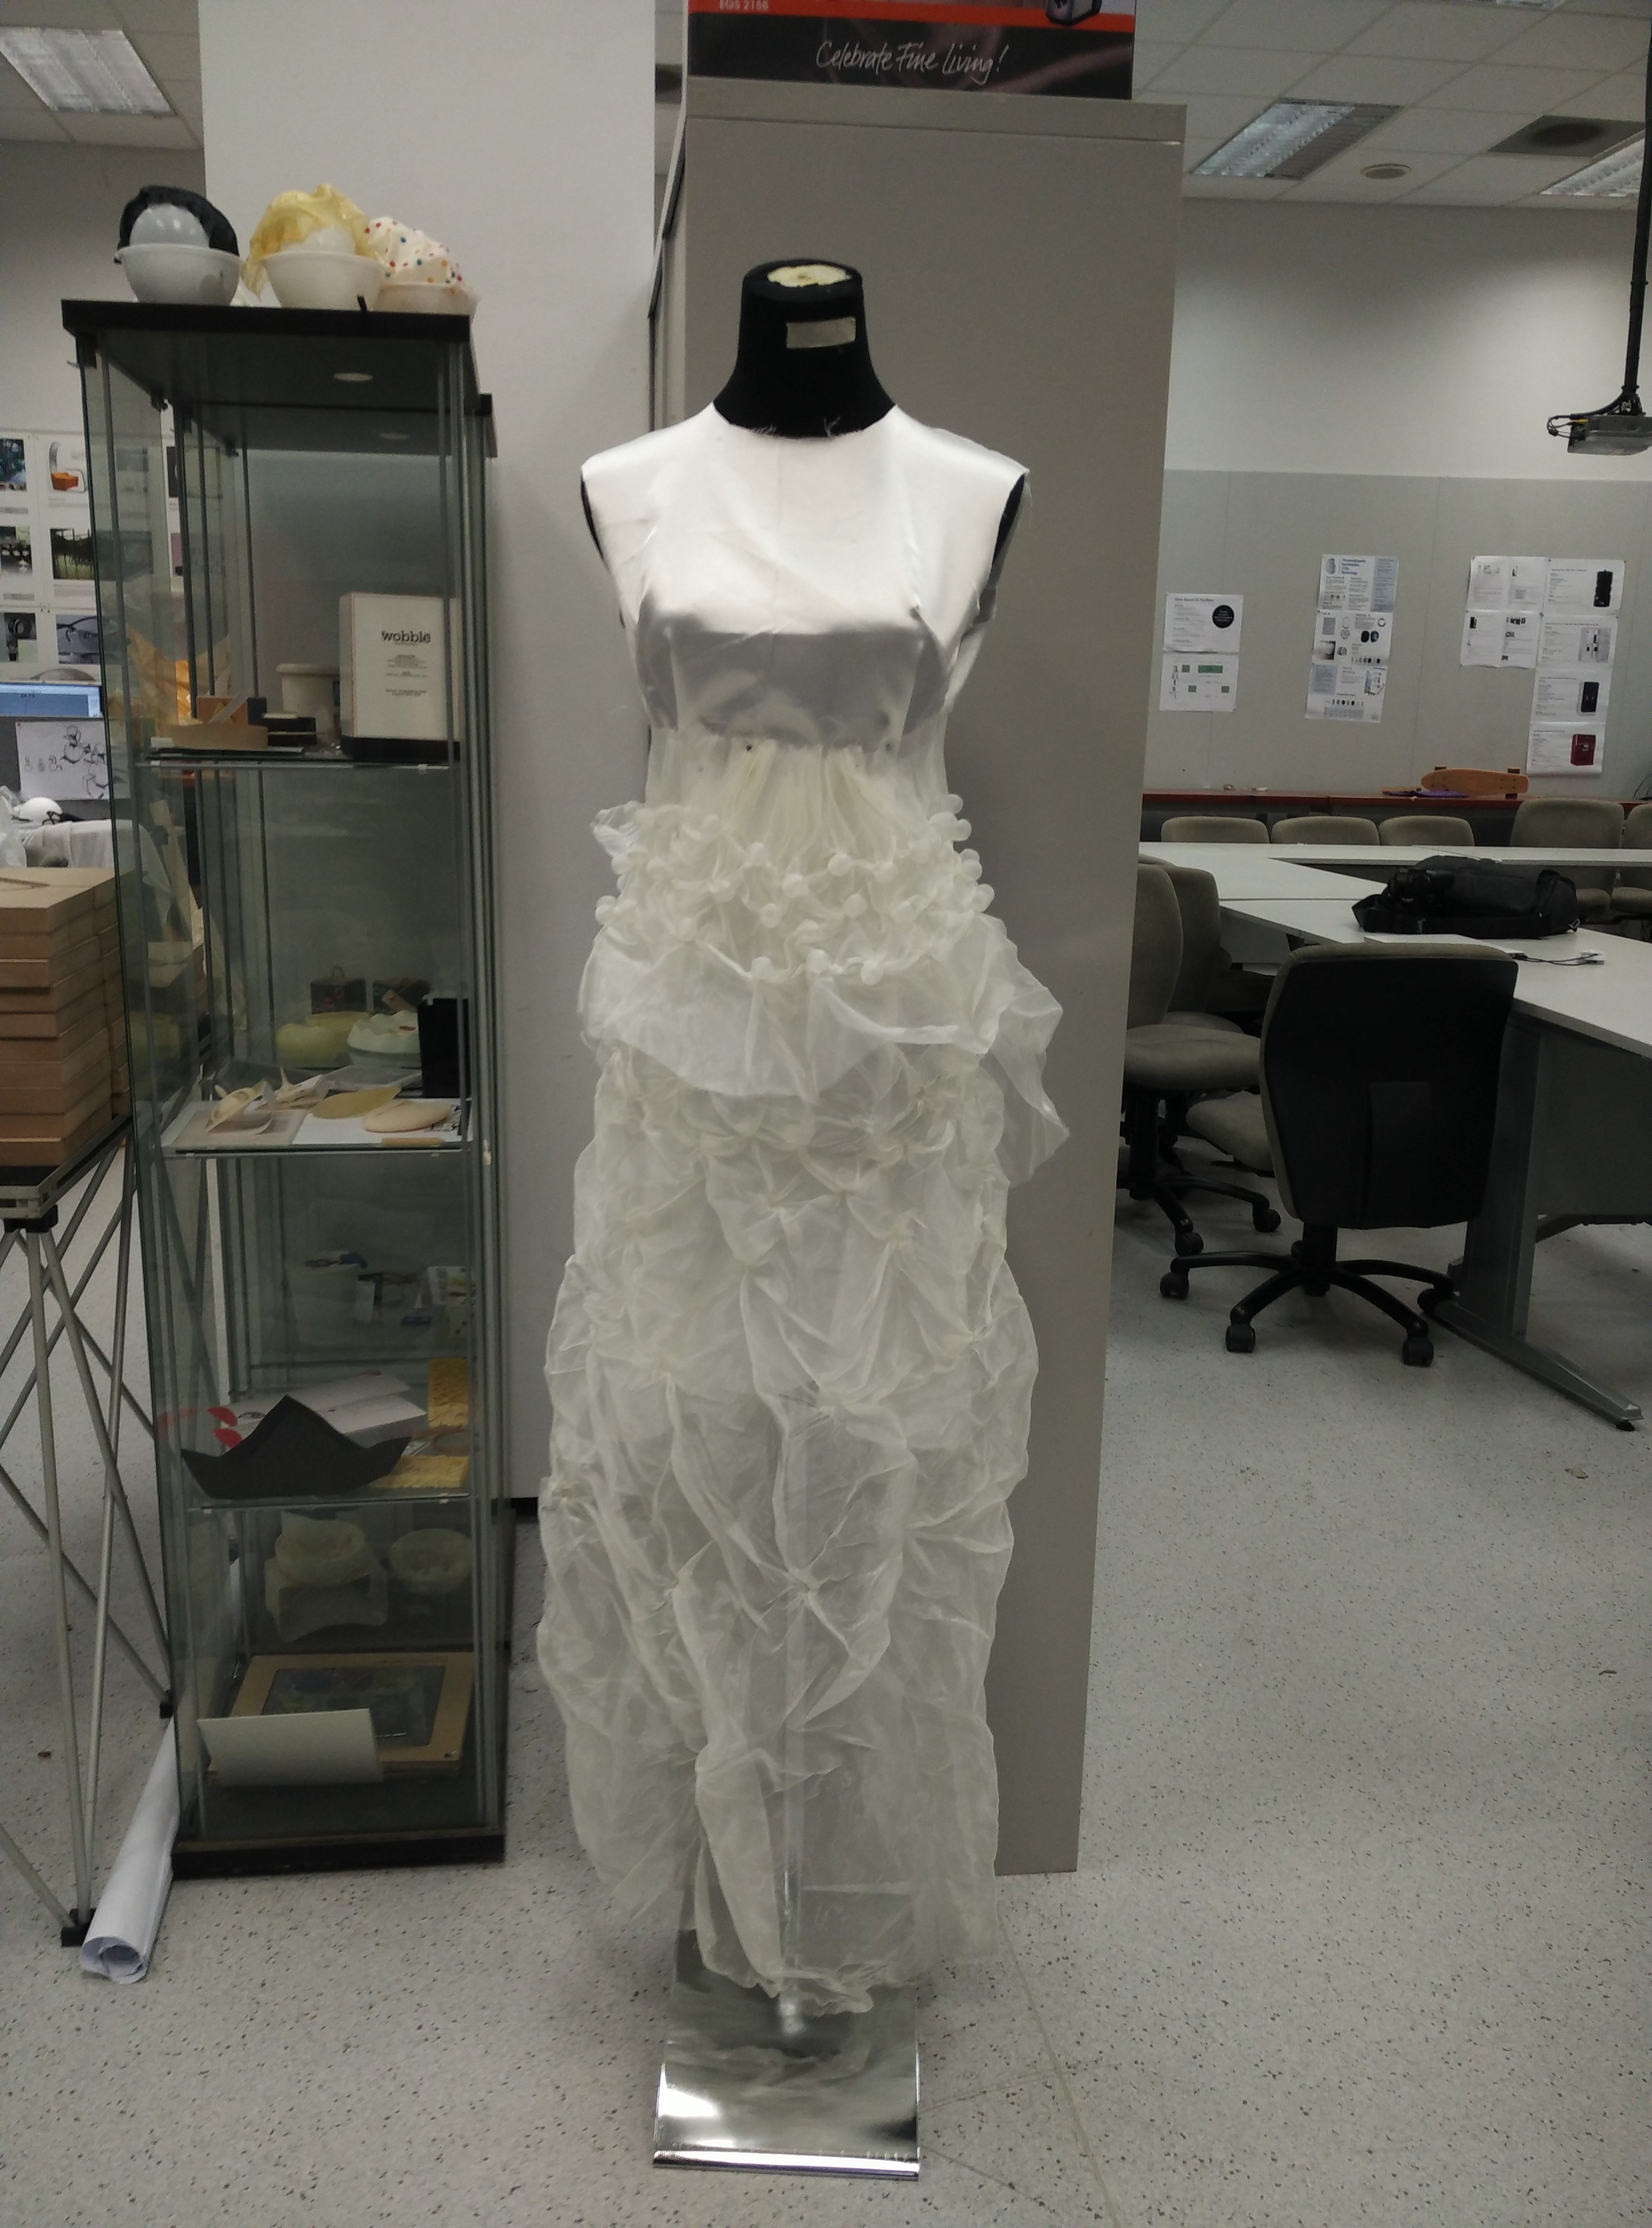
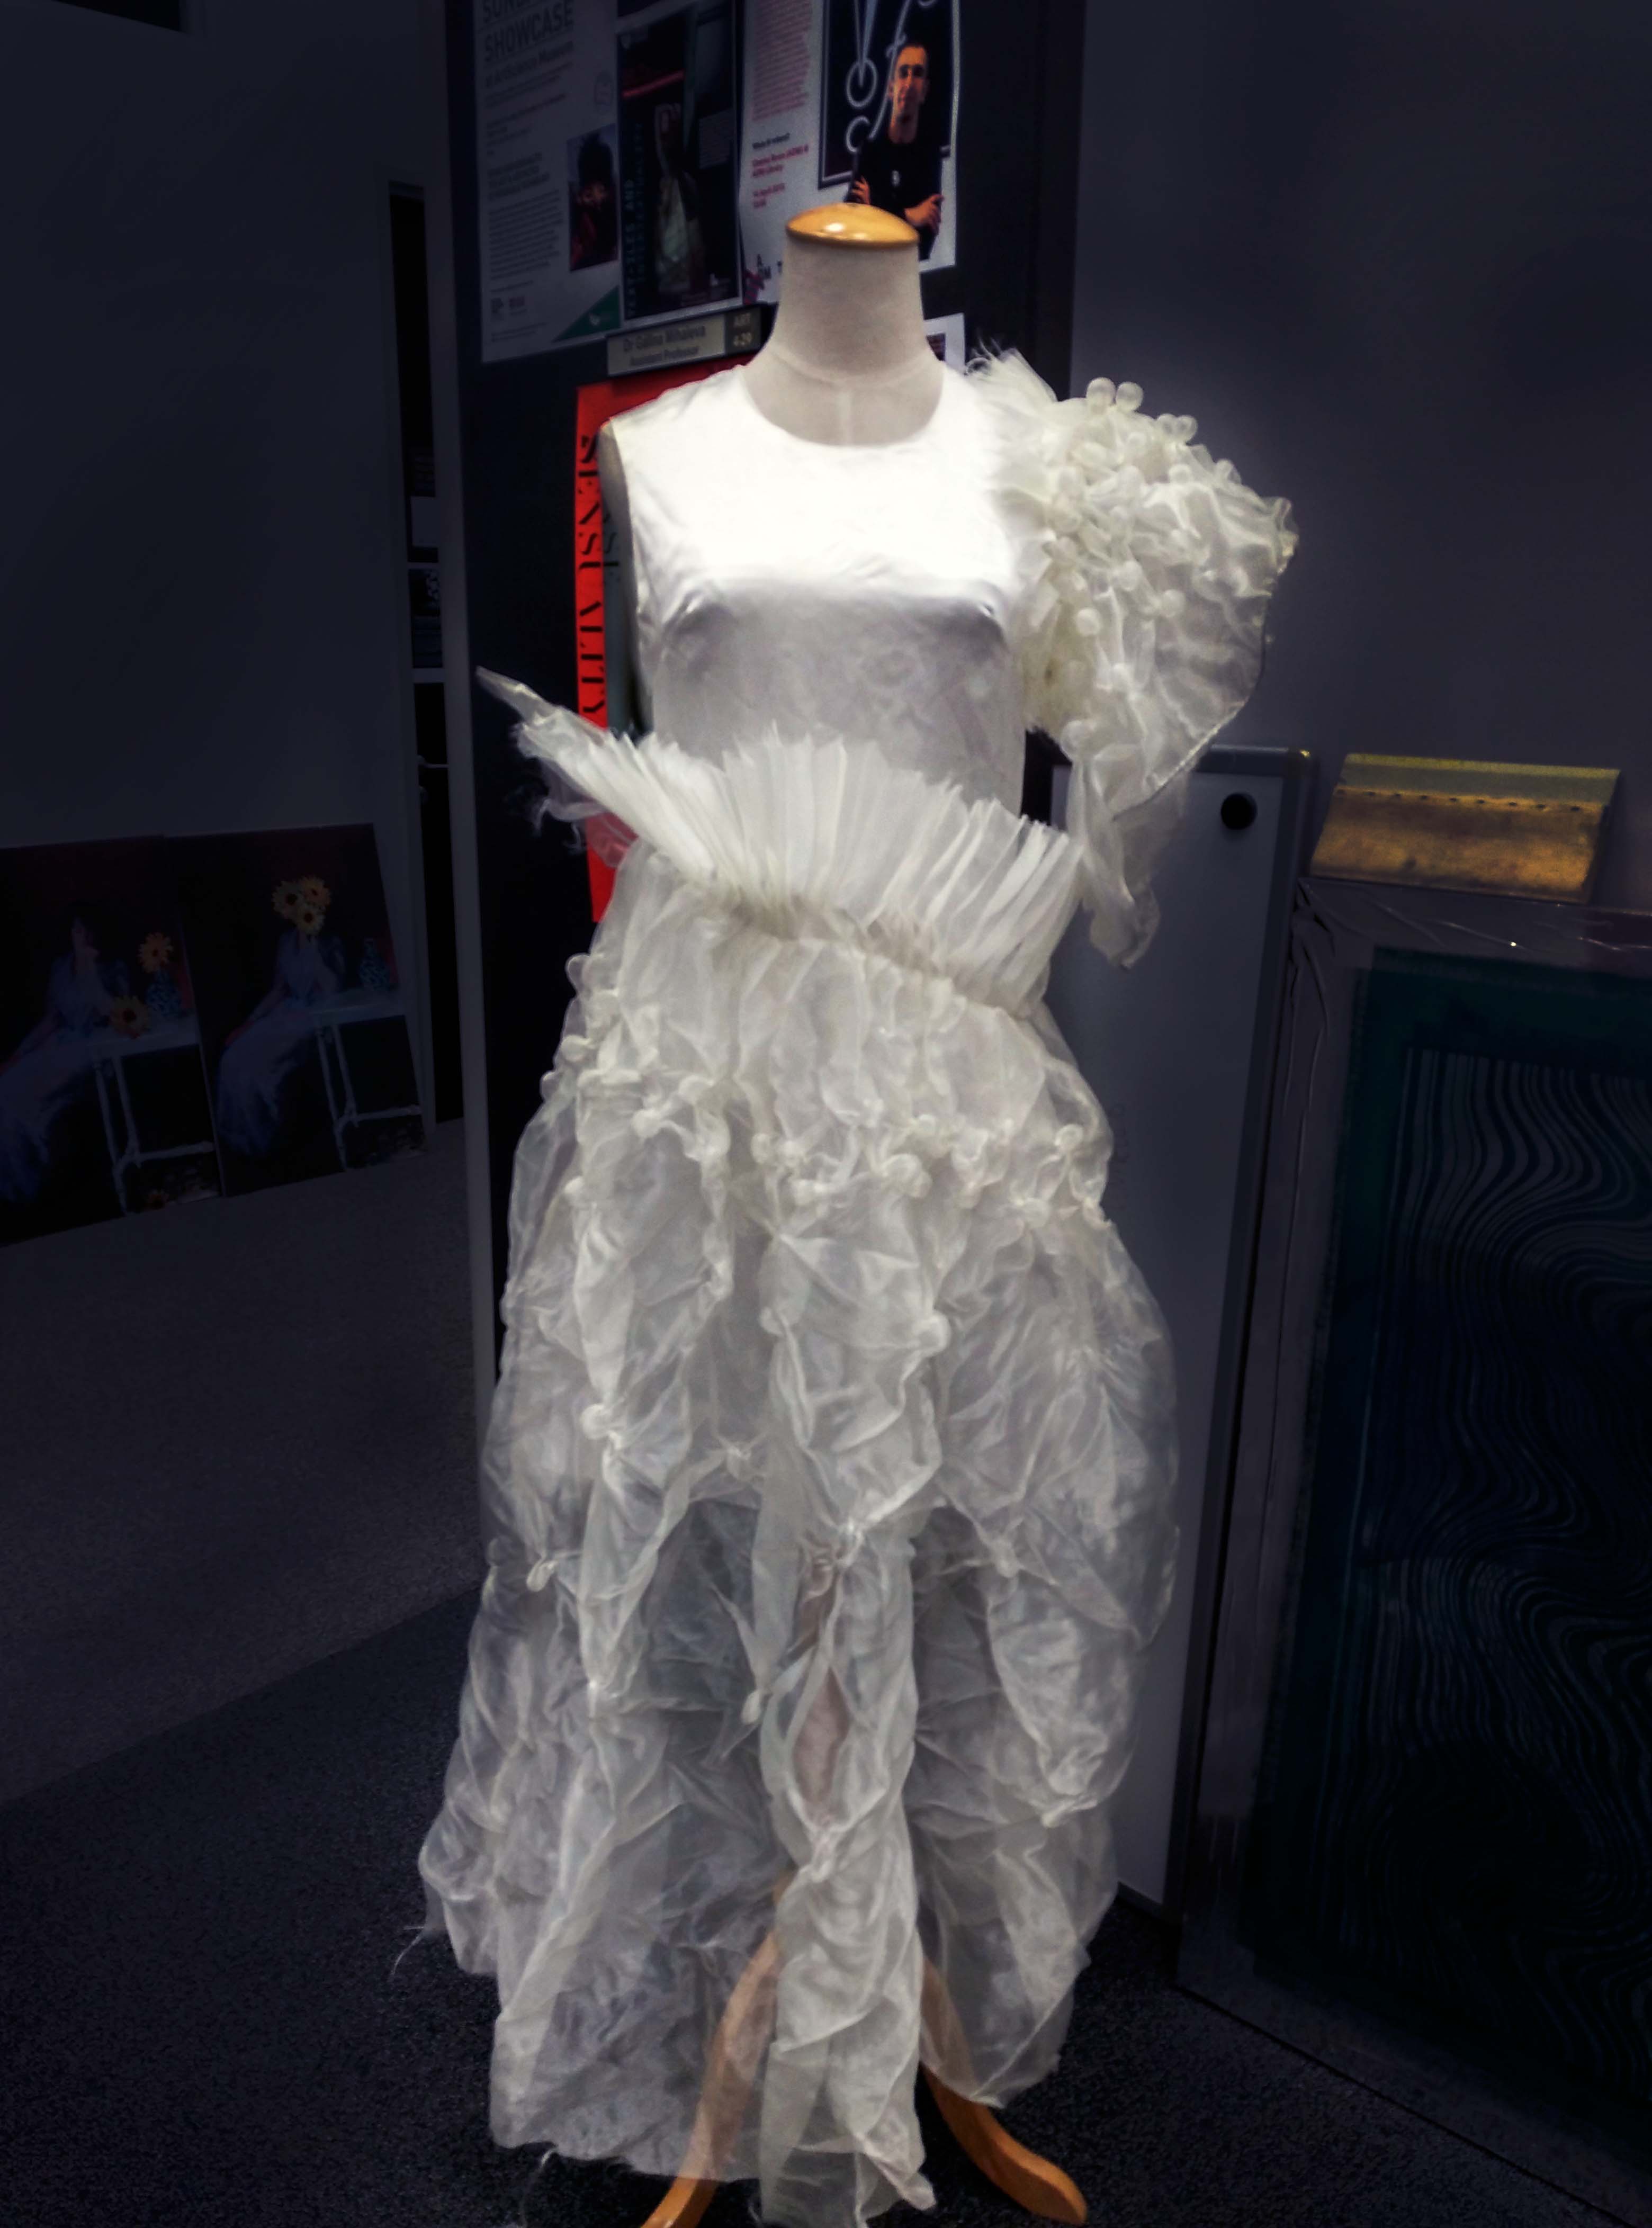
Project update (Week 12)

Final dress

Final dress
Final dress

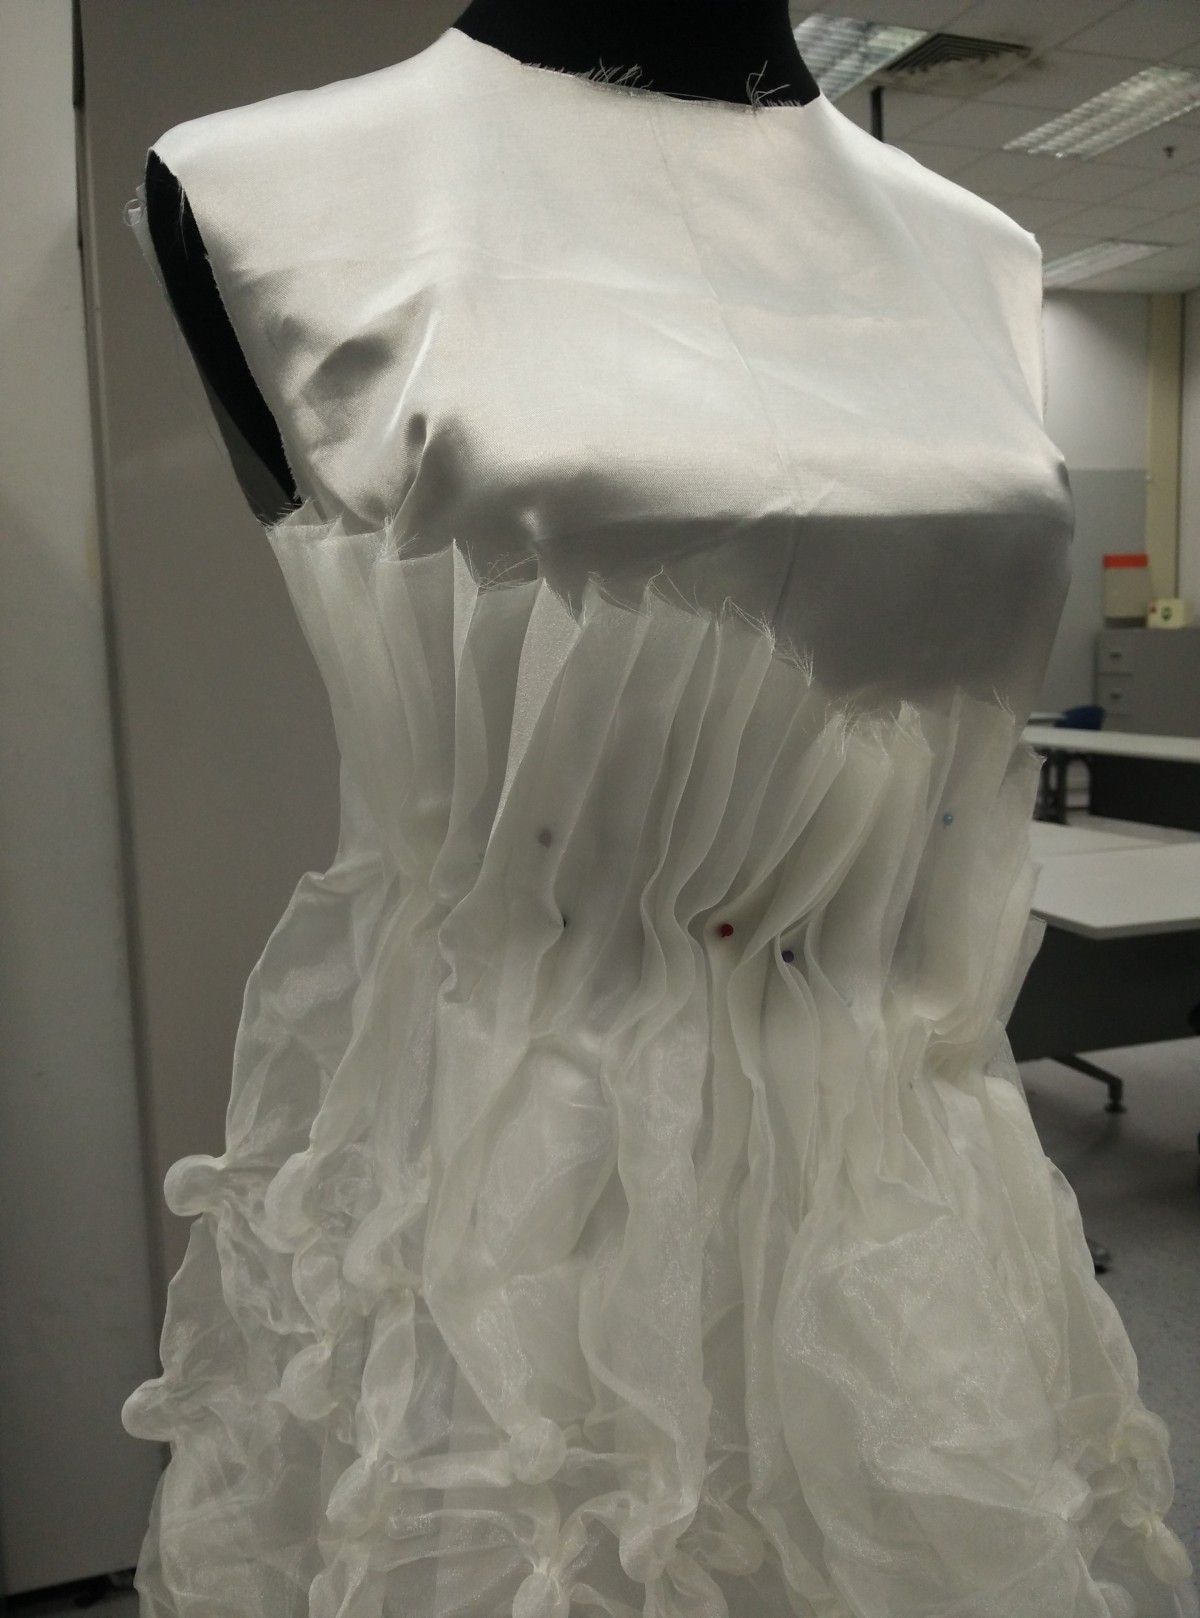
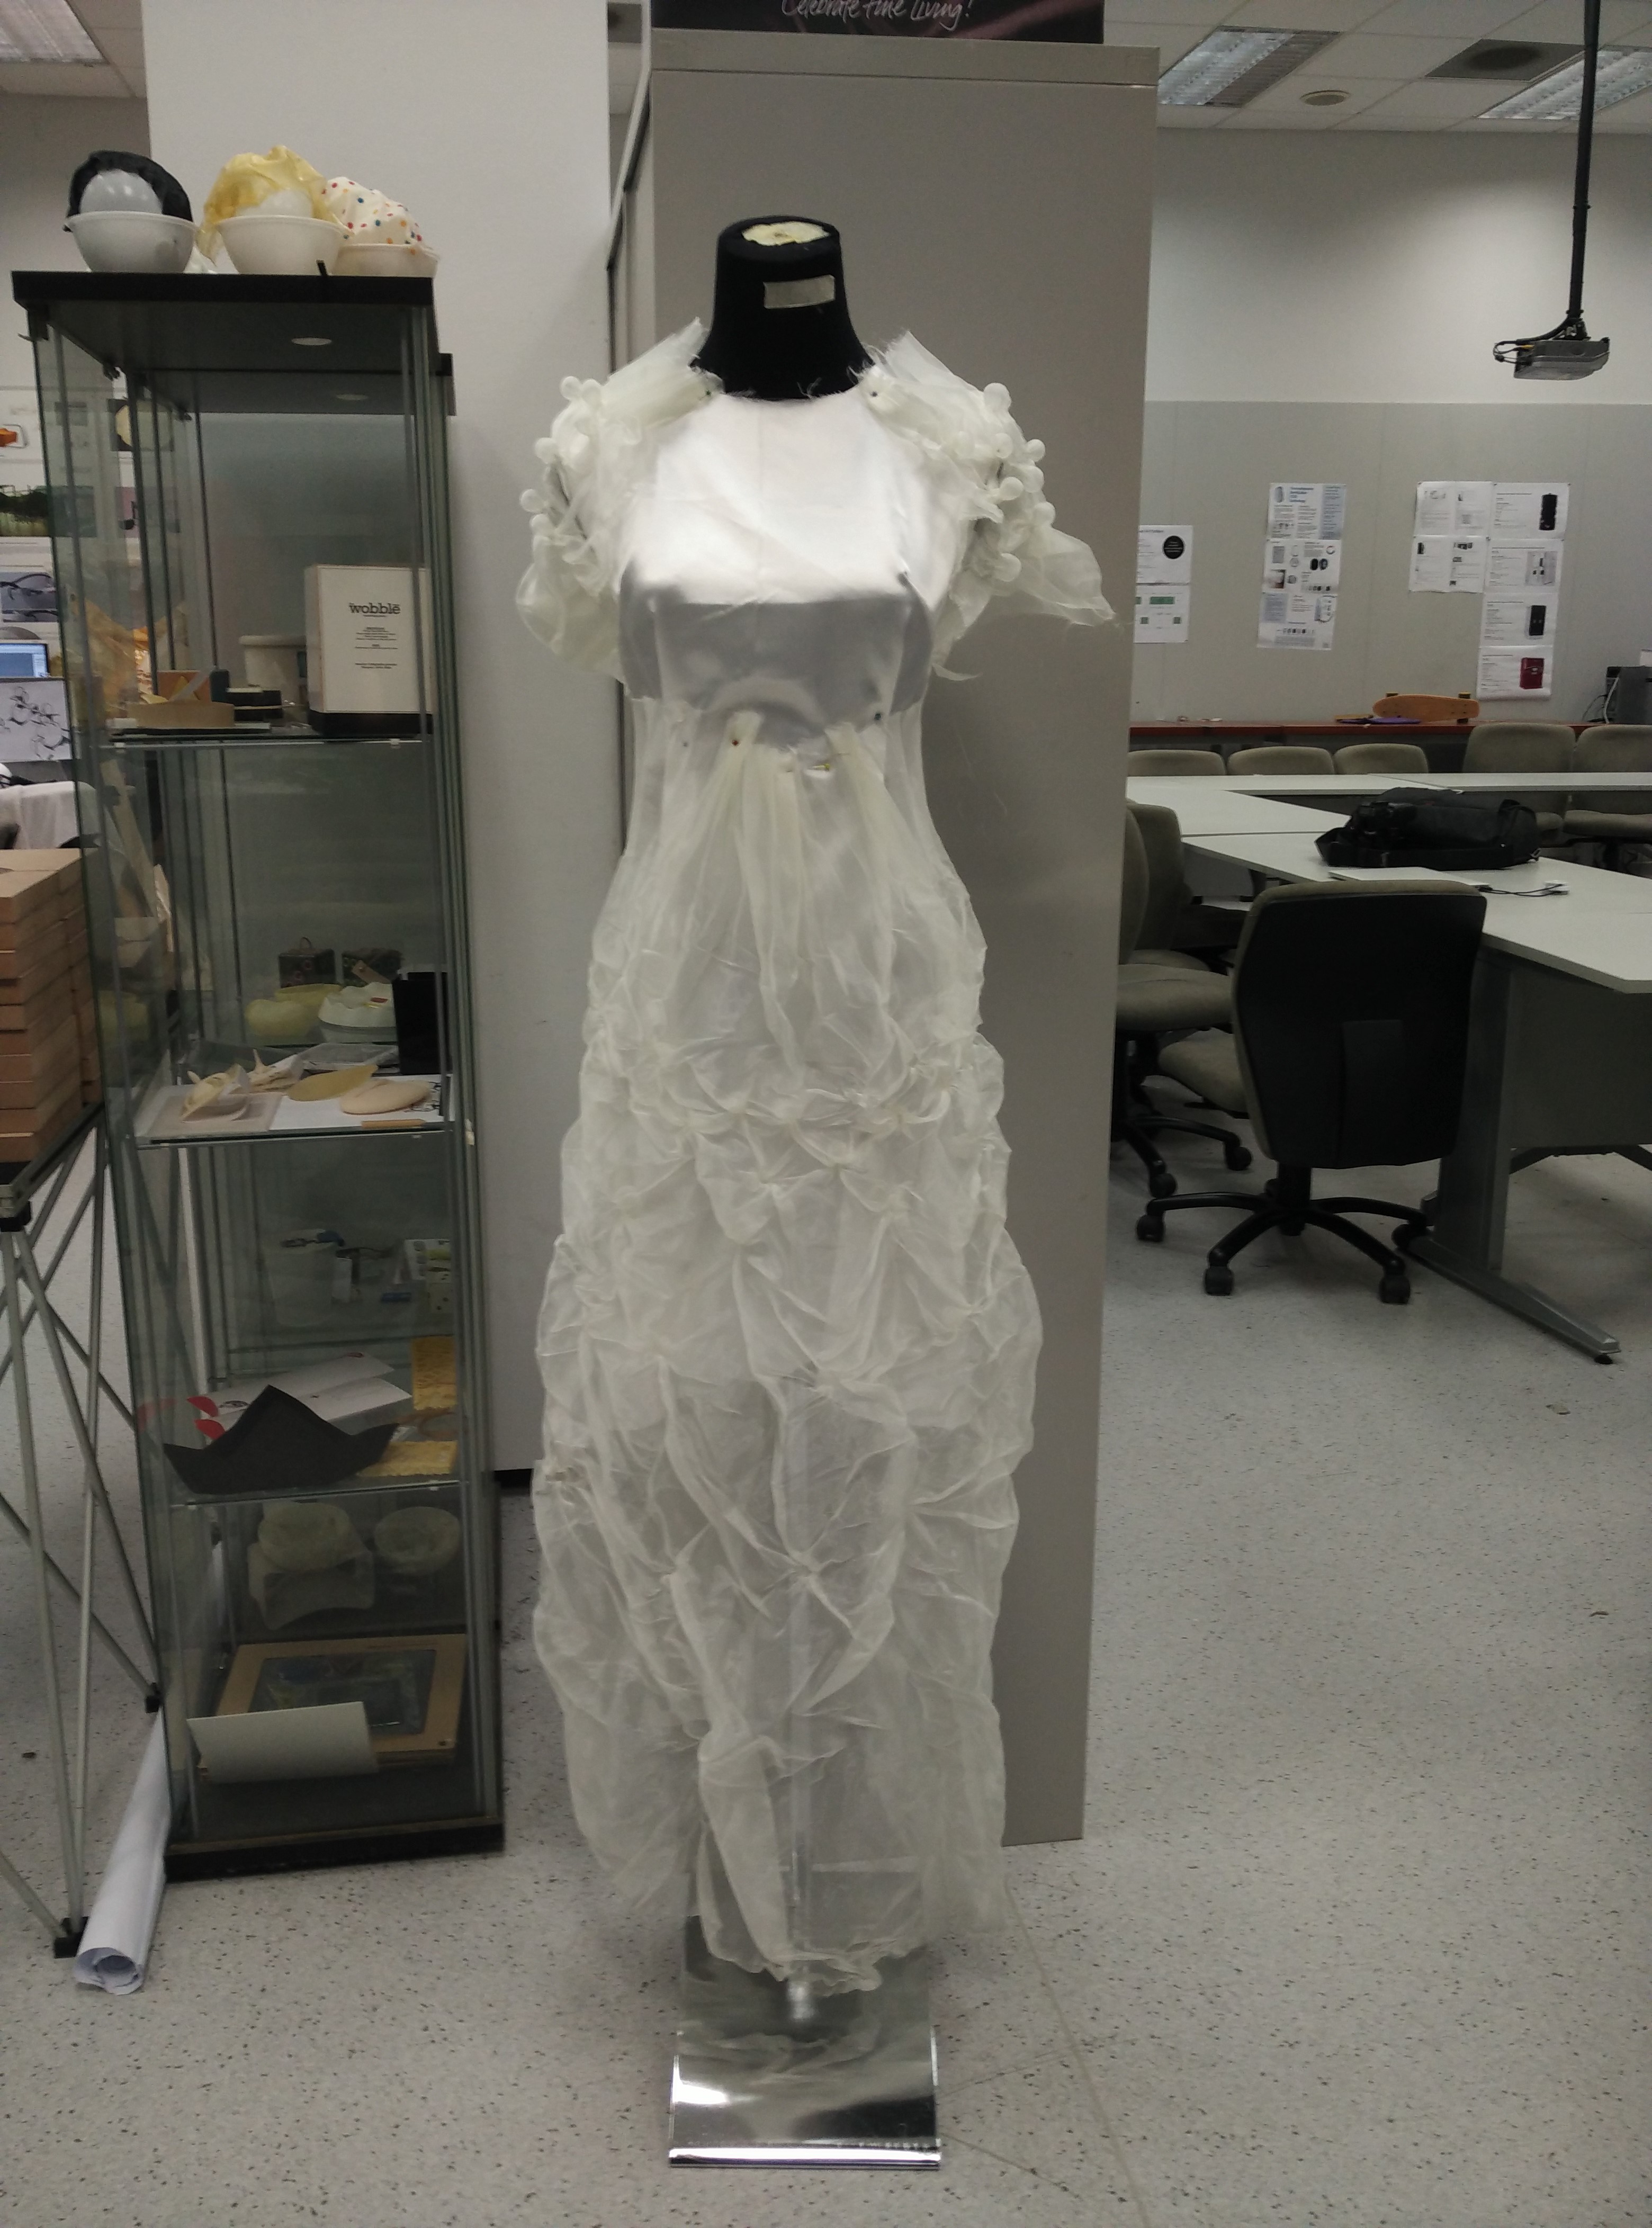
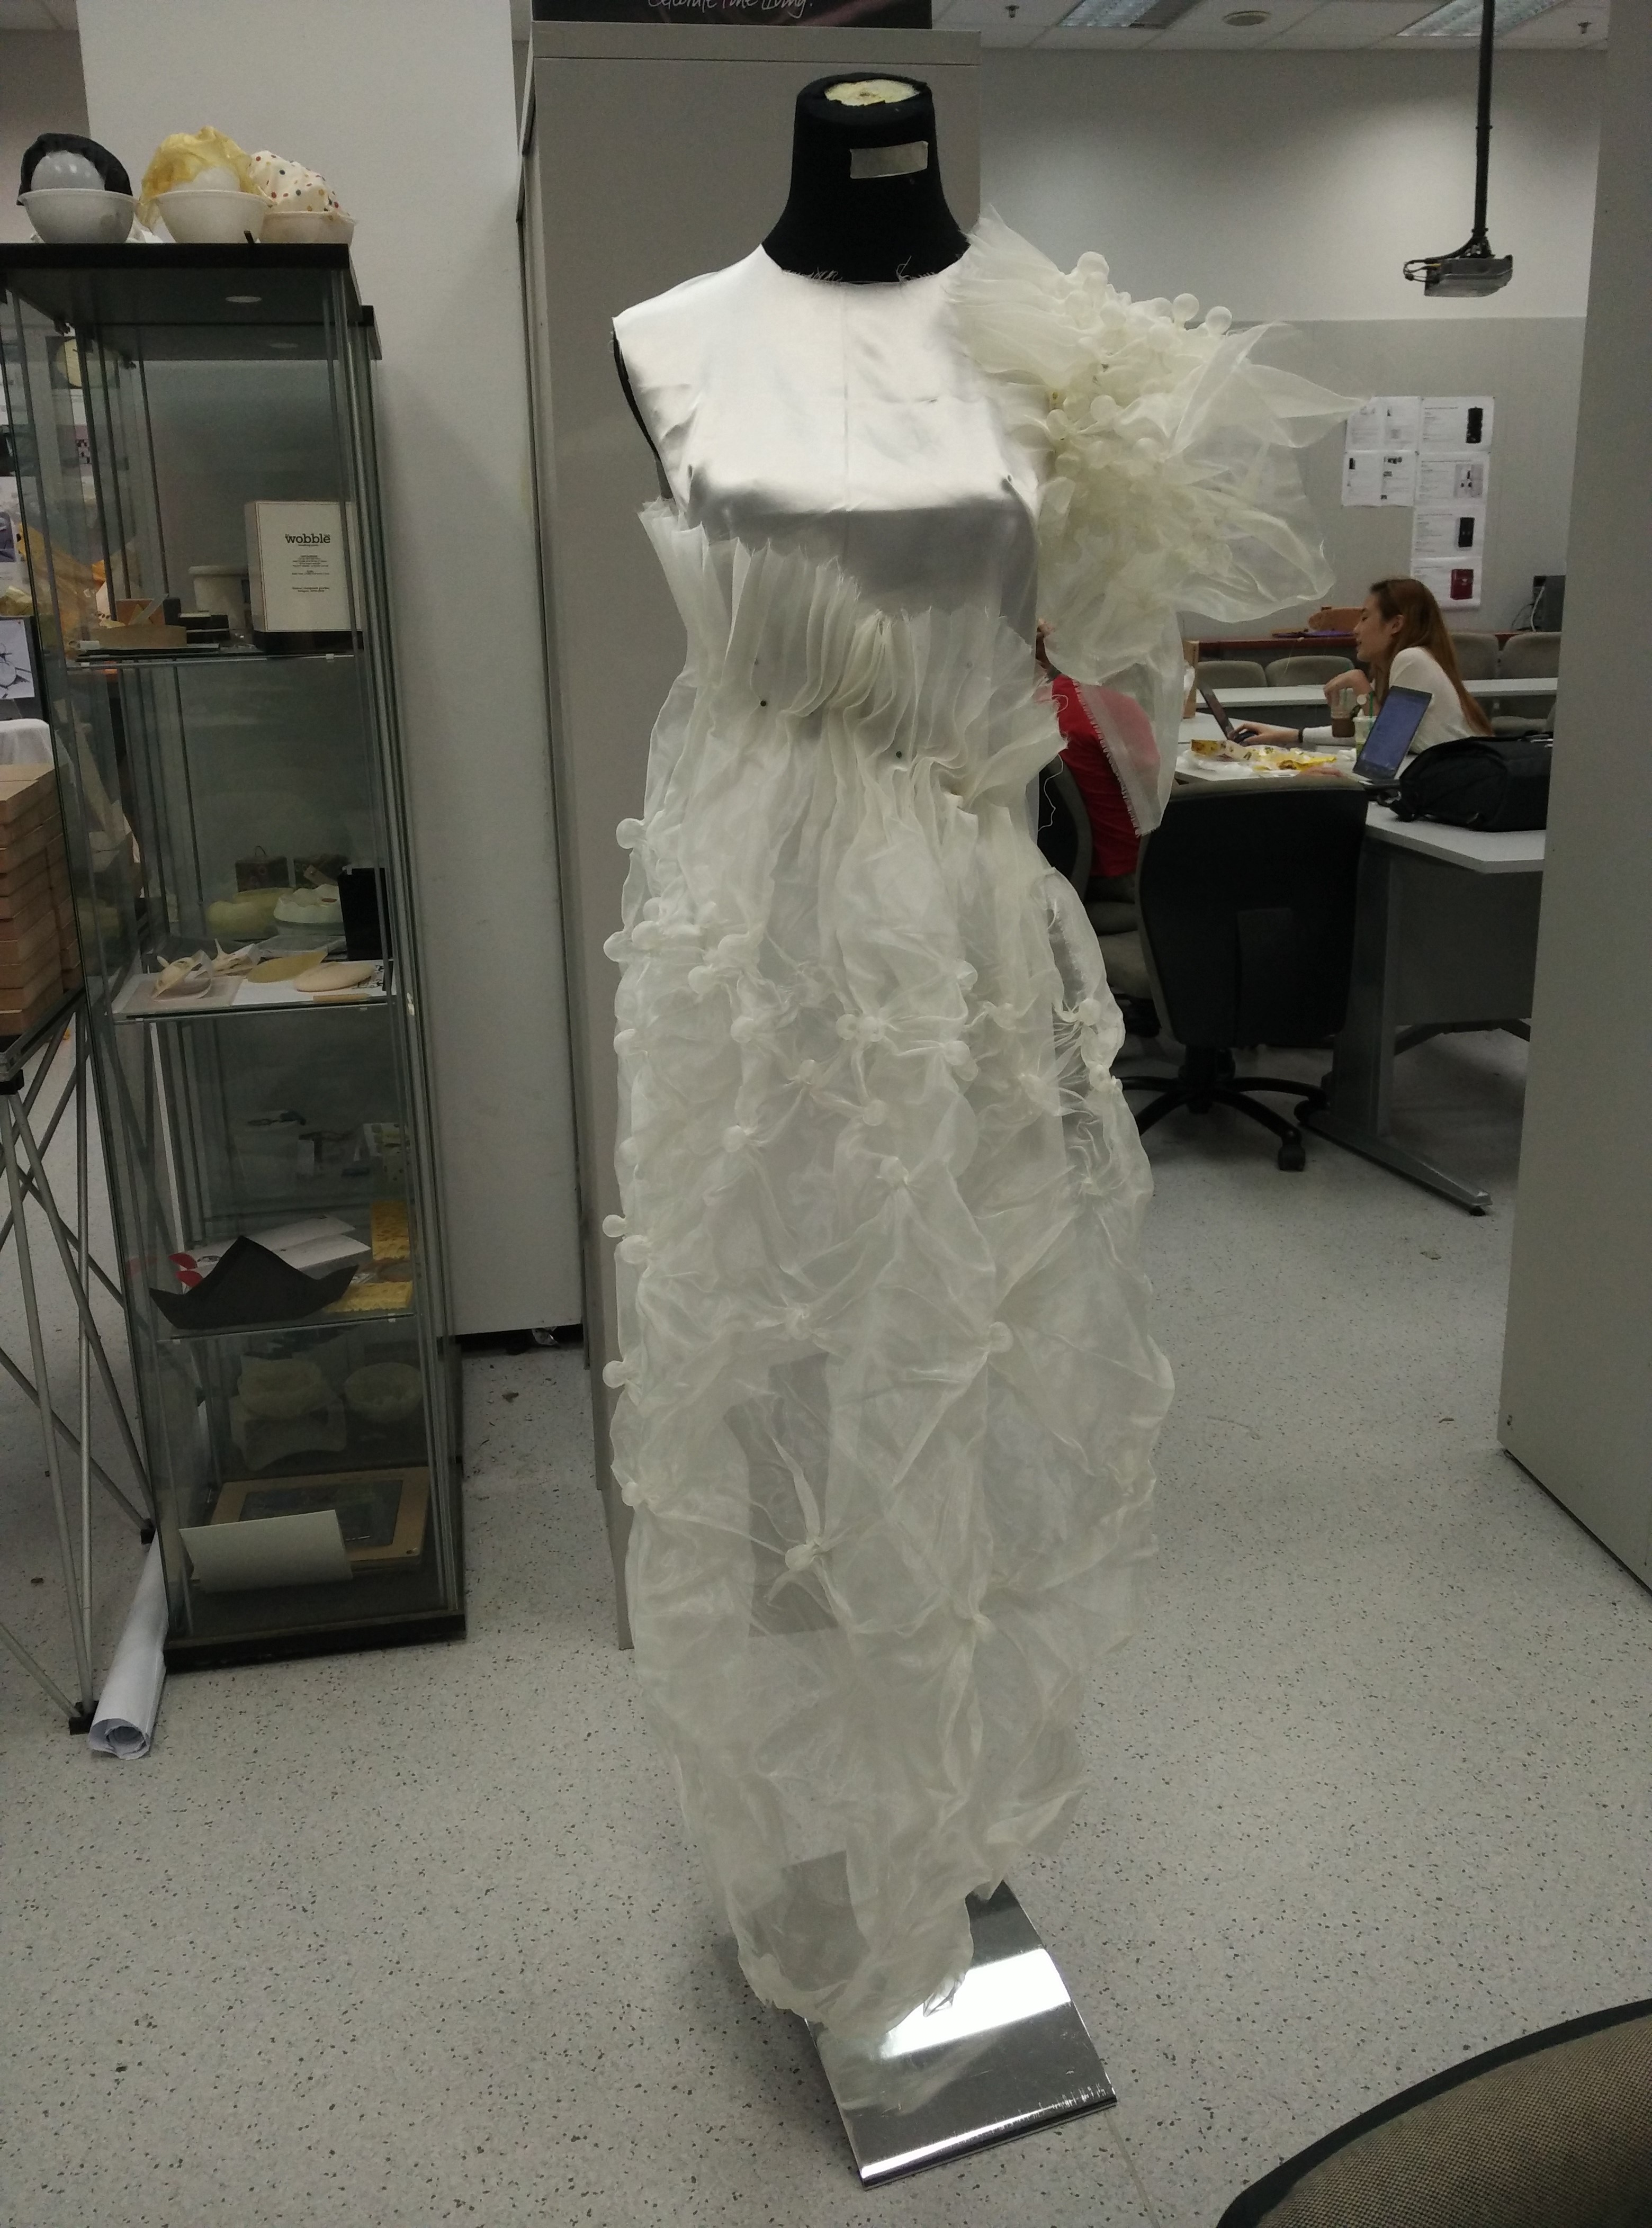
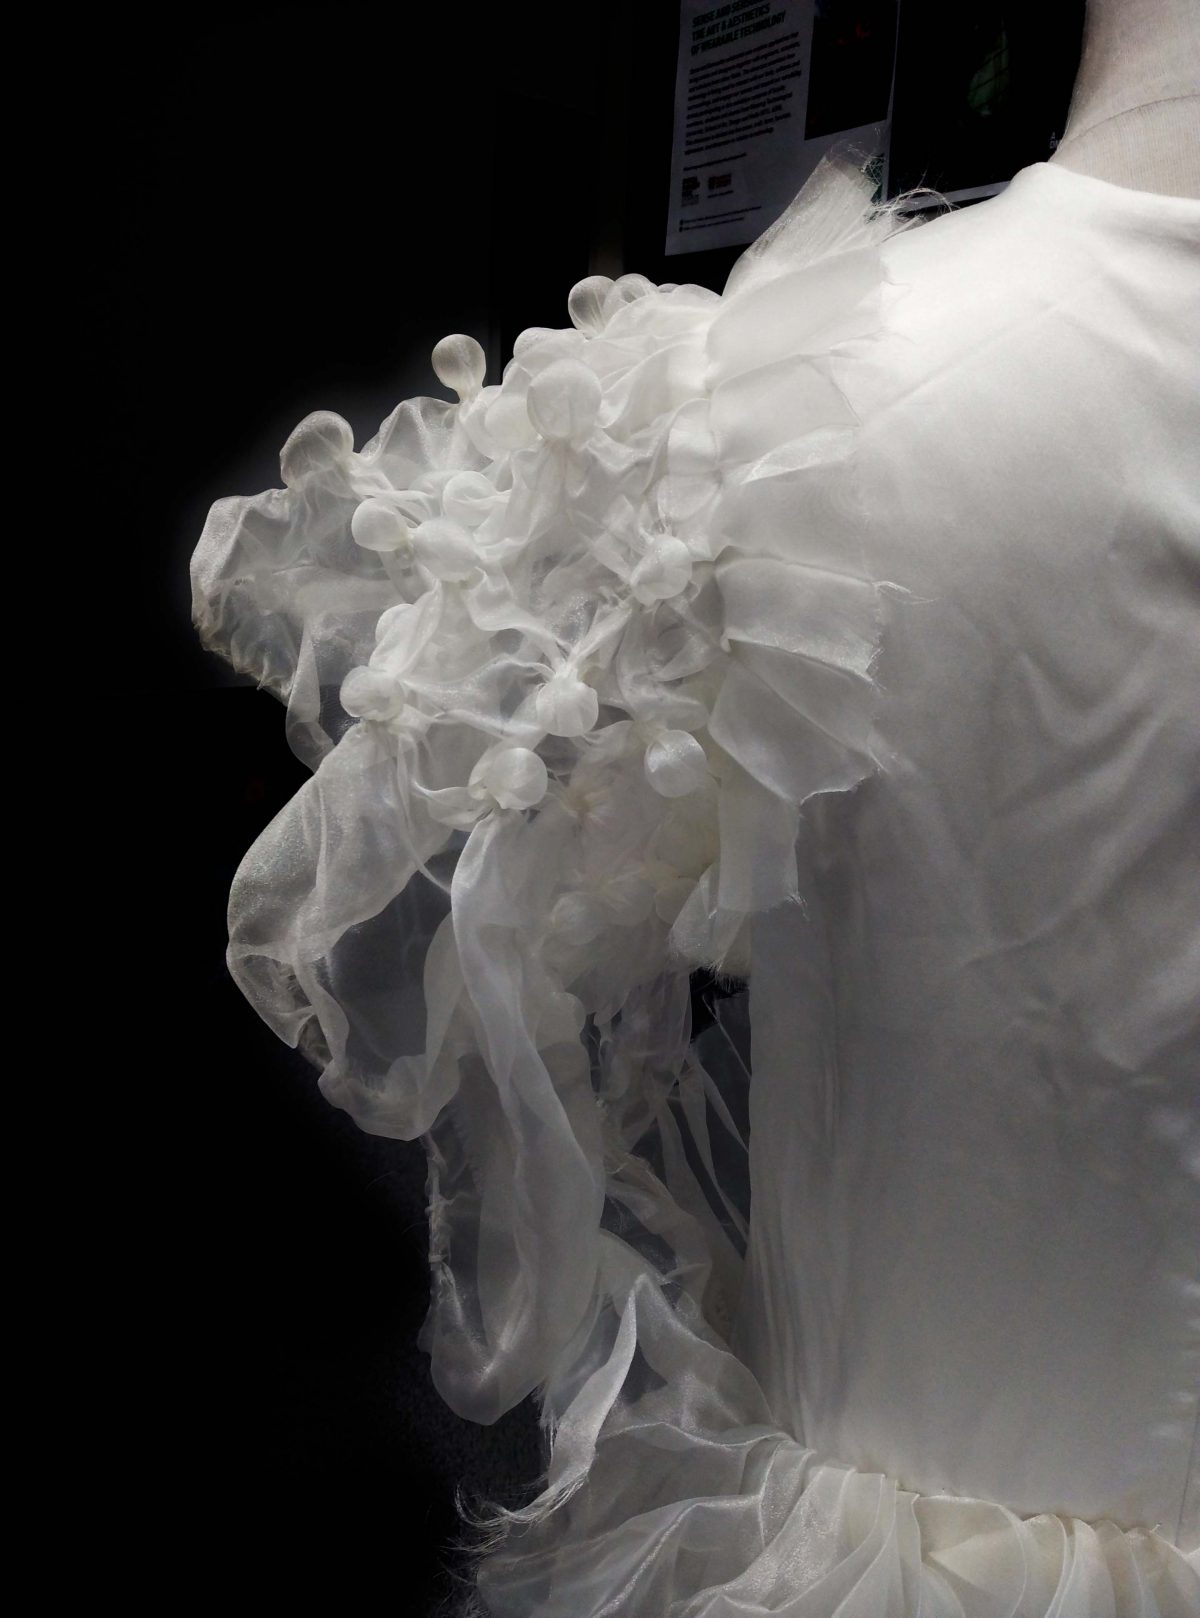
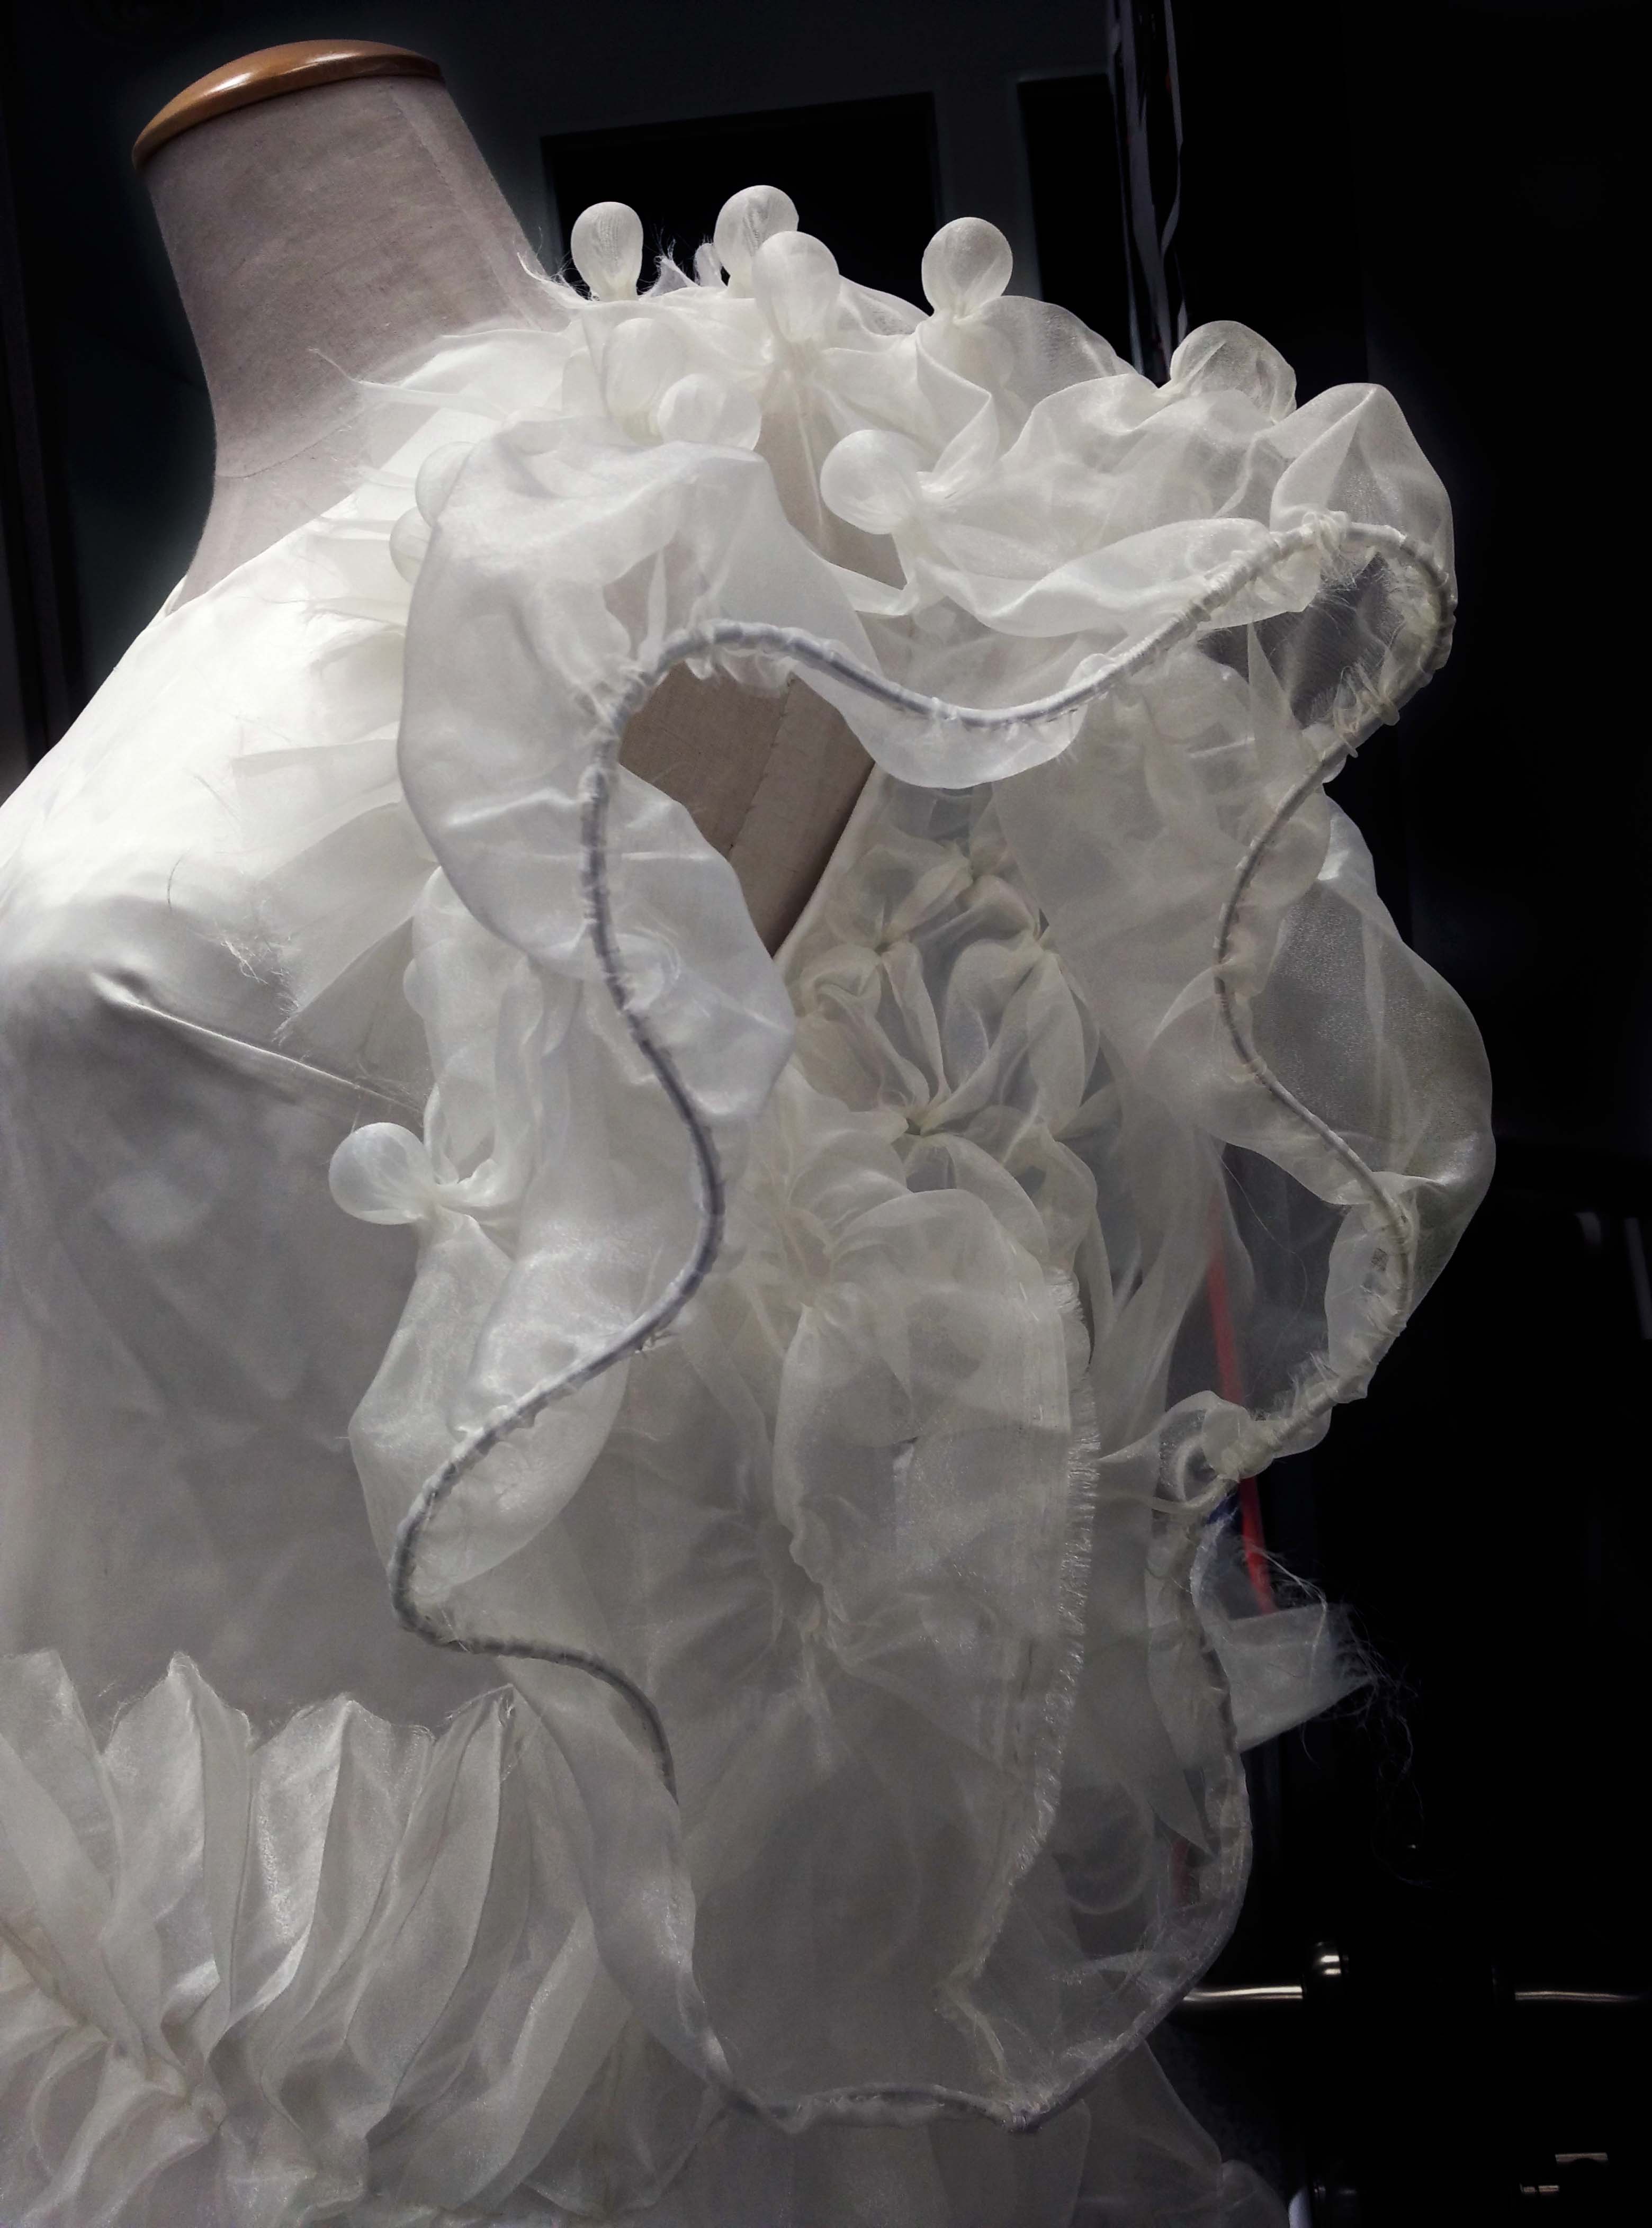
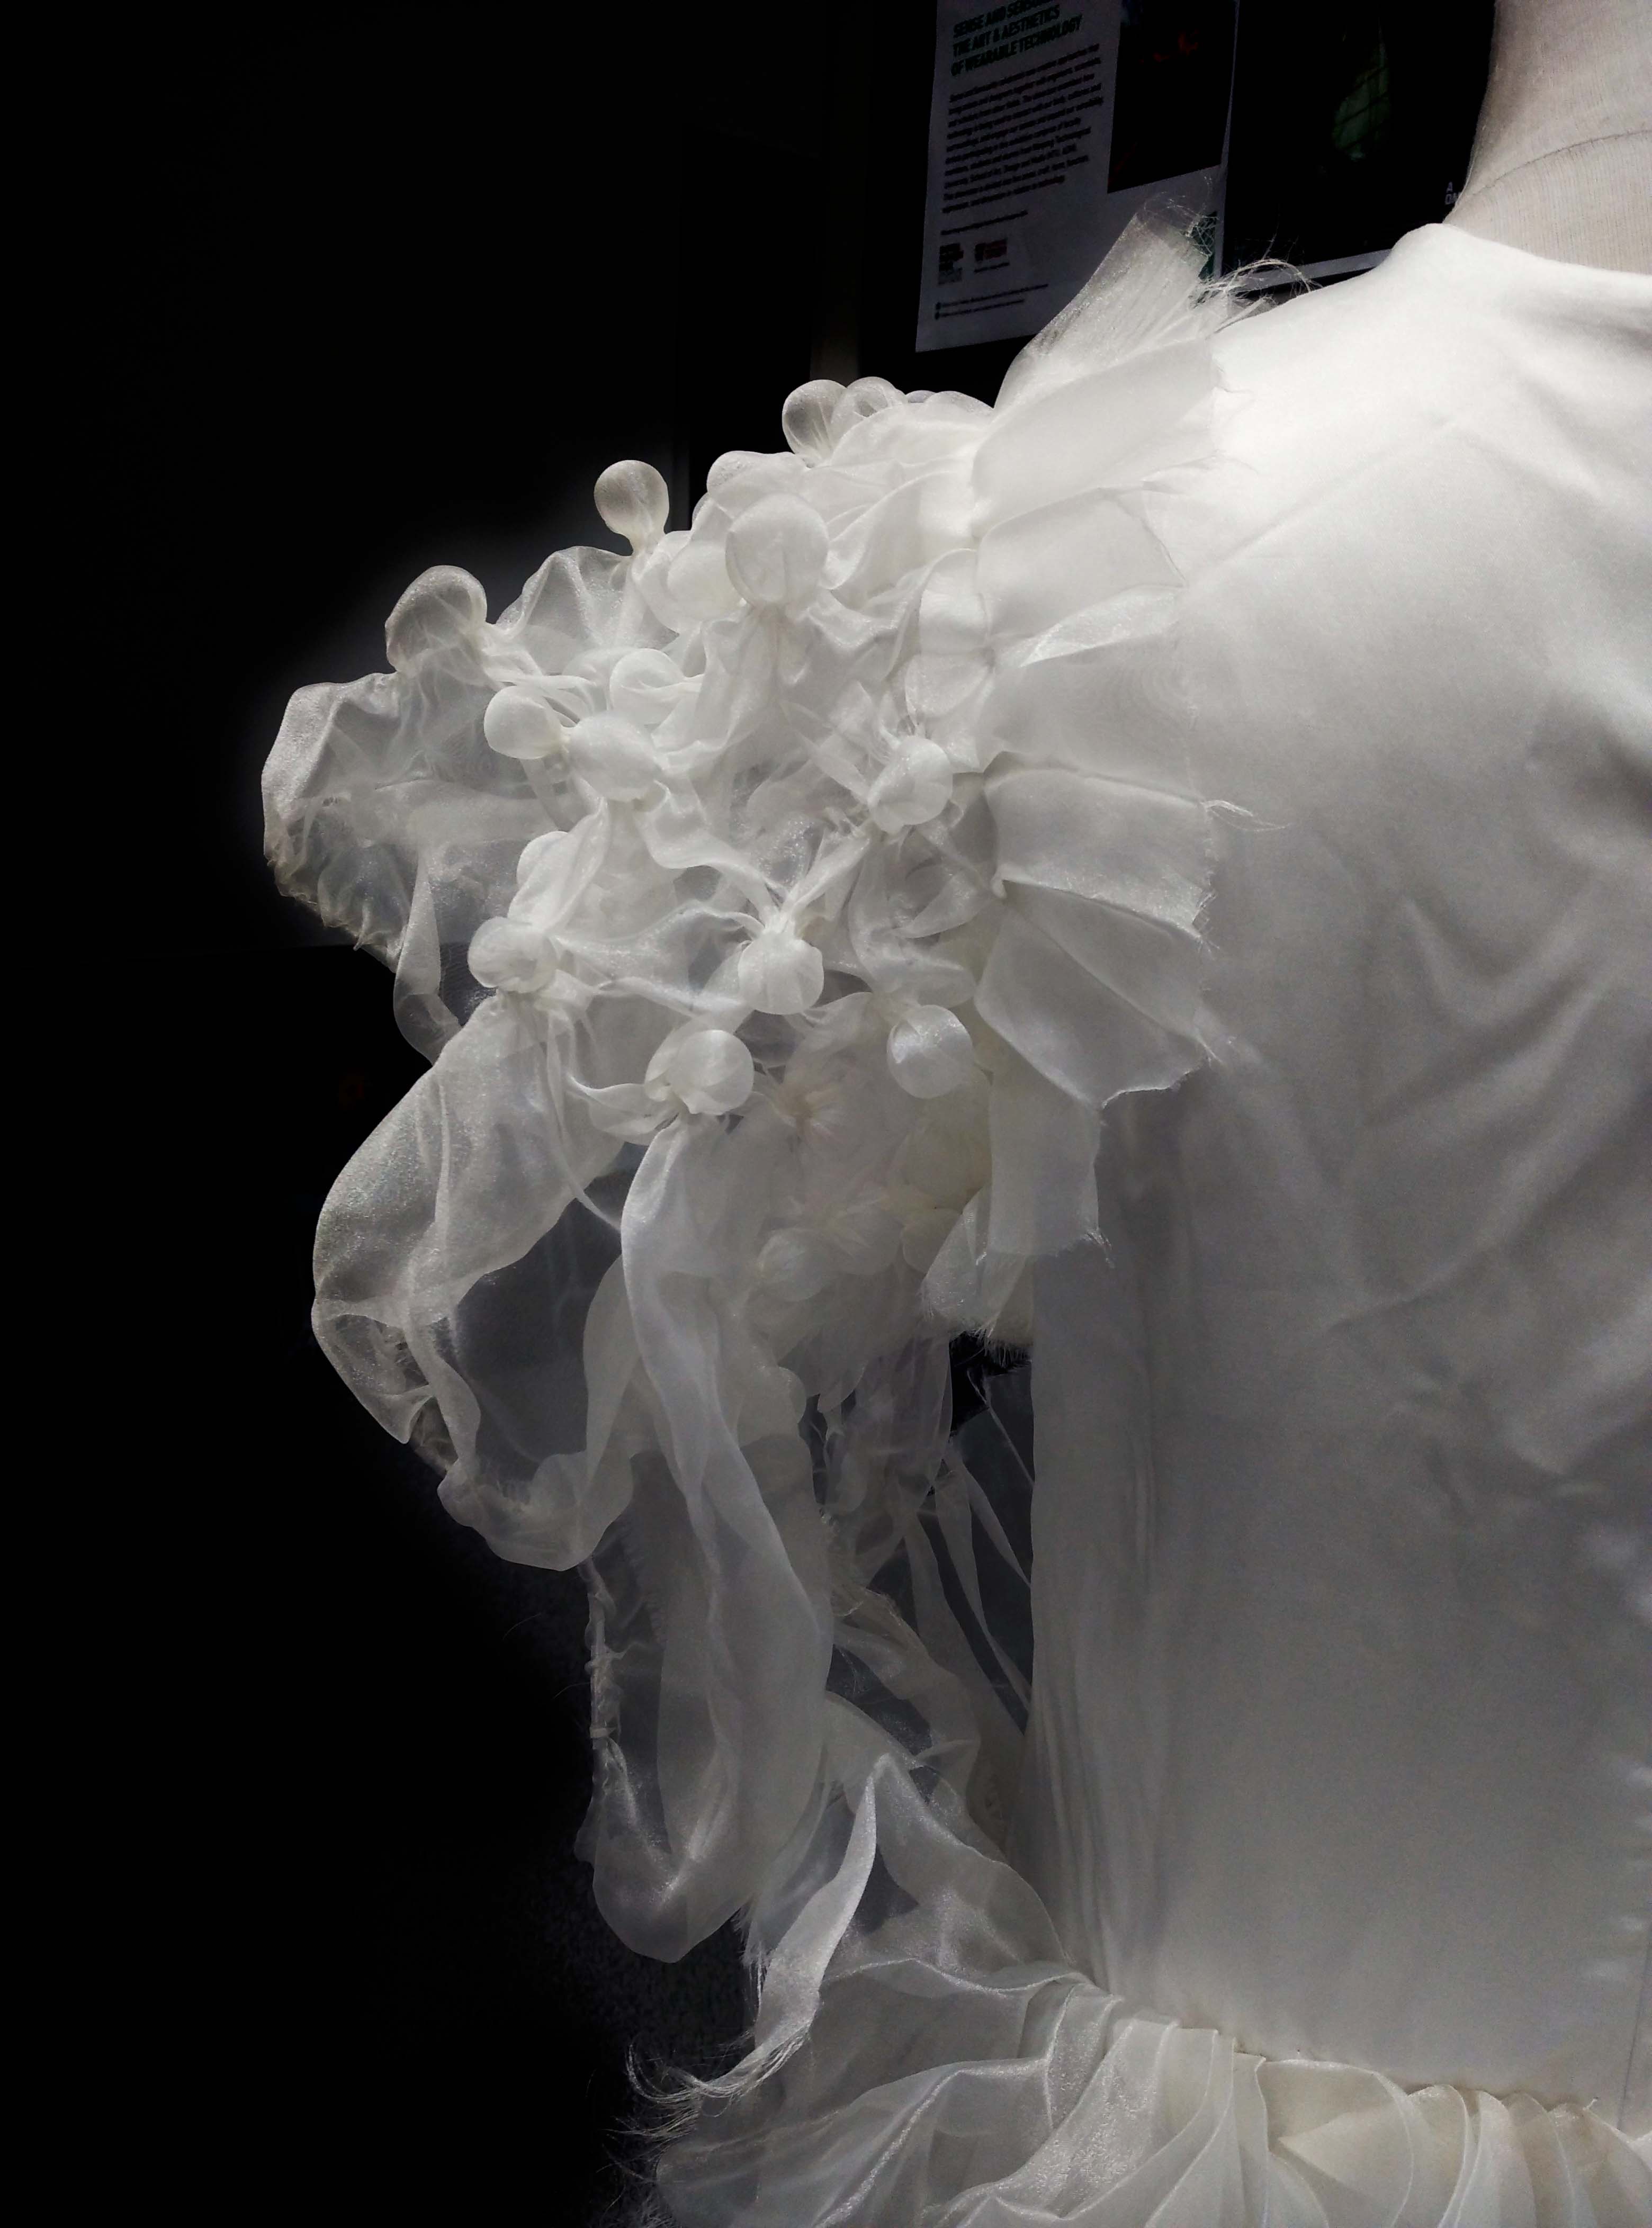
Adding boning to the sleeves to create wavy appearance

2
Front view of sleeves
Back view of sleeves


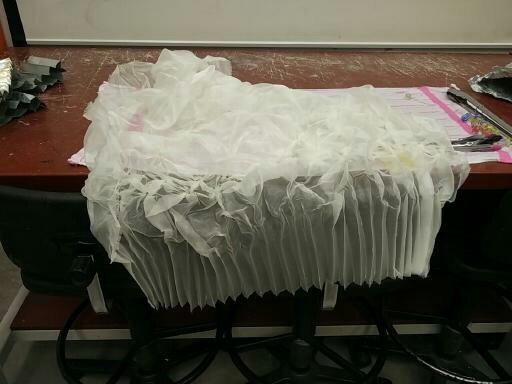
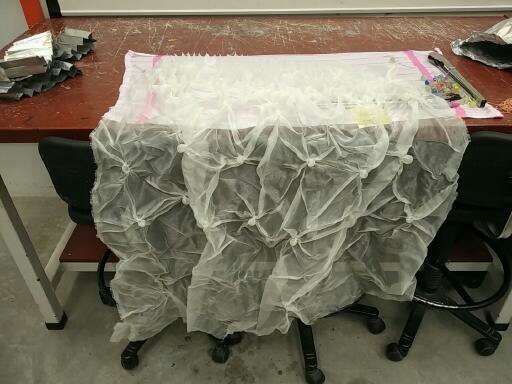
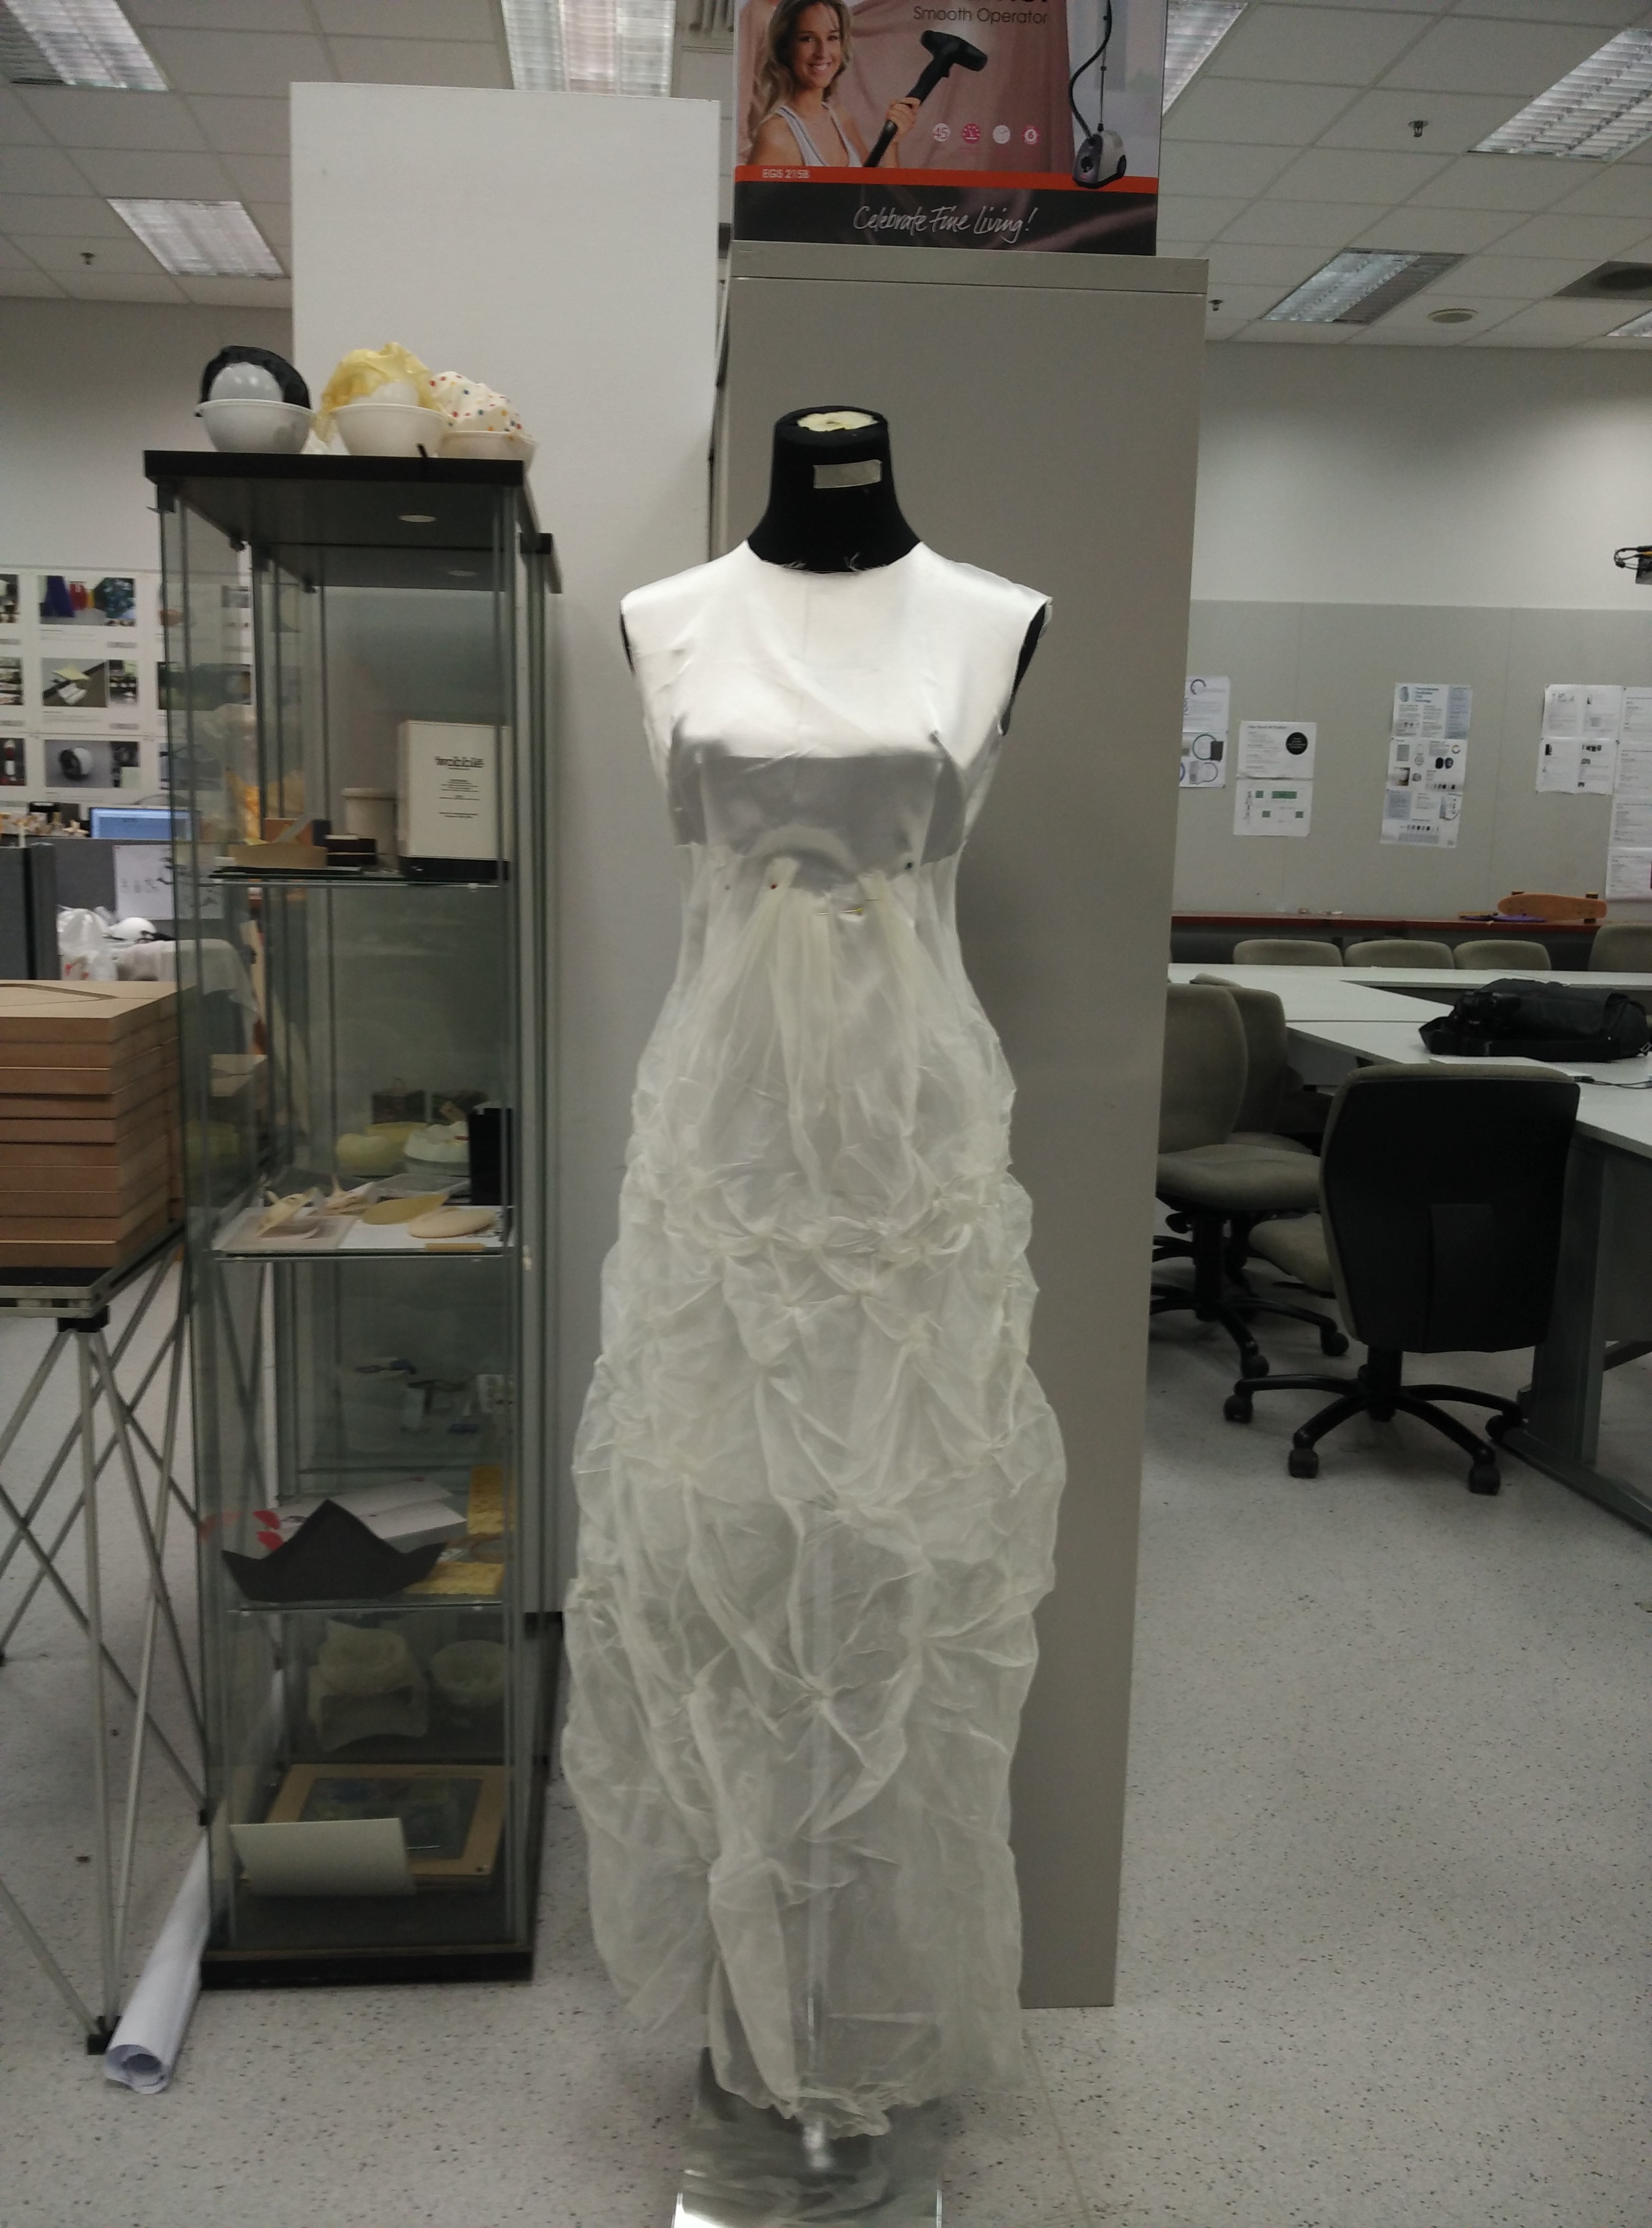
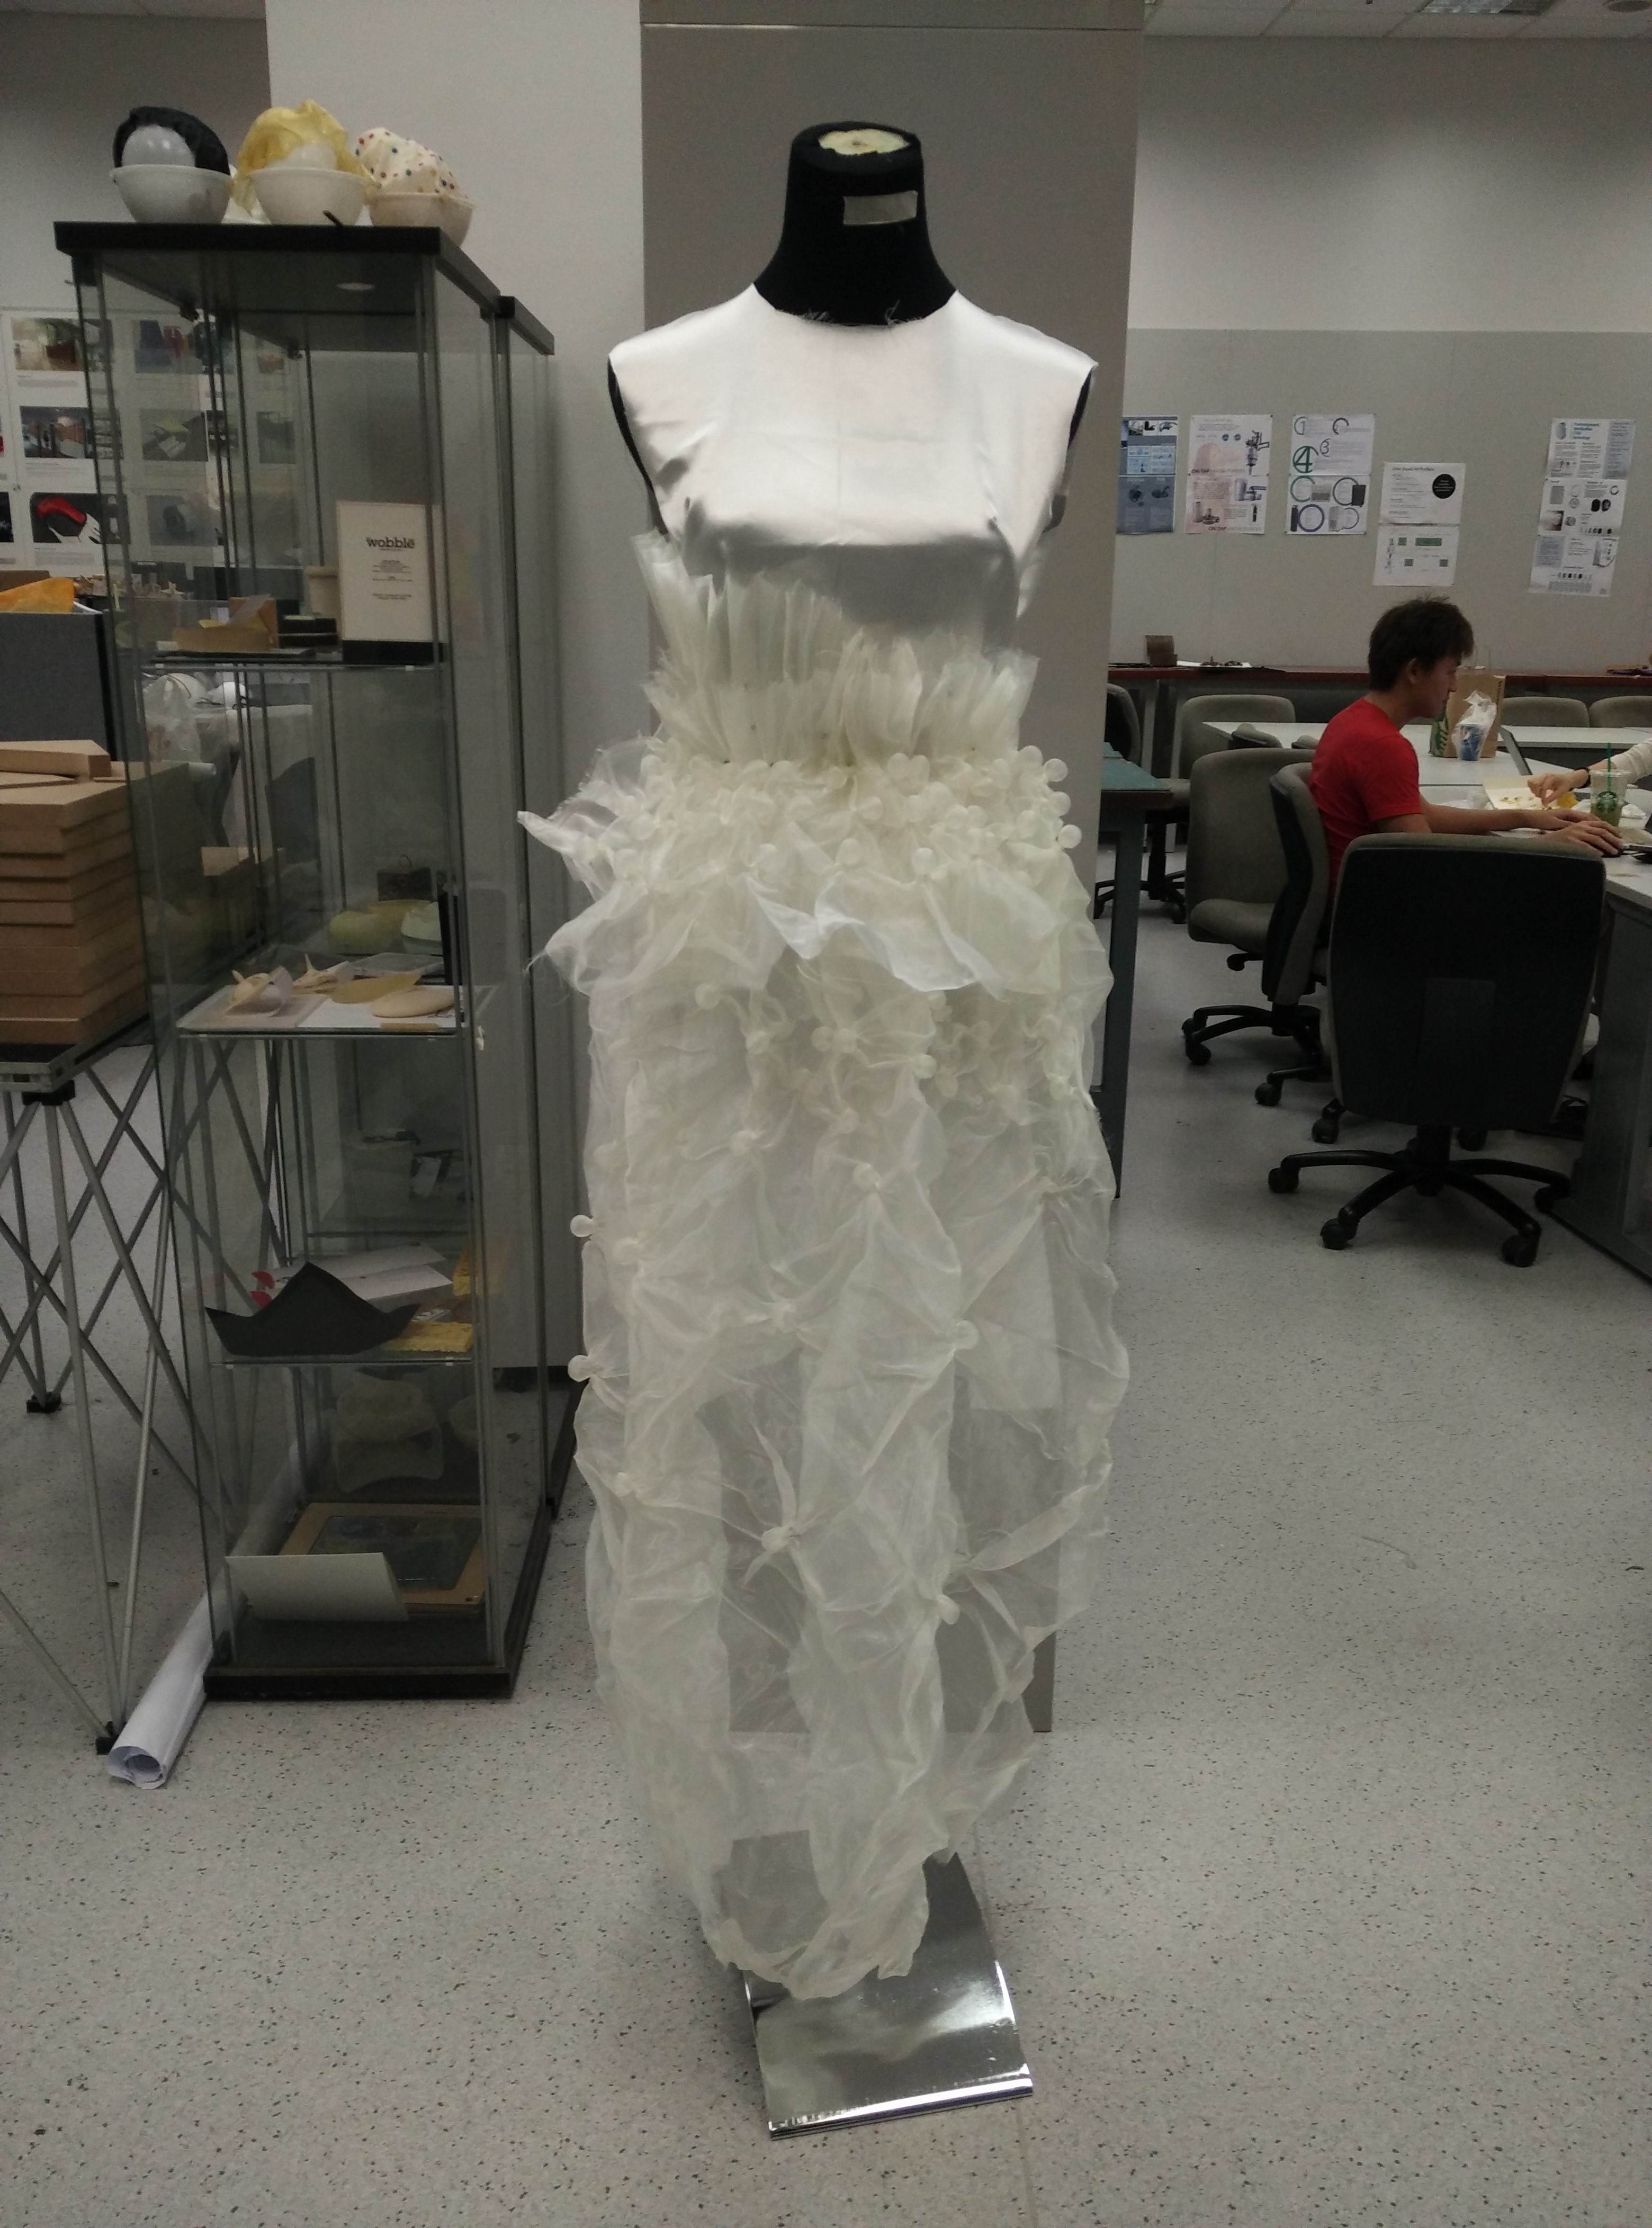
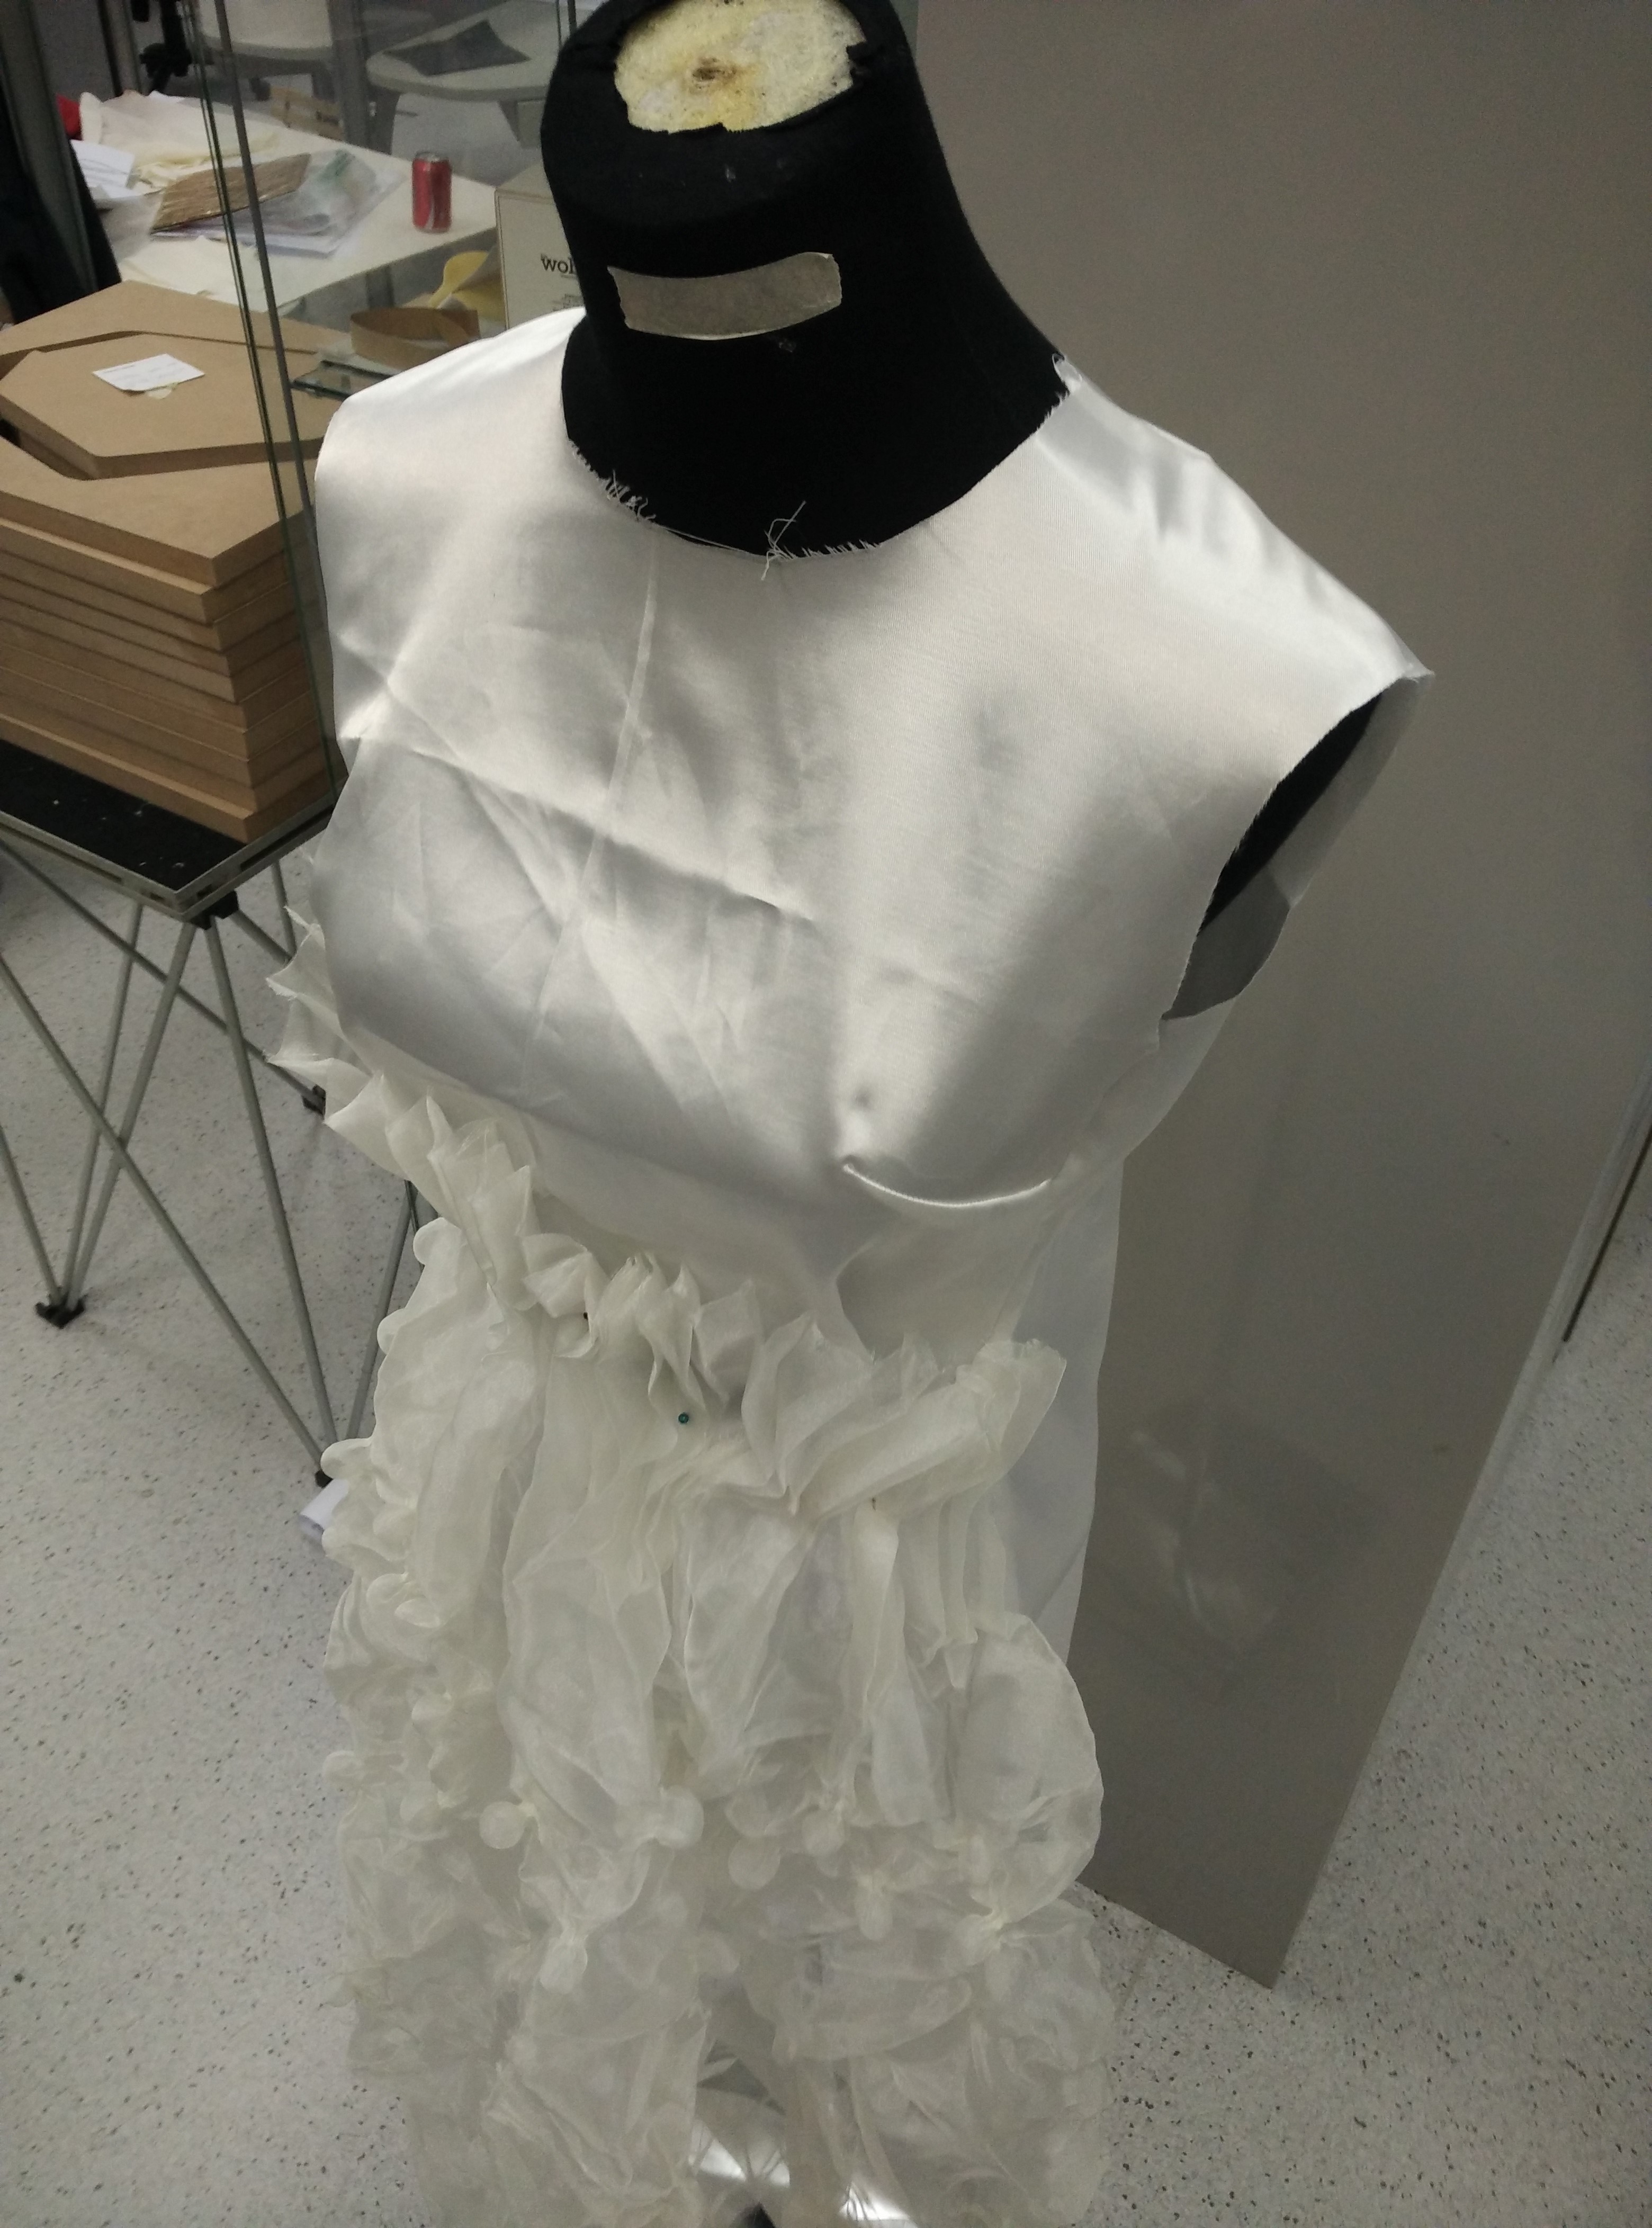
Continuation on dress making

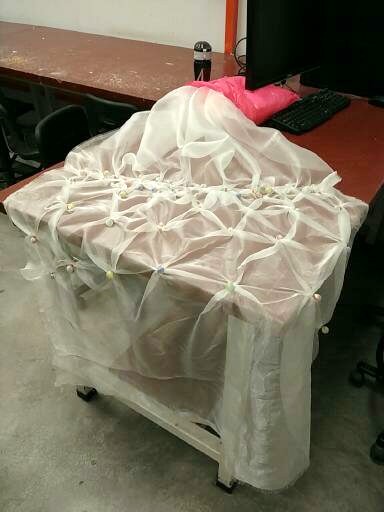
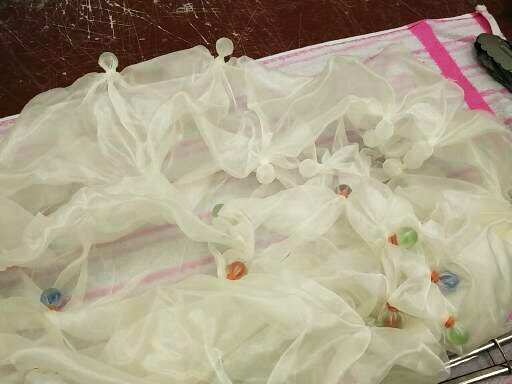
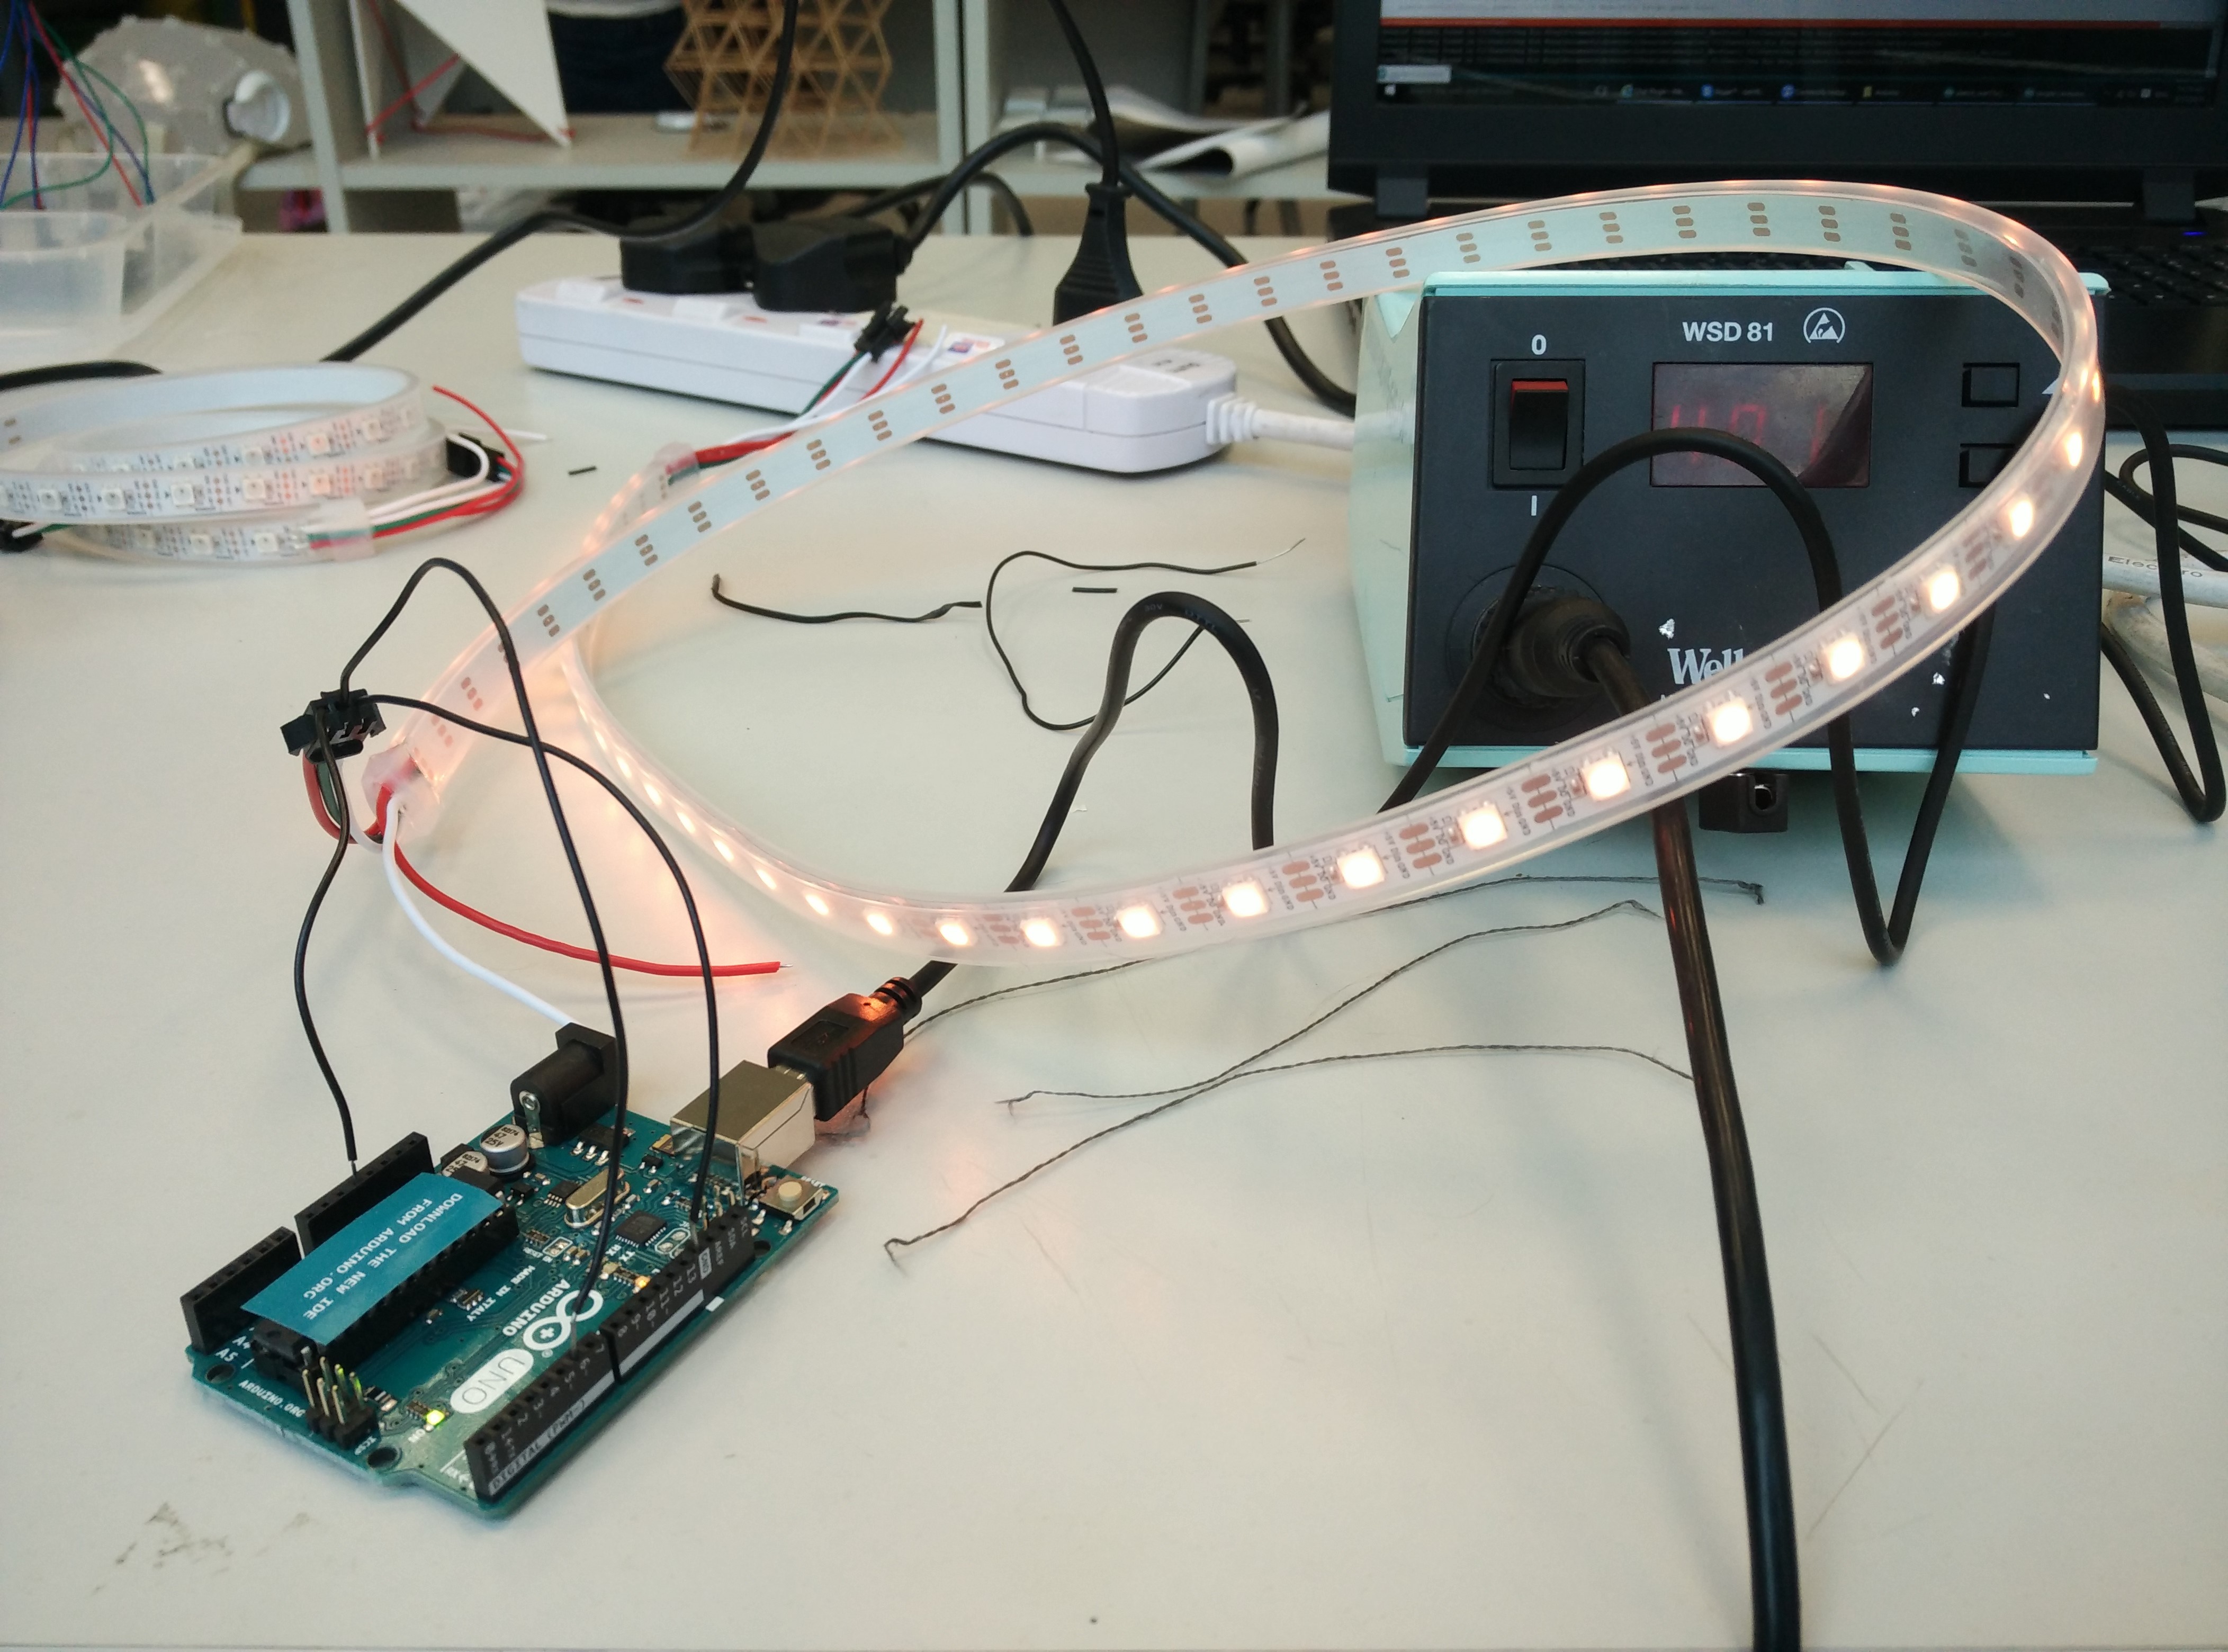
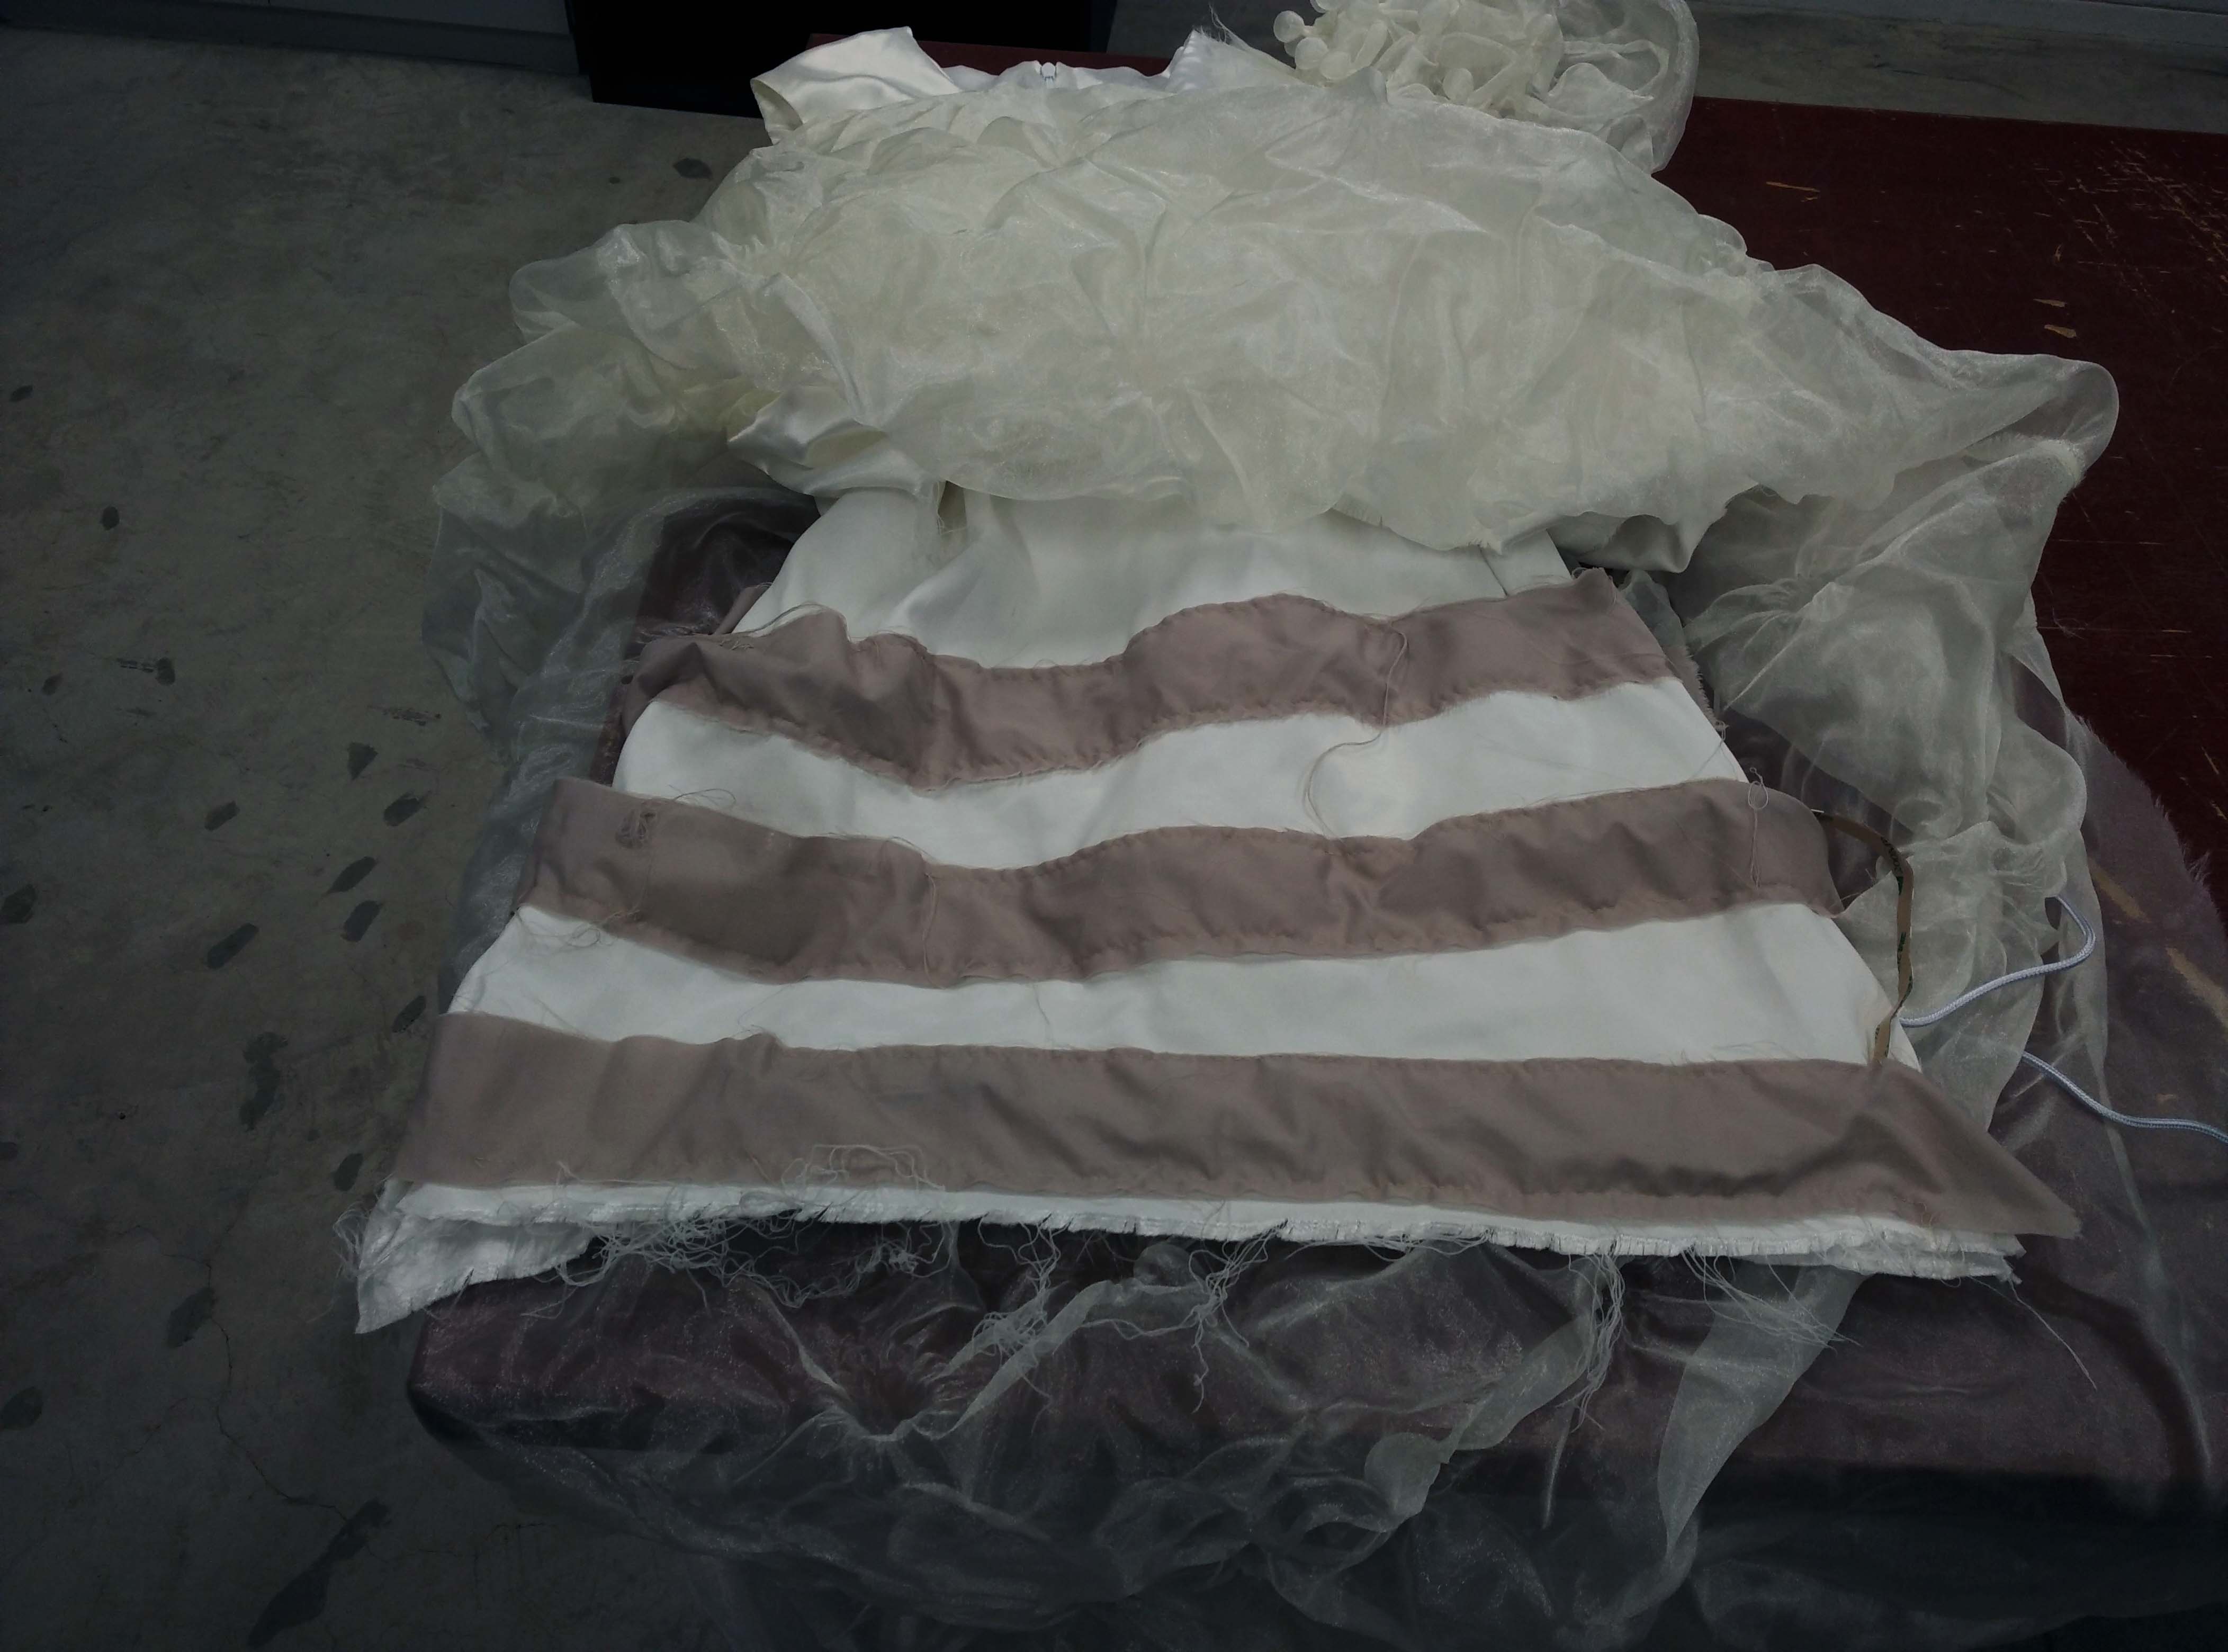
Sewing three horizontal strips on the under layer of the dress as ‘pockets’ for the RGB LED strips

3 horizontal strips to function as pockets for the RGB LED strips

Under layer of dress with lights on

5
Red (255, 0, 0), Blue (0, 0, 255), Orange (255, 77, 0), Purple (153, 0, 255), Yellow (255, 255, 0)

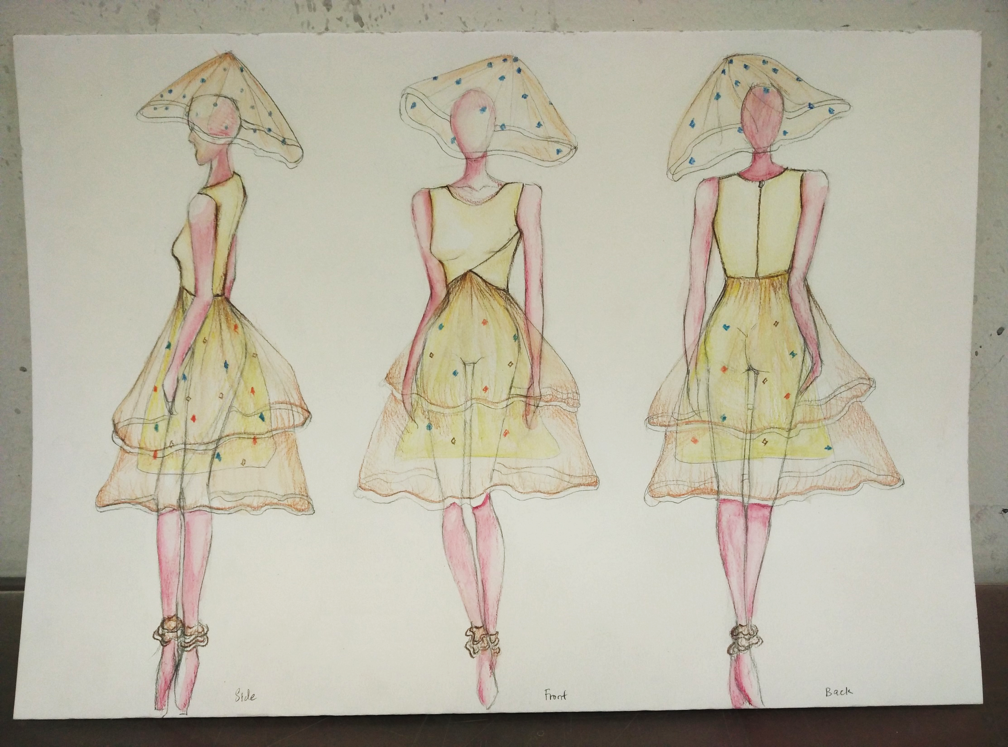
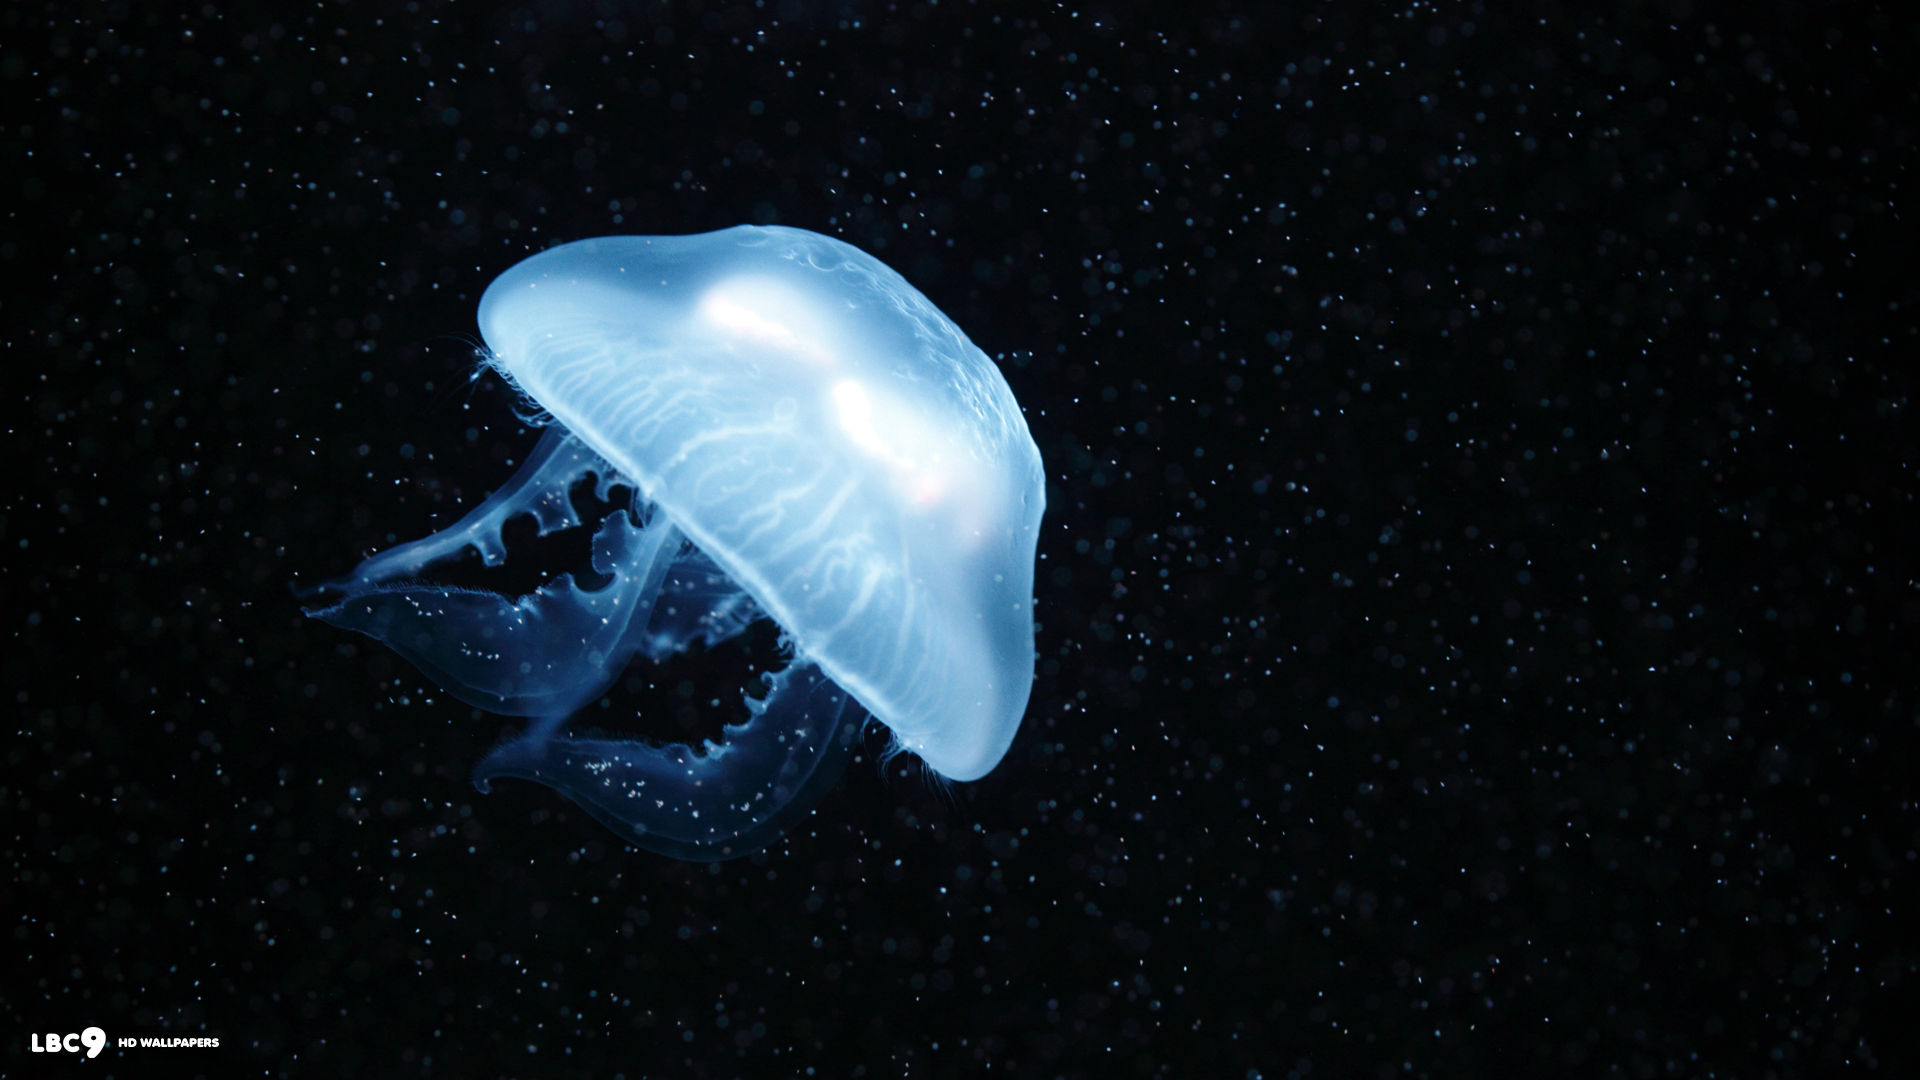
My choice of 5 different lights, namely: Red, Blue, Orange, Purple and Yellow was inspired from the colours of a jellyfish.

Image of jellyfishes
Colourful jellyfishes
6
White (255, 255, 255)
White illuminating jellyfish

My choice of white colour comes from its representation of peace, innocence and tranquility. The representations supports my idea of a calm, sane and quiet state of mind.

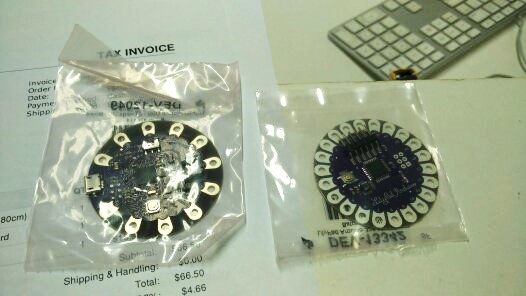
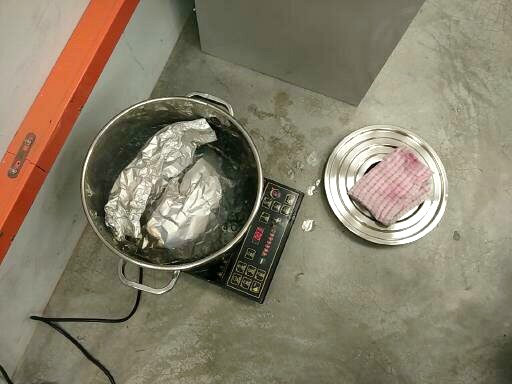
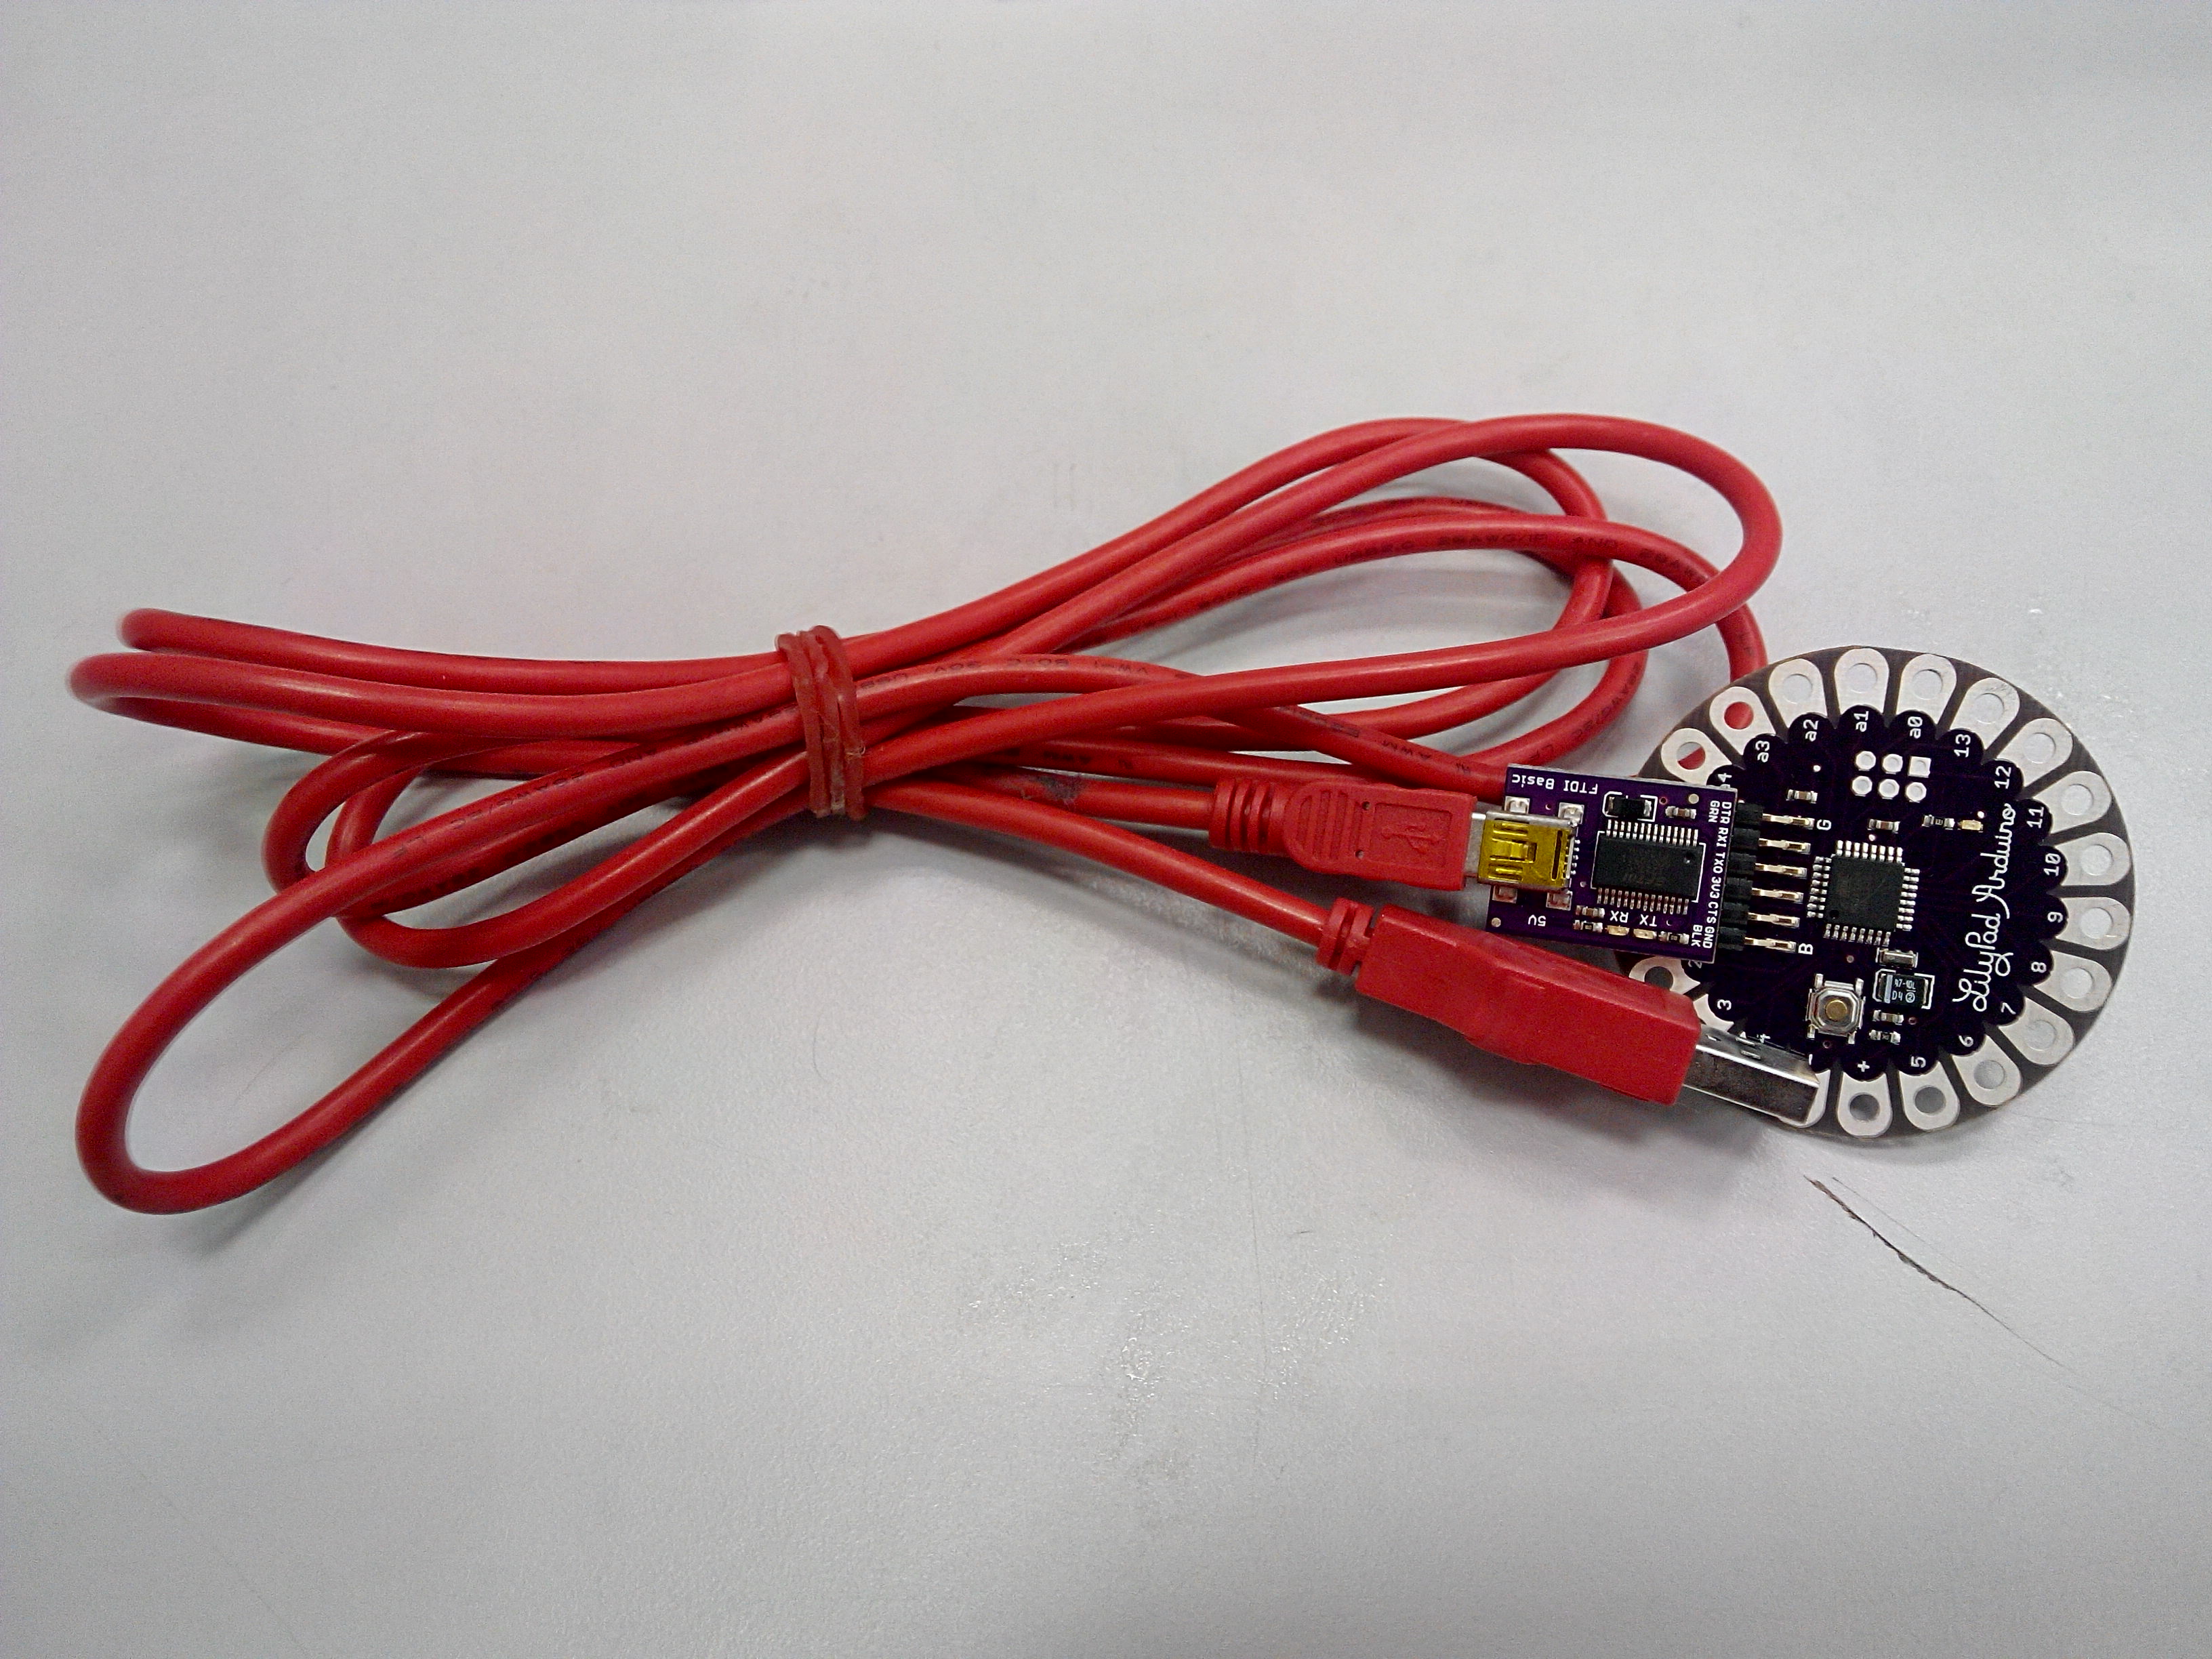
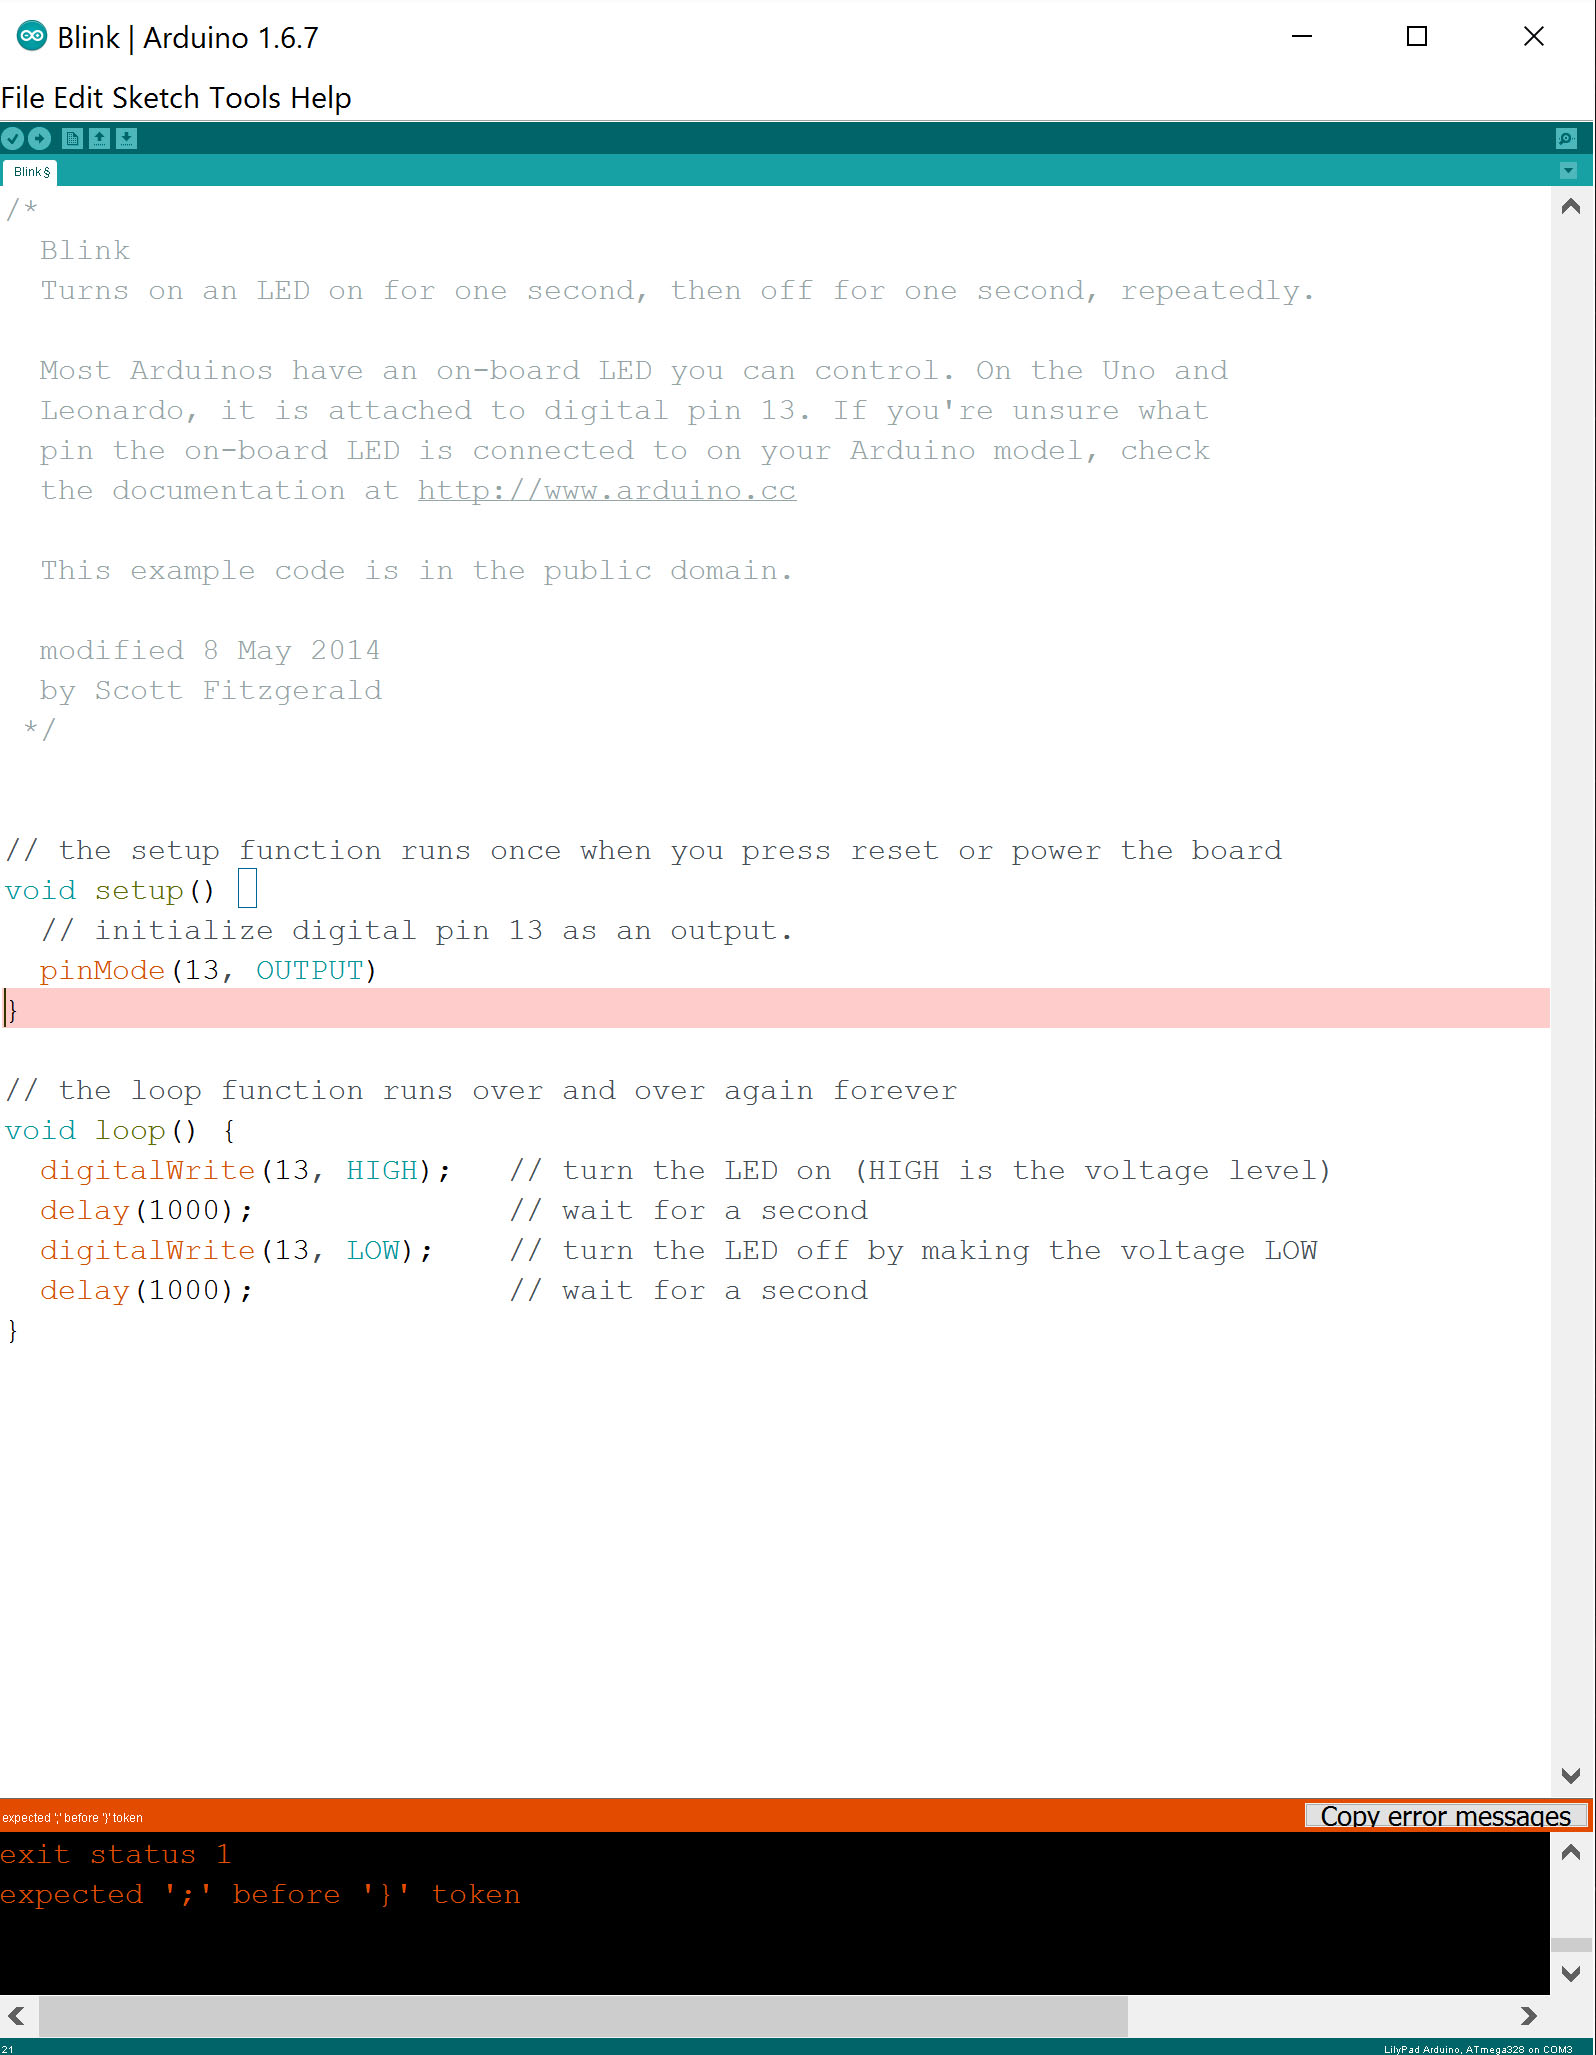
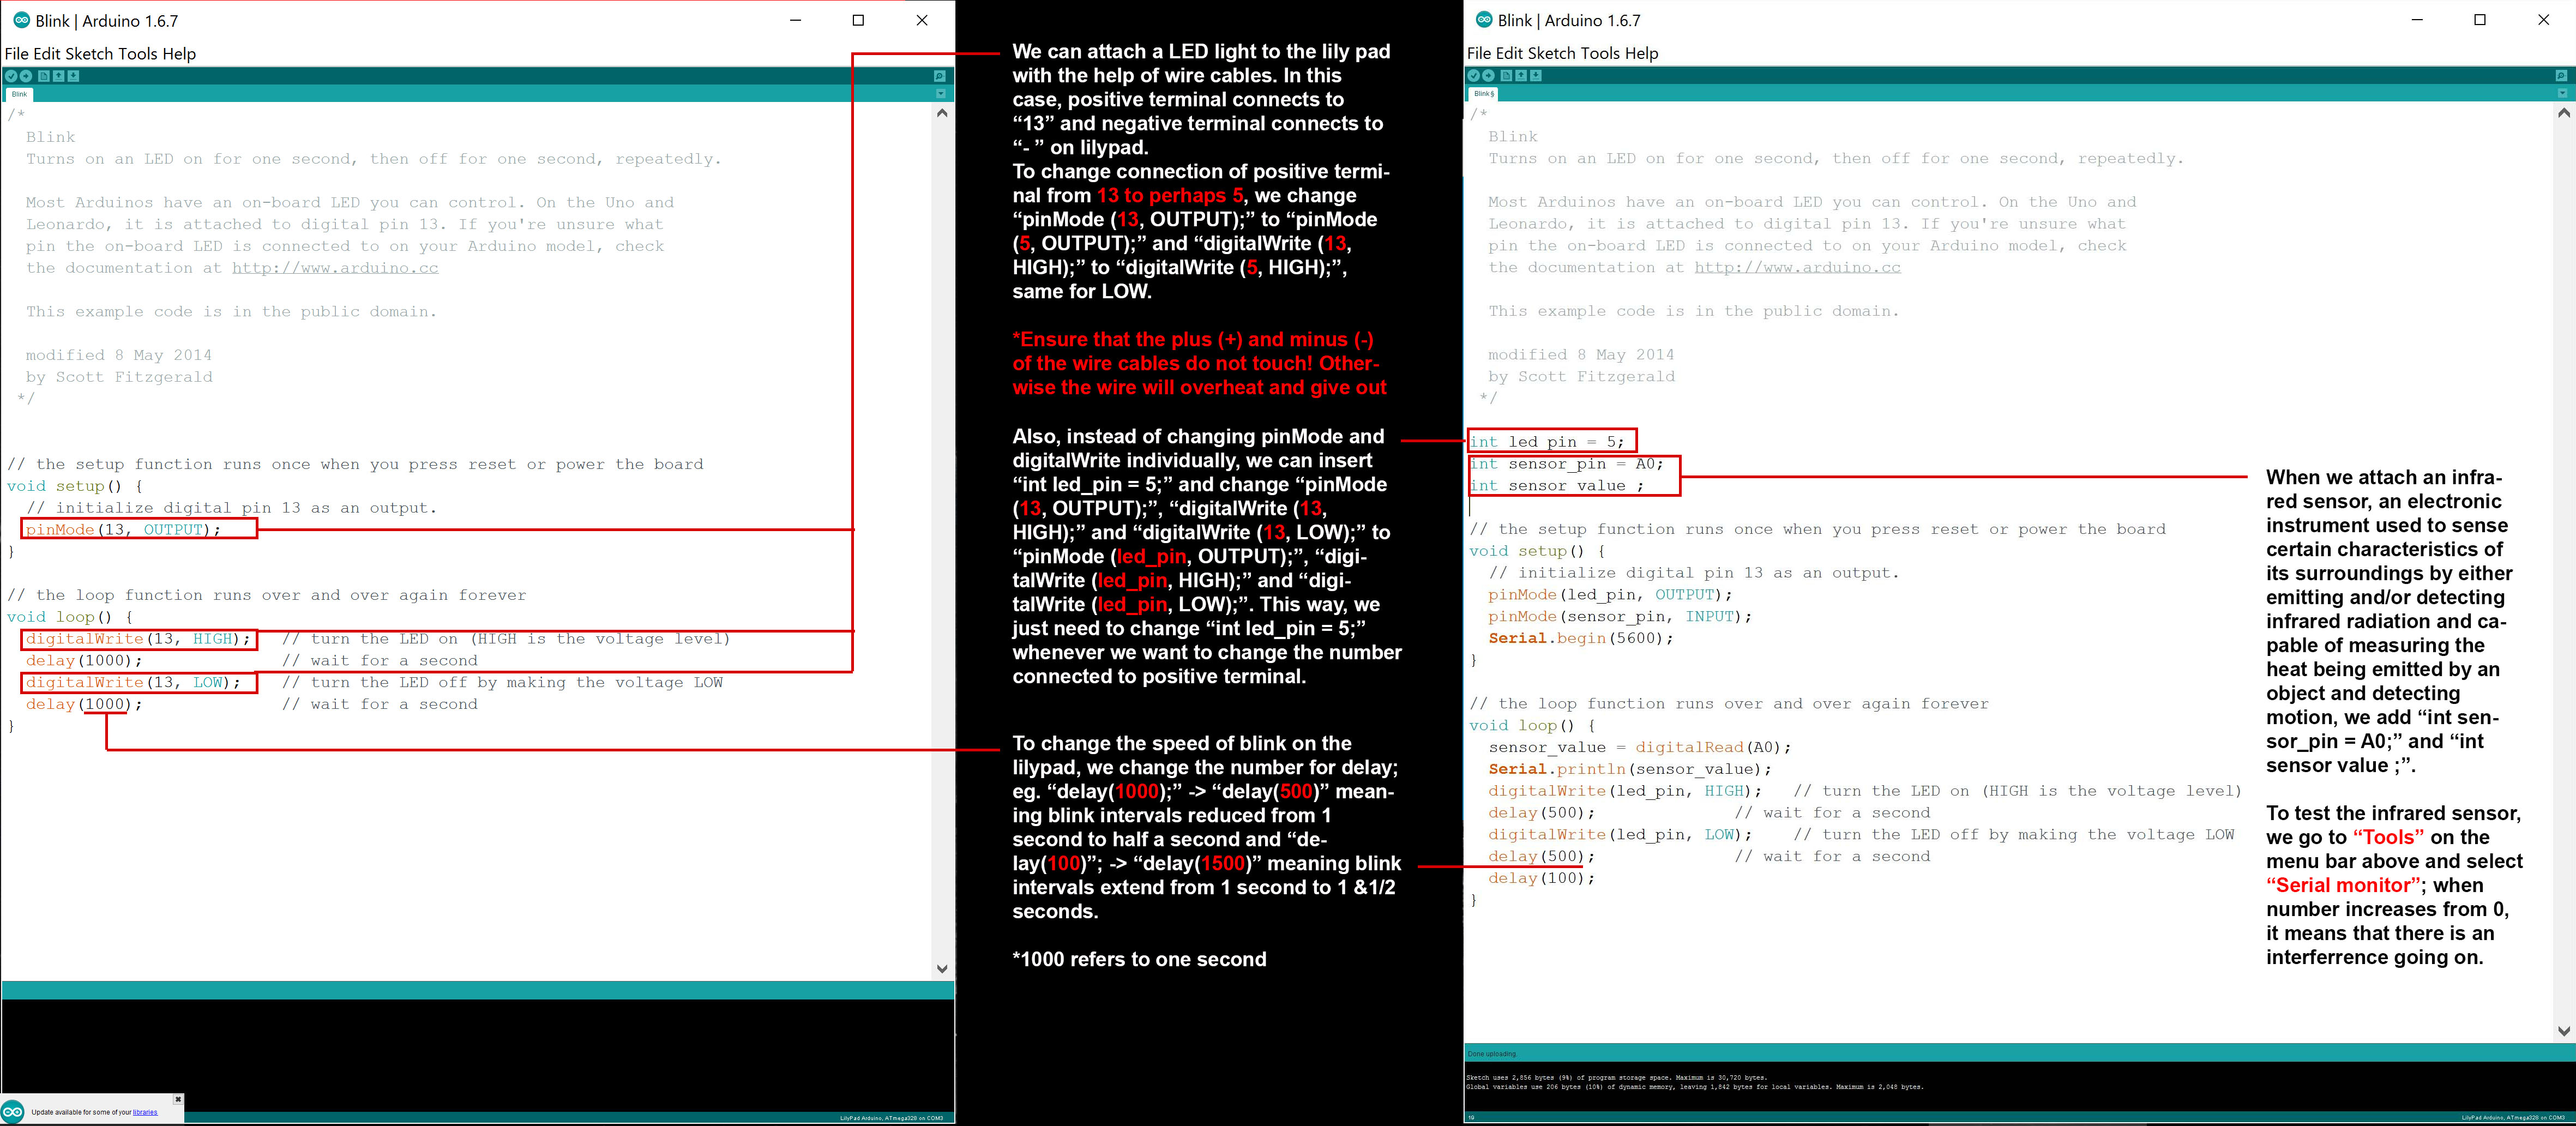
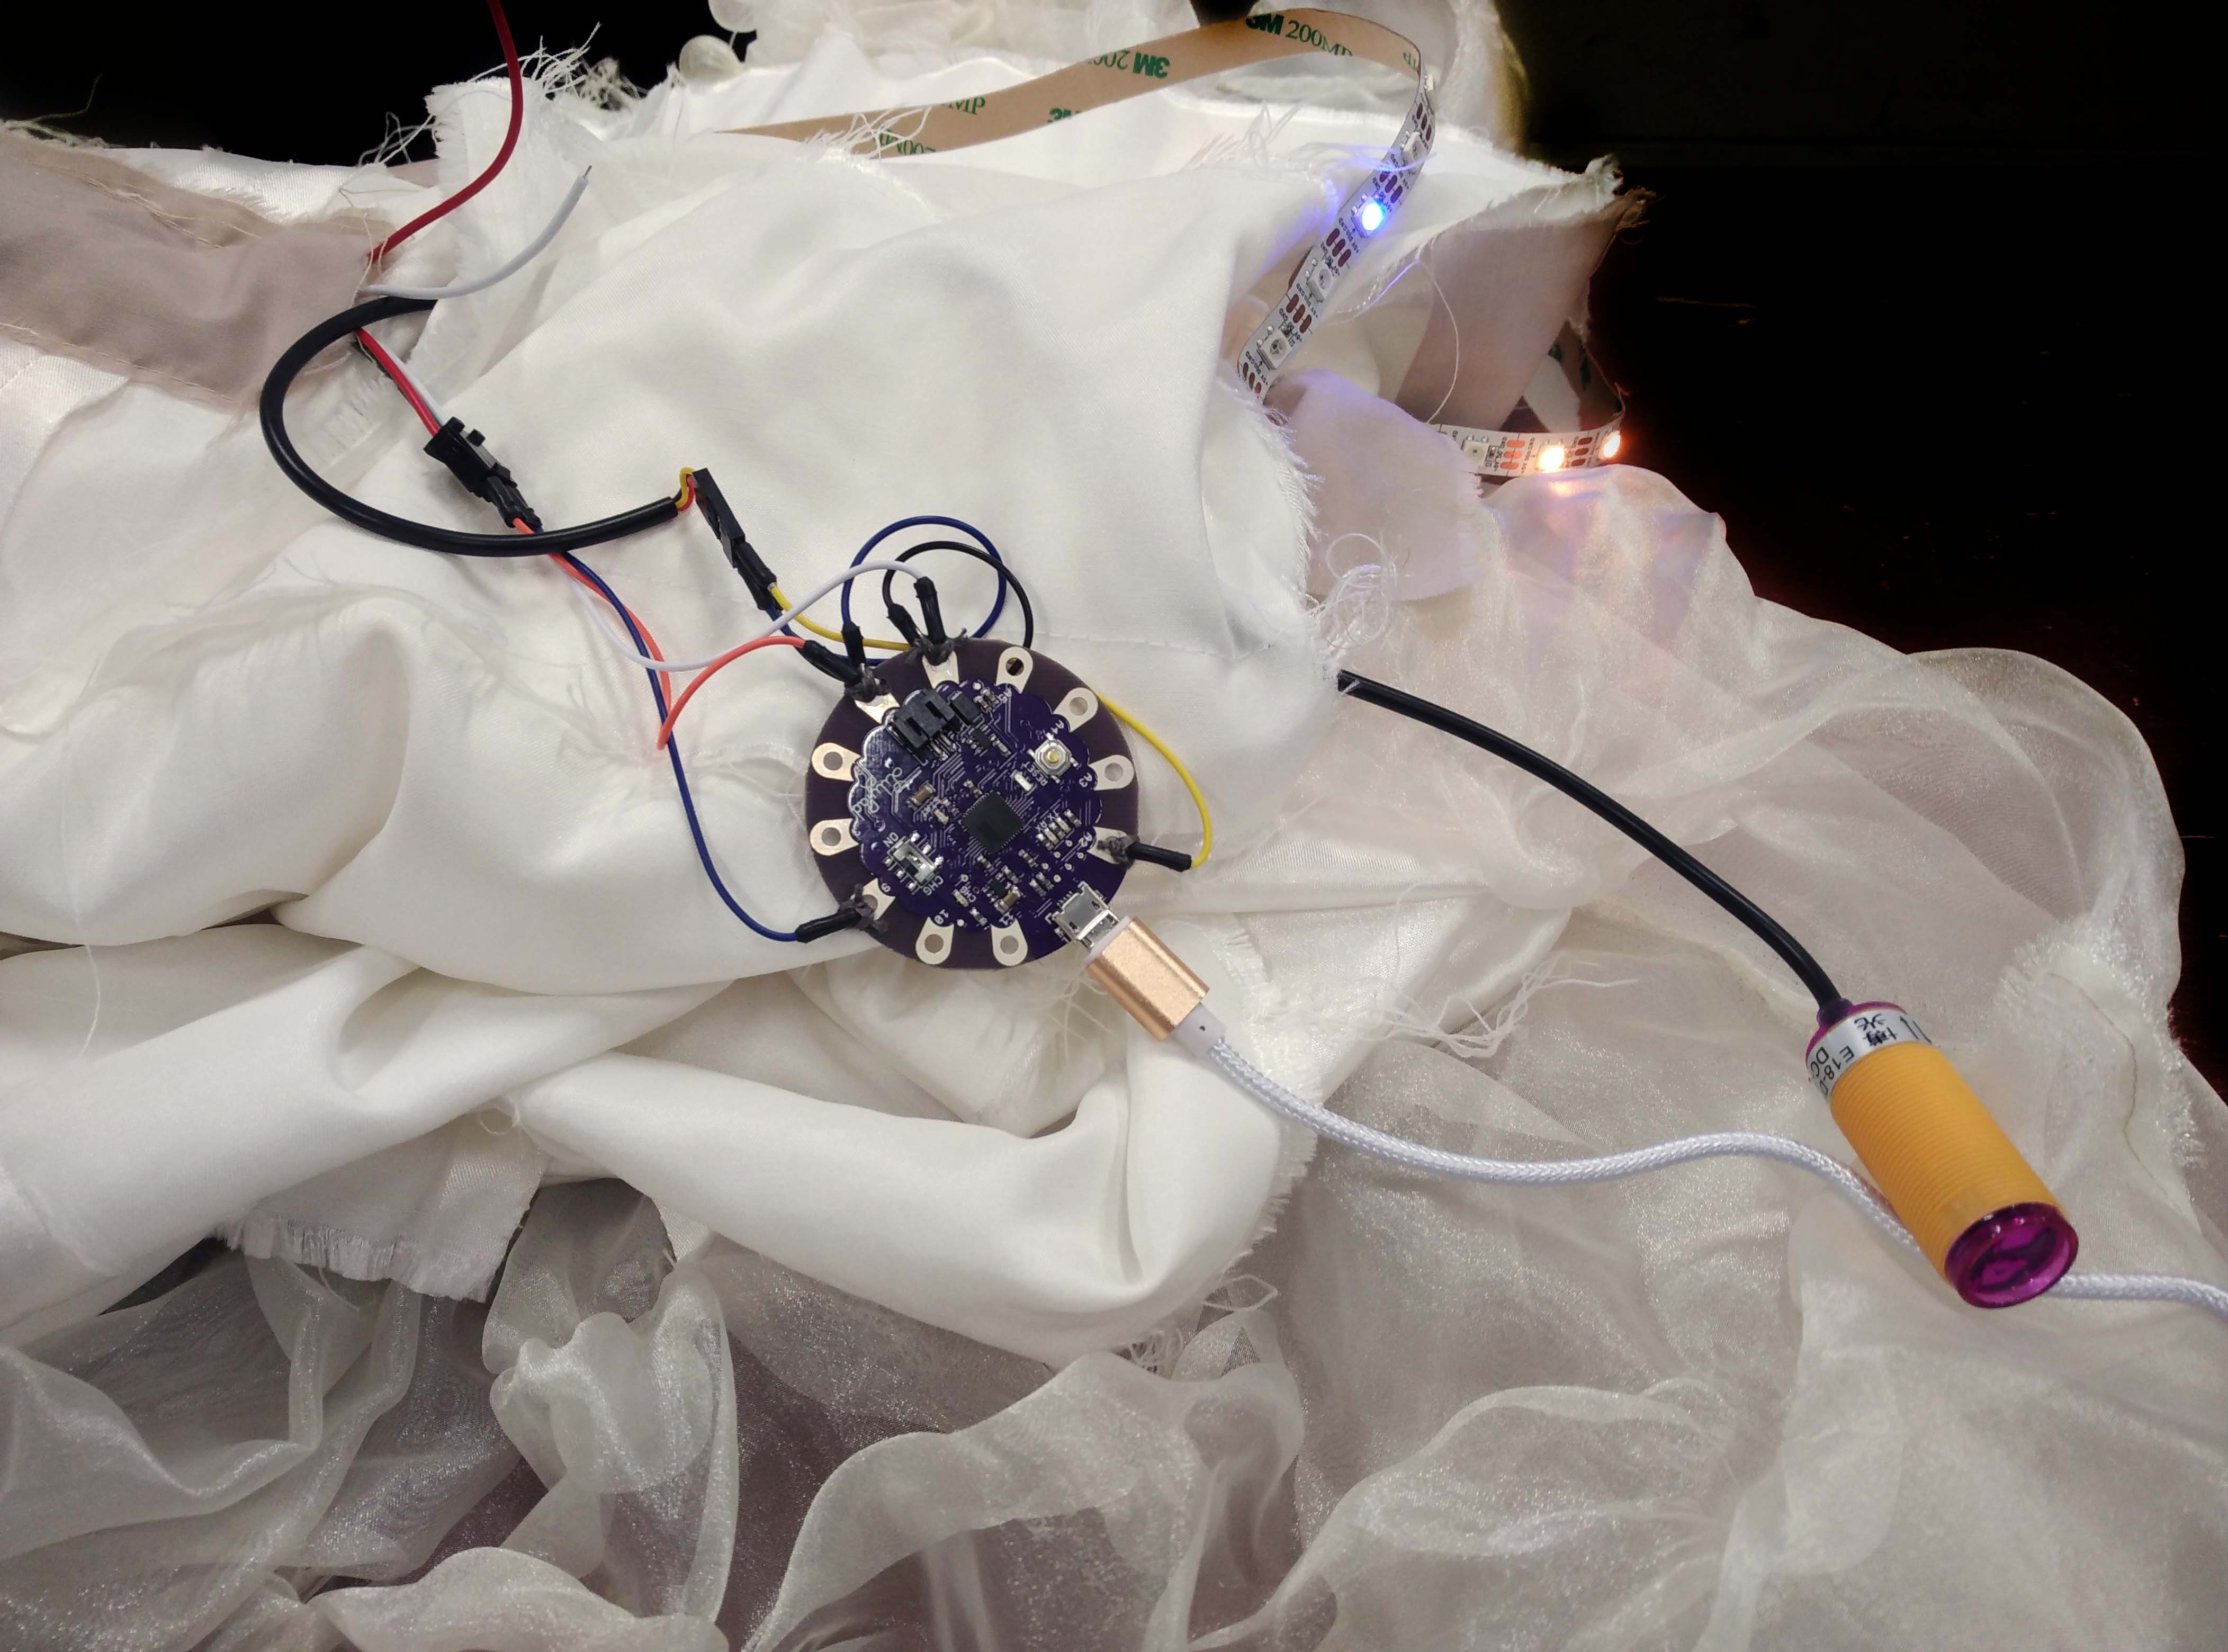
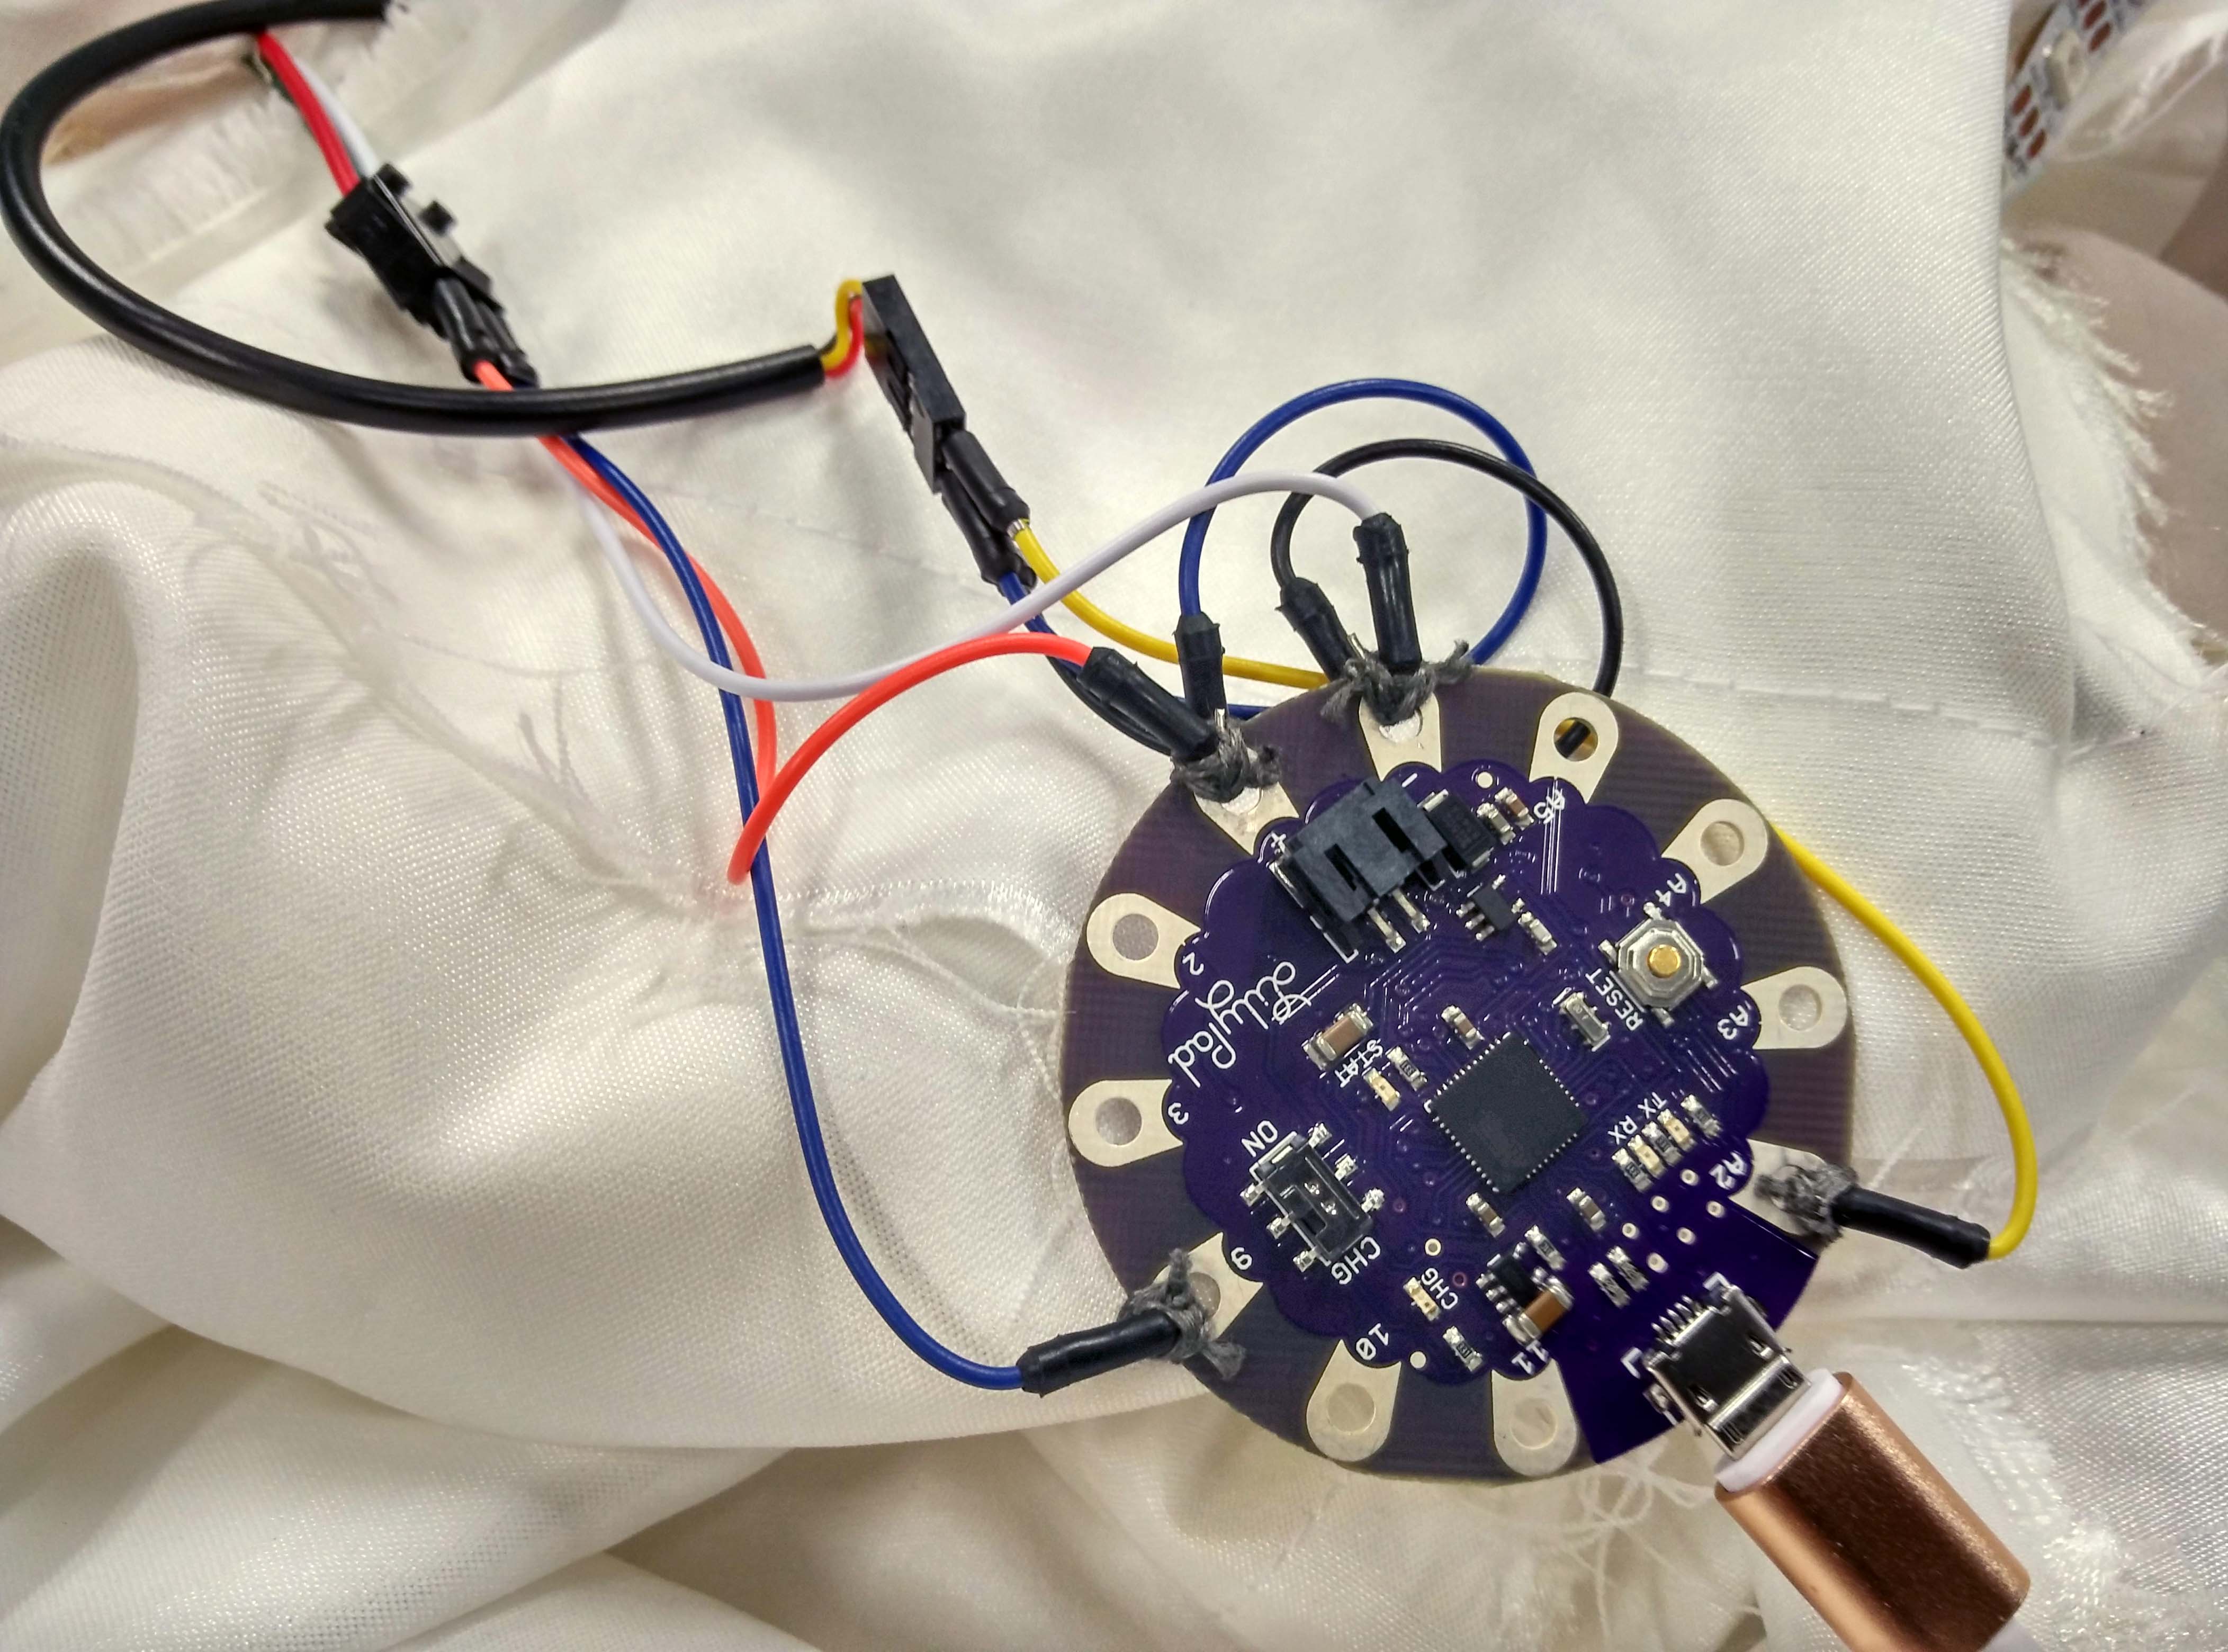
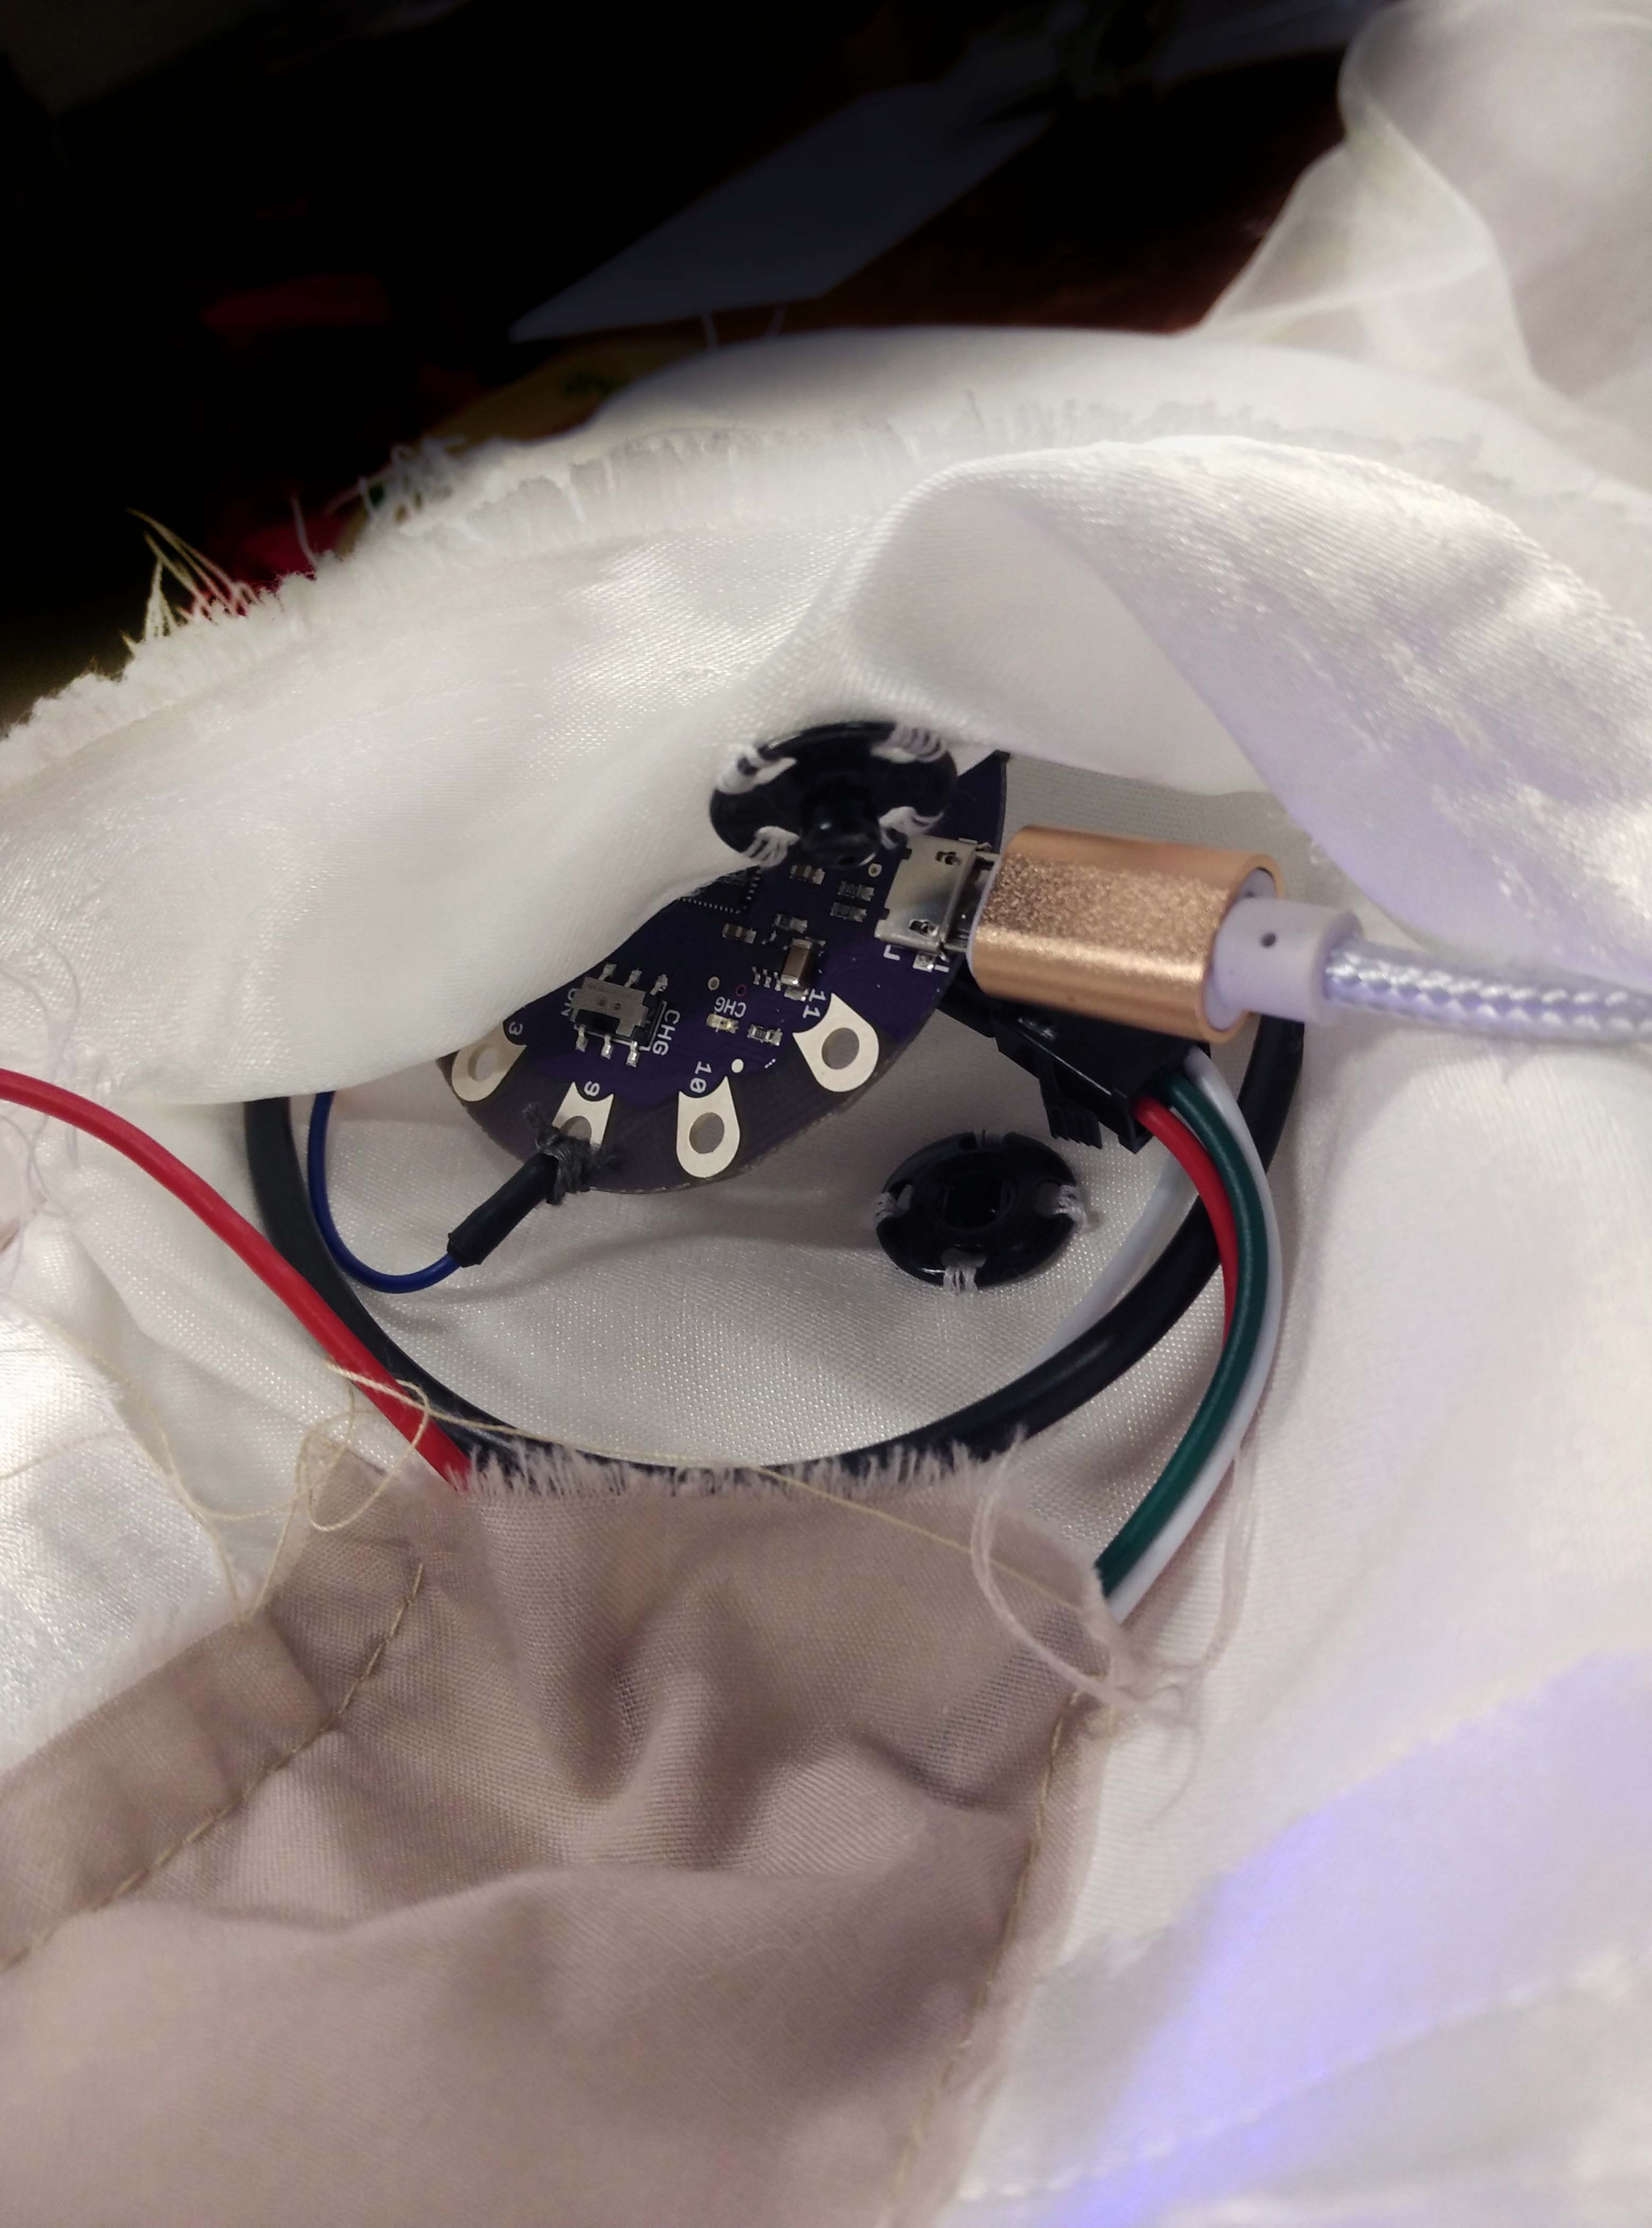
Infrared sensor and Lilypad main circuit board with power bank to operate the light strip

Infrared sensor and Lilypad main circuit board
Sewing with conductive thread to connect the Lilypad with the wires
Sewing on a piece of cloth to make a pouch and a button to secure the Lilypad and power bank in the pocket.

I couldn’t have managed a dress without constant encouragement and guidance from my professor, Galina. She taught me the technique of two layered dress (she always surprises me) and she pushes me to think “avant-garde”. This is the first dress I made for myself! Whether my dress looks like a white Christmas tree, colourful white Christmas tree, or a wedding dress, I feel satisfied with my first attempt and feel that the countless nights I spent making it paid off.

Music and Performance

I chose to incorporate opera music piece to my performance because I like the idea of dramatic voice that wobbles like a jellyfish (rather, the smooth and sonorous vibrations inherent in a natural voice). Randall has suggested Chinese opera music in specific which feels closer to my race (as a Chinese) and the addition of distortions in the sound whenever my crazy jellyfish persona surfaces. (In short, I really like Randall’s suggestions and I am awed at his wonderful expertise on managing sound systems.)

In addition to the music, I have consulted my professor, Naga, for guidance to make the lights blink at 1 second intervals and the colourful lights to increase in blinking rate (speed) every 5 seconds from a starting blinking rate of 1.5 seconds to 10 milliseconds (which is 1500 to 10). (In short, Naga is an intelligent and awesome man.)

Project Update (week 8-9)

Wearable Technology

To embark on our project on wearable technology, I went to buy cloths and electronics.

Choosing the necessary electronics

I had to choose between two types of lilypad main boards, one with USB port for charging and programming and another without the ports but with more holes. I decided to get the one with the ports so I don’t need to buy additional components, such as the ports.

Other electronics I bought include an infrared sensor, RGB LED and conductive thread.

Choosing between two Lilypads


Creating textures on the surface of polyester fabric
First, I tied marbles with the polyester fabric.
First, I tie marbles with the polyester fabric.


After I have finished attaching three dimensional objects on to the polyester fabric.
End product with three dimensional objects (marbles and pleating made with aluminium foils) attach onto the polyester fabric.


Before I start boiling the fabric, I did some research to make sure that I do not burn my fabric. I made some reference to this PDF: The effect of changing temperature on polyester

Next, I wrap the fabric with the marbles in aluminium foil (like the roast chicken in NTUC) and place it in a pot to boil for about 45 minutes.


After 45 minutes, I flip open the lid of the pot to check if the fabric have change its form under heat. Apparently, it was loose. So I place it back to boil for a second time (about another 30 minutes).
After 45 minutes, I flip open the lid of the pot to check if the fabric have change its form under heat.
Apparently, it was loose. So I place it back to boil for a second time (about another 30 minutes).


After the second boiling, I took out the fabric using tongs and placed it on top of a towel to cool.
After the second boiling, I take out the fabric using tongs and place it on top of a towel to cool.
After the second boiling, I took out the fabric using tongs and placed it on top of a towel to cool.
When the fabric has cooled, I remove all the marbles and aluminium foils.


When the fabric has cooled
Removing the aluminum foil to reveal the pleated fabric
process 10
Pleated fabric


Pleated fabric
Pleated fabric


I let the fabric dry under room temperature.


process 6 process 7 process 8


A second piece I made which is smaller than the first one.


Testing the RGB LED with conductive thread: Apparently, the light did not light up when I used the conductive thread in replacement of wires...more testing with soldering needs to be done.
Testing the RGB LED with Arduino Uno using conductive threads: Apparently, the light did not light up when I used the conductive thread in replacement of wires…more testing with soldering needs to be done.


Changing the colour of the lights by working between the numbers 0 to 255 on the RGB colour codes(refer to RGB colour codes chart).
Changing the colour of the lights by working between the numbers 0 to 255 on the RGB colour codes using Arduino programming kit (refer to RGB colour codes chart). To do so, you have to download and install Adafruit_neopixel.

Credits to Nagar, Kamaru, and Randall for guidance.

RGB Colour Codes Chart


Working on the dress

Previously, I have created a sketch of the dress inspired by Jellyfish.

Sketch of Jellyfish dress

With guidance by my professor, Galina, I have managed to create a simple dress with some alterations made to the initial sketch.

Dress idea 1
Dress idea 1
Dress idea 2
Dress idea 2
Dress idea 3
Dress idea 3
Dress idea 4
Dress idea 4
Dress idea 5
Dress idea 5
Close up of asymmetrical layering of fabric
Top view
Top view

More coming up…

Programming

Arduino

This post is a reflection on what I have learnt in programming during the lesson on week 4.

Programming can be summarised into three terms:

Input –> Controller –> Output

Using Arduino, a software development kit (SDK), we can programme electronic components such as the LilyPad in three steps:

Programme –> Compile –> Upload

To start off, we download the software here and install it for use.

Once the software installation is complete, we can open by double-clicking the icon and we should get what is shown in Fig. 1.1.

Fig. 1.1 Arduino is a software development kit (SDK) which can be used to programme Uno, Mega and Lilypad
Fig. 1.1
Arduino is a software development kit (SDK) which can be used to programme Uno, Mega and LilyPad


LED Light and Infrared Sensor

To begin, we connect the LilyPad in place using a USB adapter to our computers/ laptops.

Lilypad with USB adapter

Next we proceed to a number of steps to test for the LED light:

  1. “Tools” –> “Board…” –> “LilyPad Arduino”
  2. “Tools –> “Port”
  3. “File” –> “Examples” –> “01. Basics” –> “Blink” (Fig. 1.2)
Fig. 1.2
Fig. 1.2

We attach an LED light to the LilyPad using wire cables, where the positive terminal (Anode) of the LED is the longer end as compared to the negative terminal (Cathode).

LED
Blue LED
Hunter-Decoder-Cable
Wire cable


To verify for errors during programming, we can click on the tick button (Fig. 1.3) and refer to a black bar below (Fig. 1.4).


Programming 1.3
Fig. 1.3 Verify errors and upload


Fig. 1.4 Black bar and red highlights for errors
Fig. 1.4
Black bar and red highlights for errors

Refer to Fig. 1.5 for more.

Programming 1.5
Fig. 1.5

To conclude, the lesson on programming was something new to me. I learnt the physical appearances and to differentiate between components such as the old LilyPad versions from the new ones (New version has an additional SD card holder unlike the old version that only has a charging port). I believe that there is still a long way before we can materialise our learnings through hands-on practice. I hope that my post would be beneficial in guiding me and my peers to do well in programming.