PSD File: Download Link
FINAL IMAGES
Left: Before
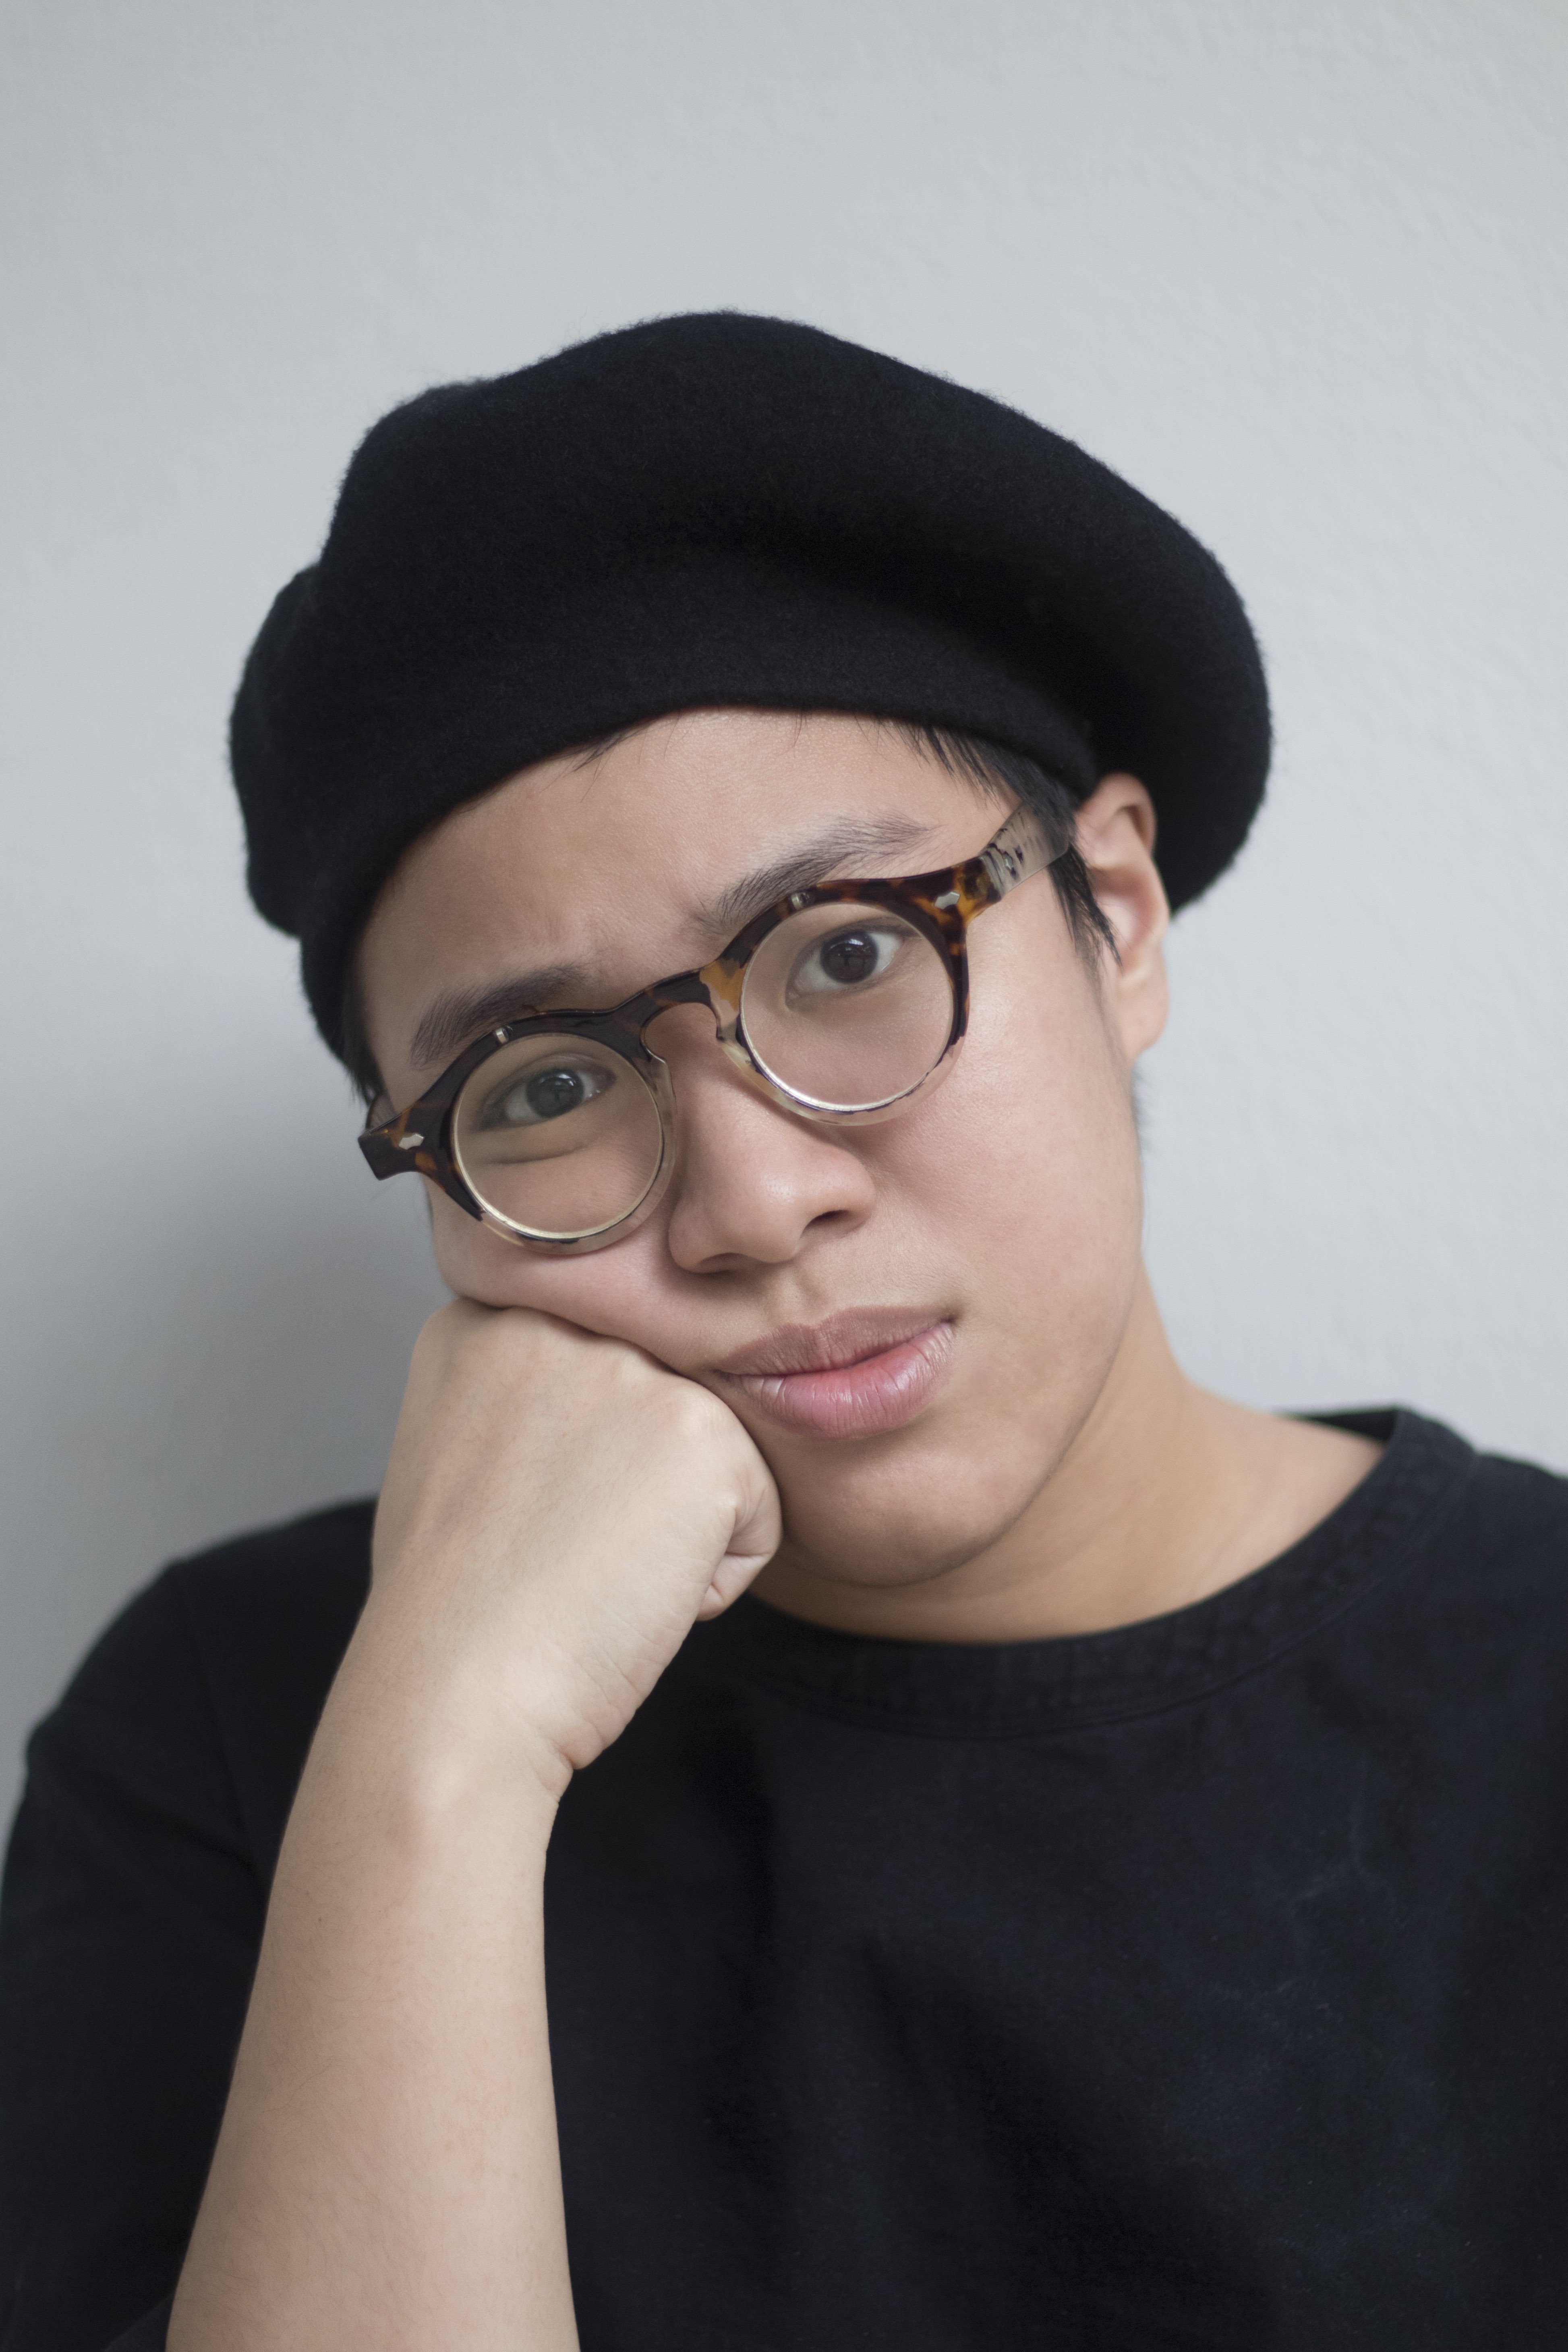
Right: After
(Click to enlarge)
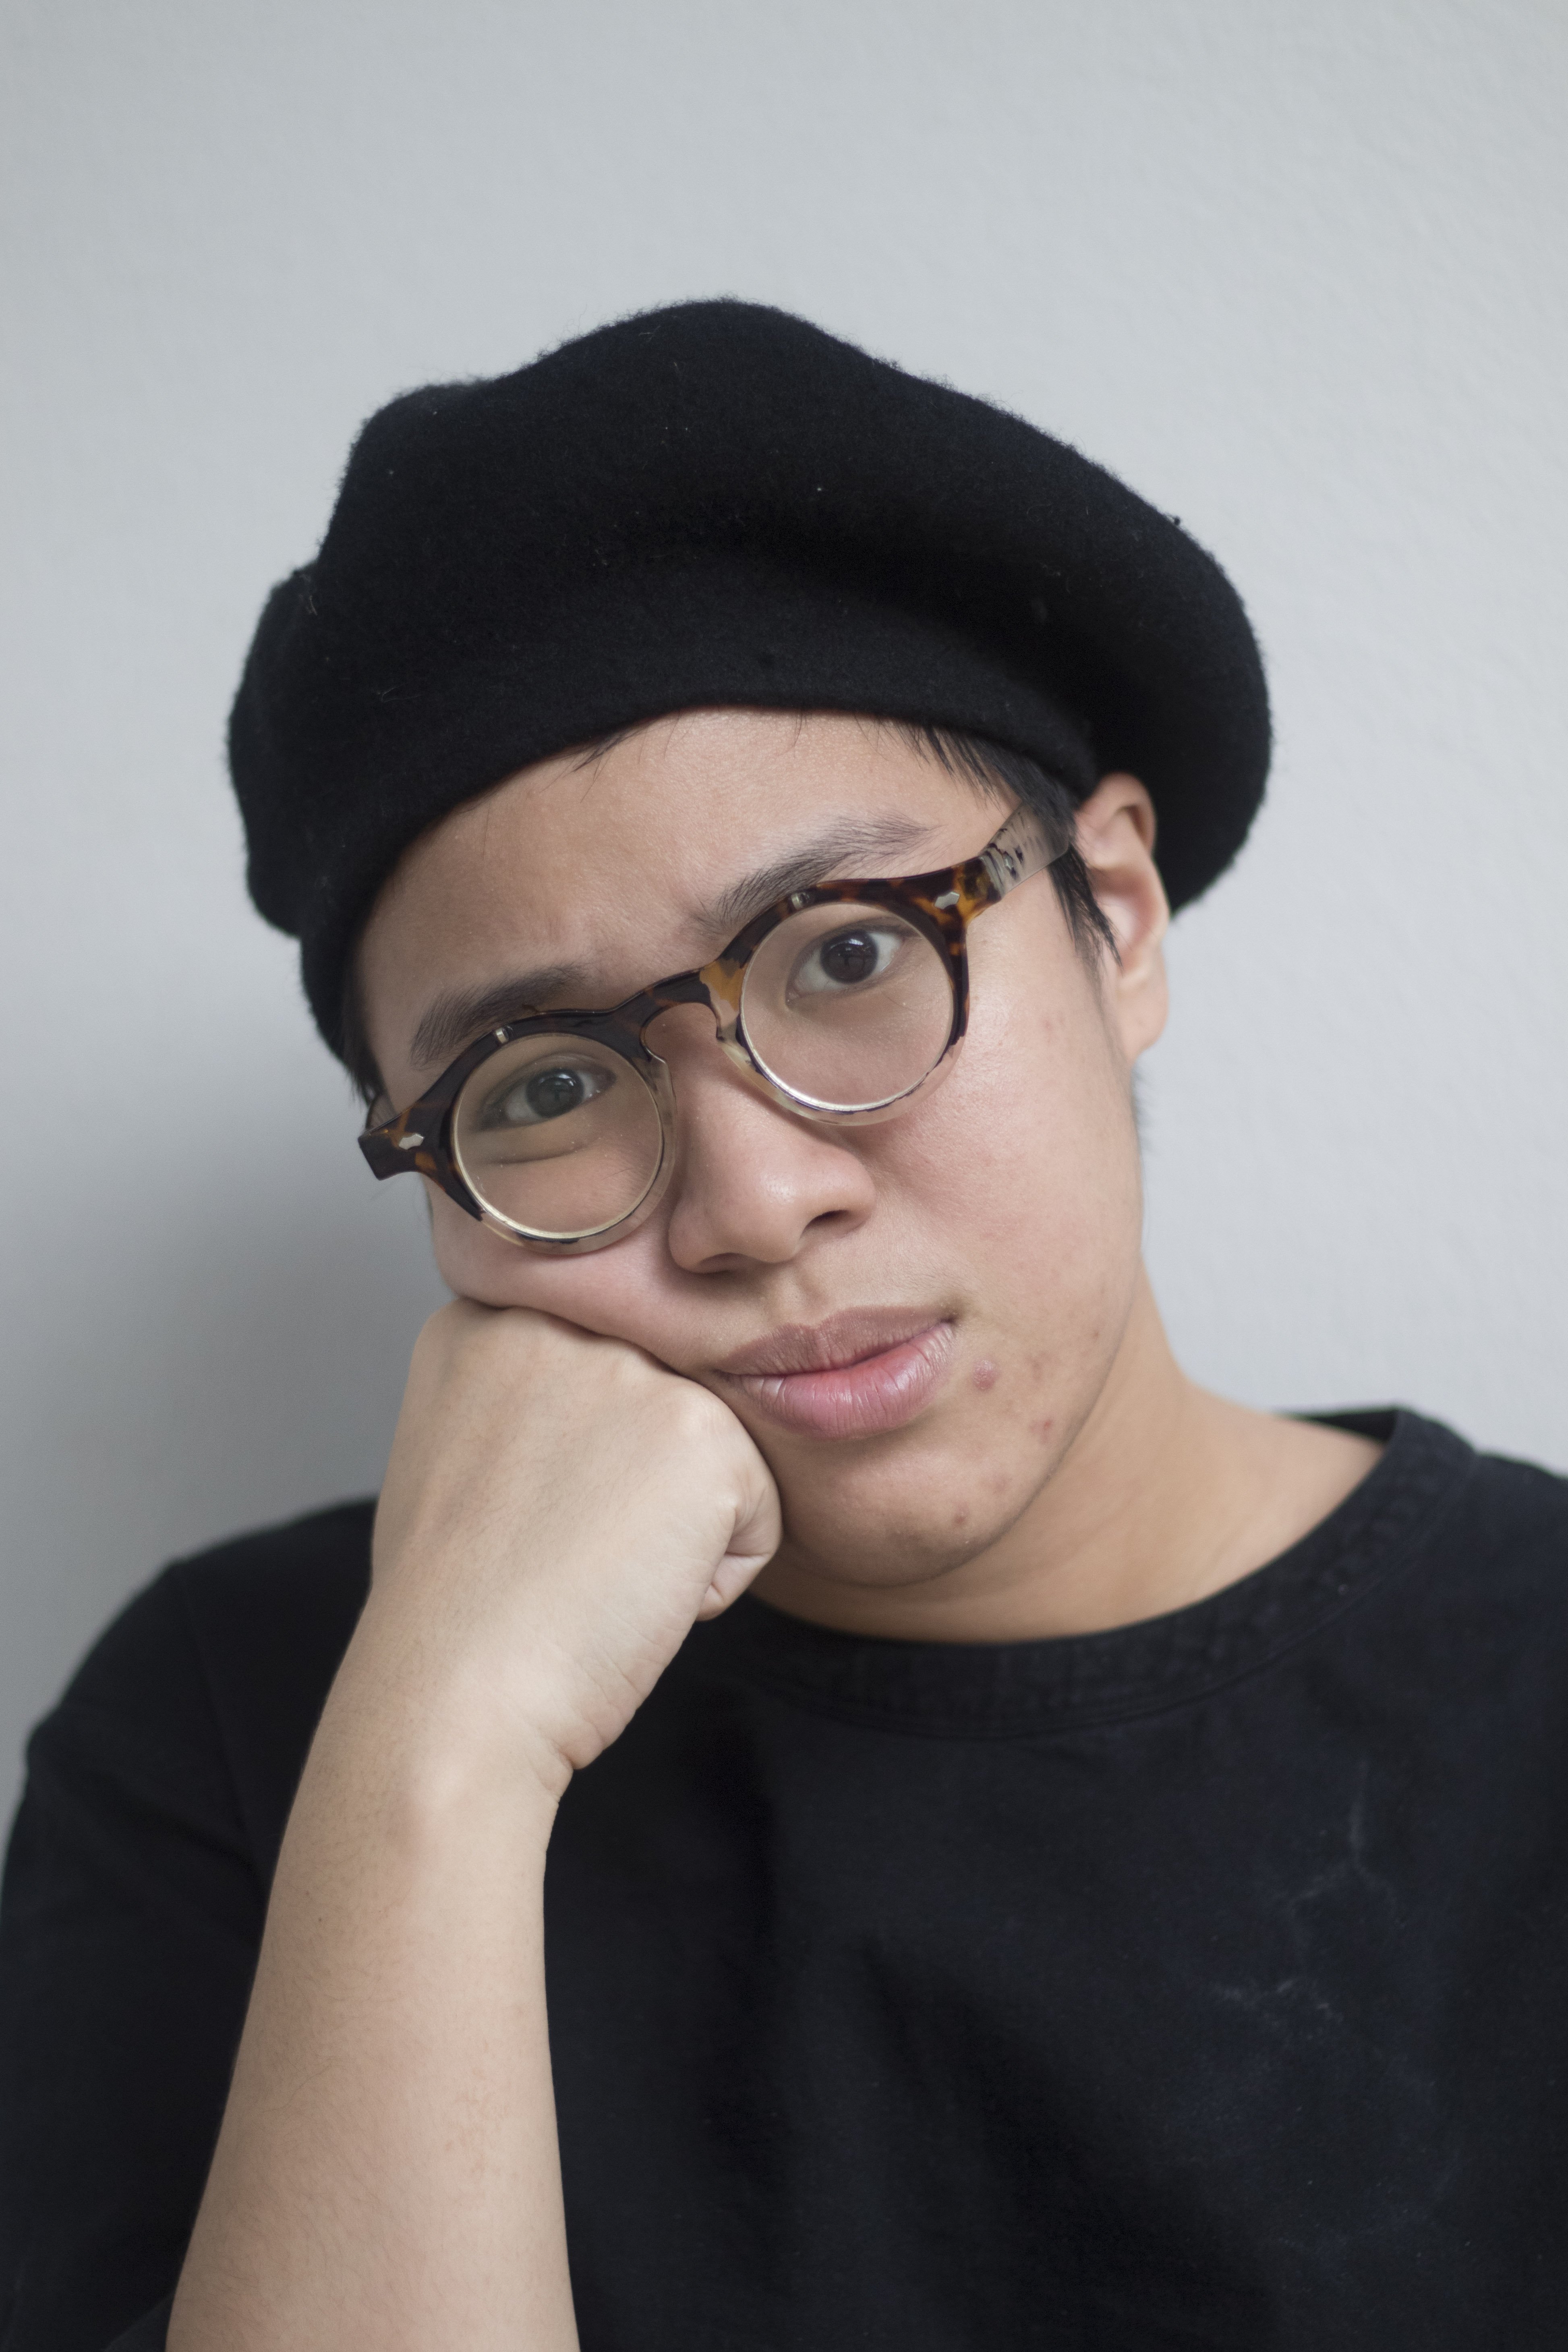
CONCEPT
I wanted to picture someone who’s somewhat exotic, with a unique personality.
You can tell Esther has her own sense of style, with the glasses, the beret, the stained sweater. She might also appear androgynous, though I’m not sure that was intentional. She’s an artist and a really tired animation student, and not to mention really awkward. Like, really awkward.
I originally posed her in more ‘conventional’ model poses with a set up of a stool, an easel and a plant, but eventually decided to capture her awkward, distressed-artist essence through a simple close up shot against a plain background.
TECHNICAL DECISIONS
Camera Settings
Canon EOS 77D: f/2, 1/1250, ISO 400, 50mm
Gotta admit I’m not the most familiar with camera settings so whether these settings are crazy or not I honestly don’t even know.
Digital Process
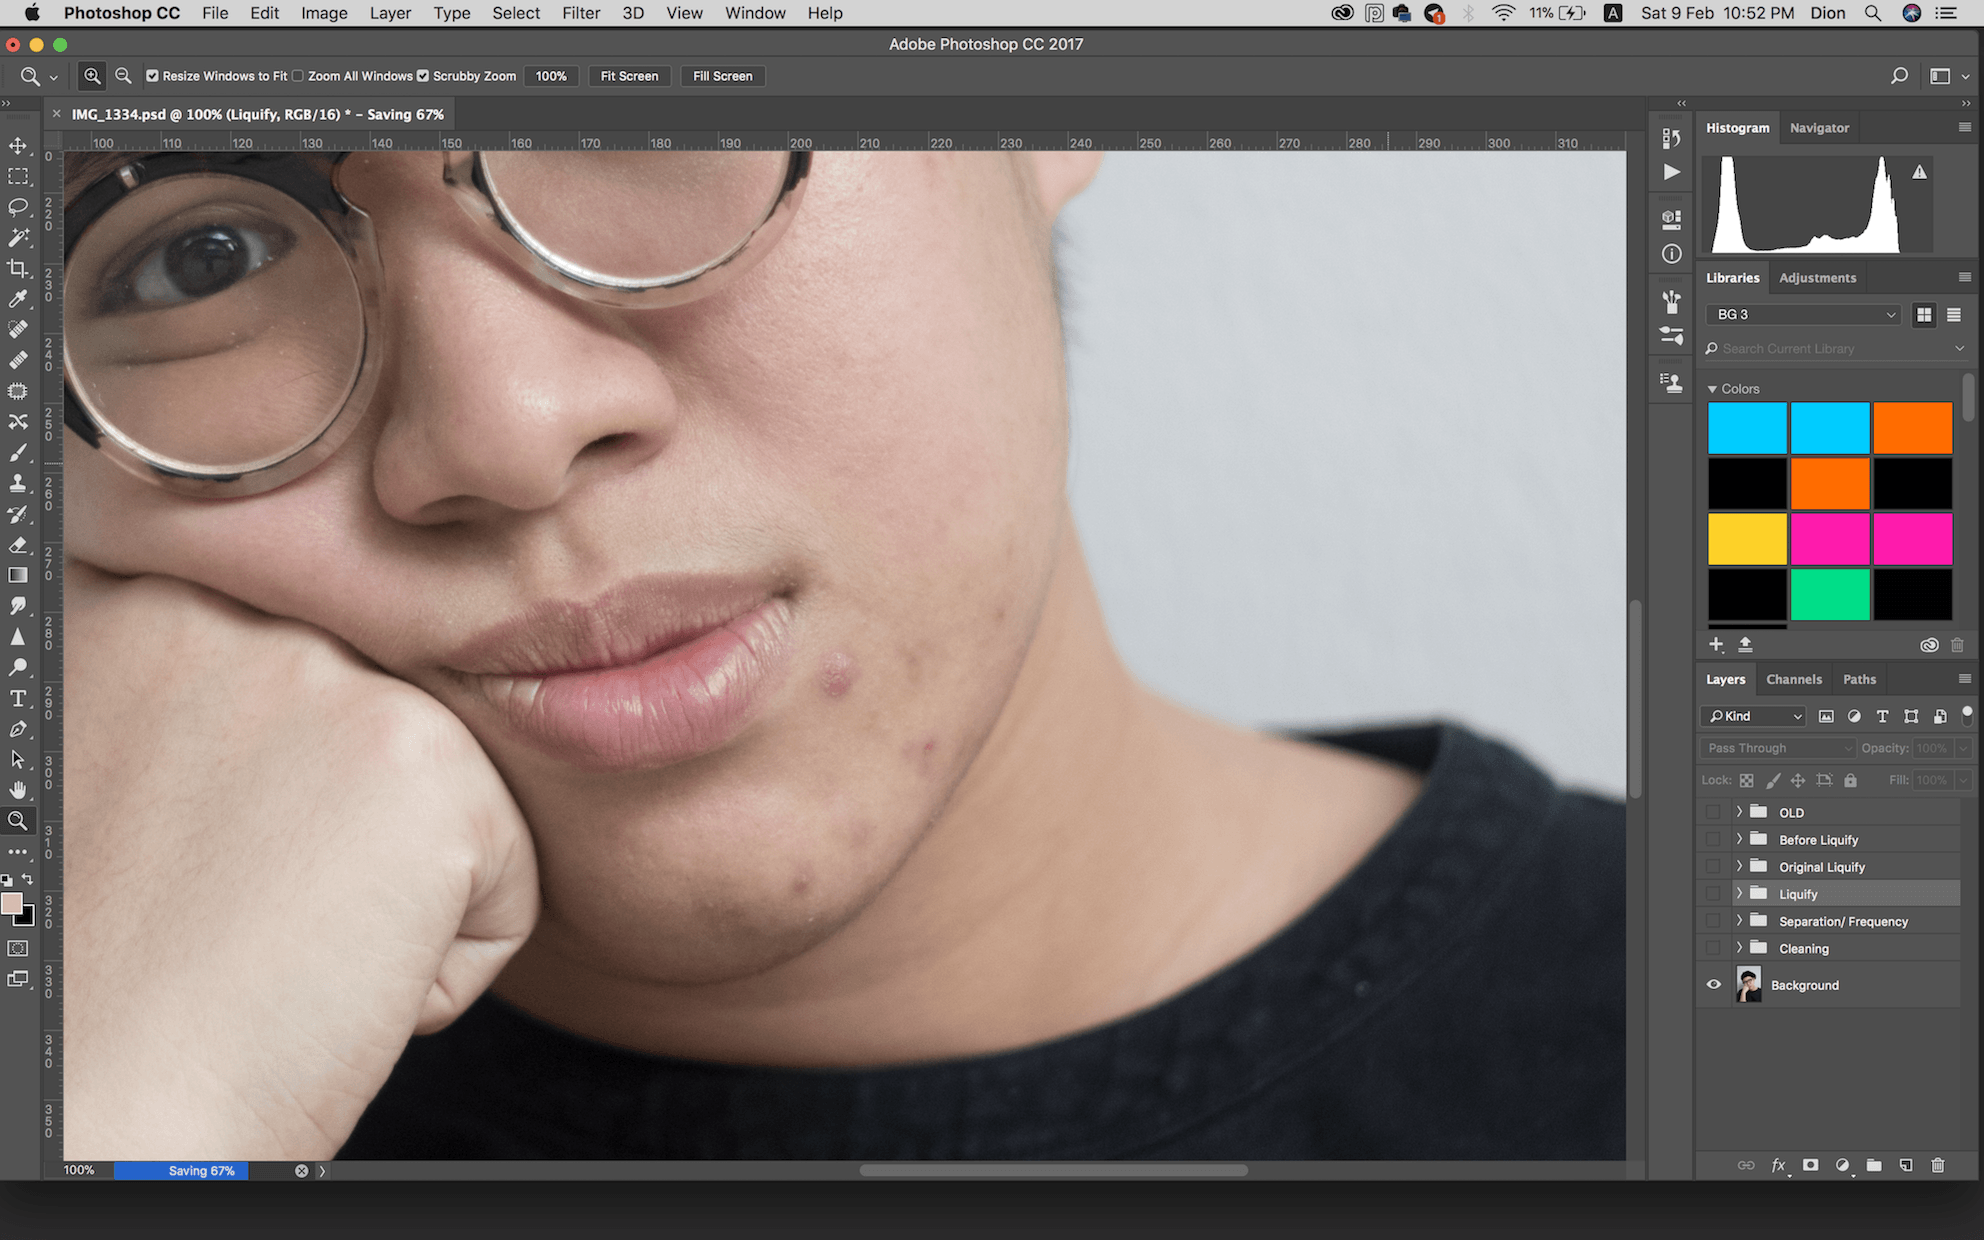
Spot Healing:
The first thing I did was to of course spot heal almost everything possible. I spot healed her spots as much as possible before her skin could turn plastic, then the dirty furring on her beret, then the dirt on her glasses/ eyes as well as her fallen lashes.


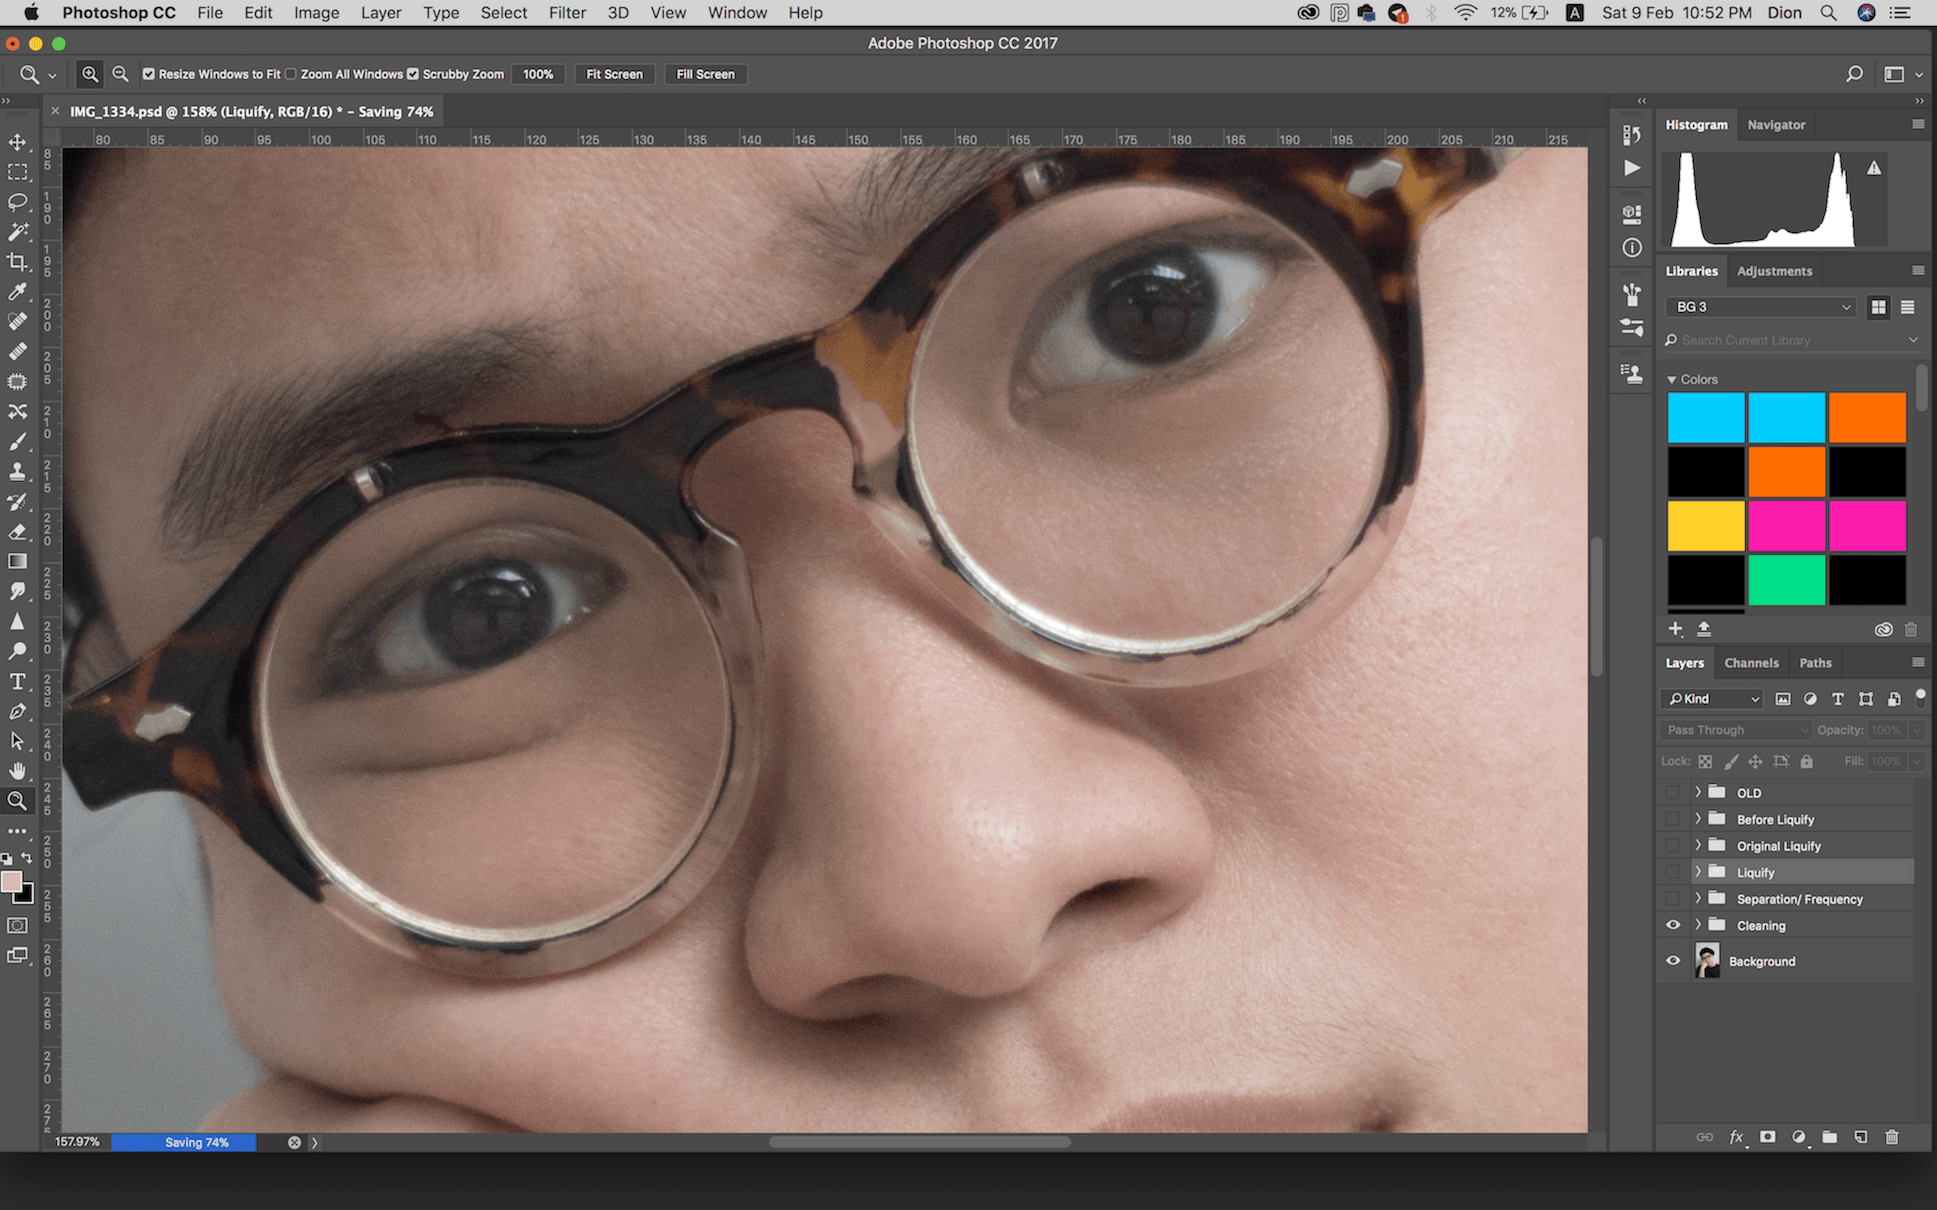
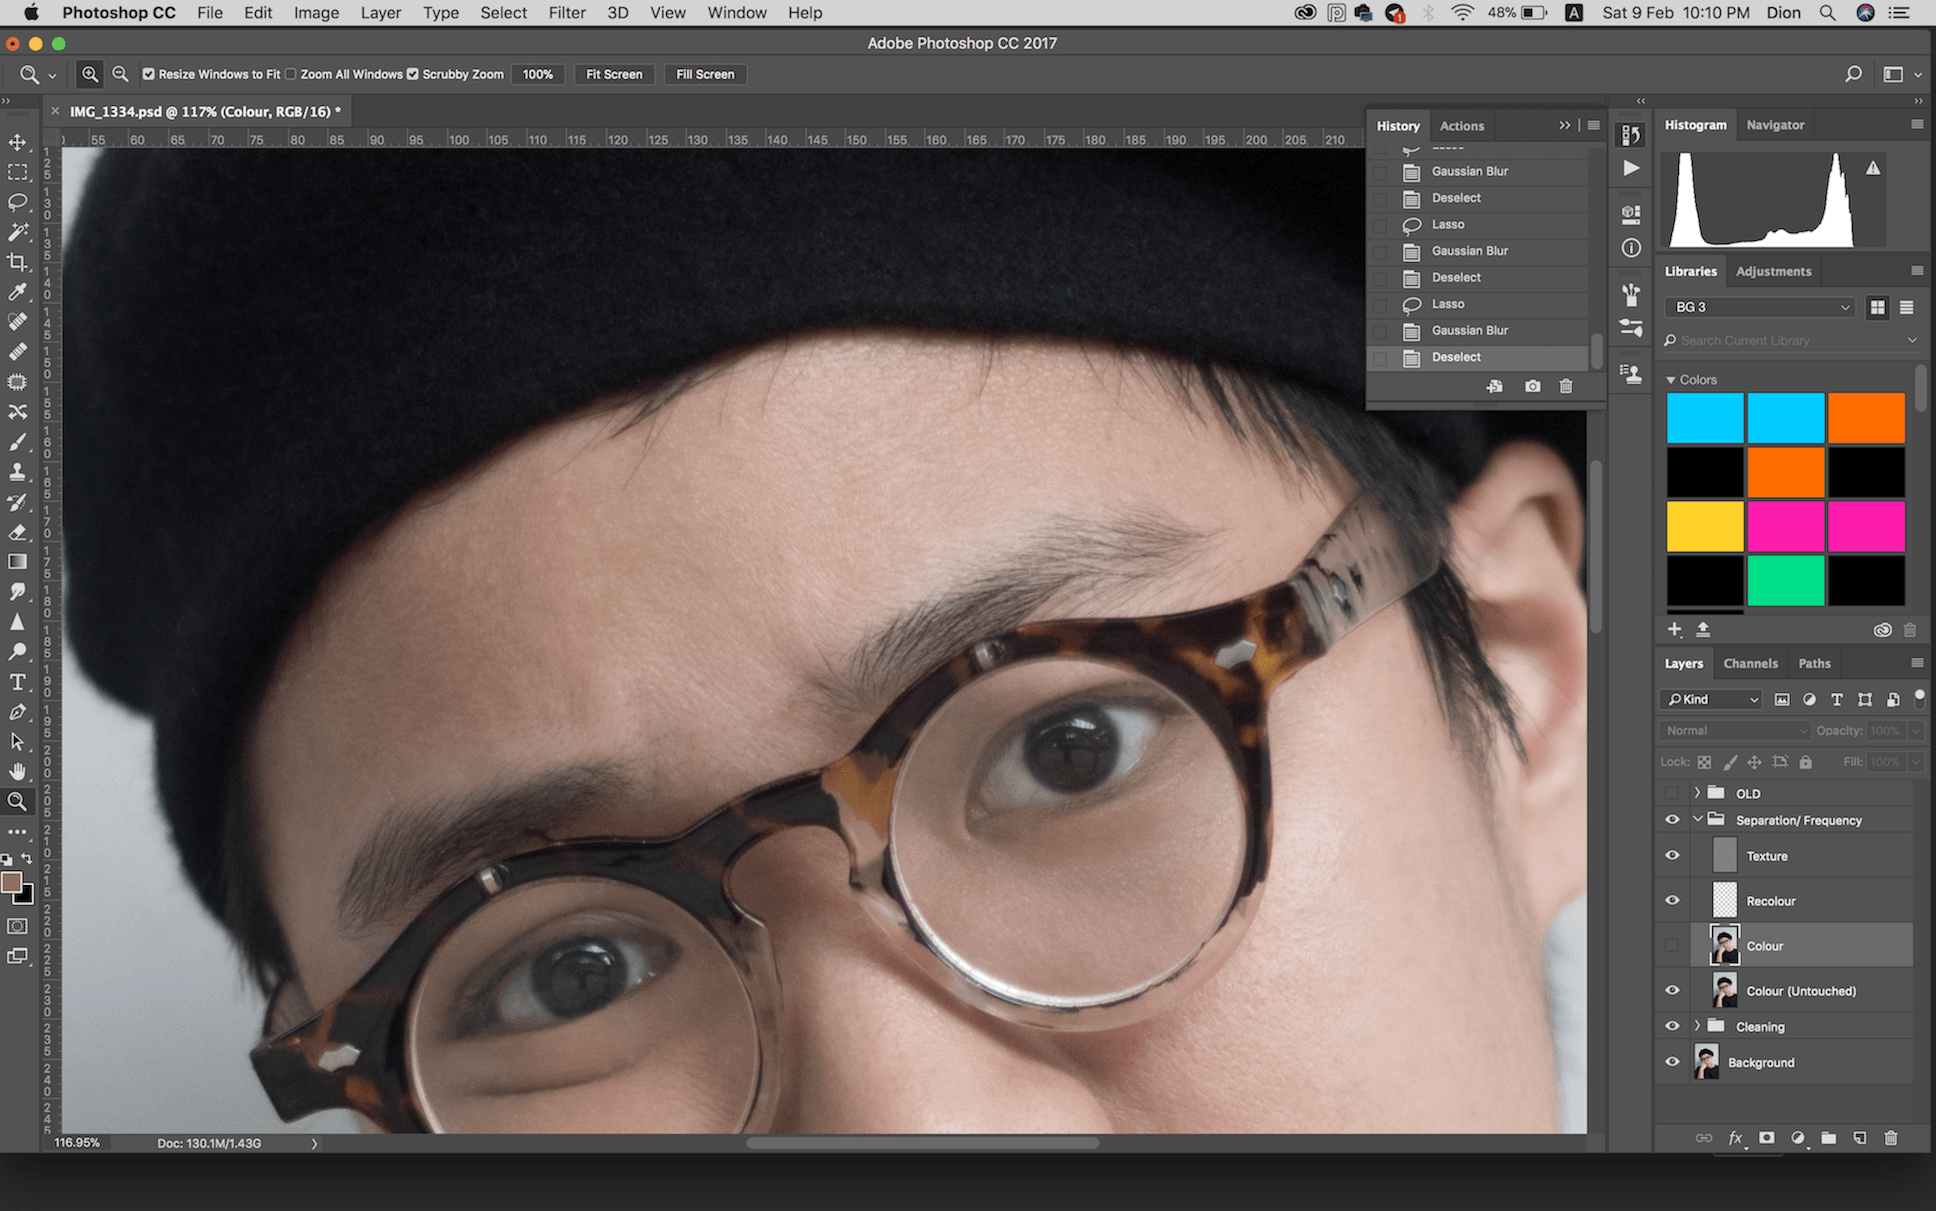
Separation/ Frequency:
1. Recolour
Using the brush tool, I recoloured certain spots on her face where there were redness (from her spots) and discolouration (dark spots around the mouth and chin). I also lightened the lines of her neck a bit but didn’t remove them entirely.

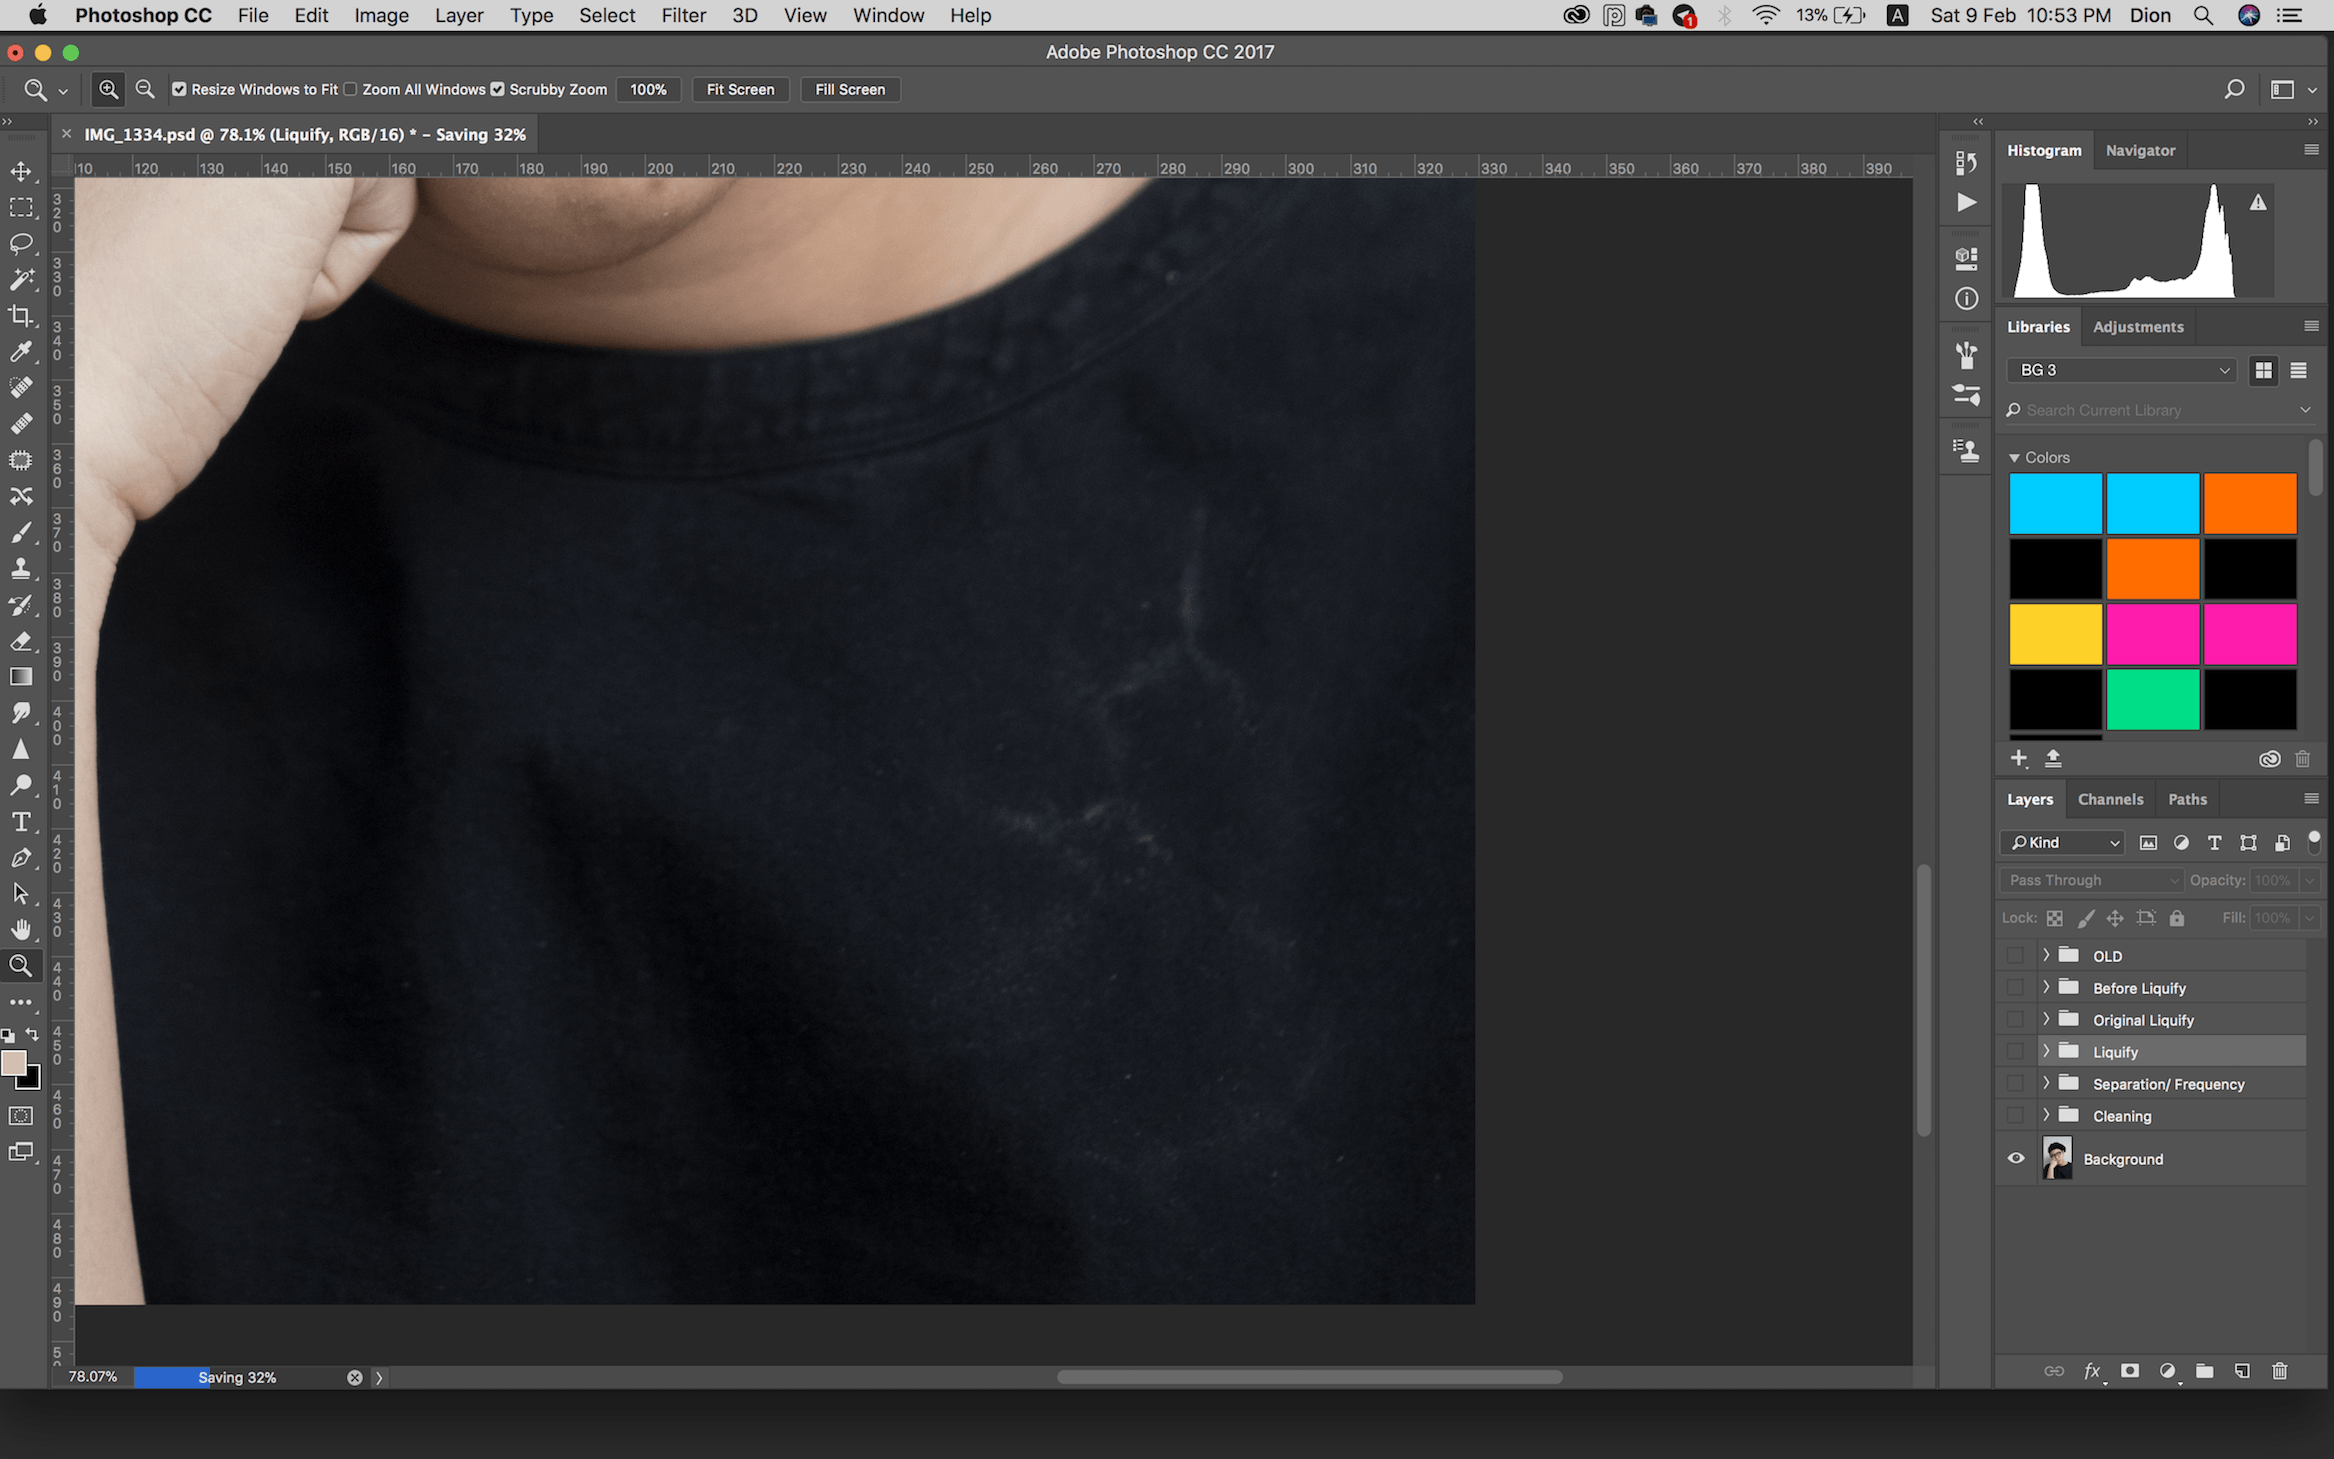
I decided not to fully remove the stains on her sweater because it adds personality, since it is what she chose to wore to this shoot. Without removing, I darkened the stains so that they’re not the centre of attention when someone looks at the portrait, but just a subtle touch to the model’s personality.

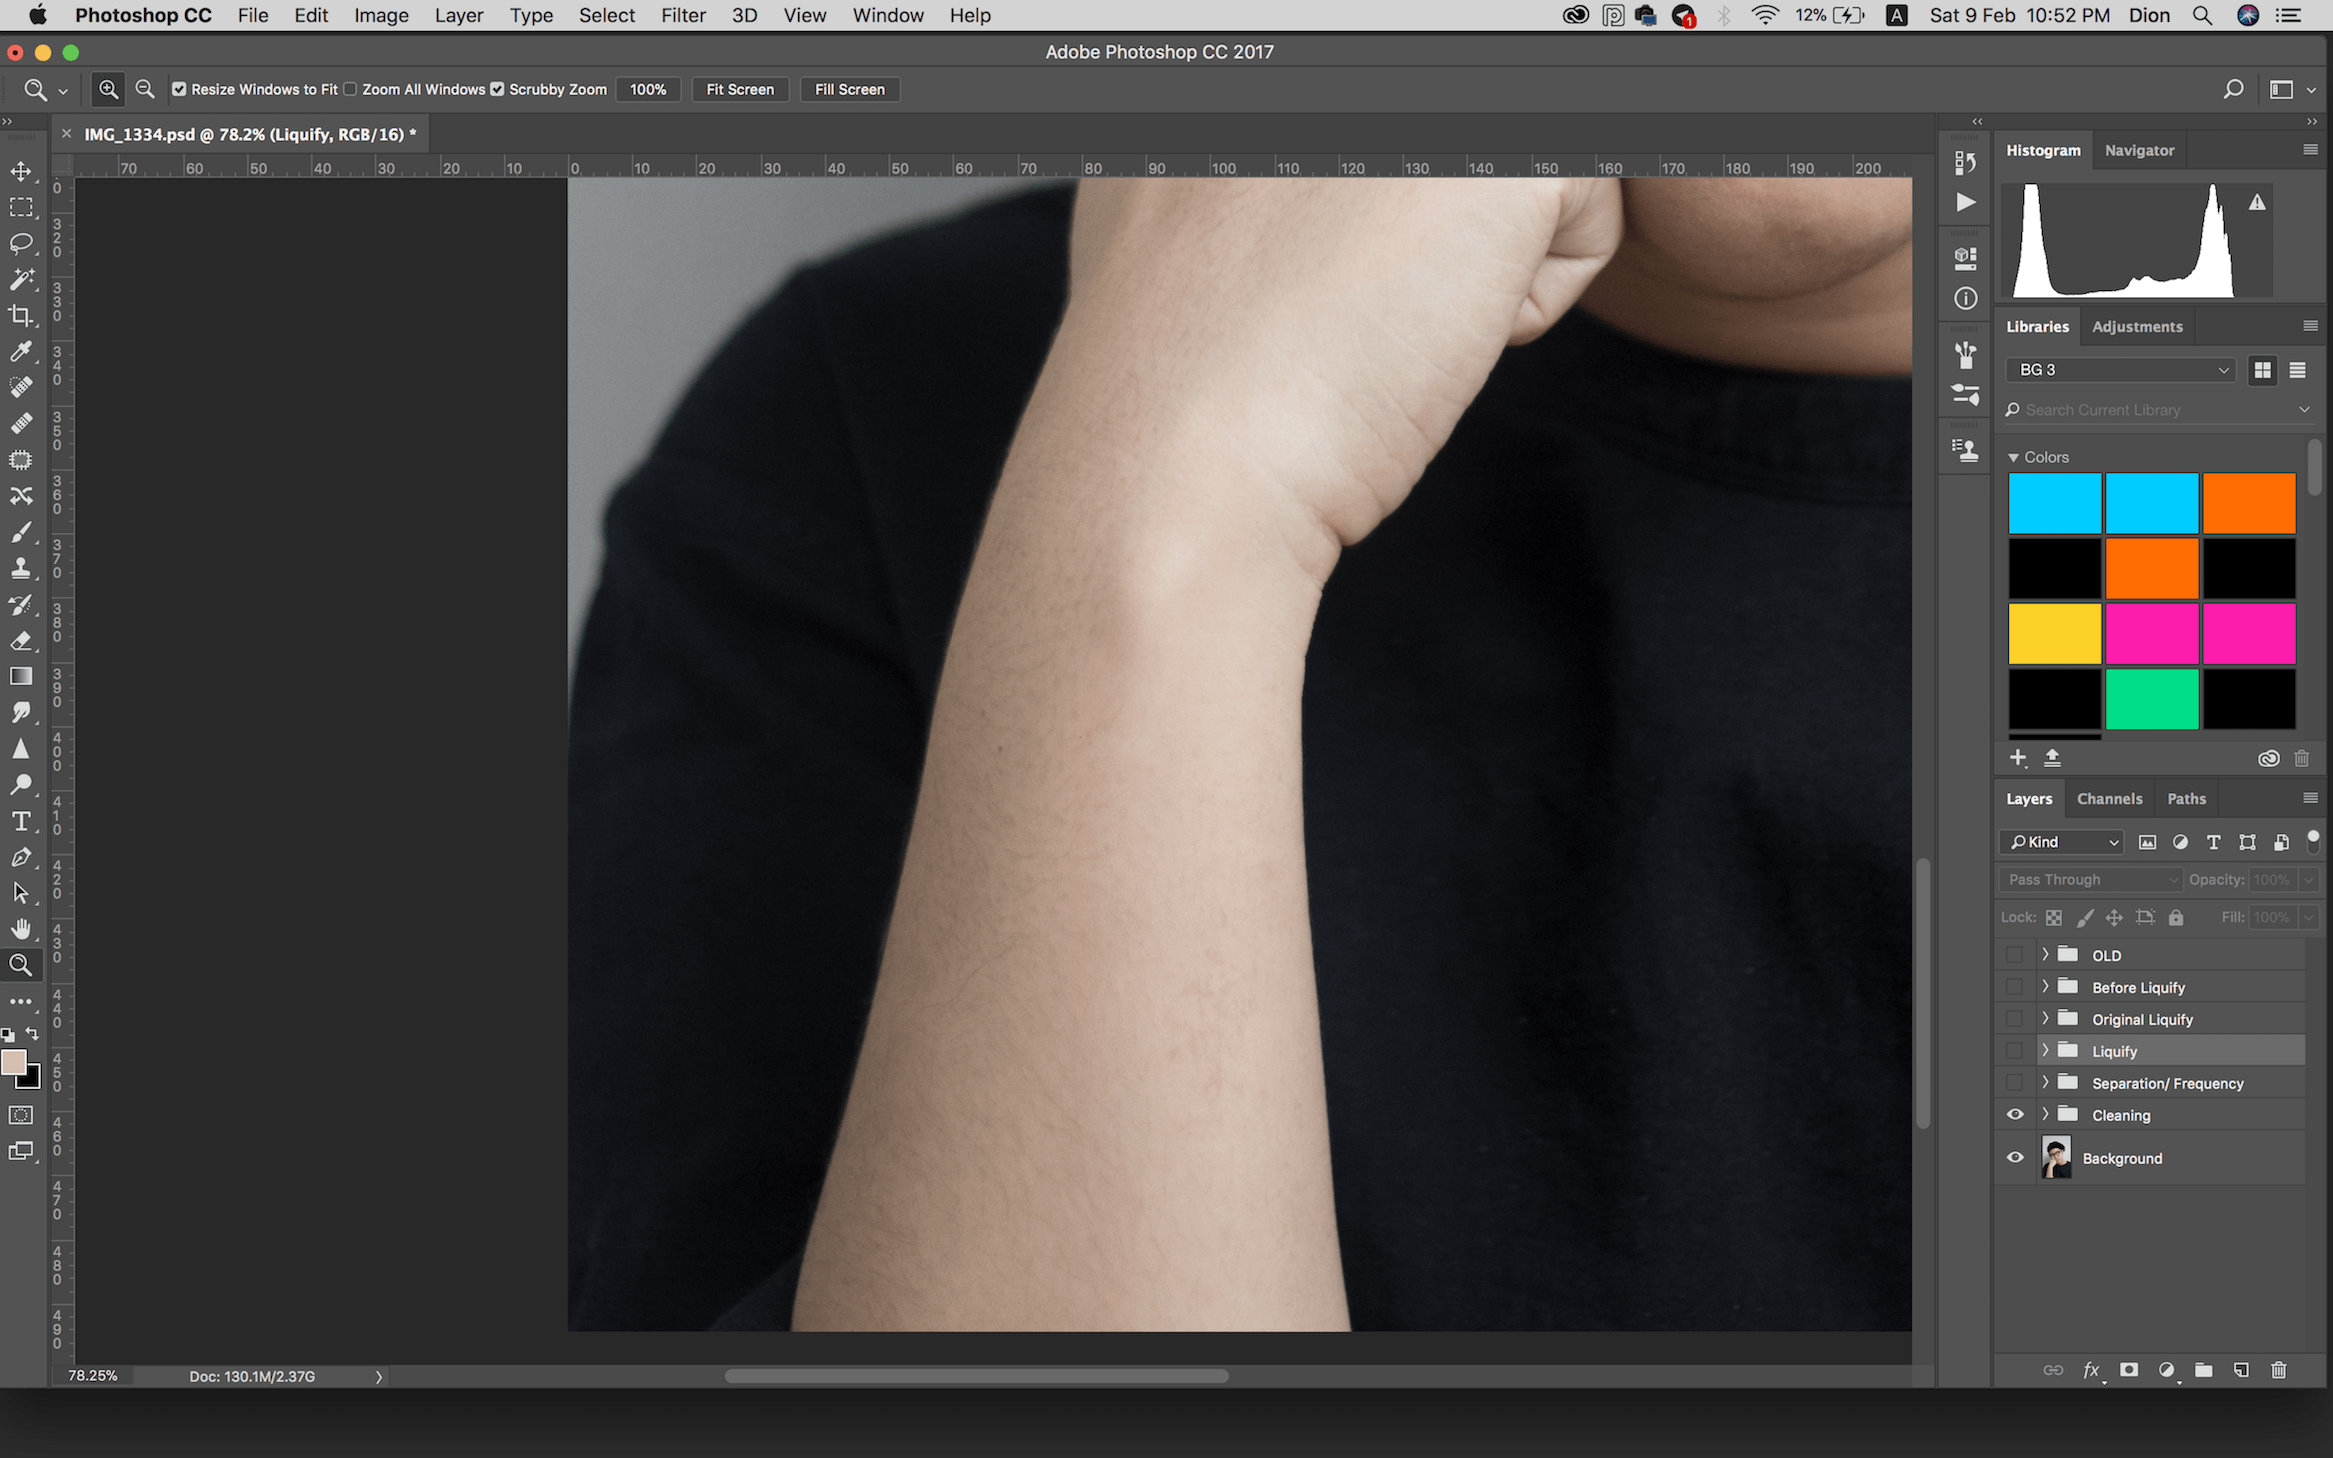
Similarly, I didn’t remove her arm hairs but lightened them. She’s not ~perfect~. I didn’t remove the little hairs sticking out of her beret either, only one strand that was really out of place.

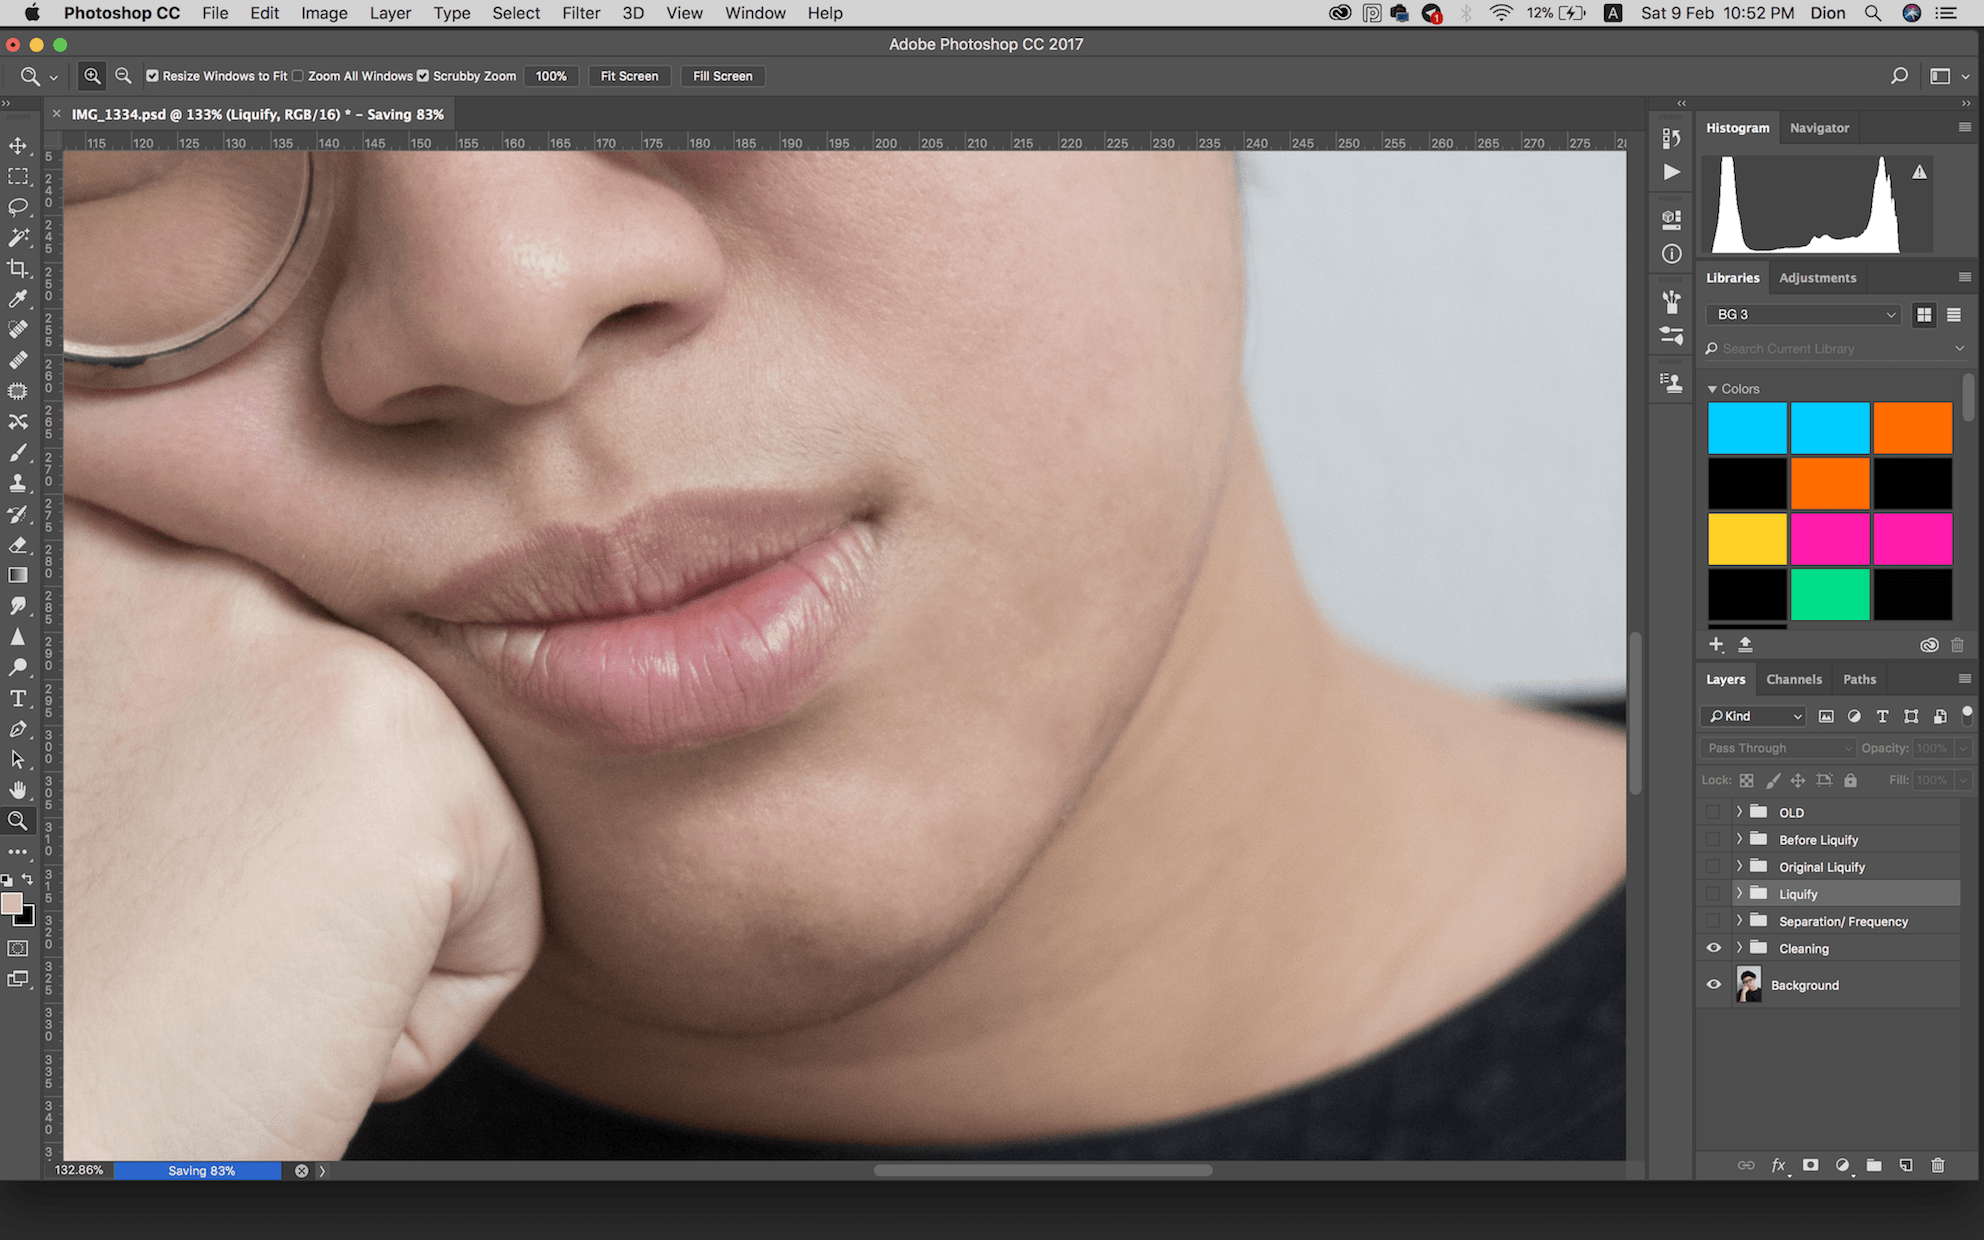
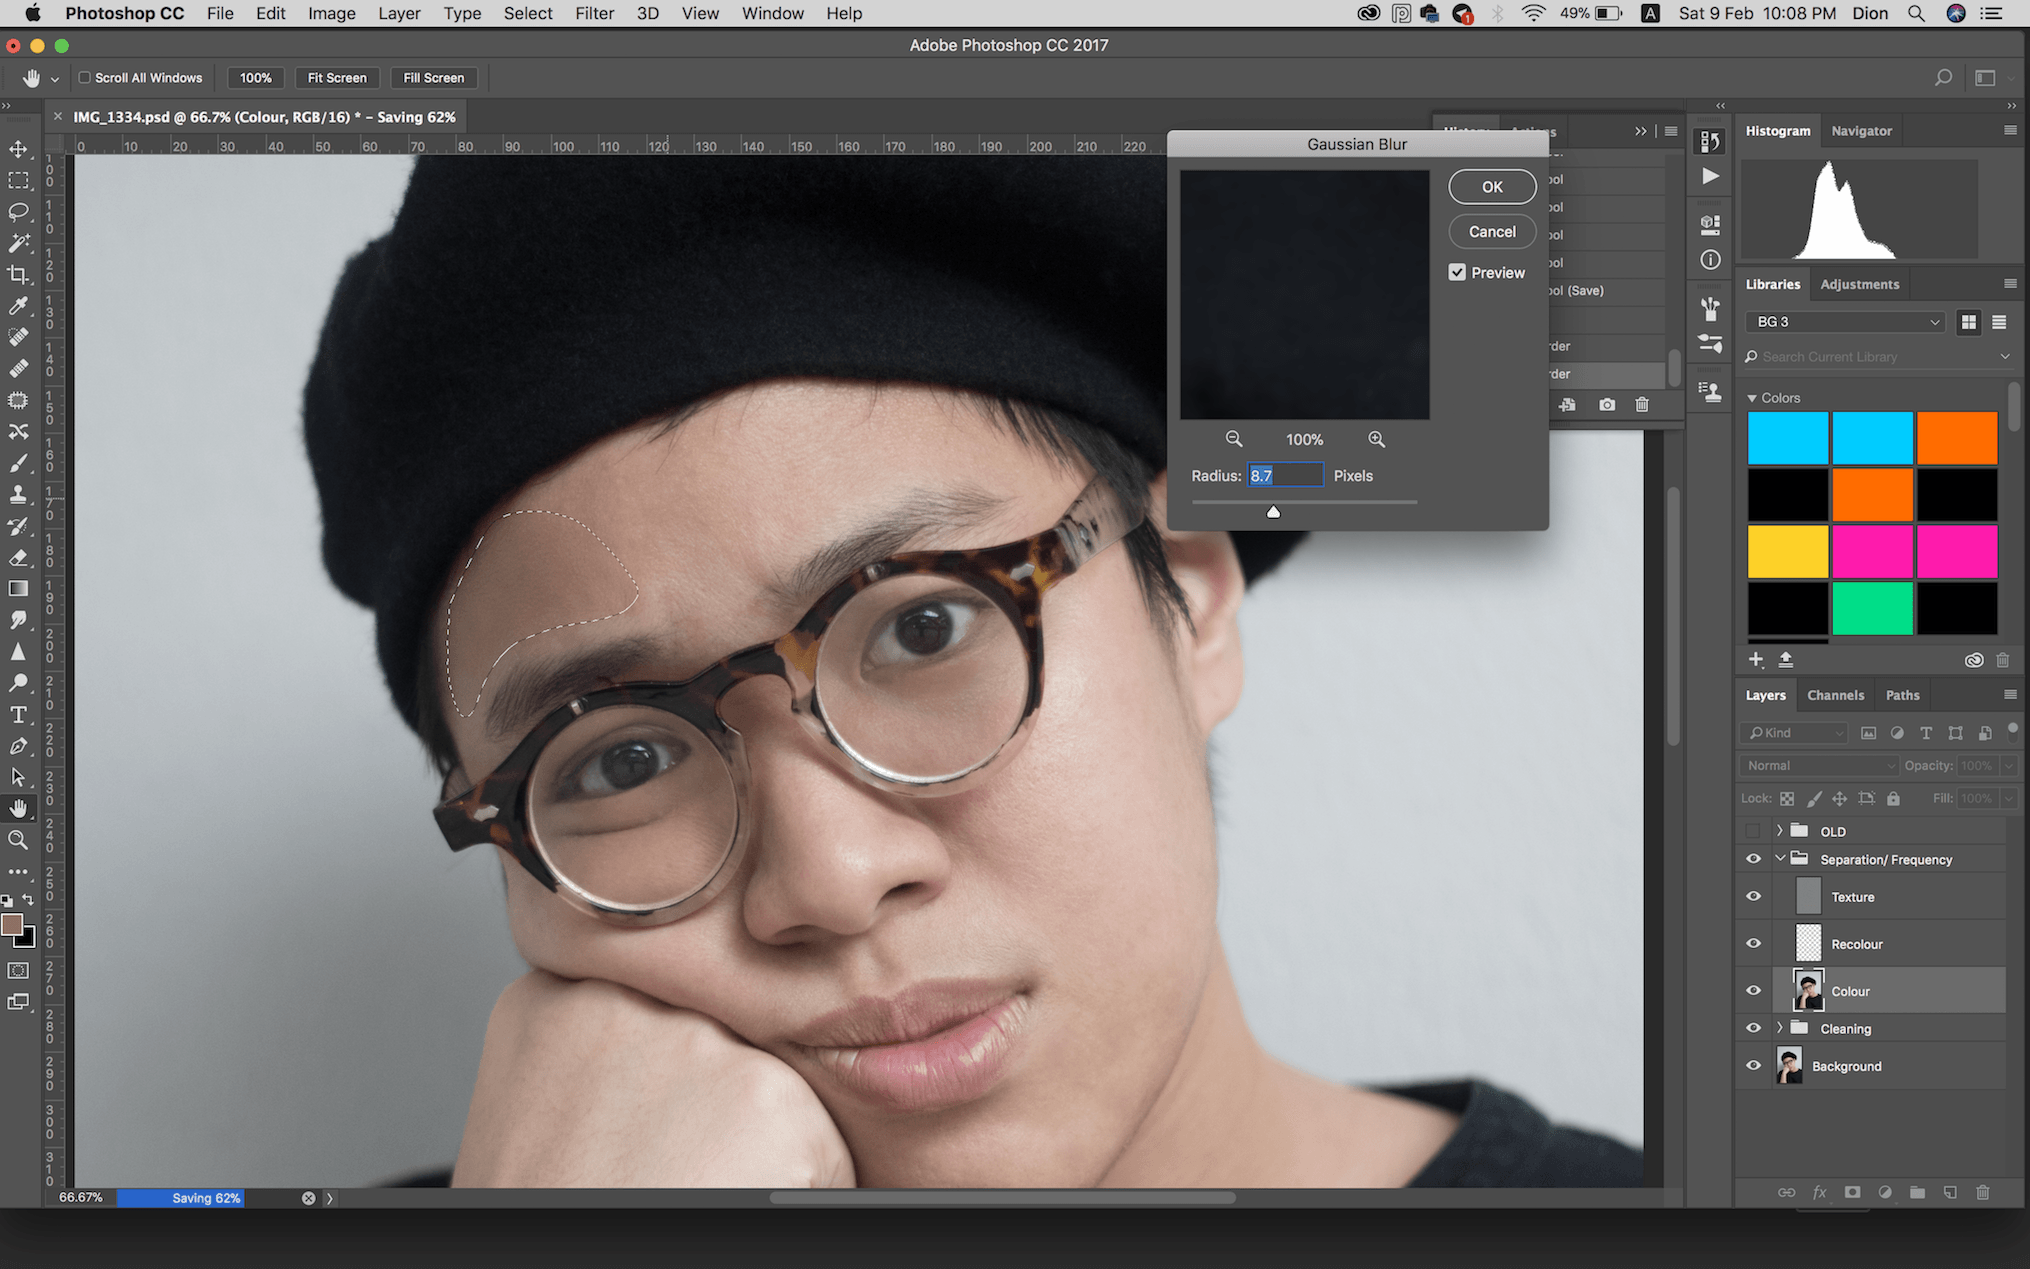
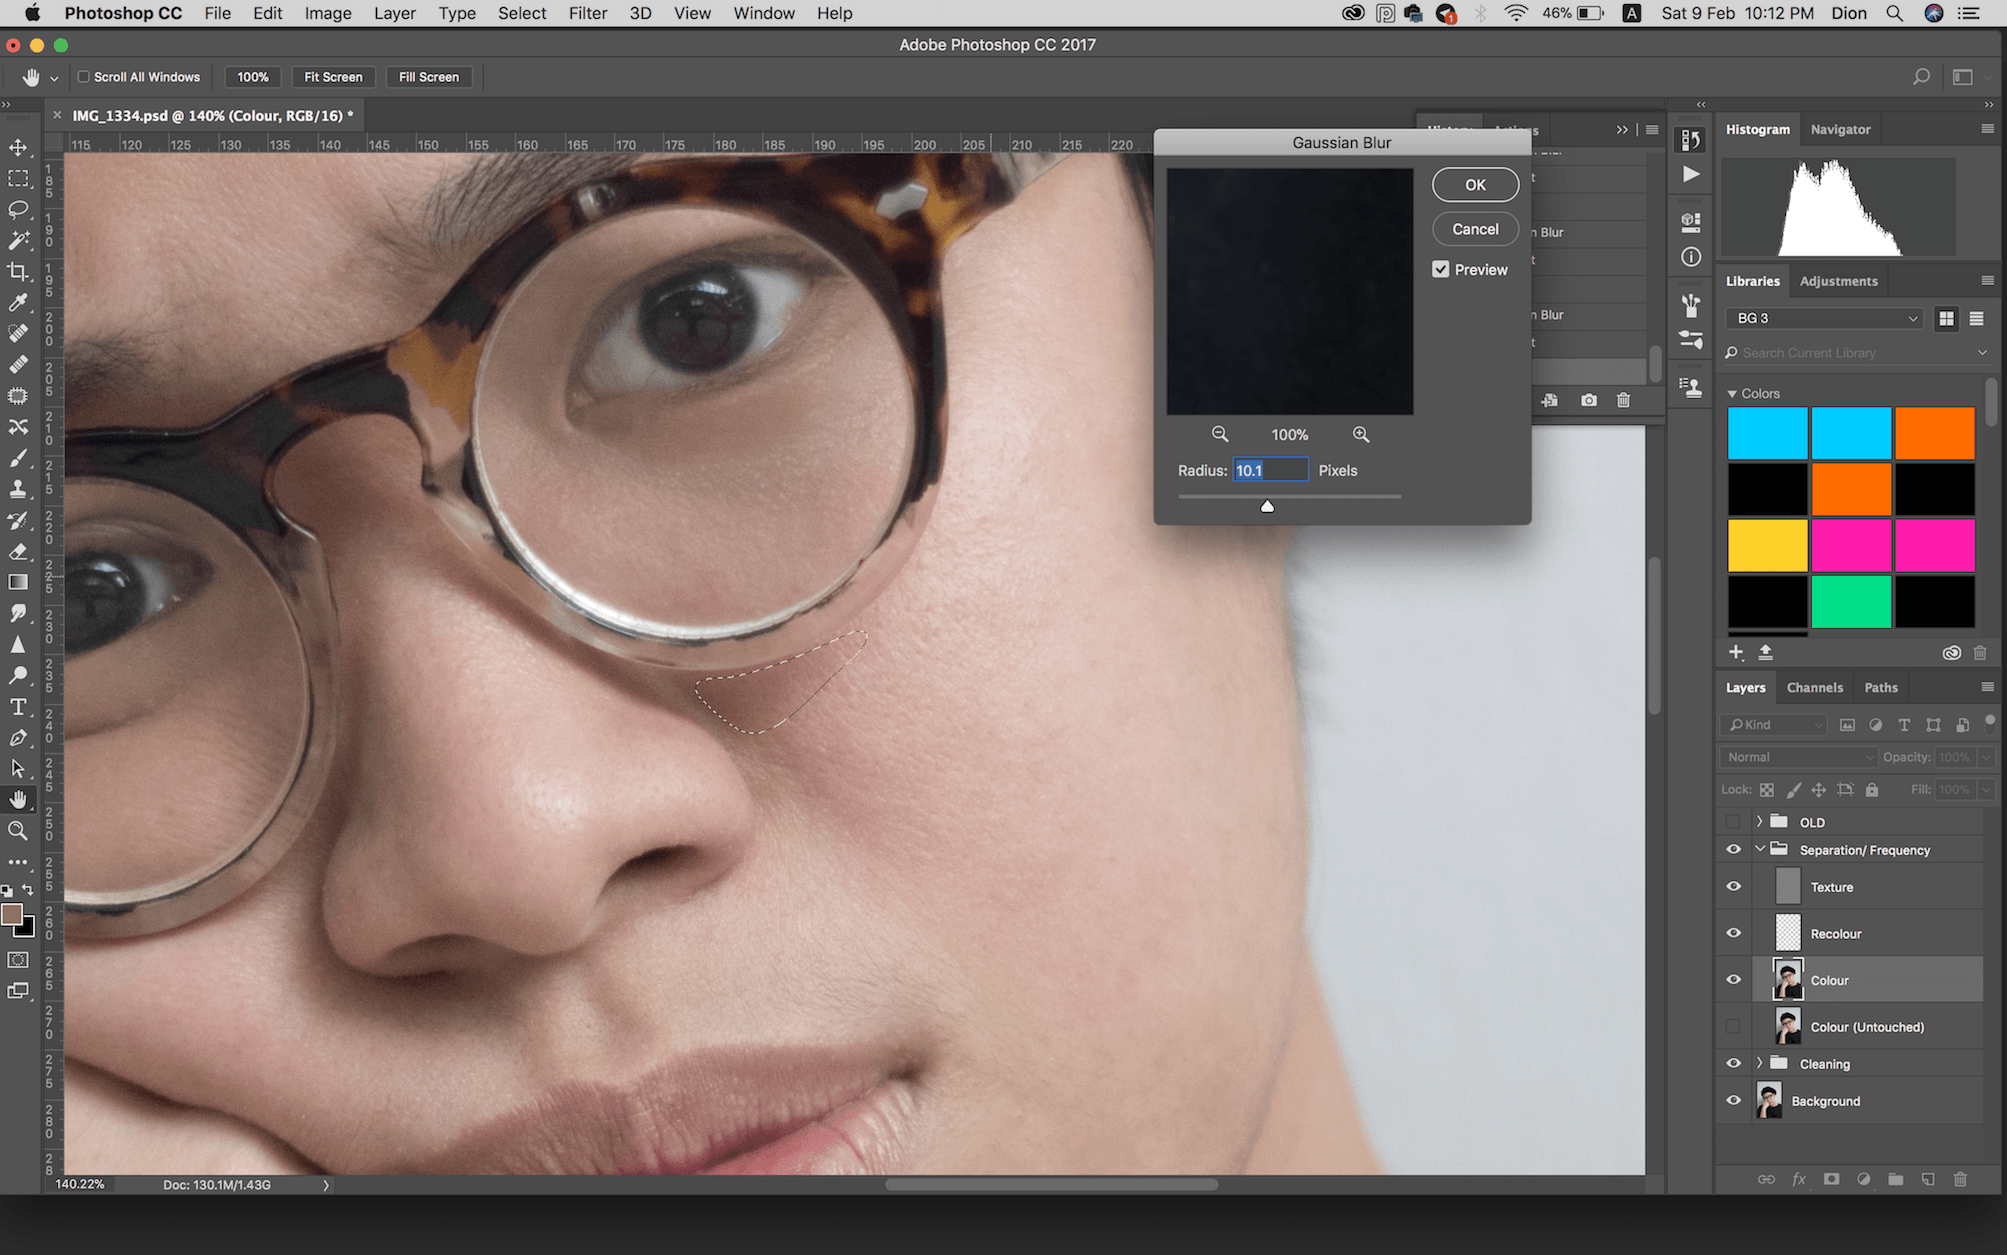
2. Color (Lasso)
I used the lasso tool to gaussian blur for smoother skin, to lighten her pores and redness.

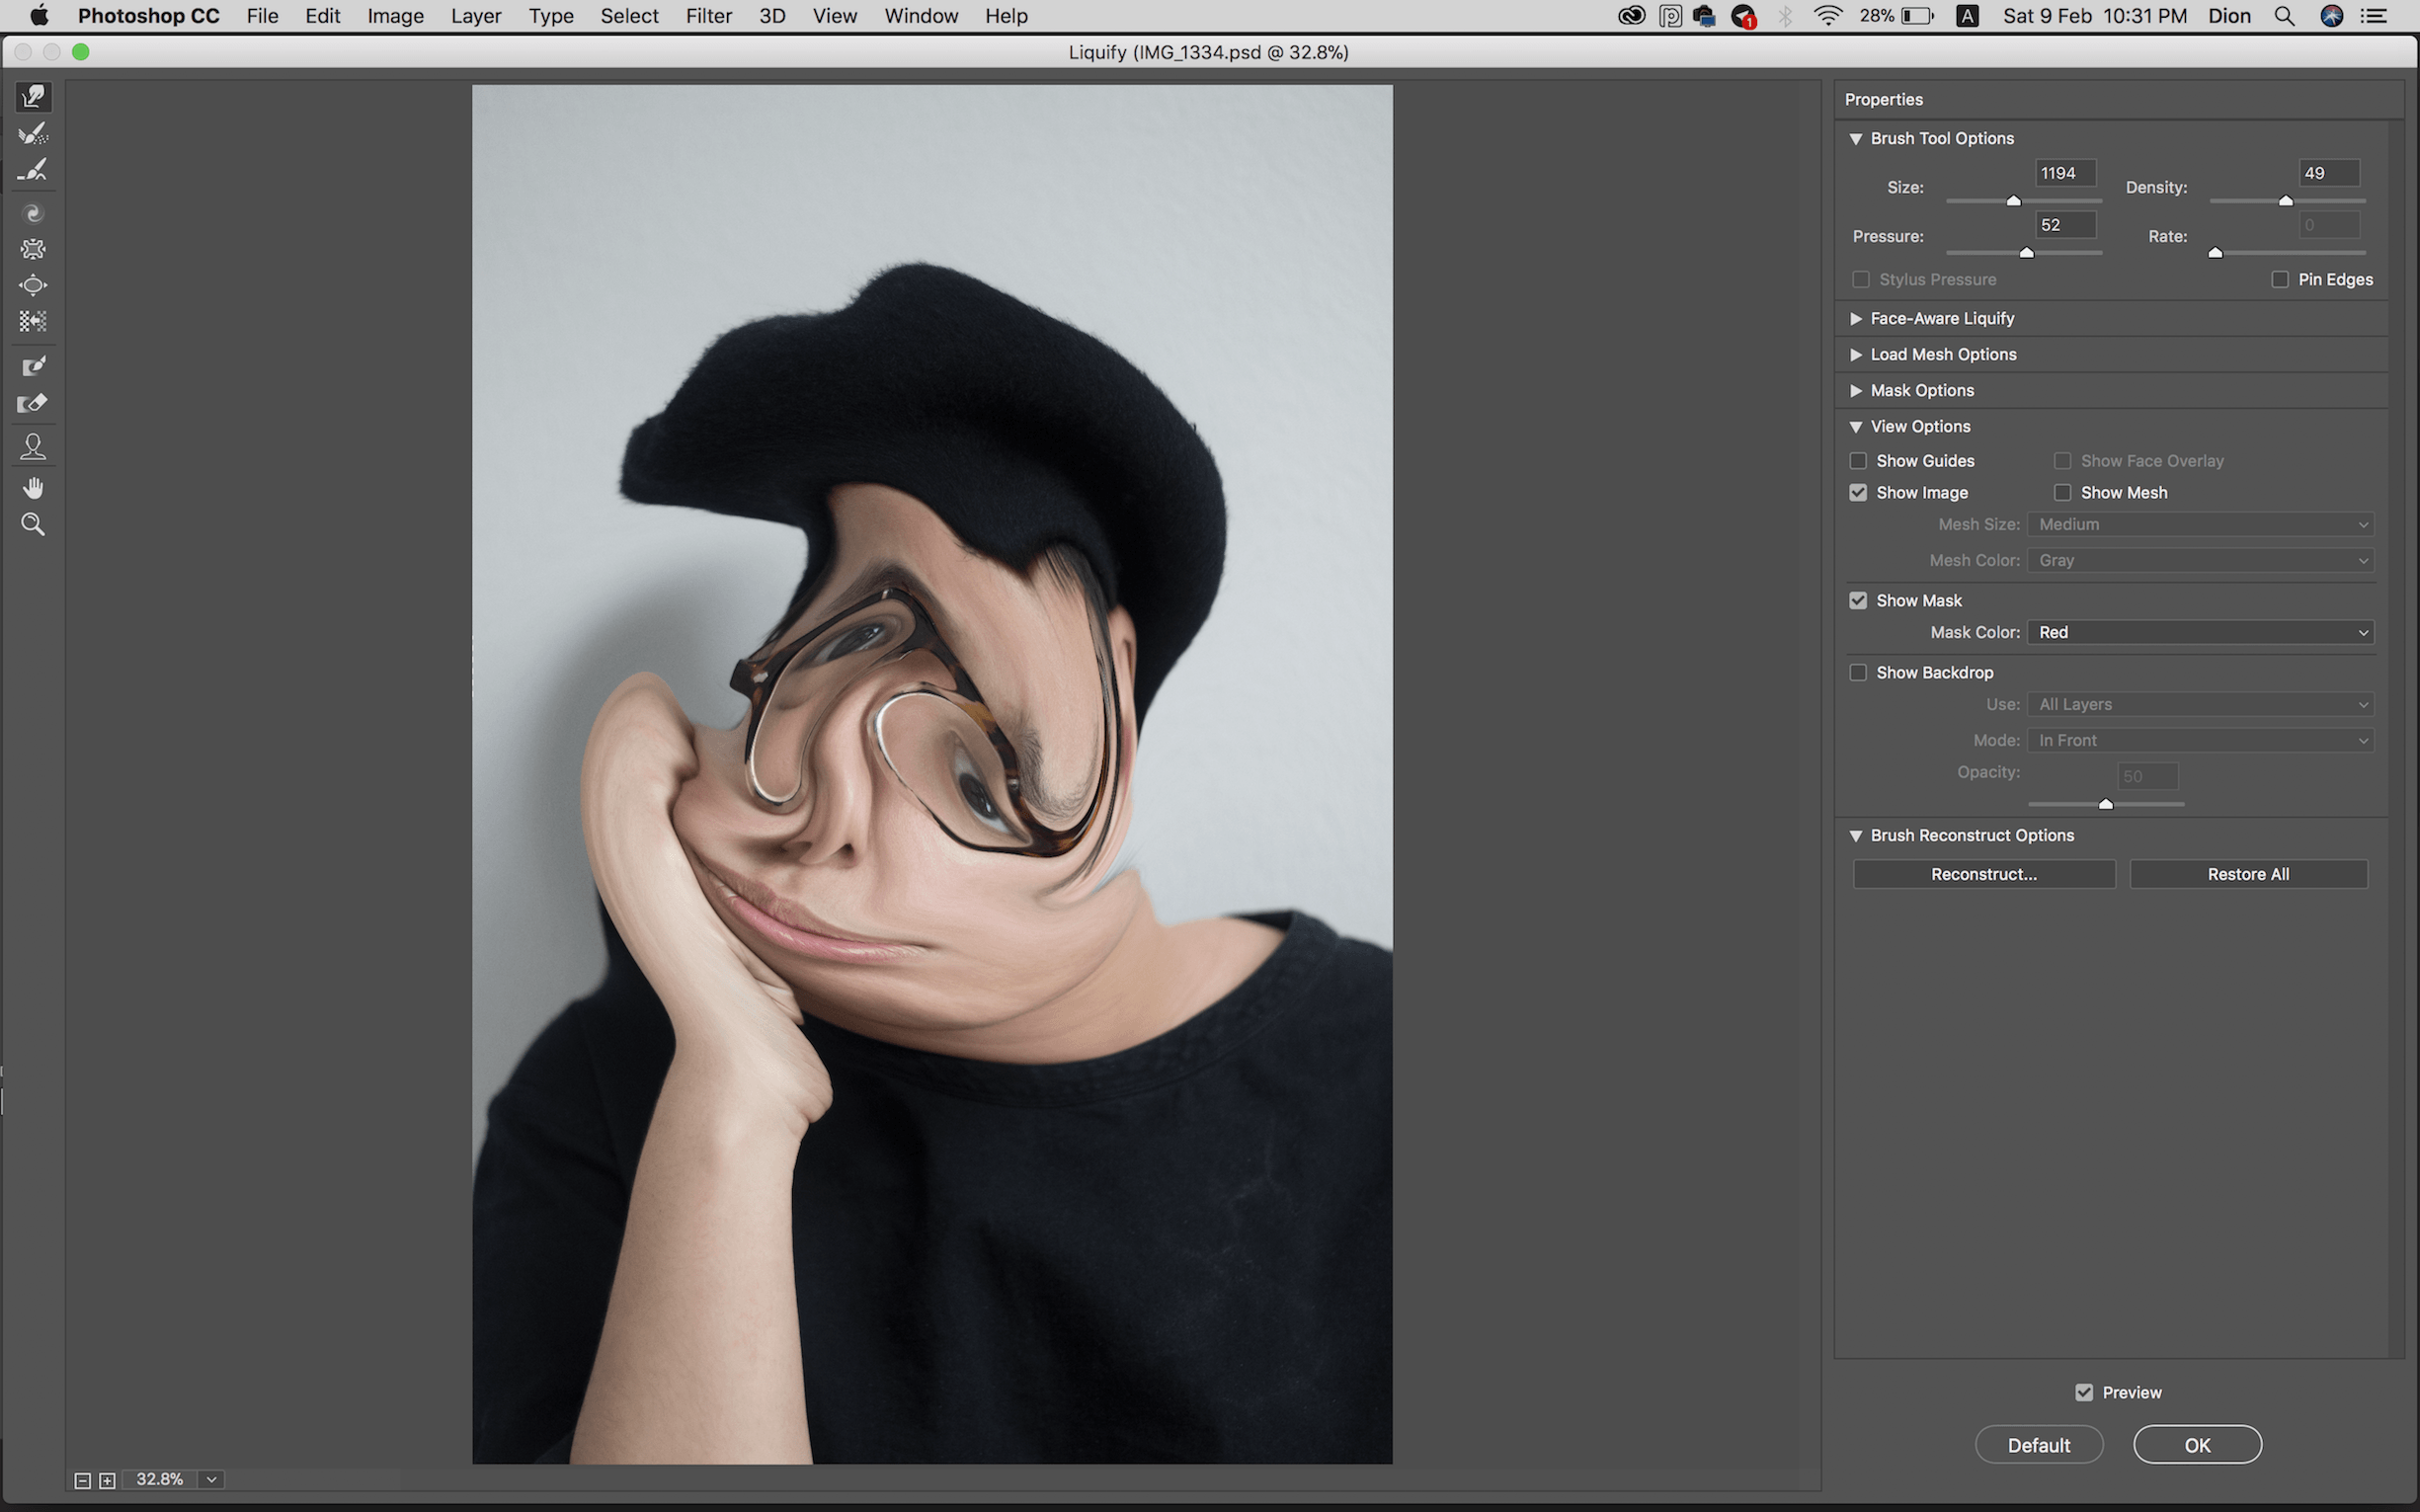
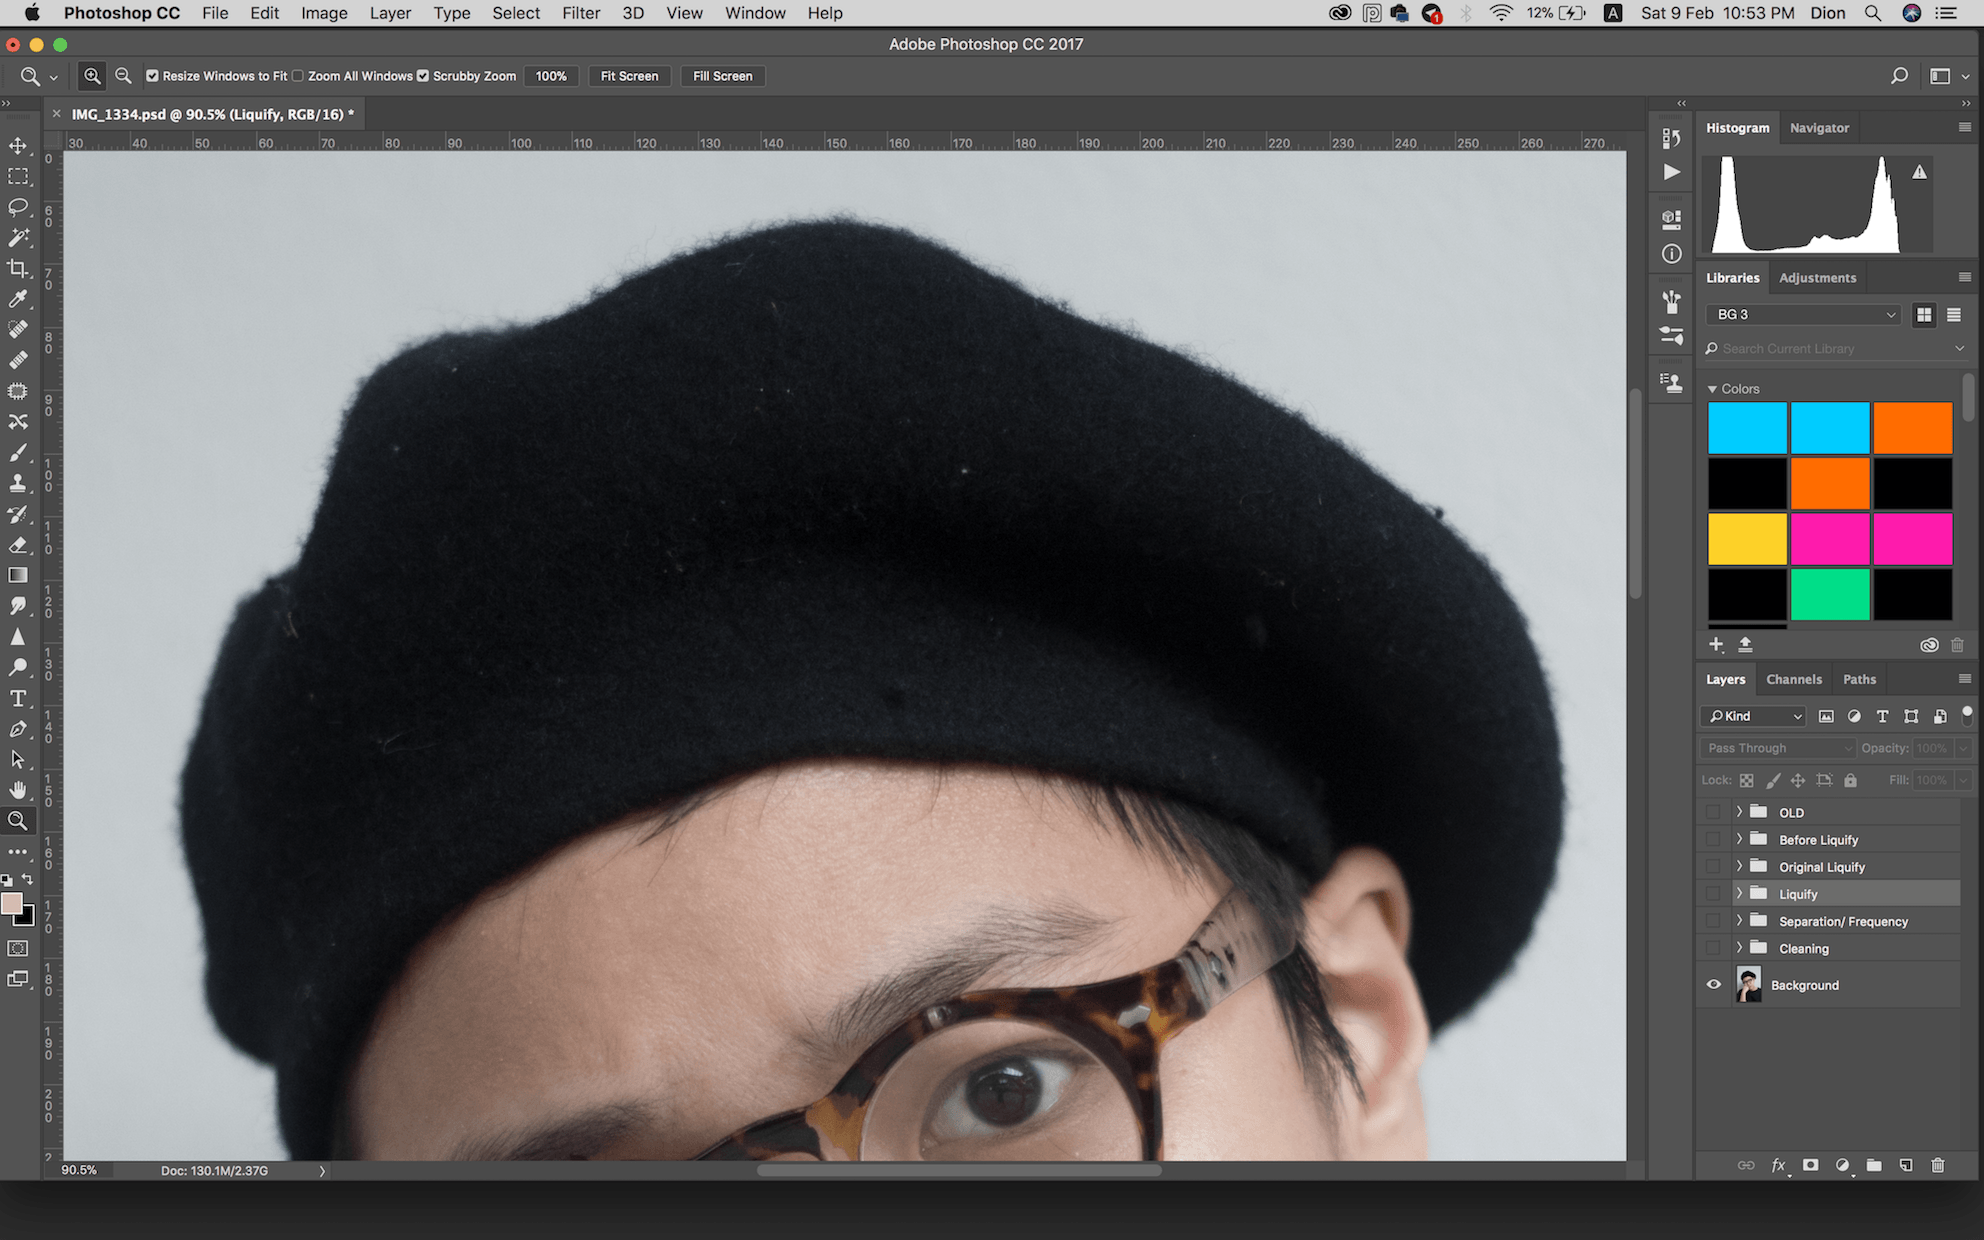
Liquify:
Finally I decided to change the shape of her beret a little. I didn’t liquify it to become one smooth, perfect shape because then I might as well remove the stains on her sweater and everything else too. I made the ‘bumps’ in shape slightly less abrupt and smoothened the shape out just a bit. I then rasterised the layer to colour away the fraying fur (not sure if I’m “supposed” to do that but I did).
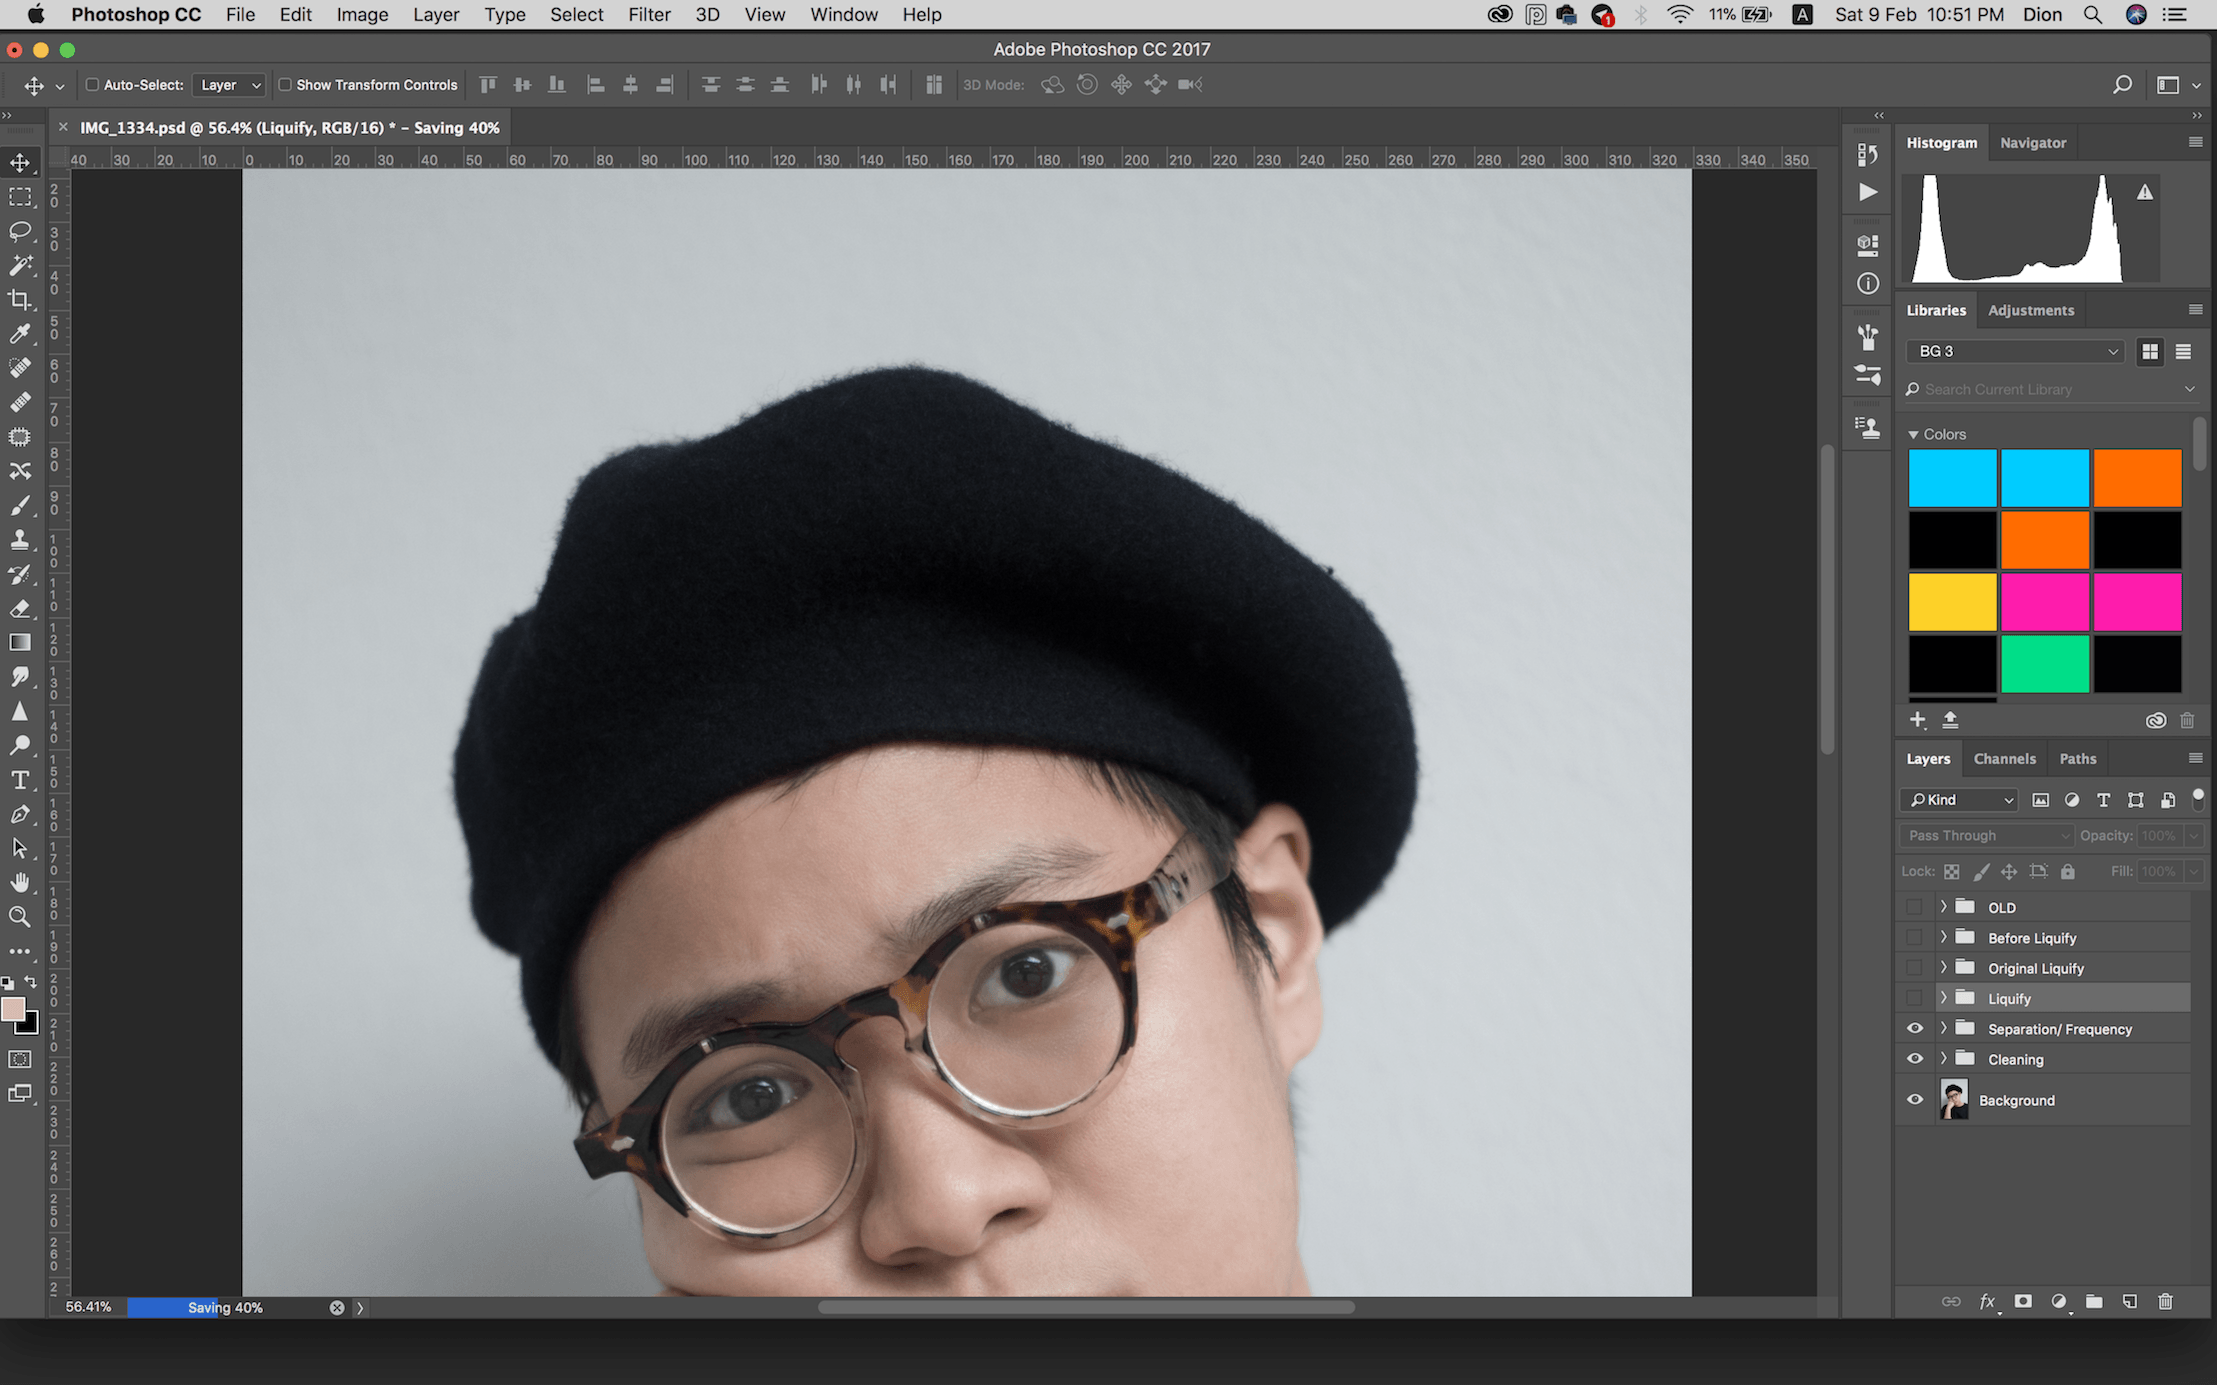
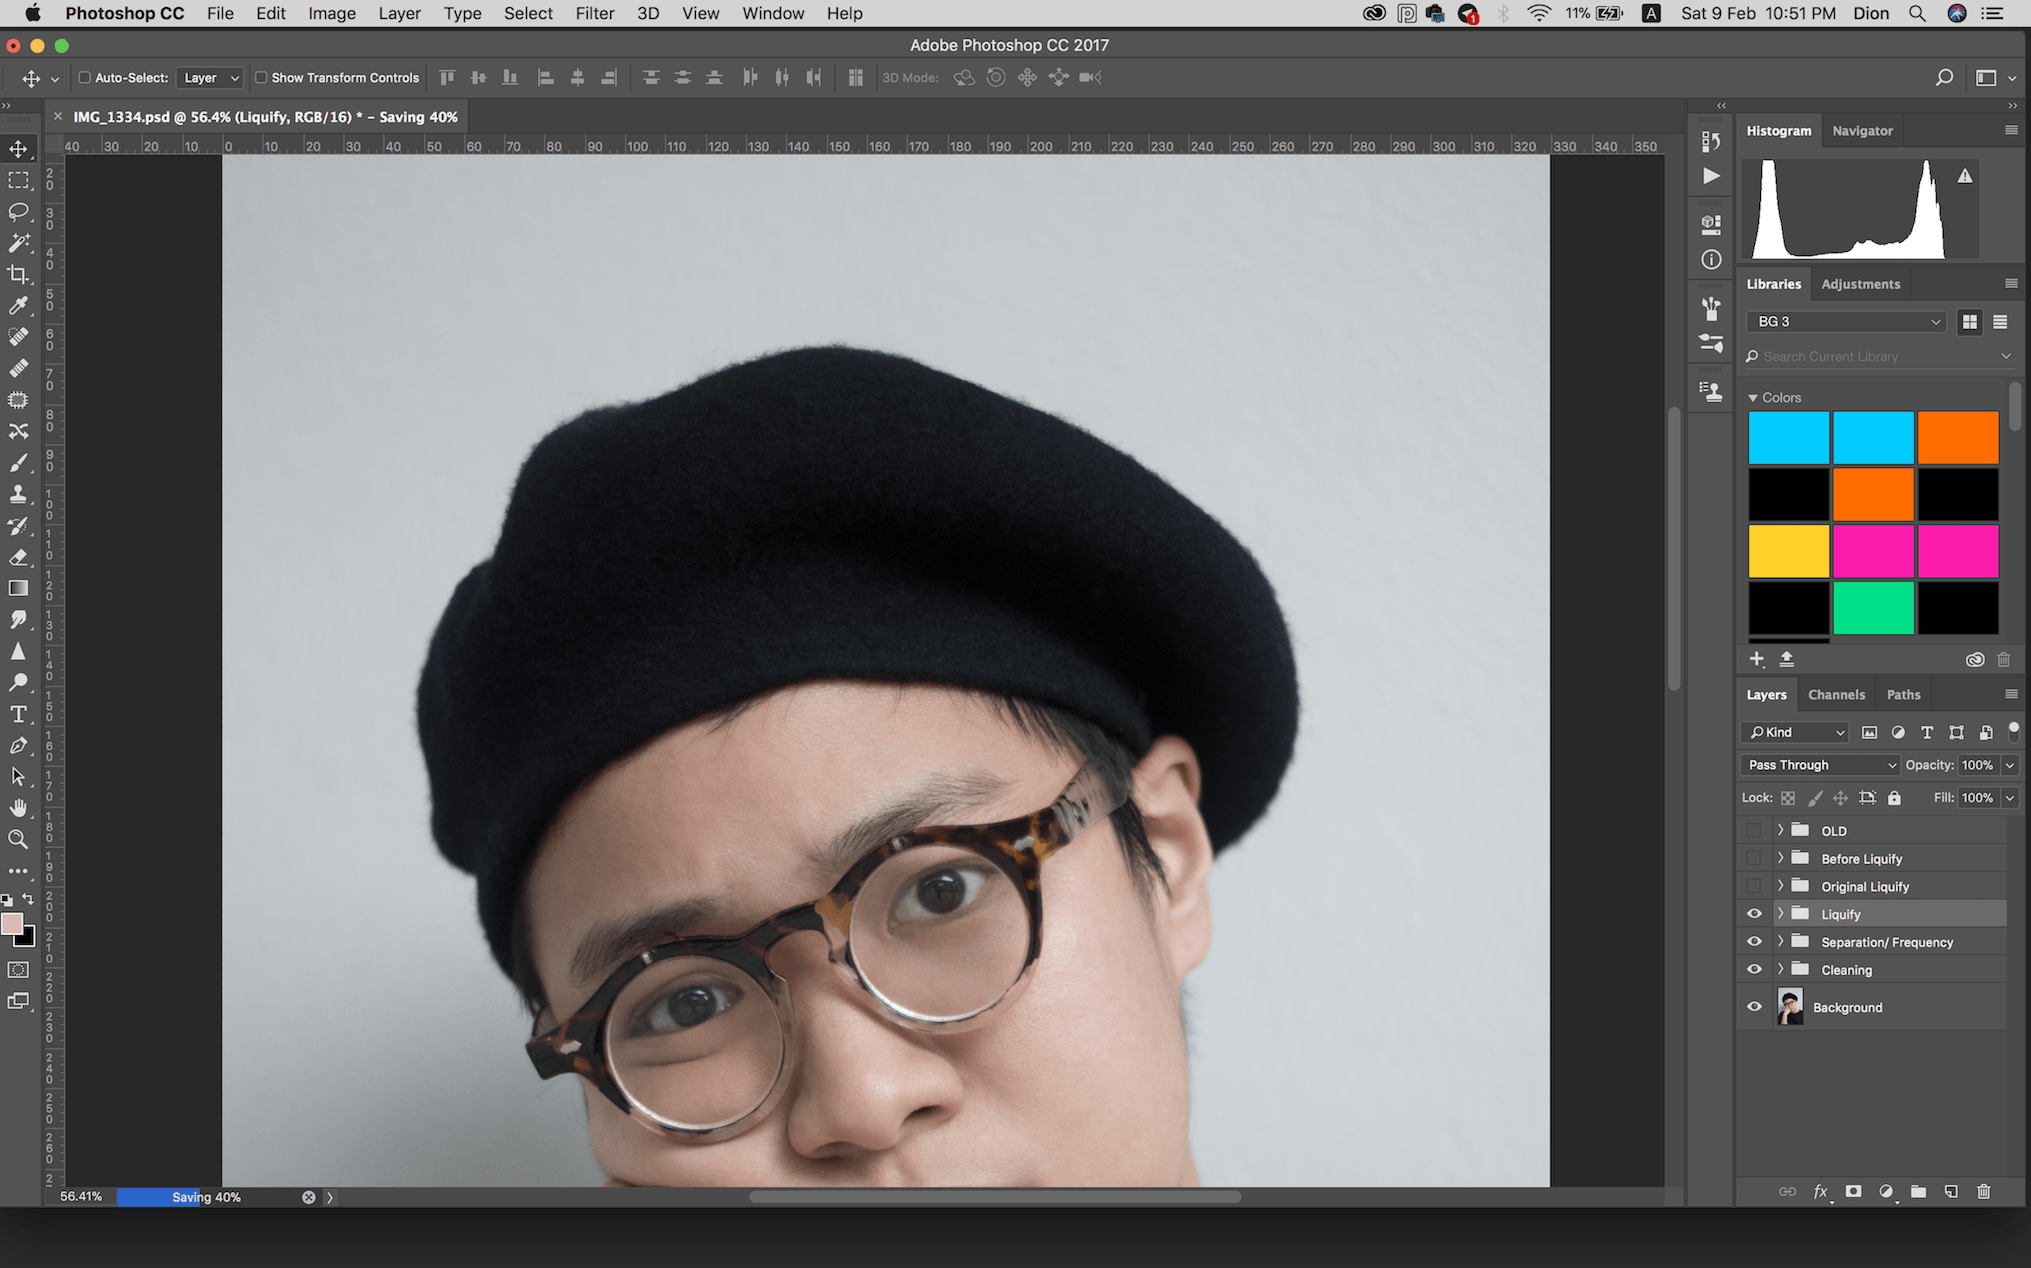
A little fun with liquify. How ya doin’?