Study Model 1
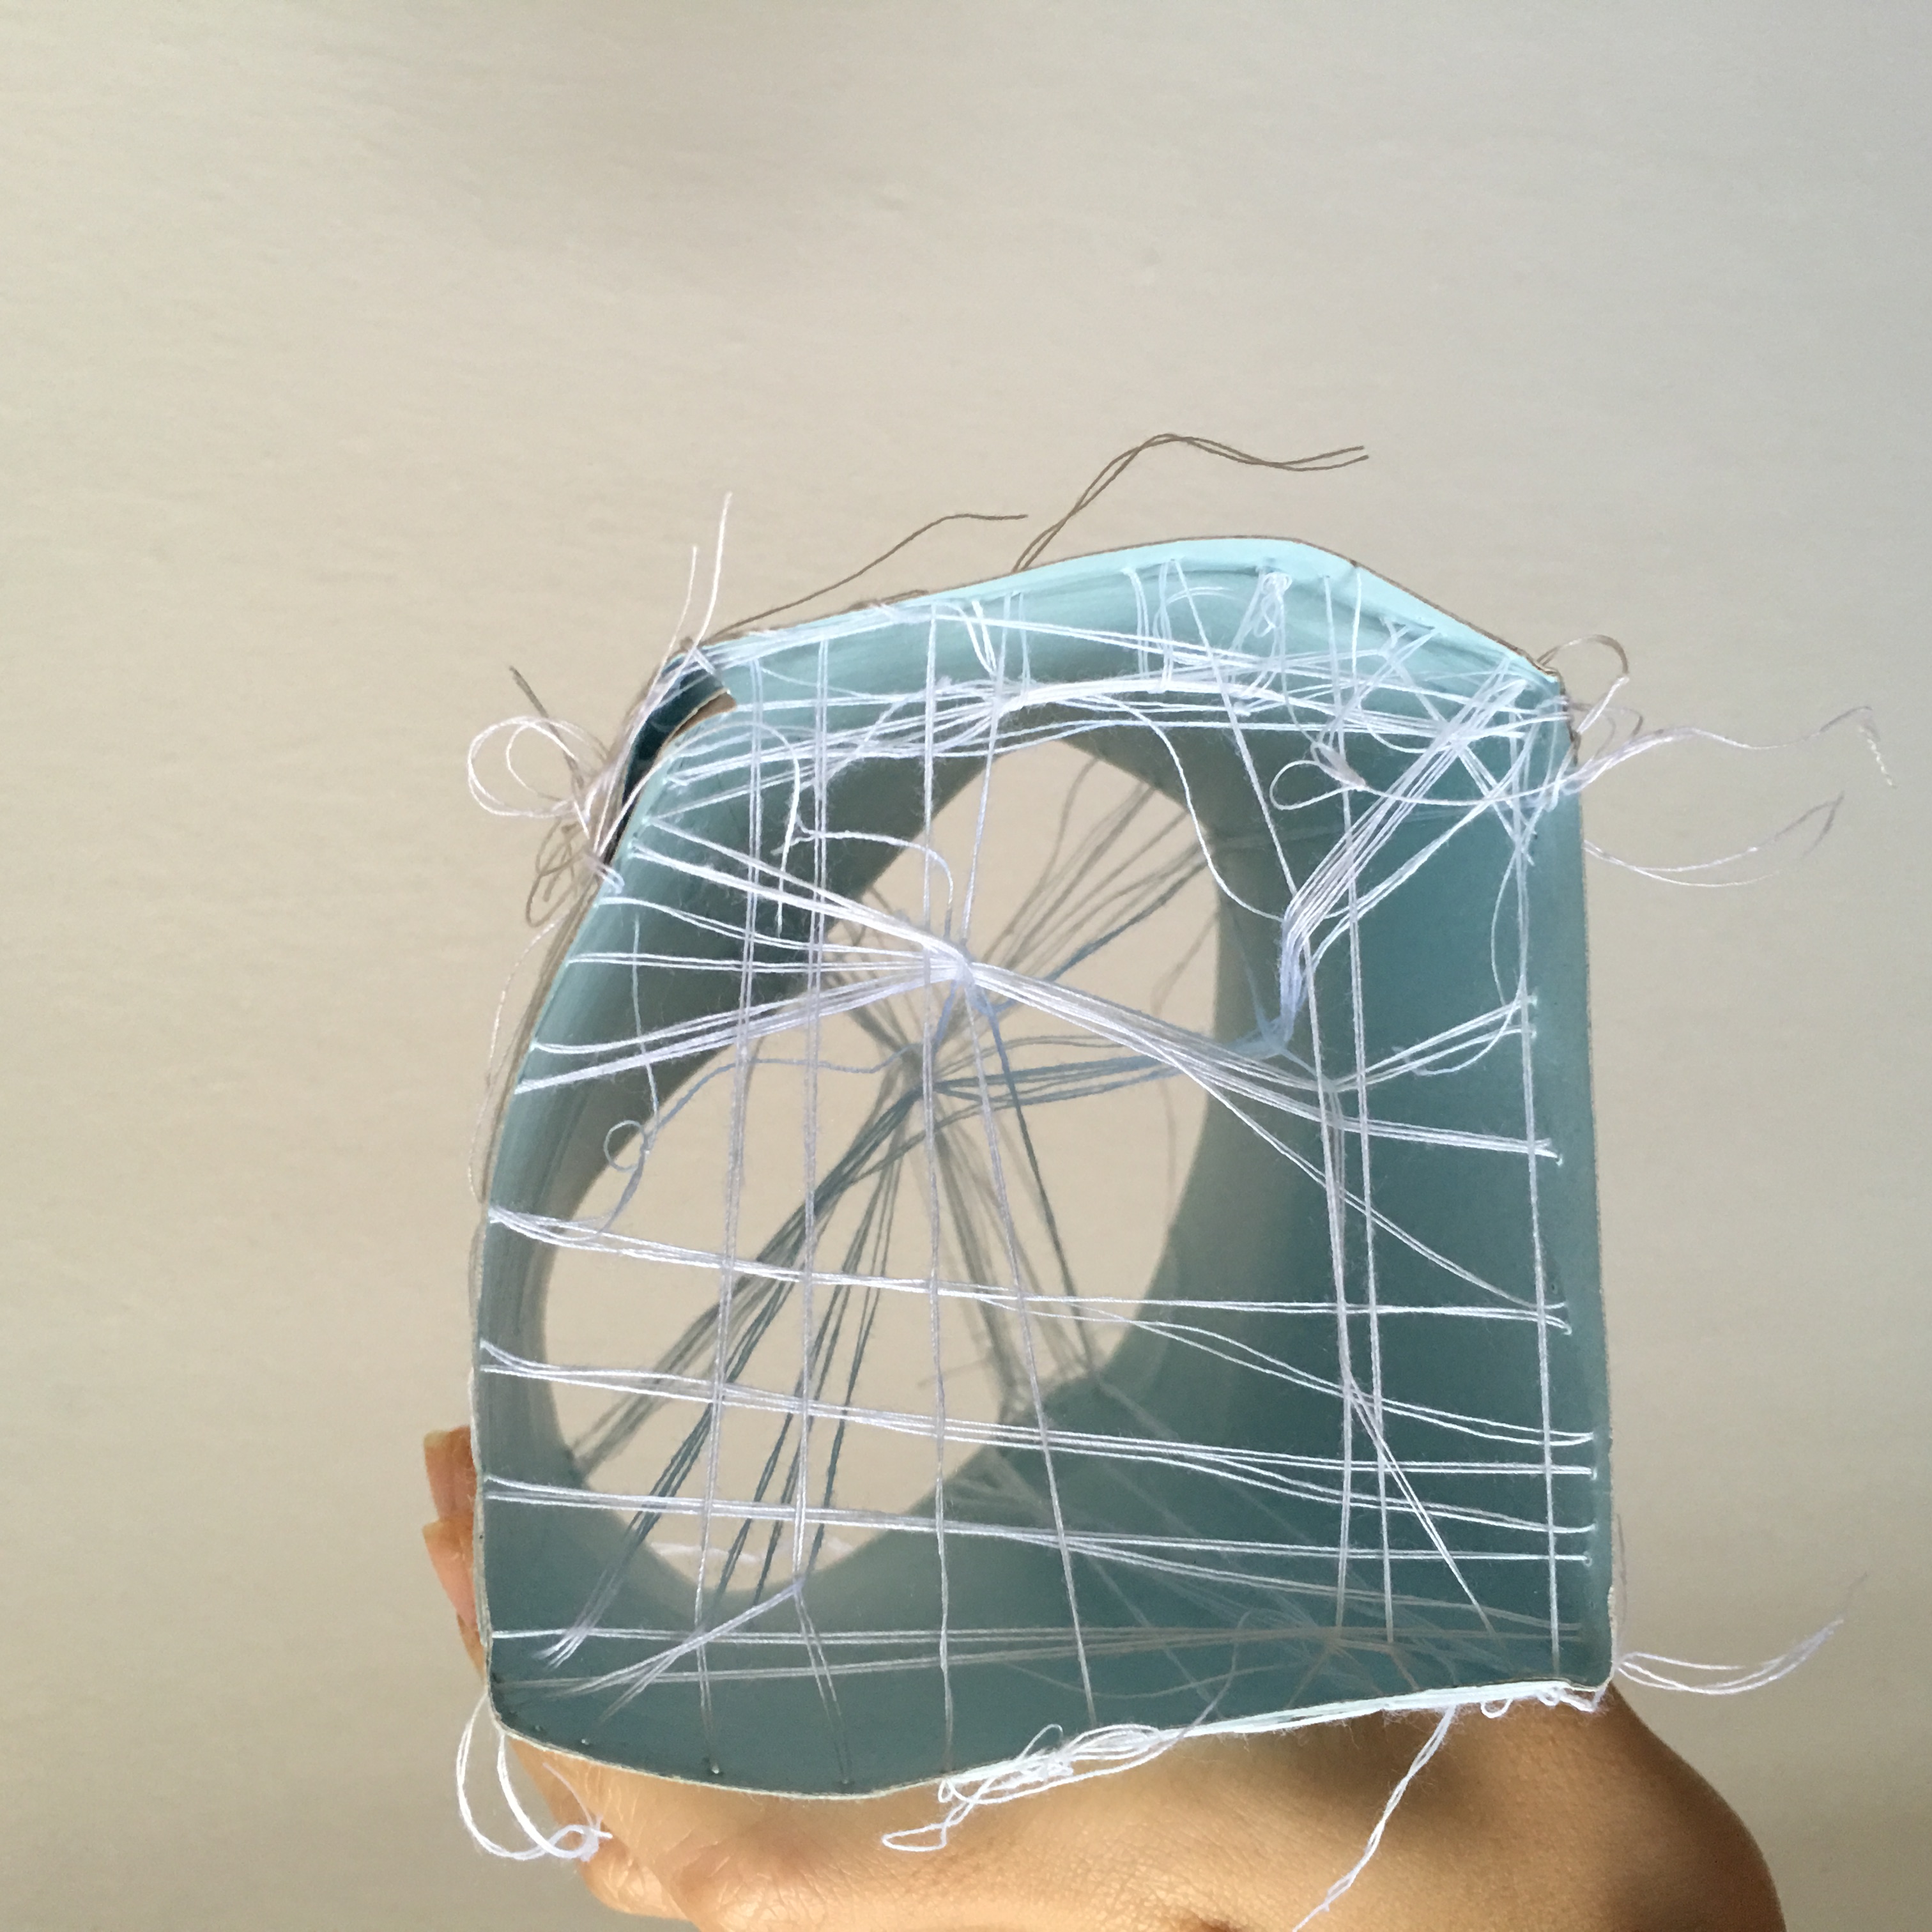
(Front of study model)
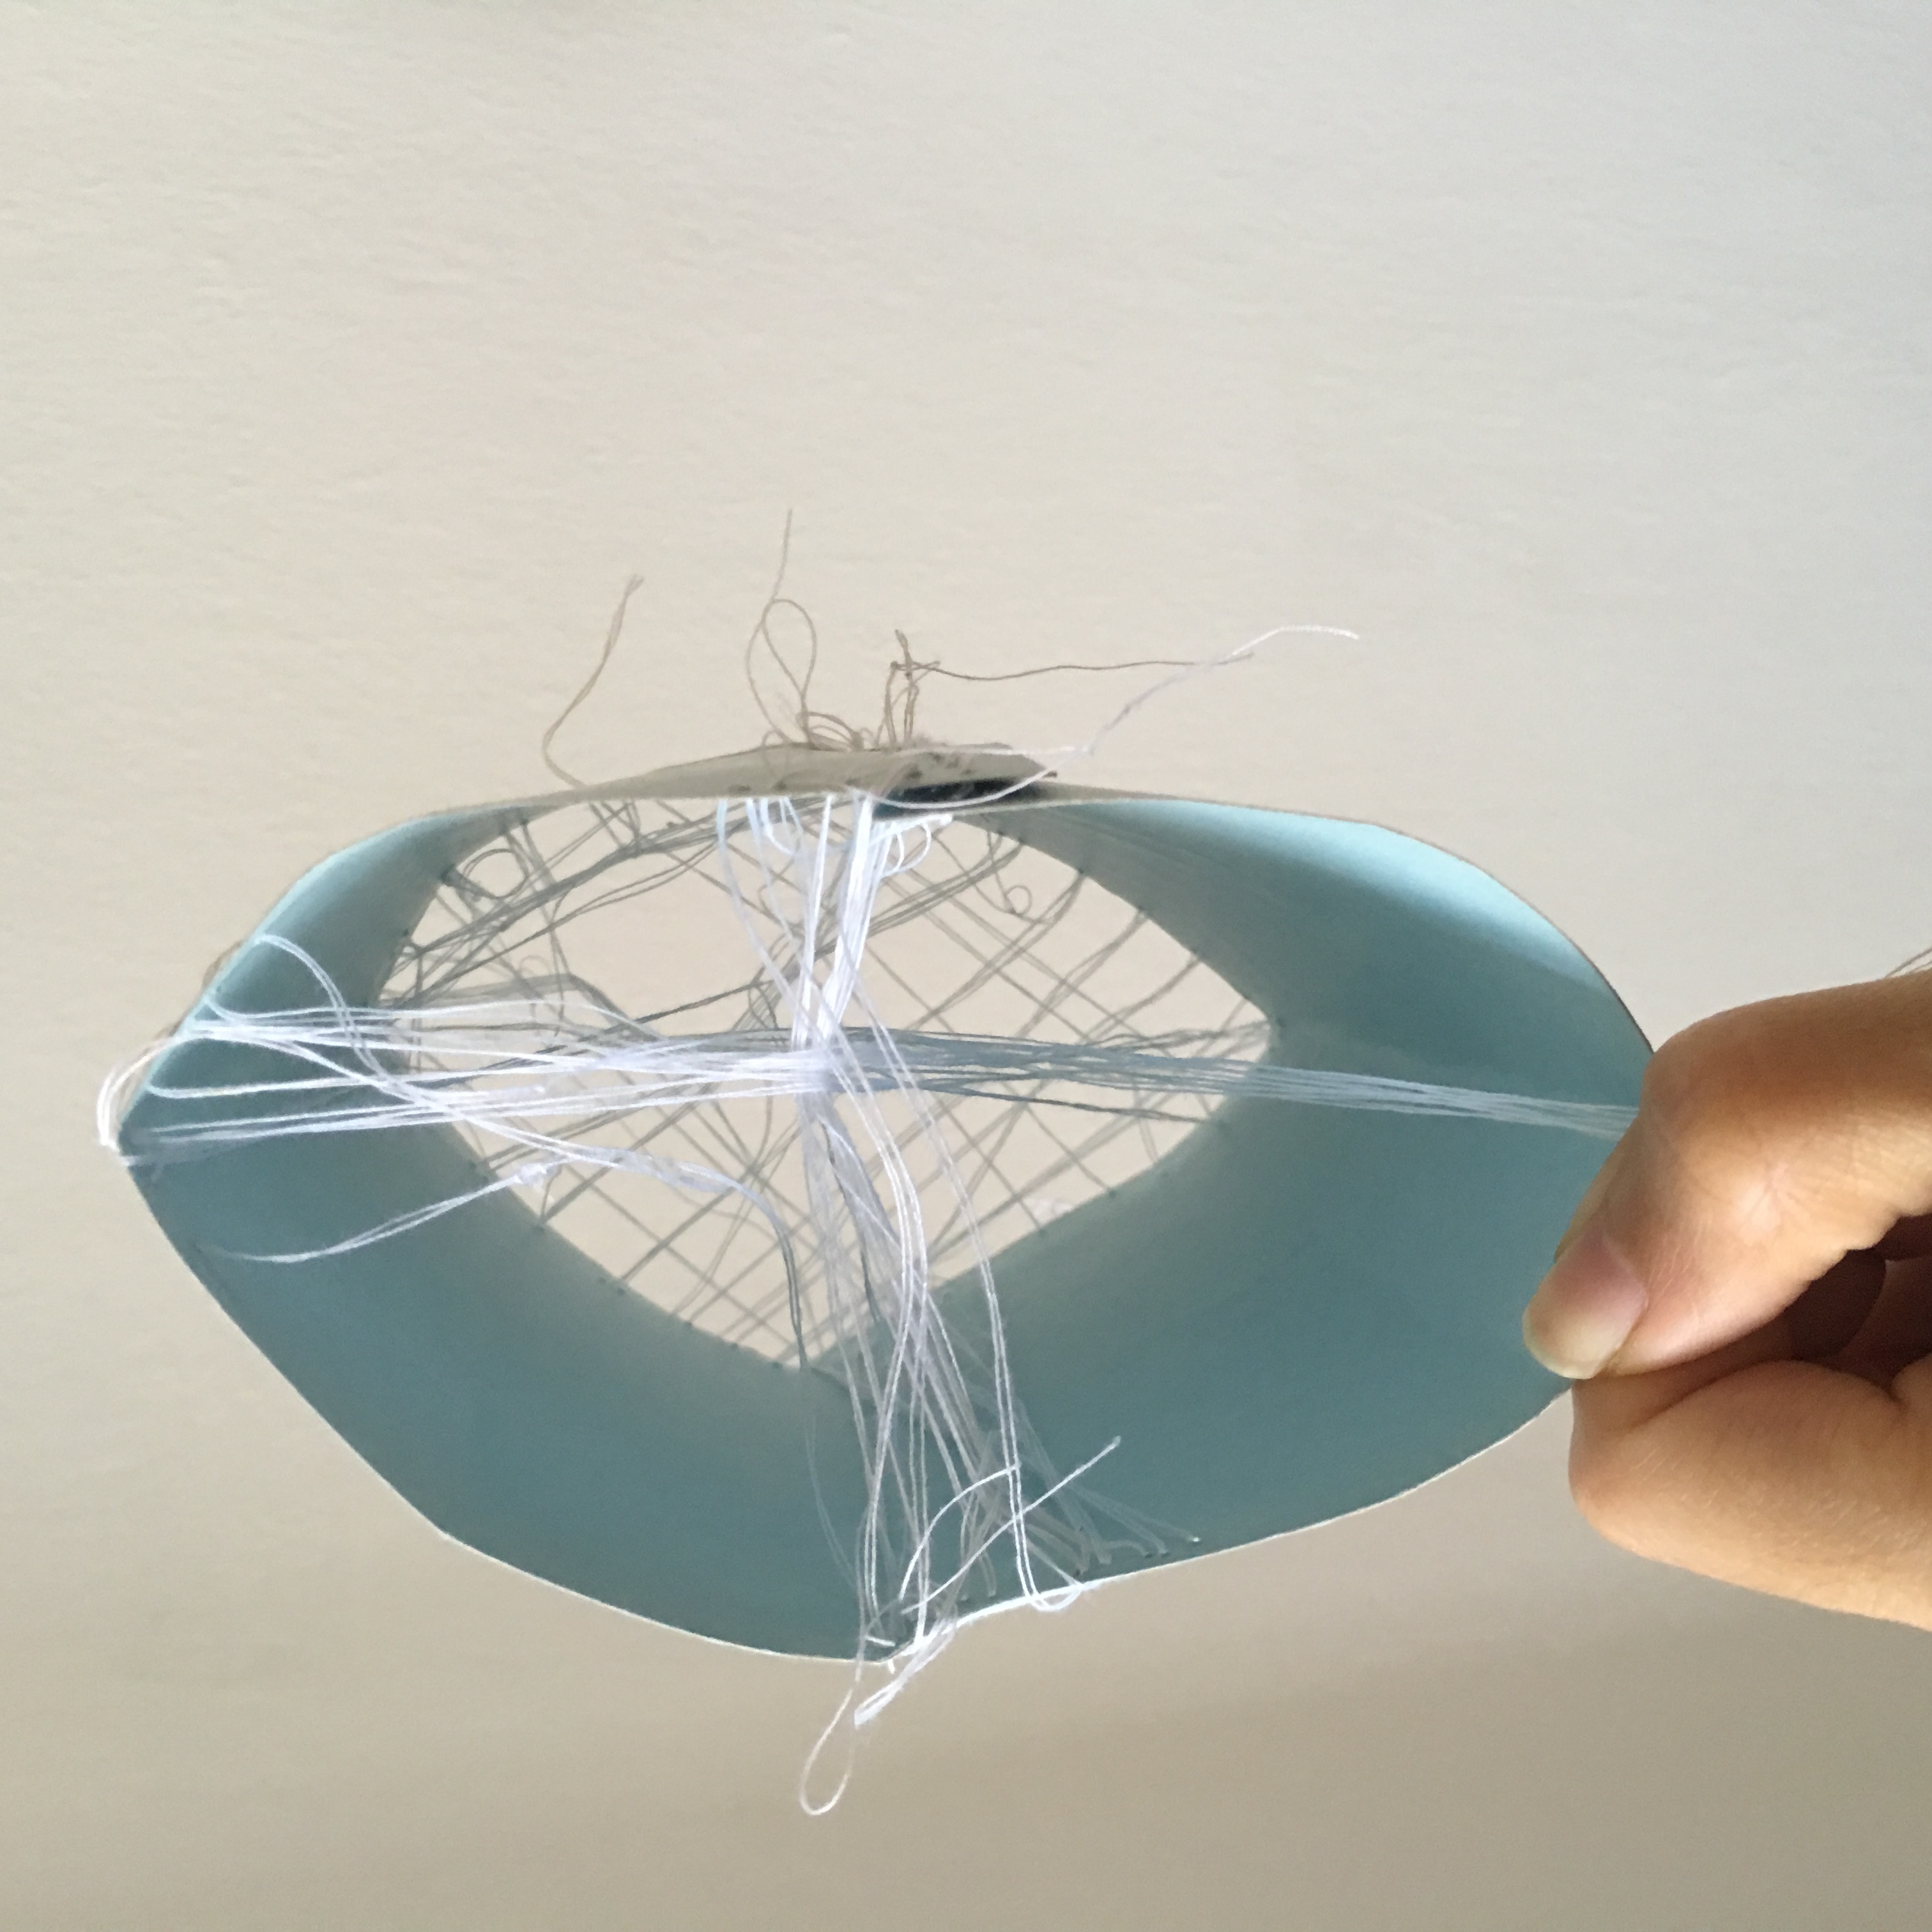
(Back of study model)
At first, I wanted to do a square that will slowly stretch out to become a circle. However, as I used the thread to connect from one end to the other, I realised that I could make a cross. Thus, I wanted to make that cross to look as if it is suspending in the air, so I connect my threads from the ends of the square to the other end in order to make a cross that stretches out.
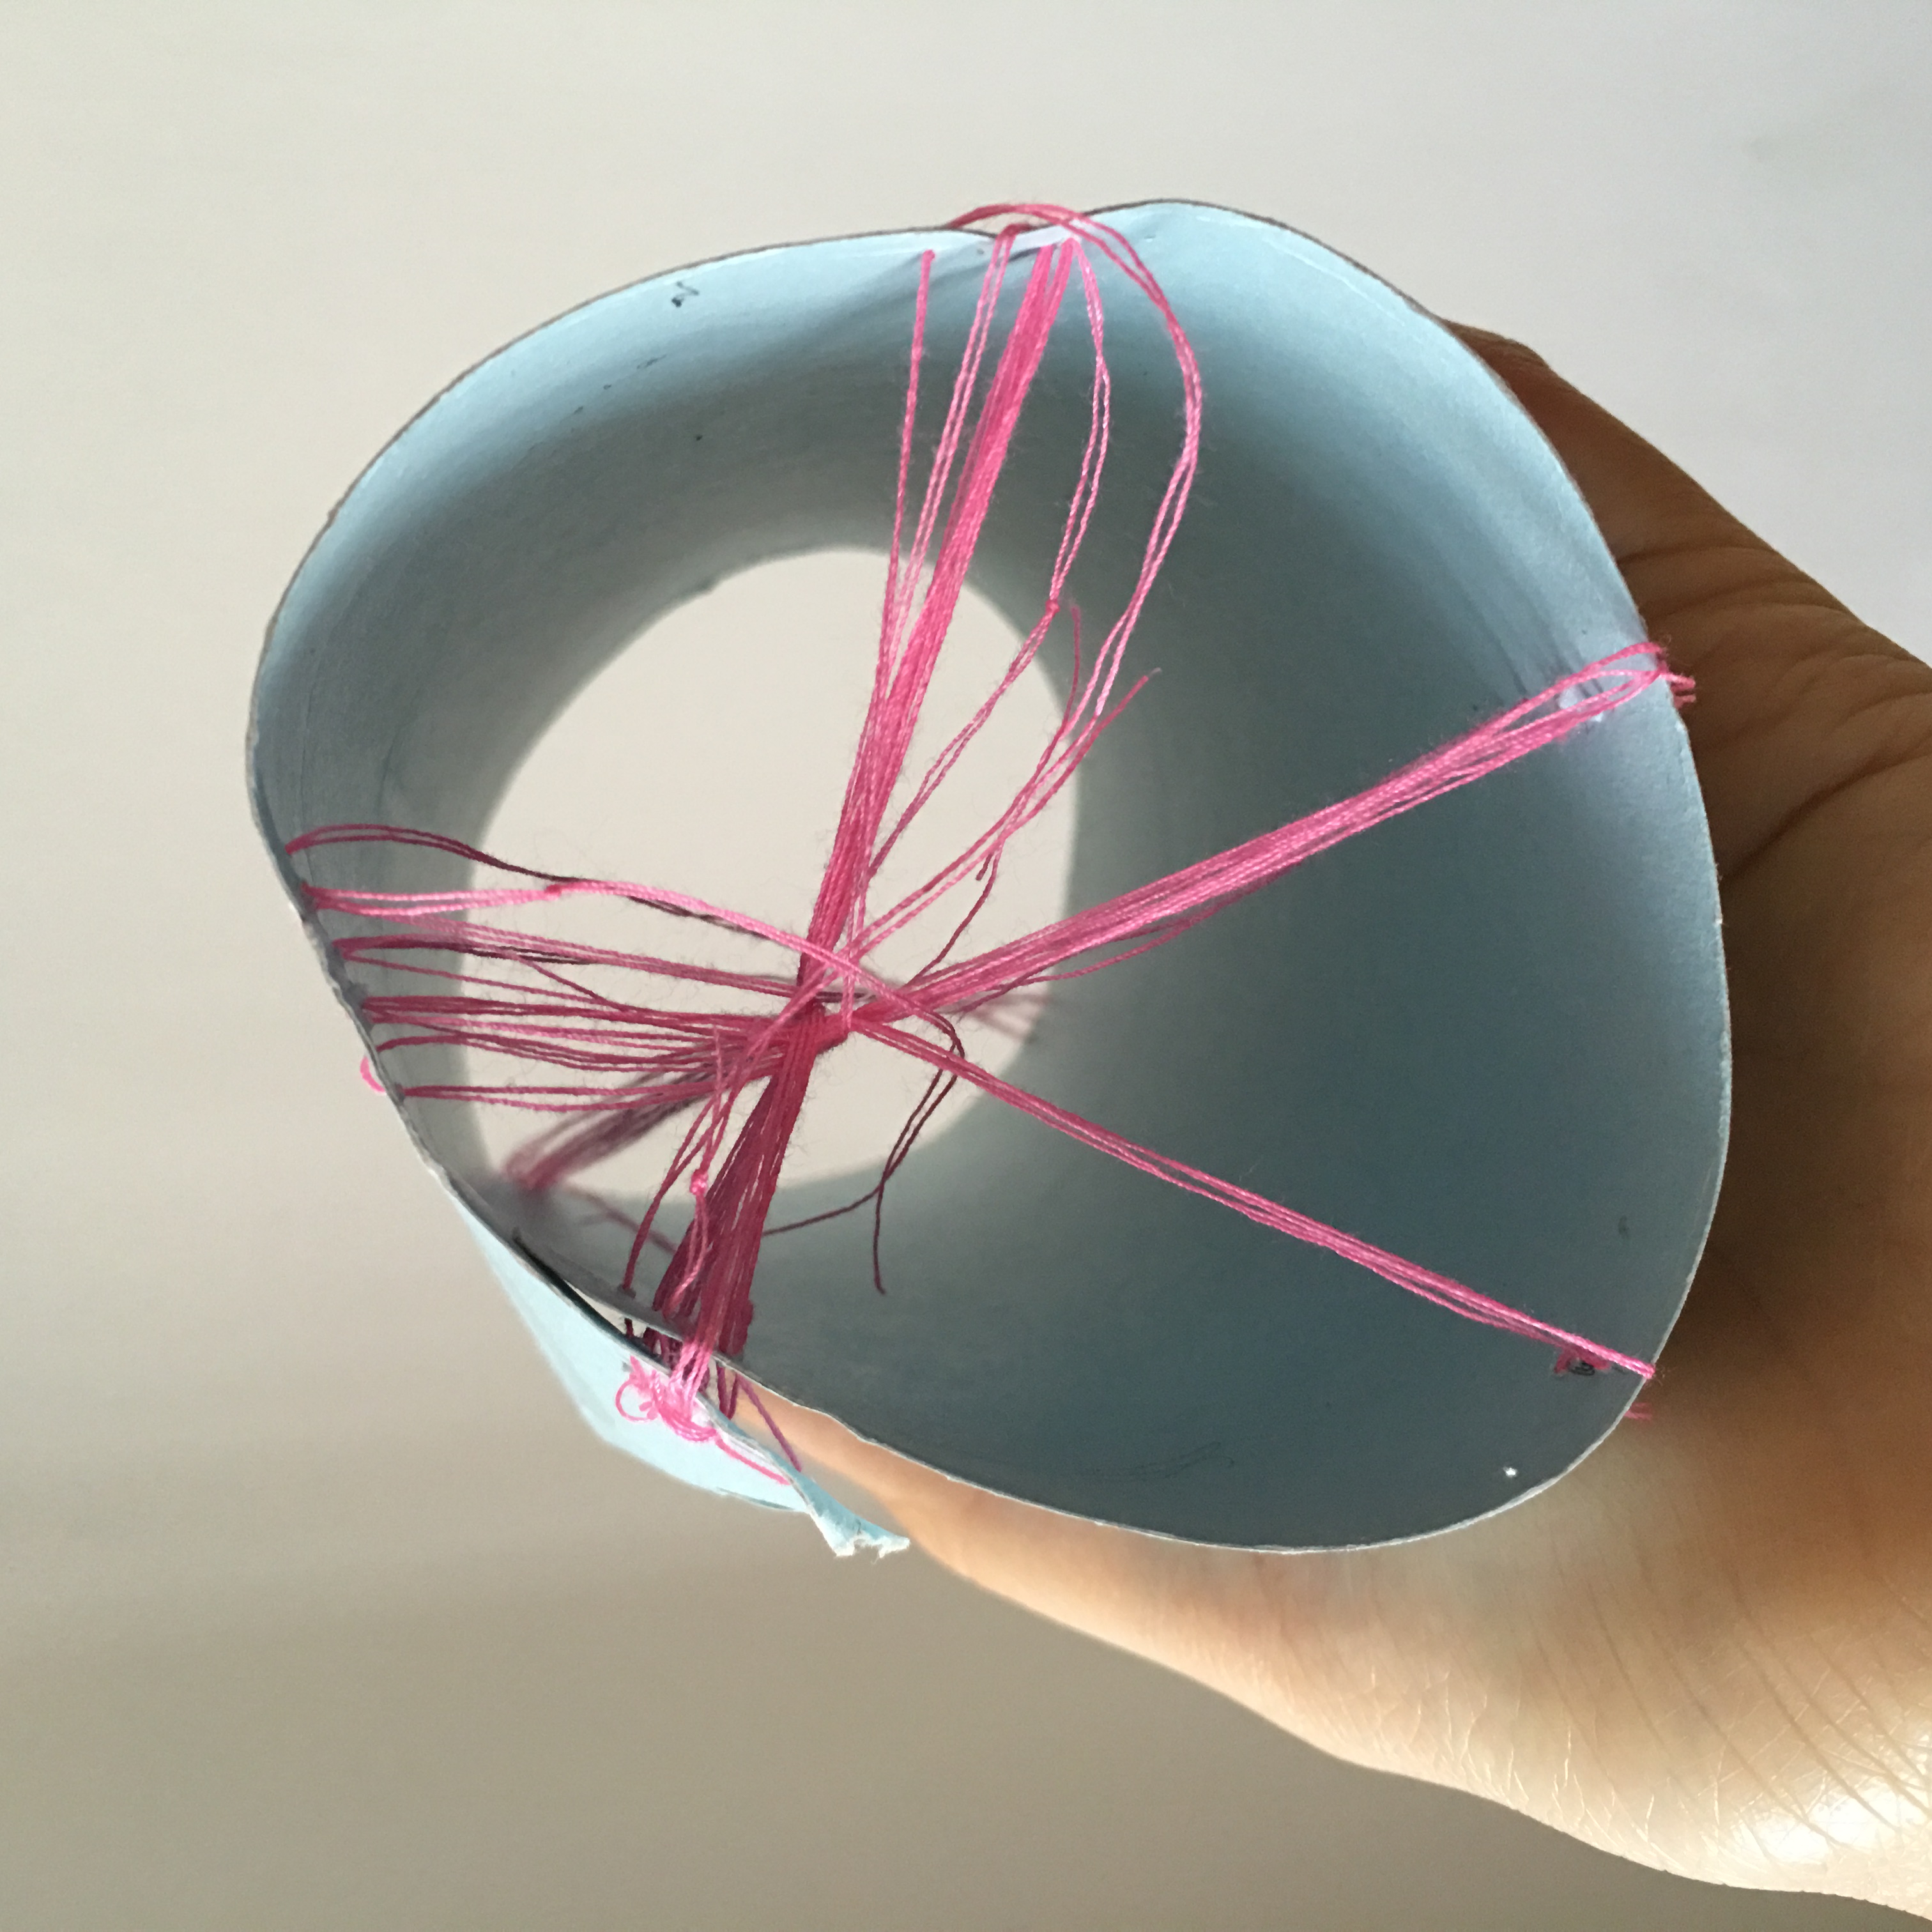
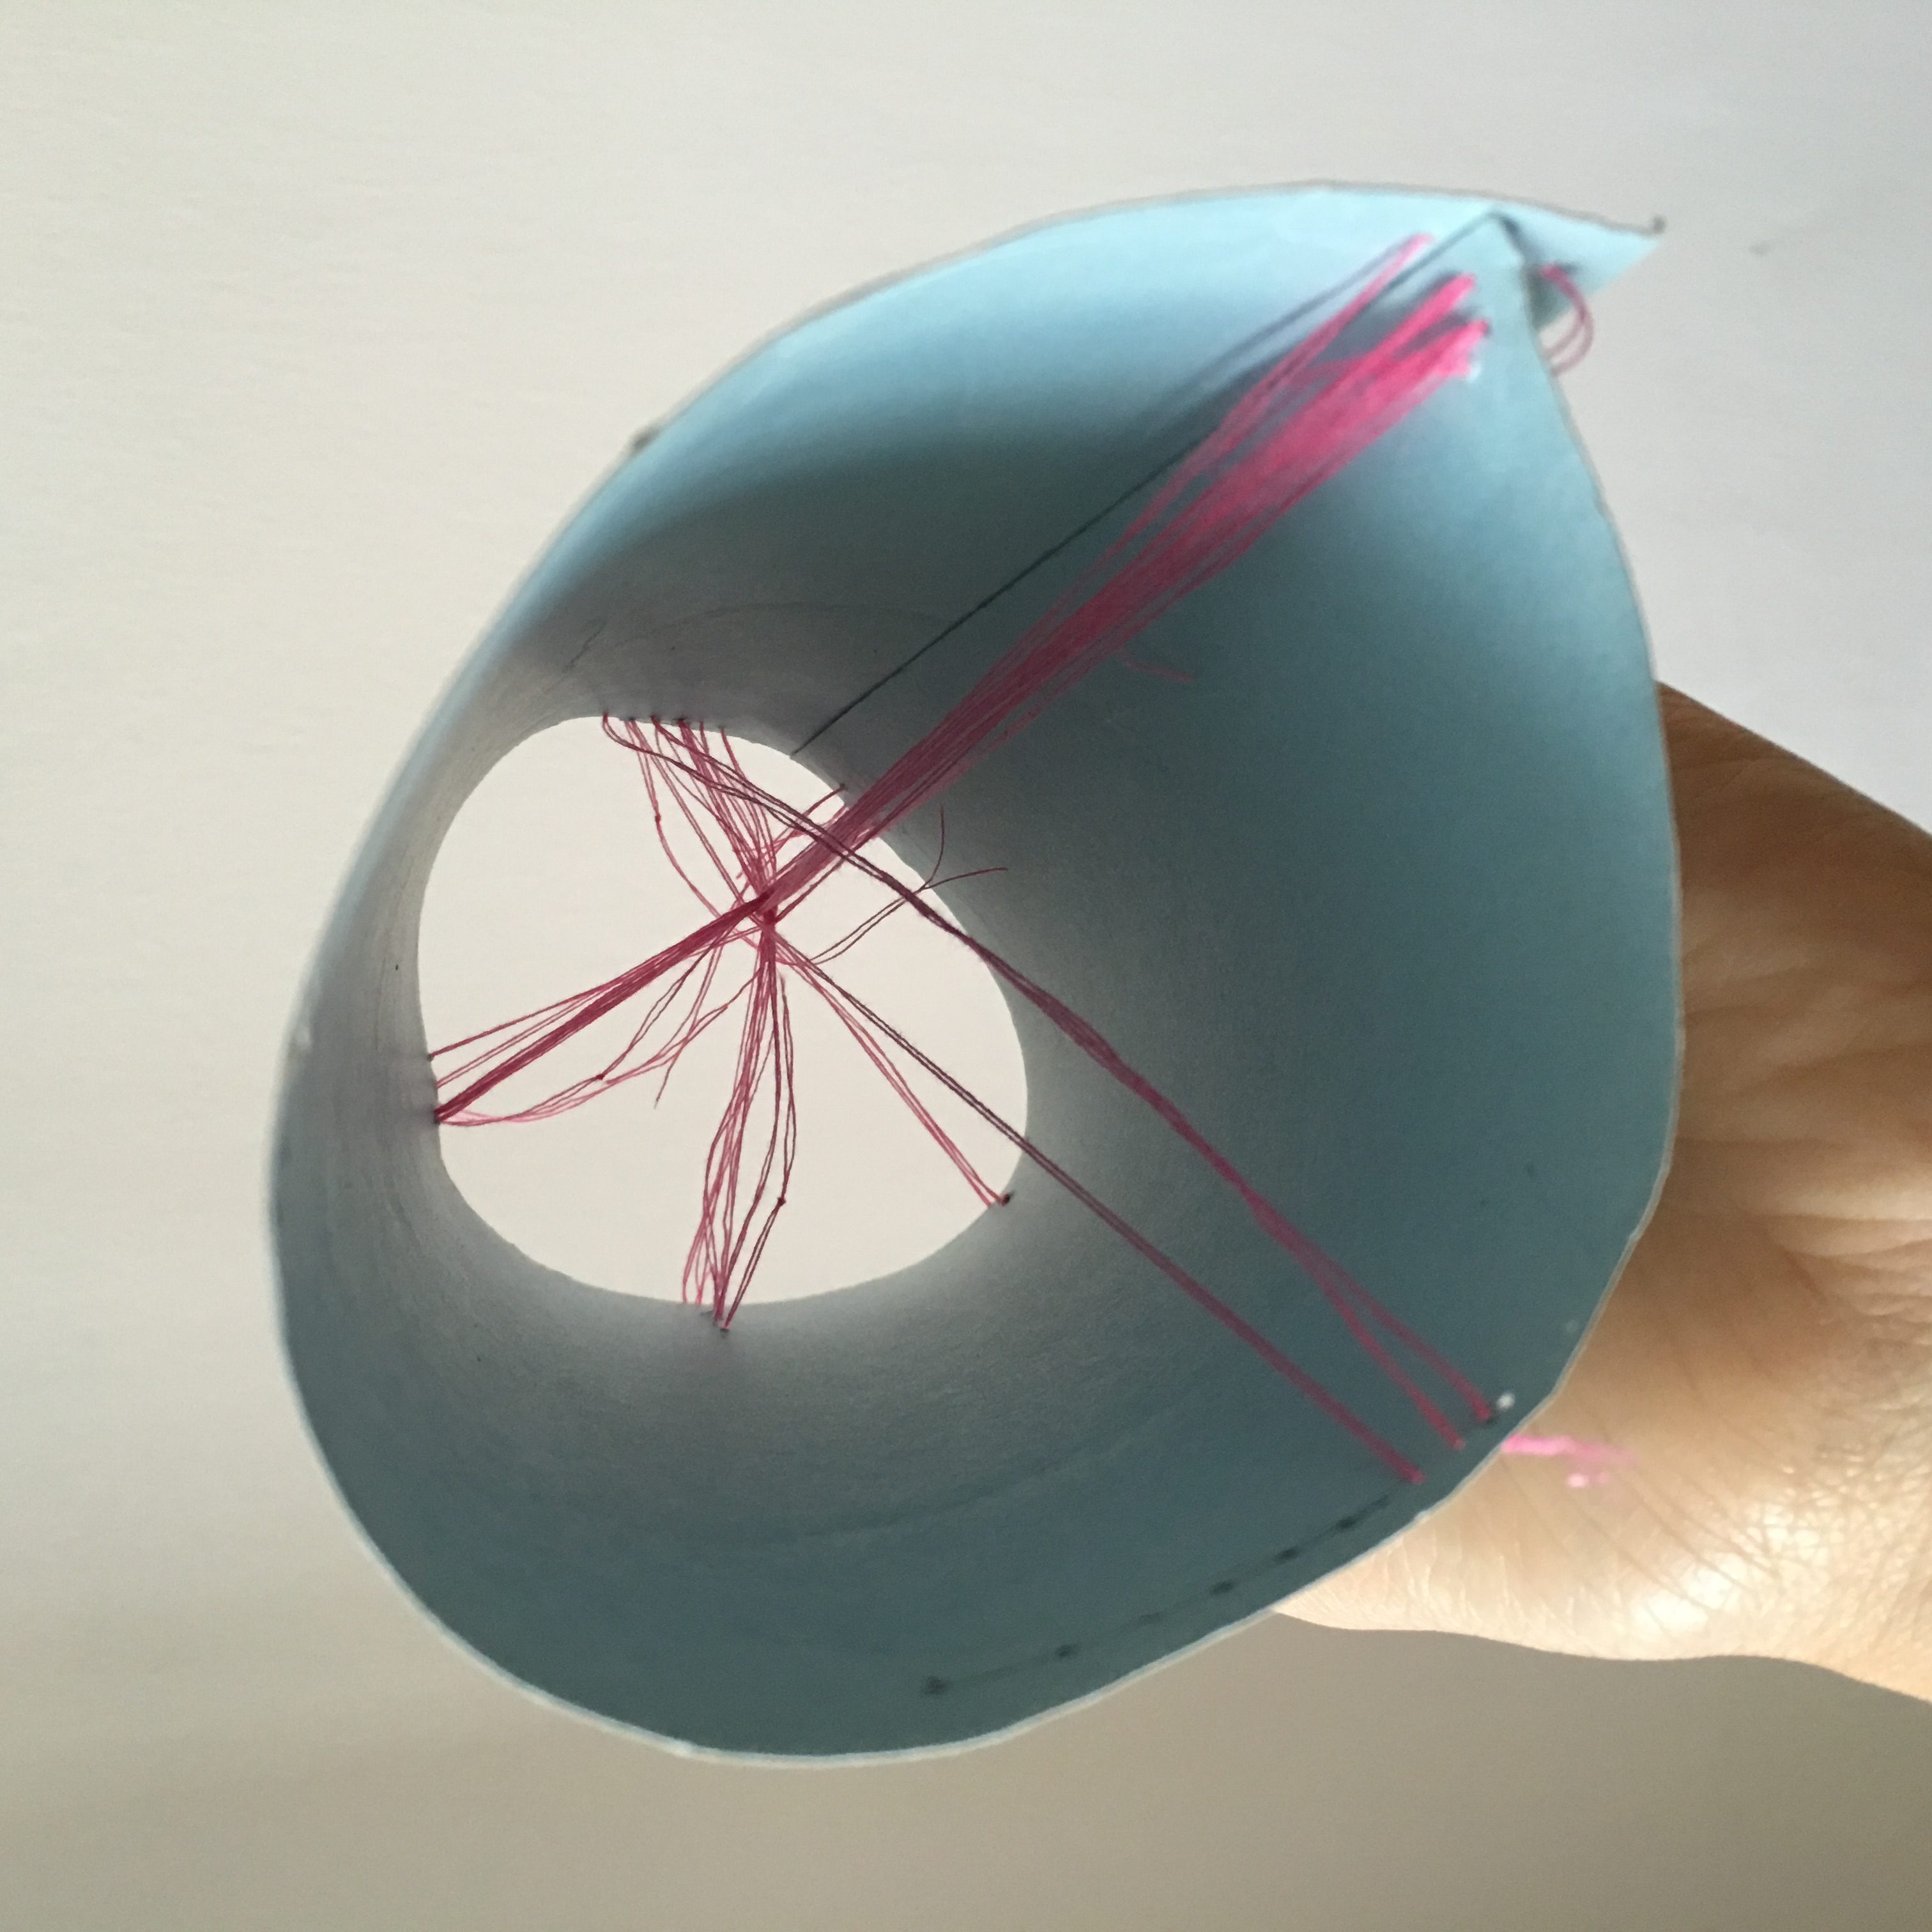
Study Model 2

(Right side of study model 2)
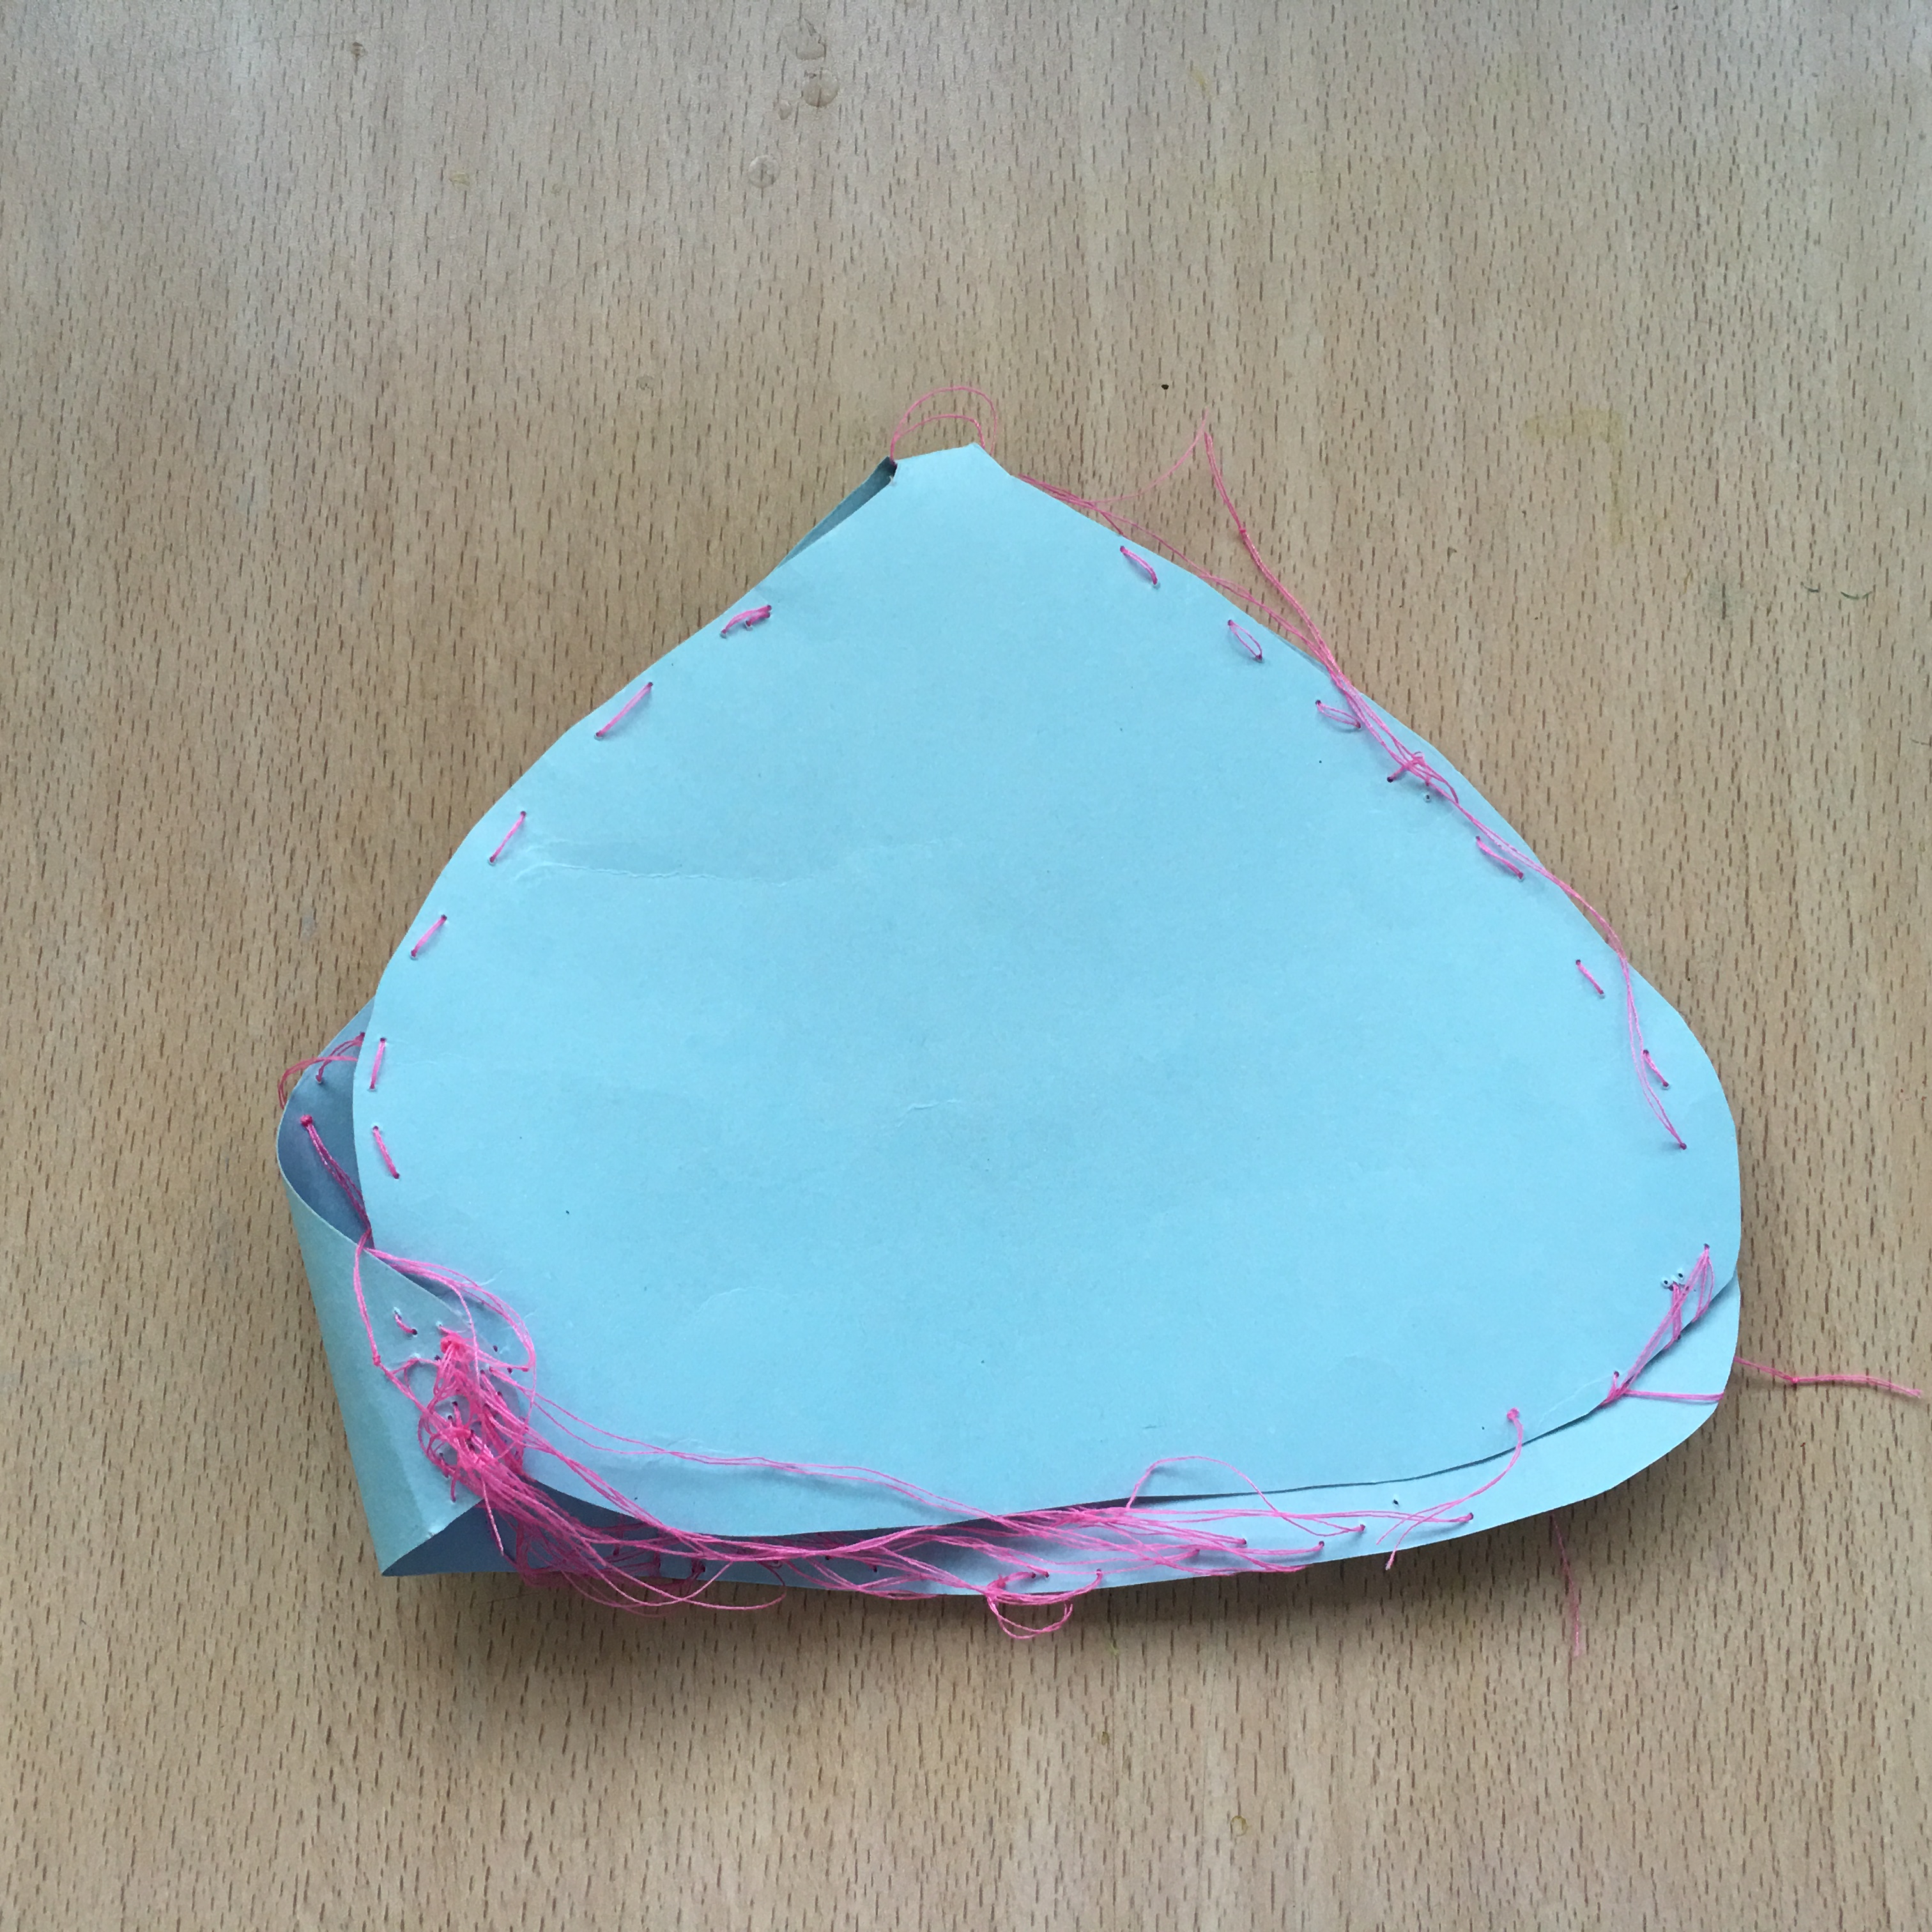
(Top view of study model 2)
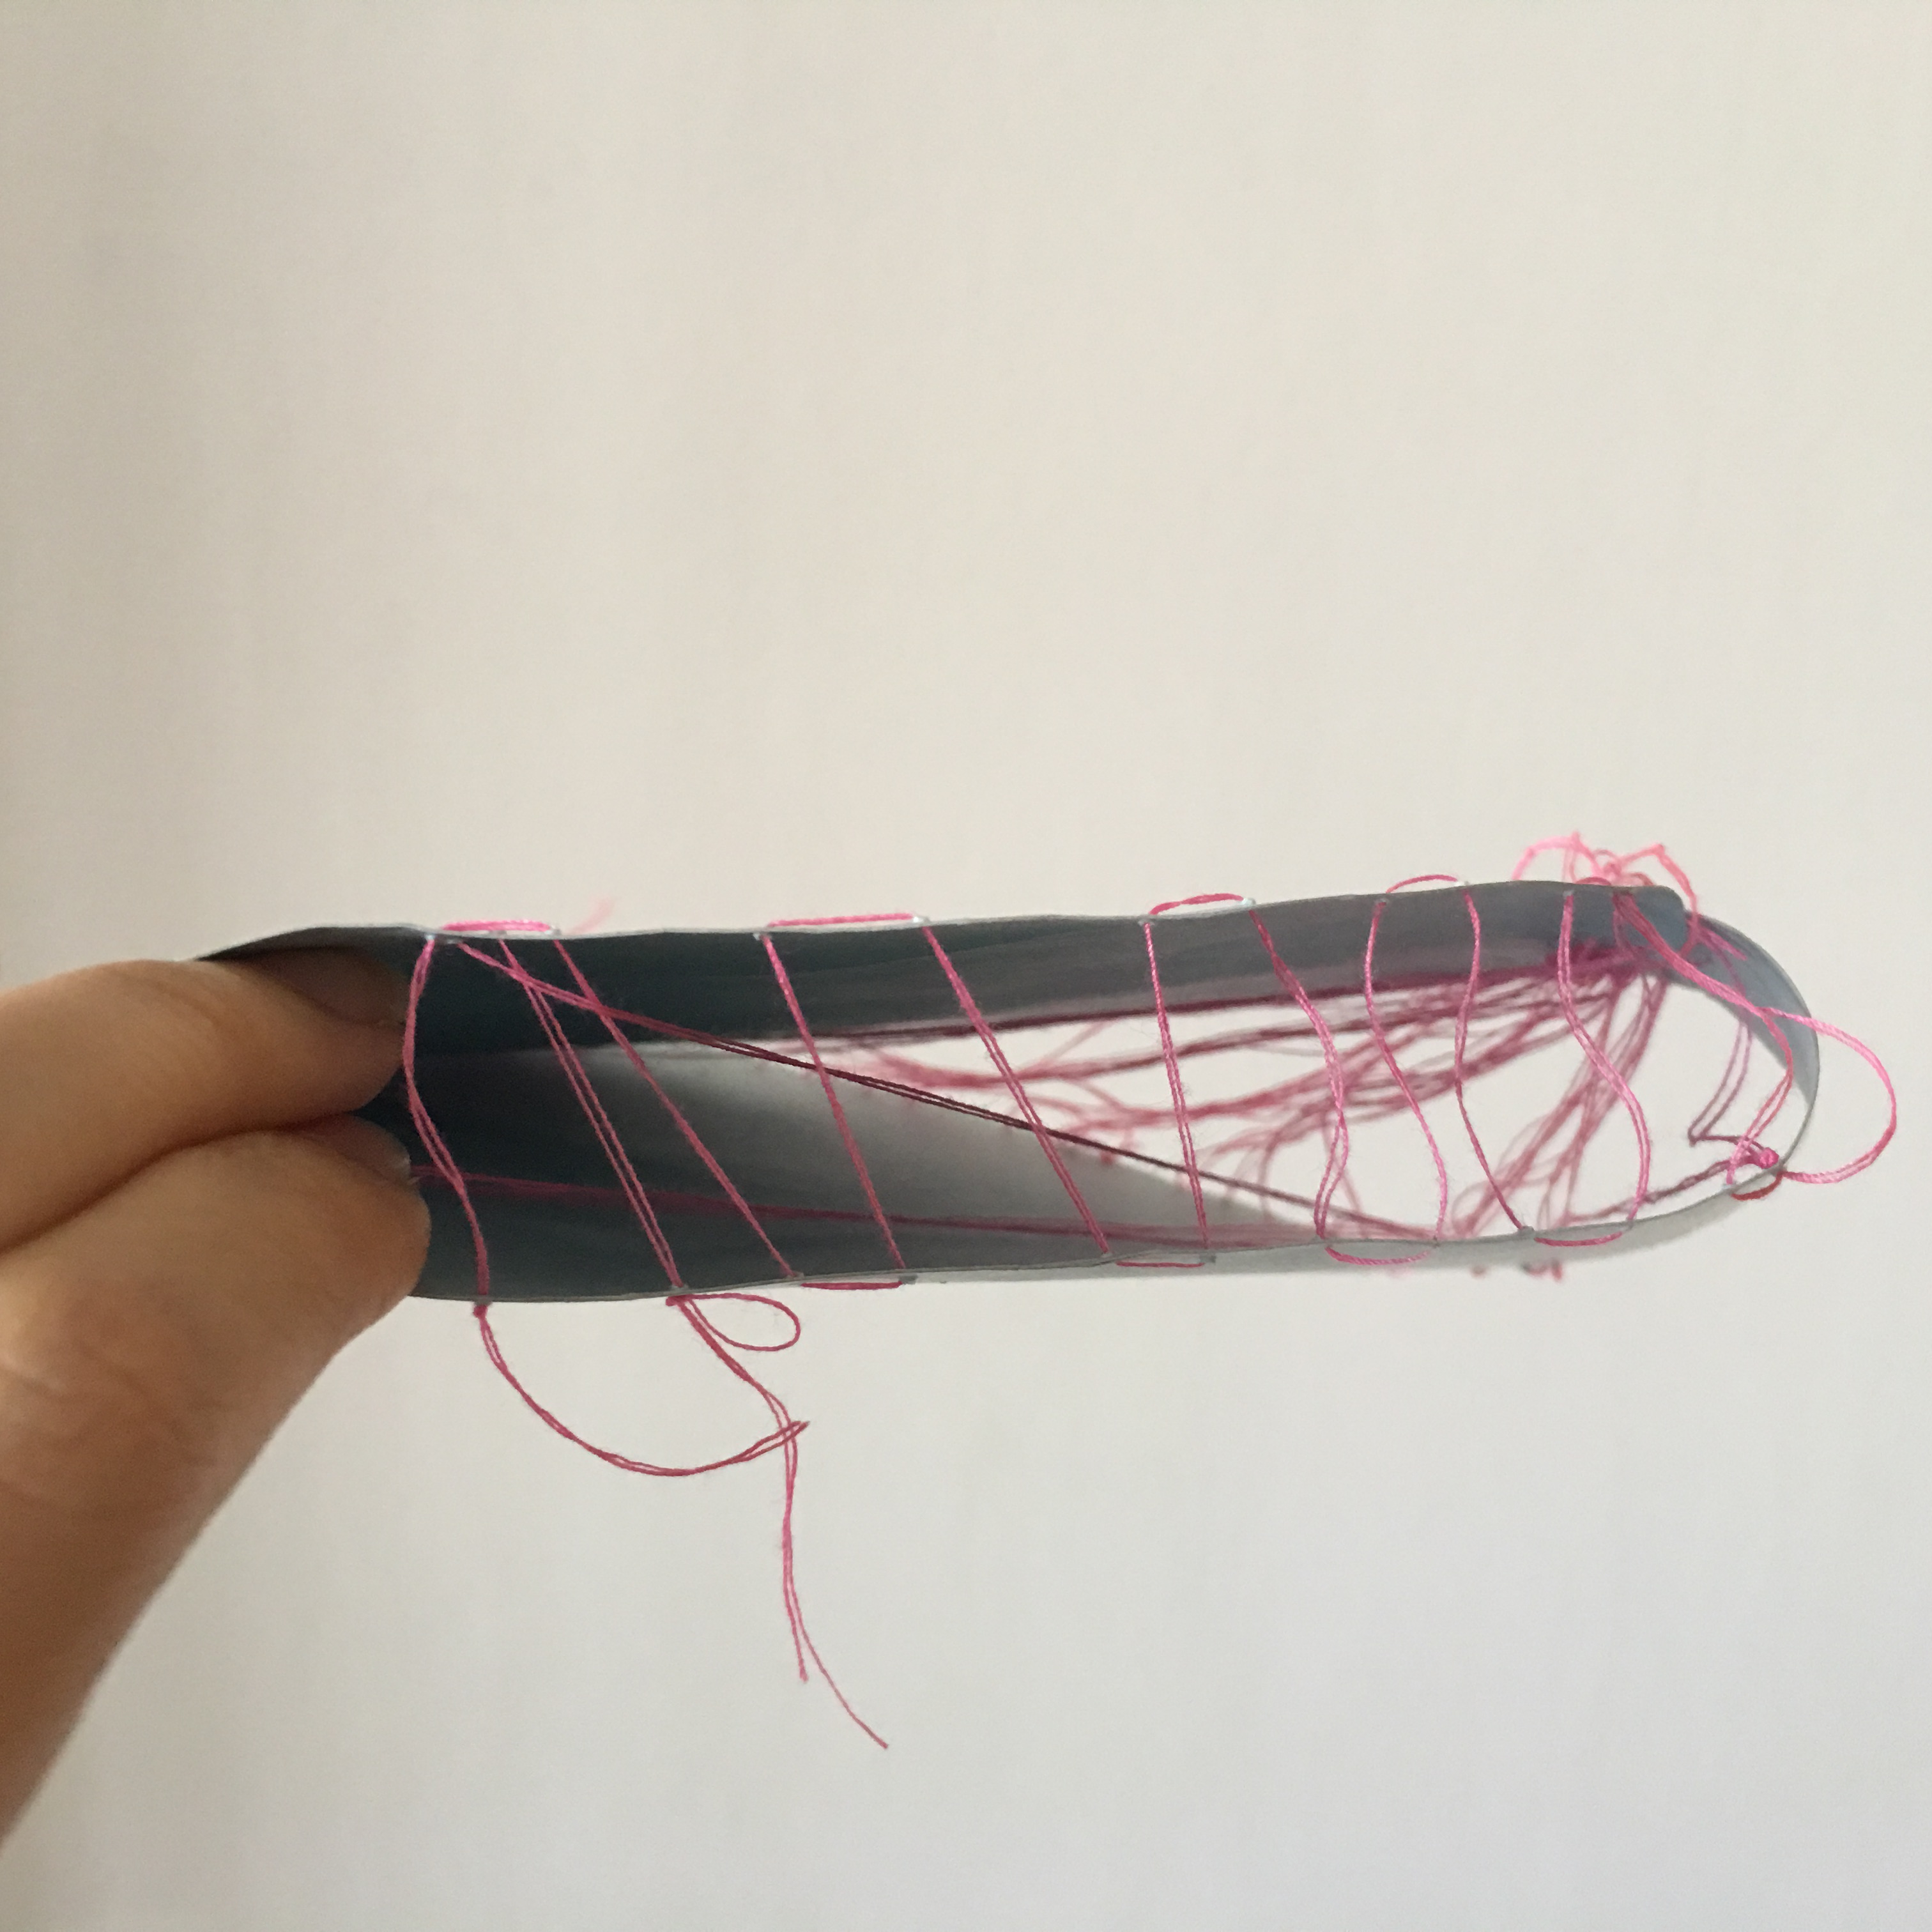
(Left side of study model 2)
I thought of making something more interesting such as an infinity shape so that it will have a wave like effect. However, as I finished cutting my shape, I bent it, thinking that I could achieve a wave like effect when it actually look more like an underwater creature. Furthermore, the lines that I have sewn inside looks very narrow and it cannot be seen from afar. The lines are not even prominent and because of the space inside, there seems to be a lack of three dimensional effect towards this model. The lines are not even suspended in the air. Thus, I have chosen to go back to my first study model.
Study Model 3
I decided to go back to my first study model after knowing that my second study model did not work out well. So, by noticing the cross from the first study model, I realised that I could use this cross and stretch it even further from one end to the other opposite end so that I could give an overall three dimensional effect to my final work and my cross can be stretched out from a big cross to a smaller cross so that there will be a sense of perspective from different angle.