FINAL!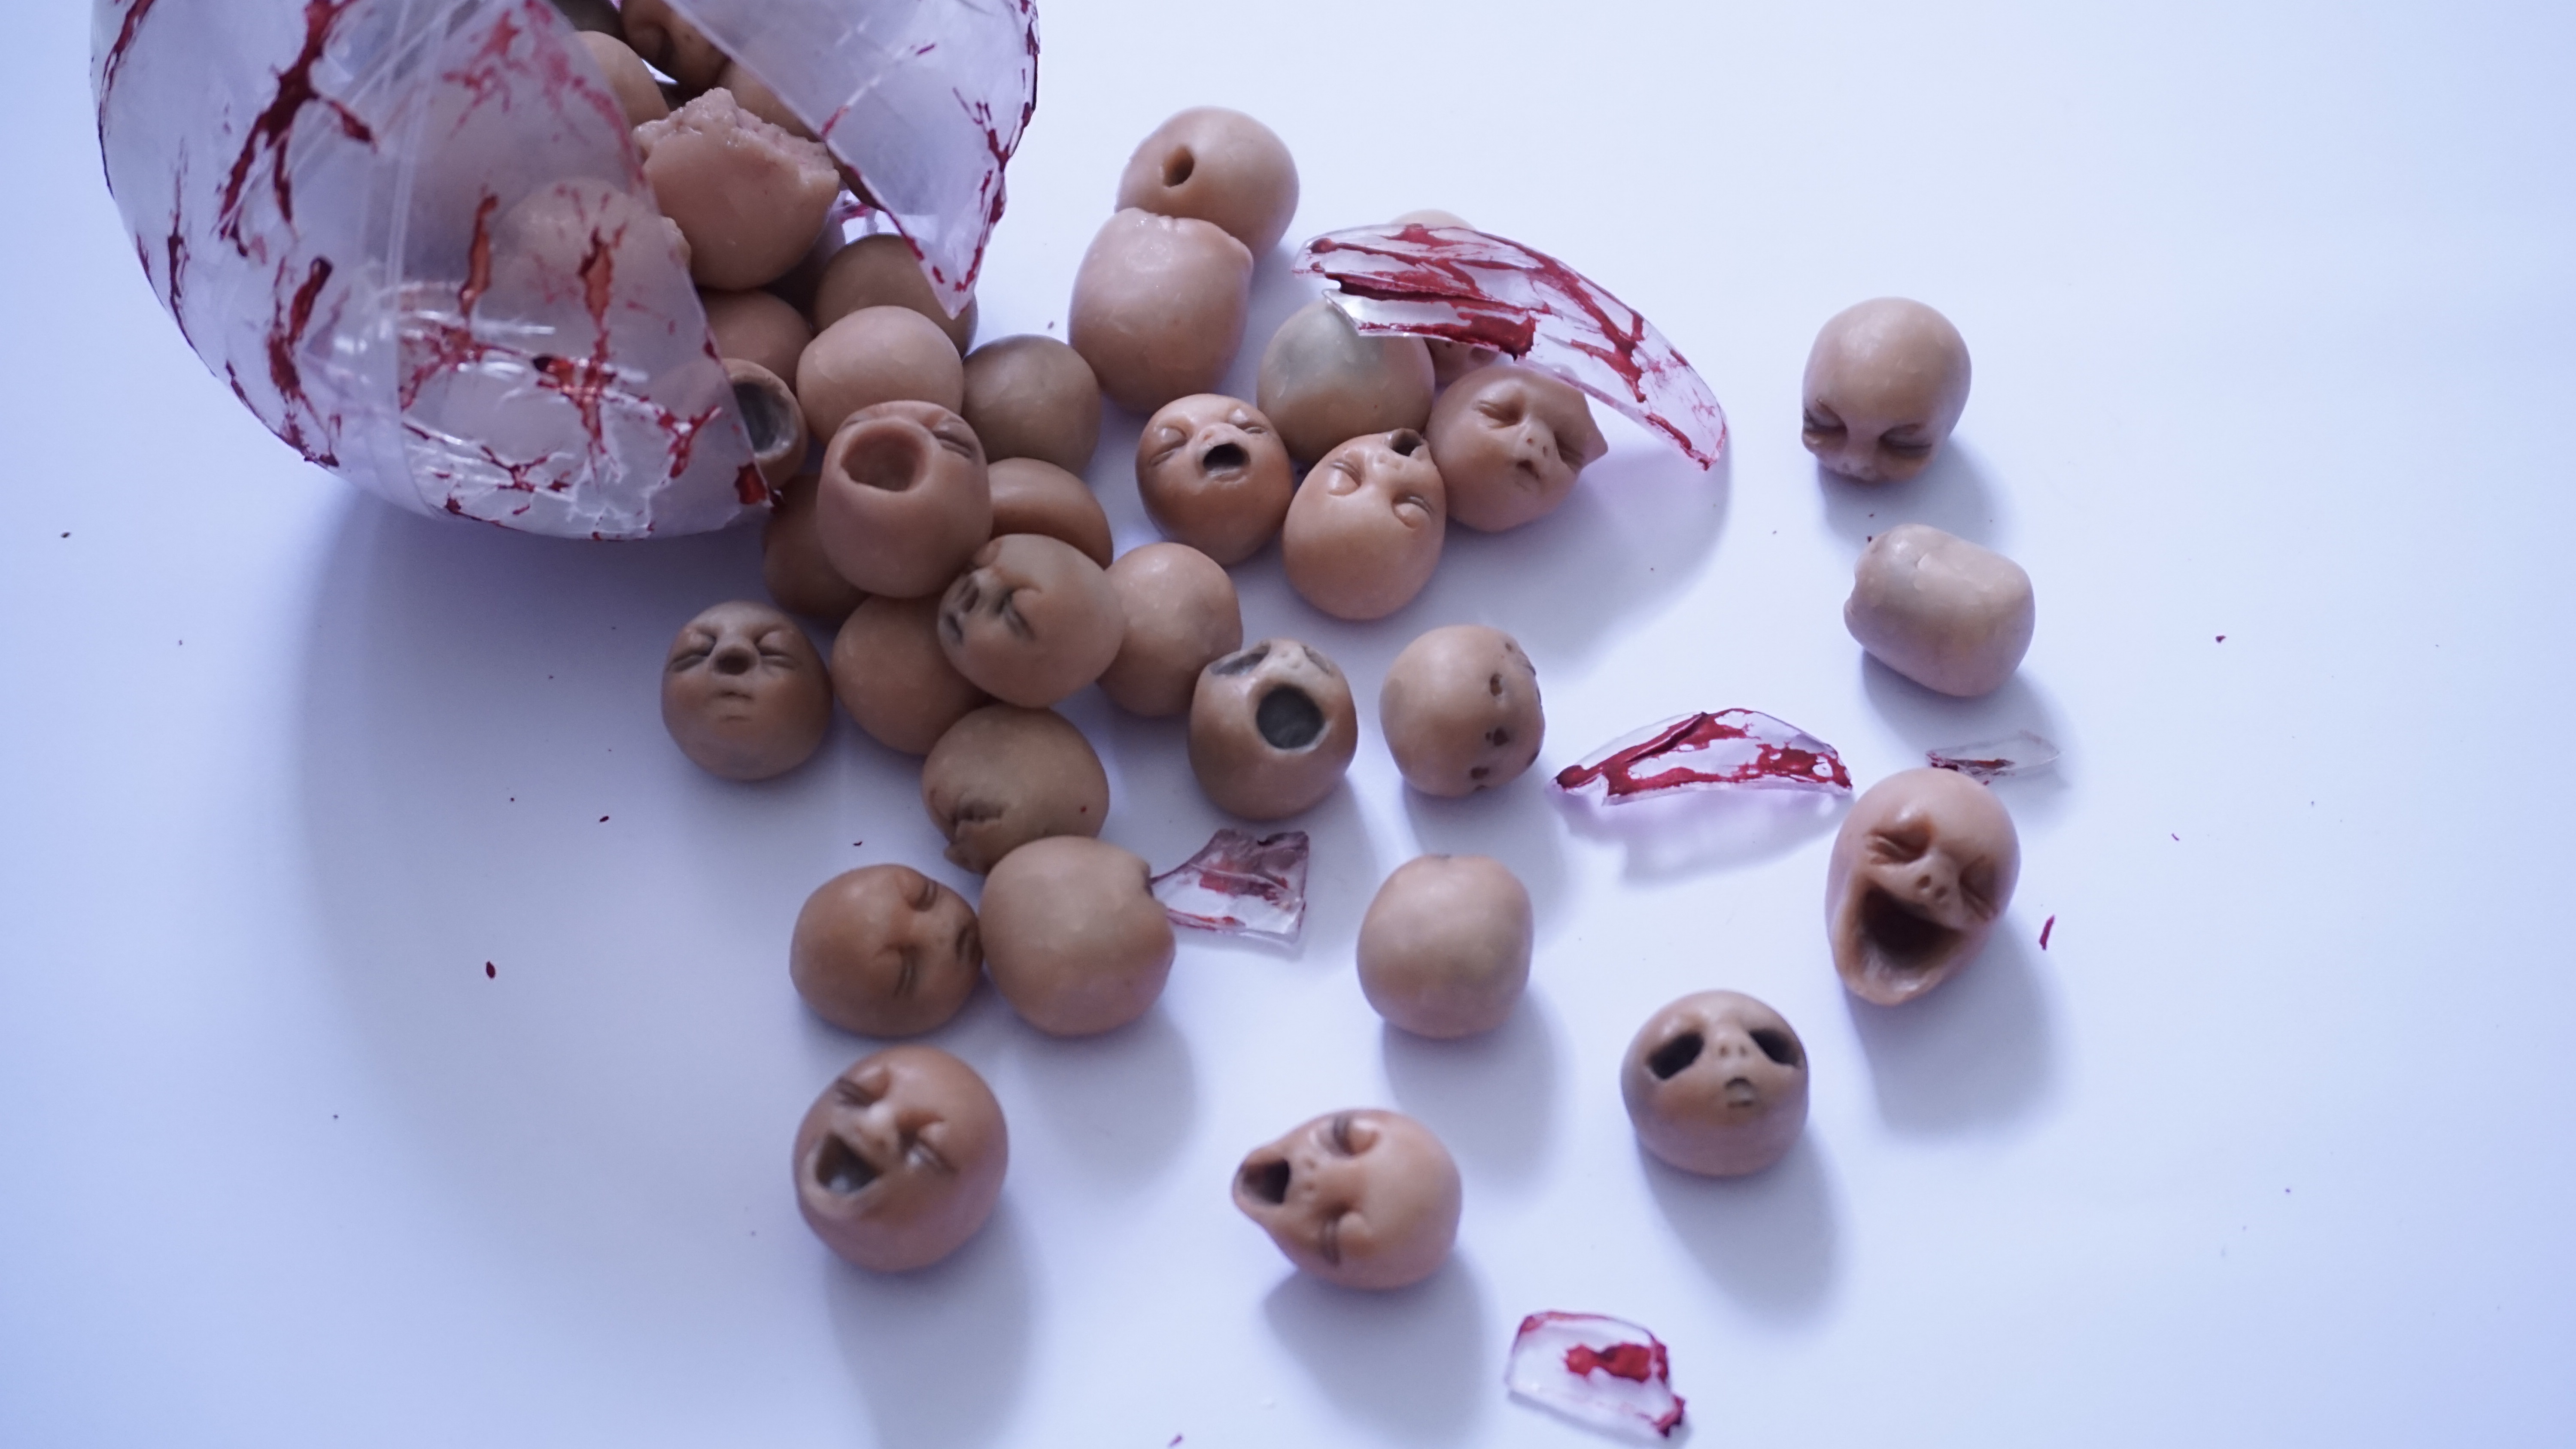
“Abandoning your inhibition and opening up is not always the best thing to do, bad emotions,feelings and character are sometimes more suitable to be kept in”
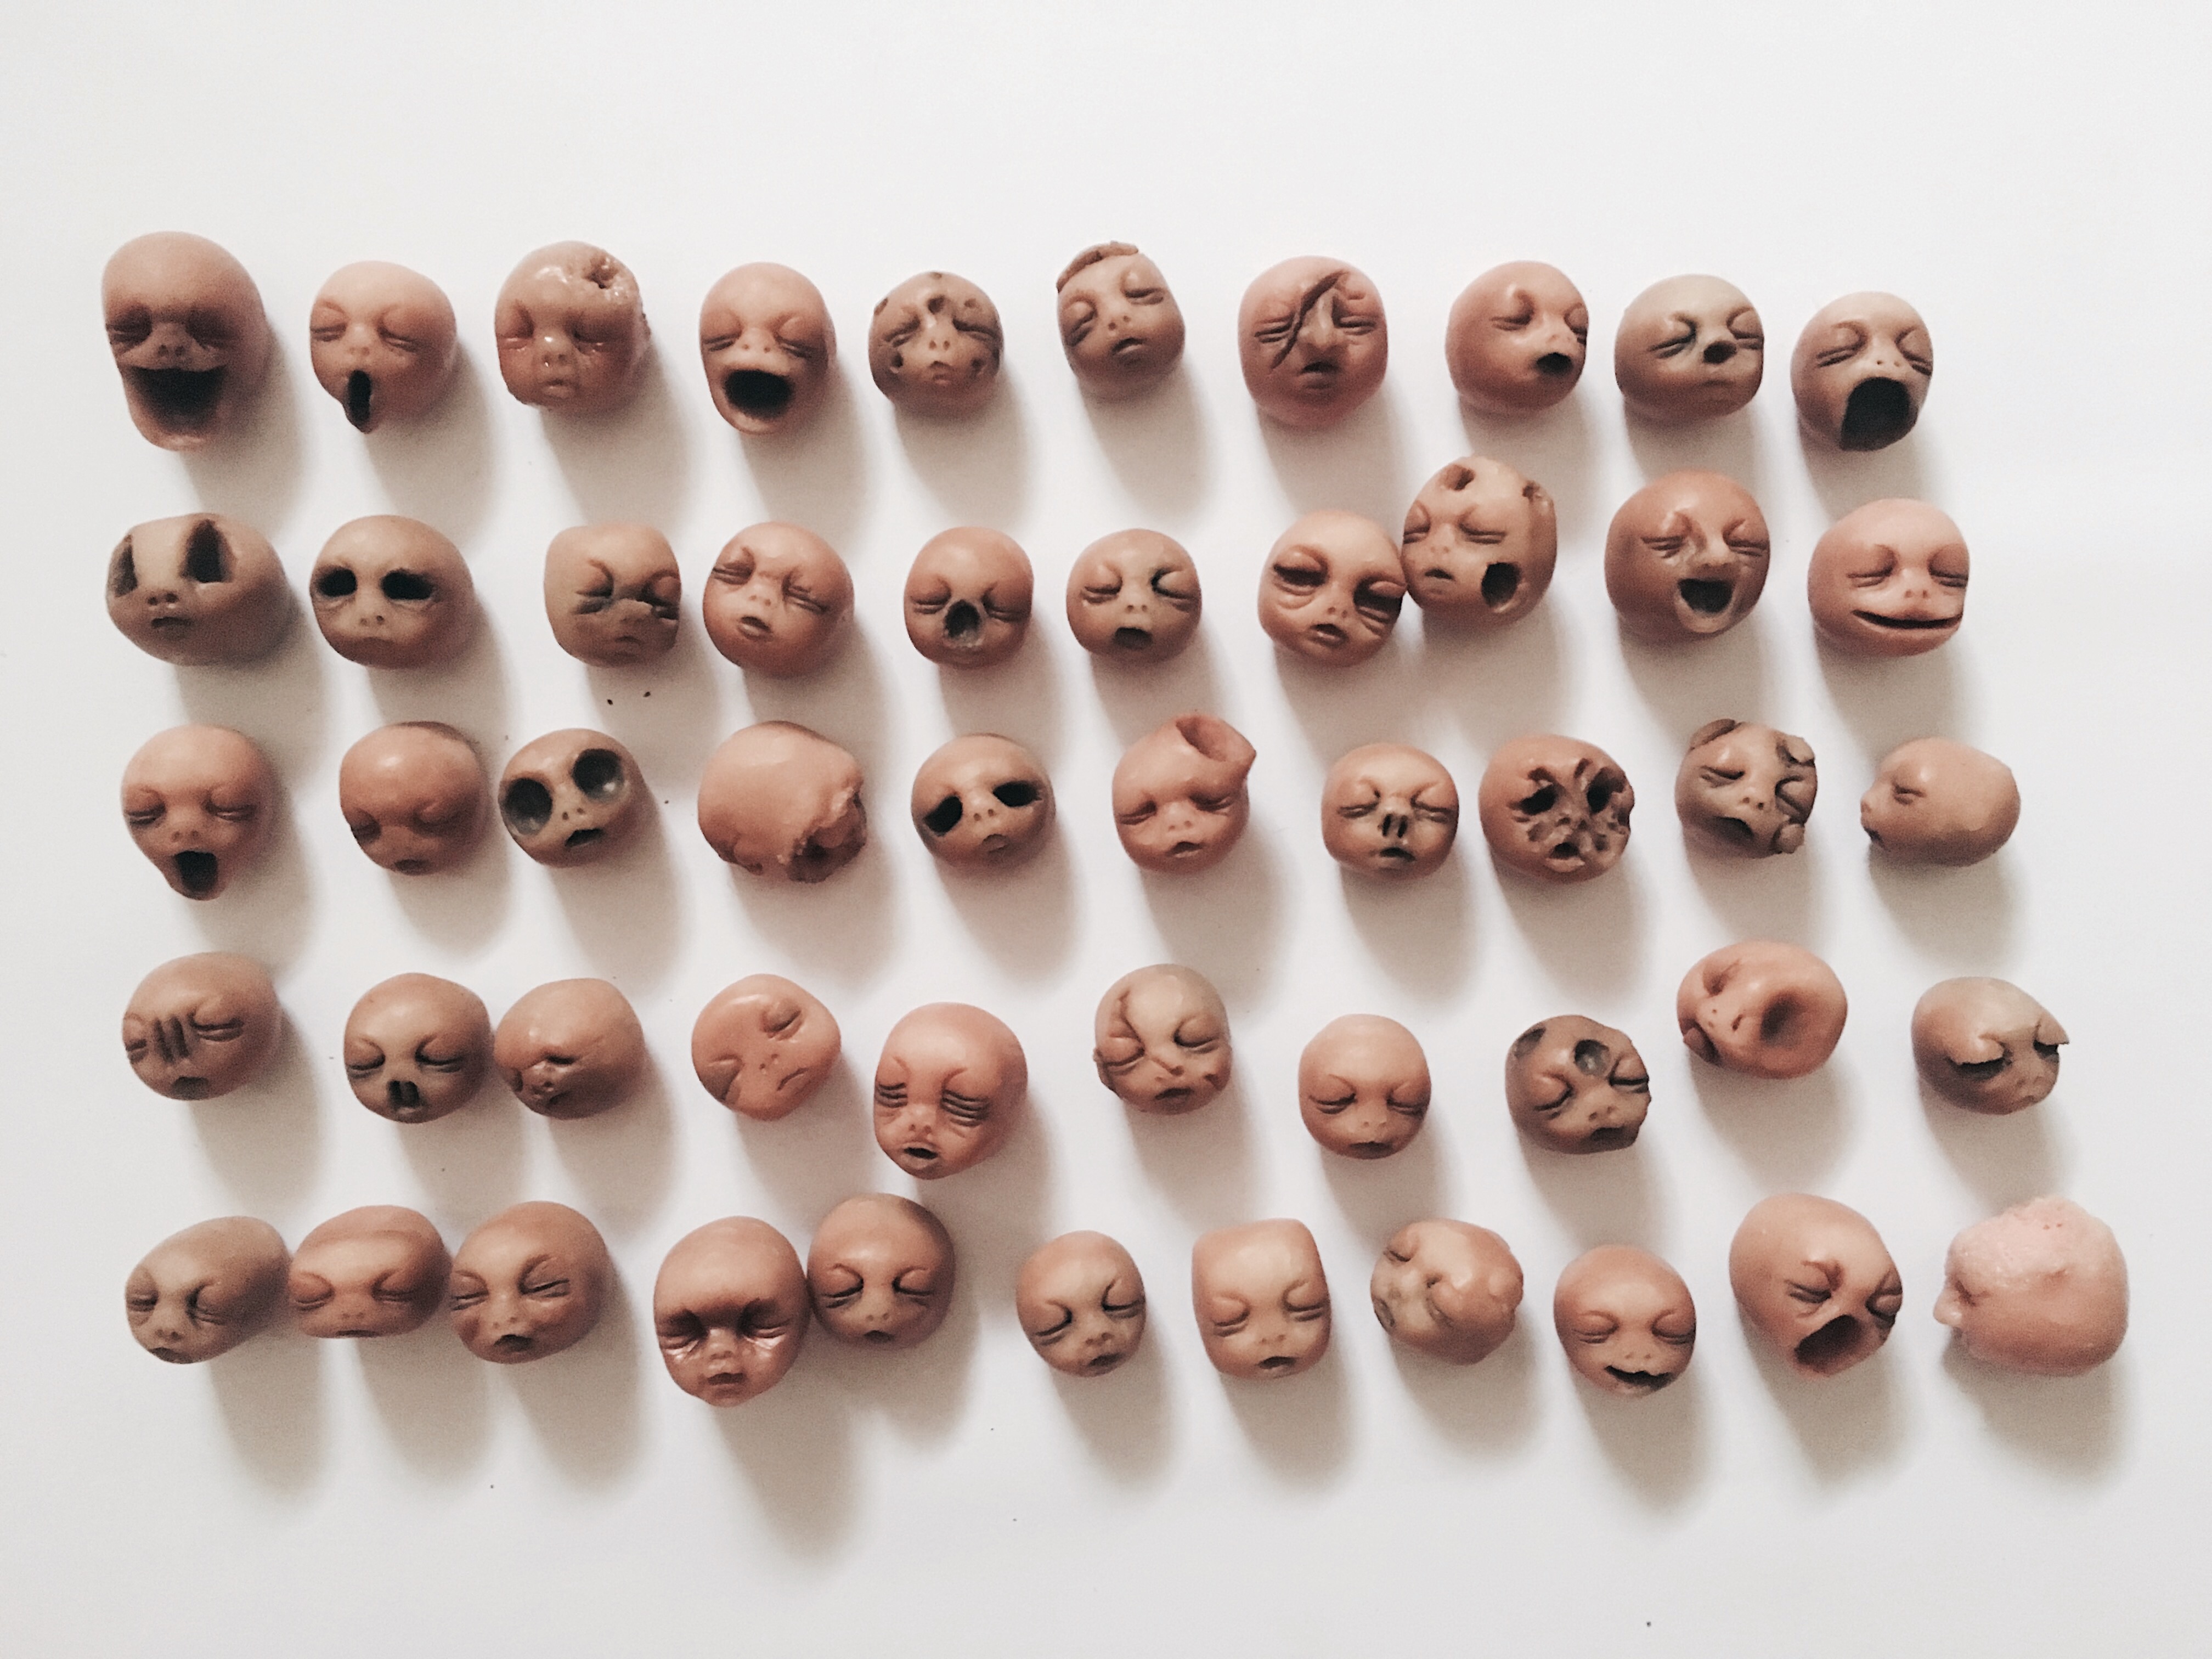
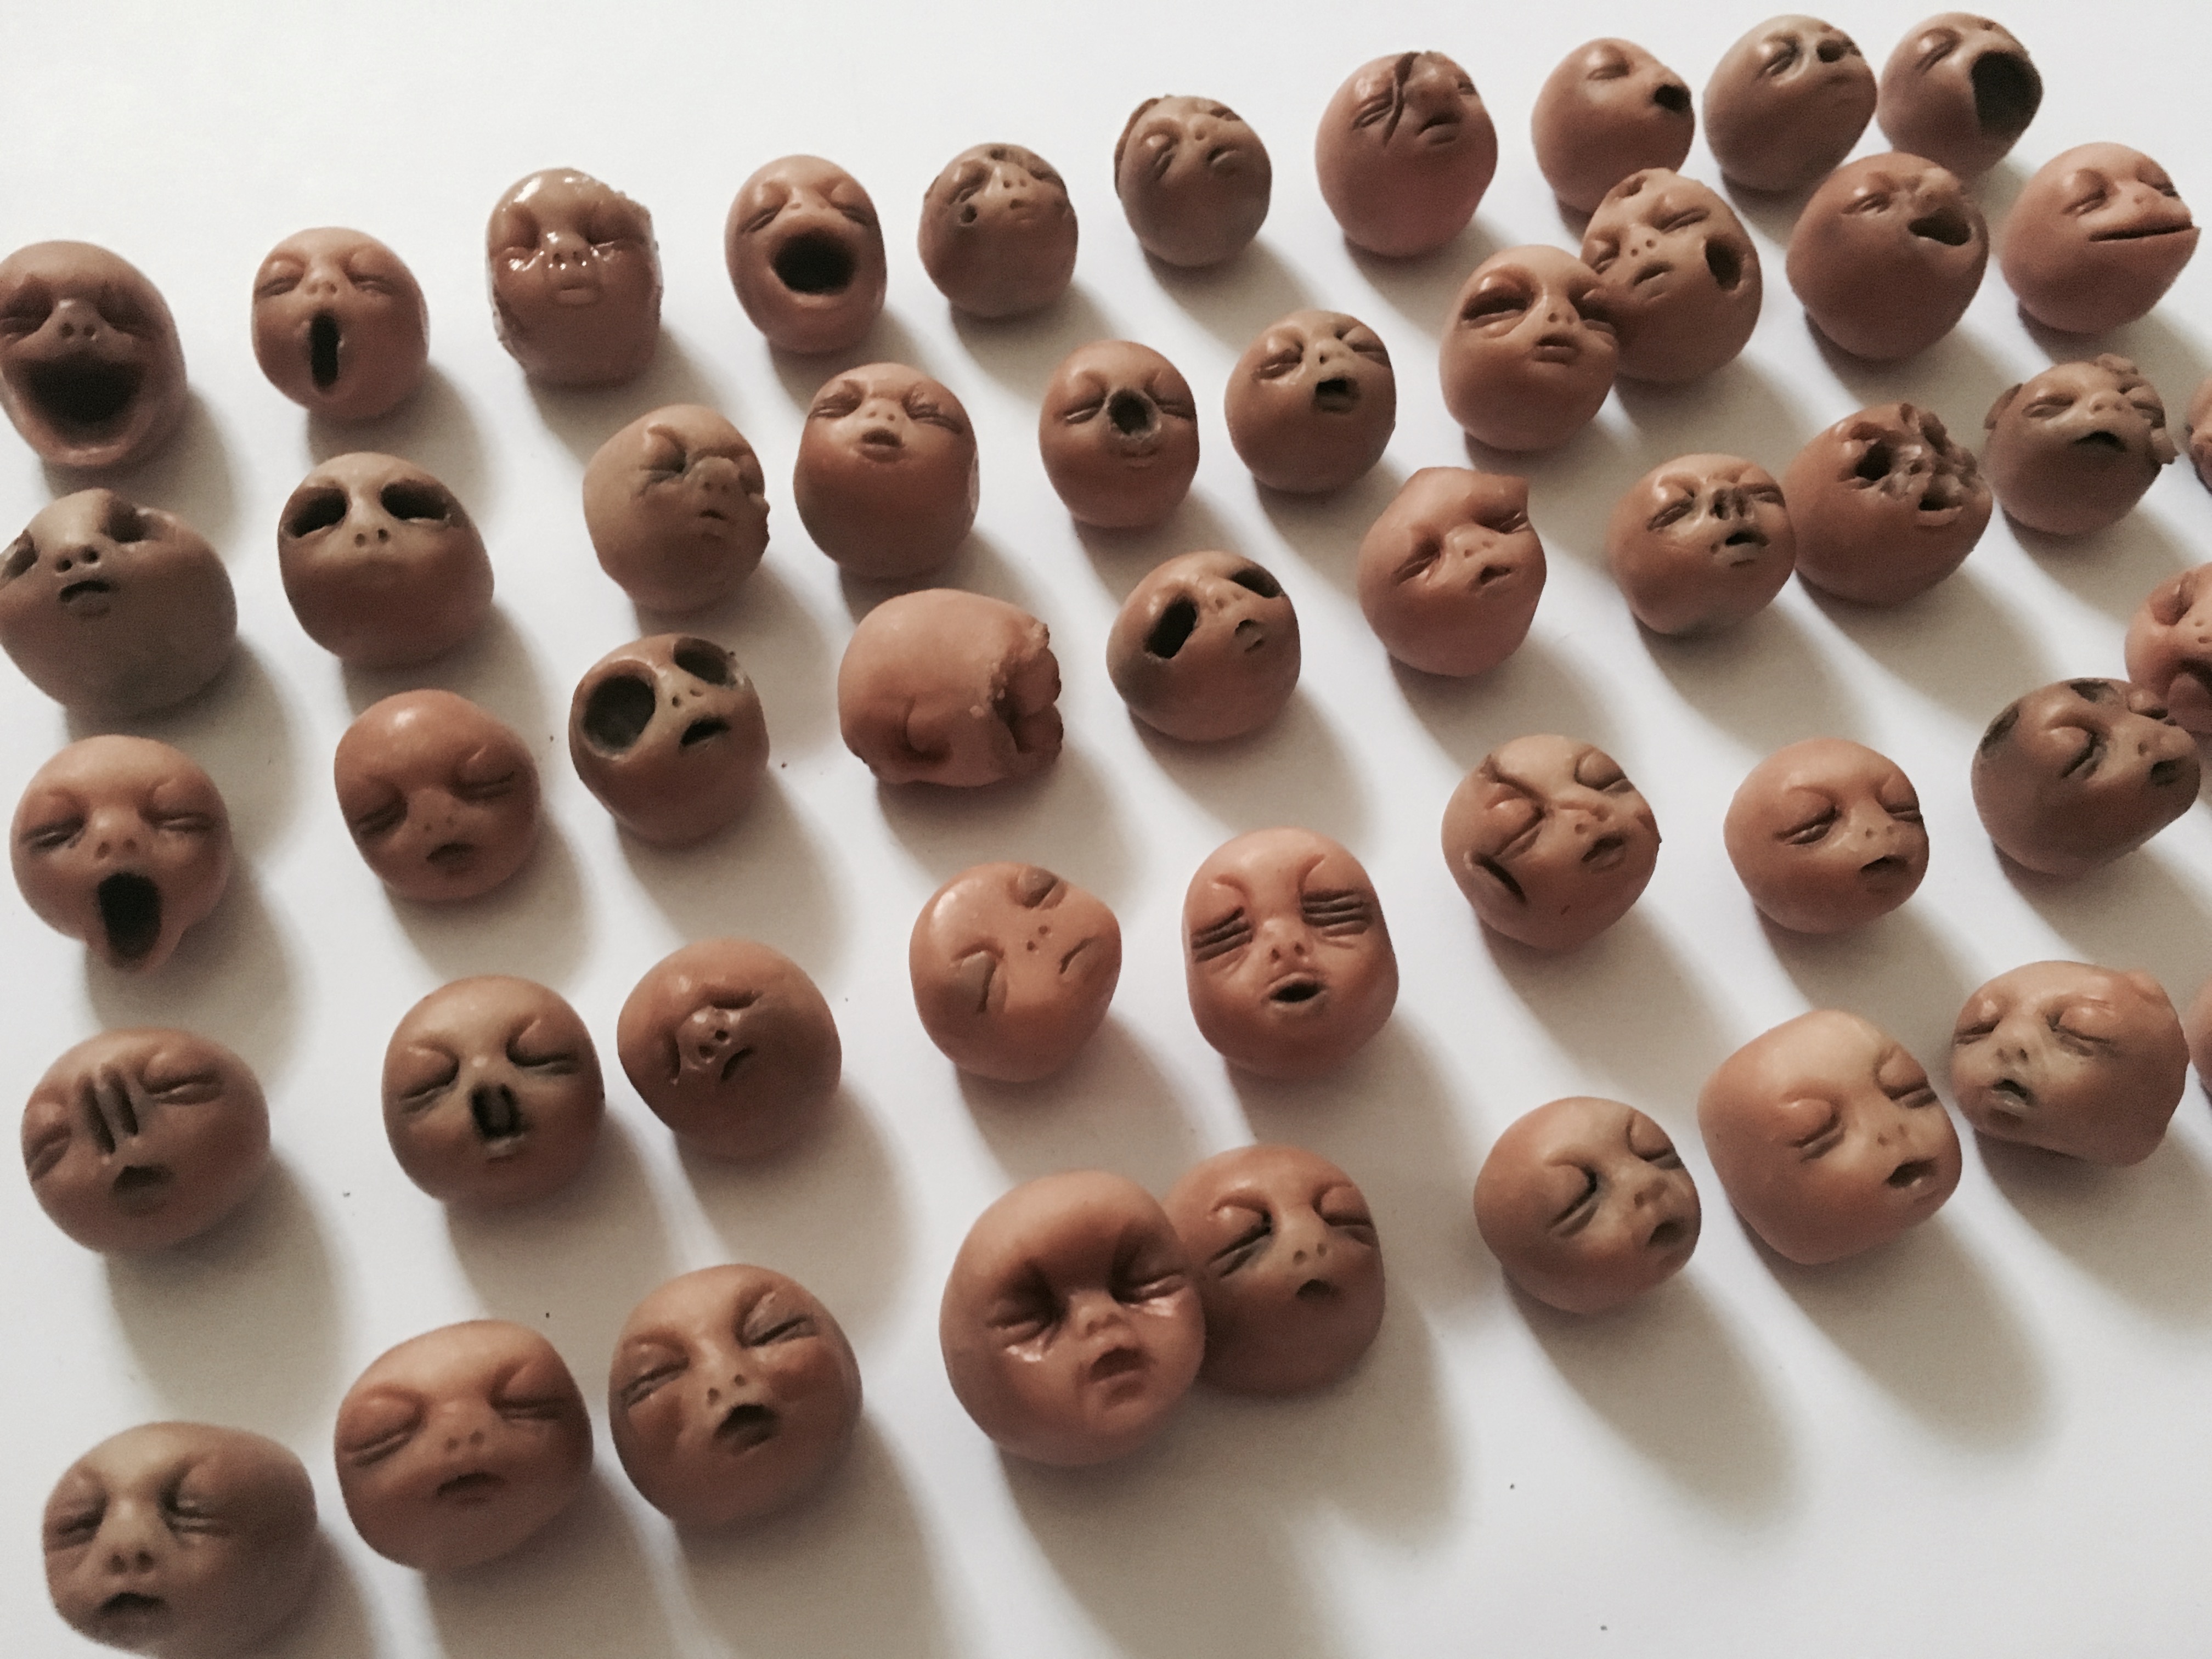
To mimic the idea of a strong and sturdy protective cover (inhibition) that human created for ourself, I want to represent this idea with mother’s womb. A very important Protective Cover for the babies. Stretch marks are also often seen on pregnant ladies stomach so making it bloody symbolizes the hardship, pain and stretching apart people have to go through in order to come out of their comfort zone, opening up and abandoning their inhibition However, letting go and be open up doesn’t always means a good thing, Emotions, feelings and character that flows out might be worse and uncontrollable. It might not be as beautiful as perfect than we expect, just like the creepy babies head.
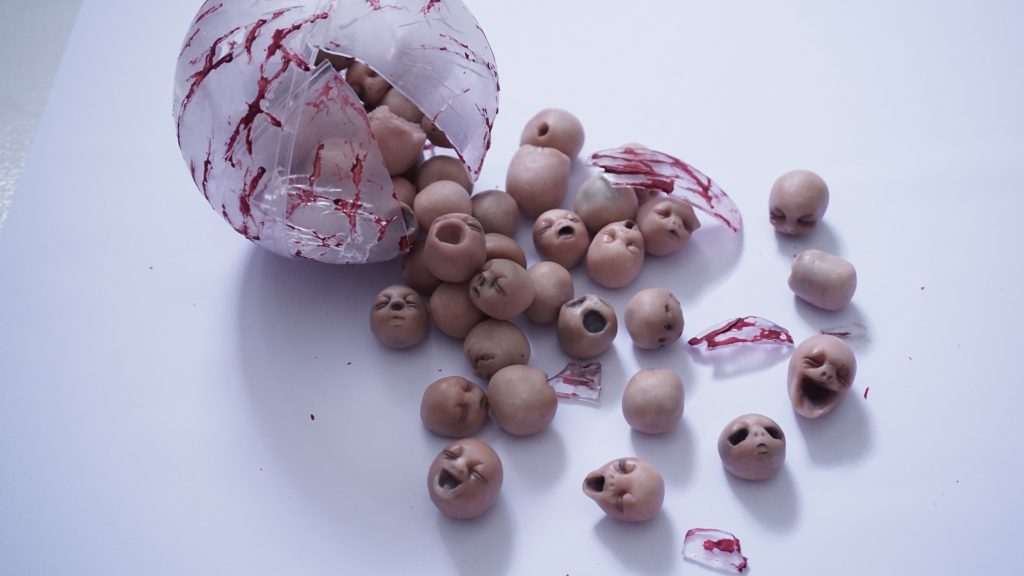
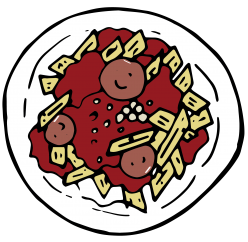
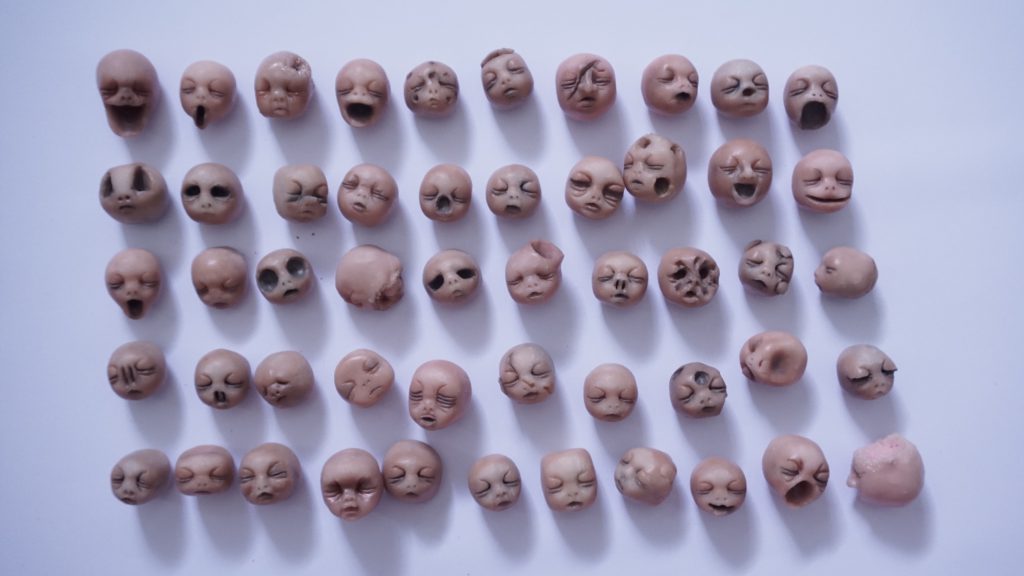
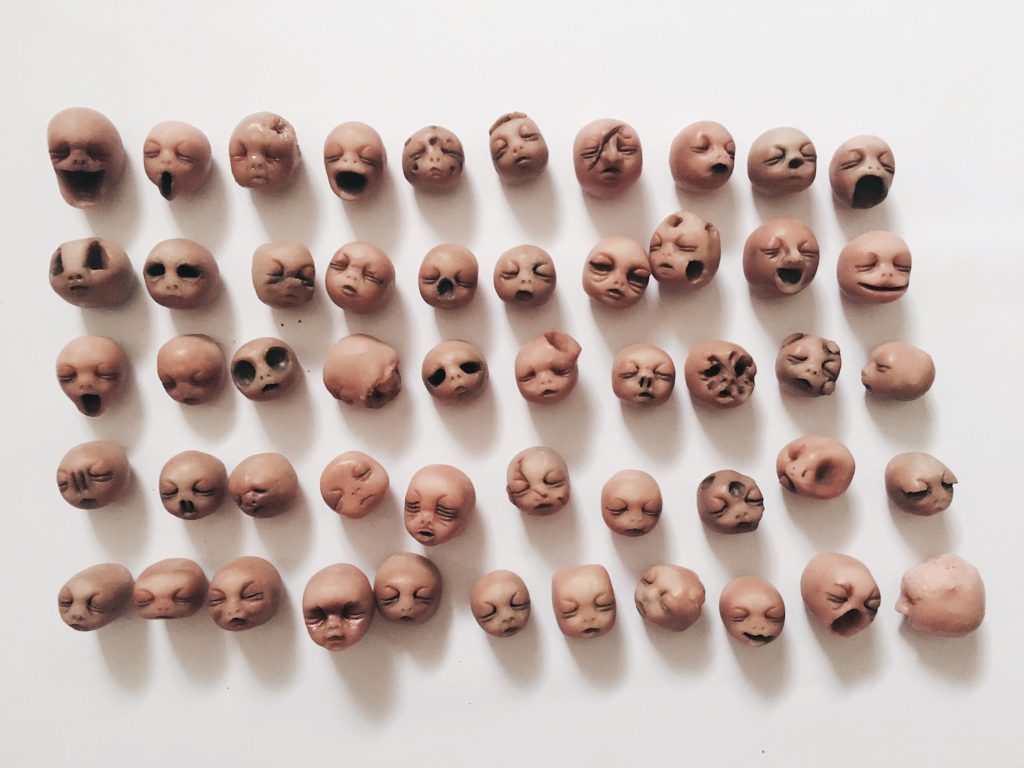
Each and every of this head represent a different feeling, emotion and characters. Each of them are imperfect in their own way. Some have a distorted nose, bulge forehead, elongated mouth, holes in their head, growing boobies on their head (symbolizes feeling naked when opening up), cuts/ slice marks on face or even eyeballess eyes.
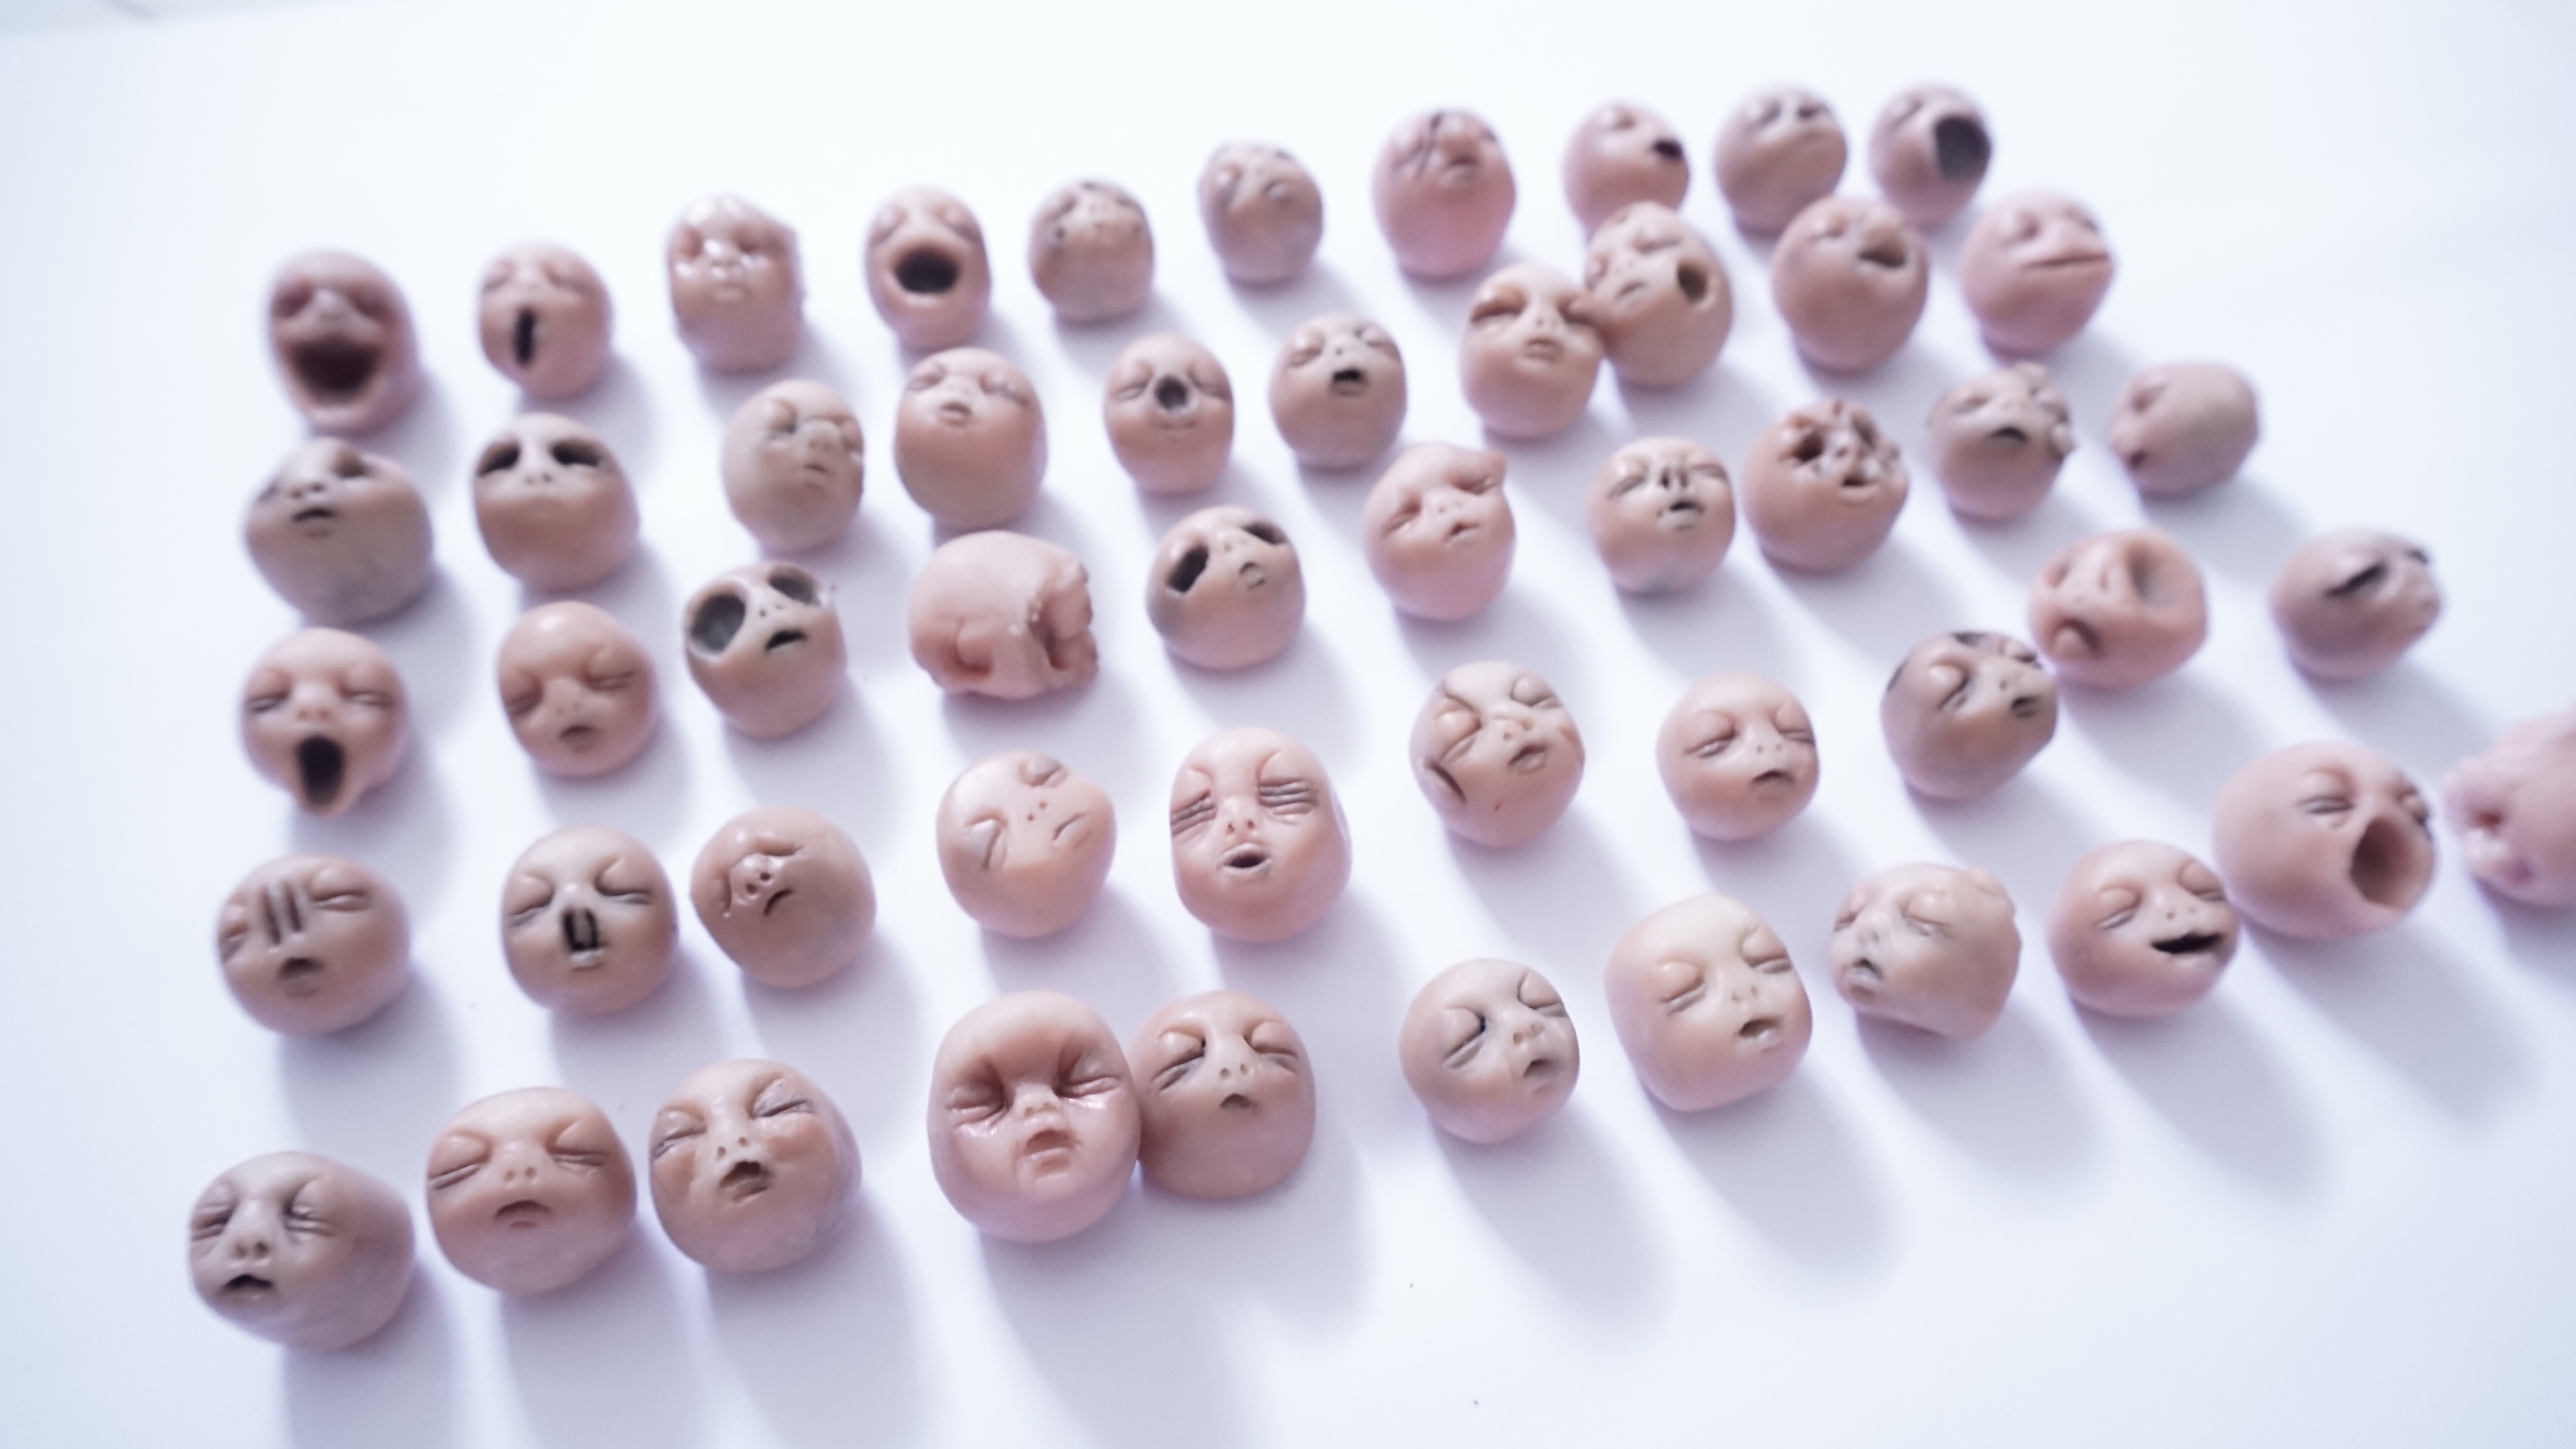
I left my babies head on the self and took this photo in the evening 🙂 I felt that the sunlight actually provided a more creepy look to the babies:)
Thank You!:)


