The final product in all it’s glory. For this project, there were a couple of hurdles that i’ve had to overcome. Firstly, i’ve had to create the 3d assets using a 3d software (maya). After I was done creating the 3d models and textures, i’ve had to create a terrain.
Firstly, i created a terrain model in unity and sculpted the terrain. I made sure that the edges of the terrain remained untouched as i wanted to create an infinite terrain script. If the terrain was even a little elevated, the end result would be an obvious seam. I’ve also made an attempt to sculpt the terrain manually in Mudbox using a displacement mapping. This worked to a certain limit. However, as the process of converting object to terrain is time consuming, i’ve decided against it.
Once i was done with sculpting the terrain, i created a base texture, which would be the grass. I would then add another layer, which would be the soil. I would vary the texture to create a sense of erosion. Afterwards, i would create a grass texture and add in the trees using a paint function. The idea would be to create a dense forest in one area.
Afterwards, i created a couple of pillars and added an audio source to each of them. I initially had trouble adjusting the spread and minimum distance, but after much troubleshooting, i found out that the problem was from multiple audio listeners. I kept it to one and found that the audio now softened with distance.
I added a few ambient tracks from my recordings in Labrador Park. One was of the forests, one was at the docks, one was the sound of winds blowing and another one was a track from Radiohead callled “Bloom”. I chose that song as it inspired me to design the look of the project. In order to have the audio elements loop, i went to Premiere pro, cut off the front end of the audio and stuck it at the back, then i softened the front half and add the cut off section to blend in.
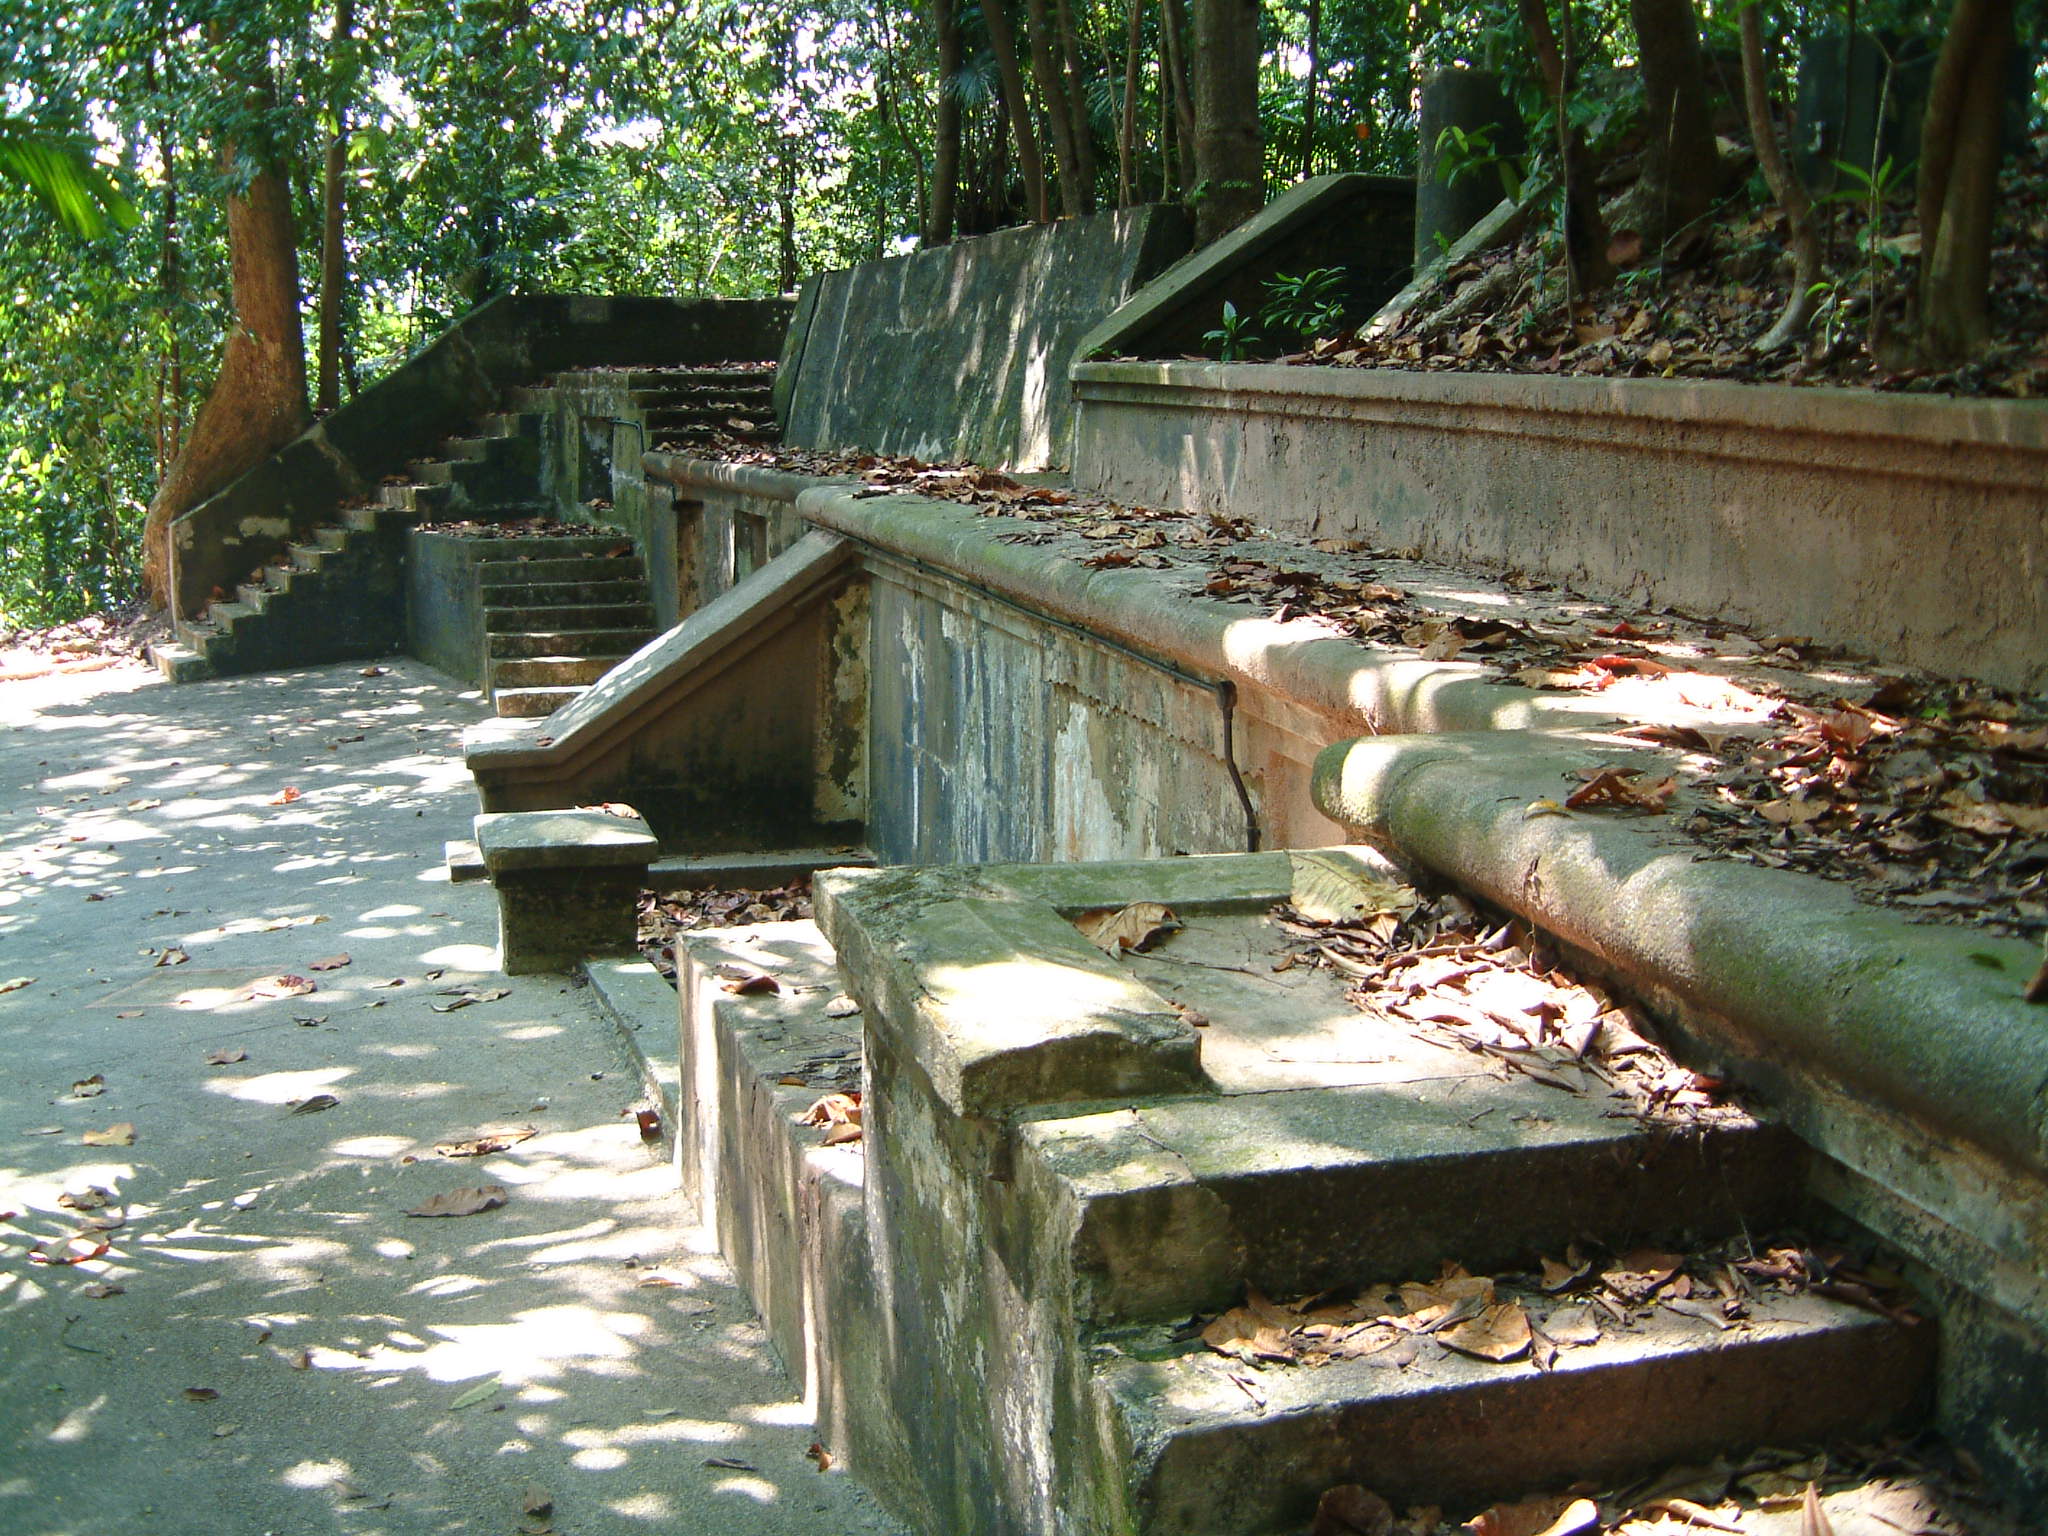
In creating this environment, i hope to make people immersed in the spaces of Labrador park. In future, i might also consider adding even more audio sources to more correctly. However, as a lot of the time had been spent on research and development, I’ve had little time to collect more audio samples and blend them in.
I added the infinite terrain script in C# (see below)
___________________________________________________________________________________________________
using UnityEngine;
using System.Collections;
public class InfiniteTerrain : MonoBehaviour
{
public GameObject PlayerObject;
private Terrain[,] _terrainGrid = new Terrain[3,3];
void Start ()
{
Terrain linkedTerrain = gameObject.GetComponent<Terrain>();
_terrainGrid[0,0] = Terrain.CreateTerrainGameObject(linkedTerrain.terrainData).GetComponent<Terrain>();
_terrainGrid[0,1] = Terrain.CreateTerrainGameObject(linkedTerrain.terrainData).GetComponent<Terrain>();
_terrainGrid[0,2] = Terrain.CreateTerrainGameObject(linkedTerrain.terrainData).GetComponent<Terrain>();
_terrainGrid[1,0] = Terrain.CreateTerrainGameObject(linkedTerrain.terrainData).GetComponent<Terrain>();
_terrainGrid[1,1] = linkedTerrain;
_terrainGrid[1,2] = Terrain.CreateTerrainGameObject(linkedTerrain.terrainData).GetComponent<Terrain>();
_terrainGrid[2,0] = Terrain.CreateTerrainGameObject(linkedTerrain.terrainData).GetComponent<Terrain>();
_terrainGrid[2,1] = Terrain.CreateTerrainGameObject(linkedTerrain.terrainData).GetComponent<Terrain>();
_terrainGrid[2,2] = Terrain.CreateTerrainGameObject(linkedTerrain.terrainData).GetComponent<Terrain>();
UpdateTerrainPositionsAndNeighbors();
}
private void UpdateTerrainPositionsAndNeighbors()
{
_terrainGrid[0,0].transform.position = new Vector3(
_terrainGrid[1,1].transform.position.x – _terrainGrid[1,1].terrainData.size.x,
_terrainGrid[1,1].transform.position.y,
_terrainGrid[1,1].transform.position.z + _terrainGrid[1,1].terrainData.size.z);
_terrainGrid[0,1].transform.position = new Vector3(
_terrainGrid[1,1].transform.position.x – _terrainGrid[1,1].terrainData.size.x,
_terrainGrid[1,1].transform.position.y,
_terrainGrid[1,1].transform.position.z);
_terrainGrid[0,2].transform.position = new Vector3(
_terrainGrid[1,1].transform.position.x – _terrainGrid[1,1].terrainData.size.x,
_terrainGrid[1,1].transform.position.y,
_terrainGrid[1,1].transform.position.z – _terrainGrid[1,1].terrainData.size.z);
_terrainGrid[1,0].transform.position = new Vector3(
_terrainGrid[1,1].transform.position.x,
_terrainGrid[1,1].transform.position.y,
_terrainGrid[1,1].transform.position.z + _terrainGrid[1,1].terrainData.size.z);
_terrainGrid[1,2].transform.position = new Vector3(
_terrainGrid[1,1].transform.position.x,
_terrainGrid[1,1].transform.position.y,
_terrainGrid[1,1].transform.position.z – _terrainGrid[1,1].terrainData.size.z);
_terrainGrid[2,0].transform.position = new Vector3(
_terrainGrid[1,1].transform.position.x + _terrainGrid[1,1].terrainData.size.x,
_terrainGrid[1,1].transform.position.y,
_terrainGrid[1,1].transform.position.z + _terrainGrid[1,1].terrainData.size.z);
_terrainGrid[2,1].transform.position = new Vector3(
_terrainGrid[1,1].transform.position.x + _terrainGrid[1,1].terrainData.size.x,
_terrainGrid[1,1].transform.position.y,
_terrainGrid[1,1].transform.position.z);
_terrainGrid[2,2].transform.position = new Vector3(
_terrainGrid[1,1].transform.position.x + _terrainGrid[1,1].terrainData.size.x,
_terrainGrid[1,1].transform.position.y,
_terrainGrid[1,1].transform.position.z – _terrainGrid[1,1].terrainData.size.z);
_terrainGrid[0,0].SetNeighbors( null, null, _terrainGrid[1,0], _terrainGrid[0,1]);
_terrainGrid[0,1].SetNeighbors( null, _terrainGrid[0,0], _terrainGrid[1,1], _terrainGrid[0,2]);
_terrainGrid[0,2].SetNeighbors( null, _terrainGrid[0,1], _terrainGrid[1,2], null);
_terrainGrid[1,0].SetNeighbors(_terrainGrid[0,0], null, _terrainGrid[2,0], _terrainGrid[1,1]);
_terrainGrid[1,1].SetNeighbors(_terrainGrid[0,1], _terrainGrid[1,0], _terrainGrid[2,1], _terrainGrid[1,2]);
_terrainGrid[1,2].SetNeighbors(_terrainGrid[0,2], _terrainGrid[1,1], _terrainGrid[2,2], null);
_terrainGrid[2,0].SetNeighbors(_terrainGrid[1,0], null, null, _terrainGrid[2,1]);
_terrainGrid[2,1].SetNeighbors(_terrainGrid[1,1], _terrainGrid[2,0], null, _terrainGrid[2,2]);
_terrainGrid[2,2].SetNeighbors(_terrainGrid[1,2], _terrainGrid[2,1], null, null);
}
void Update ()
{
Vector3 playerPosition = new Vector3(PlayerObject.transform.position.x, PlayerObject.transform.position.y, PlayerObject.transform.position.z);
Terrain playerTerrain = null;
int xOffset = 0;
int yOffset = 0;
for (int x = 0; x < 3; x++)
{
for (int y = 0; y < 3; y++)
{
if ((playerPosition.x >= _terrainGrid[x,y].transform.position.x) &&
(playerPosition.x <= (_terrainGrid[x,y].transform.position.x + _terrainGrid[x,y].terrainData.size.x)) &&
(playerPosition.z >= _terrainGrid[x,y].transform.position.z) &&
(playerPosition.z <= (_terrainGrid[x,y].transform.position.z + _terrainGrid[x,y].terrainData.size.z)))
{
playerTerrain = _terrainGrid[x,y];
xOffset = 1 – x;
yOffset = 1 – y;
break;
}
}
if (playerTerrain != null)
break;
}
if (playerTerrain != _terrainGrid[1,1])
{
Terrain[,] newTerrainGrid = new Terrain[3,3];
for (int x = 0; x < 3; x++)
for (int y = 0; y < 3; y++)
{
int newX = x + xOffset;
if (newX < 0)
newX = 2;
else if (newX > 2)
newX = 0;
int newY = y + yOffset;
if (newY < 0)
newY = 2;
else if (newY > 2)
newY = 0;
newTerrainGrid[newX, newY] = _terrainGrid[x,y];
}
_terrainGrid = newTerrainGrid;
UpdateTerrainPositionsAndNeighbors();
}
}
}
__________________________________________________________________________________________________
I also added an FPS camera and adjusted the movement parameters. (eg. Jump, mouse sensitivity, running speed and walking speed.)
__________________________________________________________________________________________________
public enum RotationAxes { MouseXAndY = 0, MouseX = 1, MouseY = 2 }public RotationAxes axes = RotationAxes.MouseXAndY;public float sensitivityX = 15F;public float sensitivityY = 15F;public float minimumX = -360F;public float maximumX = 360F;public float minimumY = -60F;public float maximumY = 60F;float rotationY = 0F;void Update (){if (axes == RotationAxes.MouseXAndY){float rotationX = transform.localEulerAngles.y + Input.GetAxis("Mouse X") * sensitivityX;rotationY += Input.GetAxis("Mouse Y") * sensitivityY;rotationY = Mathf.Clamp (rotationY, minimumY, maximumY);transform.localEulerAngles = new Vector3(-rotationY, rotationX, 0);}else if (axes == RotationAxes.MouseX){transform.Rotate(0, Input.GetAxis("Mouse X") * sensitivityX, 0);}else{rotationY += Input.GetAxis("Mouse Y") * sensitivityY;rotationY = Mathf.Clamp (rotationY, minimumY, maximumY);transform.localEulerAngles = new Vector3(-rotationY, transform.localEulerAngles.y, 0);}}void Start (){// Make the rigid body not change rotationif (rigidbody)rigidbody.freezeRotation = true;}
___________________________________________________________________________________________________
I also added in a global fog to create a fading effect, so objects in the distance would blend in with the skies. As for the skies itself, i added a default unity skybox.