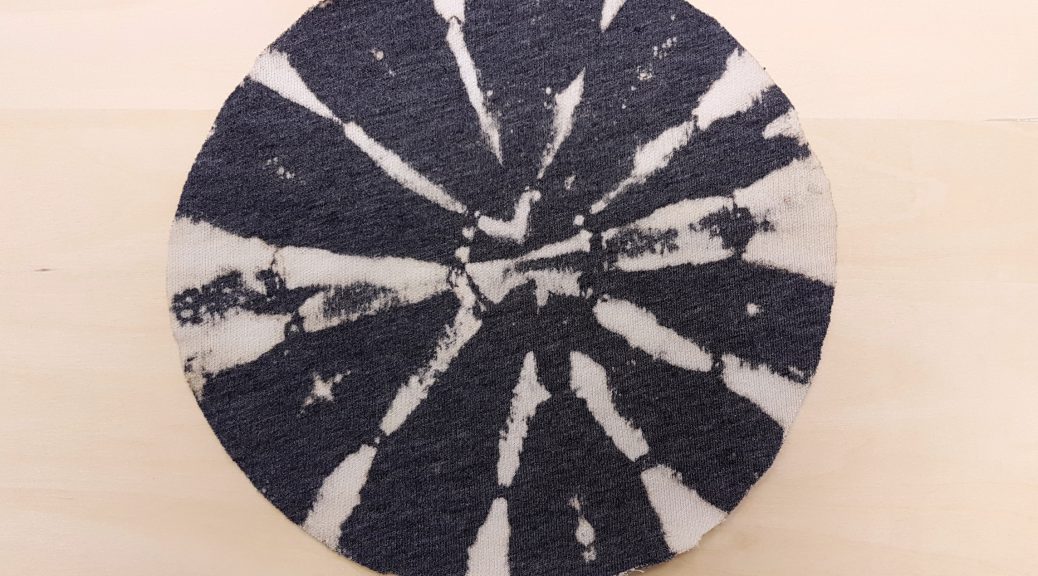
Although bleaching fabrics is one of the simplest techniques, it is one of my favourites so far as the results are always unexpected depending on the dye the manufacturer used. I enjoy this aspect of open-endedness and the unexpected in the process of making. Furthermore, we can use recycled fabric scraps and give them a new lease of life by creating unique patterns!
I tried multiple rounds of bleaching as the first few materials I used (felt, poly-cotton blend) were not susceptible to the bleach! Despite leaving these samples drenched in bleach for hours out in the sun, they remained the same colour, allowing me to conclude that these fabrics are not affected by the bleach.
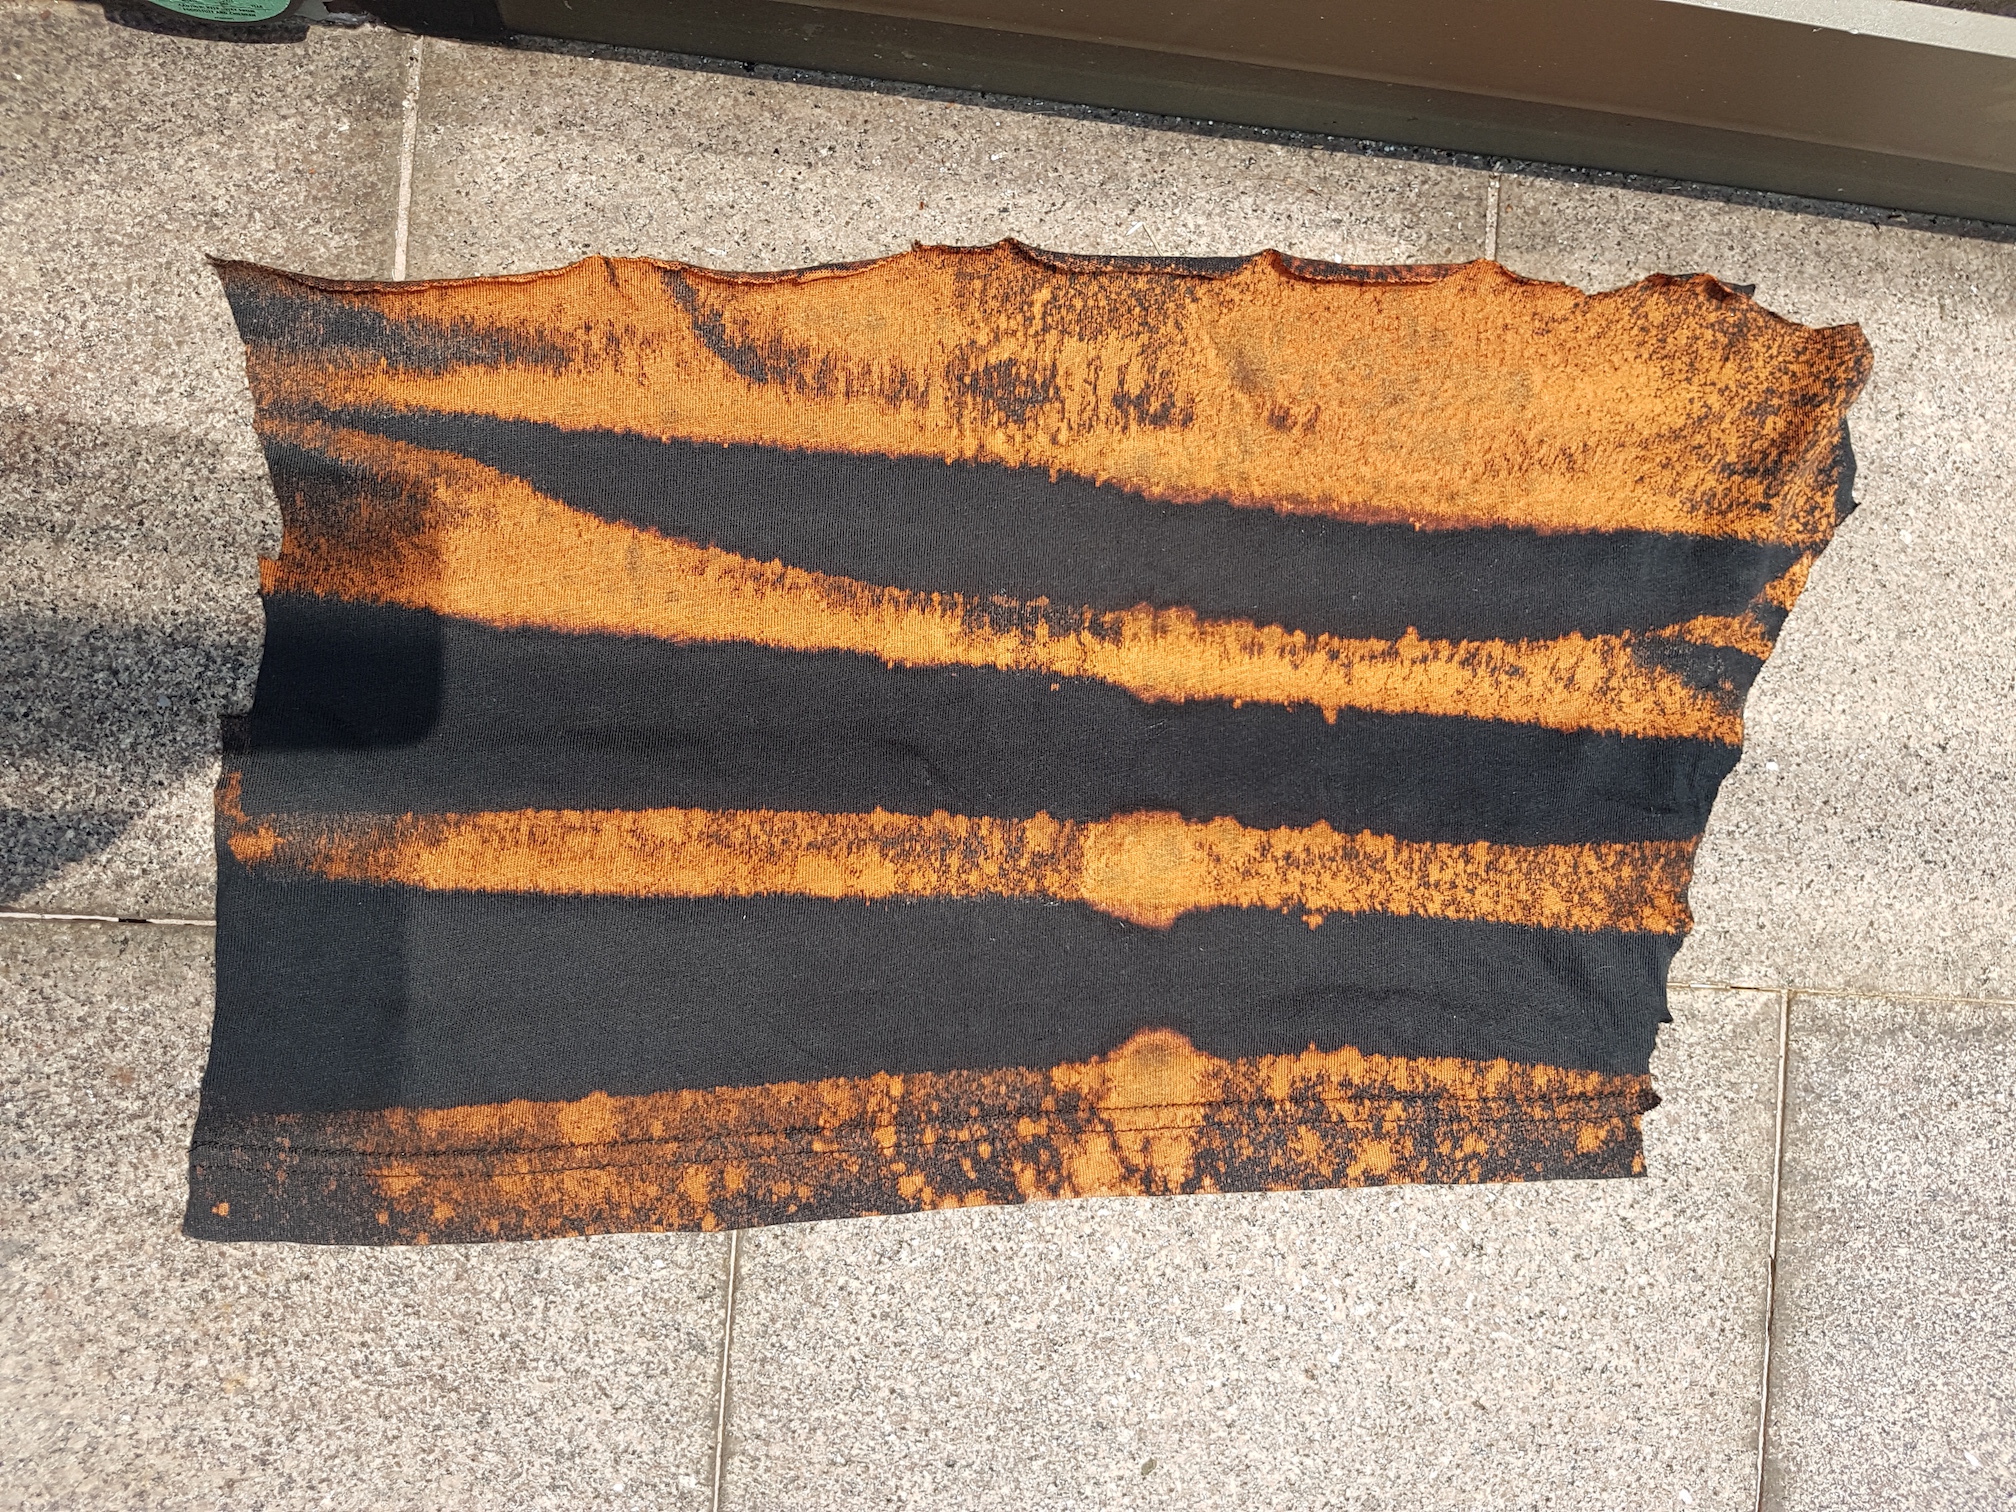
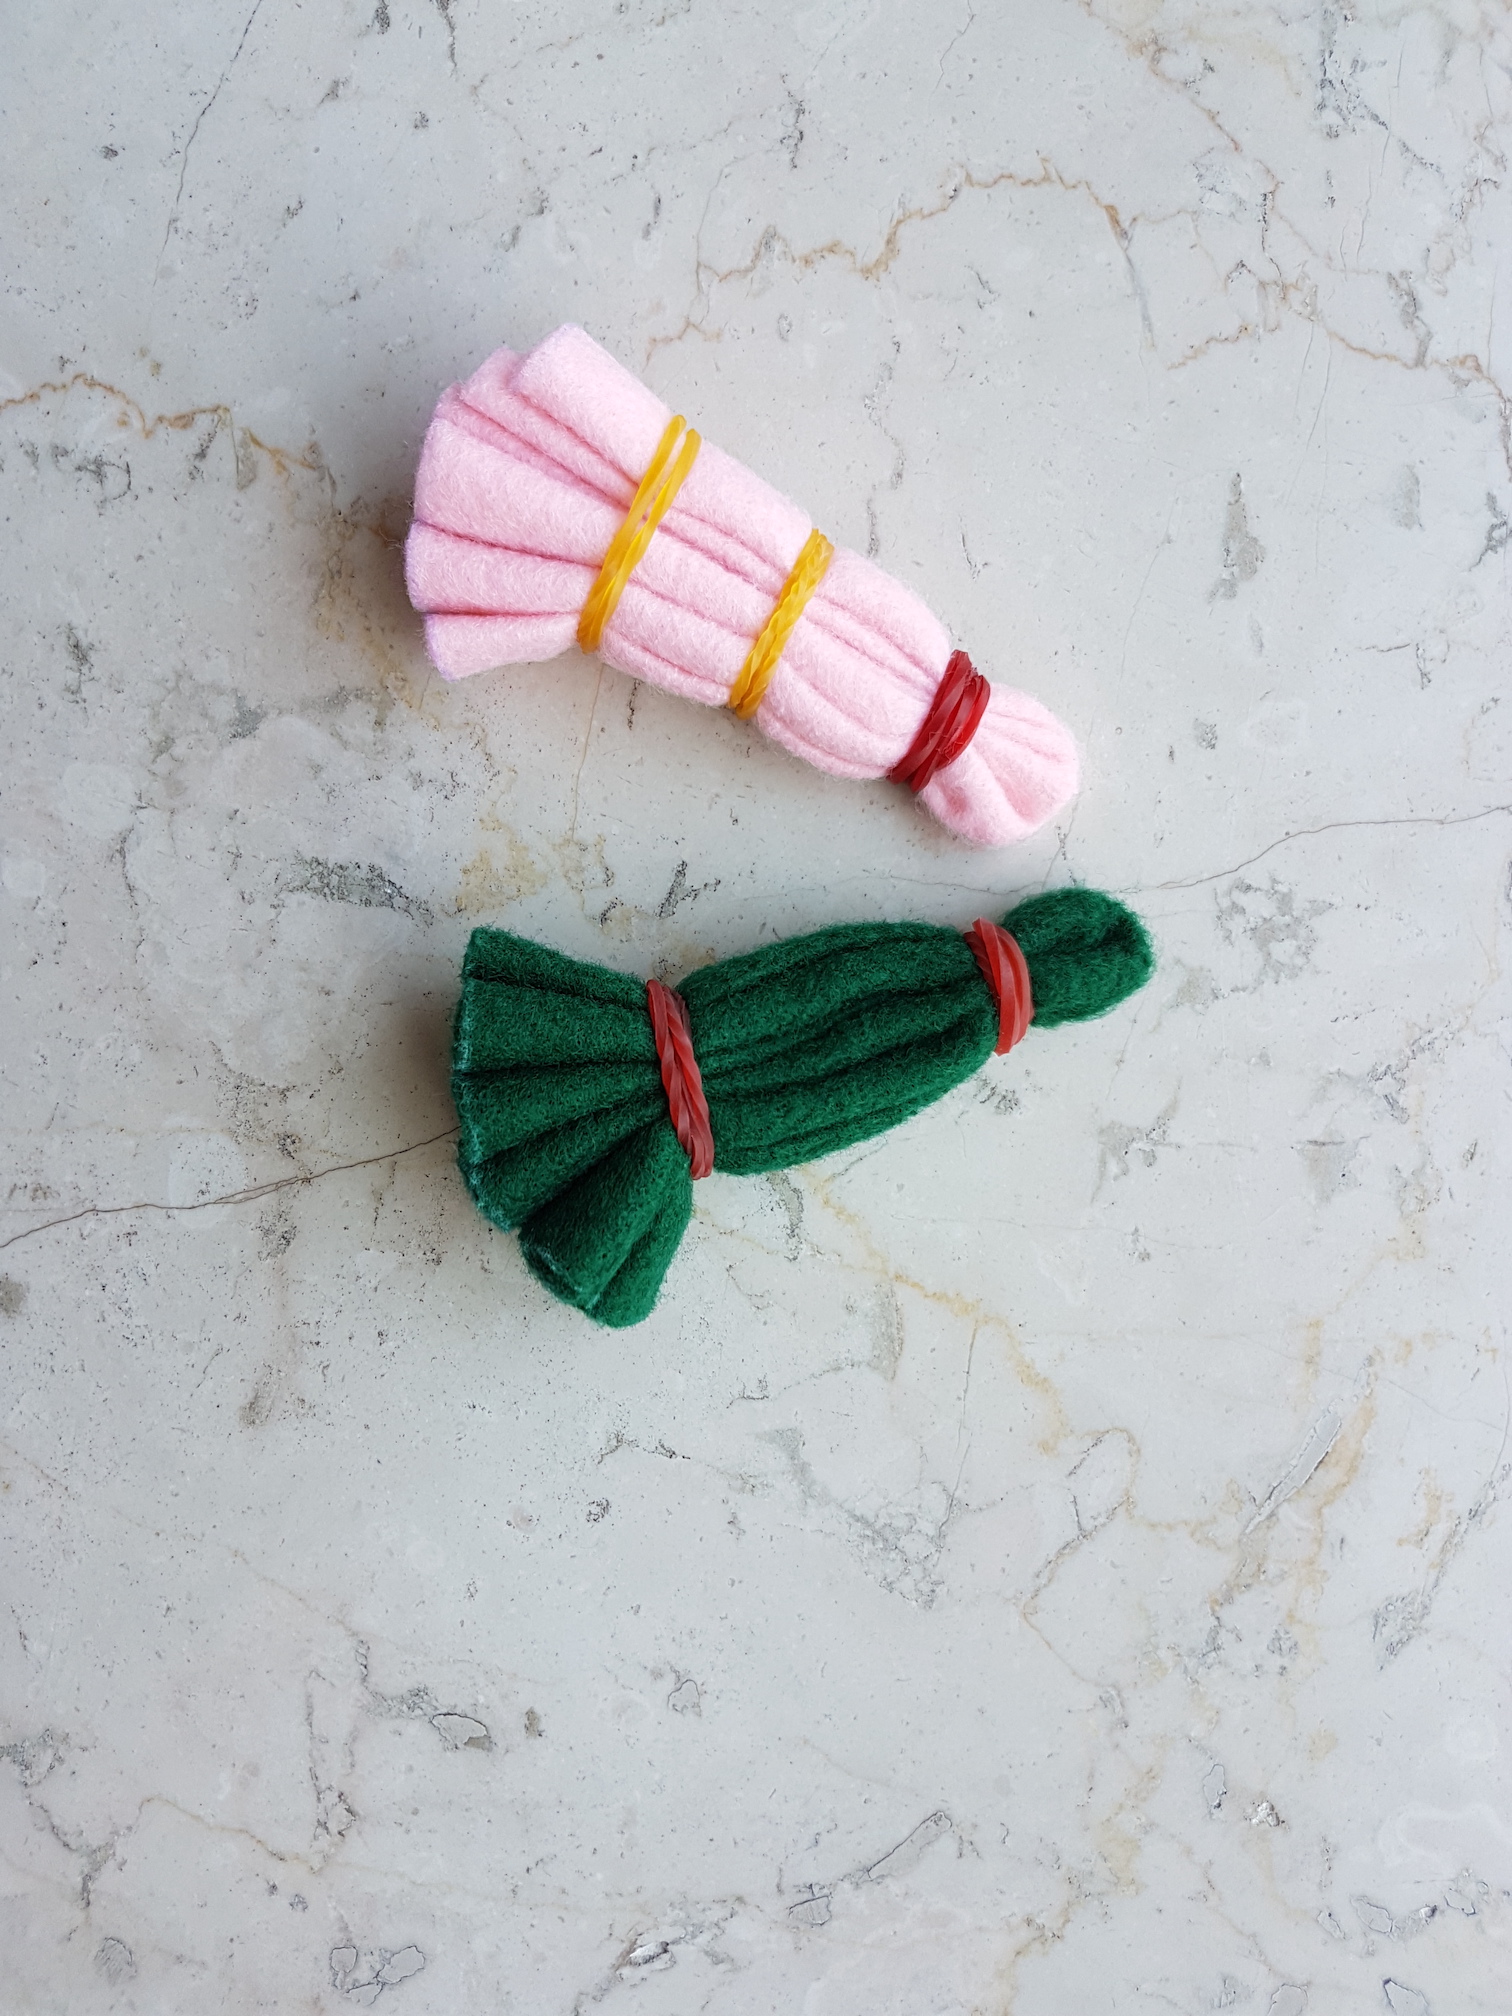
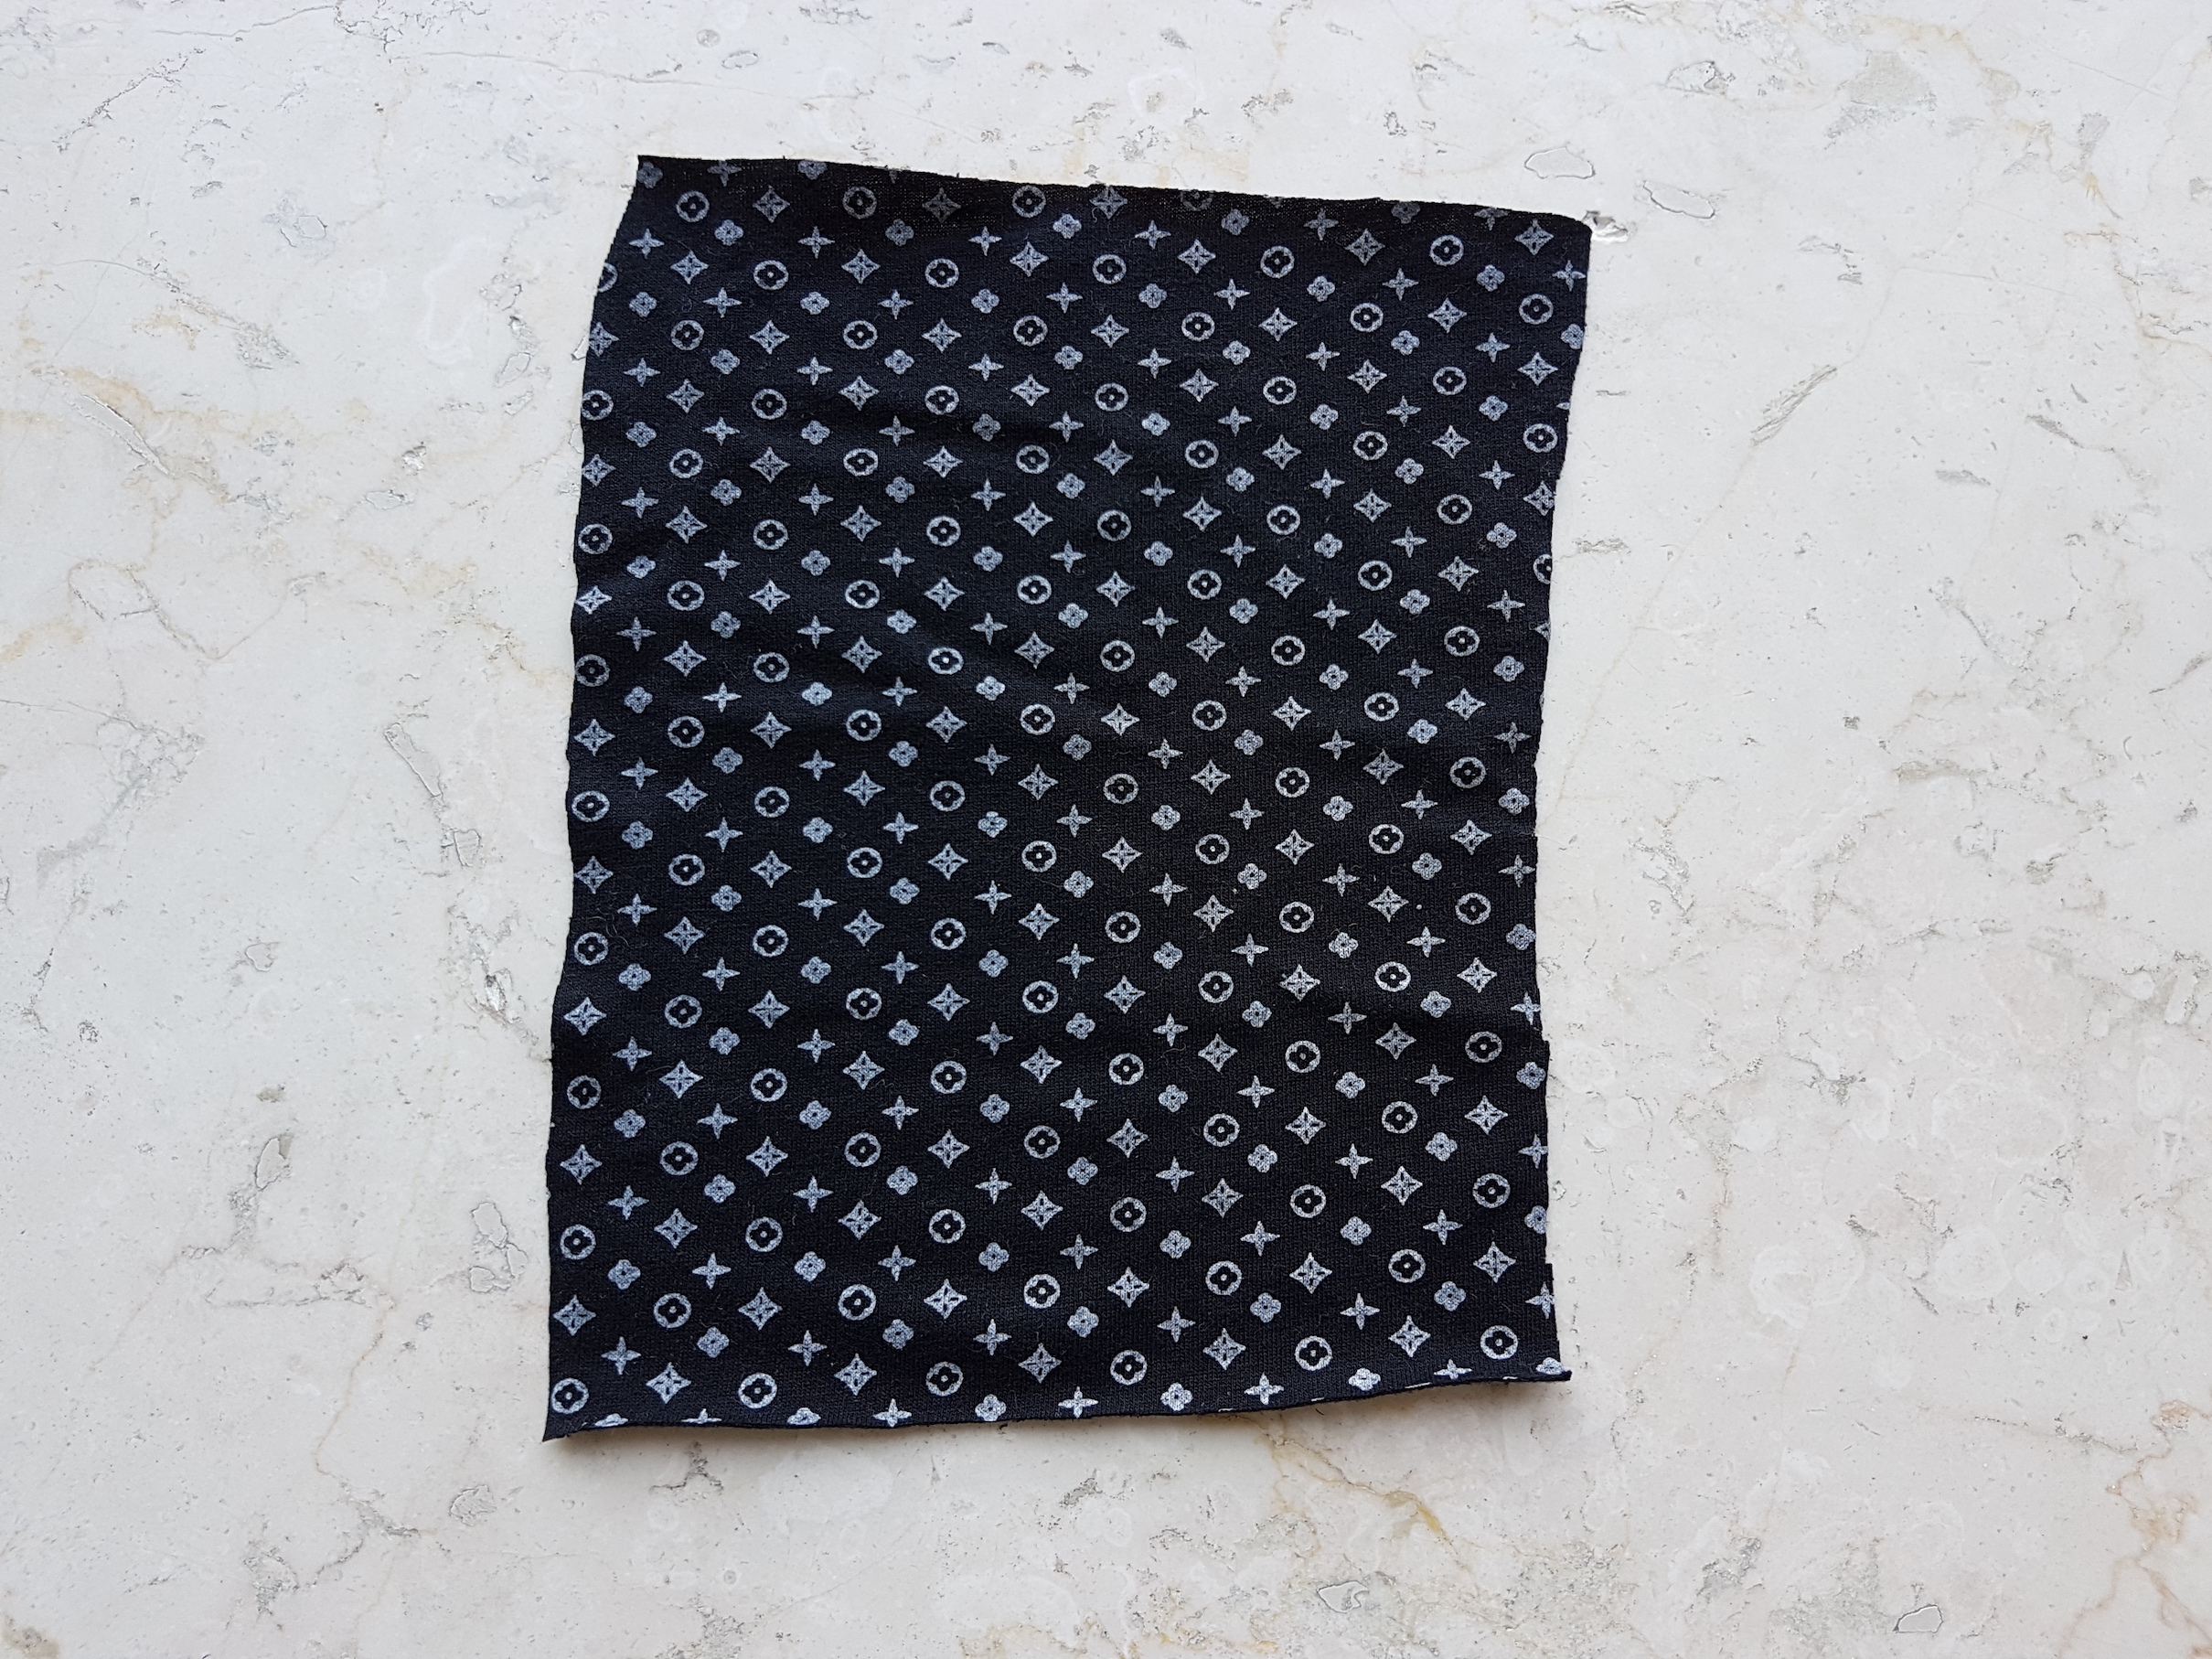
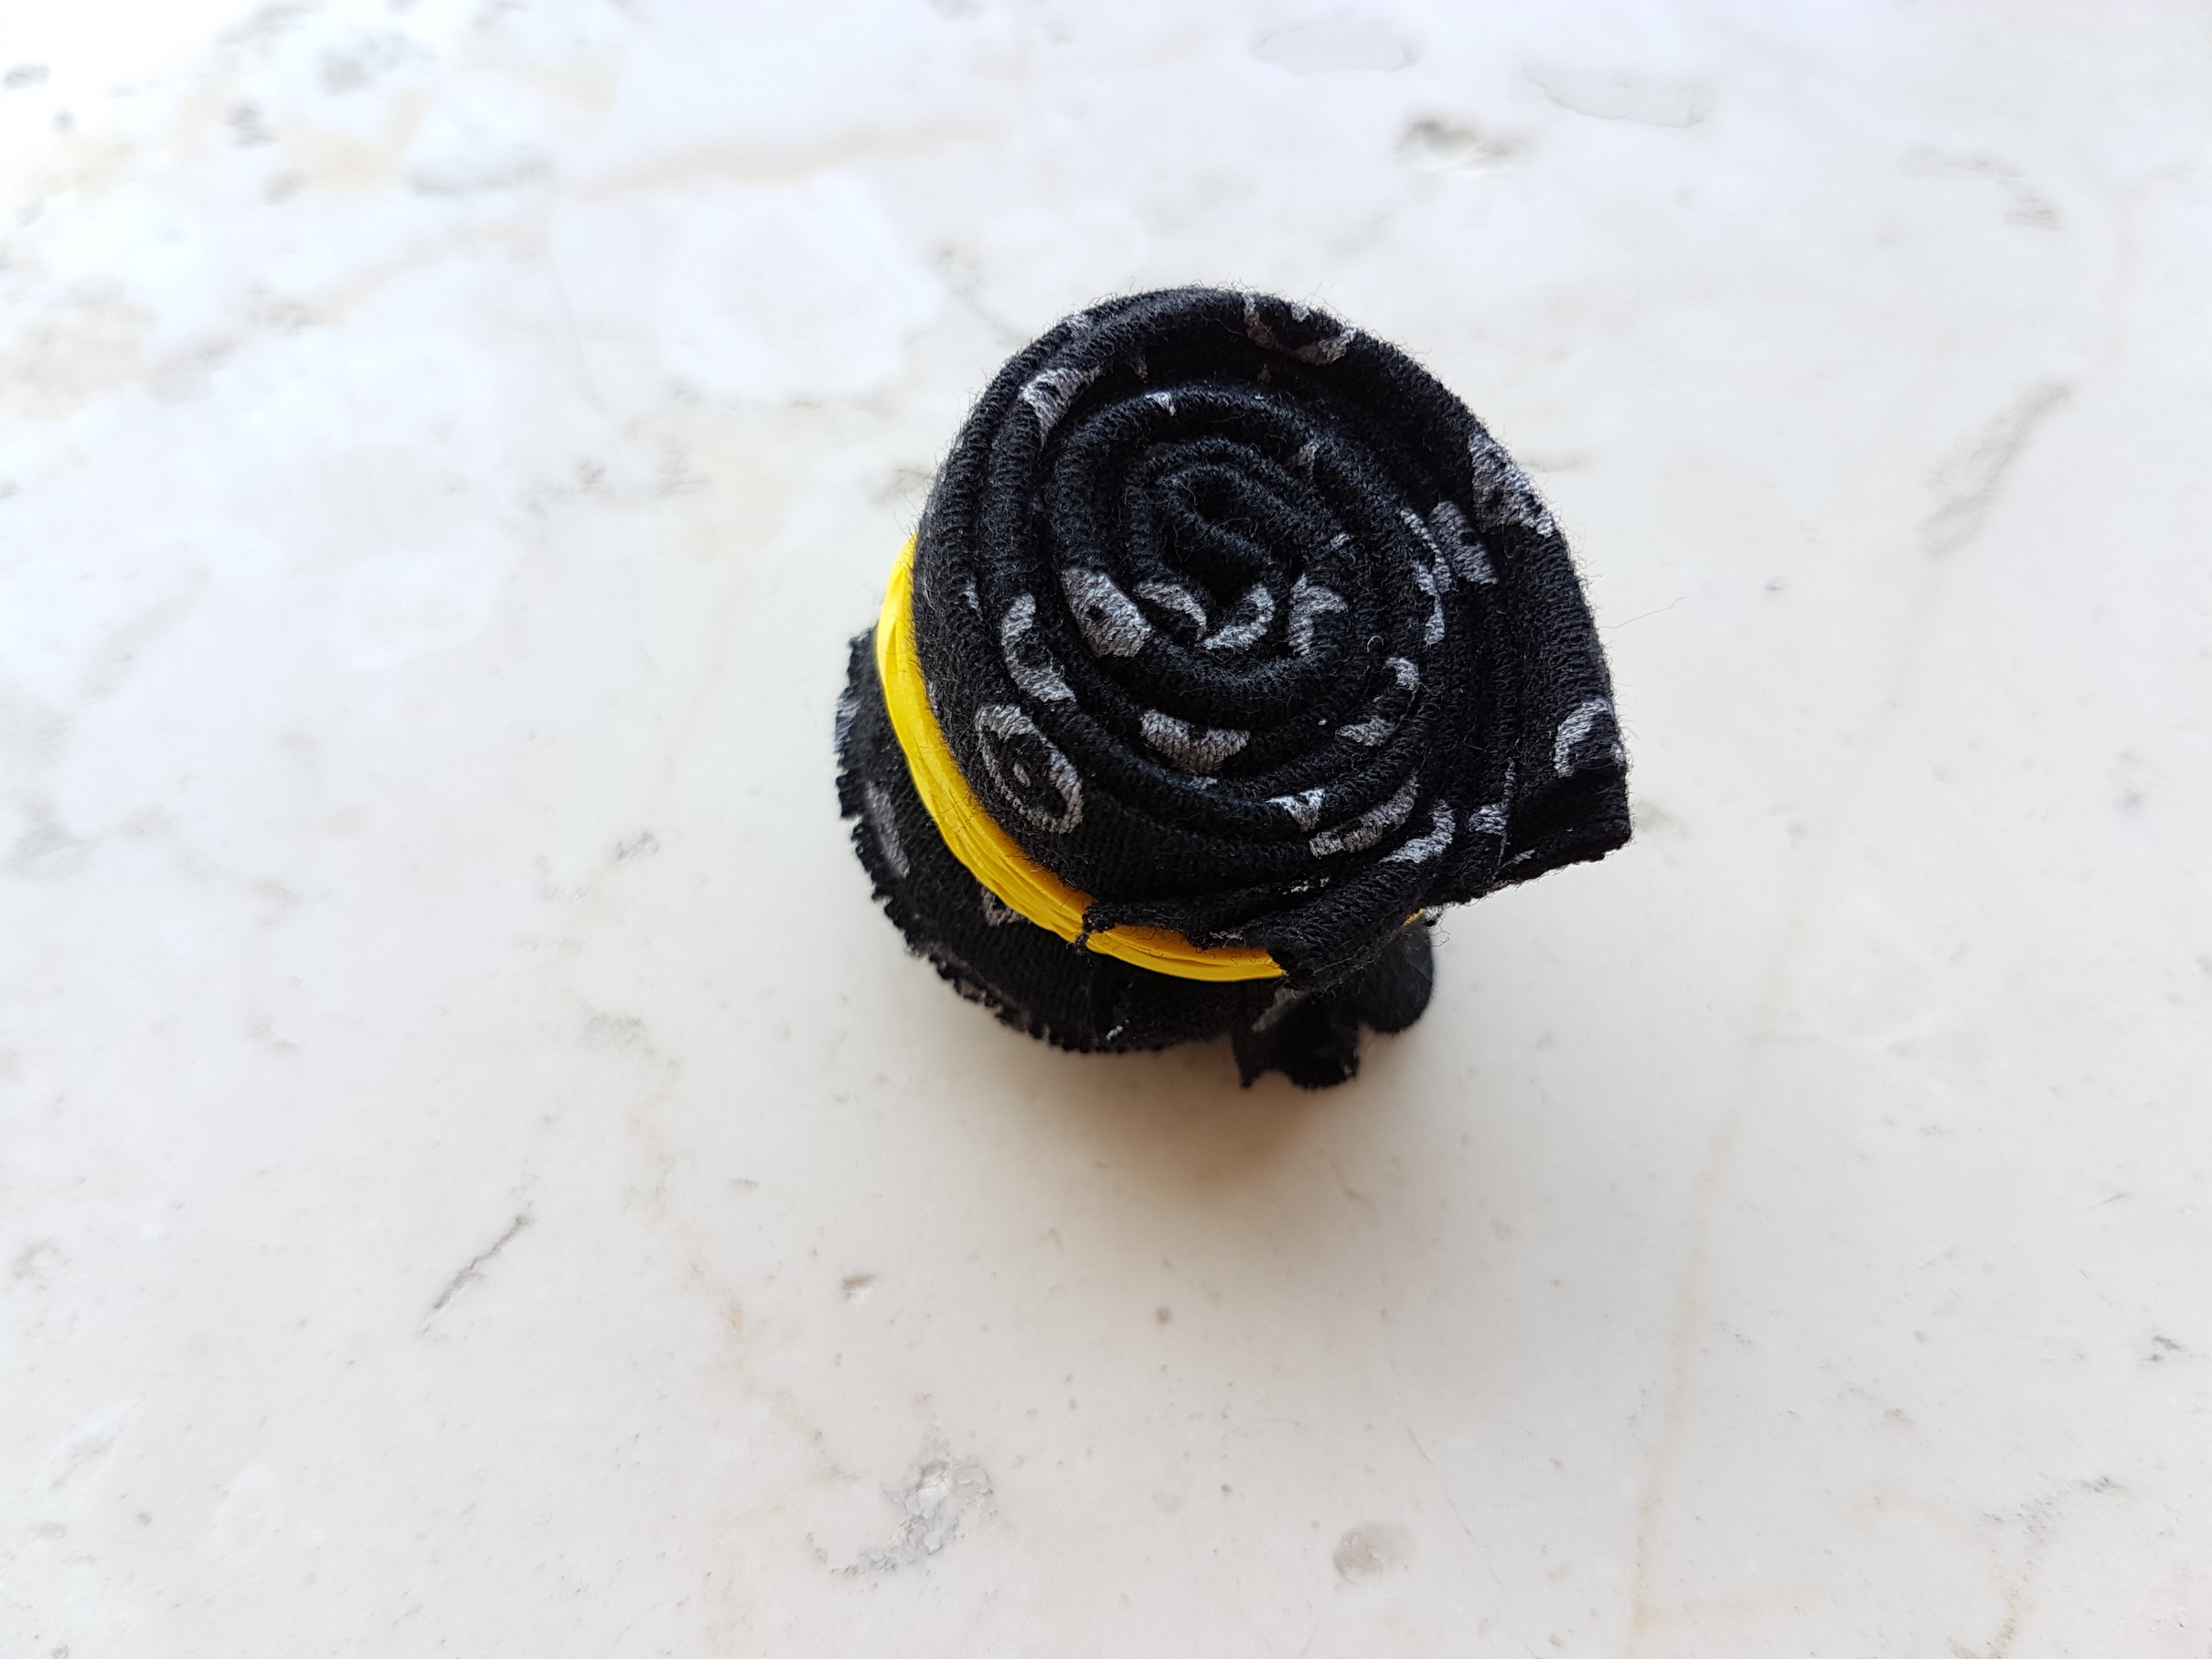
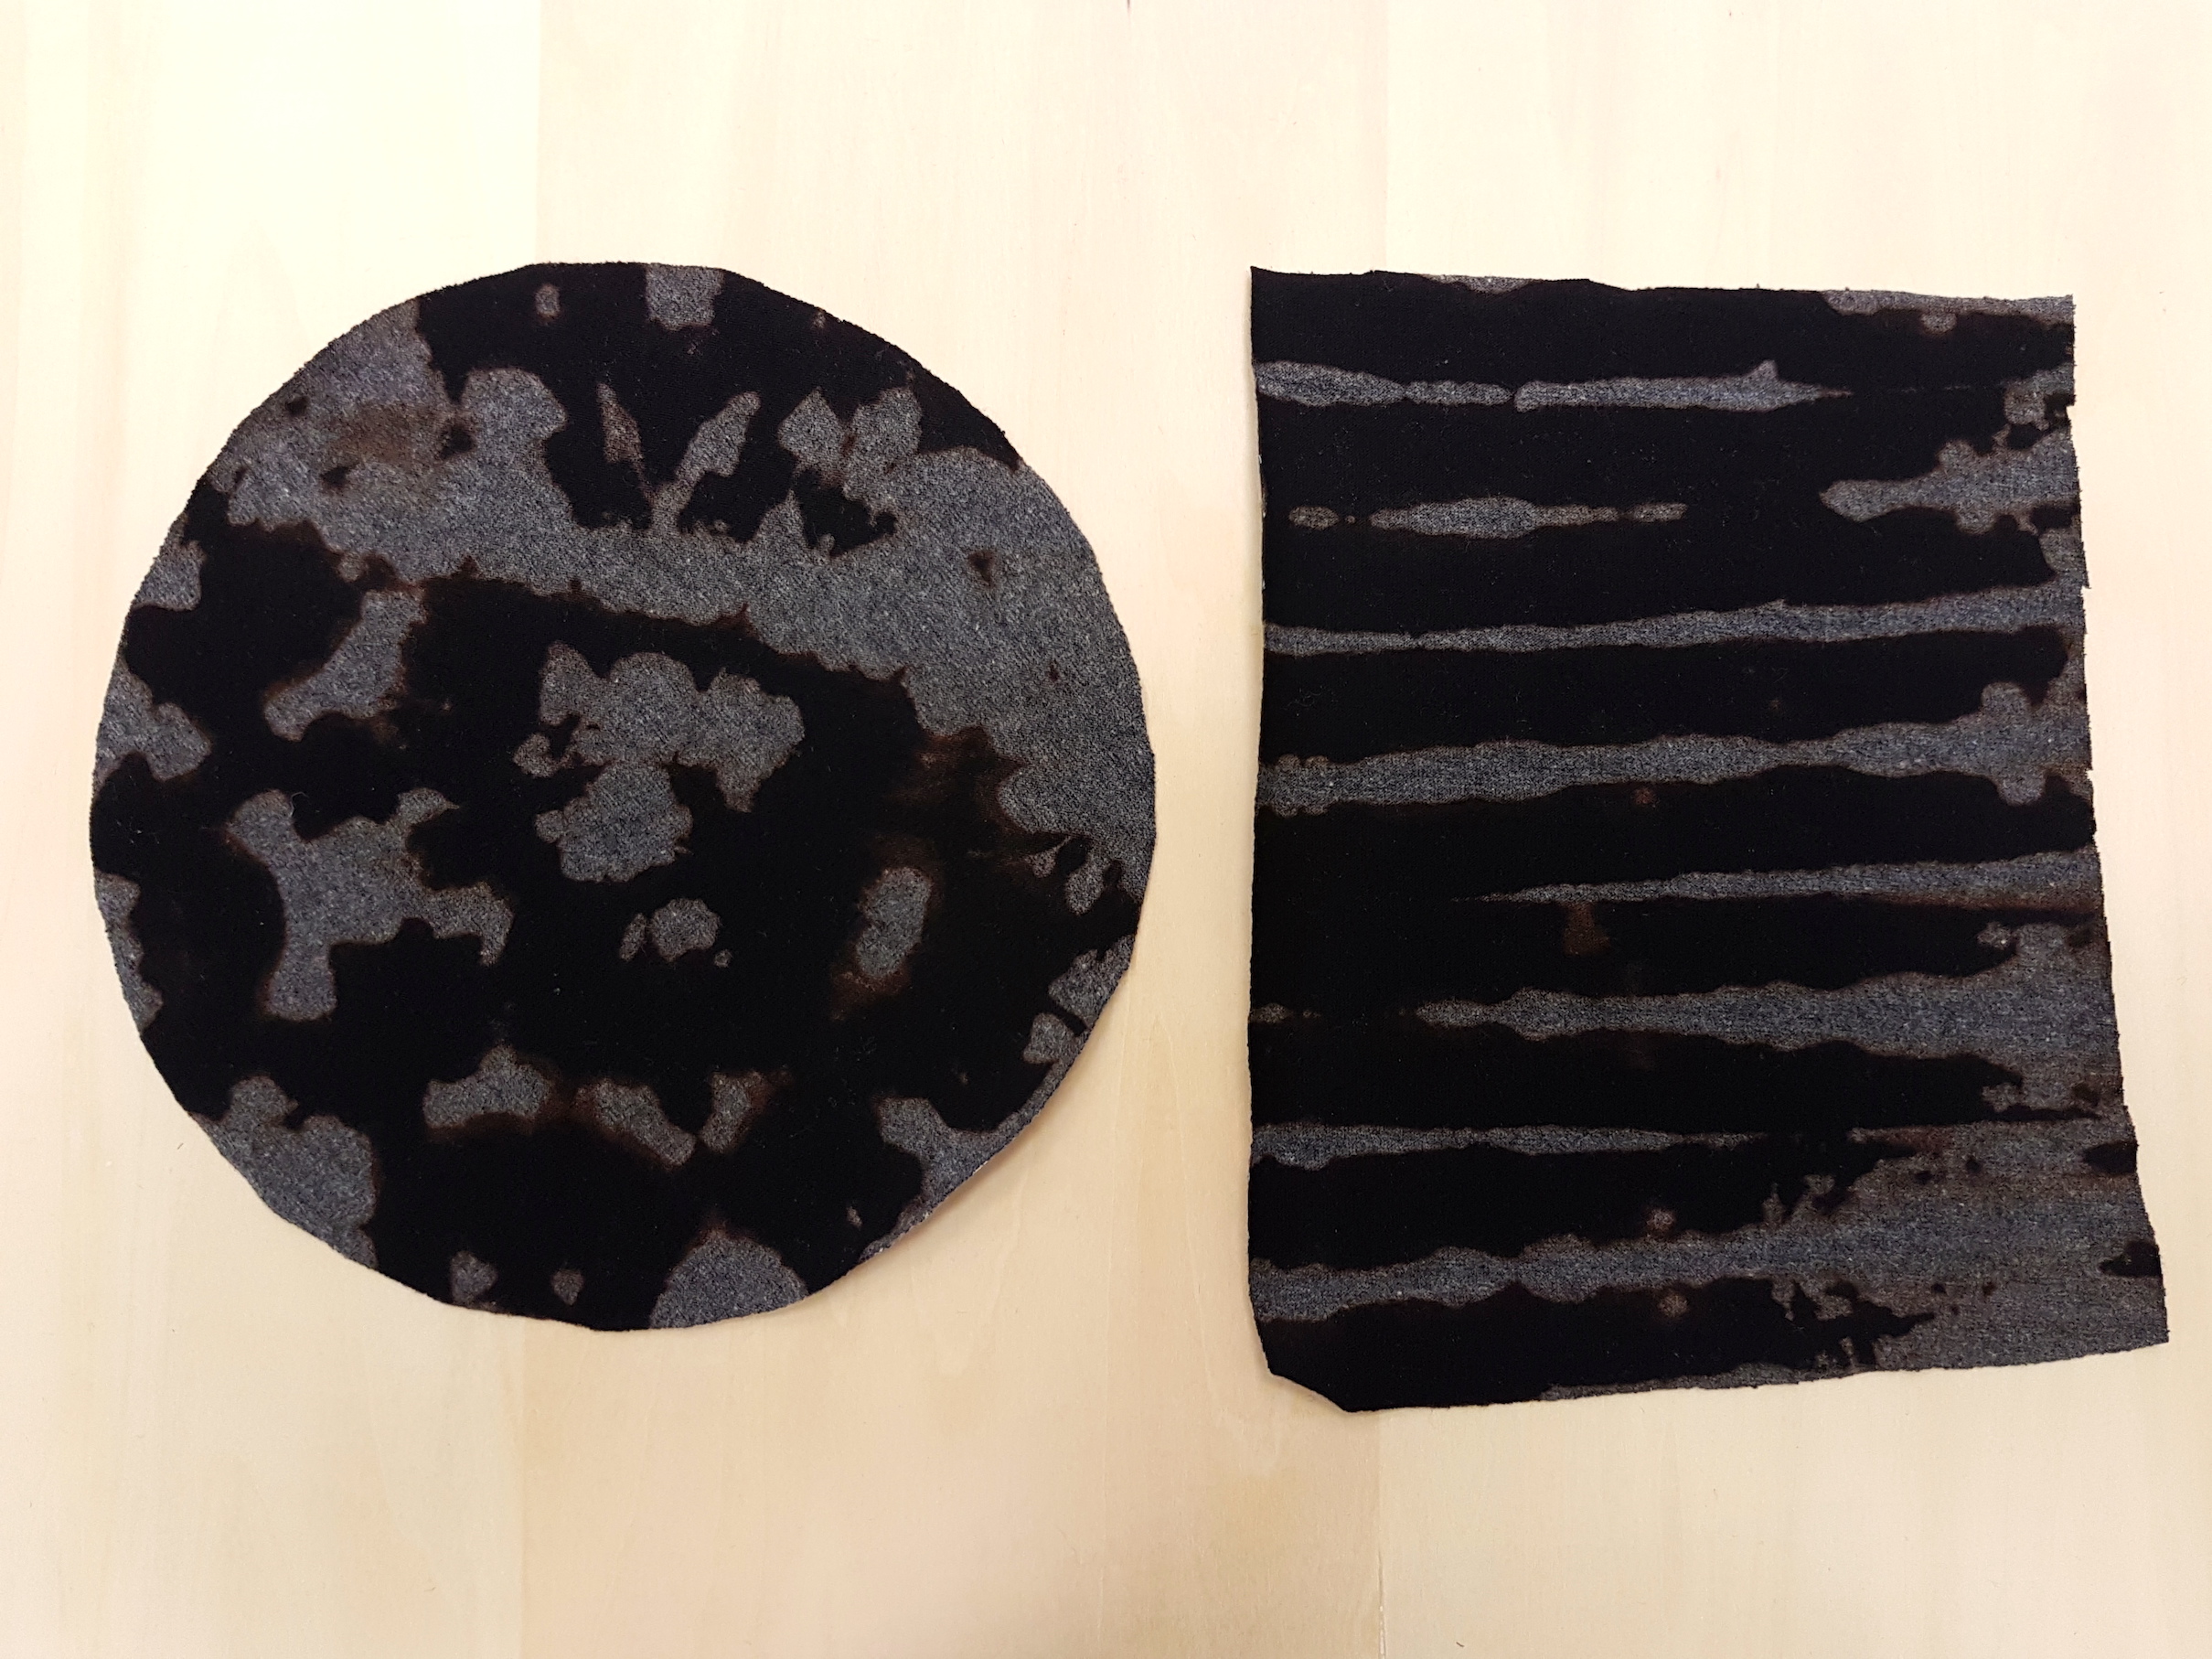
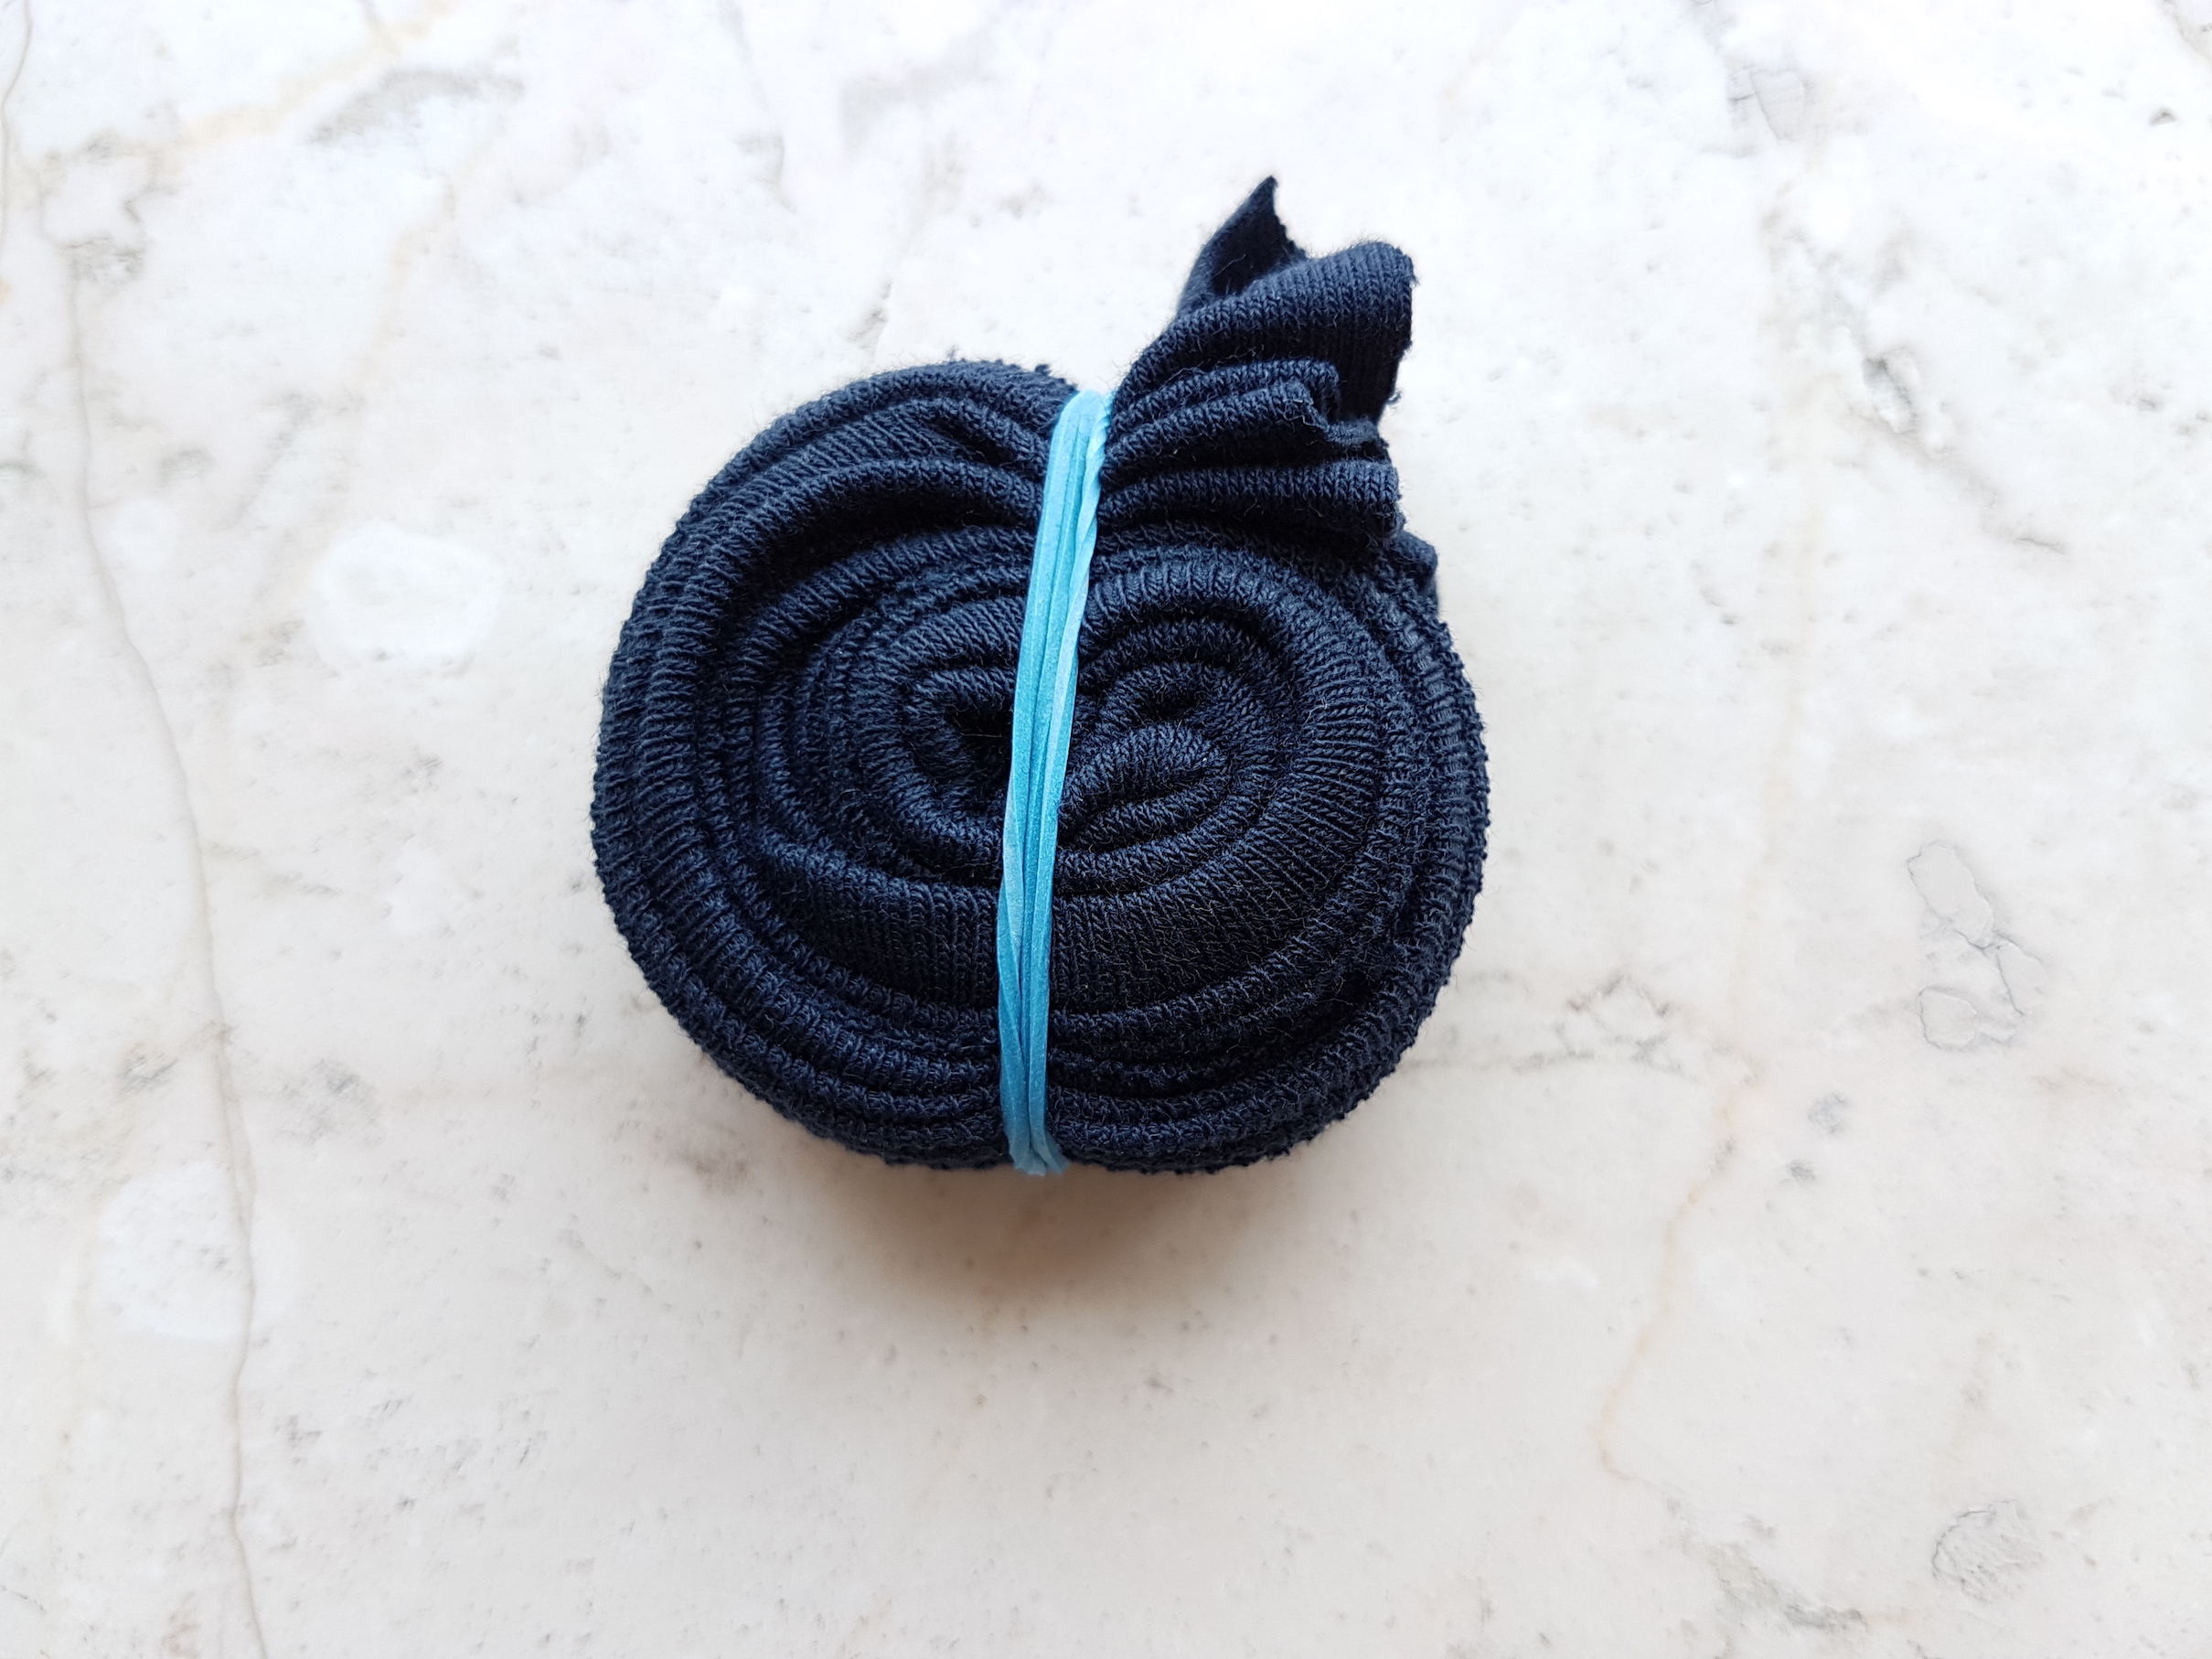
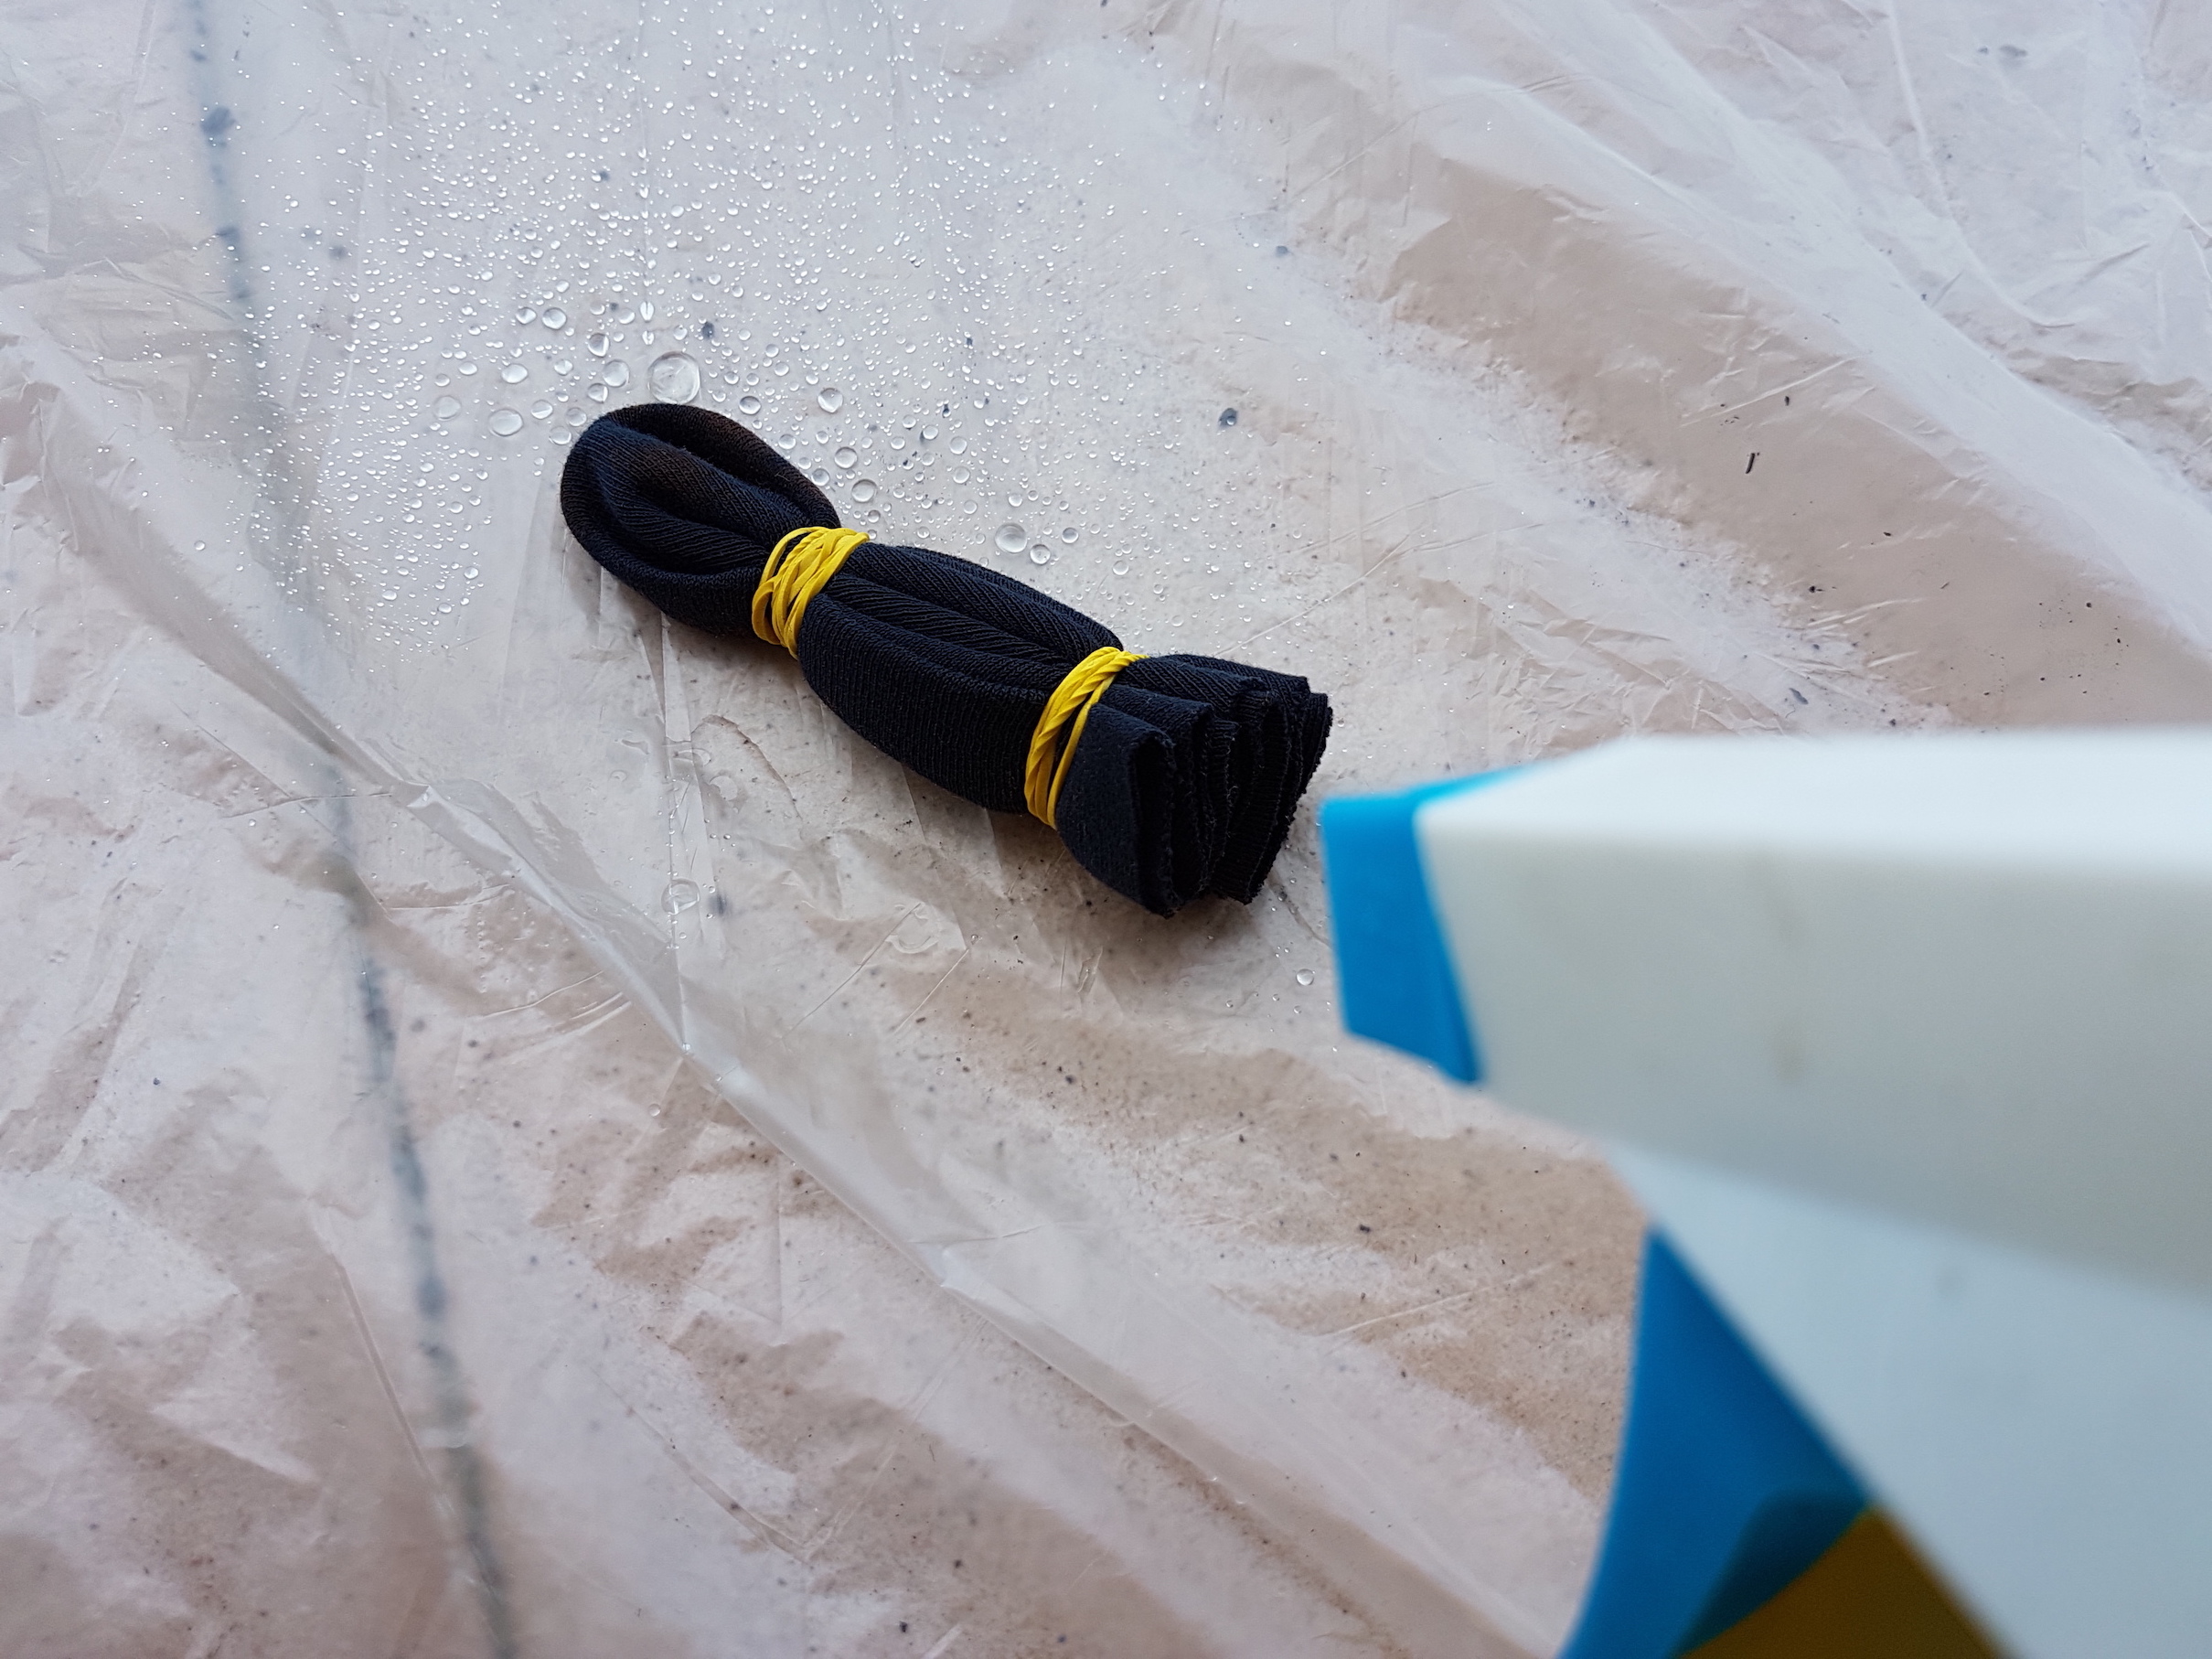
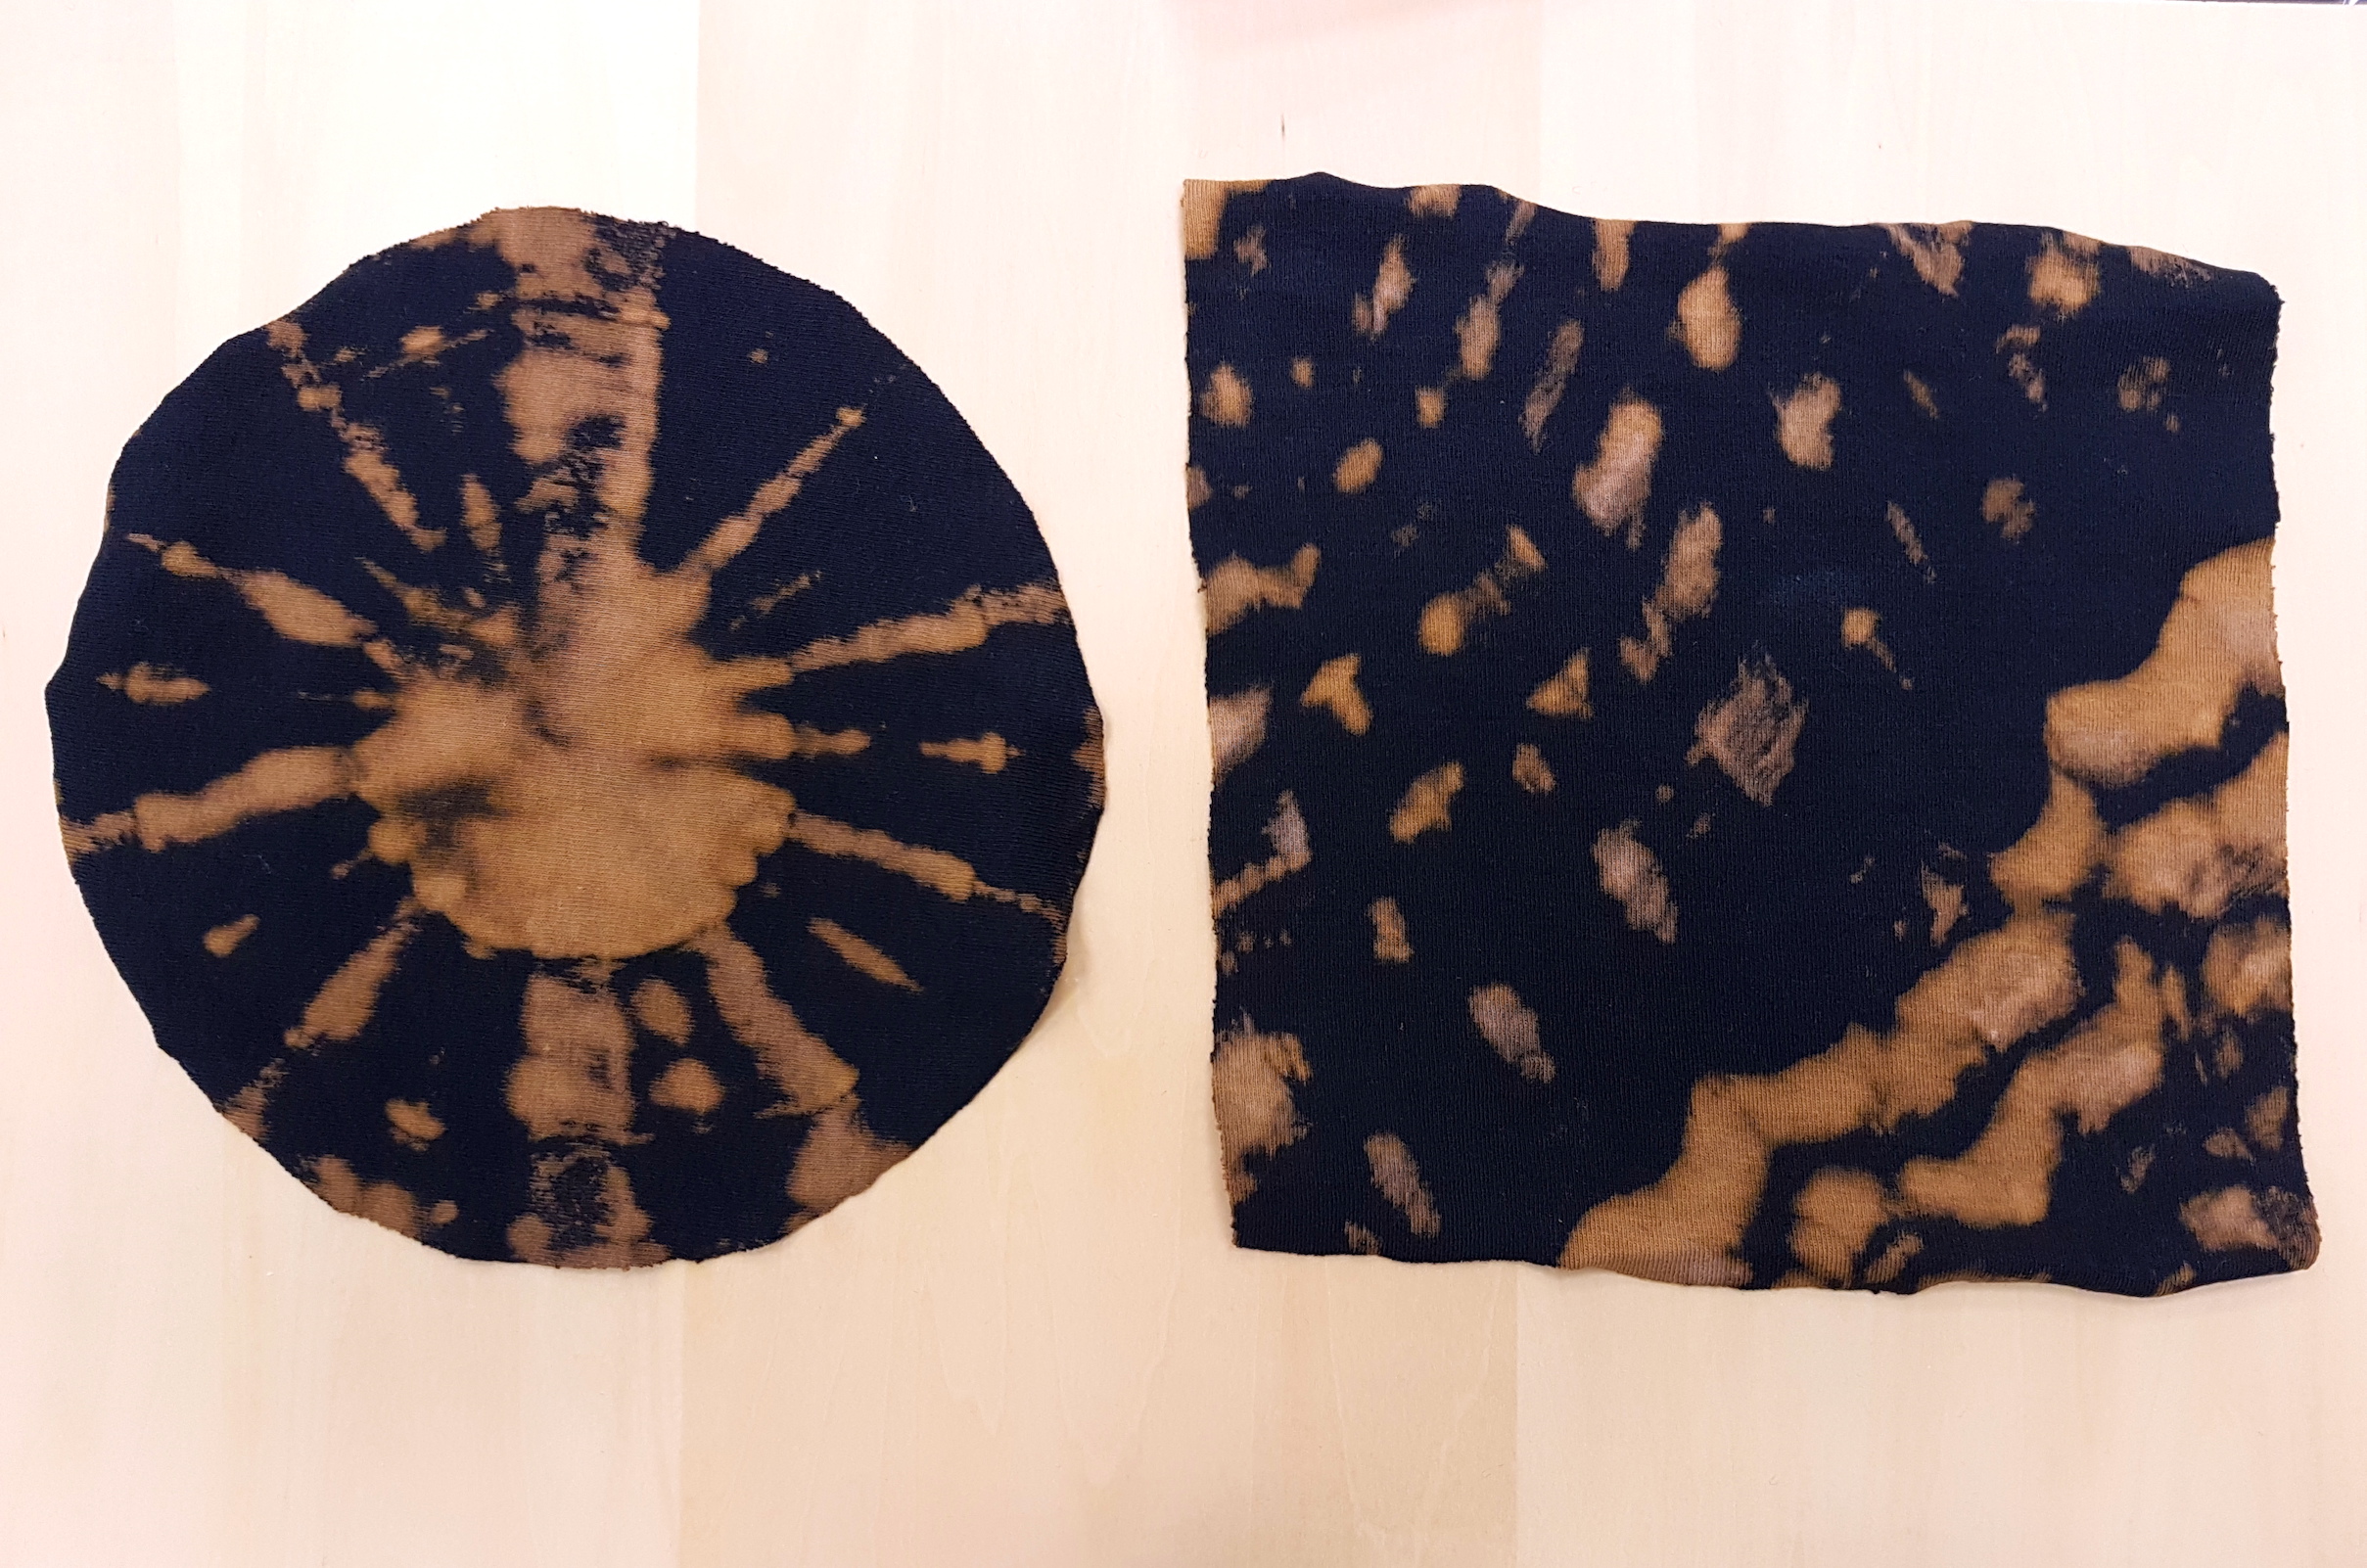
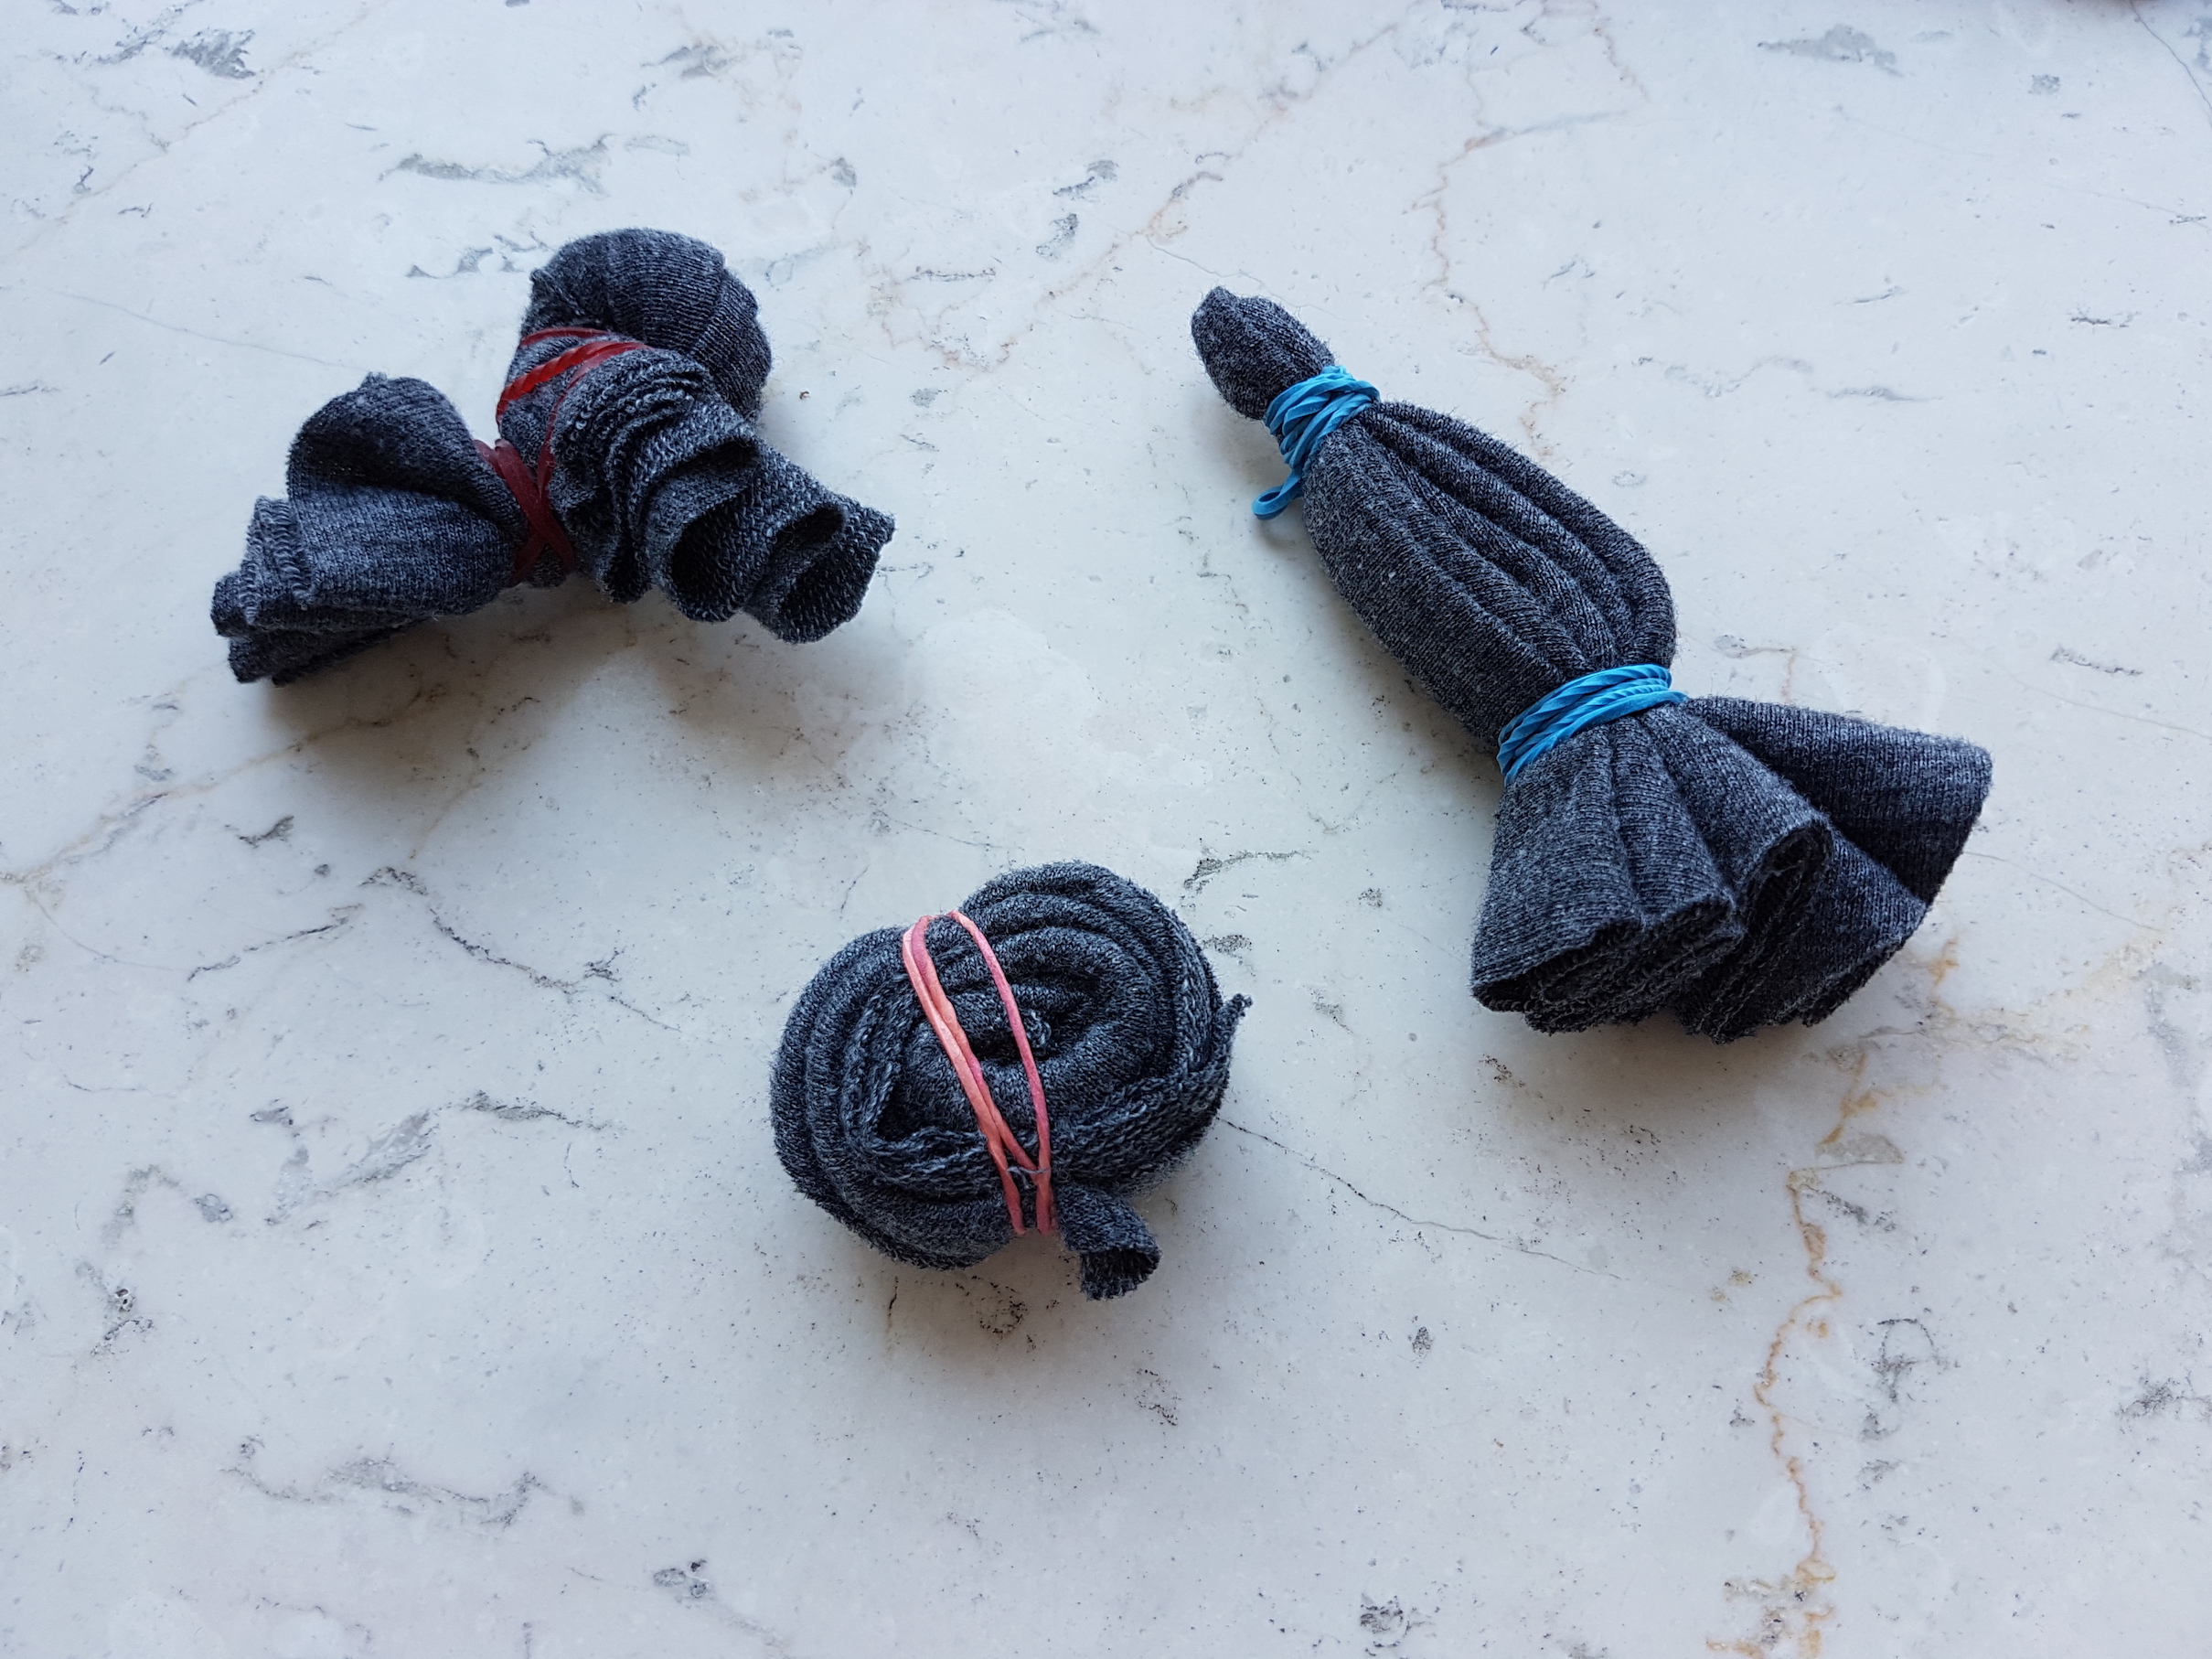
So the next week, I cut out shapes from old t-shirts and fabric. These dark fabrics produced very different results, ranging from almost white, to warm orange, to a cool grey. I used rubber bands to pleat and tie the fabric in different patterns.
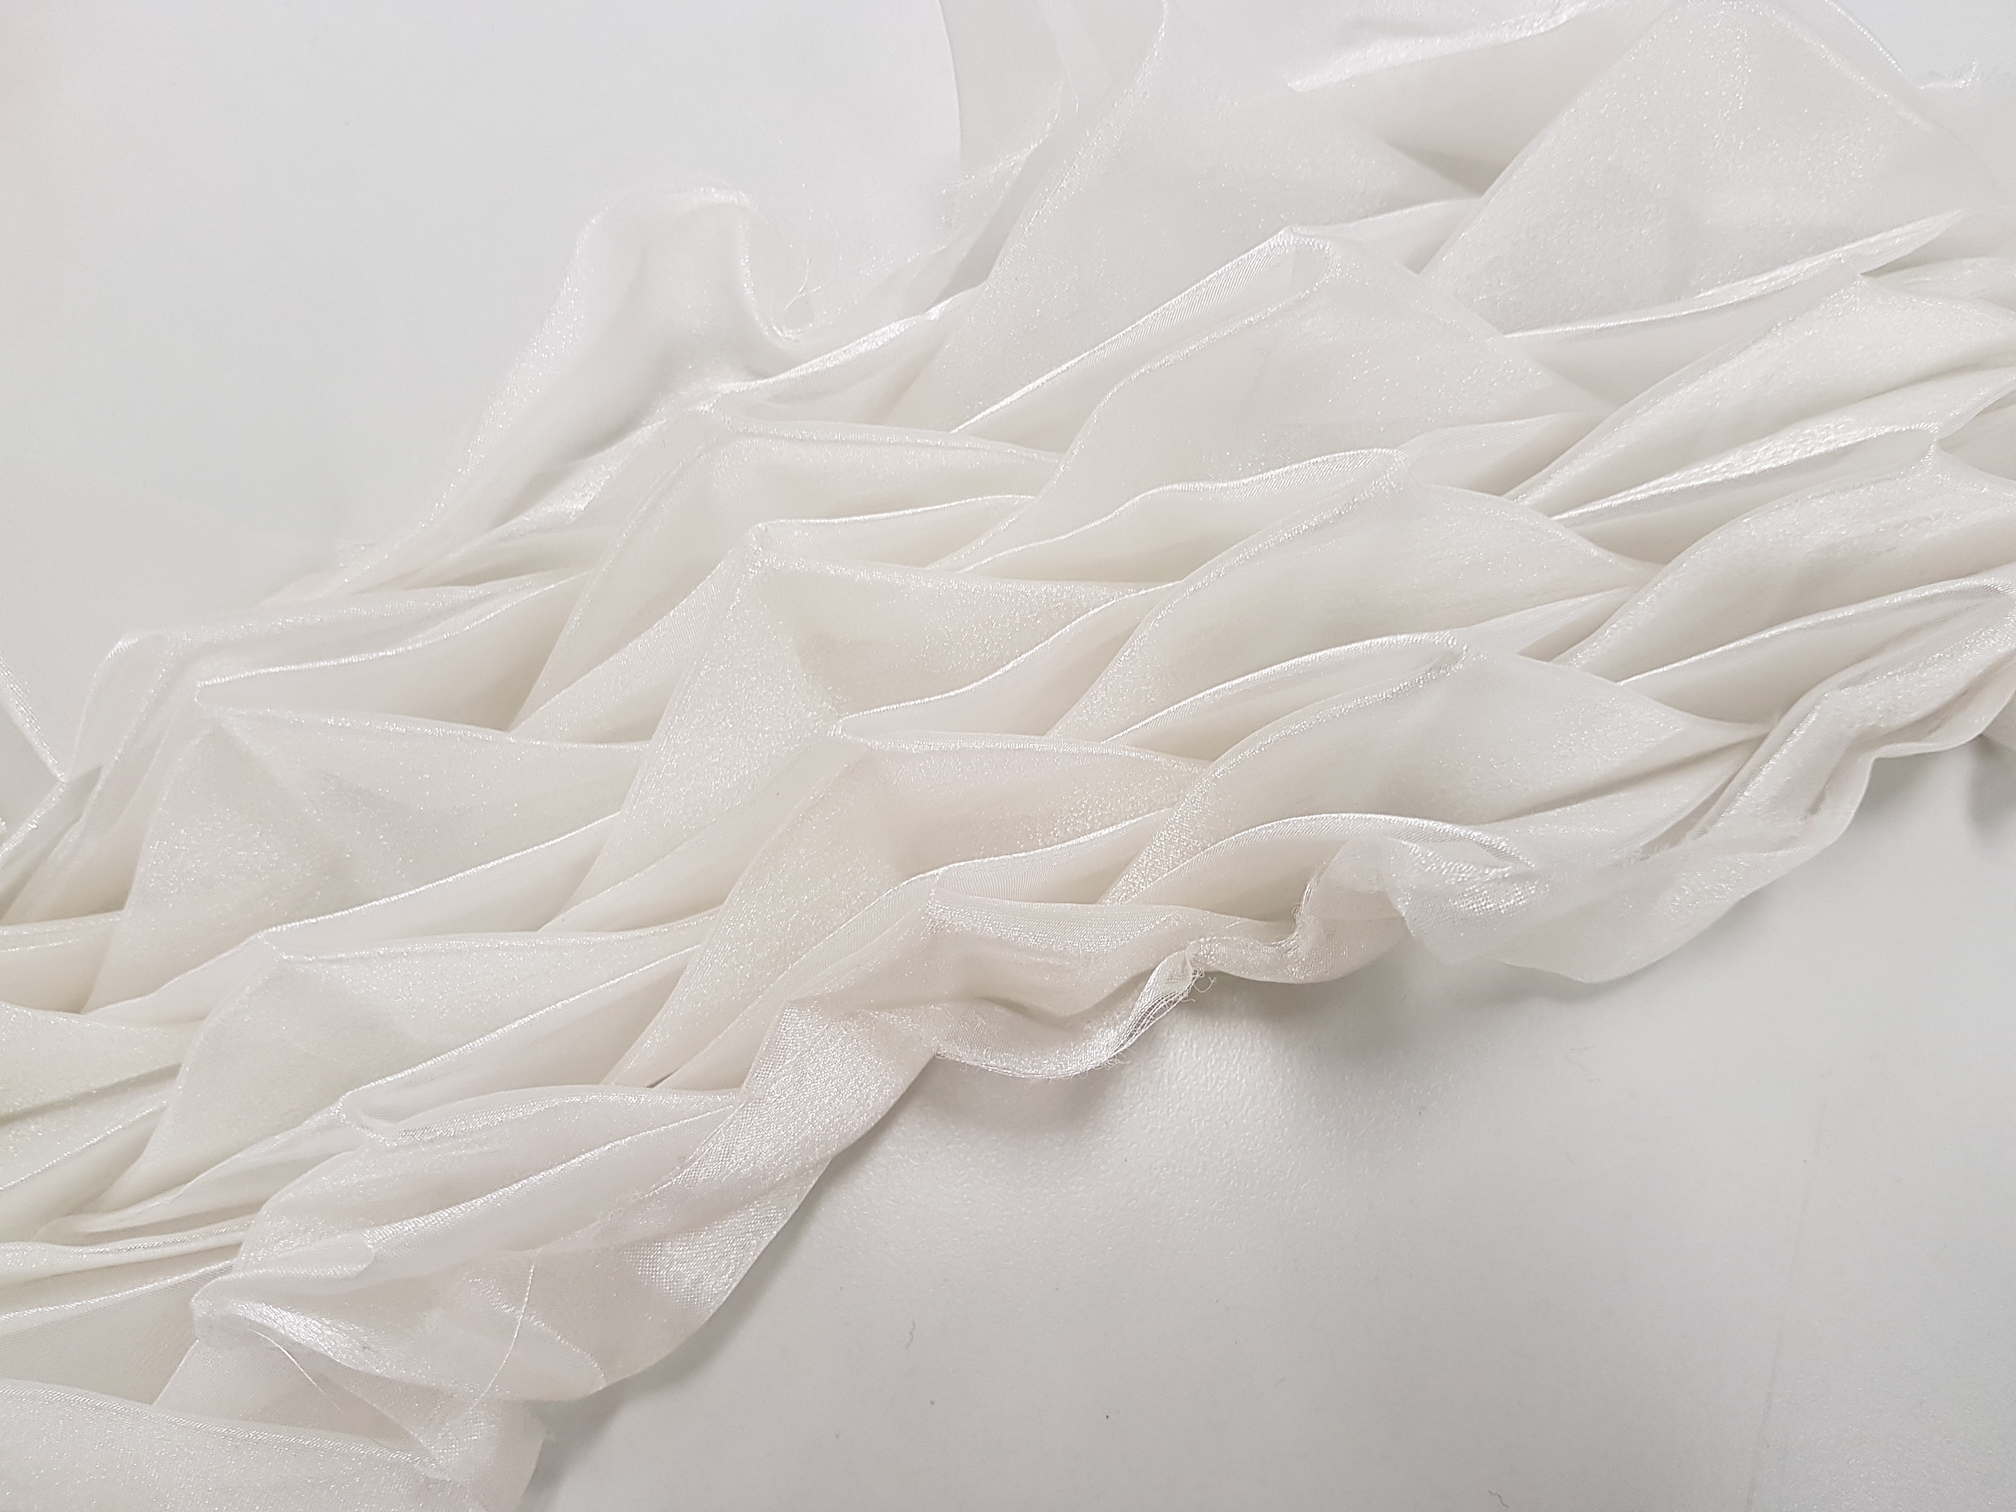
Thermoplastics are fabrics that can be manipulated and shaped using heat and pleating, crushing or moulding techniques. When heated, the polyester organza will soften and take the shape of the mould or object and will retain this shape when it cools. The organza can be reshaped when heated once more to an even higher temperature.
Materials needed
100% polyester organza (no nylon!)
Objects to mould the organza with e.g. marbles, stones, glass beads etc
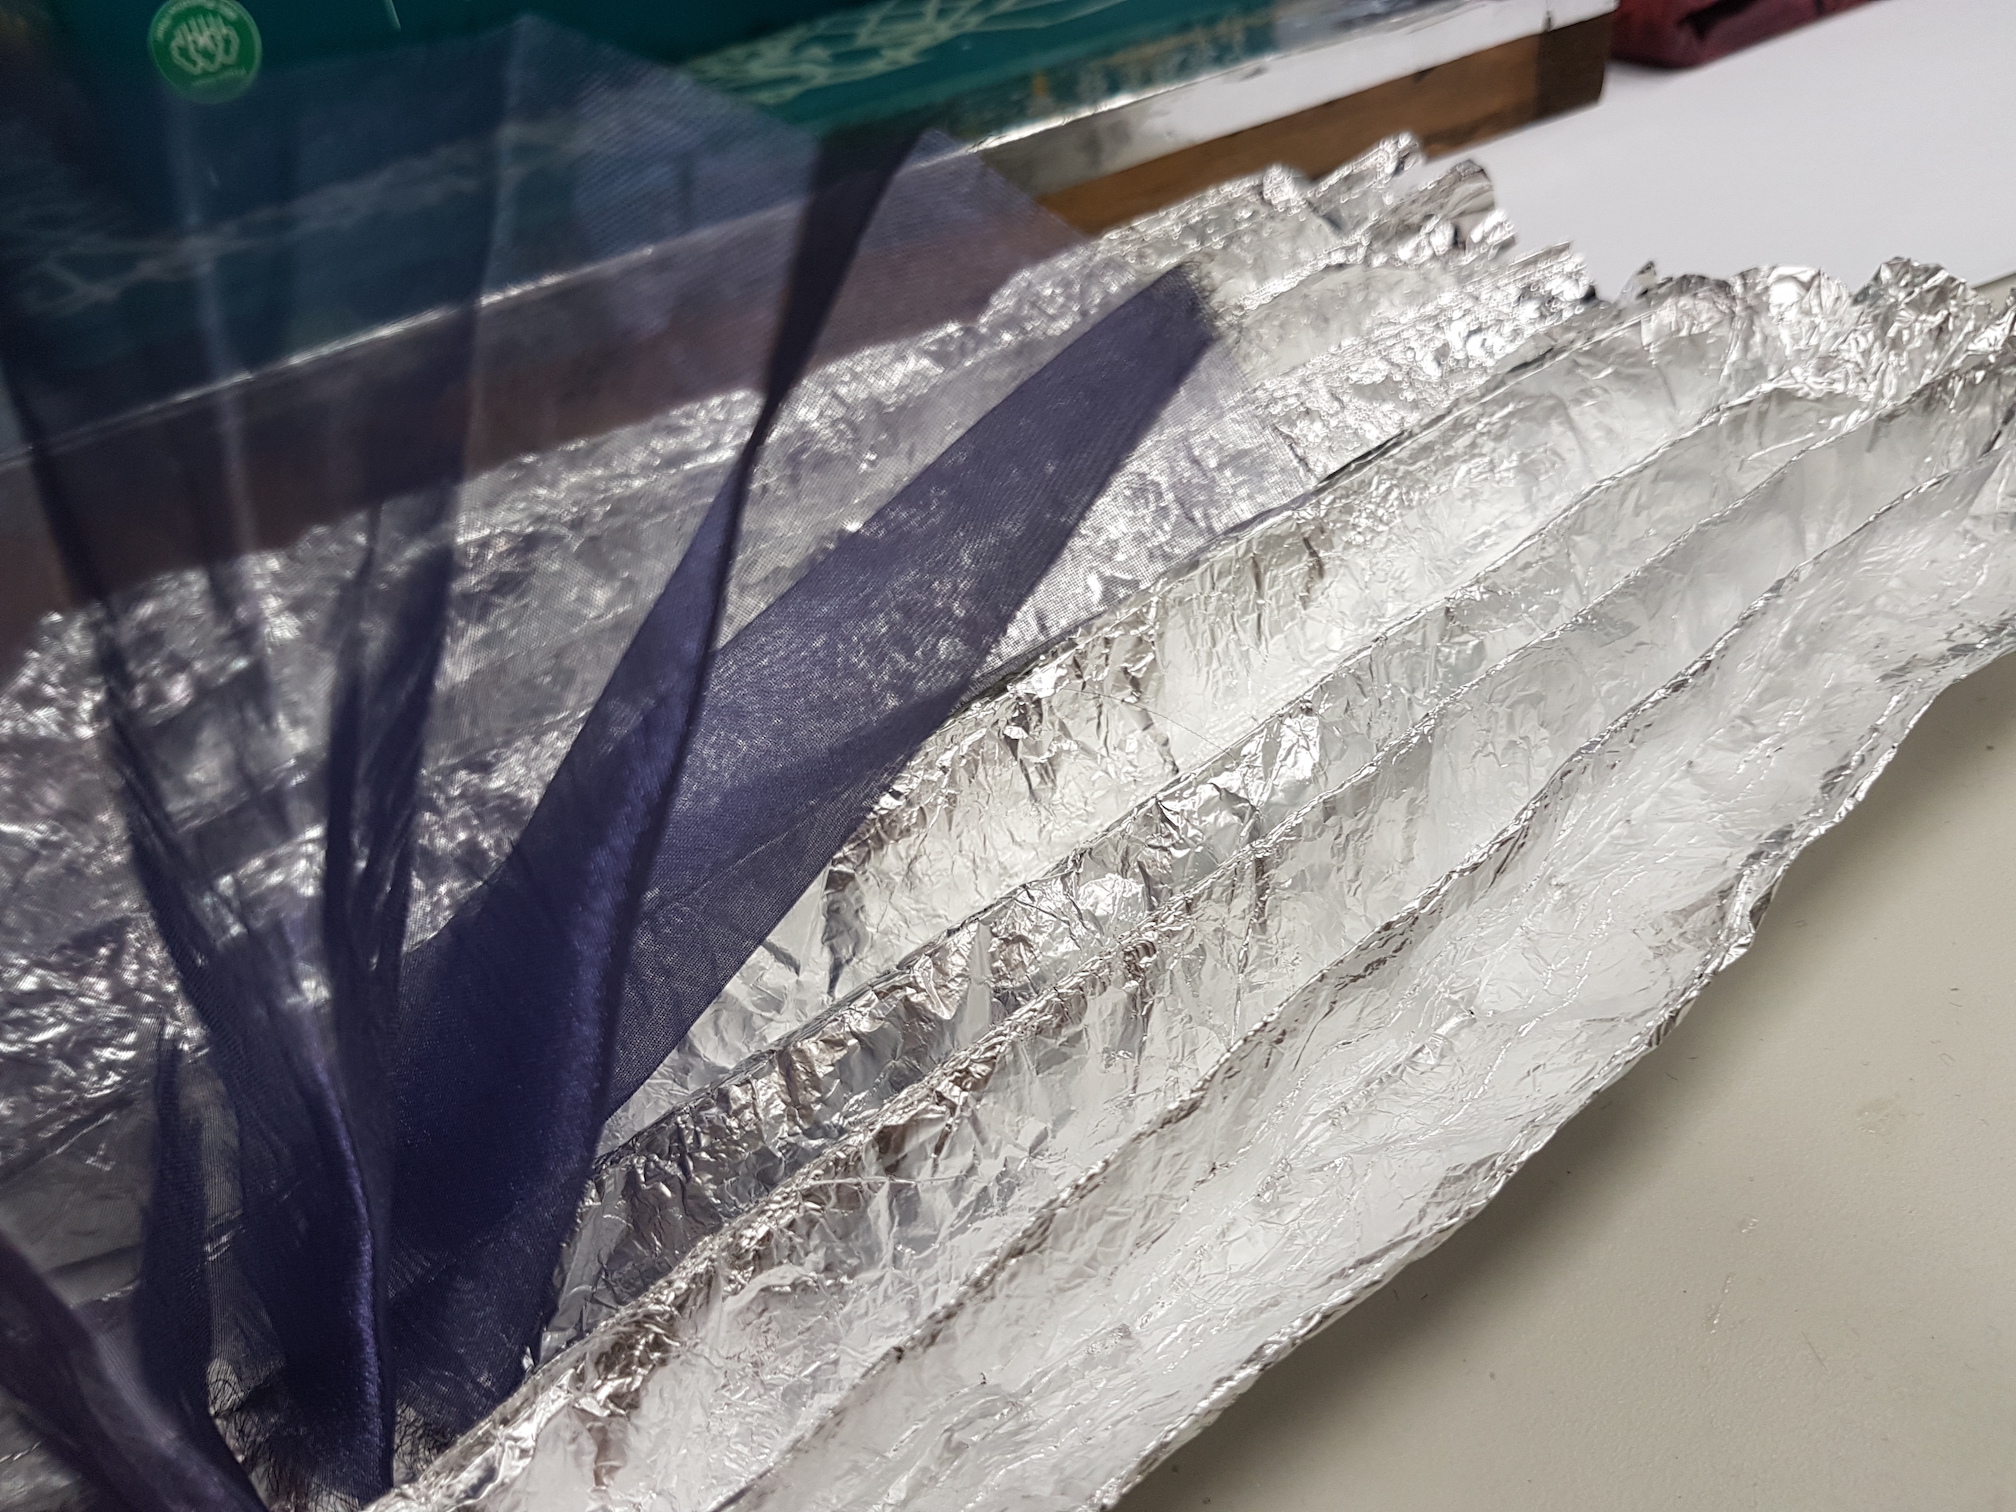
Aluminium foil to pleat the organza and wrap the sample
Large pot of water and stove
Applications
Heat set thermoplastics are sometimes used in decorative cushions or lamp shades due to their semi-transparent nature.
Here are some interesting samples which we saw in class:
Process
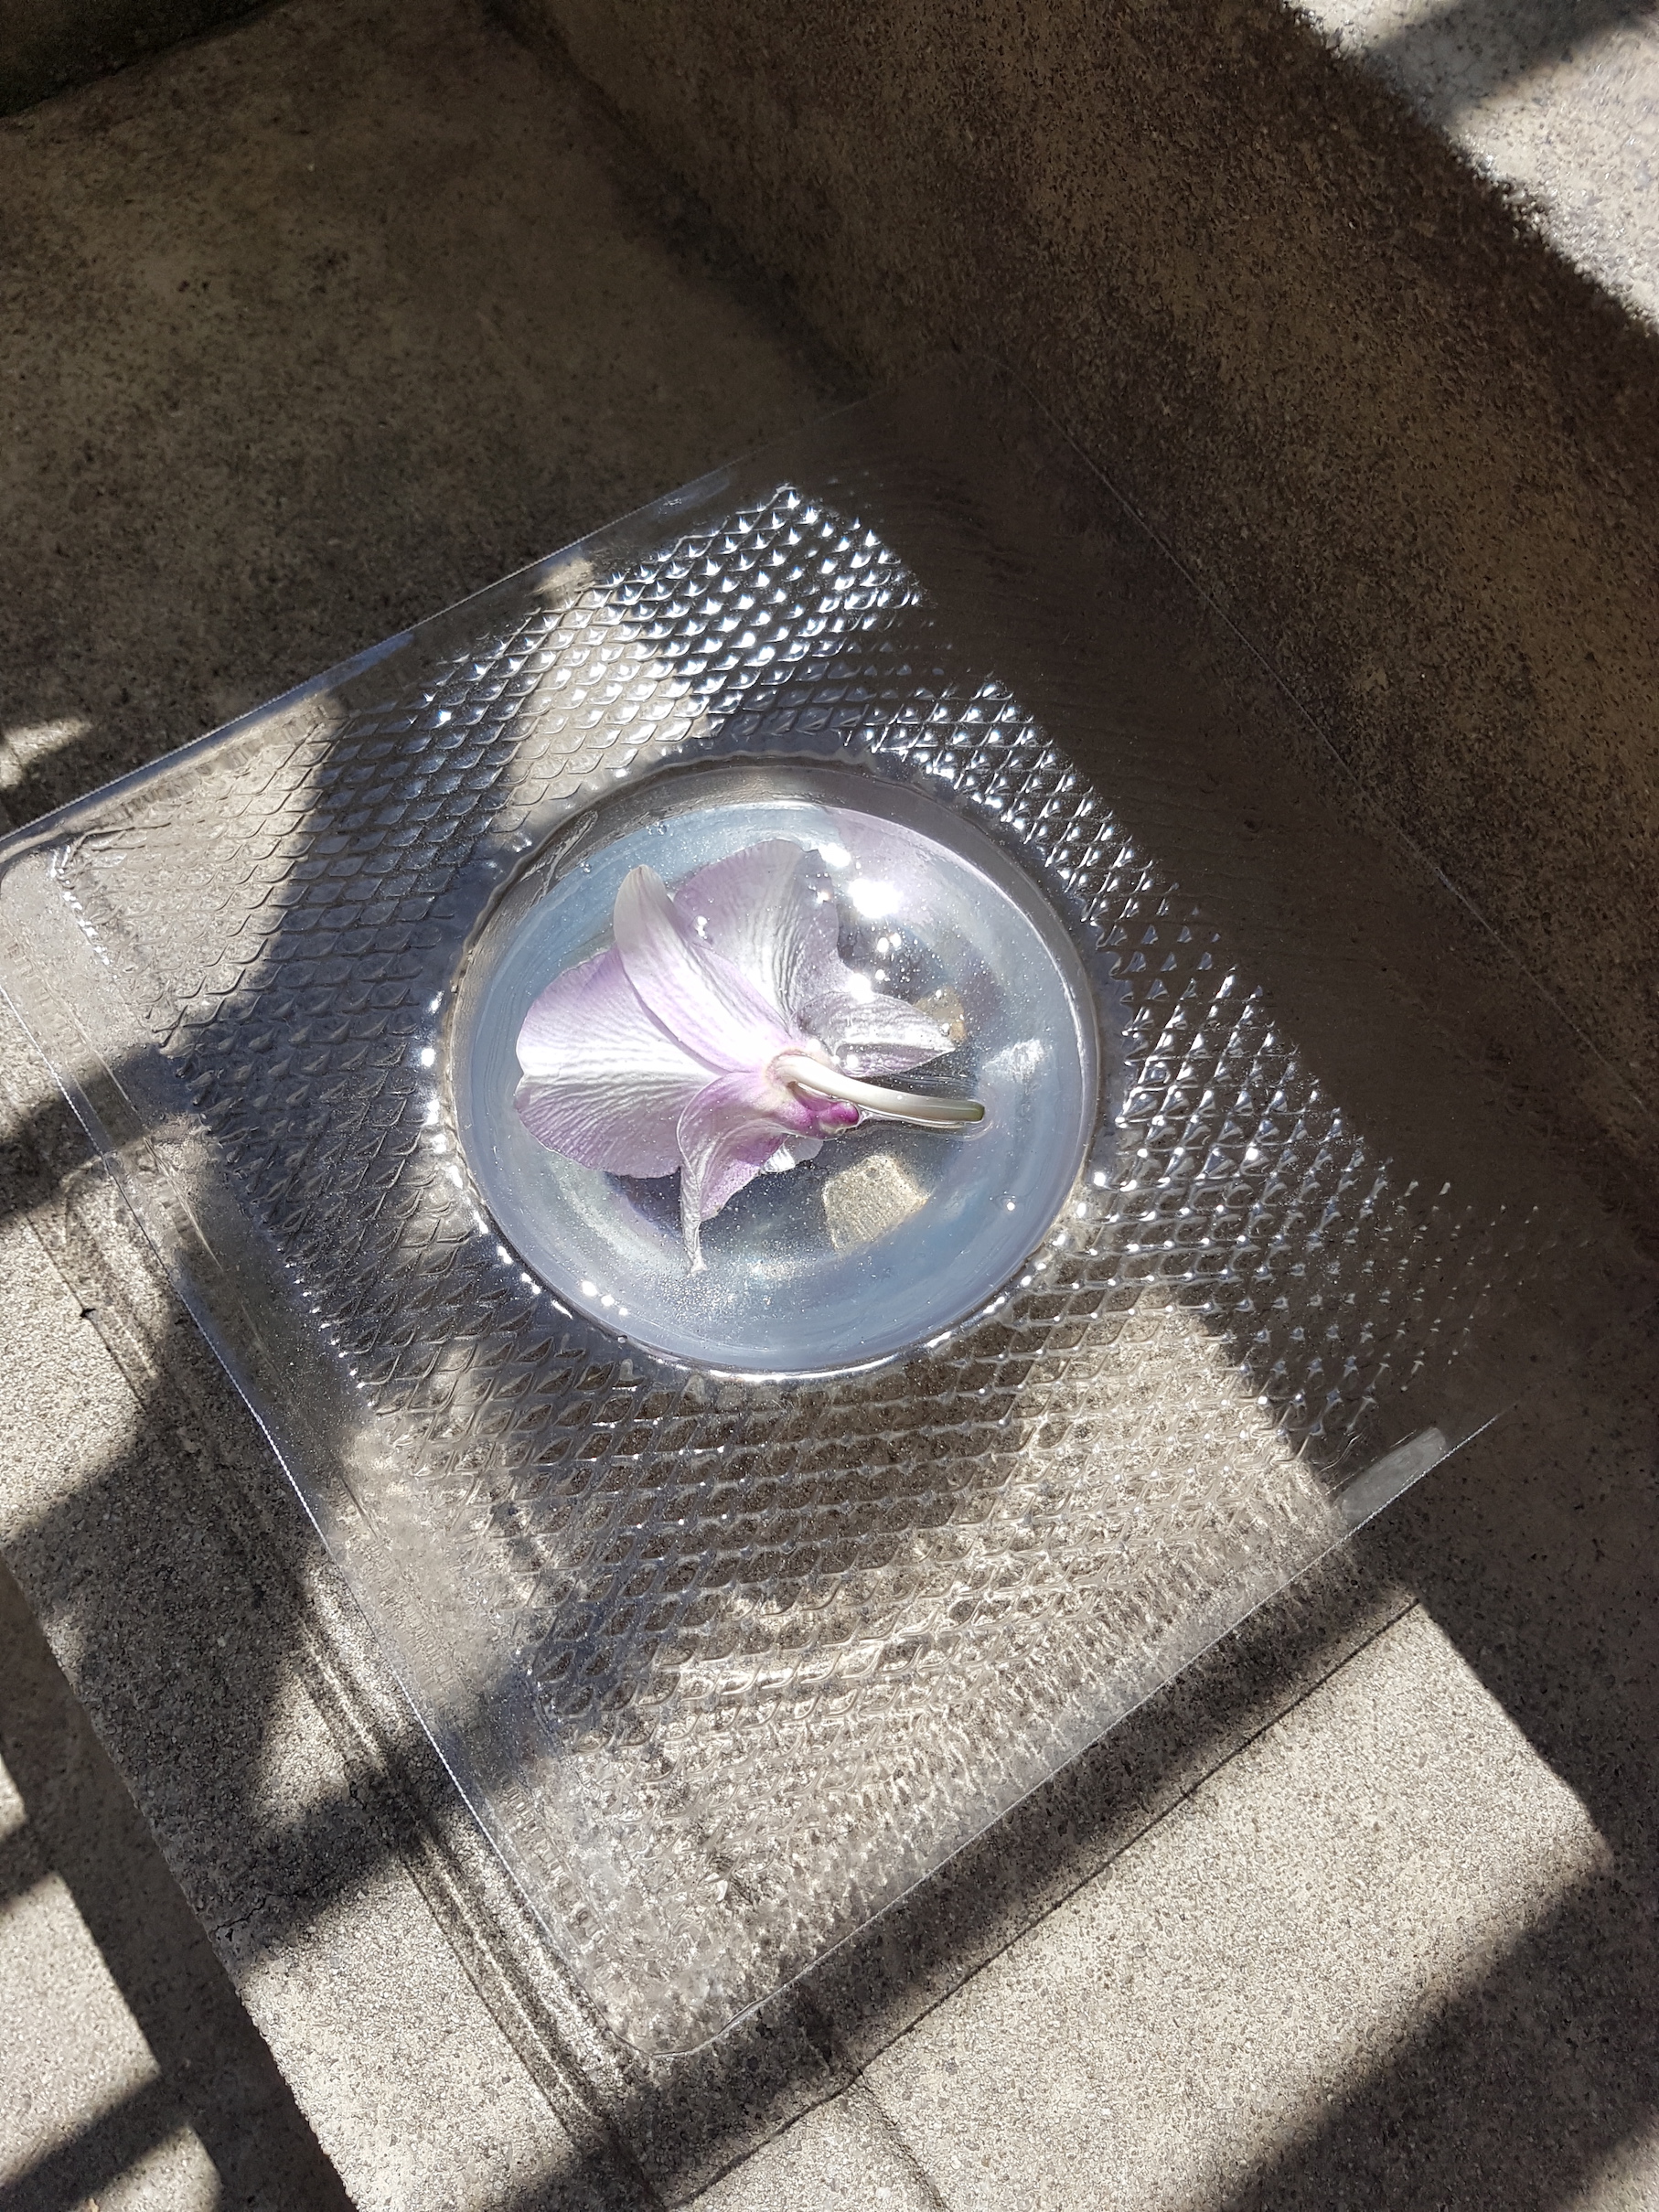
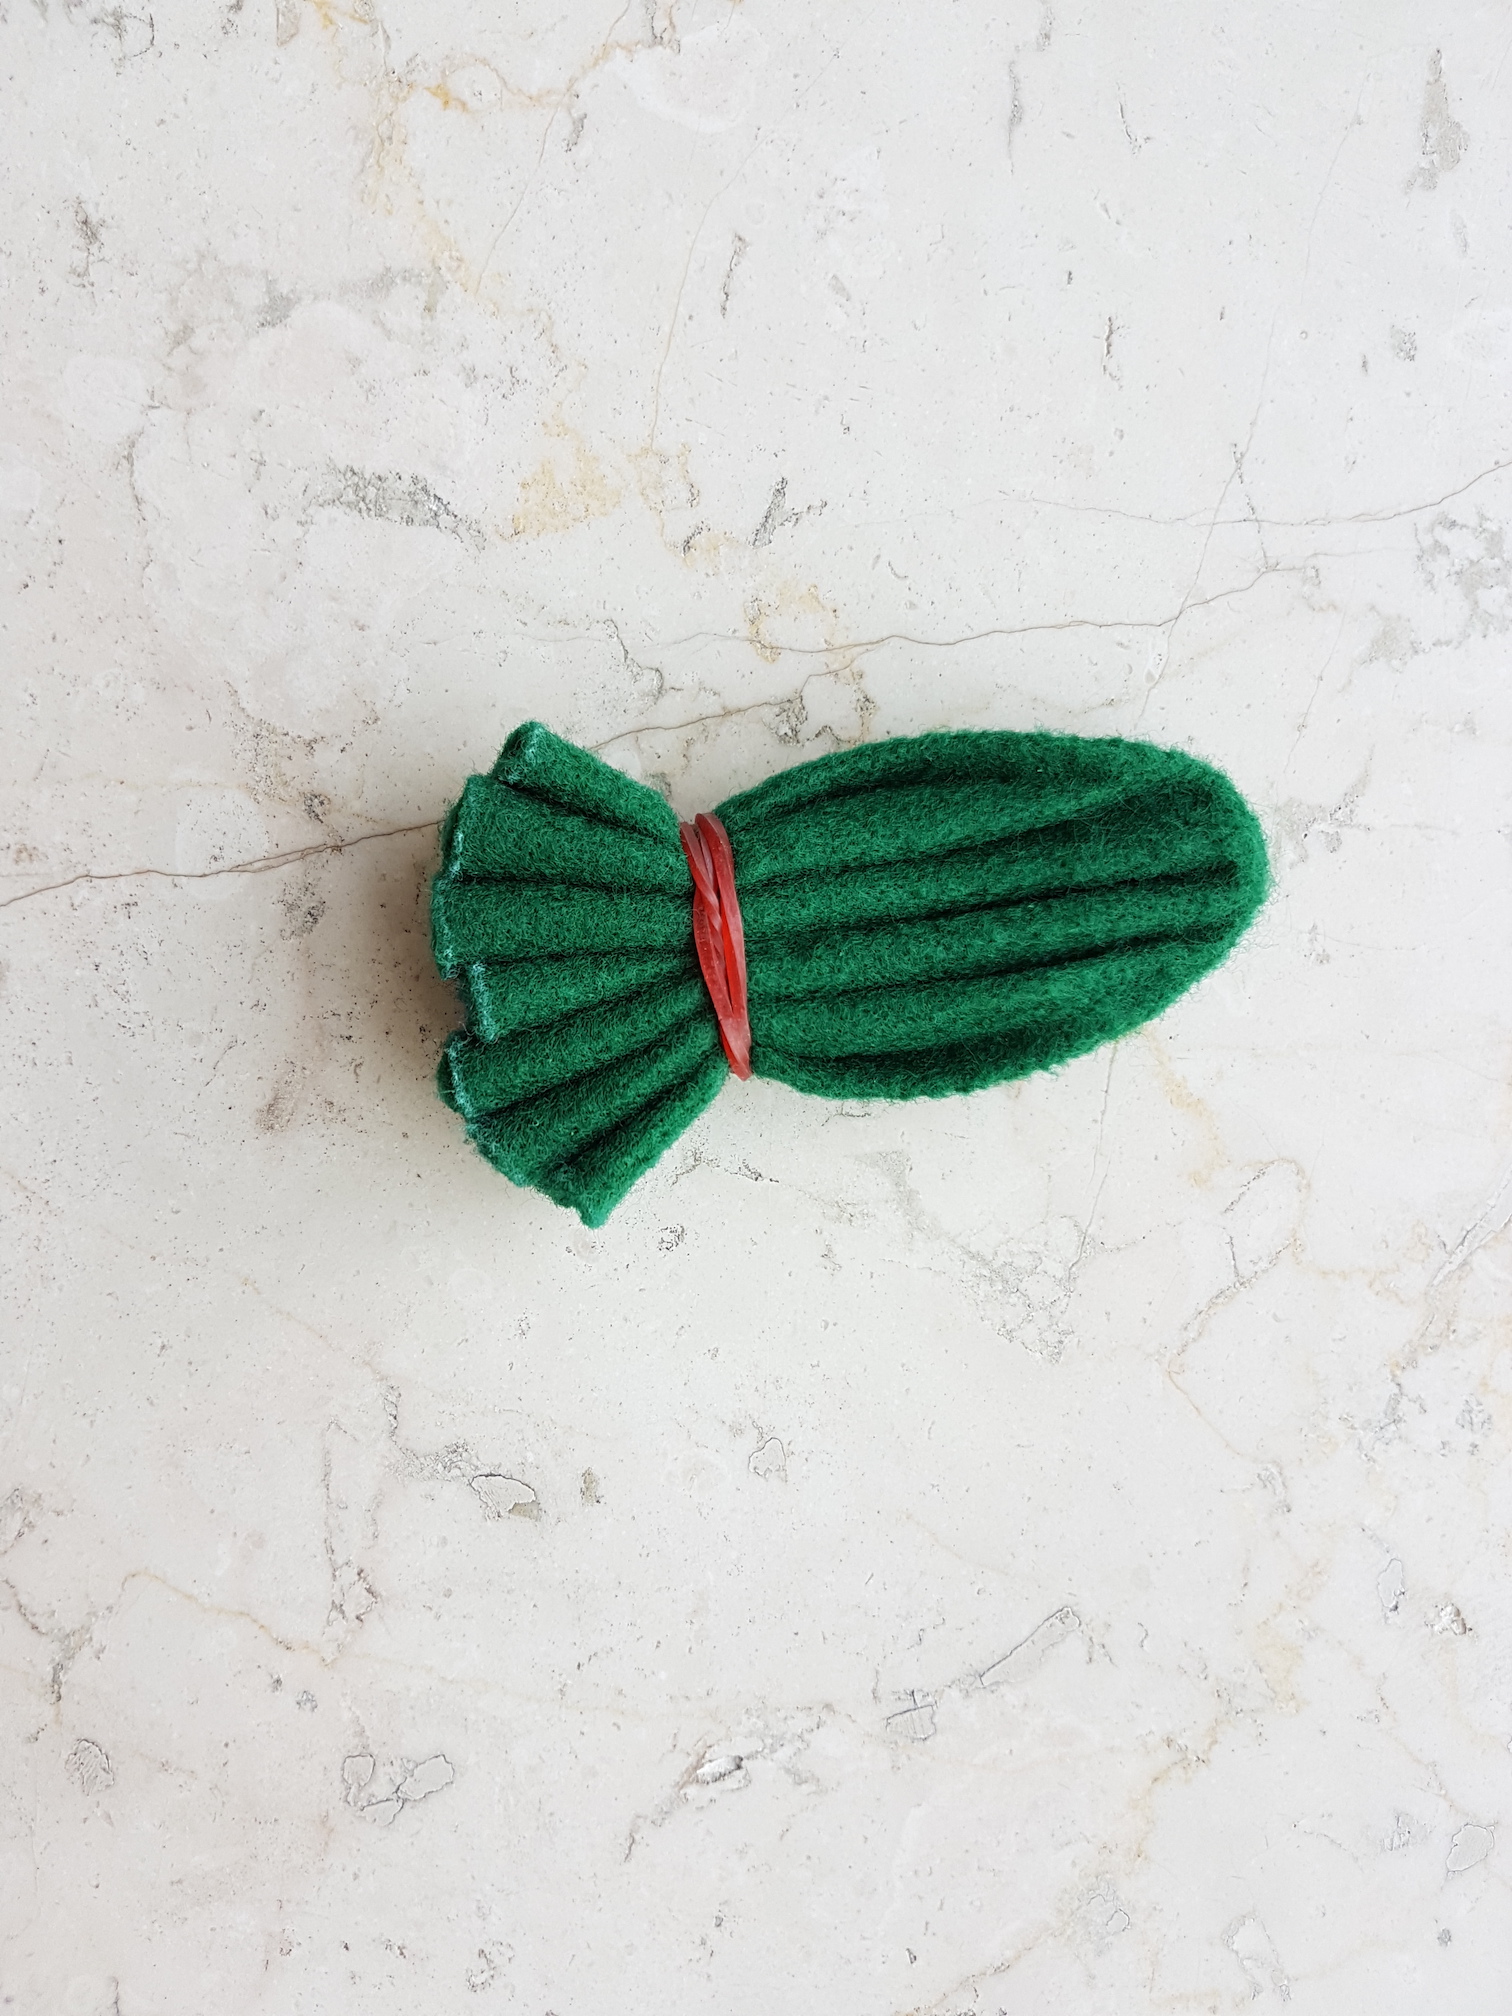
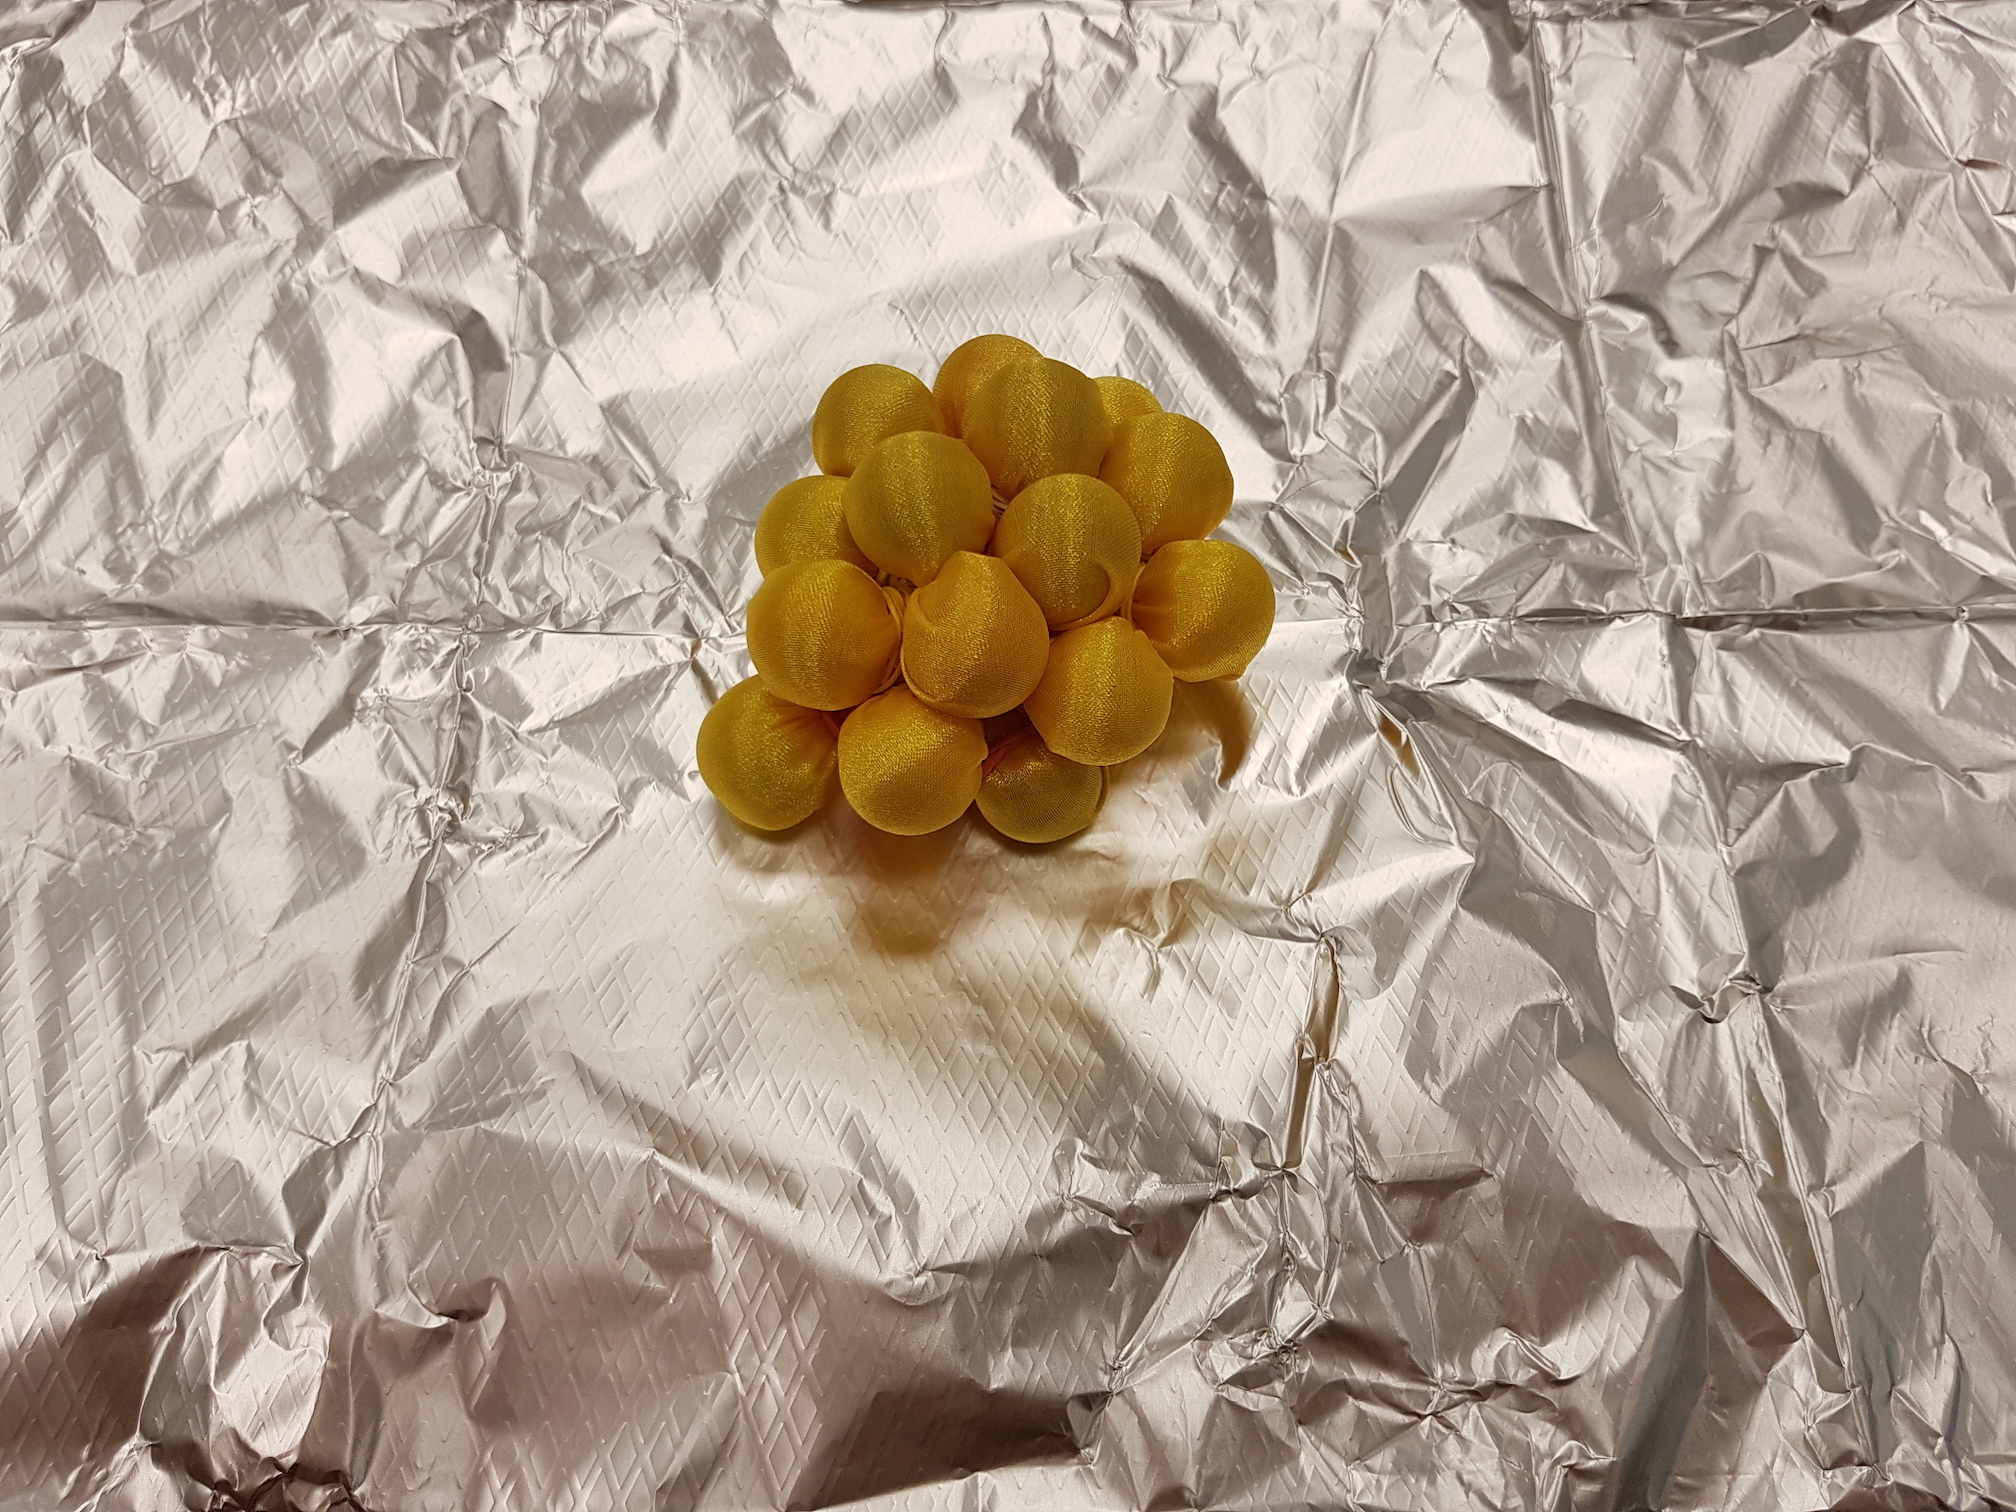
Mould, fold or manipulate the polyester organza using objects (e.g. marbles, stones) and secure with elastic bands. Alternatively, pleat and fold the polyester organza between sheets of plastic, paper or aluminium foil. Fold the organza into multiple layers to get a repeated pattern over a larger area of fabric. The sample below is folded into 4 layers.
Mould the polyester organza around marbles
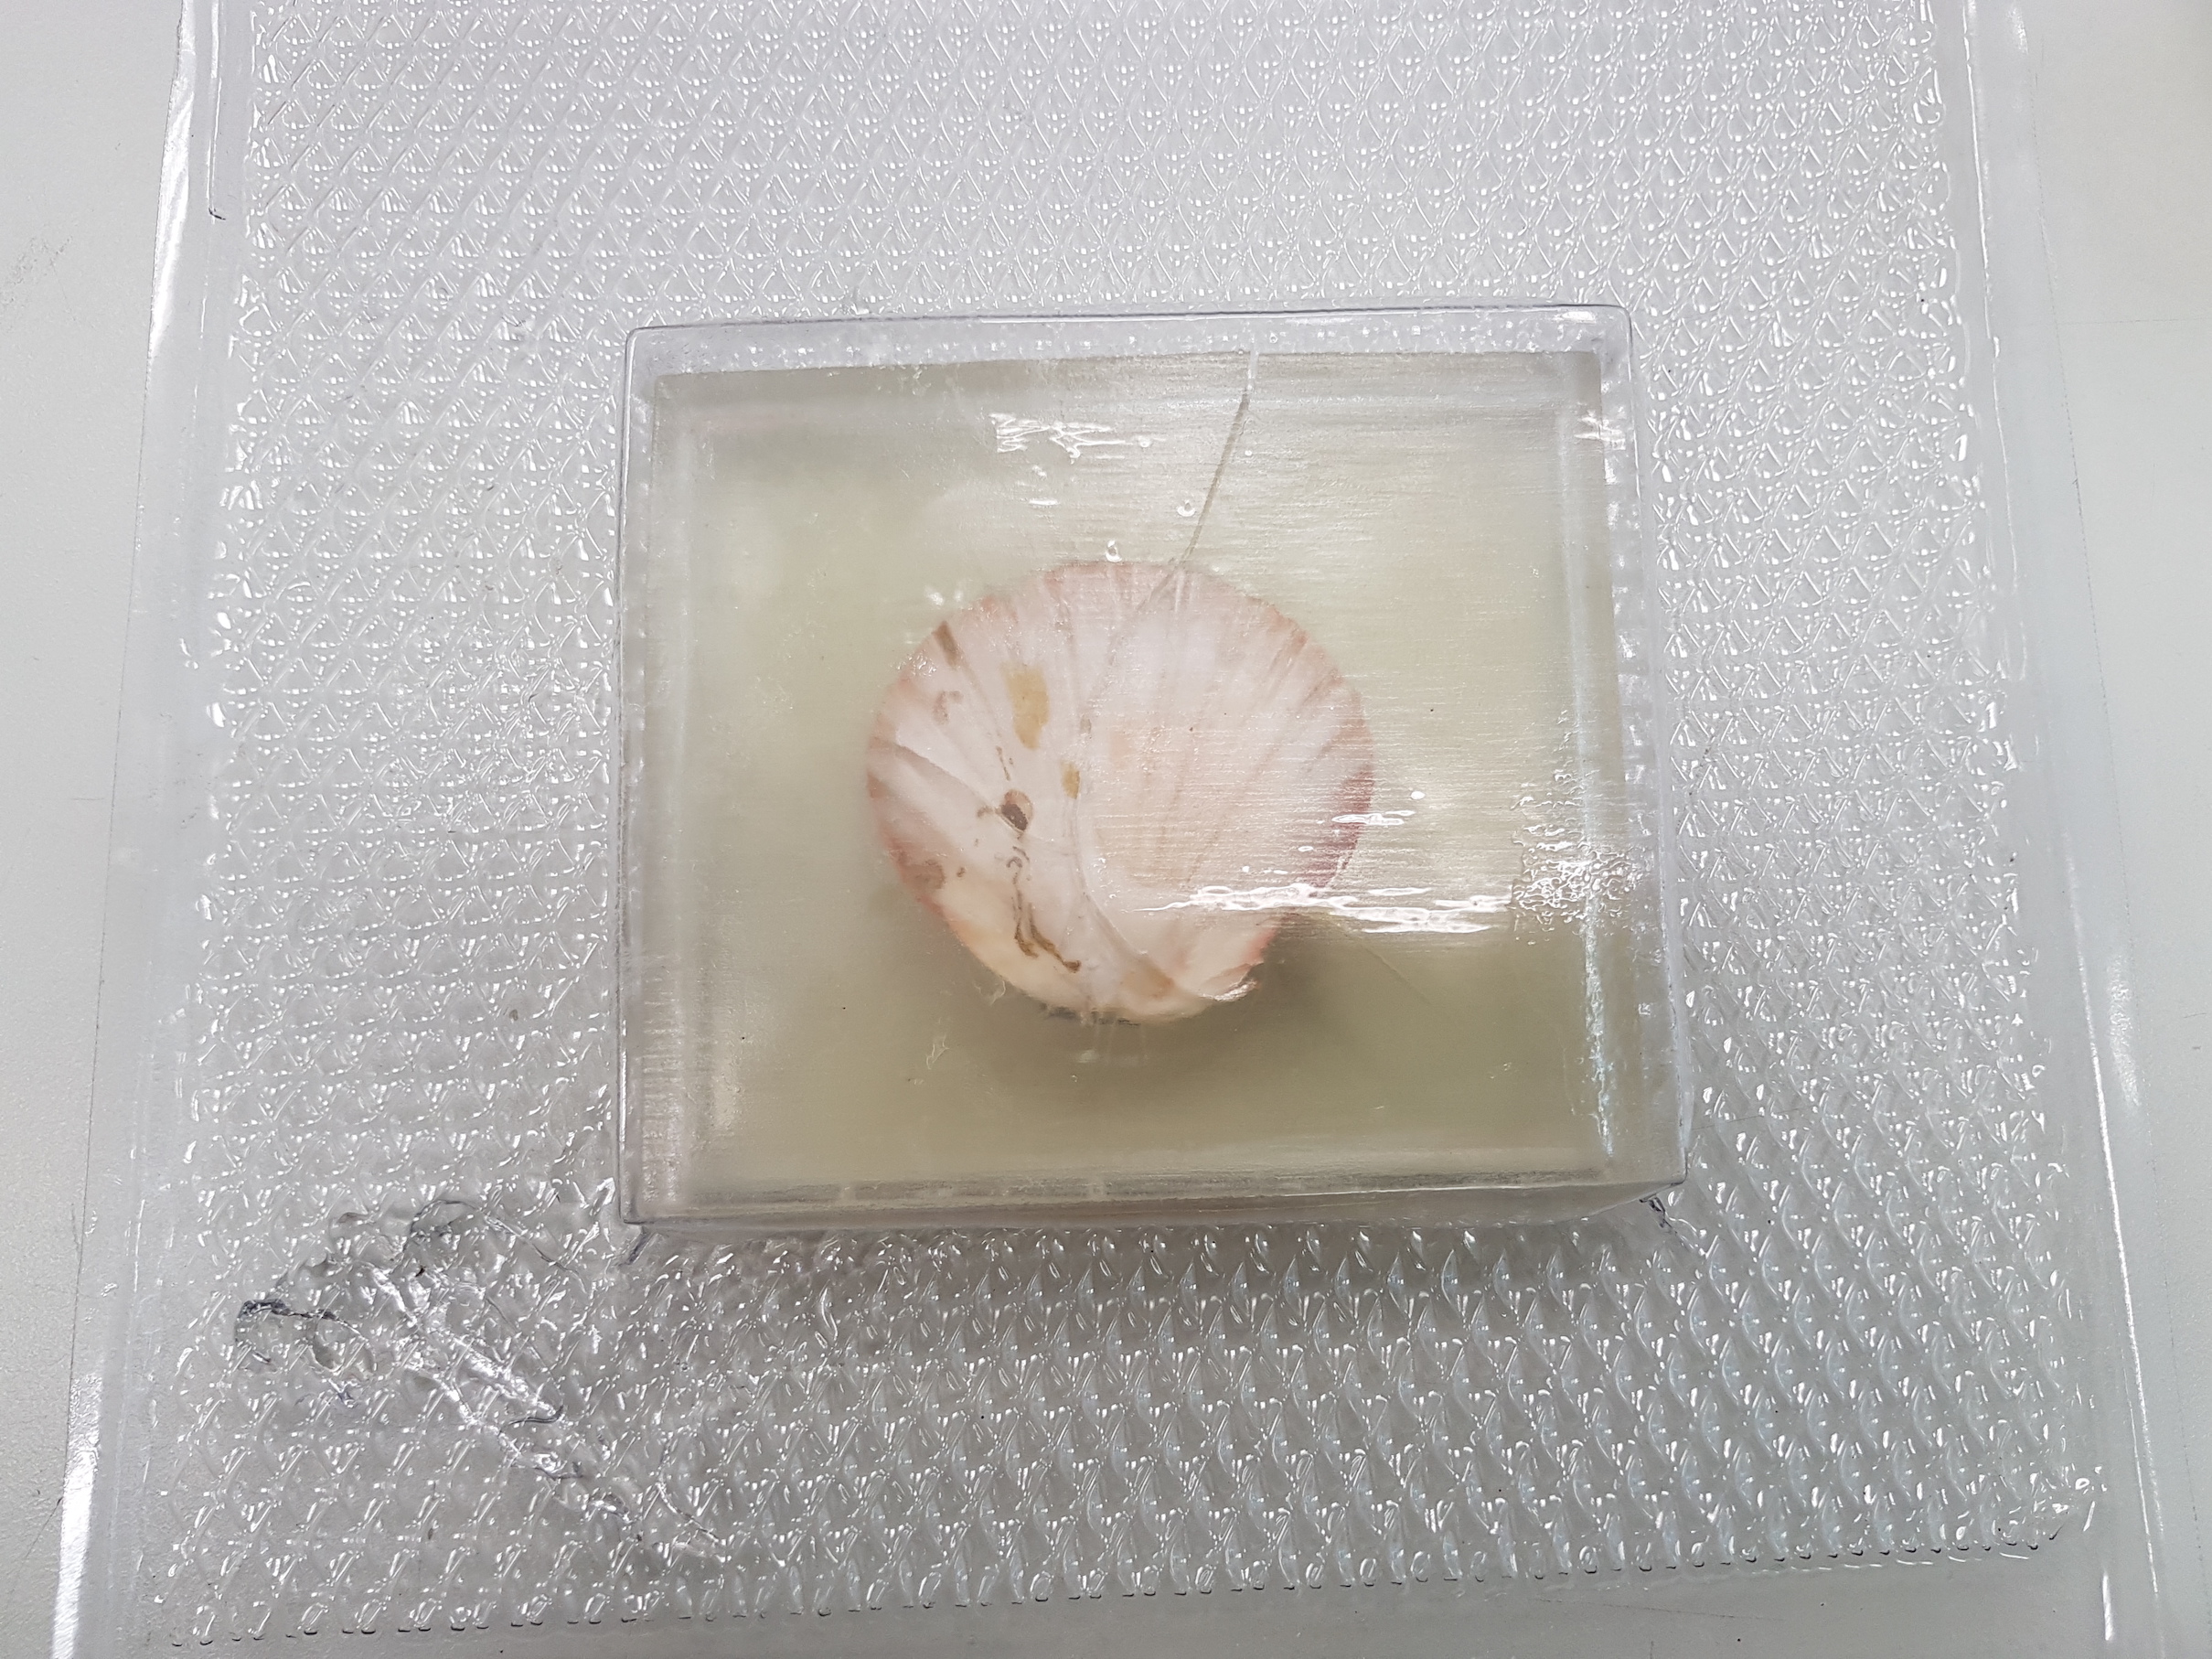
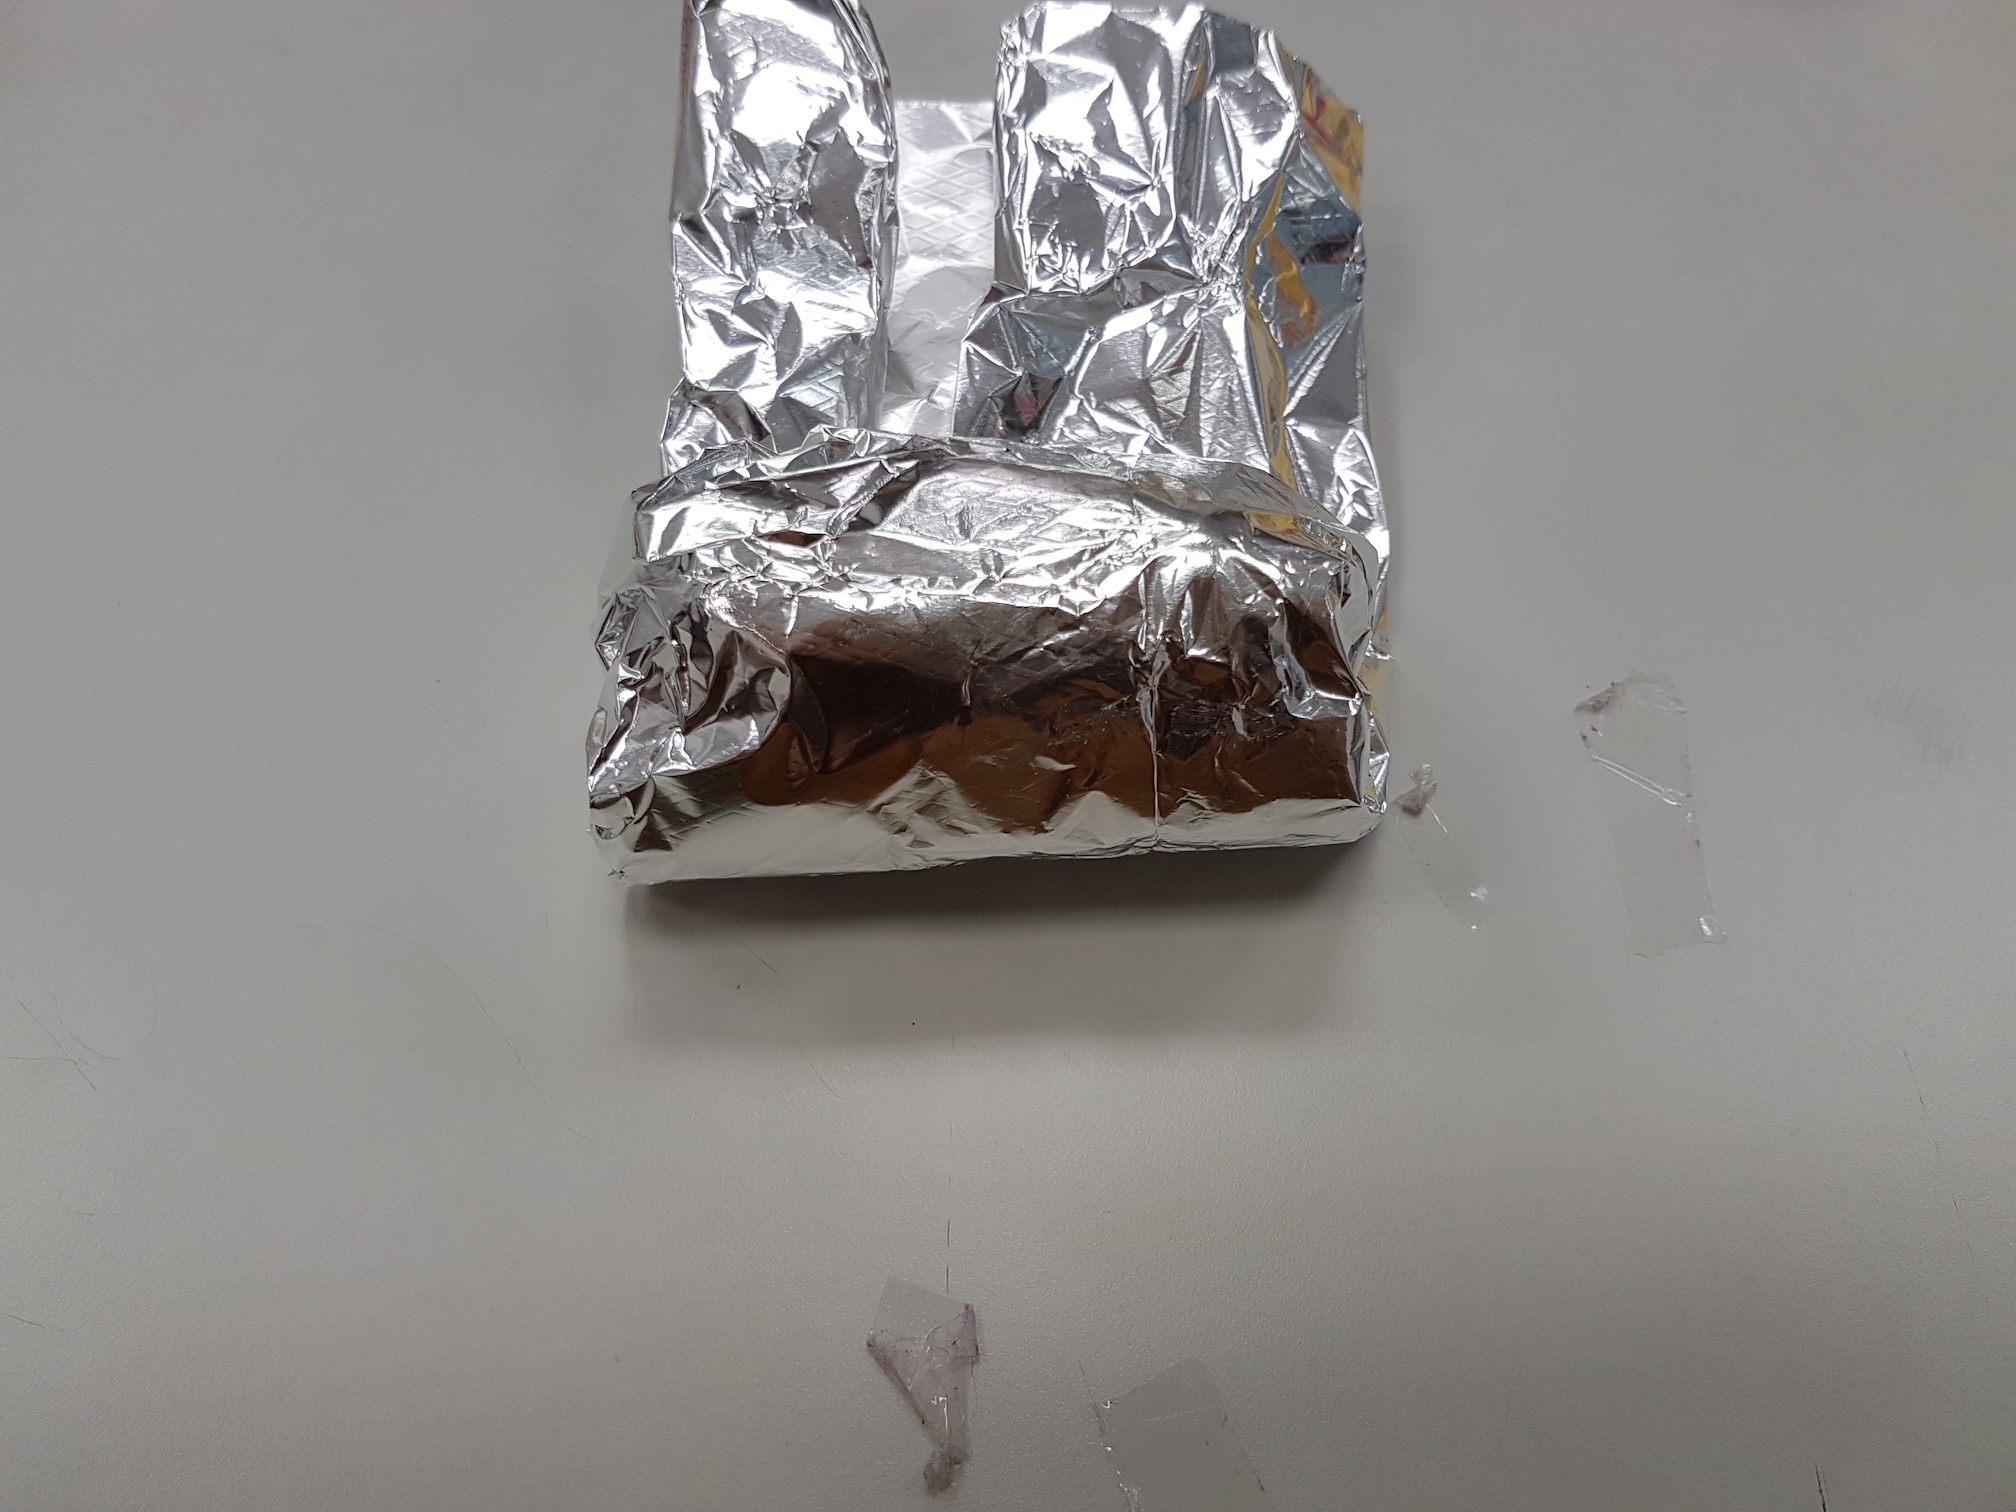
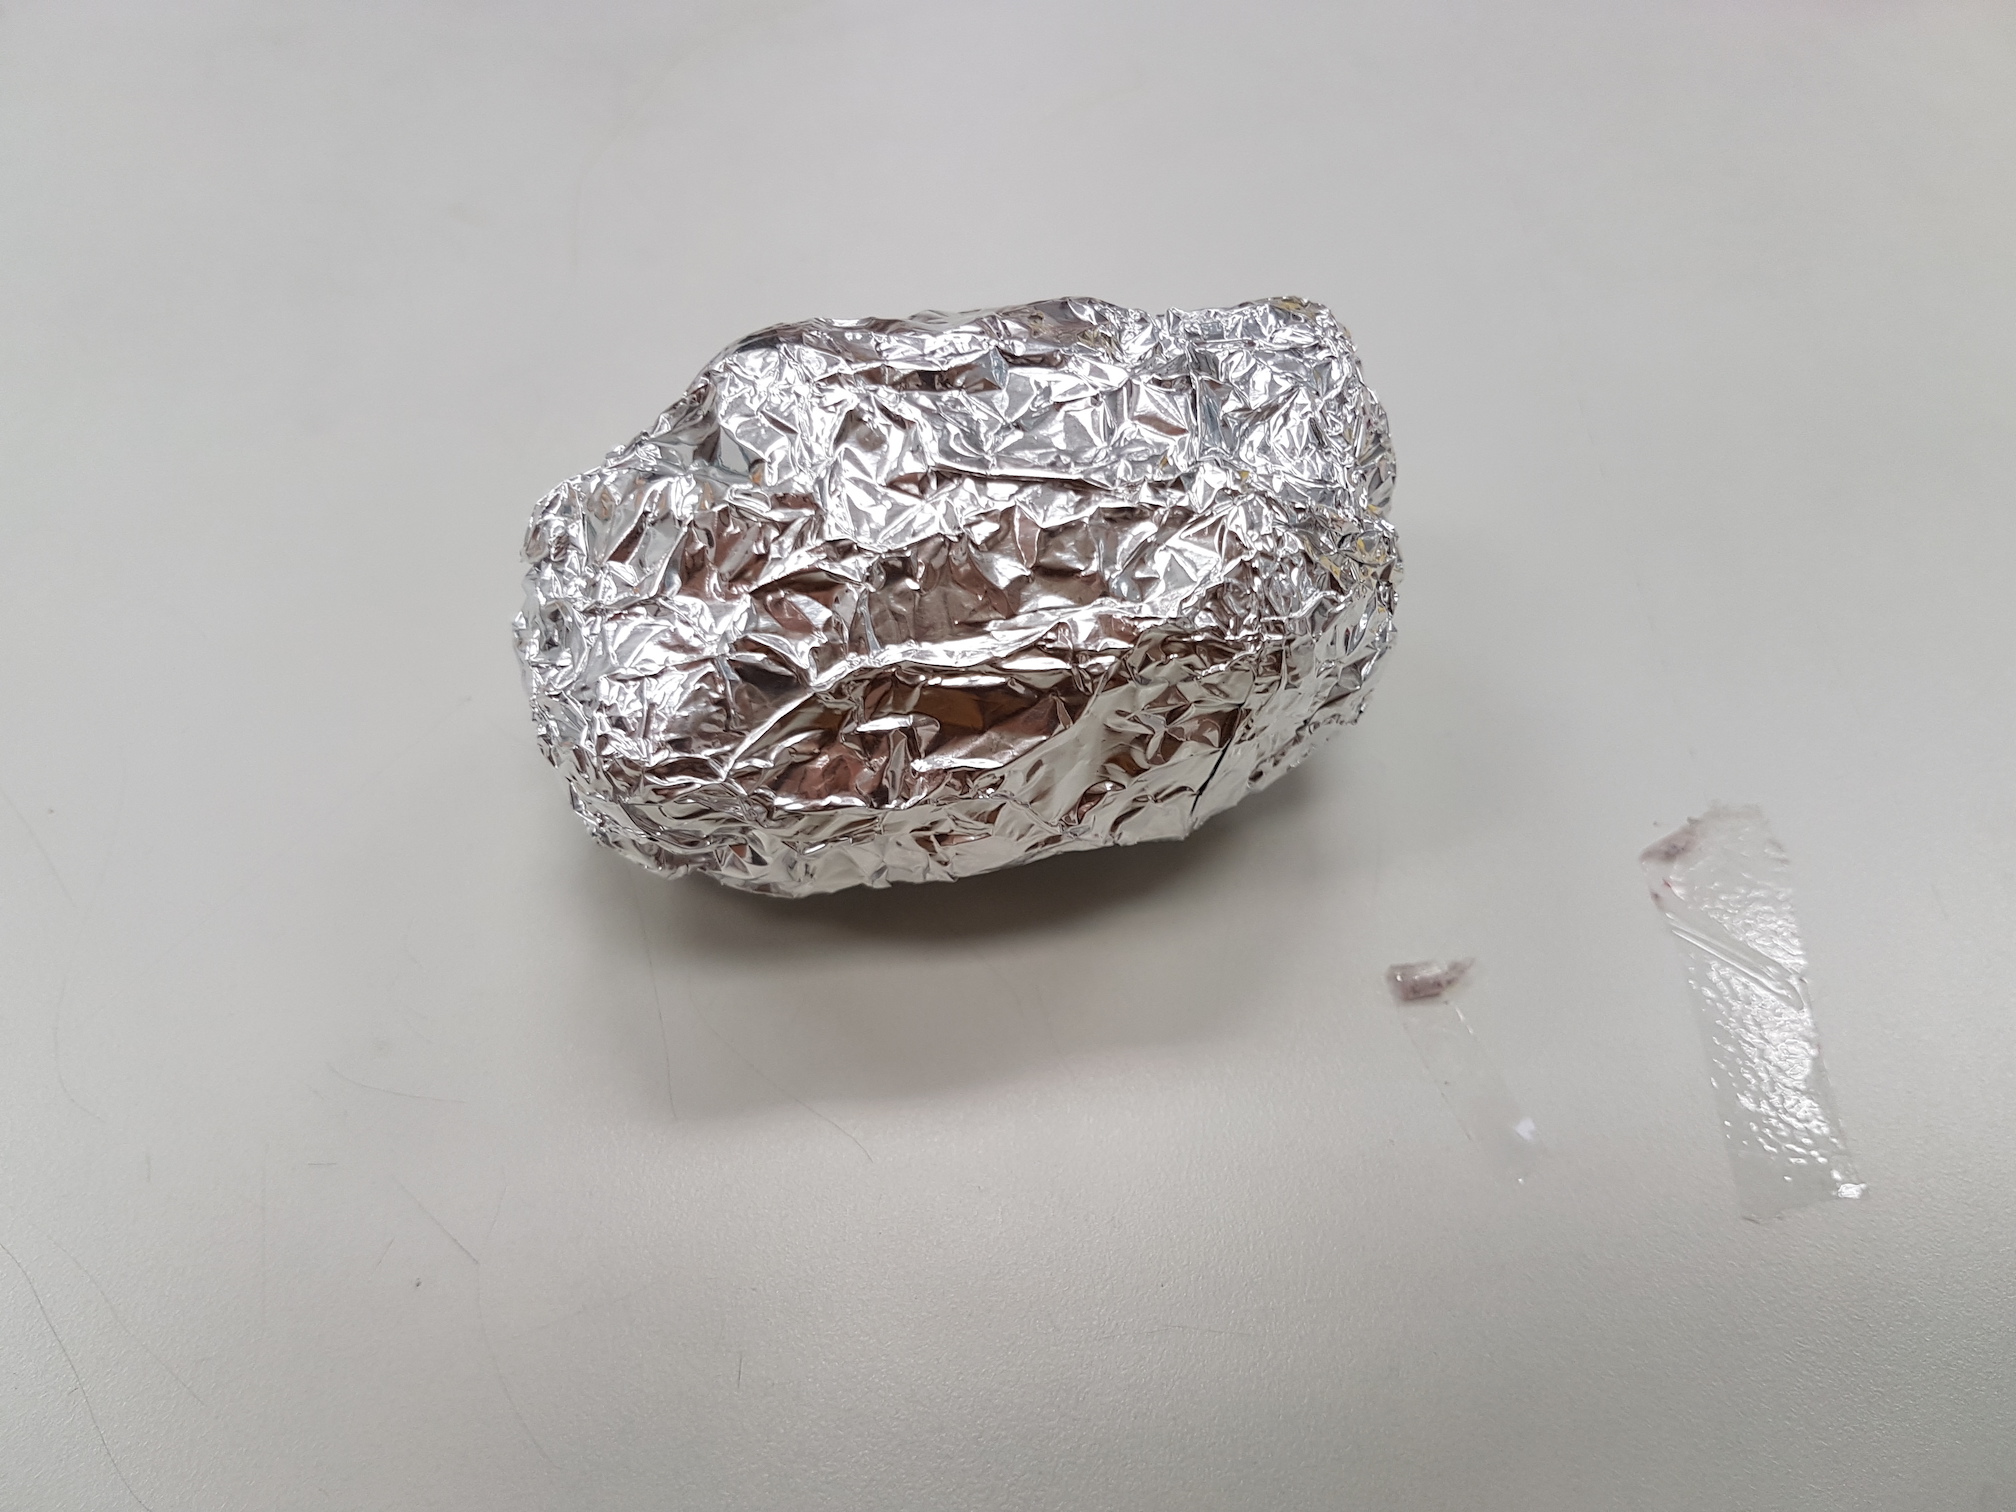
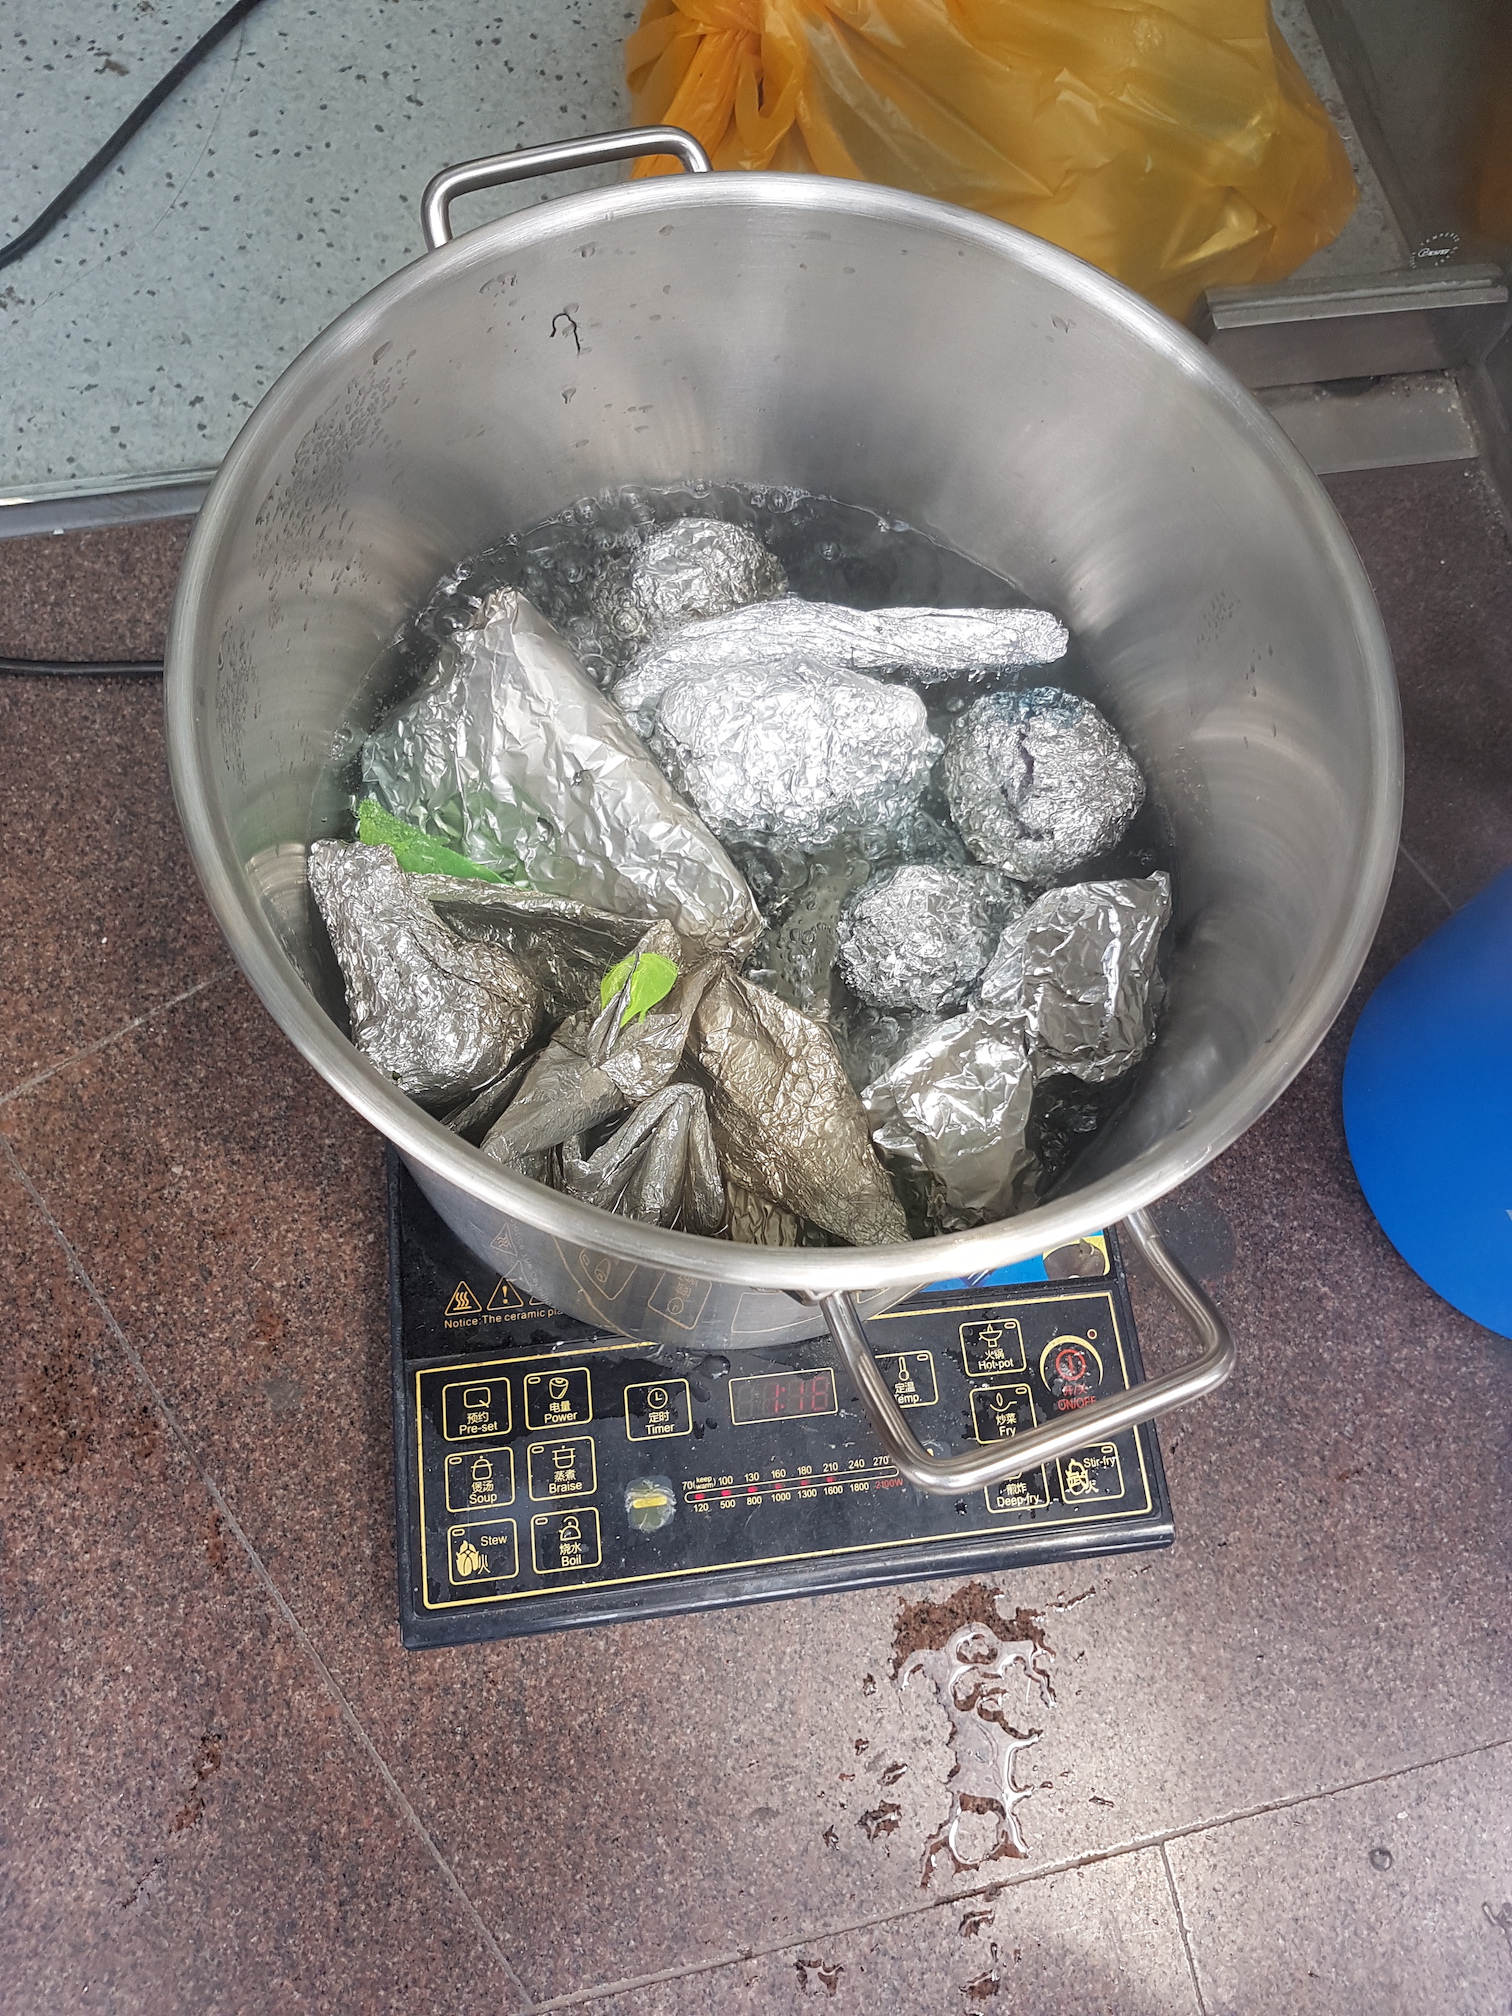
Wrap up the object in aluminium foil before boiling and steaming in hot water.
Wrap up in aluminium foil
Steam the samples
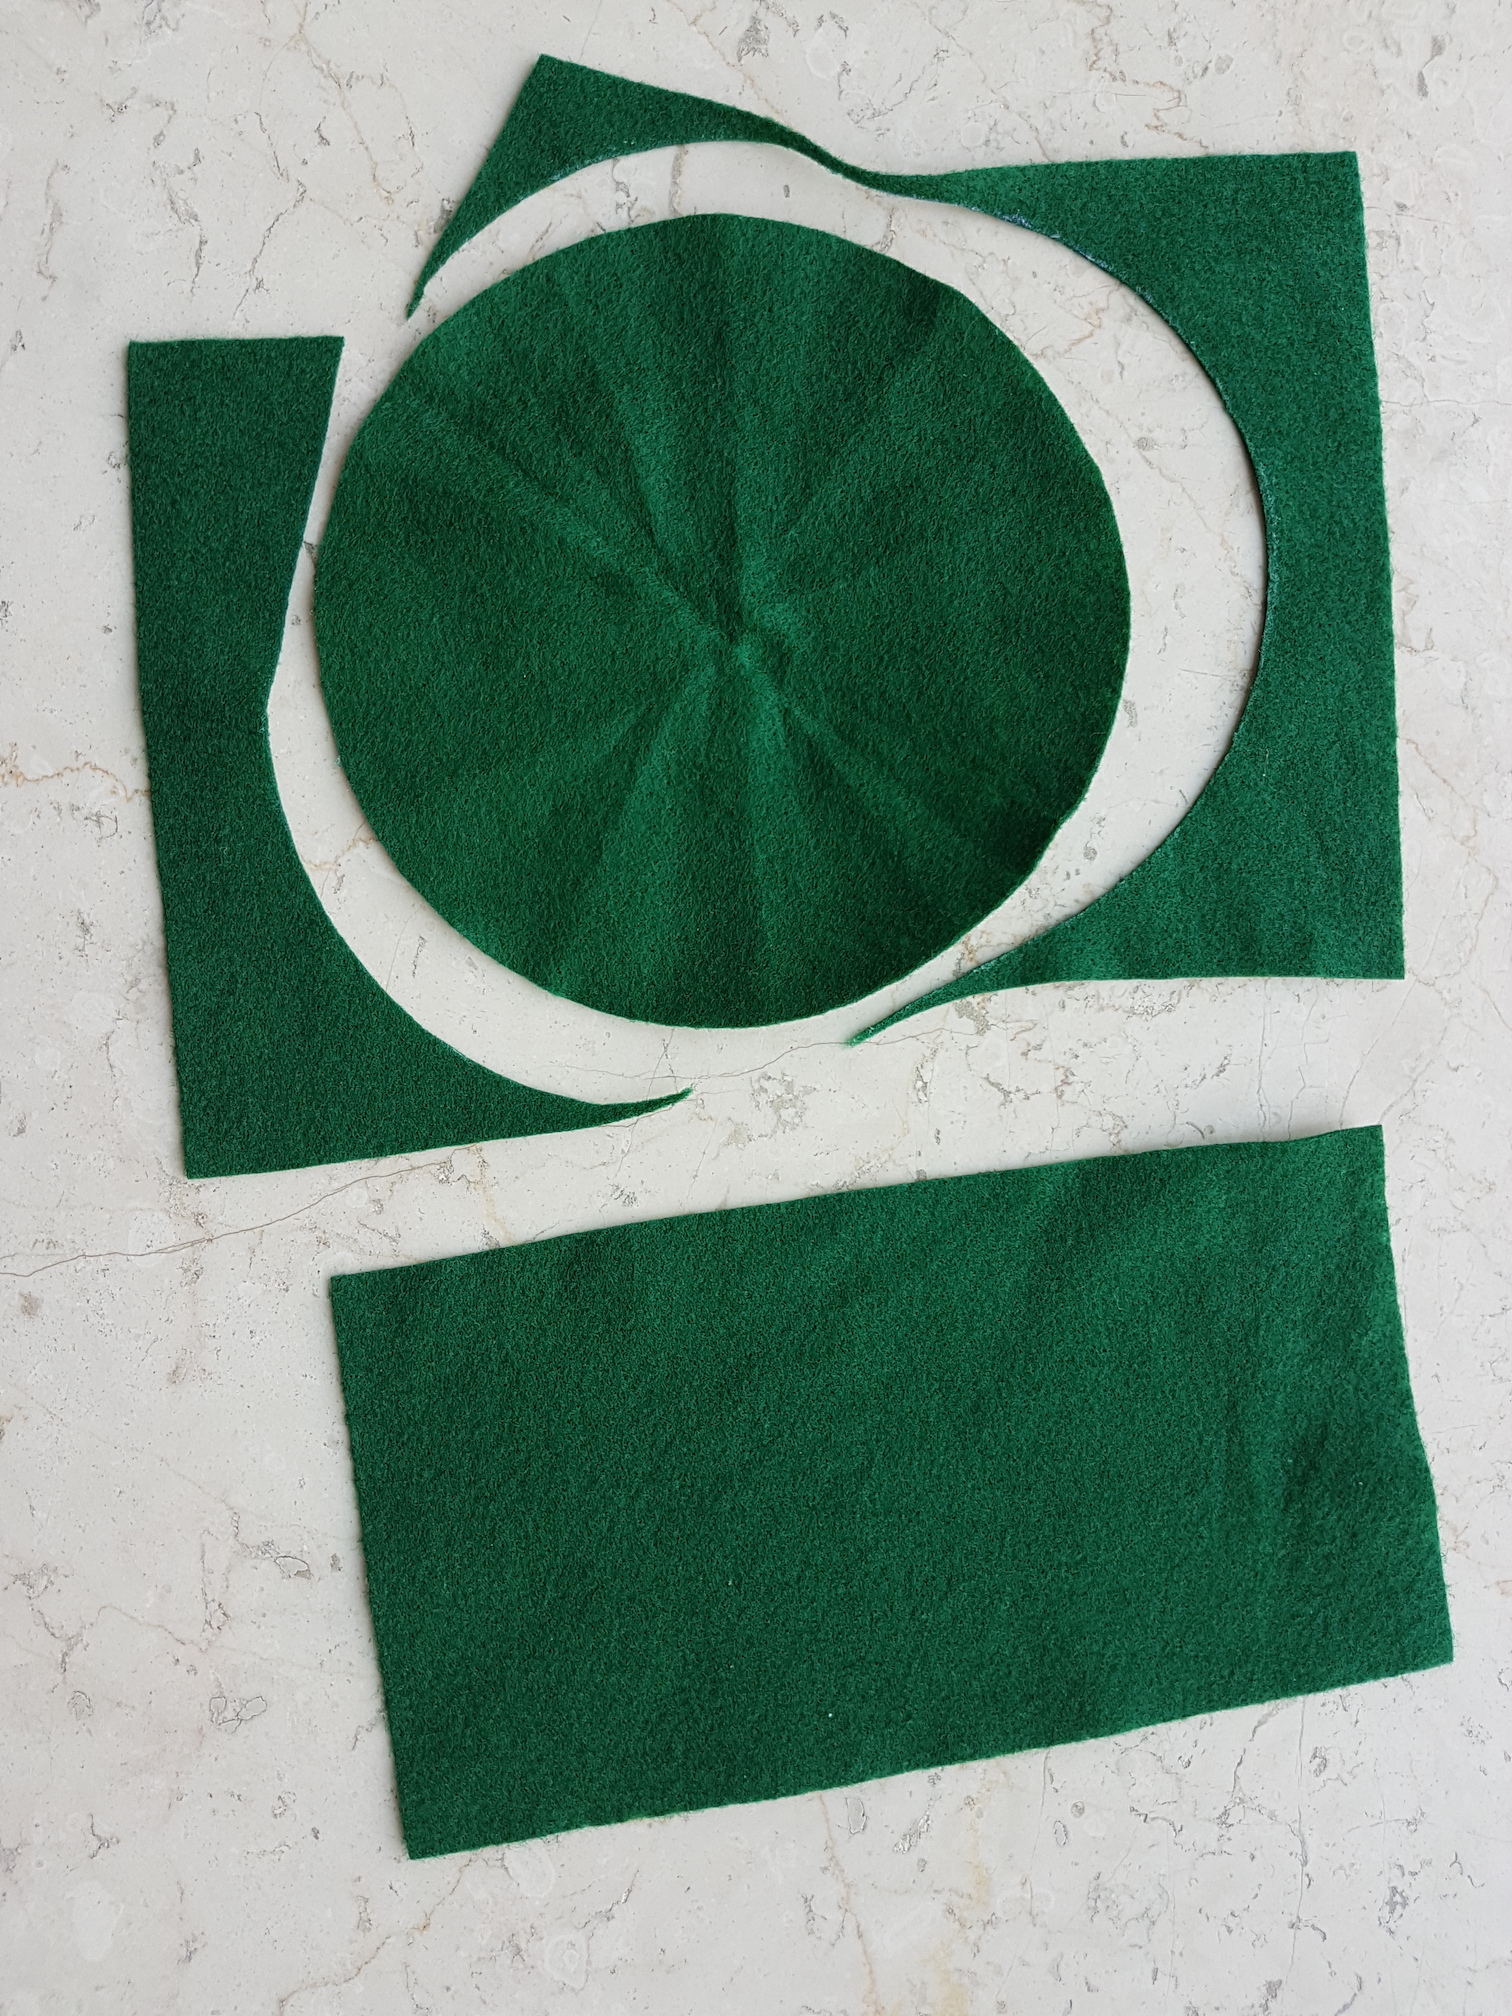
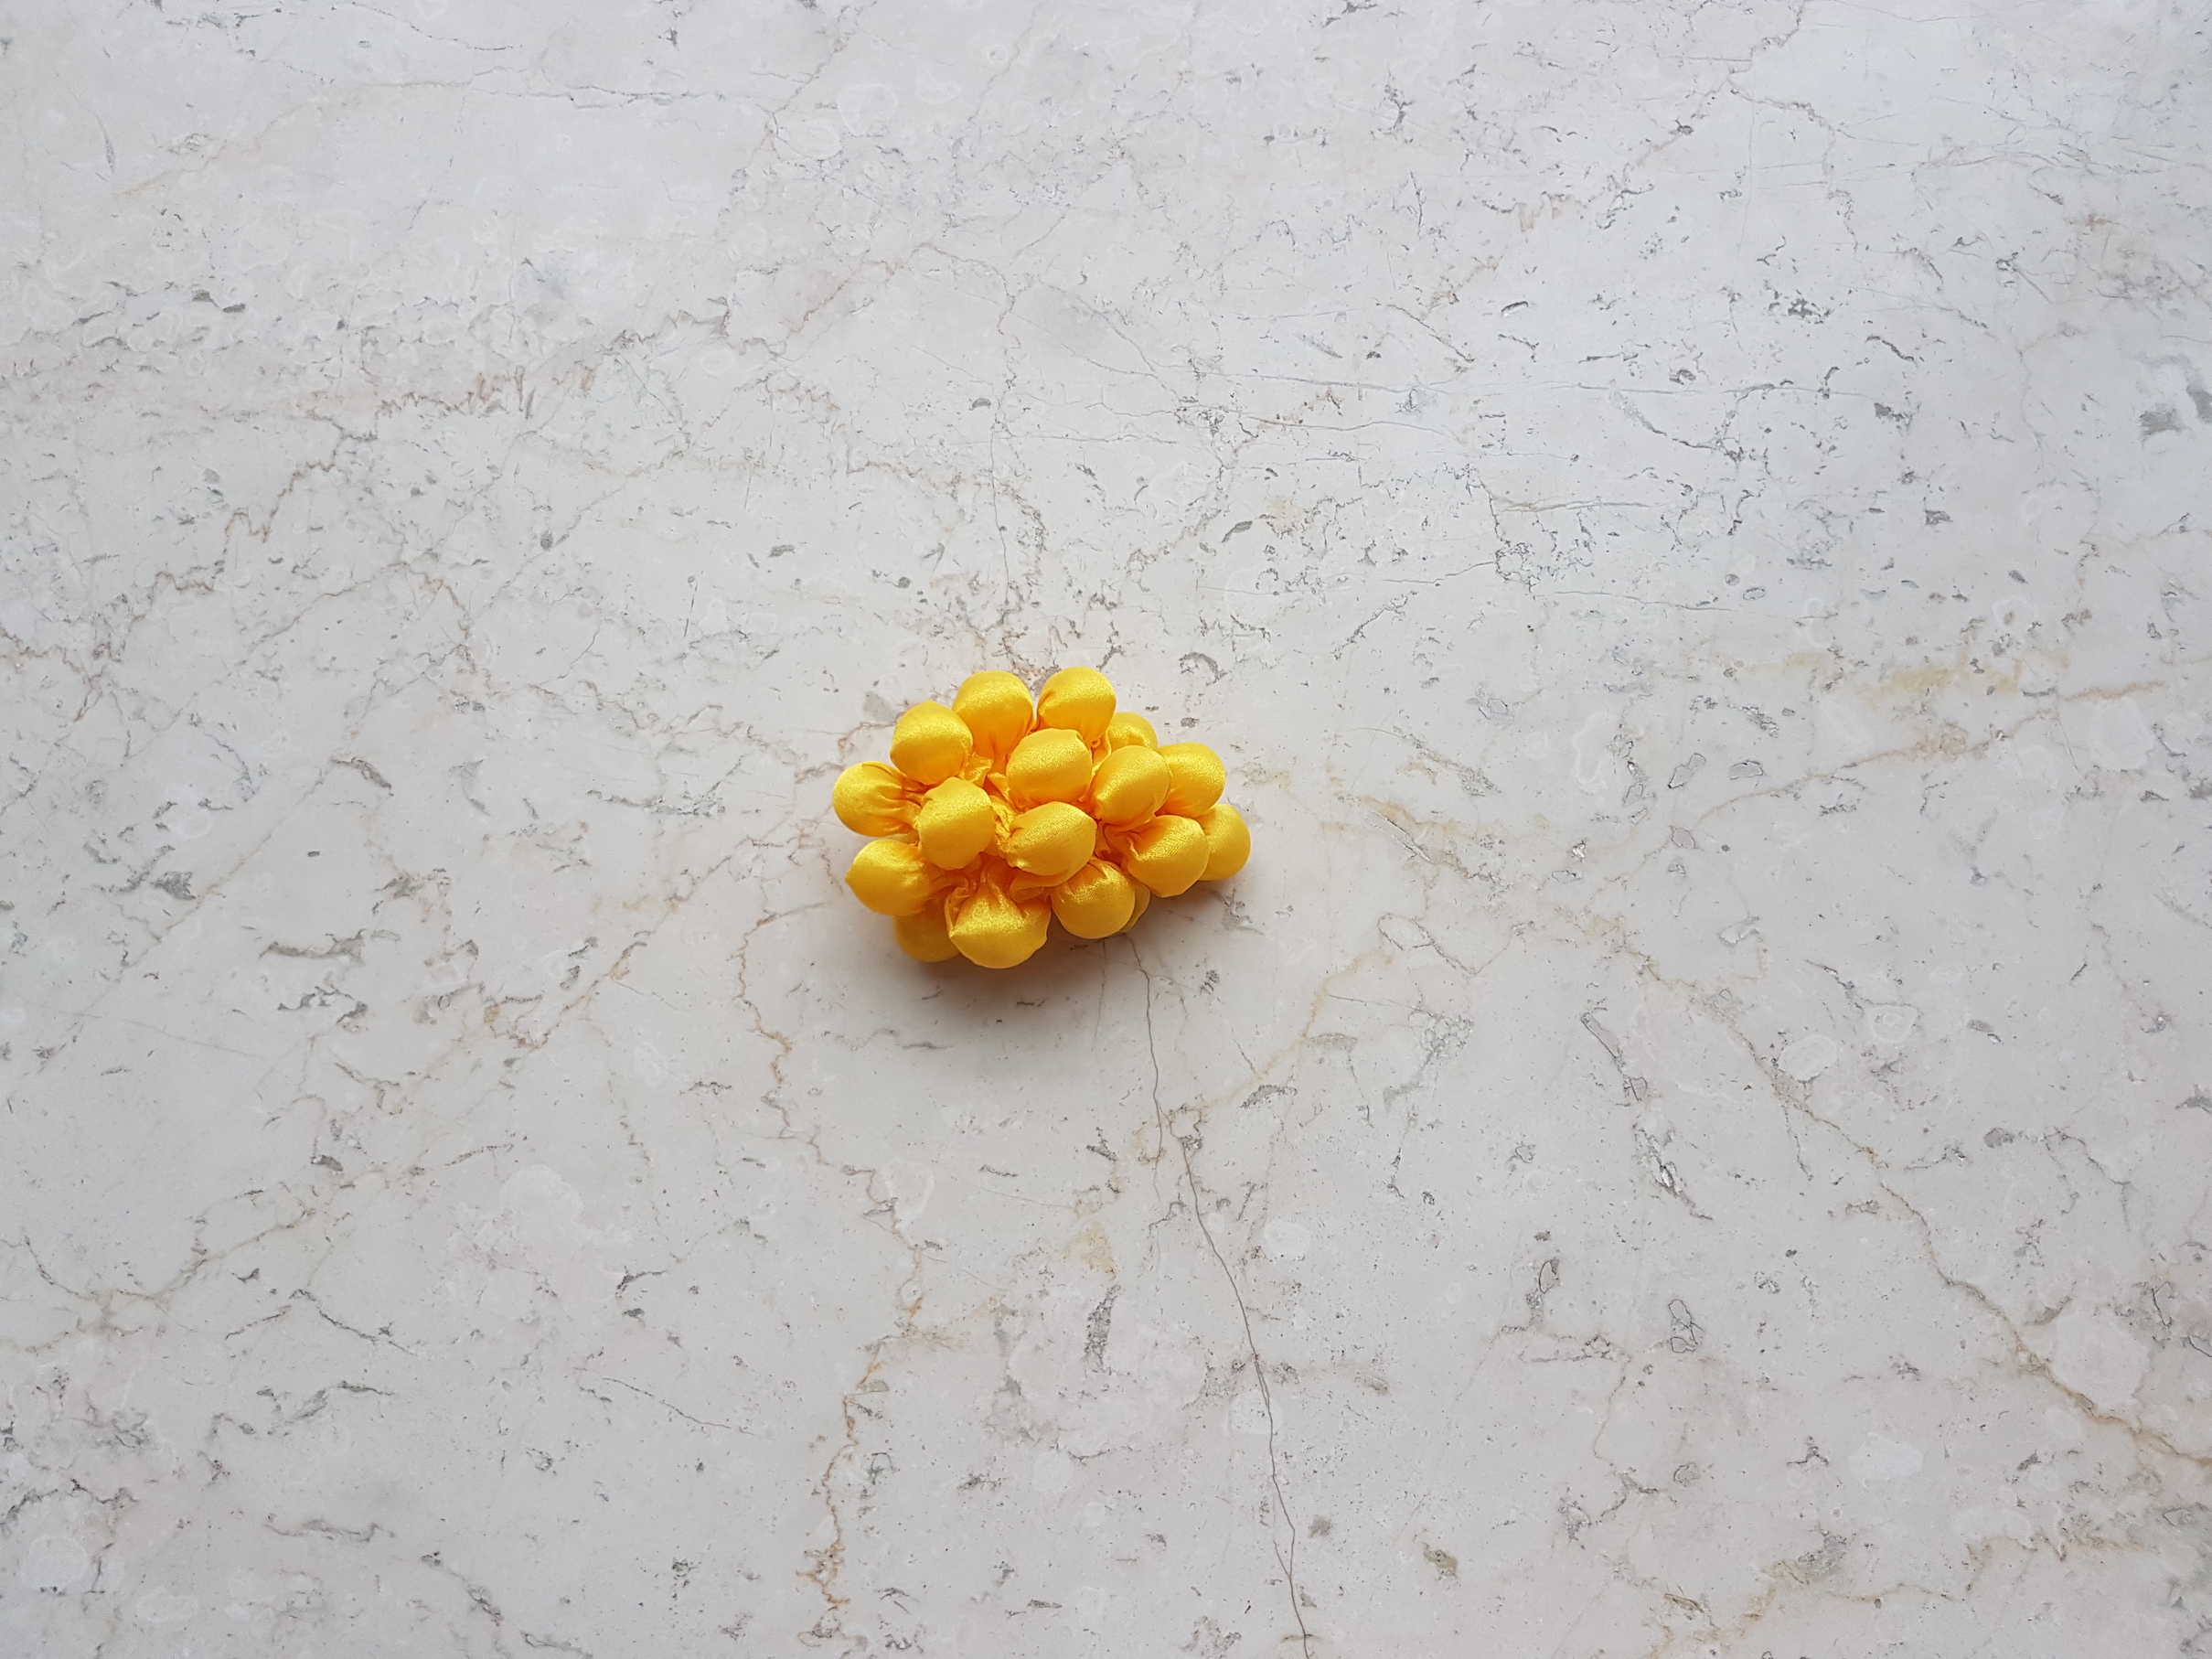
Unwrap the foil and let the organza cool down in the desired shape. Do not hang the fabric or remove the rubber bands or marbles when still warm, as this will loosen its shape.
Just boiled
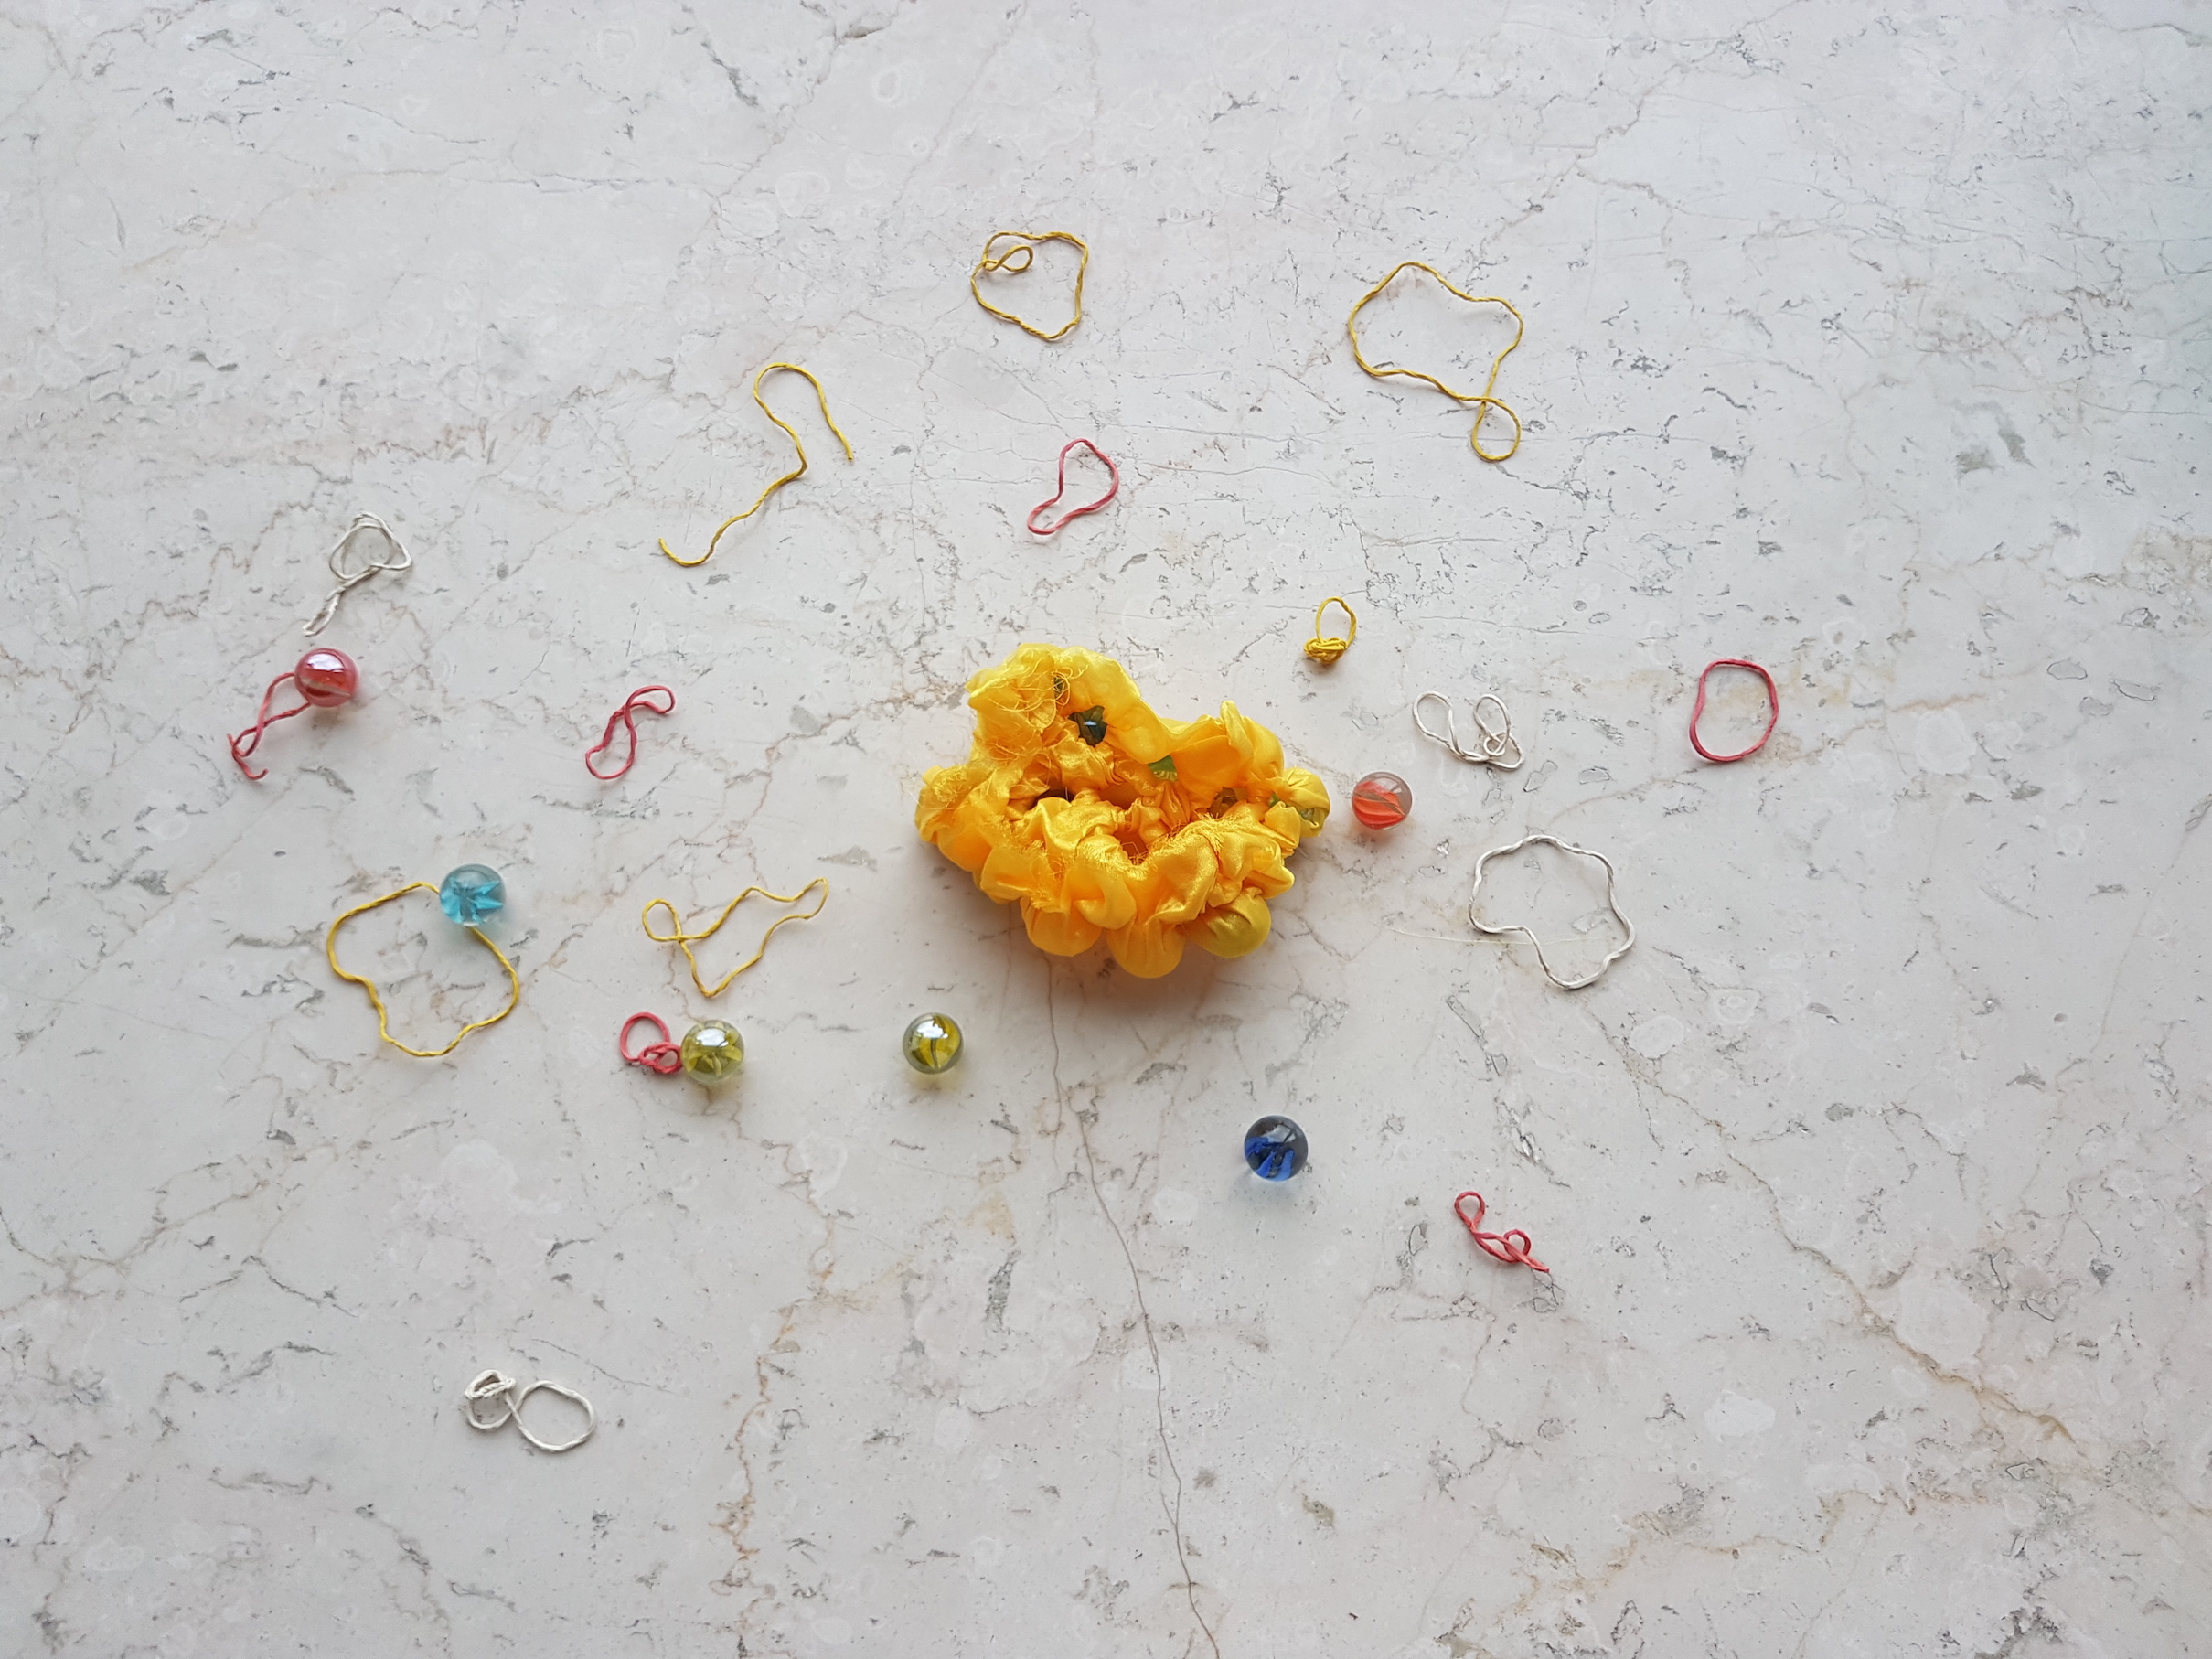
Remove the rubber bands and mould objects when dry.
All rubber bands removed
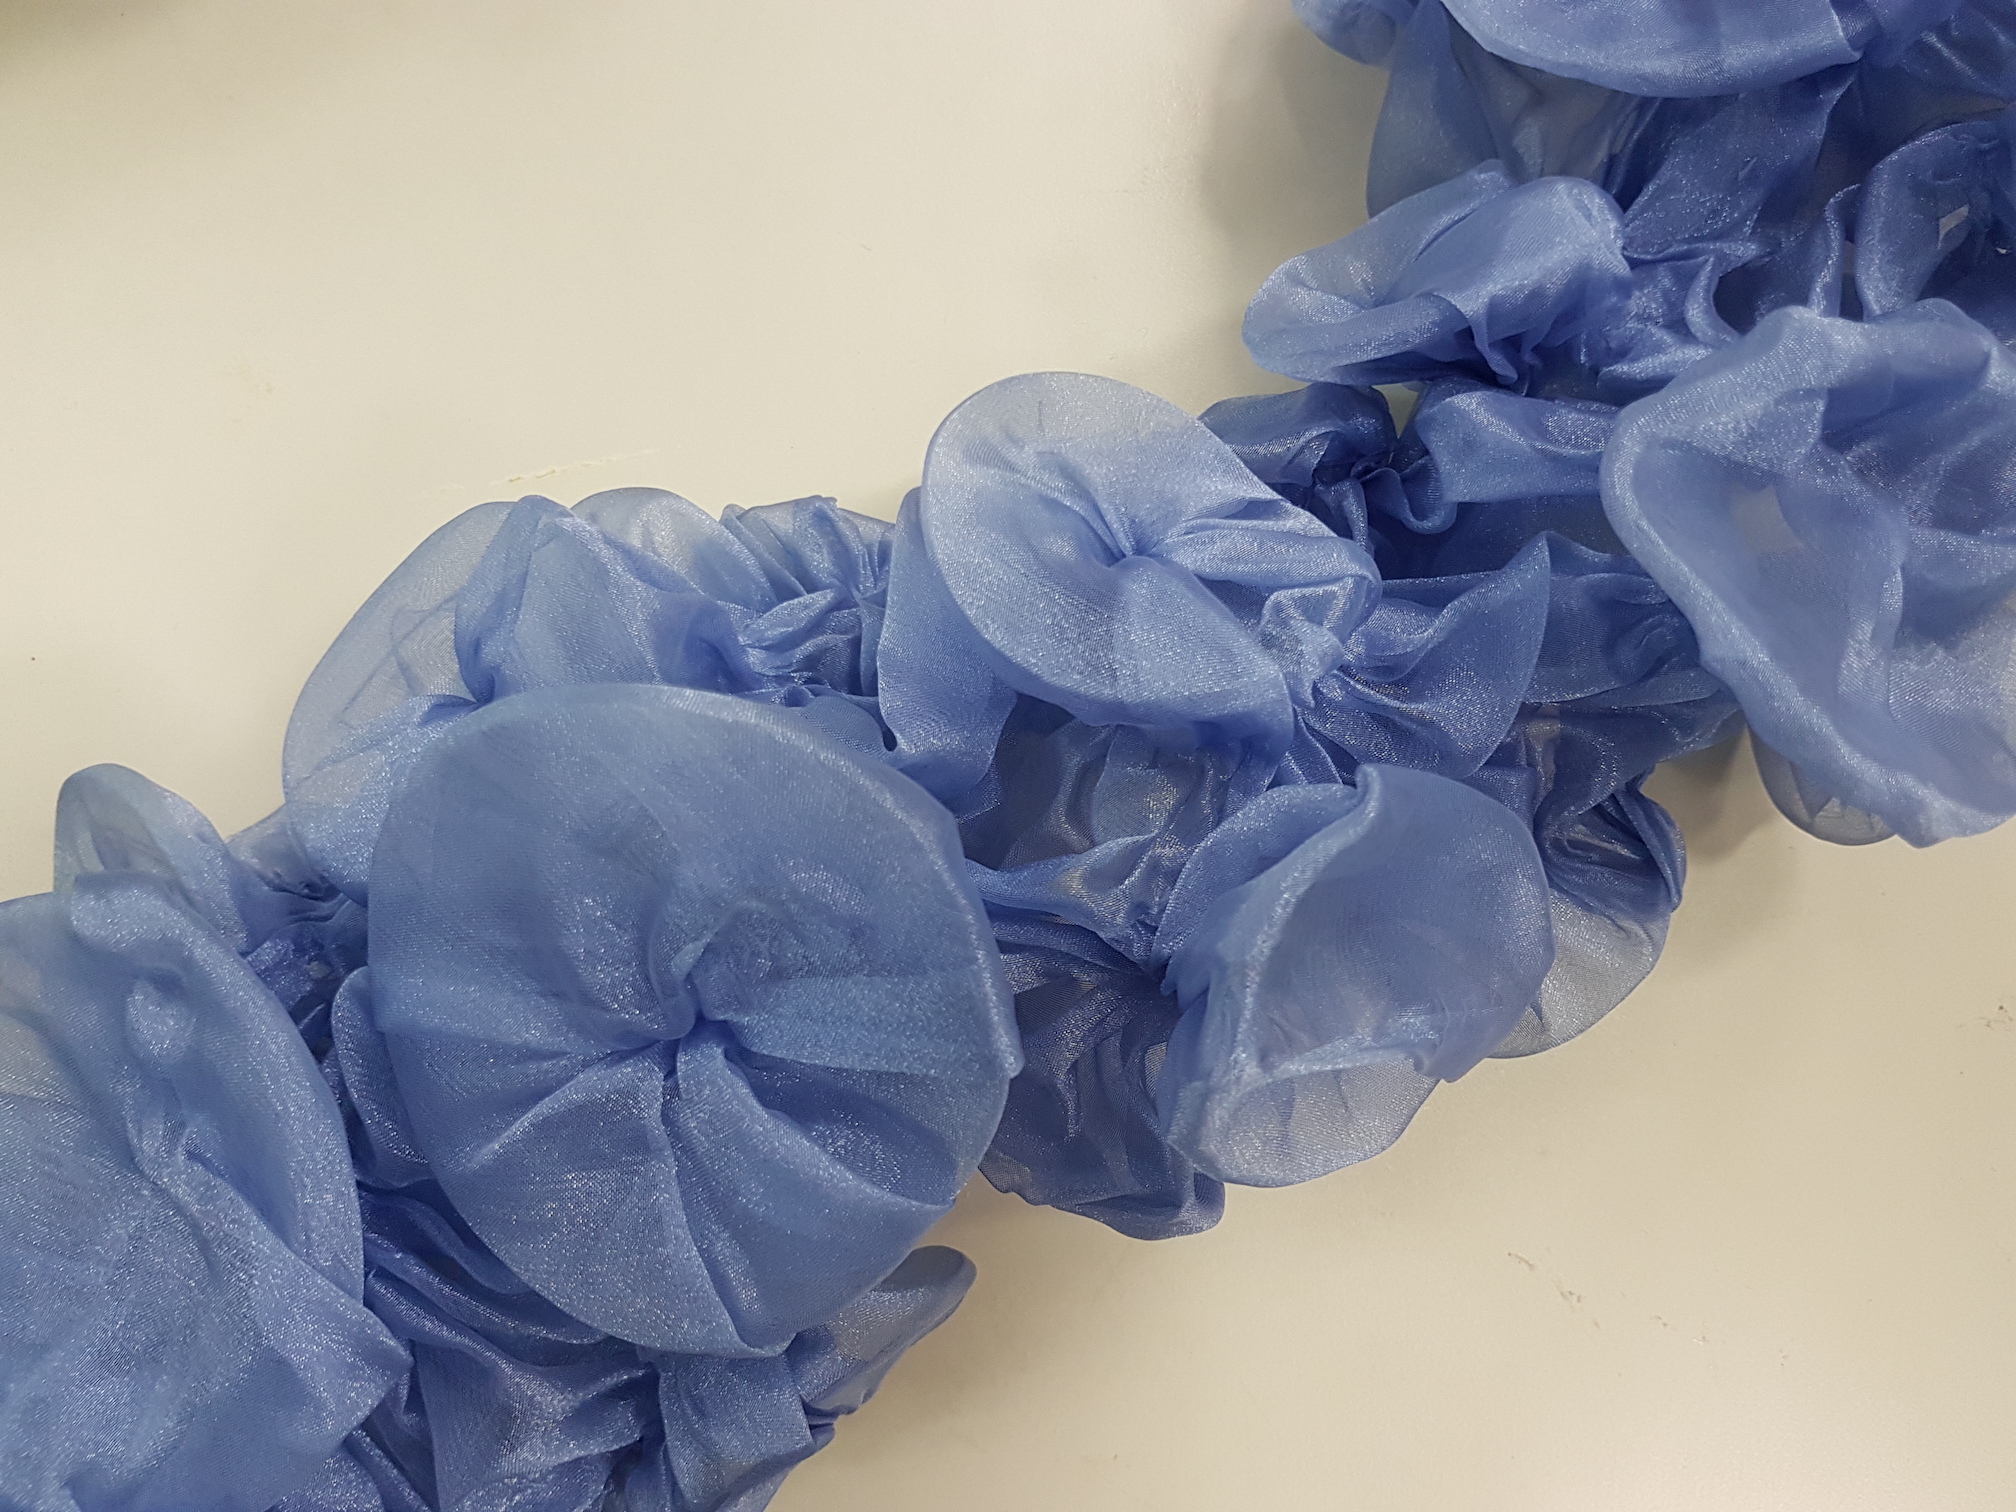
Mould the polyester organza around marblesFully expanded!
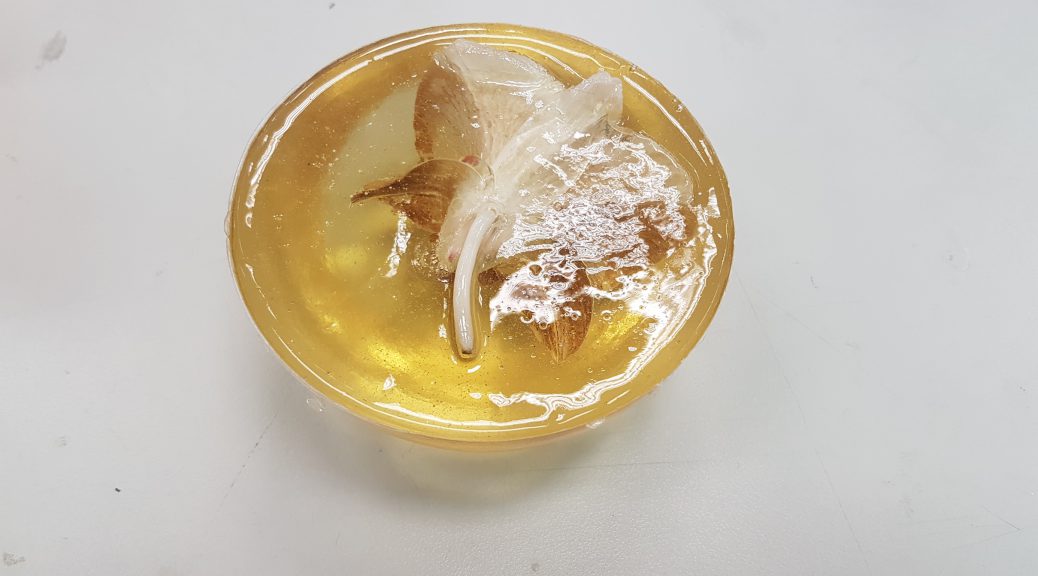
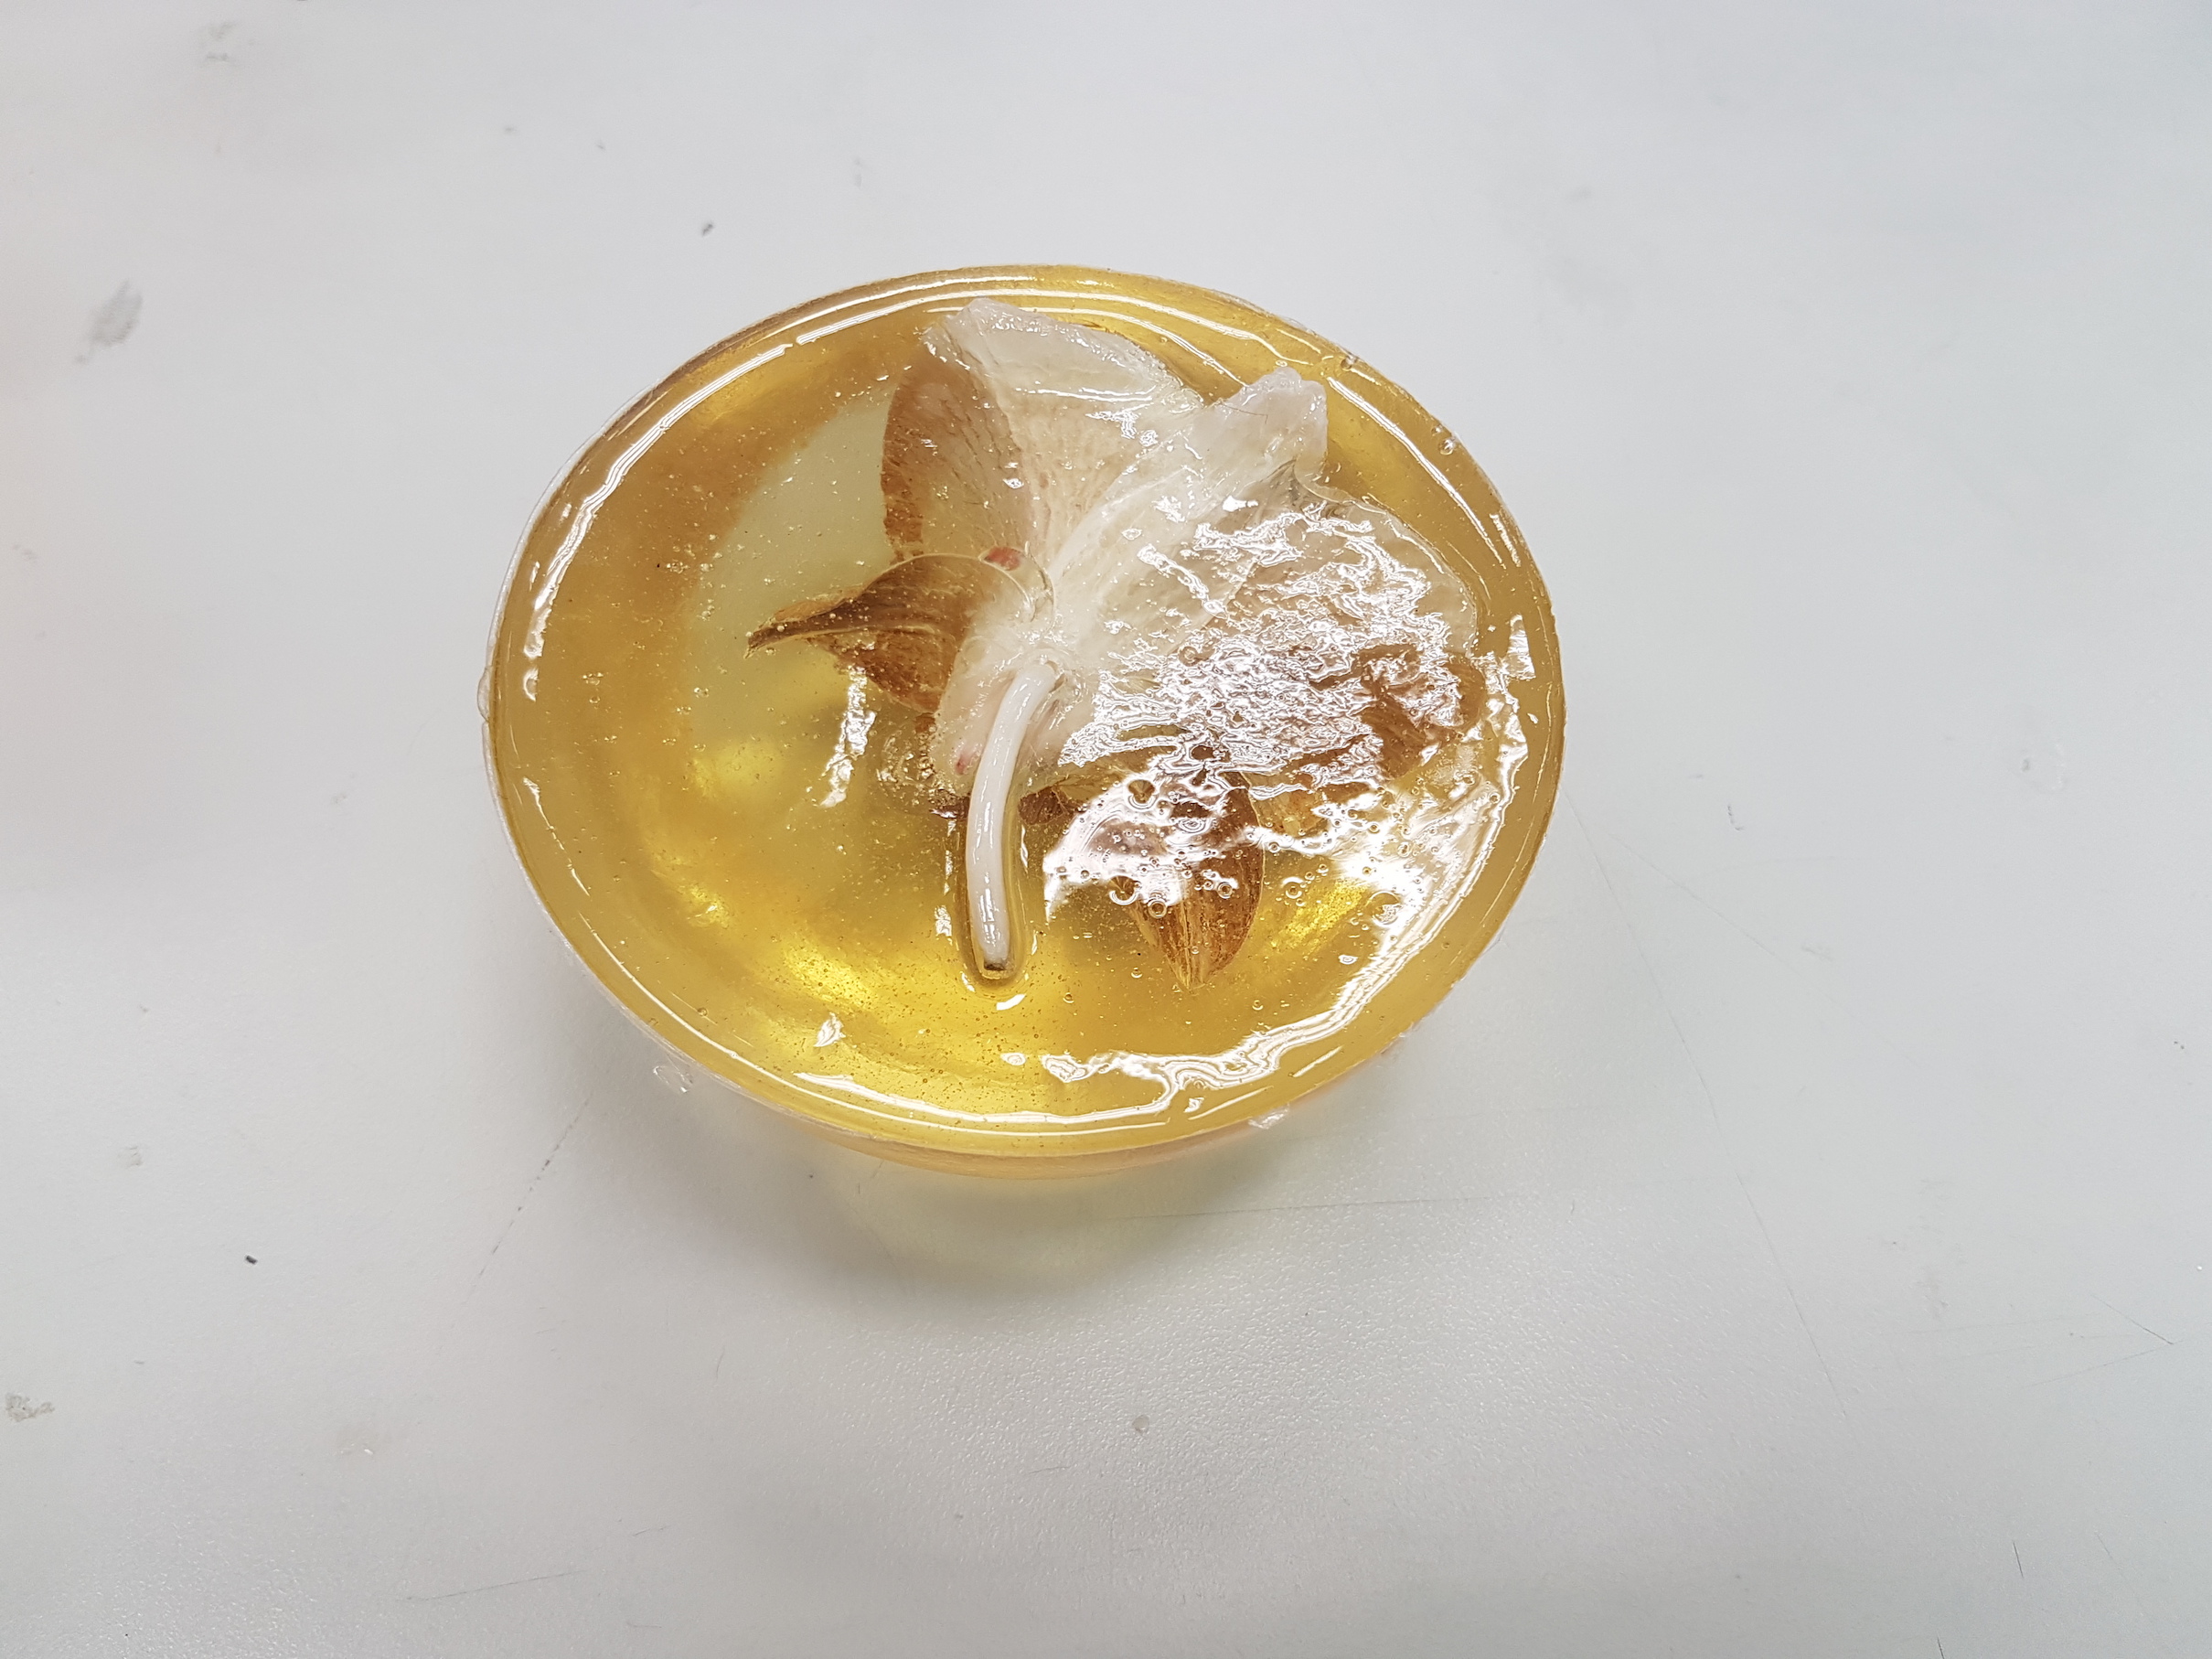
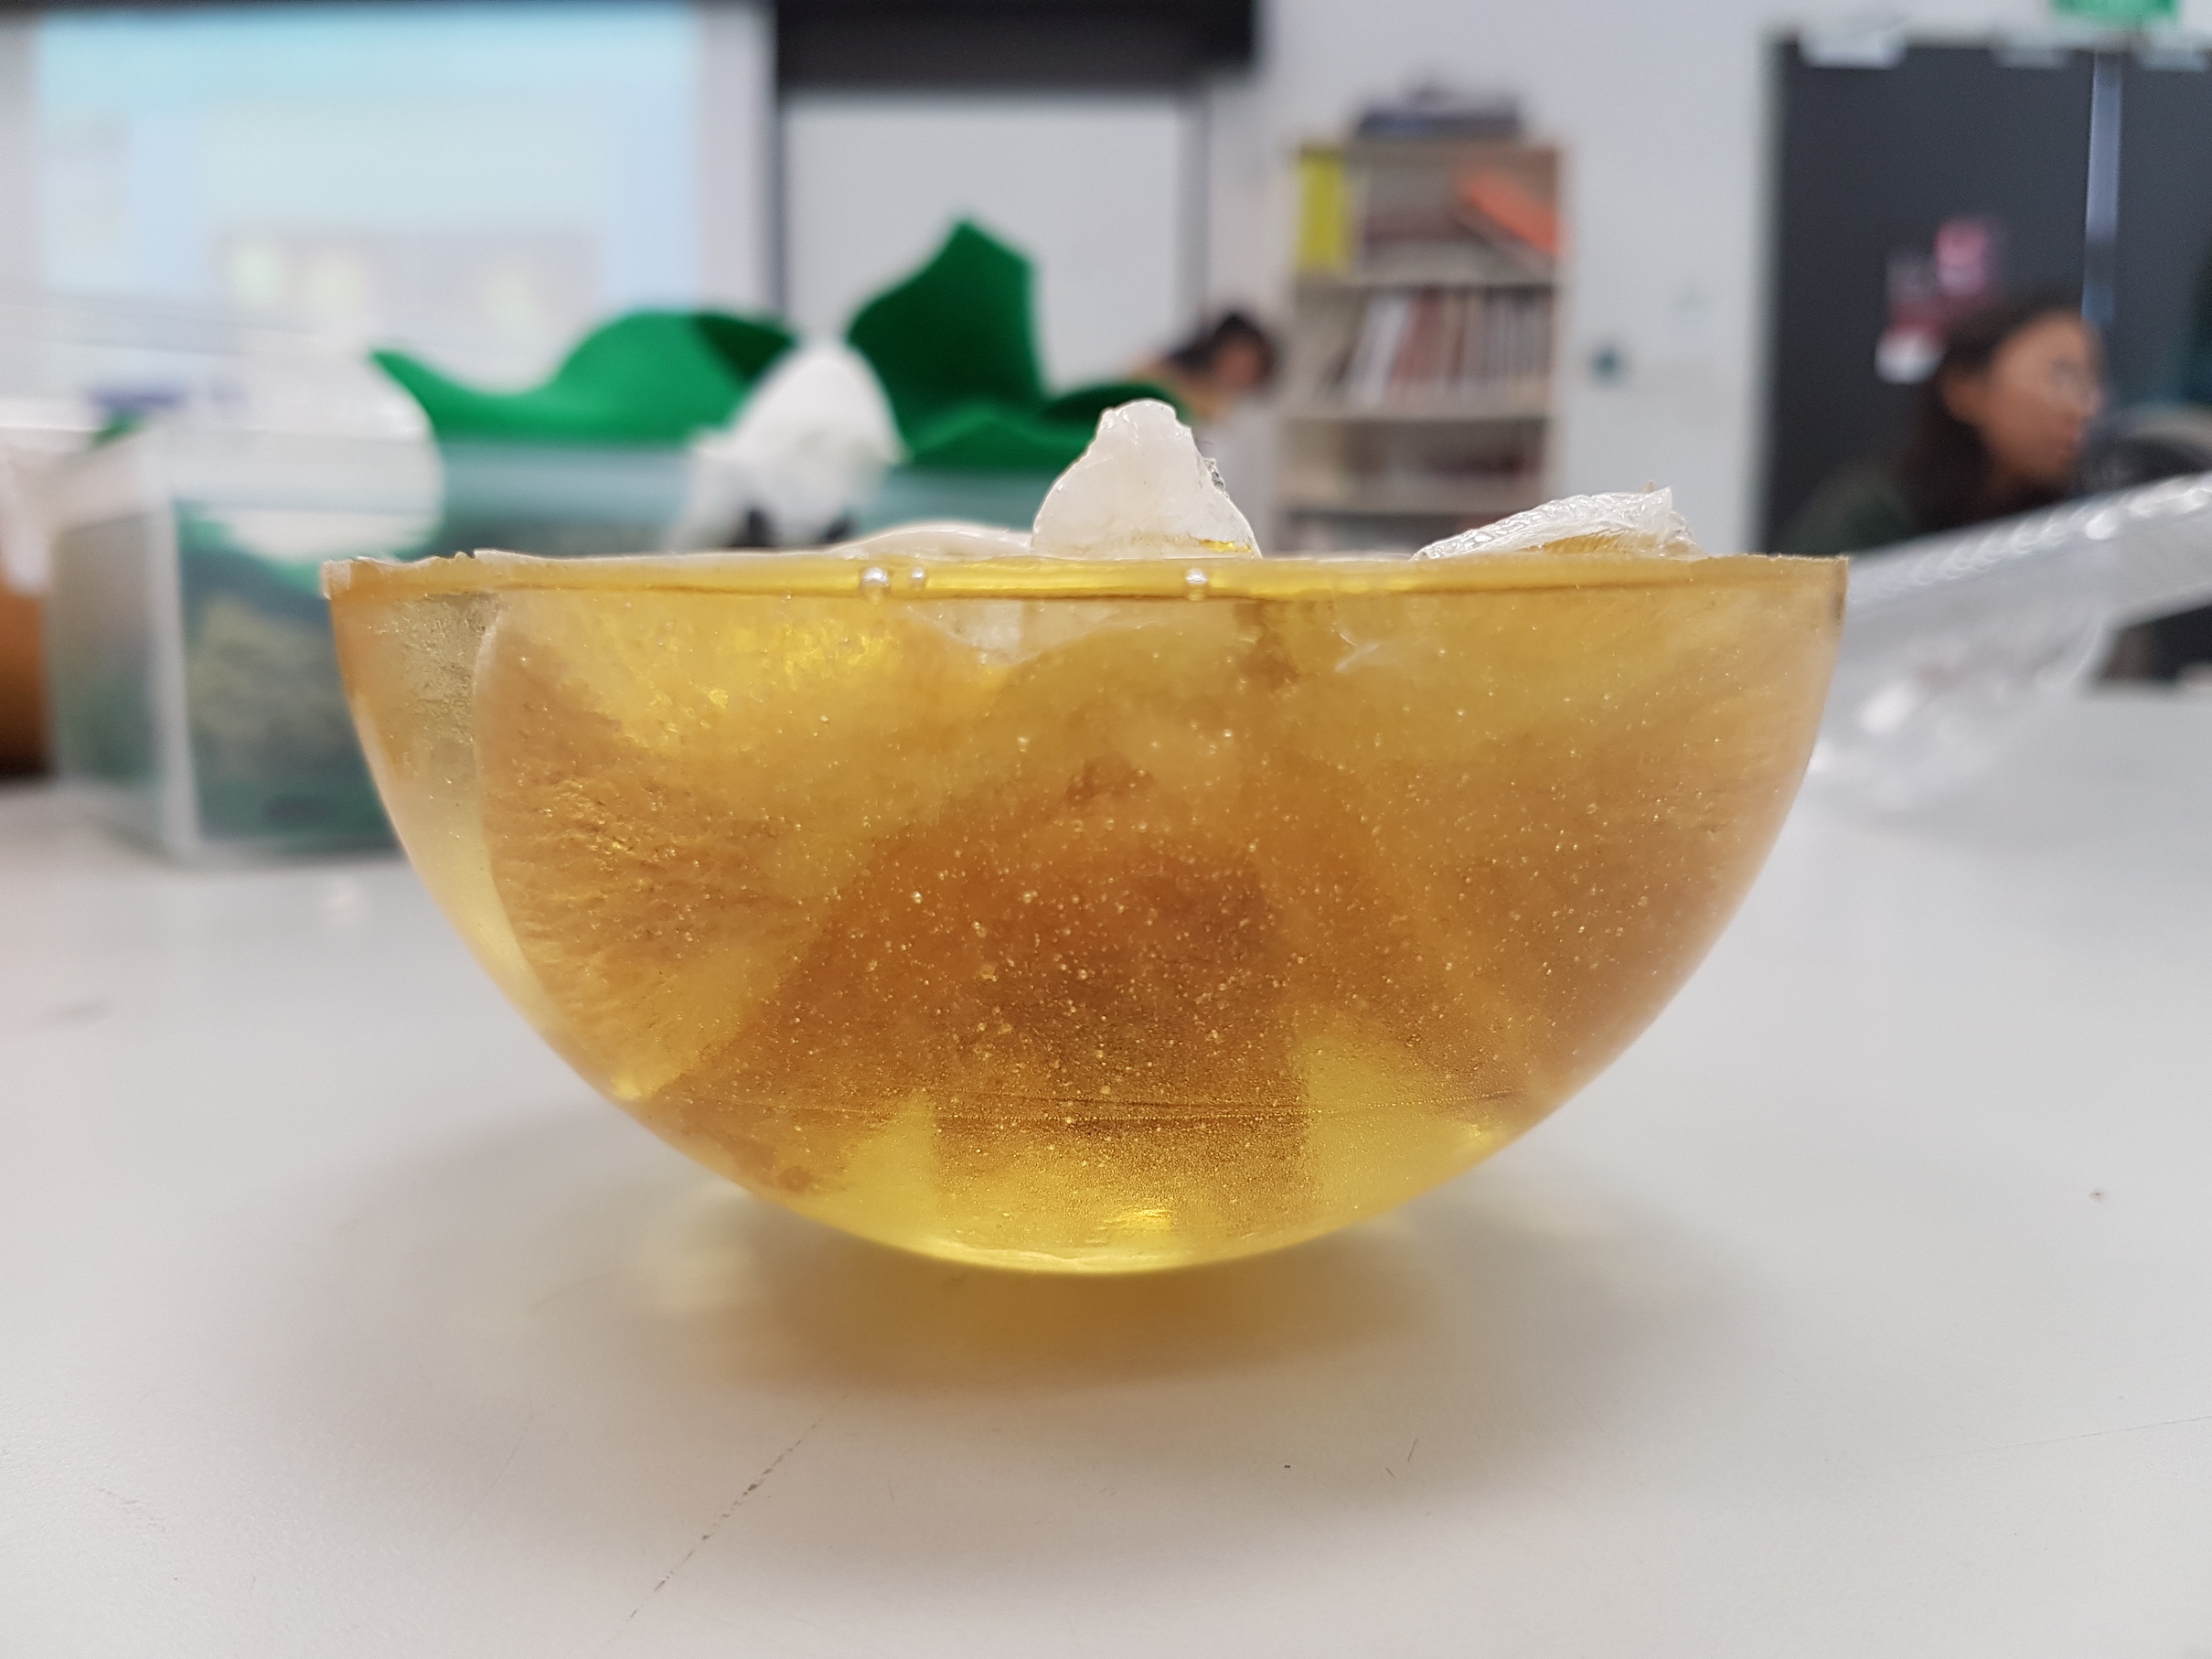
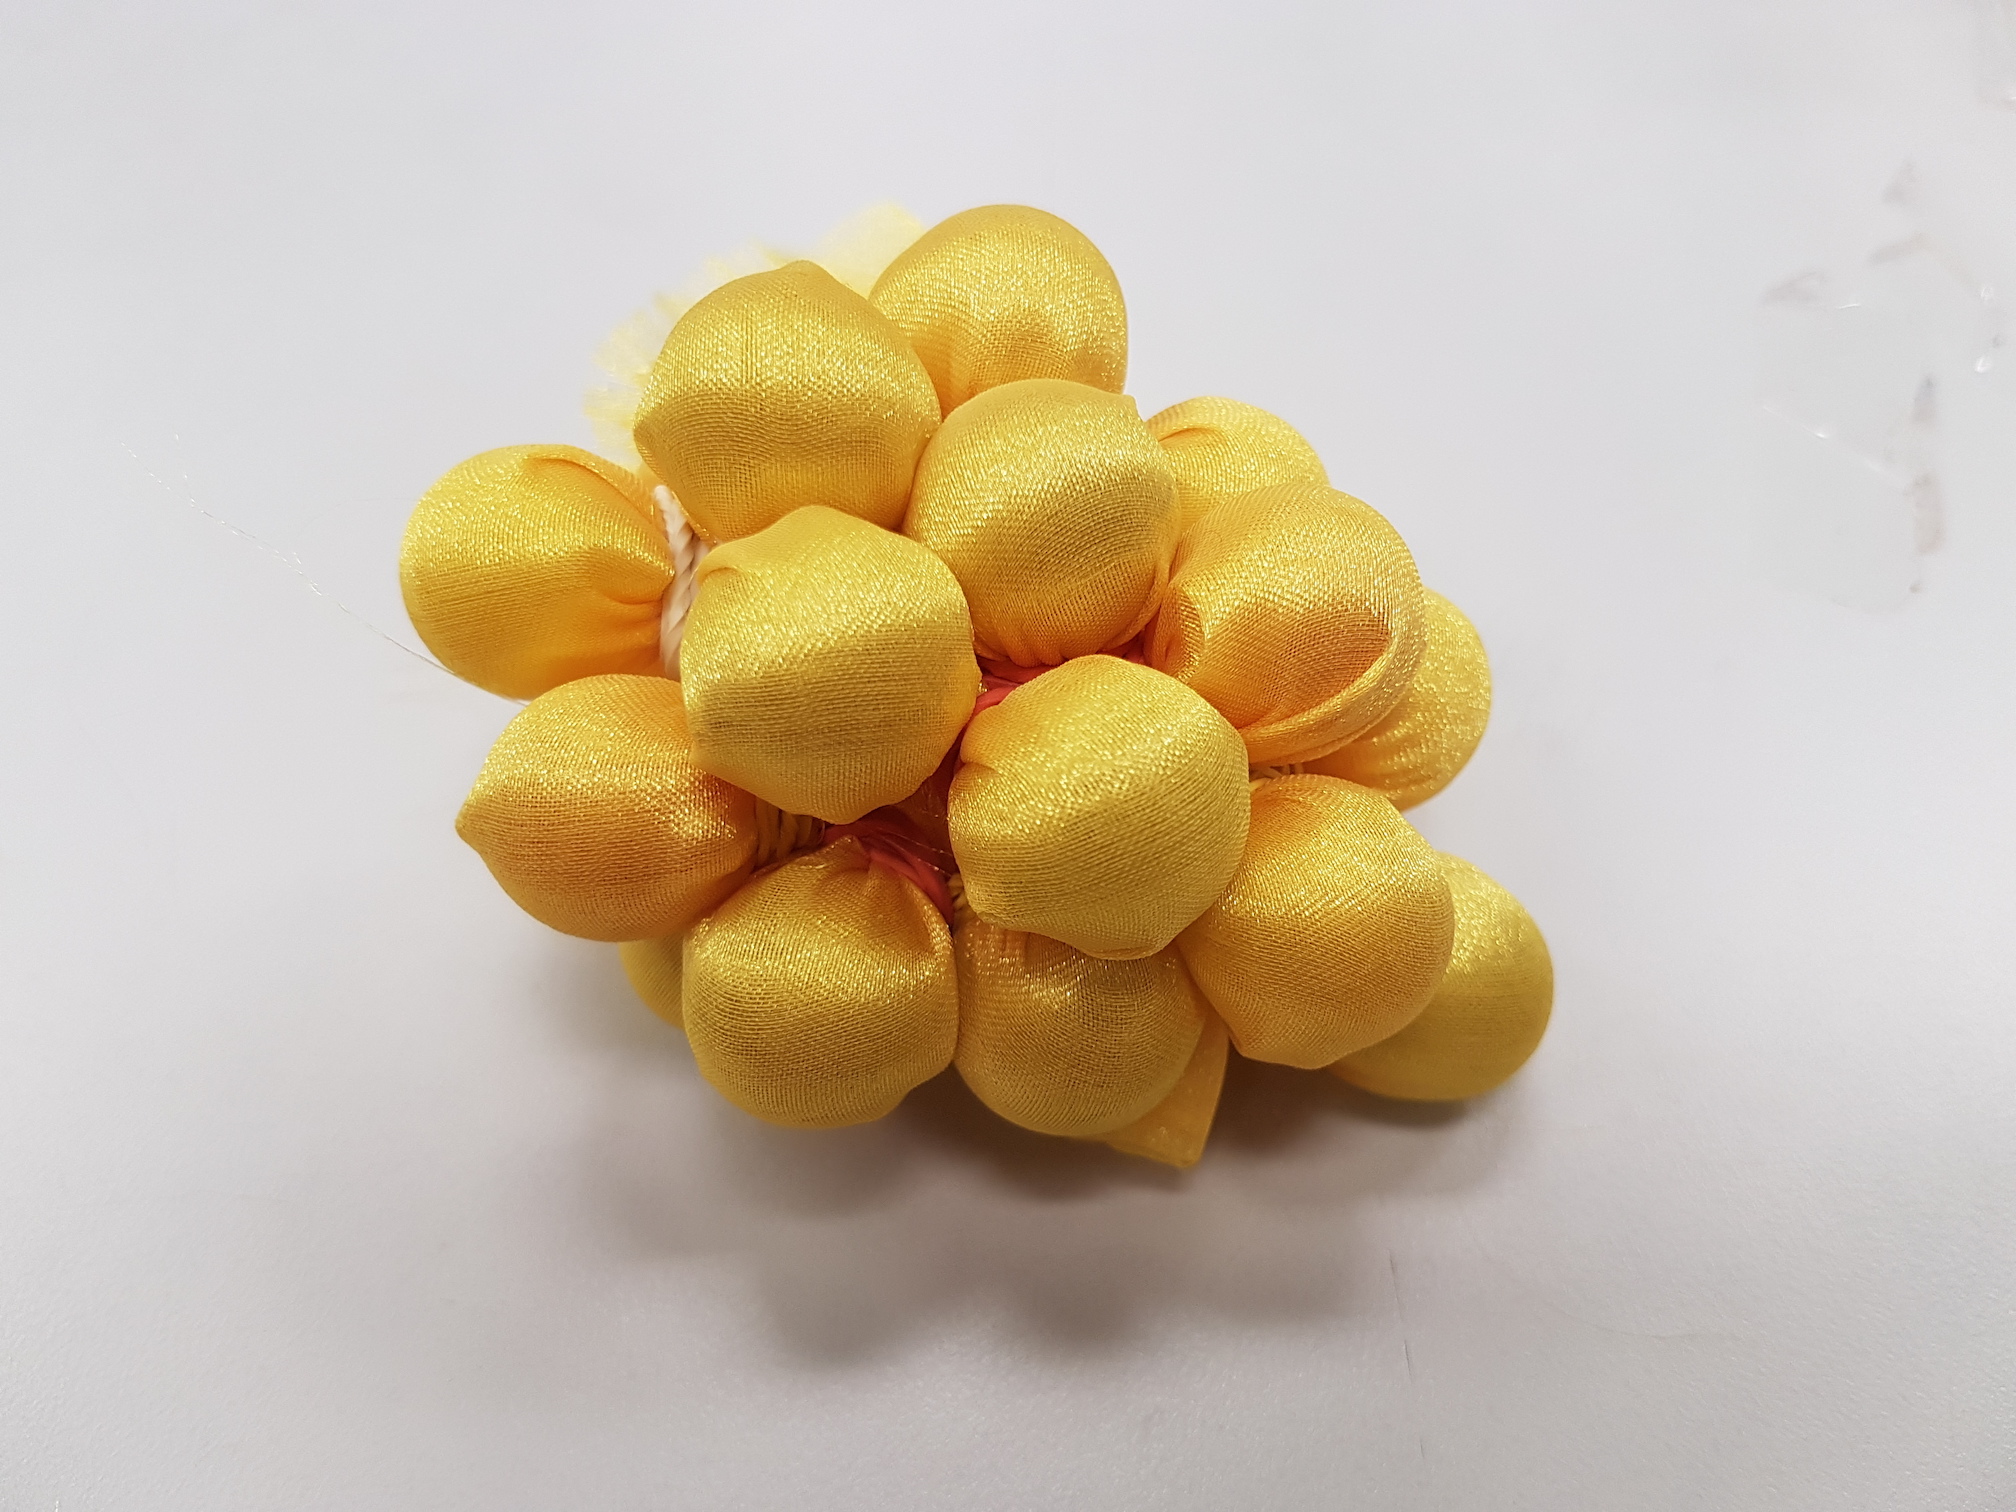
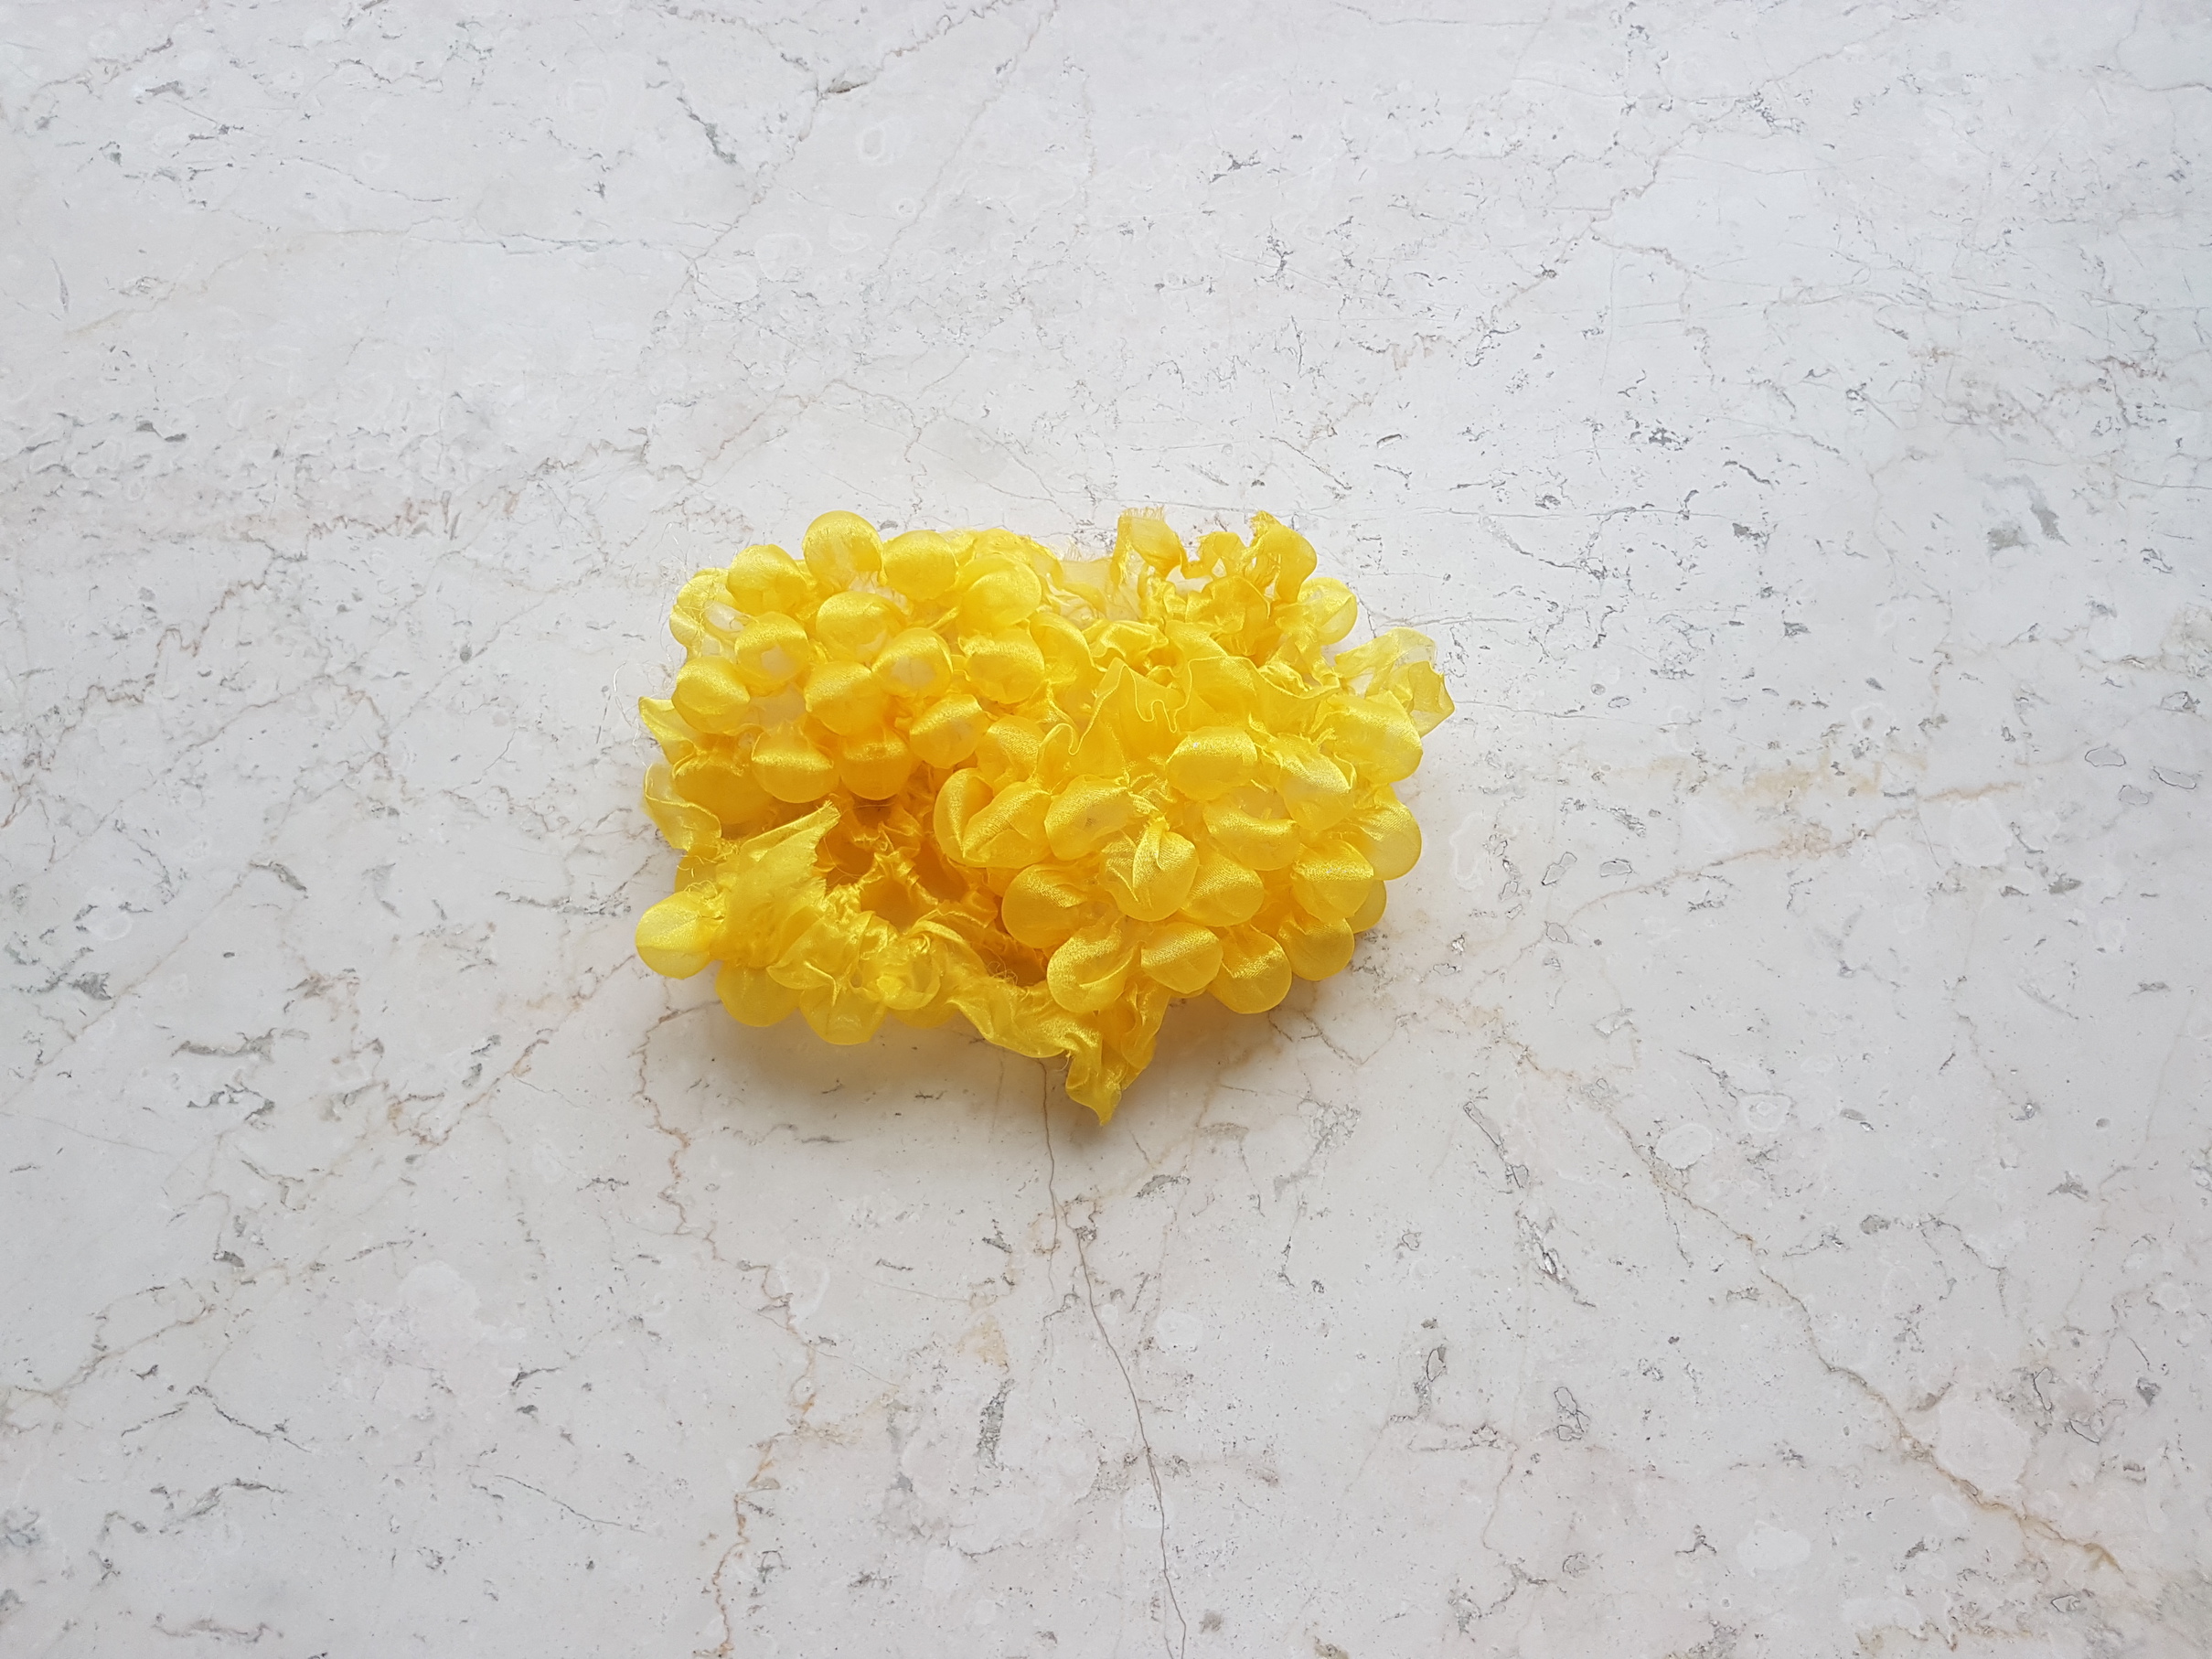
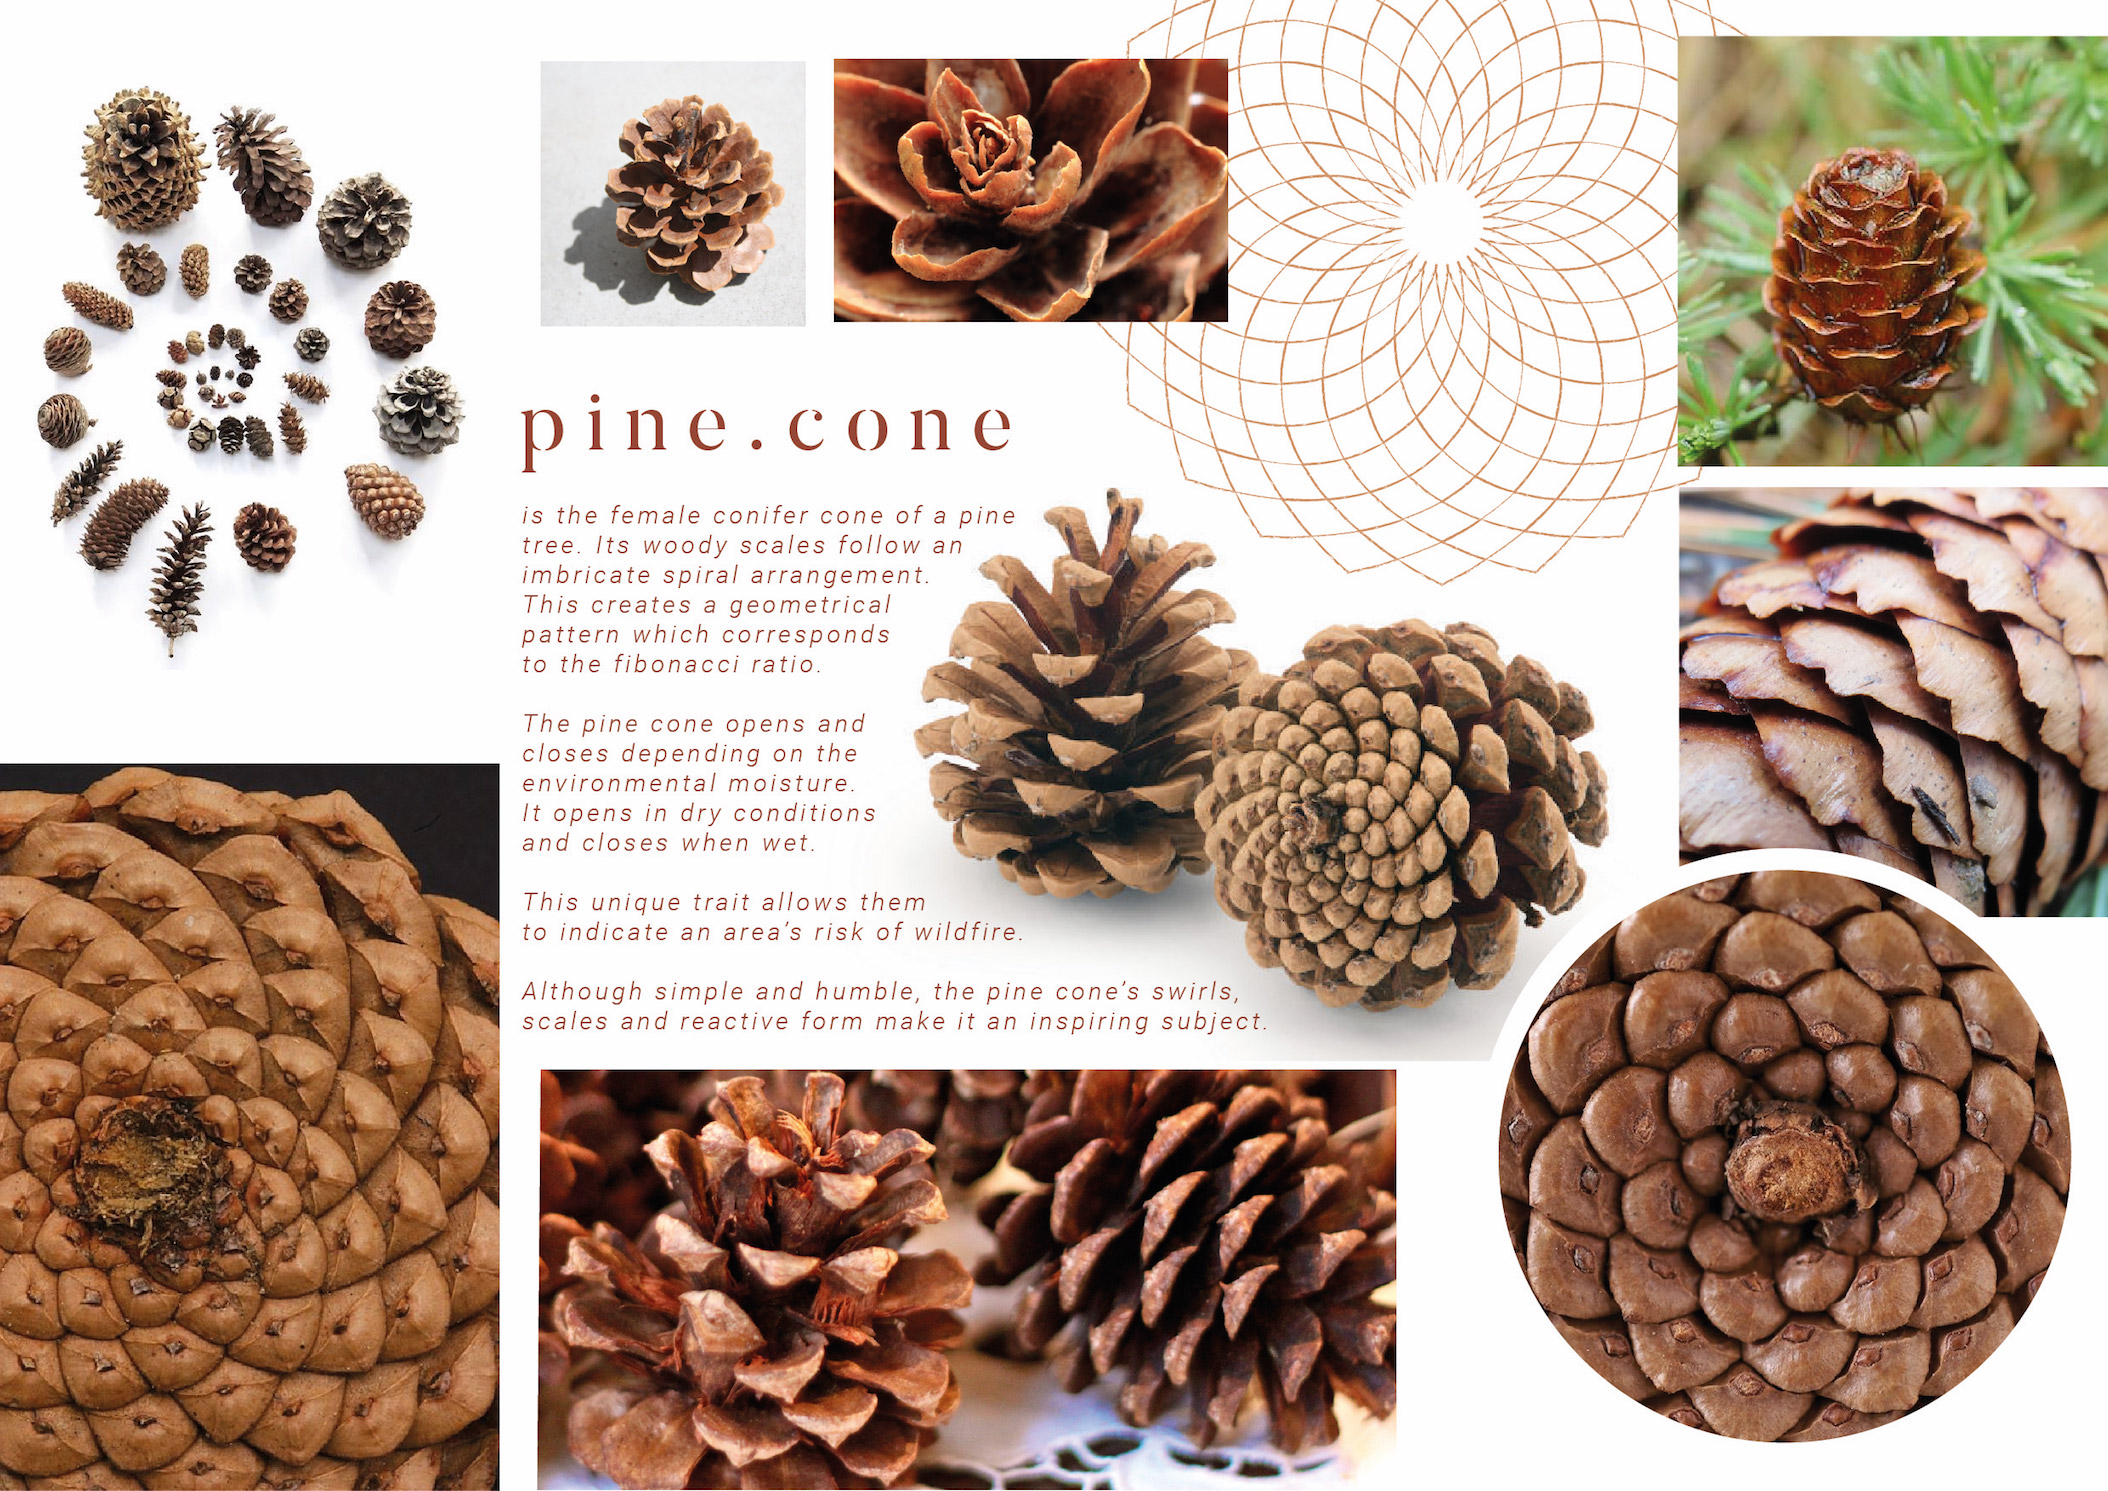
For my final project, I imitated the shape of the pine cone petal using thermoplastics. I wrapped organza around different sizes of disposable spoons to simulate the different petal sizes.
Final project sample inspired by the petals of pine cones
This technique of manipulating thermoplastics with heat is very interesting and enjoyable! It allows us to create organic shapes and mould a soft fabric into a rigid semi-translucent form. There are endless possibilities!
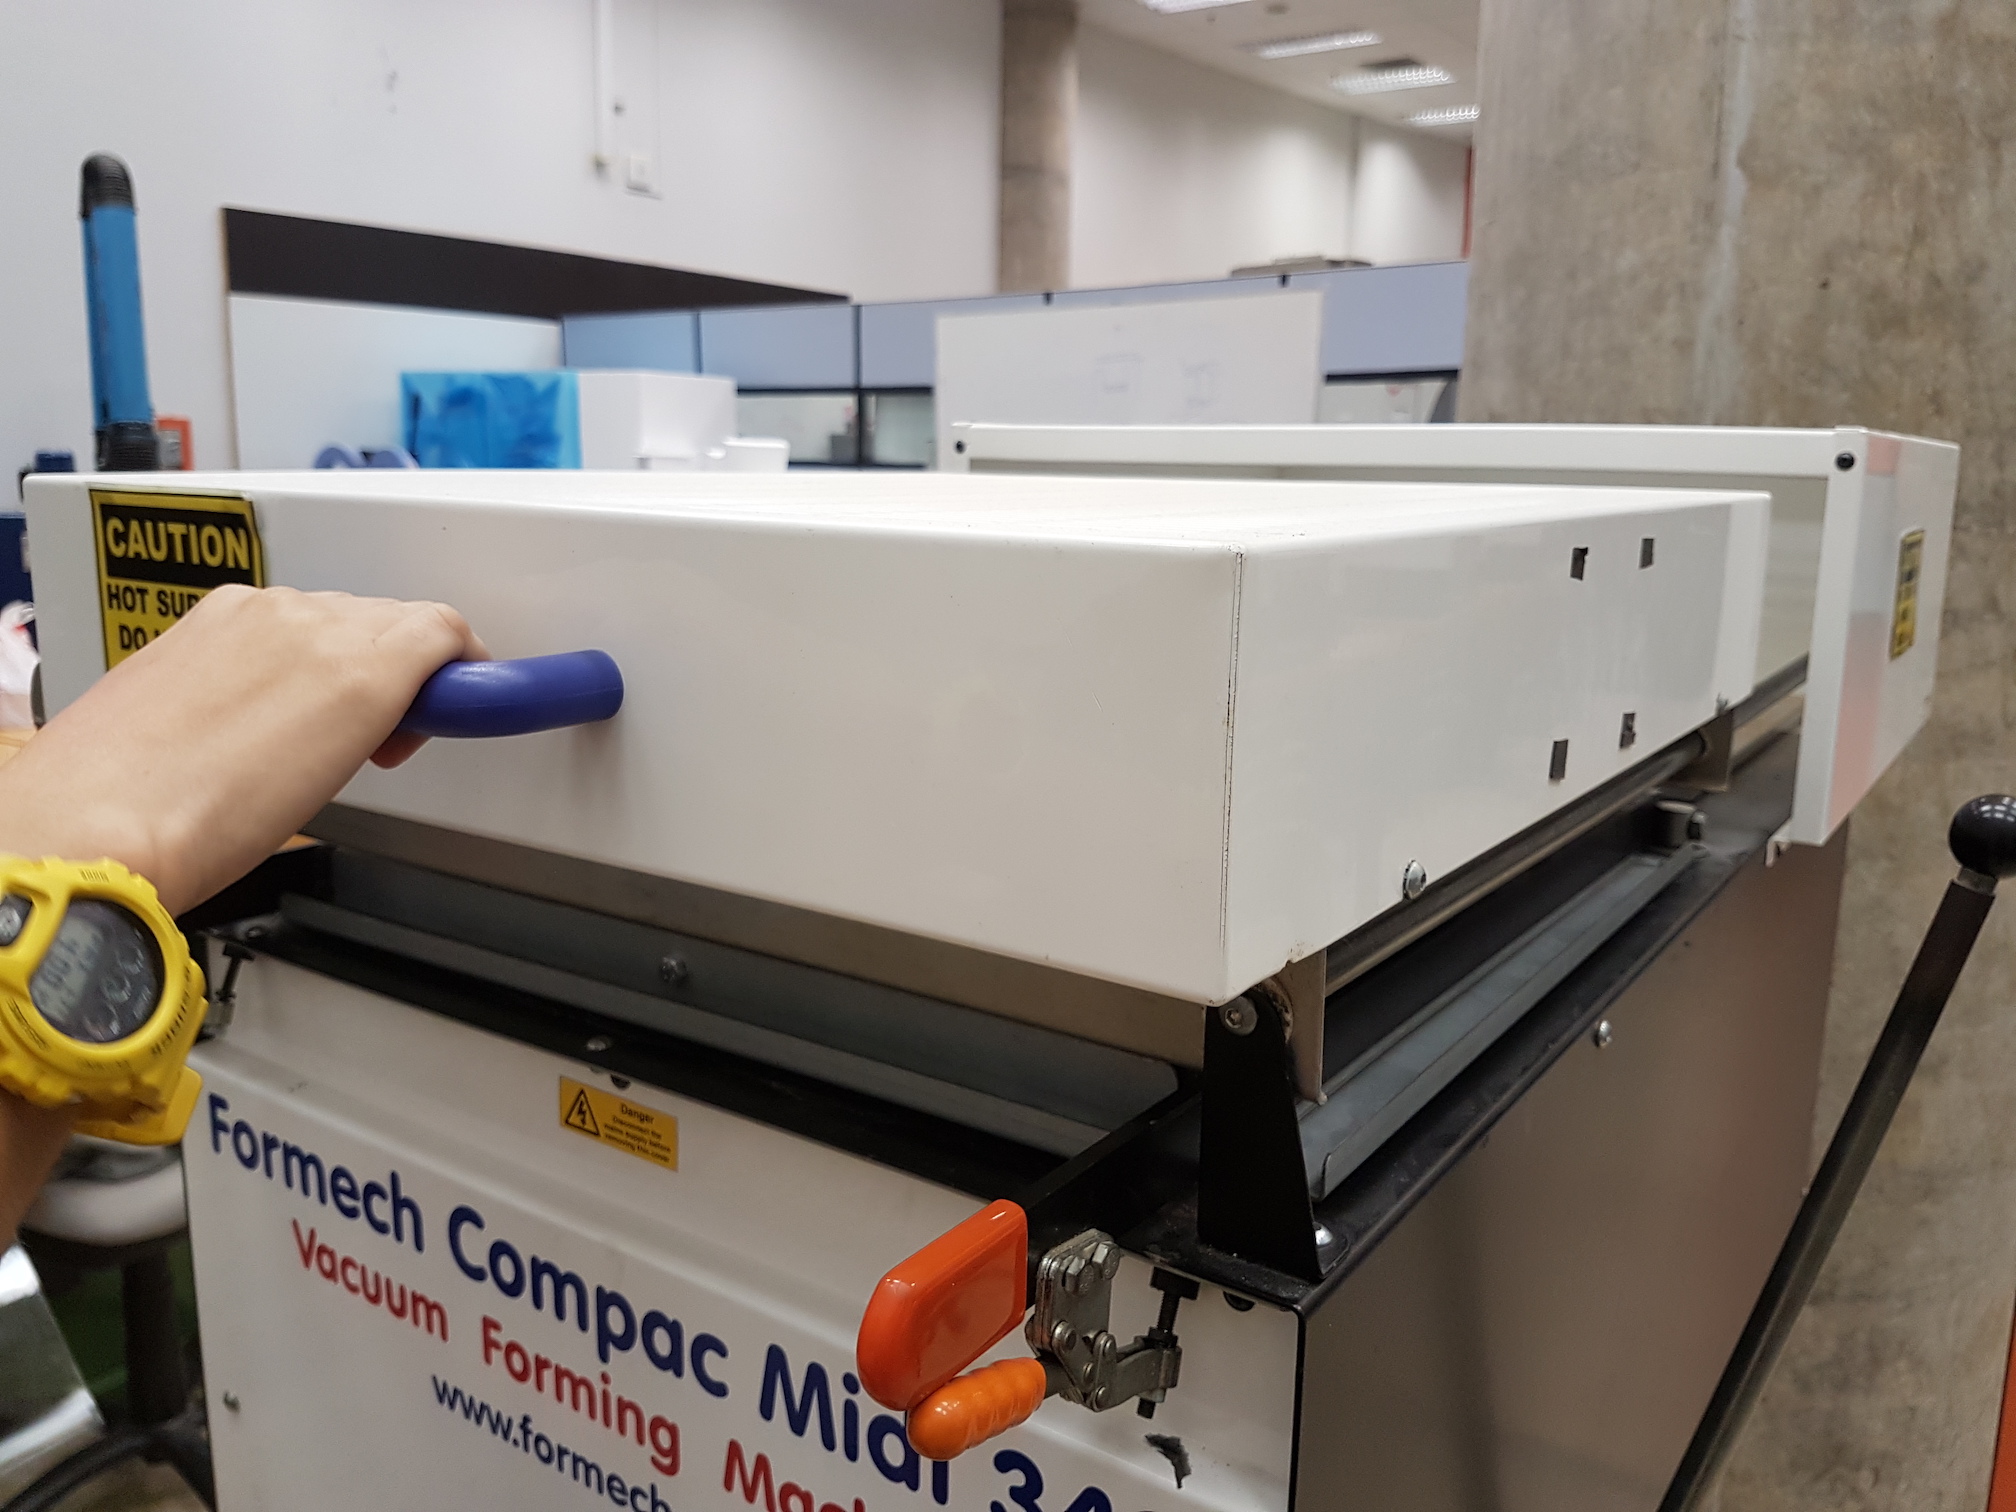
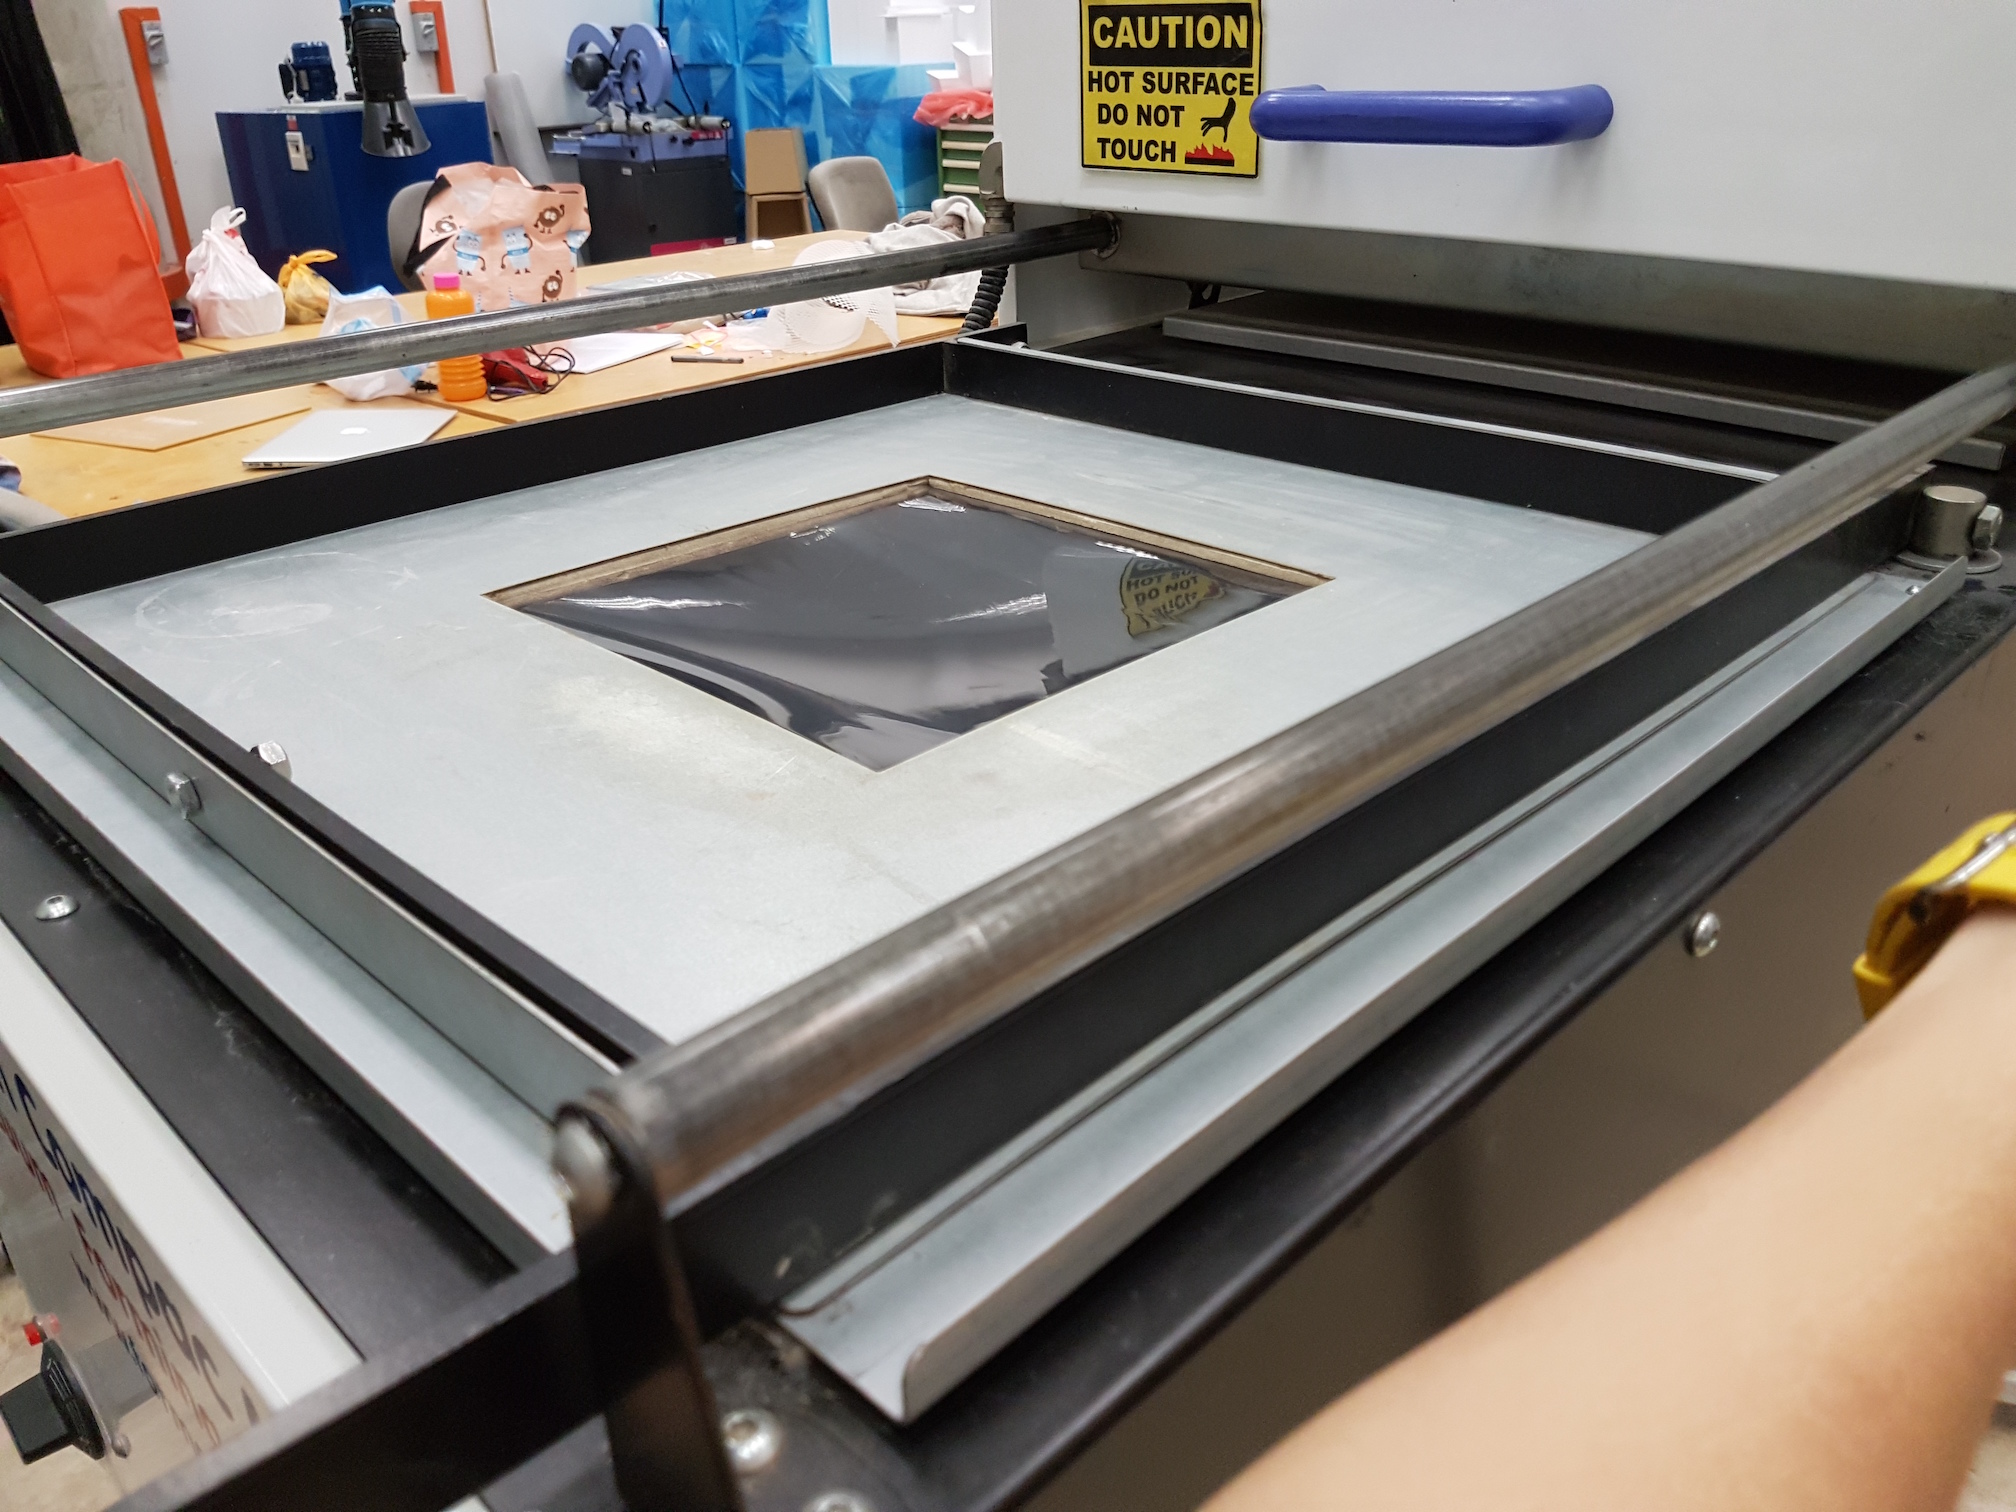
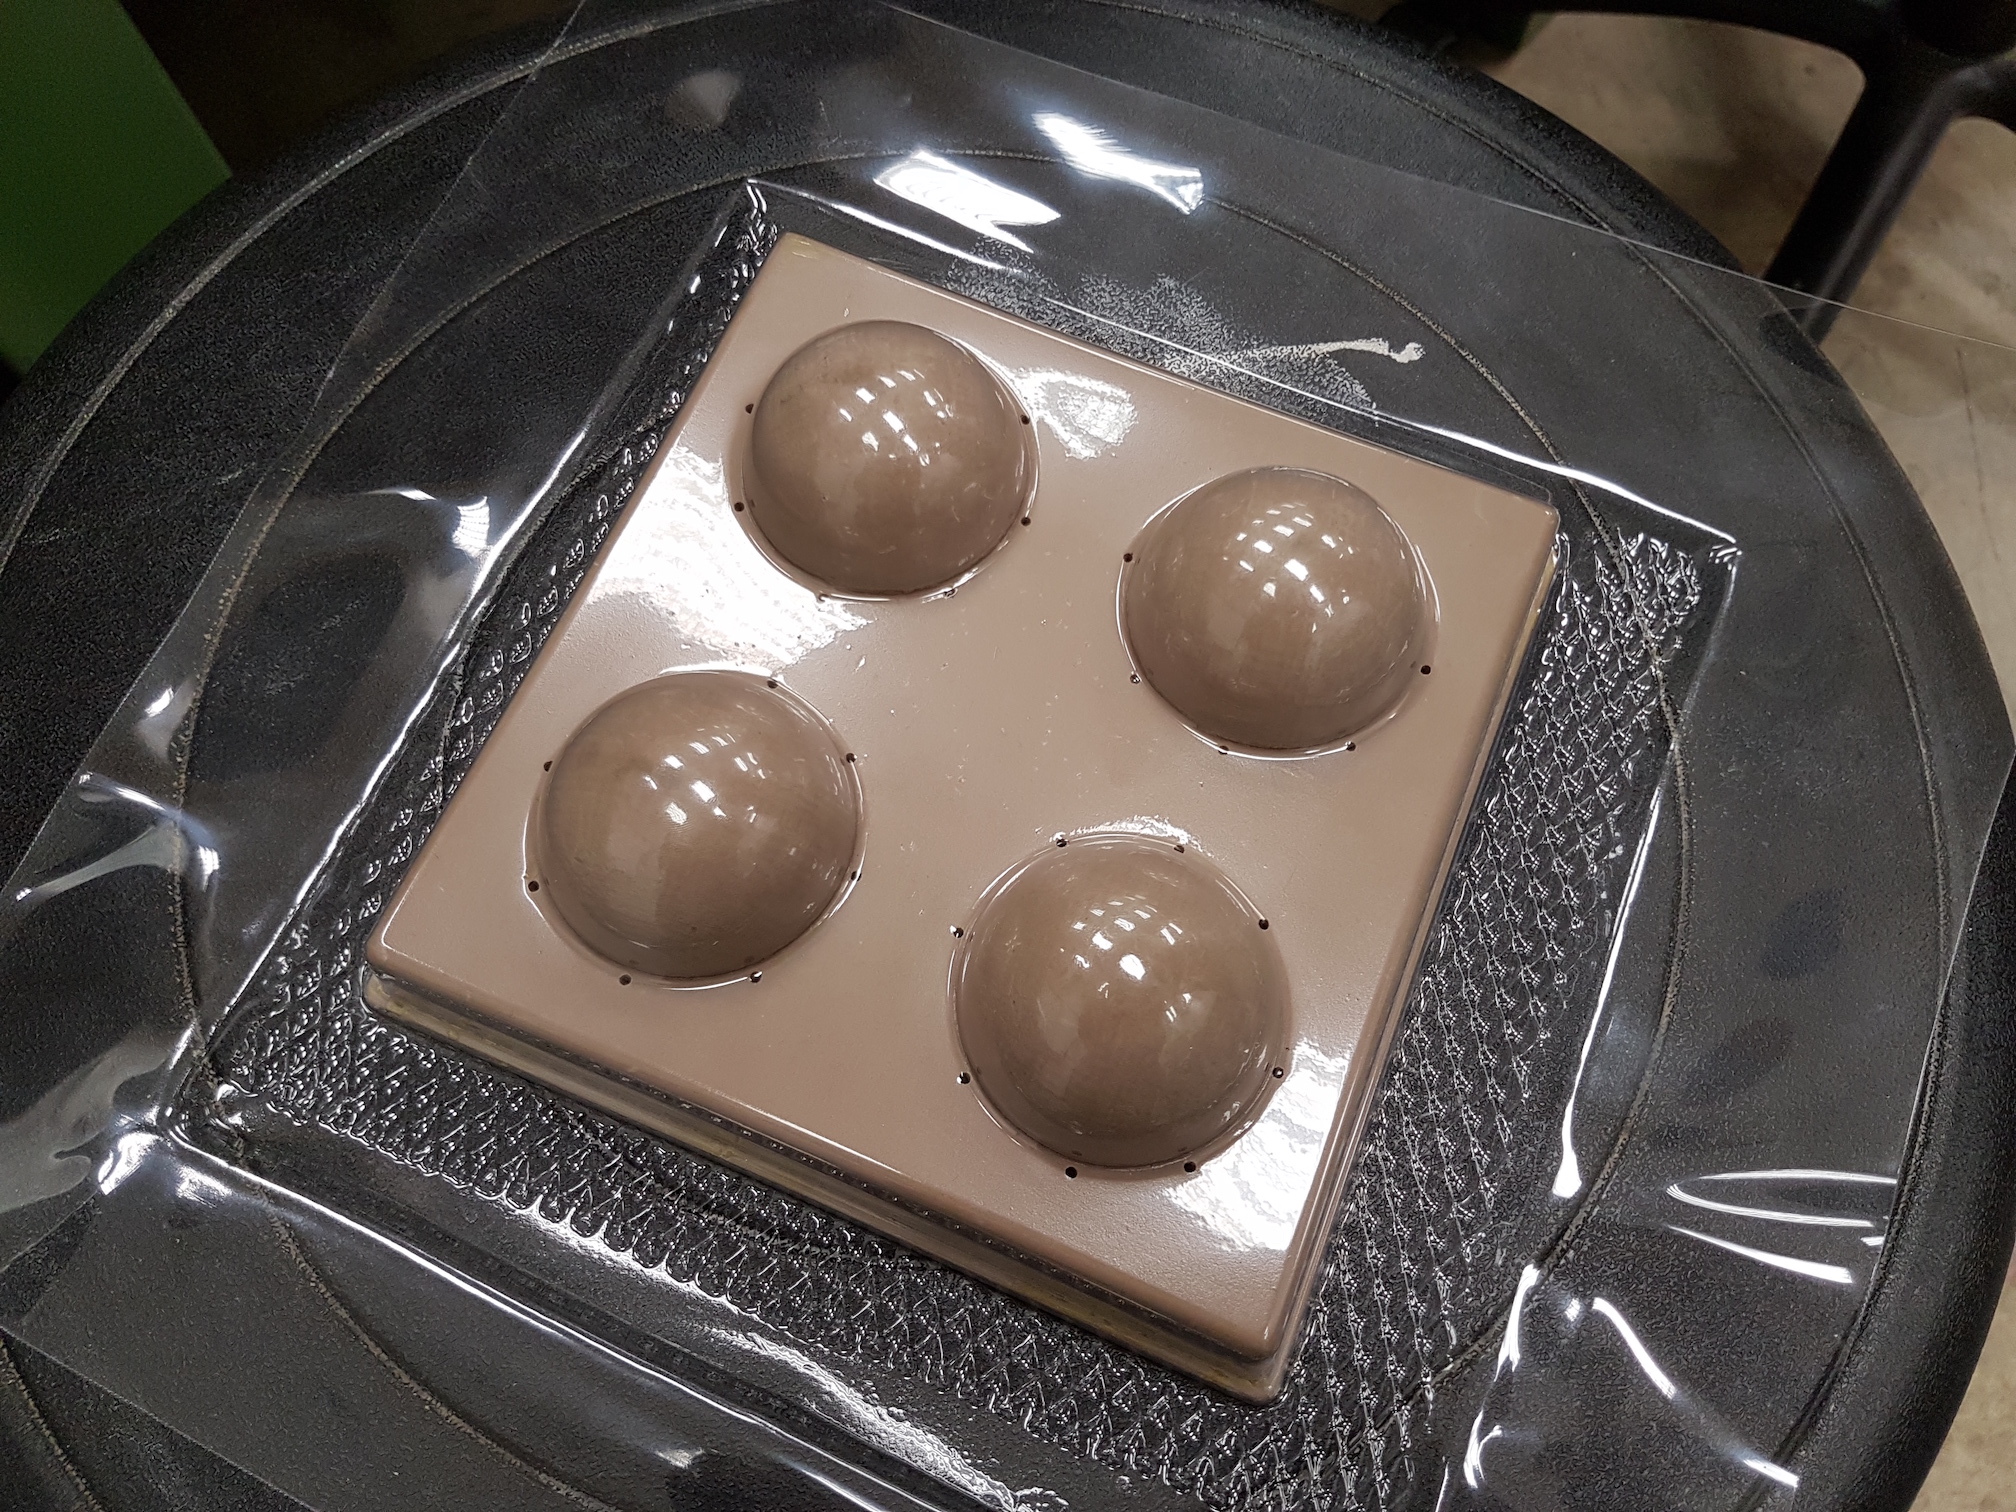
Vacuum-forming
Materials needed
Vacuum-forming machine
PVC plastic sheet
Objects to form around
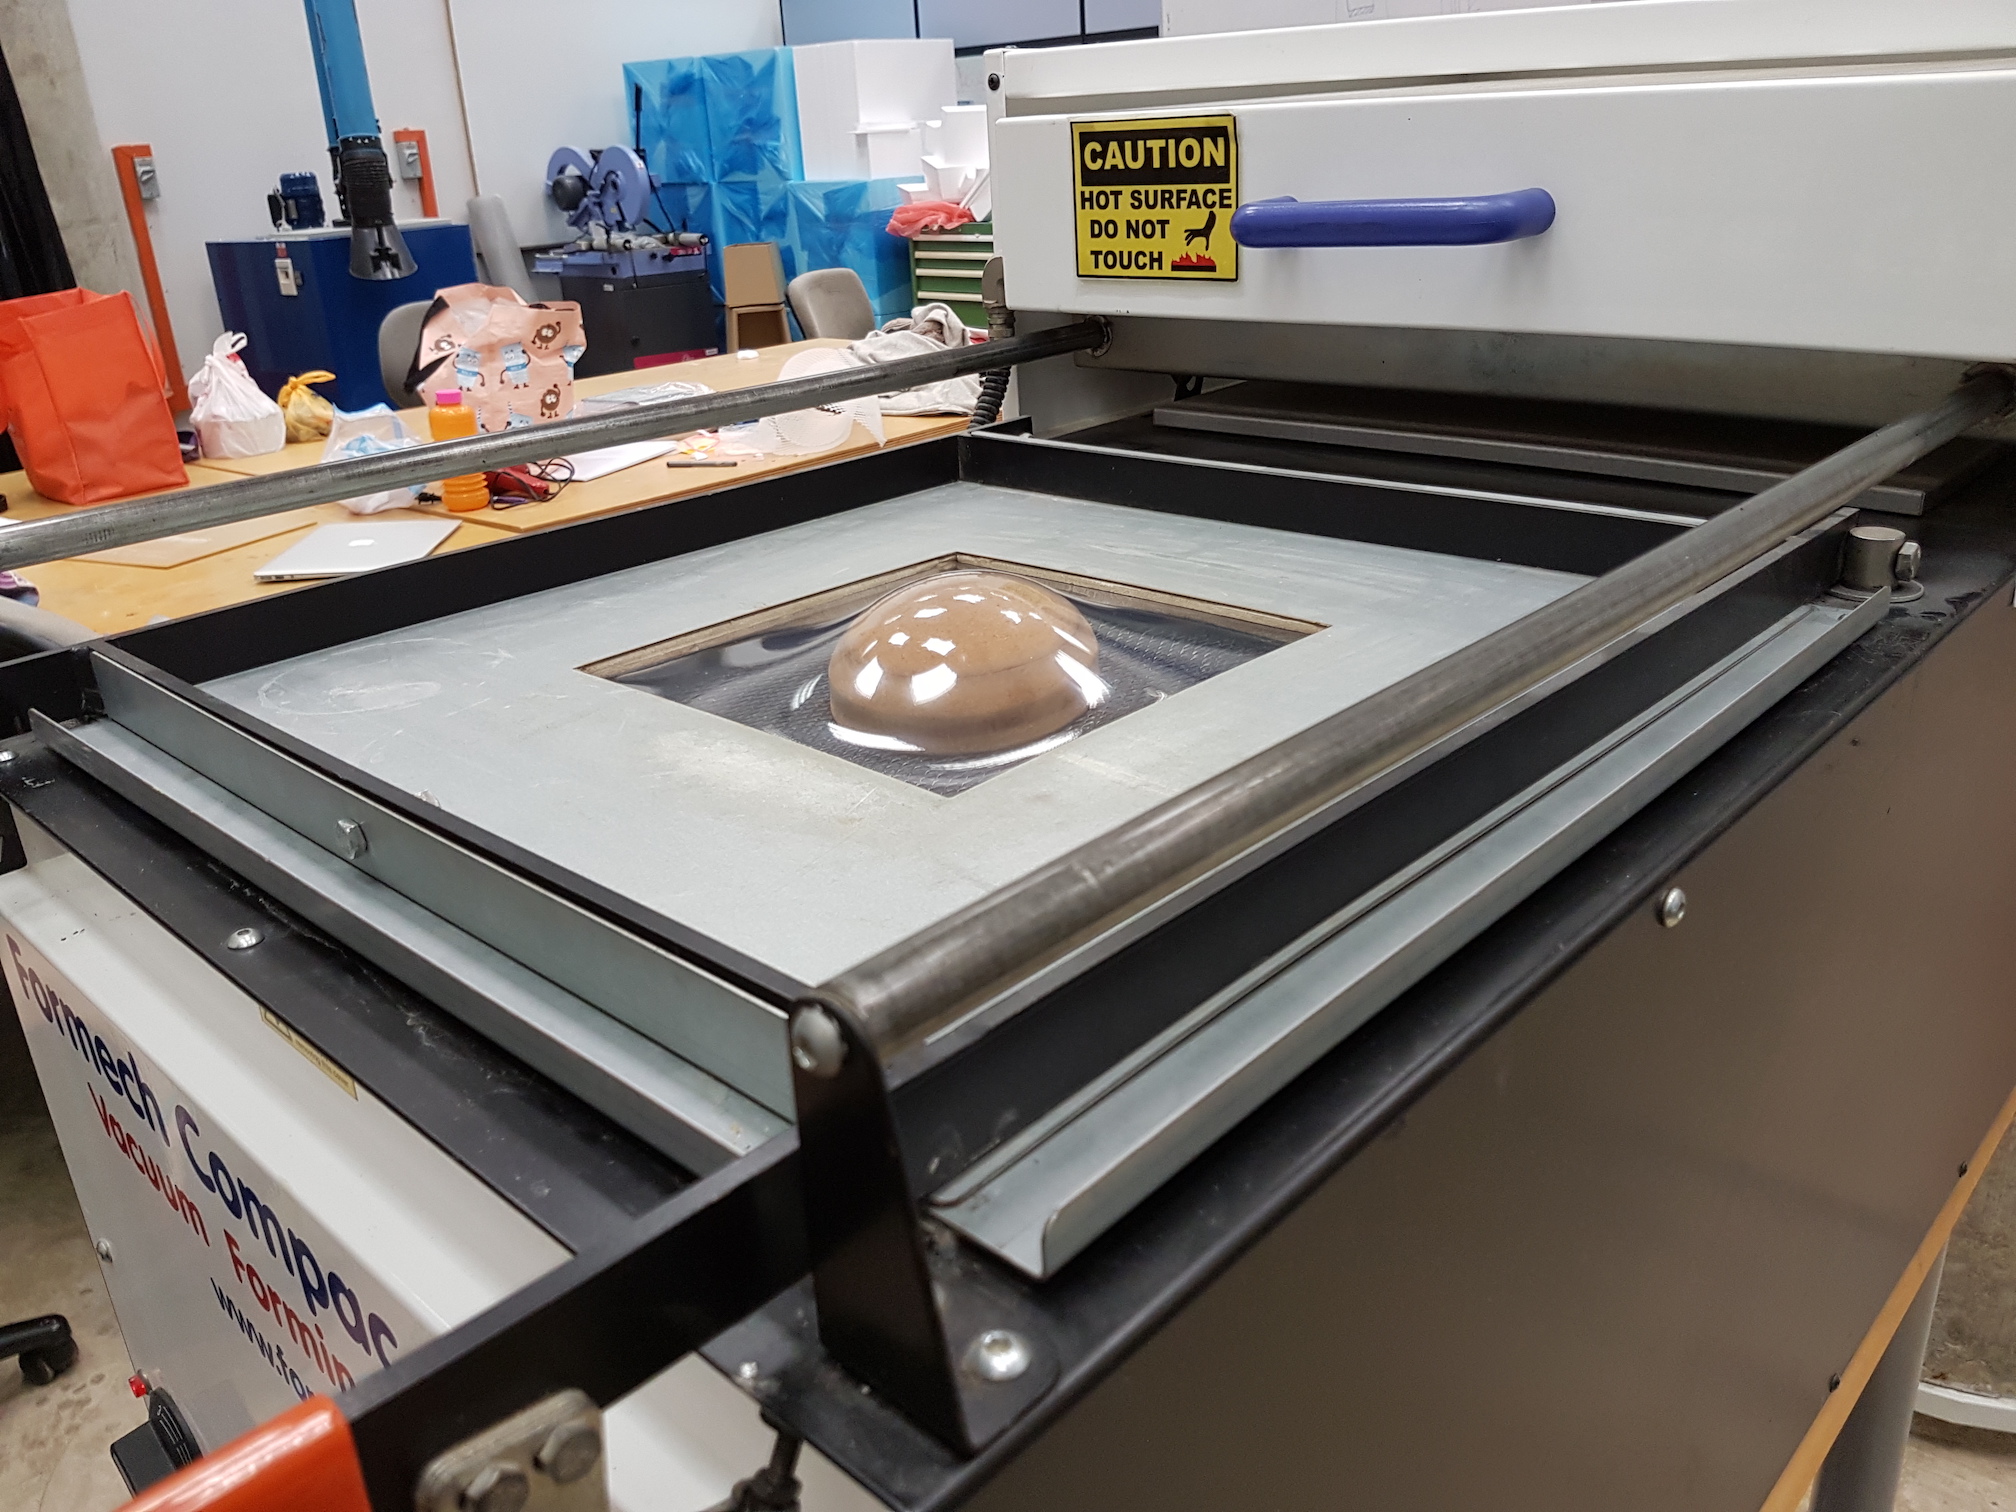
Process
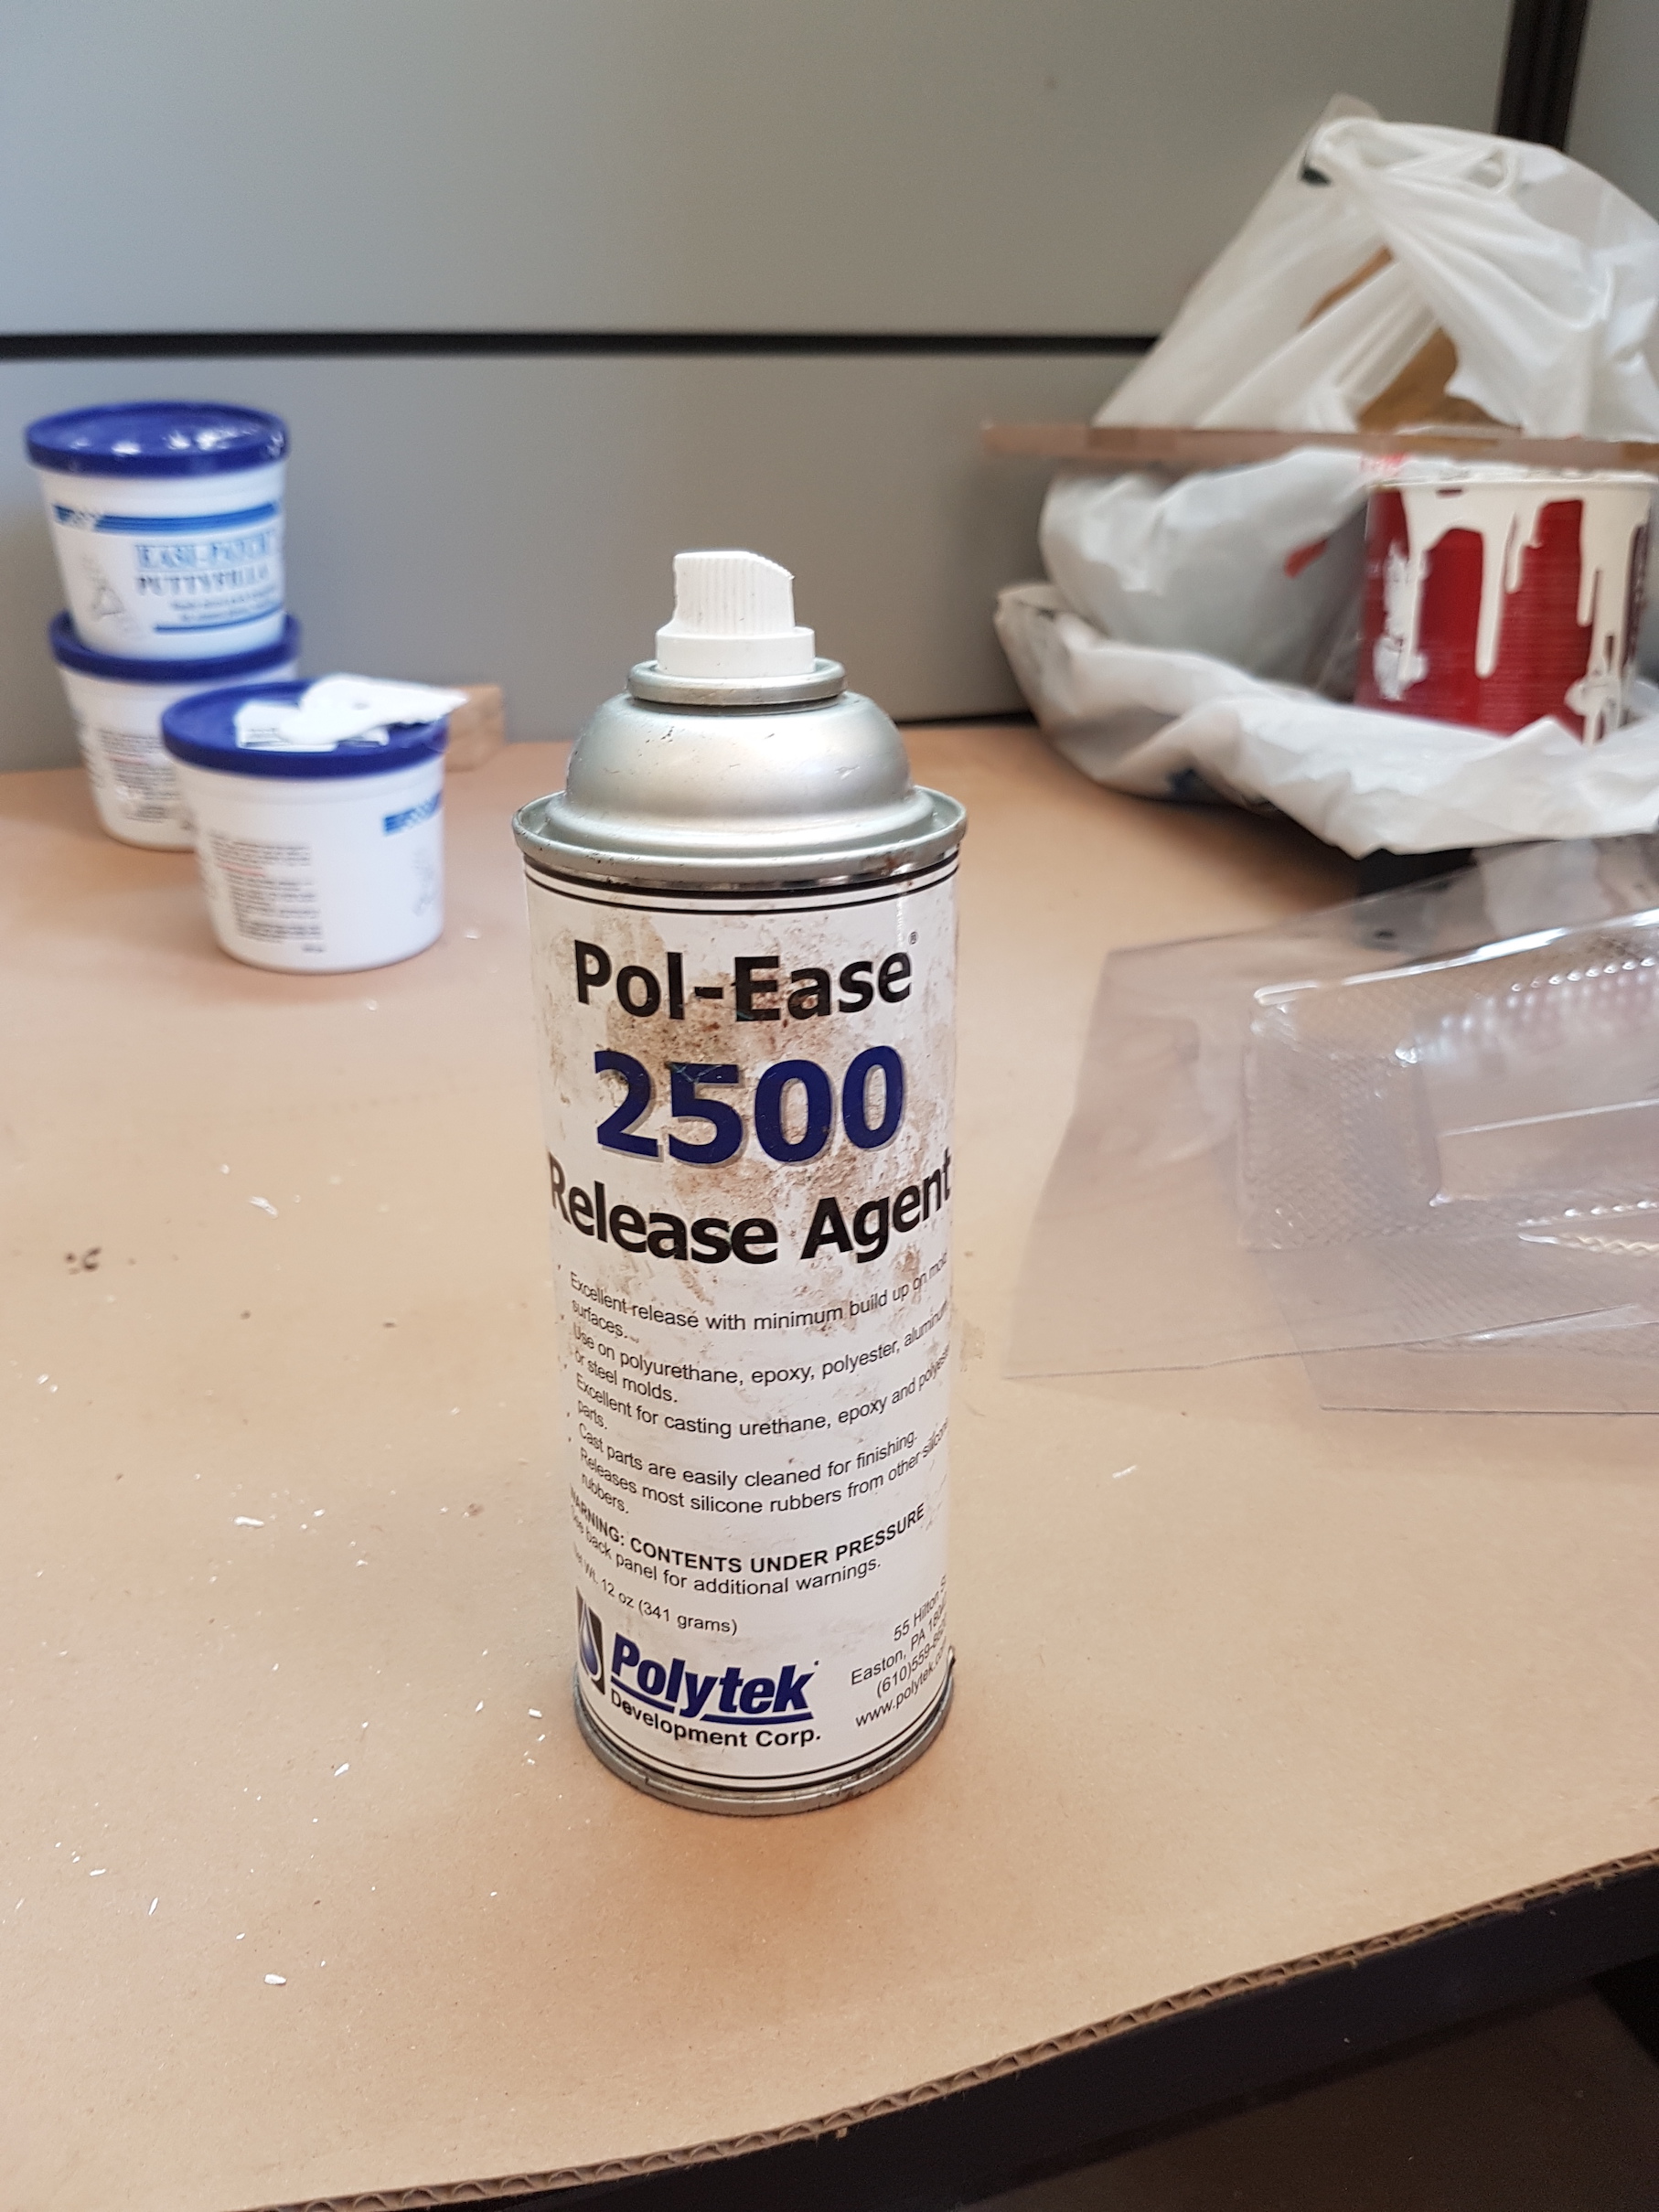
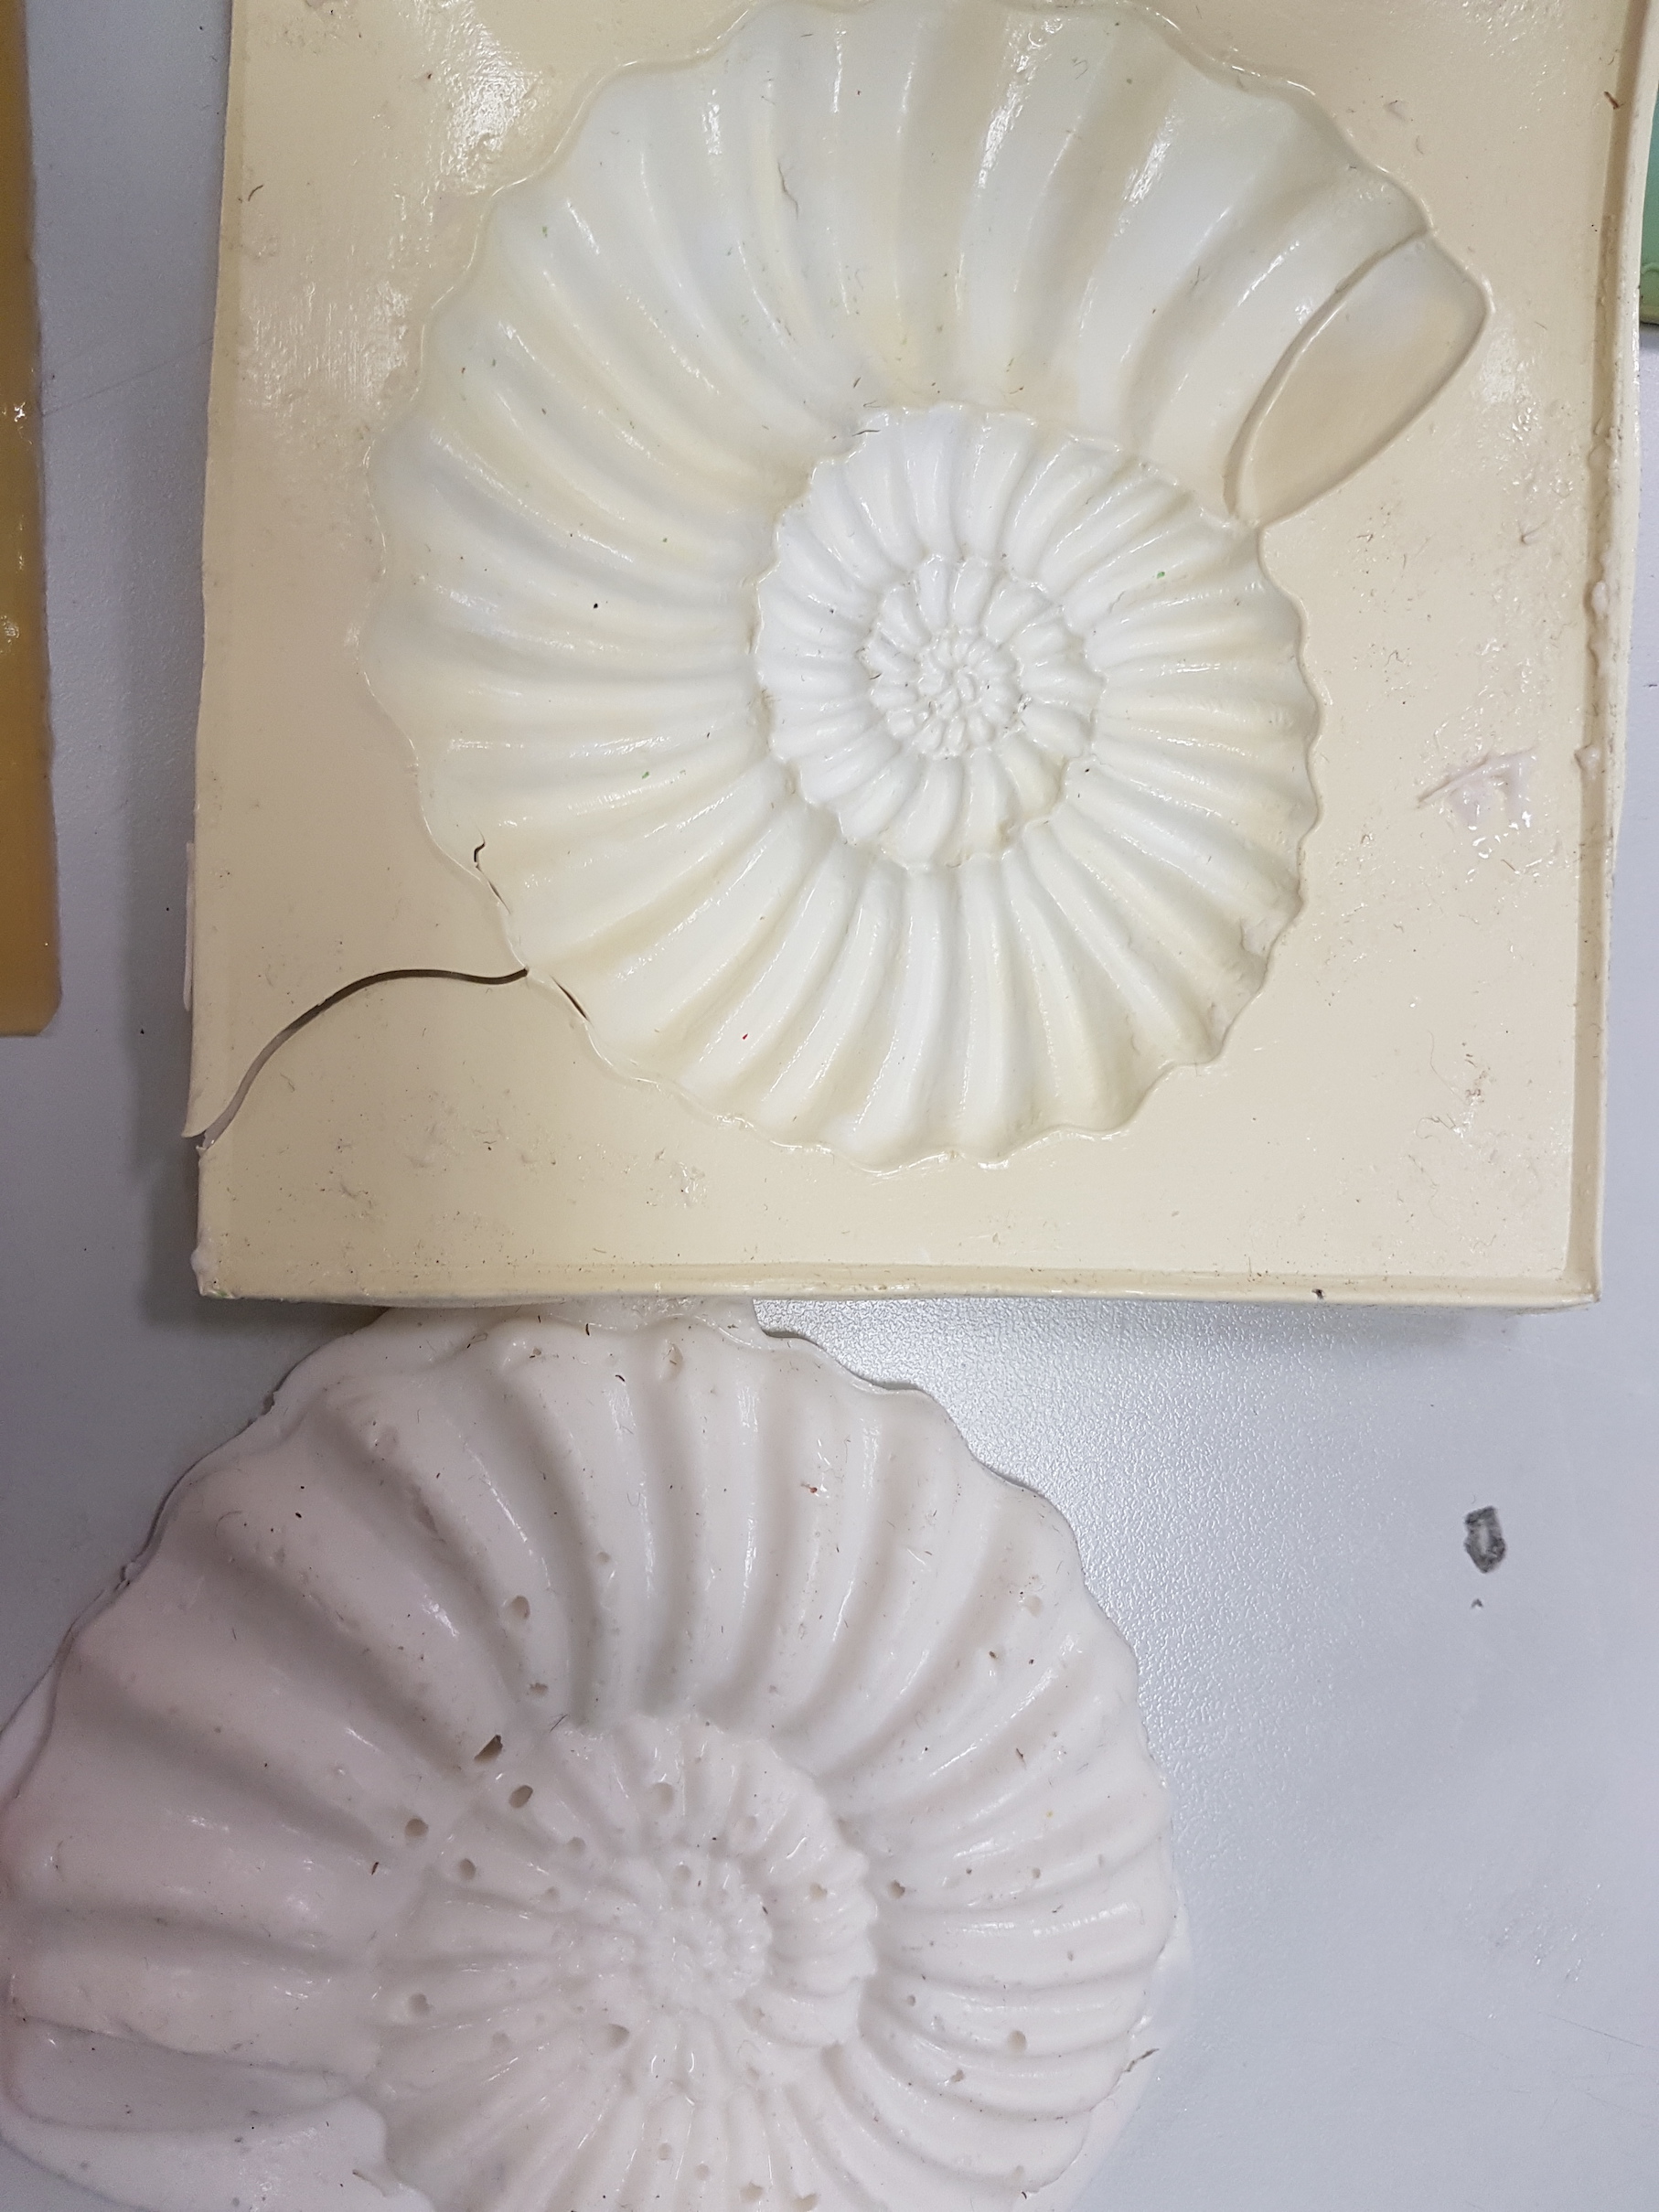
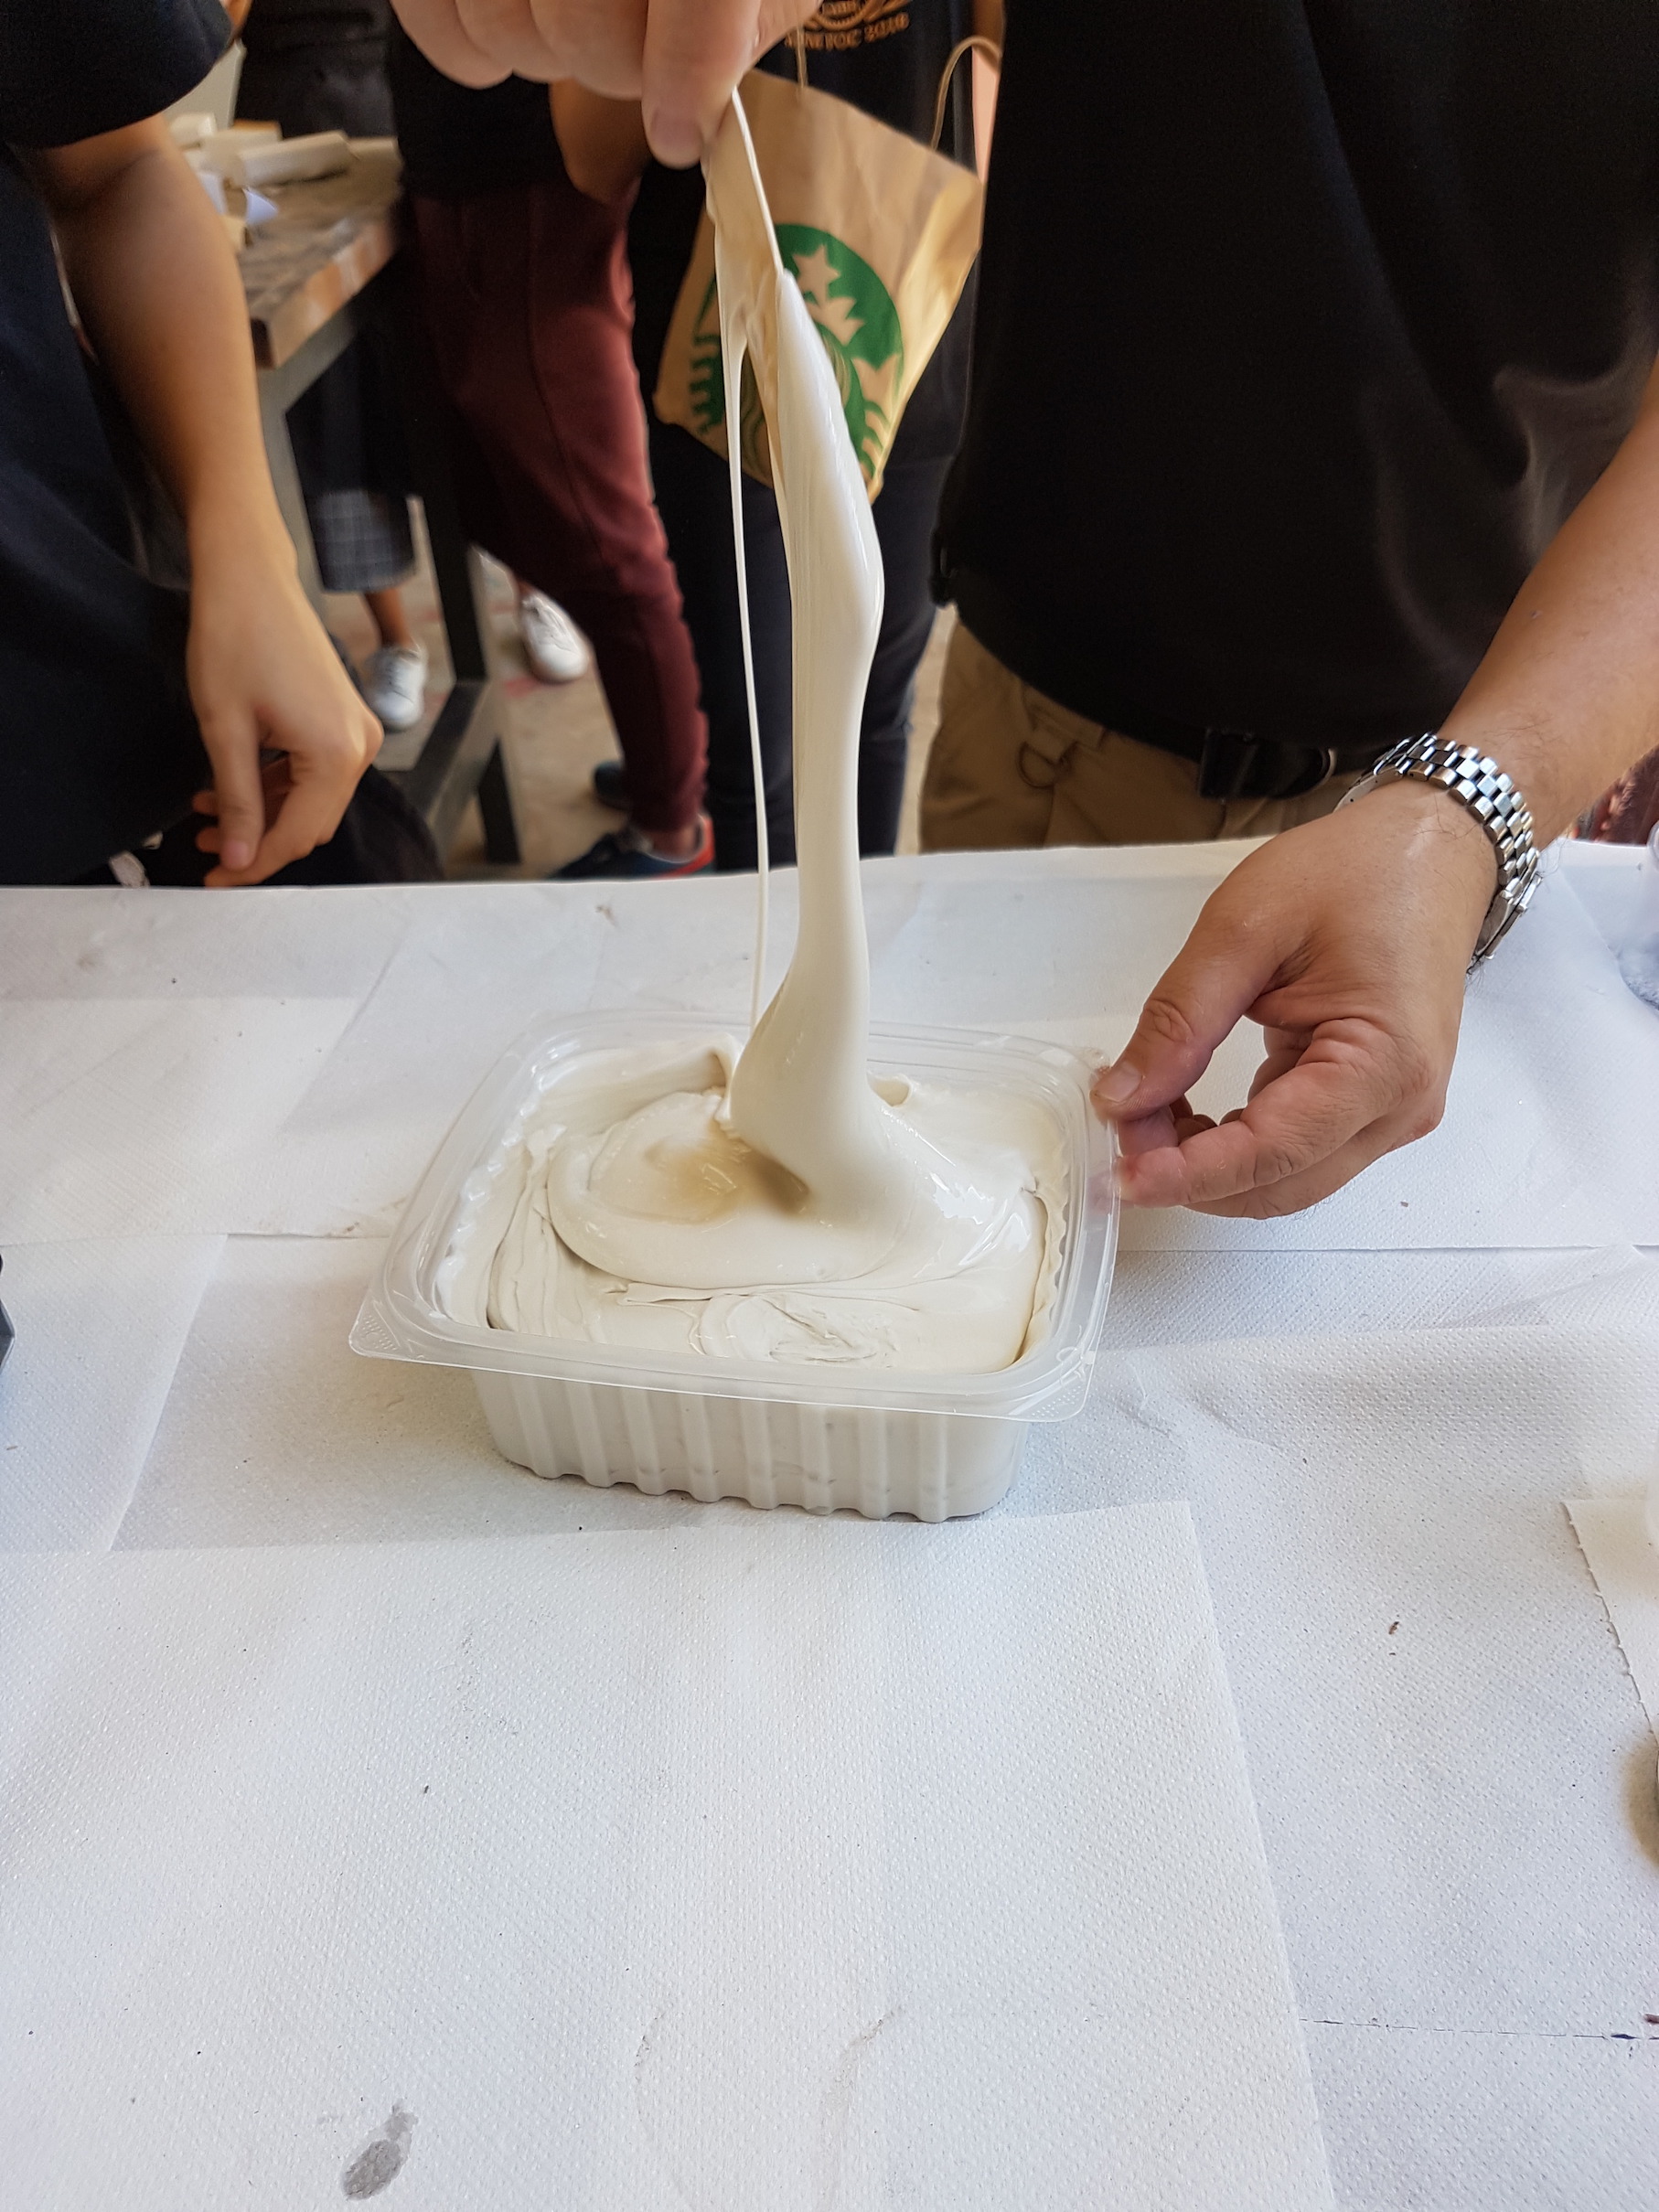
Cut out an appropriate size of PVC sheet. The vacuum forming machine has 2 default sizes. Use objects with a concave shape so that they can be removed after forming such as domes (Spheres can’t be removed!). Vacuum forming can be used to create moulds for other materials such as latex and resin.
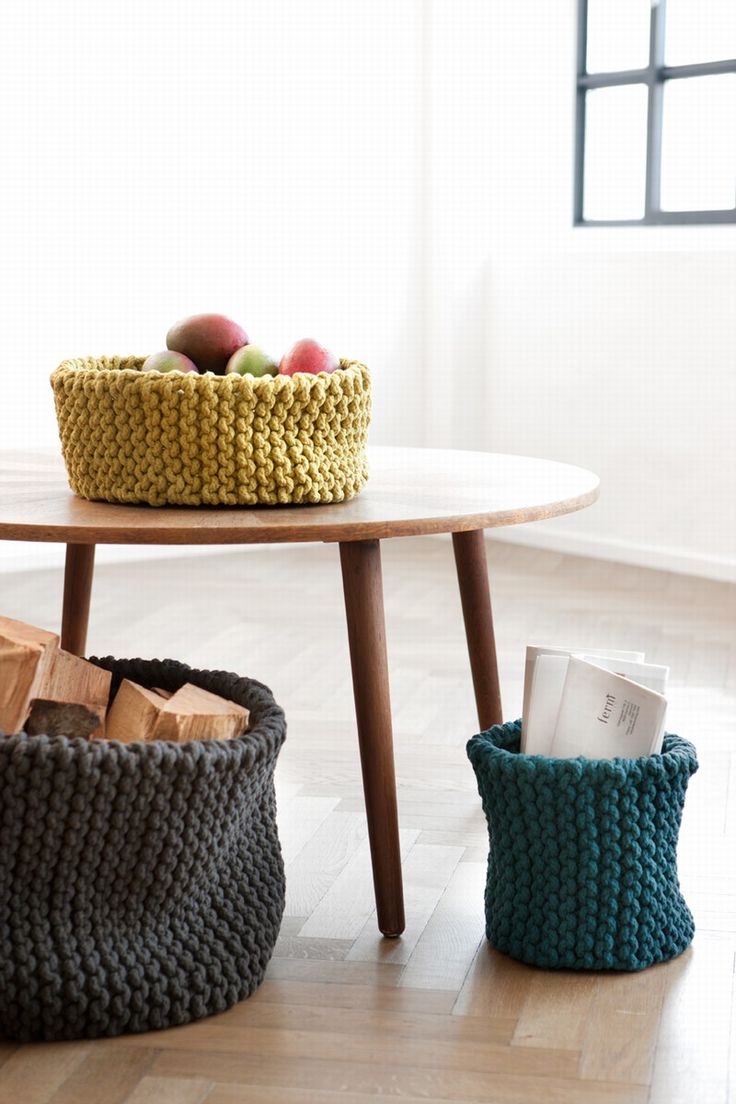
Knitting is a very popular and widely-loved technique of manipulating yarn to create a soft, warm fabric. This is done by looping the yarn with needles to create multiple rows of stitches and purls.
Common applications
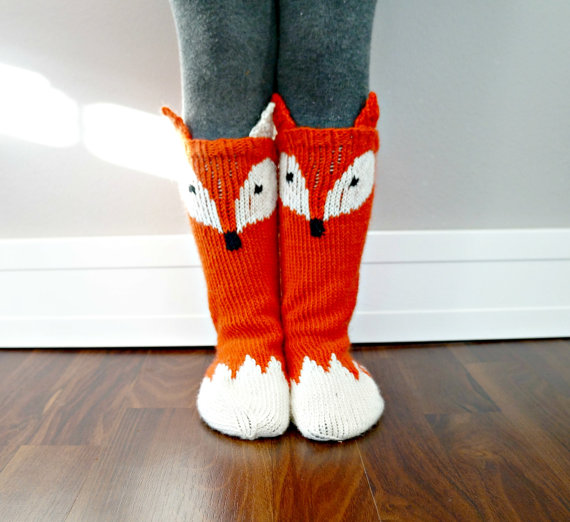
Clothing: socks
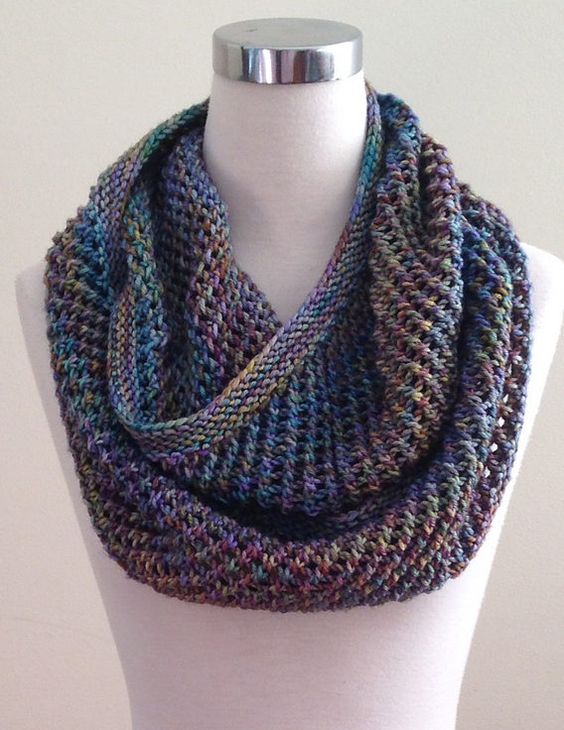
Clothing: scarf
Household items
Materials needed
Wool or Acrylic yarn of any size or colour
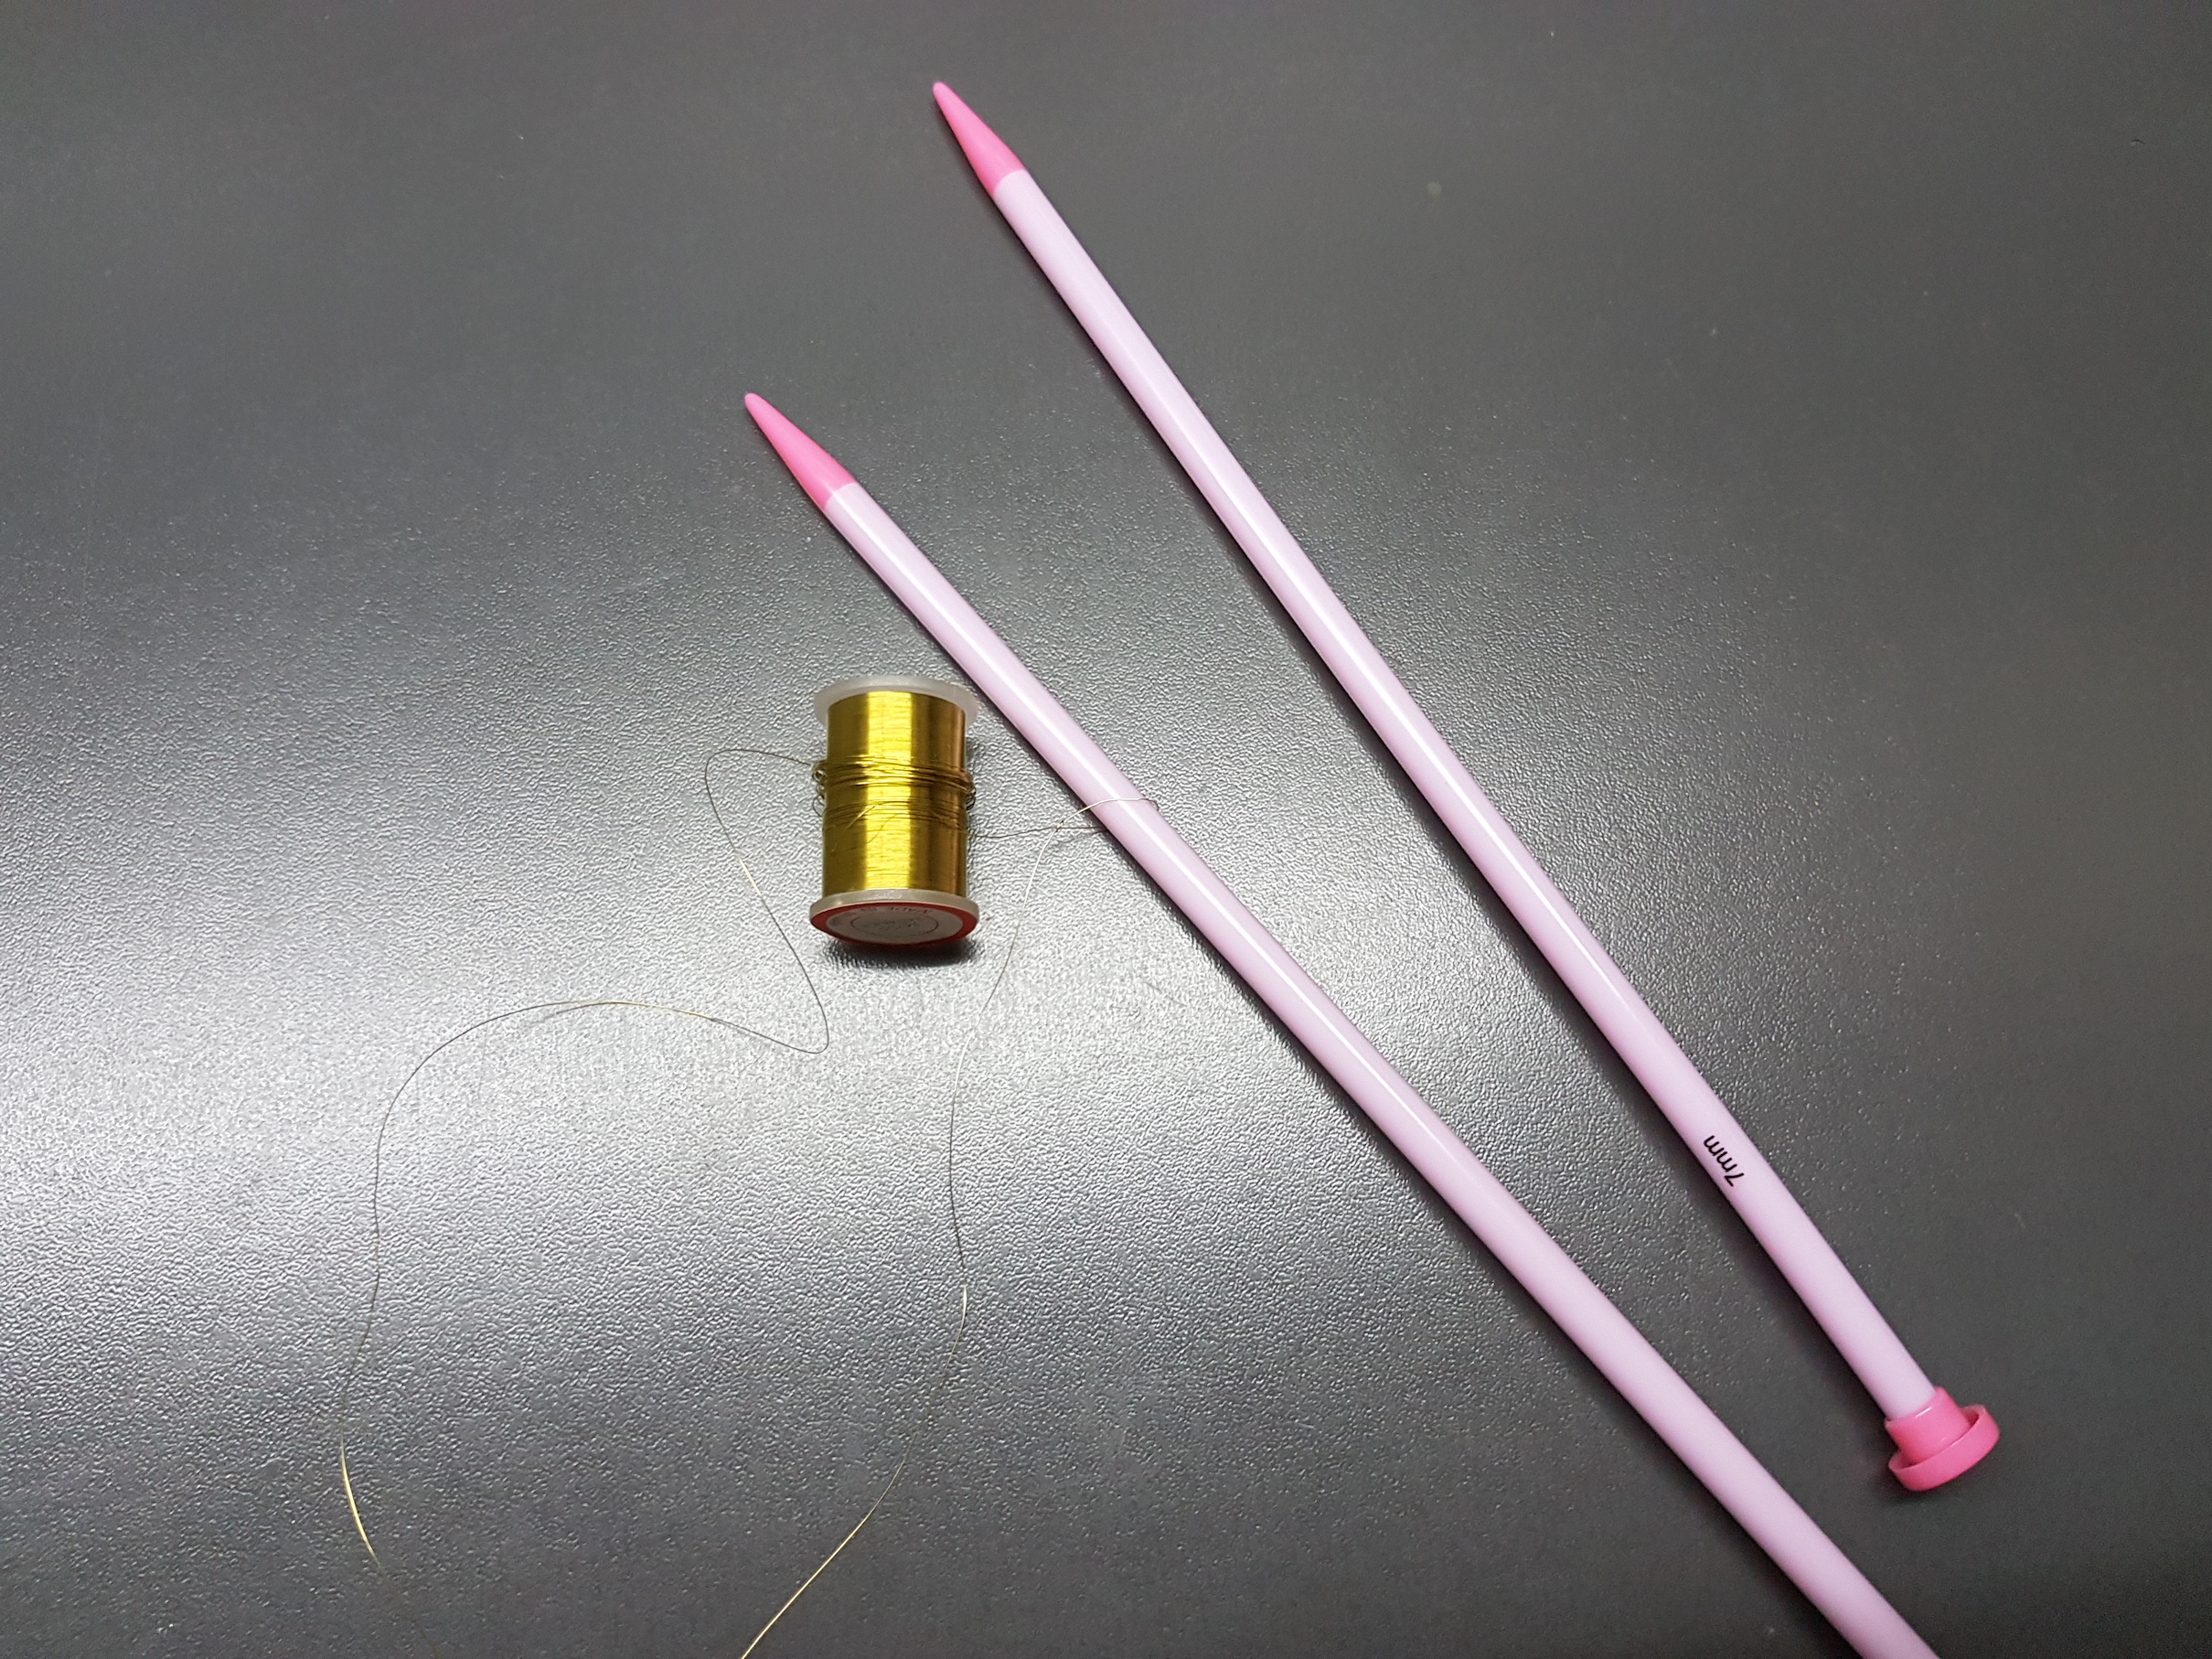
Knitting needles (size will depend on yarn chosen)
Process
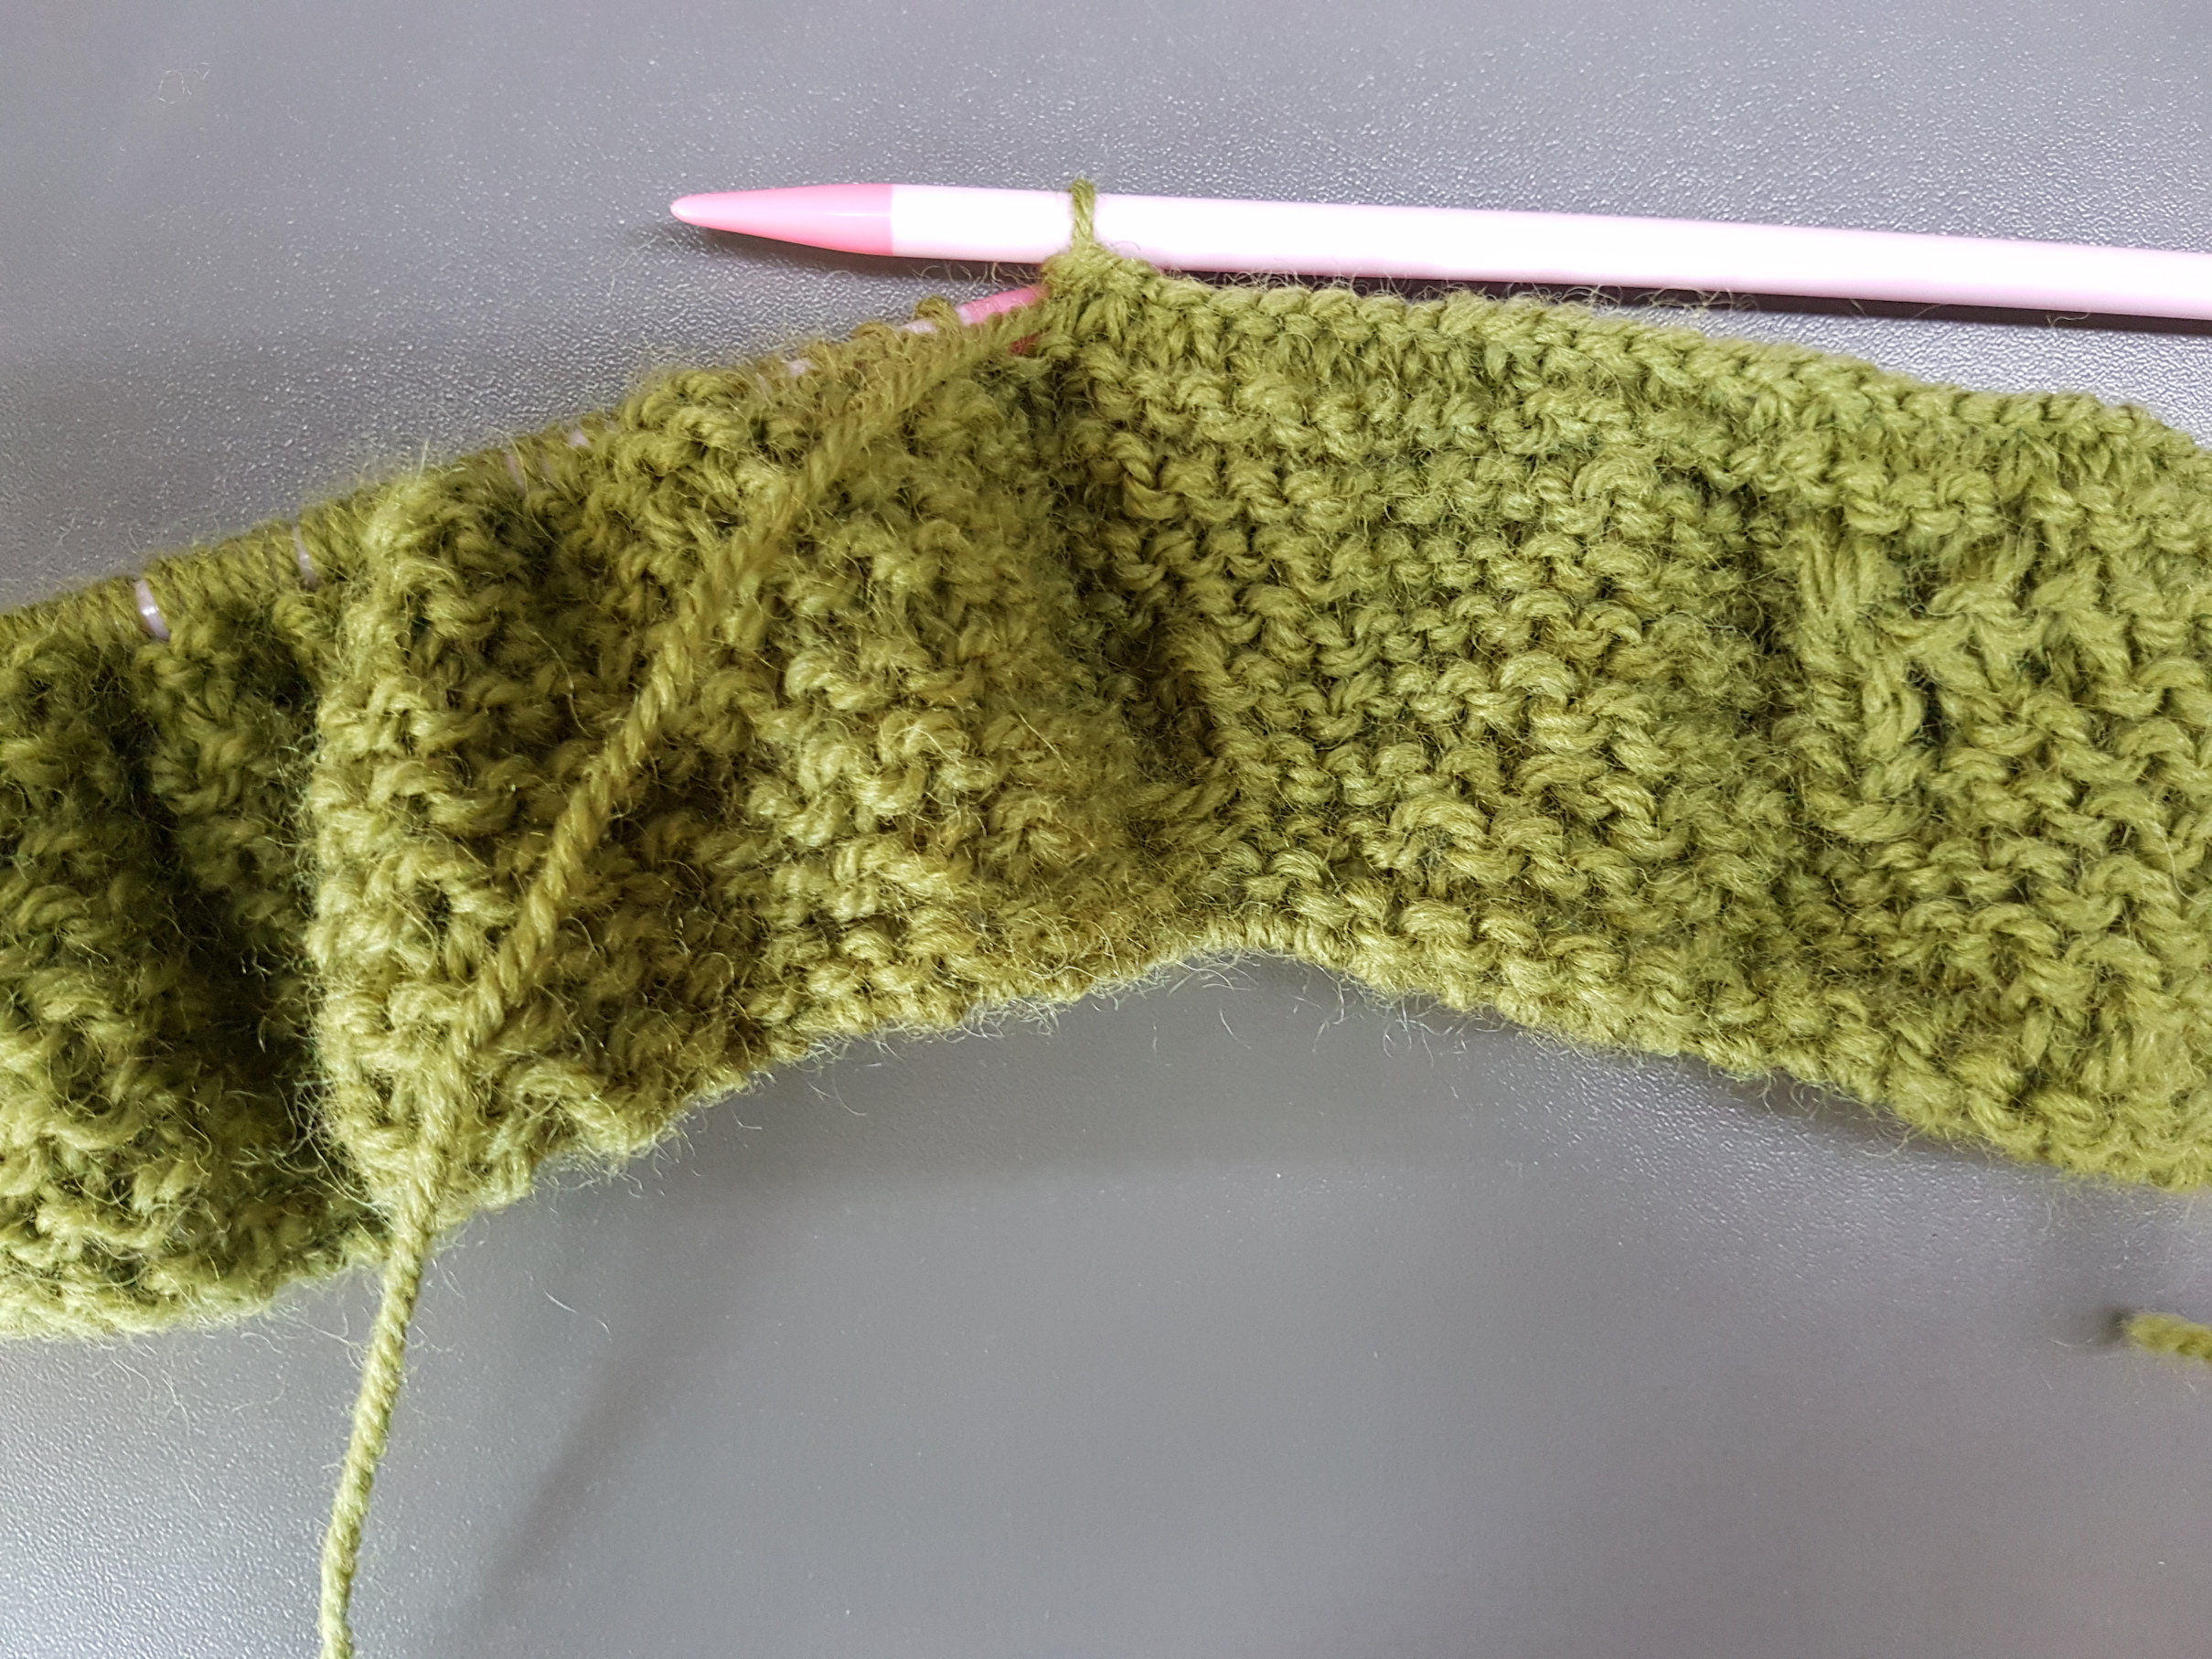
Knitting basically consists of making knit and purl stitches in a variety of patterns. The number of repeated knit and purl stitches create different knit patterns such as stockinette, garter and ribbing.
Continuous knit or purl stitch creates a garter pattern which is the same on both sides.
Purl stitch. First time knitting!
After getting comfortable with purling, I tried to combine knit and purl to create a stockinette pattern.
How to do stockinette stitch tutorial
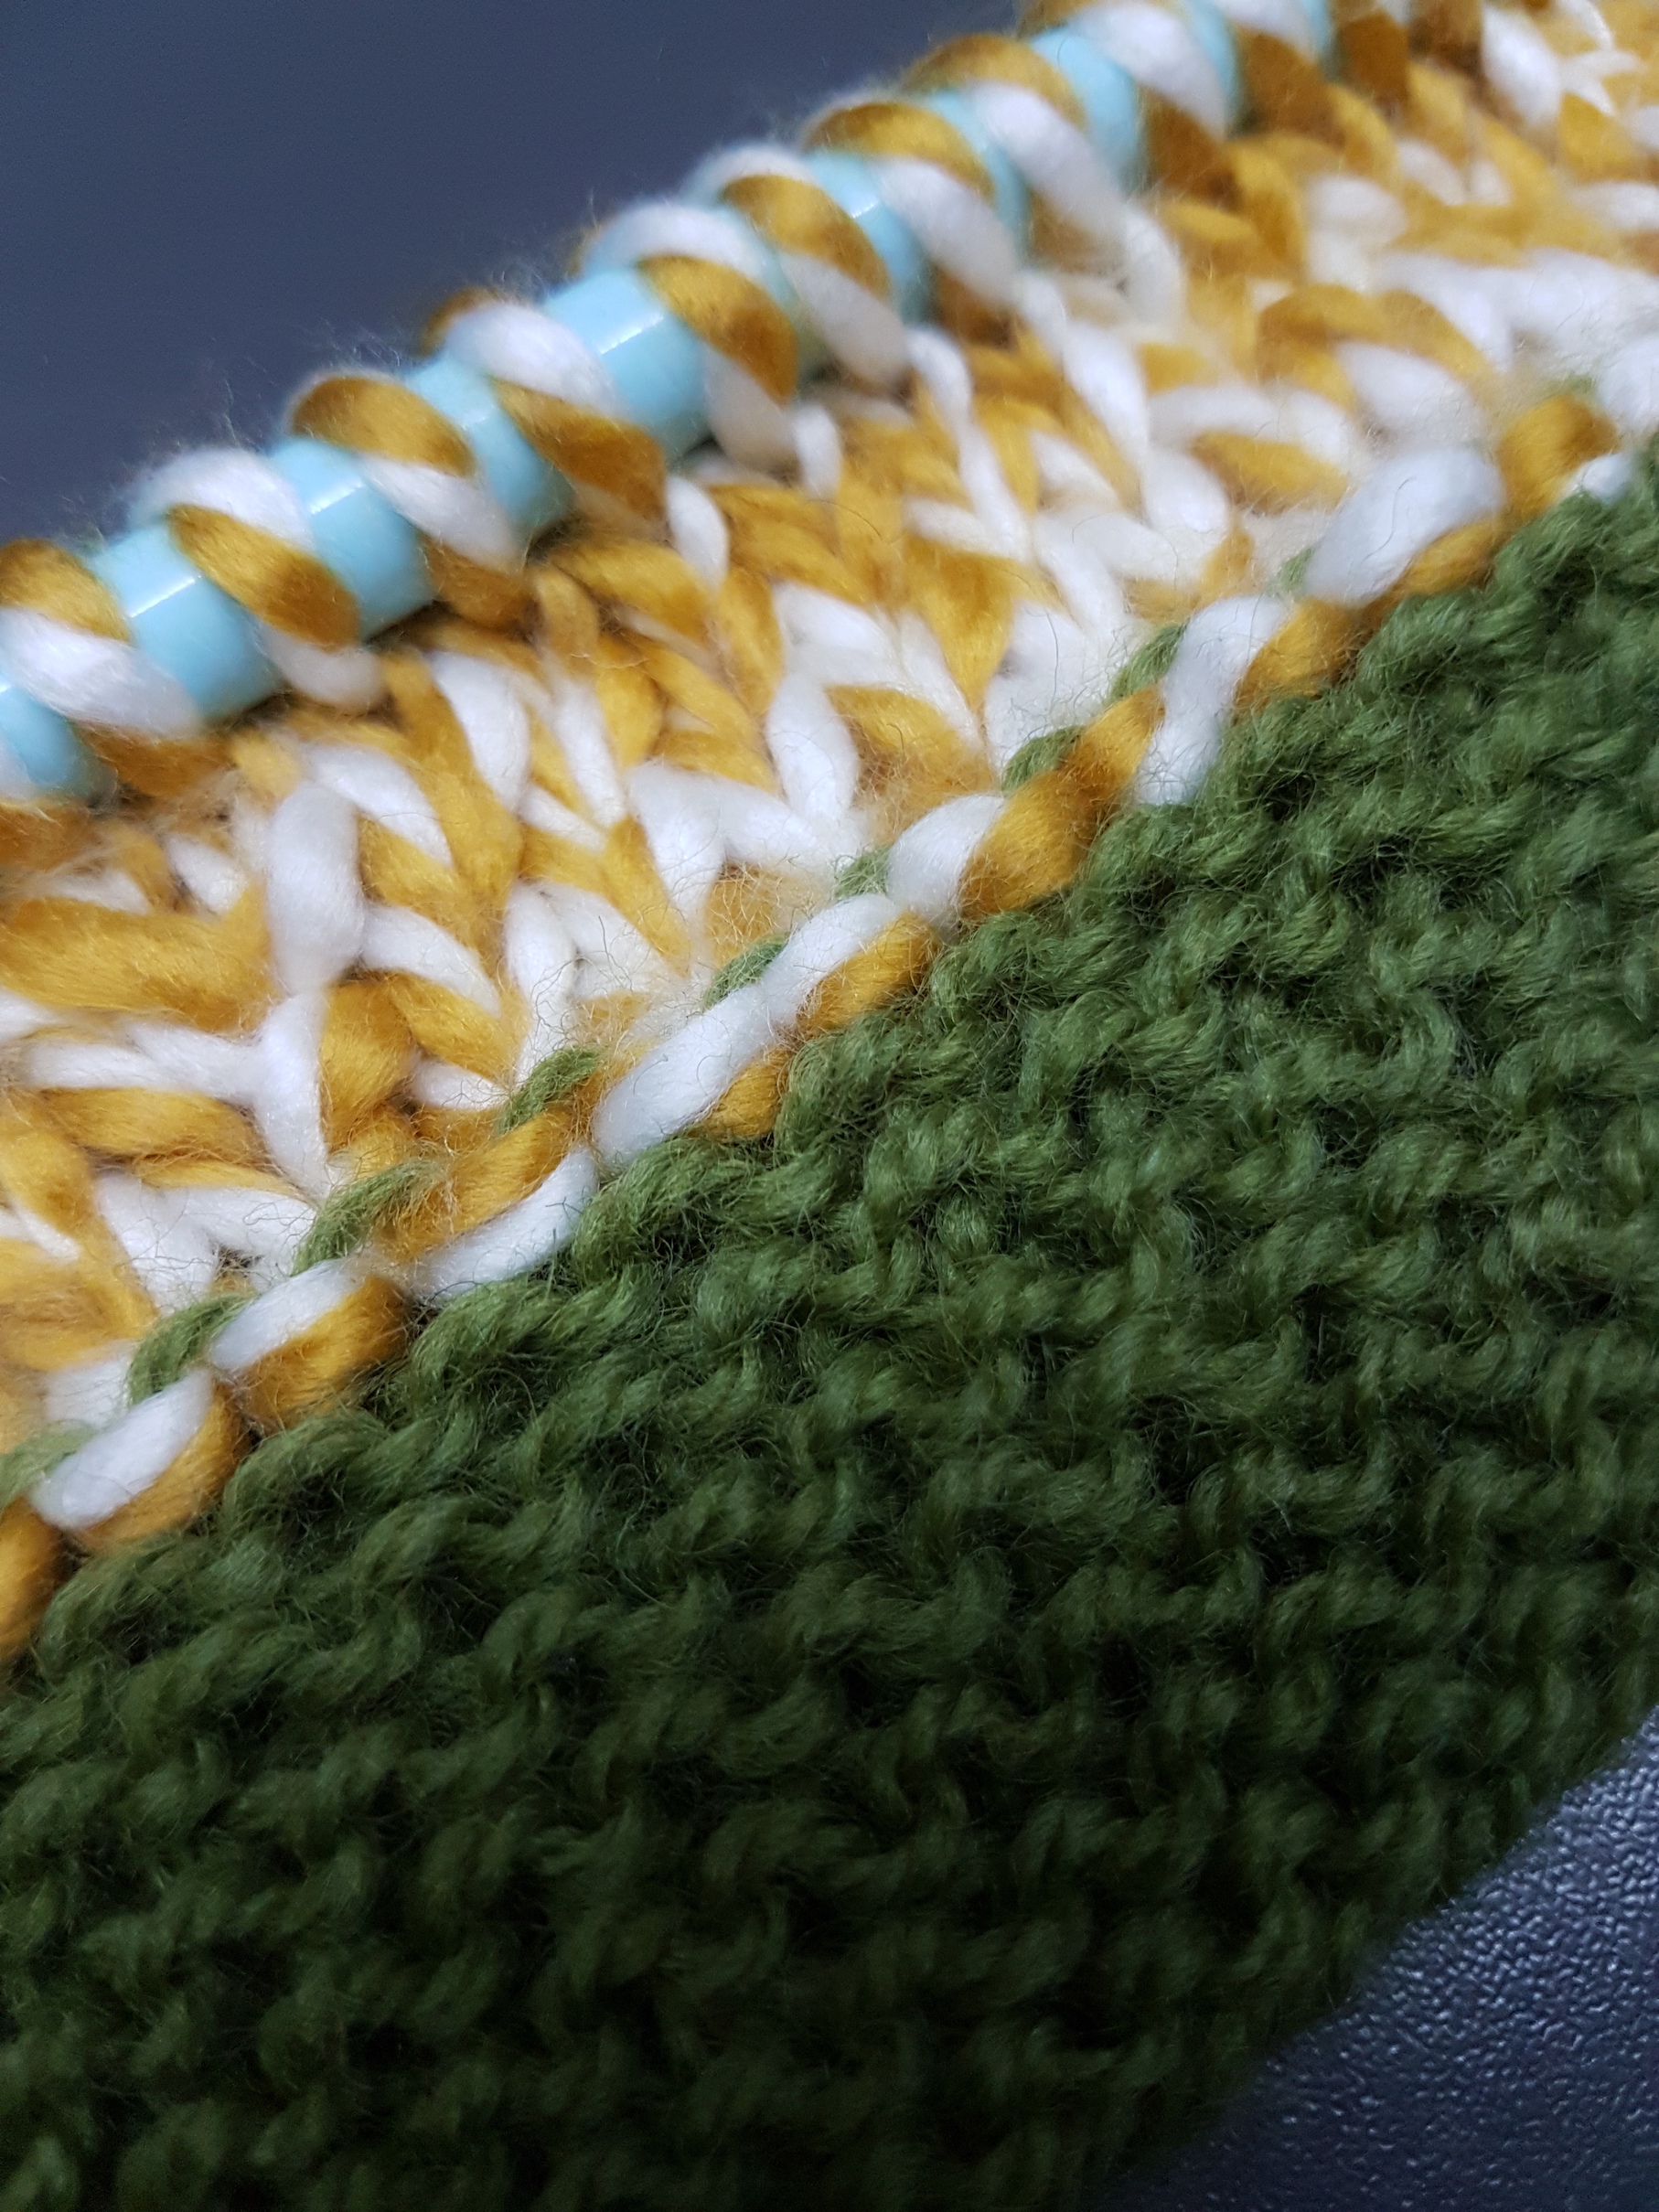
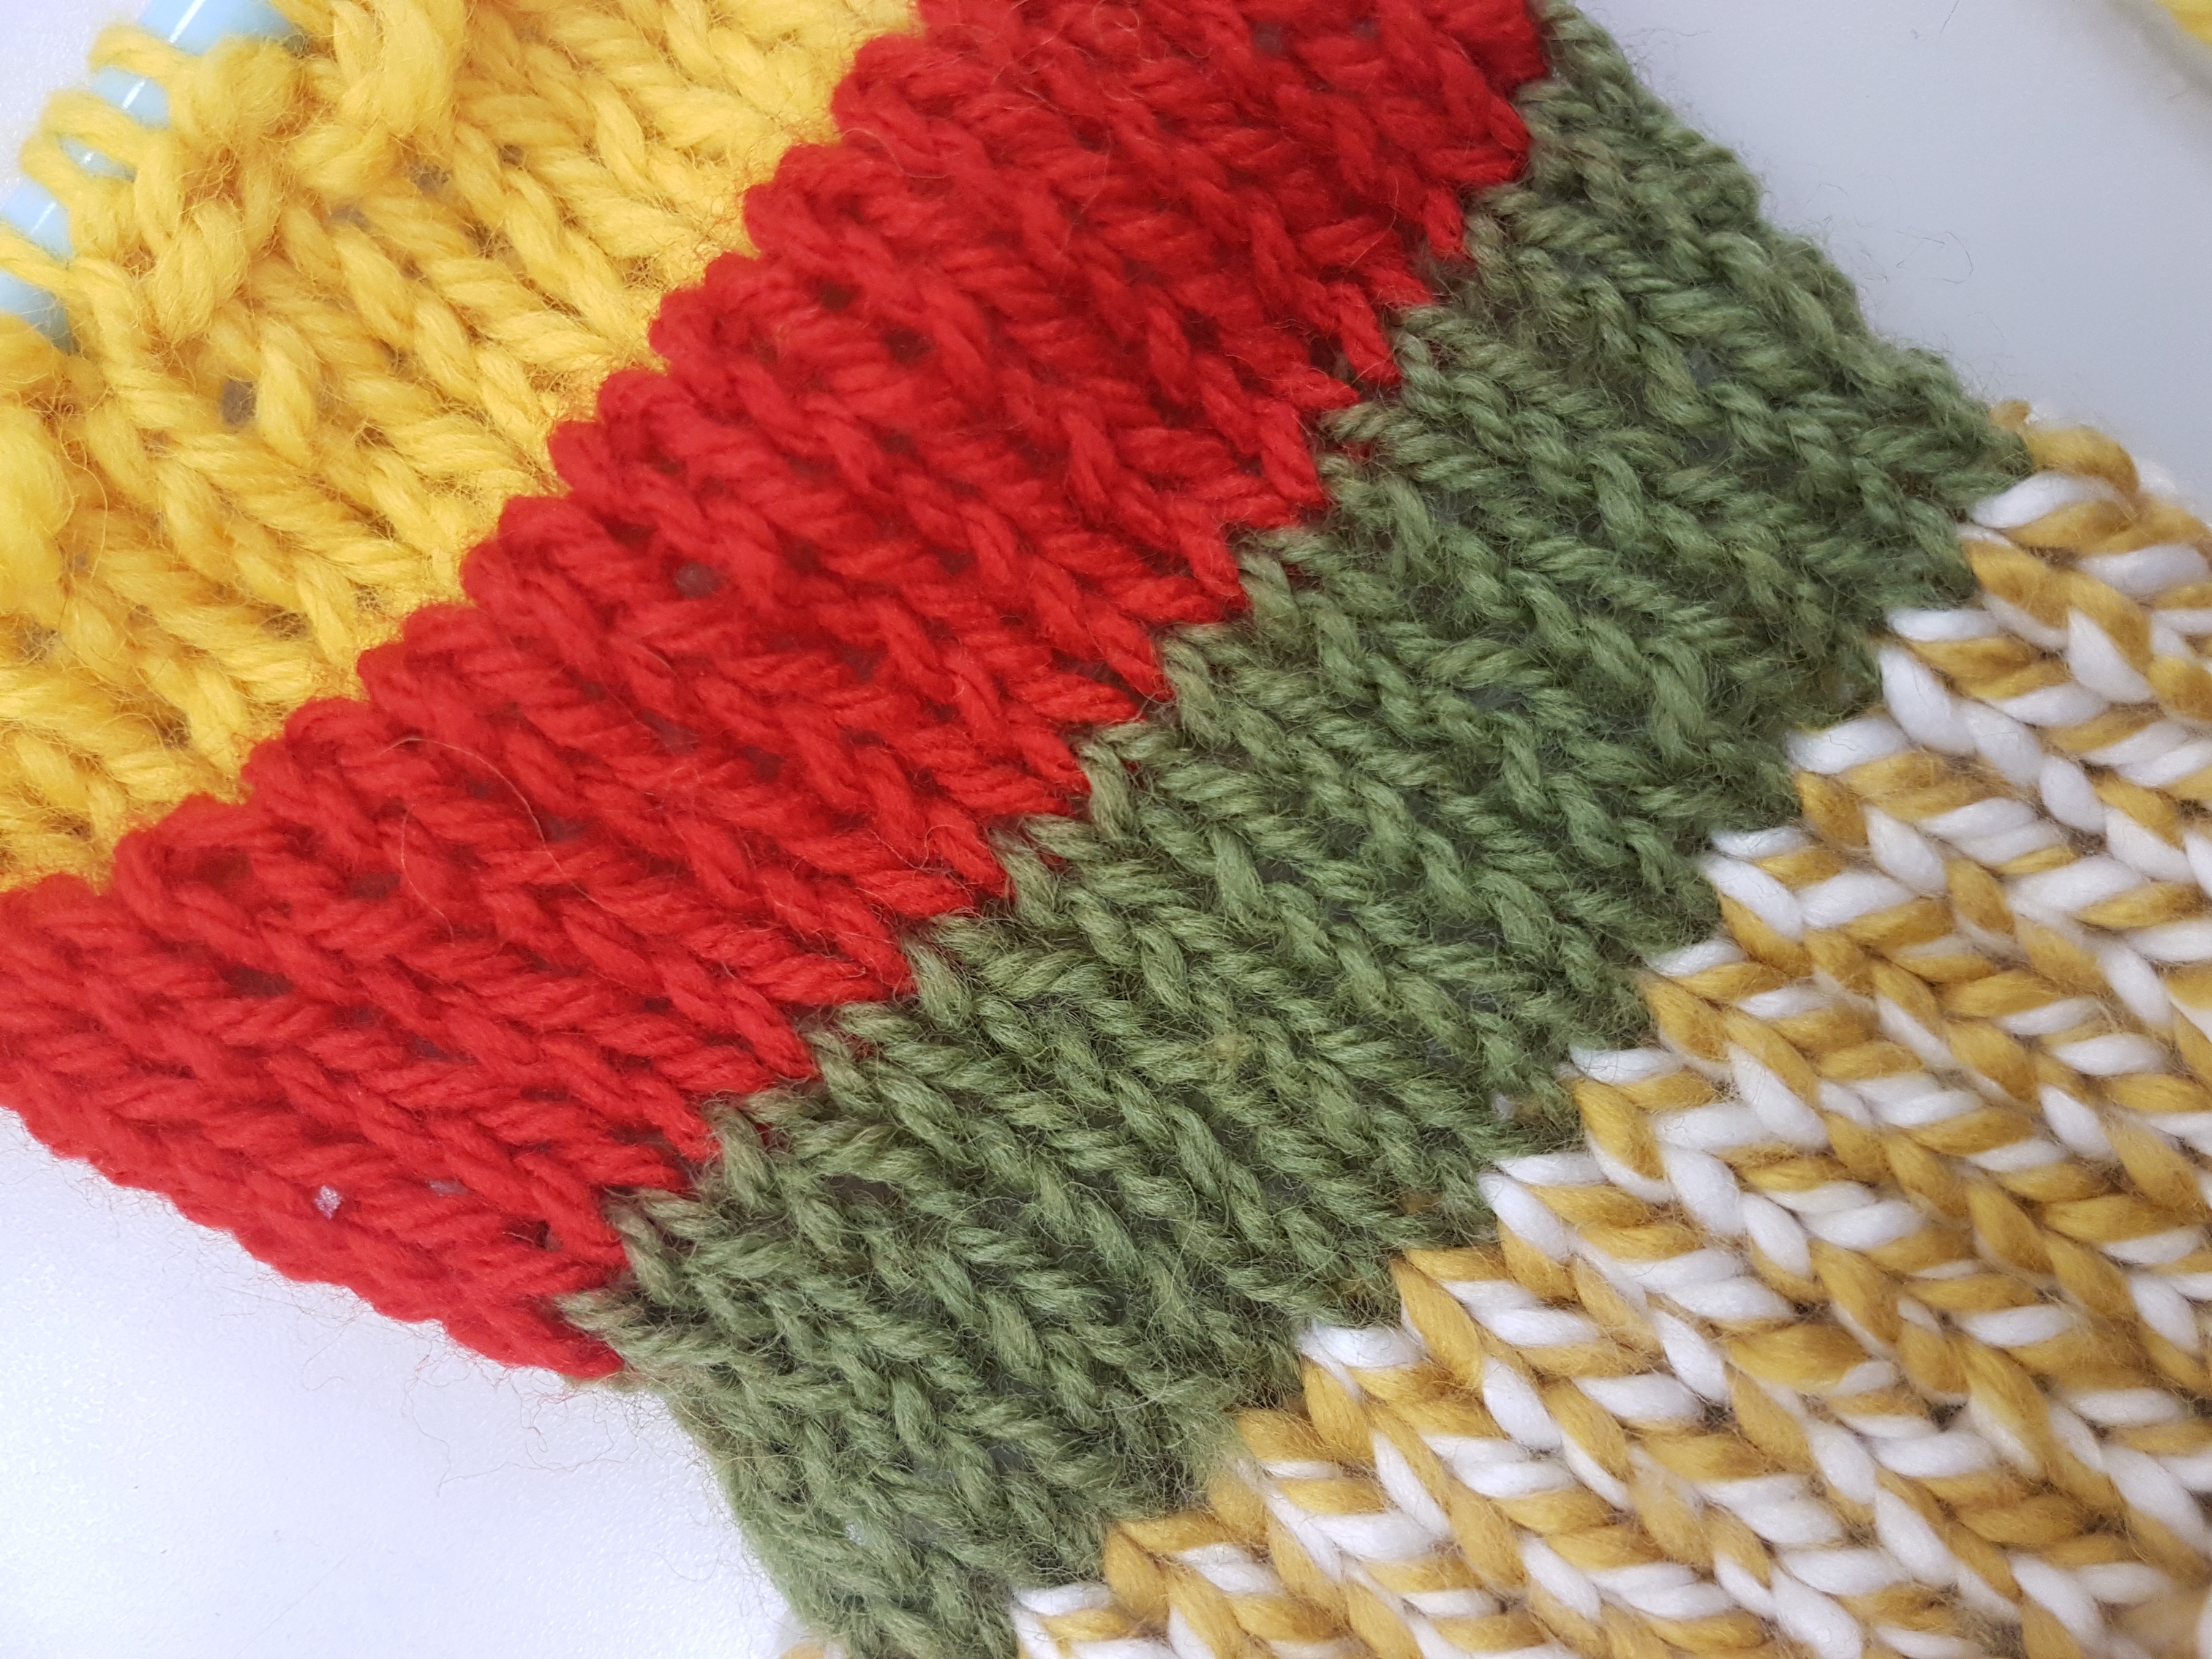
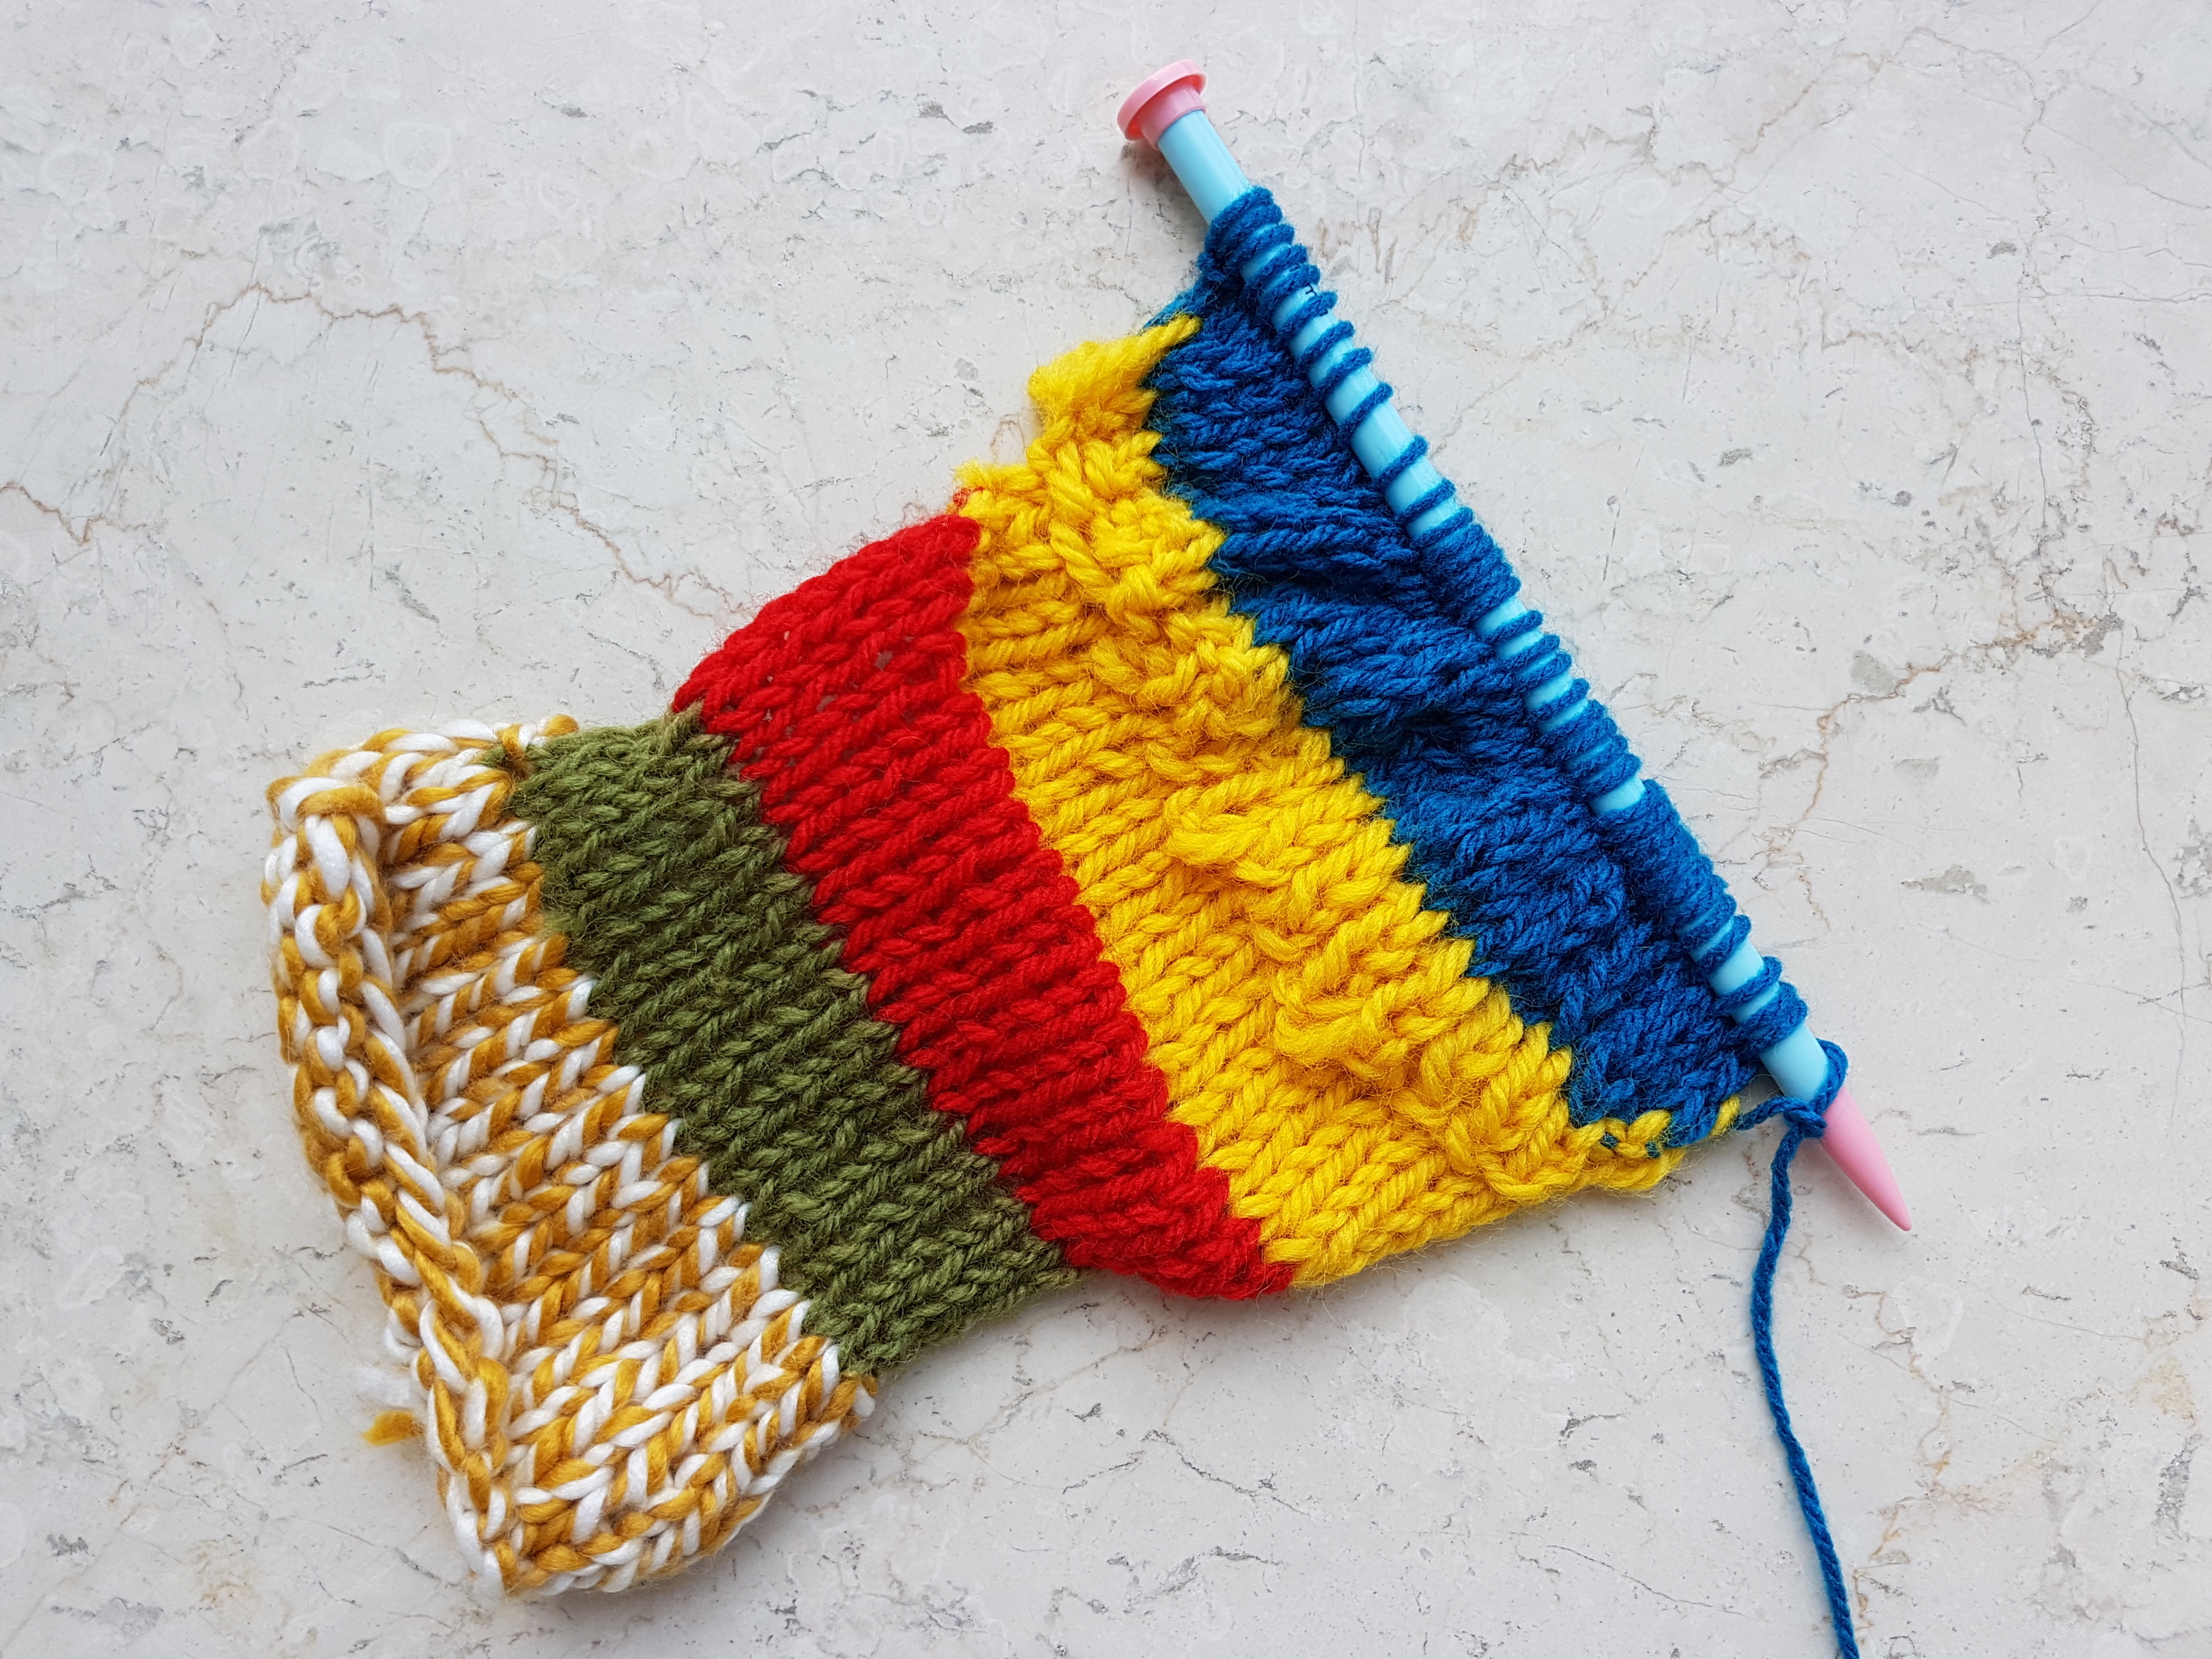
When adding different yarns, I also tried switching needle sizes to suit the larger yarns. Introduce the new yarn colour on a knit row to create a smooth transition between colours.
Switching yarn coloursStockinette stitch by alternating between knit and purlTraffic light!
I also tried to knit ribbing but this could be neater with more practice!
Experimentation: Knitting with unconventional materials
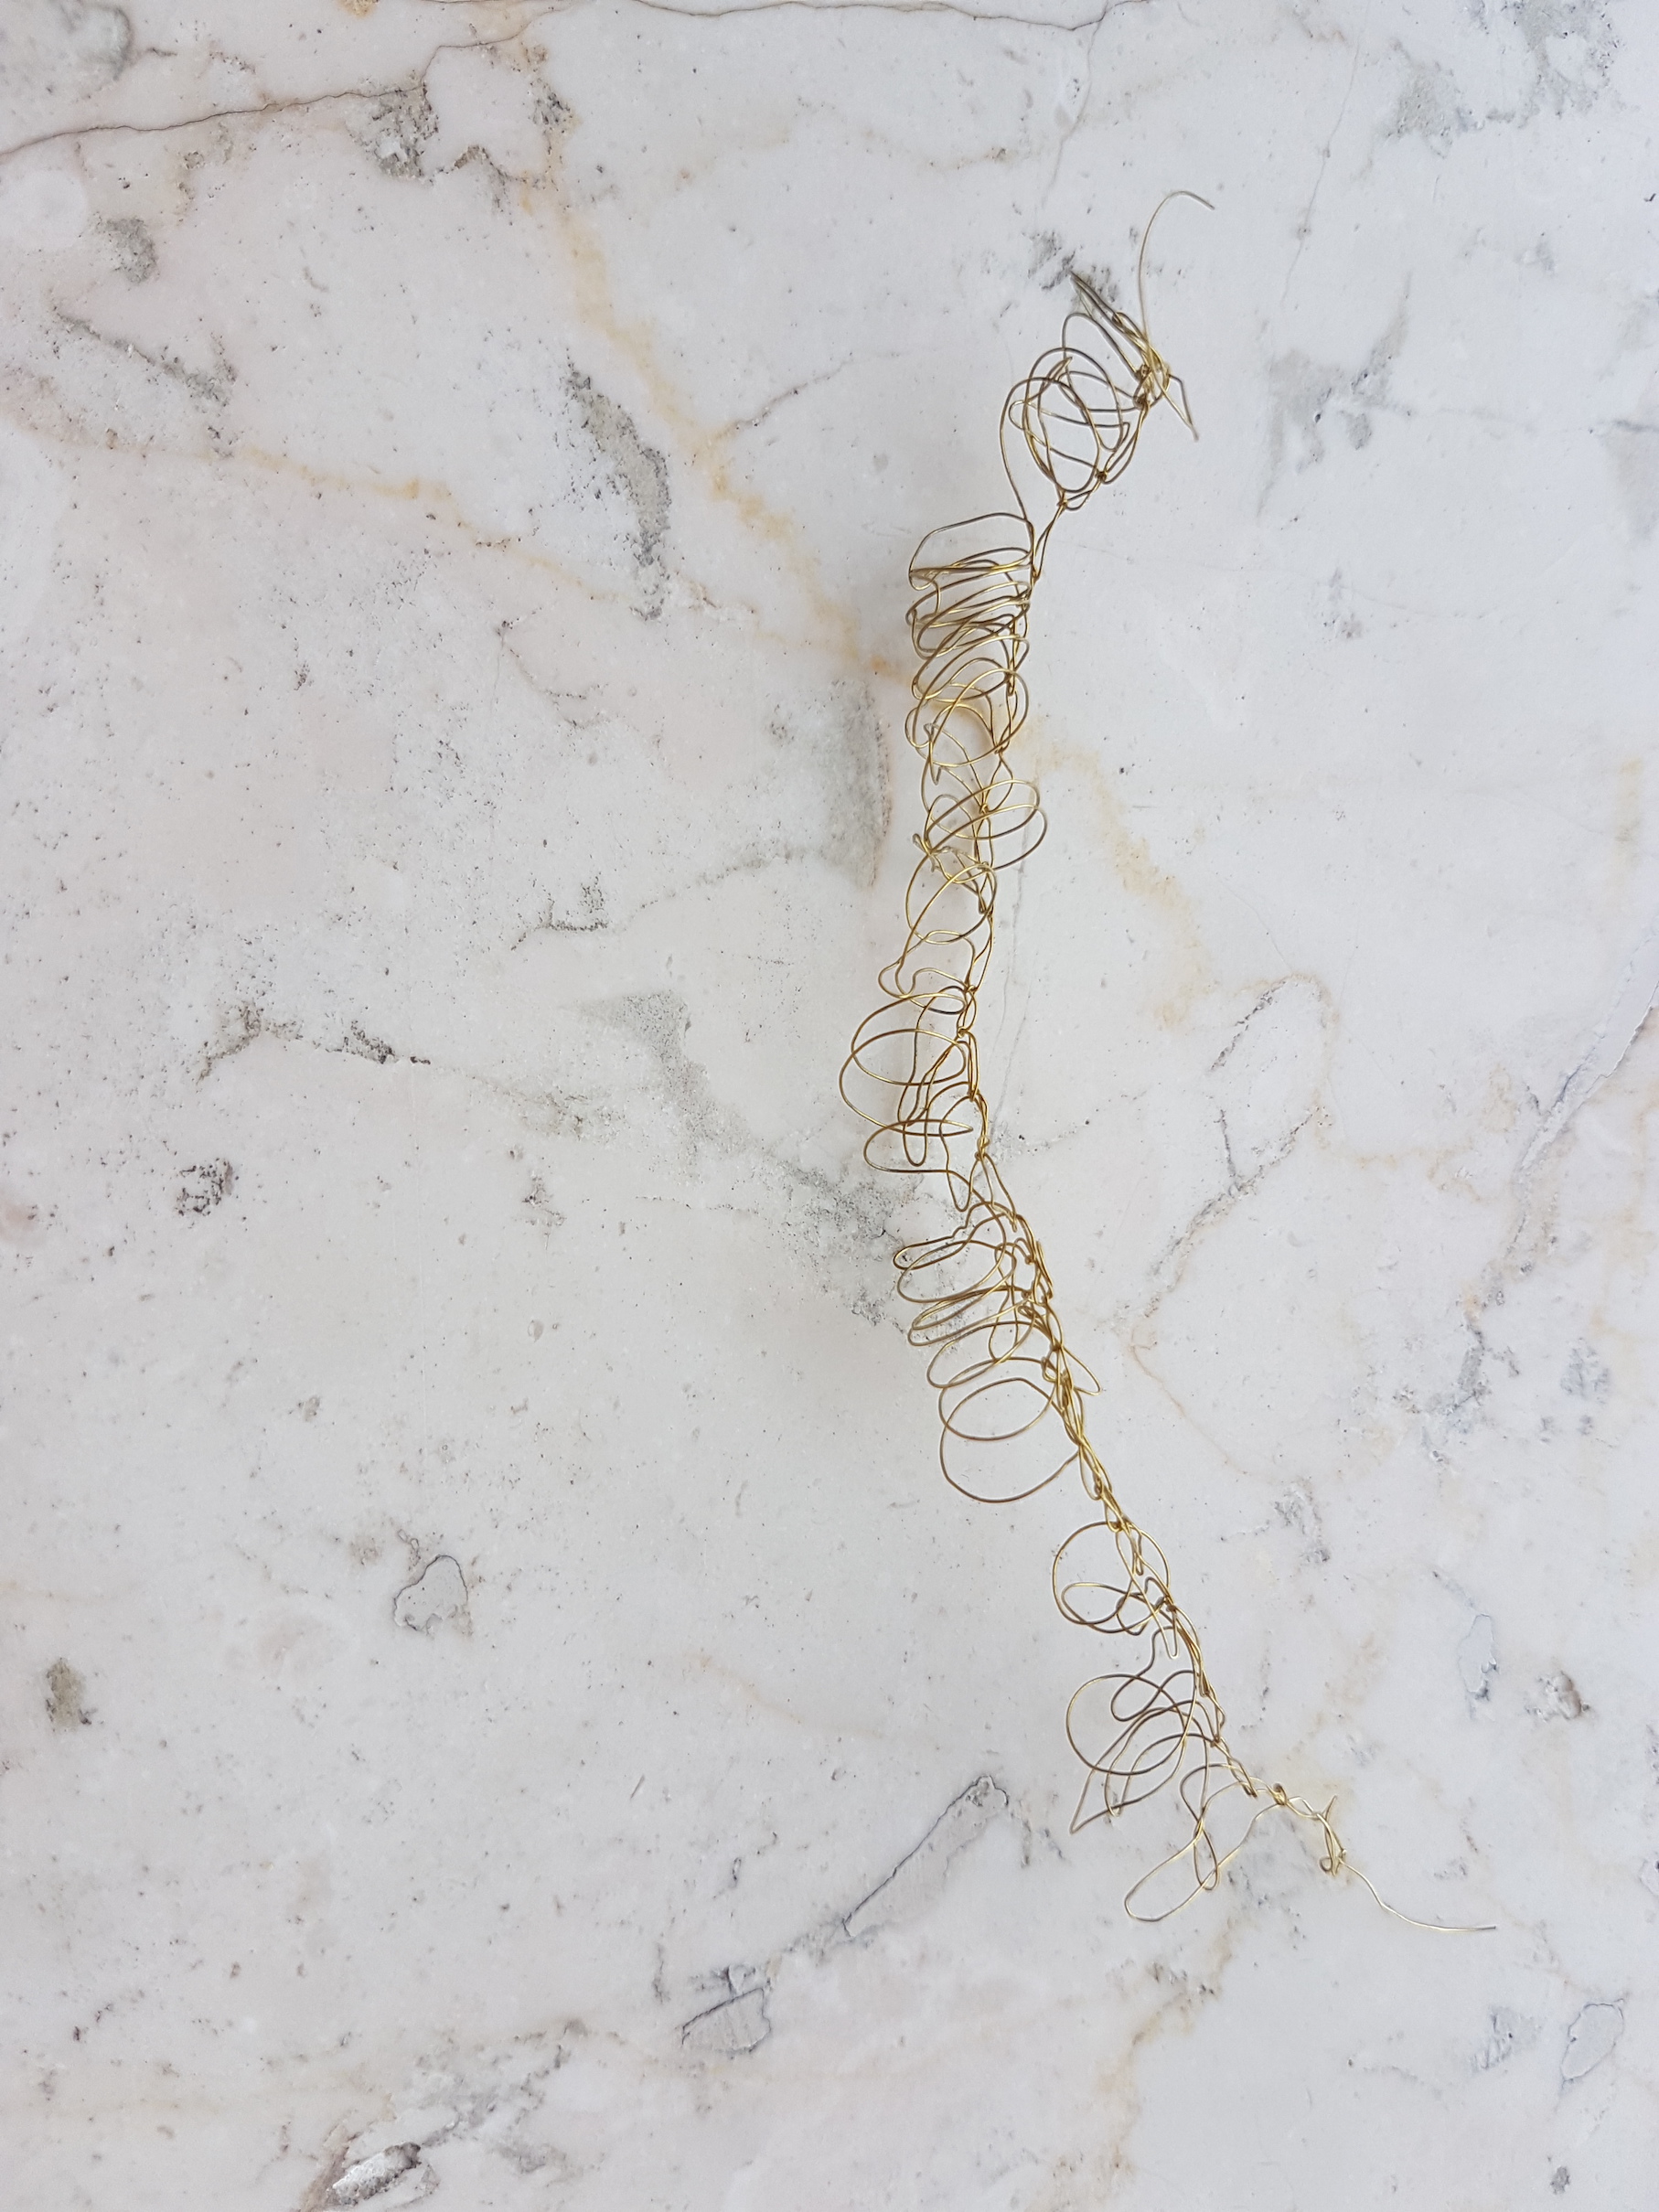
Knitting with golden wireAttempt at knitting with wire
I attempted to knit with a fine jewellery wire but it did not work out beyond a few rows as the wire formed kinks and lacked elasticity, making it difficult to loop and manipulate.
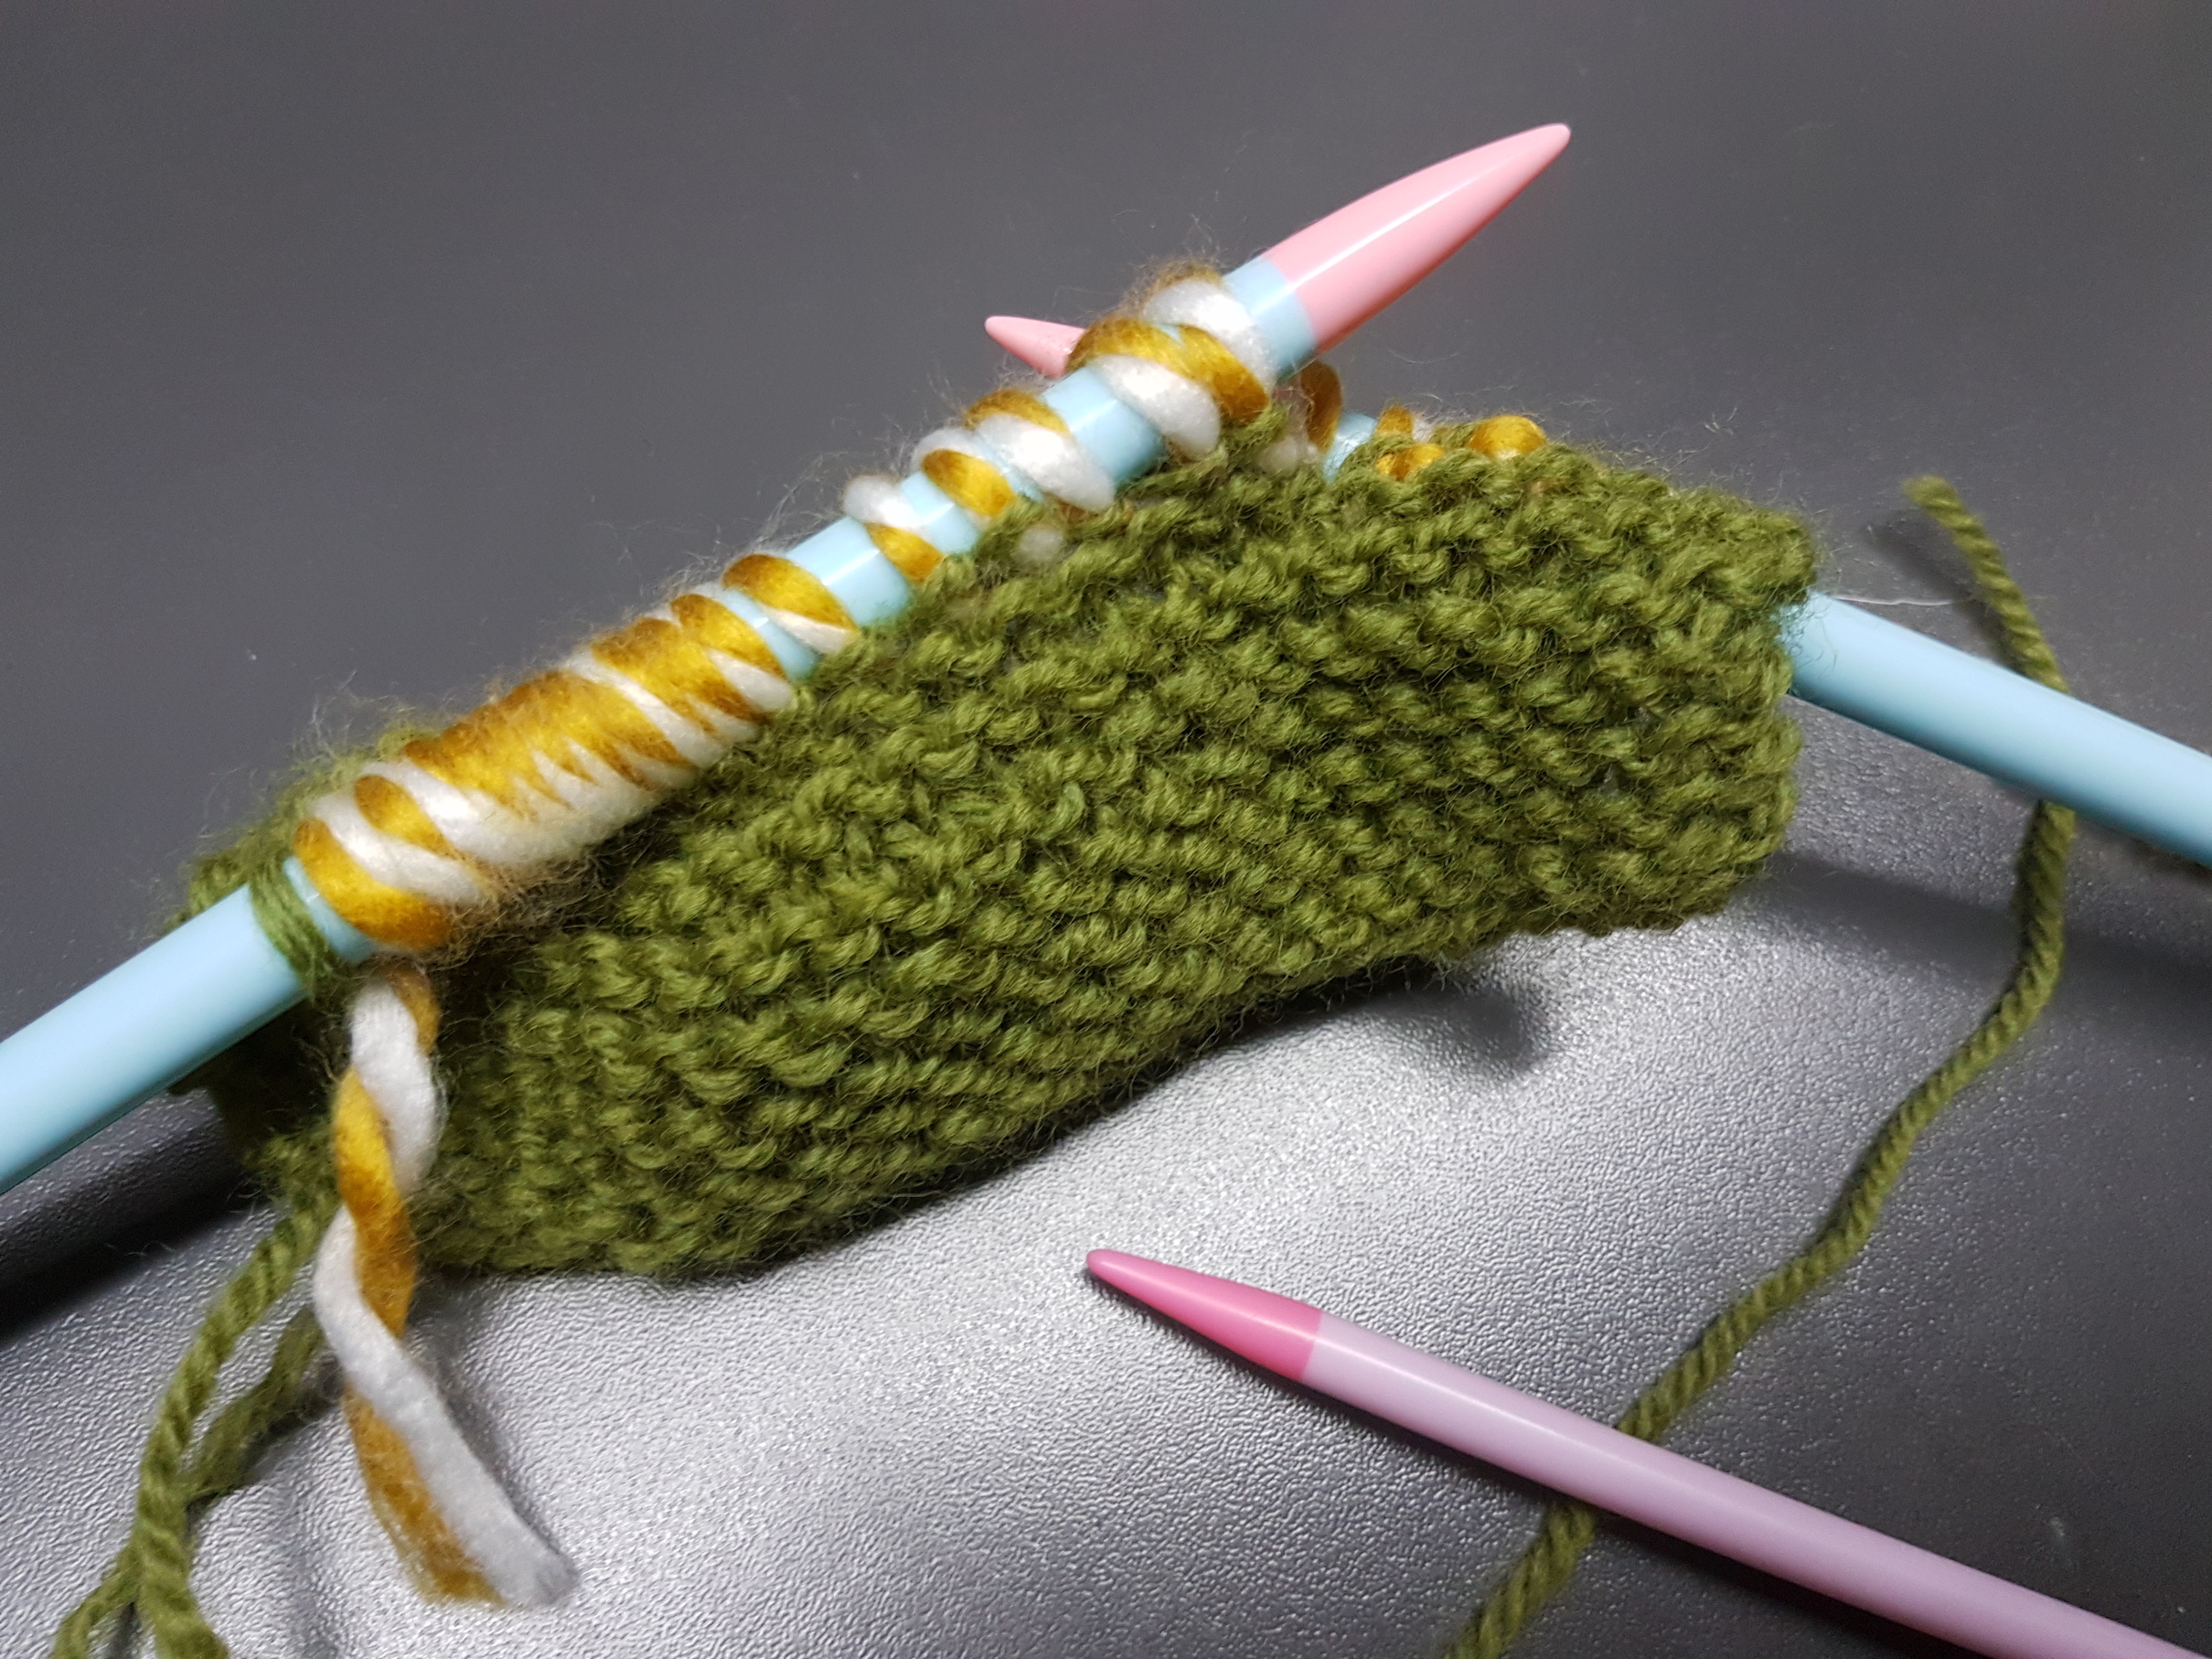
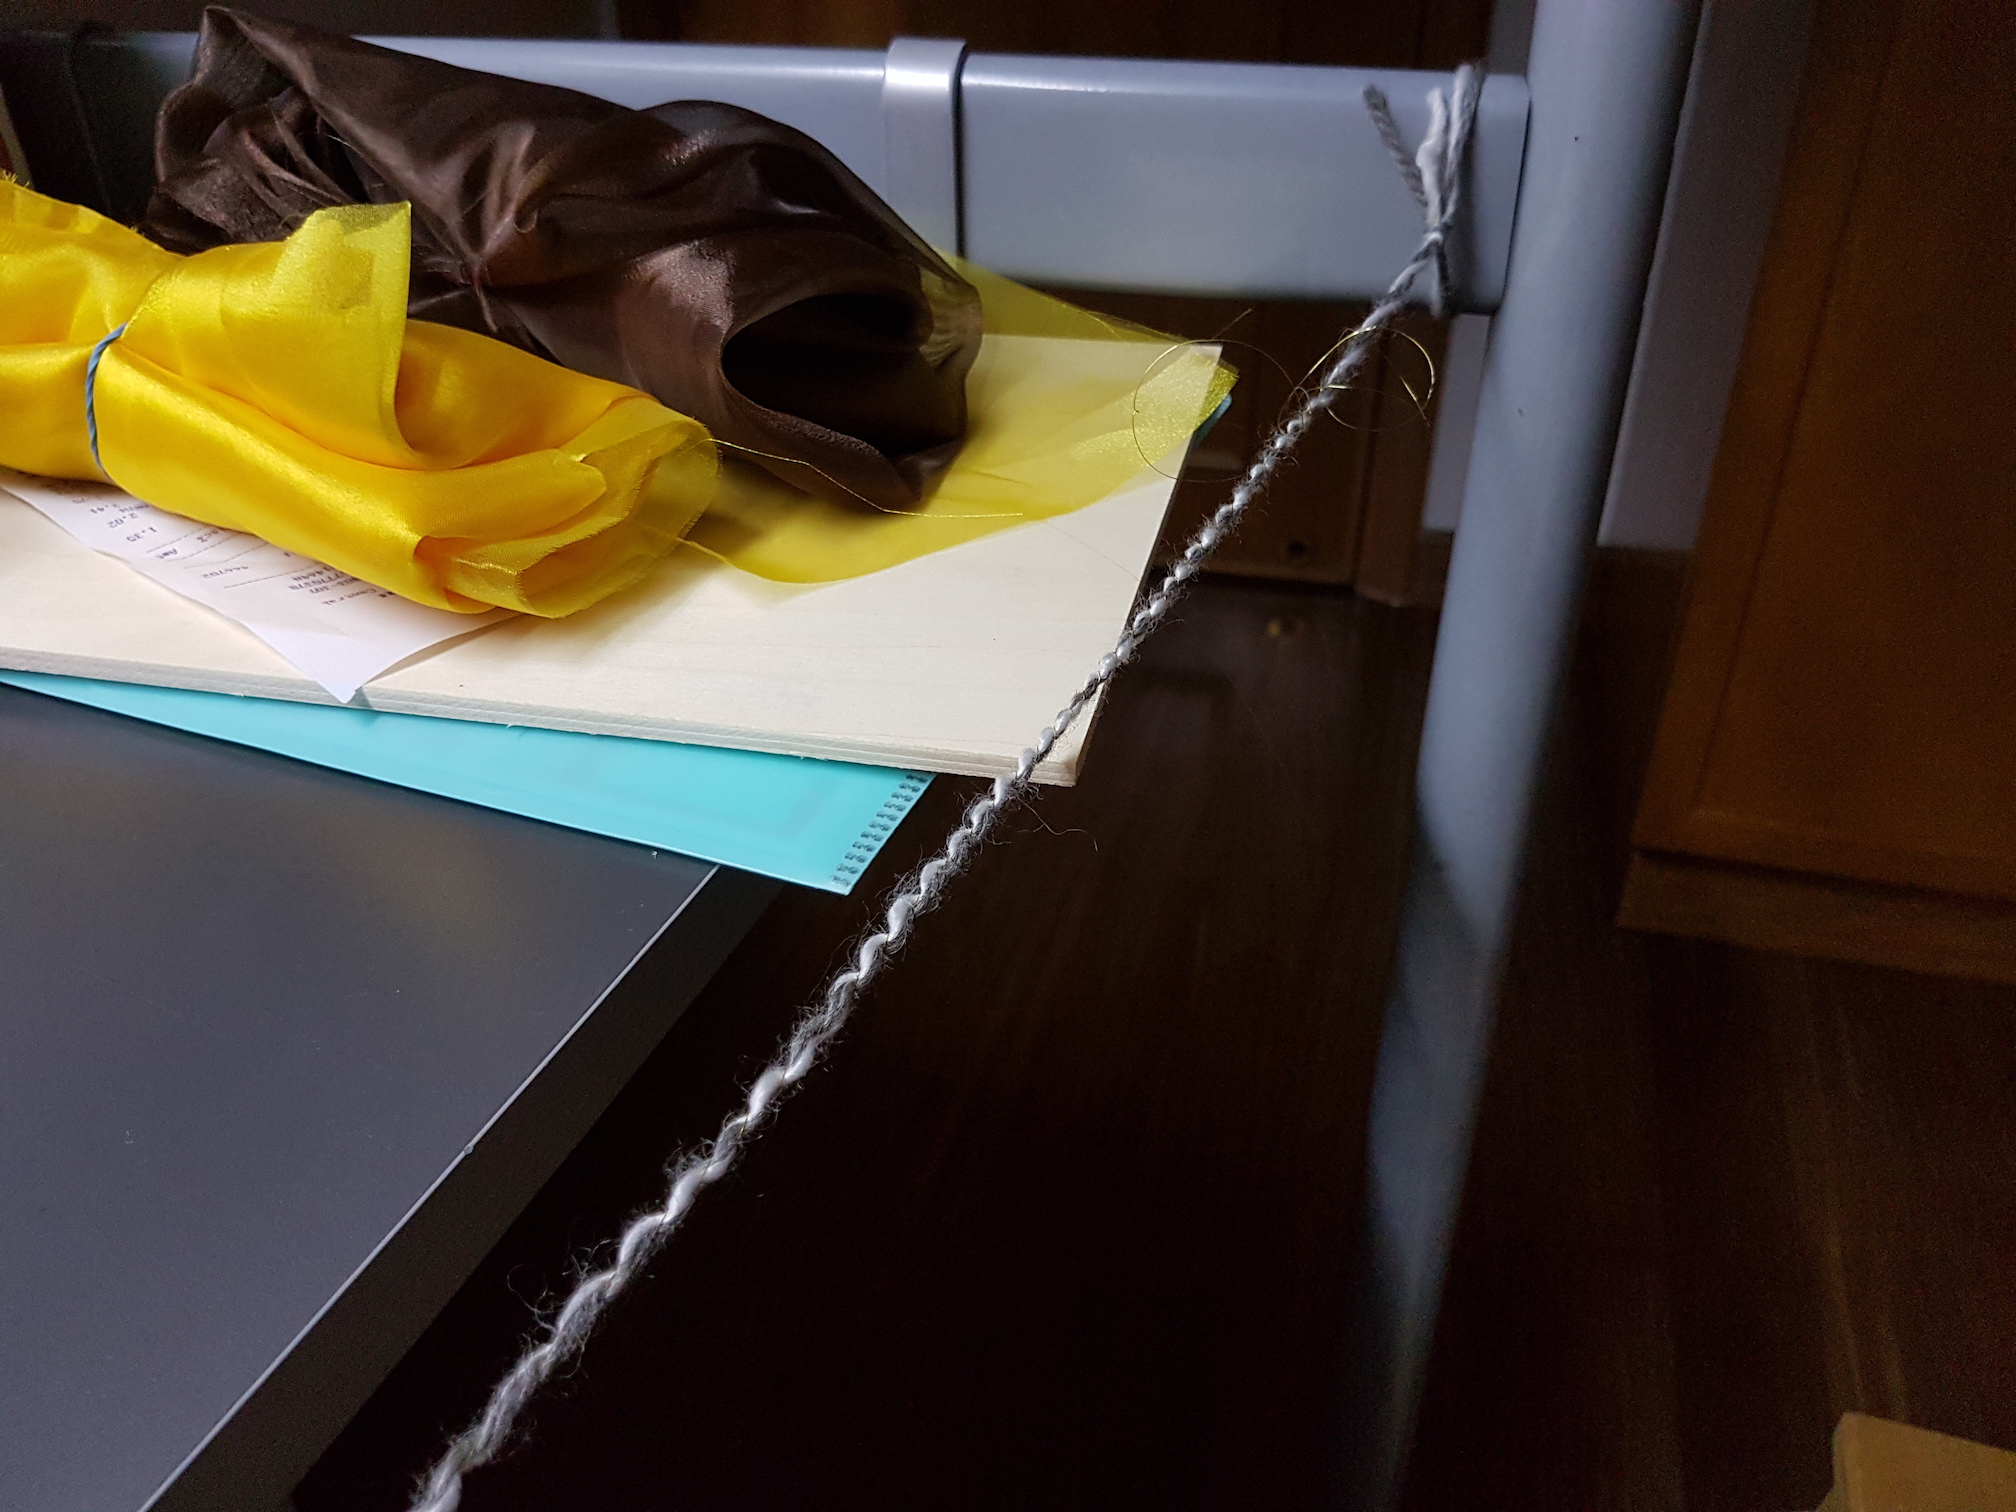
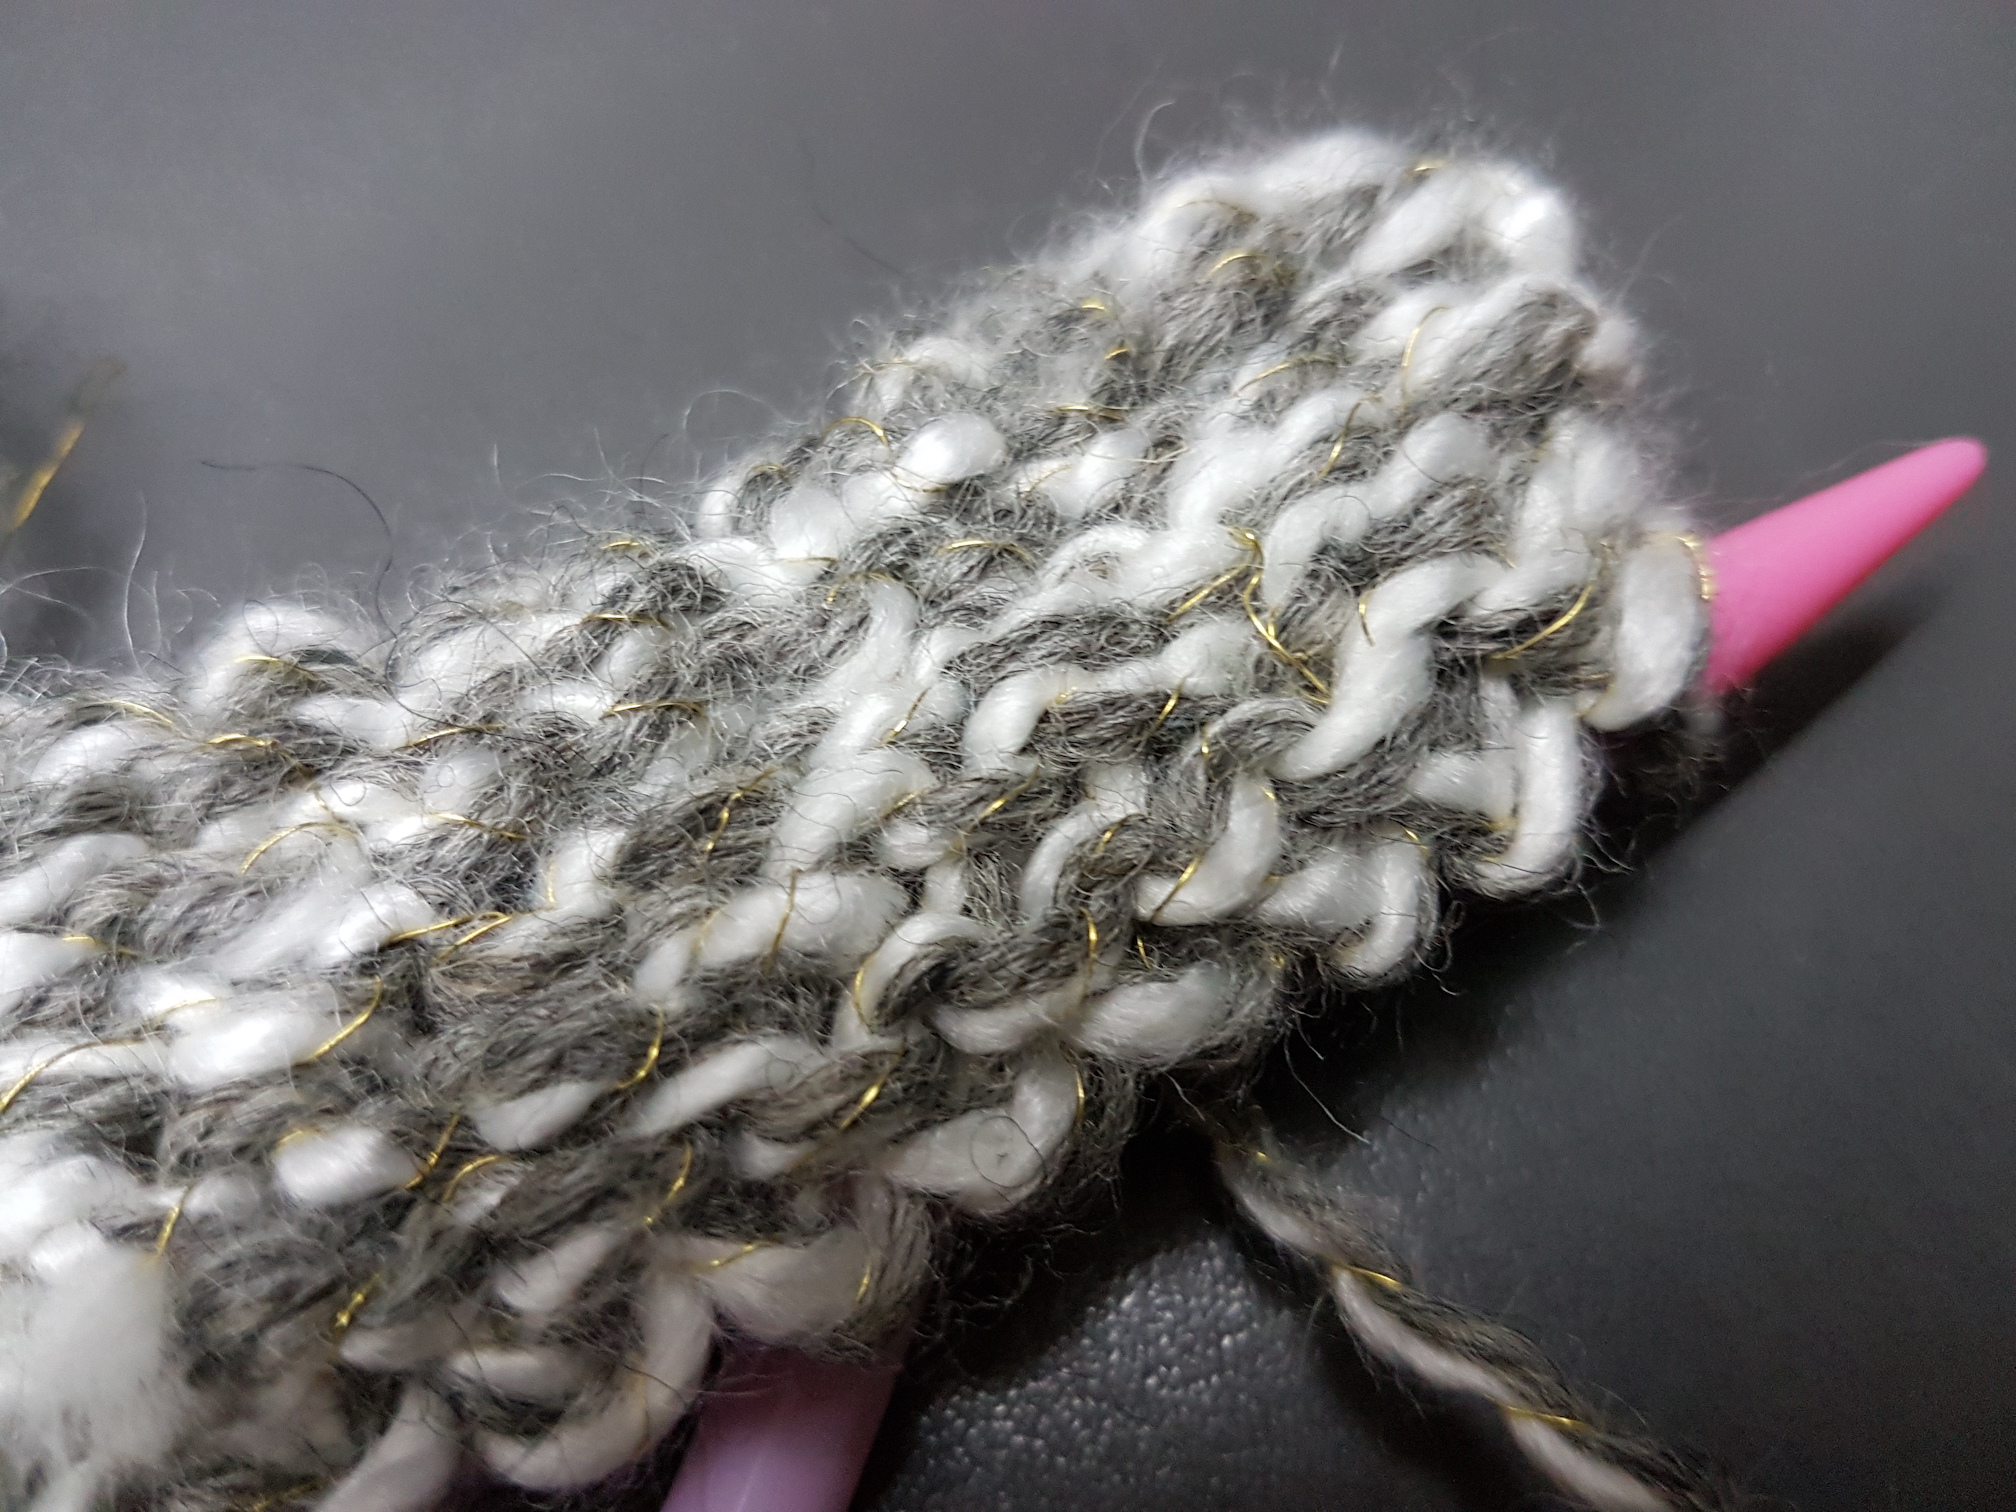
Instead, I tried weaving the wire together with wool yarn to form a new 3-coloured yarn with white yarn, charcoal grey yarn and golden wire.
Twisting and coiling the yarns and wire together
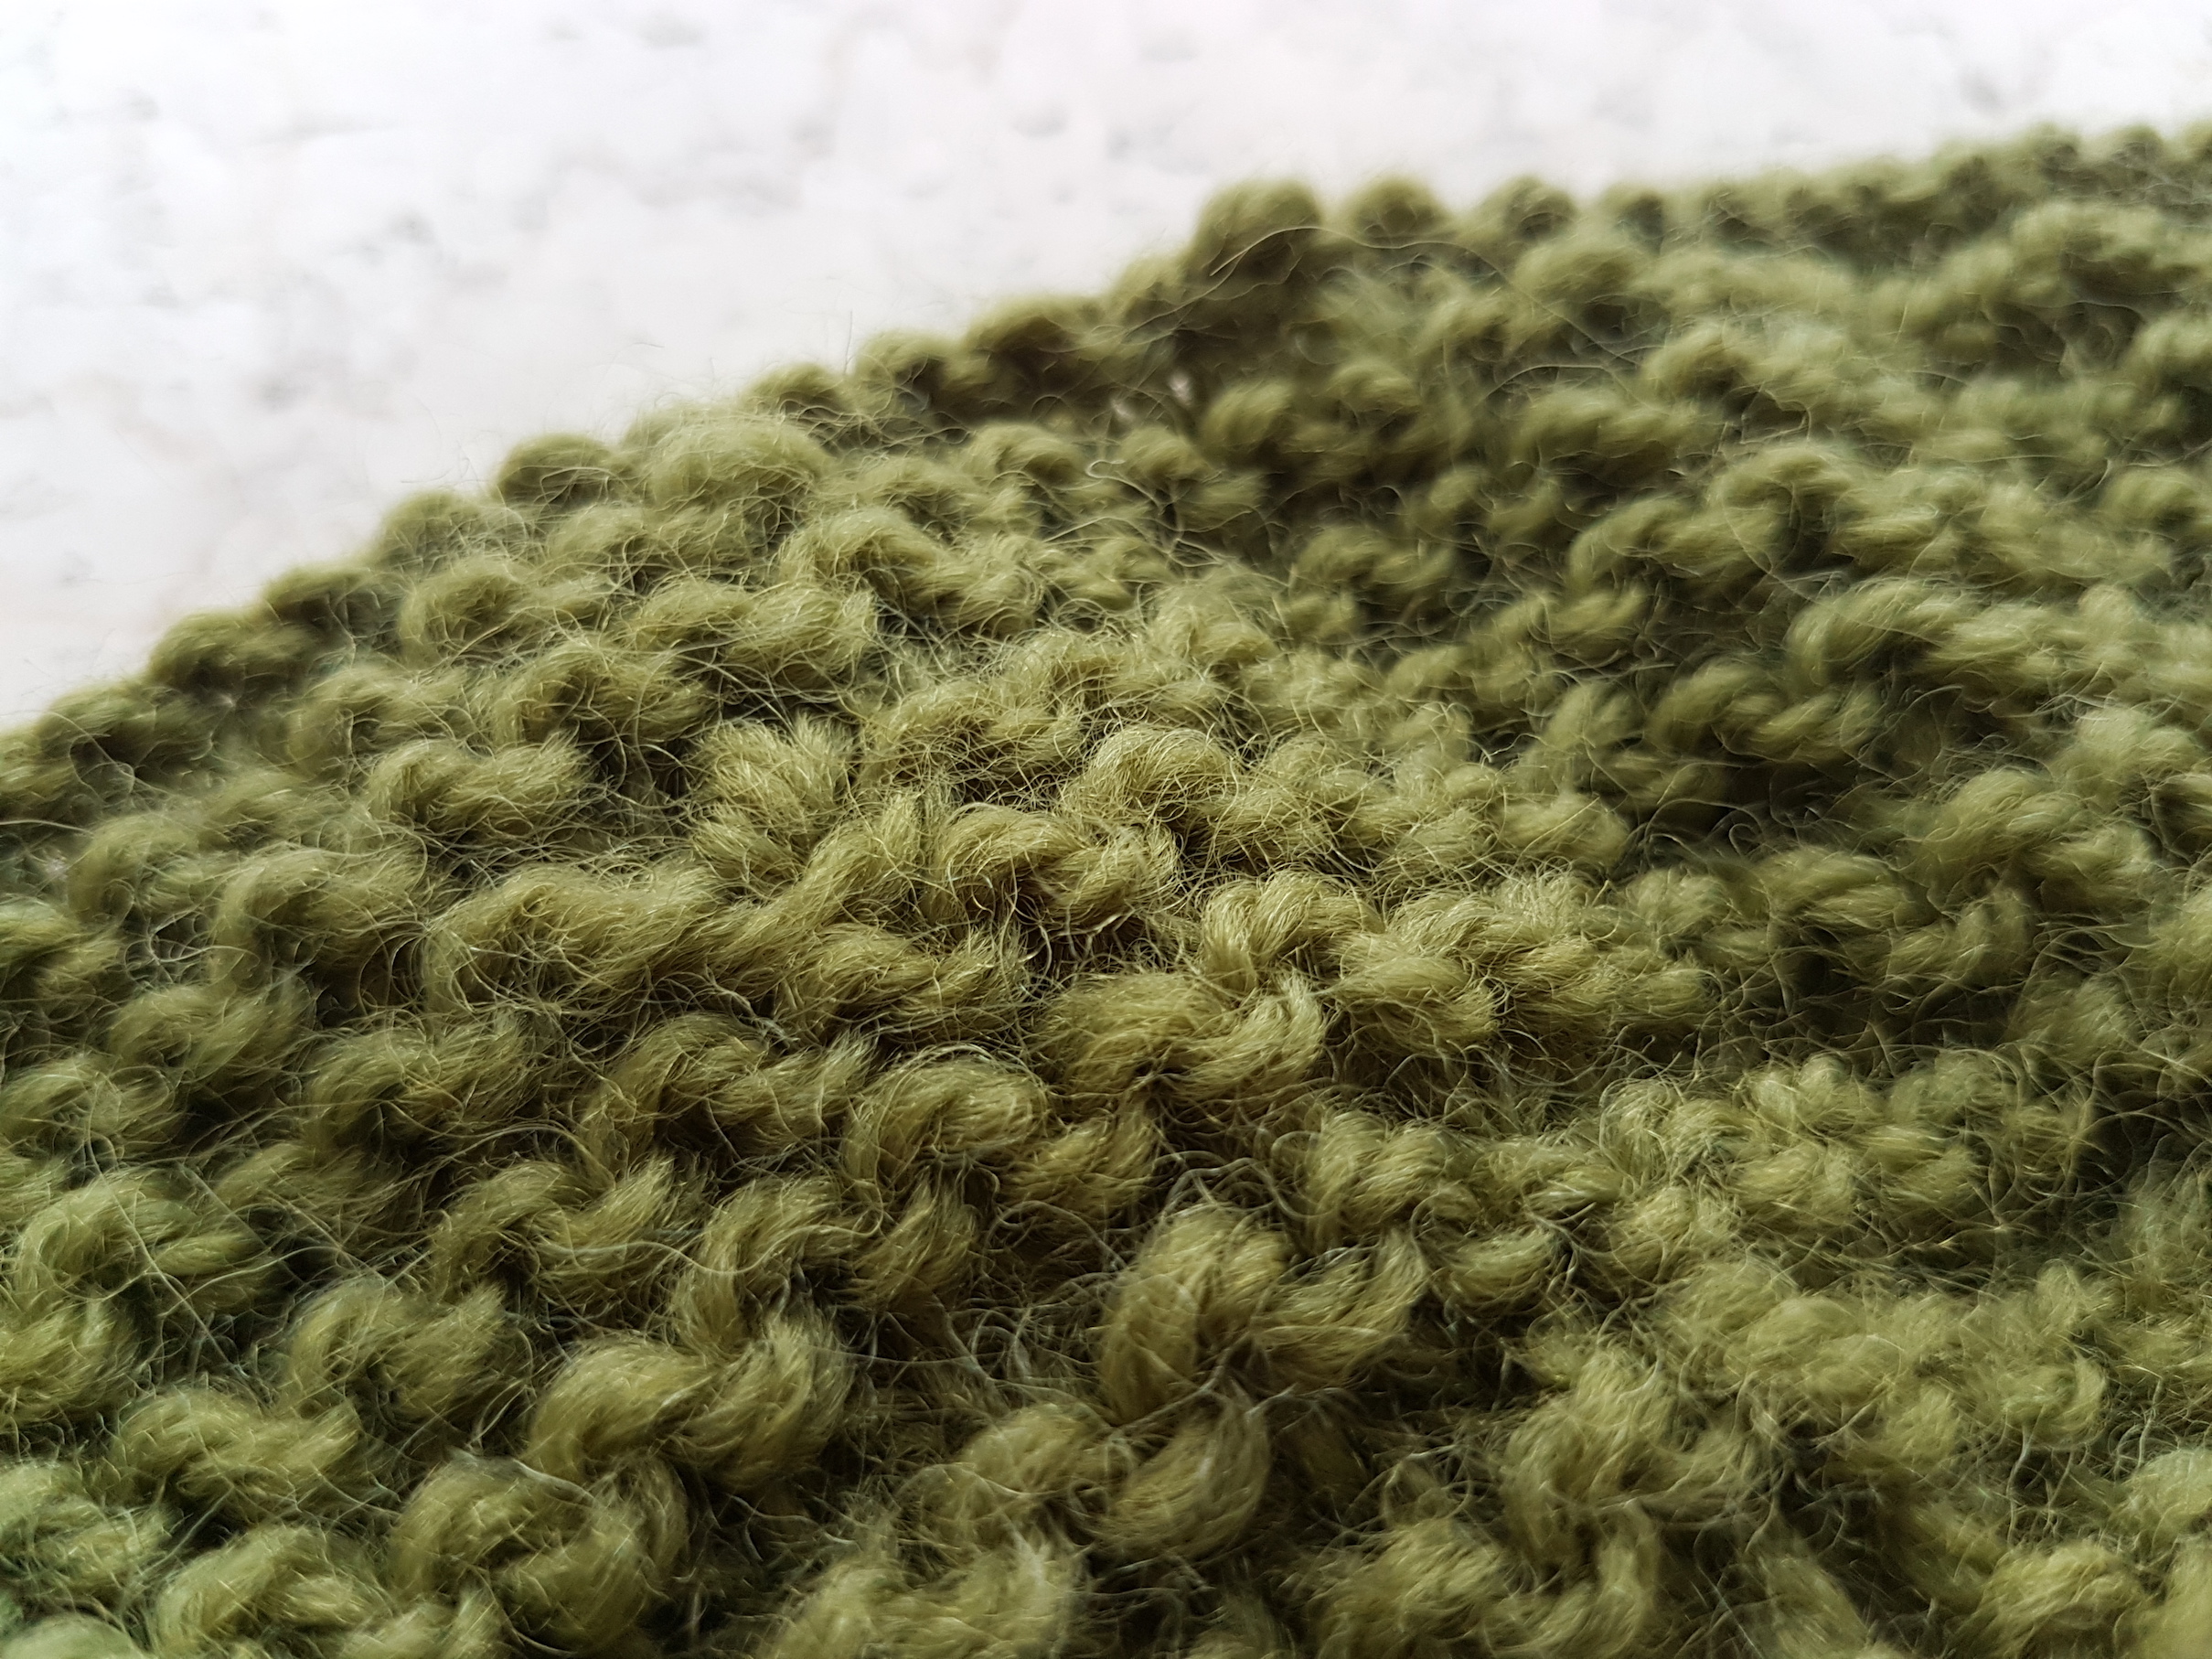
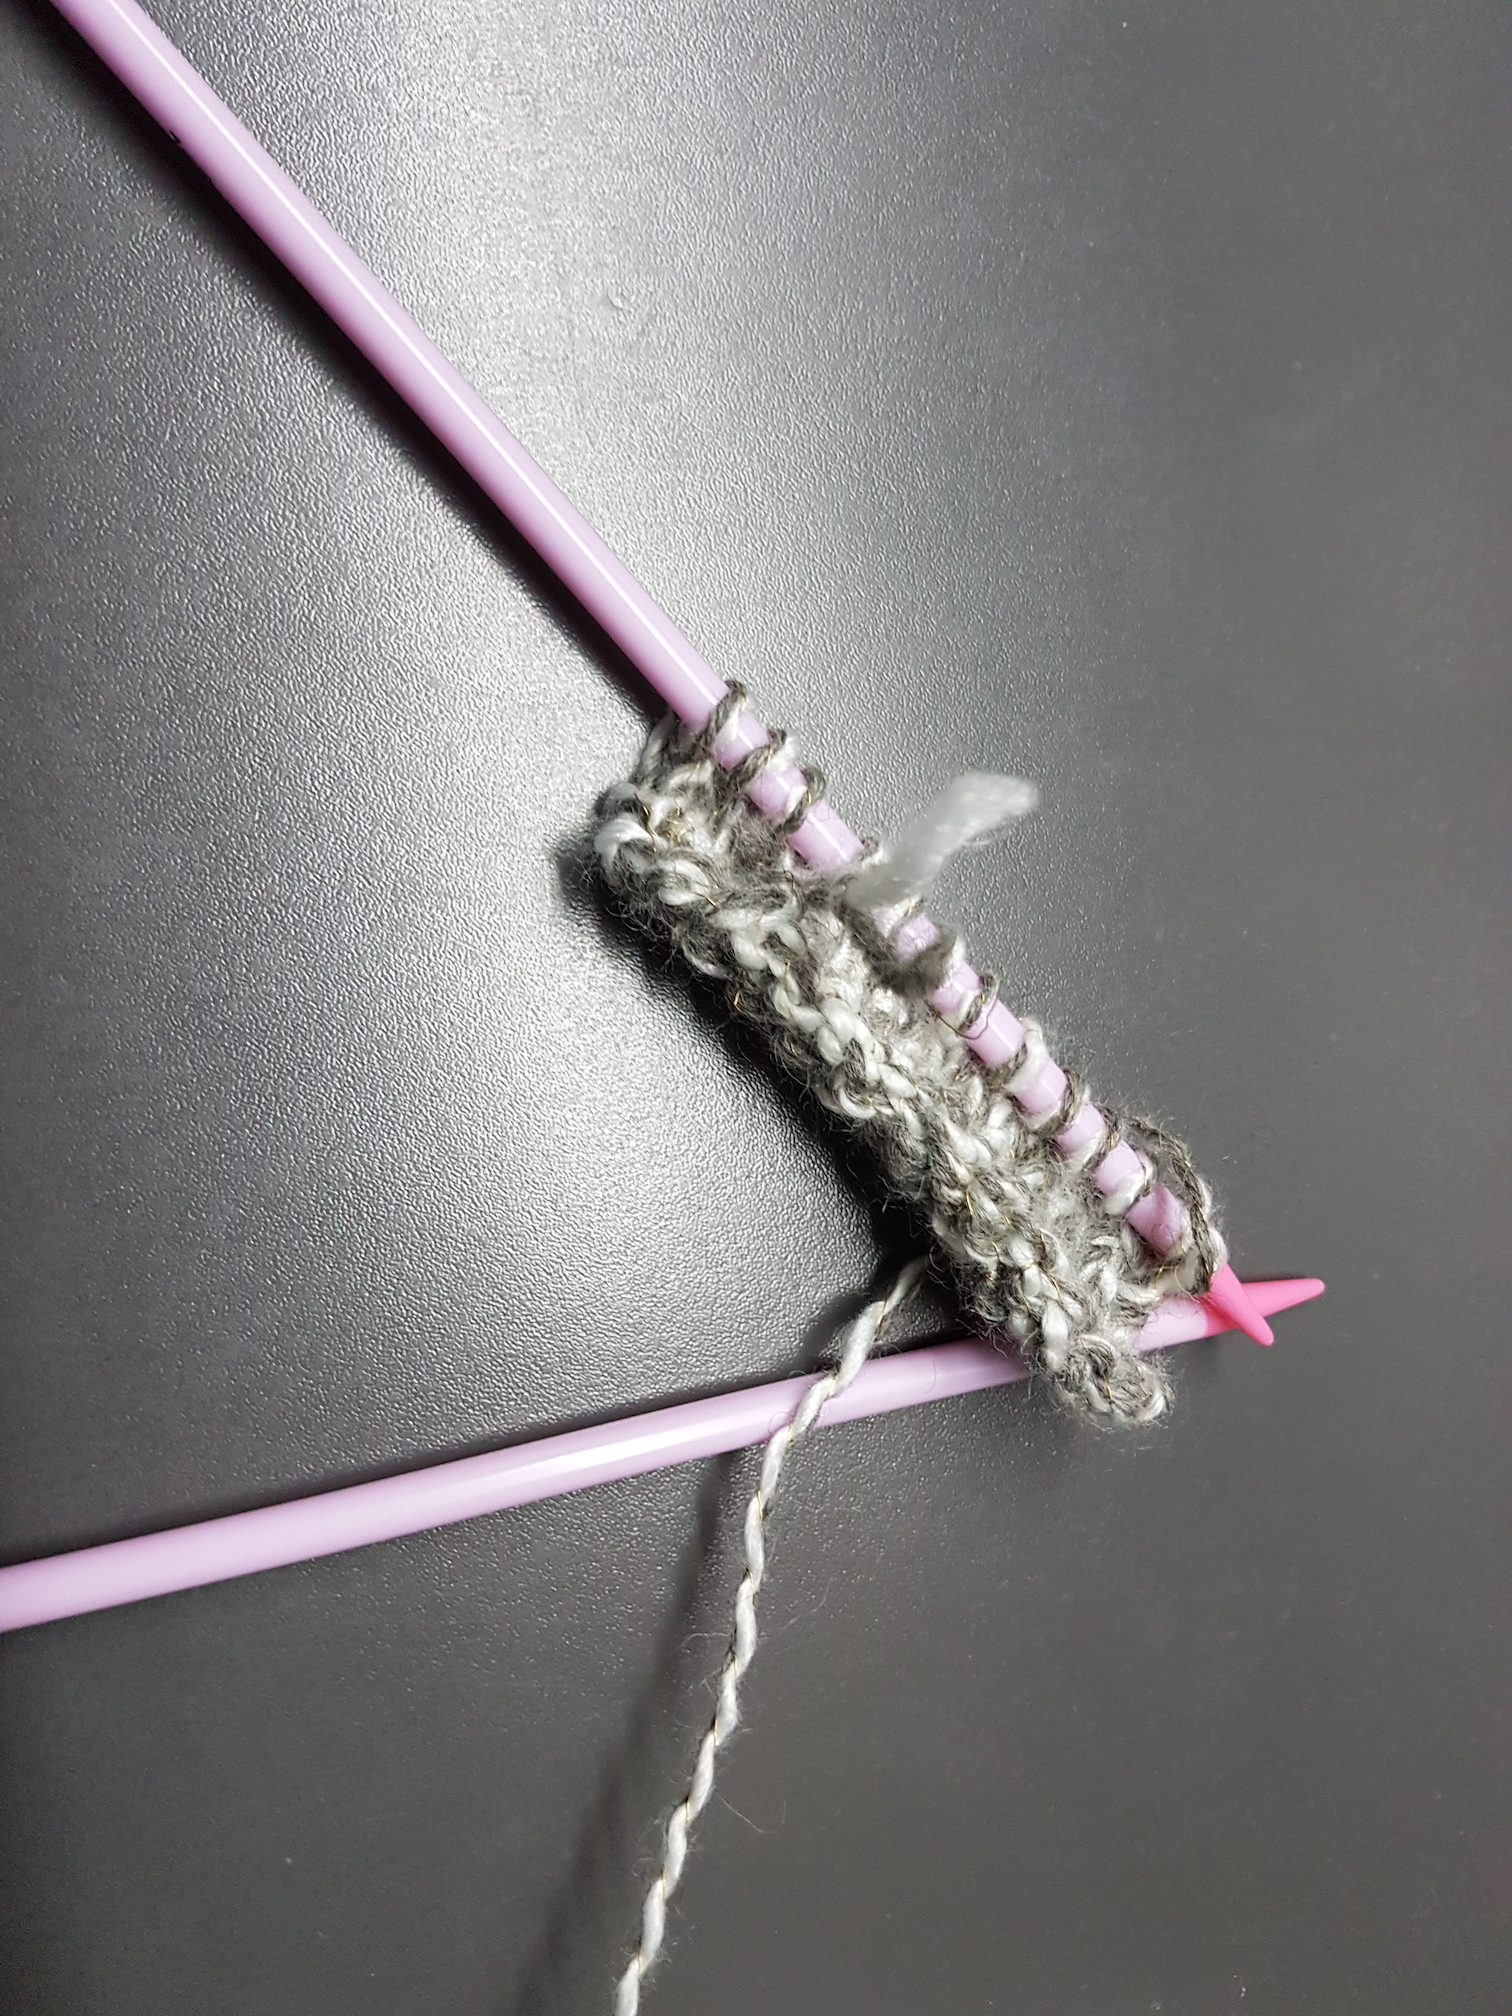
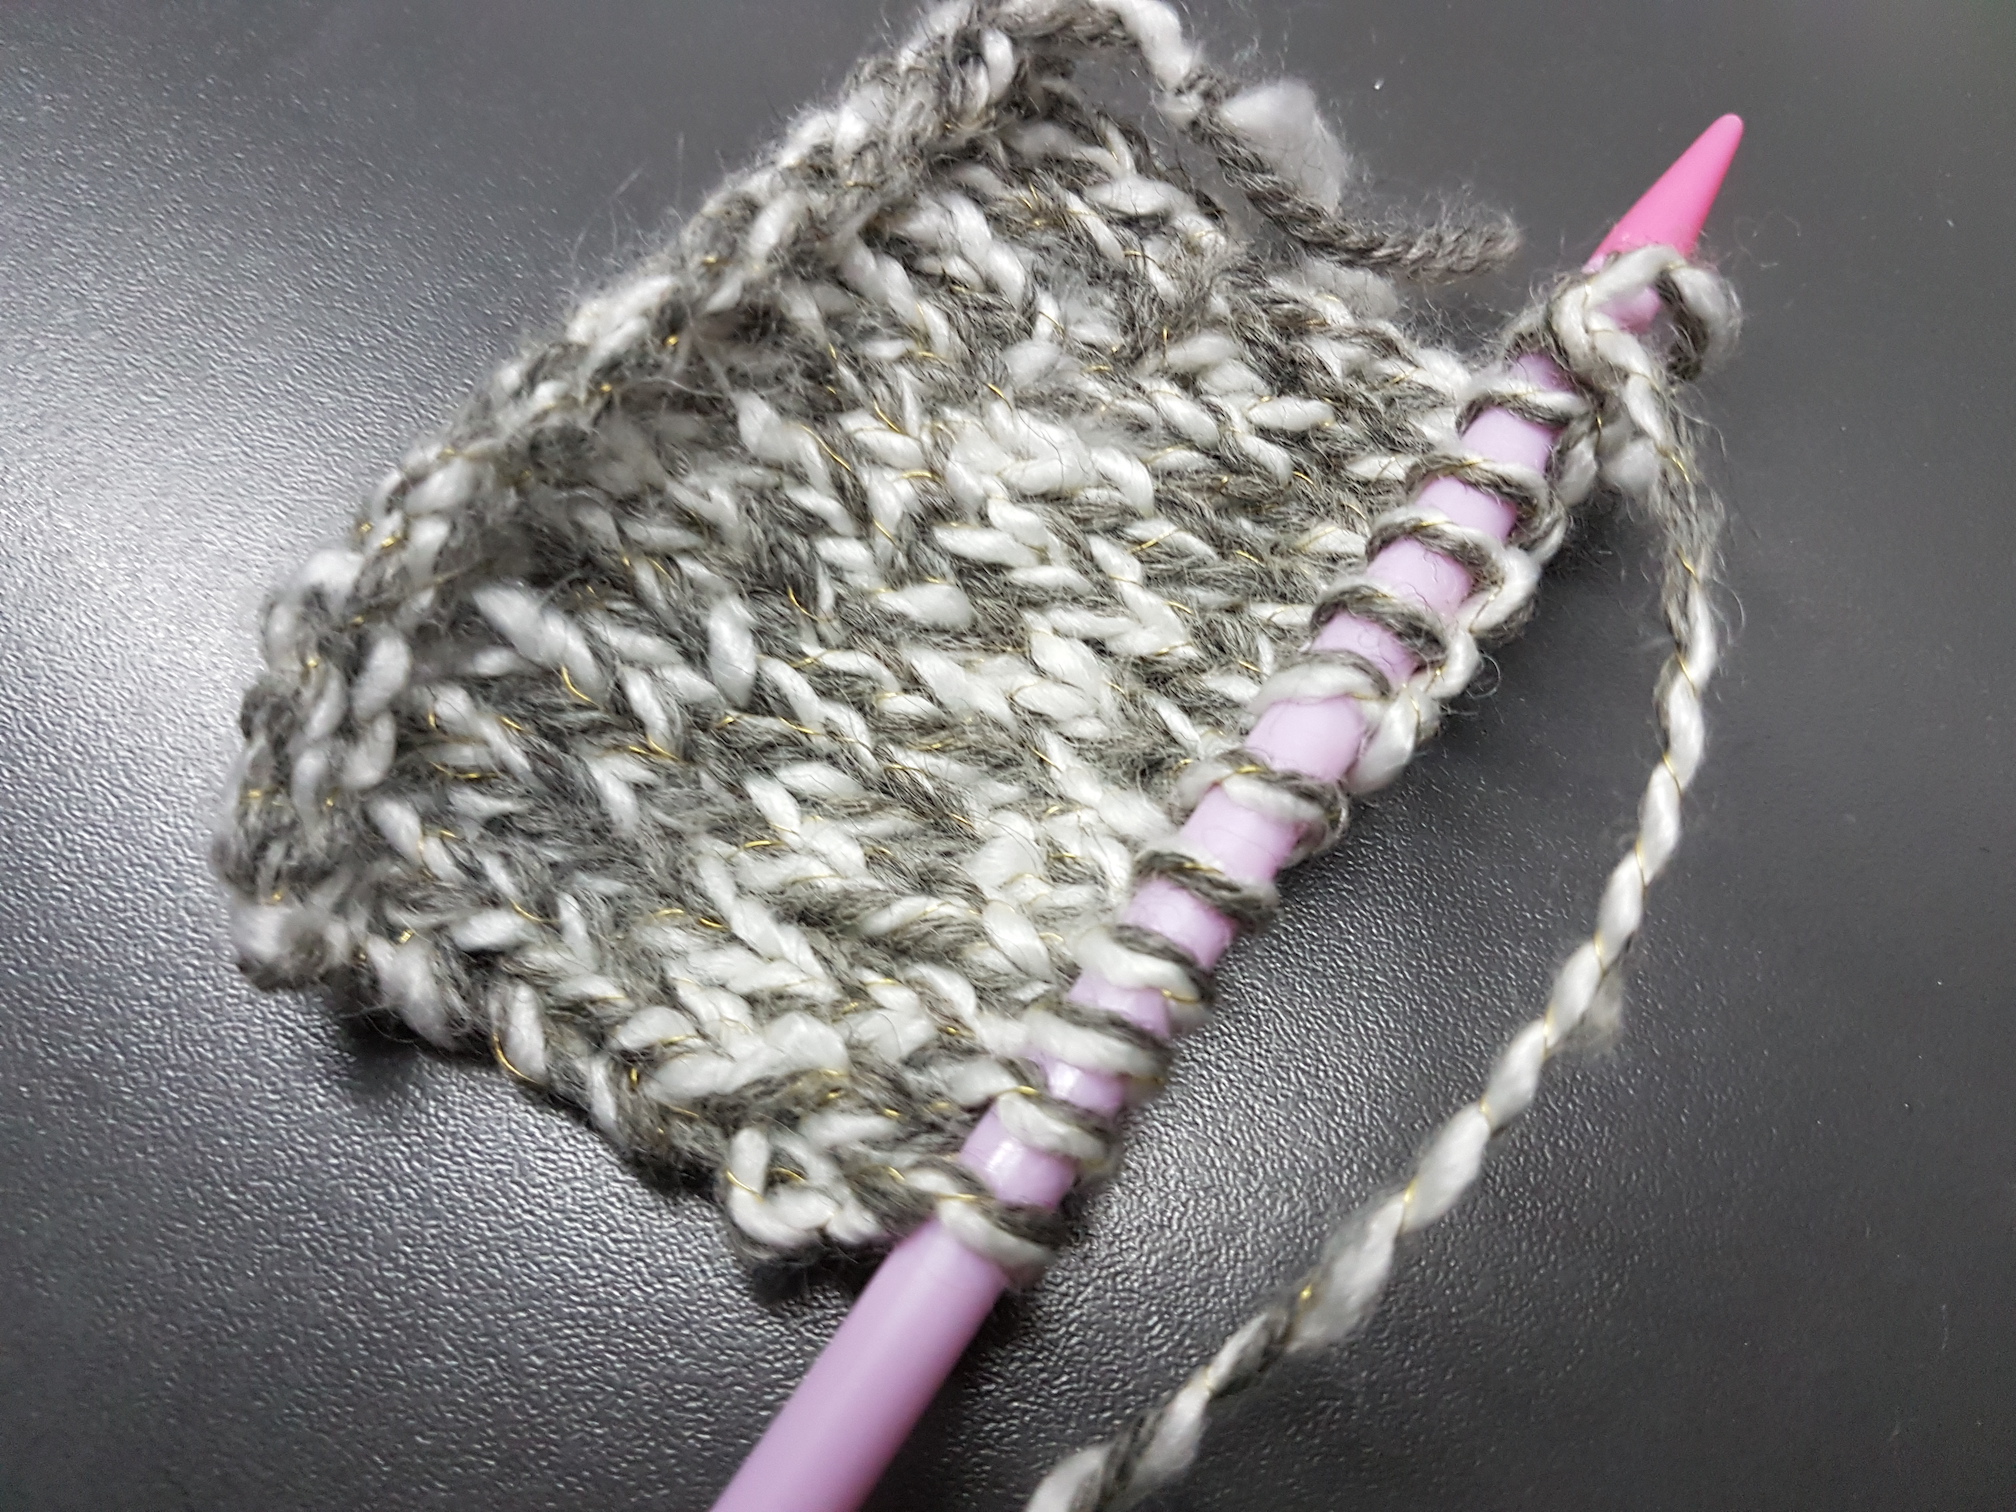
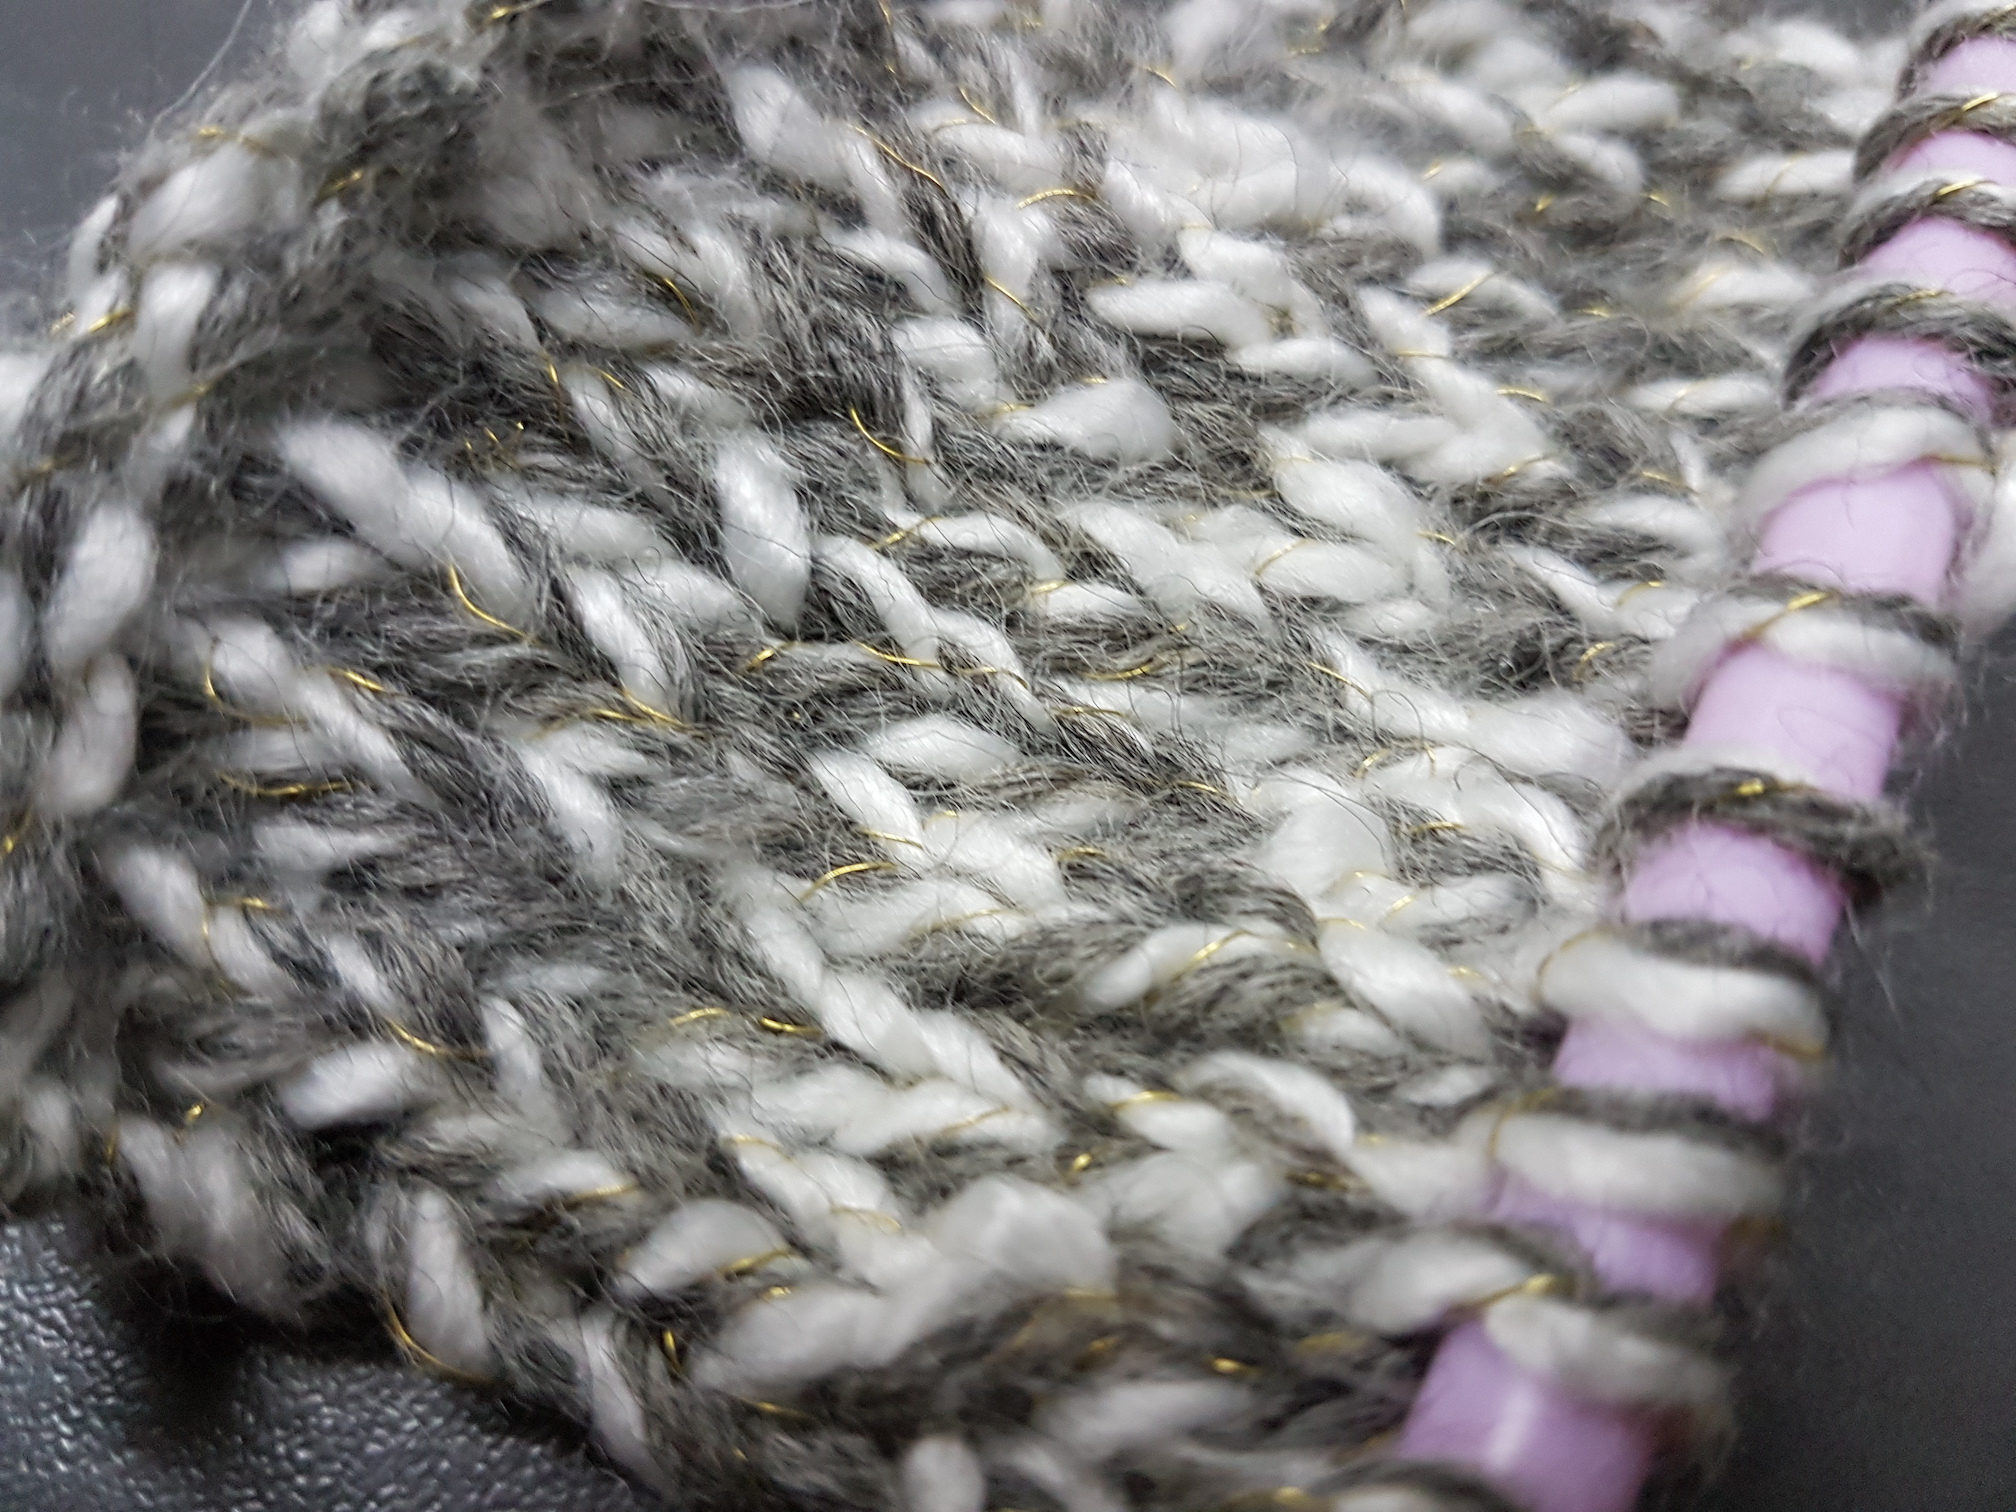
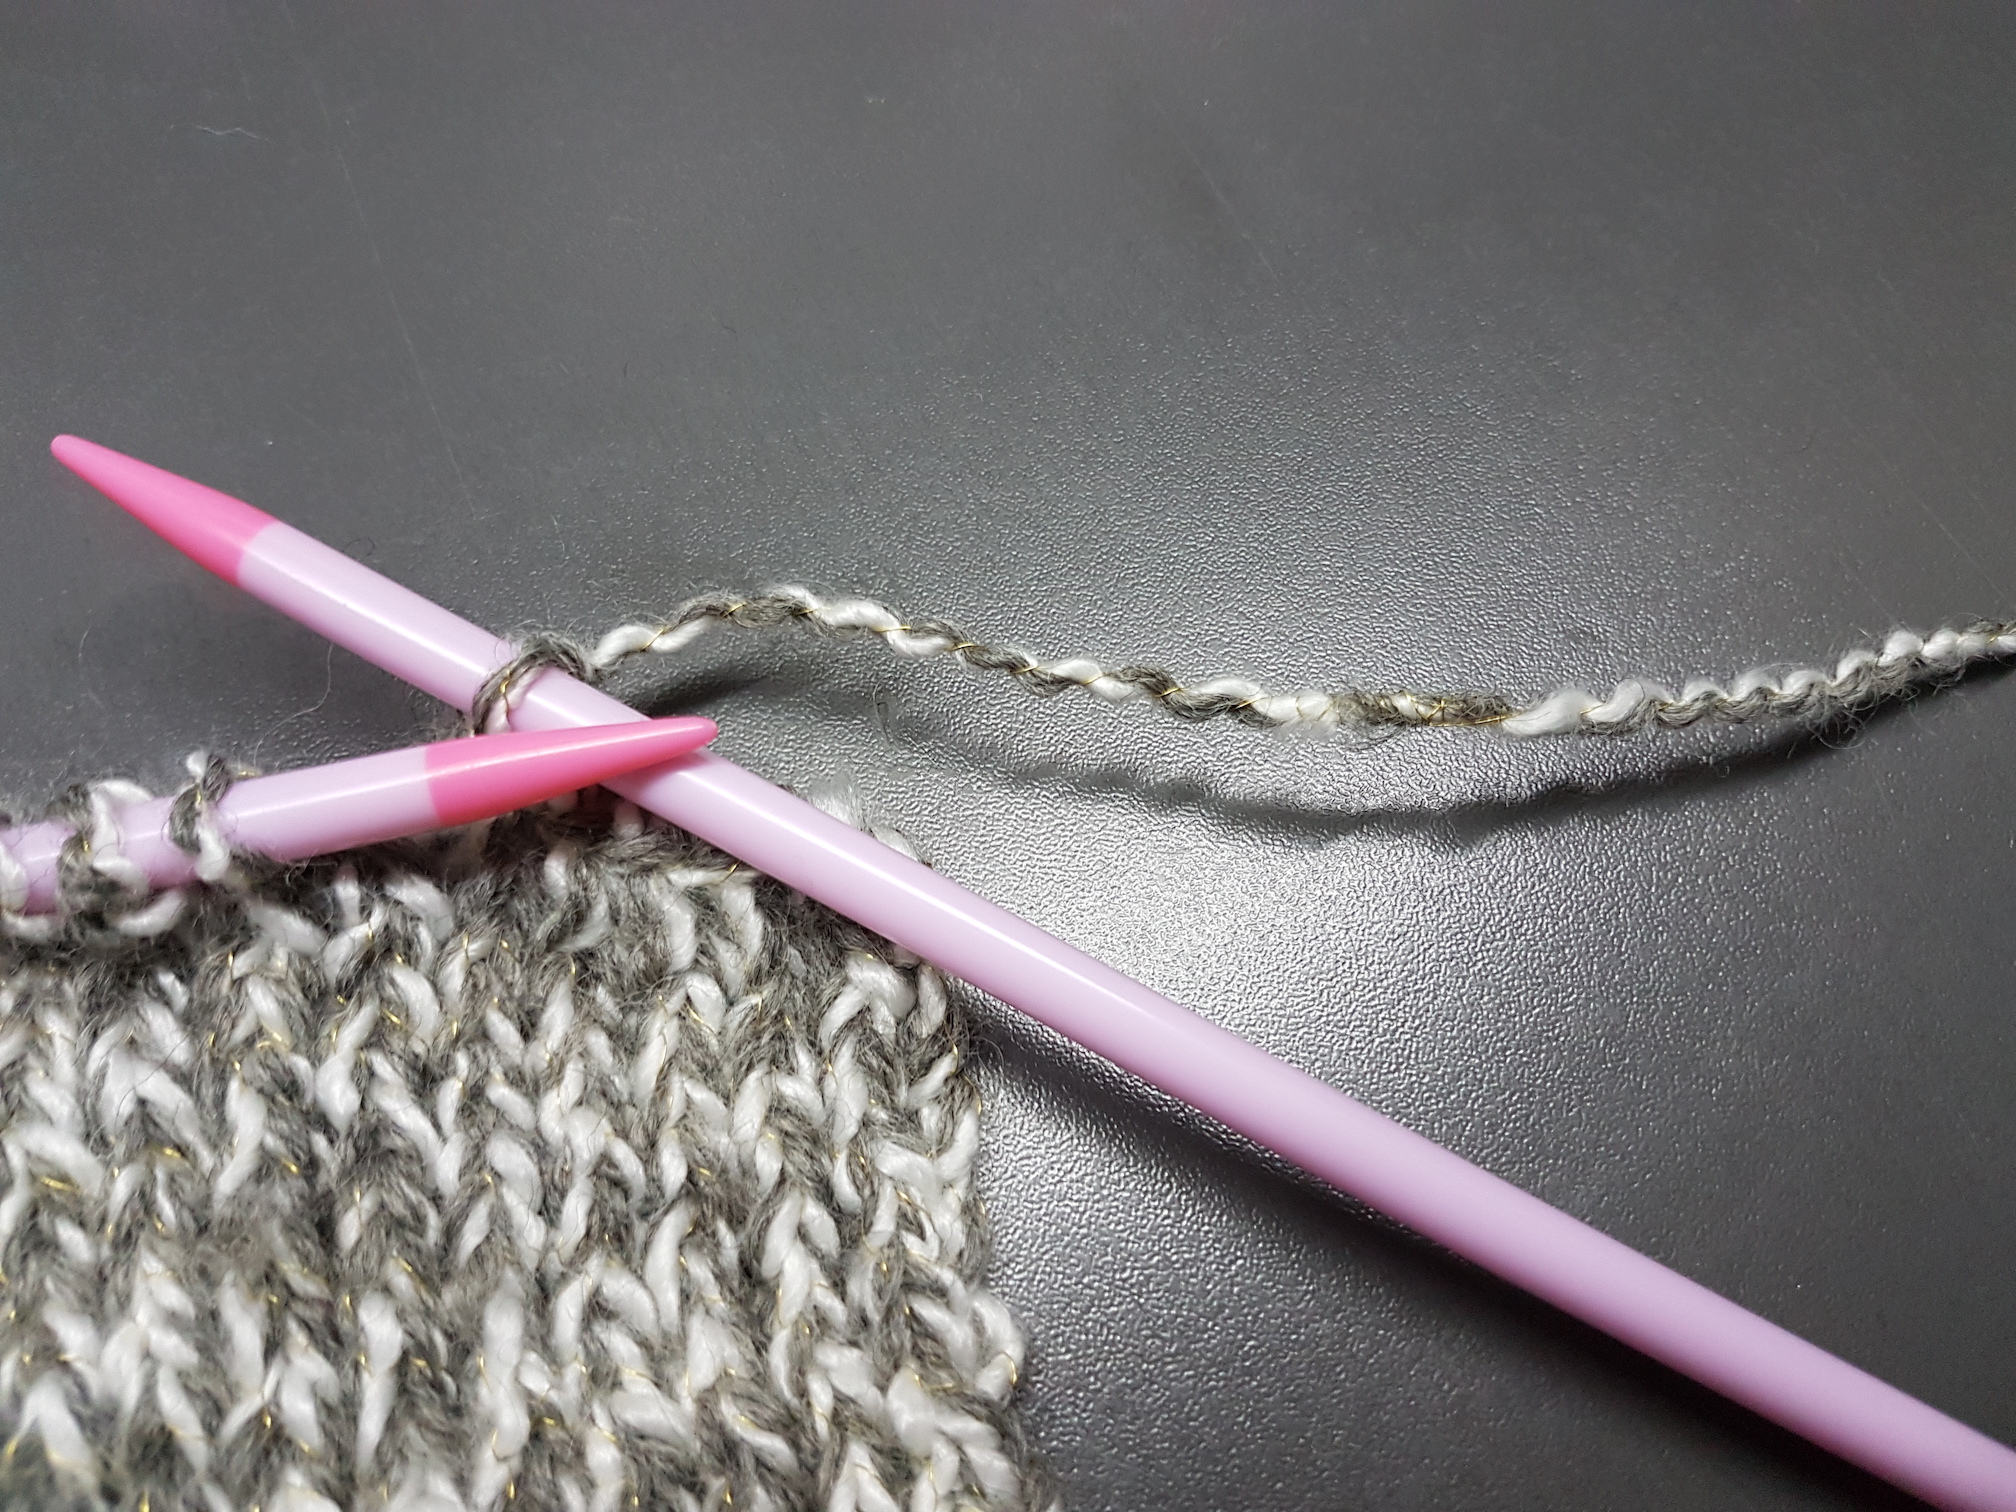
I used this 3-coloured yarn to knit a sample which was soft to the touch yet stiff due to the wire coil.
Casting off to end the knitting with a smooth edgeFinished sample
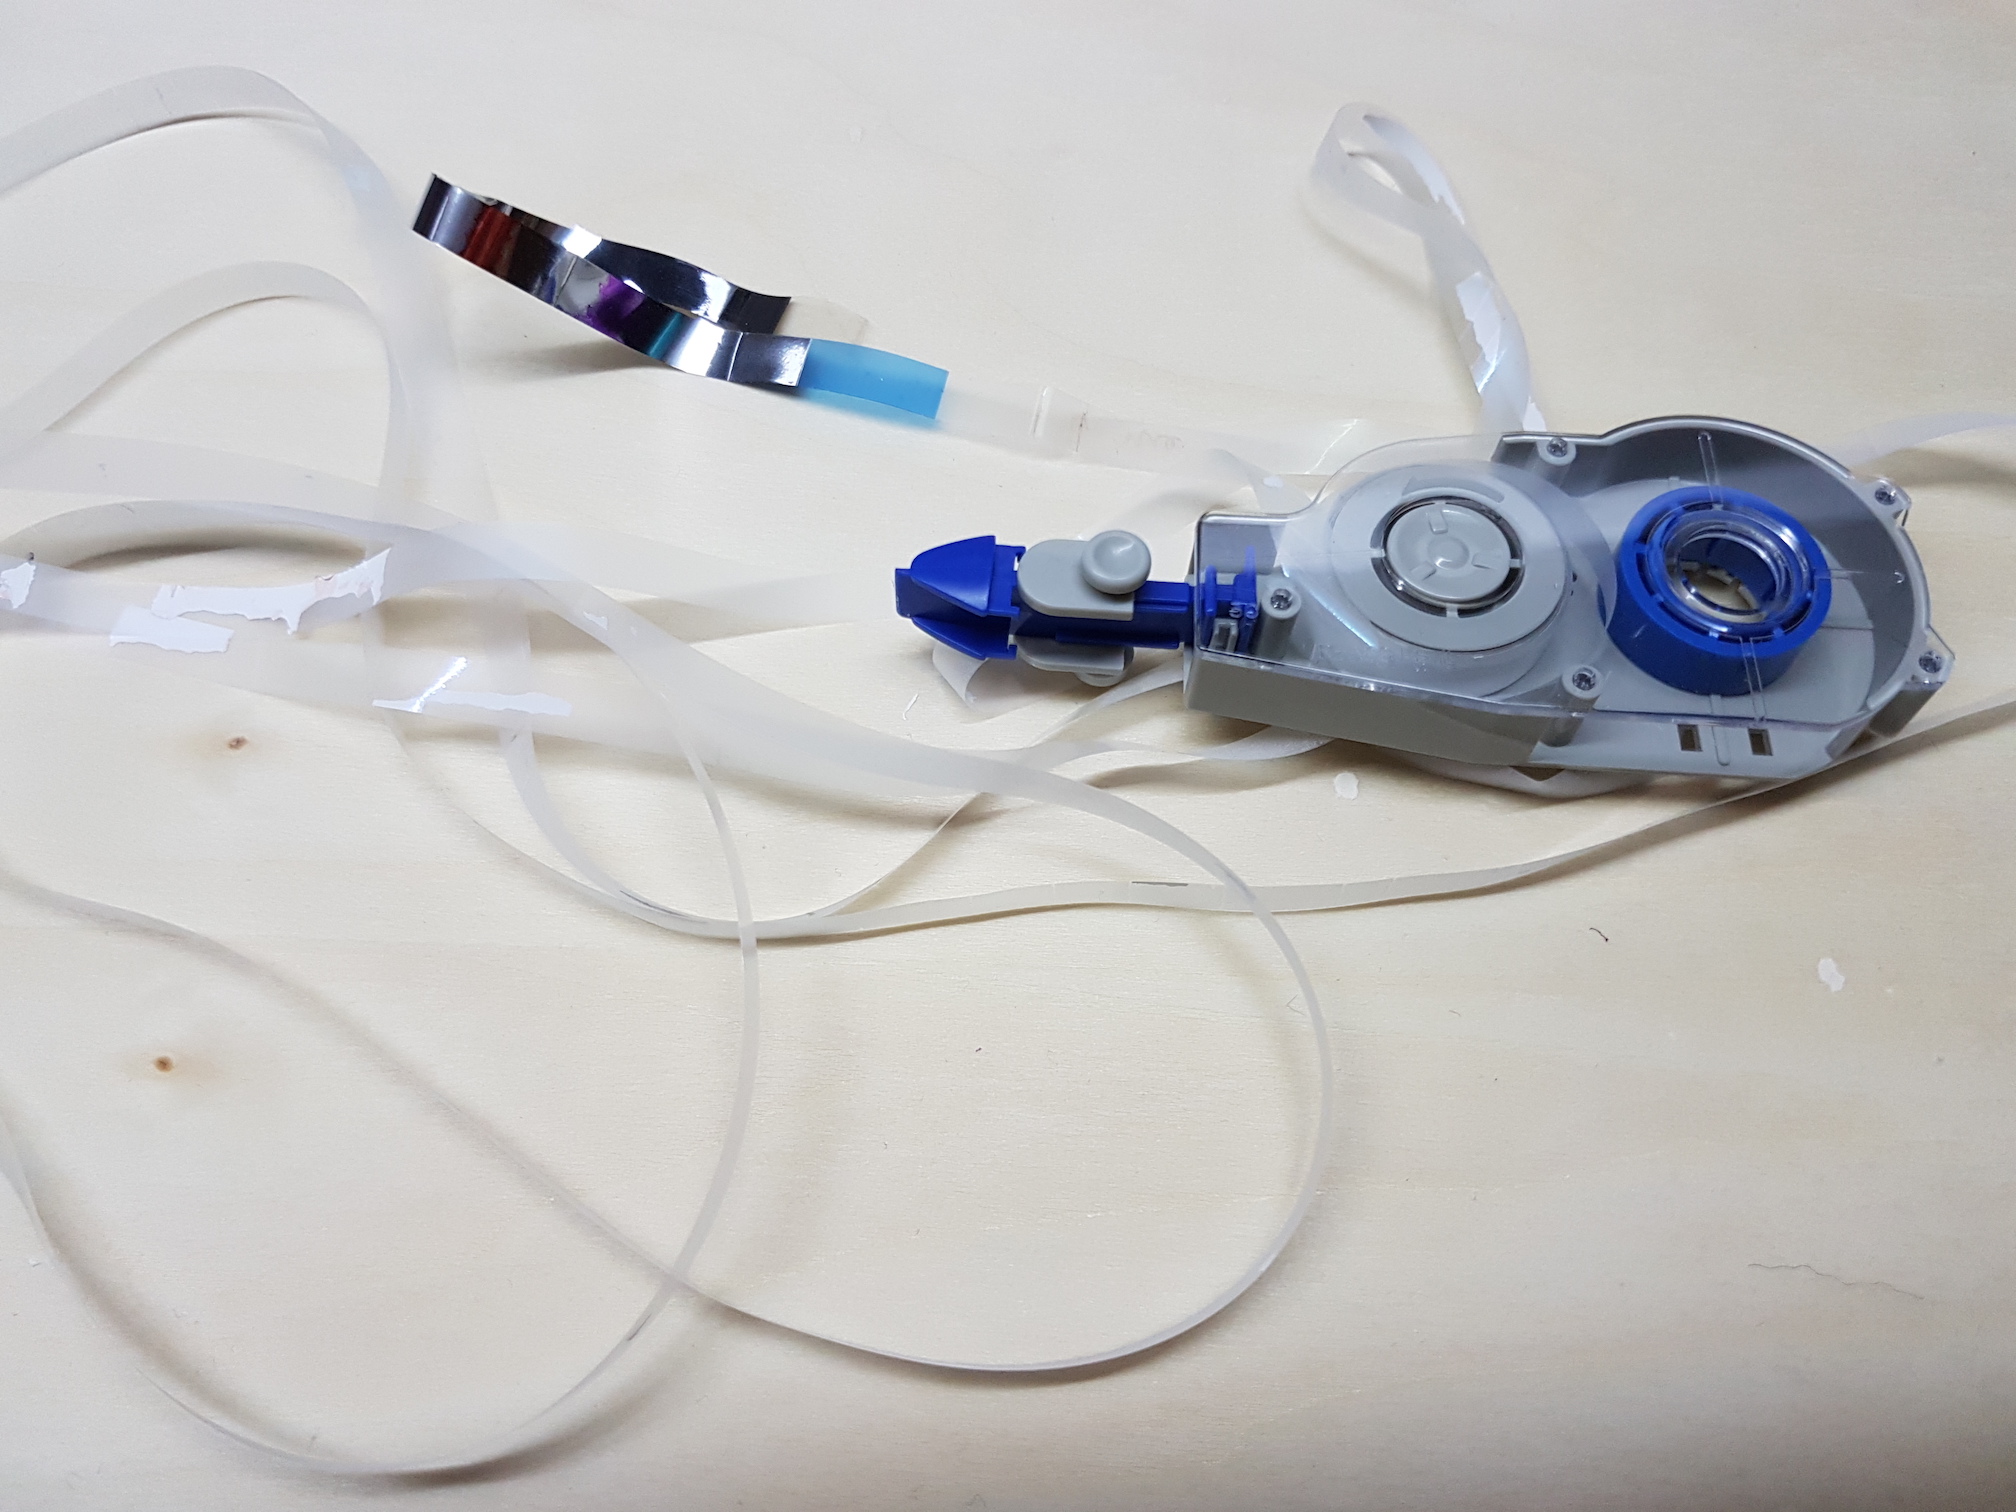
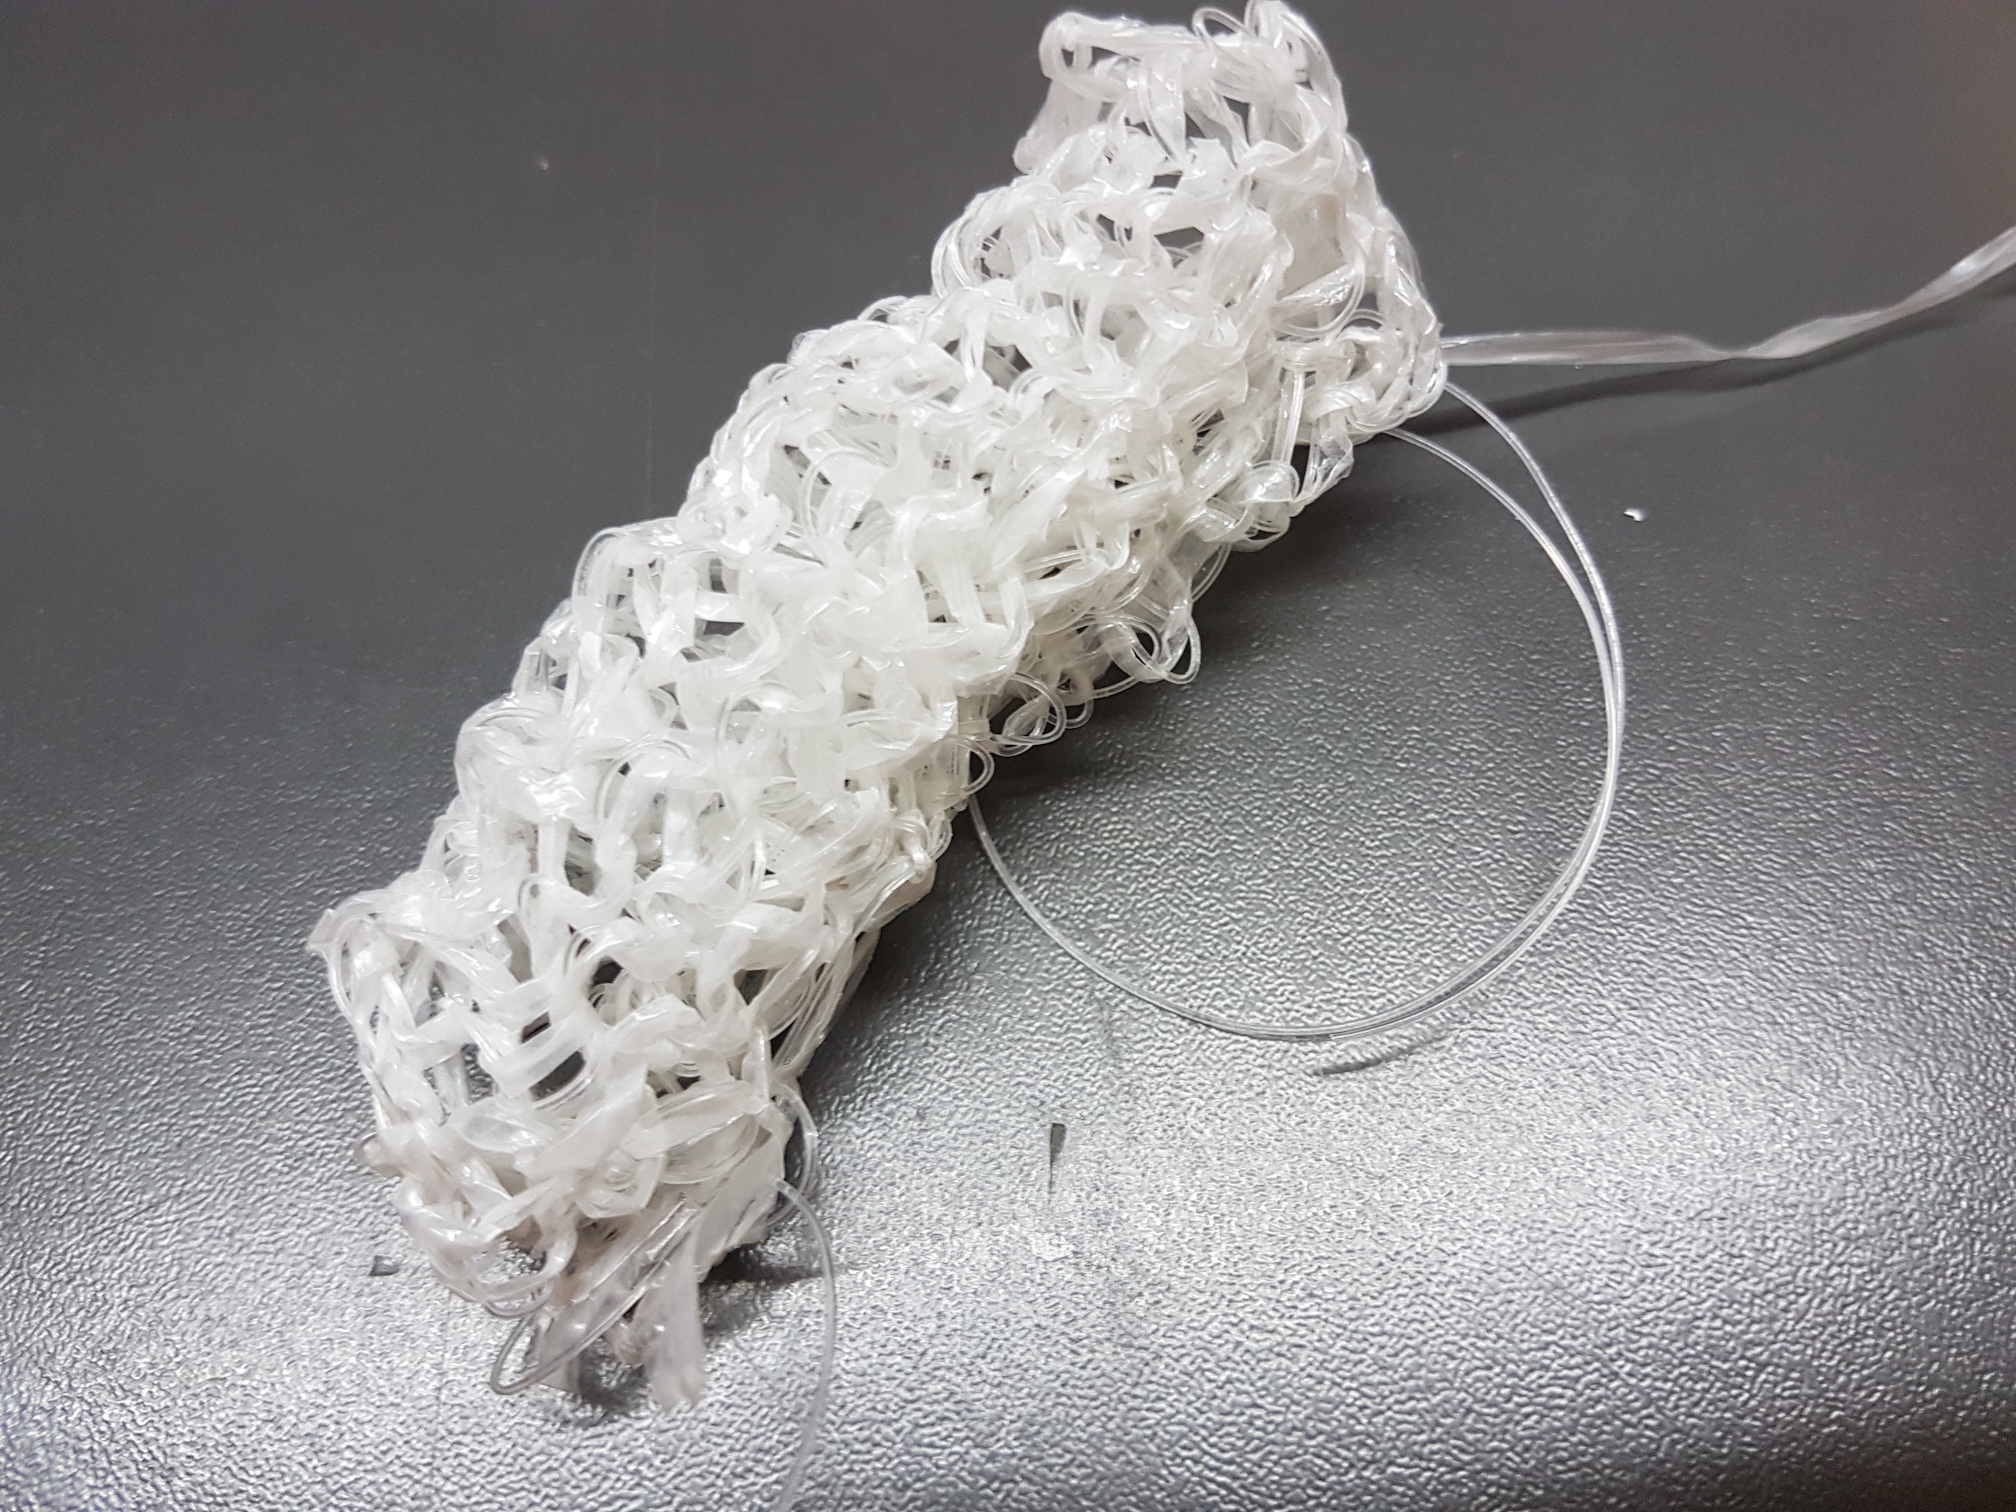
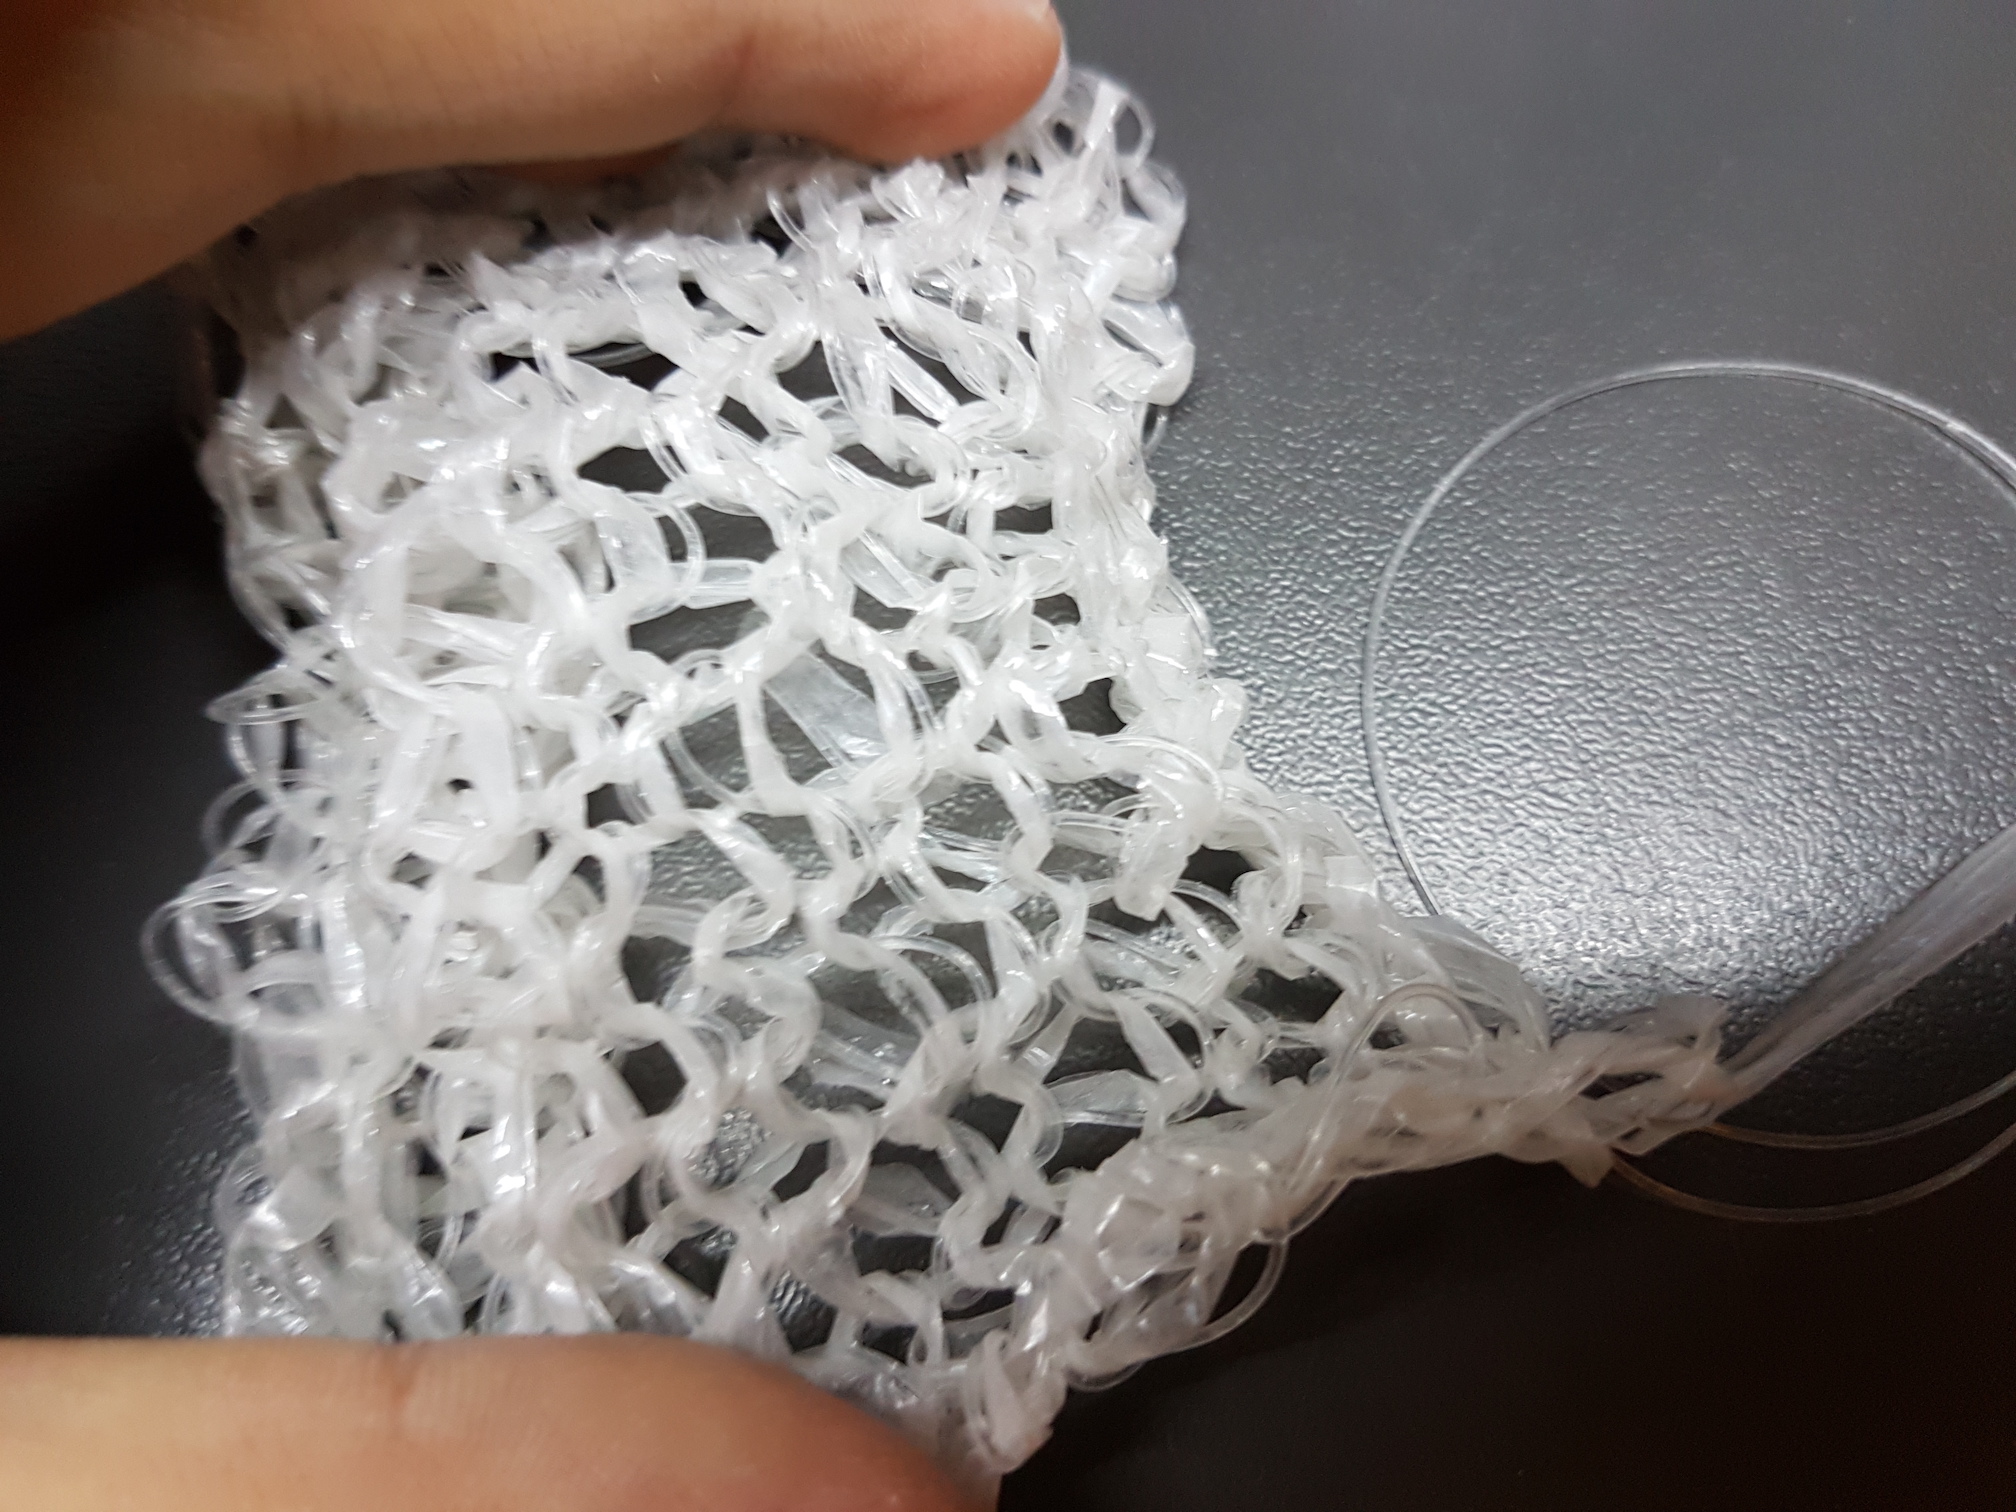
The next unconventional material I experimented with was knitting with plastic, specifically a used correction tape plastic film and nylon string.
White-out/ correction tape plastic film
The two types of plastic used made this sample was very springy and curl inwards.
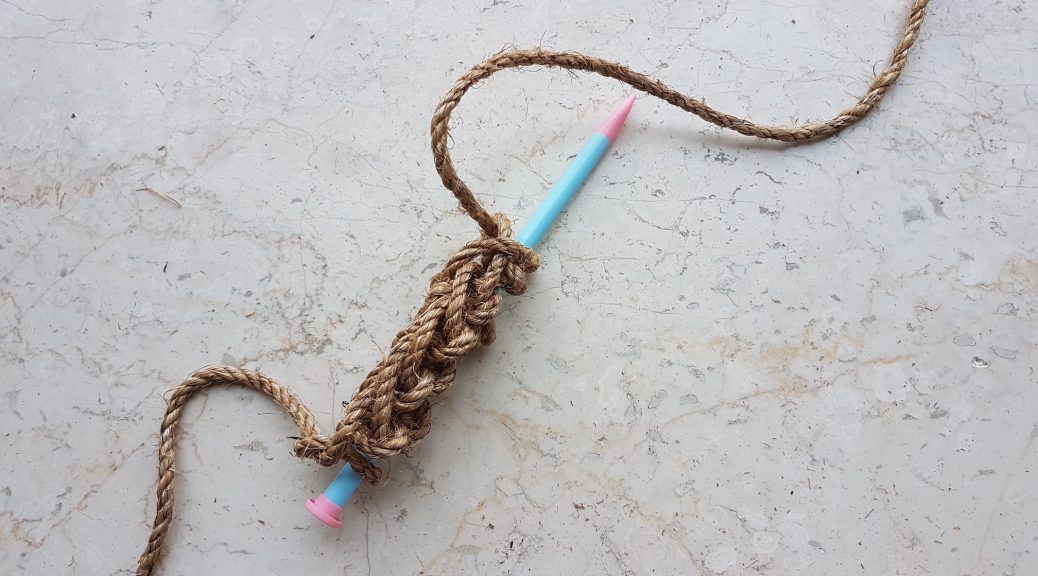
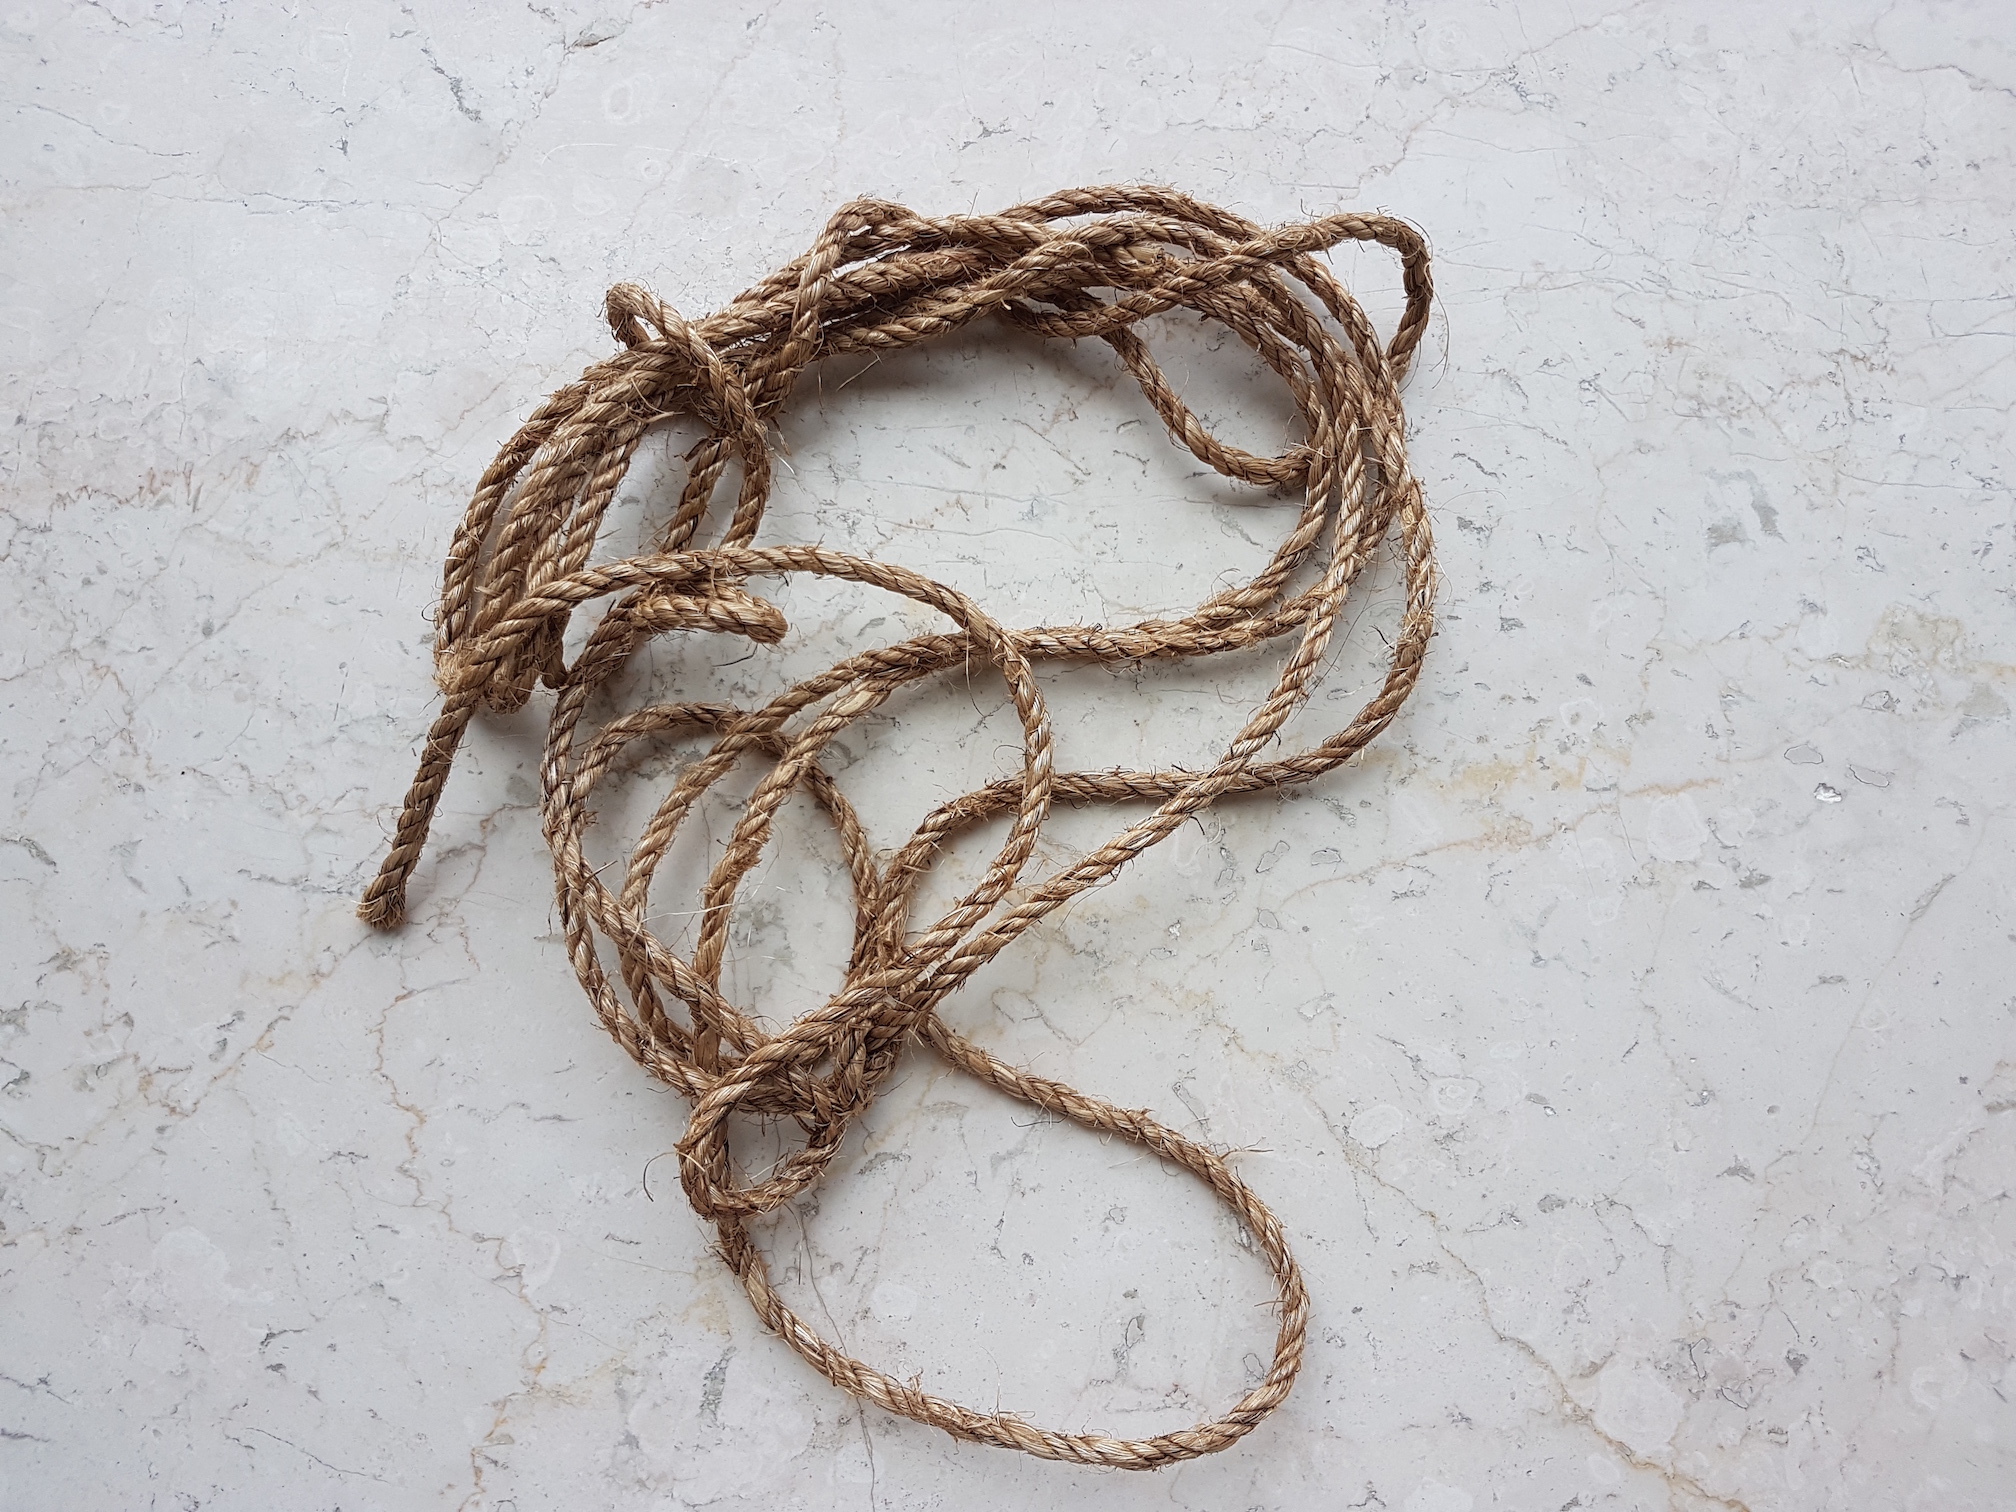
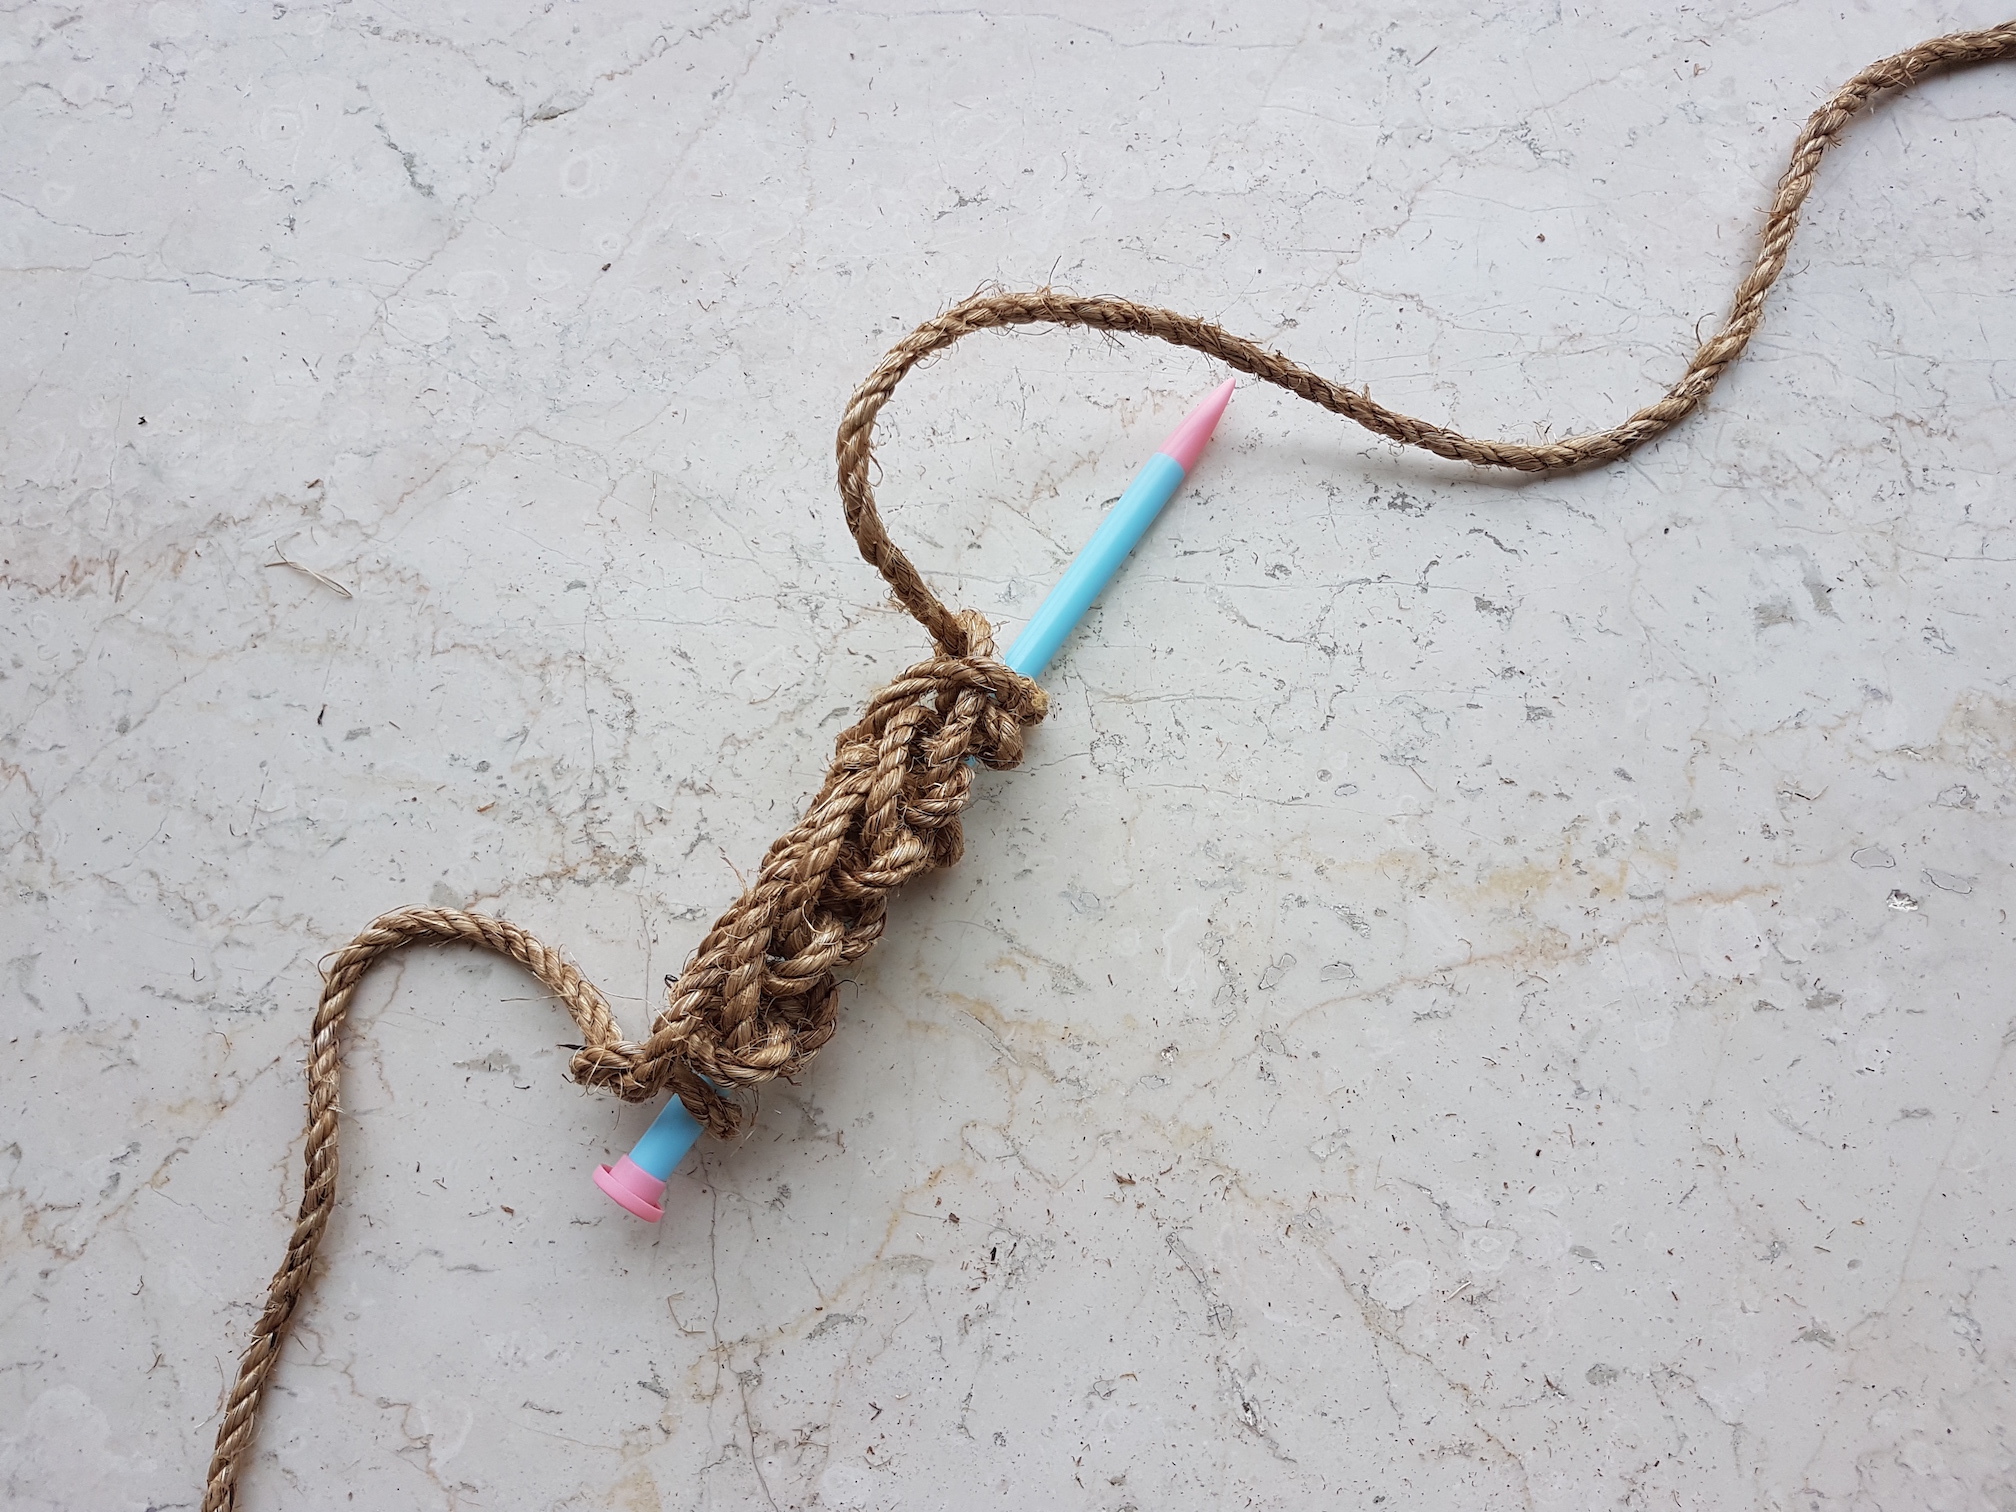
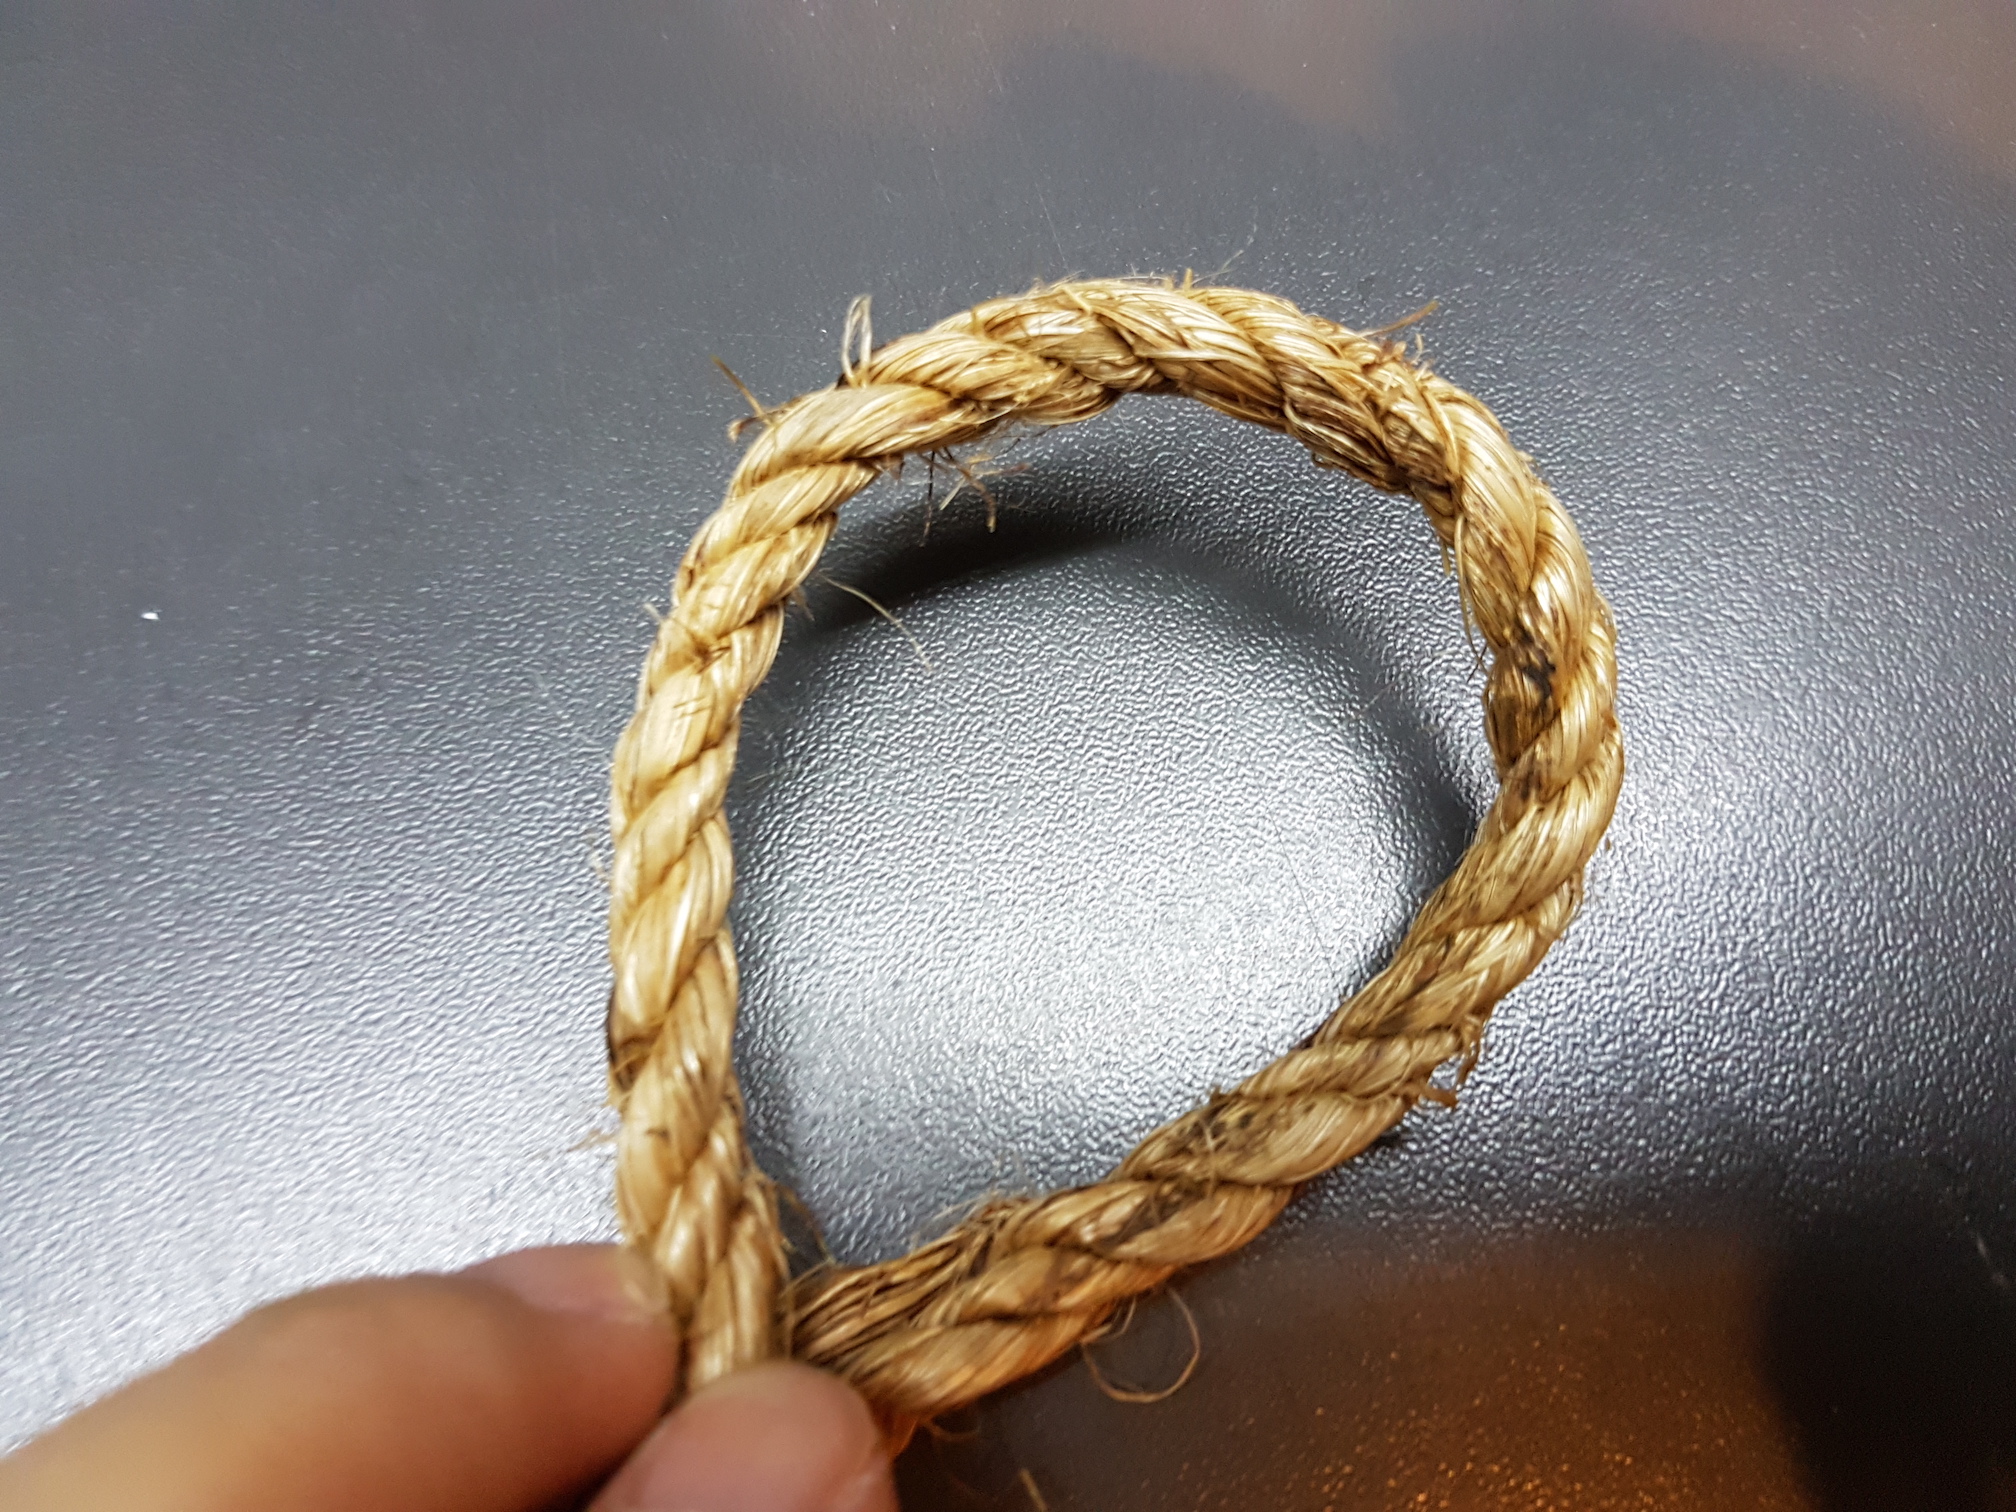
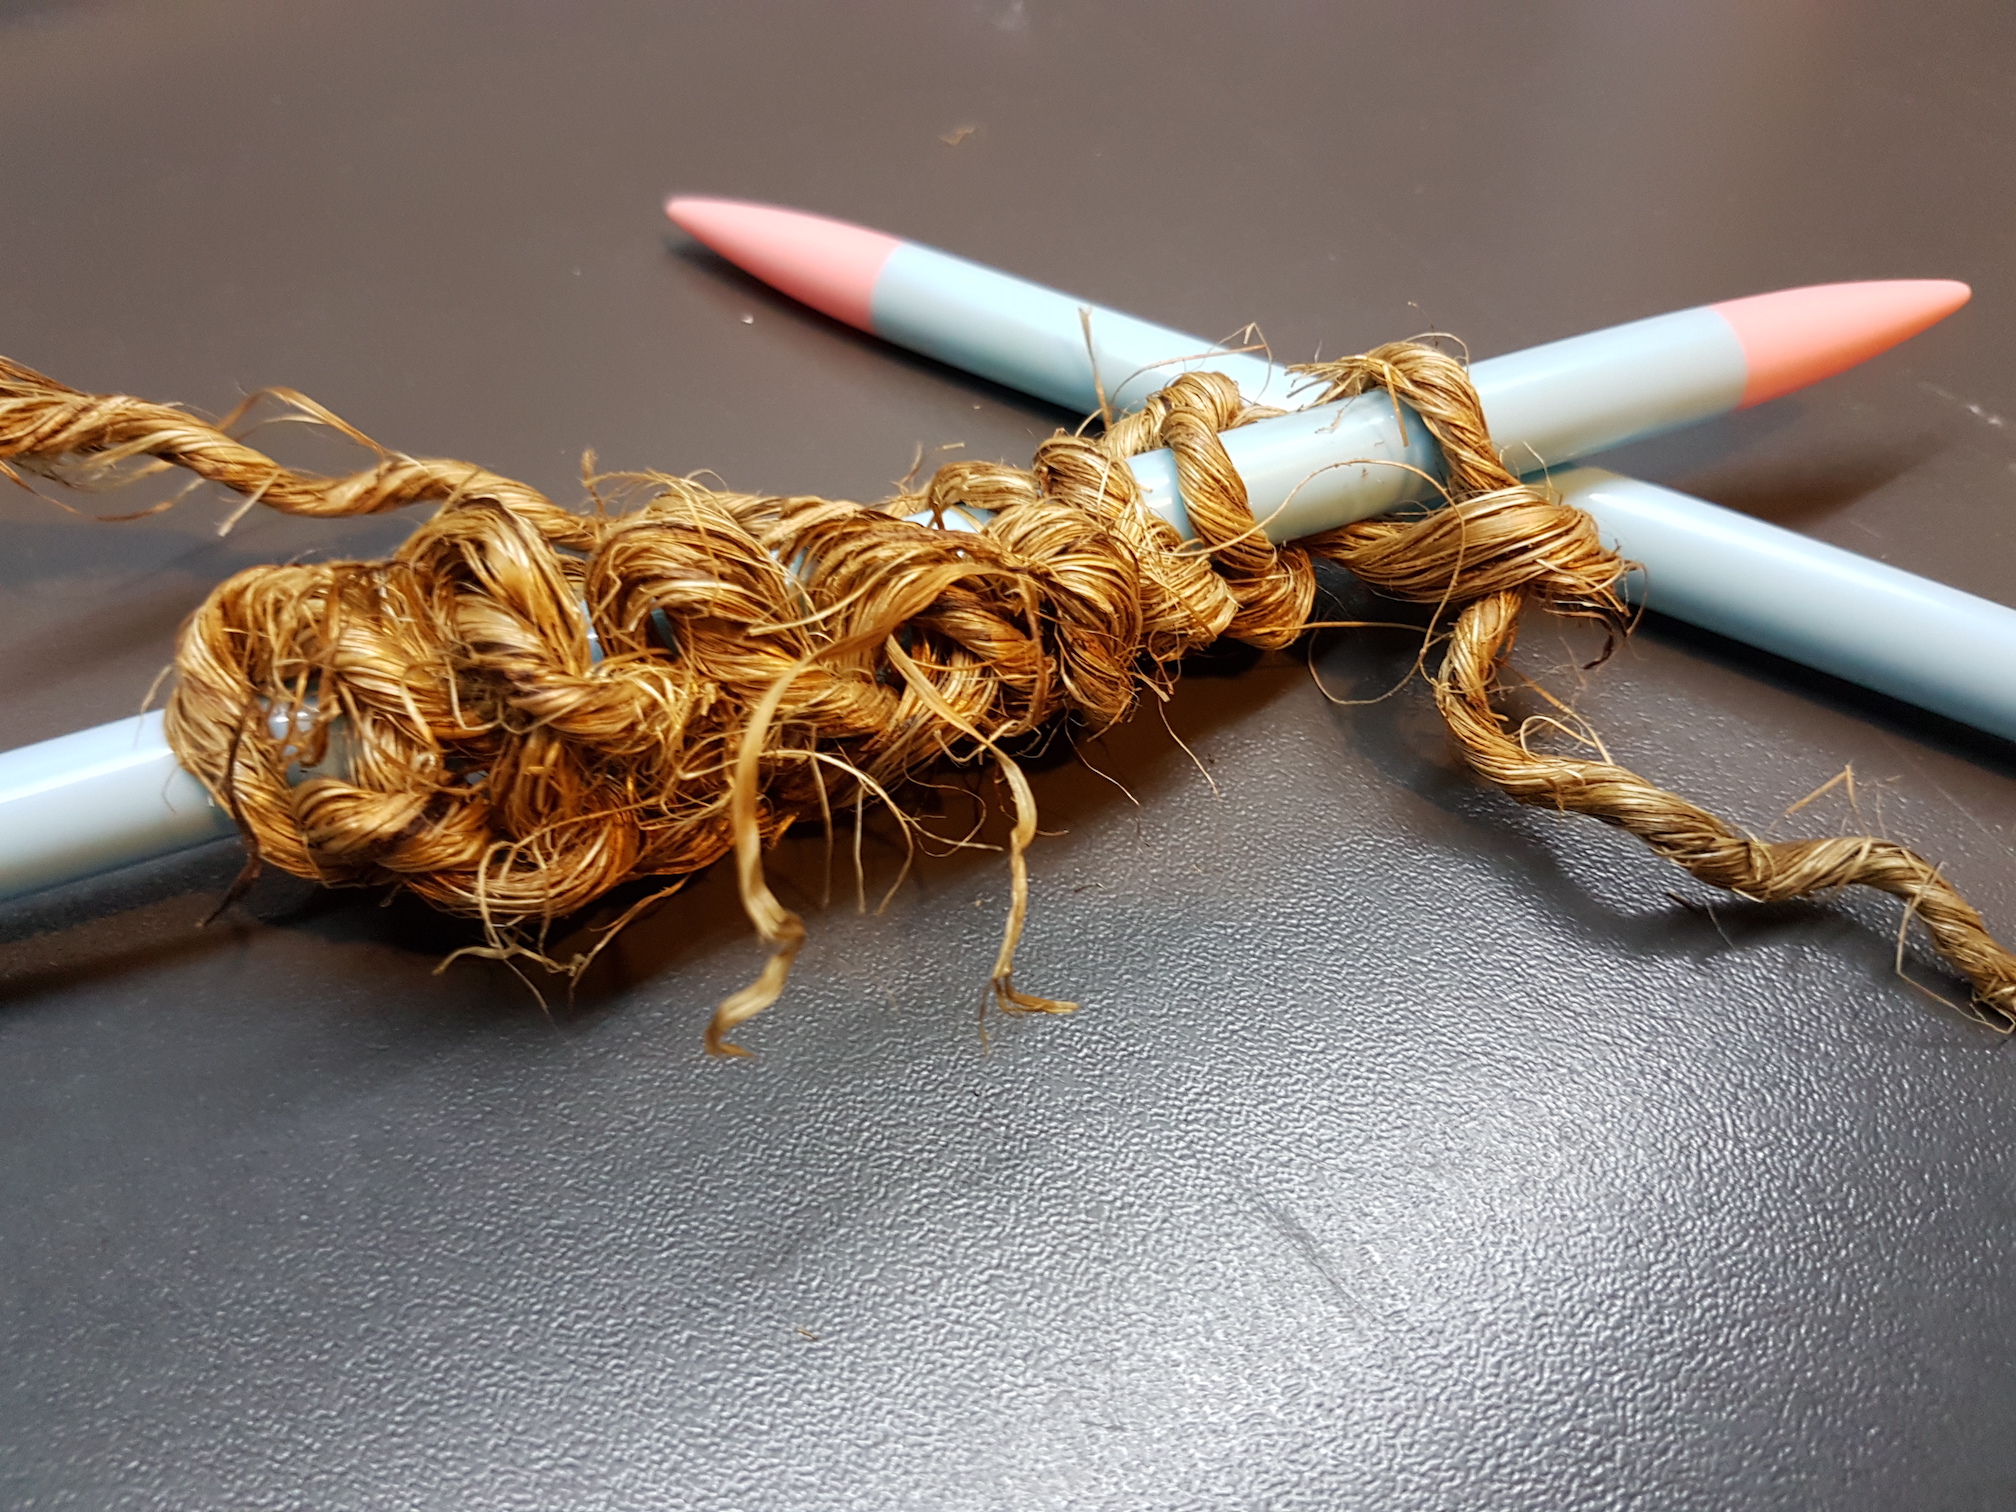
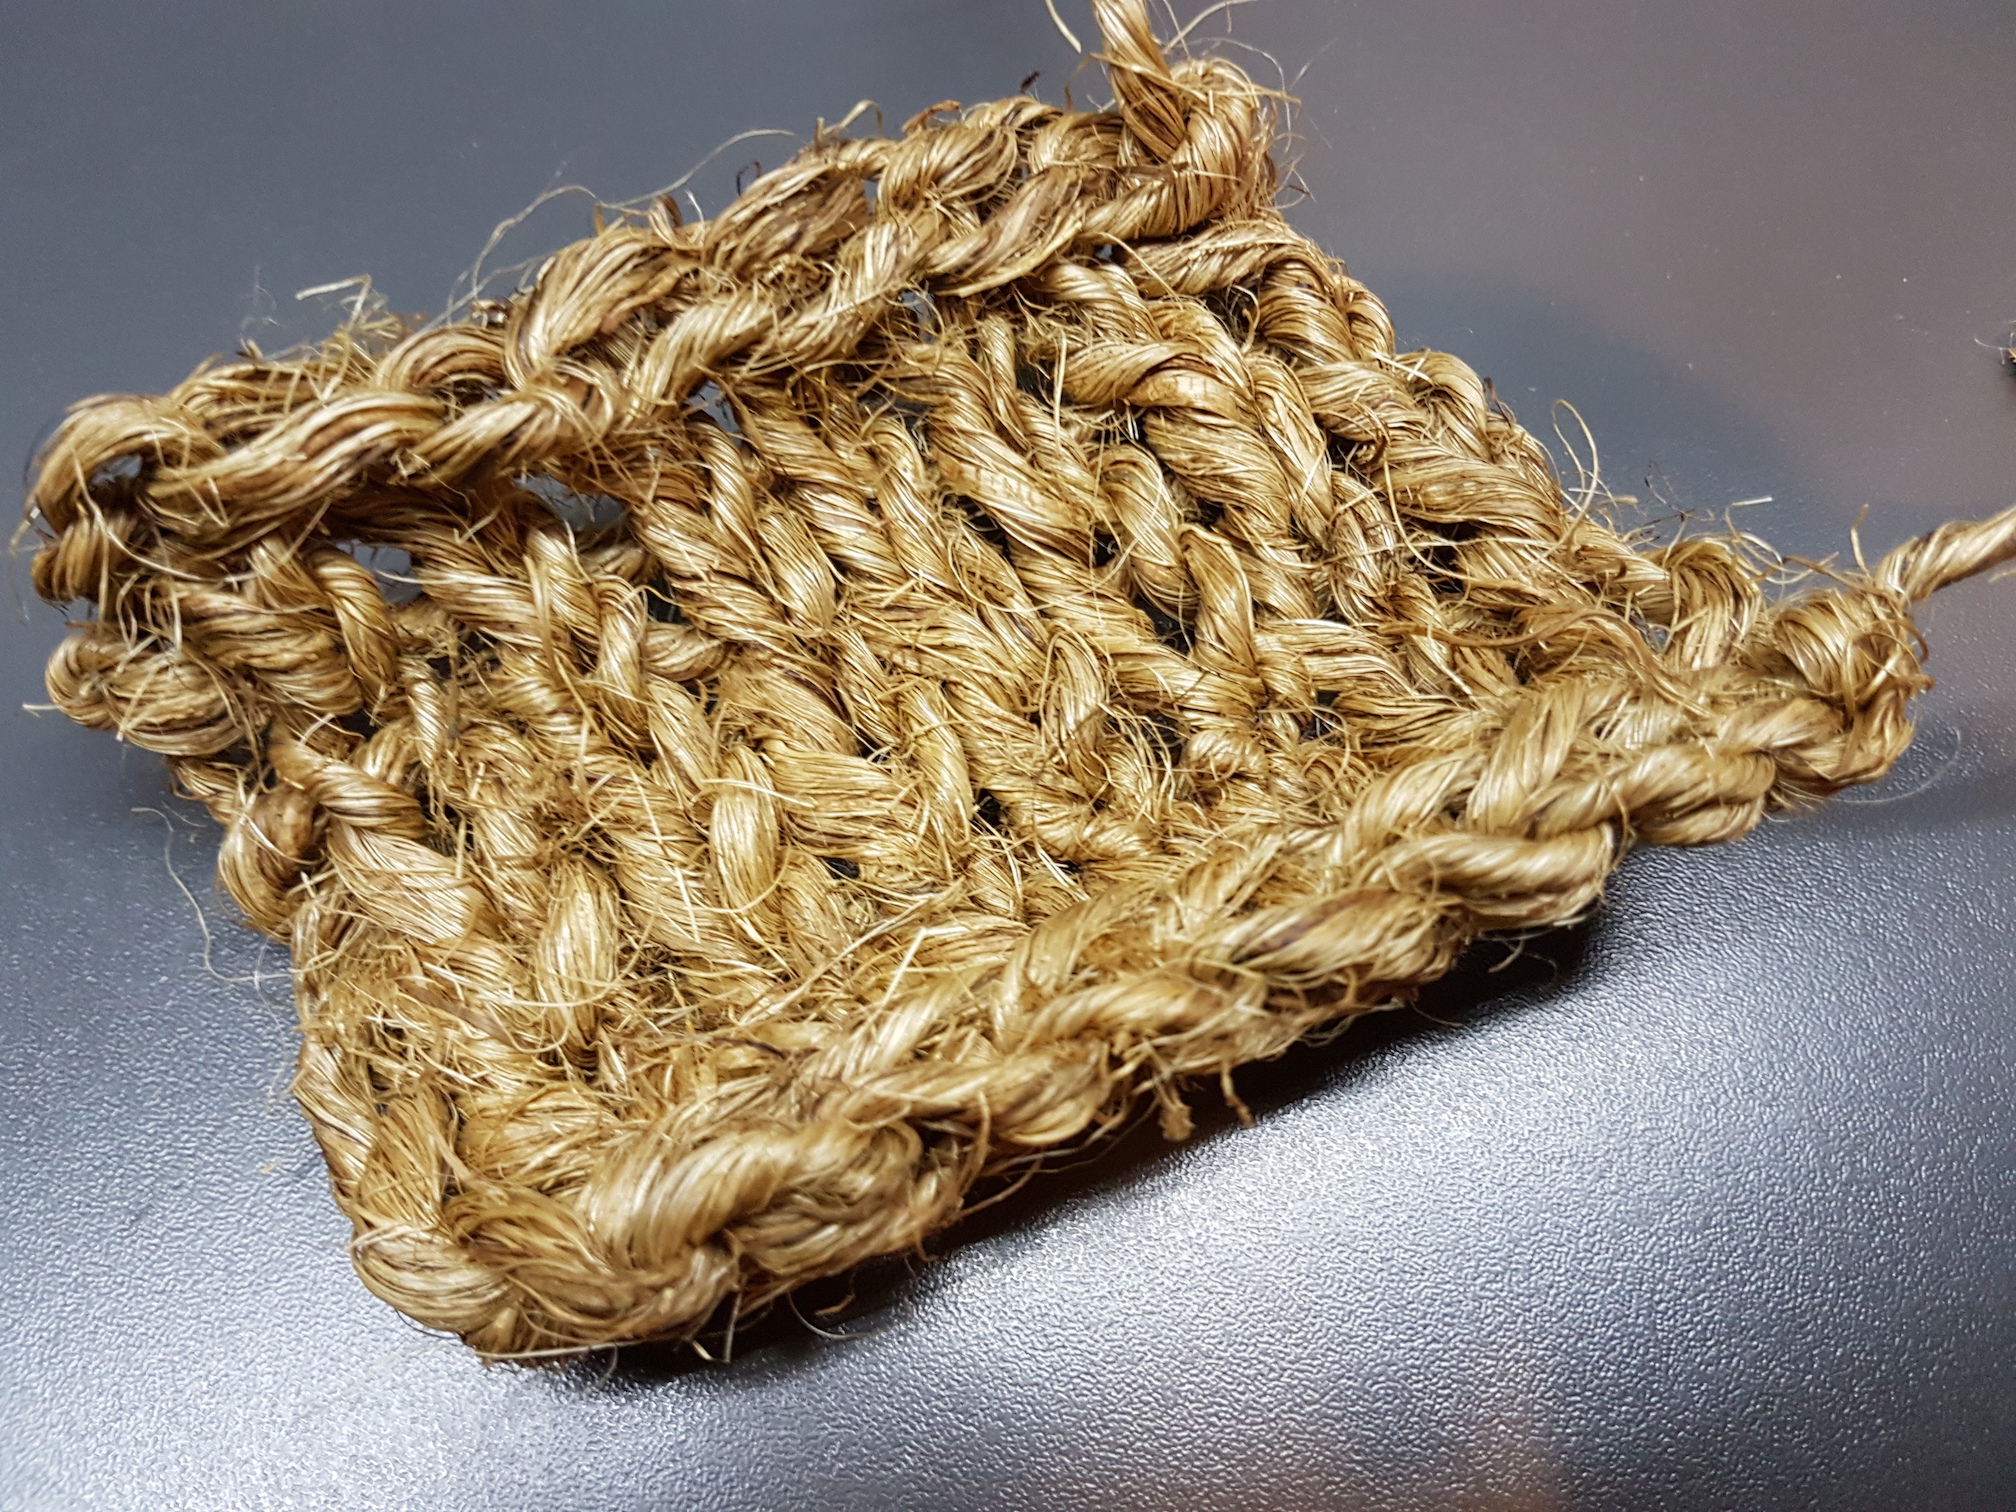
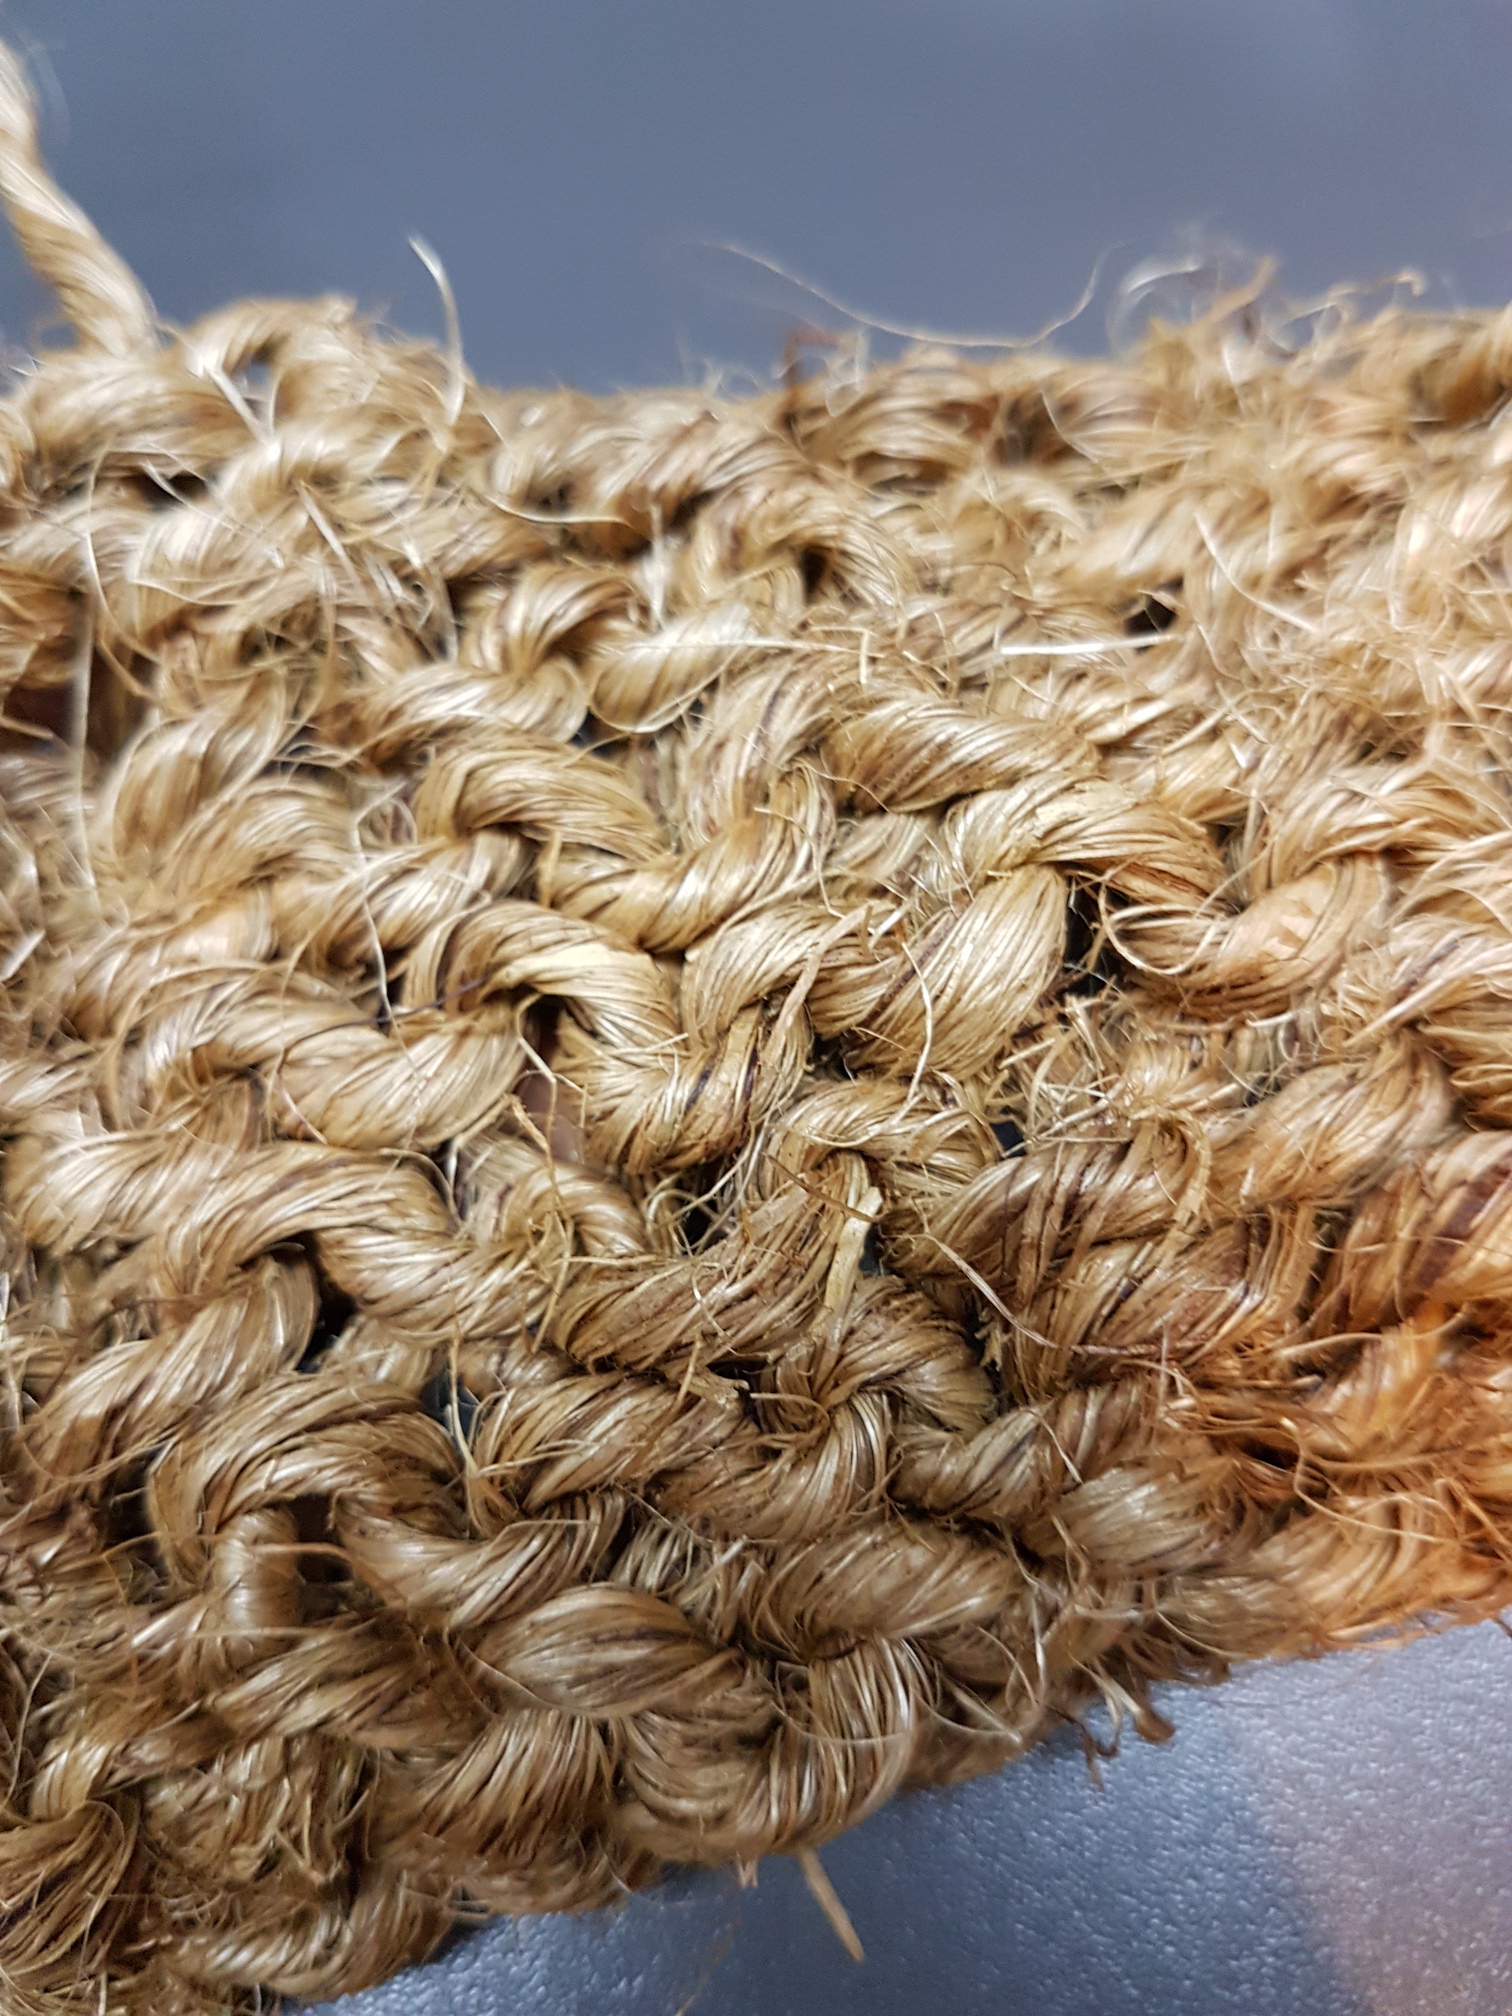
I also tried knitting with hemp rope. Rope, by nature, has a lot of friction in order to carry weights and maintain tension. It was very difficult to knit it because after 3 rows, the rope would be too stiff to manipulate.
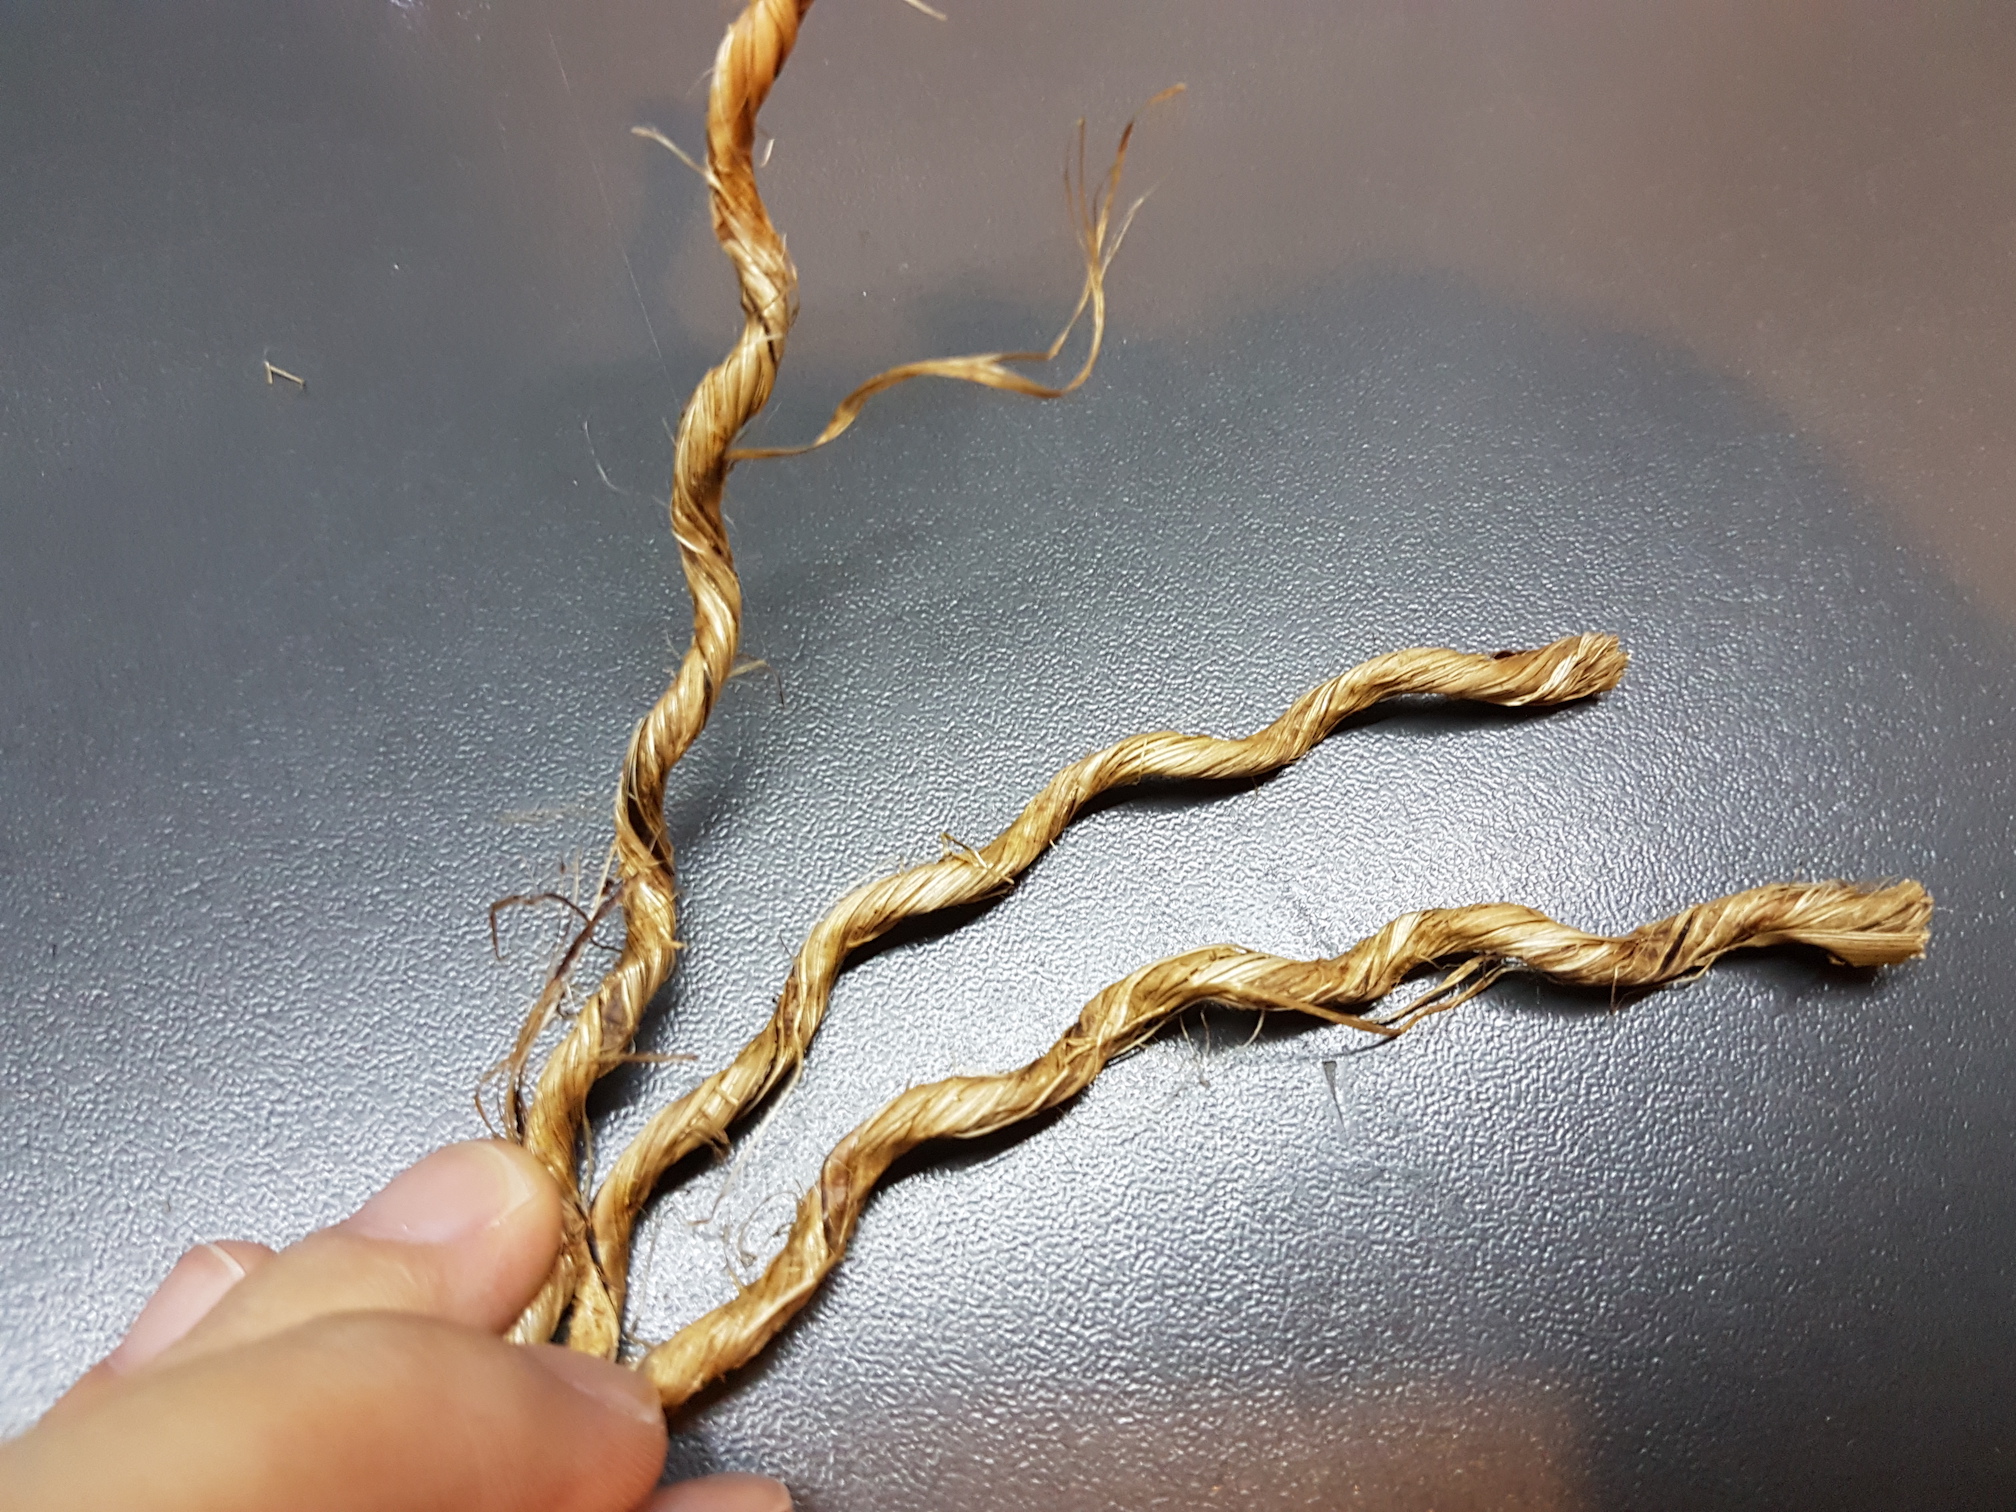
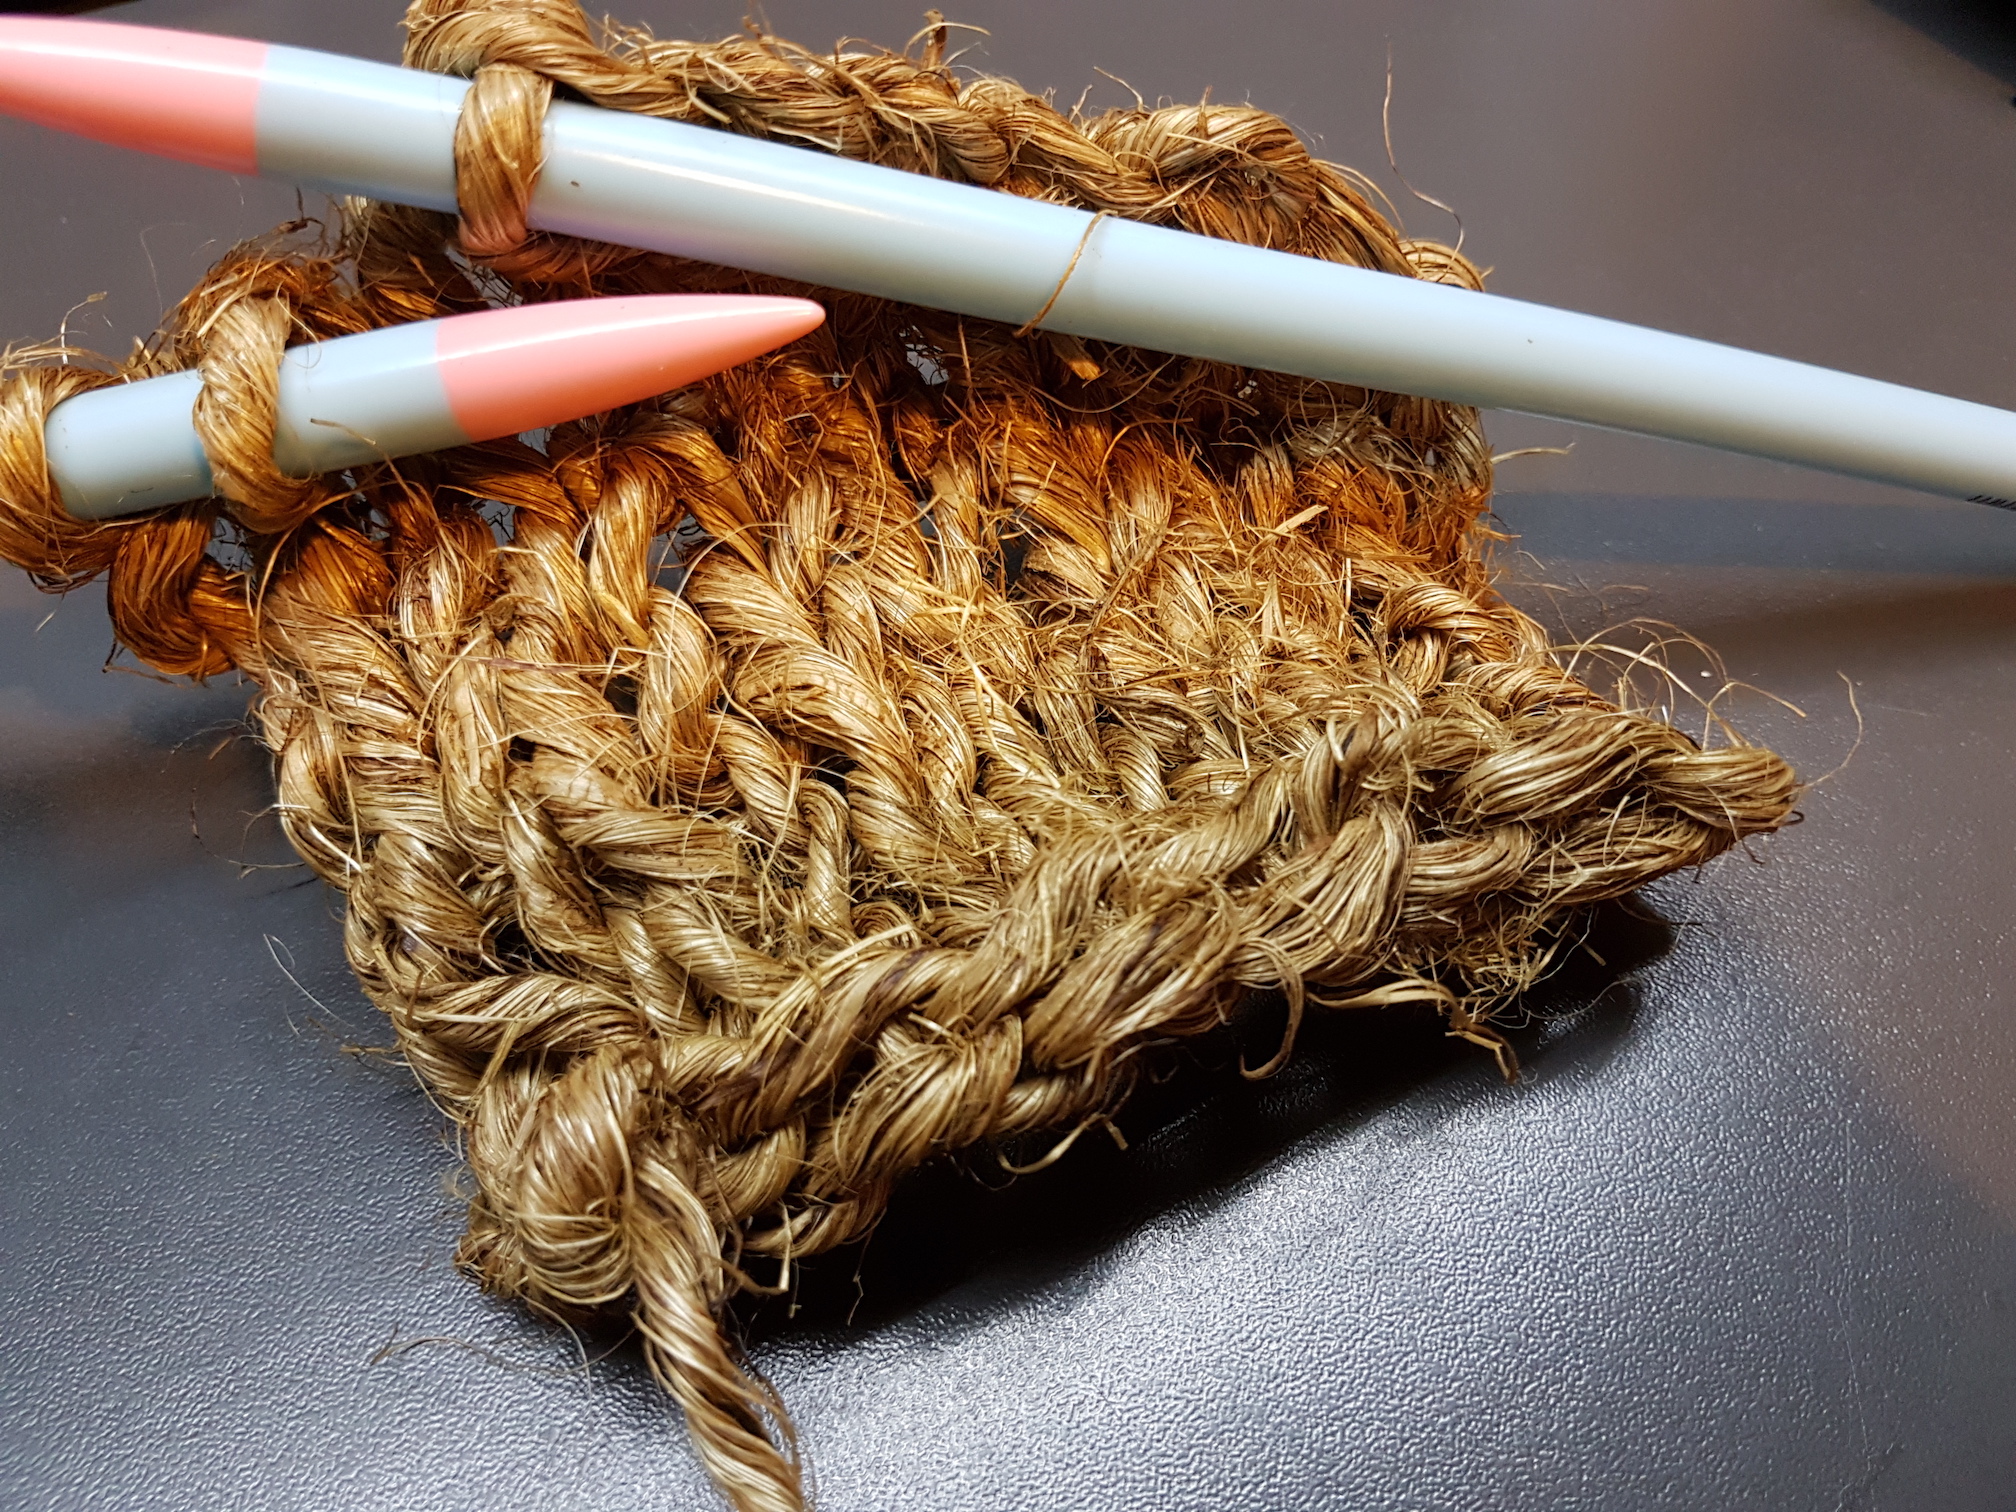
I tried it once more, this time separating the rope into three strands and knitting using just one.
Twisted hemp ropeSeparating the three strands
After this experimentation with knitting, I realise it’s an extremely versatile skill which can be applied to many different materials. It is not limited to wearables and clothing and can even be used as an interactive or smart fabric. I enjoy the calming, rhythmic movement of knitting and look forward to knitting a scarf for my loved ones this summer! 🙂
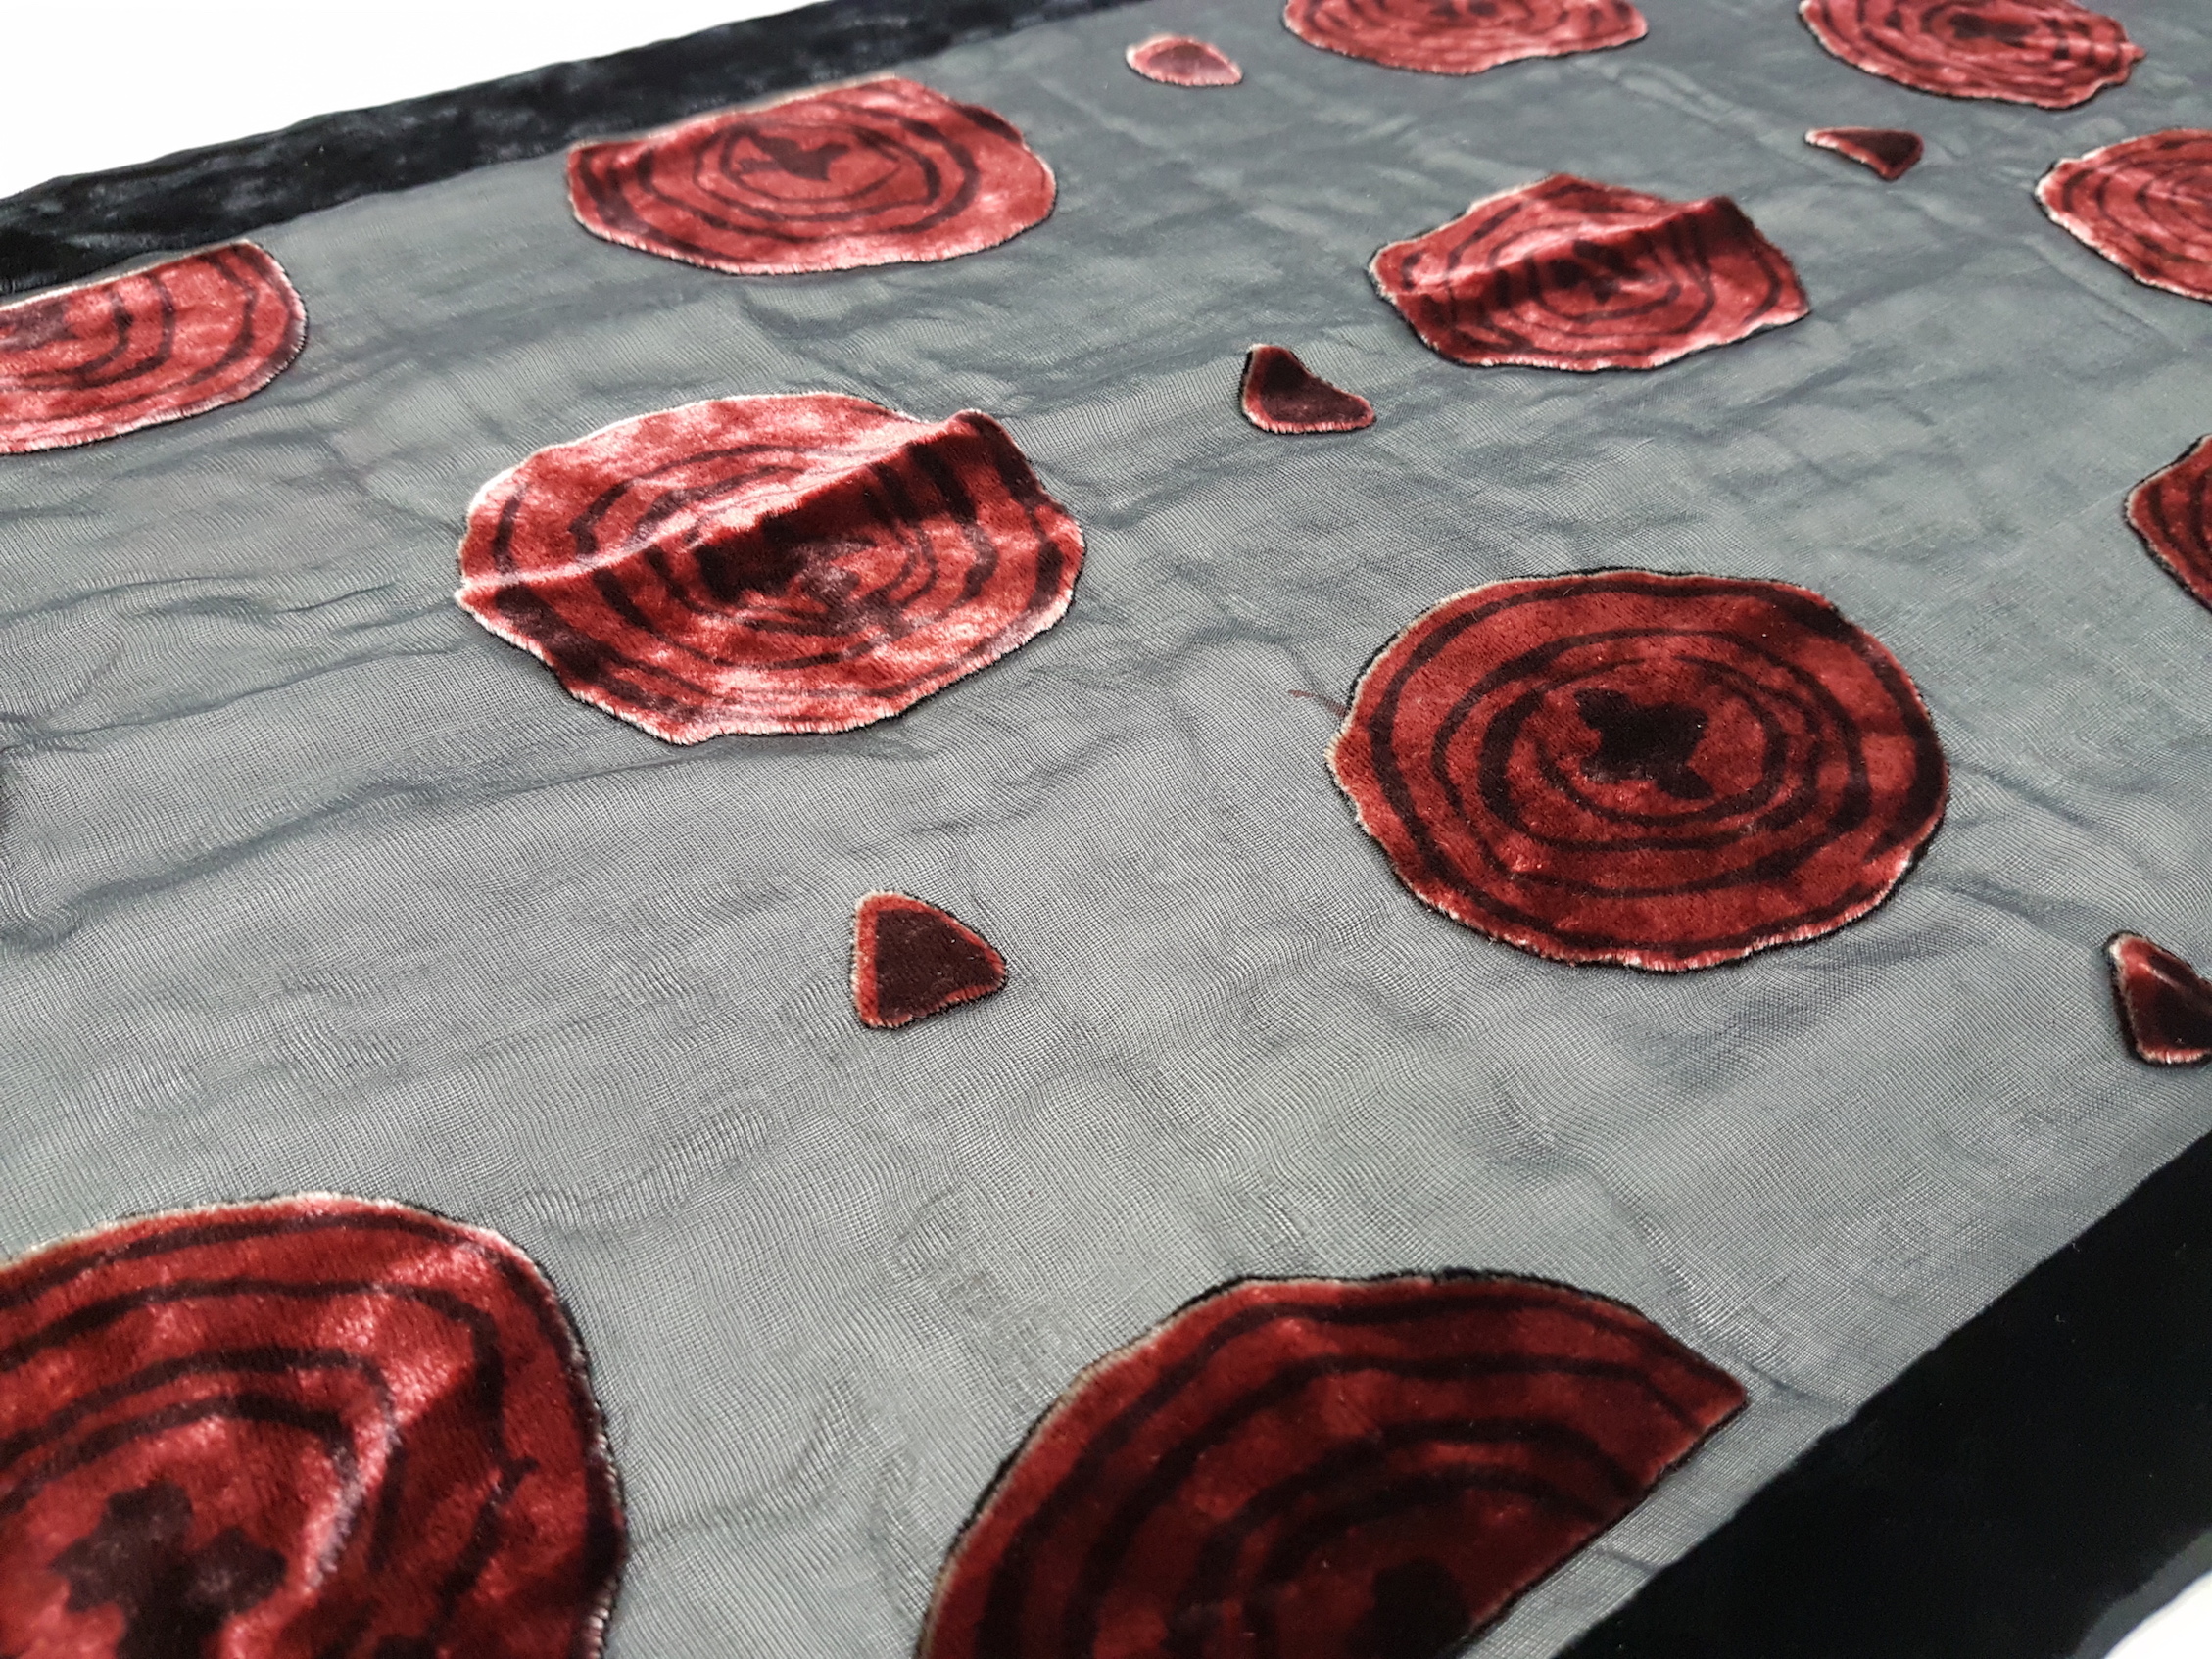
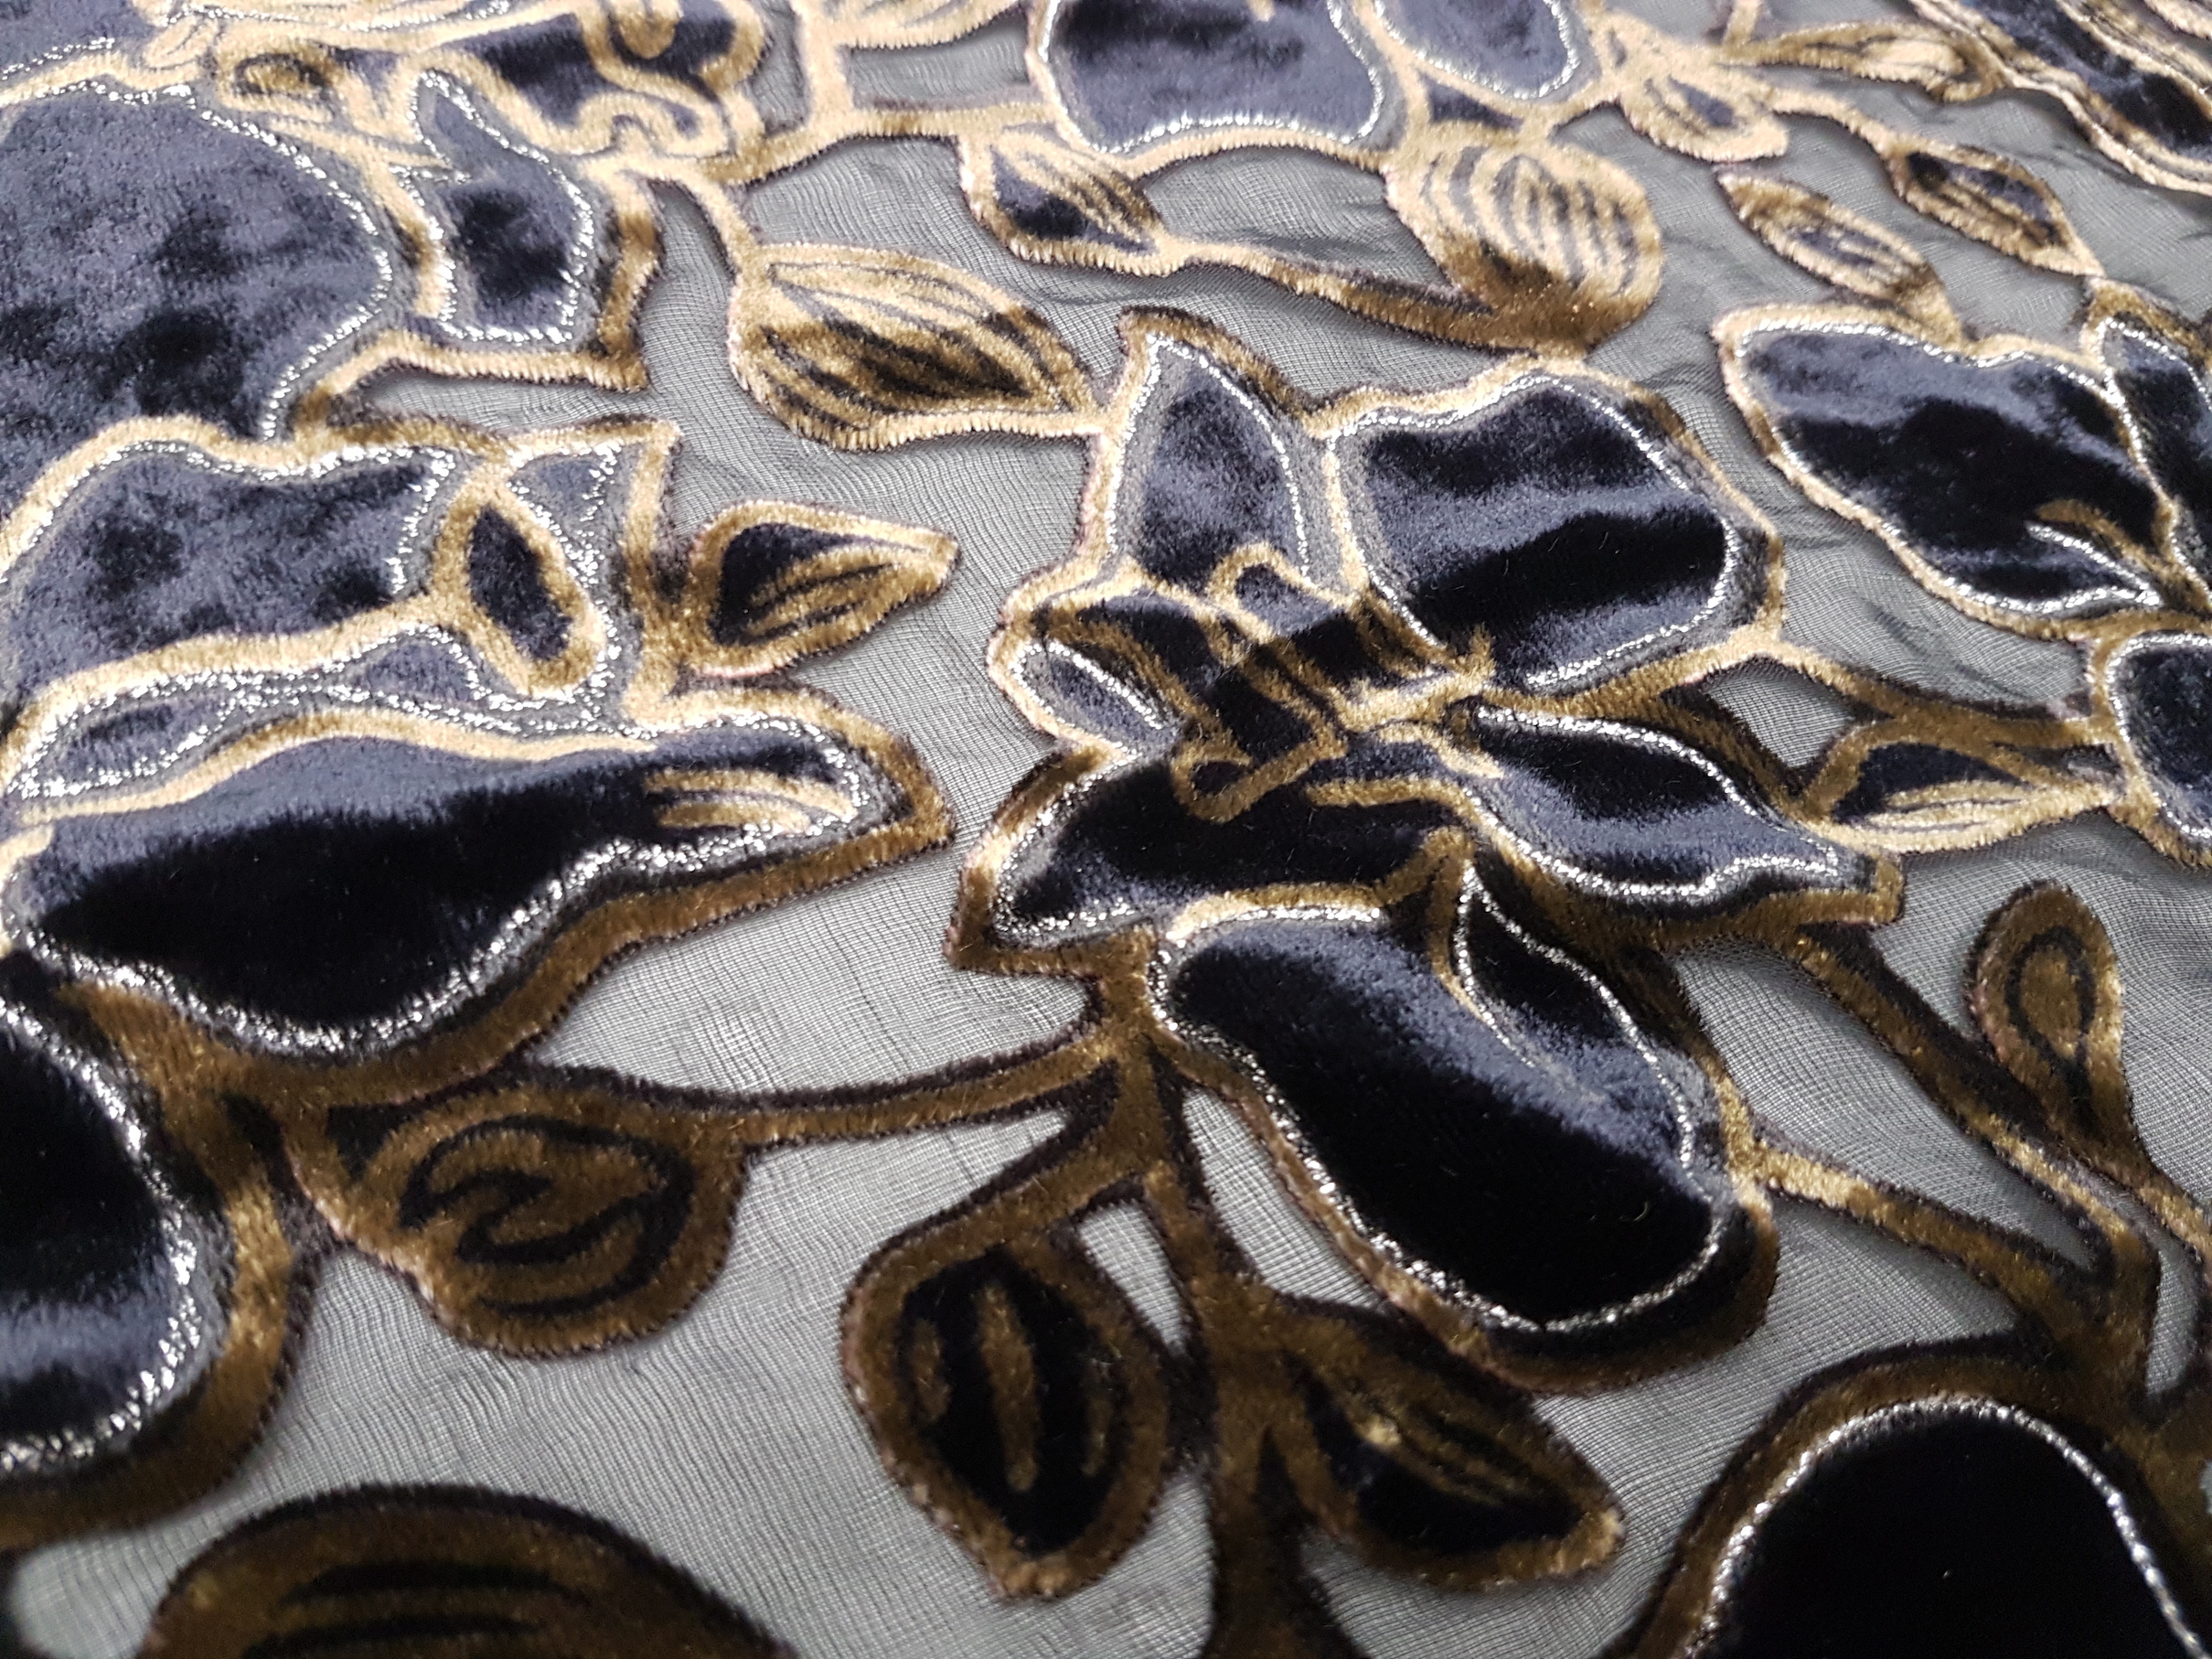
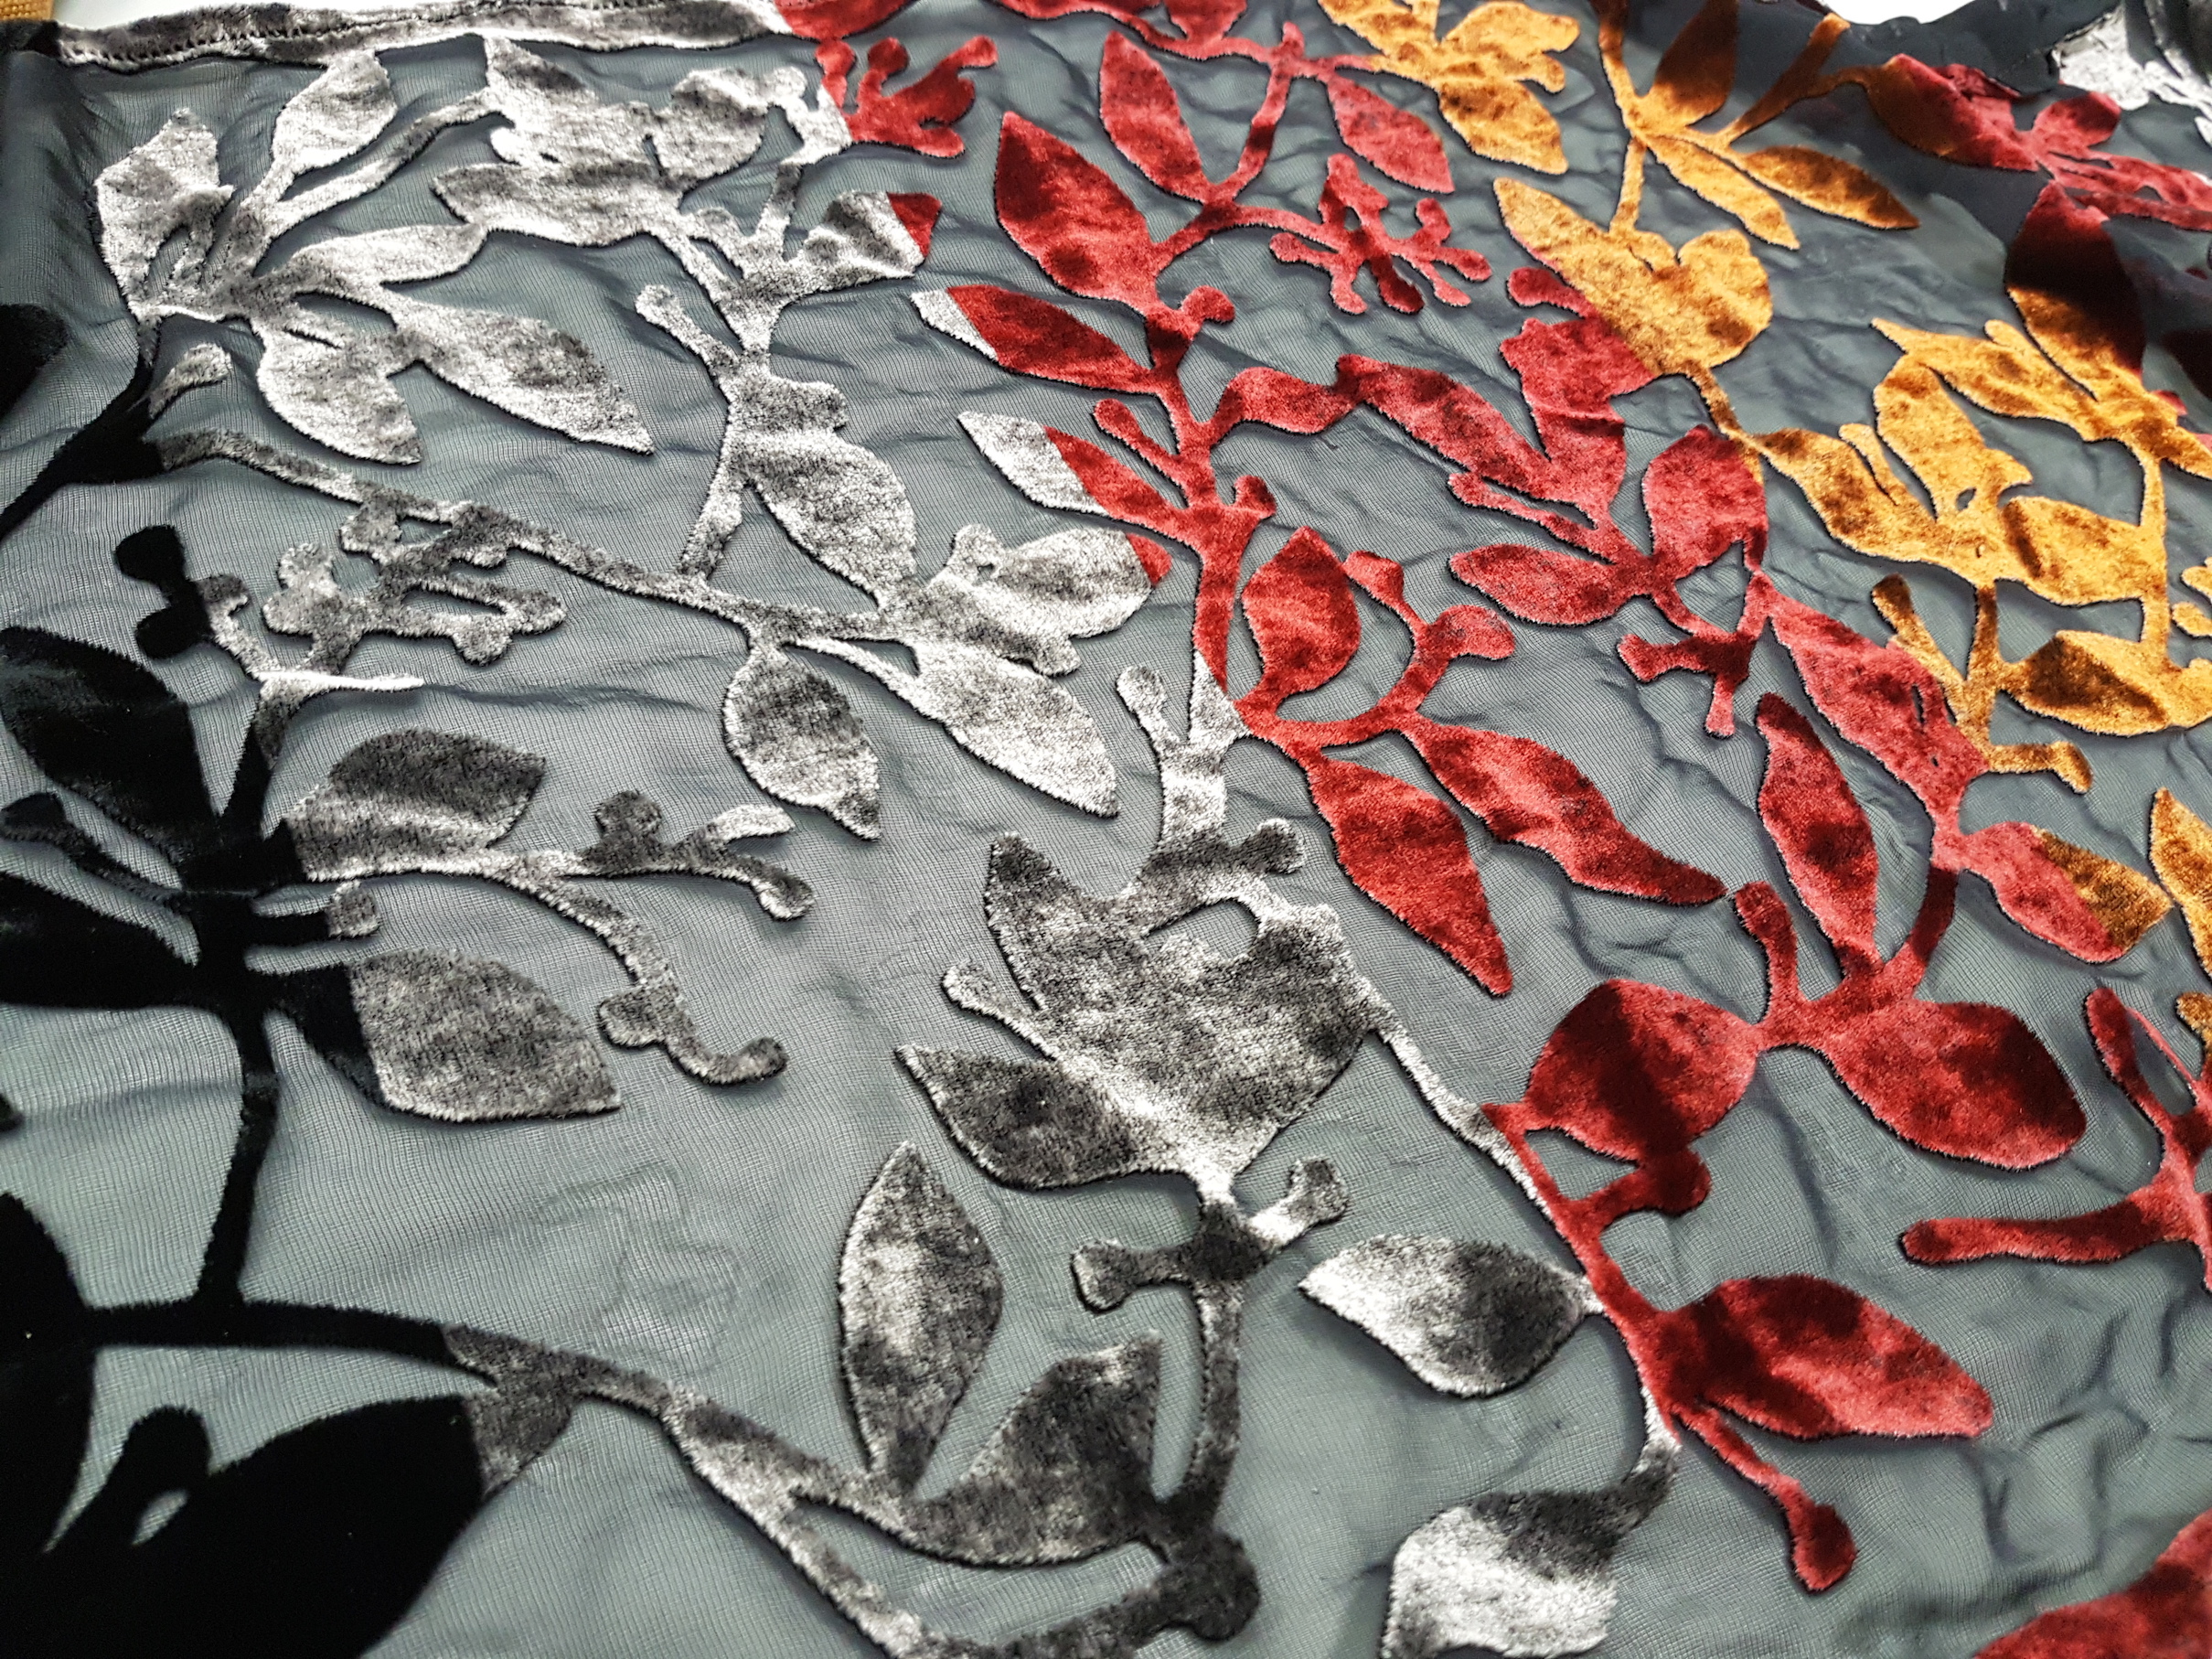
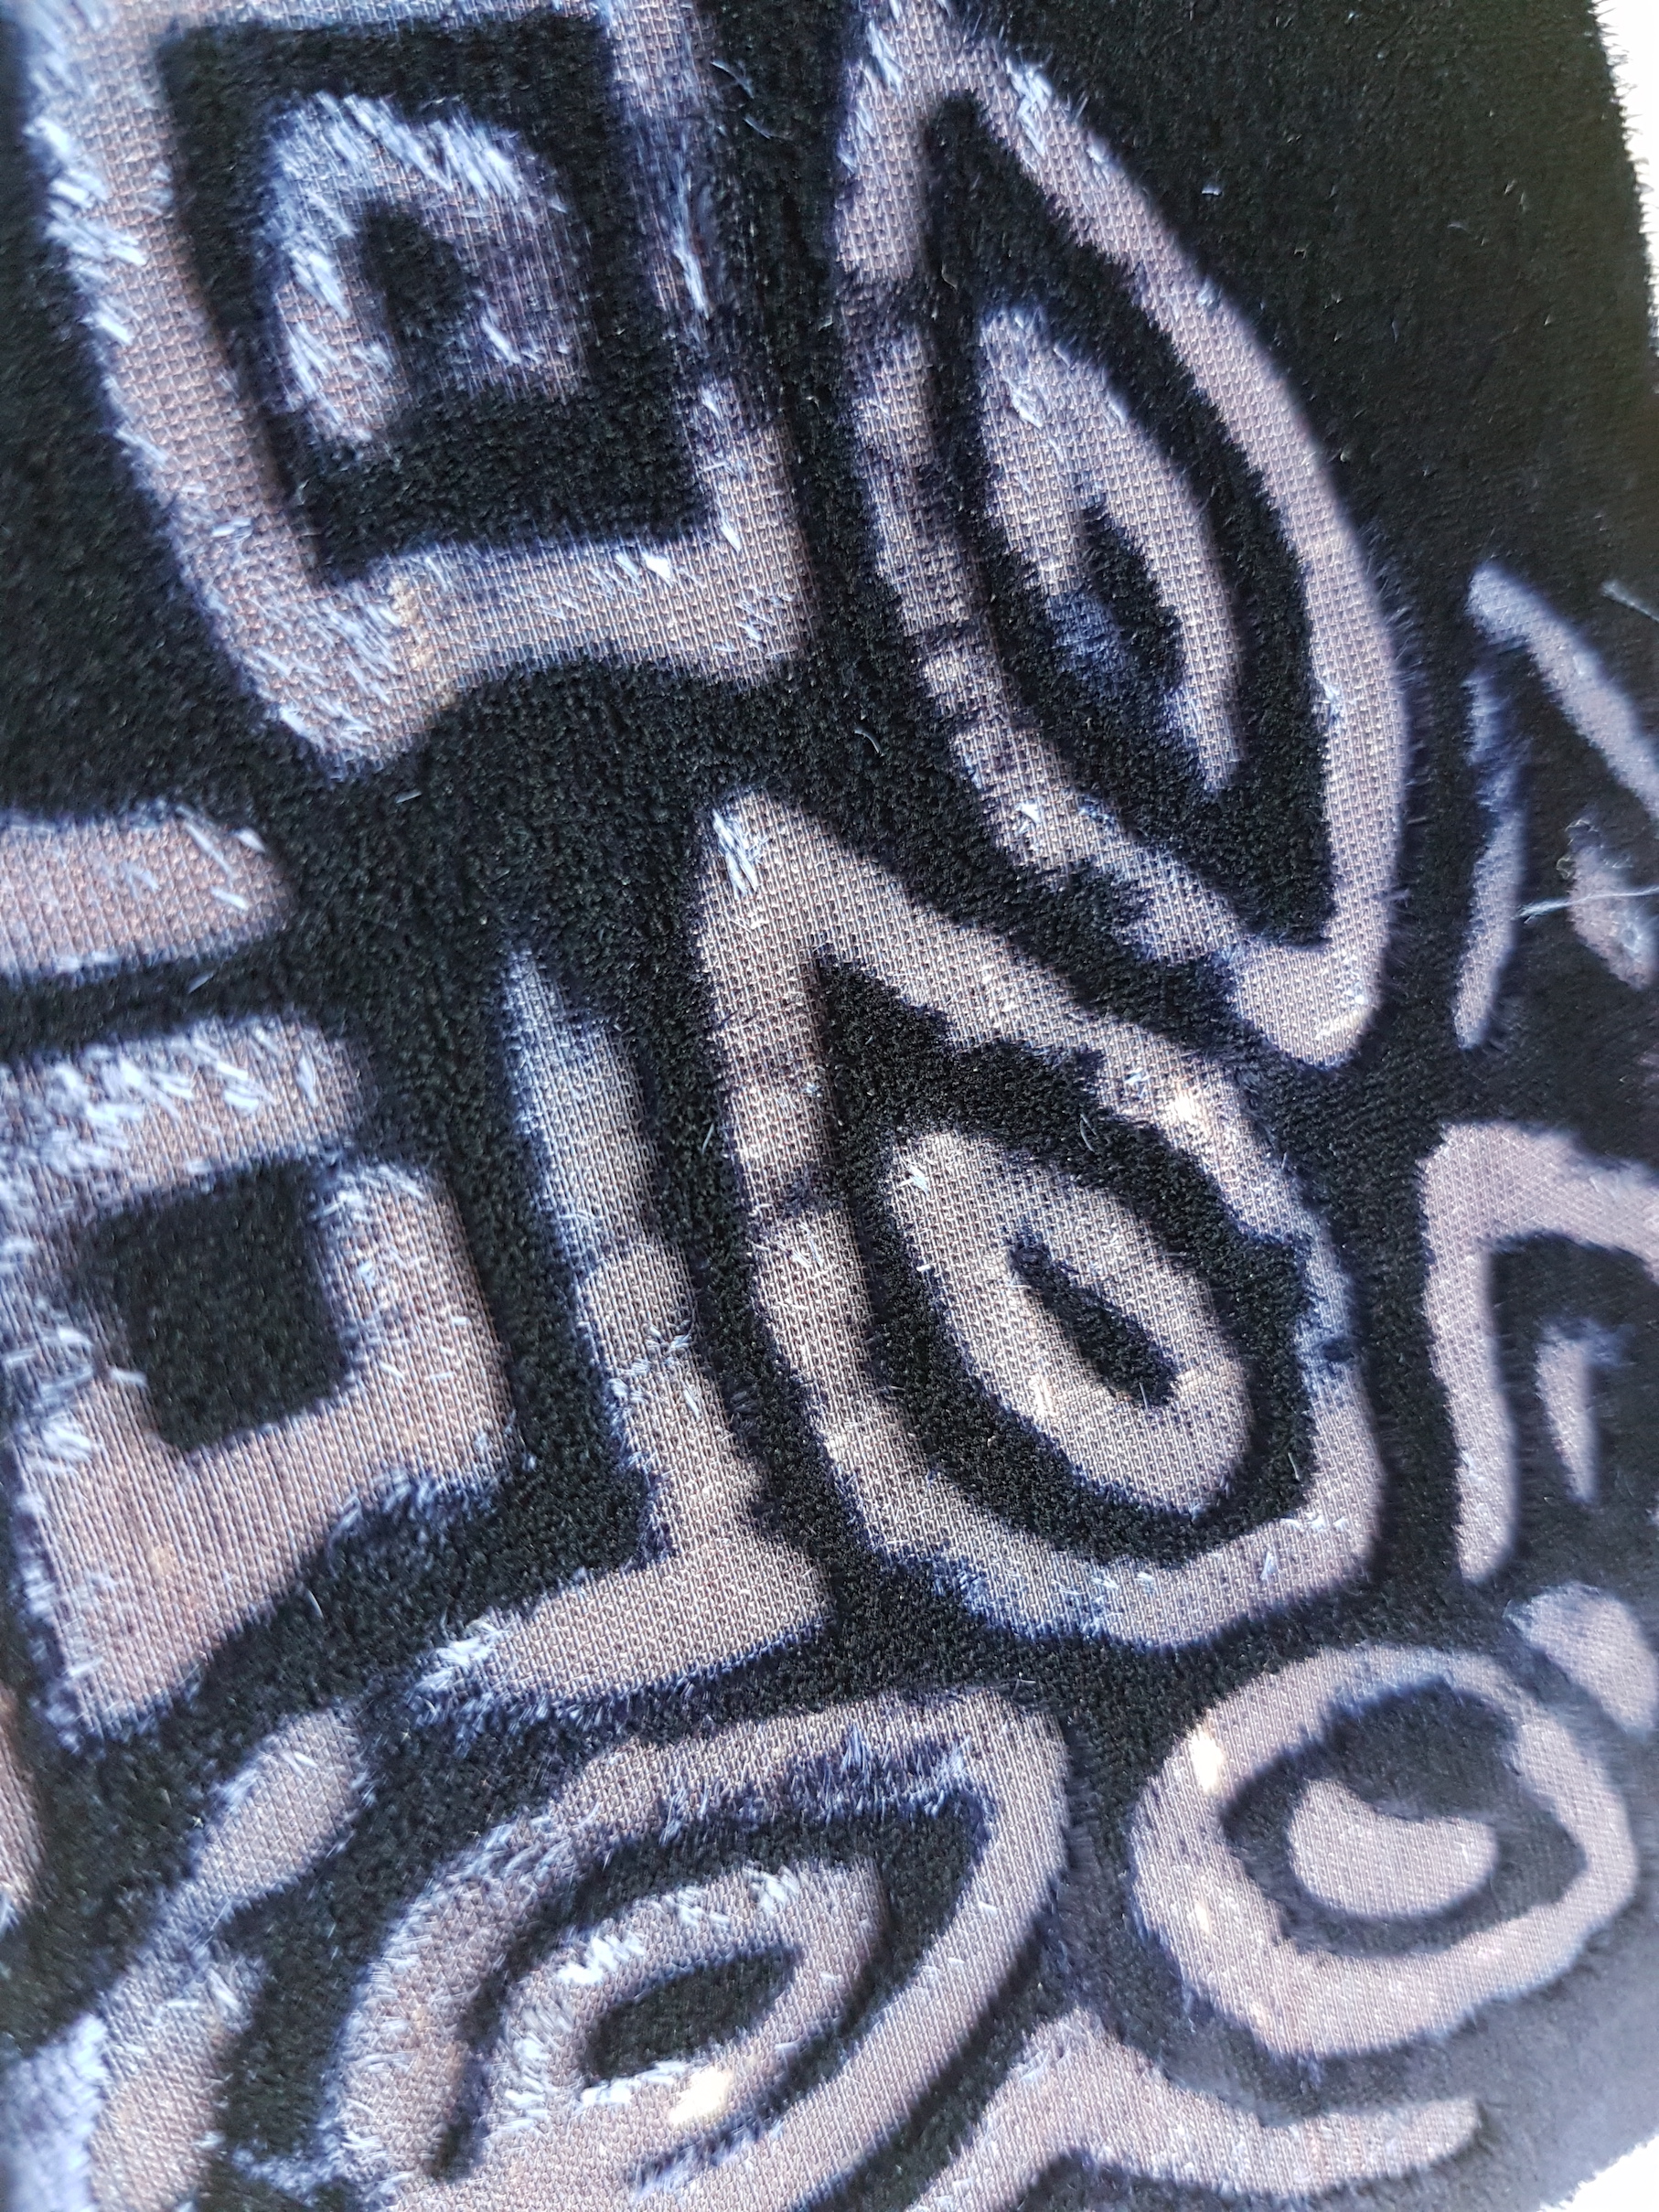
Devoré is a type of fibre etching technique use primarily on velvet. It creates decorative effects by removing the natural plant fibres from fabric blends. This process leaves behind only the semi-transparent synthetic fibres, creating contrasts between the two distinct integrated textures. Devoré, from the French verb dévorer, is an apt name for this technique as the fibre etch eats away the natural cellulose fibres.
Fibre etching can be achieved on a variety of materials such as fabric, paper and wood. Fibre-etched fabric is typically found in clothes, furniture covers, upholstery etc.
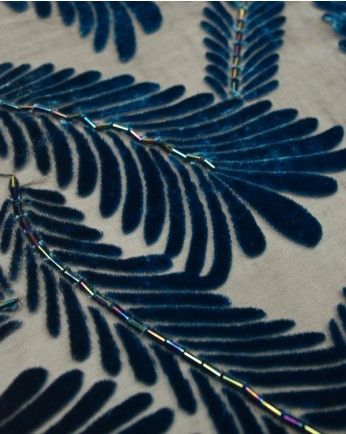
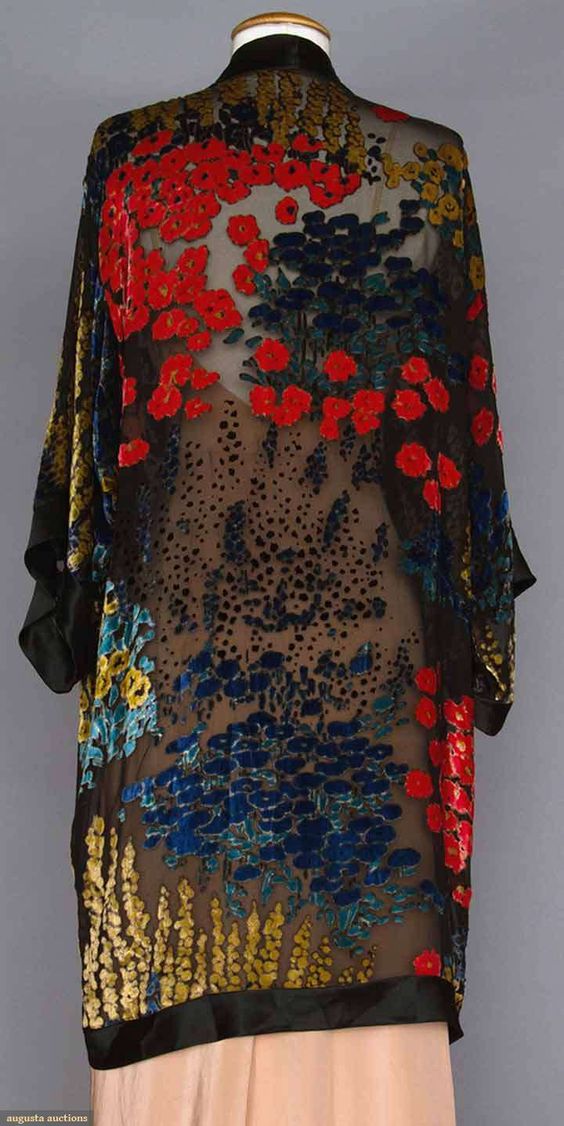
Lovely samples we saw in class:
More Devoré examples!
Materials needed
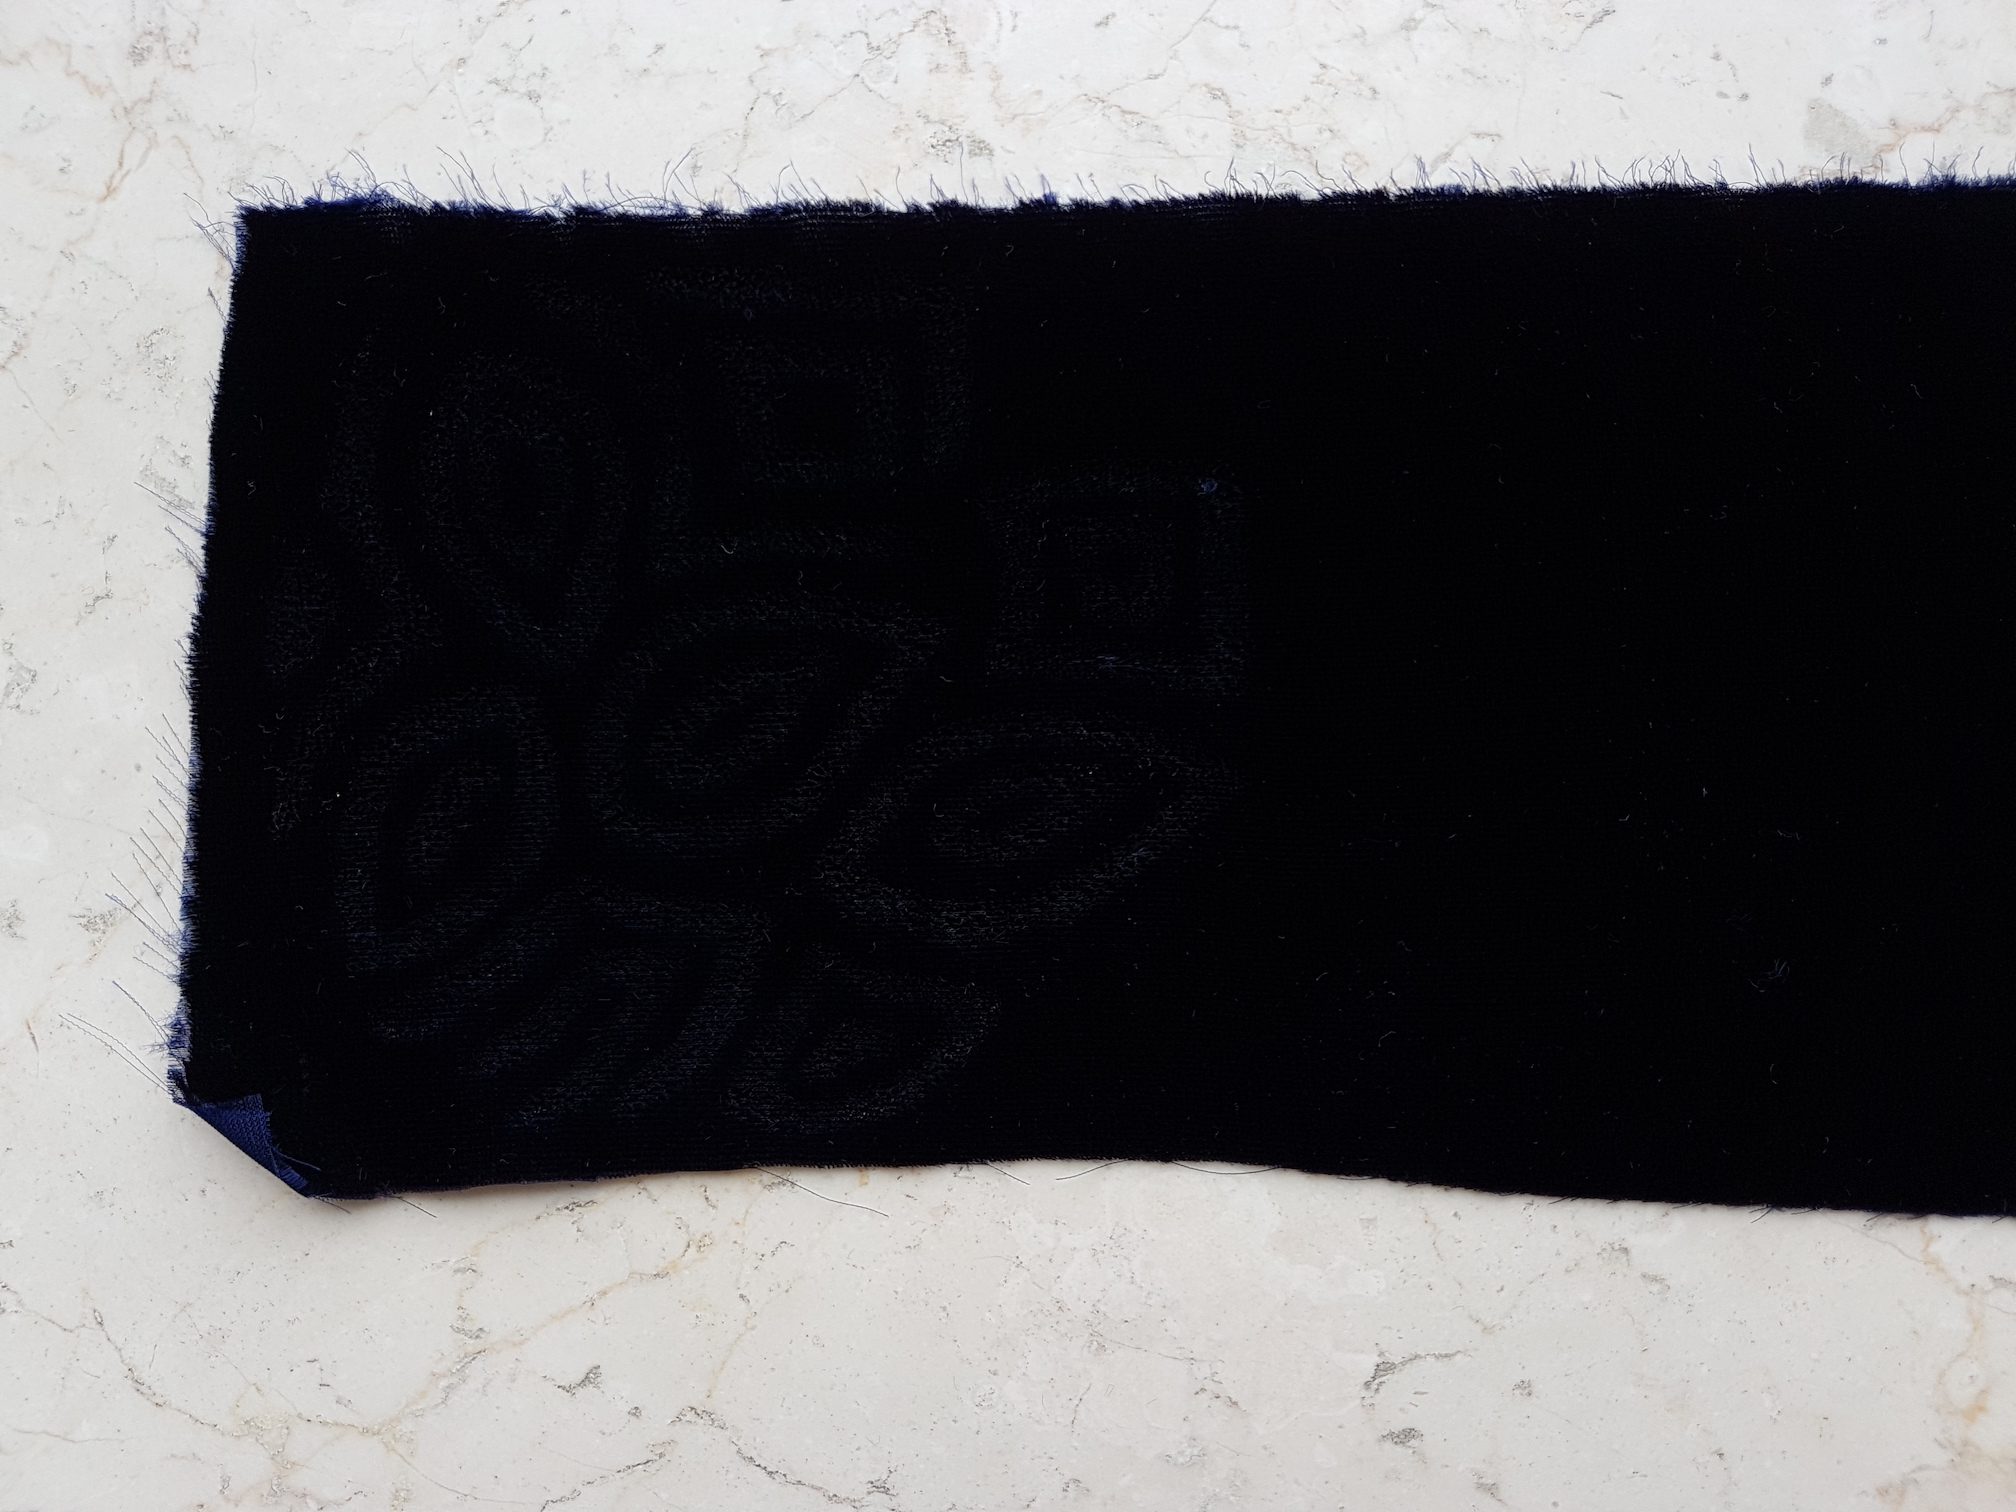
We experimented with Devoré using silk viscose velvet. It is very smooth with loose, fine fibres.
Fabric blend such as silk viscose velvet
Fibre etch remover gel
Silkscreen with design and Squeegee (optional)
Paintbrushes to paint on free hand designs
Steps
Print the design onto the fabric blend like we would do for a normal silkscreen print by adding the gel and running the squeegee with pressure over the surface.
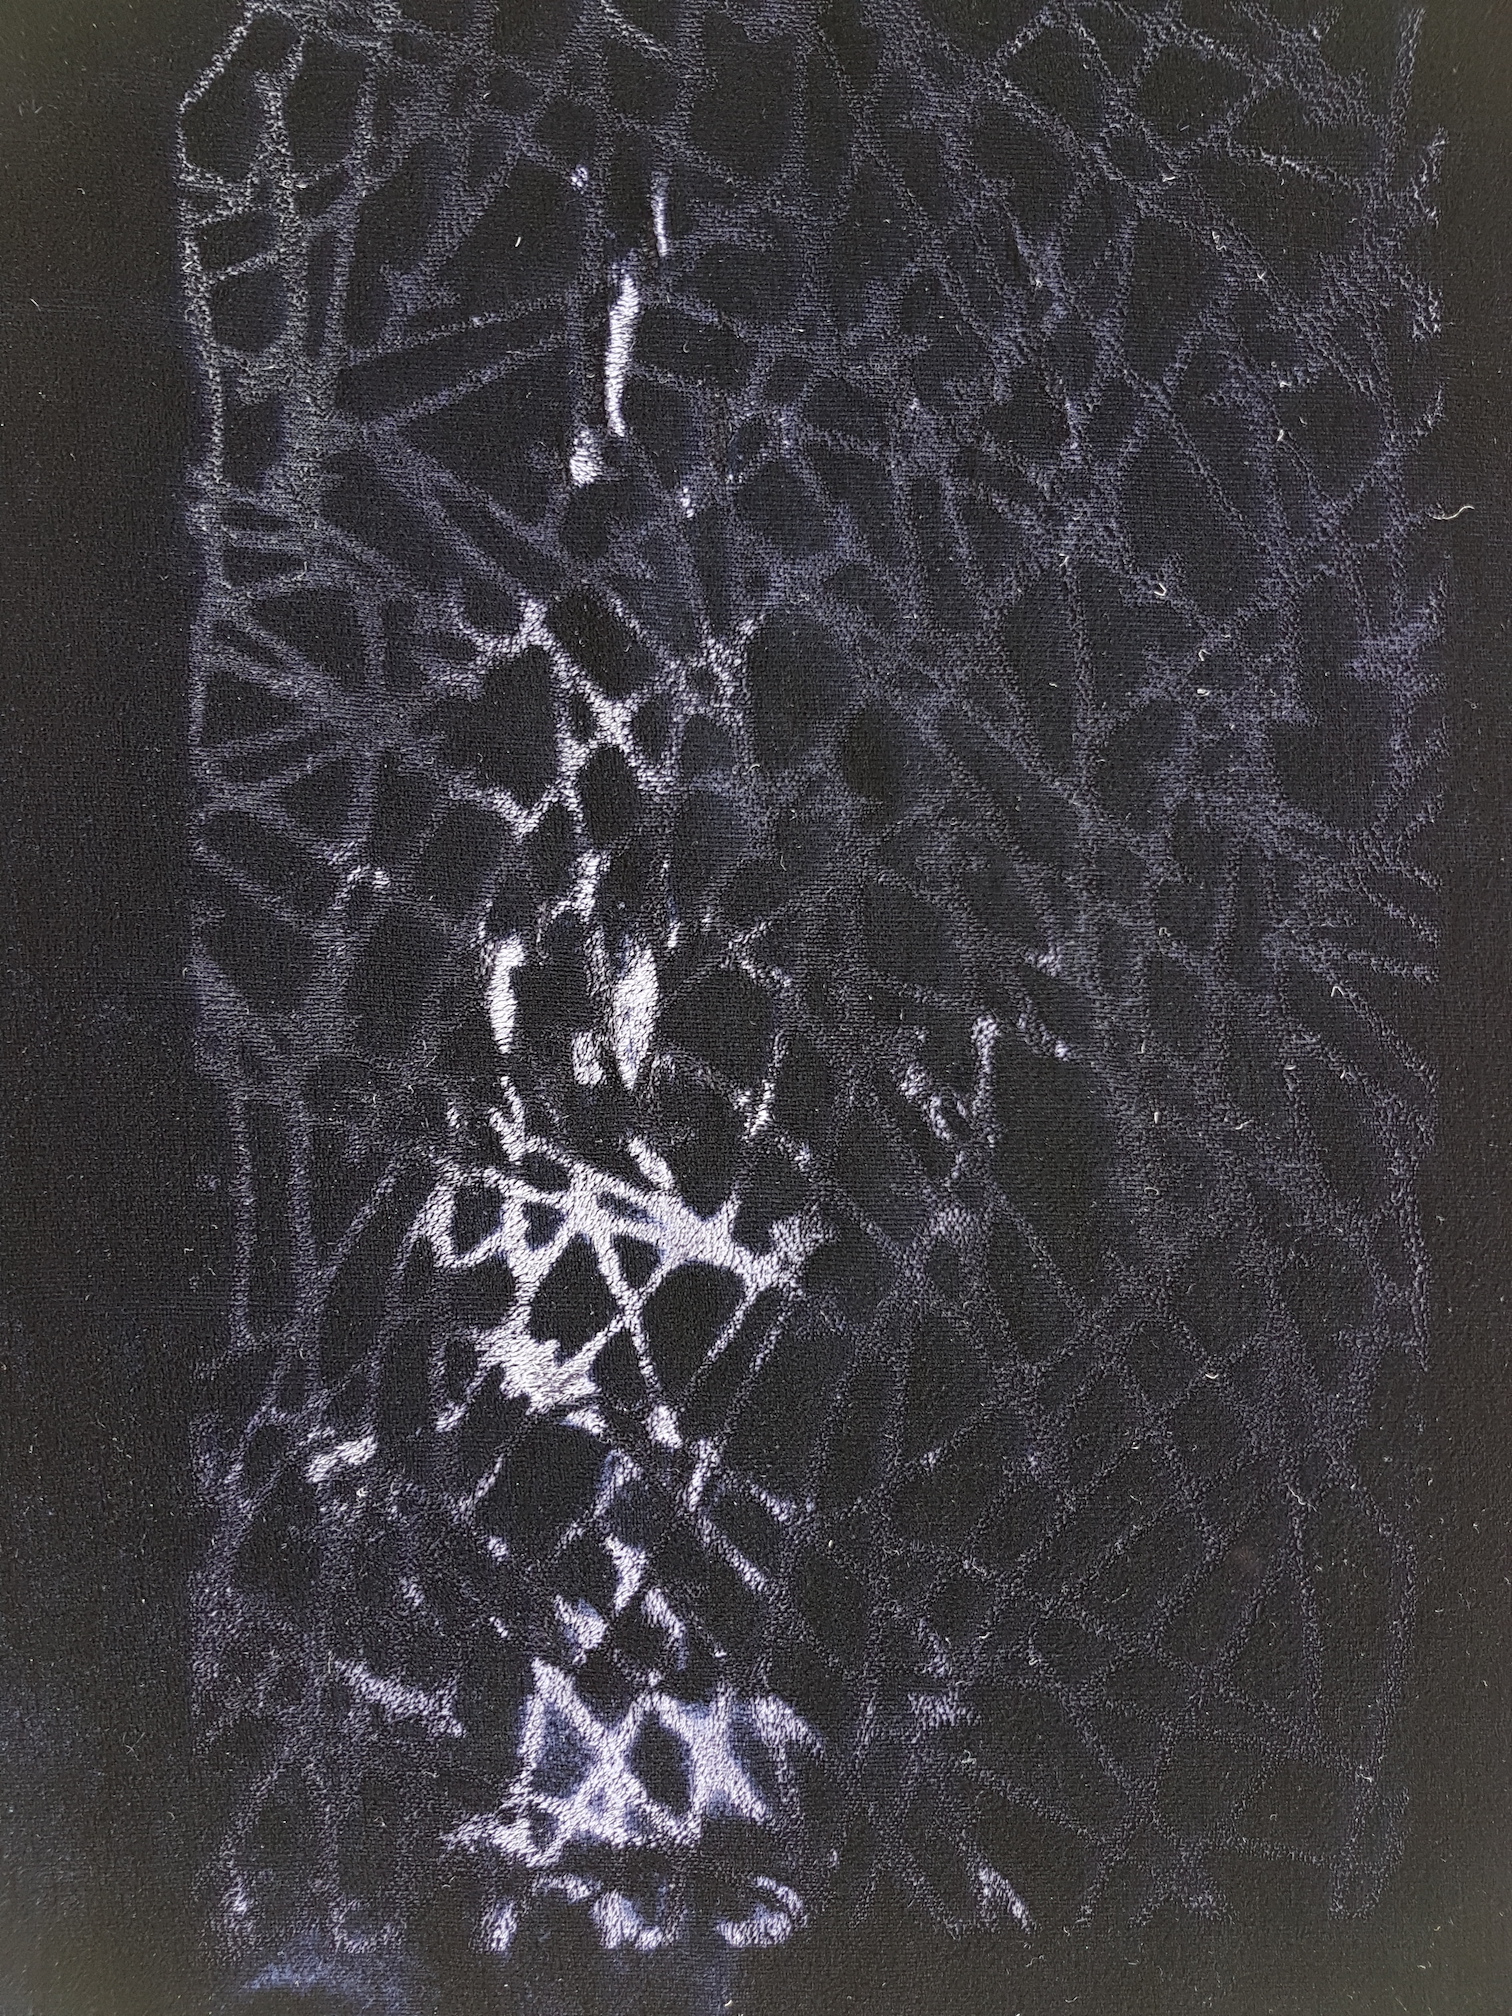
Velvet with design (the camera can’t pick up the dark fabric)Velvet with silkscreen printed design
(The velvet is a dark navy so the camera has trouble picking it up.)
Alternatively, paint on a design freehand.
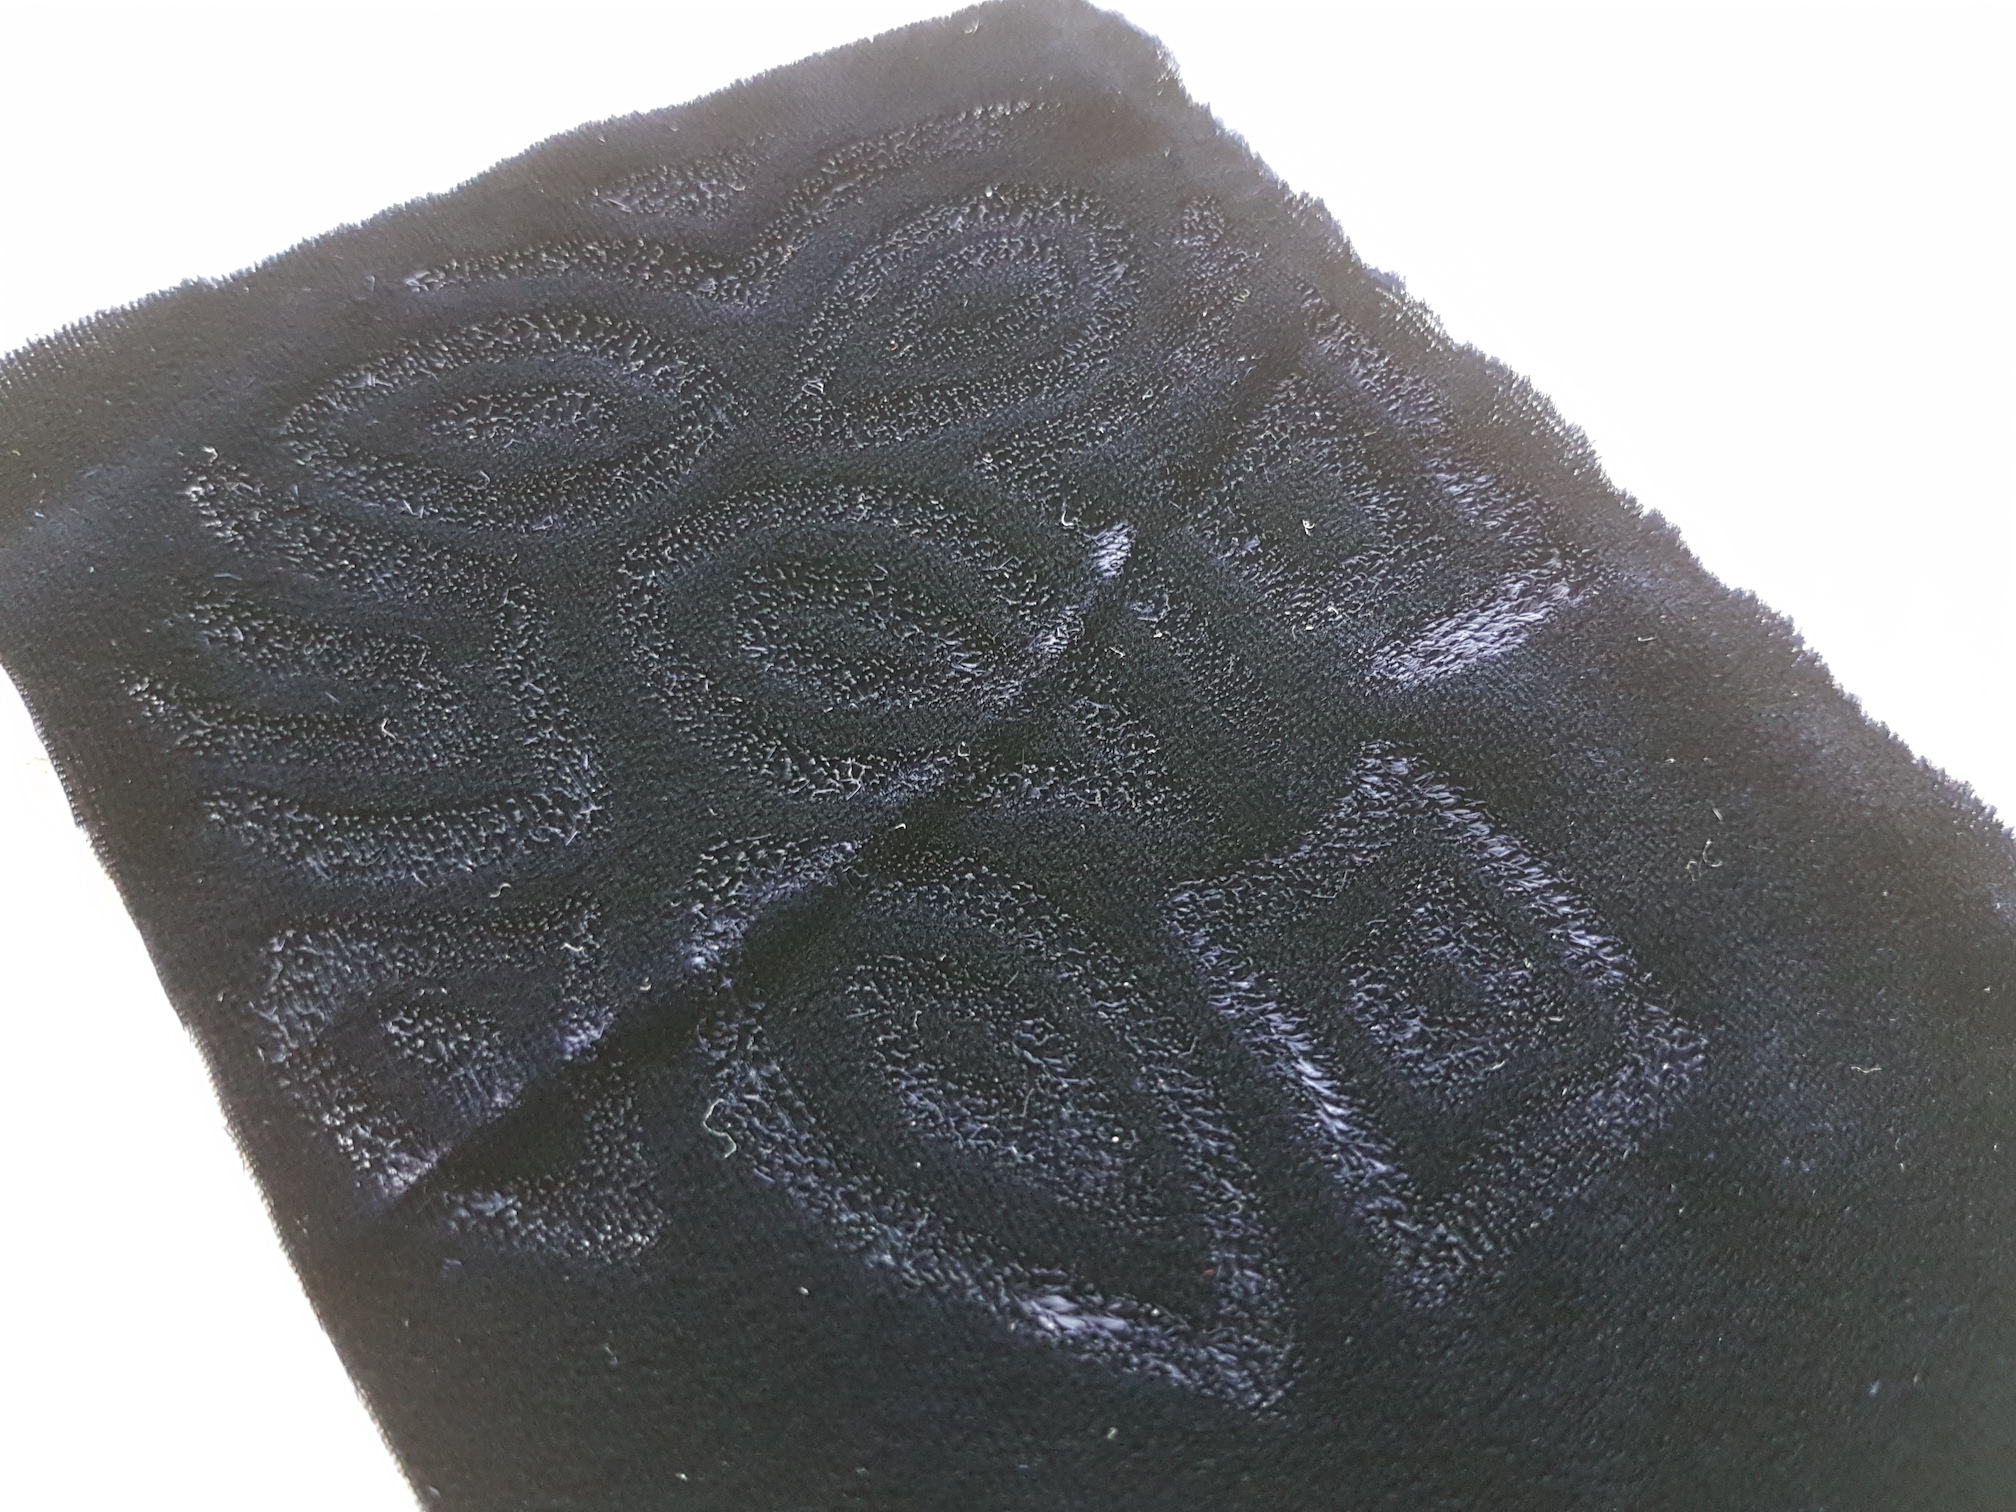
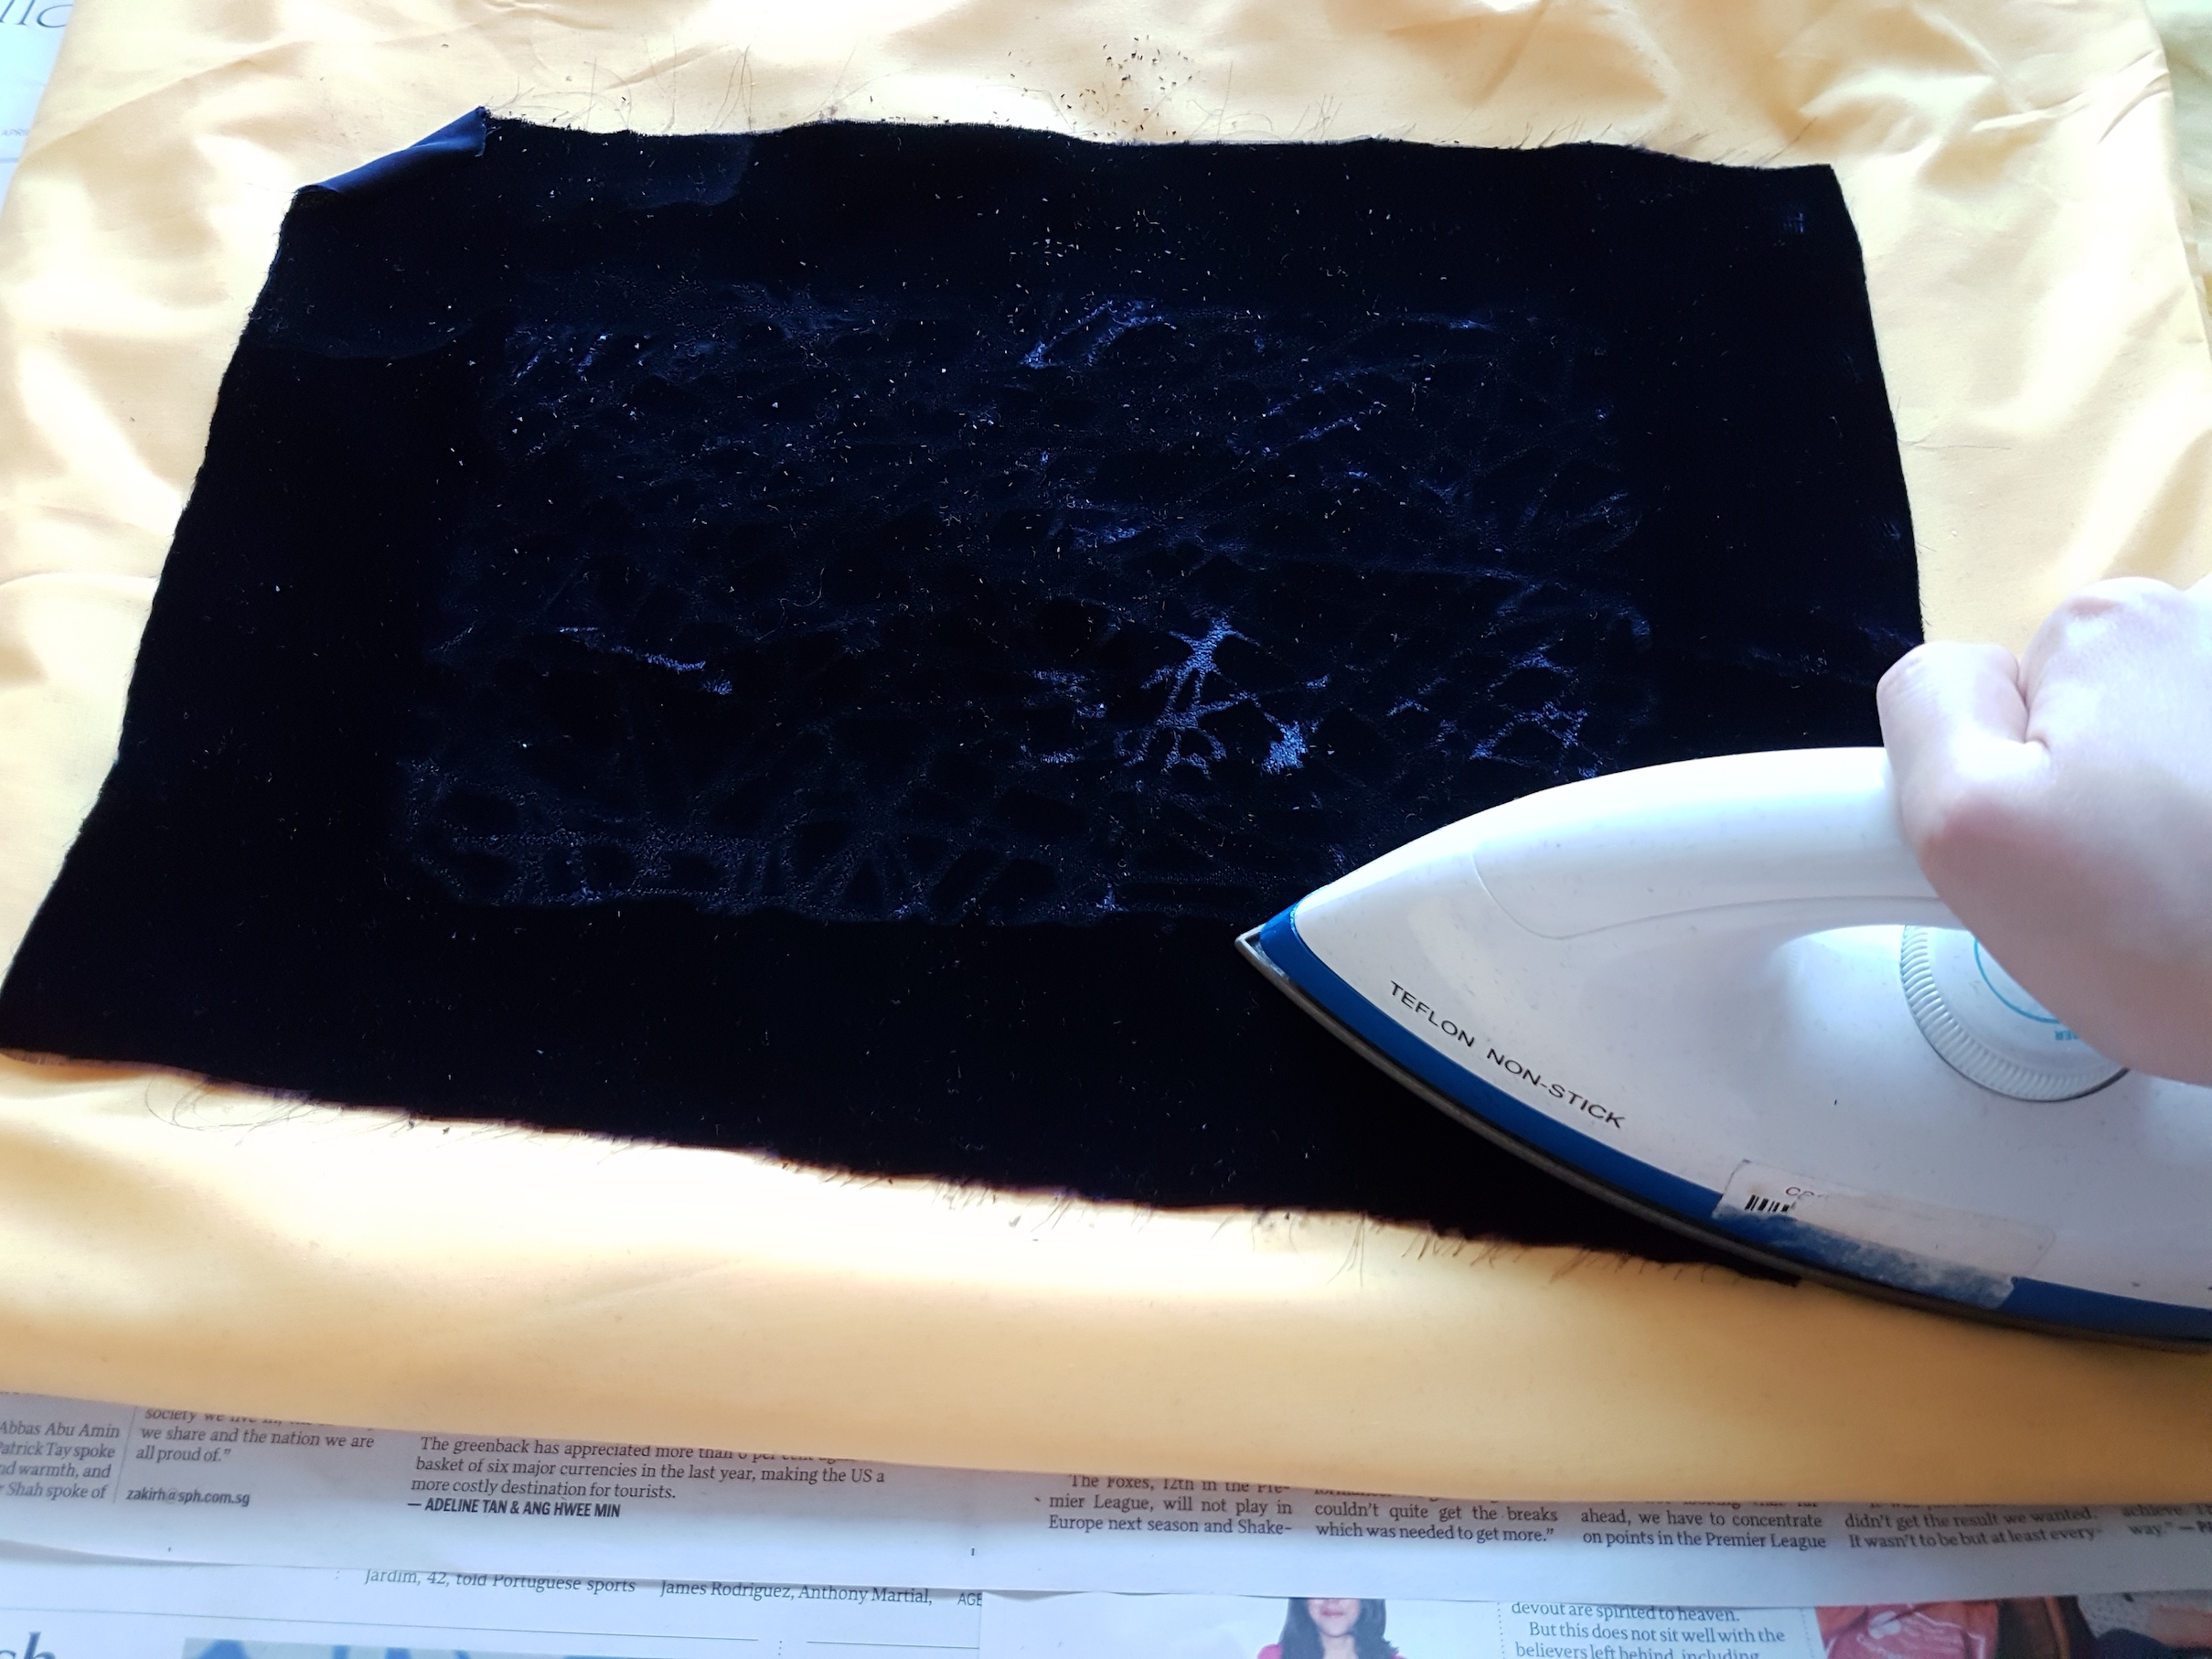
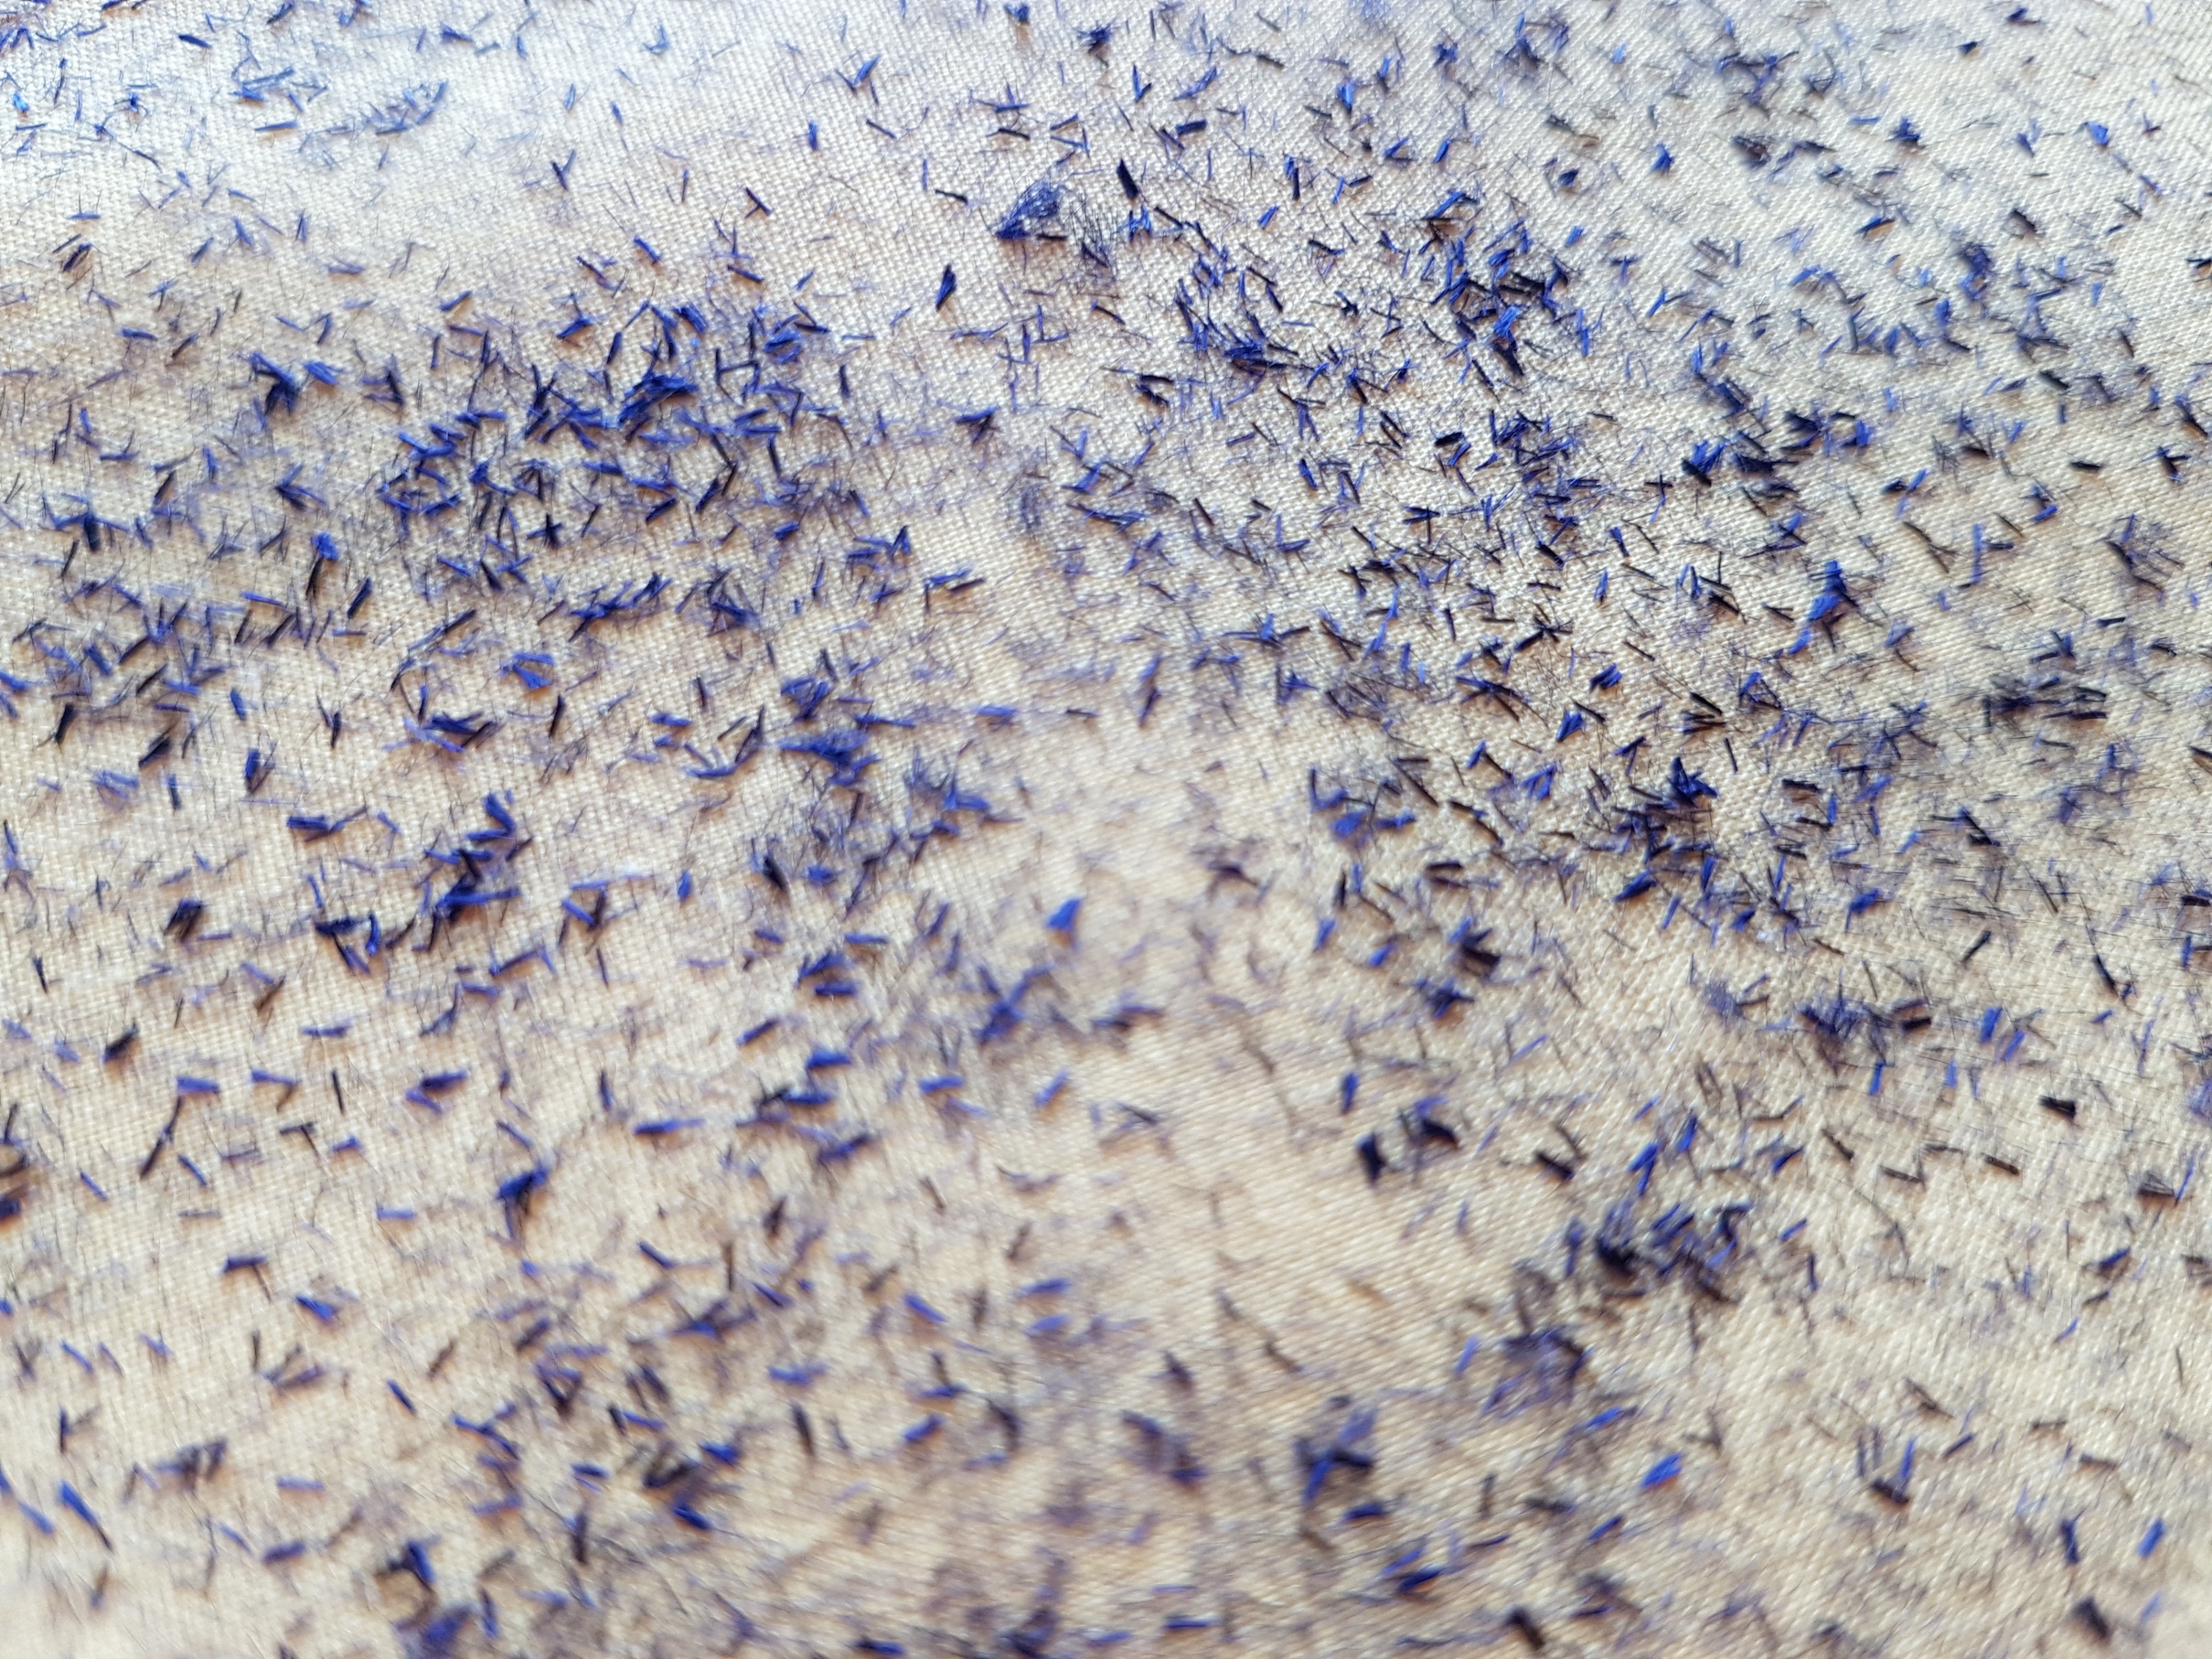
Leave the fibre etch gel to dry. Once completely dry, iron the fabric till the painted areas become stiff and slightly burnt. Either wash or brush the lose fibres off to reveal the synthetic fibres underneath.
Loose fibres after ironing
This double textured fabric is delicate and detailed. The scientific process by which the fibres are eliminated is also very interesting.
This week, we explored unconventional materials such as fabric of thread. It consists of a variety of threads, yarn, scrap fabric sewn together in a grid pattern to form a new one-of-a-kind fabric. The material is see-through and can be applied to many products such as scarves, clothing, containers etc. to create a unique aesthetic.
Materials needed:
Threads, yarns, scrap fabrics, trimmings of your choice! (Can even include small flat objects)
Sewing machine
Water soluble stabilizer
Acrylic spray (optional)
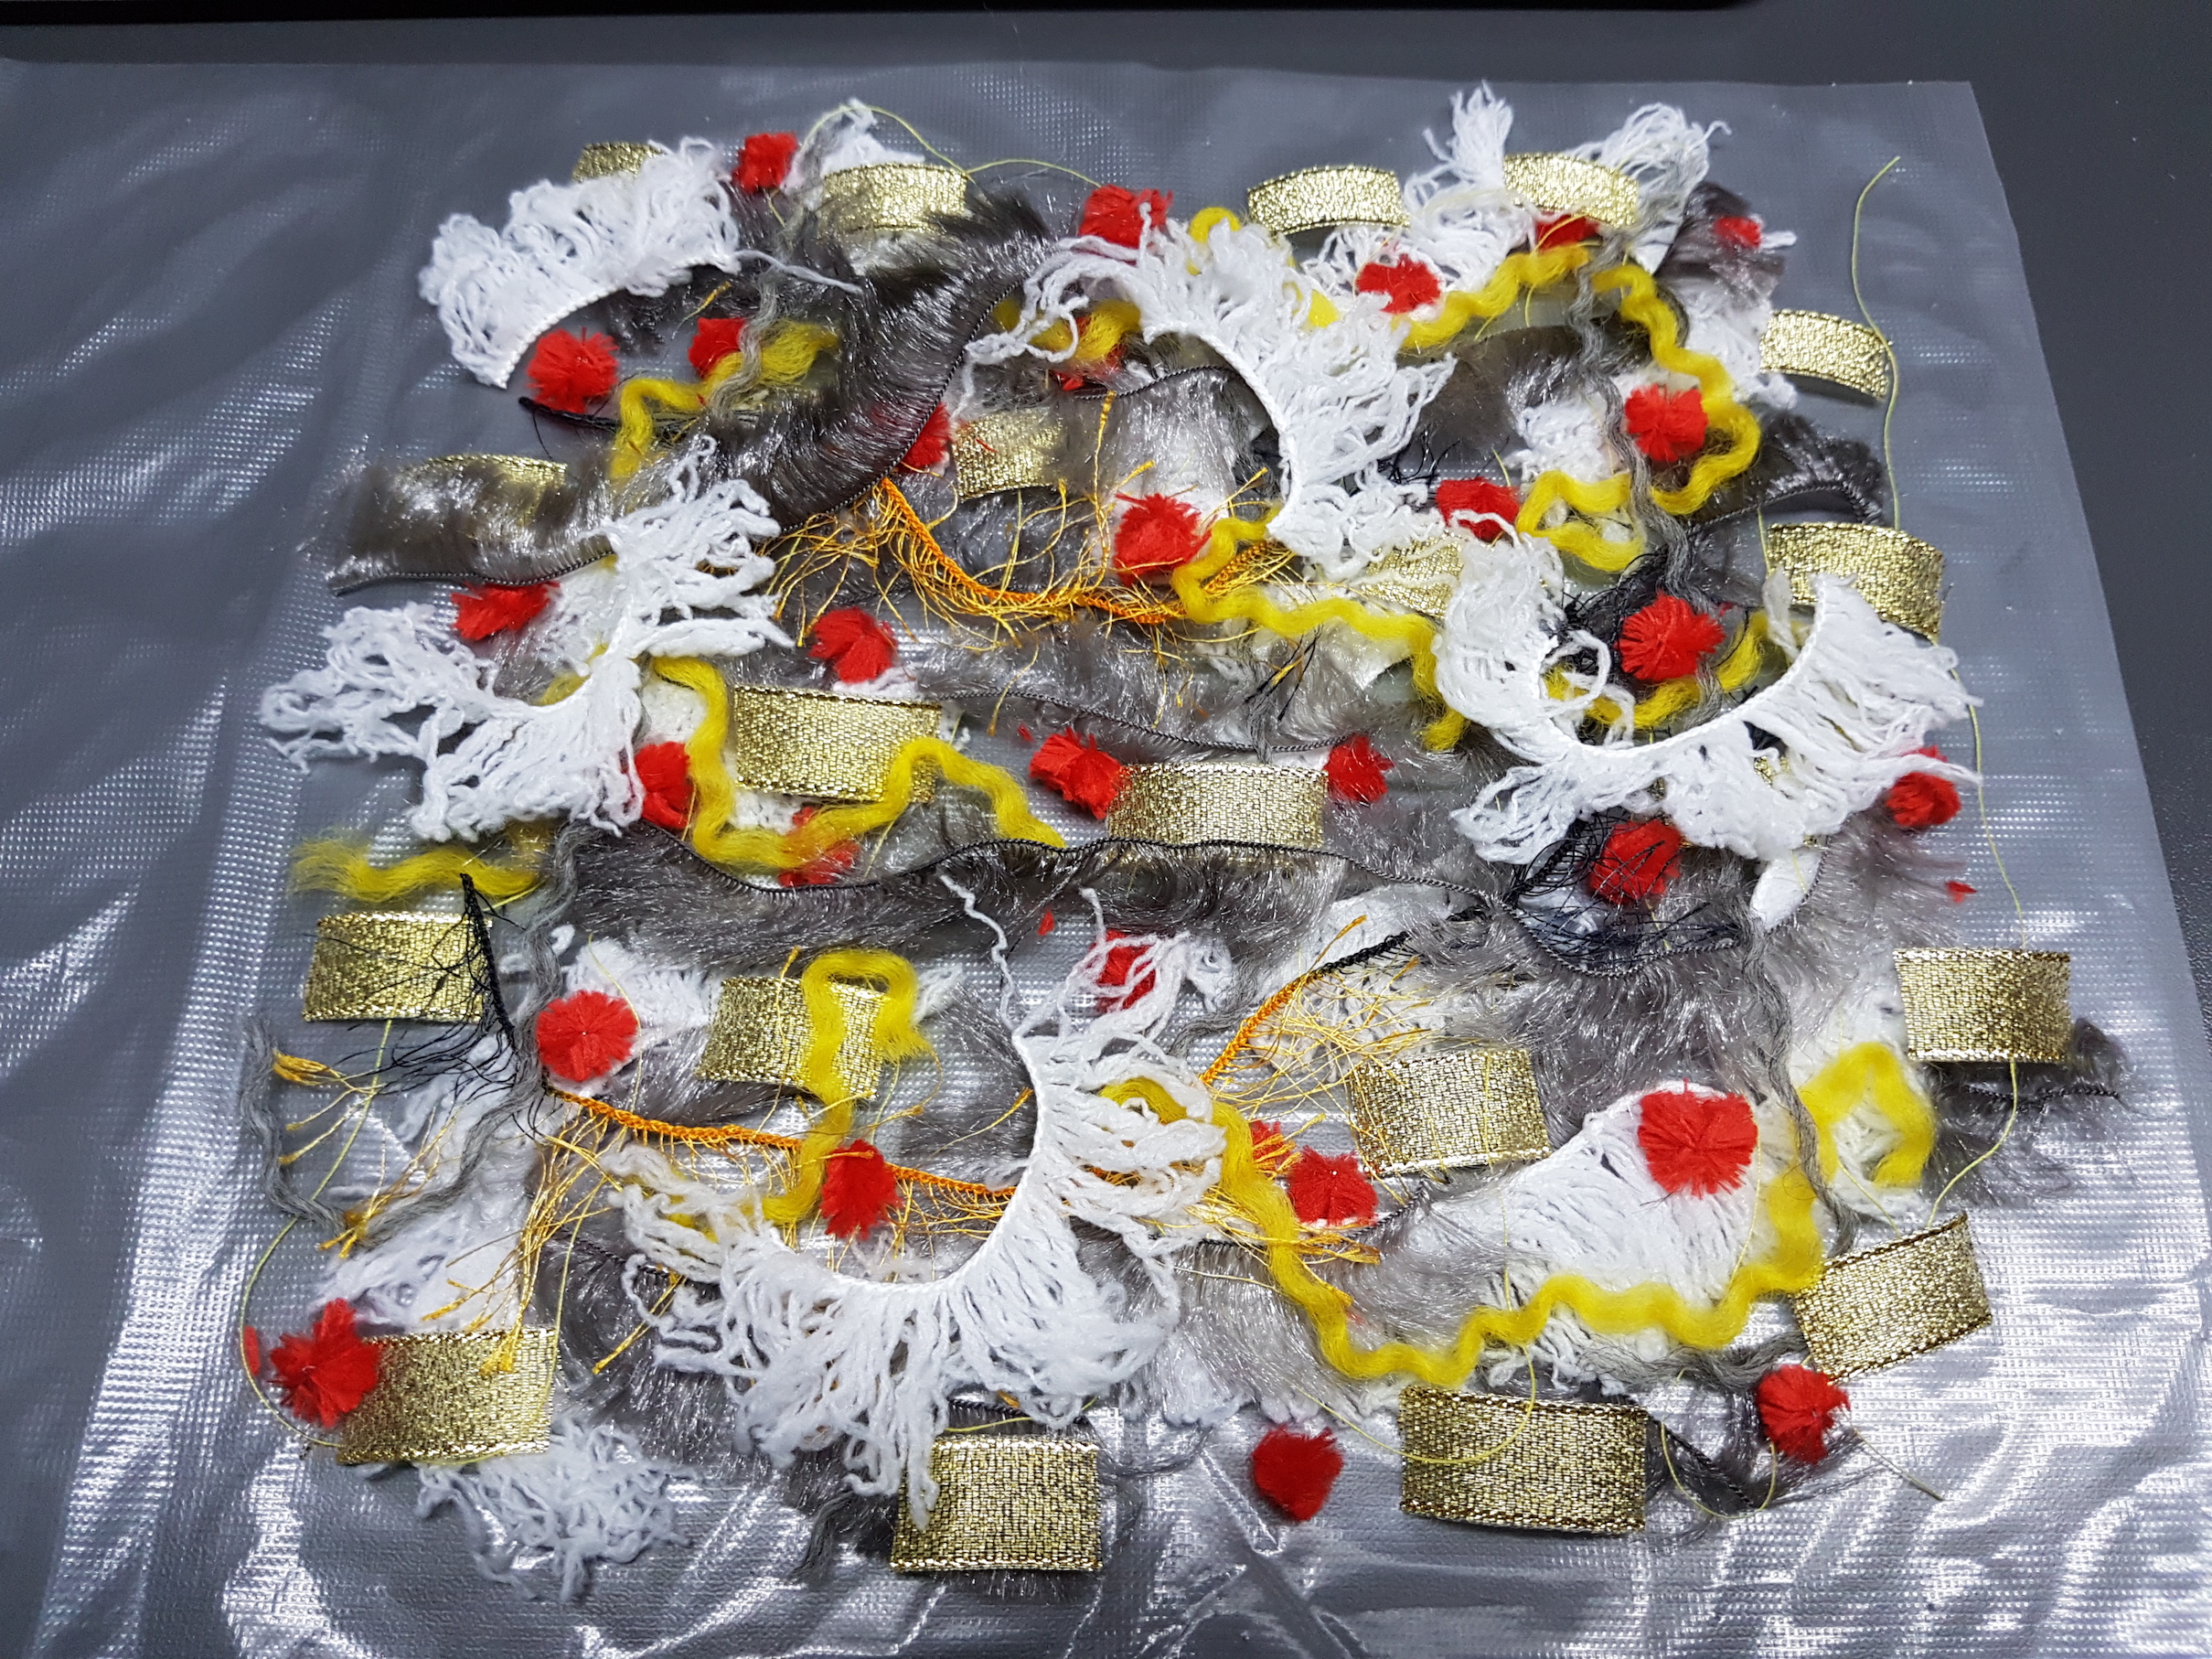
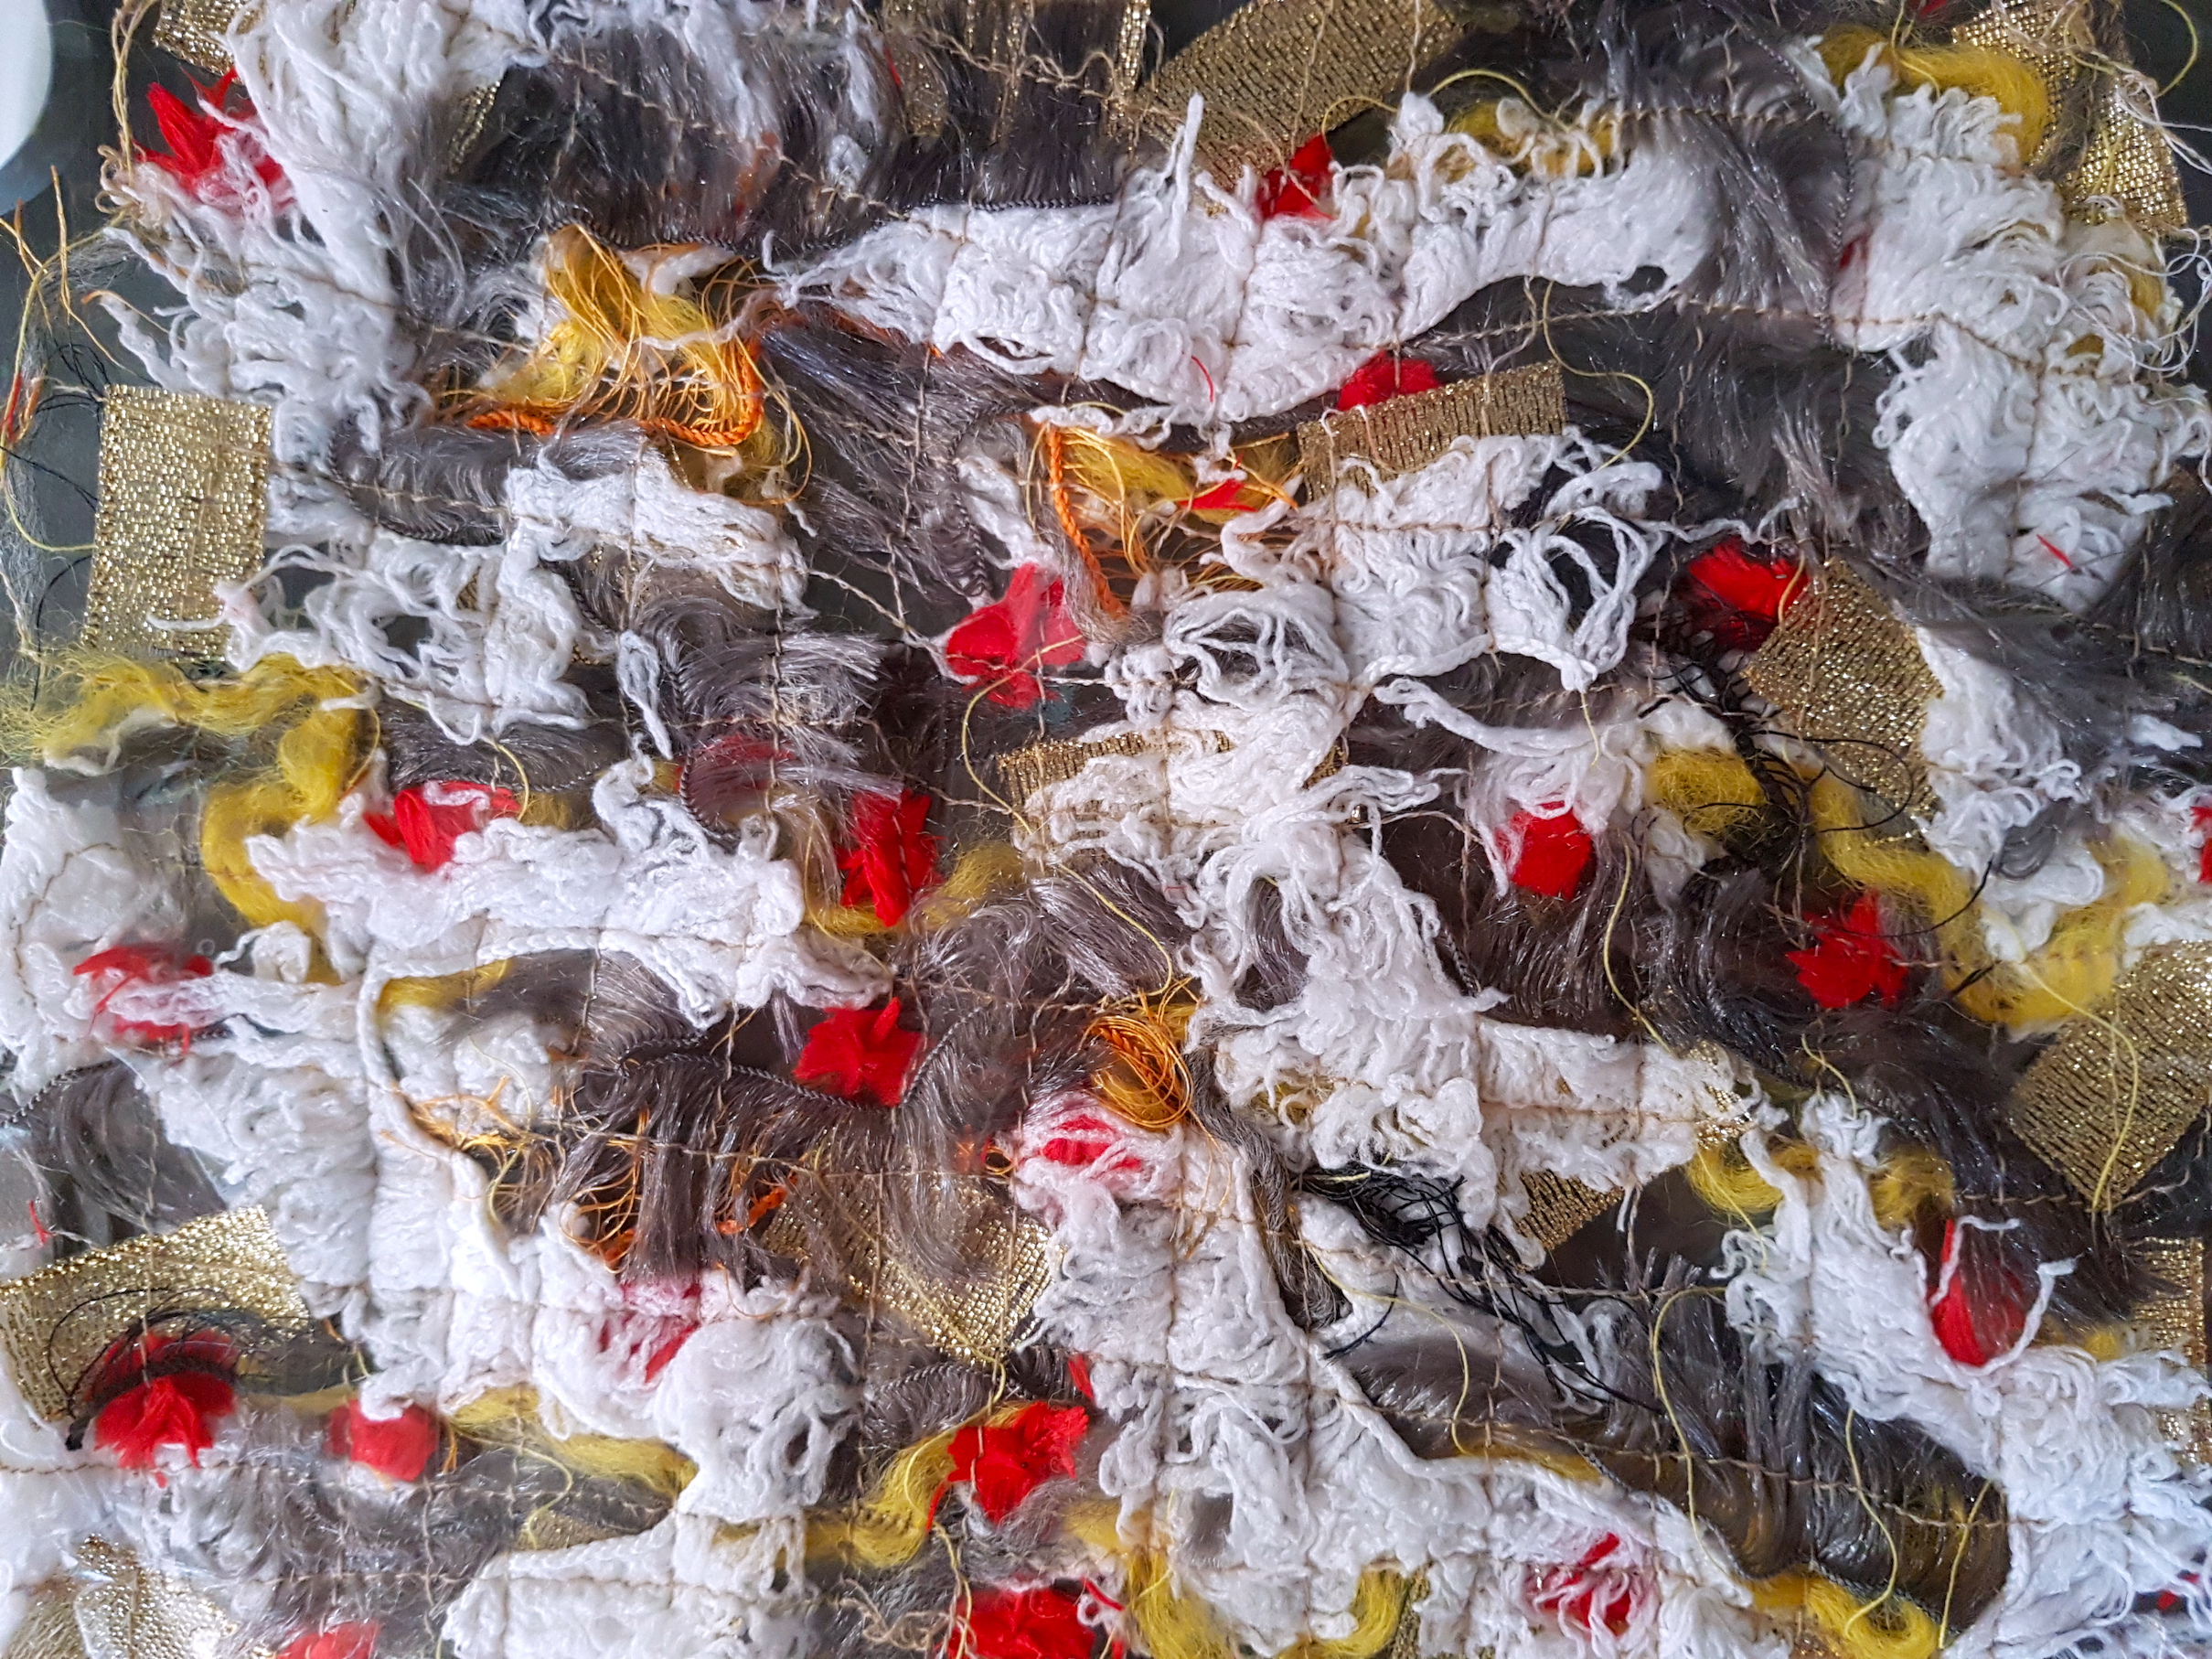
First we design our fabric of threads by arranging scrap yarn, ribbon or wool within the water soluble stabilizer. This particular fabric of thread includes yarn, acrylic fur, tiny pipe cleaners, ribbon and an assortment of coloured threads.
Arrange threads and trimmings within the water soluble stabilizer
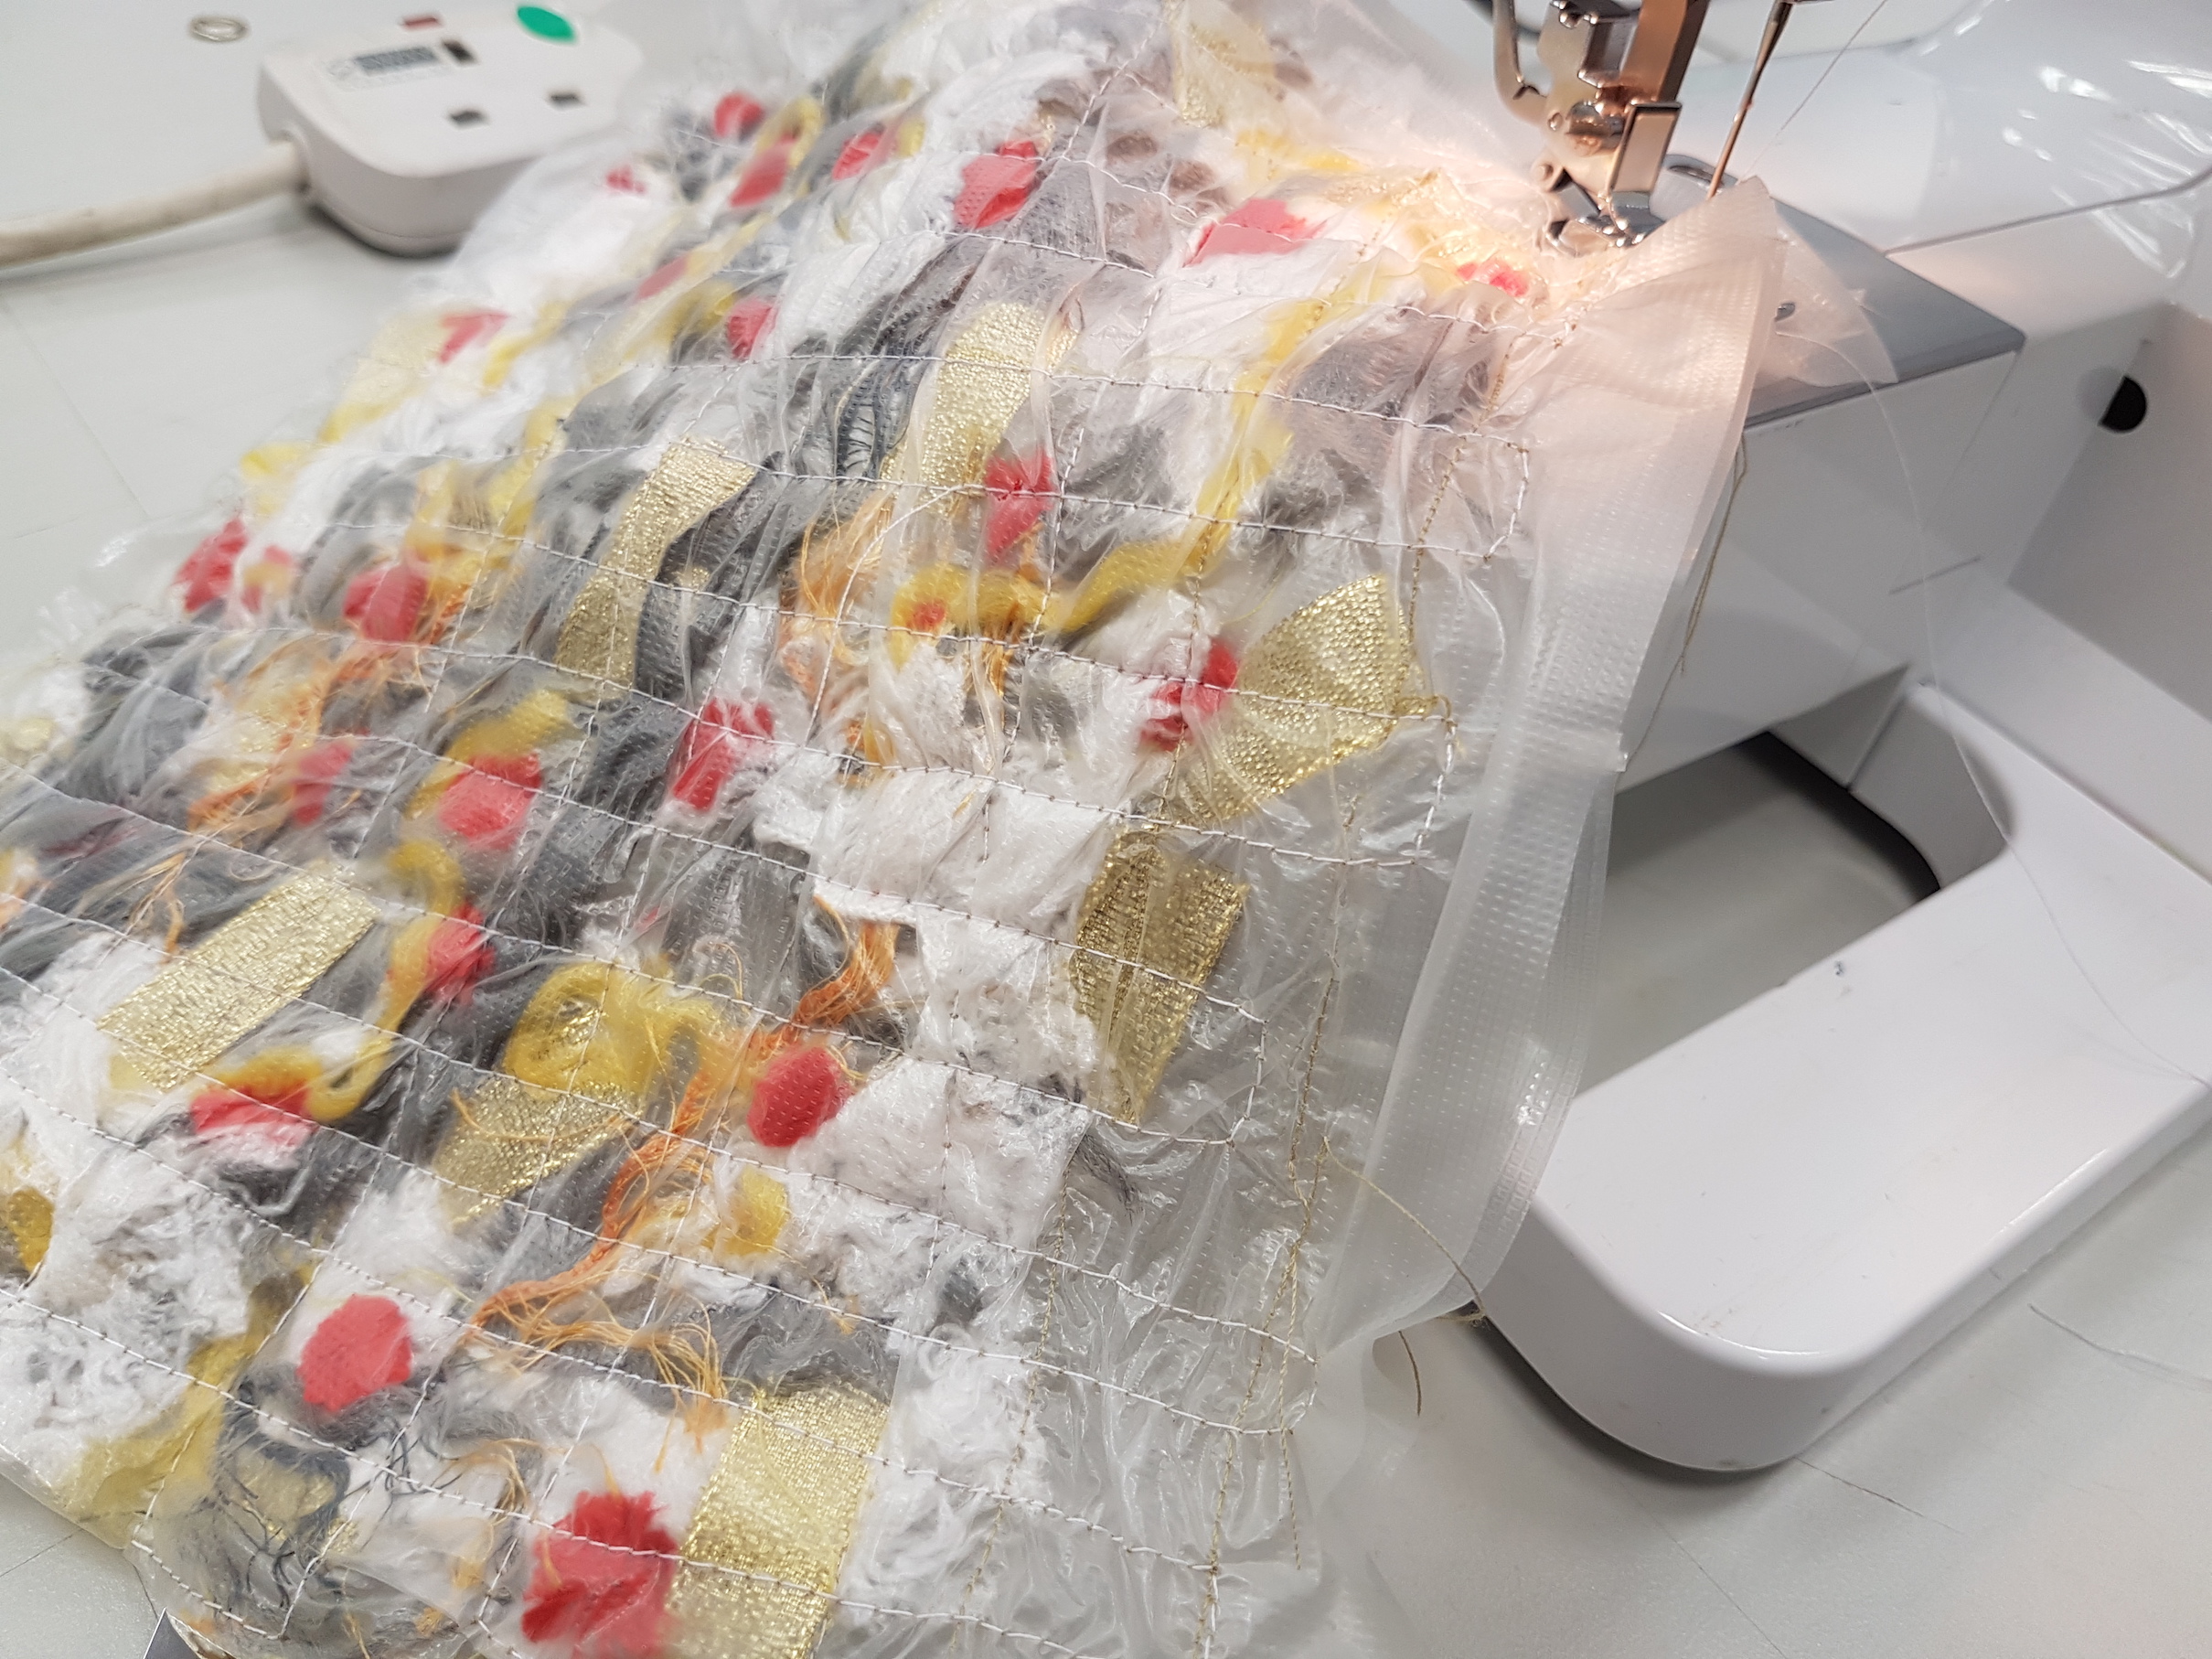
Fold the water soluble sheet in half, and pin the edges. This will help with the sewing process.
Start sewing!
Sew long lines across the fabric from edge to edge, removing pins as we encounter them. To change directions of sewing when we reach the edge of the sheet, we can either pivot at a right angle or reverse at a point.
Sewing a grid
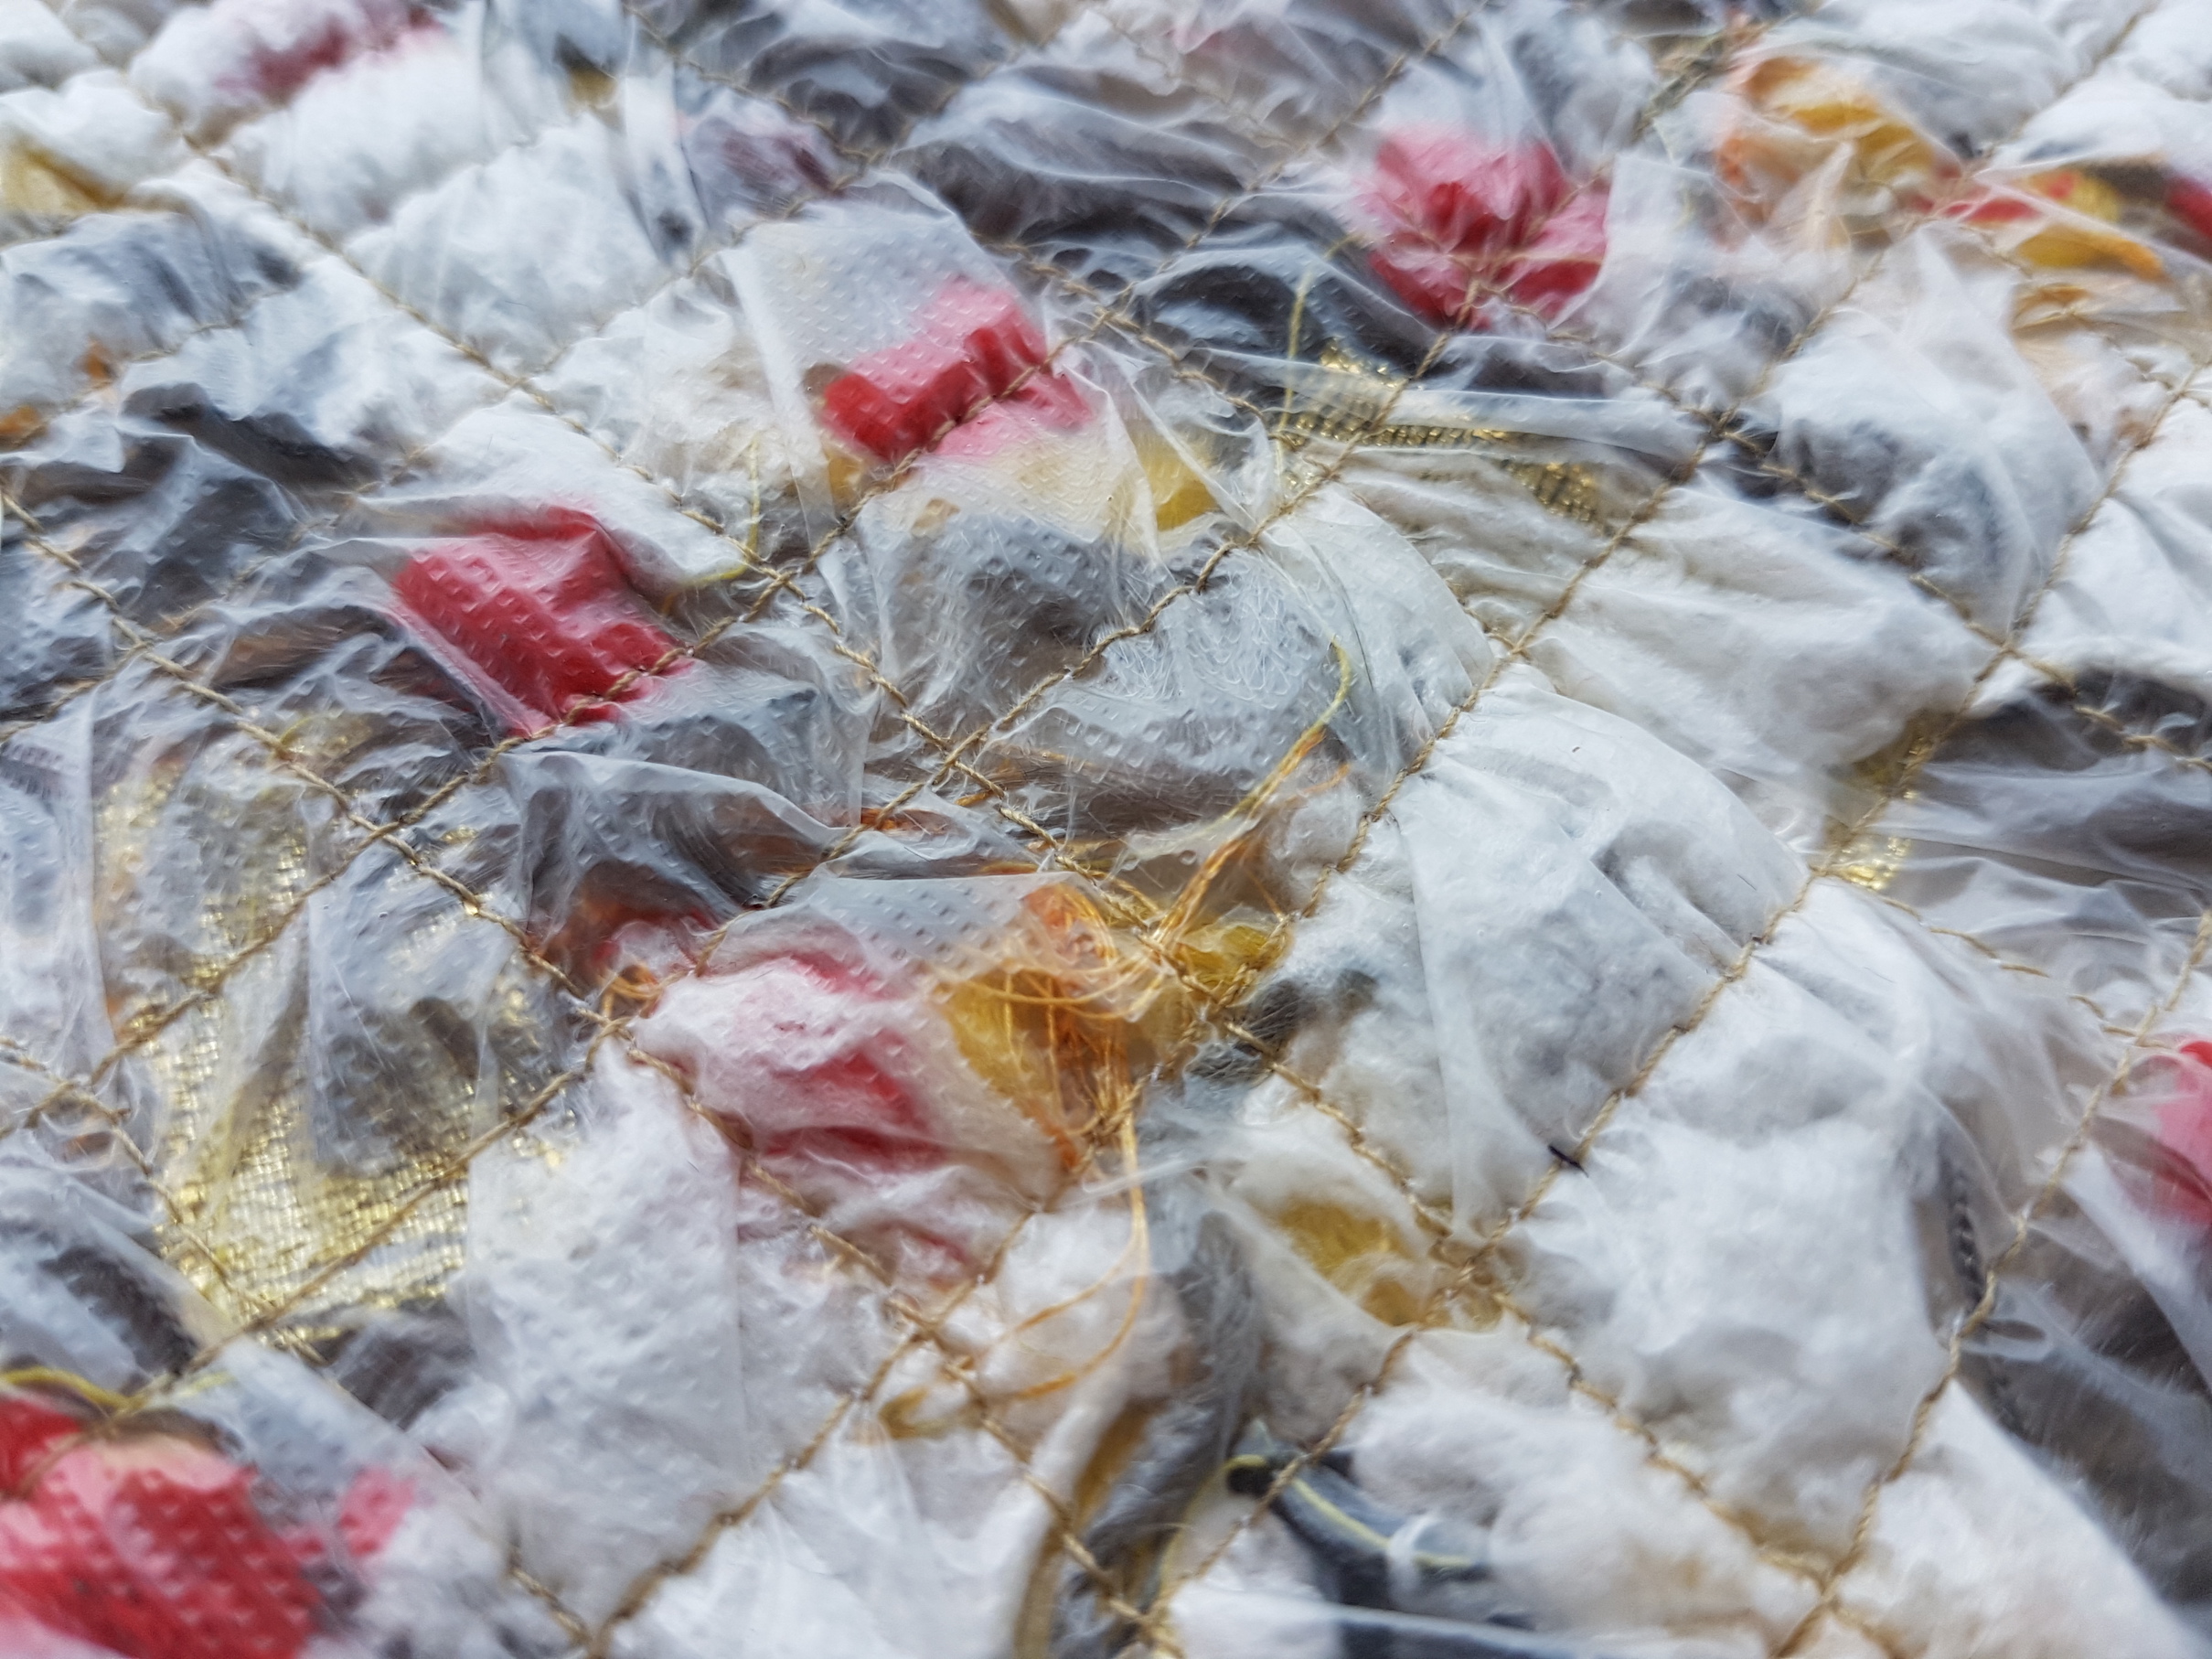
When all the horizontal rows are completed, form a grid by repeating rows vertically. This will help keep the threads in place once the water soluble material is washed off. I used 2 different thread colours to sew (grey ochre on one side, and white on the other).
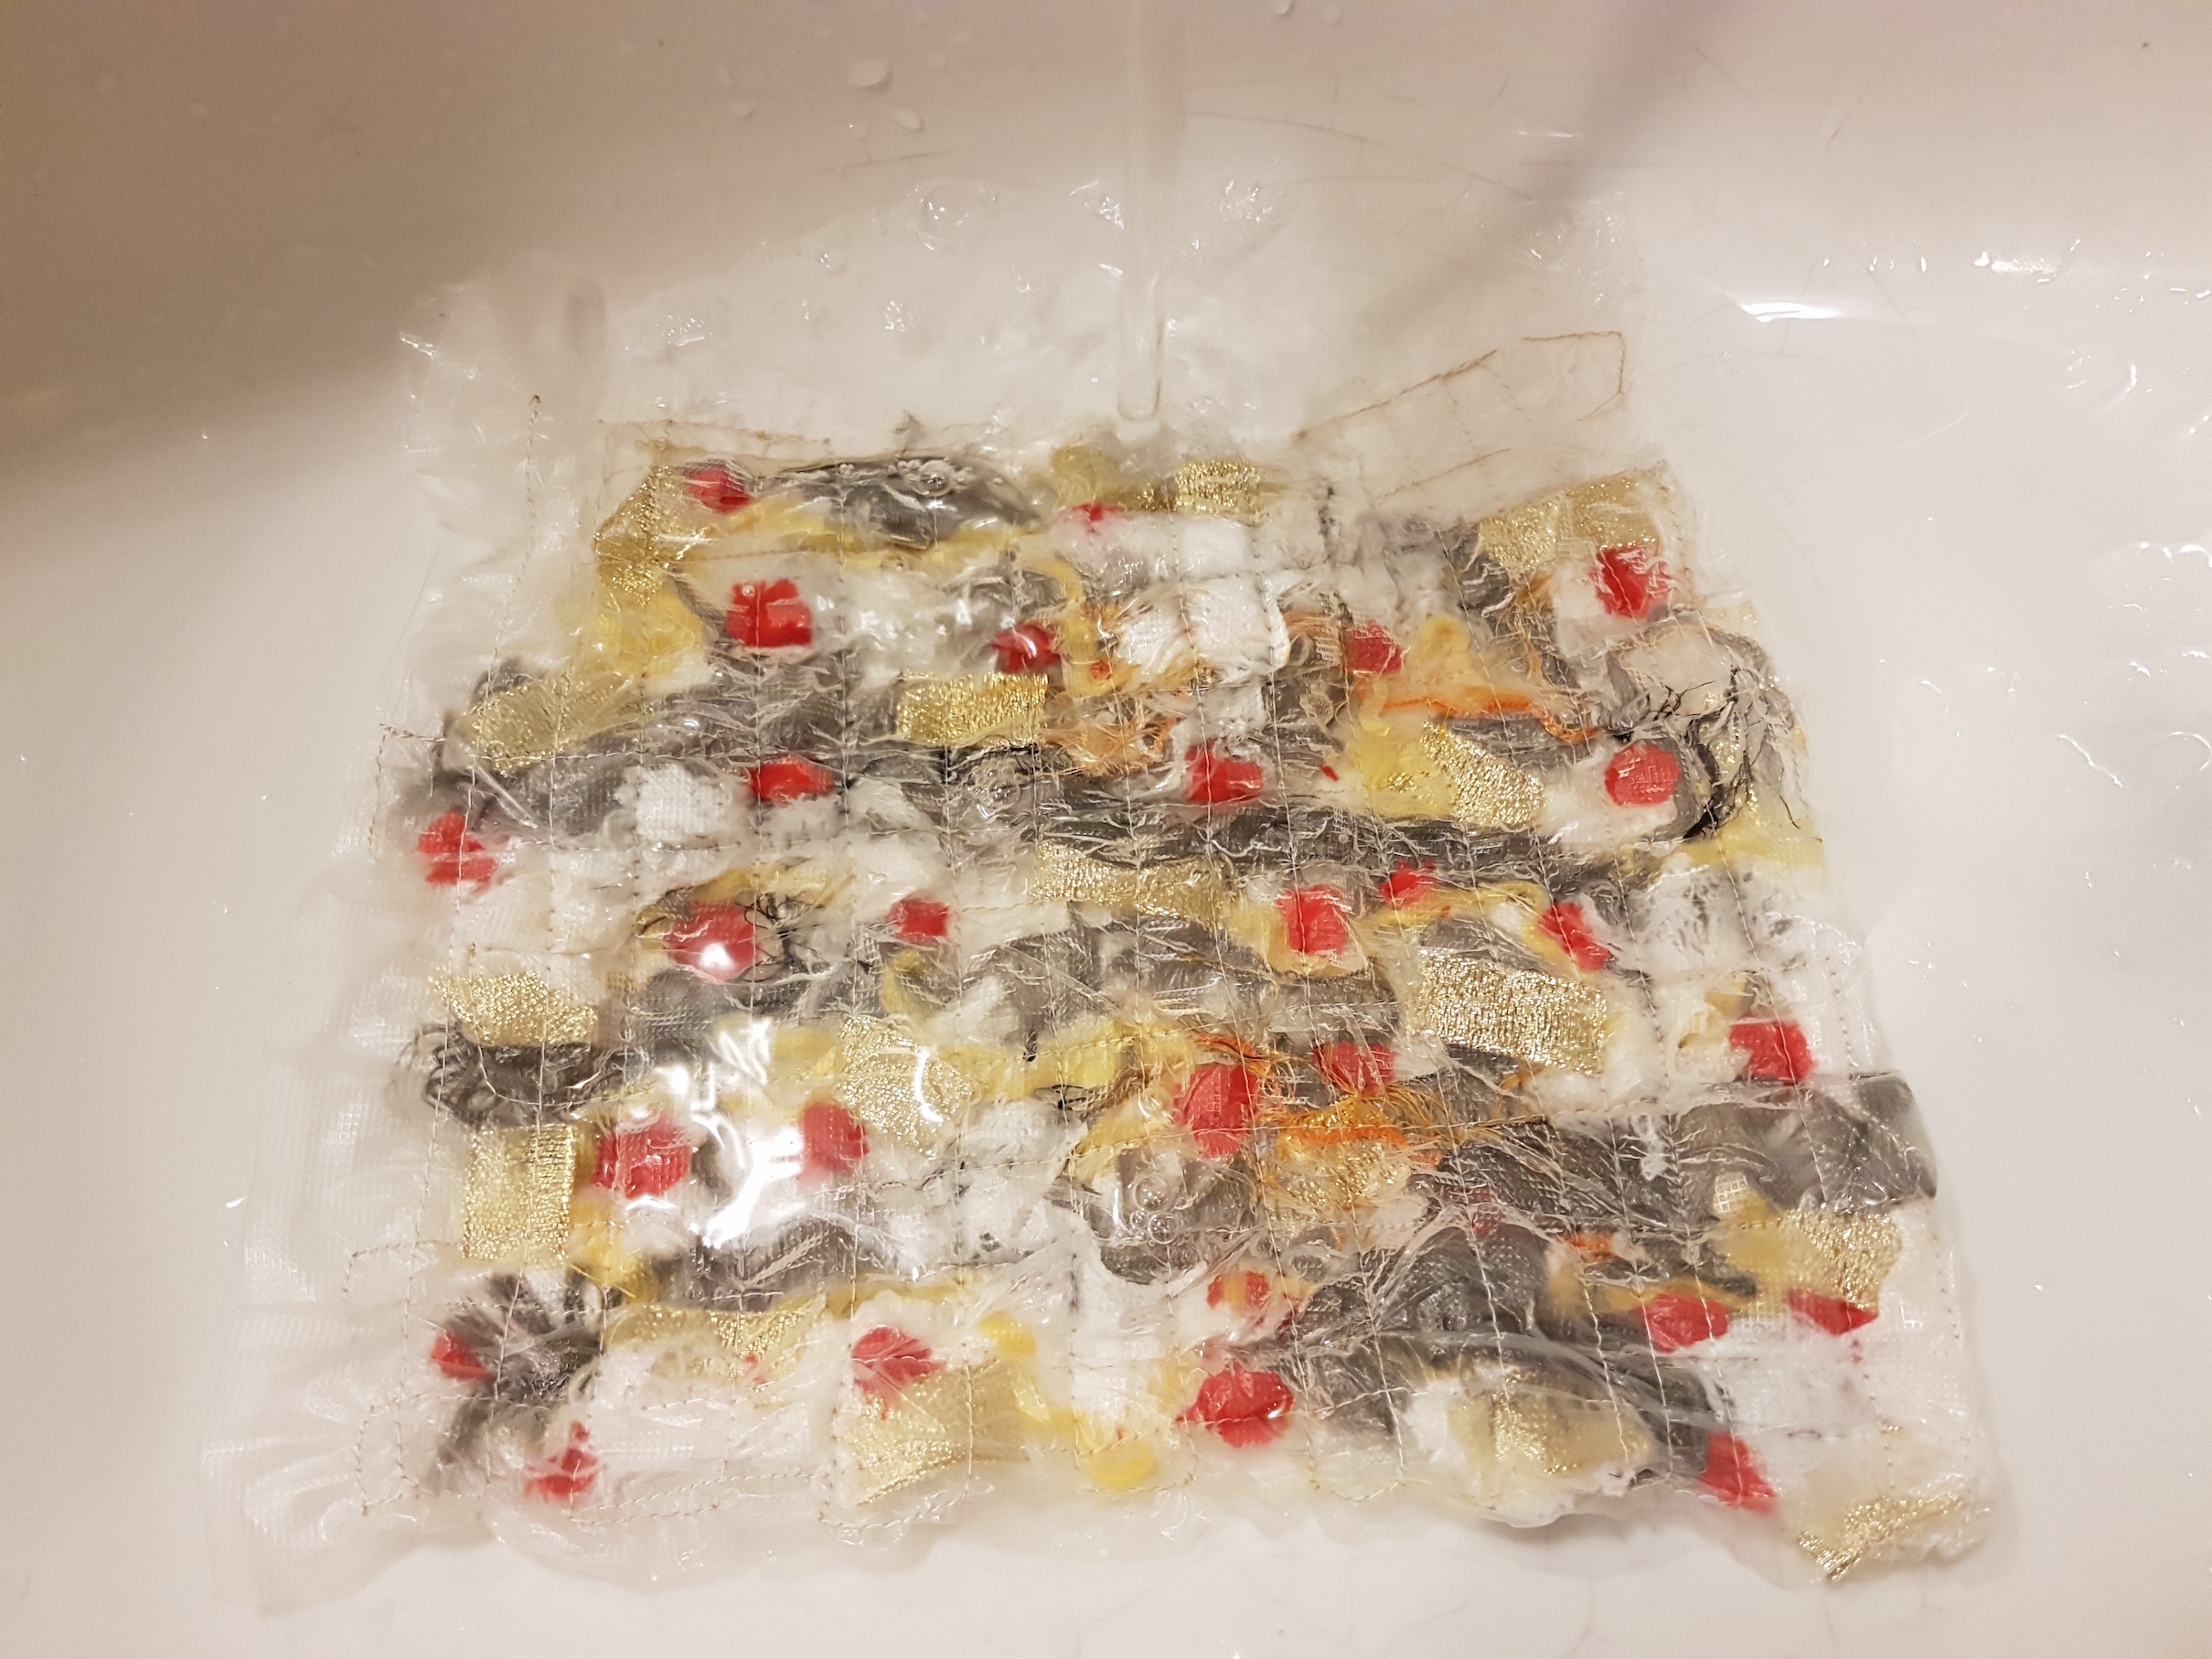
Next comes the exciting reveal! Rinse the fabric with water and watch the water soluble sheet dissolve. Rinse thoroughly for a softer fabric or for wearable products. Rinsing less rigorously will create a stiffer fabric which can be moulded to different shapes using an acrylic spray.
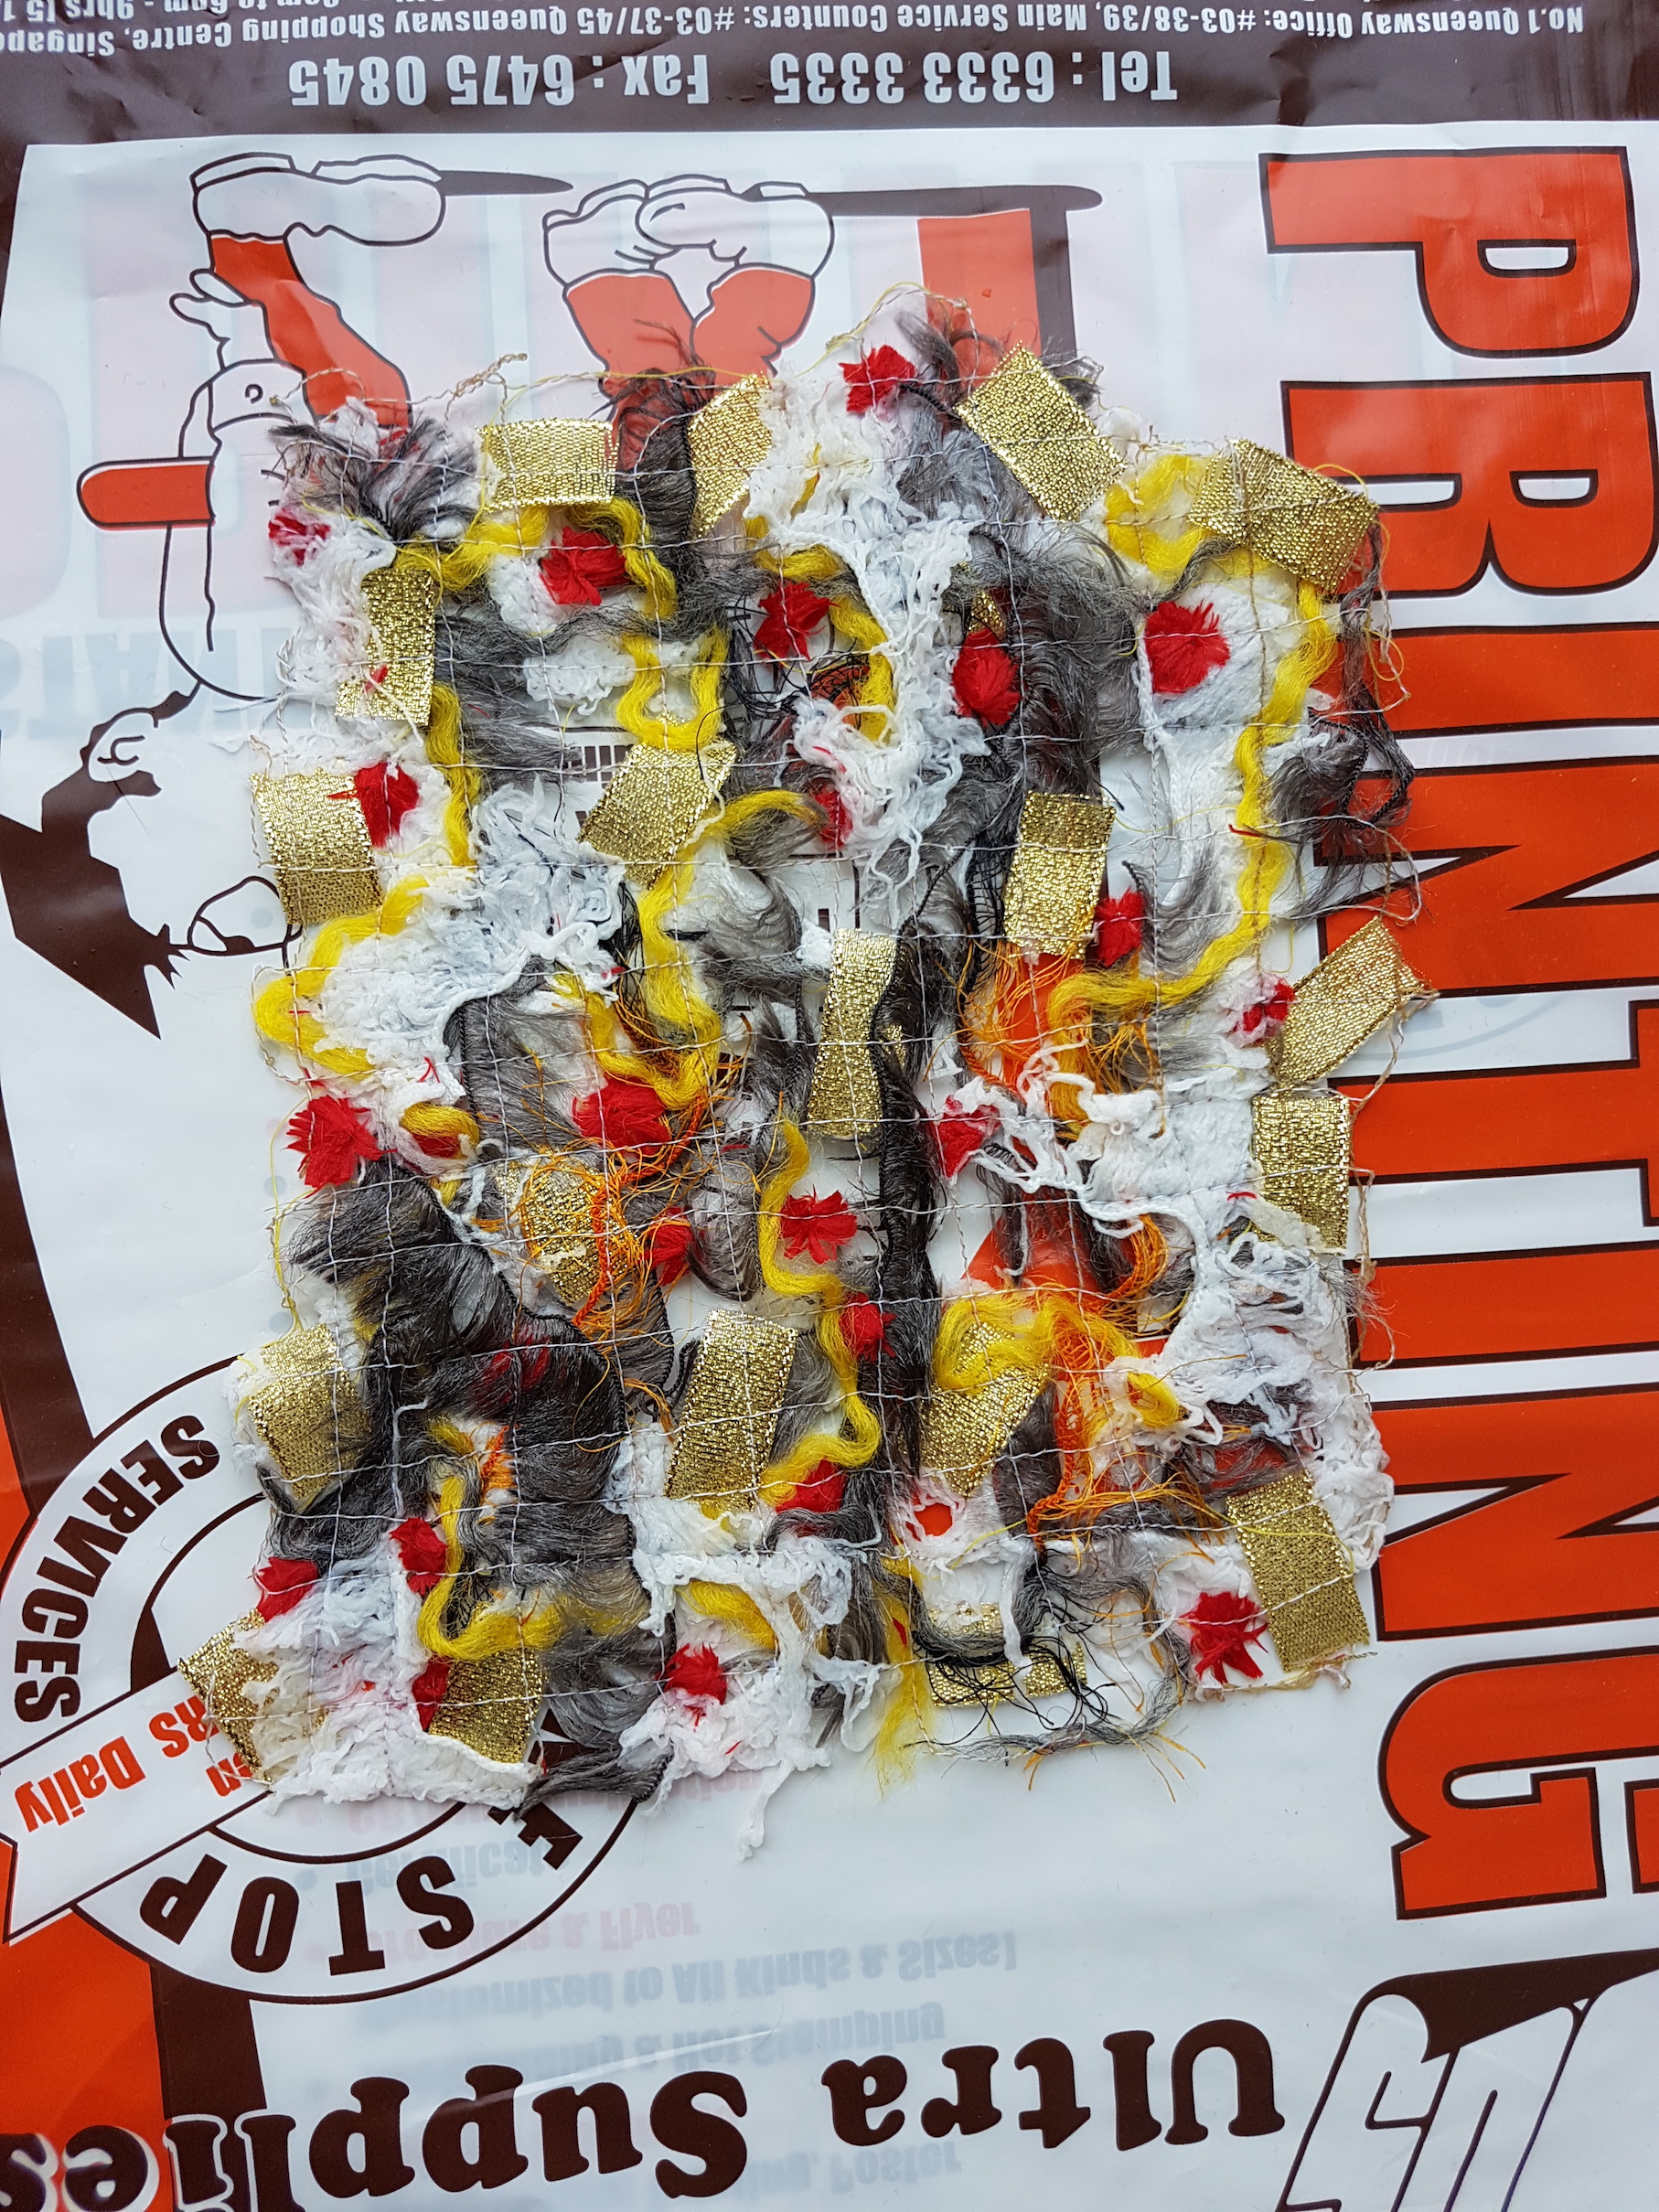
Final result
The final result is a one-of-a-kind fabric! I like how the possibilities are endless with fabric of thread. It is very customisable and the variety of materials creates an interesting, weaved semi-opaque textile.
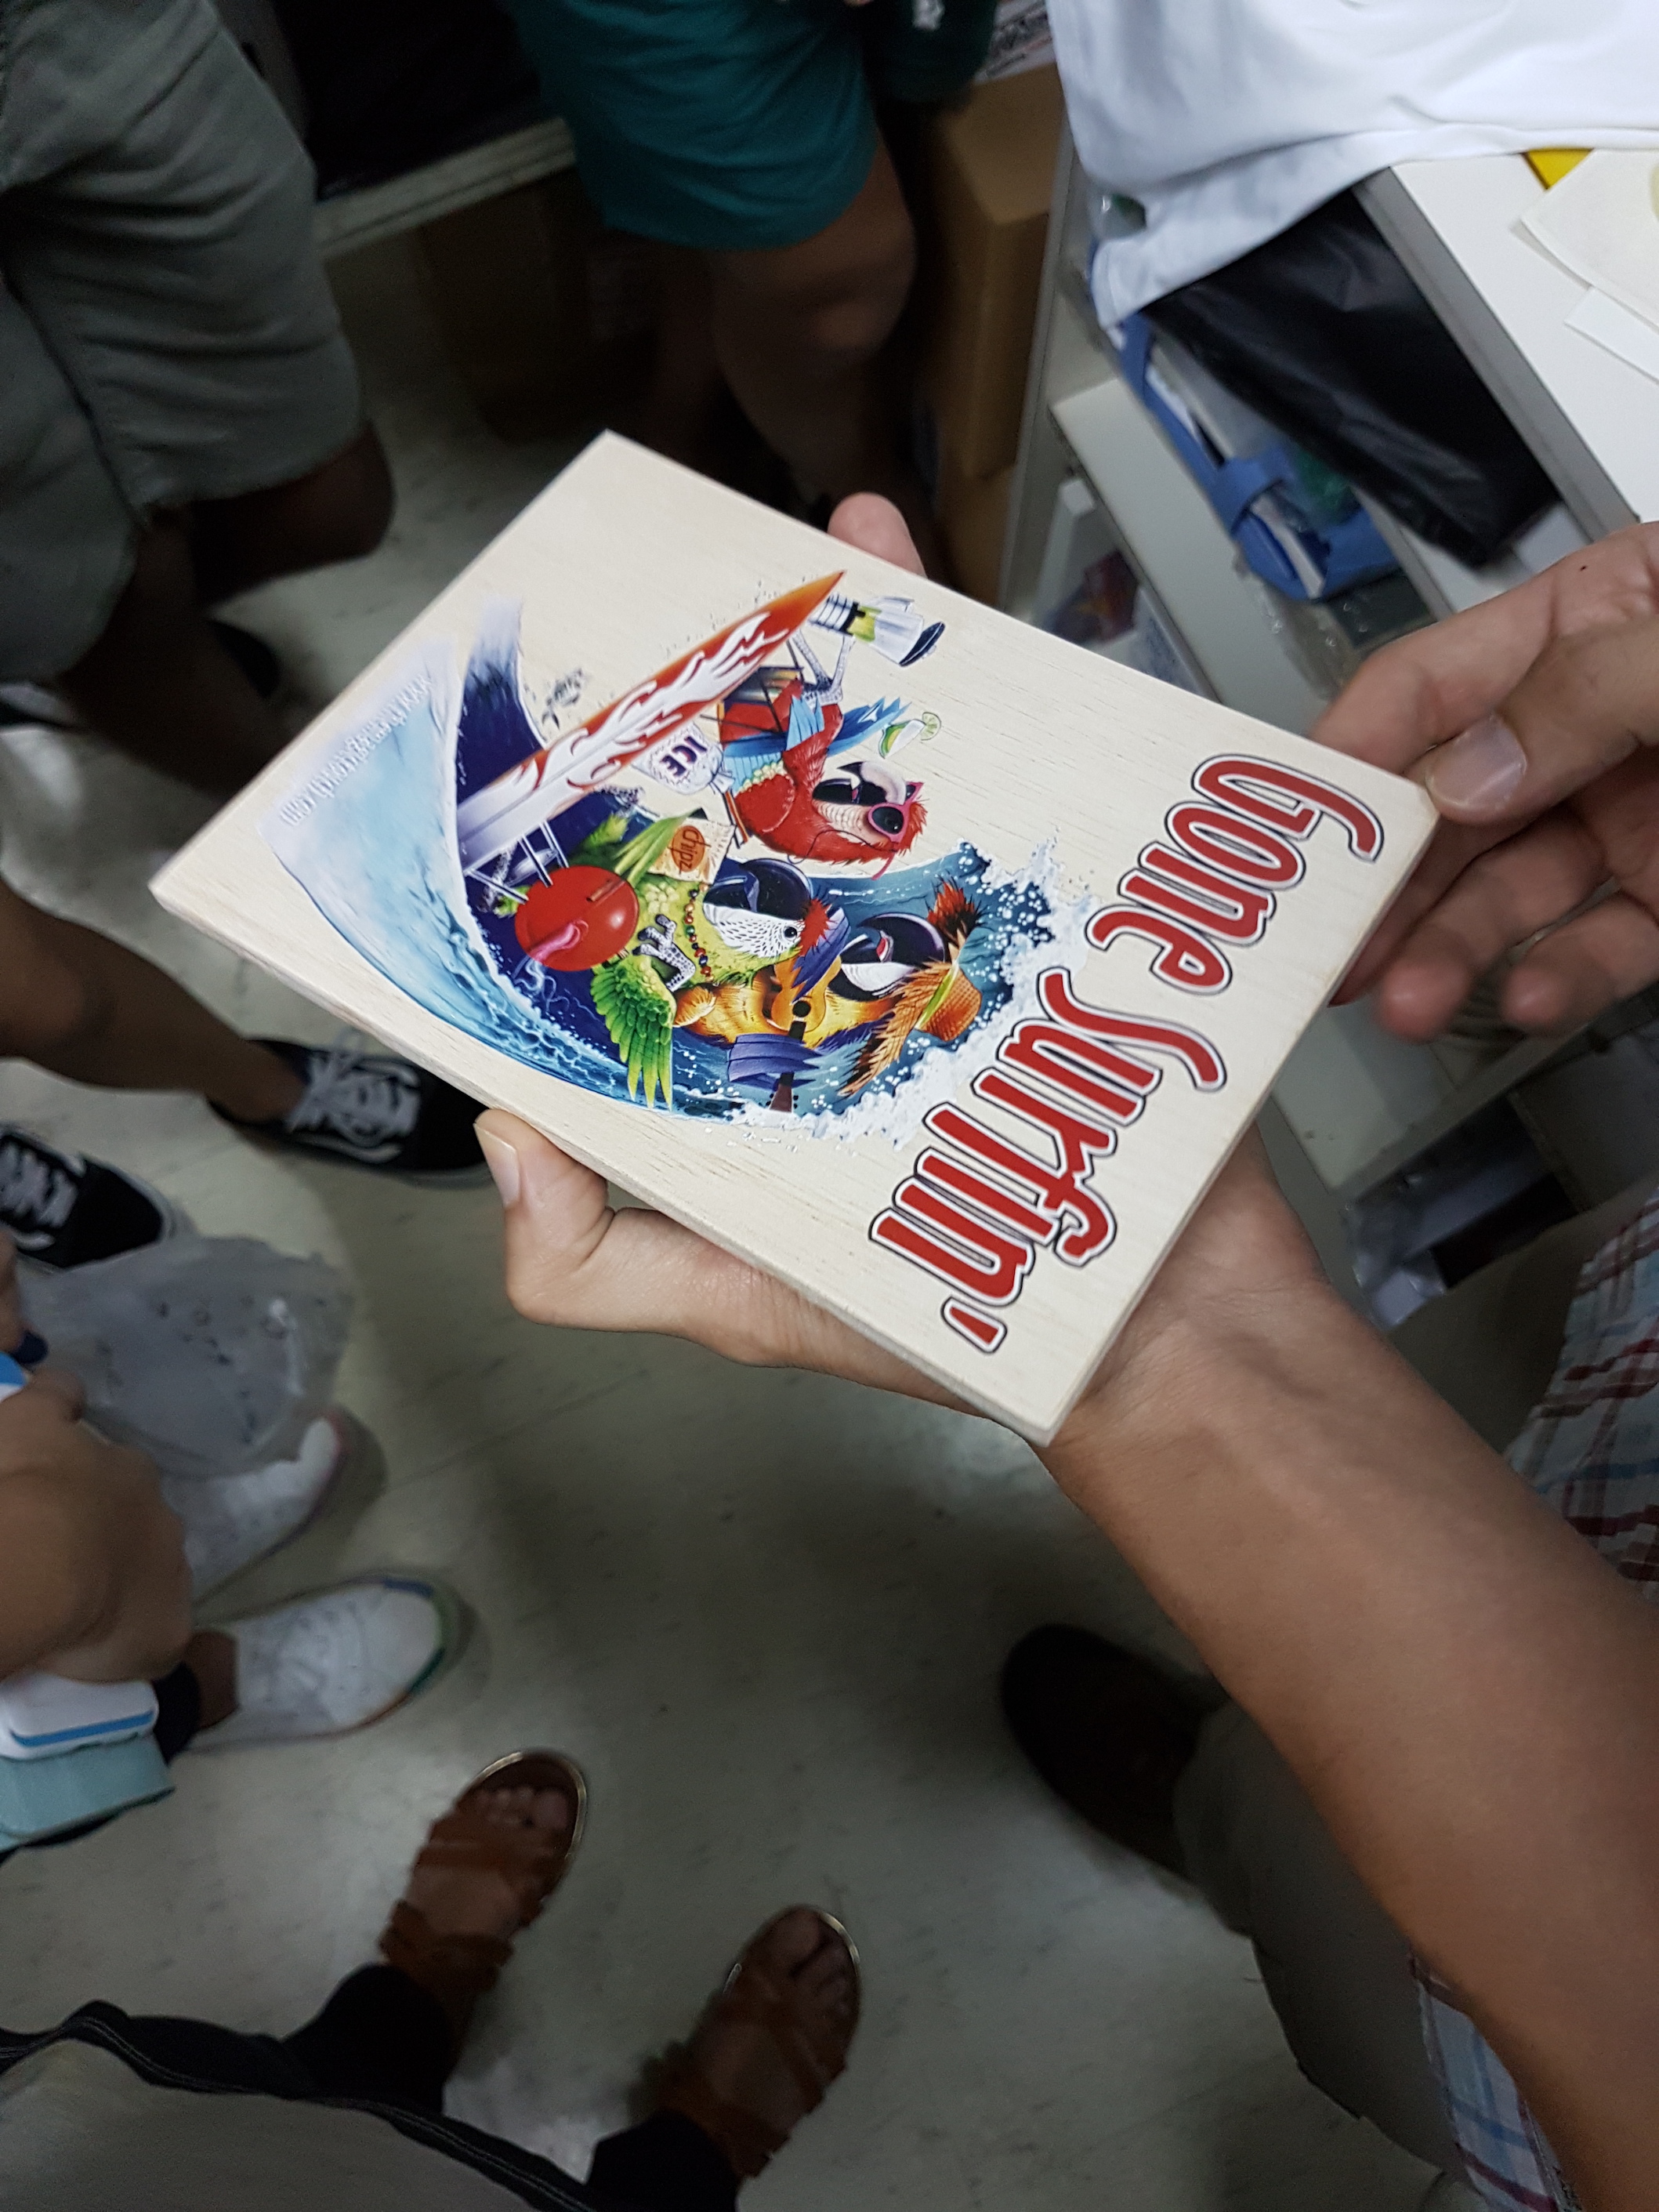
This week we visited Touch & Print at Waterloo Centre and learned about transfer printing techniques and their applications.
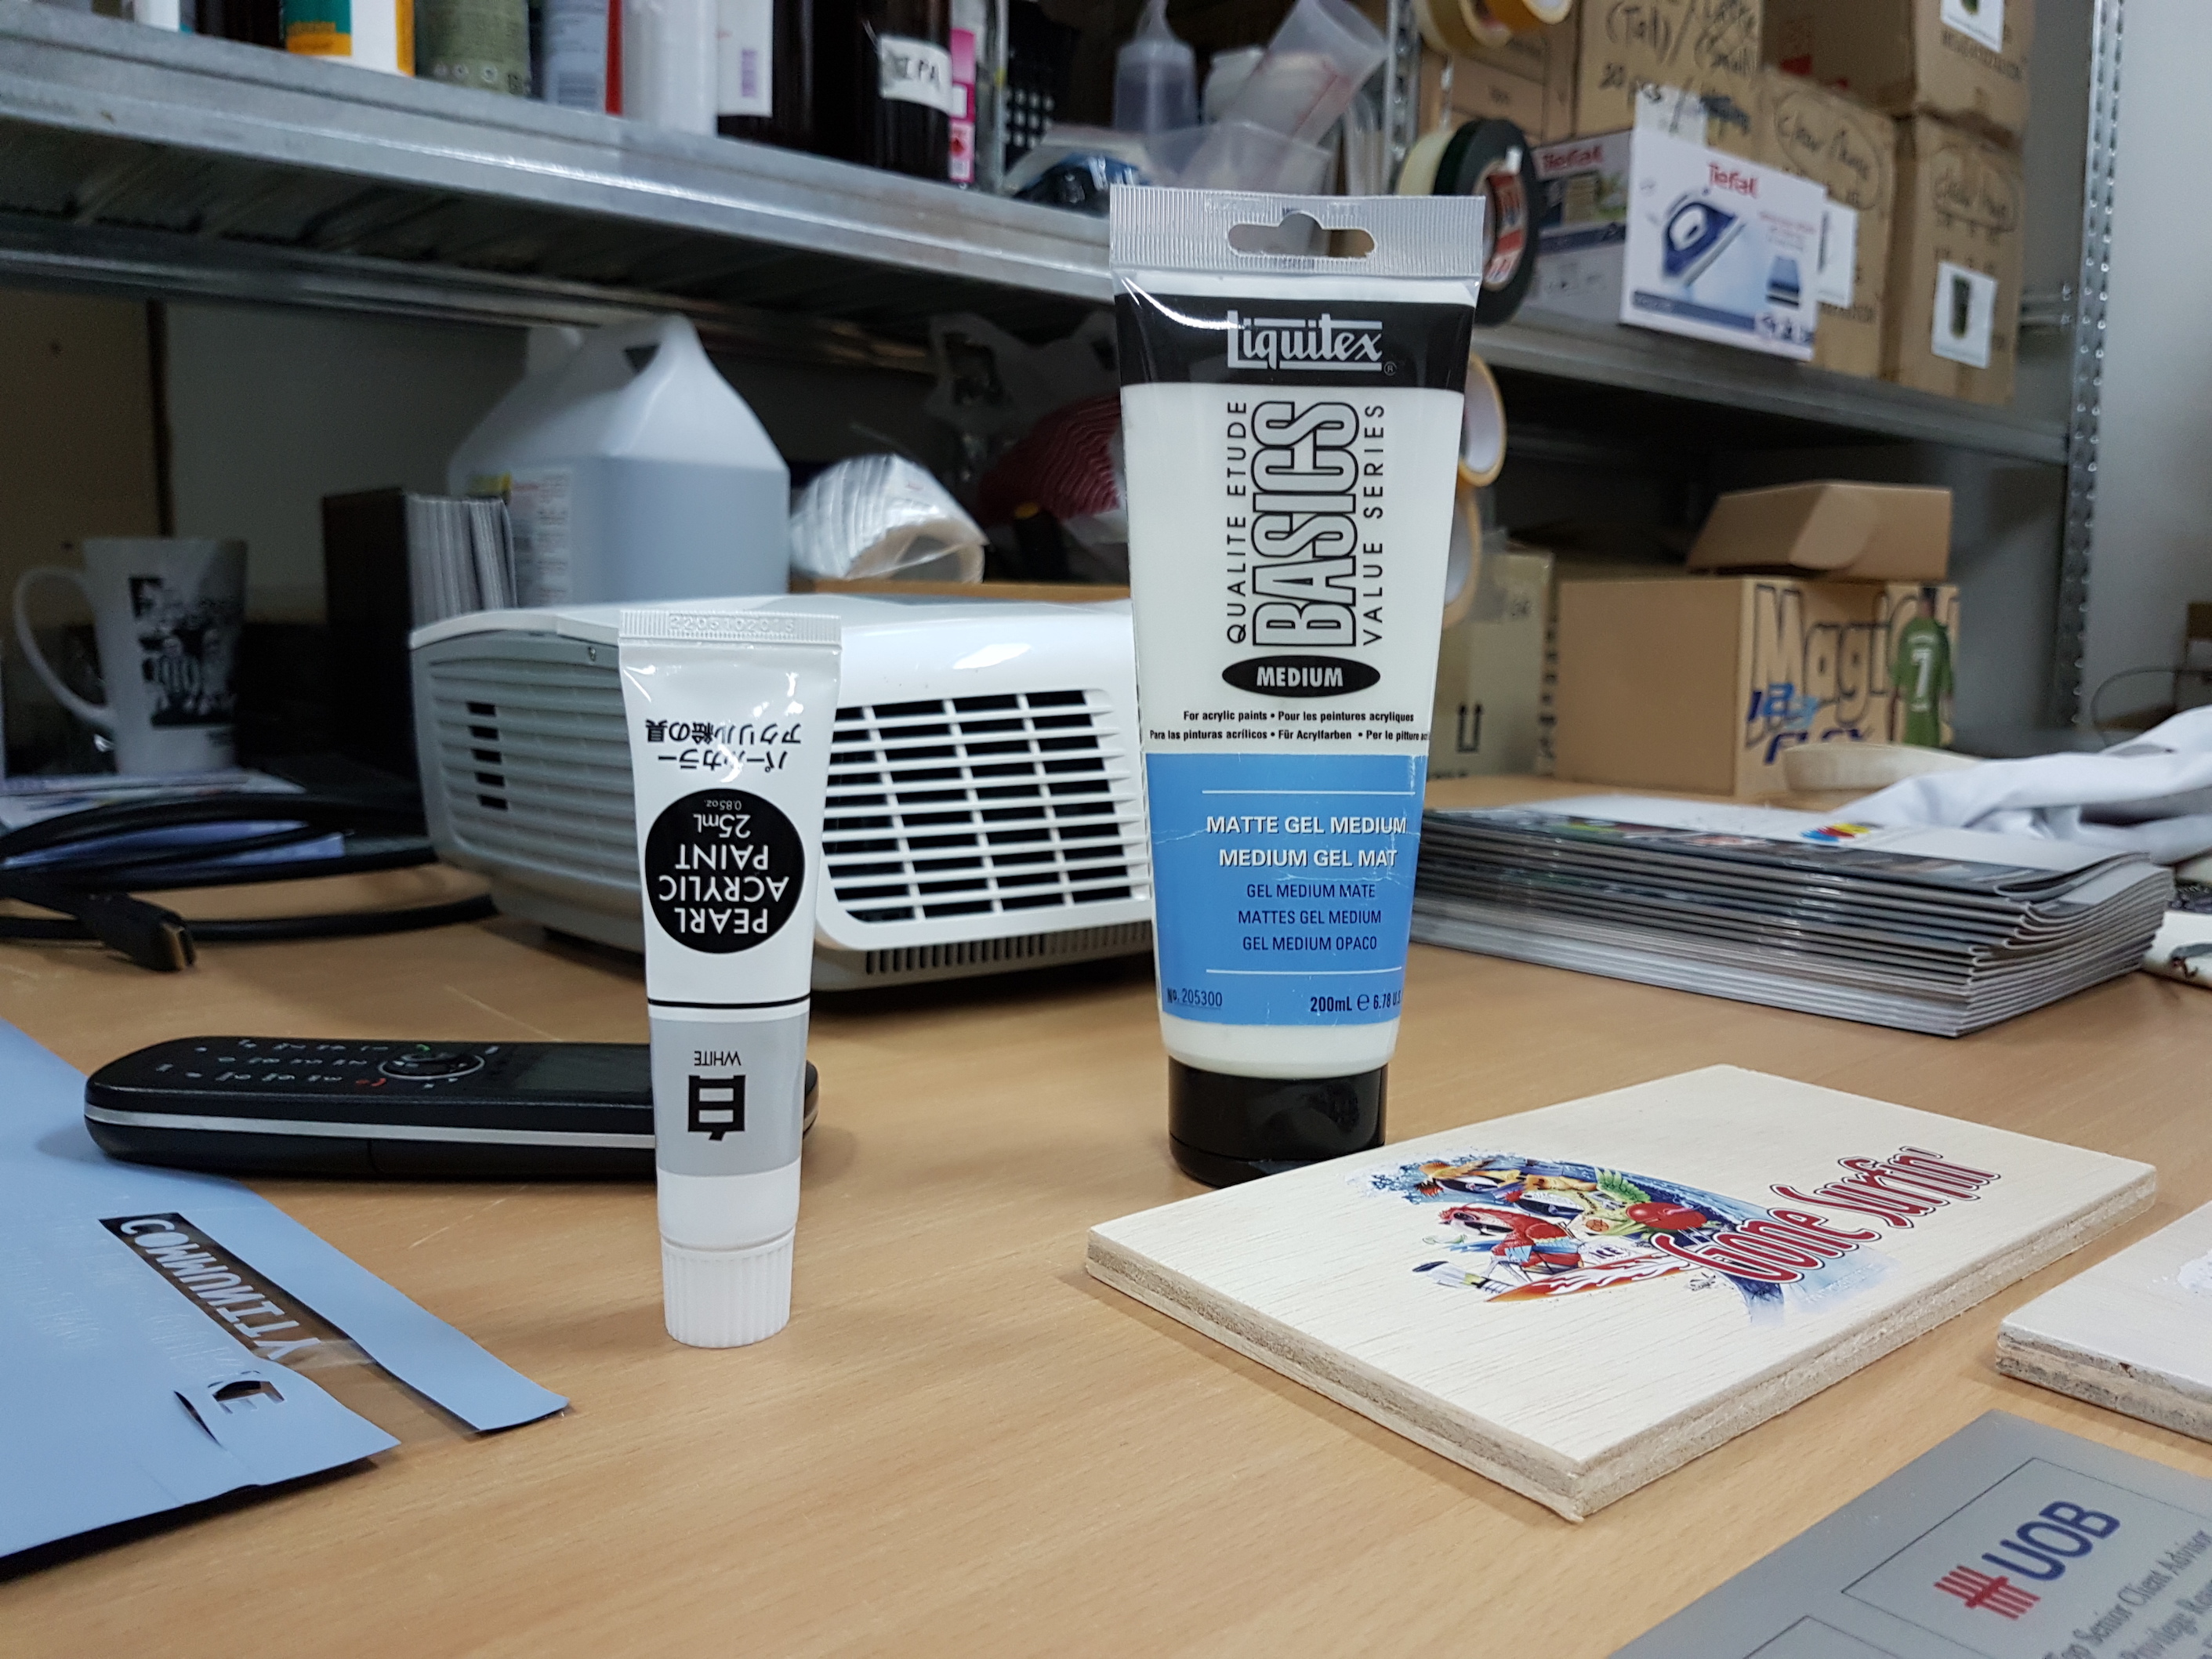
Leon explained the pros and cons of various techniques, such as how screen printing is used for mass production, where despite the long setup process, each reprint is fast and inexpensive. He also illustrated the different printing techniques, how they can achieve different effects on a variety of materials such as fabric, wood and metal.
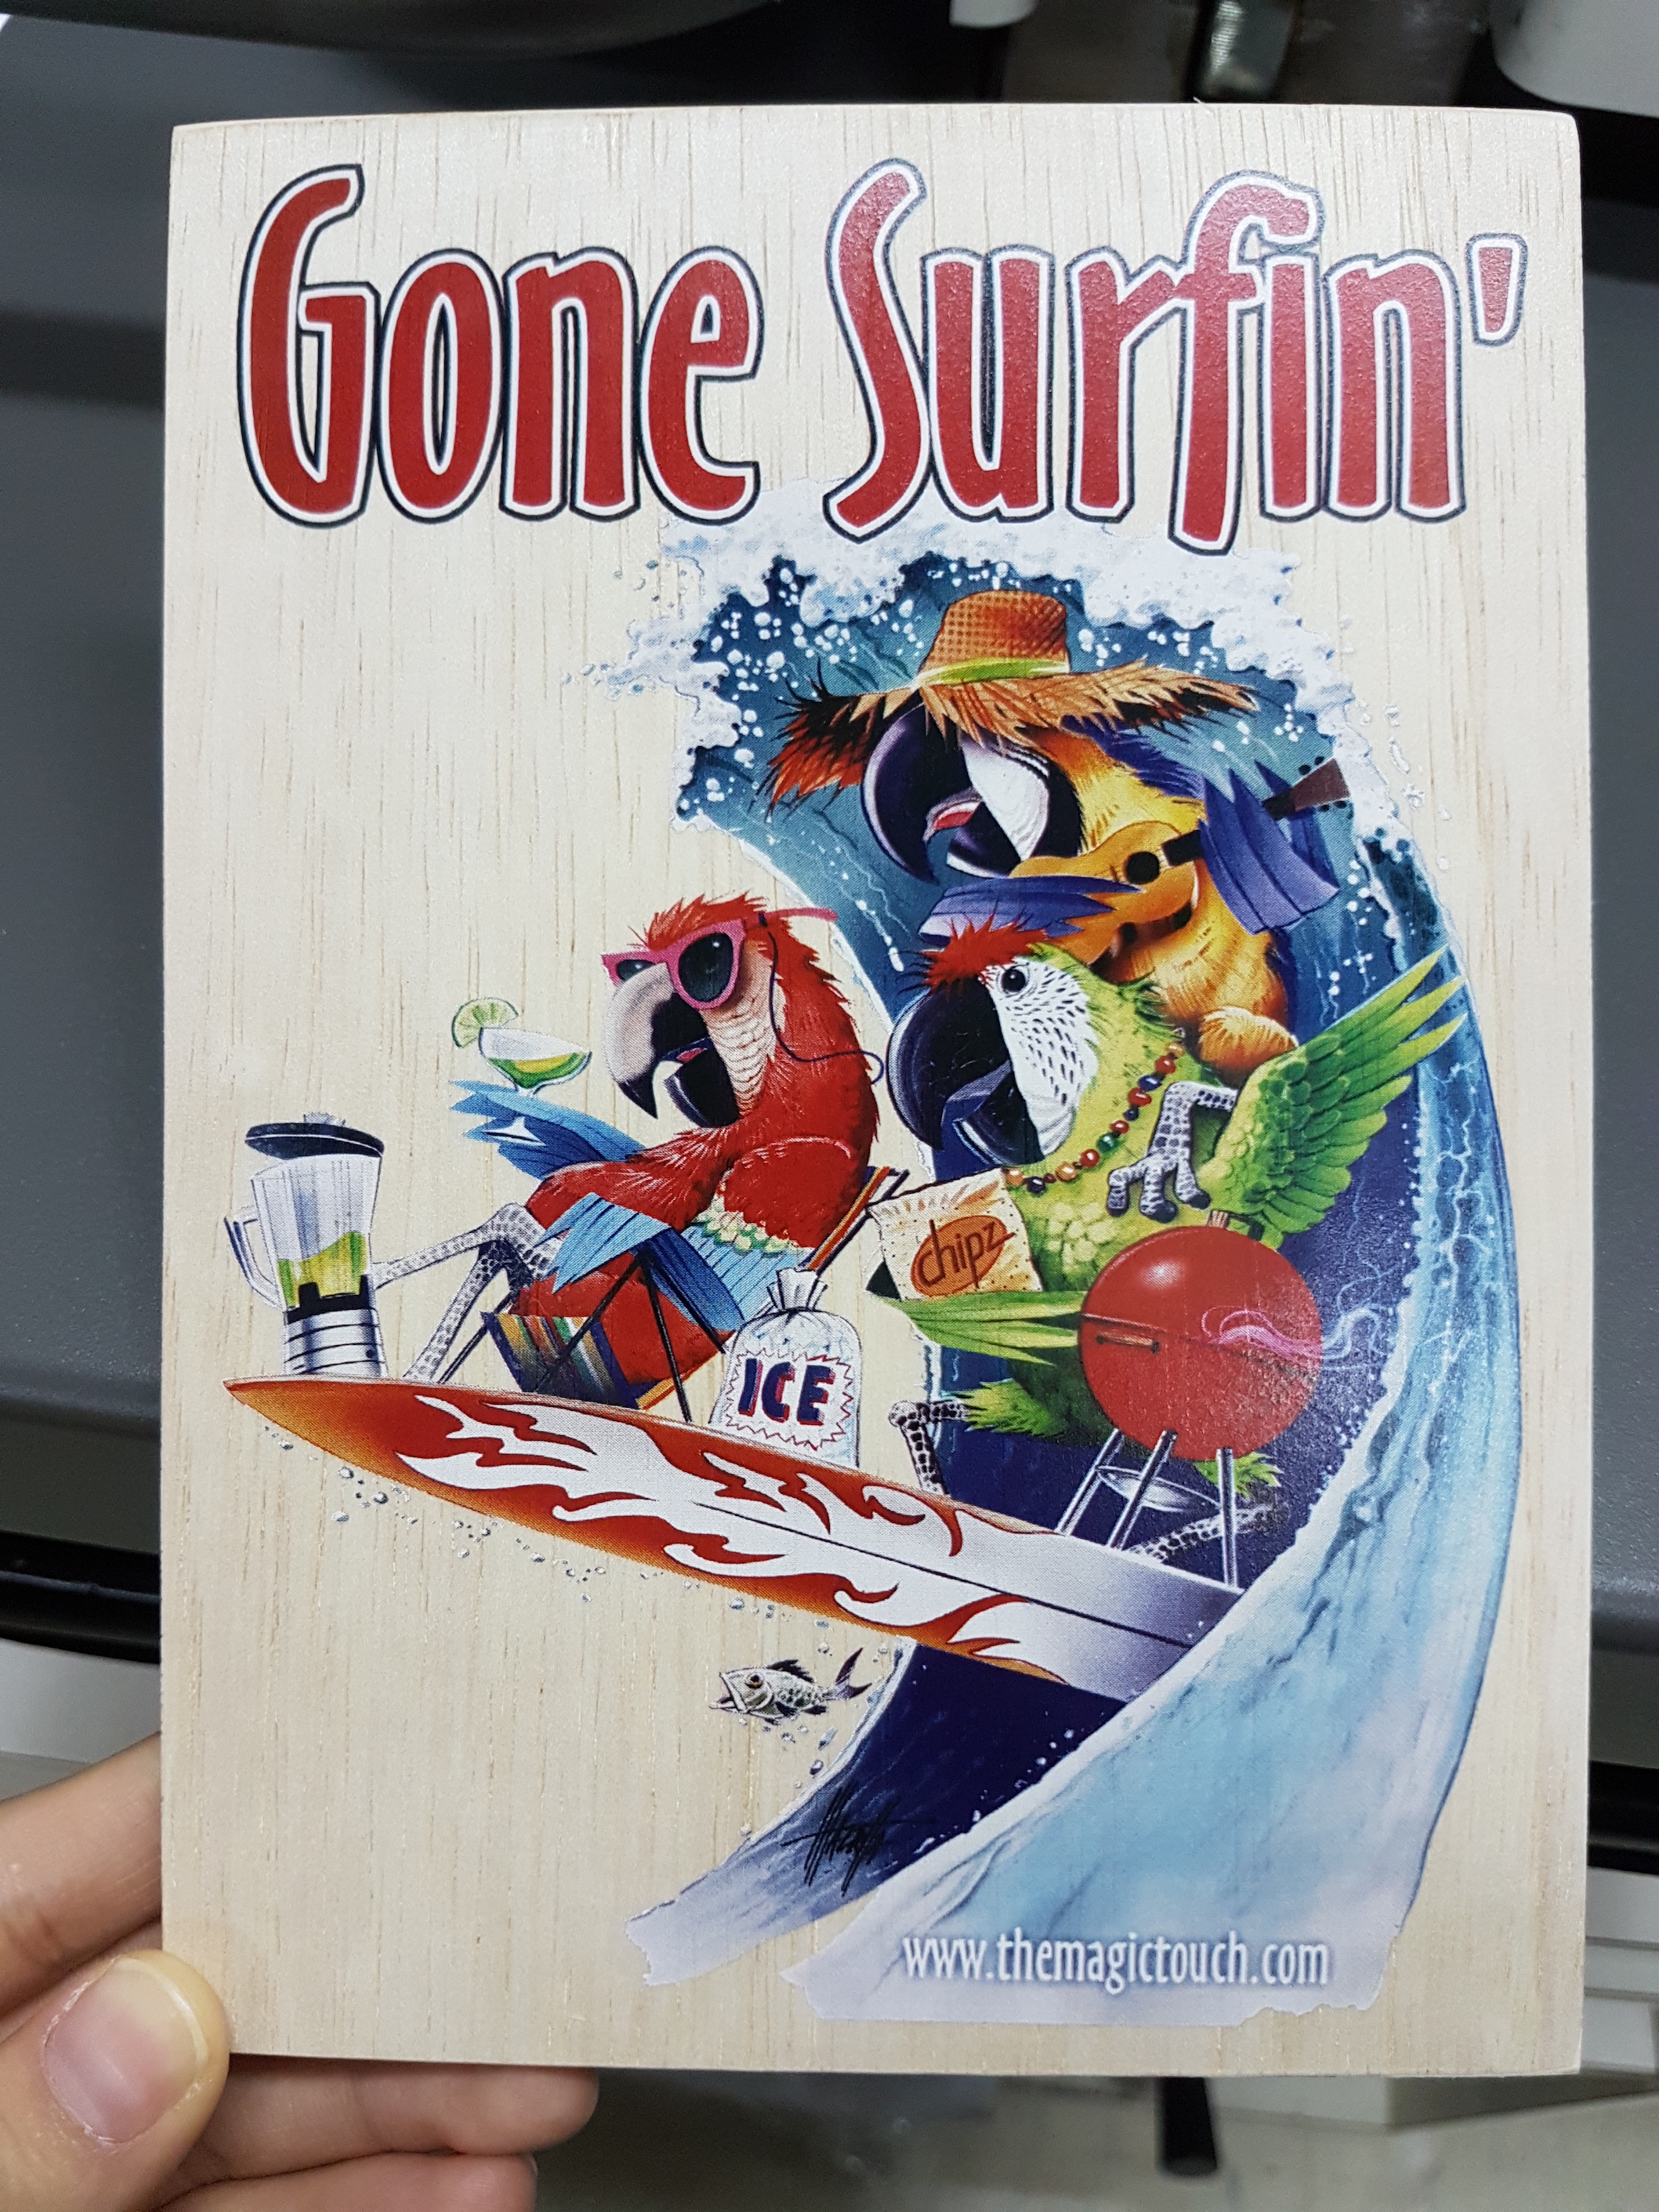
Transfer printing on fabricTransfer printing on fabricPrinting on metalLiquitex can be used to print on wood
He showed how printing on white often left a film border around the image, and how laser cutting could eliminated the border to create a more seamless result.
Previously, I never really considered how printing techniques affected the overall quality of product, e.g. the film border of an image or how thick and stiff the printed portion became. The care and thought that go into these printing techniques made me consider these differences in quality between a cheap T-shirt and one made using more suitable printing techniques.
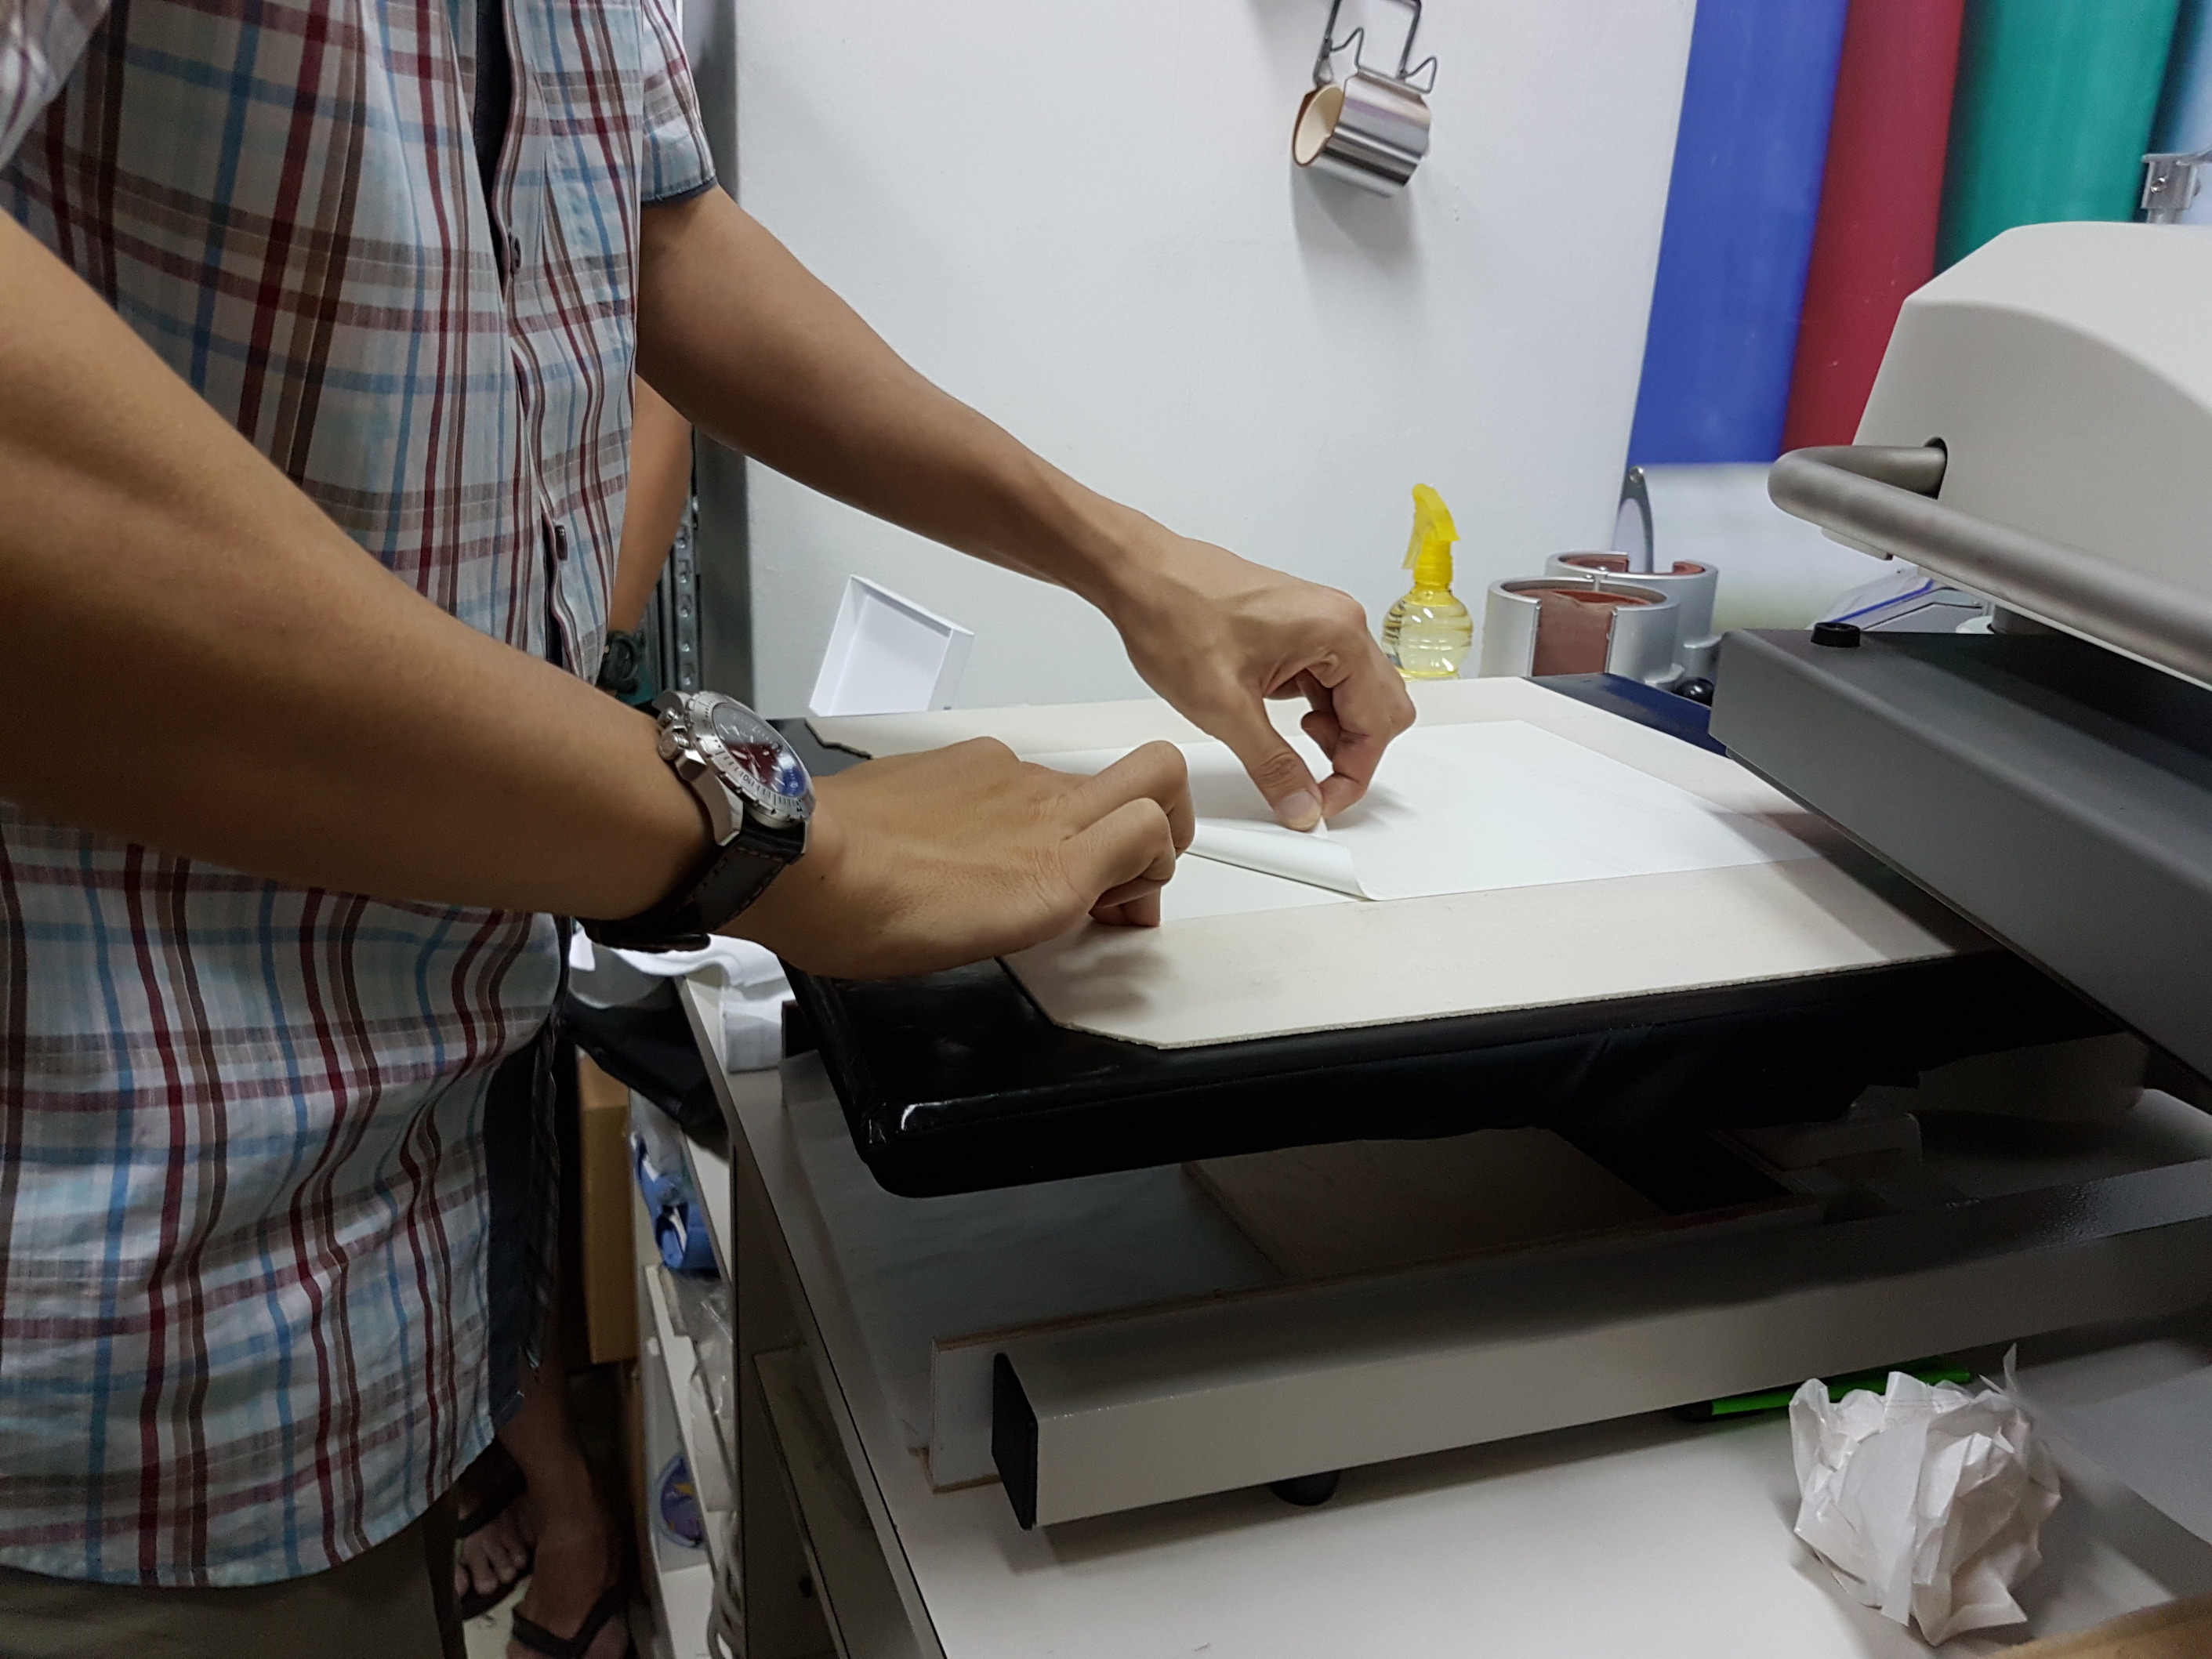
Peeling off the transfer paper
He also gave live demonstrations and explained how printing white on dark backgrounds required further steps such as the use of white toner.
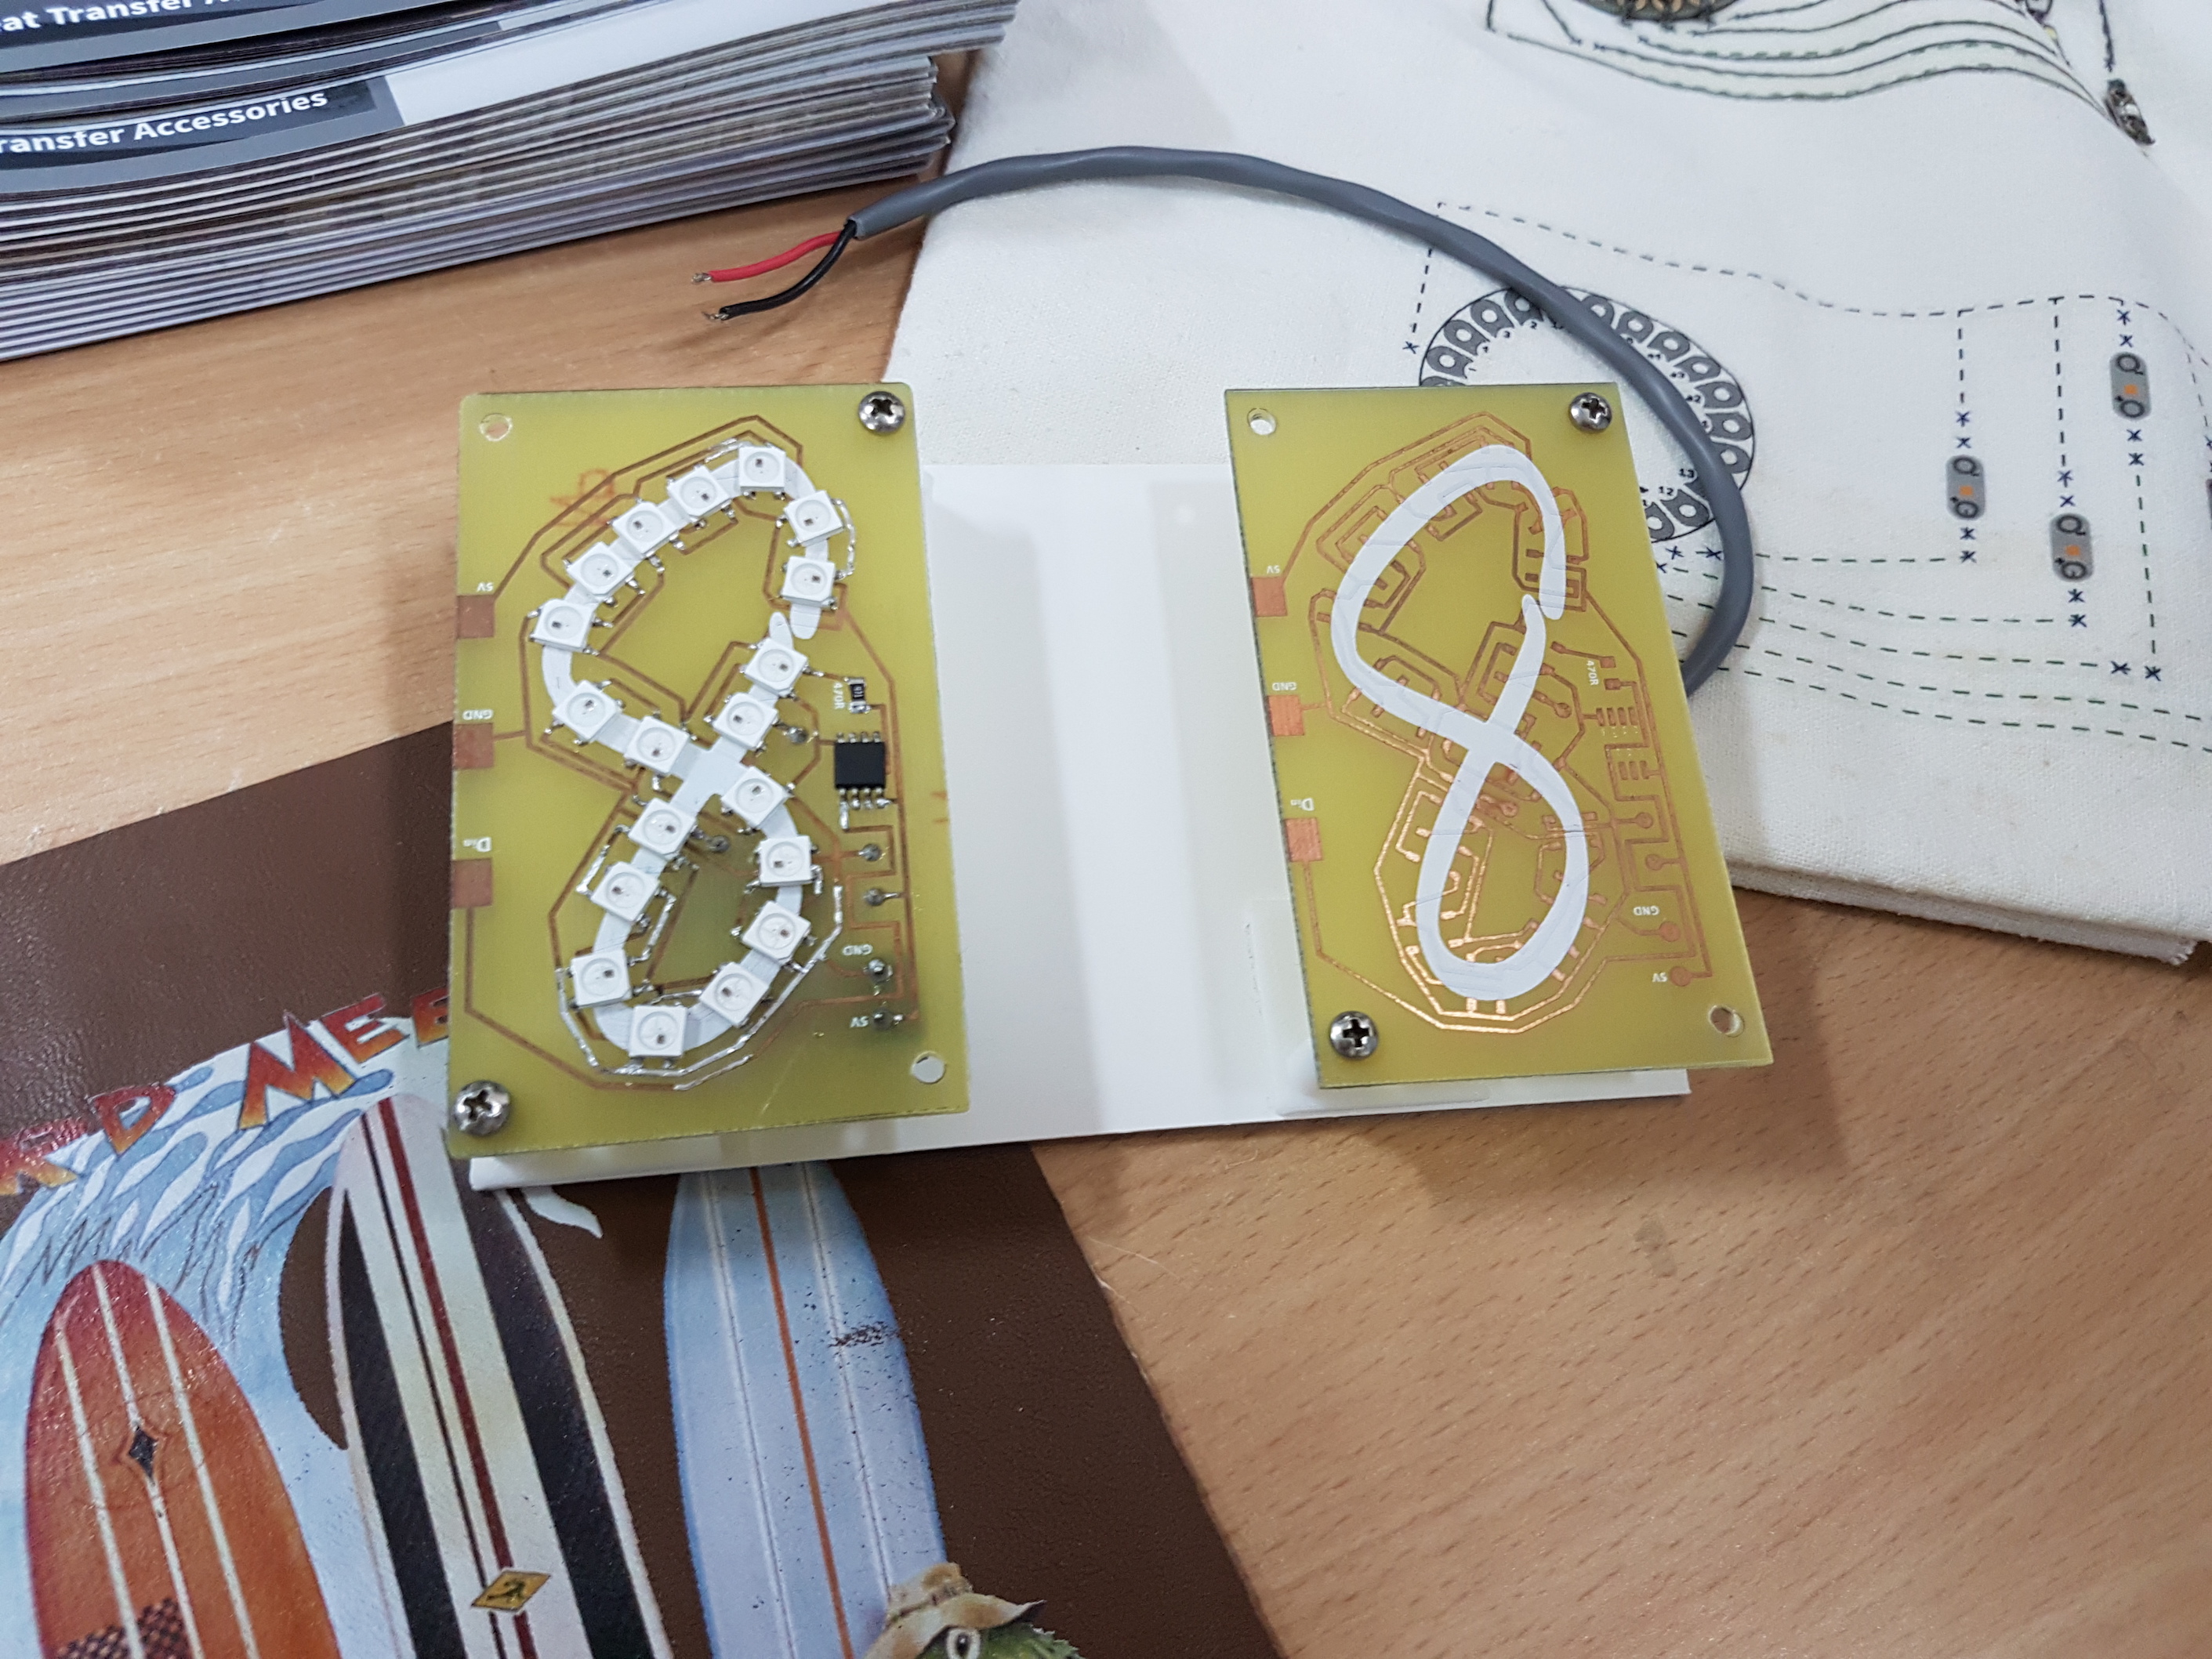
Printing and etching techniques used to create a custom circuit board
The alternative uses of printing techniques was very interesting and I never knew it could be applied together with etching to create interactive components such as custom circuit boards!
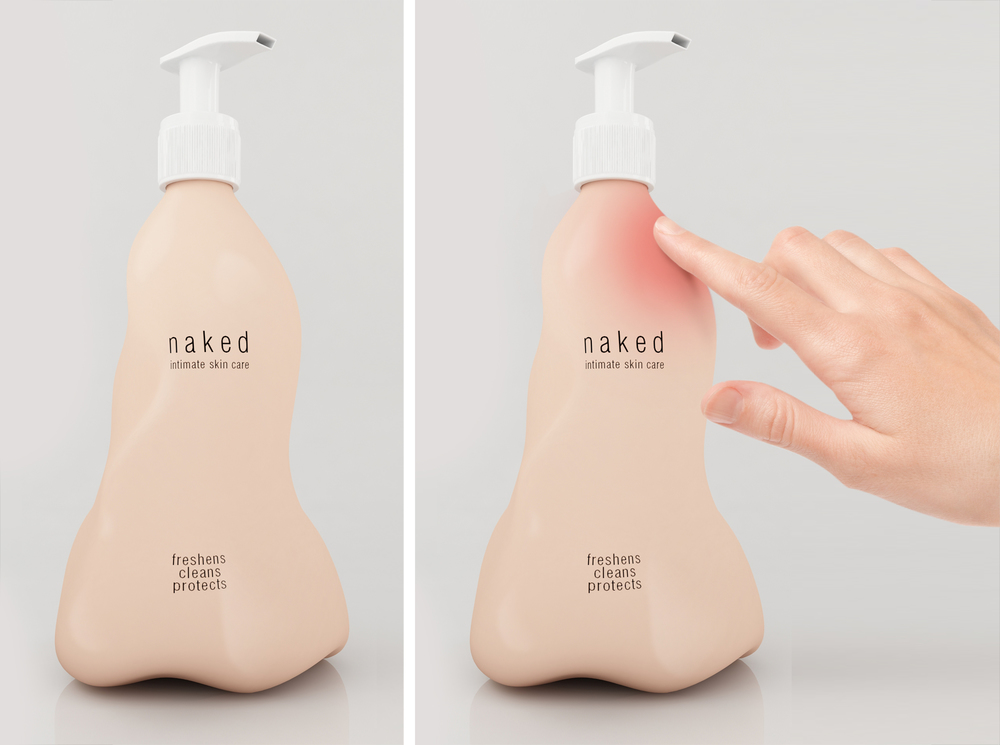
This week, we learnt to print with thermochromic inks!
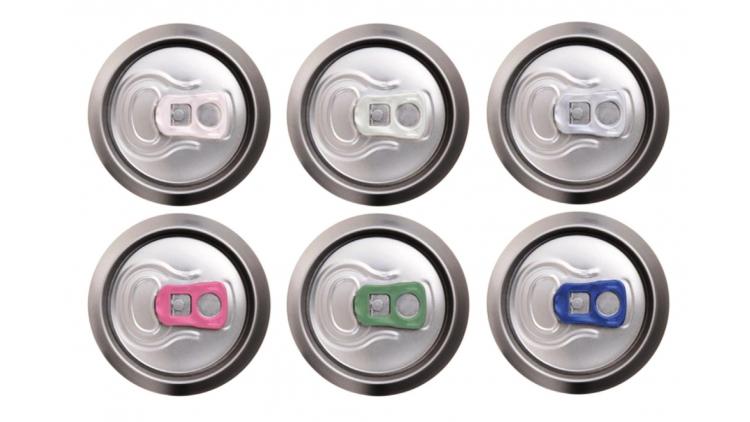
Developed in the 1970s, thermochromic inks have numerous applications and can be found in everyday items, art and design:
Soft drink tabs to indicate that the drink is chilled (coloured tab)Creative packaging design to emphasise branding concept
Materials needed
Silkscreen and squeegee
Light-coloured fabric to print on (A different type of ink is needed to print on dark fabrics)
Thermochromic pigment (powder form)
Acrylic medium and paint (optional)
Heat source e.g. hair dryer or iron
Process
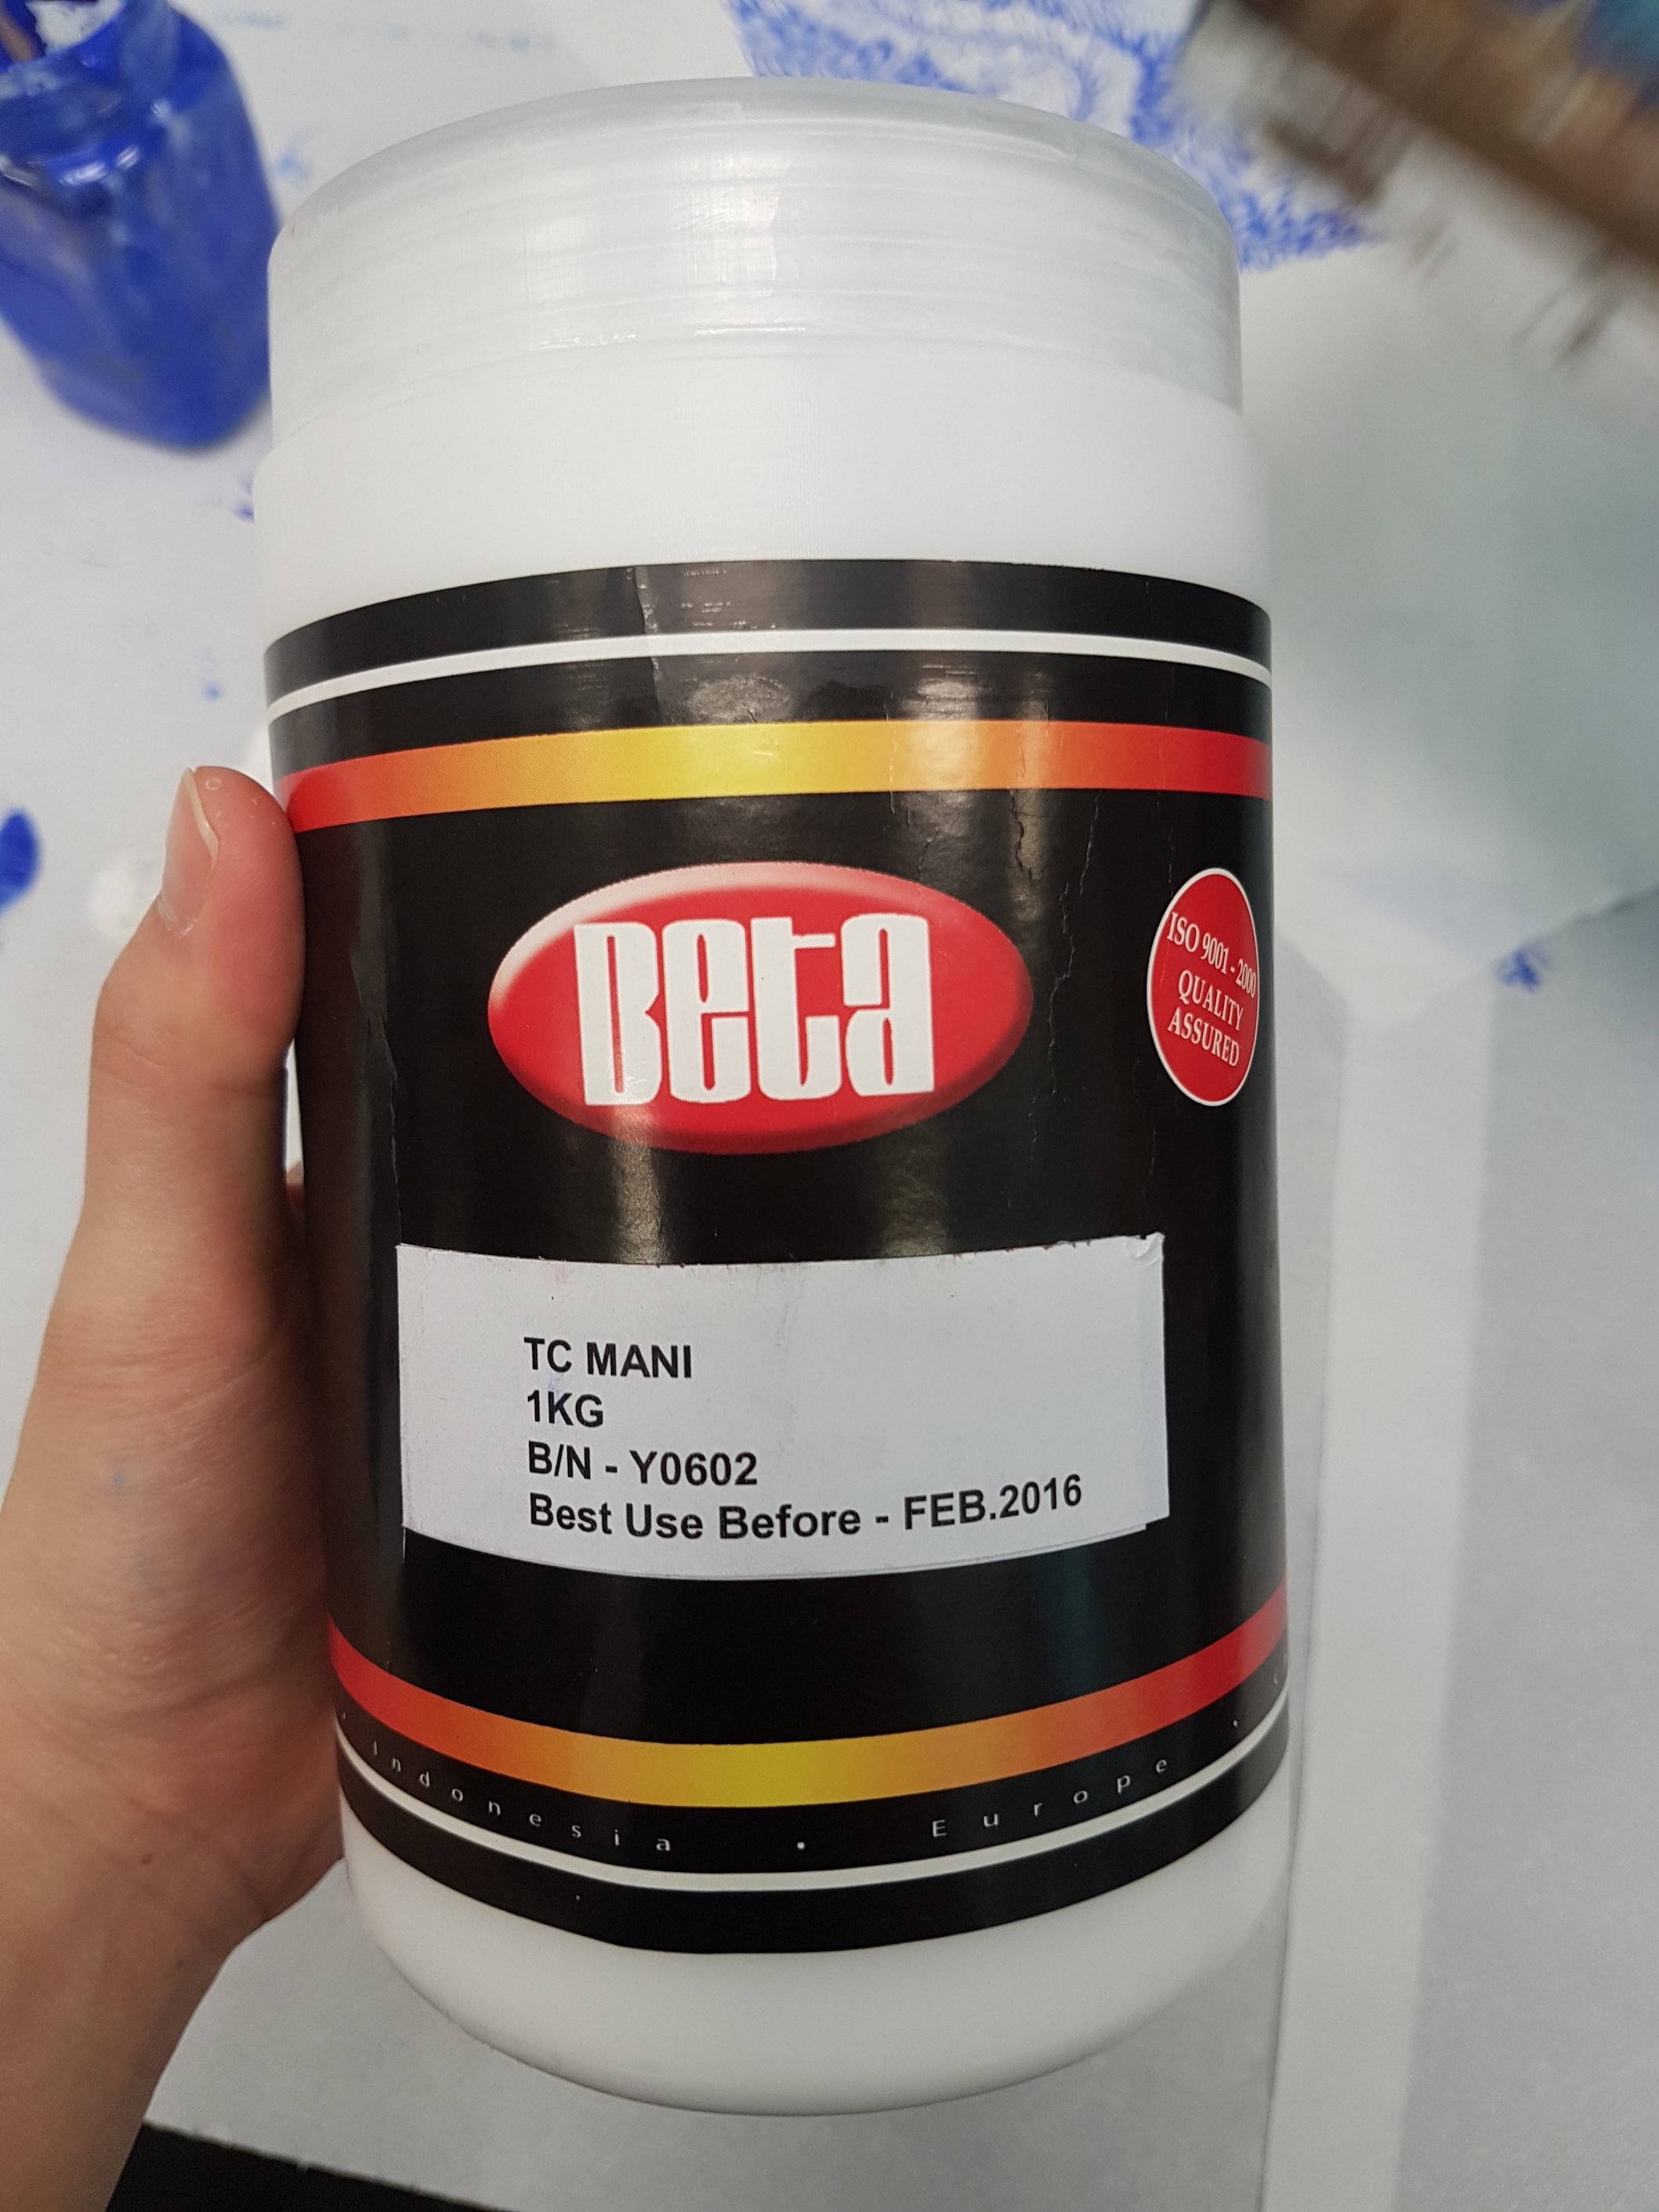
Mix the thermochromic pigment with the medium. Caution: wear masks while doing this as inhaling the fine powder can be harmful!
Adding the ingredients
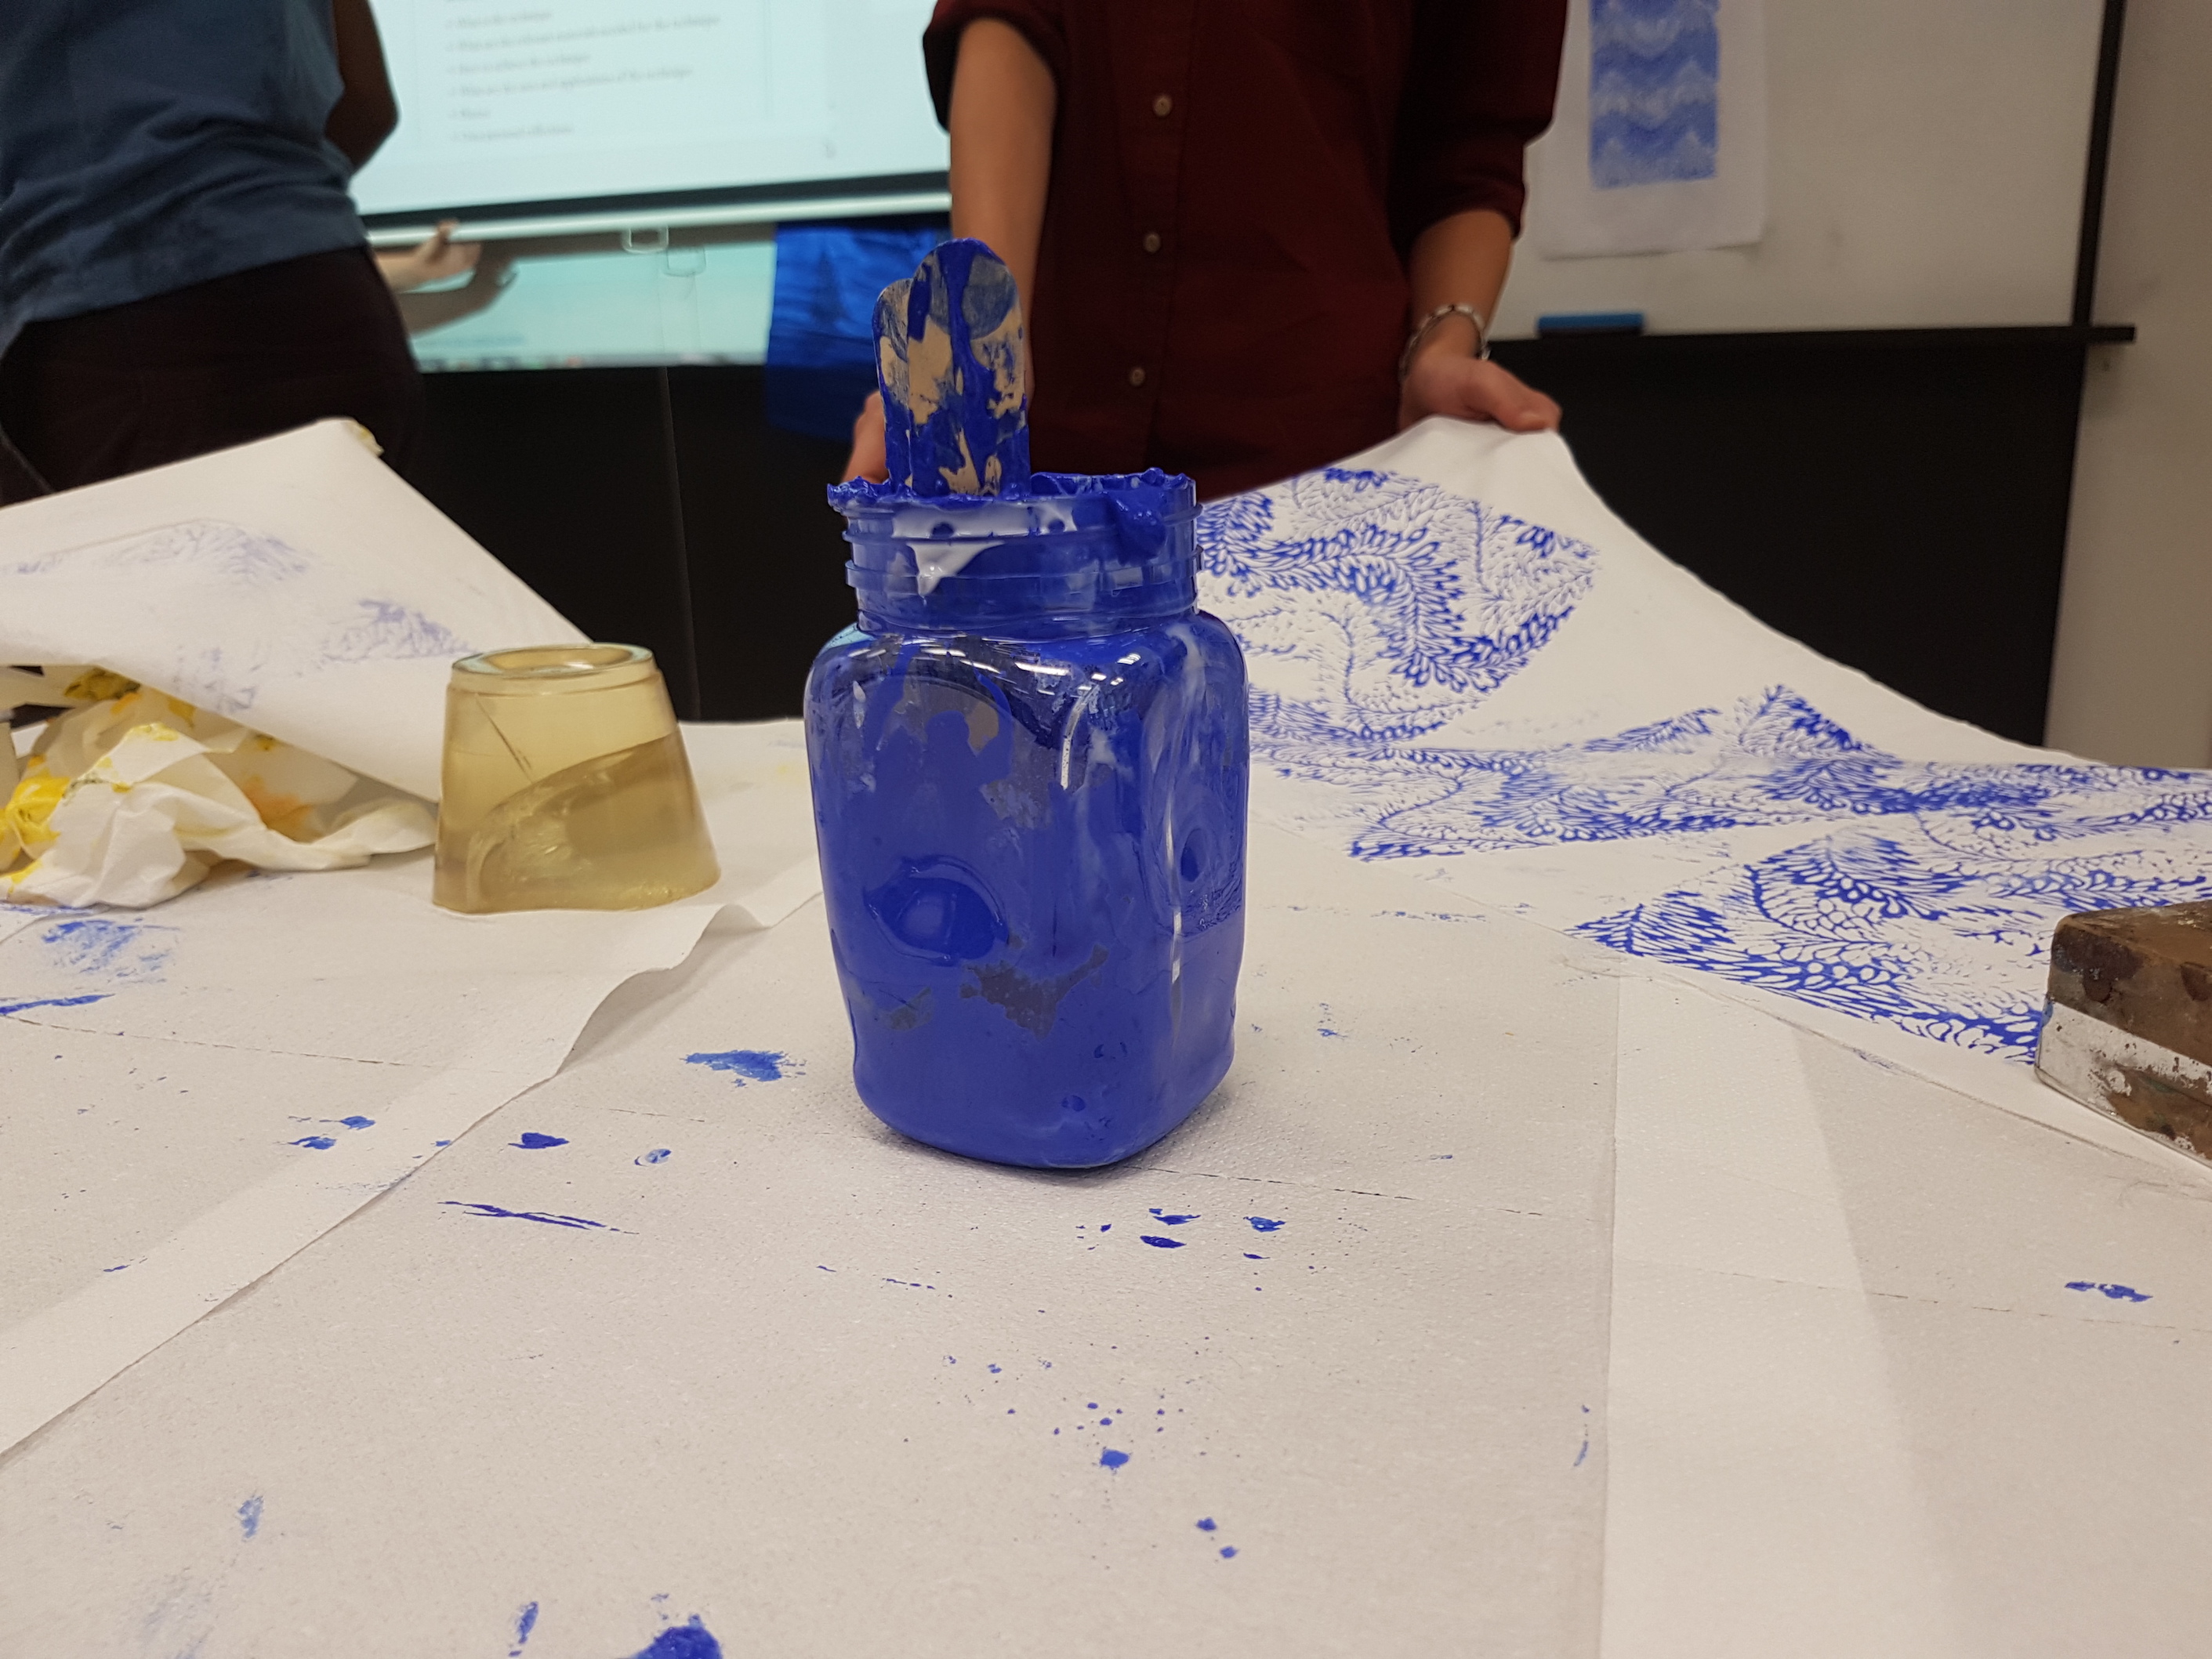
Mix well to achieve a paint-like consistency.
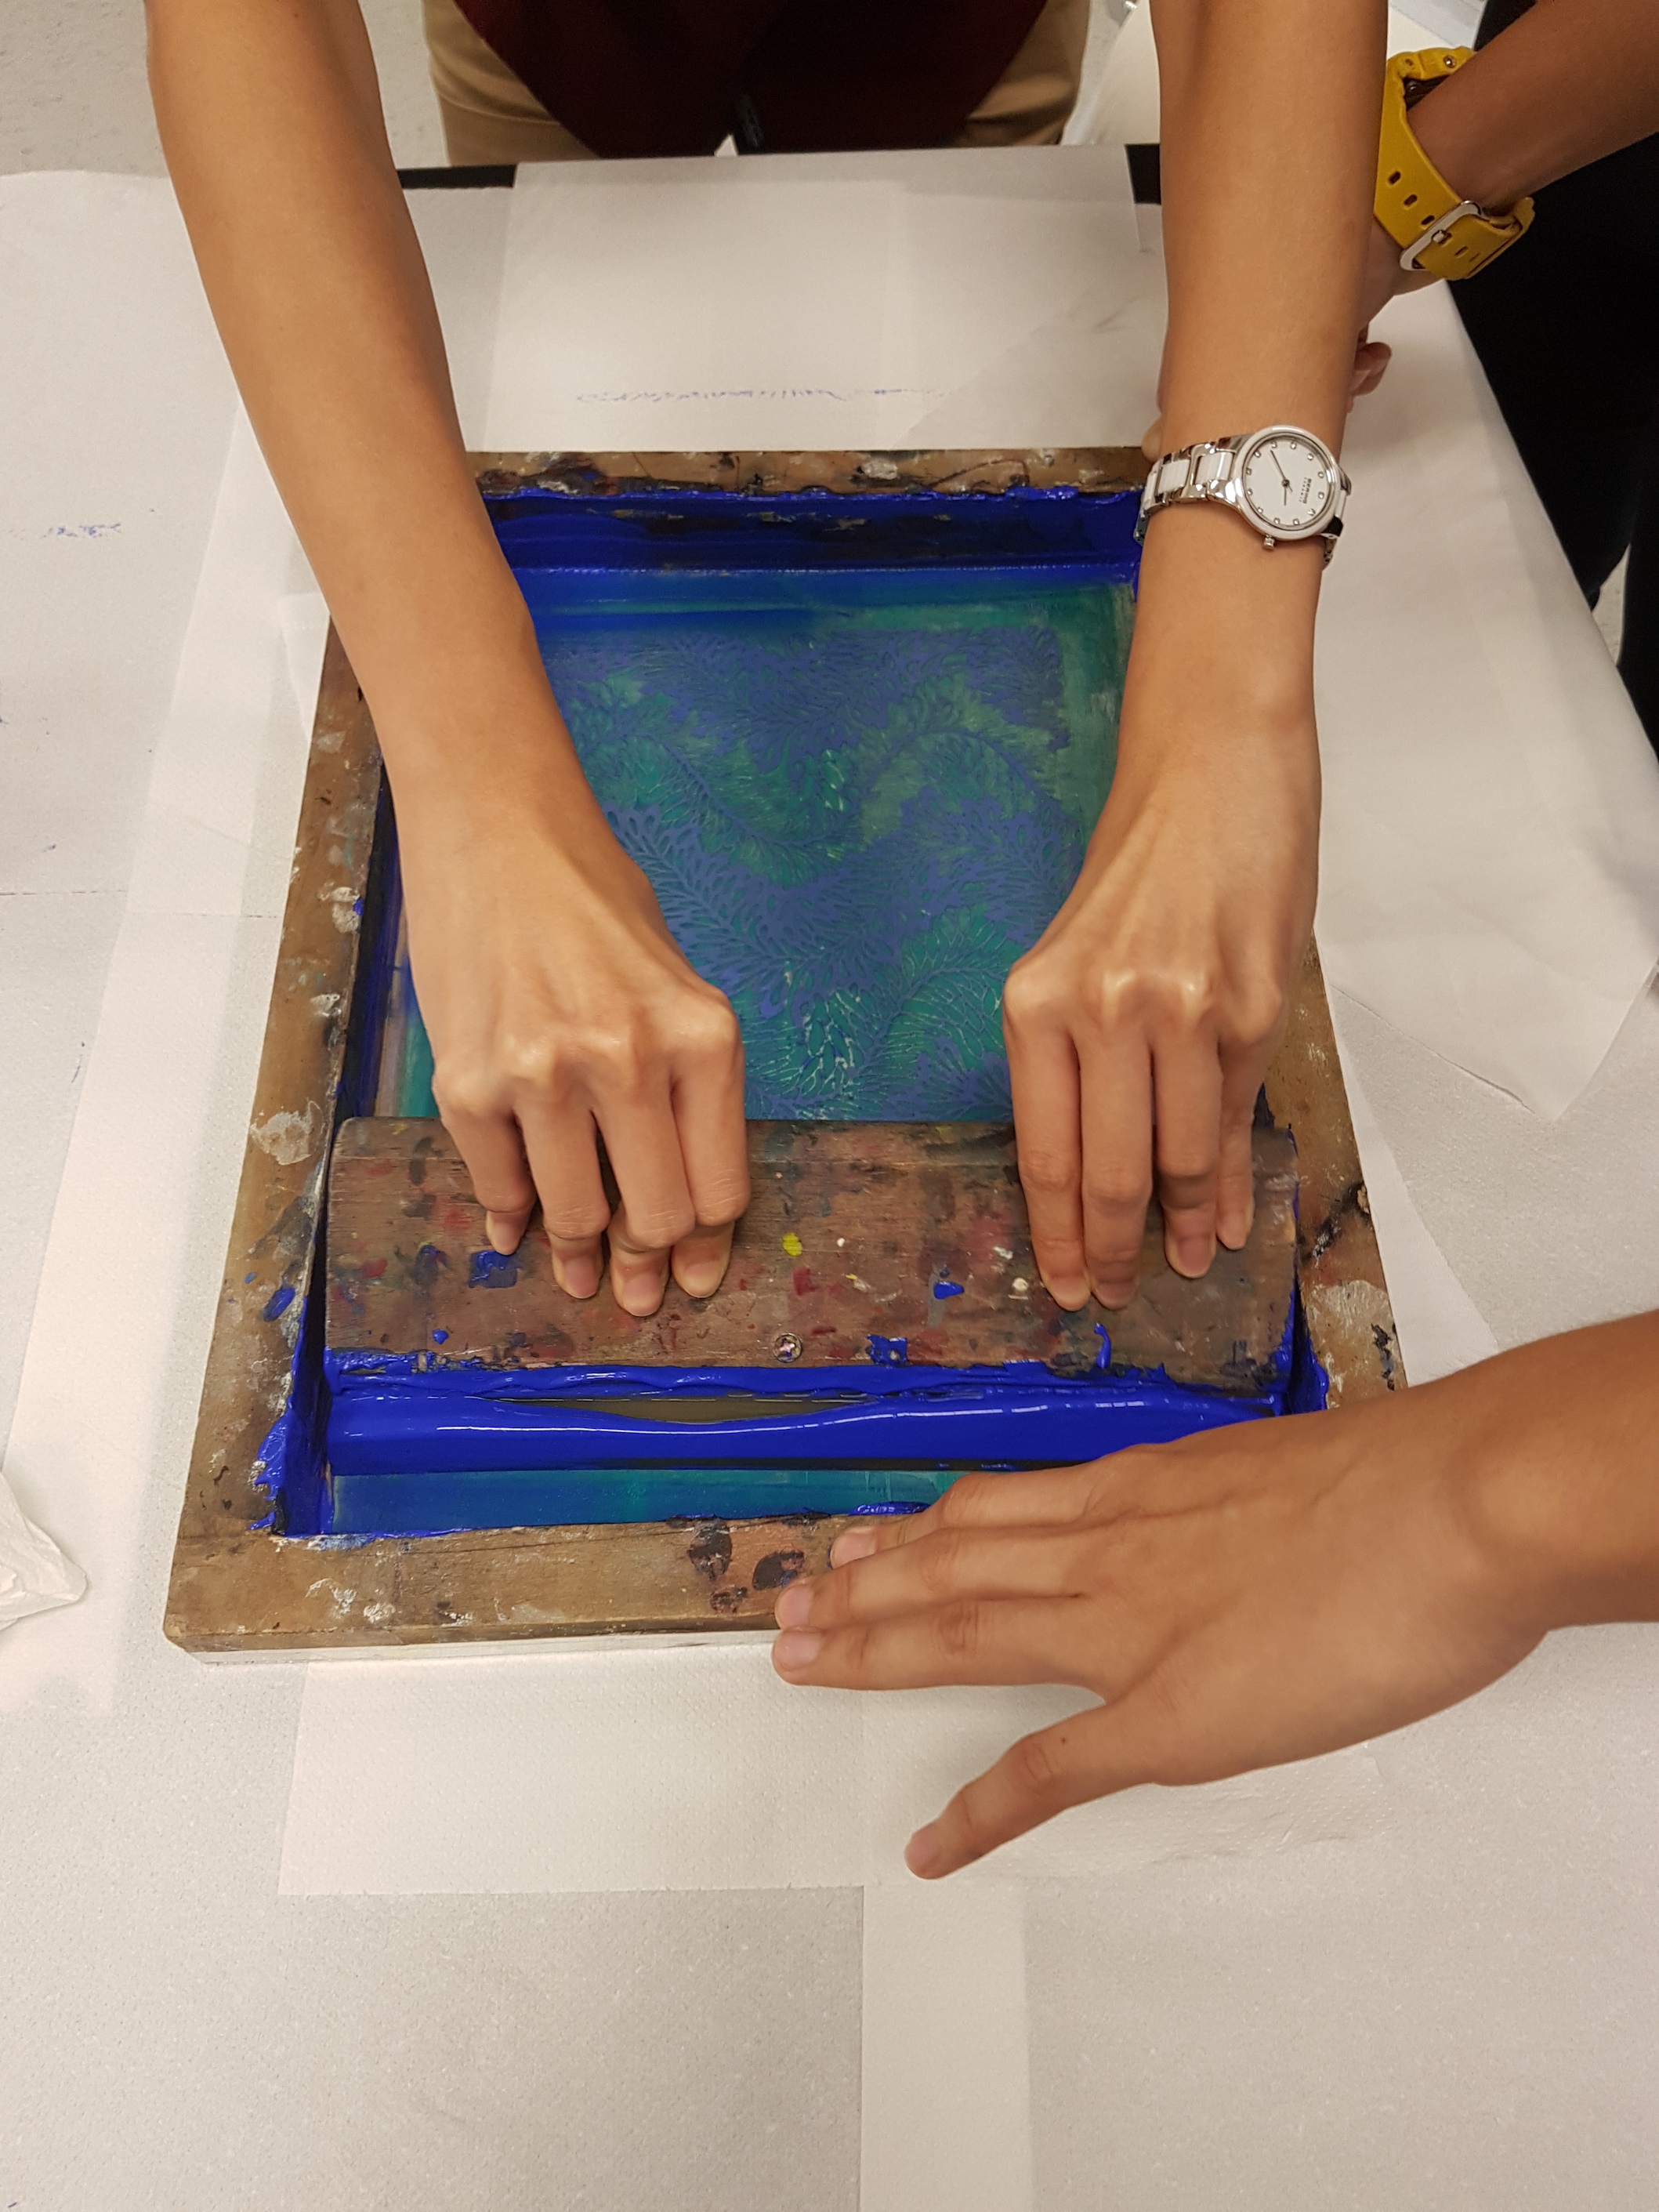
The printing process is similar to the basic silkscreen printing process. Put some ink along the top of the silk screen.
Pre-designed silkscreen
Drag the squeegee downwards, applying pressure evenly. Move the squeegee up and down several times to ensure even coverage.
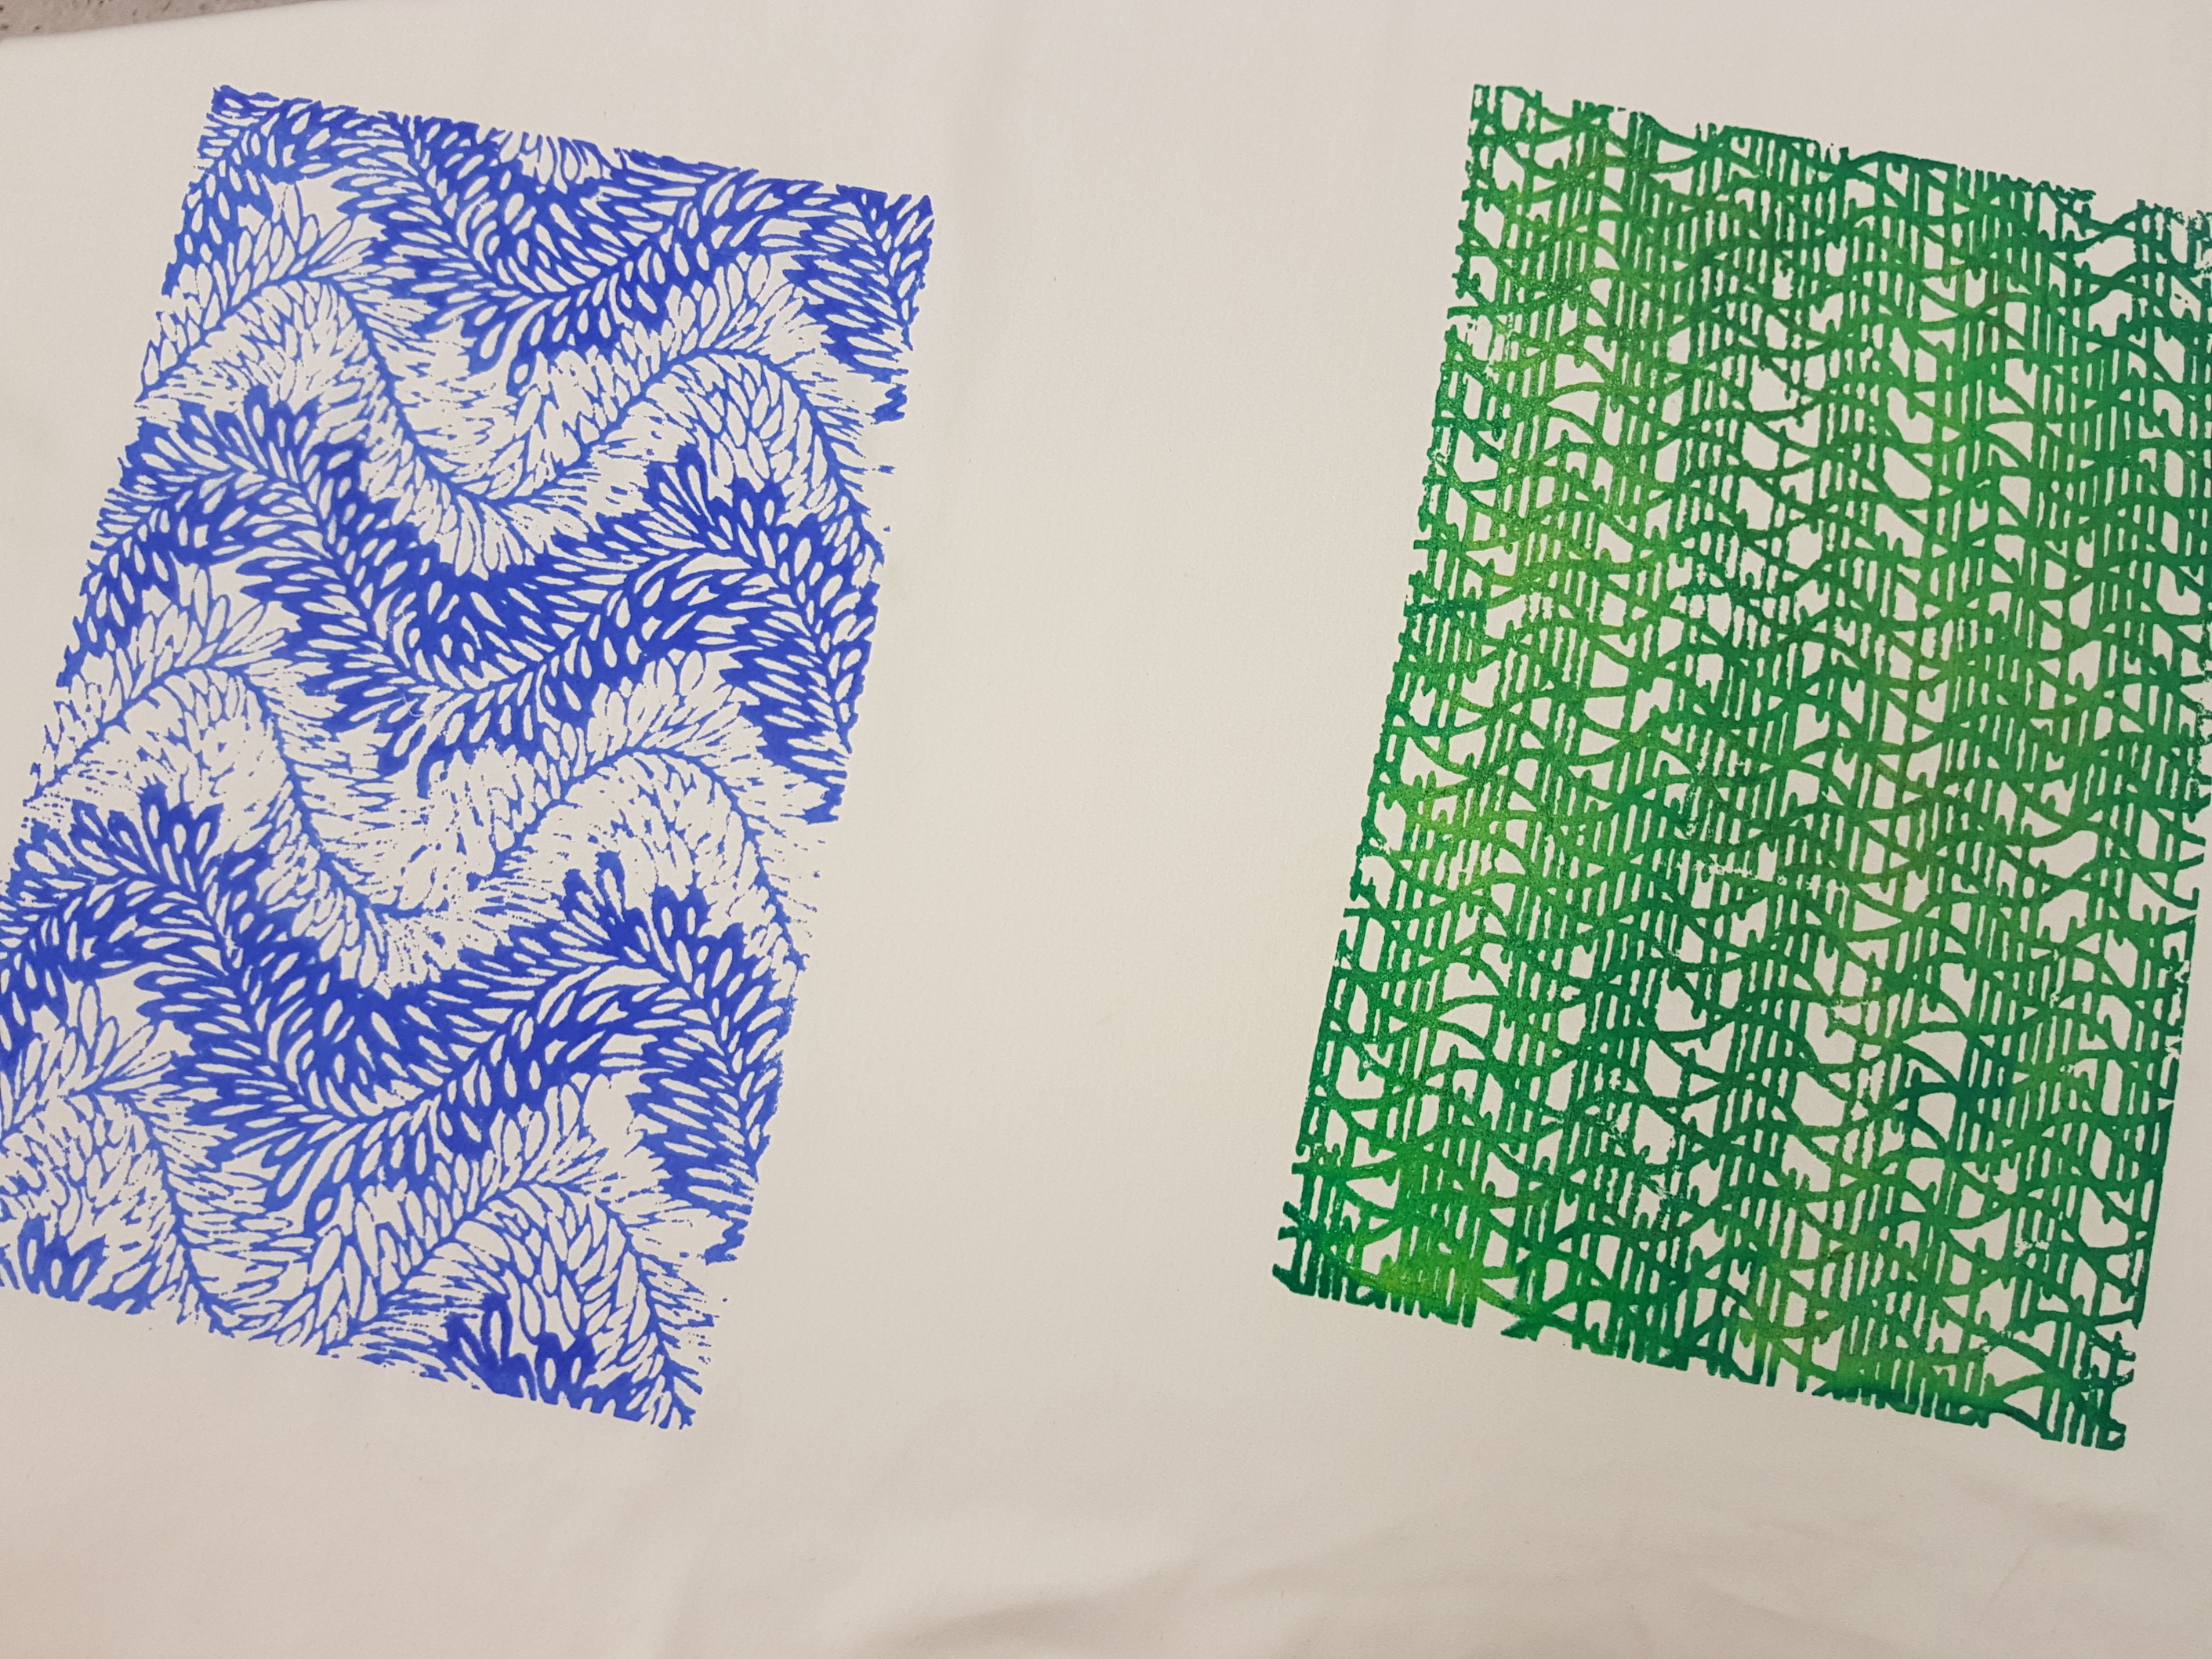
Printing!Tadah!
Unexpected Results
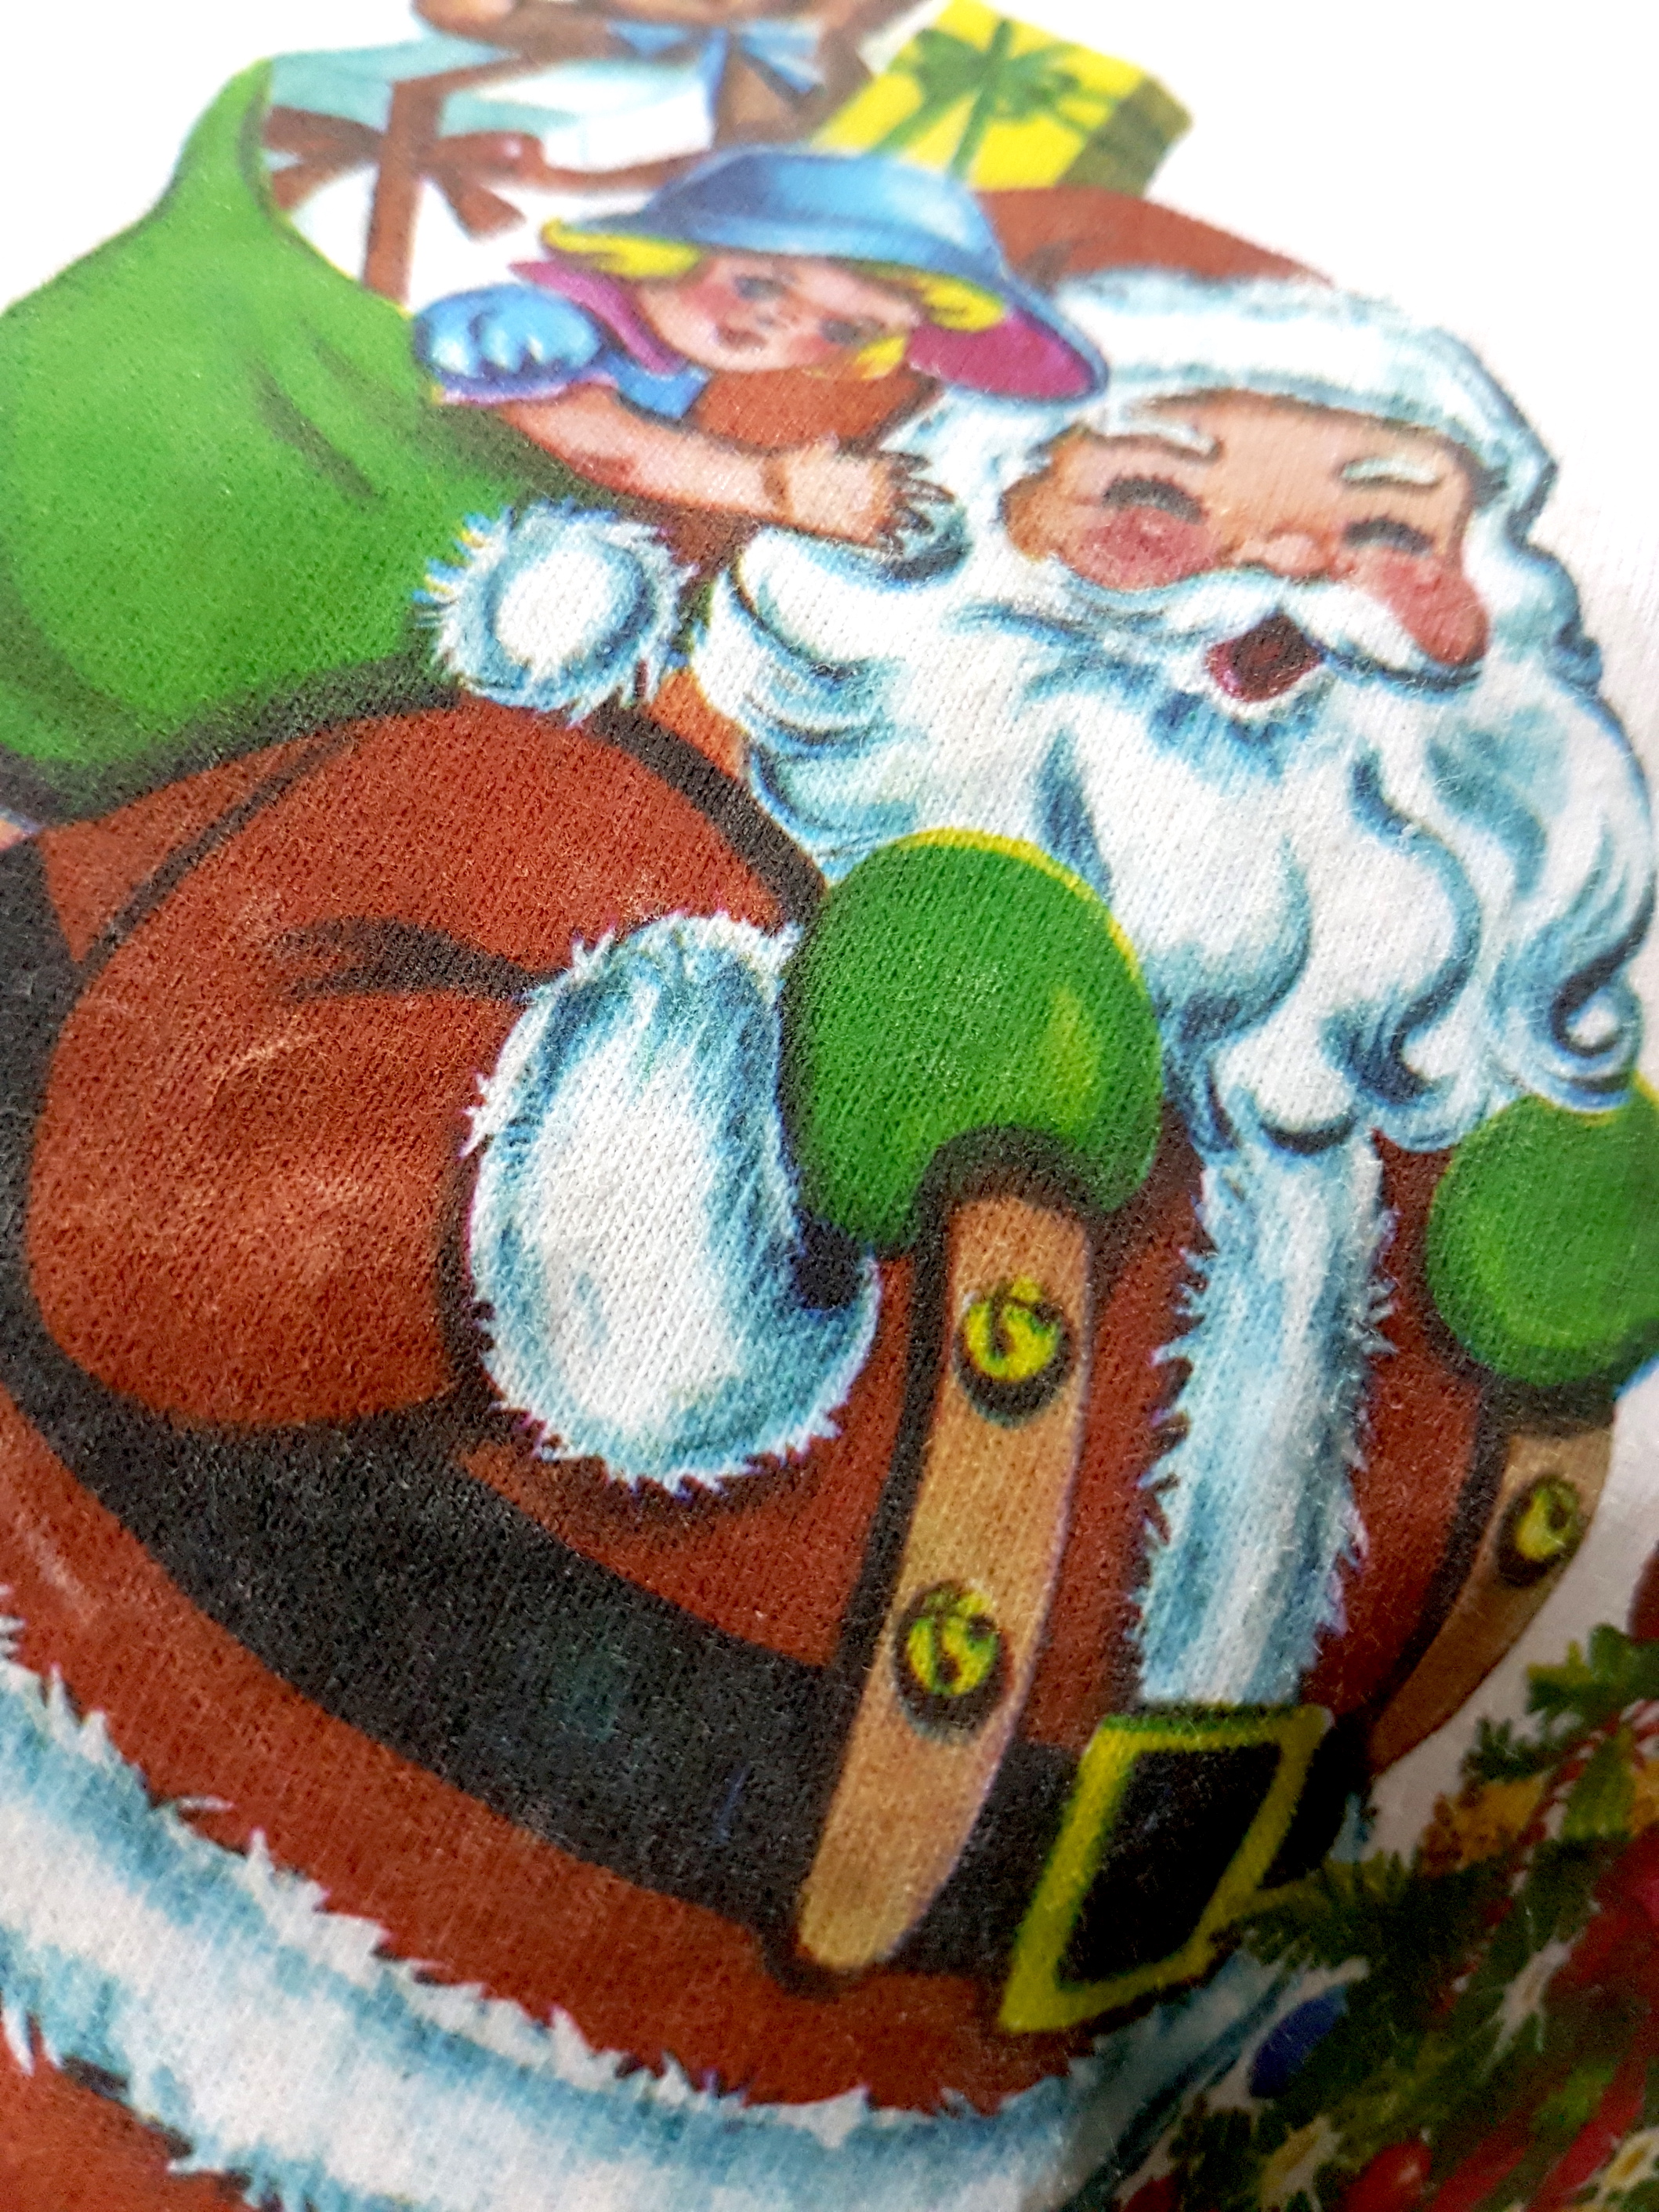
When I initially printed them, the inks were very bright and saturated. Strangely, when I brought my prints home later that day, I discovered that the colours (especially the blue) had faded substantially to a light pastel blue. I suspect this may be due to the type of fabric I used.
Effect of an iron on thermochromic inks
I printed another sample with yellow thermochromic pigment mixed with green acrylic paint. When heat is applied, the yellow disappears, leaving a cooler and darker shade of green.
Thermochromic ink in action
‘The Original Wearable-Tech’
I like how fabrics with thermochromic ink are highly interactive. We can consider them to be the predecessor of wearable technology which is becoming increasingly popular. Instead of including electrical components such as LEDs and temperature sensors which add to the bulk of the clothing, fabric printed with thermochromic inks are lightweight and create a more seamless interaction. They are playful and can create surprising effects, reacting to human touch as well as the environment.
Materials: Fabric of choice (heavy or sheer, plain or patterned), thread, needles, patterns, beads (optional to decorate the darts).
Steps outline
Start by drawing a grid and transferring the patterns onto the fabric. Varying the size of the grids will vary the effect.
Following the lines, stitch the intersections of the grid together in the same spot to gather the fabric
Secure it with a knot
Repeat for a few rows and the pattern will start to show!
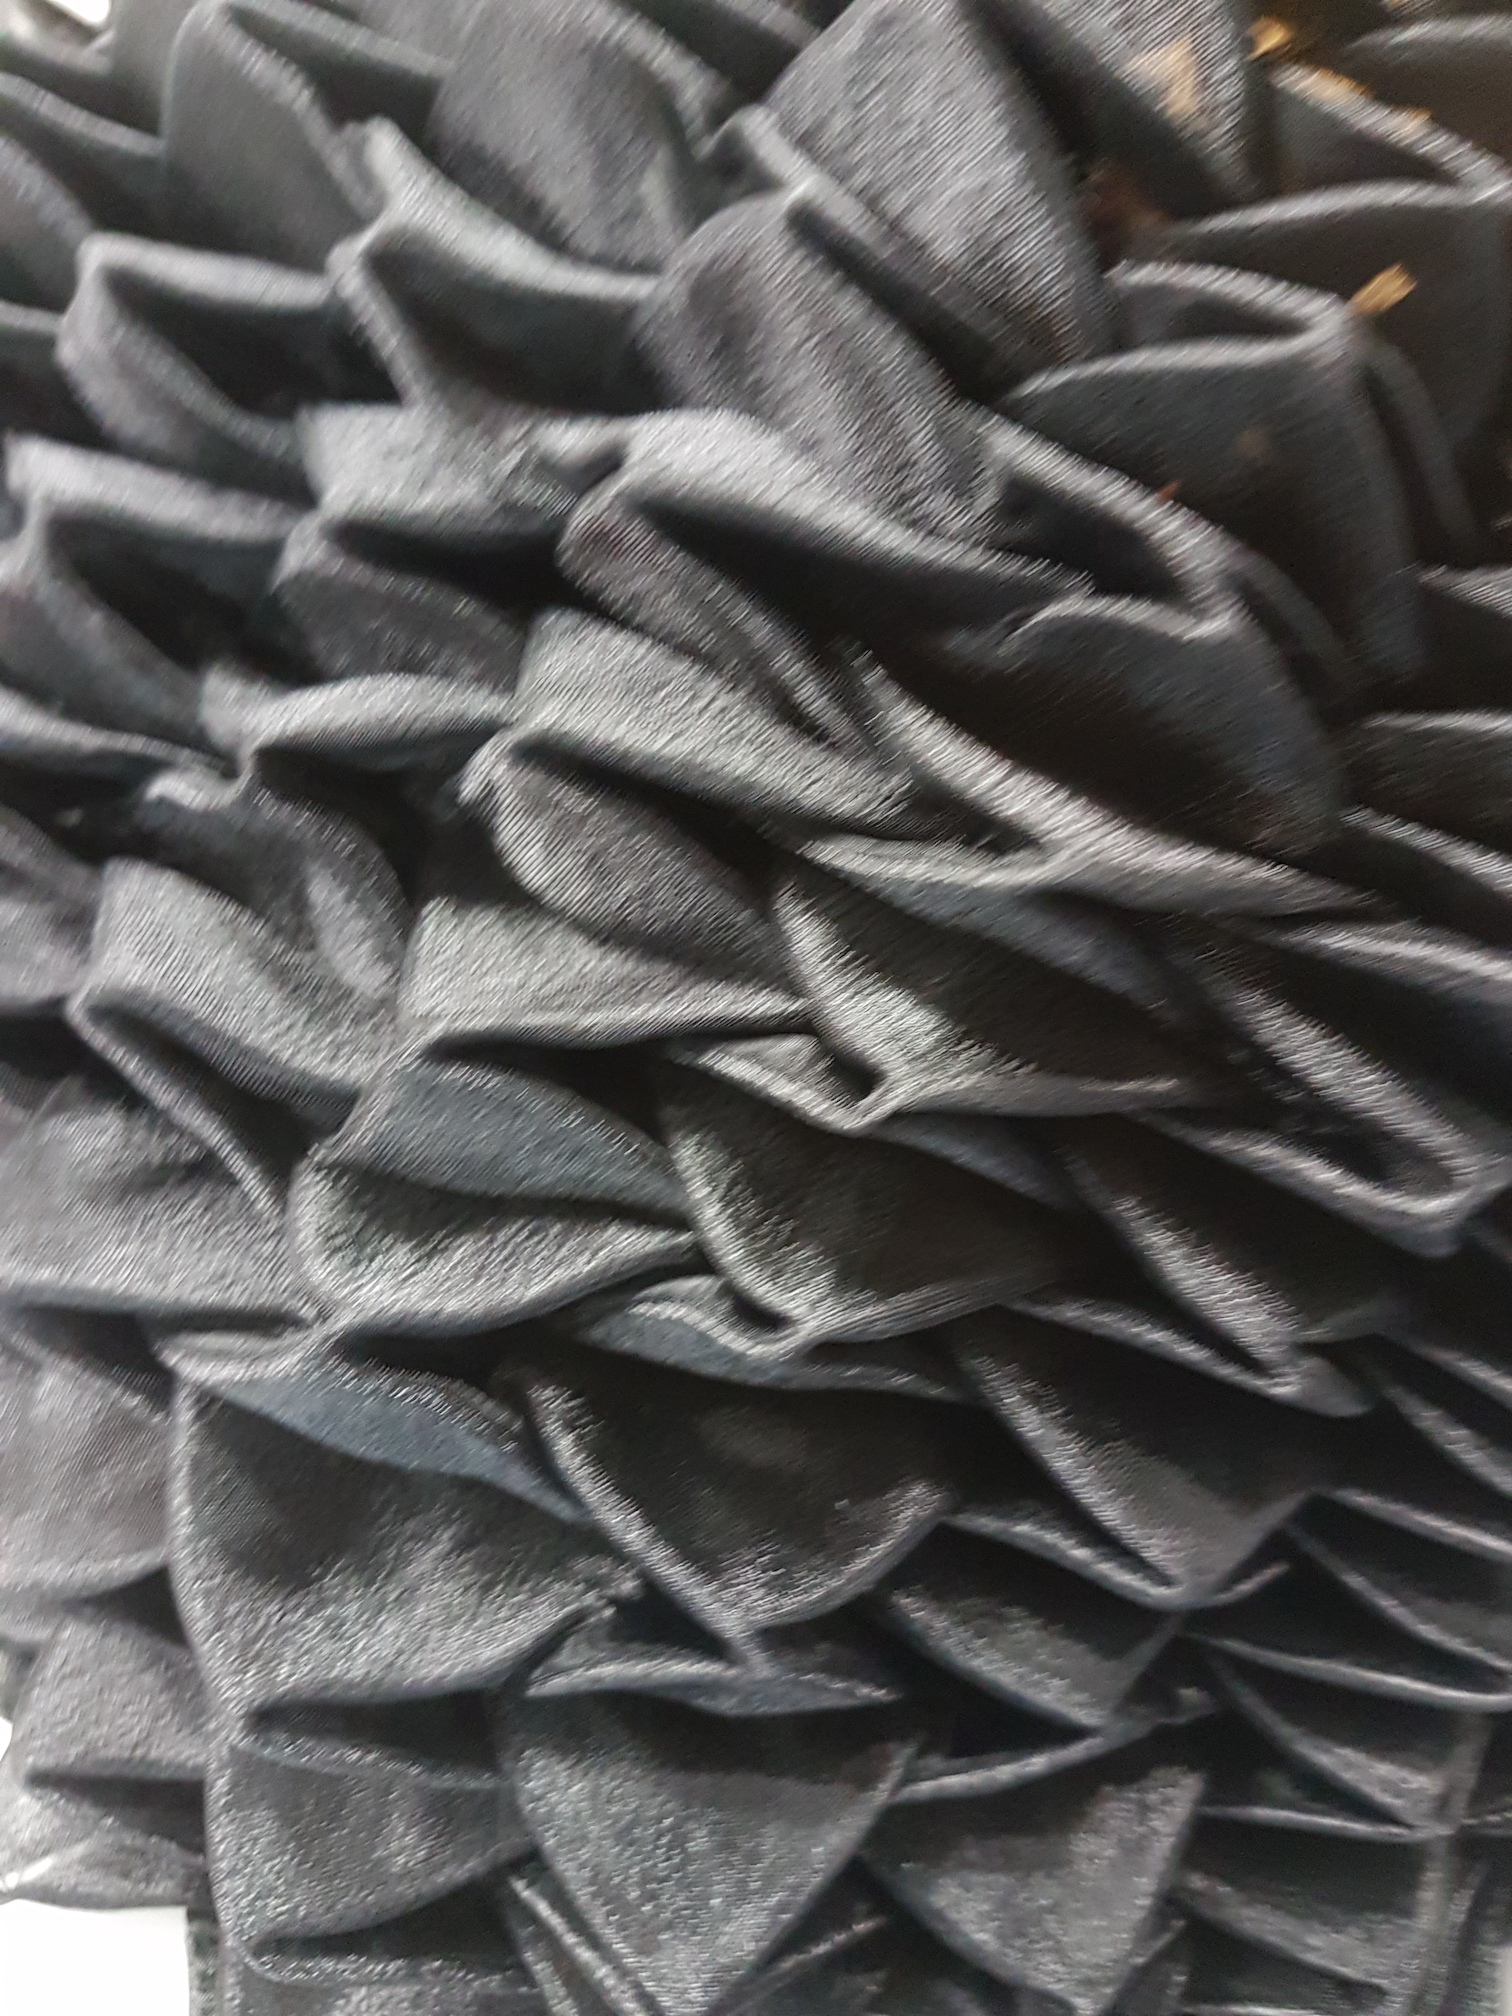
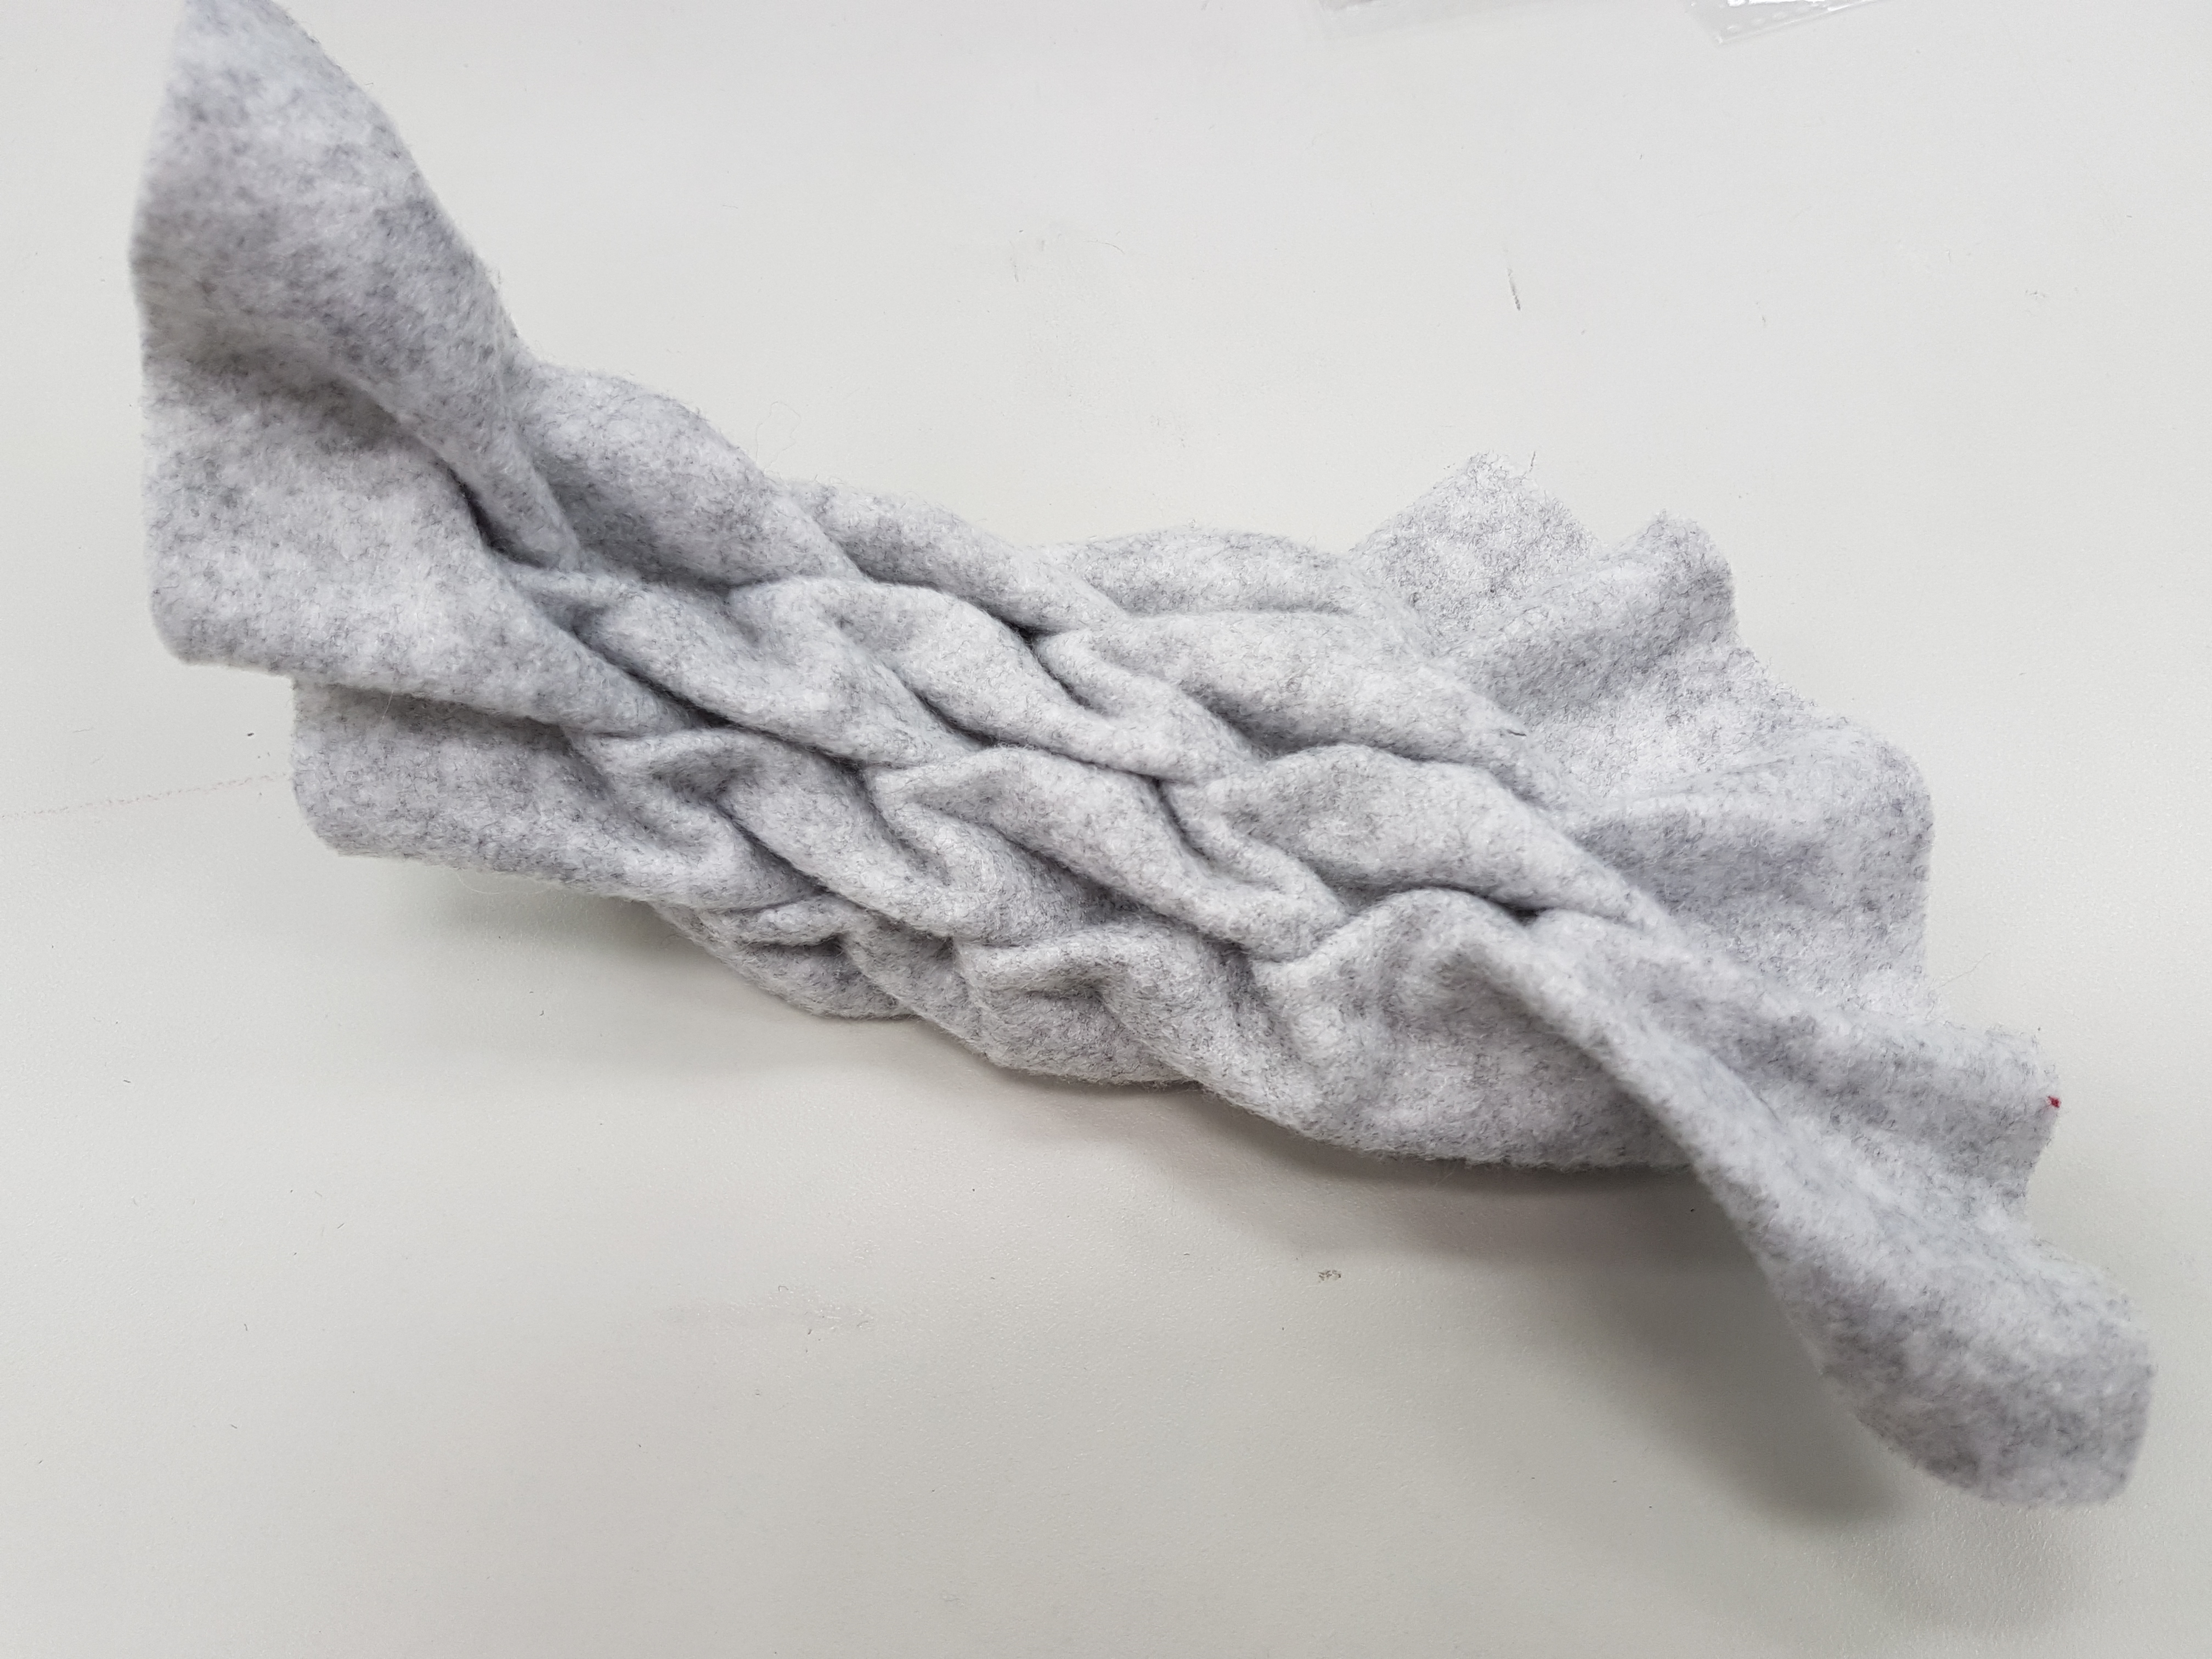
Here is my first smocking sample using a heavy mixed grey felt. Using a stiffer fabric creates a more structured sample; the result feels closer to an object than fabric as it curves to create a new form.
Tracing the patterns for sample 150% completeCompleted ‘fish scales’ smocking sample using mixed grey feltUnder-side
I really like the smocking technique as it can create very intricate and textured results using simple hand-stitching. Different weights and textures of fabric creates varying results. I’ve seen these effects in bags, cushion covers and other decorated items but never knew it was this simple to create!
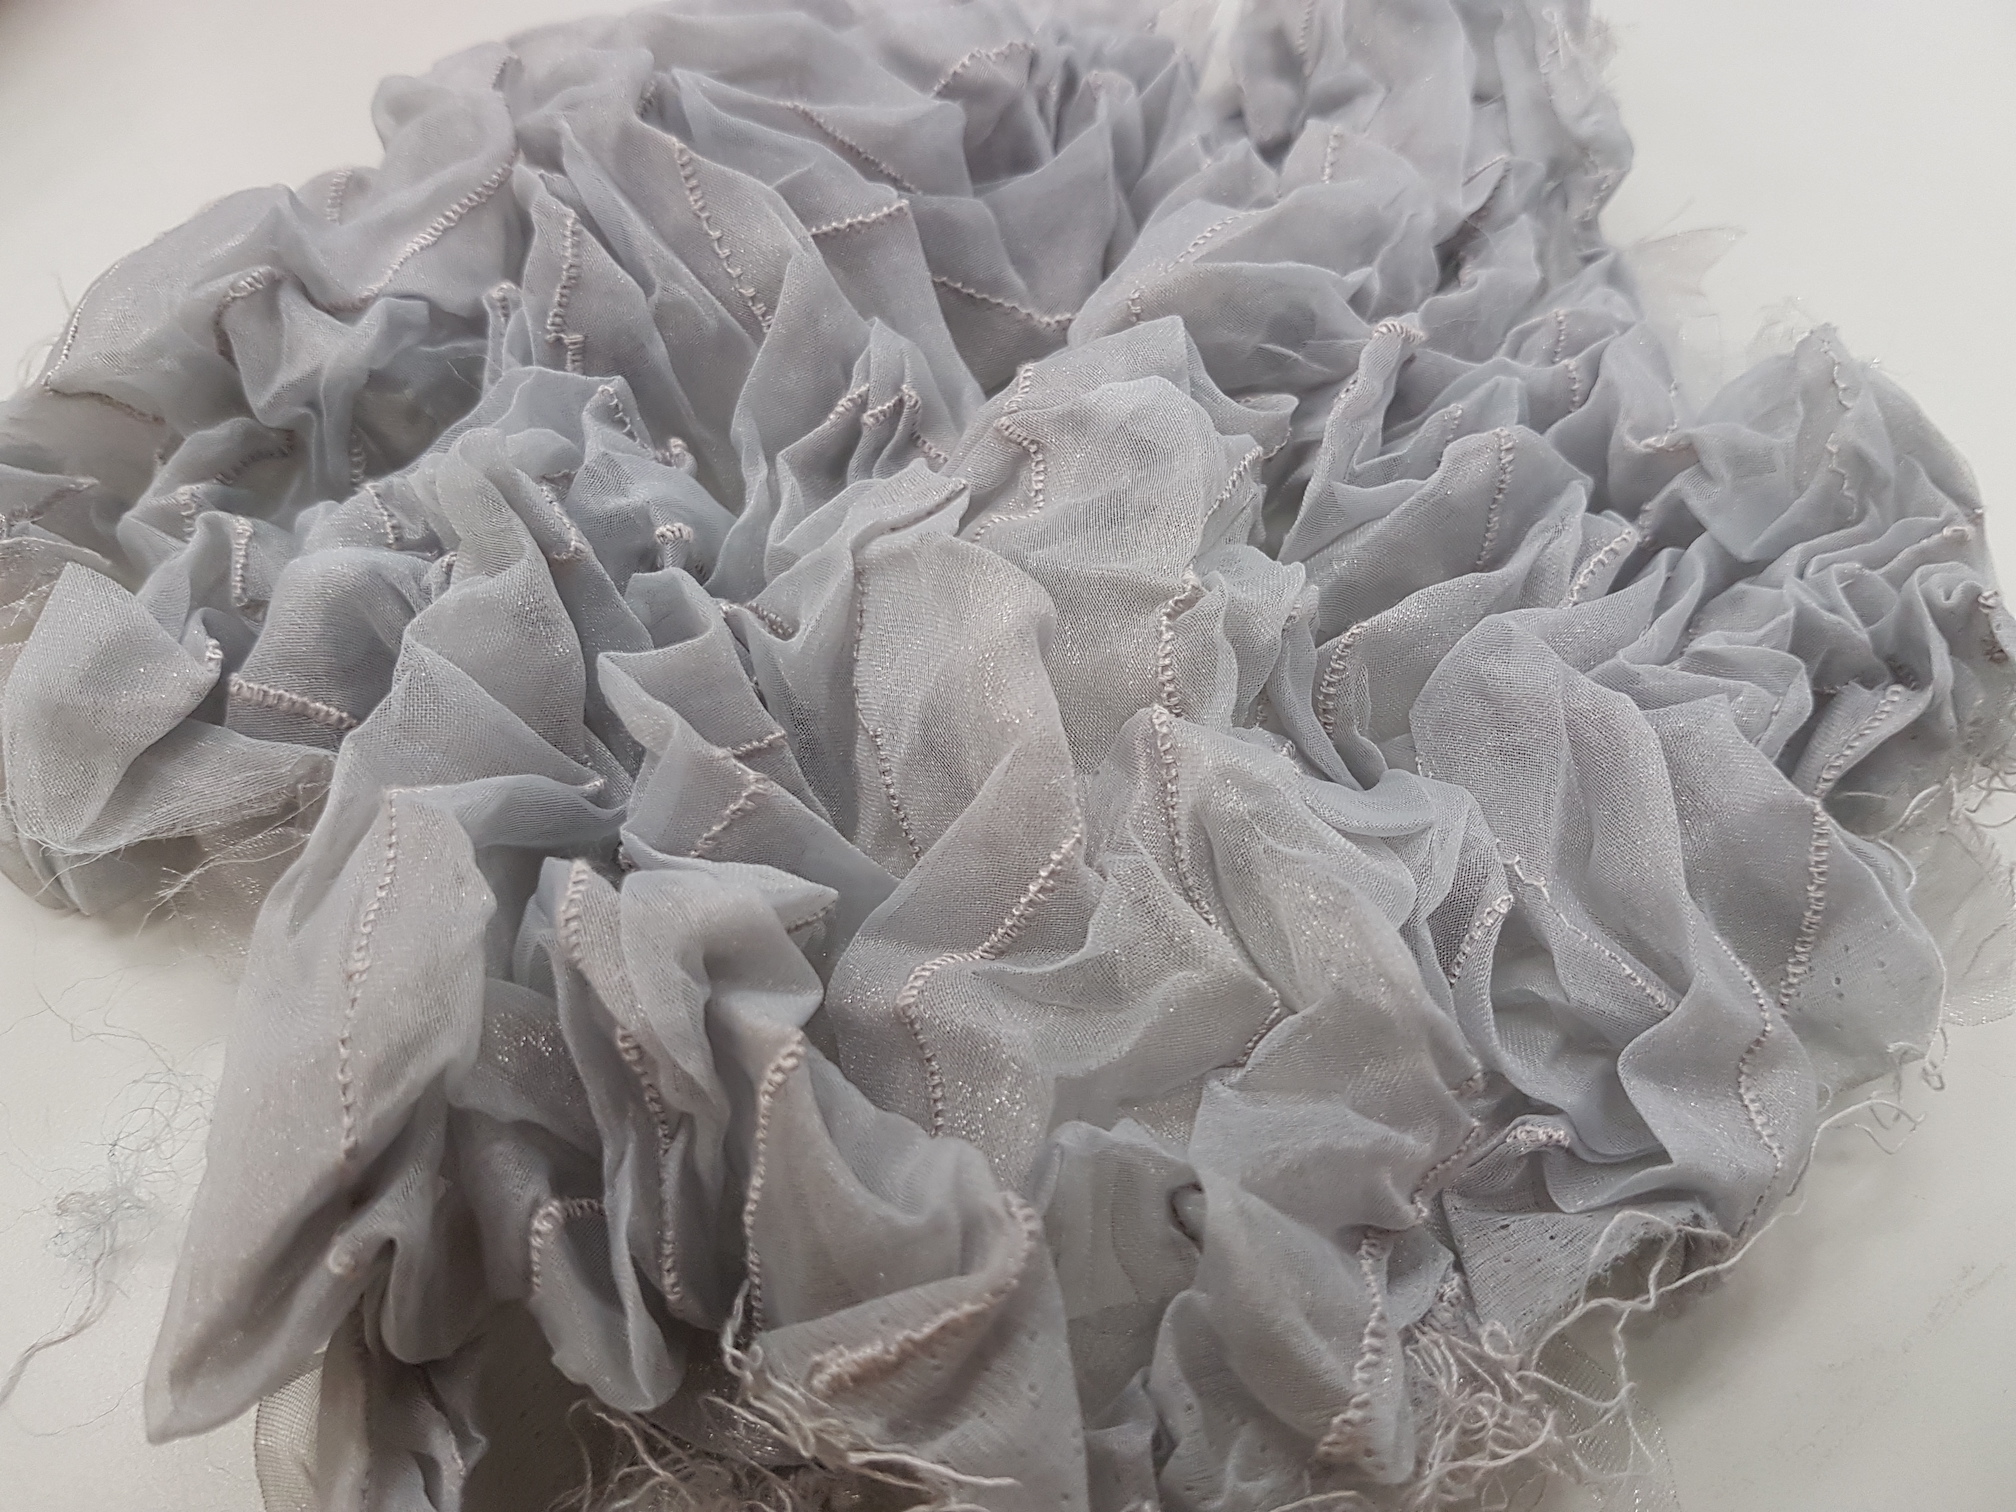
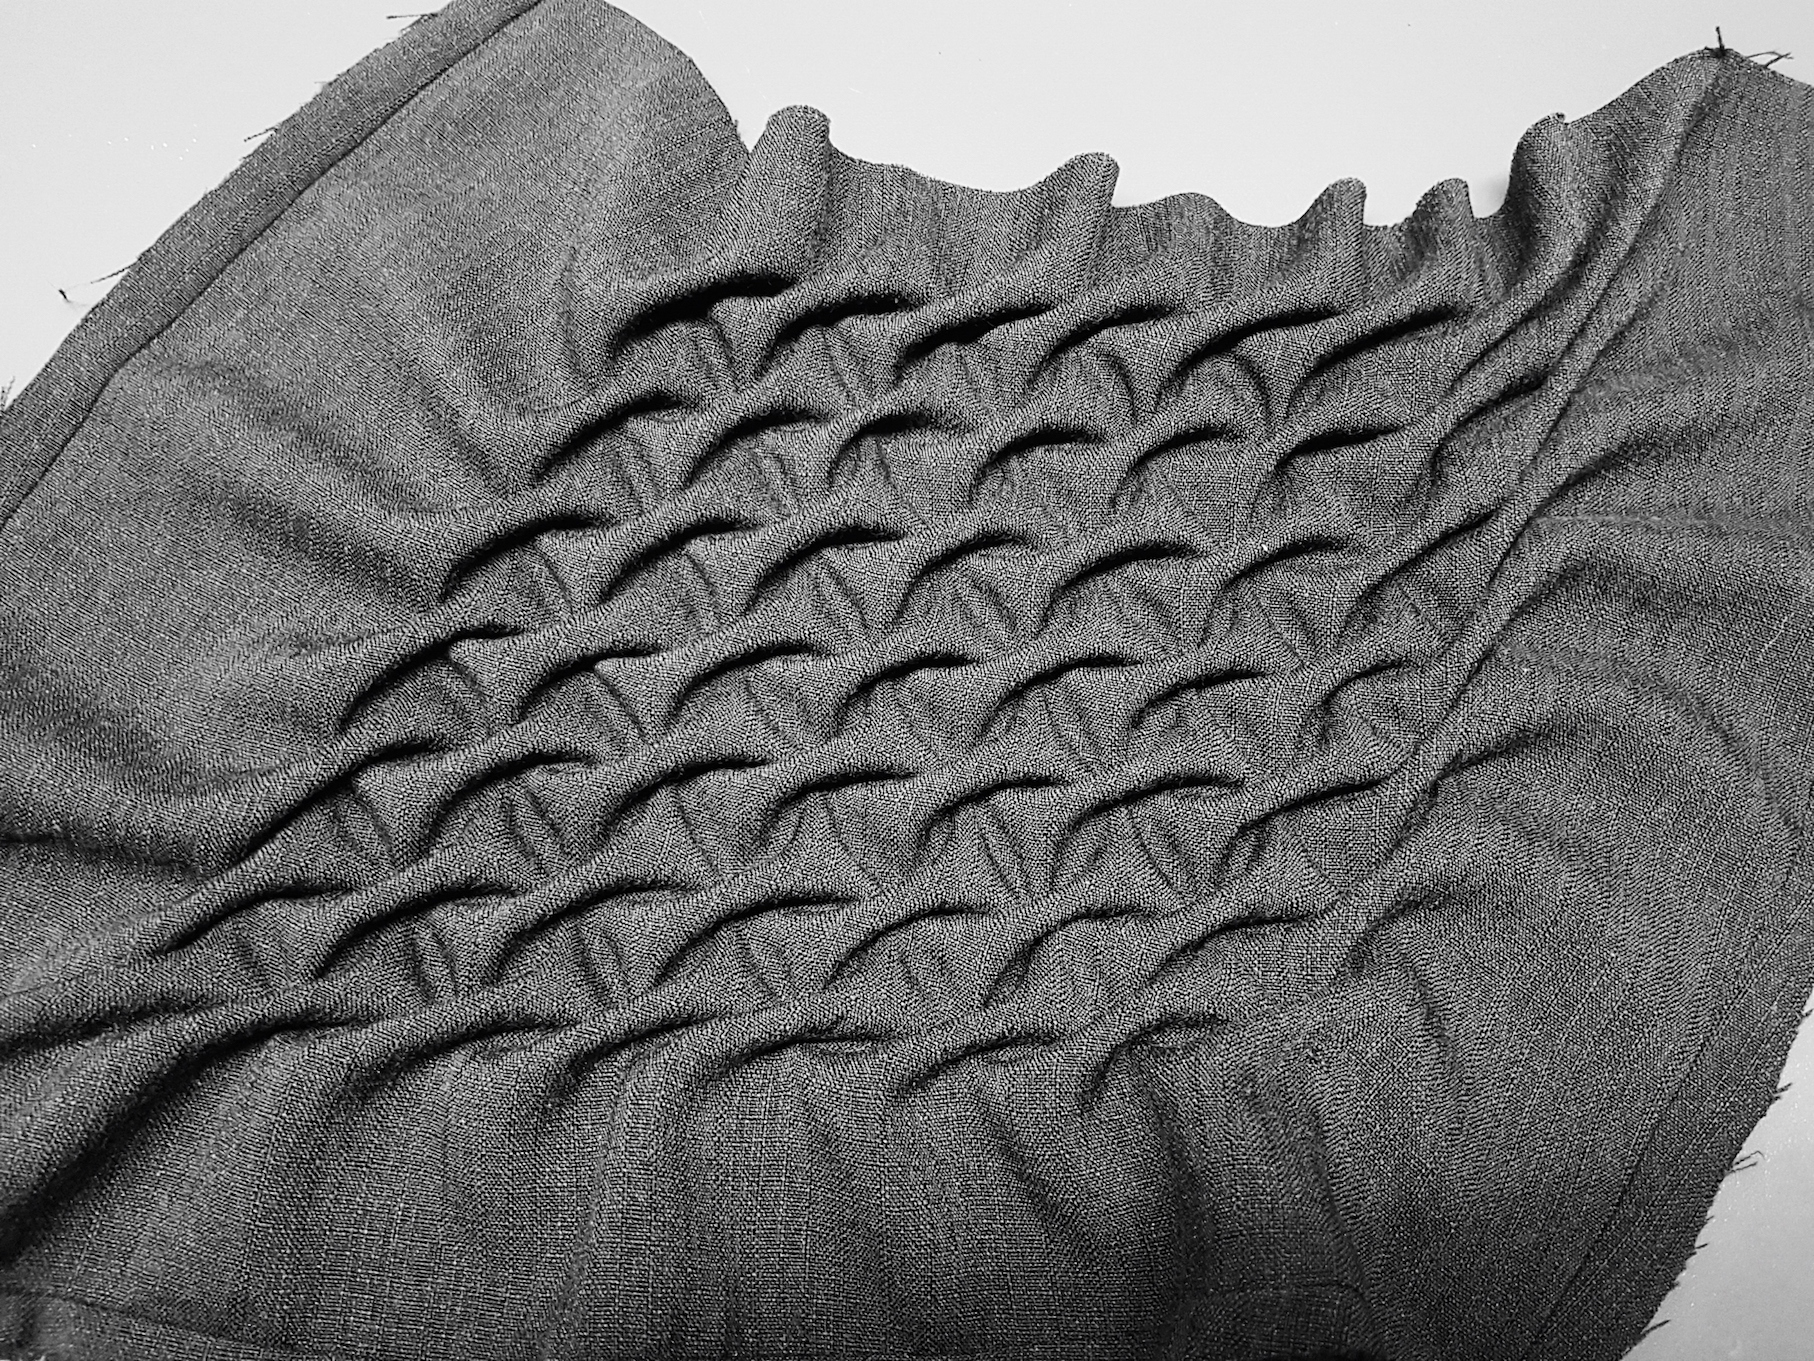
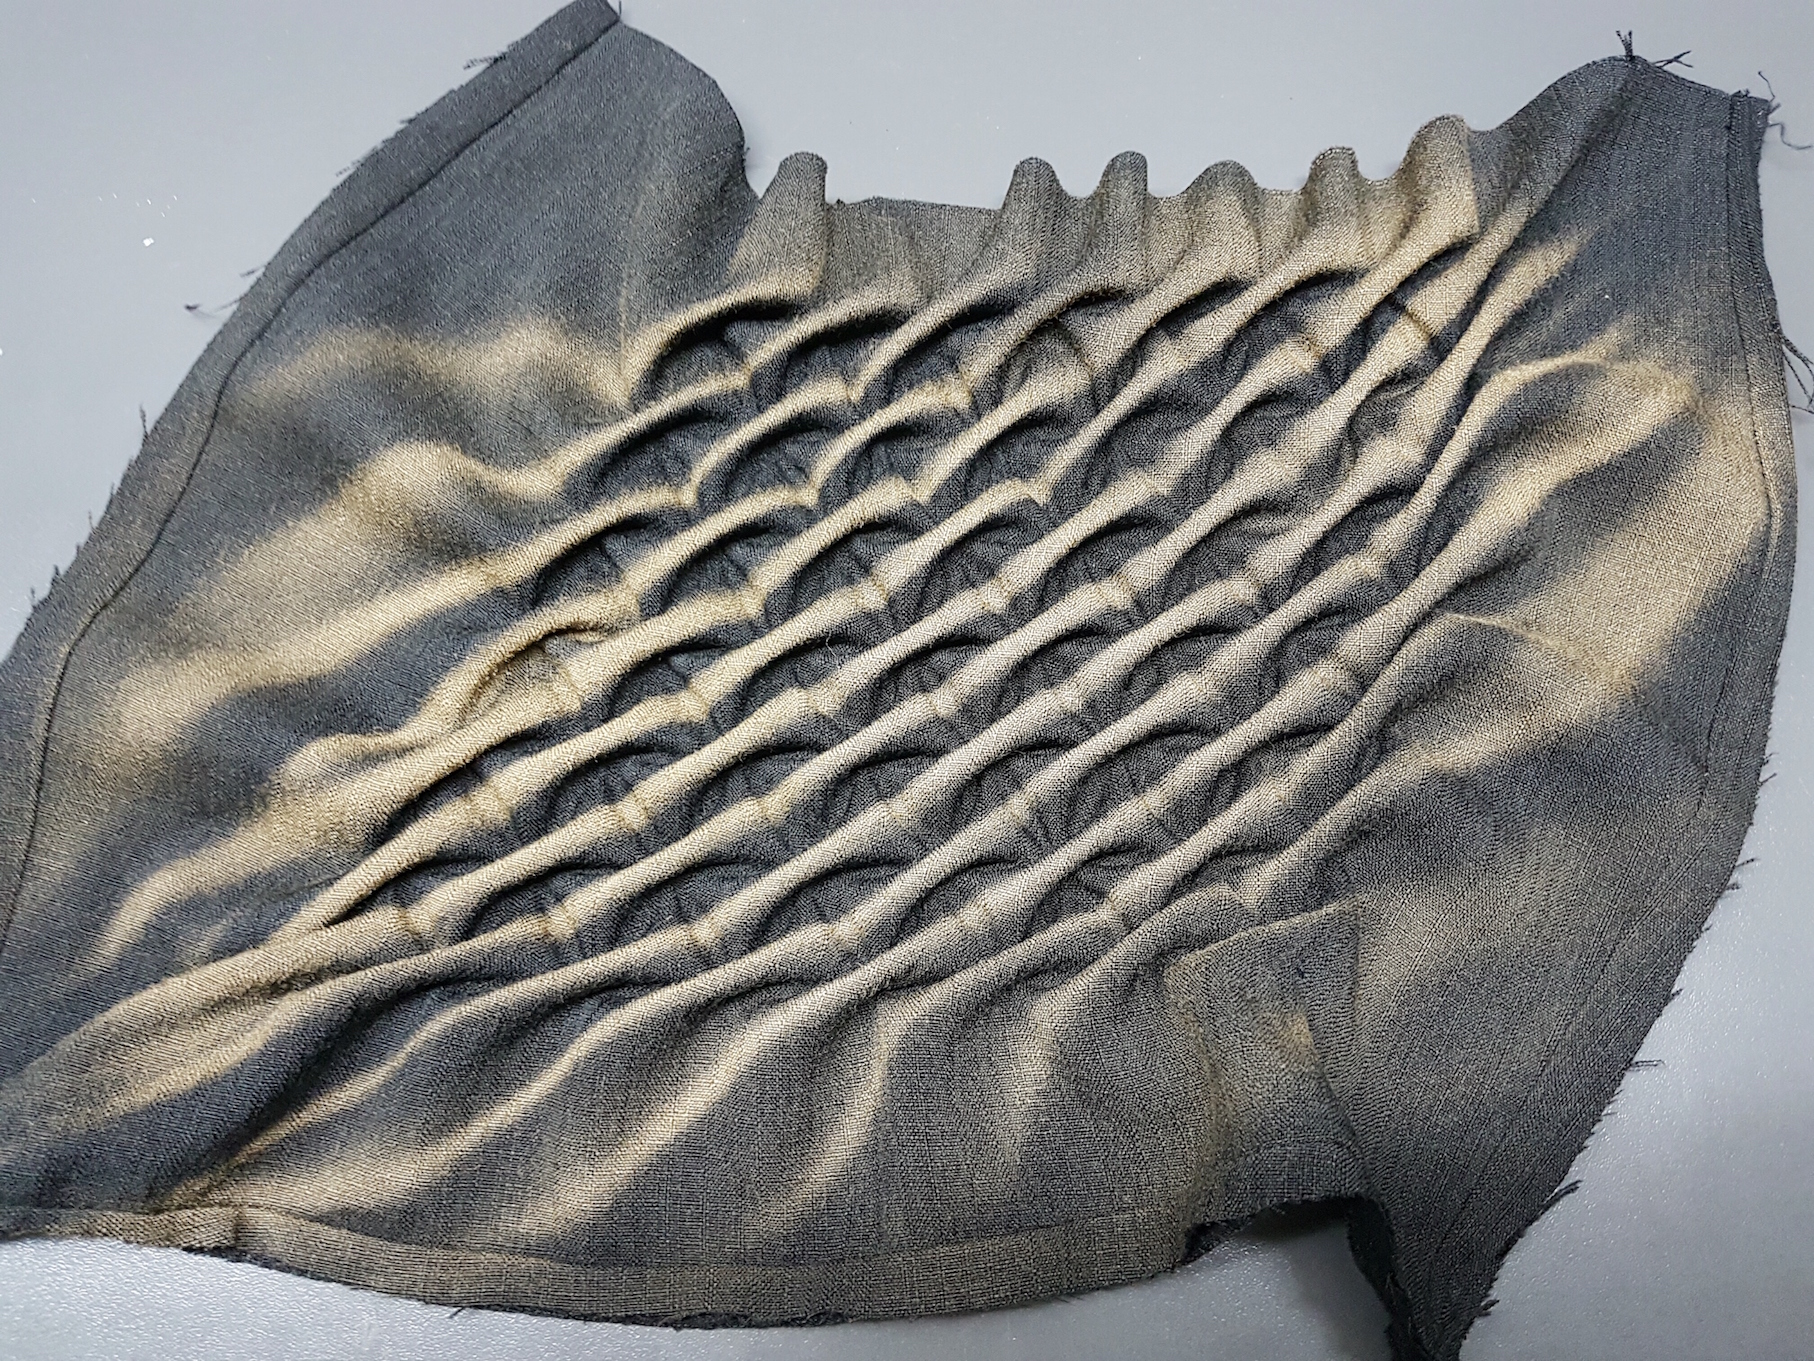
Next, I tried applying this smocking technique onto a thinner fabric (it’s a scrap piece of fabric from an old dress).
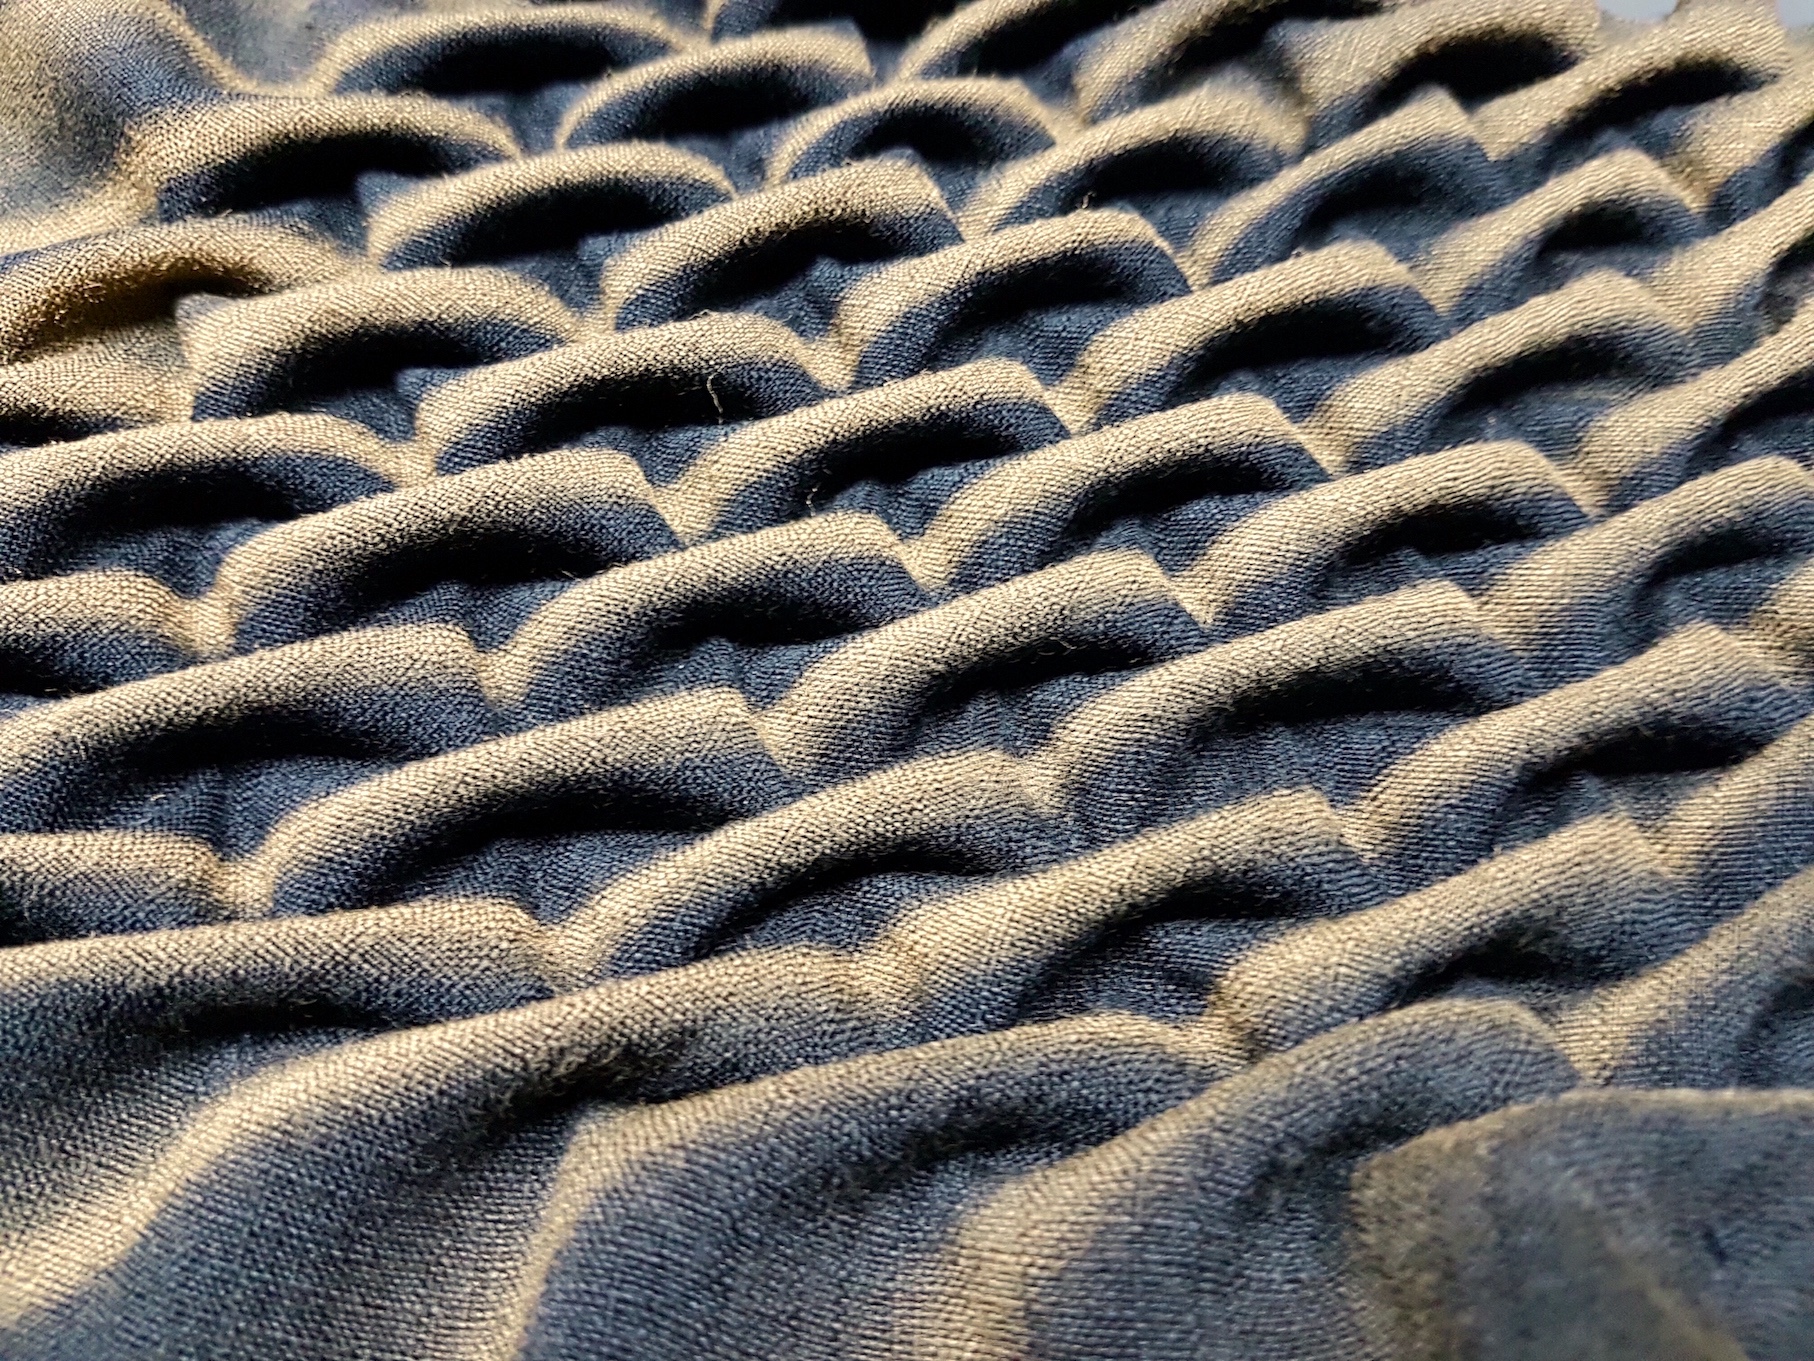
Smocking processCompleted ‘Bones’ pattern smockingClose-up of ‘bones’
When completed, I was curious to see the effect of colour additions on smocking. So I lightly spray painted this black fabric sample to give it a metallic finish and accentuate the ‘bone’ structure and form. The additional gold colour creates more depth in the smocking.