Tag Archives: interactive

Renewable Oil Conversion Machine | Semester Project Documentation

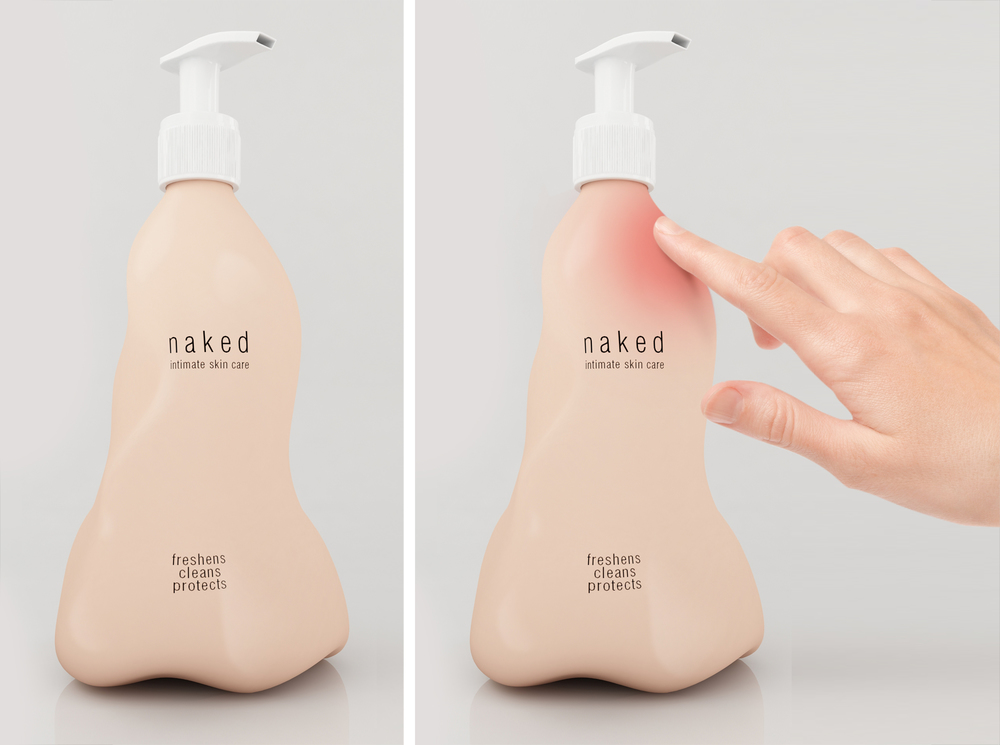
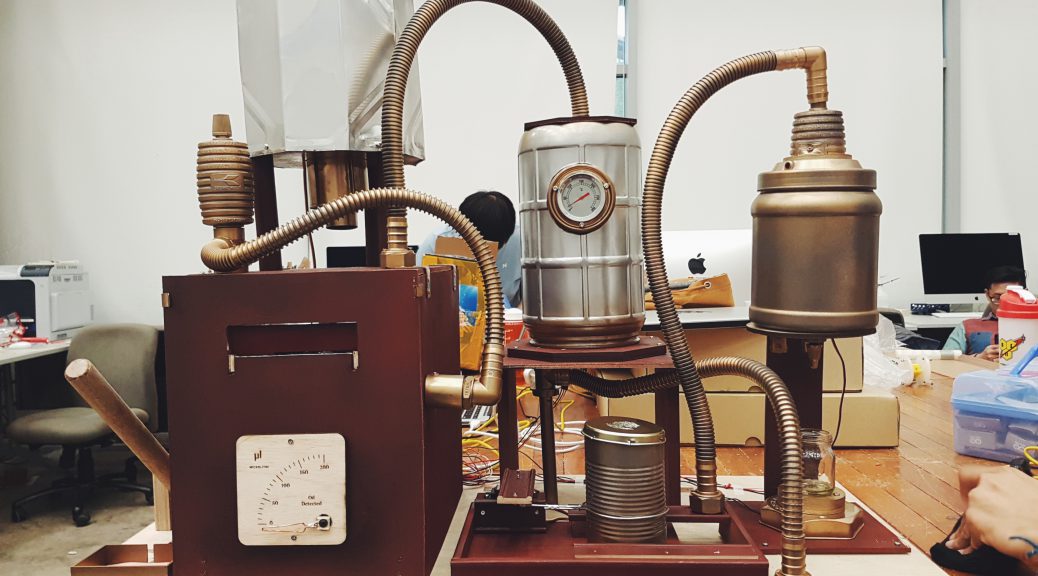
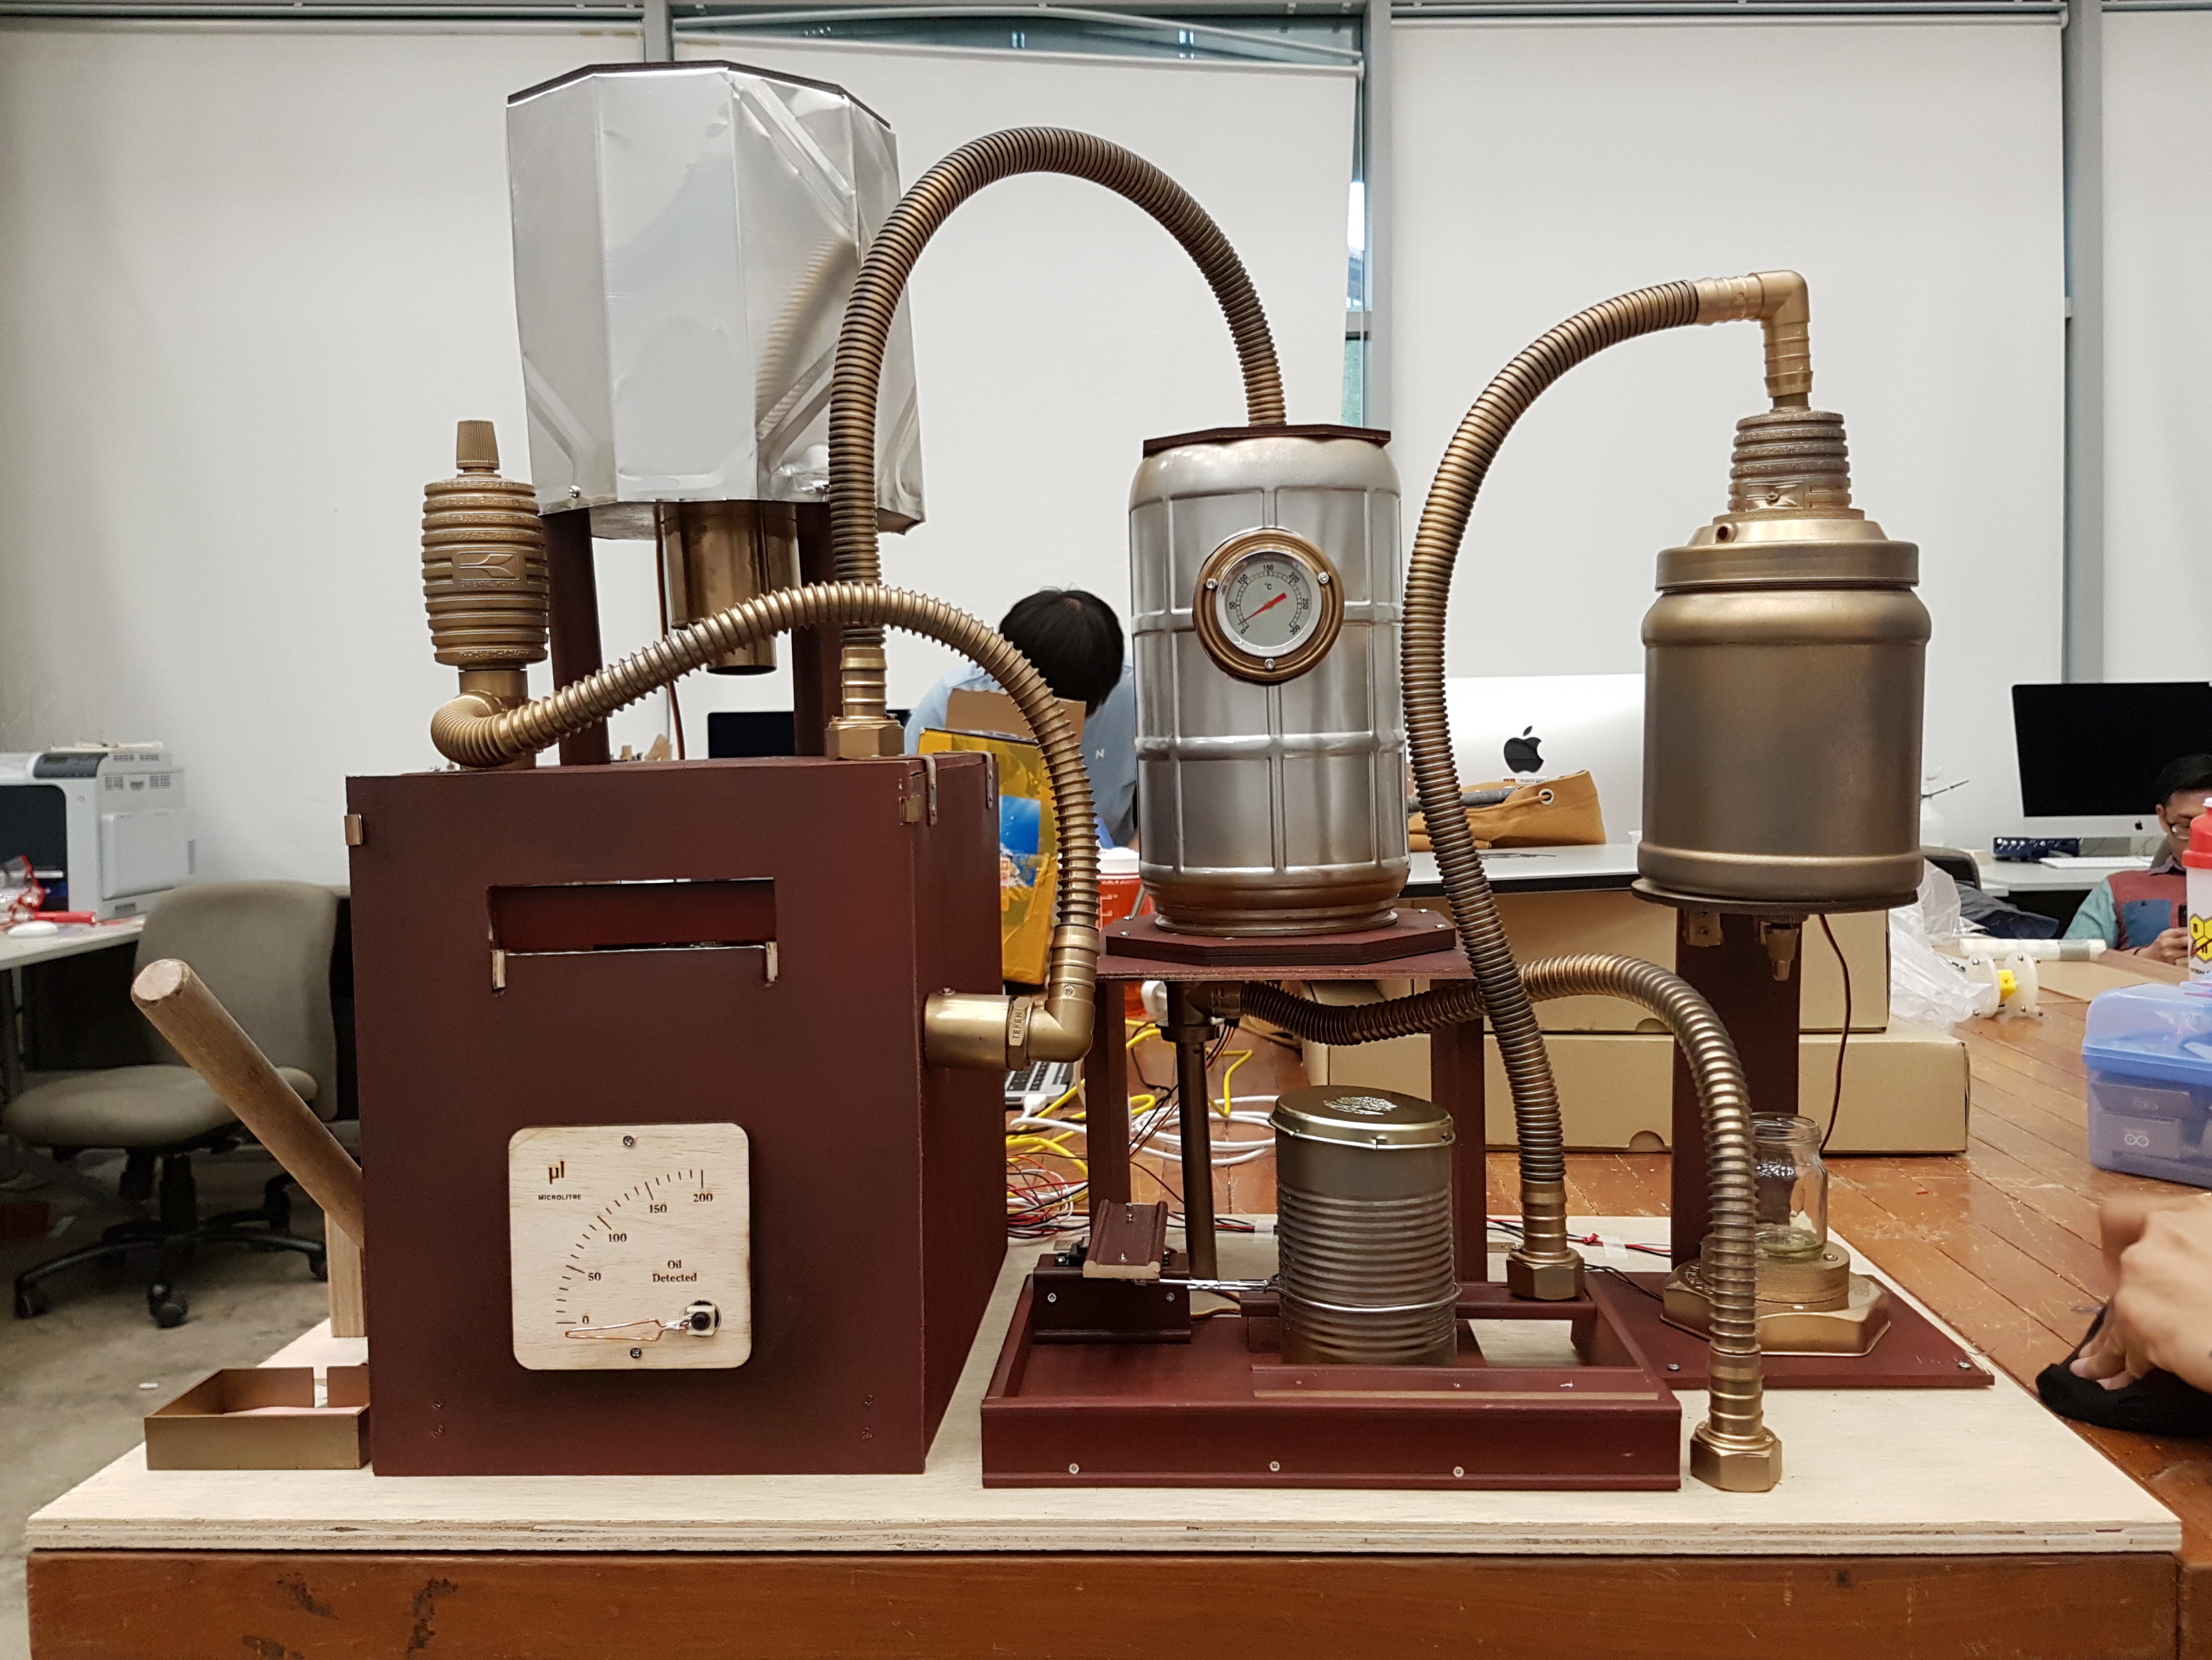
The Renewable Oil Conversion Machine is a speculative invention that harvests and converts human facial oil into biodiesel. It seeks to resolve future energy crises and shortages by producing alternative, renewable sources of energy. With energy consumption at a historical high, the time has come to explore untapped resources such as mankind’s infinite supply of sebum and facial oil.

The System

Renewable Oil Conversion Machine, 2017. Image credit: The Forge

This pseudoscientific system is plays on illusion and movement. It is essentially a chain reaction which mimics the chemical process of converting oils to biodiesel. I love how the machine goes through a very elaborate process just to secrete one teeny tiny drop of oil. It is highly-laborious and a poor use of resources, making it even more ludicrous!

The aesthetics and mechanisms were inspired by antiquity, steampunk and industrial machines. As much as possible, I wanted the machine to give off a fantastical, mad-scientist-wacky-invention vibe.

The interactive machine invites users to freshen up by wiping their faces with the provided oil blotters. A pressure sensor below the tray detects that an oil blotter has been taken, triggering the mouth of the machine to open automatically. This prompts users to place the used blotter into the custom-sized tray for processing.

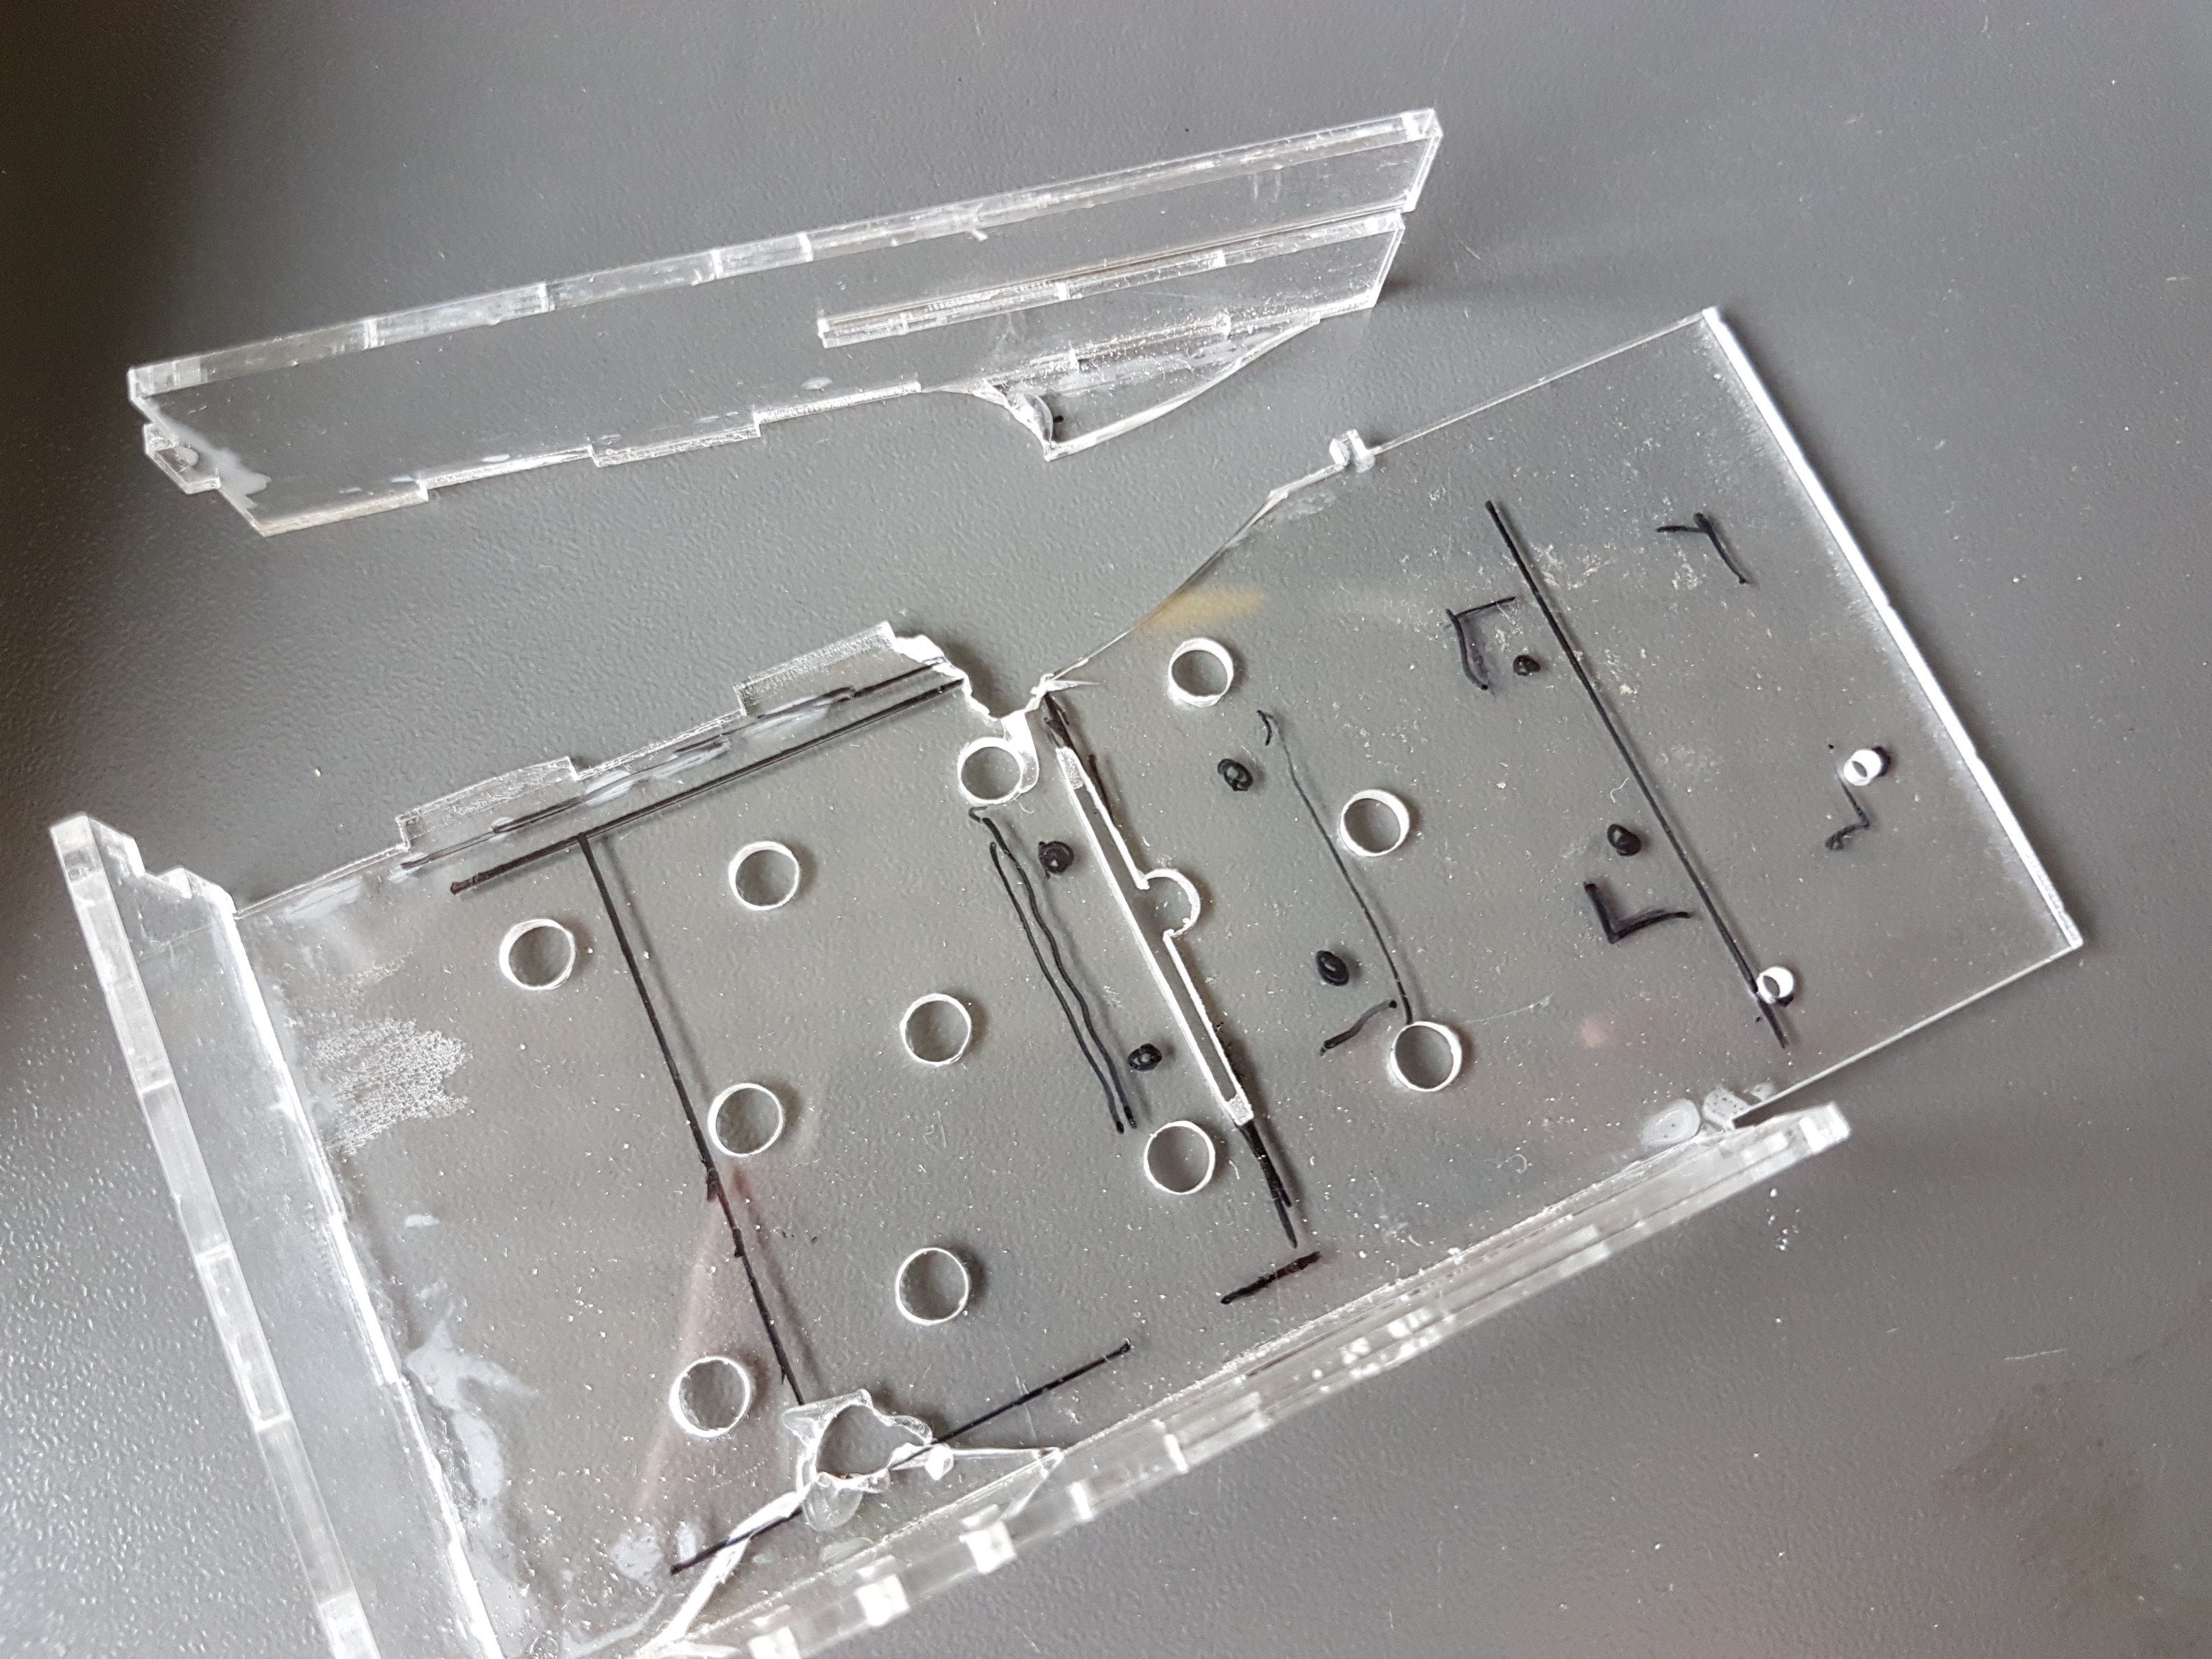
Next, users push the lever, retracting the sliding tray back into the machine for processing. The blotters are made of highly absorbent bibulous paper. They turn transparent when it comes into contact with oil. Utilising this characteristic of oil blotters, the machine is able to detect the amount of oil on each blotting sheet using a light sensor and LED. The slider is made out of clear acrylic so the LED at the bottom can illuminate the blotter. The light sensor above detects how much light passes through (higher transparency = more oil detected).

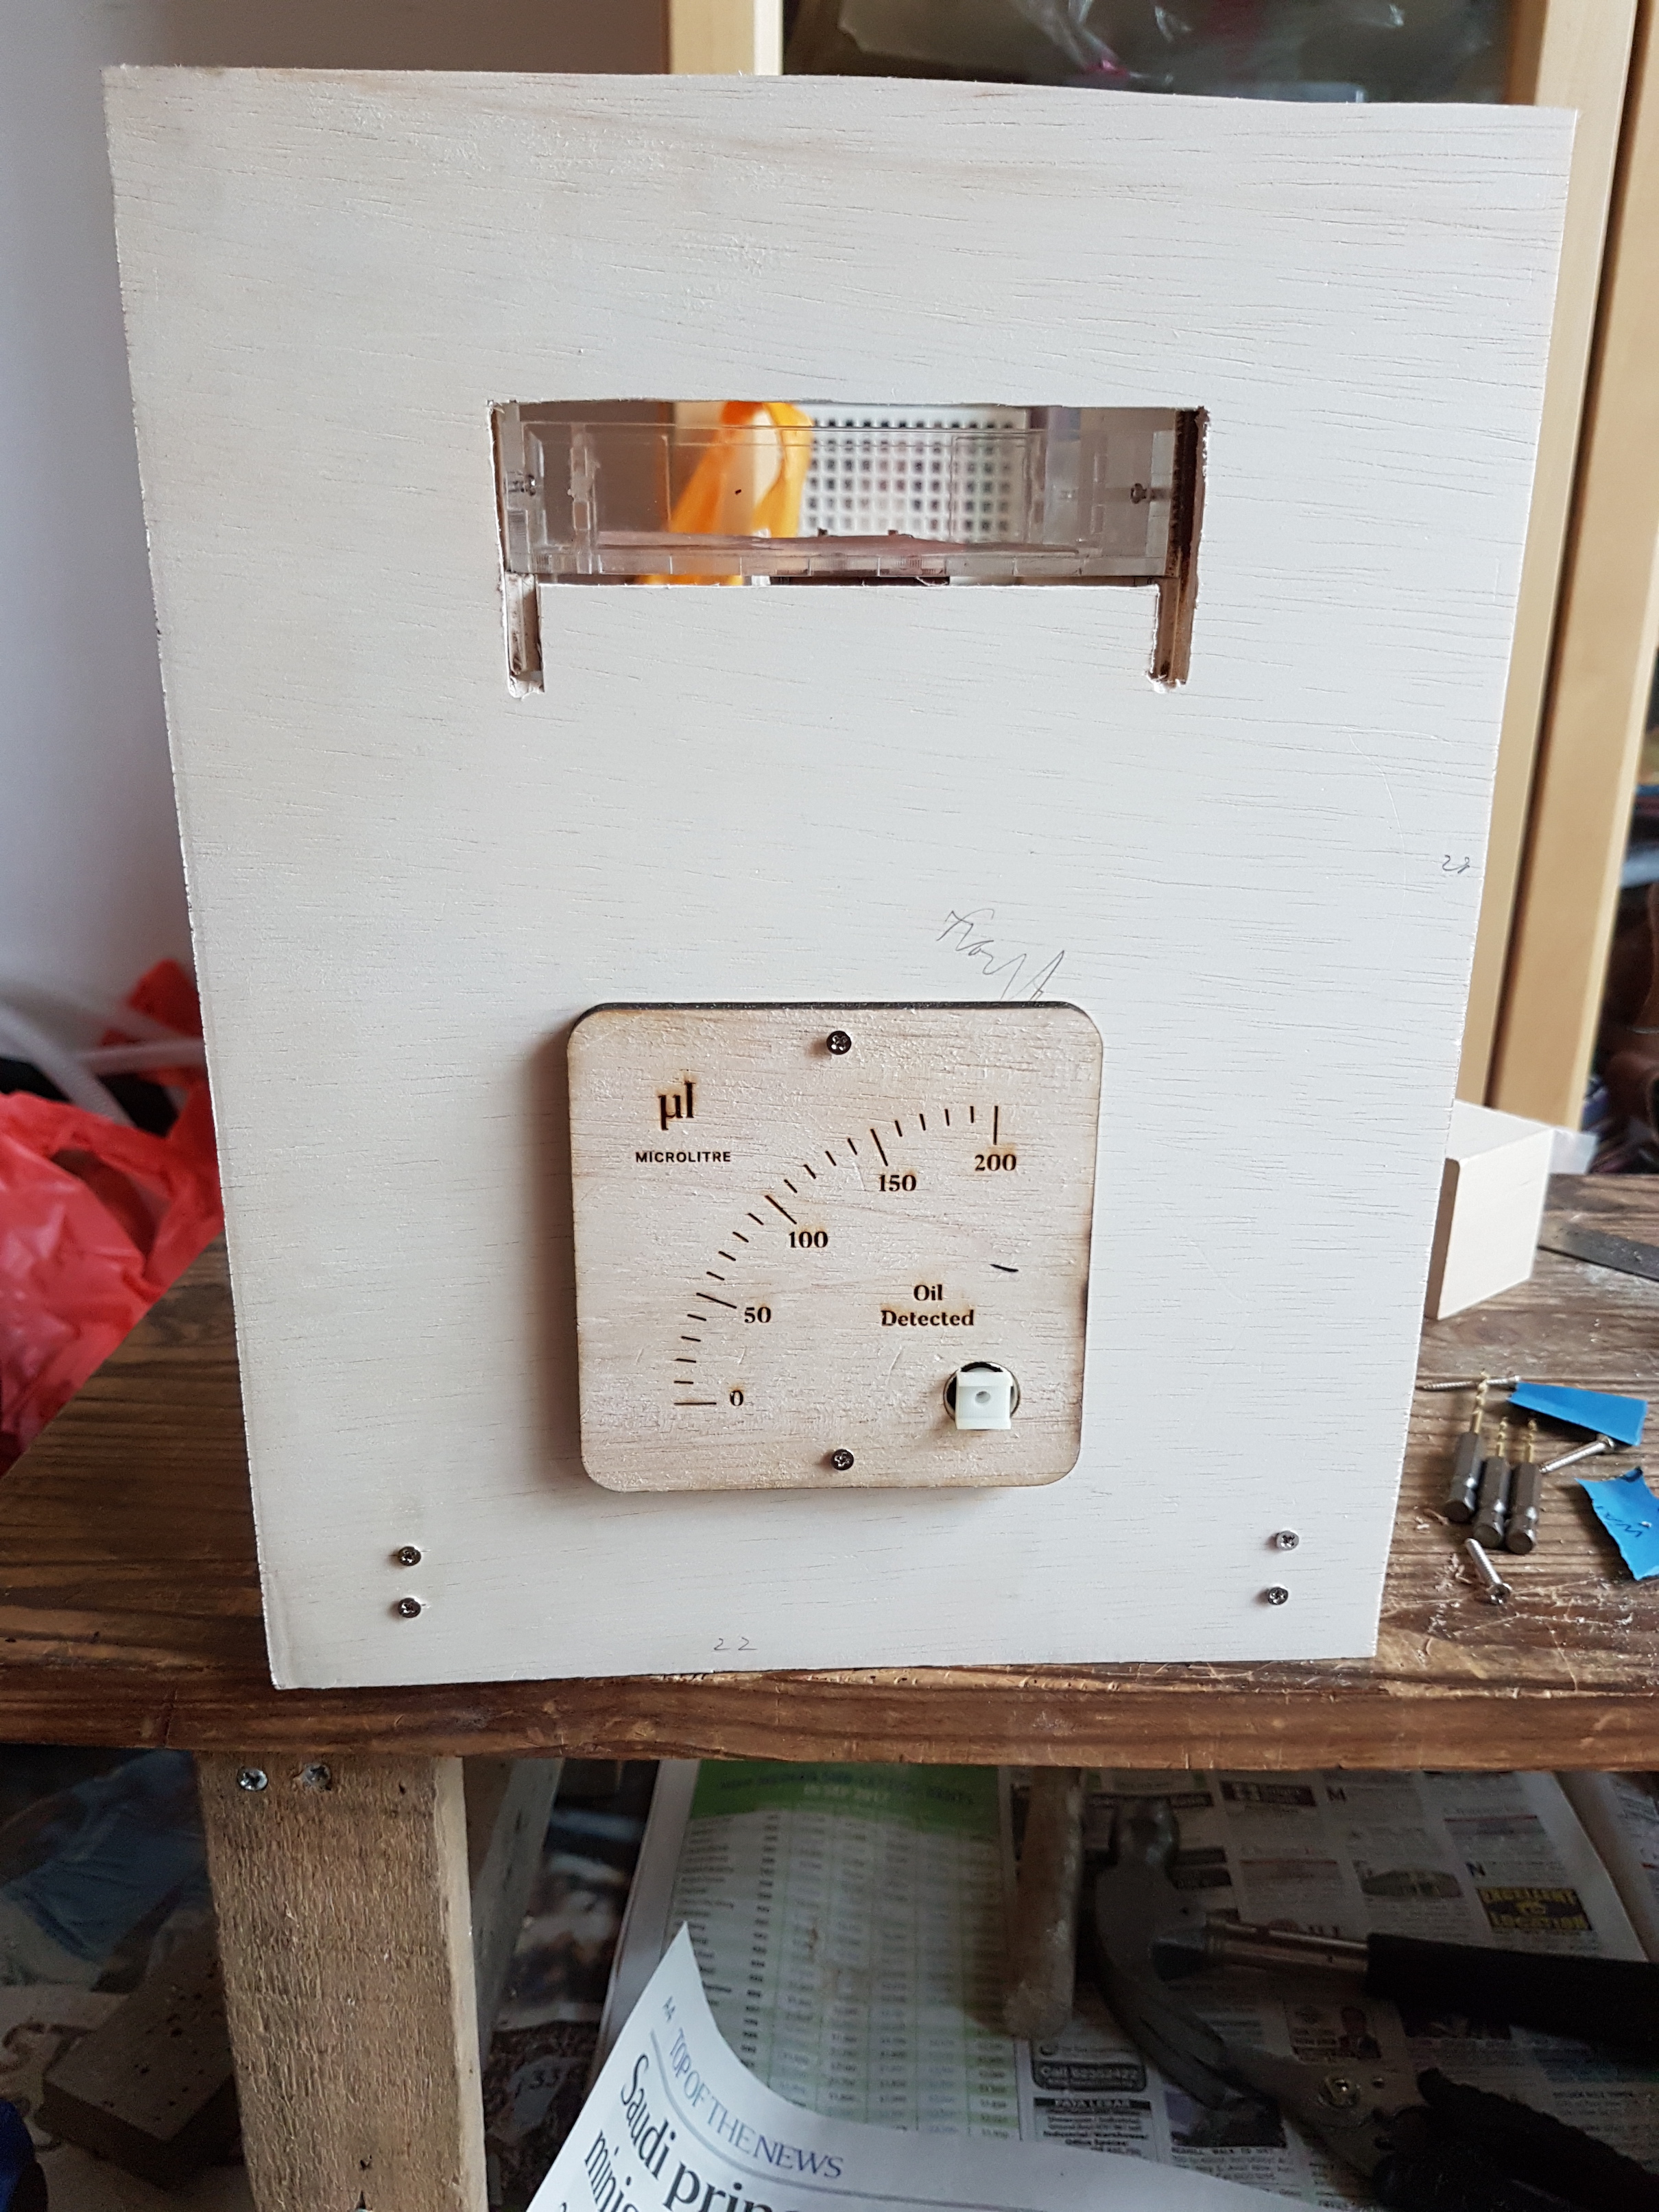
This value is then reflected in an ‘oil detected’ meter on the front of the machine. The oil detected meter was a later addition and not in the initial plan. The light sensing was intended to discern between lightly-used and fully covered blotters, which would then affect the number of oil drops dispensed at the end. However, since I was already getting data, it could also be channeled into the meter as feedback to guide users through the machine.

Oil detection meter in microlitres

Taking a blotter and pushing the lever were programmed as mutually exclusive actions (i.e. the slider tray won’t open unless it is closed, vice versa). This is to filter out unexpected user behaviour such as taking blotters twice.

After getting a preliminary reading of their oil level, users are invited to follow the conversion process. This is done through:

  • A faux hydraulic press to squeeze oil out of the blotter
  • A furnace to heat and distill the oil
  • Mixer to shake and emulsify
  • Dropper which dispenses the converted biodiesel

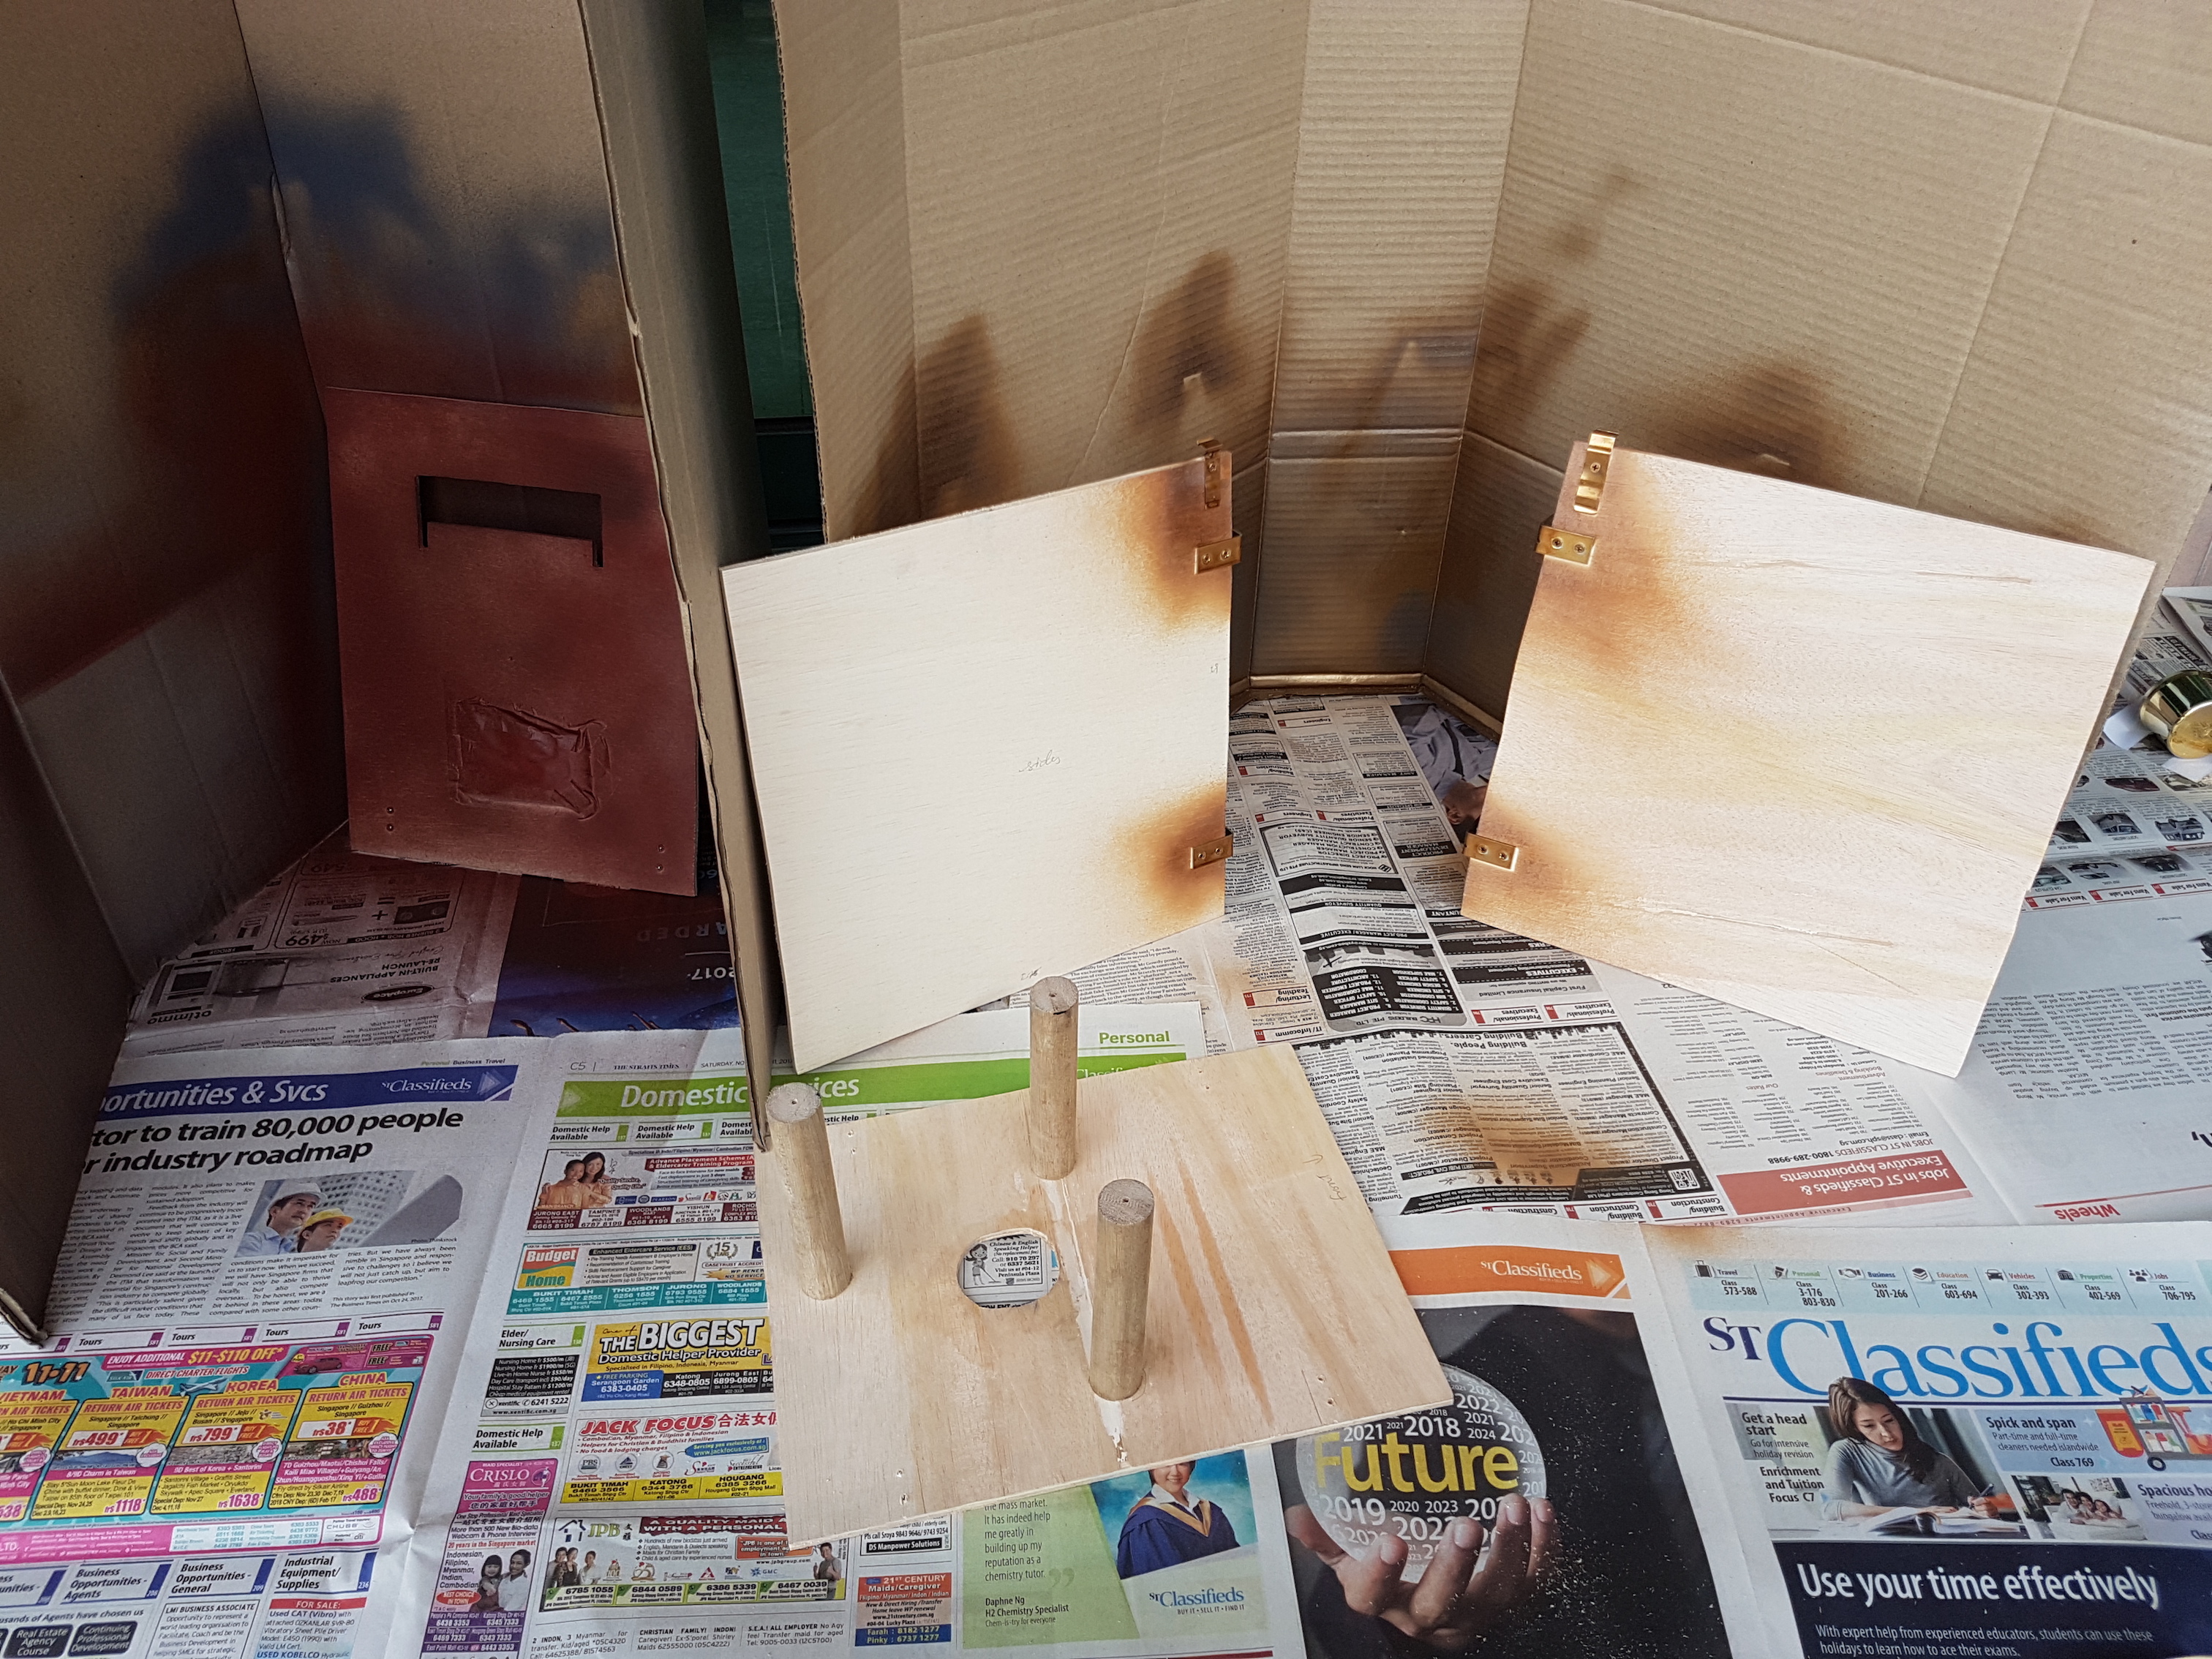
Process  +  Construction

The machine is designed as separate modules to make adjustments and alterations easier. The external housings can also be removed.

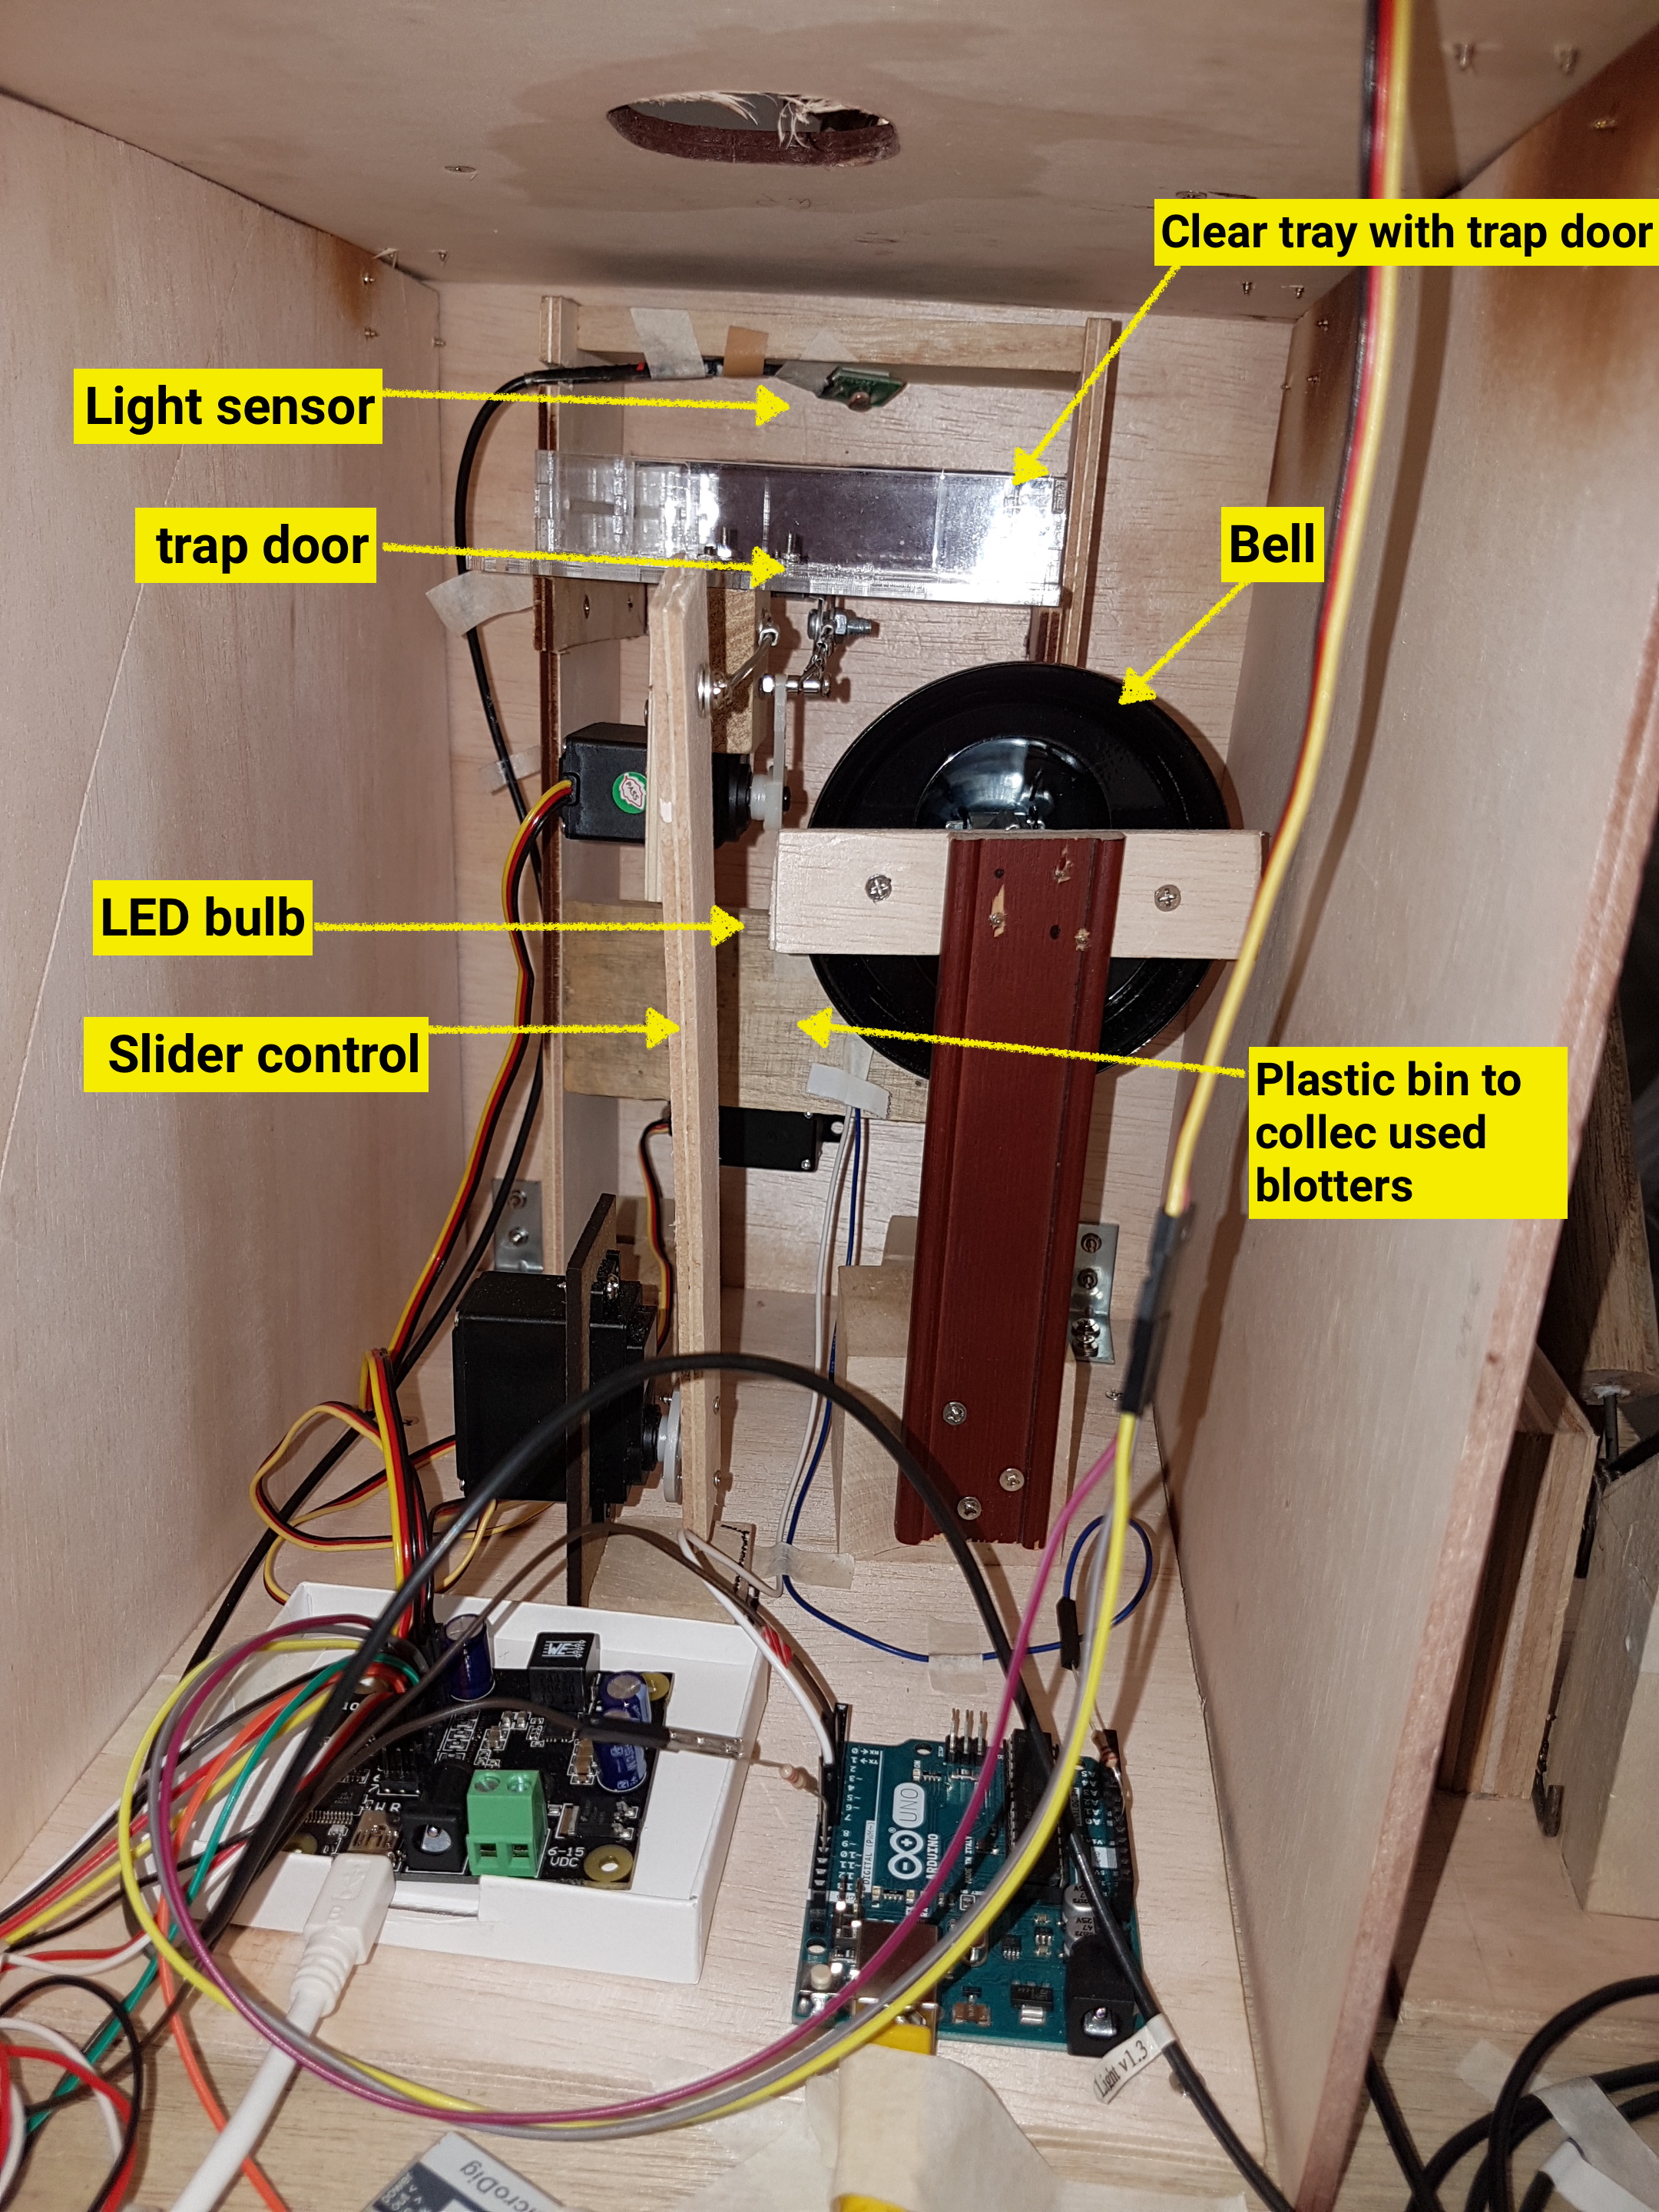
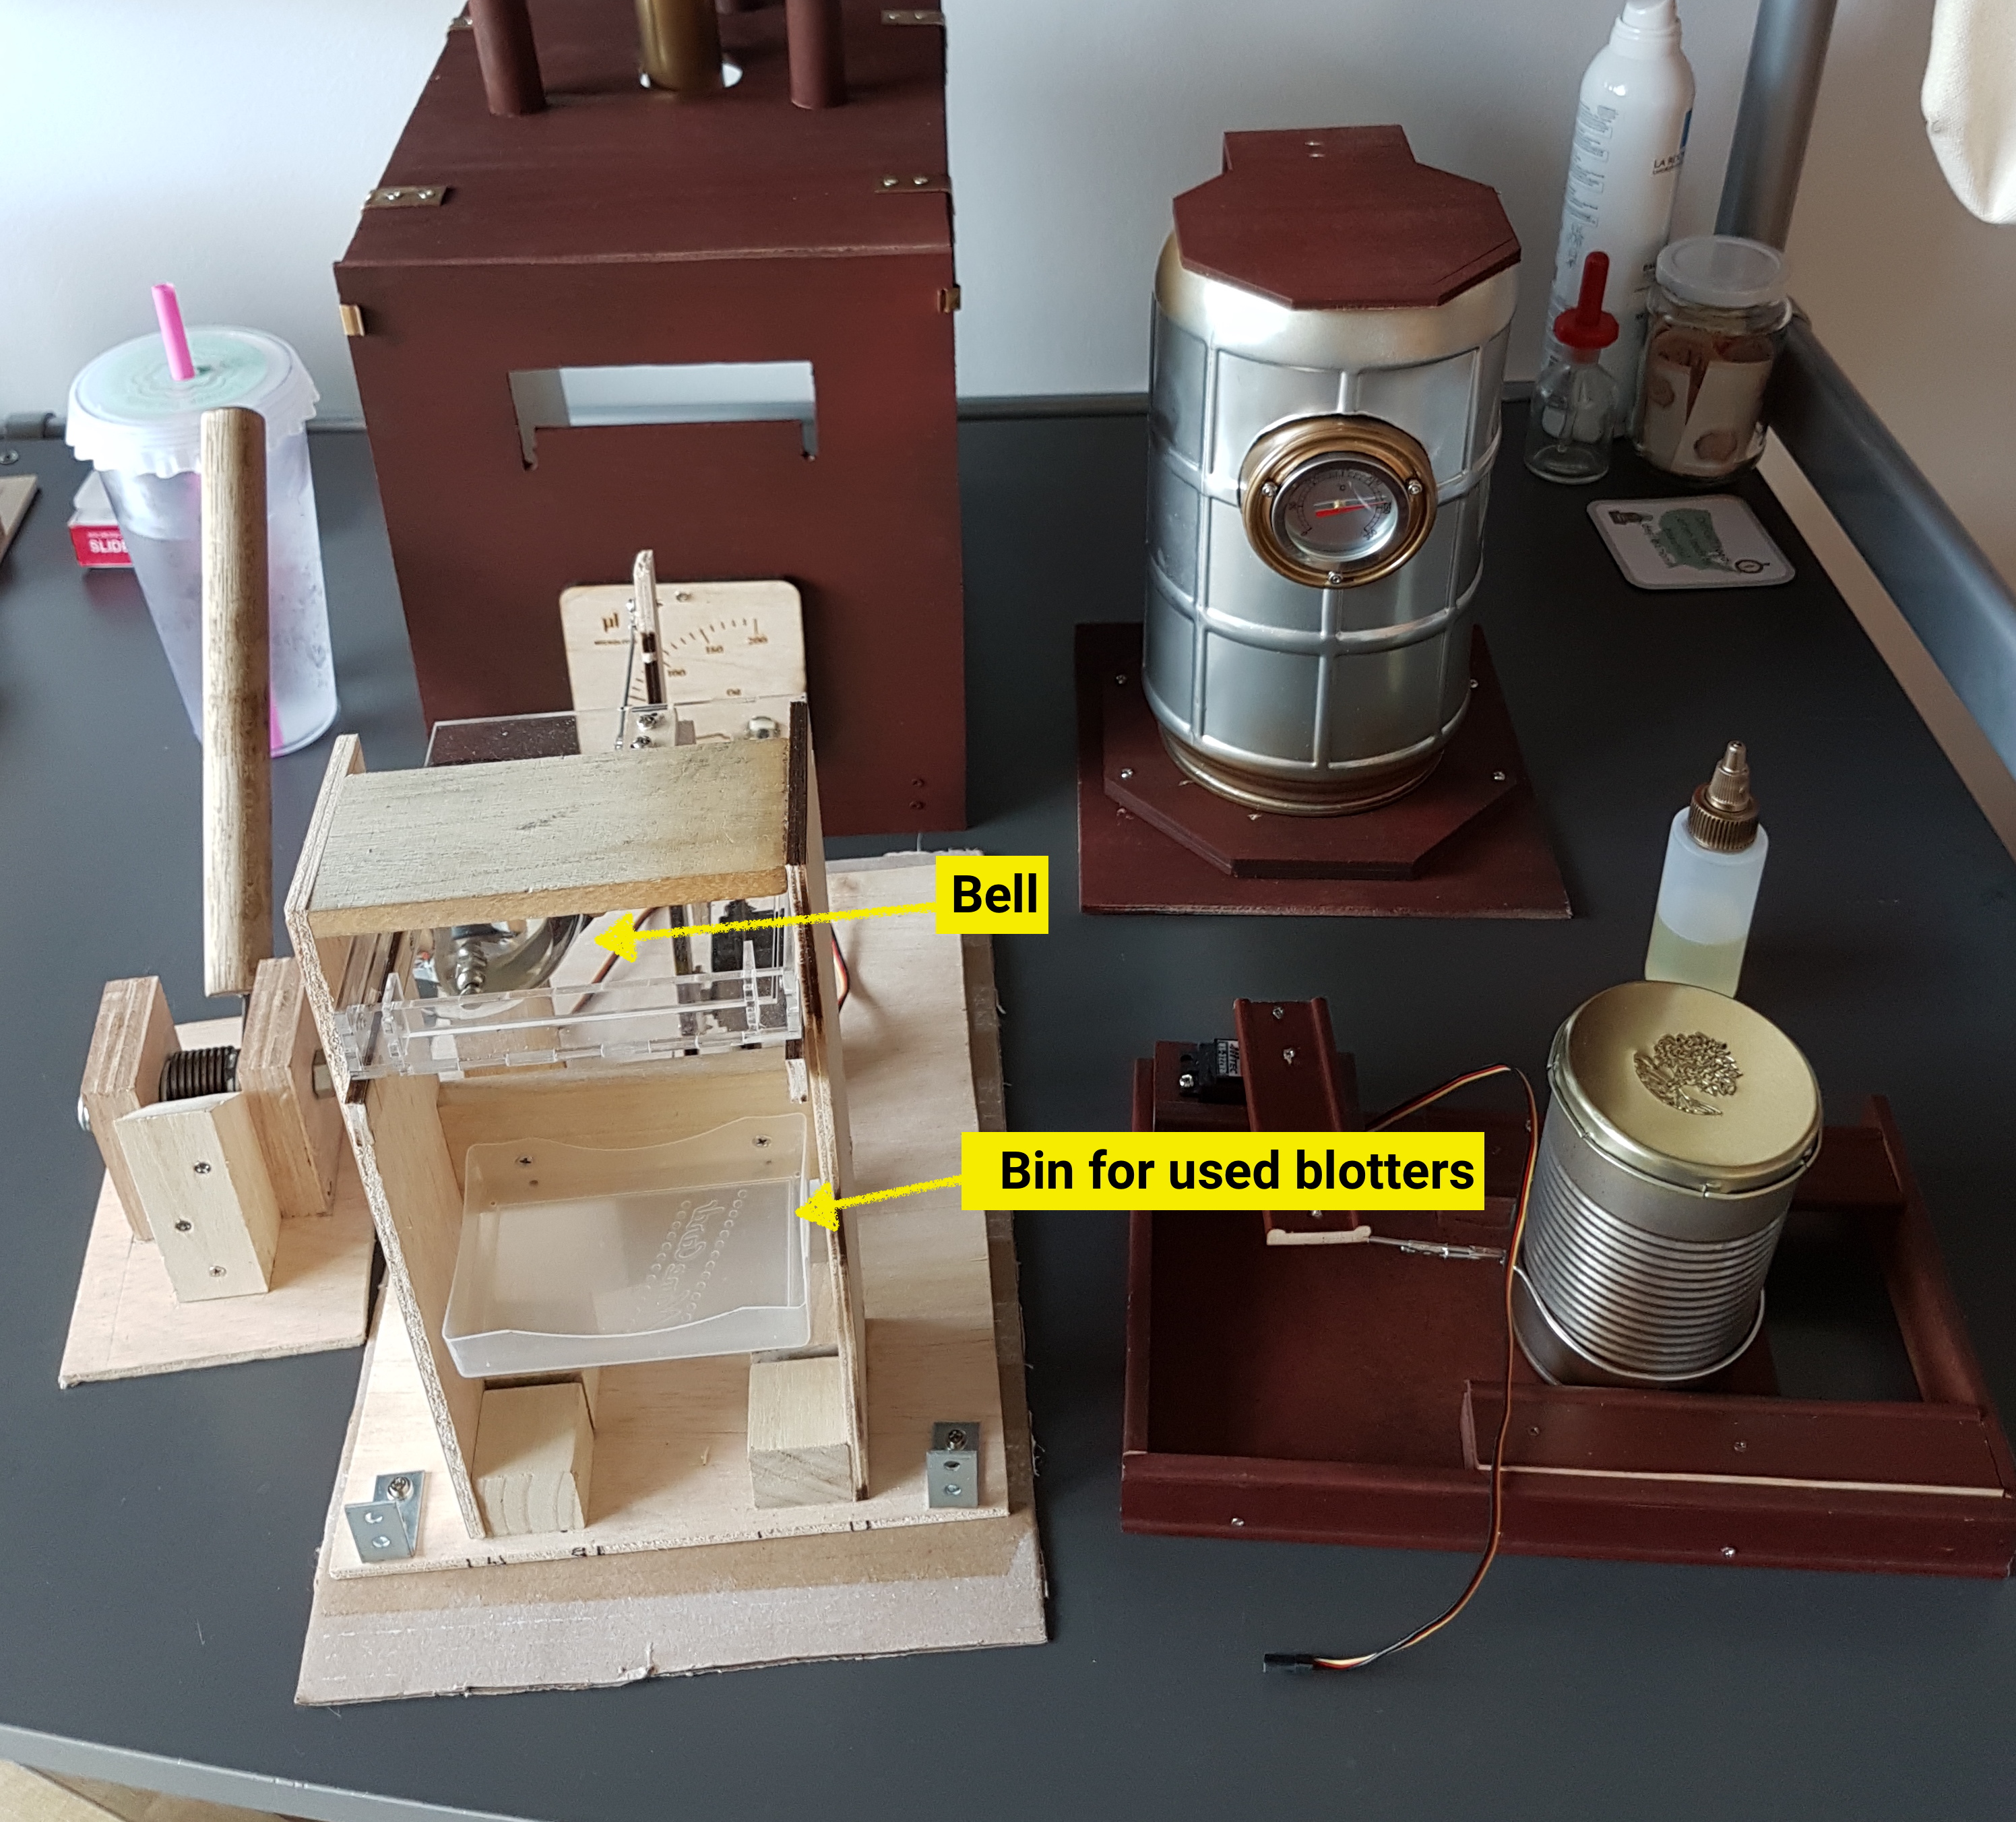
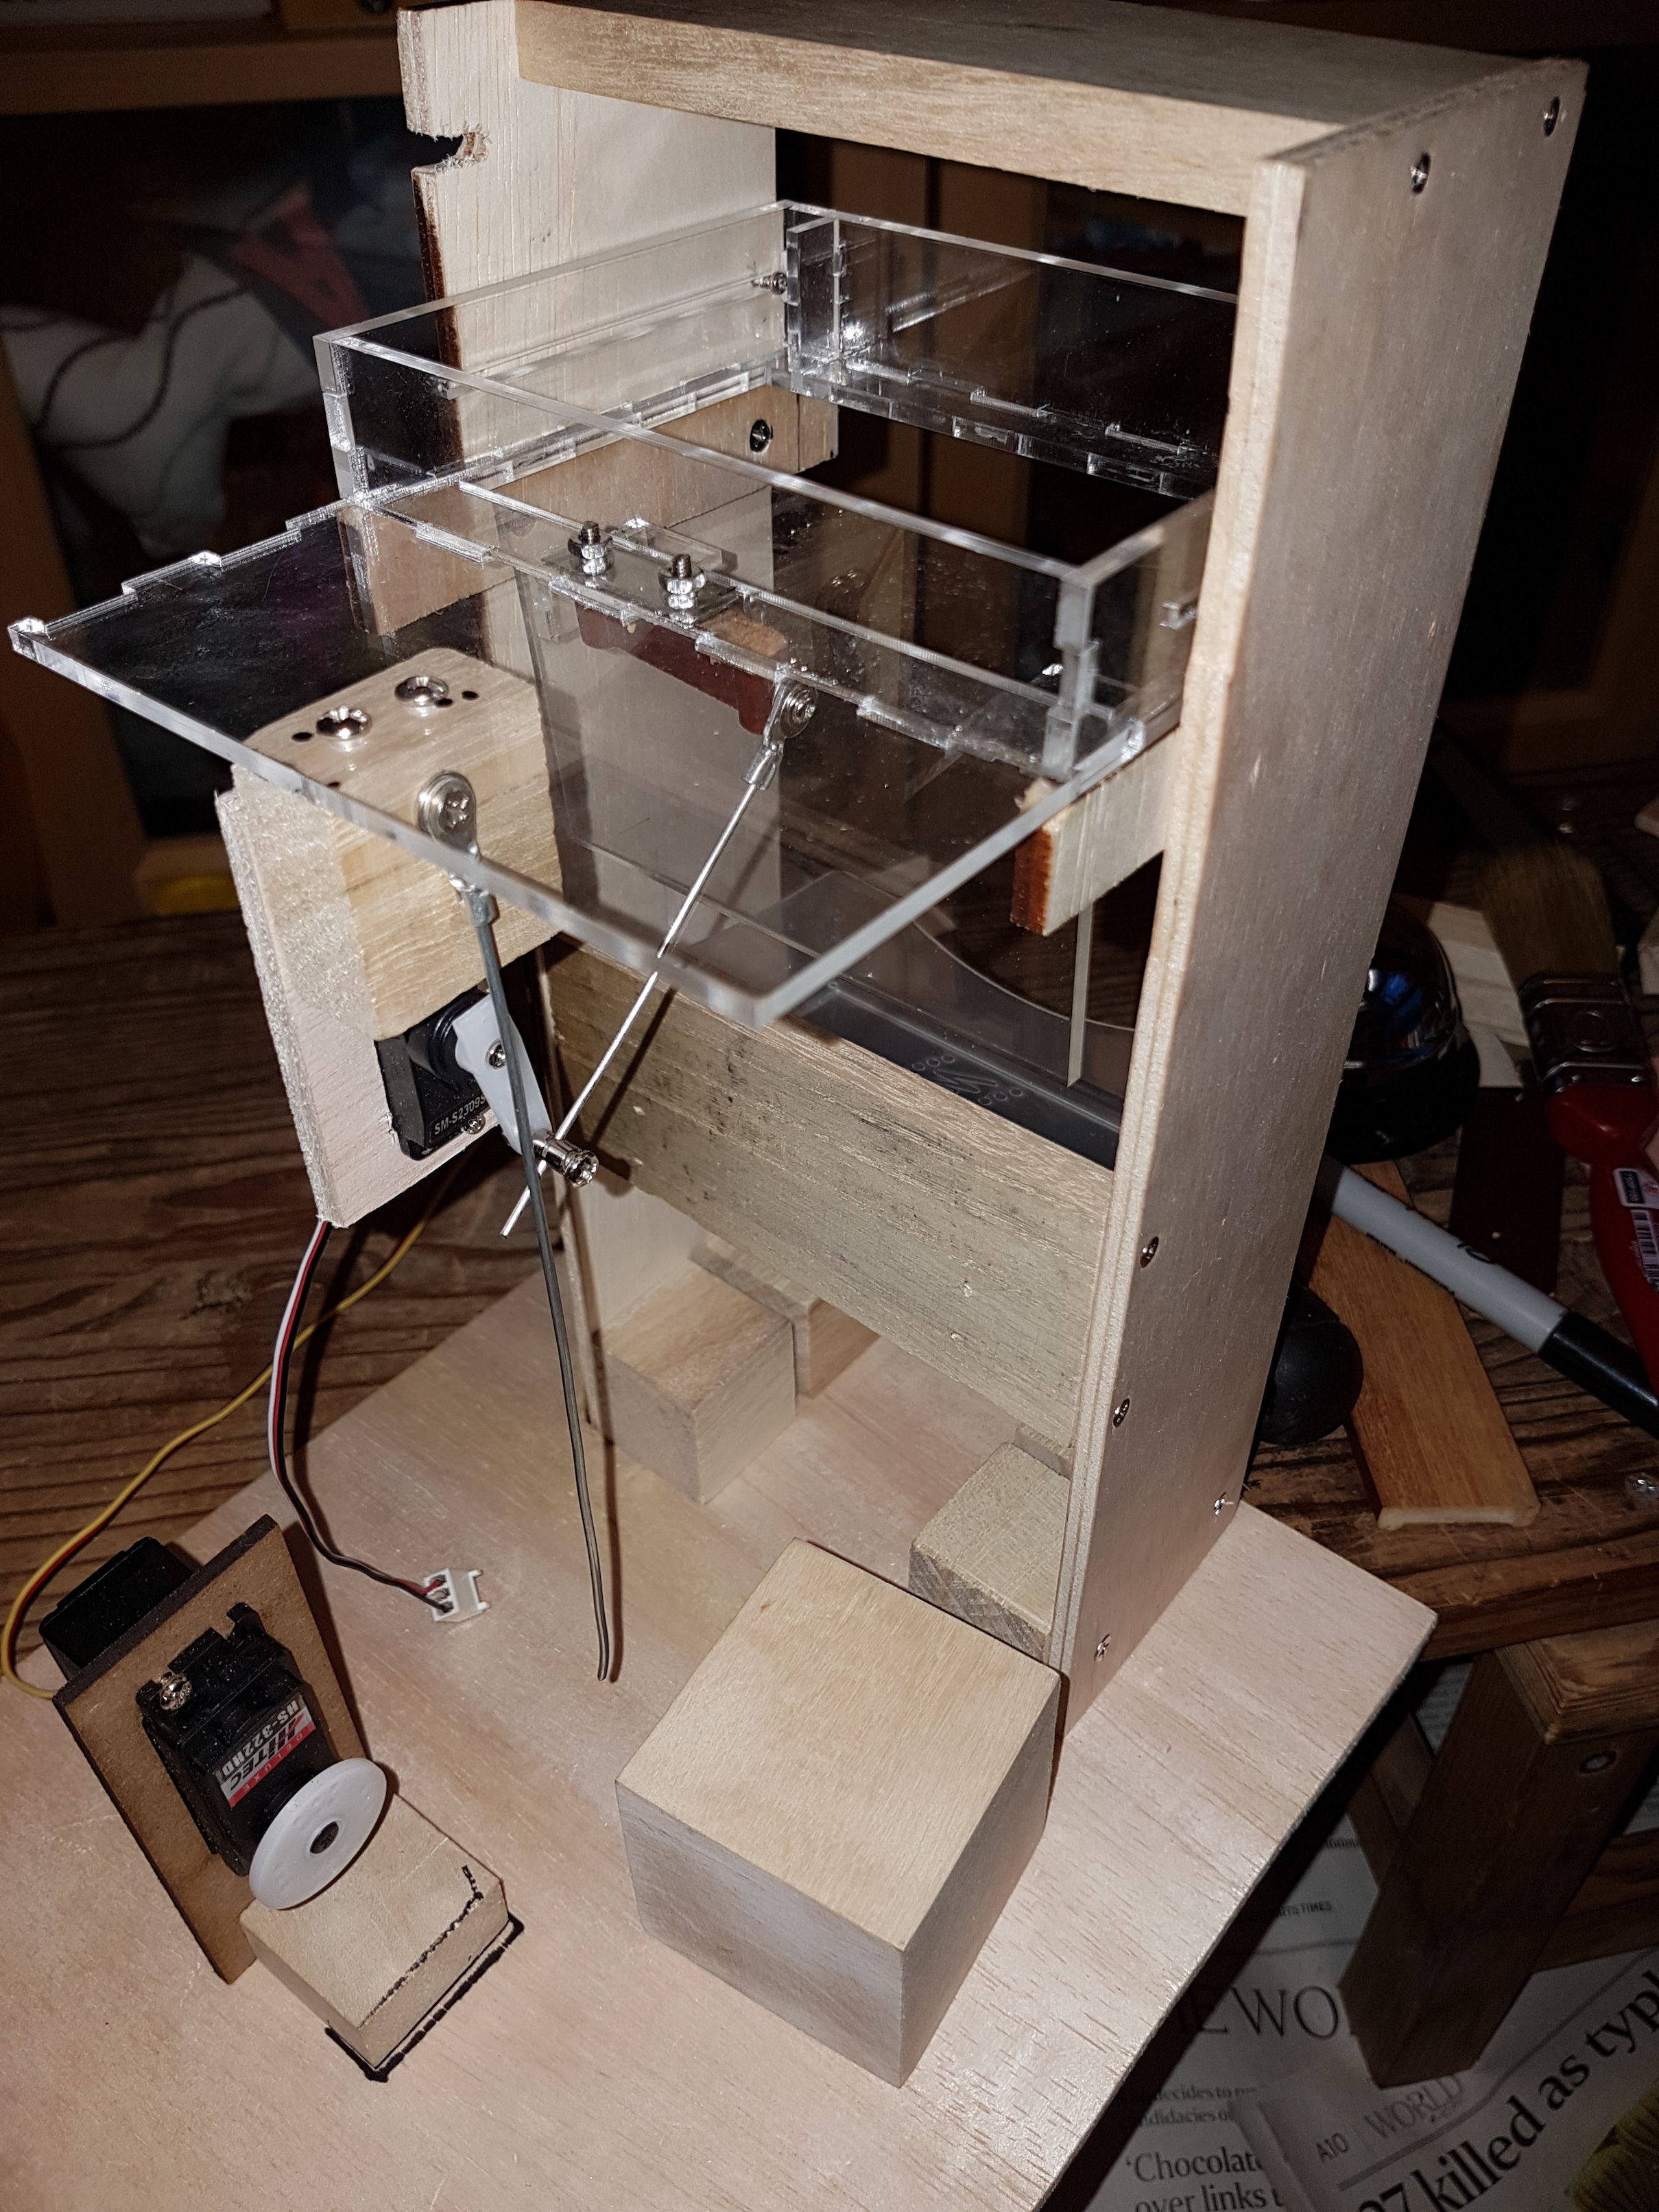
Slider + Trap door + Bell

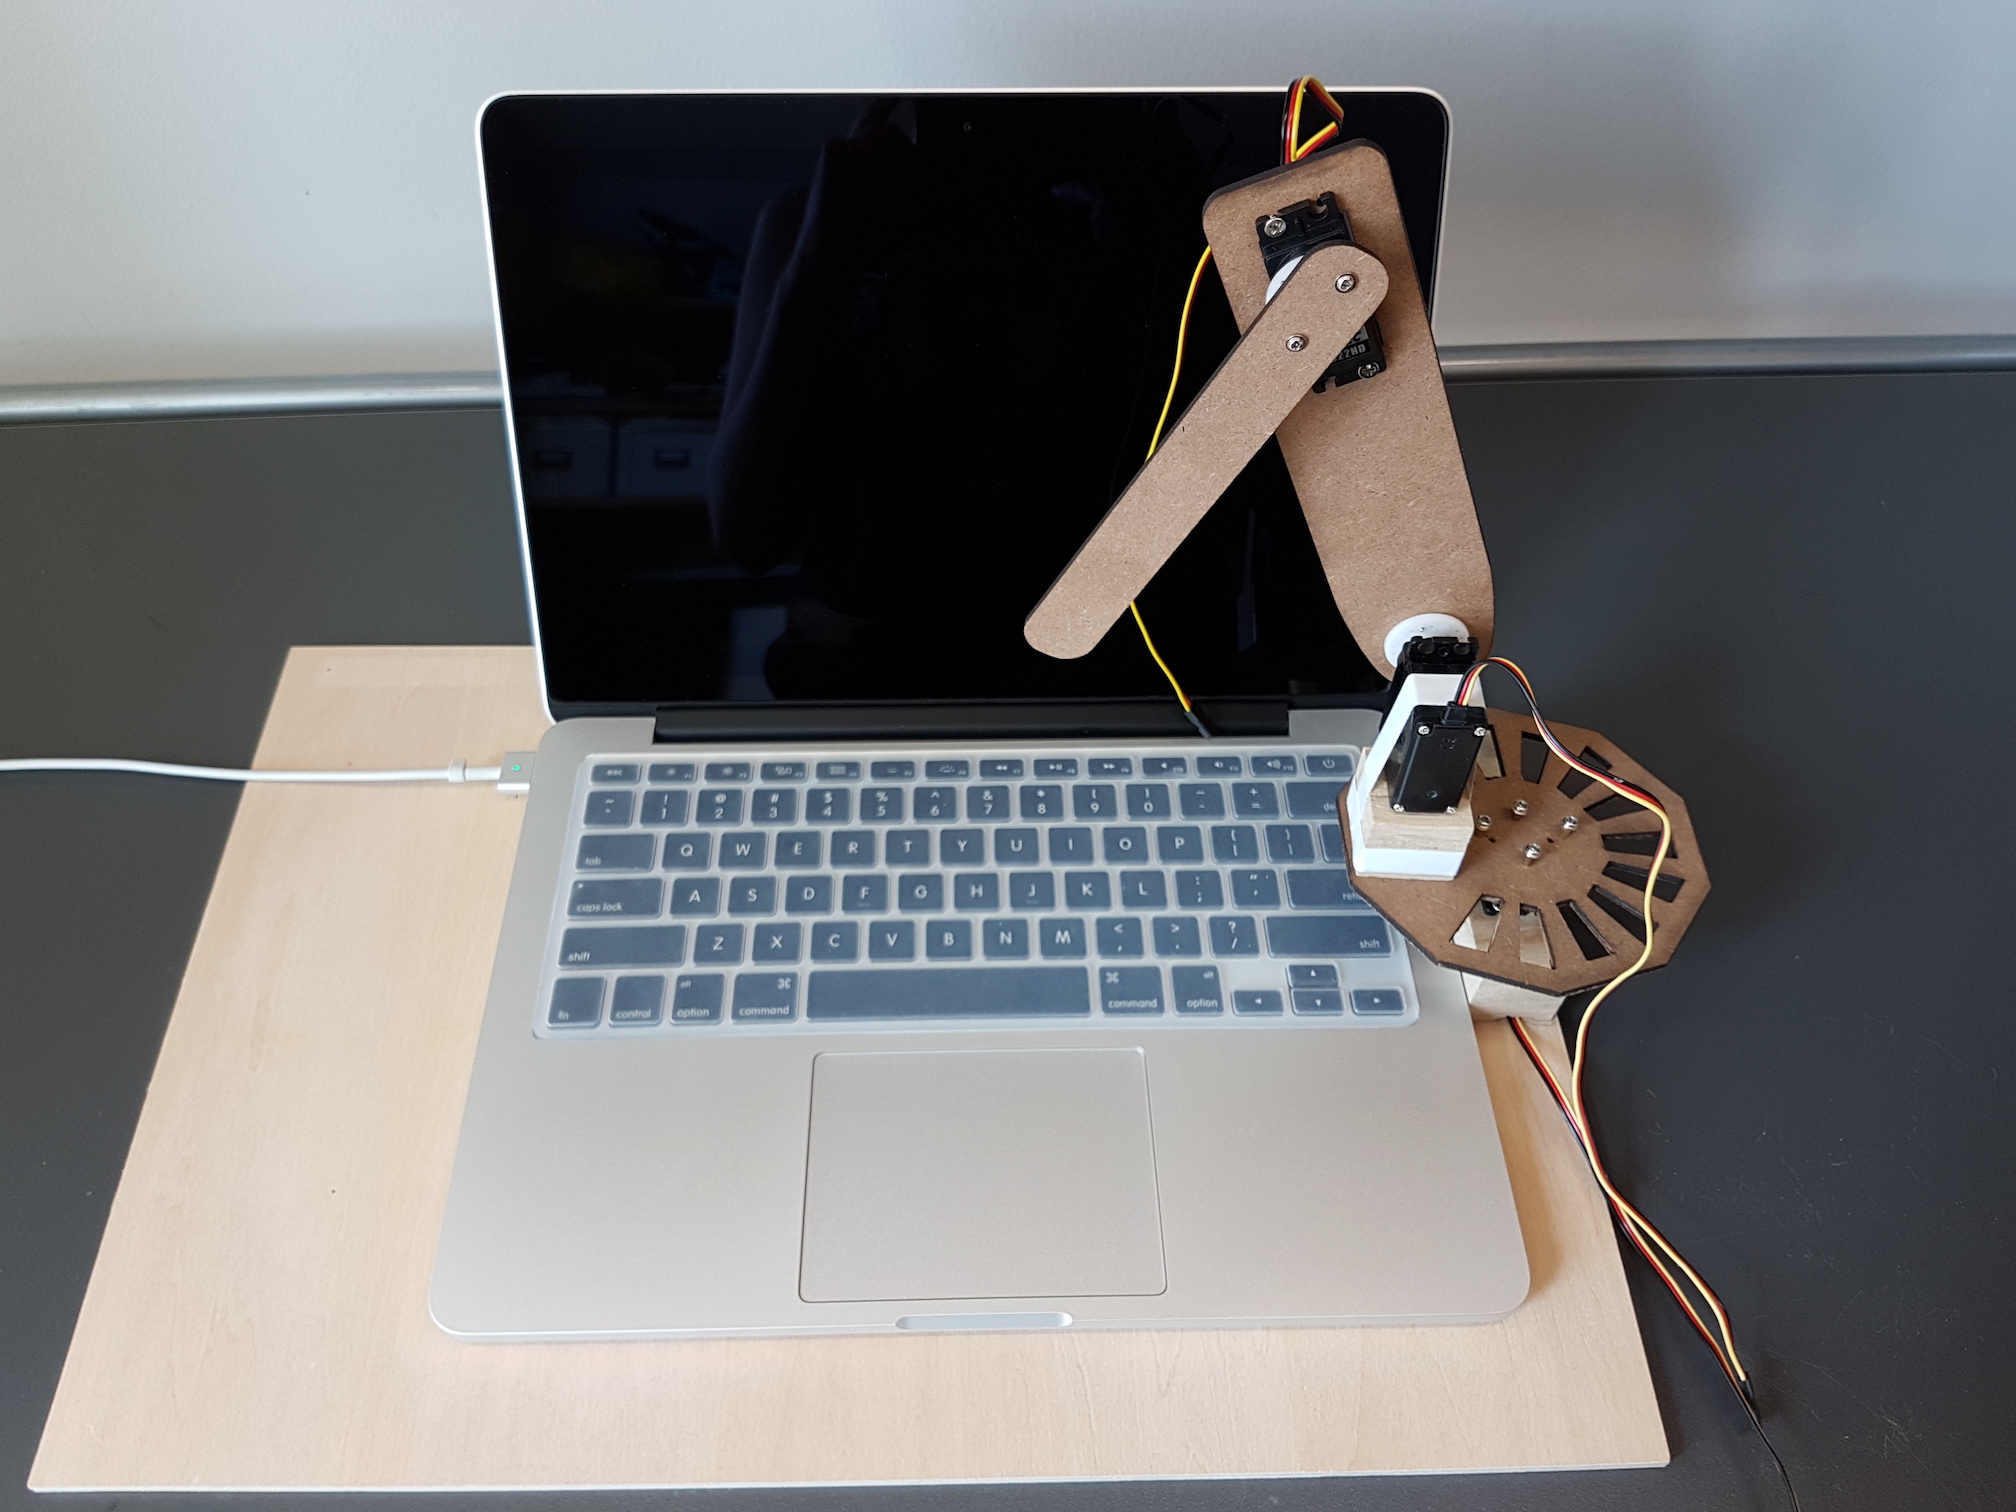
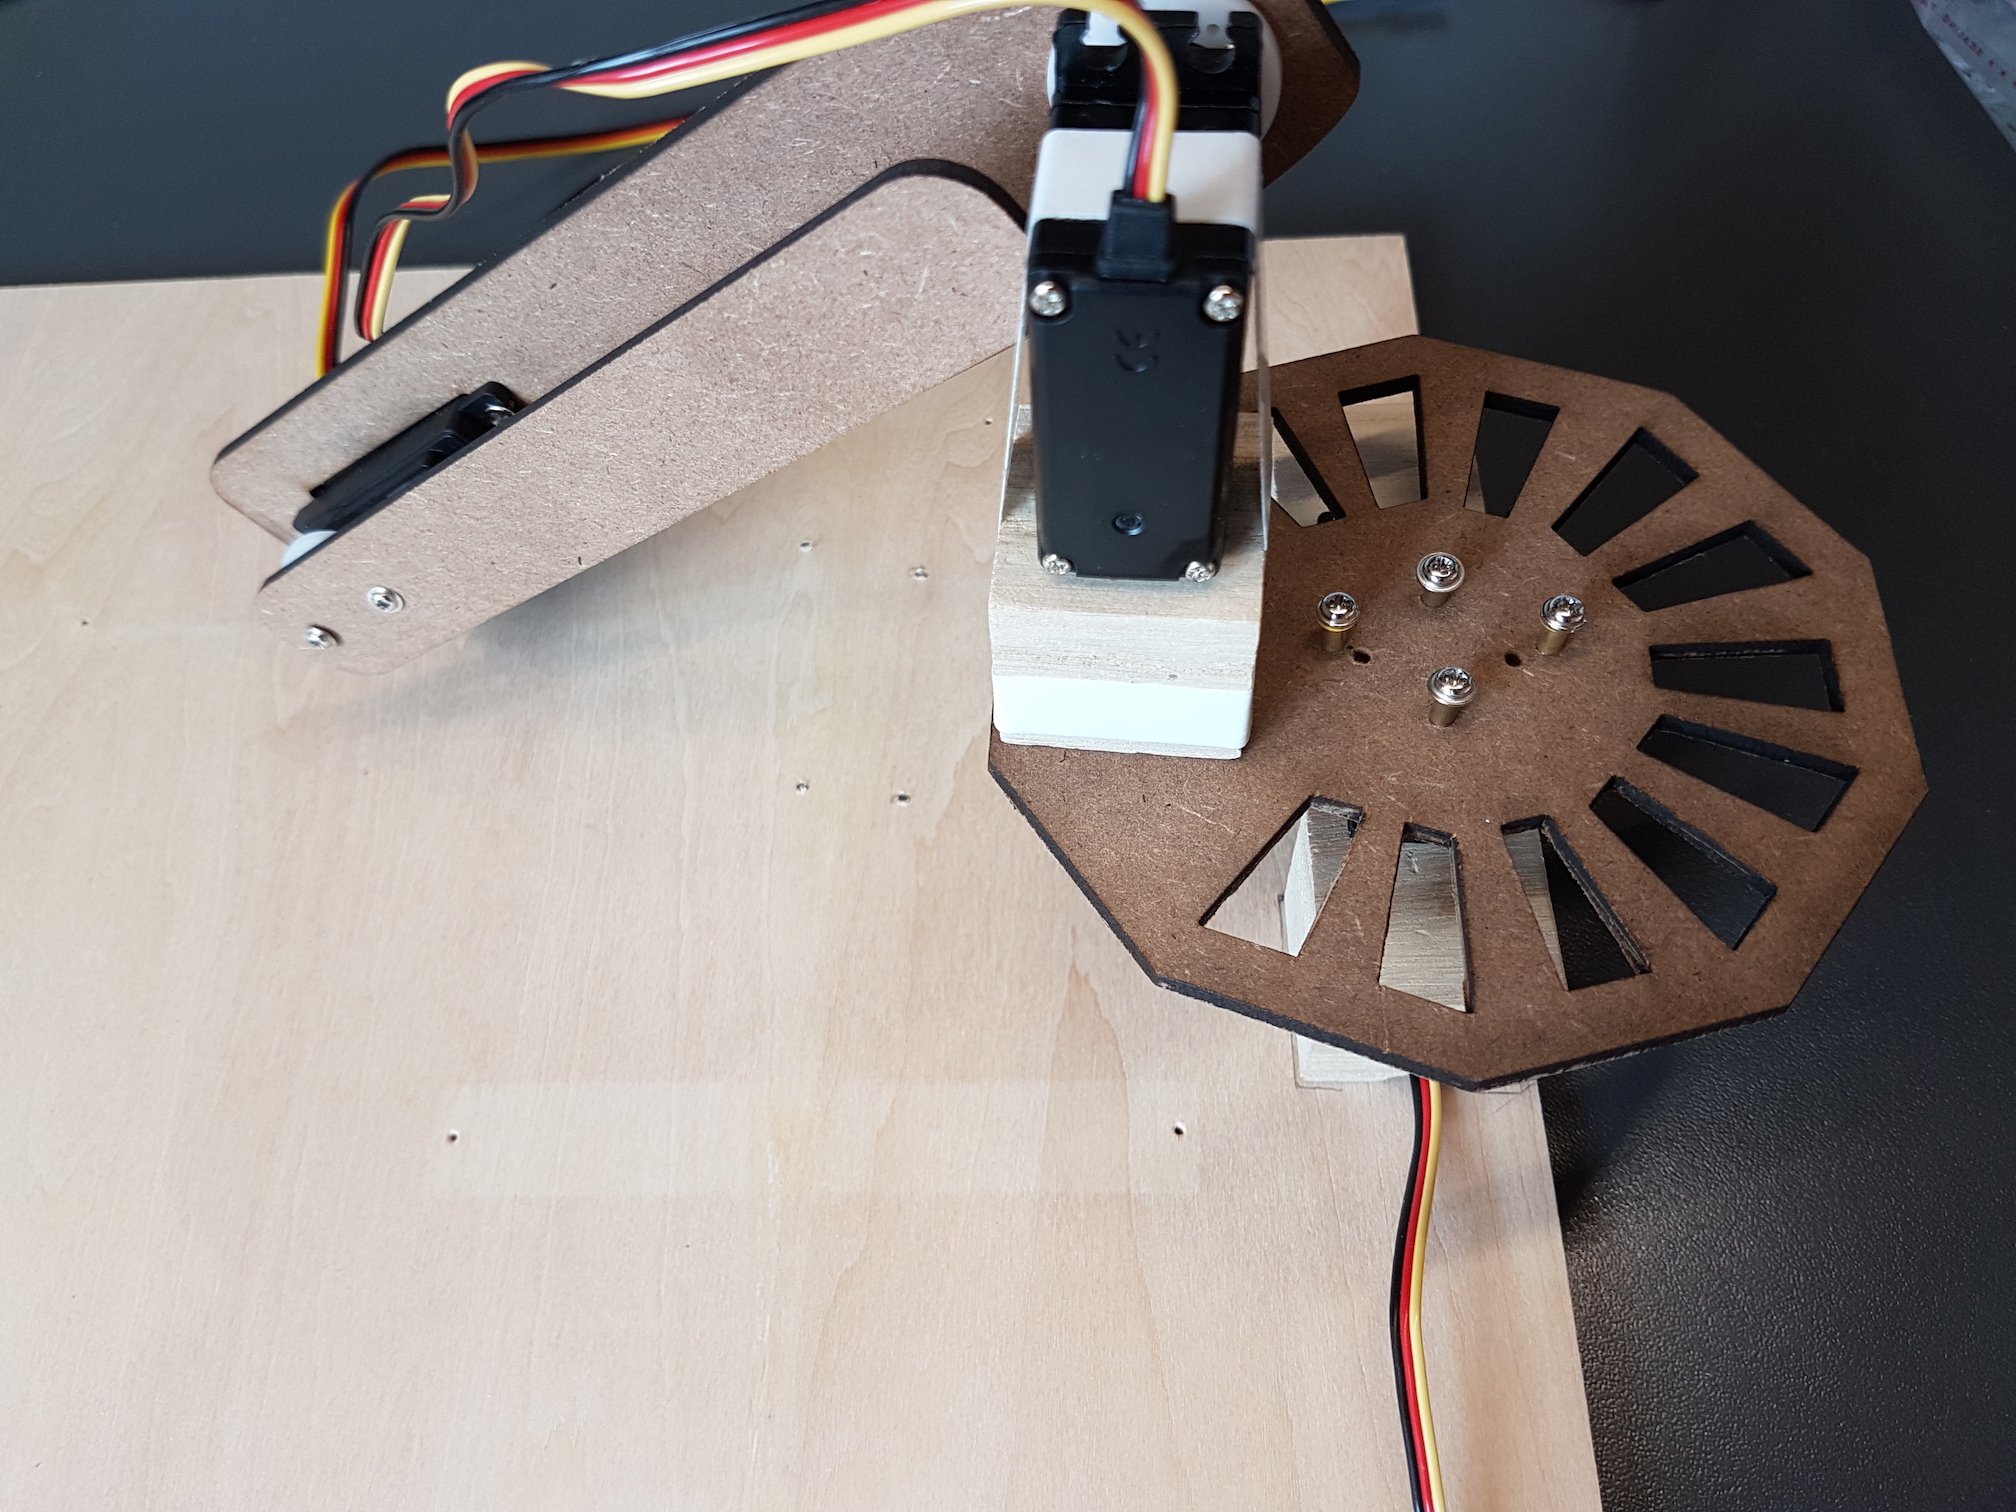
The slider was the most complicated module as there was a lot going on in a small space. This included 3 motors, sensors, lights, the slider mechanism, trap door mechanism to dispose of used blotters, a bin to collect used blotters, oil detection meter and bell.

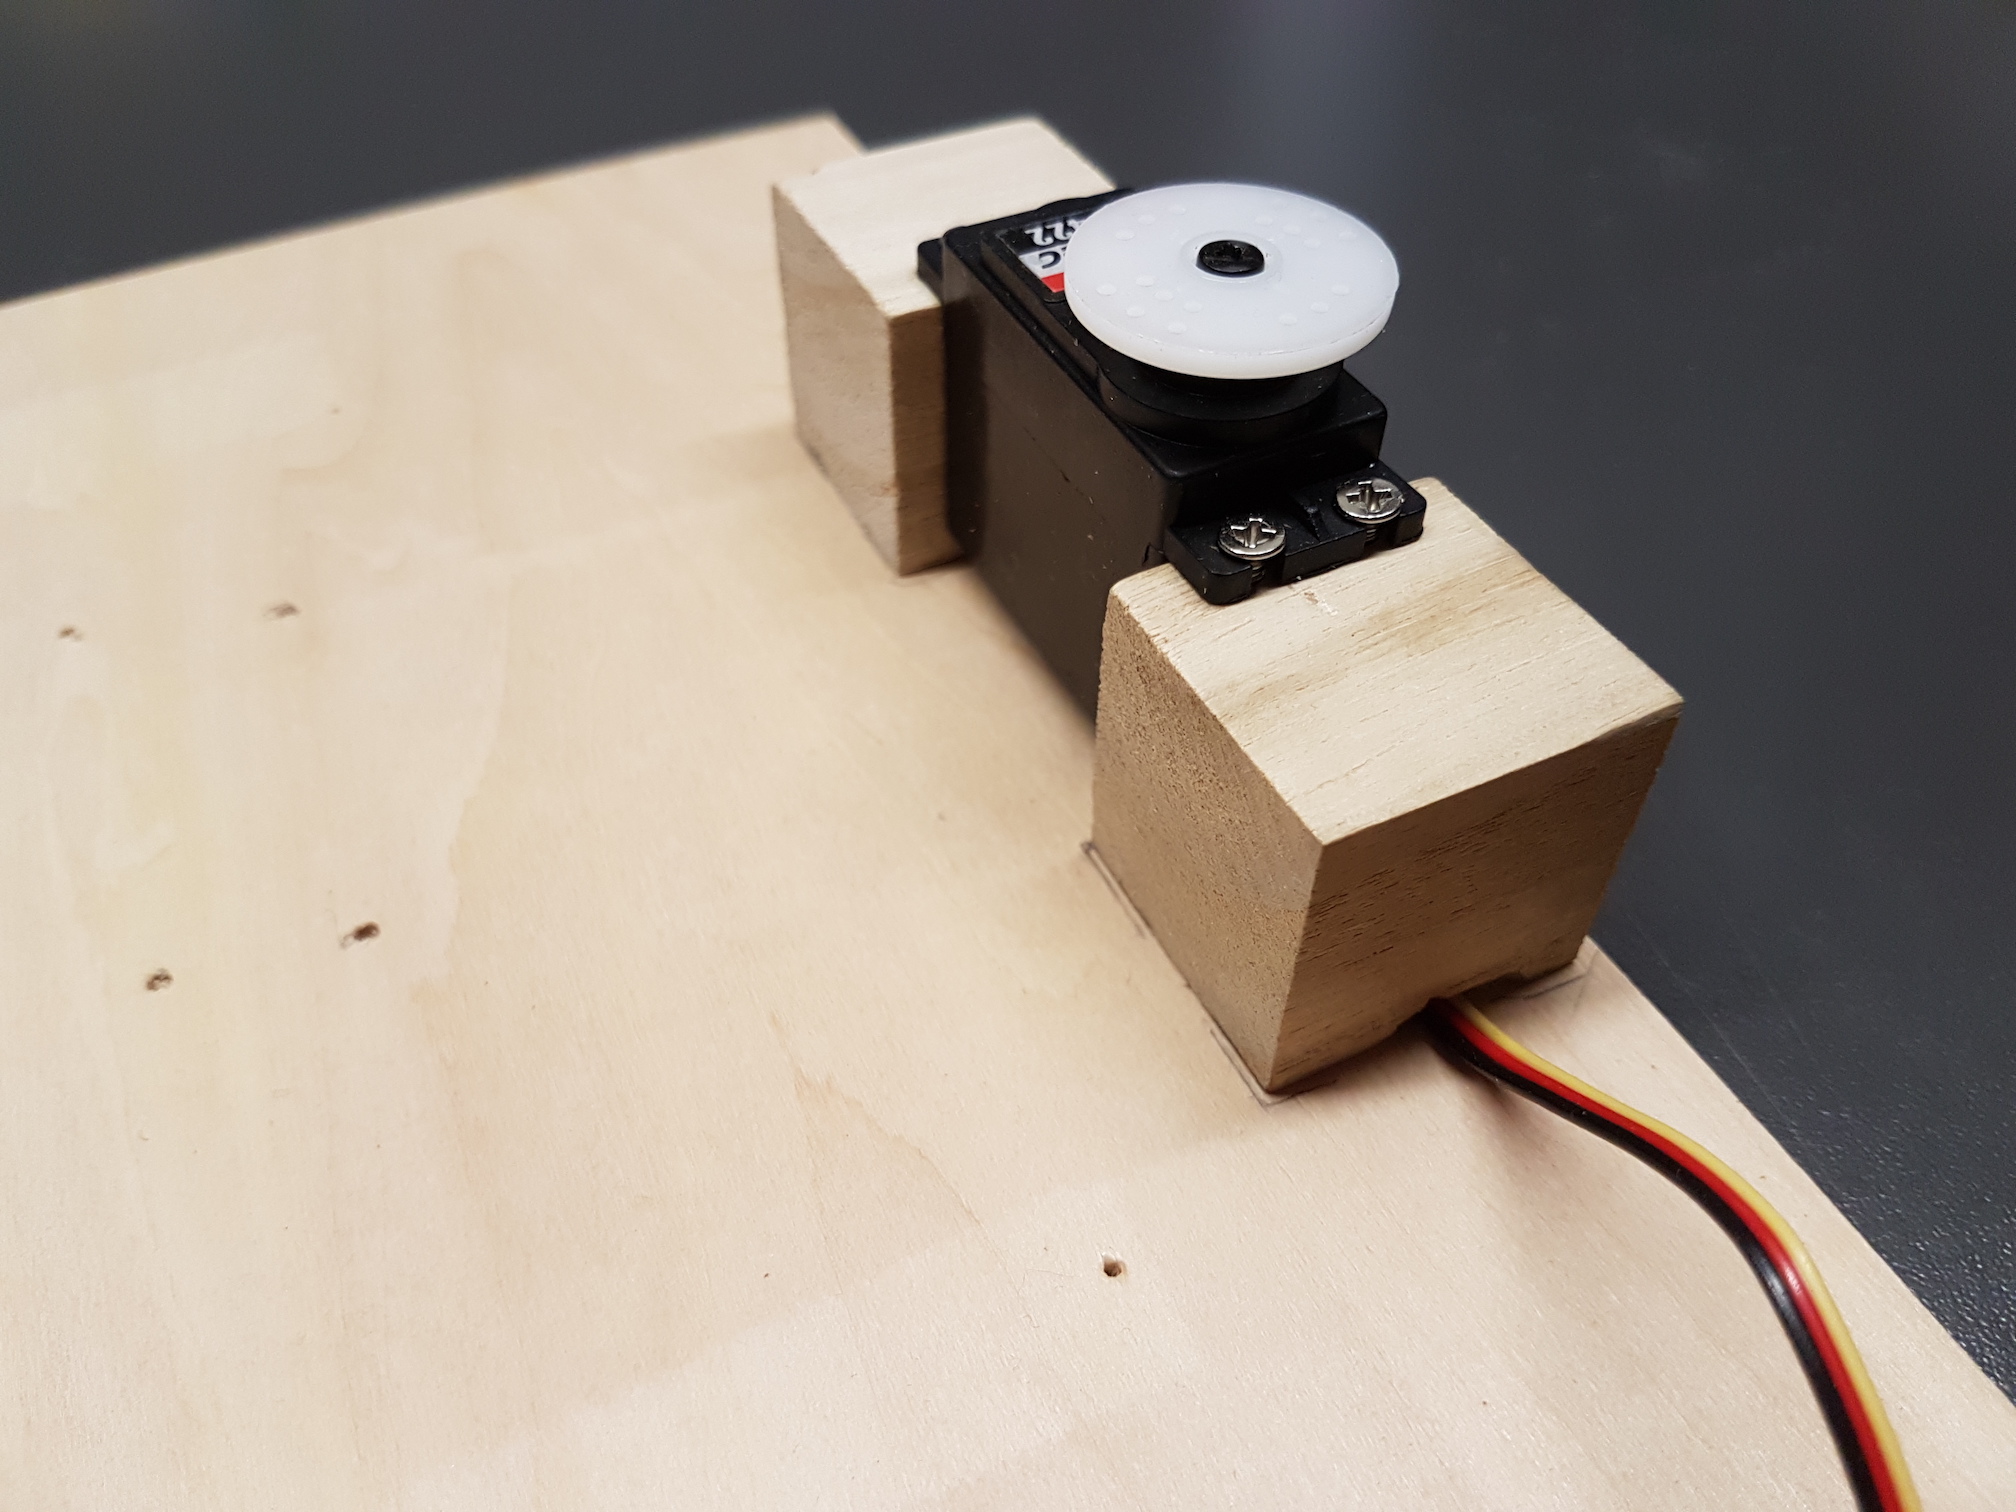
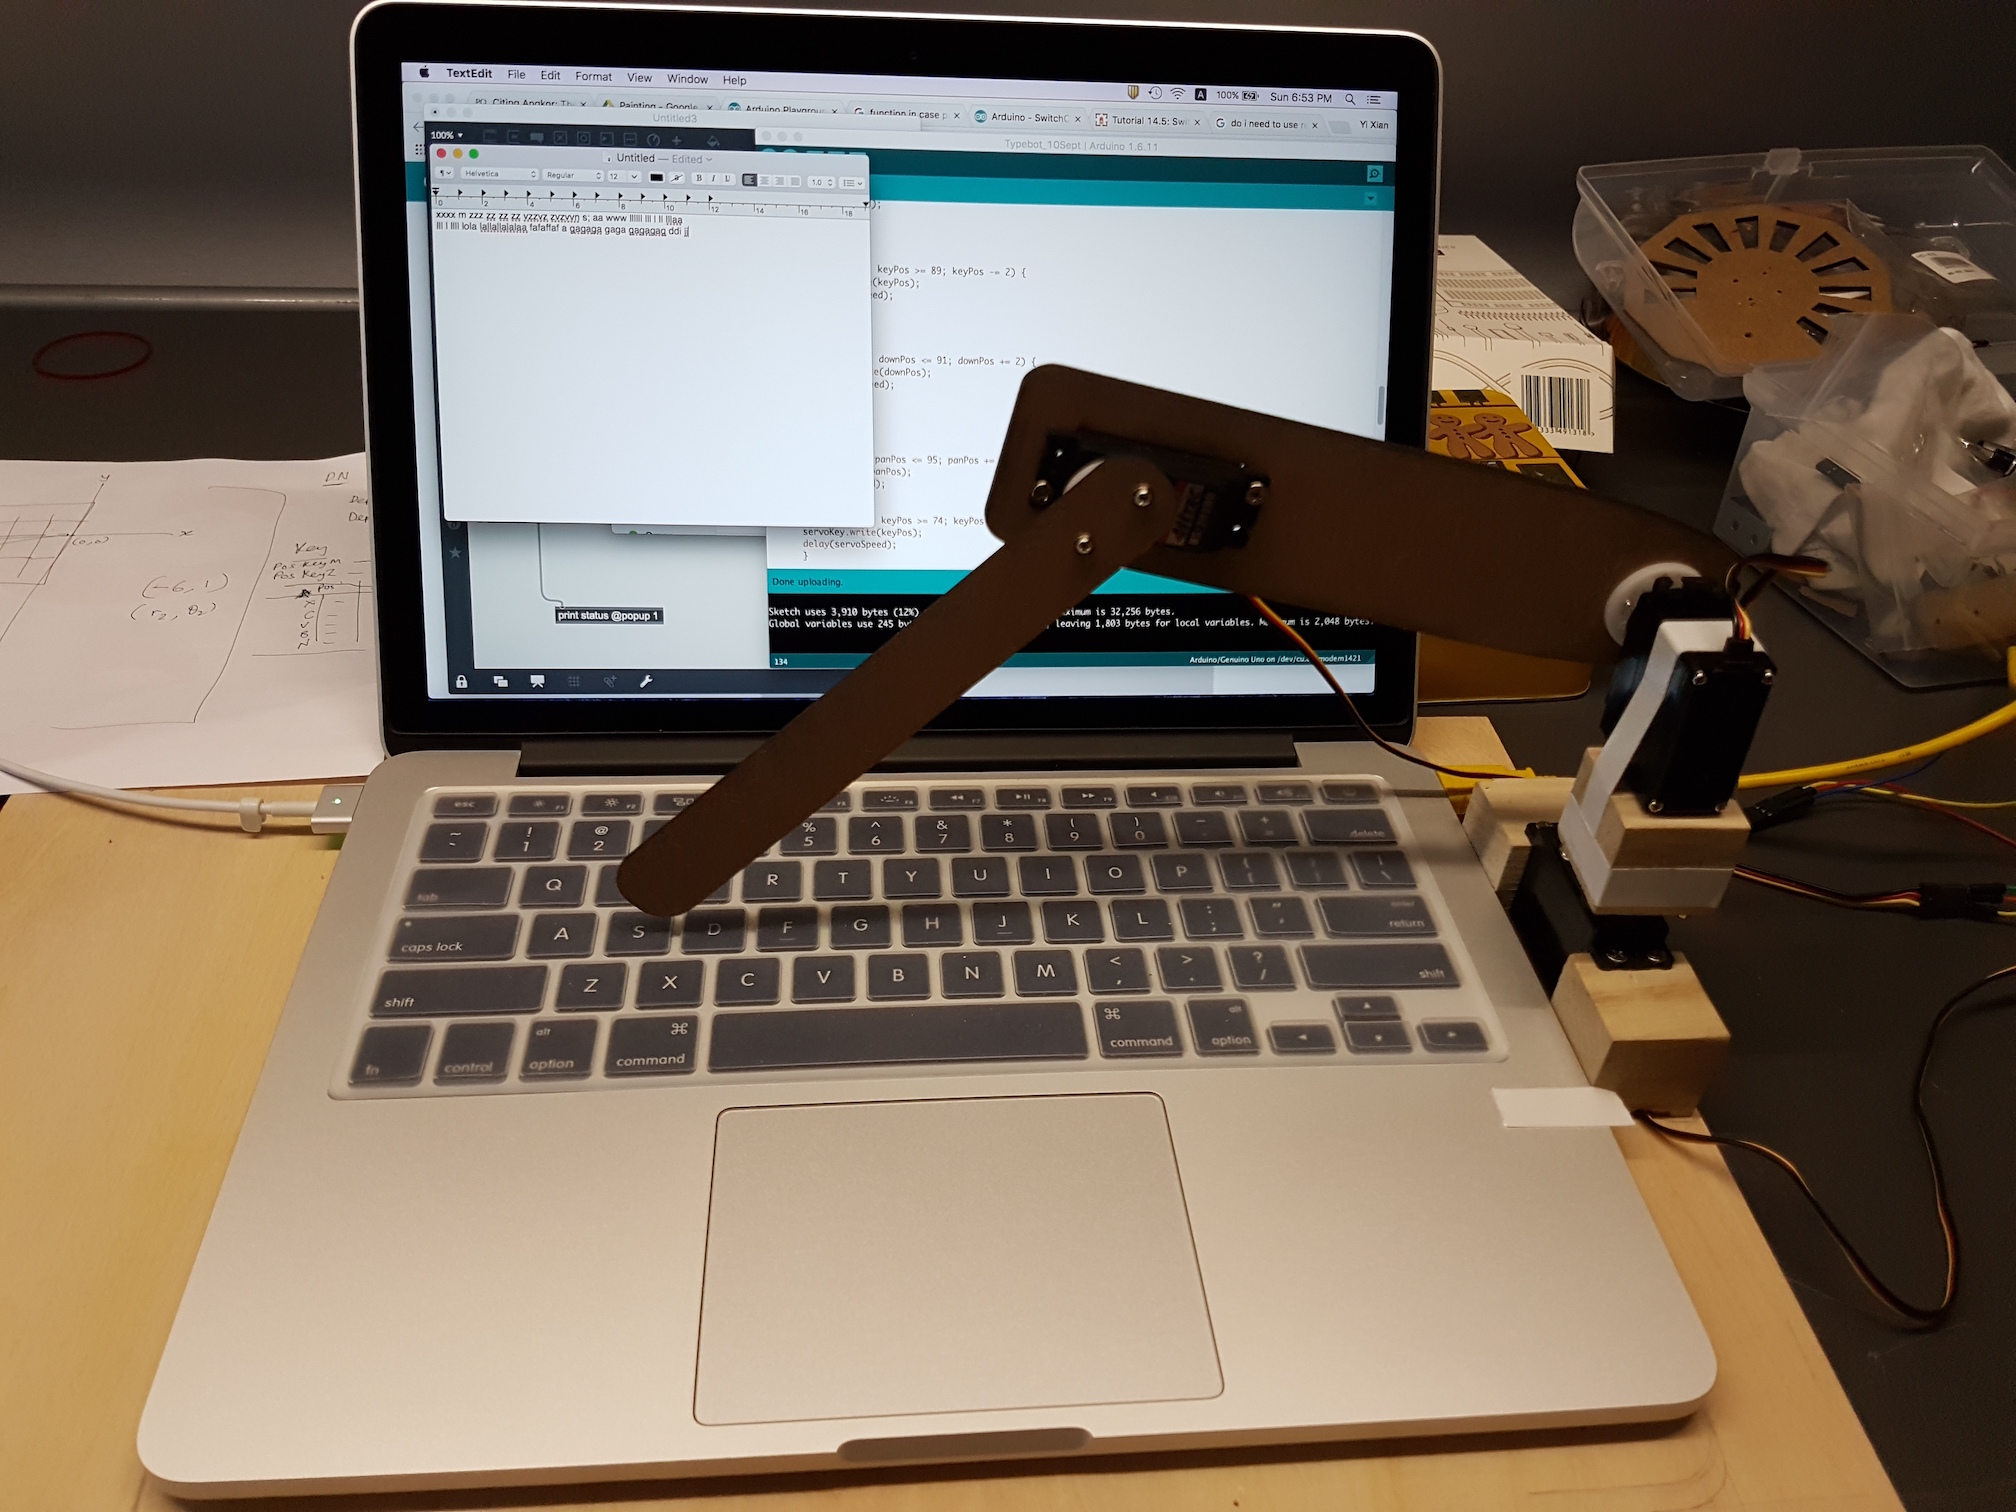
There were hiccups along the way which I only discovered through making a smaller prototype. For example, due to static, the oil blotters would stick to the acrylic tray and not fall as intended. They wouldn’t slide down with gravity even if the tray was tilted steeply!

Tried drilling holes in the tray to reduce static

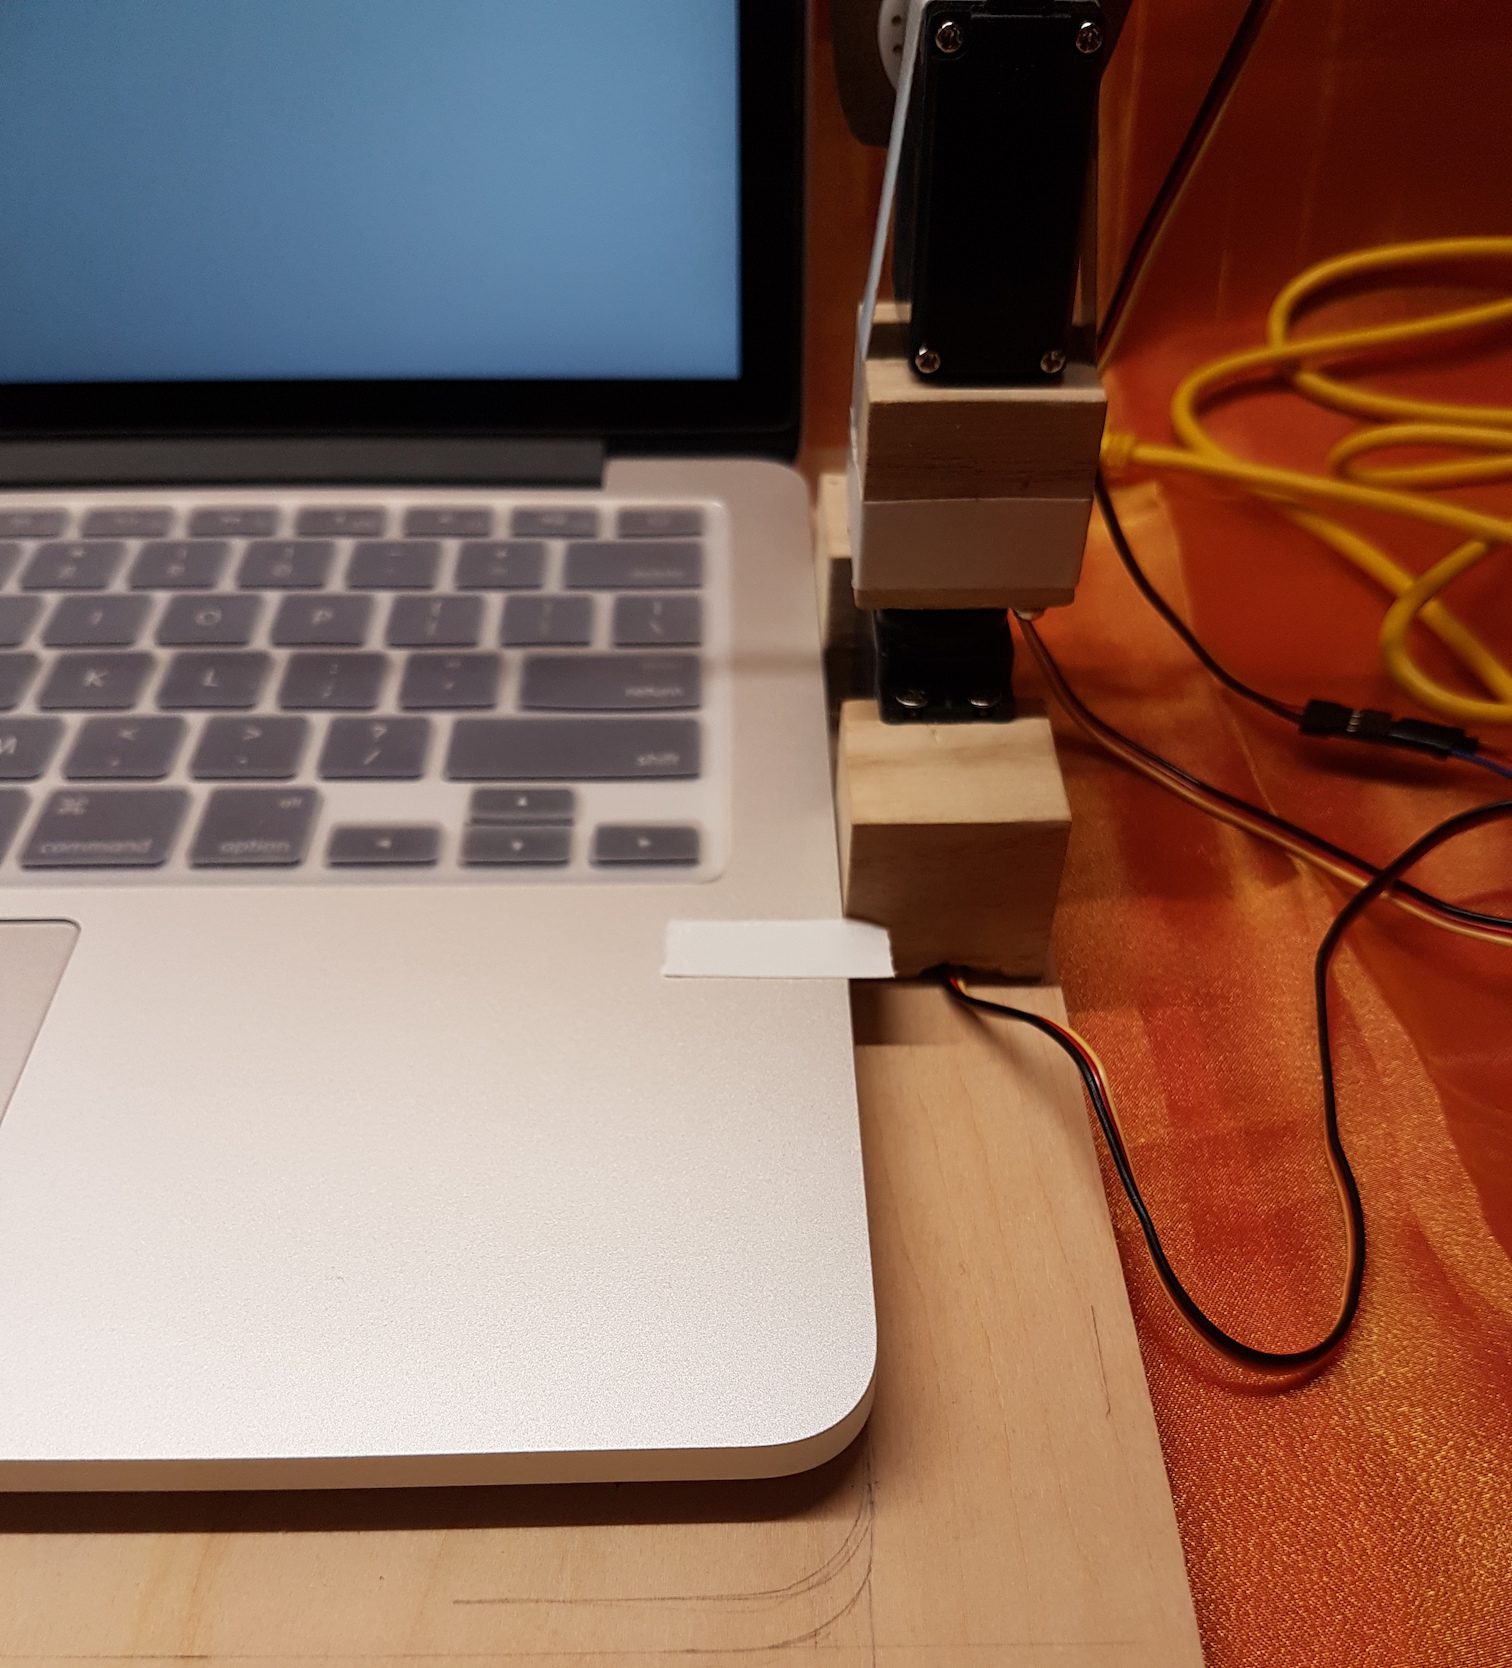
In the name of tinkering and experimentation, I sacrificed my desk USB fan to test whether blowing the blotter off was a possible solution to the static. It worked but only at certain angles and was not very repeatable.

In the end, I decided on a trap door mechanism to dispose of the used blotters. The speed at which the trap door opens pushes the used blotter down with enough force to overcome the static.

Baby and adult slider

In the process of building, the machine increased in size and complexity. Bringing the modules together, I could see what was lacking in terms of feedback and affordances. For example, the bell was a later addition to the system. It provides audio feedback about the completion of the ‘heating’ and ’emulsification’ process. Without the sound as signal, it would be harder for users to follow the machine’s process.

However, this made the slider module even more complicated as the support dimensions did not take into account a bell and another motor. Due to the lack of space, I decided to double up the function of the trap door to make it ring the bell. This proved to be very challenging as the small motors I used initially, while compact, were too weak. After a few runs, it could not repeat the motion consistently and even weakened the support structure by jamming it unintentionally.

Tiny motor which used to control trap door mechanism

I was tempted to switch the analogue bell out for a digital recording of the bell sound. However, after a lot more tinkering, I replaced the small motor with a stronger one and found the ideal limits for ringing the bell and controlling the trap door. This allowed the motion to be repeatable yay!

Lever

In line with the wacky-invention/mechanical vibe, instead of a button, I wanted users to push a lever to trigger the process. This interaction felt more fantastical and almost cartoon-like.
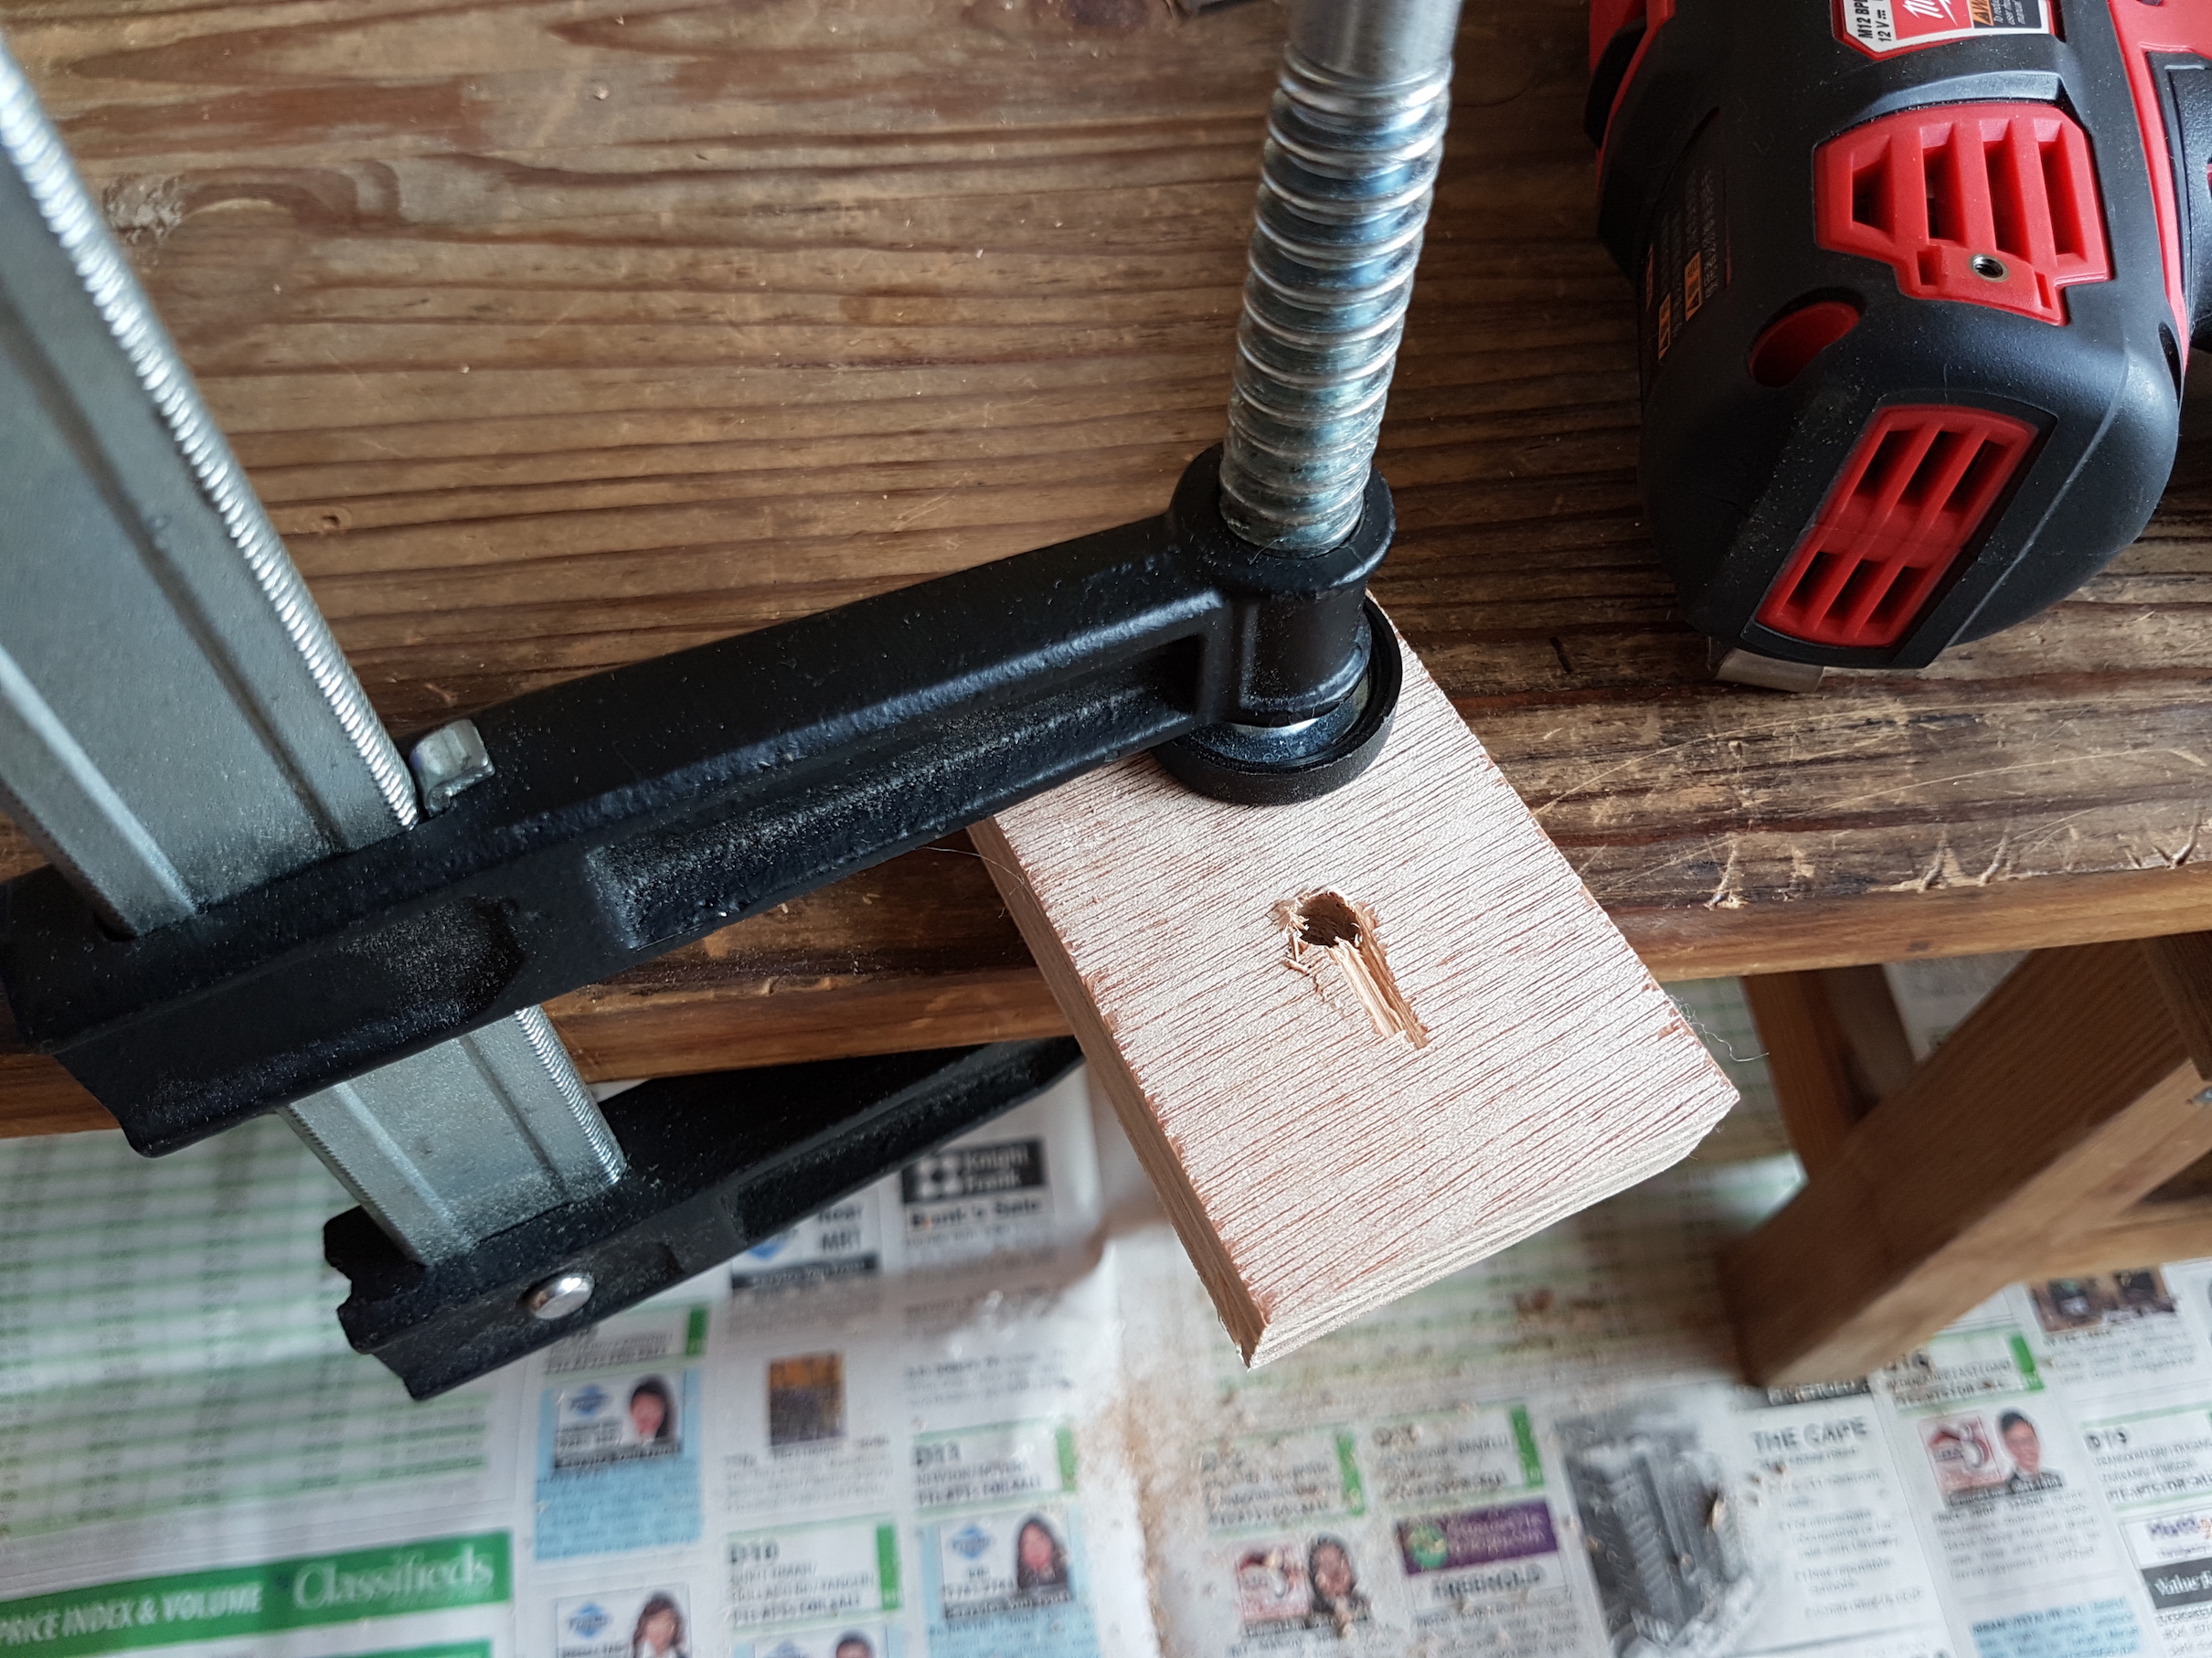
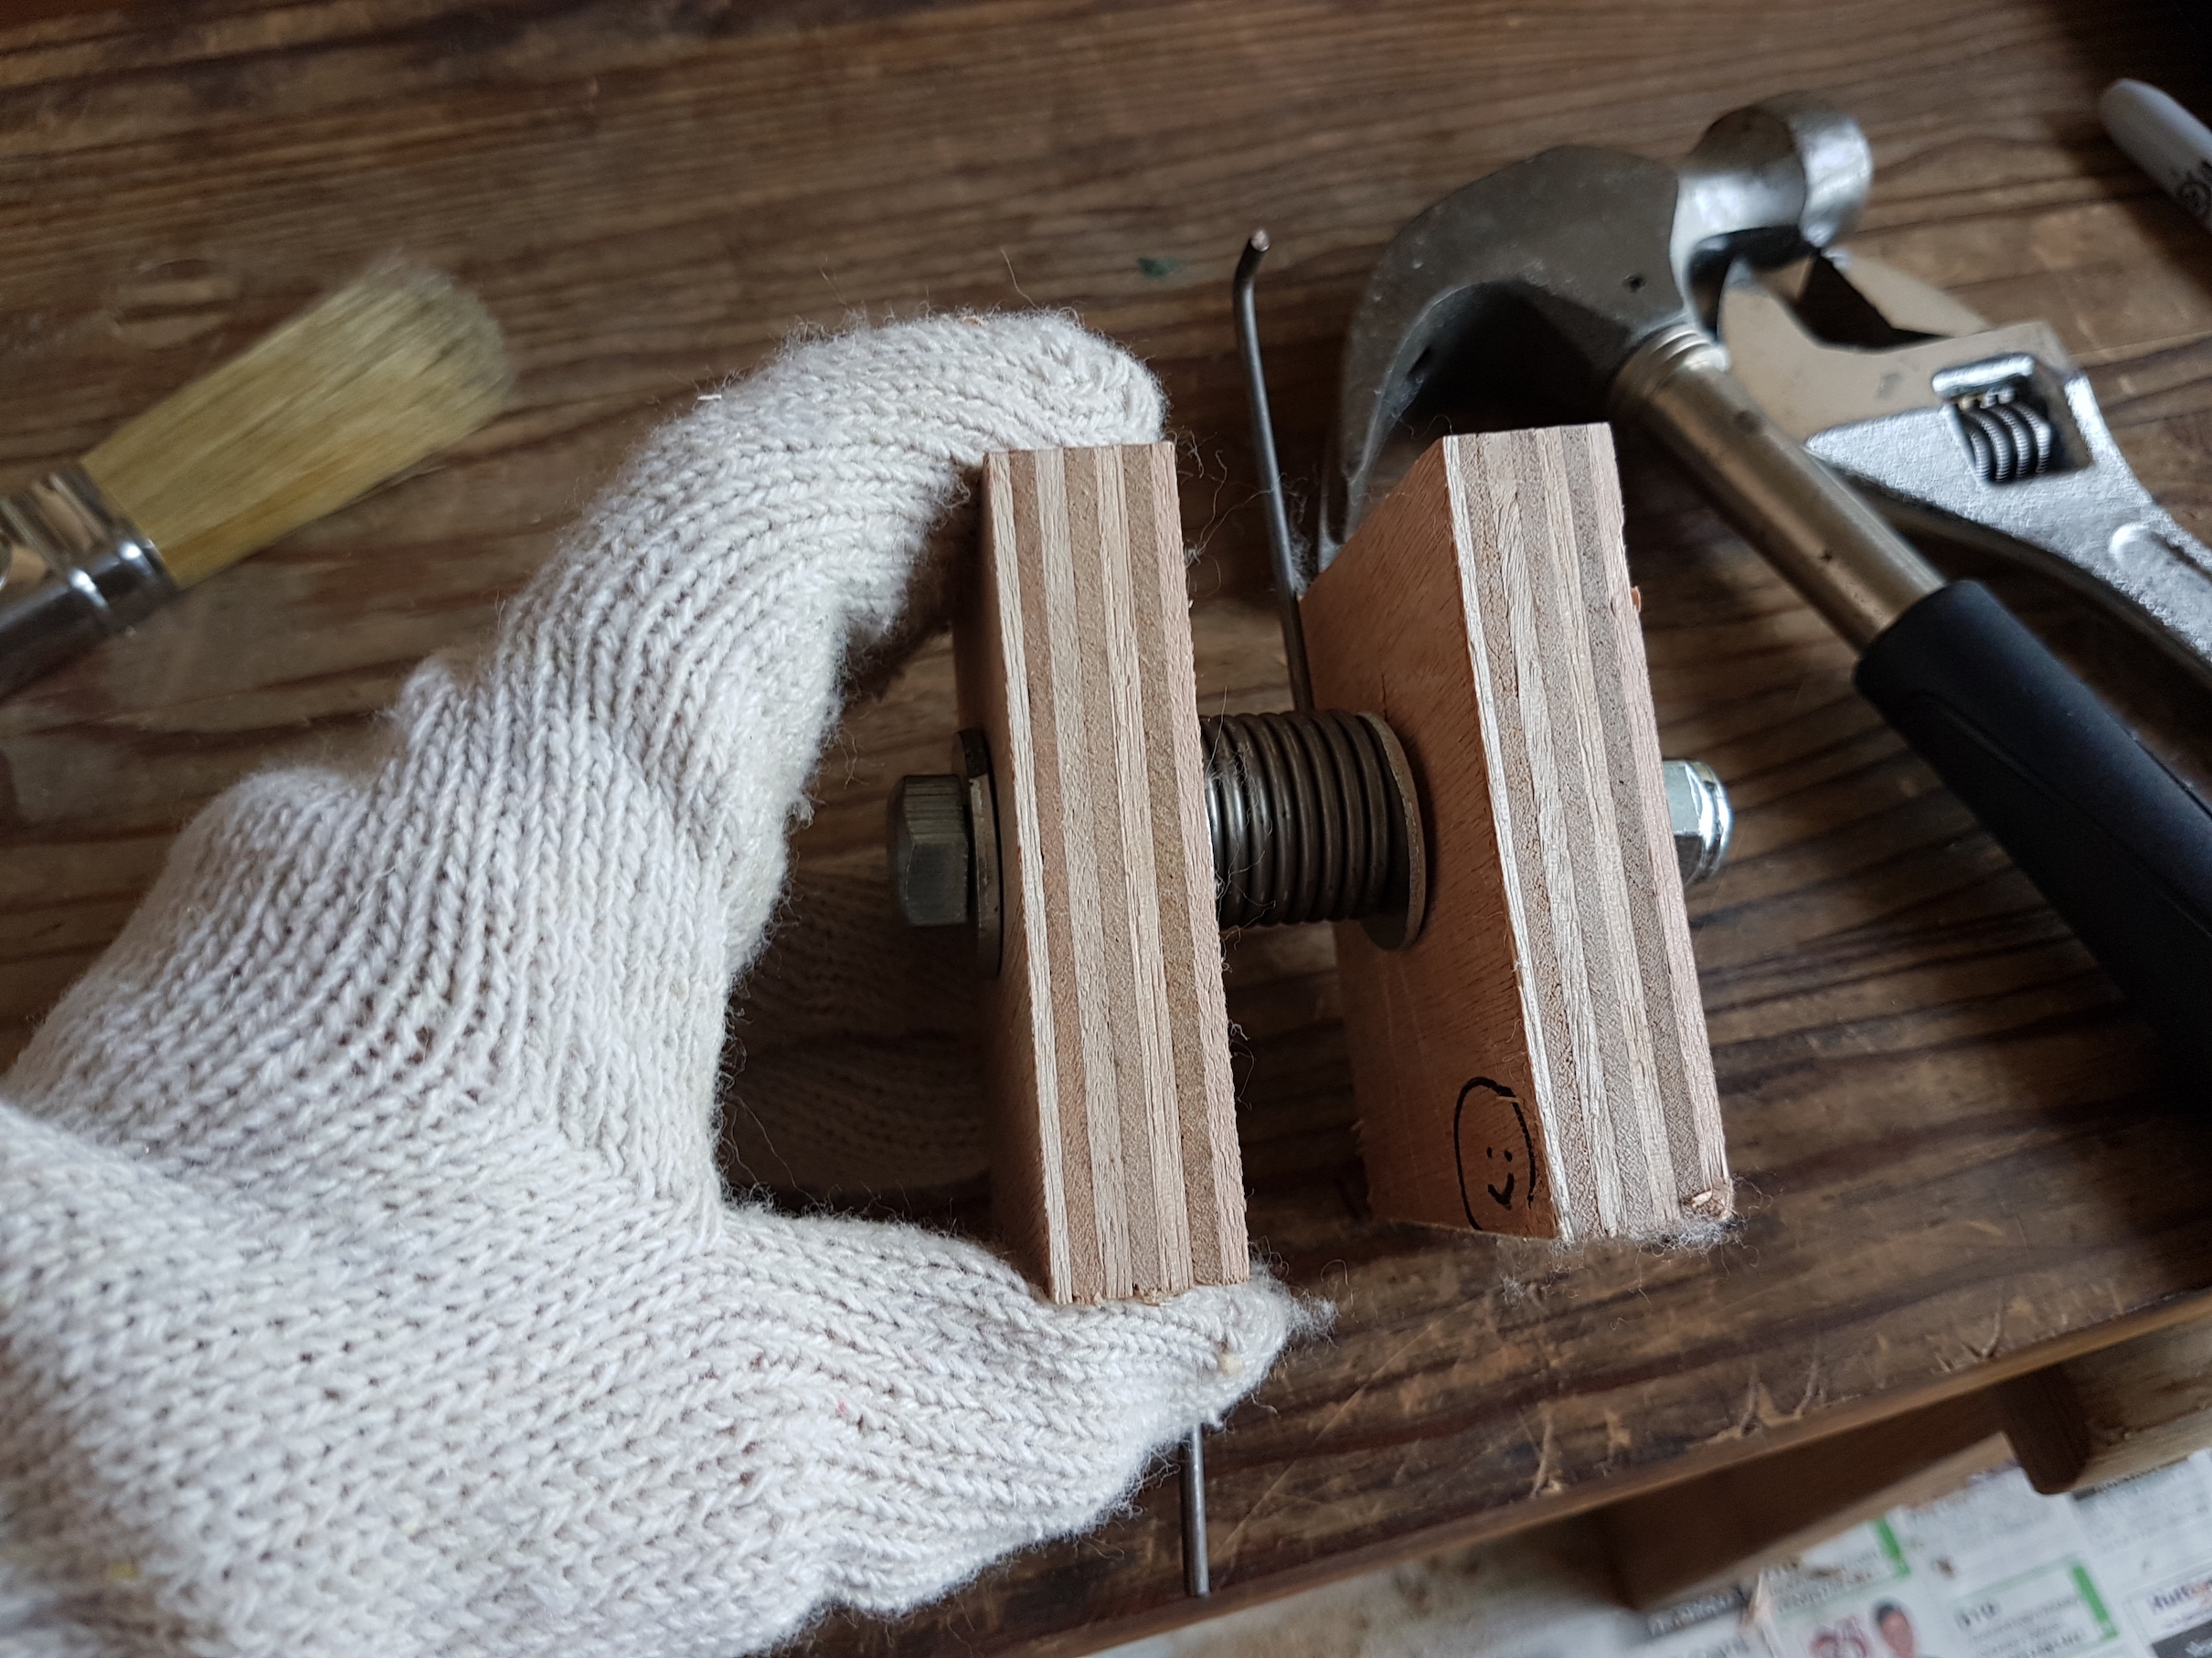
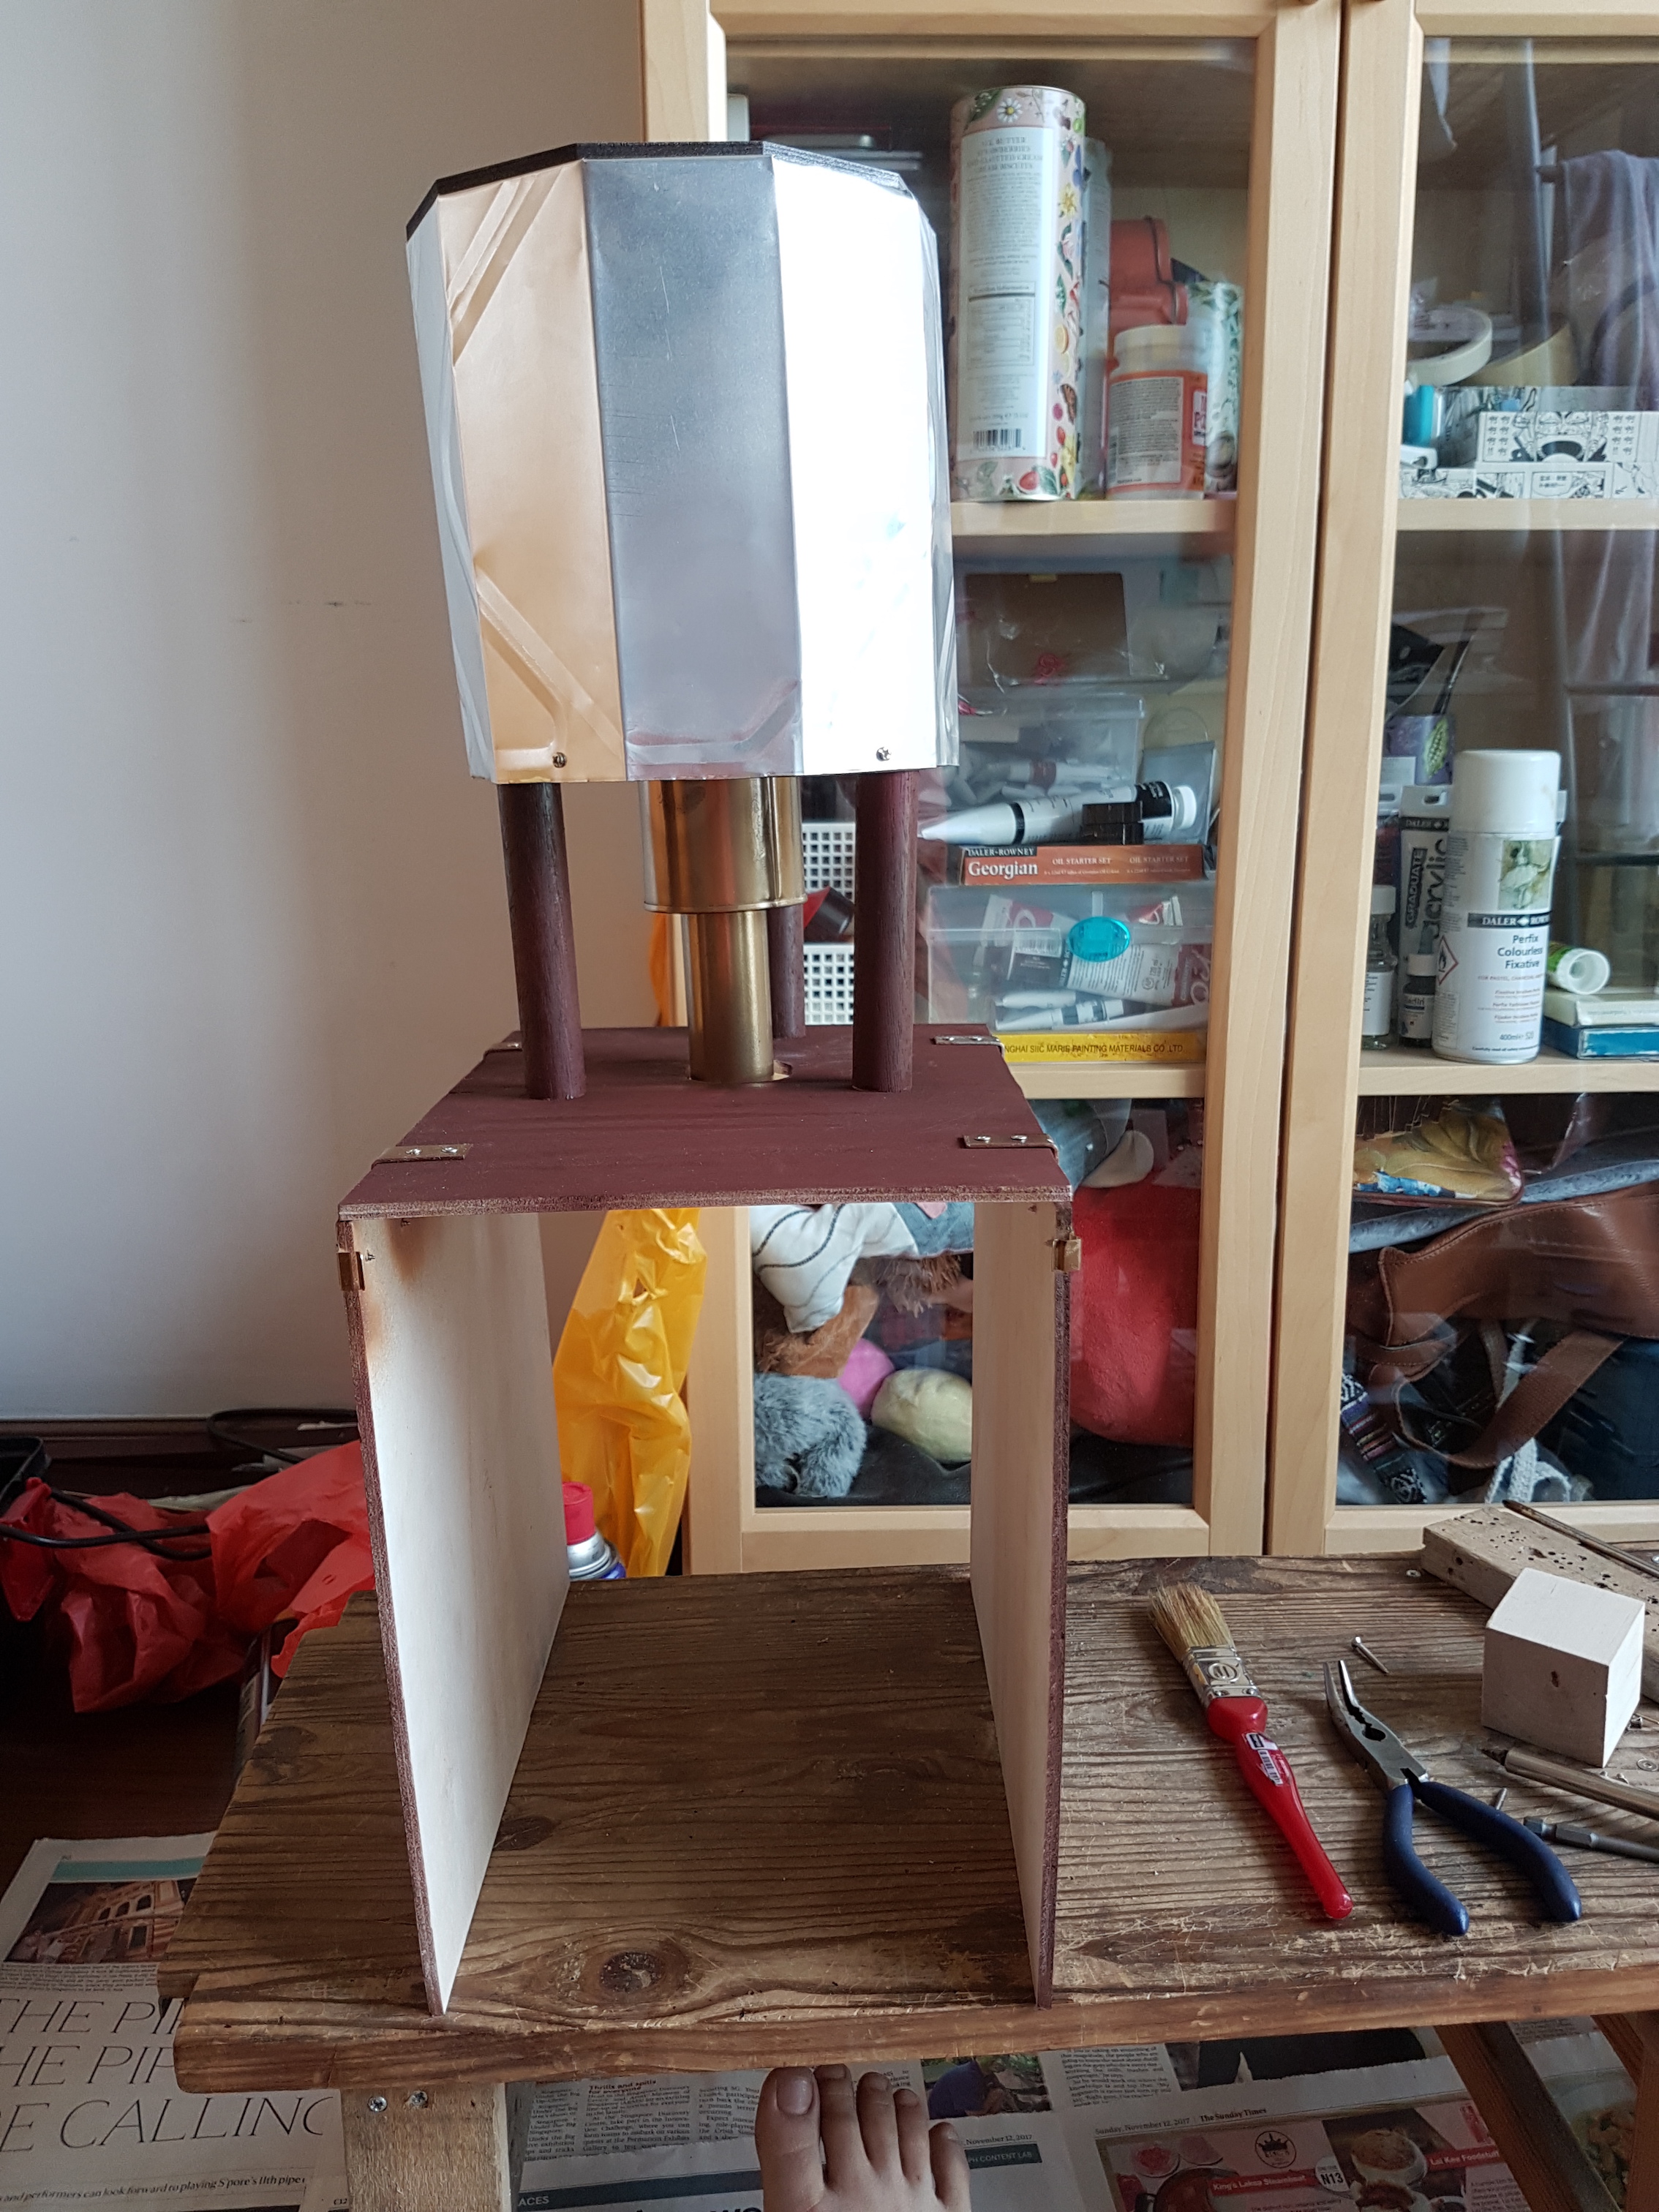
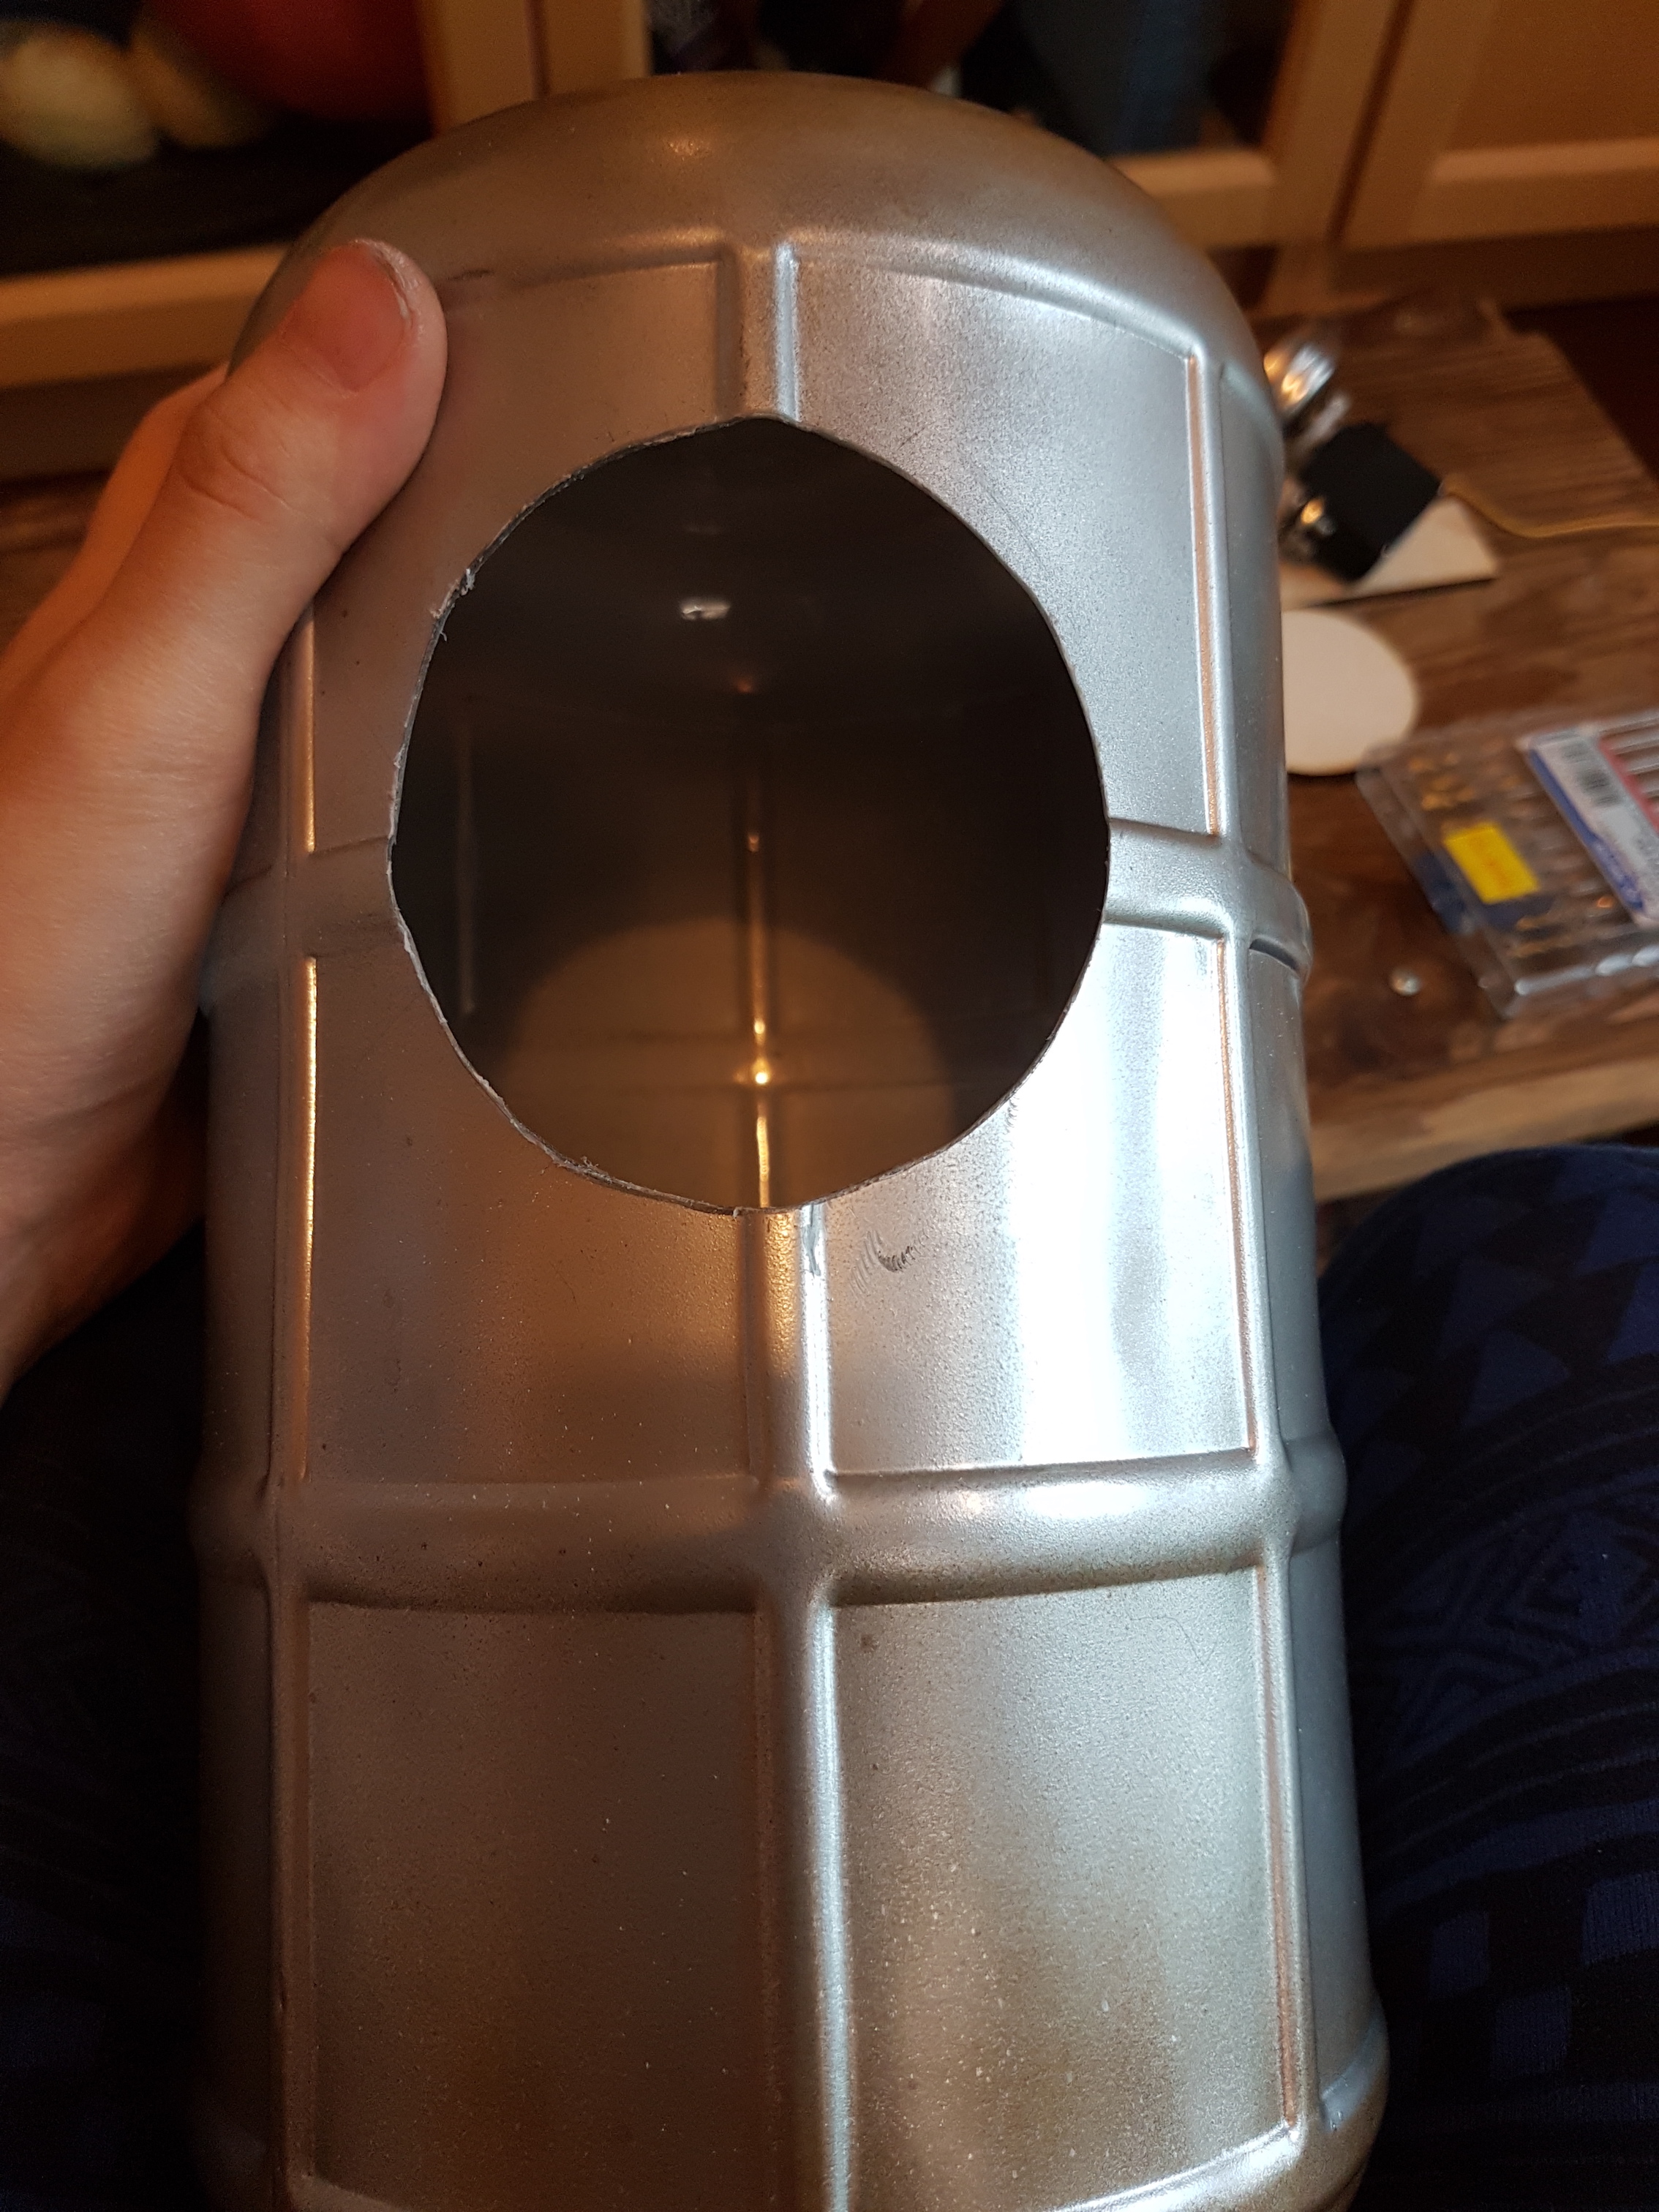
Building the lever

Sanding down the edges for a smooth hand feel!
Shortened the lever as the torque was too weak with such a long length

Hydraulic Press

While metal is strong, it is very hard to work with… sparks flying!
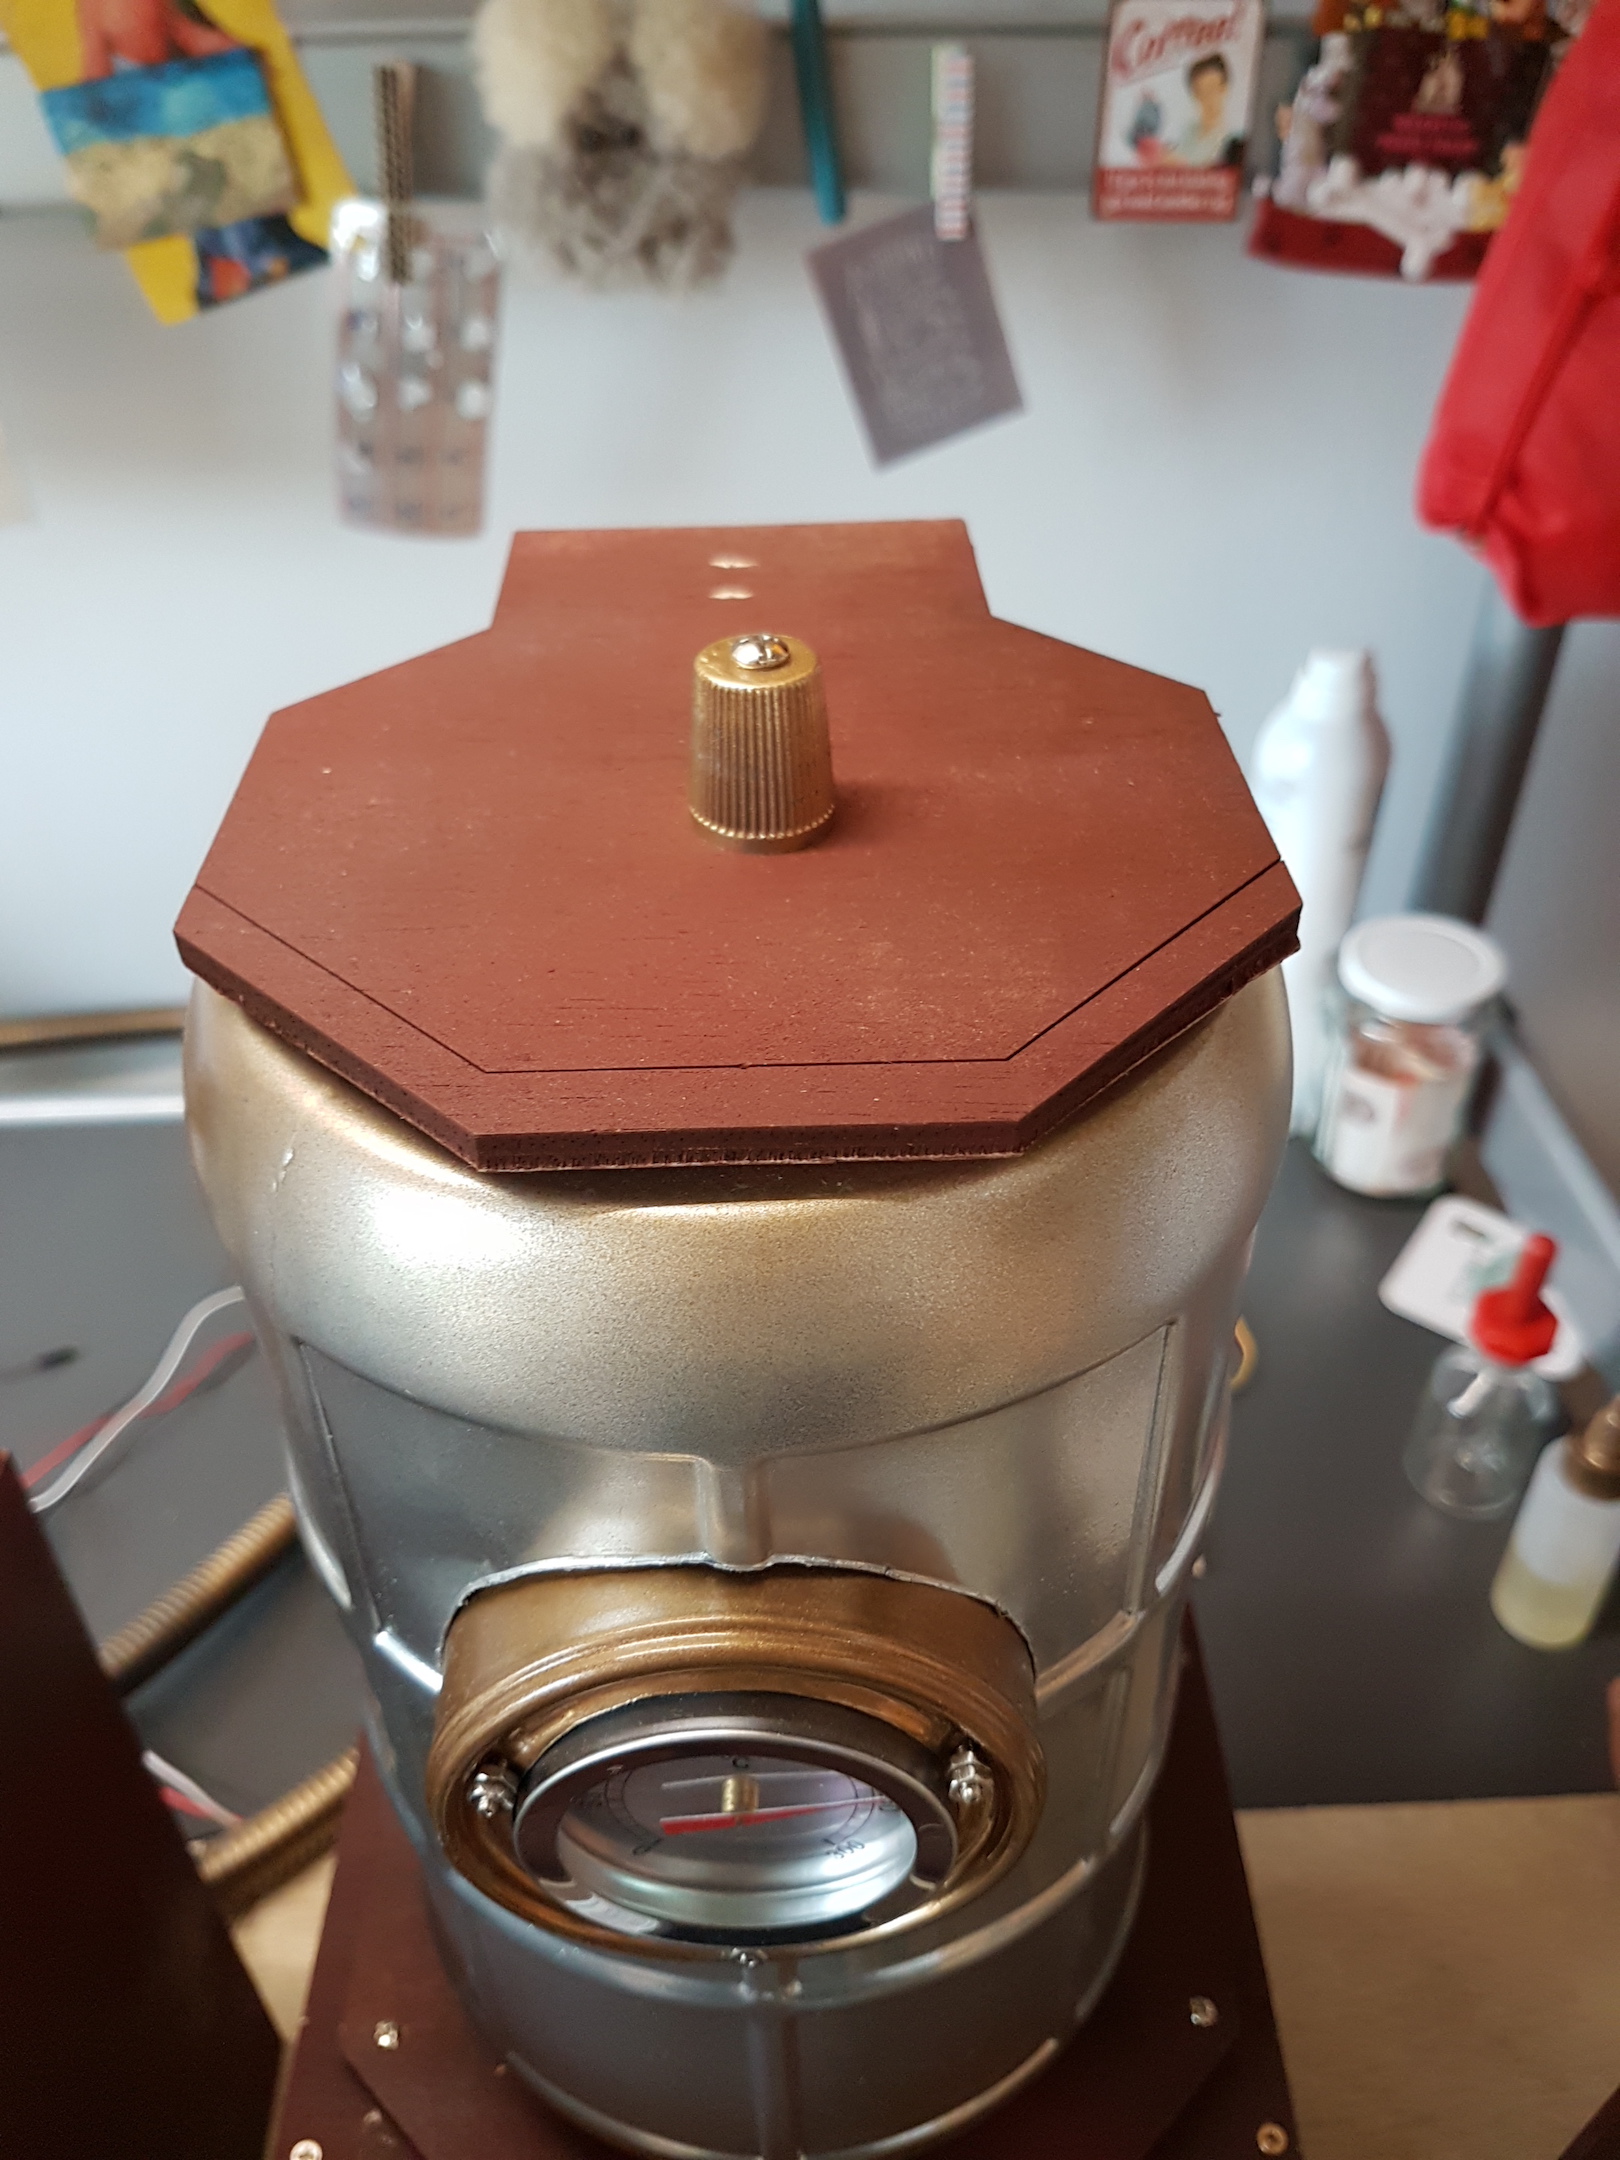
Pretty biscuit tin

Making a plastic ring to reduce metal friction
Used a cheap handheld balloon pump as the hydraulic press shaft

Fitting the tin into the base
Cutting the tin to length
Calibrating the 2 arm pivot positions to get the smoothest linear motion
Making a plastic ring to guide the shaft within the tin

Furnace
Cutting a hole in the can to fit the thermometer snugly


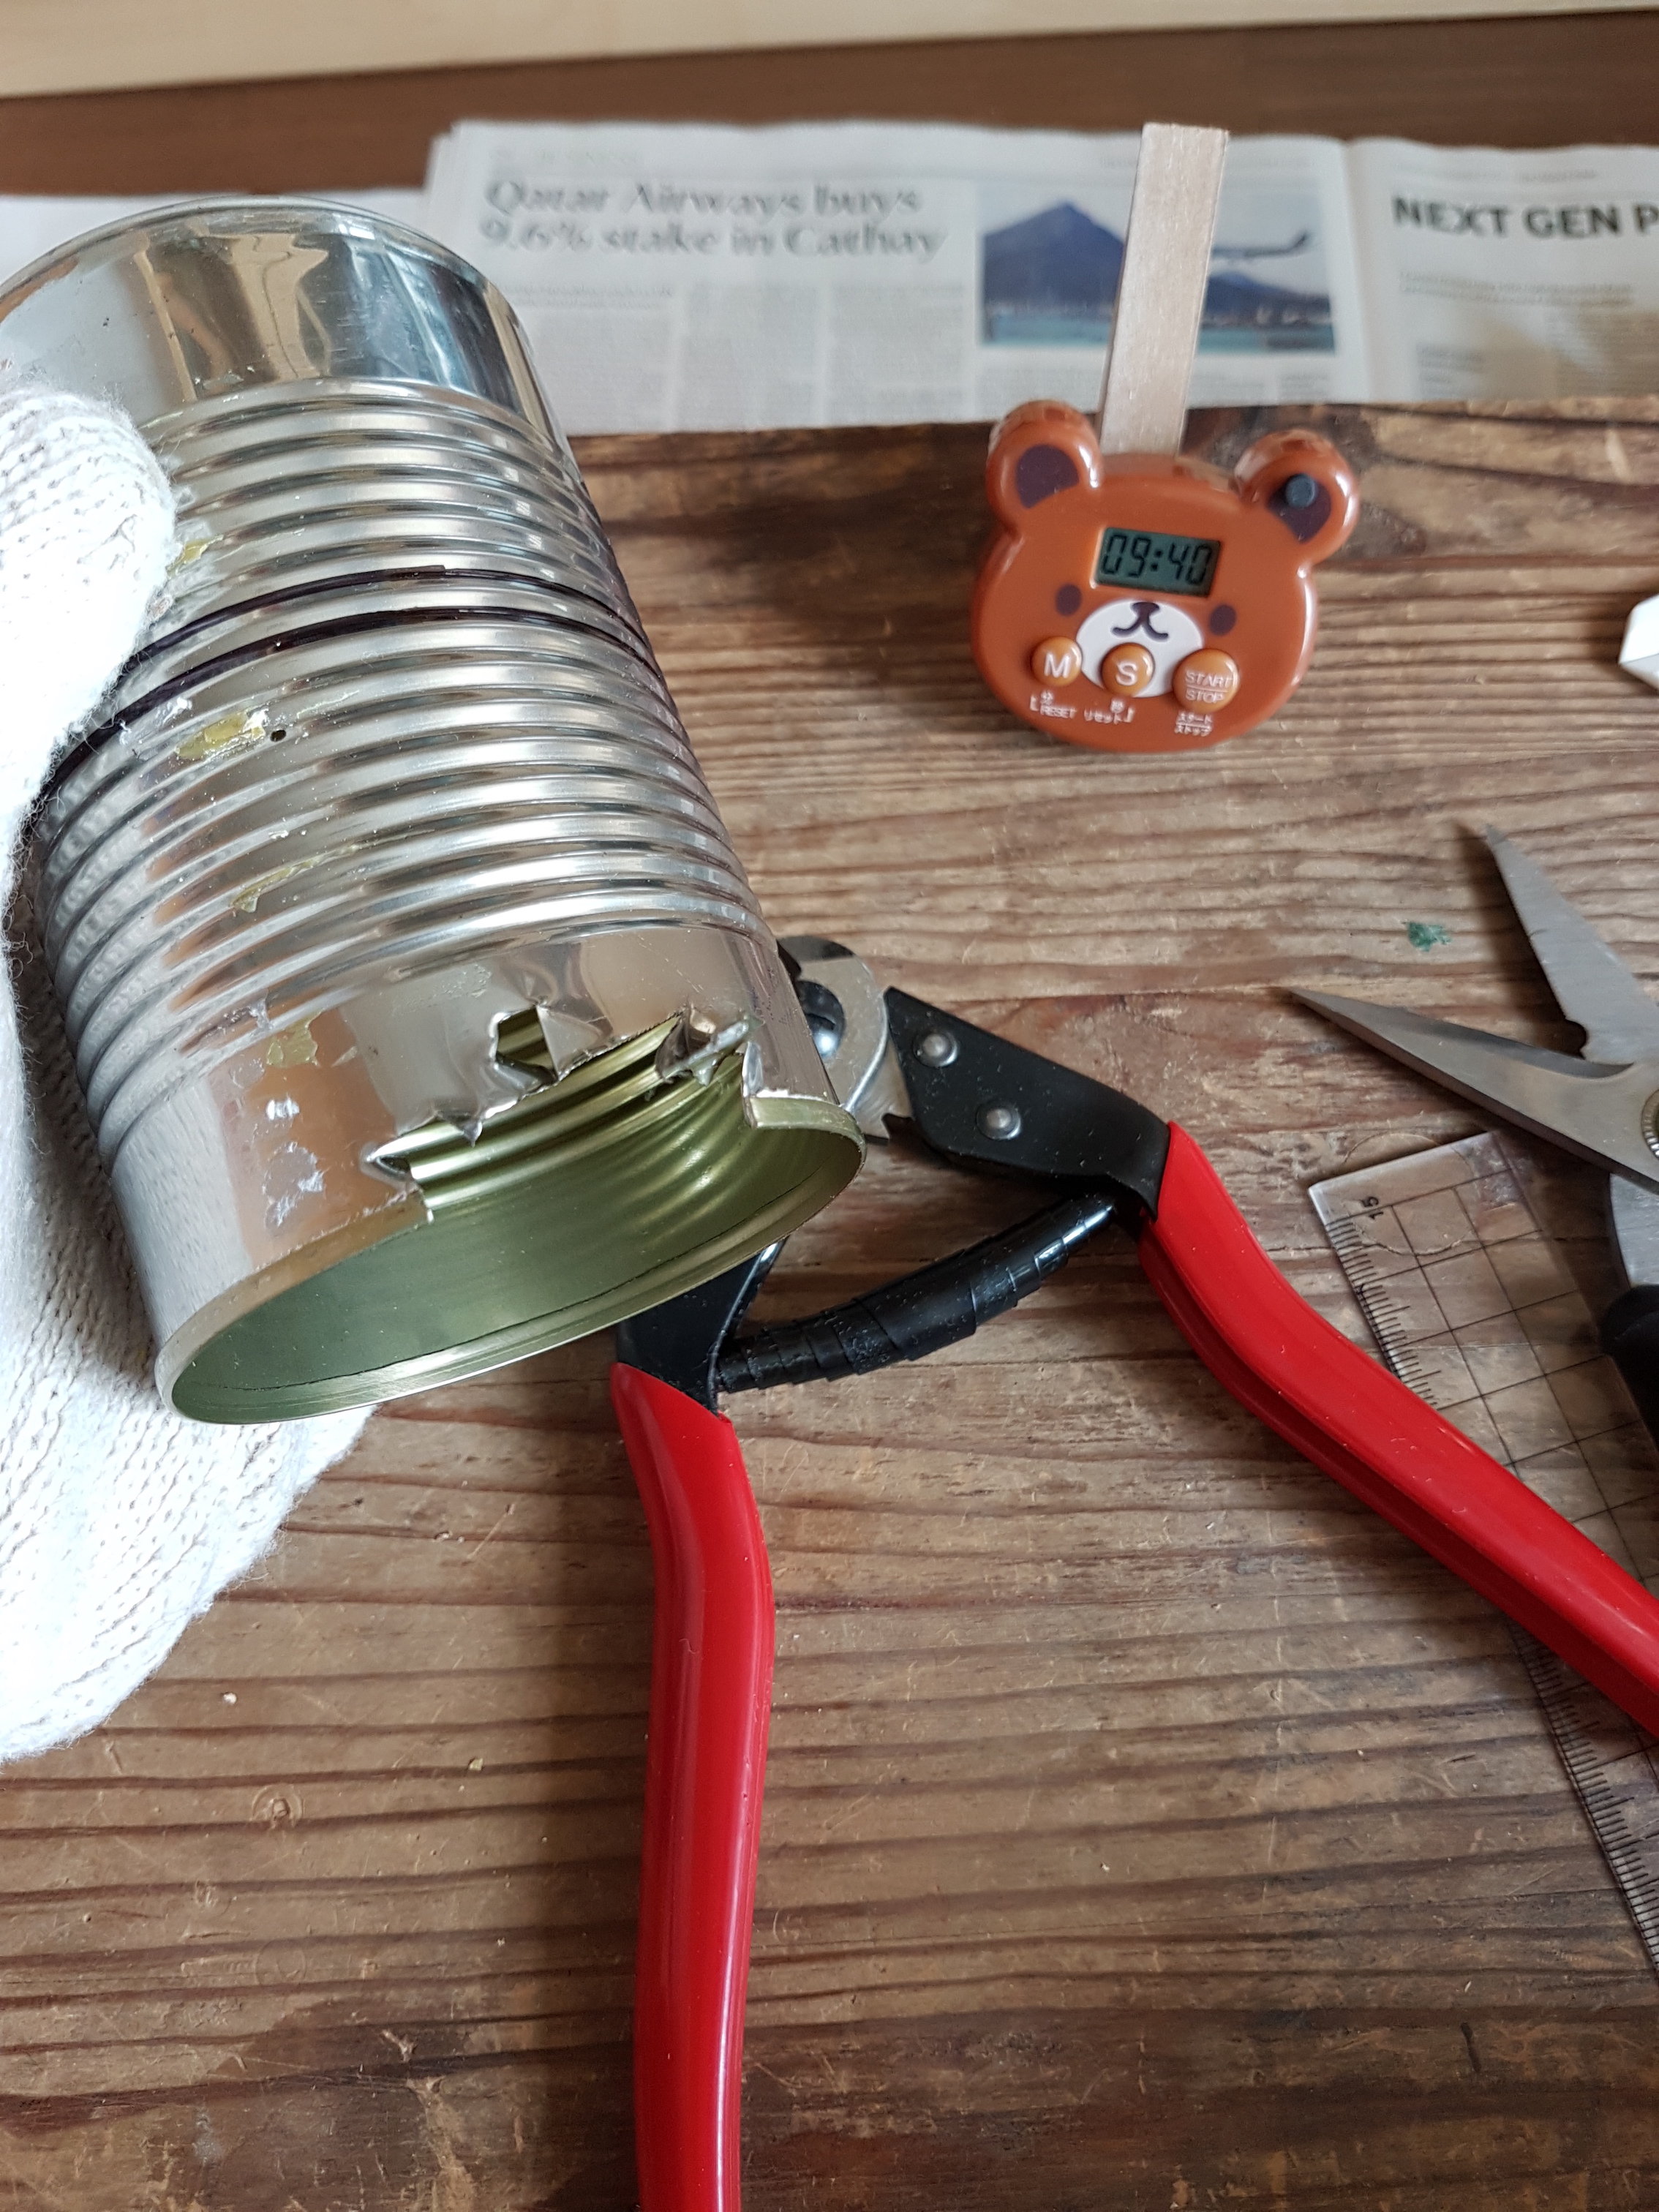
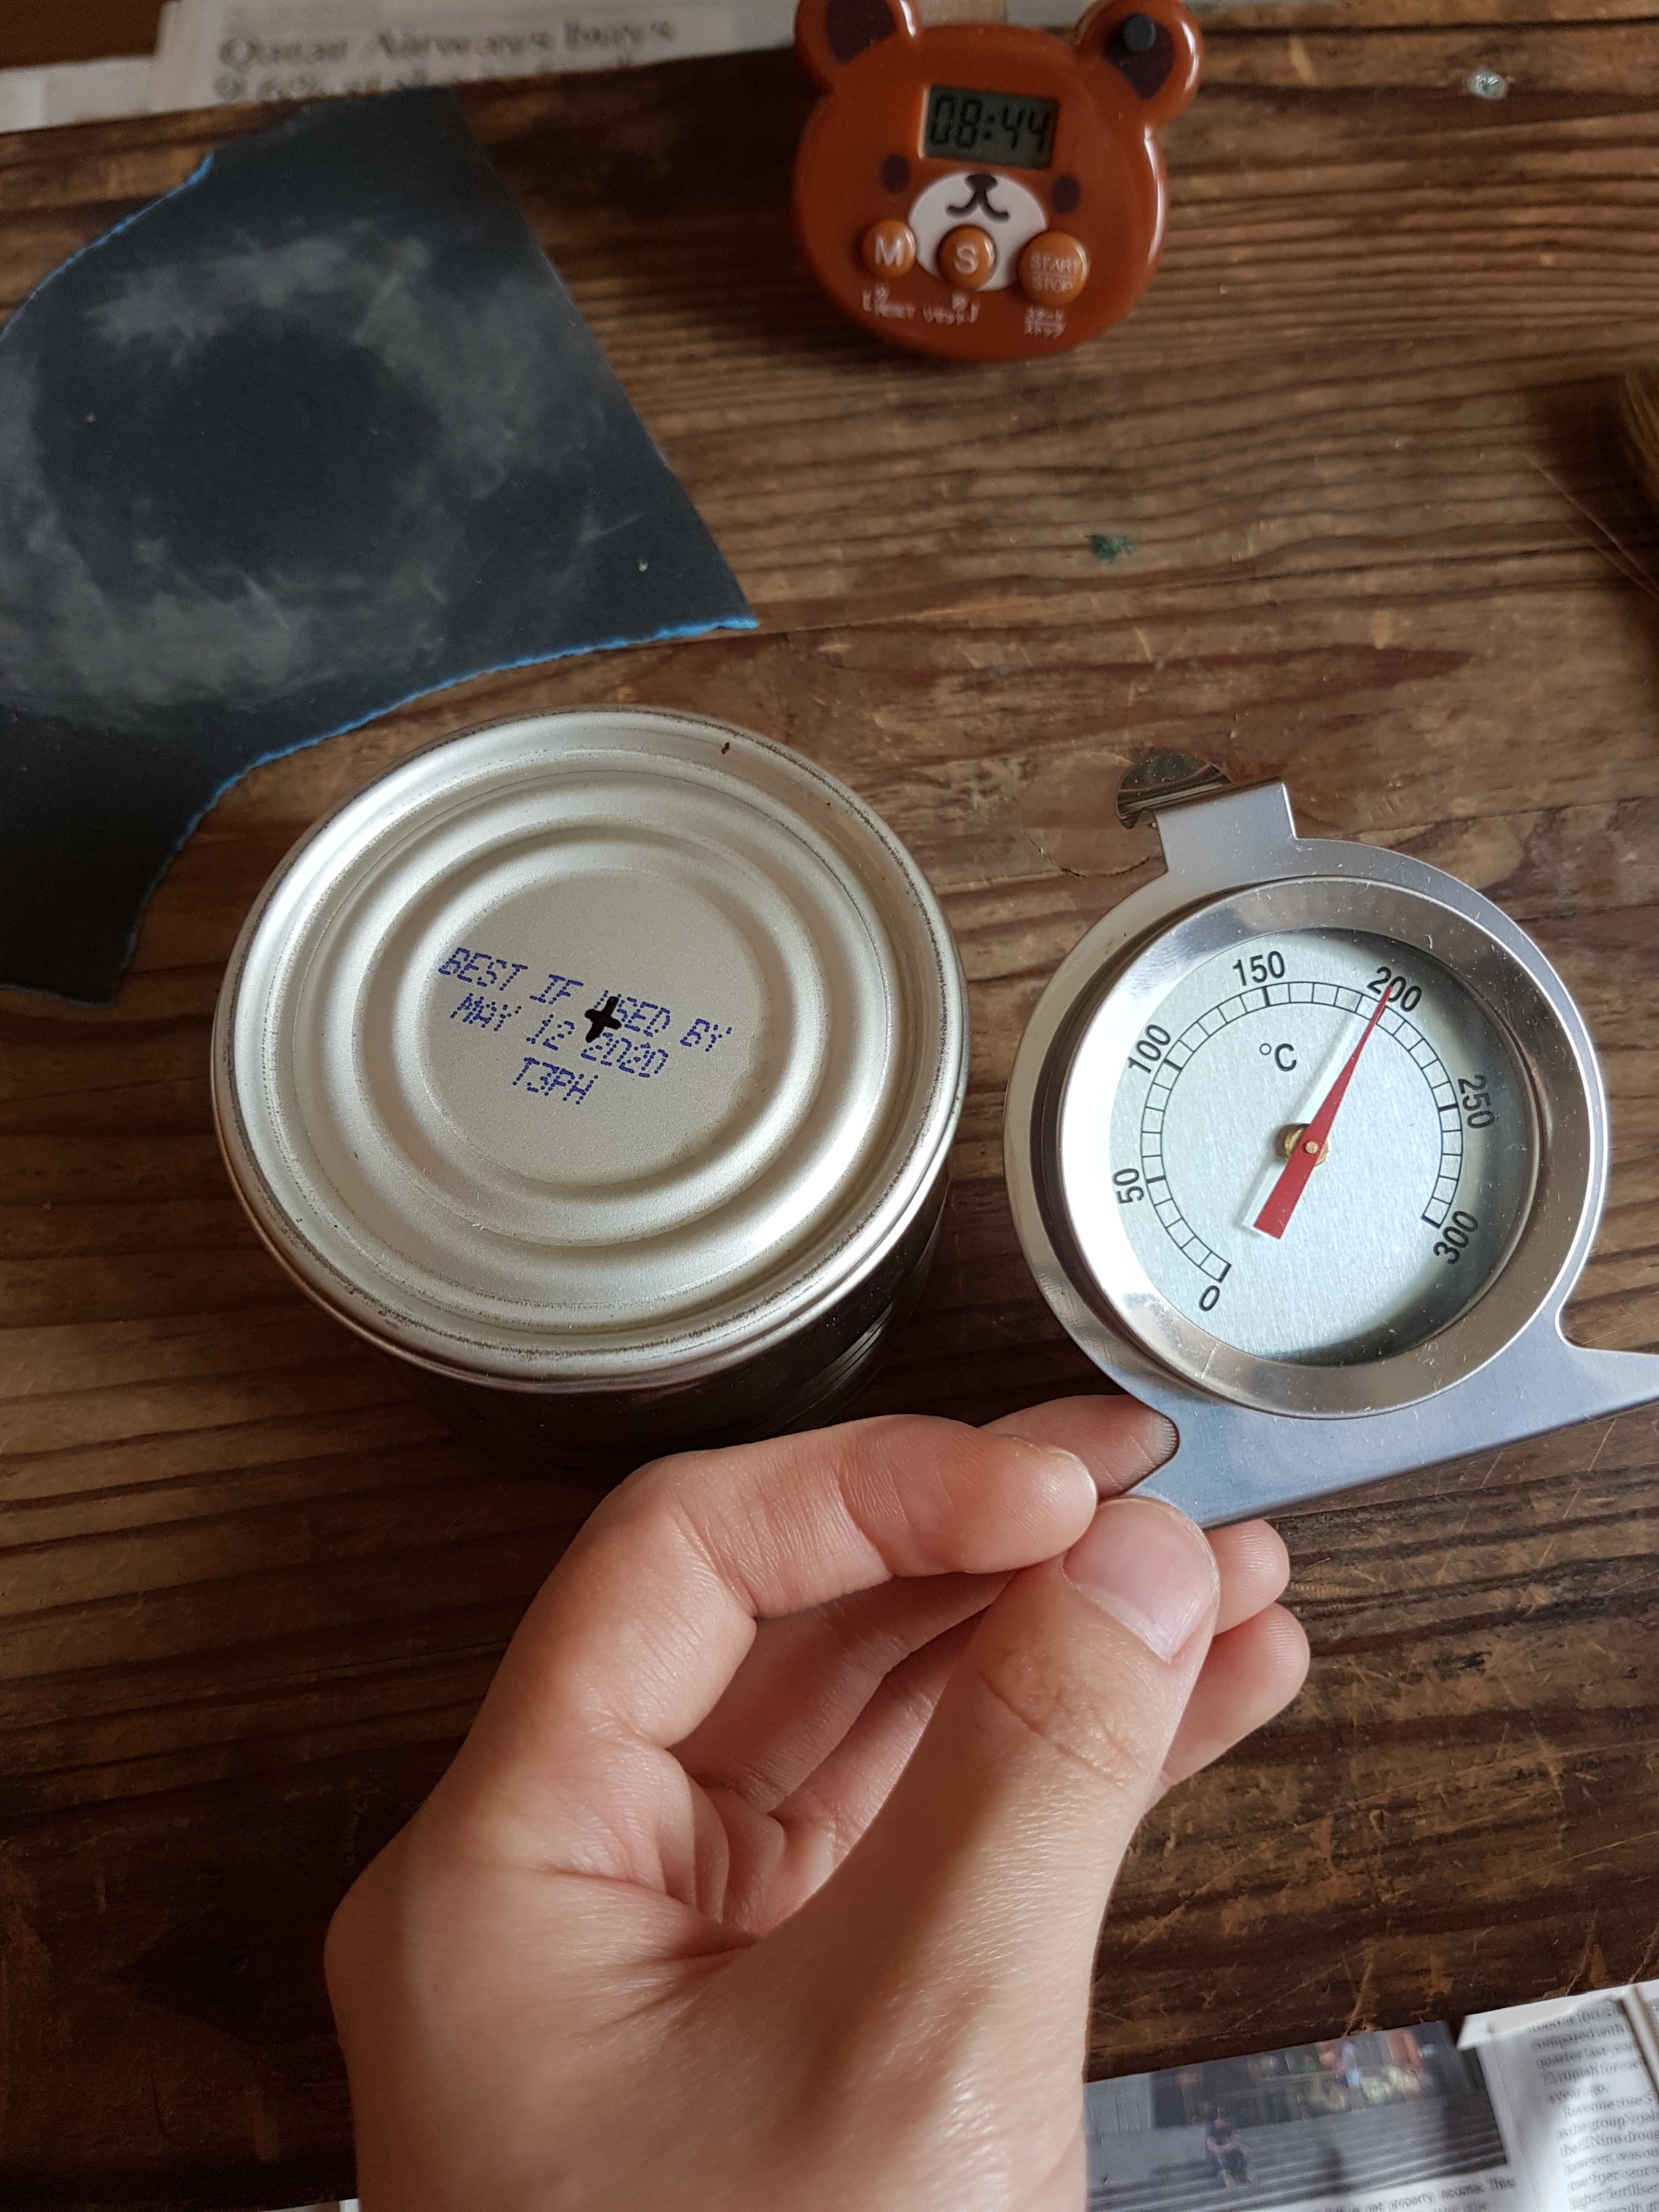
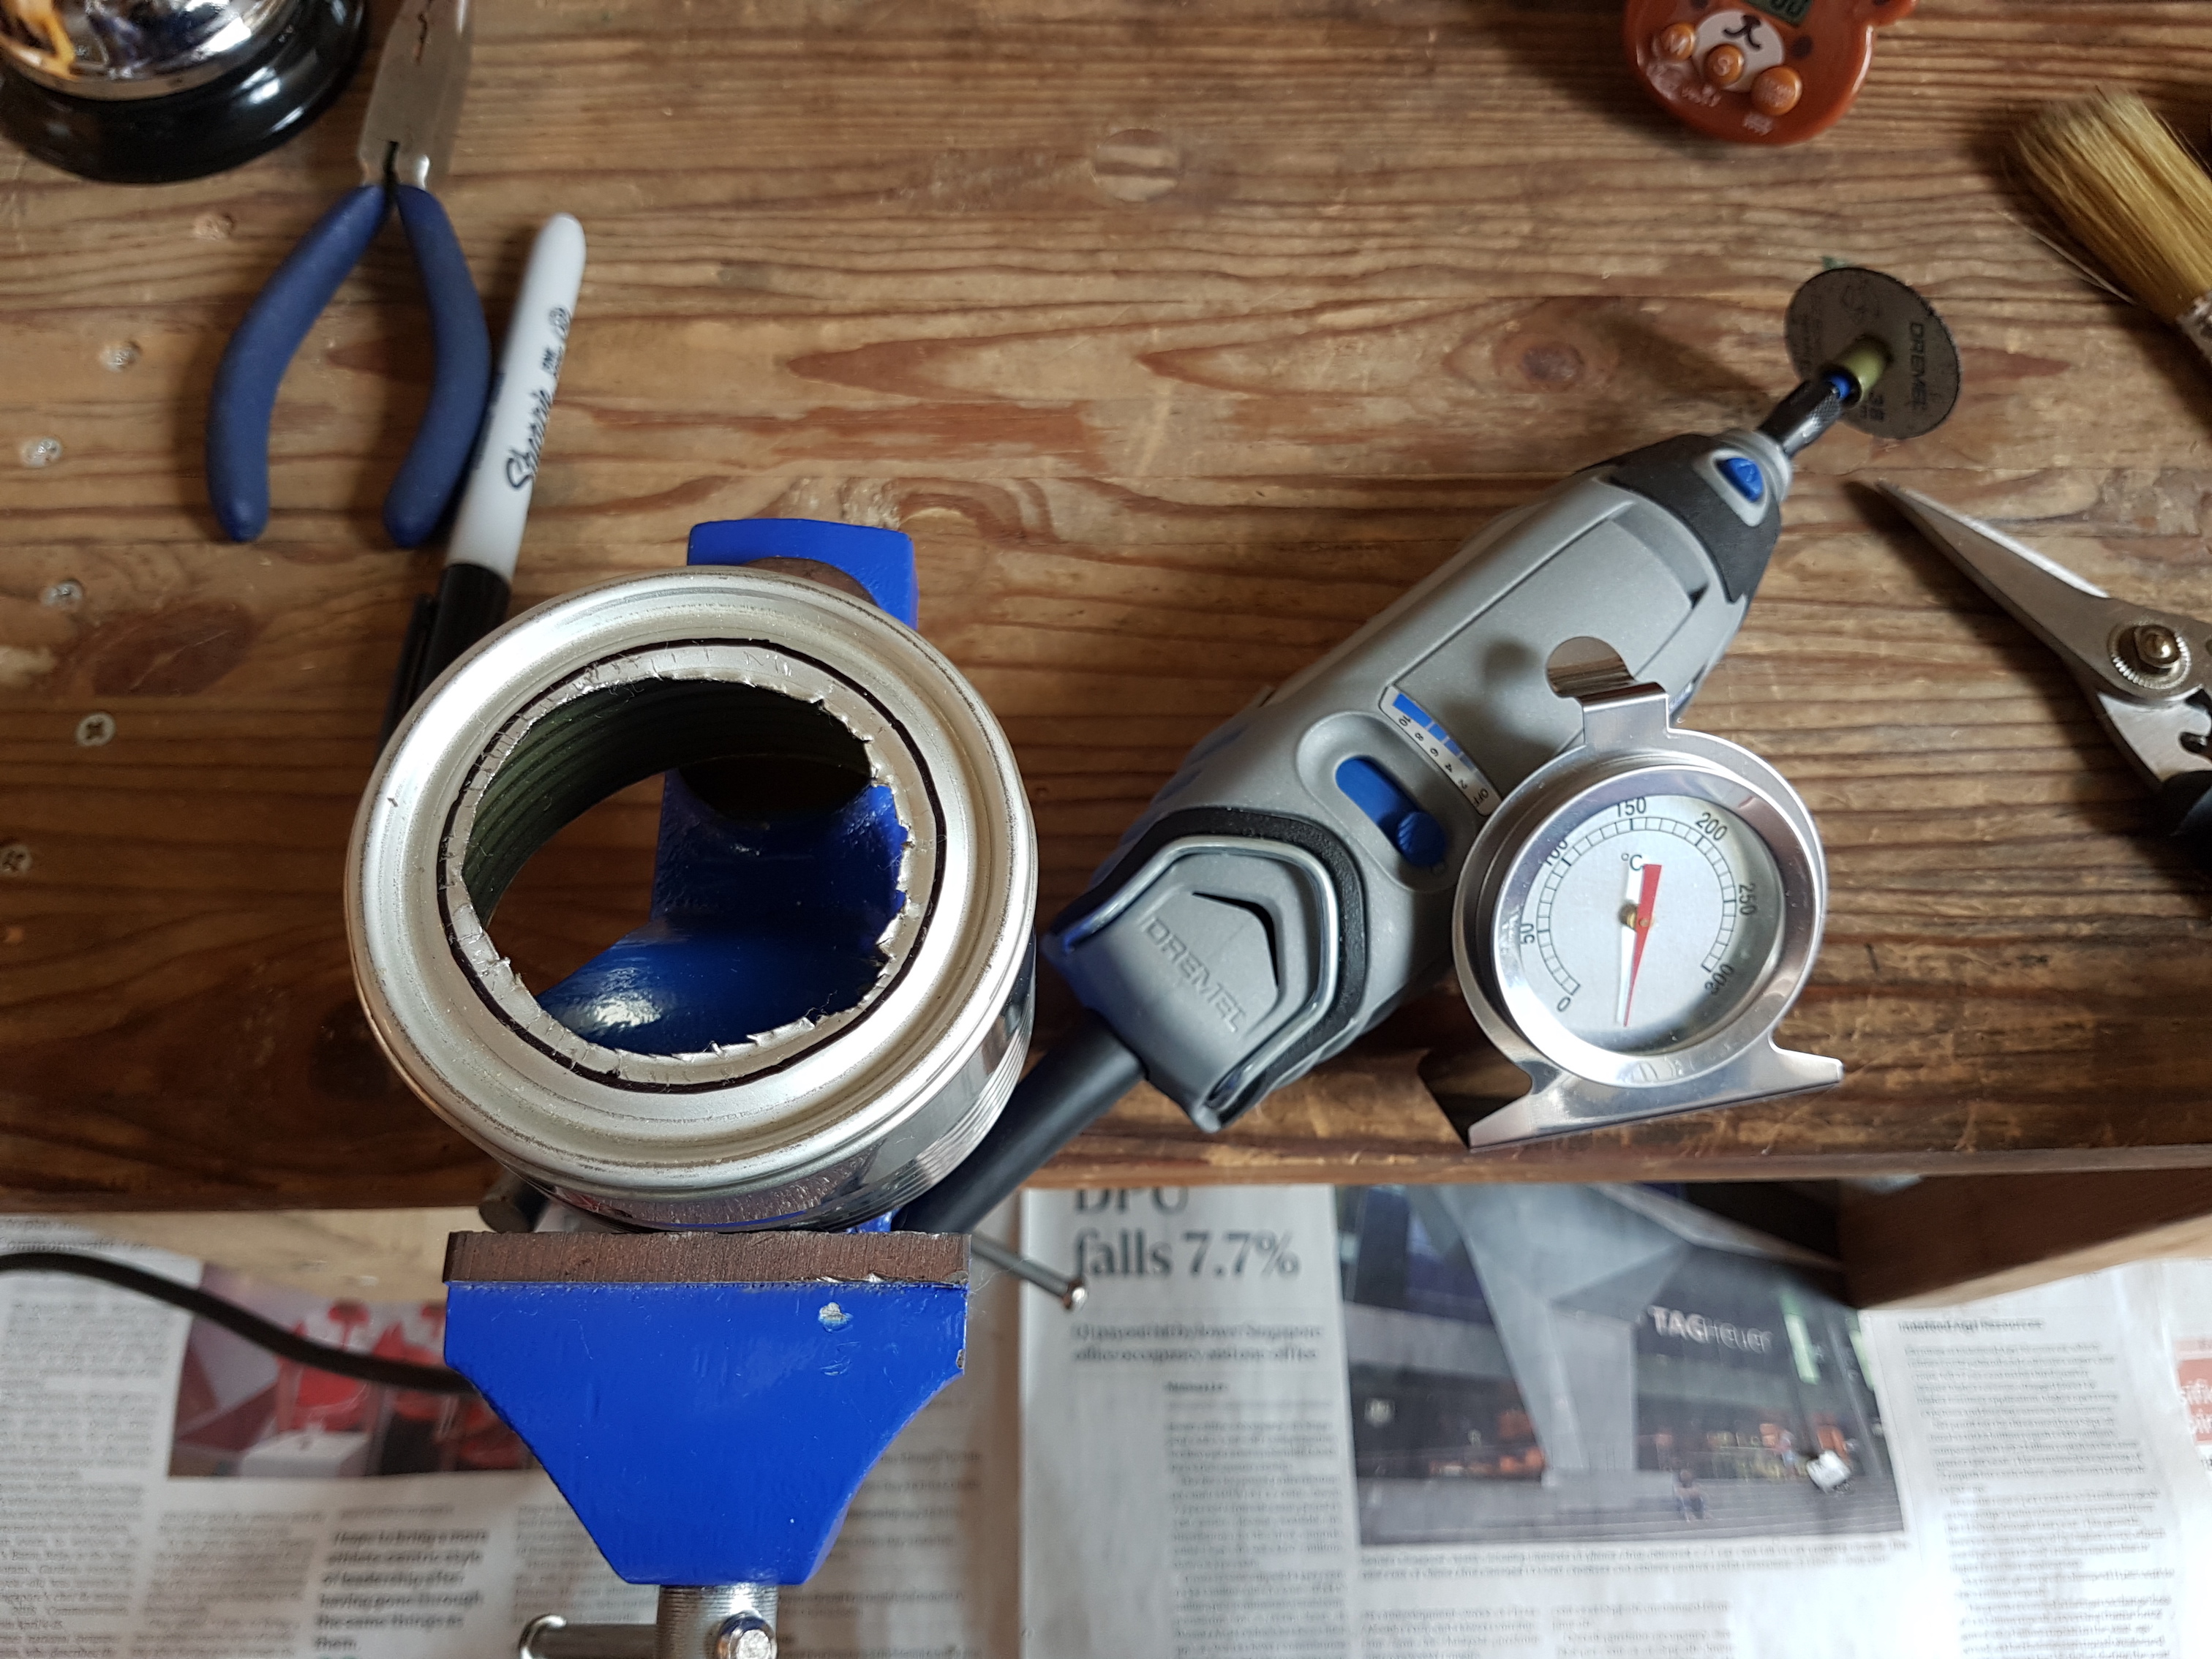
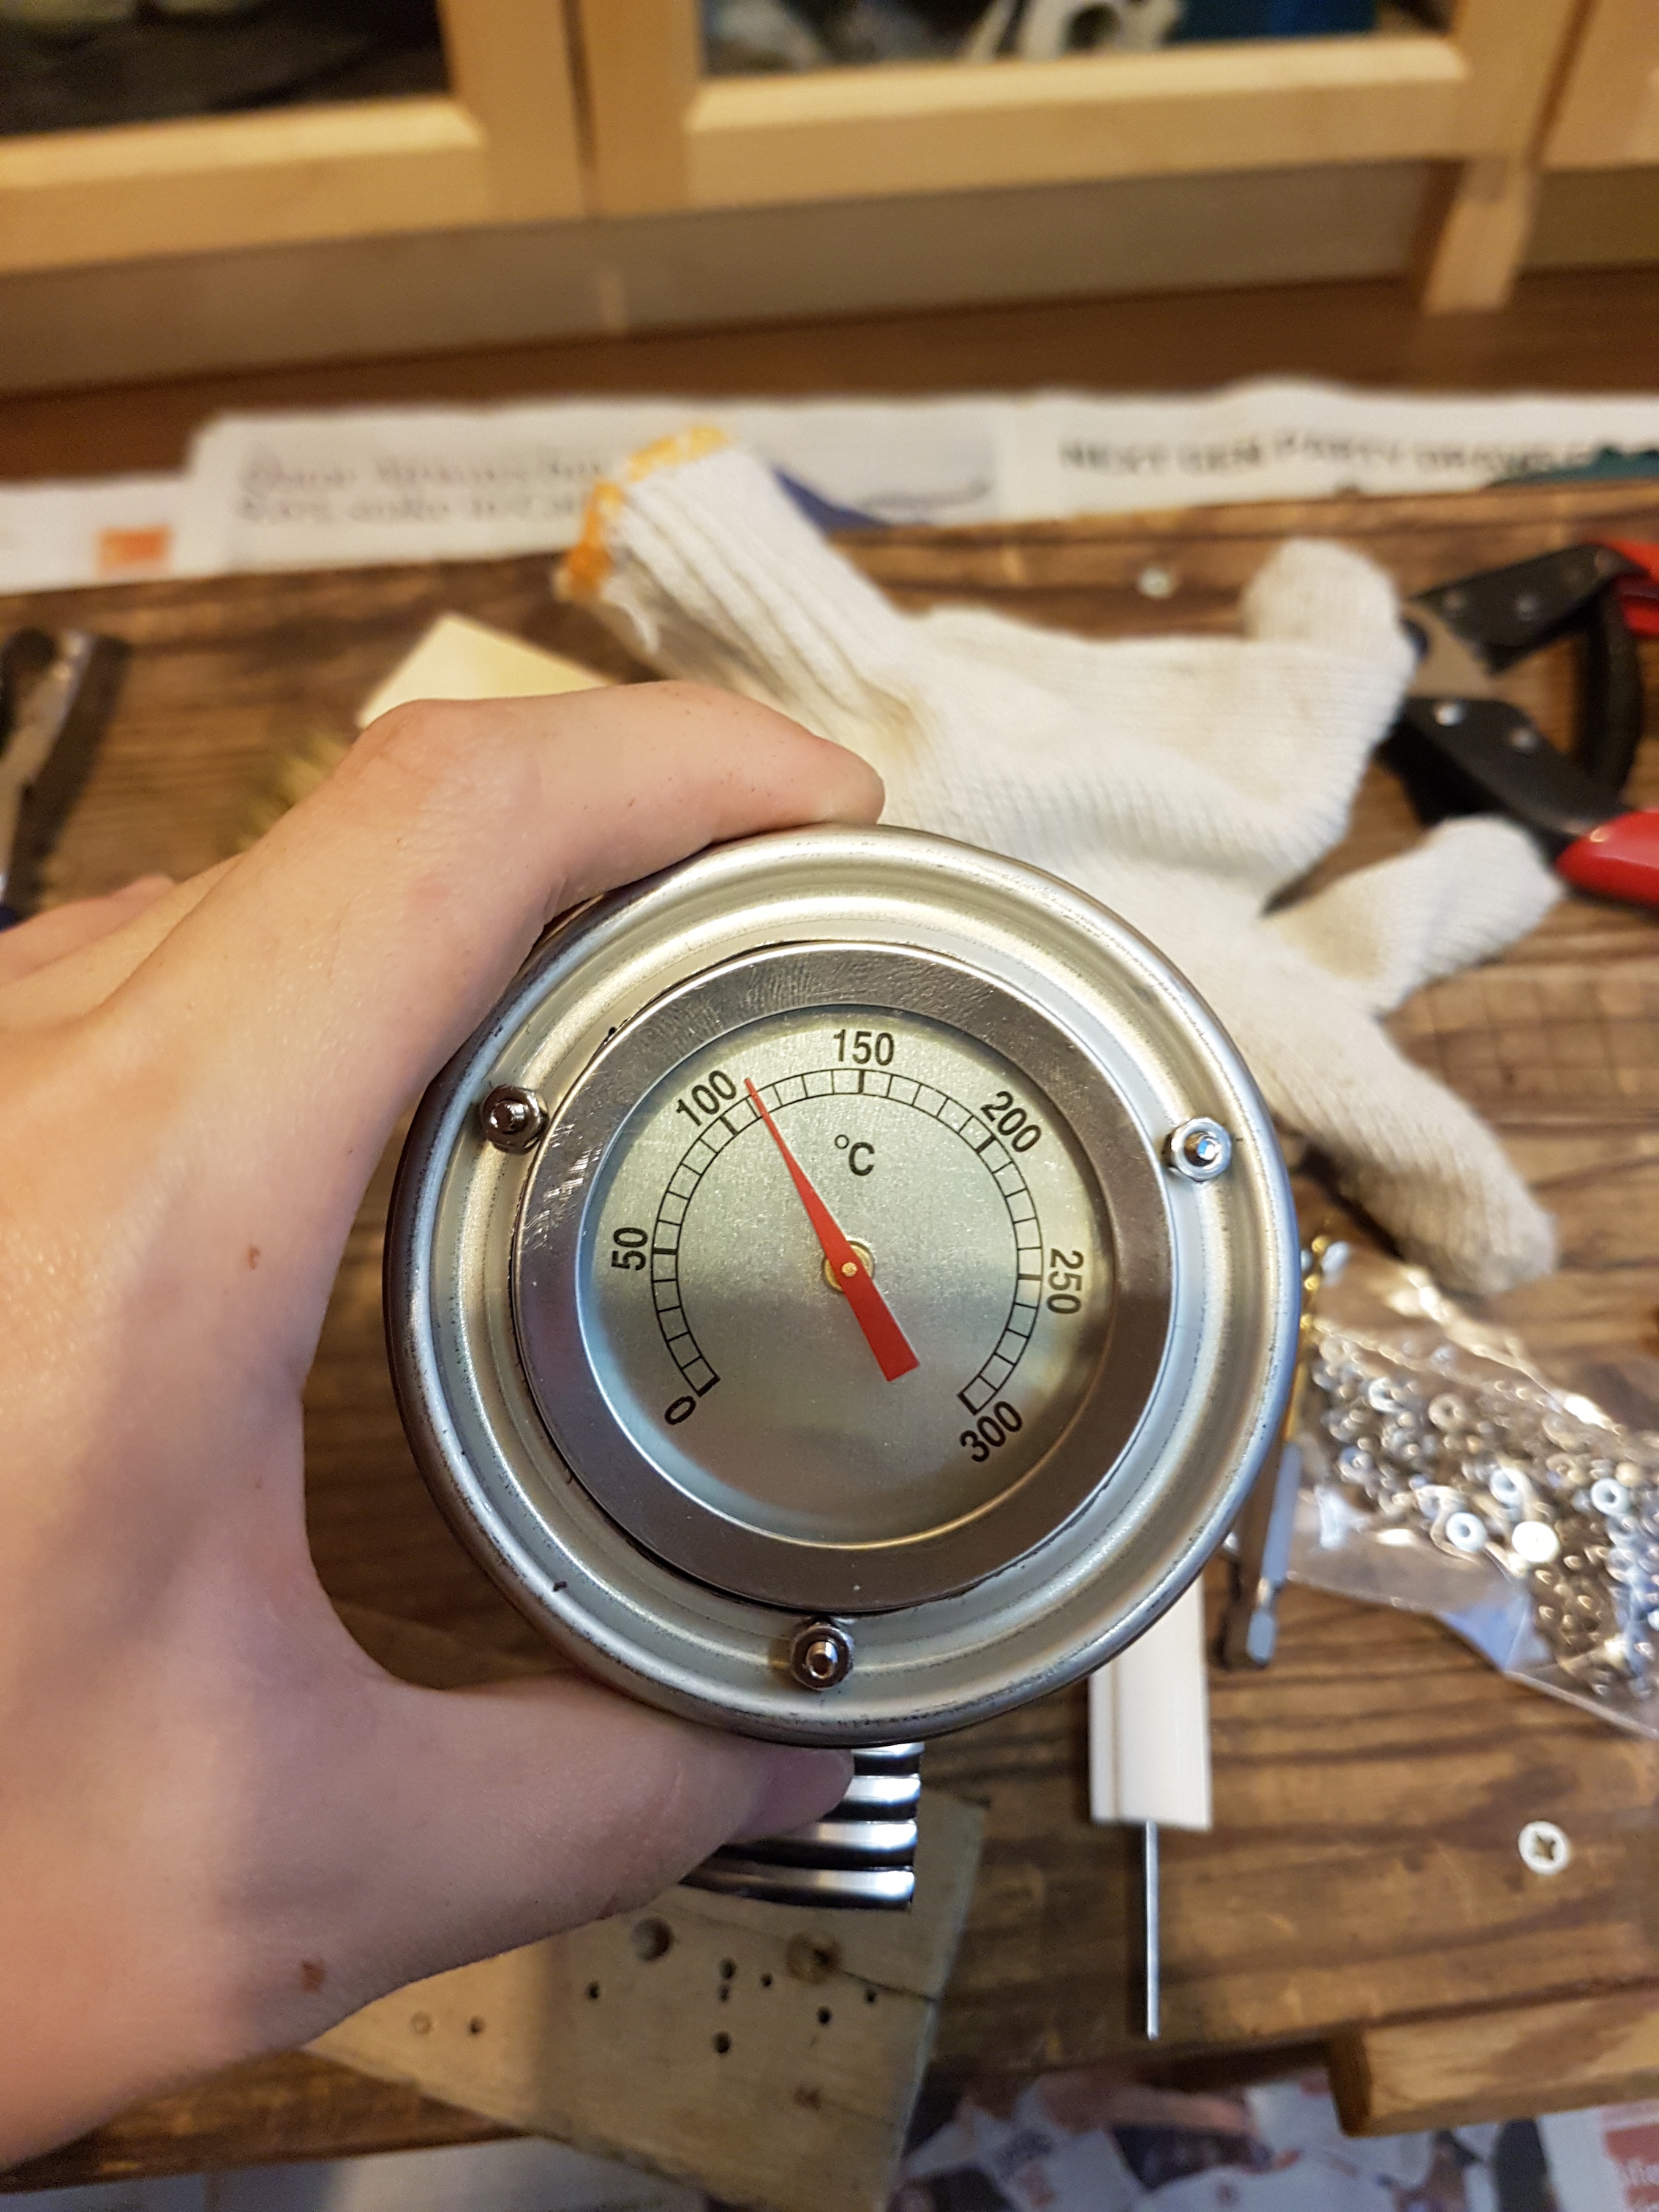
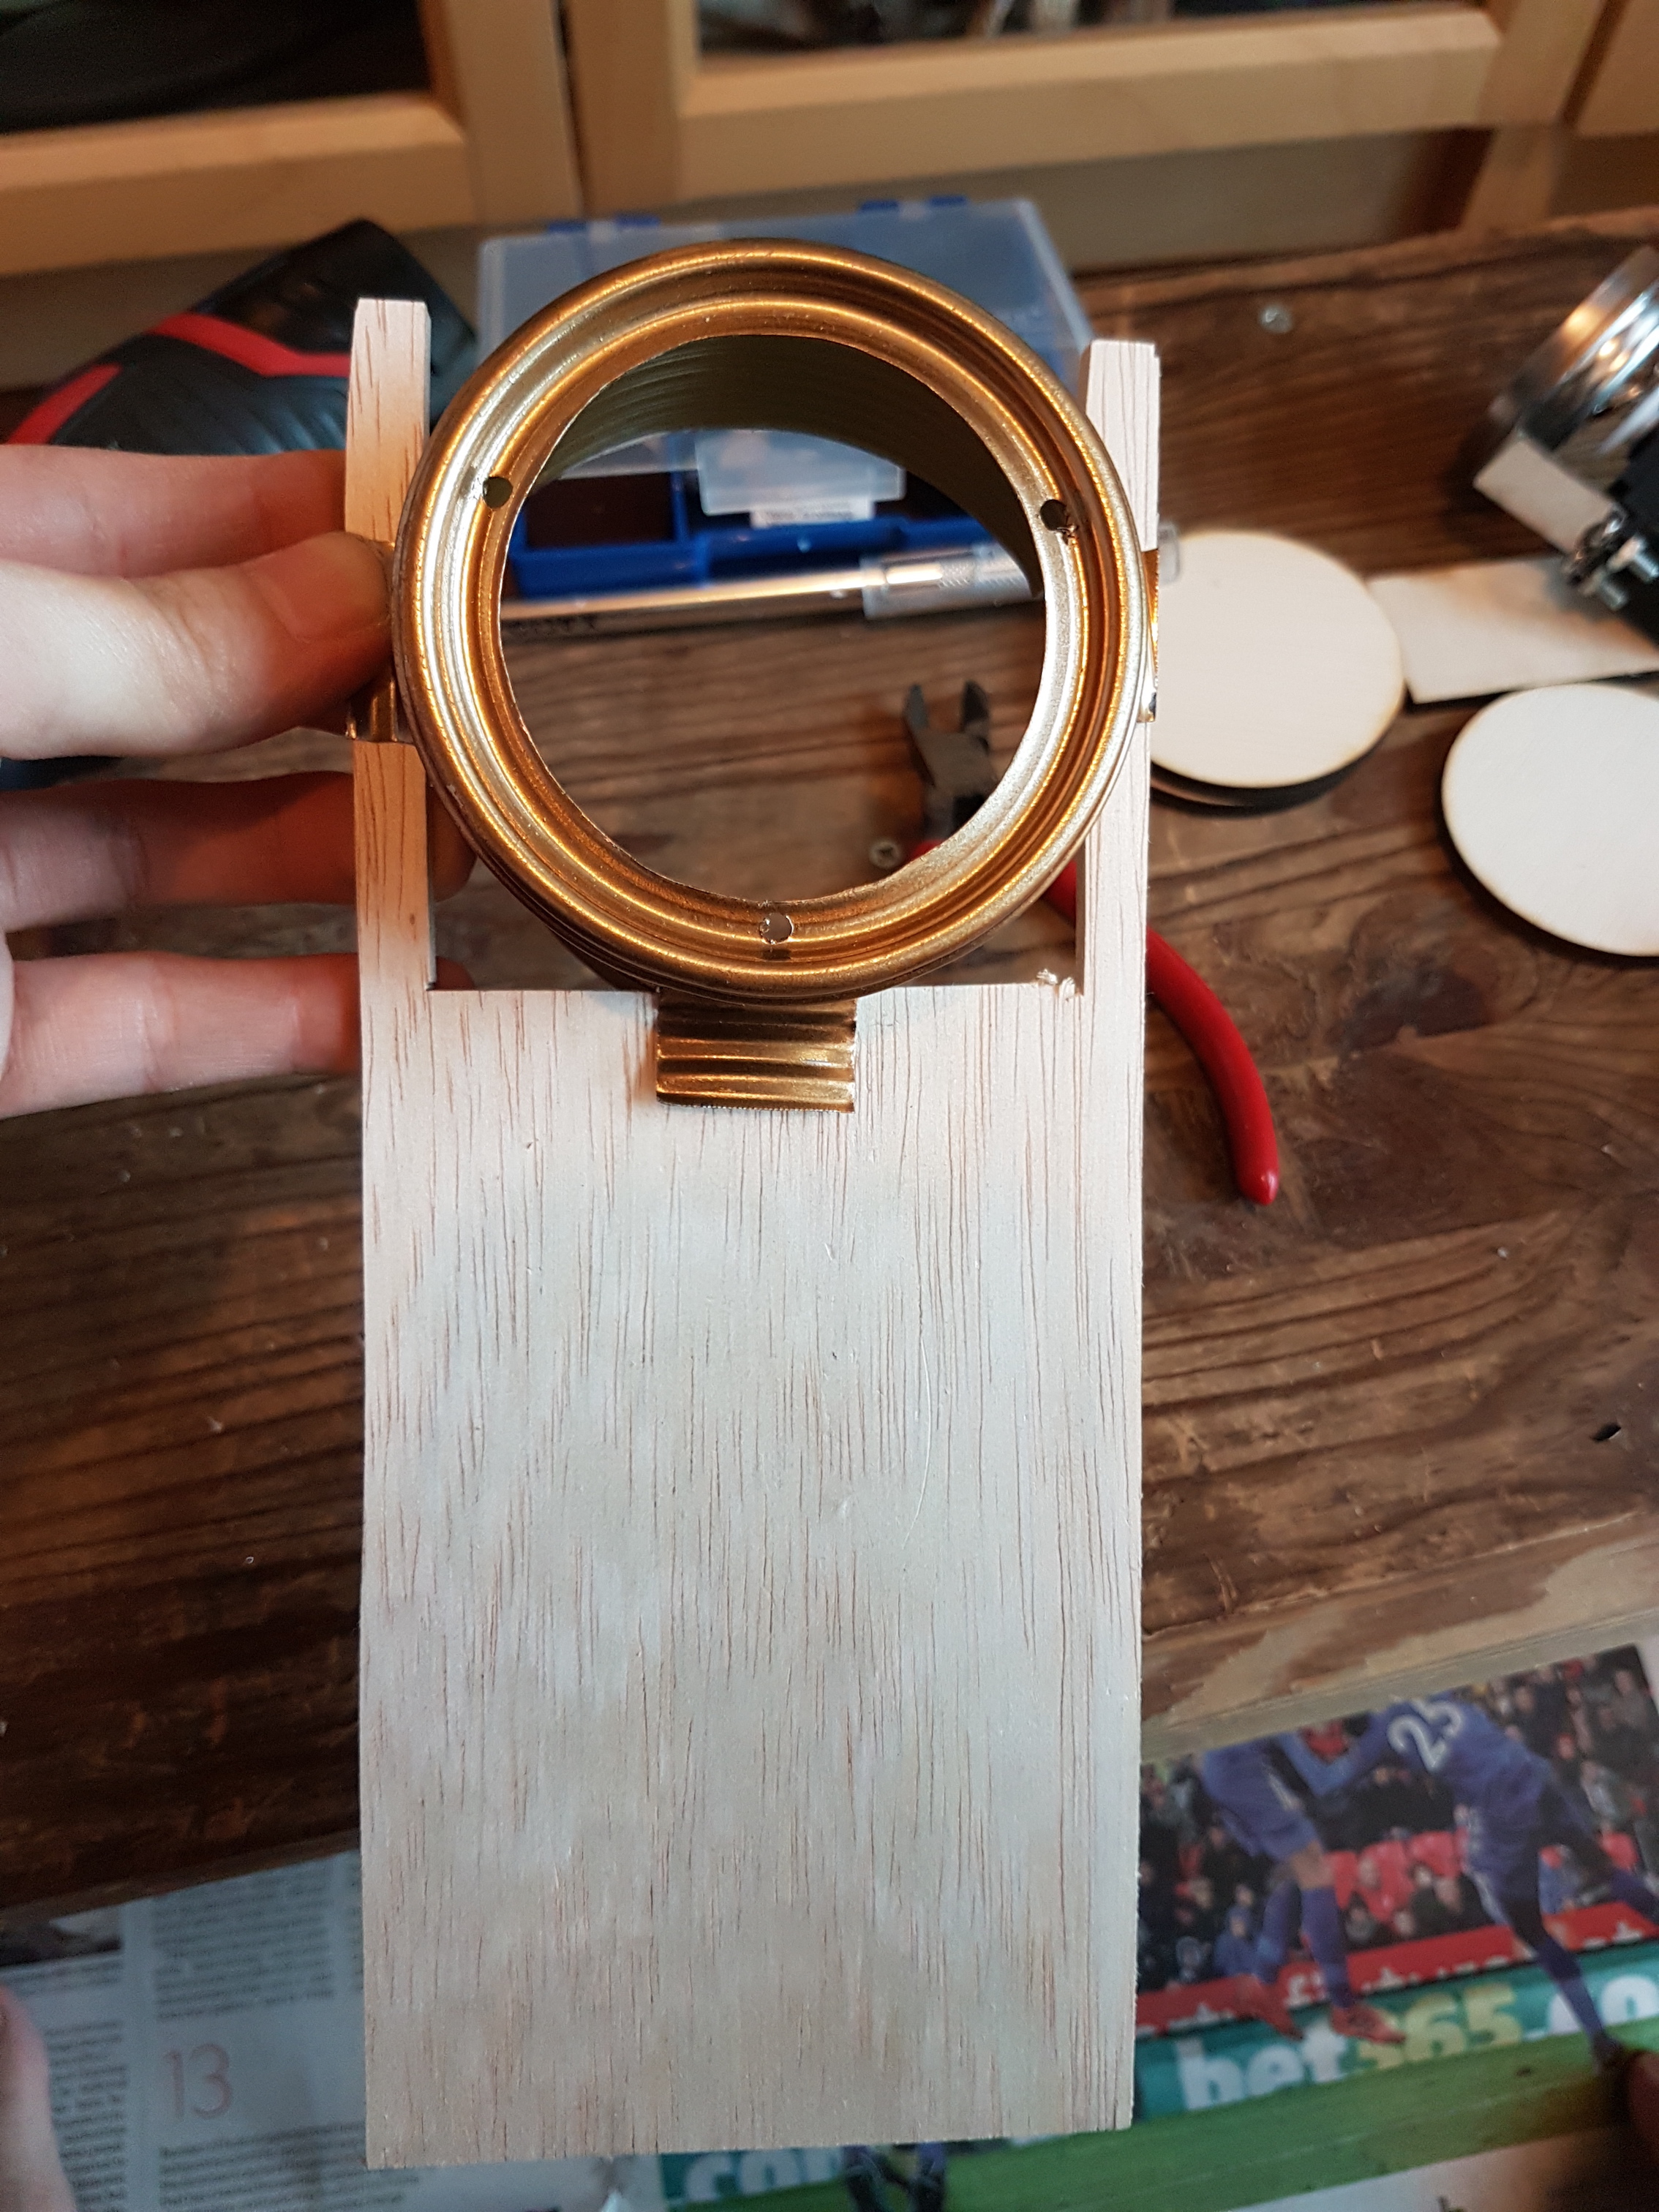
The motor is attached to a metal coil which is attached to the meter needle.
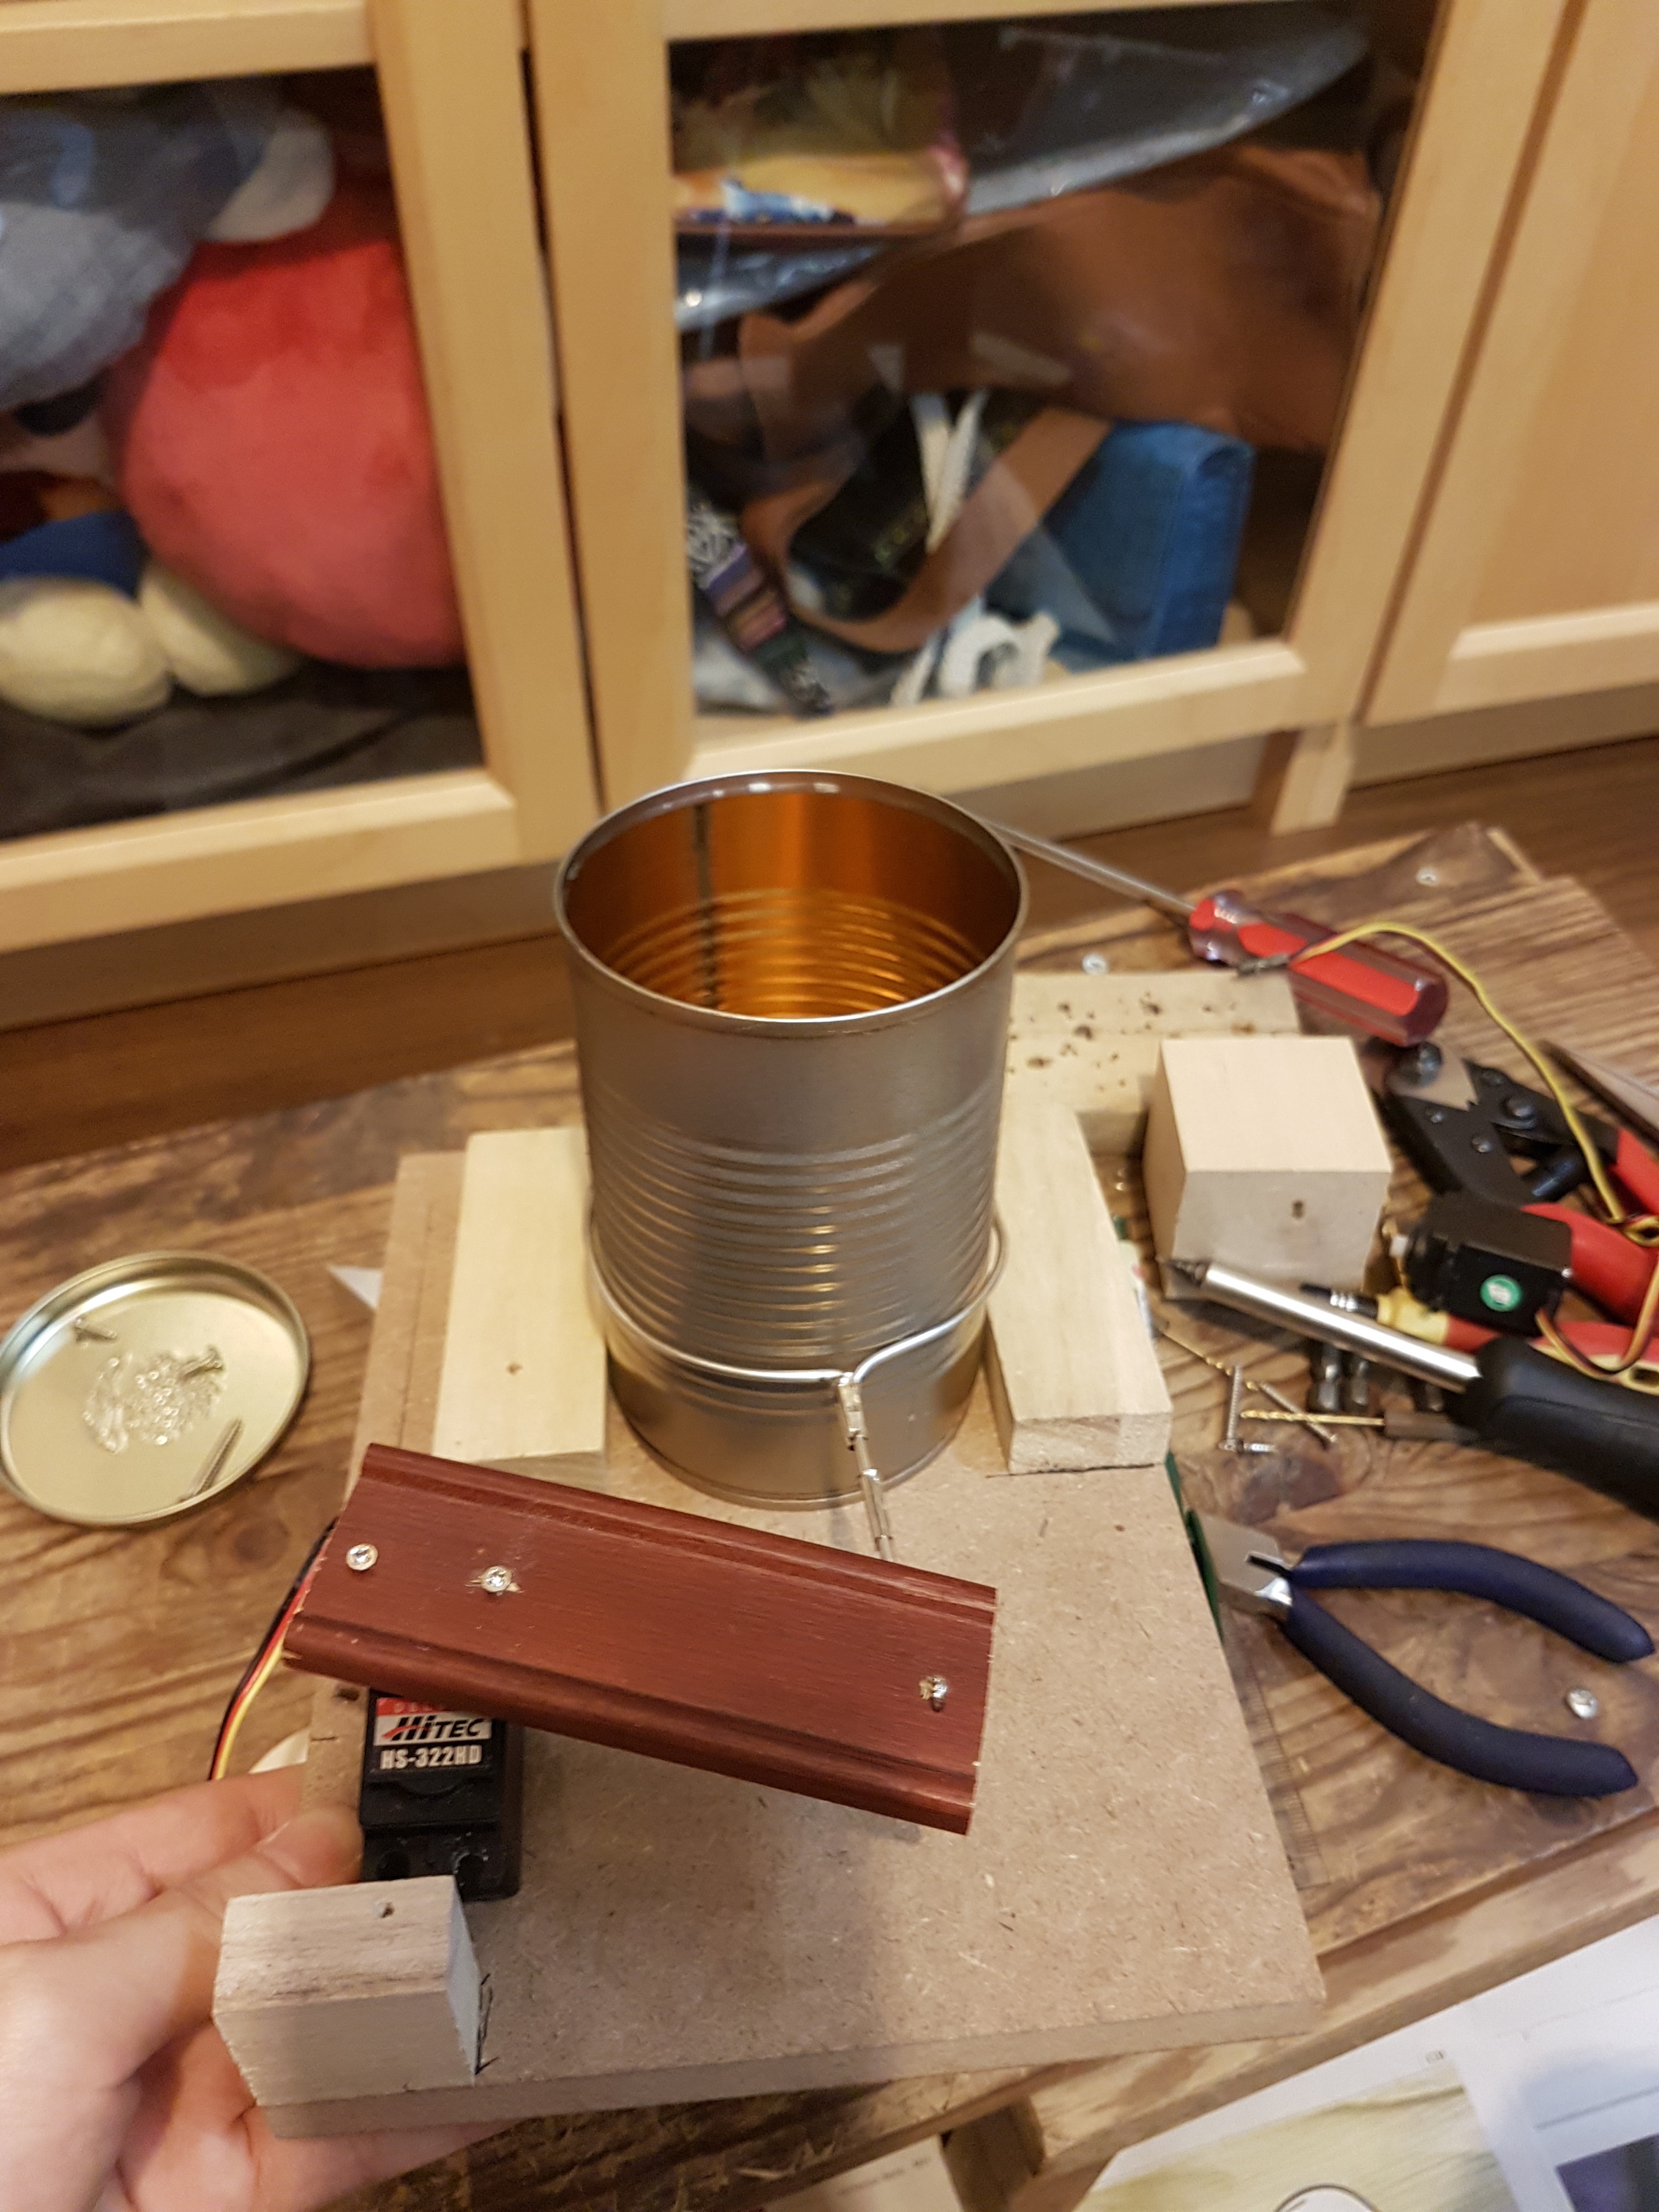
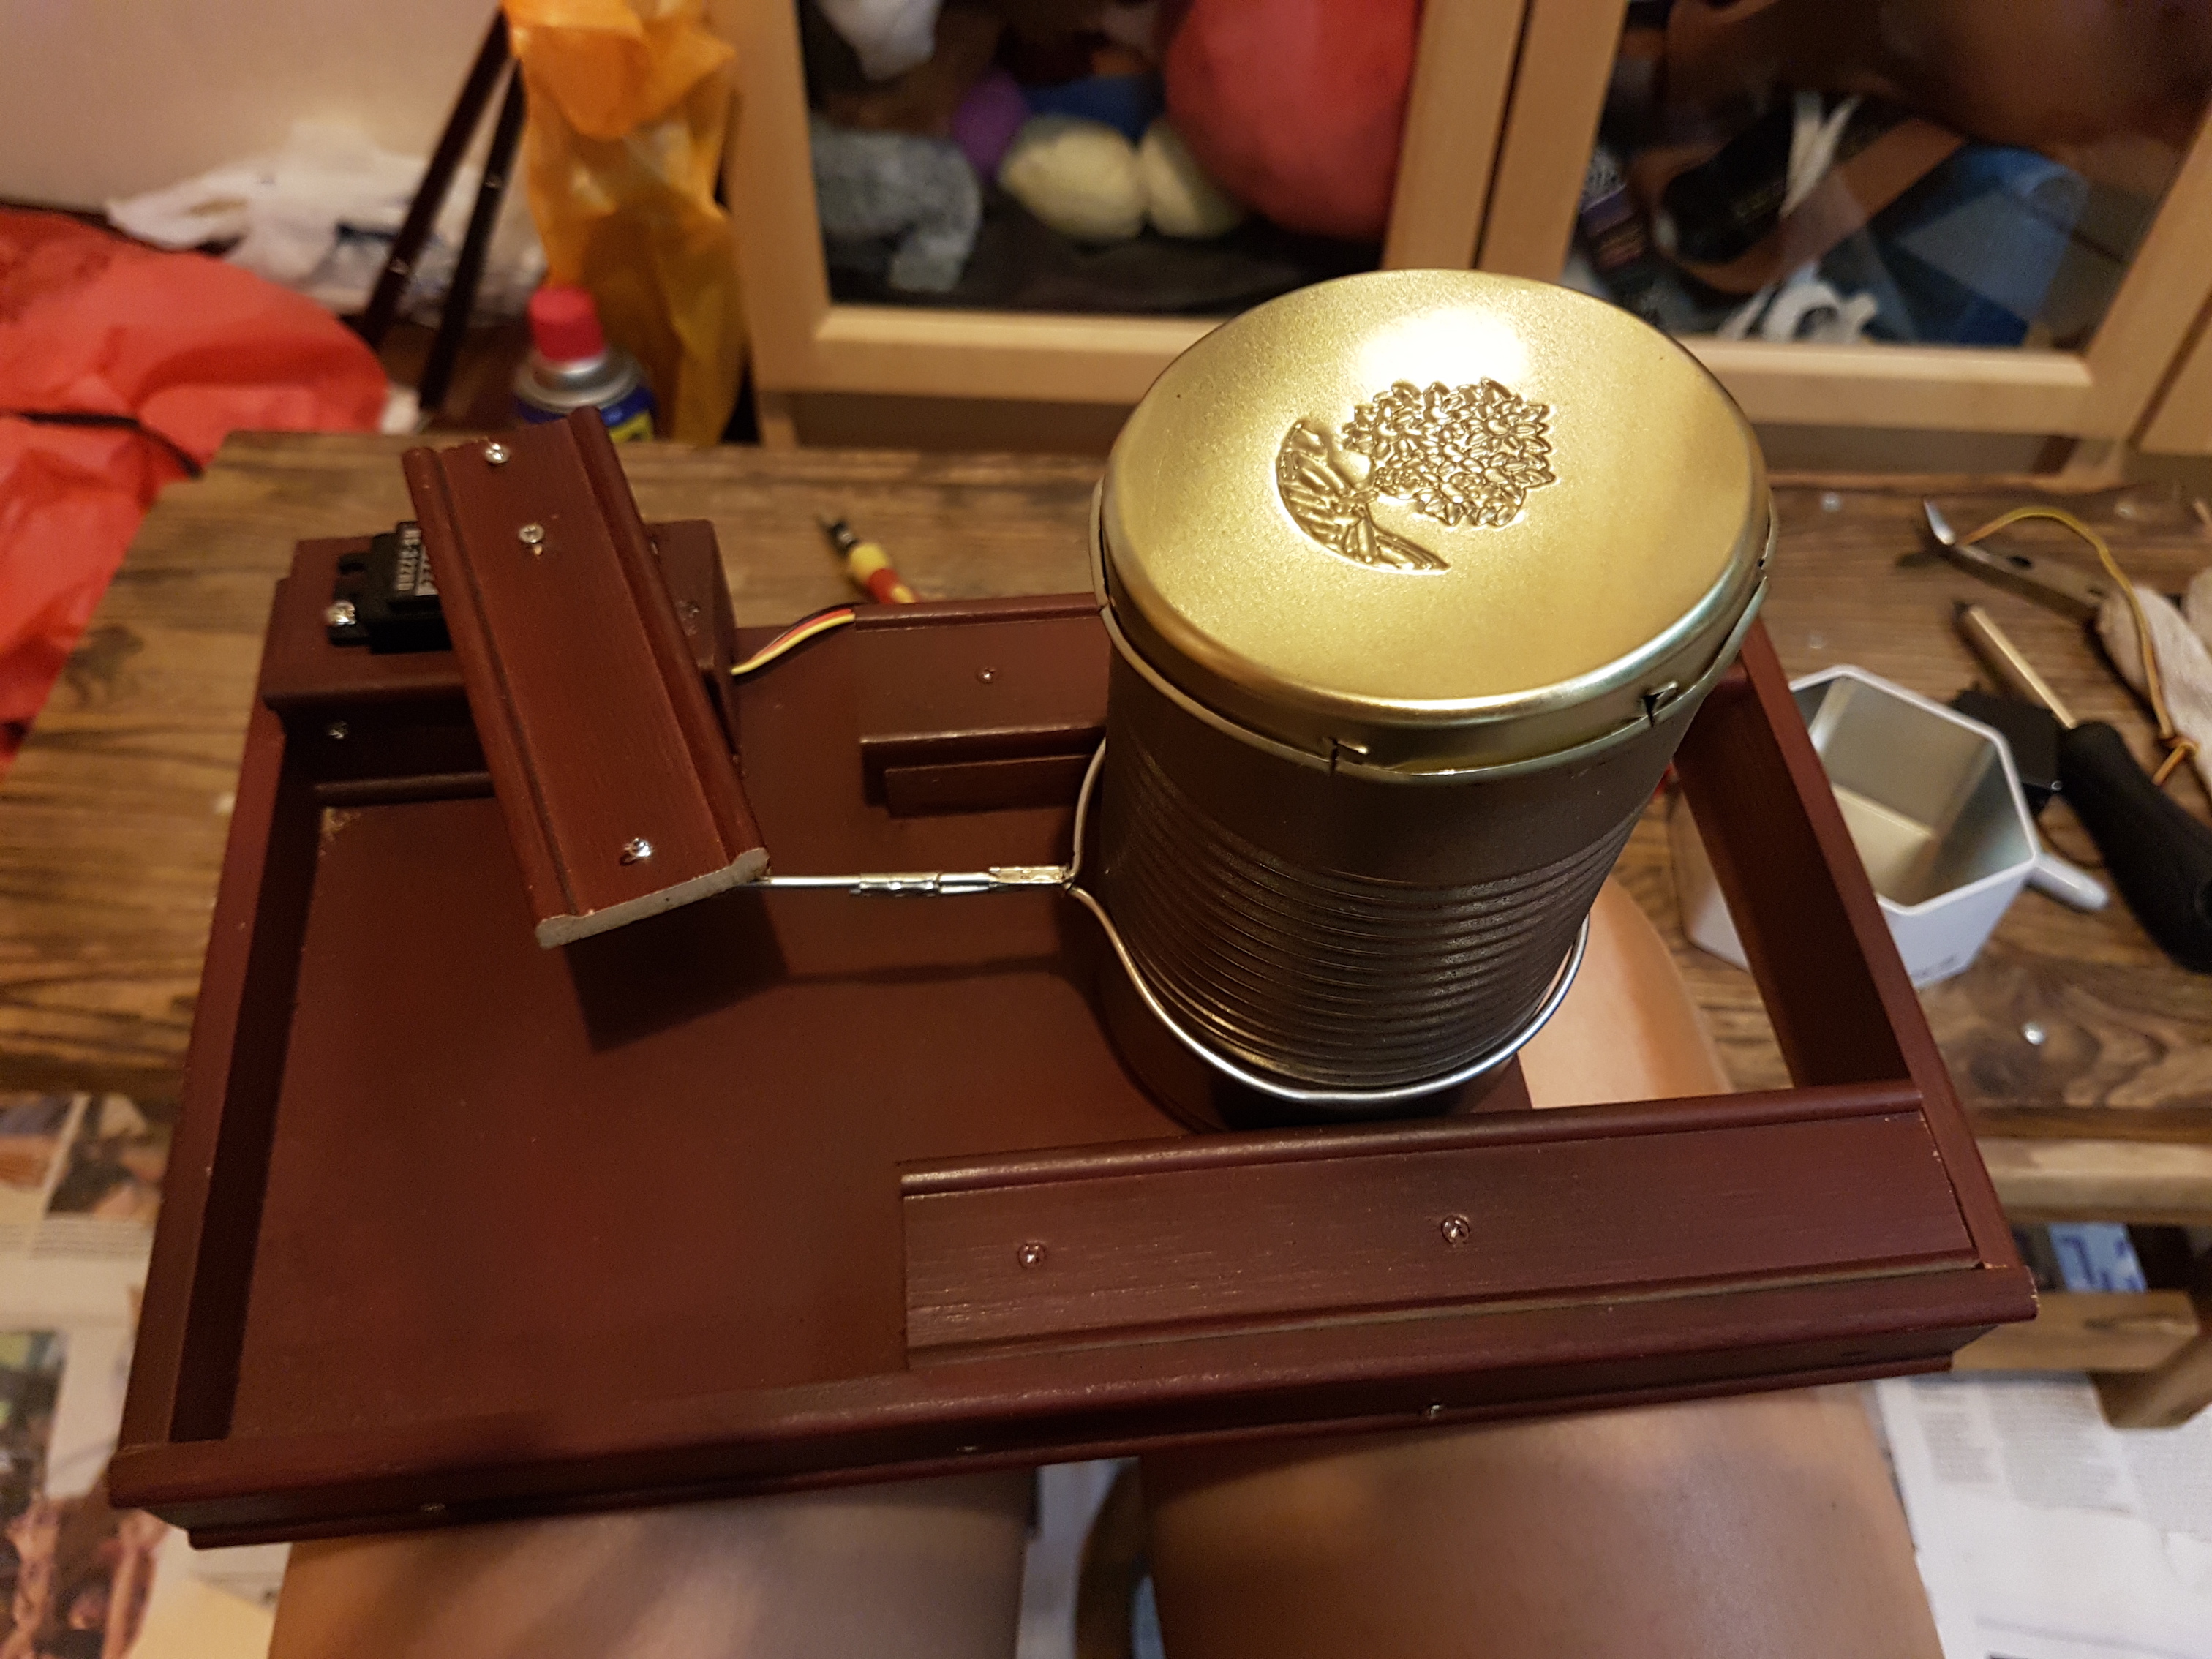
Mixer

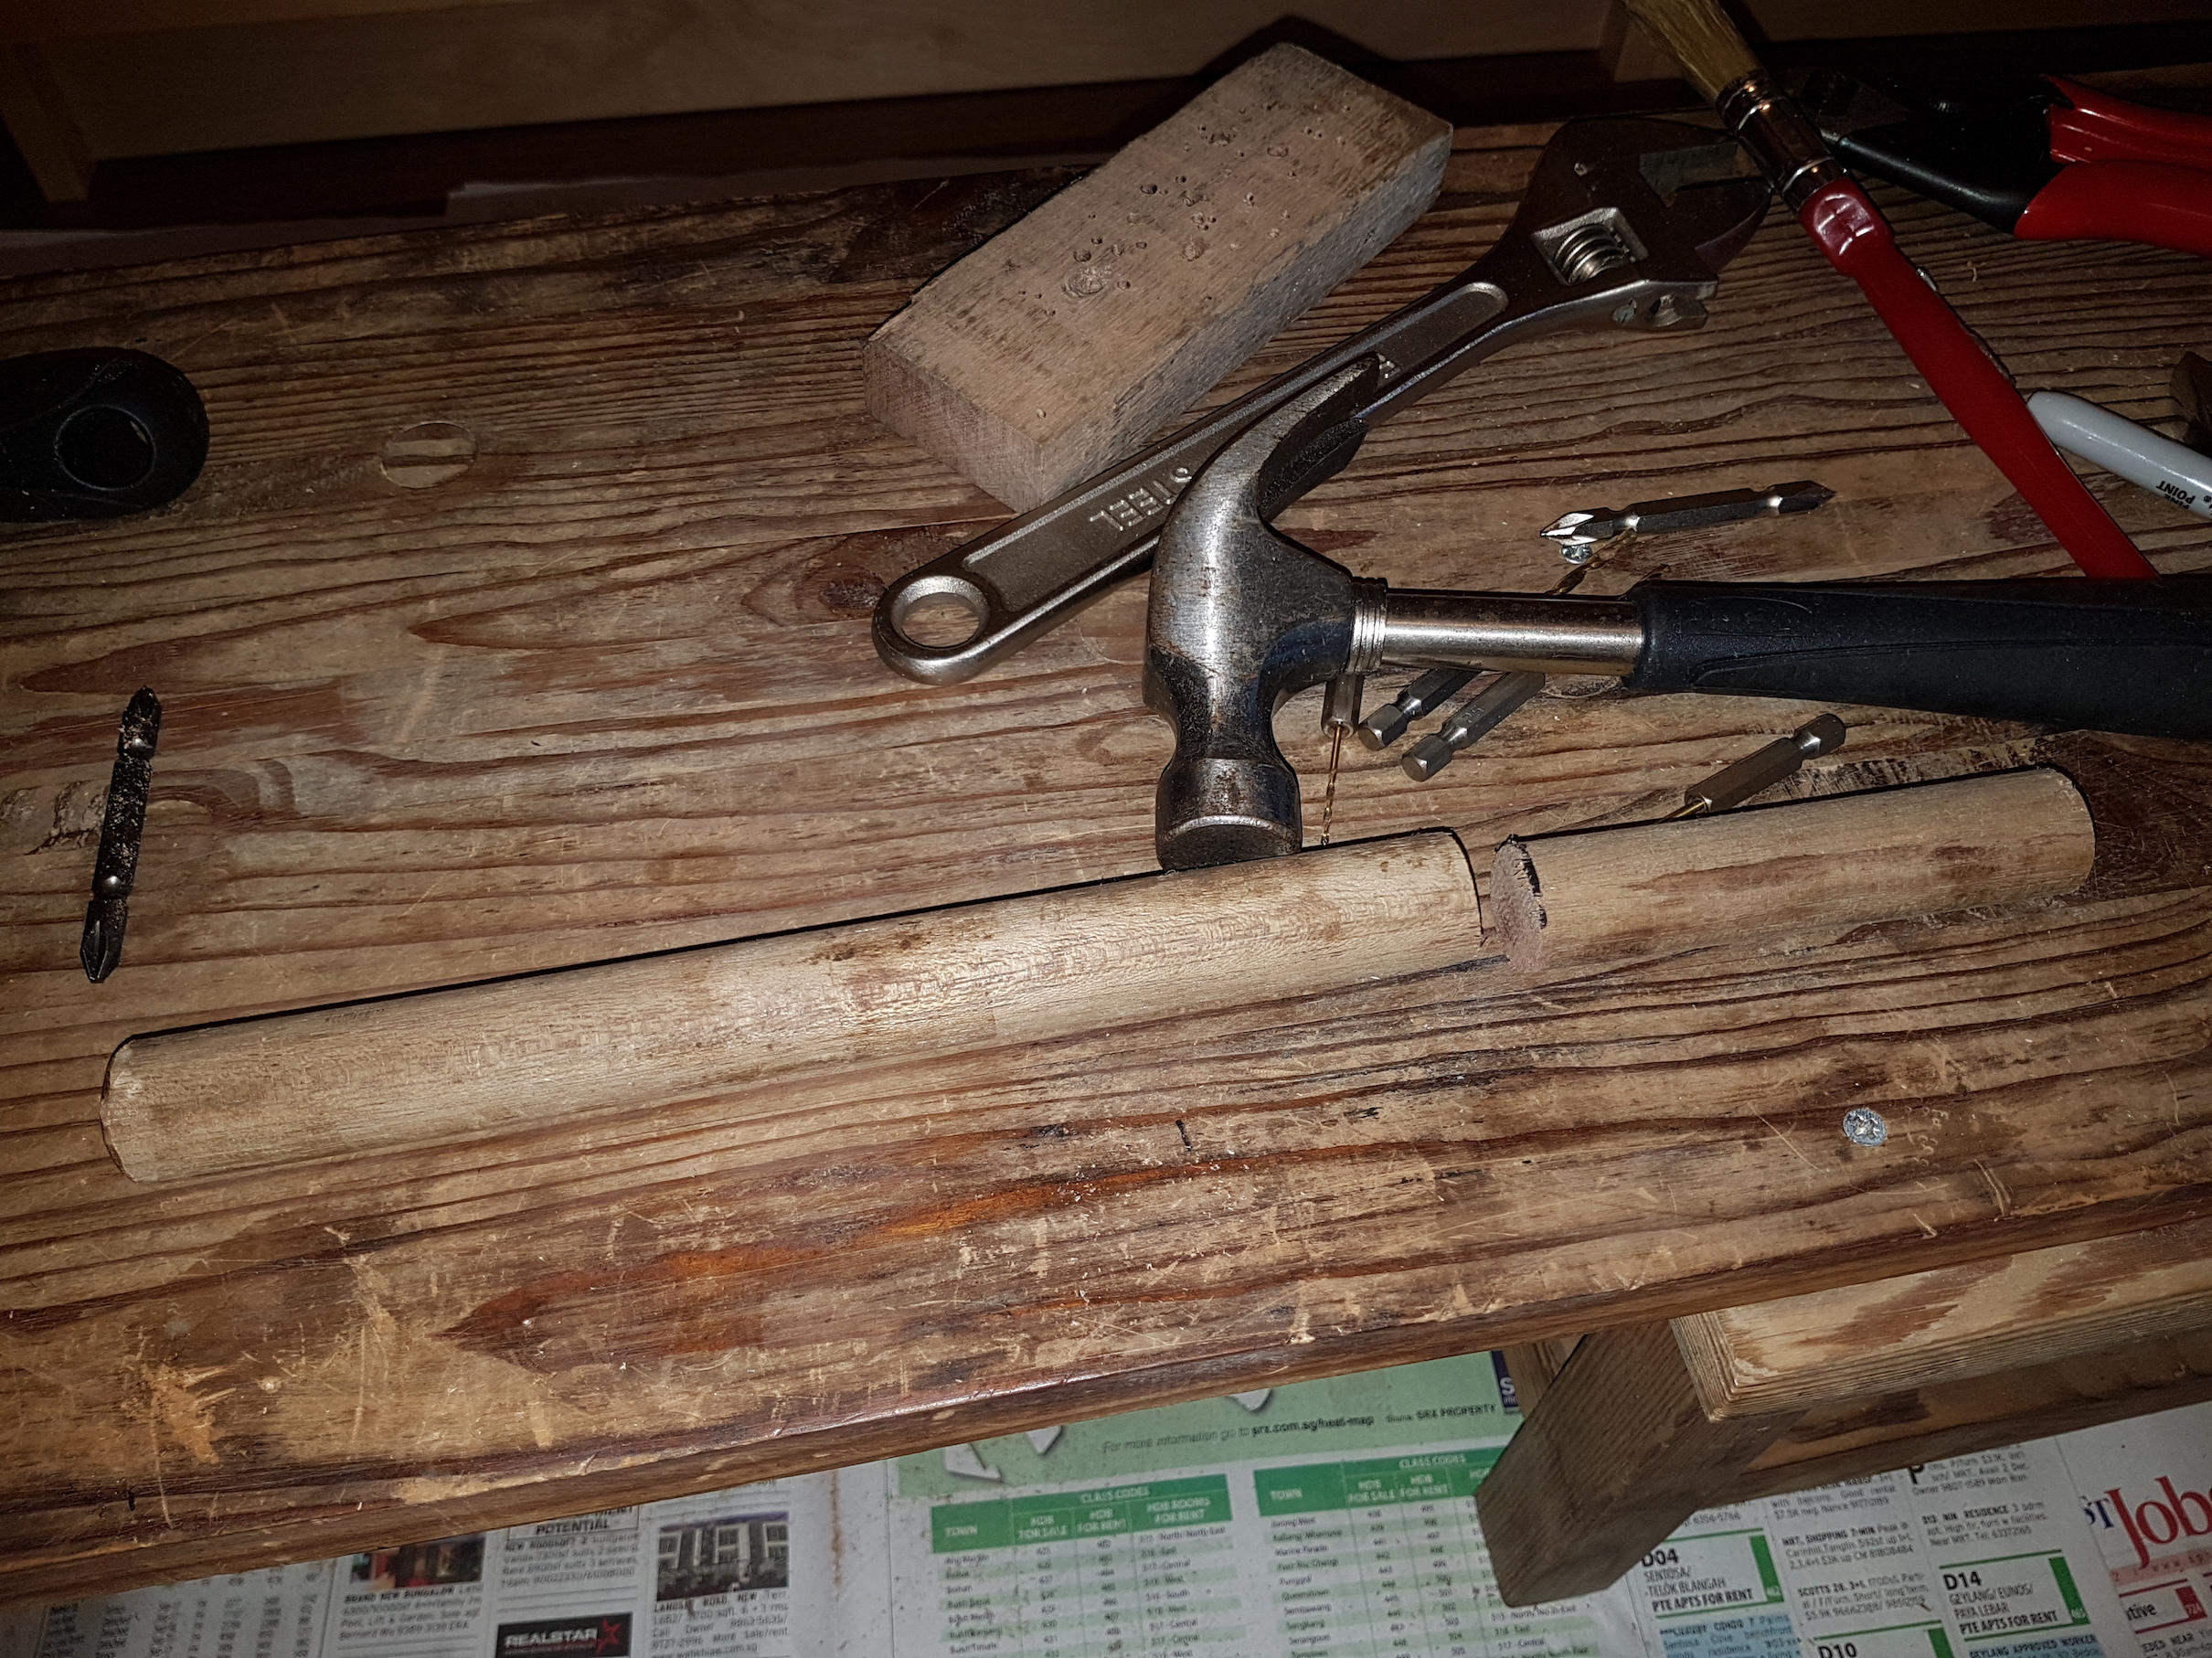
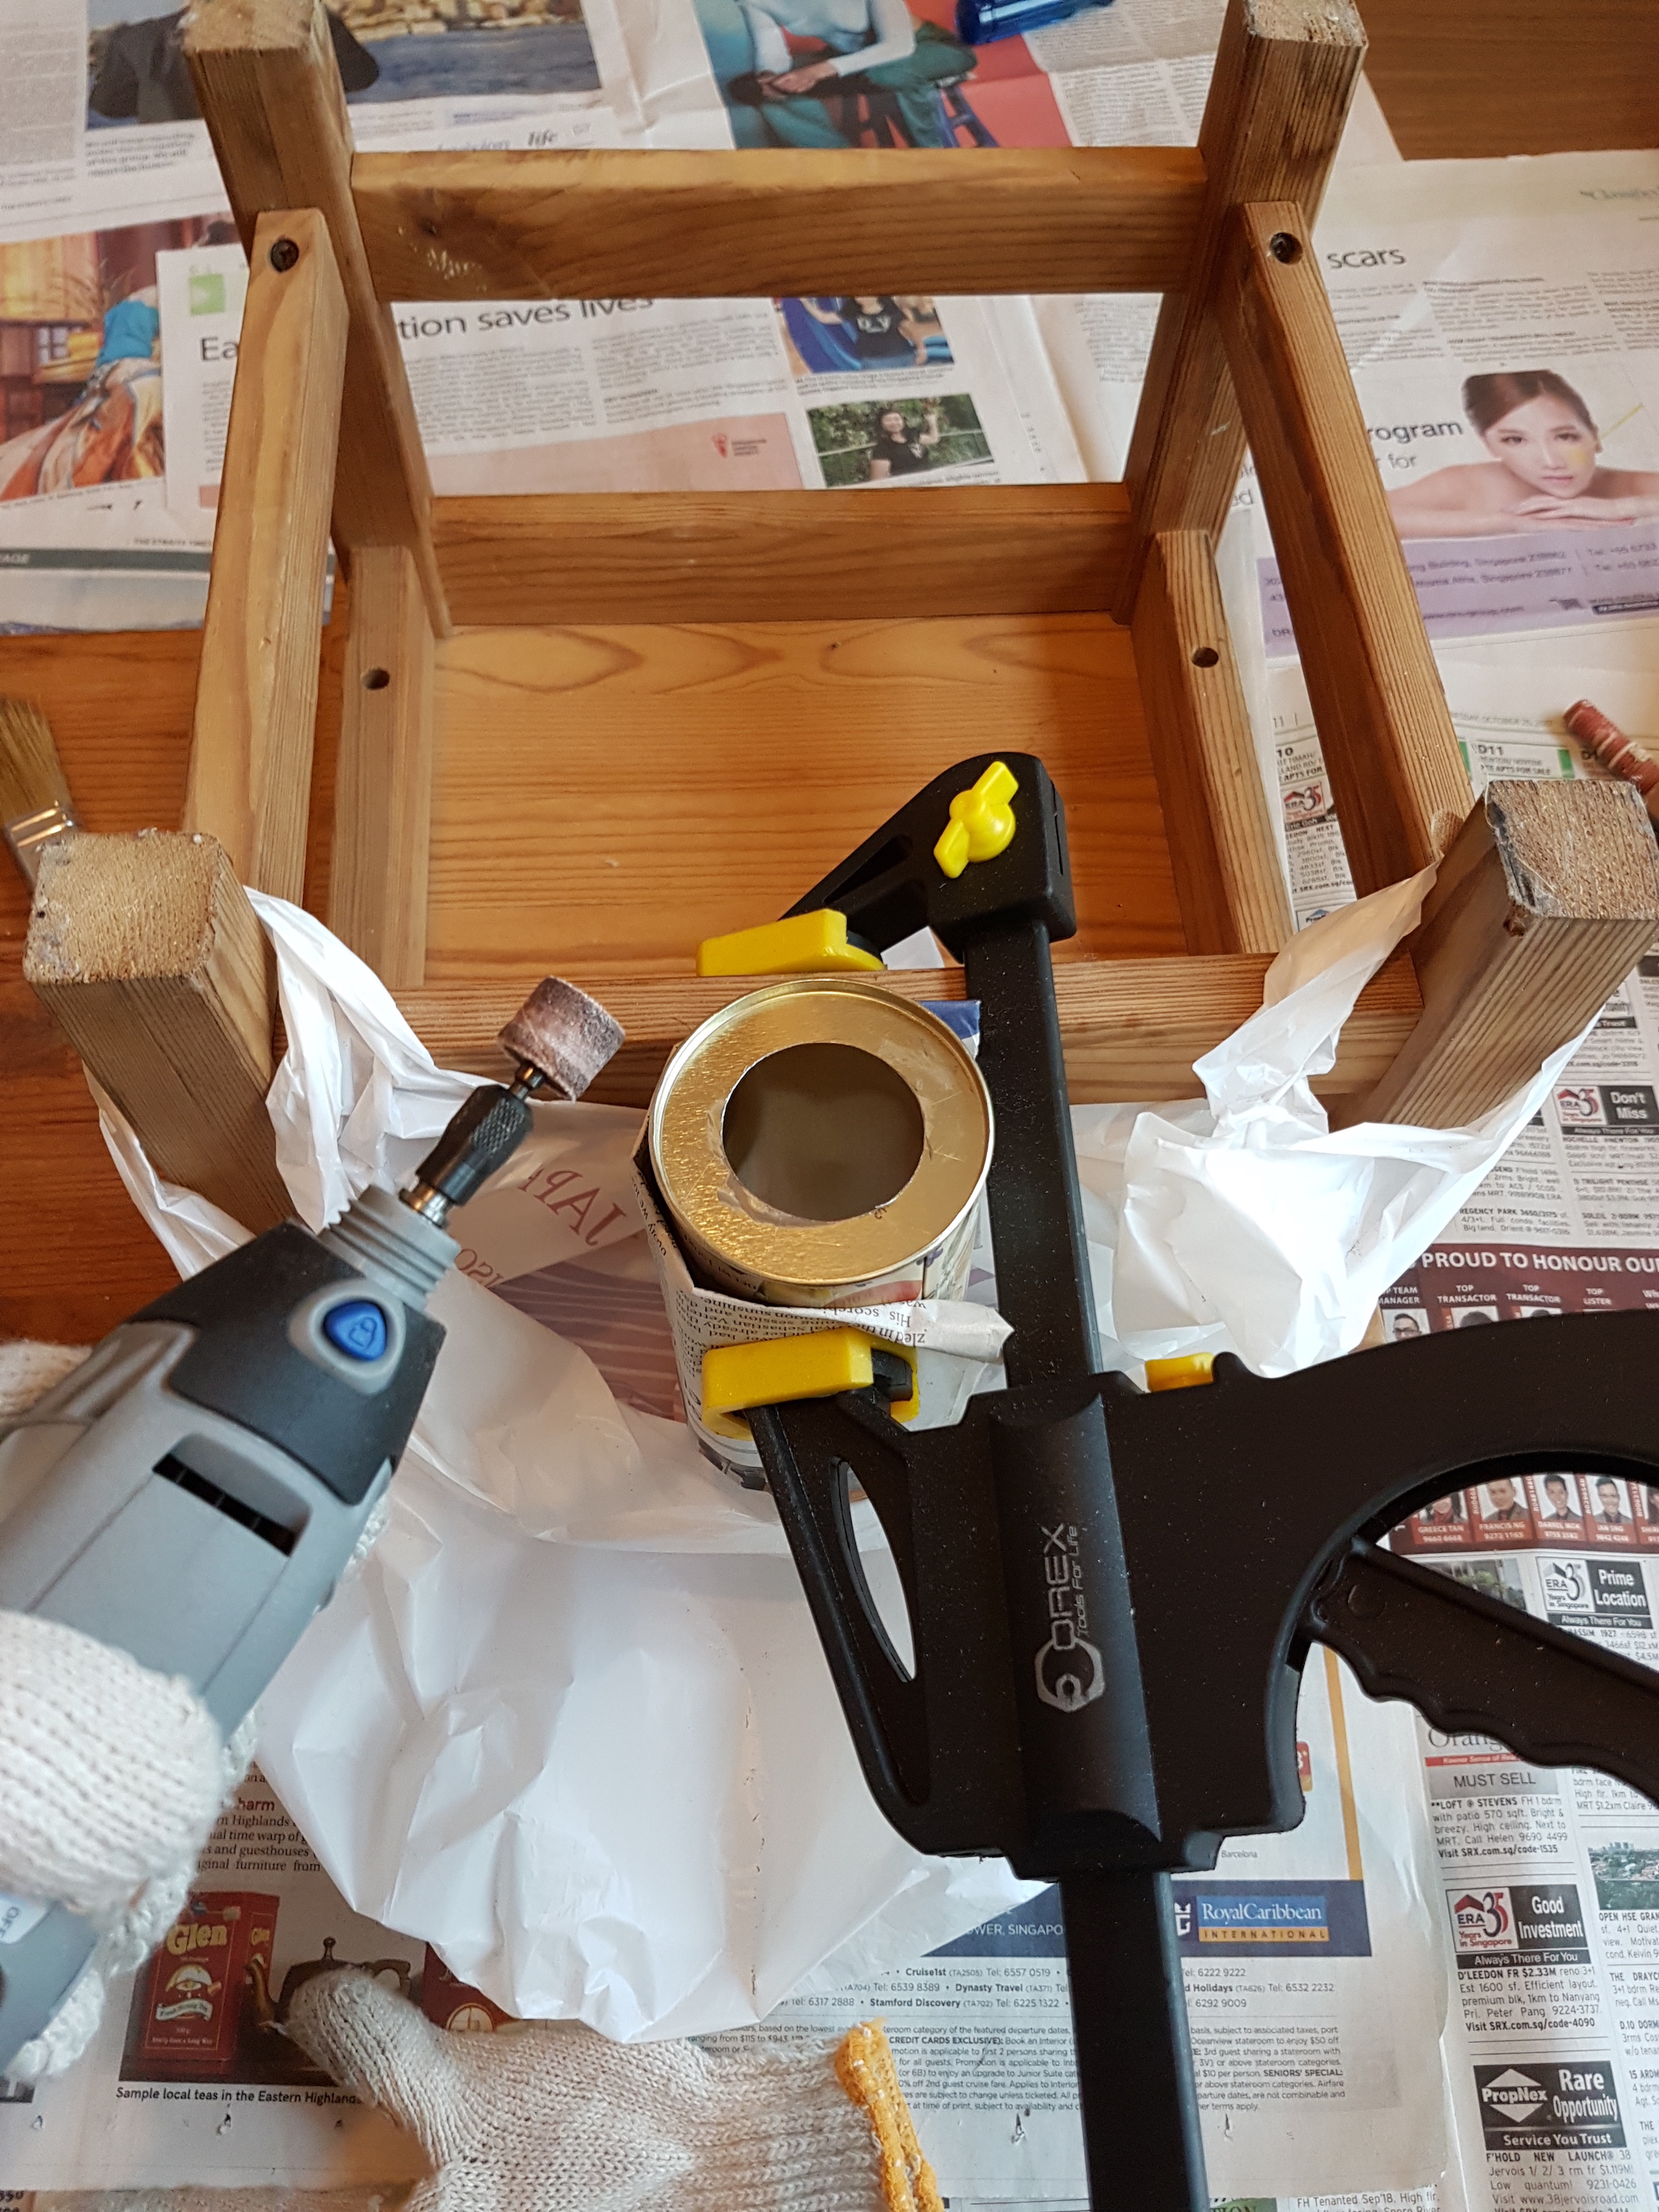
The mixer followed the same design as the preliminary prototype. I added a wooden skirting around to conceal the motor and guides. With a couple of marbles in a tomato can, the mixer module uses simple harmonic motion to generate the flowing and oscillating noise.
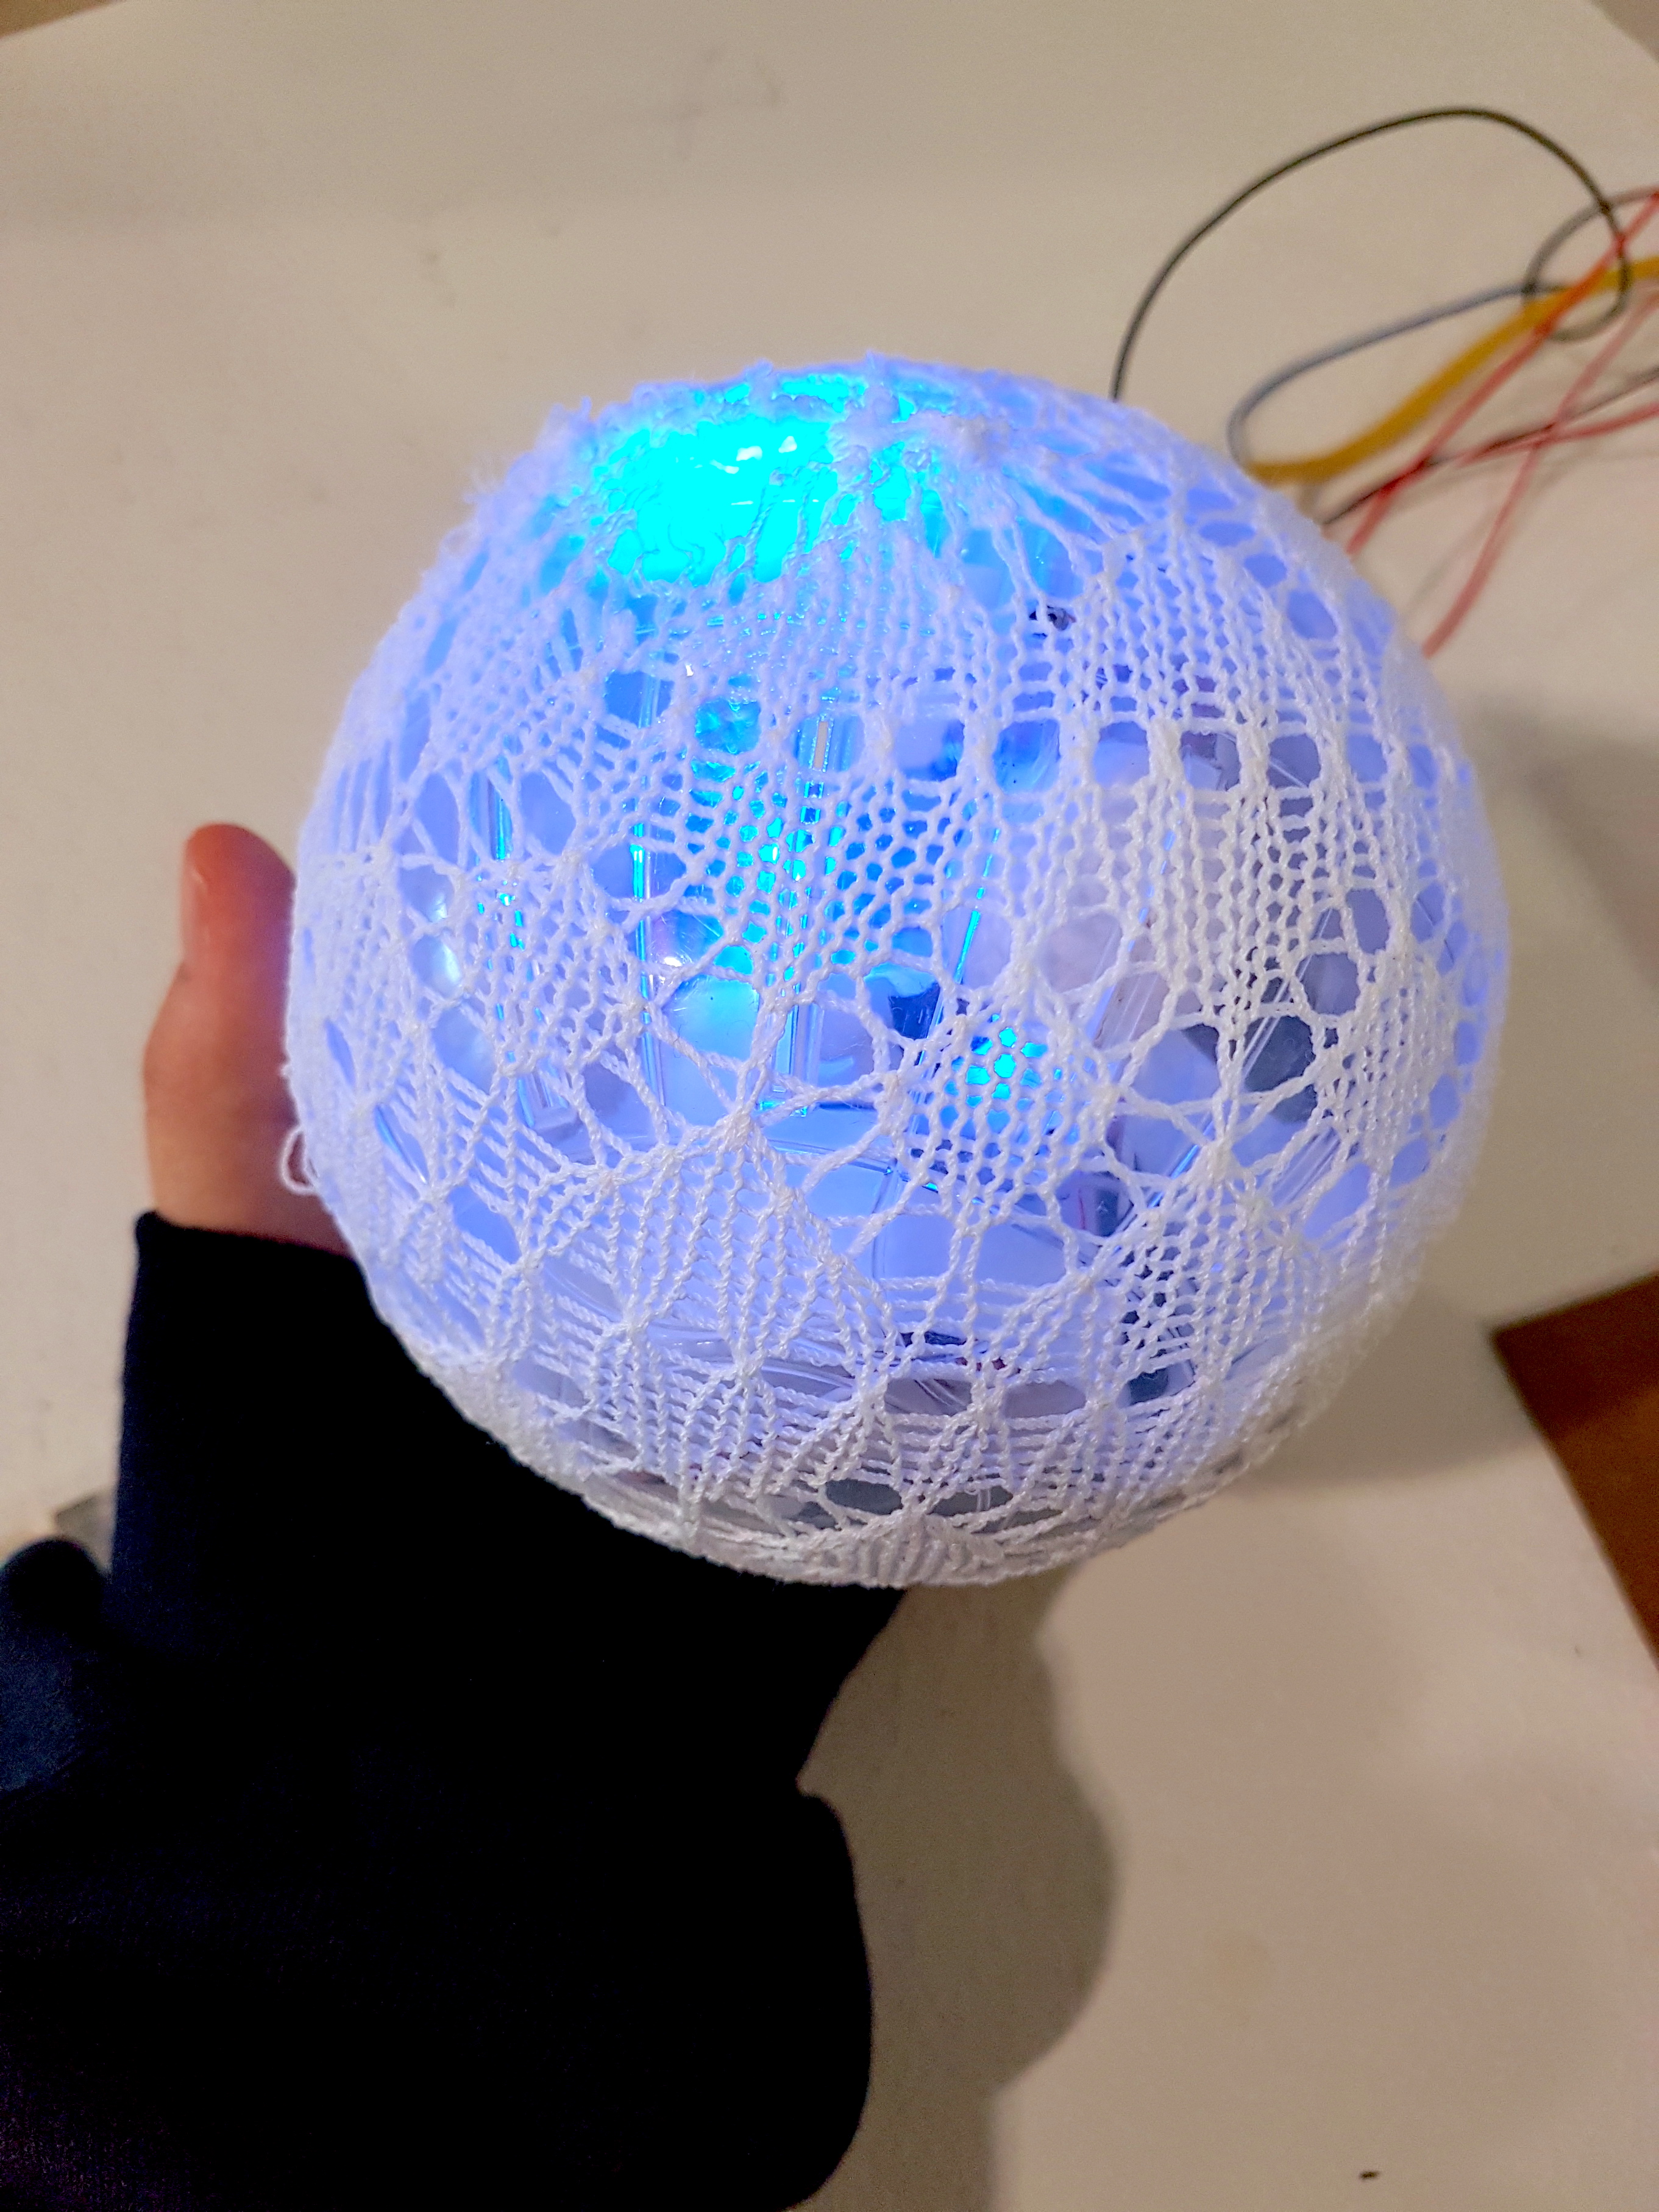
Dropper
Scavenging for materials

Bottle base made out of spare wood and a tin box cover

Calibrating the pressure and position of the jar to drop in the centre

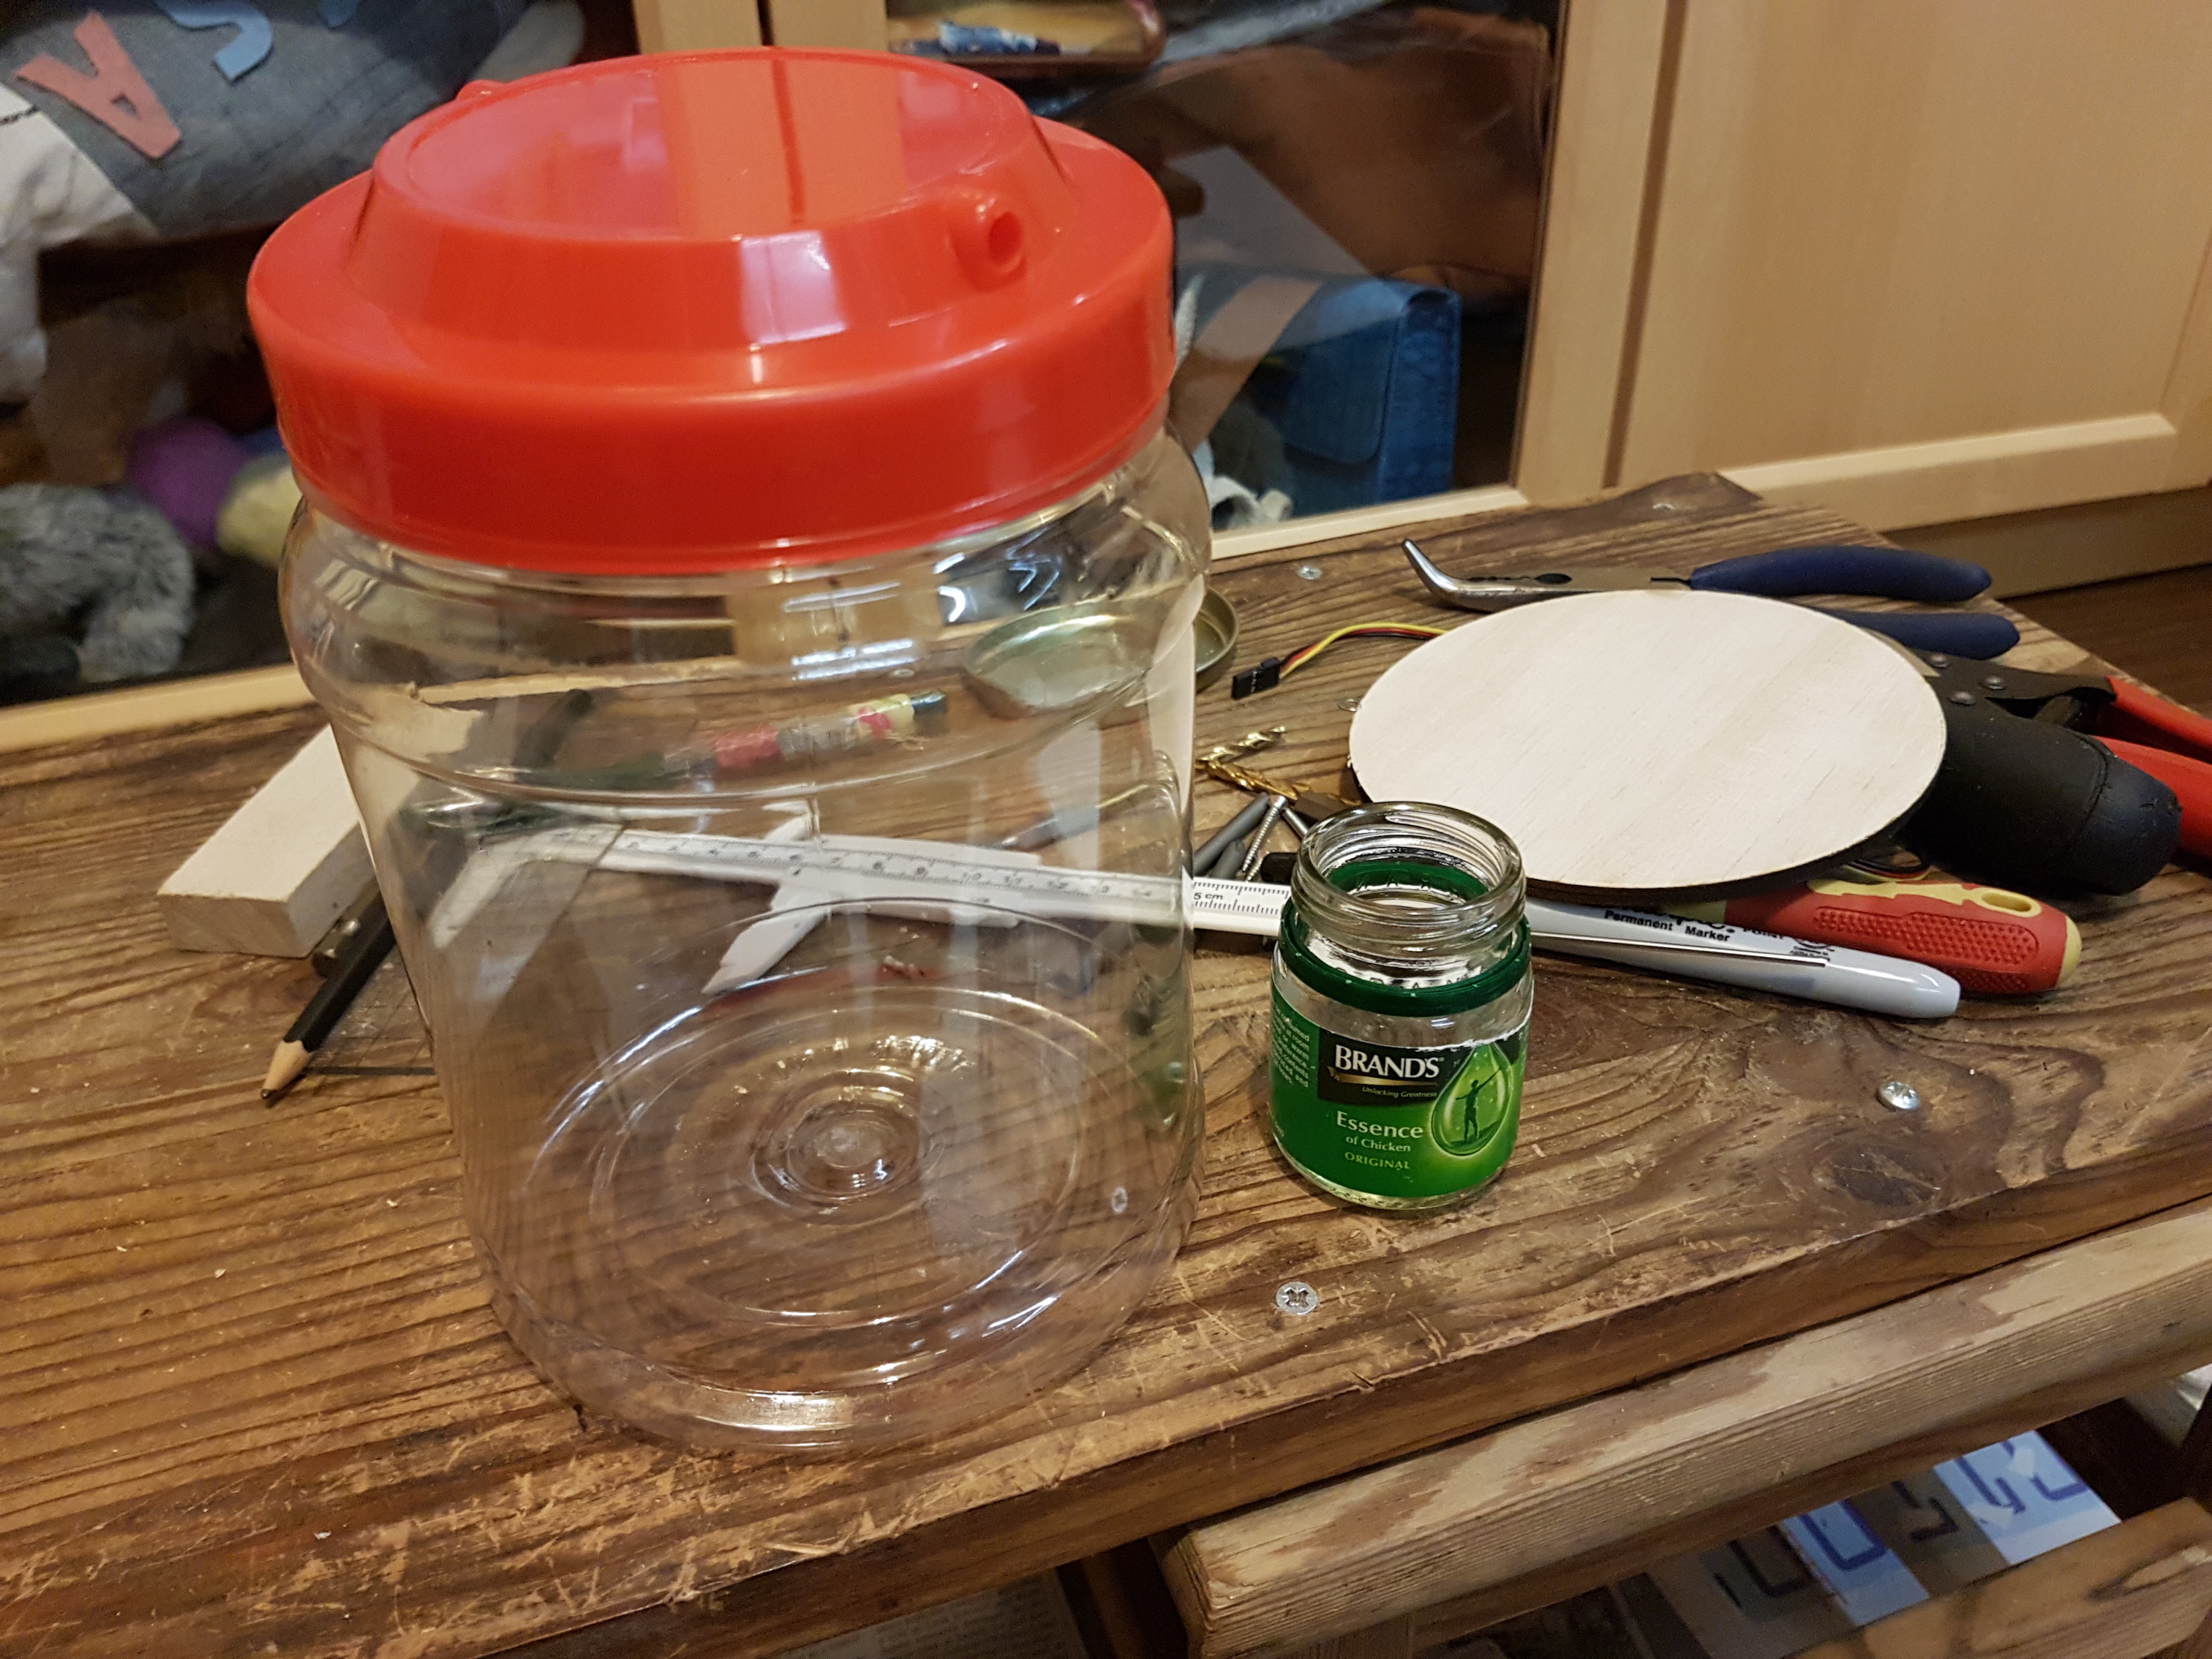
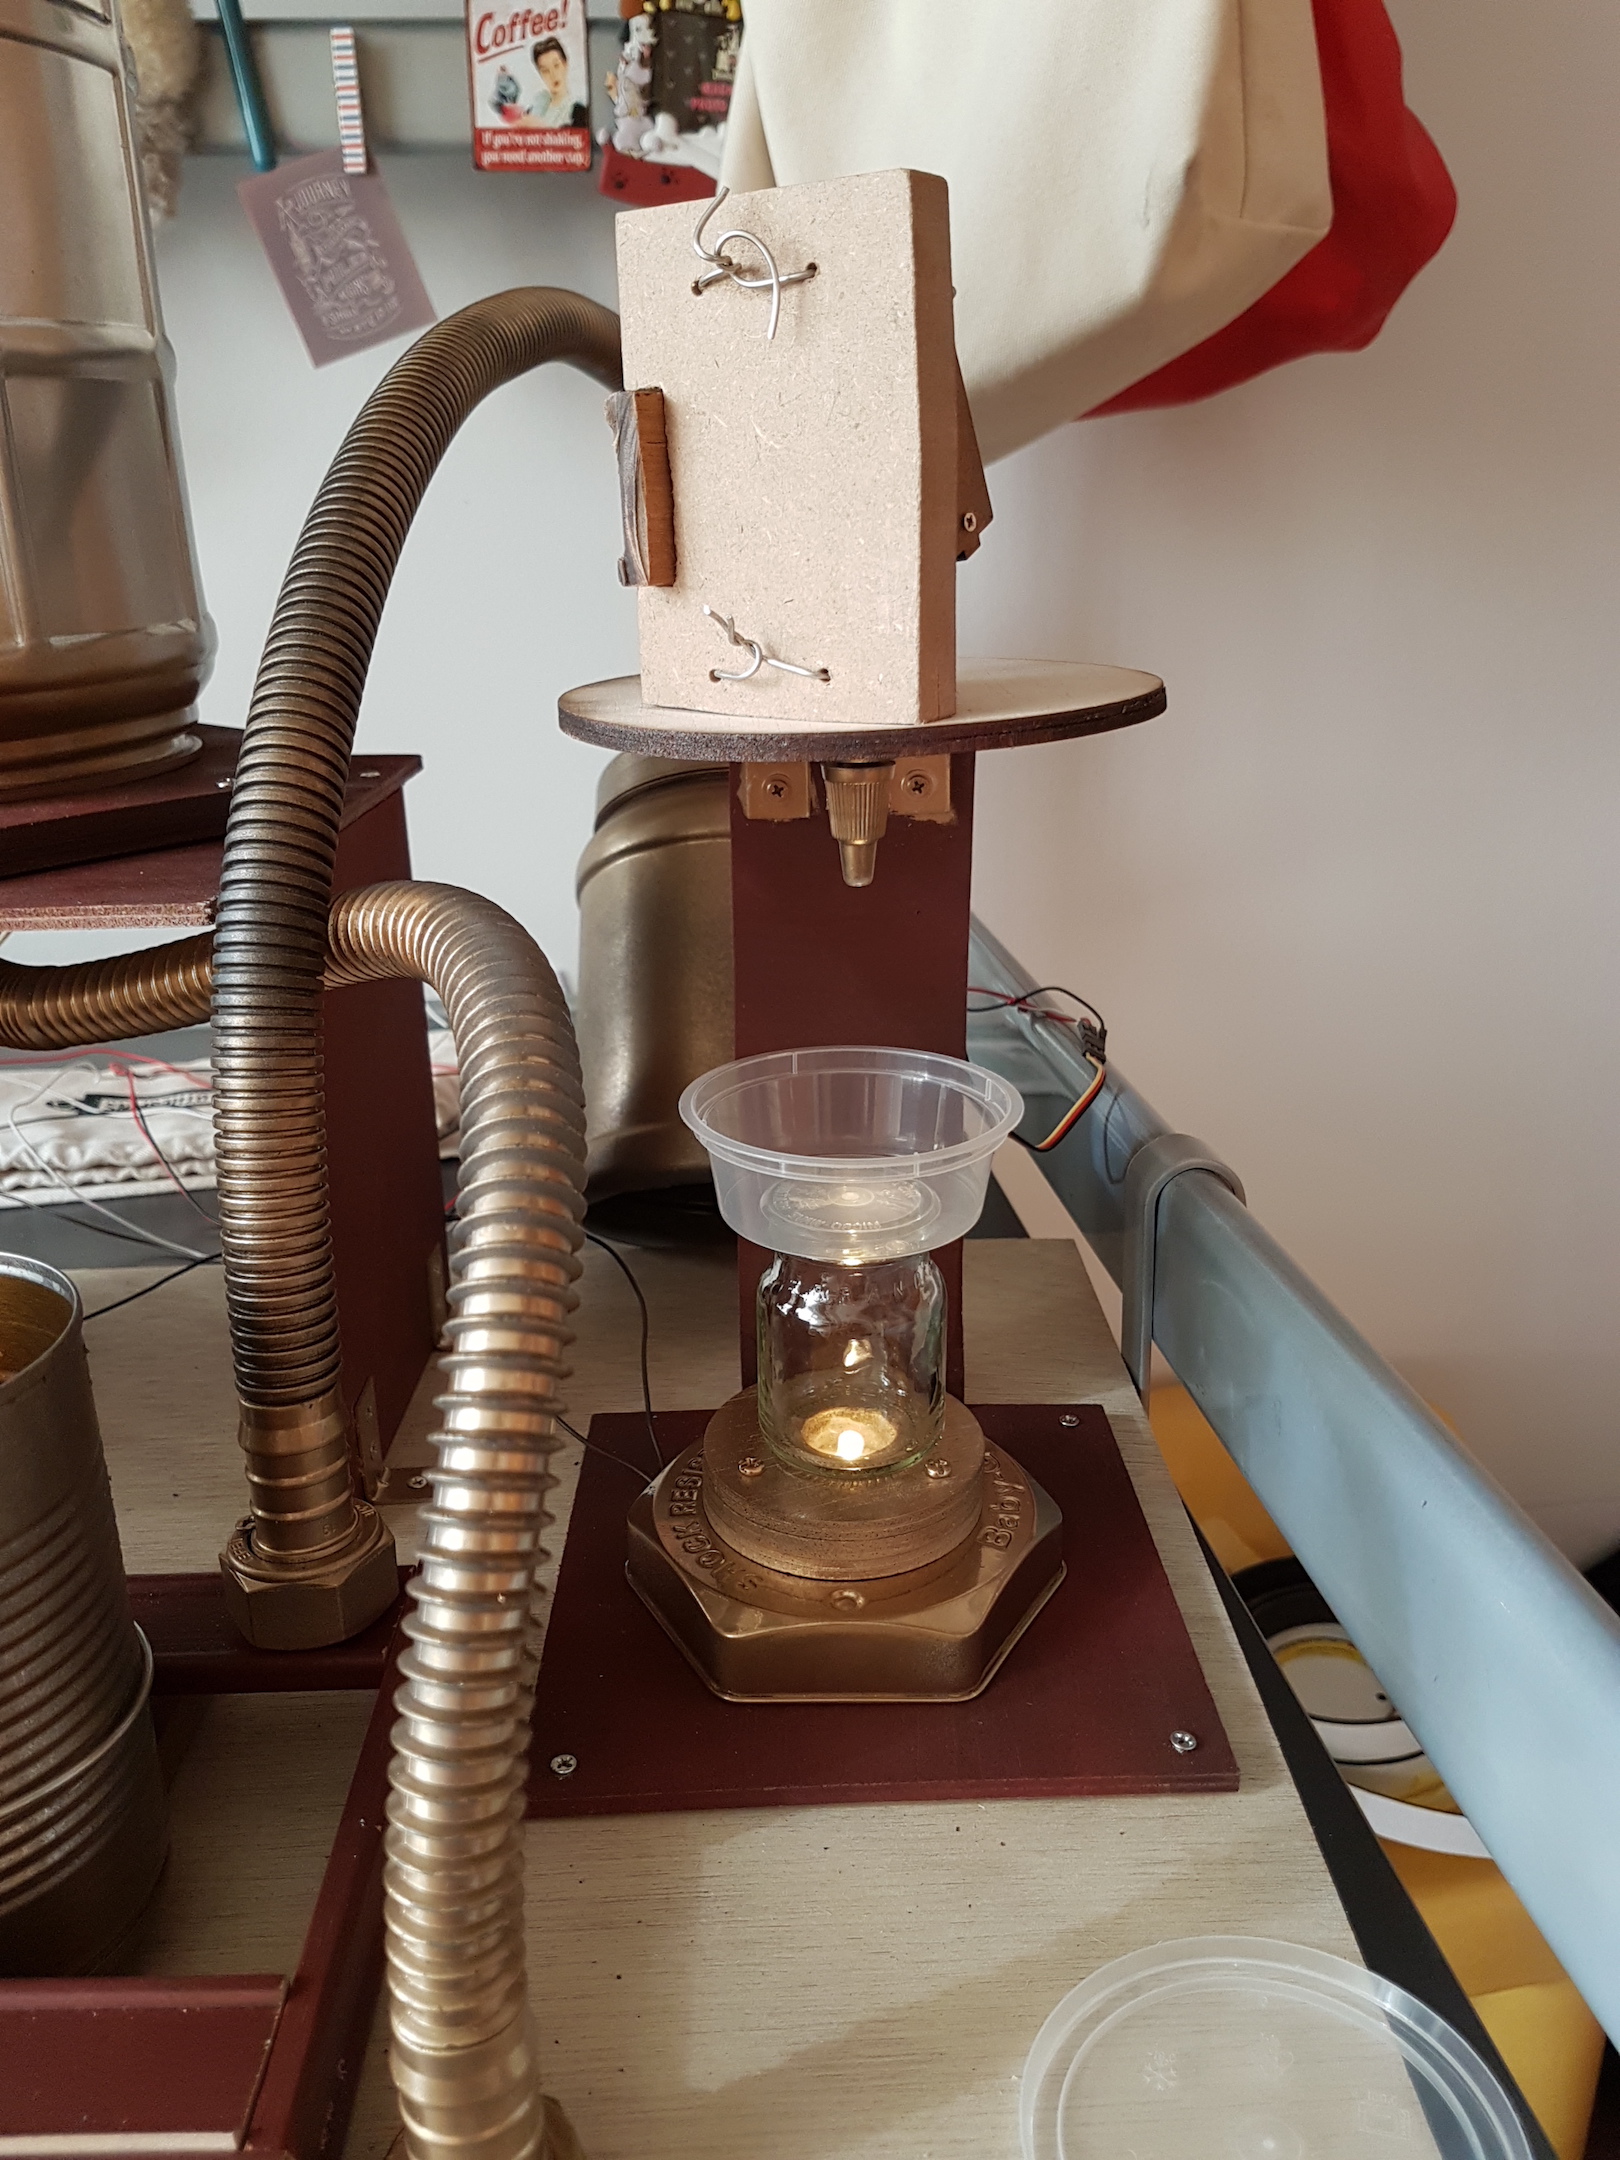
The base on which the jar is placed is designed to fit an LED bulb. Once the mixer is done with the emulsification, the bell will ring and the LED will light up simultaneously to direct the viewers to the final step of the process. Behold, a drop of clean, green biodiesel is dispensed!
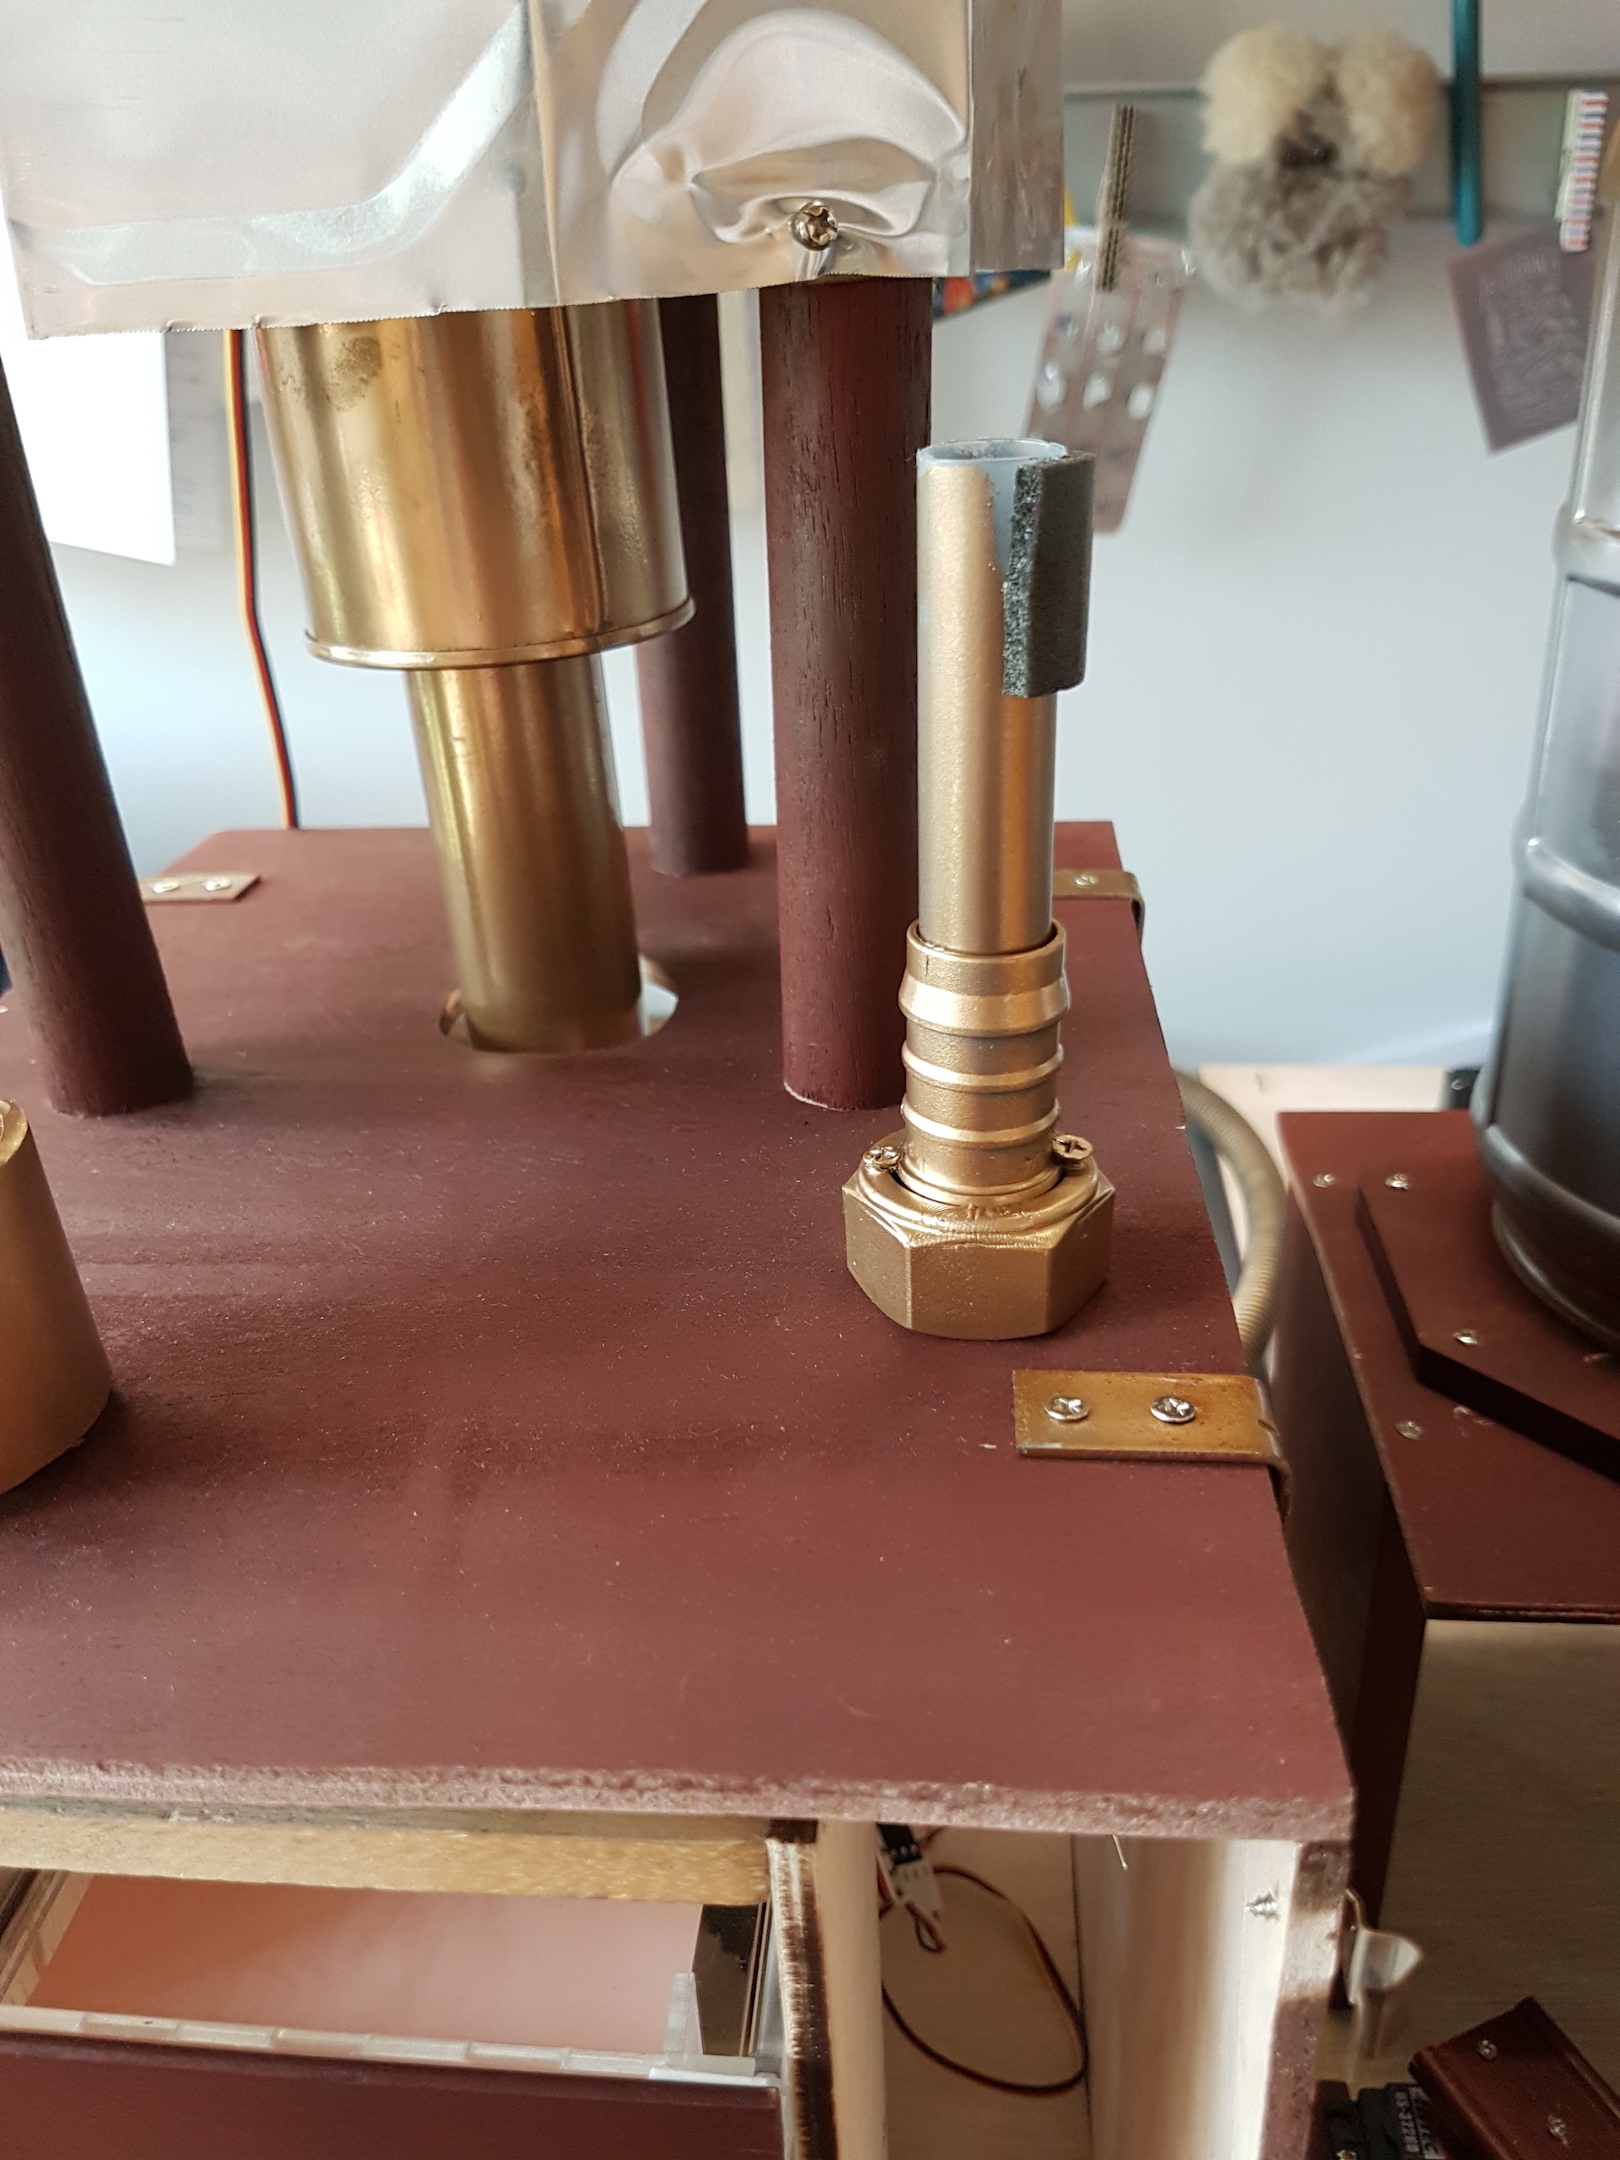
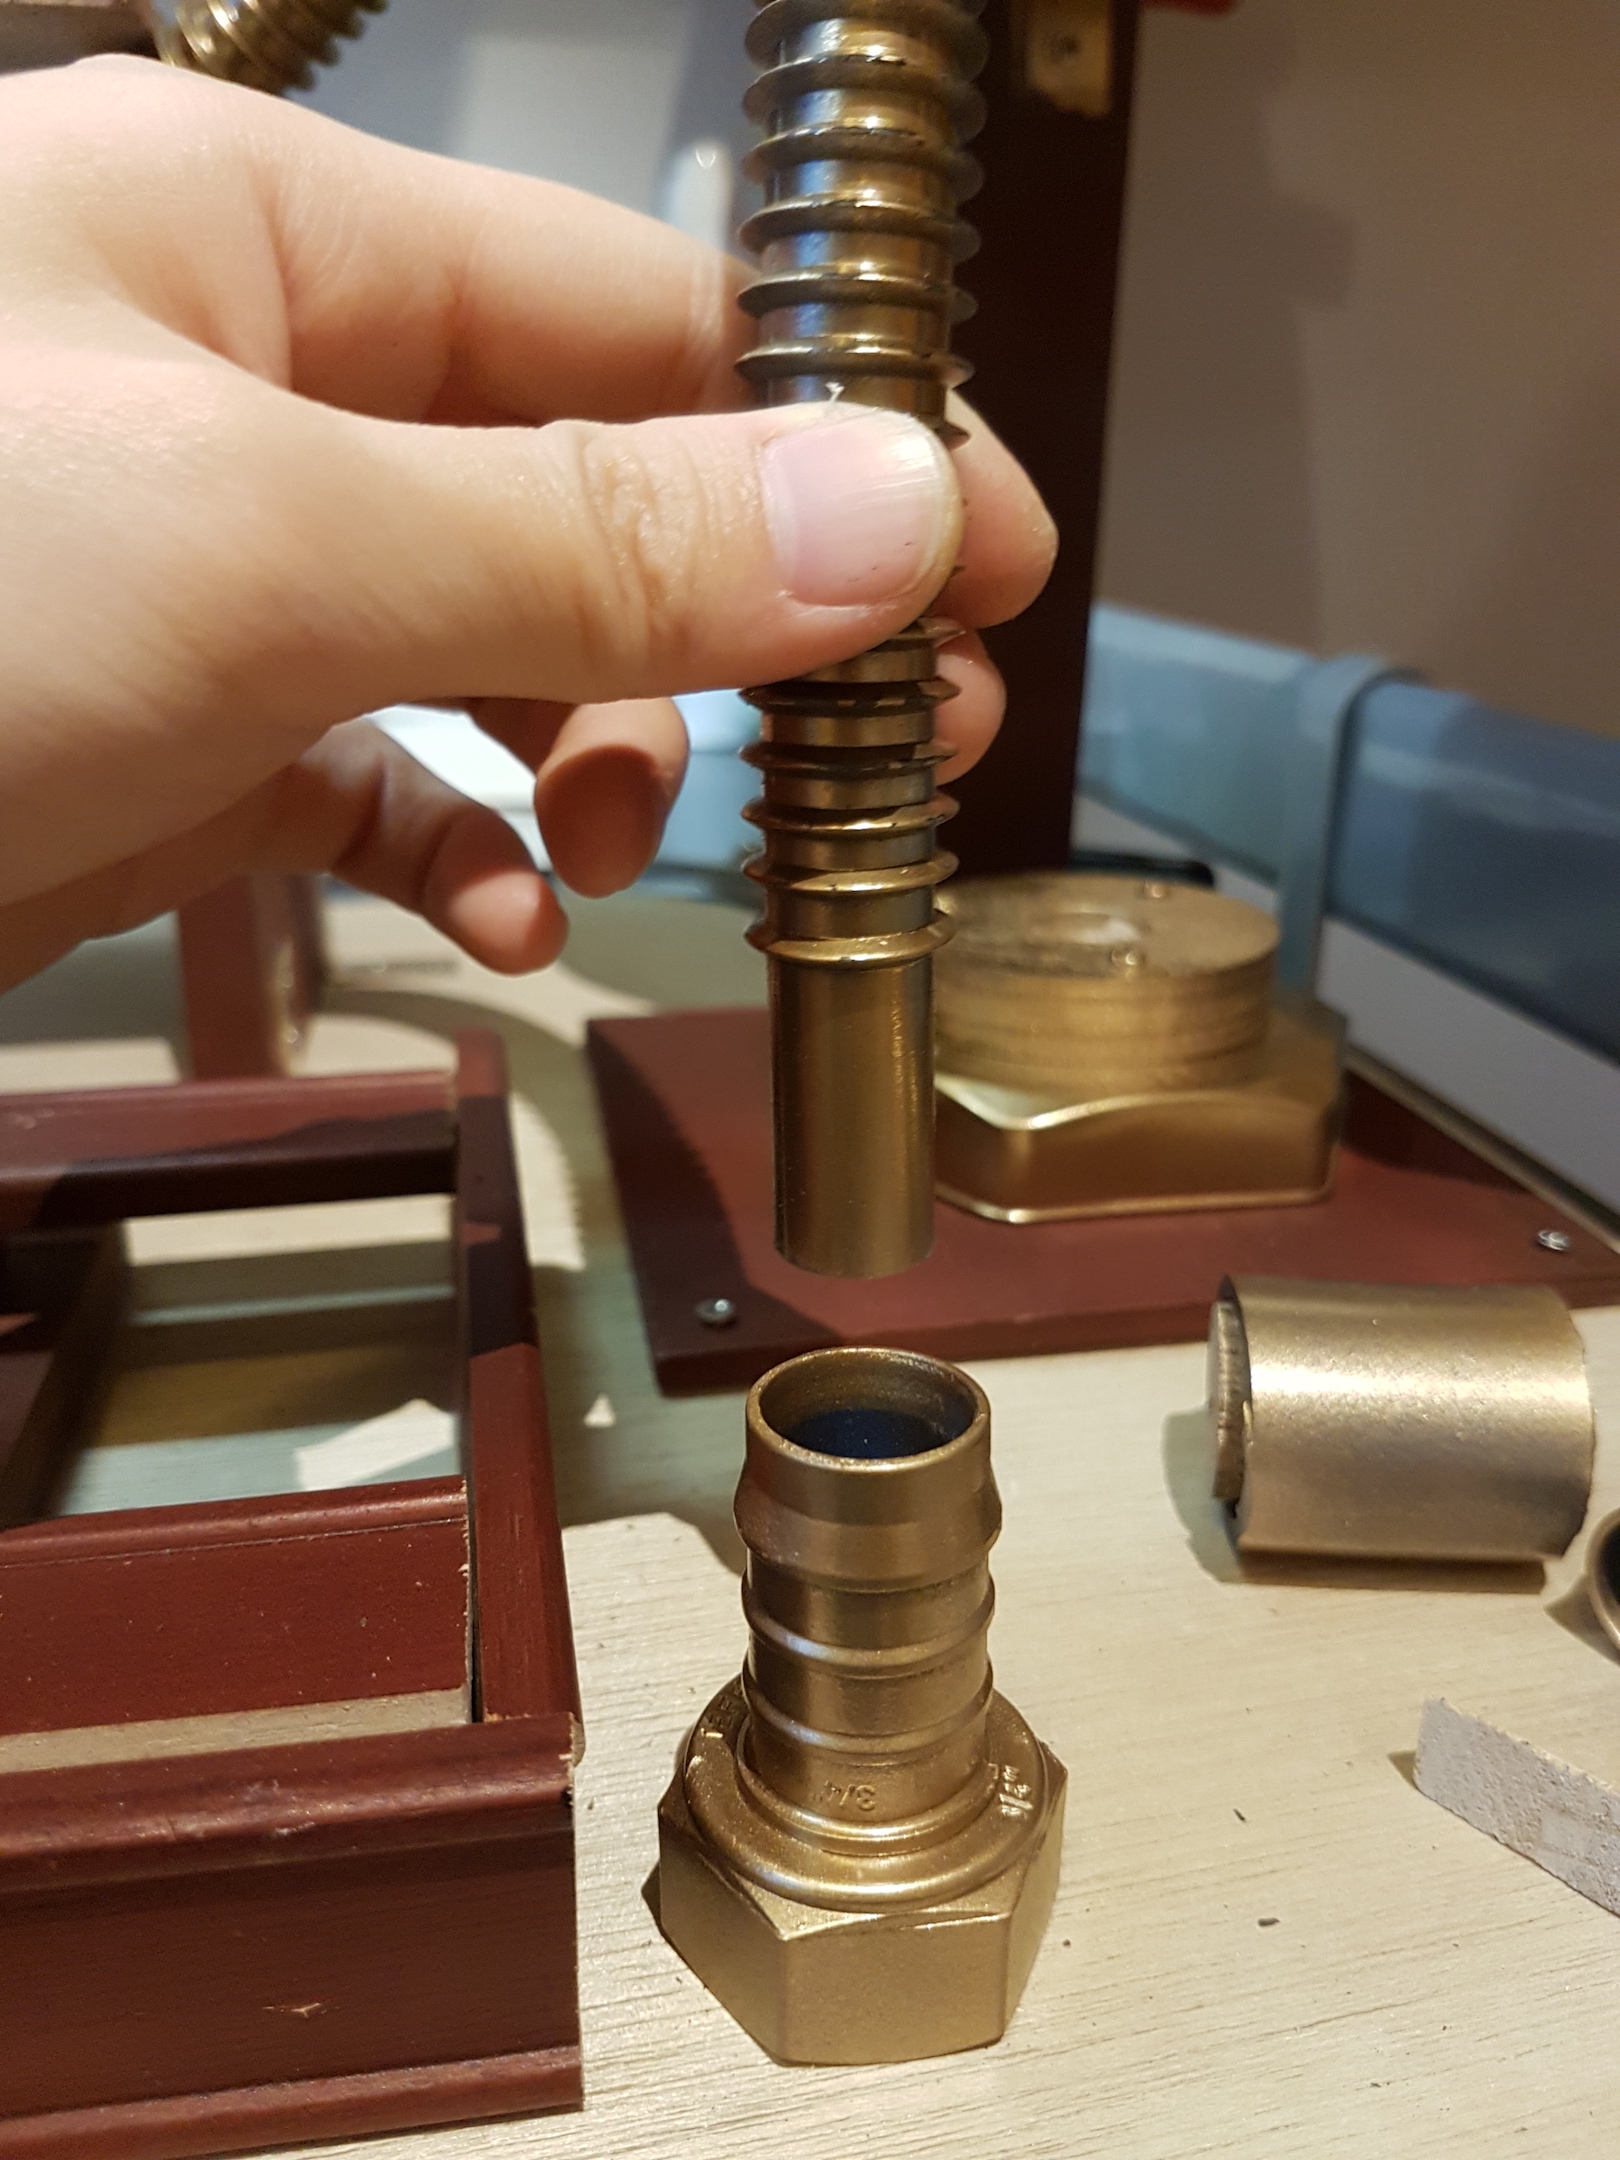
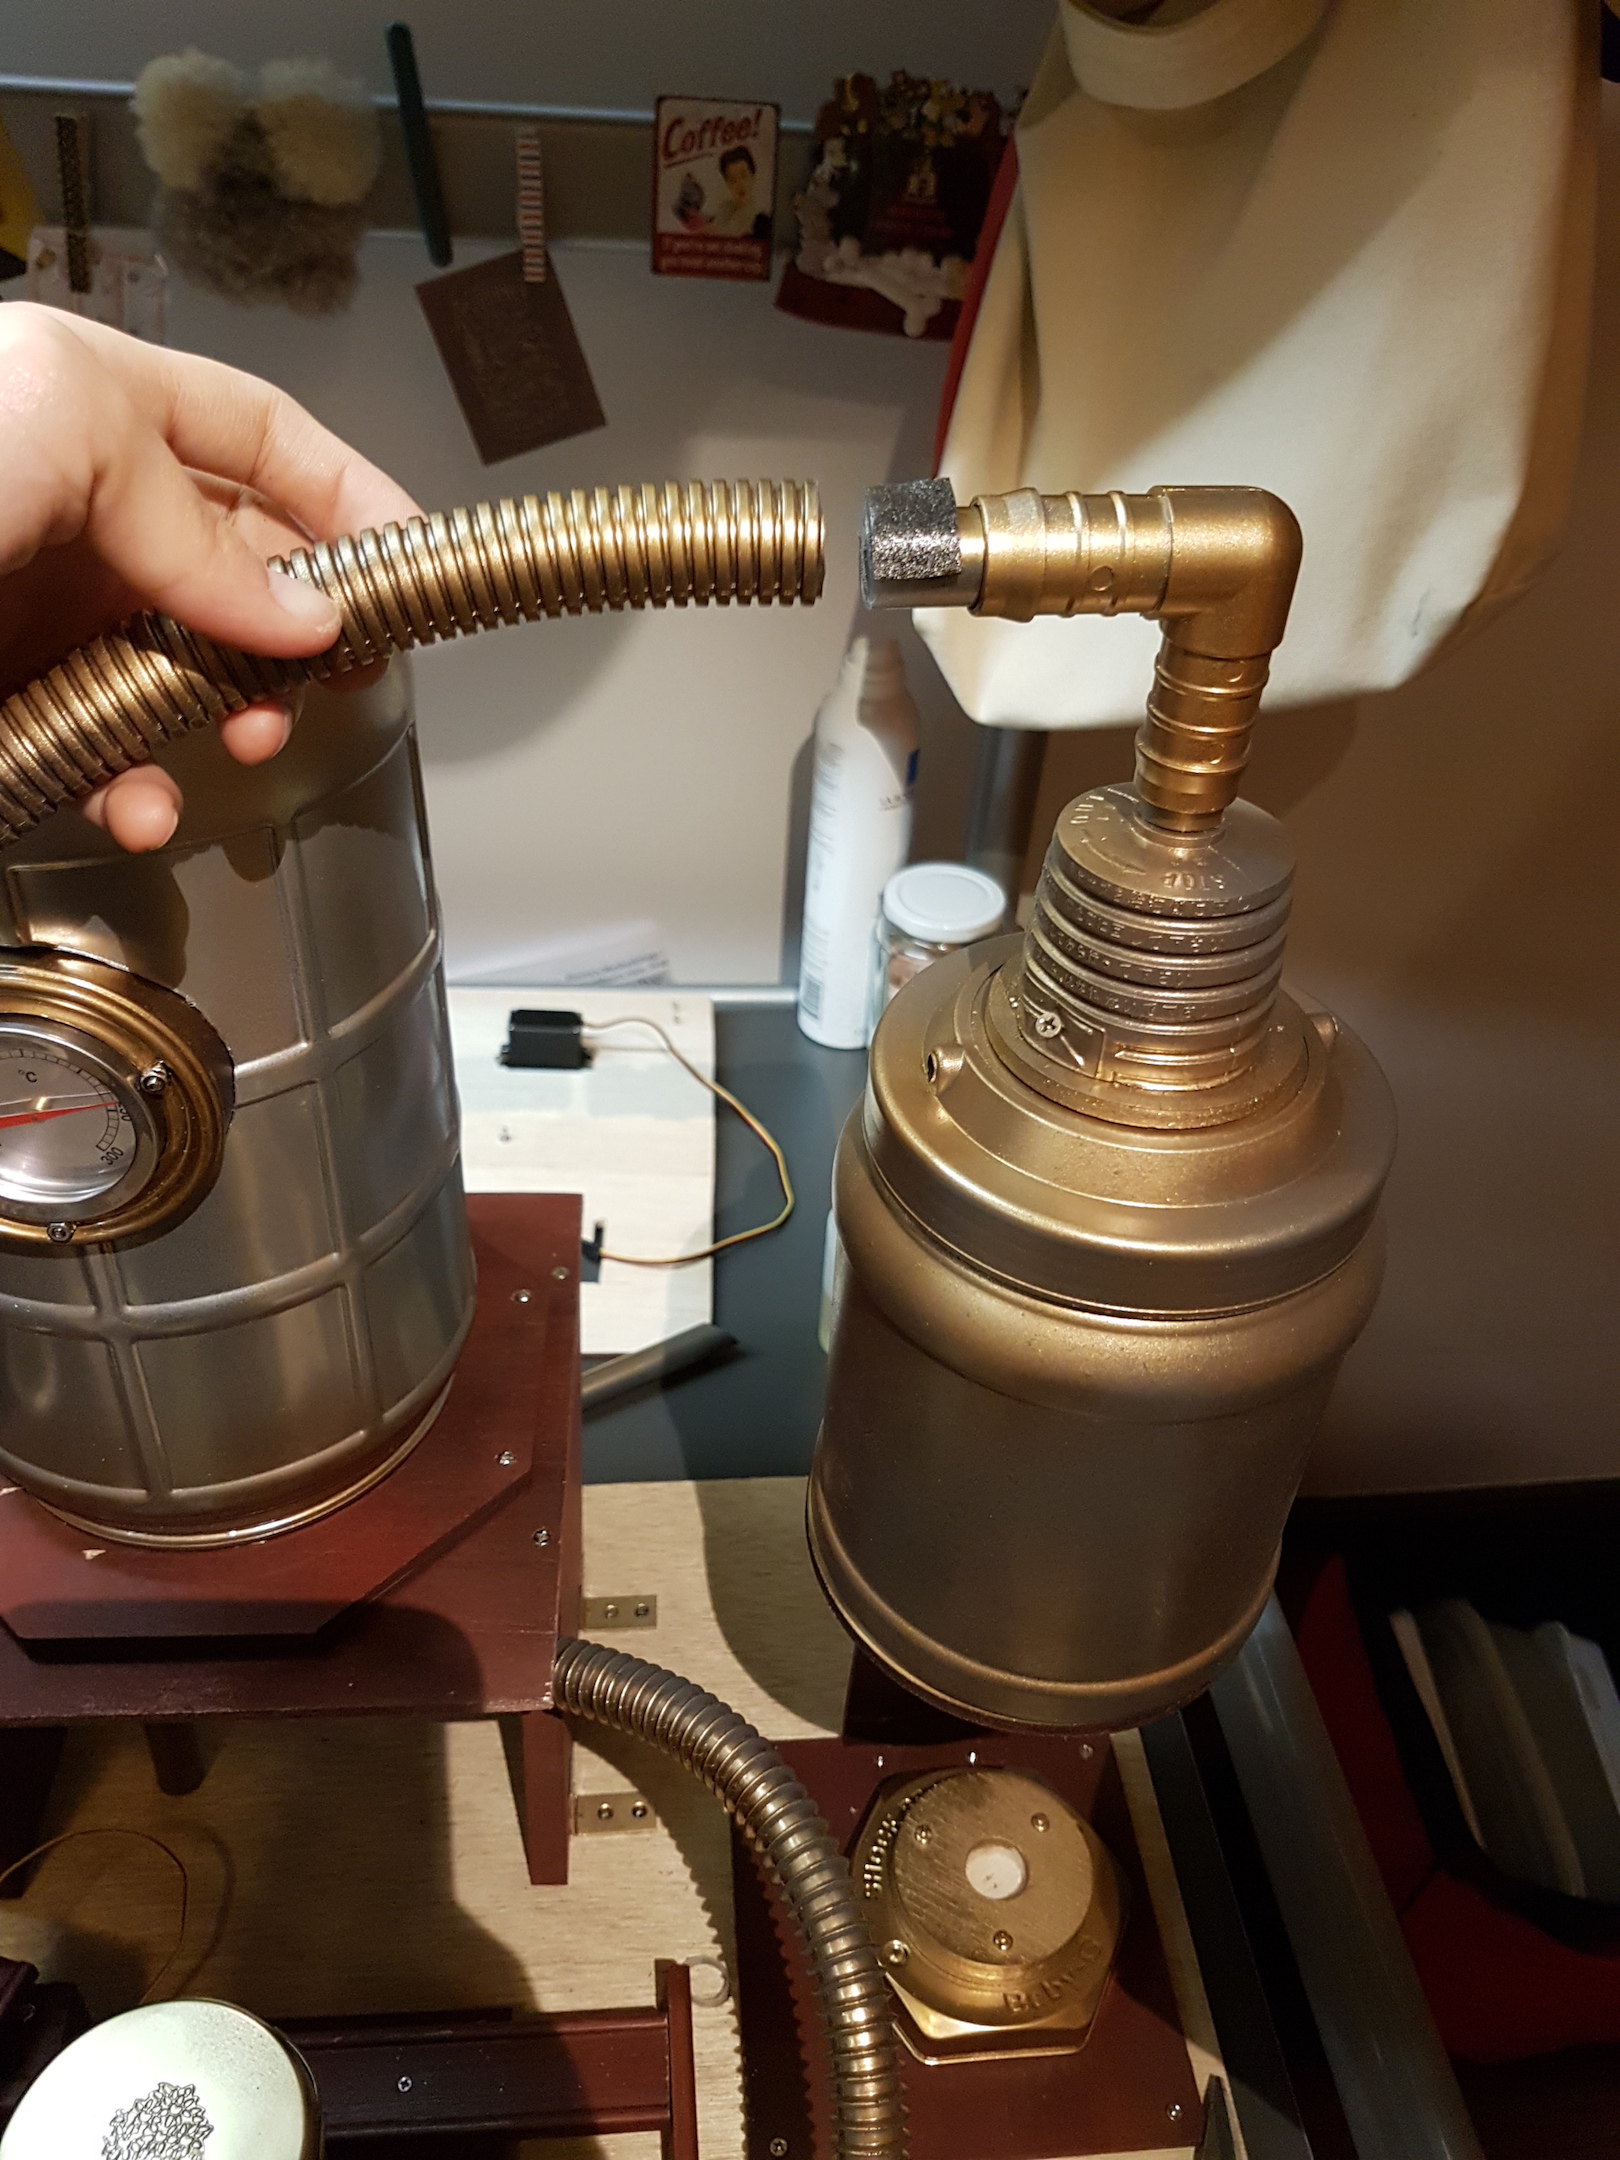
Pipes and Fittings

I used siphons, hand pumps, nylon fittings and flexible plastic conduits to mimic brass pipes used in industrial machines. They were easy to paint and flexible, without adding unnecessary weight to the machine. These elements made the machine more realistic and contributed to the wacky invention aesthetic. They also helped soften the cuboid form.

The magic of spray paint!
Spray paint saves the day

Moving Forward

Based on the feedback received, it would be great if I could include more lights, movement or even olfactory feedback to guide the viewer throughout the process. I would also like to add variation in the number of drops depending on the amount of oil each person contributes for harvesting. Such details would enhance the illusion and further blur the line between reality and the ridiculous!

Dubious advisor | Typebot

Dubious Advisor is an early prototype for a typing robot. It is voice-activated and responds to speech and questions by offering dubious advice. Similar to gag gifts such as a Magic 8 ball, it is especially handy for the indecisive, but downsides may include sarcasm and inaccuracy.

Interface and Context

I felt that a voice sensor would make the typebot most ‘human’. As I didn’t have a voice sensor at hand, I accessed the in-built microphone using Max to send data to the arduino. Max would sense if there was a sustained noise (i.e. someone talking or asking the typebot a question). If a sustained silence followed (user is done asking the question), Max would generate a random value to the Arduino and trigger one of the pre-programmed answers. This wouldn’t work as a fully functioning device in different environments but was suitable for the prototype stage!

This typebot has 5 different responses to yes-no type questions. It isn’t actually responding to specific questions but we users suspend our disbelief and buy in to the context.

Construction


Parts made using lasercut and MDF!

Panning motor secured to wooden blocks which were then secured to the base. Shaved of part of the cube for wiring. The base was added so the typebot wouldn’t fall back on itself because of the momentum. The laptop is placed on top of the base, so it’s weight would make the structure stable.

The design functioned well  until I started programming the individual alphabets. Although reinforced at 4 points, the disk and panning motor were not firm enough to support the torque from the motor sitting above it. When the ‘finger’ hit the keys, instead of depressing it and typing the letter, the typebot tilted backwards.


To combat this, I removed the disk and attached the ‘elbow’ motor directly onto the panning motor. This made the arm more solid and keys could be triggered. An unforeseen issue that would only have been discovered through execution!

Using the bottom Z-M row as perpendicular to the robotic arm, I calculated the positions for all alphabets and space and enter. Although I started by estimating all the 3 angle inputs for each letter, I soon found out that was impractical for this design. Instead, I estimated the ‘coordinates’ using the extreme values and midpoint of each row. I expected the angle increments between each key to be linear however that also wasn’t the case! I could then calibrated the values from these estimates.

Thermochromic Inks | week 9

This week, we learnt to print with thermochromic inks!

Developed in the 1970s, thermochromic inks have numerous applications and can be found in everyday items, art and design:

Soft drink tabs to indicate that the drink is chilled (coloured tab)
Creative packaging design to emphasise branding concept
Materials needed
  • Silkscreen and squeegee
  • Light-coloured fabric to print on (A different type of ink is needed to print on dark fabrics)
  • Thermochromic pigment (powder form)
  • Acrylic medium and paint (optional)
  • Heat source e.g. hair dryer or iron
Process

Mix the thermochromic pigment with the medium. Caution: wear masks while doing this as inhaling the fine powder can be harmful!

Adding the ingredients

Mix well to achieve a paint-like consistency.

The printing process is similar to the basic silkscreen printing process. Put some ink along the top of the silk screen.

Pre-designed silkscreen

Drag the squeegee downwards, applying pressure evenly. Move the squeegee up and down several times to ensure even coverage.

Printing!
Tadah!
Unexpected Results

When I initially printed them, the inks were very bright and saturated. Strangely, when I brought my prints home later that day, I discovered that the colours (especially the blue) had faded substantially to a light pastel blue. I suspect this may be due to the type of fabric I used.

Effect of an iron on thermochromic inks

I printed another sample with yellow thermochromic pigment mixed with green acrylic paint. When heat is applied, the yellow disappears, leaving a cooler and darker shade of green.

Thermochromic ink in action
‘The Original Wearable-Tech’

I like how fabrics with thermochromic ink are highly interactive. We can consider them to be the predecessor of wearable technology which is becoming increasingly popular. Instead of including electrical components such as LEDs and temperature sensors which add to the bulk of the clothing, fabric printed with thermochromic inks are lightweight and create a more seamless interaction. They are playful and can create surprising effects, reacting to human touch as well as the environment.

Suspend your Disbelief | Documentation | Analog Midterm

Some Thoughts on Process

What started as a working title became surprisingly apt when I had doubts about whether this project could be materialised. It reminded me of an article in the local newspaper a few weeks back about Christo and his 2 decade long project in Colorado. Interestingly, he mentioned in the interview how getting permits and approval was an integral element of the spirit of the project.

Variations between Planning and Execution

Initially, I intended the swing and larger hammock to be closer together. However, the larger hammock had to be placed further to the right, down the stairs so as to not obstruct the fire sprinklers.

Example of fire sprinkler underneath the staircase
Making a Prototype

Before getting loads of rope and fabric, I made a prototype using scrap materials such as wires, shoelaces and some spare cloth.

I tied this makeshift hammock onto my bed post and experimented with the placement of ropes (3 points vs. a single pivot) and the motion it created using each method.

Trying out these prototypes was very useful as it allowed me to gauge the strength of cloth needed and shorten the width of the hammocks based on the wood flexibility and strain. Instead of winding the fabric around the pole, I opted for sewing as it would be more secure and able to bare more weight.

Creating the Components
Choices at Chinatown! Too many!

As the forms in the installation become increasingly open from right to left, I choose 3 different earth tones to emphasise this gradation and complement the space underneath the stairs. The darkest fabric corresponds to the shallow hammock which is wedged by the stairs and forms an enclosed private space.

First, I cut the fabric to width. I initially intended the hammocks to be at least 1 metre in width. But due to the flexibility of the wood, this had to be reduced quite a bit.

Hemming the raw edge
Repeat with the other pieces of fabric

Drawing guide lines for sewing
Sewing strips of reinforcements
Trusty zig-zag stitch

For extra security, to bare heavy weight, and to prevent unravelling in case of wear and tear, I sewed several lines over a large area and ‘locked’ the sides.

Problems and Revisions
Trial installation on Sunday

During the initial setup on Sunday, 1 of the sticks broke in the middle after some use. Oh the horror! Each hammock/swing had 2 points of support on each side (4 points in total to share the load). To prevent excessive flexing and bending, I revised the design by adding an additional point of support at the centre of the wooden pole.

Revised design

I cut out a gap enough for the rope to go through and coil around the pole and reinforced the stitching with… more stitching!

Video Documentation

You and I, Horizontal | WHAT IS NOT VISIBLE IS NOT INVISIBLE | week 3 update

WHAT IS NOT VISIBLE IS NOT INVISIBLE is an ongoing exhibition at the National Museum of Singapore featuring works from the French Regional Collections of Contemporary Art (FRAC). The space is set up as a black box and presents 34 works by 32 French and international artists. The exhibition is titled after Julien Discrit’s work What is not Visible is not Invisible (2008) which is strategically displayed in front of the exhibition entrance.

What is not visible is not invisible (2008), Julien Discrit

The exhibition features a diverse body of video, sculptural, immersive and interactive installations. For example, Martin Creed’s Work No. 262, Half the Air in a Given Space (2001) is a room filled with large green balloons till waist-level. From Here To Ear (2008) by Celeste Boursier-Mougenot and Ariane Michel shows the video documentation of an interactive installation where songbirds ‘play’ music on electric guitars. The selected works are very accessible, in terms of content and as a visual spectacle, making the exhibition a great introduction for viewers who are new to interactive art.

The work that most inspired me in the exhibition is You and I, Horizontal (2005) by Anthony McCall. I first encountered a similar work by McCall, titled You and I, Horizontal II (2006), last summer at the Australian Centre for the Moving Image in Melbourne, Australia. I was mesmerised by it then and am thankful to be able to experience his work once more in person.

The installation setup is relatively uncomplicated and comprises a computer, computer script, a video projector and haze machine set in a very dark room. The video projector on one end of the room projects white curved lines onto a blank wall. The curve patterns slowly morph between ‘S’-shaped curves, full circles and colliding lines (visualised from math equations) in 50 minute cycles. A curtain is installed at the entrance to block out external light, creating an intensely dark environment.

You and I, Horizontal (2005), Anthony McCall

The hazey atmosphere (due to the smoke machine) sharpens the projected light beams and forms an ephemeral membrane-like space. The darkness further distorts our sense of space and we likely perceive the room to be much larger than it actually is.

Starting out as an experimental filmmaker in the 1970s, McCall is known for his iconic ‘Solid Light’ installations which combine installation, sculpture and the moving image. I think these works are brilliant as although they use relatively simple materials and methods of intervention, they are impactful and compelling. The space naturally encourages interaction and participants would try to tests the limit and boundary of this artificial space.

These immersive ‘Solid Light’ installations seem contradictory; they present the sculptural potential of light and its ability to create and define space, despite being intangible. The experience is also very sensuous and engages our senses of sight, touch, smell and time.

Week 3 updates: Installation setup & similar works

Installation setup
Installation setup
Spatial requirements
  • You and I, Horizontal is setup in an enclosed ‘blackbox’ space. The size of the room may vary depending on the gallery, but should be approximately 6 – 9 metres long to allow ample projection space.
  • The space should be extremely dark and only illuminated by the projection itself. A heavy curtain should be installed over the entrance to block out external light.
  • The vents of the projector also emit residual light which can be distracting in a dark room. Hence, the projector body should be covered up either using a plinth and box, or behind a hoarding wall with an opening for the lens as seen in the diagram above. This may vary depending on the layout of the room.
  • A smoke machine is used to reinforce the light beams. It should be placed on the floor in the far corner to prevent participants from accidentally tripping over it.
  • The wall opposite the projector is the projection surface. It should be blank and primed so the projected image will be crisp.
Comparison with other interactive light installations

Assmeblance (2014) by Umbrellium is a collaborative and interactive light installation. It is similar to McCall’s work in its sculptural use of light to create space. Created by the participants’ gestures, the boundaries are more fluid as they can be built up or disrupted by the interaction between participants.

Test Pattern (100 metre) by Ryoji Ikeda

Similarly, Test Pattern (2008) by Ryoji Ikeda is an audio-visual installation that visualises data into black and white barcode patterns. The flickering images react to a soundtrack and change at rapid speed. The largest edition of this work has been installed in a large 100 metre runway space.

Although both McCall’s and Ikeda’s works are immersive, the latter engages our auditory and visual senses more intensely due to its highly-synchronised soundscape and rapidly changing contrasting projections. However, McCall’s work is arguably more intimate as the participant’s interactions have greater influence over the space as they move within the projection. The large expanse of Ikeda’s Test Pattern creates a very different atmosphere and instead makes viewers feel smaller and thoroughly immersed in a fast-paced artificial environment.