TRANSFER PRINTING:
DRY TRANSFER
Materials used: Satin 100% polyester, Fabric Crayons, Hot iron
Method:
- Use crayons to draw designs/textures on paper.
- Place your design facing down in contact with the surface of the cloth.
- Place the cloth and the paper in between 2 pieces of baking paper.
- Ready to iron with firm pressure.
Trying out with the fabric crayons:
My first try was to use the laser cut acrylic template provided. Instead of using the whole template directly, I attempted repeated patterns by using the same selected section of the template. I have also tried blending of colours by layers on top of each other instead of just block-colour styles as usually seen. I felt that by layering the colours, perhaps they can produce a different effect when the heat is applied, and I am curious as to how the layering will turn out. (used: Pink-Blue, Yellow-Pink, Yellow-Orange, Blue-Green, Green-Pink, Yellow-Blue combinations of crayons)

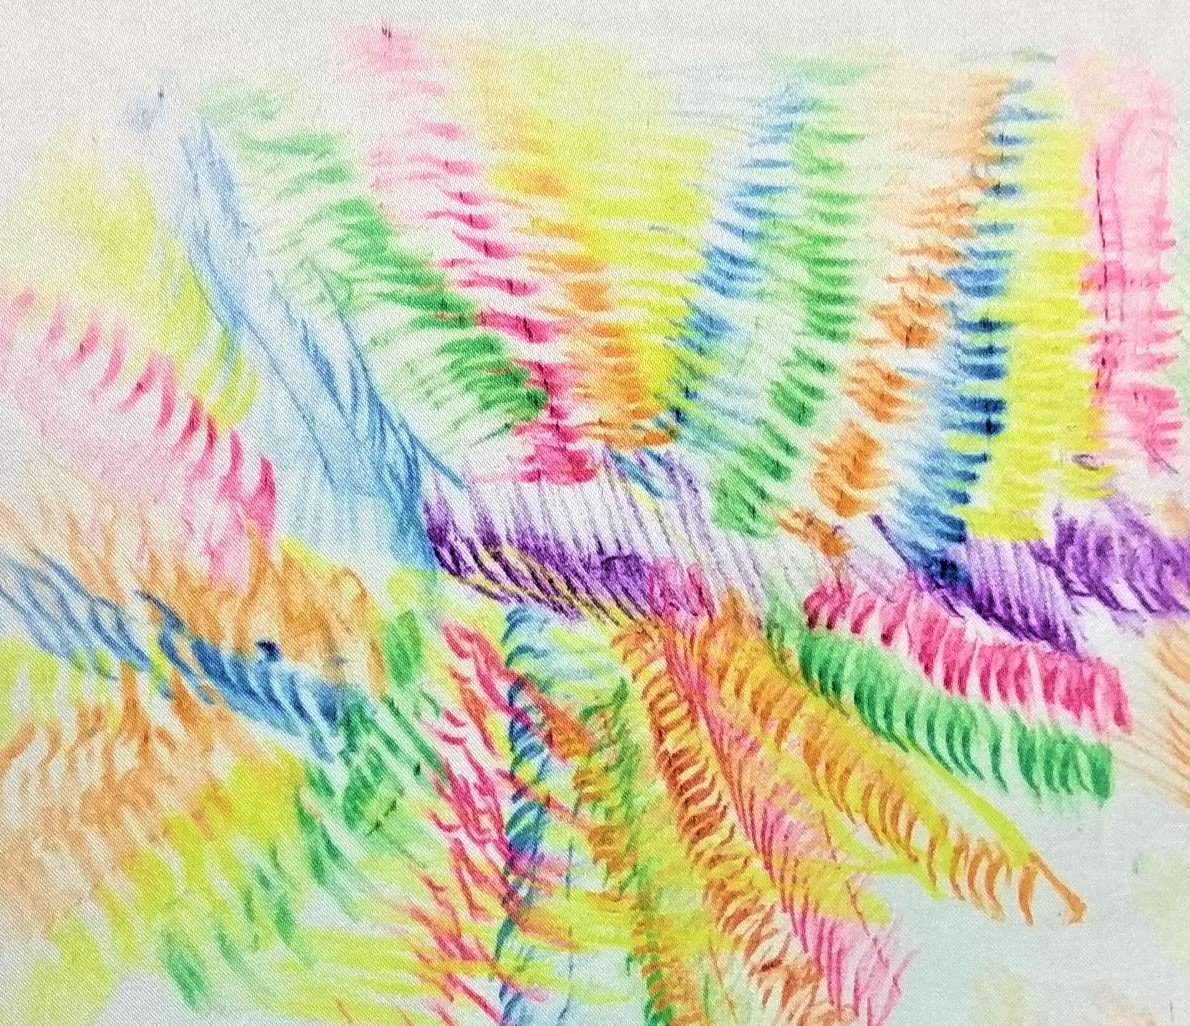
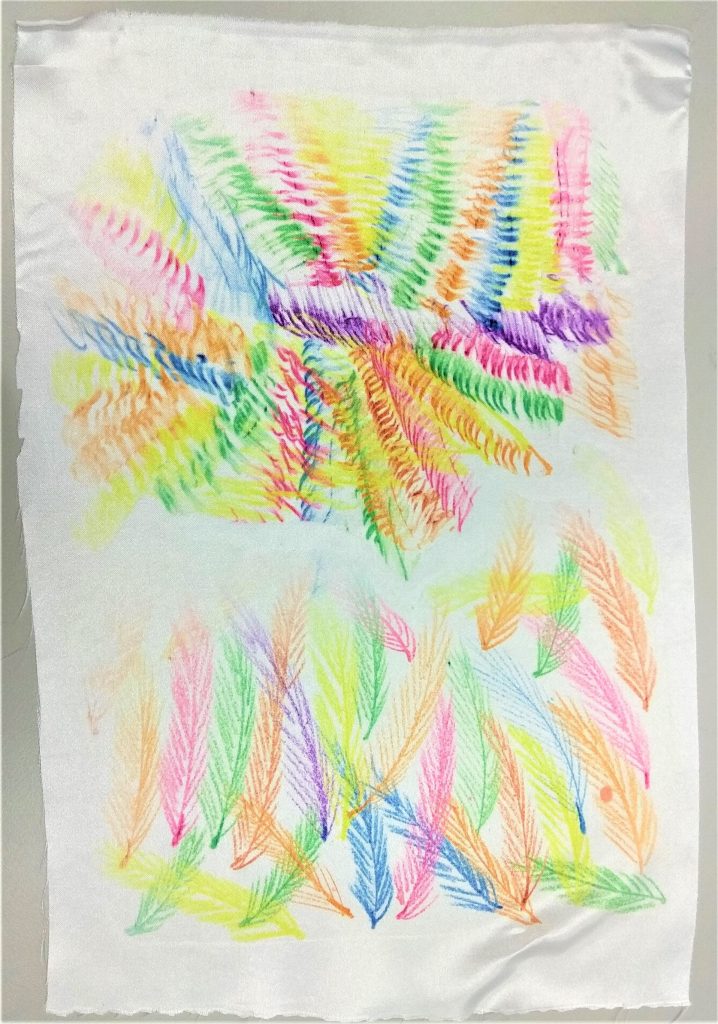
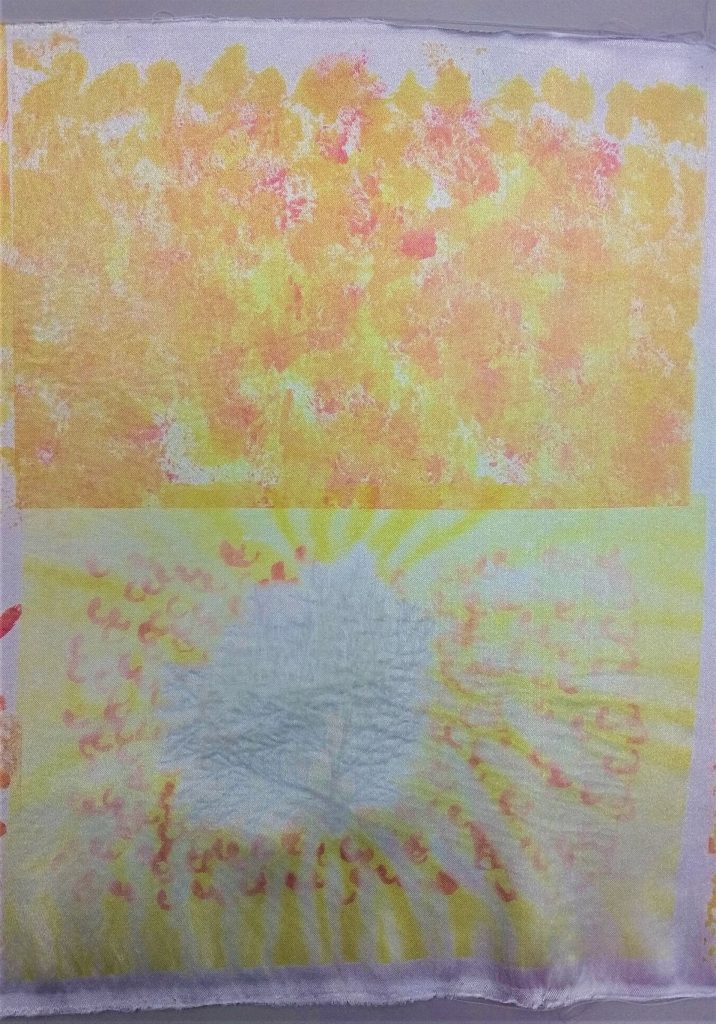
For my 2nd attempt, I tried to use objects to inspire patterns. While many other classmates headed out of the class to look for surfaces, I choose to turn to the object nearest to me to be my object of choice- my ink pen. I half-wrapped the paper around the pen and started to do colouring on the paper. By doing so, the paper will take in the grooves as well as the body shape of the pen and I will take these results as the basis of my new pattern. Halfway through the colouring, it reminded me of the sun and ferns, hence I decided to rotate and let it have a flared-out pattern in the end. (picture on the upper half)
Next, I attempted to draw something I personally have a liking towards- feathers. I tried overlapping colours and feathers of different lengths and sizes. I also tried using different amount of force when drawing these feathers (harder and lighter) to create a sense of depth. I am also curious to see how that will turn out during the heat transfer. (picture on the lower half)
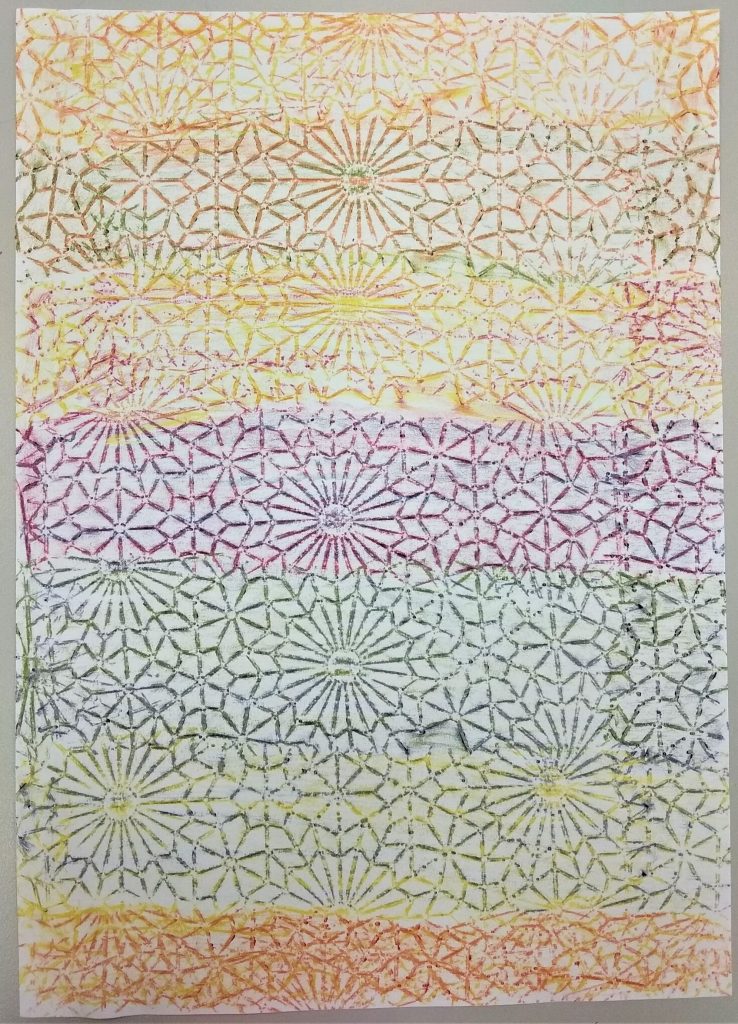
After the first 2 attempts, I headed out of the class to find interesting surfaces. The paper is split into 3 portions (top-down).
First portion: Resting black benches (aka smoking area) at ADM B1 sunken plaza.
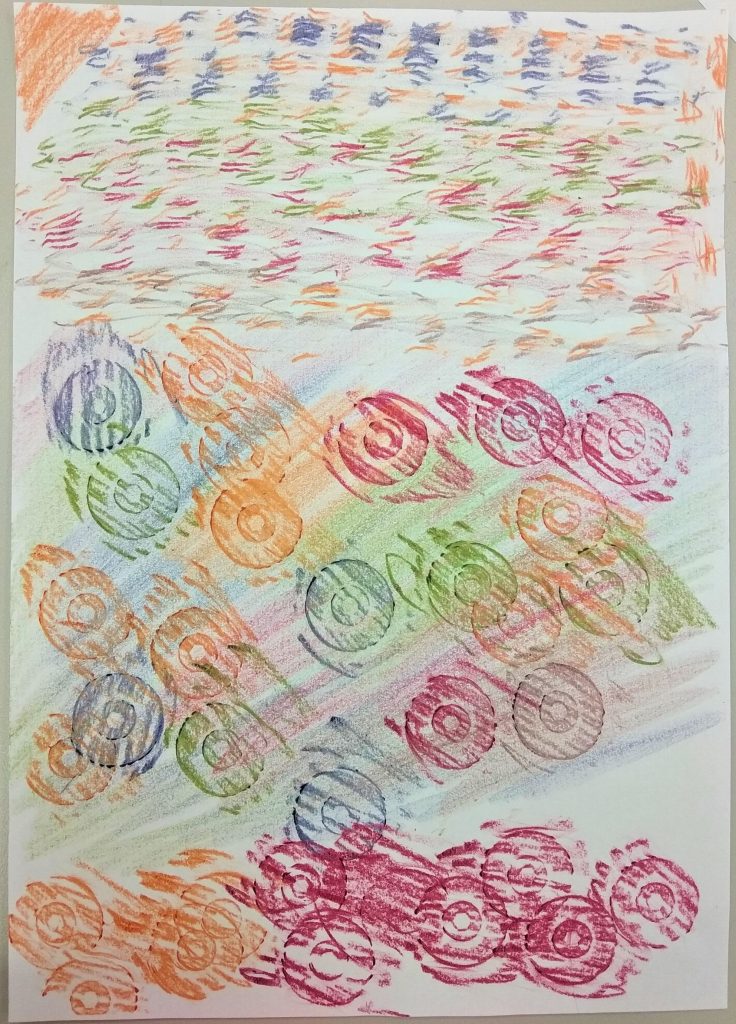
Second Portion: Lecture theatre chairs at B1 level, the knob joint of the turning tabletop. For this, I coloured a smooth layer of background colour on the cushion chair first before colouring on top of the turning knob.
Third Portion: I coloured on top of the knob directly without any background colour.
IRONING:
![]()
![]()
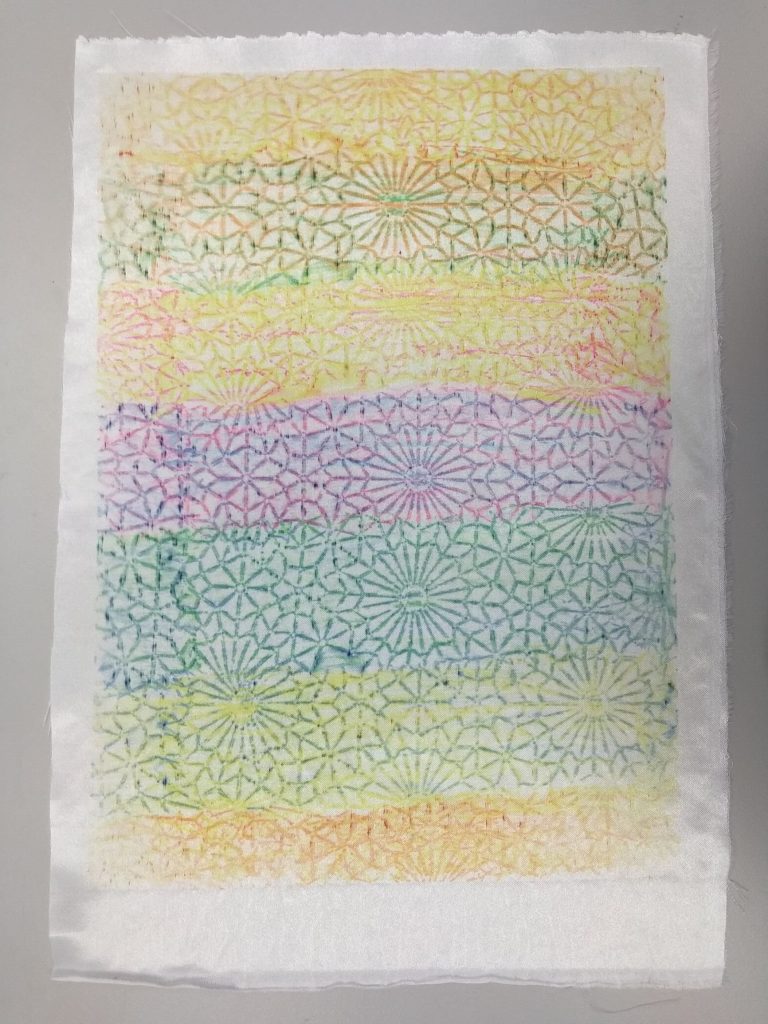
Before ironing, I have cut and trimmed the portions of these difference textures accordingly. These are the results I have gotten from the crayons. The first 2 pictures are significantly more vibrant compared to the last 2. For those that have lighter pressures from the crayons on the drawings, there is a lighter effect and some can hardly be seen at all- especially the textures from the ADM benches (last picture).
WET TRANSFER
Materials used: Satin 100% polyester, Disperse Dyes, Brushes, Paper, Heat Press
Method:
- Use brushes with some water to paint designs on paper.
- Place your design facing down in contact with the surface of the cloth.
- Place the cloth and the paper in between 2 pieces of baking paper.
- Ready for heat press (about 35 seconds).
Trying out with the disperse fabric dyes:

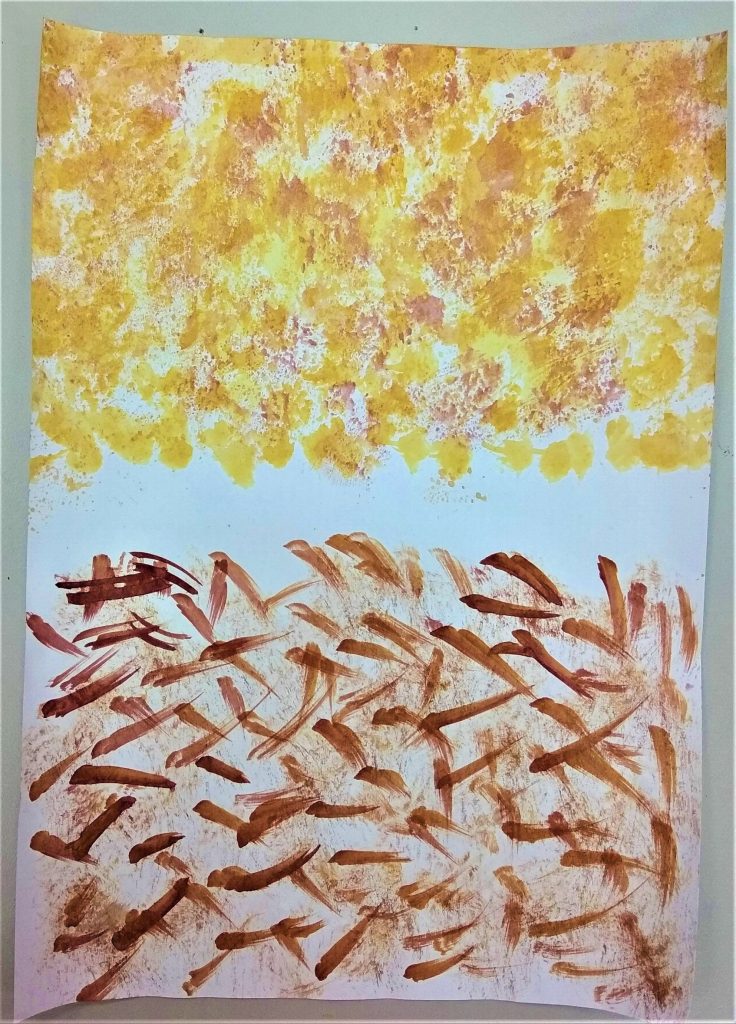
Upper Half: I tried painting a light background first and shaped the brush tip to a u-shape to make abstract patterns.
Lower Half: Using the same U-shape tip brush, I drew petals and flowers using a stamping method (stamping the u-shape). There is also a deliberate attempt with a gradient colour scheme from red to reddish-brown to orange to yellow)
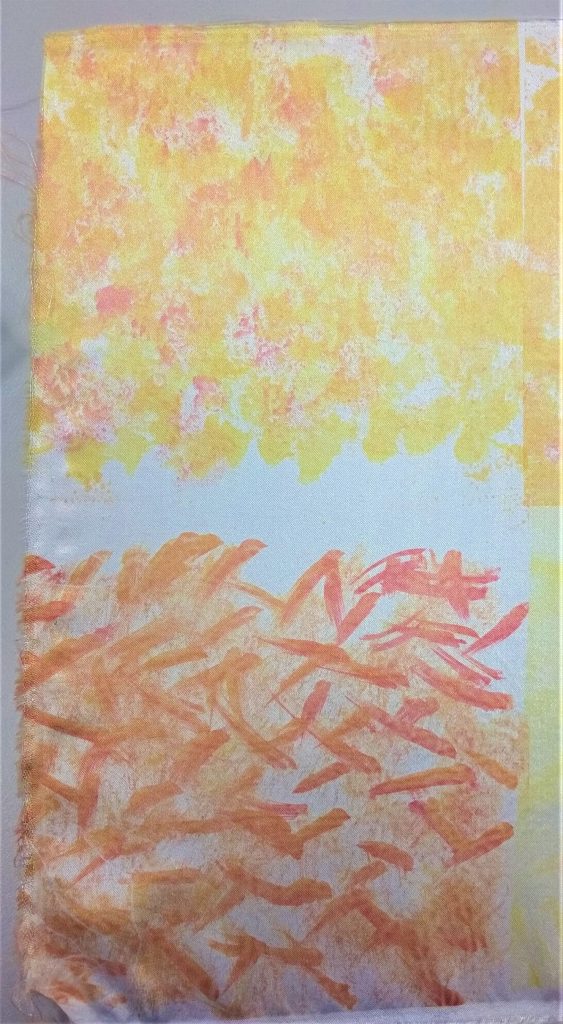
Upper Half: Using the watercolour-splatter technique, I created a splash like effect for this piece.
Lower Half: I wanted sharp distinct strokes for this and hence proceeded to use a bold colour (concentrate red) with sharp cutting strokes, resembling a sword-like effect.
HEAT PRESS DIRECT TRANSFER:
Before moving on to the heat press, I have trimmed and cut out the different portions of the paintings accordingly. For the first attempt, I heat pressed twice using the same piece as I wanted to achieve a patterned kind of textile. As observed, the lower half which was the first attempt, was significantly brighter than the upper half, which was the second attempt. It slightly lighter in colour with the same amount of time used.
With the second attempt at the heat press, I printed my other designs and they turned out somewhat desirable. Initially, I thought that the splatter effect will possibly appear very light on the fabric but thankfully it turned out fine.
HEAT PRESS INDIRECT TRANSFER:
Method:
- Place baking paper on heat press machine board.
- Place object of choice (around 1-2mm) facing down in contact with the surface of the cloth.
- Place the paper on the cloth with another piece of baking paper on top.
- Ready for heat press (about 45 seconds)
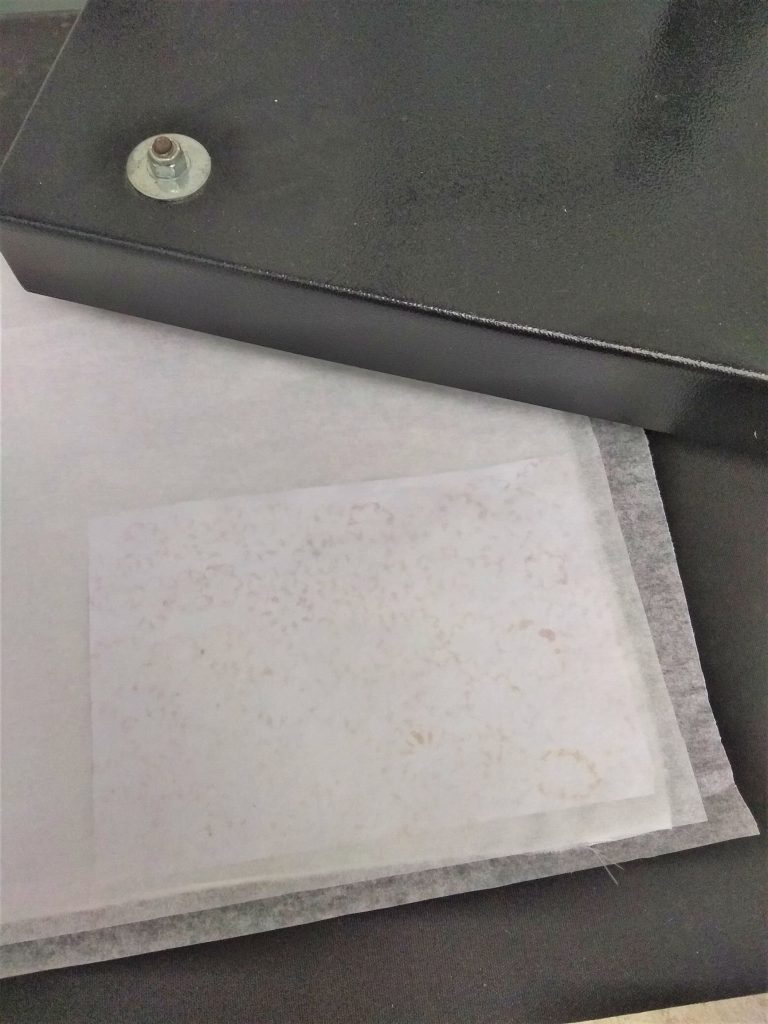
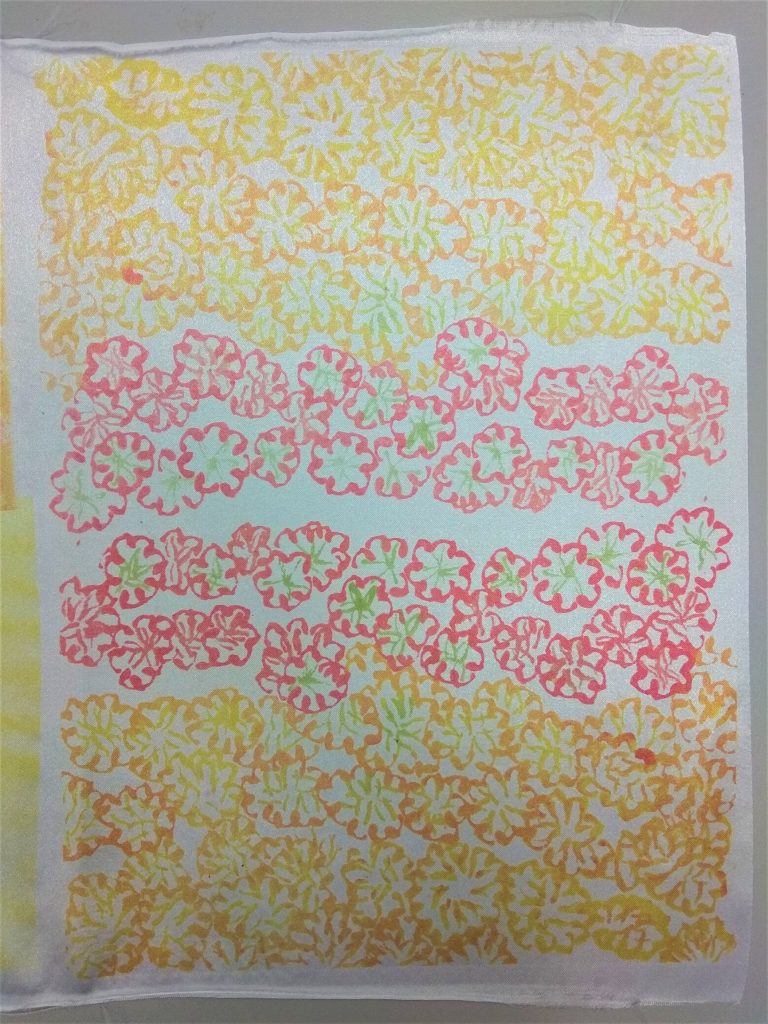
The upper half of the fabric was still direct transfer. However, I used indirect transfer for the lower half of the fabric. My object of choice was the leaves of the fir tree. As observed, the grooves and shape of the leaves got imprinted onto my fabric. During the heat-press, after 35 seconds, there was a slight burning smell and I quickly lifted the heat press only to find my leaf a little burnt. I suppose the choice of the leaf was too thick to have any nice effect on the fabric and I made a mental note to choose something thinner the next time I am doing indirect transfer for heat press.
Applications:
Transfer printing on ceramics.
![]()

Transfer printing on wood.
Transfer printing for clothes