Felting is a simple process of separating, tangling, and relocking animal fibers found in items such as yarn or wool.
1) Wet Felting
Materials:
1) Wool Felt
2) Liquid Hand Soap
3) Hot Water
Steps:
1) Pick out the wool felt in your desired colours.
2) Arrange the wool felt in your desired manner (abstract, spiral, random, grid, etc)
3) Pump some hand soap onto the wool felt.
4) Pour an adequate amount of hot water on to the wool felt and soap.
5) Rub the wool felt and the soap mixture together until it turns foamy.
6) Try to rub in different directions to ensure that the wool felt strands get more entangled with each other and hence becomes firmer.
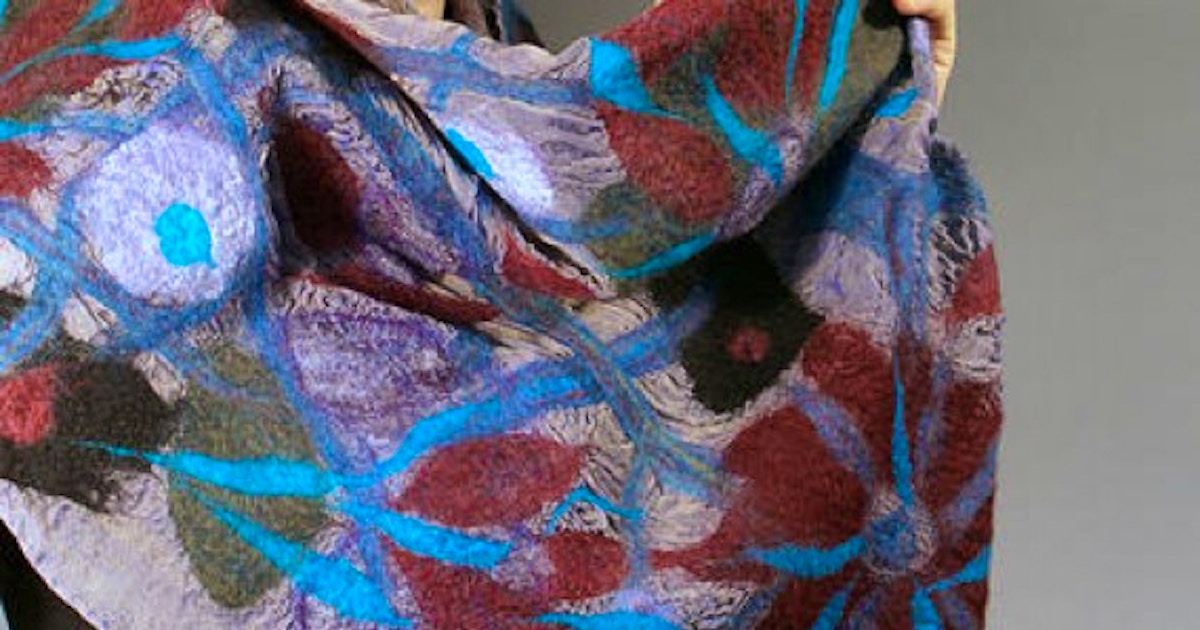
Process Documentation:
![]()
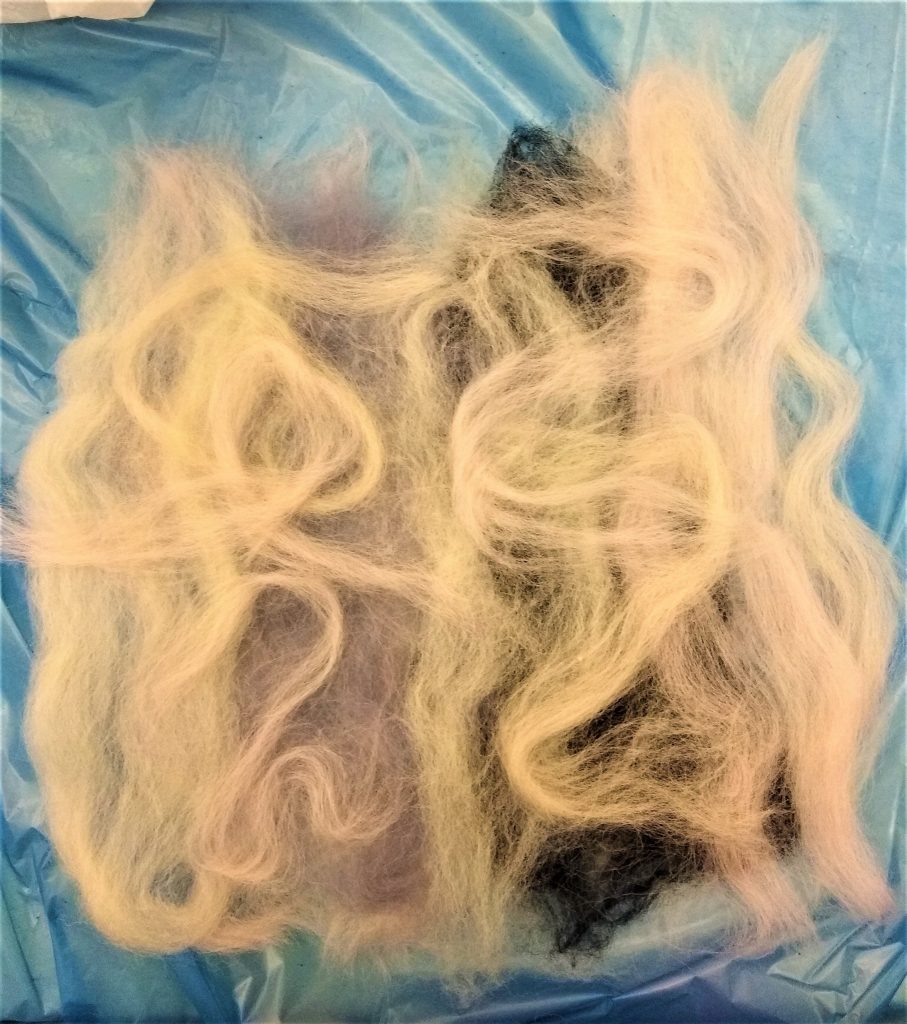
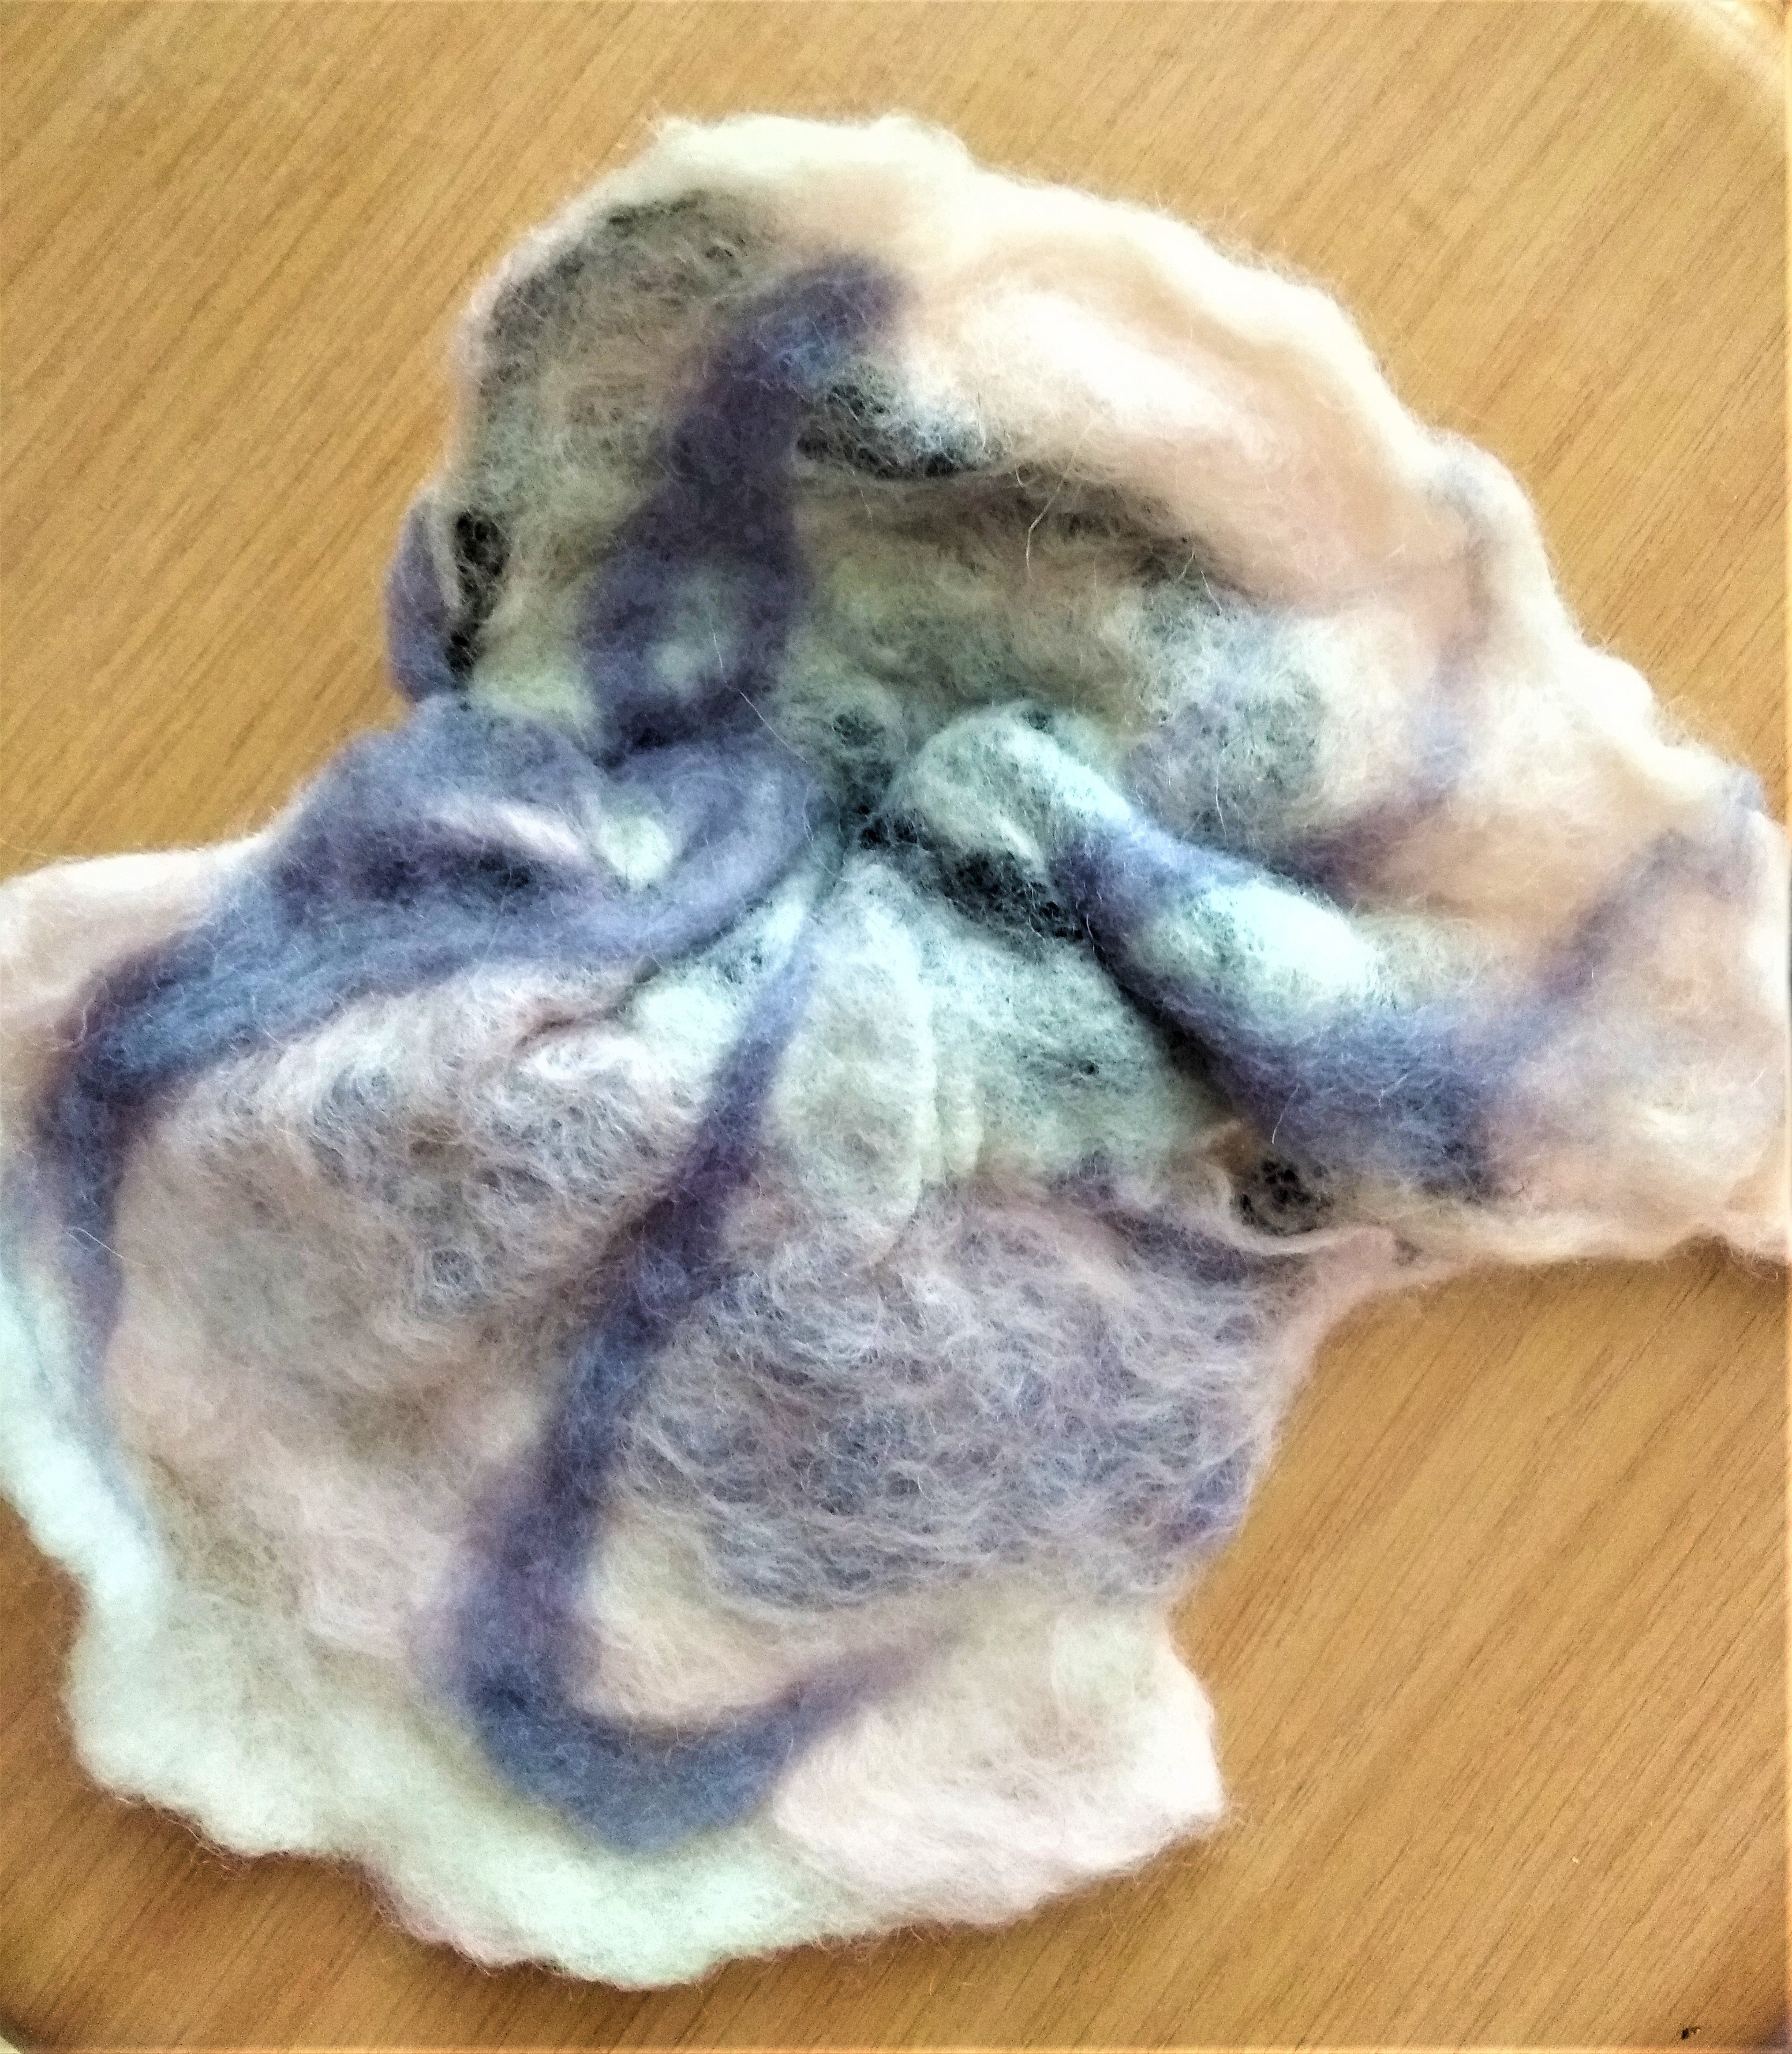
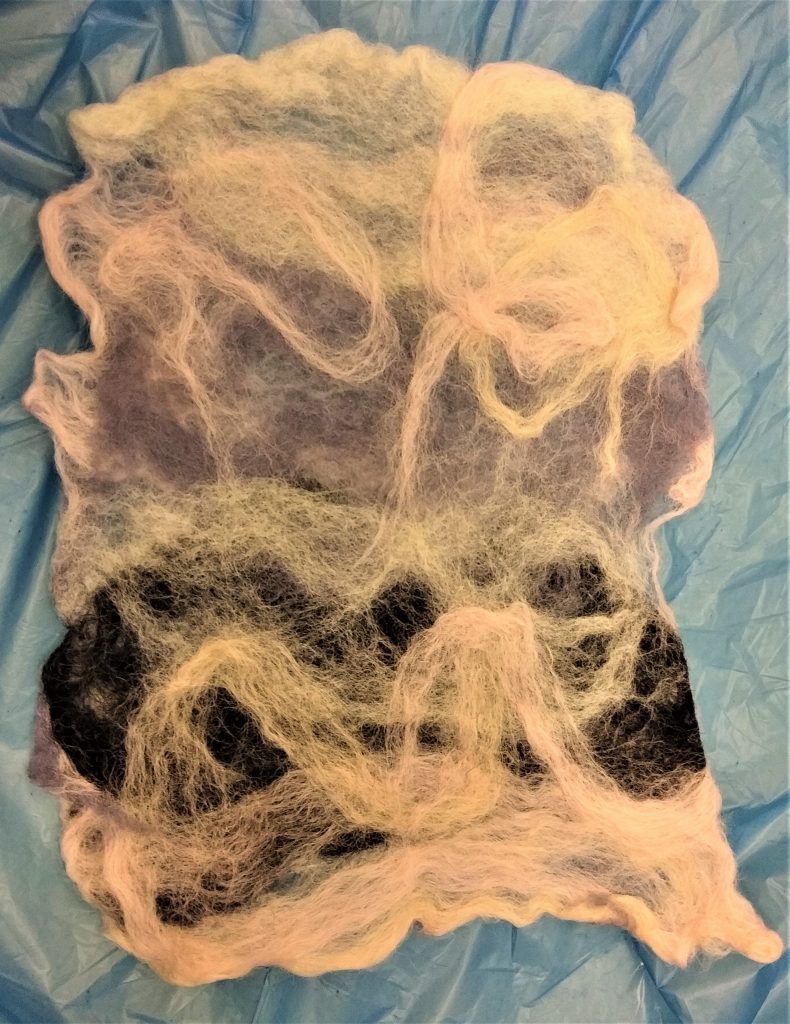
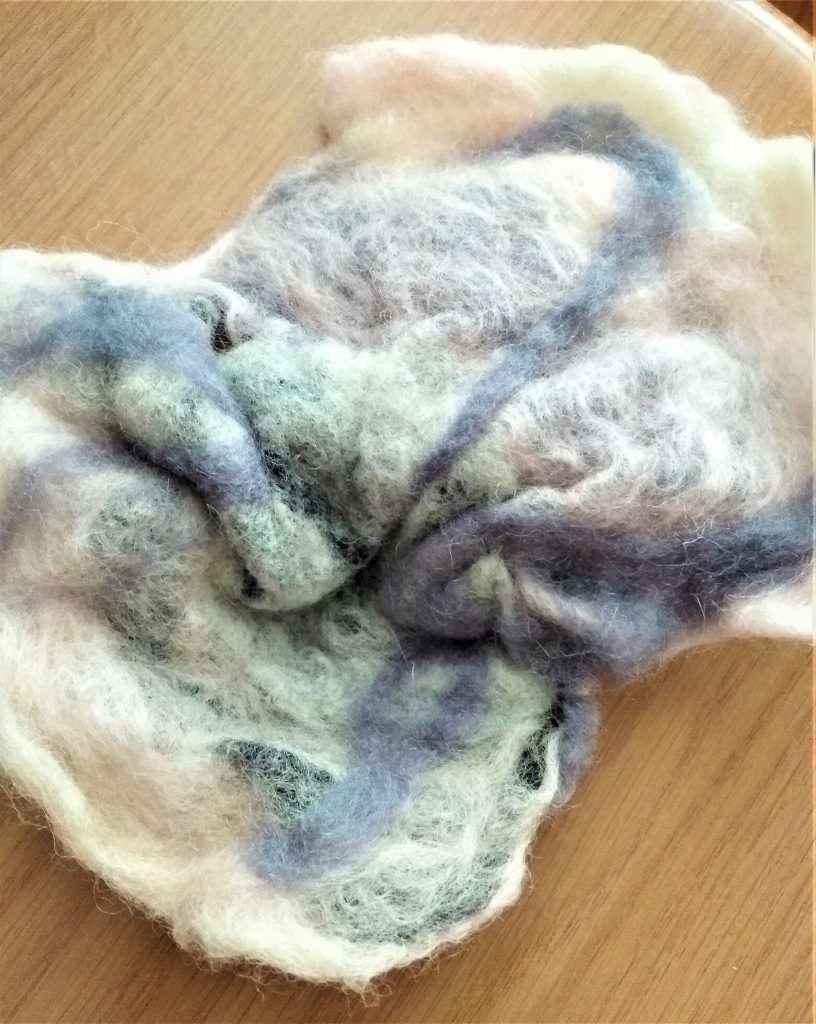
Front and back view of the abstract design for my felting piece. Colours used: Cream, Beige, Pink, Greyish Purple and Black.
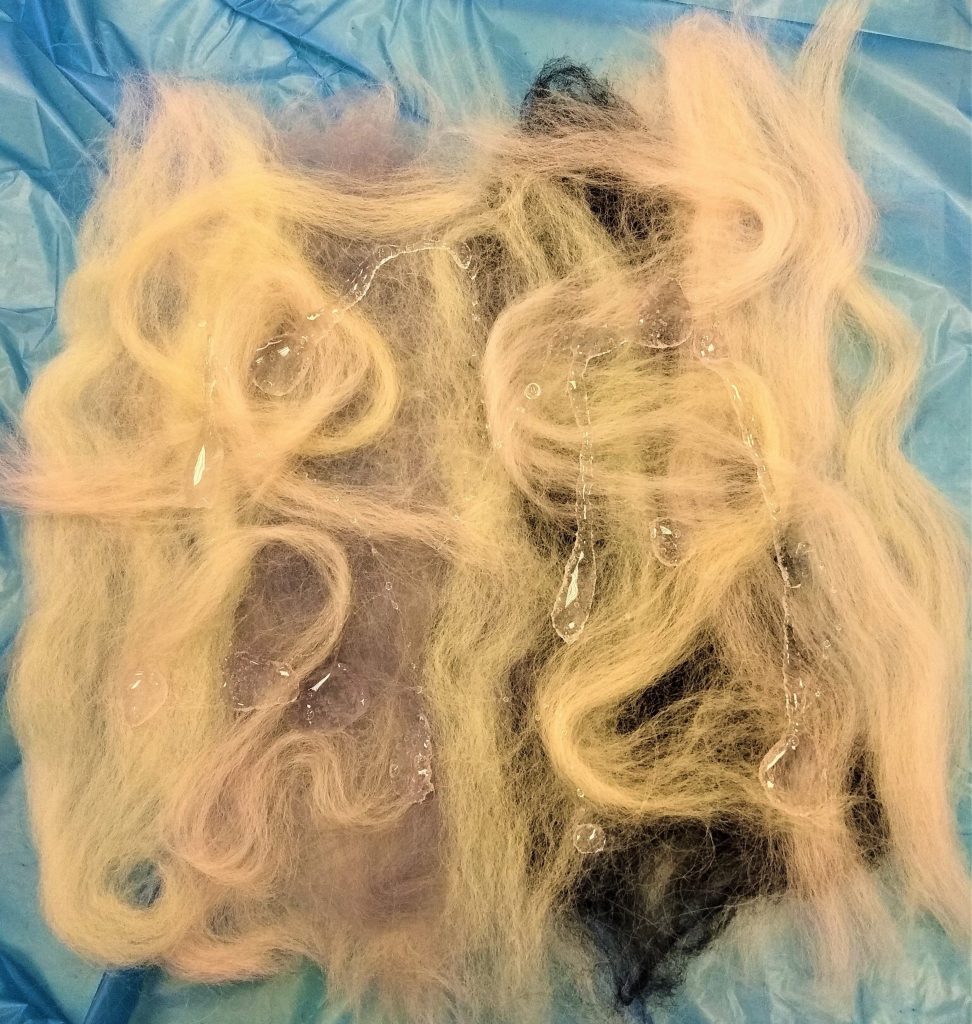
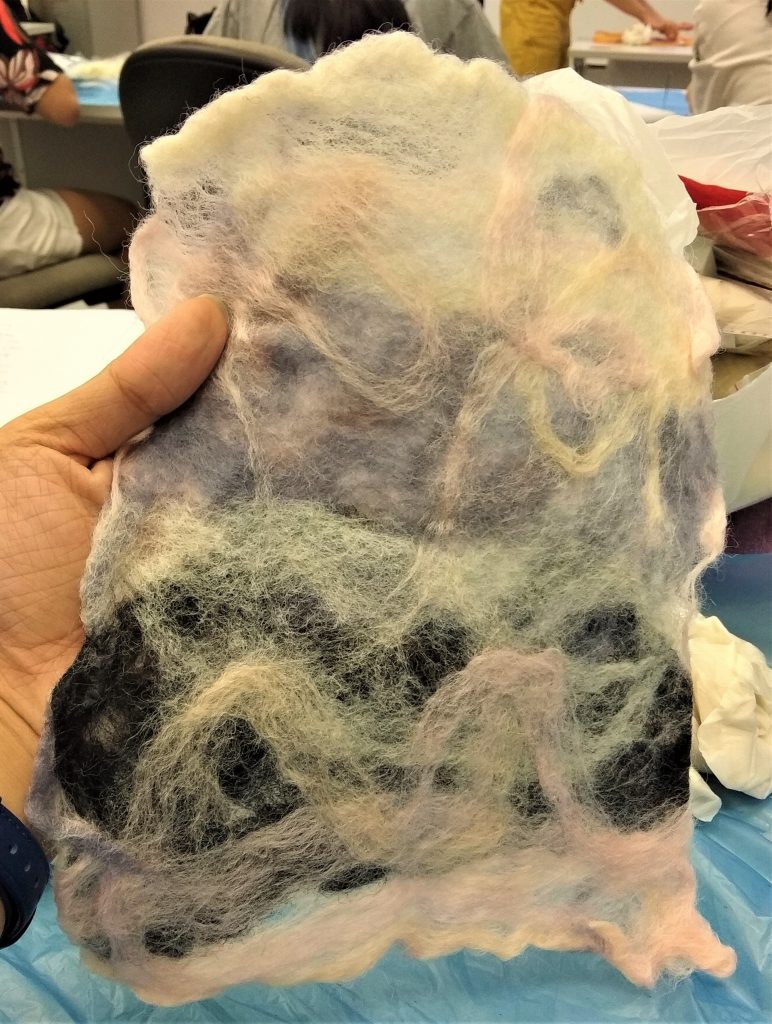
View after pumping some soap on the piece. Rub the piece firmly in different directions.
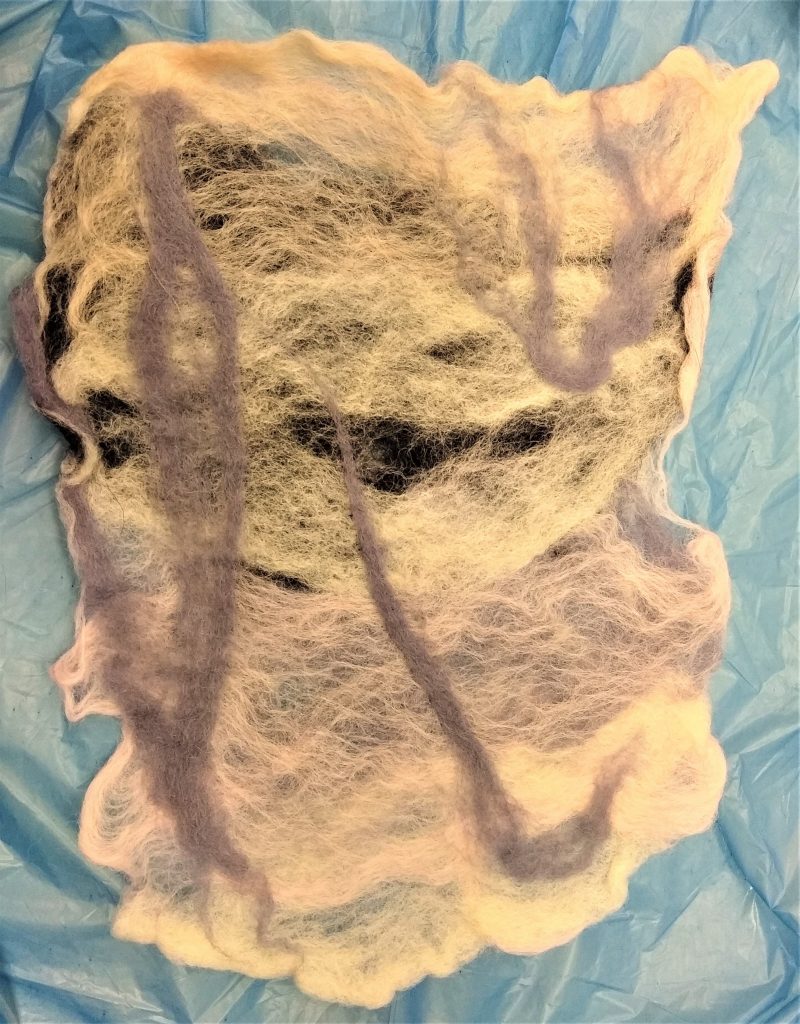
After getting a foamy firm piece, get some tissue paper to soak up the excess soapy water from the felt. While doing so, we can easily create hollow patterns in the felt by either poking our fingers through or by simply spreading them further apart at a certain point.
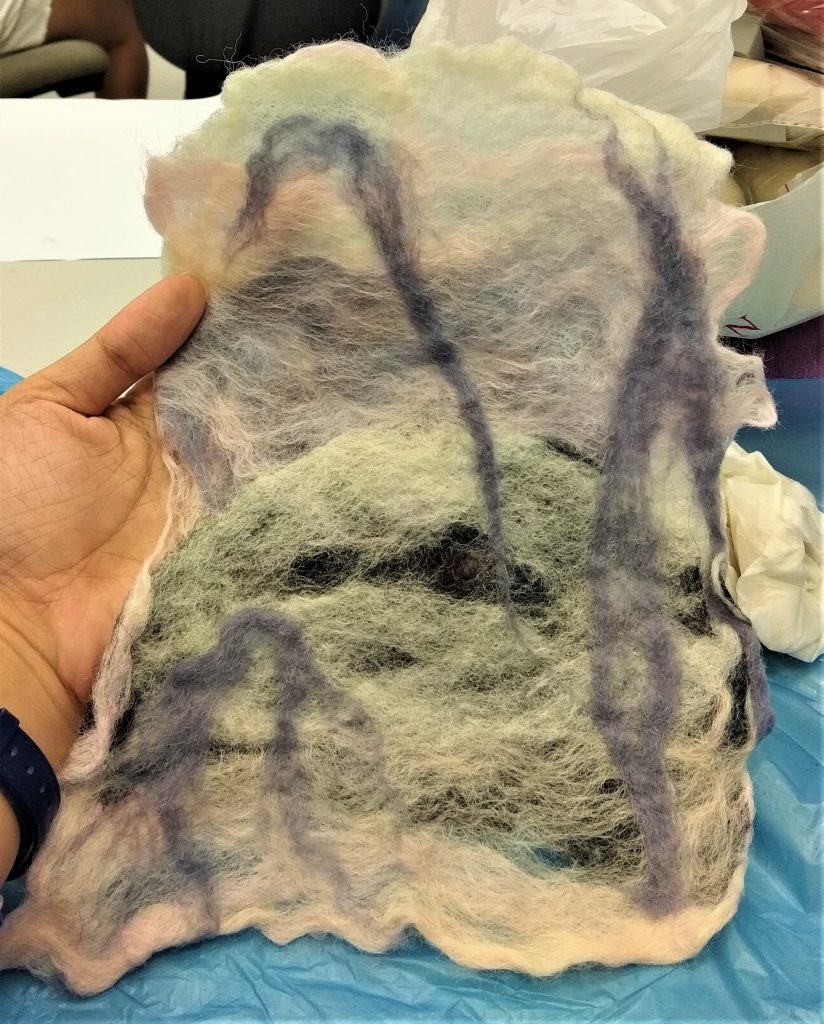
The pieces got firmer after rubbing it consistently in all directions for some time. After this, I applied the dry felting technique and try to create some waves/tension/curls at some parts of the piece.
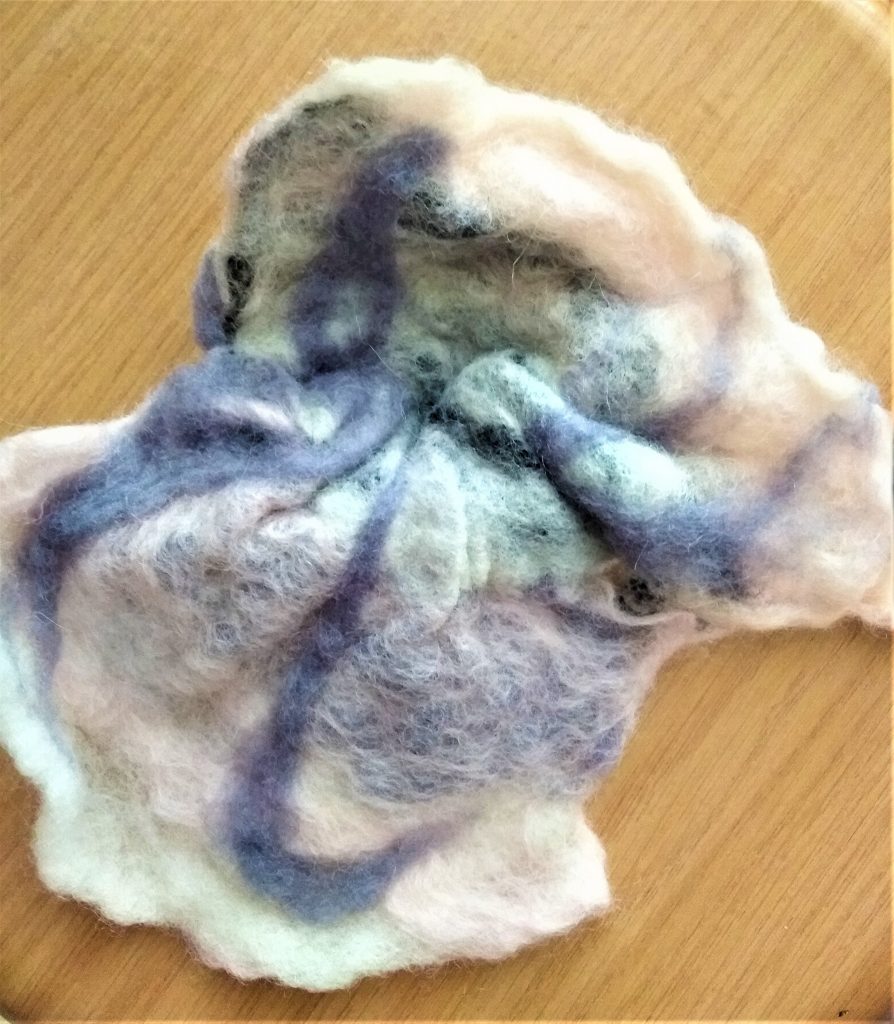
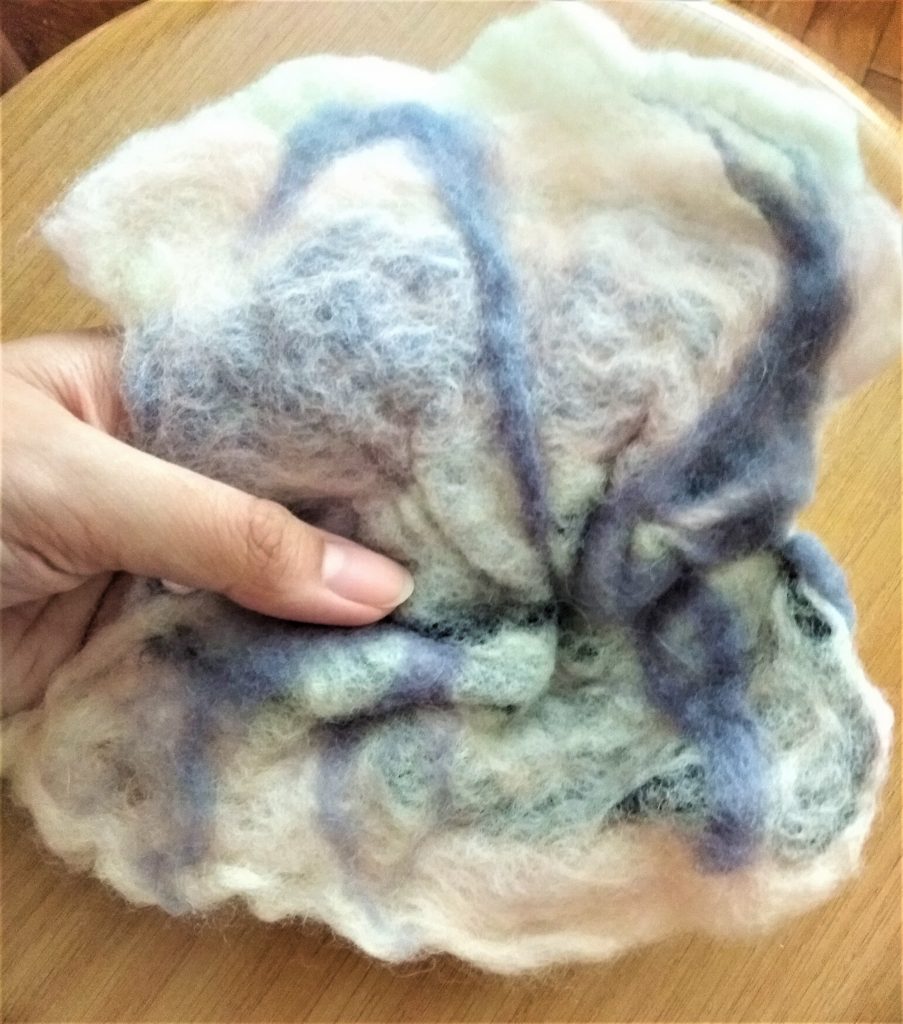
This is the final result of the piece I have made for wet felting.
2) Dry Felting
Materials:
- Felted wool
- Felting Needle
- Foam block or needle cushion
Steps:
- Take a desired amount of felt. (Plan colour, amount and type)
- Rub the felt taken into a tangled ball between your fingers
- Poke the tangled loose ball of felt with the felting needle on top of a sponge block/ cushion until it becomes firm.
Result:
I attempted to create a miniature figure of my own stuff toy cow. The process was very long and I realised that the position of felt placed and poked at must be very accurate if not the features will be affected. Besides, the amount of felt used has to be taken into consideration carefully. For instance, for the cow I made, the horns are of a different size as I did not measure the amount of felt taken properly.
![]()
3) Applique
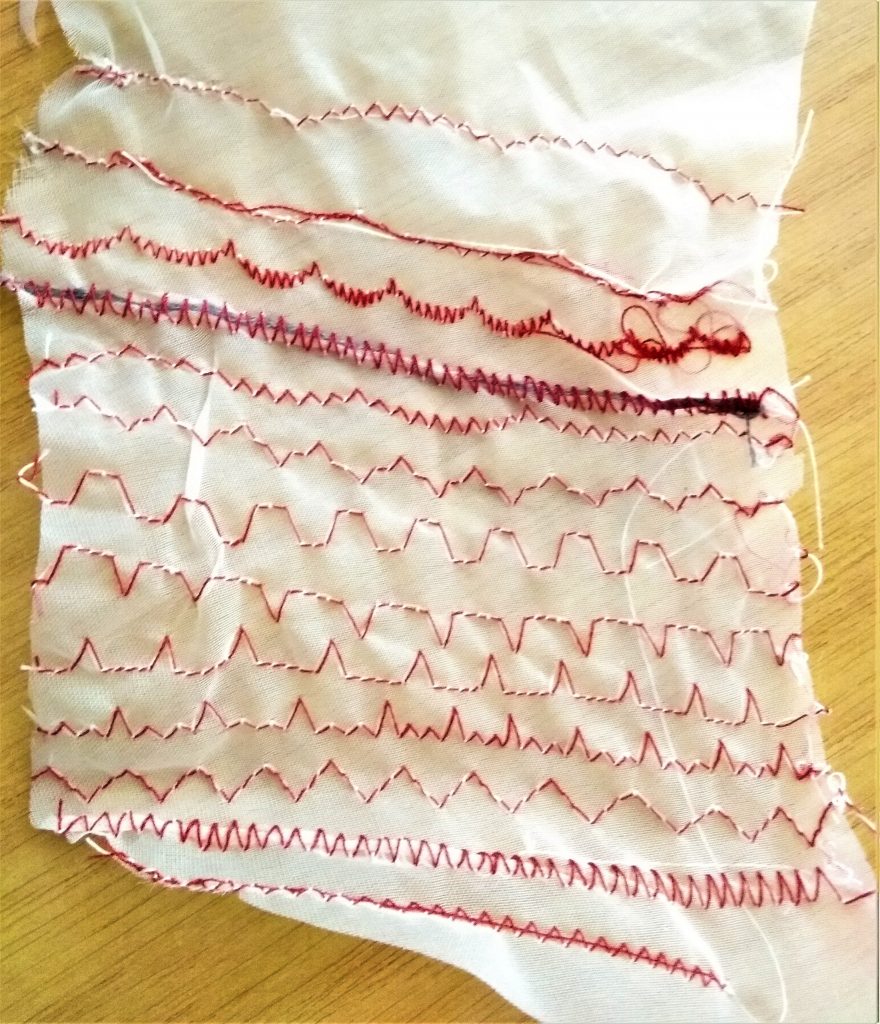
For this part, I tried out all the different types of sewing results I can get from the sewing machine so that I can better plan my works and utilise the different sewing types properly.
Overall, I feel that wet felting is a lot faster than dry felting. The result is also more satisfying and we can hence create abstract patterns or ordered patterns much more easily as compared to dry felting.
Applications:
WET FELTING:


DRY FELTING:

