Last Lap for Cantilever

Ok, this is my last lap/post of my cantilever. So I will upload all my final stuff in this post.

Final model of Cantilever

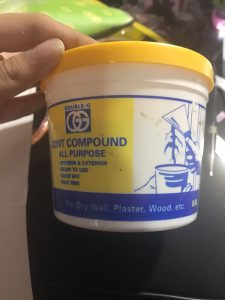
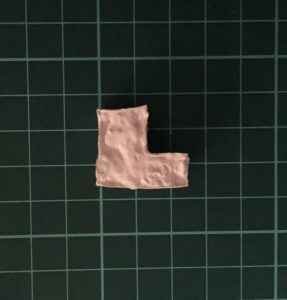
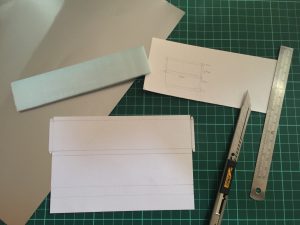
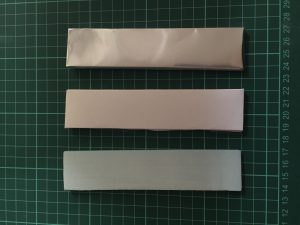
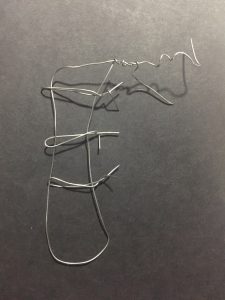
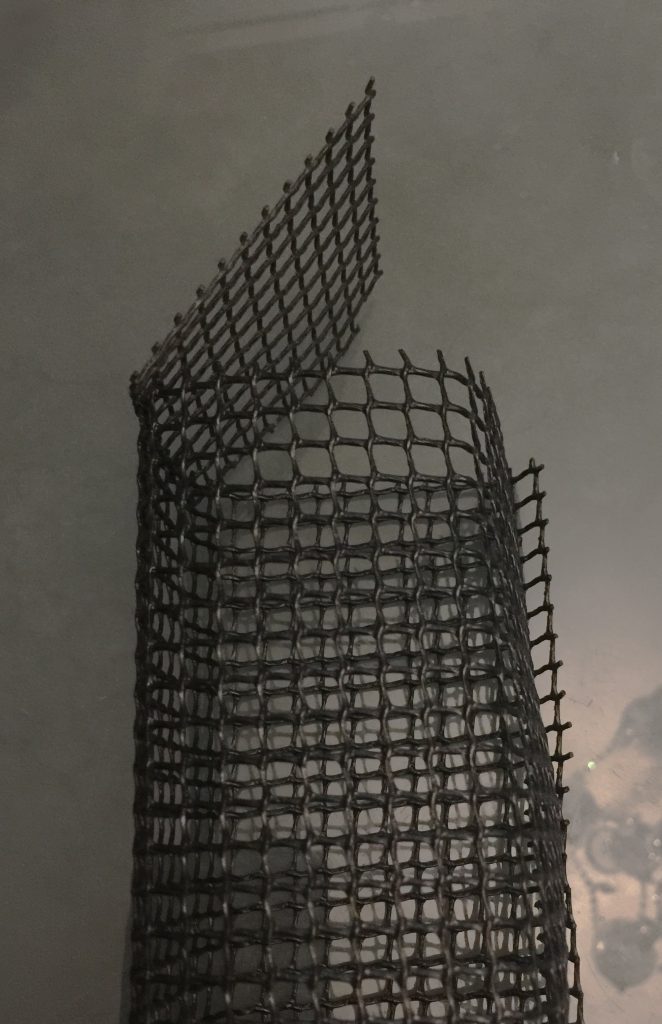
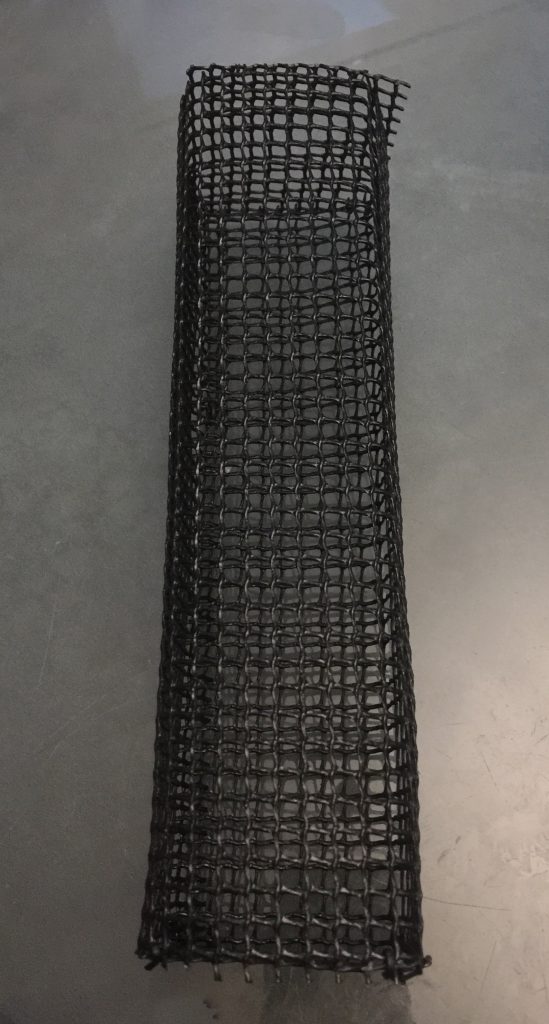
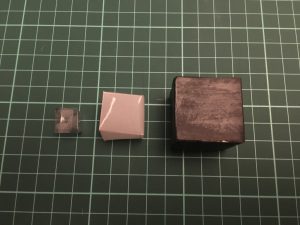
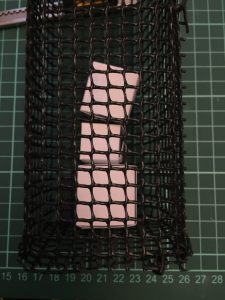
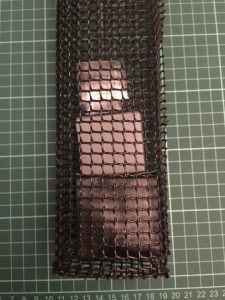
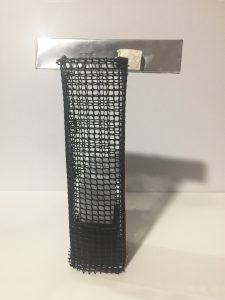
This is my final model for cantilever. Using wires for D, metal sheet for SD and cement for SO. The cubes in the wires are representation of D, SD & SO, by using different opacity for each of the cubes.

2D analysis

In my 2D analysis, I added a small section called ‘Add’. The ‘Add’ represent the improvement that can be made so that all the sides can see D, SD & SO.

Small application: Stationary Box
Small application superimpose

For the small application, I use the top view to make a stationary box made out of wood and magnet. The unique thing about this is the magnet where we can put our paper clips and post it on it.

Big Application: Light Installation

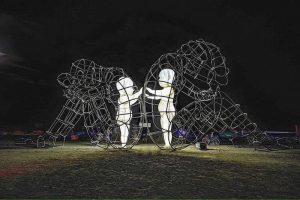
For the big application, I thought of using it as a light installation. It is made out of different transparency for the outer surface. The cube will produce light during the night time and it will automatically take turns to on the light among the 3 cubes.

Reflection

Overall this project has taught me a lot of things, that I didn’t learn in my previous institution. Some of the things are the terms: Dominant, Sub-dominant & sub-ordinate, the piercing and wedging etc and not forgetting the word, ‘Cantilever’. (Cantilever is a new word in my dictionary now)

For this first project, I can see that my workmanship is not very good. So my aim for the next upcoming projects is to improve and pay more attention to my workmanship.

One of my take away from this project is to keep it simple. As previously when I was doing my final model, I was a bit too ambitious with the materials. Maybe with lesser materials, I can focus more on my workmanship.

So yeah, that’s all I have for my last post in cantilever.

The Making of Cantilever

In my previous post, I mention about the materials that I wanted to use for my cantilever. So here are some of the process image I took:

For the SO, I use this to make it (not sure what it is called)
Firstly, I make a mould then add the substance then wait until it is dry
This is how it look after it is dry
For SD, I use a metal sheet. But before that, I make a template using paper then transfer to metal sheet
This is how it look from foam to paper to metal sheet
For the dominant part, I wanted to use wire and coil it similarly to my artist reference. But it was a failure ):
Artist reference: Alexander Milov features two adult bodies each with their illuminated inner child.
Hence I decided to use my this wire frame that it is used for my cat. The difficult part is connected the parts together as the wires was not very stable to make the corners
The outcome of the dominant part
To enhance my model, I added in different sizes if cubes with different opacity, to differentiate D, SD & SO
So, firstly I use paper to create the cube sizes to estimate how much space will it take
Then I use black paper for the biggest cube, translucent paper for the medium cube and transparency for the smallest cube
My outcome of Cantilever

Reflection

I realise that my workmanship is not good, maybe because I don’t like to do mechanism things. And maybe because I was not sure how to piece certain materials together. While I was making this, I questioned this a lot to myself, “Do I use double sided tape or glue gun for this material?” & “How do I make them stick together?”.

I think that my model has too many materials (a bit too ambitious, I guess).  Maybe this is because I follow closely on my moodboard and I did not think of other alternative ways to make my model stand out with the use of lesser materials.

Materials & Moodboard for Cantilever

So I went out to Artfriend & Daiso to find the materials for my final model. The materials that I had in mind, before going to Artfriend, was Metal, wire and concrete. So here are the materials I found that can be used form my final model:

silver paper to show metallic effect
Shades of colour that I intend to go for – Monochrome
Metal rod
Glass rod


Found something similar to Chicken Wire, but a bit smaller to fit my model
Fish wire/fish line (I don’t know what it’s called)
Similar to Chicken wire

More glass rod
Metal sheet
Wires with different thickness
Coloured wires
Shrink plastic
At home, I have this fence for my cat

However after I went to Artfriend, I went home and did some research on the materials that I saw. And I’m interested to explore more on the wires. Like using the empty space of the cuboid to create something.

My inspiration came from this:

This sculpture titled ‘Love’ by Ukrainian artist Alexander Milov

“This sculpture consists of a black wire man and a woman who are sitting down and facing away from one another in anger. Inside the black wire frames are two inner sculptures depicting children who are looking towards one another and embracing each other through the metal wires. 

At night, the two children in this wire art sculpture actually become brightly illuminated and create a powerful image that contrasts between inner human nature and what we actually project outward. Although the inner child appears to be trapped within the outer self, there still appears to be hope that can break through.”

Quoted from: https://www.trendhunter.com/trends/wire-art-sculpture

I like how the sculpture conveys the story. And the fact that the artist inserted another figure inside the wire sculpture instead of making it empty.

Moodboard

So this is the moodboard that I intend to go for. Using wires and concrete. Simple, clean lines for wire framing. Playing around with opacity using cubes. And the colours that I’m going for is monochrome with a touch or neutral colours.