The Dream Engine
brainstorming process
This project took a way longer time to conceptualize than I had expected. As I did my brainstorm, I realized that there are many different takes on the word itself: the word can refer to dreams as an aspiration; as a form of daydream where one builds castles in the sky; and also in the literal sense—where one falls asleep and the mind reconstructs past experiences.
After narrowing down my options, I decided on taking dreams in the literal sense. Some ideas that came into my mind were sleep-walking and lucid dreaming. In the end, I chose to explore the relationship between physical processes (in the brain) and the dreams experienced by consciousness.
Concept
This is an experimental film that explores the workings of the brain during periods of dreaming. In particular, a fresh take of transitions between the subconscious (dream) state and conscious was experimented.
I interpreted dreams as an interaction of the conscious and the subconscious mind. Raw materials of dreams are sourced from our personal true experiences and are united/combined/compounded. Thus dreams are opportunities for our brains to reorganise and unravel their huge storage of memories. It is also a time where we can relieve certain penned up emotions, and explore uncharted territories that have always held your conscious mind hostage.
Hence, in this video, the dream tracks represent our latent desires and fears that present themselves when our conscious mind is at its weakest defence. When we get transported to the dream world, our conscious mind concedes control. Dream tracks are supplied by our subconscious mind and we have no choice of what we want but to experience them all. Our conscious mind, however, still has some autonomy because ultimately the dream tracks were only possible because of our conscious experiences (hence the part where the dream track can be skipped).
To make the memories distinct, and to characterise them, I associated each memory/ dream track with music. As you probably can tell, my film is very much music driven. Music has a strong foreboding effect right at the start and very effectively sets the mood for the dream. To me, music is something that transcends the conscious and the subconscious (I mean there must be a reason why we randomly recall annoying tunes) and is at the same time intimately related to emotion. Thus, in the video, the musical tracks defines the dream and it is the medium through which our emotional states manifest themselves in the creation of dream experiences.
The three genres that I have decided to work with are: joy, fear and love. These three deal with emotions that are very much intuitive and raw. We often encounter them in our daily lives and the expression of these emotions runs the entire gamut from us outrightly sharing them with the world to suppressing them in the deepest trenches of our heart.
On top of that, the three dream sequences are all filmed to be somewhat absurd, weird and illogical but the protagonist doesn’t feel that at all. While this adds a comedic effect to my film, this closely aligns to how we experience dreams; they can be downright impossible and we wouldn’t suspect a thing.
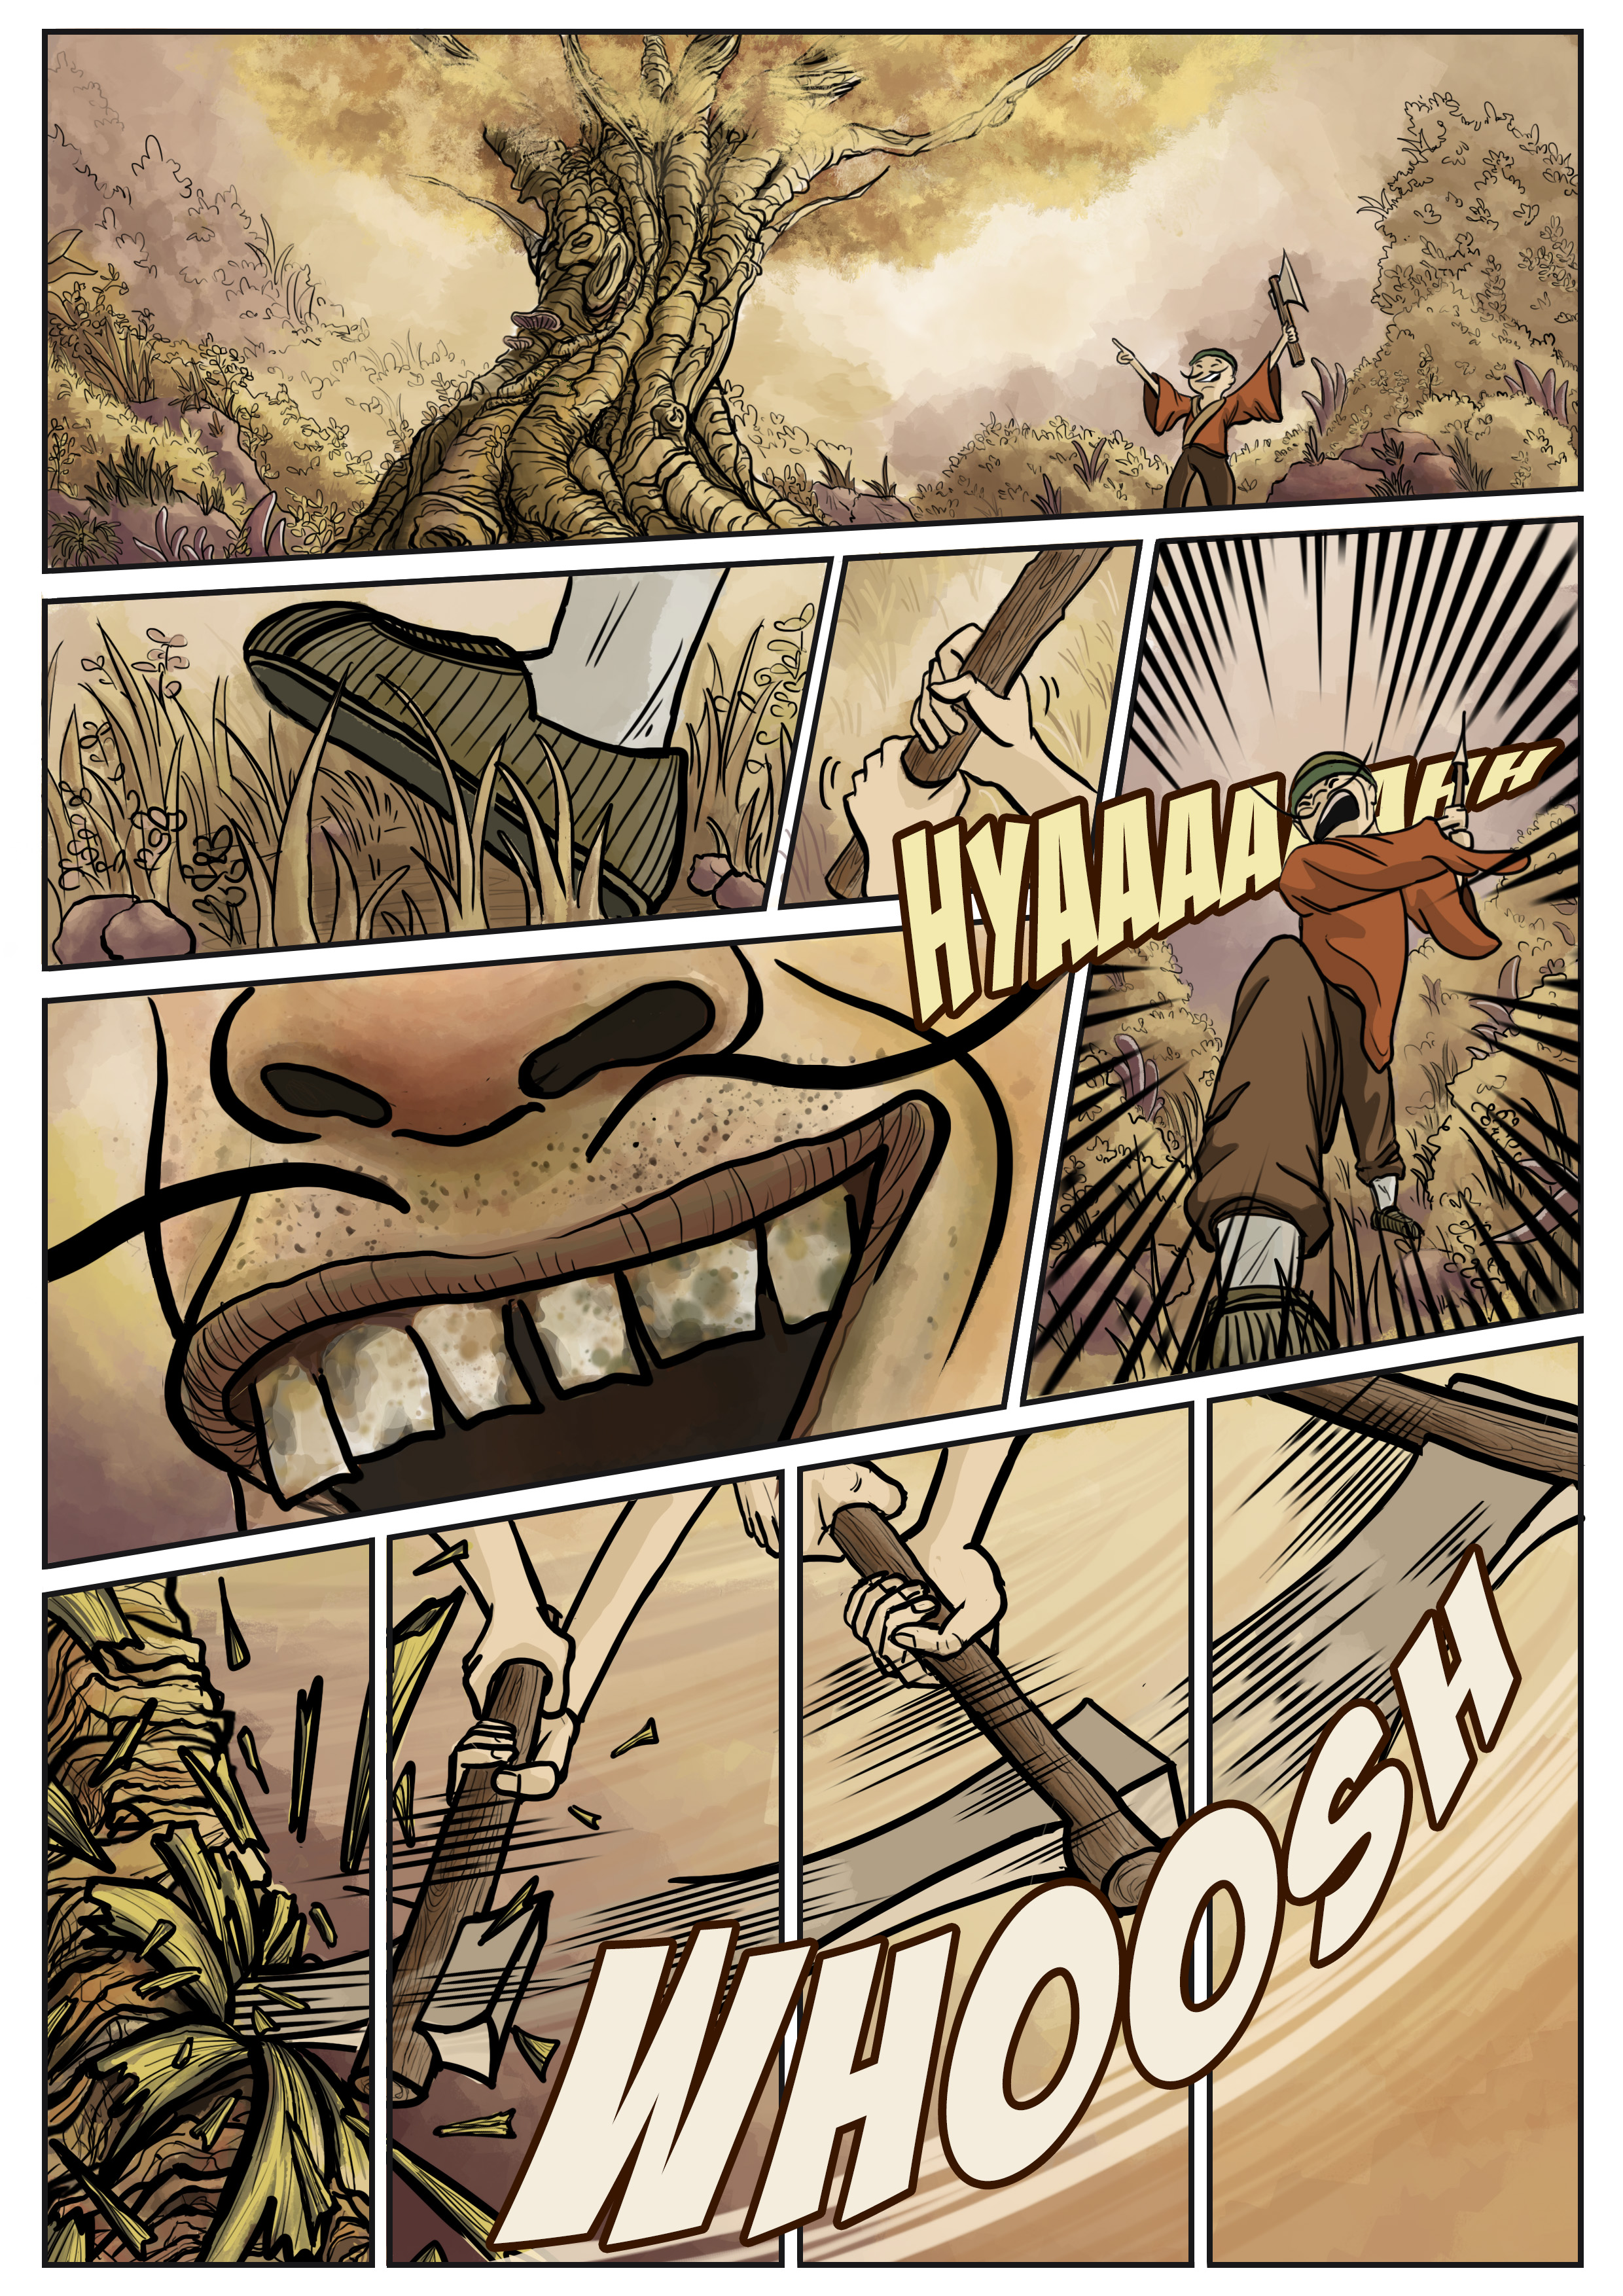
Script


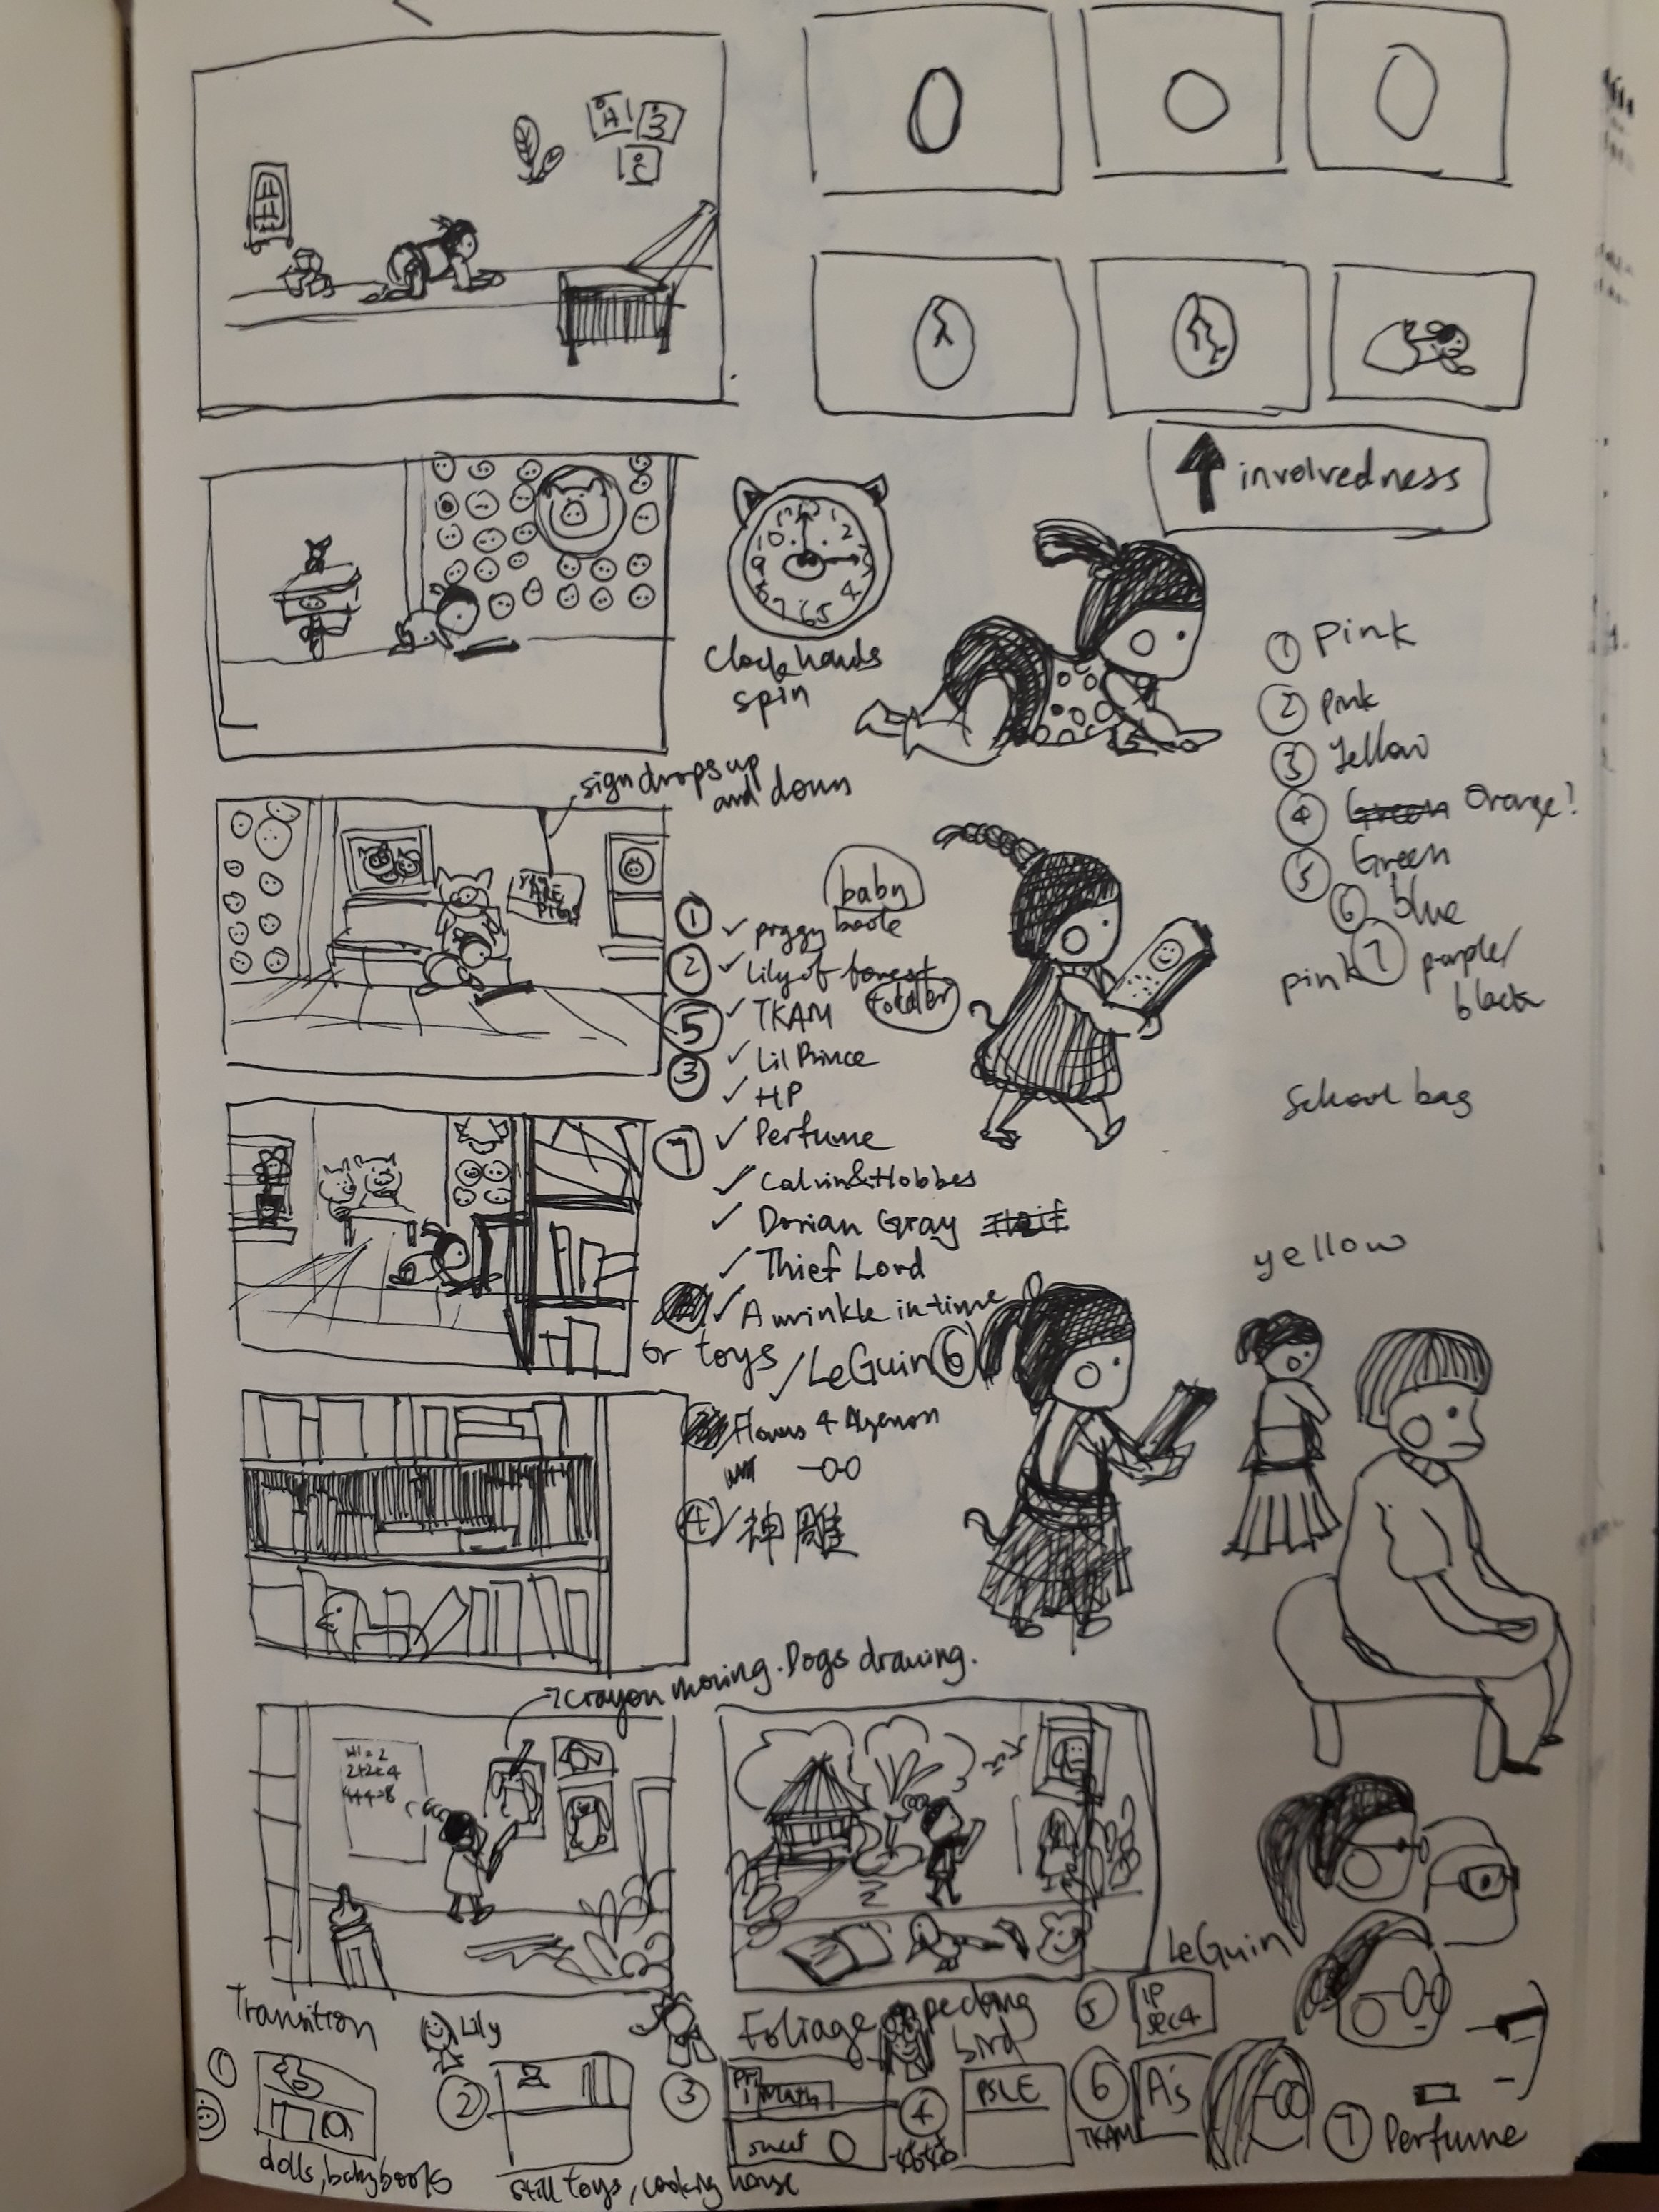
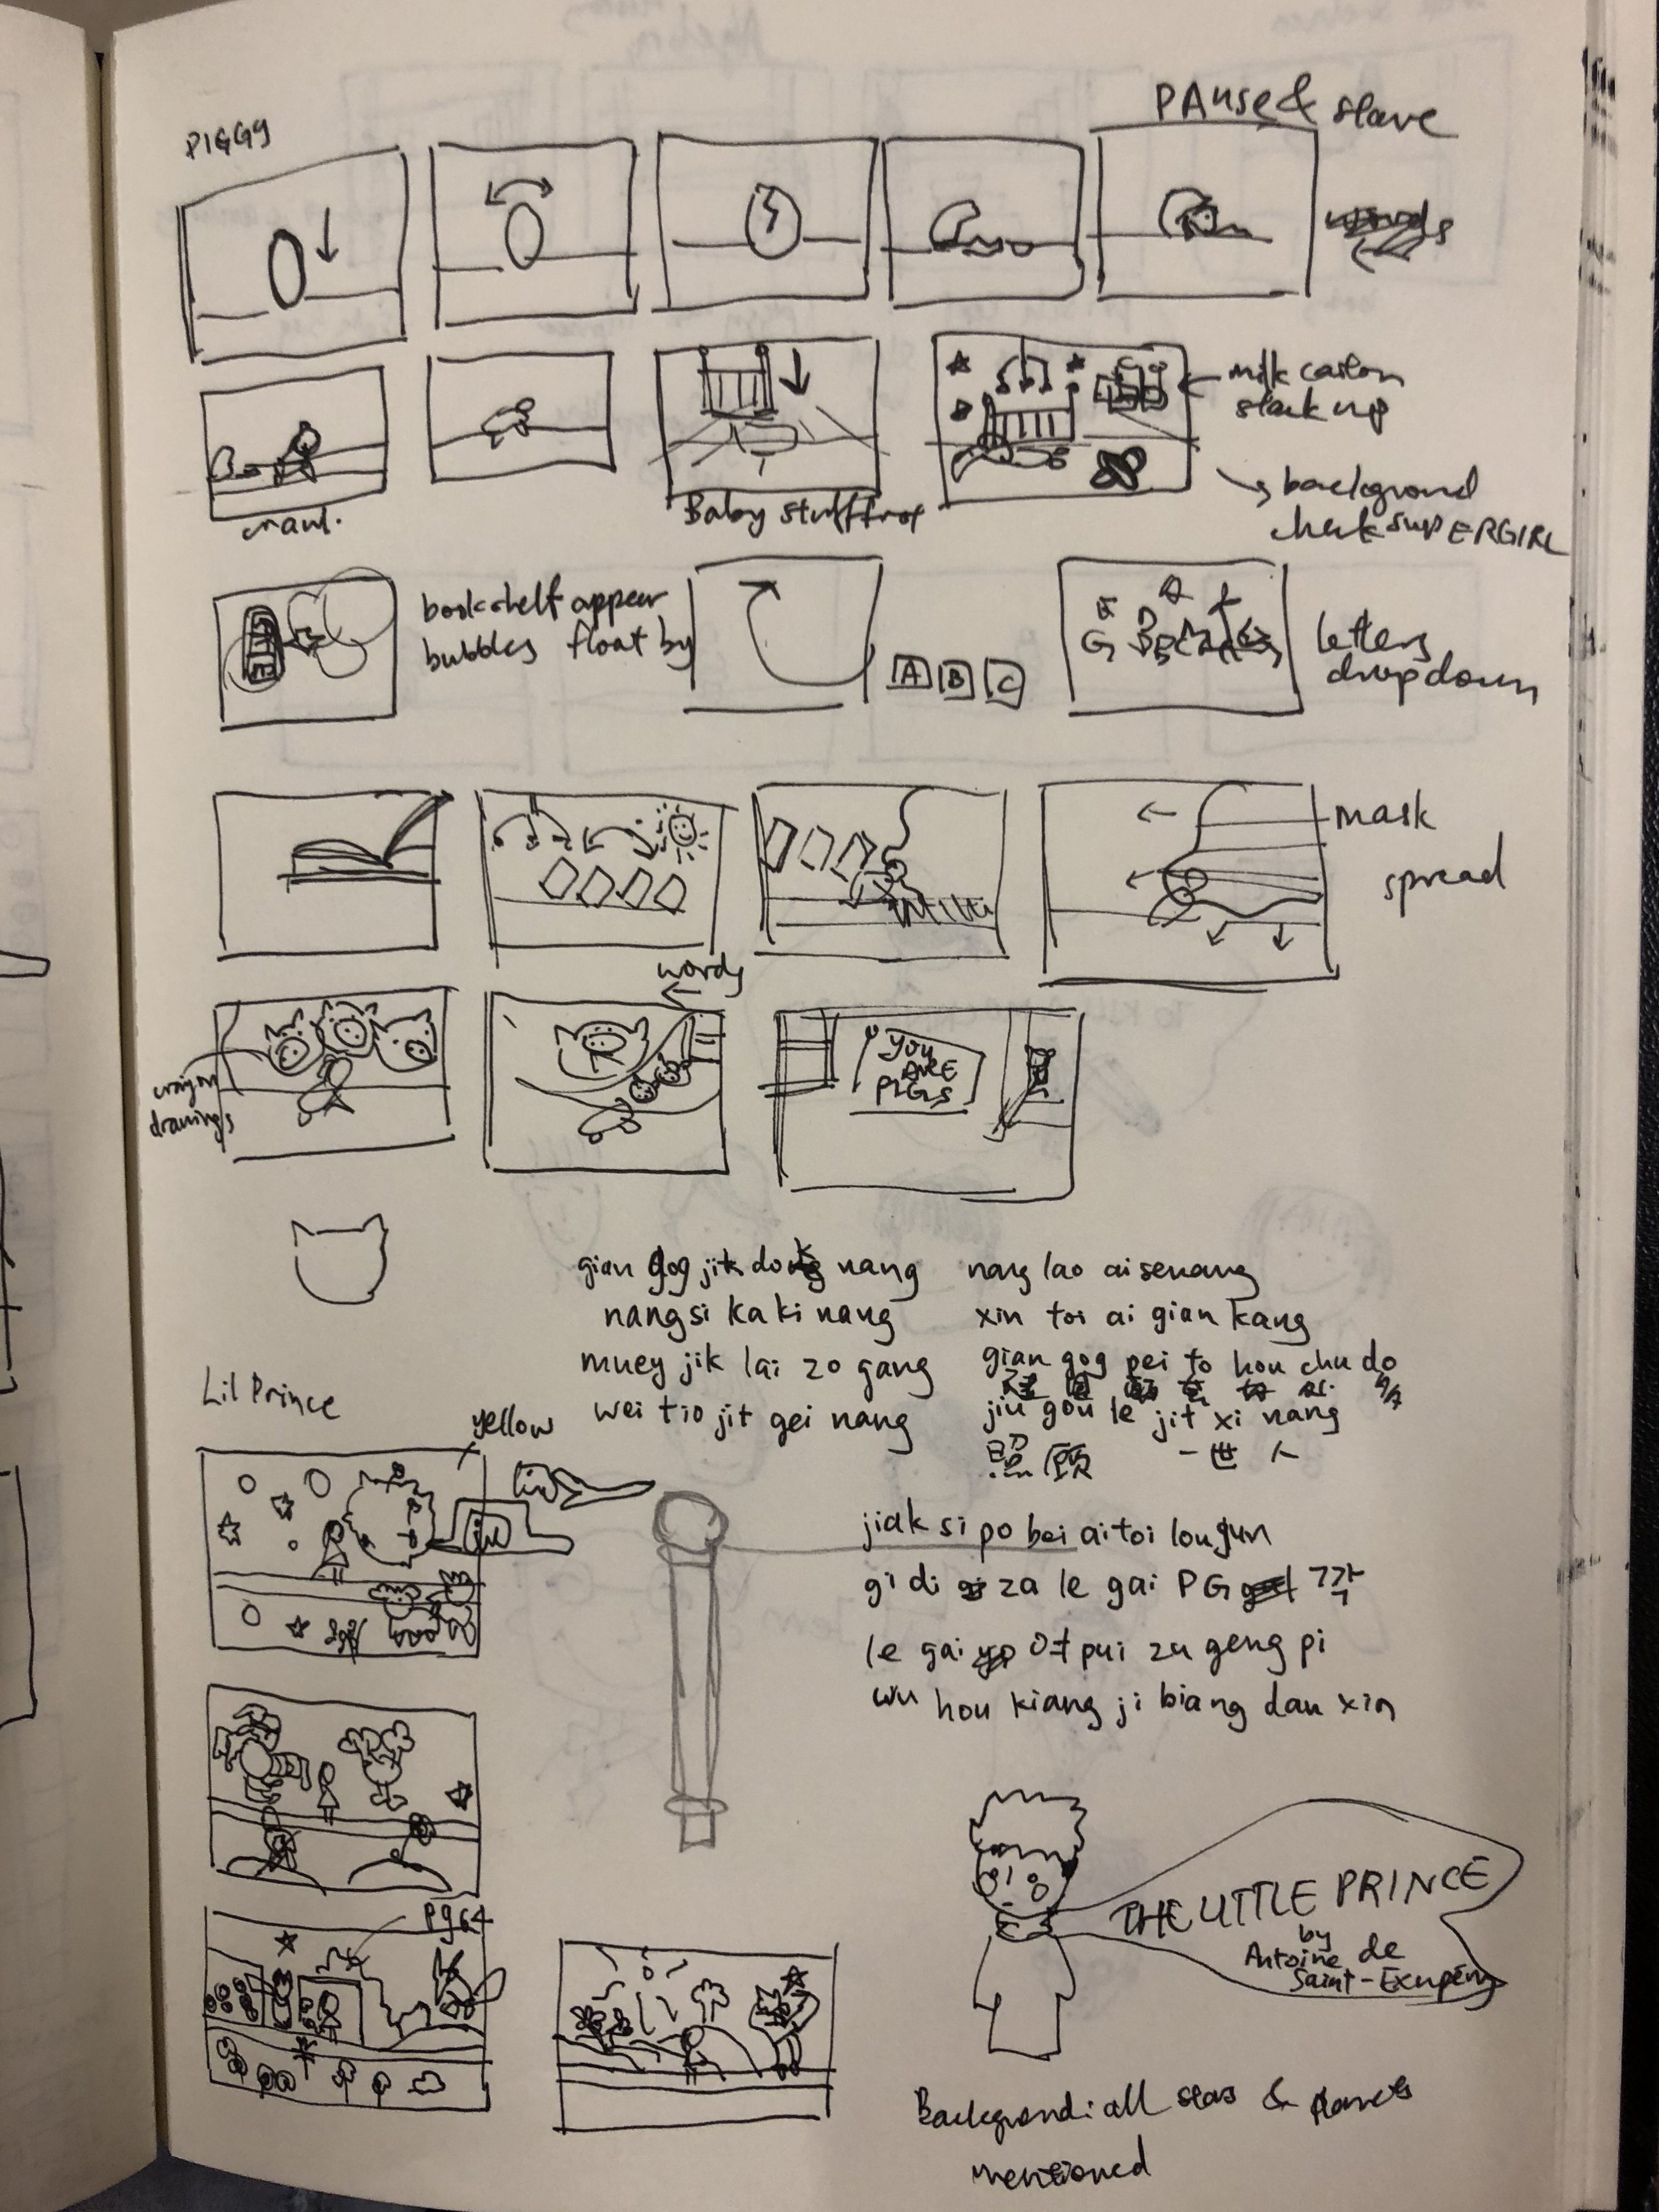
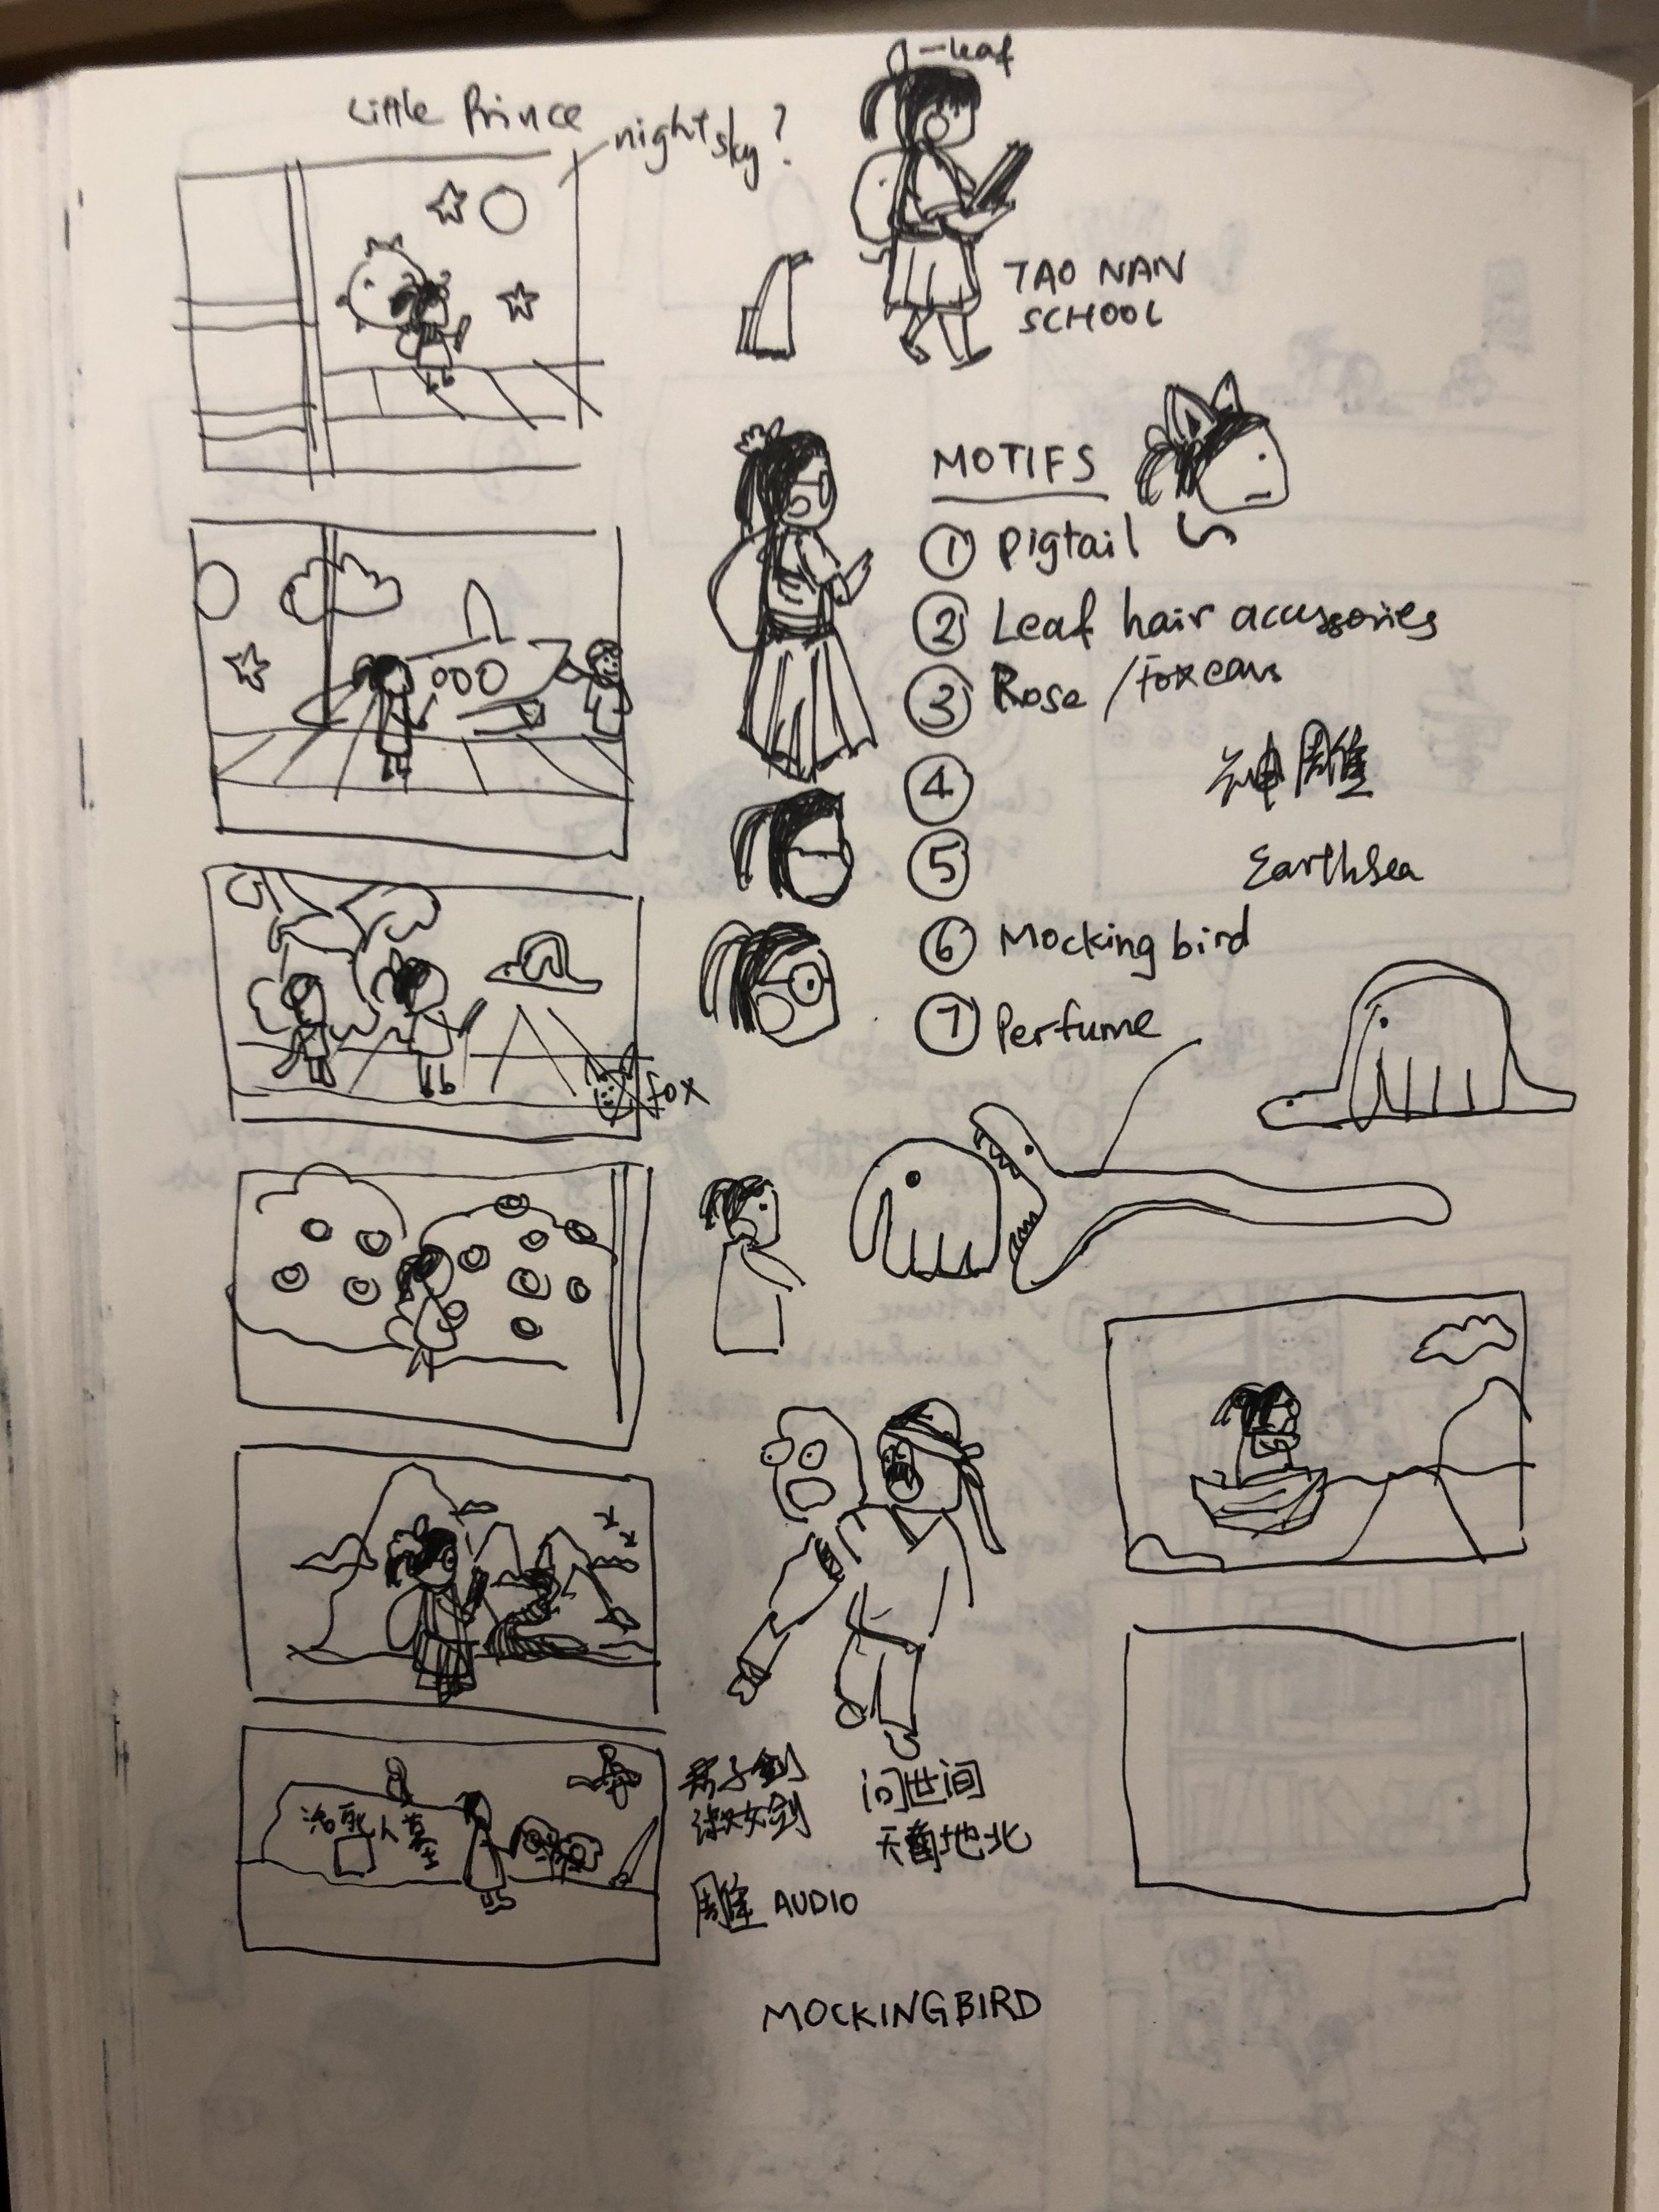
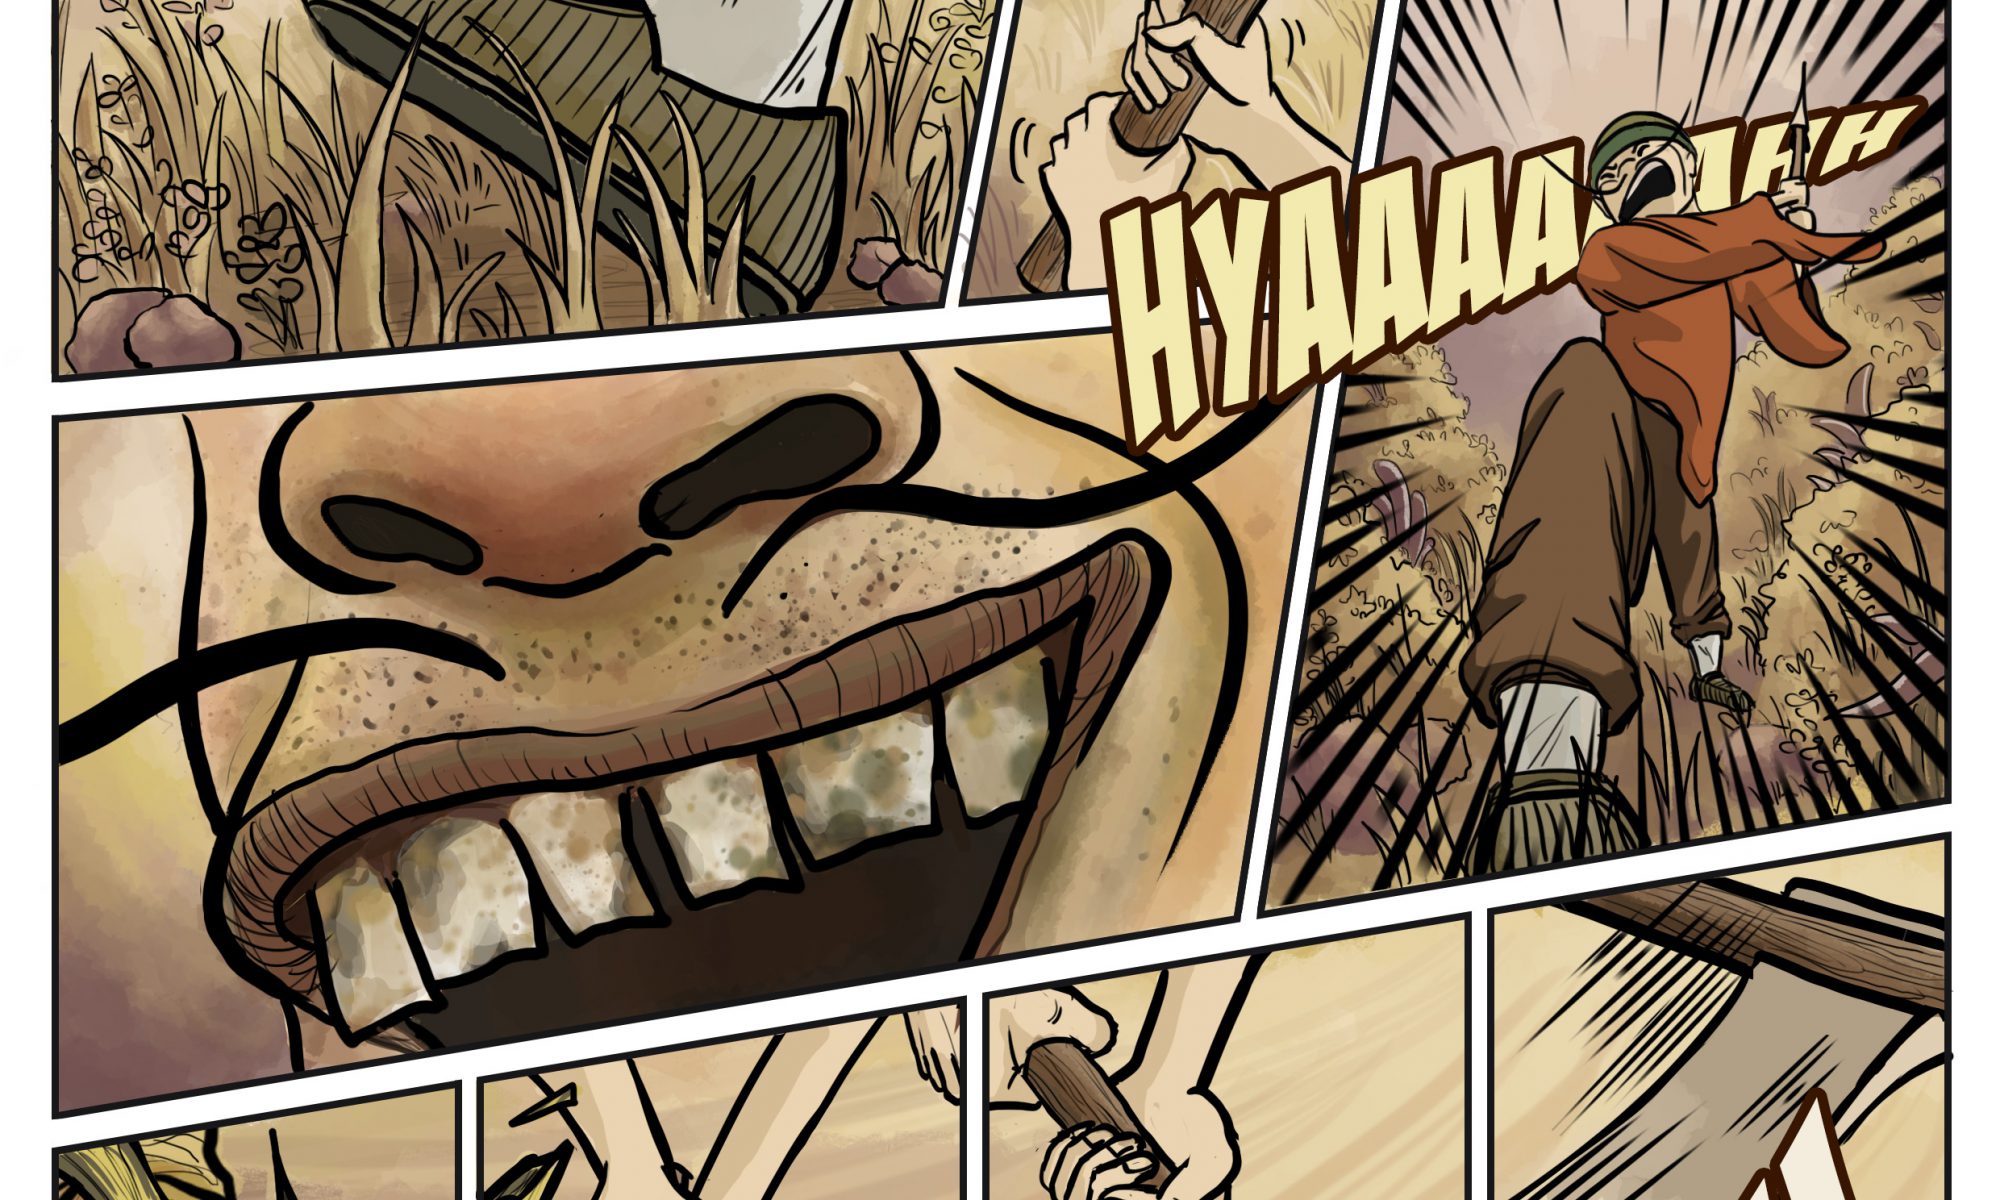
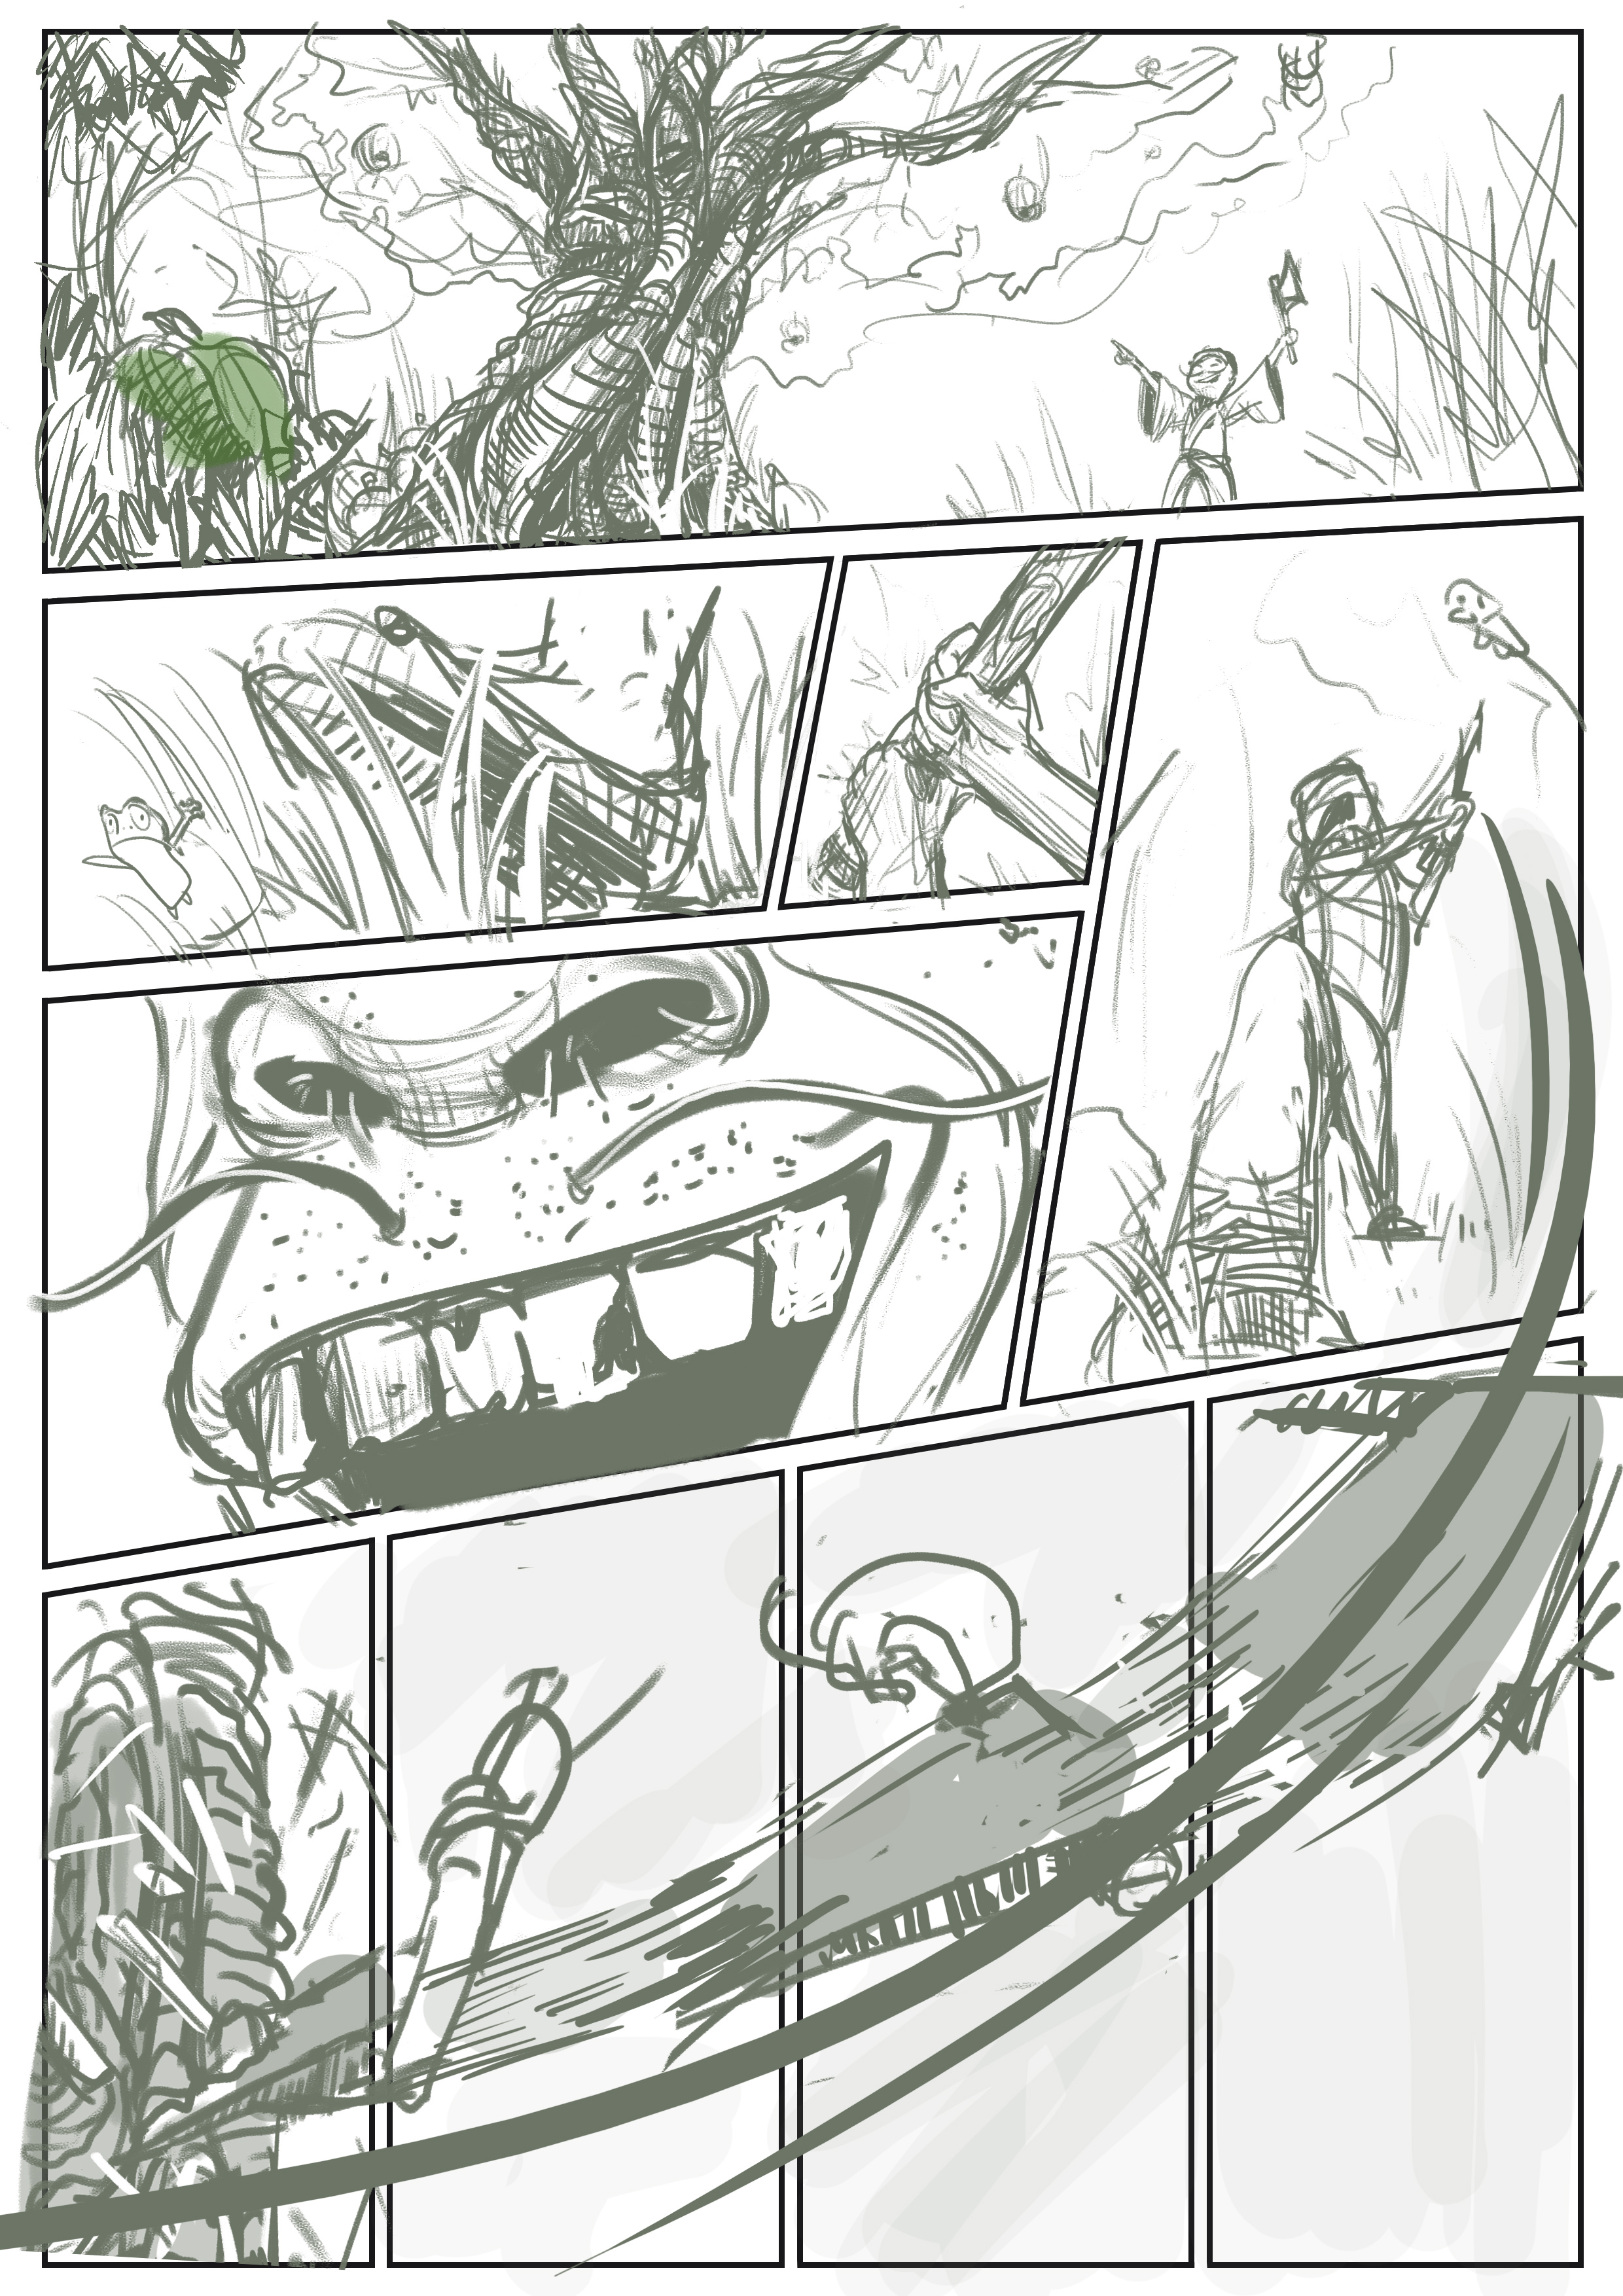
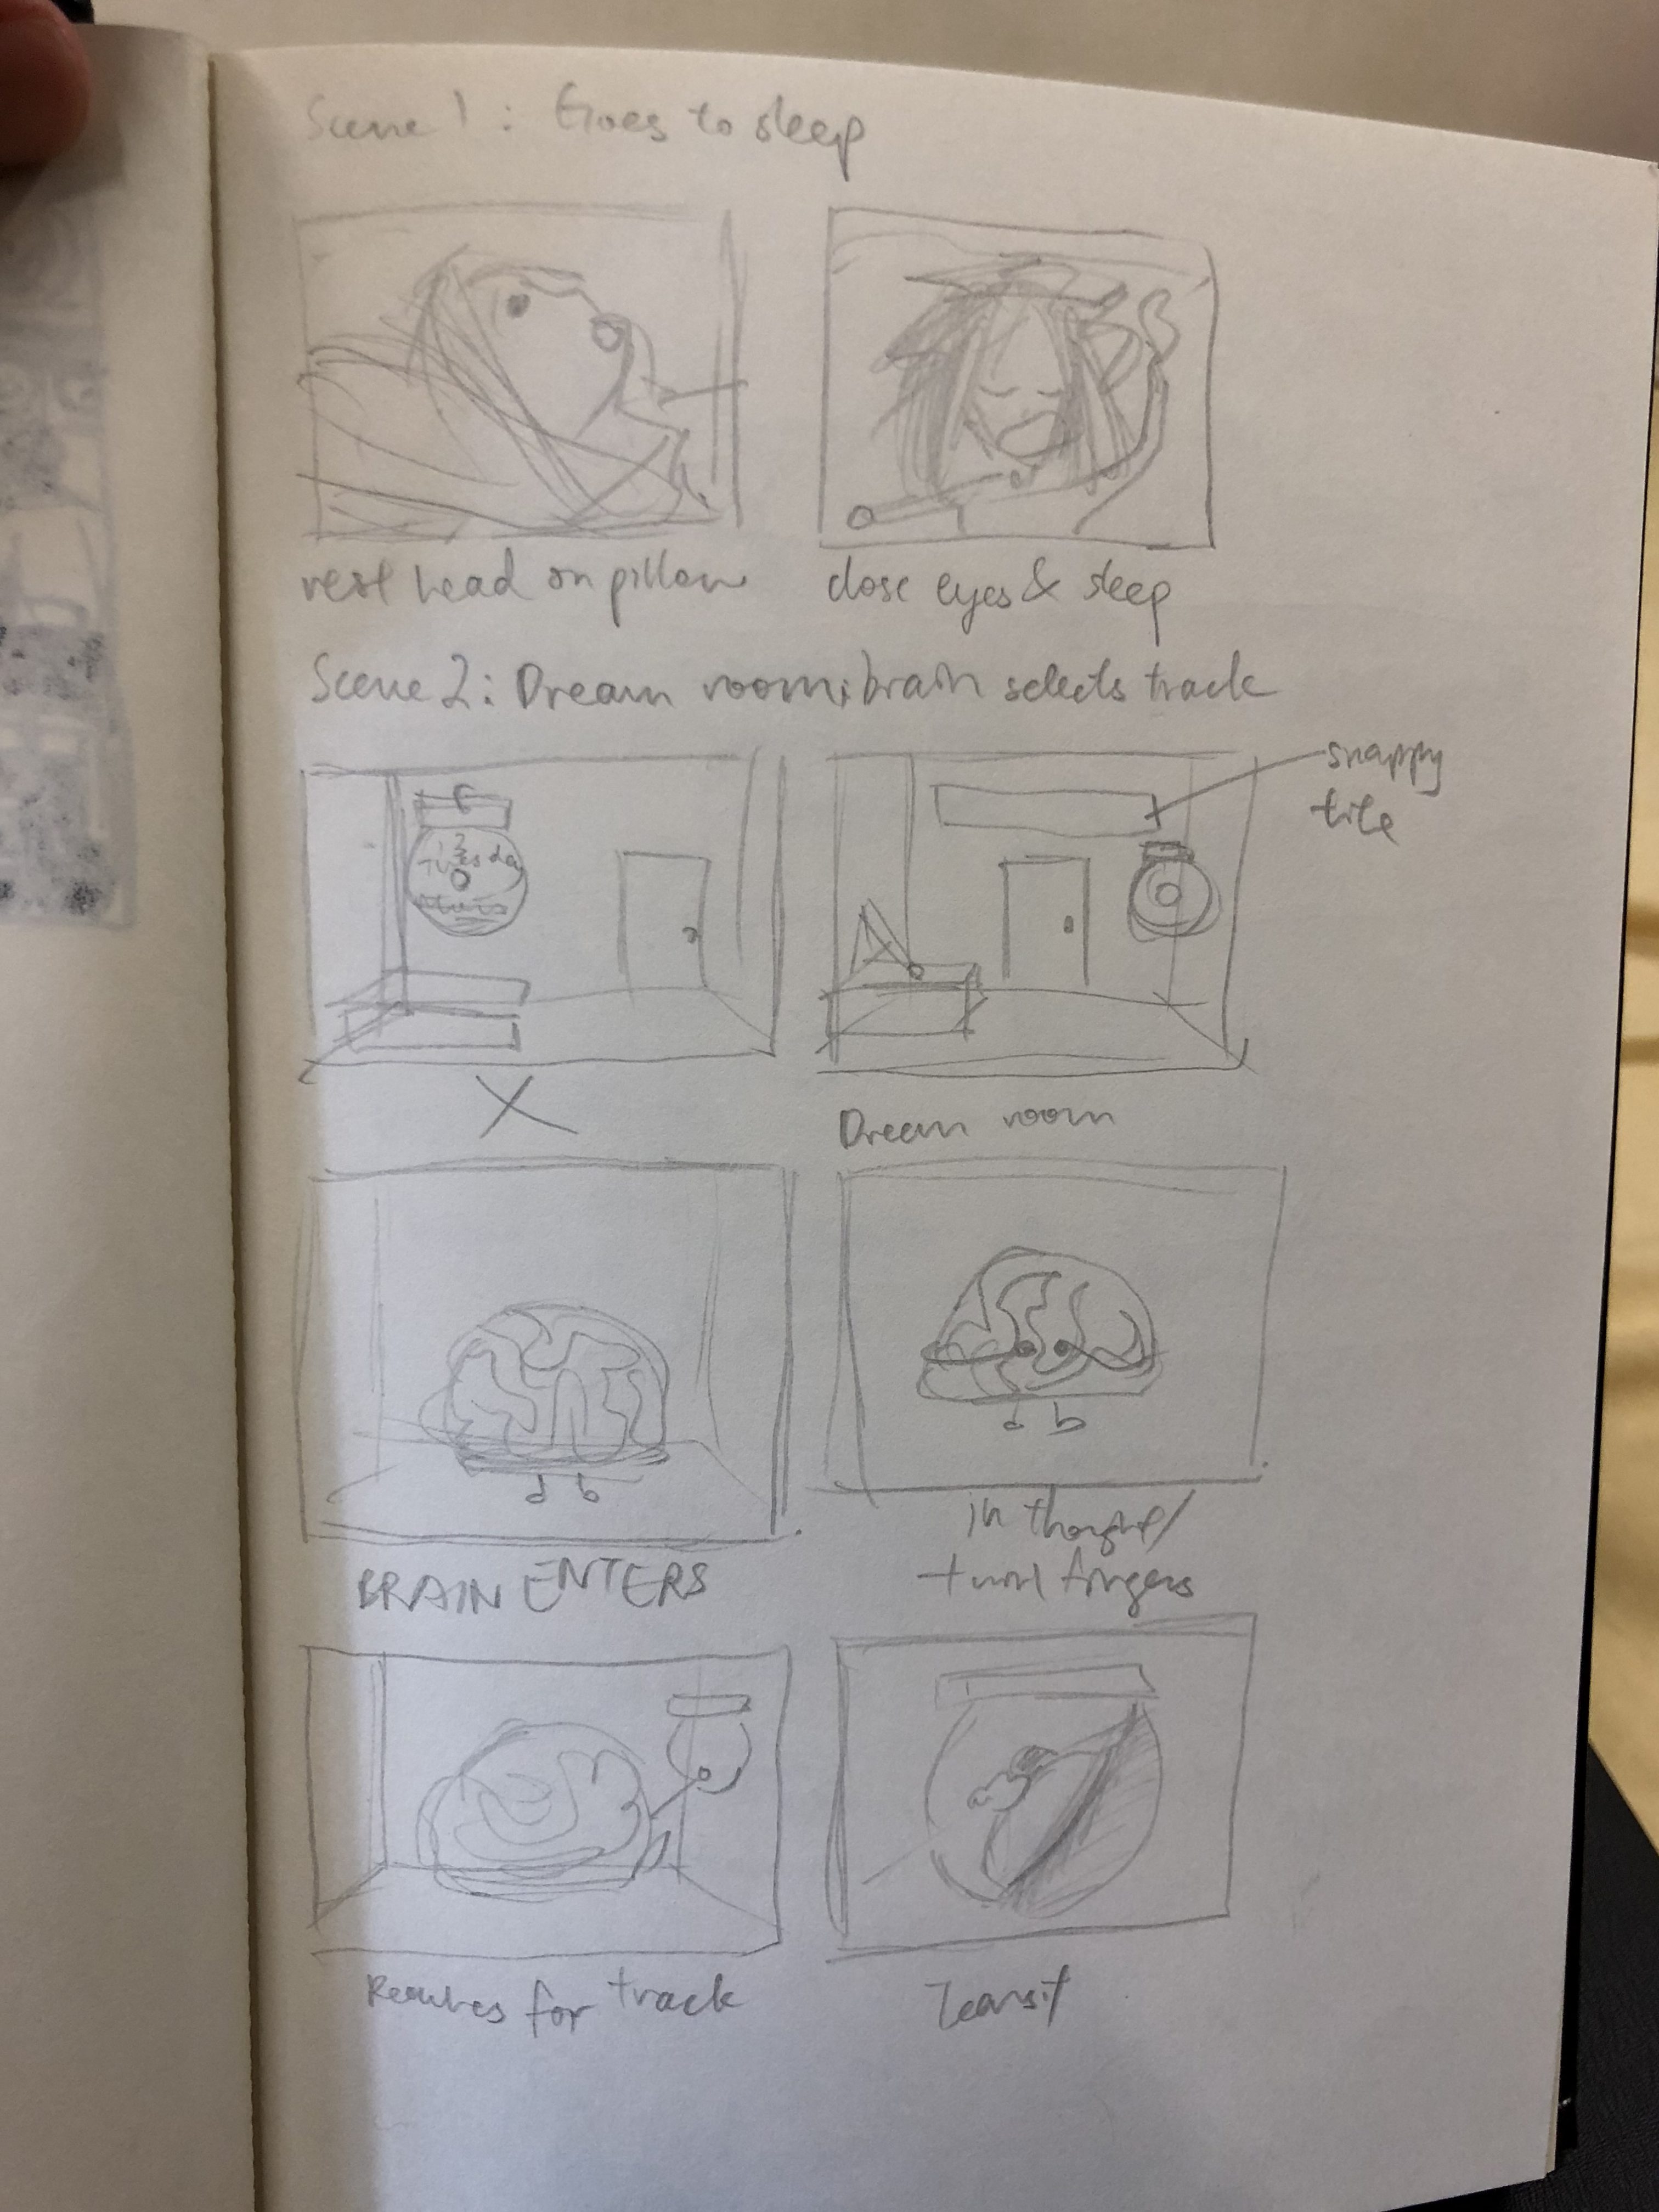
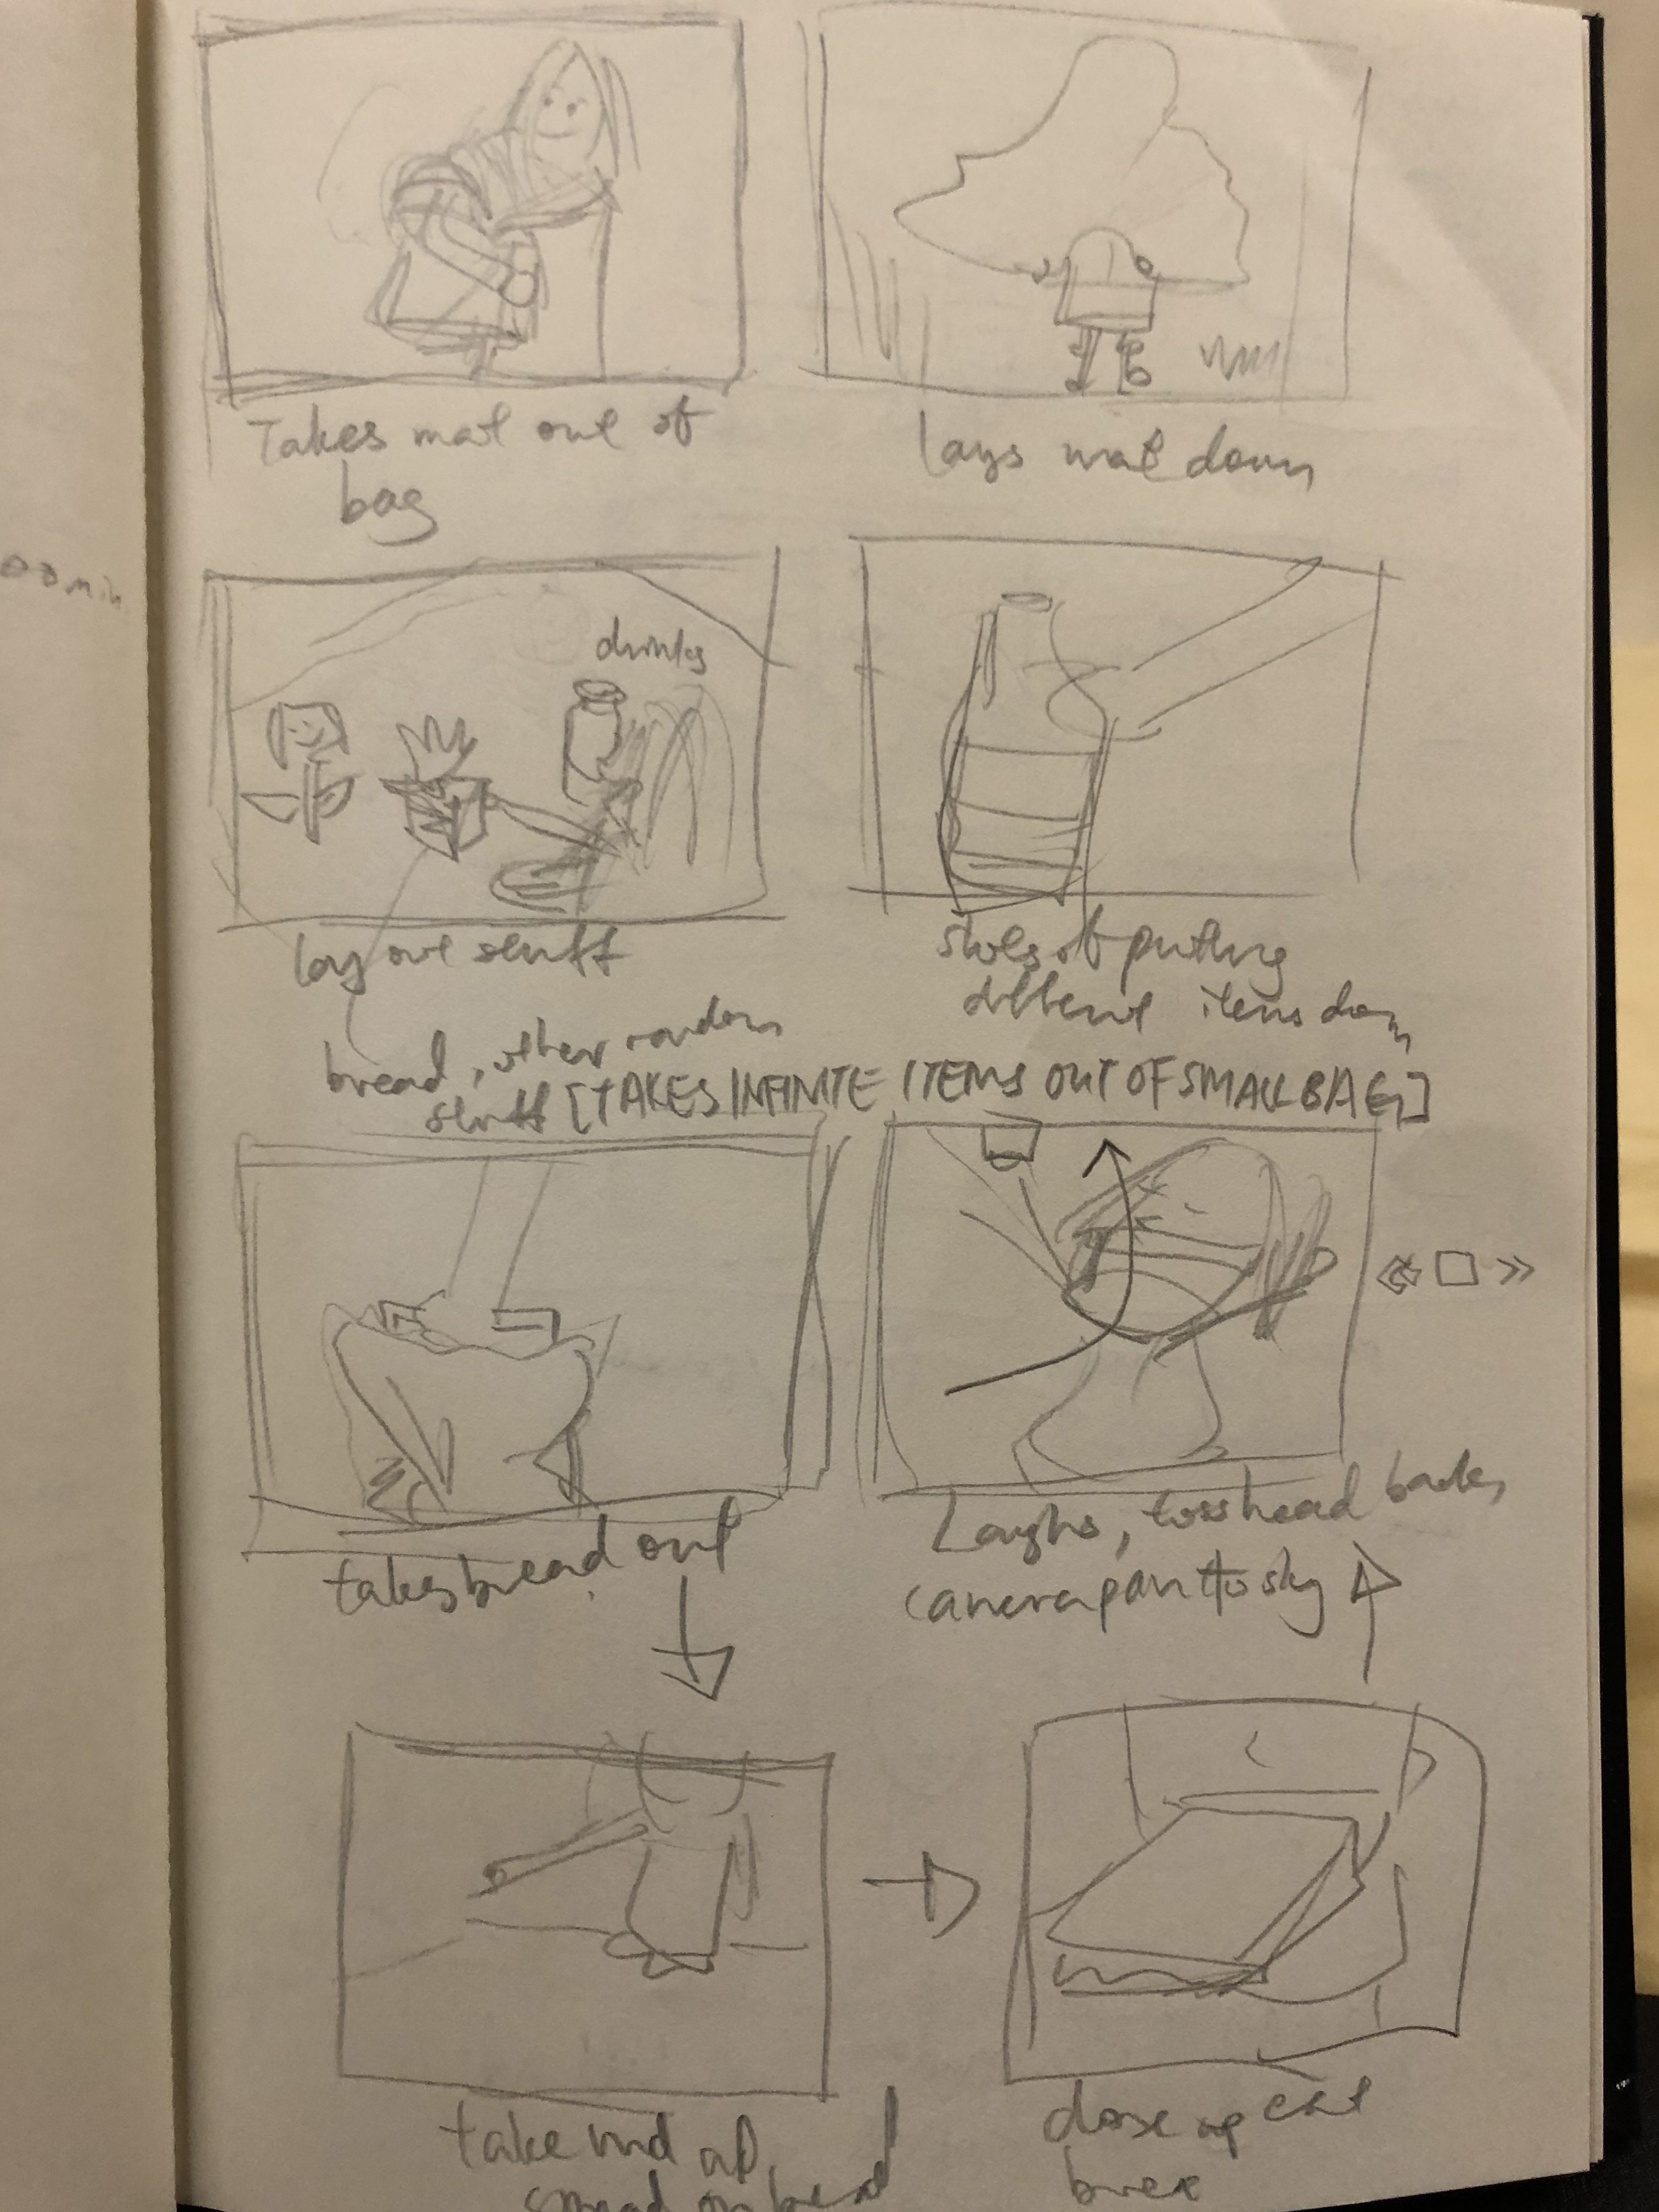
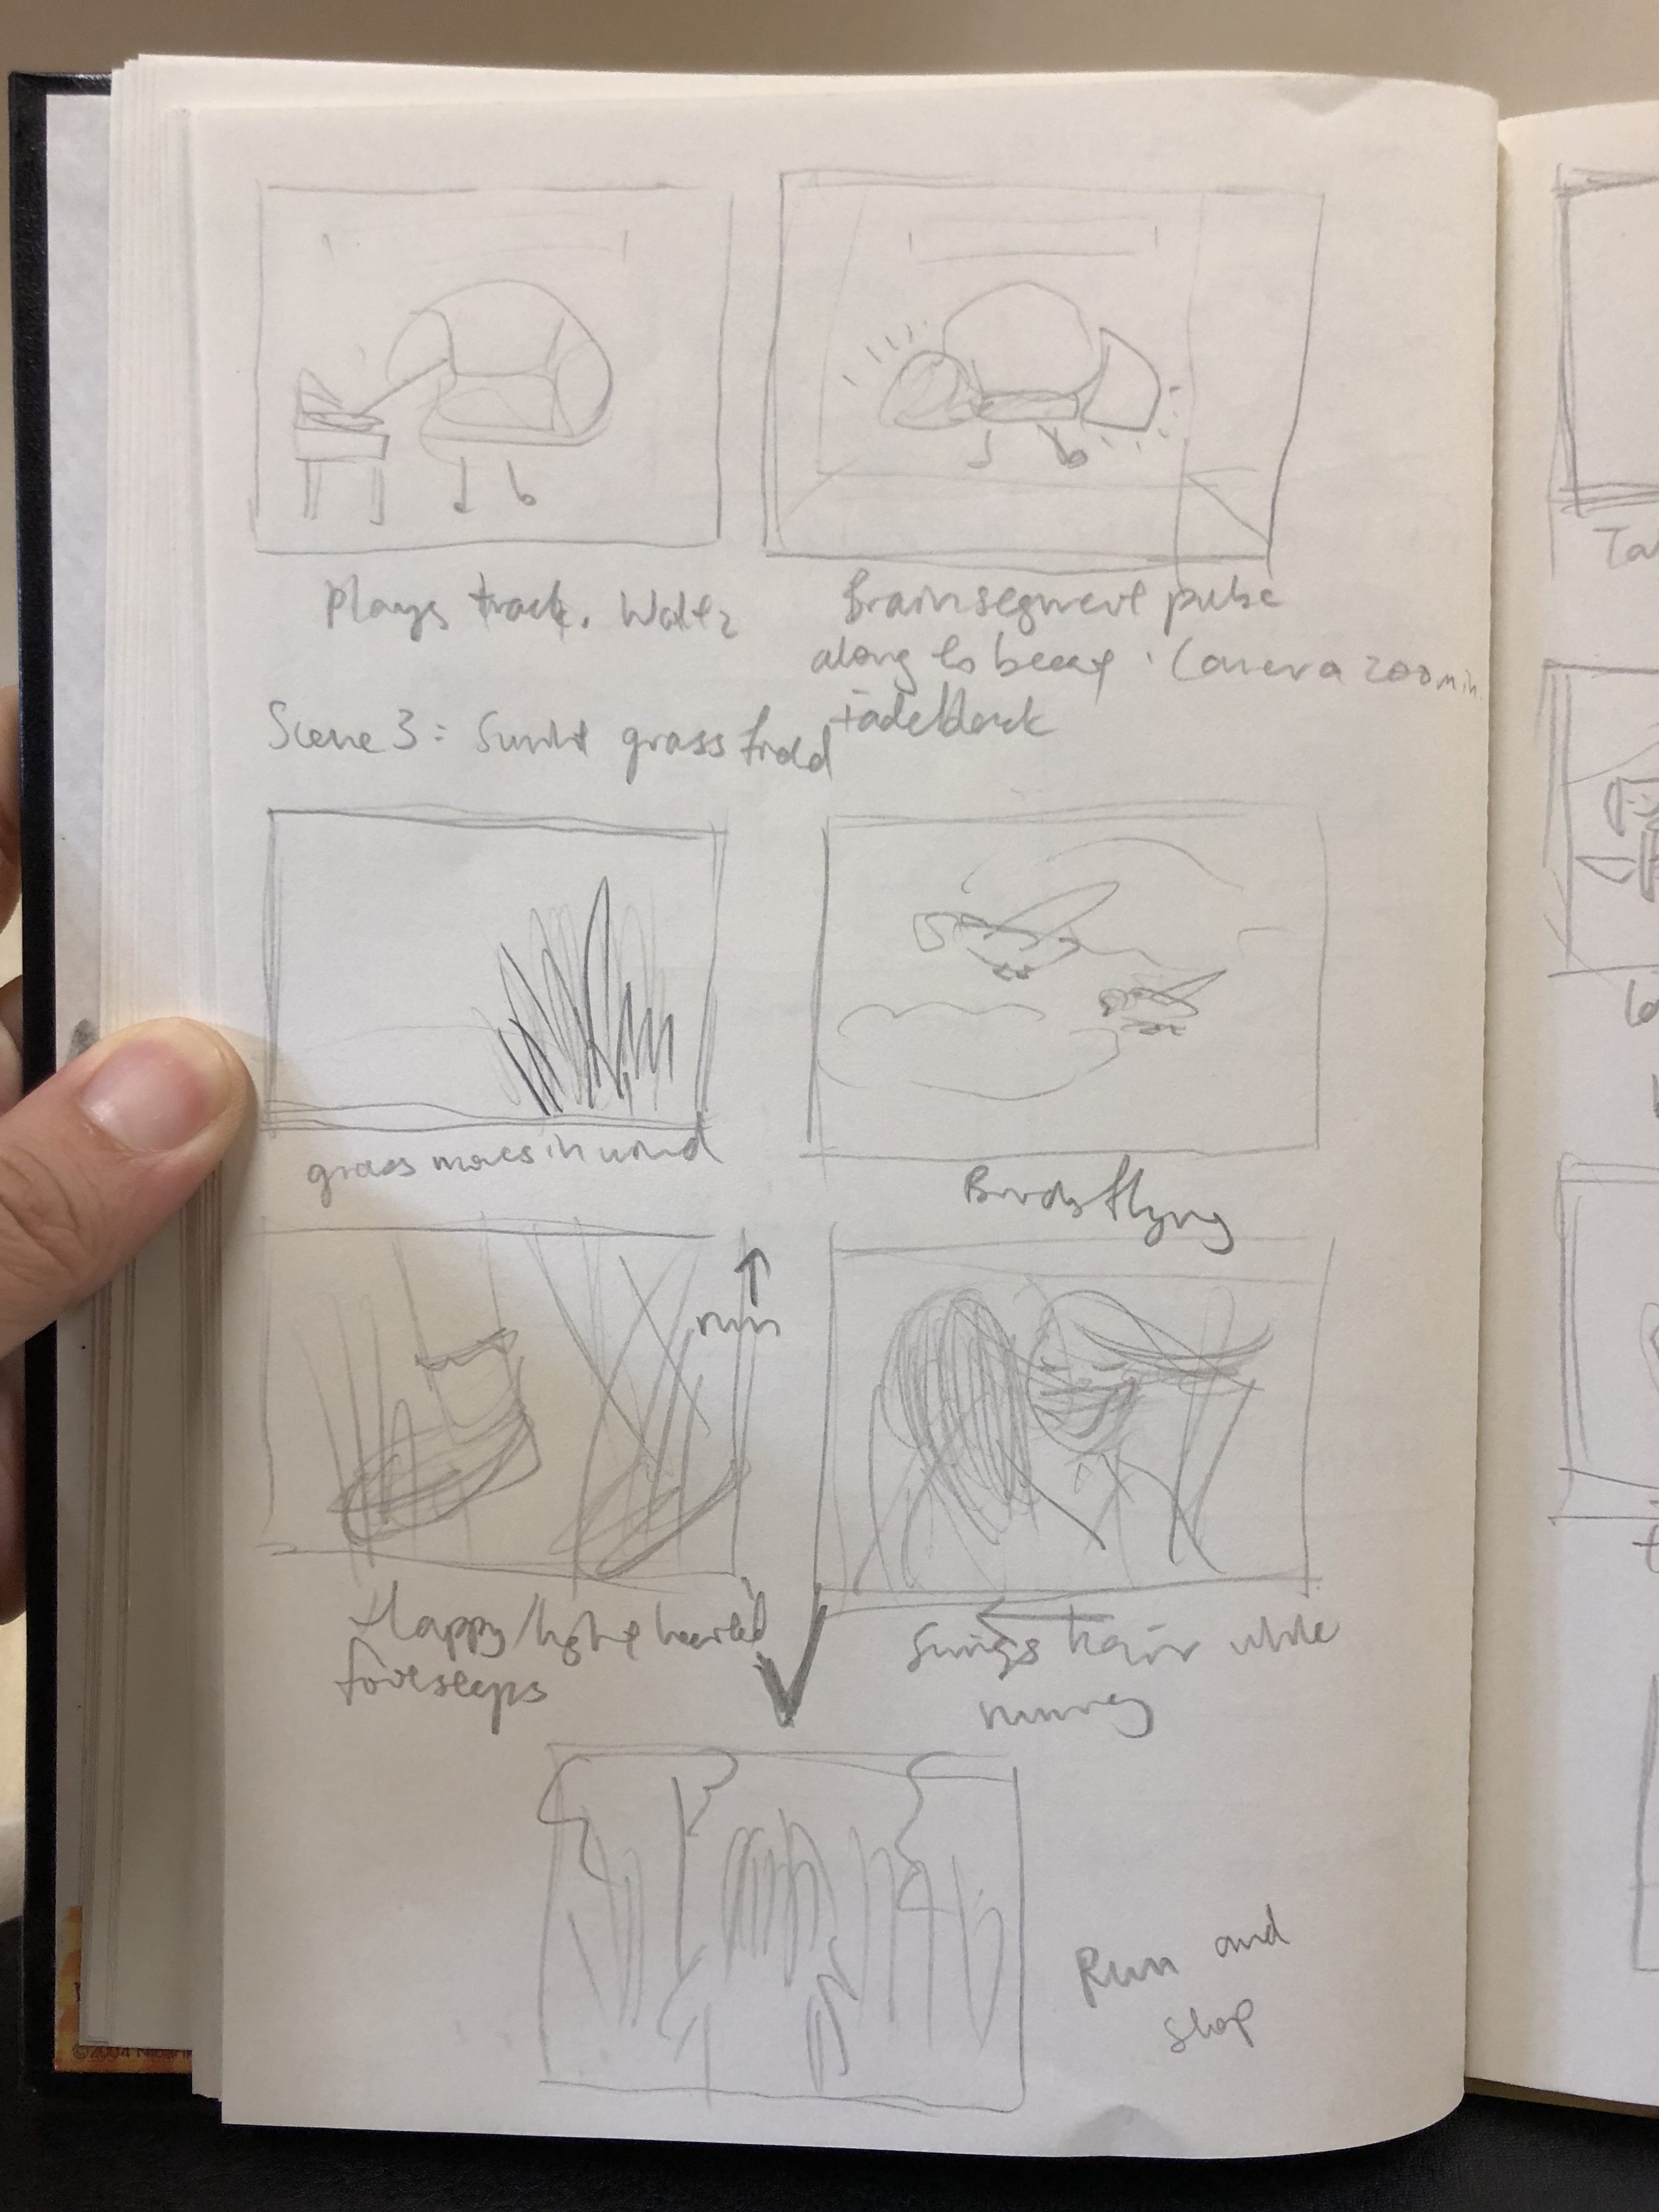
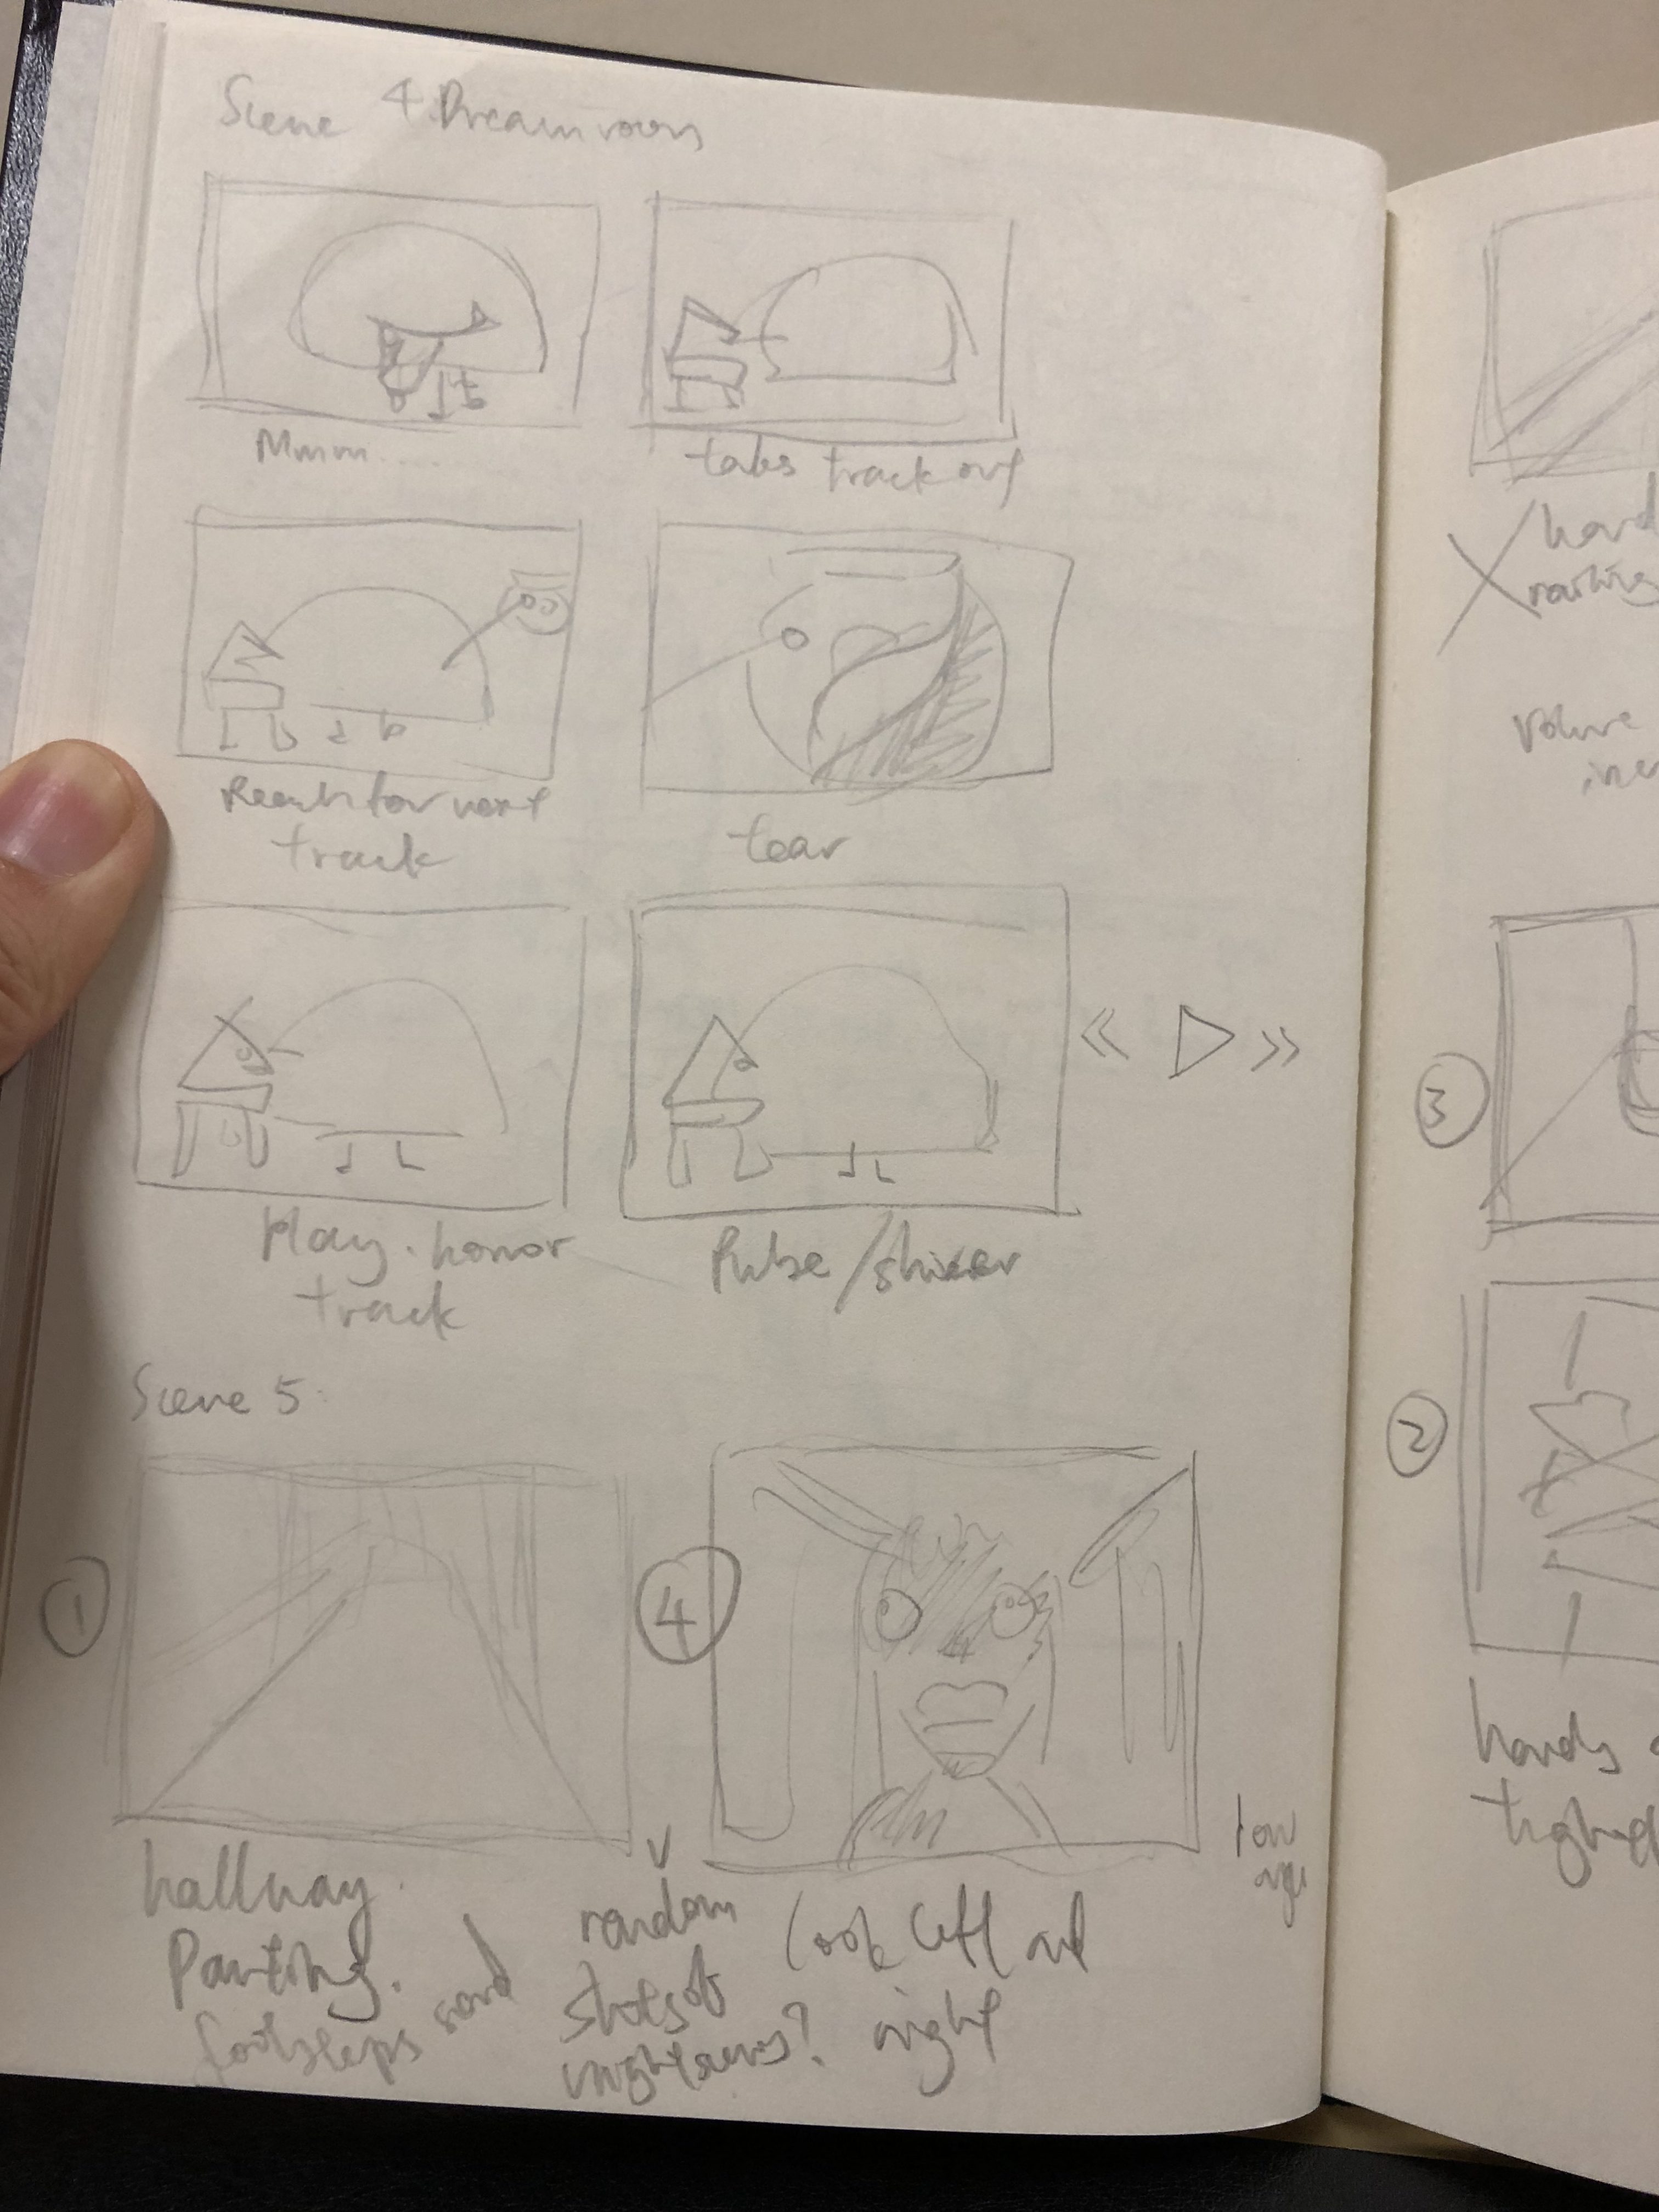
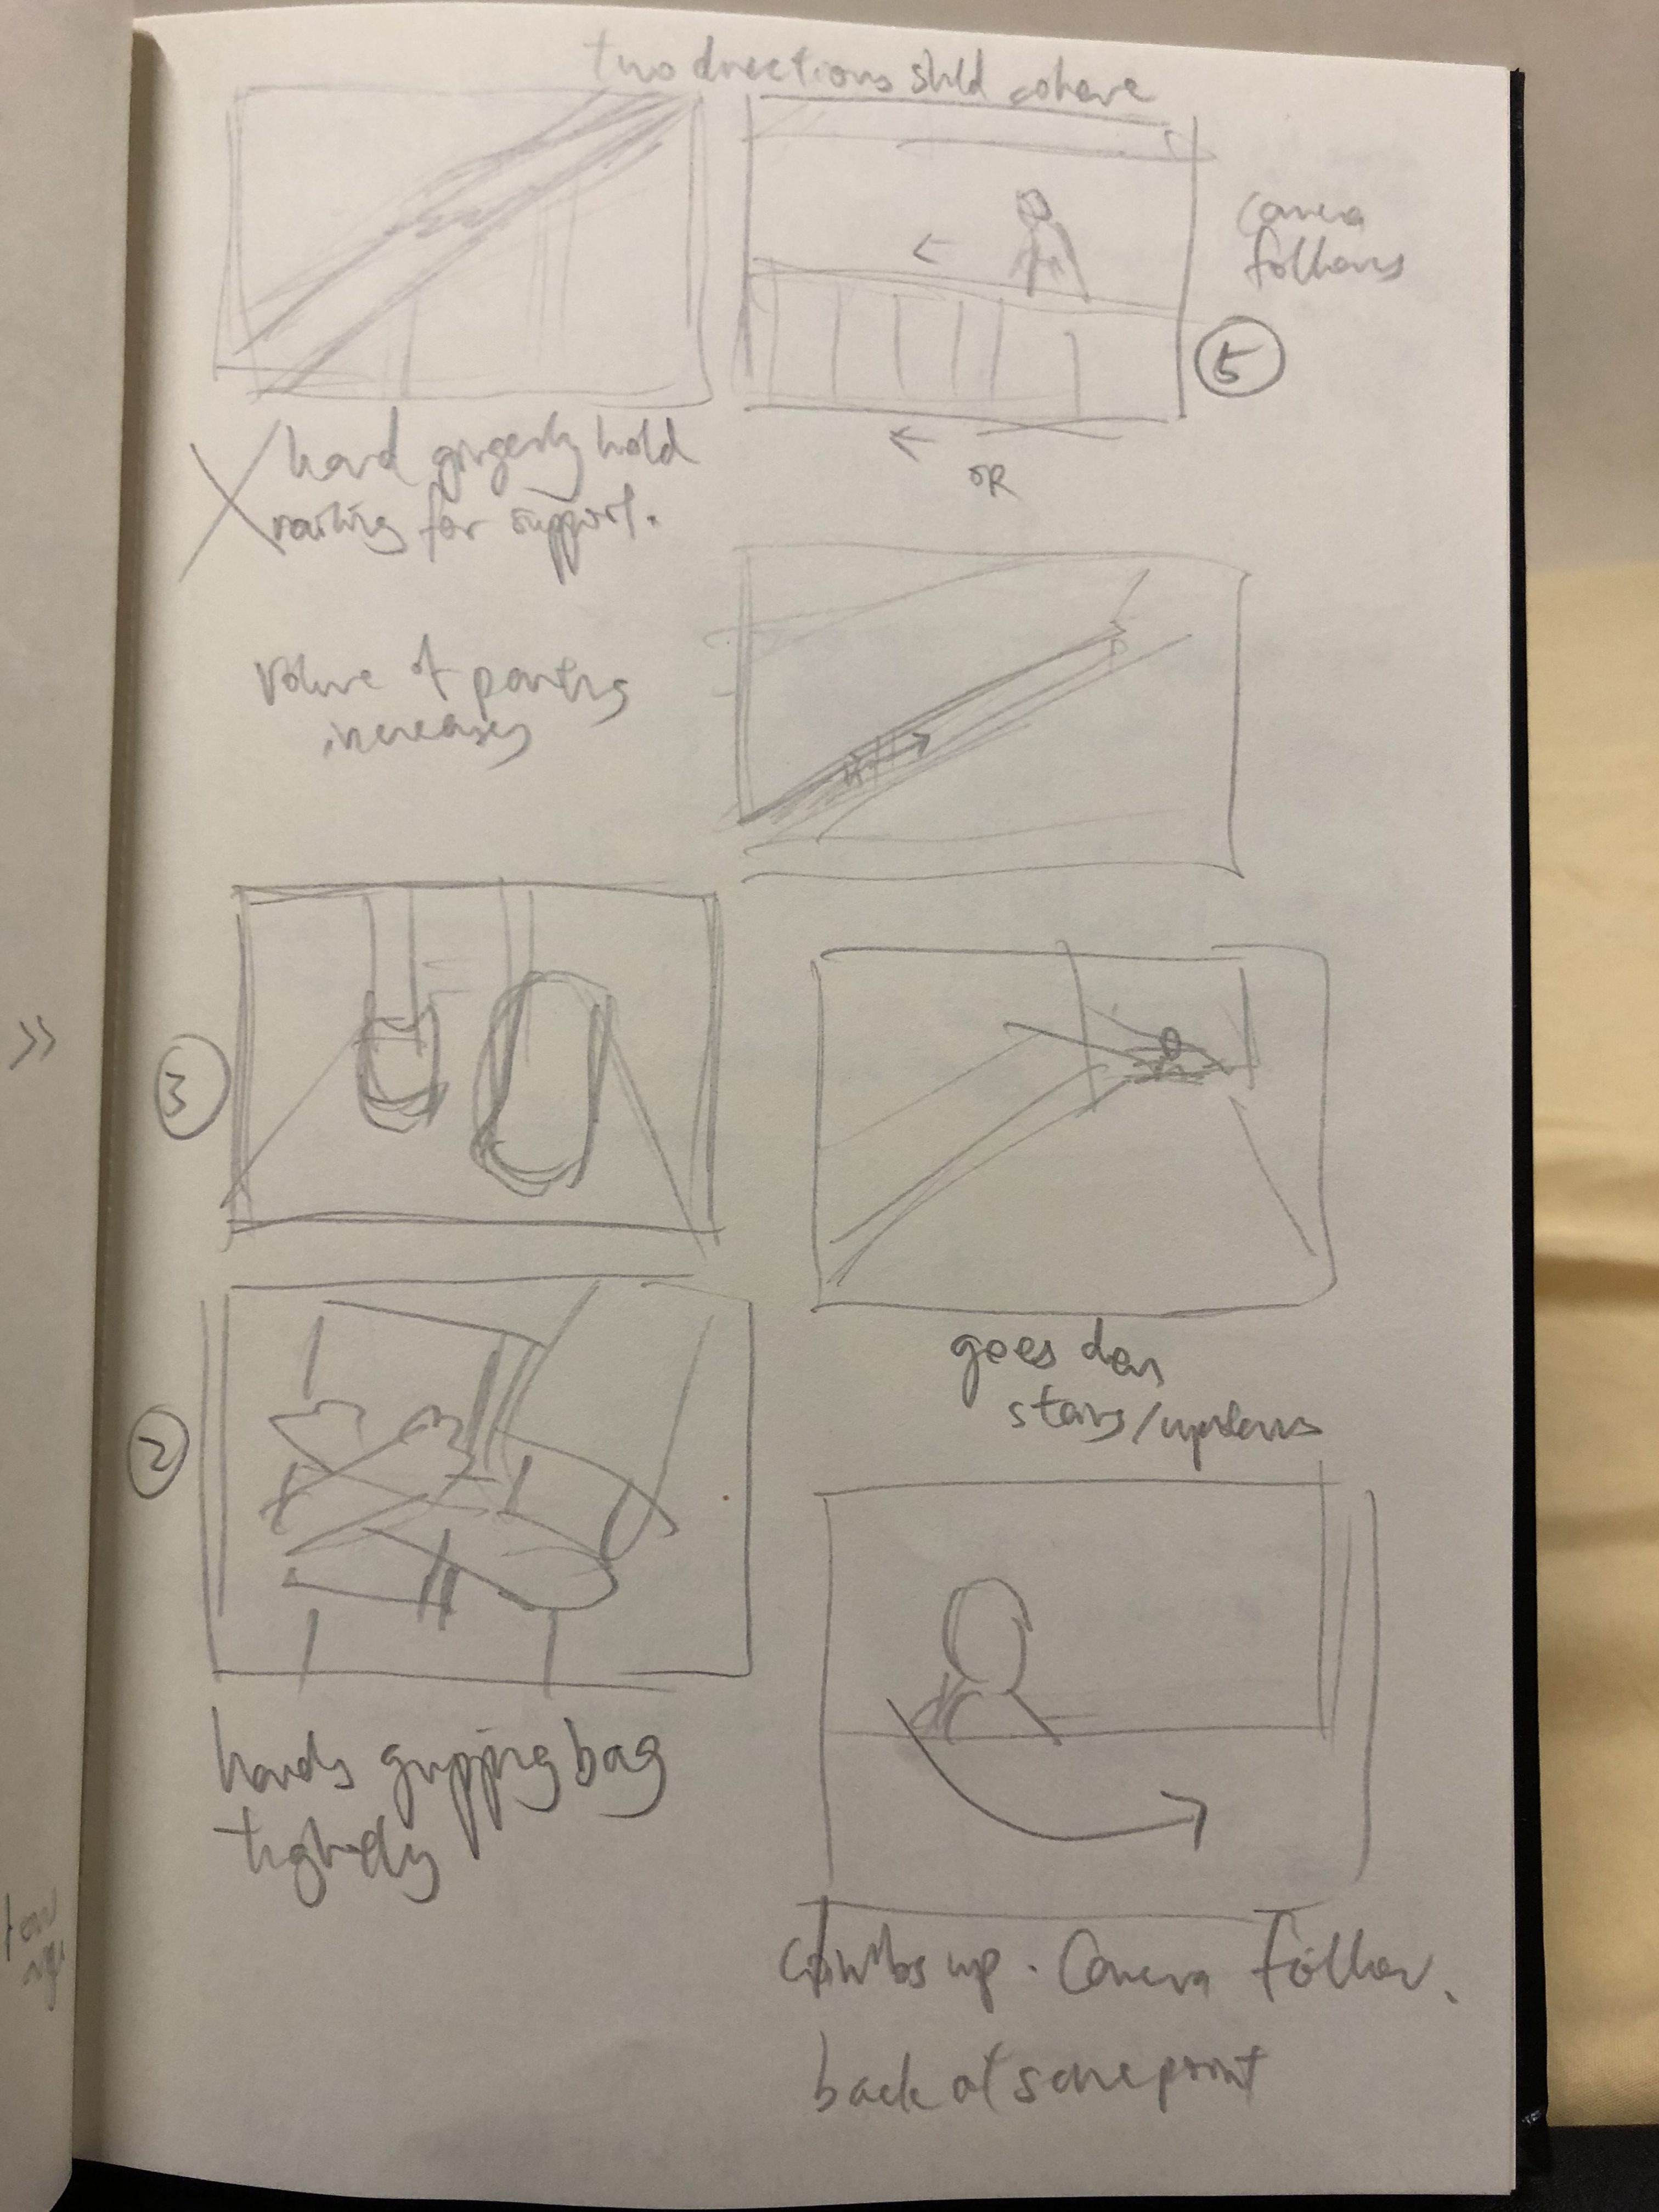
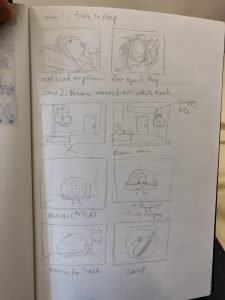
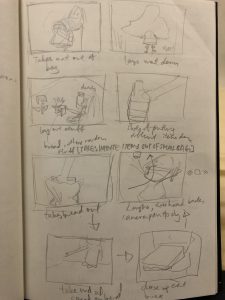
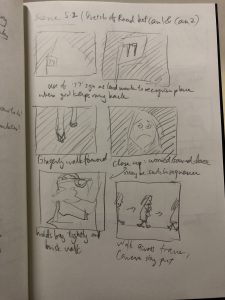
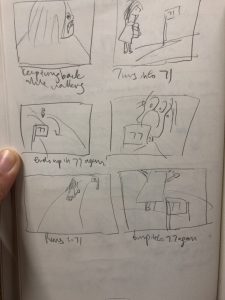
StoryBoard
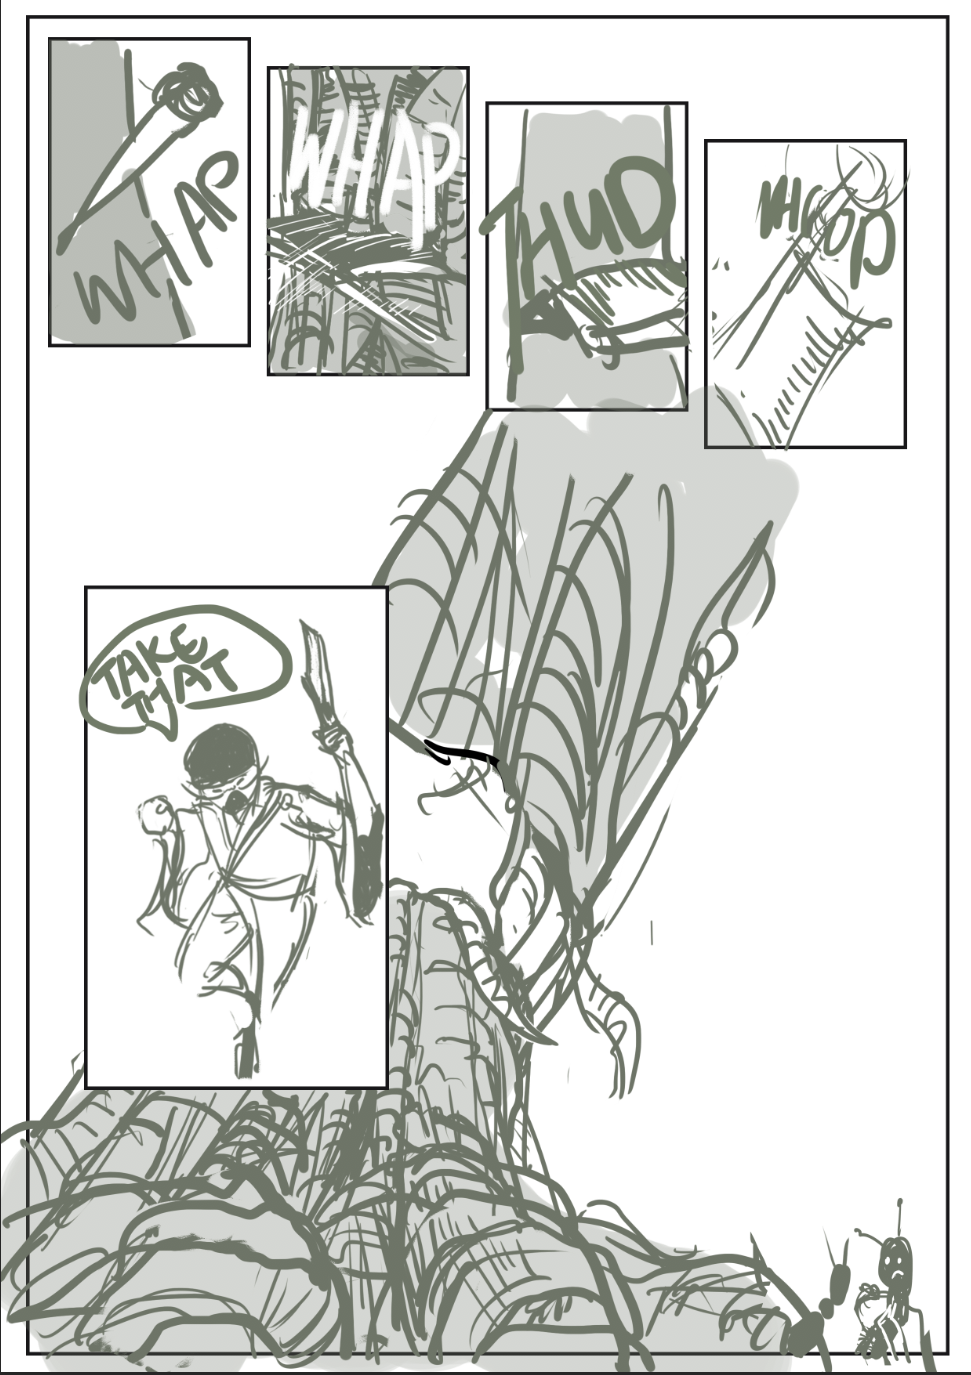
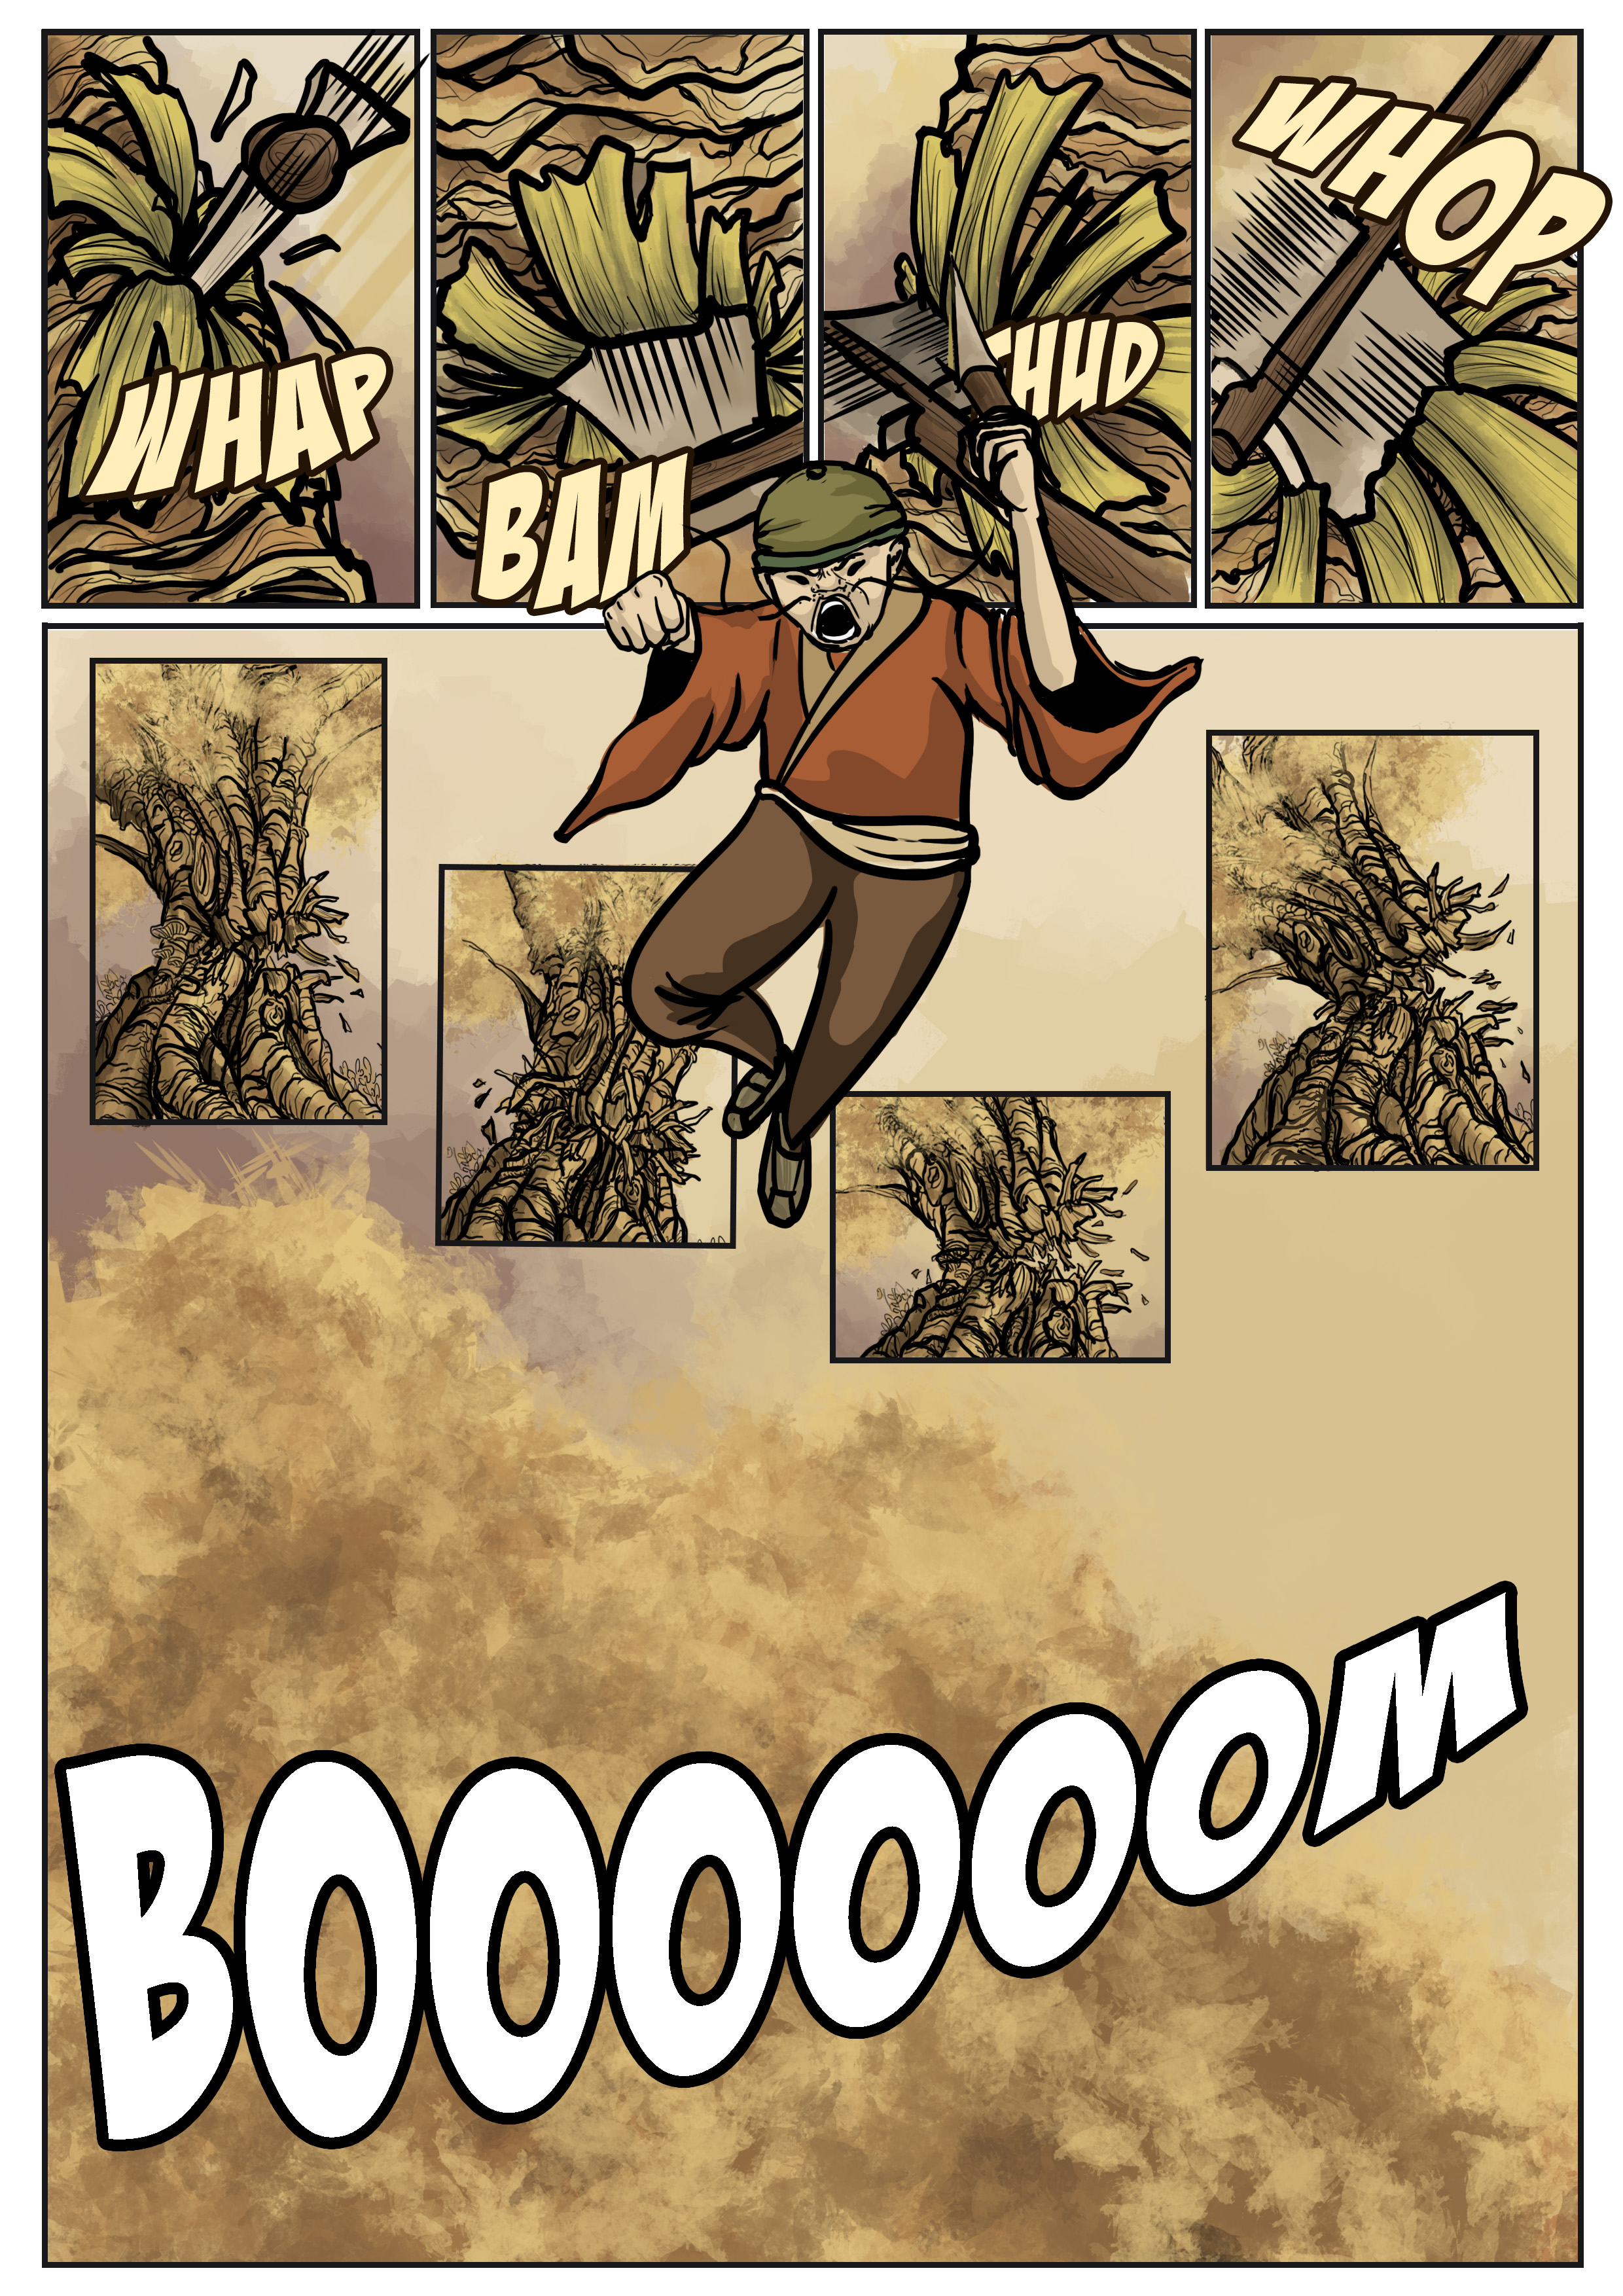
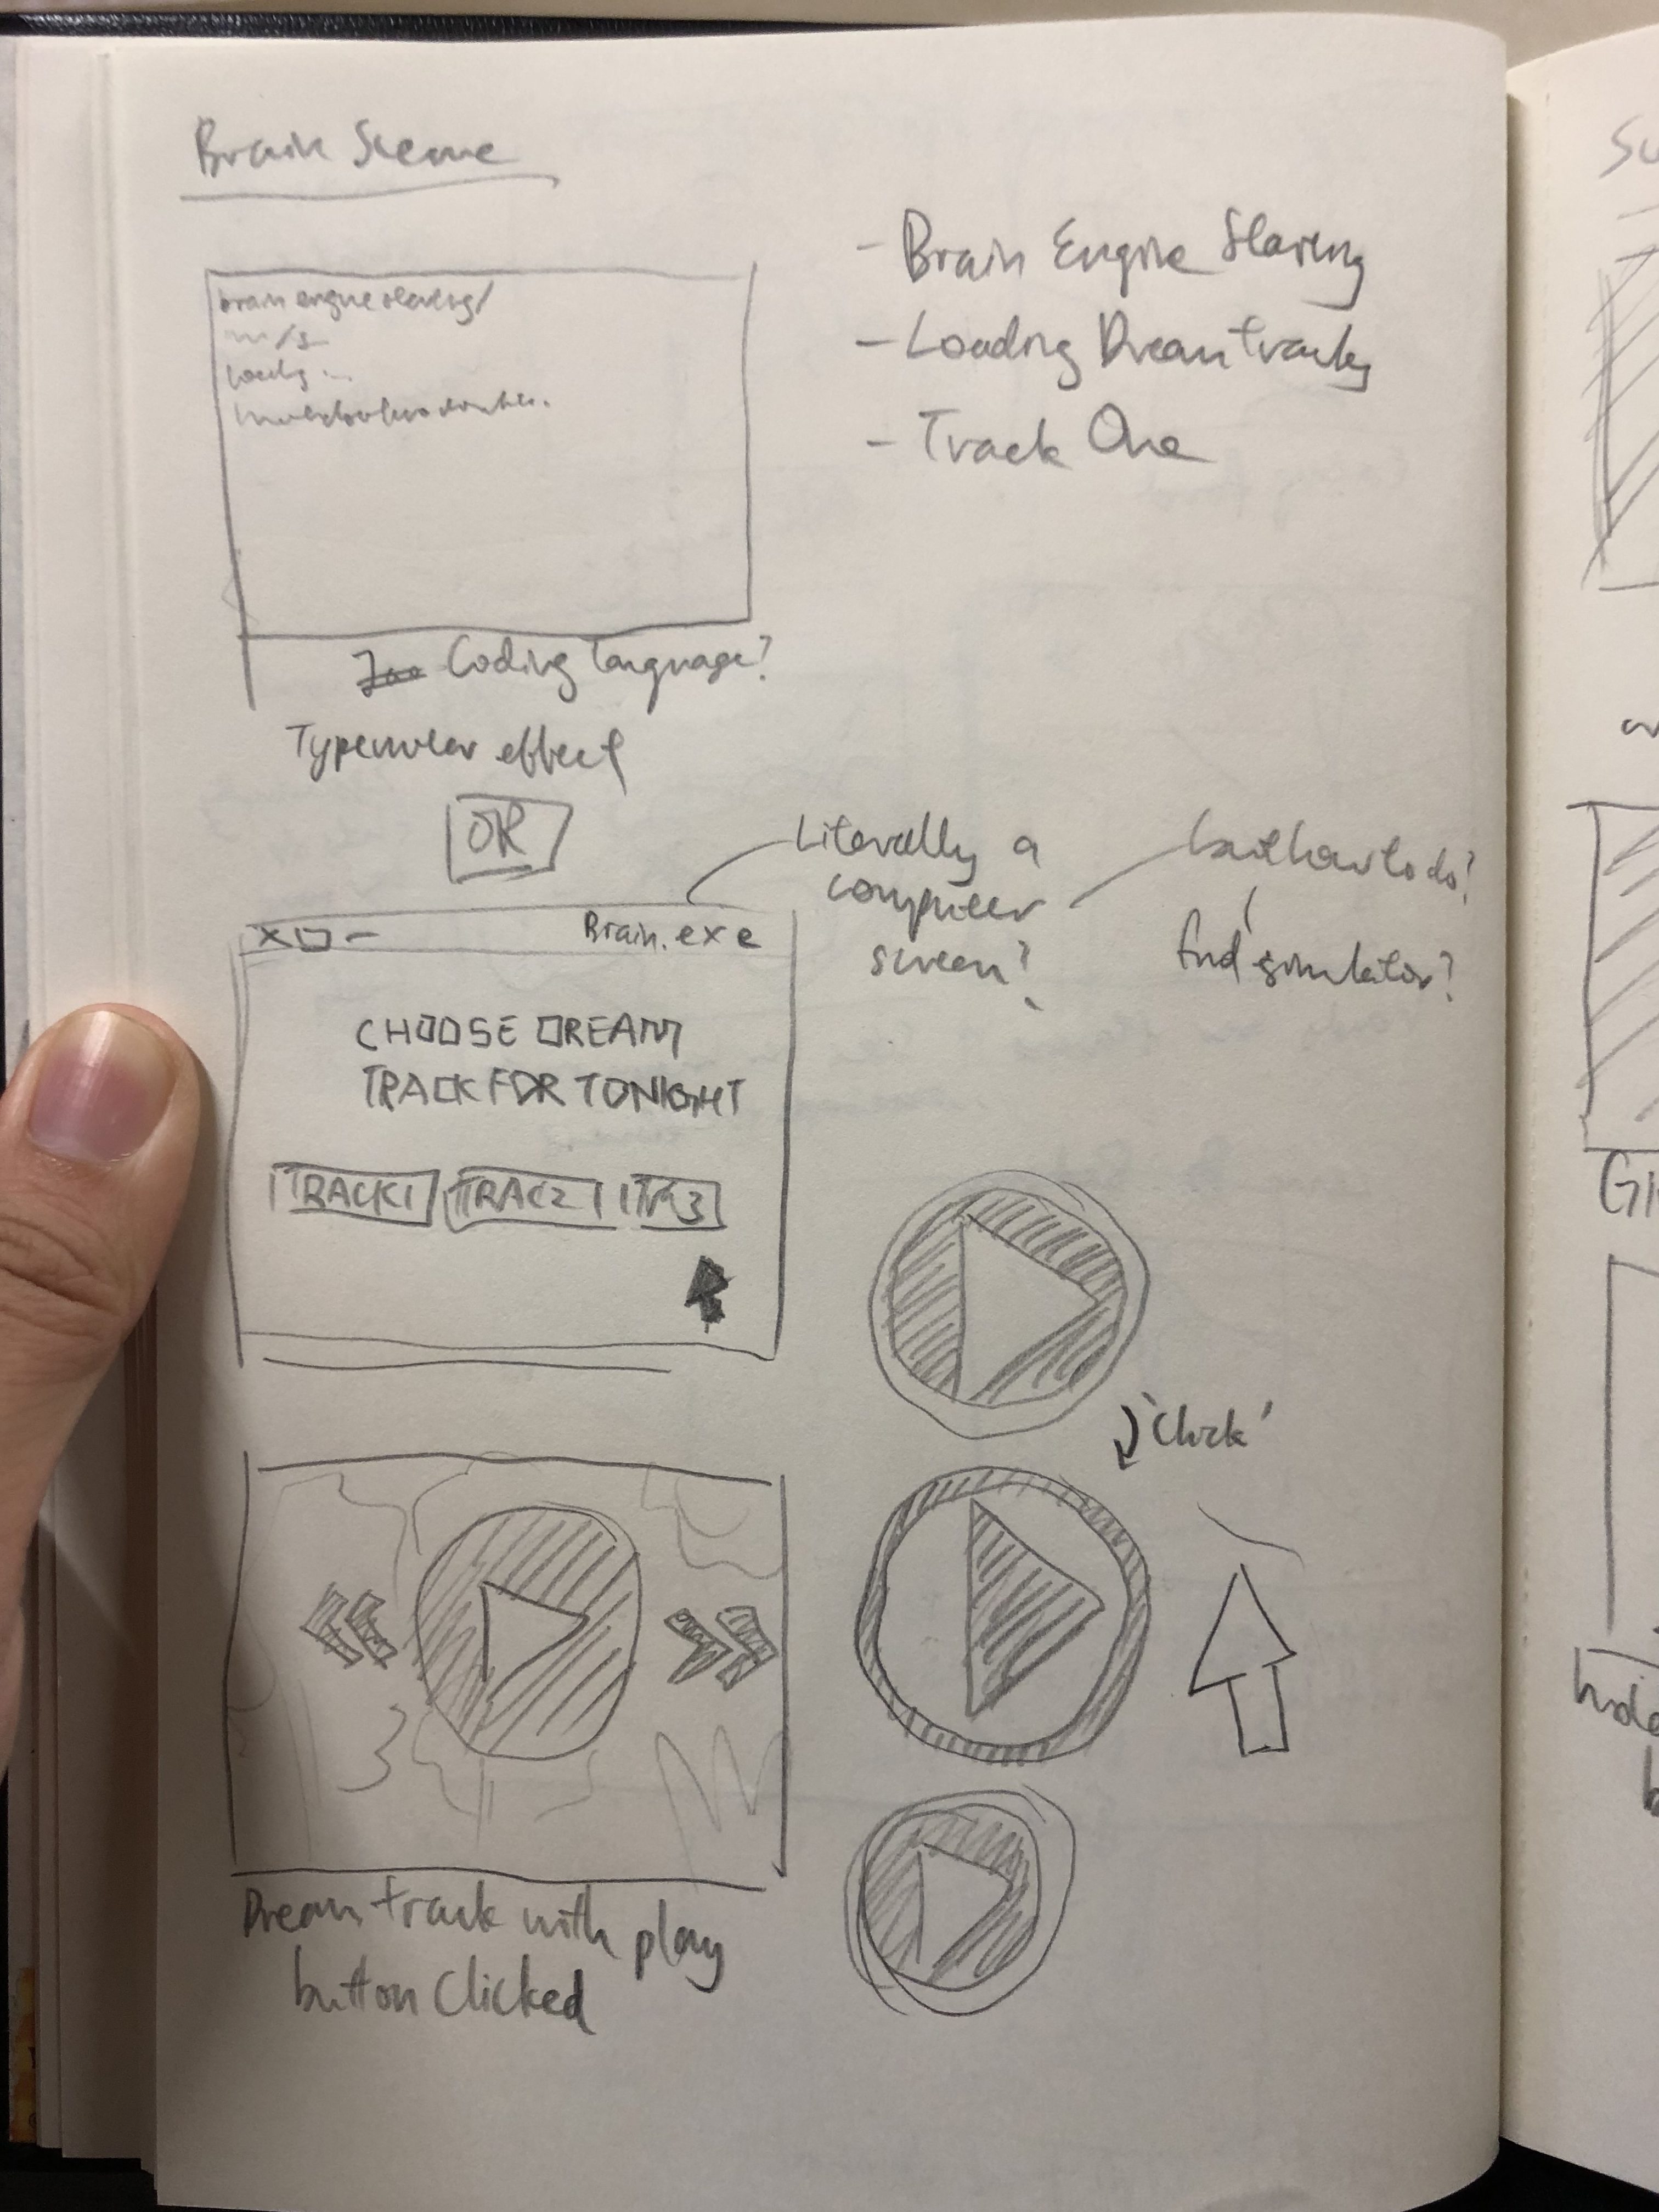
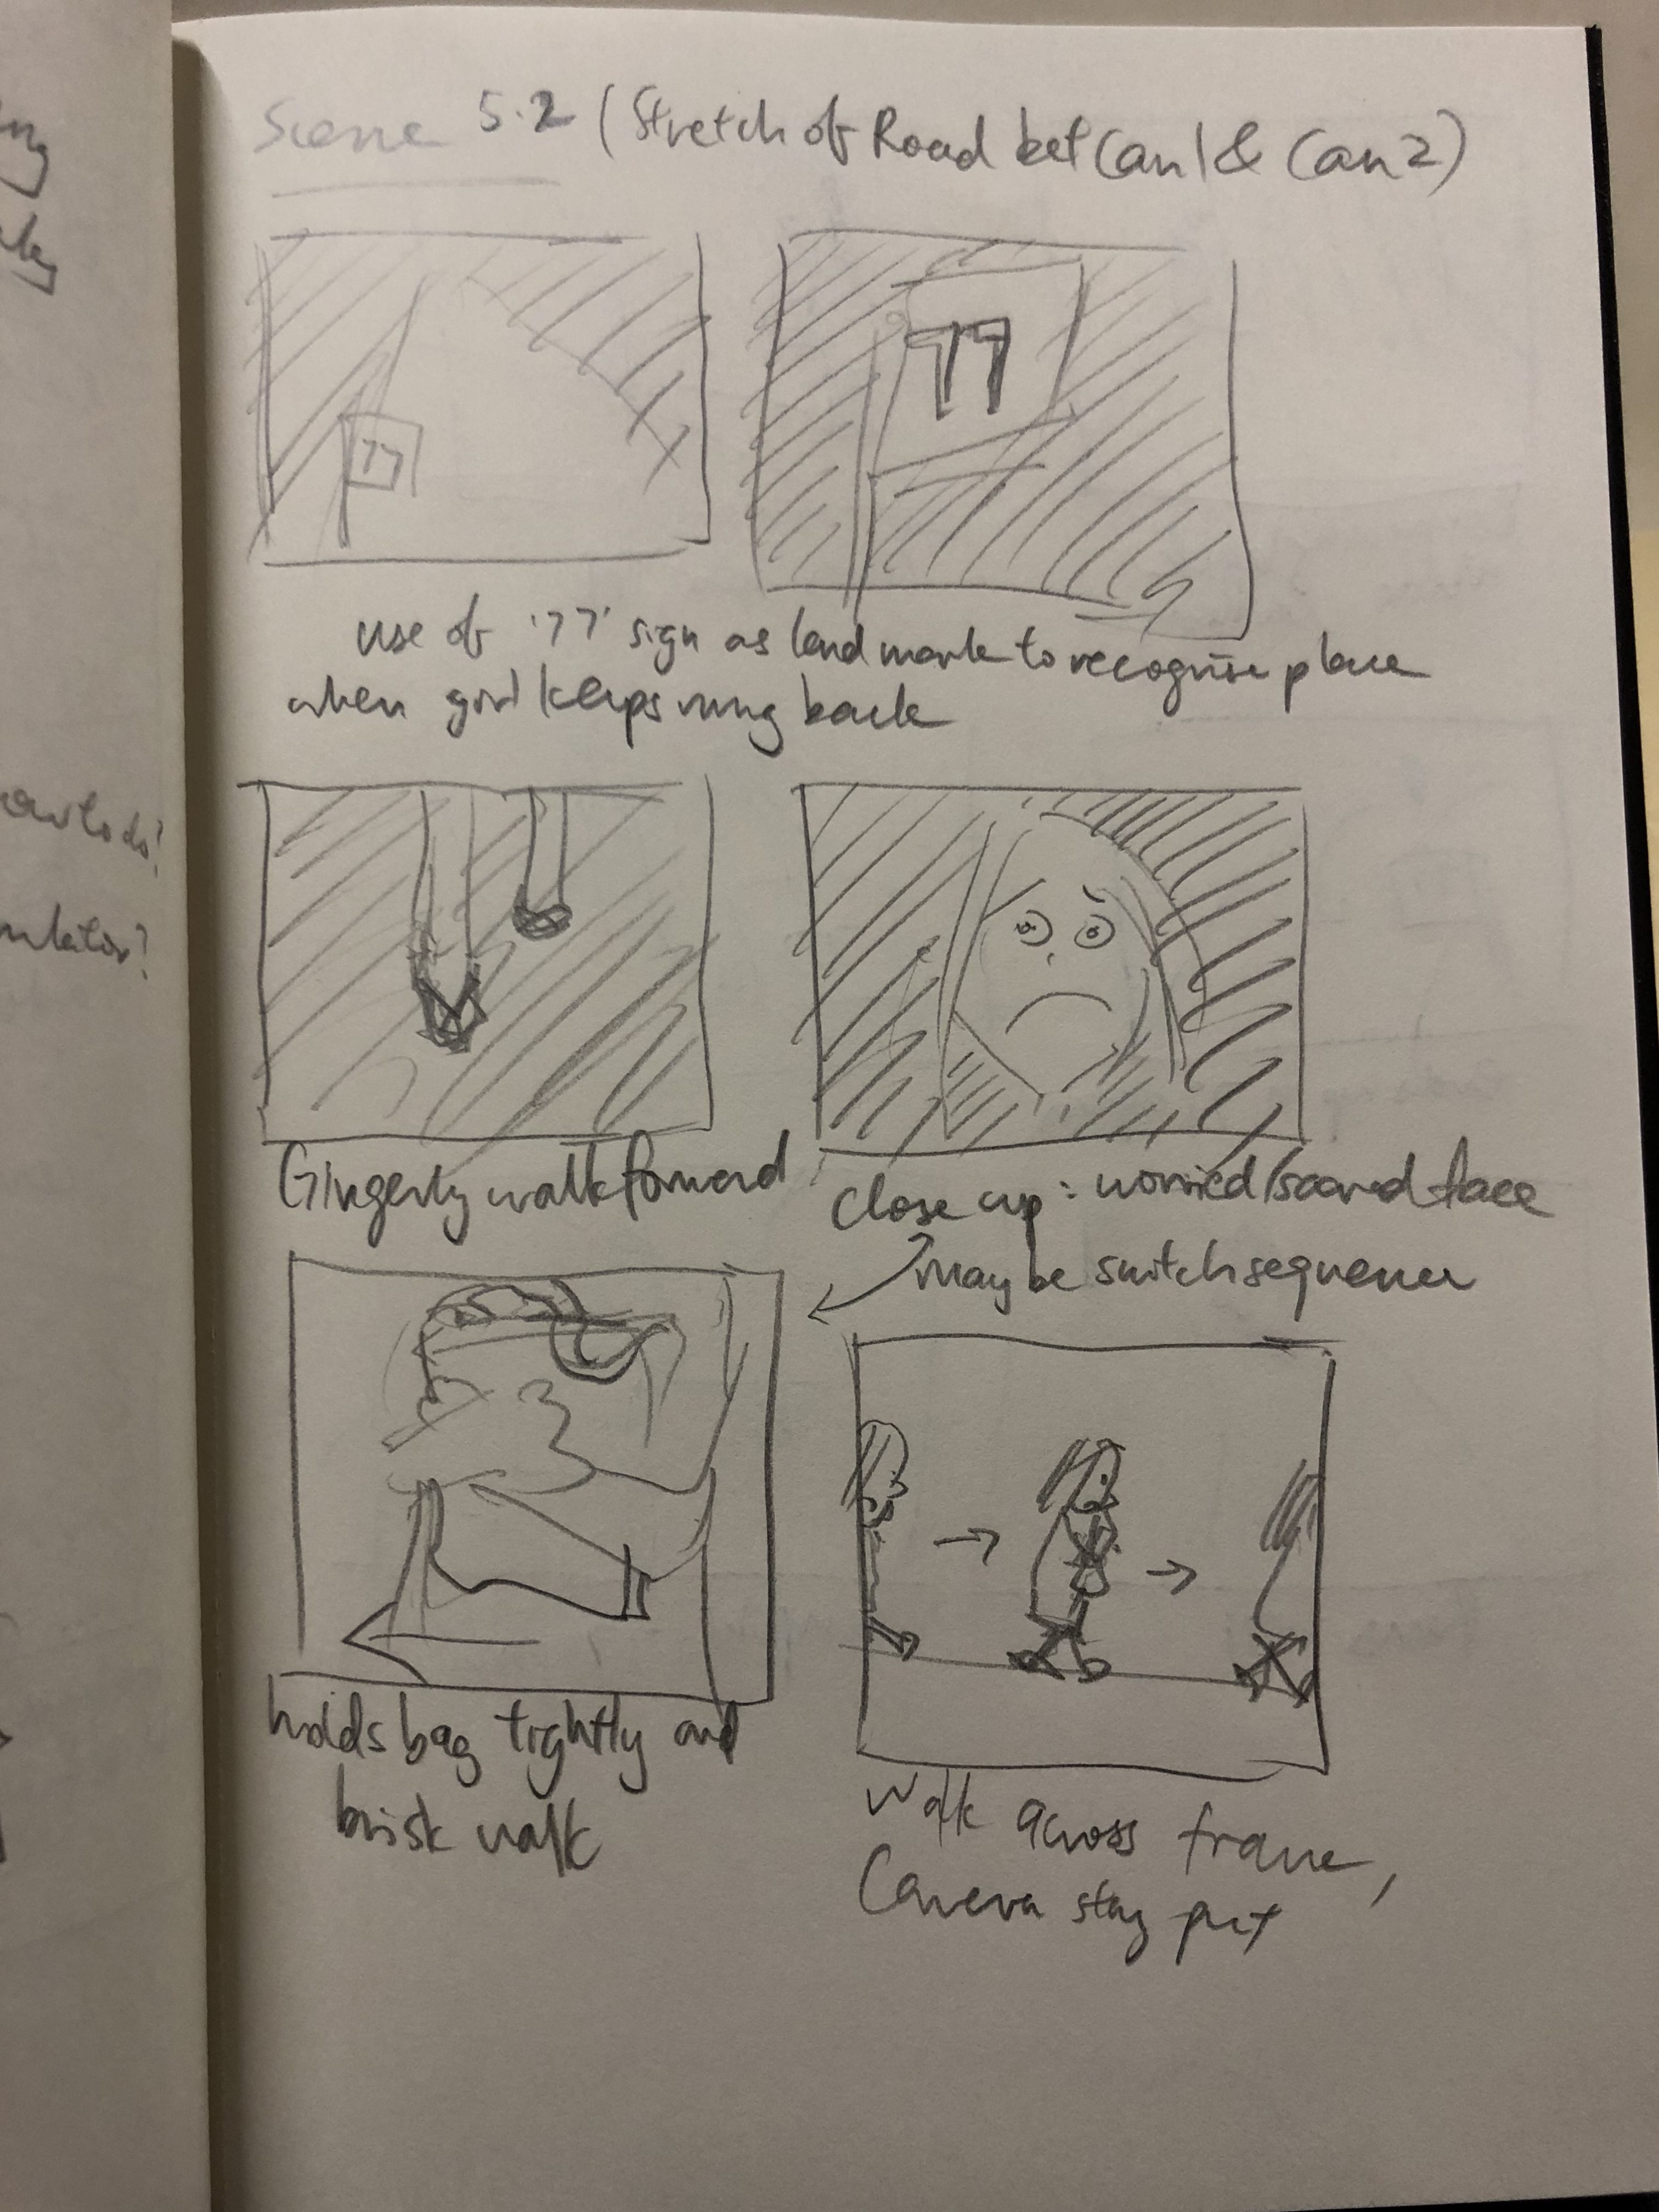
Storyboards were made prior to filming. Even though they were not followed strictly during the actual filming, I realise it really helps you better visualise scenes and choose shot angles. If you look closely at the storyboards here, some scenes are actually very different from the final film (eg brain scene) Some storyboards were even redone after I reccee-ed the site.

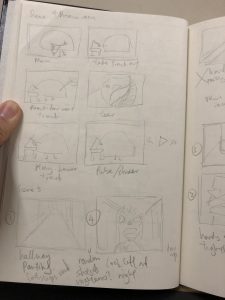

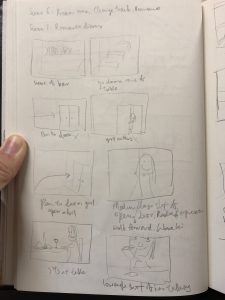
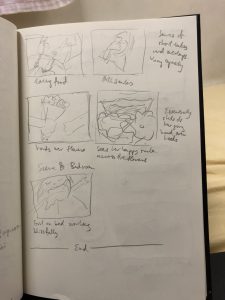
These storyboards are revision of scenes that were drawn already.

Production
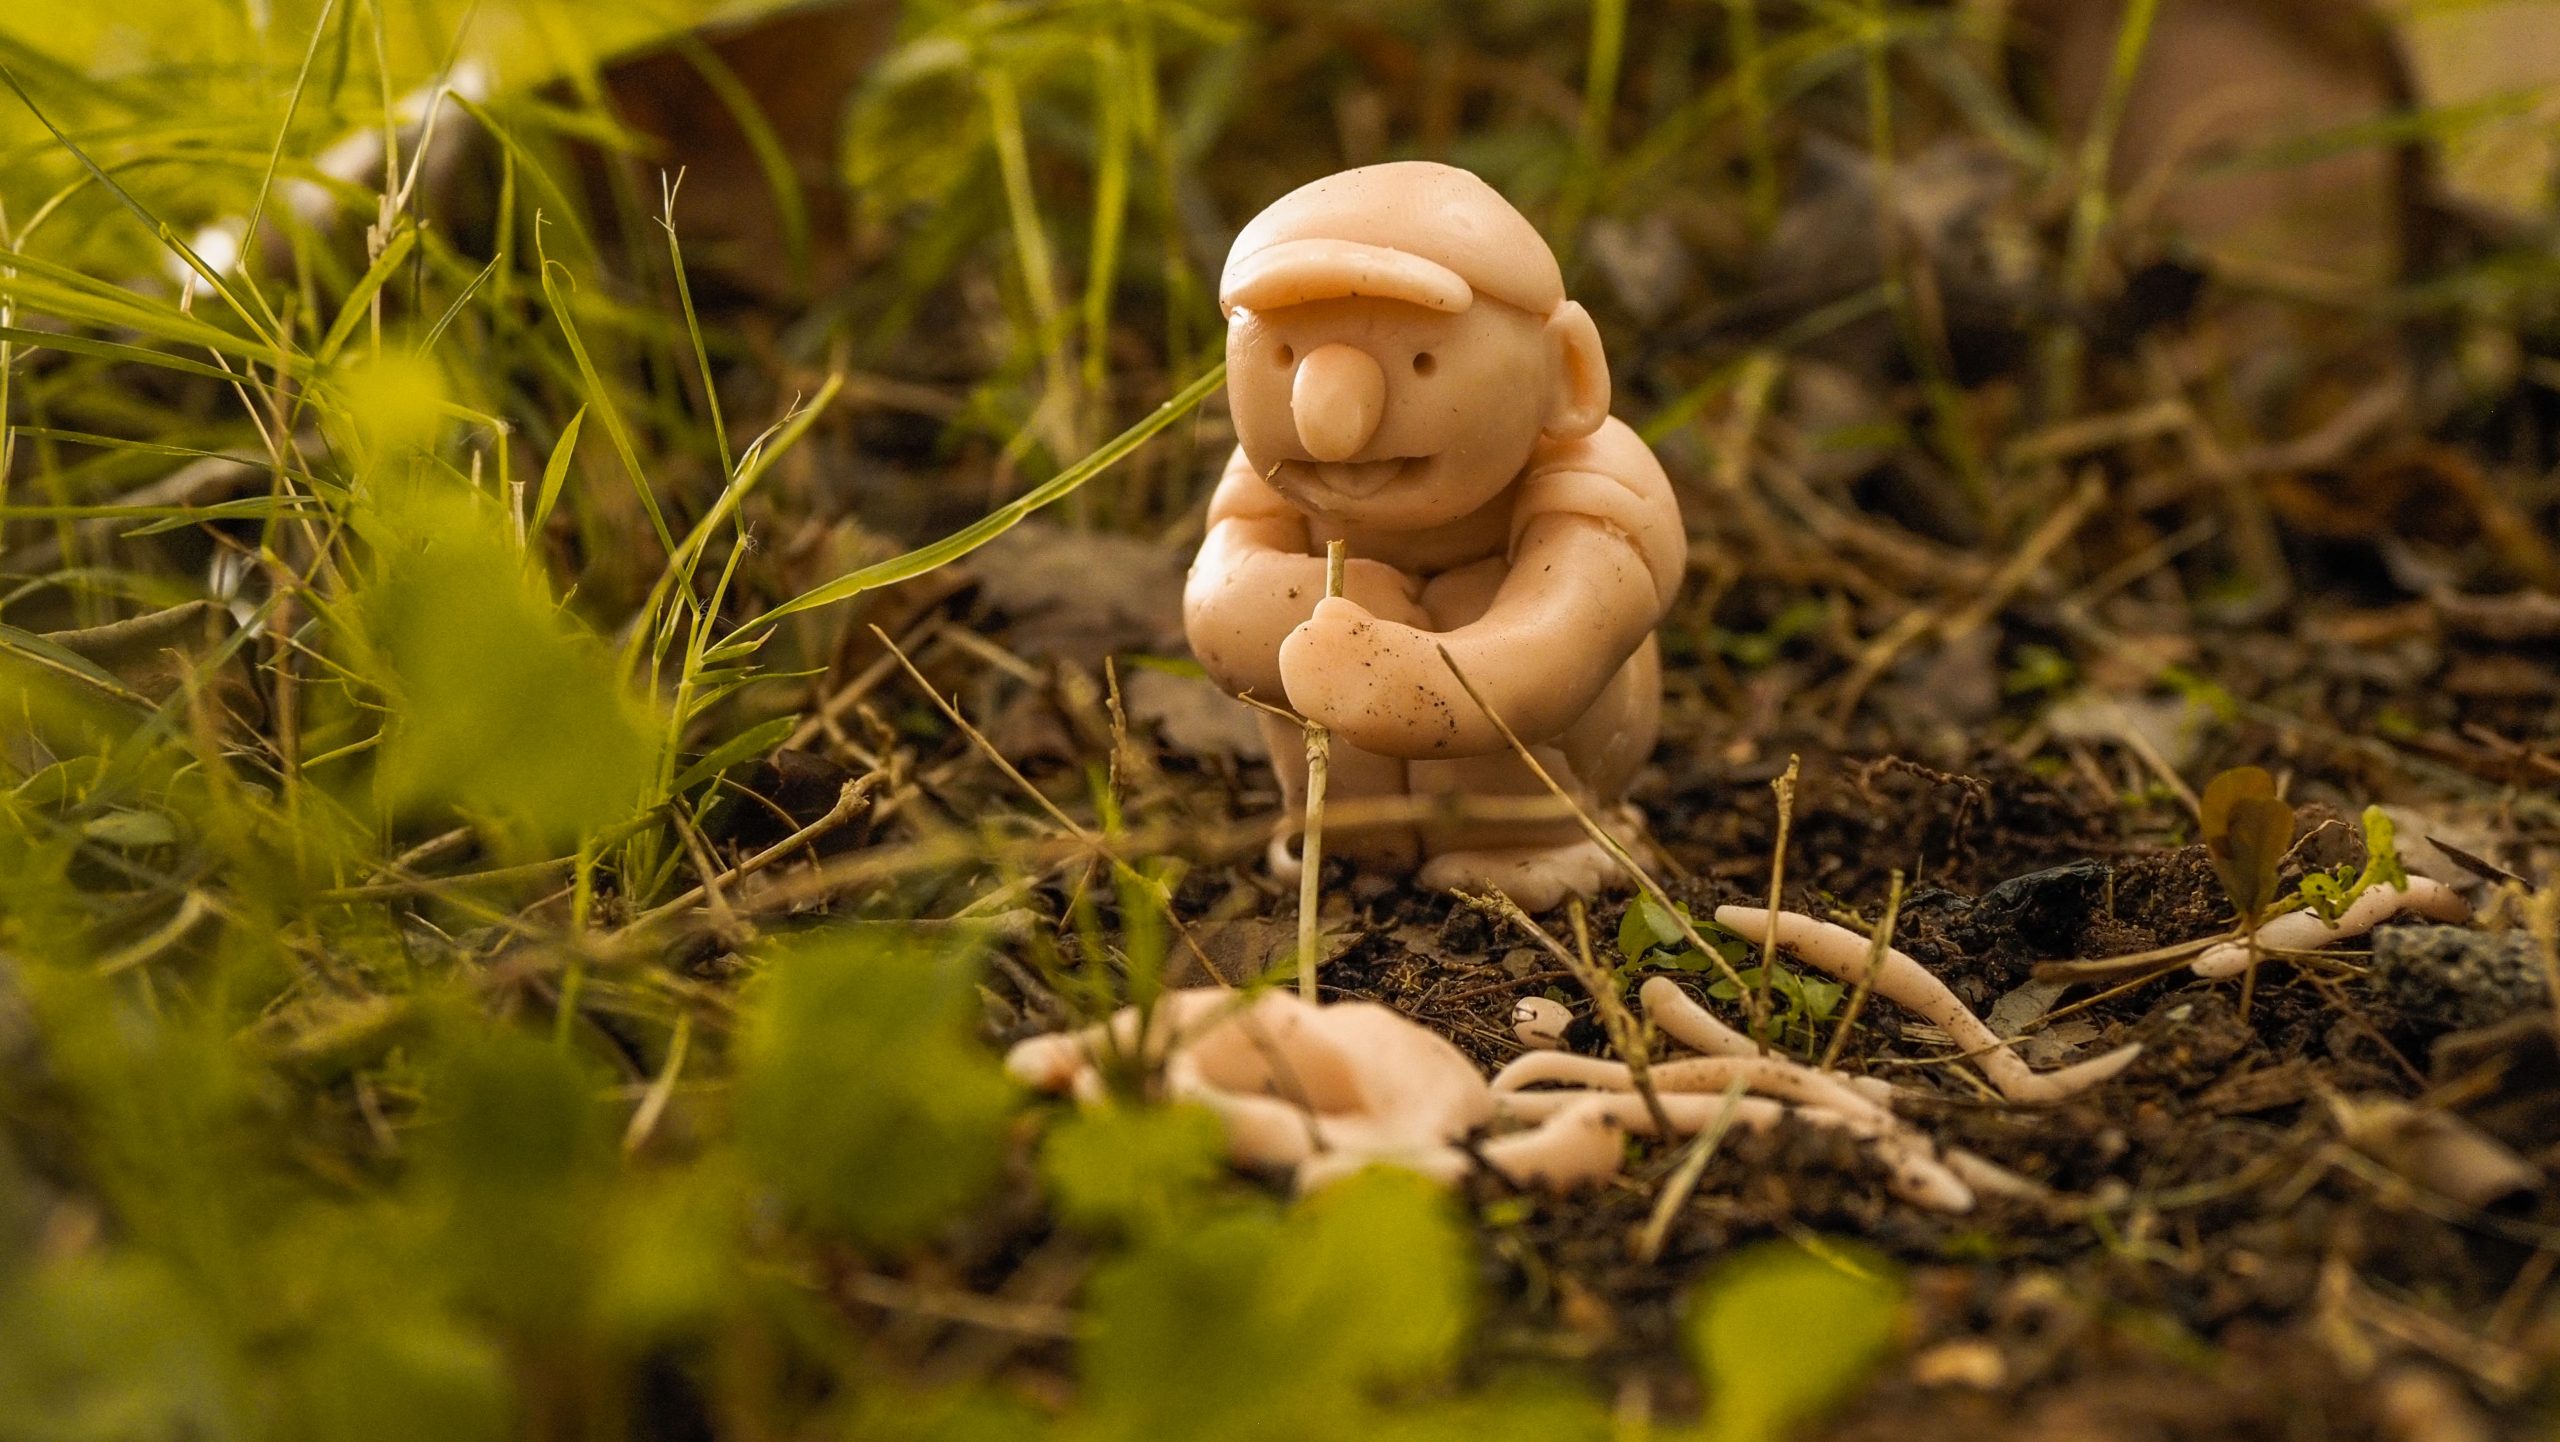
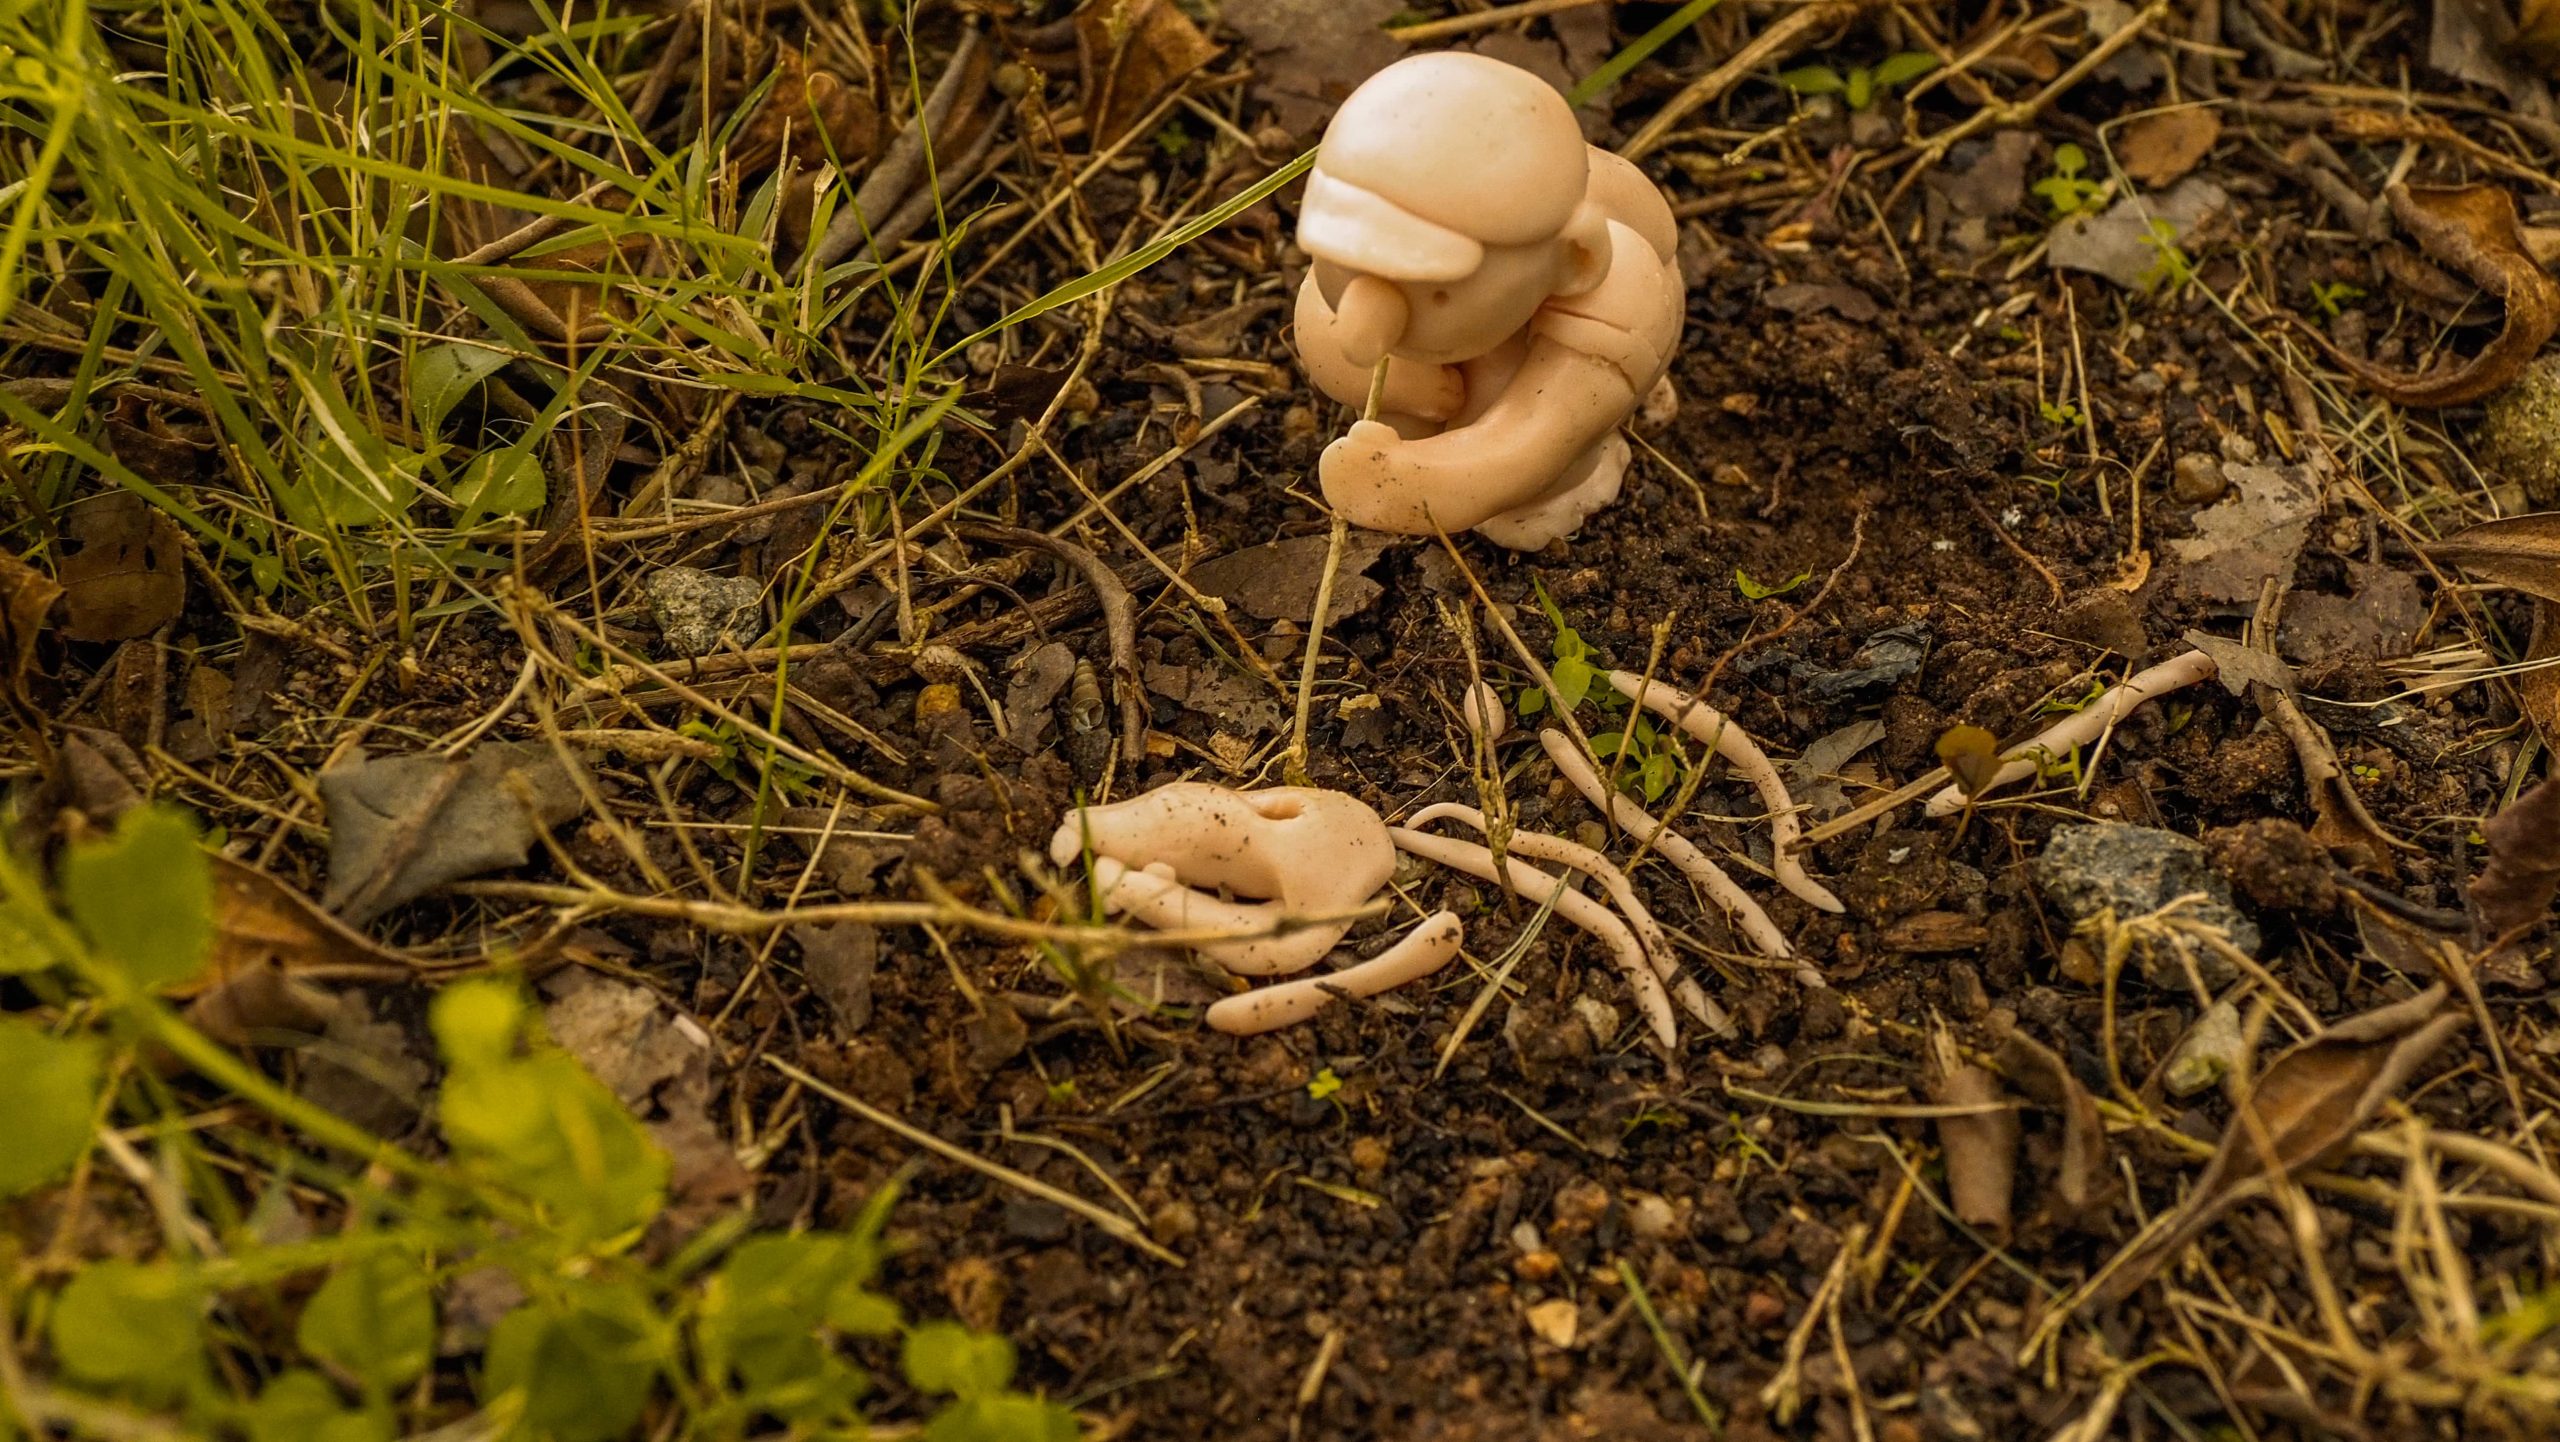
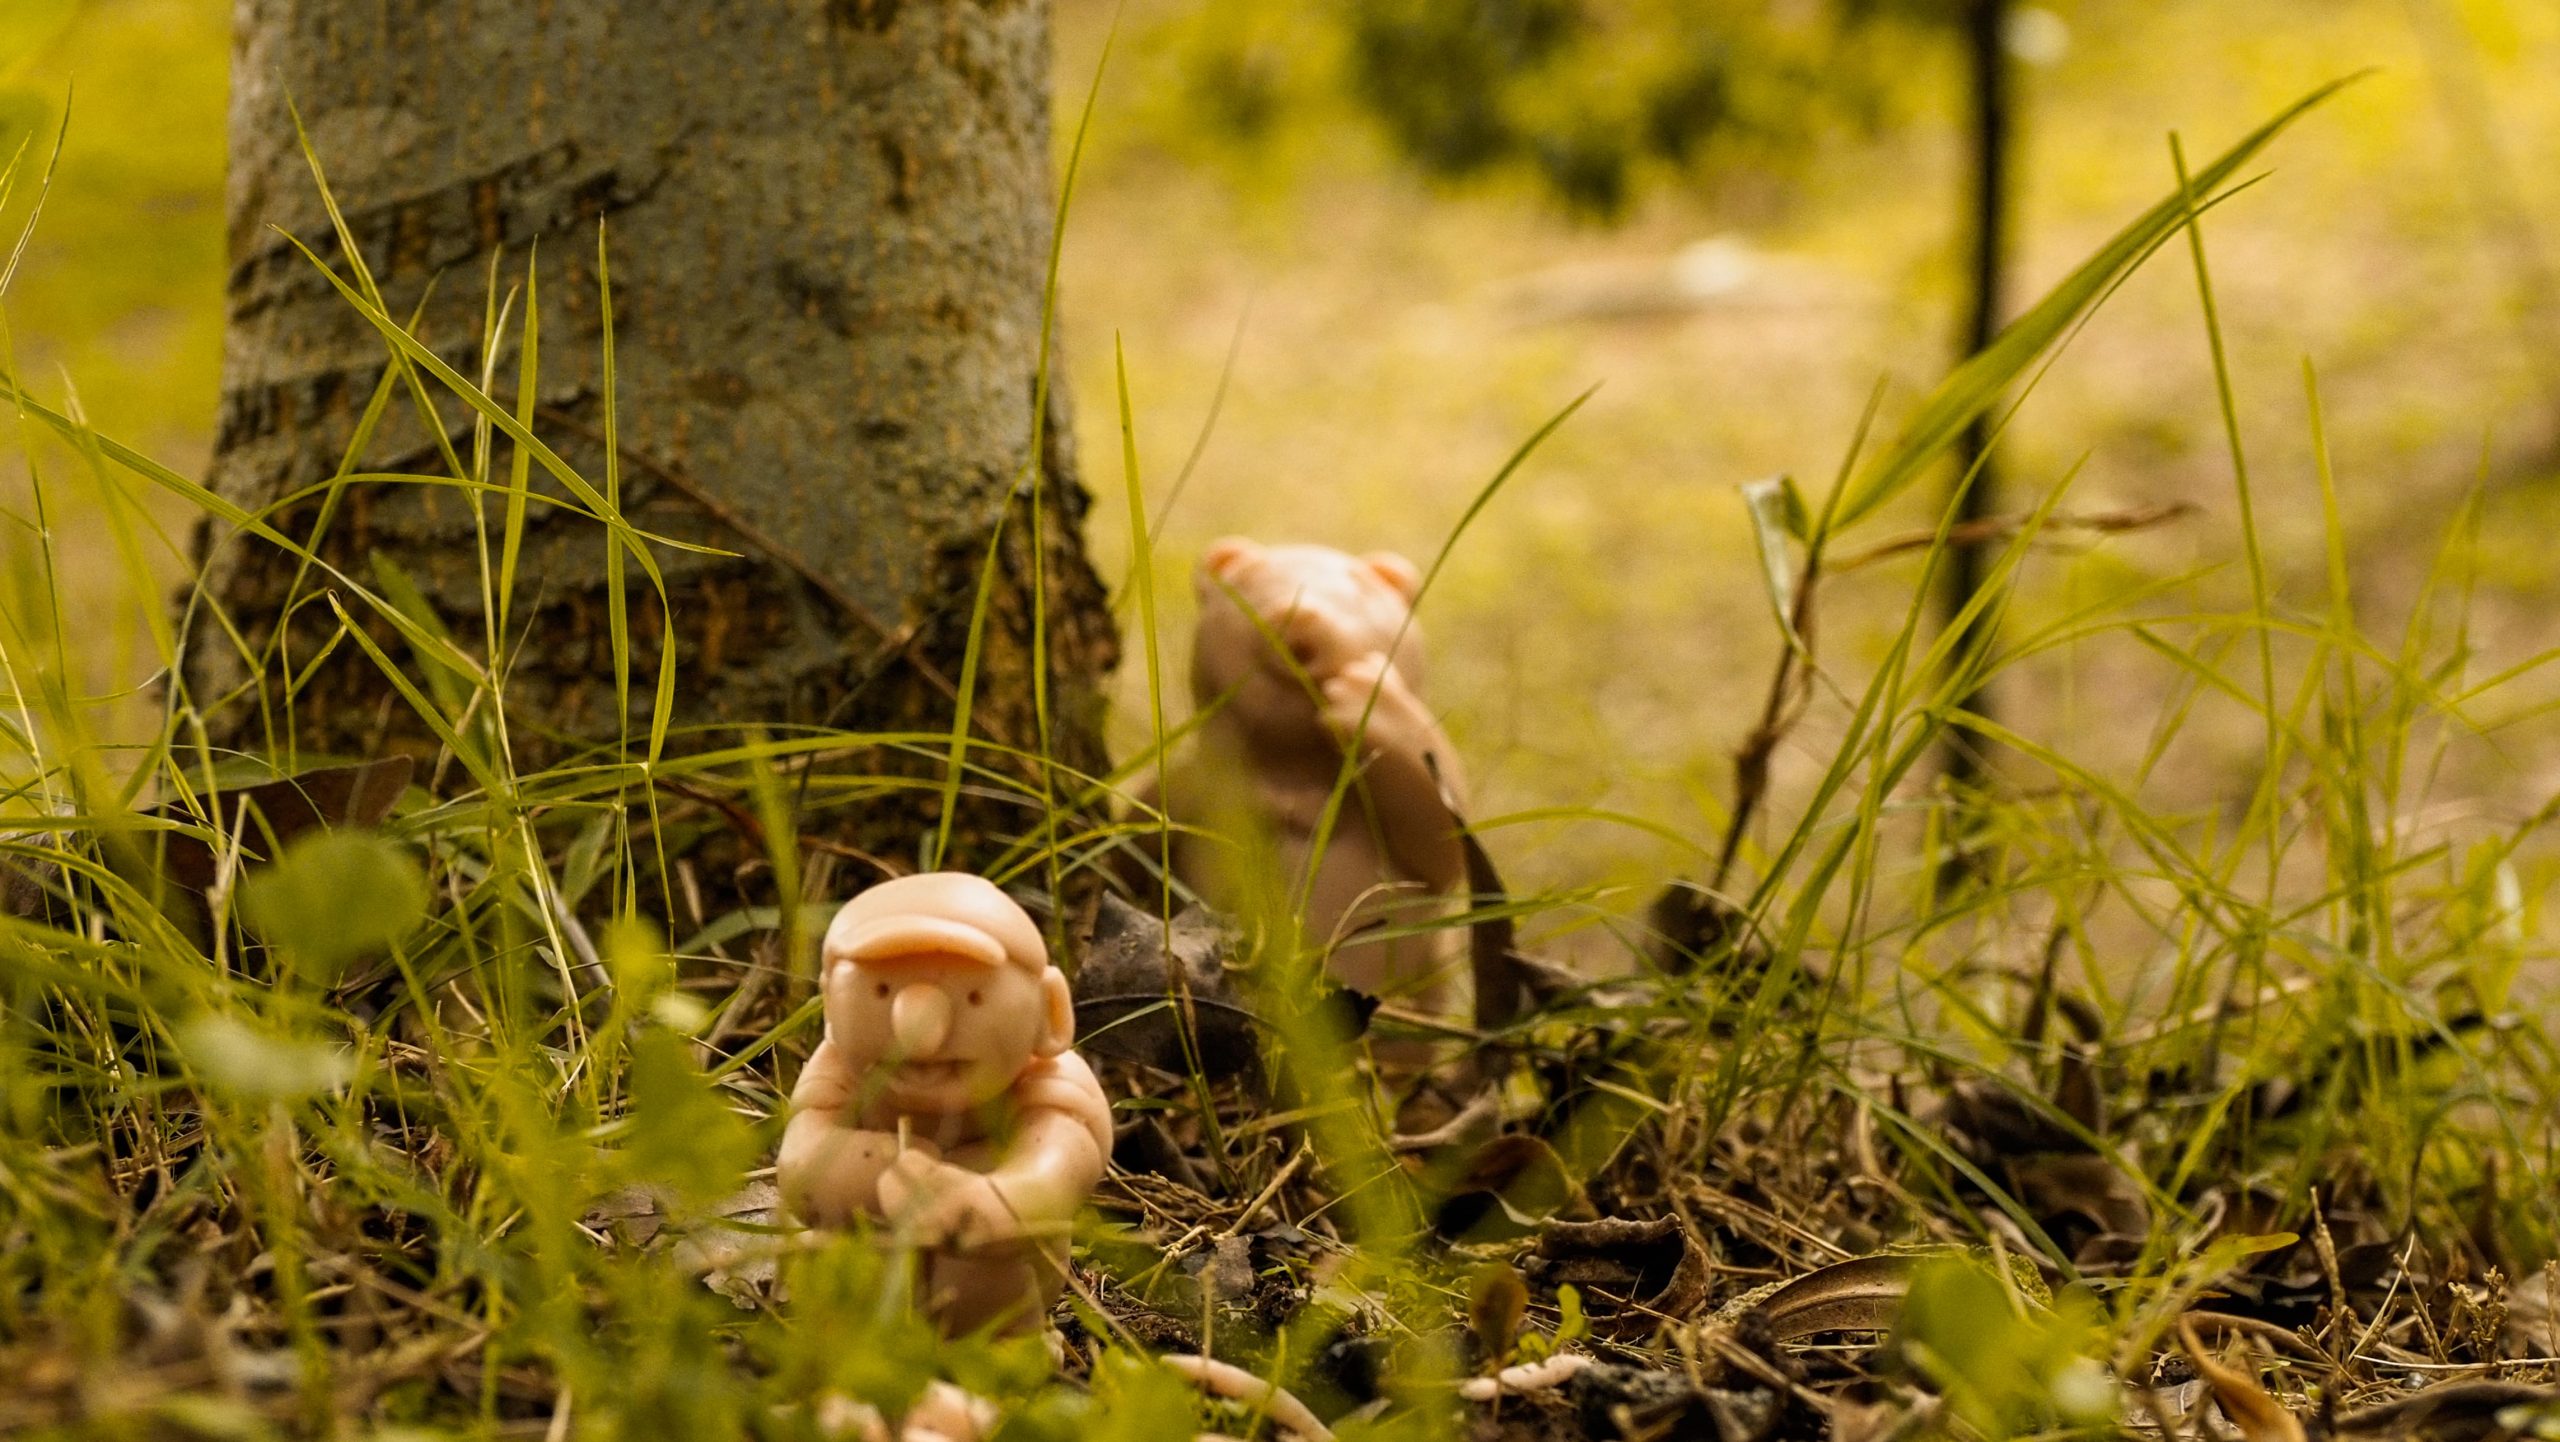
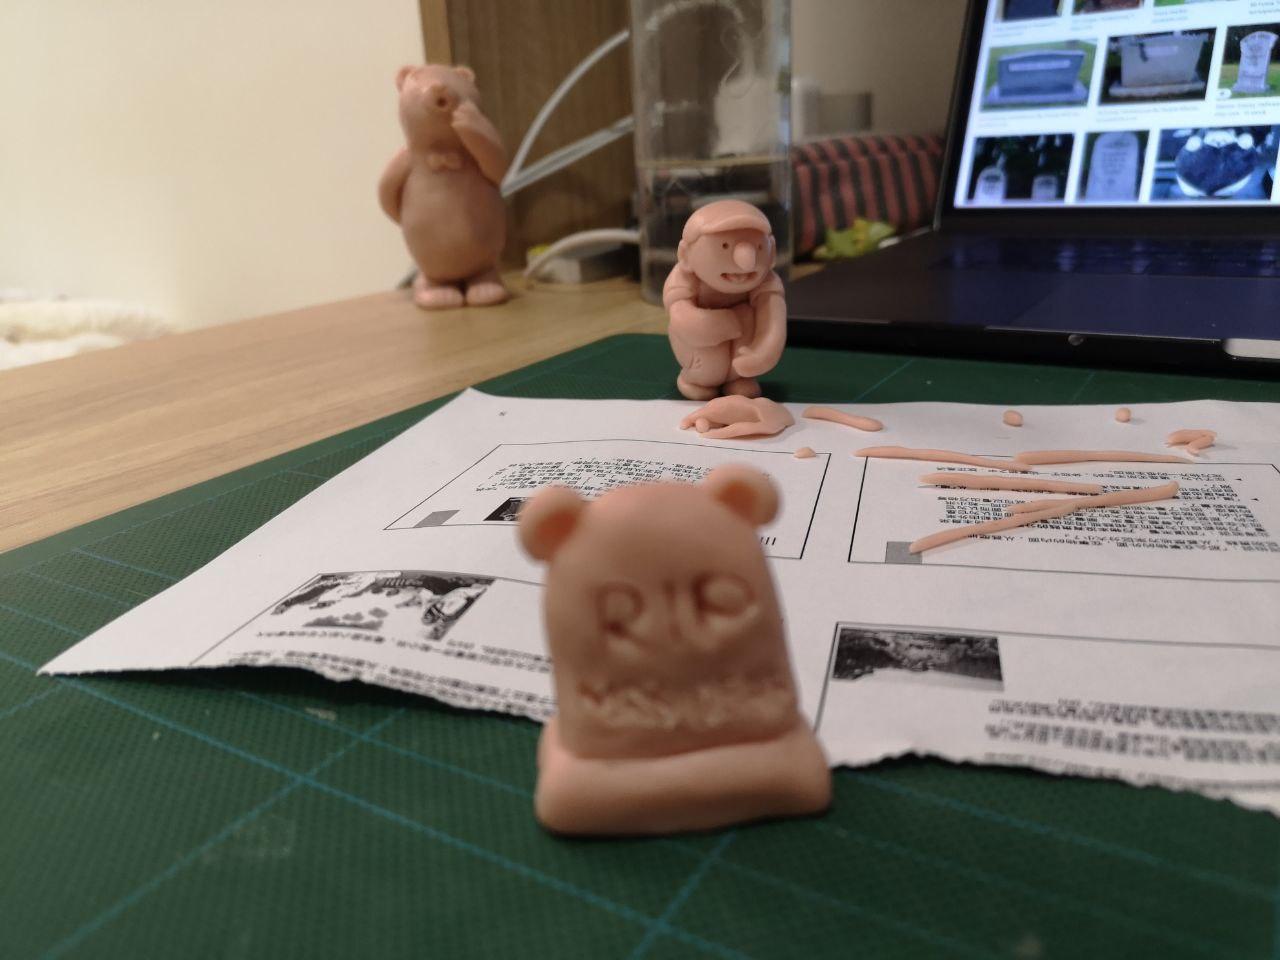
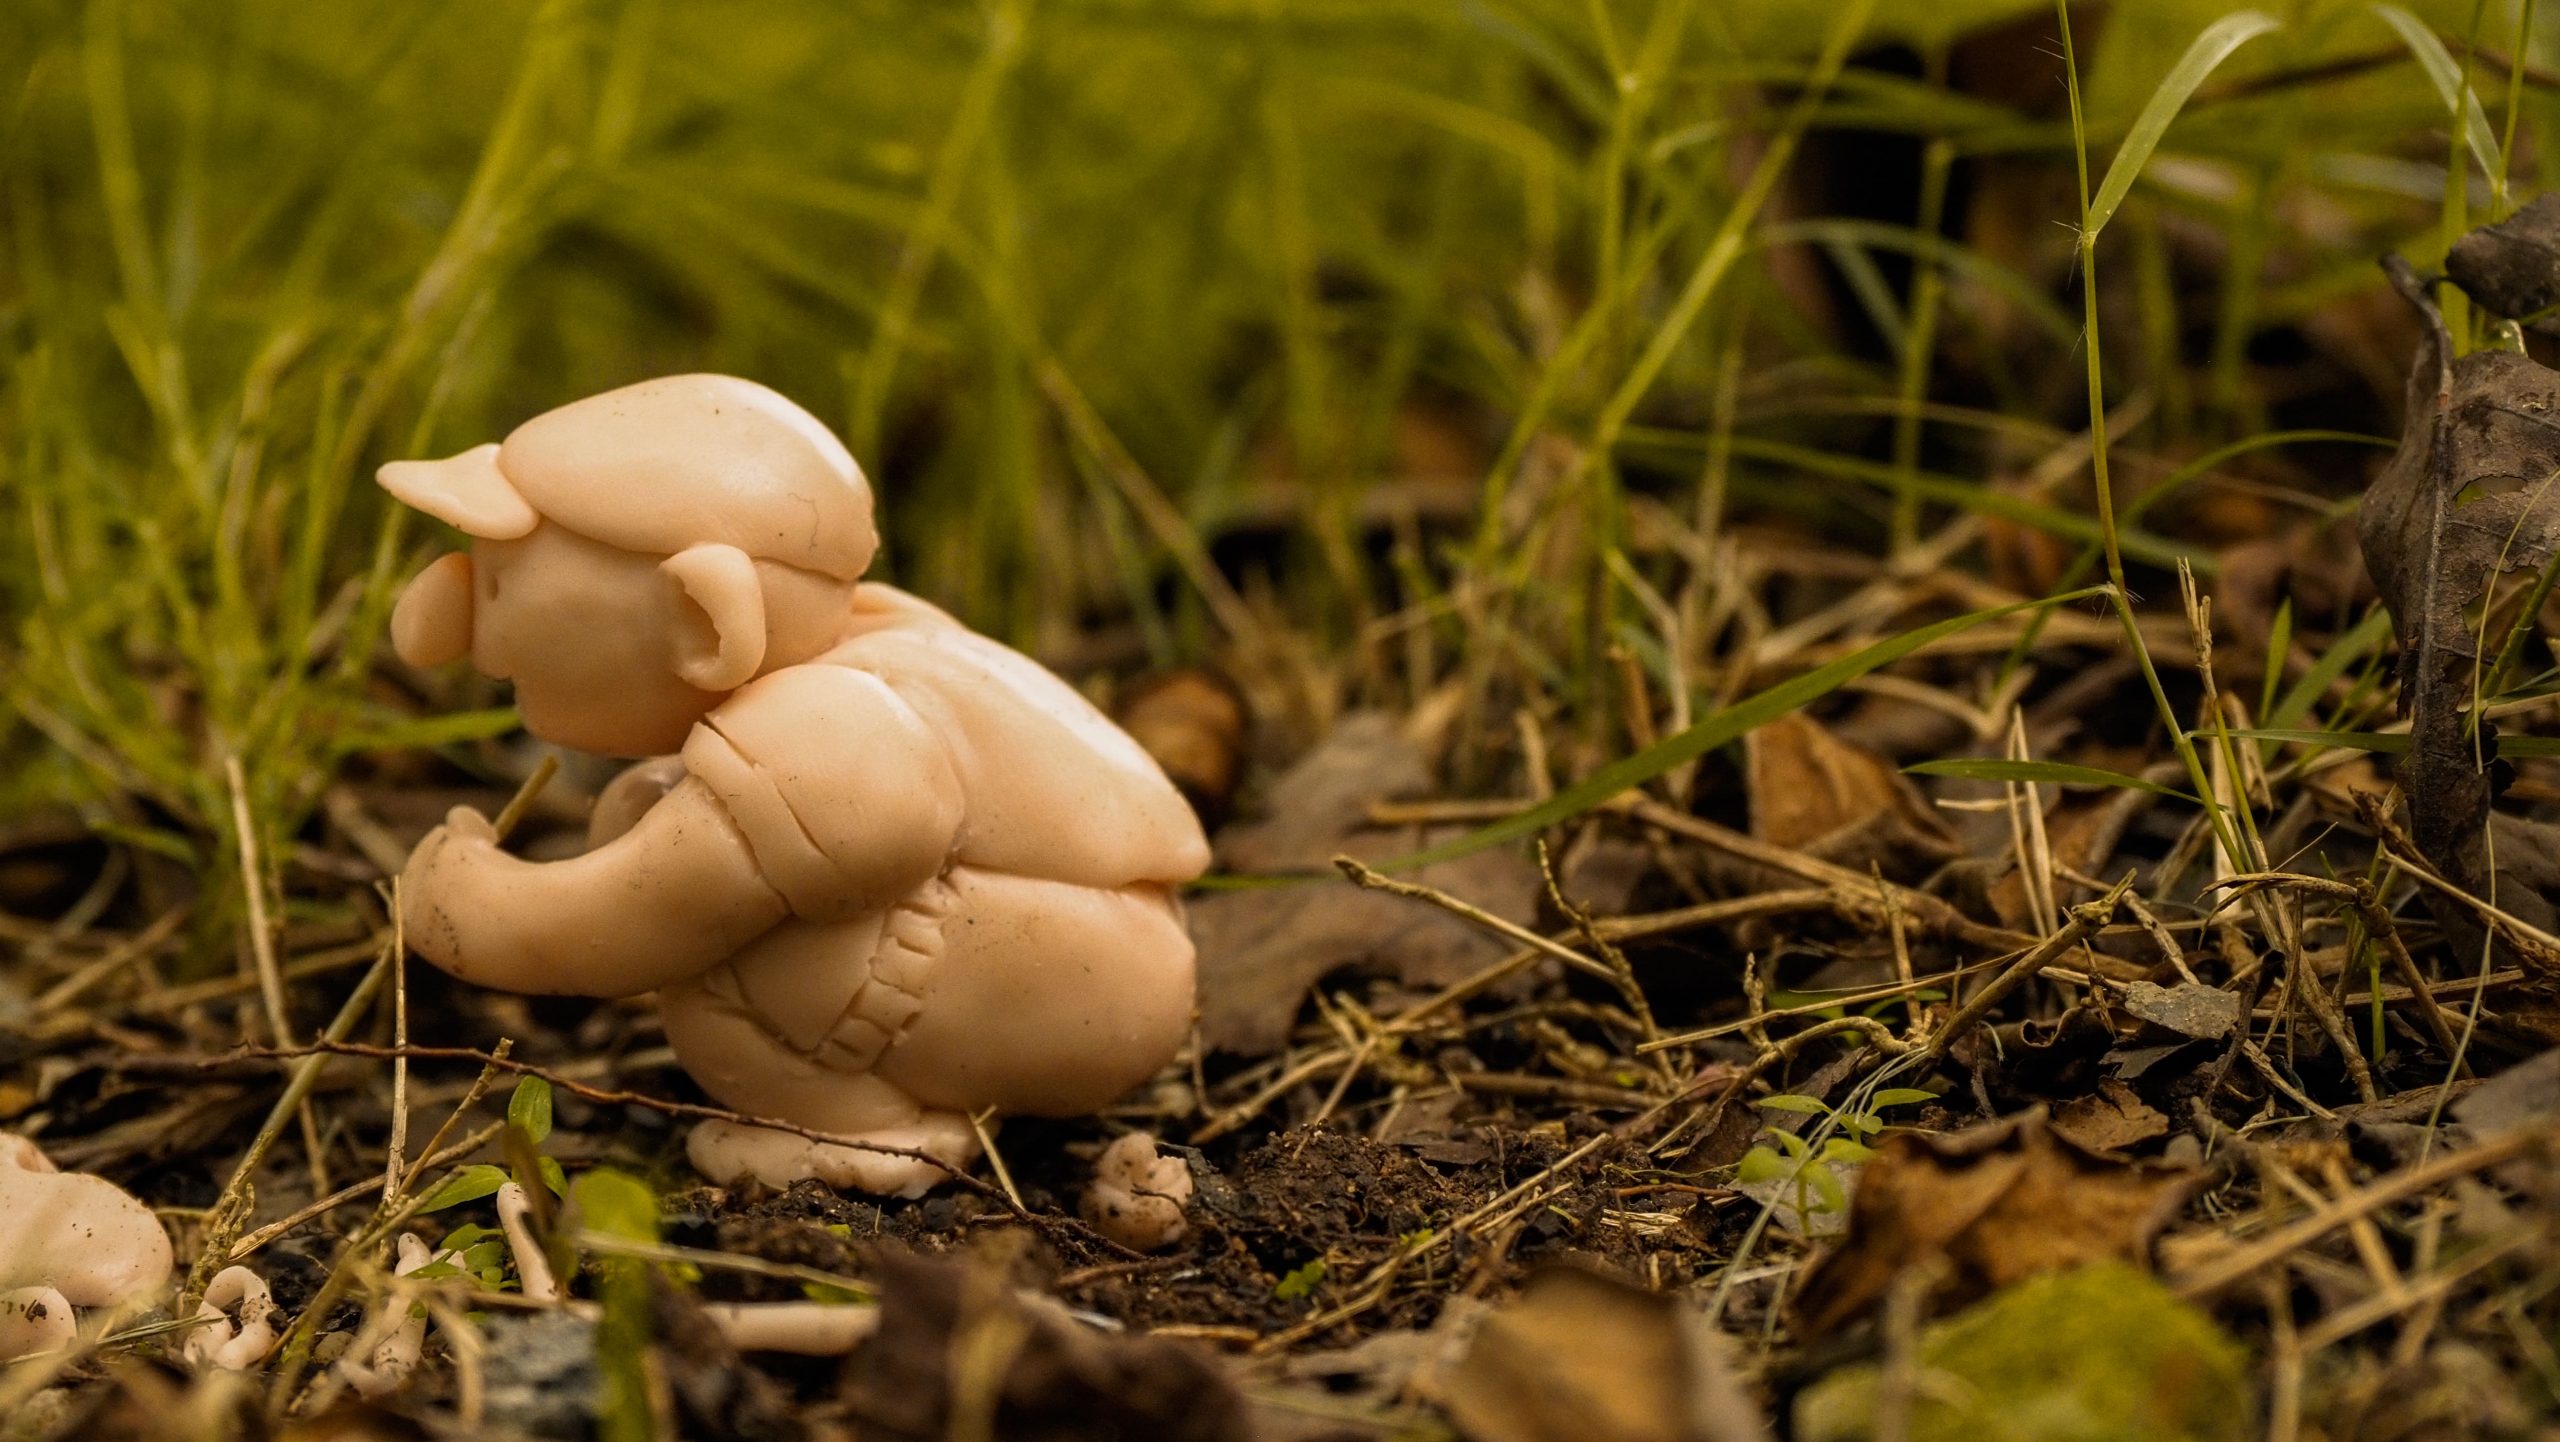
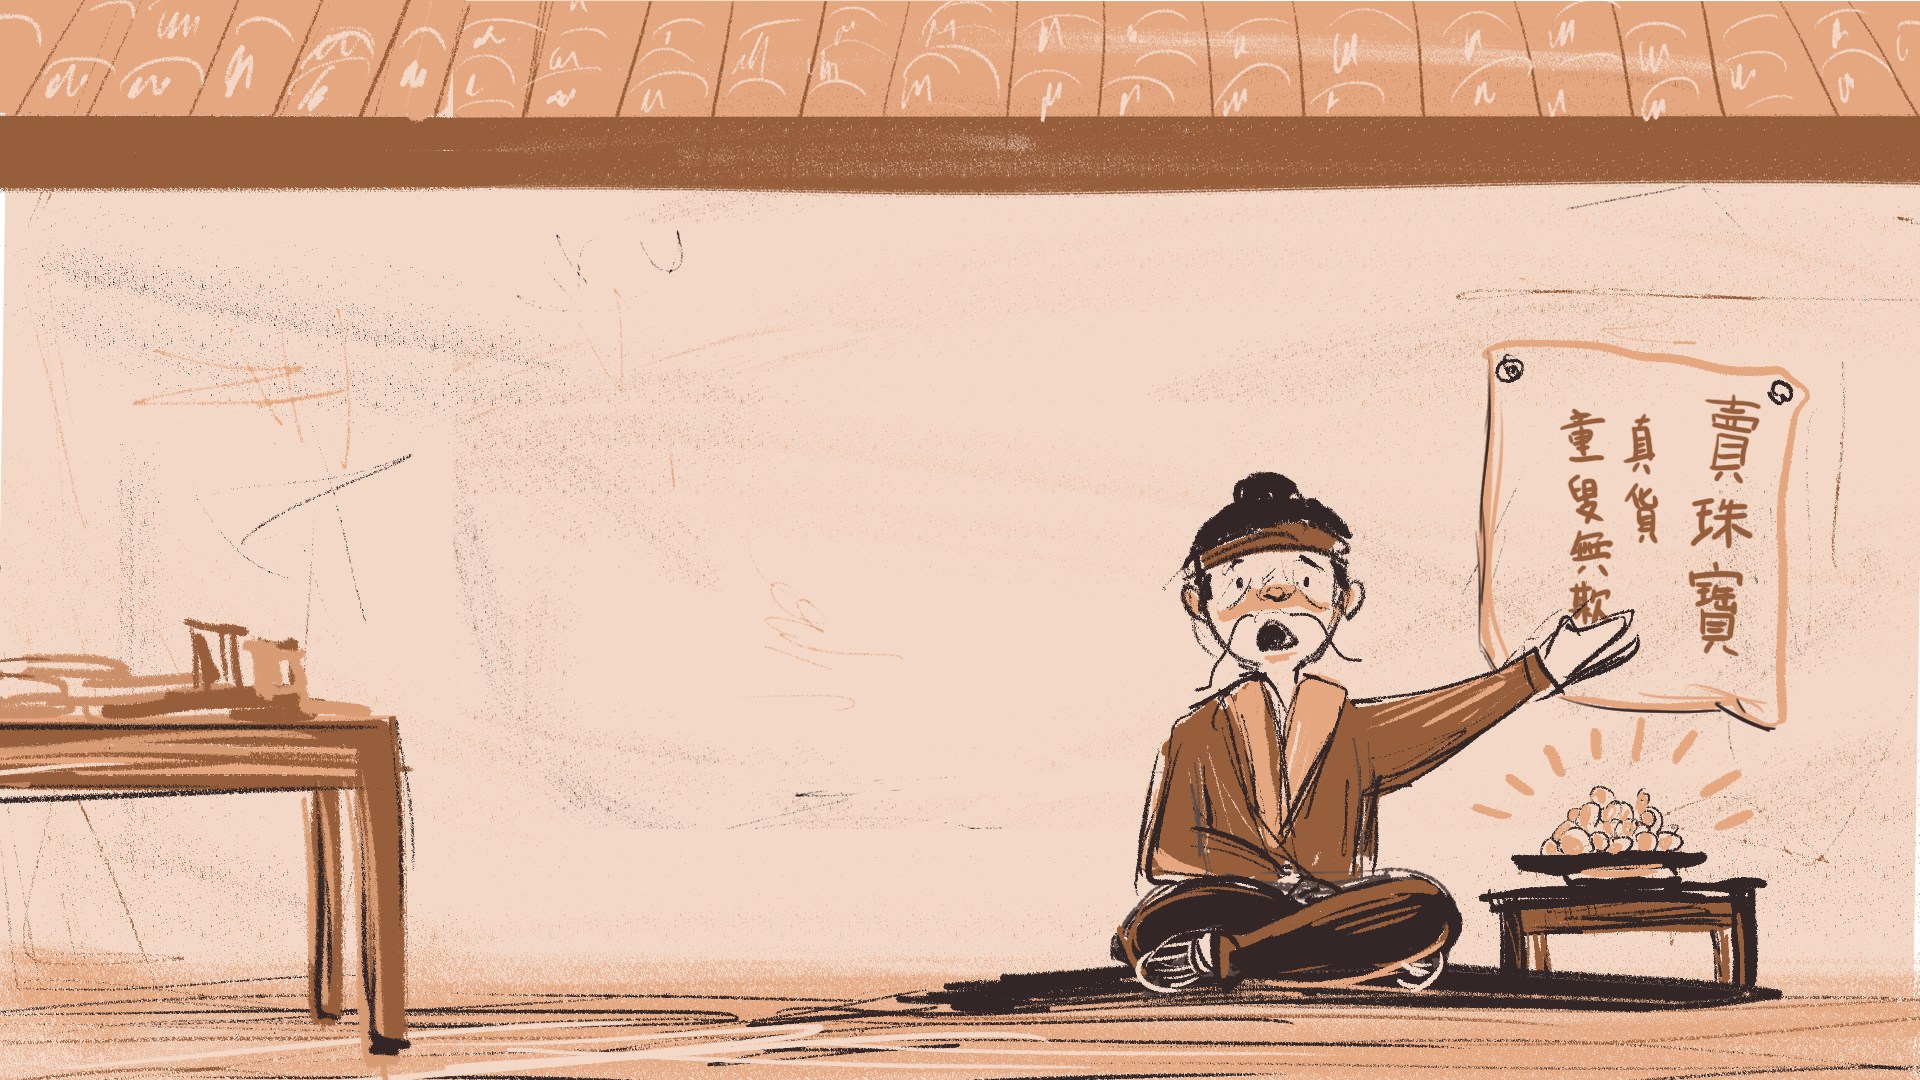
I wanted to personify the processes in the brain that gives rise to dreams. I felt as if it was not interesting to merely depict neurons firing as the brain selects memories with which to improvise. Therefore, my preliminary idea was to construct a physical brain (either out of PLASTICINE or by animation) which selects the audio dream tracks to be “played” out in a dream. The brain will then pulse along to the beat and mood of the music. The content of the conjured dreams will adhere to the mood and genre of the track being played.
Ultimately, I chose to do away with the clay model and took to characterize the mental world in the form of a computer interface. I thought that this was more suitable for my film because transitions between “brain states’ and “dreams” can be established more clearly. This was one of my greatest concern because viewers can get confused easily if “brain state” and “dream” are too similar/stark in contrast and the transitions here and there are just like ???.
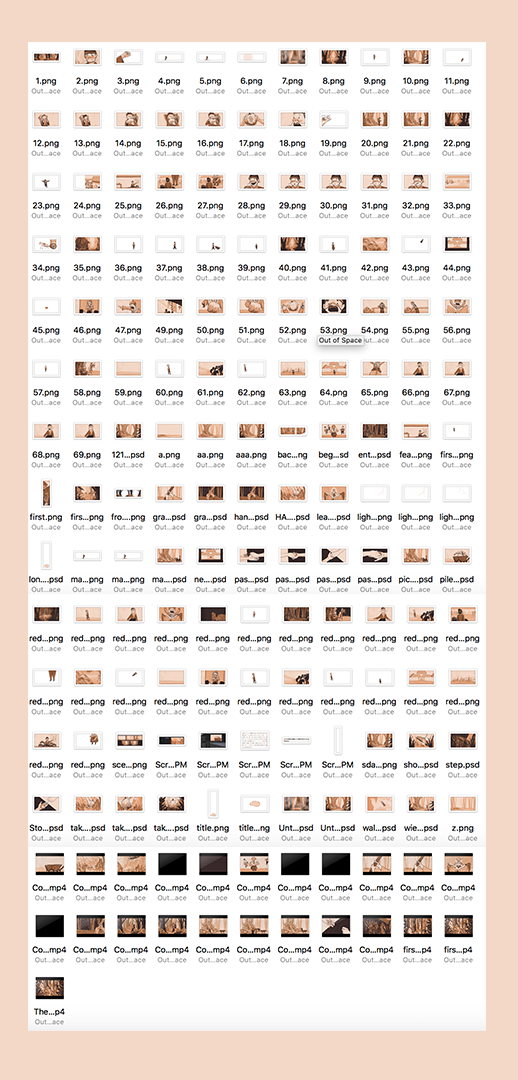
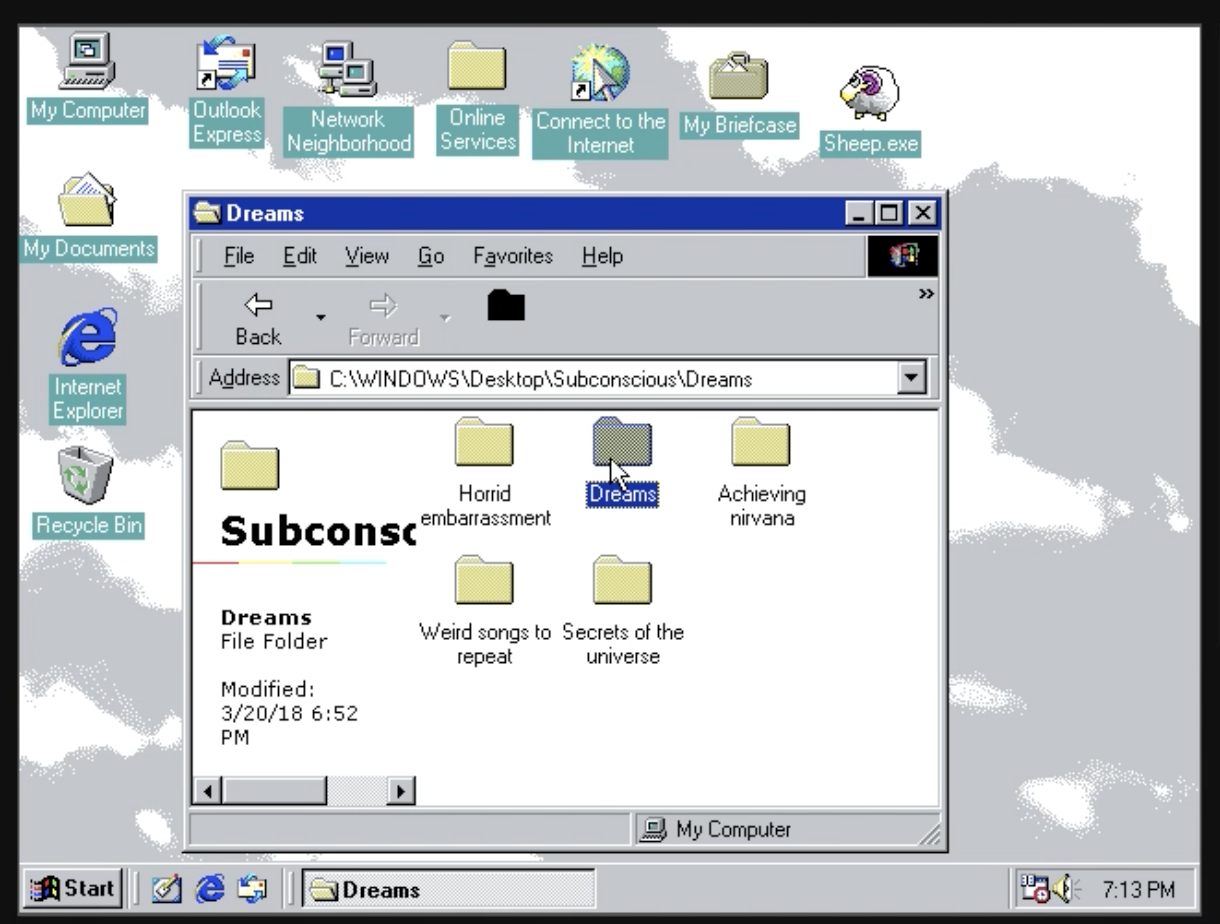
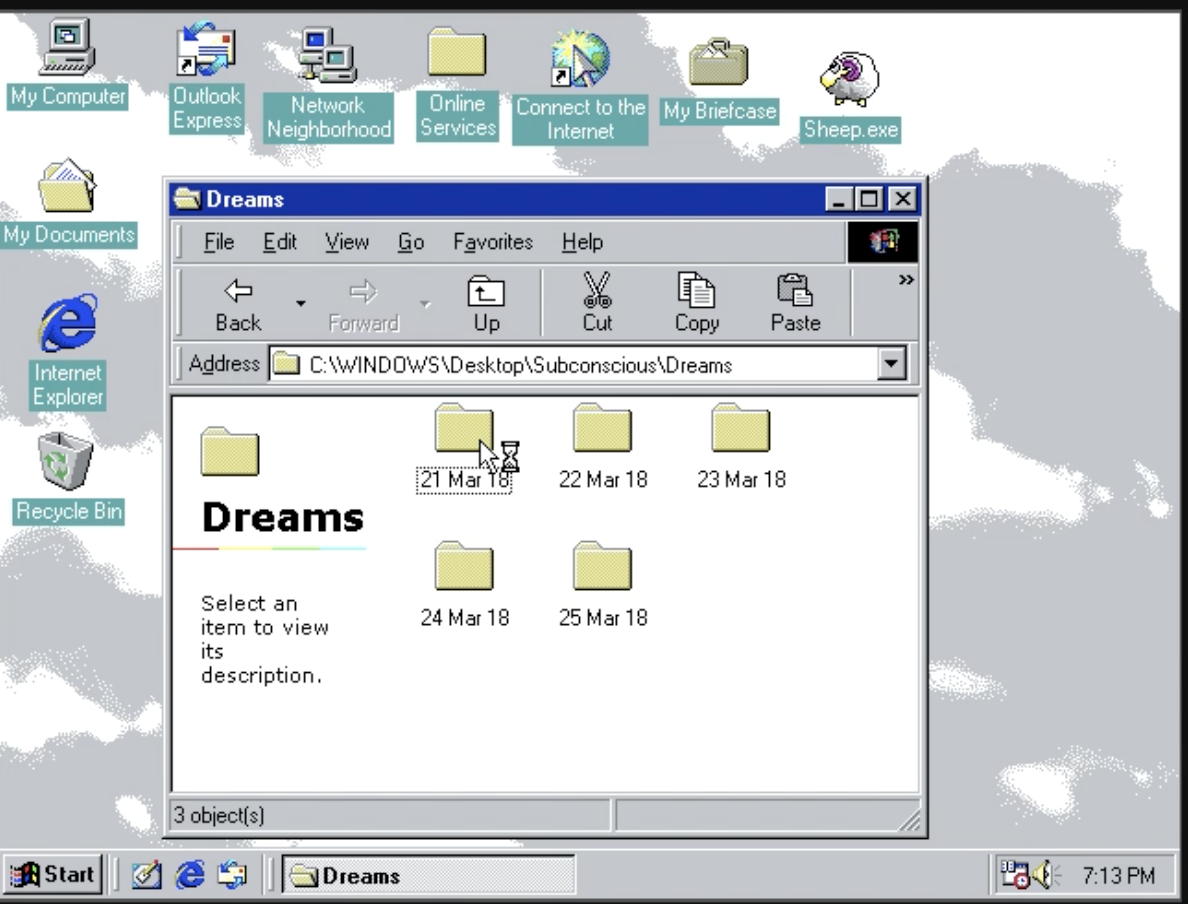
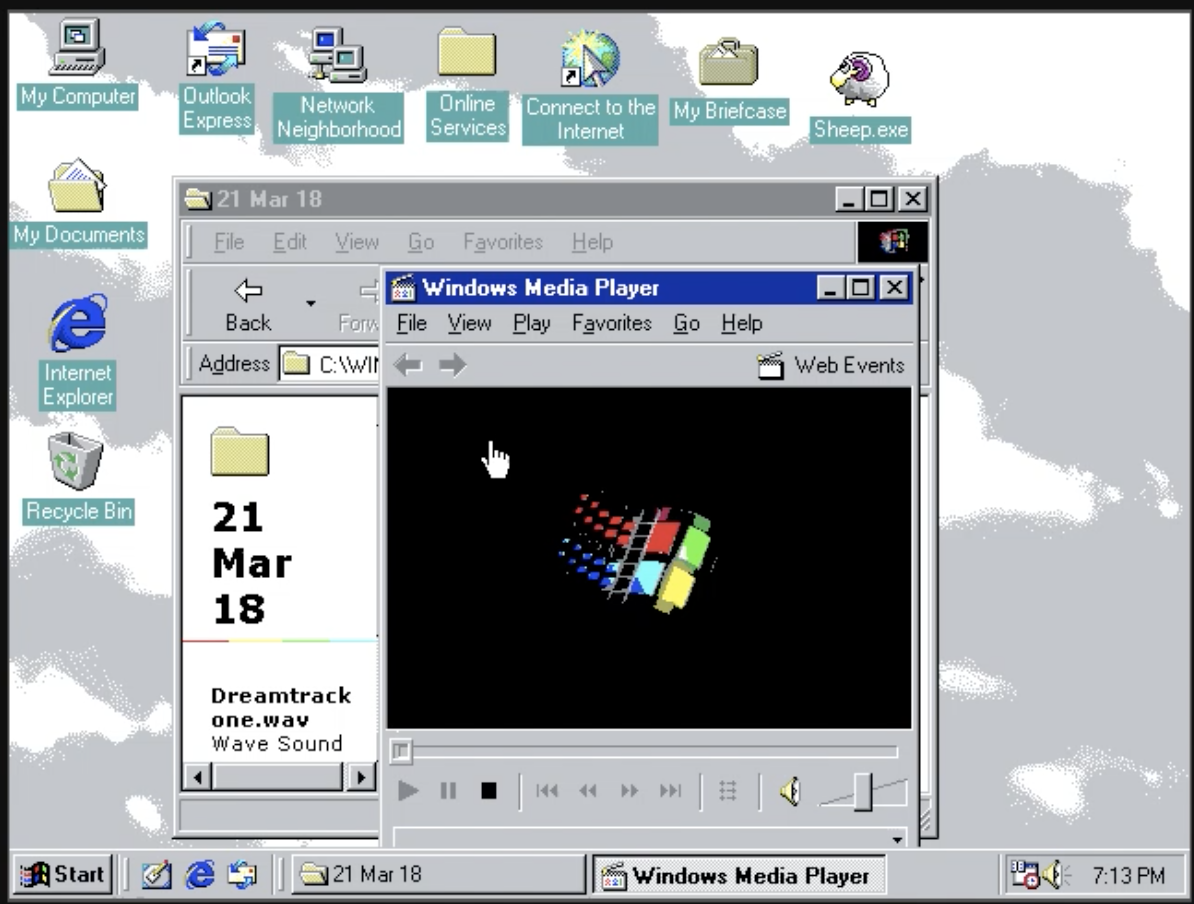
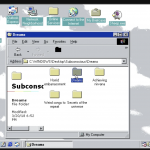
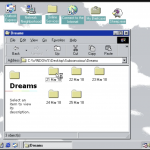
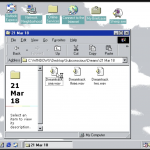
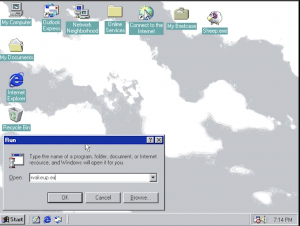
For the brain world, I wanted to have the computer (aka the brain) select files from folder to folder to play. Initially, I videoed the Windows 98 desktop to depict the brain inner workings and selections of dreams.
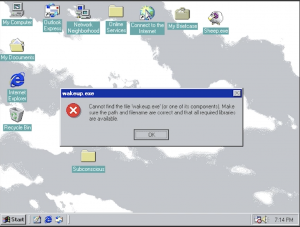
Screenshots of the video I made:
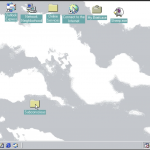
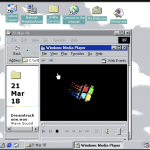
I wanted to include a programme to wake the protagonist up, but the simulator couldn’t do it :”)
I thought it was interesting to include the computer interface, but I eventually abandoned this idea because it didn’t serve what I want. The flow of the video was less ideal with it, especially because the ploughing through of folders within folders was all too confusing for the viewers (and I do have many things going on in my video already). I settled with the simplified current version of a MS dos-like interface (the prerequisite to have windows), which I feel best allude to the pivotal and yet backstage roles of the subconscious mind.
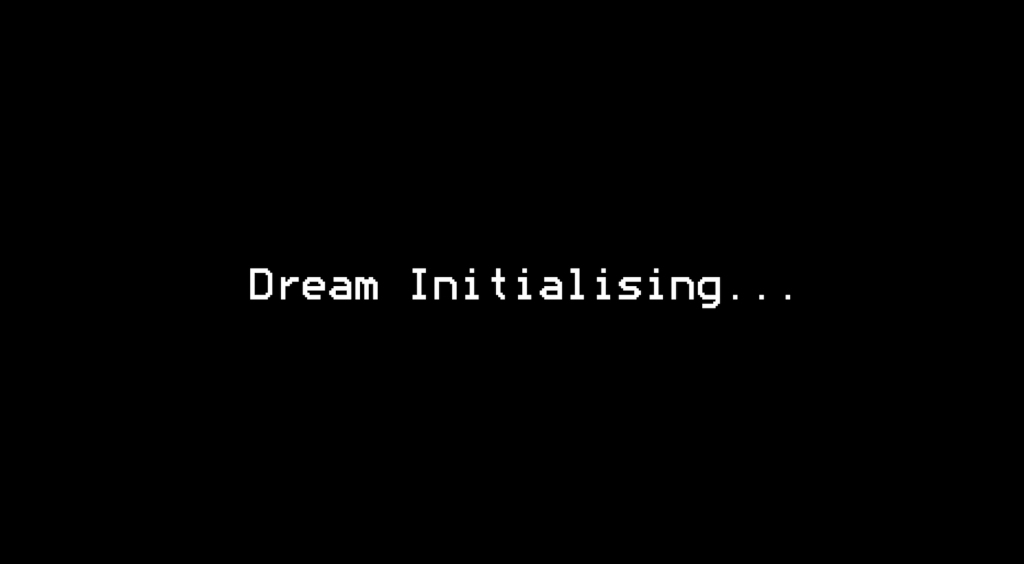
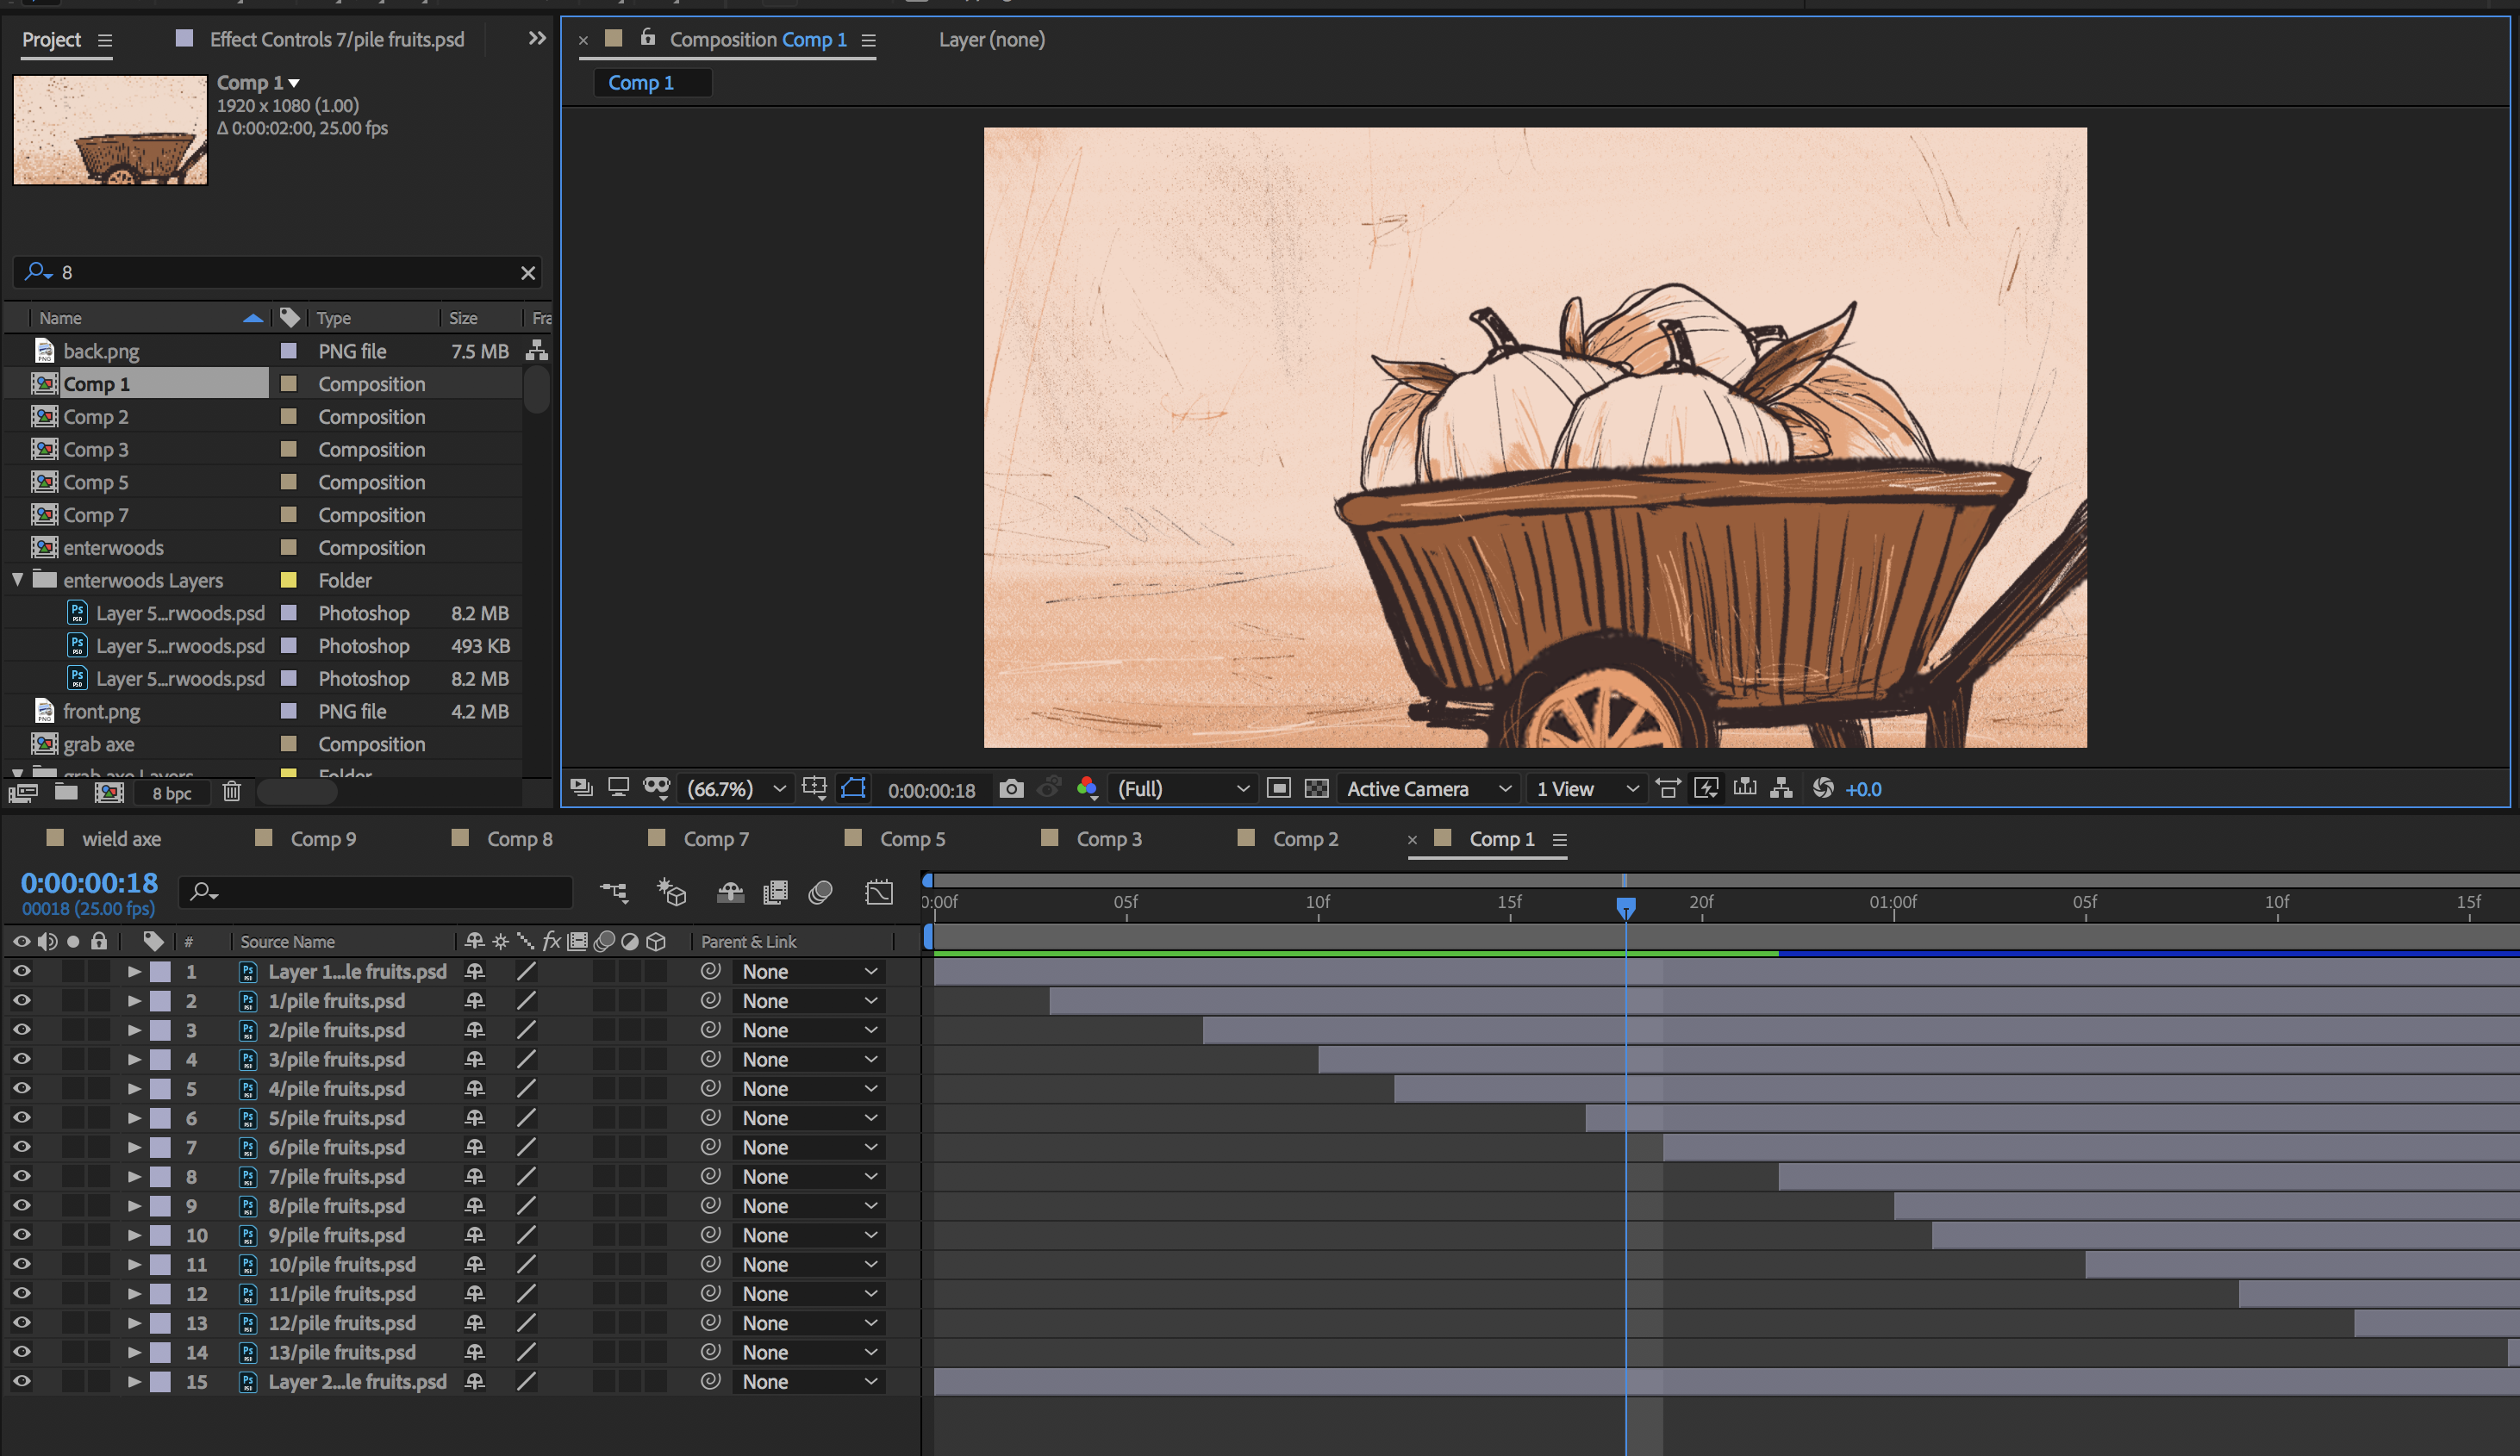
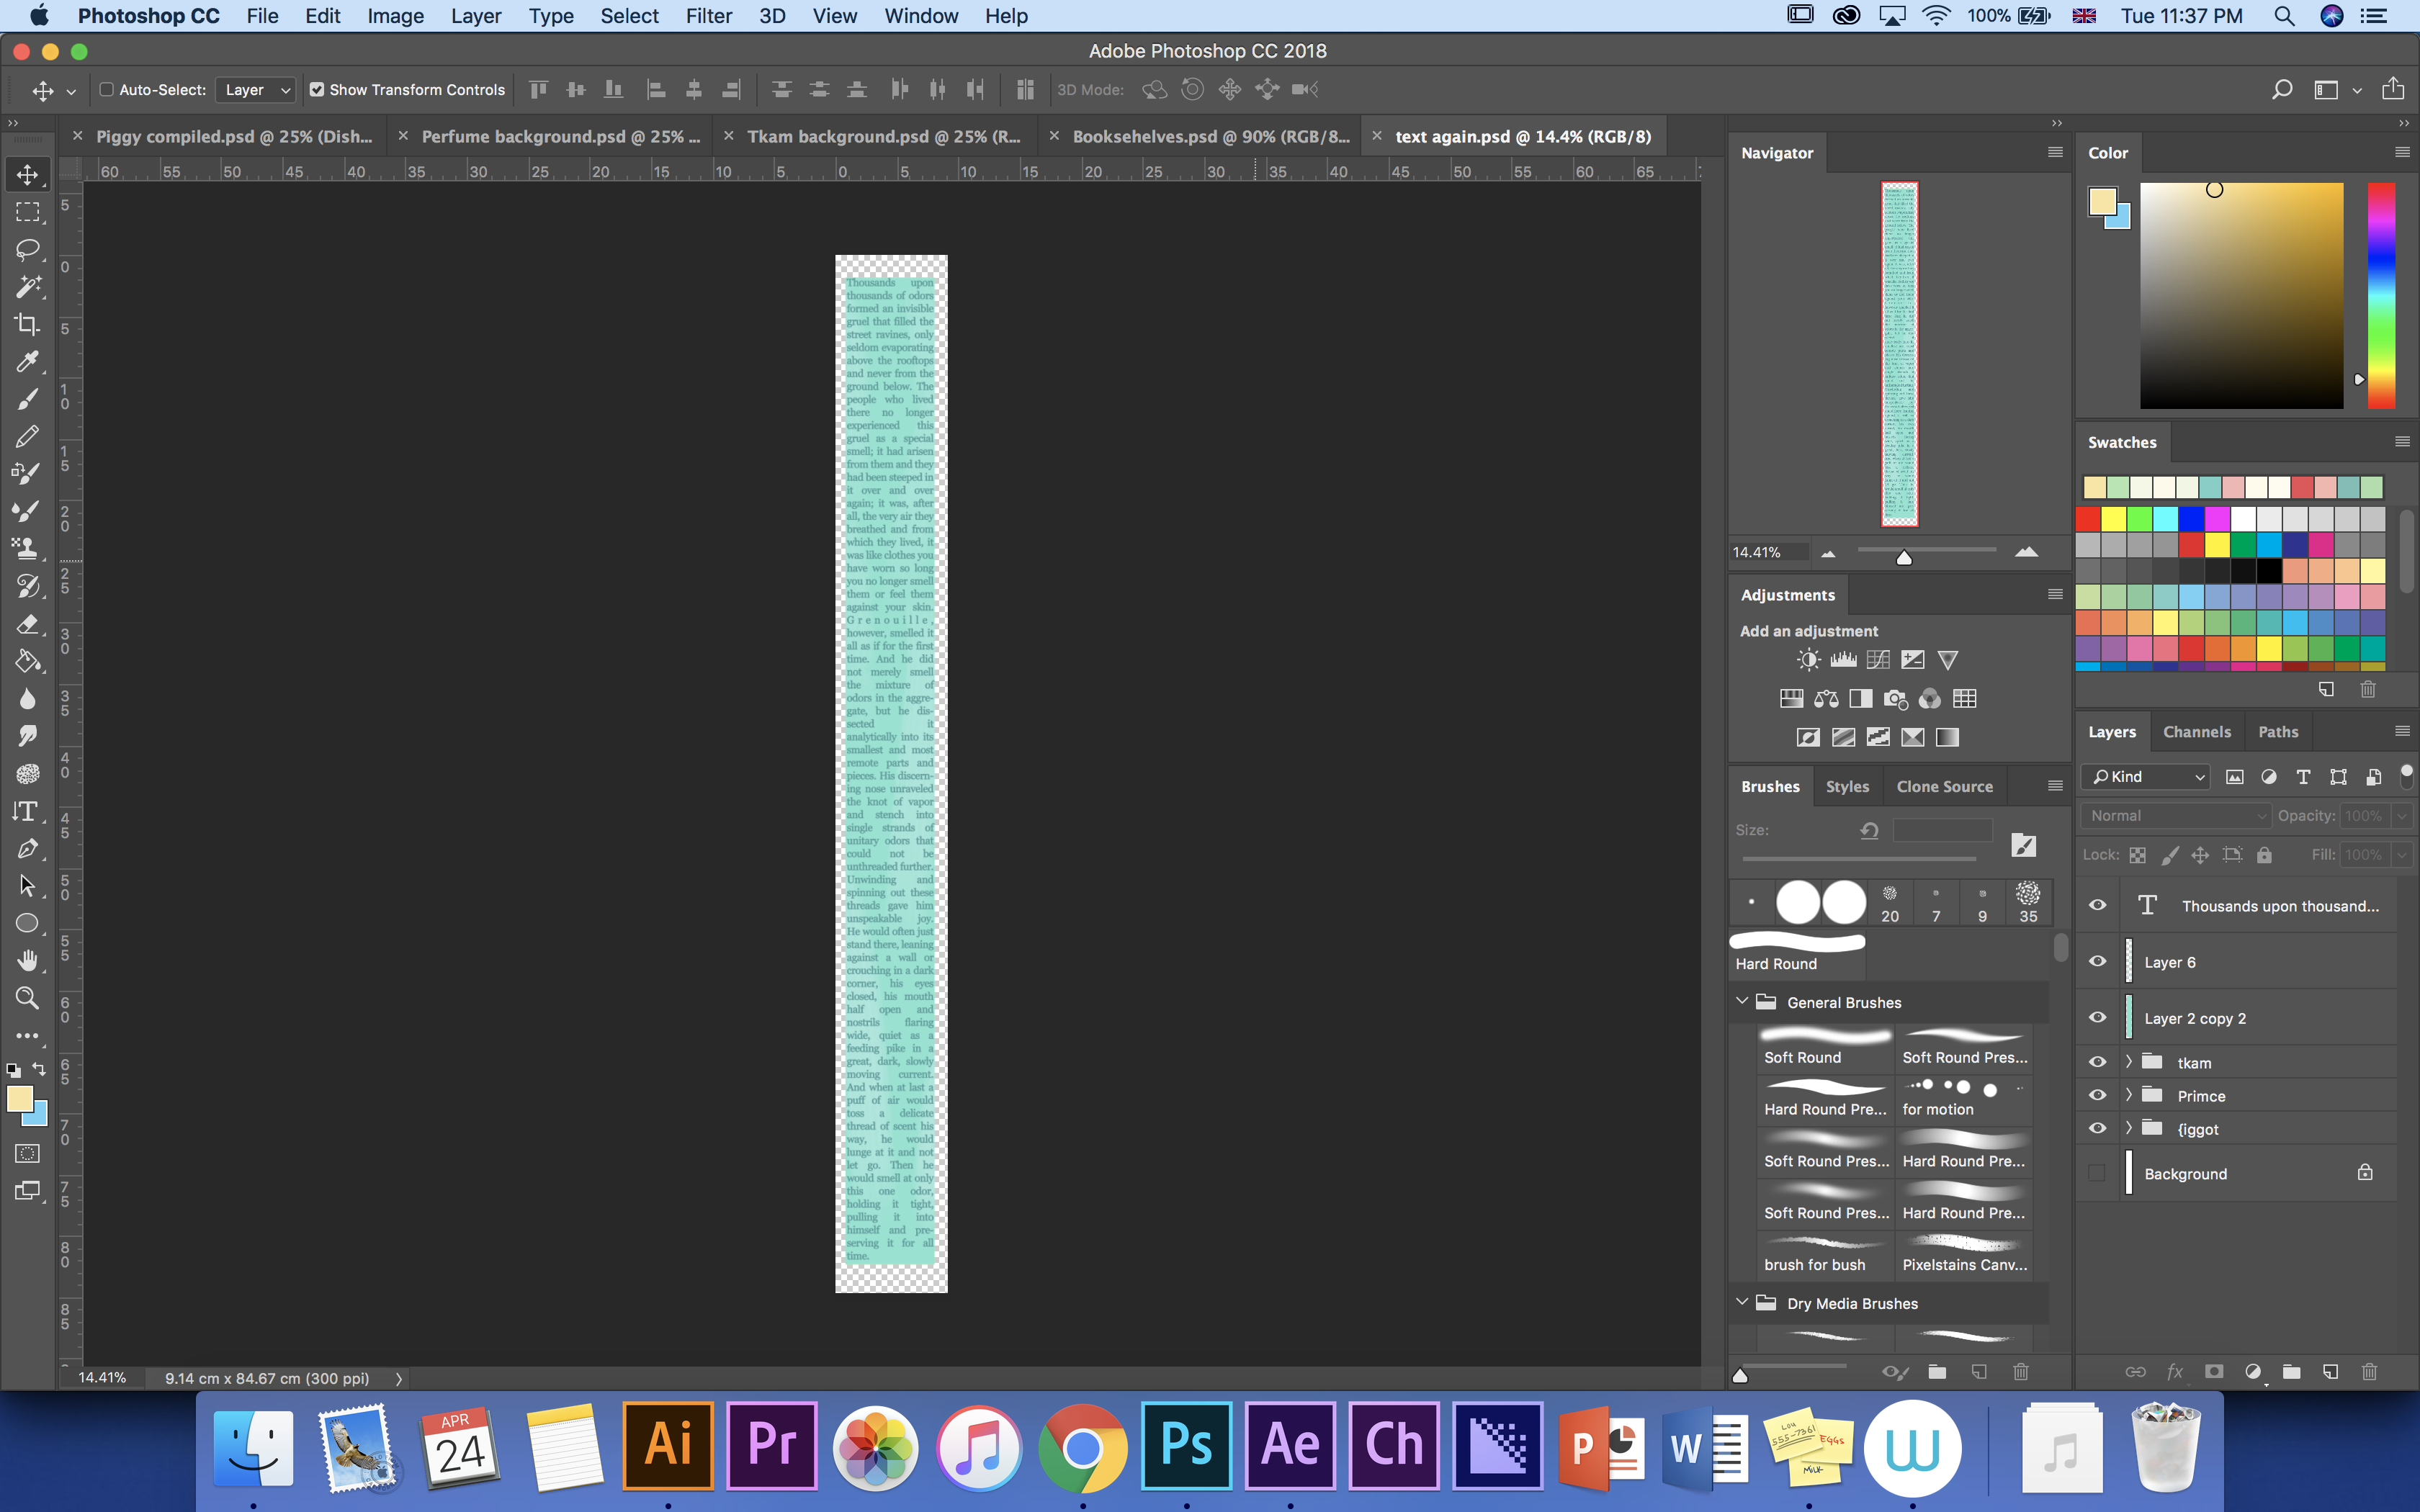
The typewriter effect that I found on youtube tutorials are really troublesome to do as you need to do key frame by key frame where the next letter appear in the next key frame. That’s a crazy amount of effort for such a small scene. I also tried typing the entire phrase and then mask each letter with each key frame, which didn’t work out either because the letter will be slowly revealed from left to right instead of just appearing immediately.
To solve this, I simply used Microsoft Word with a black layout and typed the words while using screen recording from Windows Media Player. I will then fast forward the recording and match it with keyboard typing sound effect. Yay, shortcut found.

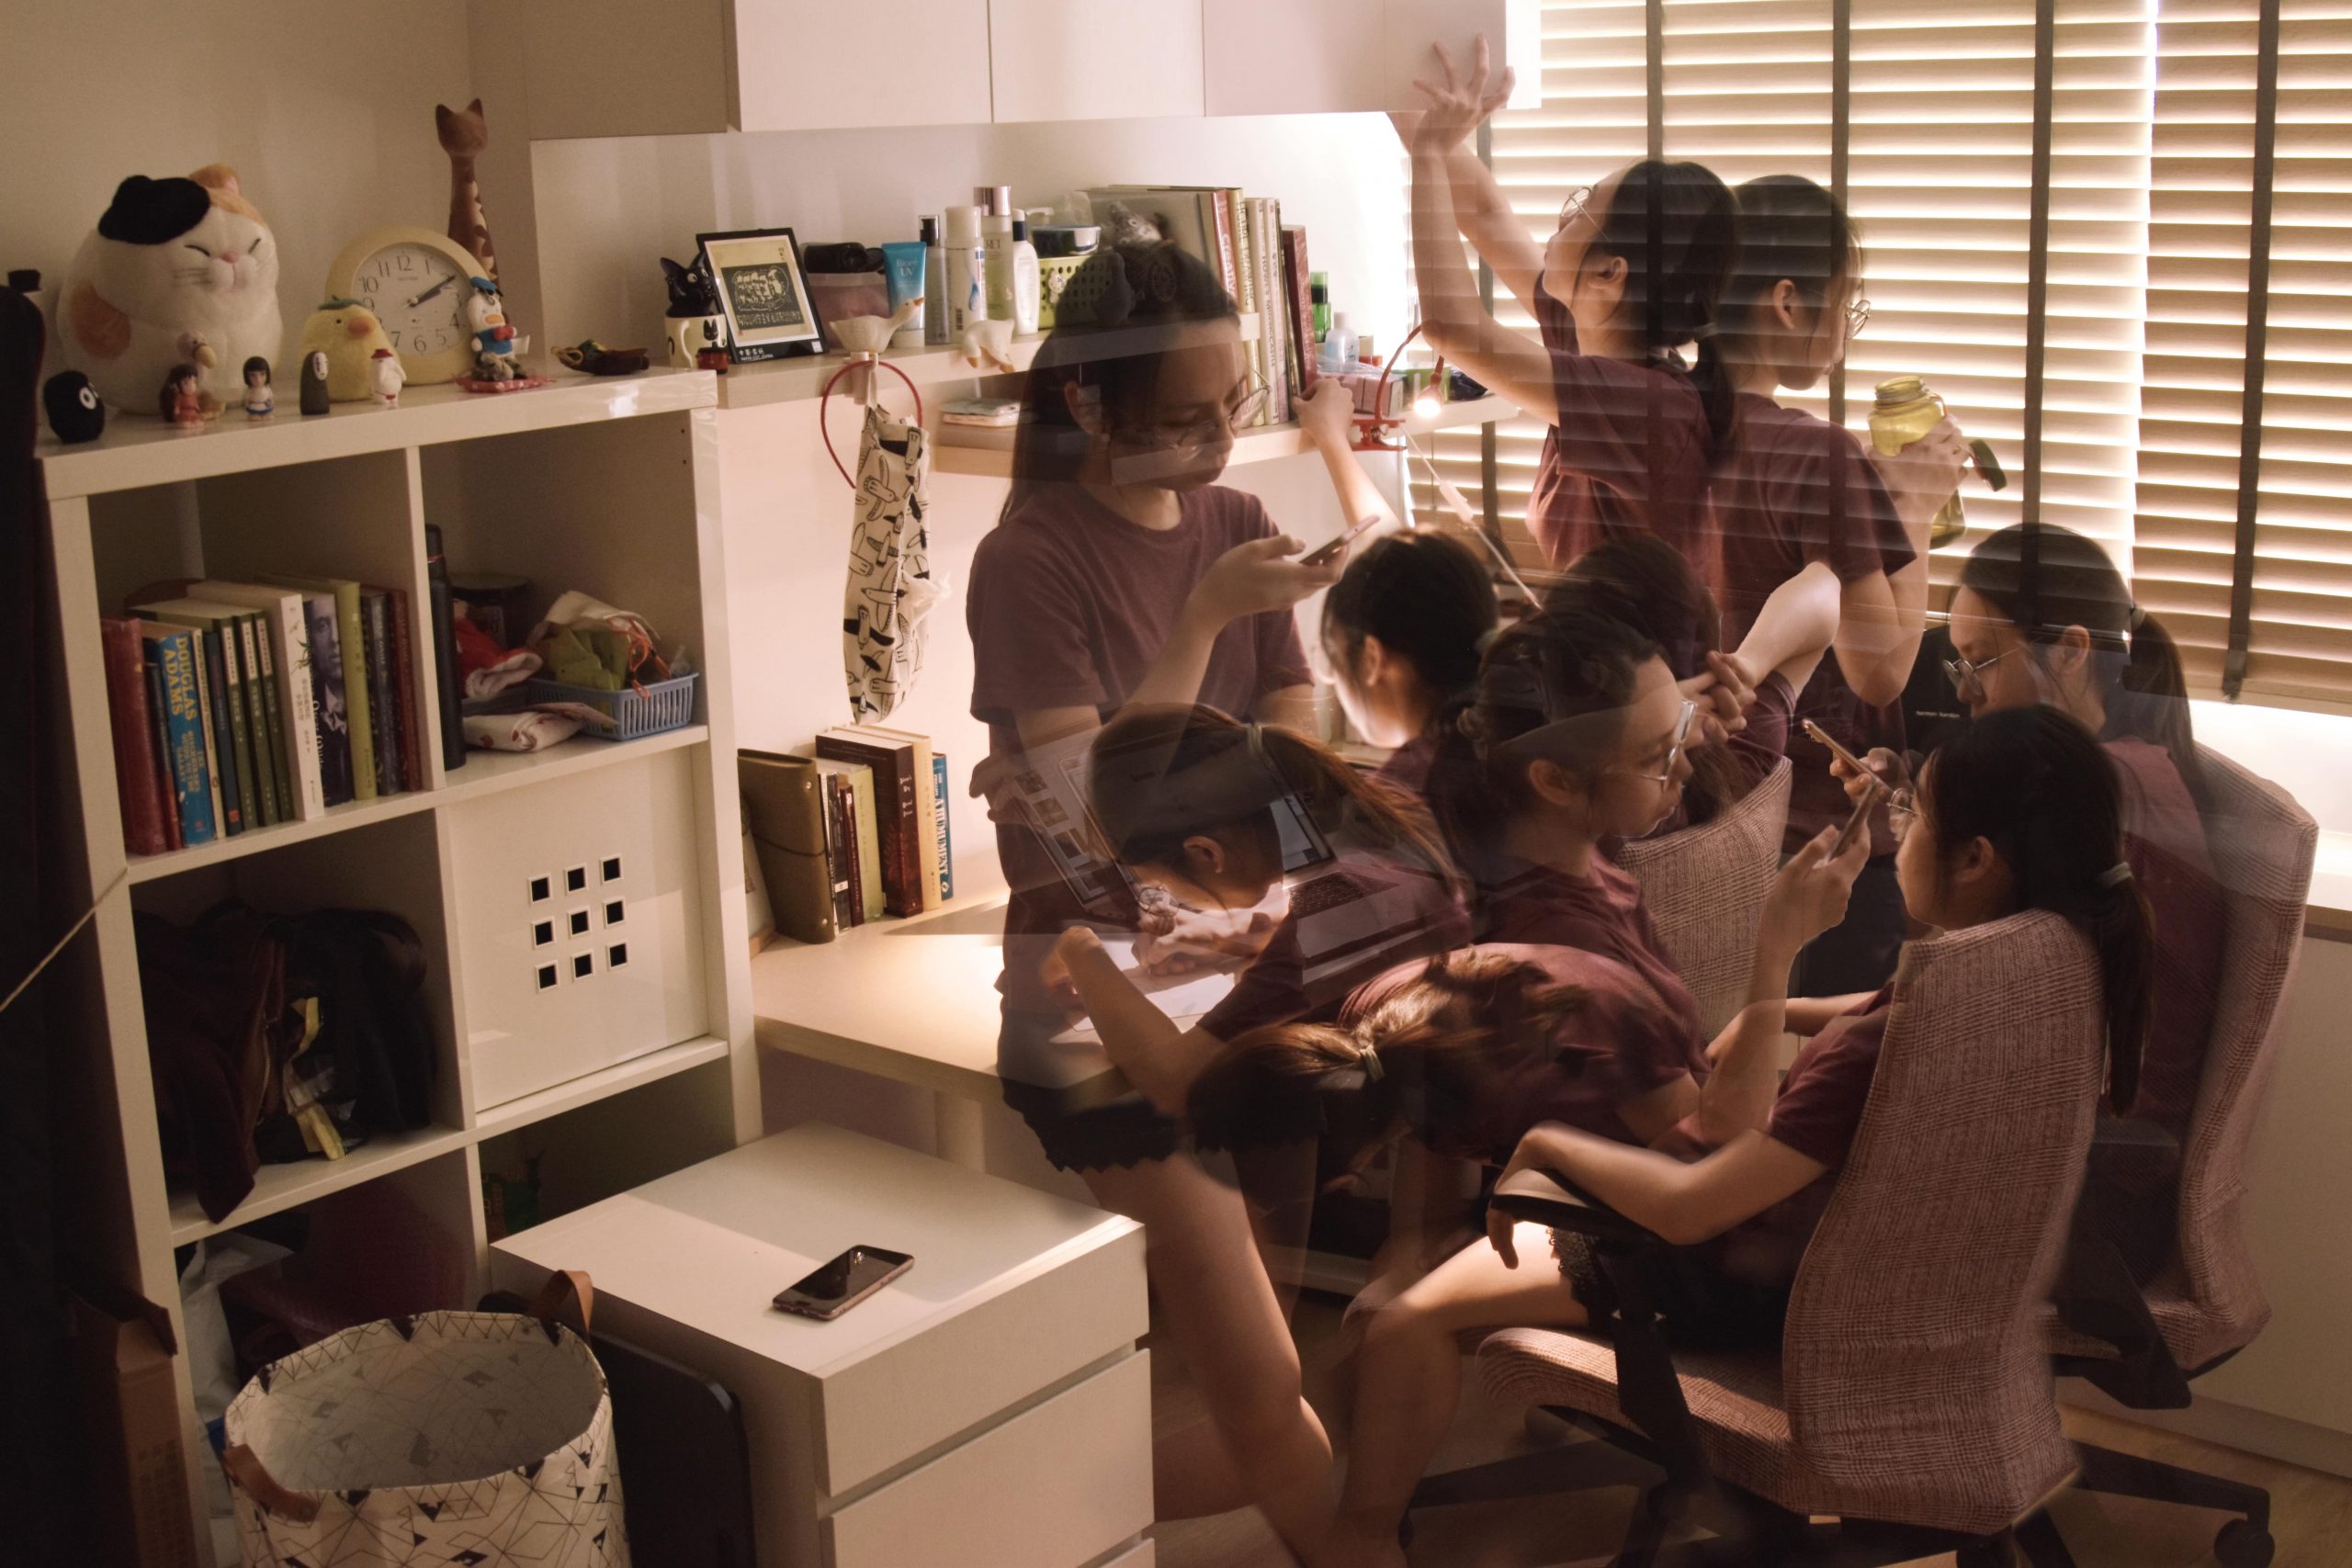
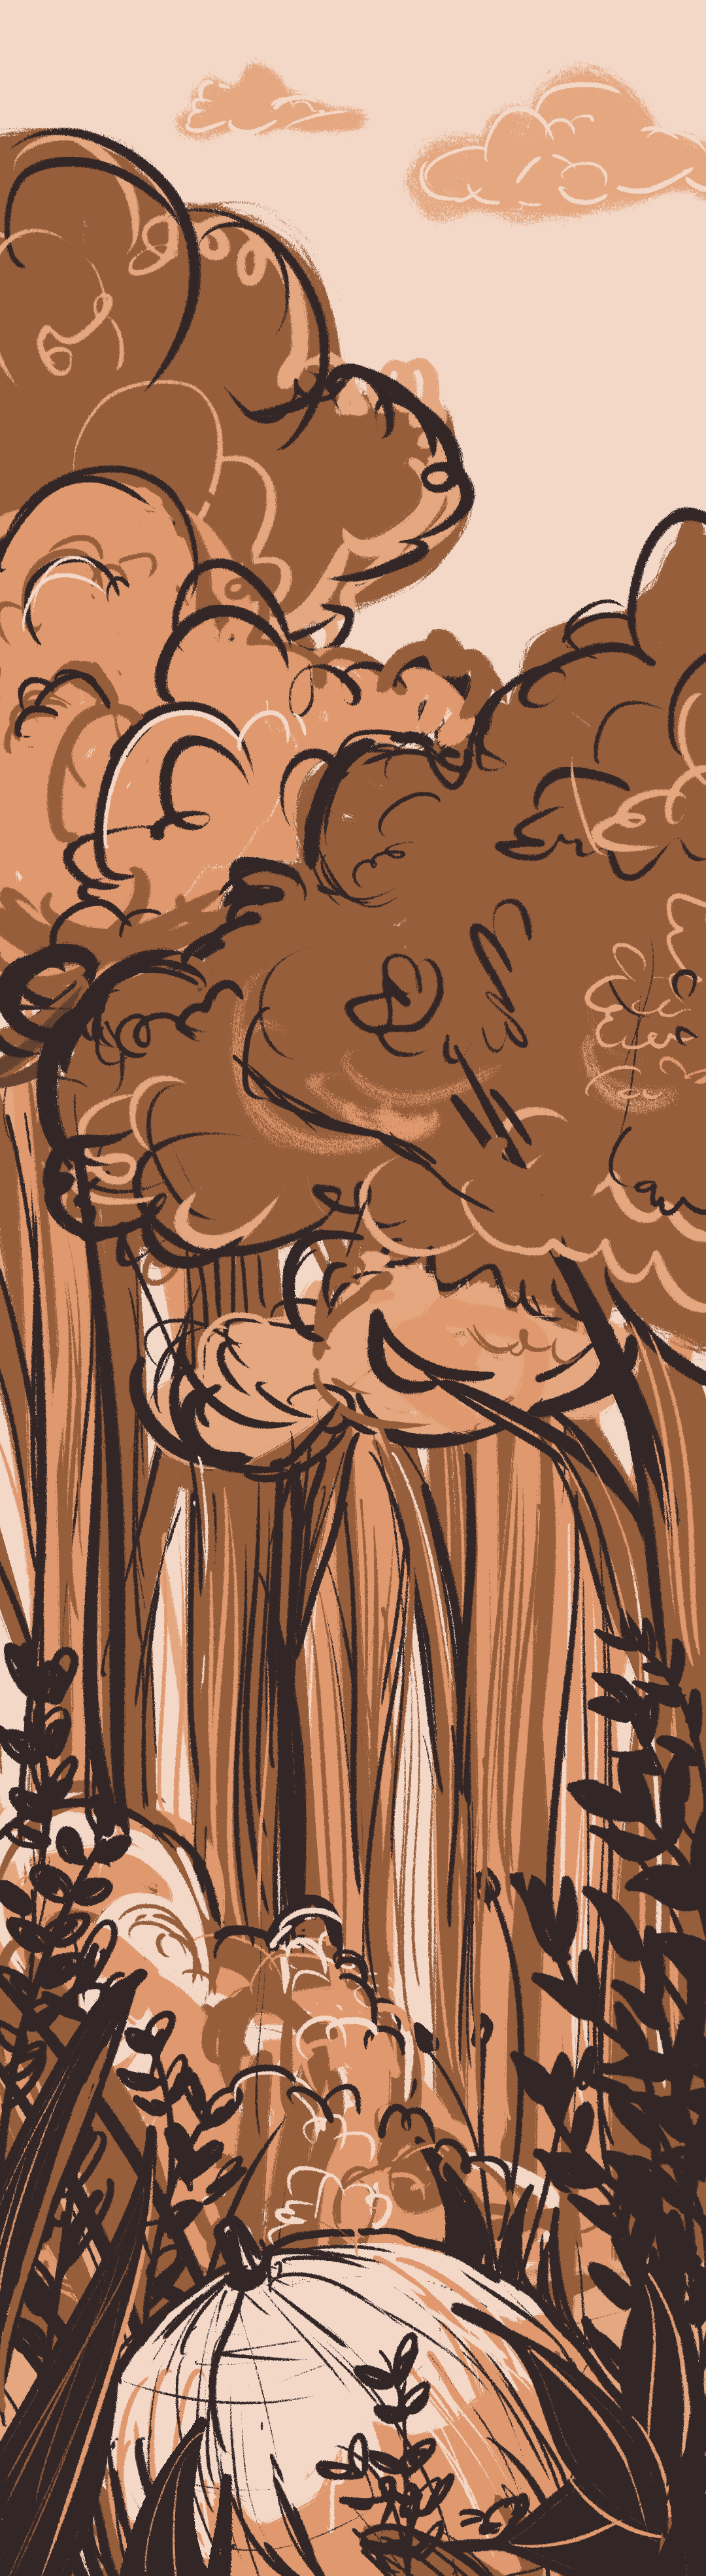
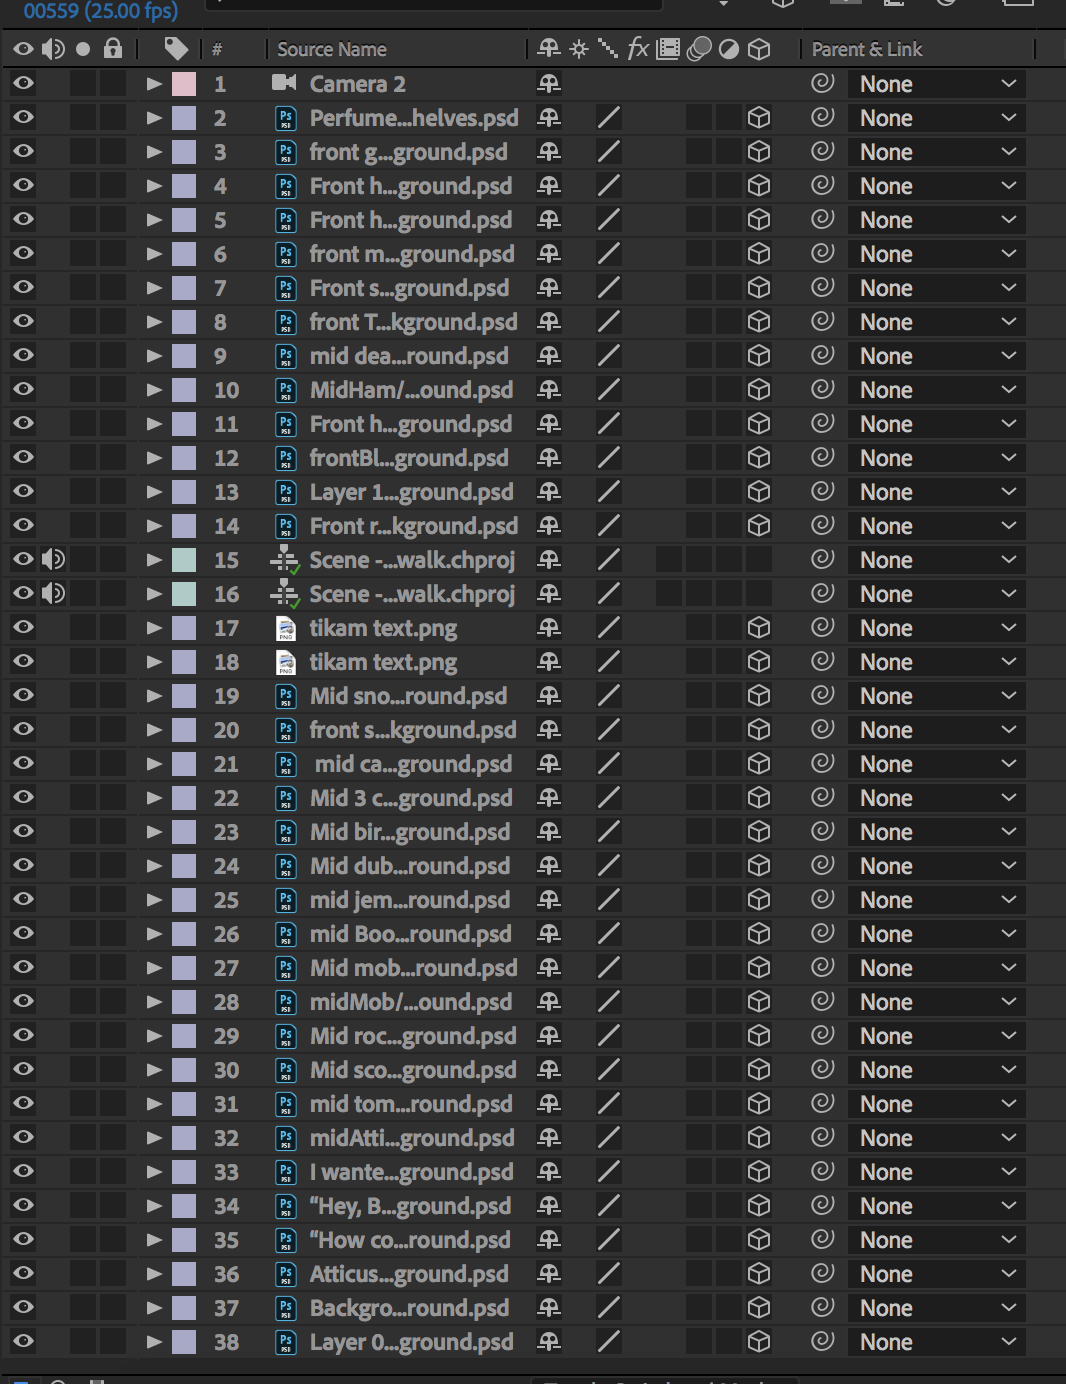
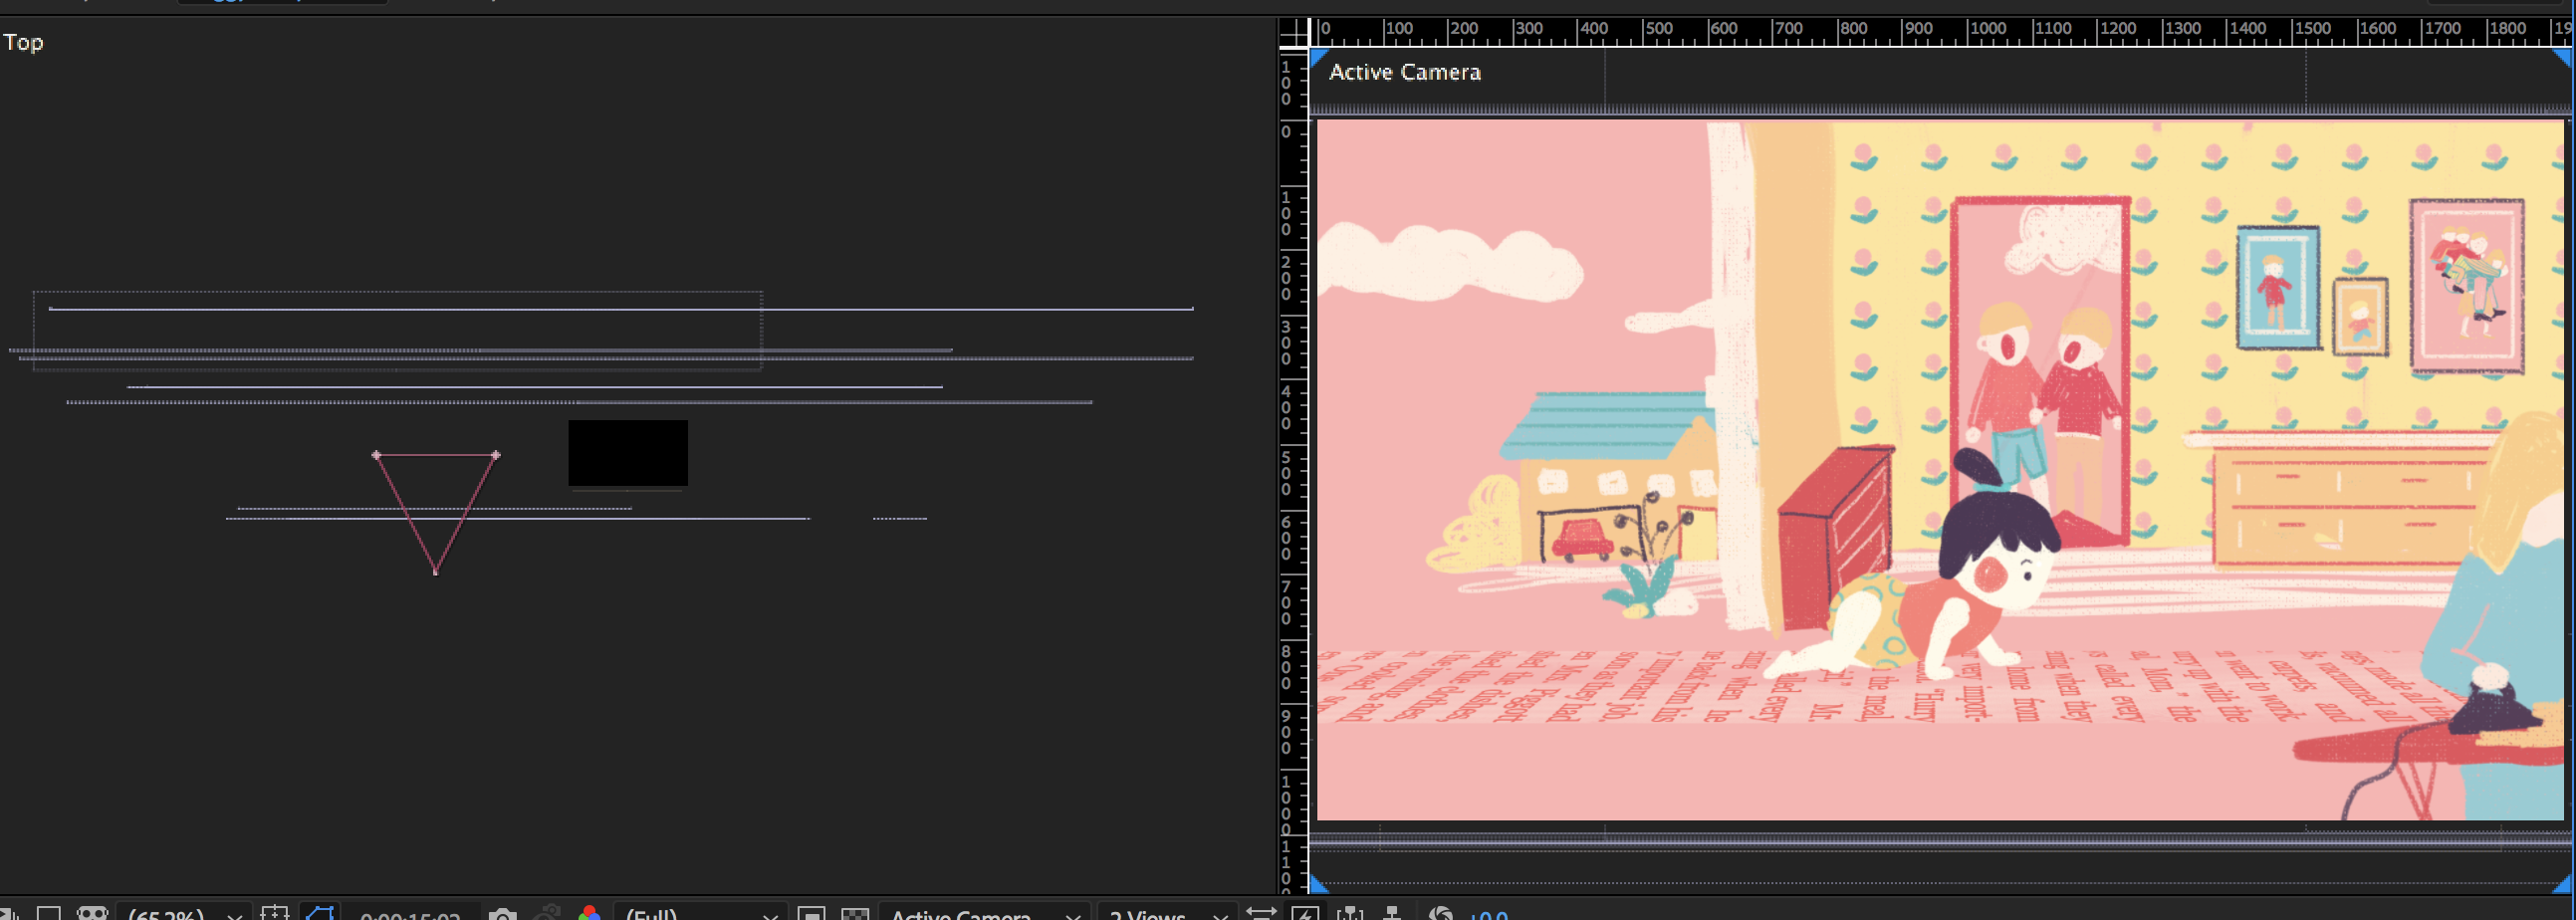
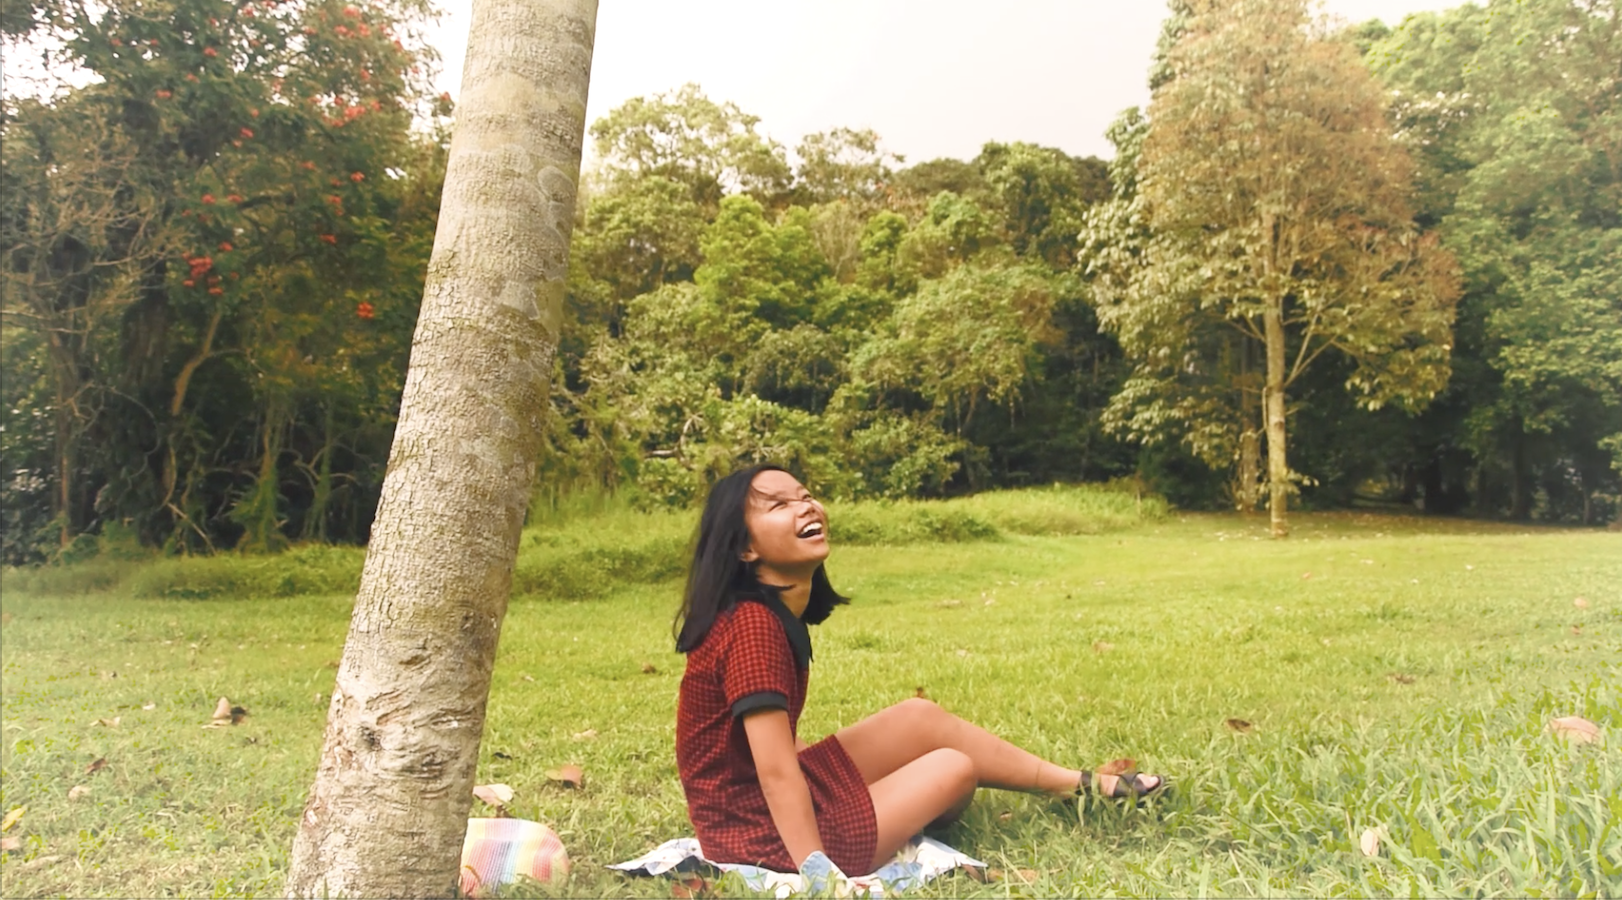
Beyond the mental world, I wanted to film scenes that are archetypical of a certain emotion, but with the quaintness and oddity of the dreamscape. I envisioned that these bizarre scenarios will be humorous as well, to better resonate with the viewer in its depiction of the absurd. As such, I decided on casting a friend in three disparate and unique scenarios: happiness, horror, and romance. These three were chosen because they were very distinct from each other.
Locations of the shooting are all within NTU :D
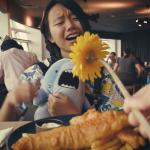
- Joy — clearings near clean tech (the mosquitoes are insane there)
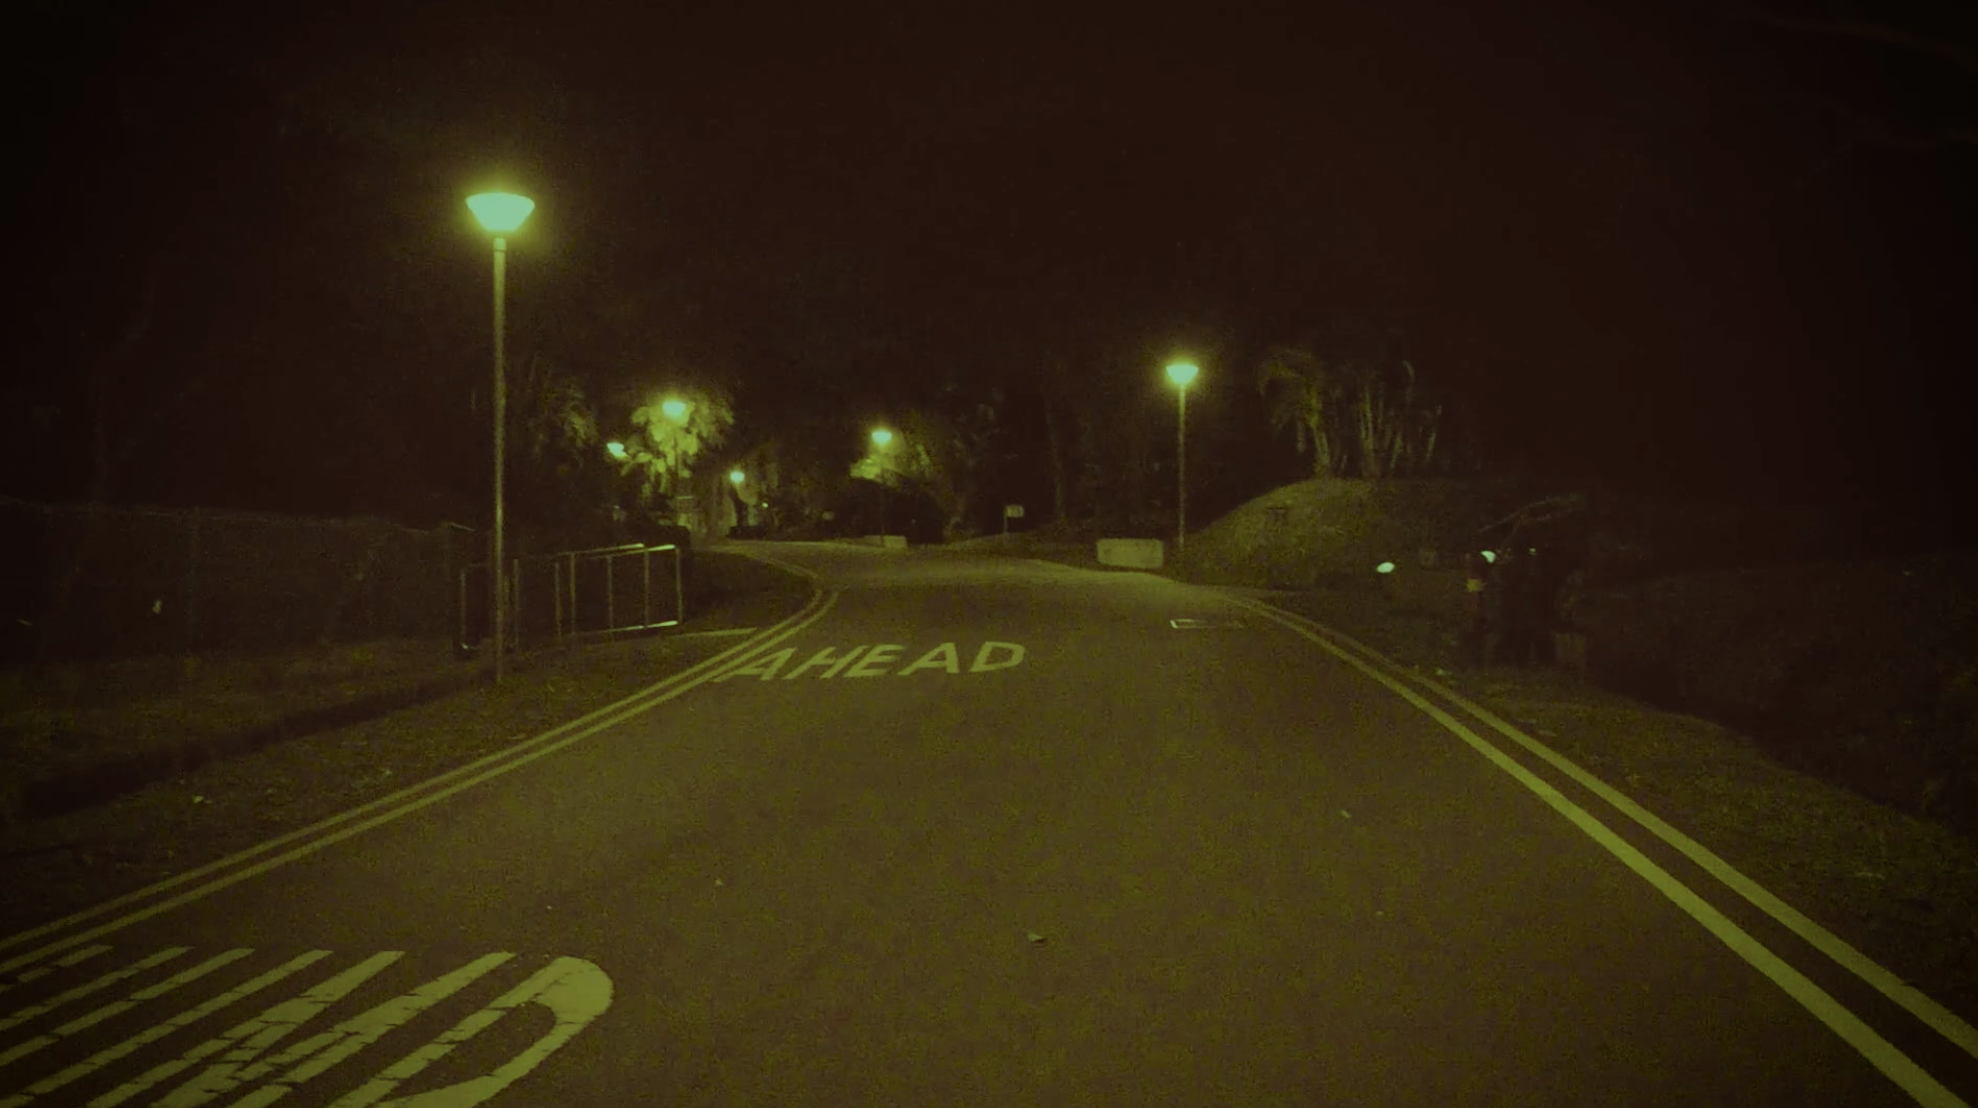
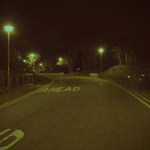
- Fear — stretch of road between canteen 1 and canteen 2
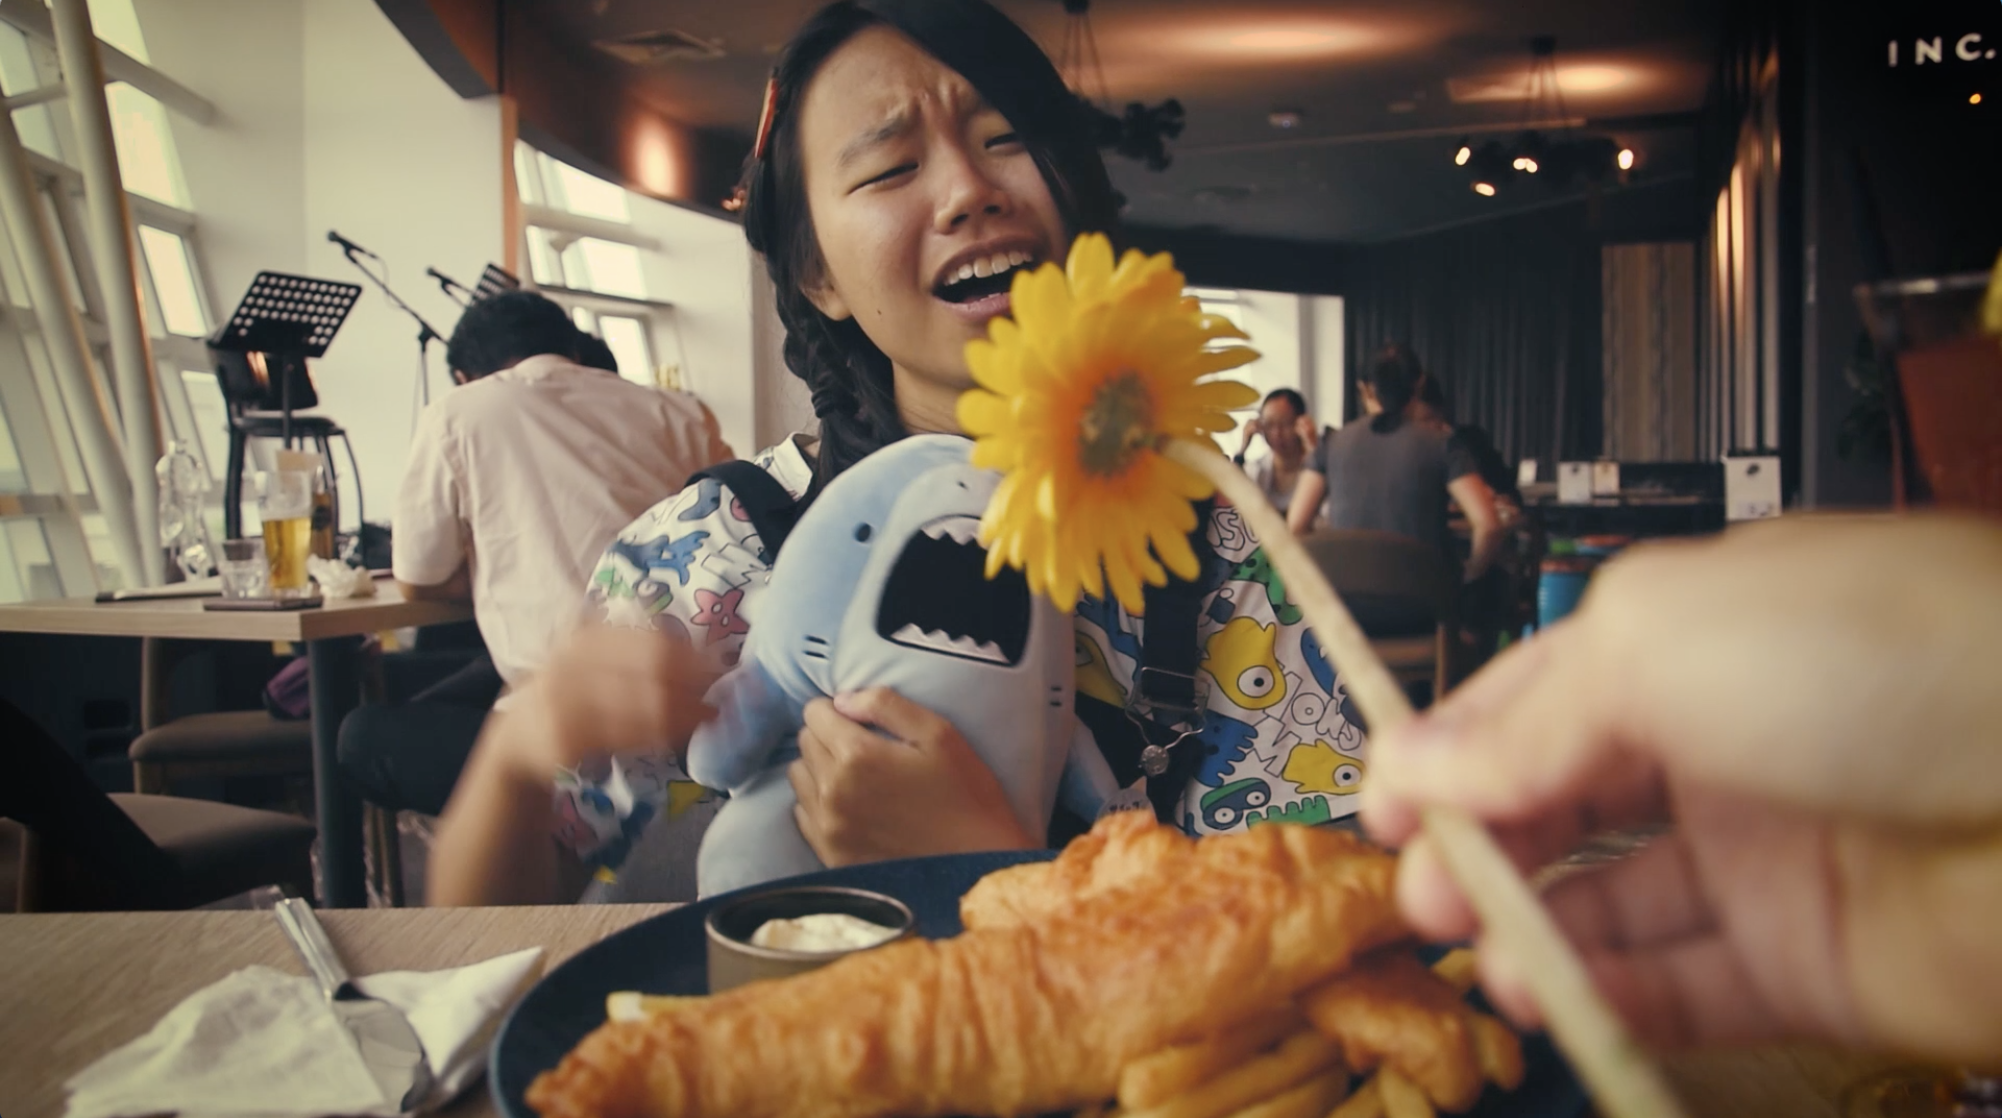
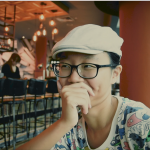
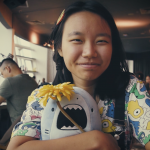
- Love — Pen & Inc bar in Northspine
As the storyboards were planned before commencing the shooting, the process was way faster than I expected. It really helps to have the backbone for the visuals to be planned out. Nevertheless, I experimented with a lot of different shot angles during the actual shoot. I guess this is why recces of films sites are needed because it will reveal different possibilities for angles that are impossible to imagine if you sit in your room and draw from your mind.
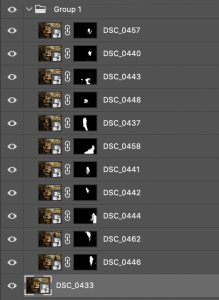
post production
I had a lot of footage to work with because while the general narrative was planned, I did not consider what I wanted for the duration of the entire film. And thus I went on to shoot each dream sequence such that it can stand alone. The sequence that was very obviously cut and shortened is the one of fear — it no longer contains my initial idea that the protagonist kept returning to the same spot when she tries to escape something unknown.
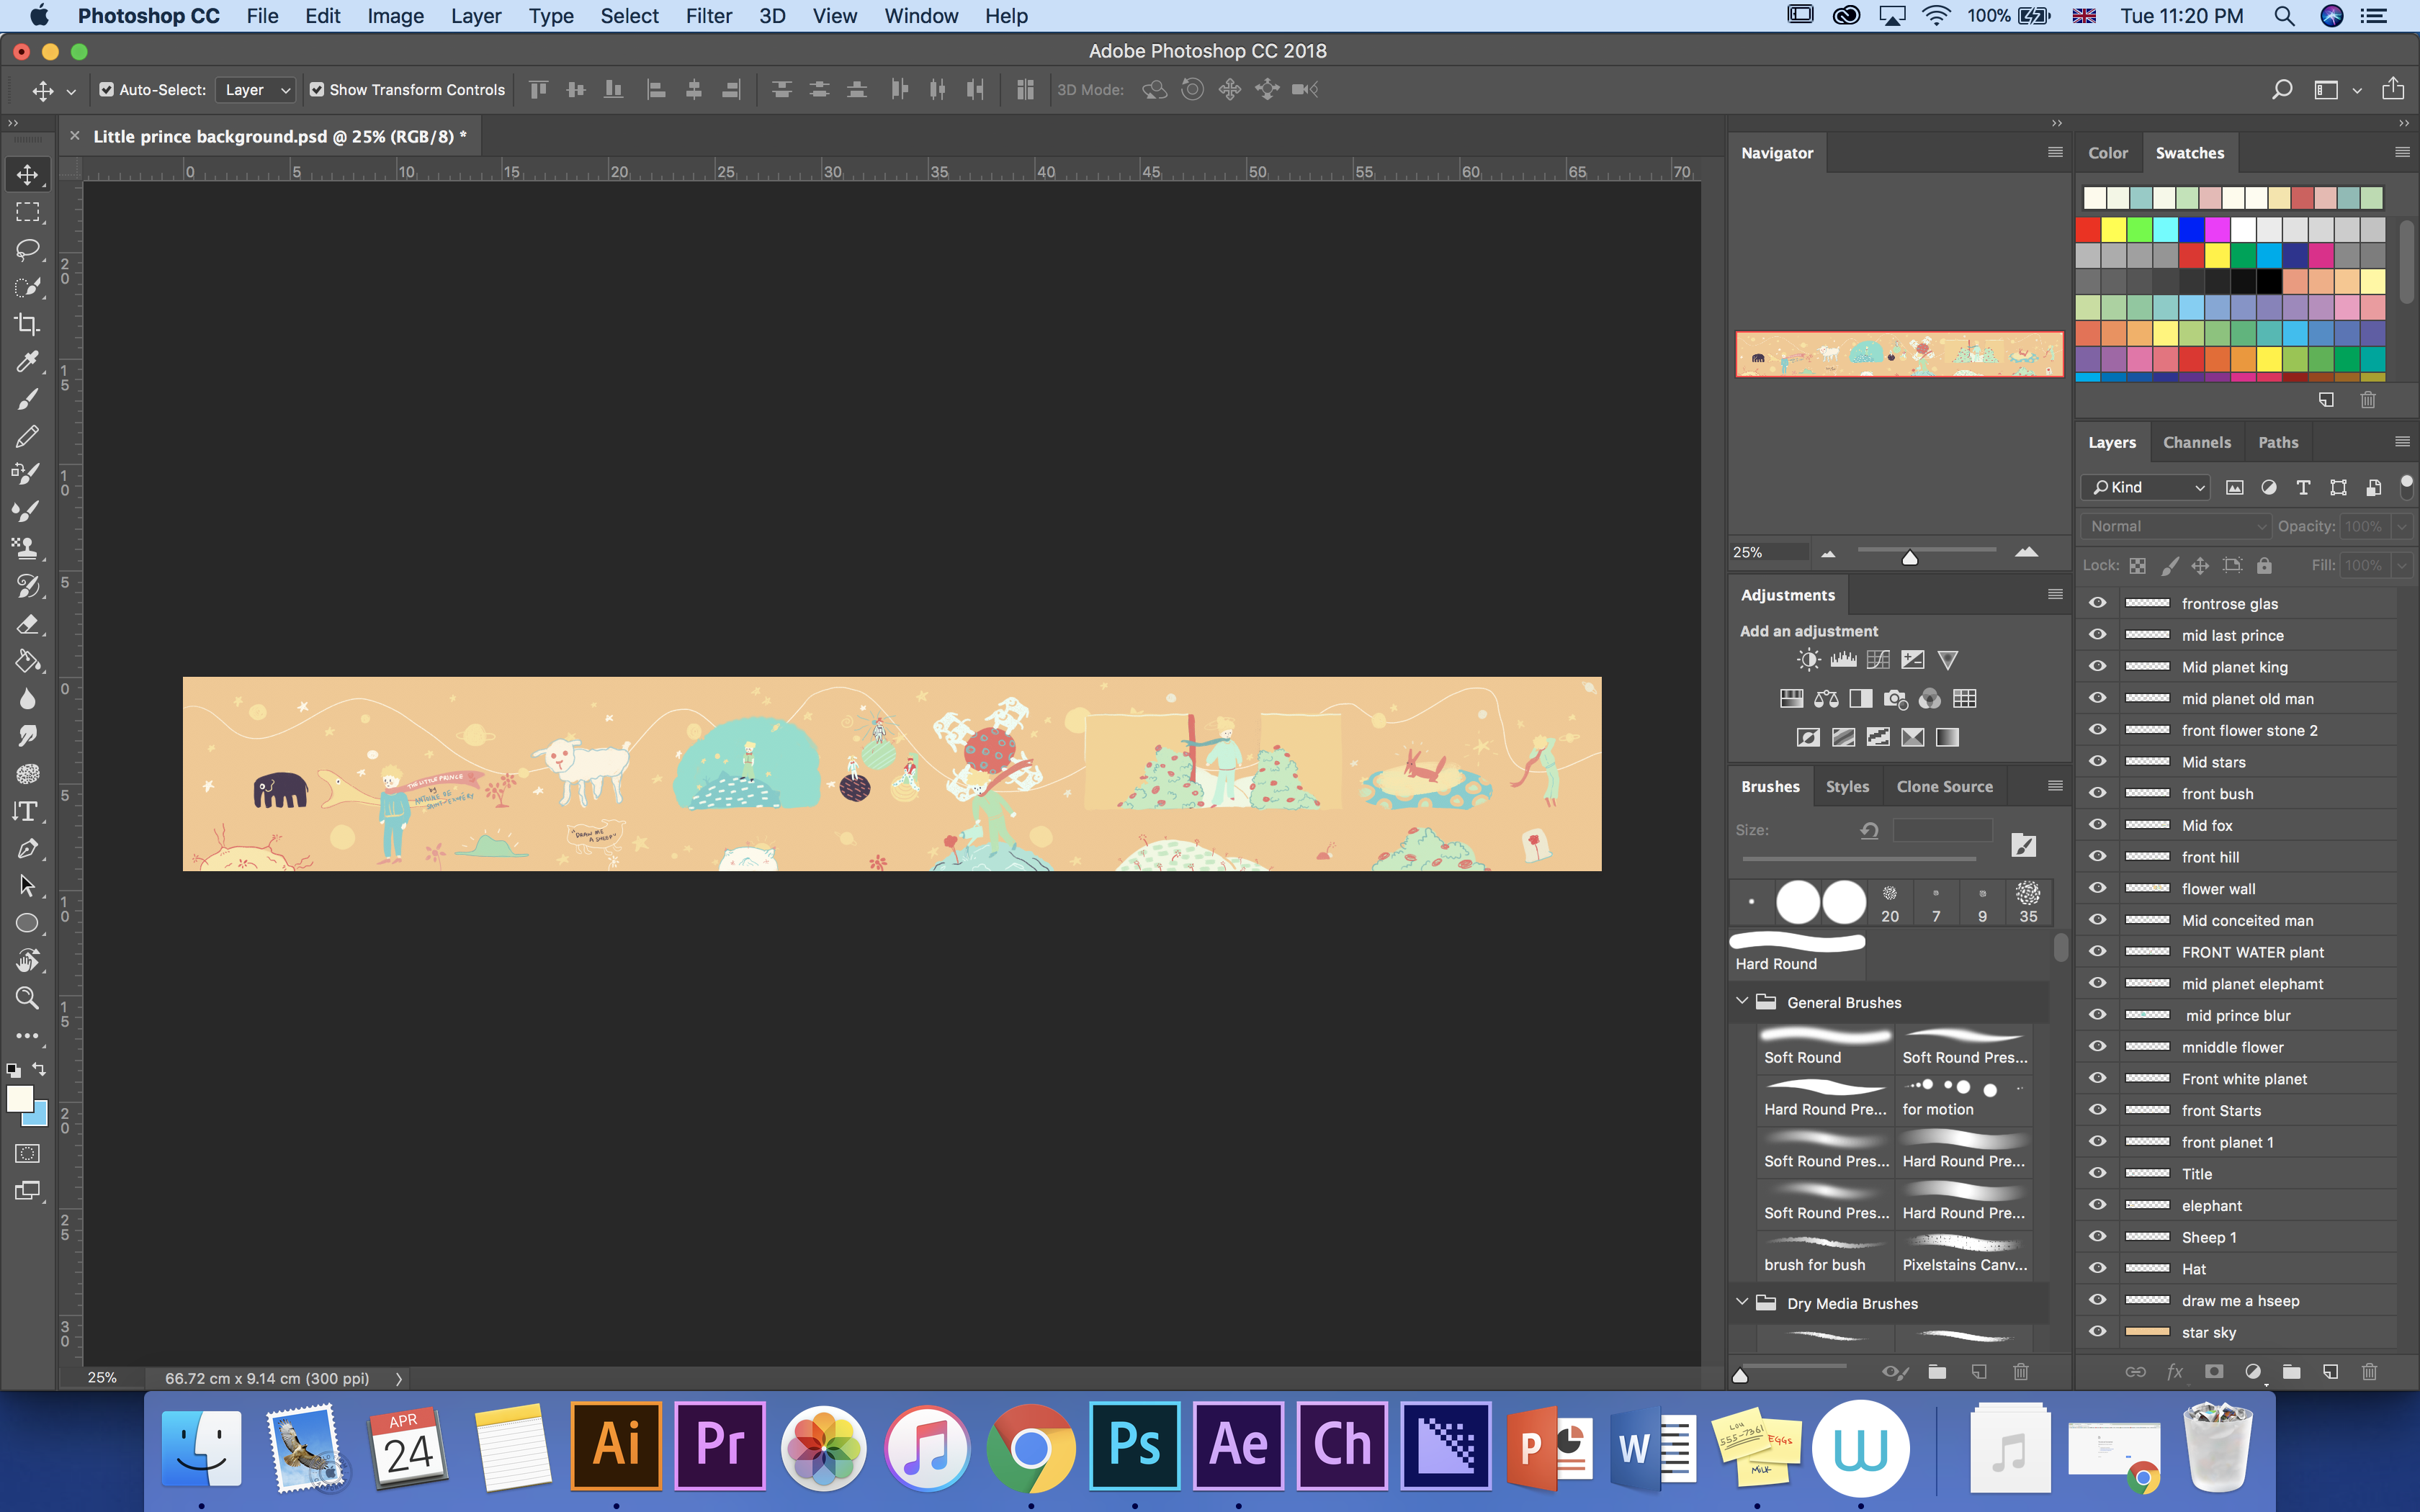
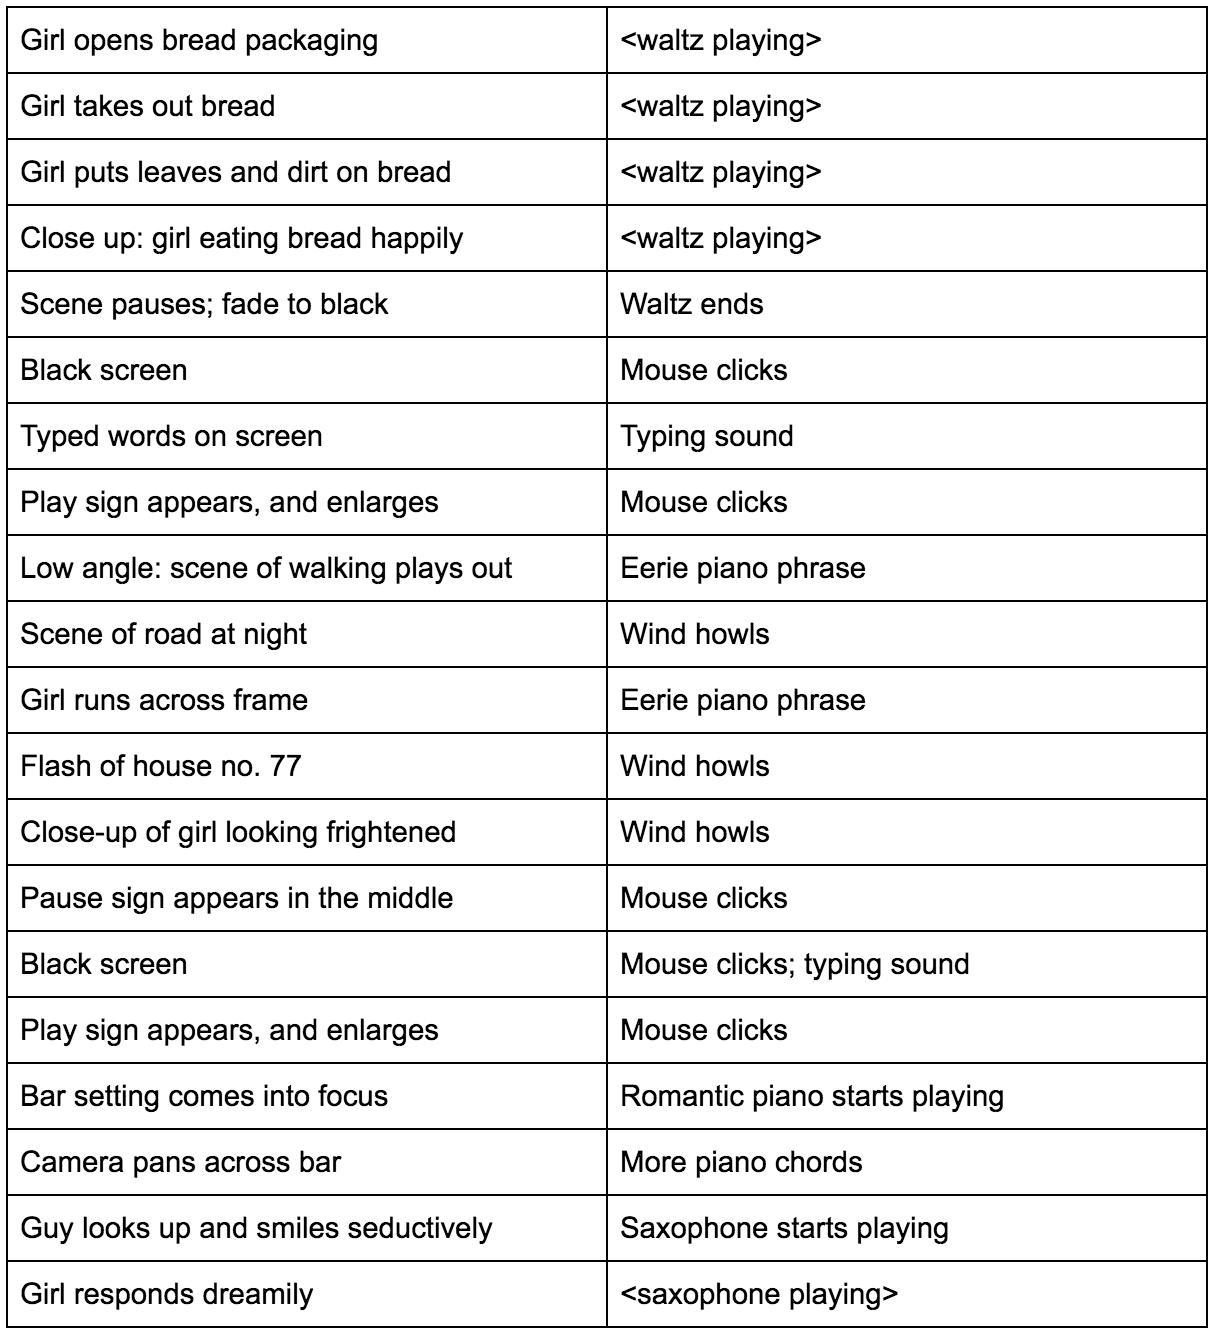
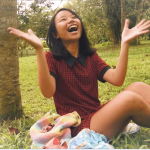
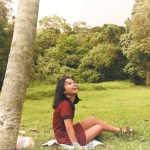
For happiness, I decided to depict the protagonist in a picnic on a sunny bright warm happy day. For the music, Tchaikovsky’s waltz of the flowers was used because it resonates with the mood and is perfect for this nature scene! In terms of colour, I opted for a more warm, saturated and yellowish scheme.

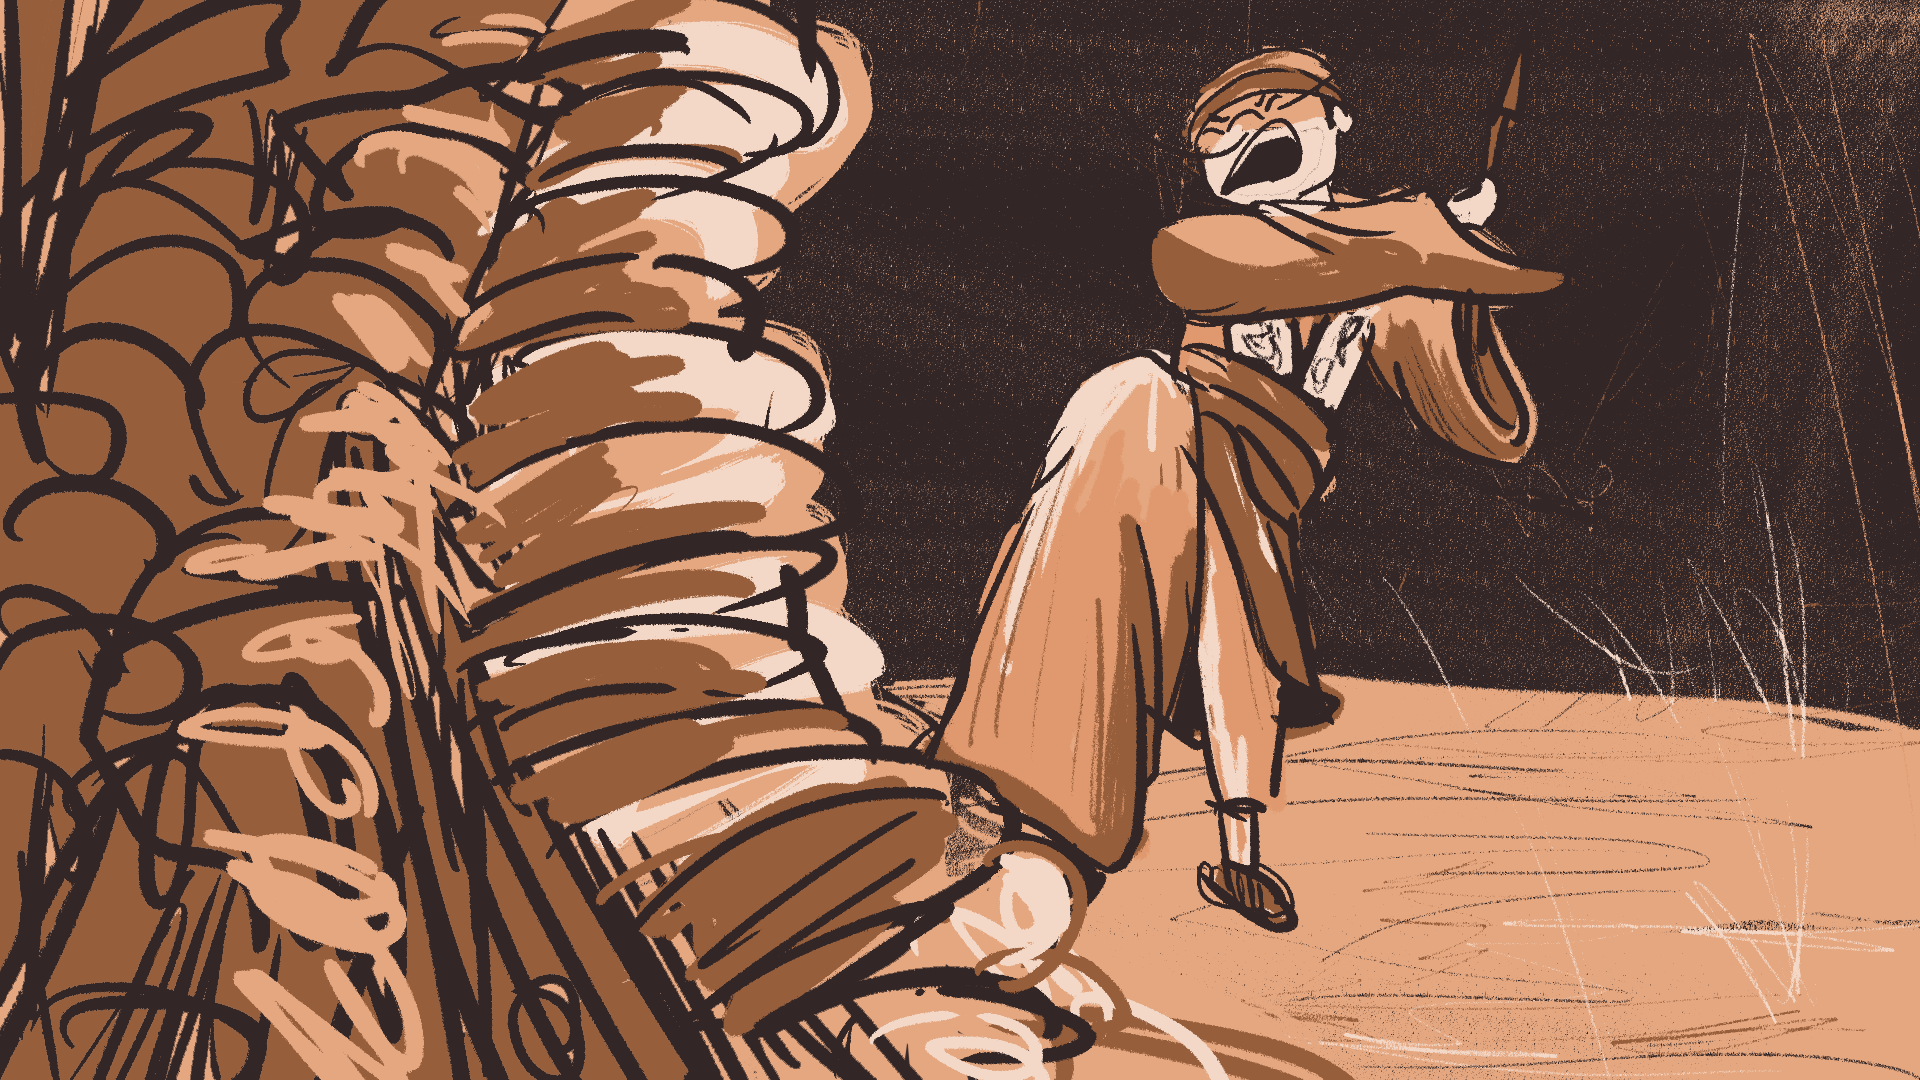
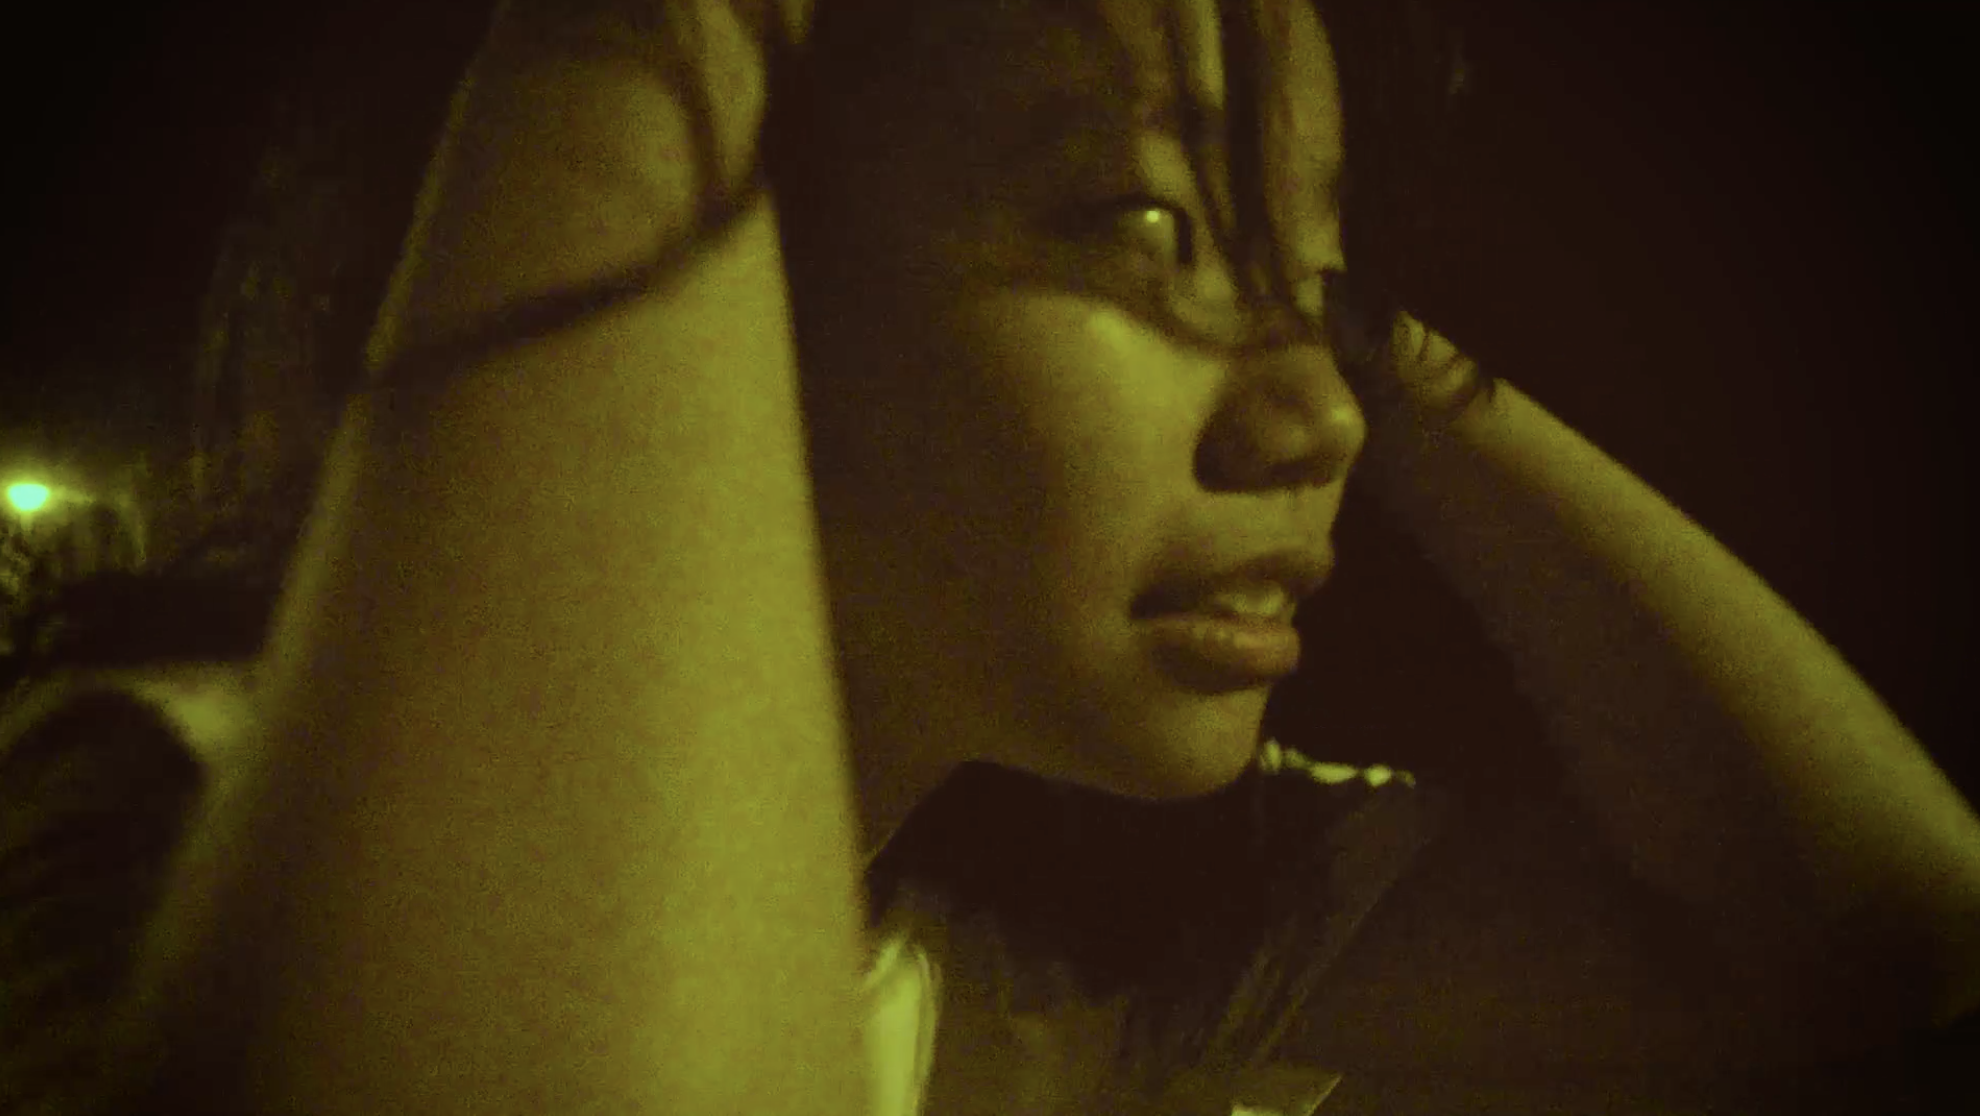
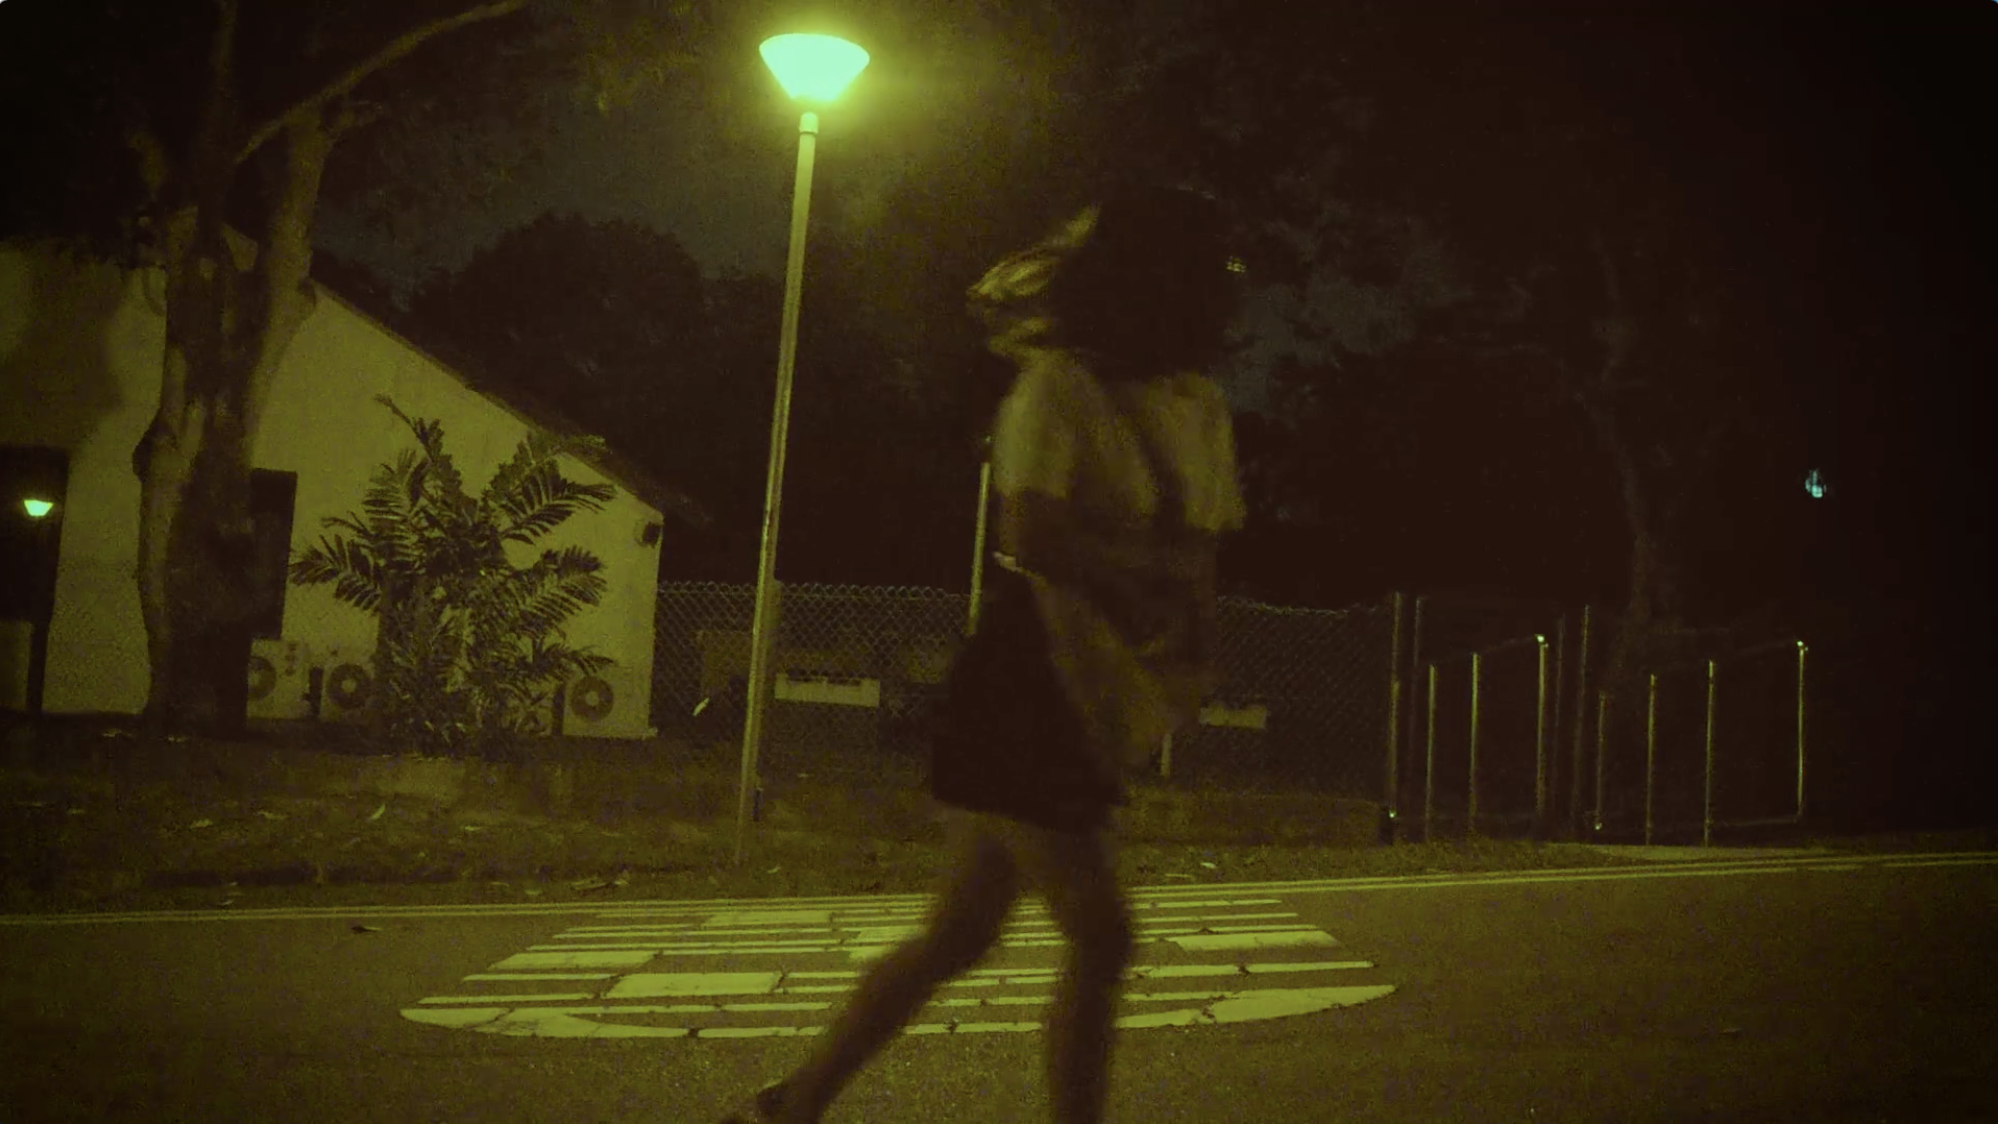
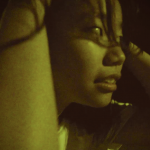
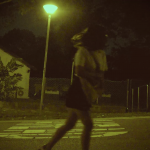
For horror, I depicted the protagonist running along dark streets, with an extreme close-up to drive home the expression of horror. I originally intended for the protagonist to run on and on, yet finds herself at where she began regardless of the turns she made. However, I was unable to add the entire sequence due to duration constraints. Instead, the sequence is shortened (or ‘paused’) and skipped to the next dream track. For the sake of mood, glitch effect is added. The footage is grainy as it was shot at night but I chose not to apply any reduce noise/grain effect on it as I feel that the emotions feel more raw and scenario more menacing with it. As for music, I began with a few bars of creepy solo piano, which degenerated into a low grinding sound in tandem with the development of the hellish character of the film. For colour, I have lowered the exposure for the entire sequence and used an eerie greenish-yellow colour to accompany the scene.
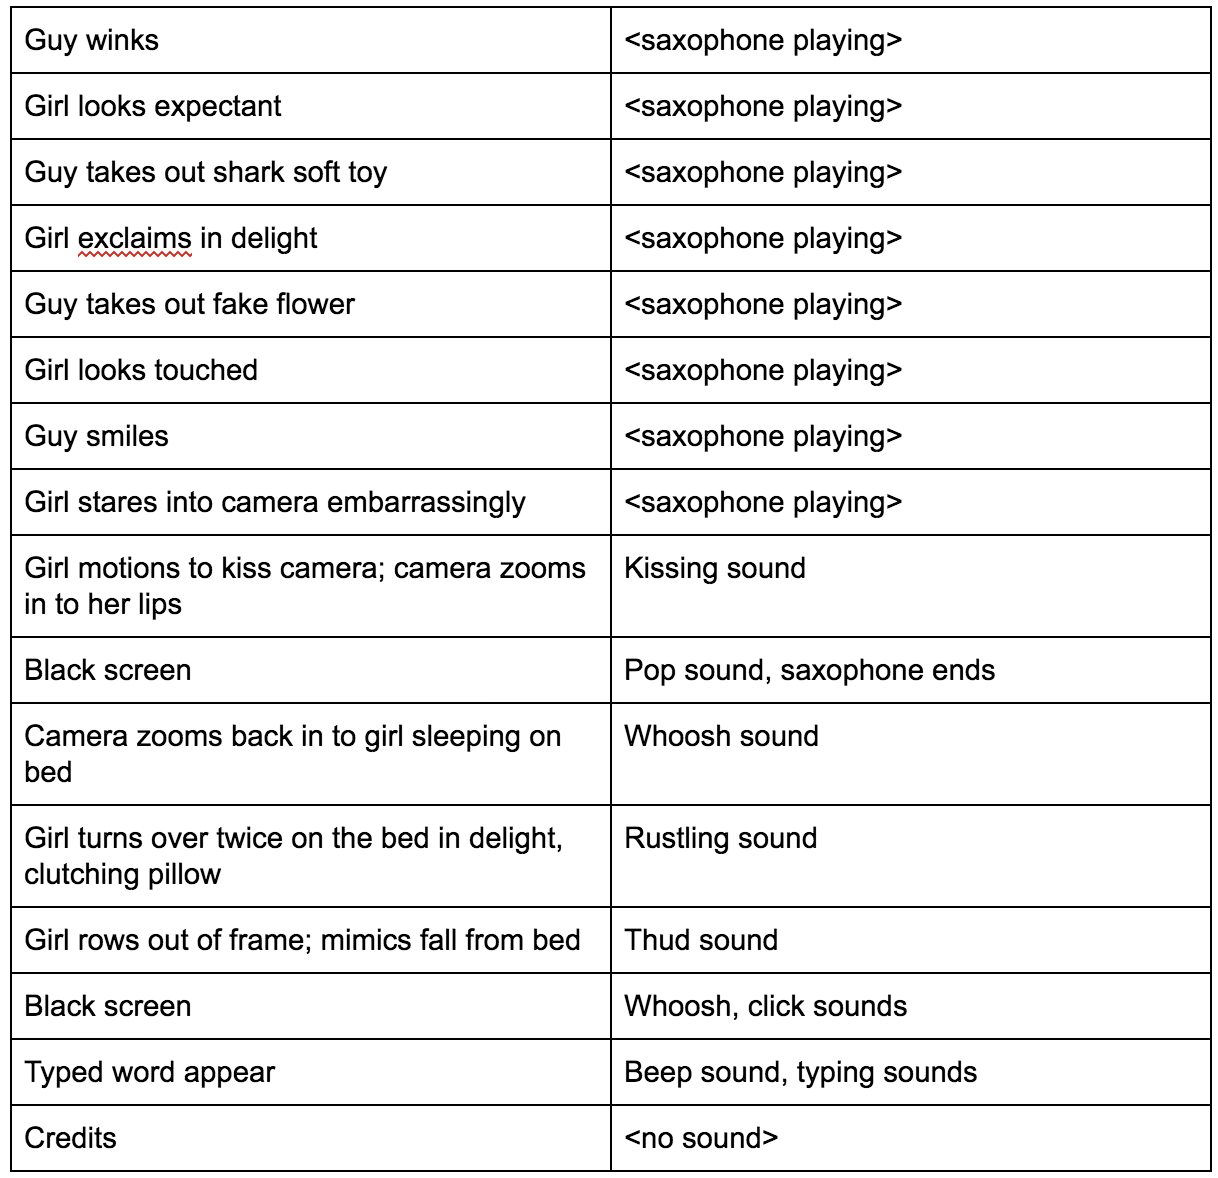
For romance, I depicted a couple on a date. They can do none other that an excessive show of love with a perfect mix of shyness. The casting of the same actress as both the male and female protagonist lends itself to the absurdity of the dream (and low budget of film), and also adds a humorous spin to the scene. I chose a saxophone solo for the music because it suits the bar setting and is often associated with the romantic genre. In terms of colour, a reddish tint is applied to symbolise the blooming love. Colours are also more faded with green in the shadows to evoke a nostalgic feel, reminding everyone of the times they were in love :D
The film concludes with the protagonist twisting and tossing with happiness and falling off the bed. I wanted the brain to initiate a process to wake her from her dreams, but in the course of filming, I thought it was more apt for the protagonist to be suddenly awoken due to the intense lovey dovey emotions felt in the dream.
Reflection
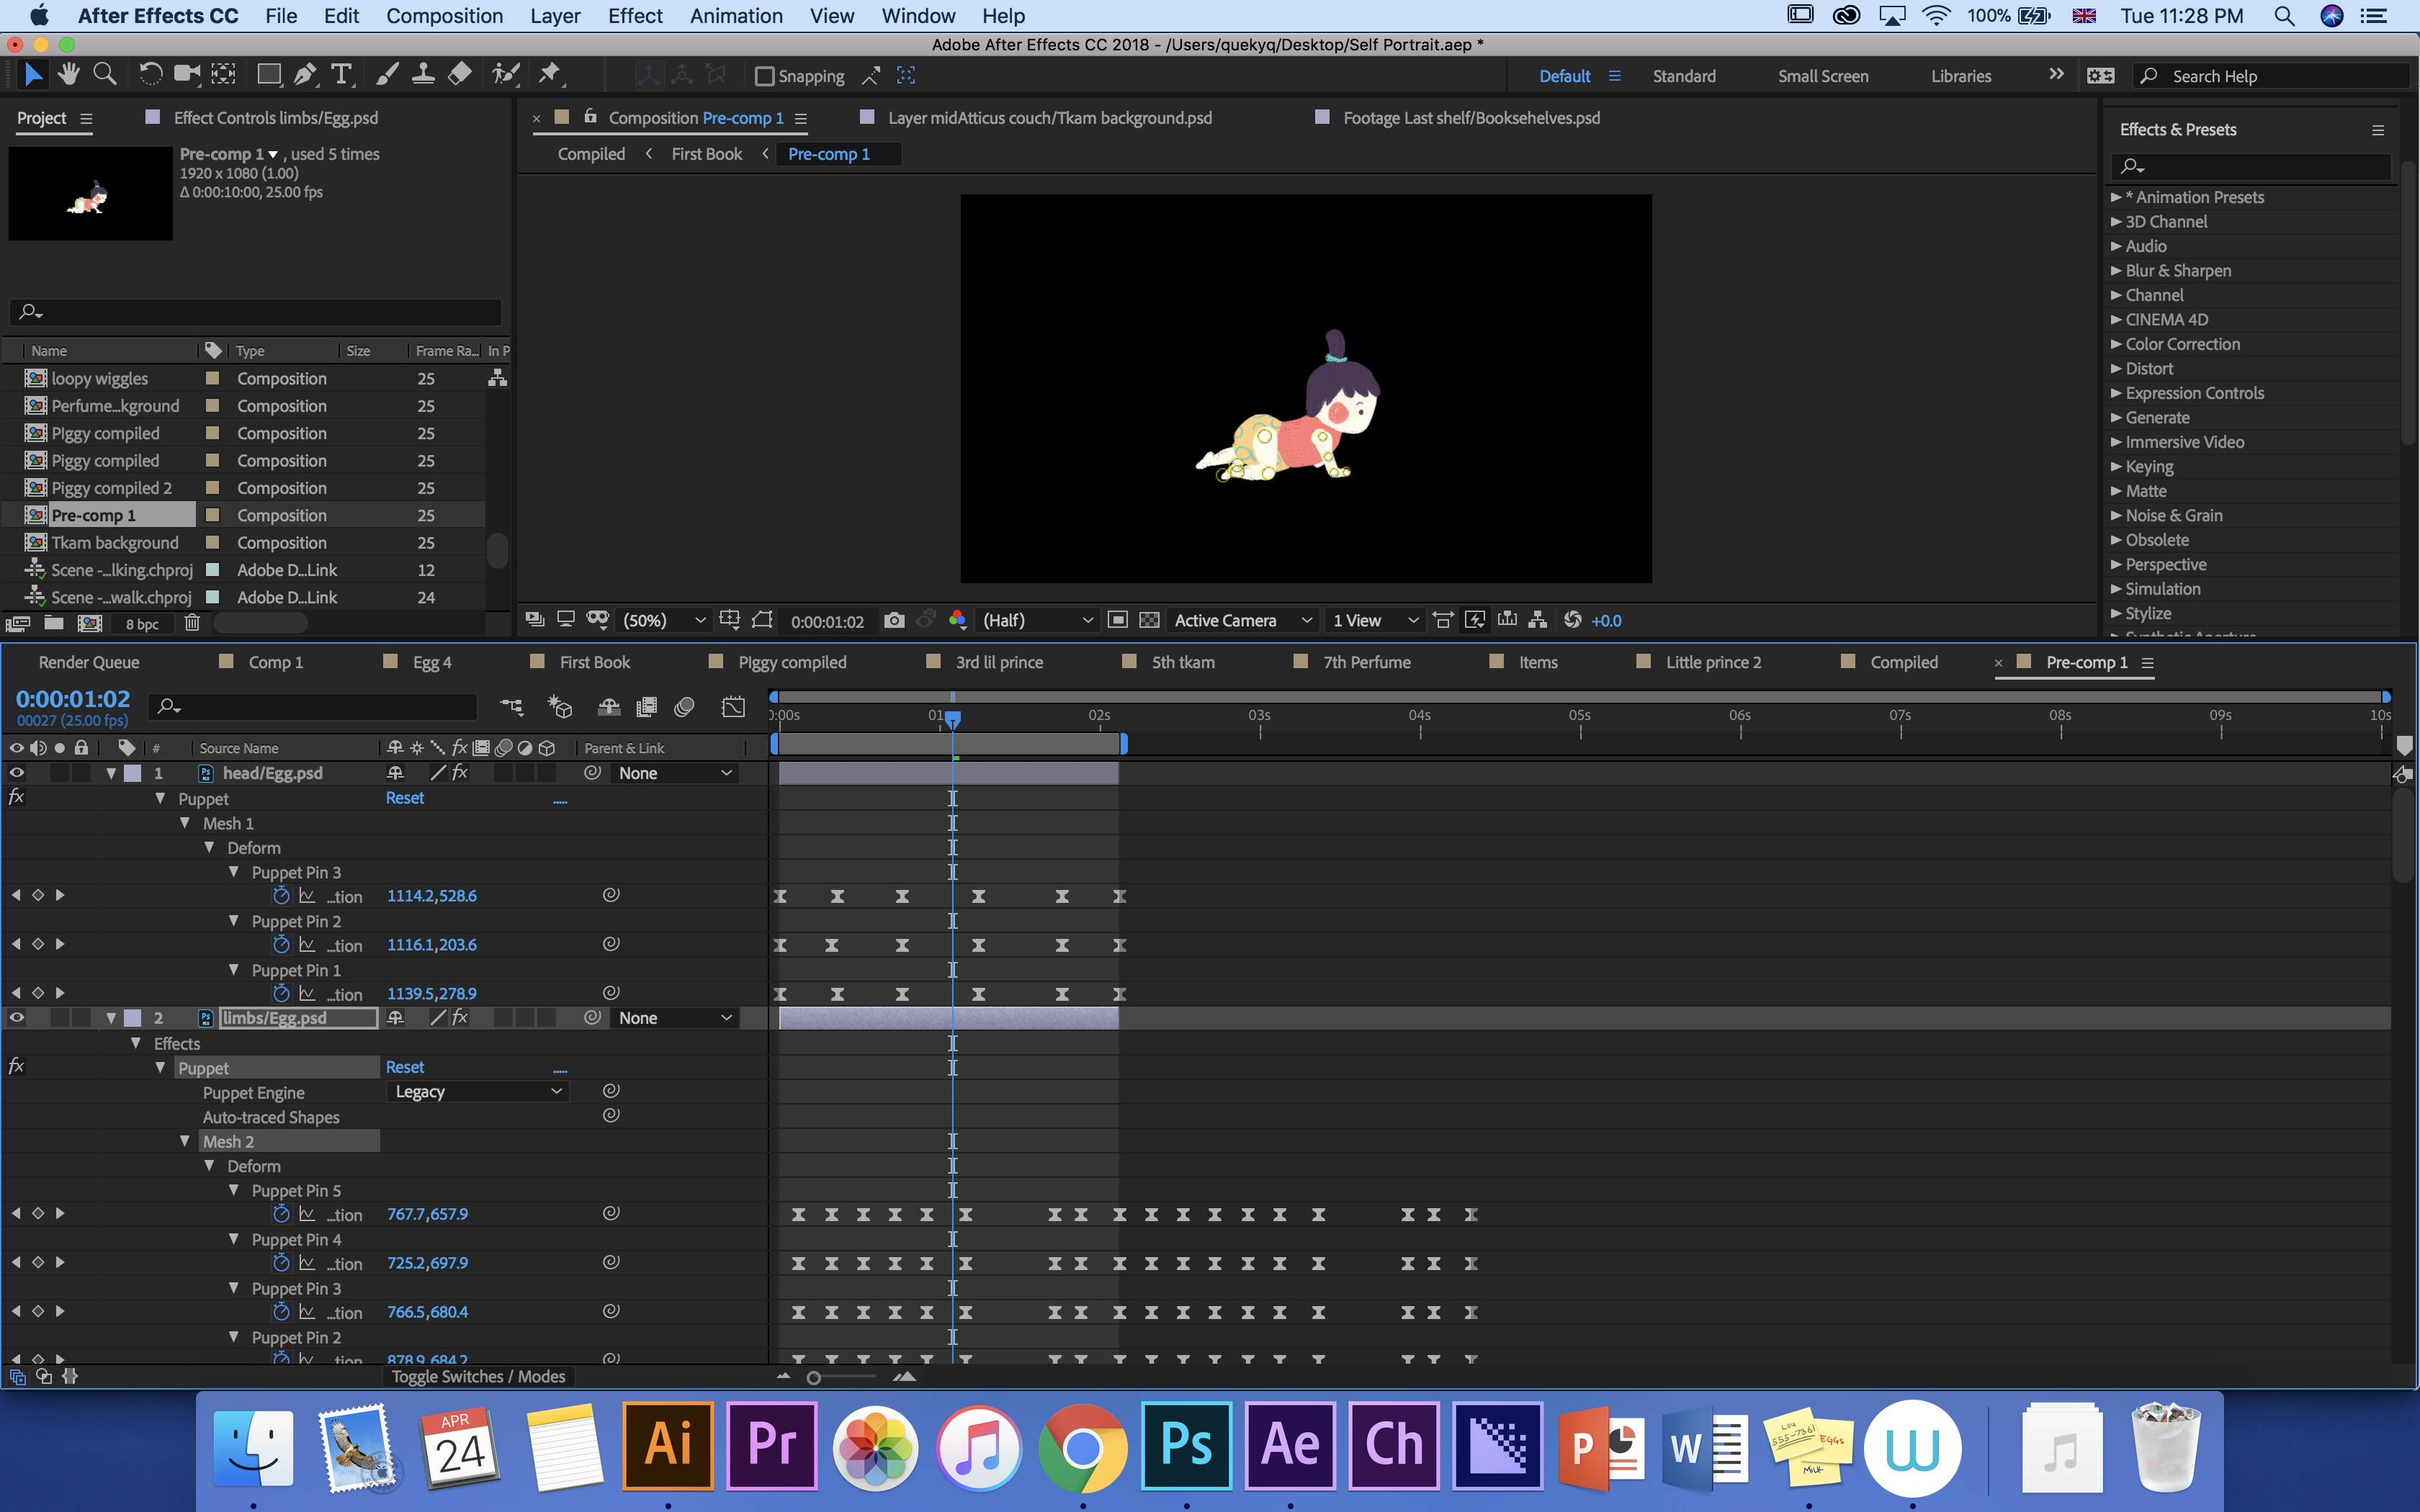
I learned so much from this project just by playing around with the camera. I have only just discovered the manual focus function. Shooting in the dark also taught me about how low light conditions can affect the footage but I have yet to learn how to resolve this (other than post production grain removal and avoidance of high ISO levels). Perhaps the option would be to prepare another light source to be used on site (which is like… duh), but I wonder what can be done in a limited scenario such as in this case where there was just me and the actress. I’ve also played around with after effects for the first time as well albeit its just basic functions like zooming with motion blur (which isn’t even that obvious given the grain) and reducing noise.
Cutting and stringing the footage together was harder than I thought because it just doesn’t look good sometimes. Also, music was a problem: even when I pace the footage together with the music, the sequence still looks odd when I replay it. Several versions had to be made before a satisfactory one is realised. It is really tough to get the rhythm right.