Outdoor Sketching

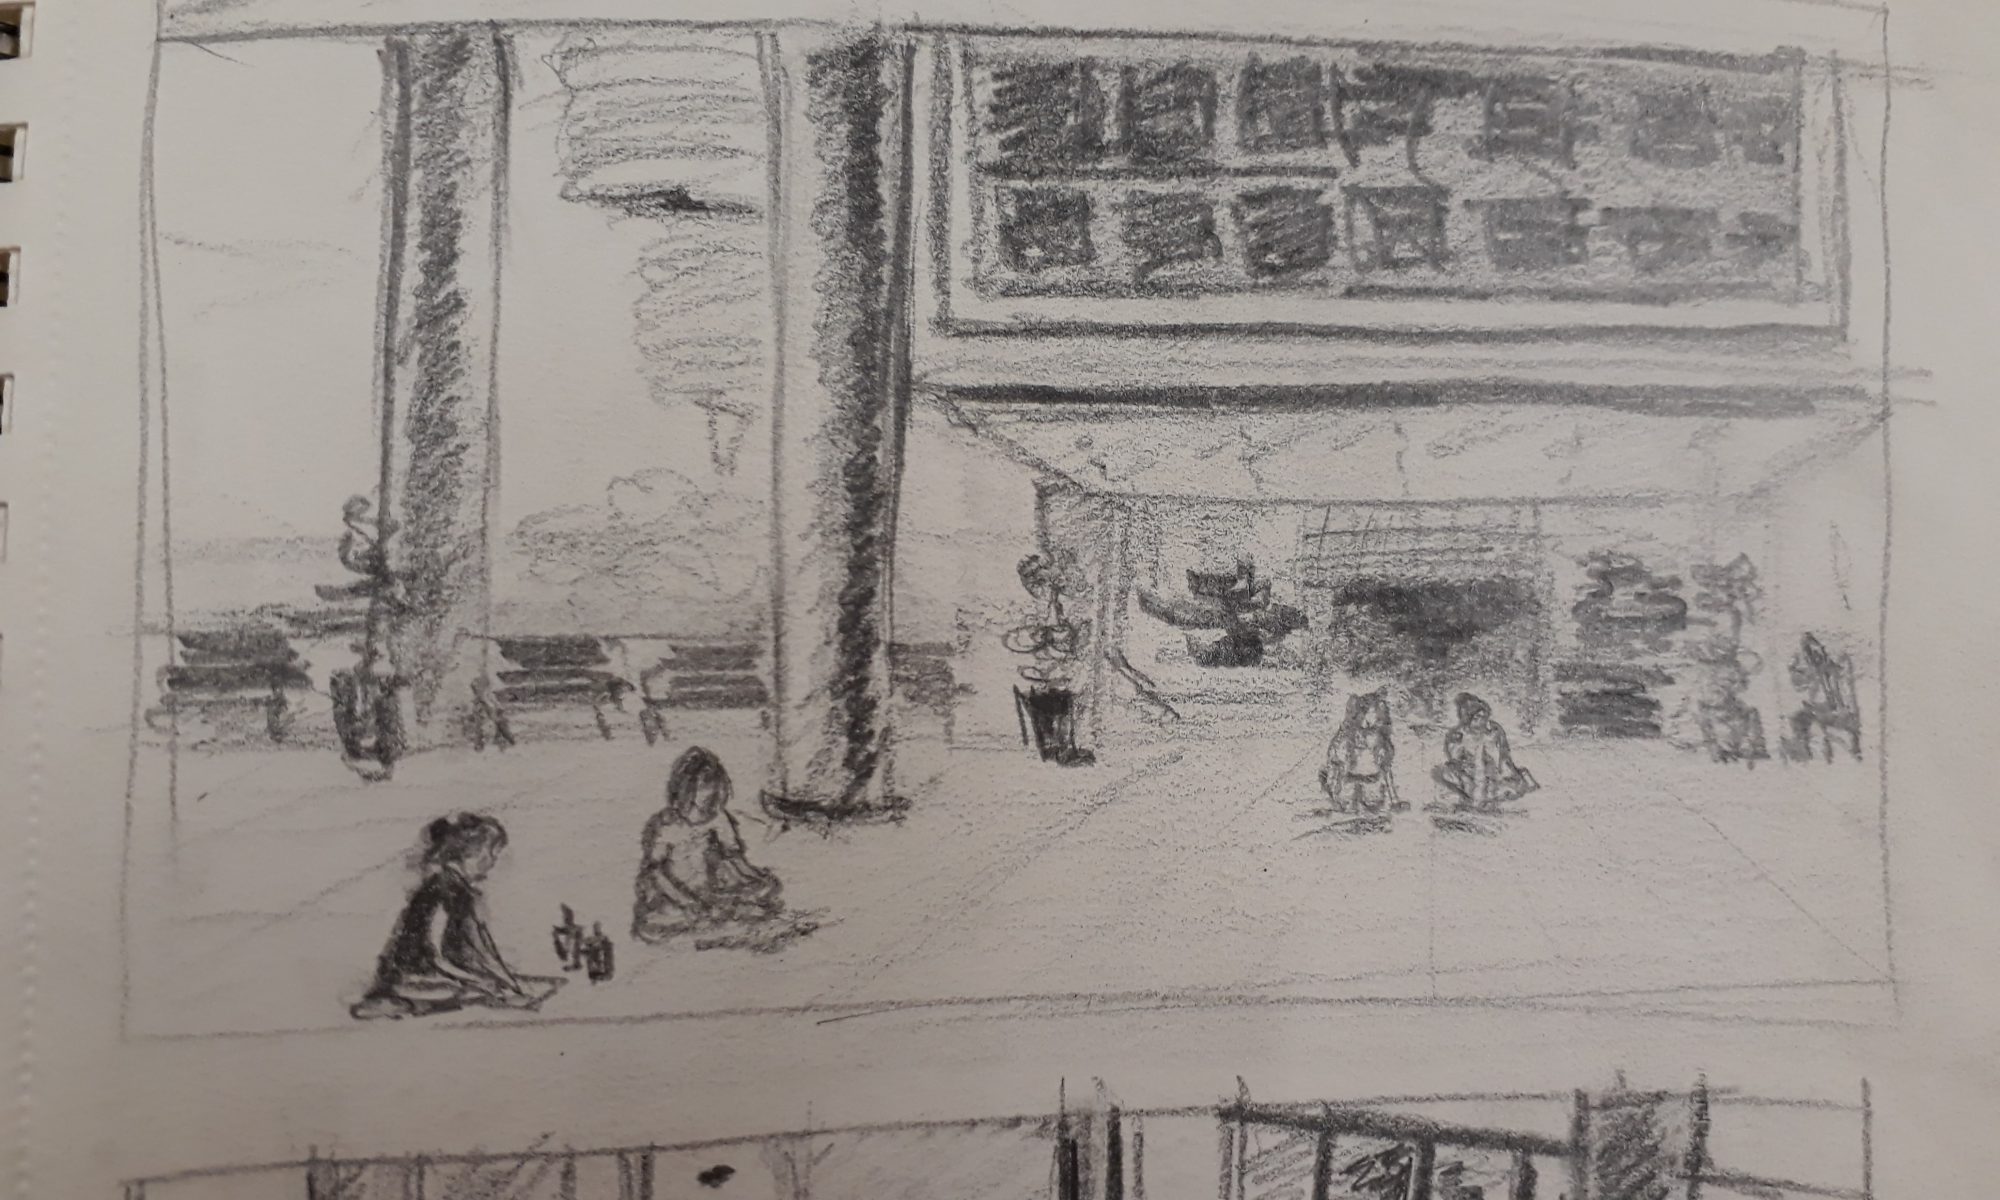
In the afternoon following the figure drawing lesson, we headed to HASS to do some outdoor sketching and to understand the theories of perspective better. Prof demonstrated how he construct a sketch using one-point and two-point perspectives.

For one-point perspectives, there are two pairs of parallel lines, each pair established by joining the lines extended from the vanishing point; for two-point, there is one pair.

Accessed from http://kingslan.com/blog/?p=280

By determining the lines of building structures that are parallel, we can leverage on that foundation to draw the basic structures of the building.

Prof told us to always focus on the big picture first: draw out the general structure before filling in the details. Should we rush into the details and the details aren’t drawn accurately, this will subsequently affect all other structures.

Prof also mentioned that in the scenario where the perspective is particularly hard to construct (or if we are simply lazy or bad at perspective drawing), we can make use of space to cover up our weakness by placing smaller structures in front of bigger ones so that the edges of the buildings are obscured.

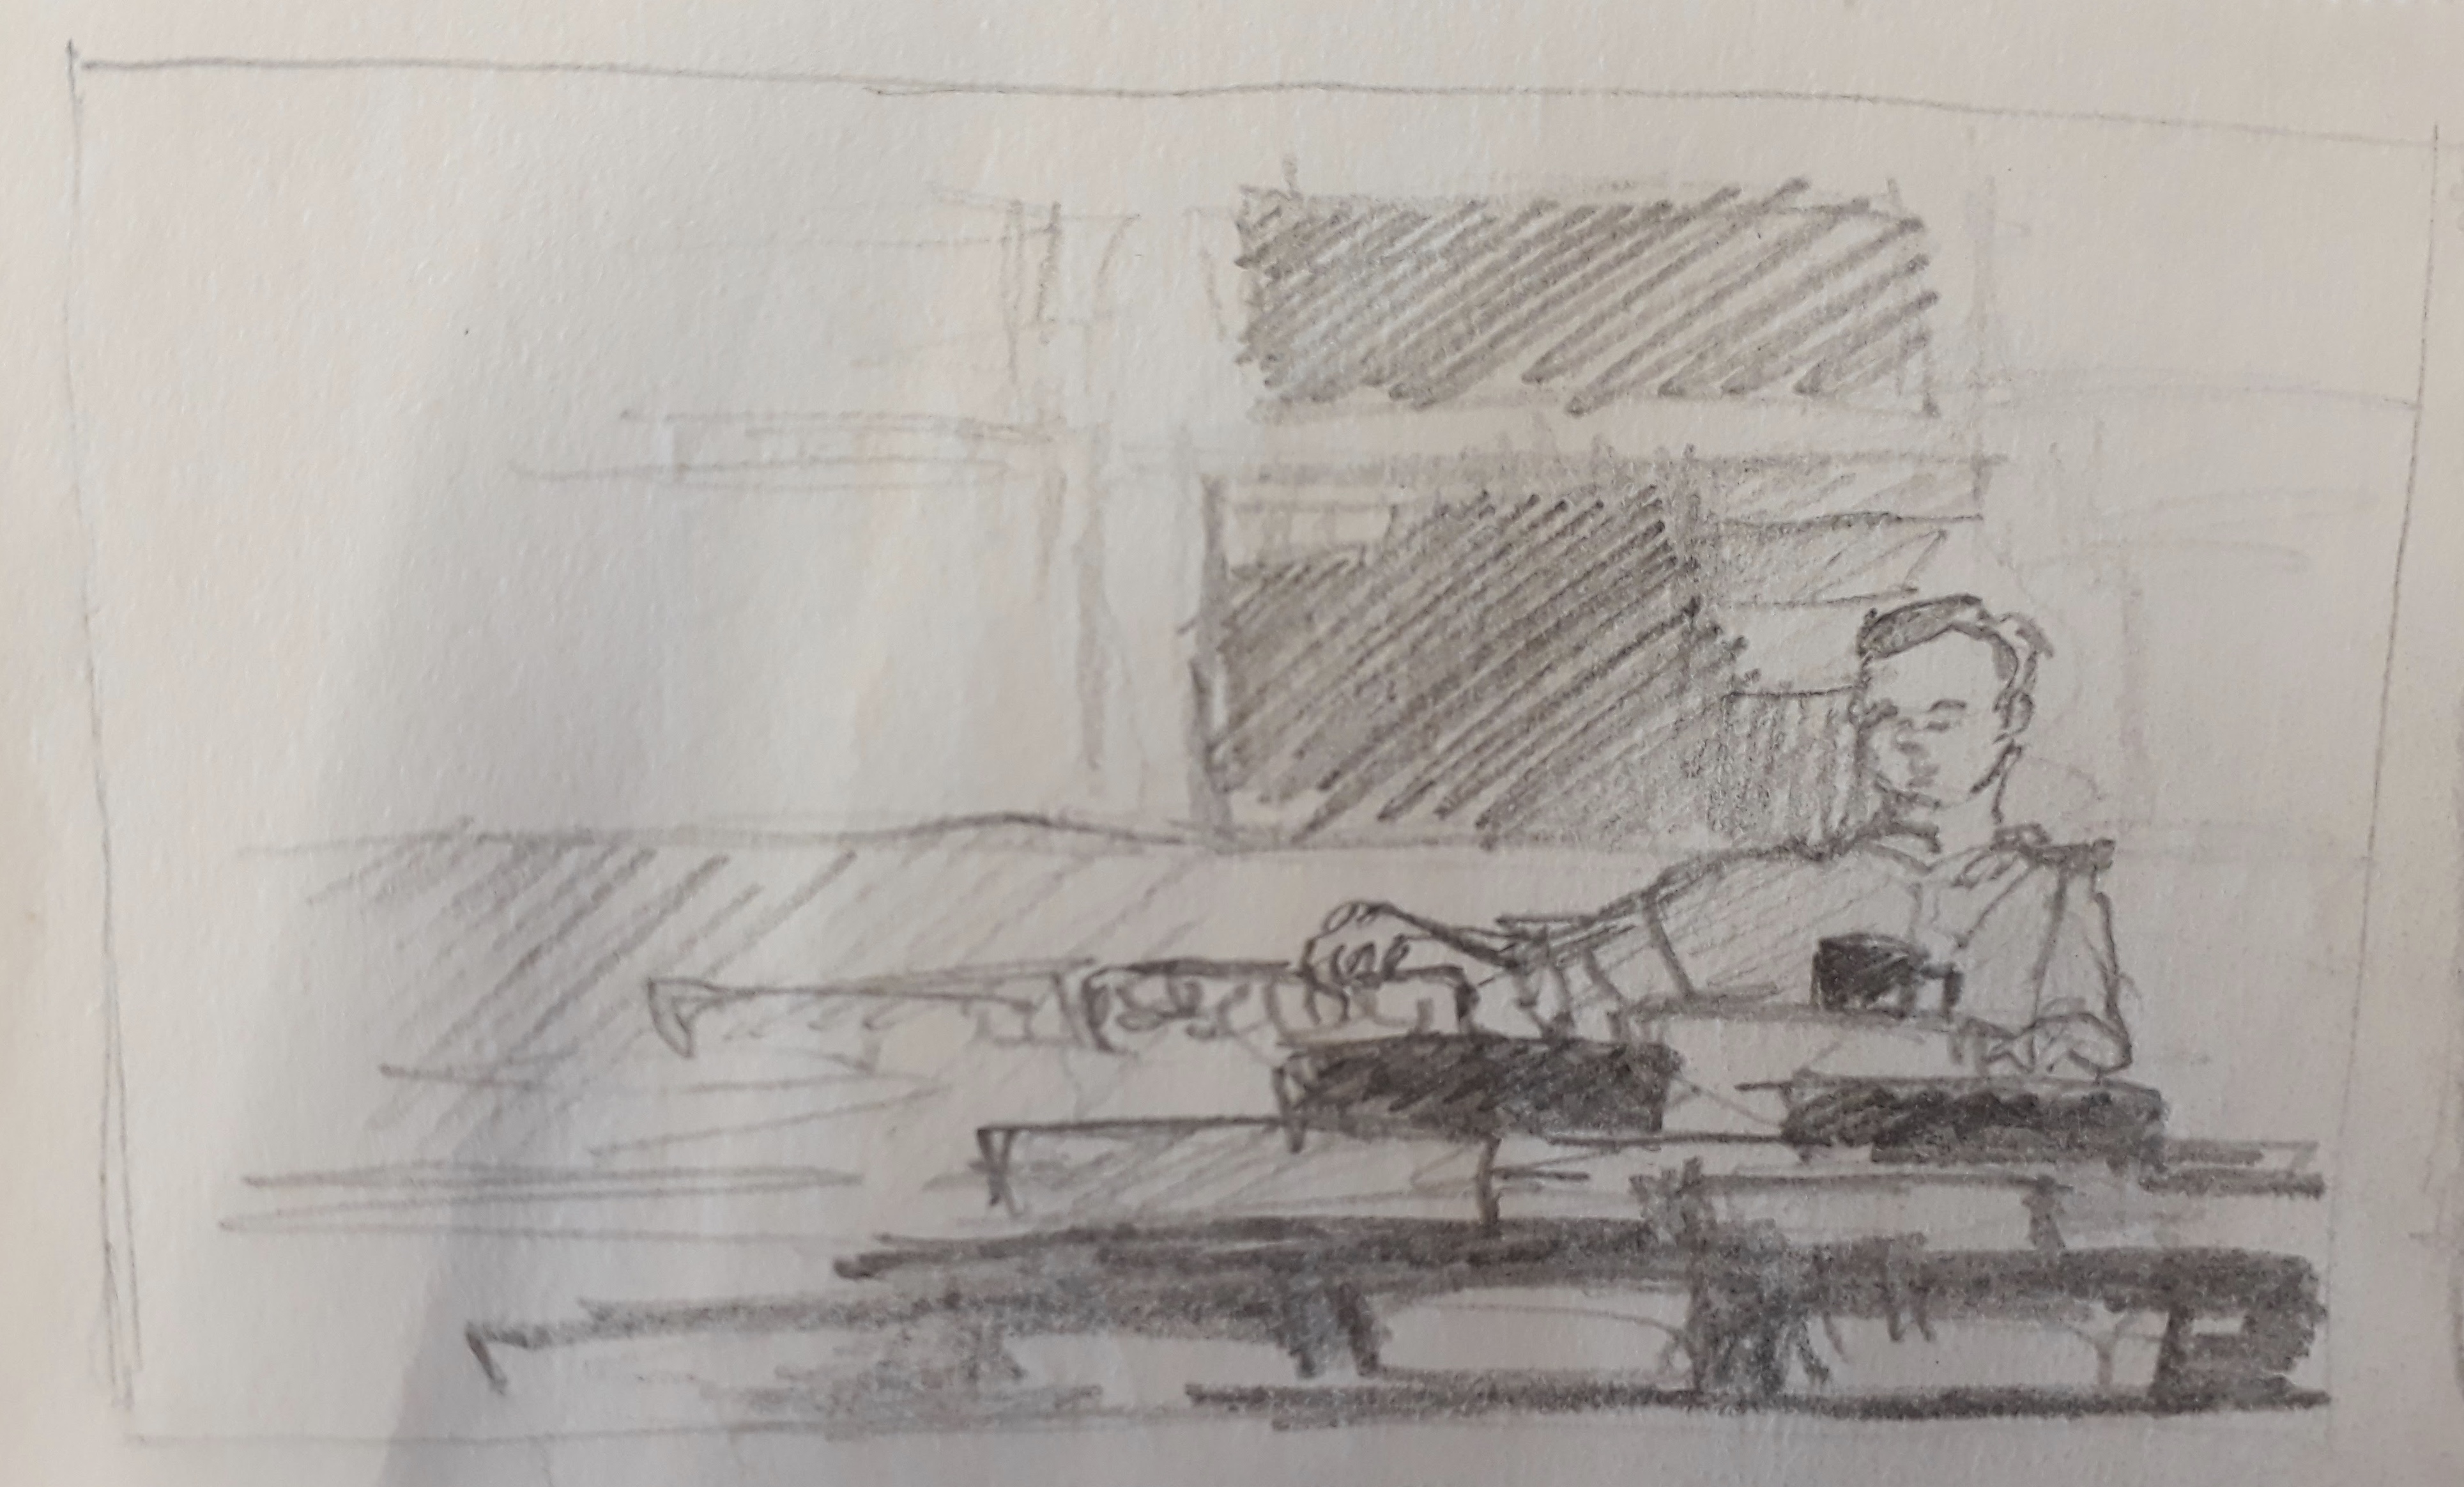
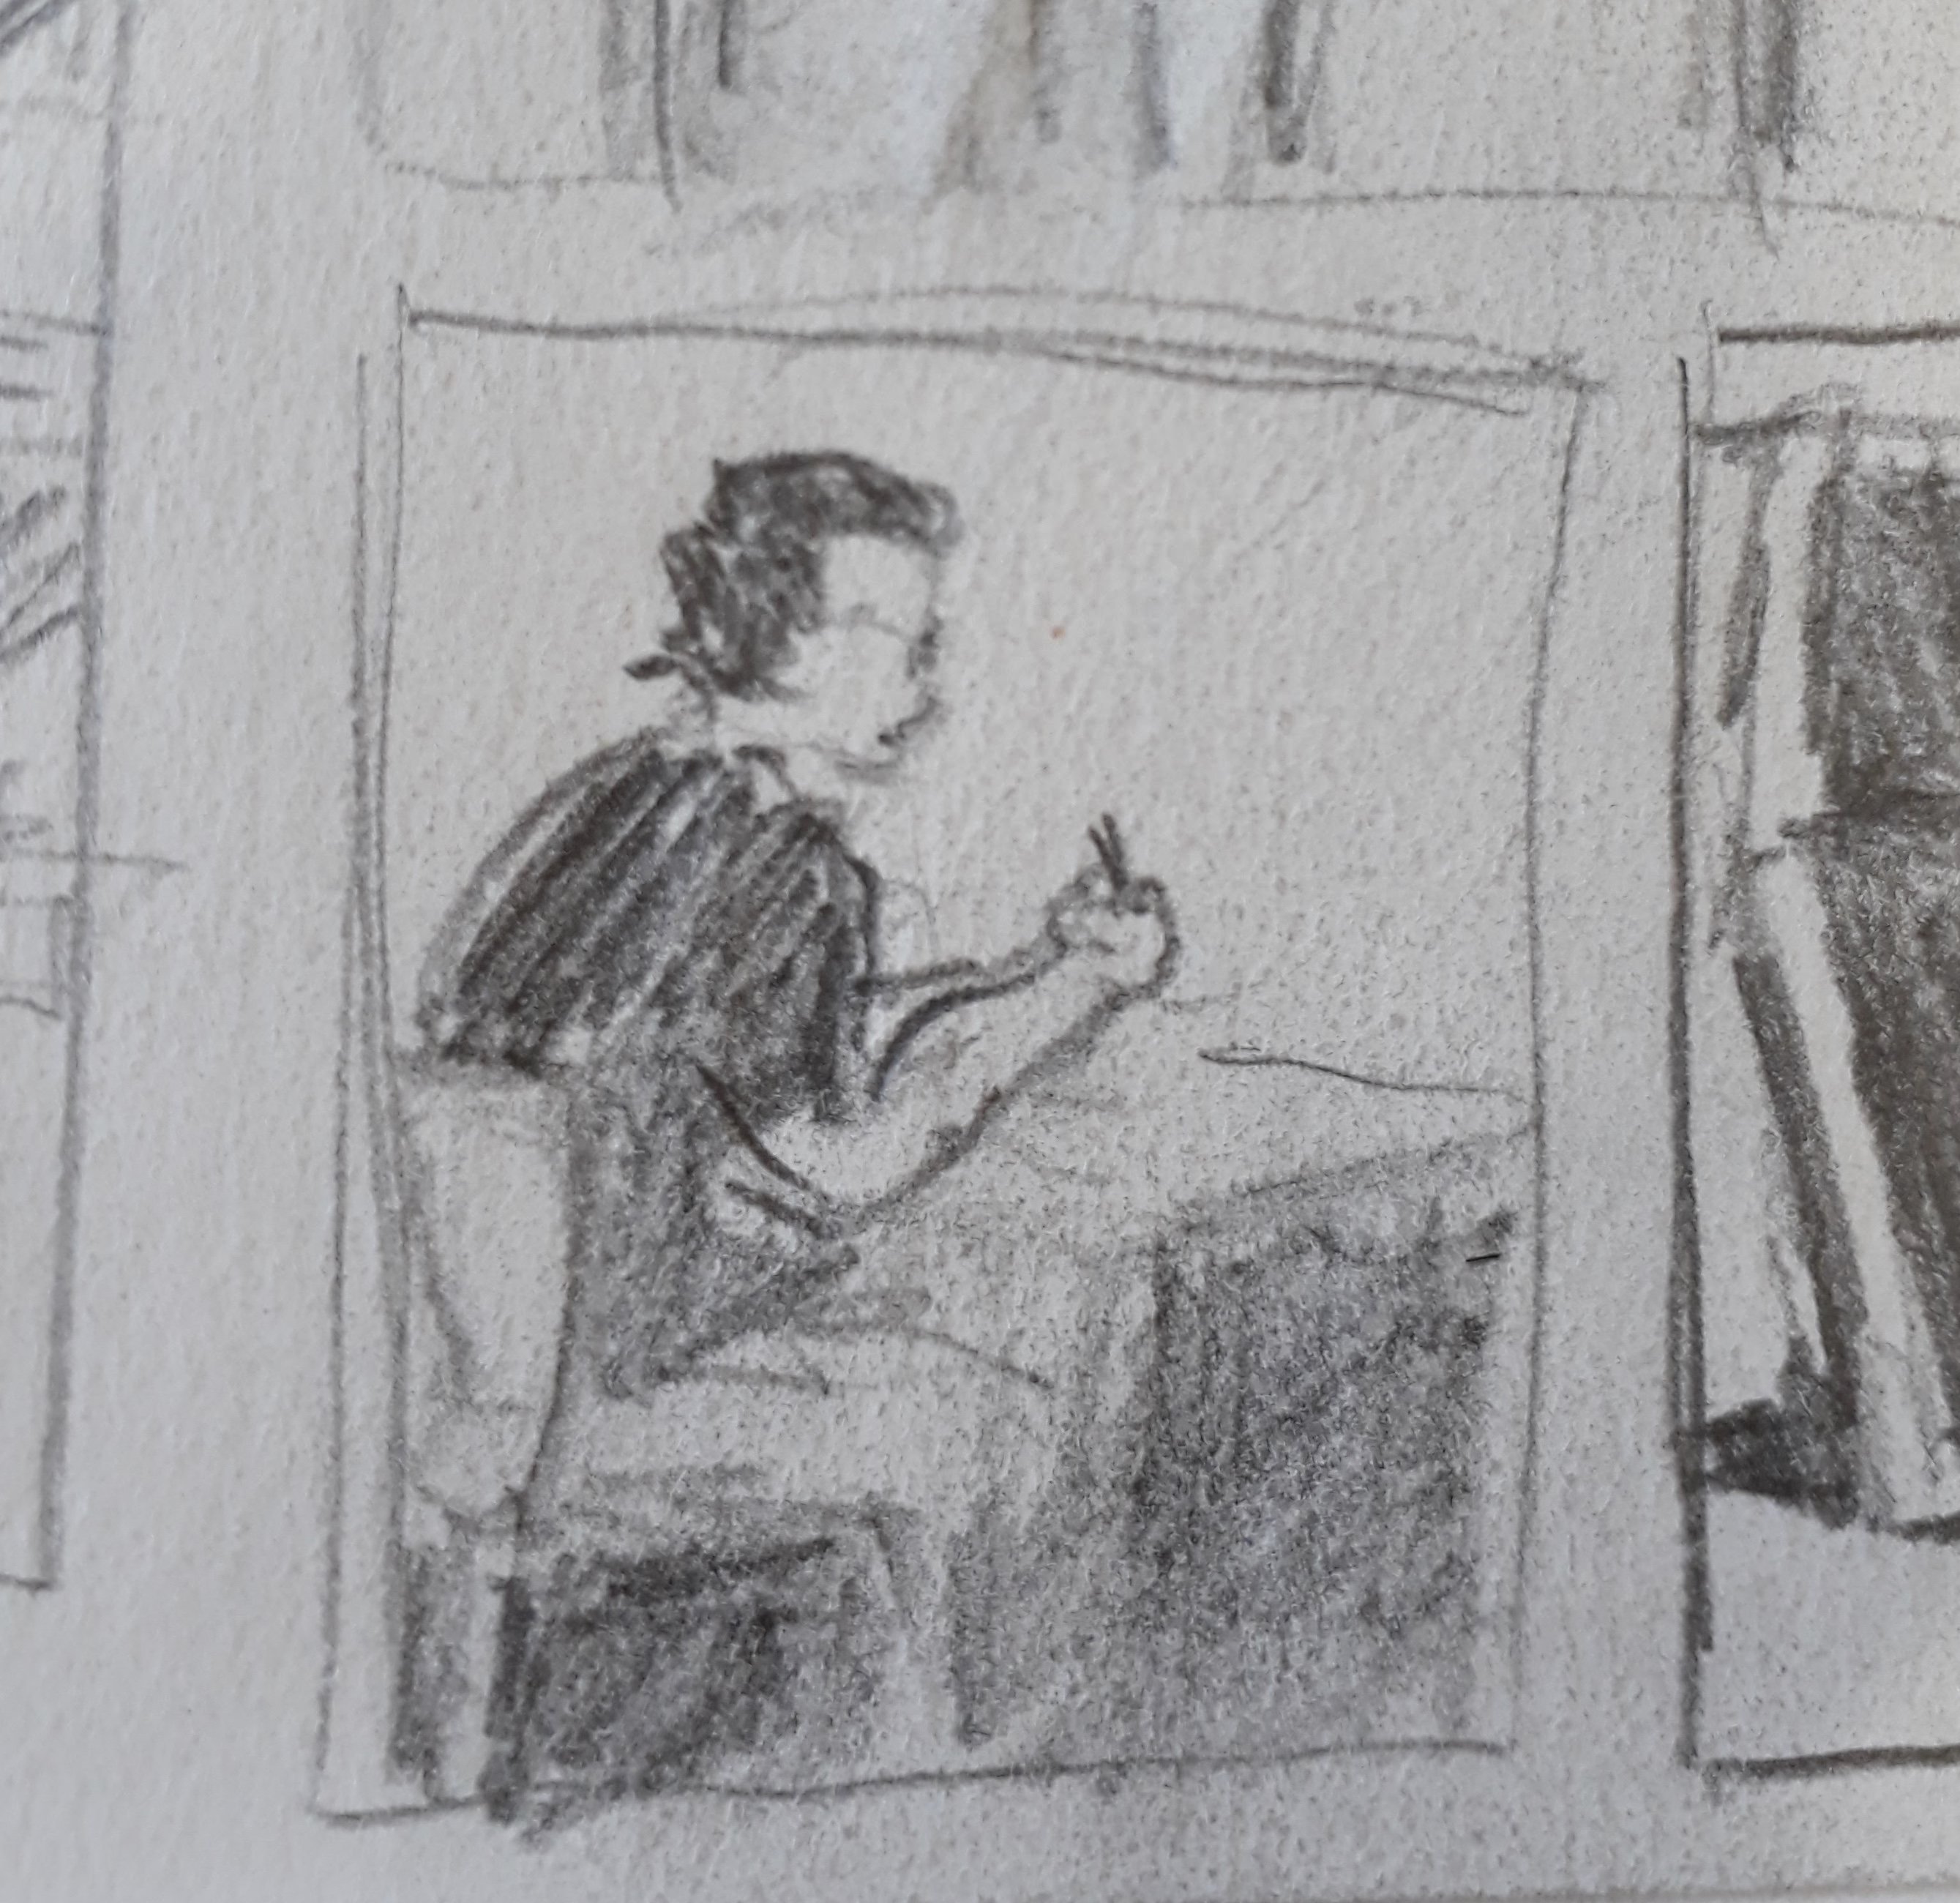
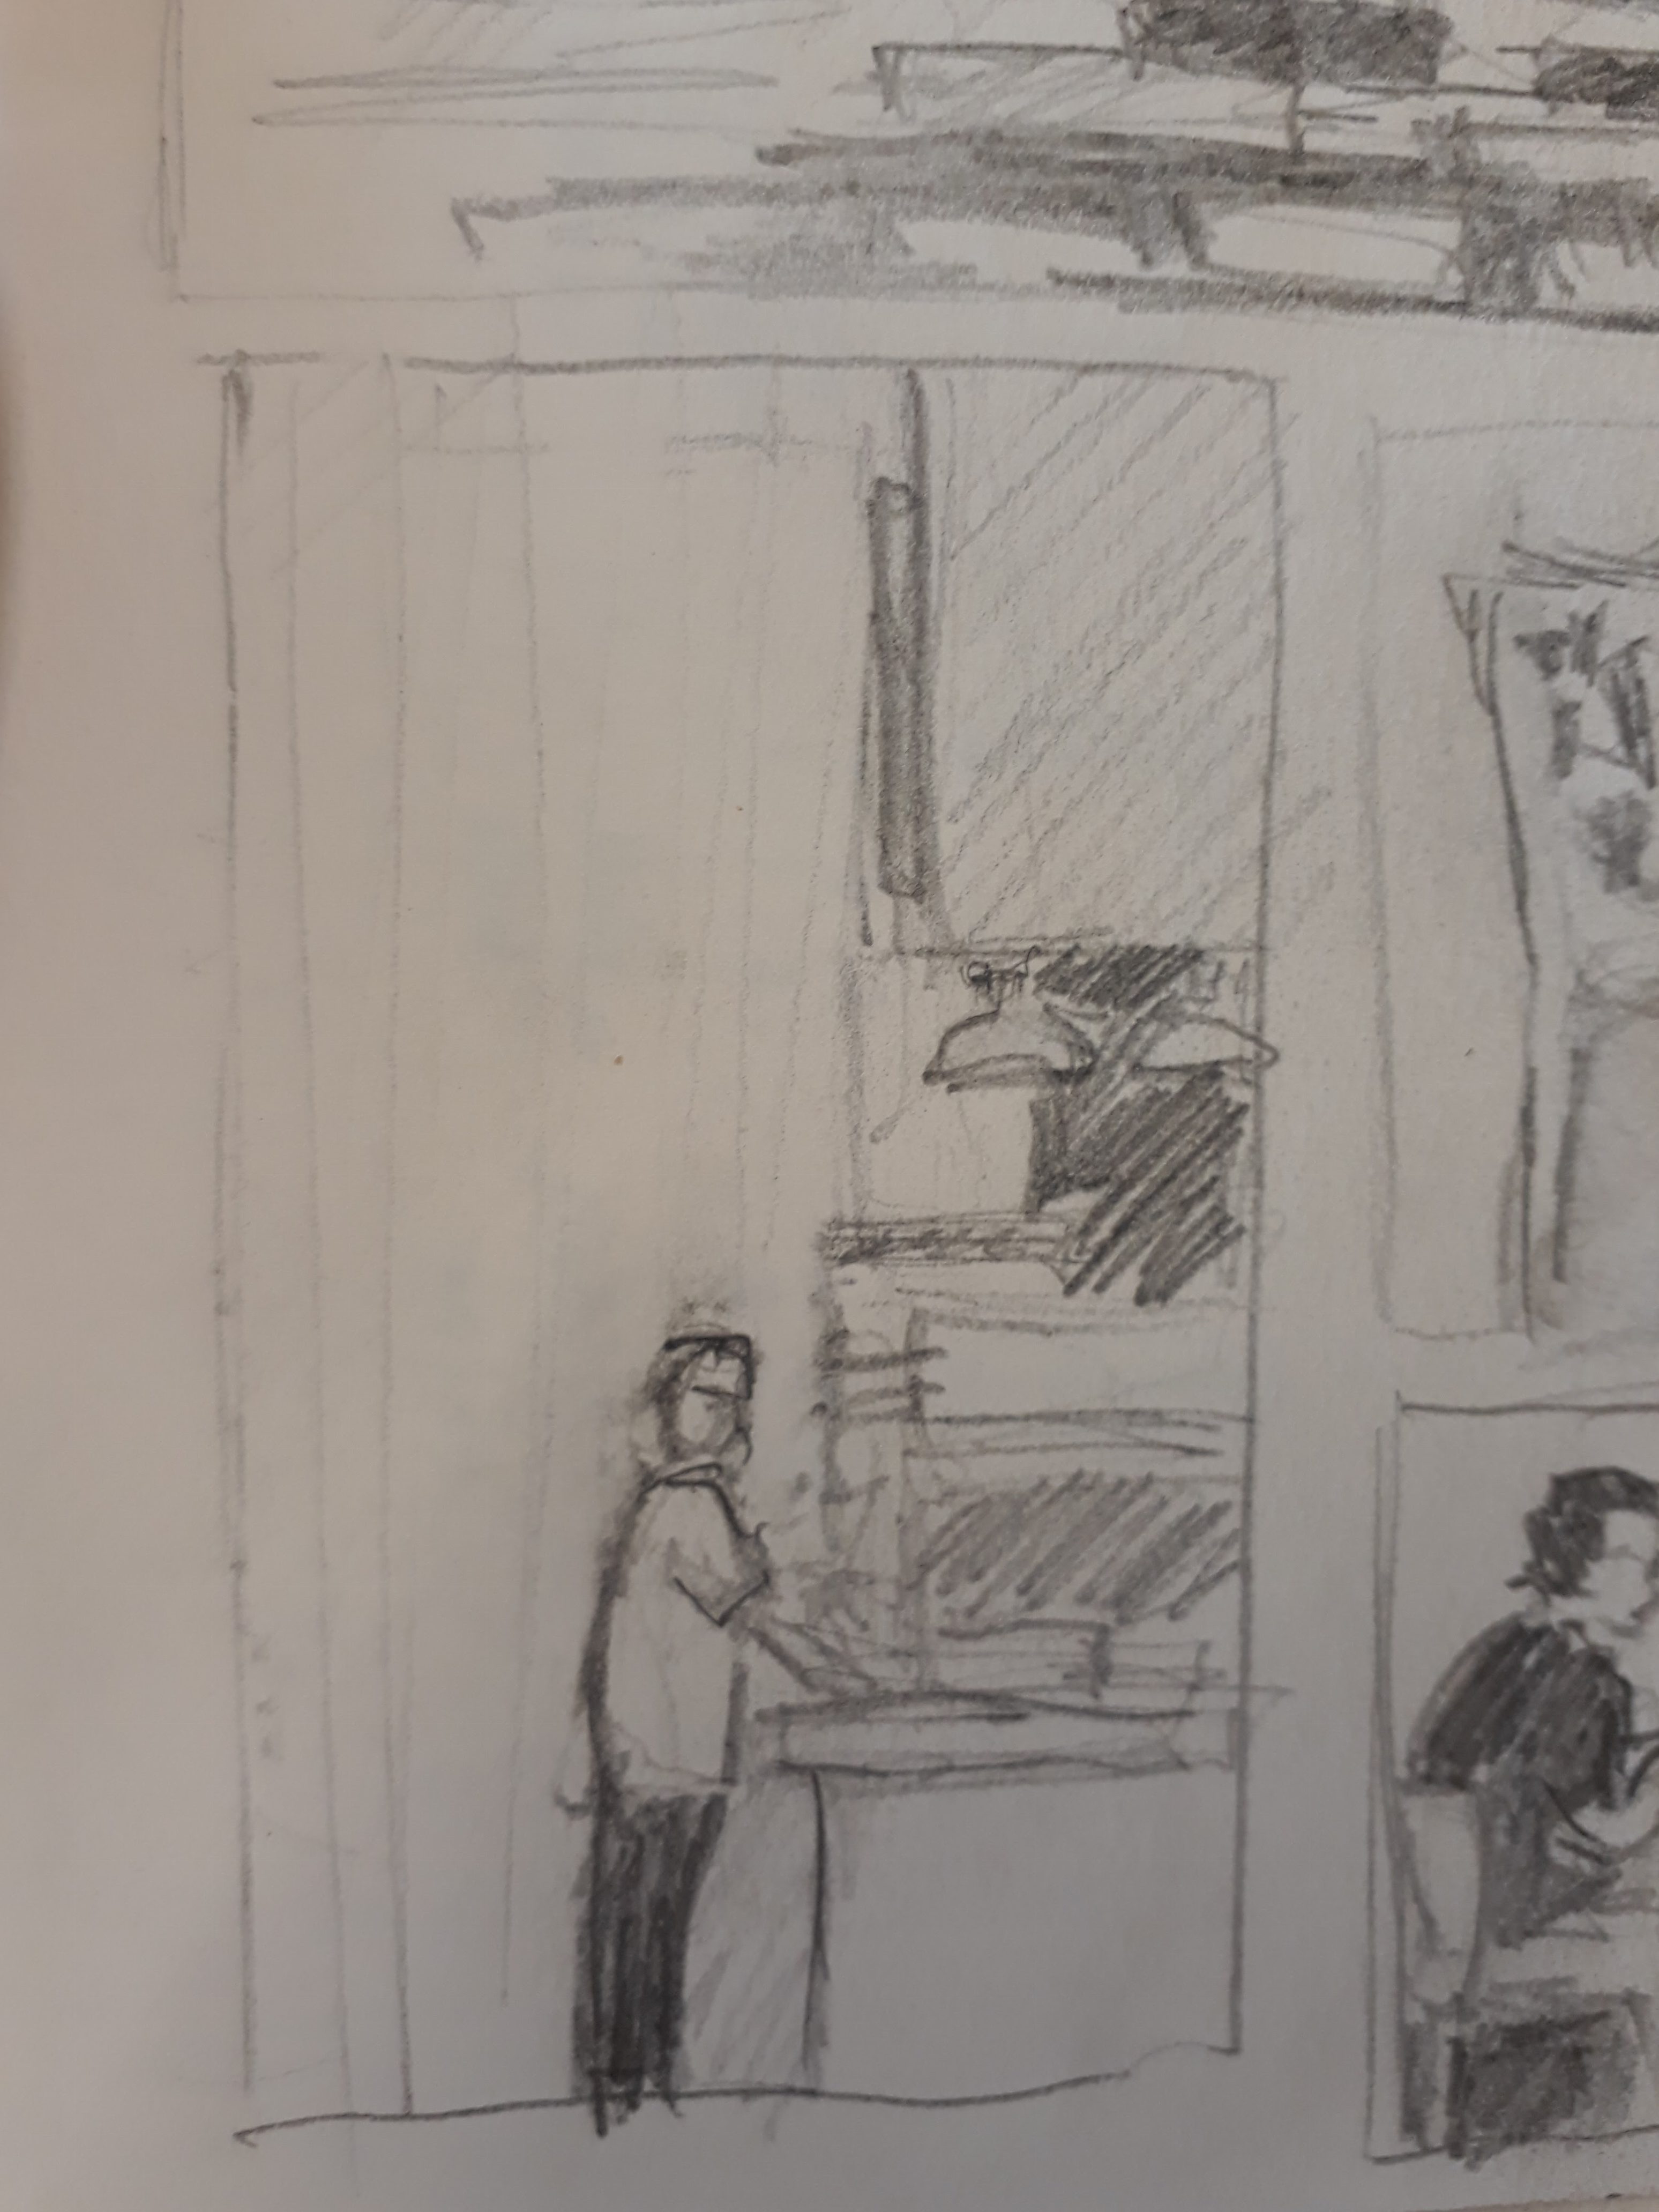
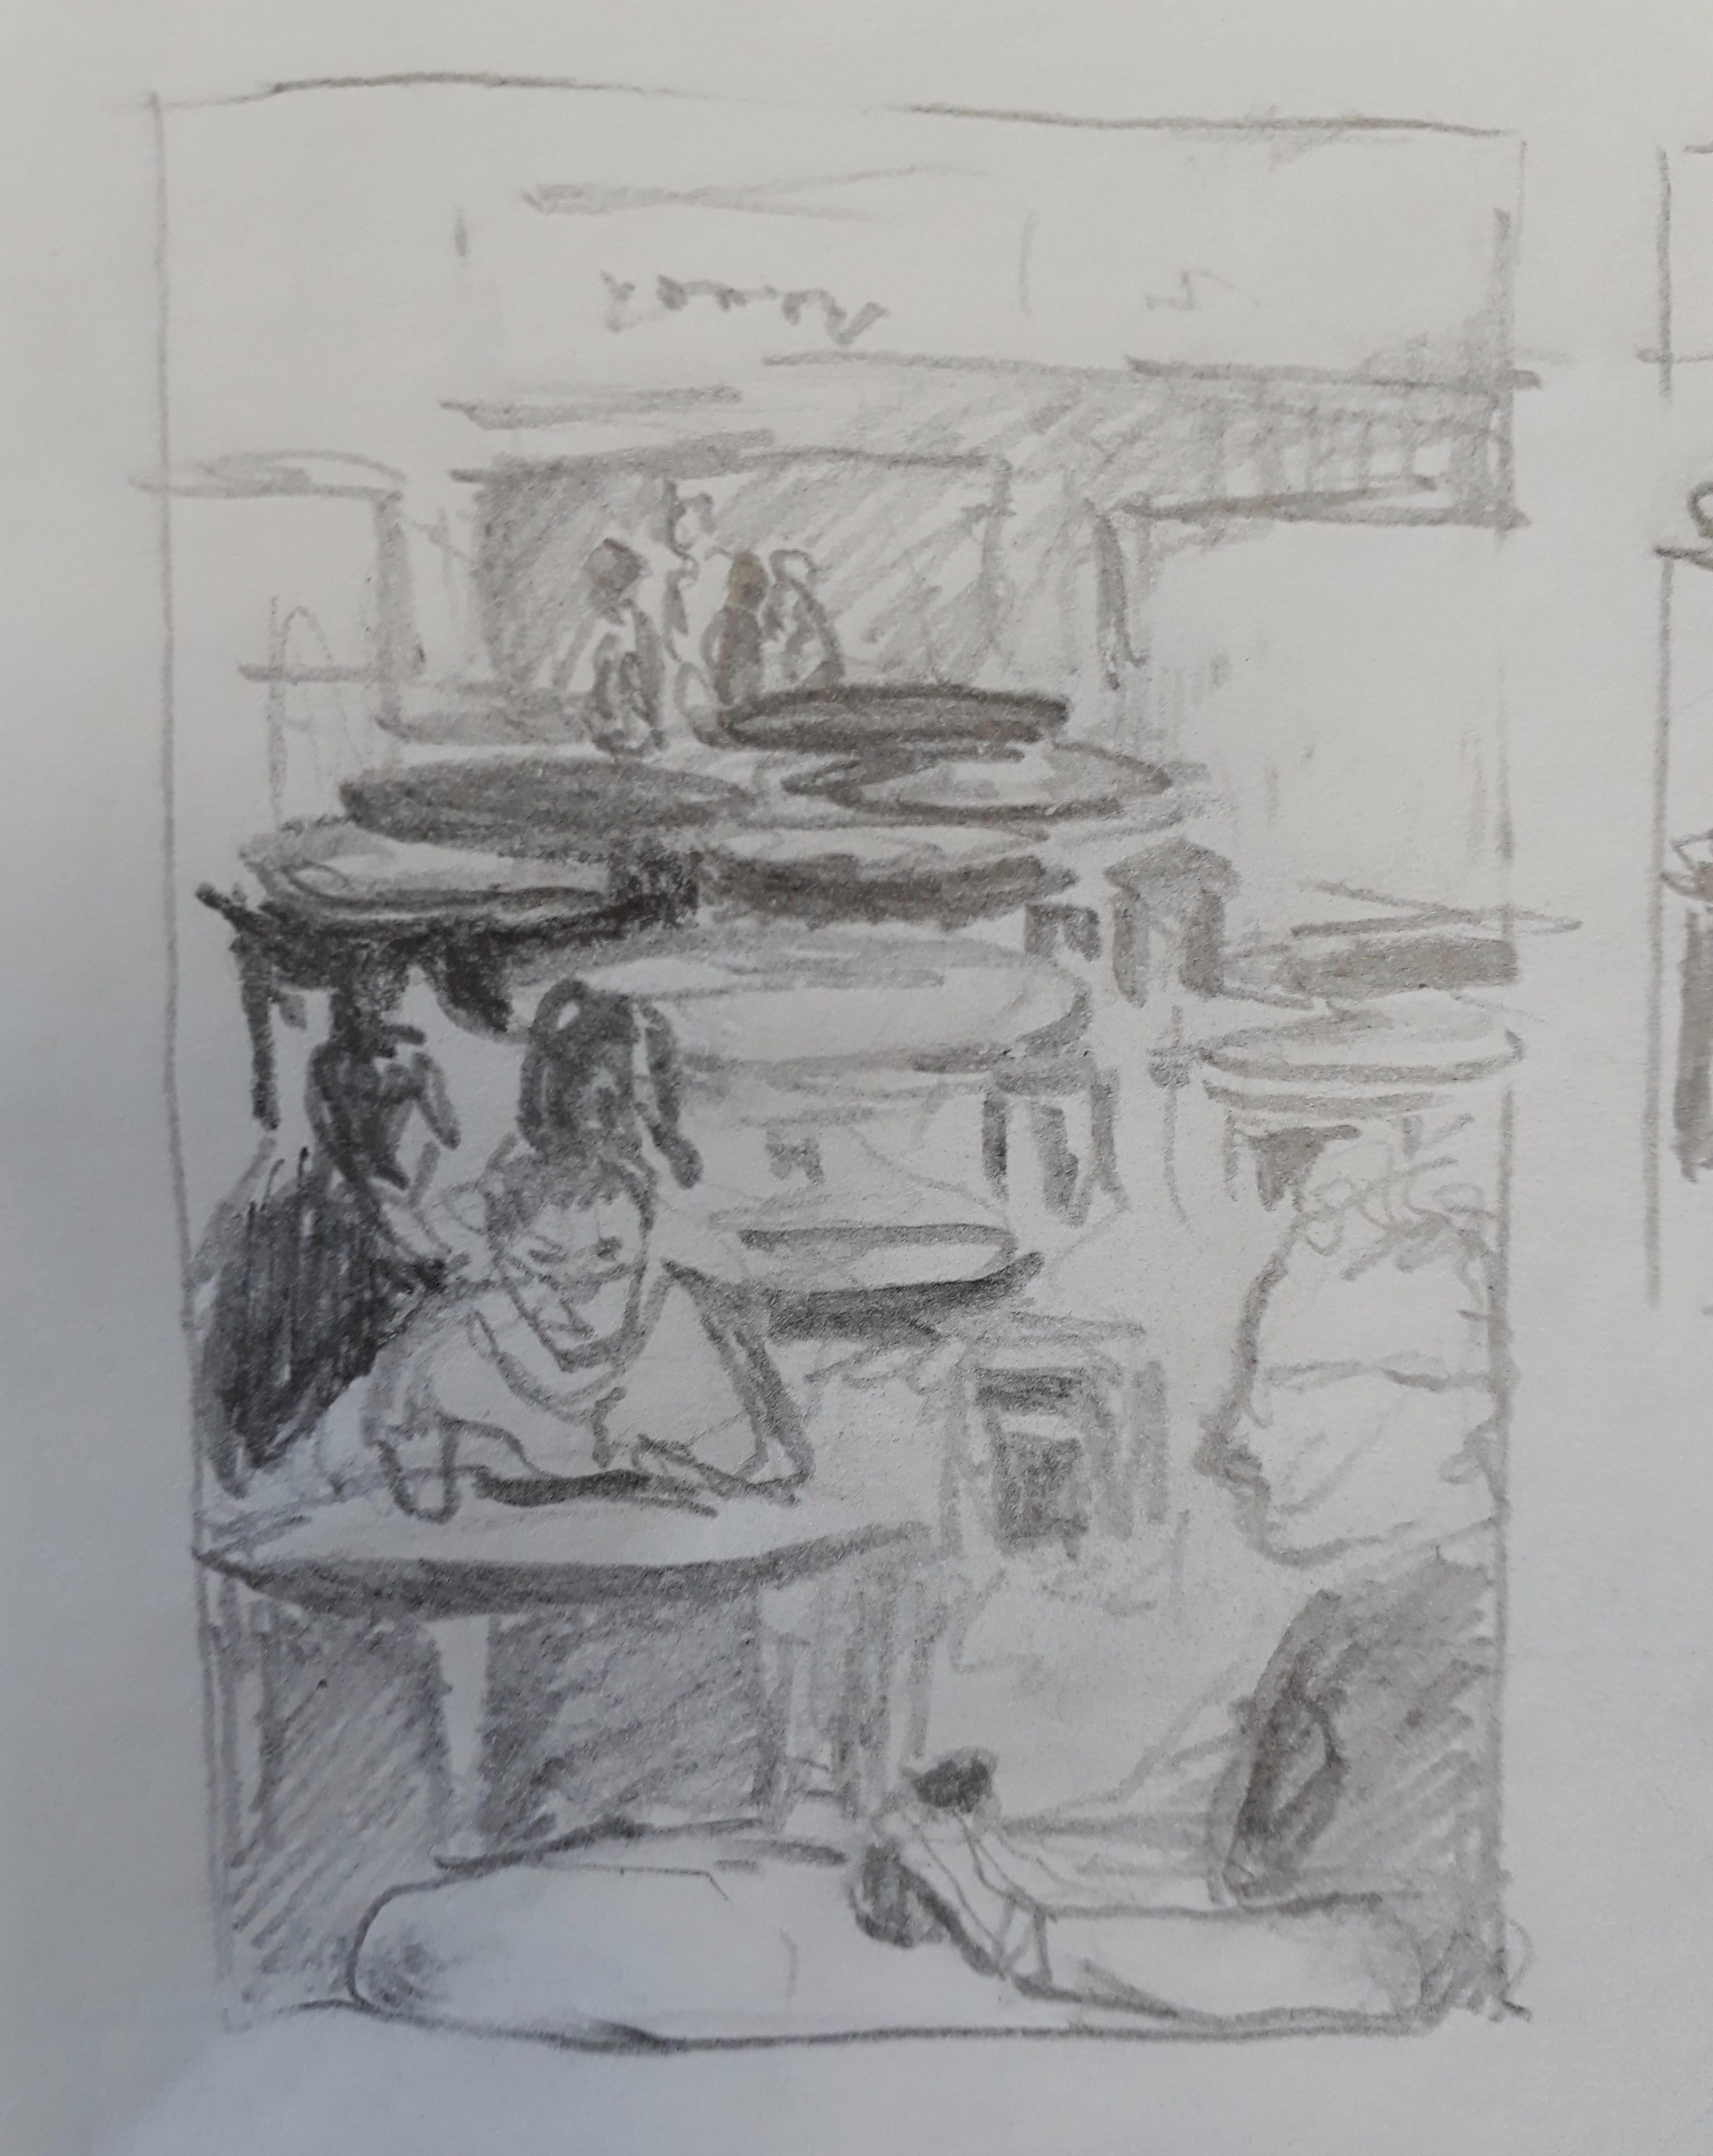
These are some sketches that I made that day:

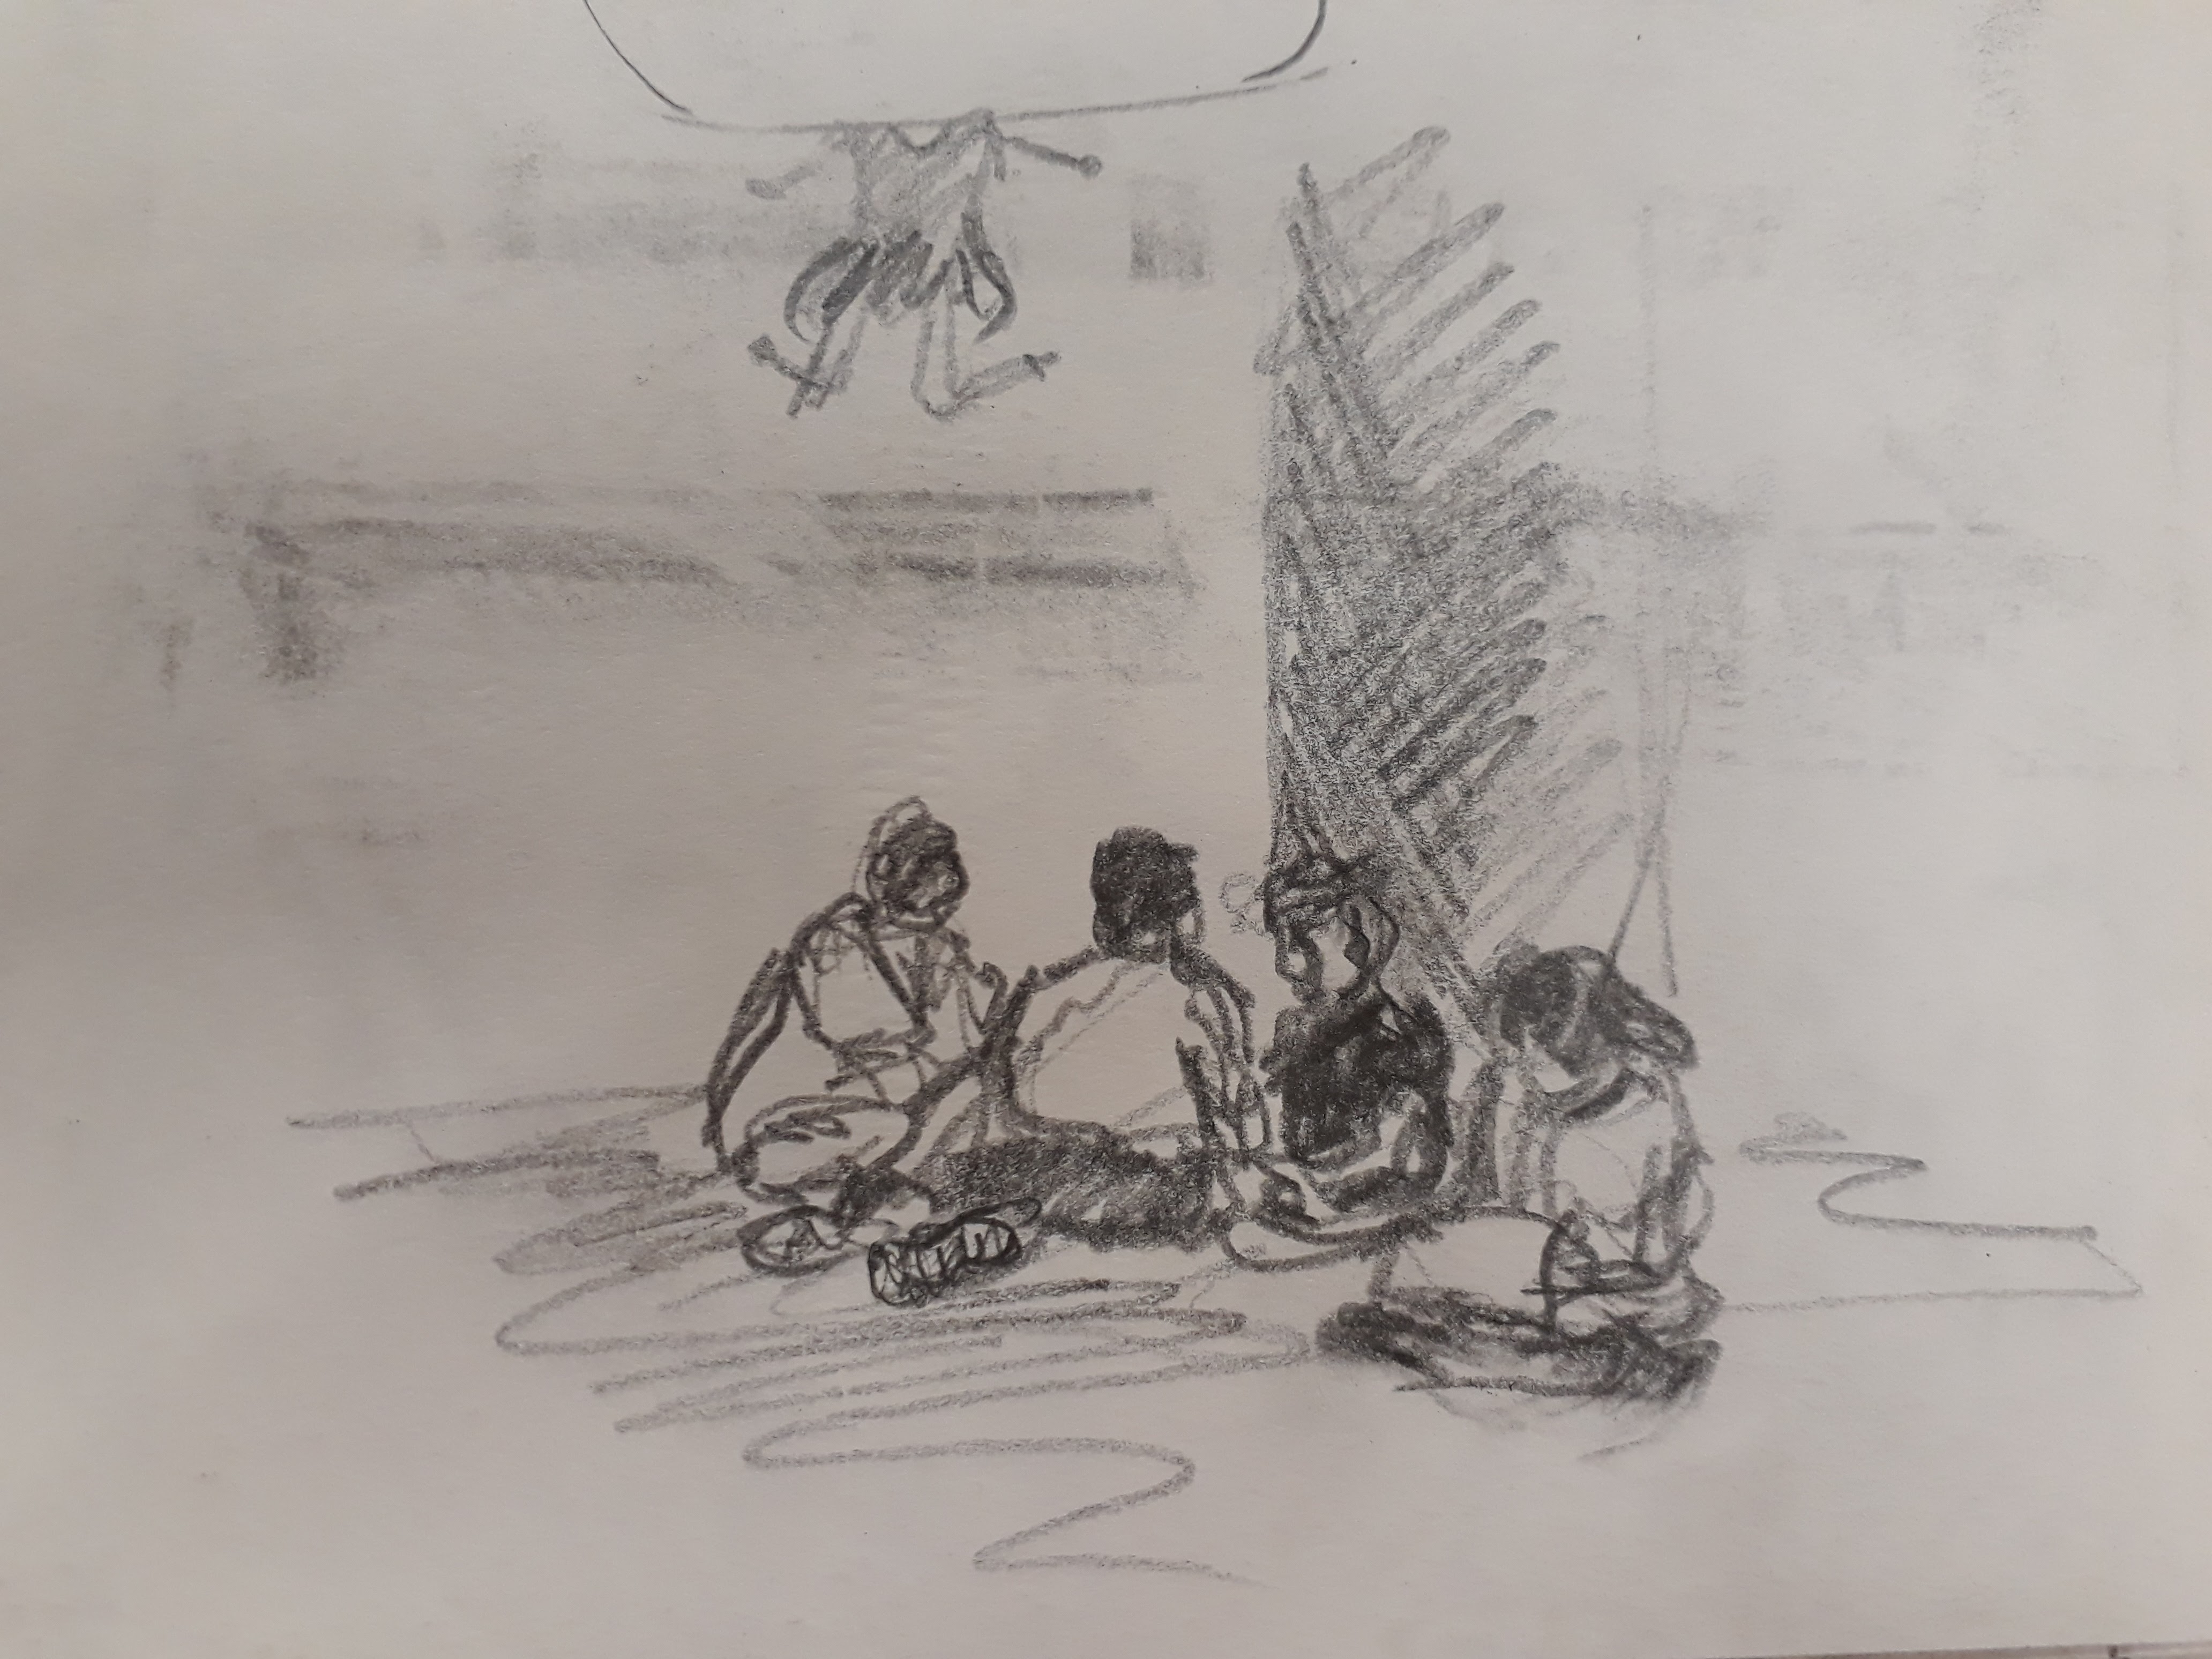
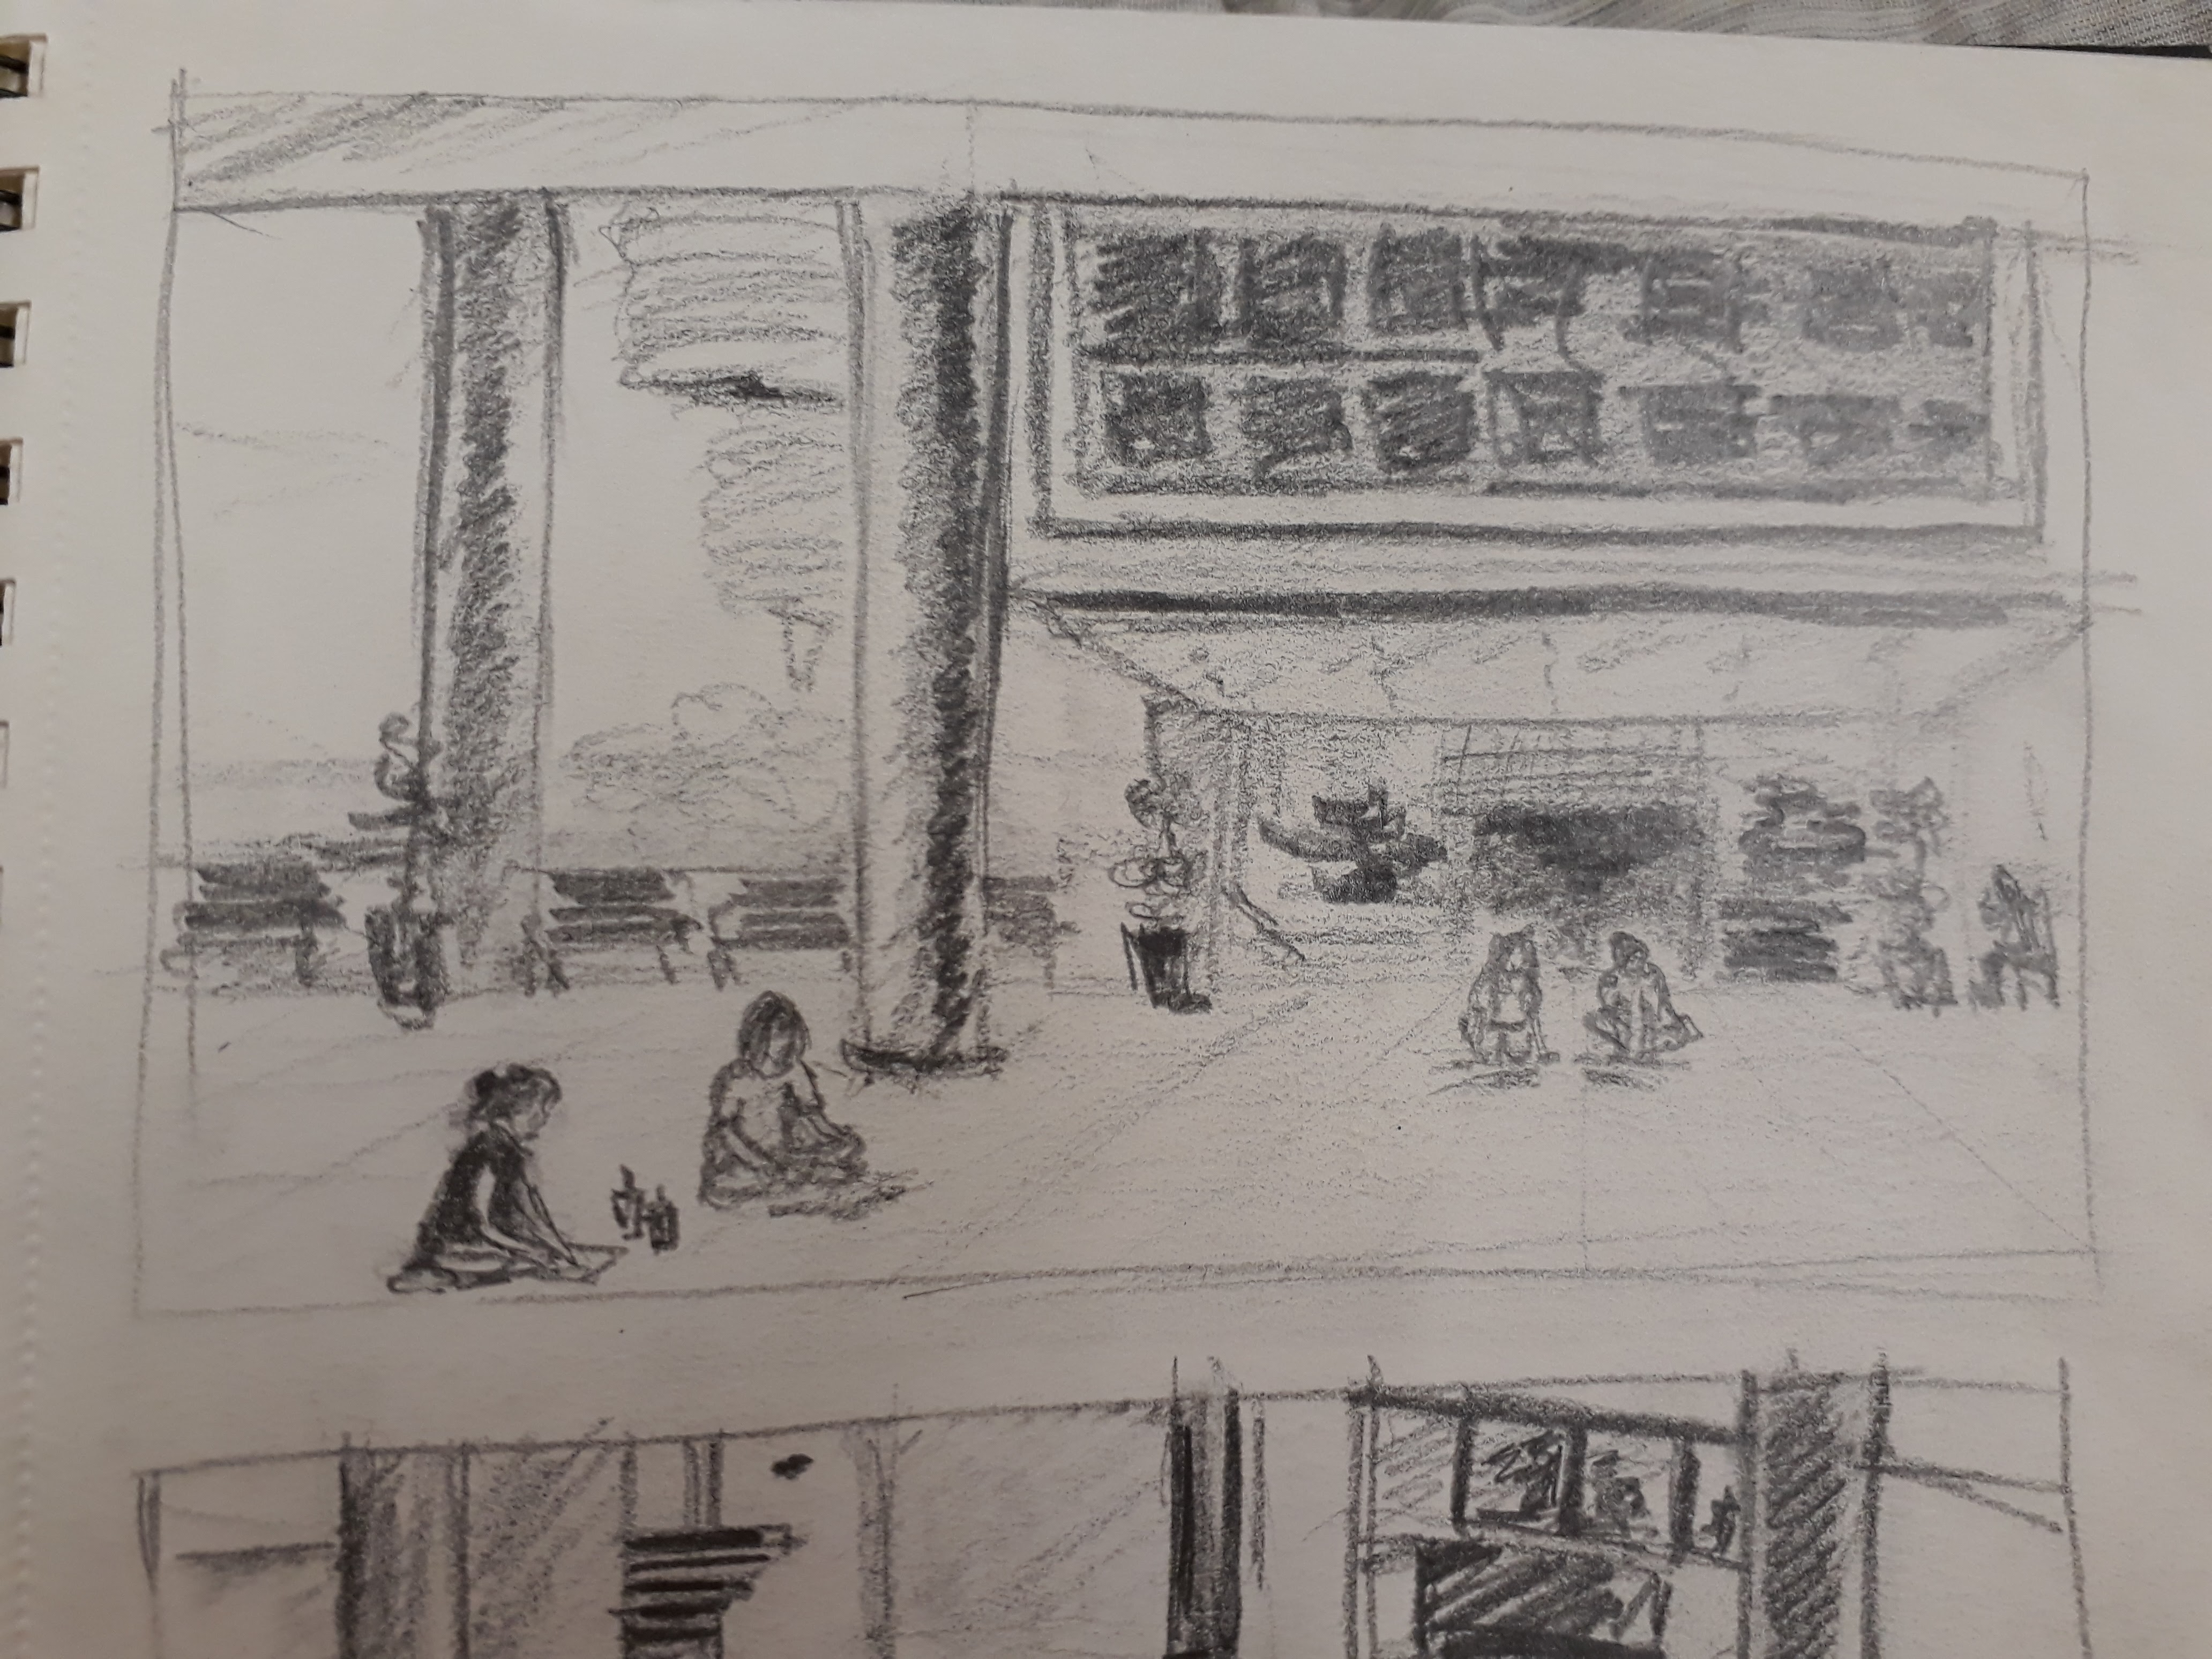
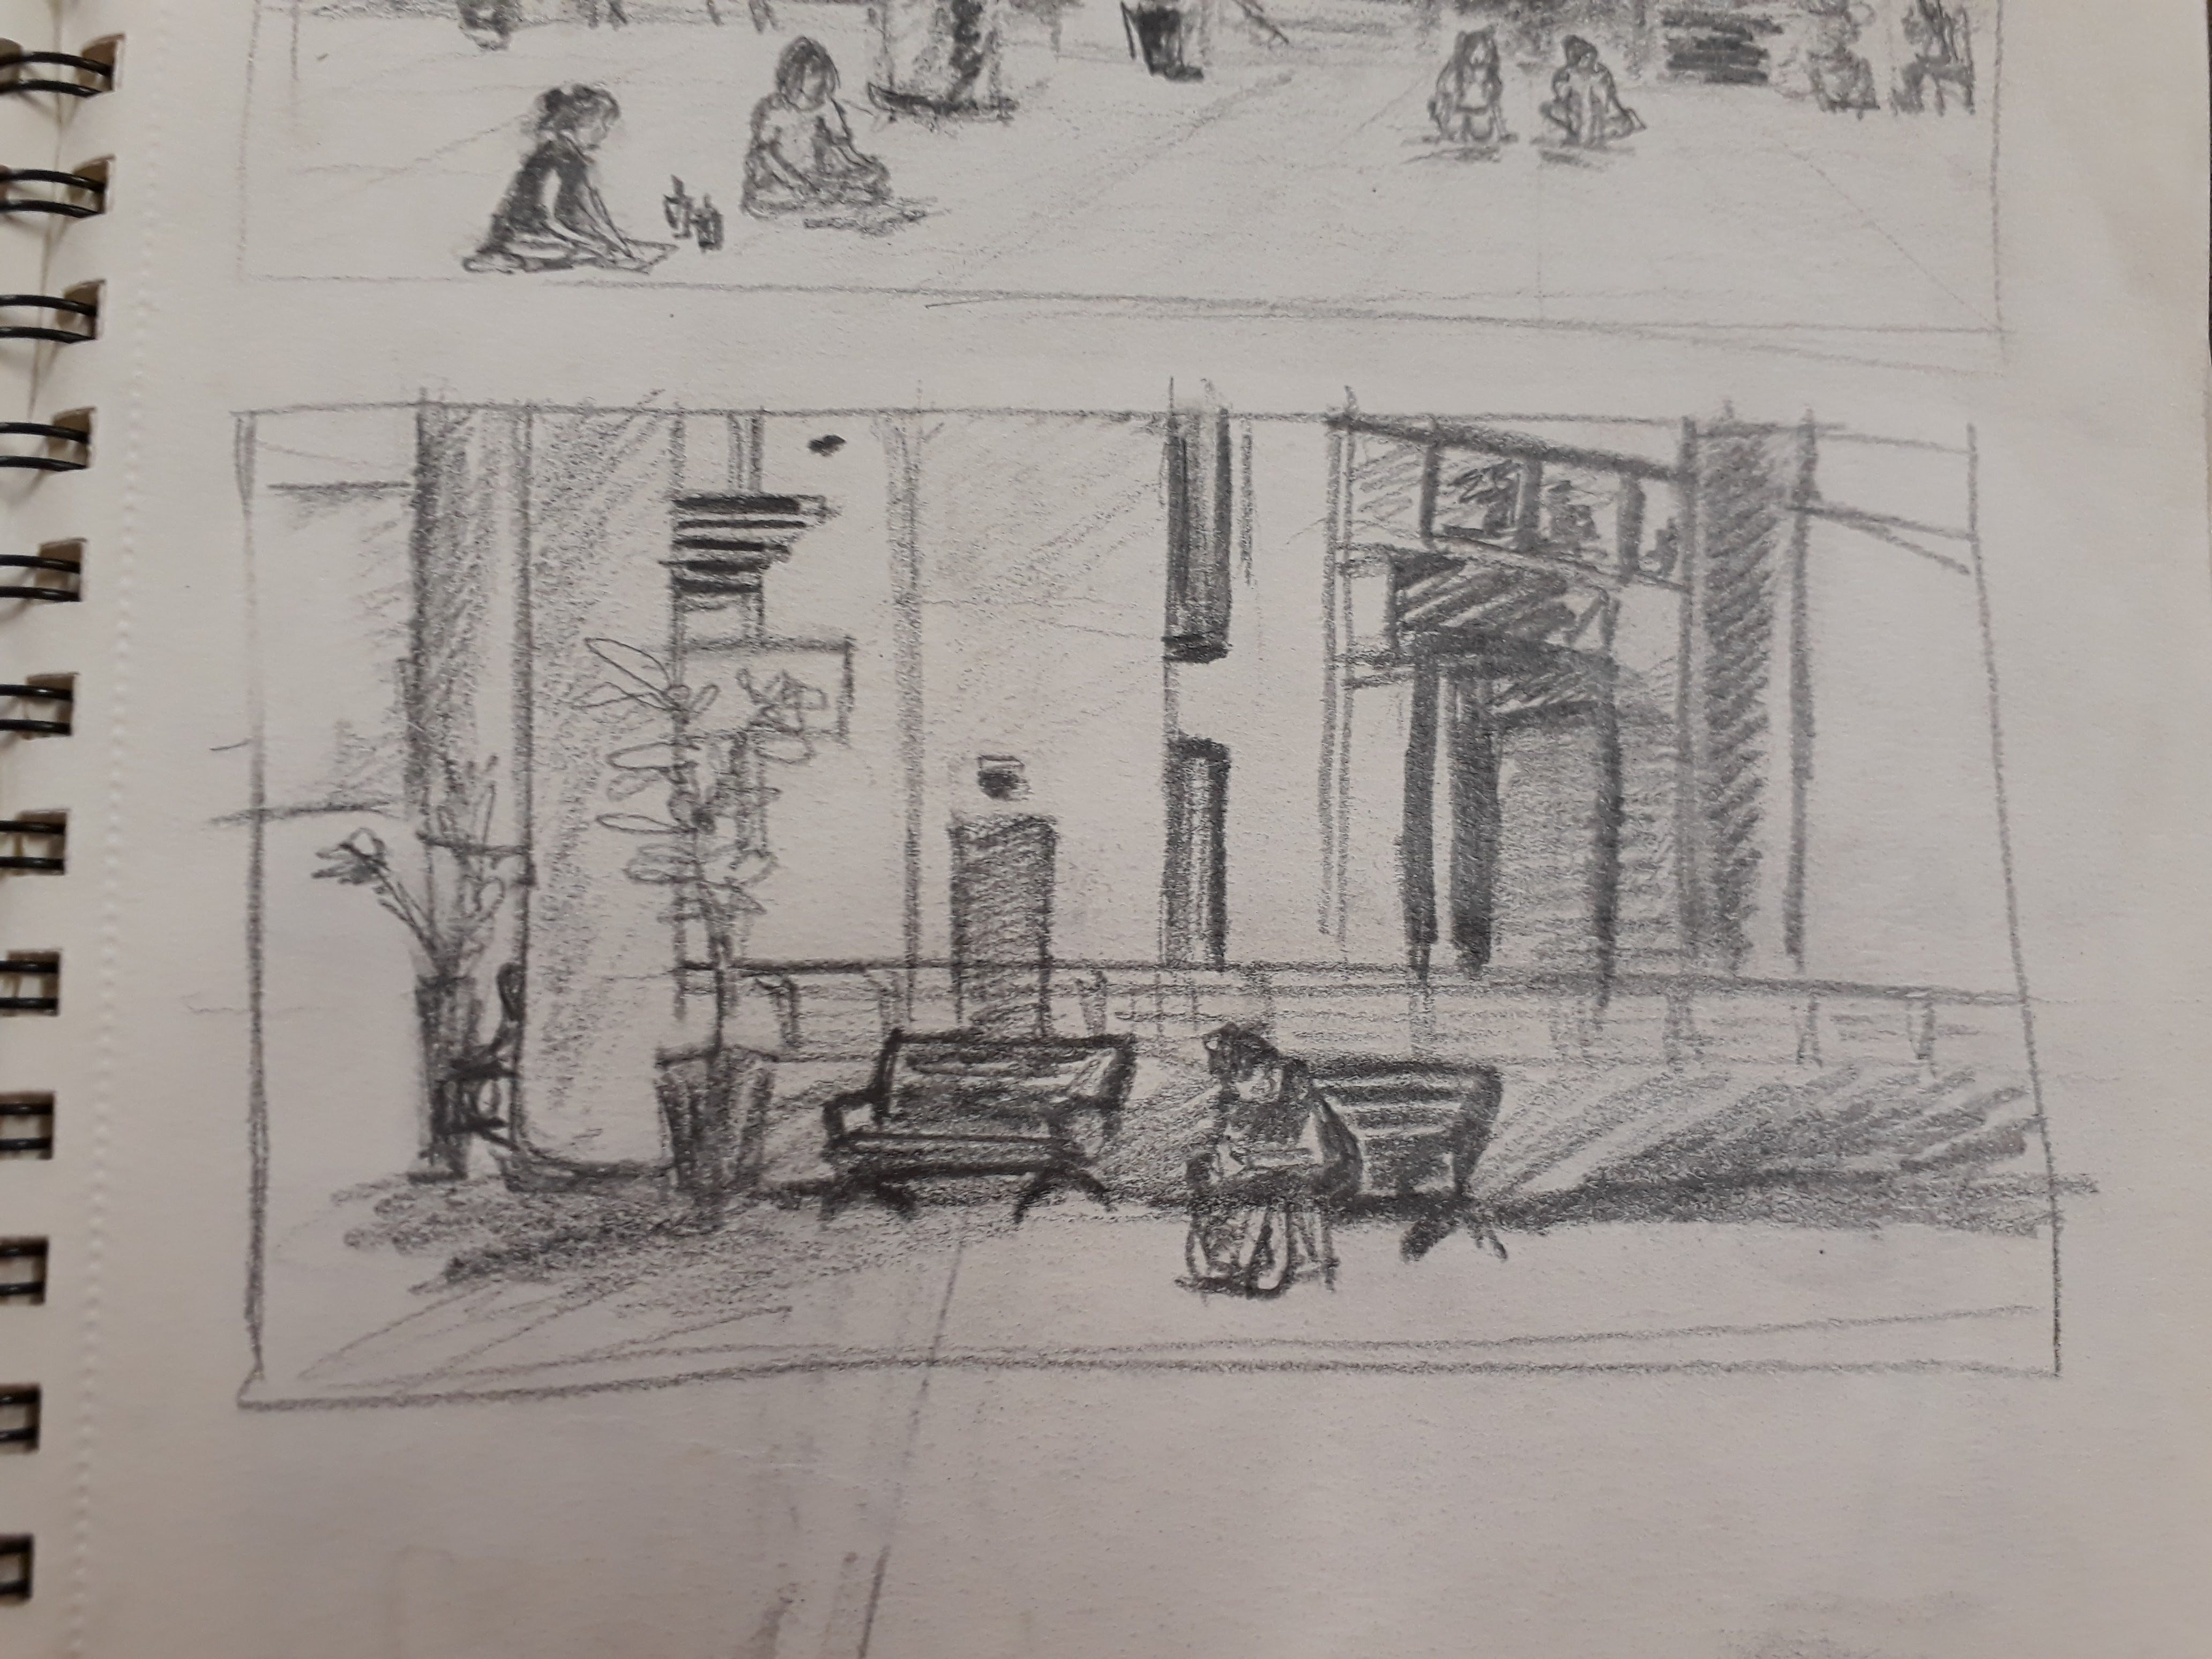
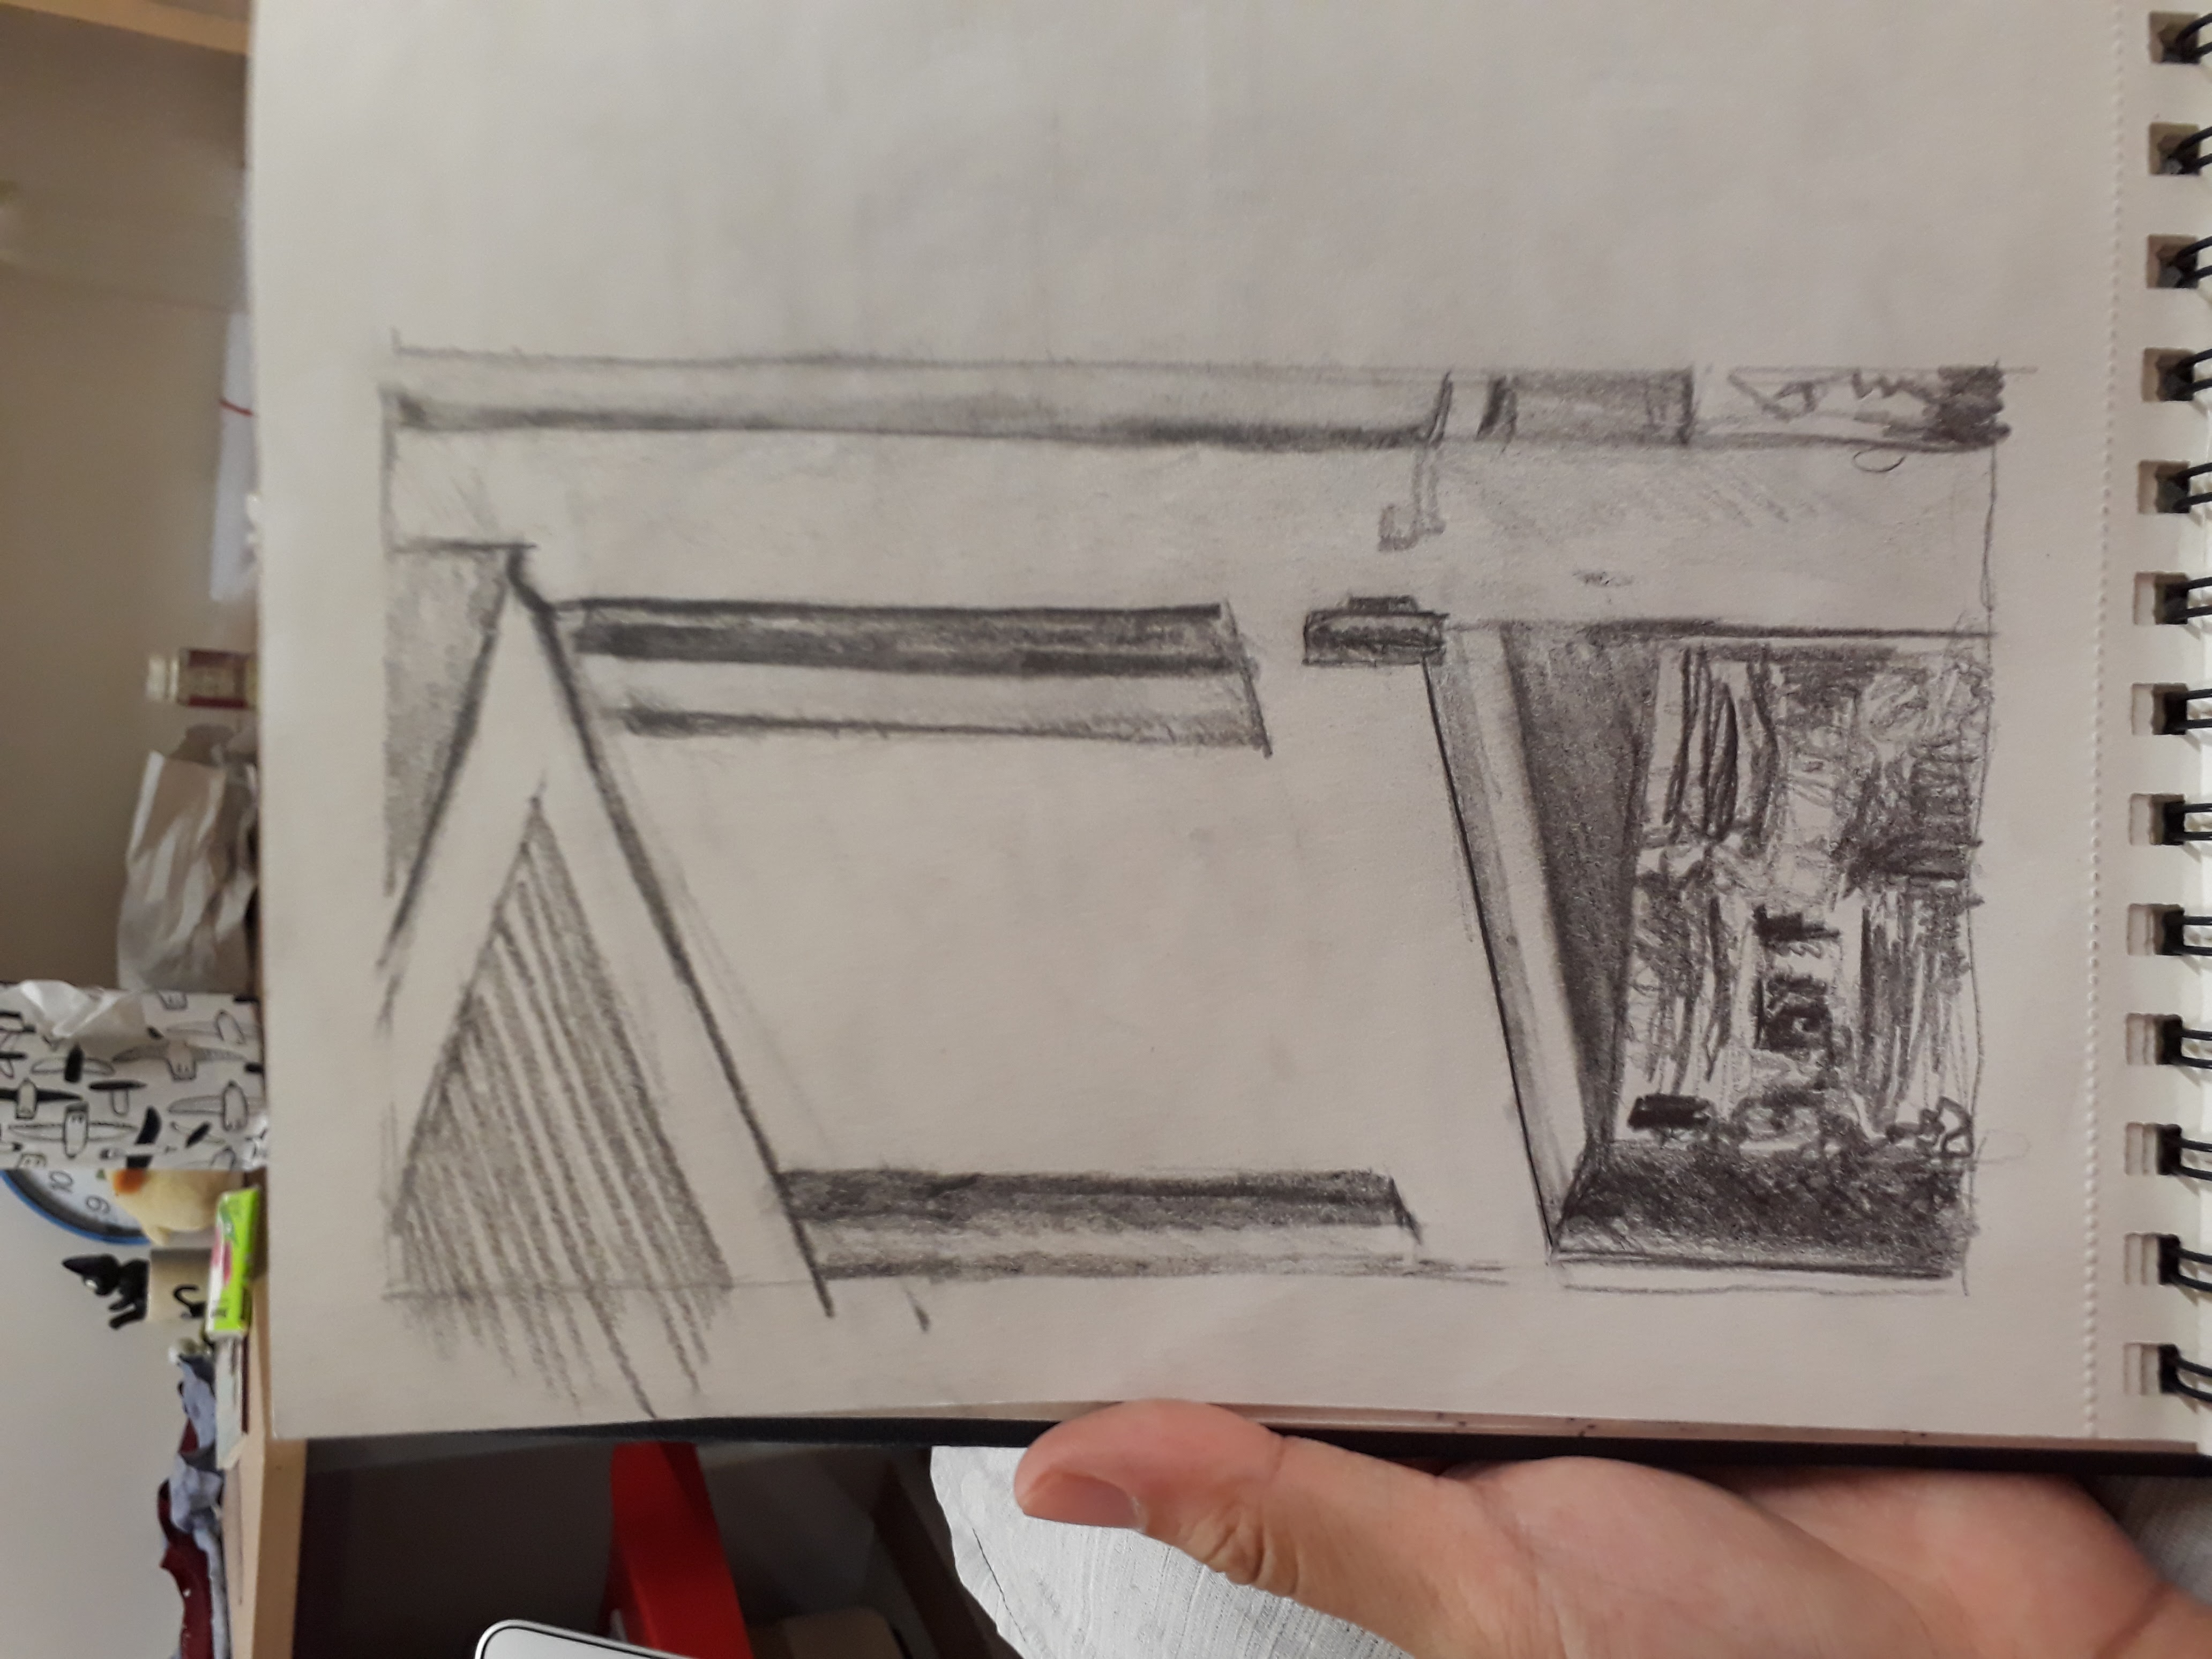
I wasn’t overly rigid in my drawing in the sense that I was quite loose with plotting the construction lines. I merely got a general sense of the direction of the line and went ahead to draw it out. I guess judging by the conceptual (focus more on form) vs perceptual (focus more on what you see) distinction that Prof mentioned, I belong to the latter.

Figure drawing 2

Second figure drawing session!

Today we dealt with Chiaroscuro, learning to deal with light and shadows and knowing how to demarcate edges of a form just by playing around with tone.

Some quick sketches we did as warm up to try portraying the figure using different tones:

There isn’t quite enough tonal ranges in these sketches, but I did get a rough idea of what we are supposed to learn here.

1.5h sketch:
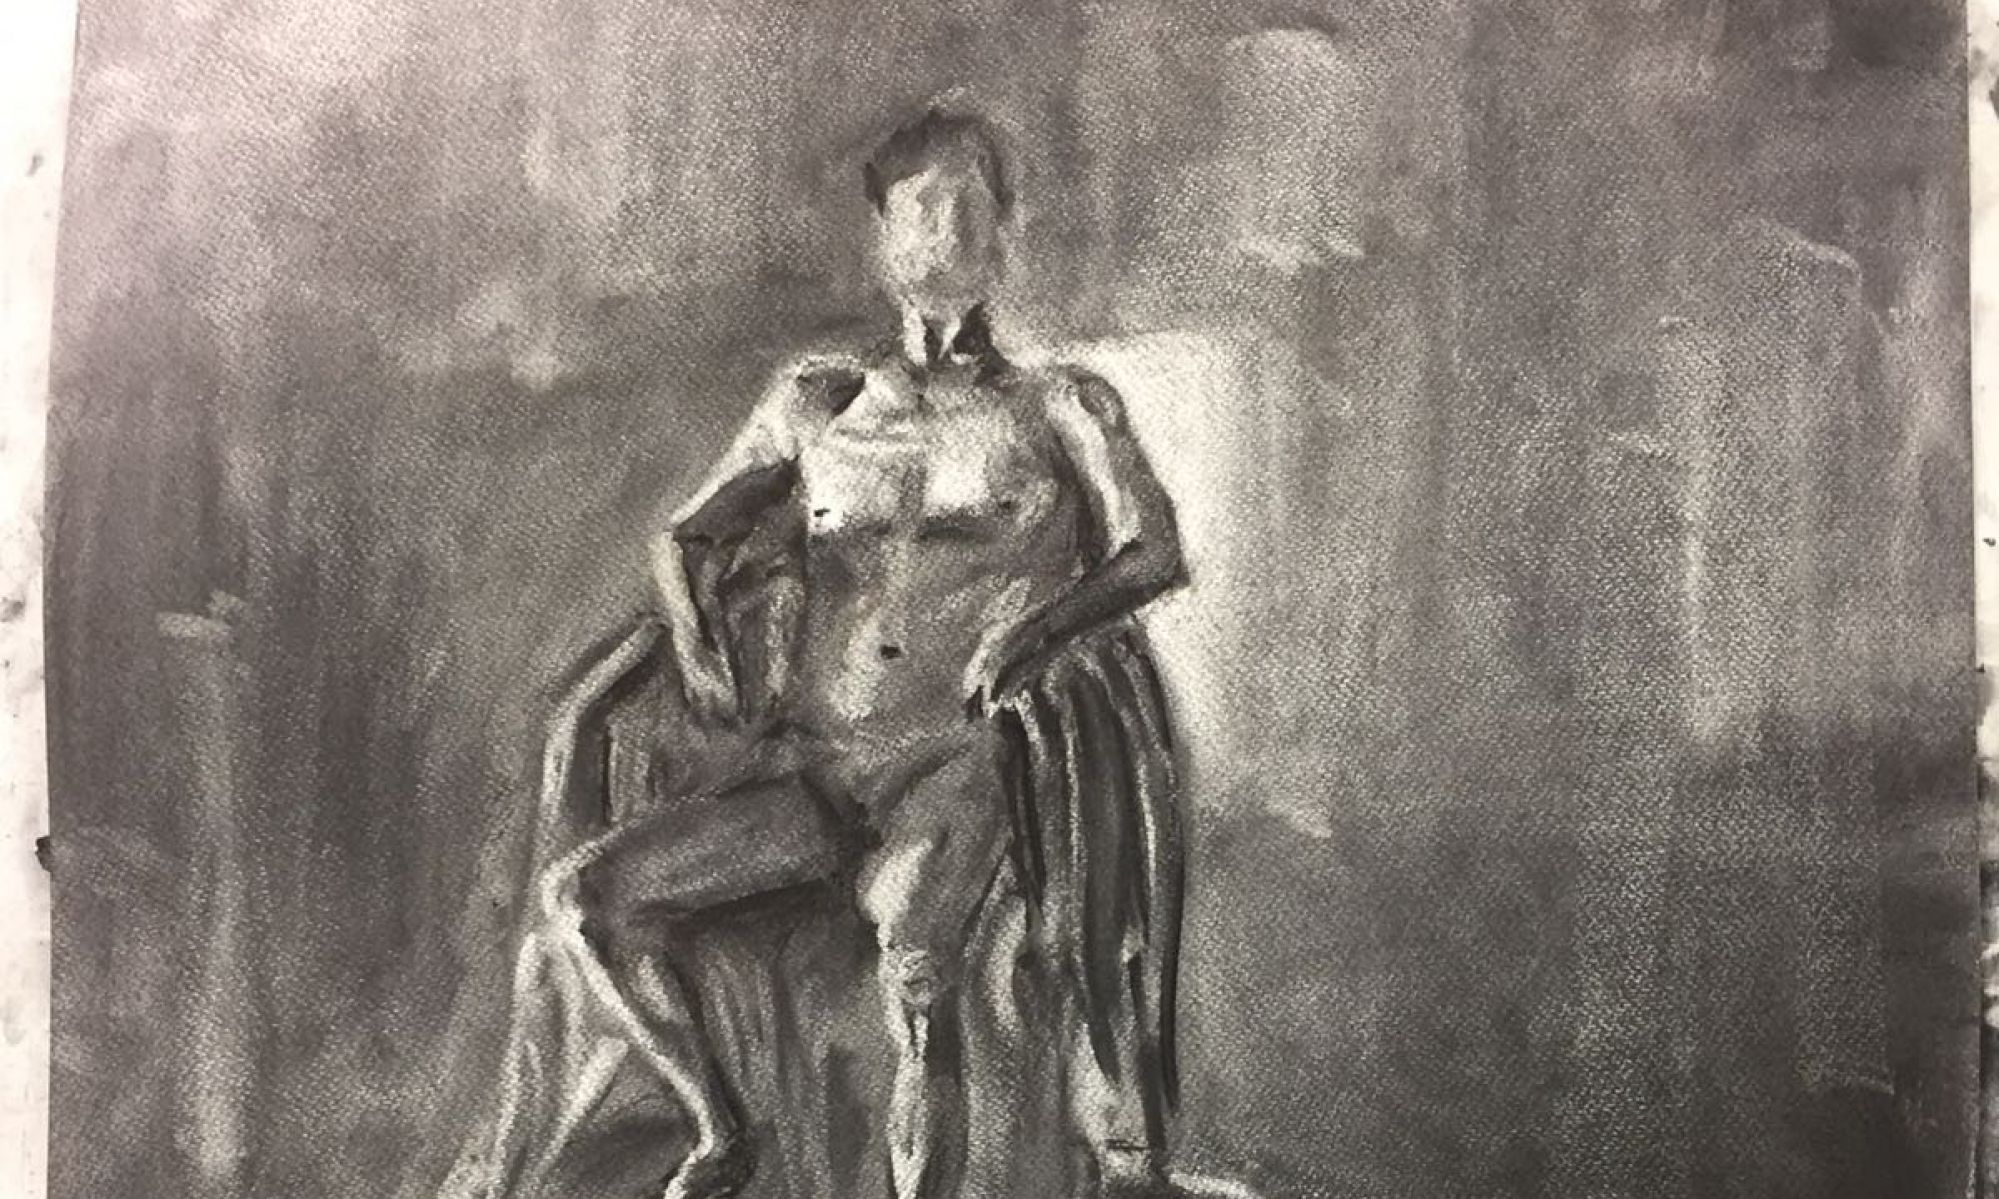
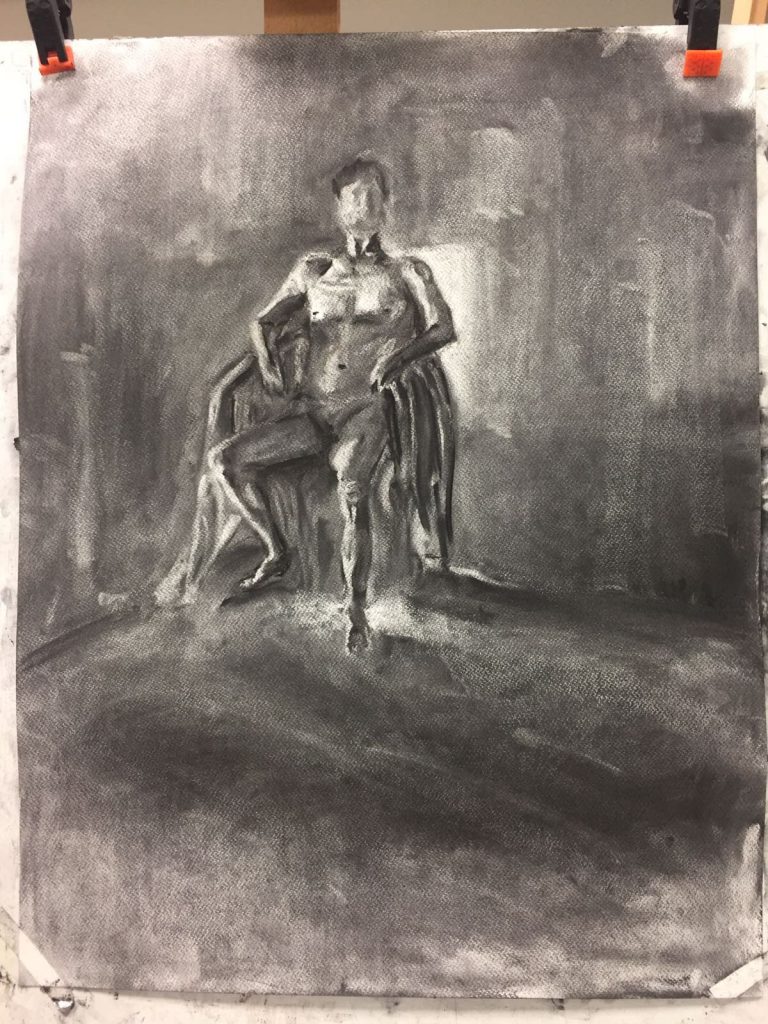
Here, we first smeared the background with charcoal so that it is mid-tone black and then brought out the human form by using an eraser. This exercise helps us to identify the brightest and darkest parts of the human figure, and this aids us in elucidating the form accurately.

My figure is too small again….. Somehow I cannot visualise how the figure will translate on the paper, and so I couldn’t estimate the size of the drawing. Here I think I managed to mark out the form of the body quite clearly (other than the hands which I casually skipped). Some shadows are too sharp (like the one at the model’s right shadow) and some edges are rather weird (e.g. the left arm). I am very happy with the model’s left leg though!! I thought it turned out quite well :>

However, I wasn’t very successful with capturing the mood. Even though the background shades vary in tone, they don’t really give you the idea that there is some sort of air flow or movement at the back. They literally just look like different blocks of different shades in the background. I should work on this more in the future.


Foundation Drawing lesson 1

Hello, I’m Yu Qing :) I graduated from Hwa Chong Junior College and was from the science stream. I do not have any formal art background, but I like to draw and doodle since young, so it’s really great that ADM has a foundation drawing class to help me get my basics right. As I plan to major in animation, I feel that acquiring strong drawing skills will be very beneficial. I hope to make the very best out of this class in this semester!

For our first Foundation Drawing class, our prof introduced a style of sketching that he would like us to have a go at. It is rather charming – instead of drawing objects in isolation and being obsessed with bringing out its form, his way of sketching is a lot looser.

  • Scenes are to be looked at in the overall perspective.
  • The sketch is primarily concerned with the interplay of positive and negative spaces.
  • There need not be any clear boundary of whatever we were drawing, we can simply allow one object flow to the next.

I feel that our prof’s demonstration drawing is very ‘fluid’, natural, and somehow visually comfortable. One table can morph into another table in the back, yet the front is represented by positive space while the latter negative.

Shortly after, we went down to Canteen 2 to do some sketching! Prof suggested we apply quick strokes when we are confident and slow down when we are not.

This was the very first sketch I made. I feel like I didn’t understand what Prof was trying to tell us. My sketch remains too clean and I was shading into spaces quite arbitrarily.

Some other sketches I’d made:

I wonder if I am thinking too much while drawing, or not thinking enough at all. As my mind is usually blank when I draw, I do not consciously decide which object to be represented with negative space and which positive. Perhaps this is why my sketches are still rather isolated and traditional.

This is a sketch that I was rather happy with. I feel that there is more fluidity between different objects, but the use of positive/negative space is still rather ambiguous.

After comparing my own sketches with my prof’s, I also notice that he varies the tone of shading a lot more – which may be why he is able to create more depth. Also his lines are way looser than mine – I will feel compelled to finish drawing the leg of a chair yet he can very freely leave it as nothing more than a line with a small suggestion of a cuboid structure.

Hope that with a lot more practices, I will be able to manoeuvre comfortably around positive and negative spaces!