Suspend your Disbelief | Documentation | Analog Midterm

Some Thoughts on Process

What started as a working title became surprisingly apt when I had doubts about whether this project could be materialised. It reminded me of an article in the local newspaper a few weeks back about Christo and his 2 decade long project in Colorado. Interestingly, he mentioned in the interview how getting permits and approval was an integral element of the spirit of the project.

Variations between Planning and Execution

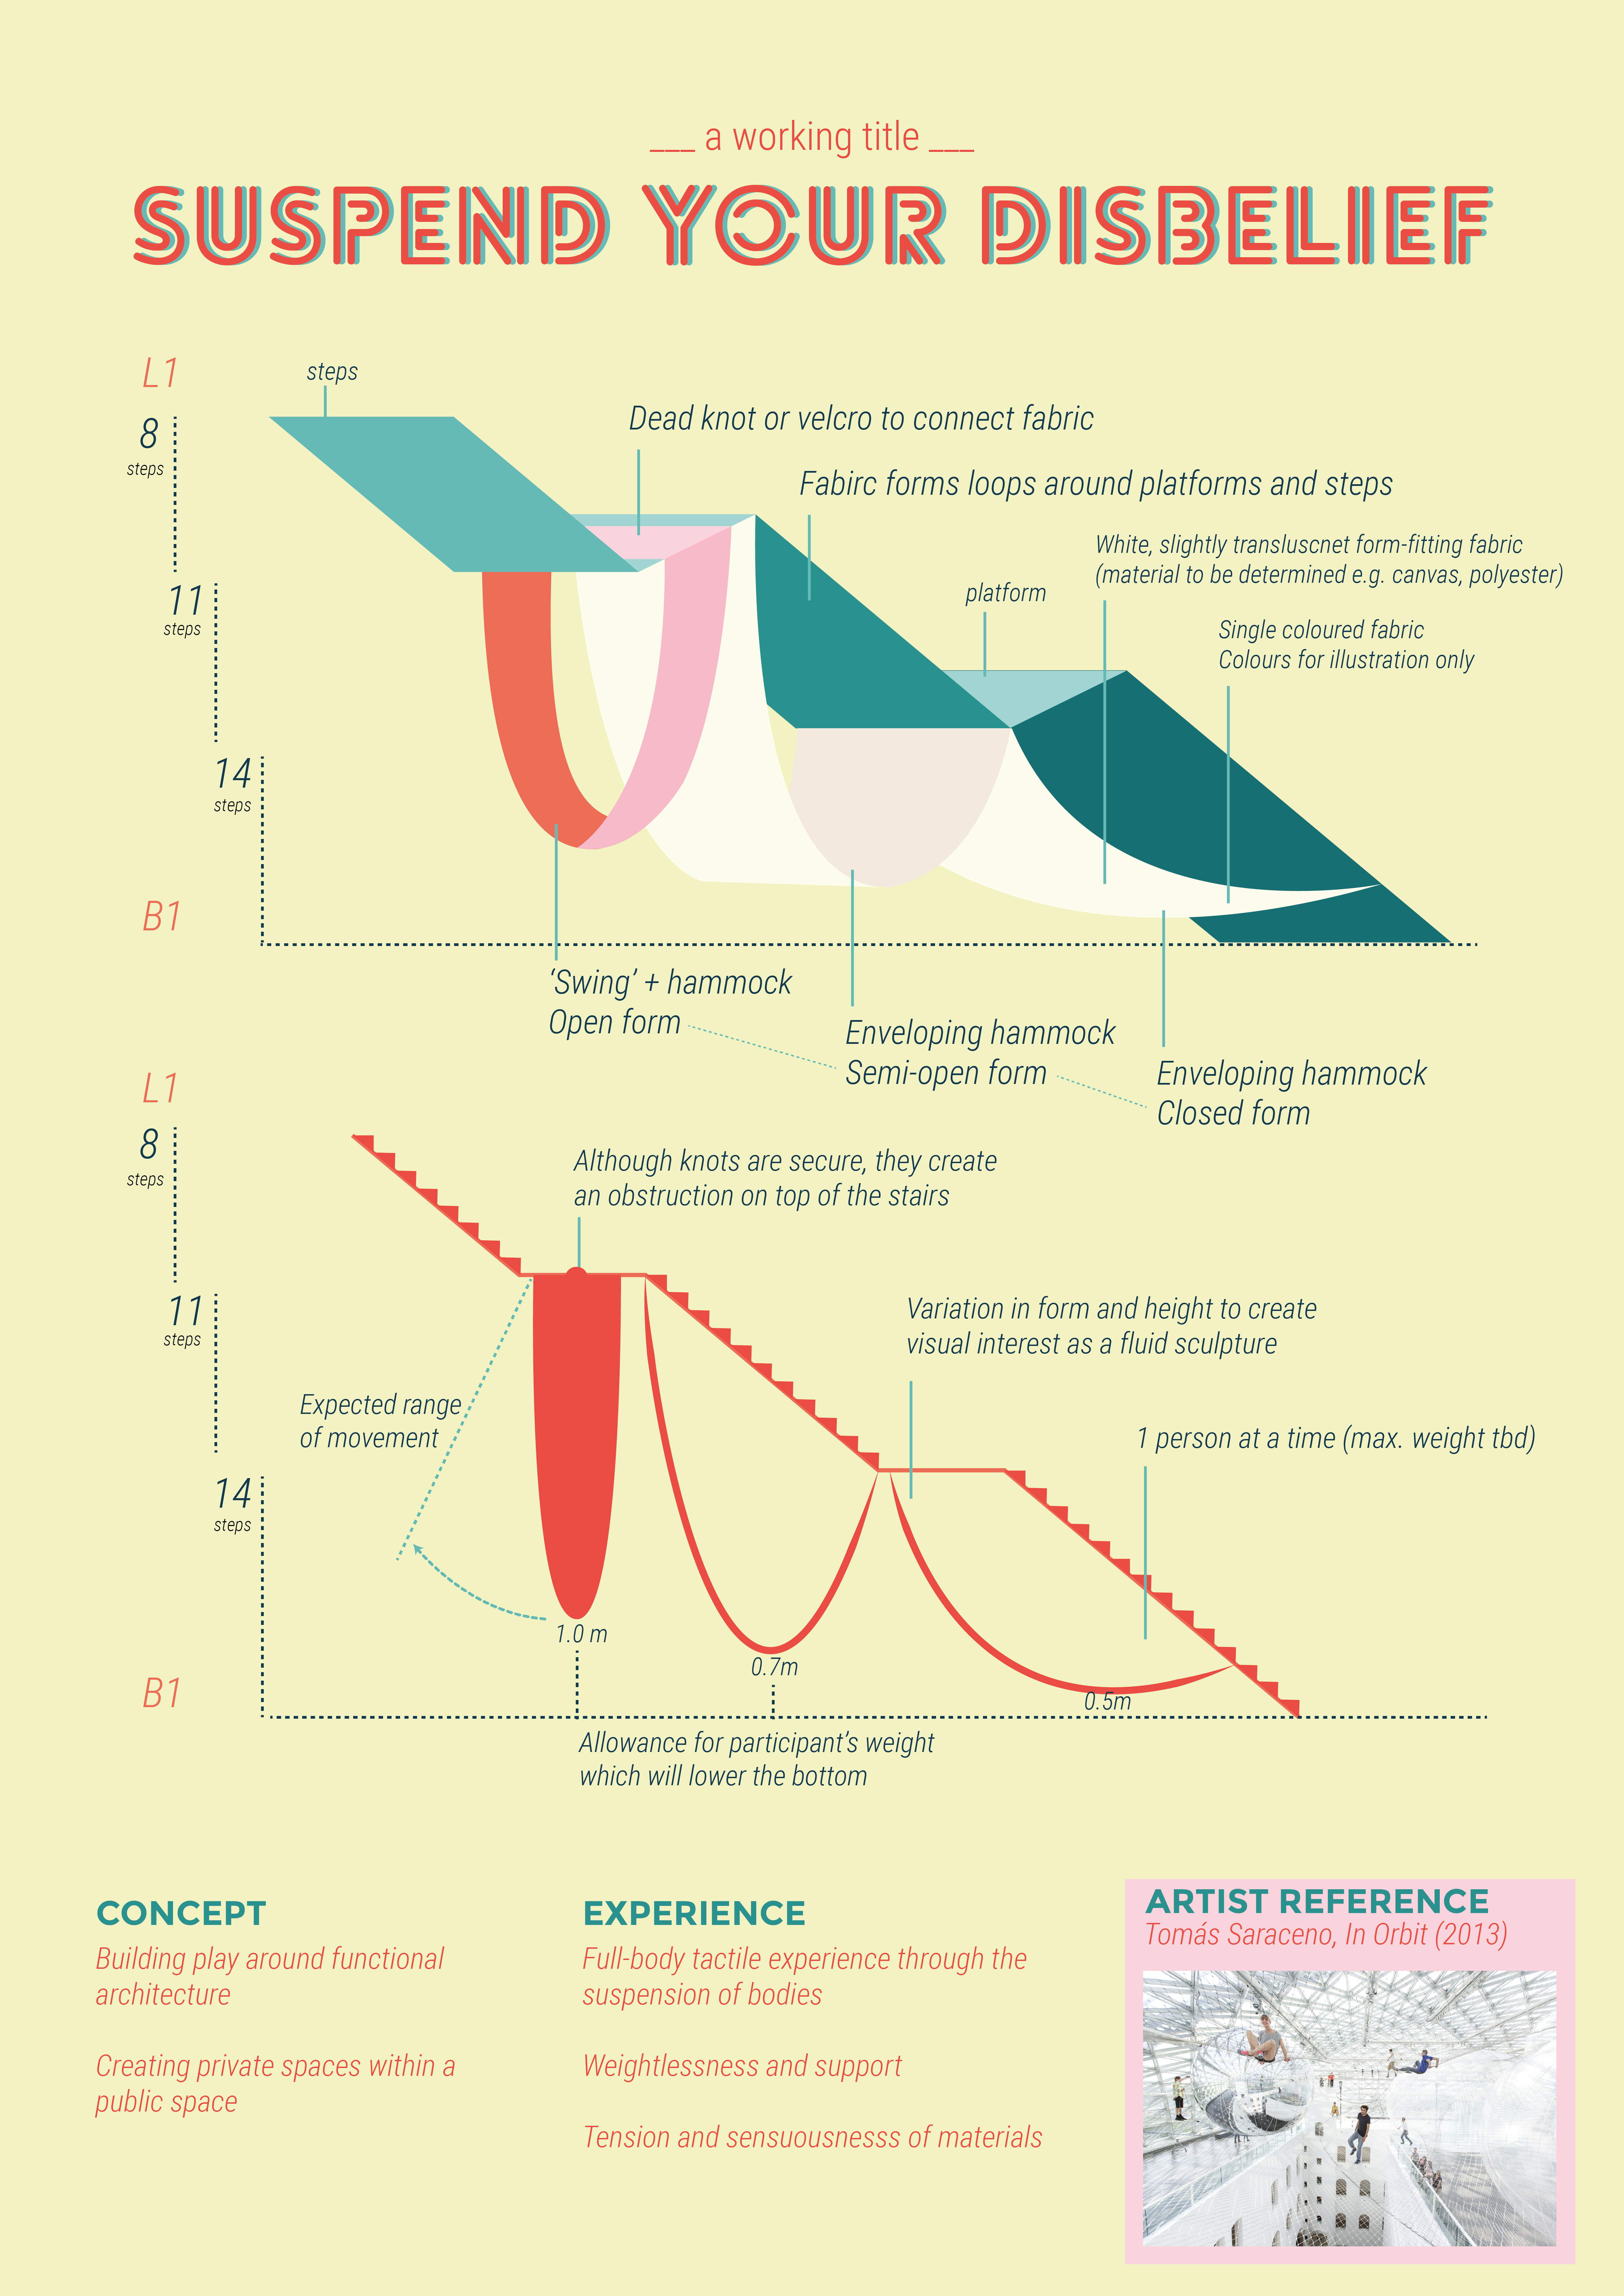
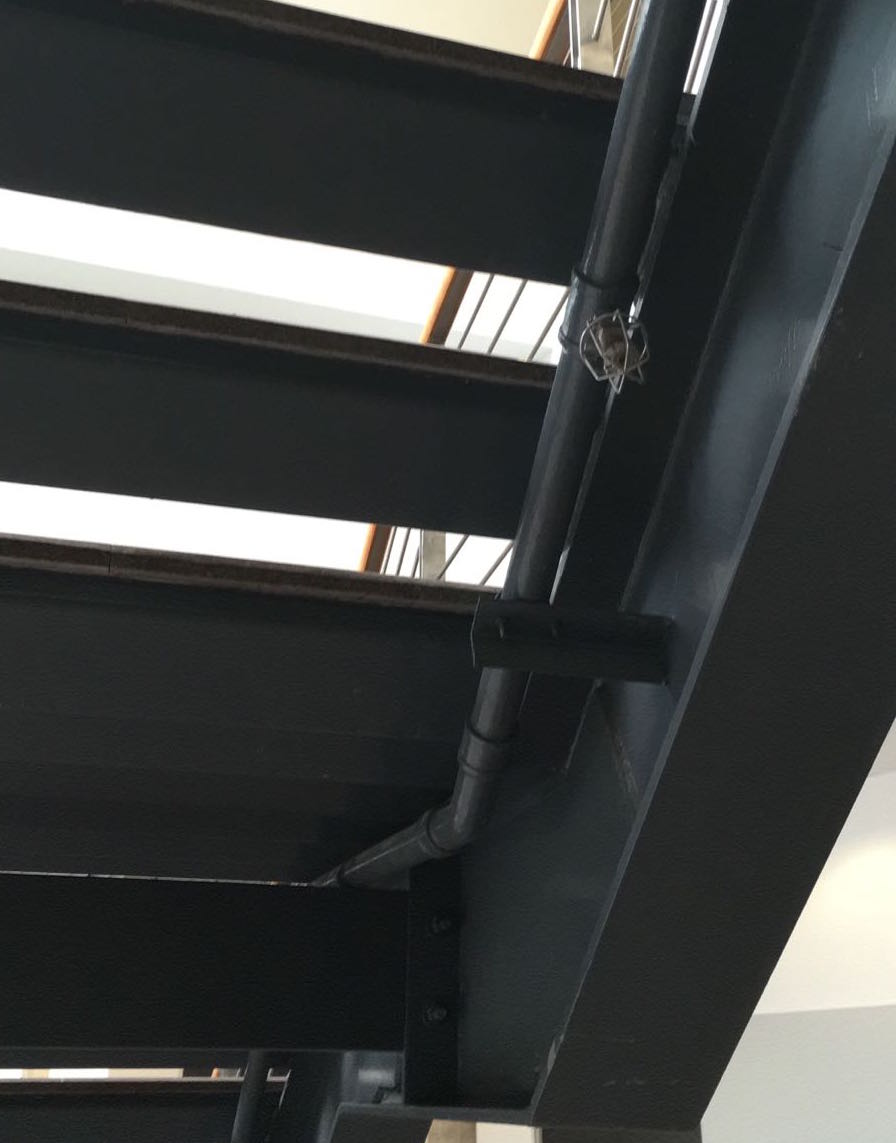
Initially, I intended the swing and larger hammock to be closer together. However, the larger hammock had to be placed further to the right, down the stairs so as to not obstruct the fire sprinklers.

Example of fire sprinkler underneath the staircase
Making a Prototype

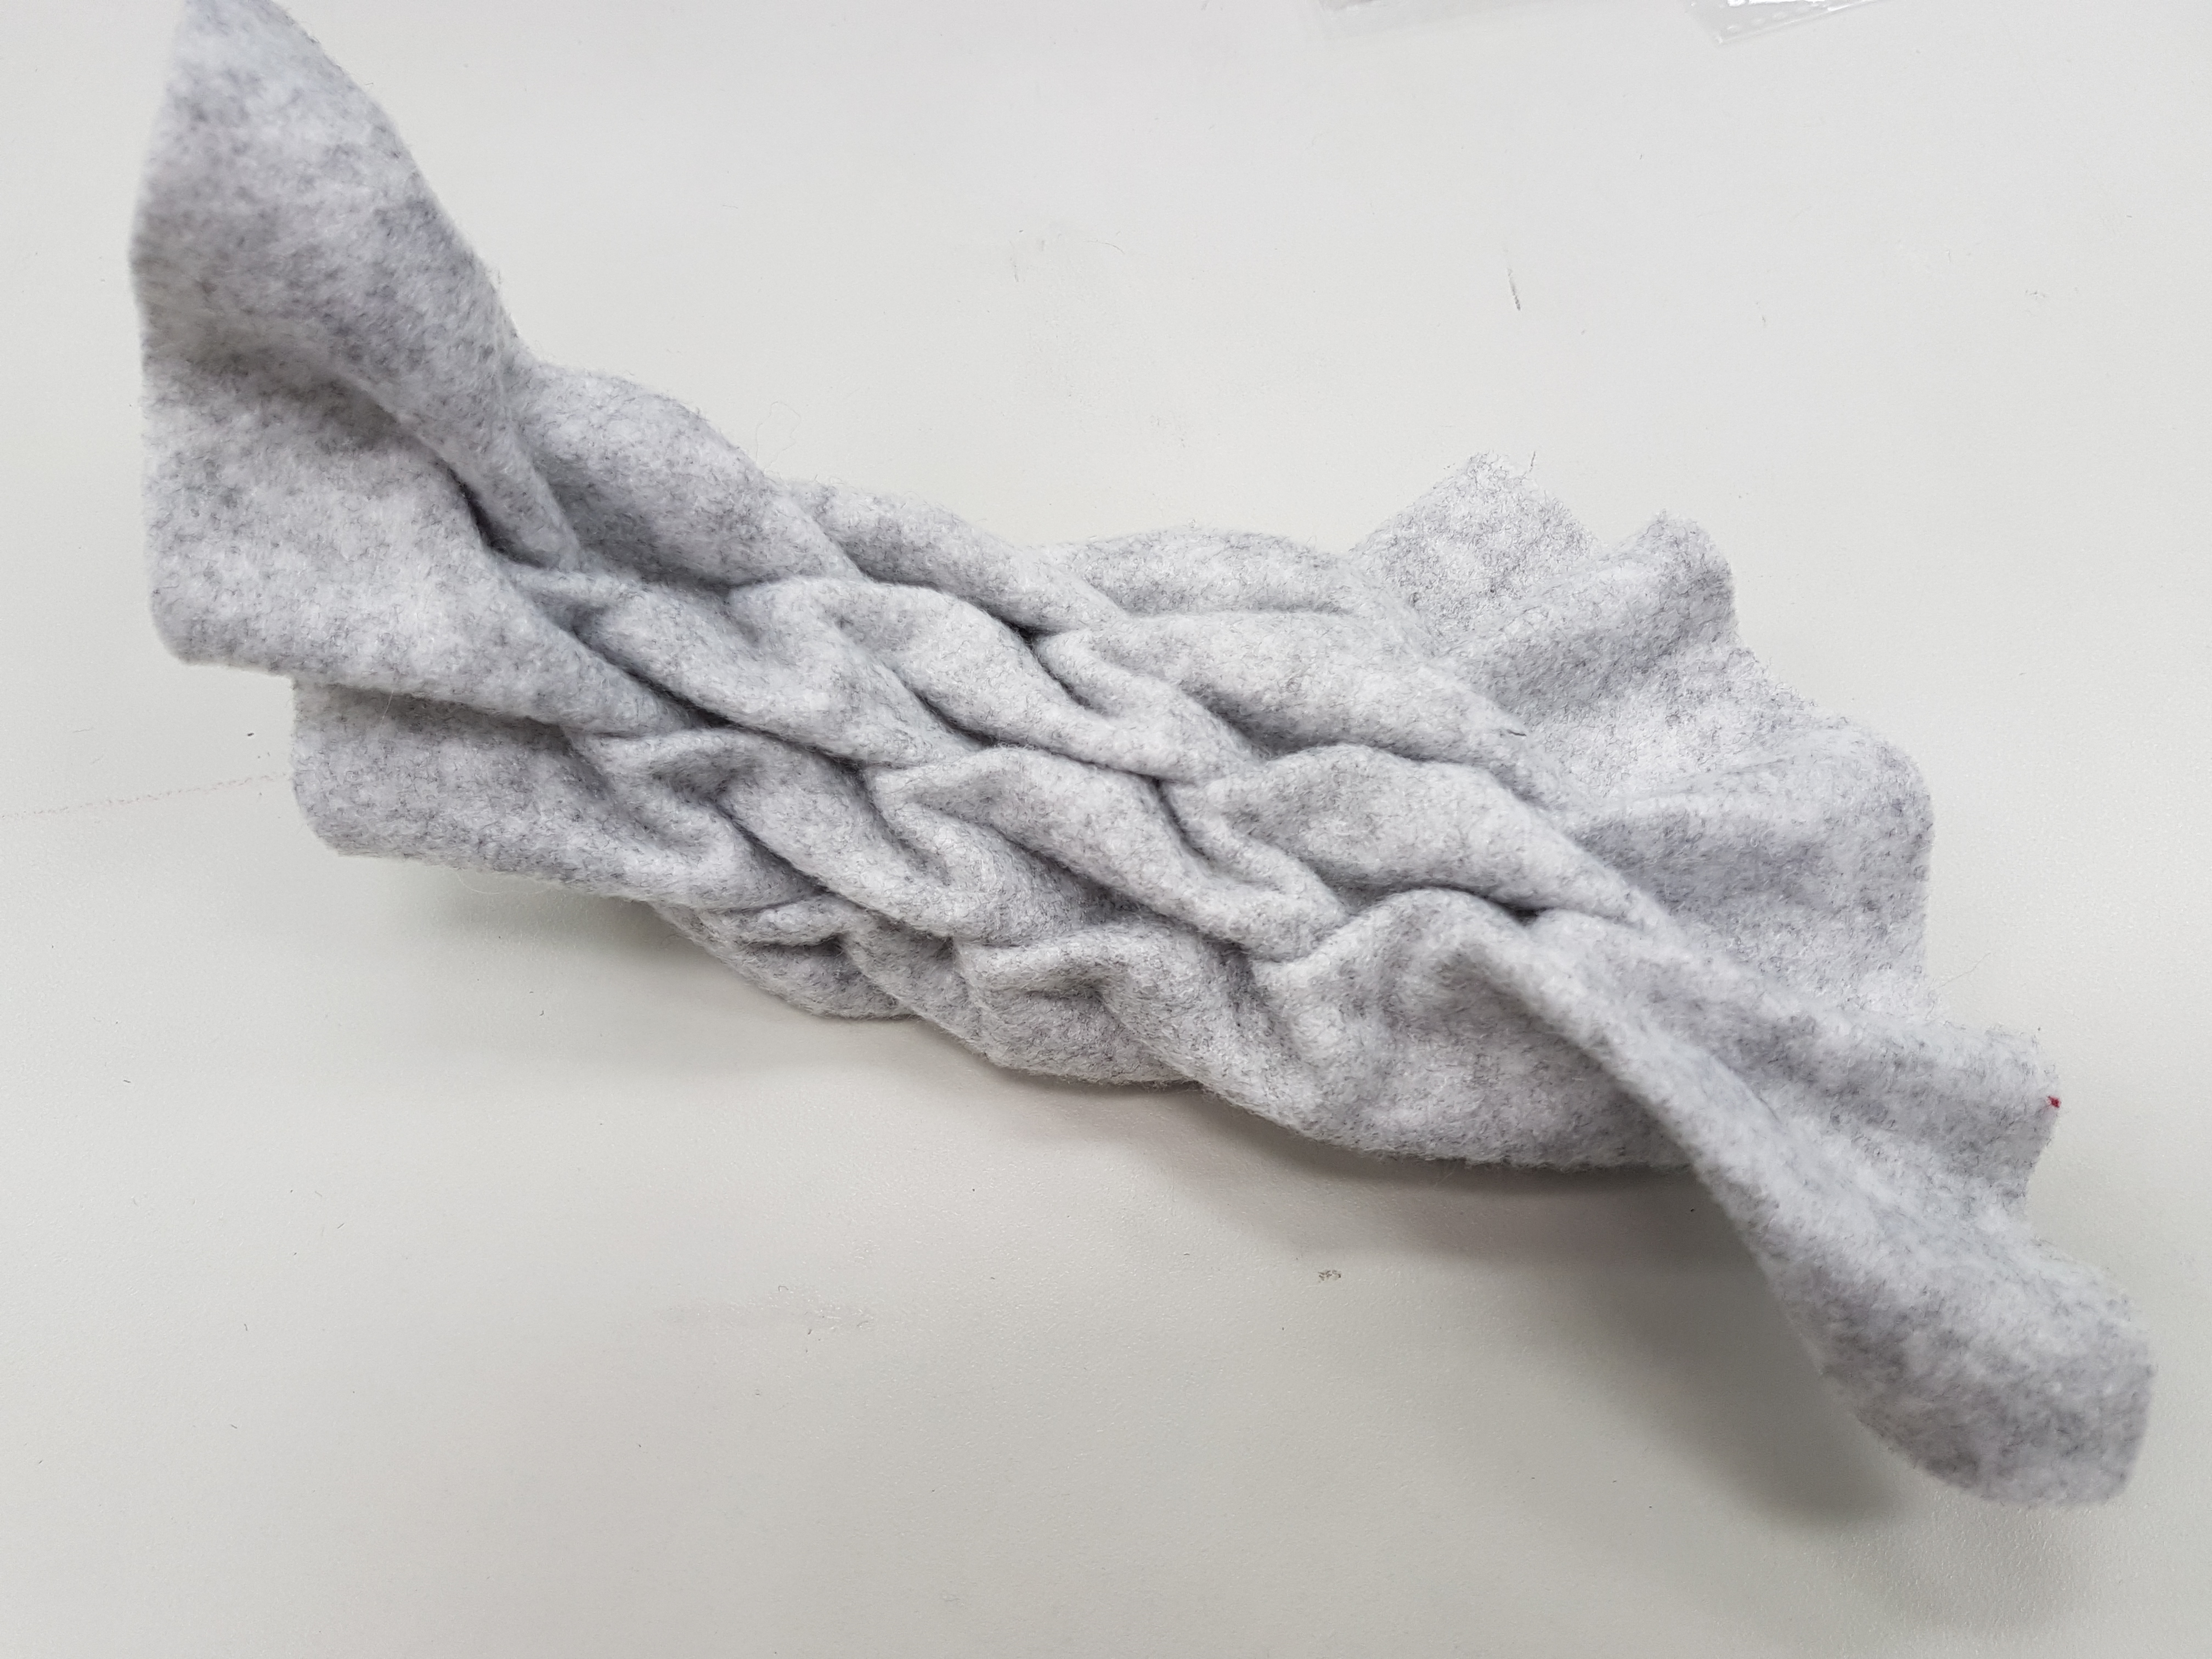
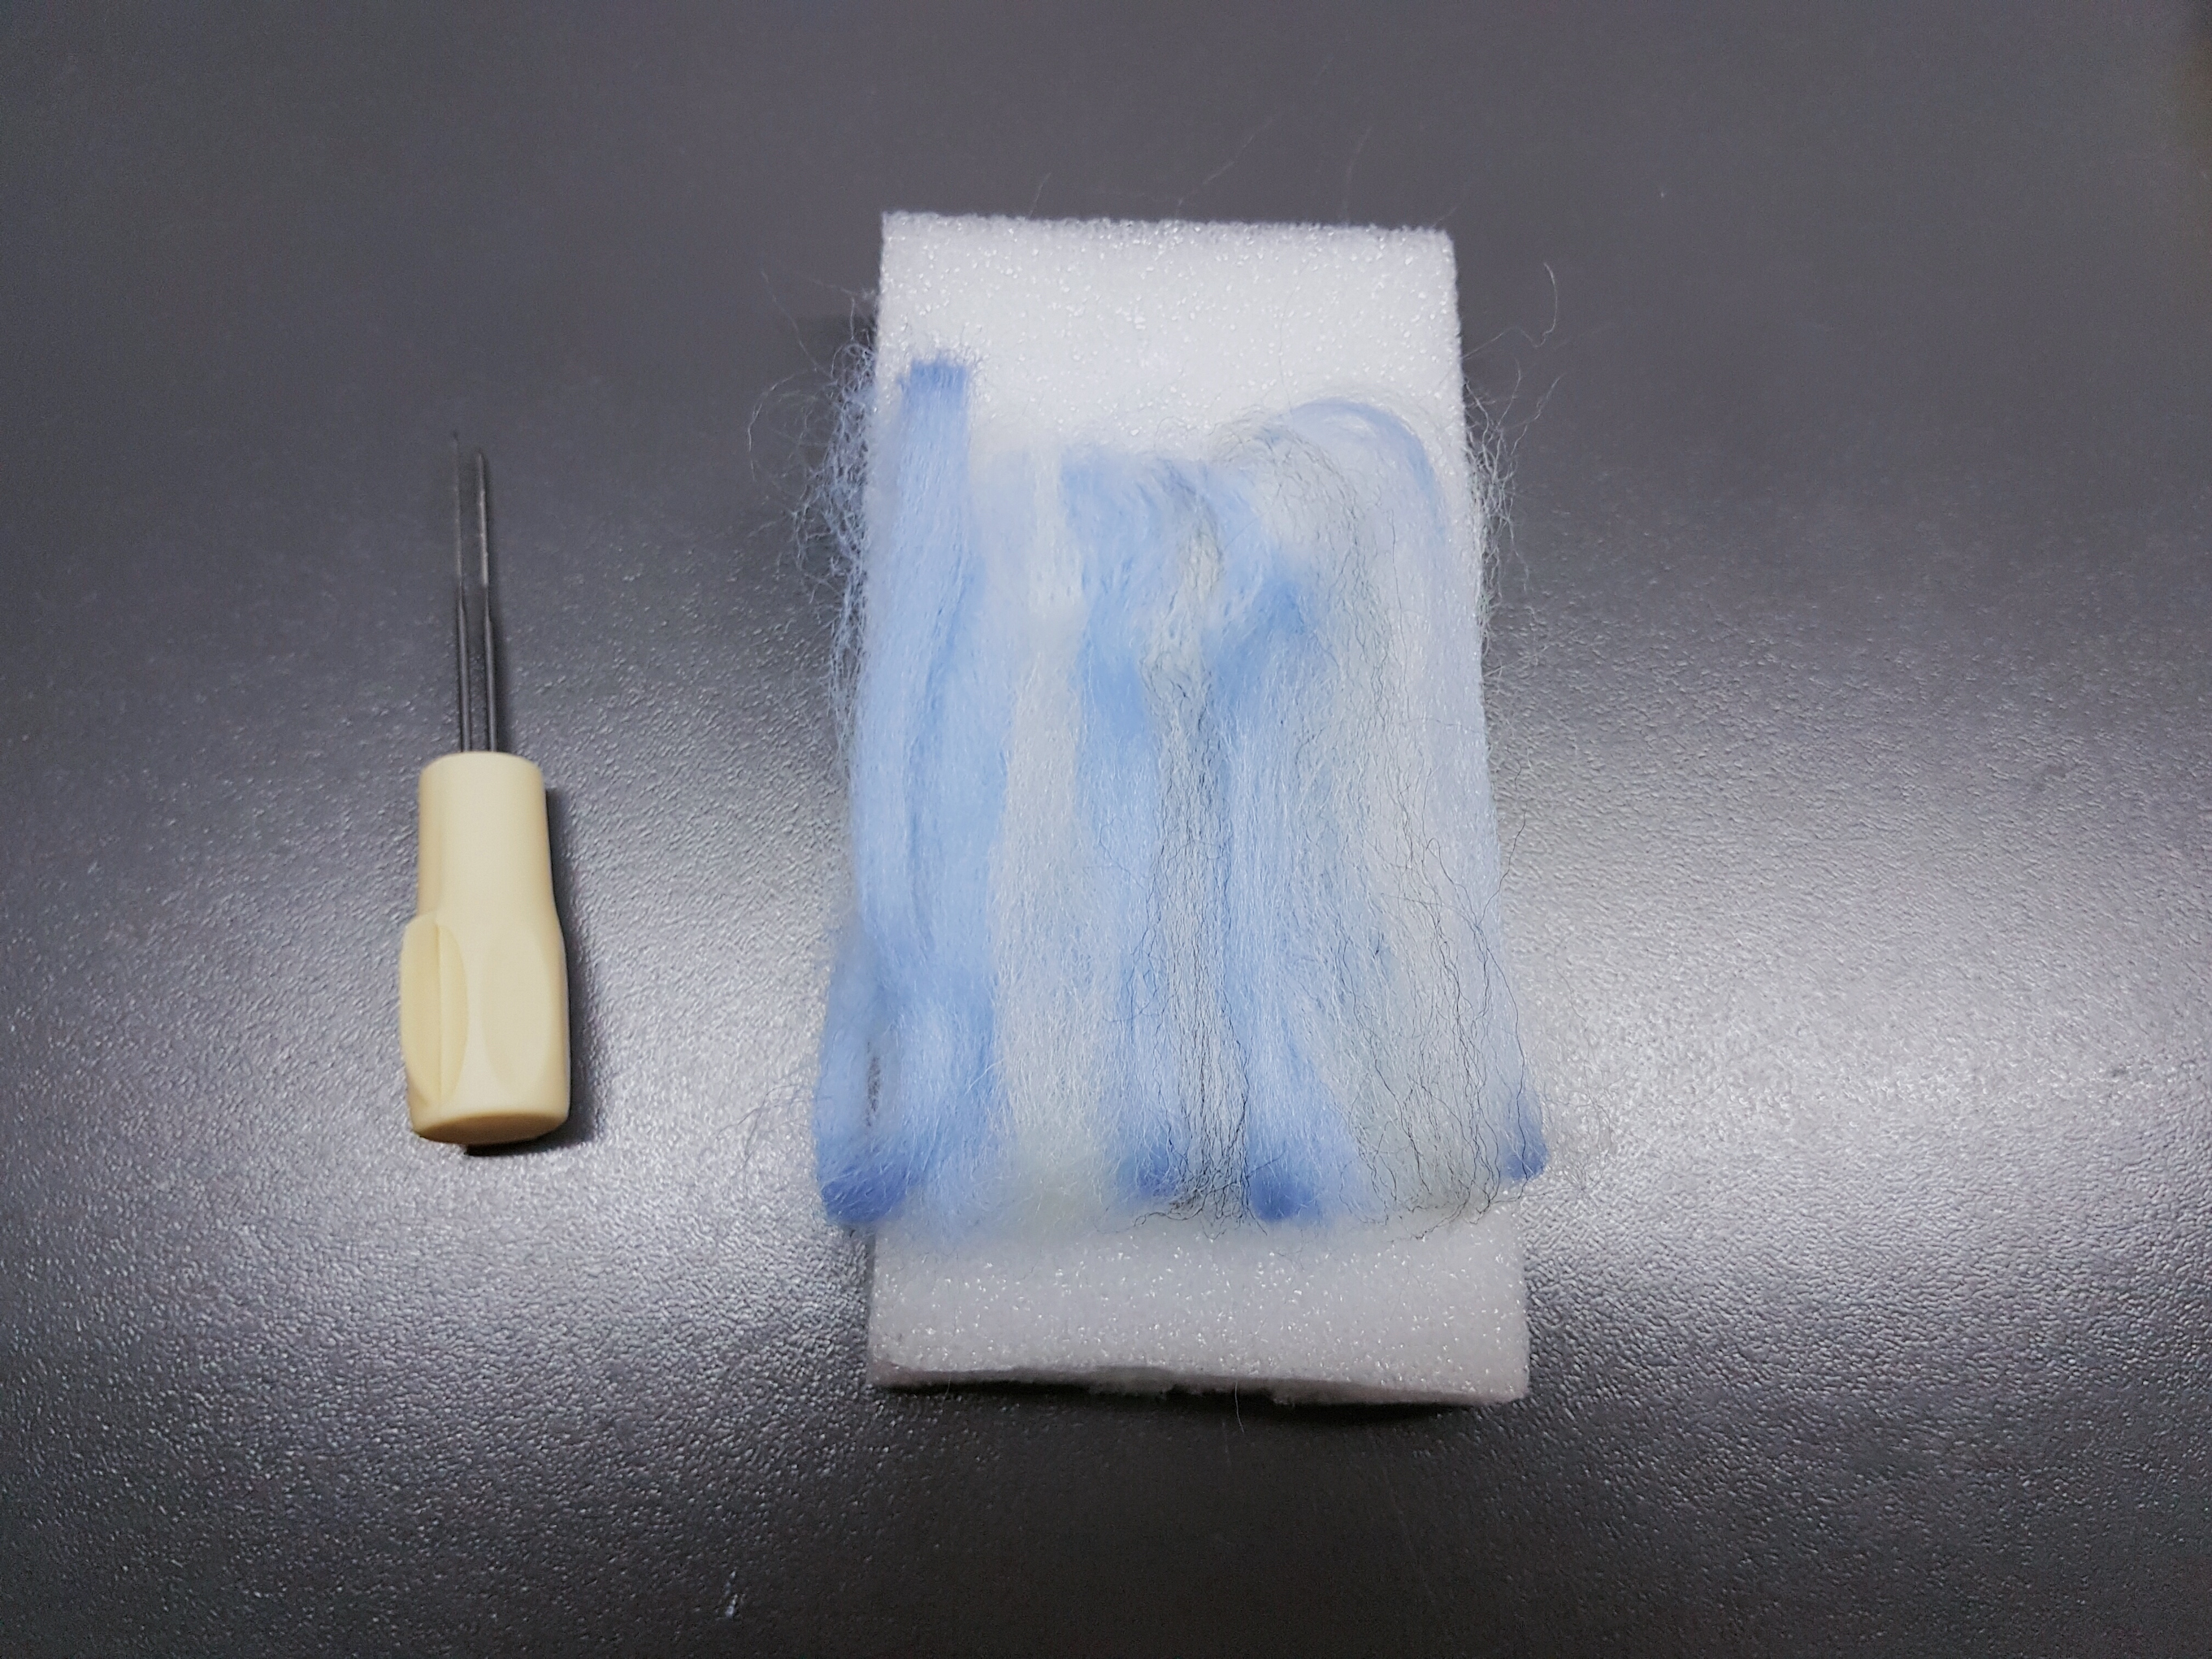
Before getting loads of rope and fabric, I made a prototype using scrap materials such as wires, shoelaces and some spare cloth.

I tied this makeshift hammock onto my bed post and experimented with the placement of ropes (3 points vs. a single pivot) and the motion it created using each method.

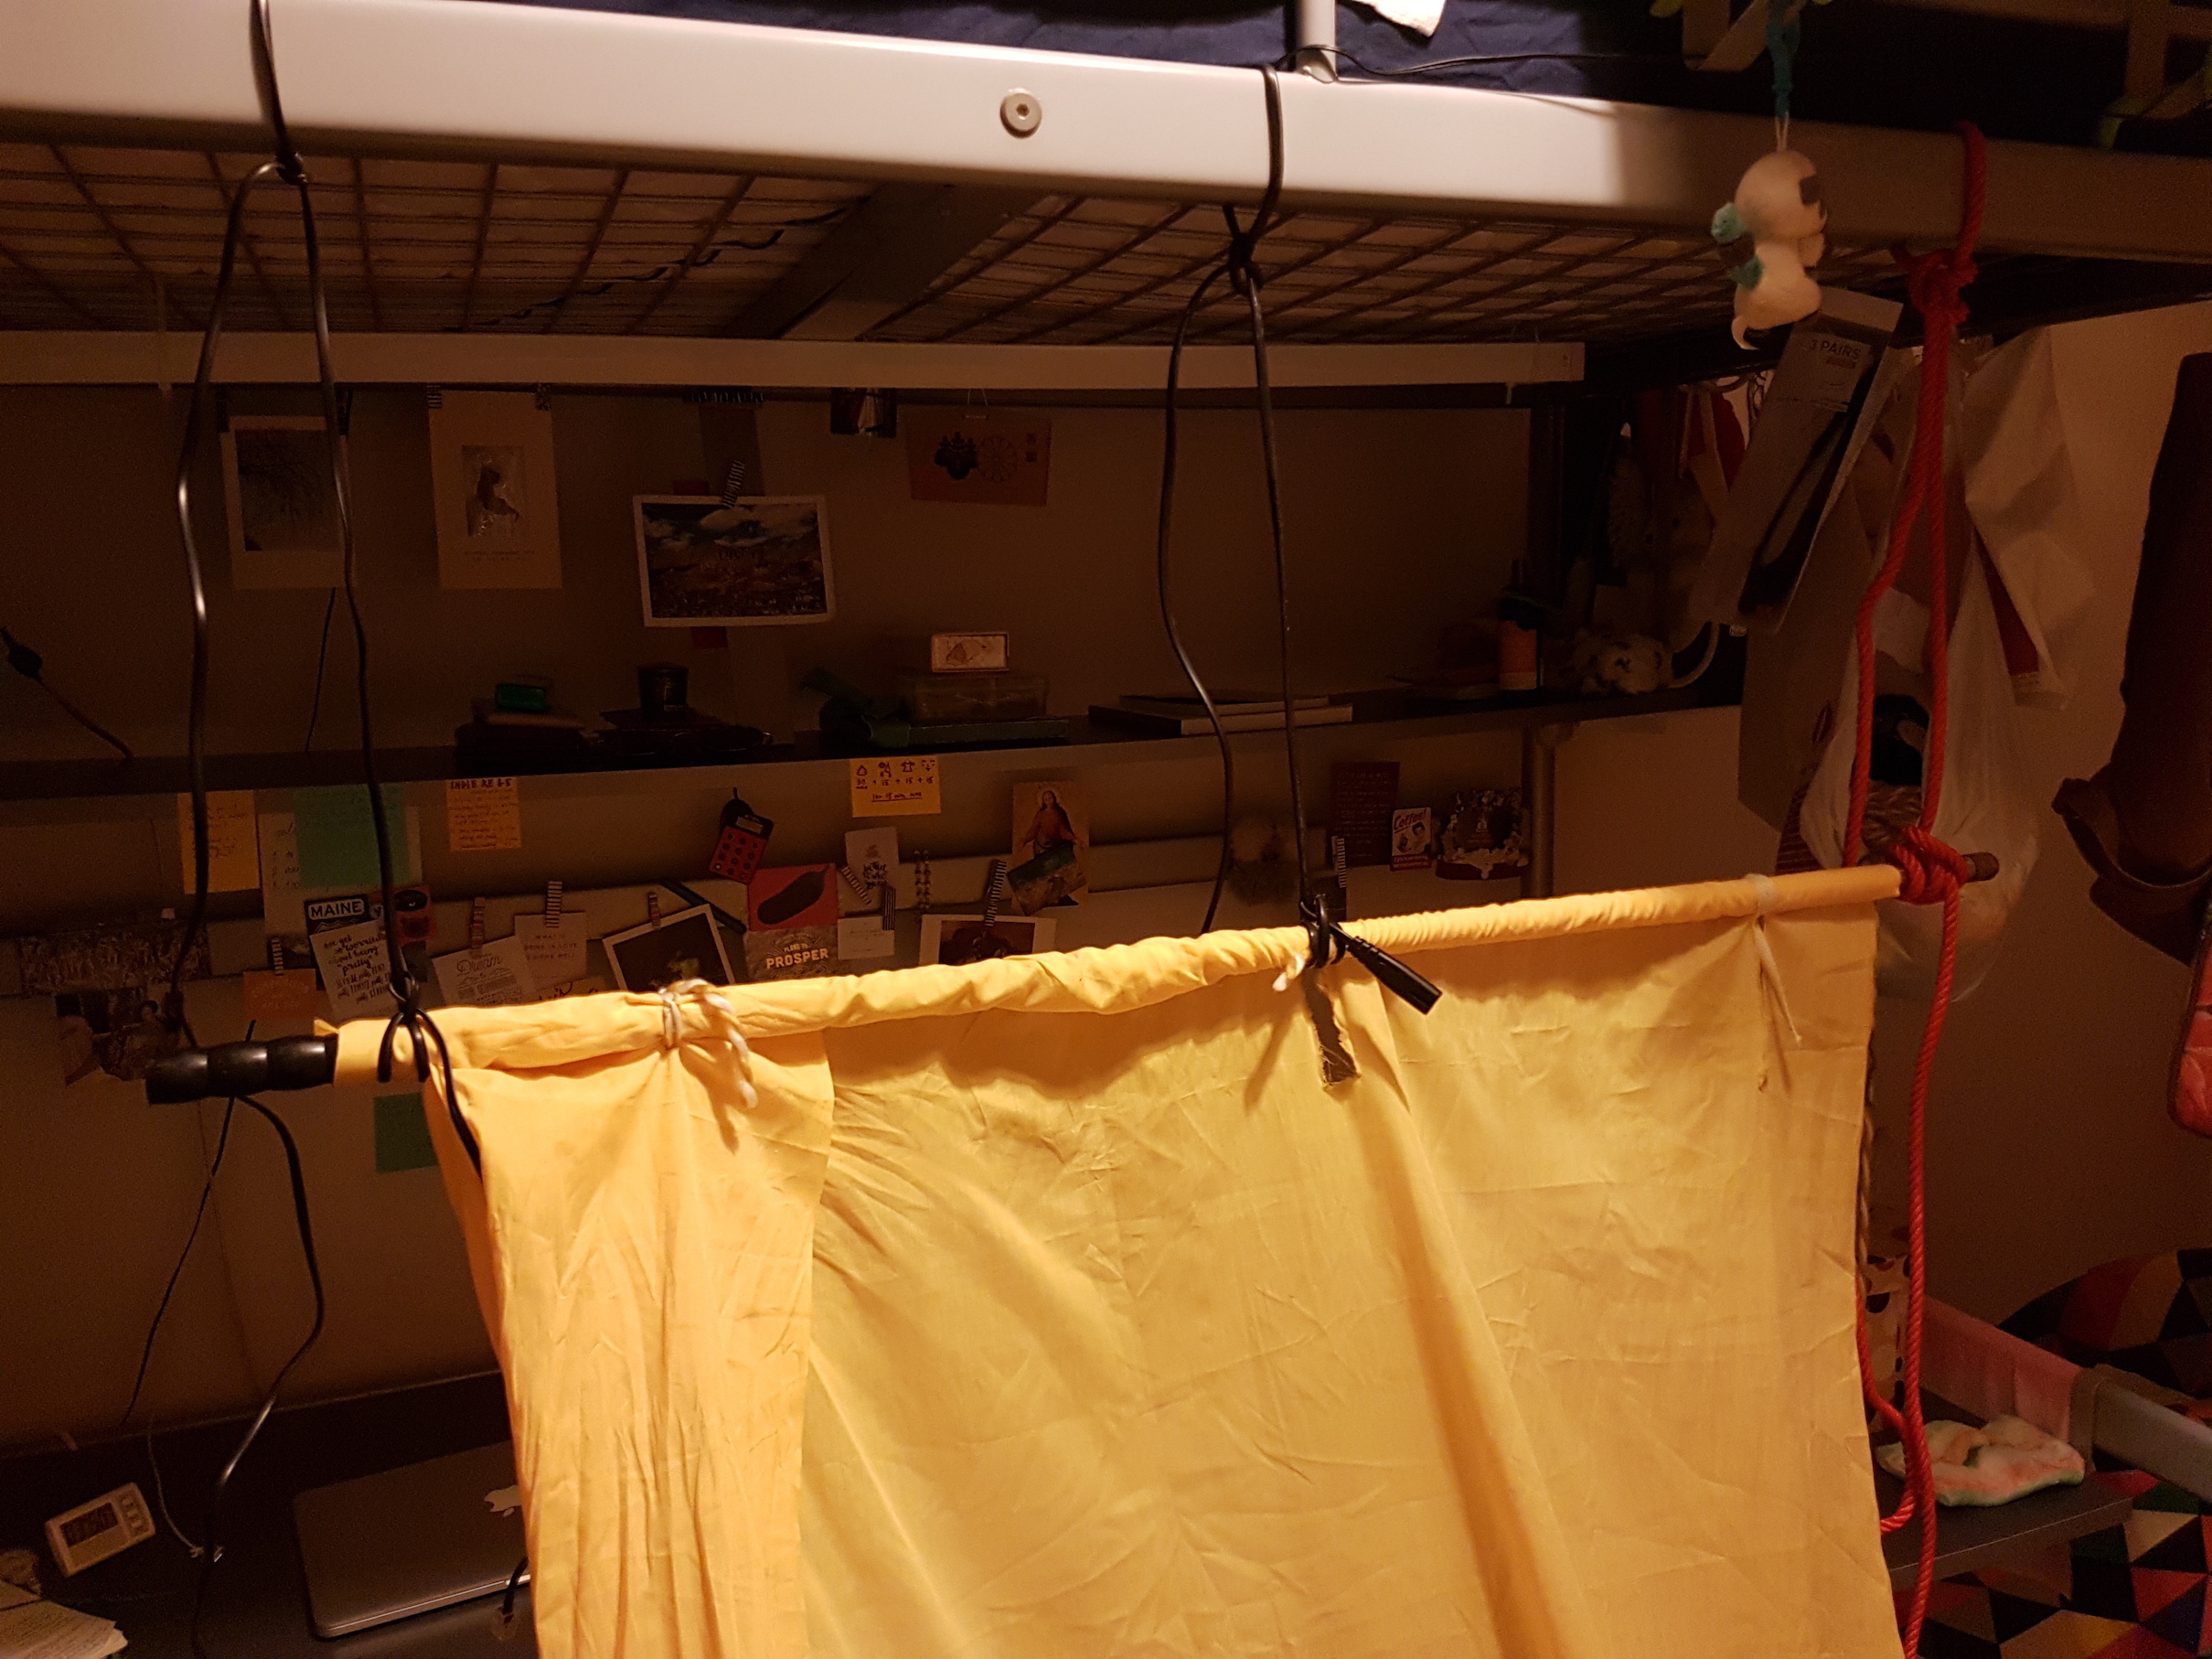
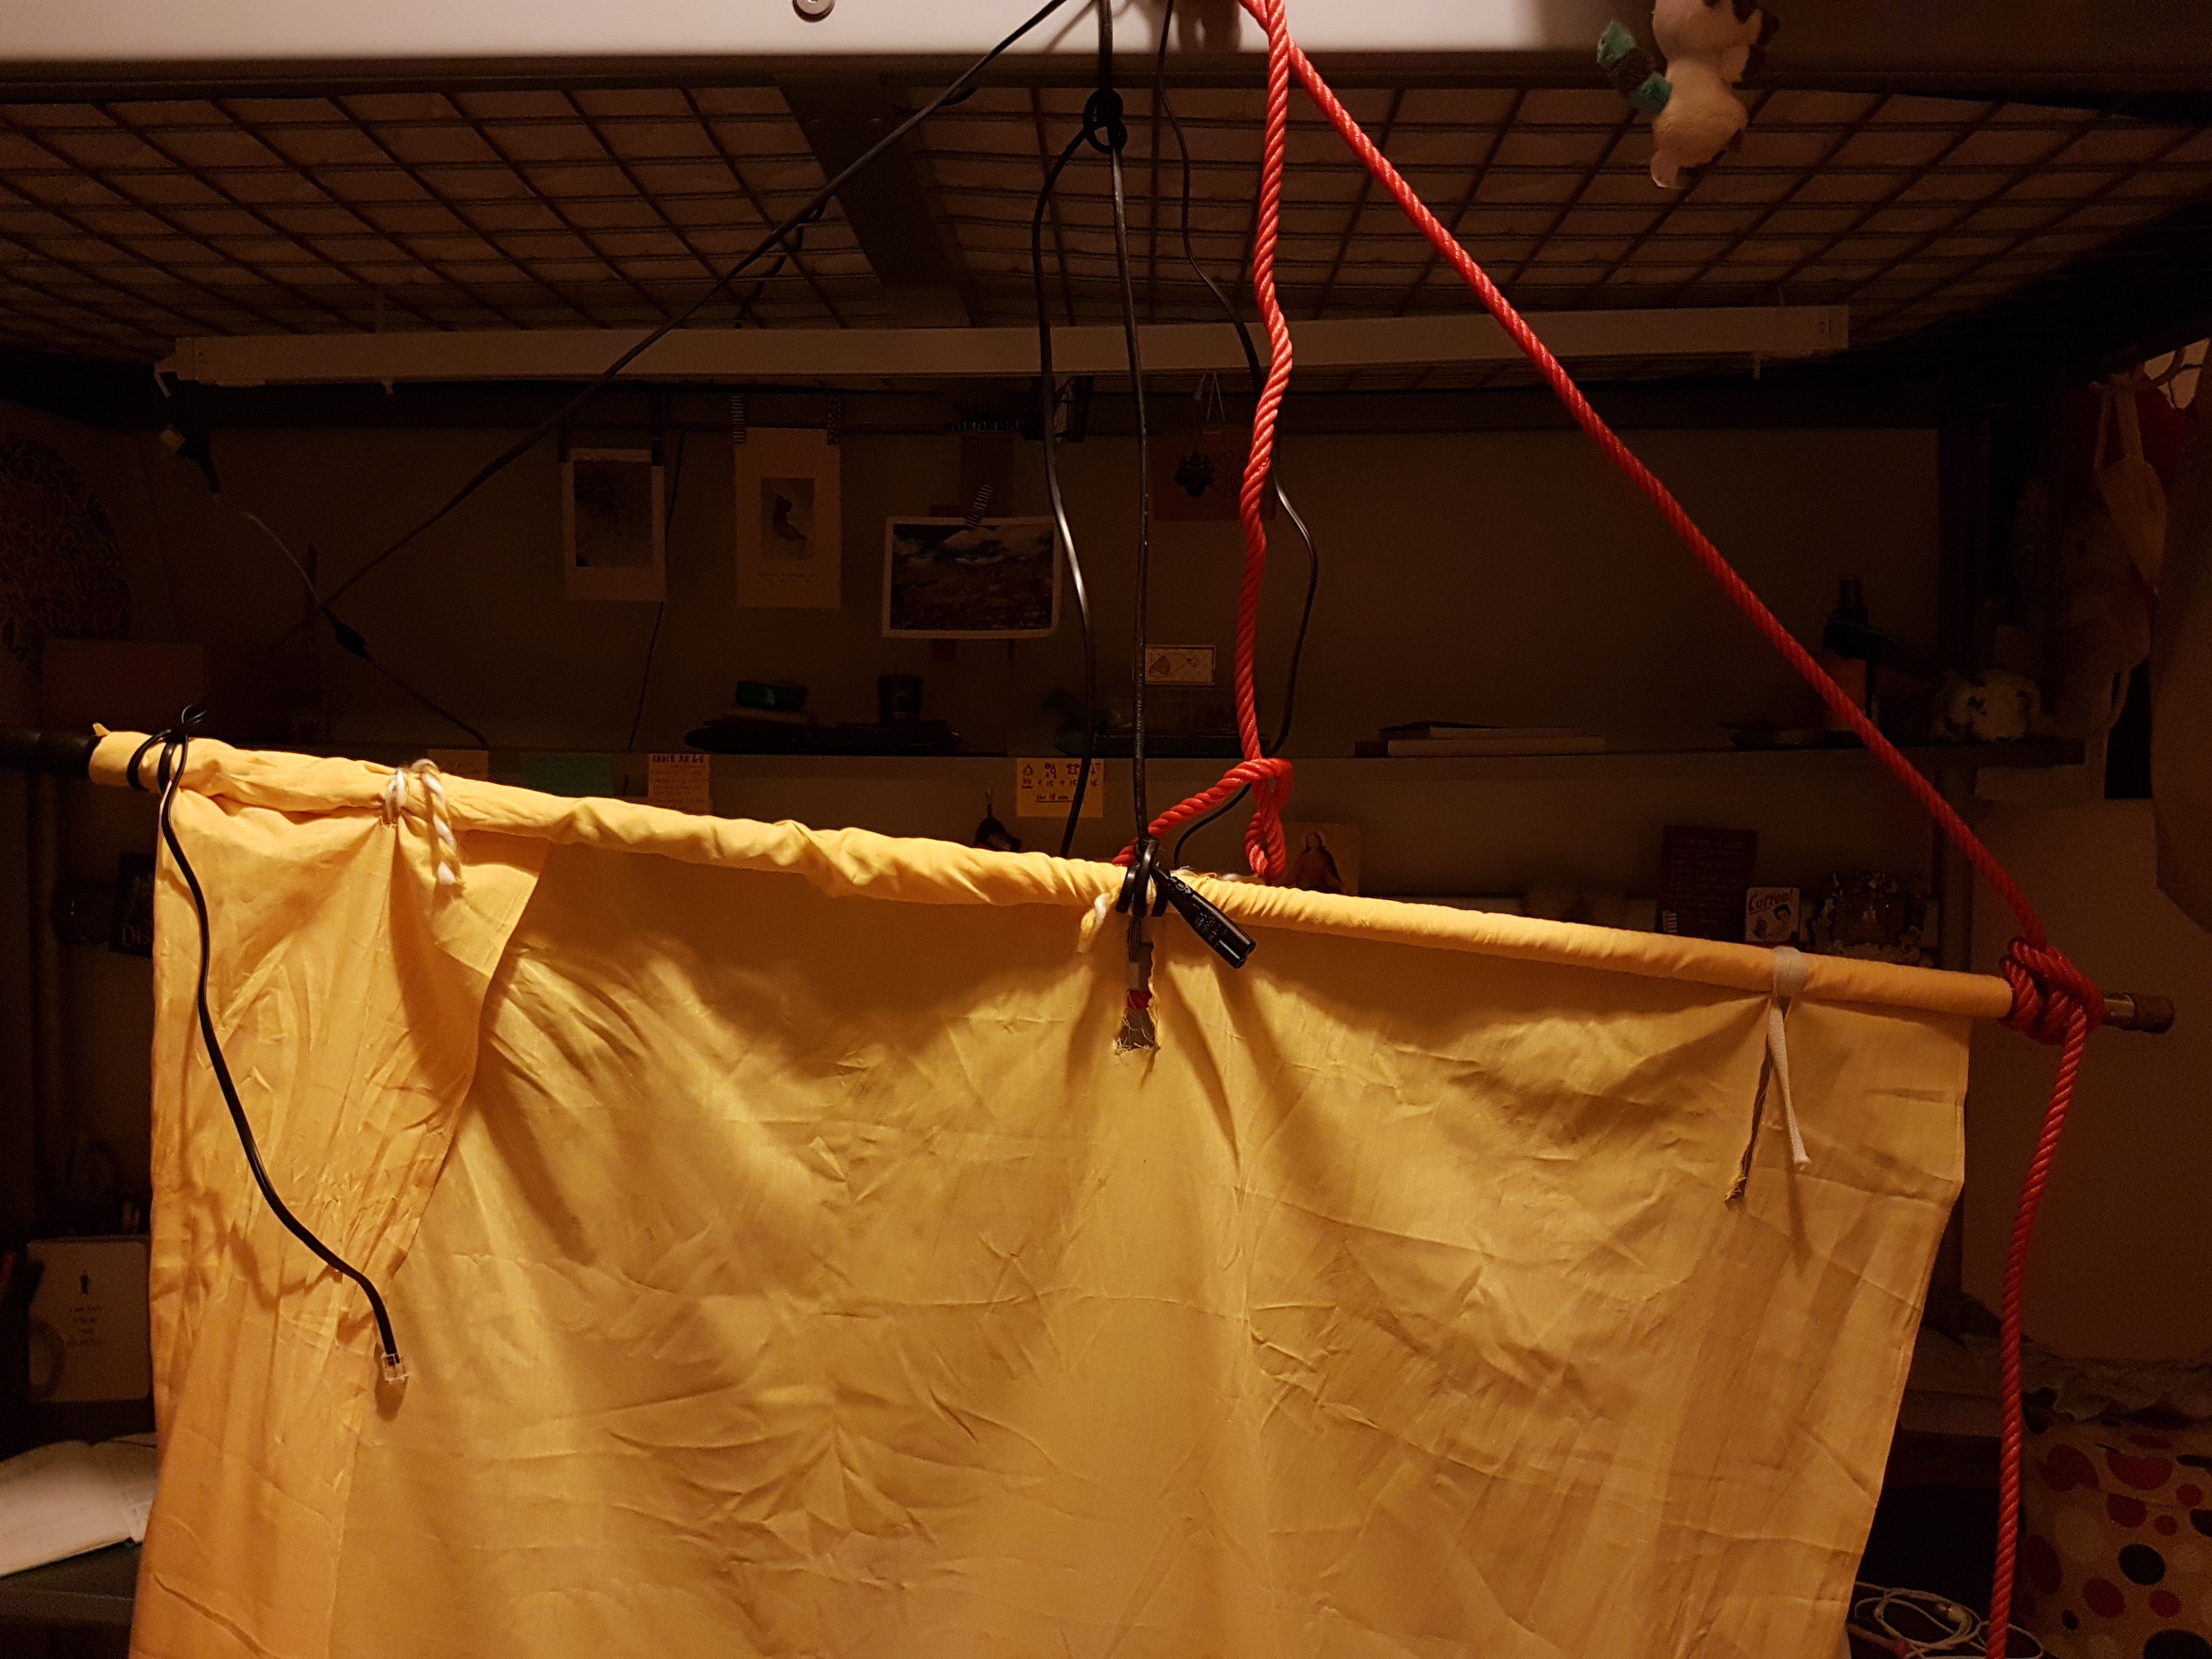
Trying out these prototypes was very useful as it allowed me to gauge the strength of cloth needed and shorten the width of the hammocks based on the wood flexibility and strain. Instead of winding the fabric around the pole, I opted for sewing as it would be more secure and able to bare more weight.

Creating the Components
Choices at Chinatown! Too many!

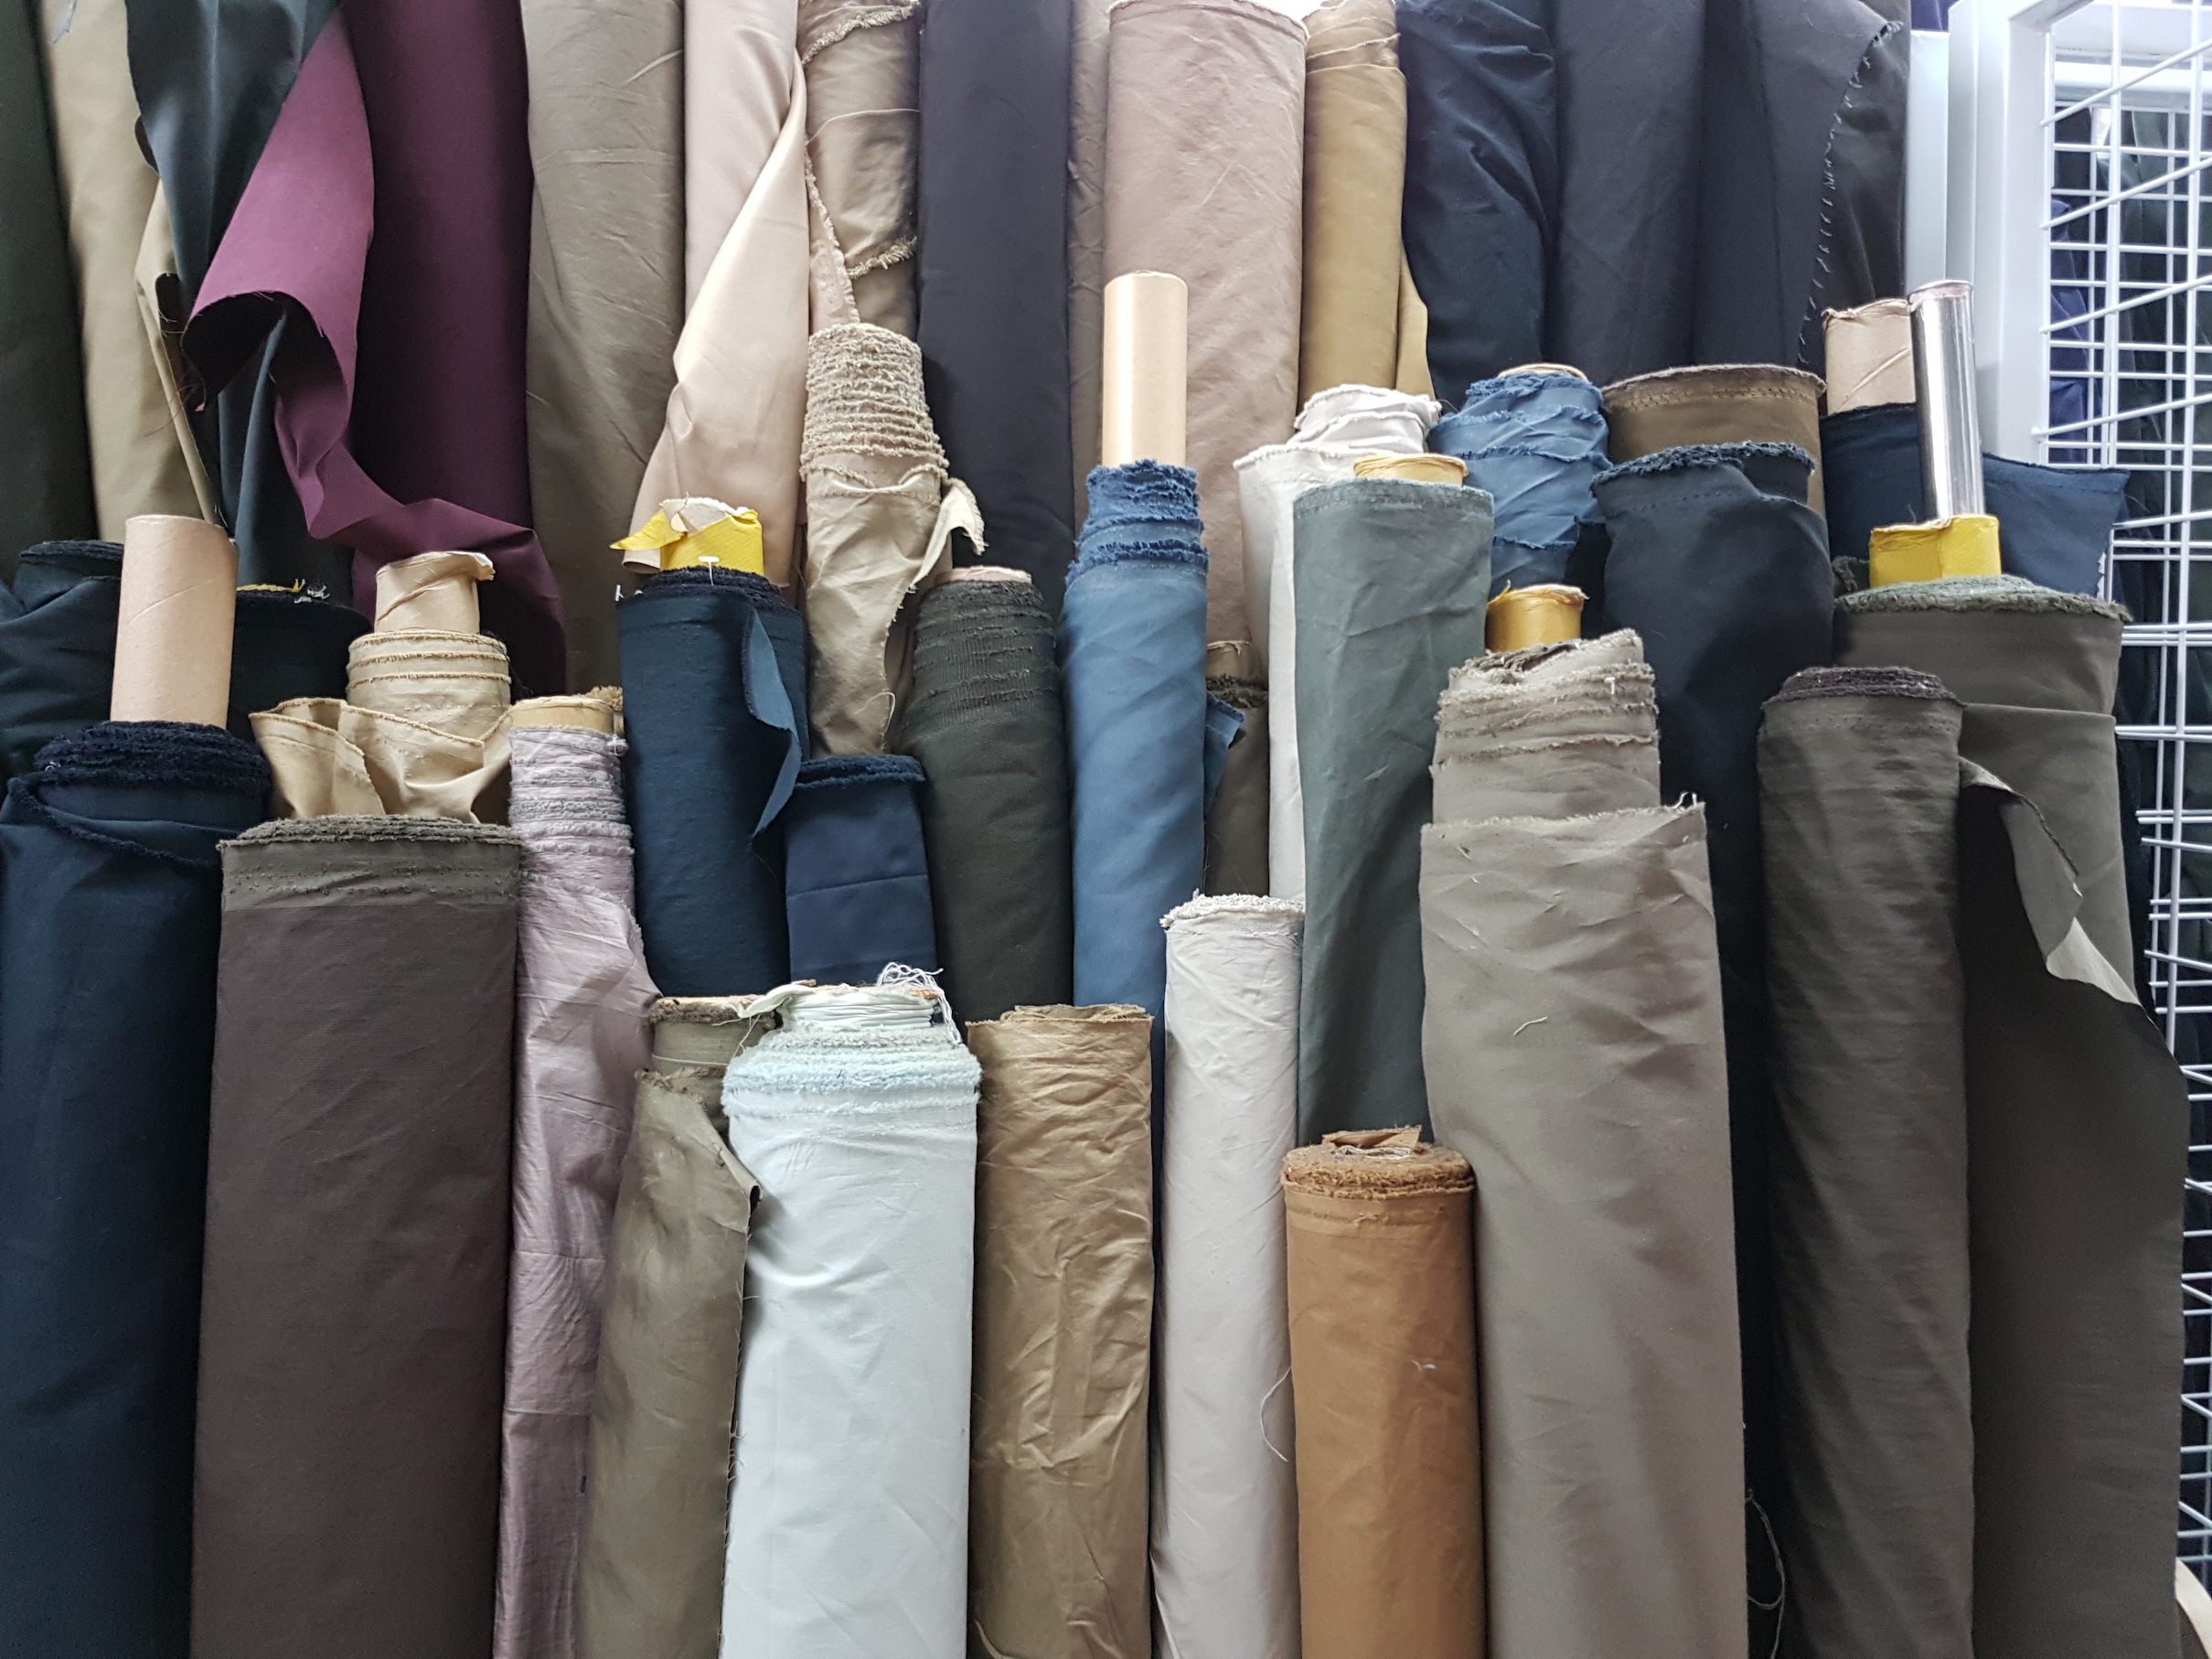
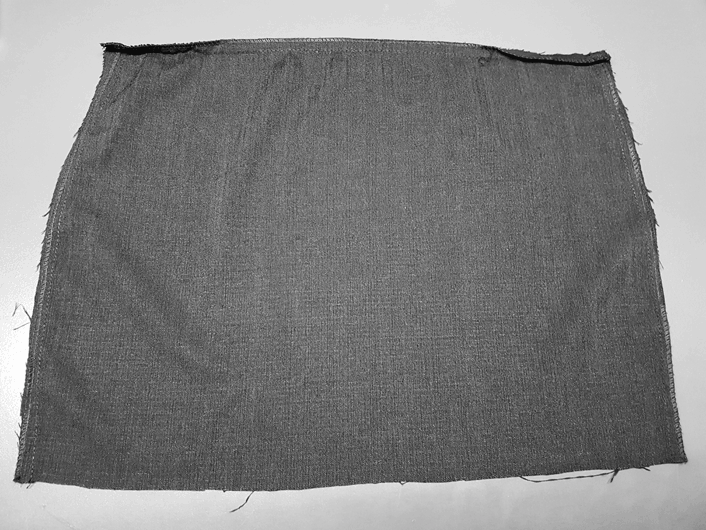
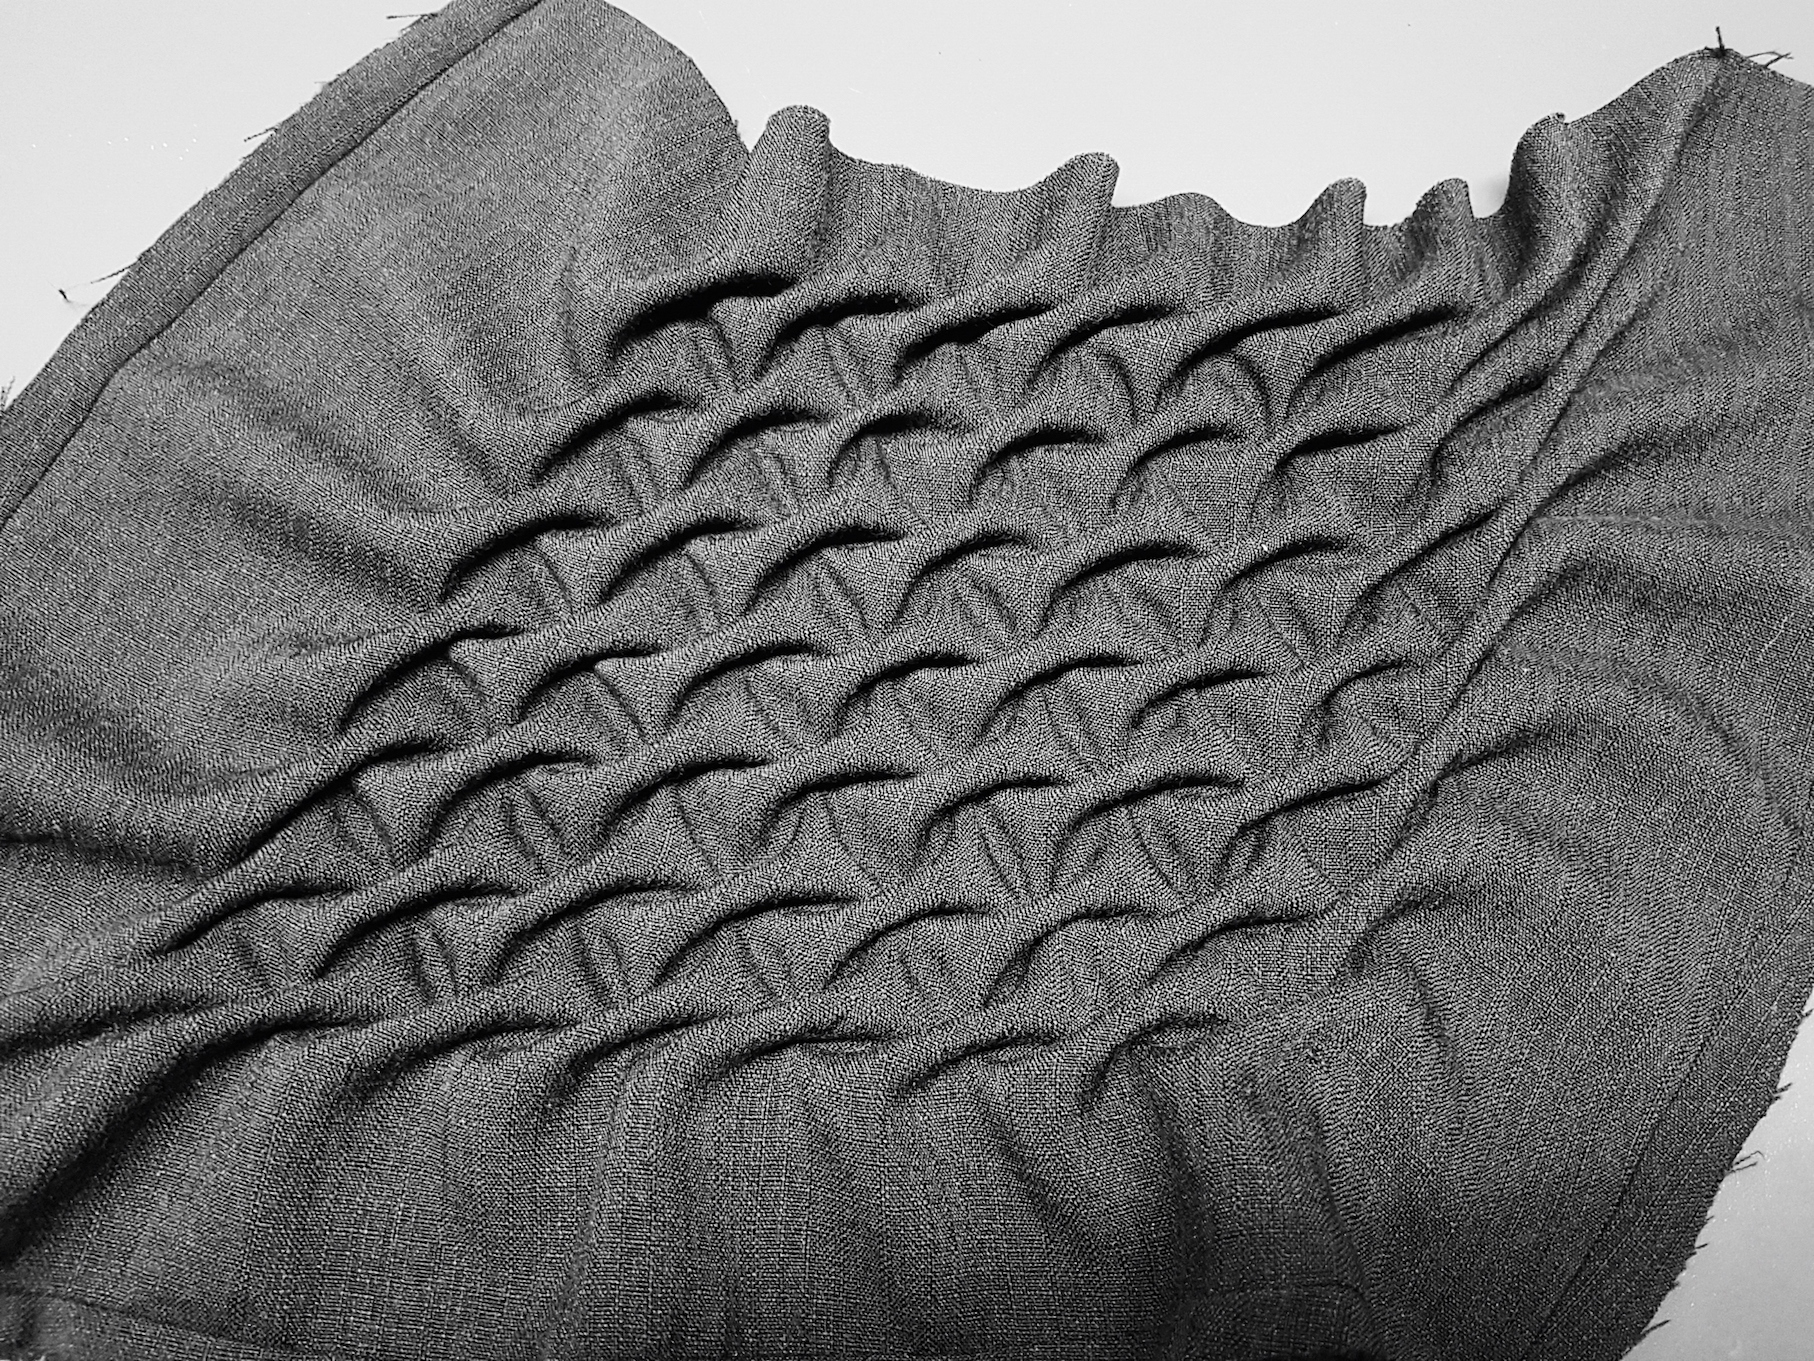
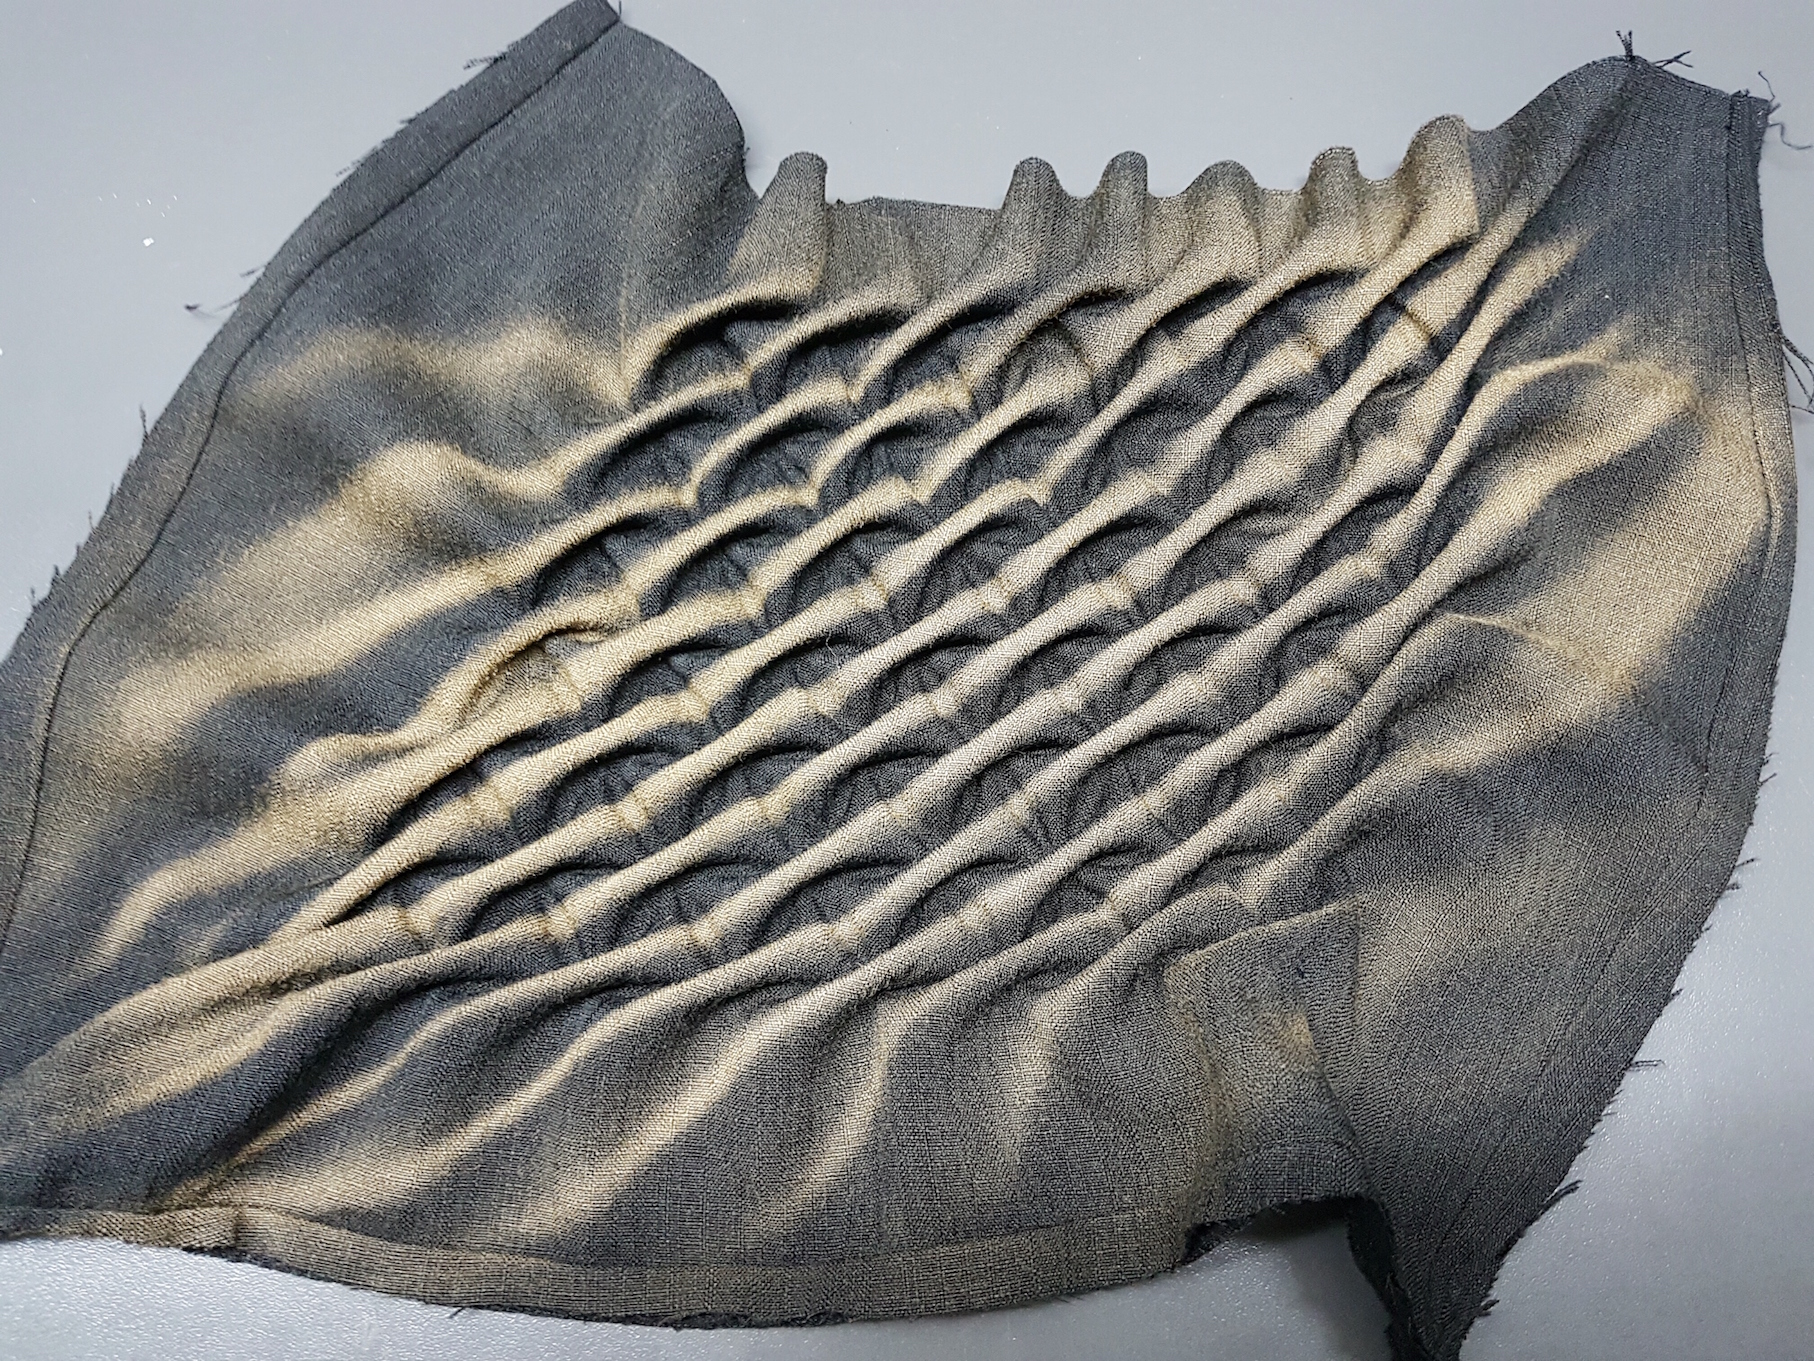
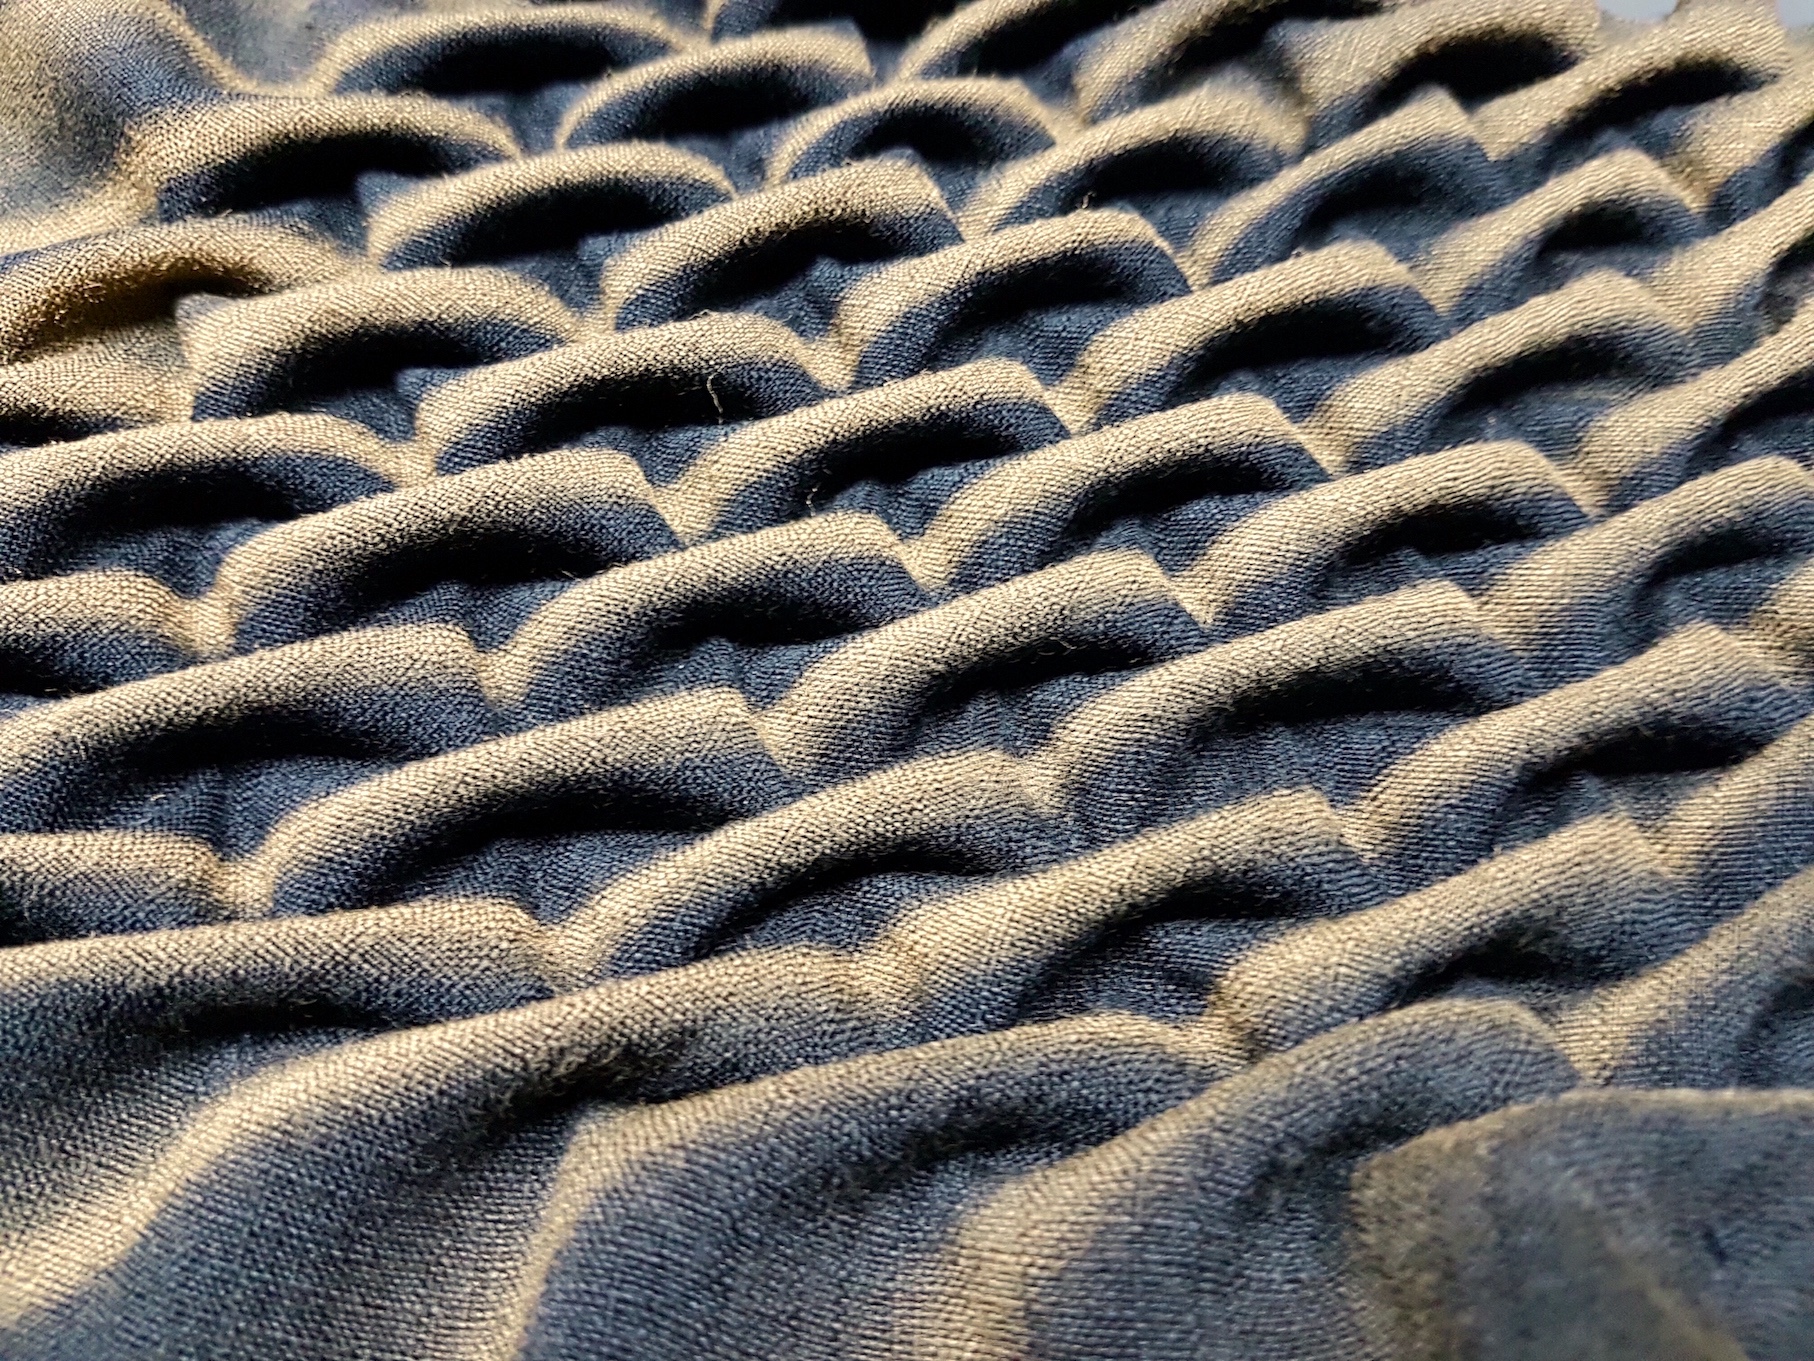
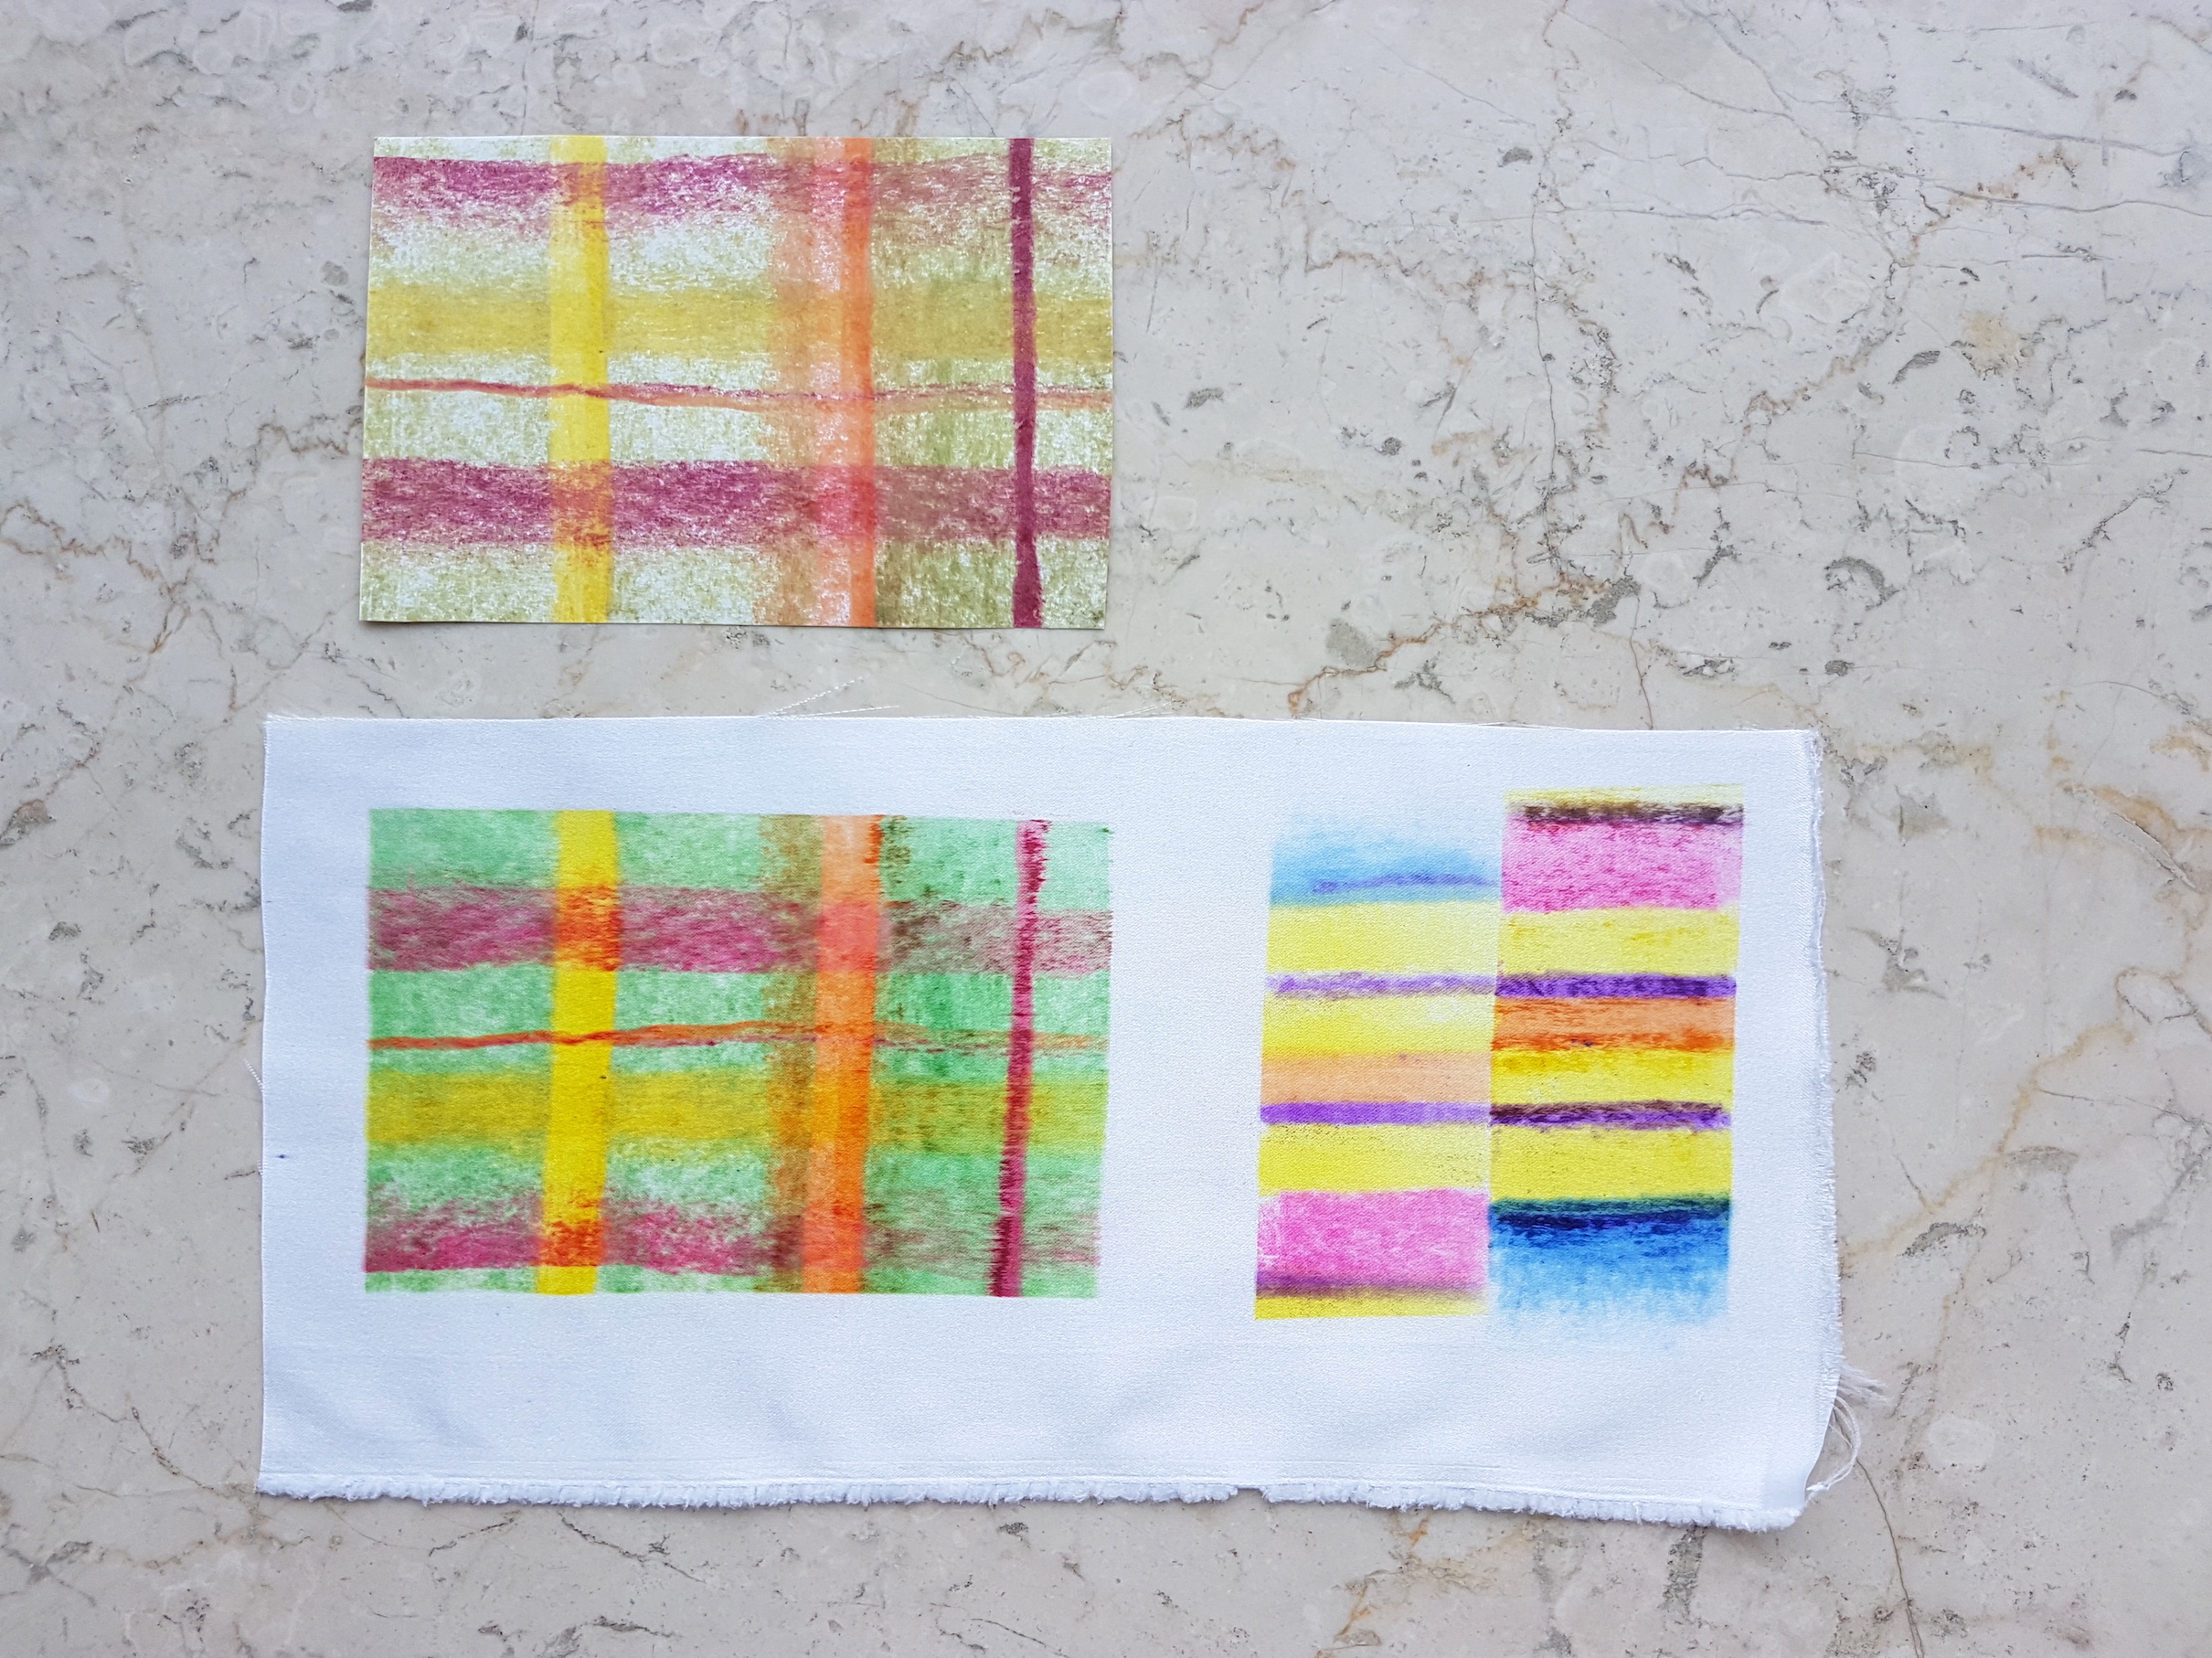
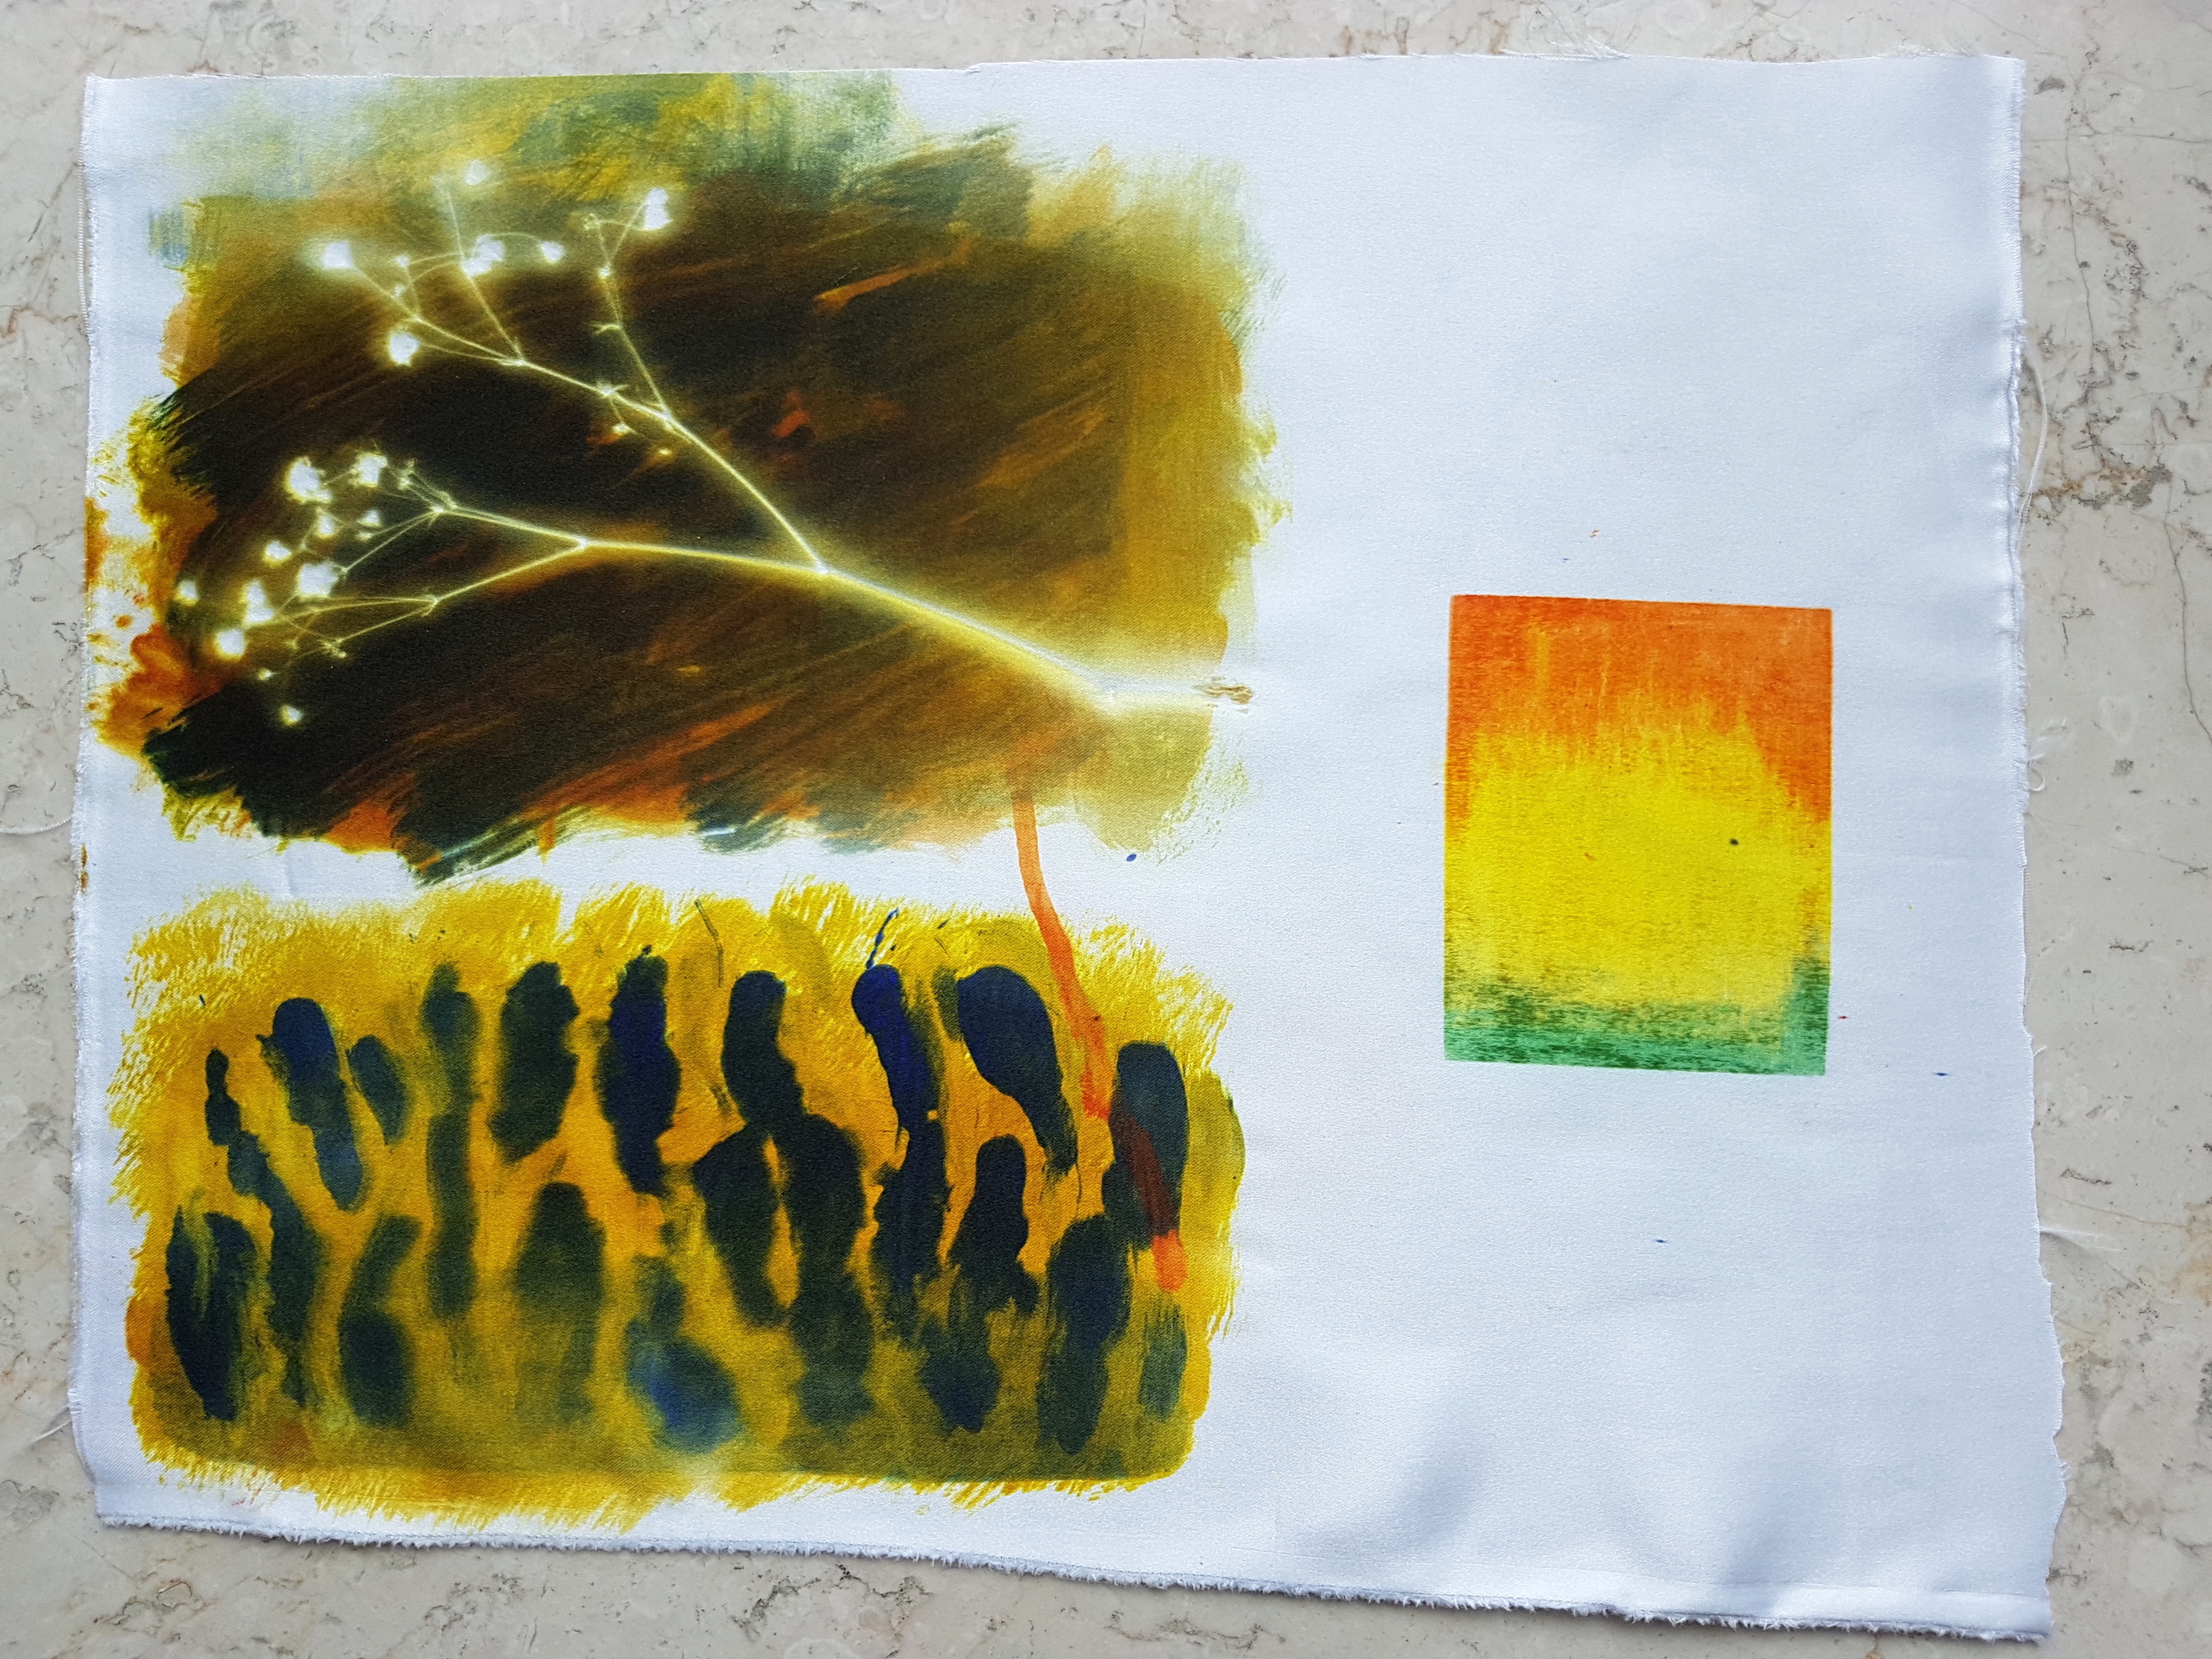
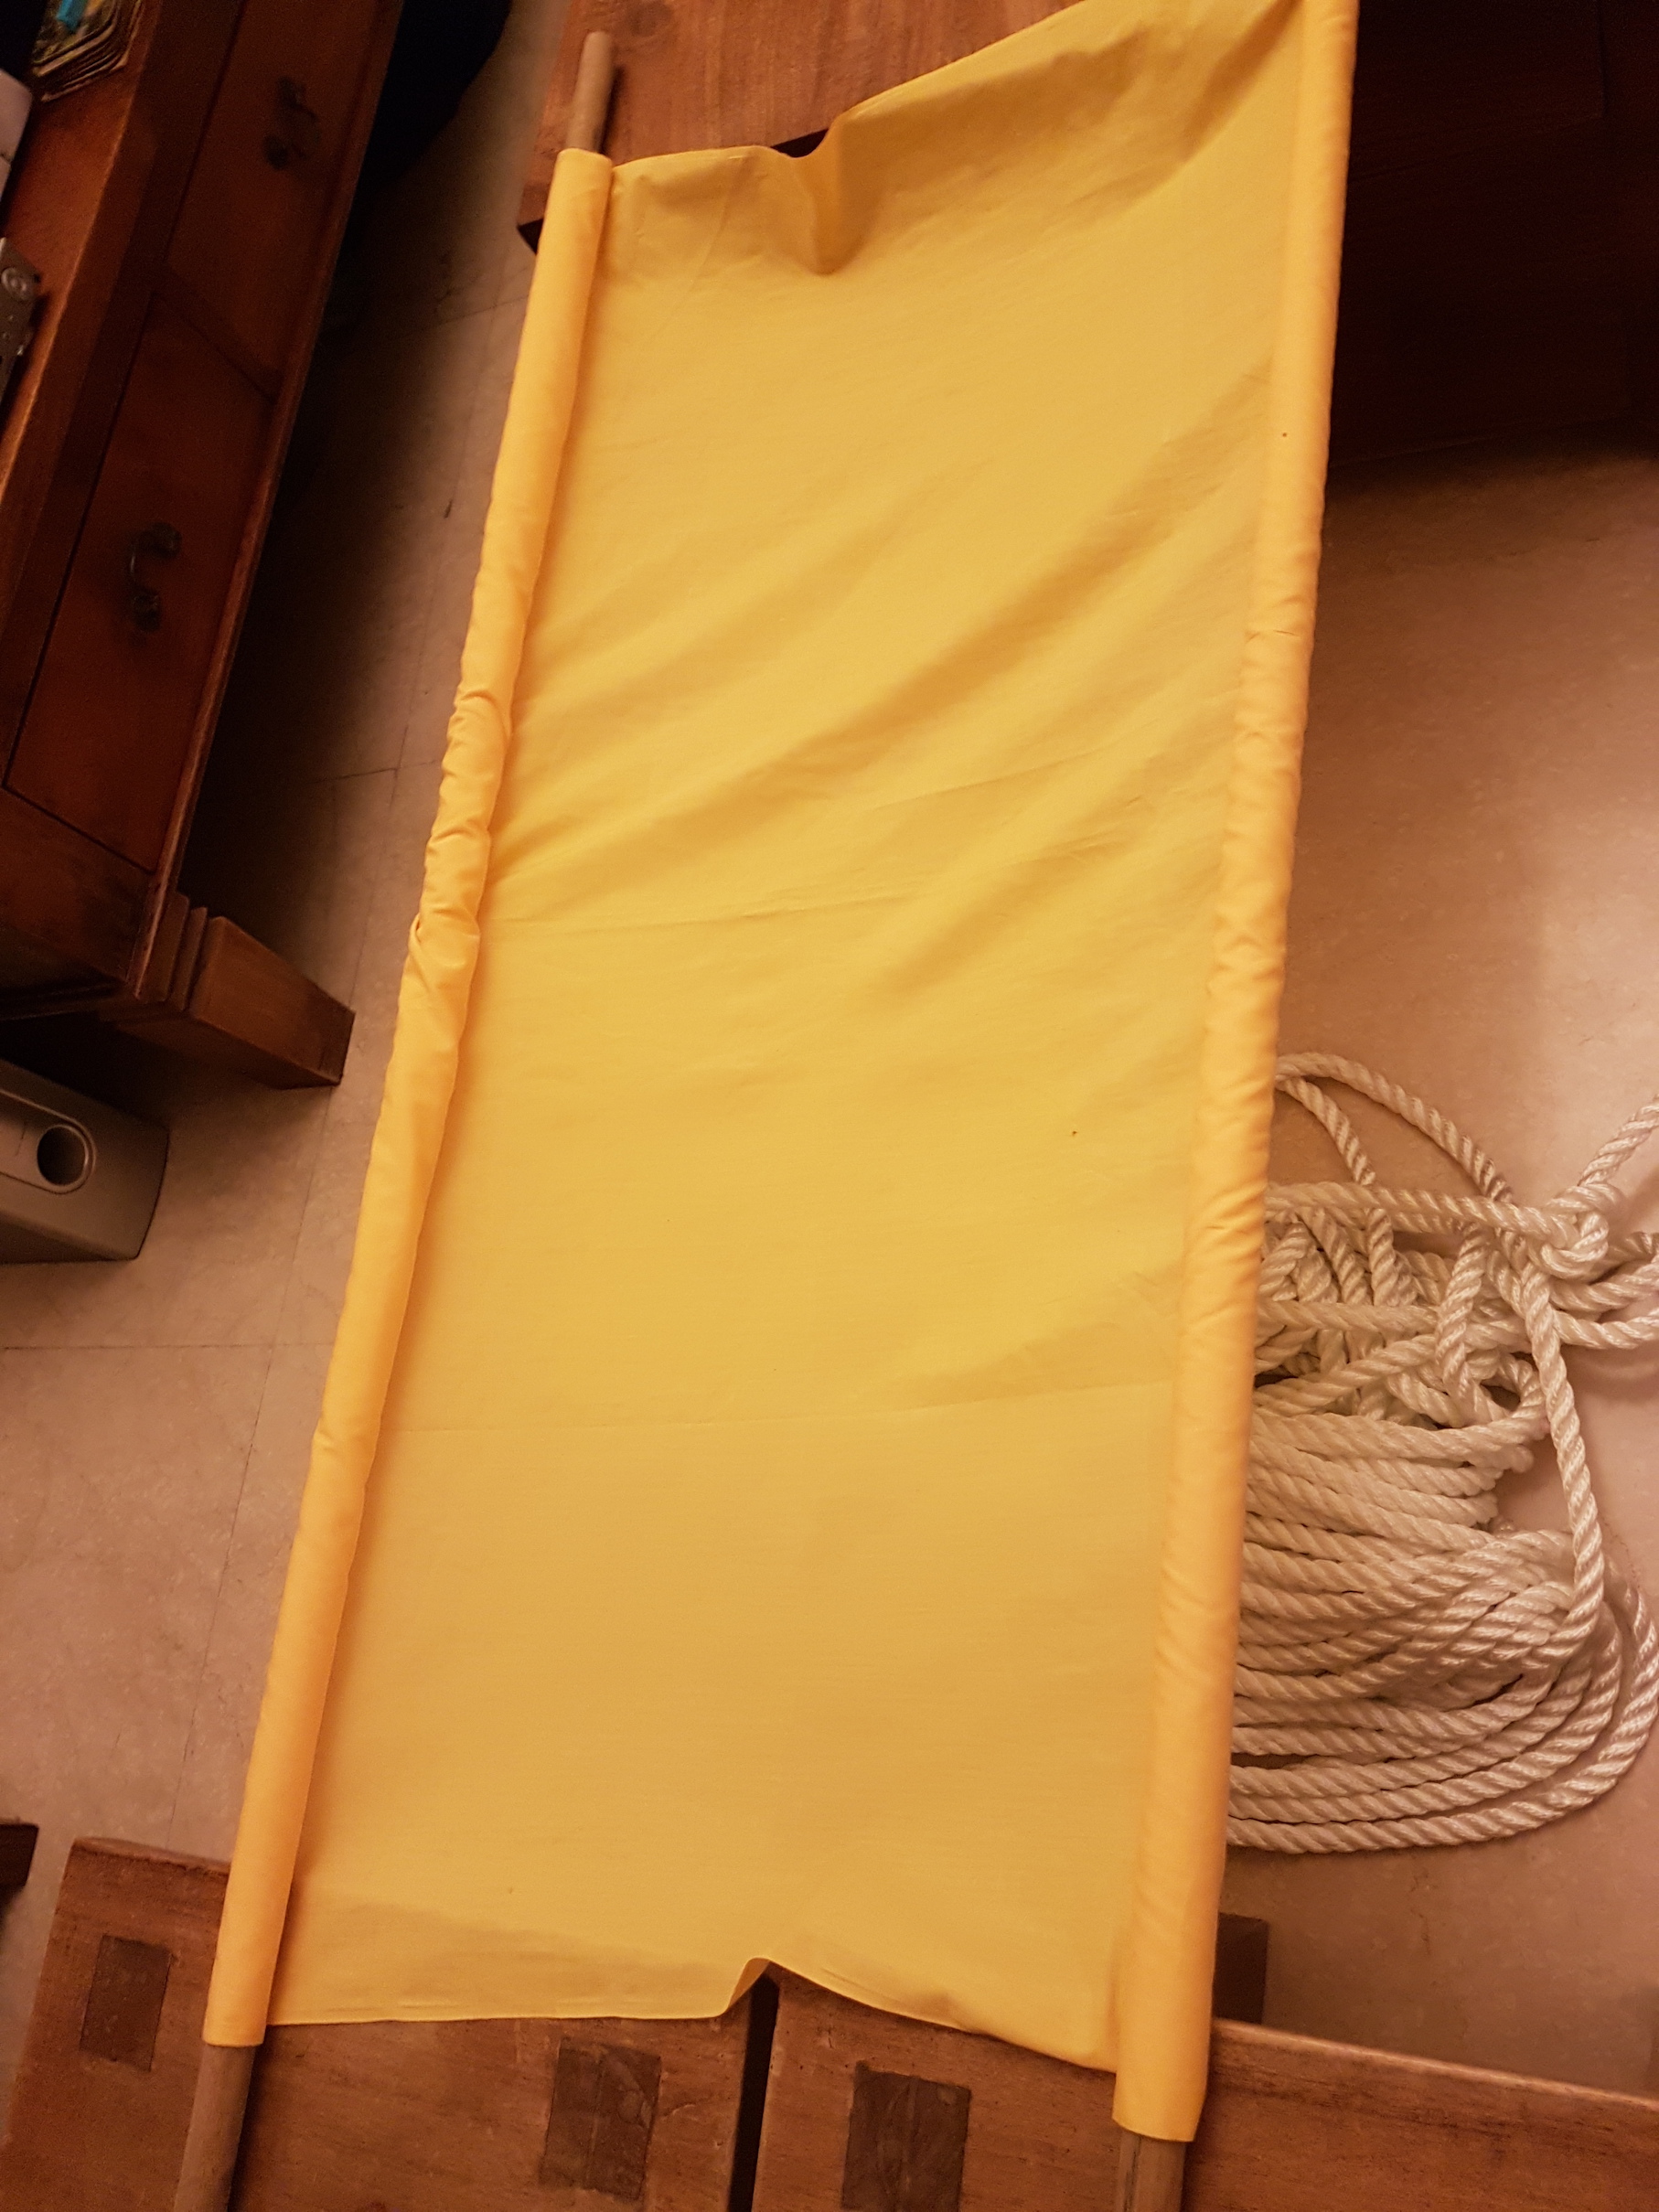
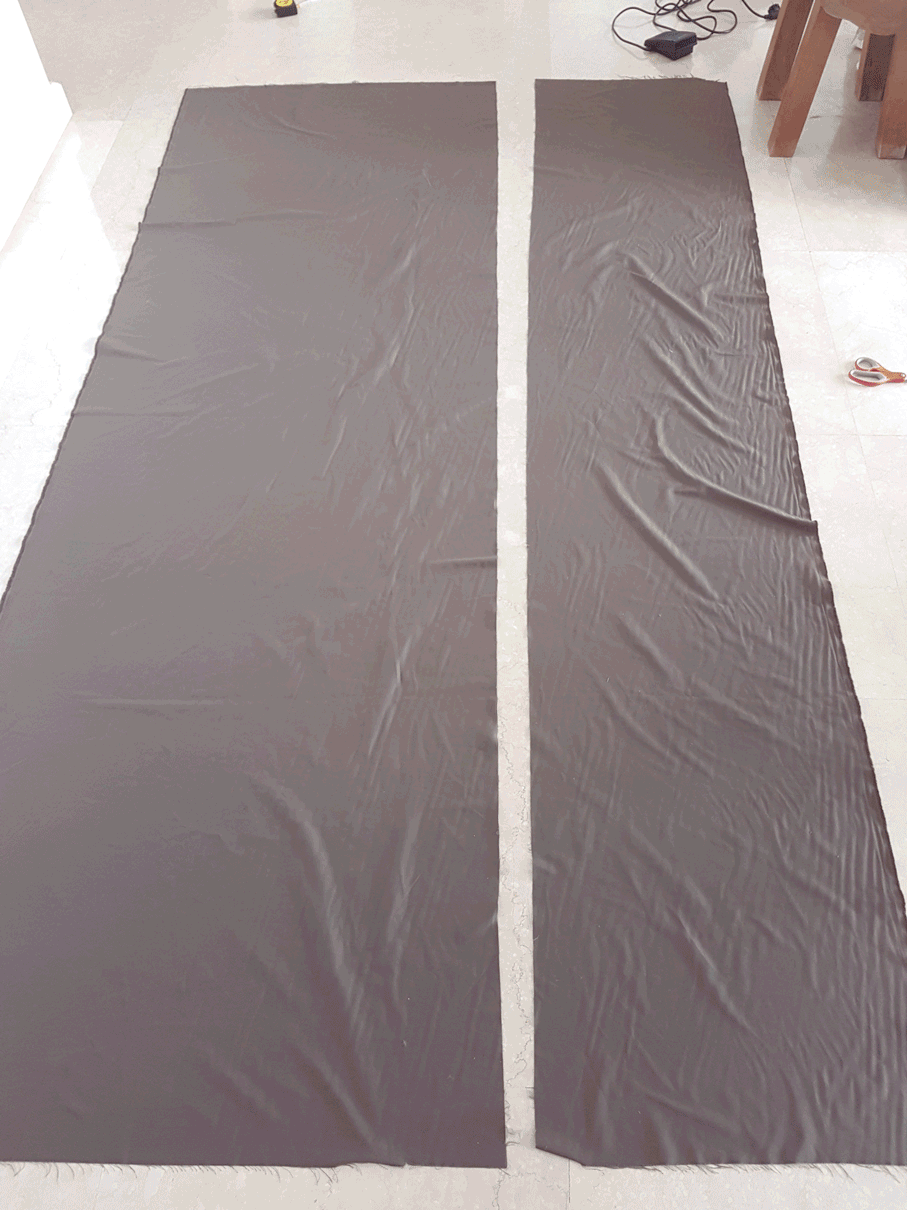
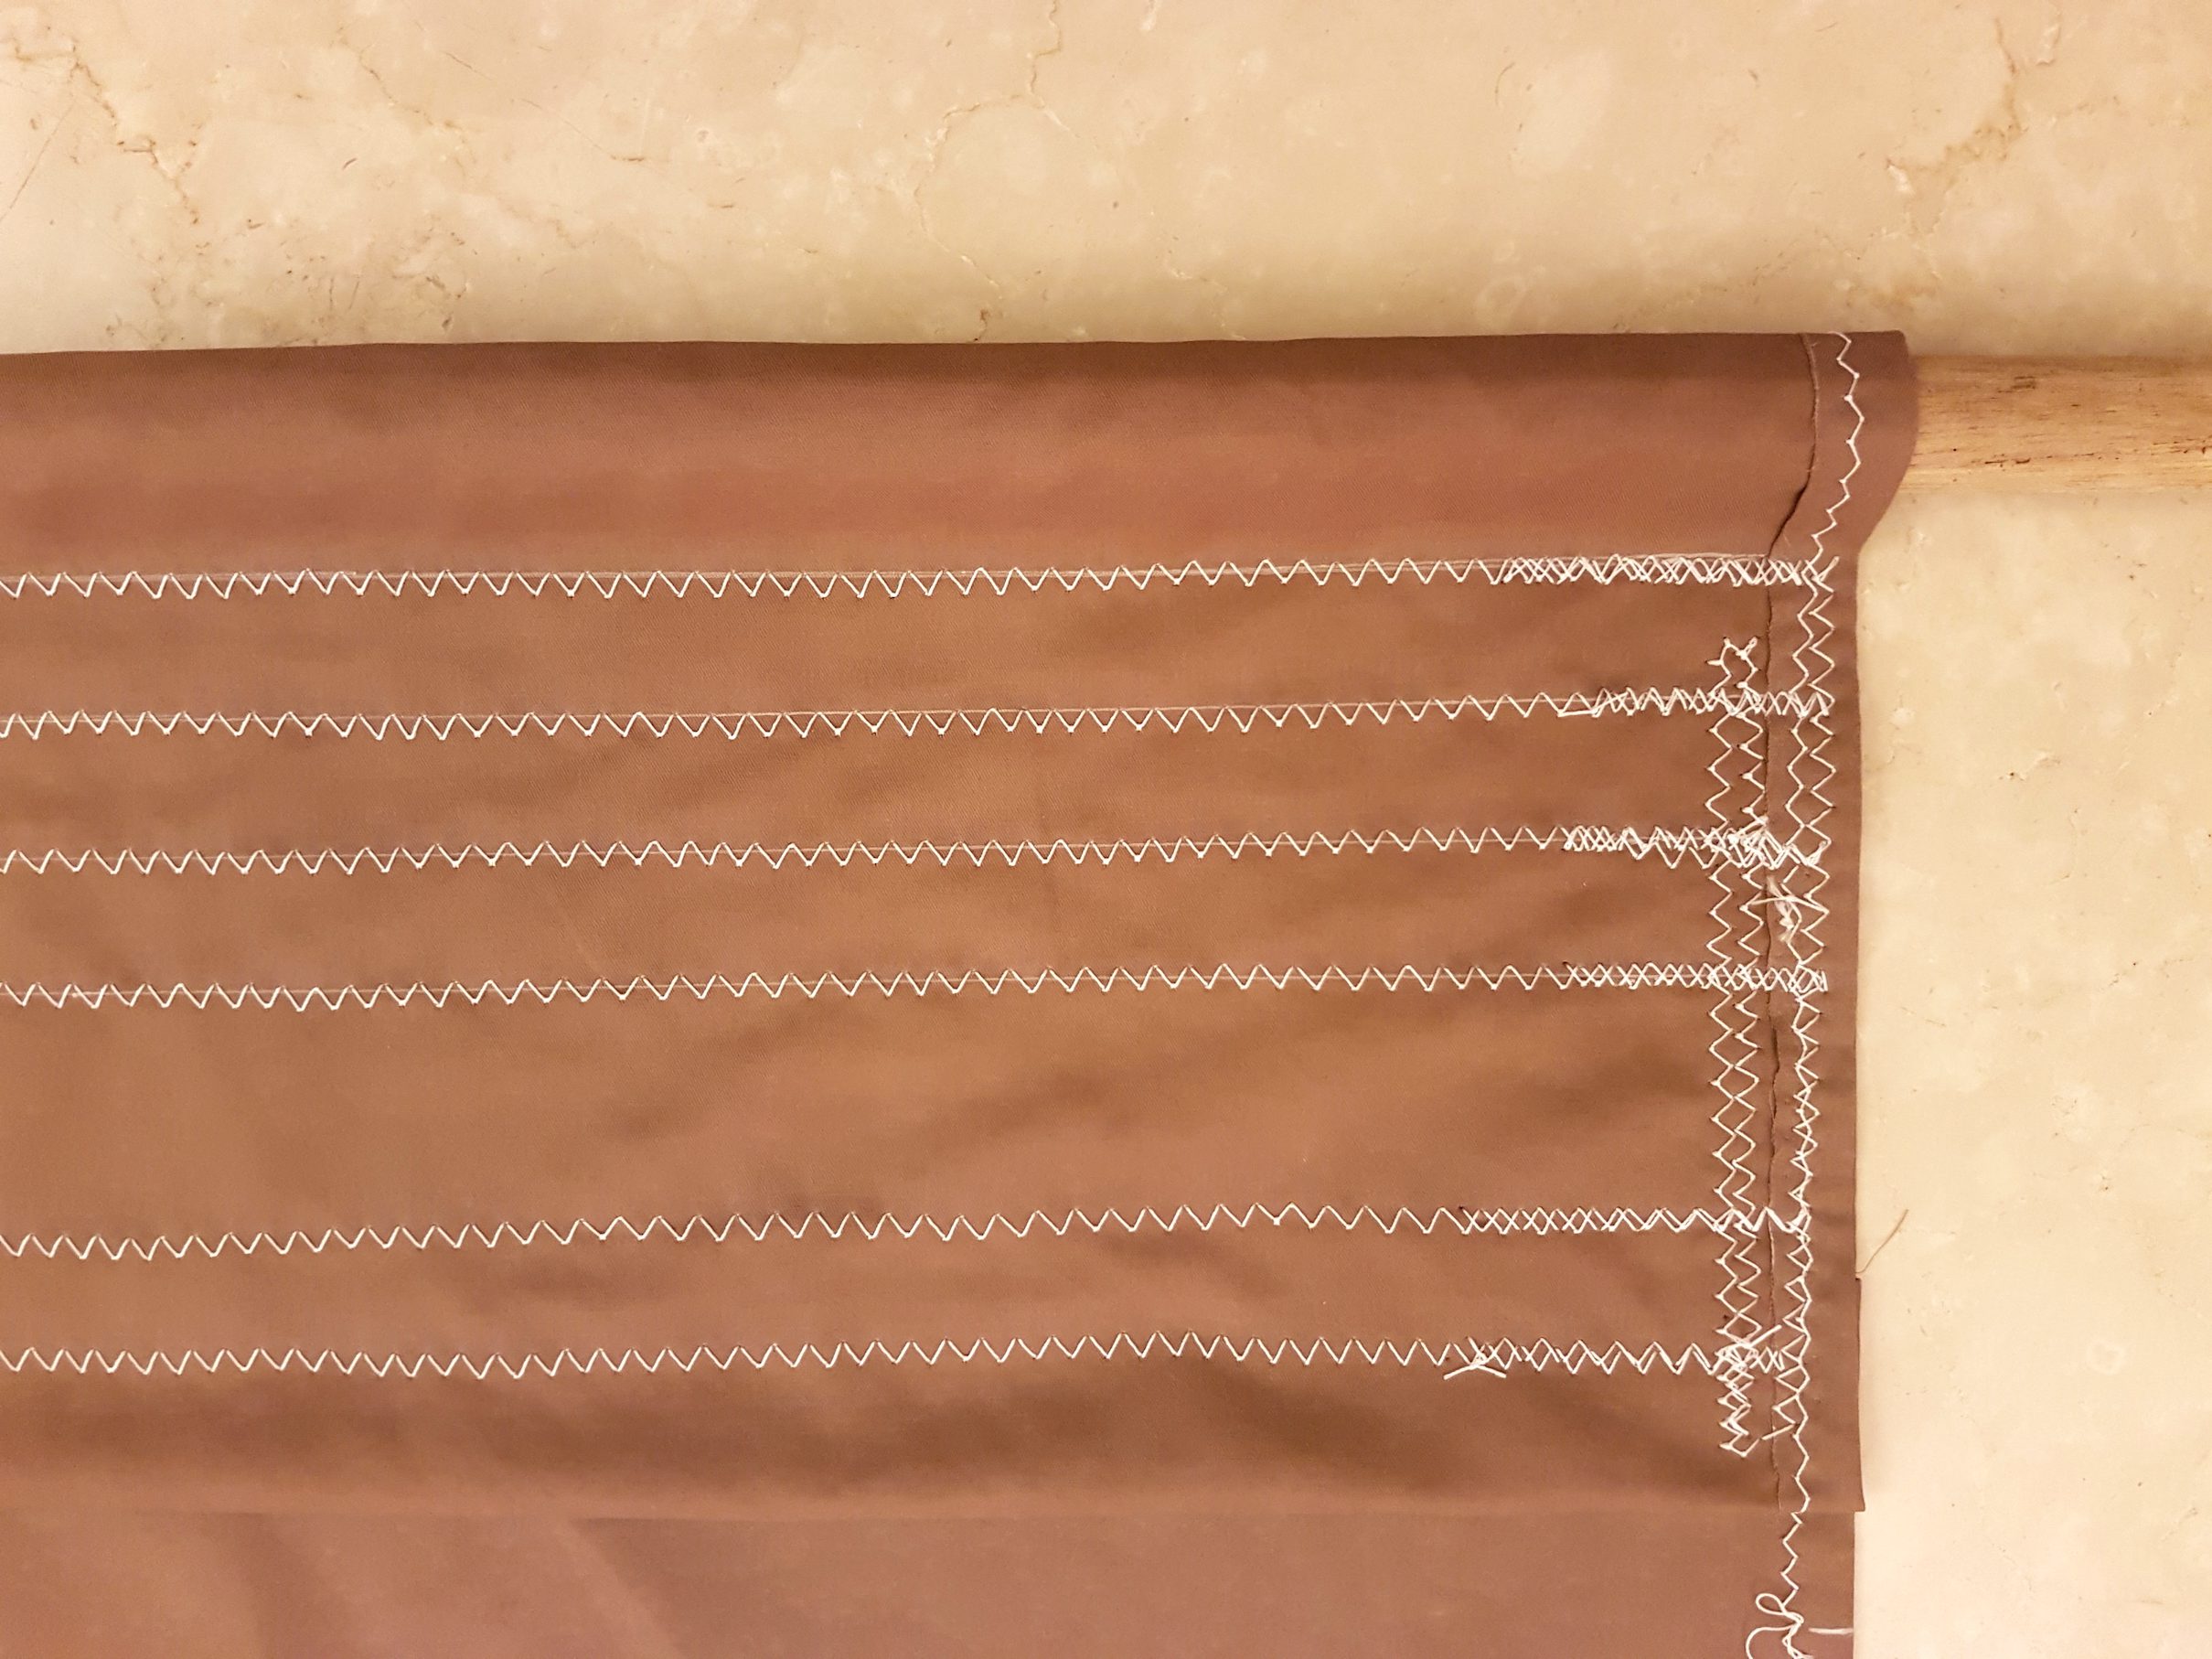
As the forms in the installation become increasingly open from right to left, I choose 3 different earth tones to emphasise this gradation and complement the space underneath the stairs. The darkest fabric corresponds to the shallow hammock which is wedged by the stairs and forms an enclosed private space.

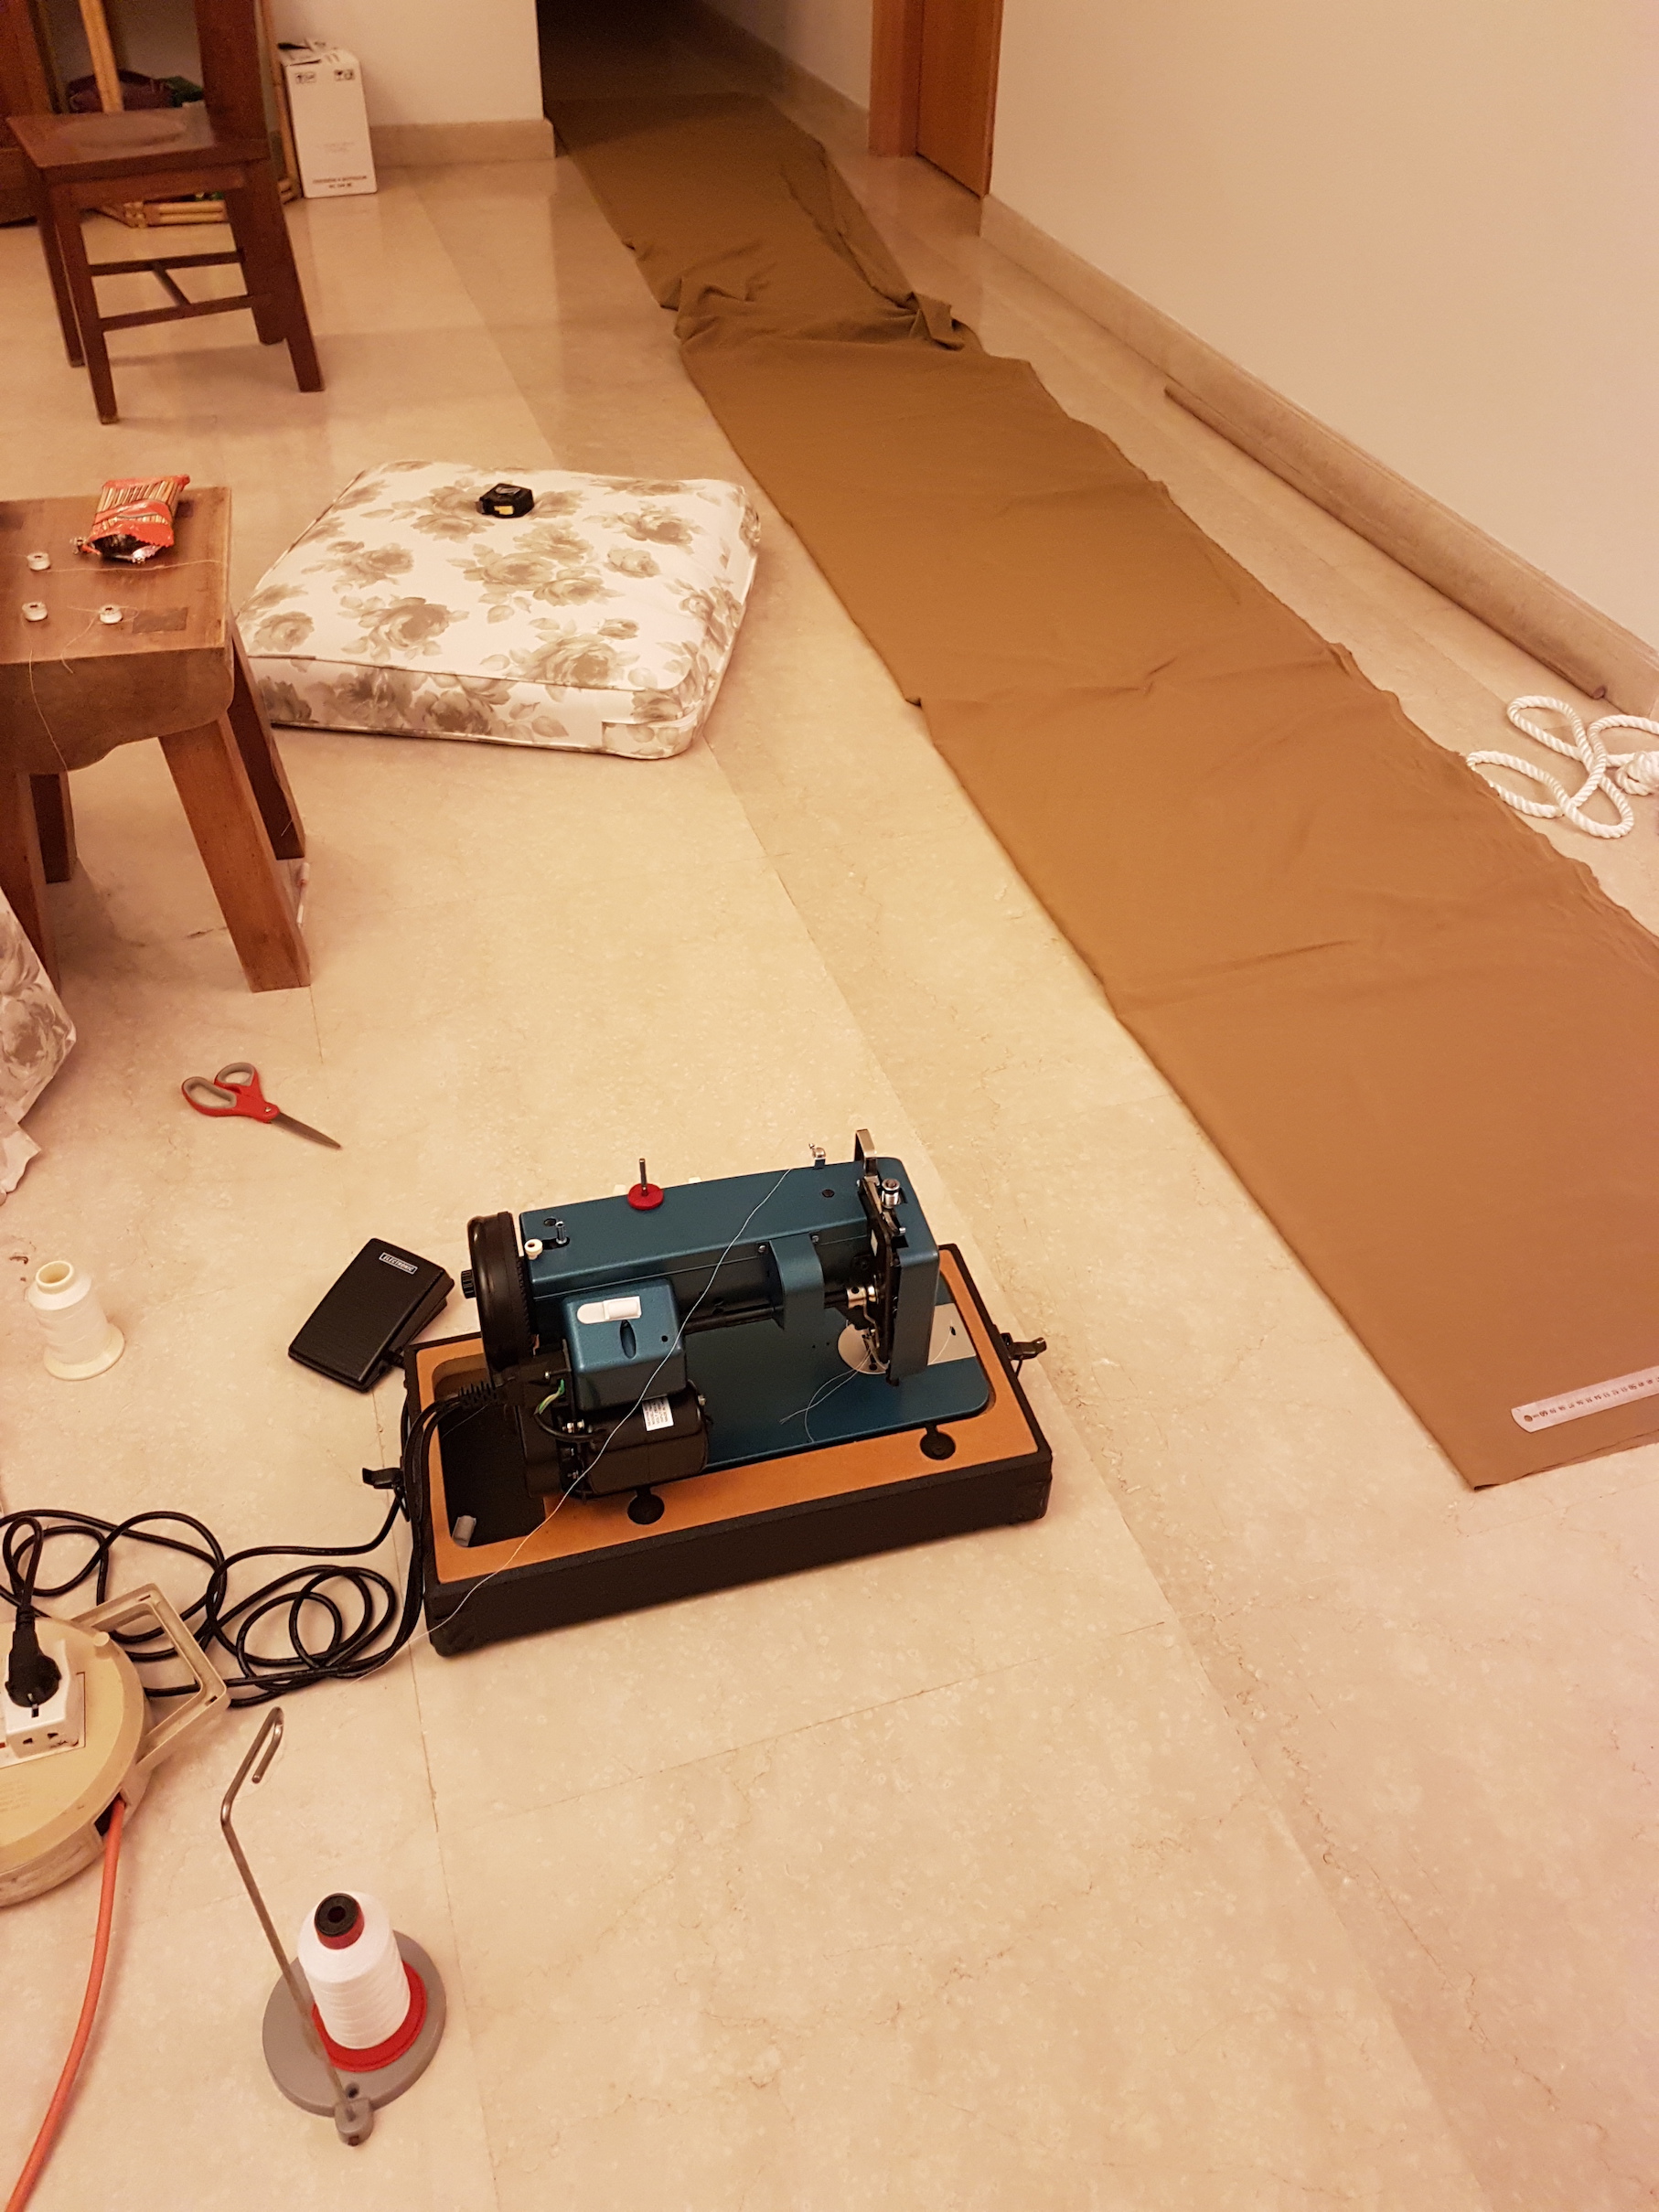
First, I cut the fabric to width. I initially intended the hammocks to be at least 1 metre in width. But due to the flexibility of the wood, this had to be reduced quite a bit.

Hemming the raw edge
Repeat with the other pieces of fabric

Drawing guide lines for sewing
Sewing strips of reinforcements
Trusty zig-zag stitch

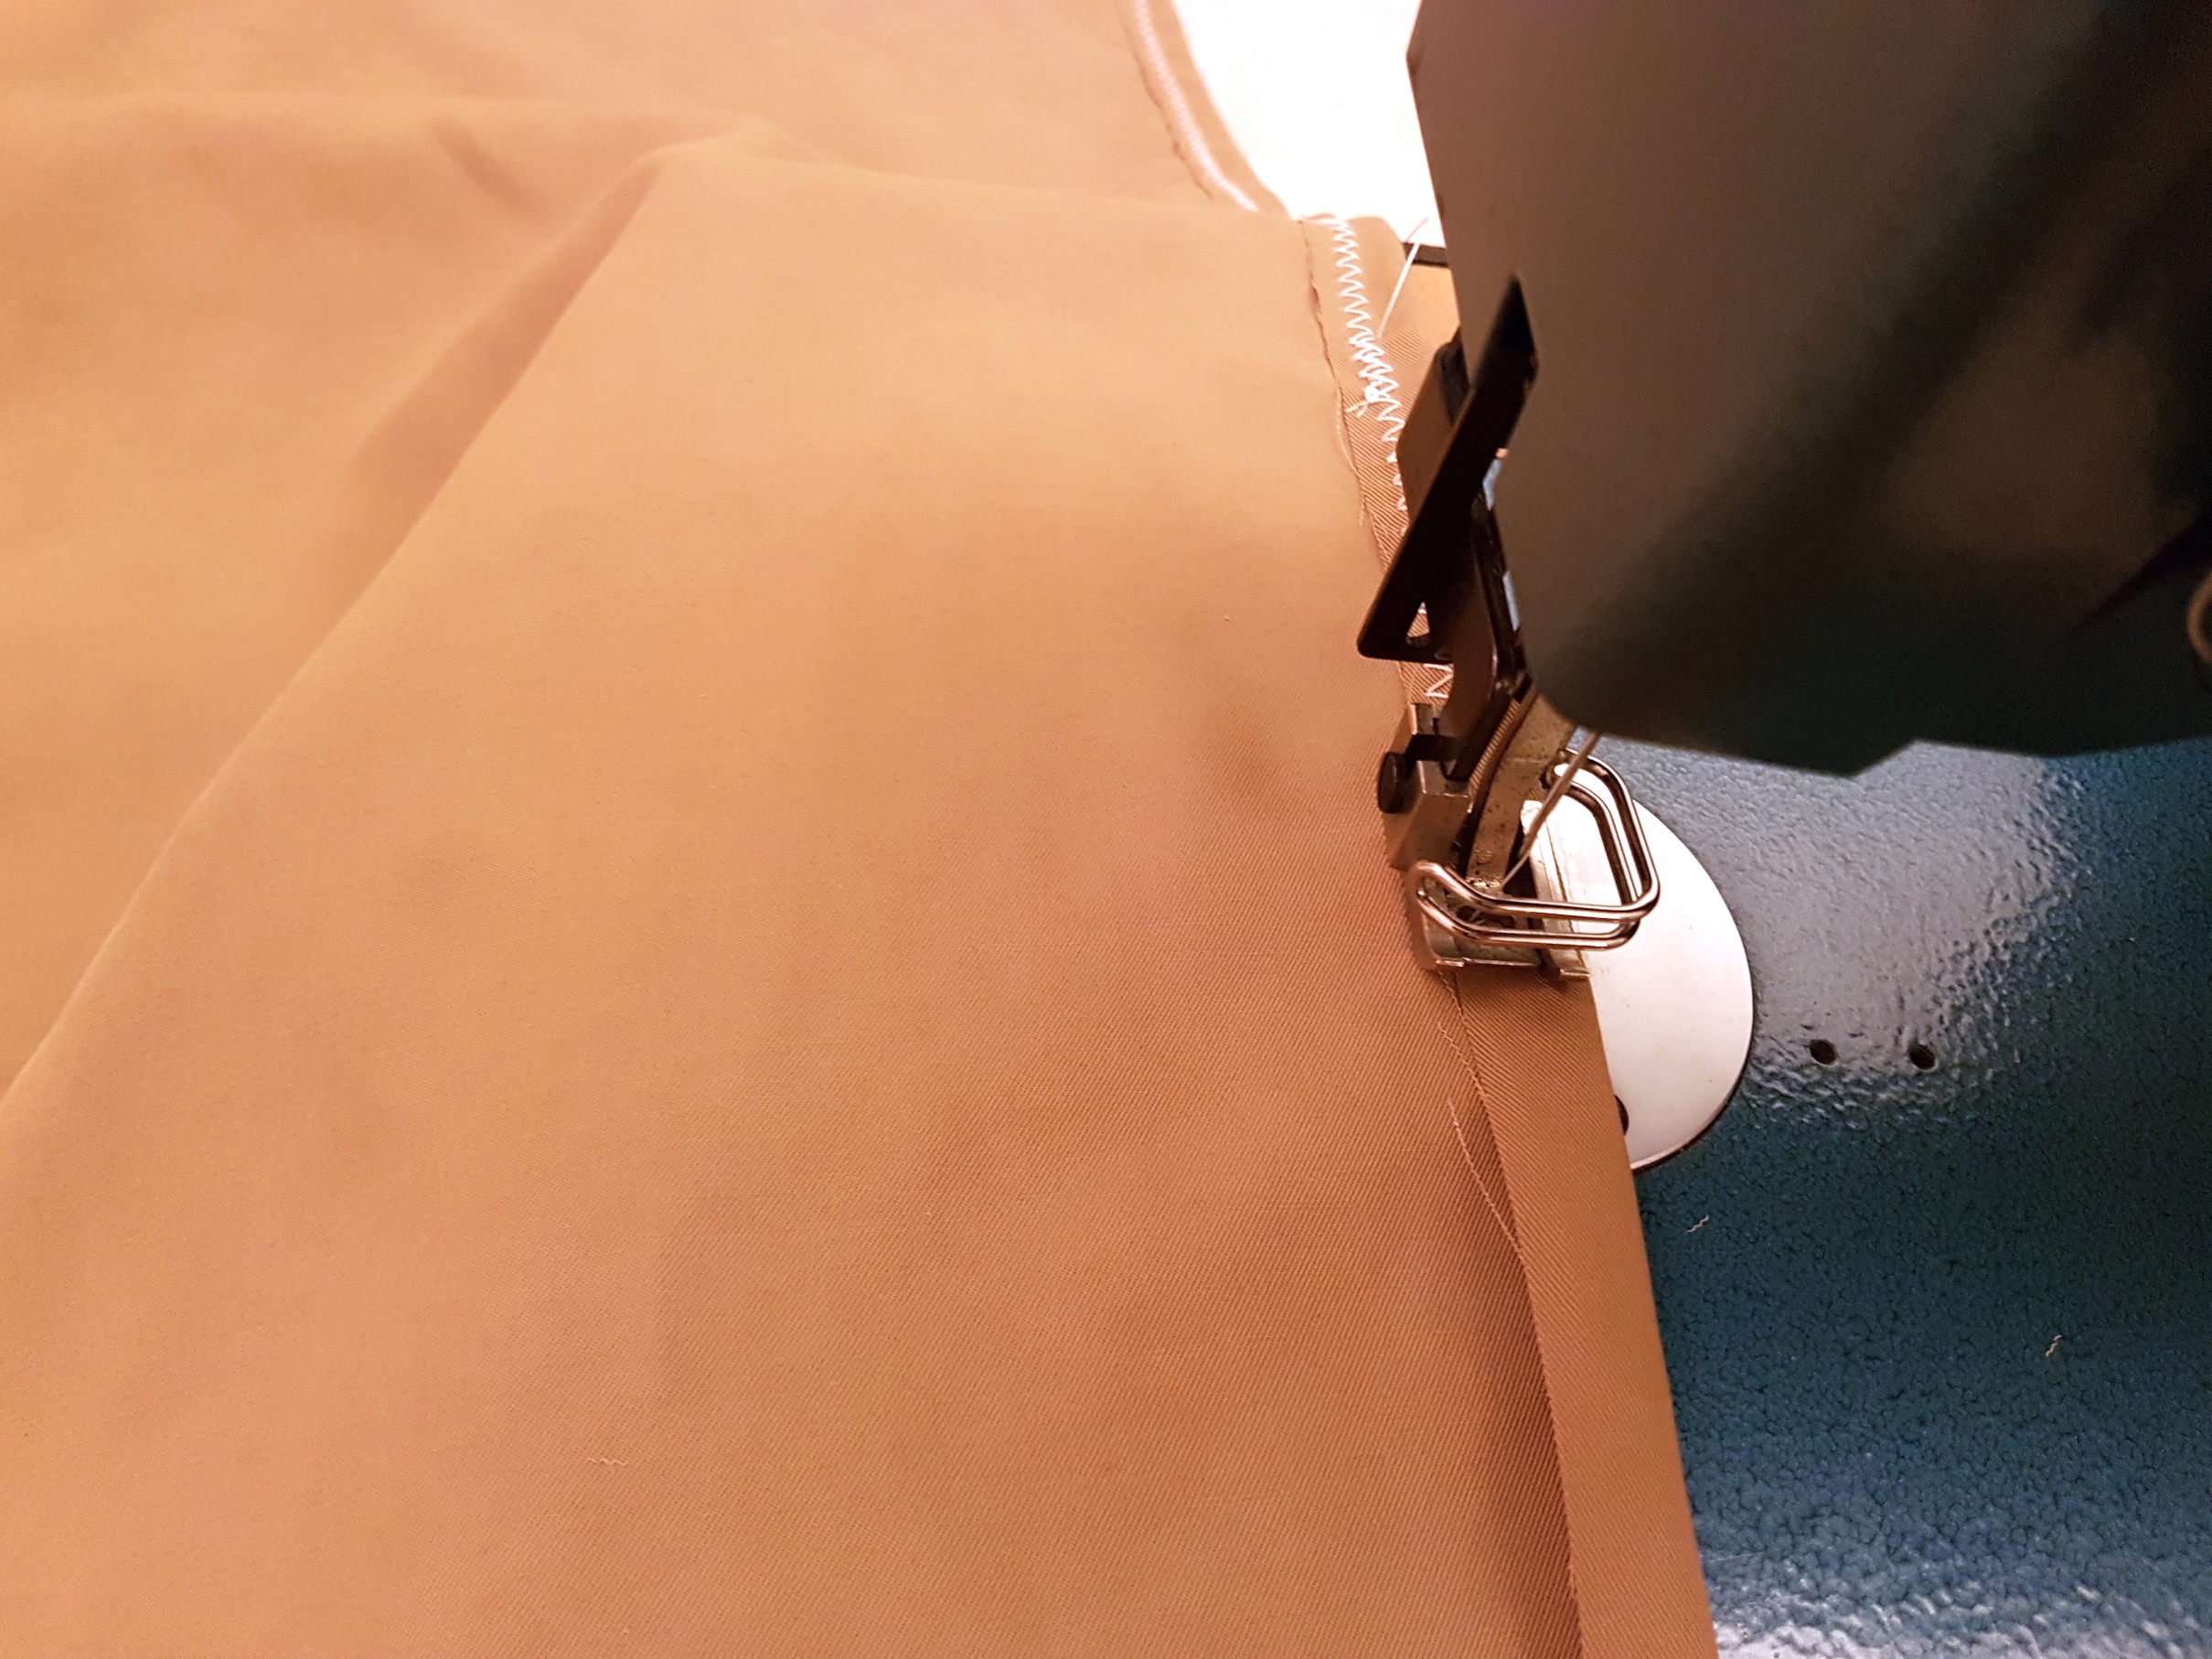
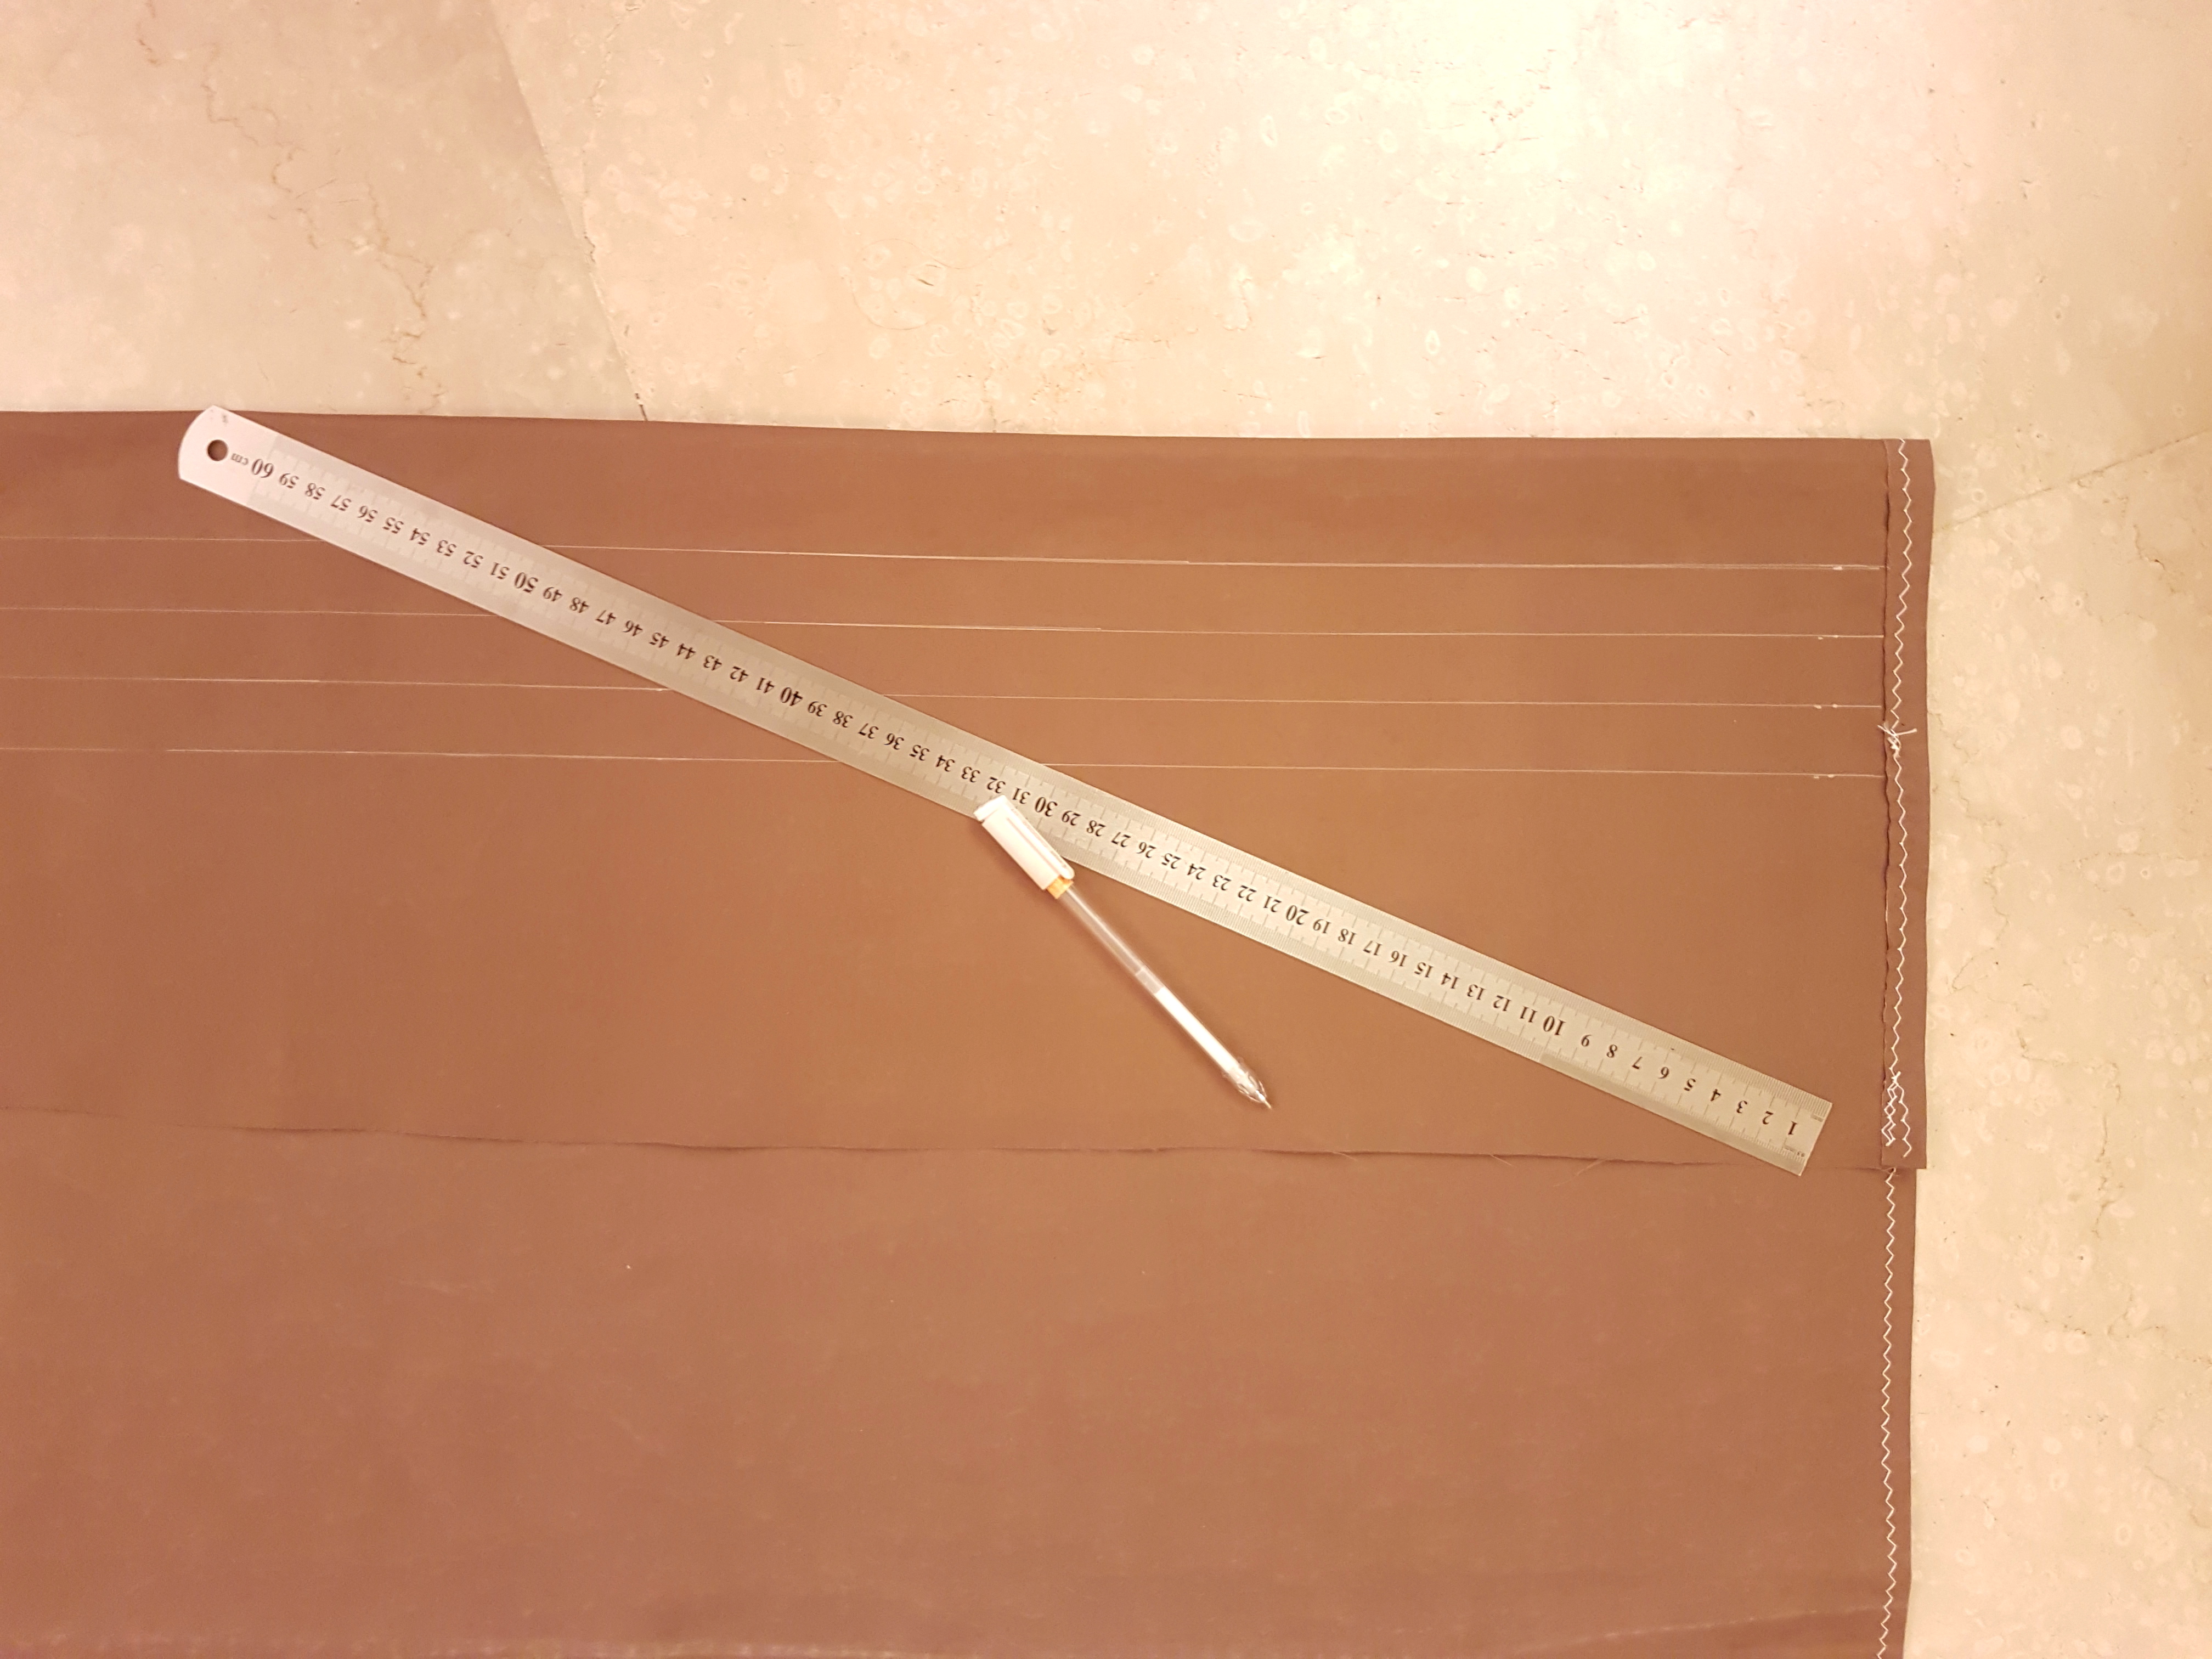
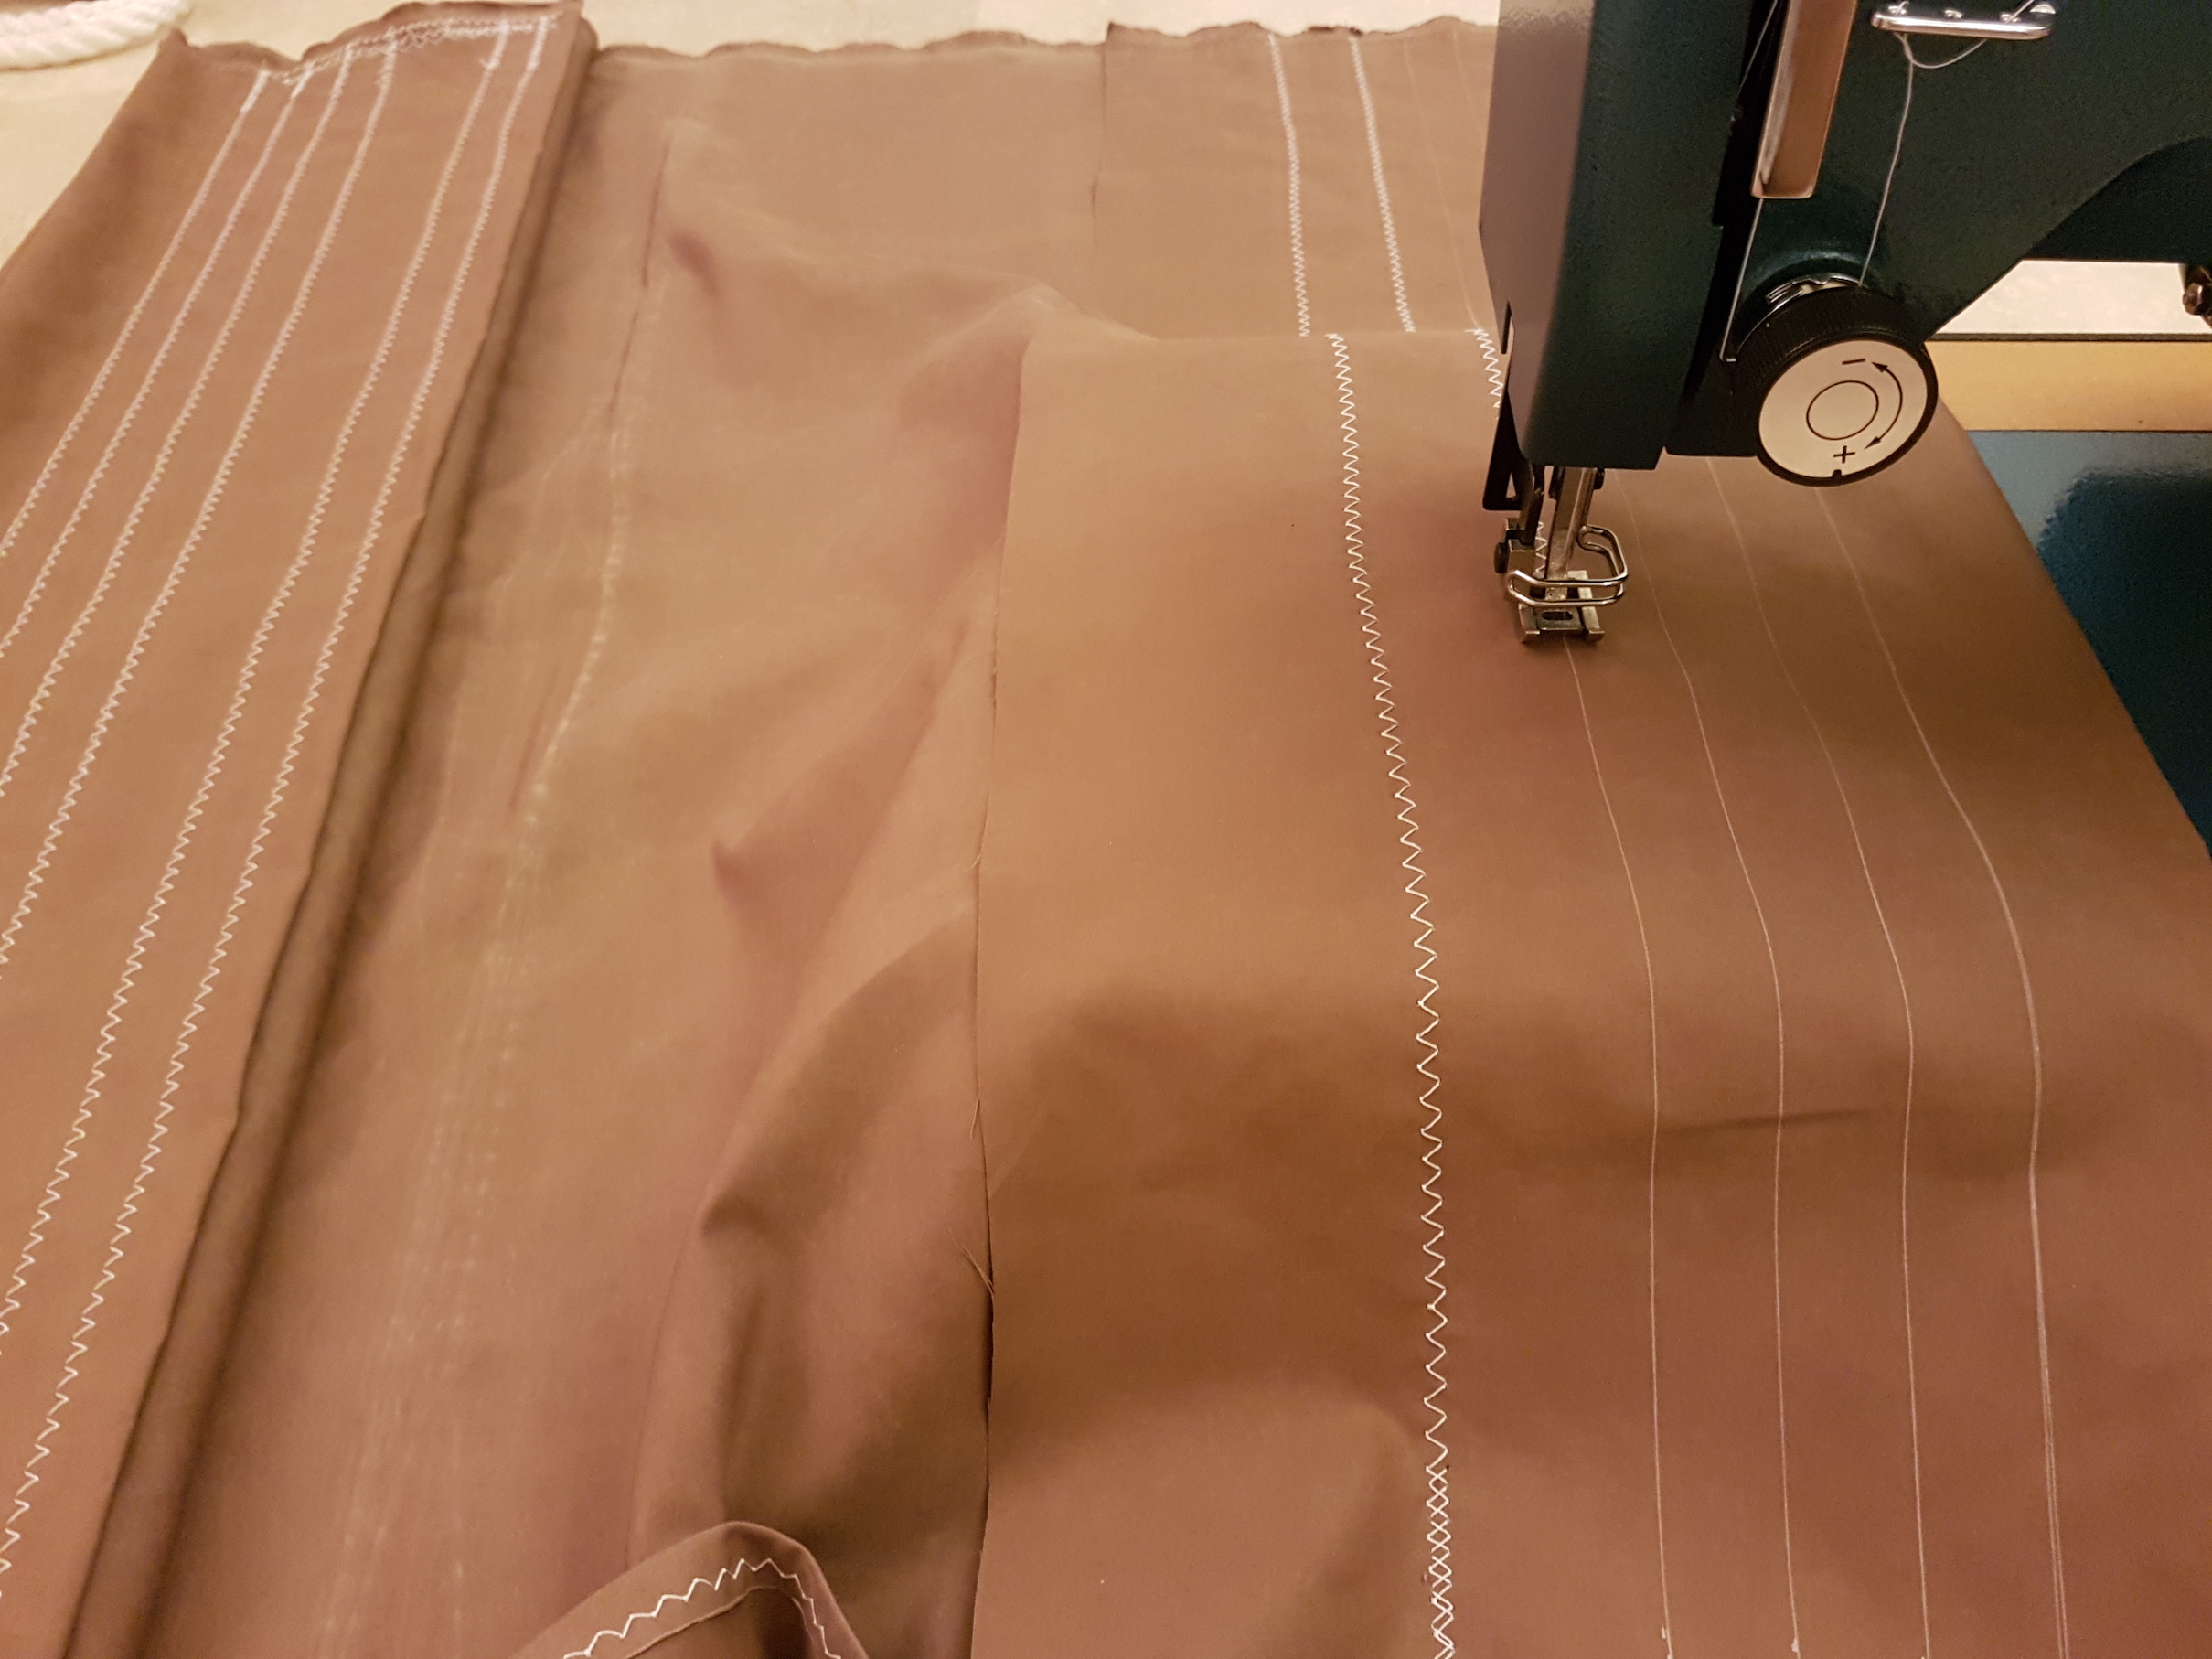
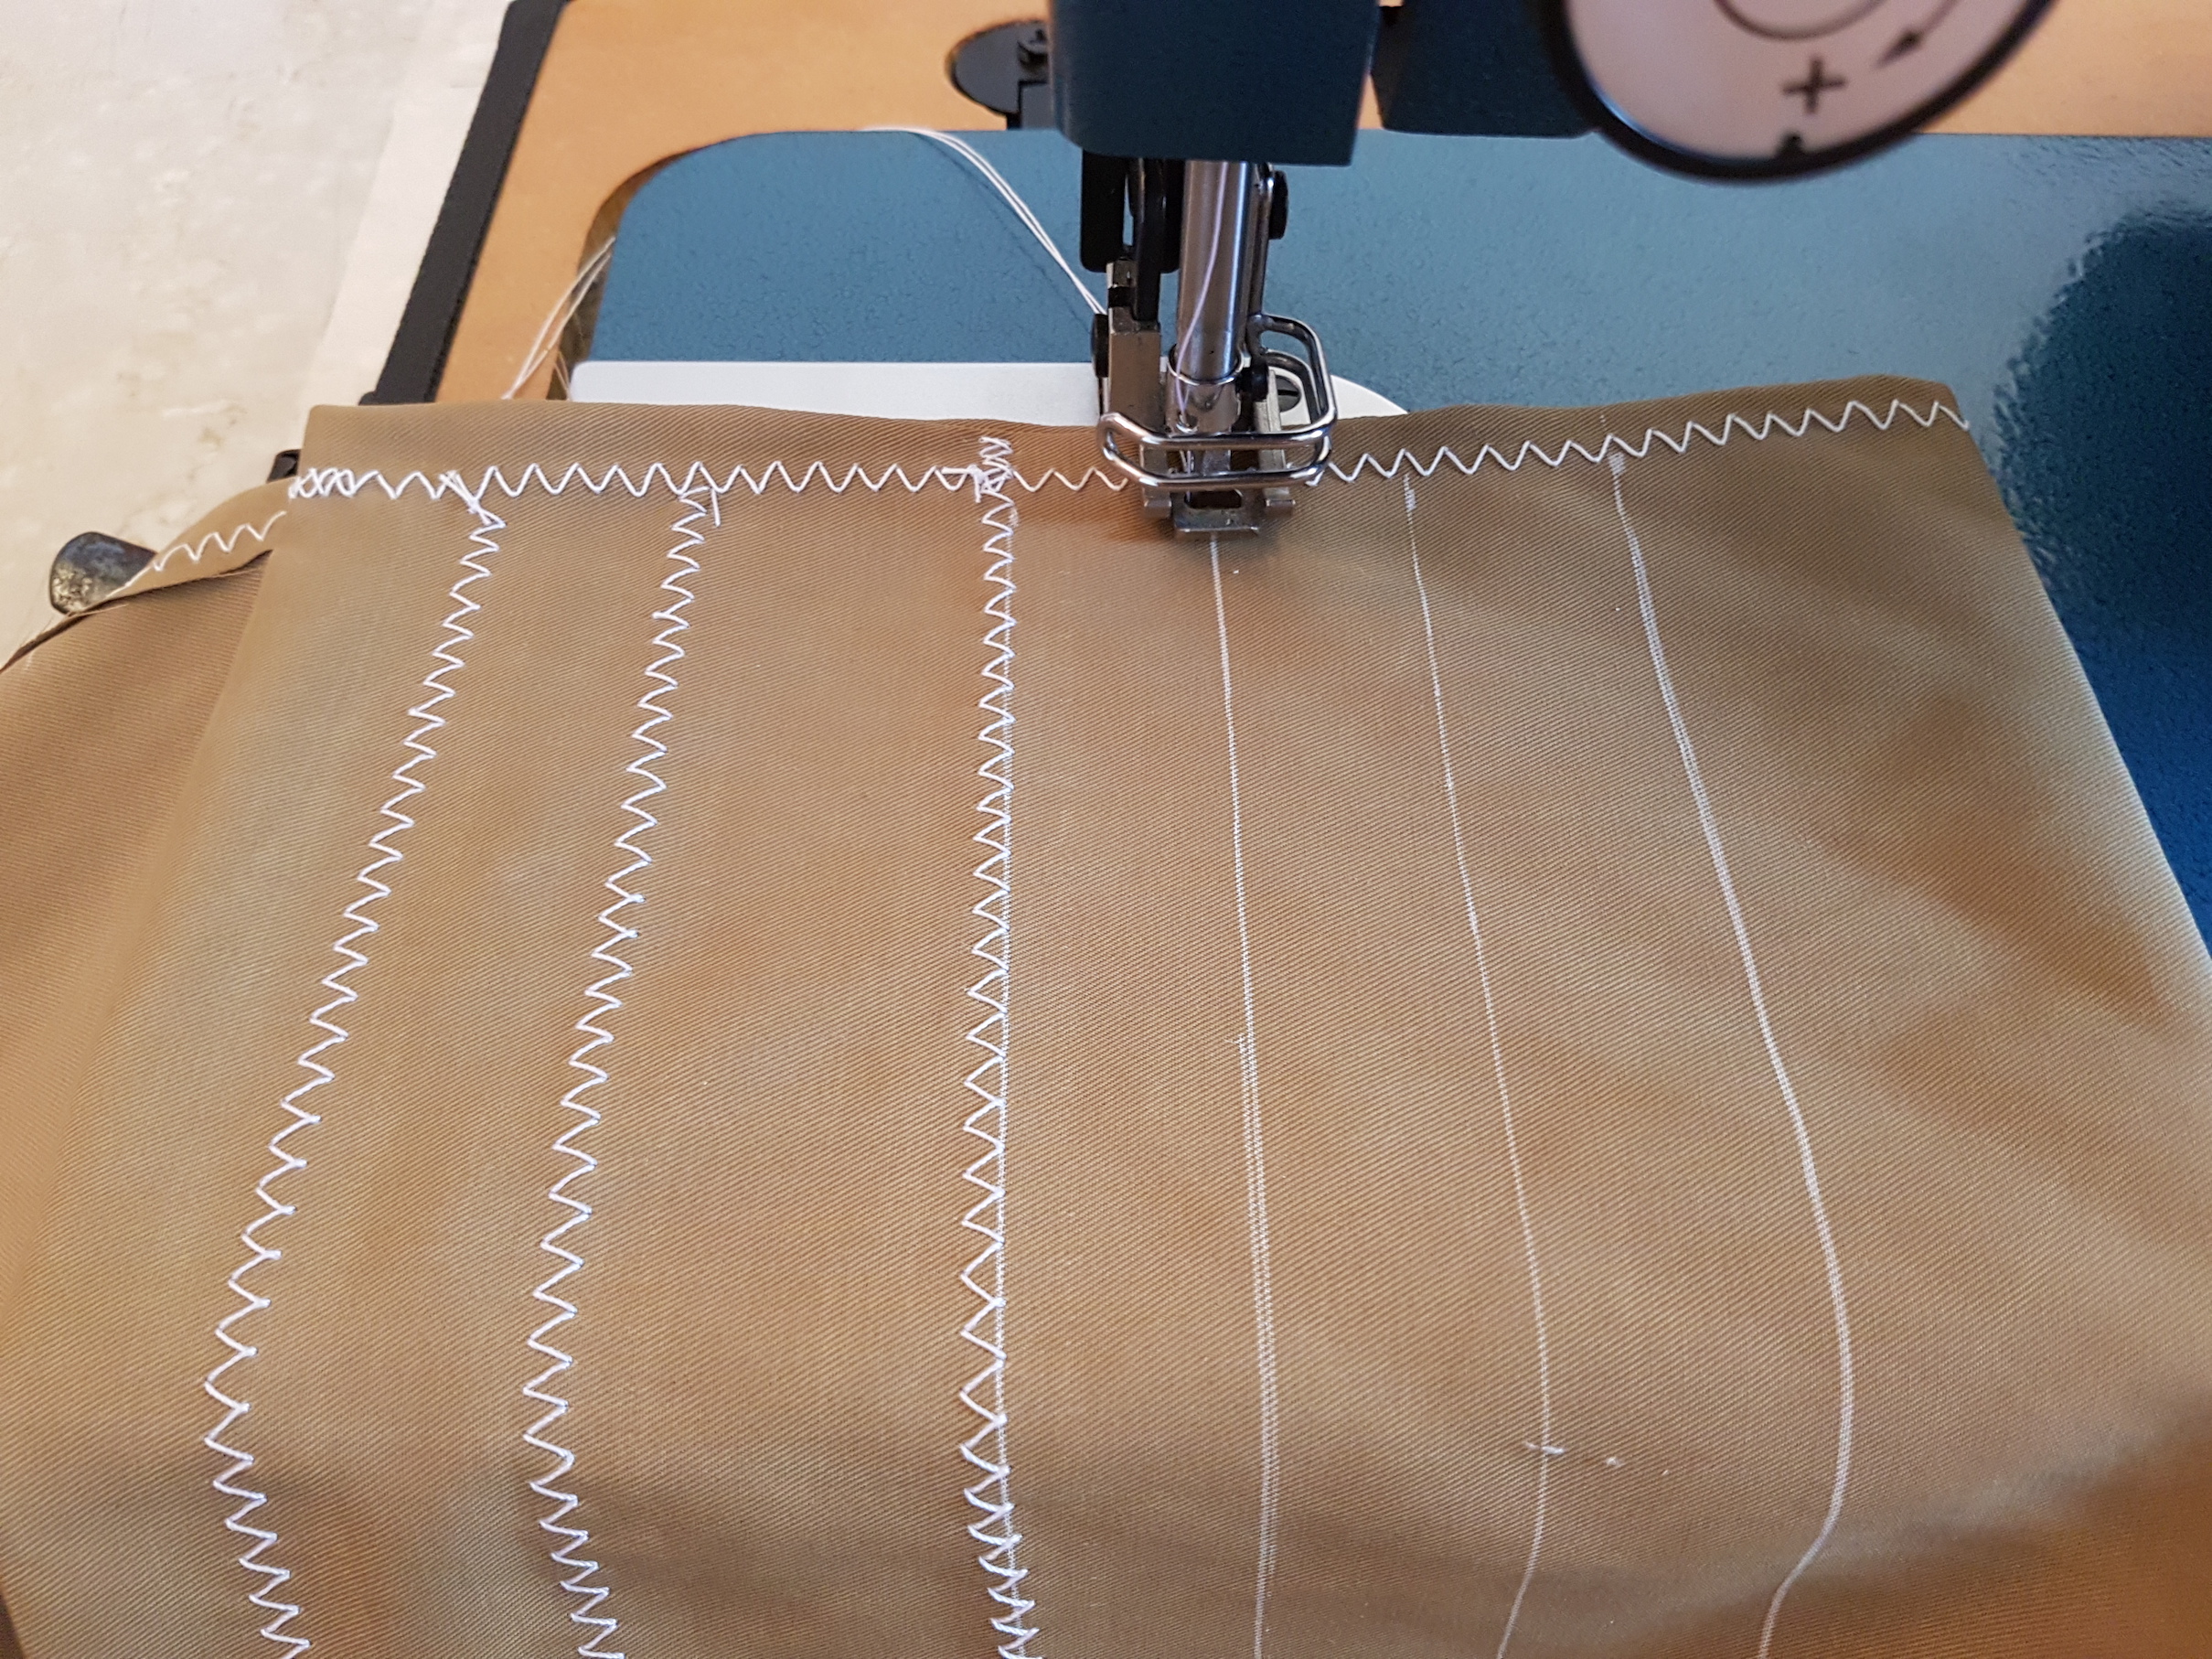
For extra security, to bare heavy weight, and to prevent unravelling in case of wear and tear, I sewed several lines over a large area and ‘locked’ the sides.

Problems and Revisions
Trial installation on Sunday

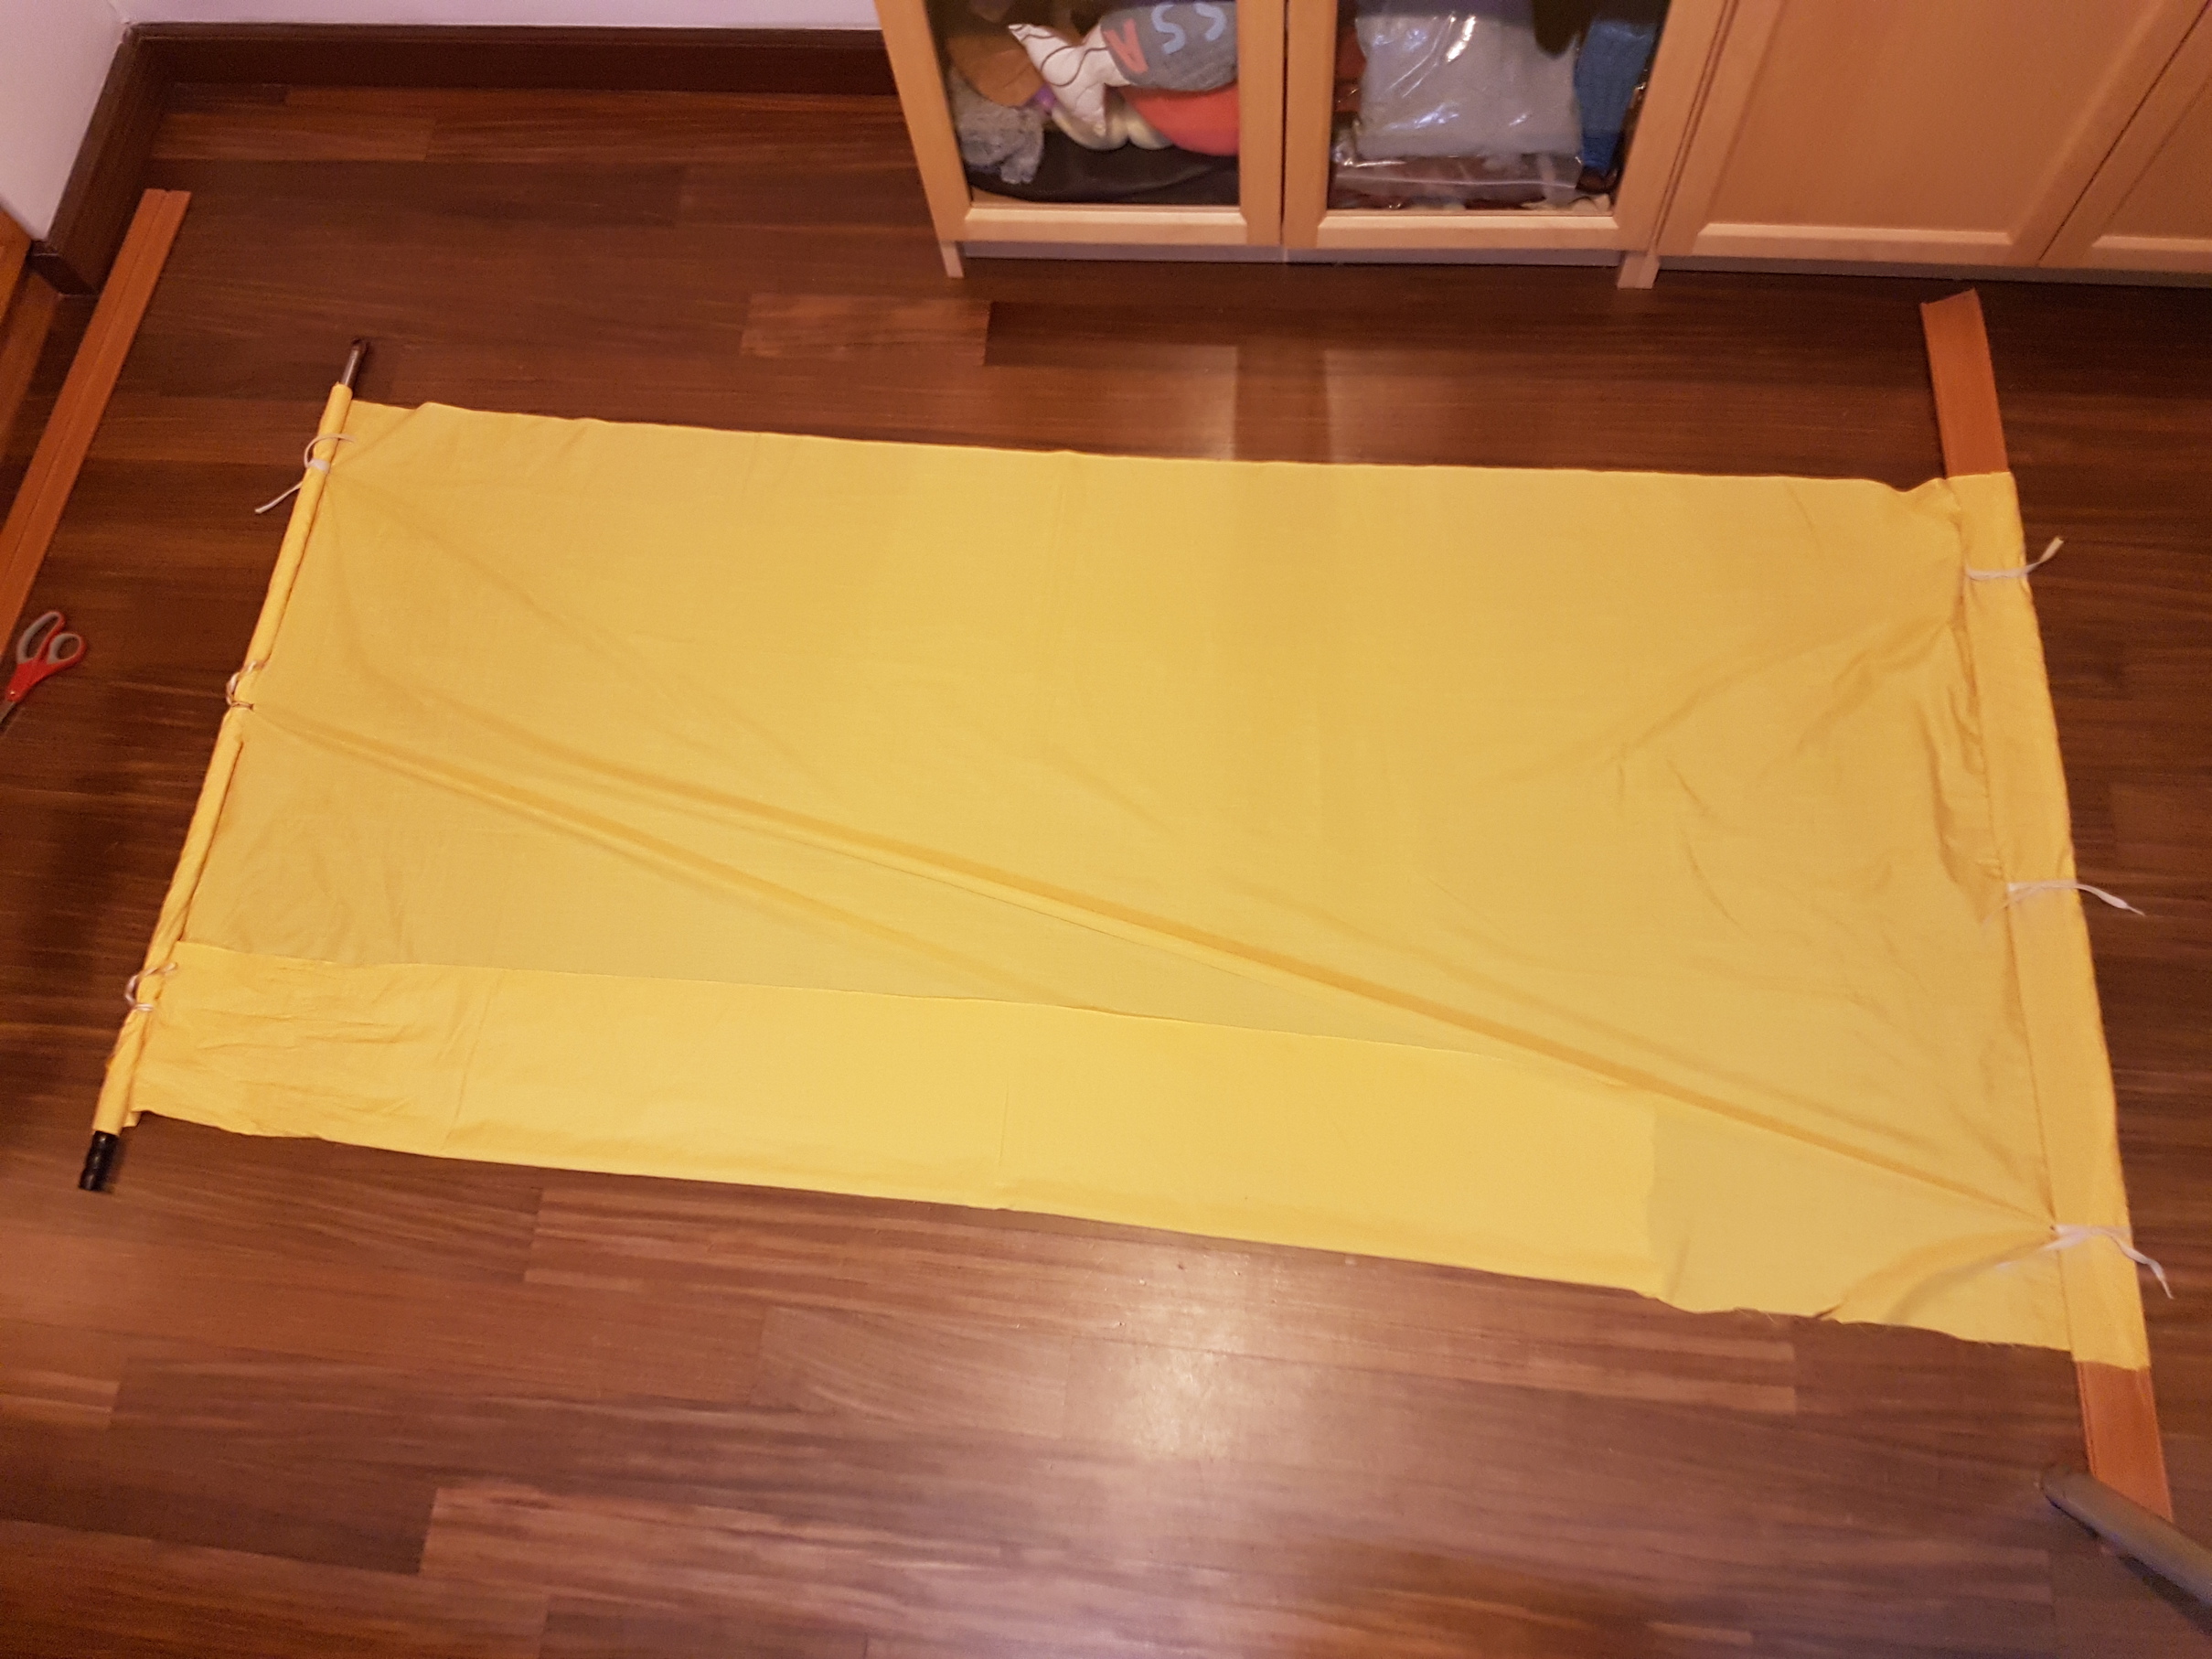
During the initial setup on Sunday, 1 of the sticks broke in the middle after some use. Oh the horror! Each hammock/swing had 2 points of support on each side (4 points in total to share the load). To prevent excessive flexing and bending, I revised the design by adding an additional point of support at the centre of the wooden pole.

Revised design

I cut out a gap enough for the rope to go through and coil around the pole and reinforced the stitching with… more stitching!

Video Documentation

FYP Ideas | Seed Stage

There’s this wise line that goes something like “I’ve spent so much of my life regretting the past, and worrying about the future, that I forgot to live in the present”. This, coupled with an incapacitating indecisiveness and overthinking, pretty much sums up a large part of my life. However, after reaching a recent turning point, I try to live by this motto each day.

Regretting past mistakes, worrying about the unknown and indecision share a common trait — stagnation. Although I’m in the process of tweaking these habits through trial and error, the best counter measure I’ve developed to combat overthinking and inaction is simply, doing.

I’d like to continue this personal exploration and extend it to my work as an artist. Stemming from the Art of Doing, I’ve come up with 2 initial FYP possibilities. Despite having the same starting point, these take different directions which I hope to be able to reconnect after more research and exploration.

1. (working title)__

Final deliverable
A full body immersive installation

The work will play with ideas such as sensuousness, feeling, and engage the physical body over the thinking mind. It aims to create an environment for visitors to experience simple, physical pleasures; to concentrate more on the experience than themes and narrative. Some simple yet gratifying pleasures that come to mind:

Still from the movie ‘Amelie’ (2001), uncoiling a ribbon
Still from the movie ‘Amelie’ (2001), falling dominos
Still from the movie ‘Amelie’ (2001), peeling dried glue

The installation would alter aspects of experience possibly through suspension, instability, weightlessness, textures, tactile sensations and smell. It will also employ sound to enhance the environment.

On scale
The large scale of the installation will allow visitors to engage with the environment using many different faculties. More than just sight or hearing, when users put their whole body into action in something bigger than one’s self, they may feel small and even disembodied. User’s will also tend to test the limits of this large and unfamiliar space, not unlike how a child would explore the full potentials of a new toy.

 2. Emporium of the Ludicrous

A small emporium with varied offerings
Maywa Denki

On Form, Process and Medium
I’m looking for ways to move away from a single final installation and incorporate the process, performance, prototypes video and installation into an inclusive 12 month long project. I feel that Maywa Denki’s cohesive presentation methods is an excellent example of this.

Final deliverable(s)
Series of seemingly ridiculous inventions and prototypes + a final installation which would integrate these devices into an emporium space along with a final more developed kinetic and mechanical installation.

The final installation which will be shown alongside the interactive devices will primarily be a mechanical and kinetic interactive installation with a domino effect. Sound (either generated digitally or mechanically) will be an important element in creating mood.

Related research topics: Kinetic art, kinetic sculpture, mechanical art.

For both these potential ideas, I don’t wish for the viewers to engage in literal ‘doing’, which is more a personal aspiration and starting point for the works. Rather, it will prompt visitors to experience the space through instinct and sense, and let intellect take a back seat.


Project Hyperessay #1

Introduction & Premise
Screenshot from my second Facebook Live broadcast

For my final project, I will further develop the persona of an ‘influencer’ from my second live broadcast. I intend to use it as a starting point to question the current use of social media in politics and various forms of ‘influence’. I will continue to explore persona, spectacle, costume and parody in the context of contemporary Internet culture.

I plan to take on the role of a social media influencer in Singapore who has decided to find new ways of spreading her influence. She has decided to attempt bigger endeavours, starting with local politics.

On Live Broadcast & Performance
Screenshot of Naomi Neo’s Instagram post

Social media influencers are a very special phenomena in Internet pop culture. It is a unique product of the internet age. Influencers reset the playing field; anyone can be a famous internet celebrity and no longer require traditional broadcast institutions or a network of contacts and companies. Influencers use social media platforms and live broadcasting to communicate with followers and share their lives.

Example of Donald Trump tweet

Similarly, in recent years, social media has become irreversibly intertwined with political campaigns and information. These 2 groups of people inherently rely on social media to either influence, incite or inspire. Thus, I would like to merge these two major aspects of contemporary internet culture, in parallel with the massive reach of social media and the liveness of performance.

Artistic Objectives

The performance will not be a political criticism. Instead of legislation, we will look into the softer more human side of local politics to question issues such as authenticity, connecting with the people and the small proportion of women in local government etc. I plan to examine certain ‘tropes’ of both influencers and local politicians such as #OOTDs (outfit of the day), ‘meet-n-greets’ at hawker centres and house visiting.

PM Lee visiting a hawker centre
Developing Collective Narrative and The Third Space

Although I will prepare actions beforehand, like Yoko Ono’s Cut Piece (1965), the broadcast’s narrative will be a collective product developed together with the audience.

Cut Piece (1965) by Yoko Ono
Stills of Good Morning, Mr. Orwell (1984) by Nam June Paik

Even the unexpected — such as unanticipated responses or technical difficulties experienced in Nam June Paik’s Good Morning, Mr. Orwell (1984) — must be embraced. The narrative will be heavily influenced by the responses of both audiences in the first space (physical audience) and third space (live stream viewers). My persona, body and live streaming medium will serve as a bridging method to simultaneously connect both spaces and audiences.

“The possibilities are endless: we ask, what can’t you do with your own television channel beamed out to the whole world!?” — Randall Packer, “The Third Space Network” (2016)

This closing statement by Randall Packer exemplifies the agency of the individual. Armed with a phone and a larger-than-life persona, I hope my final project can illustrate the democratic reach of the individual, unconstrained and unfiltered by official channels, to create meaningful interactions with and between audiences.

Challenges and Concerns

With any performative work, this will be a personal challenge to push myself out of my comfort zone. I typically abstain from topics like politics in my work so this route will be challenging on multiple levels, such as managing tone and public sentiment. I hope to be able to push the medium of live broadcast further and am still exploring ways to do so.

References

[i] Packer, R. “The Third Space Network” (2016)

Mirrored Spaces; IRL Split Screen | Live Broadcast 4

Click here for my 4th live broadcast!

Some post-broadcast thoughts

This week’s live broadcast was made in the style of Jennicam (1997). Like live webcam or surveillance footage, the camera was static and unacknowledged, creating a sense of observation and even voyeurism.

I realised that my and my brother’s rooms are mirror images in terms of the layout and furniture. However, we are total opposites and our private living spaces suggest very different inhabitants.

I set up the surveillance camera in the hallway at home; its field of vision (aka the viewer’s field of vision) was framed between these
2 ‘reflected’ rooms, creating a real life ‘split screen’ effect. In addition, save for the narrow dividing wall, the webcam window creates the illusion of us being in the same space, working in a shared study.

“When Ringley was not visible “the set” was ever-present; there to be read as one reads an advertisement — signifiers everywhere, like a Jacques Tati still of a sleepy village evoking a particular mood and era, everything reeking of time and a version of normality.” — Steve Dixon, “Webcams: The Subversion of Surveillance” in ‘Digital Performance’ (2007)

In reviewing the broadcast, I see a likeness to theatre sets. The
identical harsh fluorescent lighting serves almost as a spotlight to these ‘stages’. We perform the everyday in these sets, be it reading, playing piano offstage or typing on our laptops. The ‘reflection’ also creates momentary temporal confusion: are we actors in the same set but from different scenes of the play?

It is surprisingly difficult to show mundane moments that have so far been kept thoroughly private within the walls of my home. Perhaps more so than being interviewed or addressing the camera, these everyday private moments where I am at ease are more revealing. Furthermore, because we live in an age of constant stimulation (the Internet has an abundance of stimulating and gratifying content), despite understanding the value in works like Jennicam, I can’t help but feel a residual tinge of creator’s guilt for letting viewers spend time watching something as ordinary as me in my PJs.

References

[i] Dixon, S. (2007) “Webcams: The Subversion of Surveillance” (pg. 443-455), Digital Performance: A History of New Media in Theater, Dance, Performance Art, and Installation.

Smocking & Elastics | week 6

Smocking

Materials: Fabric of choice (heavy or sheer, plain or patterned), thread, needles, patterns, beads (optional to decorate the darts).

Steps outline
  • Start by drawing a grid and transferring the patterns onto the fabric. Varying the size of the grids will vary the effect.
  • Following the lines, stitch the intersections of the grid together in the same spot to gather the fabric
  • Secure it with a knot
  • Repeat for a few rows and the pattern will start to show!

Here is my first smocking sample using a heavy mixed grey felt. Using a stiffer fabric creates a more structured sample; the result feels closer to an object than fabric as it curves to create a new form.

Tracing the patterns for sample 1
50% complete
Completed ‘fish scales’ smocking sample using mixed grey felt
Under-side

I really like the smocking technique as it can create very intricate and textured results using simple hand-stitching. Different weights and textures of fabric creates varying results. I’ve seen these effects in bags, cushion covers and other decorated items but never knew it was this simple to create!

Next, I tried applying this smocking technique onto a thinner fabric (it’s a scrap piece of fabric from an old dress).

Smocking process
Completed ‘Bones’ pattern smocking
Close-up of ‘bones’

When completed, I was curious to see the effect of colour additions on smocking. So I lightly spray painted this black fabric sample to give it a metallic finish and accentuate the ‘bone’ structure and form. The additional gold colour creates more depth in the smocking.

Golden bones
Close-up of golden bones

More samples and experimentation to come 🙂

Sewing with elastic thread

Materials needed: lightweight/sheer fabric, lace, sewing machine, elastic thread

Work in progress! To be updated 🙂

Felting & Applique | week 5

This week we explored 2 new techniques: Felting and Applique.

Felting

Felting can be used to create both flat textiles and structured 3D objects. There are diverse applications and we can see felting in everyday products in the form of fabrics, hats, bags and handicraft.

Techniques

There are several felting techniques such as wet felting, needle felting and Nuno felting. The basic felting techniques requires these materials: wool, felting needles, hot water, soap, and a soft surface to work on.

To start, gather the colours and arrange it into the intended shape or design. Moisten the wool with some hot water and start massaging; this will help the fibres intertwine and shrink to create a strong and firm material. A little bit of soap can be added to speed up the process and make the massaging easier.

Arranging felting wool

For my first felting attempt, I decided to make a blue rose! I combined both wet and needle felting techniques. I made the individual petals first before felting them together using the needles. The petals in the centre are darker and gradually become lighter on the outer petals.

After felting together several petals to form the rose, to complete this little sample, I used a green metal wire to add a stem and leaves.

Applique

Work in progress… to be updated!

Modern Colony Exhibition | week 3 | thoughts

This week we visited the Modern Colony exhibition at the National Museum of Singapore. It featured many local everyday objects such as clothing, entertainment, household items and furniture from 1925 – 1935 used by people of different socio-economic classes. This decade can be viewed as a turning point in culture amalgamation as well as women’s rights and education. Together, these various objects represent the rich visual and material culture of early 20th century Singapore which was then a fast-developing cosmopolitan city.

1920s: Style and Aesthetics
Embroidery samples
Cotton dress with sash and ladies silver mesh purse
Glass epergne (decorative vase with floral stems)
Hanging lights with fluted lamp shades

During this decade, there seems to be a general stylistic preference for ornamental and intricate details. Floral and curvilinear motifs were popular choices to decorate furniture, lights and vases (either painted on flat or attached). There was also a focus on handicraft and embroidery during this period. This contrasts with today’s more minimal aesthetics which lean towards clean lines and crisp shapes.

I really like these decorative lamp shapes and vases. Their fluted rims resemble flowers. The firm glass contrasts with the fluid folds. The colours are also applied in gradient.

Women’s Identity and Blending Cultures

Many of the objects on display illustrate the dichotomy between east and west in the pre-war British colony of Singapore. These two influences are seen in clothing, shoes and household items, especially from wealthier households.

Women’s shoes in the 1920s – 1930s

Although traditional bound feet shoes (centre) were very pretty, they hindered movement and resulted in many women staying at home. By the 1920s, they were replaced by these exquisitely embroidered high-heeled shoes which were favoured by the modern women in Singapore.

Social dancing shoes with both western and eastern style elements

These shoes did not hinder movement and conversely were used for social and ballroom dancing. This change reflects the evolving role of women at the time and their increasing rights and freedom.

Furthermore, these shoes represent the combination of eastern and western influences, a hallmark of the cosmopolitan city. The designer appropriated style elements from the east and west and applied them to a pair of shoes as seen by the frilly bow (western) and embroidered peony (Chinese) on the toe caps.

Cocktail shaker
Cocktail glasses

Household and luxury items also reflect this blend of East and West such as this golden cocktail shaker and beakers with a four-clawed dragon chasing a pearl. The cocktail shaker, originally an invention of western culture,  is here remade with Chinese aesthetic elements and motifs.

Transfer Printing | week 1 & 2

This week we explored various transfer printing methods such as dry transfer using fabric crayons, wet transfer (direct and indirect printing), and digital transfer. Although these methods are relatively simple, they can create amazing results.

Dry Transfer Printing using Fabric Crayons

Materials needed: Fabric crayons, an iron and some baking paper to protect the iron.

This method involves drawing onto paper using crayons, then transferring the drawn images onto satin polyester using heat. The colours produced are very vibrant and the process is simple and intuitive.

Tartan made using fabric crayons

The same drawing can be printed again, producing a lighter effect.

Crayon on paper before printing
Result after transfer printing
Pattern swatch made using fabric crayons

After drawing with the crayons, we can reframe the pattern by cutting out a specific shape (e.g. square, arch). The use of crayons allows free control and limitless organic shapes. Personally, I think these fluid shapes and organic patterns came out nicer than the earlier tartan prints (straighter and cleaner lines would make a crisper effect)!

Wet Transfer (Direct and Indirect Printing)

Materials needed: Ink, brushes, paper to paint on, flat objects, iron, baking paper.

Direct Printing

For this method, we paint the designs onto paper and transfer them onto satin polyester using heat. The colours produced are very vibrant and beautiful. However, a drawback is that the paints on paper look very different from the end result so it can be slightly unpredictable. Although the heating process requires more time than the crayons, it produces very saturated colours.

Direct printing. Technocolour mushroom
Top: painted ink on paper before printing. Bottom: result
Indirect Printing

Printing with objects in between the paint and the print surface. The flat objects (thread, flowers, yarn, feathers etc.) block out the ink and mark their shape onto the print.

Printing with ink and thread

As seen above, prints can be used more than once. The second print (right) produces a lighter, more ephemeral effect. Applying heat for a longer time produces a more intense colour outcome. Inks can also be mixed and overlaid to create interesting blends and effects.

Printing with ink and thread
Printing with flowers
Right: Gradient made using fabric crayons

Different inks can be overlaid to create denser patterns (top). I like how the ink can be applied in a very raw manner and preserves the brushstrokes.

Especially for thicker objects like flowers, we need to apply more pressure to the iron to get a clear shape of the object. When I first printed the flowers, the shape was quite indistinct so I went over again with more pressure to get crisper lines.

Printing with furry yarn

Digital Transfer

To be updated!