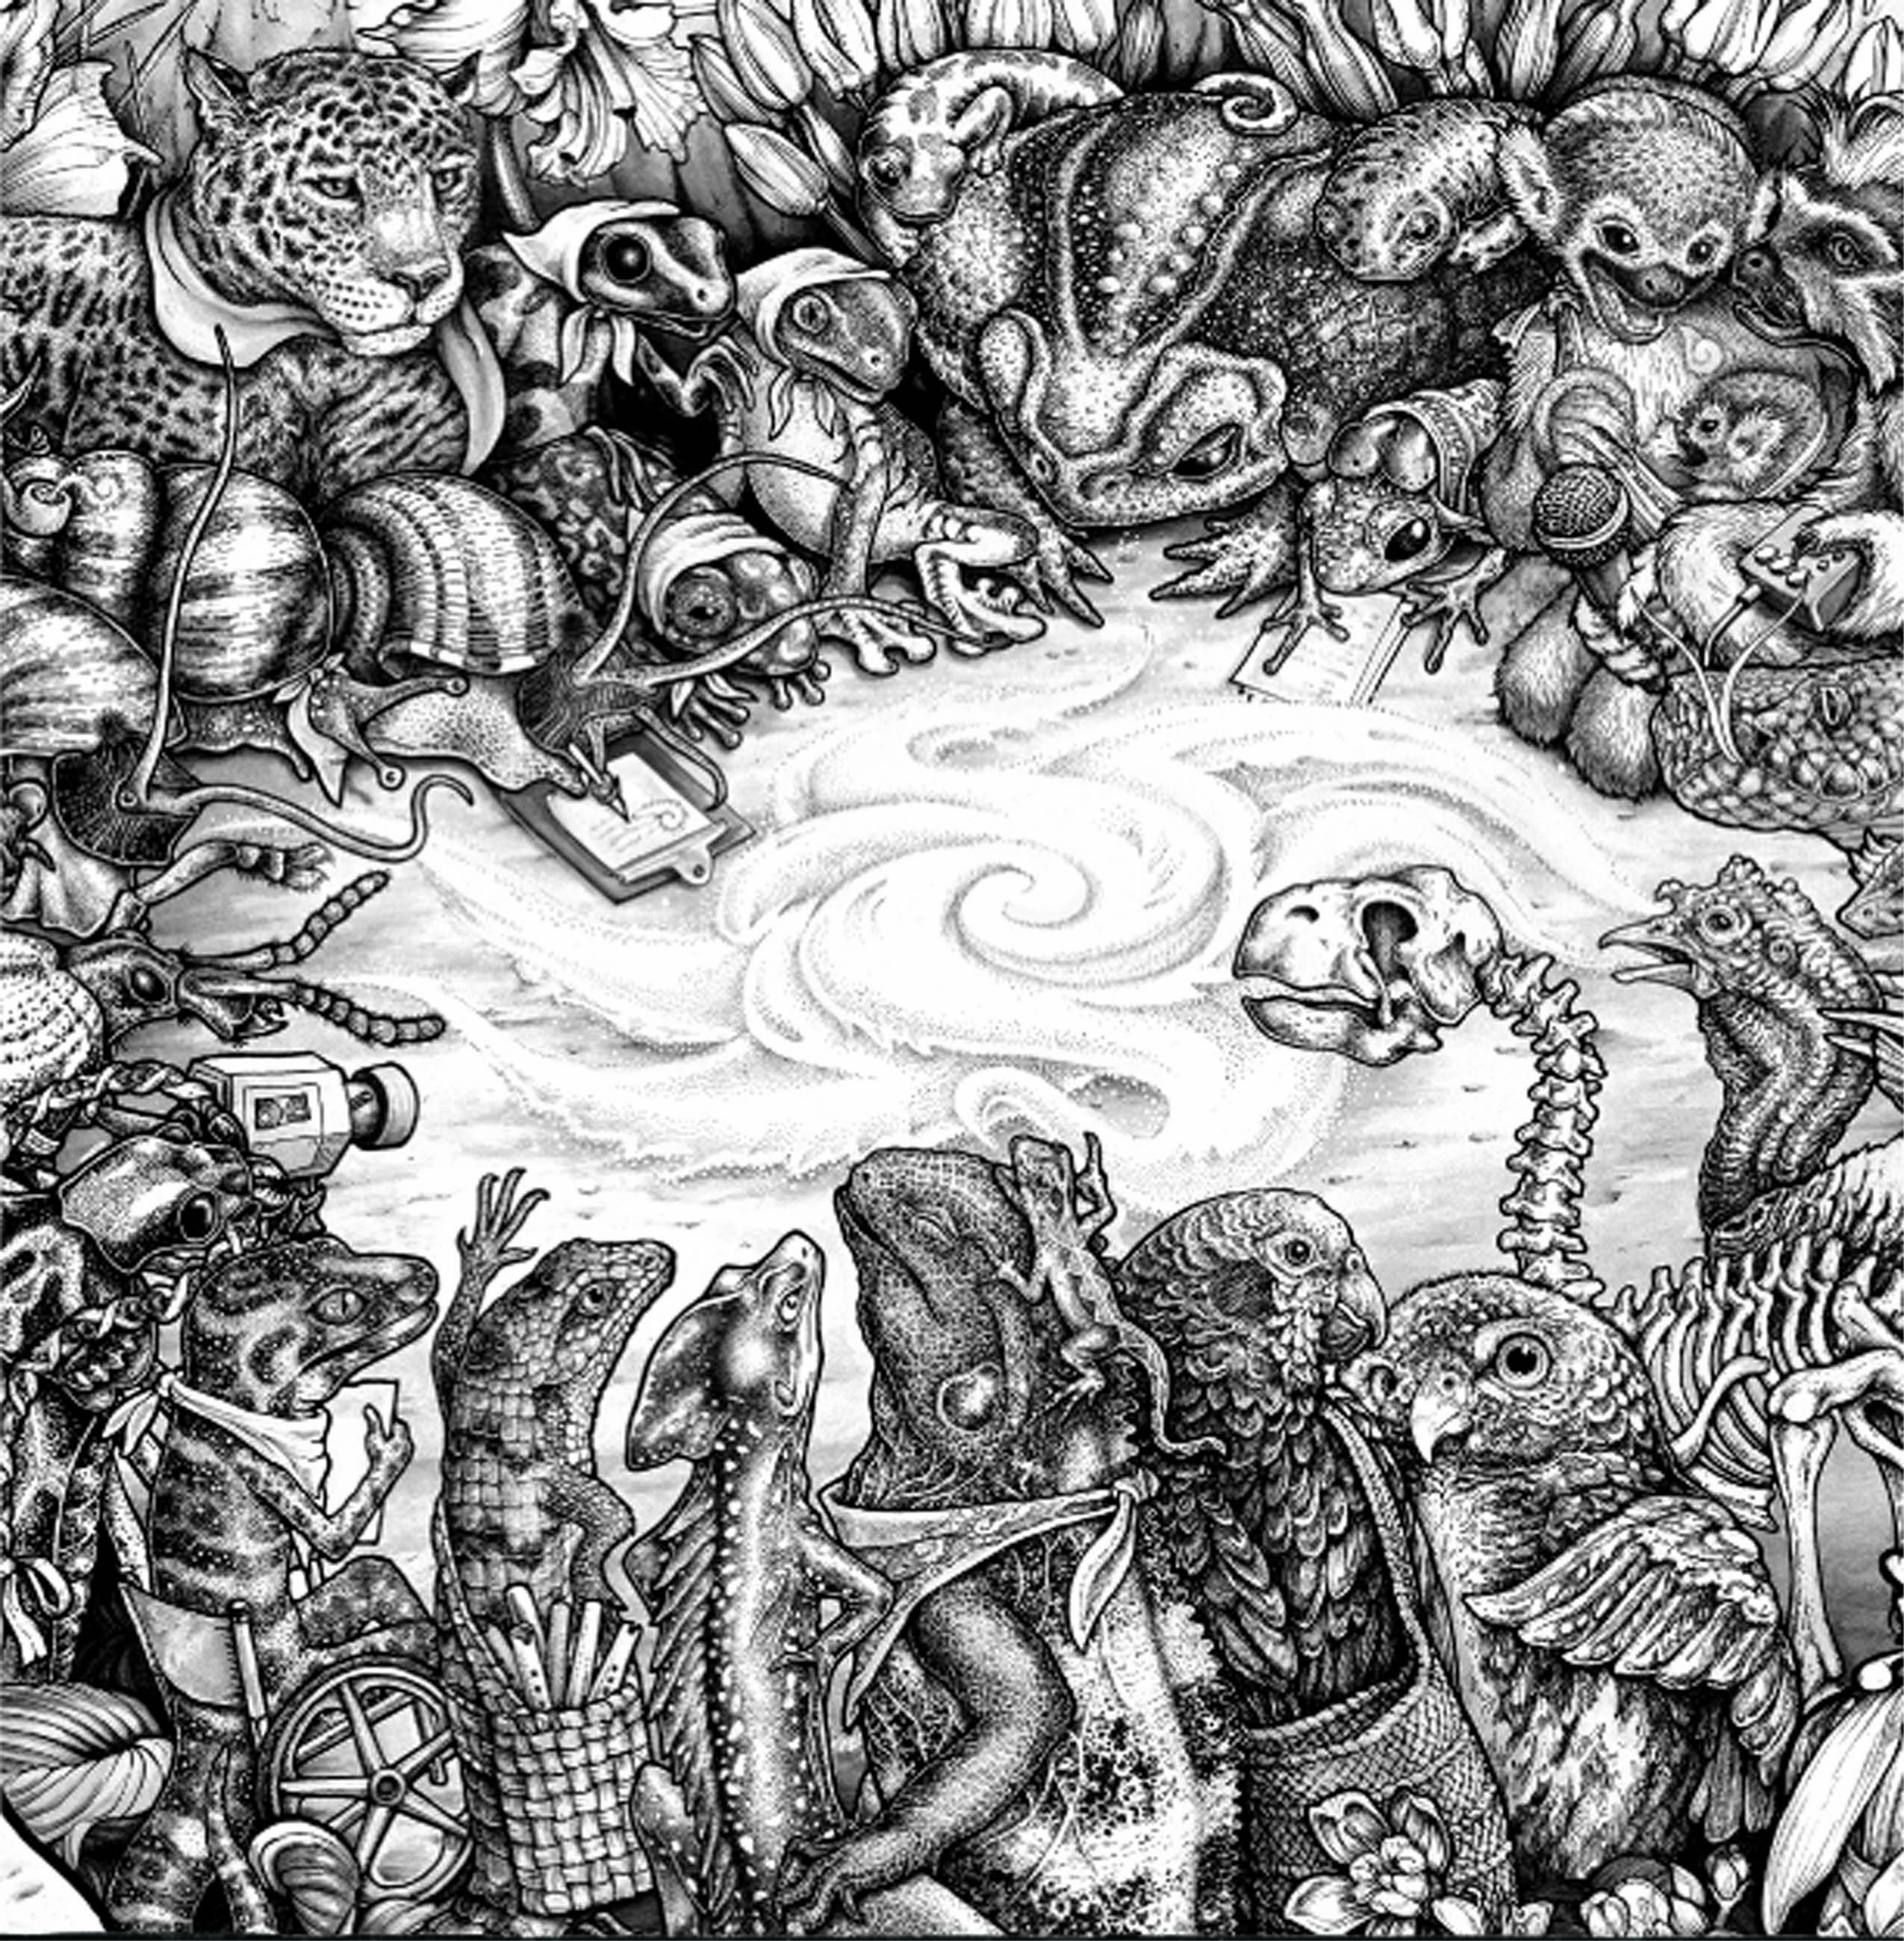
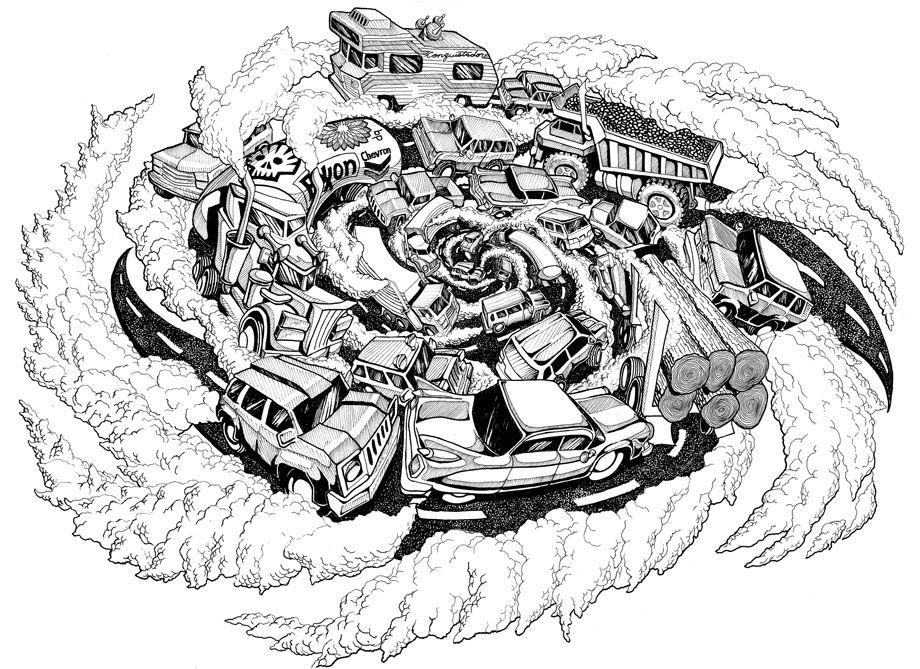
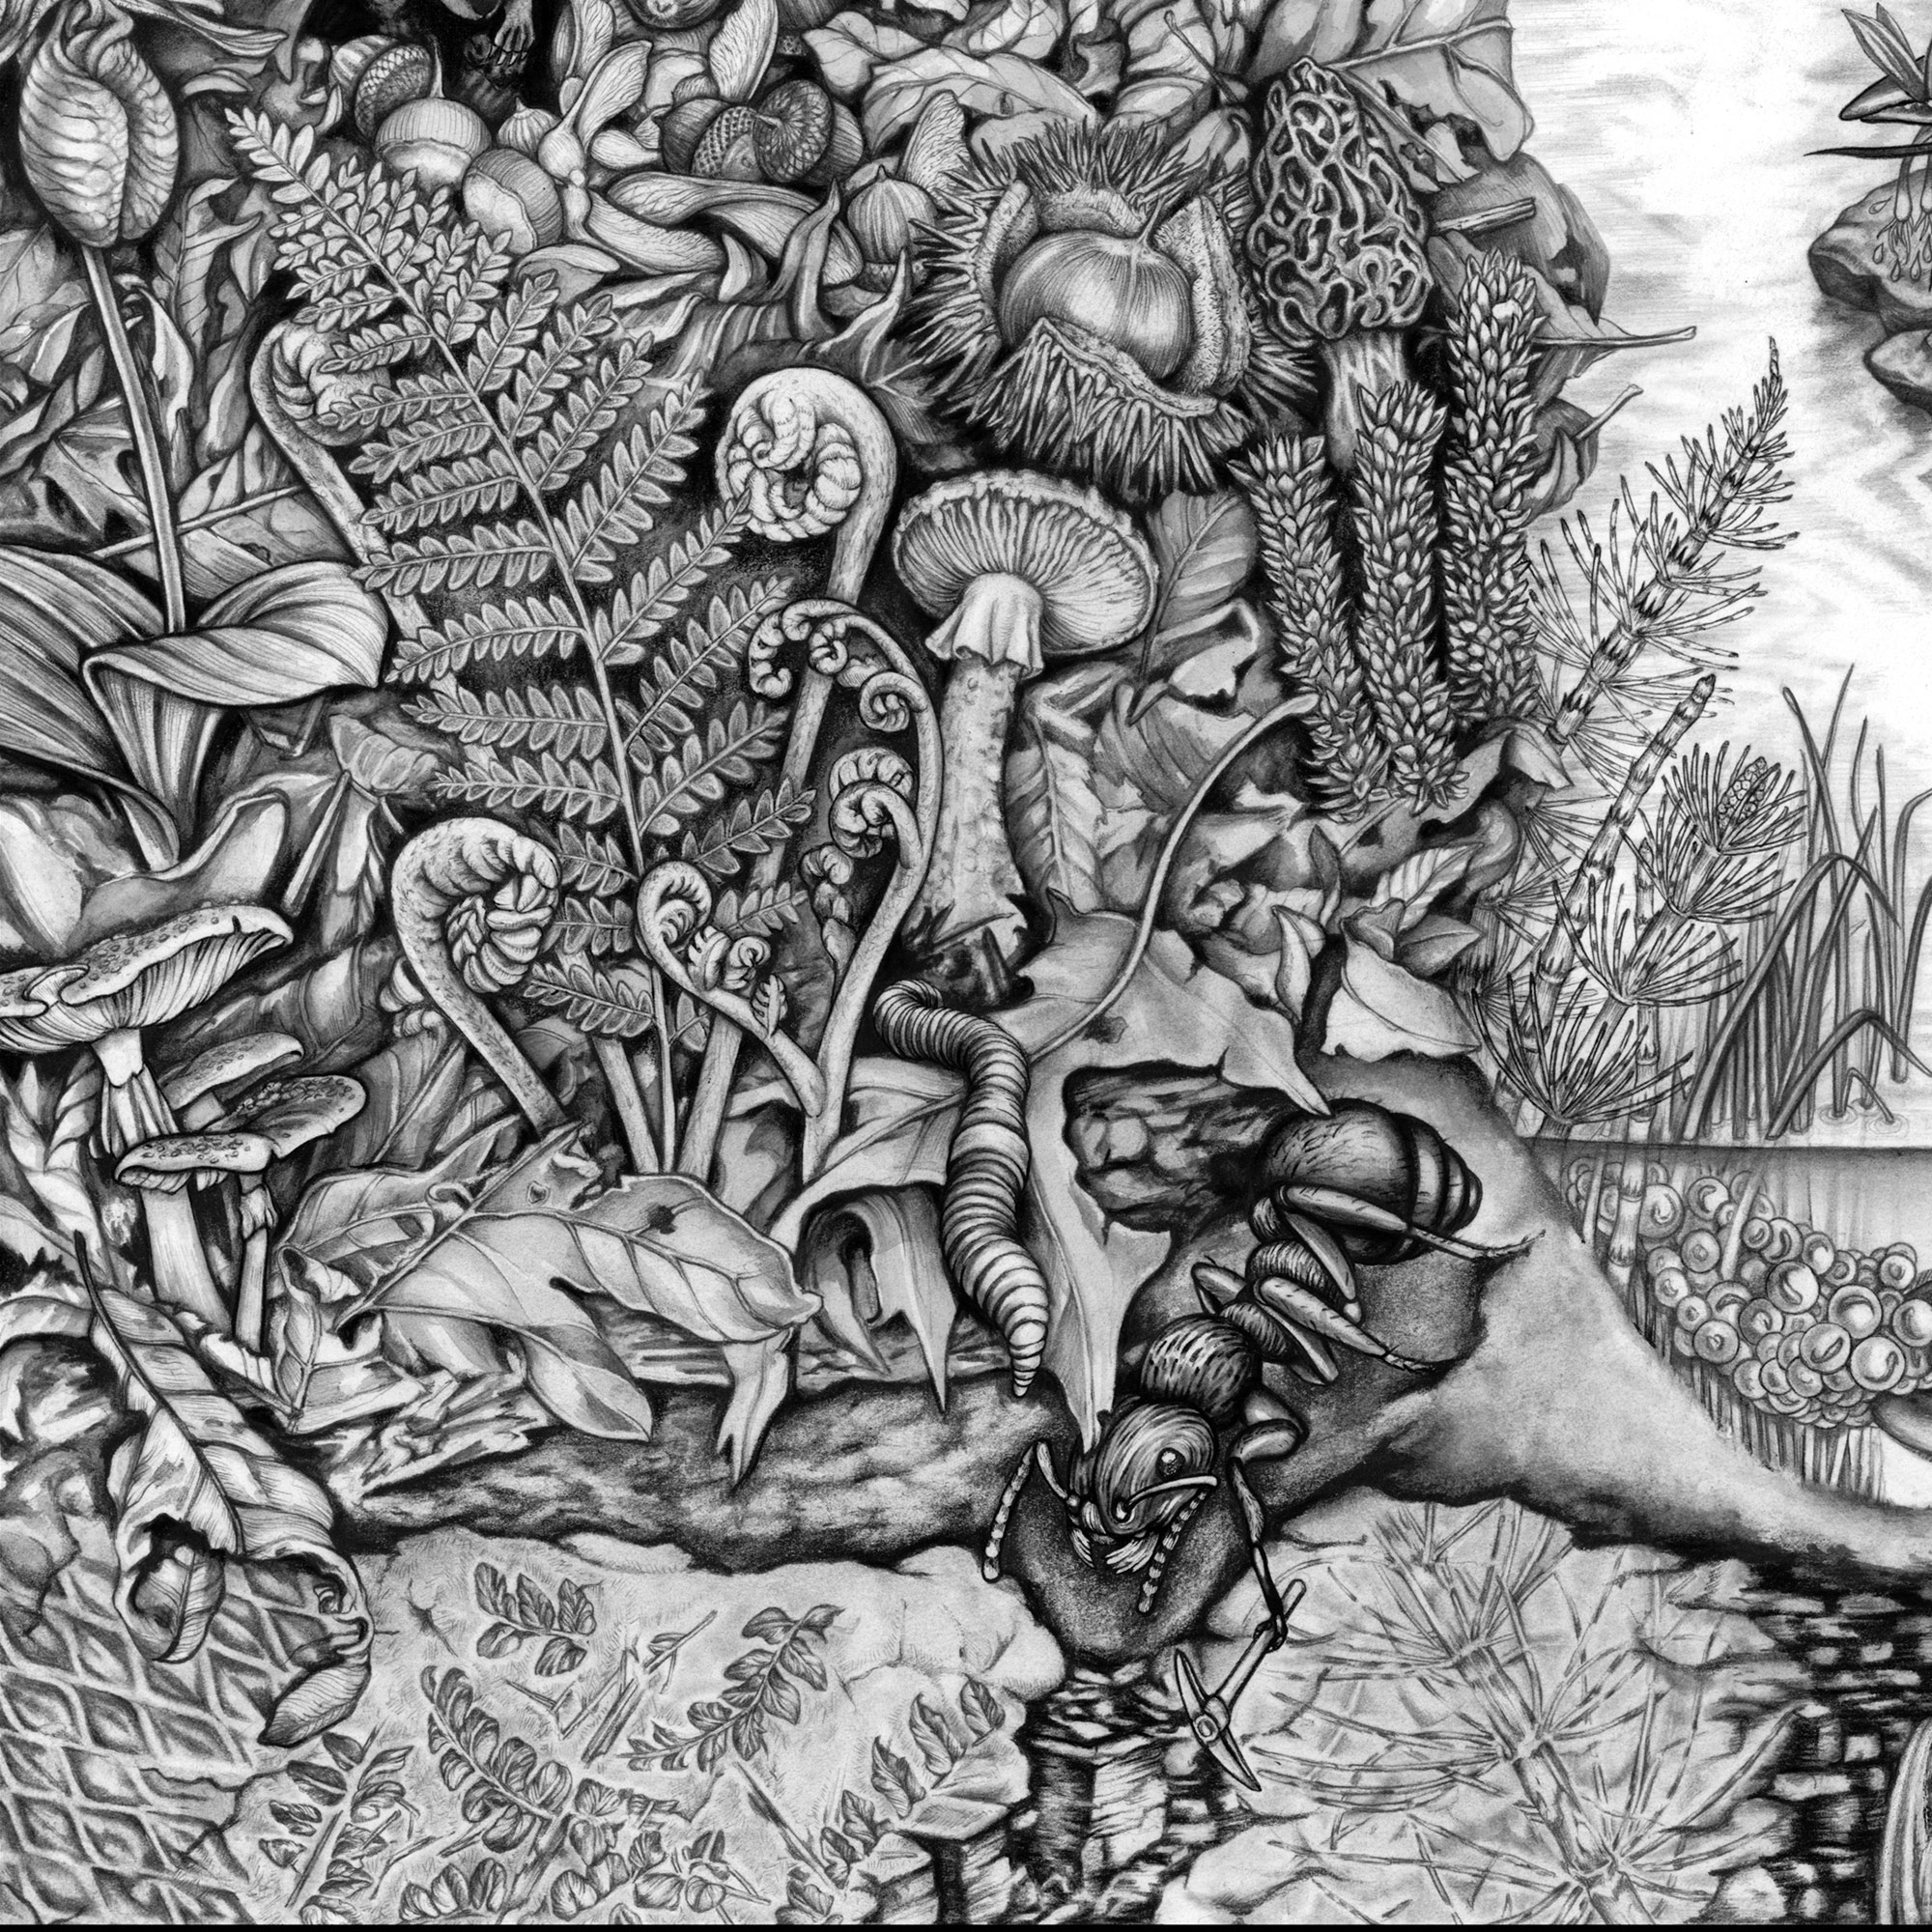
http://beehivecollective.org/ Another inspiration for the final project came from the Beehive collective, a non-profit organization that come together to bring awareness about social-economic issues, environmental issues and issues on militarism and free trade.
Meticulously detailed micro pen drawings can reach up to 30 feet in length and are brought around to different parts of the world to be used for educational purposes. The visual nature of the artworks allows for a more fluid and non-linear form of storytelling.
I had the idea of incorporating this into our own personal story, be it the story of this country, or a fictional setting, and have the illustration either be projected or shown on a series of large screen televisions, similar to the one at the ADM lobby. Key elements of the illustration could be enlarged whenever the user hovers the mouse over key sections of the illustration.
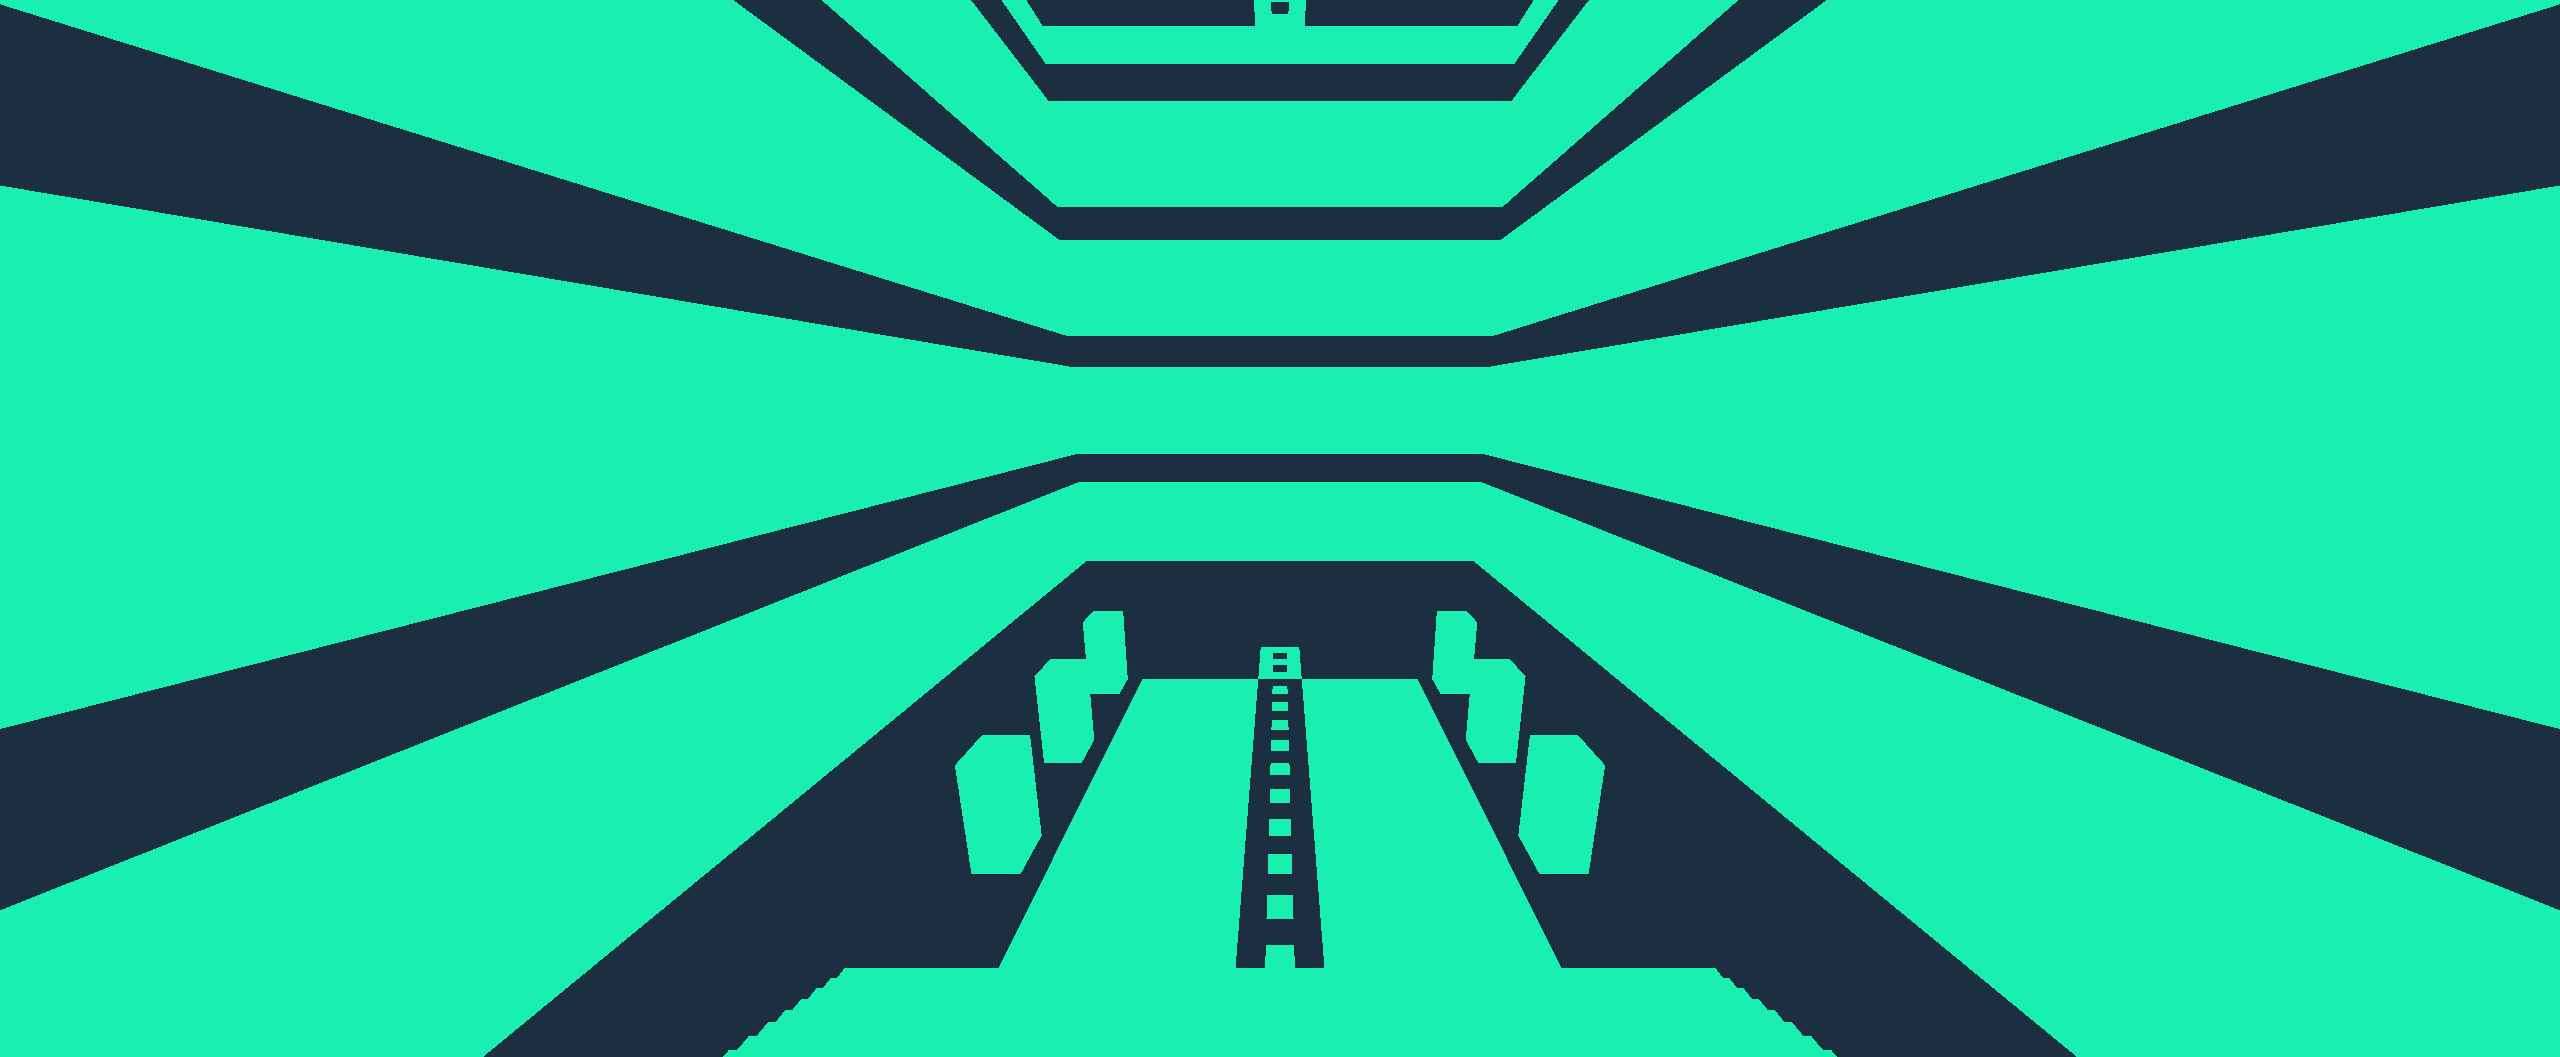
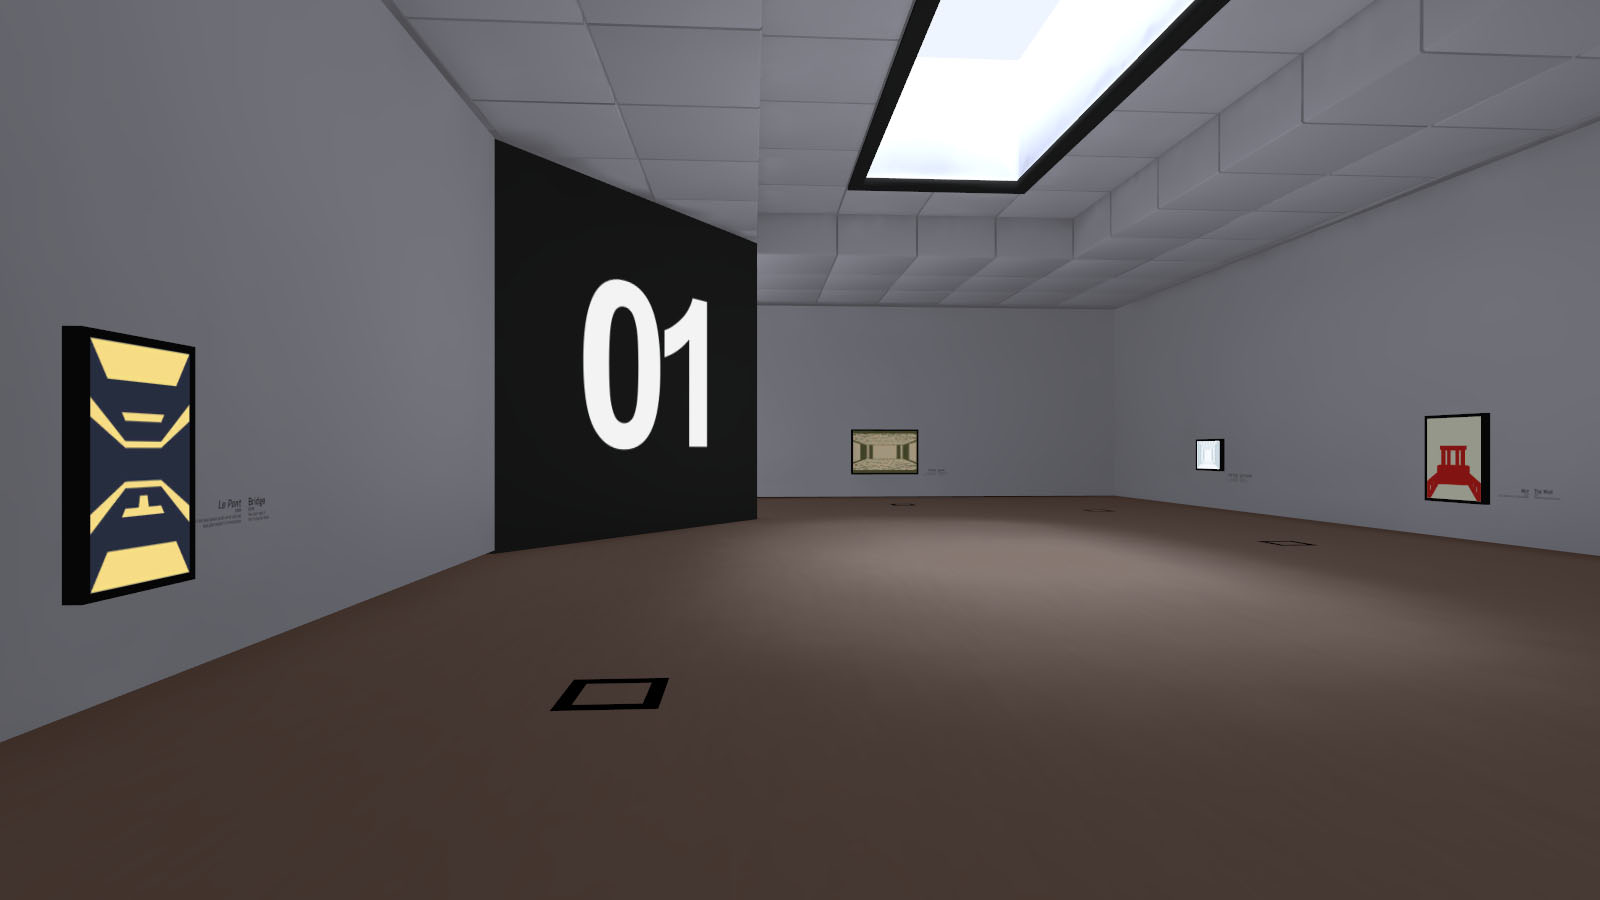
Beyond perceptions is an indie game developed in a short period of time, similar to those that you’ll be able to find in gamejam/ 24 hour game creation events.
The premise of this game is simple, you play the role of a gallery visitor and finds a series of illusory paintings. As you stare or interact with it, you’re taken into a cell shaded environment without any indicator of depth. The objective henceforth would be to solve the puzzles by traversing the cell shaded environment.
Due to the simplistic color shading, there is no indicator of depth, so players would have to point their camera around to get a feel of the place. Some trial and error is also needed to traverse the environment. Once the puzzle is solved, the player is sent back to the gallery, and will find that the painting that was once viewed is now a miniature 3d environment.
The idea that i enjoyed about this game is the concept of spacial awareness and the forward thinking “out of the box” approach. Also, this game is relatively easy to make in Unity 3d, as most of the game mechanics mostly consists of platforming.
While I agree with the points that have been put forward by the writer, I disagree that the current state of videogames are lacking in the storytelling aspect. As someone who has been playing with videogames, I have to say that the main point about games are not necessarily about forcing stories into games, or vice versa. In the spirit of fun, some experimentation should be warranted, no matter the result. It is also crucial to note that most AAA companies, although heavily budgeted, have higher stakes when it comes to meeting consumer demands. Some companies decide to play roulette and choose the undiscovered path, whereas others use existing formulas that have been known to work. In other words, If it ain’t broken, don’t fix it. There are other high risk elements in the form of prototyping. For instance, developers from ID tech were able to make a prototype Doom level in a few weeks, whereas a game like Rage, which relies on megatextures, would take years before the result becomes apparent. Megatextures is basically a method in which textures in the game world aren’t “looped”, but customized. This allows for a more interesting and unique texture quality, but takes countless hours to make.
I’ve seen the firsthand effects of videogames borrowing narrative structure without properly integrating them into game mechanics. For example, the game “Beyond two souls” is a game that has “quick time element” features that require the player to input a set of keys in a short period of time every now and then. The game developers behind the project “quantic dreams” have done divergent storytelling, as do Bioware in the game “mass effect”. However, doing games with divergent storytelling is an extremely complicated process, requiring countless hours in planning. Thus far, most game developers have solved this problem by bottle-necking the ending into one single conclusion. In “Beyond two souls”, the choices didn’t really matter in the end. People from the gaming community were surprised to find out that the outcome of the game would end the same even without input from the controller during the supposed crucial quick time events. In mass effect 3, EA rushed the studio to provide 3 limited endings (control, destroy and synthesis), knowing full well that if they diverged the story any further, Bioware would shoot over budget. (Mass effect 1,2 and 3 had file sizes of 12,15 and 10GB respectively). In both cases, the studios were given much flak from the gaming community.
Bethesda has somewhat solved the problem of a fun, yet linear storytelling AAA title that was feasible to create. Case in point: Fallout New Vegas and The elder scrolls, Skyrim. Here the gameplay was split into three main sections. Either the player could complete the main mission, or go after side quests. If players weren’t interested in either, he/she could play in free-roam mode. The modding community also gave another gameplay option. Here, players could add characters or game-modes that weren’t originally in the game. (For example, you get to play a bionicle robot saving the world from floating Thomas the tank engine characters by hurling a barrage of cabbages)
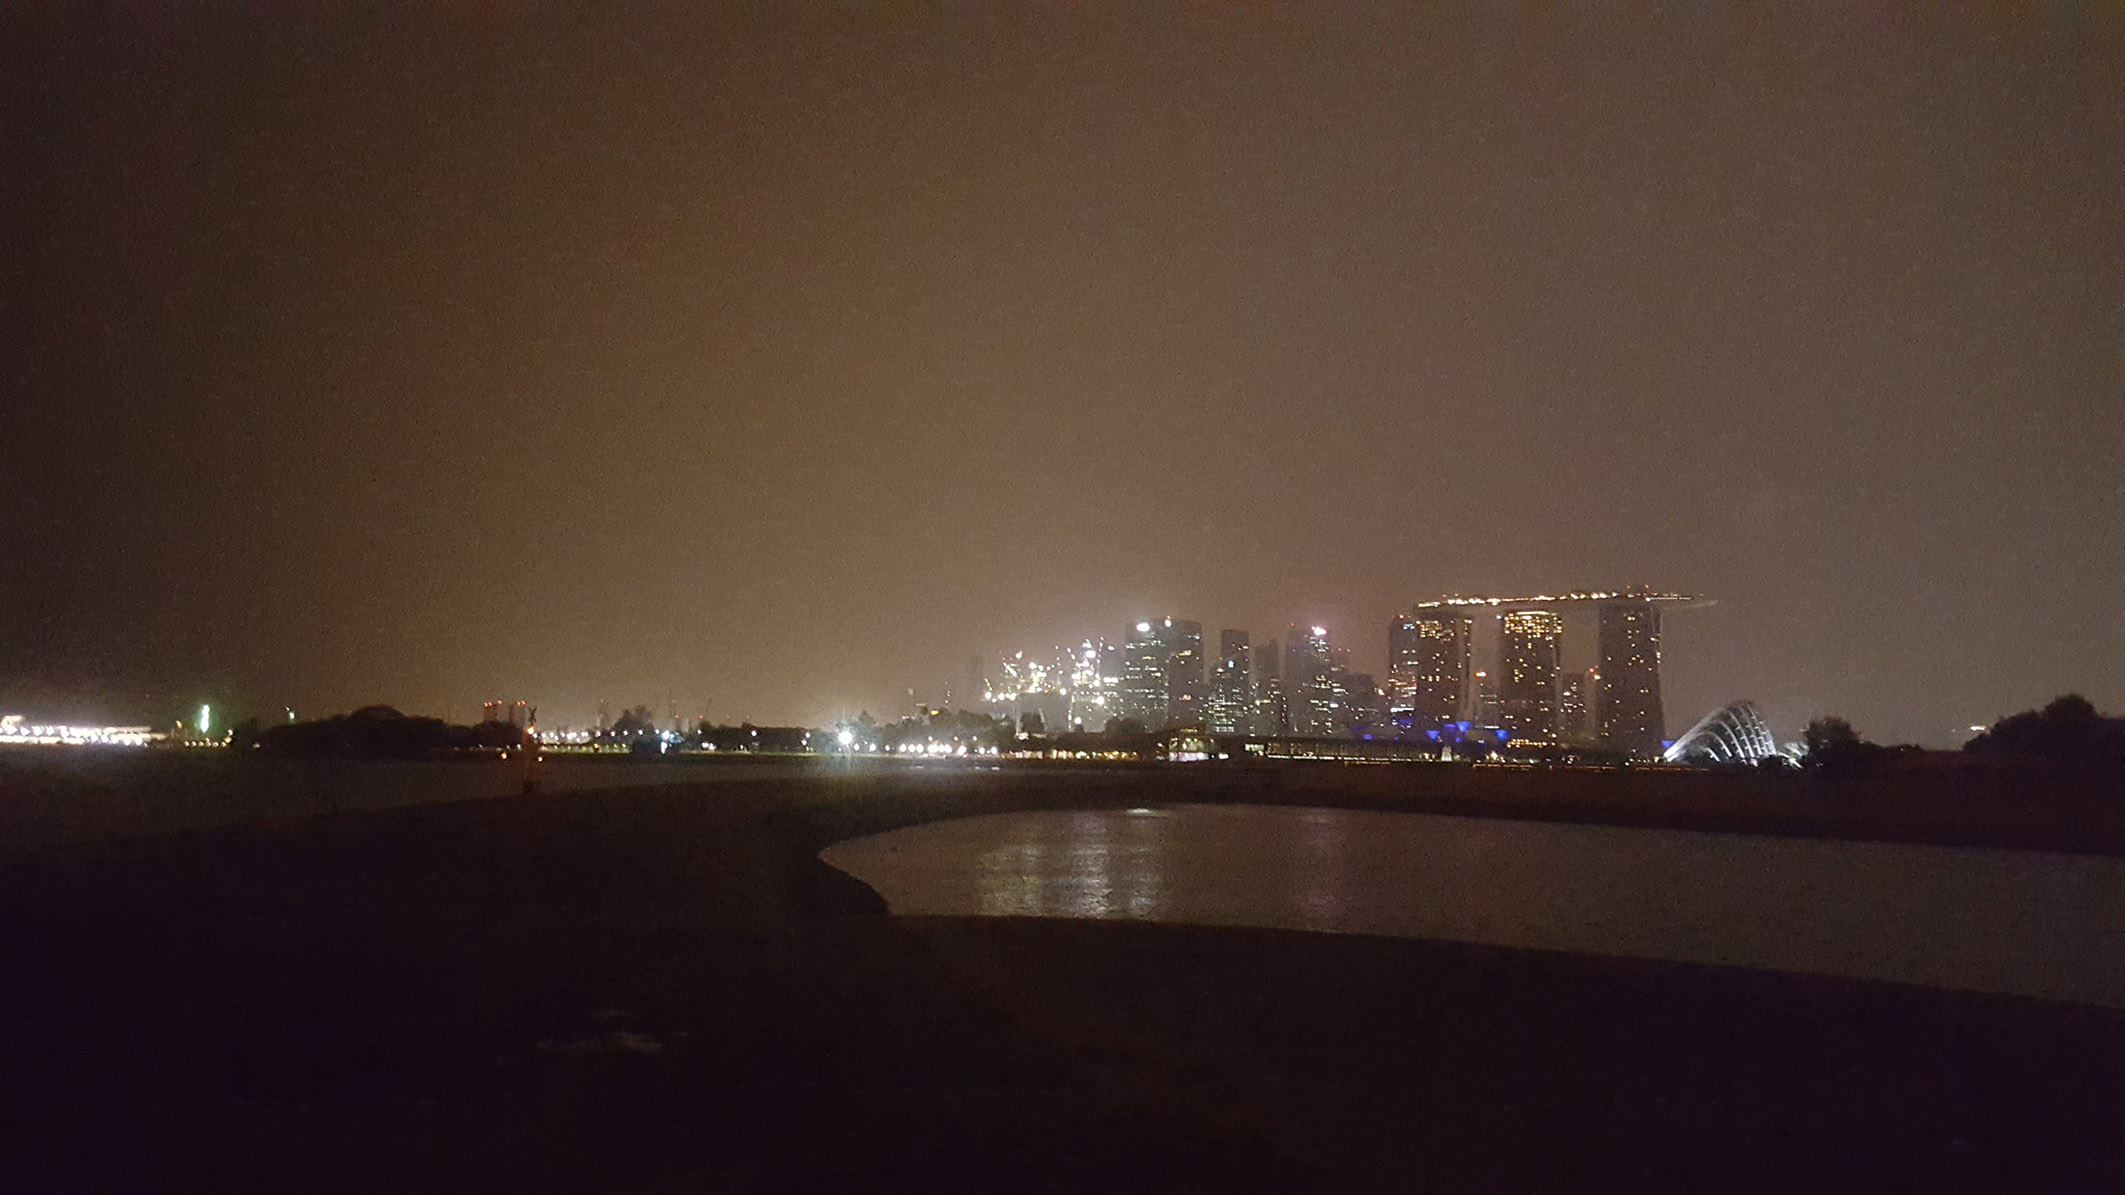
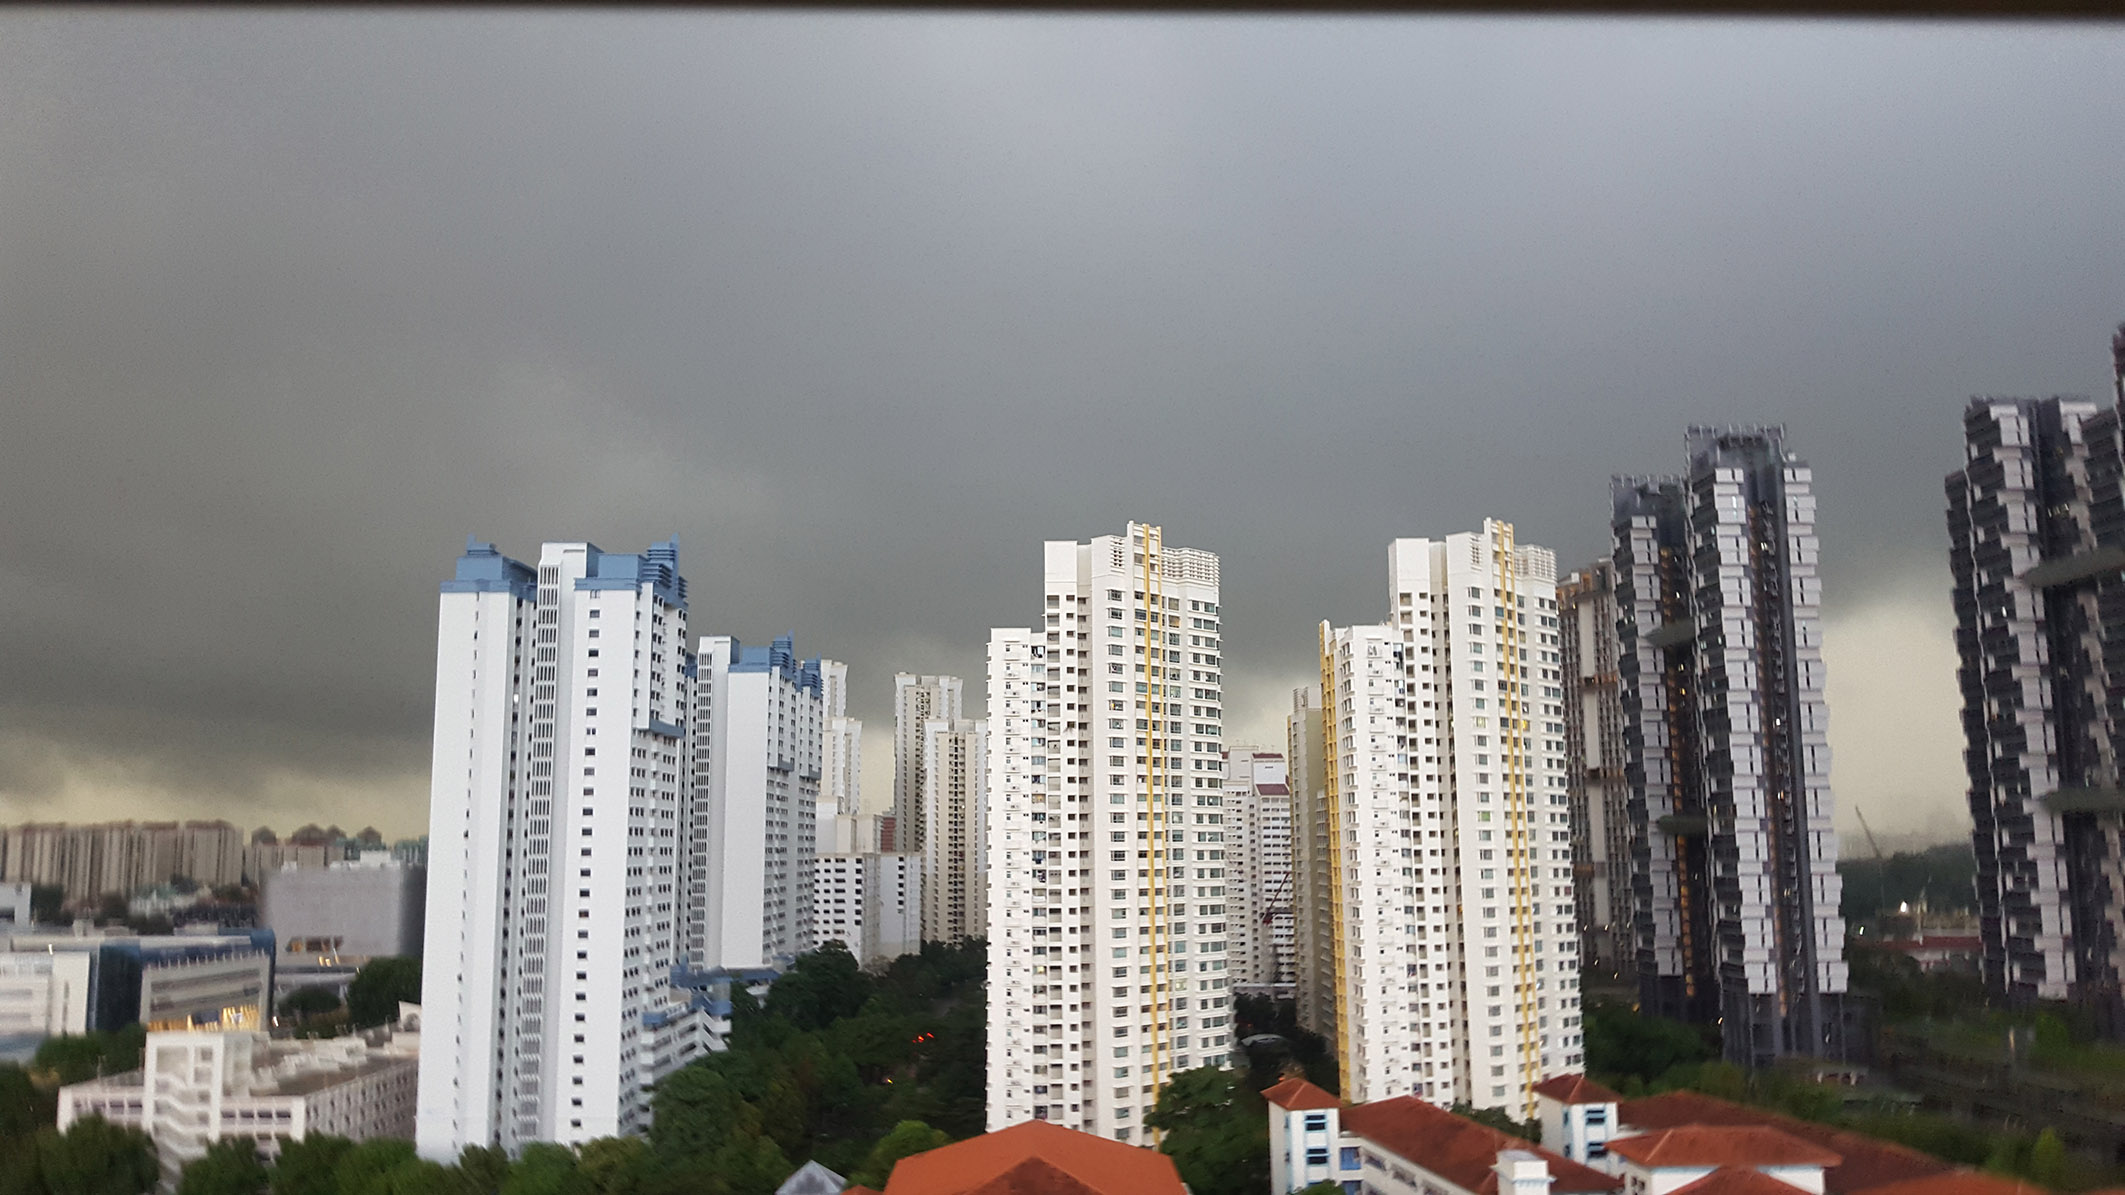
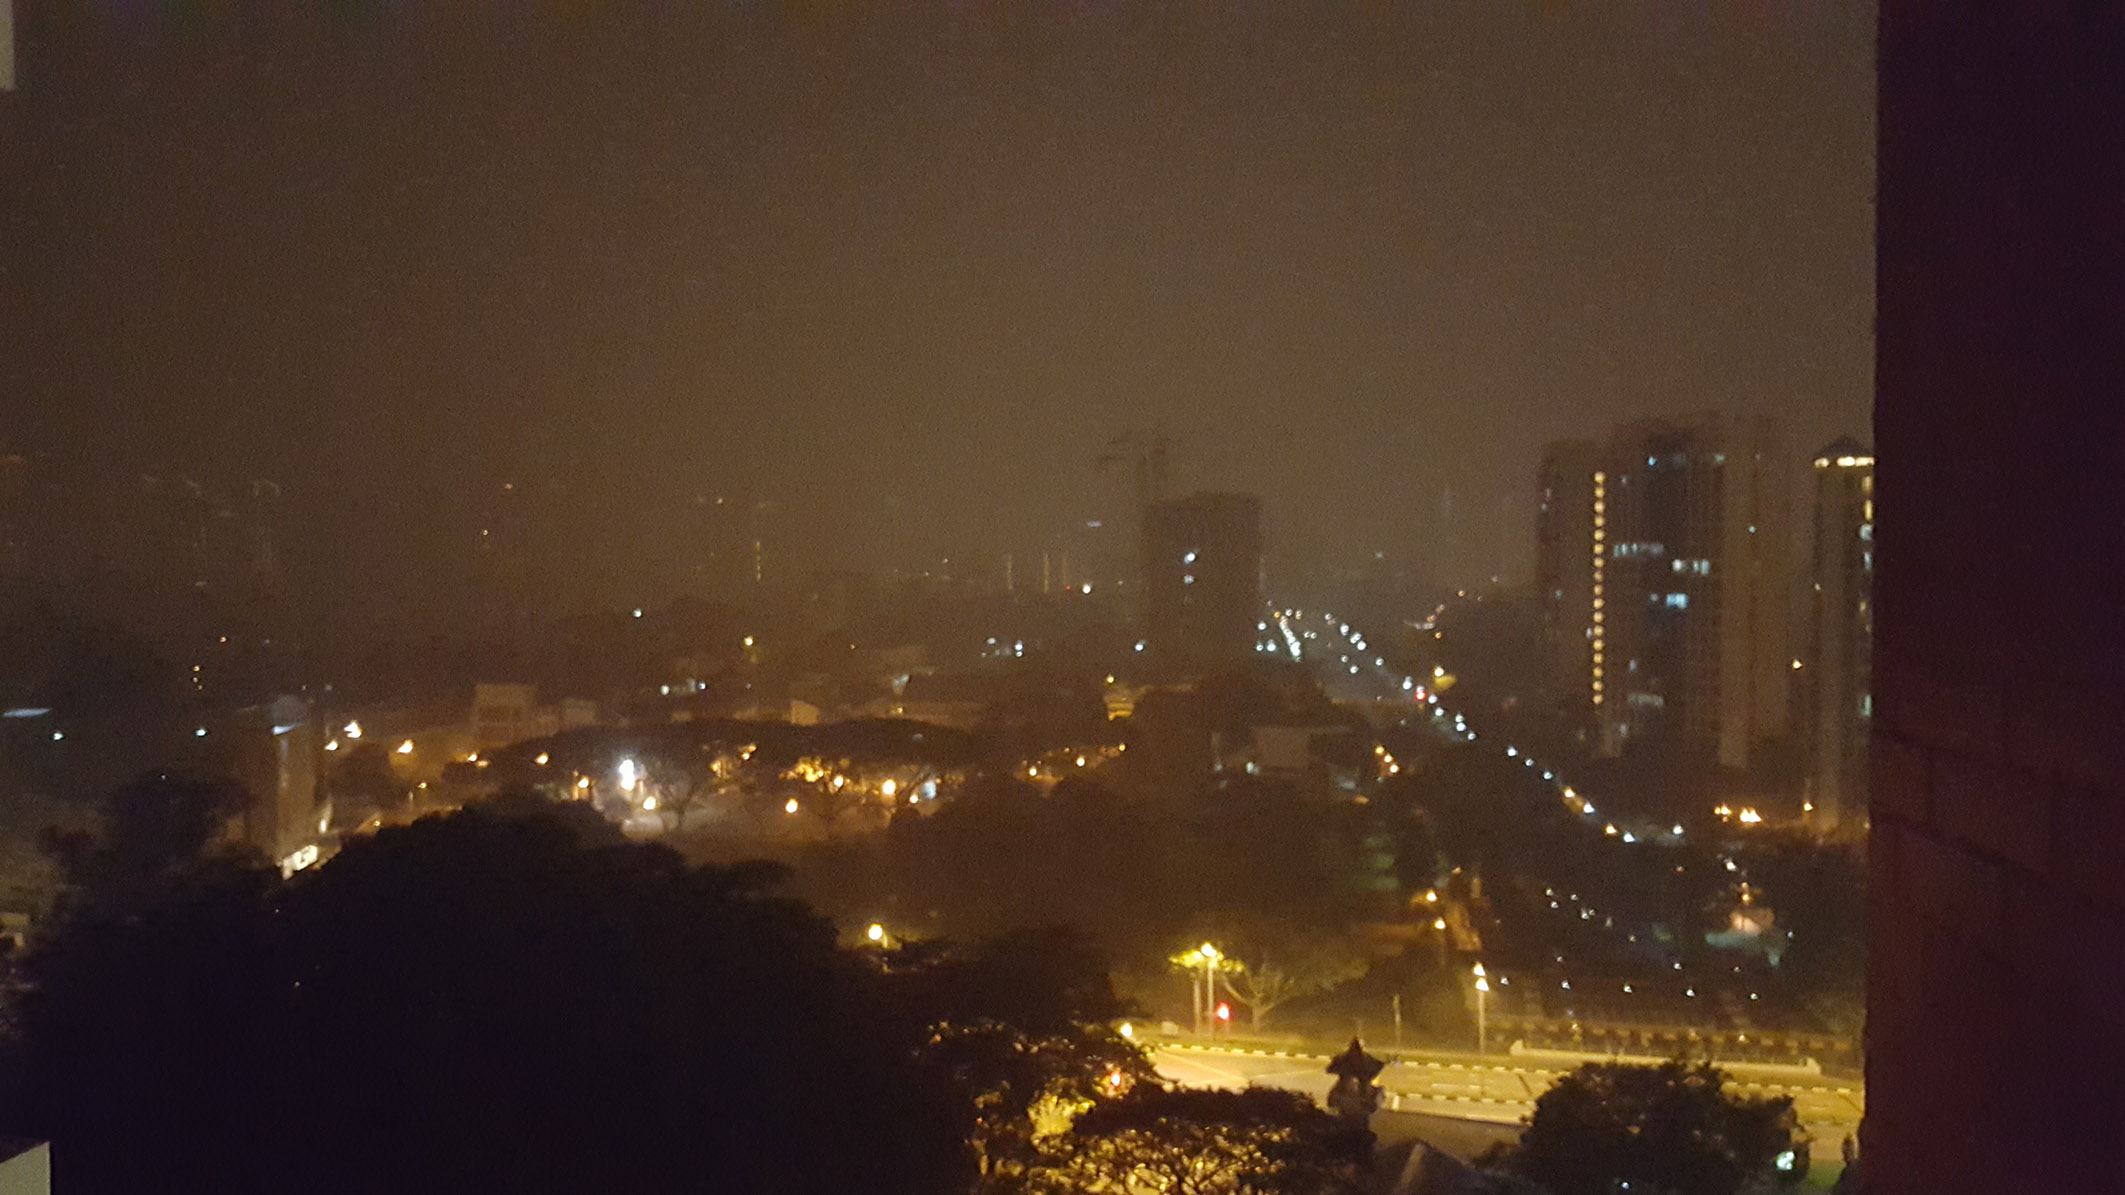
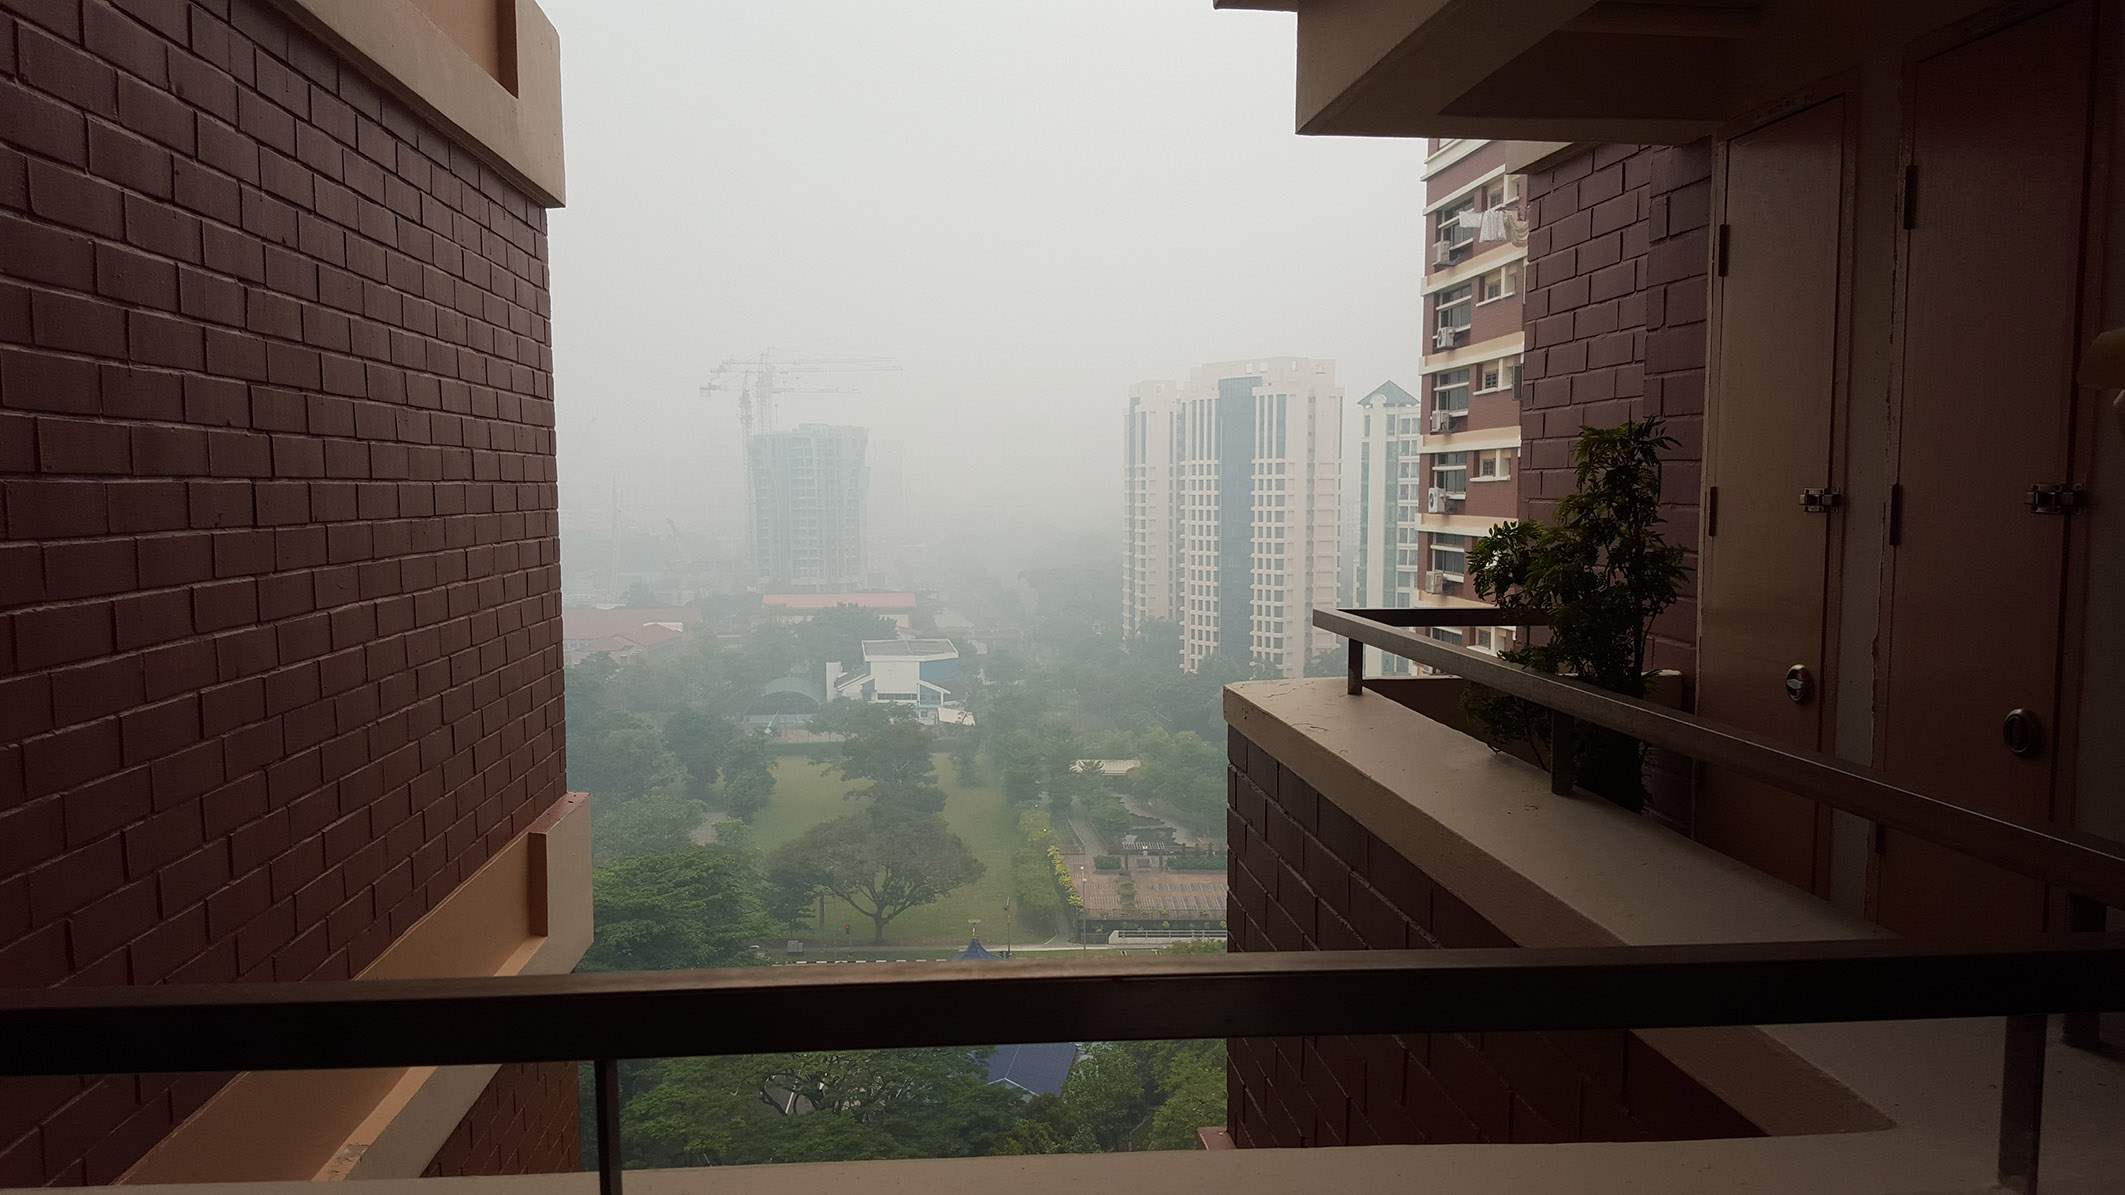
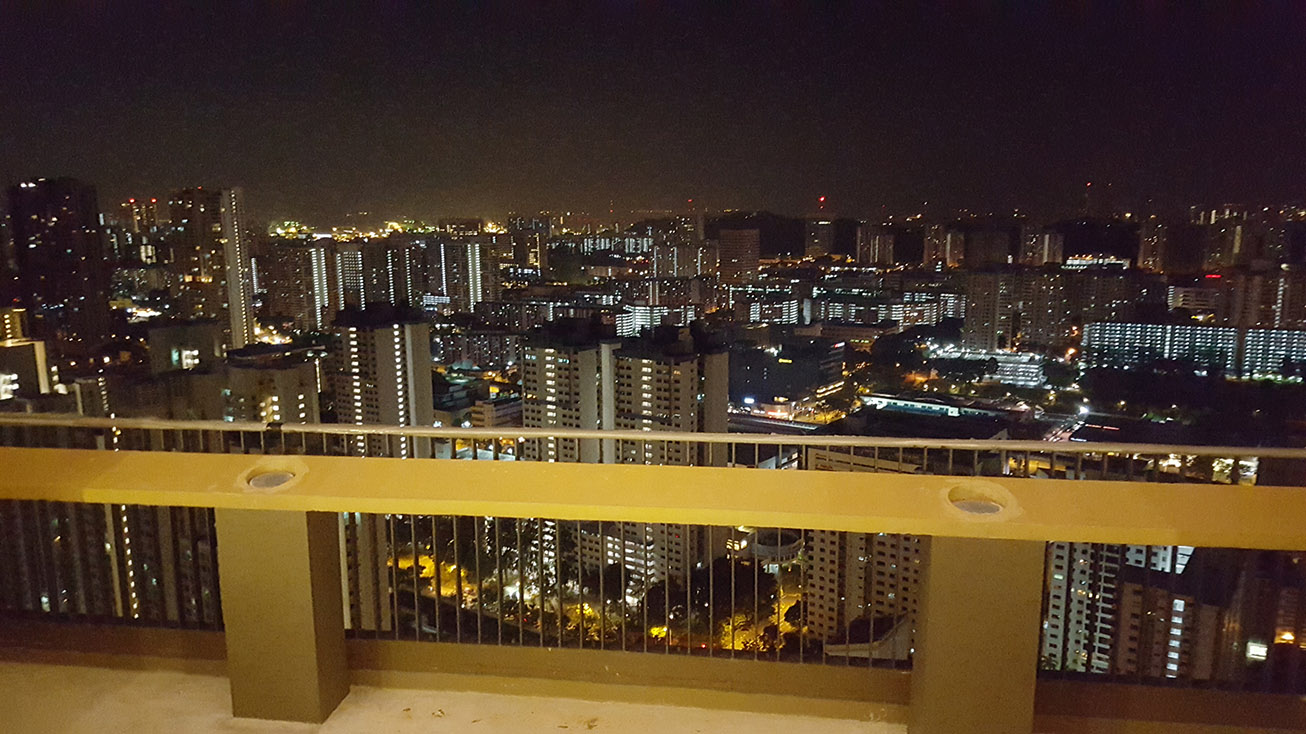
These are the images for the first project. The intent here was to contrast the night and day images, with the haze as the constant feature. Some of the images were taken long before, while the rest was taken during a freak haze event that had occurred around the time of this project. I also went to the Skyville at Dawson to take a picture of the cityscape so as to create a line of action. The composition is dark on the bottom to bright on the top. Viewers can view the images in any order that they like.
So it’s time to talk about the final assignment. It was a long struggle to get to the end but I firmly believe that i’ve done the best.
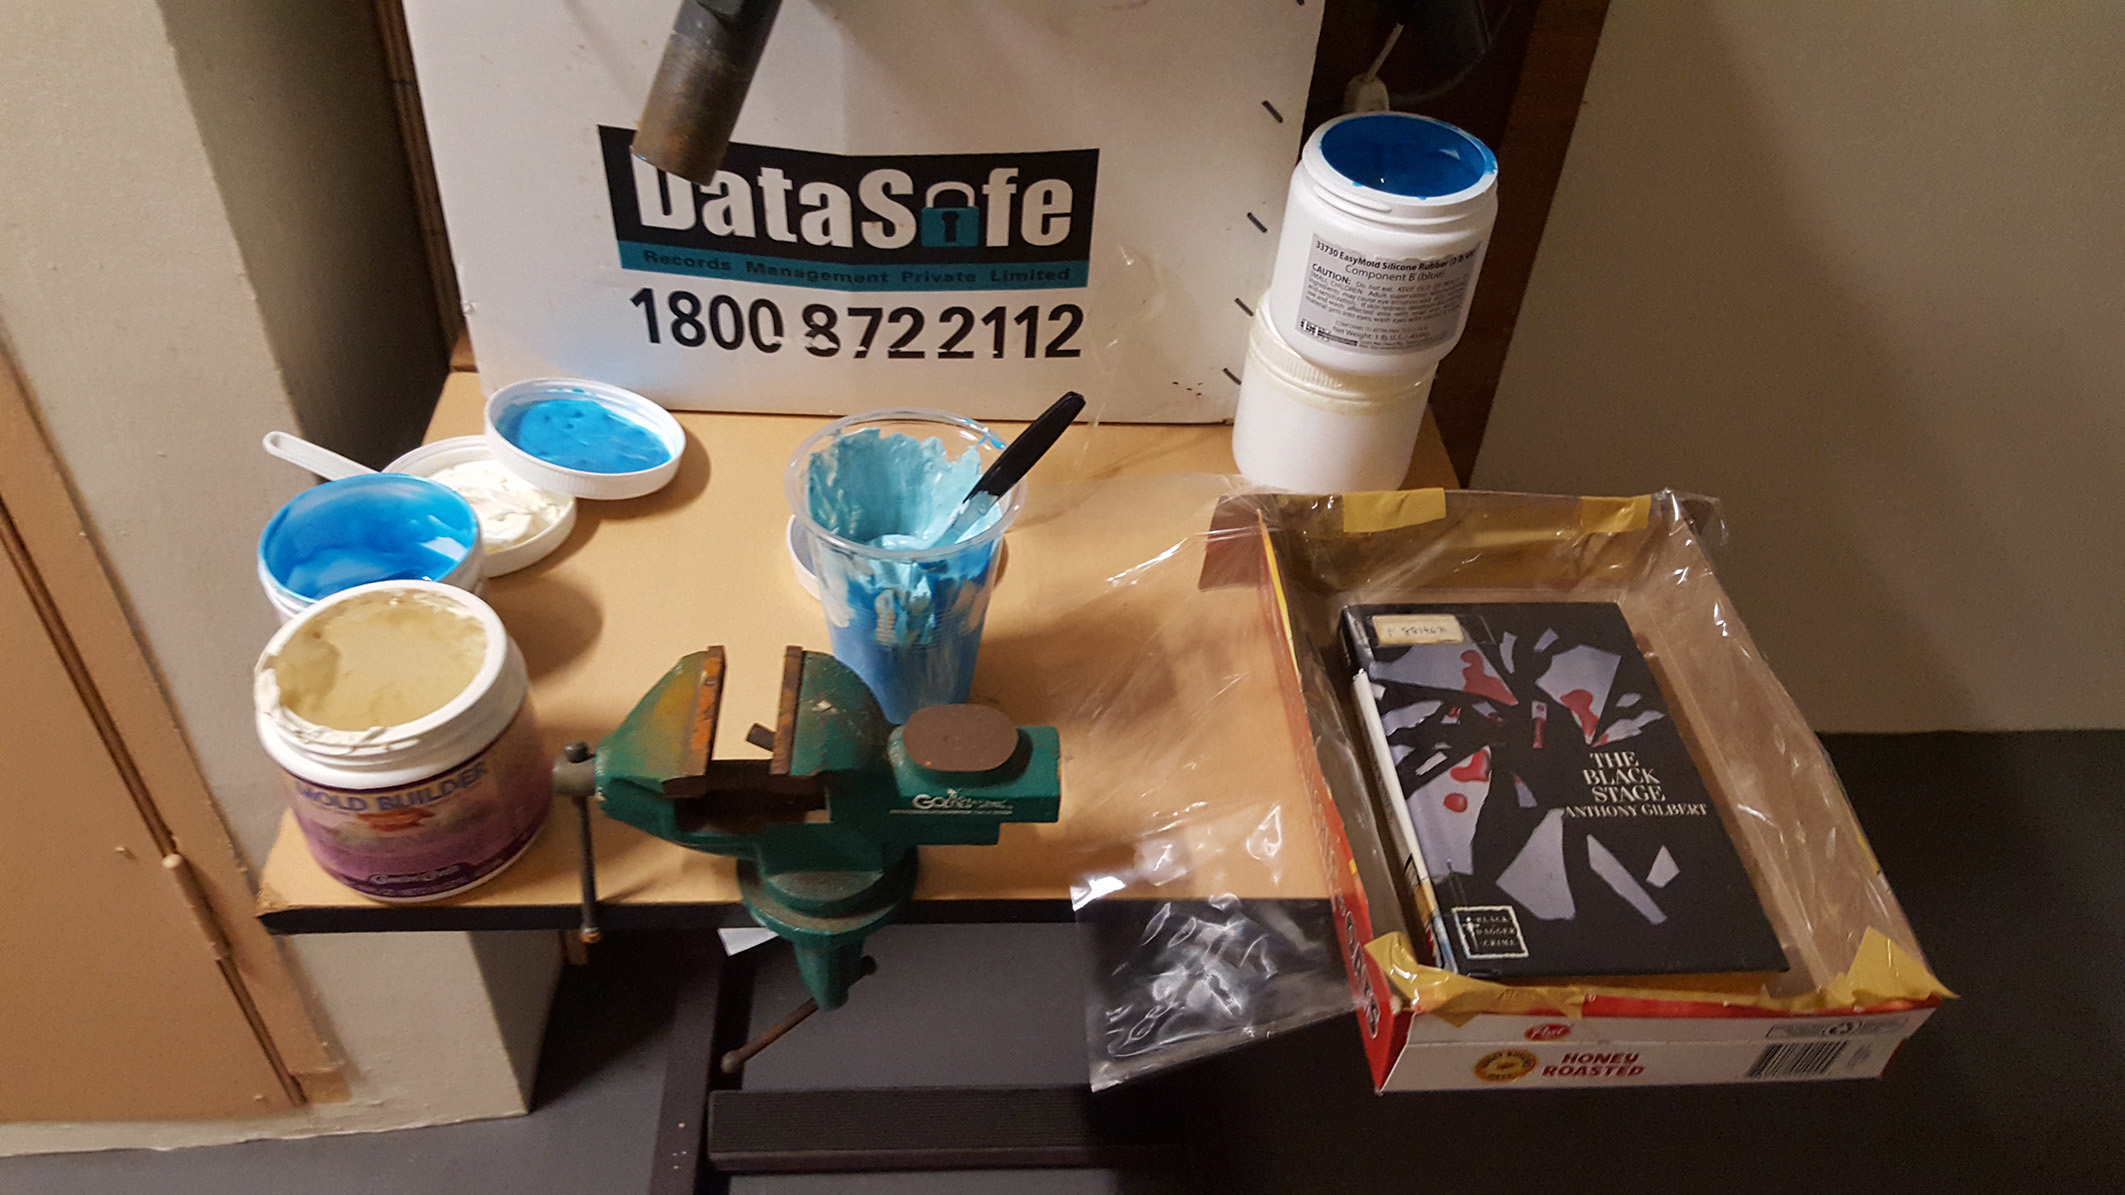
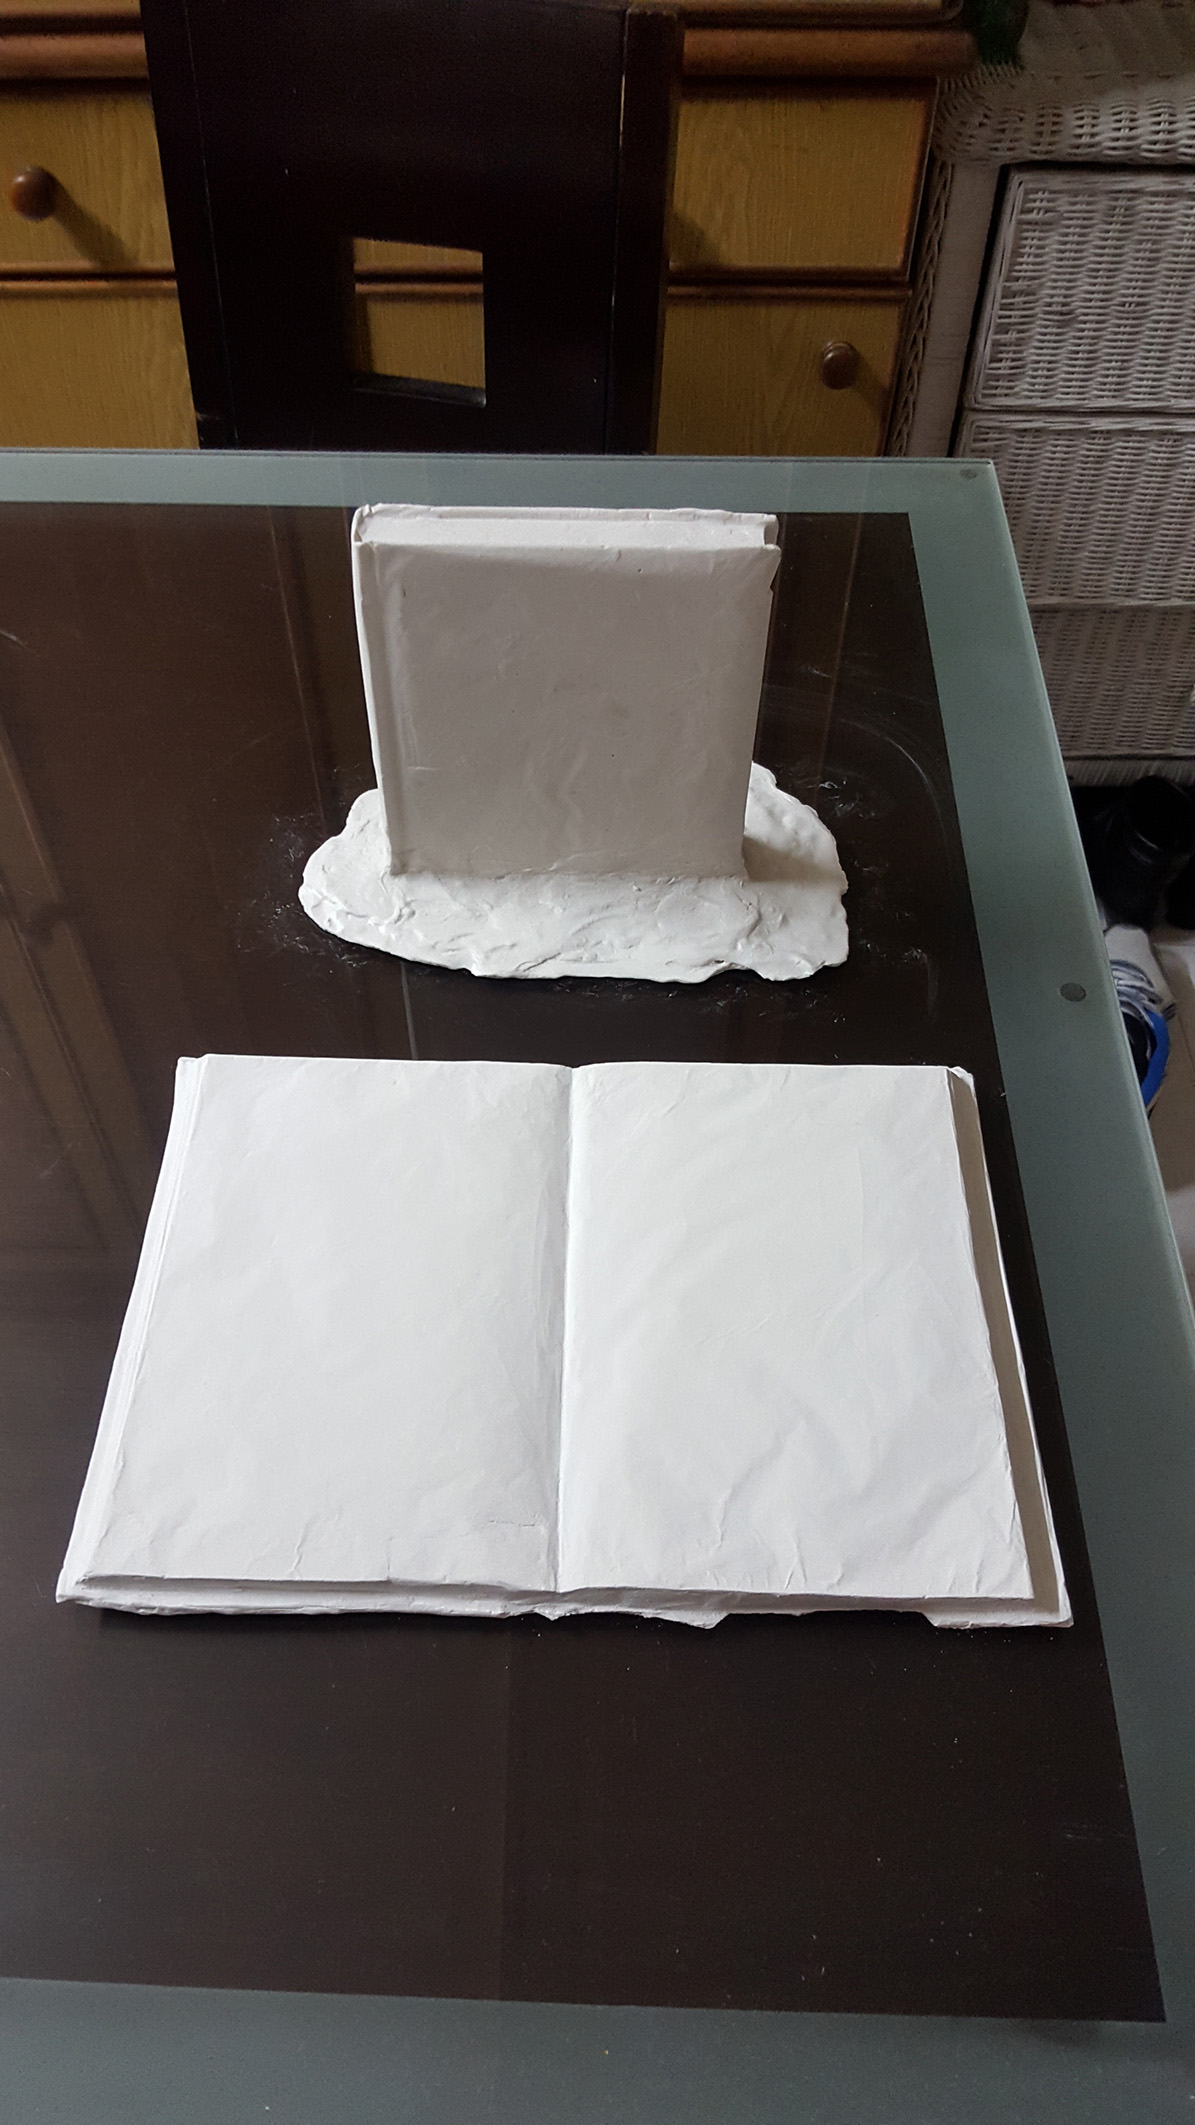
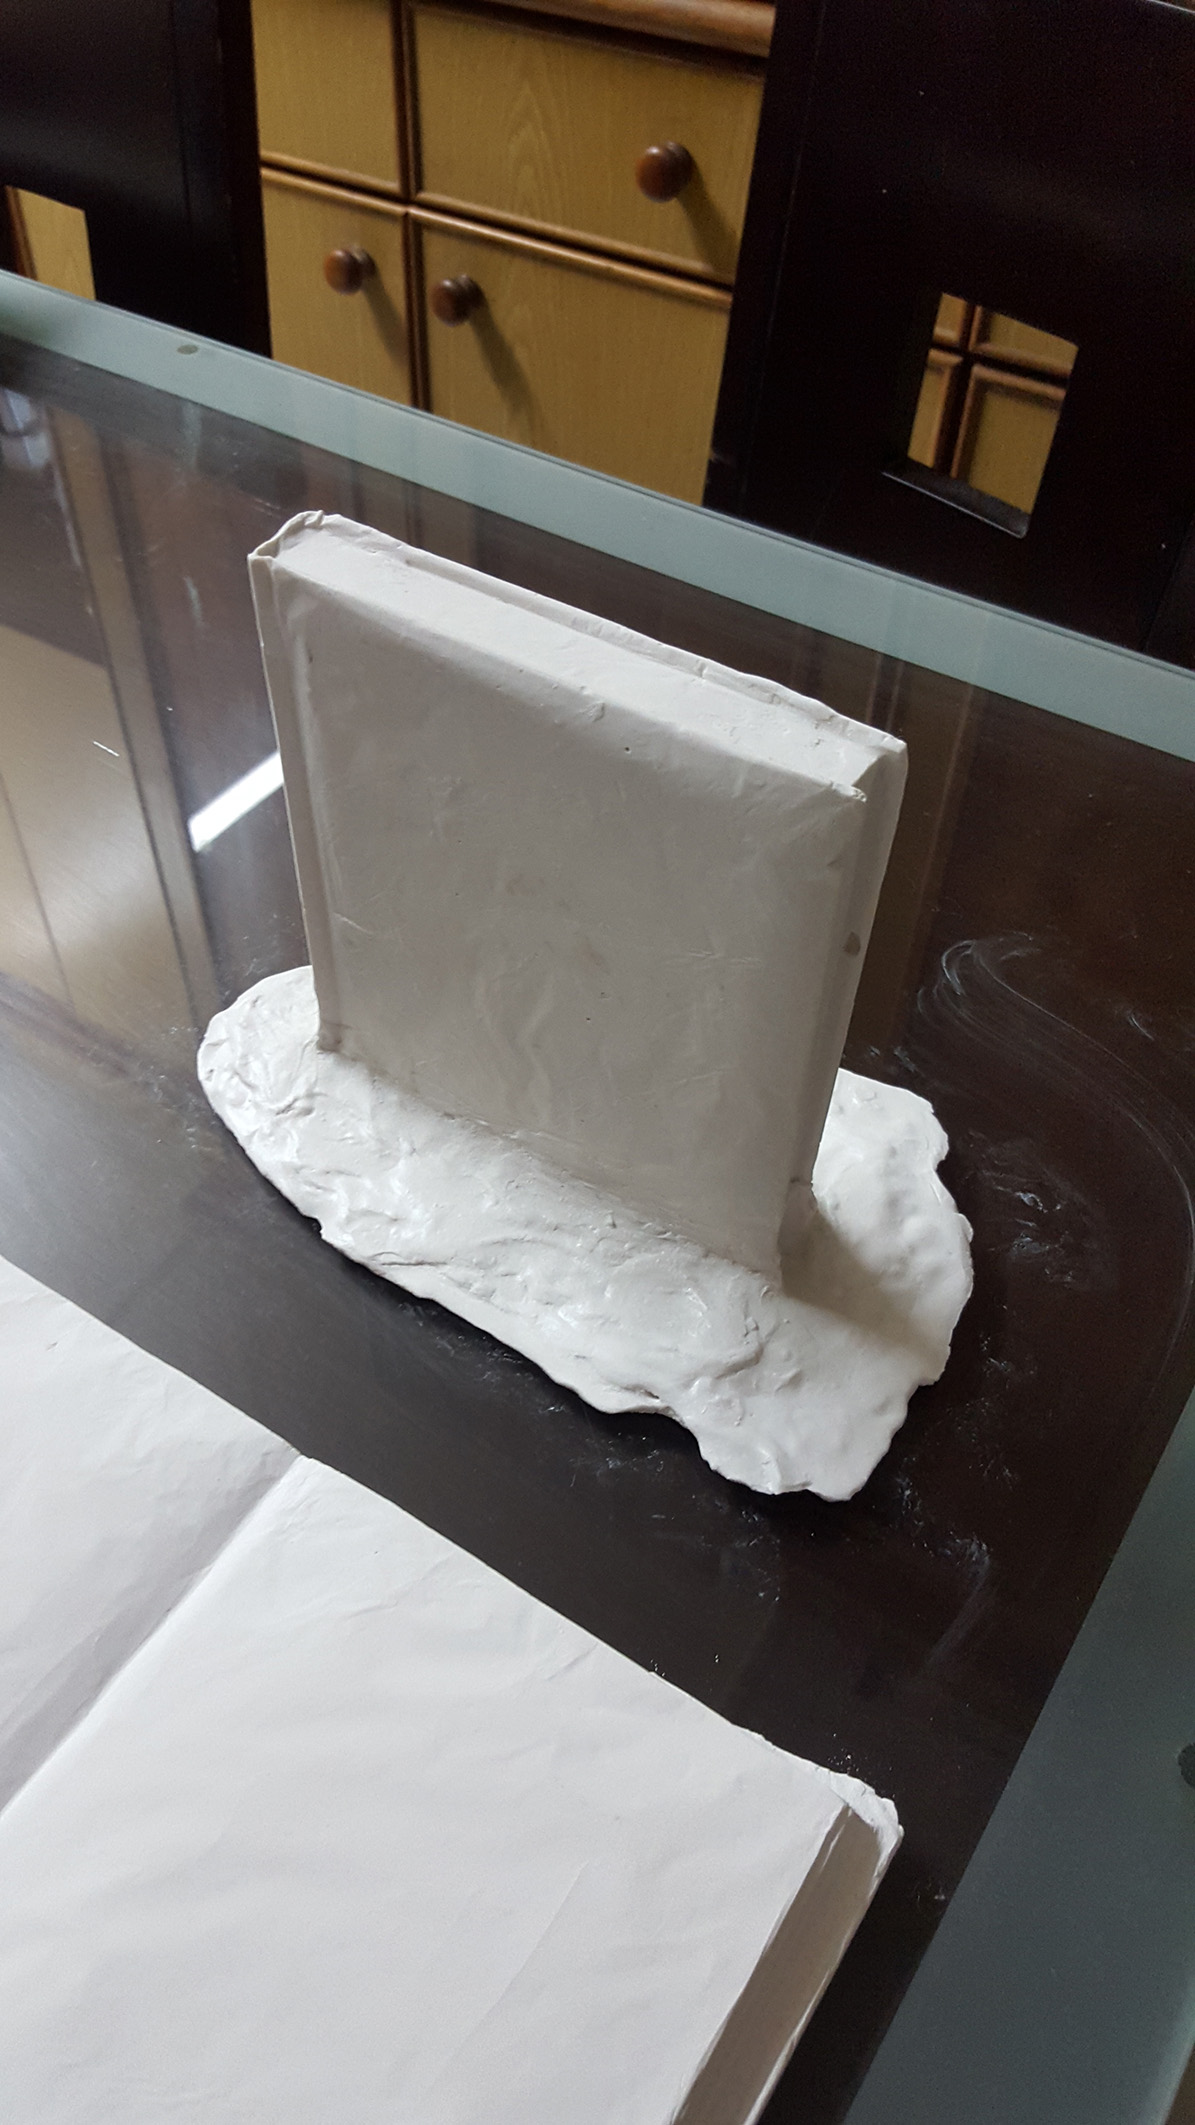
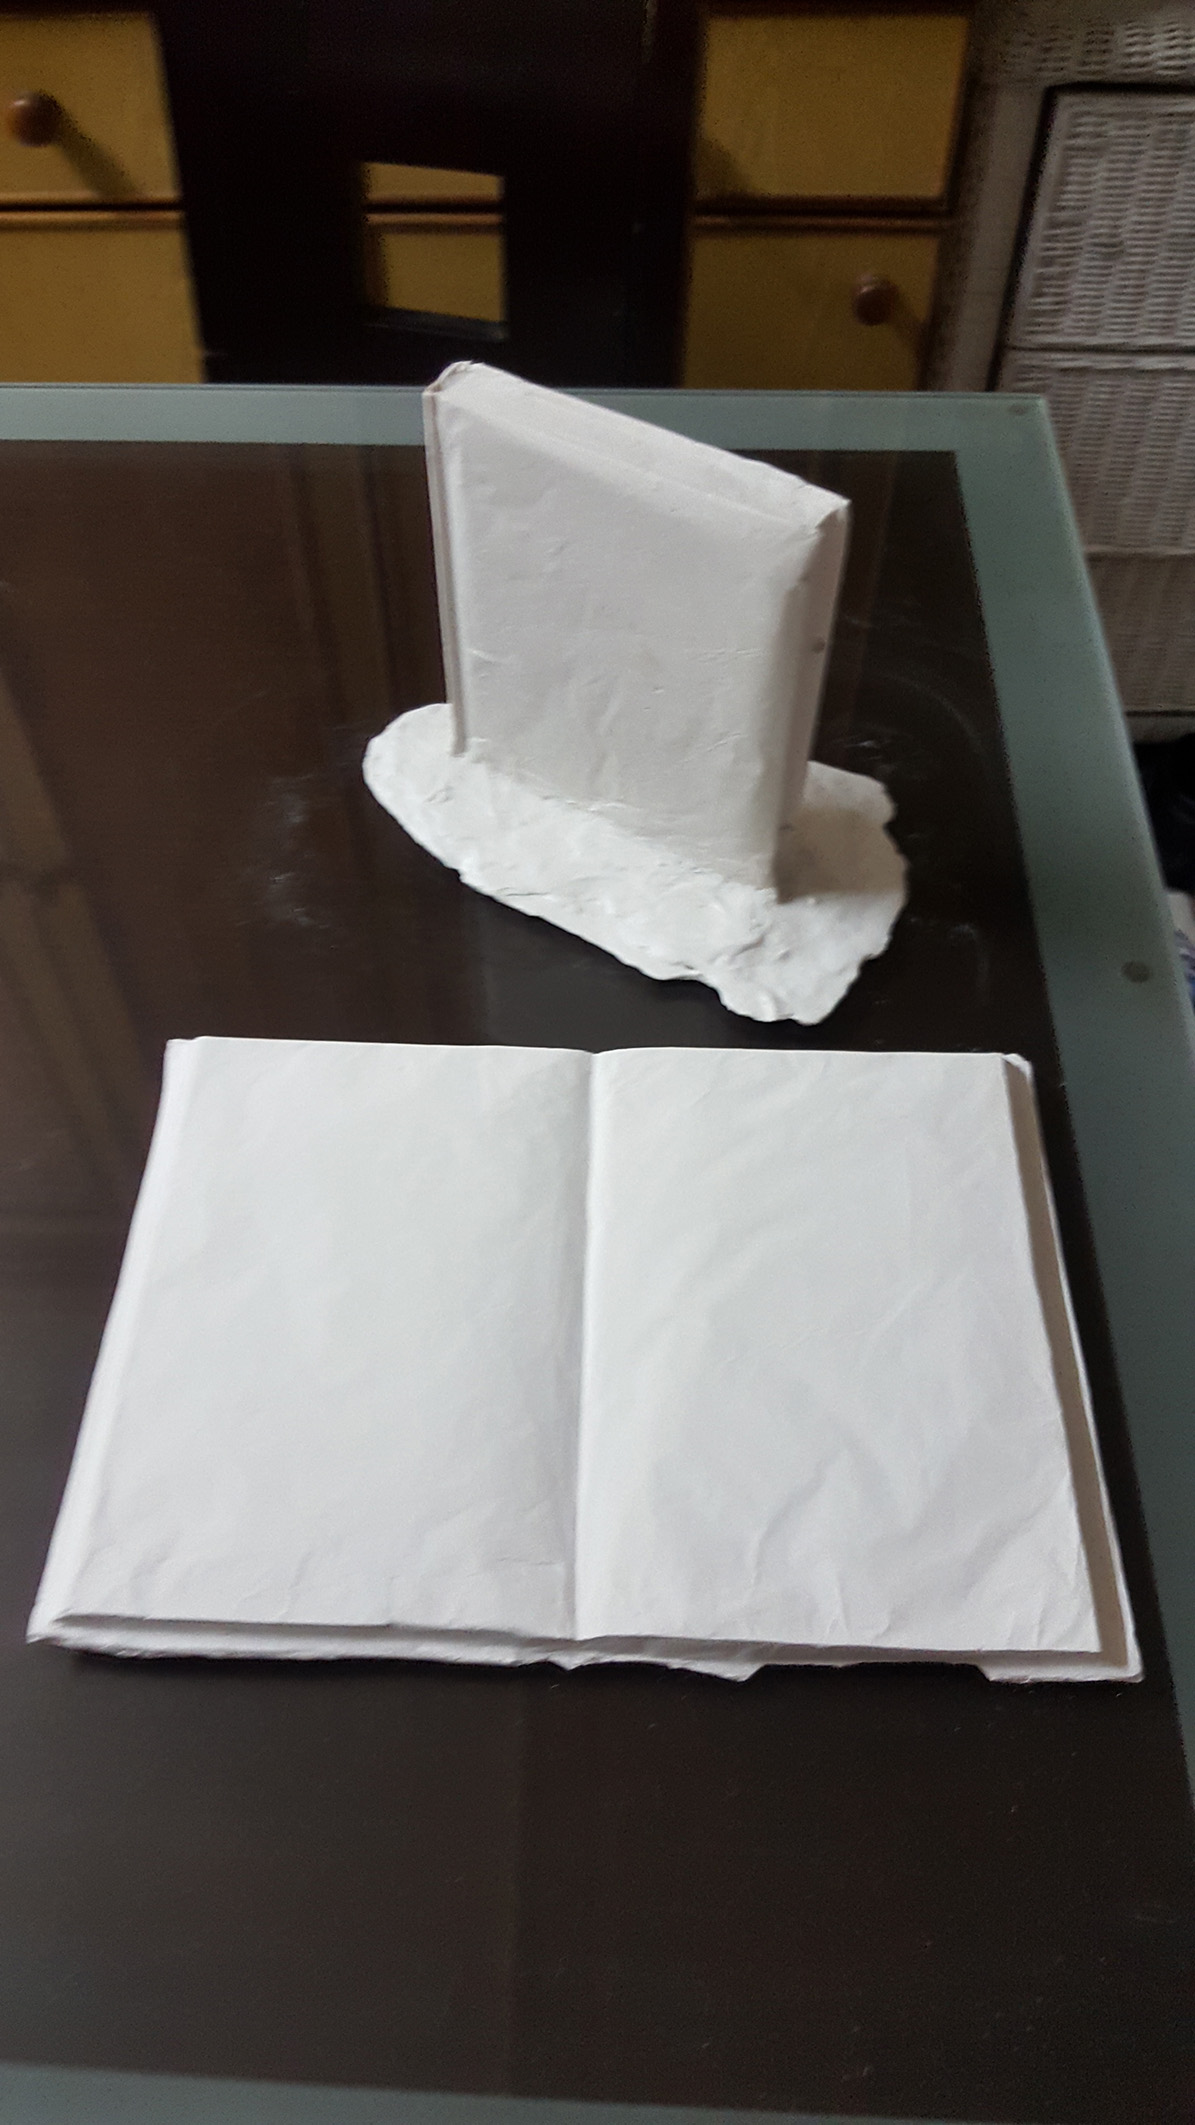
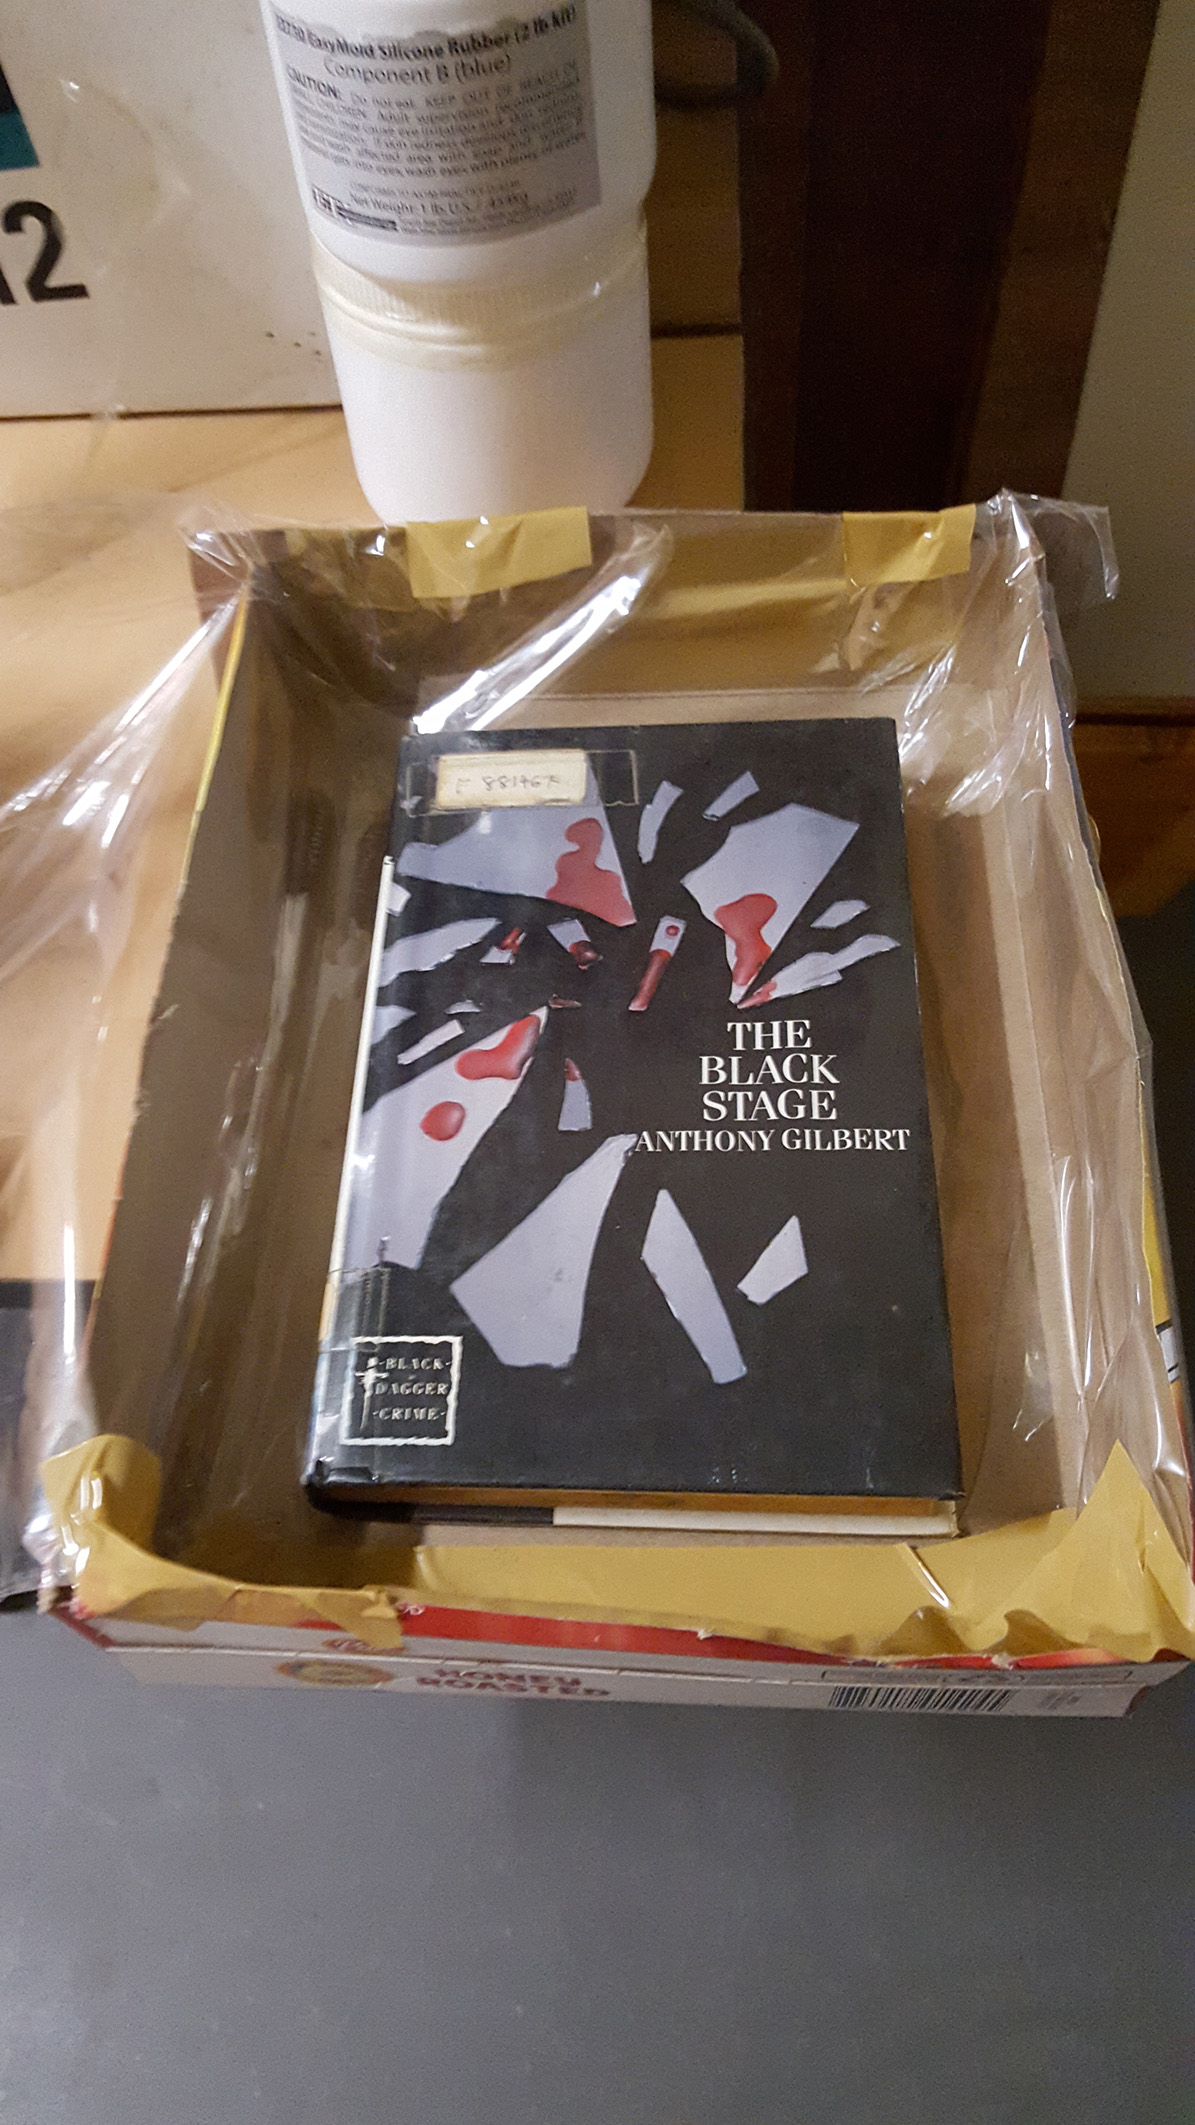
For the final assignment. I did a mold out of aluminum foil and placed it on top of a book. Afterwards, I added some additional details like the grooves and the edges of the book. The detail of the book pages are easy to make for the horizontal version. However, the vertical version proved harder as the weight of the plaster cast was too heavy that the sides of the mold started warping . To mitigate that, i attempted to add some cardboard to strengthen the sides. The end result was a cast that was still a little warped at the sides, but not heavy and bloated at the bottom.
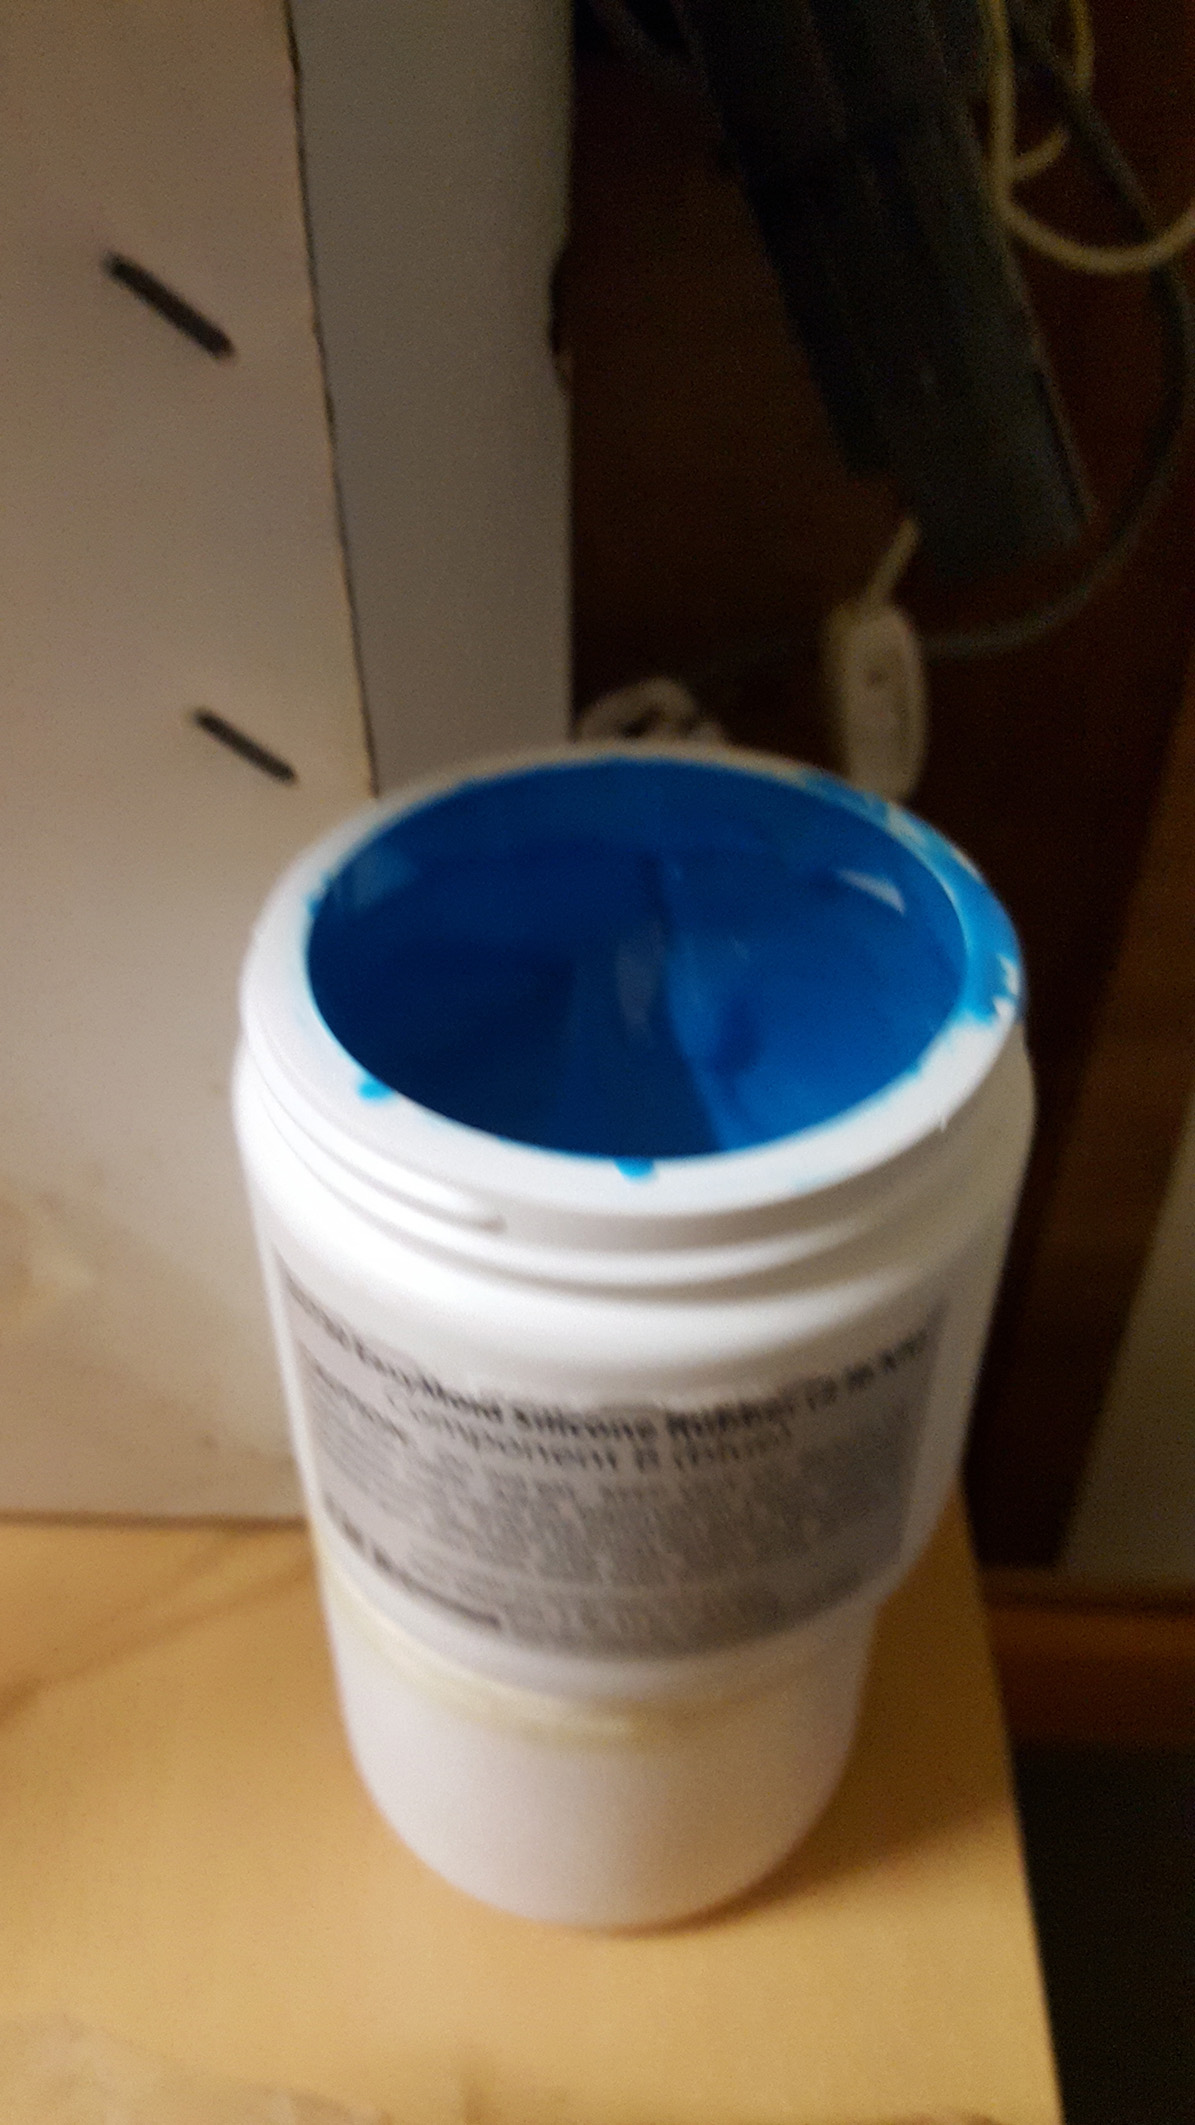
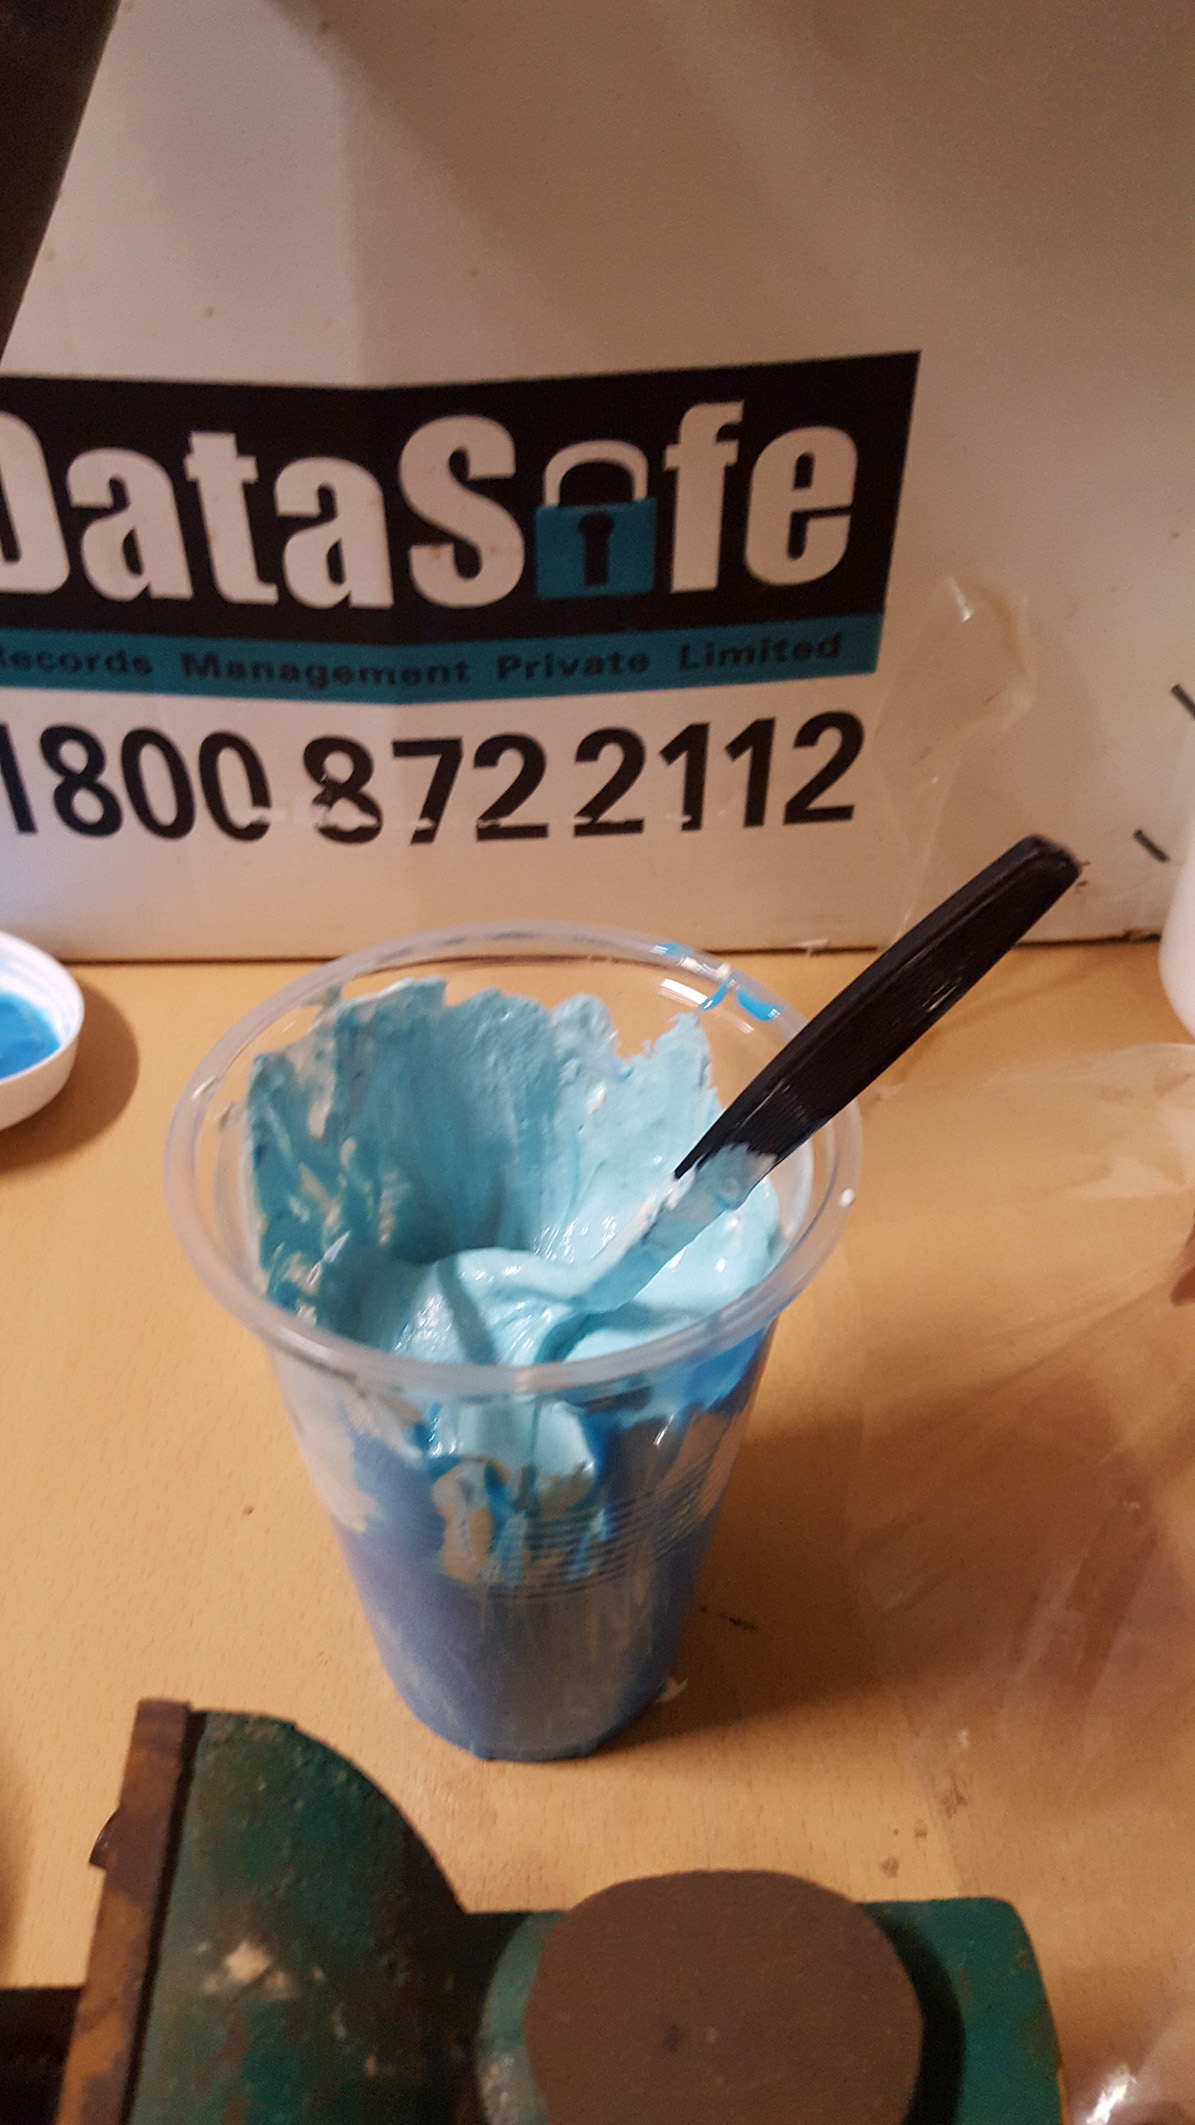
I had initially experimented on using A and B mixture of resin, but faced the same issue. The mold was not only prone to flexing and warping, but was also prone to breaking apart should the mixture be uneven.
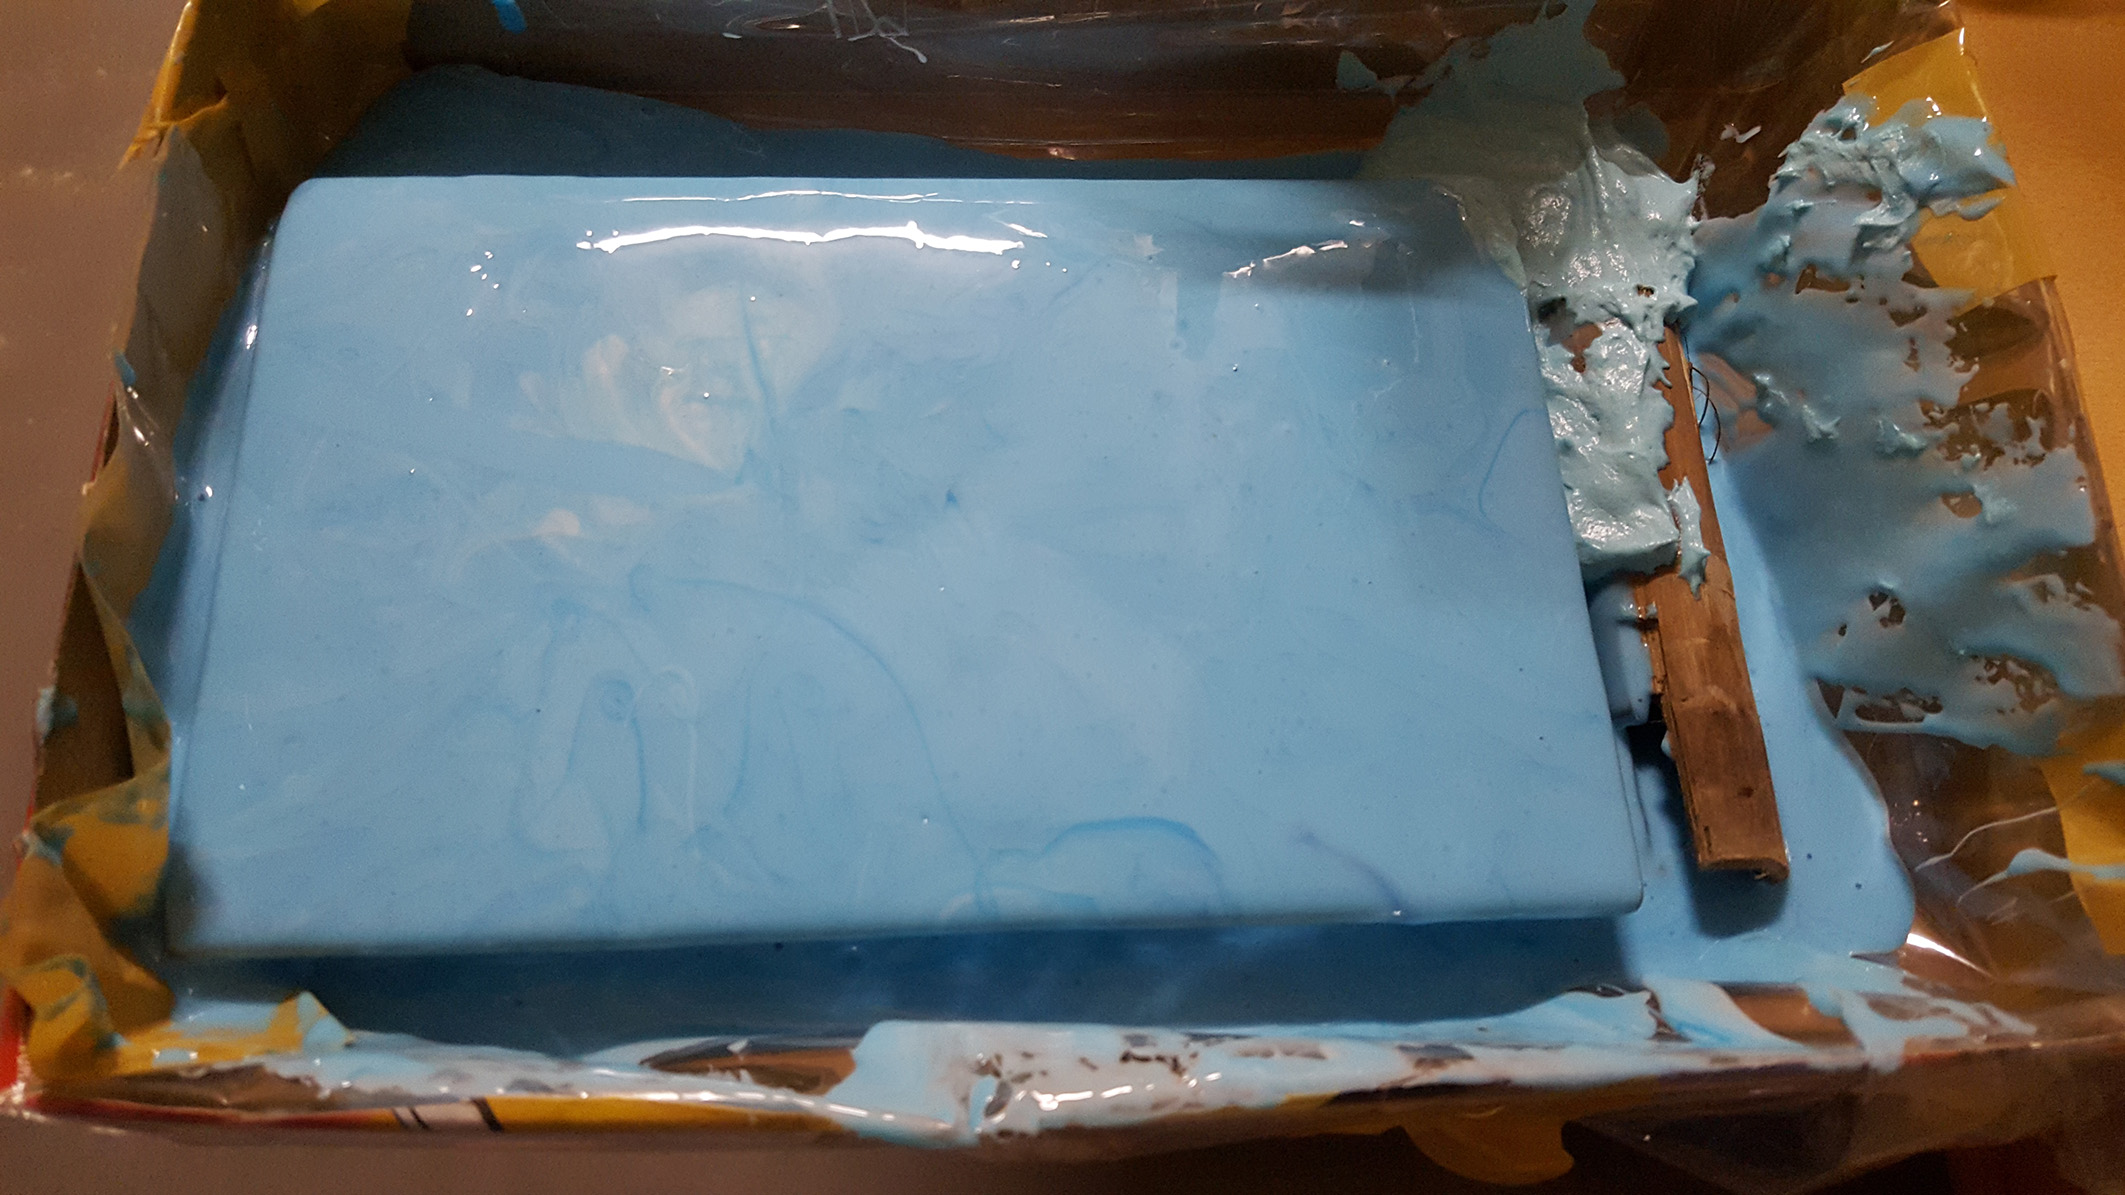
After casting both molds, i initially intended on breaking the book with a hammer to show how the antiquated (in my opinion) medium was falling apart, but settled with creating a melting effect as the dust particles from the plaster broken book would pose as a health hazard, especially when inhaled by accident. So i mixed more plaster with enough consistency so that it’s neither too diluted nor too stiff. I placed the book cast on the foil and poured the additional plaster. The opened book began fracturing in certain places, which was part of the intention. In the future, i may consider breaking it apart, or place it outside of the library and tempt users into breaking it with a blunt instrument.
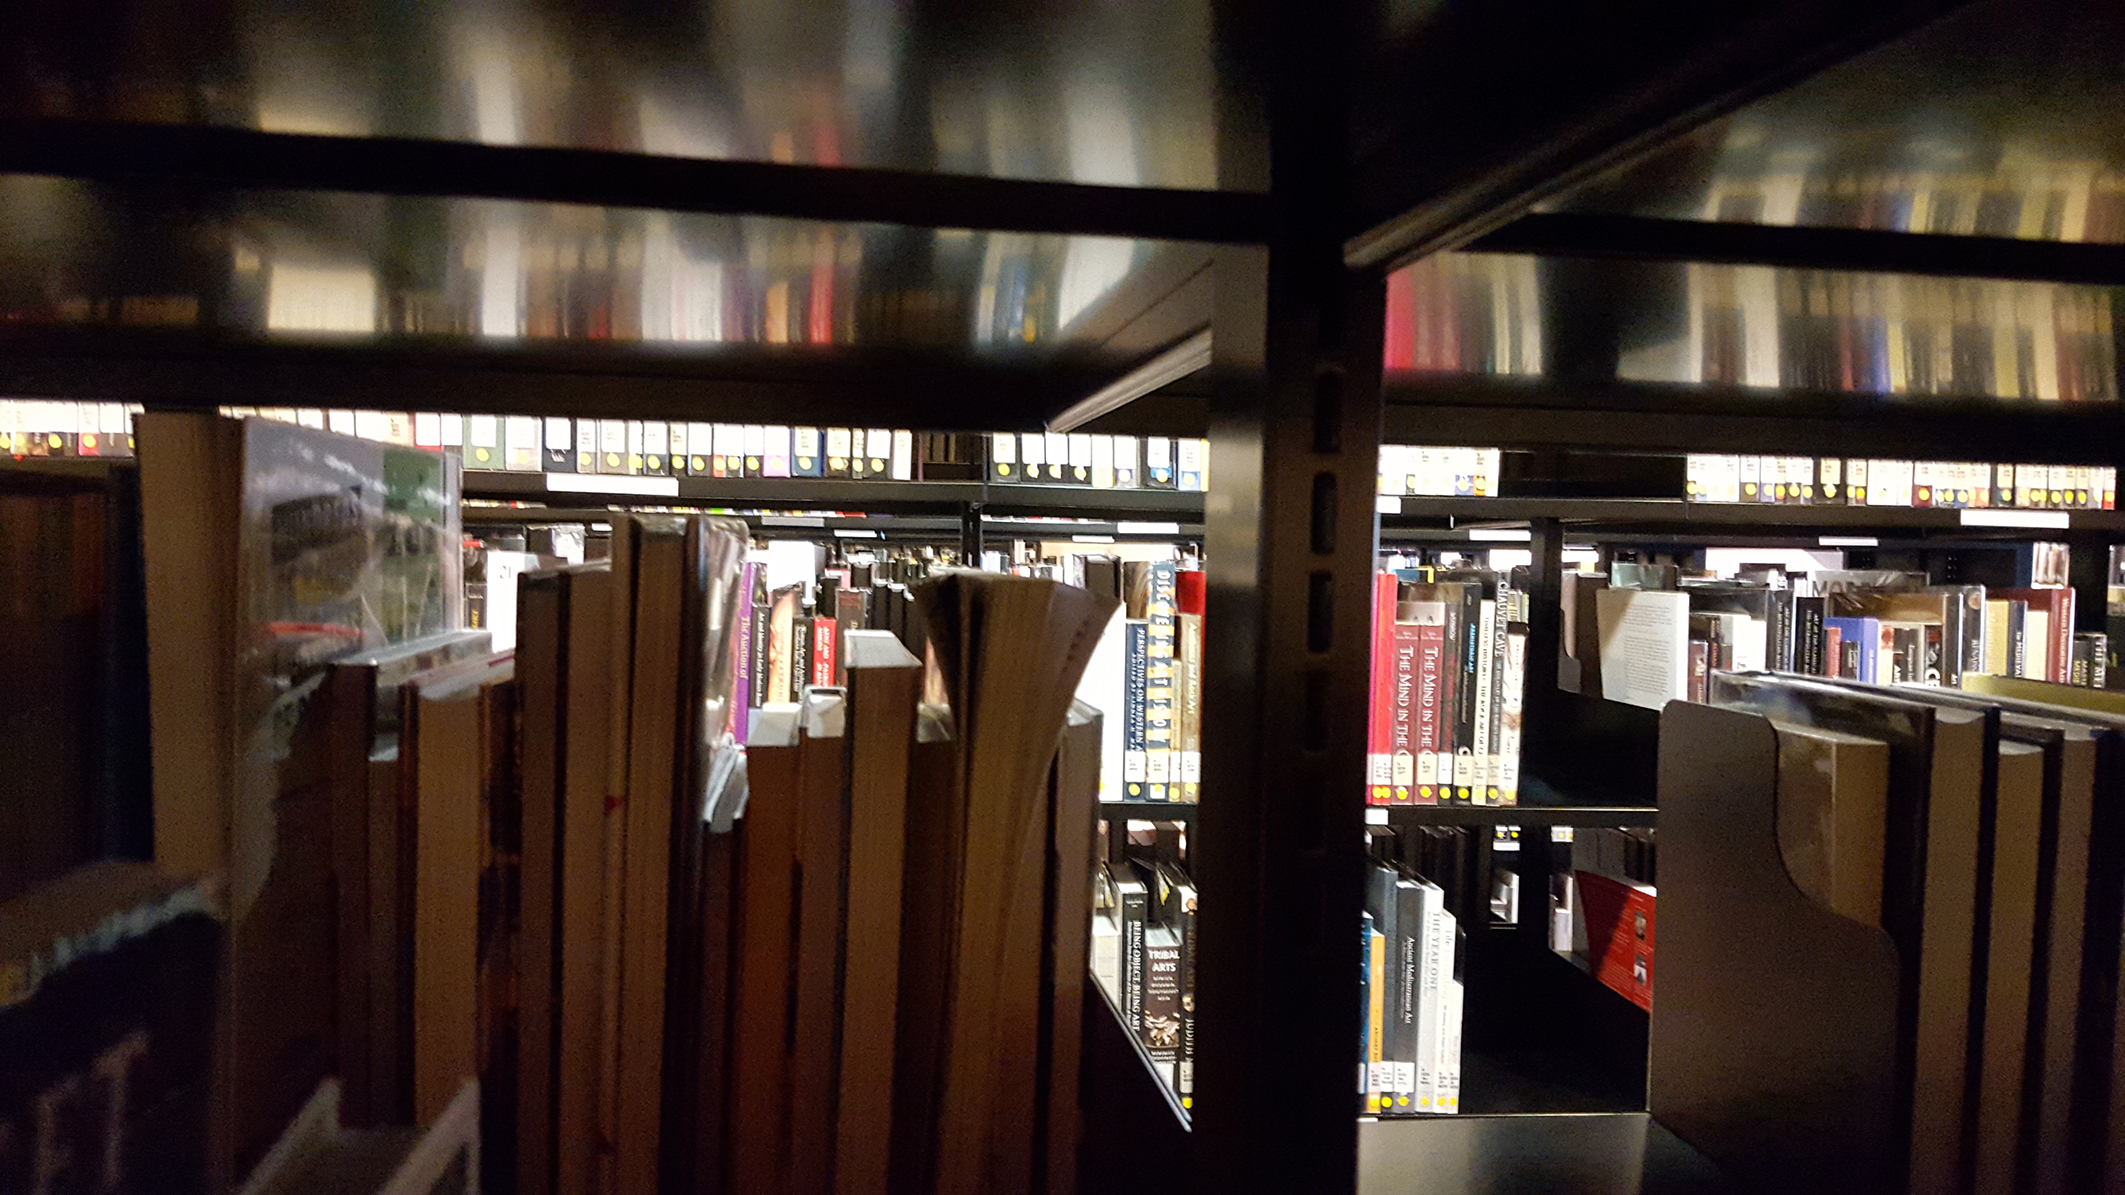
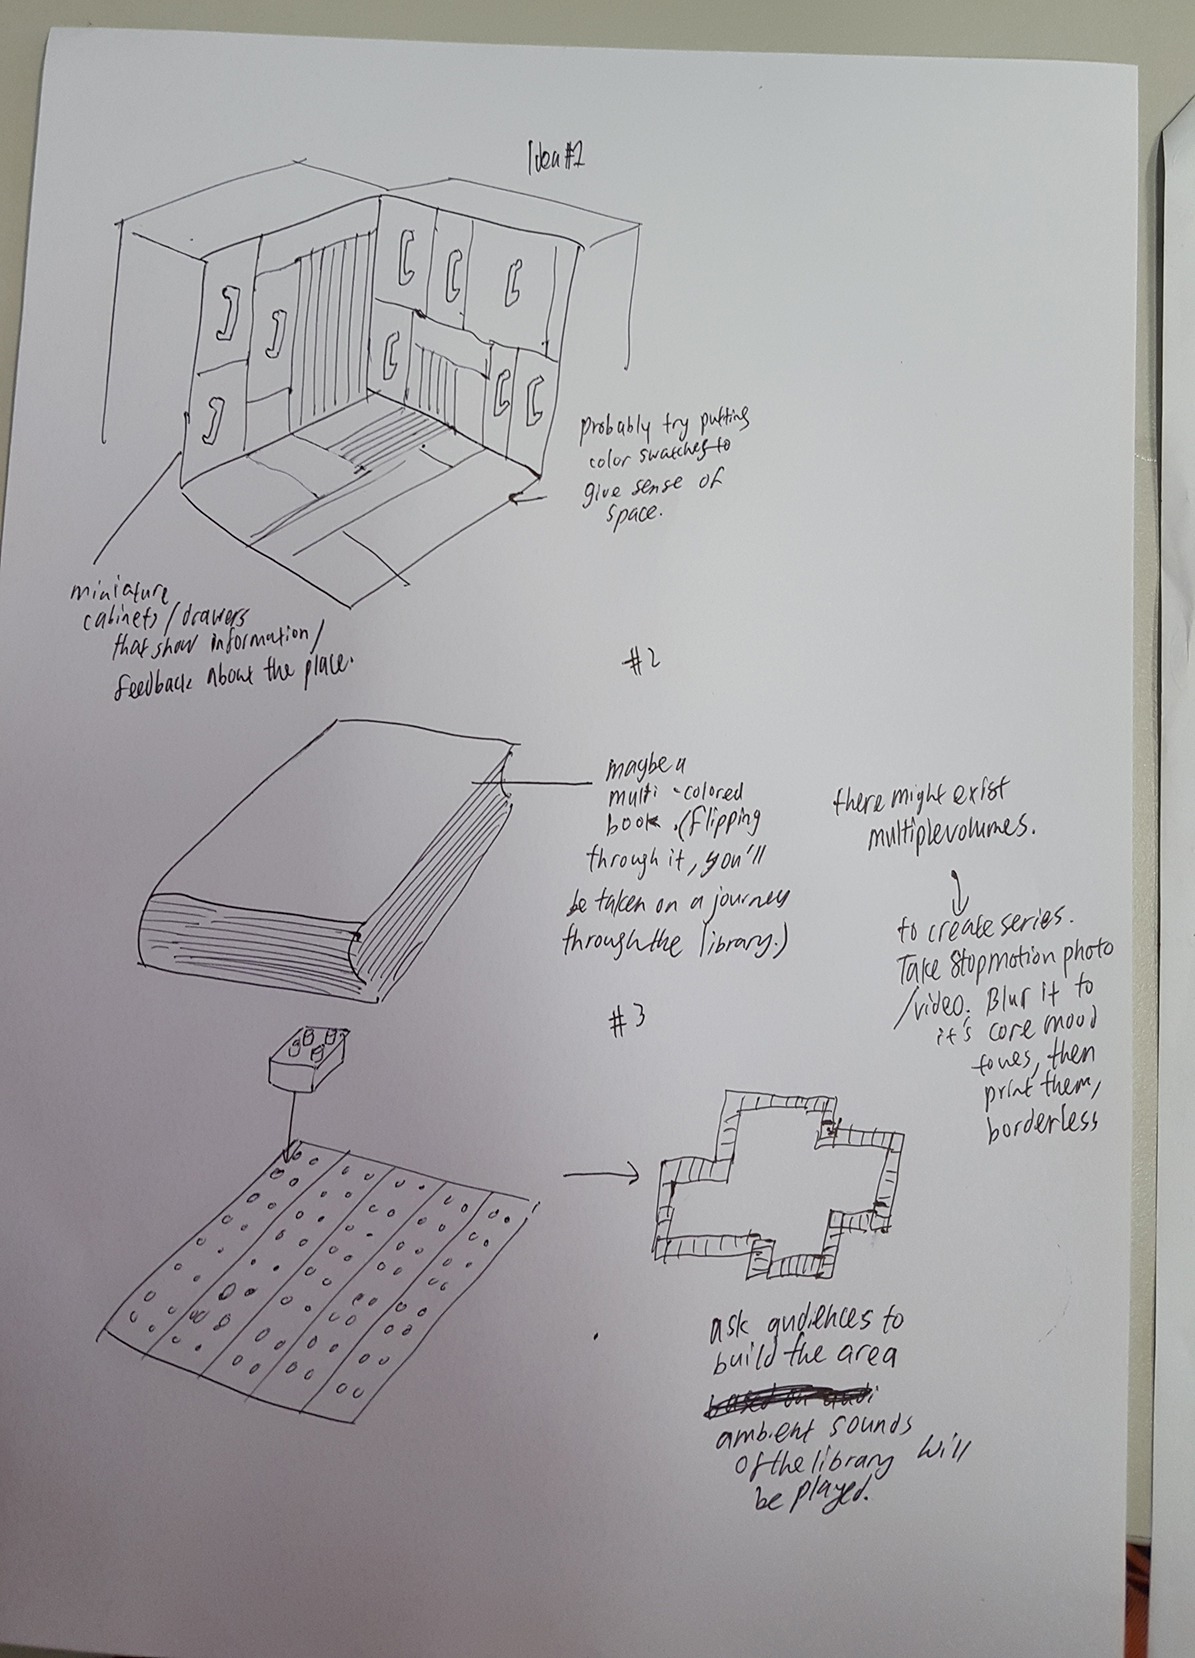
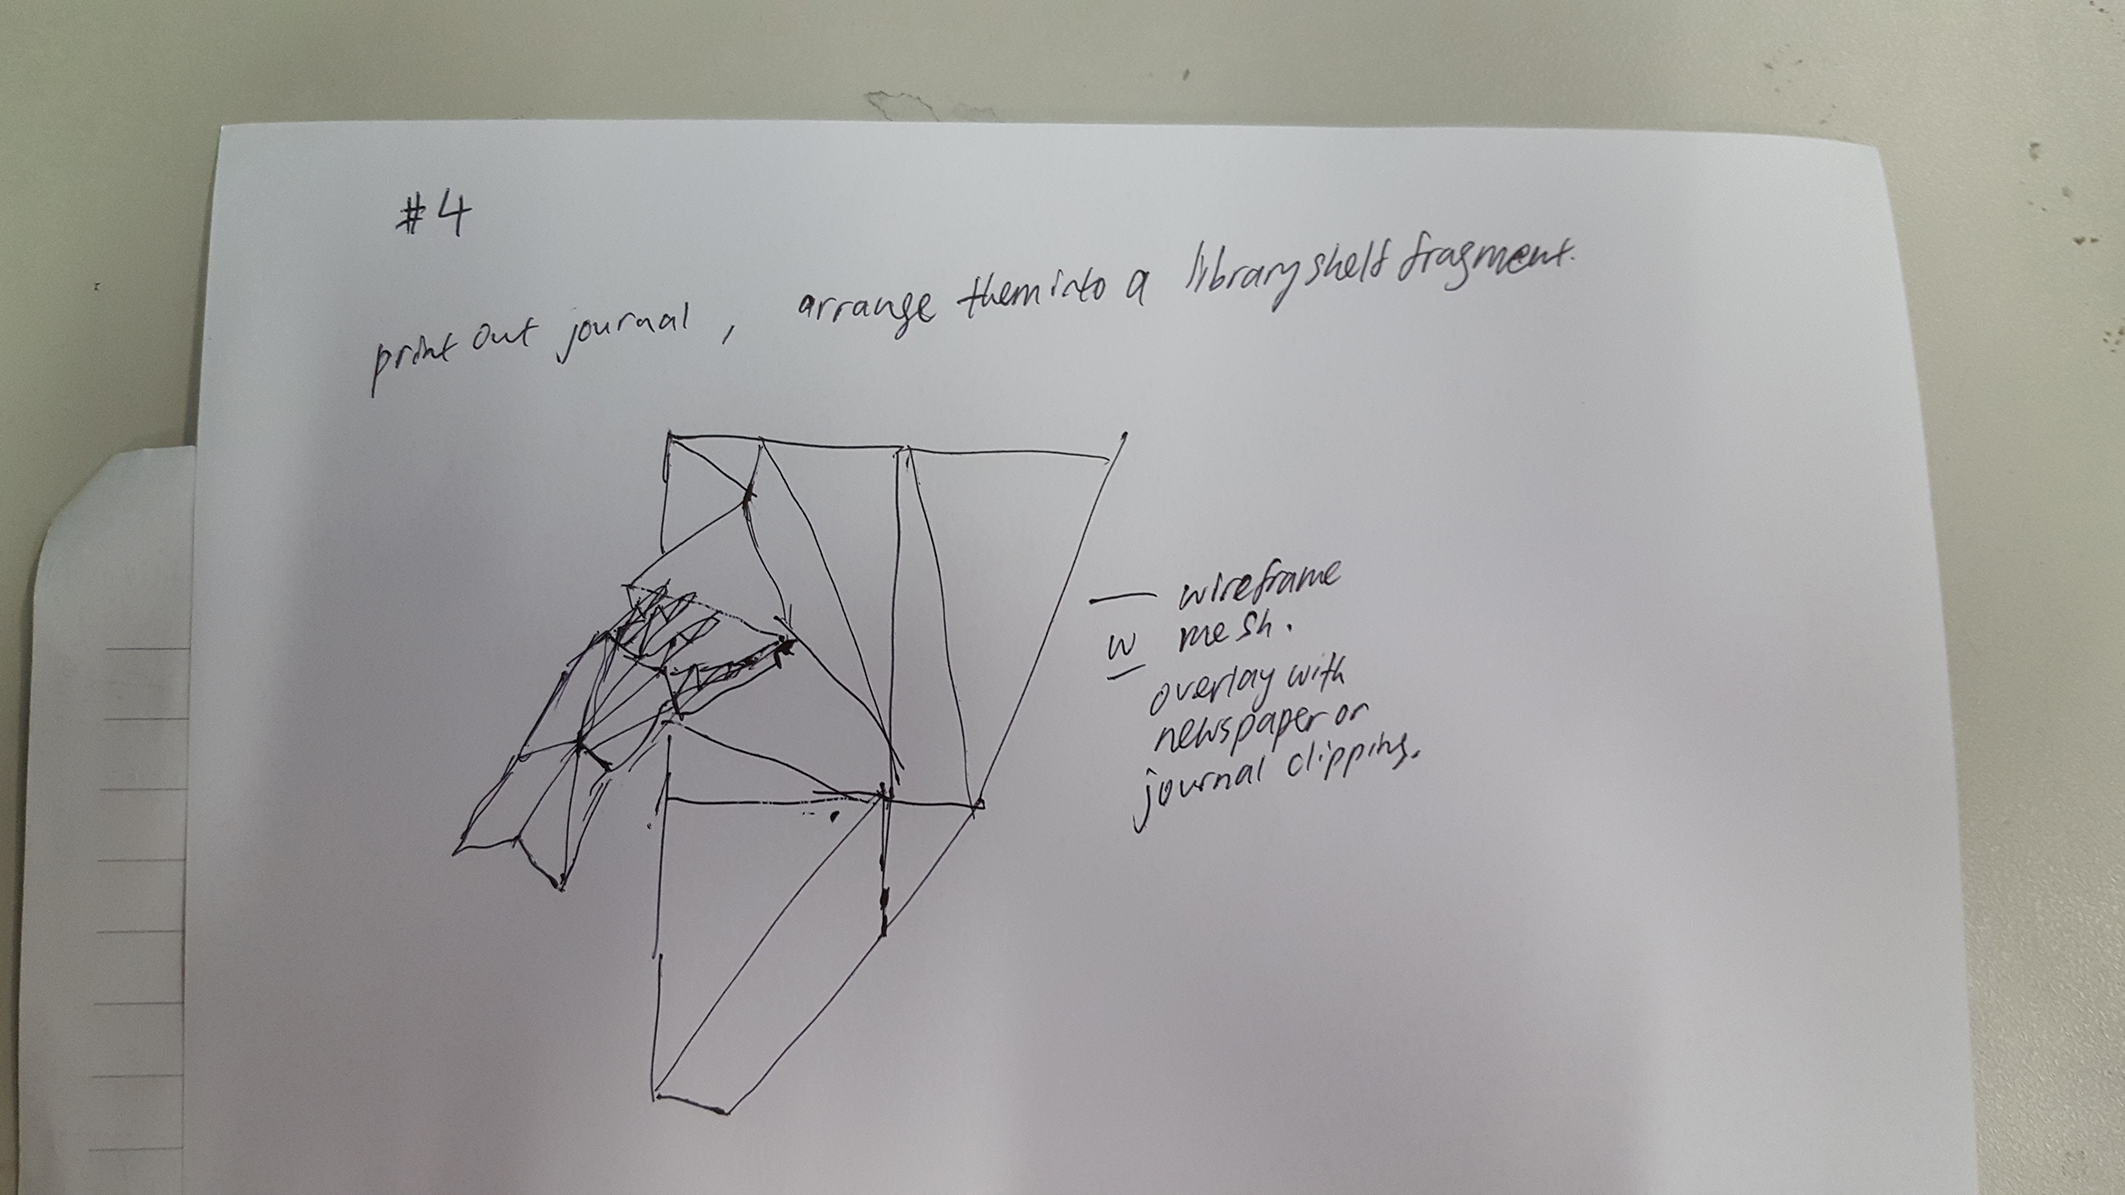
The first idea would be to create a miniature of the library with certain pieces of information either written around it or concealed. I might use a library book sleeve , and audiences are able to pull pieces of note off it . The miniature itself could be an abstract representation of the library itself.
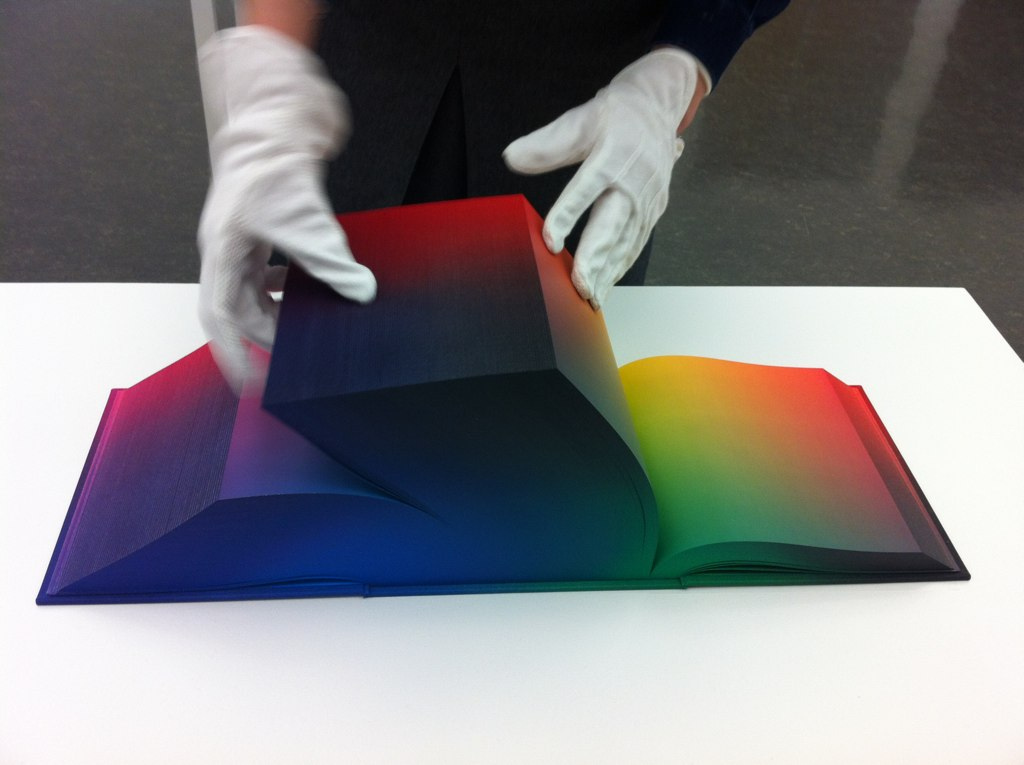
The second idea would be to create a book of colors. I would take a video while walking around the library, then i would compress the footage to a reasonable length before blurring the footage to their core colors before exporting the shot into an image sequence. I would then print out the pages and bind them together. I might consider printing several volumes so as to
The third idea would be more towards installation art. I would play music in the background and encourage the viewers to put pieces of lego together and piece what the structure looks like in their head. The main theme here is participation and interpretation.
Finally, the last idea involves creating a plaster cast of a book, showing it melting and breaking at the edges.
For that setup, I seek to explore the cold, dead tactile feel of plaster to parallel the ever decreasing relevance of physical books. Though we may have a sense of romanticism towards the humble paper book, we find ourselves looking for things through the internet and downloading everything wherever convenient. The rise of blogs, online news, podcasts and audio books have further thrown this medium into darkness.
The final product in all it’s glory. For this project, there were a couple of hurdles that i’ve had to overcome. Firstly, i’ve had to create the 3d assets using a 3d software (maya). After I was done creating the 3d models and textures, i’ve had to create a terrain.
Firstly, i created a terrain model in unity and sculpted the terrain. I made sure that the edges of the terrain remained untouched as i wanted to create an infinite terrain script. If the terrain was even a little elevated, the end result would be an obvious seam. I’ve also made an attempt to sculpt the terrain manually in Mudbox using a displacement mapping. This worked to a certain limit. However, as the process of converting object to terrain is time consuming, i’ve decided against it.
Once i was done with sculpting the terrain, i created a base texture, which would be the grass. I would then add another layer, which would be the soil. I would vary the texture to create a sense of erosion. Afterwards, i would create a grass texture and add in the trees using a paint function. The idea would be to create a dense forest in one area.
Afterwards, i created a couple of pillars and added an audio source to each of them. I initially had trouble adjusting the spread and minimum distance, but after much troubleshooting, i found out that the problem was from multiple audio listeners. I kept it to one and found that the audio now softened with distance.
I added a few ambient tracks from my recordings in Labrador Park. One was of the forests, one was at the docks, one was the sound of winds blowing and another one was a track from Radiohead callled “Bloom”. I chose that song as it inspired me to design the look of the project. In order to have the audio elements loop, i went to Premiere pro, cut off the front end of the audio and stuck it at the back, then i softened the front half and add the cut off section to blend in.
In creating this environment, i hope to make people immersed in the spaces of Labrador park. In future, i might also consider adding even more audio sources to more correctly. However, as a lot of the time had been spent on research and development, I’ve had little time to collect more audio samples and blend them in.
I added the infinite terrain script in C# (see below)
I also added in a global fog to create a fading effect, so objects in the distance would blend in with the skies. As for the skies itself, i added a default unity skybox.
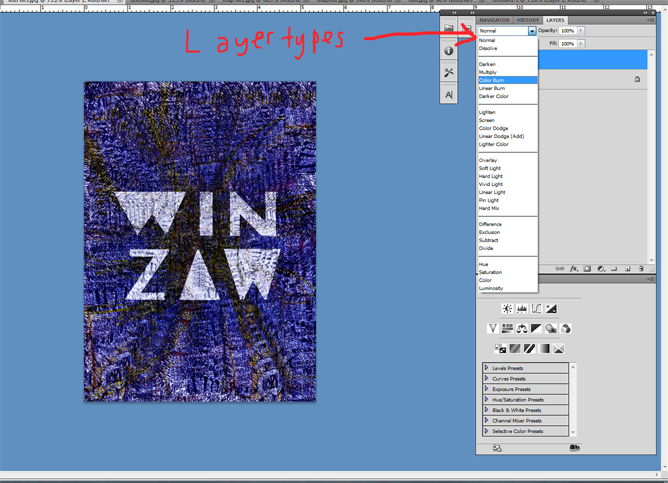
IMPORTANT NOTE: (I’m restricted by file size, so while there are certain processes i can show, there will be those that i will not be able to show like curves and poly lasso. I hope you are already acquainted with some of the concepts.)
Just to clear things up, the images I’ve screen capped are to show the layer and level function. I will be making references to these process afterwards.
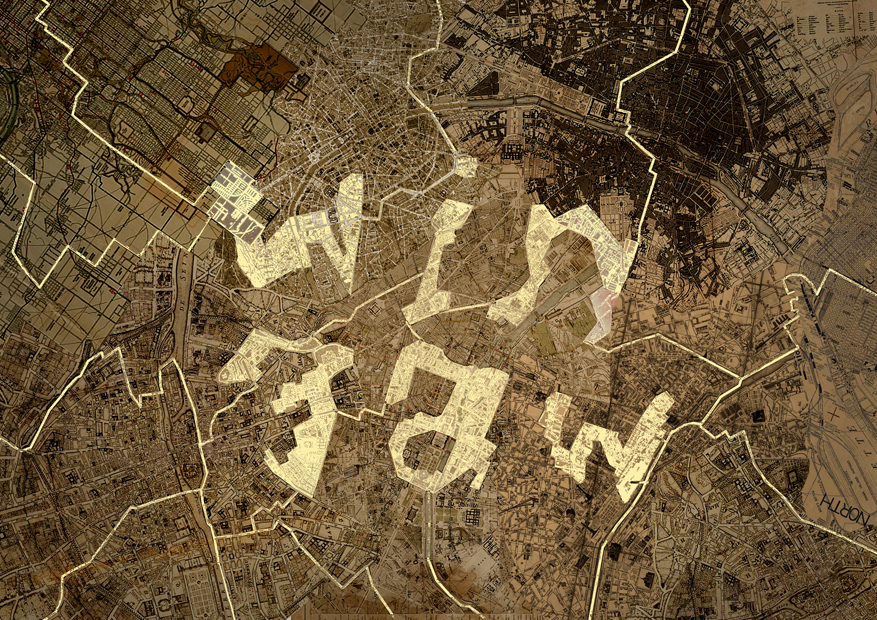
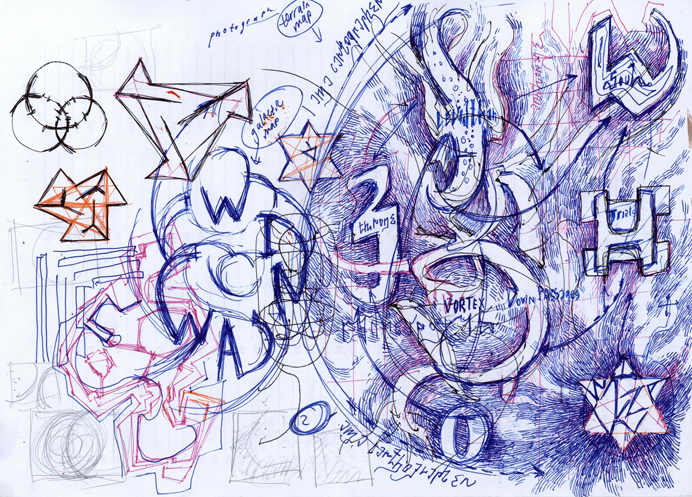
The first image is the final selected composition for “cartographer”. For this one, i spliced a couple of maps using a poly lasso tool and changed the levels in photoshop so as to match the colors. In certain extreme cases, i’ve had to desaturate the colors before adding a color masking layer on top of them. I would then use the poly lasso tool again to create the letters, this time making sure that the selection would follow the contours of the streets and buildings. After selecting my entire name, i would create a new layer and use a paint bucket tool to splash a color before setting a screen filter on top of it . I would later use a mouse and a brush tool to create the lines. To keep the lines straight, I would use the “shift” function.
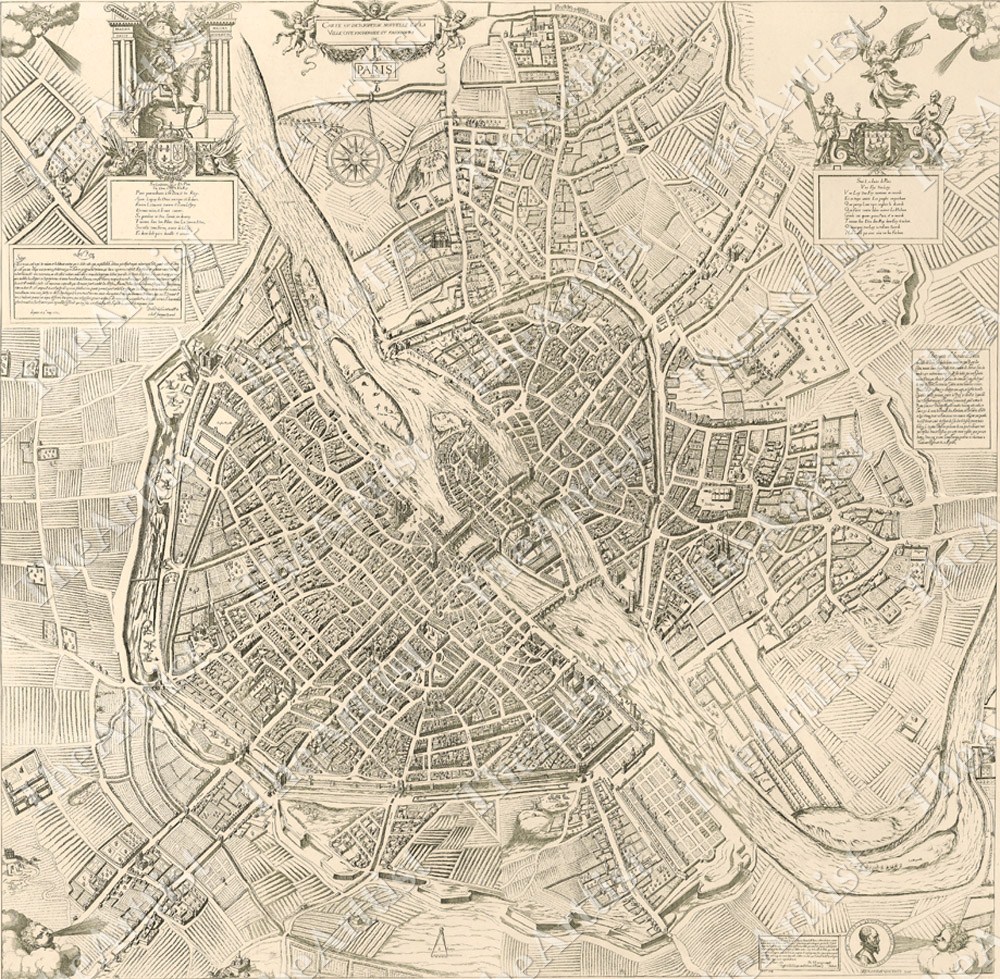
The classical map design (2nd image) was one of the styles that i wanted to use. However, i was worried that I would not be able to show my name clearly enough, so i left it as it is.
My attempt at making a lino cut. An embarrassing mistake since the letters that were pasted was inverted. A friend of mine suggested that i used a transparency paper or a piece of cellophane so that the inverted image could be reverted back to it’s lateral form.
Various attempts at “biotic”. The original picture that was done in black and white was a little off centre, so i used a warp tool and positioned the words back in the middle. For the vertical version, I didn’t finish the top right hand portion and didn’t even work on the letters as i was just experimenting. However, I wanted to test if the fonts would come out right, so i used a clone stamp tool, borrowing elements from the bottom to paste in on the top. Afterwards, i used another layer and used a mouse and brush tool to paint the letters on top. I liked how the letter “Z” looked like, so i replicated it on the second attempt. One thing to note was that the second image looked larger
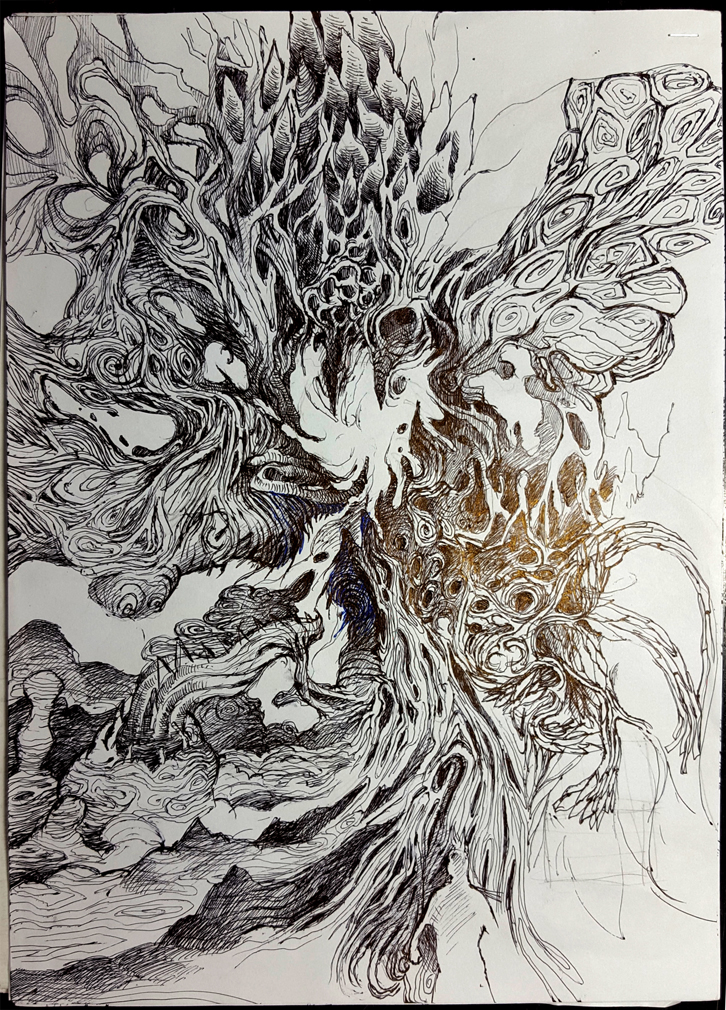
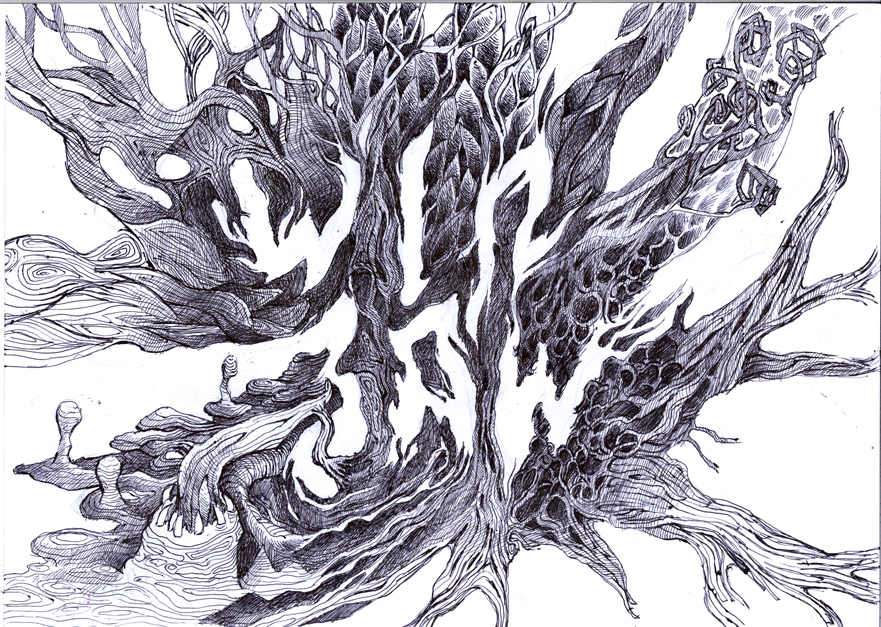
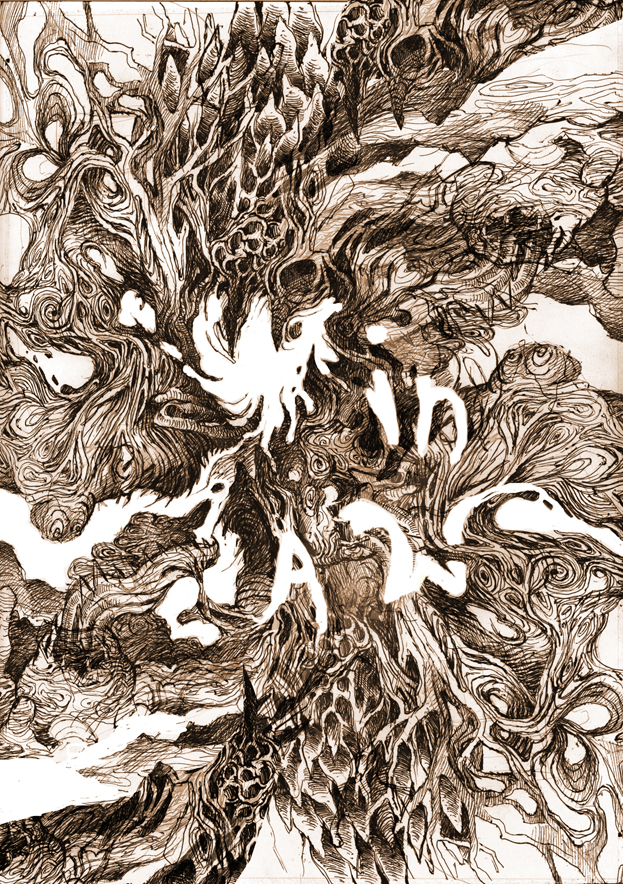
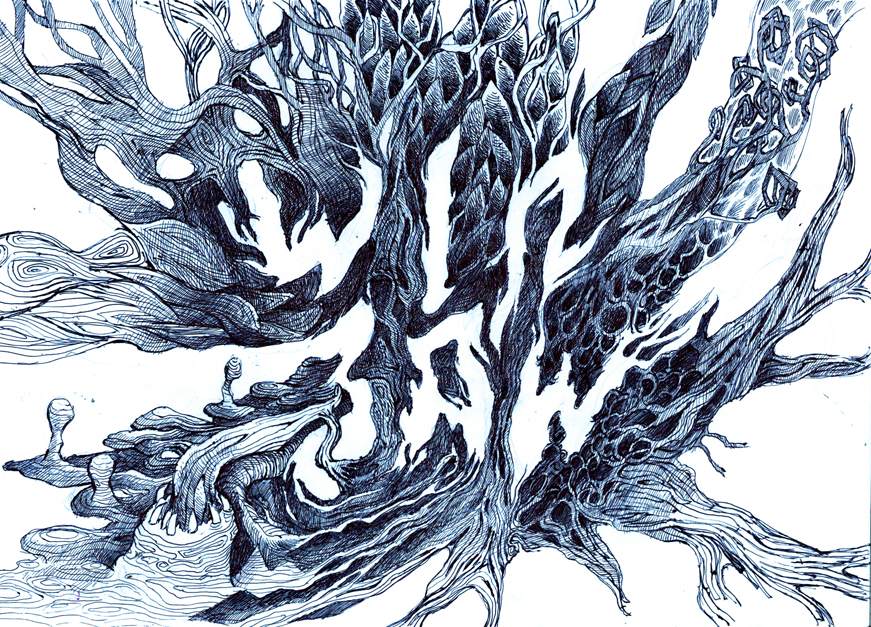
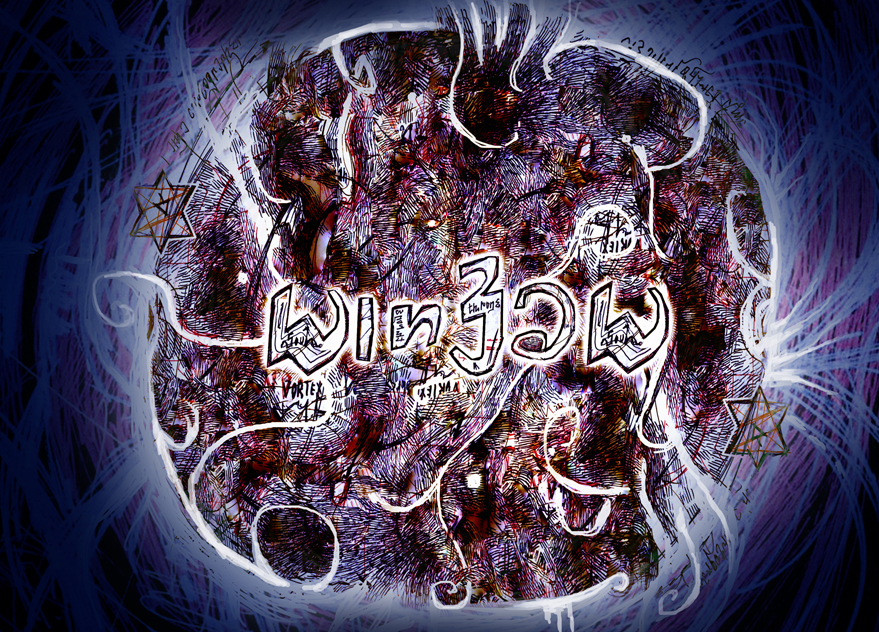
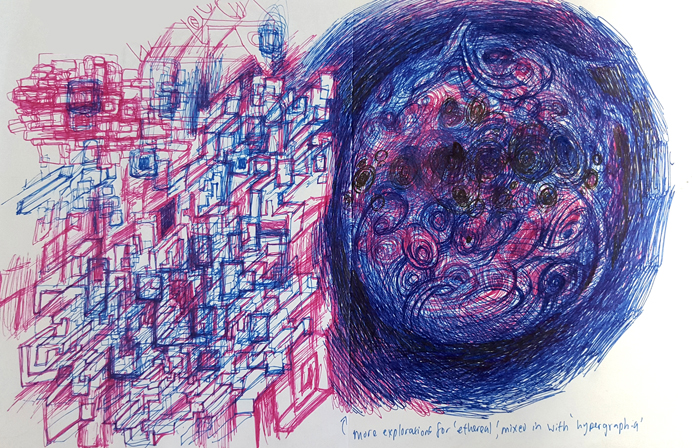
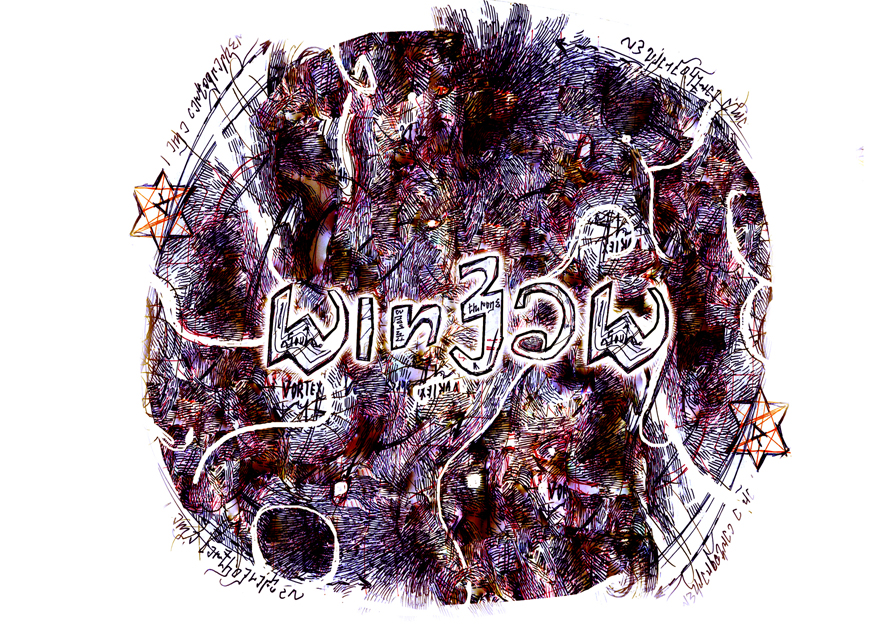
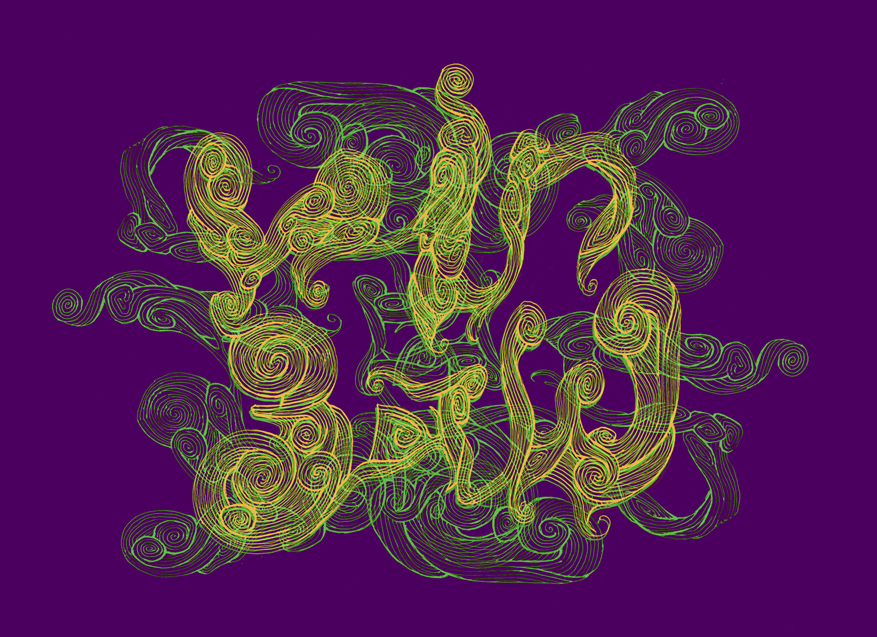
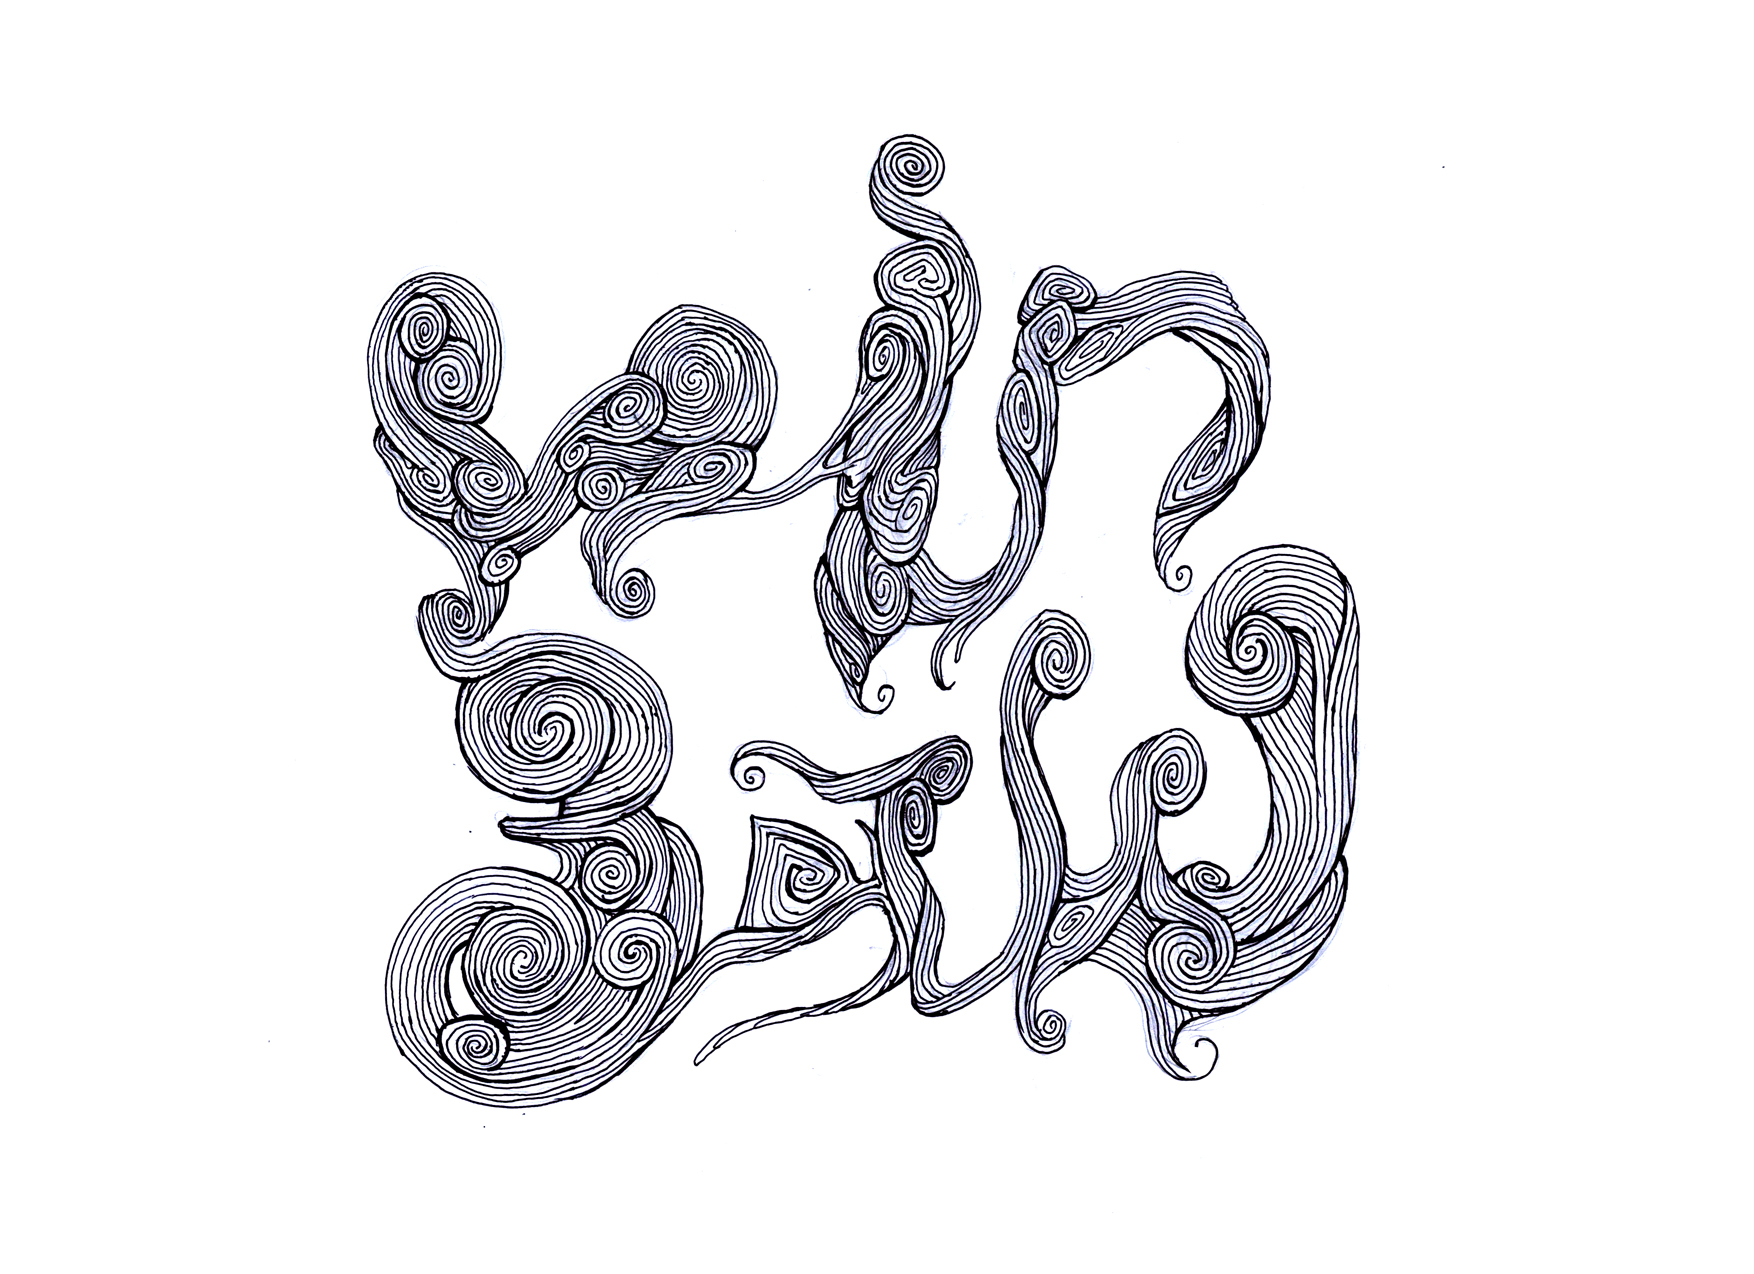
This concept came in at a close second, since I felt that the art style for this was a little too similar to “Graphomaniac”. The idea with this one was to create a planet of ethereal chaos. As for the execution, this one was a little less straightforward. Apart from the white swirls, the rest of the elements are recycled from the original image. First of all, i set the wheel to the center of the composition and duplicated the left half of the wheel before inverting it and using a soft eraser to make the merger more seamless. Afterwards, i removed the shapes from the scanned image and looked for those that resembled my name. Afterwards, i used a clone stamp tool to replicate the crosshatches. This particular part was slightly trickier as there were very little crosshatch sources that i was able to grab onto. Once that was done, i cleaned the edges to form an oblate spheroid shape. I added a few sprinkles and swirls using a brush tool. For the darkened version, i used the solaris poster as a source of inspiration. I overlaid the second scanned image ( 3rd) and placed it in the background. Afterwards, i used a soft eraser to create a glowing effect for the planet. Finally, i added another layer for the swirls that crossed over to the darkness.
Variants for the “ethereal” concept. This one was straightforward enough. I used a swirly font and duplicated it before setting it as a multiply mask. I would later select the color range for the original scan and apply the color on the letters.(So now the letters are transparent)
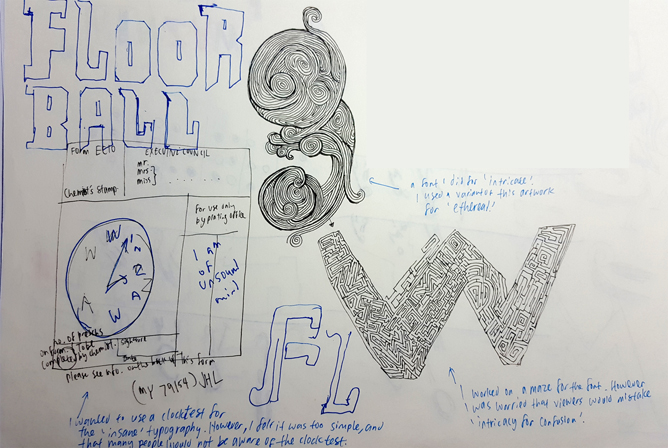
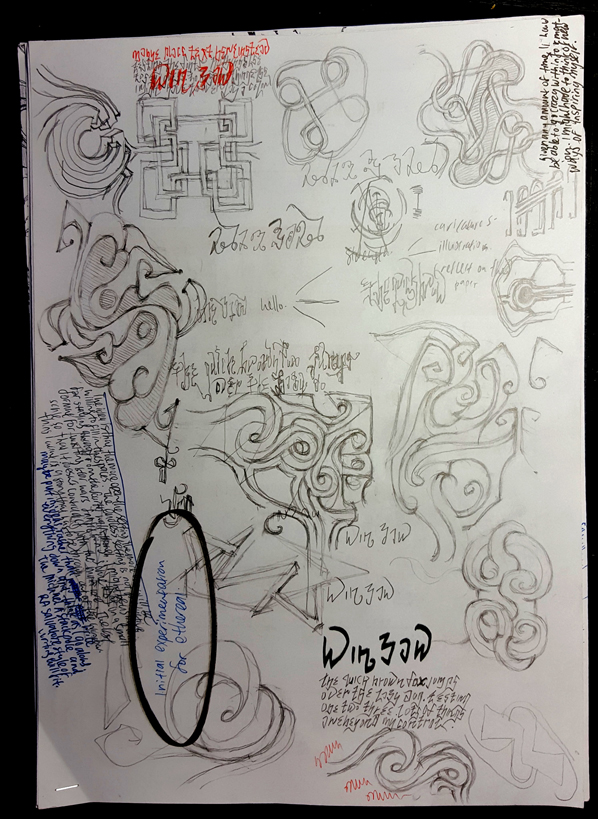
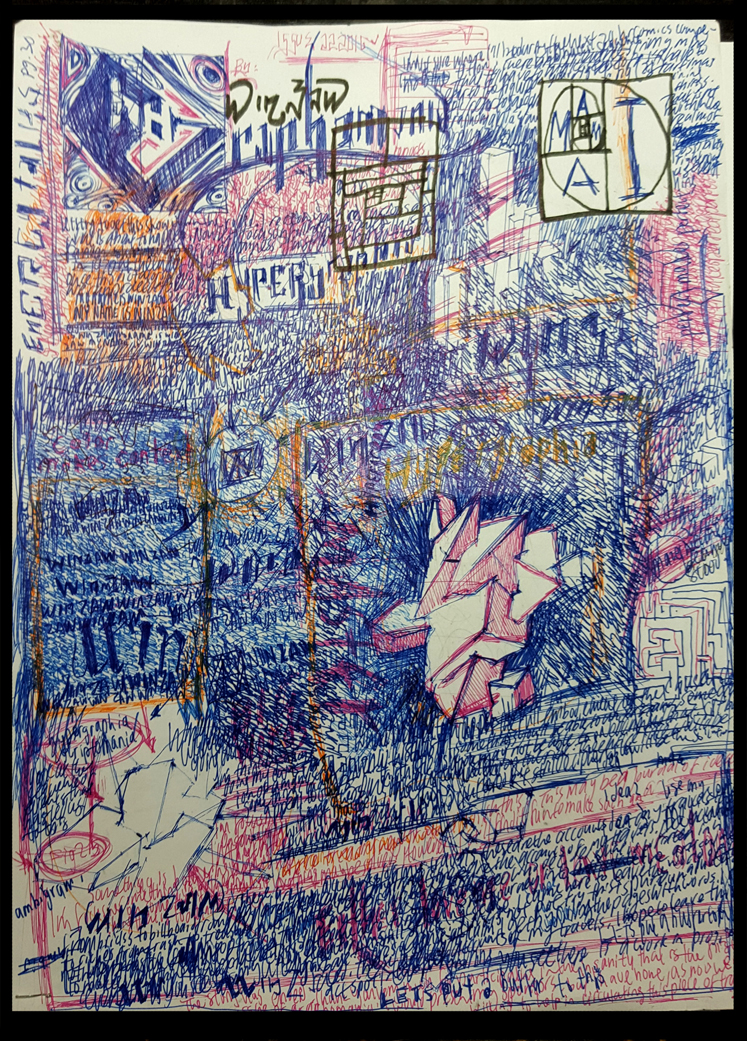
The top two were my first attempts into creating a swirly design. I initially wanted to draw a maze with my name, but was skeptical as the message could be interpreted as ” confusing” rather than intricate. I also saw a few people research into that concept, so i avoided using it as i felt that the novelty would wear out soon.
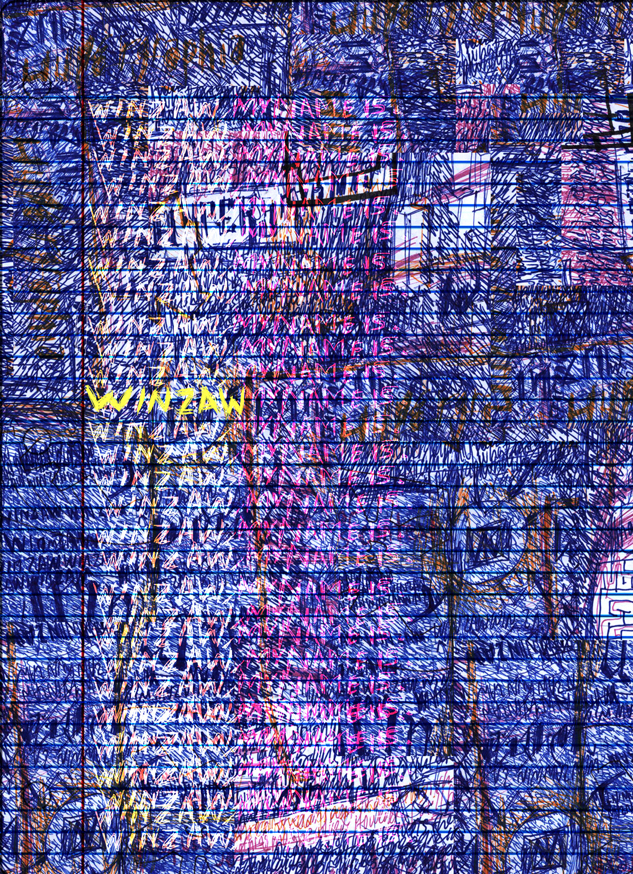
Variants for “hypergraphia” The inspiration for this came very easily as i was doodling on my sketchpad. I was also inspired by a few artists that have this condition, namely Tommy Mchugh and Robert shields. (sadly, both have passed away) People with this condition have the tremendous urge to write and draw, no matter what. It doesn’t matter what the final outcome would be as the process would be more important than the destination. In my late secondary school to polytechnic days, I would be inspired by them and condition myself to write on a book for every 5 minutes. (this would also severely affect my ability to sleep.Thankfully i don’t do this anymore) The final outcome for this concept was easy as all i had to do was write on a piece of paper repeatedly until i filled up the page.
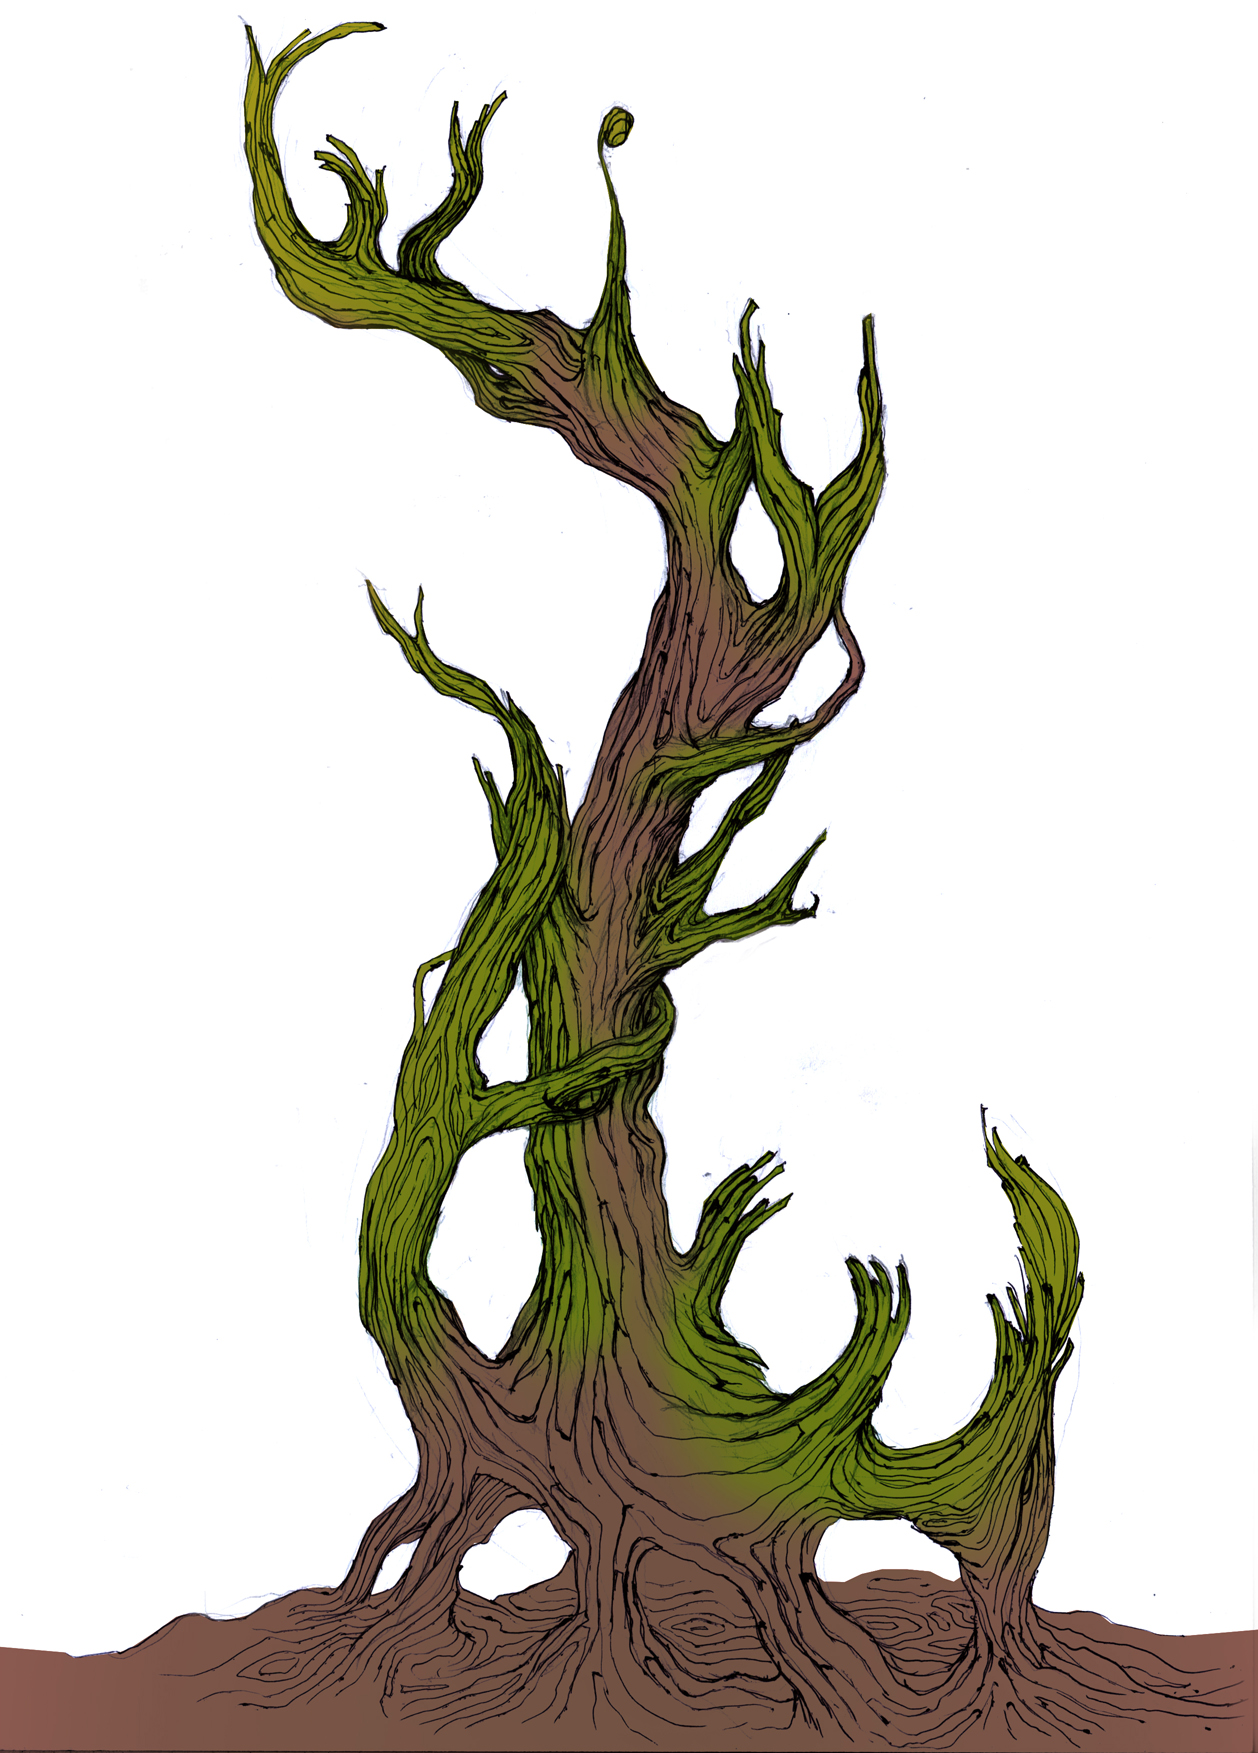
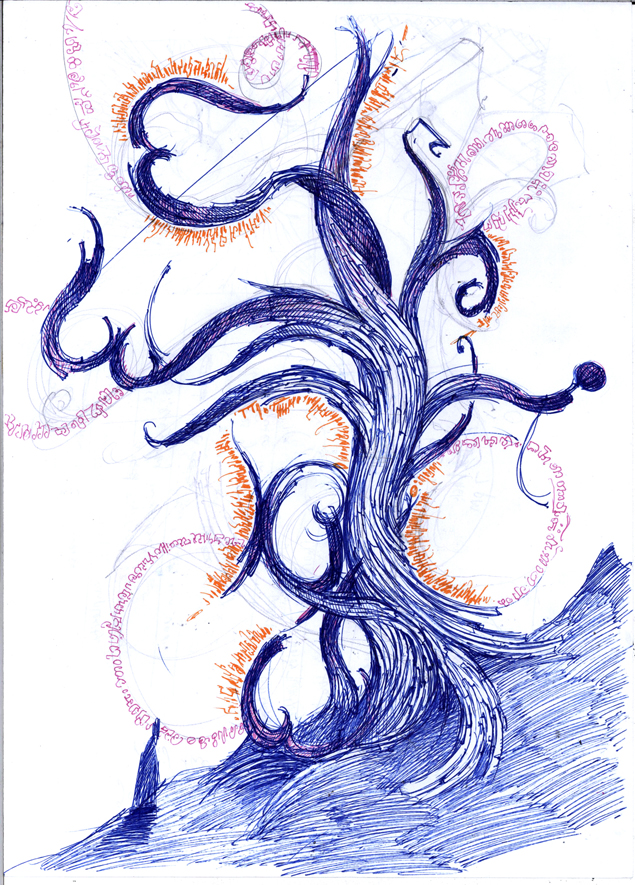
Design variants for natural. In both cases, the letters are a little hard to spot. In my second attempt, i used a multiply layer and colored it. Afterwards, I added a hue layer and changed the bark to green so as to make the letters stand out. This is one of the few compositions that required the viewer to read it vertically and be able to sift out the letters out of a form.
(TL;DR) All in all, this entire project was a technical challenge, albeit a fun one. The main challenge was to create an image physically and add to it in photoshop without using a stylus to DRAW it out. The second main challenge was to create all these images as quickly and as efficiently as possible so as to leave time for other assignments, something that wouldn’t have been possible had i used traditional medium throughout.
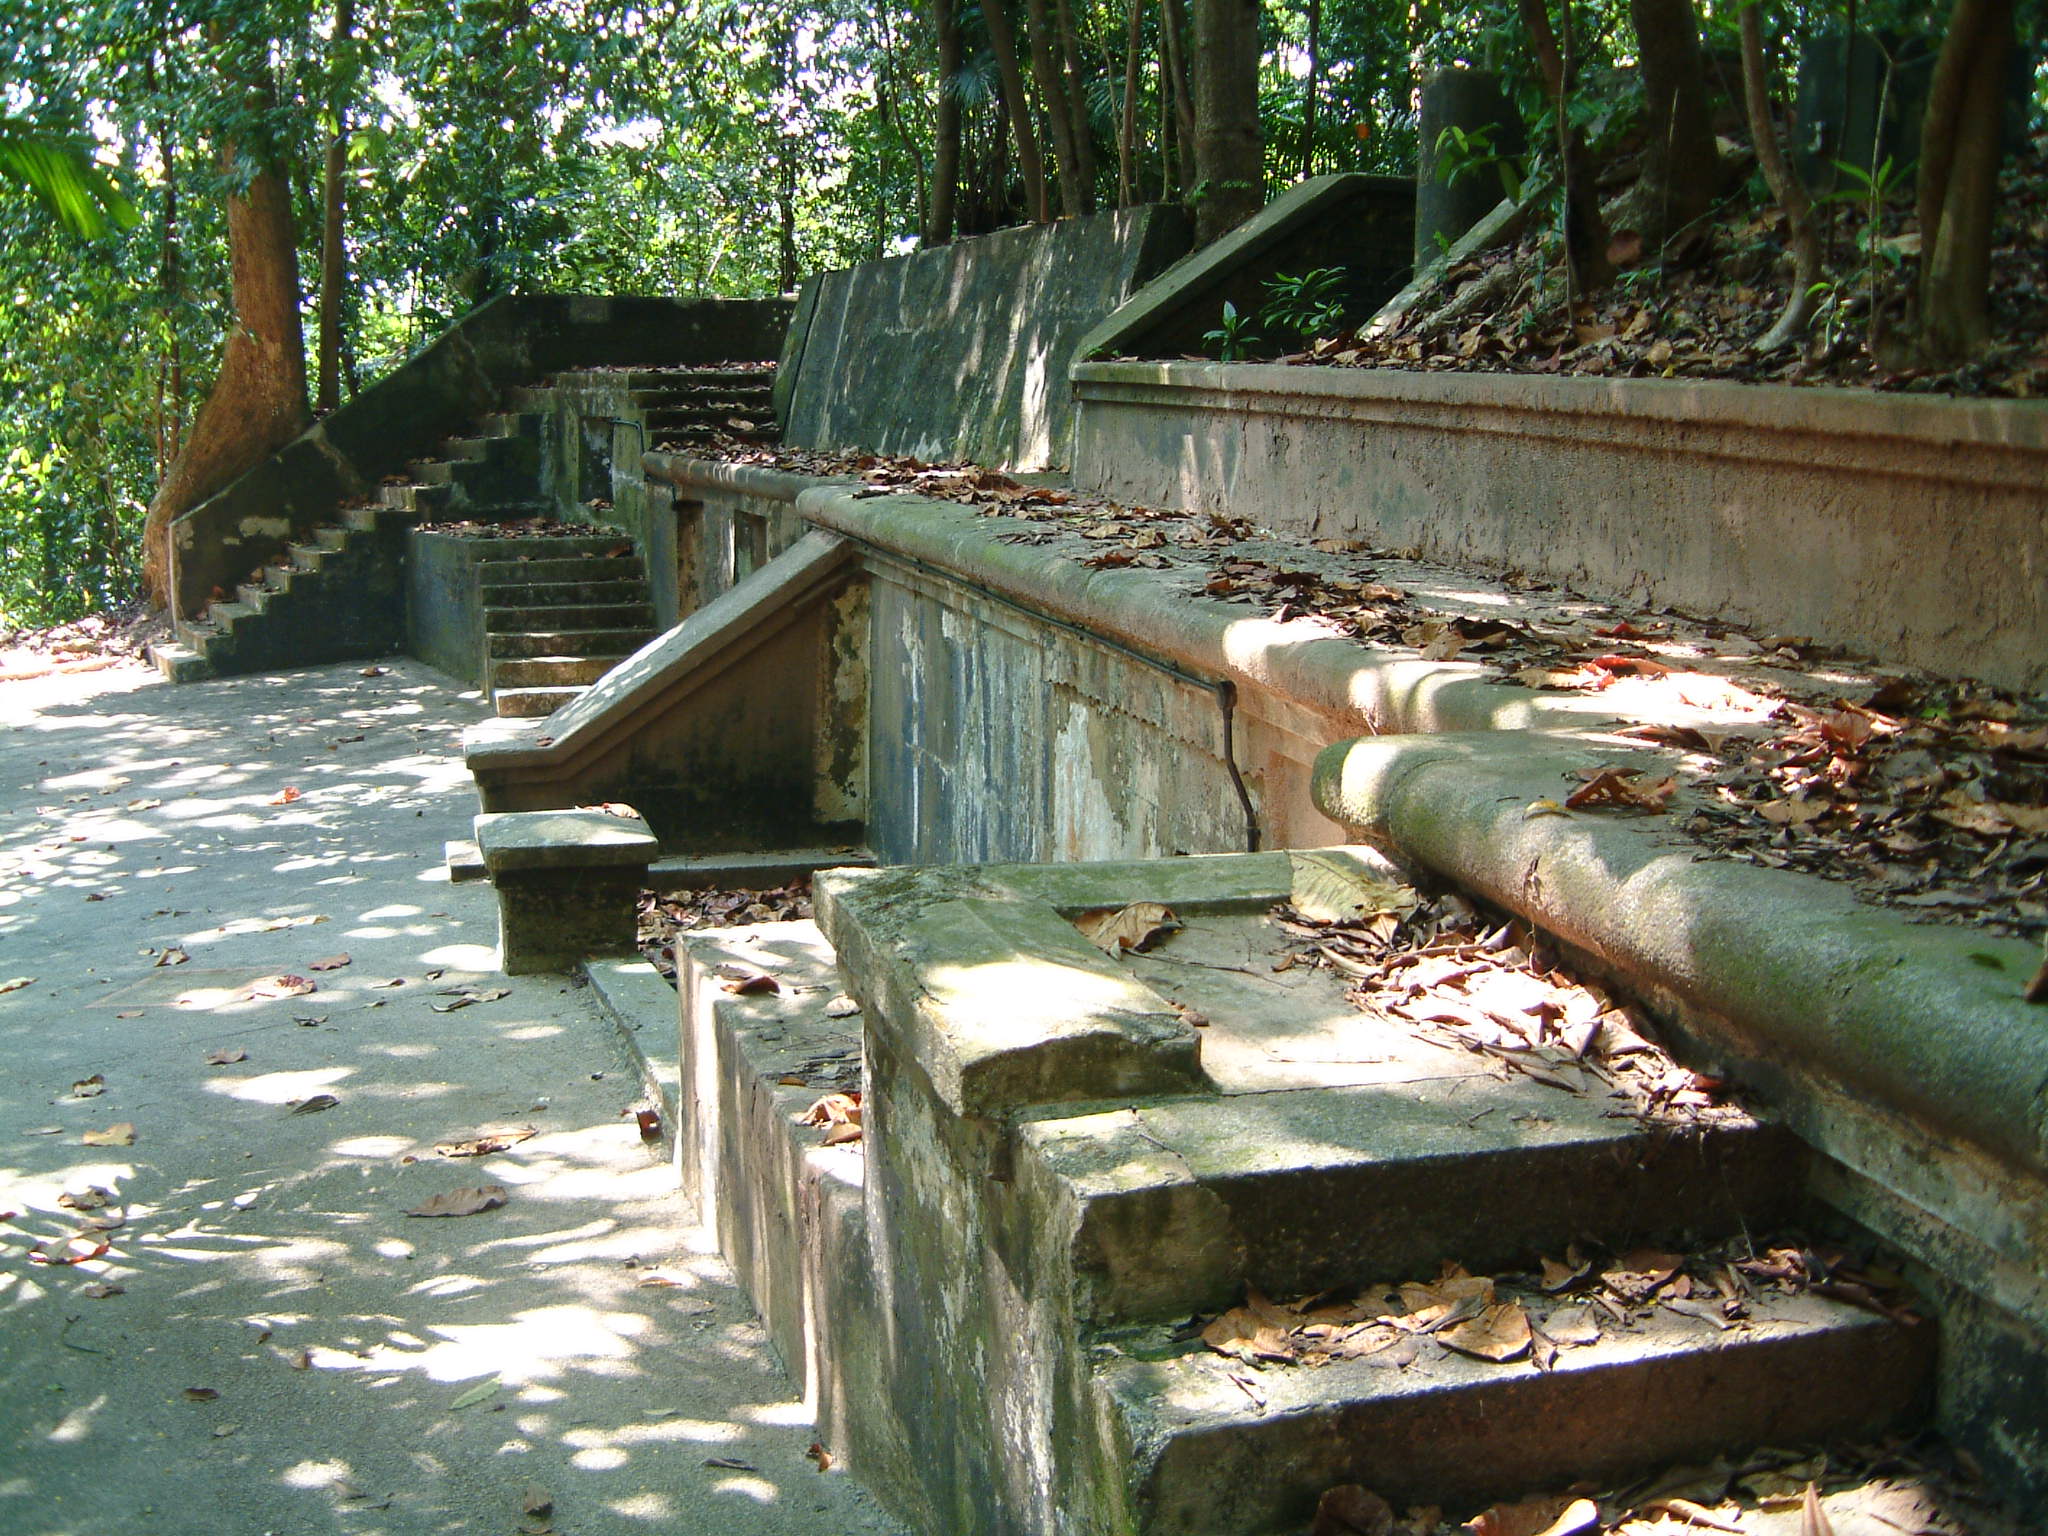
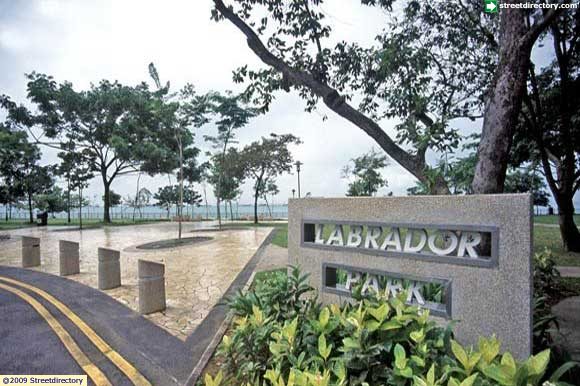
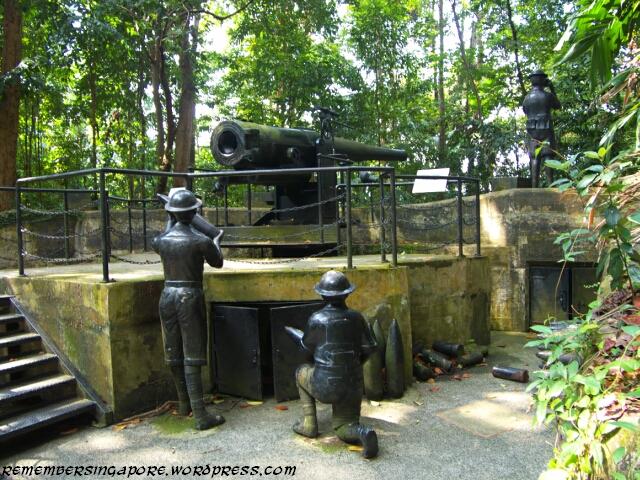
Labrador Park, located at the southern part of Singapore, was once used as a defensive position by the British to fend off against the Japanese. Among the many war relics are the bunkers, pill boxes and six inch 37-ton guns. When the Japanese arrived in Singapore, they came from the northern coast instead of the southern coast which the British expected. No Japanese ships passed through and as a result, much of the defensive positions at the fort were put to waste. The battle of Bukit Chandu, now known as Bukit Panjang also took place near the vicinity of Labrador Park.
In November 2001, it was announced that the place was to be turned into a nature reserve. I’ve had some luck finding some of the listed species of animals my trip there; I’ve seen several species of birds and even a Komodo dragon!
Since I’ve been to the place before, I’ve decided to revisit the place on my bicycle. I’ve also made an extra effort into exploring the place by visiting the open area near Port road. It was drizzling at the time, but usually there would be Indian foreign construction workers playing cricket as the place is immensely huge. On top of that, I’ve visited the bunkers deep into the reserve and although the six inch cannons were replicas, I’ve gotten a sense of what it was like to defend the place. According to some websites, there are tunnels that lead from Labrador park to sentosa.
After I was done with the natural reserve, I cycled to the edge of the park and enjoyed the view of Harborfront. I watched as the locals fished out their catch. Some even waded to the shores to catch the crabs.
For my research, I have also traveled to the newly opened kranji marsh. I was told that there were crocodiles there, but they weren’t there at the time of my visit.