Updated as of 29 October 2016
Over the past 2 weeks, we have completed the code for the individual parts of ume. However, here are some concerns:
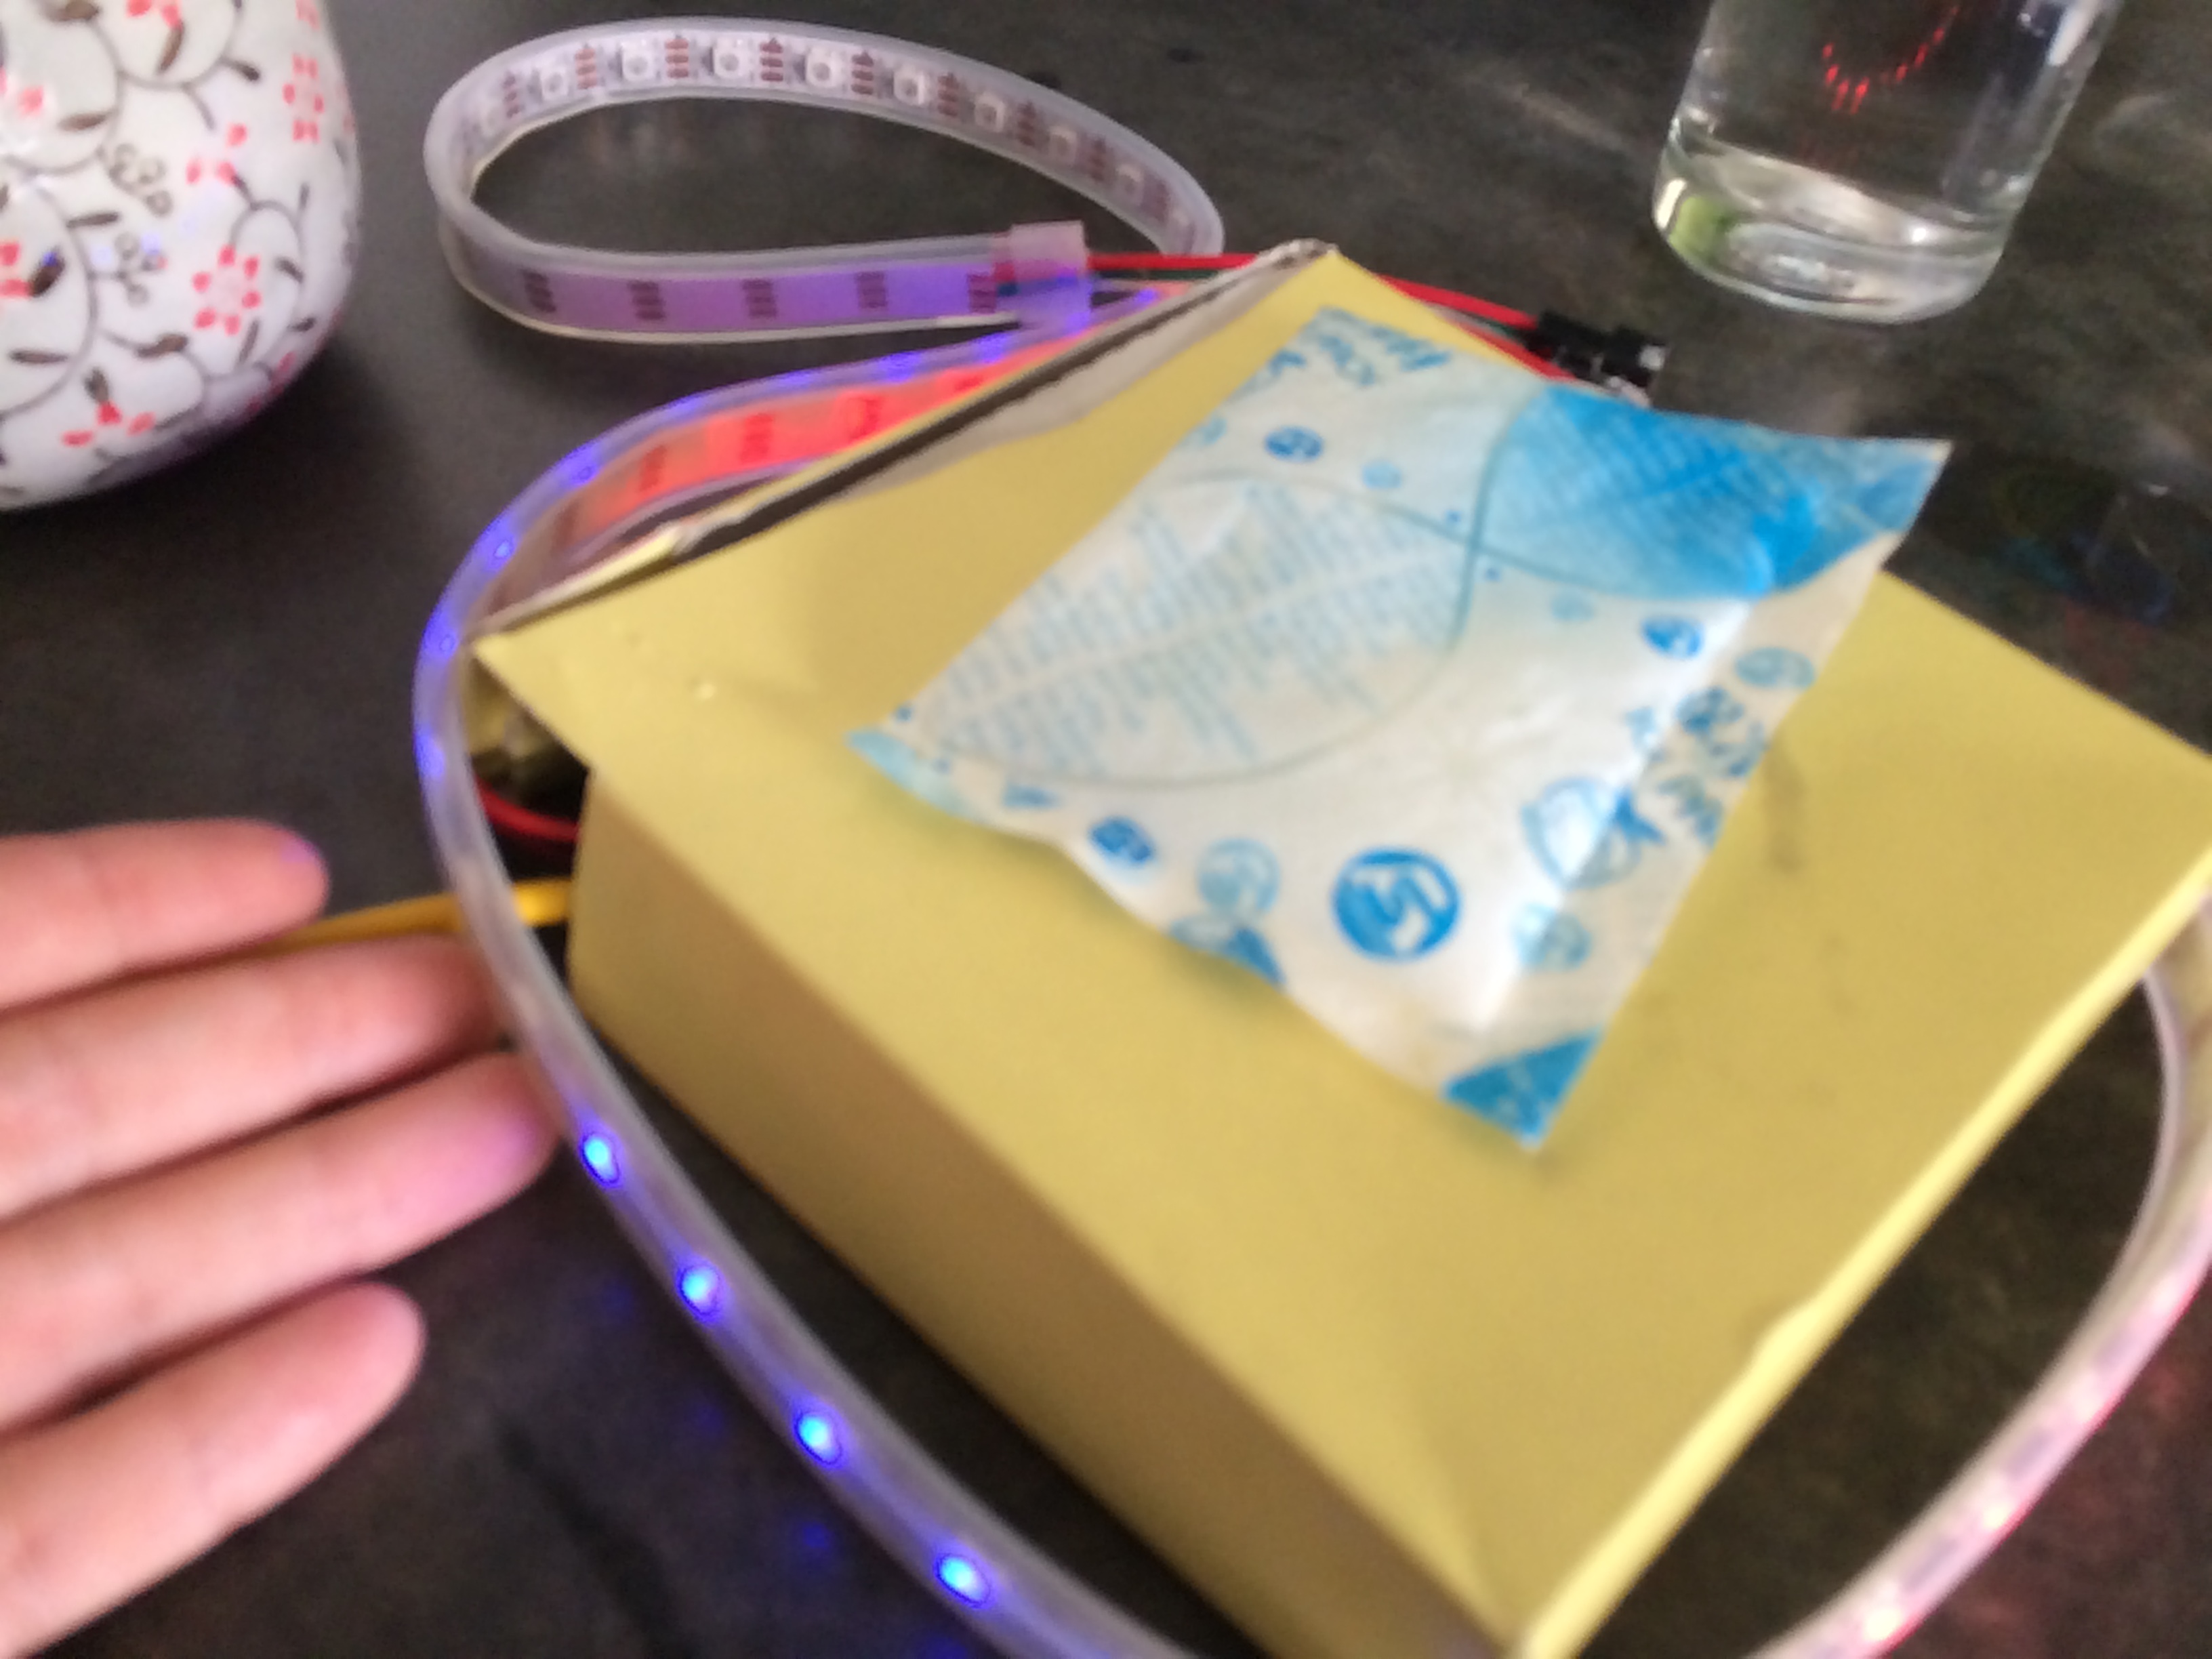
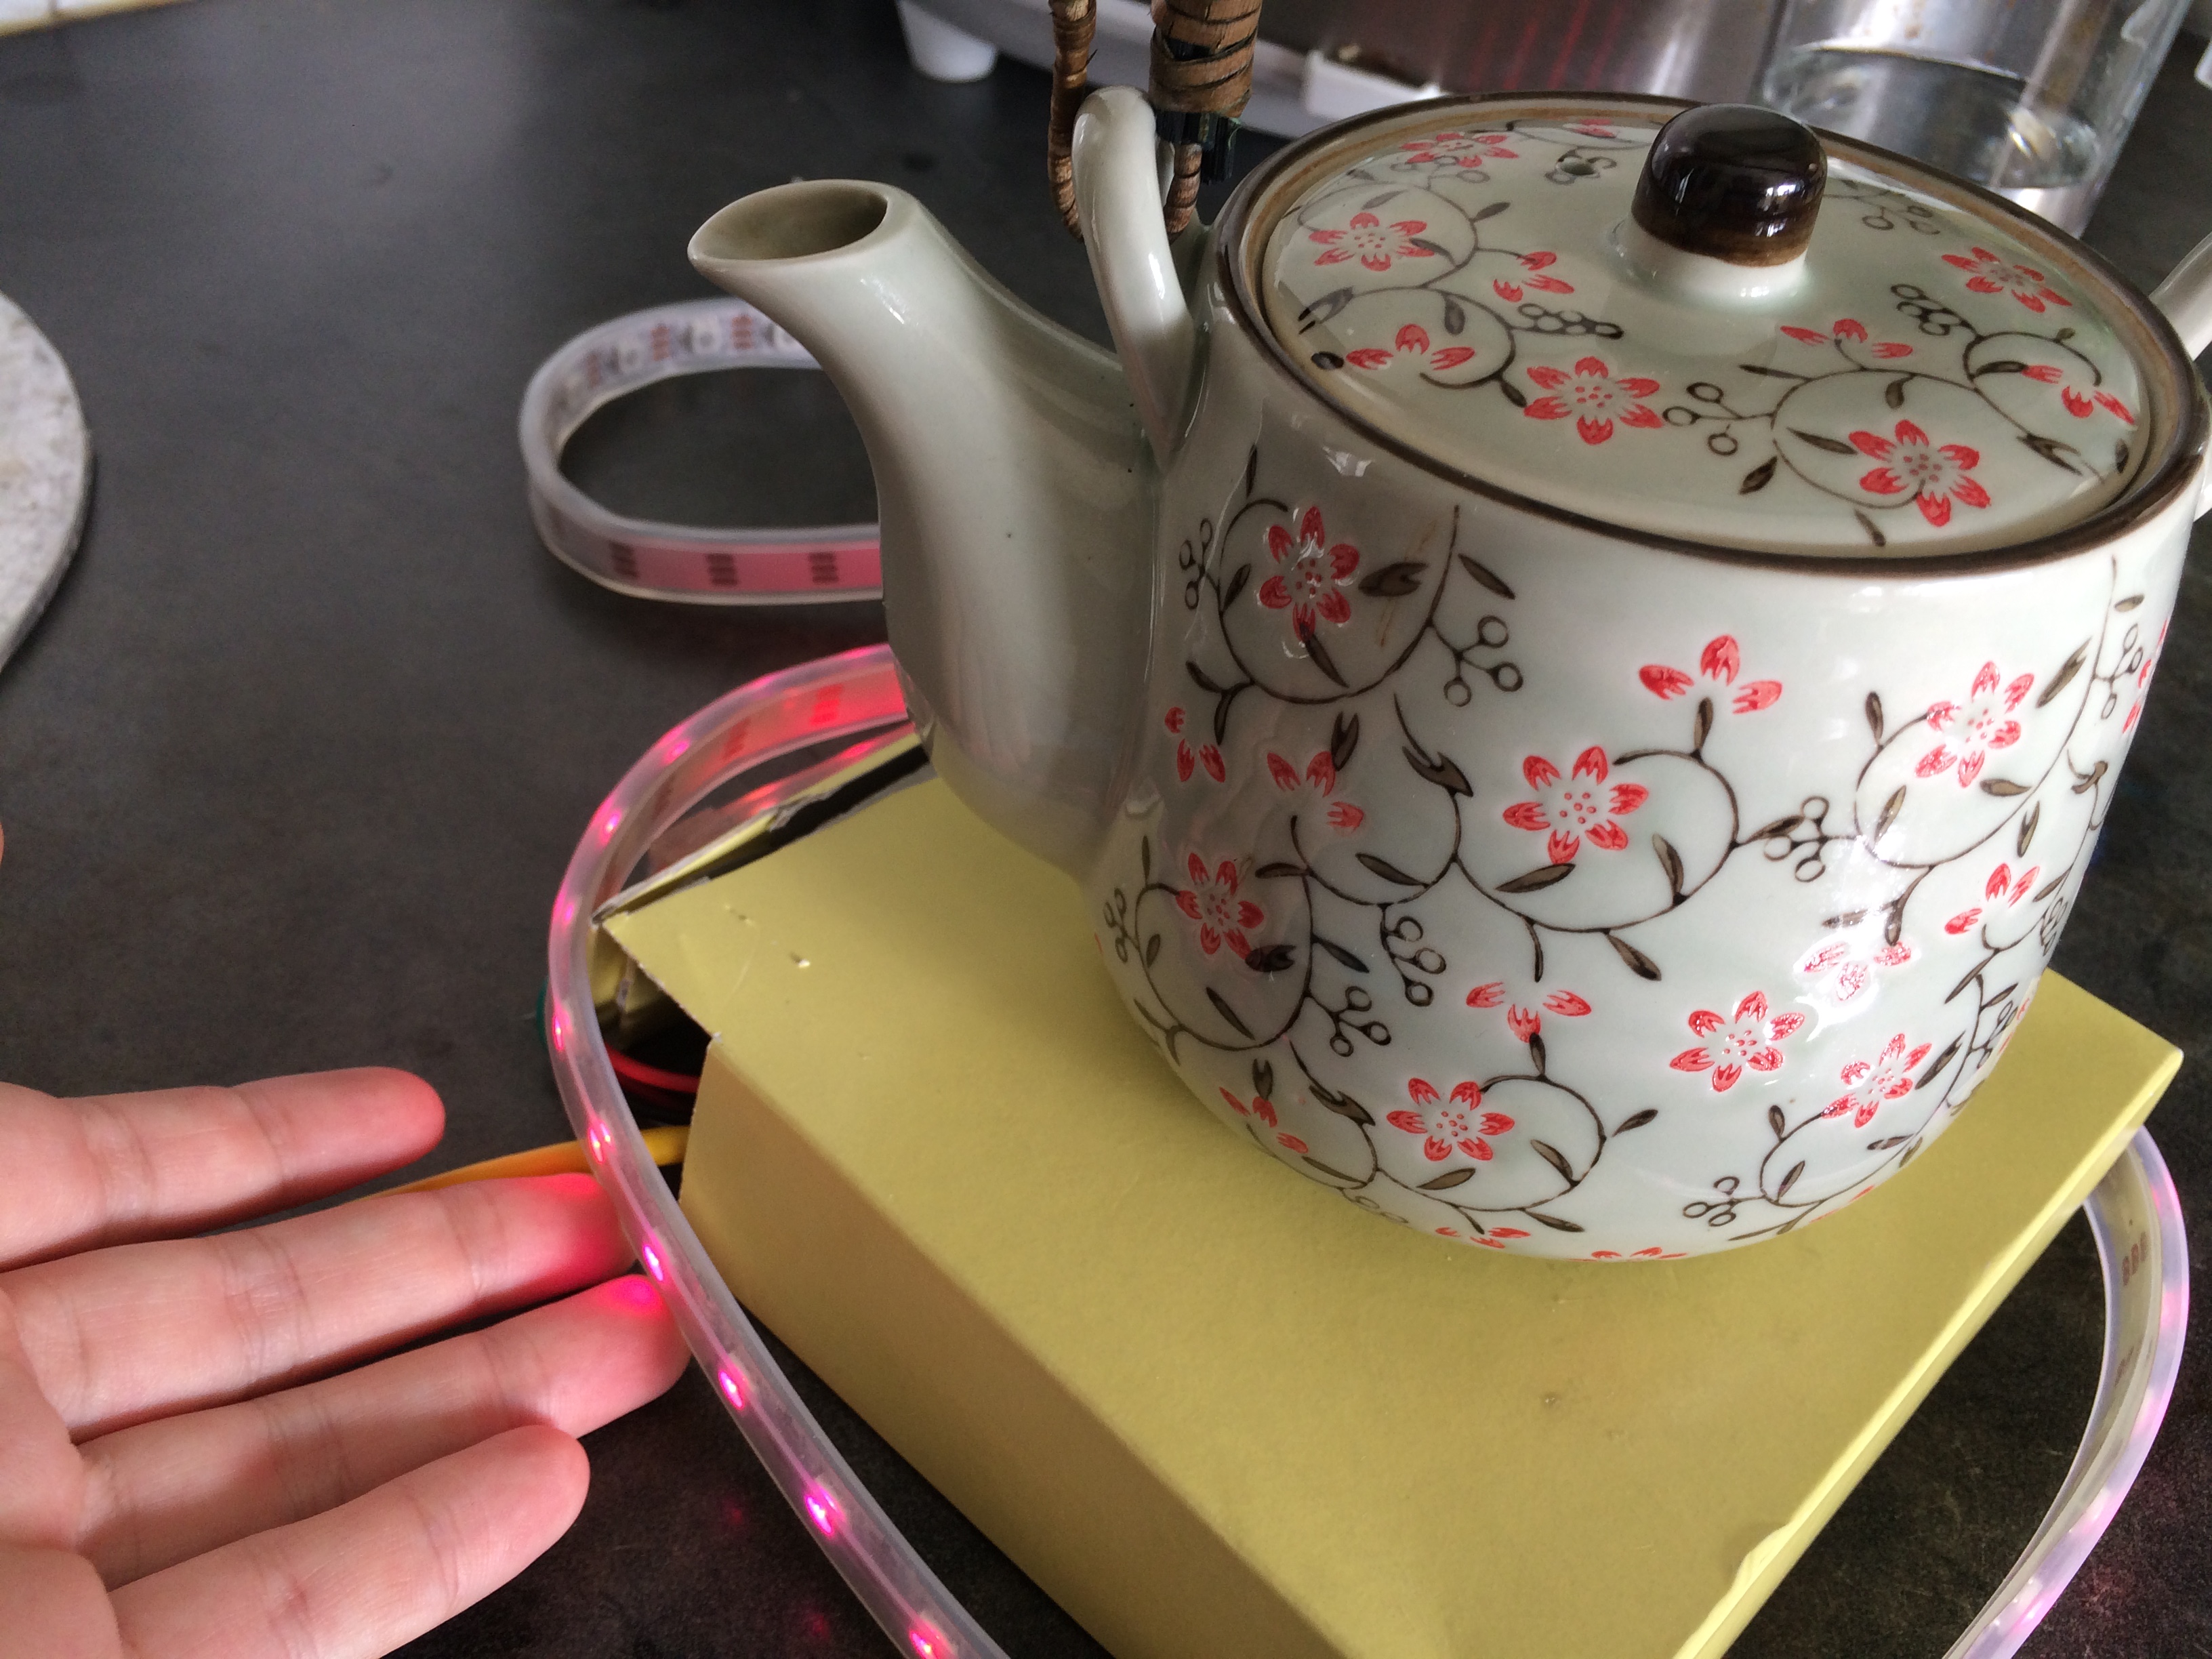
- Flickering Flame Effect
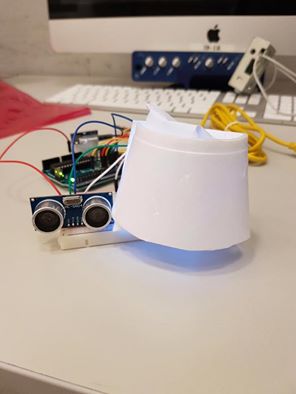
Light output is not bright enough to be seen under normal day light, we are considering of changing it to WS2812 LED. However, we will first be testing our ultra Yellow LED lights first before changing it to WS2812. (Just purchased Yellow LEDs today)
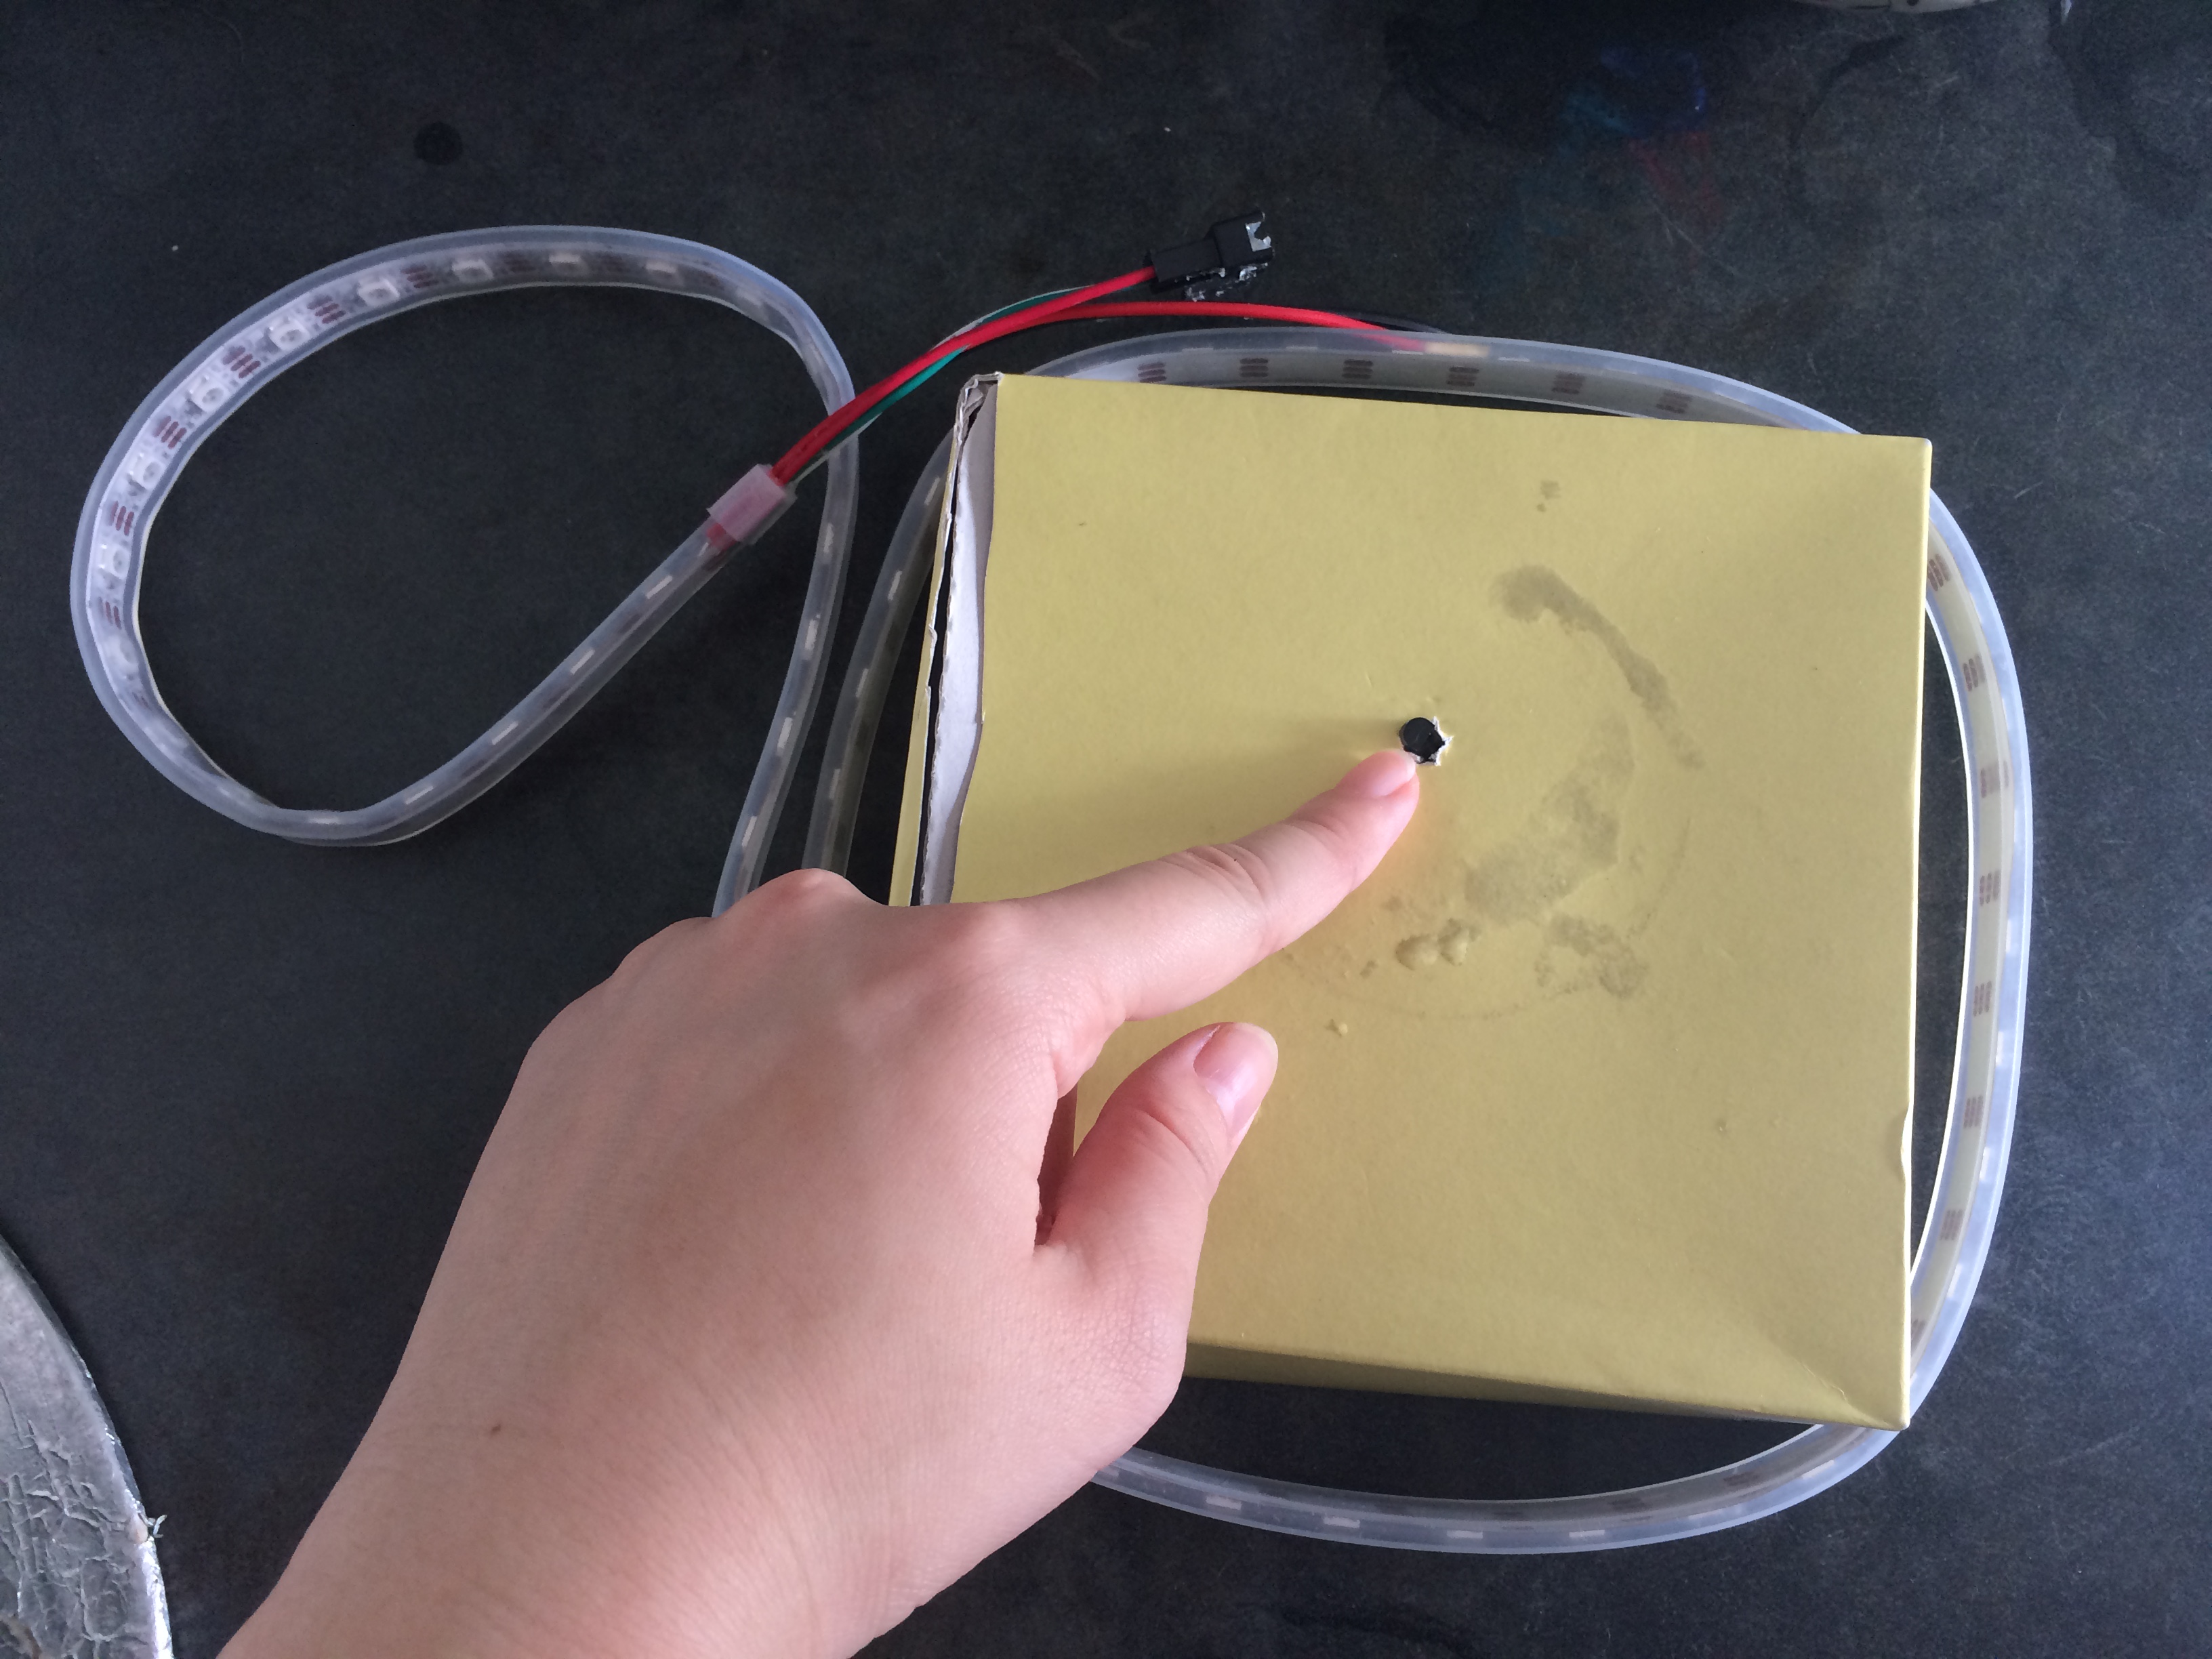
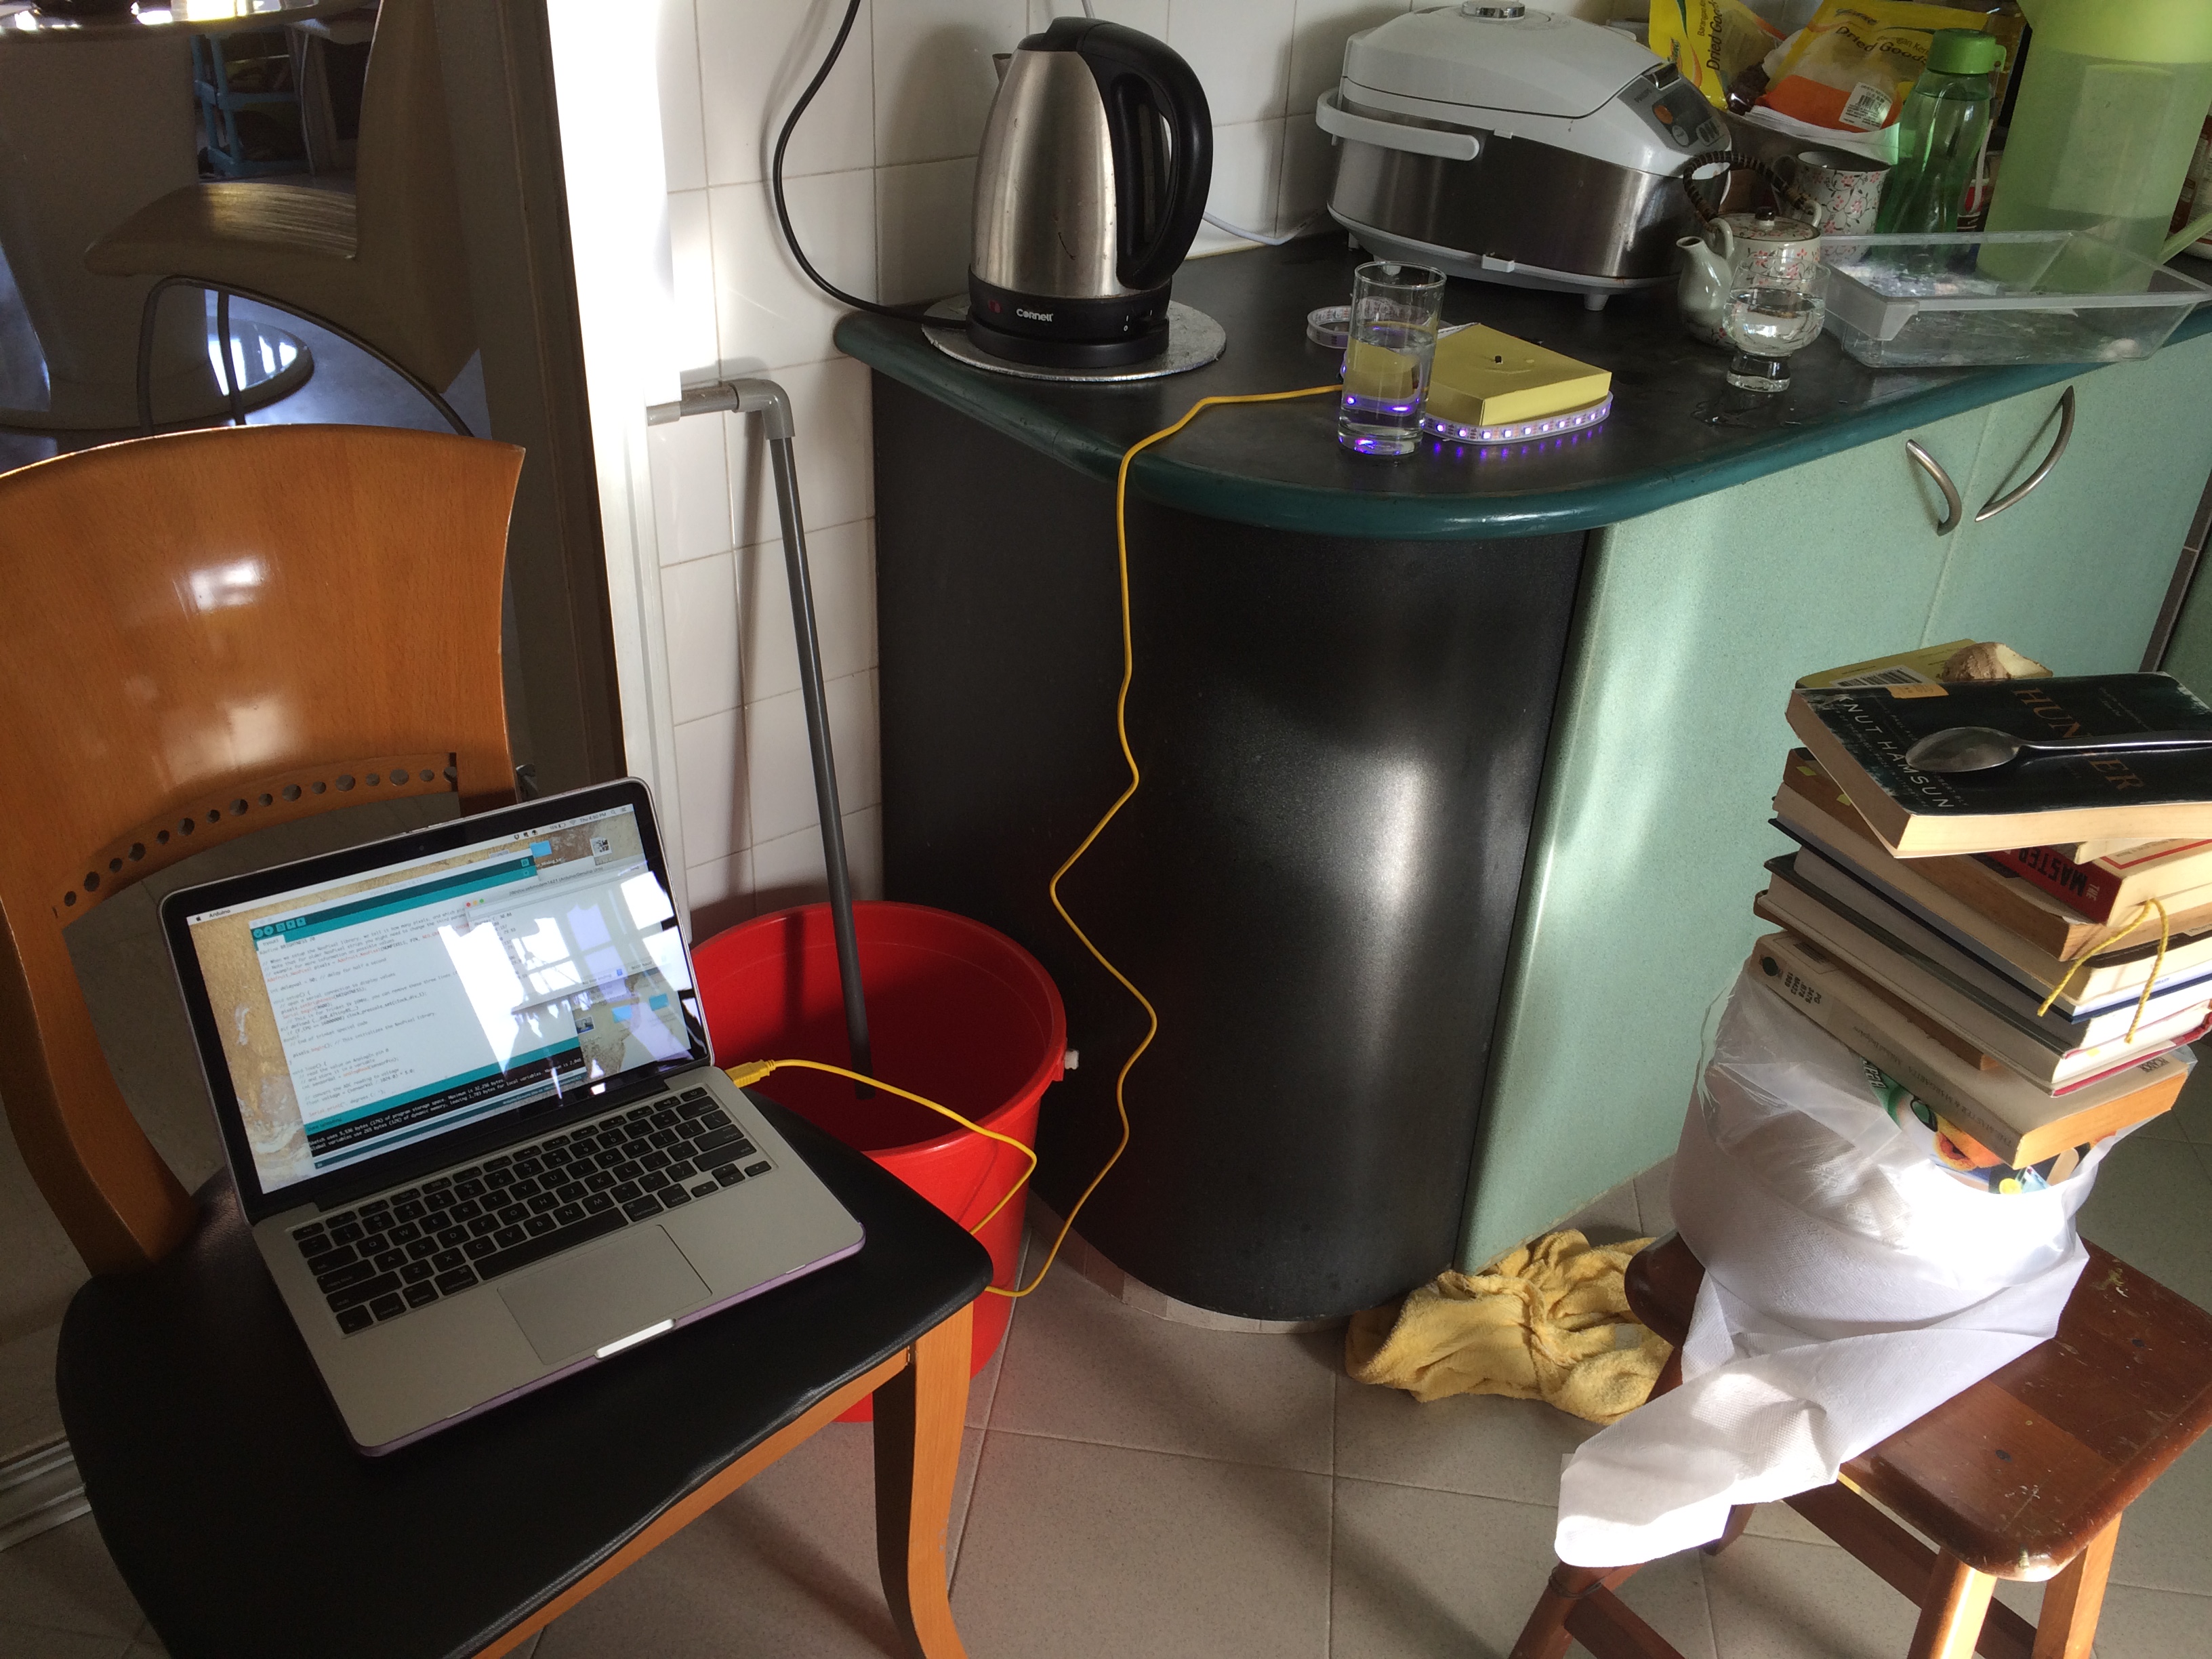
- Distance Sensor
The distance sensing using the HC-SR04 works well in small spaces. But when testing the same code and setup in a larger space like the IM lab, it produces sudden, extremely large values making the flame effect jumpy. We will test out the icube distance sensors this week which hopefully produces more stable readings.
- Motor Output
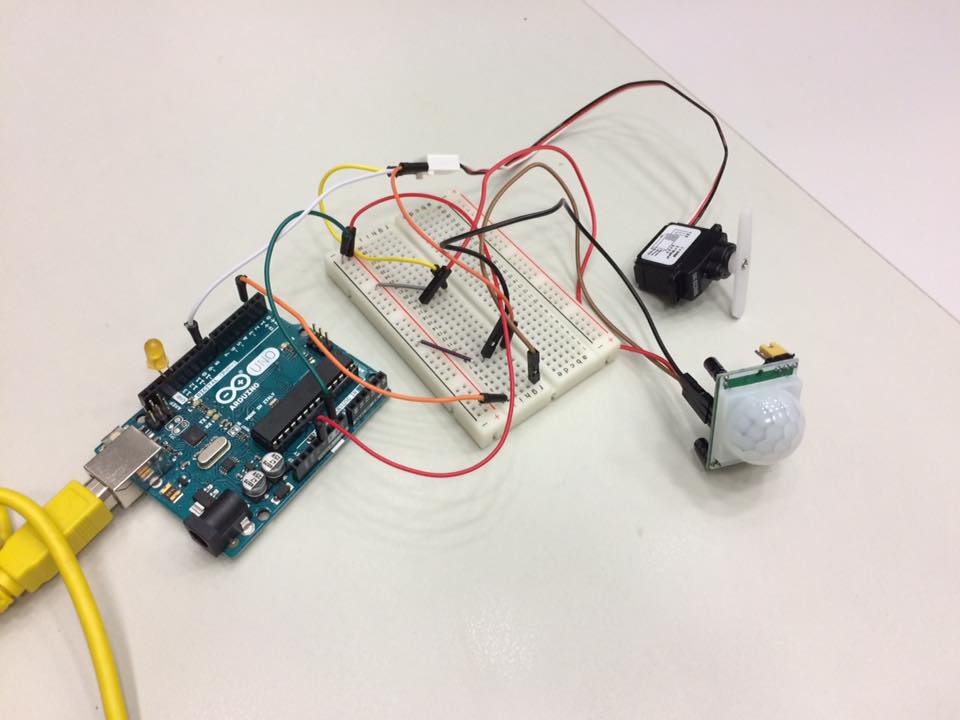
A short pause occurs when sensing continuous motion. Will be re-examining the code to resolve it
The following week will see us:
1. integrating the different codes into one code
2. continue building the ball
3. ume to work properly individually
4. attempting to connect 2 umes together
We are in the midst of building the physical components of ume, and have decided on using a pre-made hamster ball.
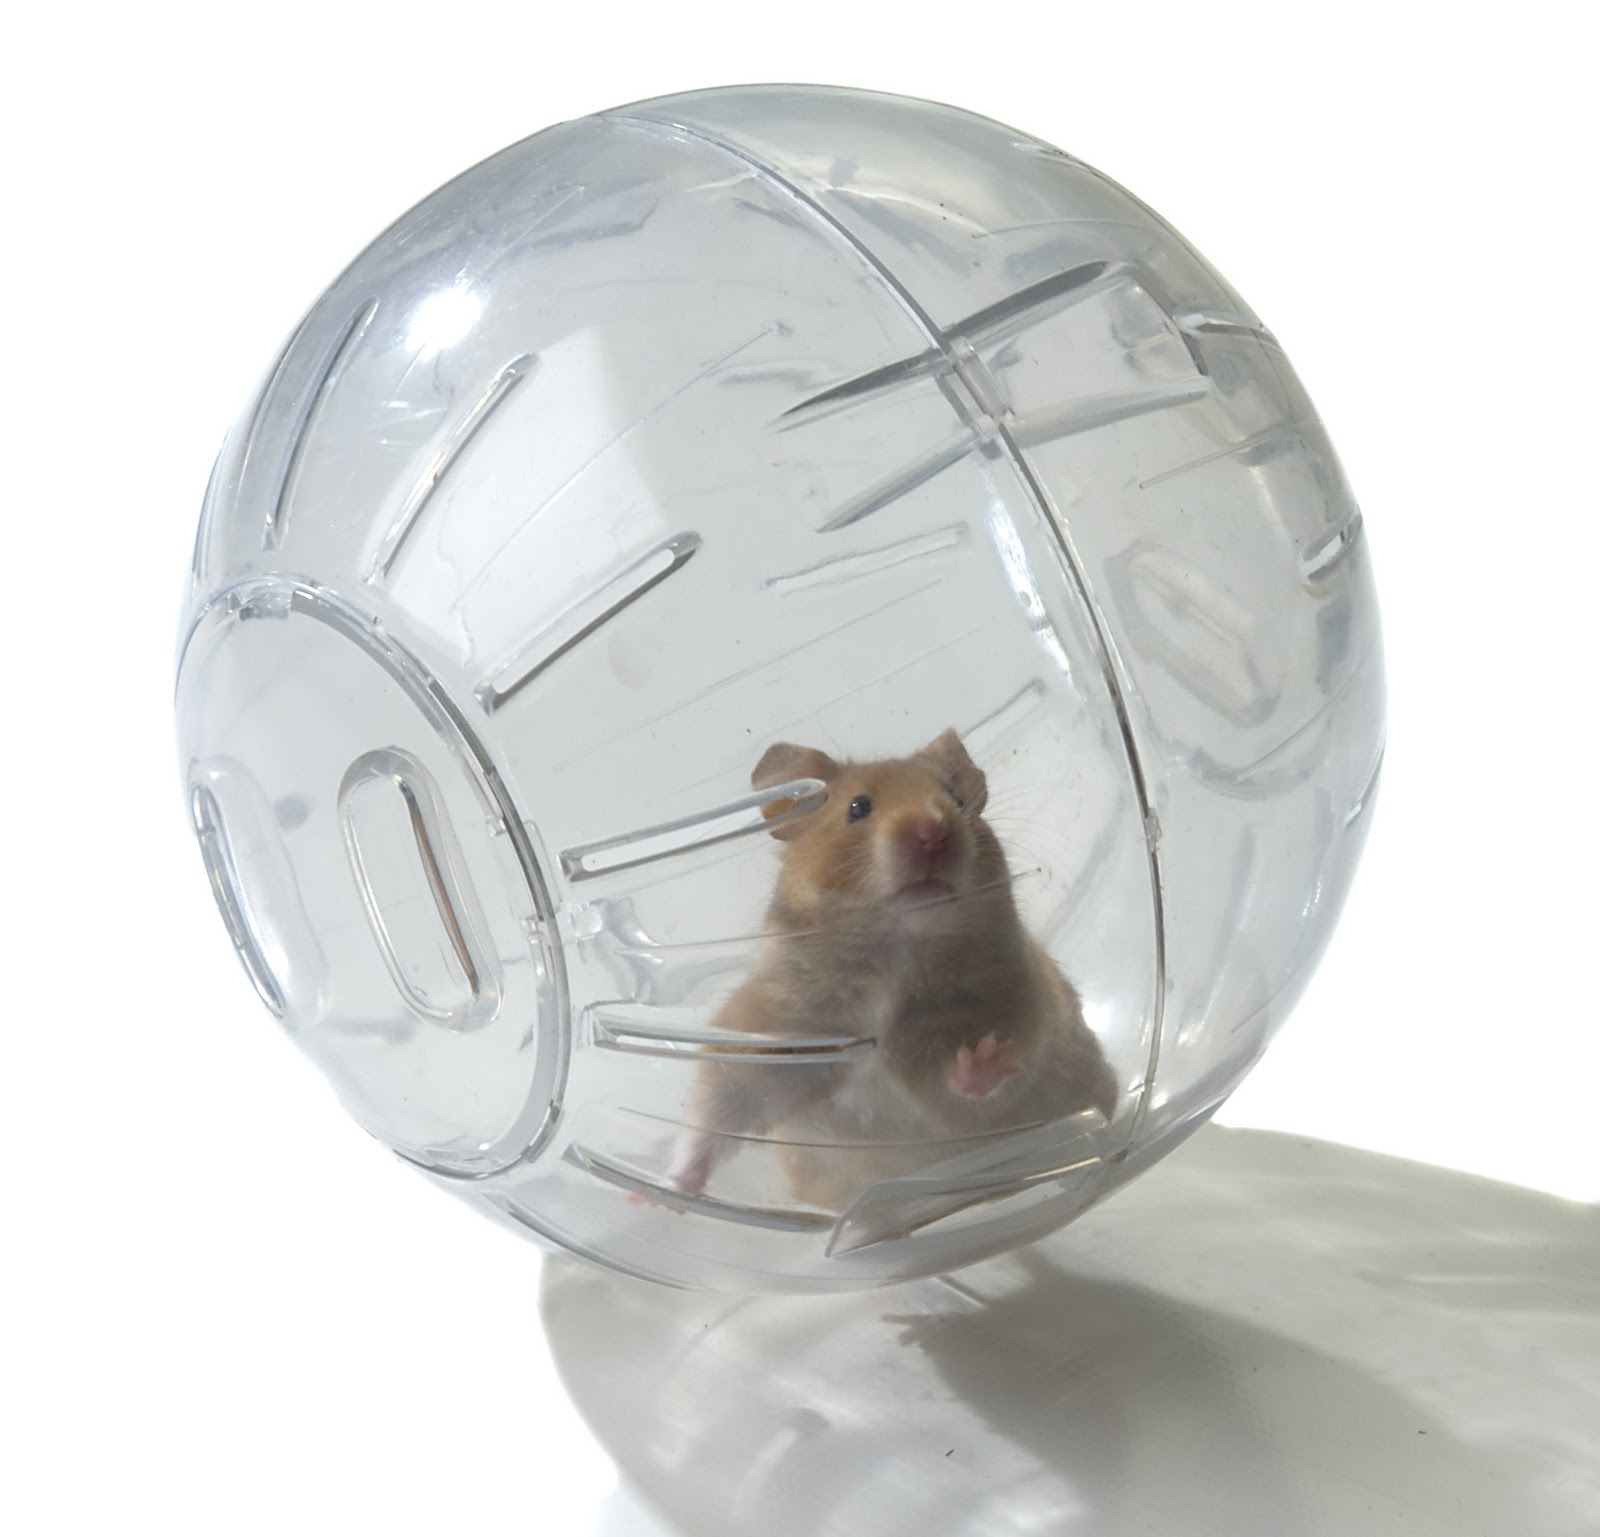
Reasons for choosing it to house our electronics was of it having slots for wires to extend out, and the sizing is optimal. There are a variety of sizes for hamster-balls, raging from 10-14cm. We will be buying it second-hand off Carousell, getting one with a 11cm diameter for a start.
Other than the hamster ball, we have also considered getting empty, clear see-through Christmas baubles from Spotlight. However, we opted for the hamster ball as the christmas baubles was a little too small to contain our breadboard, even though it looked aesthetically more pleasing that a hamster ball.
Final Project by Yi Xian and Tania