The Bubble as the Living Organism + DMX Experiment | #FYP

After doing my research, I decided to start small – making just a single bubble. However, I want the singular bubble to pulsate, as though it’s a living organism. When it later bursts, I wish for the feeling of loss to be more pronounced – by initially thinking of it as a living being, one would feel pity, a sense of loss, and sadness (hopefully), as per what they would feel should a real living being dies.

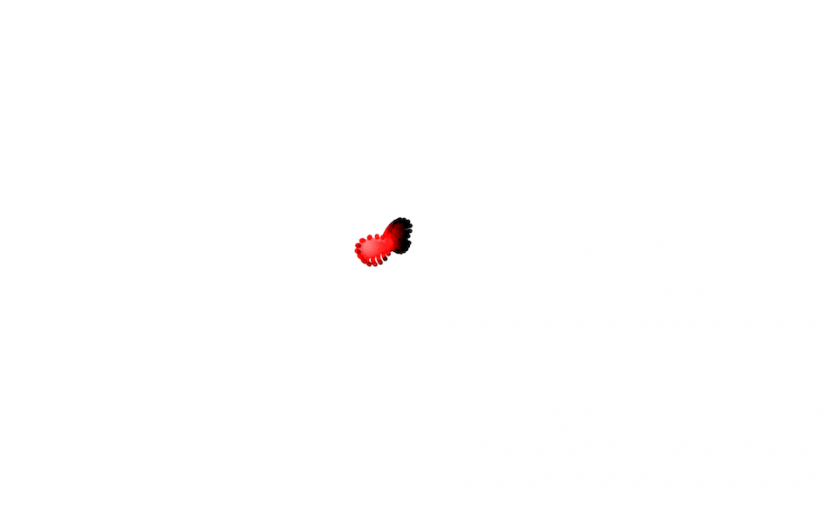
Honestly speaking, when I start thinking of the idea of a singular bubble, the image of the atomic bomb on Hiroshima during WWII comes immediately into mind (hope this isn’t offensive/it isn’t meant to be offensive):

Hiroshima Peace Museum

Partly due to the fact that it has indeed caused many deaths and destruction, but this symbolic model was very arresting – the bright red contrasting with the vast city landscape.

I did consider putting placing a huge singular bubble into a small room, where people would have to squeeze past it to get to the other side – it seems fun, but there were considerations that they might accidentally touch and make the bubble bursting, making it not-so-practical after a while. At the same time, the bubble will pulsate like a pumping heart, giving it life-like qualities.

Thus, remembering Prof Randall’s words to ‘crawl first before I run’, I decided to start small and create a small bubble before I envision it in the whole space. That being said, small seems okay to start with – in my previous research the artwork The Long Now by Varena Friedrich, she too starts small – yet the product was very effective.

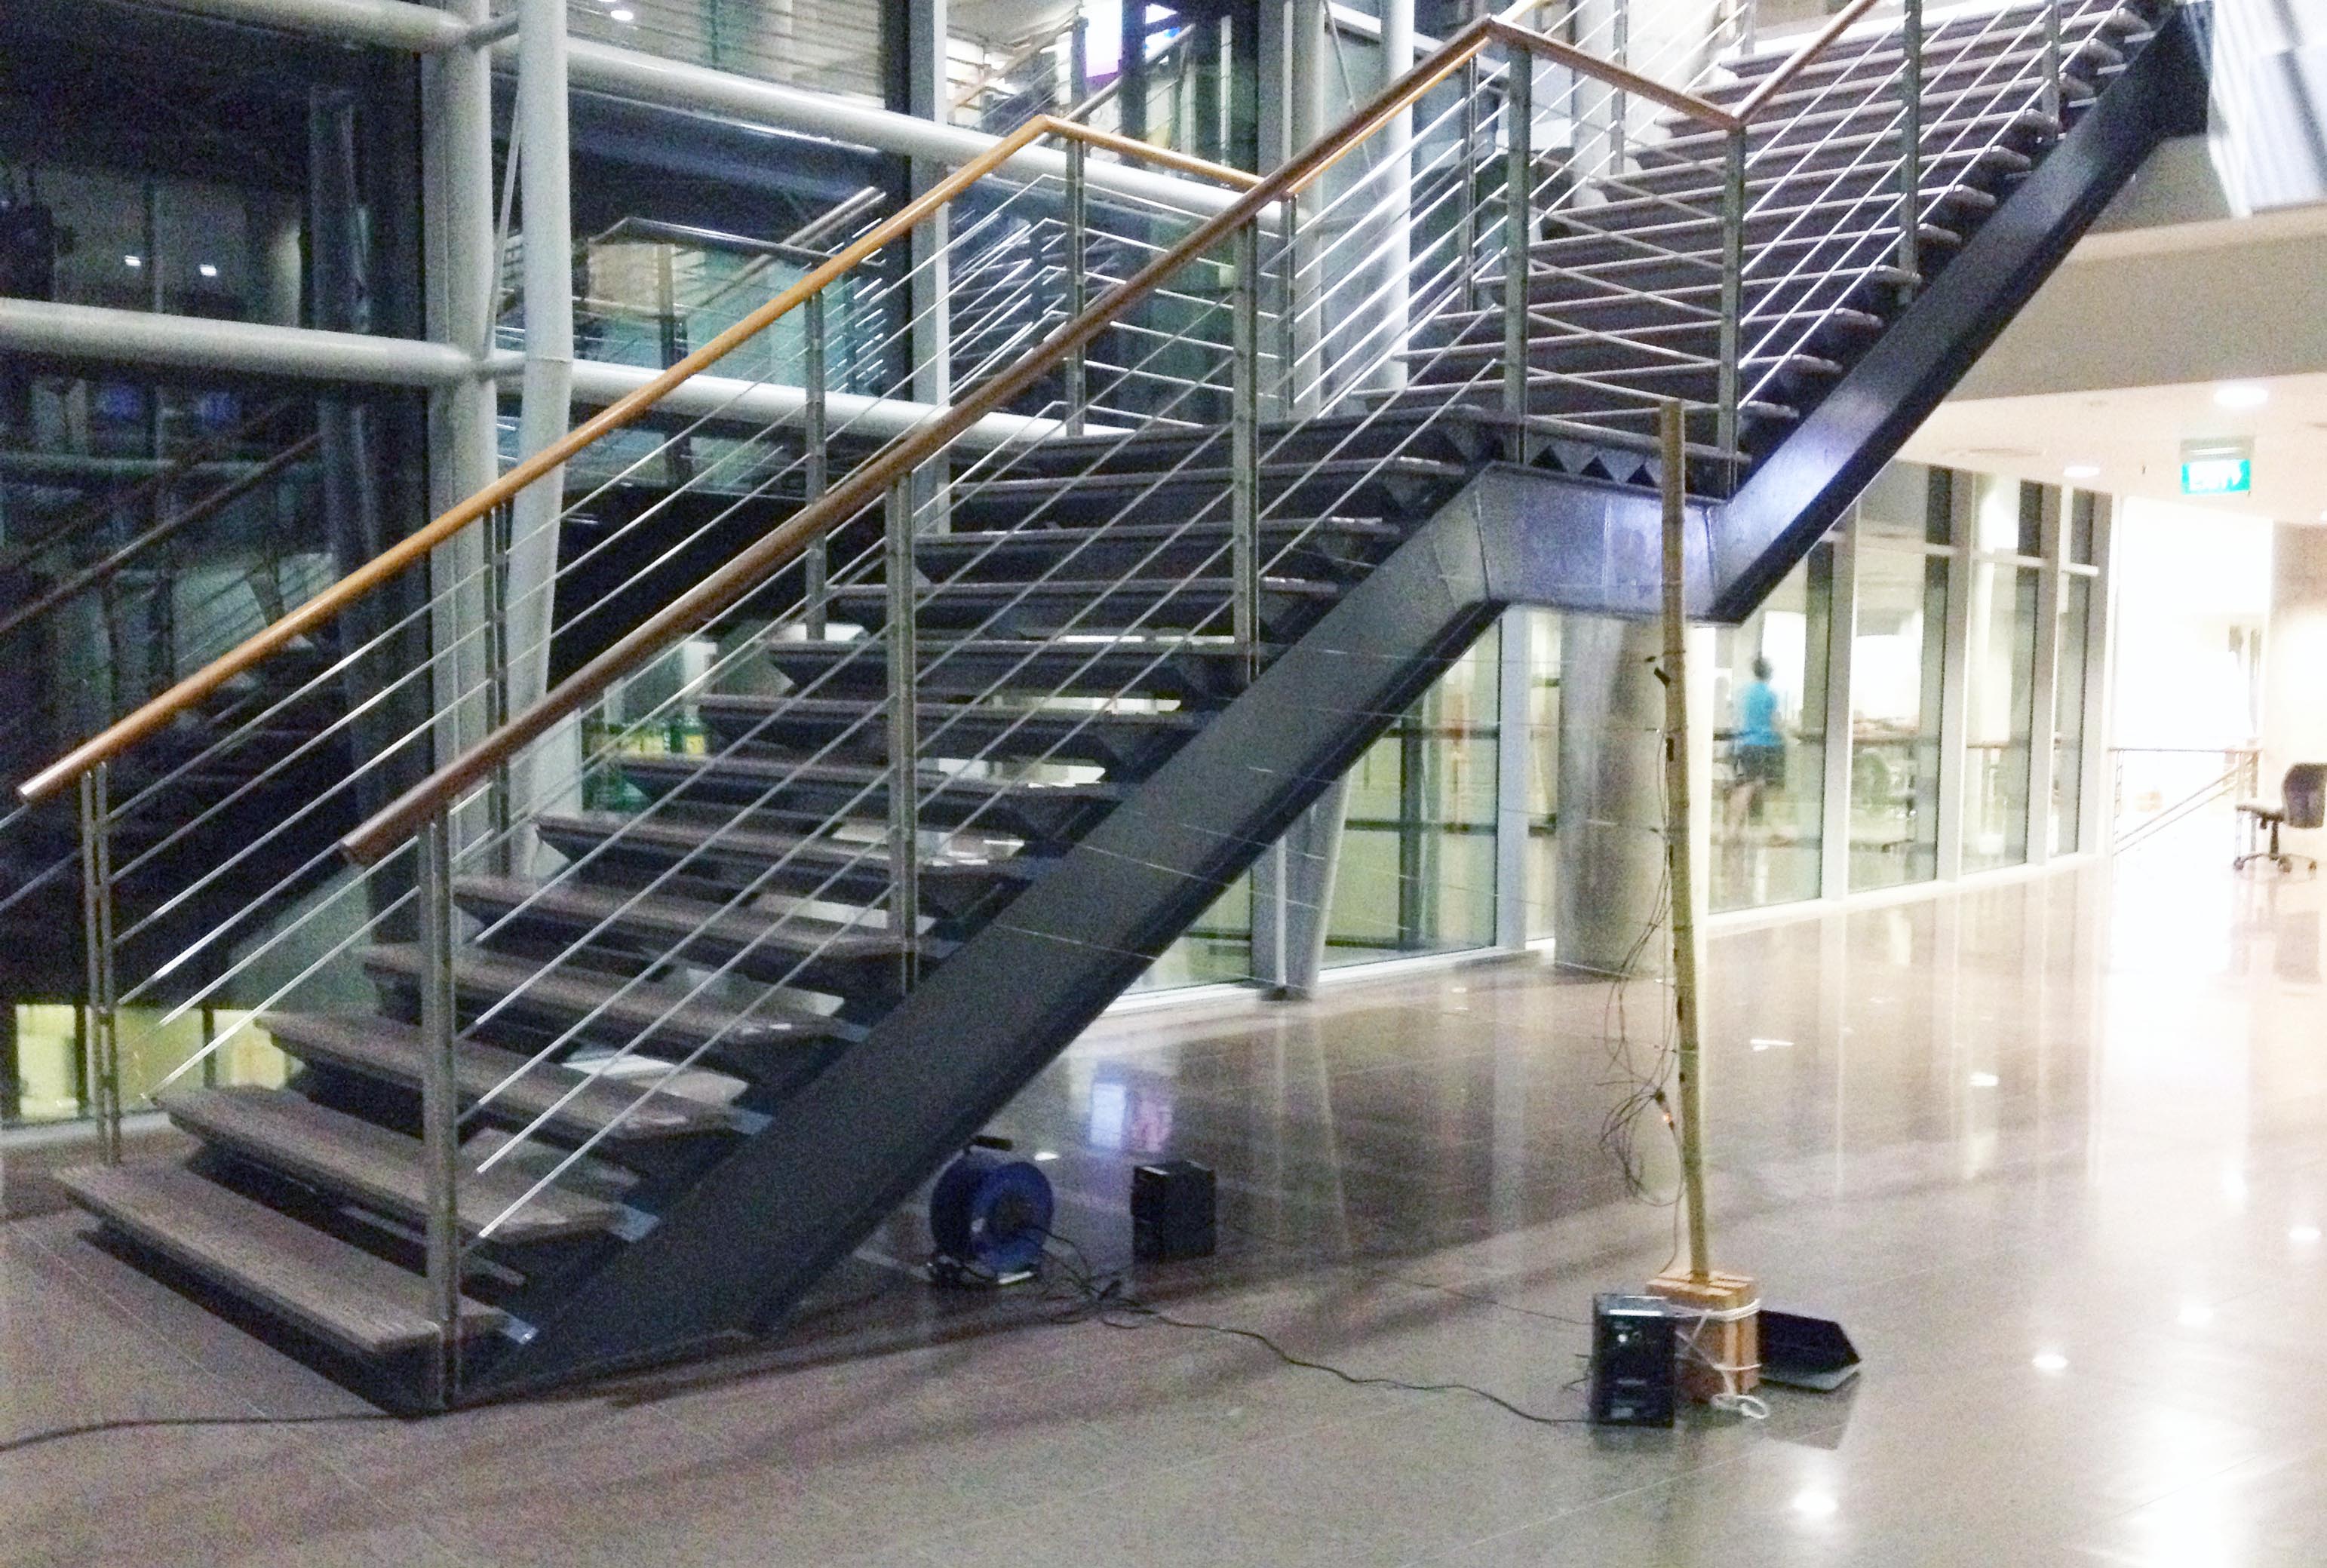
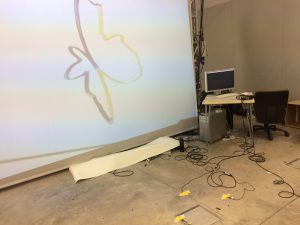
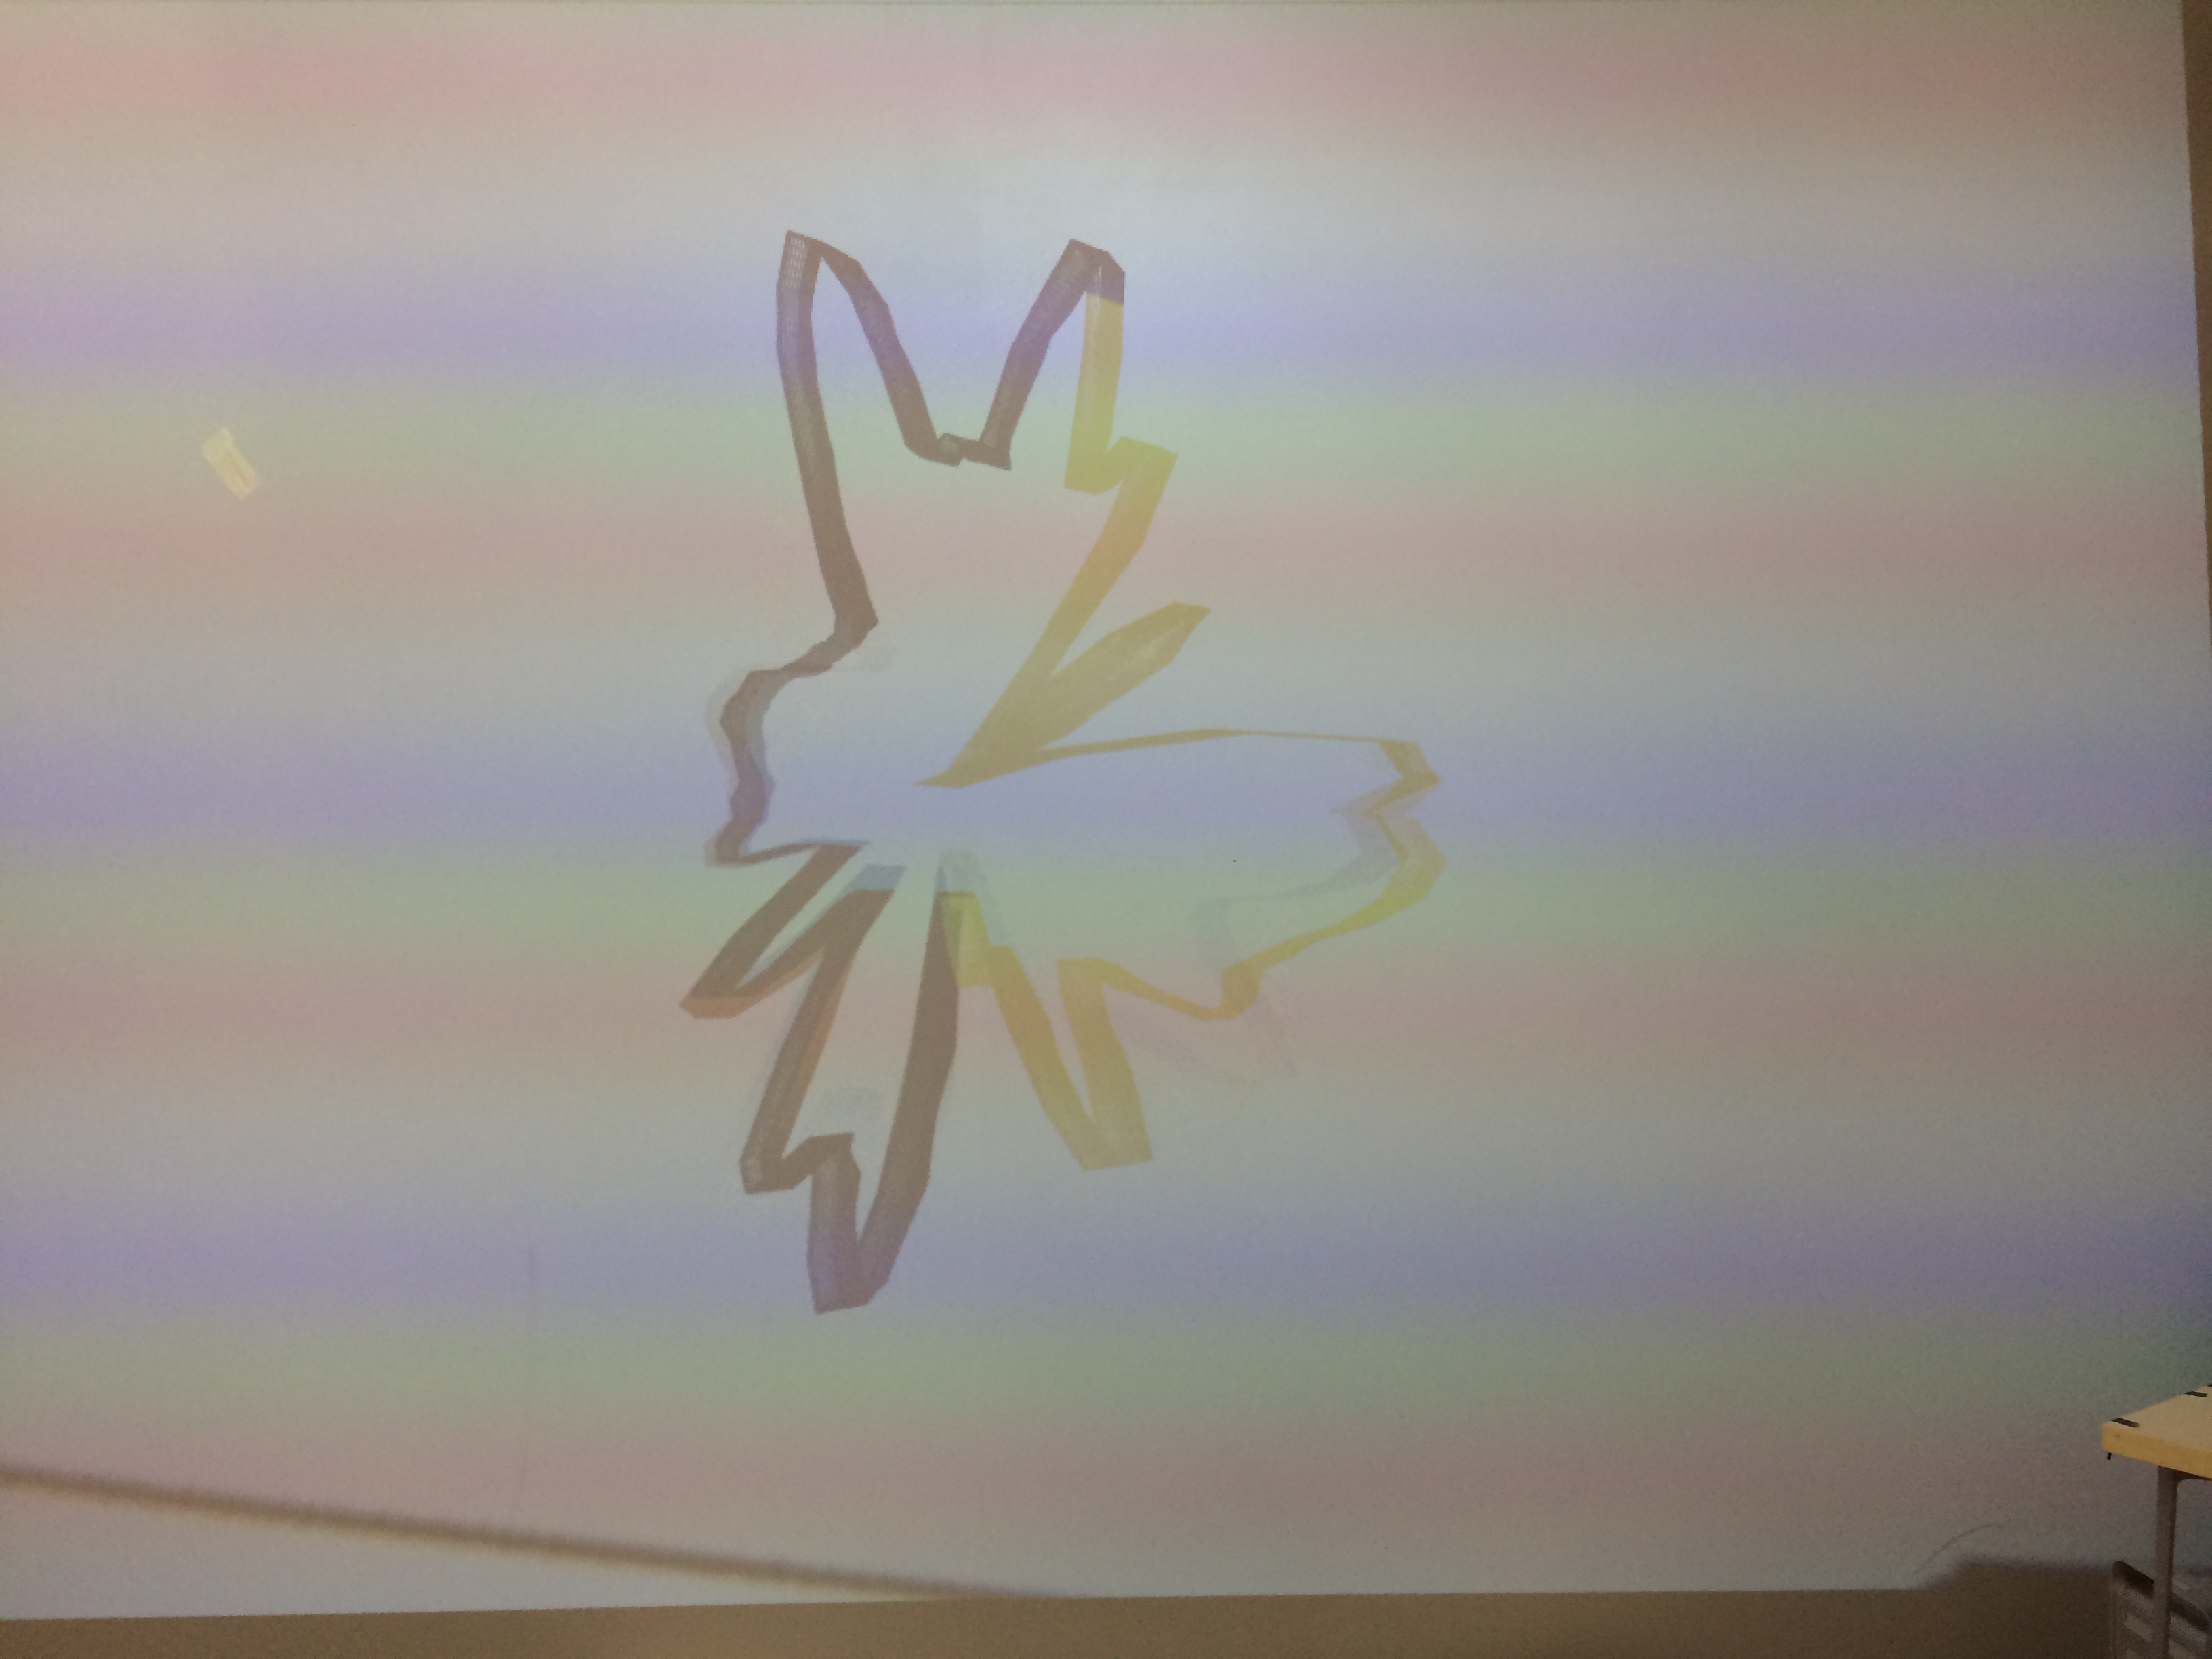
Before I thought of this idea, I did a few experiments with DMX lighting. I did want to try using projection on the bubbles, but decided to postpone it as I haven’t had the fog ready to intensify the projecting (but am loaning the projector again today to test it out this weekend).


DMX Chauvet Lighting and Bubbles

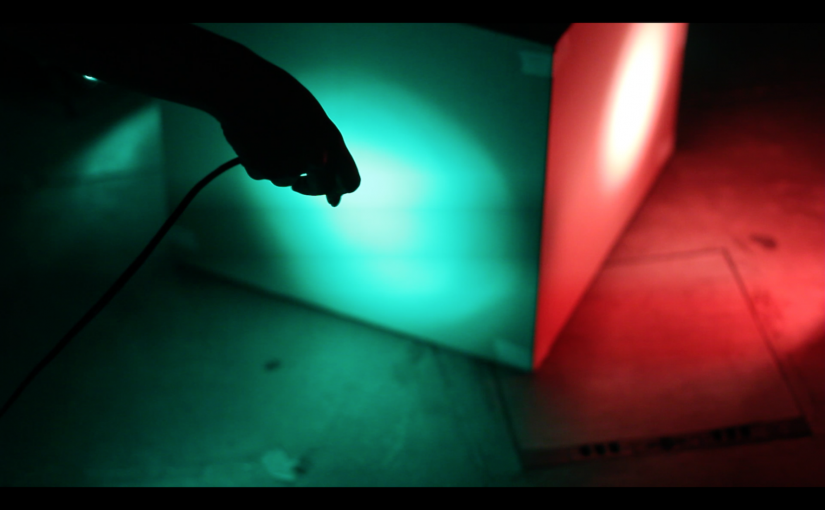
I first wanted to beam the light sideways, but the leftover light shone onto the background wall which was very distracting. In addition, there was too much surrounding light from the chauvet lights – thus it was hard to pick out the lighting of the bubbles itself. So, I pointed the chauvet light upwards instead (and risked the cables getting wet but shower caps are always a lifesafer)

I also did experiment with the flickering lights, as seen below. From my tests, a slow strobe could dramatise the effect of the bubbles, but it really was not what I envisioned for the experiment.

Caution! Strobe lighting in the below video!

(Please mute the above video while watching it; sounds of the video does not correspond with the visuals – I’ll explain why later in the post)

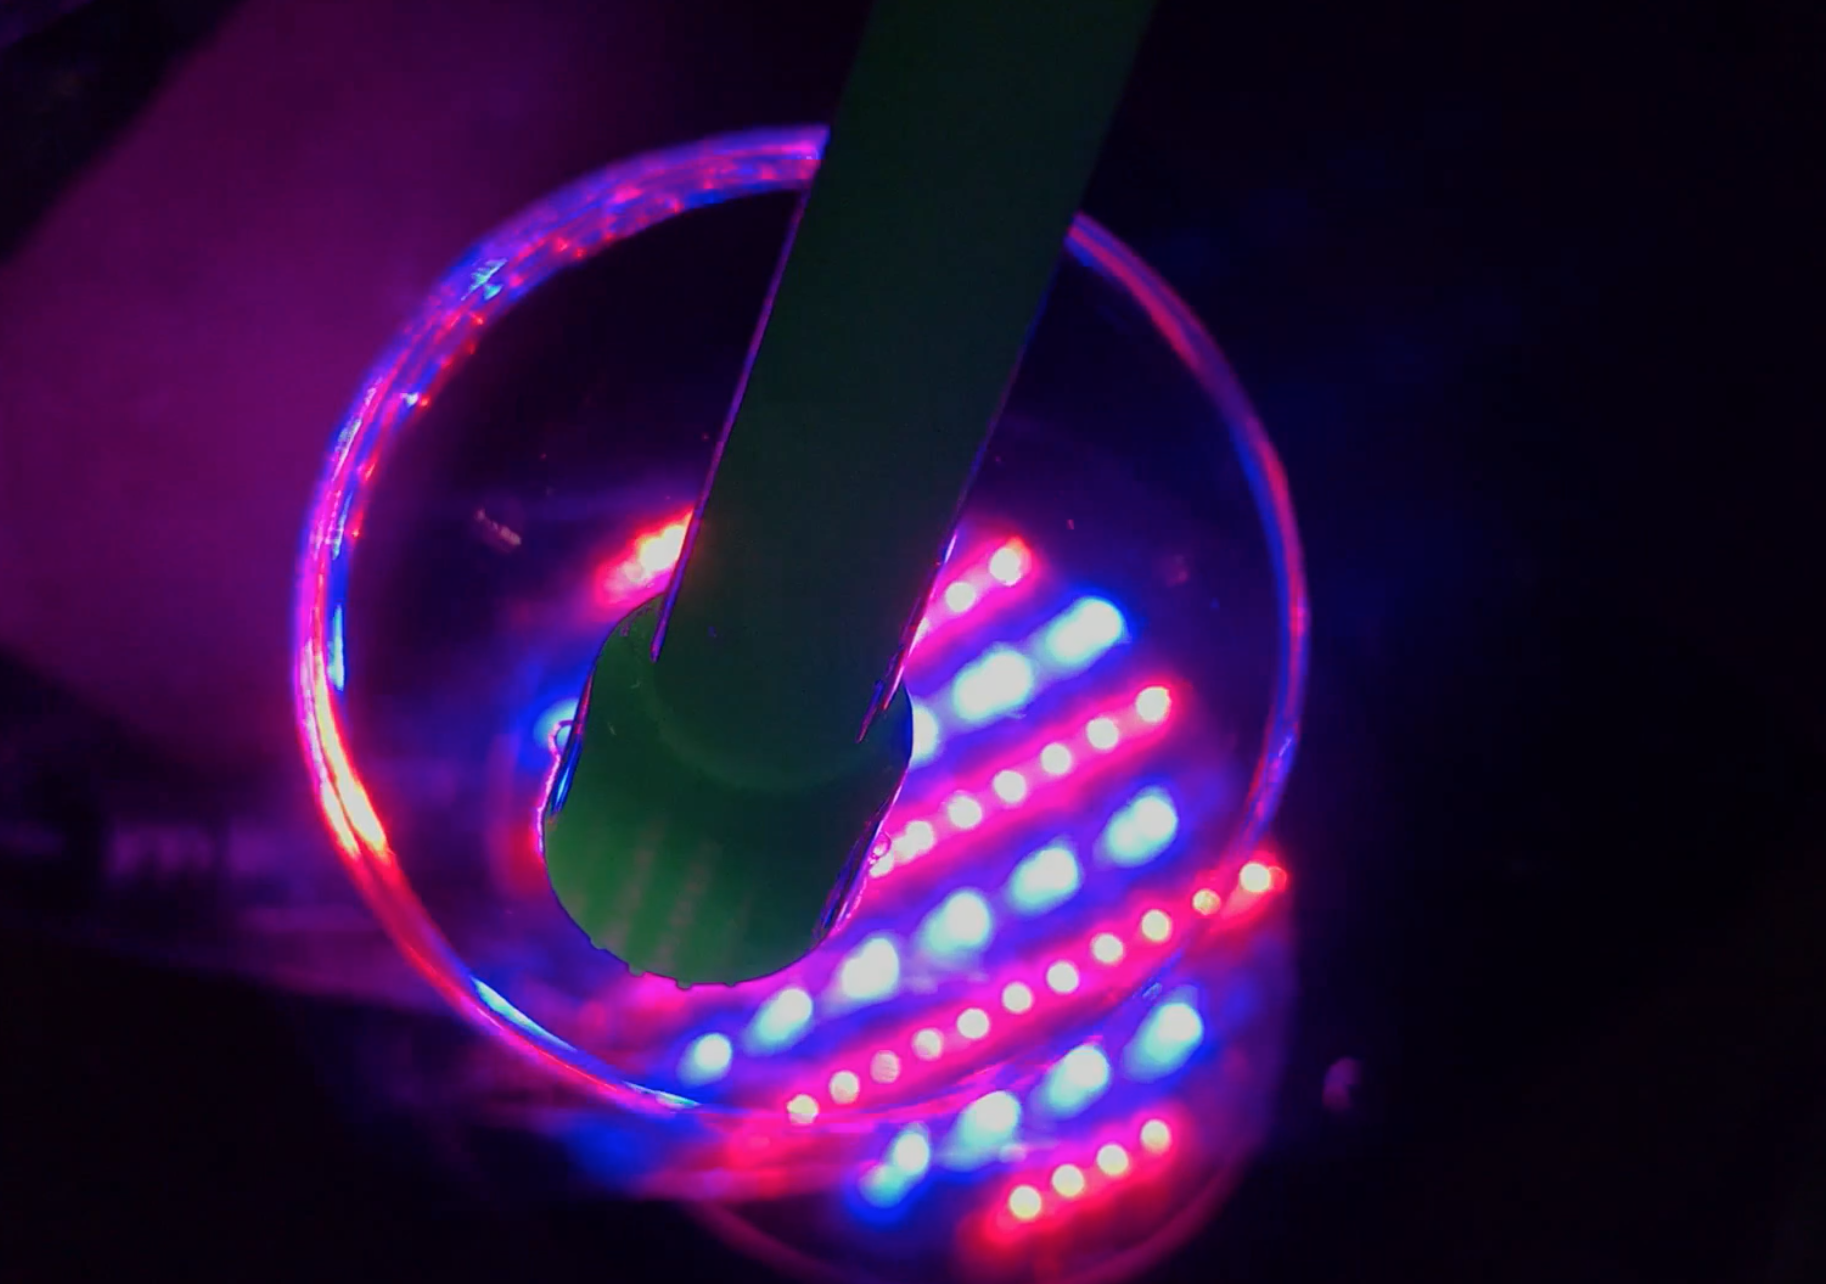
Here, there are two different ways of strobing: fast, and slow. I played with different light colours (purple, white, blue) to test out the effects, and particularly liked the purple colour out of all 3 colours.

One thing to note that while it was resplendently pretty, lighting was a considerable issue – the surroundings had to be STARK black else the surrounding light will wash out the lights of the bubble. Another issue was that the medium simply is hard to capture with the camera – the shimmer of the bubbles, how airy it was, and the glint and floaty-ness that it had. This is truly an experience that one has to feel first hand.

In this experiment, a pure red lighting was chosen as I envisioned that the strong lighting would translate into visually powerful bubbles exuding a single colour.

Side view: Chauvet light directly beneath bubble
Top view: Chauvet light directly beneath bubble

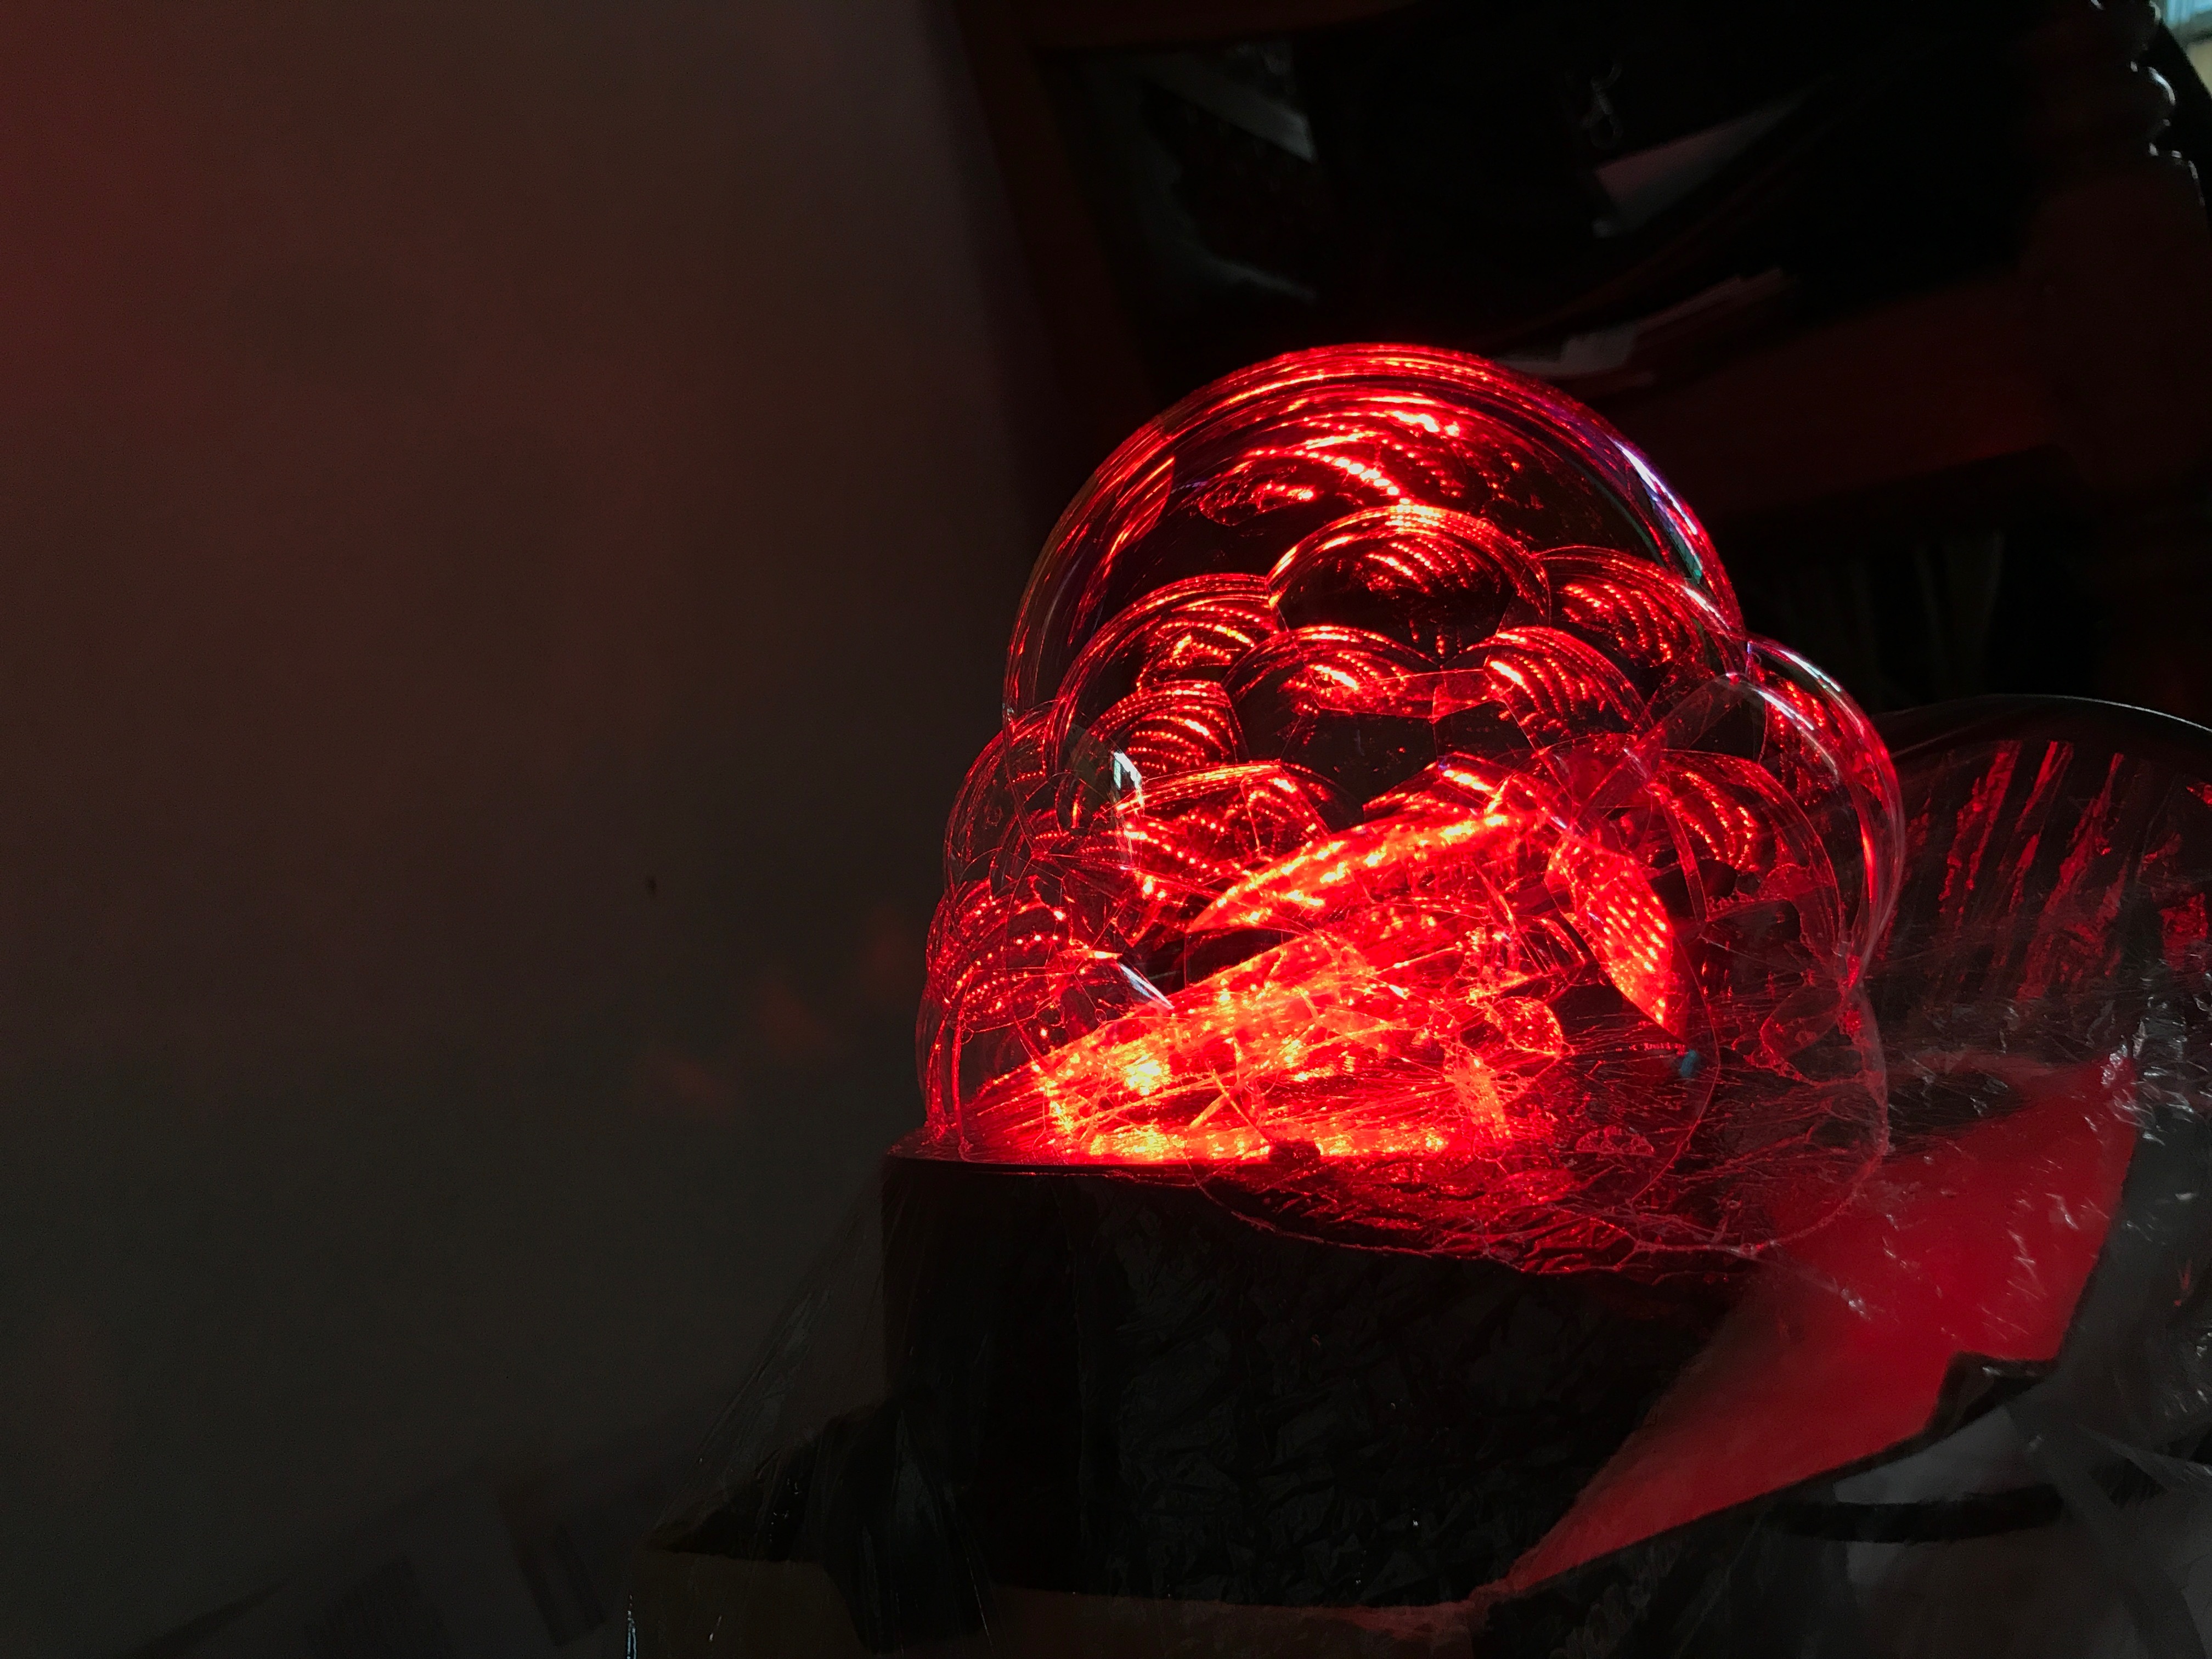
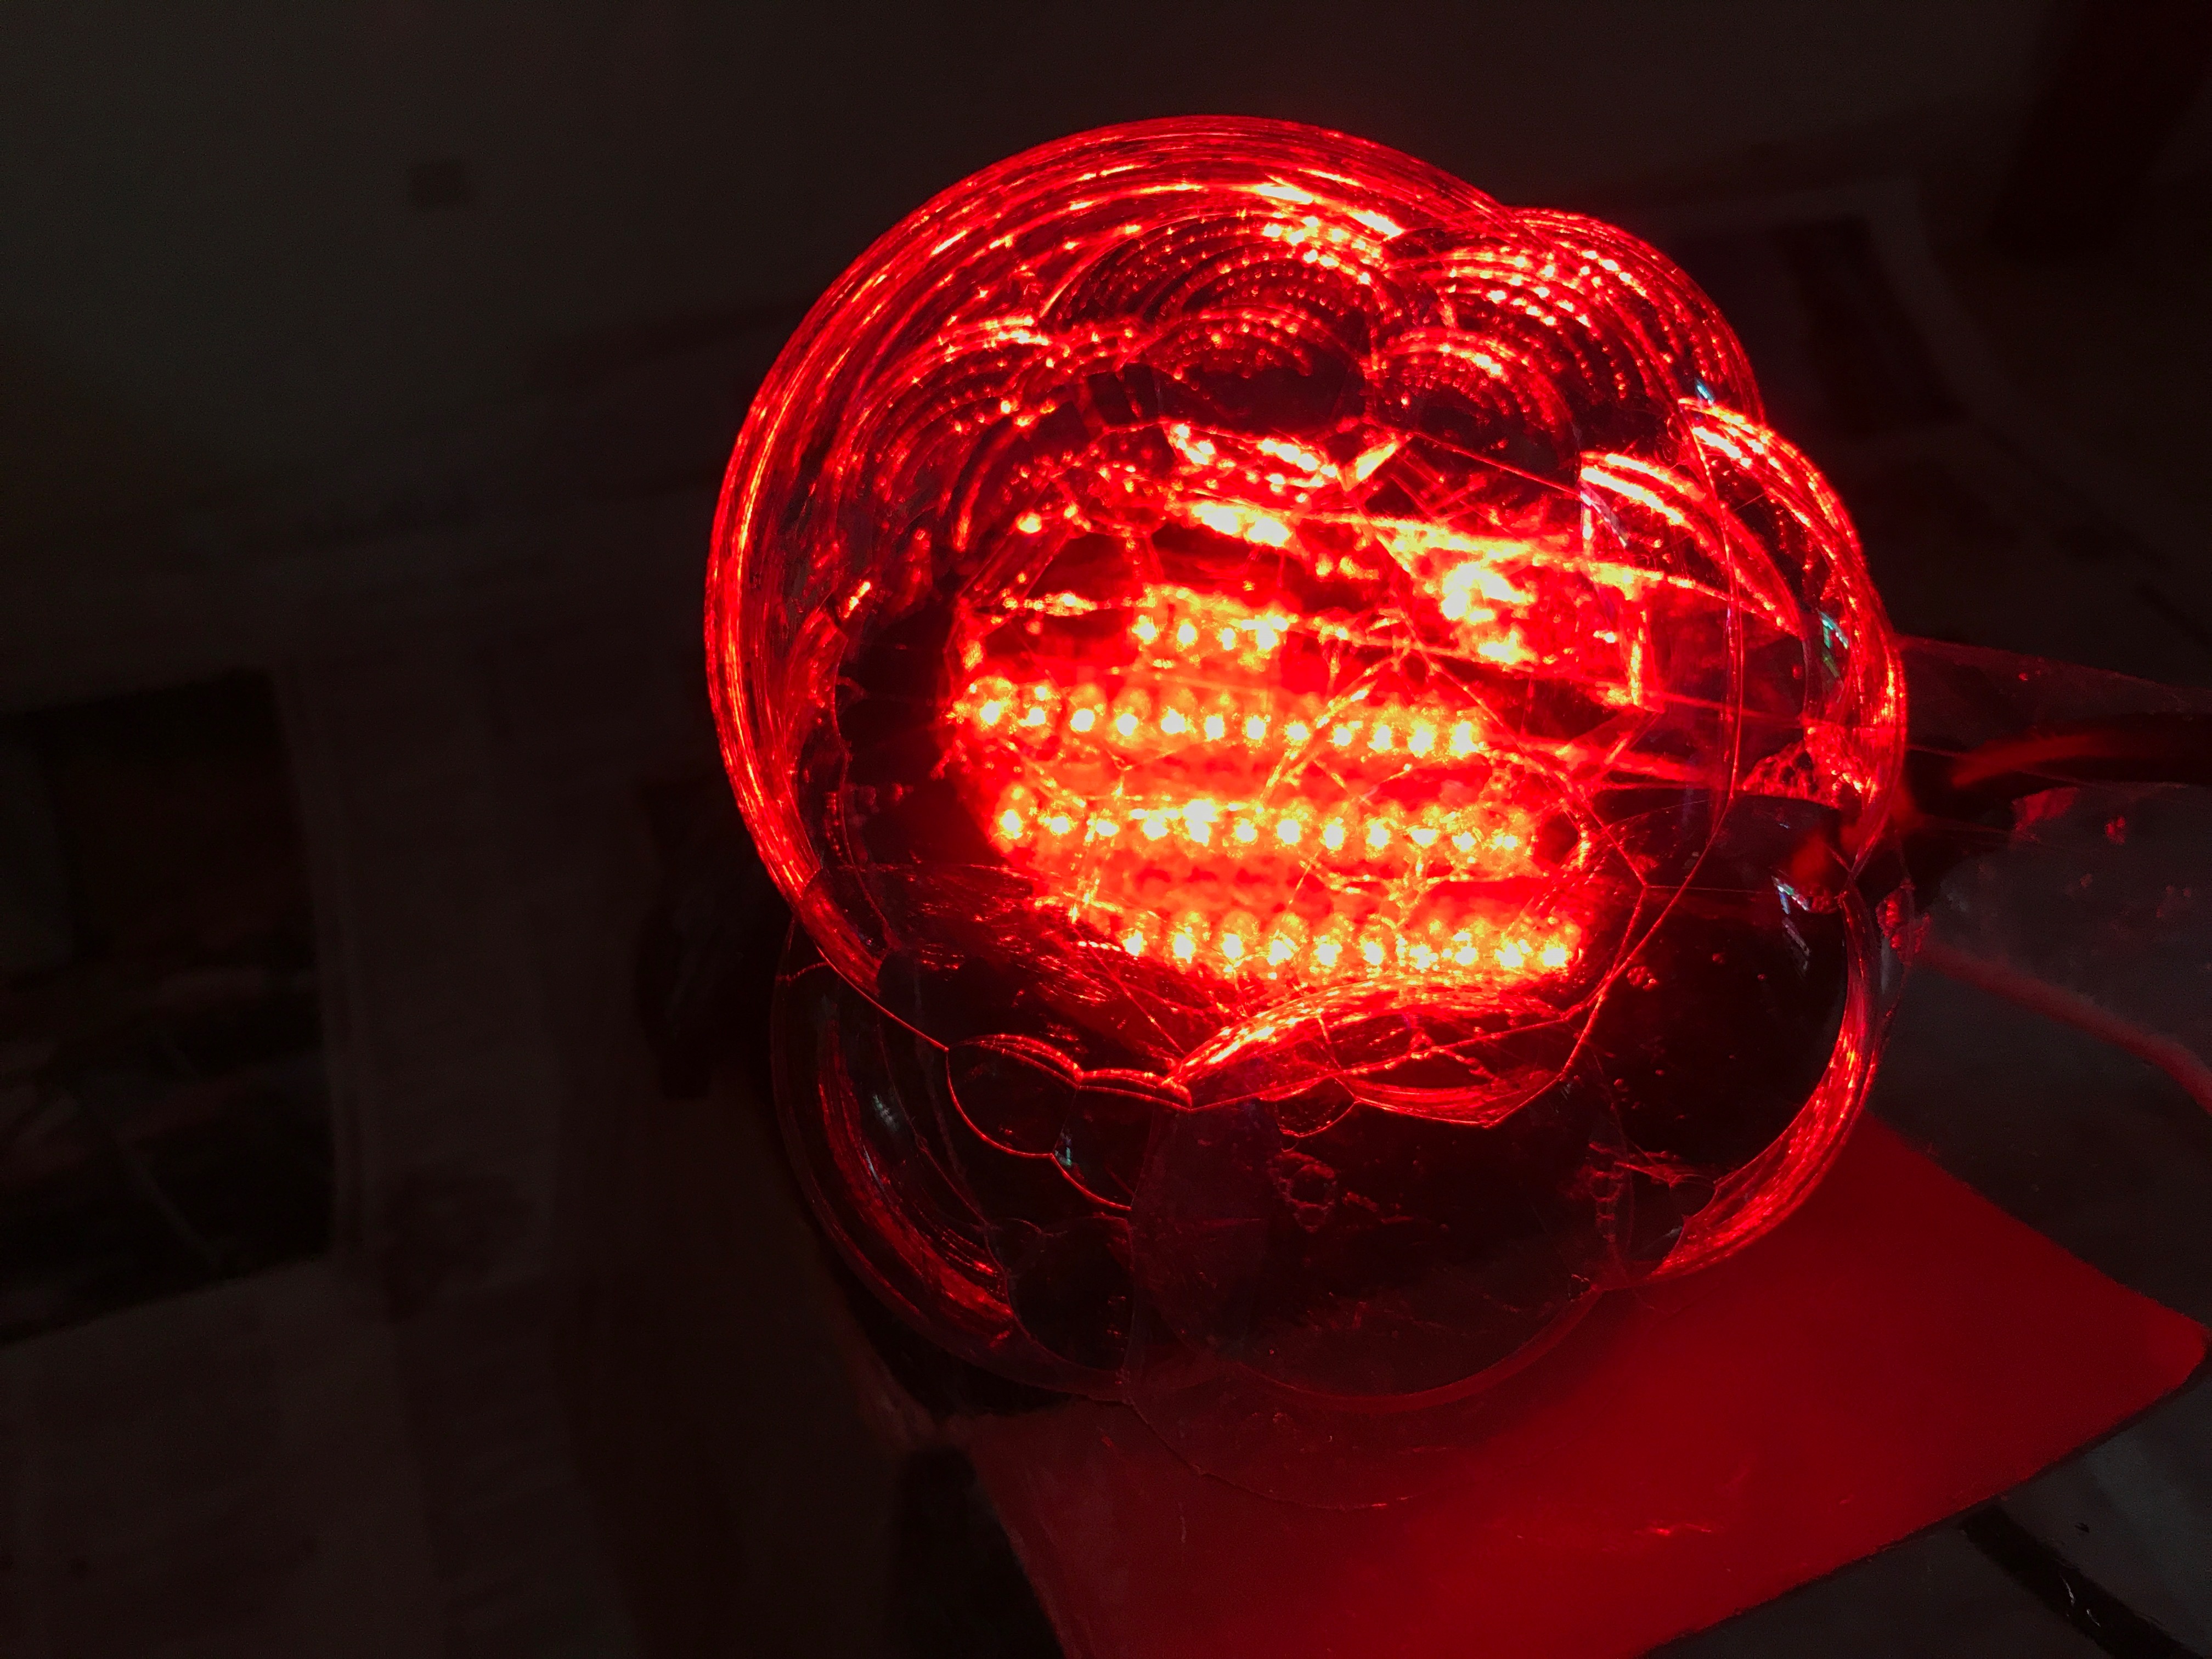
To add on to my previous point, only by directly placing the bubbles at the top of the light itself could really bring out the reflective quality of the bubbles. However, this would mean that the bubble has to be either suspended over the light, or that it would have to sit on a flat surface right above the light – whereby the spherical shape of the bubble would no longer be possible.

I did love the reflections of the bubble, particularly here:

Reflection on singular bubble

However, it was very hard to be able to angle one’s sight successfully to view this reflection, and that the structure of the chauvet lights dictate it that each individual RGB colour is seen, rather than the blend of R, G or B to achieve a new colour. This is especially so in the case of the bubbles were the light has to be very close to the bubble and has no affording distance to blend together. I suppose that this limitation could be overcome by directly wrapping the coloured cellophone paper over the light, hence it will not be an important consideration as of now.

I tried using many small bubbles, and one singular bubble to play with the lights. I concluded that while the small bubbles really gave off an airy feel, I would rather use larger singular bubbles as I could more properly play with the bubble medium. It would also be easier to control, and individualise my project rather than the conventional bubble explosion scene.


Sounds of.. Making Bubbles?

I recorded the sound of bubbling and edited it via Audacity. I will show a few samples.

(Please un-mute the video while watching it)

The edited sounds are included in the video, and there are 3 tracks in total.

Track 1: 00:00 – 00:19
Track 2: 00:20 – 01:05
Track 3: 01:06 – 14:20


Next Steps!

To do: make fog machine

Attempt projection surface tryout with singular large bubble

Make a singular bubble machine
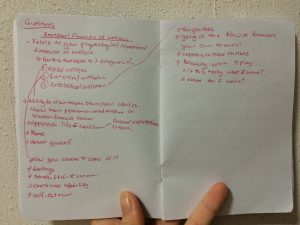
Inspiration:


Cascade no. 2

Installation location was at ADM level 1 stairs (directly in front of the lift)

Overview
Cascade no. 2 is a continuation of the analog version of Cascade, but utilising different type of strings – aka rubber bands. Intended for audiences to pull and interact with, the elastic bands are meant to generate sound feedback, which would be more processed the further one stretches the bands.

Initial concept of Cascade no. 2

However, I altered the structure of the initial concept as pulling sideways is a more practised movement than pulling it downwards. Pulling the rubber bands from underneath would also cause the elastic bands to pull back and jump around, potentially messing my strings. Hence, the sideways arrangement of the final project is more idealised for both restricting rubber band elastic feedback/movement and adapted for used human gestures.

Reflections
Prof feedback-ed that this project might be an instance of too many details, whereby it could be further simplified yet bring across a more ‘purified’ message. I wanted each band to sound their own unique soundtrack, which instead made the patch more complicated. I also intended for the feedback sound to be more in tune with the vibrations (and hence more responsive), instead of just relying on changing the speed. However, I was not able to produce these in this piece. These are simple details, but yet were exceedingly crucial for this project to be successful. I should have tried it out earlier, and ruminated more on the different types of options for this project – eg. recording the physical twang sound and manipulating it instead of using a pre-recorded sound – perhaps, this would strengthen the linkage of sound to object, and increase responsiveness of the project.

Lingering Butt Sounds / Creating a space

A group project by Nathanael, Esmond, Yi Xian and Tania.

The chairs have been wrapped with plastic! When the plastic comes into contact with another object (person’s butt, or item placed on the chair), crinkling plastic sounds are generated. This sound is then recorded real-time and processed, and immediately heard through speakers placed at the side of the chairs.

Light and Sound Experience

The head is stuck into a box, for an immersive light and sound experience
Software: Arduino, MaxMsp, Ableton Live
Music Credits: NoMundoFiorella EP
Completed 28/3/2017

Reflections
– In synchronising lights and sounds: there is a slight interval delay between signalling and lighting the strips, hence when matching the lights with the sounds, the signalling on Ableton may need to be slightly slower or faster than than music.

At certain positions, I failed to realise this, resulting in slightly uncoordinated lighting and music only realised during the actual setup.

In the ending sequence where the lighting turns blue: Due to the close proximity between the projected surface and the led strip, variations in lighting levels for the higher intensity lighting was hard to differentiate by the human eye.

To this, I should have lowered the lighting levels so that the difference between a lower level lighting and the higher level lighting would be more distinct and differentiable.

– I would also have loved to expand the size of the box accommodate the entire human body, and to create a more immersive experience.

Conclusion
After this exercise I have widened my sights to varying types of light shows, and might want to further explore this for my fyp.


FYP Proposal: Walking on air (working title)

Overview
Walking on air (woa) is an interactive installation that allows visitors to trace their own paths in a smoke-filled environment, and experience being above the clouds.

Concept: Creating an otherworldly experience, an experimental space where the body becomes the instrument. Individual bodies are disregarded, and instead become part of the bigger picture.

Logistics: Smoke generating machine, strong light projector, video camera, all situated within a contained room (tentatively truss room)

Functionality: In woa, a smoke generator will create a foggy atmosphere in the room, and the projector will continually project a wavy line into the smoke at a height slightly above the calf. When light is projected into smoke, a smokey, surreal form independent to the initial wavy line is created. This creates the illusion of clouds forming, and walking above or on clouds. When there is movement, a motion camera tracks the movement and a light trail formed by the movement (eg walking) is immediately projected at the location where movement is detected. Where movement overlaps or take longer to move, the light trail becomes brighter. Over time, the light trail will dissipate (with the dissipating effect) and fade away, resuming the original sight

There will also be an accompanying soundtrack to the installation. When the new light trail is created, a musical note is played, extending for the entire duration of which the light trail exists. When the light trail fades, the volume of the accompanying note will also fade away, proportionate to the brightness level of the light trail. Each light trail will generate a musical note in a randomised pitch; it is hoped that the different walking styles of people would generate a pleasant harmony.

Colour for the light beam would be restricted to only white, to reduce visual distraction and to preserve an ethereal feel. Music notes would similarly adopt a

Technicalities: MaxMsp would be used for motion tracking, and also as a sound synthesiser.

Aim: For woa, I wish to achieve an ethereal feel bordering on minimalism, and going back to the basic, rudimentary elements. The visuals and surroundings are kept sparse, and available elements kept strictly little. However, I want to imbue a slight element of play, to make interaction engaging and open to all age groups. It is hoped that visitors leave the installation entranced, as though they had just visited an alternate world. At the same time, a slight element of bodily displacement would be created, with the visitor, having an extremely wide movement range but without a set moving path within this changing, unfamiliar environment.

Inspired by Anthony McCall’s You and I, Horizontal, ideally, my installation would also bring across a simple sensation using the most basic instruments.

Interaction: Walking, running in the path of the light, backtracking, circulating


Artist References:

1.You and I, Horizontal II (Anthony McCall)

You and I, Horizontal: Light beams into the smoke

The usage of the smoke and light beams originated from this work. However, I would like to push it further and make it more interactive with accompanying sounds.


2.On space time foam by Tomàs Saraceno

On space time foam

I would like woa to adopt a similar premise – immersive, playful, yet simple. Perhaps I could analyse the movements and behaviour of visitors who took part in the installation and predict how they would behave in mine.

3.El Claustro by Penique Productions

El Claustro

Penique productions changes the space by blowing up a balloon and wrapping all the items in the surroundings with rubber. Here, they have changed the space visually.


Production Schedule: Here


Phonotonic /Device #3

ces16phonotonic

Phonotonic is a smart object and an app that changes motion into music, blending the physical and musical world together. By shaking the Phonotonic, corresponding musical beats, melody or sound effect will be blasted through external speakers. Different musical instruments can also be changed, by using an accompanying Phonotonic application

.phonotonic image

The Phonotonic sensor can also be removed, and placed onto other surfaces eg. parts of the body. Dance moves, or other motion, could thus activate more unique music playing. One can also opt to combine two or more Phonotonics, for a richer orchestra.

Personal thoughts:
It could be really useful for teaching music to children, or for therapy sessions. It’s compact size, along with its simple design, makes it easy for anyone to use it. However, the free movement required to play music with it has its con – the music played is hard to standardise should the same tune be required to be replayed.

See it in action:
(Duo Mode)


(Dancers with Phonotonics attached to their body parts) – Skip past 1 min

A Collection of Consciousness / End of Semester Project

Project Brief: A Collection of Consciousness utilises the method of question and answer to seek out one’s subconscious – psychological and emotional state alike. It then shows the participant a visual and auditory representation of his subconscious.

The set up: A total of 2 screens – one huge projector screen, and another smaller computer screen to look at for the questions. There is also a 3-step ‘dance pad’ for participants to select their answers.

2016-04-21 17.58.29


An example of a computer graphic shown on screen:

2016-04-21 17.58.42


The ‘dance pad’ was situated right in the centre – enjoying a vantage point of the screen. However, participants had to continually turn their head sideways to look for the questions.

2016-04-21 17.57.20


Initial idea:

2016-04-24 03.18.50

Initially, I planned on having the laptop right in front of the screen, but decided against it as it would block the visuals. Also, I planned on using motion sensing to trigger the selection of choices, but decided against it – past experience with it has taught me that different lighting would affect the sensing, and motion sensing as a whole might not be very accurate. Hence, I decided to change to using a touch sensor as my item of choice to trigger off the feedback.


Questions

I also planned to have a total of 20 questions at the start. Later, I scaled it down to 7 questions as the patch was becoming too large. I based the style of my questions on the ISFG Personality test. I also researched on the different determinants of one’s consciousness, or to be more accurate, psychological state and came up with the following:

2016-04-24 03.18.30

Thus, I decided to base my questions on these 3 factors:
1. Mental Wellness
2. Emotional Wellness
3. Intellectual Wellness

I do understand that the limited questions might not raise an accurate determination of one’s psychological state, but at present it manages to cover all 3 factors as a whole.

Here are my initially planned 10 ideas:

  1. How are you feeling today? Optimistic (faster), no opinion (slower), disengaged (more jazzy)
  2. You do not mind being the centre of attention. No, maybe, yes (change of beat)
  3. You get tensed up and worried that you cannot fulfil expectations (1-3) (change of colour and size, and zamp)
  4. You have cannot finish your work on time, what do you do? You: Continue working on it hard past the deadline, give up, blame and berate self (ADD ON NEW SOUNDTRACK, faster, slower, becomes white noise etc)
  5. Choose one word. I, me, them (goes down to nil, pale, sound slowly goes down to a steady thump)
  6. You often feel as though you need to justify yourself. Disagree, no opinion, agree
  7. You are _____ that you will be able to achieve your dreams.
    Optimistic, objective, critical
  8. Your travel plans are usually well thought-out. Disagree, neutral, agree
  9. Do you know what you want over the next 5 years? Yes, it’s all planned out, gave it some thought, will see how it goes
  10. You tend to go with the crowd, rather than striking it out on your own. Disagree, mix, agree
  11. Do you like what you see? Yes, No but I want to continue improving, no I wish I could restart
  12. Only you yourself know what you want. Do you see yourself? -> restart

I planned for the user to finish playing the entire round of questions, and the different answers would add on different, unique layers onto the graphic – creating a different, unique shape and colour for each player at the end of the game.

Technically, I used jit.gl.text and banged the questions (in messages) at intervals.

Screen Shot 2016-04-25 at 7.39.11 AM

Here is a small portion of my subpatch for the questions, which were to be shown on the computer screen later during the actual artwork.


Graphics

The changes in shape were made by sending messages (eg. Prepend shape – torus) to each individual attrui. In brief, these were altered: shapes, colours, how fast or slow the graphics ‘vibrate’, the range and scope it expands until, and the ‘quickness’ or ‘slowness’ of how fast it moves. Graphics was also rendered and altered in real-time.

To create 3D graphics, jit.gen, jit.gl.gridshape, jit.gl.render, jit.gl.mesh and jit.gl.anim were used. While I initially planned to use jit.gl.mesh, and plot out my own points to be animated (creating a more abstract/different/random shape), I spent a total of 5 days to figure it out, but failed to, hence the final project turned out different from expected. However, I am still pleased with the final outcome.

Screen Shot 2016-04-25 at 7.29.13 AM Screen Shot 2016-04-25 at 7.29.49 AM Screen Shot 2016-04-25 at 7.29.54 AM

Here is my patch for reference.

The graphics was the most challenging portion of my entire project, making or breaking it. Perhaps it was not the most brilliant idea to foray into the untouched lands of openGL, but as I have always been interested in 3D graphics as a whole, it became an interesting experience for me.


Sensors/Teabox

Screen Shot 2016-04-25 at 7.43.59 AM

3 dance pads were used, and allowed for participants to send in their chosen responses to the questions to MaxMsp. Only 3 options were allowed, as it seemed more intuitive to the common user.

During the actual tryout on friday 22nd April, I realised that the trigger was far too sensitive, and questions were gone through far too fast. Hence, on the afternoon, I further added the below objects to slow down the sensing:

Screen Shot 2016-04-25 at 7.43.41 AM

The counter value is to be changed – depending on how fast or slow you prefer the trigger to be.


Sounds

As the graphic rendering and the sounds were tied between each other, I decided on altering the sounds to firstly: give the sense of being enveloped in the whole experience, and also to further tie up the connection between sound and graphics. As aforementioned, the vibration of the graphics is with accordance to how loud, in terms of decibels, of the sound itself.

A total of 3 sounds were used. The longer the participants played, the more ‘rich’ the sound becomes: it becomes more shrill (higher pitch), and the speed of the soundtrack decreases, just to name a few. The longer you play, the more unorganic and synthetic the sounds become. It ties in with the visuals, which starts of as a red, beating object (that reminds one of the heart), but it starts to gradually take on inorganic, abstract forms. This was symbolic of the birth of a lifeform – firstly, you start off as a beating heart, but life’s experience will gradually shape you into becoming a unique being.

Here are the 3 sounds used:


See the final artwork in action:

Lights, action! / Gyroscope, lights and sound

This prototype is a further development of the previous ‘swish the sound’, with the addition of chauvet lights.

When the gyroscope is tilted at an angle, there are two responses:

1. Sound is played at the angle the gyroscope is tilted at, and

2. Red light intensifies at the corner the gyroscope is tilted at, washing out the green

Sound is created by using ambisonic, while the control of the light was made by scaling the x and y coordinates of the gyroscope.

Screen Shot 2016-03-28 at 9.23.14 PM

Screen Shot 2016-03-28 at 9.23.39 PM

Scaling of the gyroscope was slightly different (ie. improved) from the previous sound/graphics/gyroscope patch. Now, the greater the tilting of the angle, the greater the intensity of the red lights. However, several improvements could be made:

  • alike to ambisonics, which had a smoother transition when the gyroscope tilt changes, transition between the different chauvet lights could be smoothed out.
  • perhaps the intensity of the ‘chosen’ chauvet light could also be dimmed – this I tried, but could not successfully manipulate the lighting such that it stopped blinking (ie. setting the minimum threshold)

Swish the sound! / Documentation, Process

A week ago, we had our first experience matching the gyroscope’s movement with the amplification of 4 different speakers – one at each corner of the room.

Here is the previous patch I did, which matched the gyroscope’s pointed direction (top right, bottom right, top left, bottom left), to triggering the speakers in the room, corresponding to their location. For e.g., point top right will trigger the top right speaker. When triggered, the speaker will switch on, when not triggered, the sound from that particular speaker will switch wholly off.

Screen Shot 2016-02-29 at 9.38.26 PM

Comments from the ground mentioned that perhaps, utilising the volume instead of directly switching the said speaker on/off will allow for a more ‘flow-y’ effect when switching to and fro different speakers. At current, the speakers were discrete: individually separate and distinct.

In addition, the randomising effect of coloured rectangle was indeed distracting. Below is a sneak peek into how it looked like:

One perplexing issue with the (x,y) values was that it was not stable enough, such that the distinction between the third and fourth speaker was not clear enough. Hence, switching between speakers may not be accurate enough for 2 corners.

Perhaps, the curve followed a log curve, instead of a linear function, hence by simply isolating particular sections of the x or y section and extrapolating it with relation to the speakers remain inaccurate.

From here, I decided on trying to covert the log curve into a linear curve, by utilising angles. I used this equation:

‘If tanθ = b/a, then θ = tan^-1(b/a)’

b being the side of the triangle opposite the angle, and a being the side of the triangle gating the side of the unknown angle. However, I fixed the starting ‘corner’/tip of the unknown angle at a given point in x, so one is able to differentiate between angles among all 4 quadrants.

locate820160229061157


Meanwhile, please refer to the below patch:

Screen Shot 2016-02-29 at 9.24.29 PM

I used ‘atan’ to find the angle in radian, after which I converted it back to degrees by multiplying it by 57.2958. Hence, by ‘split’, I tried to match each angle to the ‘gain’, or the volume of each soundtrack. I also attempted to put in 4 different soundtracks to correspond with the 4 speakers (which is also easier to identify which speakers were playing), but ultimately decided to simply stick to 1 soundtrack. Each sound however, was individually recorded from real-life.

However, the angles, while calculated correctly, still tended to jump around, making the change in volume for all speakers jittery. Hence, for recording purposes, I decided to first stick to my initial patch where each speaker was turned on individually, but will continue troubleshooting the angles at a later date. Potential reasons for this jump include: the extrapolation of the angles were too small/huge, hence it was too jittery? Else, it could be that the ‘boundaries’ for the graph was too huge/small, hence the change in angles were too steep/quick.

As for my graphics, I decided to play with jit.gl.gridshape, to create 3D shapes. My intention was to have a sphere pivoting in 3D space. However, in playing around with the z-axis, it was difficult to specifically alter the x,y coordinates to move the z-axis. Hence, I decided to focus on the 2D visualisation of the sphere instead. Initially, it worked perfectly, with the sphere moving in the direction of the gyroscope. Despite my initial success, an unknown error cropped up the next day, and I could not get the sphere to change its position. I also played around with jit.gl.lua, lua being a scripting language which could be input into max msp. I wanted to use the x,y coordinates to replace mouse click, which activated the graphics within the jit.window, but was unable to figure out the mouse click function, which seemed to differ from the mouseclick from jit.lcd.

Therefore, I decided to stick to what I did initially: use jit.lcd to draw a moving rectangle. I would instead fix the perimeters and colour of the rectangle this time round, so that the graphics would not be too flashy.