

Cardboard Kingdom
by Bridgel, Chloe, Mavis and Viena
About the artwork
Cardboard Kingdom is a recreation of the fascinations and perceptions one has about the world during childhood. When you’re small, everything around you just seems bigger, and a simple room could become a castle in your imagination. In this interactive installation, we have tapped into their memories from early childhood to recreate an innocence and simplicity that could only be possessed by a child.
Reminiscing on our childhood days where we were content with playing with the simplest of materials in the smallest of spaces, we have created a child’s playhouse simply using recycled materials incorporated with interactive digital elements. Cardboard Kingdom aims to gift participants something that is rare in today’s world: a little bit of pure childhood fun, reminding us that happiness can be found in the simplest of things.
Digital Project Planning
Since we had already crafted all of our furniture and household appliances during the analog phase of our project, for this next phase we were able to focus solely on coding and digital interactivity.
Knowing that we already had a lot of tactile and scent components from our analog project, we decided to make it a multi-sensorial experience by adding visual and audio elements using lights, sounds, sensors and simple projection mapping. The feedback and observations from the analog project was also a gauge for us to decide which appliances/furniture worked and which didn’t, hence the choice was made to remove the toilet bowl and include a sofa for the living room instead.

Digital Project Process
Visual Appearance

4 large walls were created by sticking separate pieces of cardboard together. The walls were then placed together held up by pillars to create a makeshift “room”.

We decided to paint the entire house including walls and furniture white, to make it look a little more interesting as the colour of the raw cardboard is quite dark and looks a little too shabby! The walls and furniture were painted using house paint as we wanted to let participants draw on the objects using coloured chalk and the house paint would give the chalk a base to stick on.
Bathtub


In order to create a more “realistic” bathtub compared to the analog version, we decided to make the taps of the bathtub work by connecting them to potentiometers via Arduino, and these potentiometers controlled audio output (through the use of MAXMsp).
The potentiometers provide a range of values into Arduino, and MAXMsp receives these values from Arduino through serial 9600, and then used through MAXMsp we controlled the speed of the sound (water flowing). Similarly, we made use of this same concept to control the brightness of the LED strip that was placed in the bathtub, under the foam peanuts.
Sink

The sink used an identical Arduino code to the bathtub, using a potentiometer to control the speed of the audio that played on a loop.
Stove

For the stove, we wanted to incorporate the idea of what we did for the analog together with the digital idea, hence we decided on the use of pressure sensors. For analog, audience were able to “create their own recipe” with the use of vinegar and baking soda. In the digital aspect, they are now able to “cook” their recipe, as through the pressure sensors, when the pots are placed on the stoves, the led light strips are lit up to simulate fire – through the use of Arduino, FastLED.
Oven

For the digital version of the oven, we wanted to make something happen using the oven door as a trigger. Hence, we decided on using an infrared sensor to detect the distance of the door when closed to open. When the door opens, the distance increases and this triggers the LED strip within to shine a warm light – just like a real oven. When closed, the value falls and hence the light clears.
Television

With the television, compared to what we did for analog (puppets), the TV went into “no signal” and using Arduino servo motor, we decided to make it glitch a little everytime the button was pressed.
Projection Mapping


The projection mapping videos were illustrated by us and animated with After Effects. Using a projection mapping software called vpt8, we were able to map it onto specific areas that we wanted in the house rather than having to tilt and move the projector itself. Since we wanted it to be interactive, we decided to make the animation play only when someone has reacted to the object, through sensing motion. vpt8 is a MaxMSP-based software so we were able to use a MaxMSP patch with vpt8 that allowed us to connect a USB webcam to the laptop and map our areas from the webcam that we wanted to use to trigger the video so that when someone moves into that area, the software will play the animation.
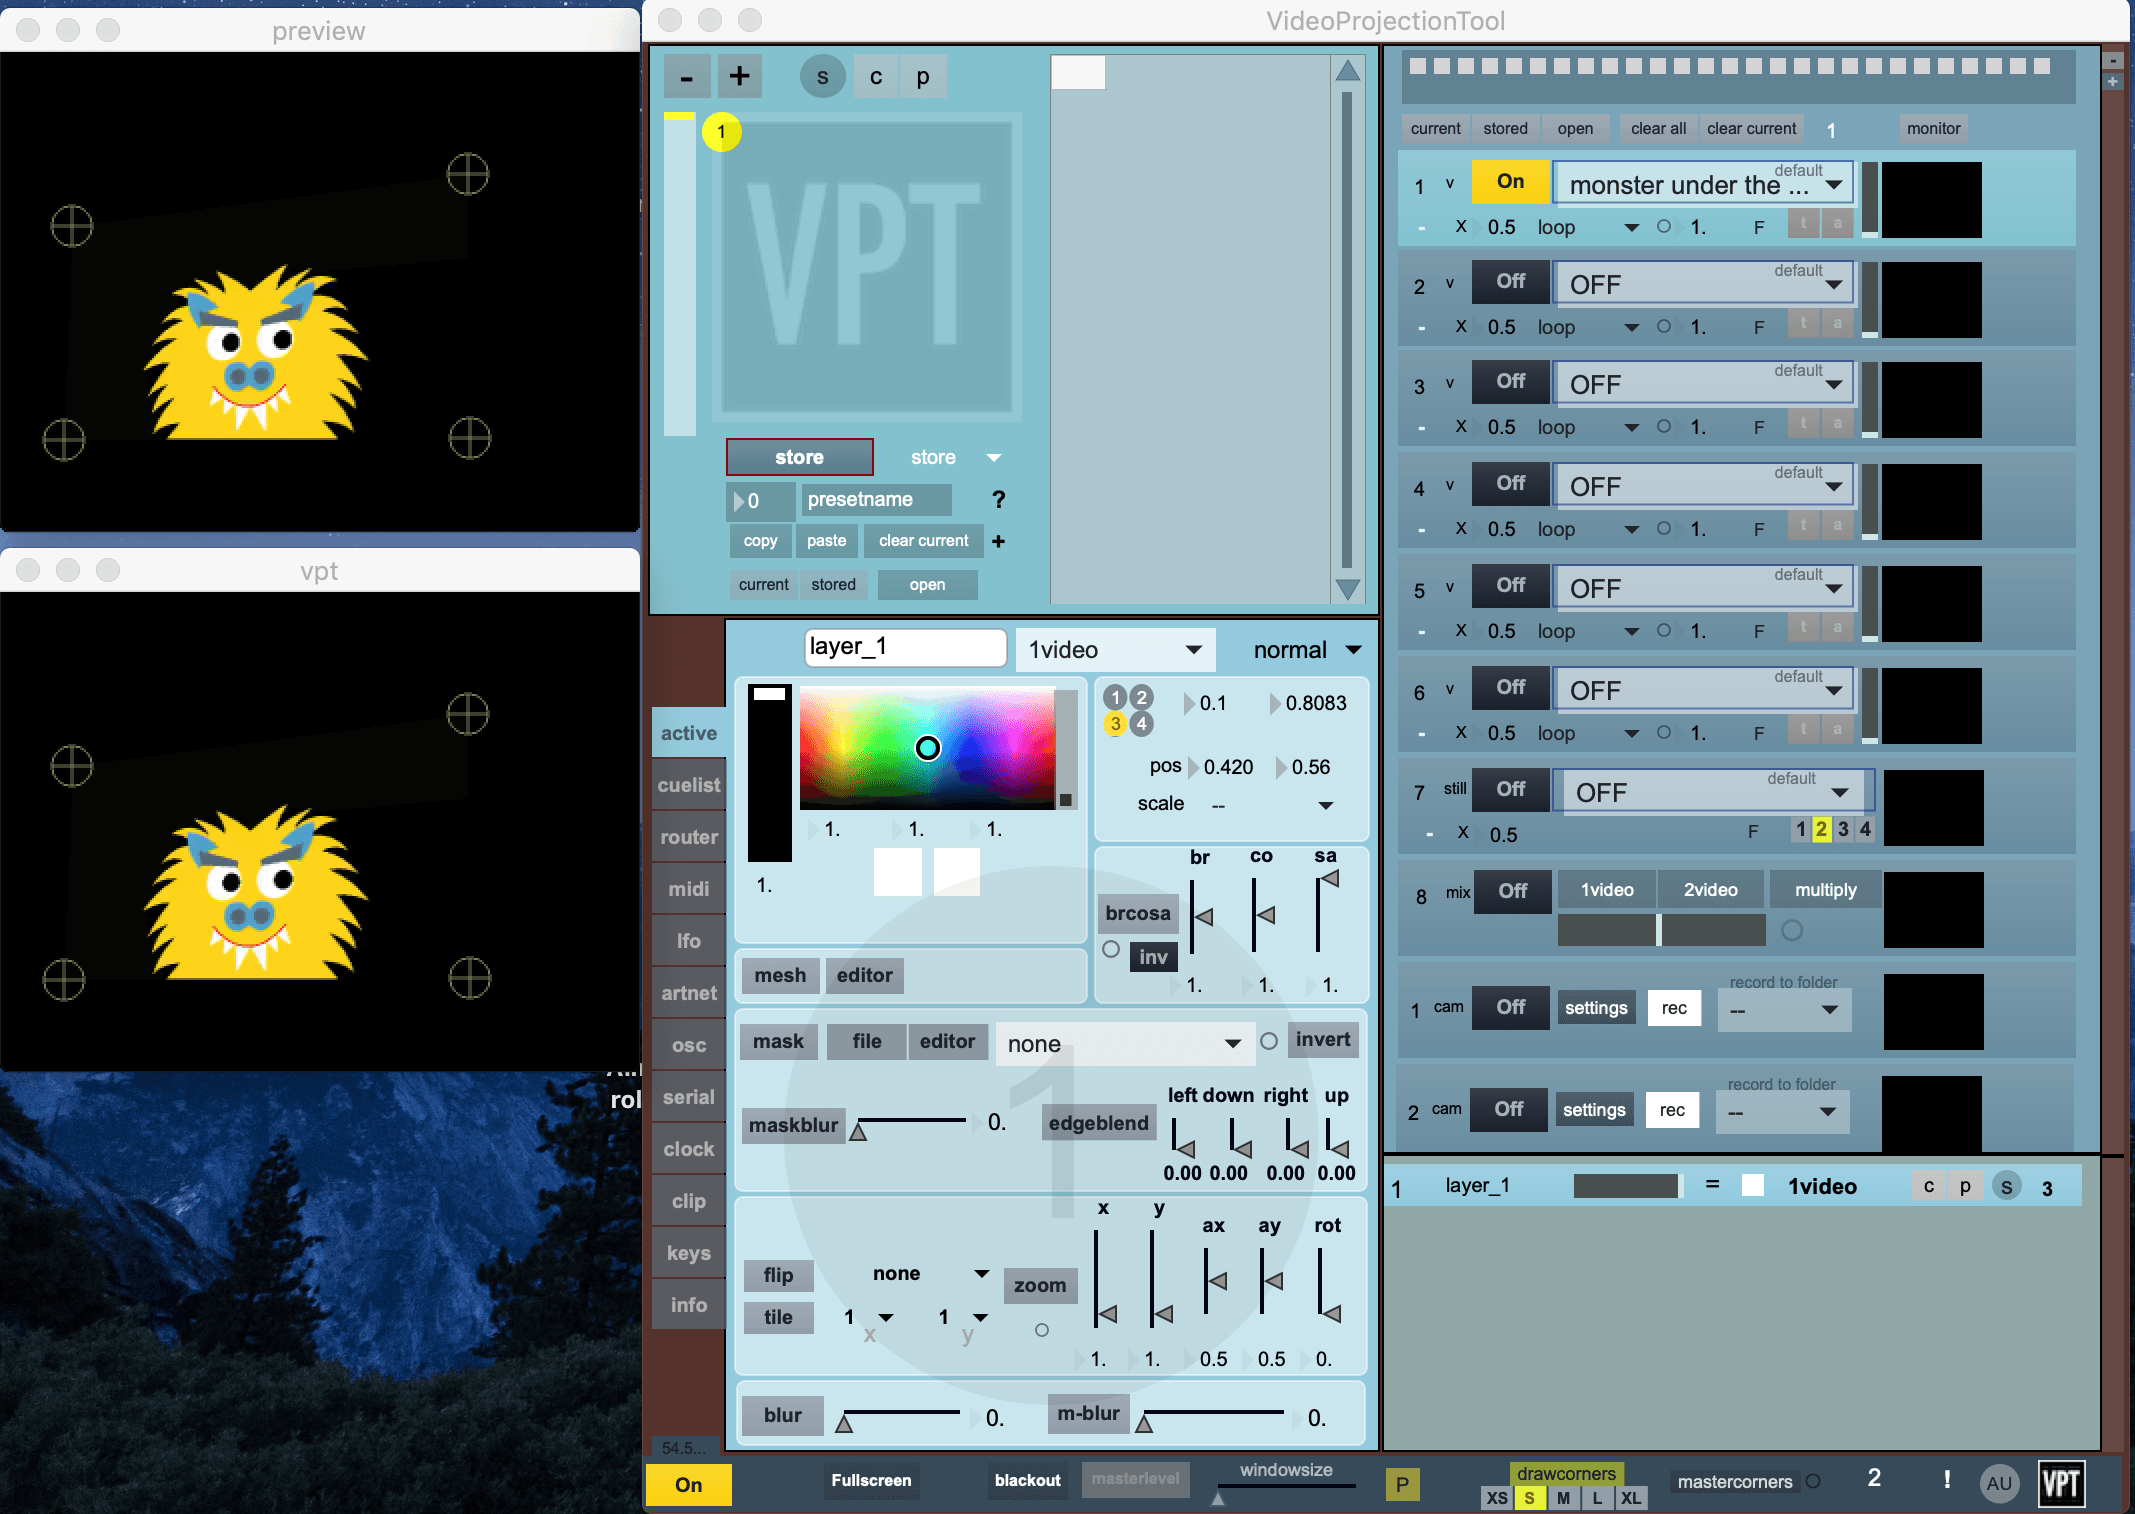
vpt8
Final Outcomes, Video, Reflections
This project has been really fun to do and we are glad that we managed to do what we set out to do from the beginning, which was to create a life size dollhouse out of recyclable materials that would bring childlike fun and joy to participants.
One thing that was interesting was that we realised people seemed to have more fun playing with the analog aspects of the house (chalk, cooking) than with the digital aspects! I guess that’s the point of having an analog phase, to show us that analog works can bring joy and be successful too.
It has been a fulfilling semester working on Cardboard Kingdom for us, thanks again to everyone who came to see our work and to LP for all the guidance and help!