Image Making Through Type (Part 2 – First Attempt)

So I have to narrow down to 4 different jobs to proceed on with the project:

  1. Interior Designer
  2. Confectioner
  3. Radiographer
  4. Contractor

The Interior Designer

The first job that I decided to proceed with is an architect. So I started to look at what are the factors and elements that I could use for the design.

Blueprints & Floorplans

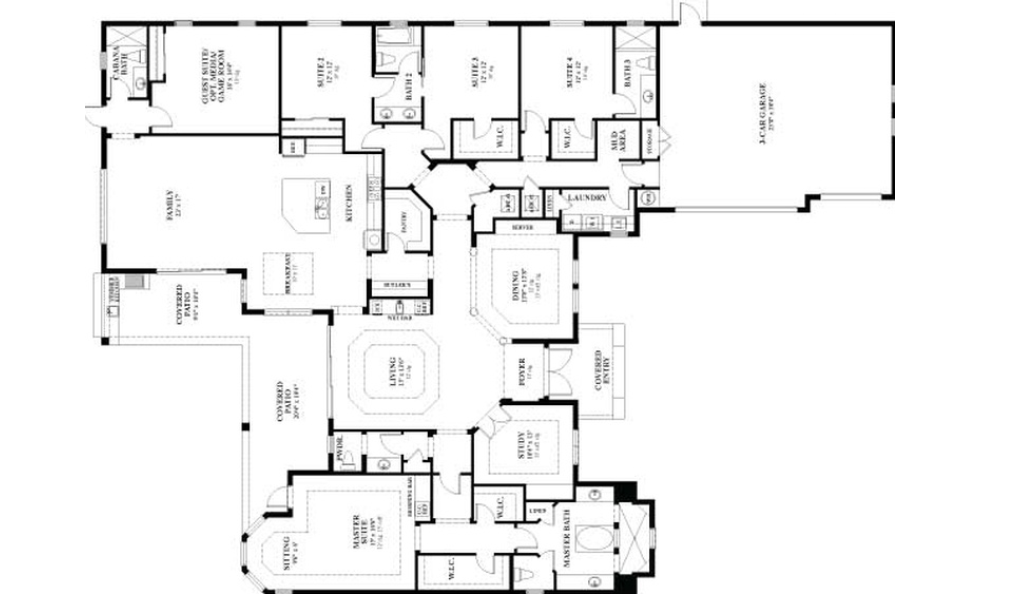
The first thing that comes to mind would be that architects use blueprints in their work. Sometimes it shows the side views of the structure or like a perspective view. In other times it shows the interior floorplan of the structure.

But if to decide between the floorplan or the blueprint designs, I think it would be better to use the floorplan design because it is more flexible in a sense that the floorplan can make out more shapes than a vertical structure/a side view of a building.

Interior Designer tools

Another way to attempt based on the interior designer is through the tools used by an architect. They have different tools used to form different shapes and to create different drawings.
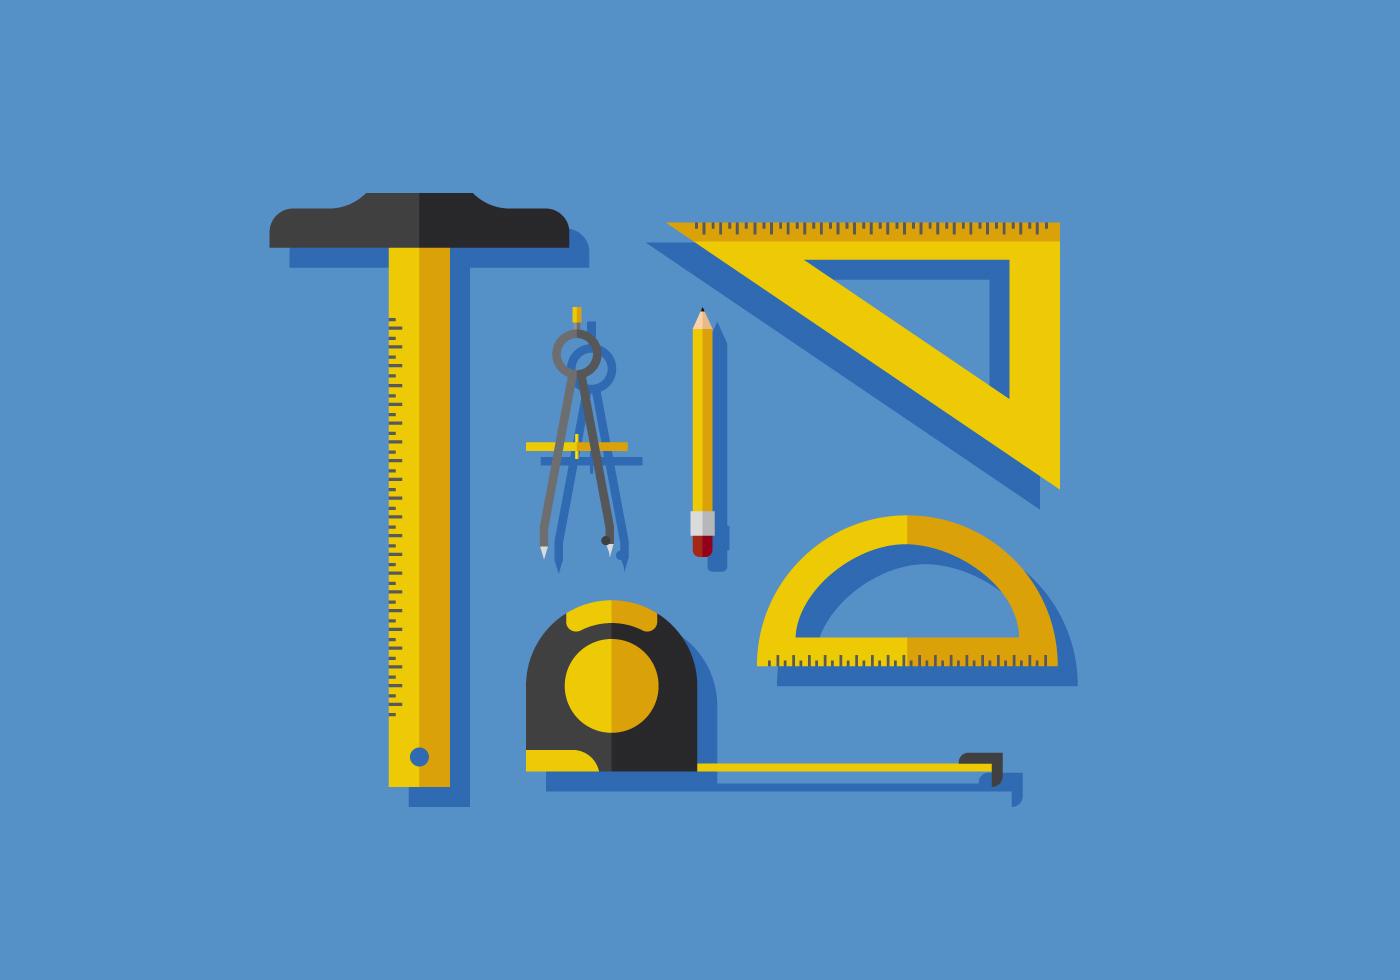
Architect tools – such as the t-rule, compass, protractor (https://www.vecteezy.com/vector-art/144324-vector-architect-tools)

The tools are already in odd shapes, which can be used to form the different letters of my name already.

First draft

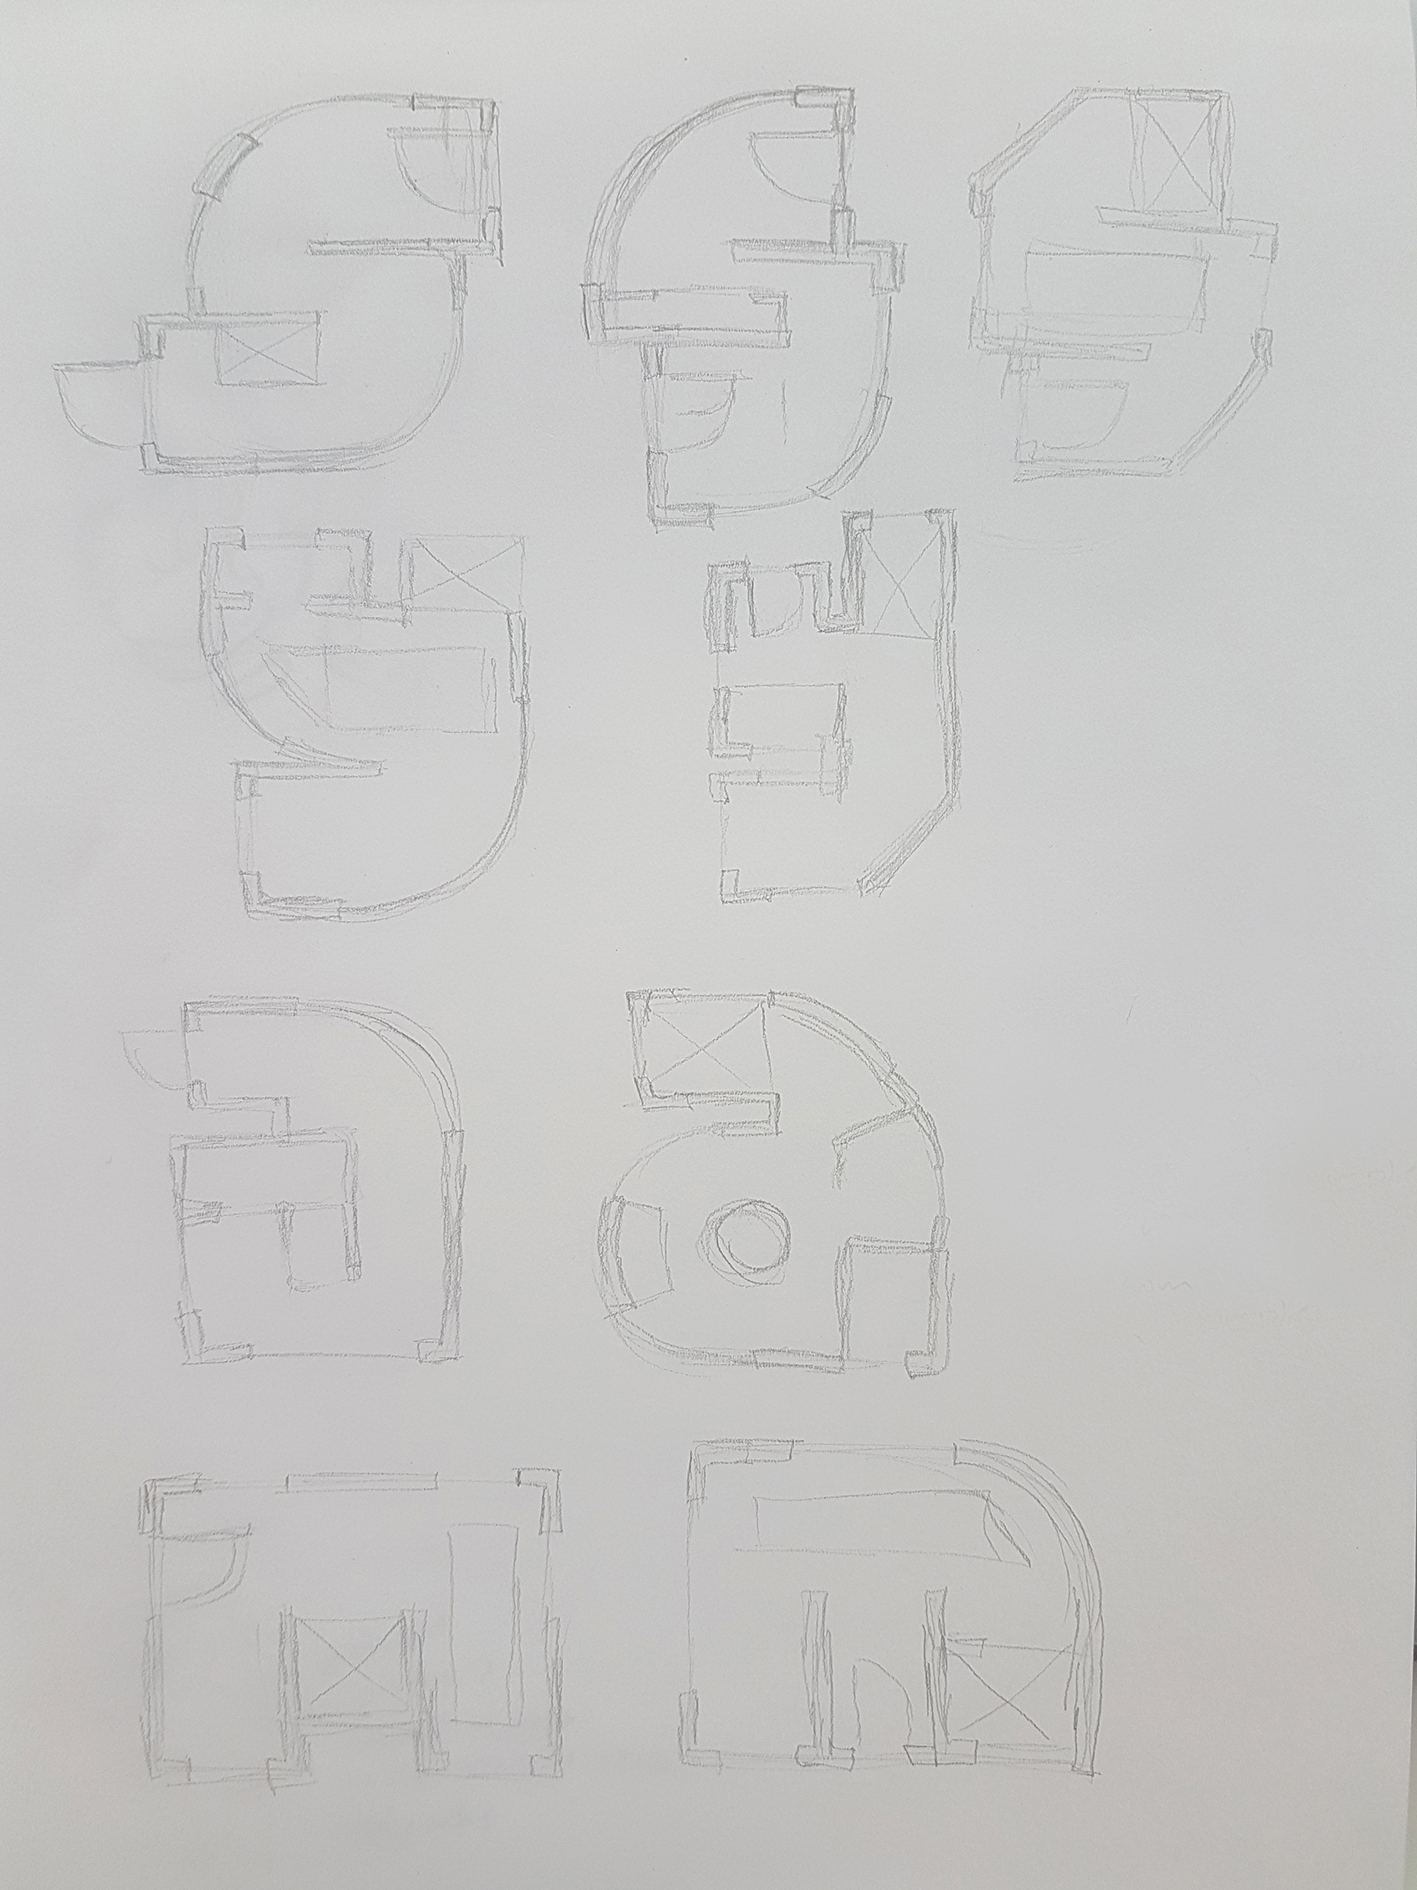
First draft for The Interior Designer

I tried to implement the concept of a floorplan into the letters. Still exploring the different forms, whether or not to make it angular or has more curvature.

Comments from peers & lecturer:

  • Floorplan design has been used too much by seniors, especially by using blueprints. So I have to stick to more of the interior design floor plan concept, which includes more of the interior contents of the structure so as to differentiate it from previous samples.

The Confectioner

I thought of food, but the idea of using food as a chef cooking has already been taken and used. So I branched out from food to candy.

Types of candy

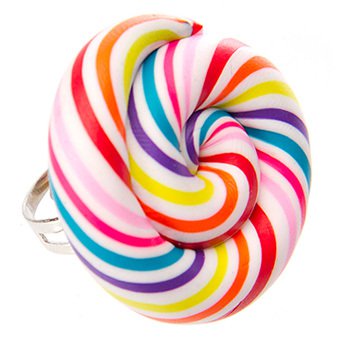
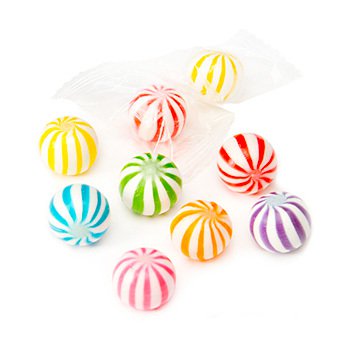
I guess the first step is to find out what sort of candy there is, and from there I can pick out the elements and work with them.

Patterns & Textures from candy

From the types of candy, I can try and pick out the different patterns formed and the textures from the different candy.
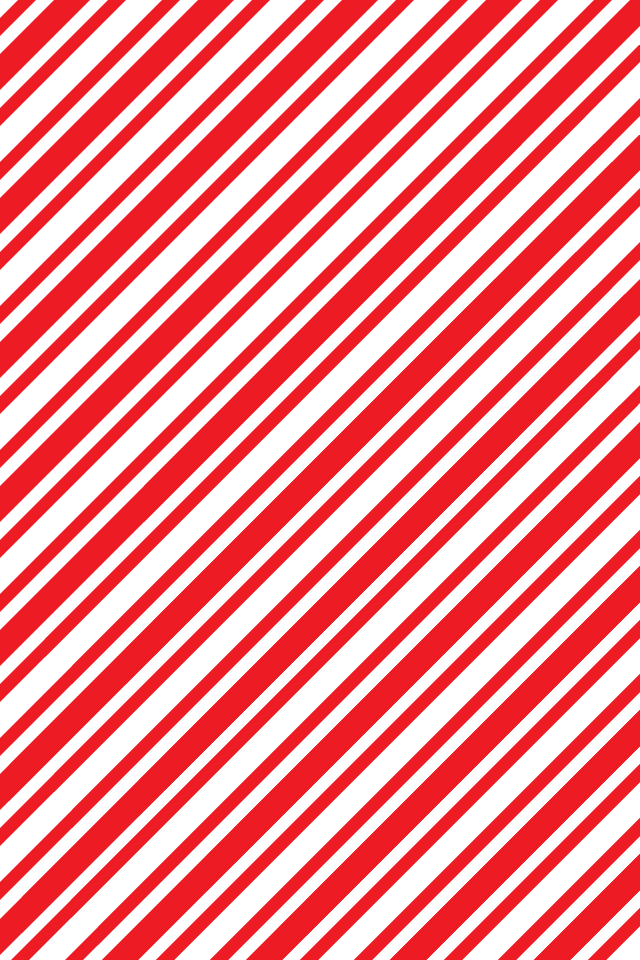
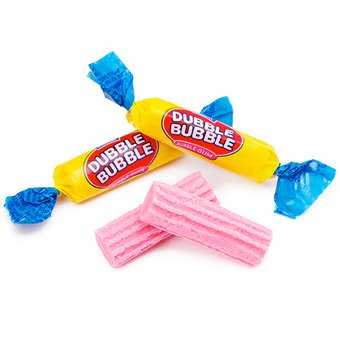
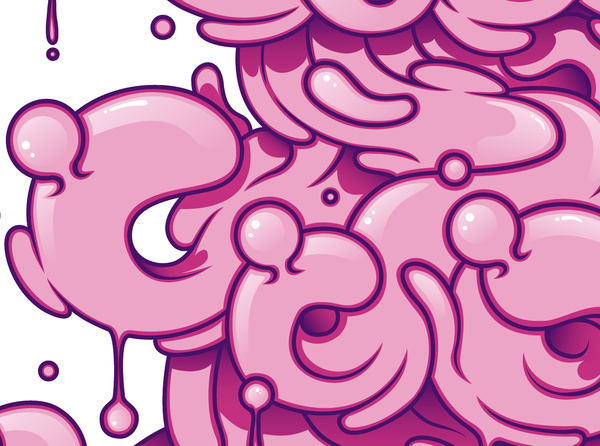
Bubblegum texture, can consider the art style too! (https://www.emaze.com/@AWRCLIRT/untitled)
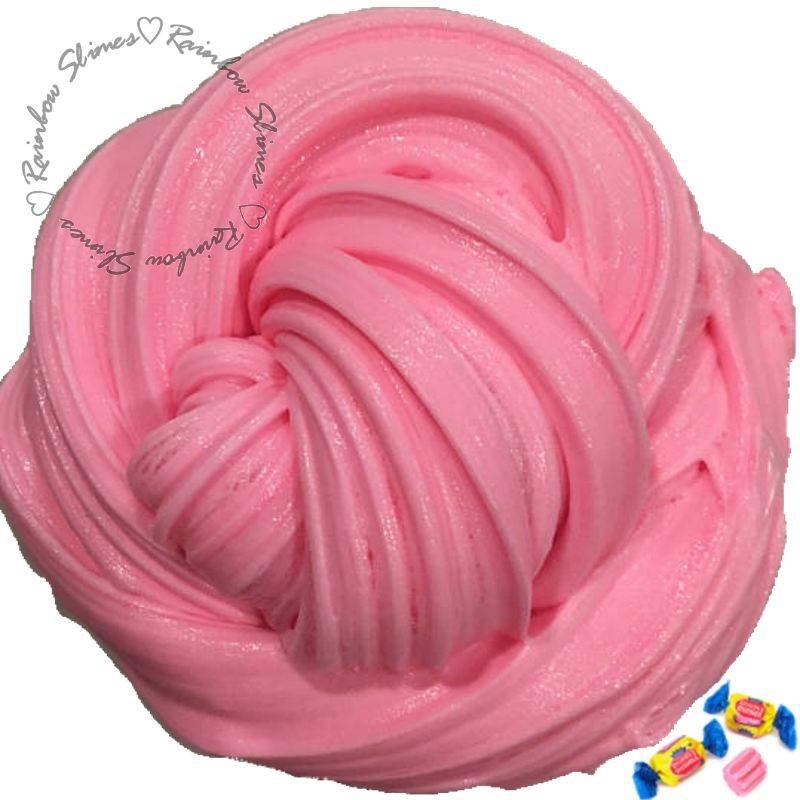
And the list of textures goes on, but the idea is to maybe form the basic structure with the candy and at the same time have the textures in mind and implement them into the design.

First draft

First draft for The Confectioner

So I tried to join all 4 letters of my name to show that the design is interconnected rather than separate units and I tried to make it seamless and flowy as if it is made from one line.

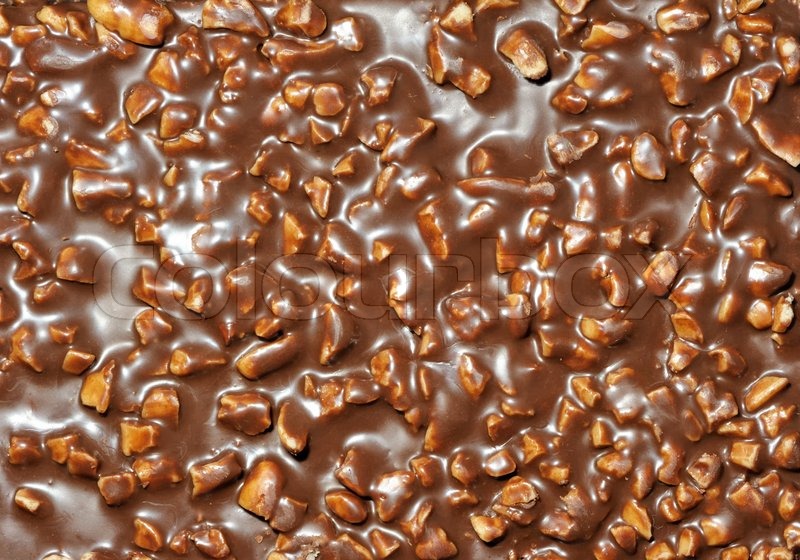
I implemented the different textures and patterns of confectioneries, starting from bubbly bubblegum on the “S” connecting to droopy and nutty chocolate for the “Y’, glossy doughnut with rainbow sprinkles for the “A”, and candy cane patterns and churros texture for the “M”

Comments from peers & lecturer:

  • I have to make sure that the connection is obvious and it flows seamlessly through all 4 letters
  • Try to get as many details on the texture to make it more realistic
  • Colours have to be attractive (Pastel? Cannot use dark colours)

The Radiographer

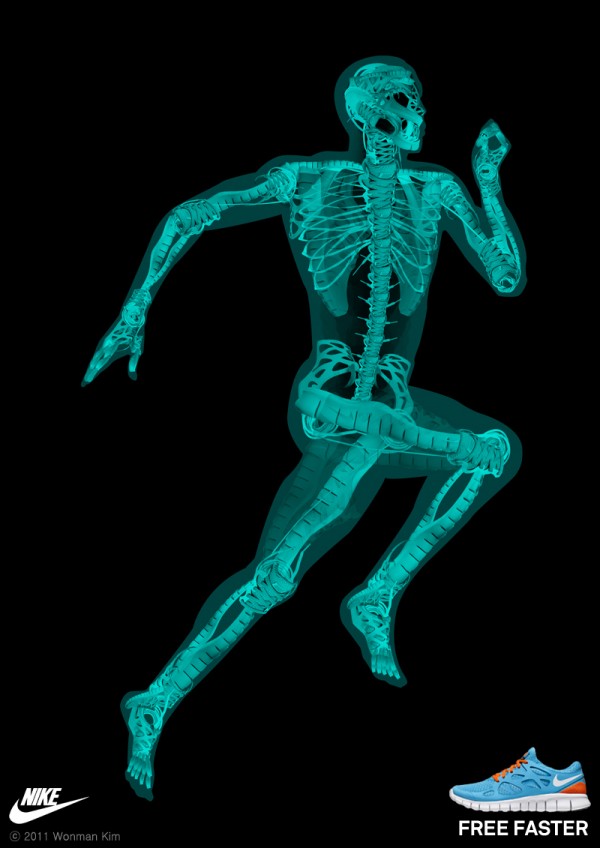
I thought of doing something based on the human body but seems a bit too normal or complicated. So I decided to stick to the human form but more of x-ray style.

X-ray design

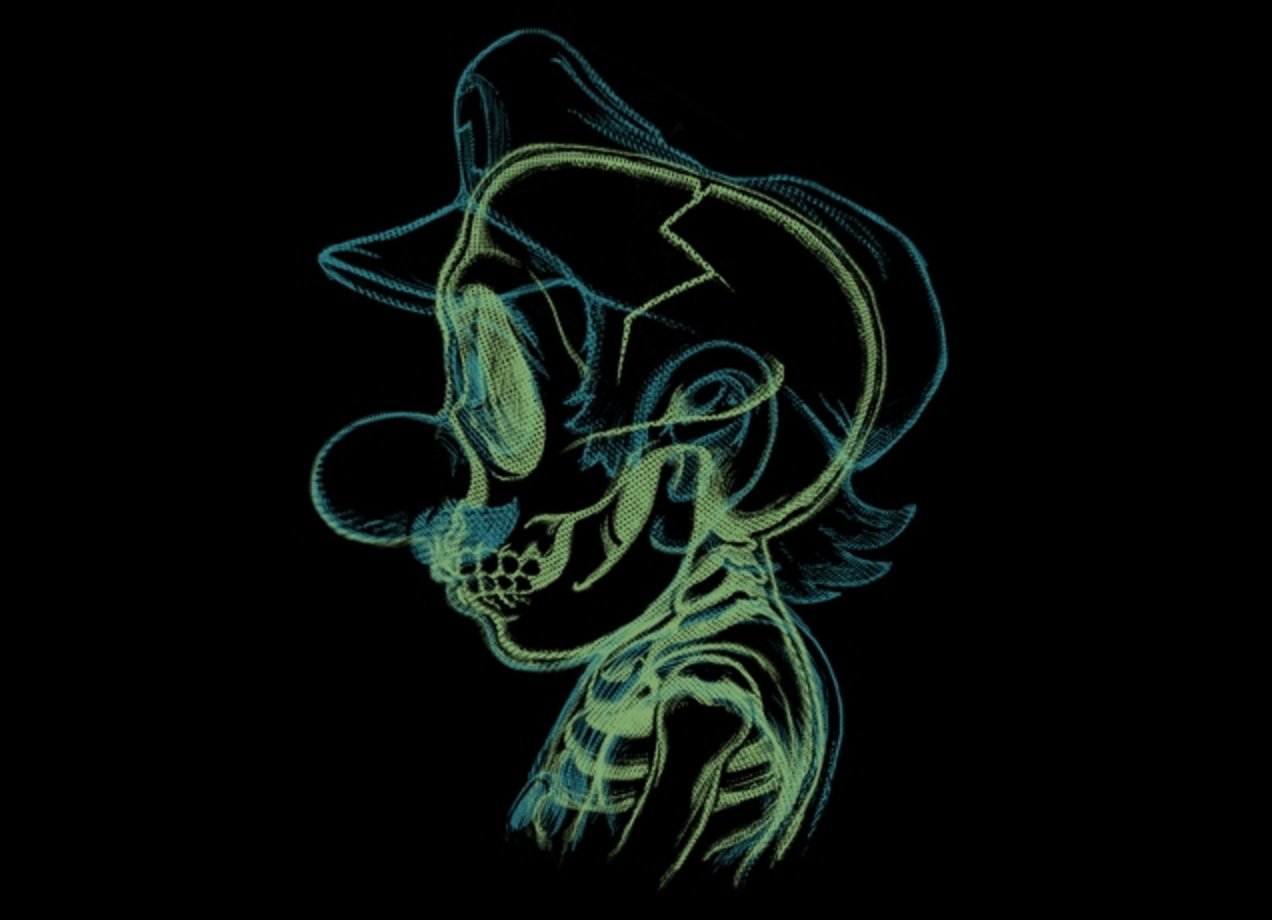
The idea of the x-ray is like thin neon lights but shows a faint outer layer while showing the inner object.

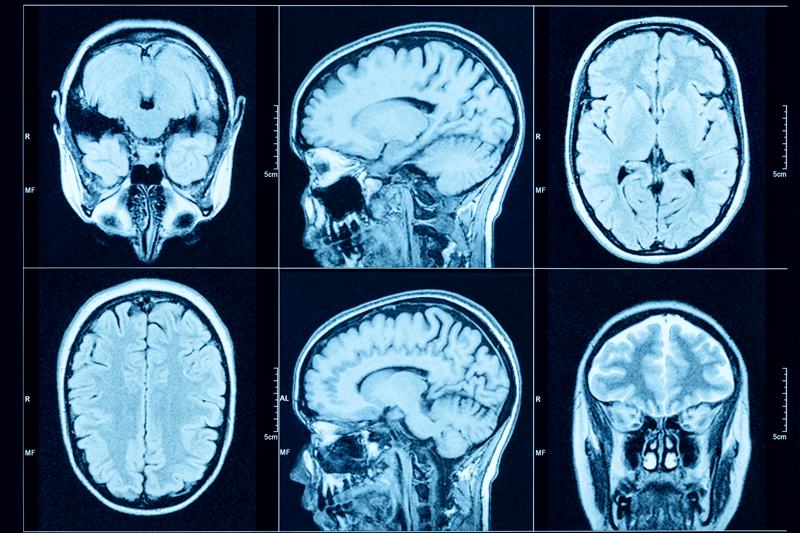
Body parts internal structure study

Another step to do is to look at how the internal structure of the body looks like so that it would look more realistic.

A possible concept that I thought of when doing this is that the inner layer could be just the type, while the outer layer shows something else. Or the outer layer could be the type, while the internal is showing something different.

First draft

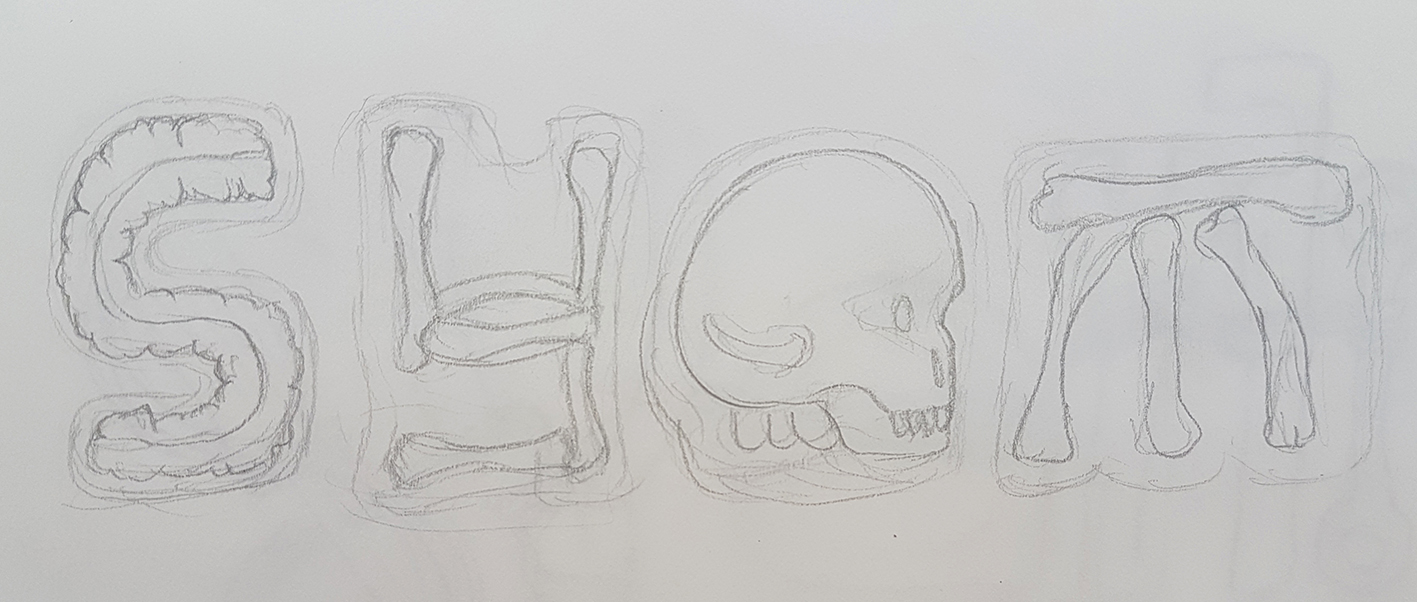
First draft for The Radiographer

For my attempt at this layout, I tried to implement the x-ray studies into the letters so that it looks like real bones and tissue in the x-ray. I also tried to make the outer layer of the letters look a bit different from the inner layers.

Comments from peers & lecturer

  • I could include bone fractures

Funny or dangerous objects inside the x-ray scans. See if I would want to convey a more serious tone or humorous tone


The Contractor

I wanted to do more of using real objects for this since I have already tried other styles for the other.

Contractor tools

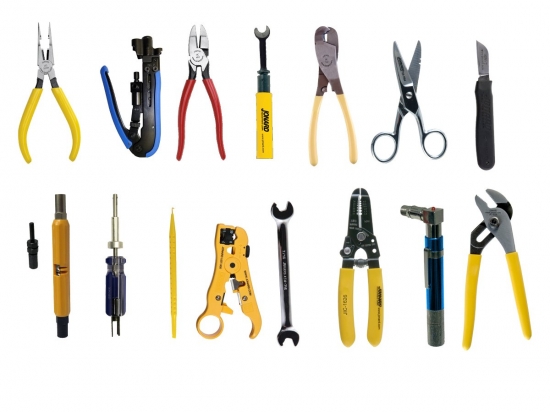
So elements that I could pick up from the job of a technician is the tools that they use.
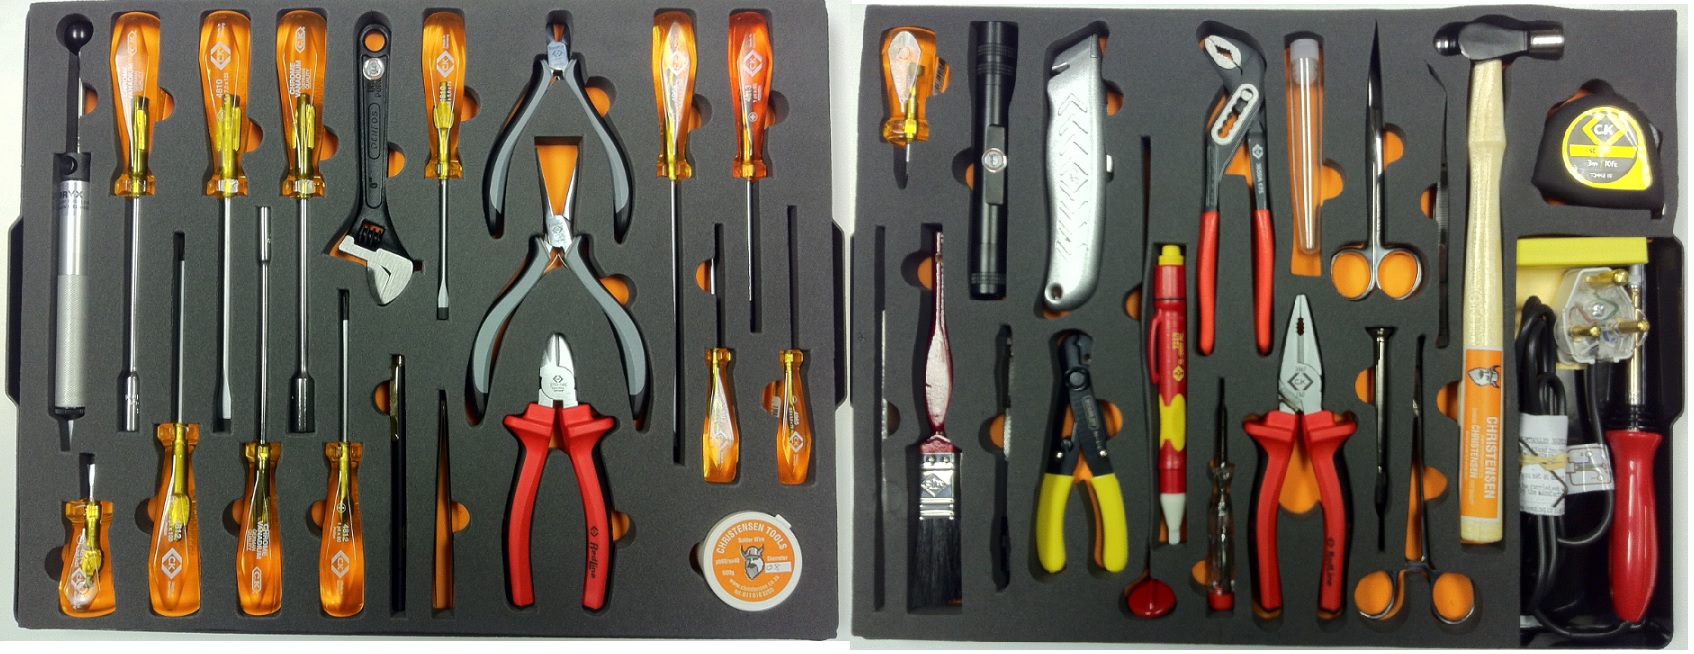
So the idea is to create the letters using the different tools of a technician.

First draft

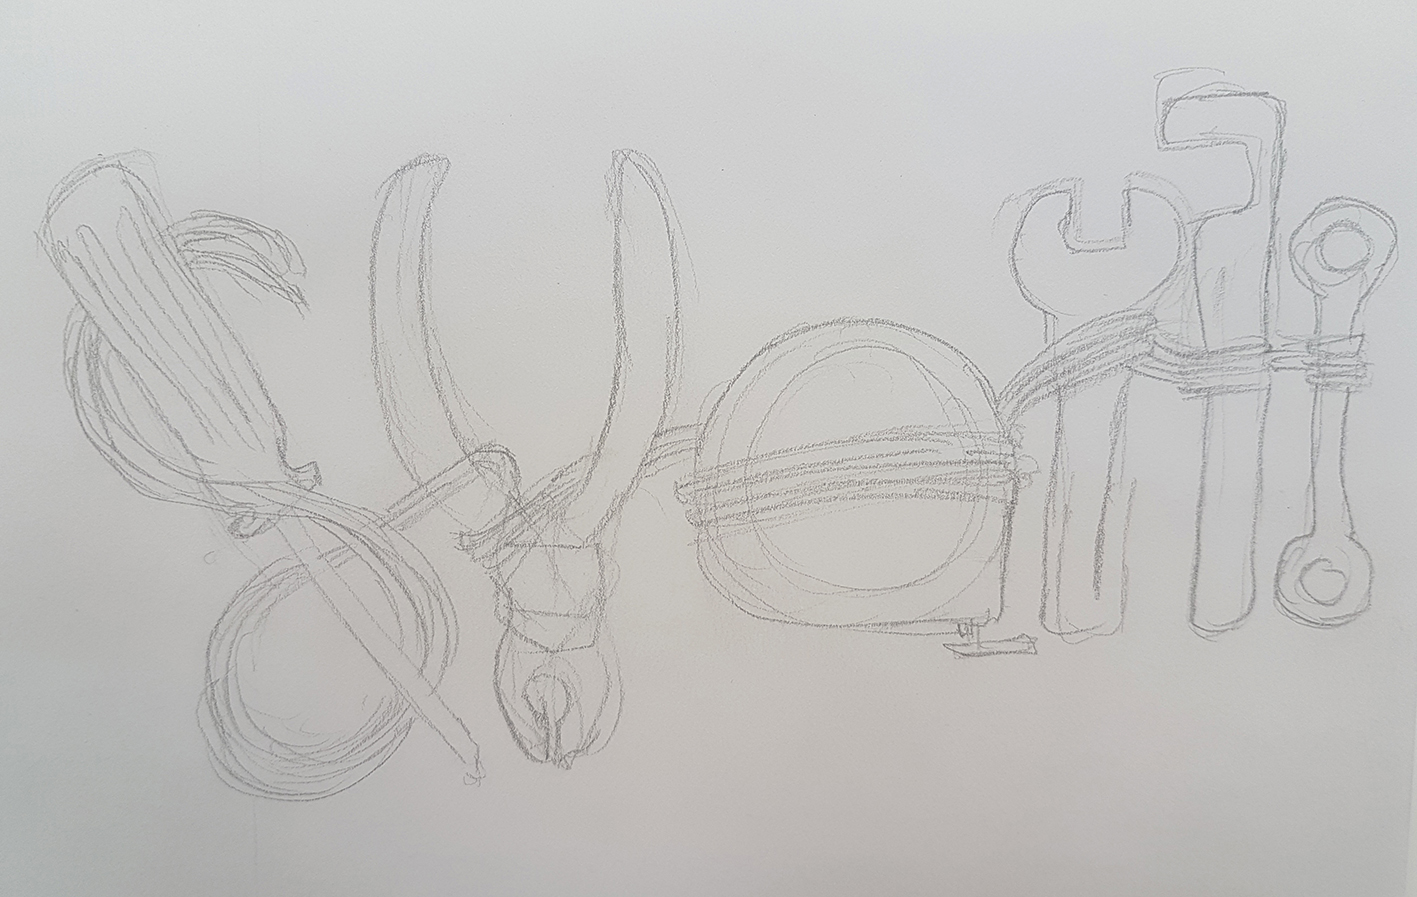
First draft for The Contractor

I tried to implement the tools into the formation of the letters, and I used wires to in a way join the letters together and also to form more of the curvy letters.

Comments from peers & lecturer:

  • The approach is too direct in a sense that the tools are used directly as the shape forms – like pareidolia
  • Lack of manipulation should have more
  • Combination of different equipment to form each letter, rather than using just one tool to form a letter.

Project Ego – Research

We have reached the last project for Foundation 2D. For this project, we are to create 12 image compositions (4 sets of 3), where one image representing yourself adds with another image that represents a situation which will then form another image.

Me + Situation = Imagined outcome

For this project also, we are finally allowed to use colour. With that said, we have to show our understanding of the use of colours and the colour theory in our compositions.

Colour Research

Different colours play a part in giving different meanings in design. It can be used as a symbol to represent different emotion in art.

  • Red – used to represent danger, anger and violence. It can also be used to represent love and passion.
  • Orange – used to represent creativity, passion, energy & endurance
  • Yellow – Life, energy, hope, wisdom, happiness
  • Green – Growth, health, envy, inexperience
  • Blue – Calming, freshness, purity, hygiene
  • Purple – Royalty, wealth, power
  • Black – Death, mourning, witchcraft, evil, fear
  • Grey – Boredom, decay, old age
  • White – Peace, purity, goodness

Knowing all these, I will implement the colours into this assignment to represent the different emotions that are represented in each artwork (square).

Artist Reference

So we are to look for 3 artists with styles that we could use in our works and pick one from the 3 that we would like to use as a reference.

I was planning to do digital collages for my works as I feel like trying that out and it would be interesting to see how it is used to represent the different elements in each composition.

Man Ray

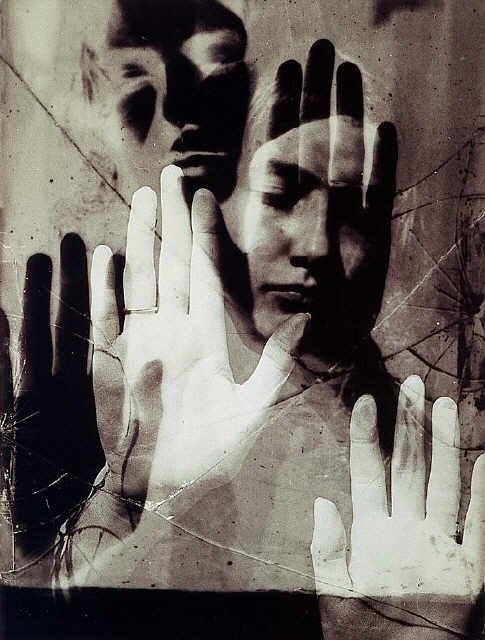
The first digital collage artist that I found in Man Ray. I find that his works are mainly real images, somehow overlapped or manipulated with another image, creating a really interesting composition. Some of his works look like it is a double exposed photo.

Max Ernst by Man Ray (1934). Image from https://www.pinterest.co.uk/pin/423056958727760690/

Eventhough I think that his style looks great, I think it would be too much of an effort to recreate it into my compositions.

John Stezaker

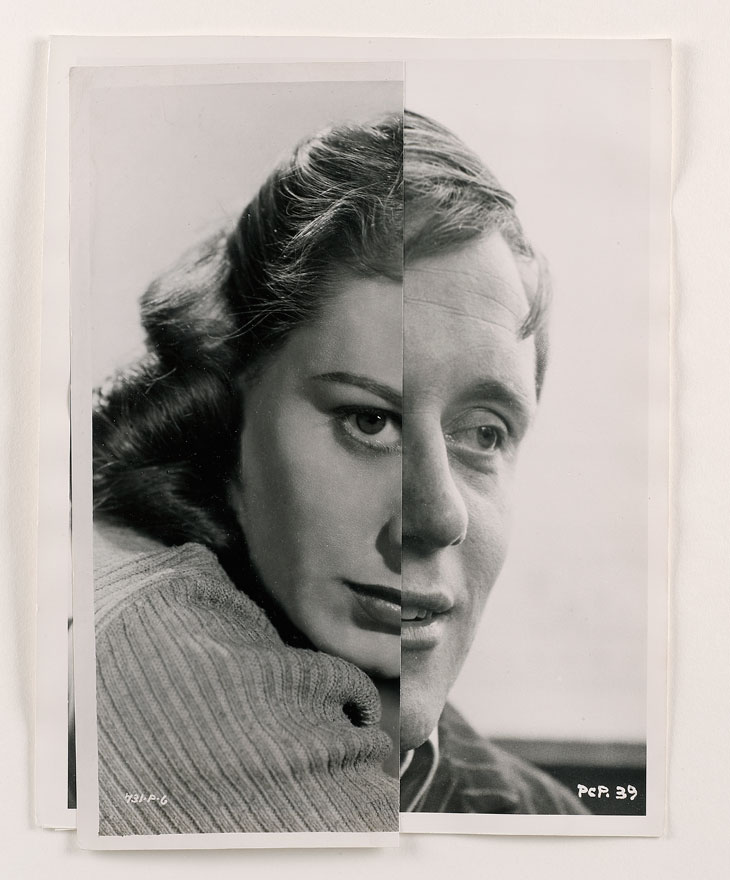
I really think John Stezaker’s works are unique to himself. Most of his works are a composition of two or more portraits or faces and combined seamlessly into one face or portrait.

Marriage L by John Stezaker (2007). Image from http://www.saatchigallery.com/artists/john_stezaker.htm

Marriage VIII by John Stezaker (2006). Image from http://www.saatchigallery.com/artists/john_stezaker.htm

As much as I think his works look great and unique to his own, I think it will be hard to express other elements in the composition that does not involve portraits or faces.

Hannah Hoch

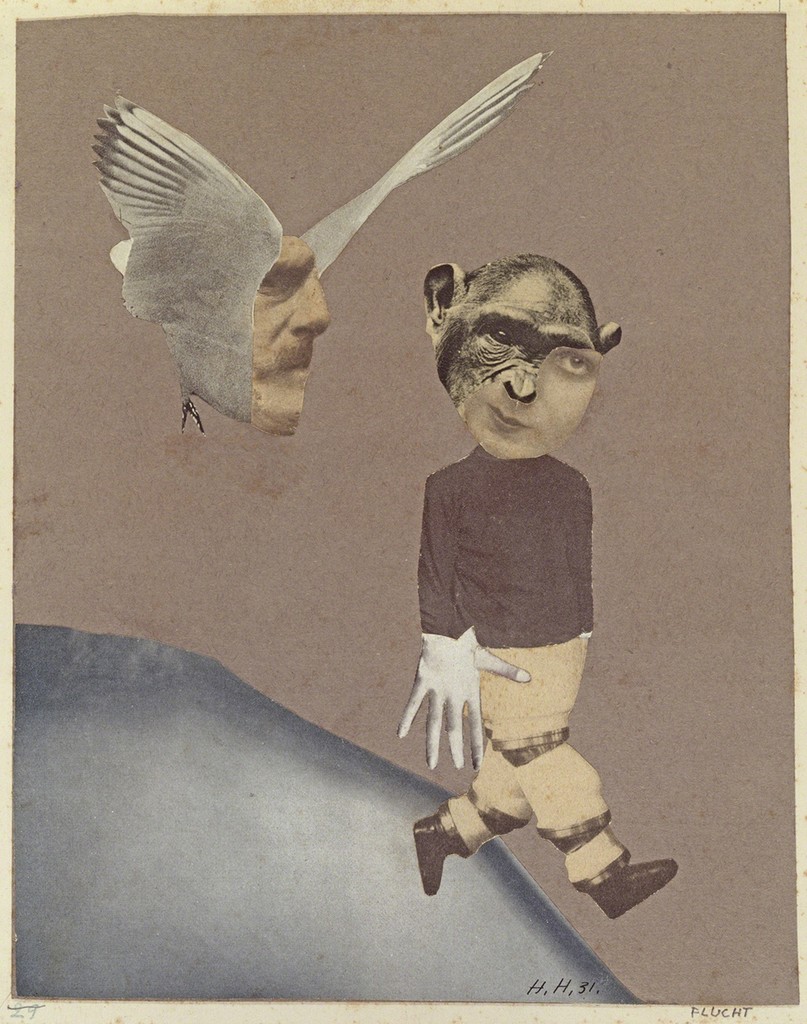
The last of the digital collage artists that I came across is Hannah Hoch. Her style of collage is mainly combining different cut-outs of images and creating another image from them or just creating a composition from it with each cut-out representing an element in the composition.

Flight by Hannah Hoch (1931). Image from https://www.artsy.net/artwork/hannah-hoch-flucht-flight

Hannah Hoch will be the artist reference that I will be using for my works because I feel that it is an interesting way to represent the elements in each composition and the overall look and feel gives a unique look to it.

References

Project 2: Forrest Gump

Movie Quote 1: “Home is behind you, the world is ahead”

To me, this quote means that for one to grow, they should leave and move on from what they are comfortable with to take on other challenges, learning and developing new skills while at it.

The main feature of the design is the footsteps leading towards the top right of the picture. “Home” here is represented by the welcome mat which can normally be found at the entrance of houses. The mat, however, is upside down, meaning that the person is leaving home instead of entering.

The footsteps are shown slowly increasing in size as in goes further and further away from “home”, symbolising the person’s growth as he continues on to the outside world. The footsteps are also seen slowly changing into leaves, representing the person’s slowly immersing his or herself into the outside world, having a deeper understanding and eventually being part of it.

The nature details on the left and right side of the design also increase in size from the bottom up symbolising the increasing challenges and obstacles but at the same time the increasing knowledge as you get further away from “home”.

Movie Quote 2: “The world is not in your books and maps, it’s out there”

In my opinion, this quote means that for someone to truly experience and know the world, he should go outside and not learn just through books.

To represent books and maps, I first thought of a library, a place where you can find books and maps and generally a place where someone goes to look for information and learn about things. So the main feature of the design is actually shelves, with books represented by doors, supporting the saying,”Books are doors to another world”.

The books and shelves fall into the gap in the middle, with outer space in the background, symbolising “out there” in the quote. Overall giving the meaning that to know more about the world, you have to look beyond books and go outside.

Movie Quote 3: “May it be a light for you in dark places”

This quote to me is the idea of having hope and staying strong when things go downhill in life.

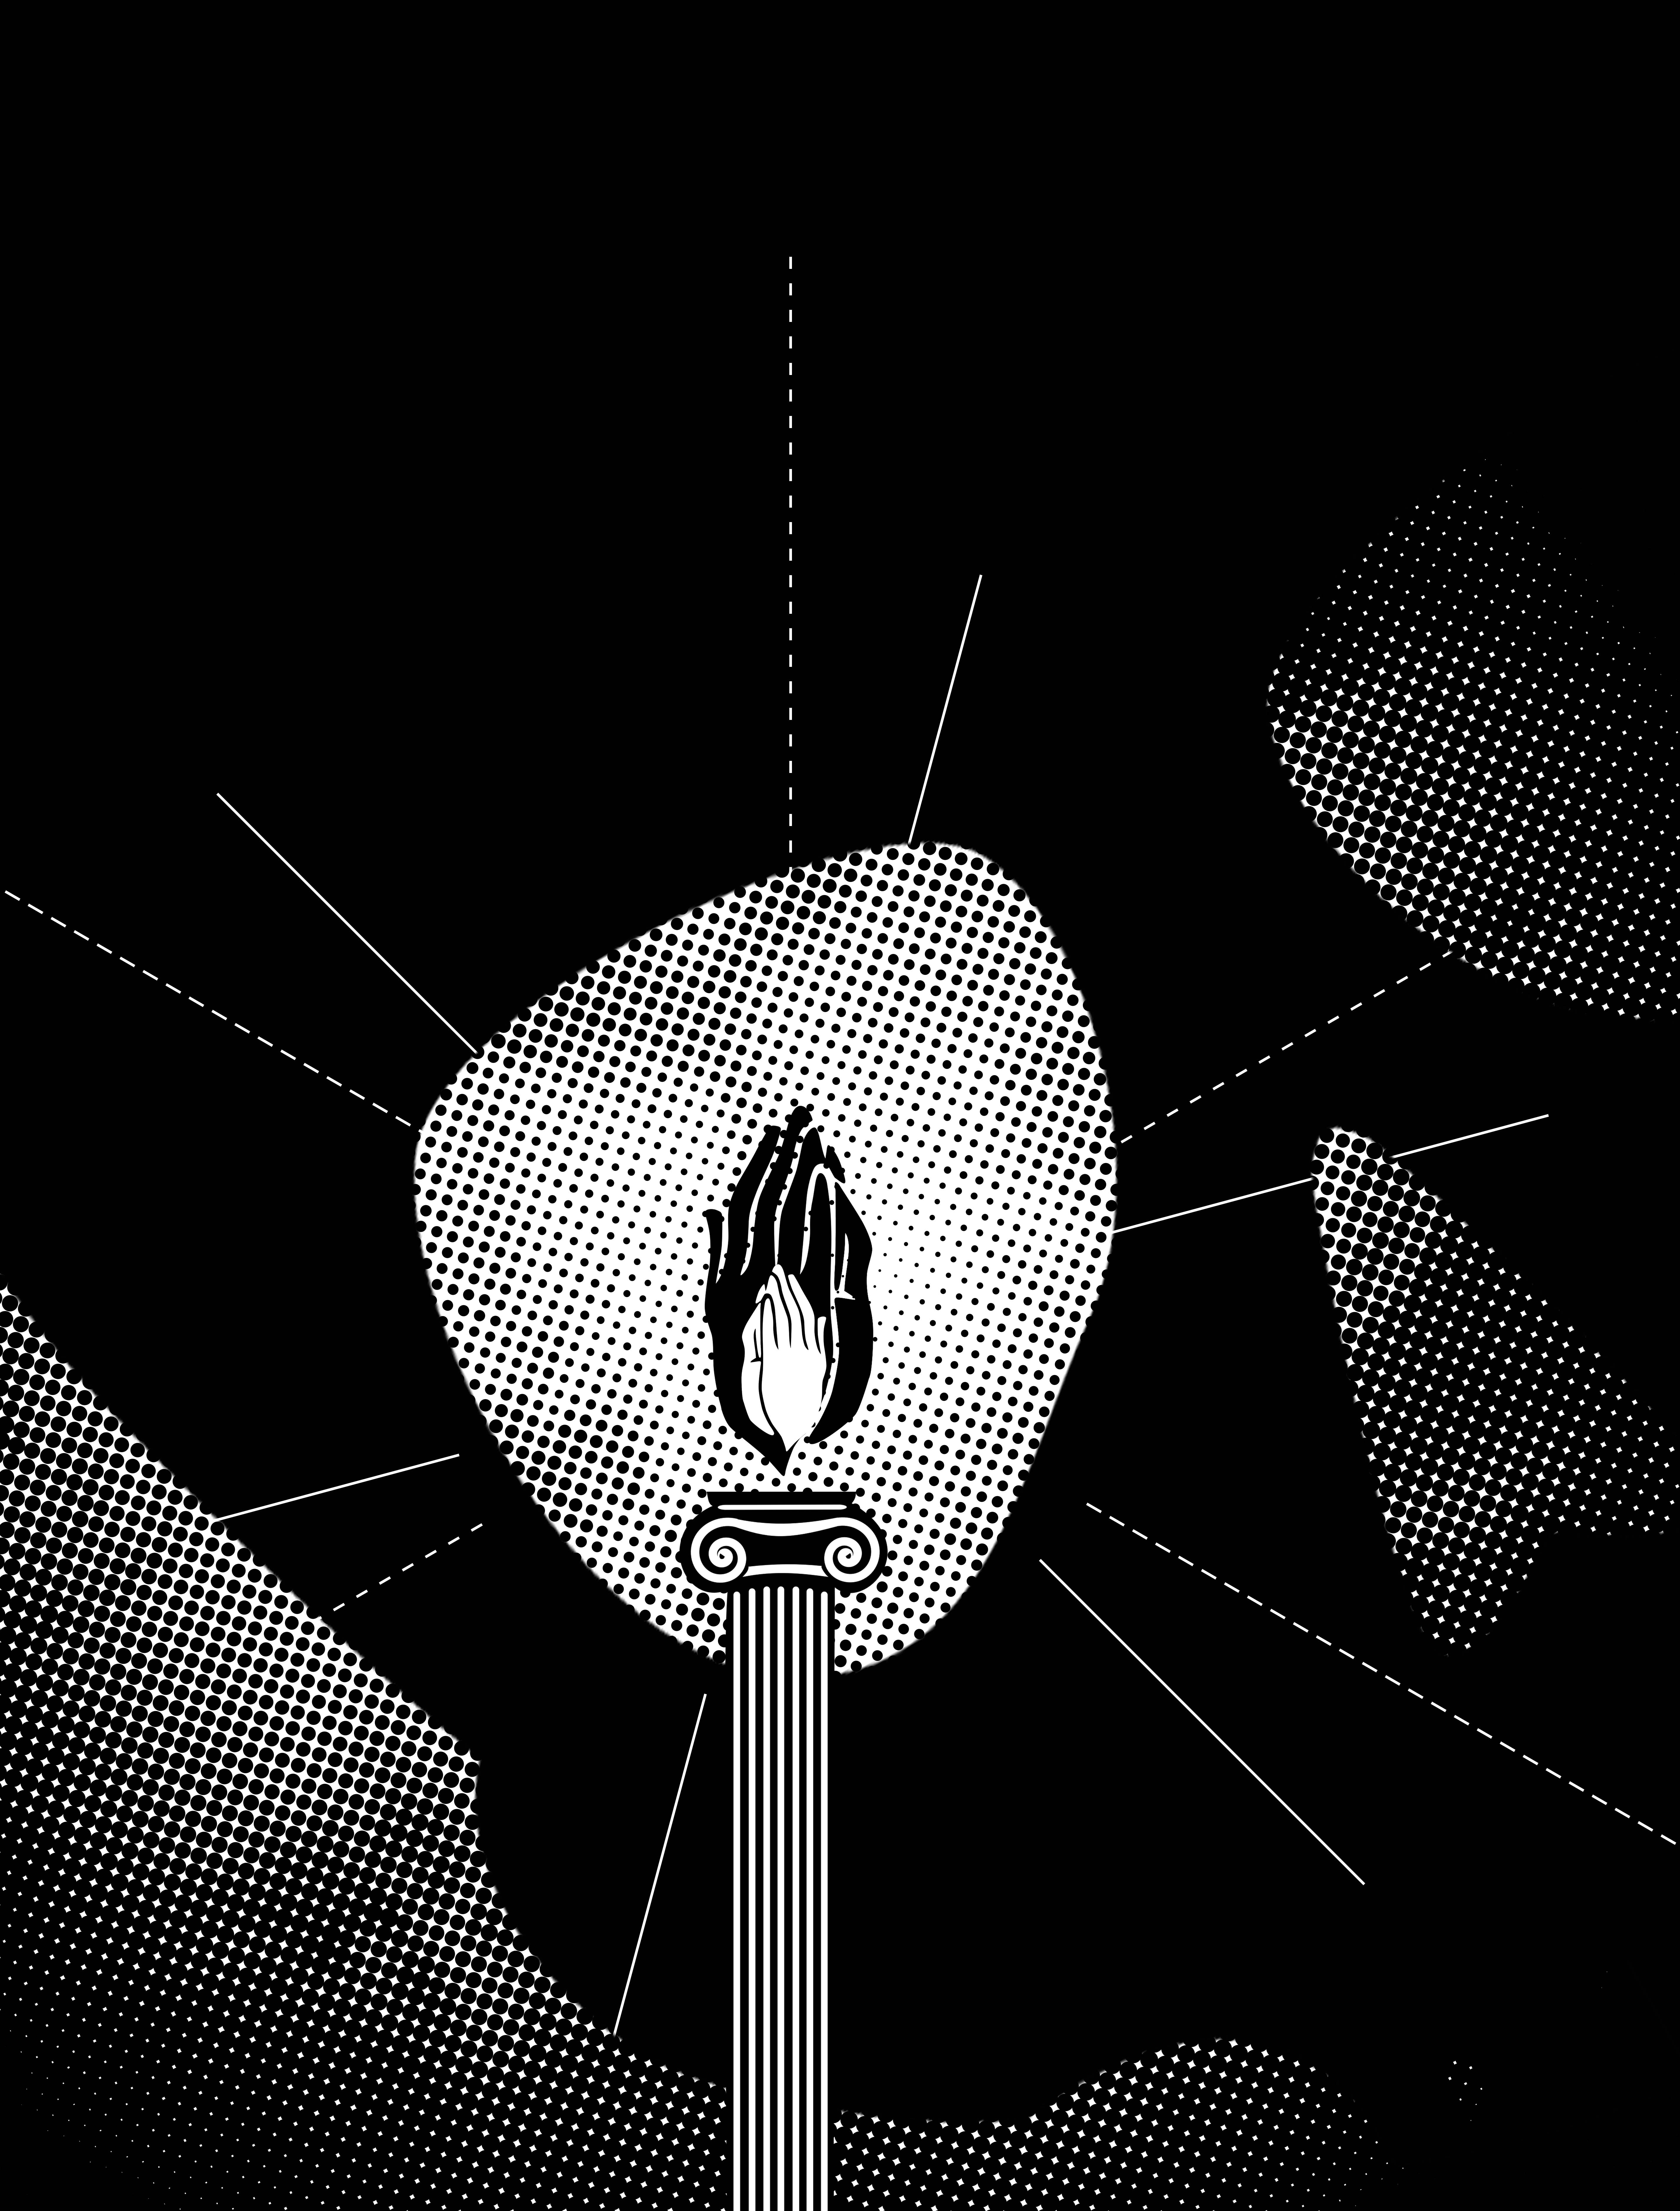
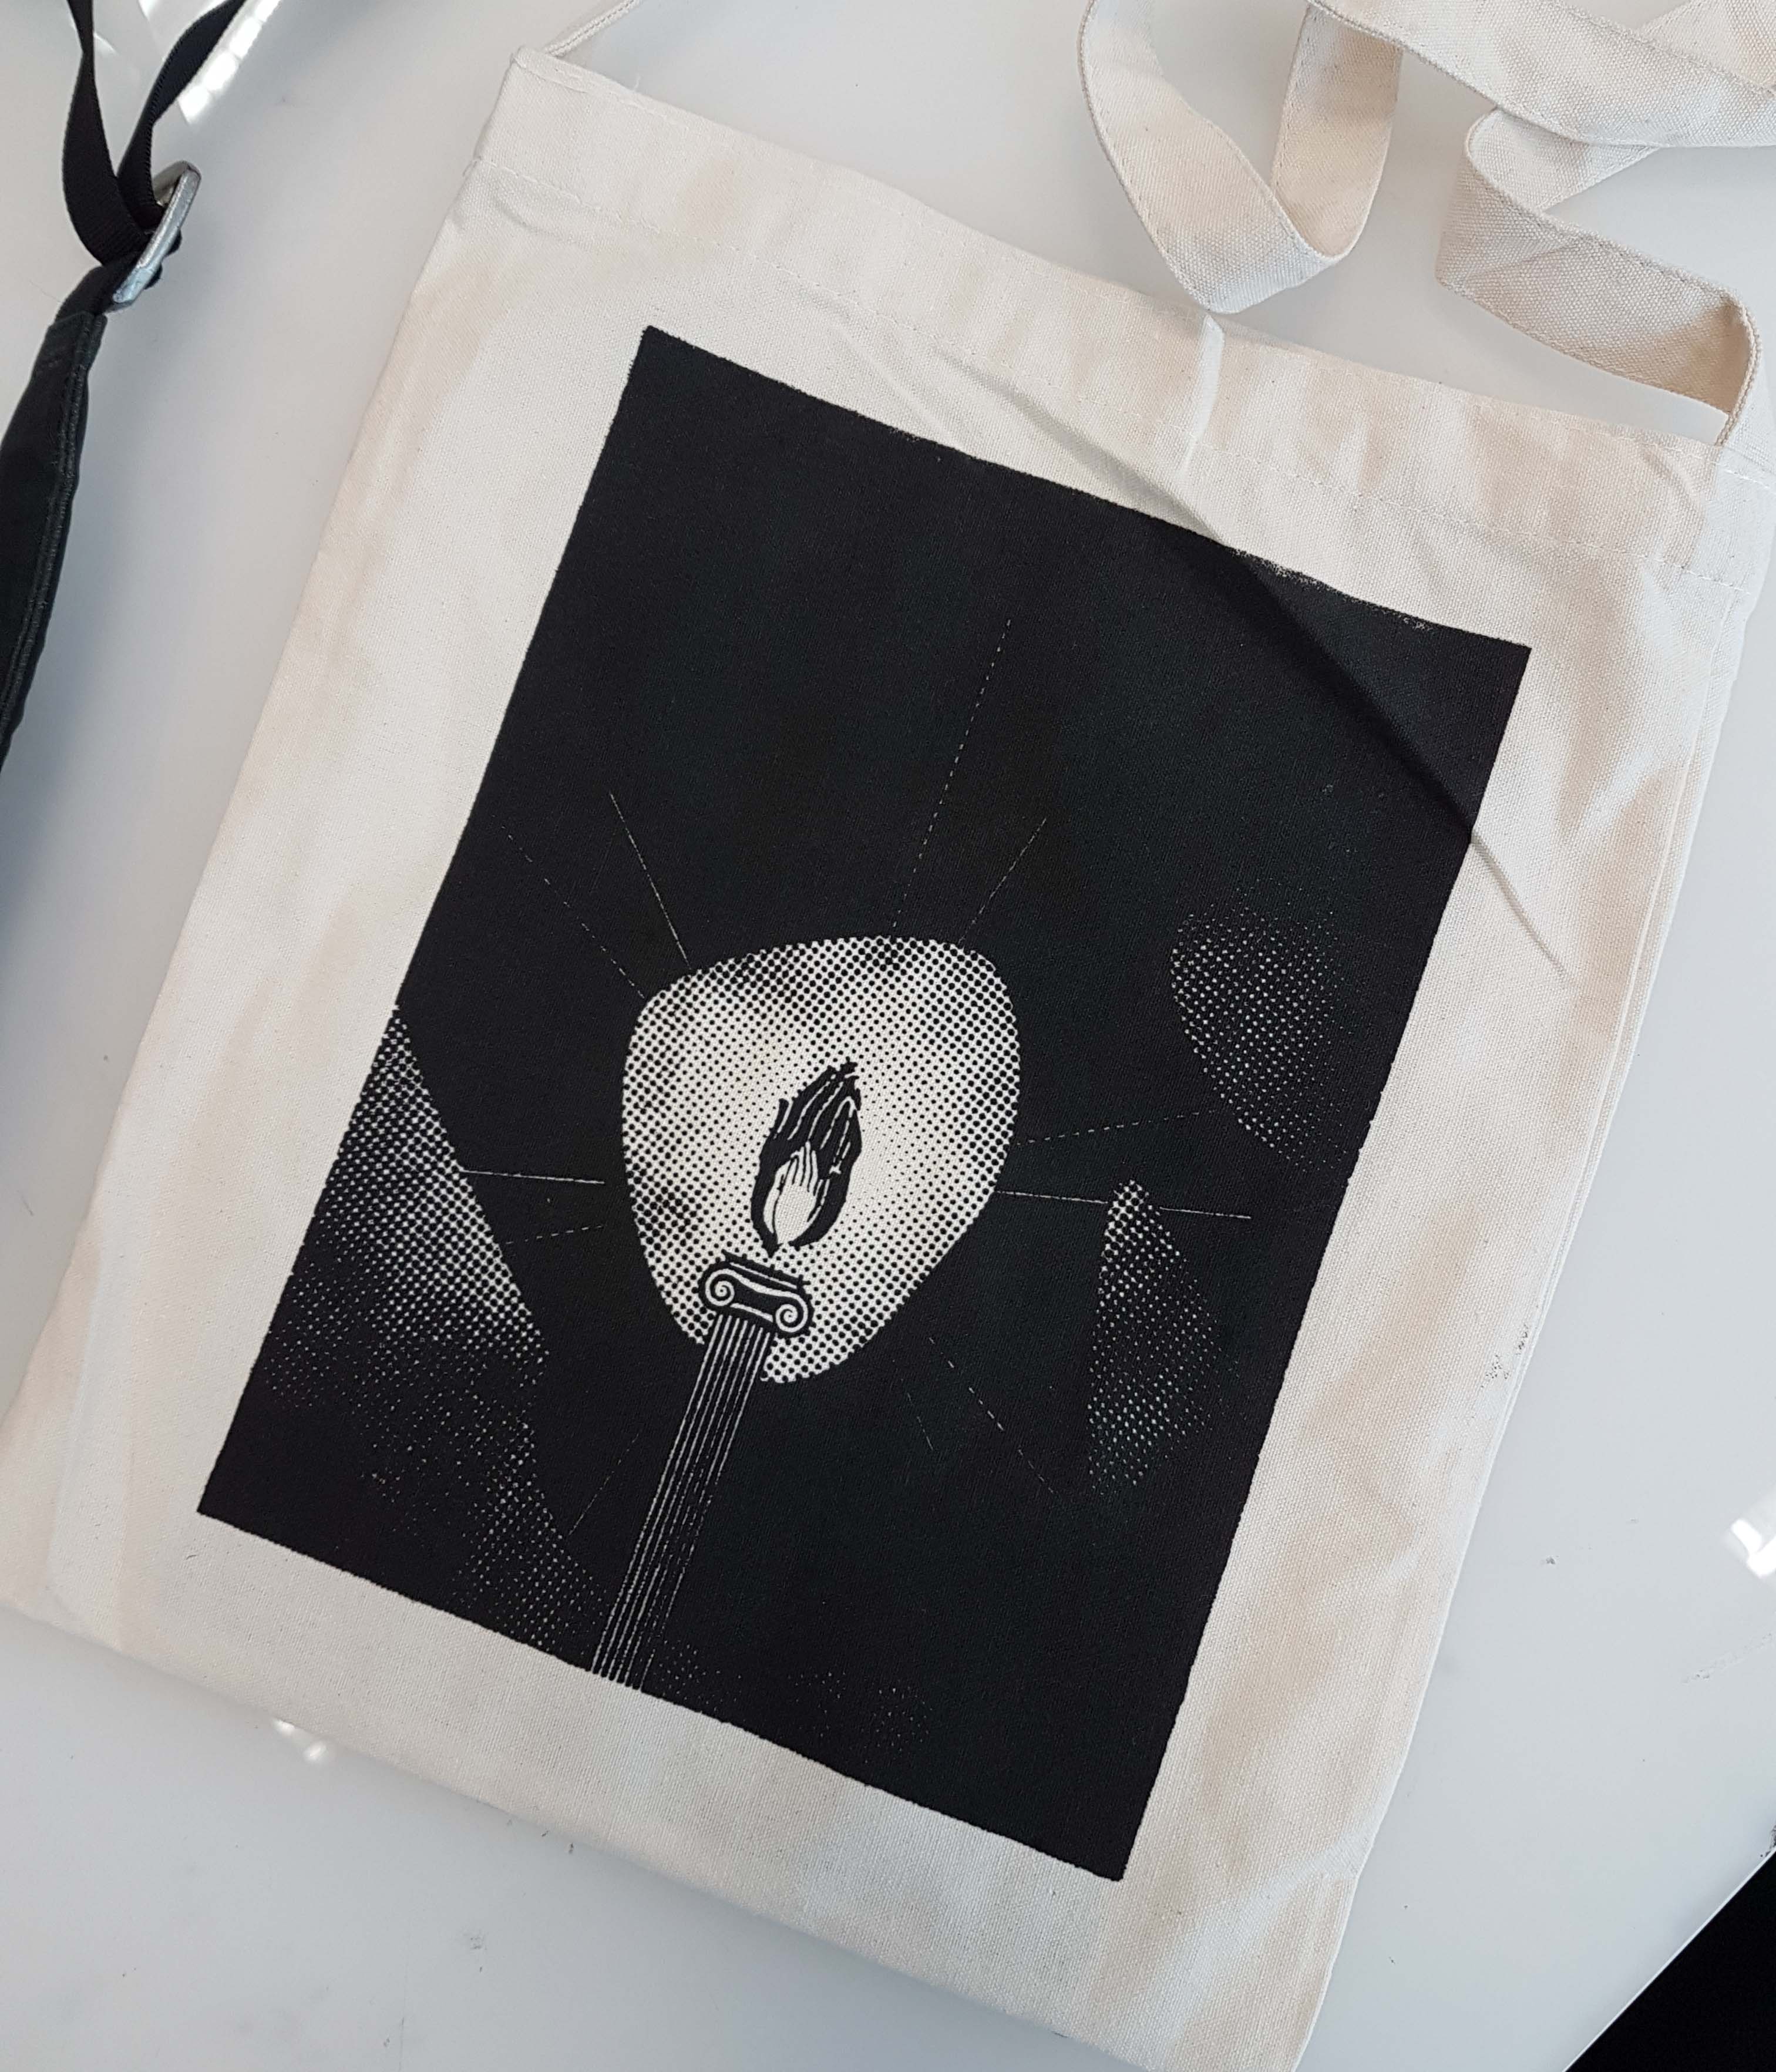
The main feature of the layout is the candle in the middle, with the candle flames made of praying hands, symbolising hope. The candle itself is represented by a pillar, symbolising a pillar of strength. Lines and dashed lines emitting from the candle flame creates a central focus towards it.

Darkness here is represented by the large use of black, and also the formation of the skull, symbolising darkness and death.

In the spaces, however, is actually an image of soft flowers (a little hard to see because of the colour halftone), symbolising light and peace that comes from hope (the candle flame)

Quote 4: “You gave me peace in a lifetime of war”

There are two elements of contrast here, which is peace and war in the same sentence. In my opinion, the quote means someone helped to break someone who was built for war and rage by giving them peace.

An hourglass containing different types of weapons used through the ages, ranging from swords to tanks and fighter jets, which symbolises “lifetime of war”.

If you look closely at the top right, there is a dove, symbolising peace, formed in the negative space formed by the weapons. The dove is released by the pair of hands at the bottom left, which smashed through the hourglass, symbolising “breaking of the lifetime of war”.

The left side of the background is actually chaos caused by war, but once the dove breaks through the hourglass, the background is pure white on the right side of the picture, symbolising peace.

Silkscreening

I have decided to go with the design for Quote #3 as I think that it will look best when silkscreened on the tote bag.

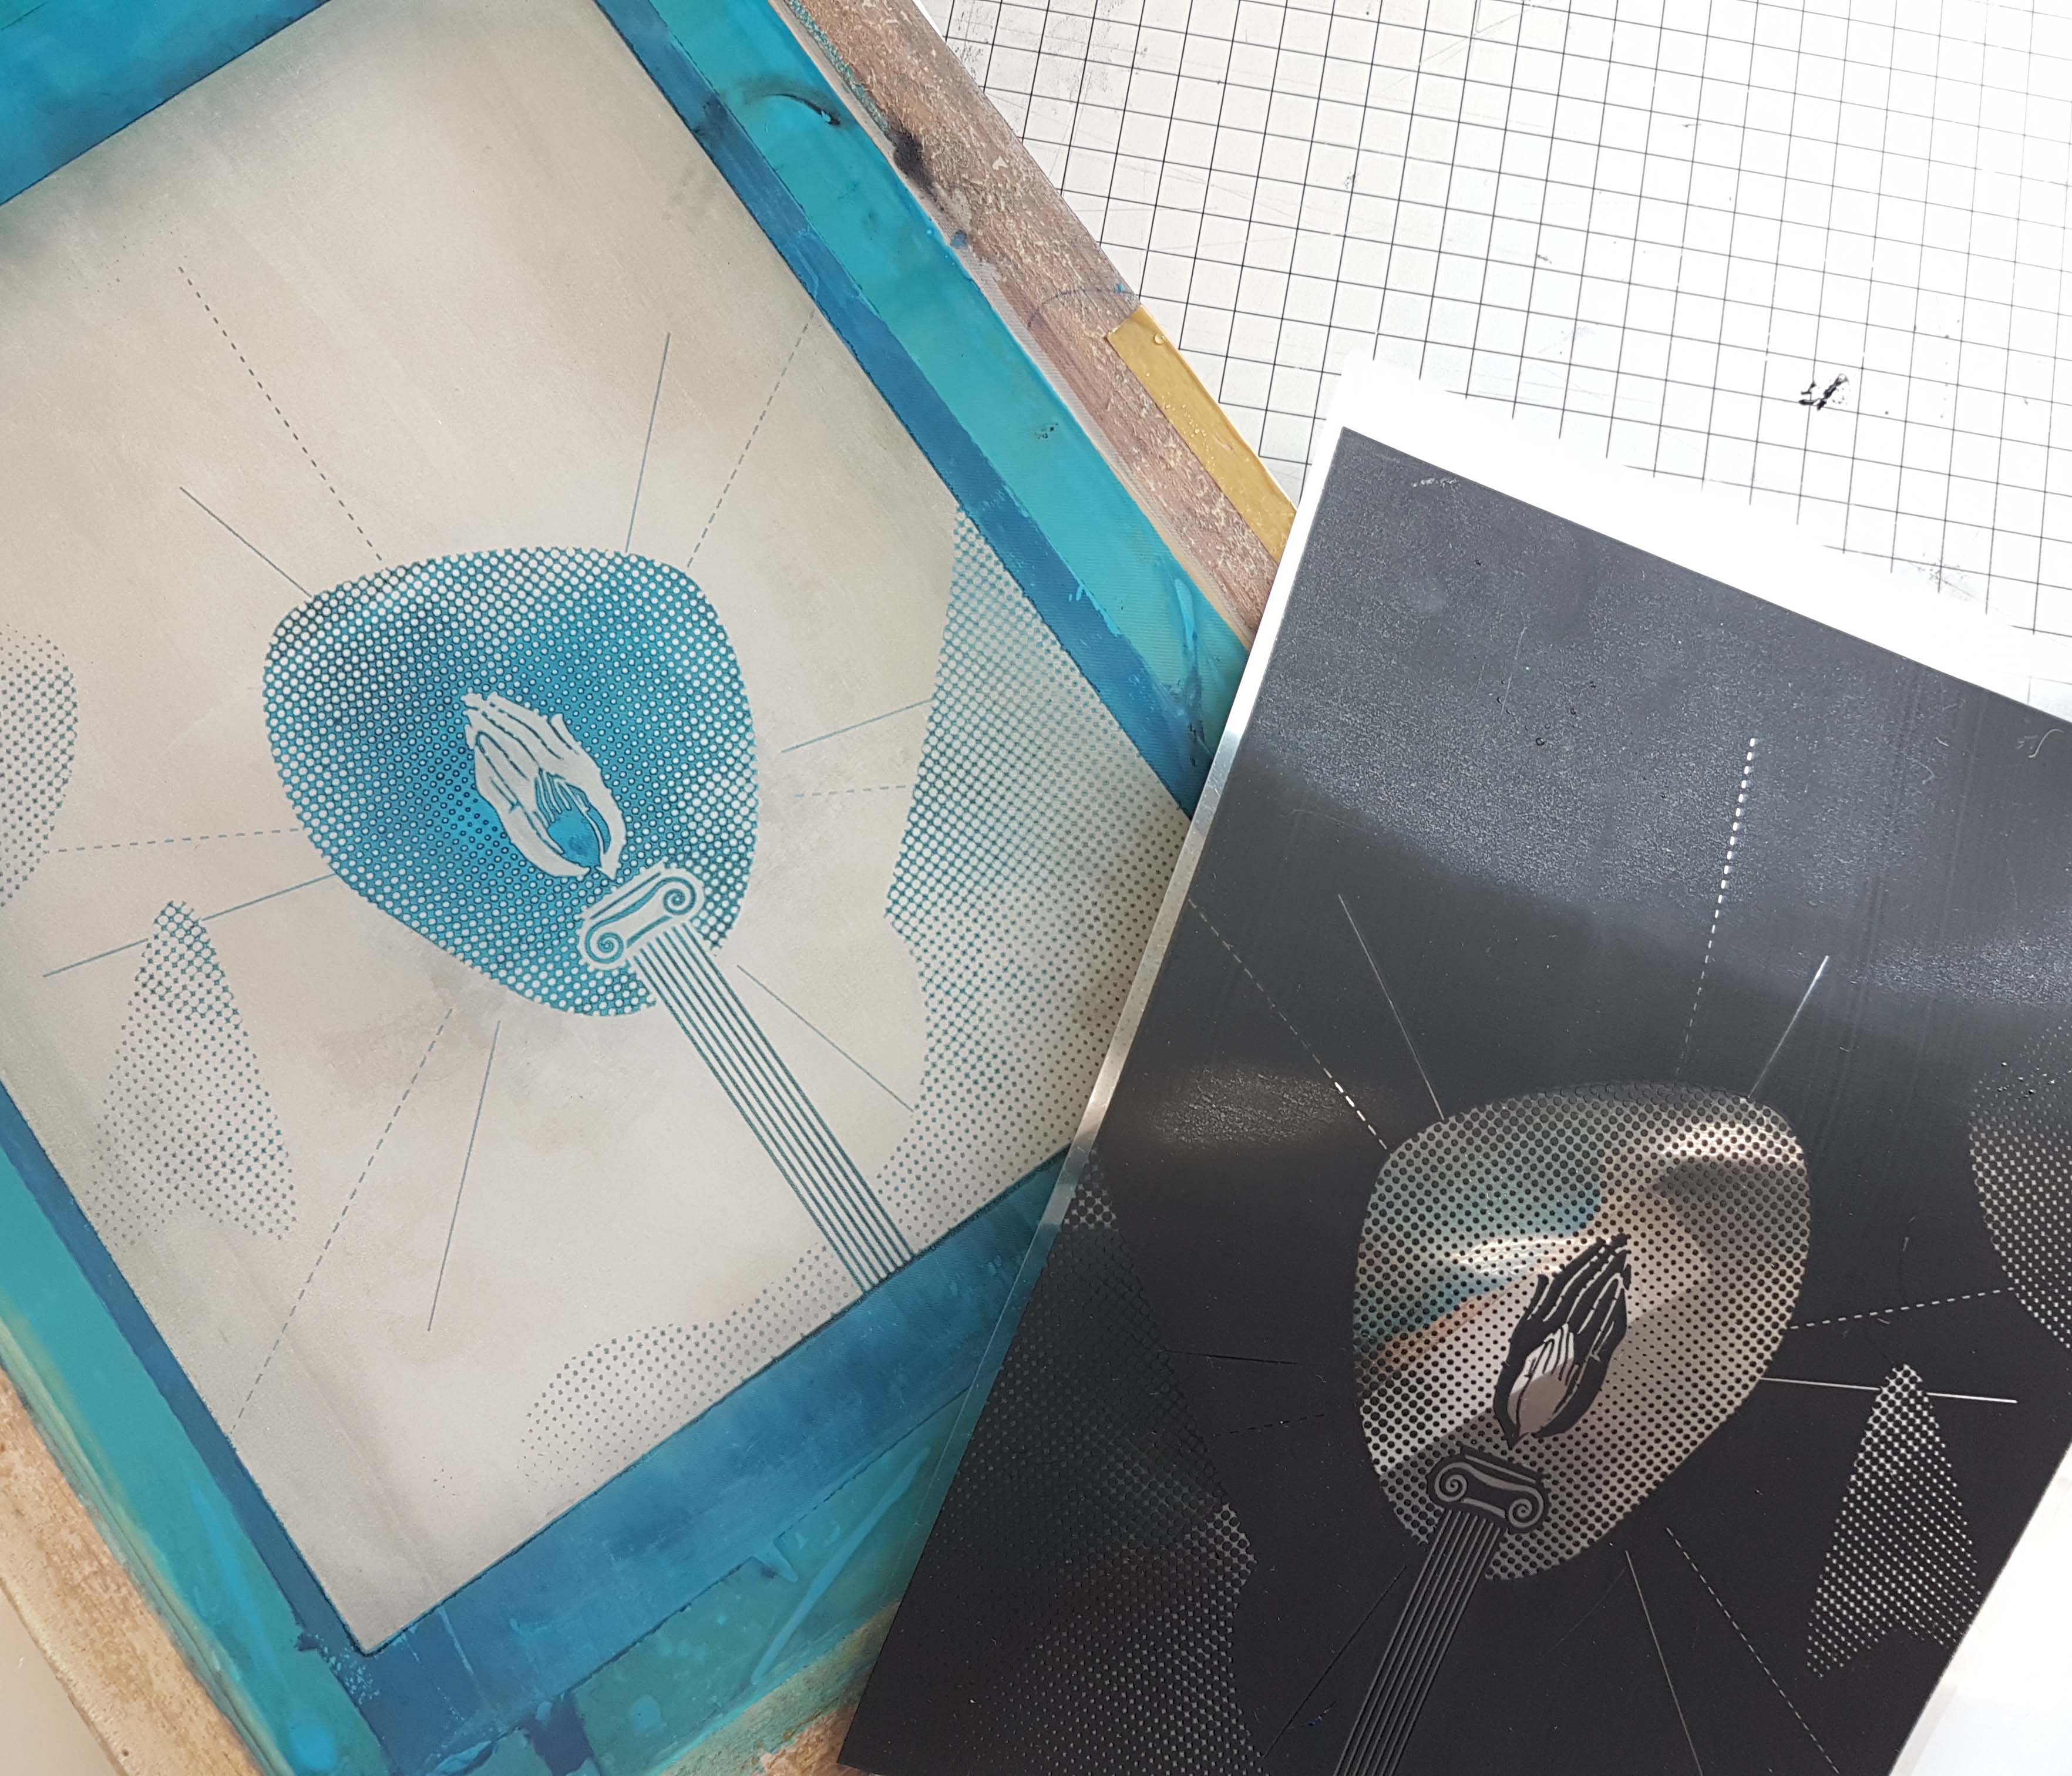
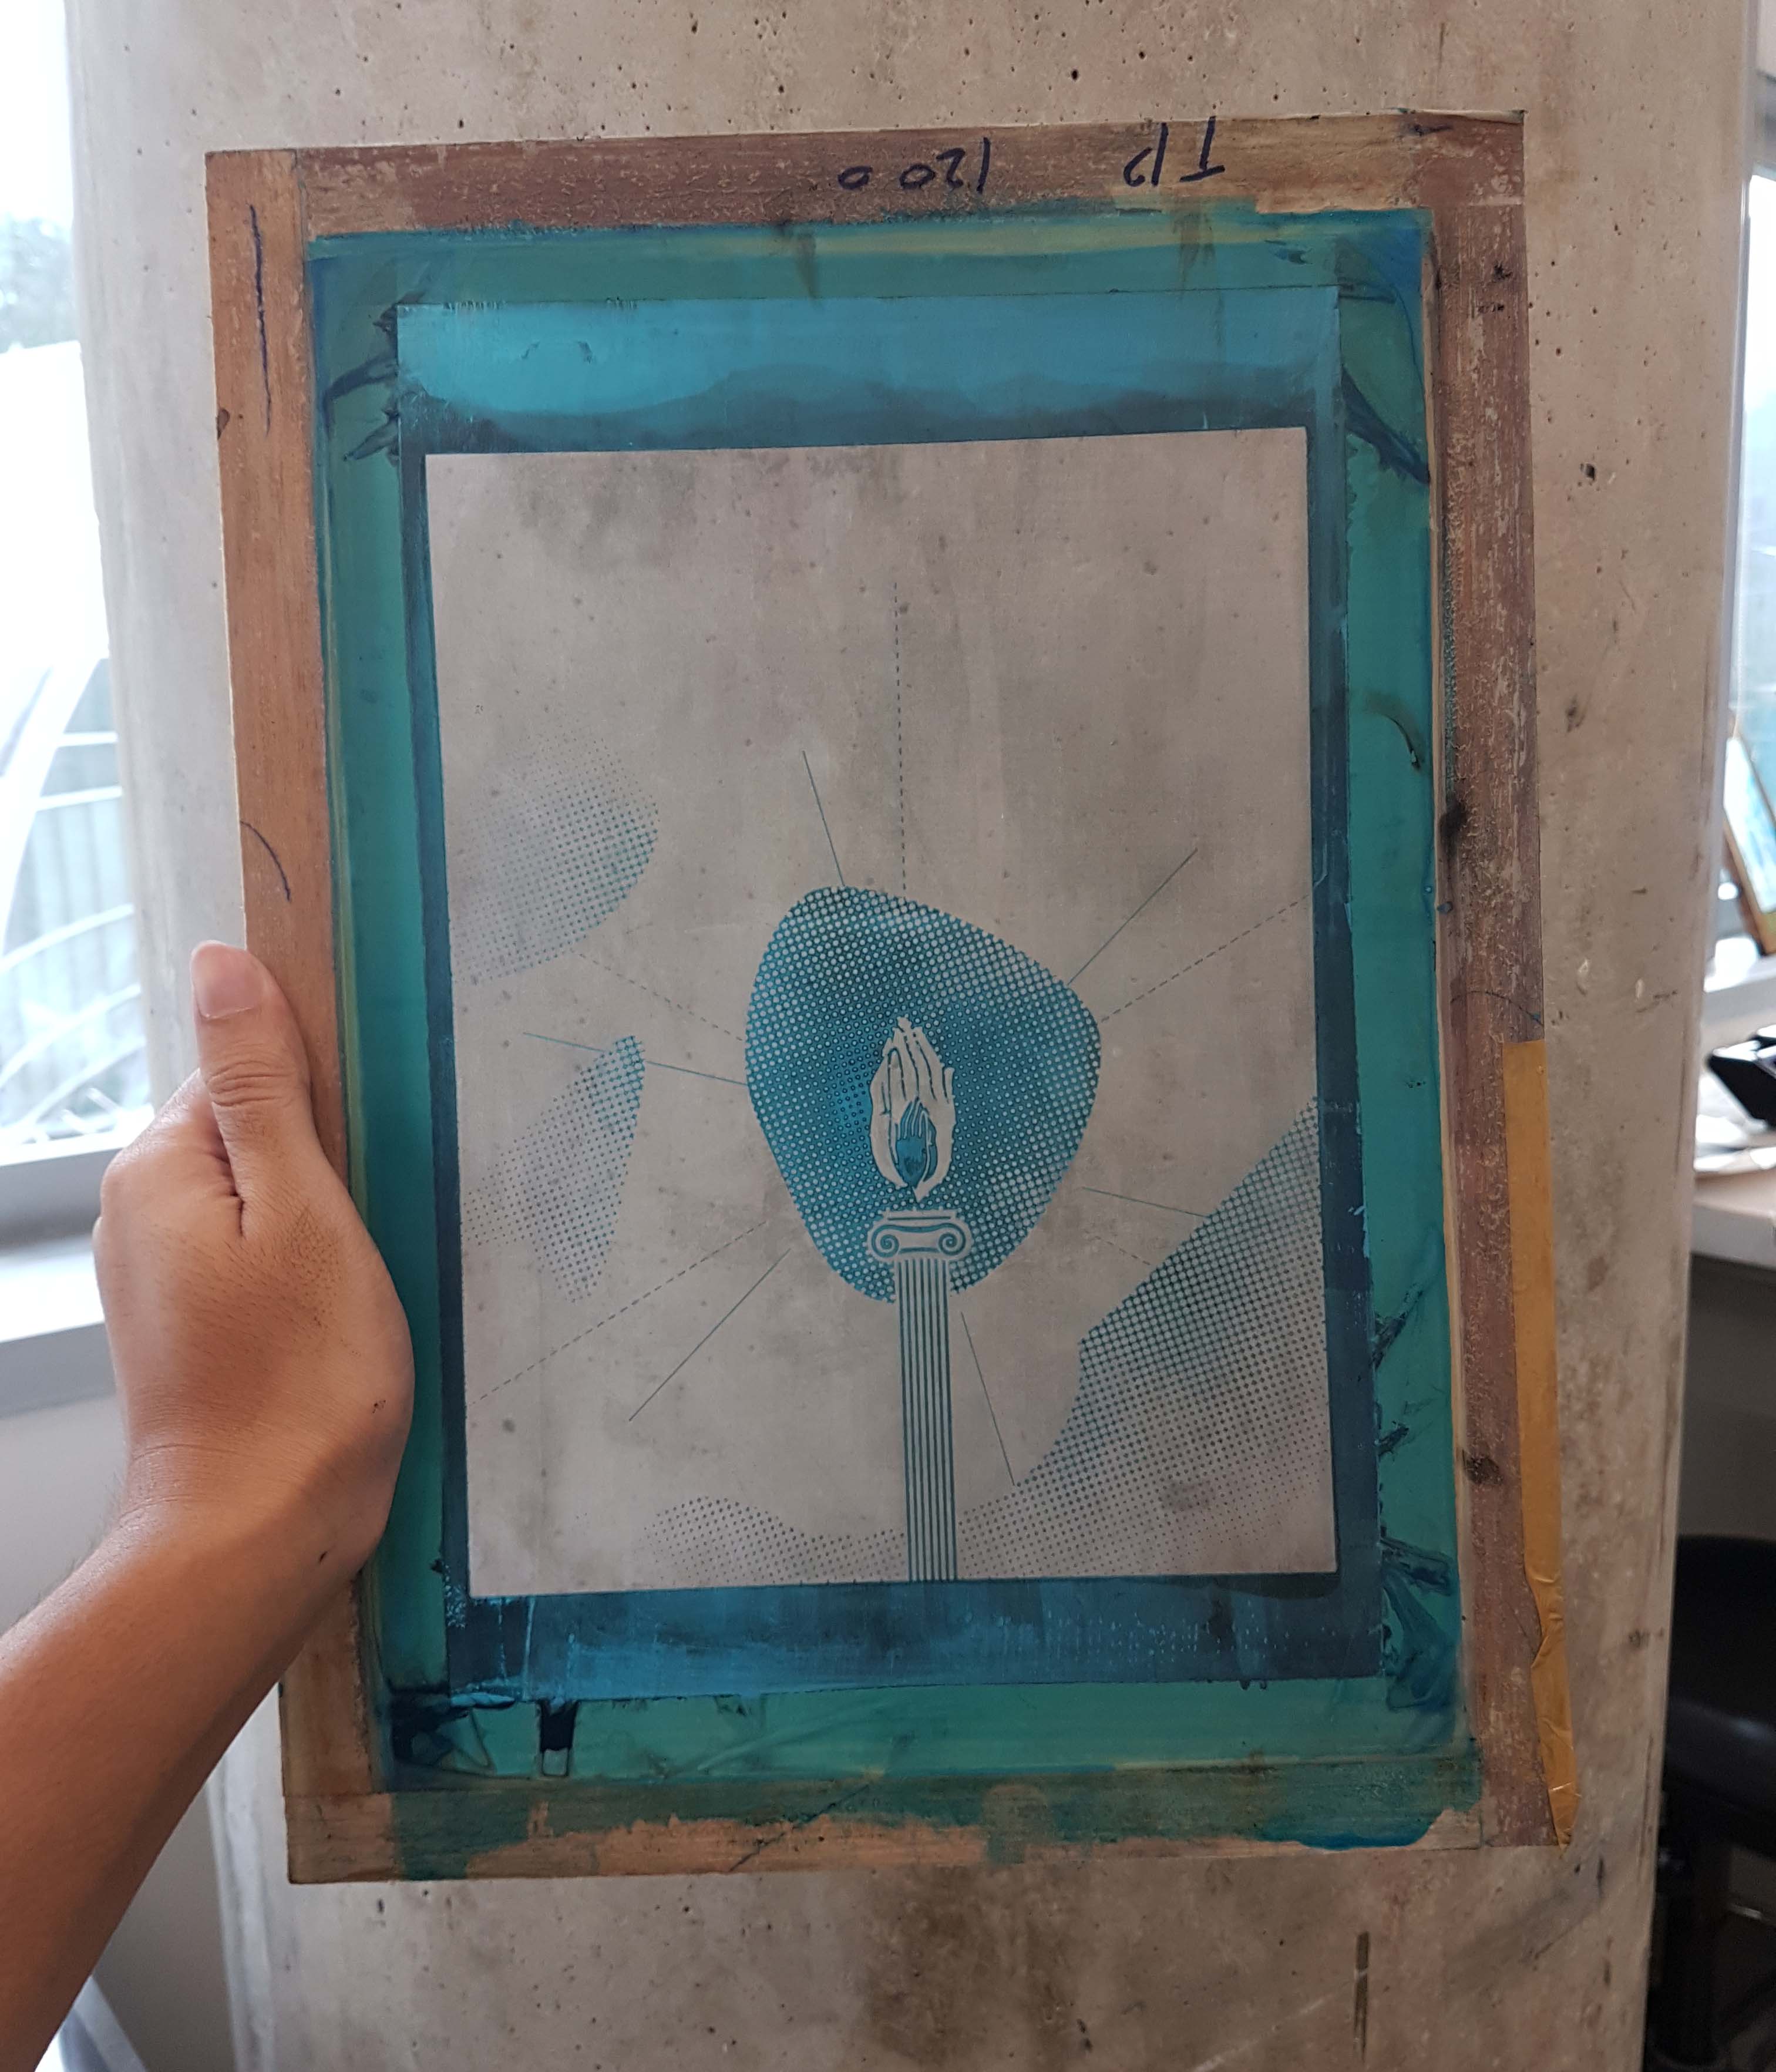
The screened design and the transparency

After creating the digital design, we were to print it out on two transparent sheets and align both of them together.

After that, we were then told to prepare the screen by spreading the photo emulsion on it. Firstly, we have to wash the screen to clear up all the dirt and dust on the screen. After the screen is dry, we spread a thin layer of photo emulsion on both sides of the screen.

Once both sides of the screen have a smooth layer of photo emulsion on, it is put aside to dry once more.

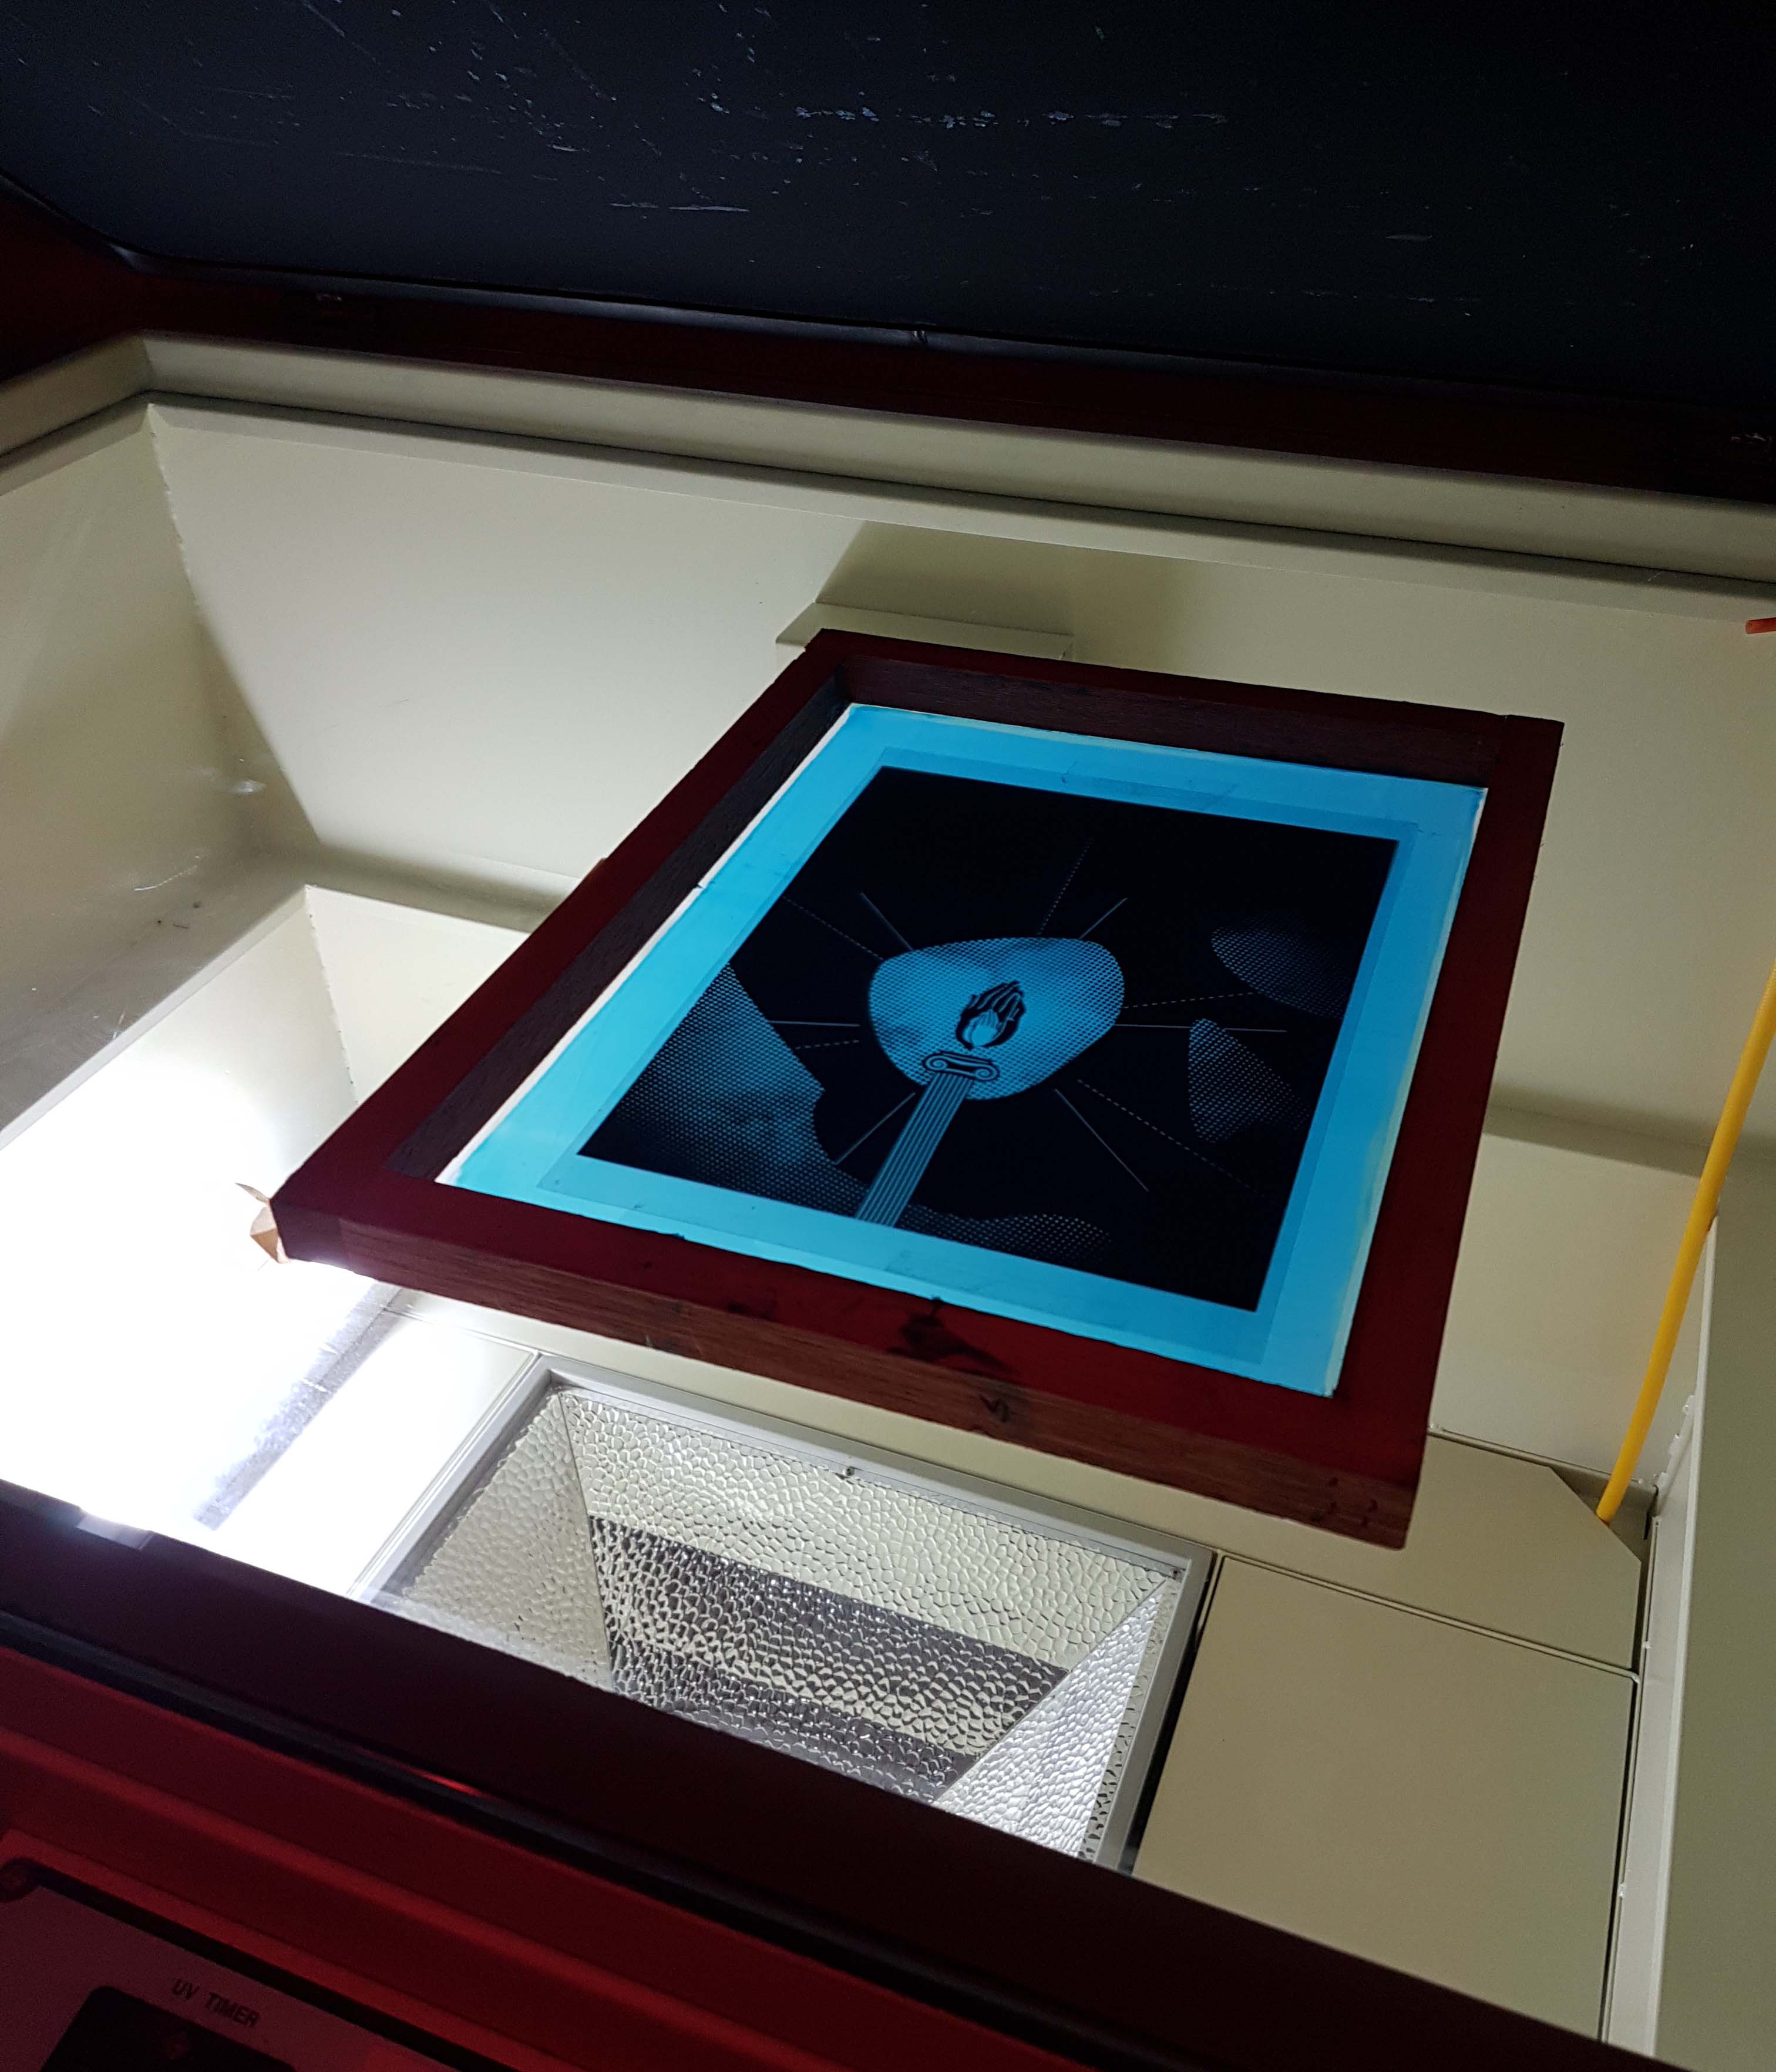
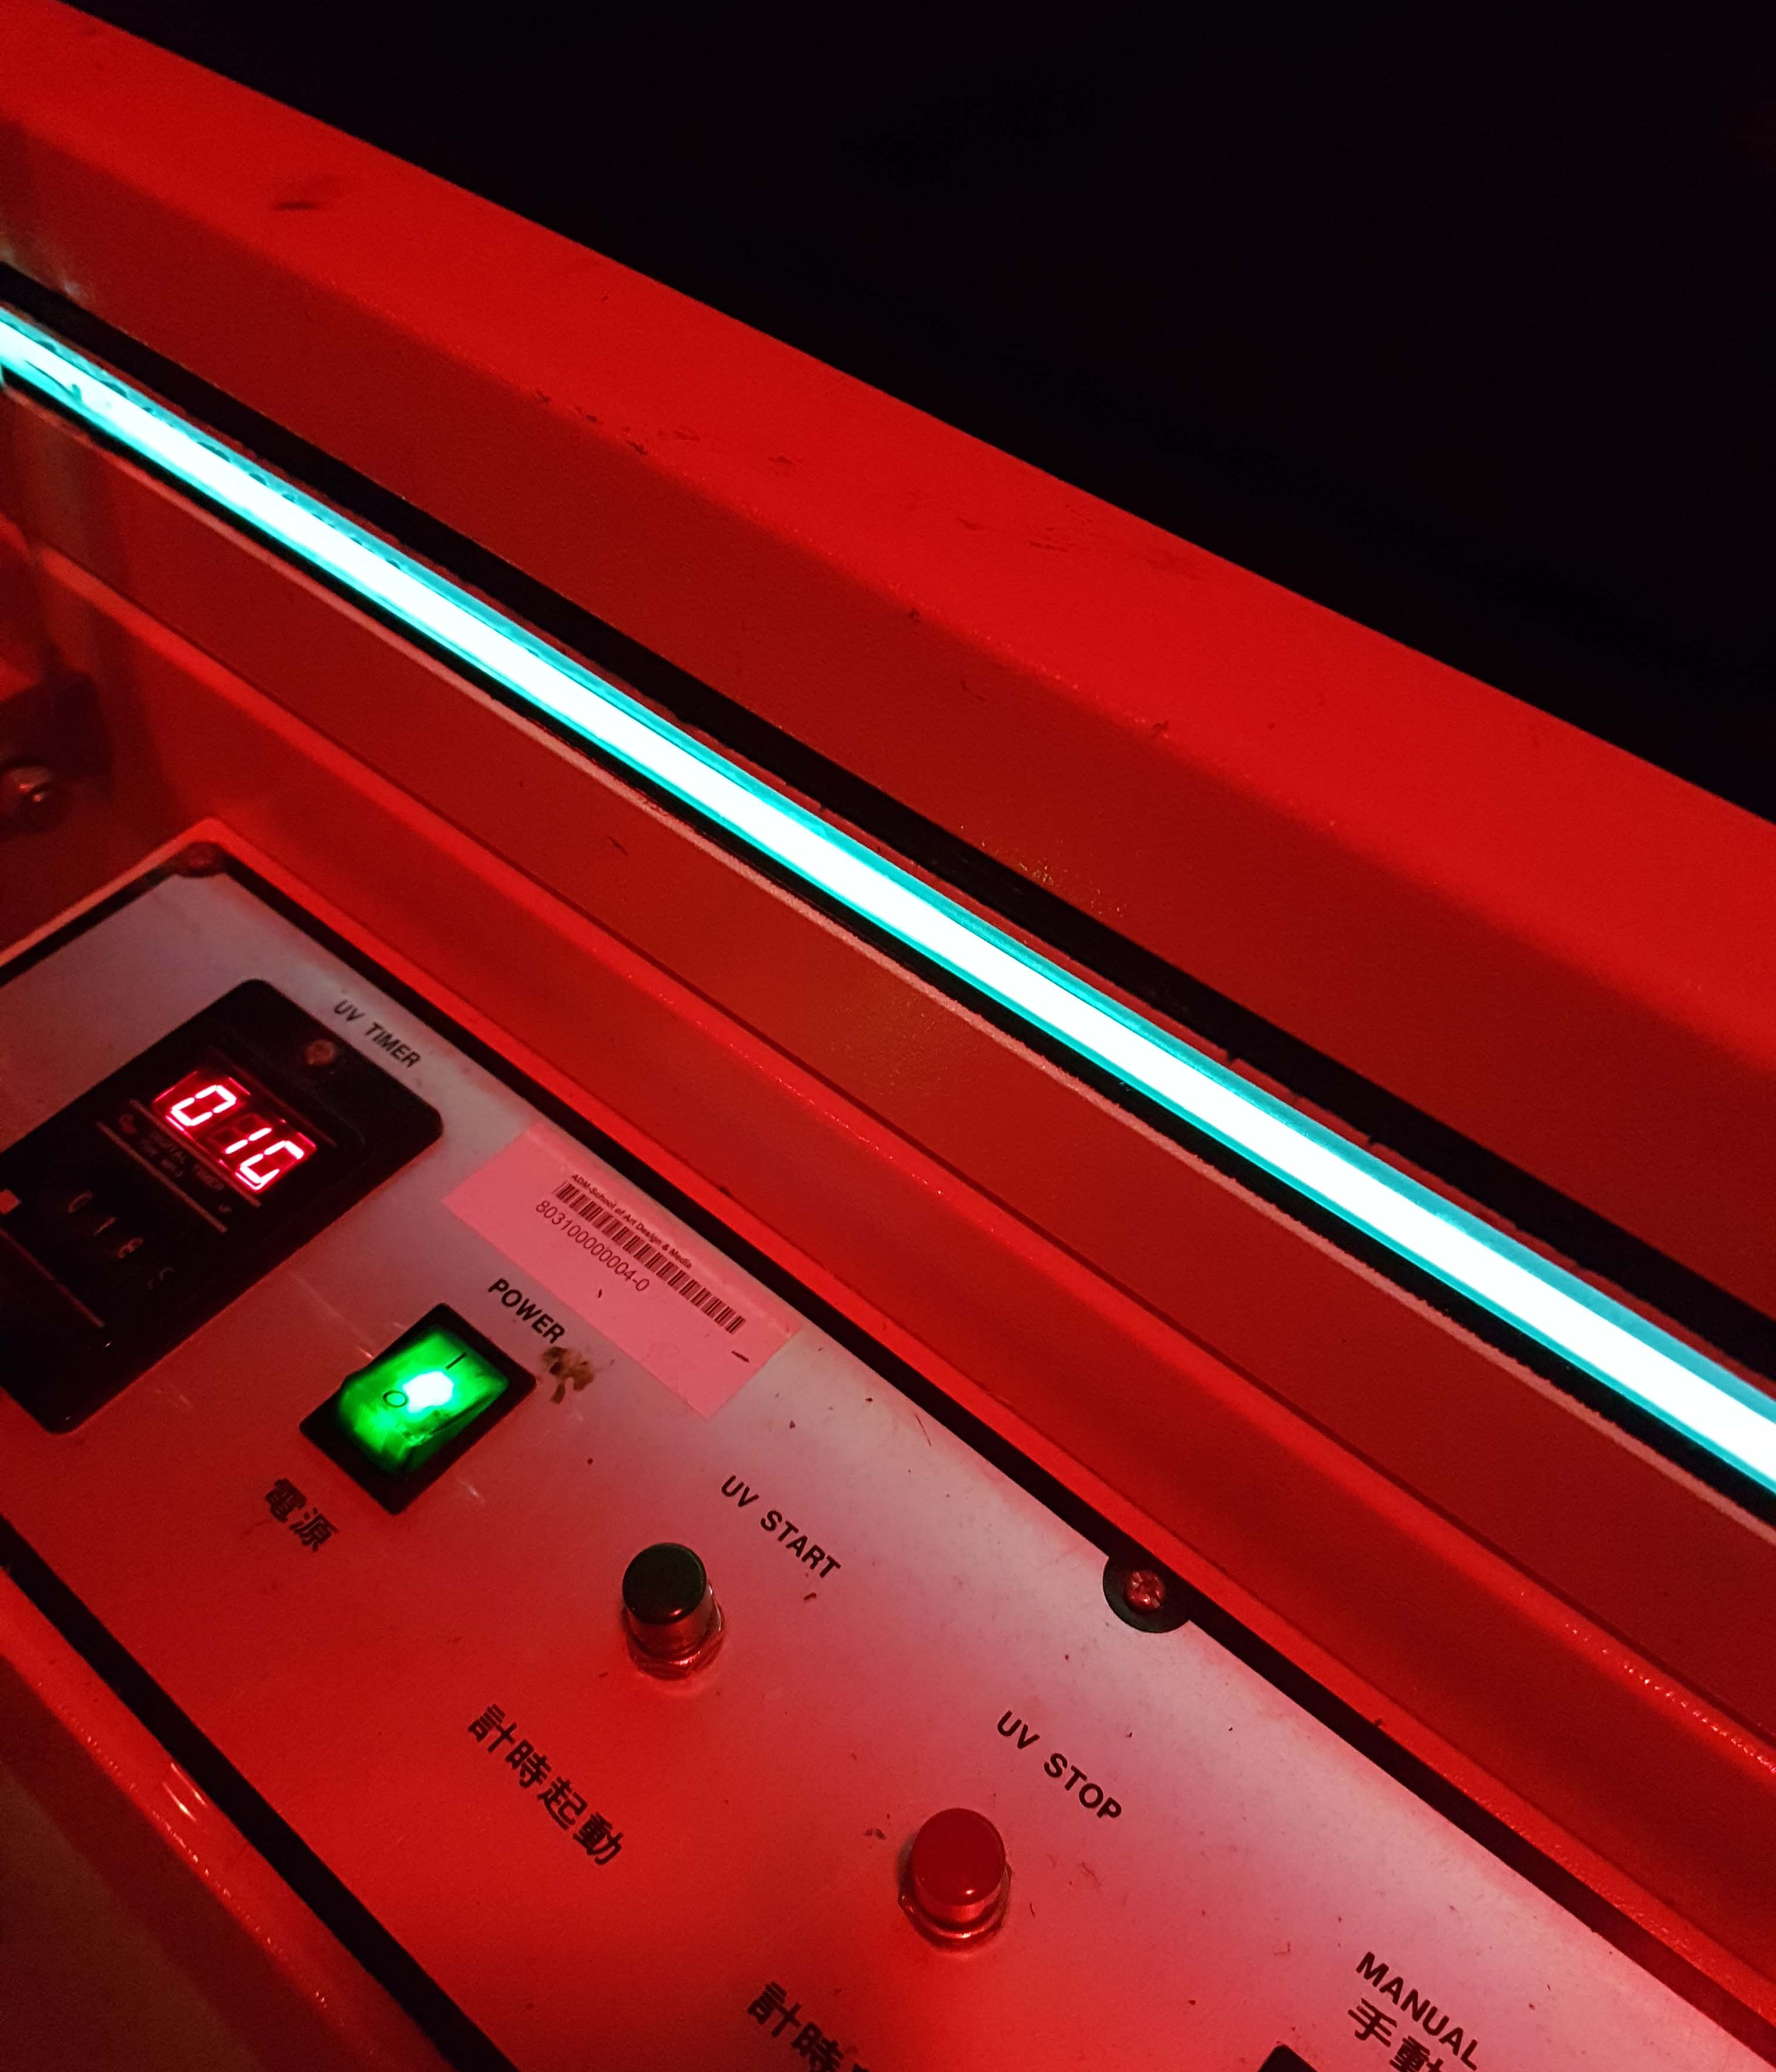
Once the emulsion has dried on the screen, we place the transparency with the design on it onto the screen and put it into the machine to transfer the design from the transparency onto the screen. The transparency needs to be inbetween the screen and the machine for it to be successful.

Wash off the emulsion from the screen so that the design will be more clear and the screen is ready to be used for silkscreening. The design, however, will be inverted, in a sense that, the black printed areas will be a negative space, while the negative space on the transparency will be “printed” onto the screen. Put it to dry again.

Screen with the design, after washing.

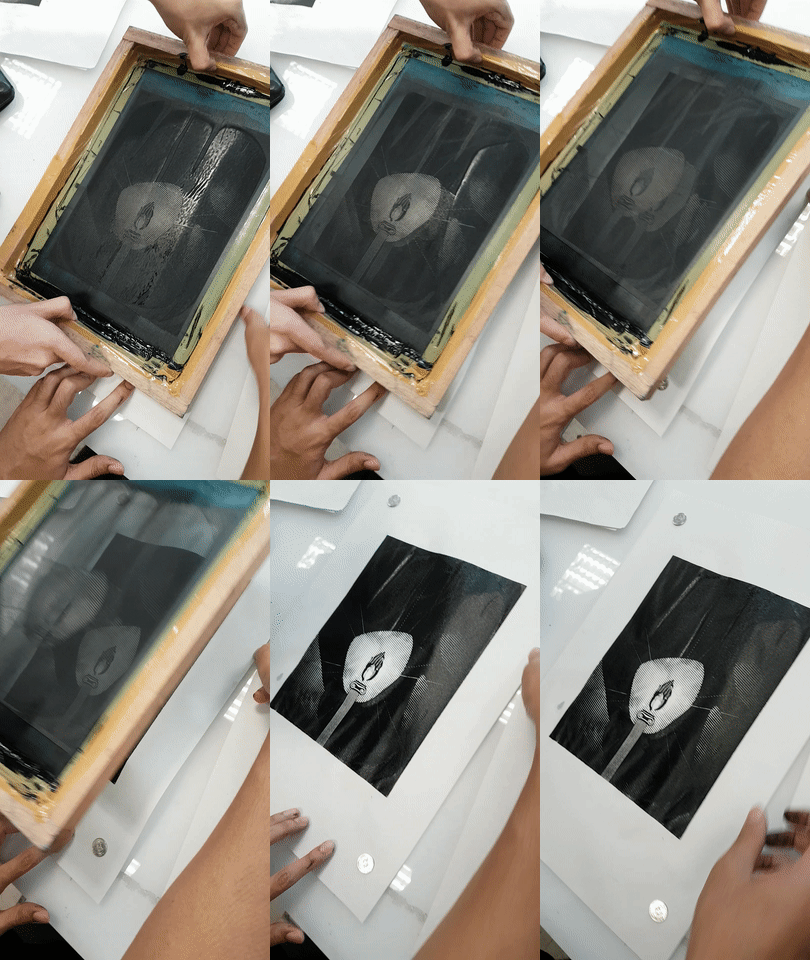
Once it is dry, place the desired surface to print the design onto a flat table. Then lay the screen flat onto the surface, with 4 coins attached to all 4 corners of the screen. This will allow the screen to not touch the surface while and after the design is printed.

Once all of these is prepared, spread a sufficient amount of paint at the top of the screen that is not touching the design. If your design has more negative space, use more paint.

Spread the paint at the top of the screen

Get a squeegee and hold firmly with both hands. Have a friend to help hold the screen firmly in place. When ready, use the squeegee and spread the paint downwards across the screen until the bottom. If you missed a few spots, turn the squeegee around and spread the paint back upwards, till all the spots have been covered. Should not spread too many times (personal experience, once or twice is good enough) as the design printed will turn out really dark and will lose a lot of details.

Hold down the surface (paper or in this case the tote bag) and carefully remove the screen.

Finalised print:


Project 2: My Quotes

I love fantasy movies – medieval-themed or history movies. One of my favourite movies ever would be the Lord of the Rings trilogy. I would not mind watching them again and again, even if I know what happens next. Even when I listen to the movie soundtrack, I know where in the movie that particular music piece is from. So most of my quotes would be from the movies of Middle-earth.

Movie Quote 1: “Home is behind you, the world is ahead”

It is a phrase used in Lord of the Rings: Return of the King in the song sung by Pippin to the steward of Gondor.

It is also mentioned in The Hobbit: An Unexpected Journey when Gandalf managed to convince Bilbo to go on the adventure with him.

Movie Quote 2: “The world is not in your books and maps, it’s out there”

It is mentioned in the movie The Hobbit: An Unexpected Journey when Gandalf tries to convince Bilbo to follow them in his journey.

Movie Quote 3: “May it be a light for you in dark places”

It is mentioned by Lady Galadriel to Frodo when he hands him the light of Eärendil to help him with his journey to destroy the ring.

Quote 4: “You gave me peace in a lifetime of war”

It’s not a quote from a Middle Earth movie, but one of my other favourite medieval movie which I don’t mind watching again and again – Troy. It is mentioned by Achilles to Briseis when he is about to die. Even though the acting was a little bad (who talks so clearly when they are about to die), I still think it is a good line.