For this assignment, we are to create an object out of soft material, like fabrics, but make the prototype using paper. So I had the idea of creating something that would be useful for my profession as a designer.
Deciding on the product
Before actually getting into the technicality and the actual making and sketching, I would have to decide on what to make first. I would want to make a bag, but there are many types and for different purposes.
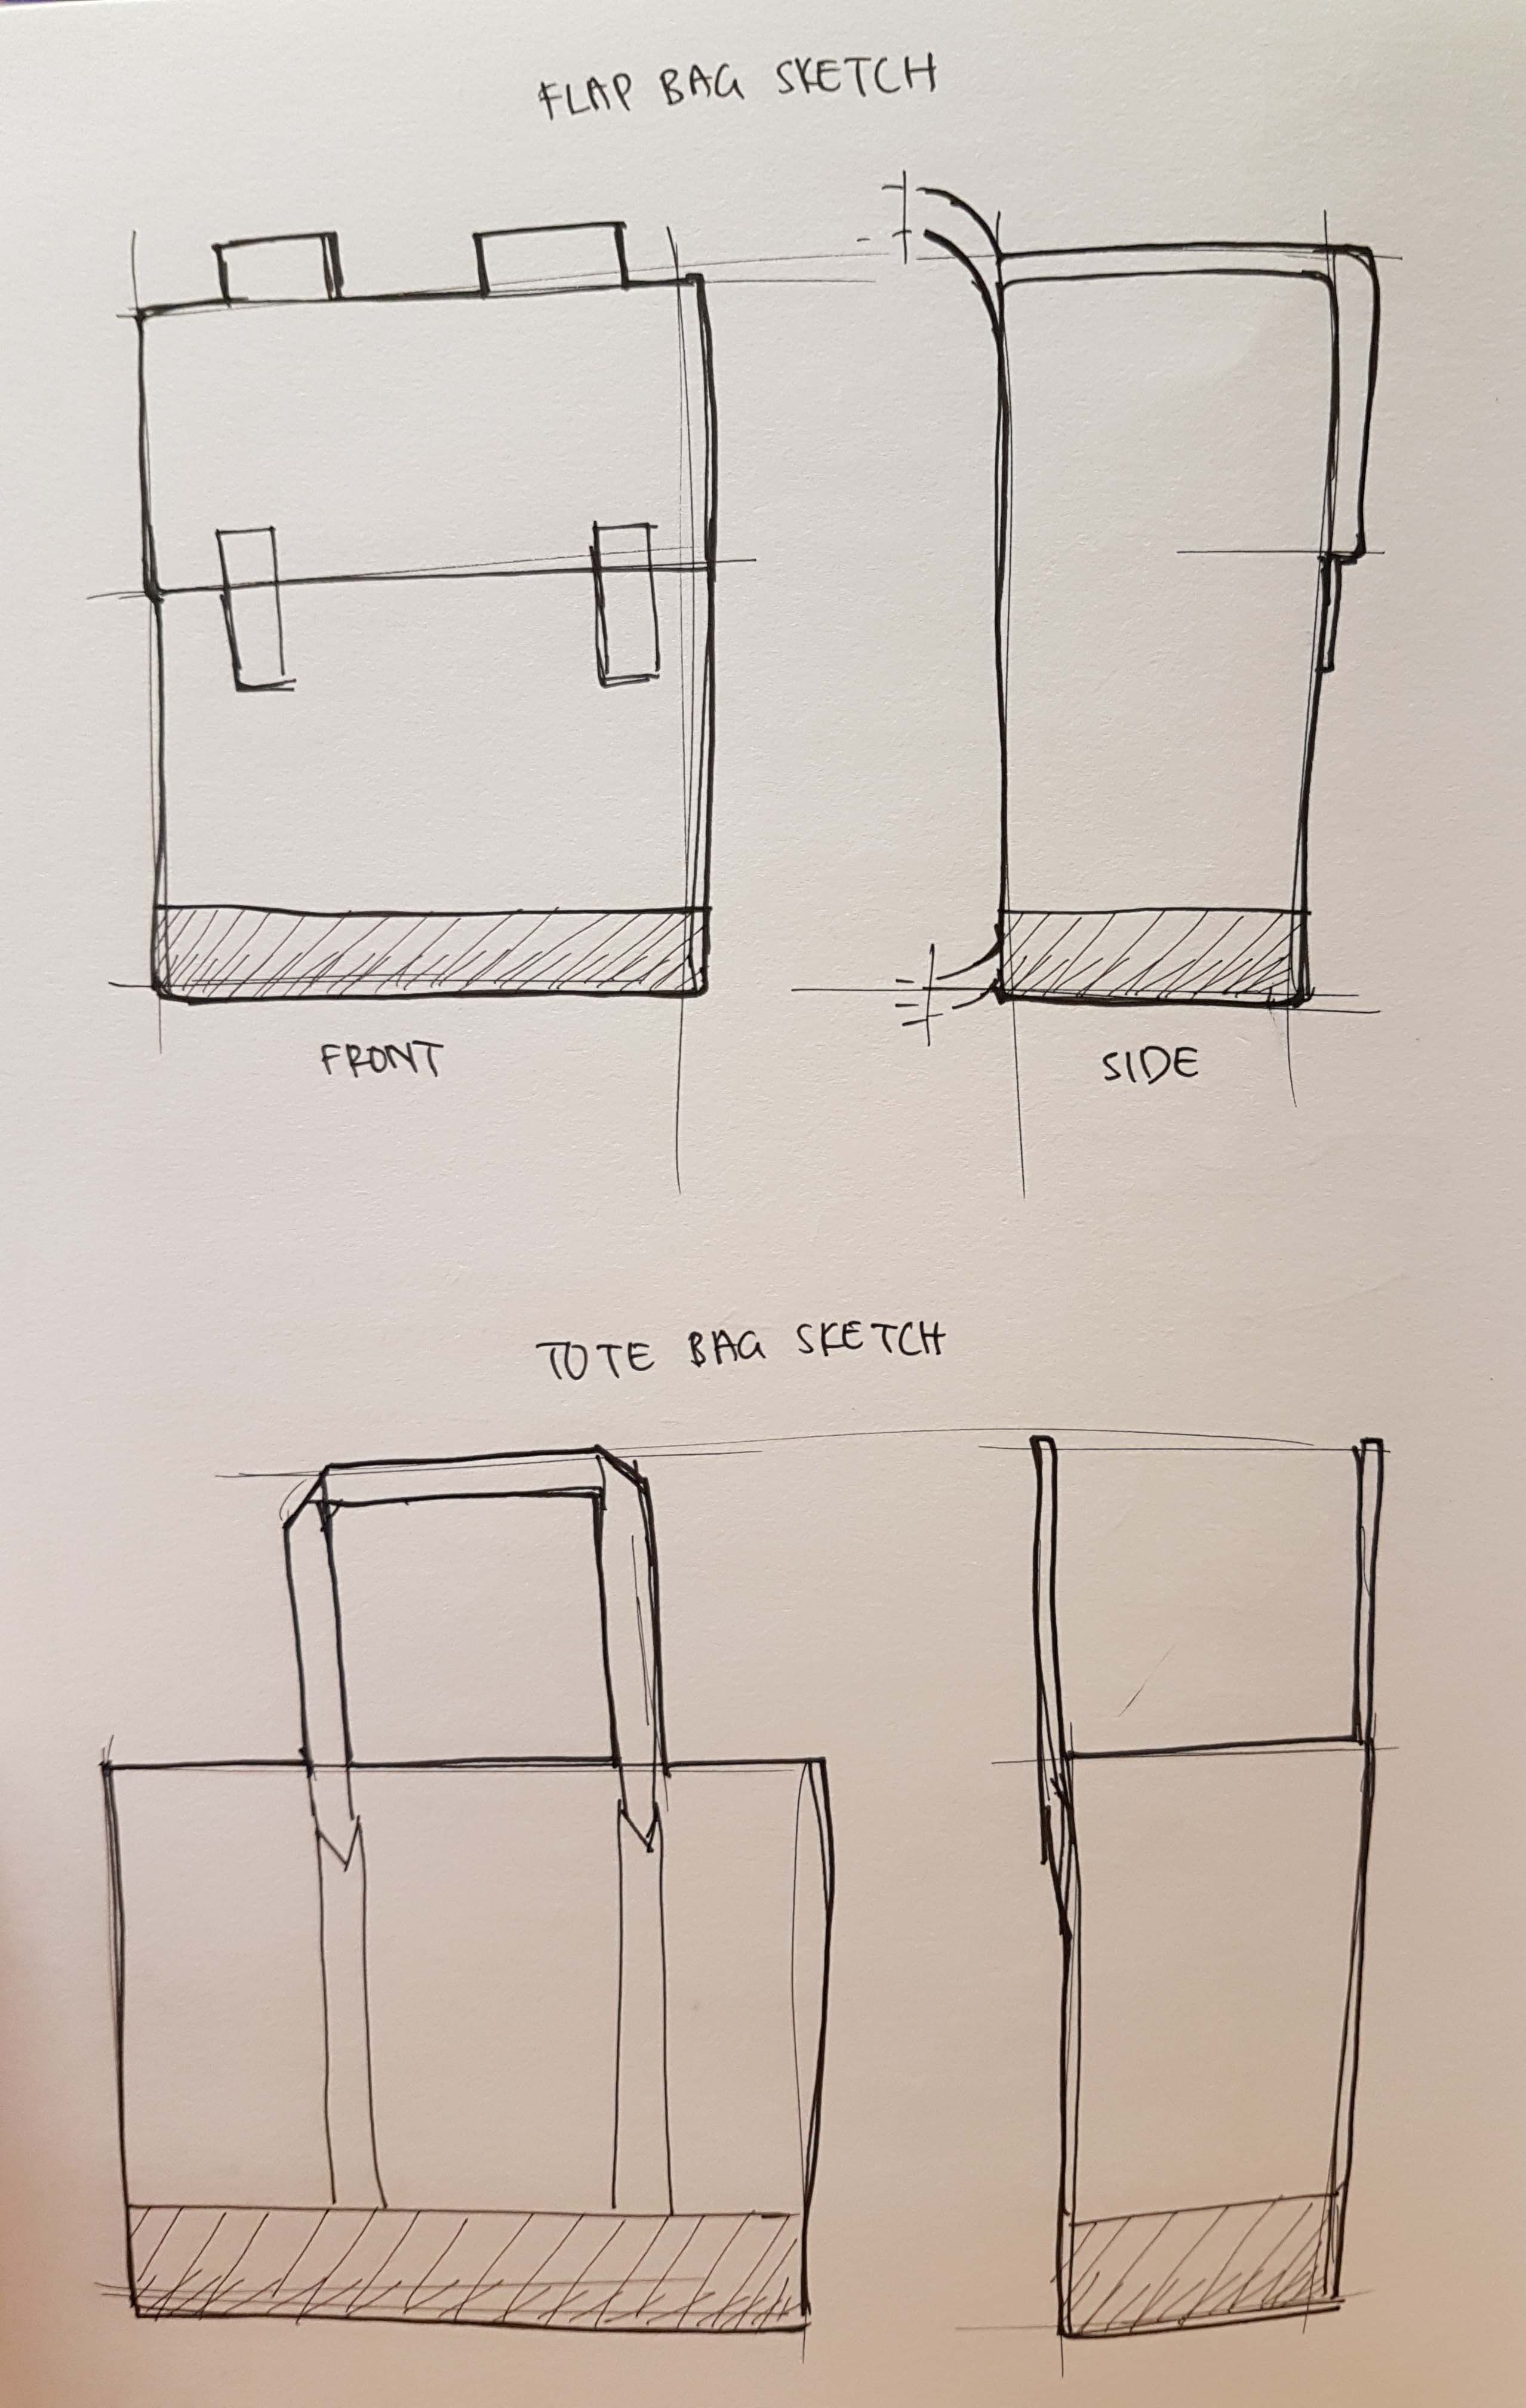
I thought of making a box-shaped bag as that is a common type of bag that I see being carried by designers.
Another common bag that I see is the tote bag, which is convenient for designers, but when it comes to weight, it gets a little heavy on the tote bag for one shoulder or one arm to carry.
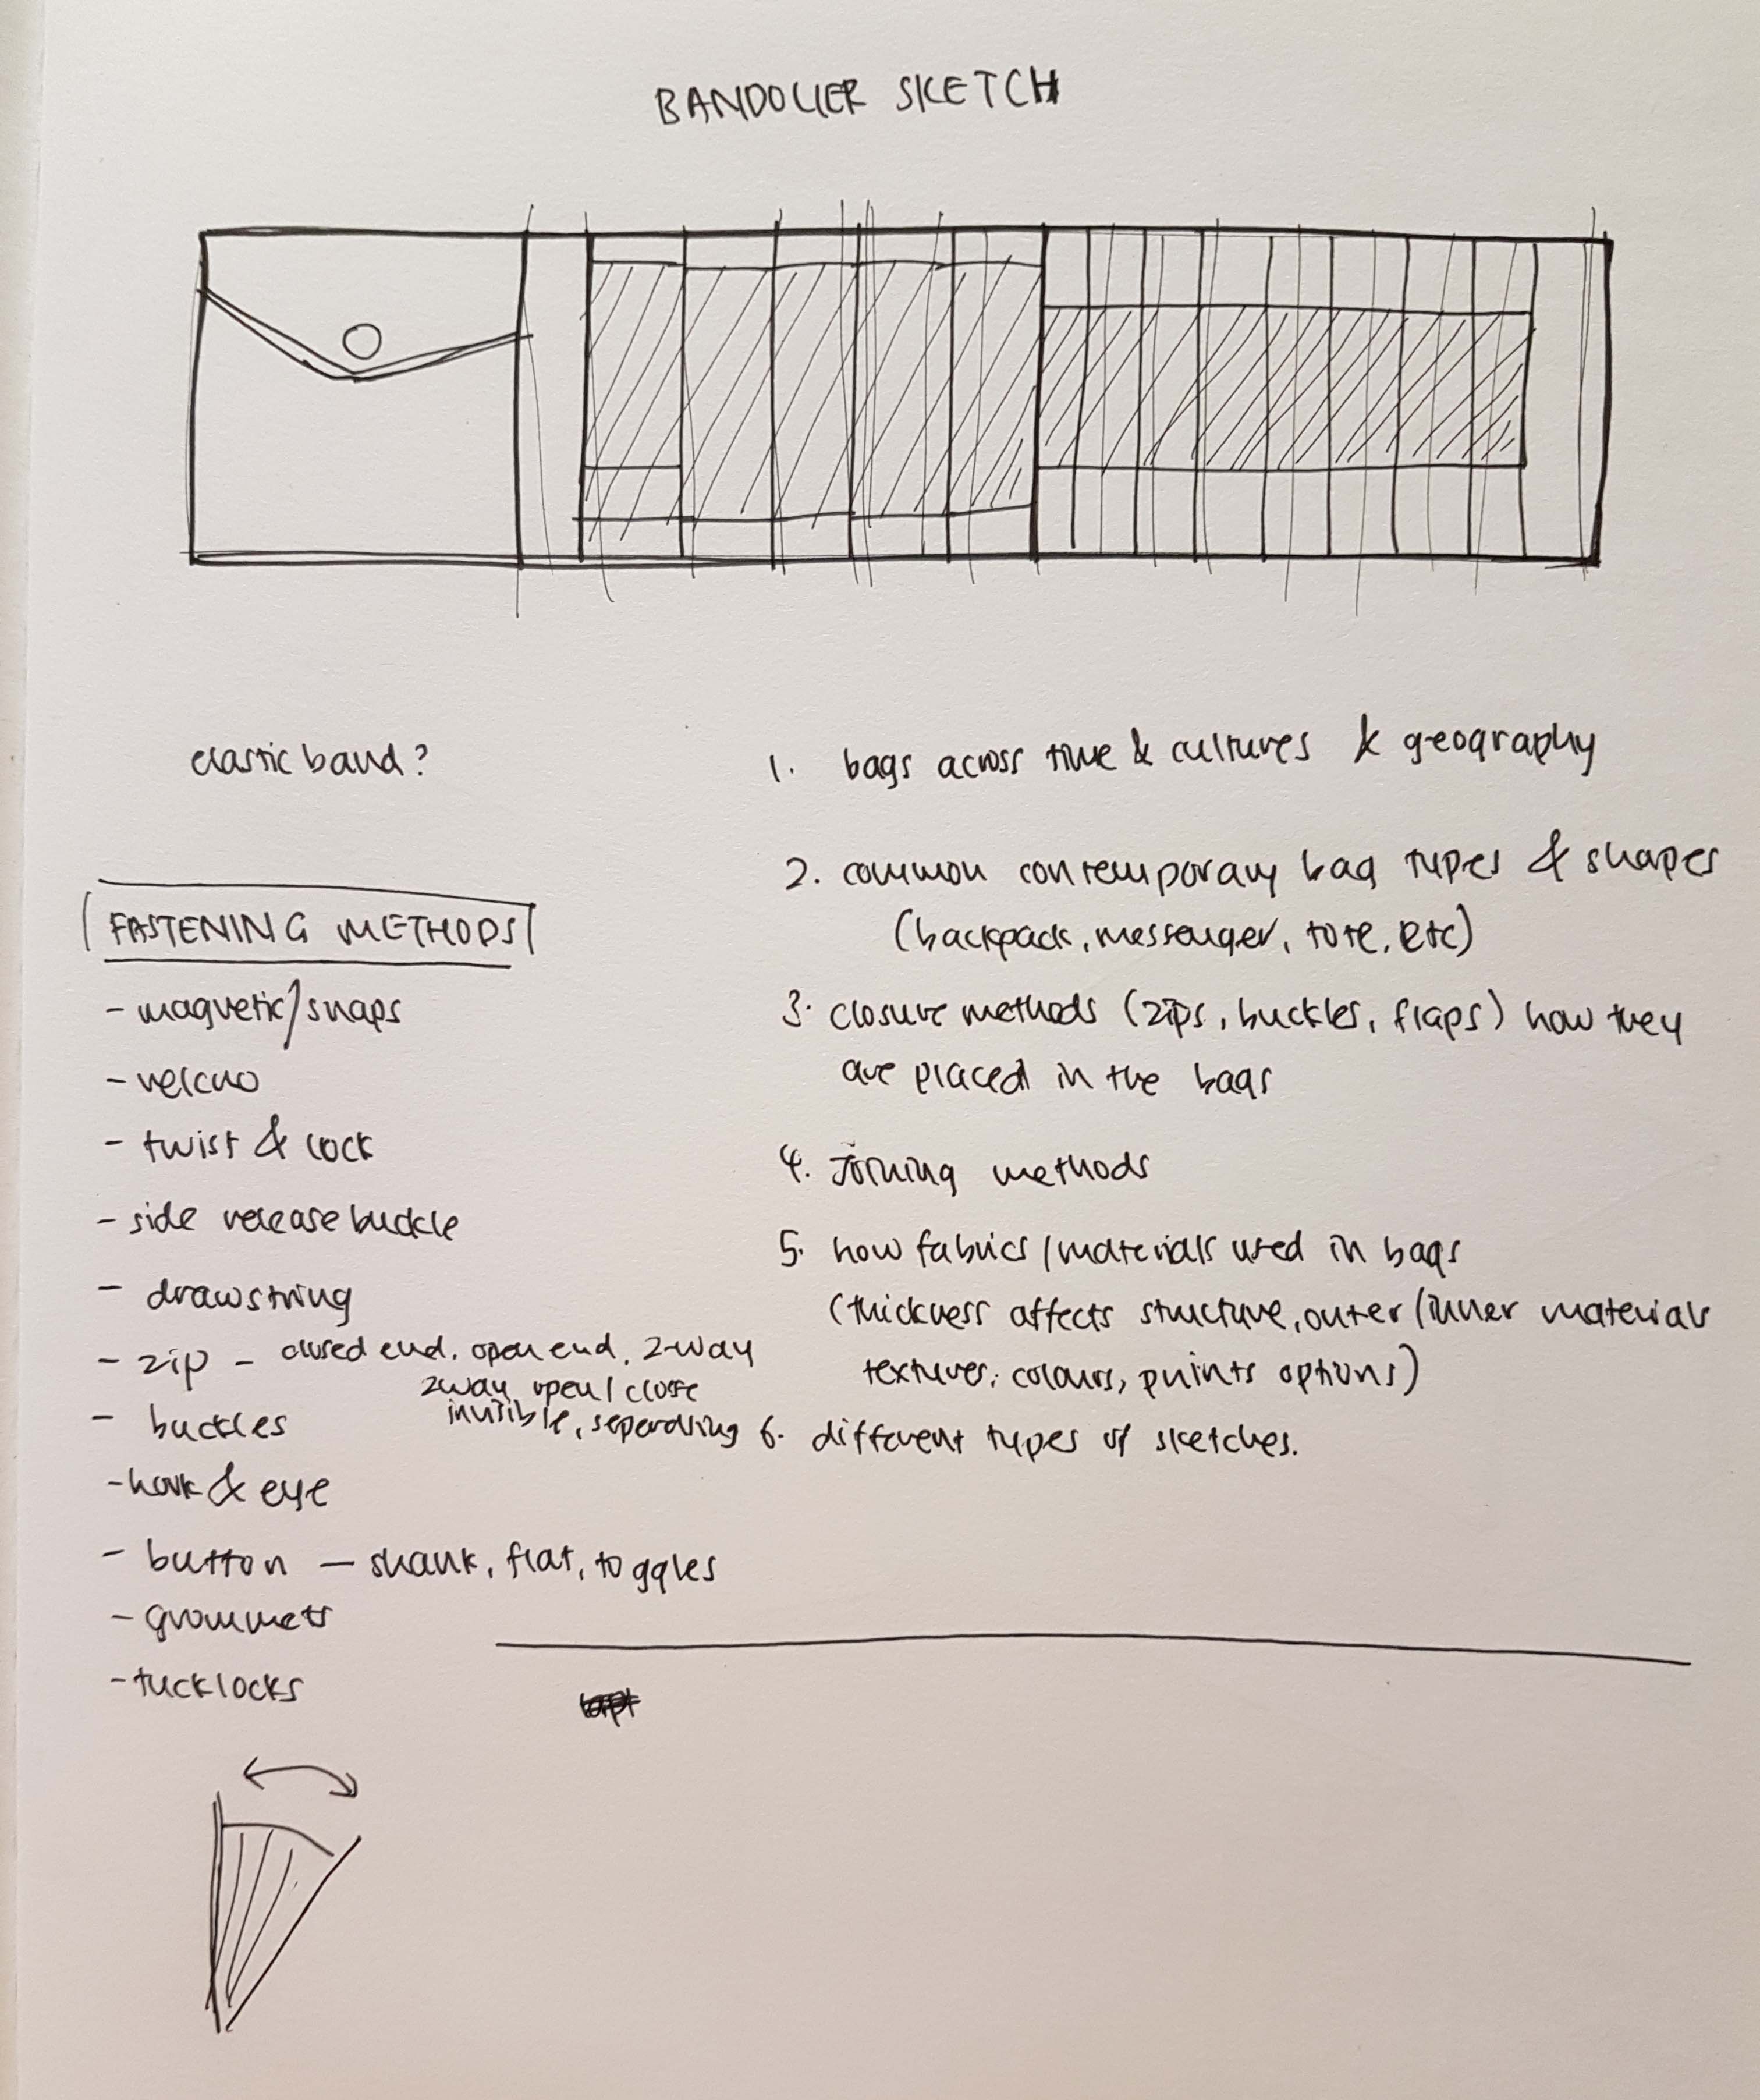
There was also an idea of making a form of the bandolier, which is something that the military would use to carry bullets and ammo, but instead of carrying those, this bandolier would be carrying designer or artist tools, like drawing pens or pencils, and a compartment for the smaller stuff. But then I would think that it could be a bit over the top and unnecessary.
So I decided to stick to the first idea which is the box-shaped bag as I think that would be the most practical to make.
Getting started
Now that I have the idea of the bag in my mind, I would then start to list the things that could be featured in the bag design. These things would be useful for the user of the bag – useful for the designer using the bag.
Parts of the bag:
- laptop slot
- EZlink card holder/slot
- thumbdrive slot
- A4/A4 sketchbook size
- A2/A3 roll holder
- penknife/cutter slot
- pen holder
- bottle slot
- ruler slot
(These are just initial ideas. Some of these ideas get scrapped over time)
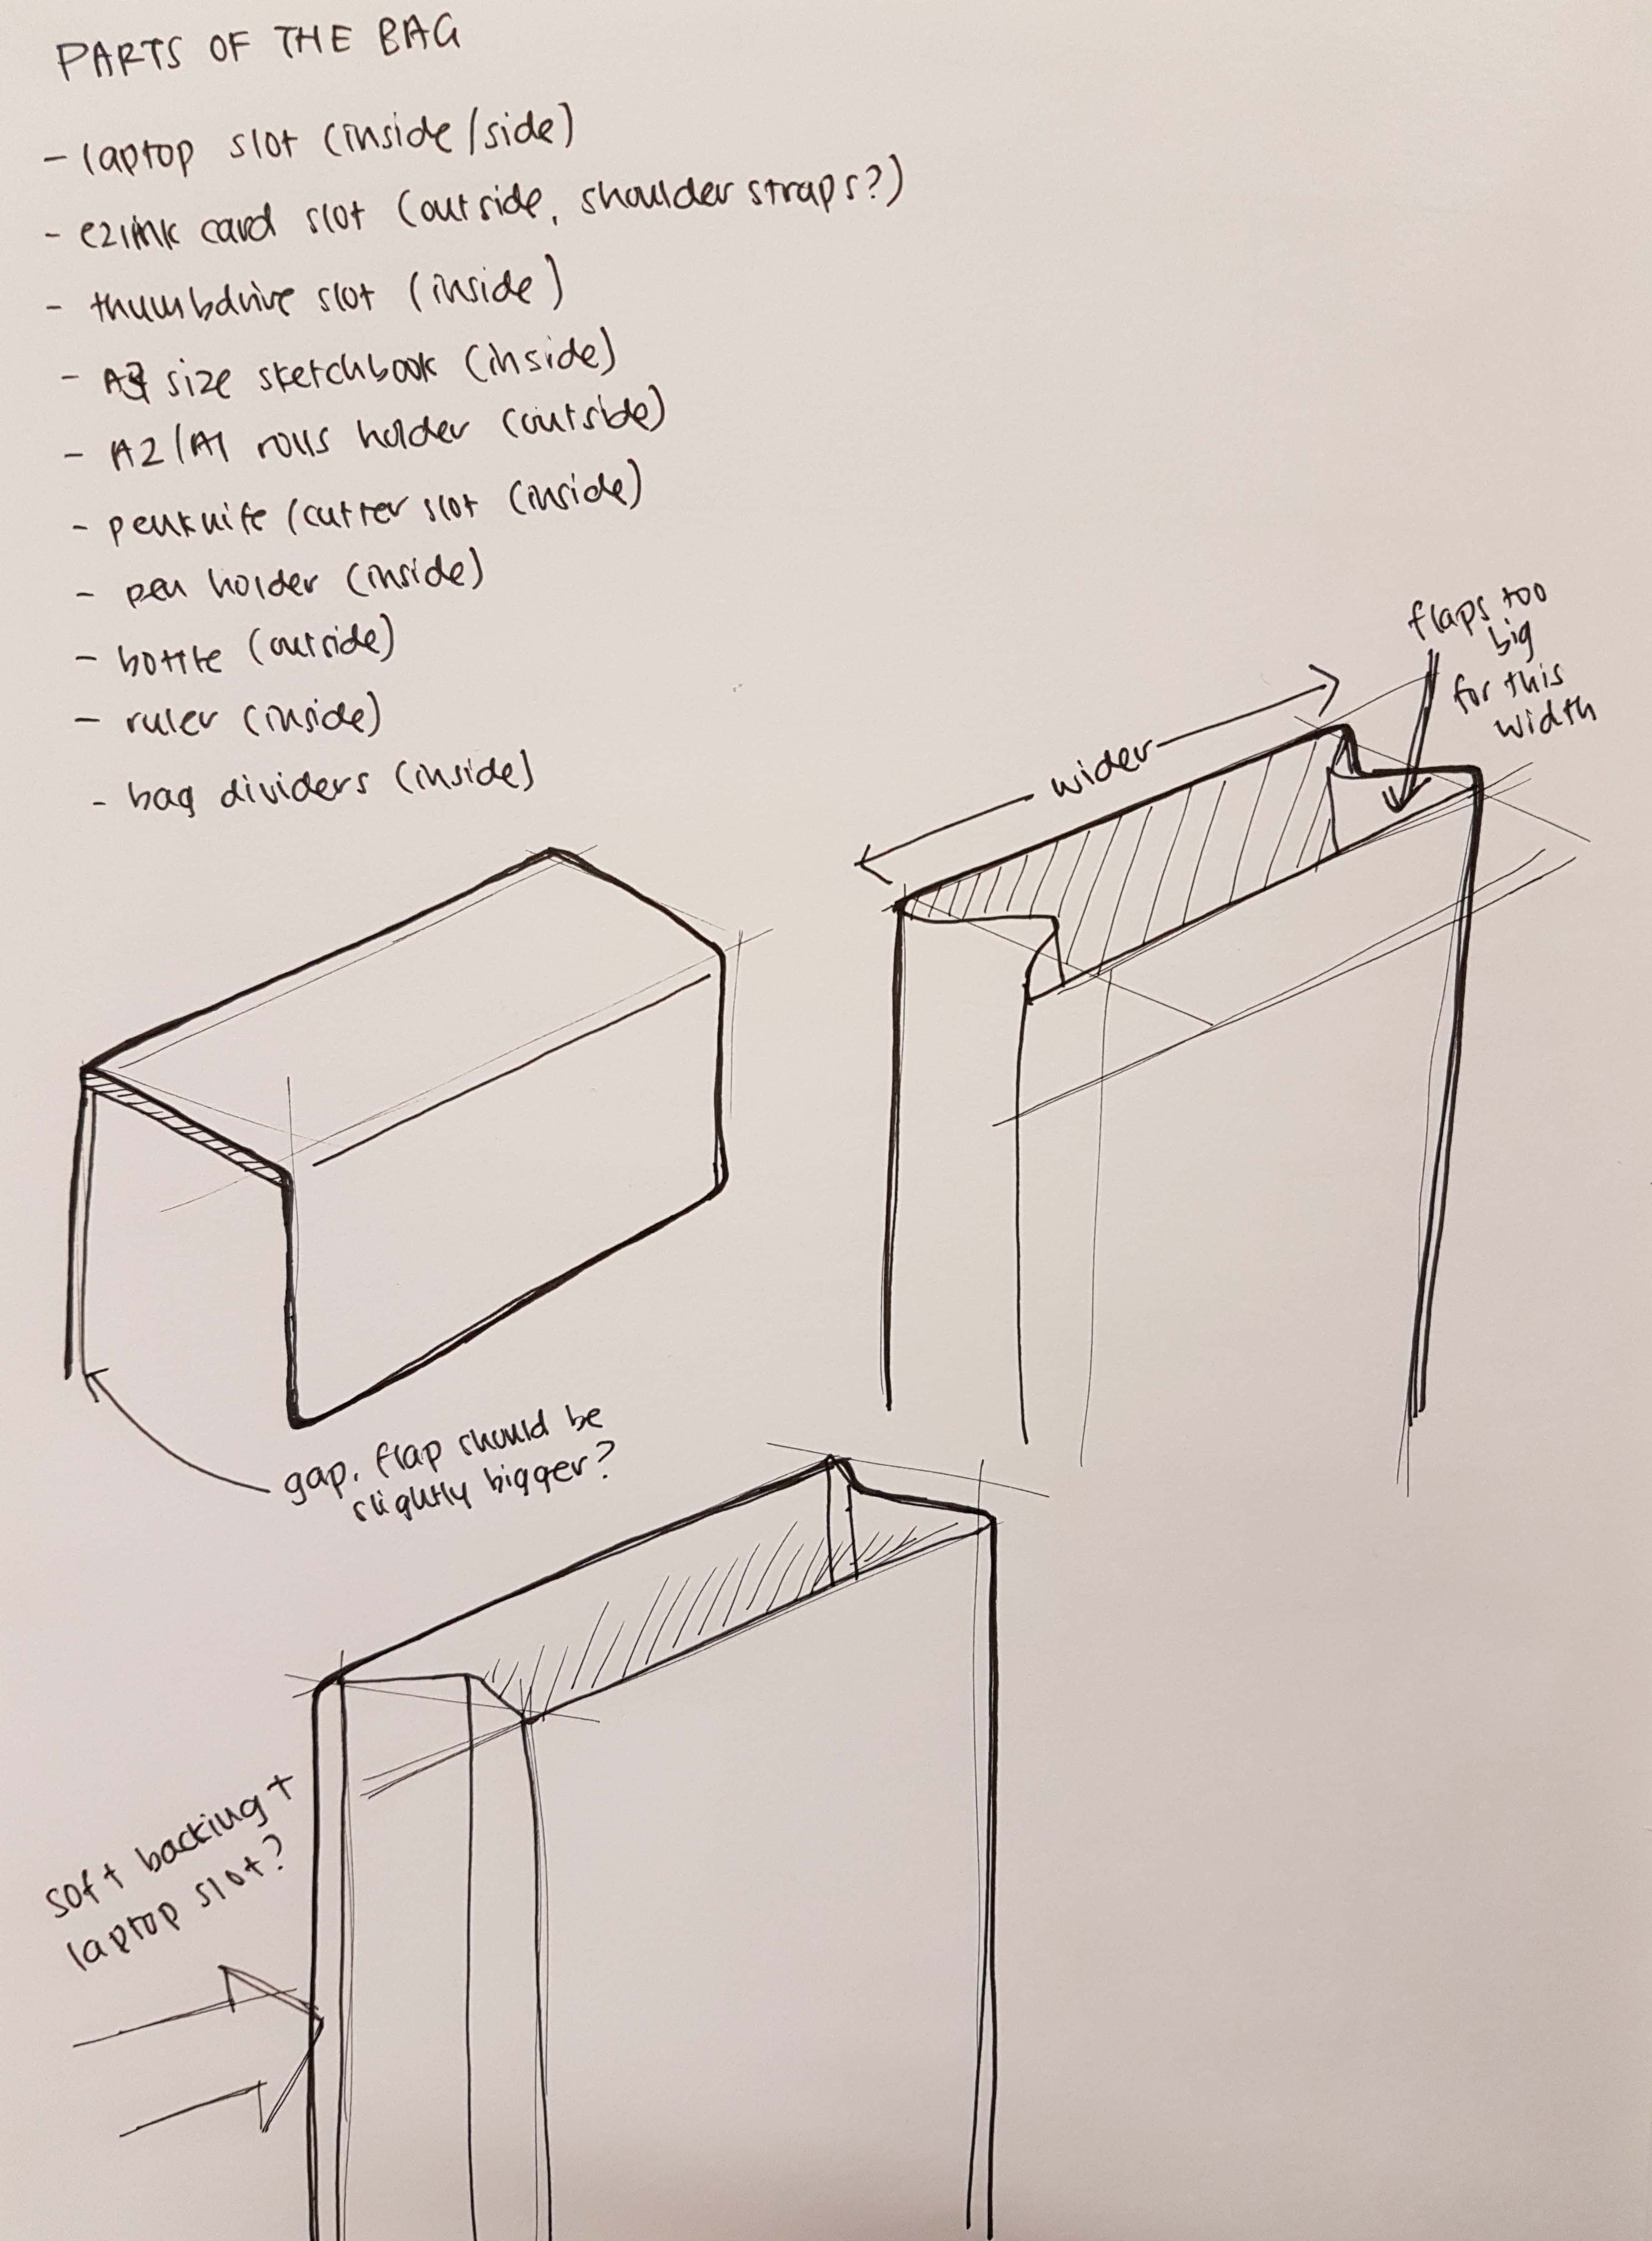
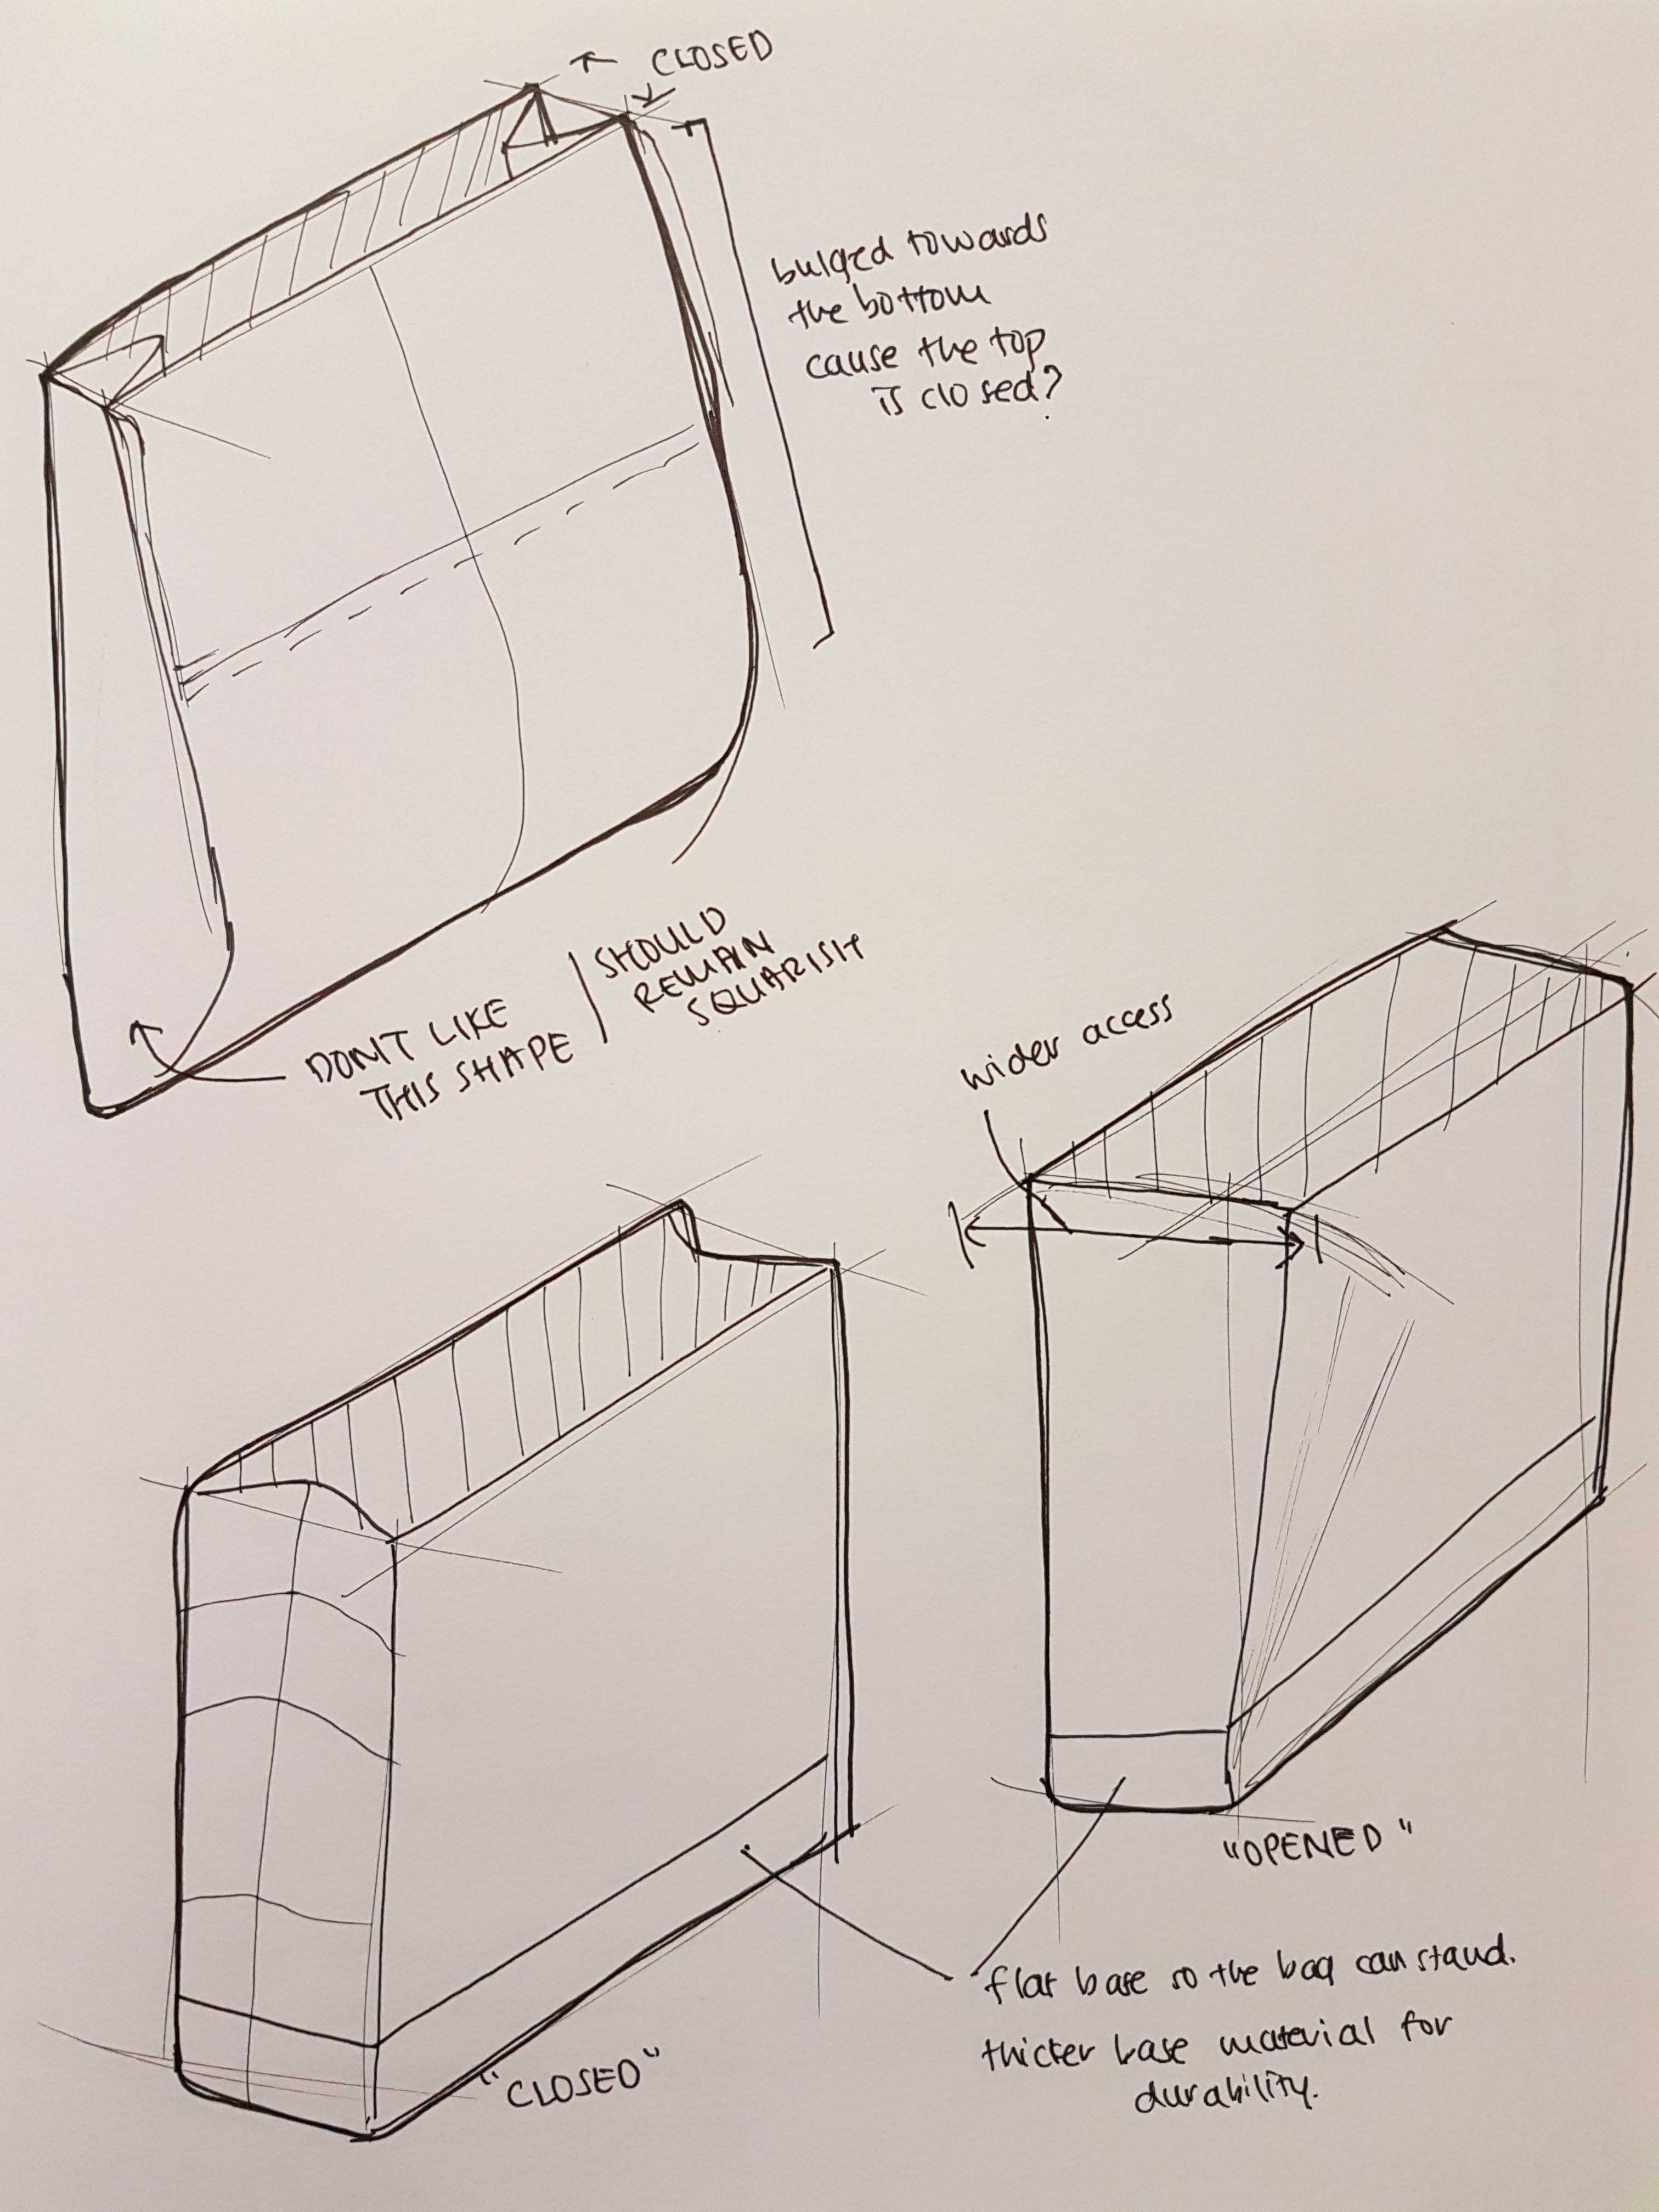
I also started to play around and reconfirming the main shape of the bag. How it is closed and how it is going to open up. So I decided to make the main body of the bag able to open up bigger for easier accessibility of the user.
Exploring the different parts
After listing down the different compartments needed, I start working on them.
Laptop slot
The biggest and main slot would be the laptop slot. Here I try to list down and sketch out the different ways the compartment or the laptop could be kept in the bag.

I chose to stick with the inner laptop slot compartment as it would be safer for the laptop.
Bag flap and closure
With the box-shaped bag in mind, it comes with the flap. So here I try to explore the different types of closure for the flap, like magnetic snaps and hook & eye.
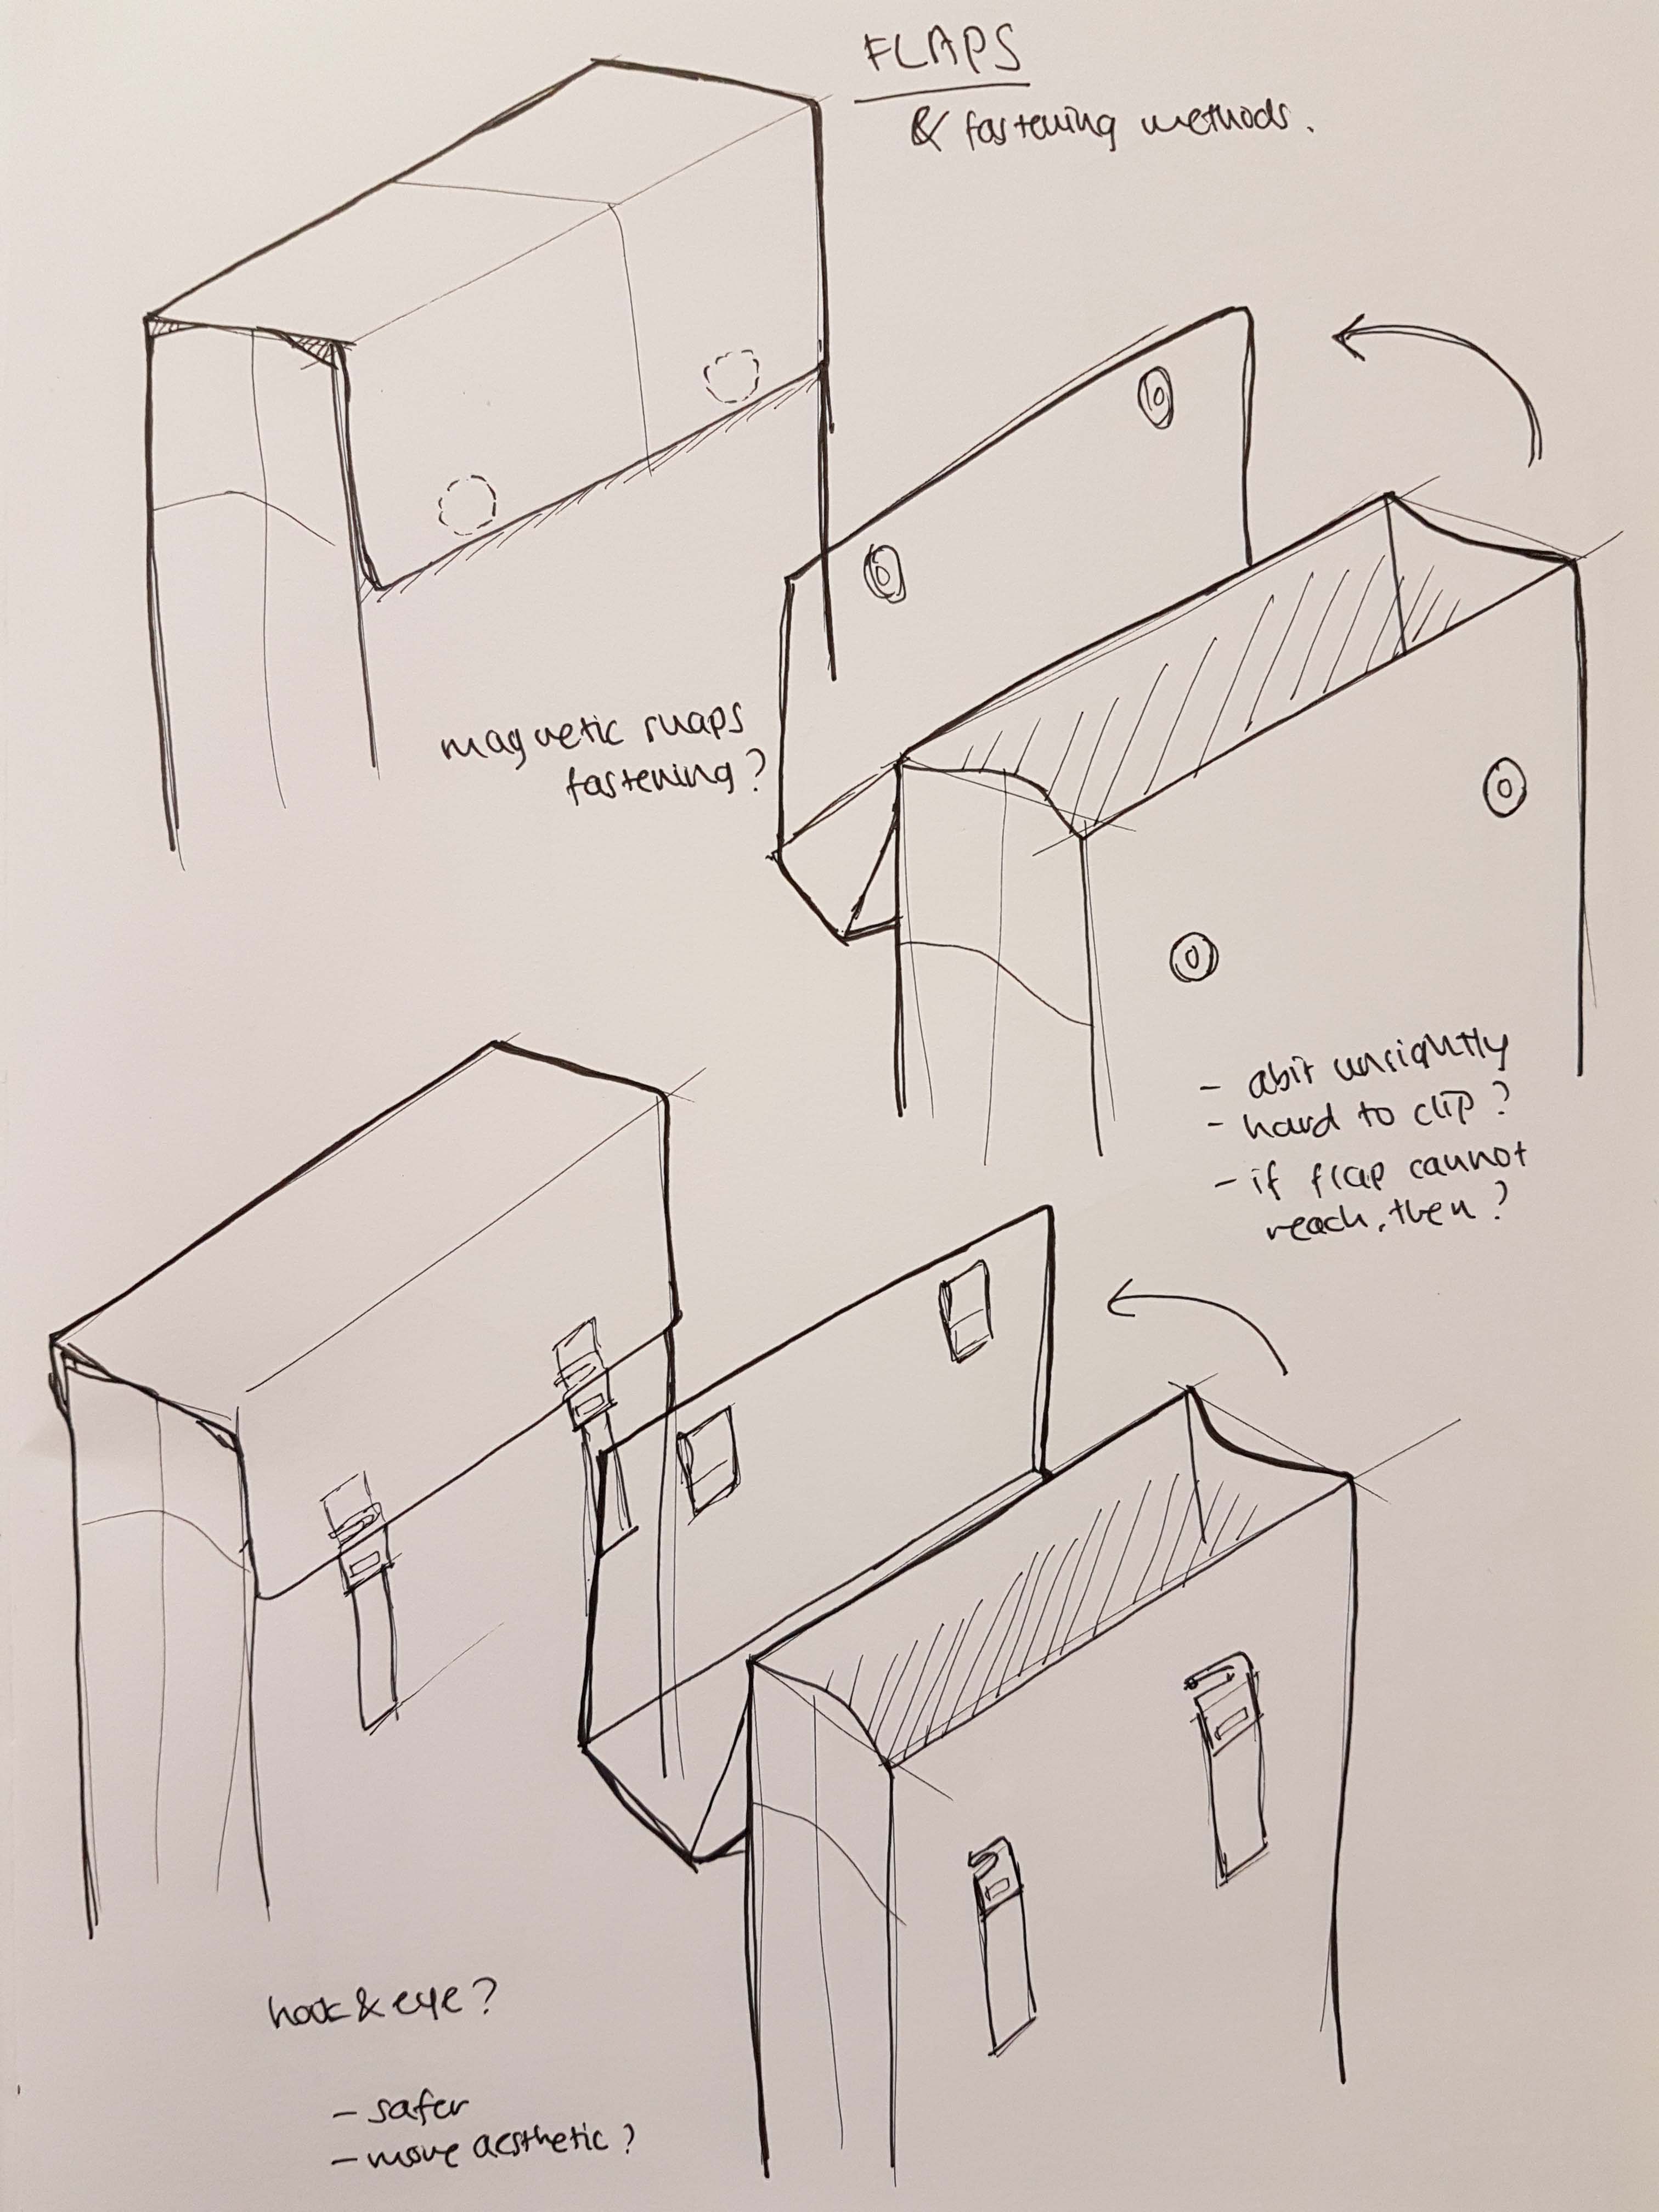
I decided to use the hook & eye method as I would think that the magnetic snaps would wear off after a while and it would be hard to connect the snaps together under the flap.
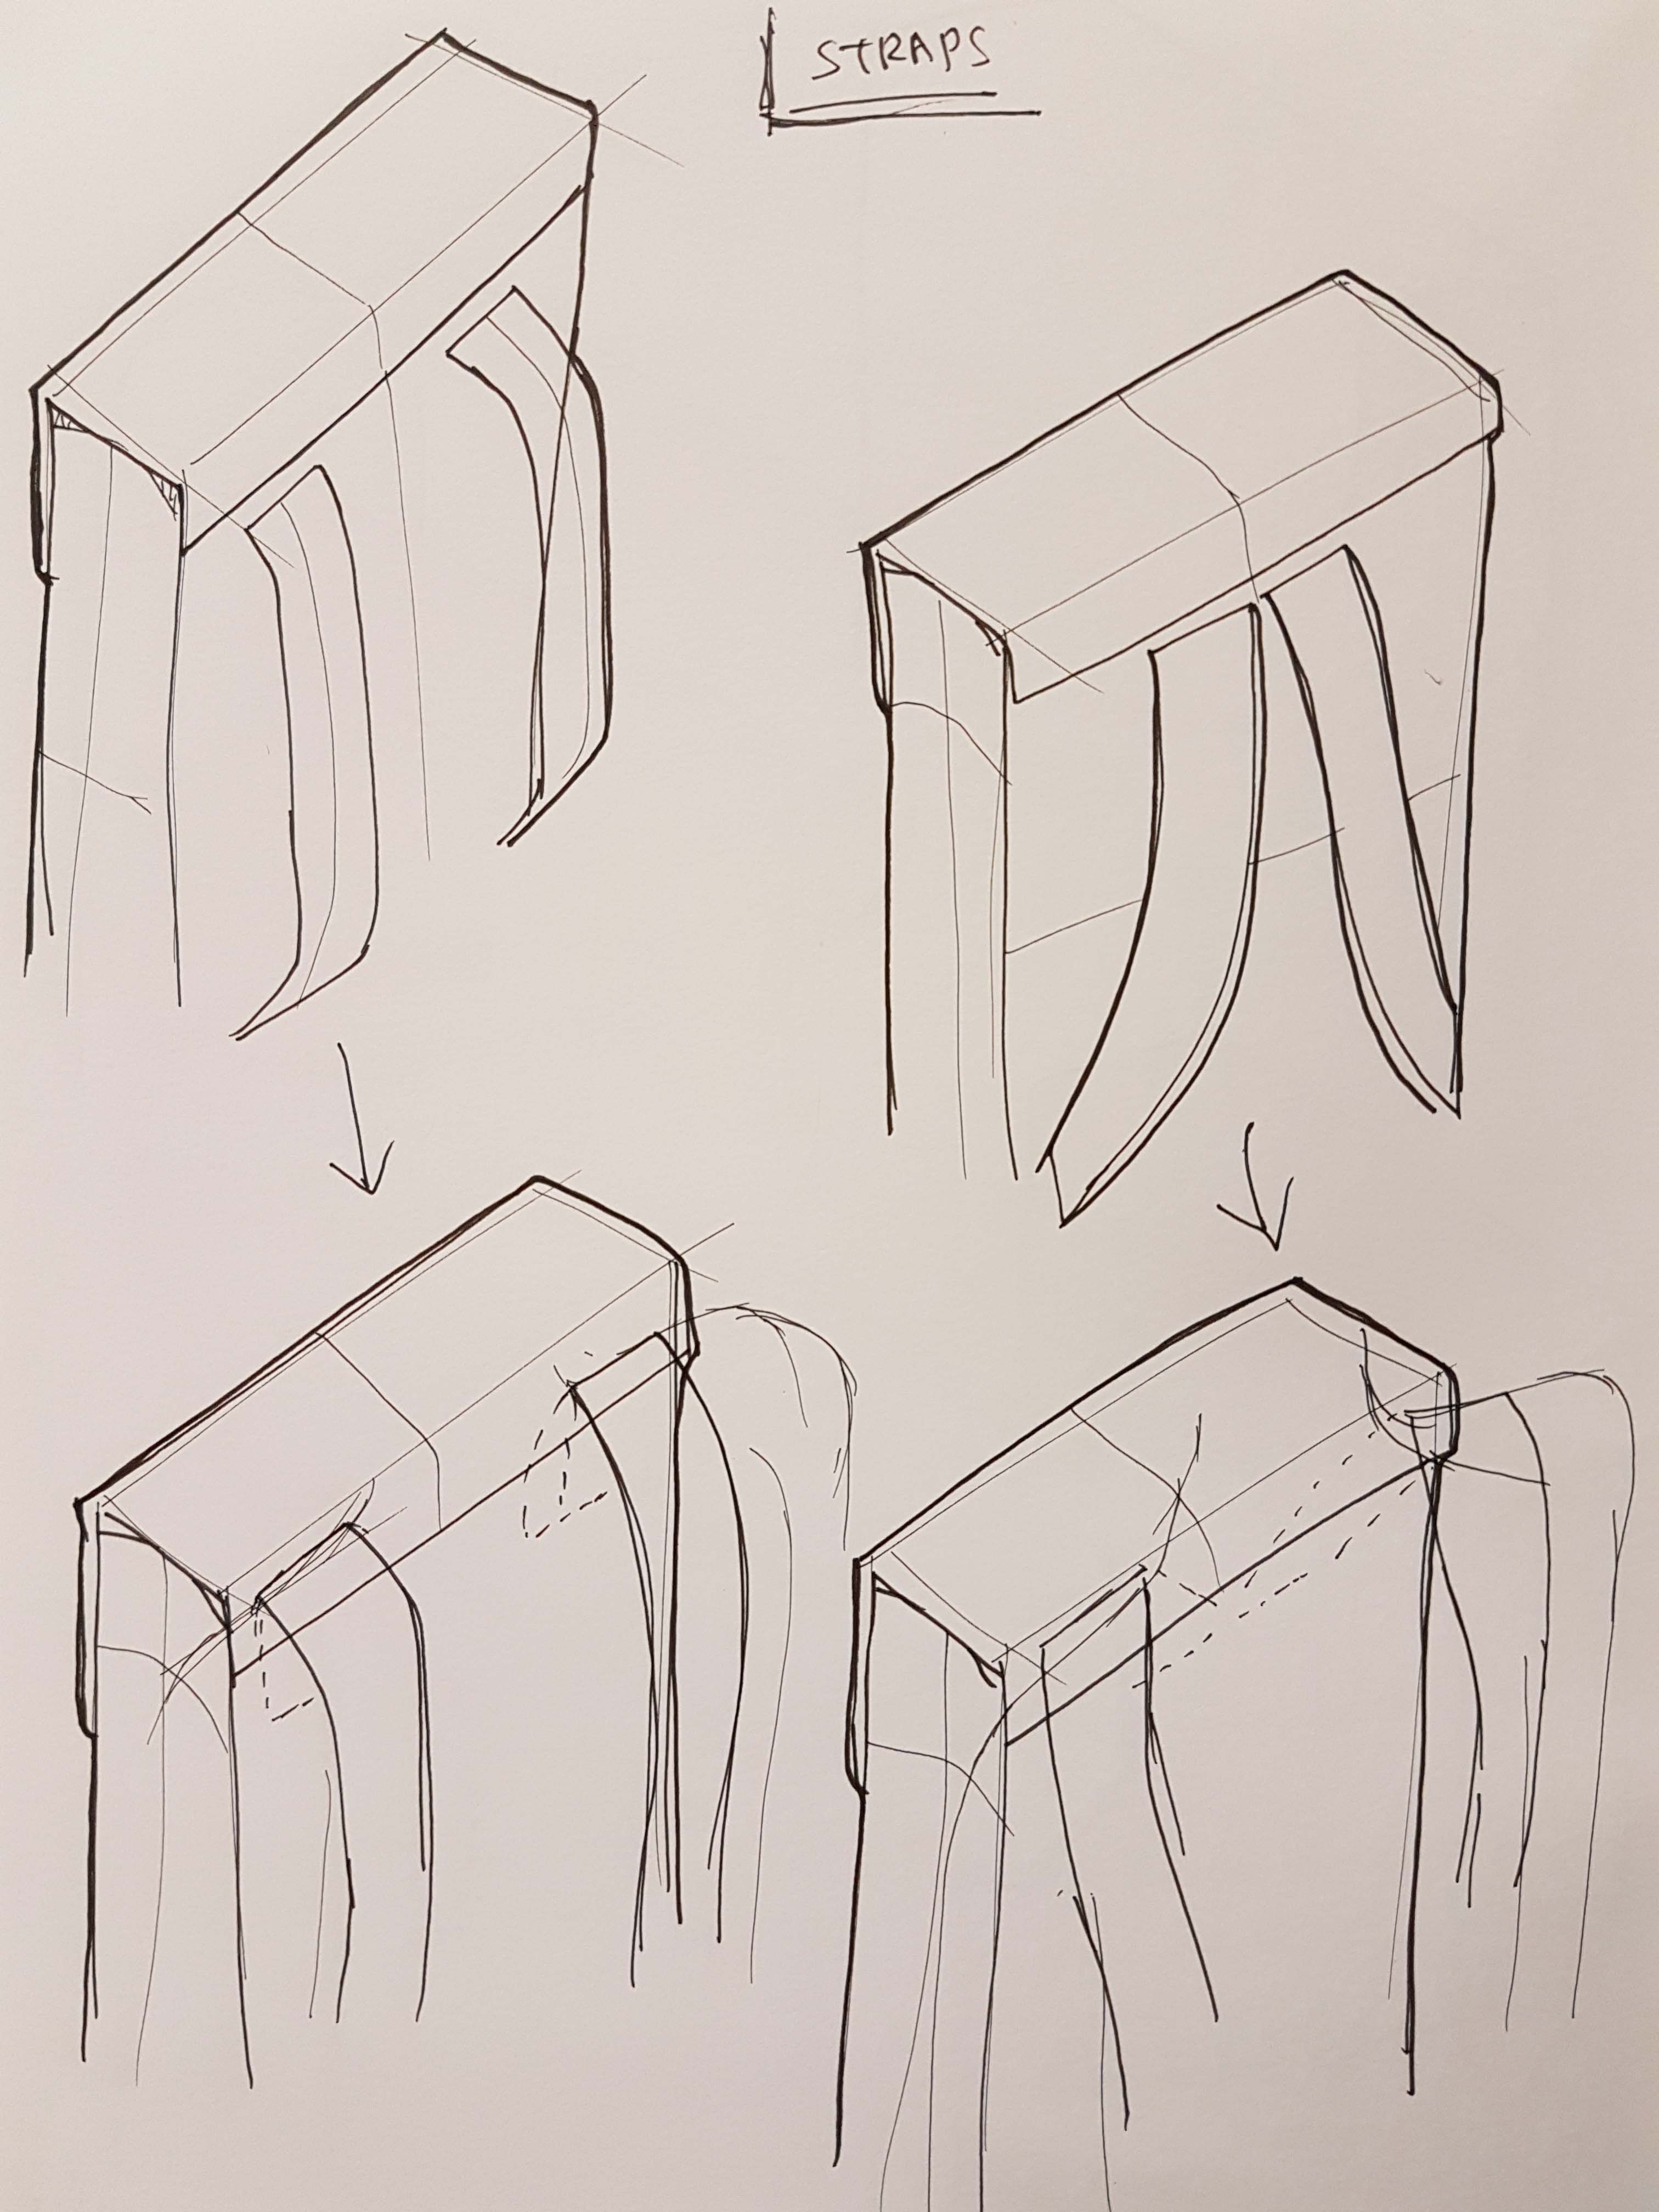
Straps
Here I was exploring the bag straps, with my horrible sketches. But it is mainly to see how it would look like.
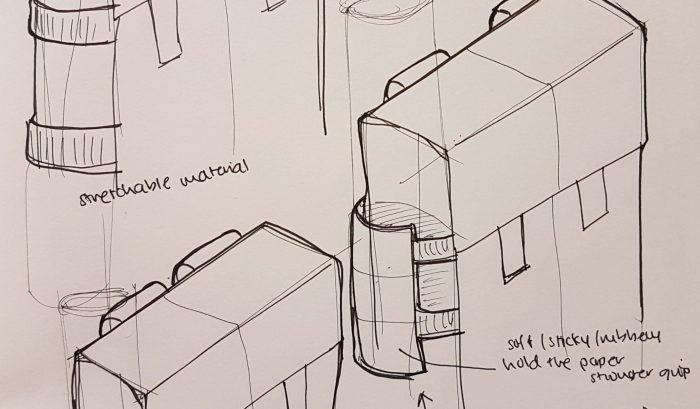
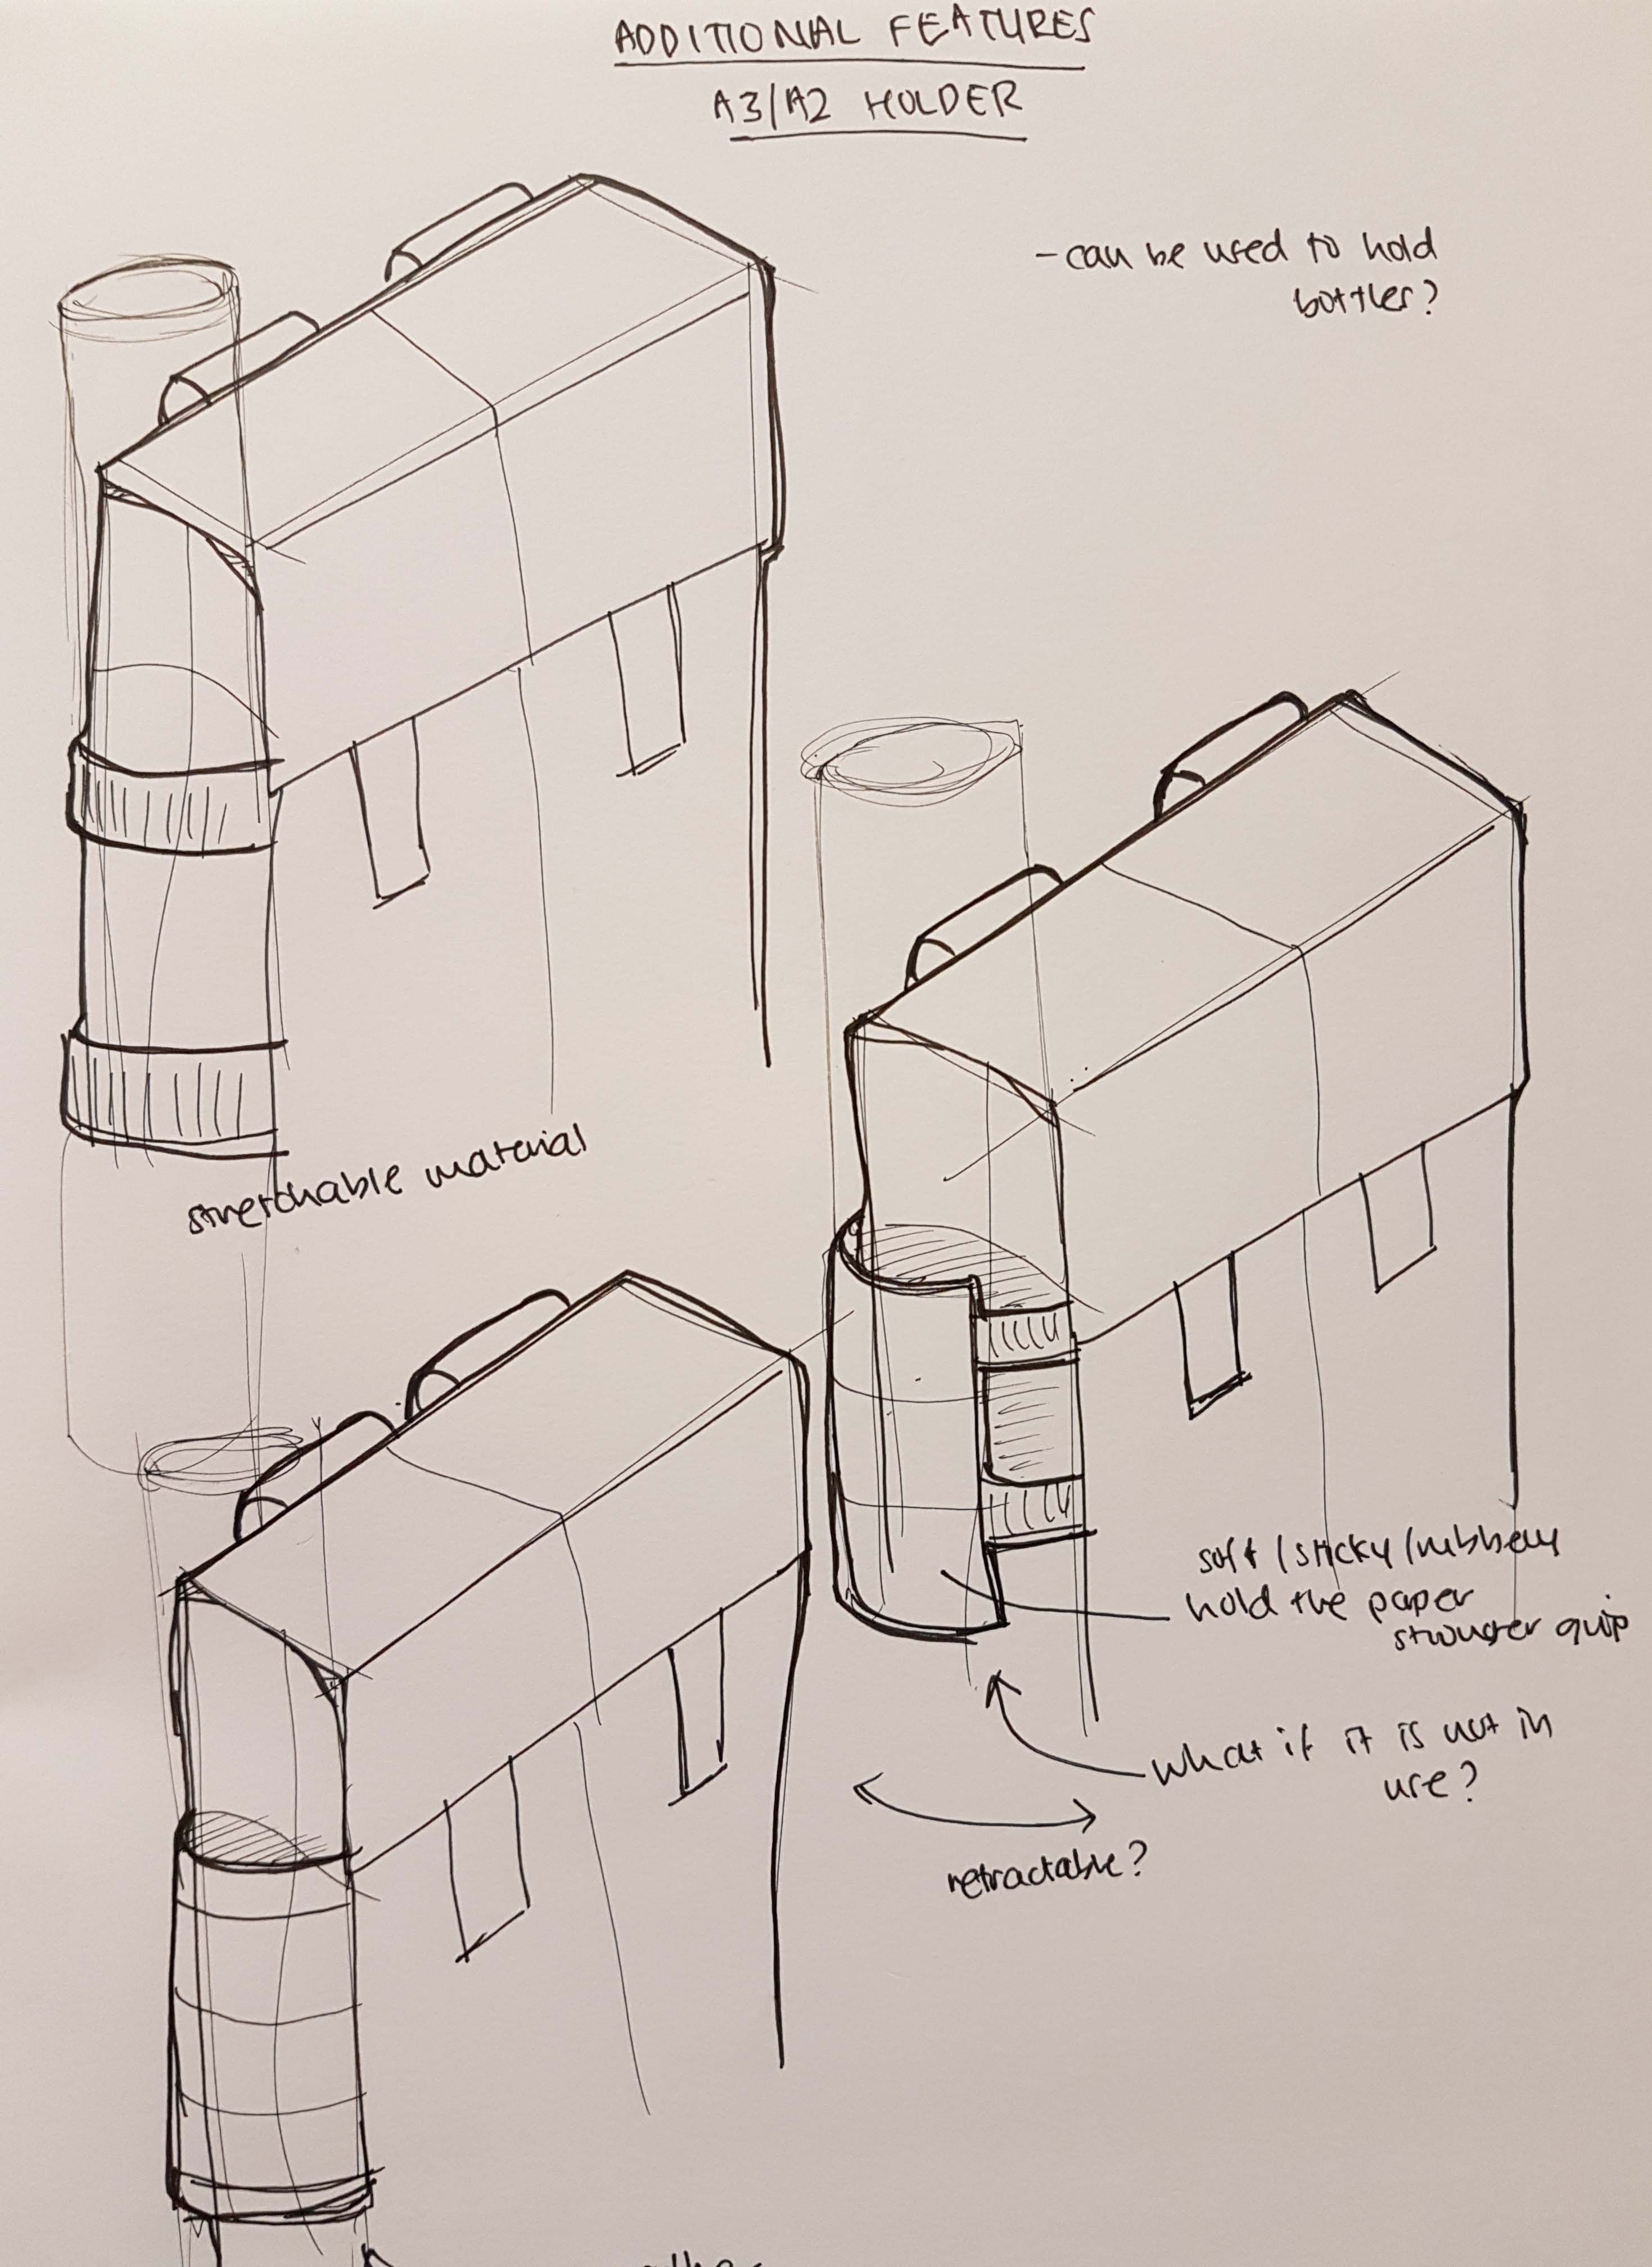
A2/A3 holder
Here I try to see which is the better way to place the A3/A2 paper holder. I was taking into consideration the fact that the bag’s main body can be opened wider. So when that happens, the sides are affected, so the material of the holder would need to be stretchable.
Re-finalising the final look
Now with most of the different compartments and parts finalised, I would redraw the final look so that anything that I was to add on from there is based on this look.

More compartments and parts
With the final look refreshed, I added in more compartments and parts
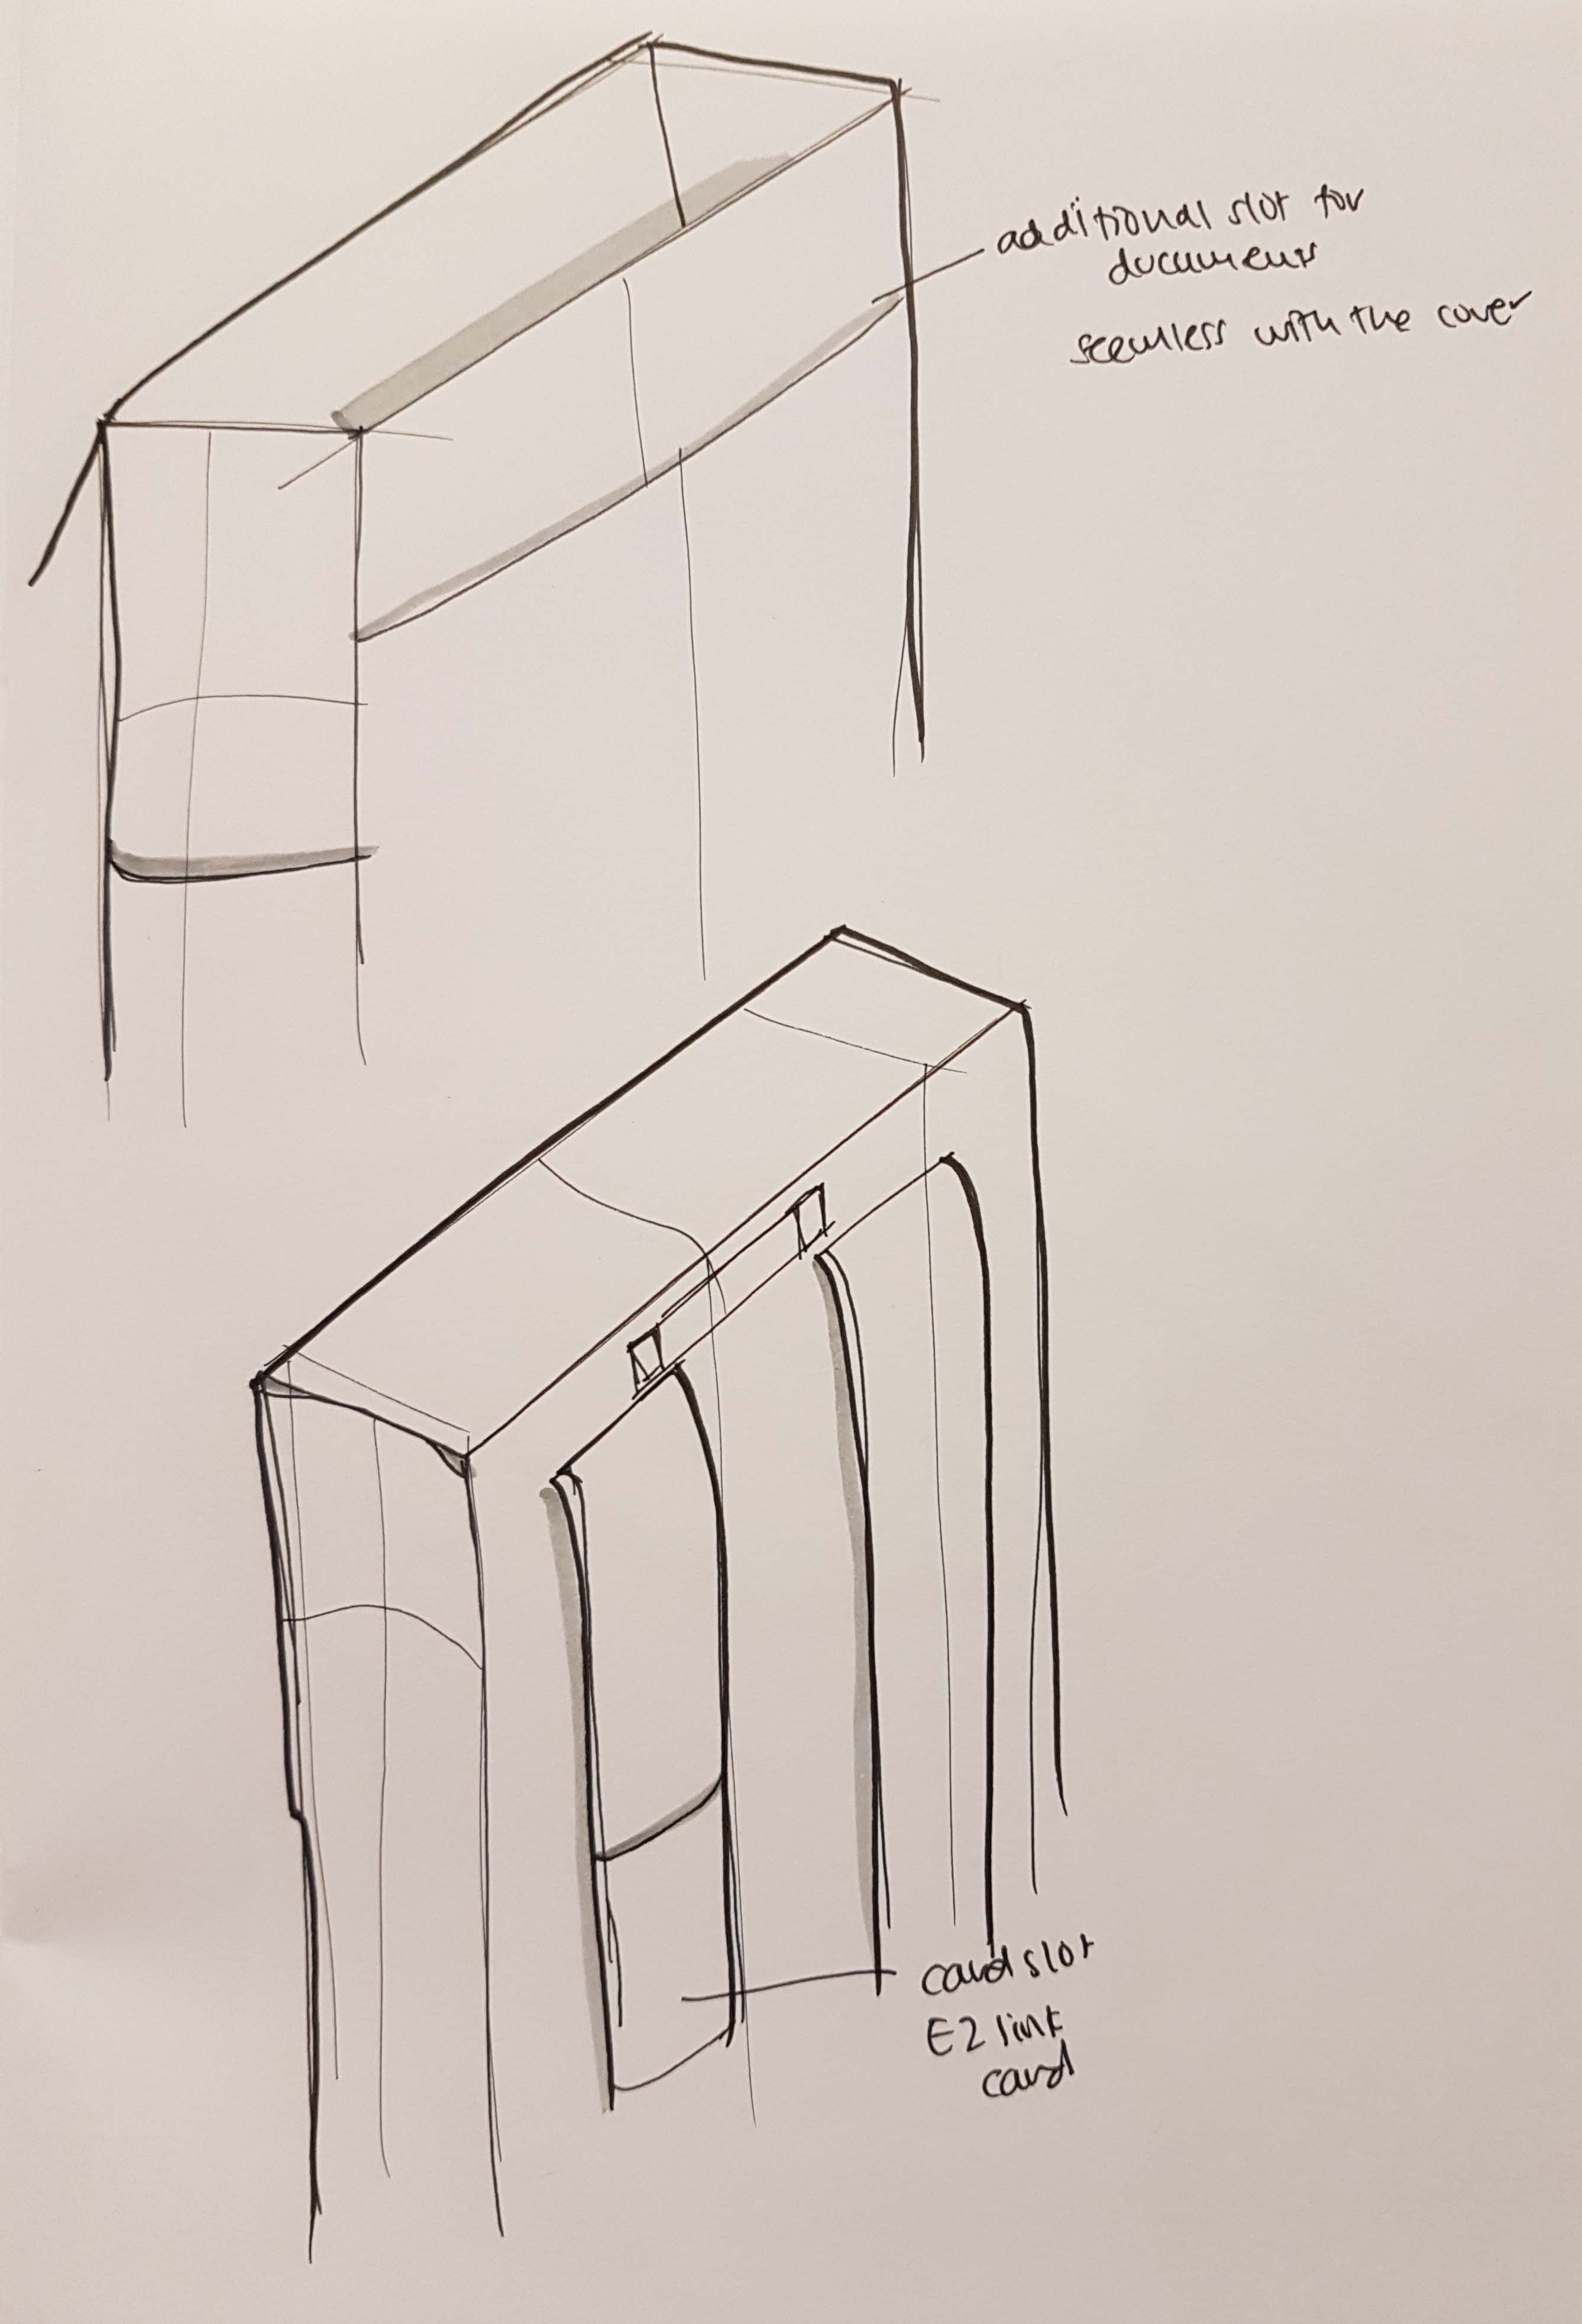
Additional slot & EZlink card holder
These ideas didn’t make it to the final look, but it was some of the initial ideas I sketched out.
Stationaries slot
Some other slots that I included are sketched out.

Final look
With all the compartments checked off the list, I finally came up with the final look for the bag.
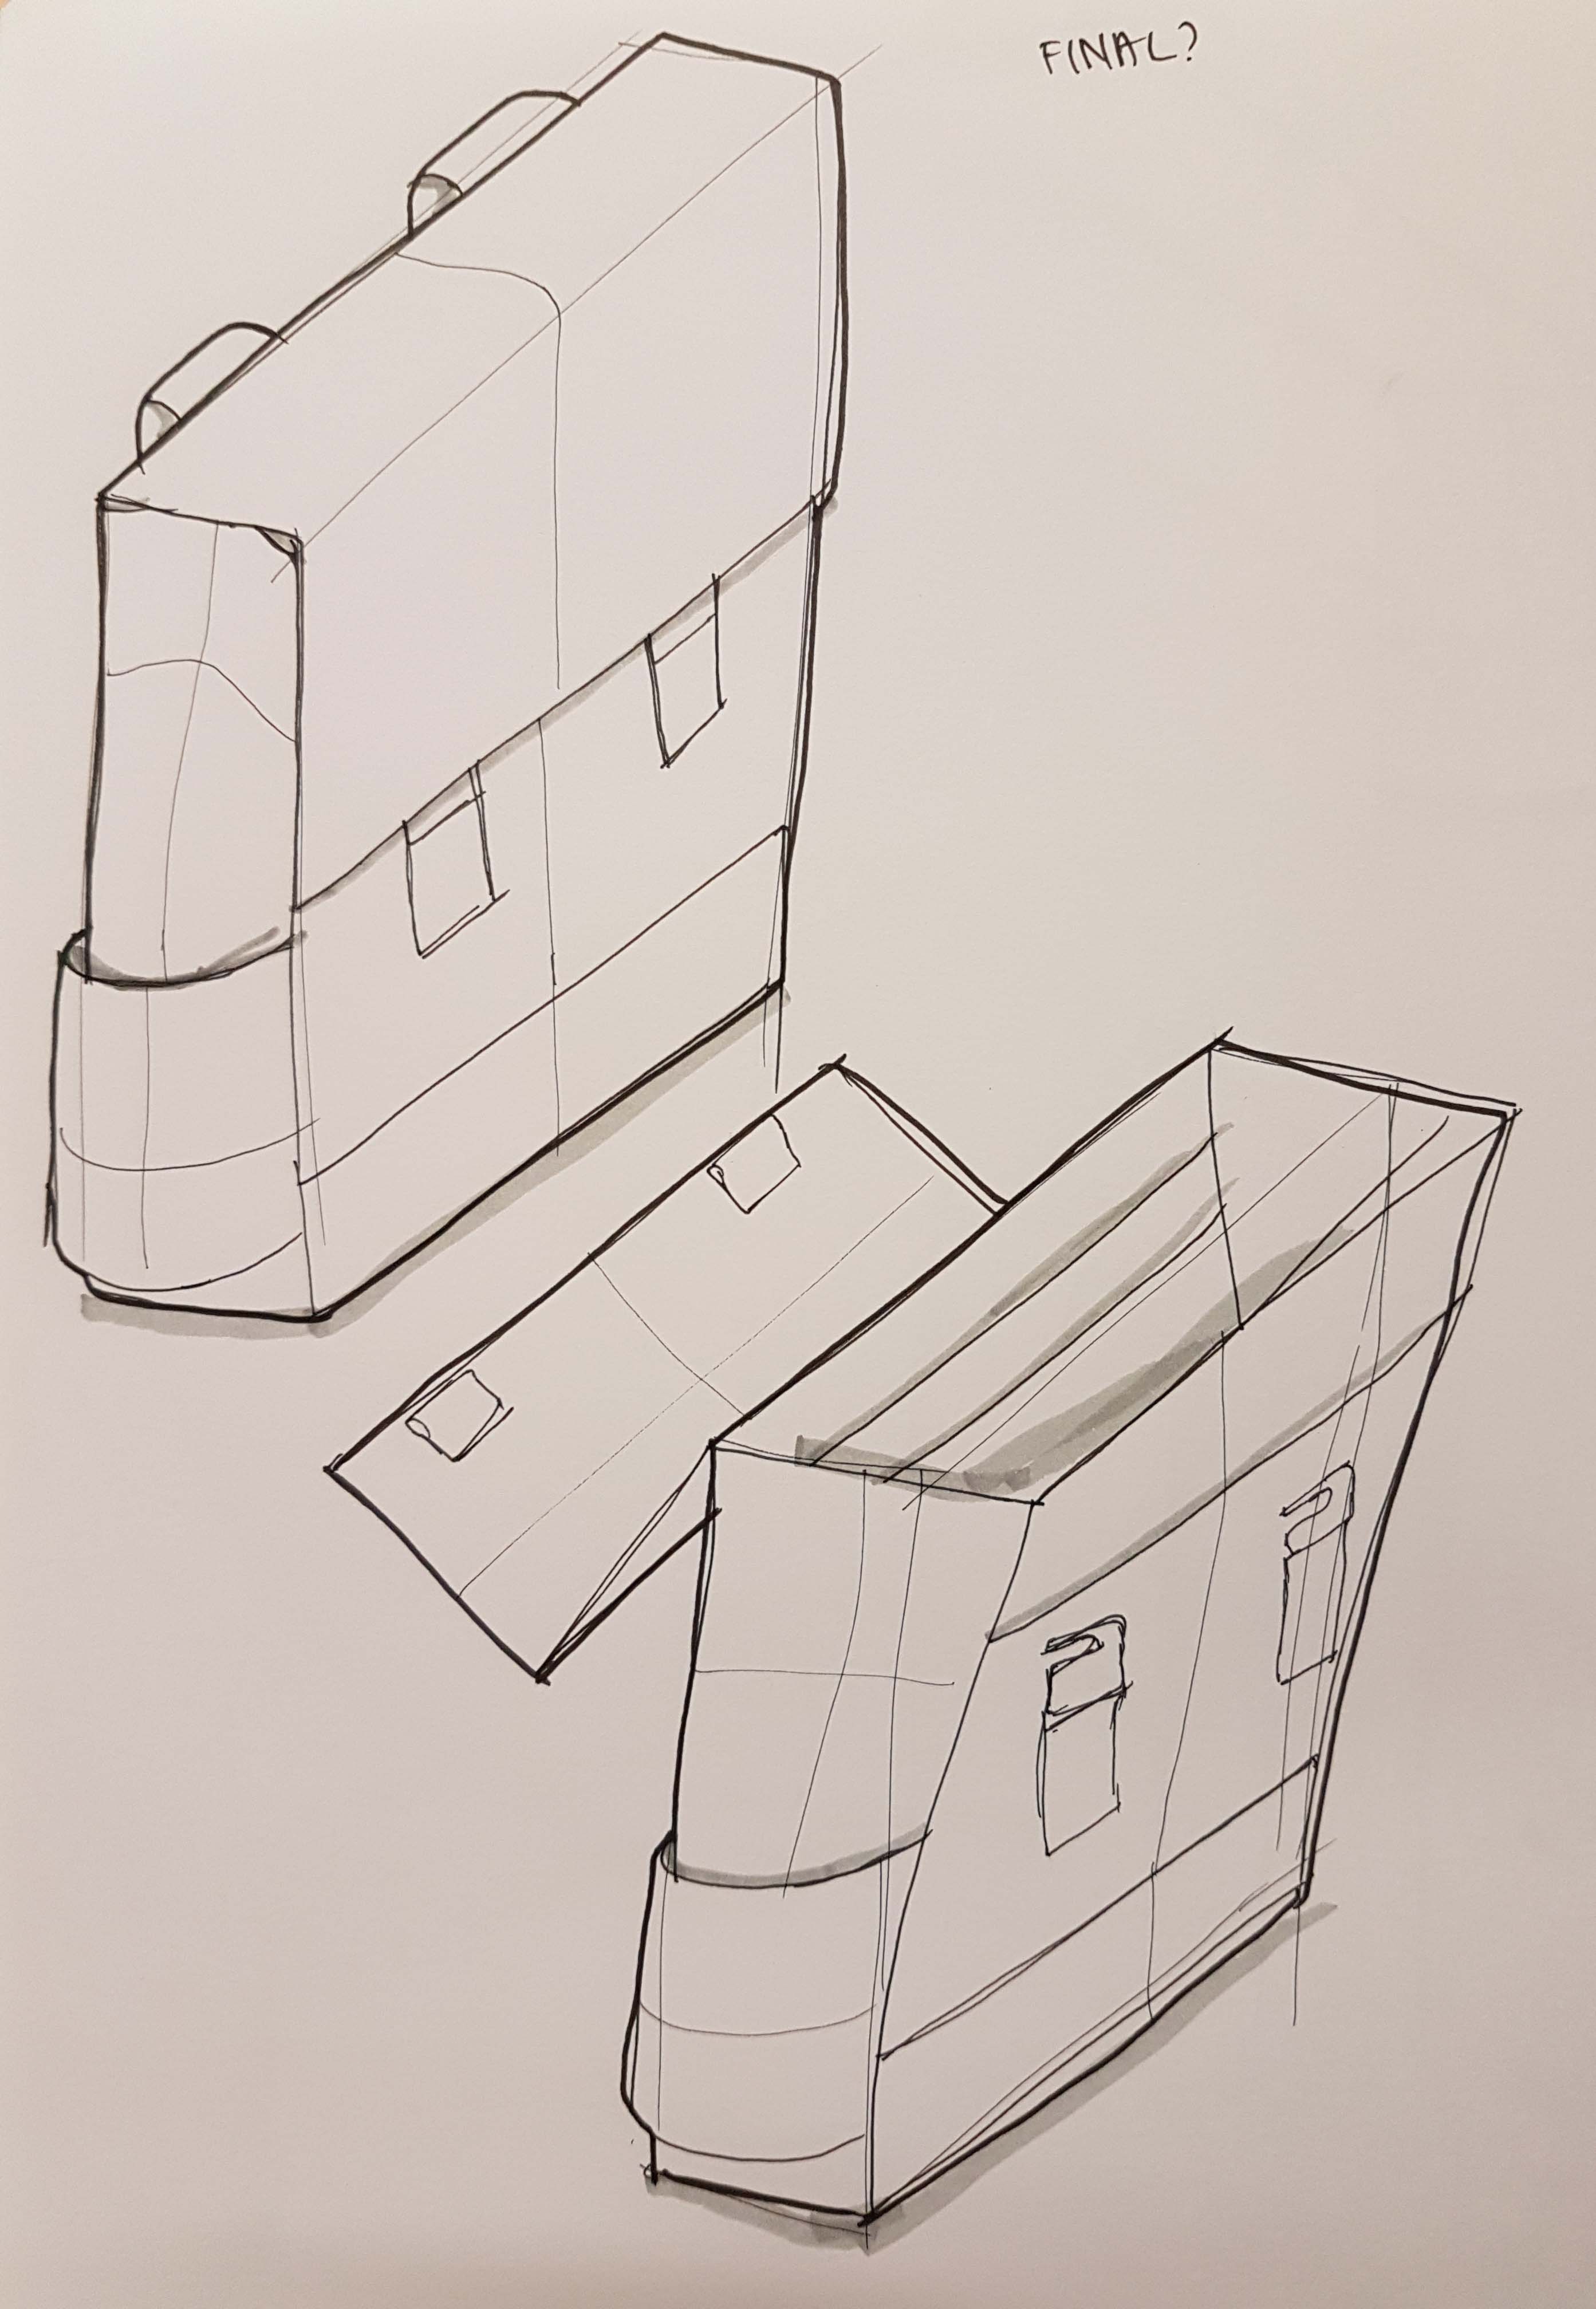

I do keep in mind that the look of the bag might change as I am making the bag.
Making the bag
With the final look sketched out, I can finally start making the bag.
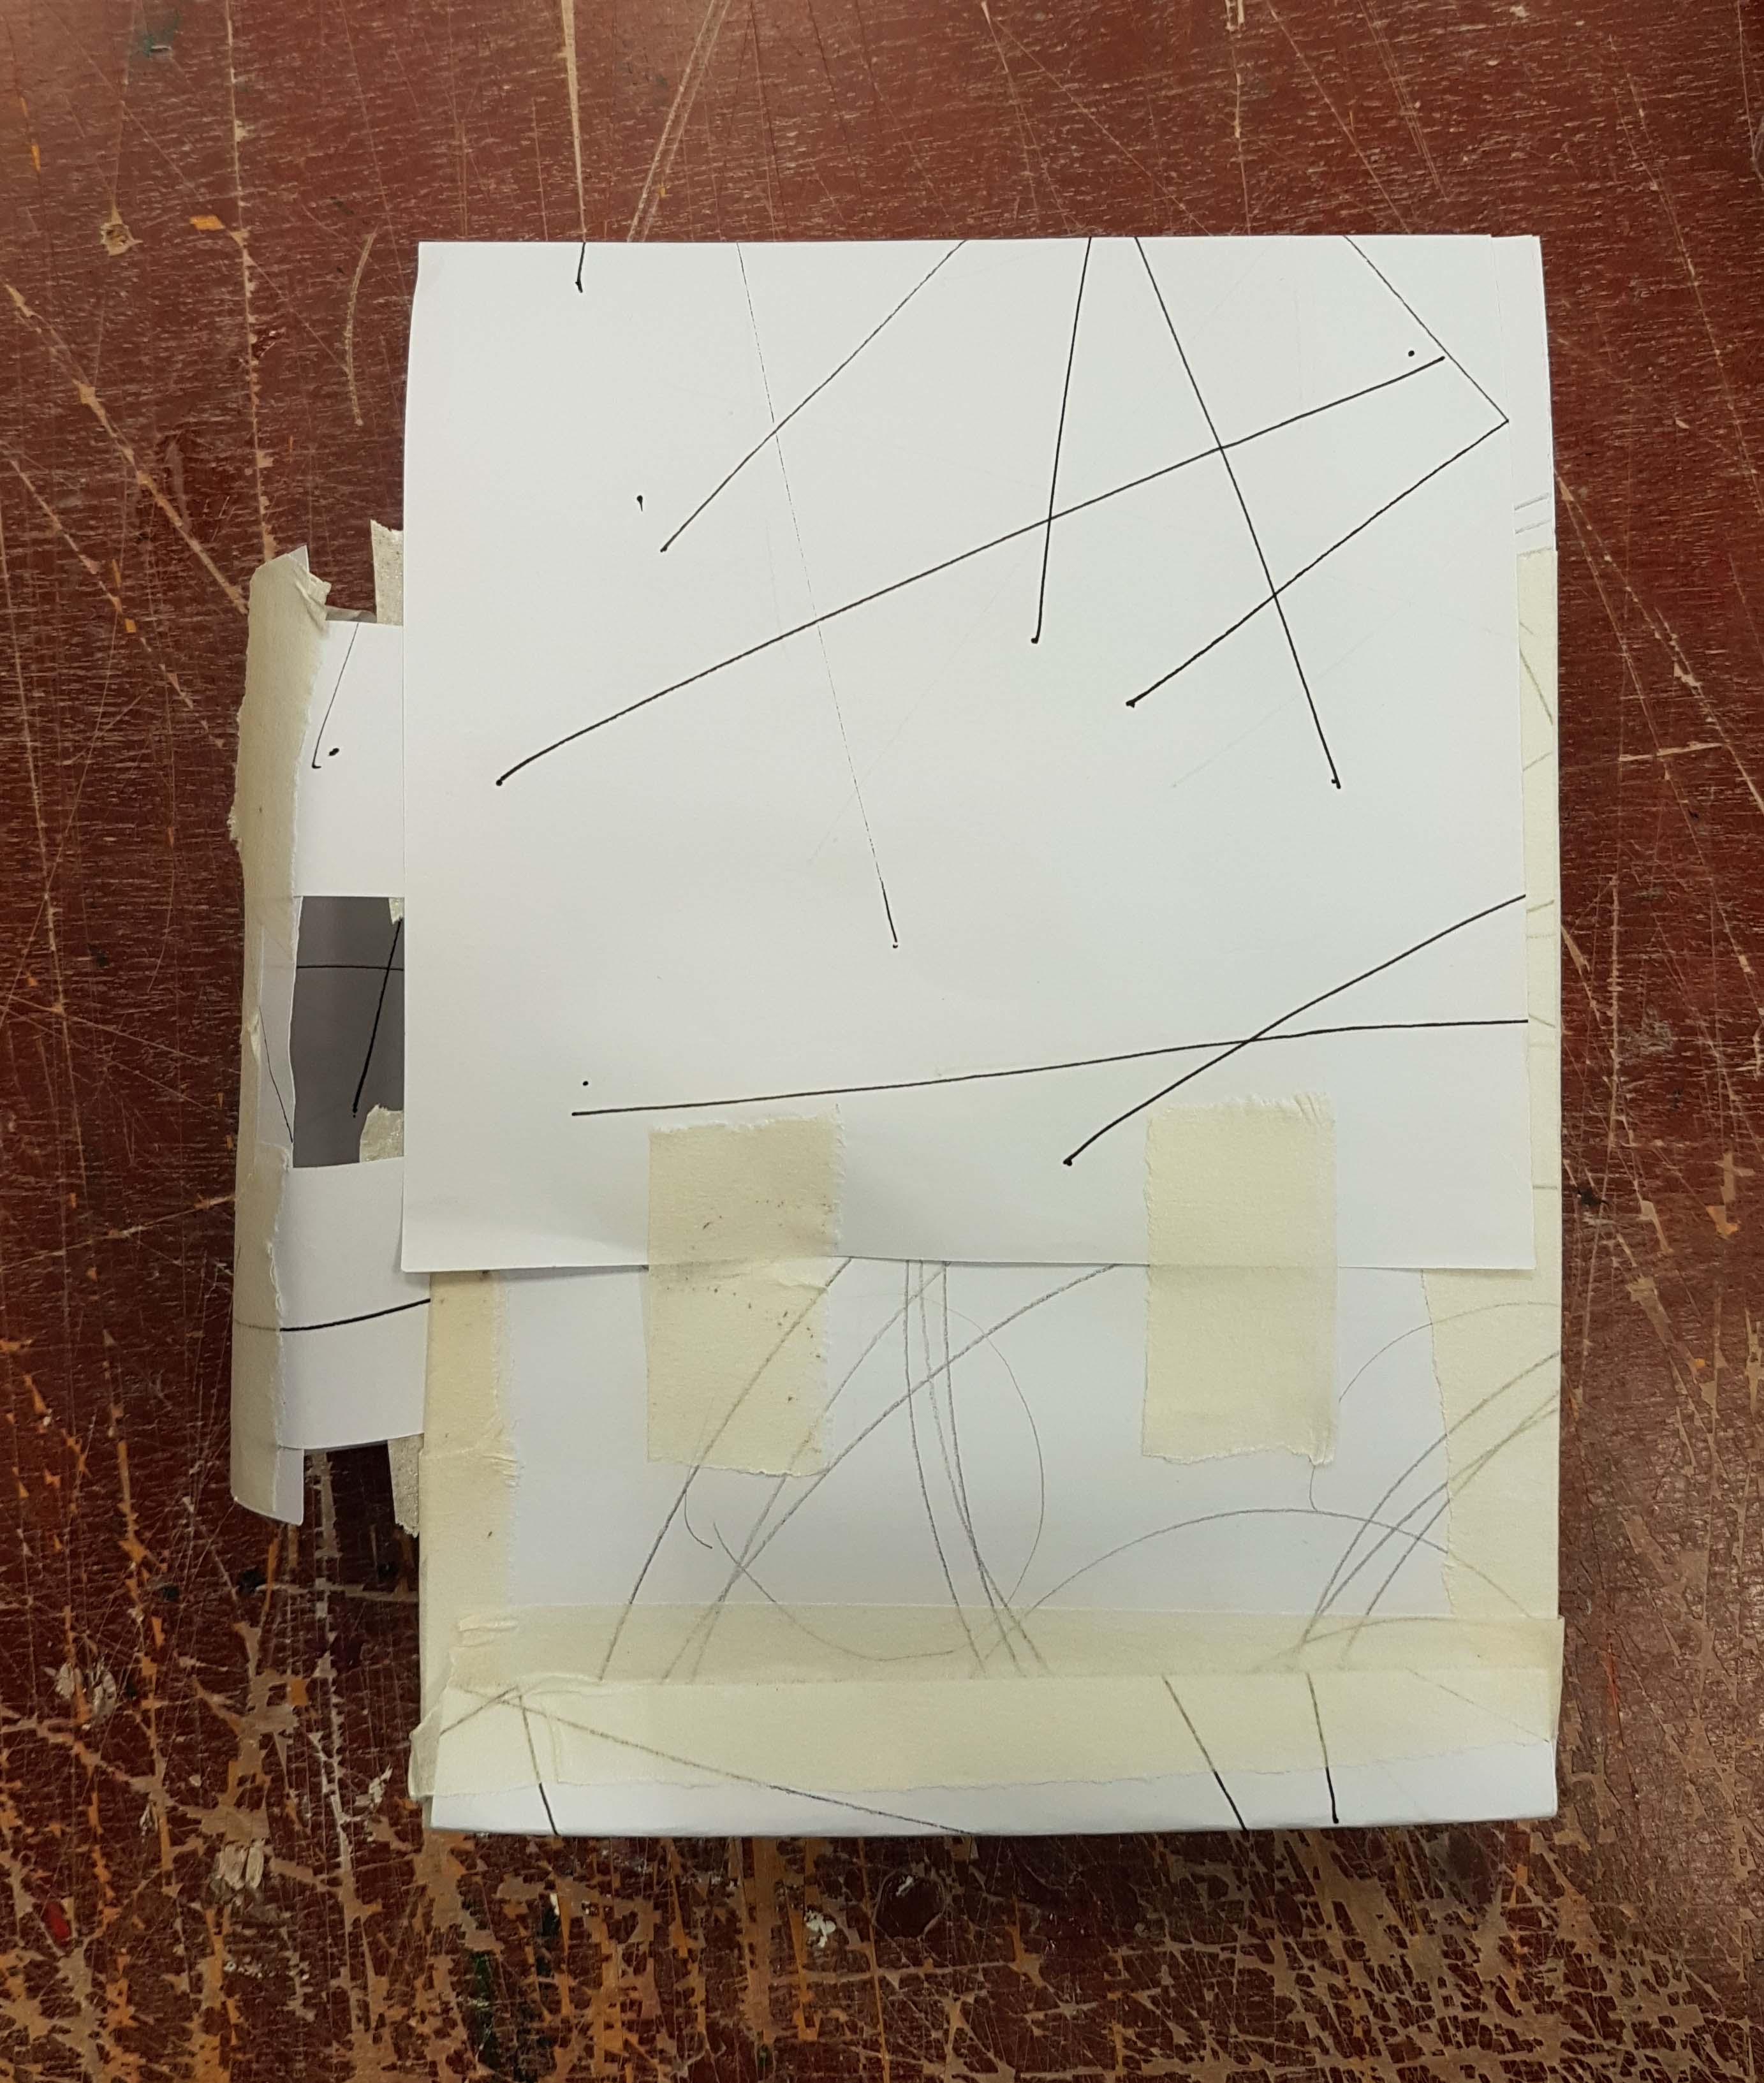
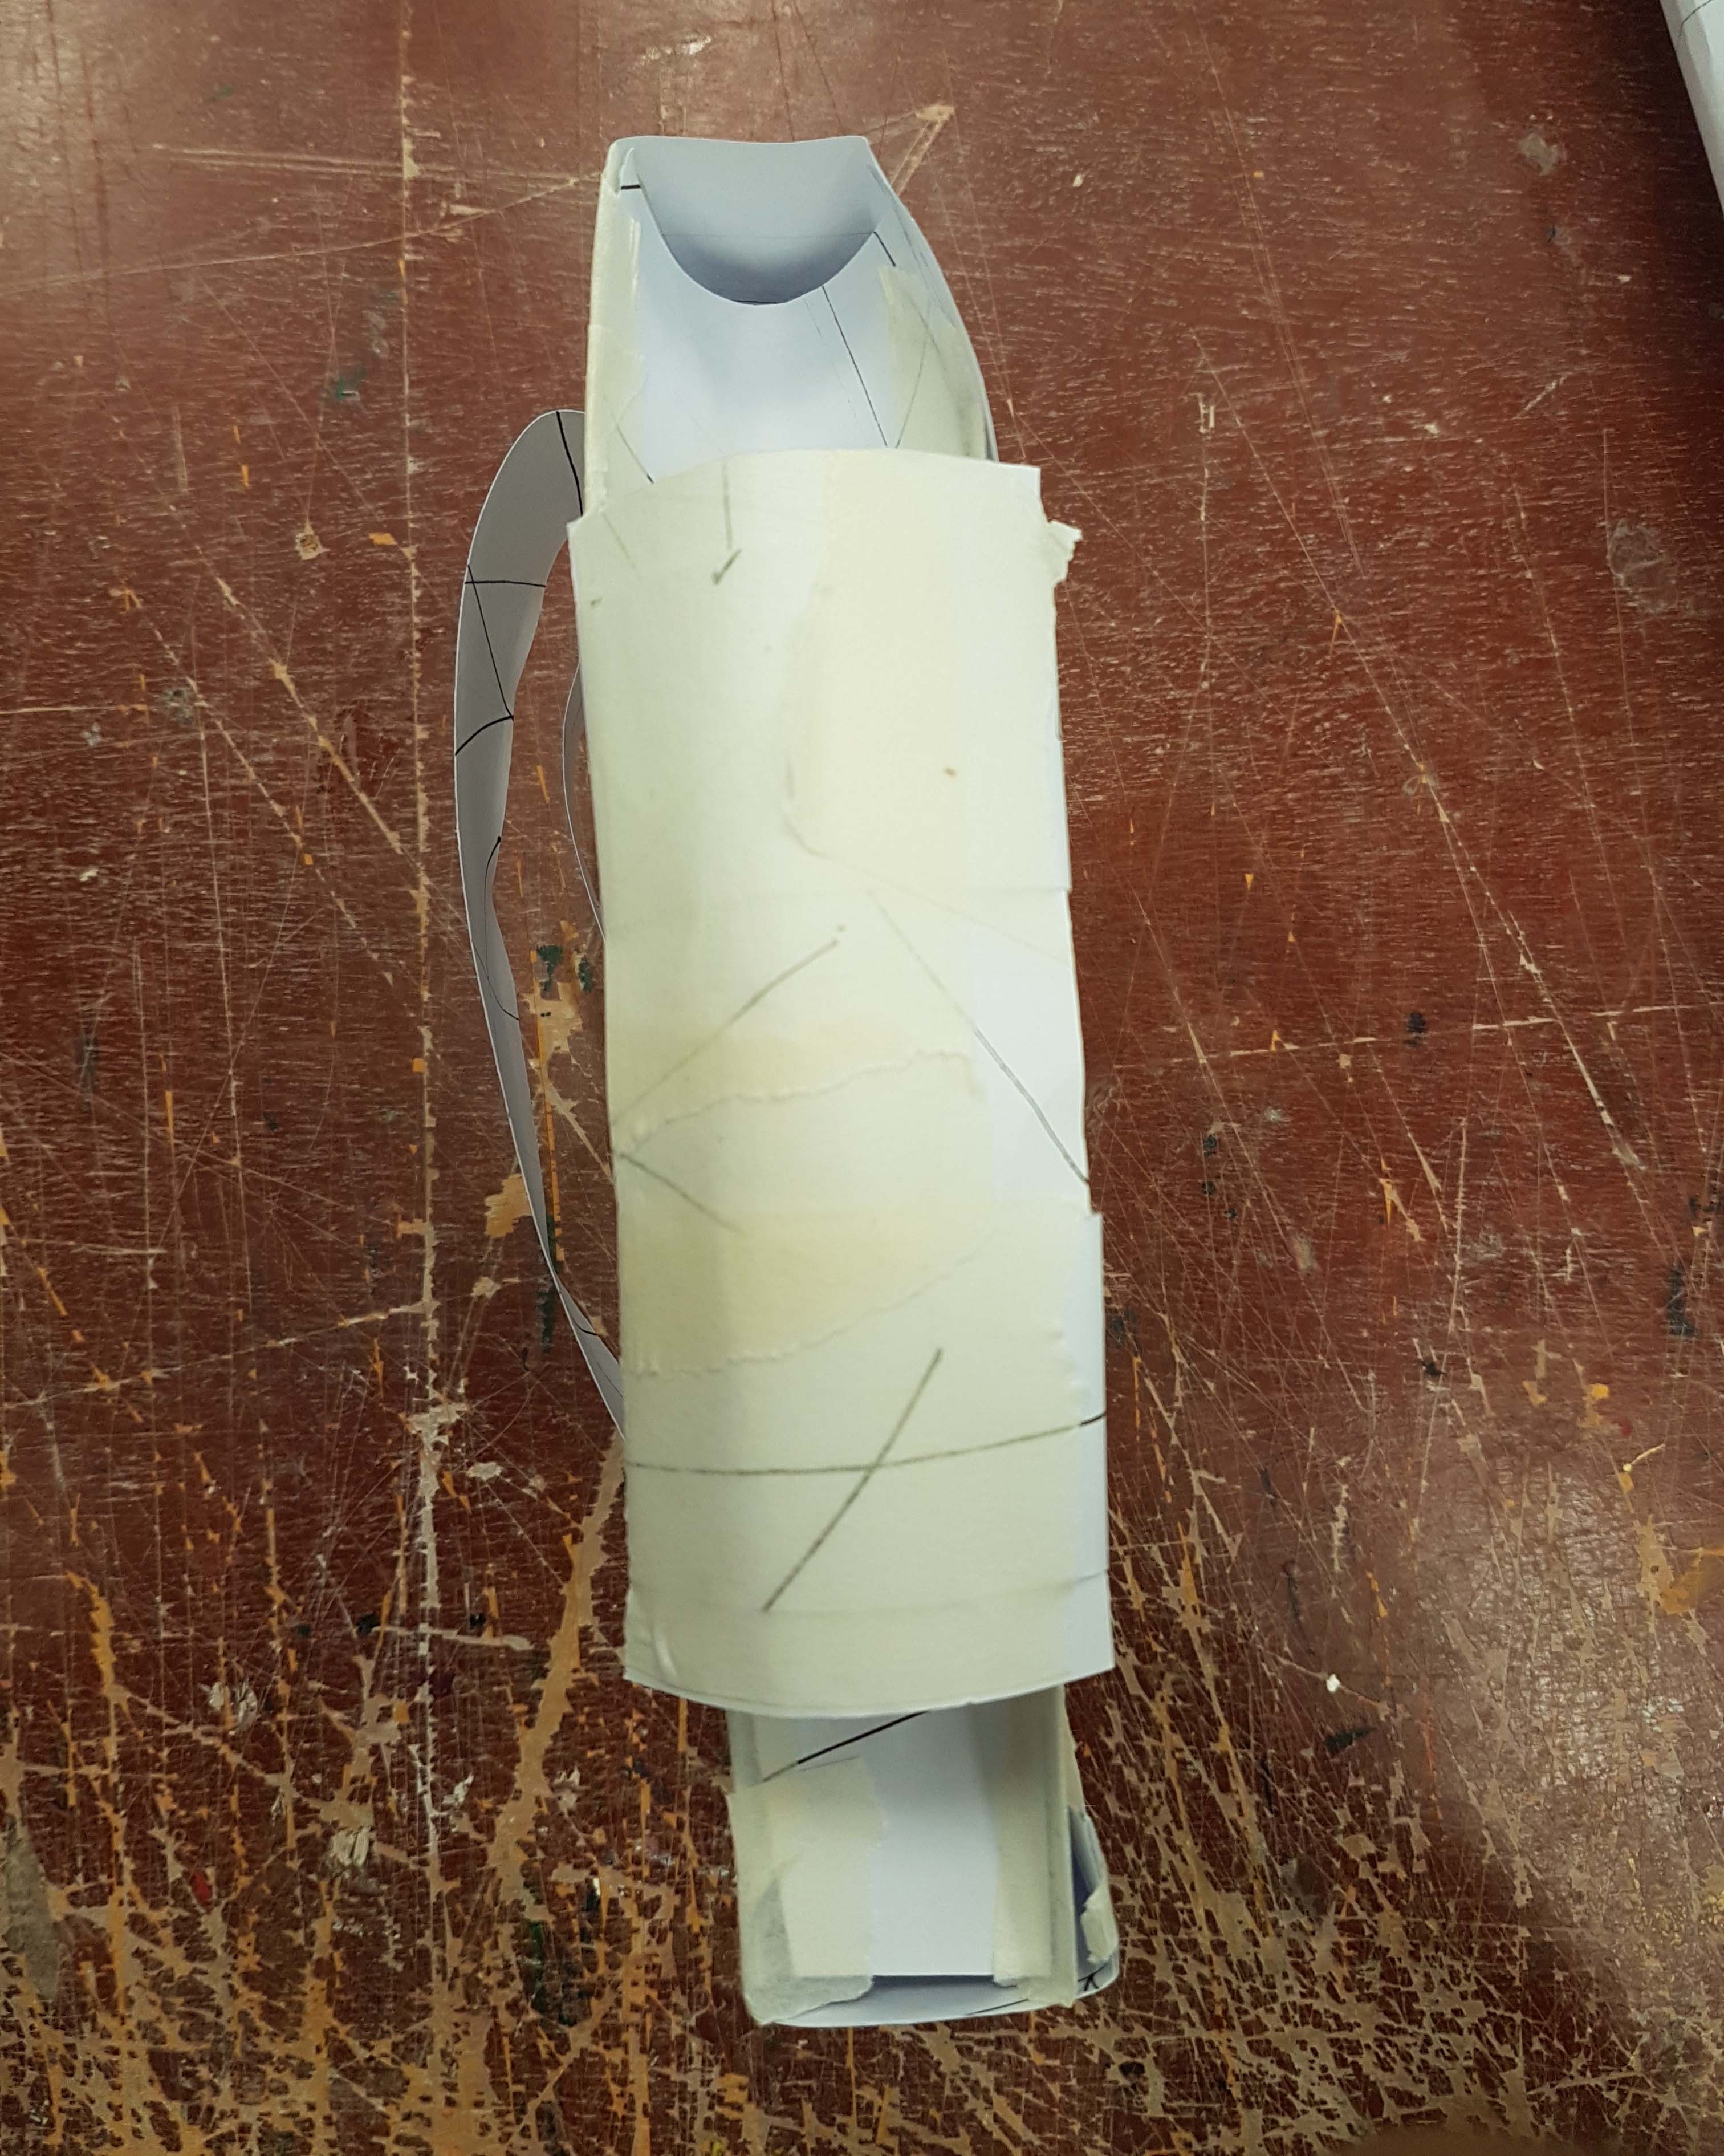
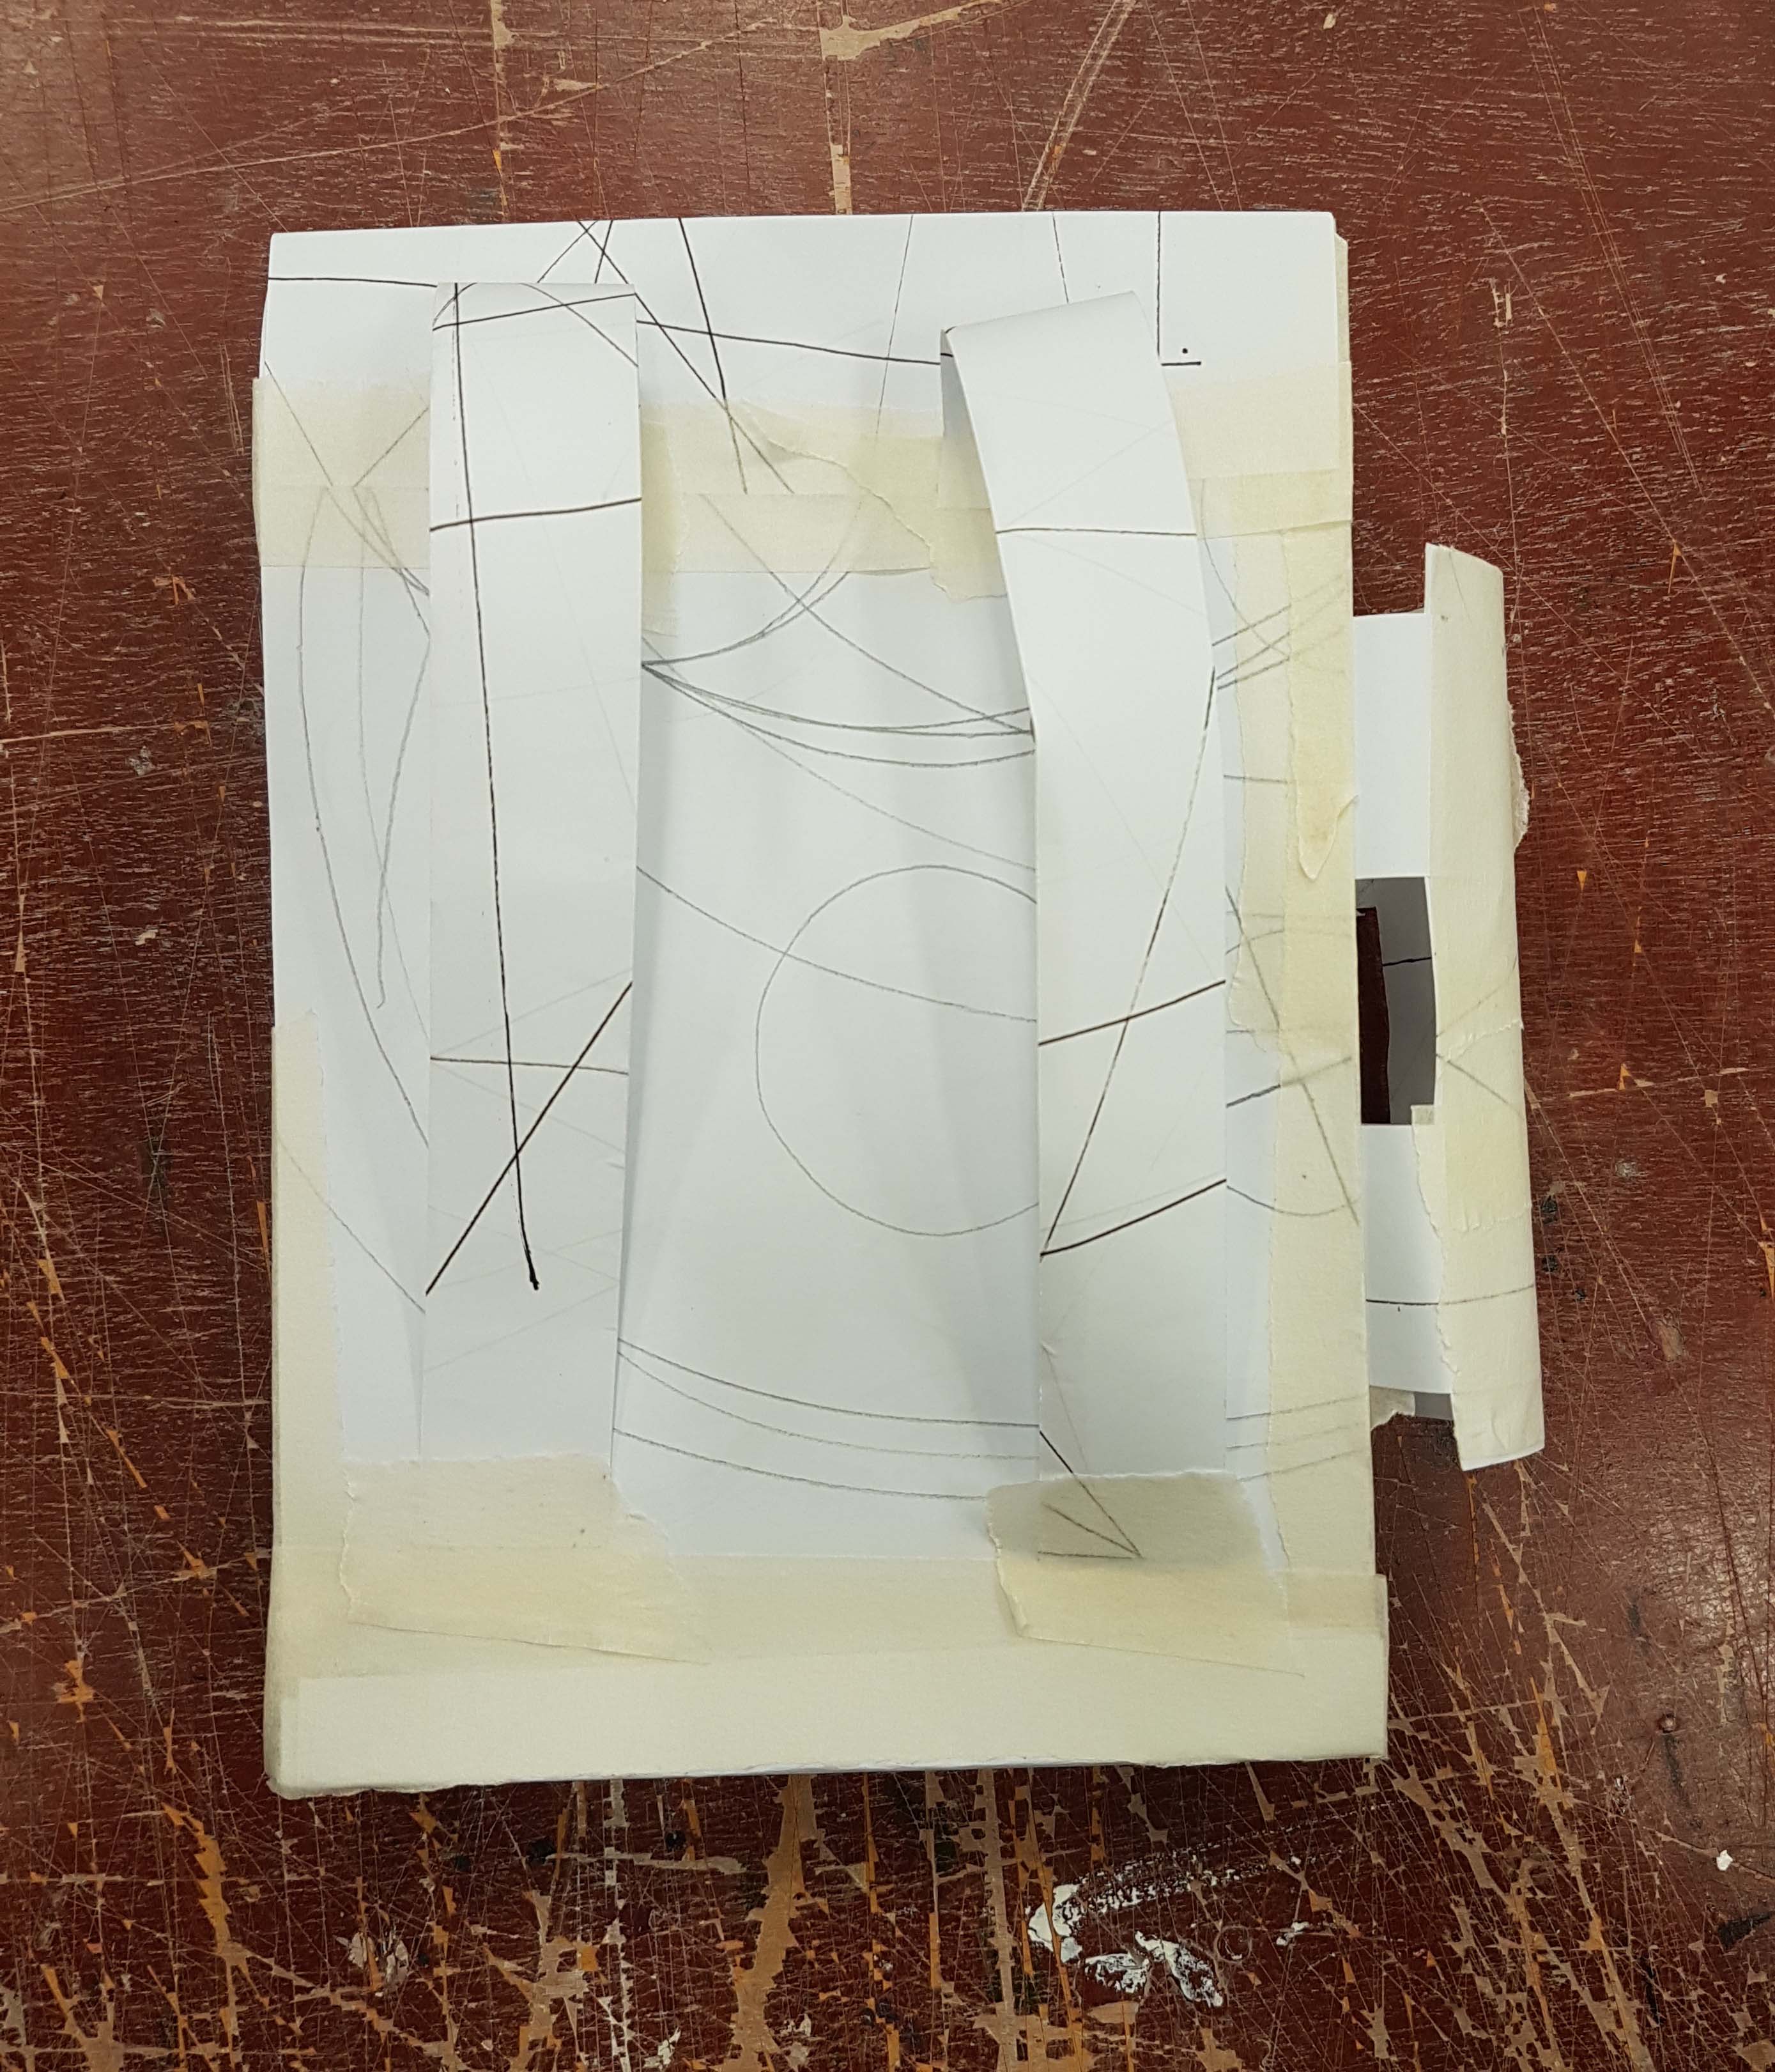
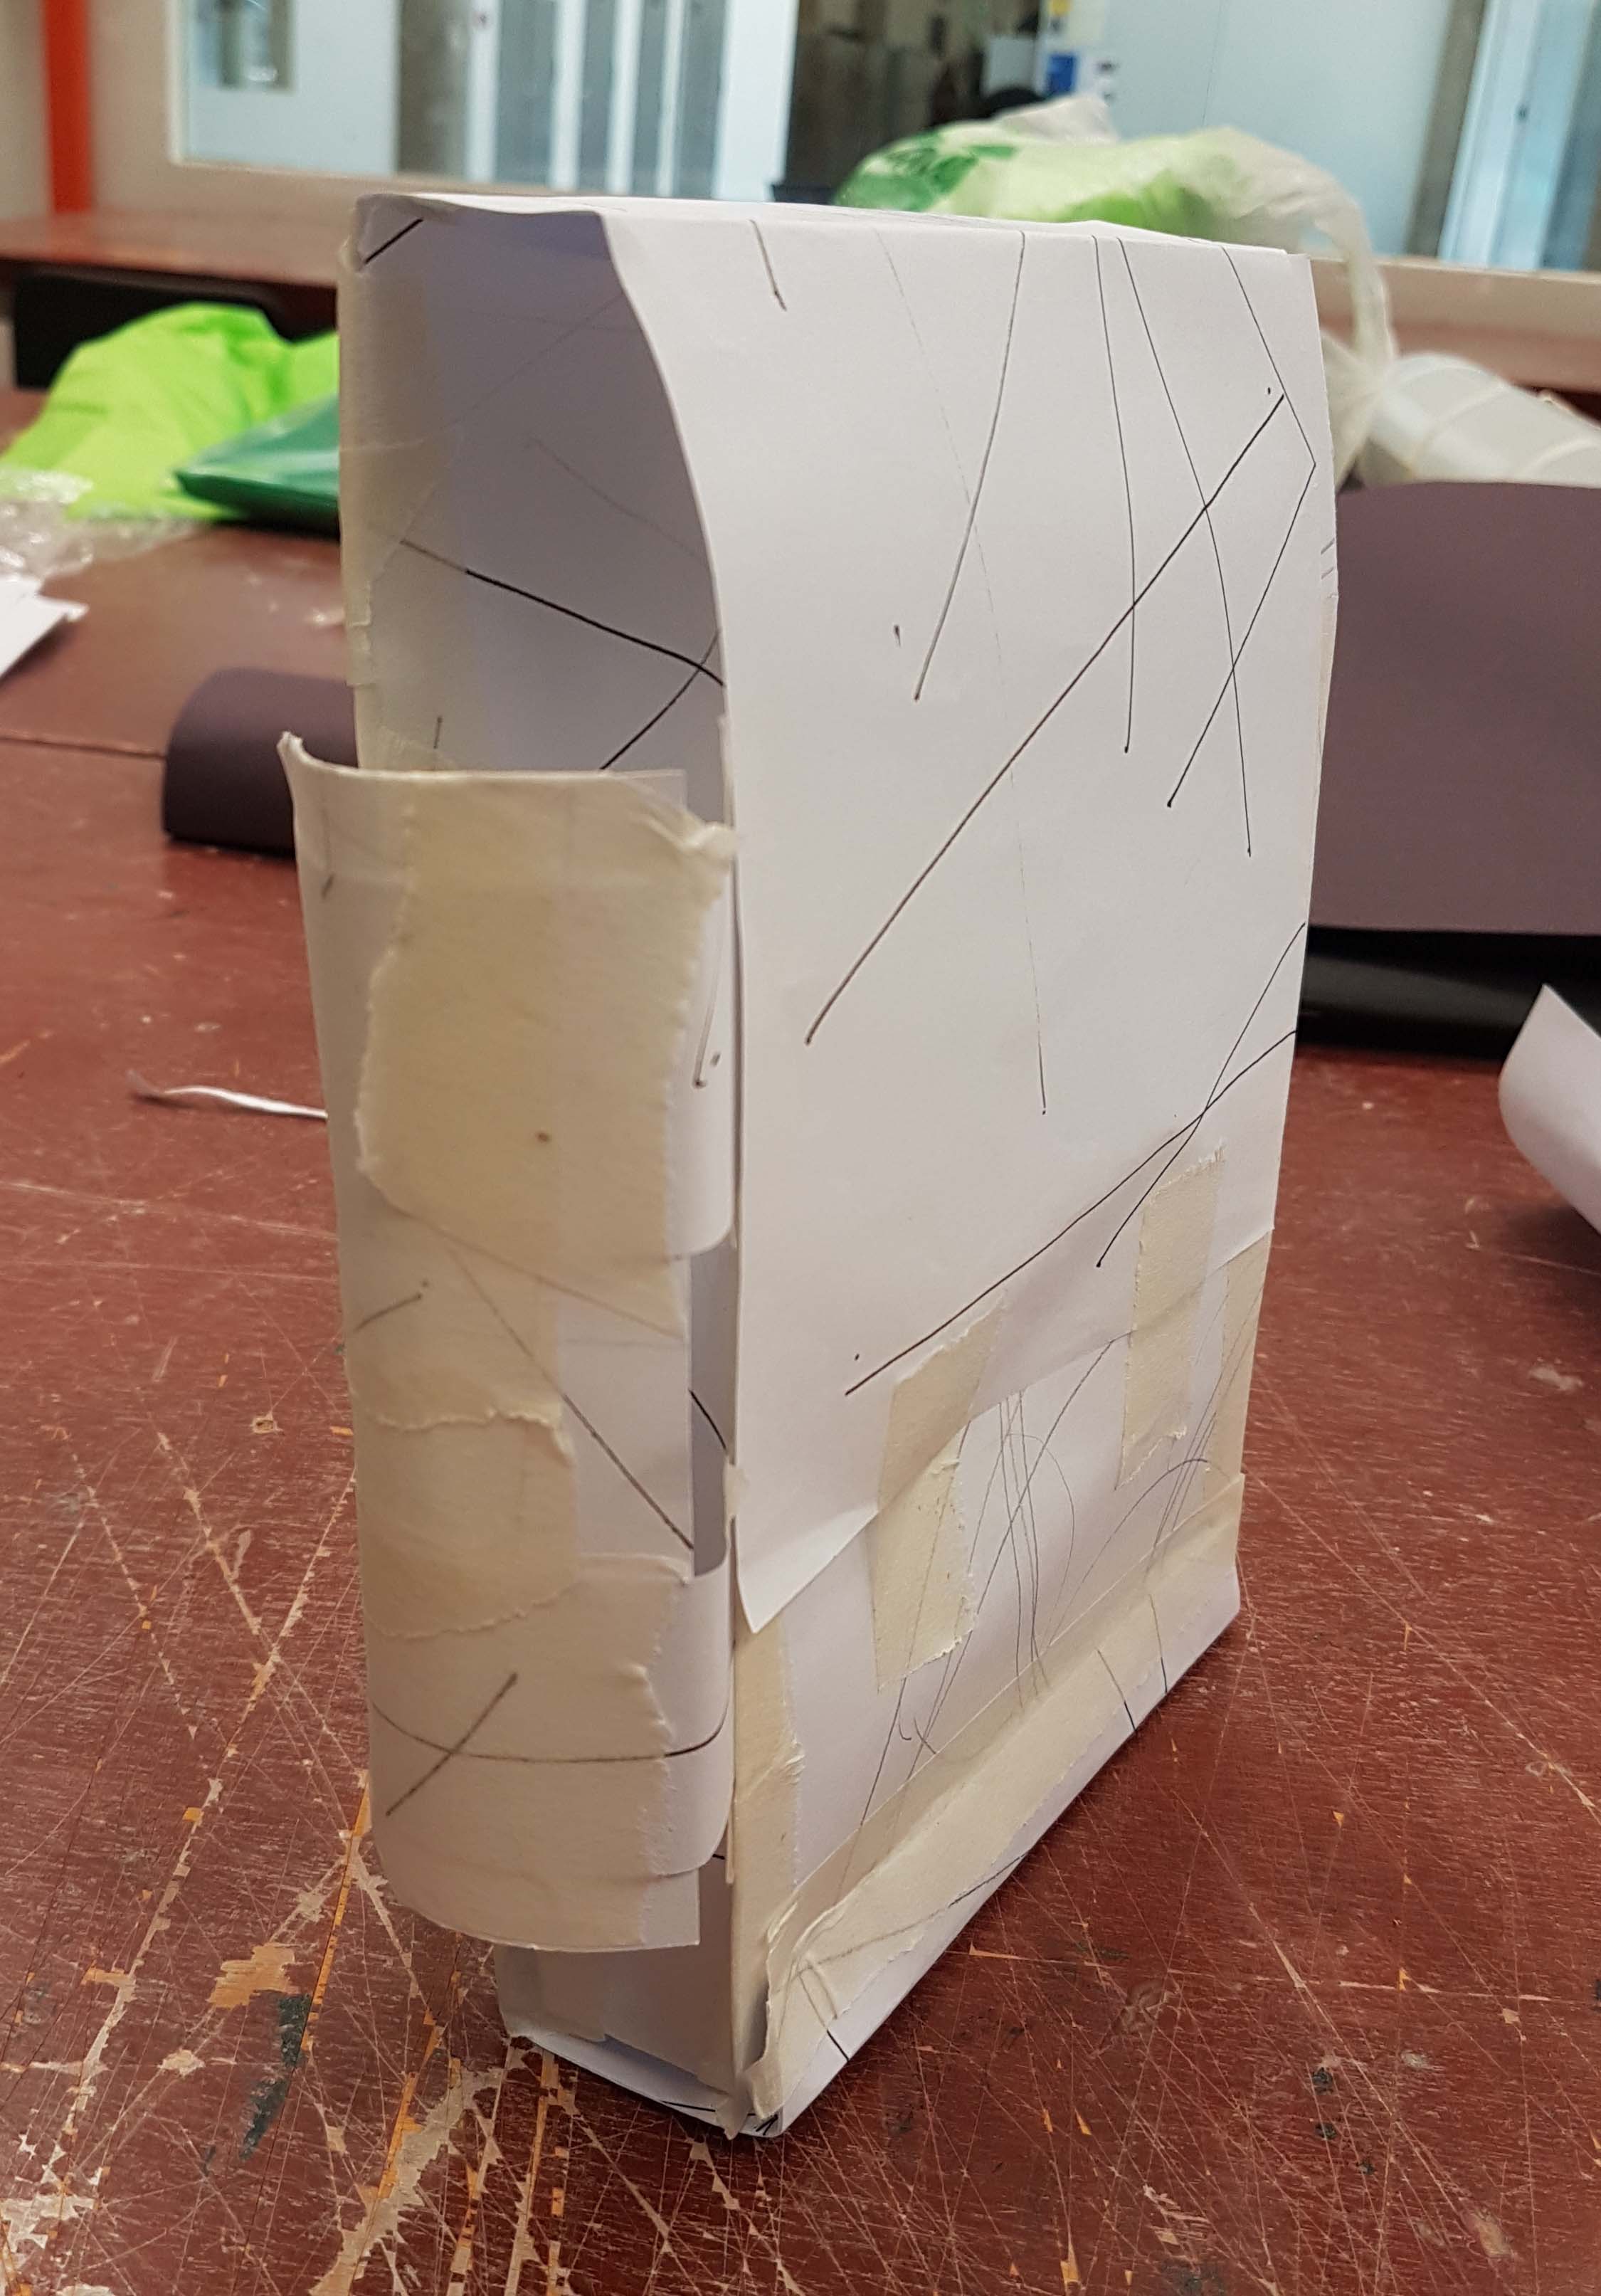
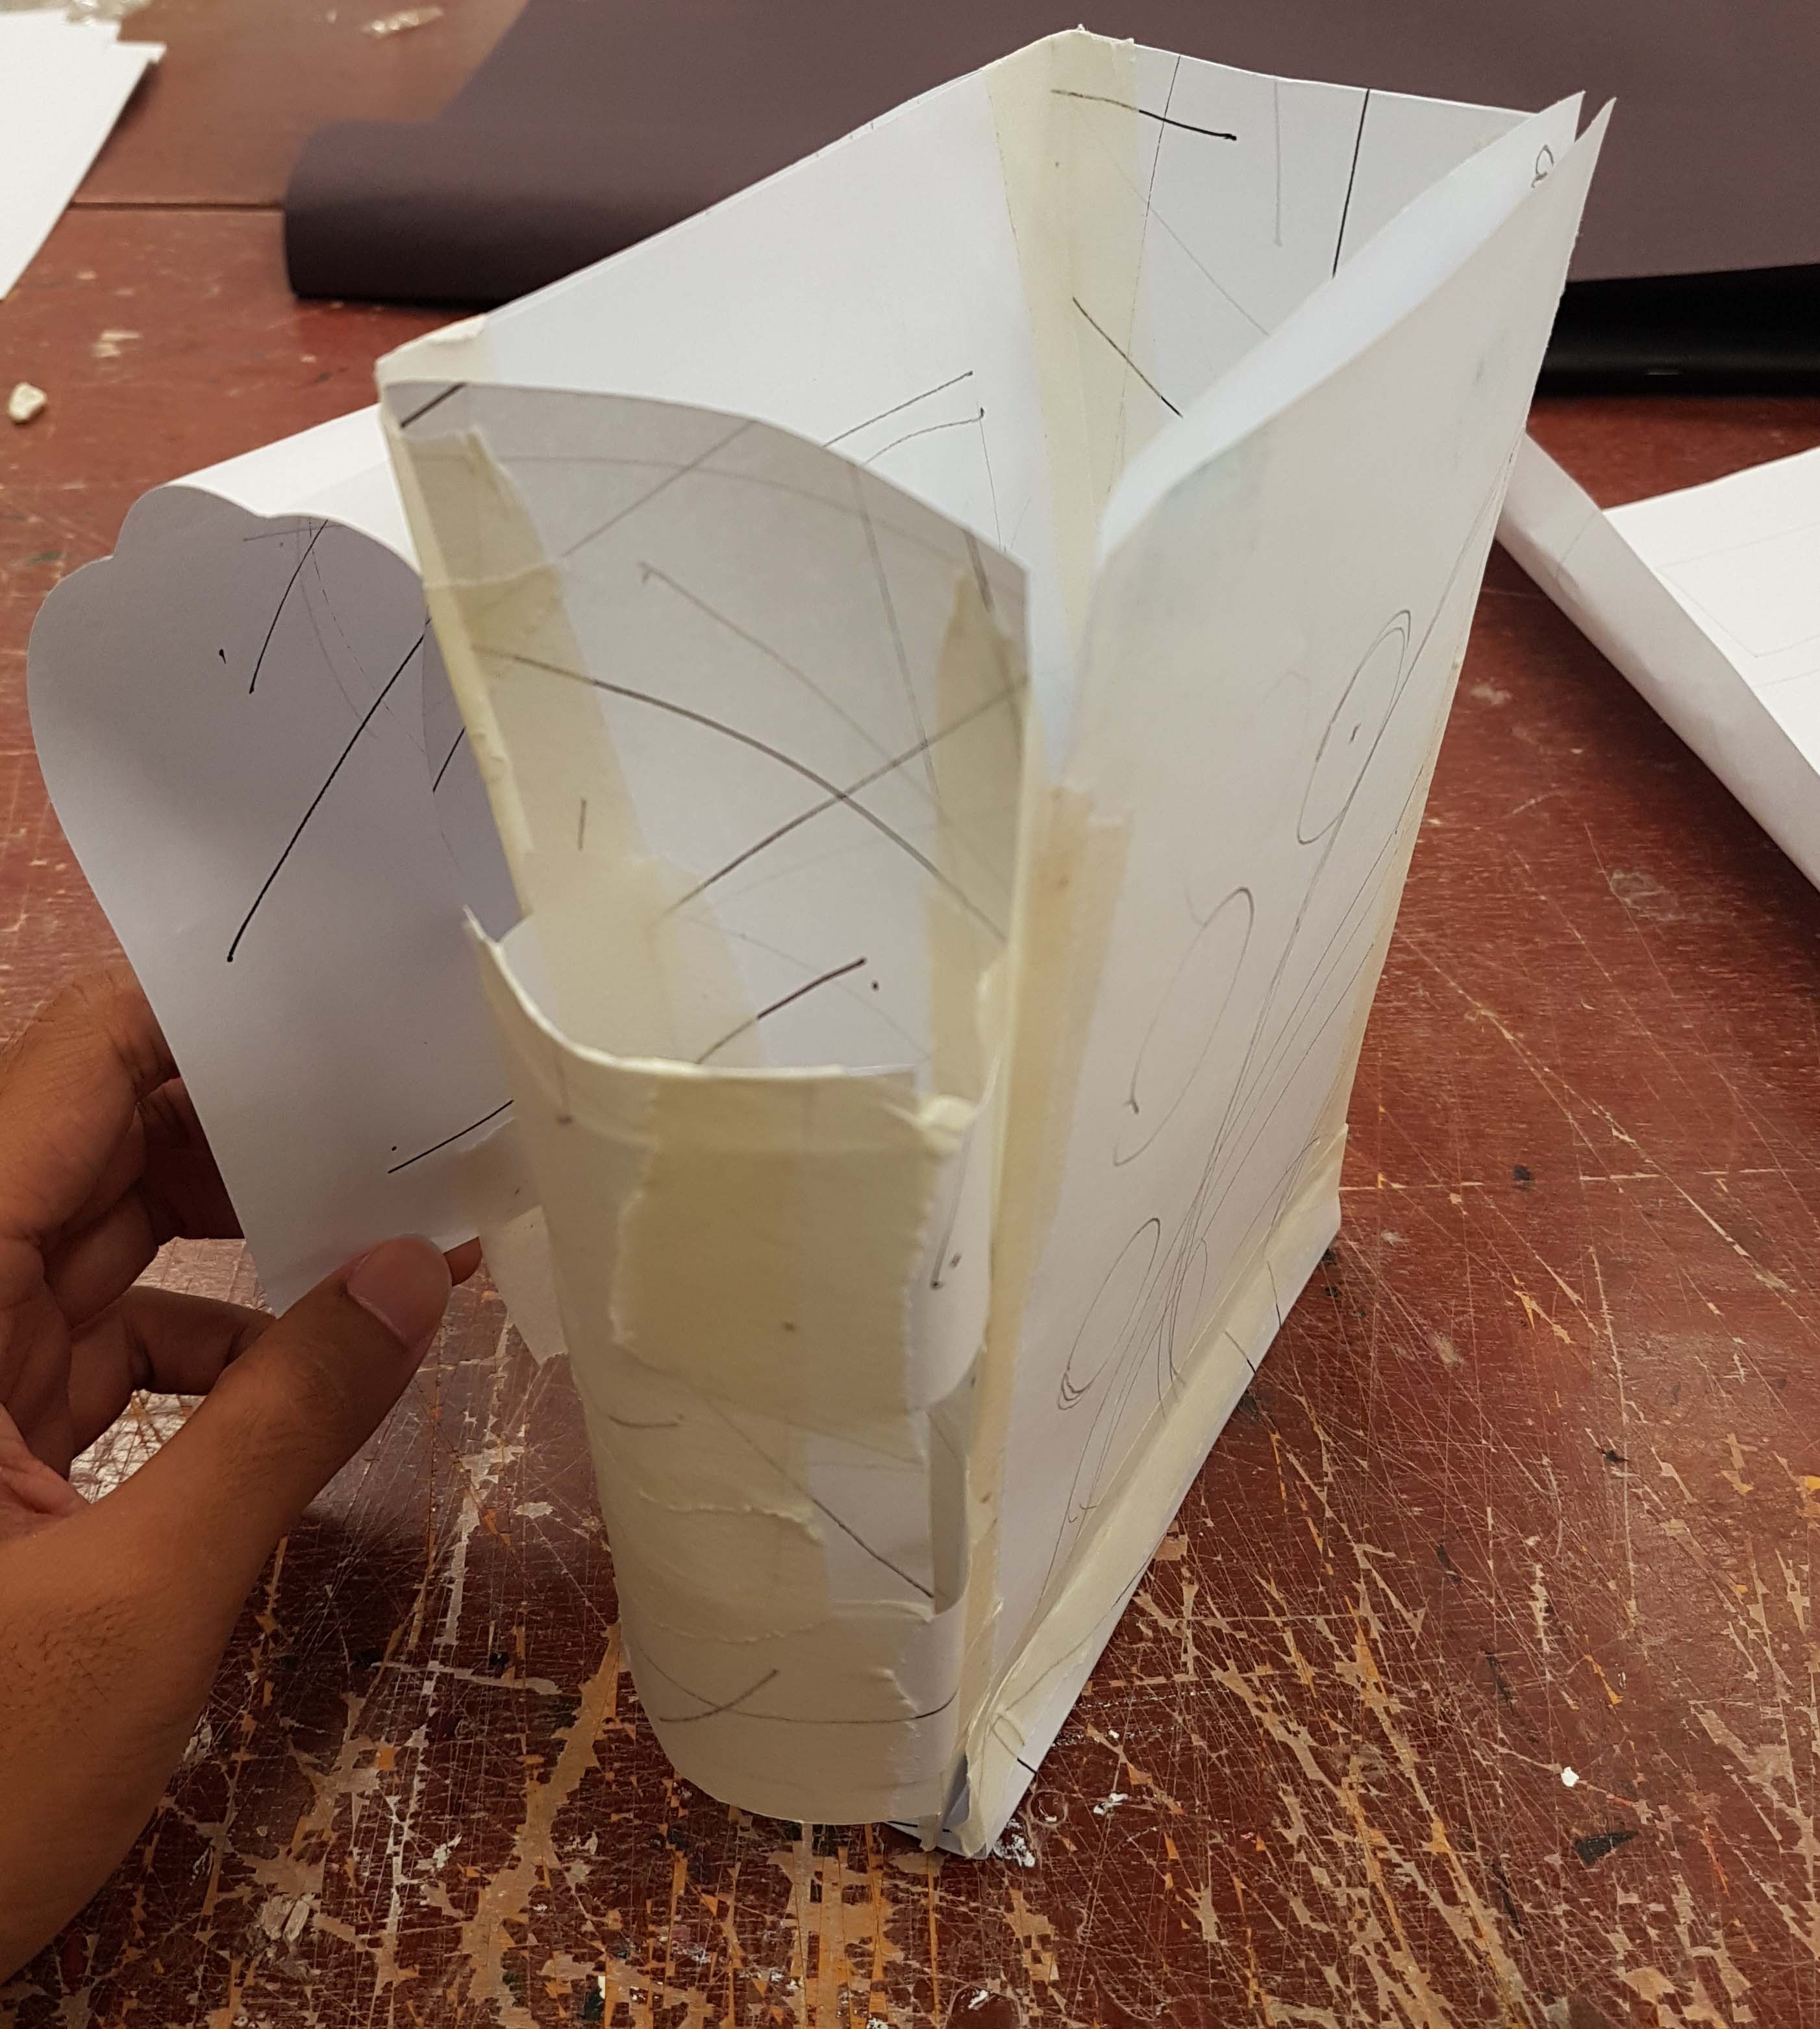
Smaller-scale prototype
Before I make the prototype out of the real intended material, I made a simple paper prototype of a smaller scale to see how I am to make the bag if it is in a fuller scale, see if the different parts of the bag can actually work when put together and also to have a physical feel of the model in my hands.
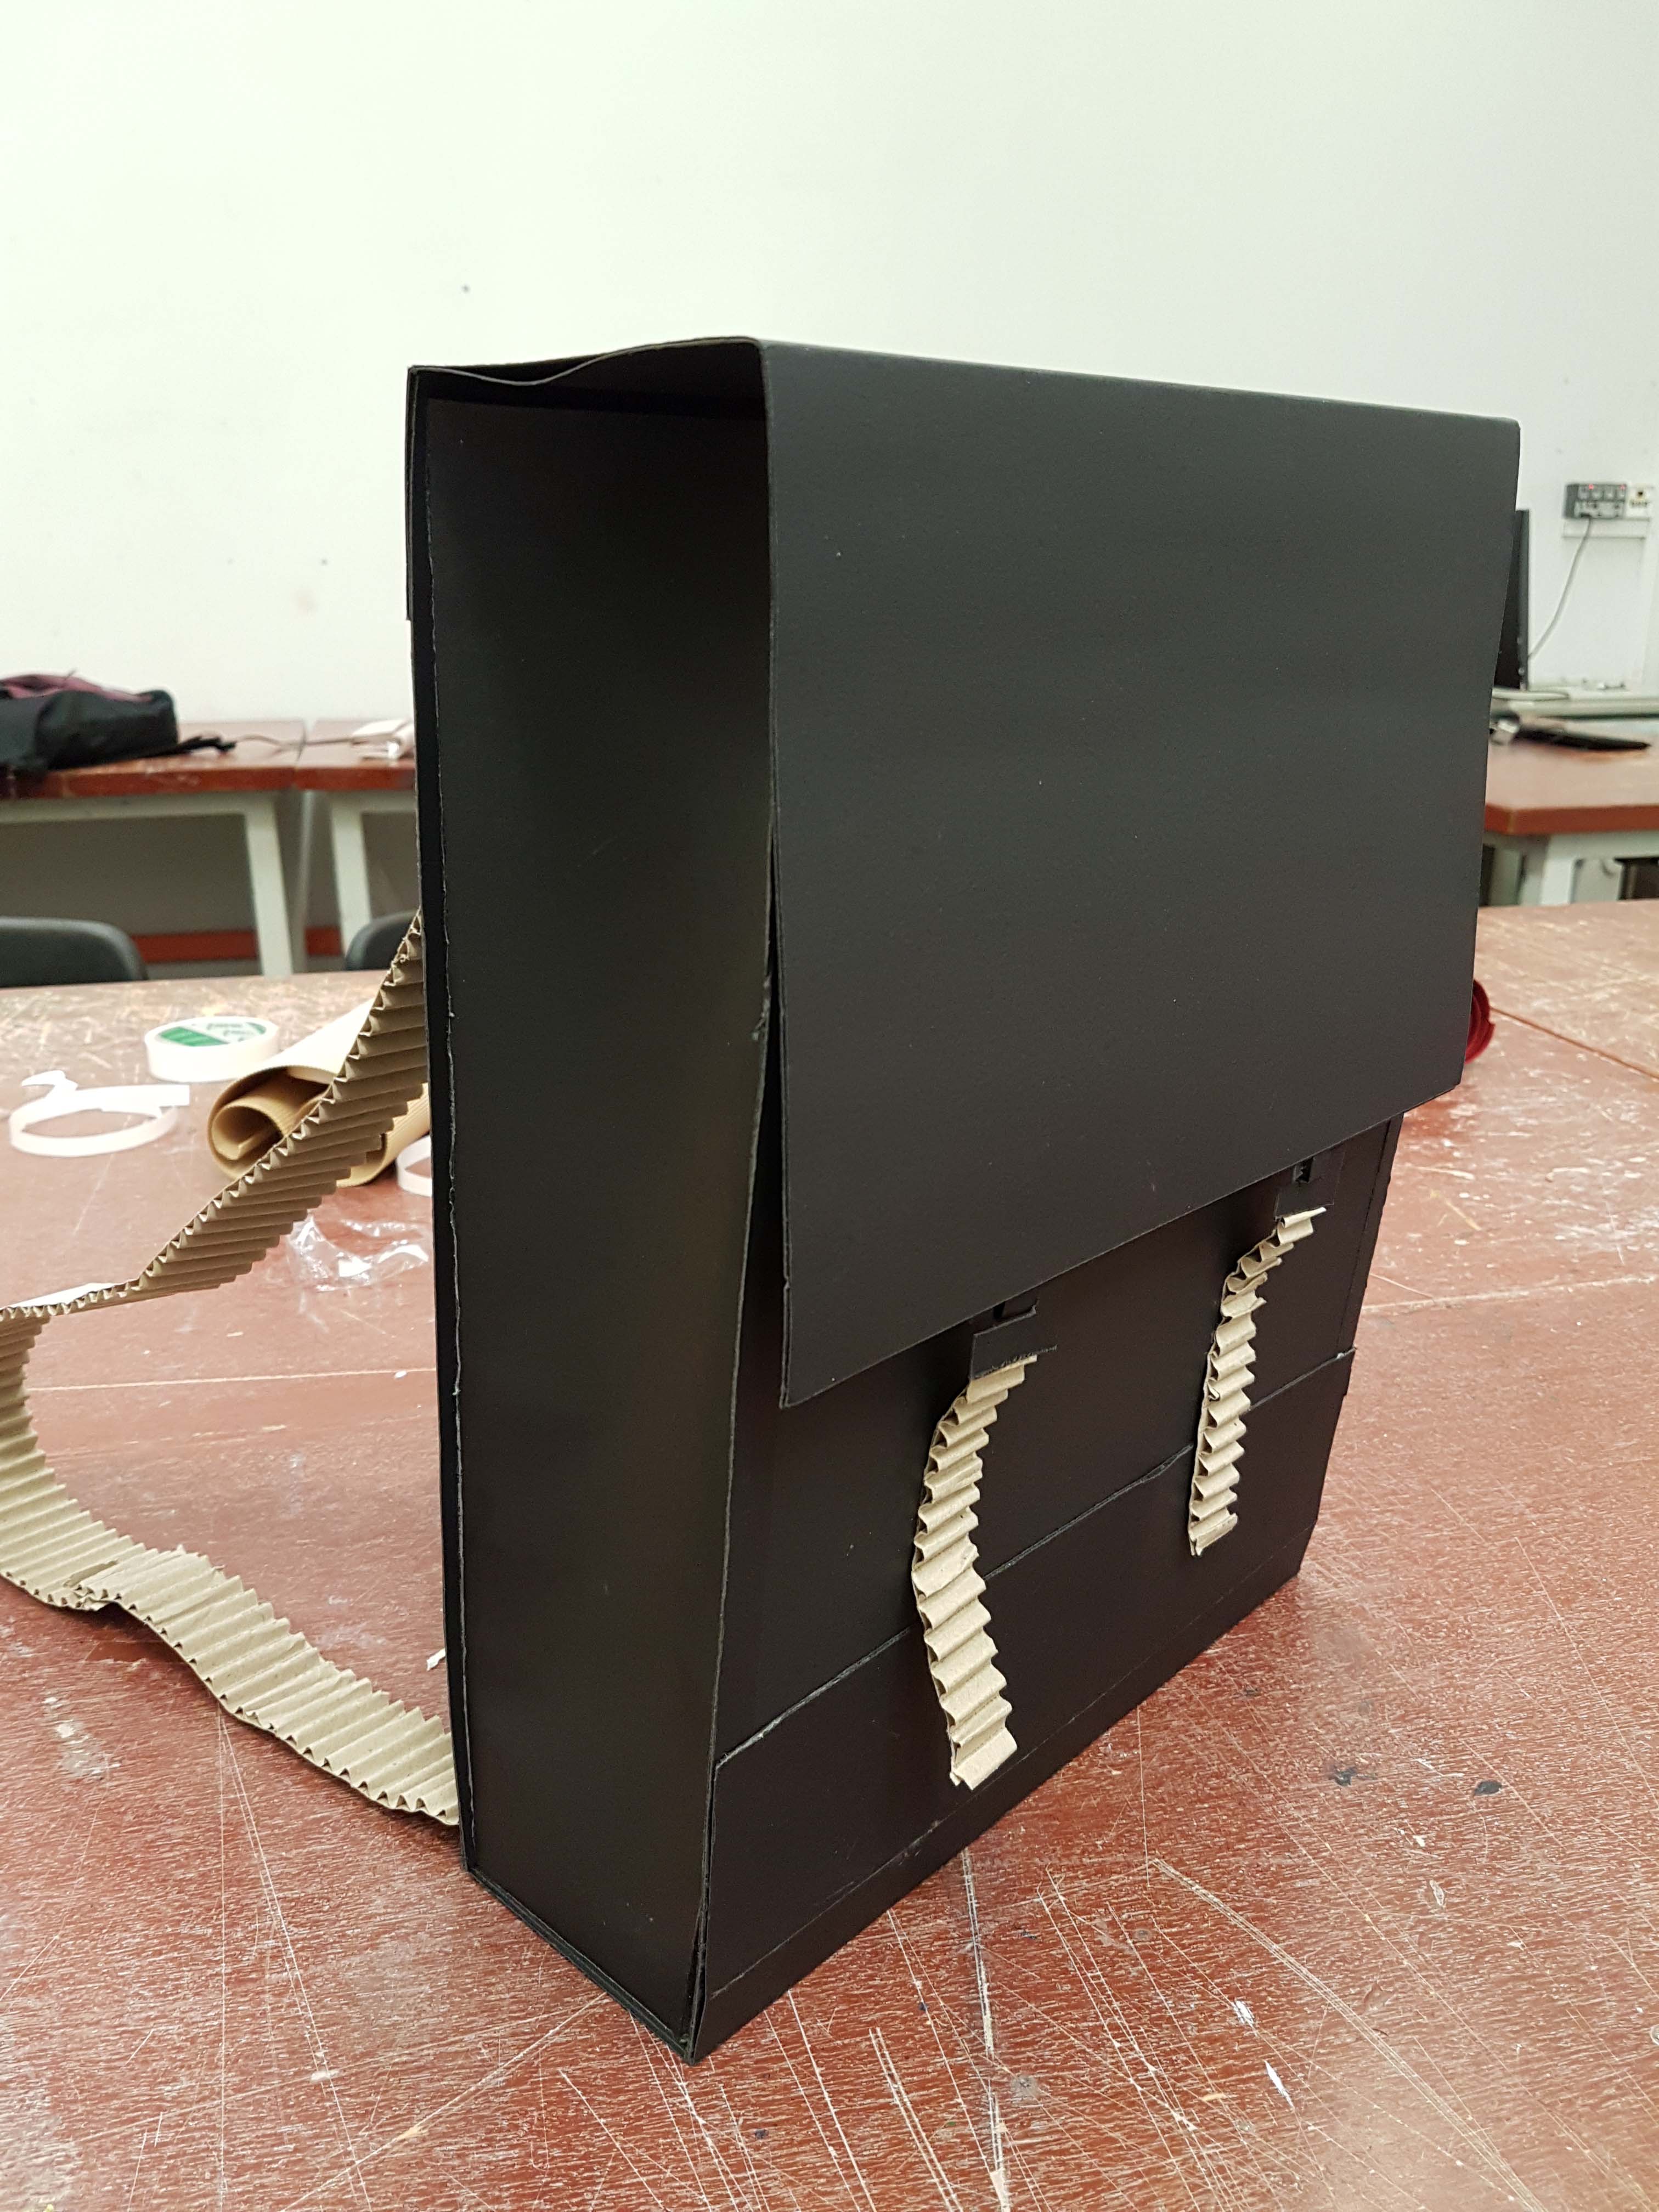
The “real” prototype
I would finally get to start making the prototype using the intended materials, which is black recycled paper. I chose this material as it has a similar matte look to the REAL material that would have been used which is black leather.
I would start off by making the main body of the bag. However, the paper material is still much thinner than the synthetic leather so I had to double up the paper so that it will be much stiffer and stronger.
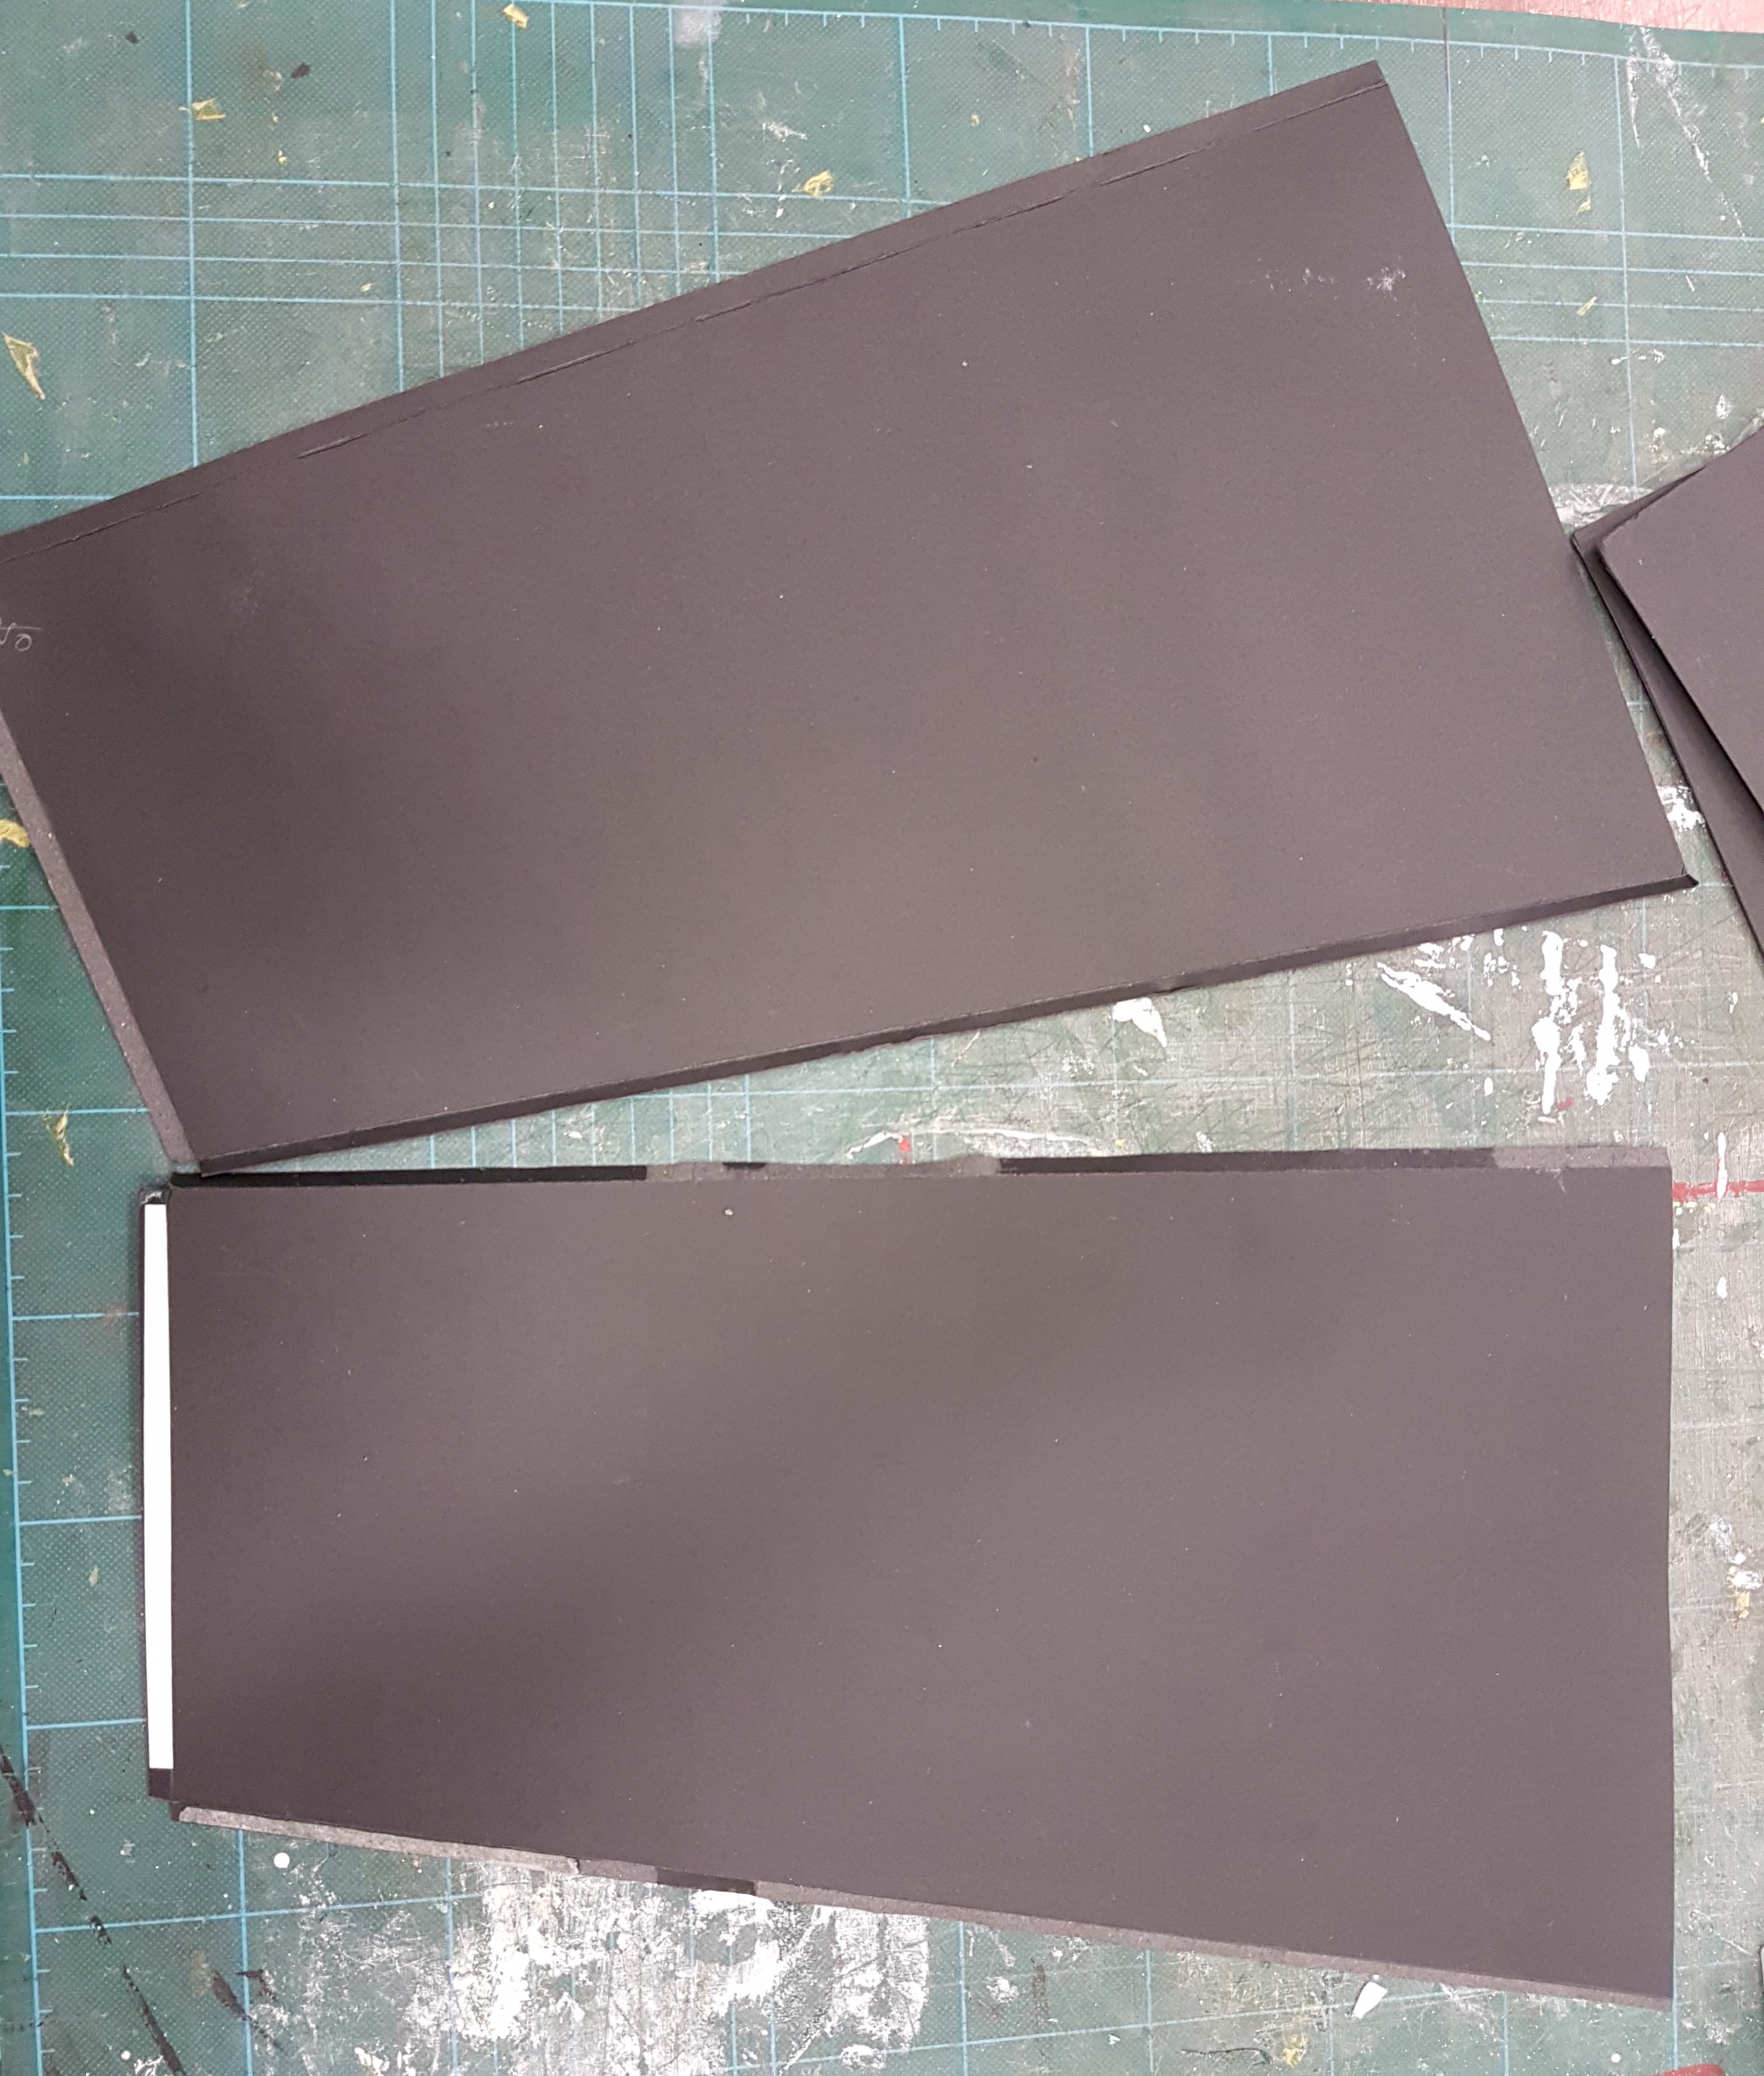
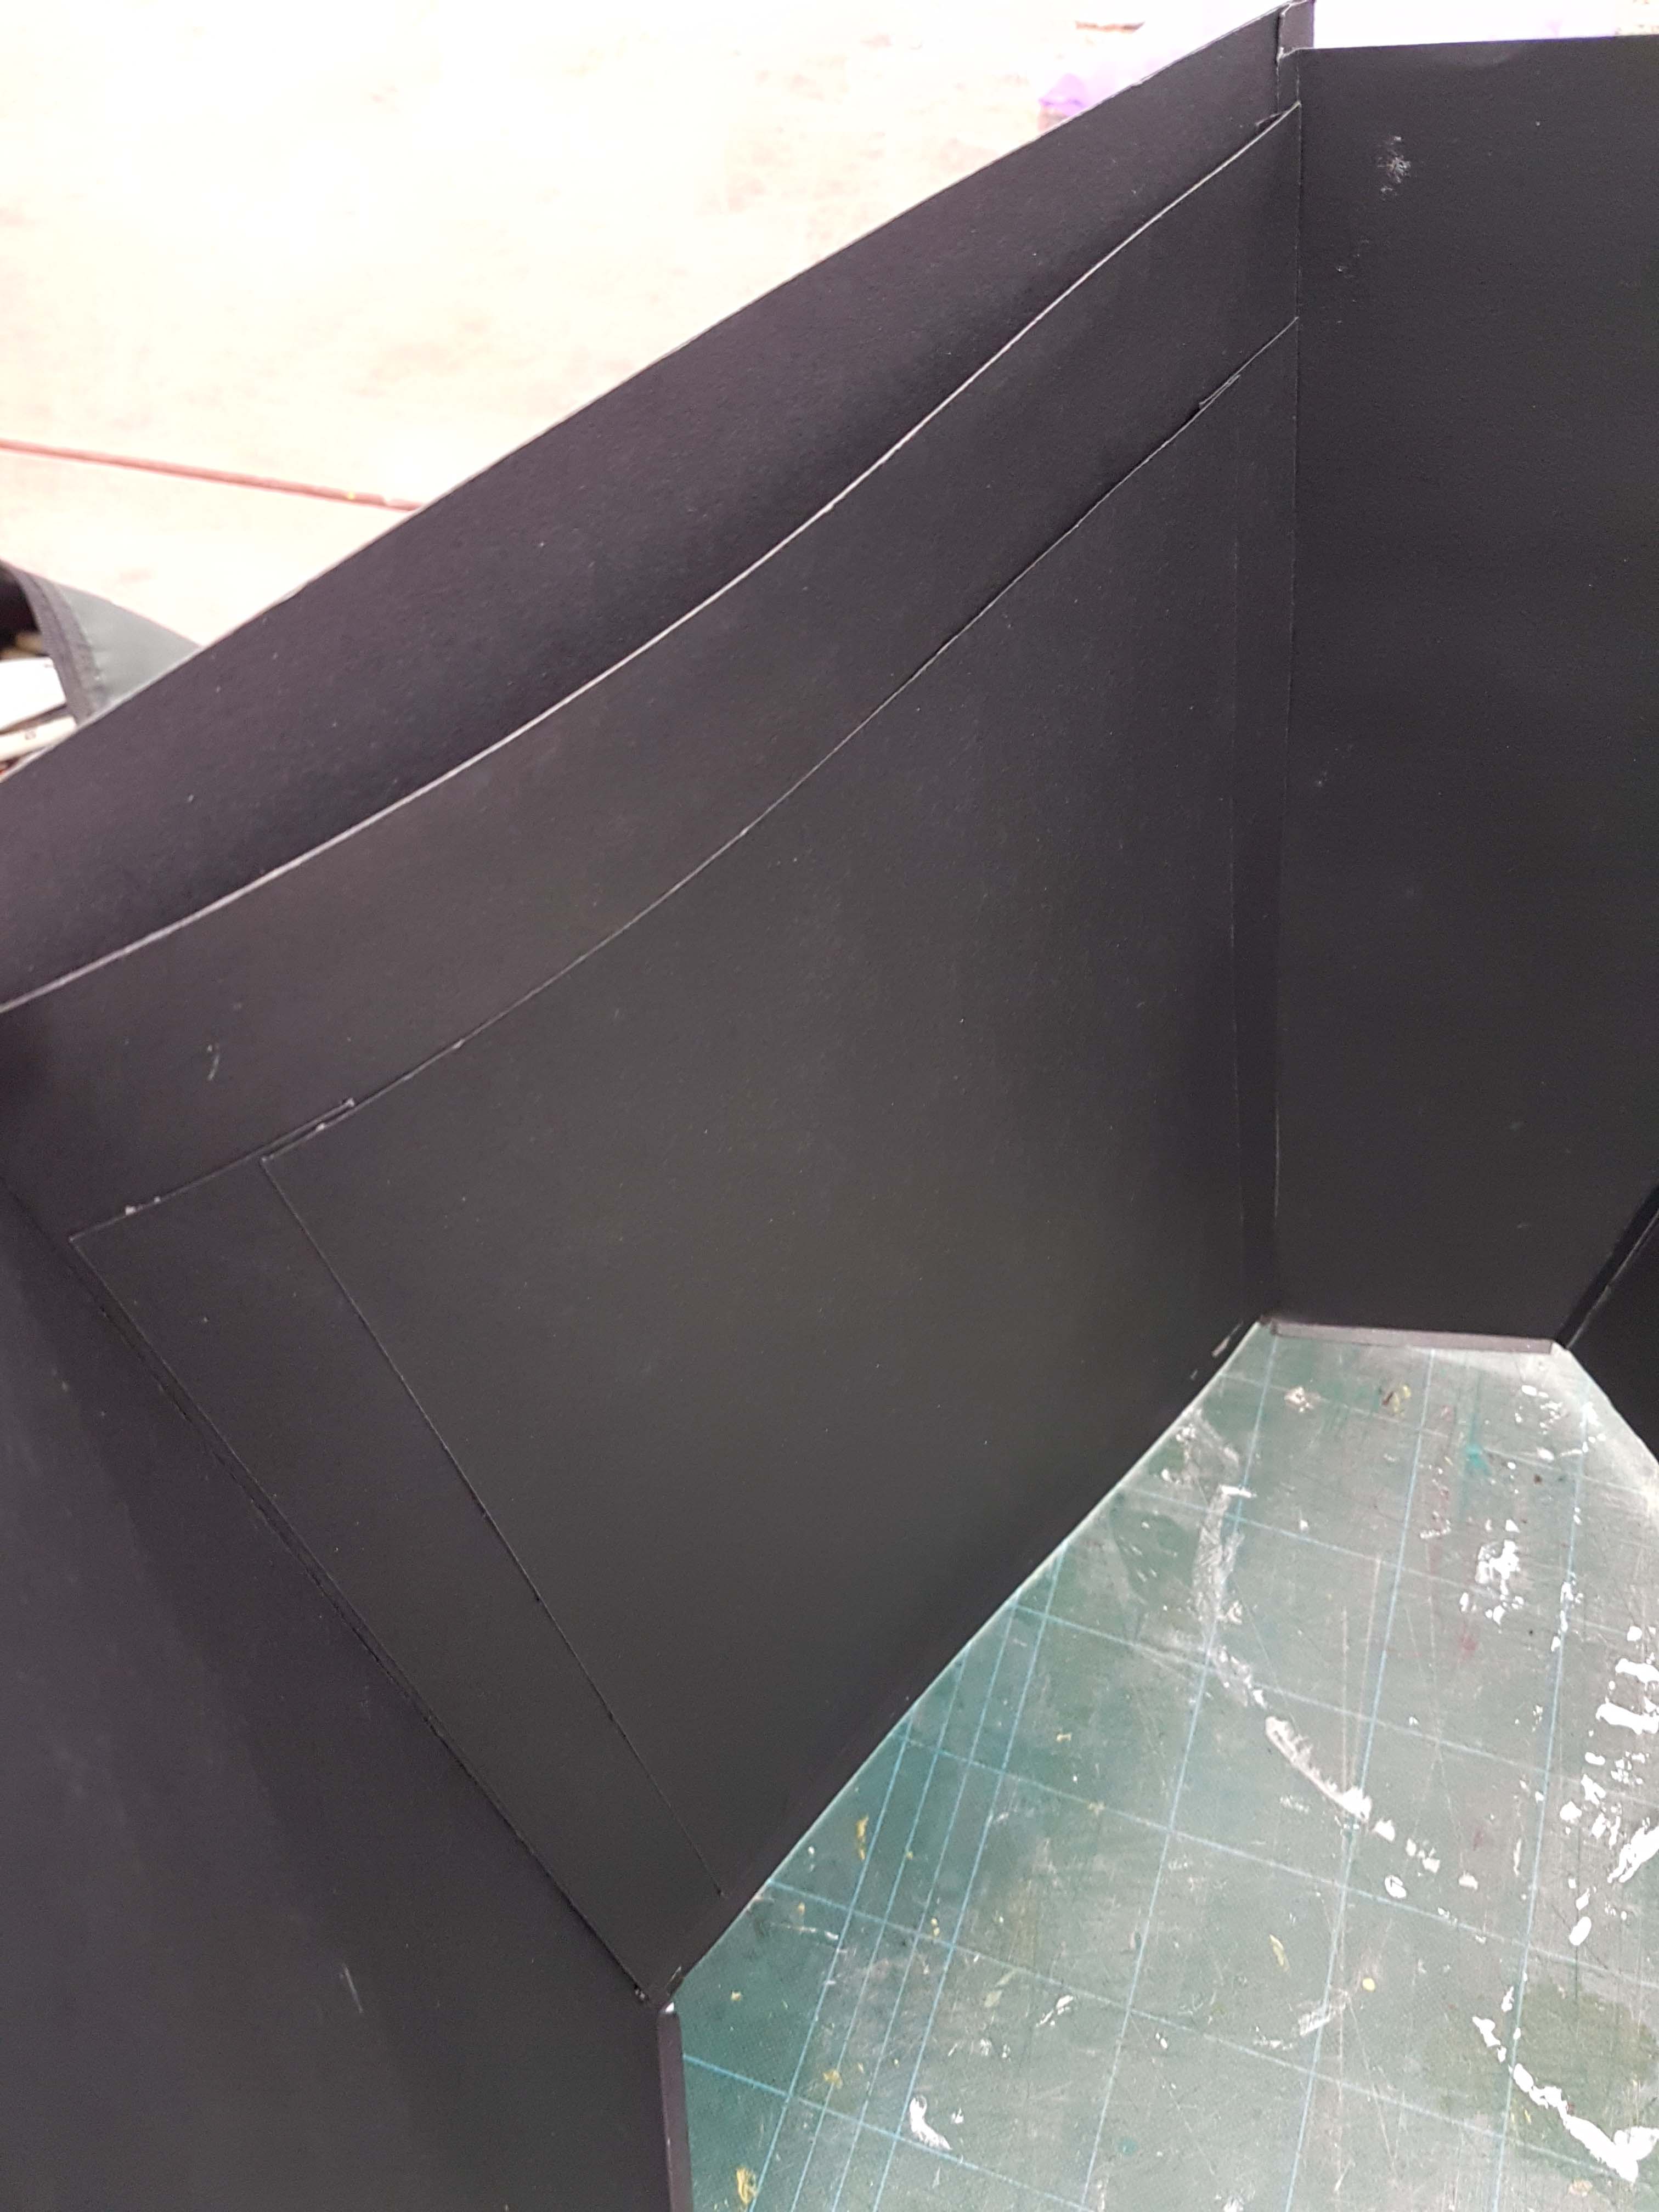
I would cut out the main shape of the bag first. As the bag can be opened wider at the top for easier access of the contents, the sides of the bag are cut slanted where it gets wider towards the top.
For the width of the bag, I just used the measurements of a 15 inch MacBook and added a few centimetres to it so that I would know that it could fit such a device and also that there is no problem when it comes putting in a 13-inch version.
Initially, the bag was too thick when I put all 4 sides together and it looked like those bags carried by the food deliverymen. So I disassembled the bag and trimmed a few centimetres off for the sides.
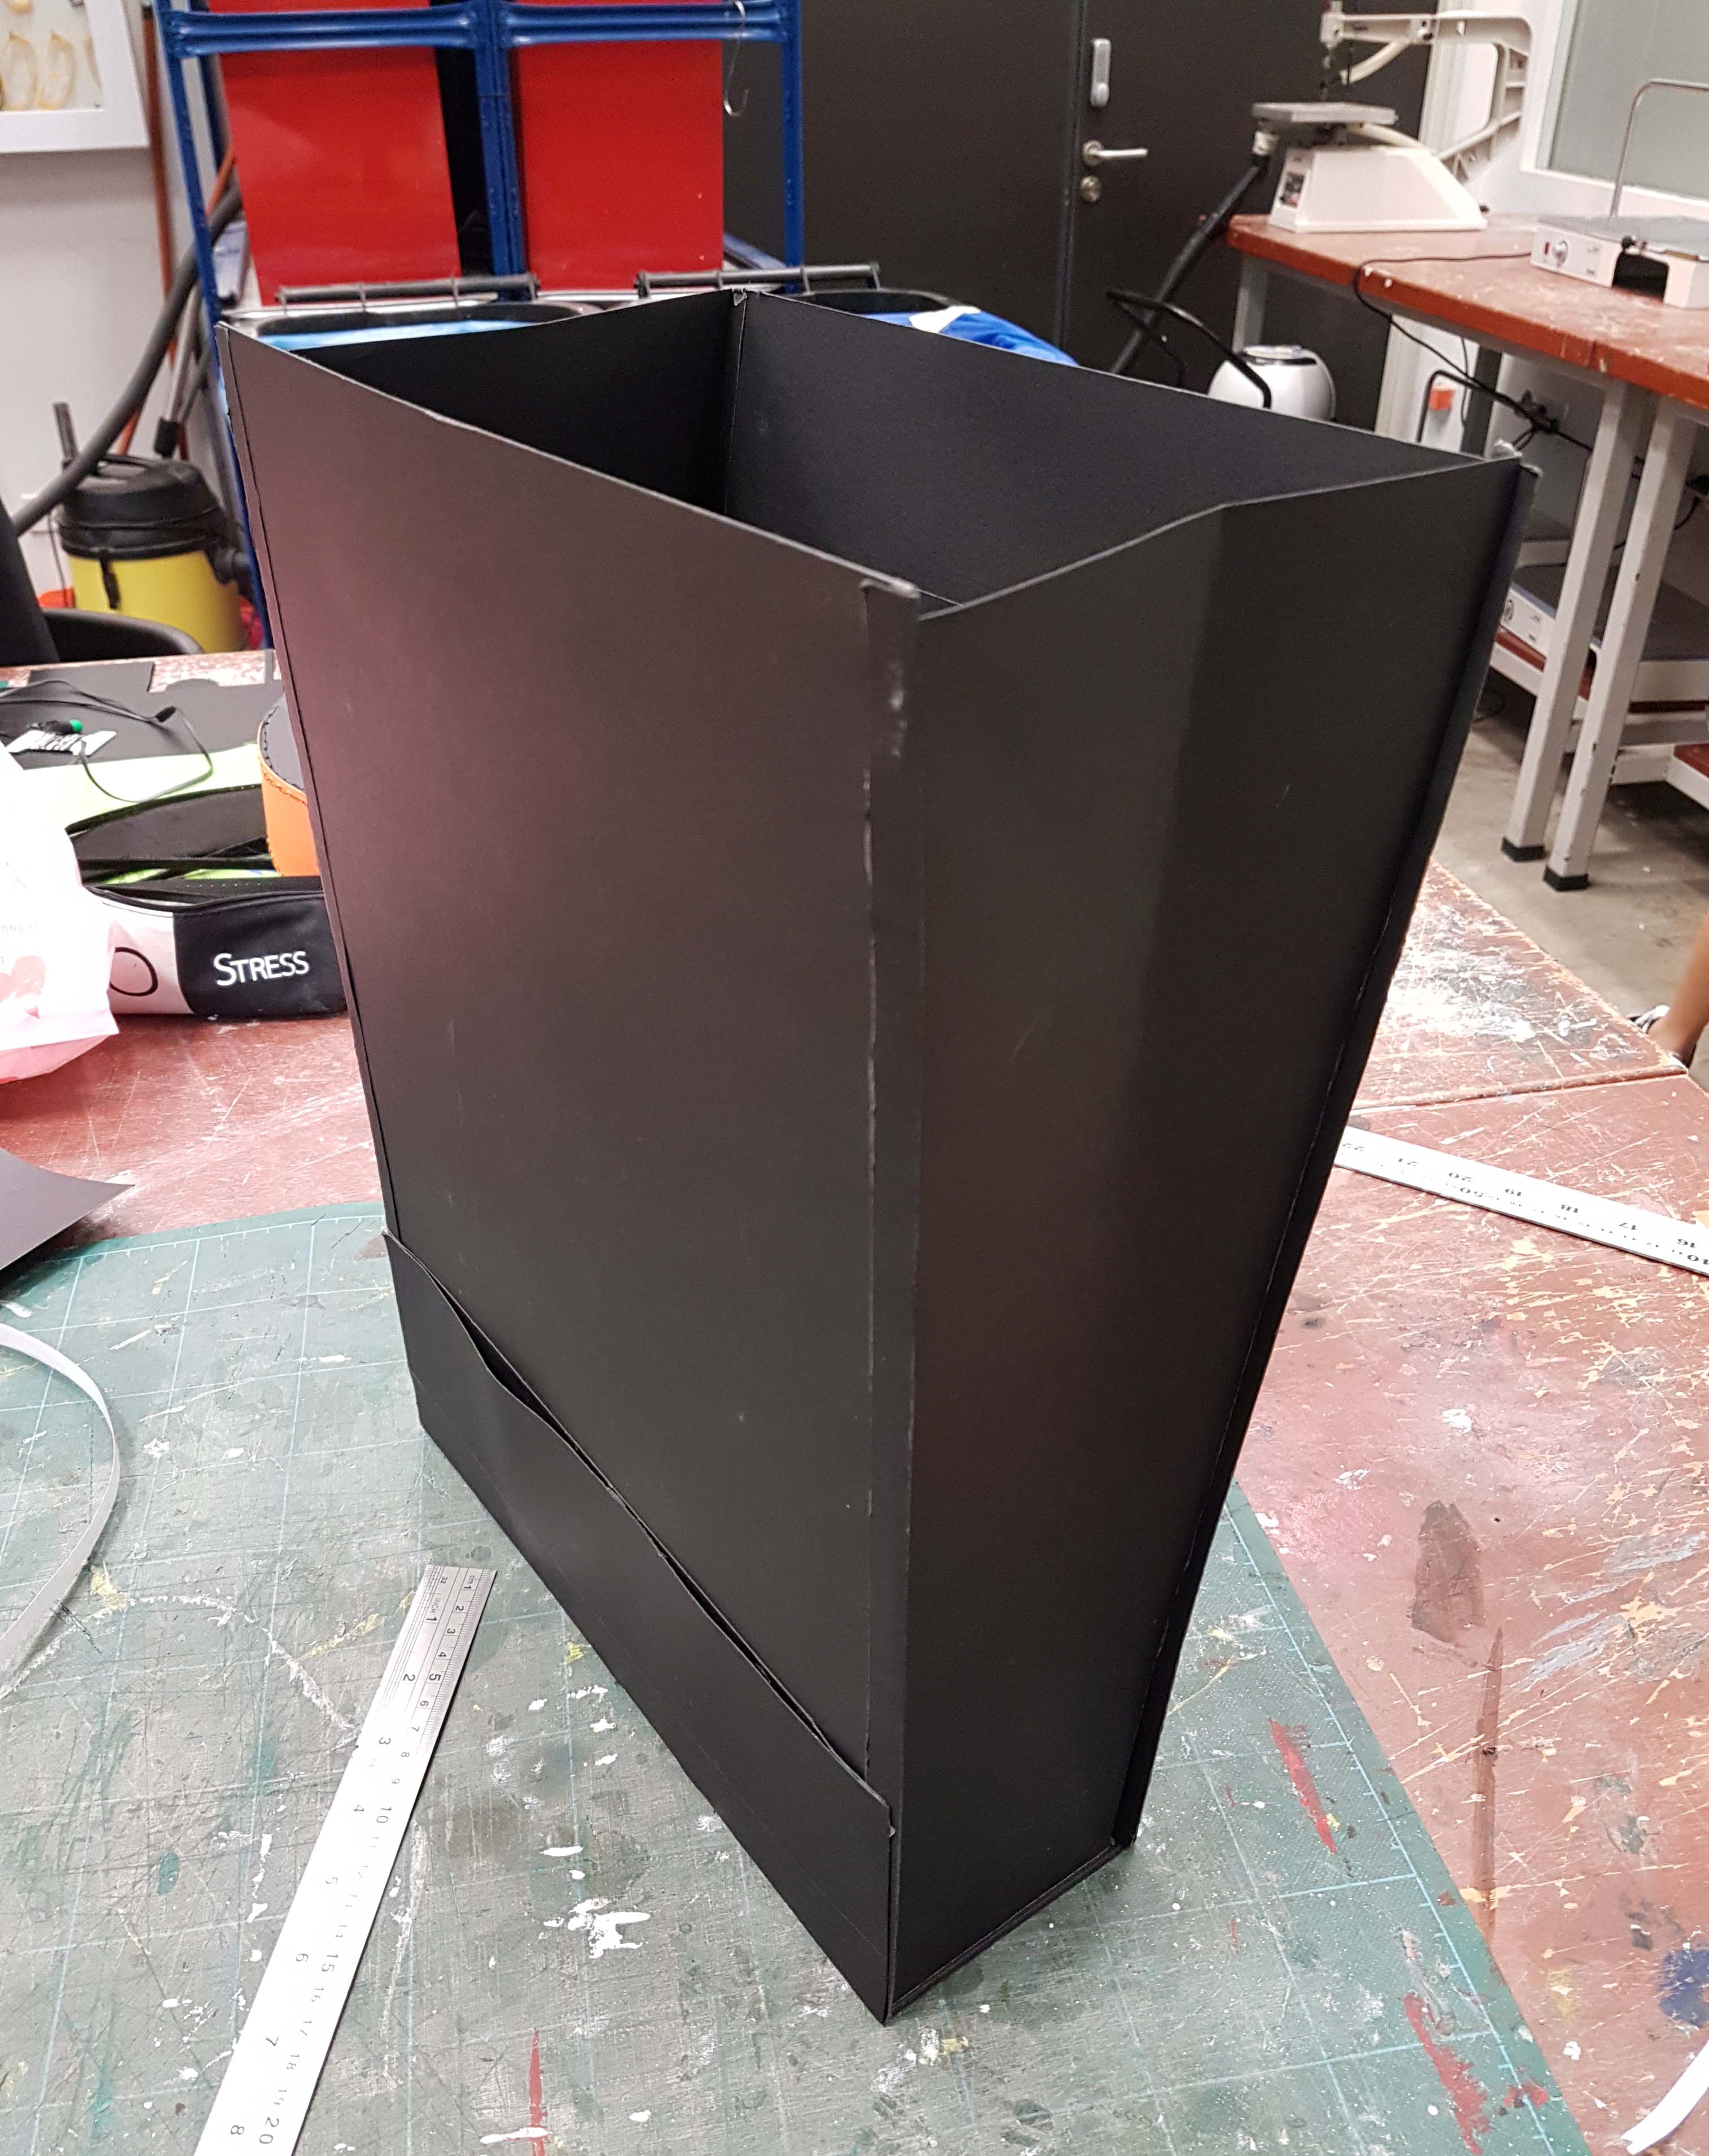
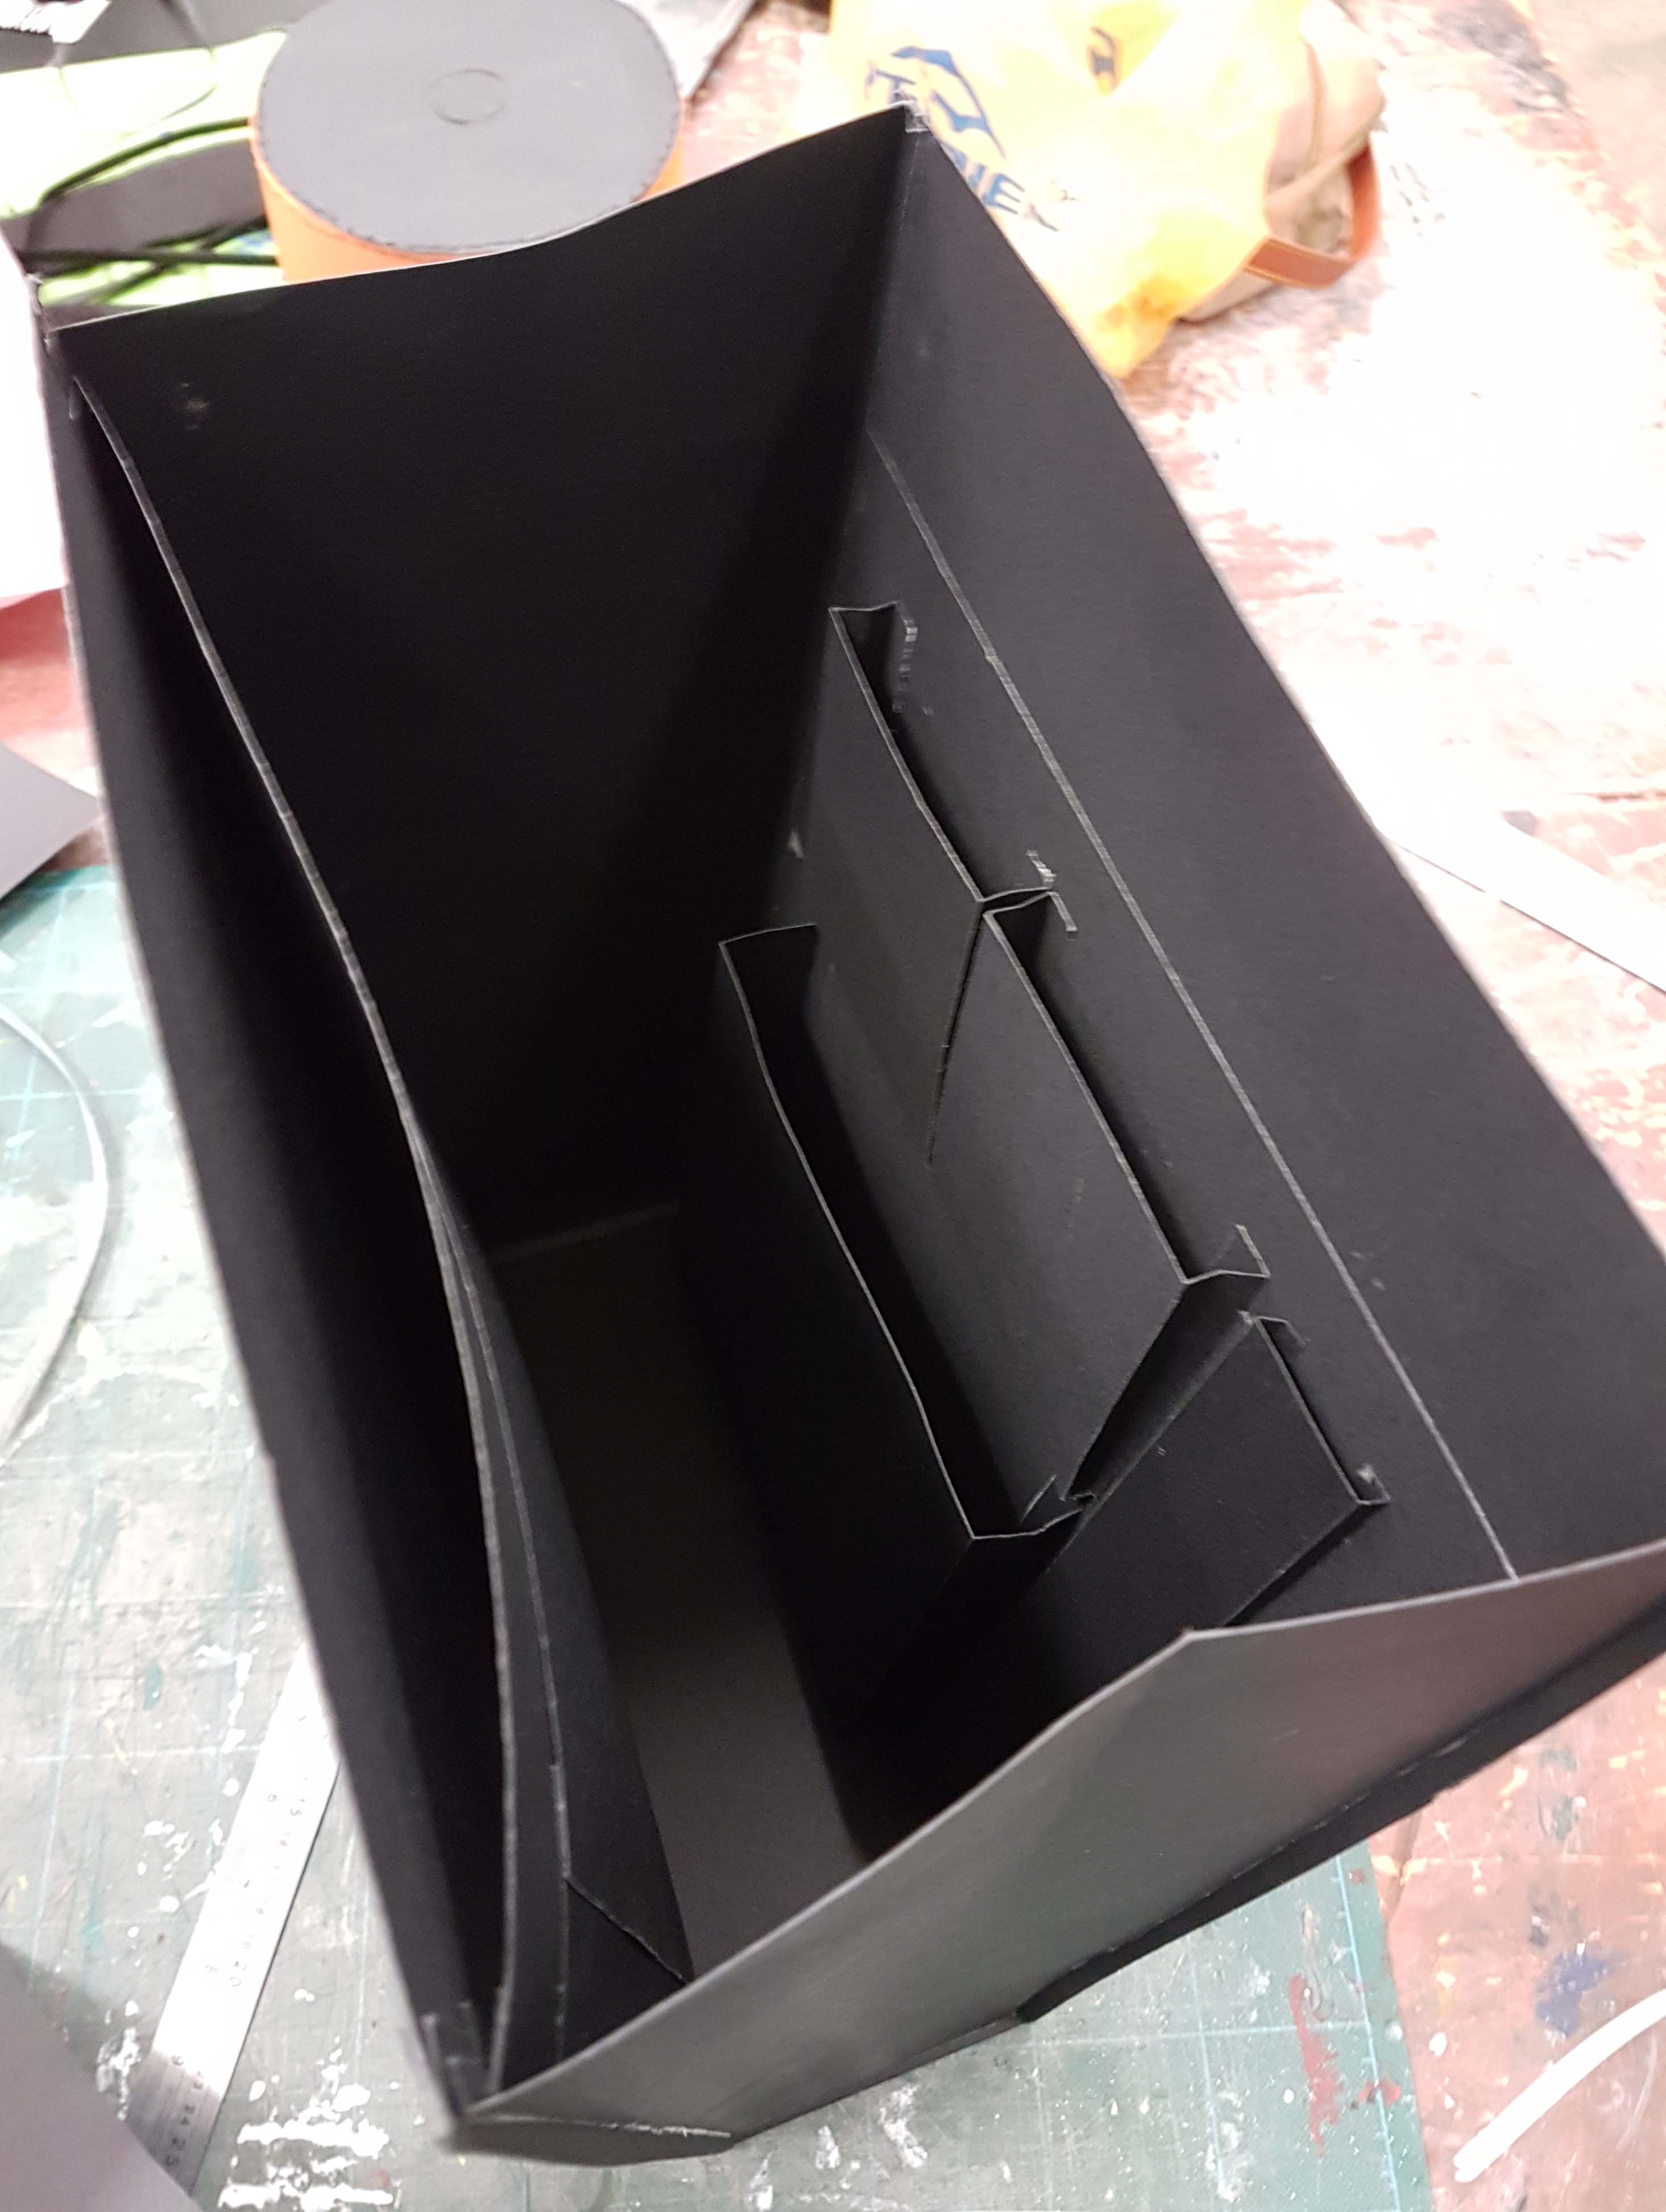
 With the main body of the bag confirmed, I would start adding the different compartments of the bags inside before I seal off all 4 sides of the bag. There was also trial and error for this as the first compartments that I made were too tight for the objects so I had to make the compartments thicker or wider. Some compartments also have a similar method with the bag itself where it can be opened wider at the top so to have easy access to the contents.
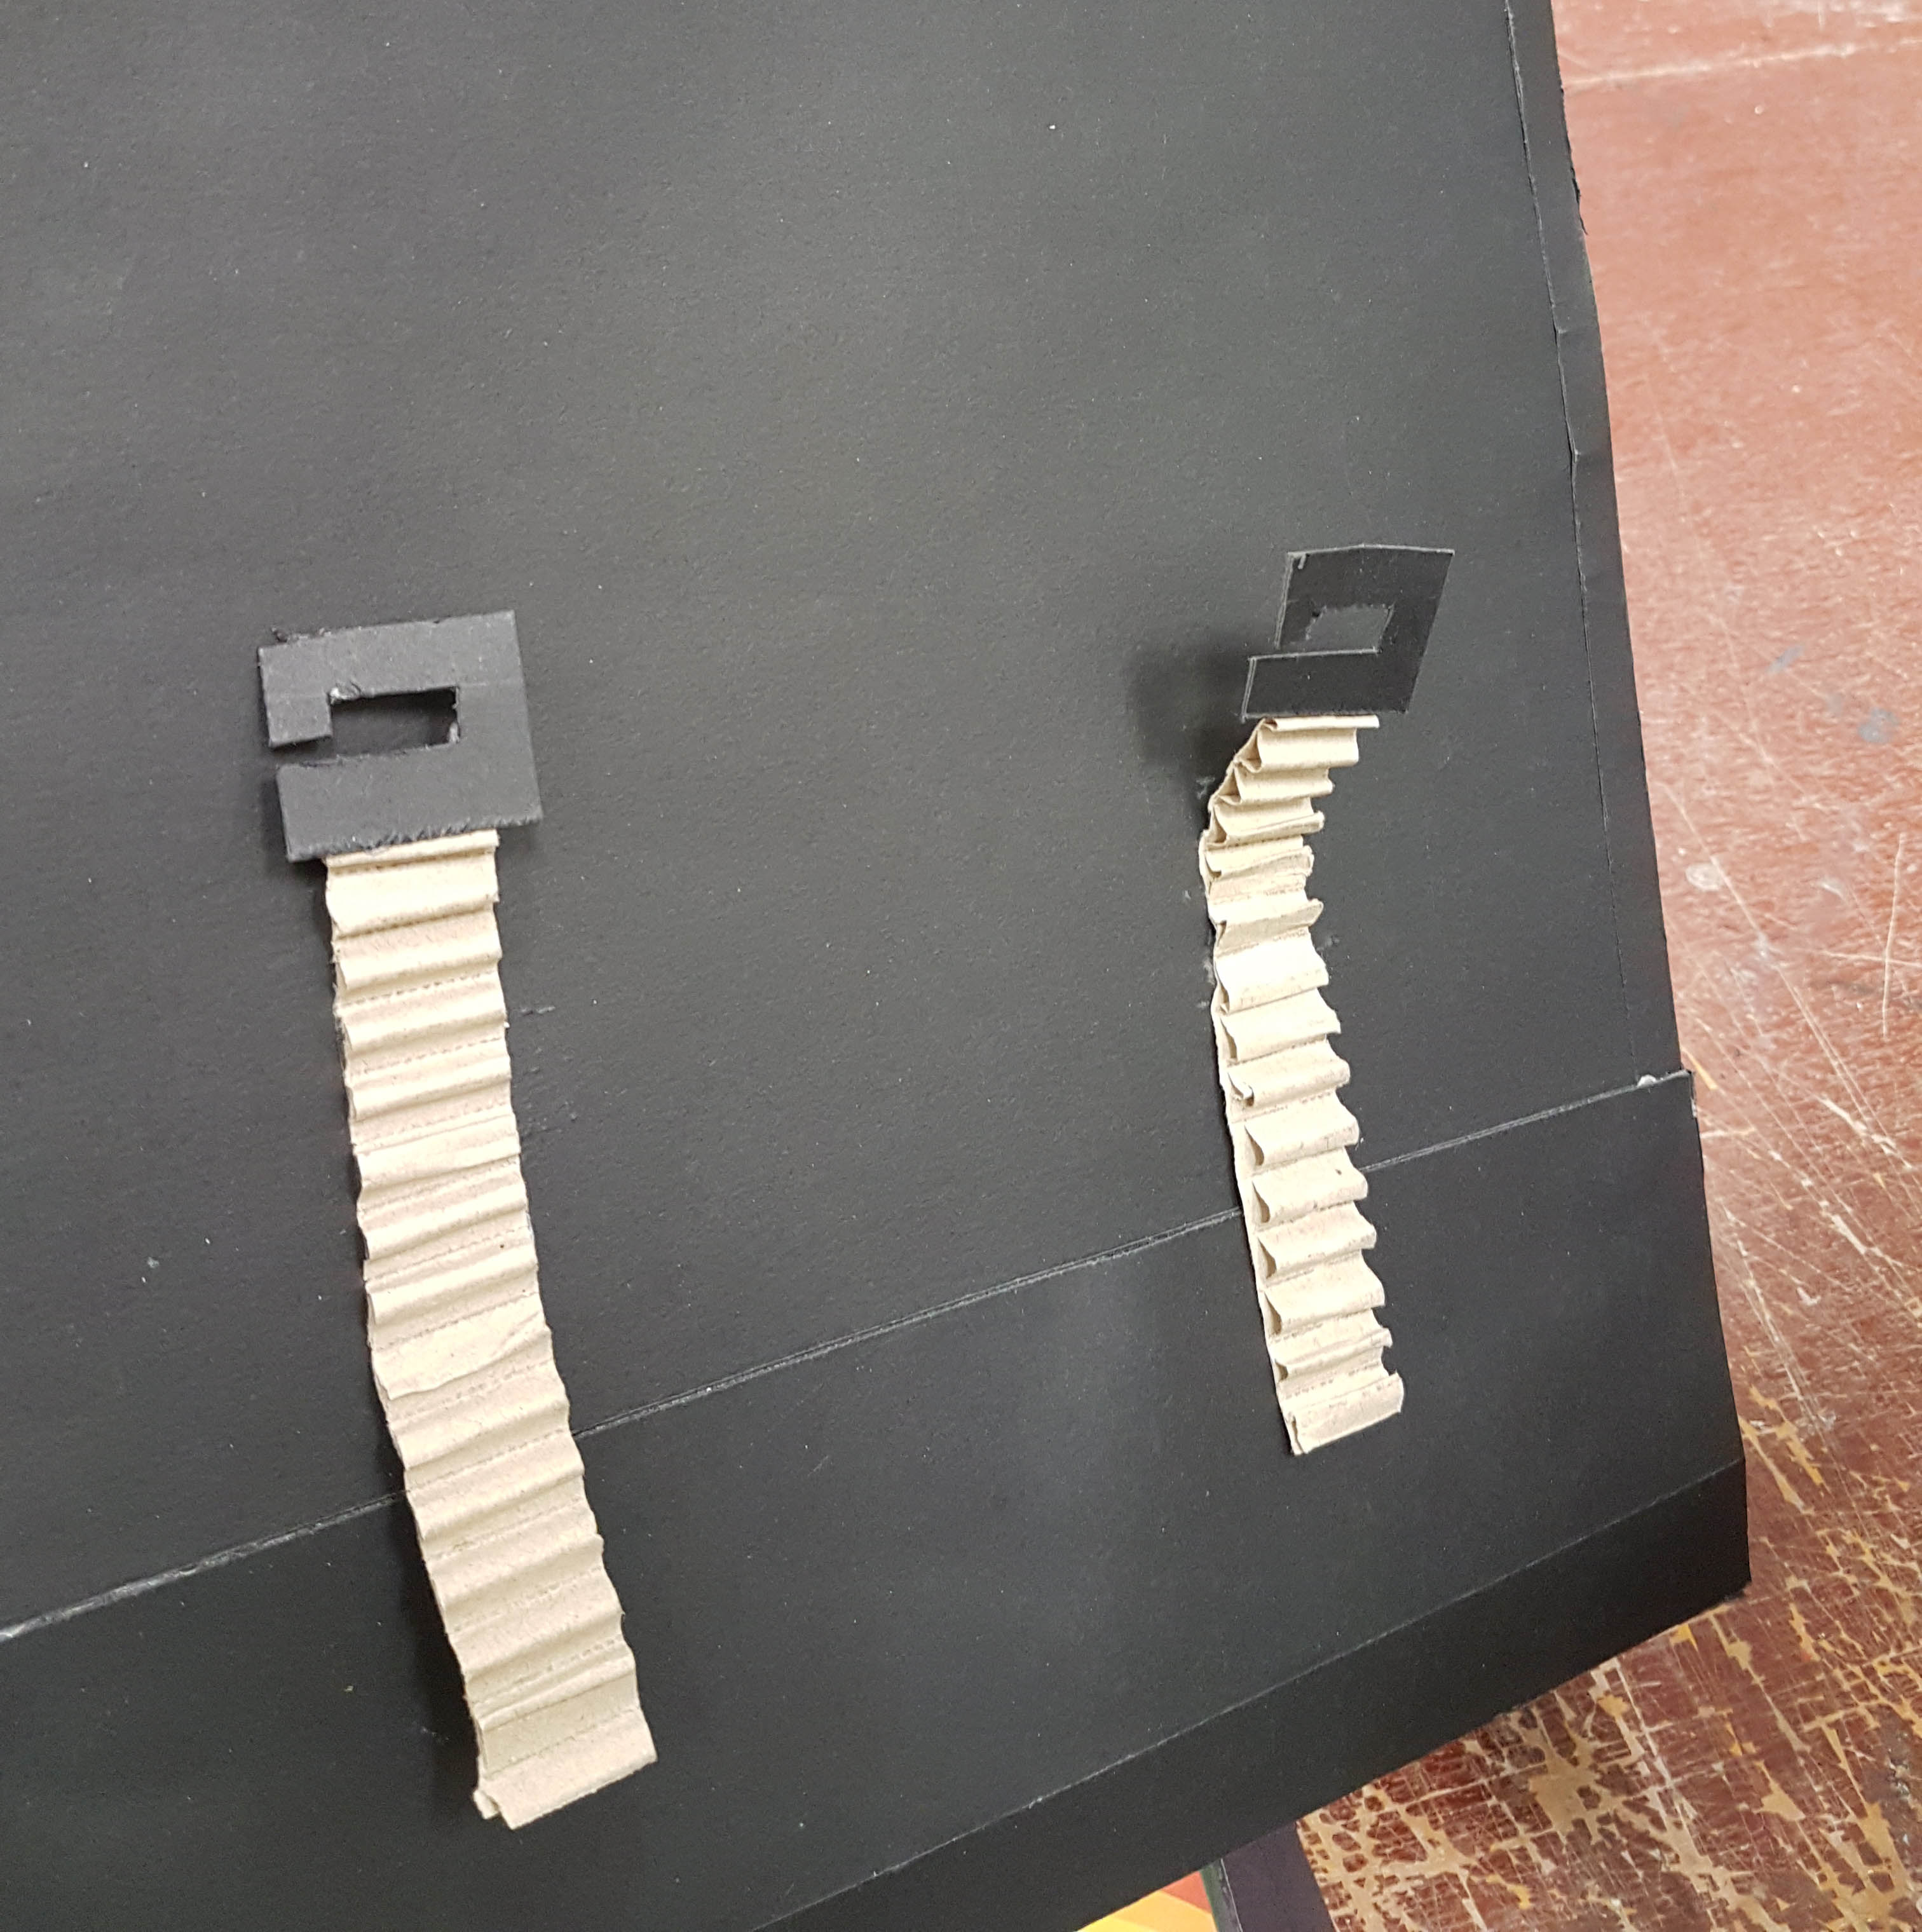
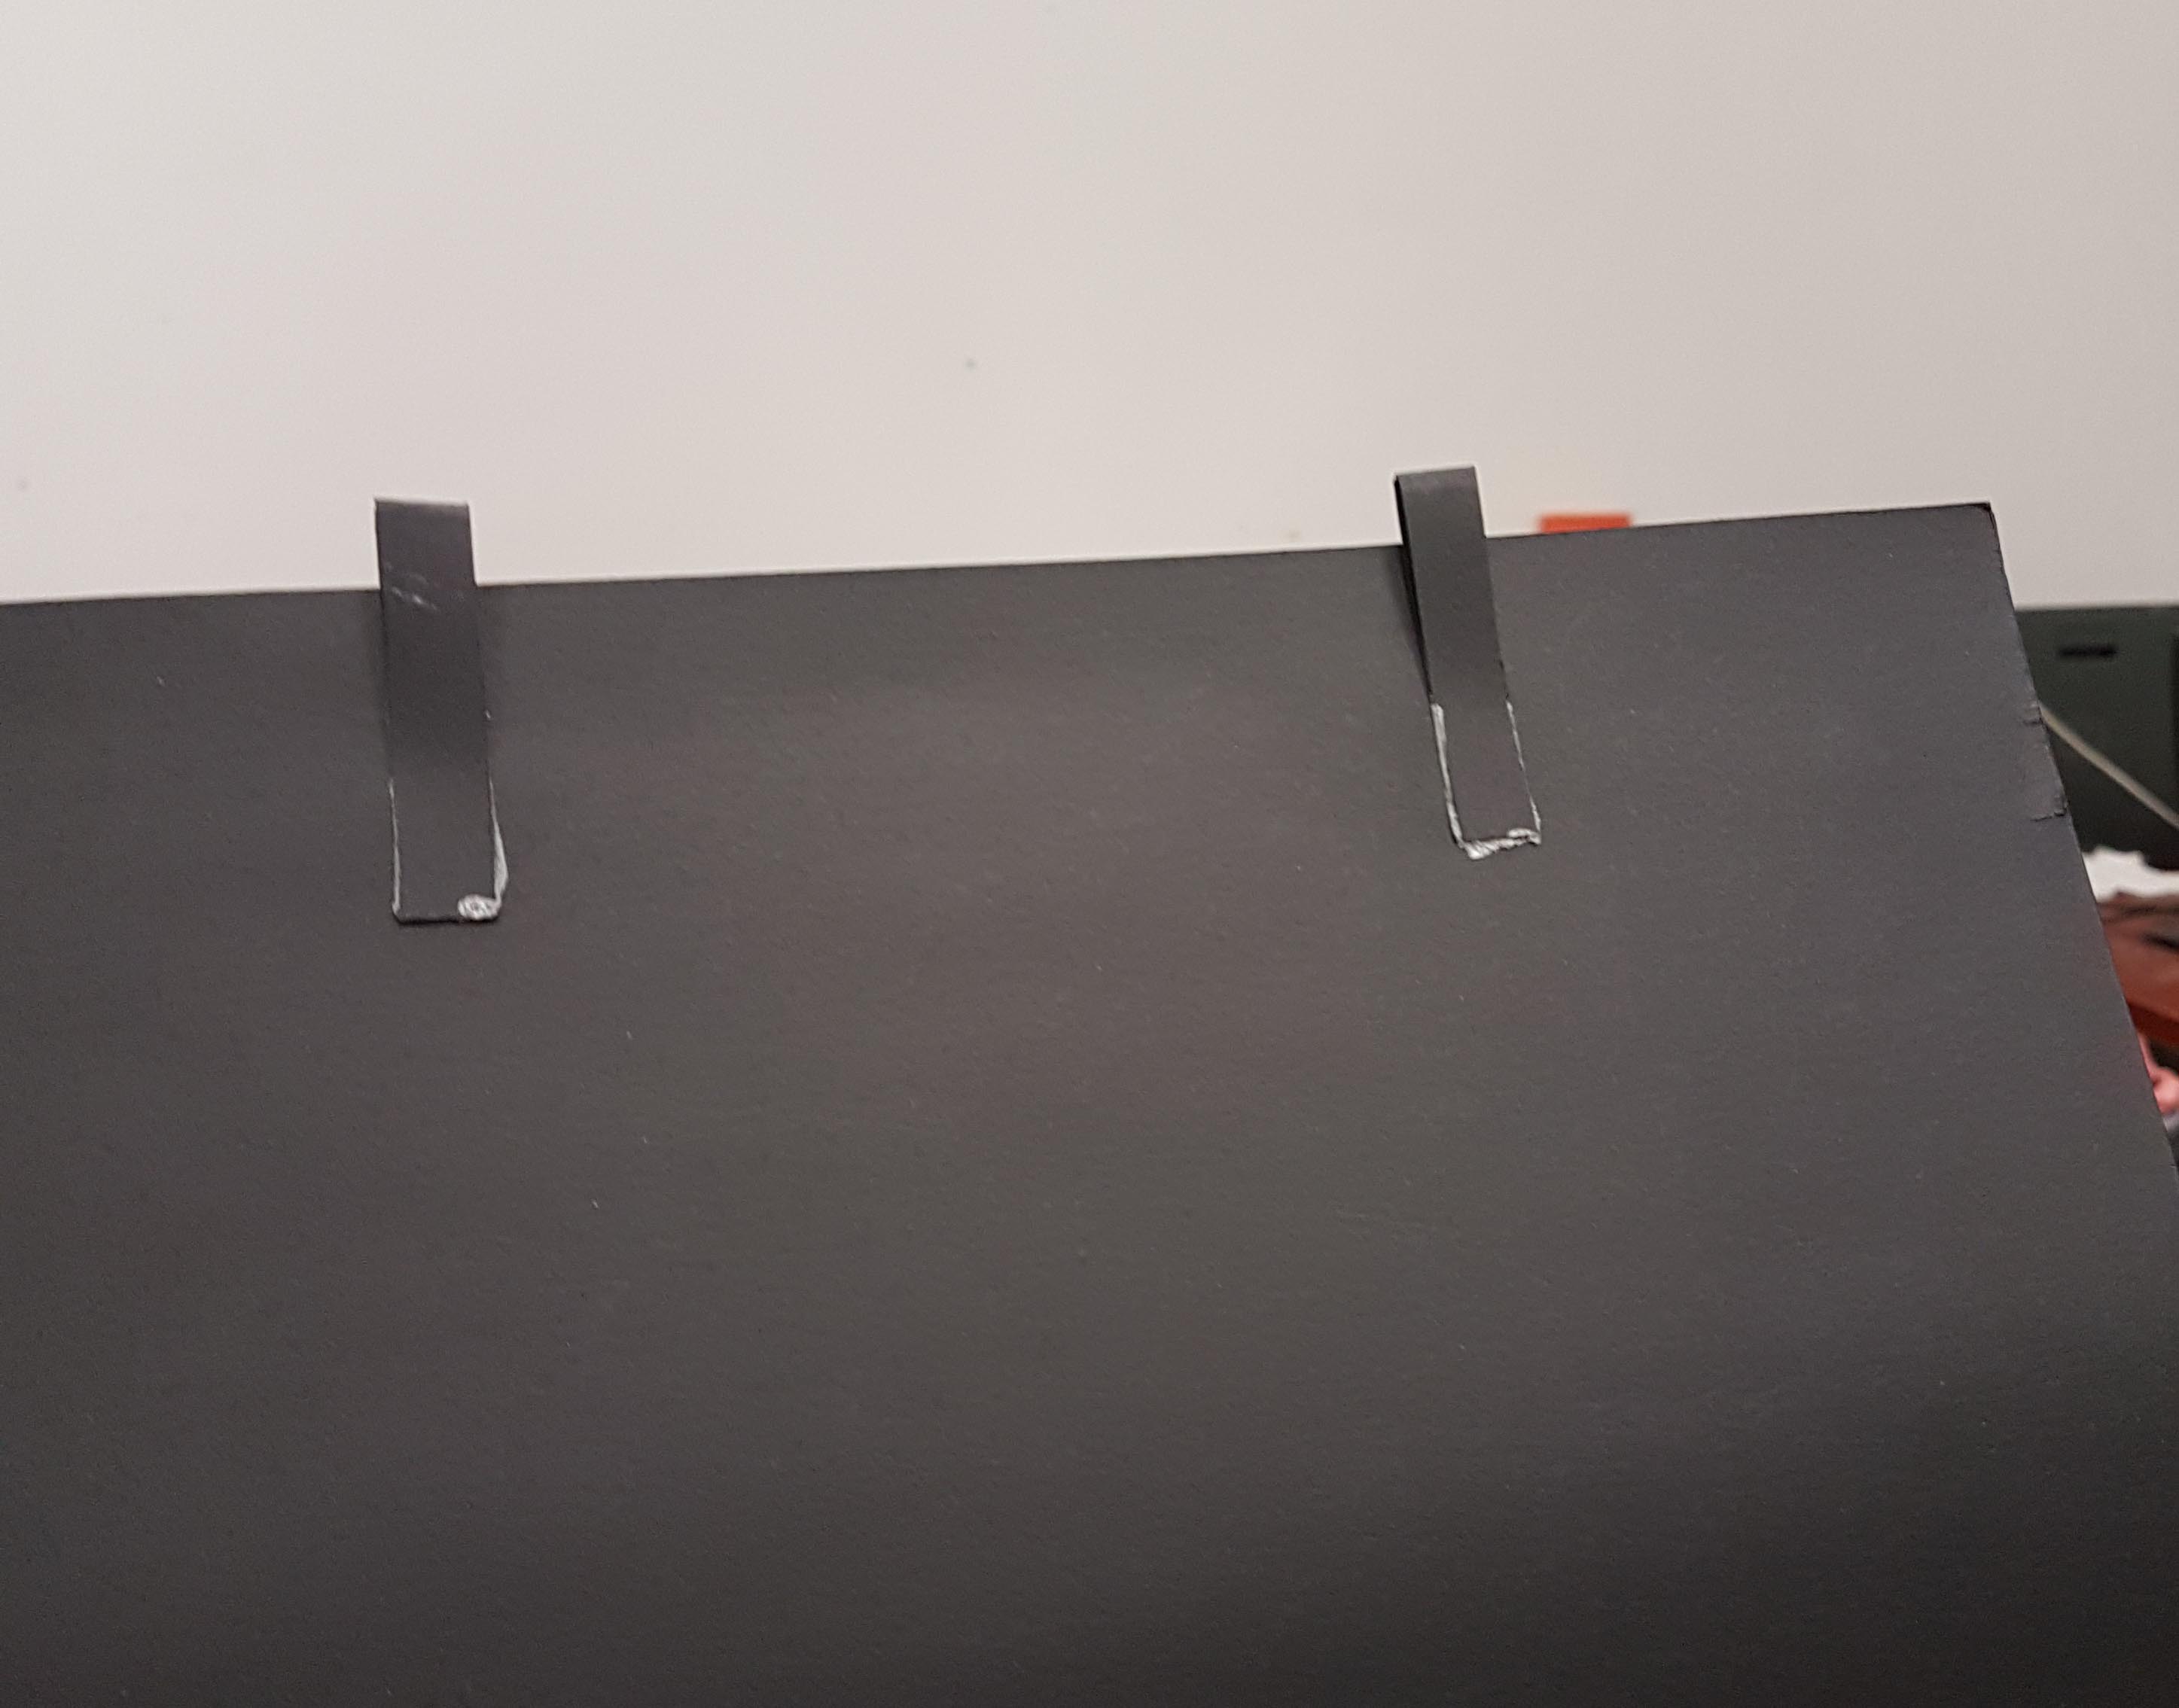
As for the straps, I find this the most challenging as the straps have to be easily wearable compared and at the same time won’t look too floppy or long when being worn. Since it is only a prototype, the mechanism of the bag is not implemented yet.
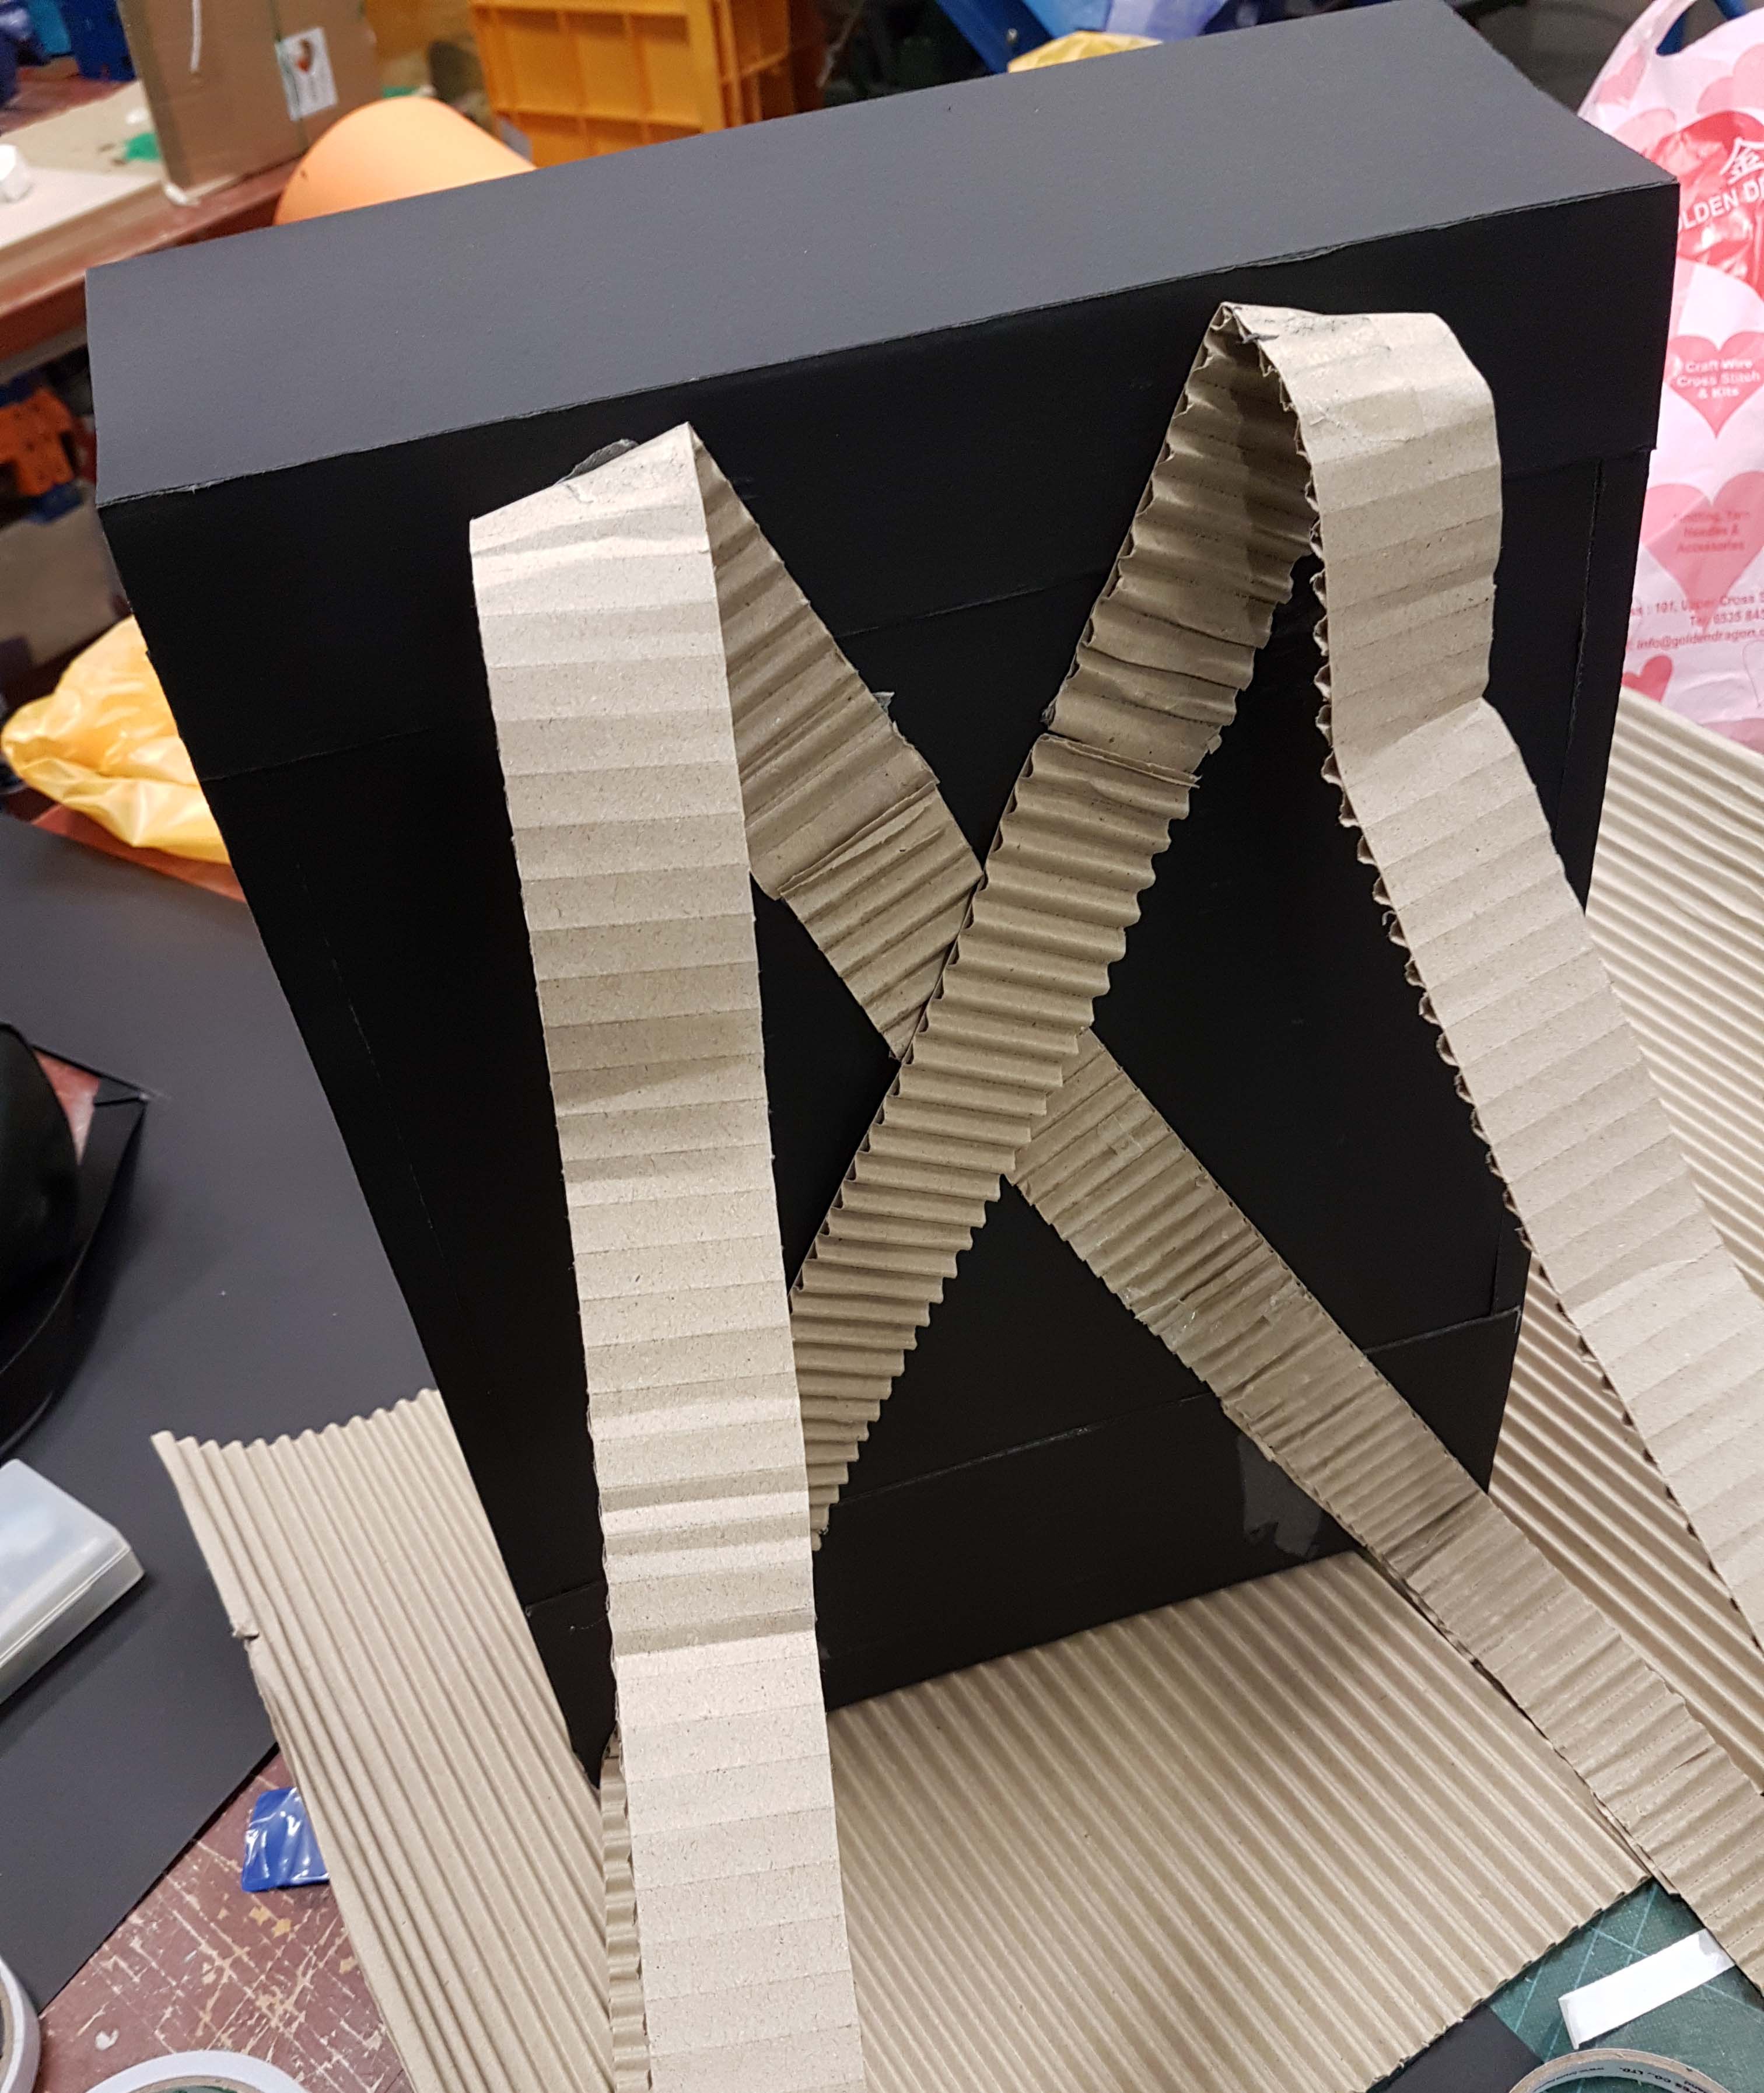
For the hook and eye method, I double up the hook and eye so that it will be stronger. but the read material for the hook would be using metal.
Final Outcome
Even though the final bag looks a little different from the sketches and has its minor flaws here and there, I am still pretty happy with it. I actually had the intention of making into a real bag with real materials, but I think I would just ruin it as I don’t think I have the right skills for making a bag. Would be cool though!