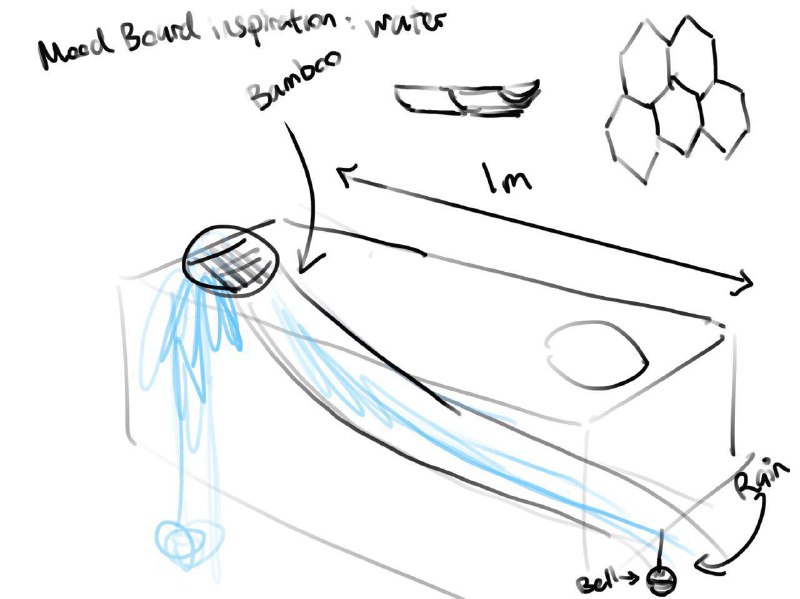
Originally we thought our music sounded quite Zen and the rhythm sticks reminded us of the bamboo falling in a bamboo fountain.
bamboo fountain
This is actually where the cylindrical modules came about. Bamboo.
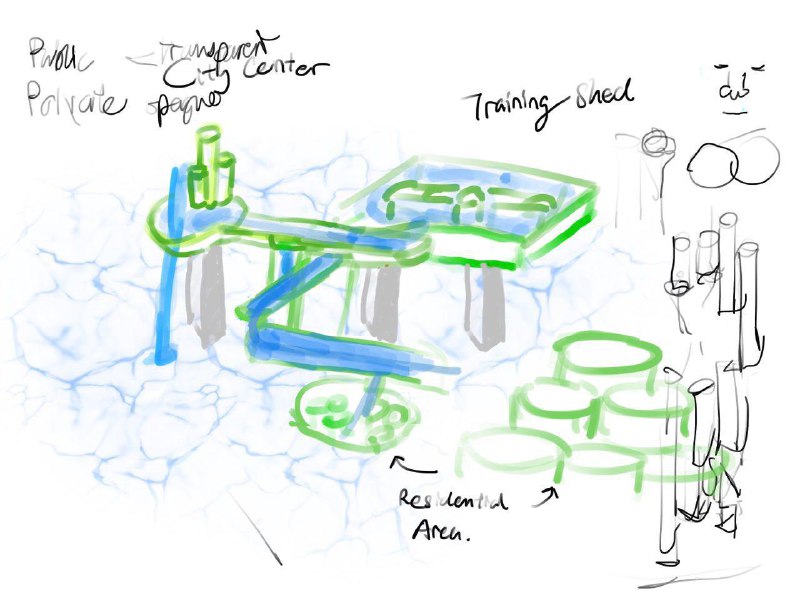
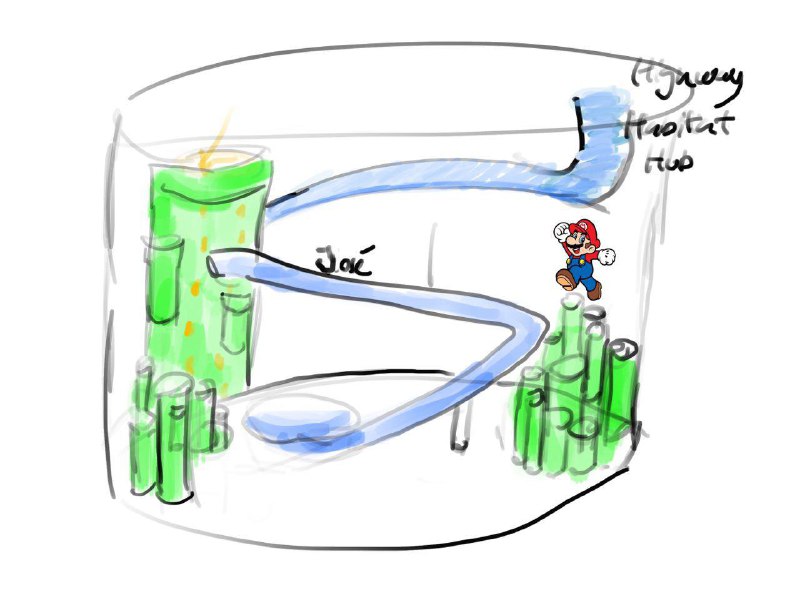
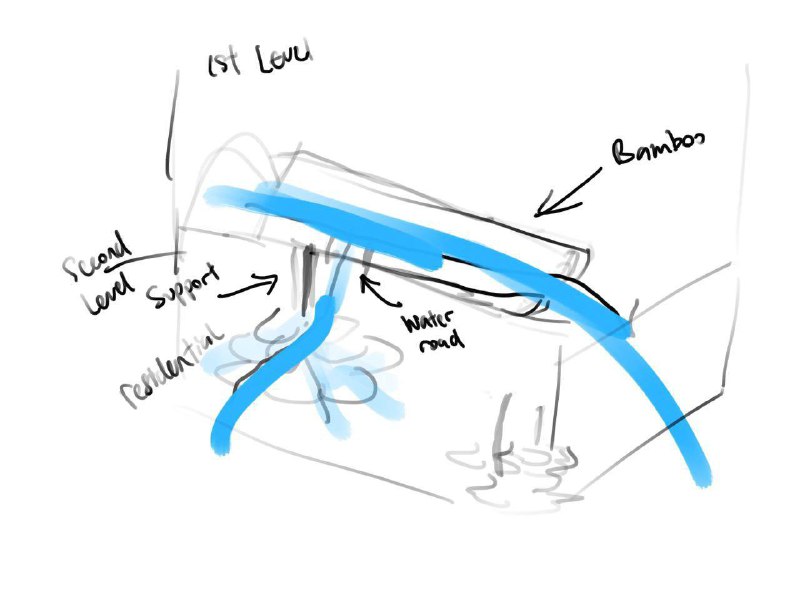
sketch of our own bamboo fountaincity of coachwater slide highwaysketch of how hubs and habitats would be link by water slide highwayideas of water engineeringafter consultation. Cheryl suggested pipes and emphasized use of modules and repetition.
Reflection:
Overall, this project 間 MA’s Obscure City of Voids was really fun. Love seeing how we translate sound into space and forms. We learned about interacting with all five senses to produce an impact-full design. I learned how to be more creative, resourceful and spontaneous with my group. I would never have thought of pushing my limits to create an infinity box or sourcing for a cheap reflective one way film online. Its all thanks to everyone in my group for working so hard and Cheryl for supporting me in explaining Modular structure. Cheers to Cheryl and BAMBOOzle. Happy holidays. 😀
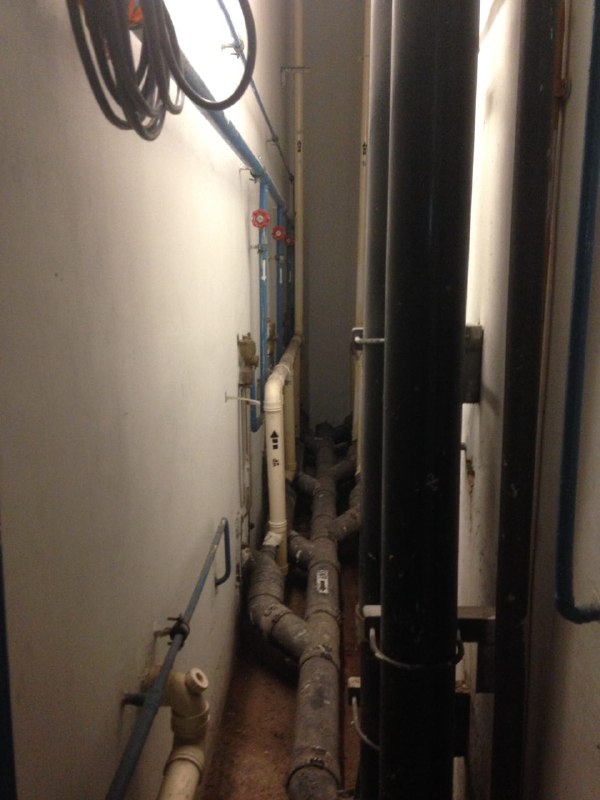
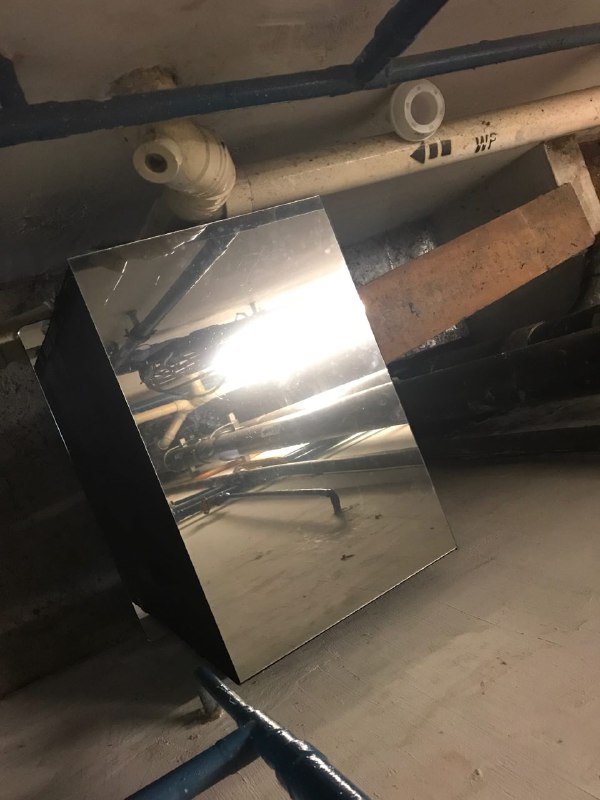
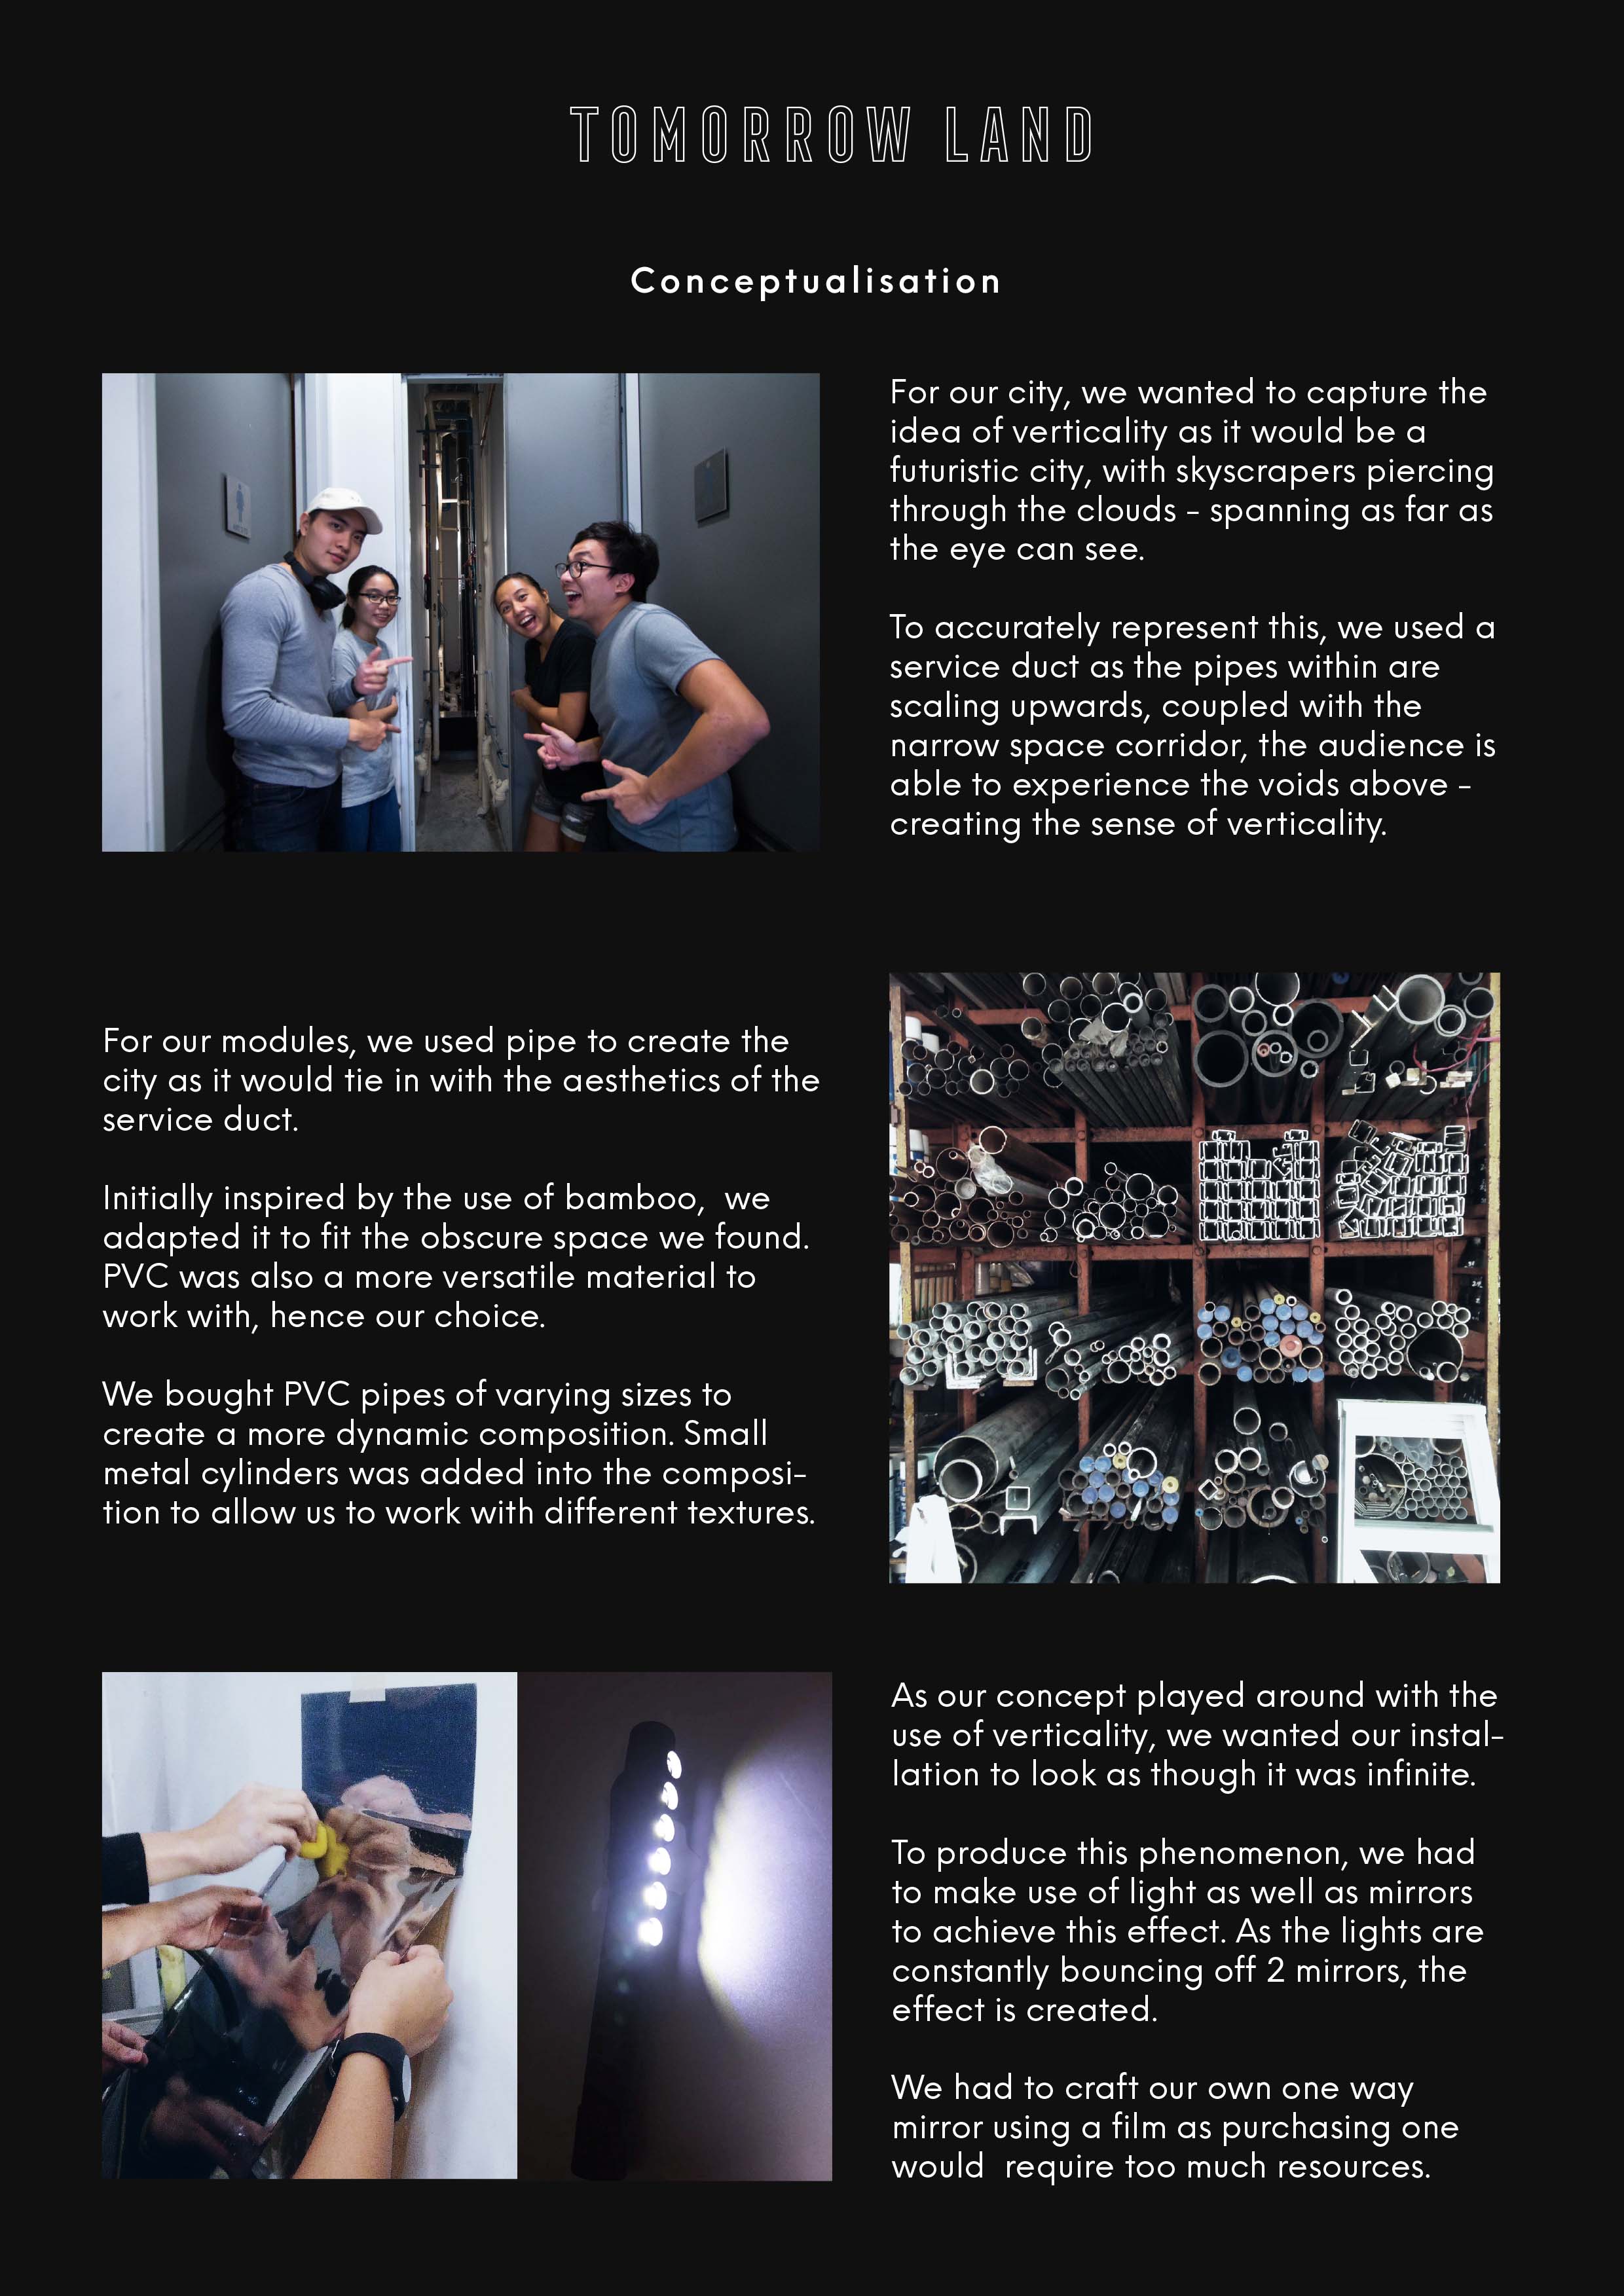
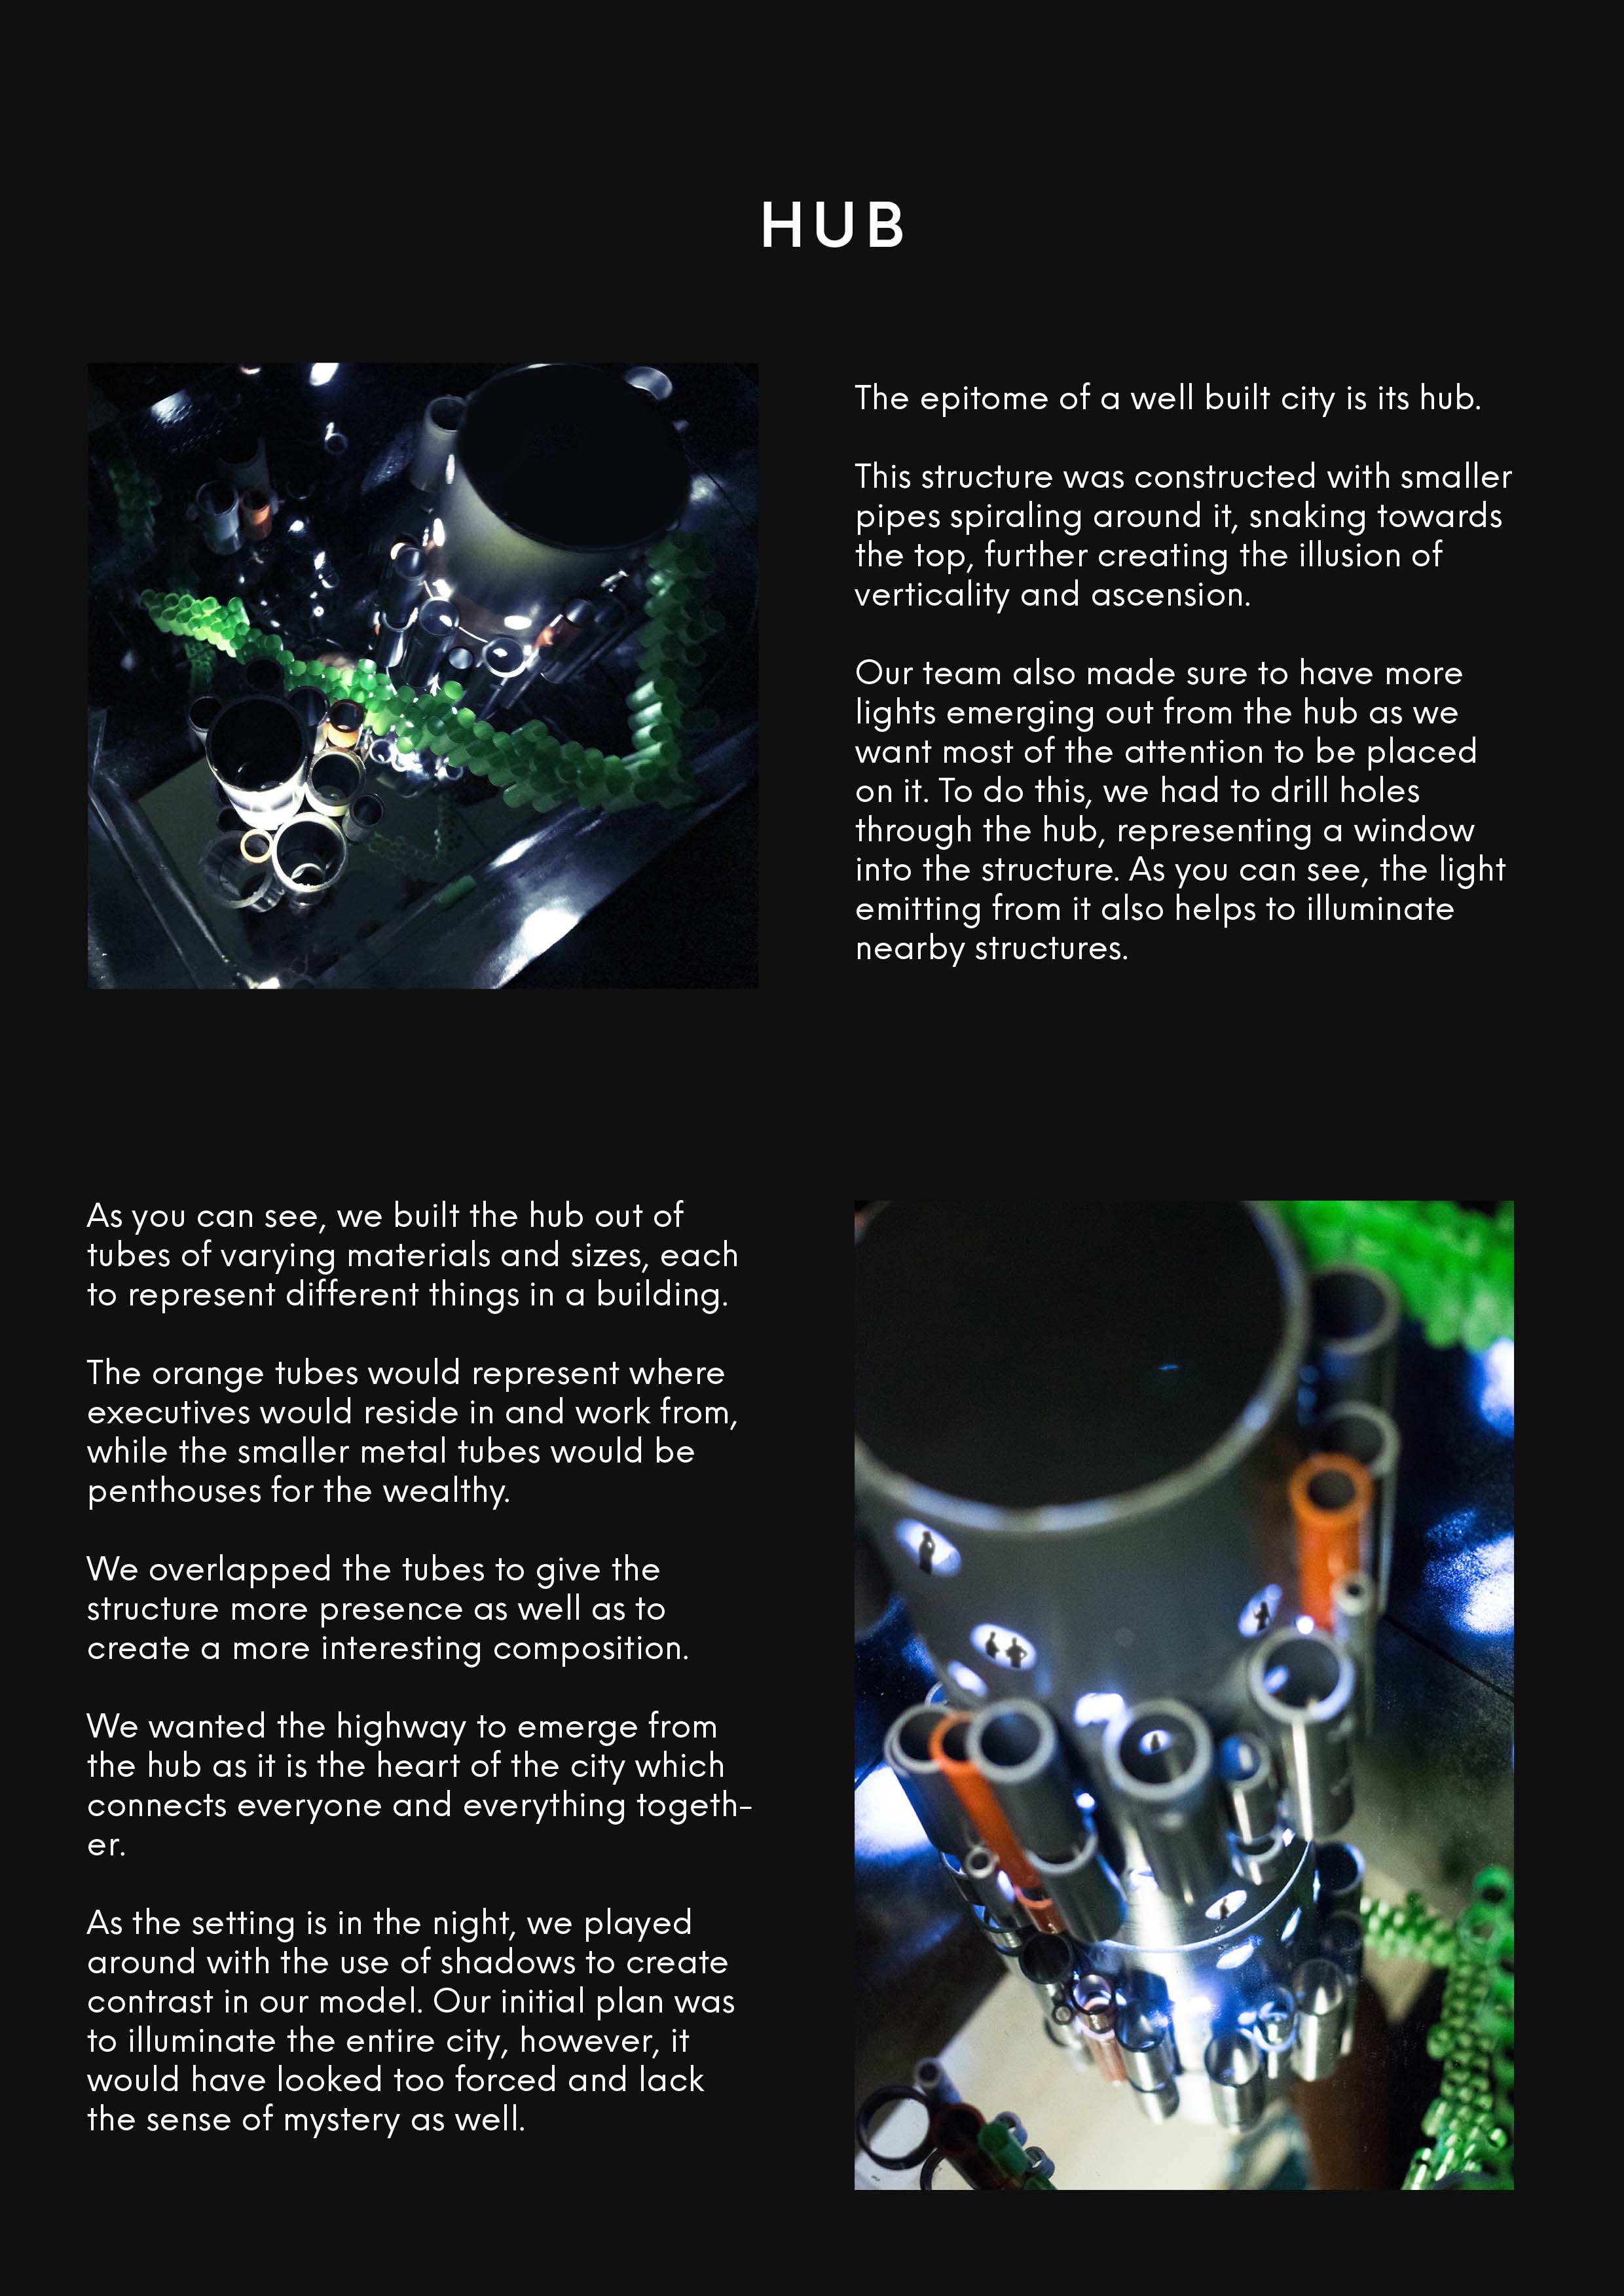
Our original idea of putting the model in the fountain could not work as it was not allowed and not really obscure. So we wondered around and found the service duct which was super obscure and we had the idea of pipes so it fits the theme well. Our city was designed within the constrains of the space.
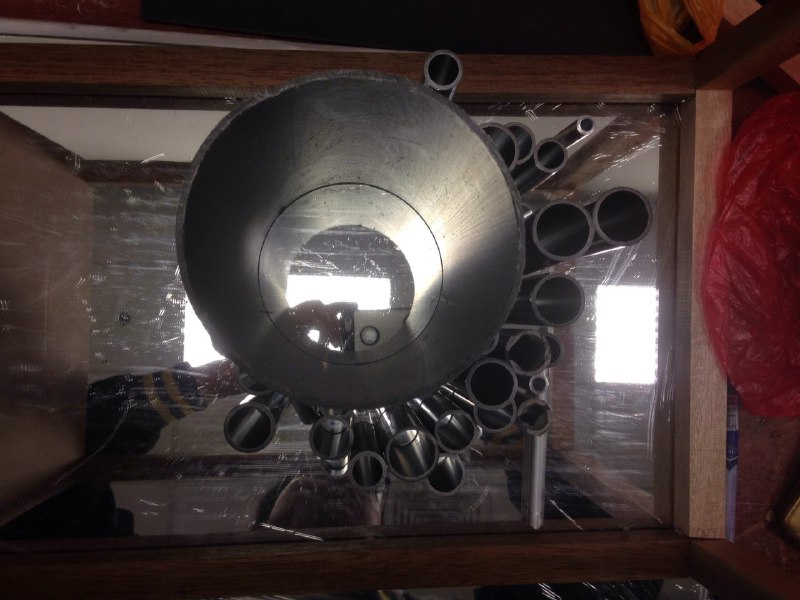
We bought different sizesOriginal arrangement all flat on the ground; not appealingMaking sure there is a good mix of different heights and widthprototype
We made a small prototype using straws and a roll of sandpaper to see how the cylinders would look like together.
windows
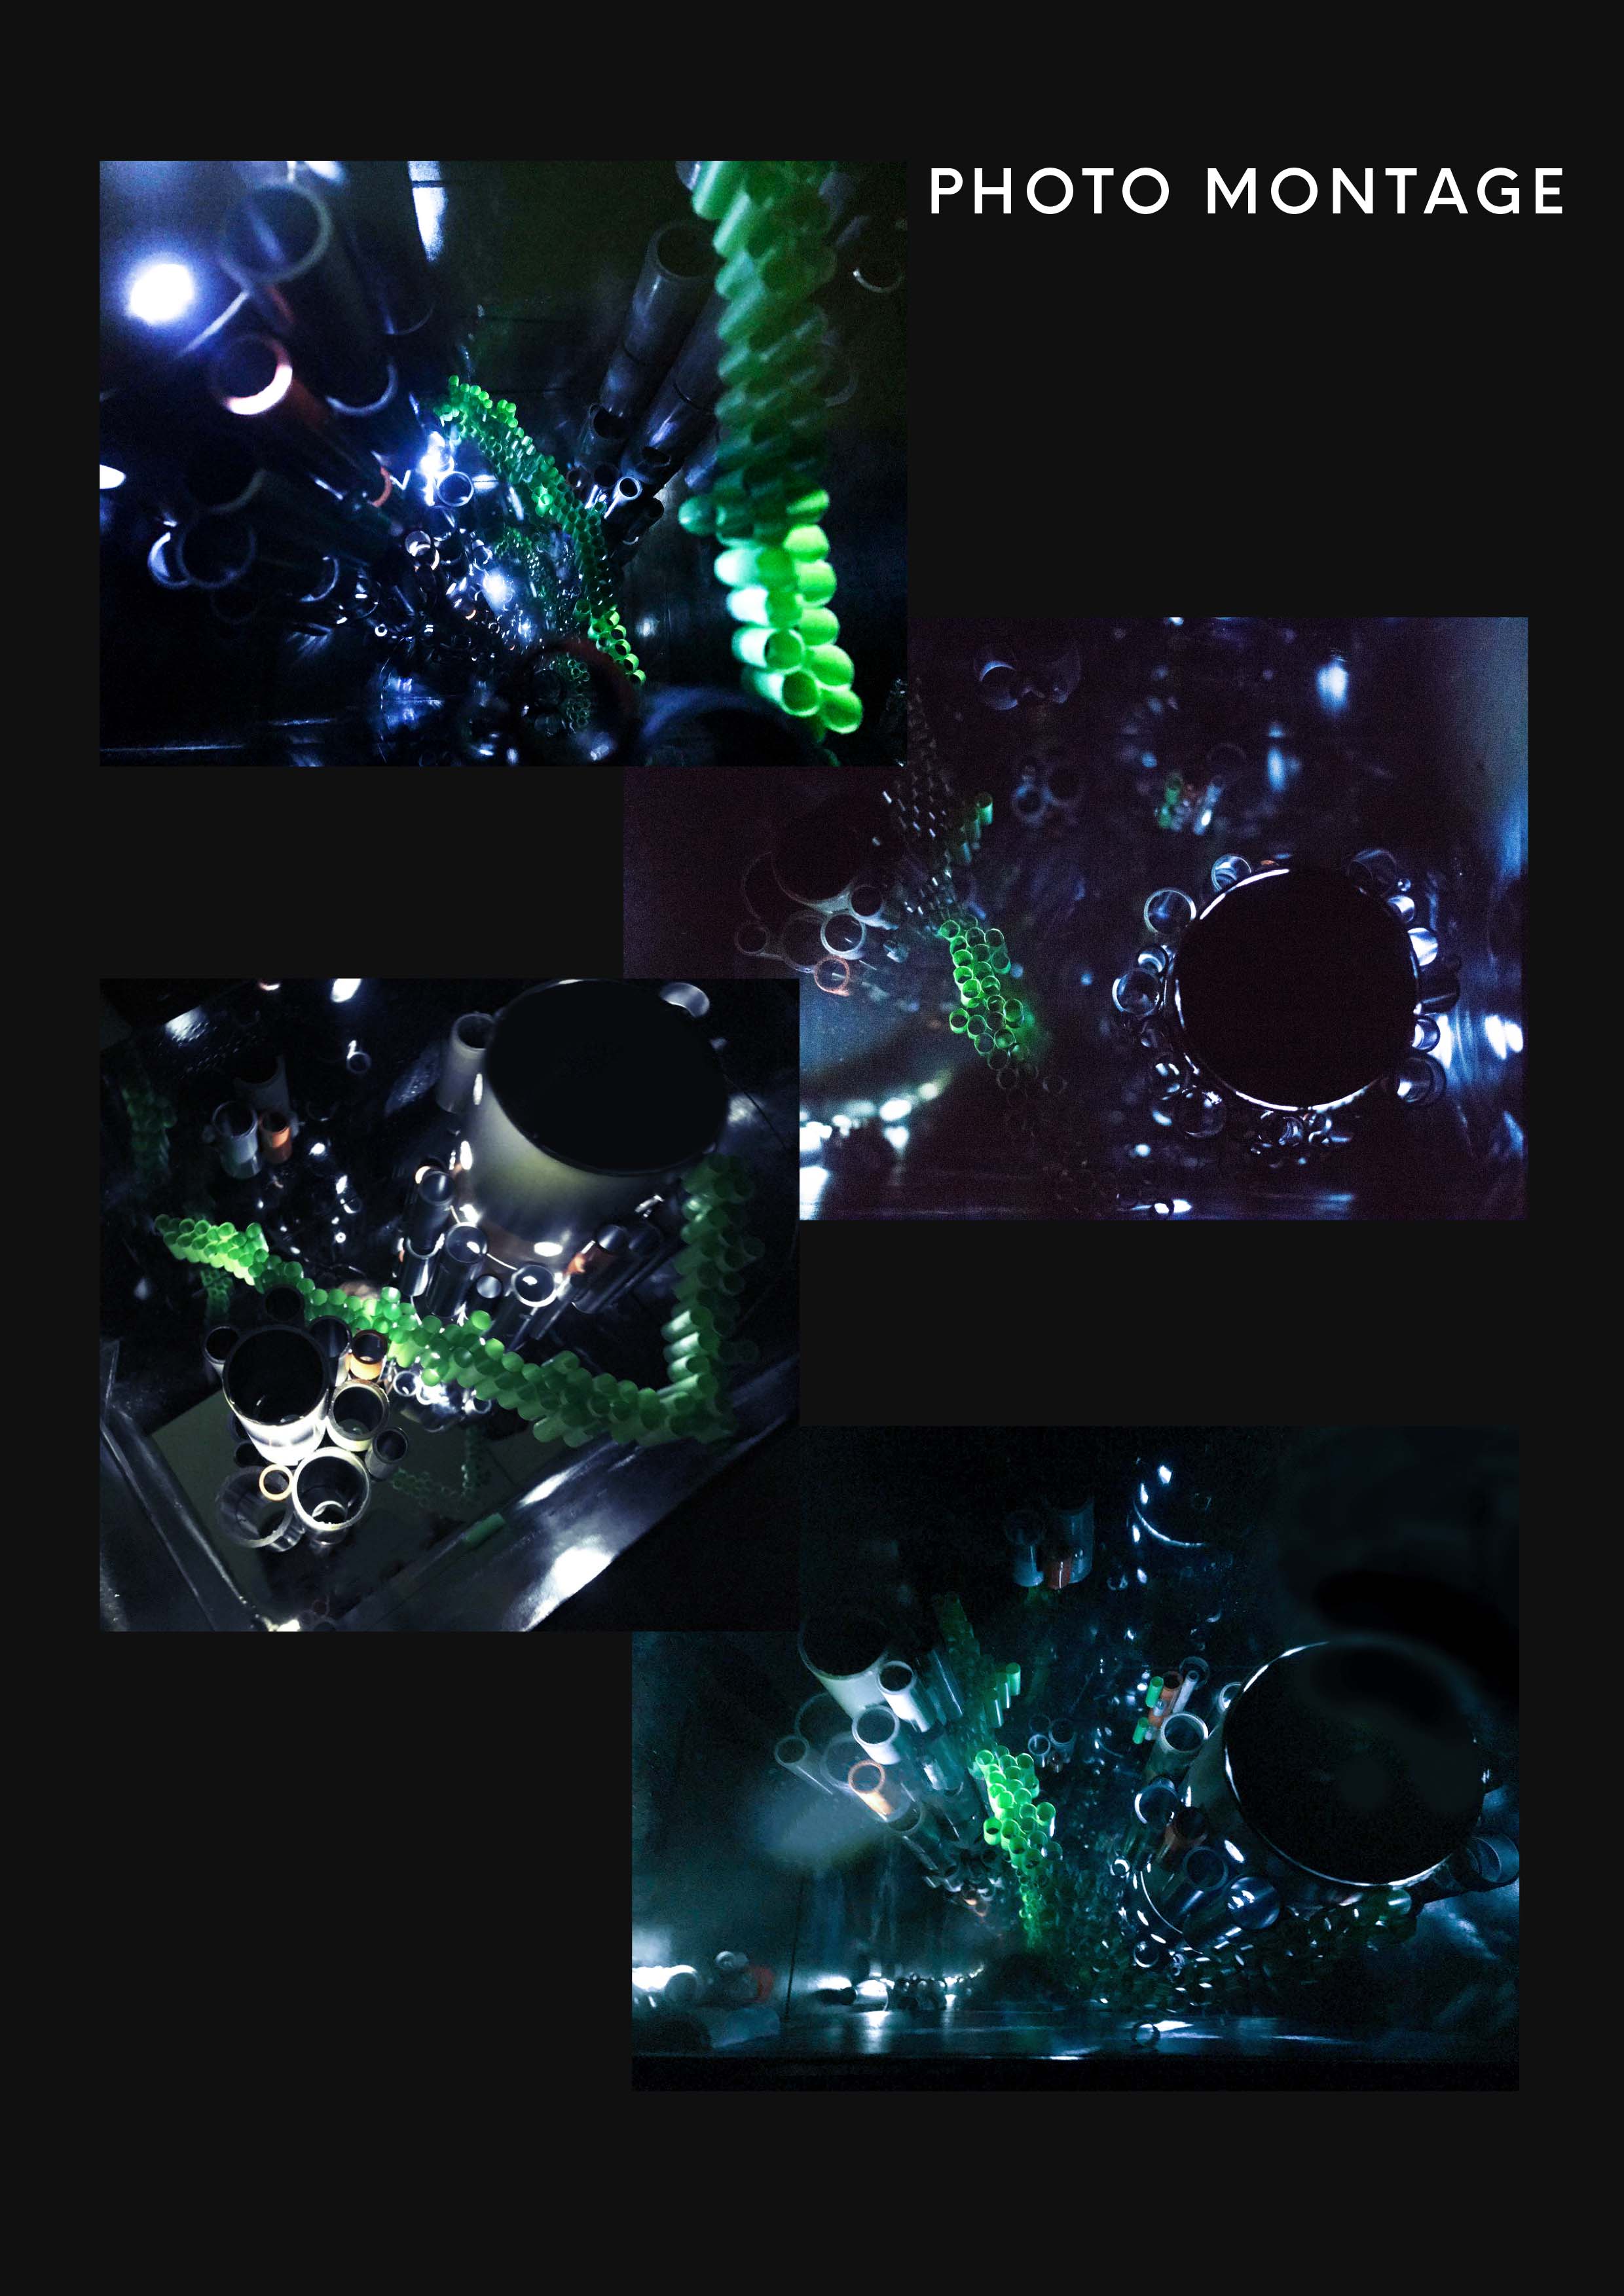
The upward motion is so that we can achieve the infinity effect and link the reflections together.
piecing together the actual model
We also tried to apply some rhythm to the arrangement for more interesting look. And left holes for windows for light to come through.
Spray painting the elements
We spray painted some of the pipes orange for a nice pop of colour and contrast to the original grey; which could also brought about a new class of residents! The walls of our box was spray painted black to prevent any distractions and focus your eyes on the infinity effect. The length we had it glossy black to reflect the light while the breath we had it matte.
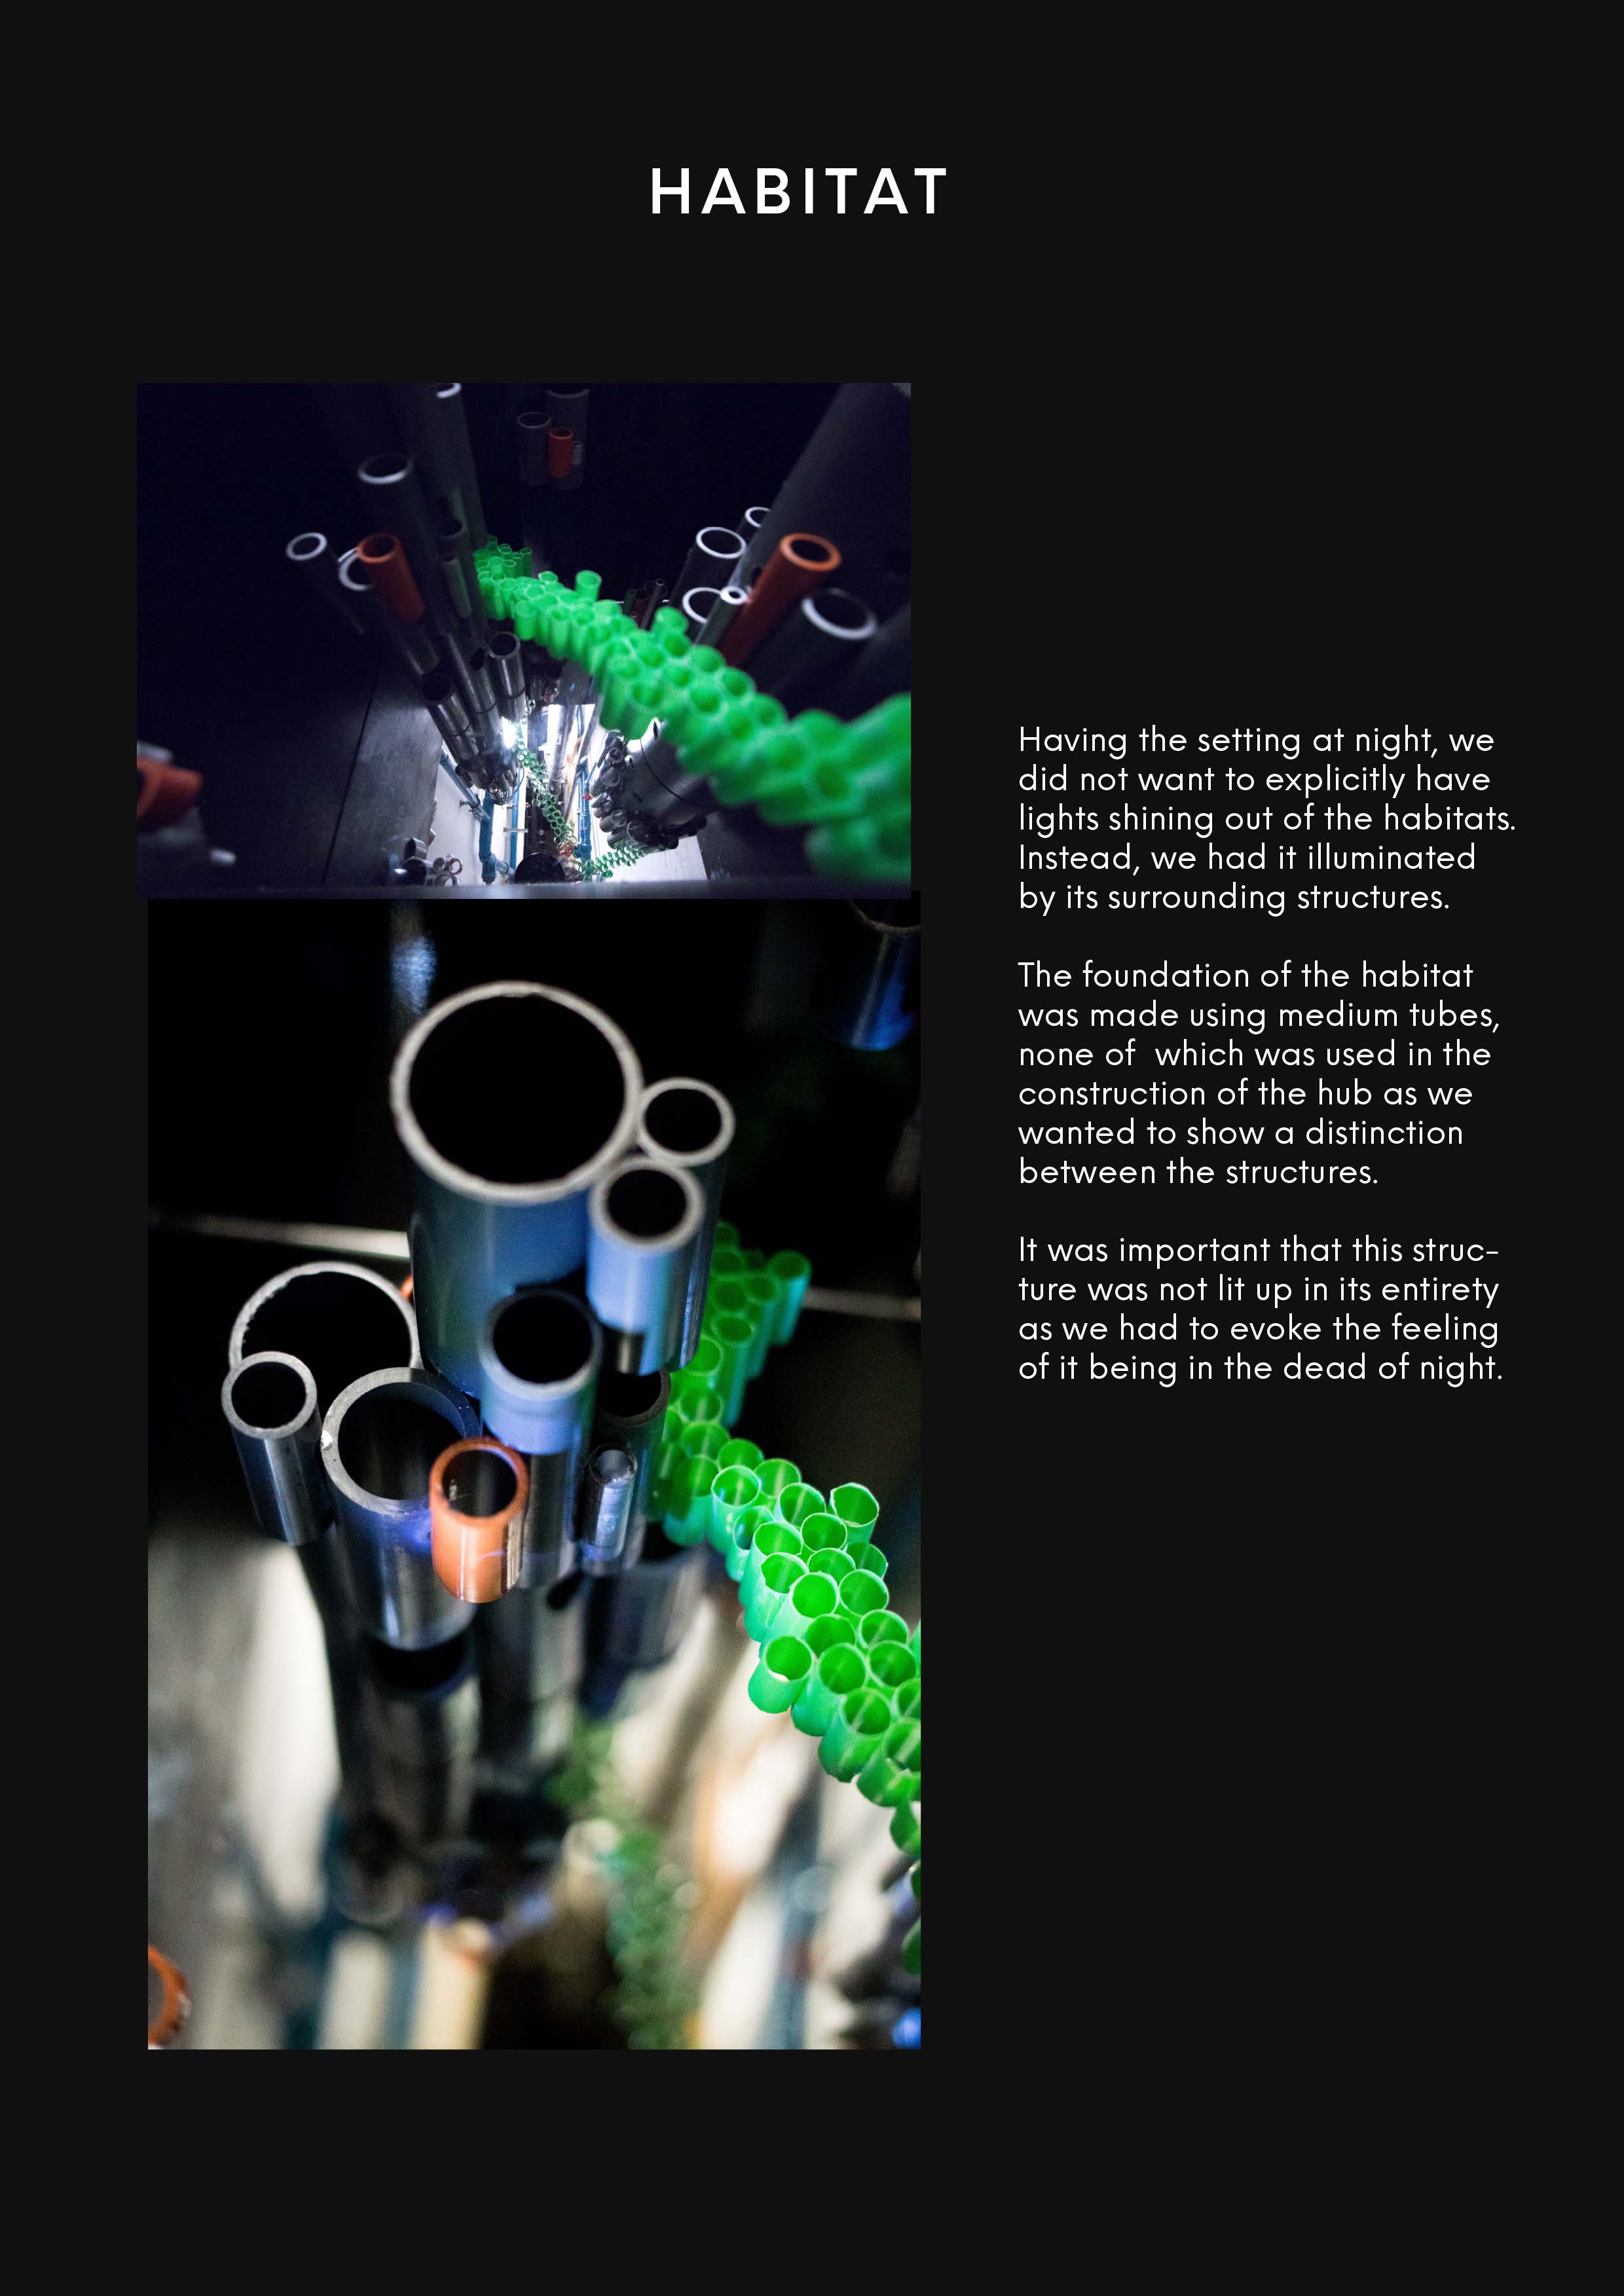
Main hub with habitatsSmaller hub with habitats
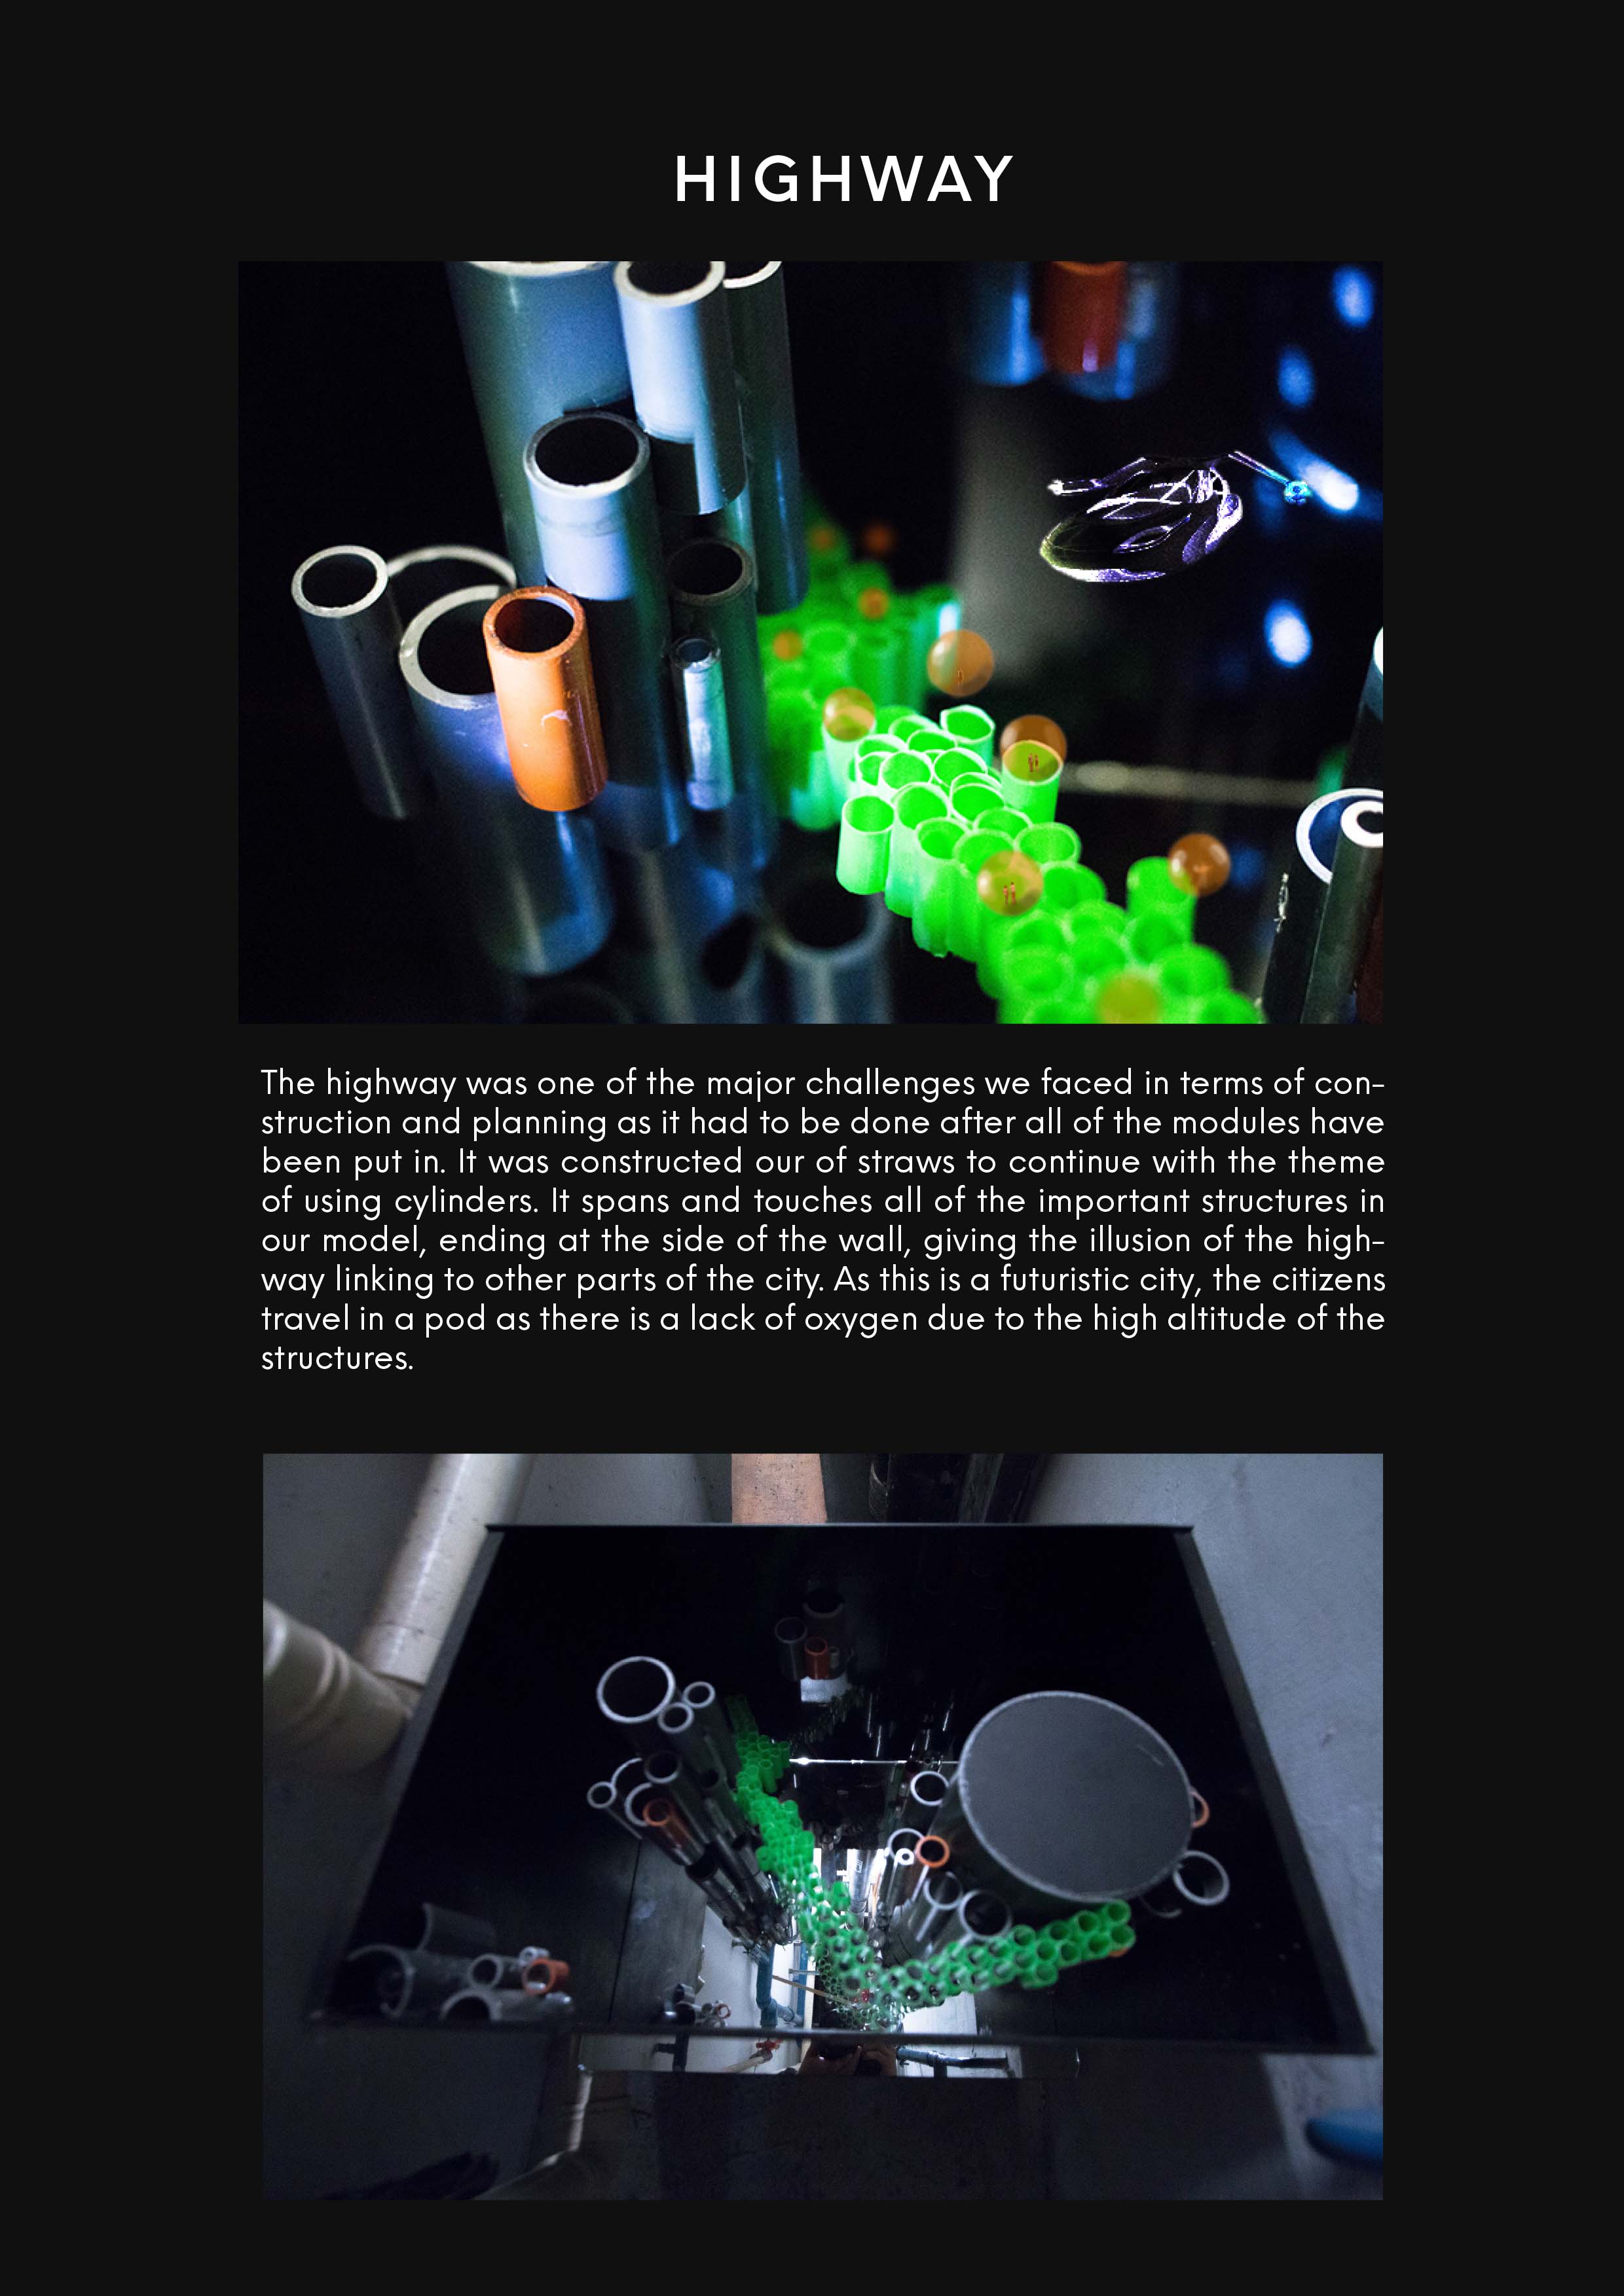
For the highway we used green straws. Green because it complements the orange quite well.
highway construction
First we glued them in pairs and then glue them downwards. We had difficulty assembling the highway as we could not do it outside the model.
Glueing it outside
We had to stick and break it a few times before getting it to move to the angle that we want. We wanted it to touch the significant parts of our model. (stated in the pdf)
Trying to decide where the highway should go
At first we wanted it to touch the top and bottom of the box for a similar effect to the main hub and habitats but it would have been too steep and there is not enough space for the length needed.
Cut off effect
Thus we decided it could just be a part of the city and the highway is leading to another part of the city. This portal that we made only brings you to one part of the city. To achieve this, we have some habitats cropped in the corners and sides. the reflections make them look whole and stepping a dimension portal or sort.
Cut off effectfinal arrangement
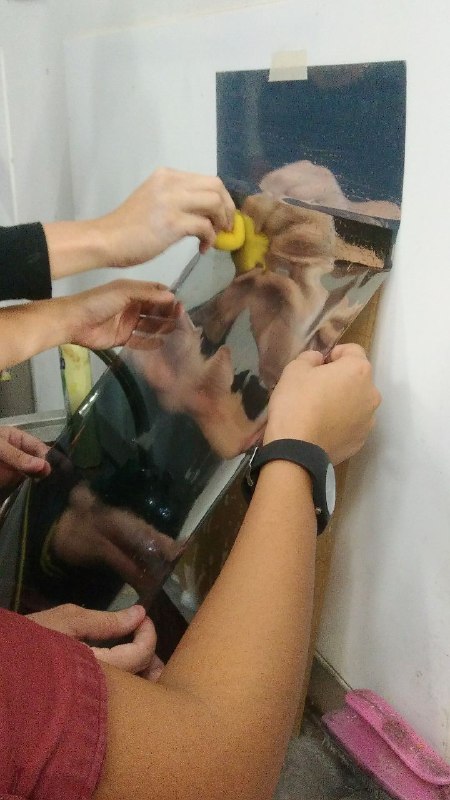
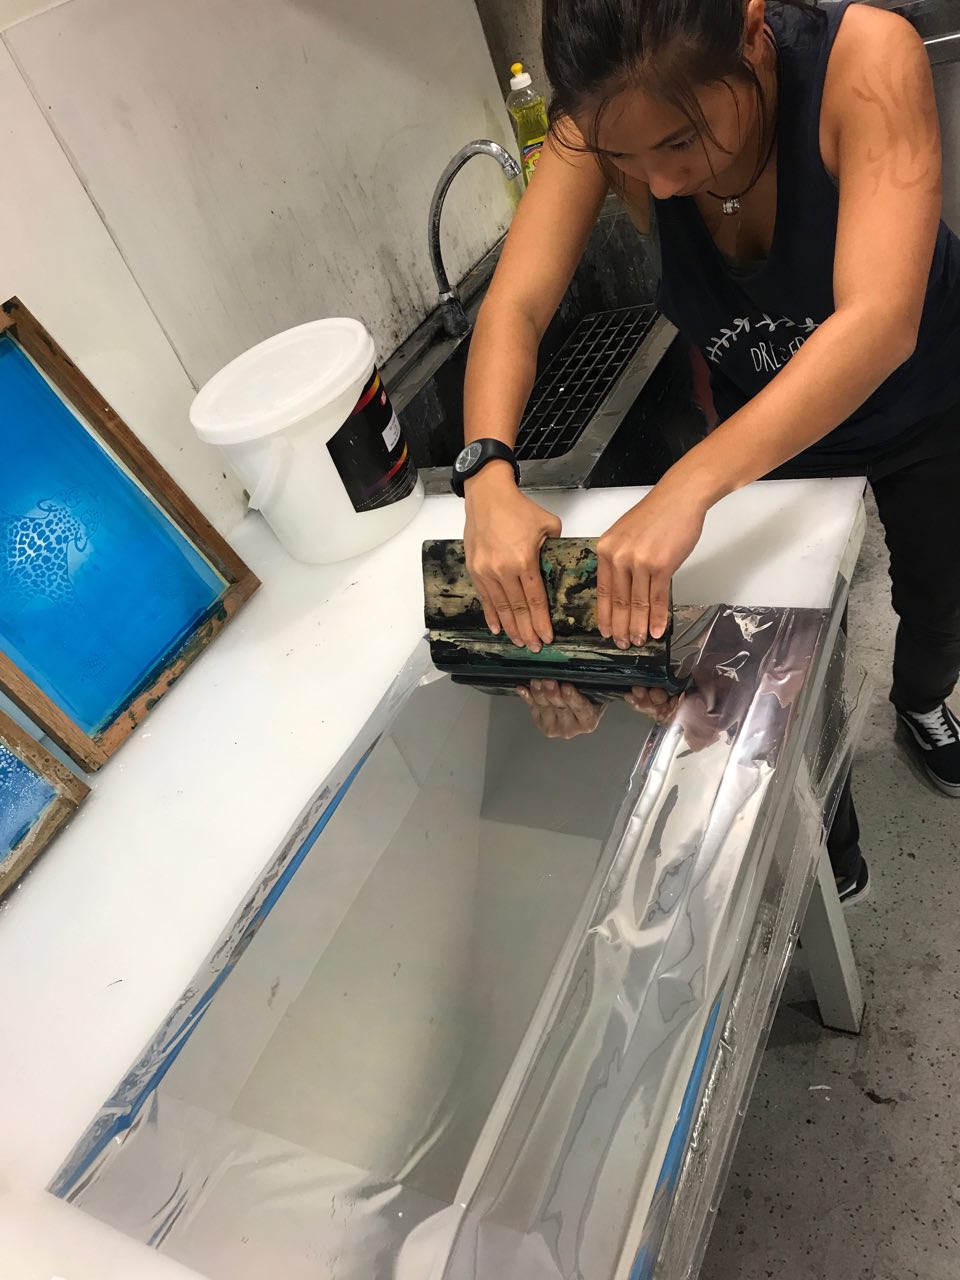
We needed a one way mirror for the infinity effect to work so…
We make our own one way mirror.Hannah squeegied it for better results because the first was full of bubbles.
We bought a reflective film and pasted it onto clear acrylic as an actual one way mirror would be too expensive for poor art students.
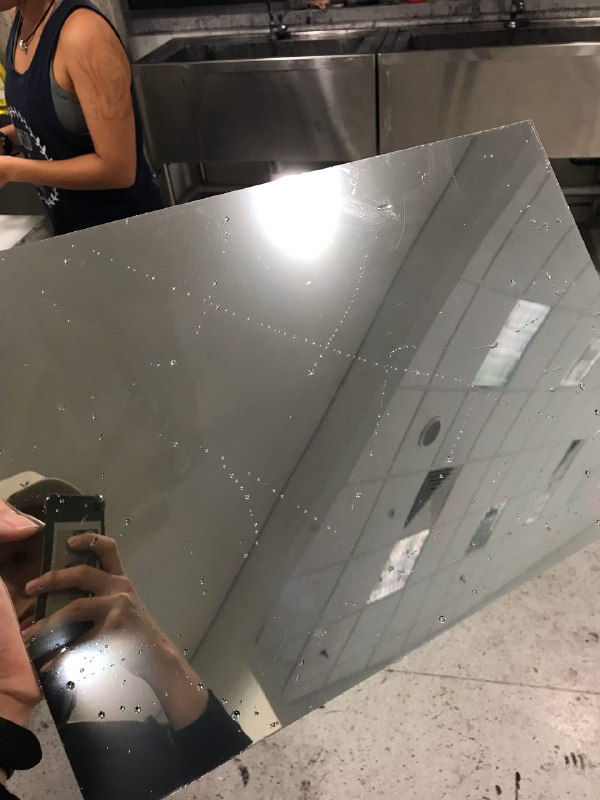
trimming the edgesOooo~ reflective!
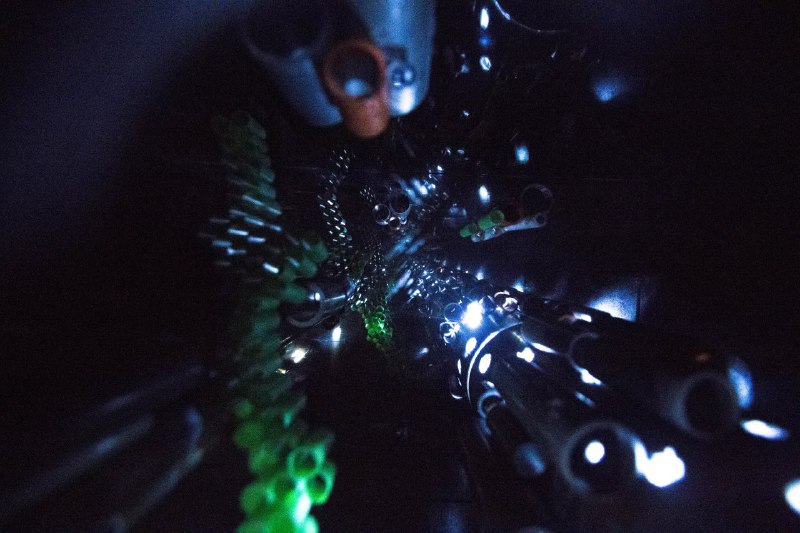
then we tested it… the results were amazing! 😀
the infinity effectIt really works!In the actual site.
It doesn’t work with the lights on. It only works when the lights are on and the inside illuminated.
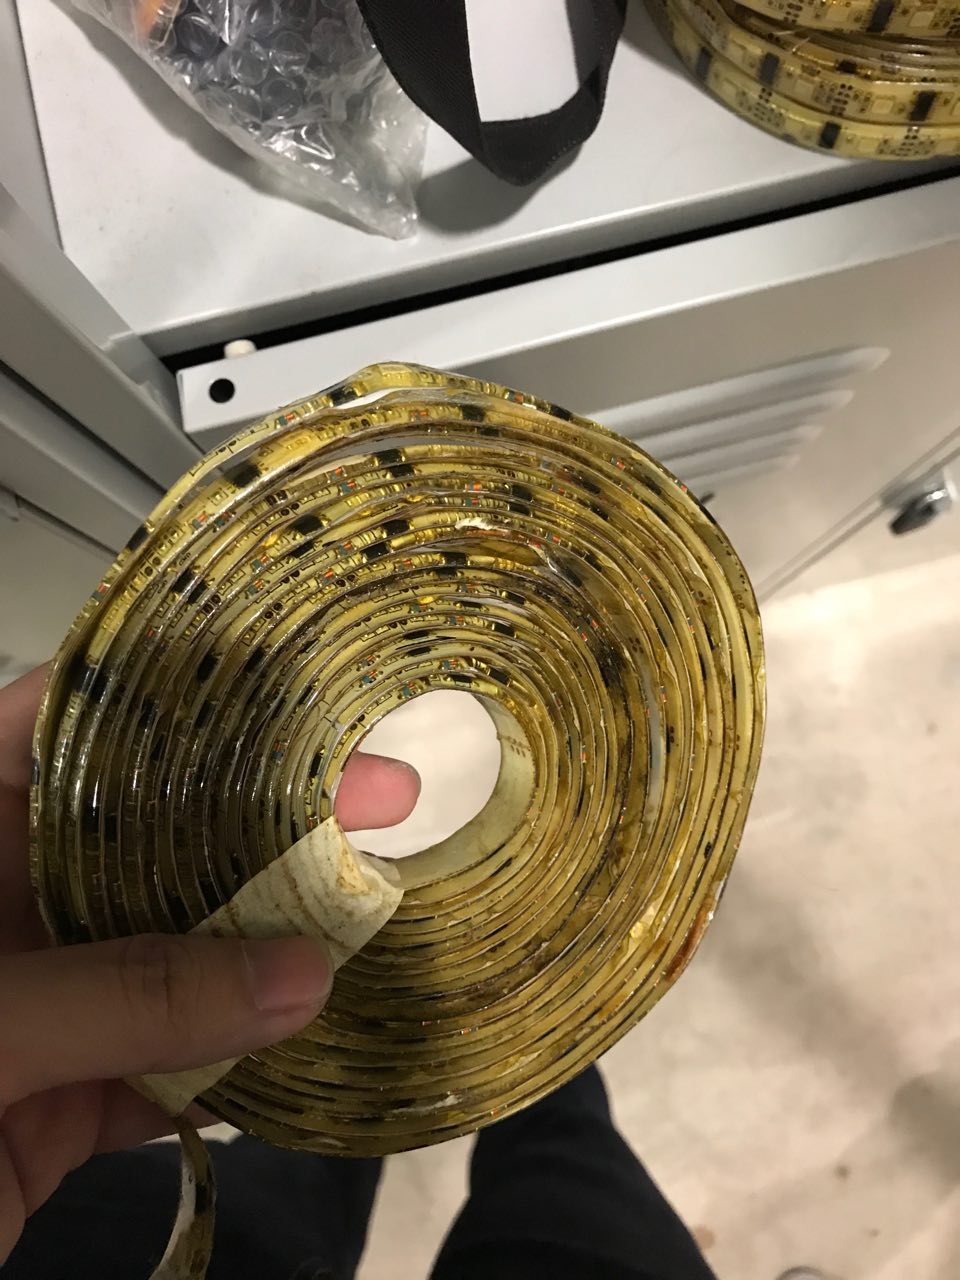
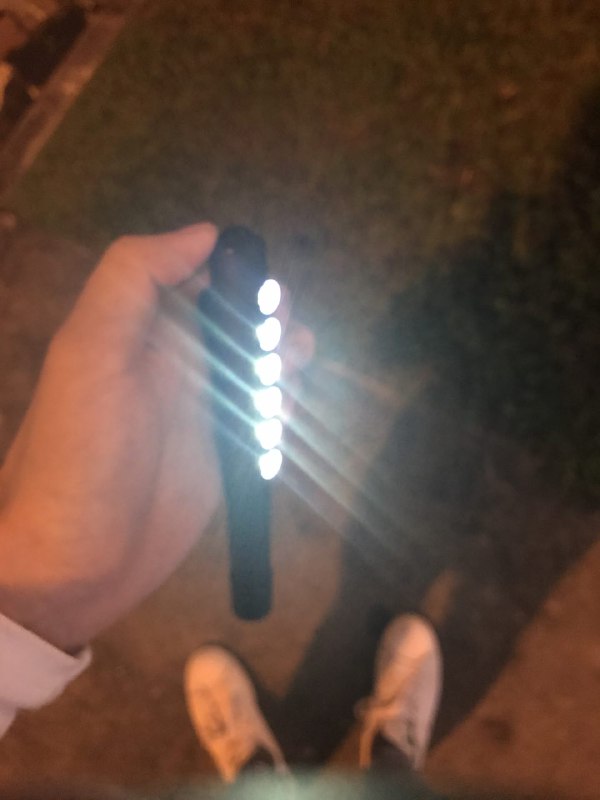
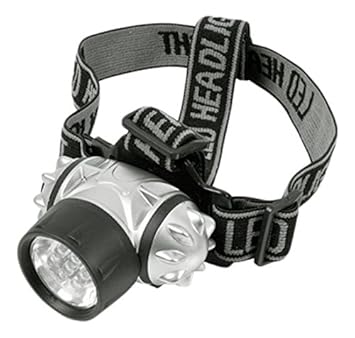
Led strip that didn’t work outone direction. cylindrical torch lightwe got 2 headlights for the hub
We also had difficulty finding the right lights. Originally we wanted to wire our own lights. But because we of the mirror that would definitely shatter under a drill we could not thread the wires through and decided to get electric battery powered lights.
The majority of my group chose to do composition 2 for our individual mood boxes because we really liked the sound of the metallophone ringing into the ‘void’. It was a better choice than the first that was just continuous sounds which did not provide any voids/breathing space. It would have been too cluttered. Plus we can’t create a city of voids without a void to begin with.
Final Model:
Labeled Moodbox
The zig-zaggie block is represented by a twisted wiremesh roll curling upwards because we felt that the sound was building up to the metallophone ‘ding’ at the end.
The metallophone is represented by a cotton ‘cloud’ as we favored my idea of metallophone as the sound of clouds. The cloud is peeking out of the box because we liked Fendi’s interpretation of the sound peeking out of the box as ringing into the void.
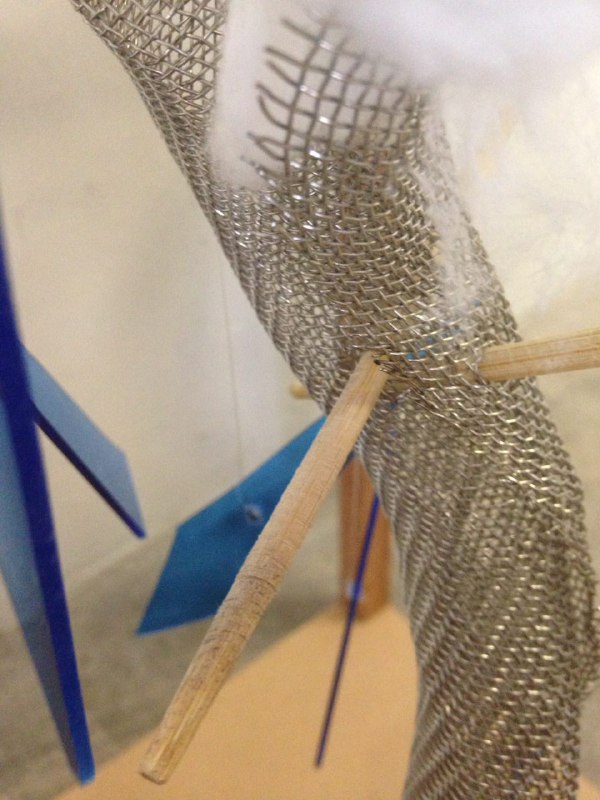
The rhythm sticks are directly translated with pairs of bamboo chopsticks intercepting the twisted wiremesh roll.
The banana shaker is represented by shards of blue acrylic because we felt that it sounds like rain. Thus, we hung them in a downward motion as if cutting through the void.
Production Process:
To save cost, we mainly used the materials found around the workshop.
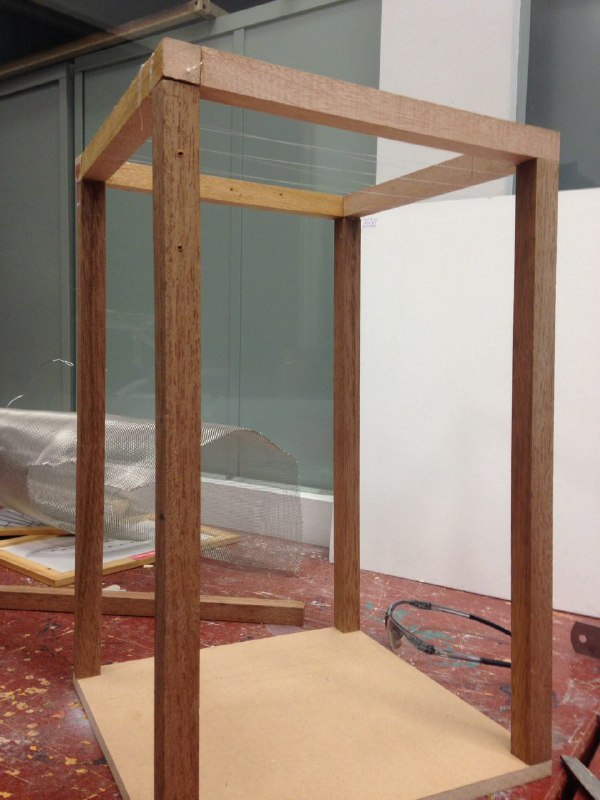
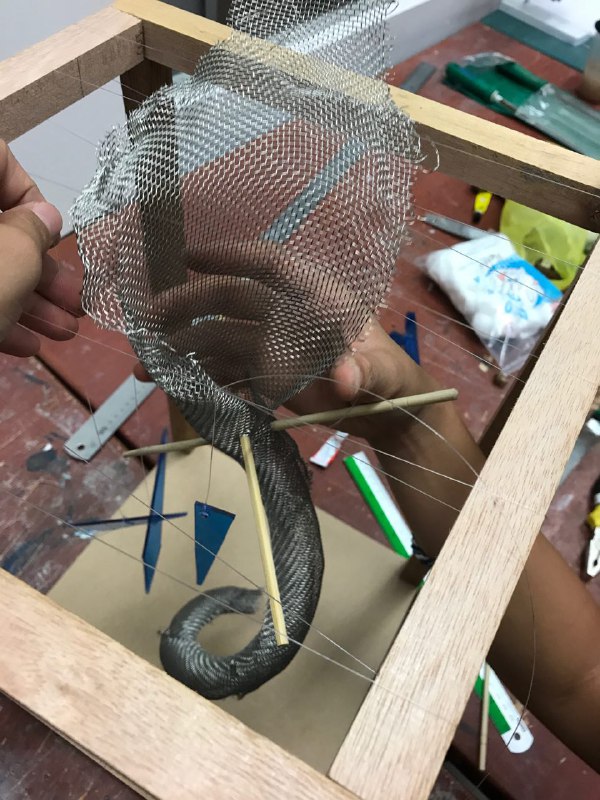
1. The frame
We made a frame out of some timber sticks to help suspend our model as sound is travels through space.
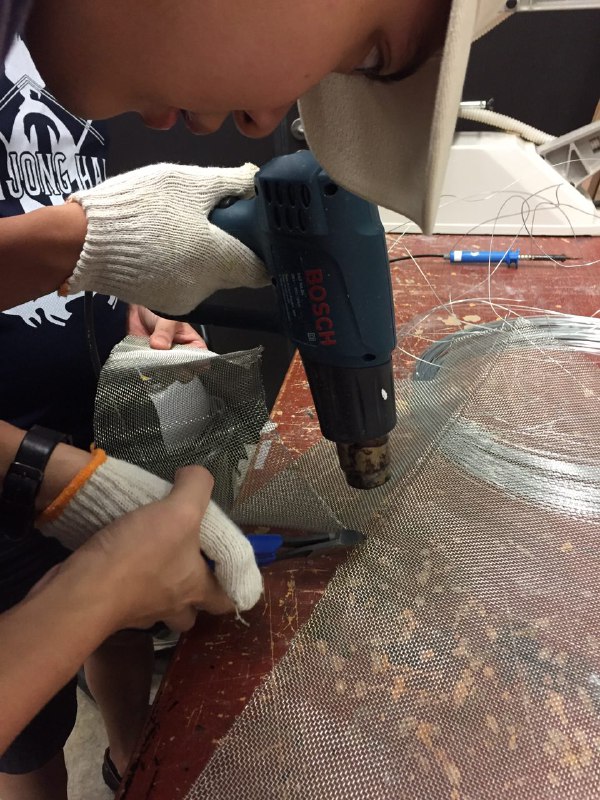
2. Cutting wiremesh with difficulty
We chose to use wiremesh because it has a criss-cross texture. When scratched it produces a similar sound to the zig-zaggie block; achieving the acoustic effect that we wanted. We had to soften the wire with the heat gun and cut slowly because there was a problem with the wire cutter.
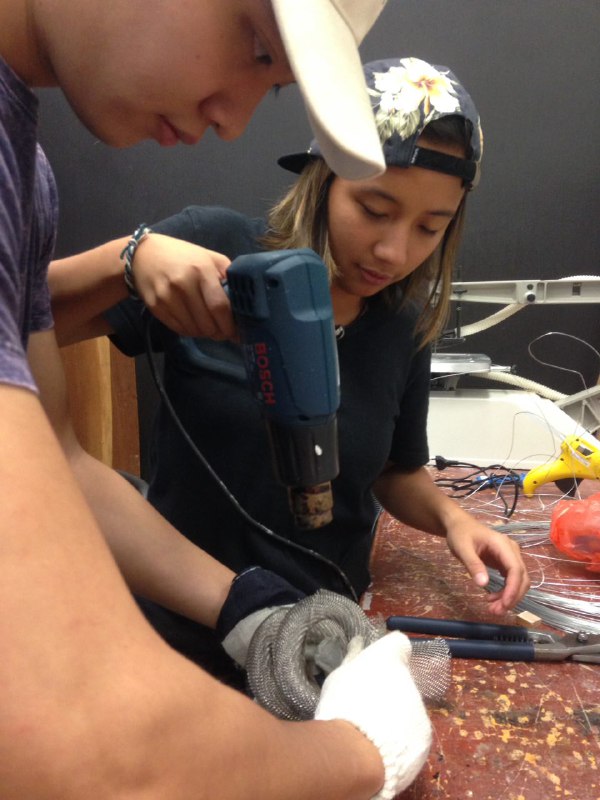
3. Rolling wiremesh with great effort
The wiremesh was really hard and rolling it took great effort.
4. Twisting the wiremesh roll with the help of the heat gun
So, we used the heat gun to help soften it while we roll.
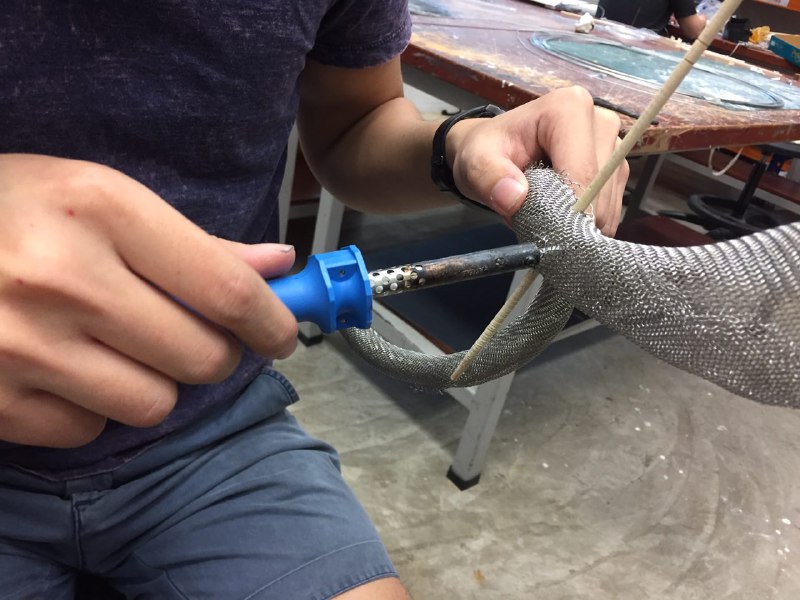
5. Widening wiremesh hole with soldering iron to make space for chopstick
Since the holes were too small, we had to widen them with the soldering iron to fit the chopsticks.
6. Poking holes into acrylic shards with soldering iron
We soldered holes into the acrylic shards to thread fishing line through them.
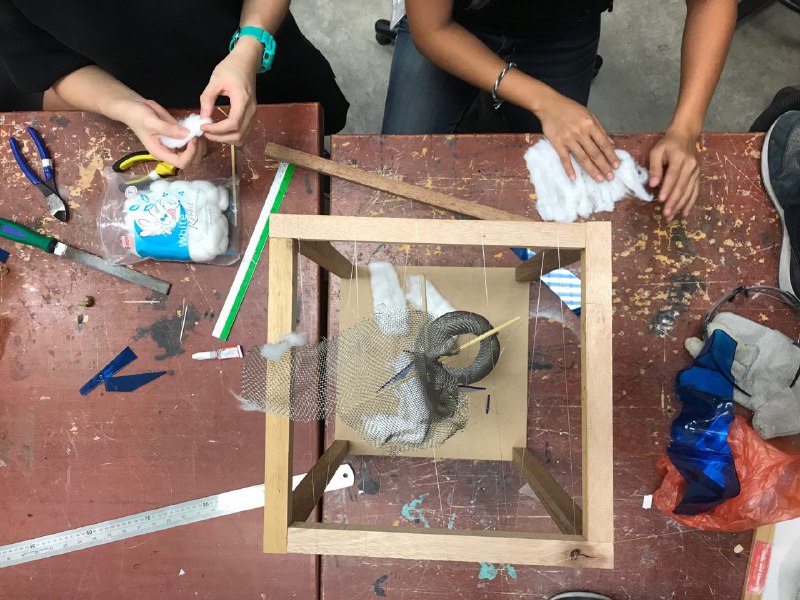
7. Putting it together
The top of the wiremesh opens up to look like its ‘fading’ into the void. The fishing line was nearly invisible and it gave the illusion that our model was floating. The wiremesh sat well in between the fishing lines. And we made sure that the acrylic shards were hung in a downwards motion; creating some rhythm at the same time for aesthetic purposes.
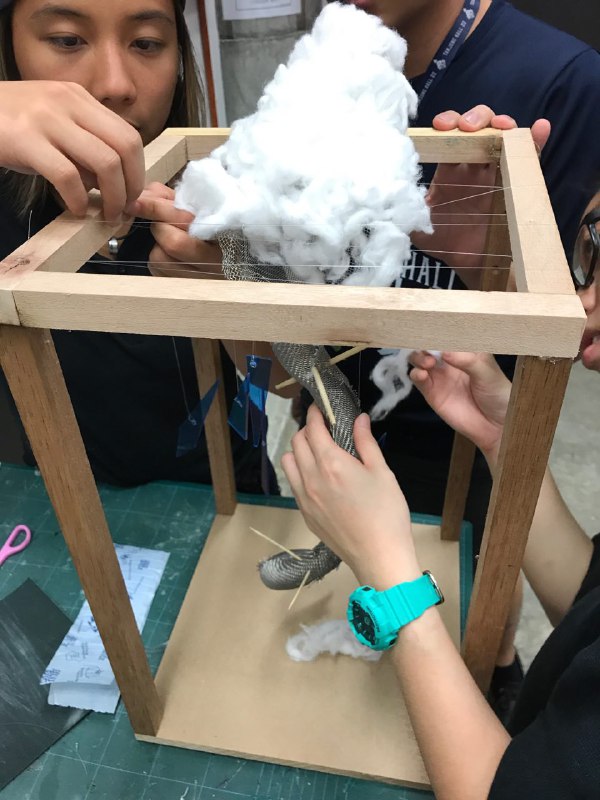
8. Rolling out the cotton balls
We used cotton balls as the cloud. Rolling them up, tearing them apart and putting them back together to get that fluffy effect. We also tried to make it fade in and out but somehow we could not get the desired results. The cotton couldn’t stand in place for a faded upward look.
9. fixing on the cloud
Making sure all parts are covered and everything is in place.
Other perspectives:
low angle view
Here you can see how the wire-mesh rises and builds up to the cloud. You can also see the acrylic shards falling downward as well as the chopstick interrupting the void.
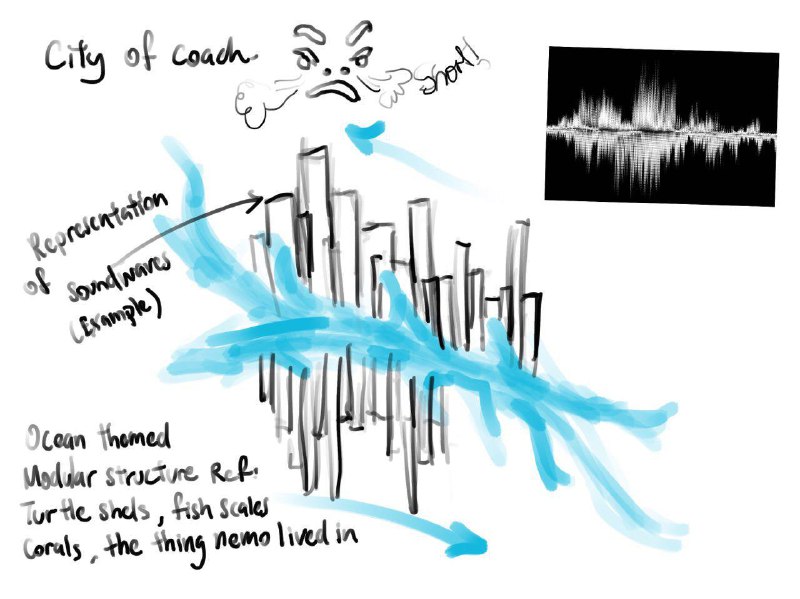
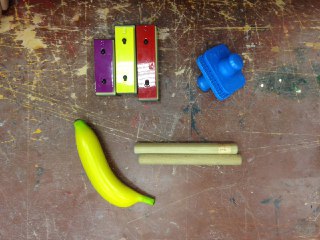
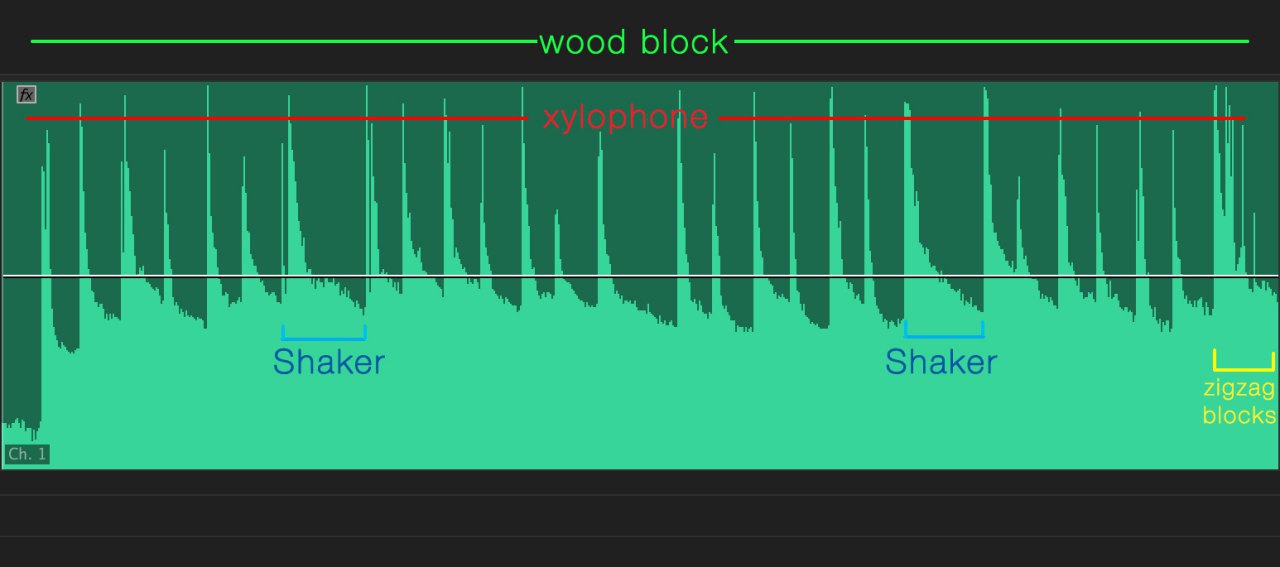
I broke down the sound-waves into a ‘chart’ for easier understanding. Because the sounds that we made were too loud, its quite difficult to tell part the instruments from looking at just the sound-waves. Then I drew a sketch and picked composition 1 because it seems to have more going on than composition 2…
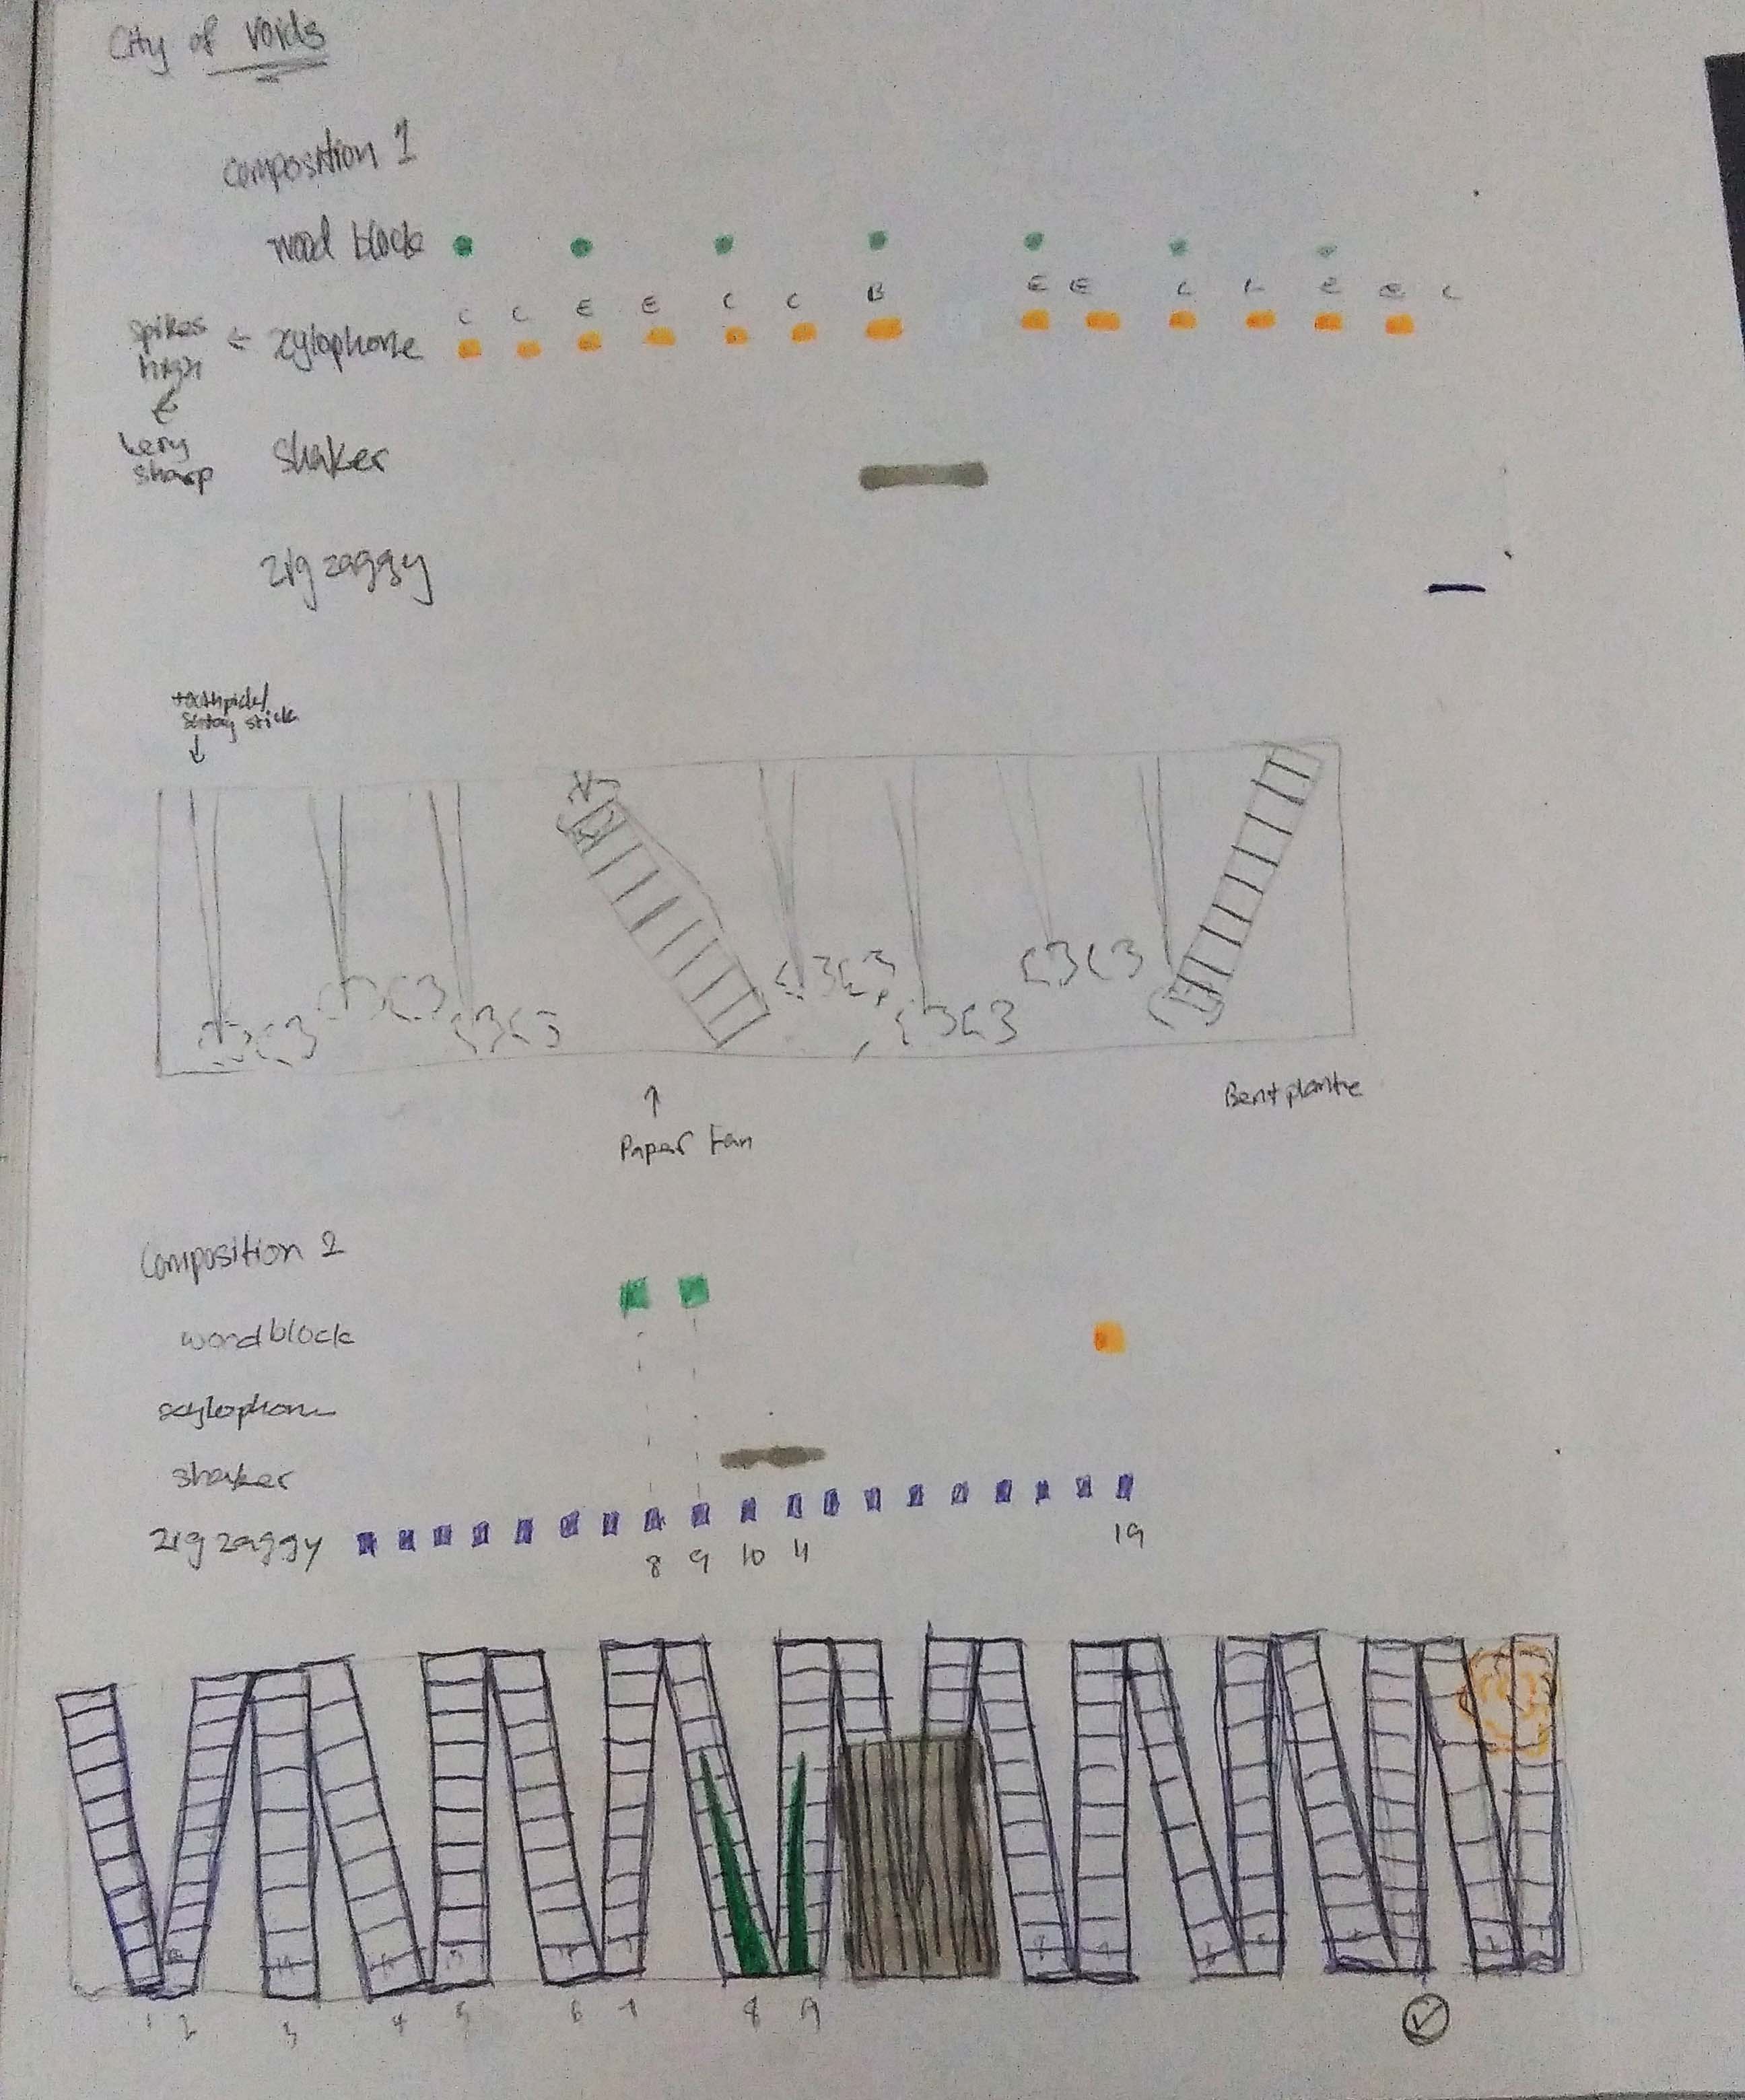
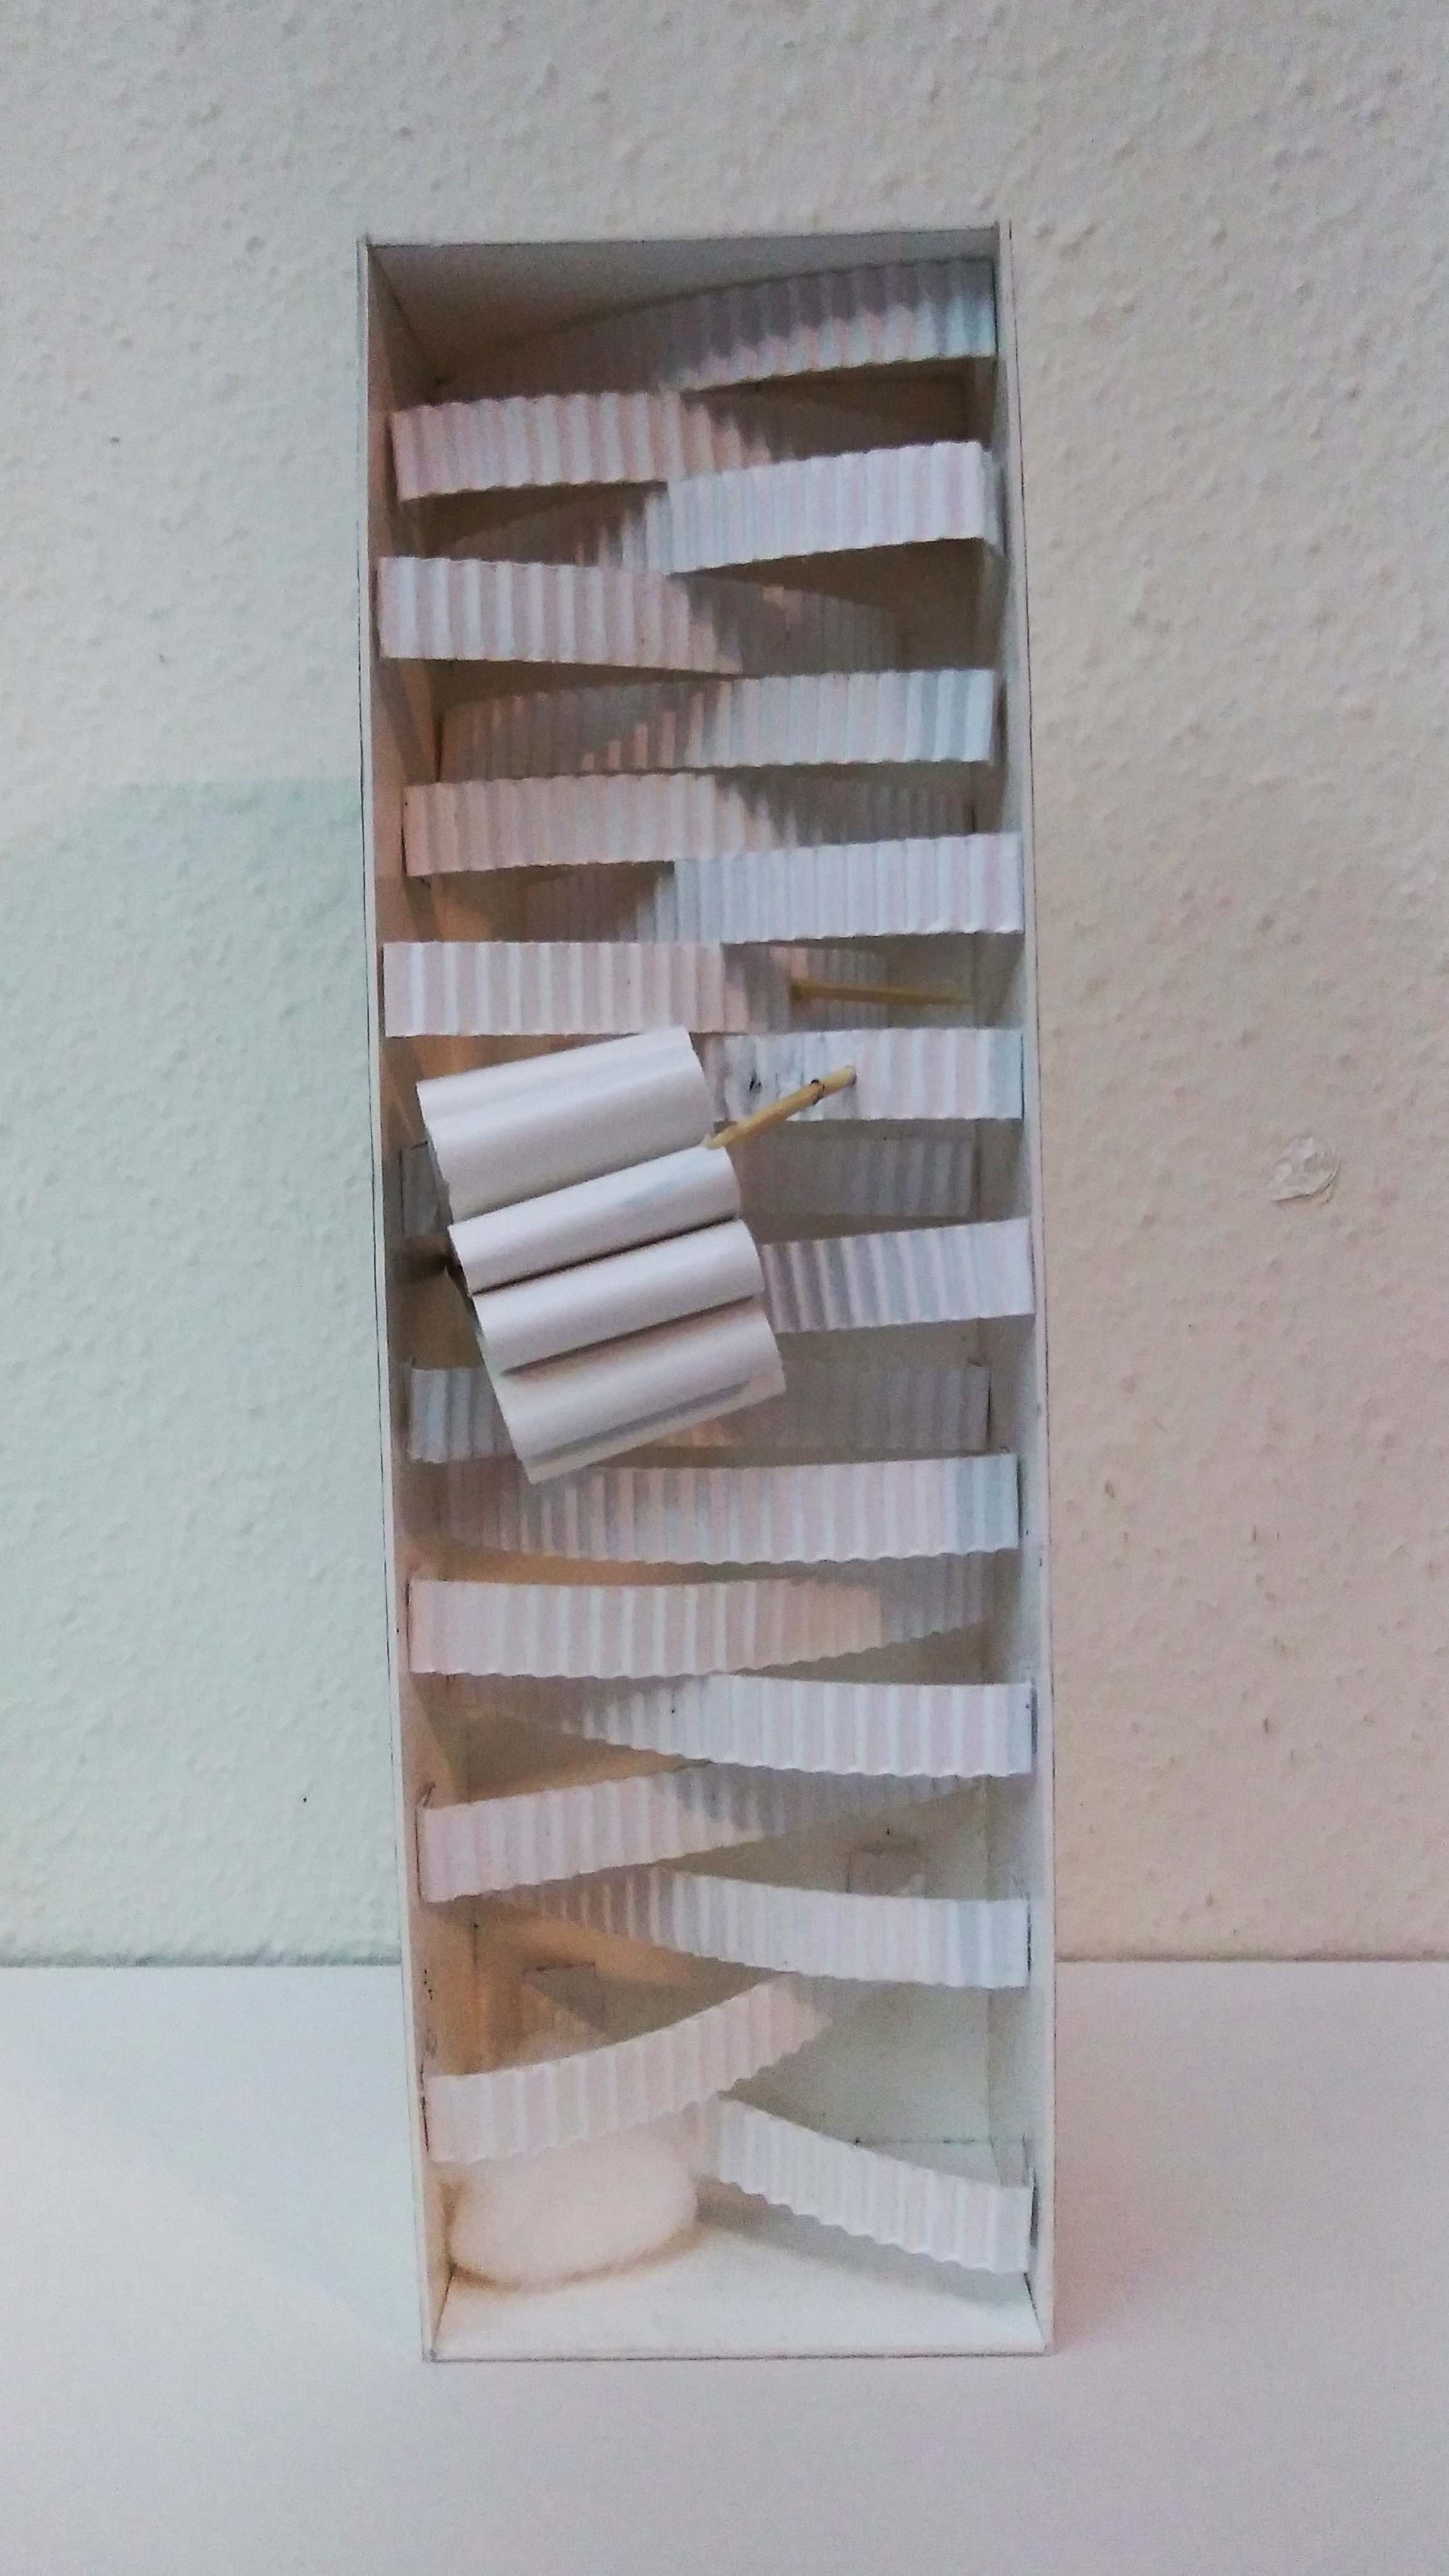
Composition 2 Sketch model
Bent Planes: Dominant (Zig zaggie block)
Fan shaped folds & toothpick: Sub-dominant (Banana Shaker, Rhythm Sticks)
Cotton ball: Sub-ordinate (Metallophone)
Rejected:
Composition 1 (rejected)composition 1 close up (rejected)
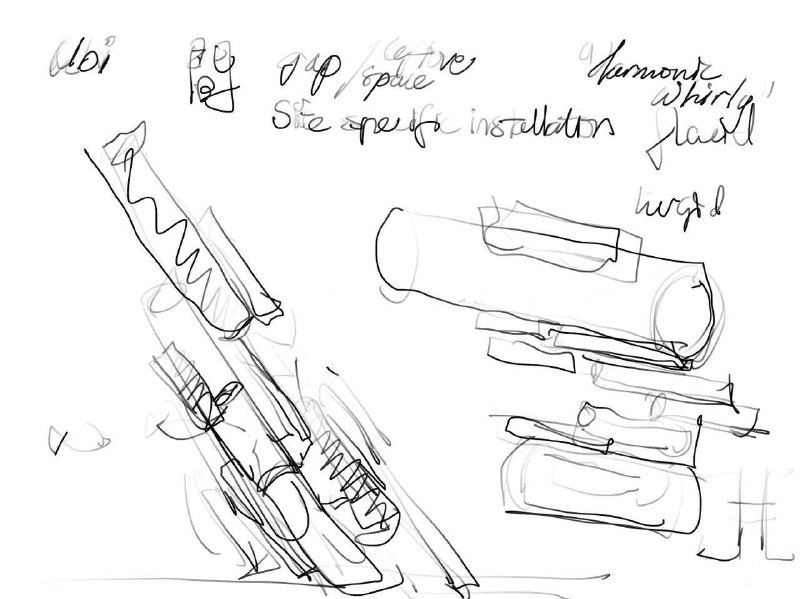
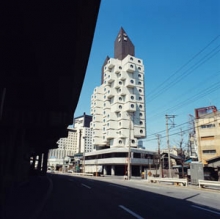
“Kurokawa developed the technology to install the capsule units into a concrete core with only 4 high-tension bolts, as well as making the units detachable and replaceable.
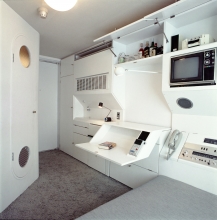
The capsule is designed to accommodate the individual as either an apartment or studio space, and by connecting units can also accommodate a family.
Complete with appliances and furniture, from audio system to telephone, the capsule interior is pre-assembled in a factory off-site. The interior is then hoisted by crane and fastened to the concrete core shaft.
The Nakagin Capsule Tower realizes the ideas of metabolism, exchangeability, recycleablity as the prototype of sustainable architecture.”
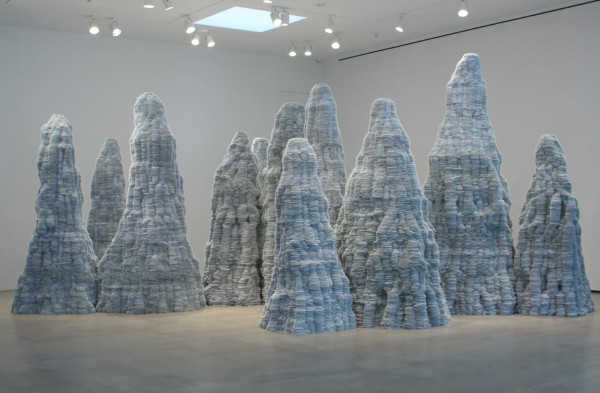
Untitled, 2014, styrene index cards, metal, wood, paint and glue, 12′ 5-1/2″ x 22′ 4″ x 22″ 11-1/2″ (379.7cm x 680.7cm x 699.8cm)
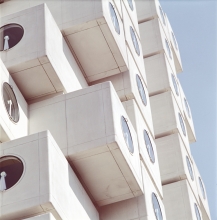
With modular structure, there is lots of repetition going on – a single module repeated all over the entire structure. The repetition can create illusions and impressive effects.
Untitled, 2014 (detail)
“Subtle variations in hue, from white to gray to light blue, give these towers the illusion of depth. Up close, the color and texture resemble a storm-tossed sea, each card’s corners the peaks of waves. From far away, there’s something topographical about the color gradation; the towers could almost be cross sections of a huge, frosted-over canyon. And walking among them, that’s certainly the effect: One feels dwarfed by the sculpture’s sheer height and awed by the incomprehensible labor of arranging each index card by hand.”
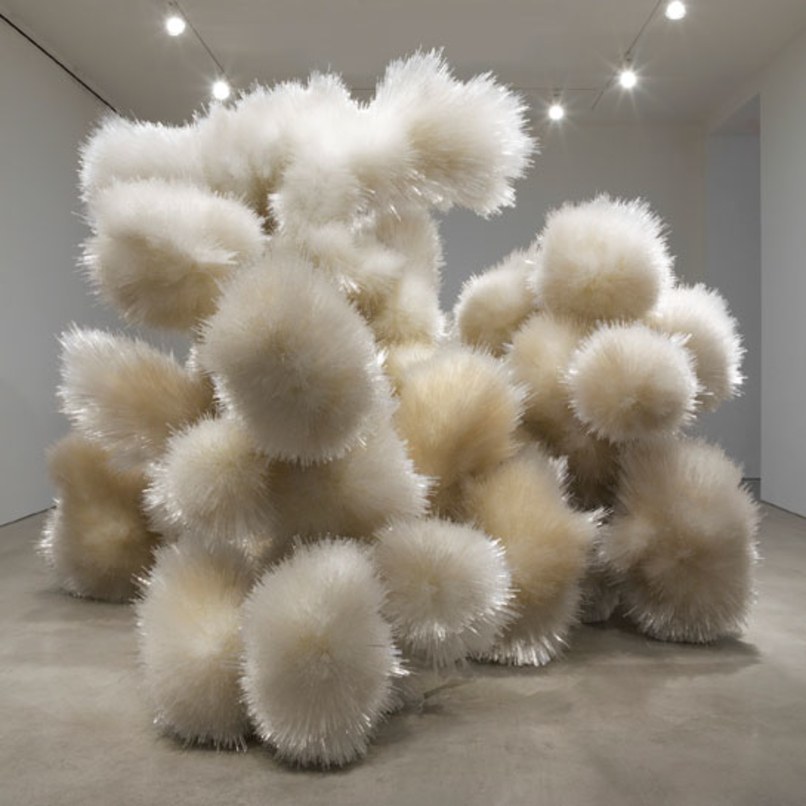
Untitled, 2014, acrylic and adhesive, 10′ 1/2″ x 14′ 2″ x 12′ 10-3/4″ (306.1cm x 431.8cm x 393.1cm)Untitled, 2014 (detail)
“This similarly plays with light and shadow to create a trick of the eye. What look like giant cotton balls are piled high toward the ceiling, and the room’s bright lights make the installation appear wispy, soft to the touch. In reality, the seeming strands of delicate thread are thin acrylic rods that make up a rigid, crystalline structure. Backlit, this magnificent sculpture simply glows.”
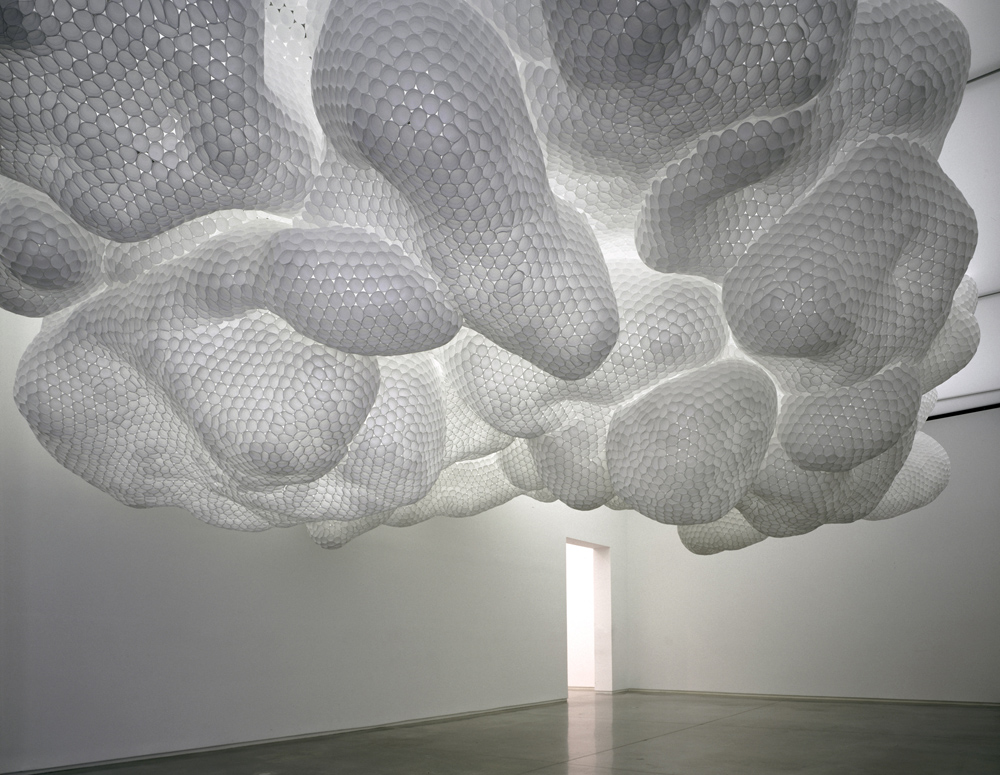
“The undulating clouds of synthetic material, spanning twenty feet wide and six feet high, absorb and diffuse the light in beautiful patterns that hang overhead. The Brooklyn-based artist considers each piece to be only a temporary, site-specific construction. When visiting an installation, viewers will find themselves surrounded by a powerful artwork that challenges us to reconsider the basic functions of these everyday materials and to see them in a new light.“