IDEATION: Sketches
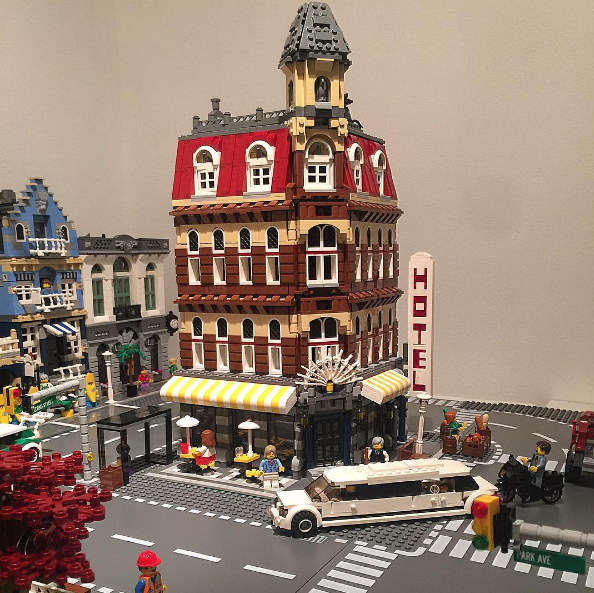
As a child, i didn’t grow up having much barbie and dolls. I guess, my parents really wanted me to be a guy, that why they gave me really boyish toys. So instead of having the fantasy of being a princess, I was out about, playing in the garden, watching power rangers and transformers. The one toy that my father loved buying for me and my sister is lego, and I hated it. I just simply couldn’t follow the instructions. But as a child I distinctively remembered that my father got us a huge lego set, which allowed us to build and design houses. needless to say, I was the assistant handing my sister the right pieces as she build them together.
So my first idea was too create a house in the letter form X. However that didn’t go too well as seen by the sketch below, my foundation of perspective is way too week to pull the design and technical drawing for it to look semi realistic.

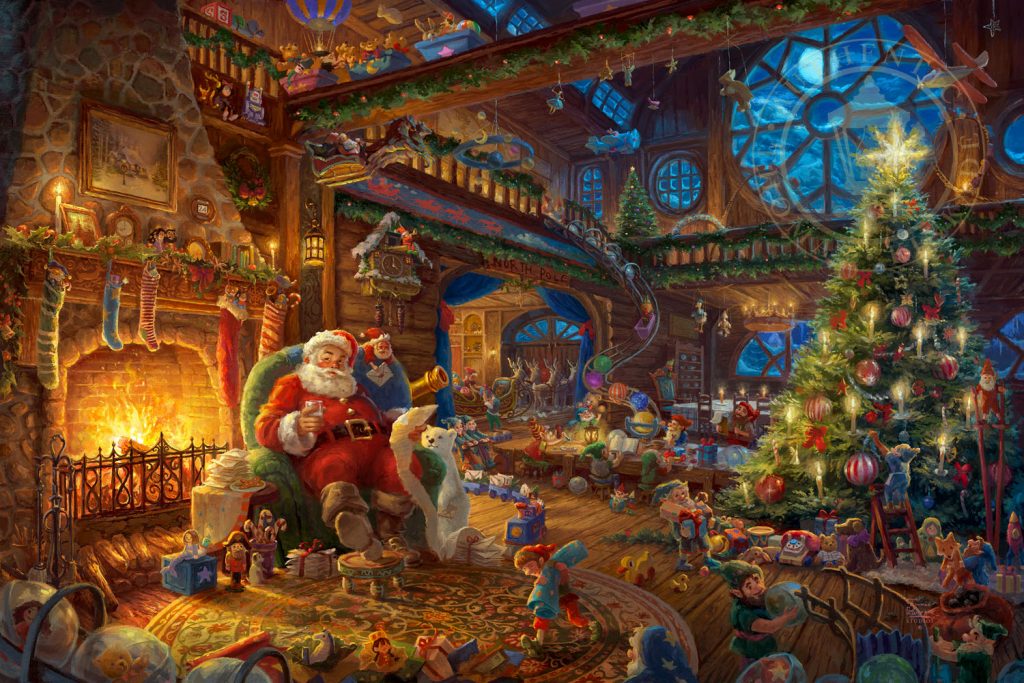
So then I went to the web and typed: toy maker and images of workshop popped out. Then I begin thinking: who has a workshop? Santa.
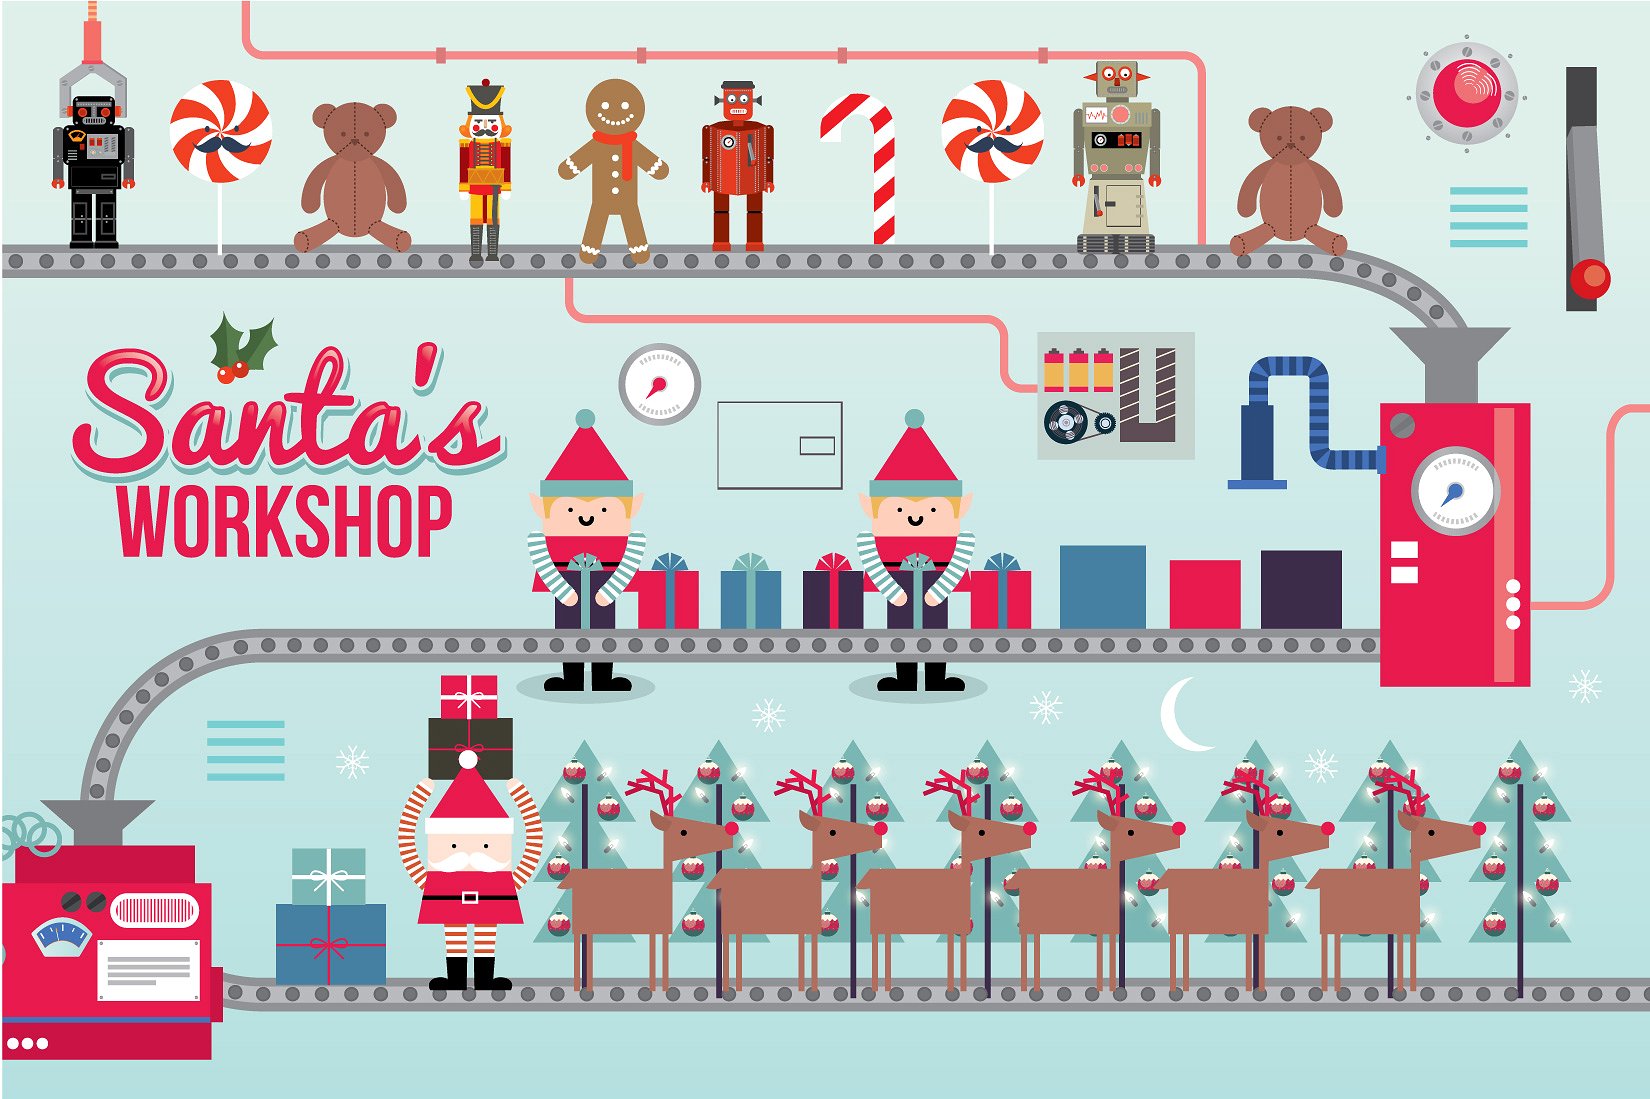
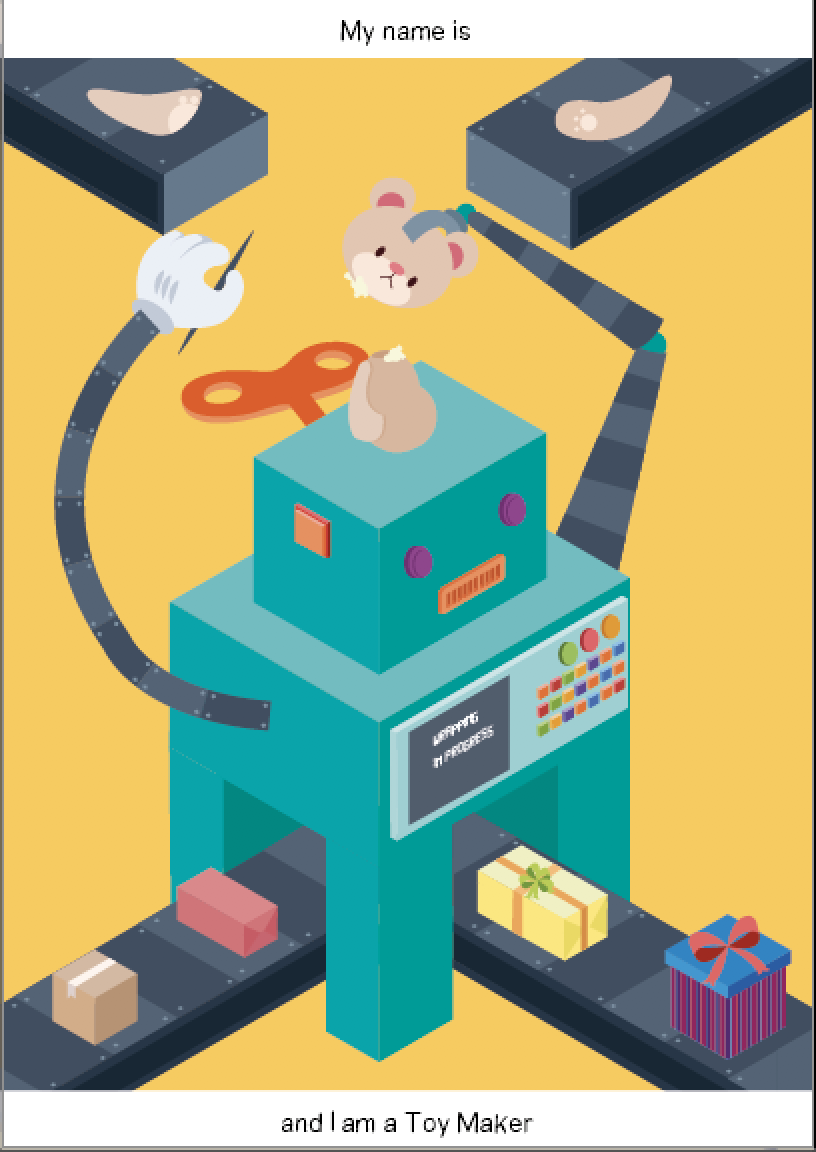
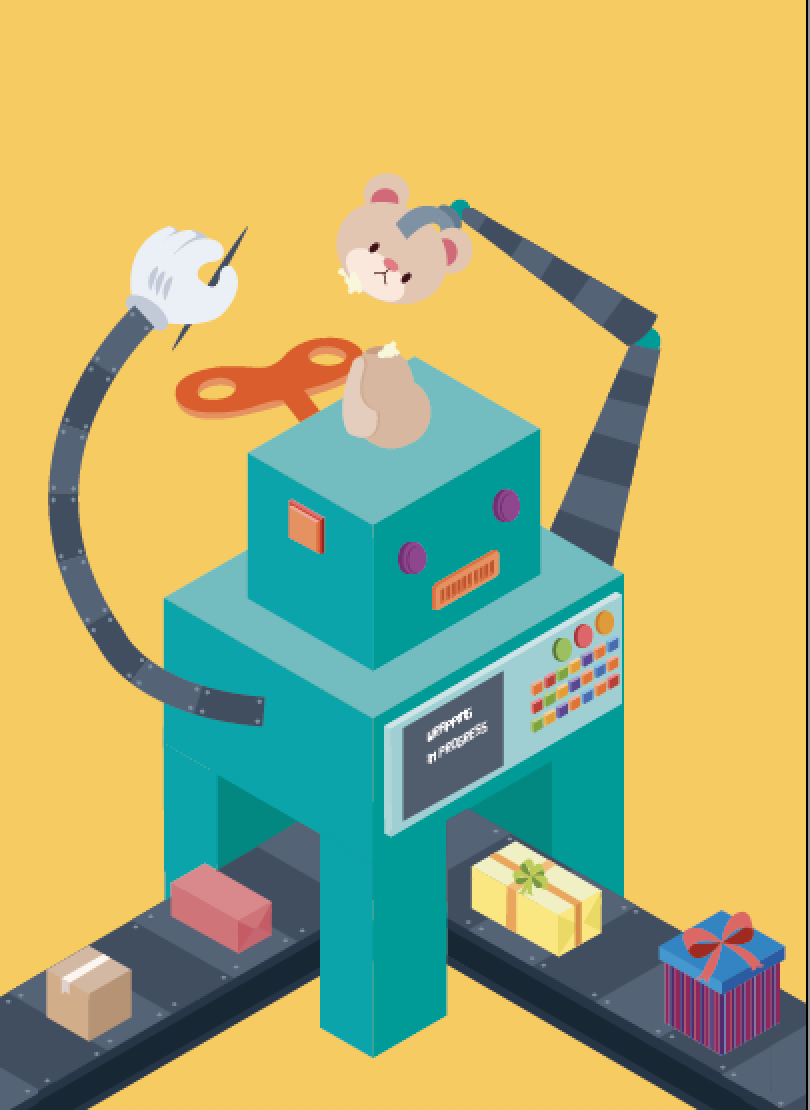
But what if I create a machine that make toys instead? So I set out sketching and referencing robots to create my machine.
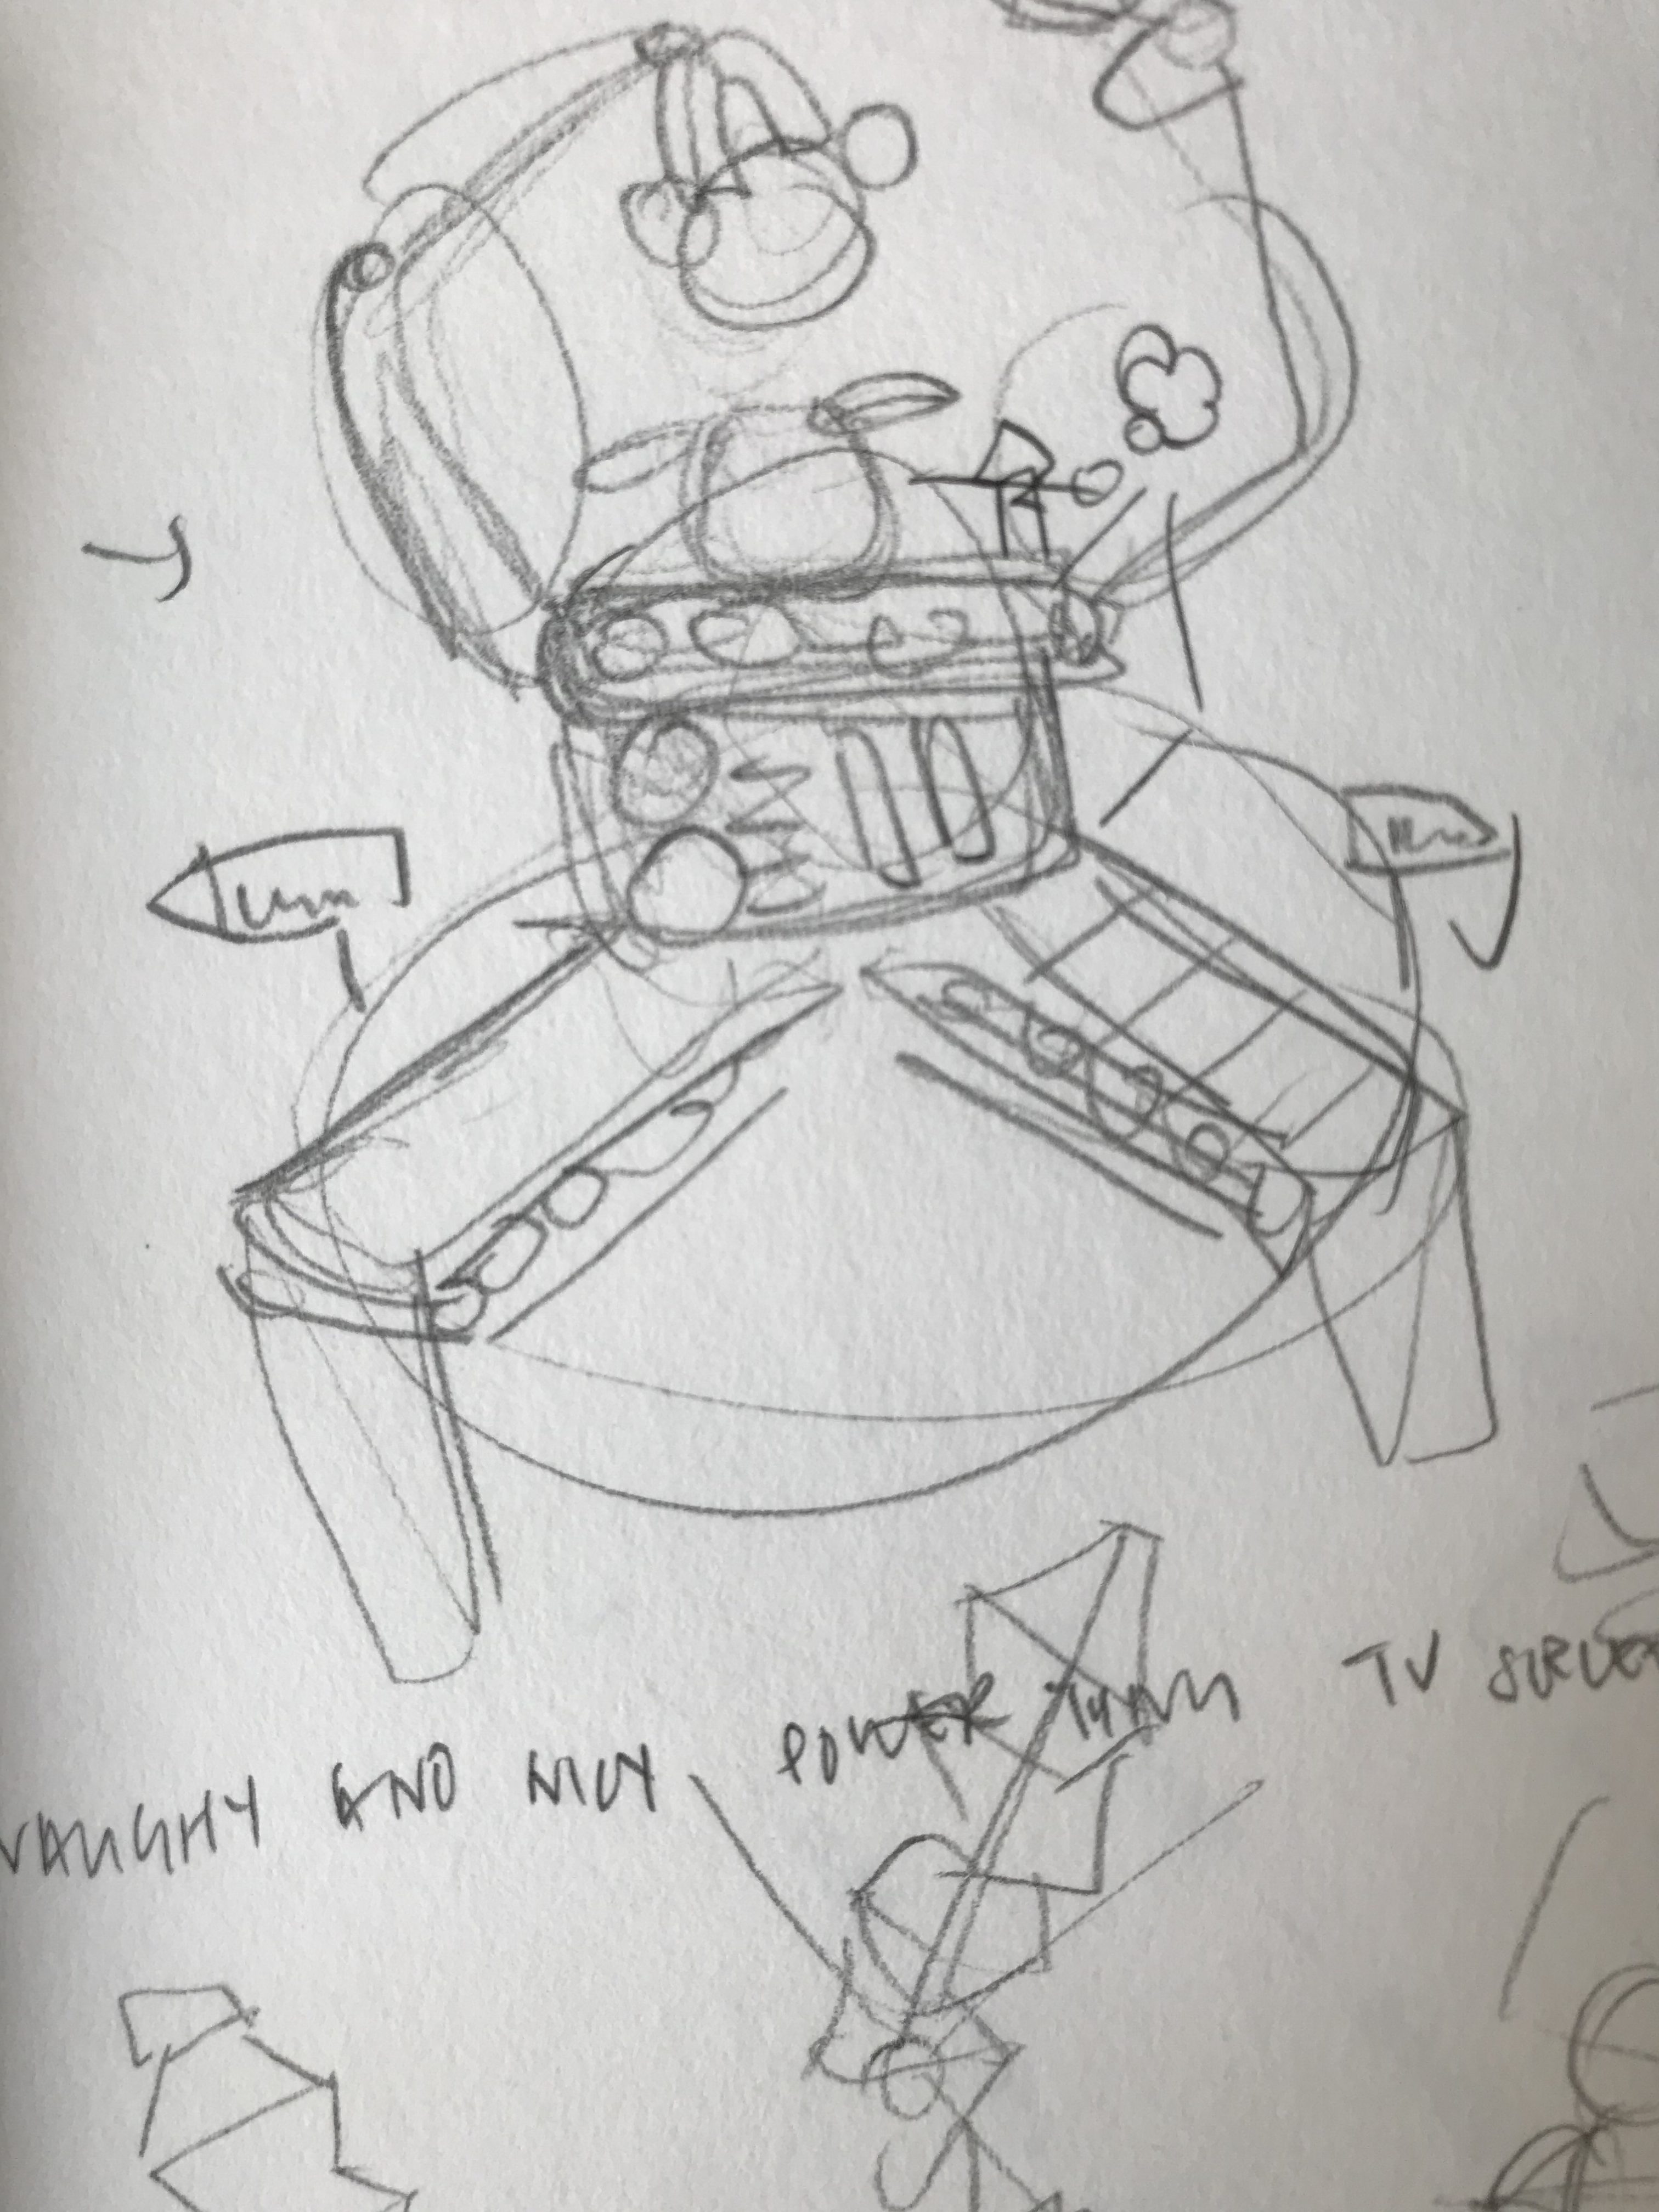
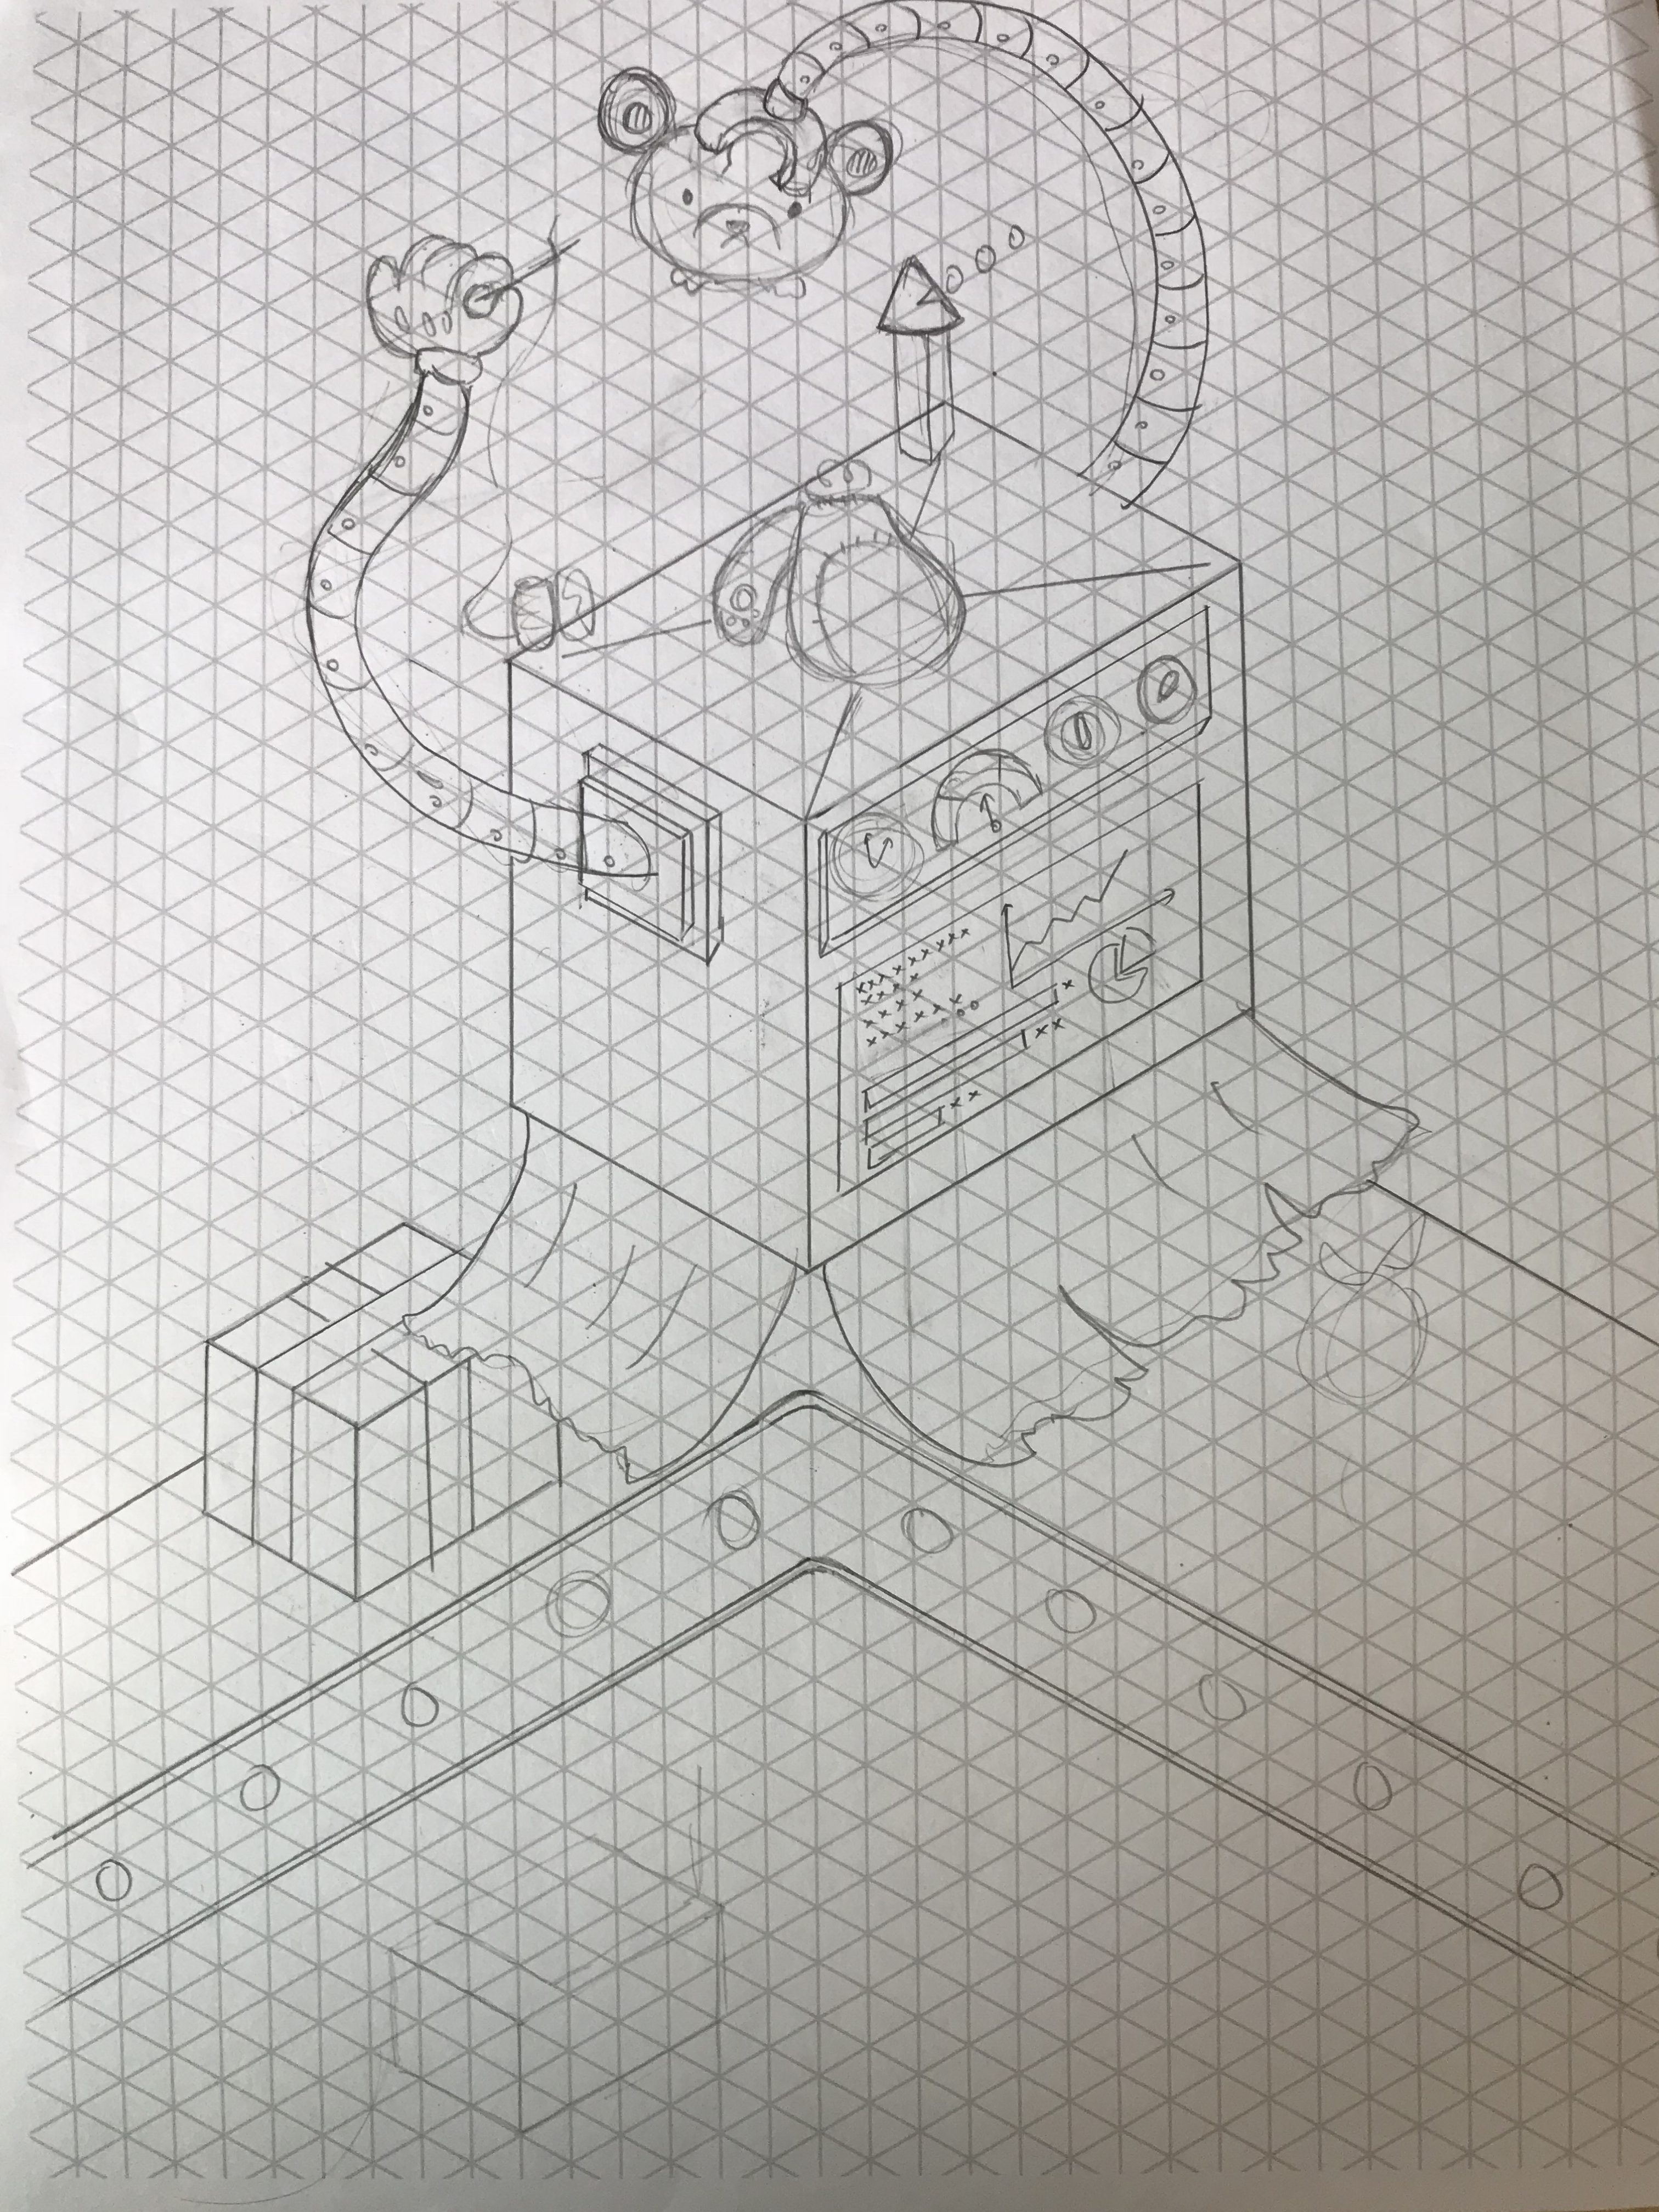
I liked how the conveyor belt formed the bottom half of the X and the arms of the machine formed the upper part of the X. However I was really afraid that the arms were too organic and wouldn’t show the X structure so I created another version.
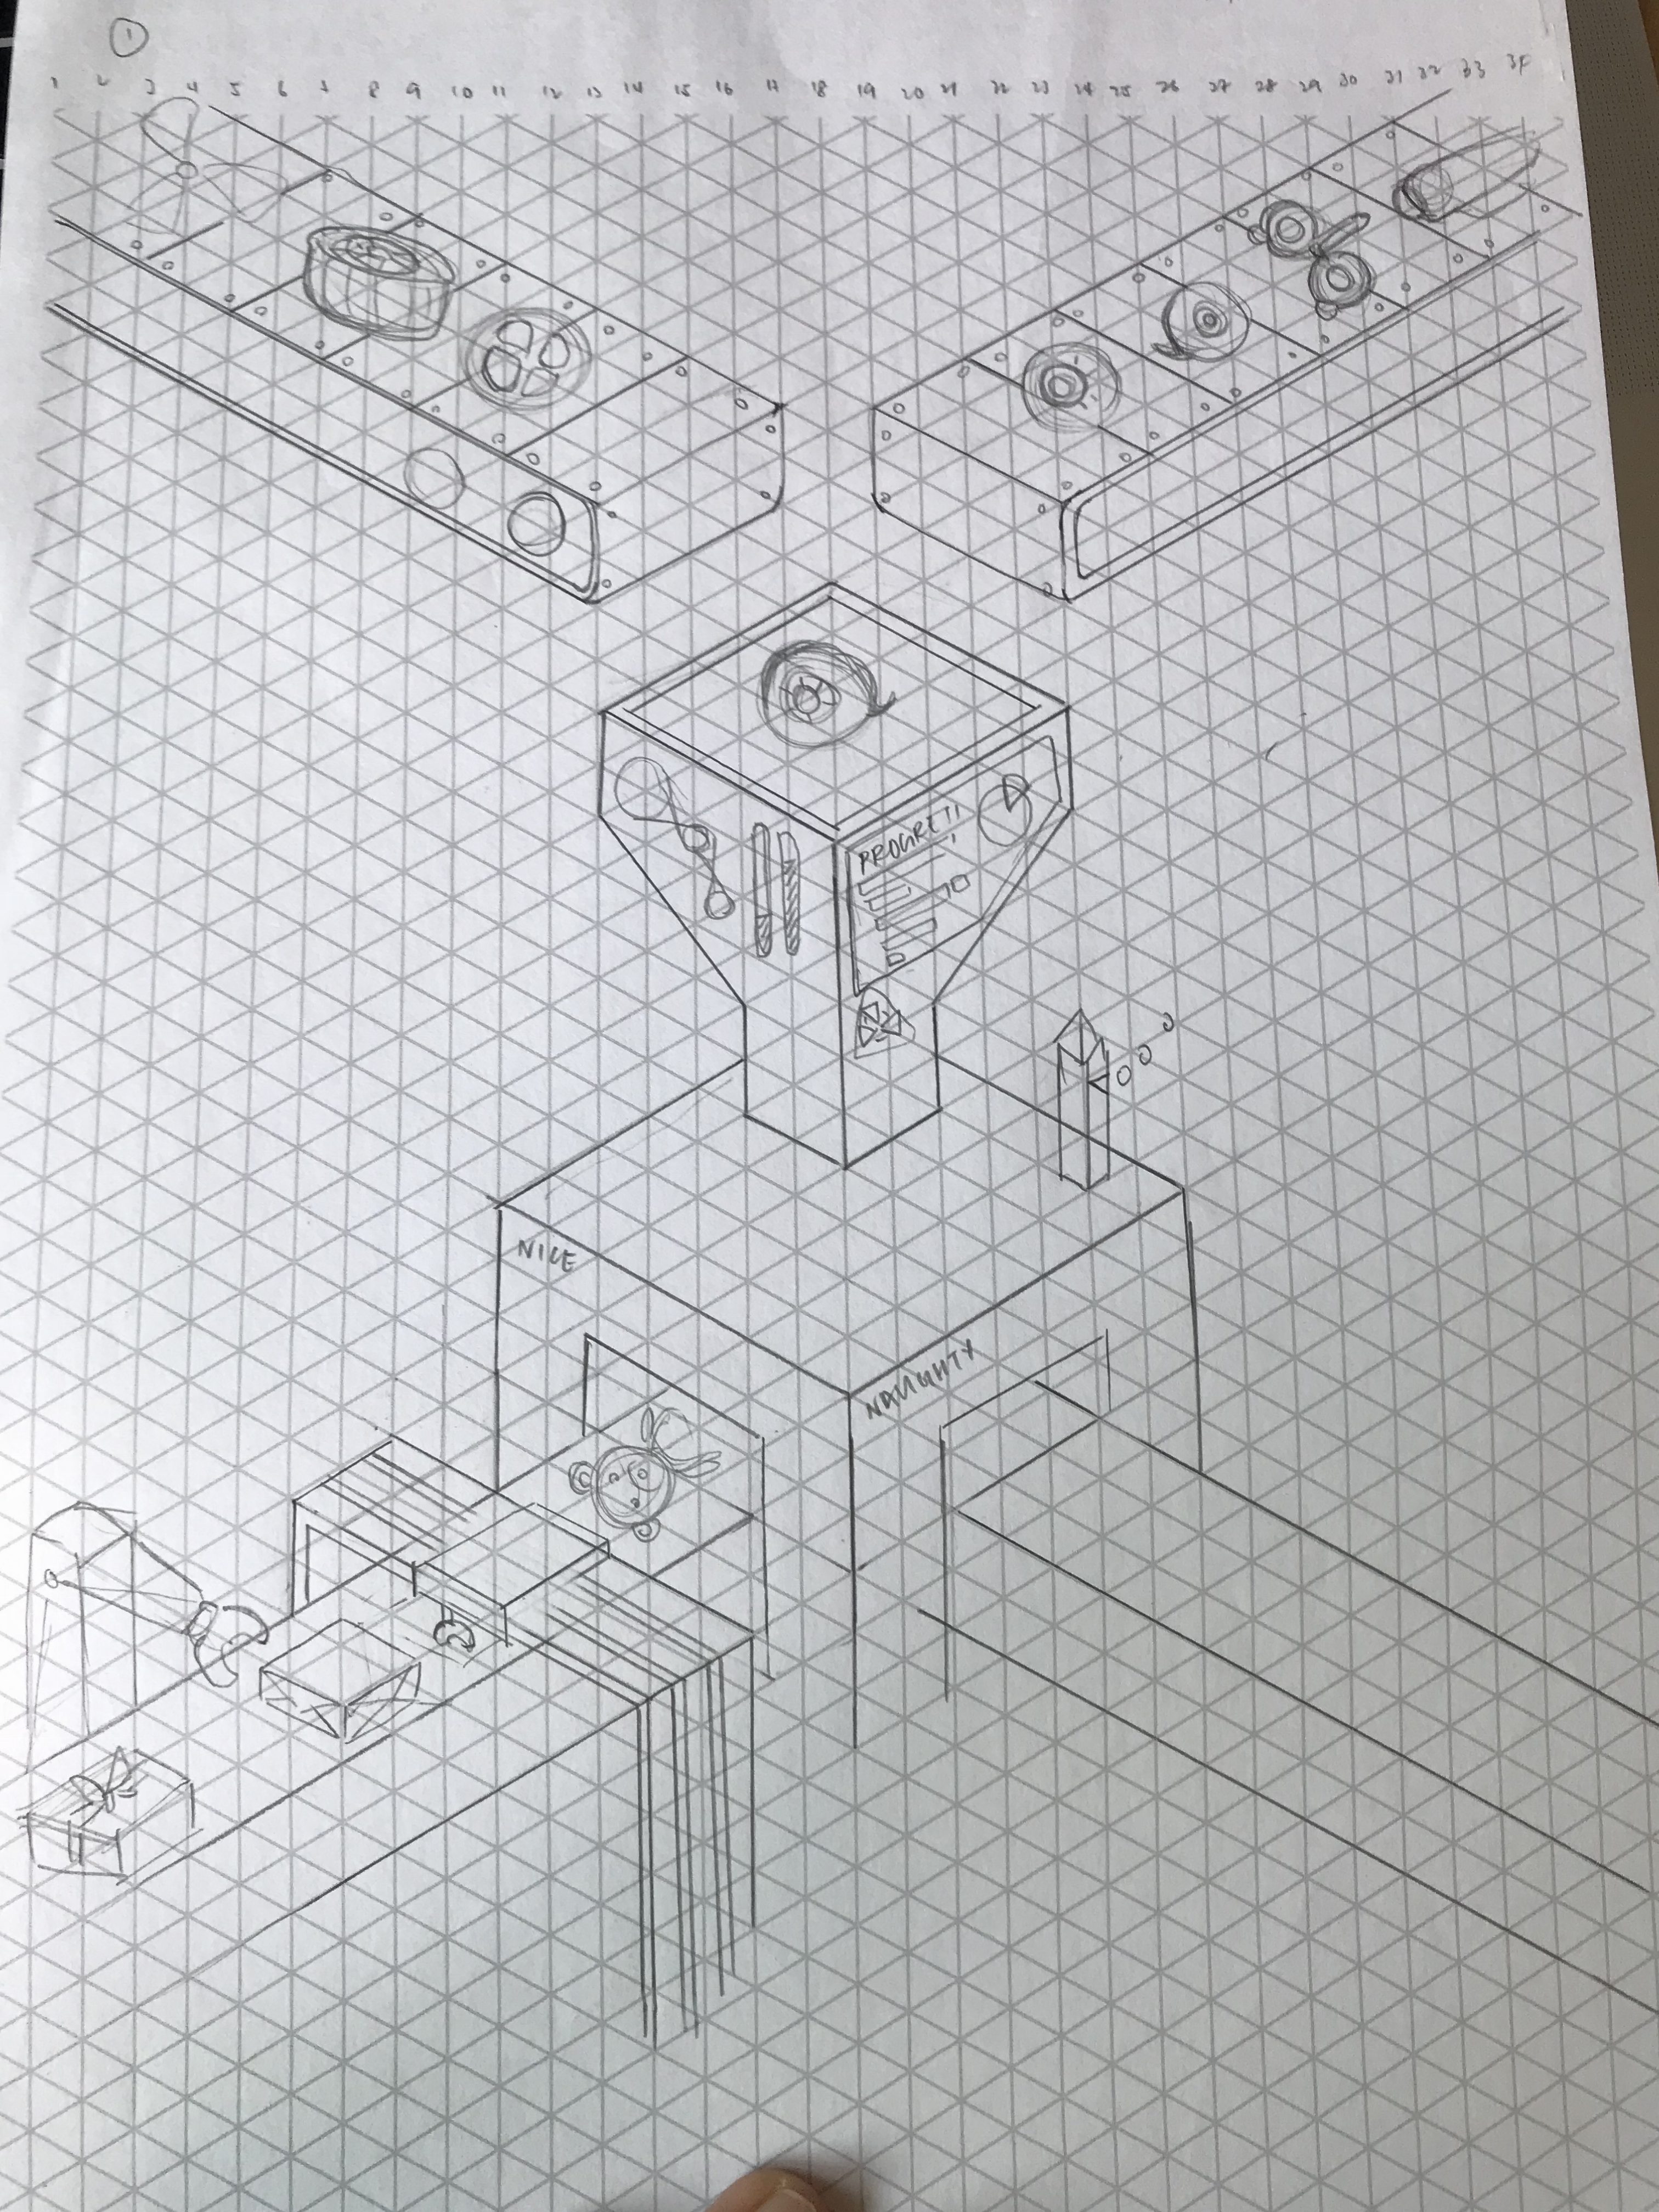
this time I used conveyor belts to feed part of the soft toys to the machine at the top while it churns out the finished product and package it at the bottom. While this design showed the form more clearly, I preferred the design above as it was cuter and more interesting. I thought that I could, make the arms more rigid, to show and emphasize the geometric and rigid structure of the x in the first design.
Illustartions
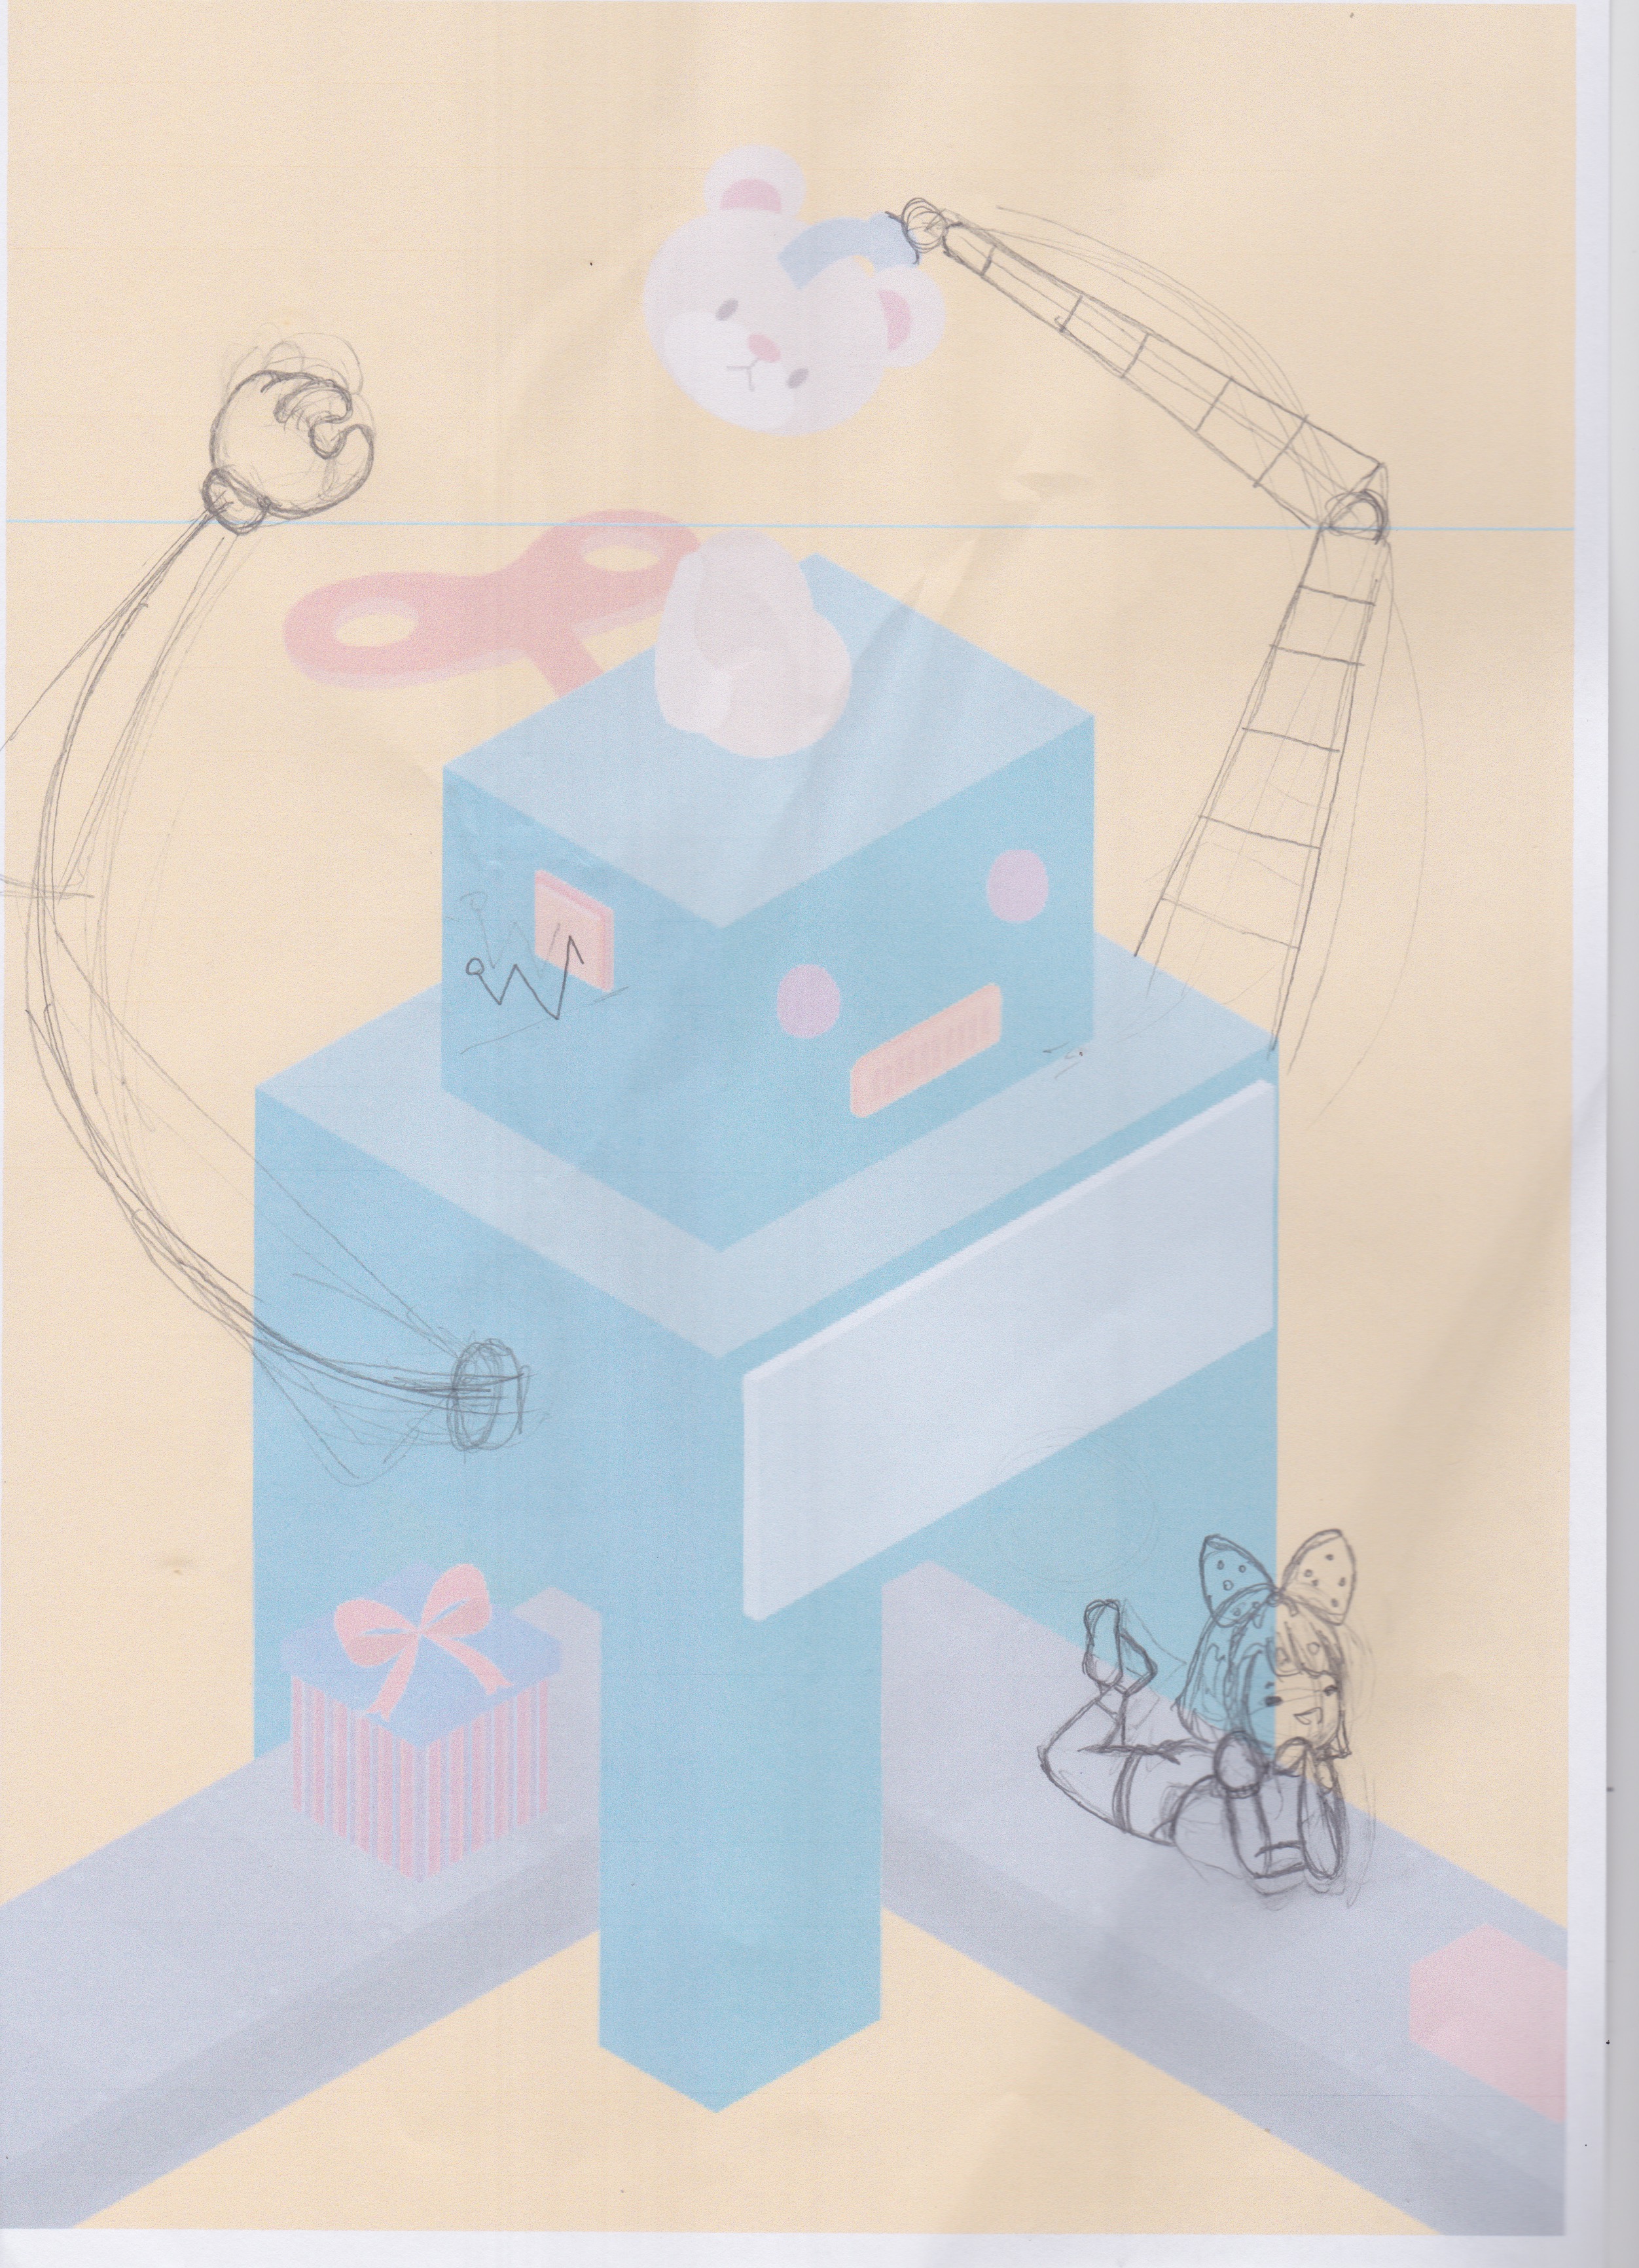
So my worries are through and they back fire. The rigid arms did nothing much to help suggest the letter form X and looked awards instead. so I decided to revert back to the more organic arms instead. Then Joy suggested to me that I could have ribbon feeding into the machine from the back to complete the X form, while making it seems like its part of the wrapping mechanism.
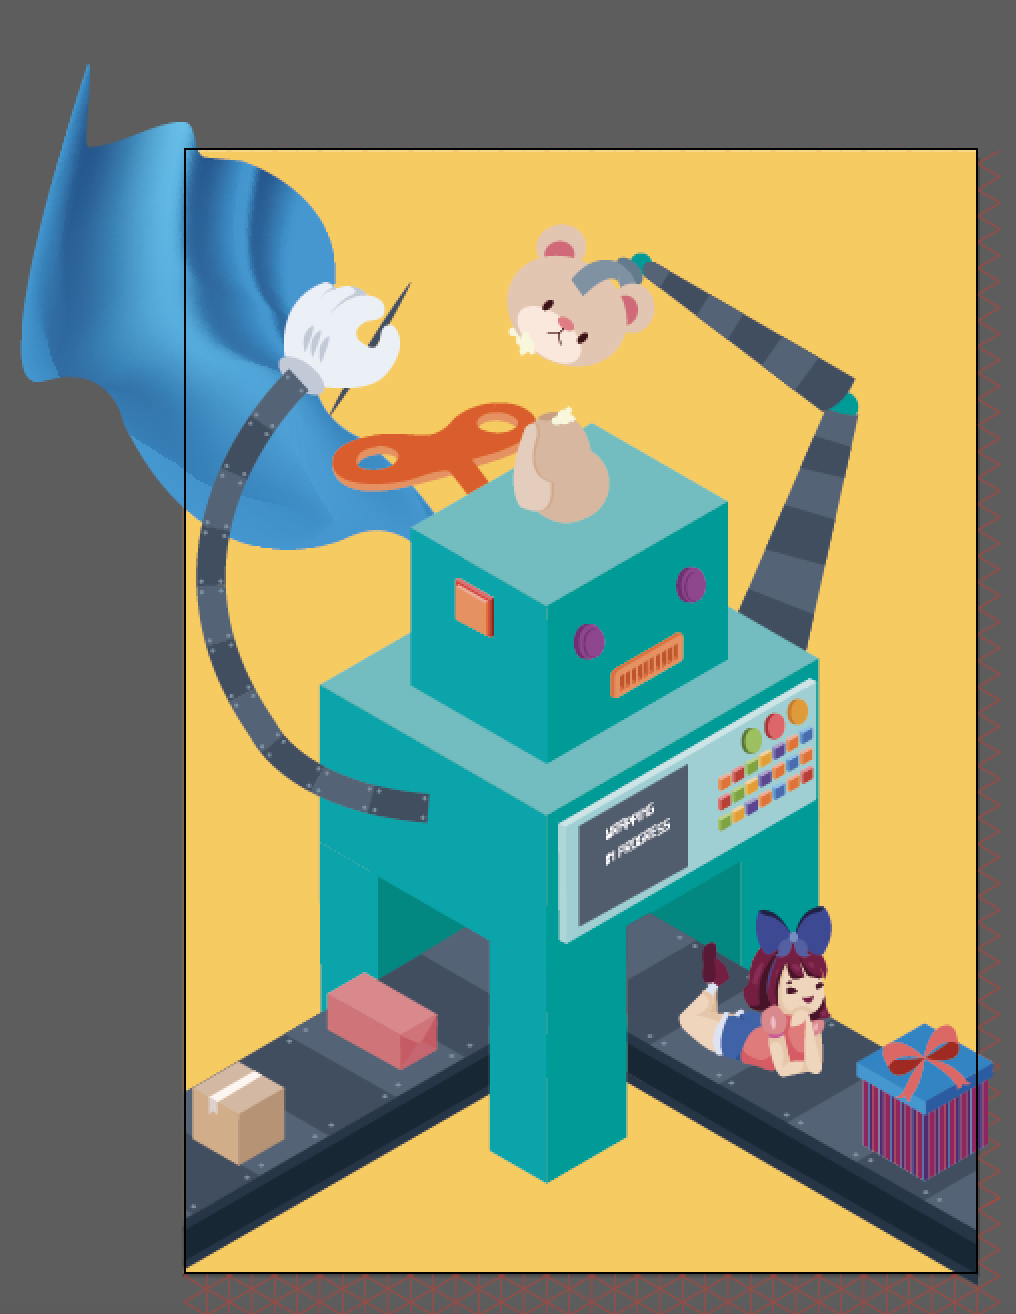
Well that didn’t work out too well. I had no idea how to illustrated cloth in vectors without using more than three colors while preventing it from looking like a clip art. So I tried to use the distort tool along with the gradient tool in Illustrator to create the look above. However the sudden use of gradient caused a conflict in styles which look oddly placed. so I decided to remove it and incorporate elements of the second design above to salvage the illustration.

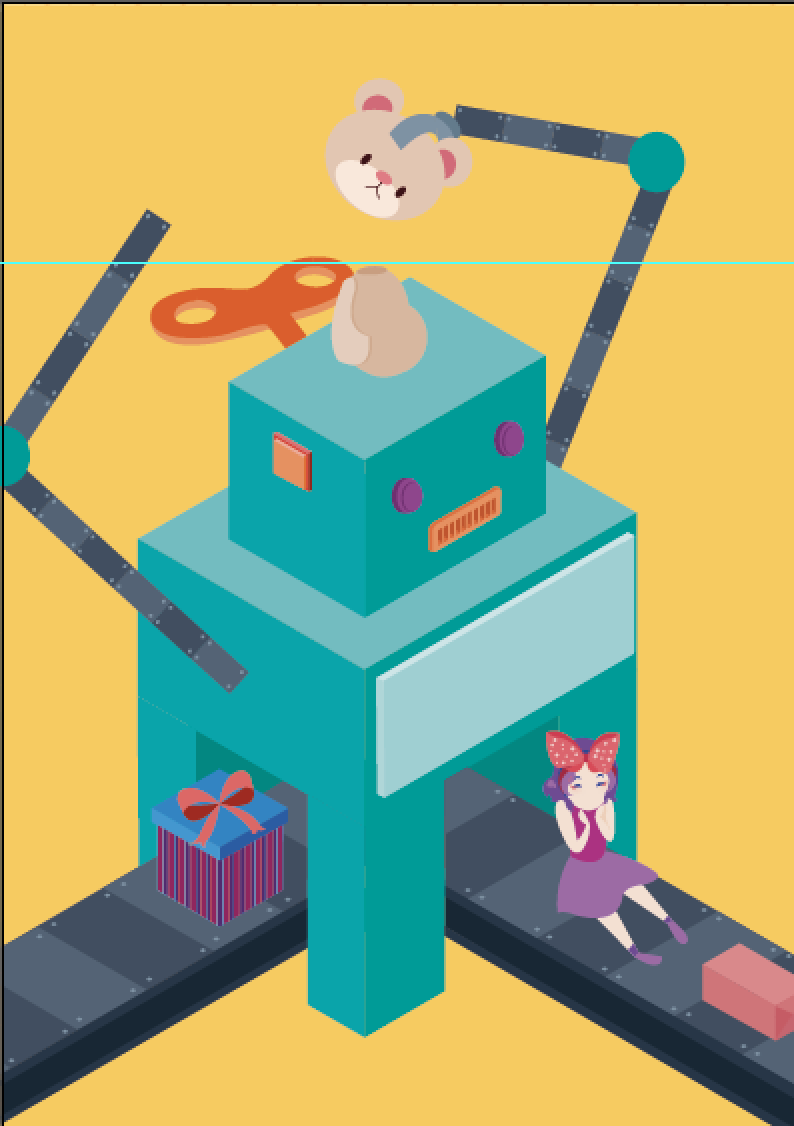
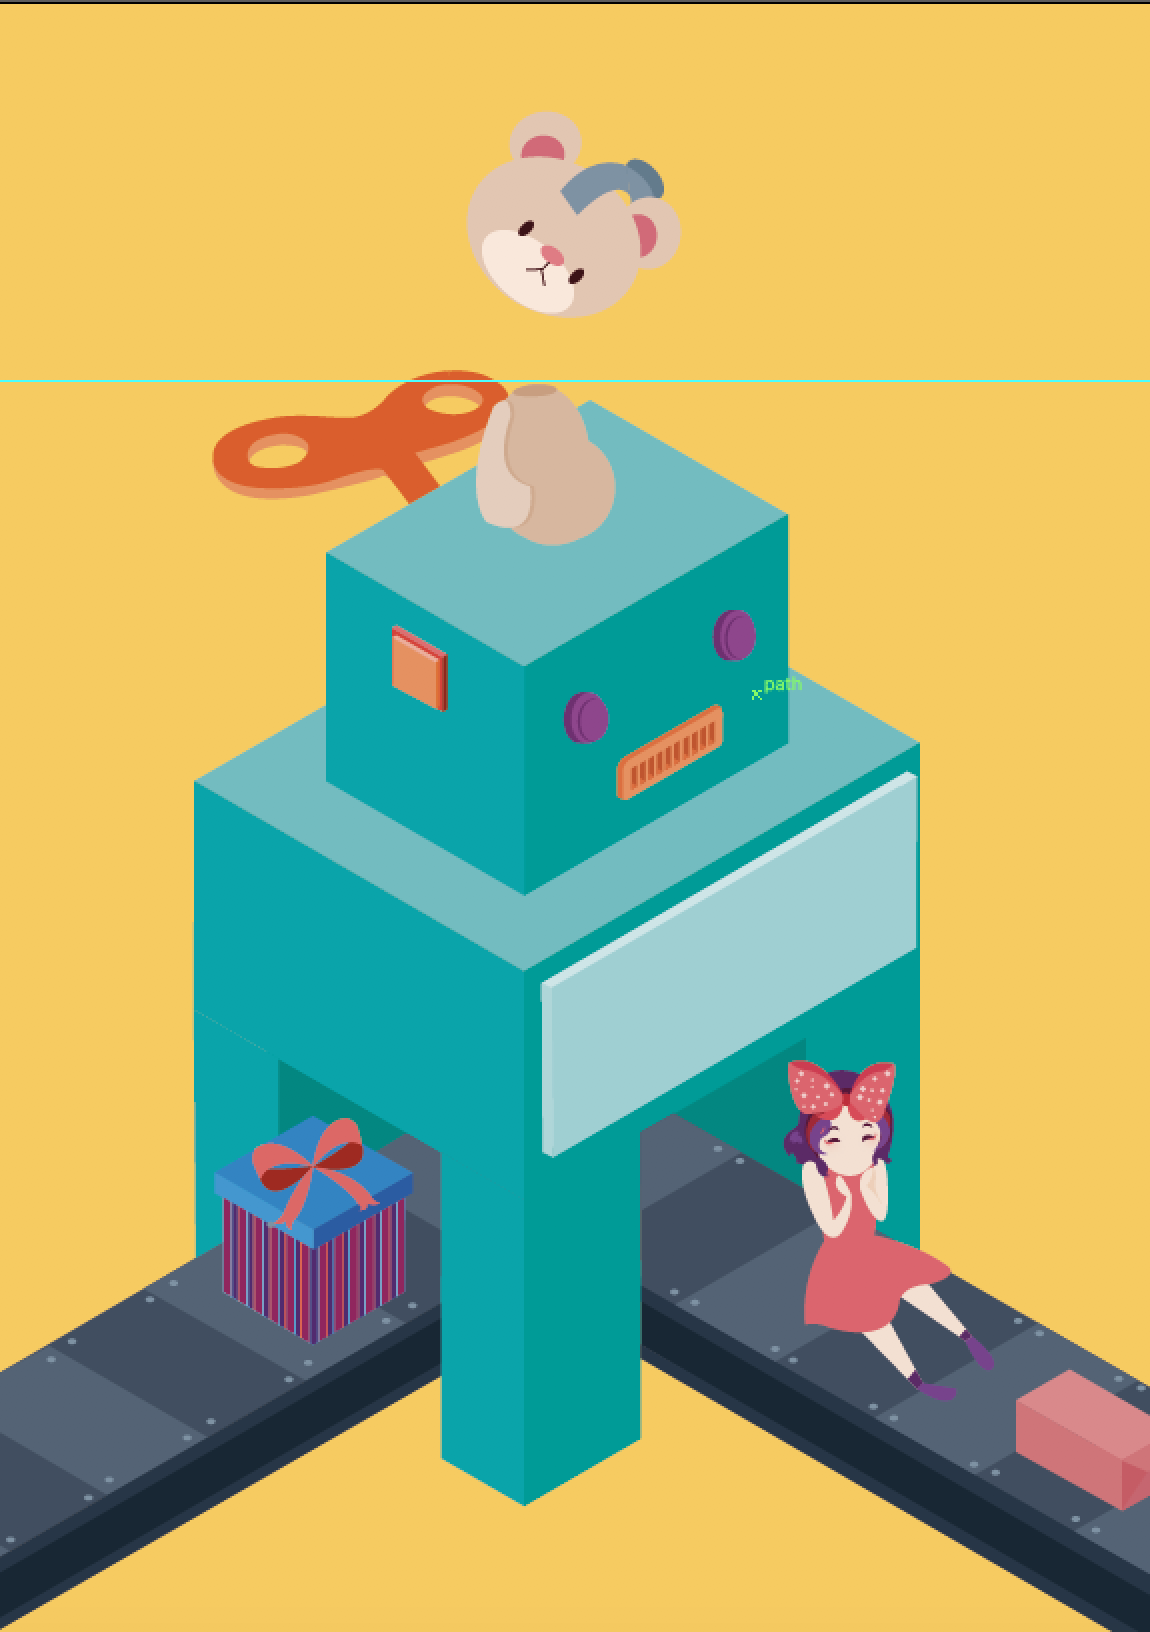
I decided to use the conveyor belt idea in the second design to form the upper part of the X. to be honest, I felt that the letter form could be better expressed if I pulled the conveyor belt on the top to meet in the centre. However that would cover up the arms of the machine creating the soft toy, hence I decided against it.
In the beginning I wanted to have a little girl interacting with the machine to add a bit of character and cheekiness.
I begin sketching this with my Wacom in photoshop.
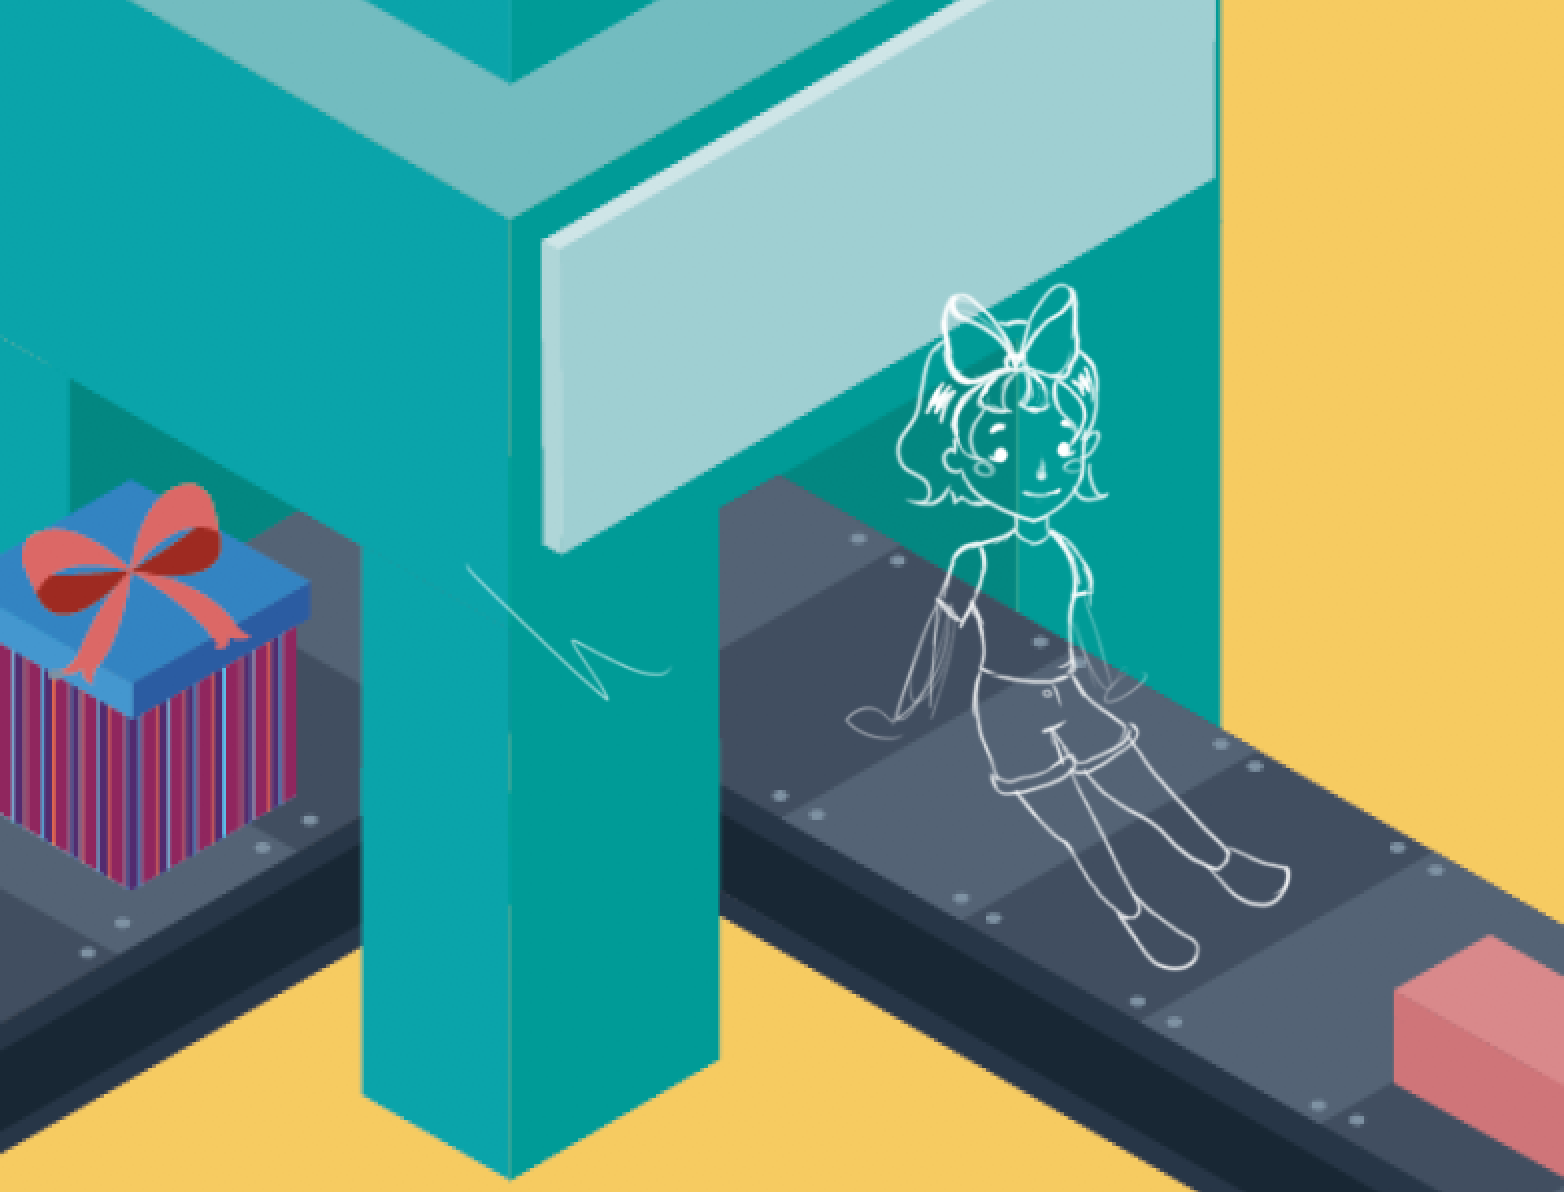
But then I relied that her posture and her anatomy was super flawed so I redid her. In addition, I felt that she was way to stiff and decided to make her lie down in the end.
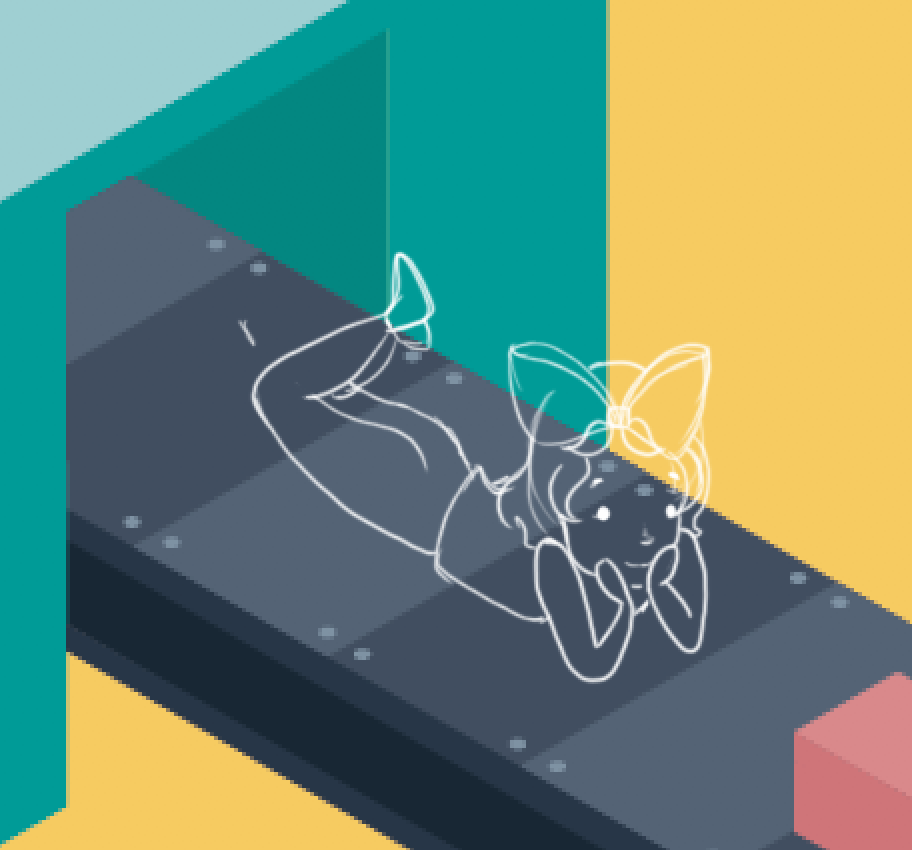
I have no idea why, but when I did the sketch digitally the proportions and anatomy are very flawed. So I lowered the opacity and hand drew them instead.
However I felt that there was a contrast in style. my vector illustrations were all isometric, thus giving it depth. However, my human illustrations were flat and somewhat 2d-ish from the lack of shades. So I decided to remove her in the end.
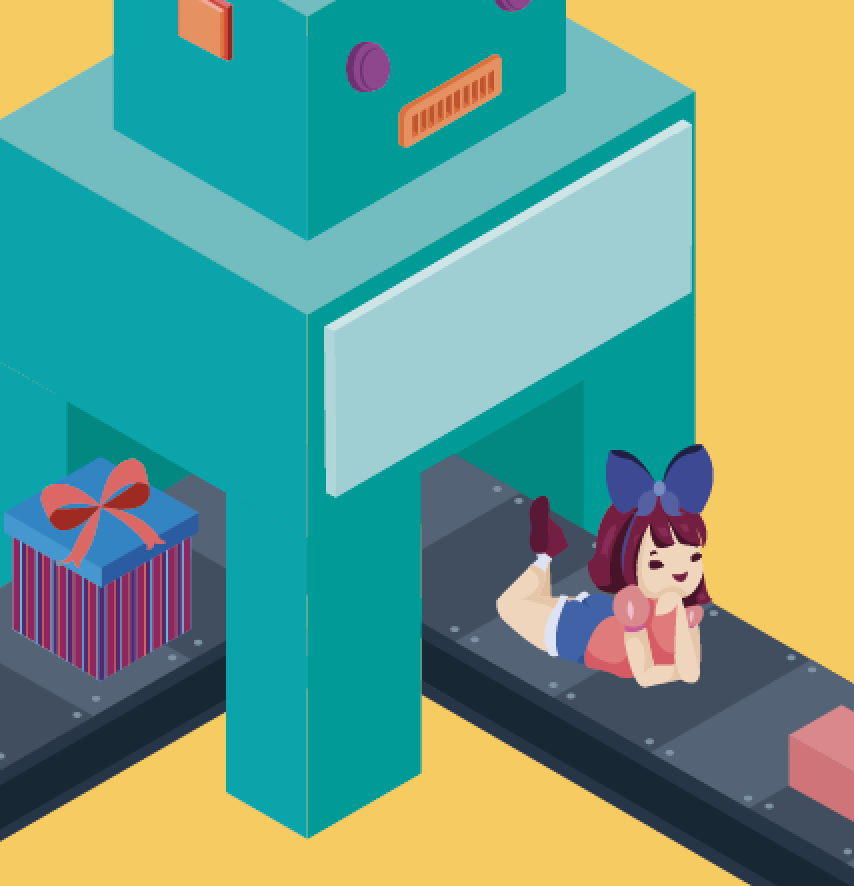
FINAL PIECE