Final Project: Rube Goldberg system

Standard

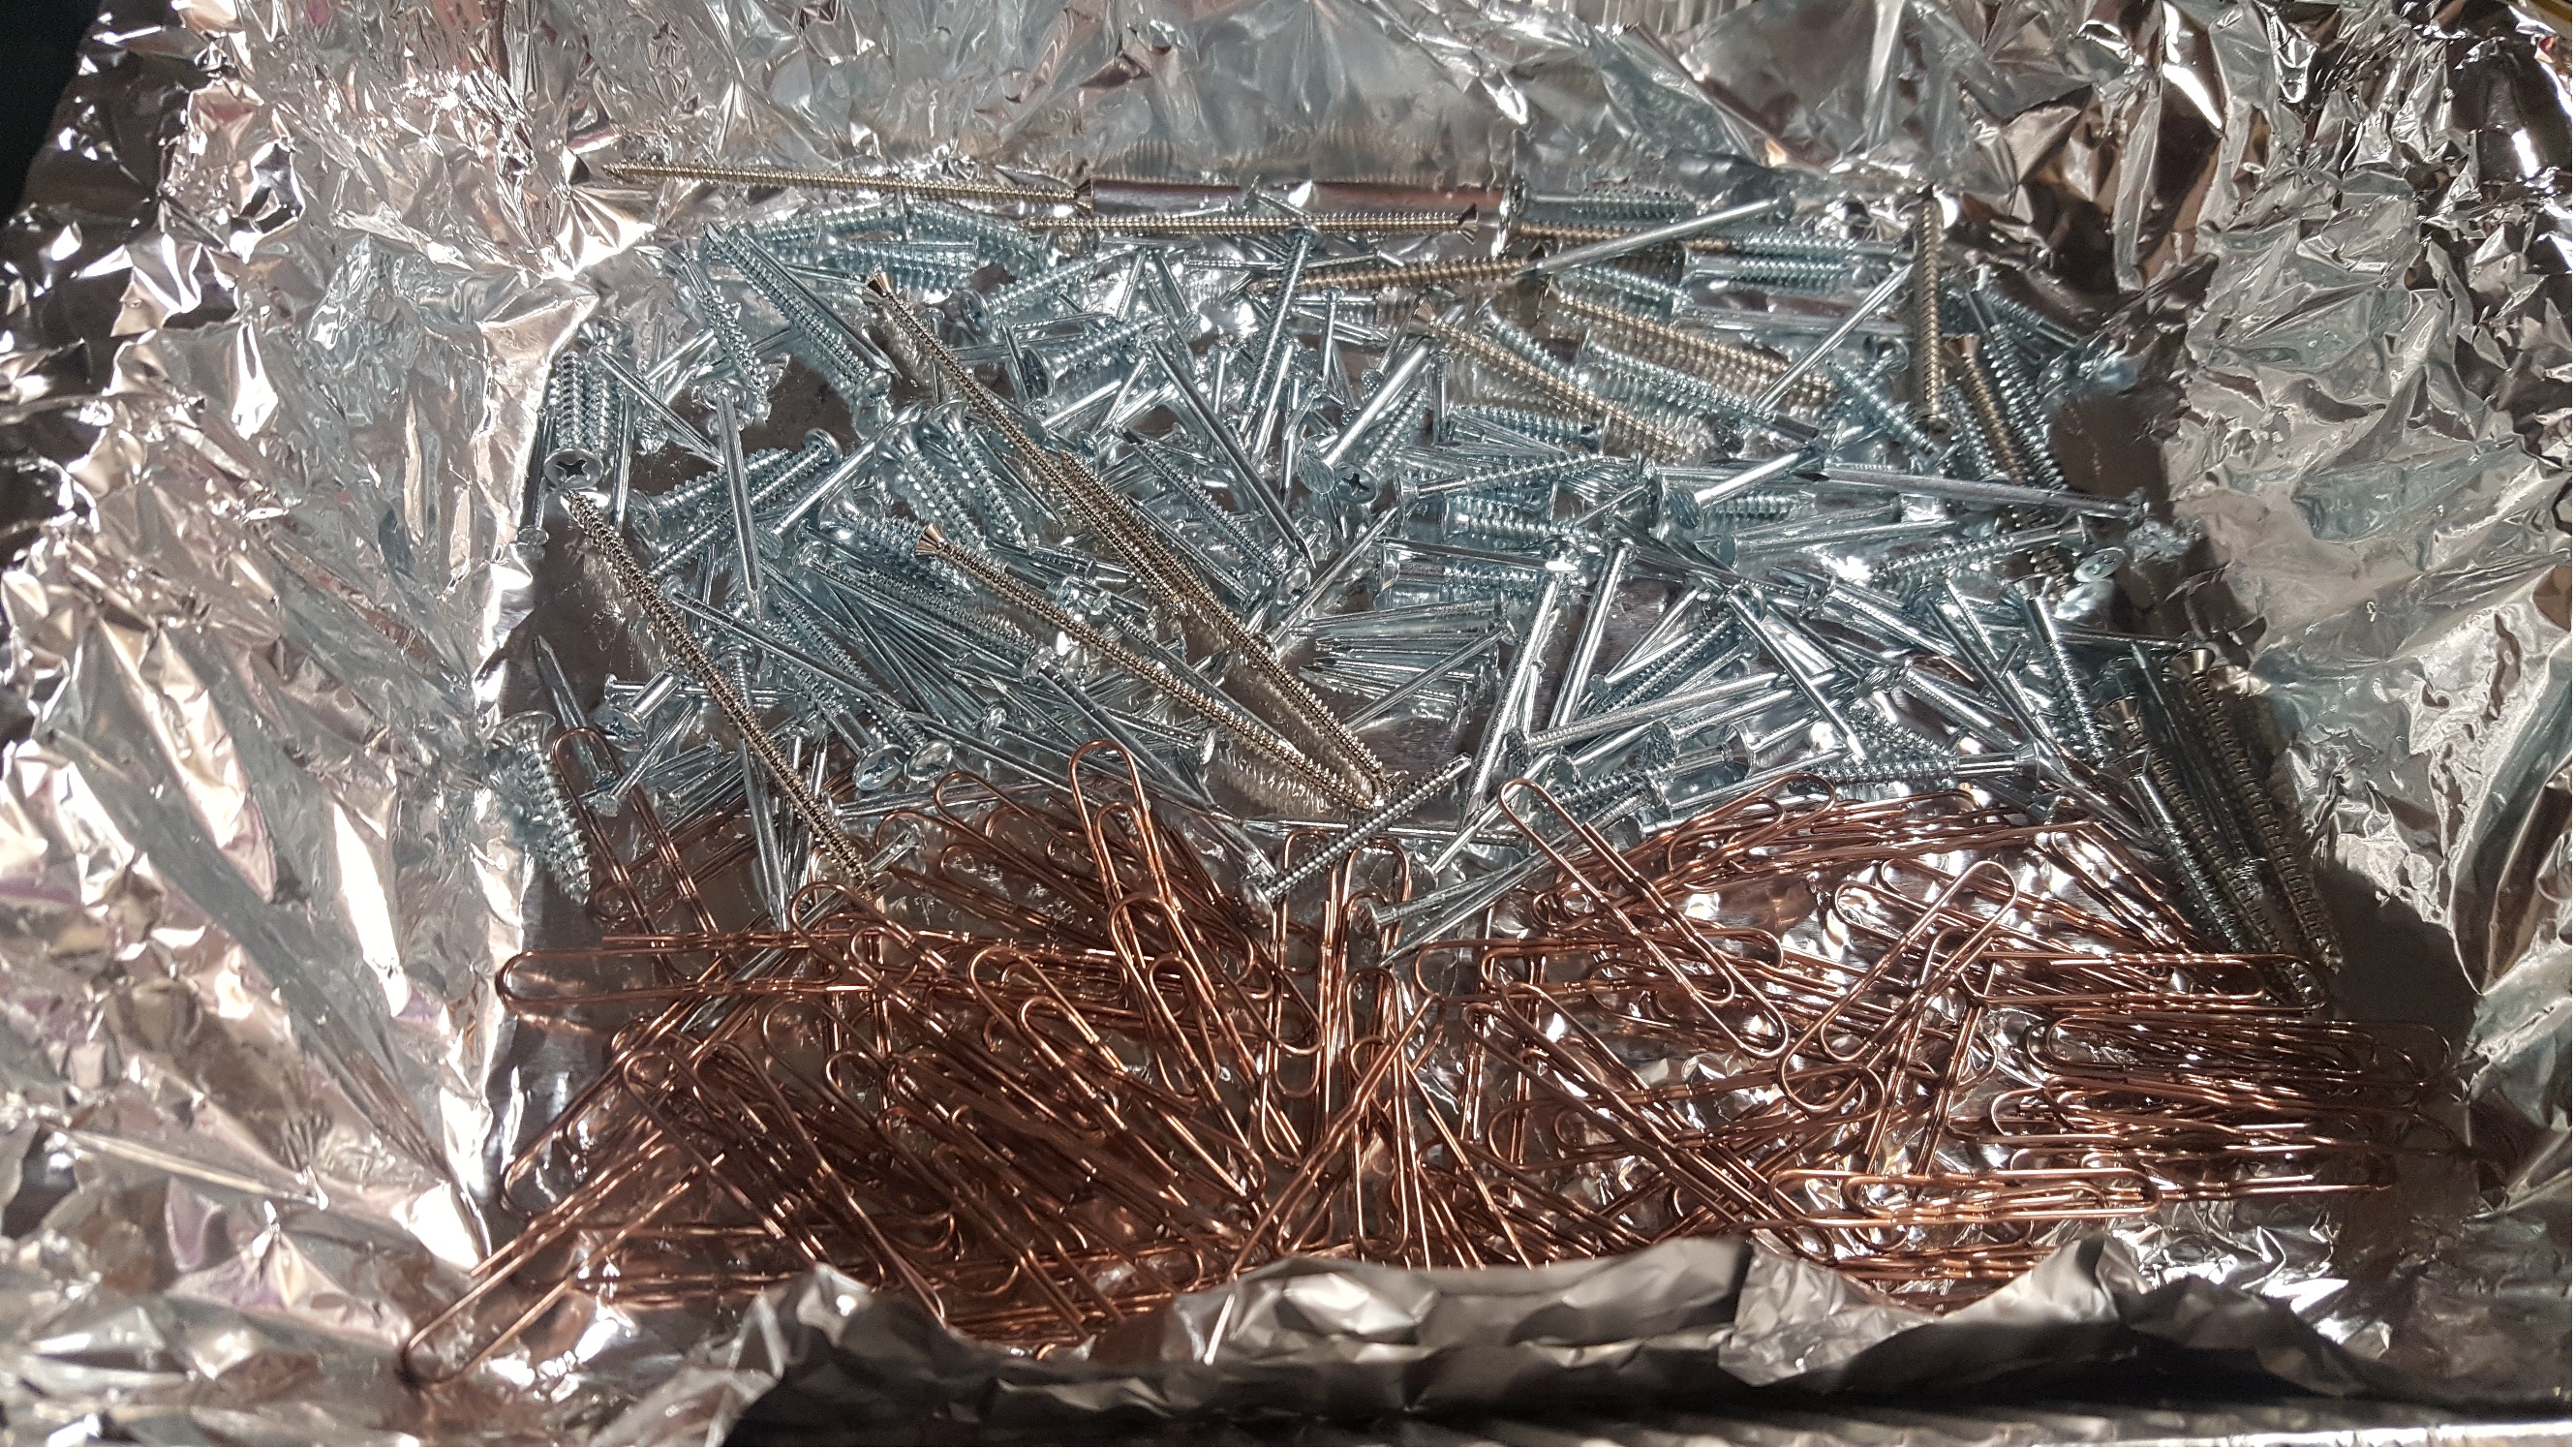
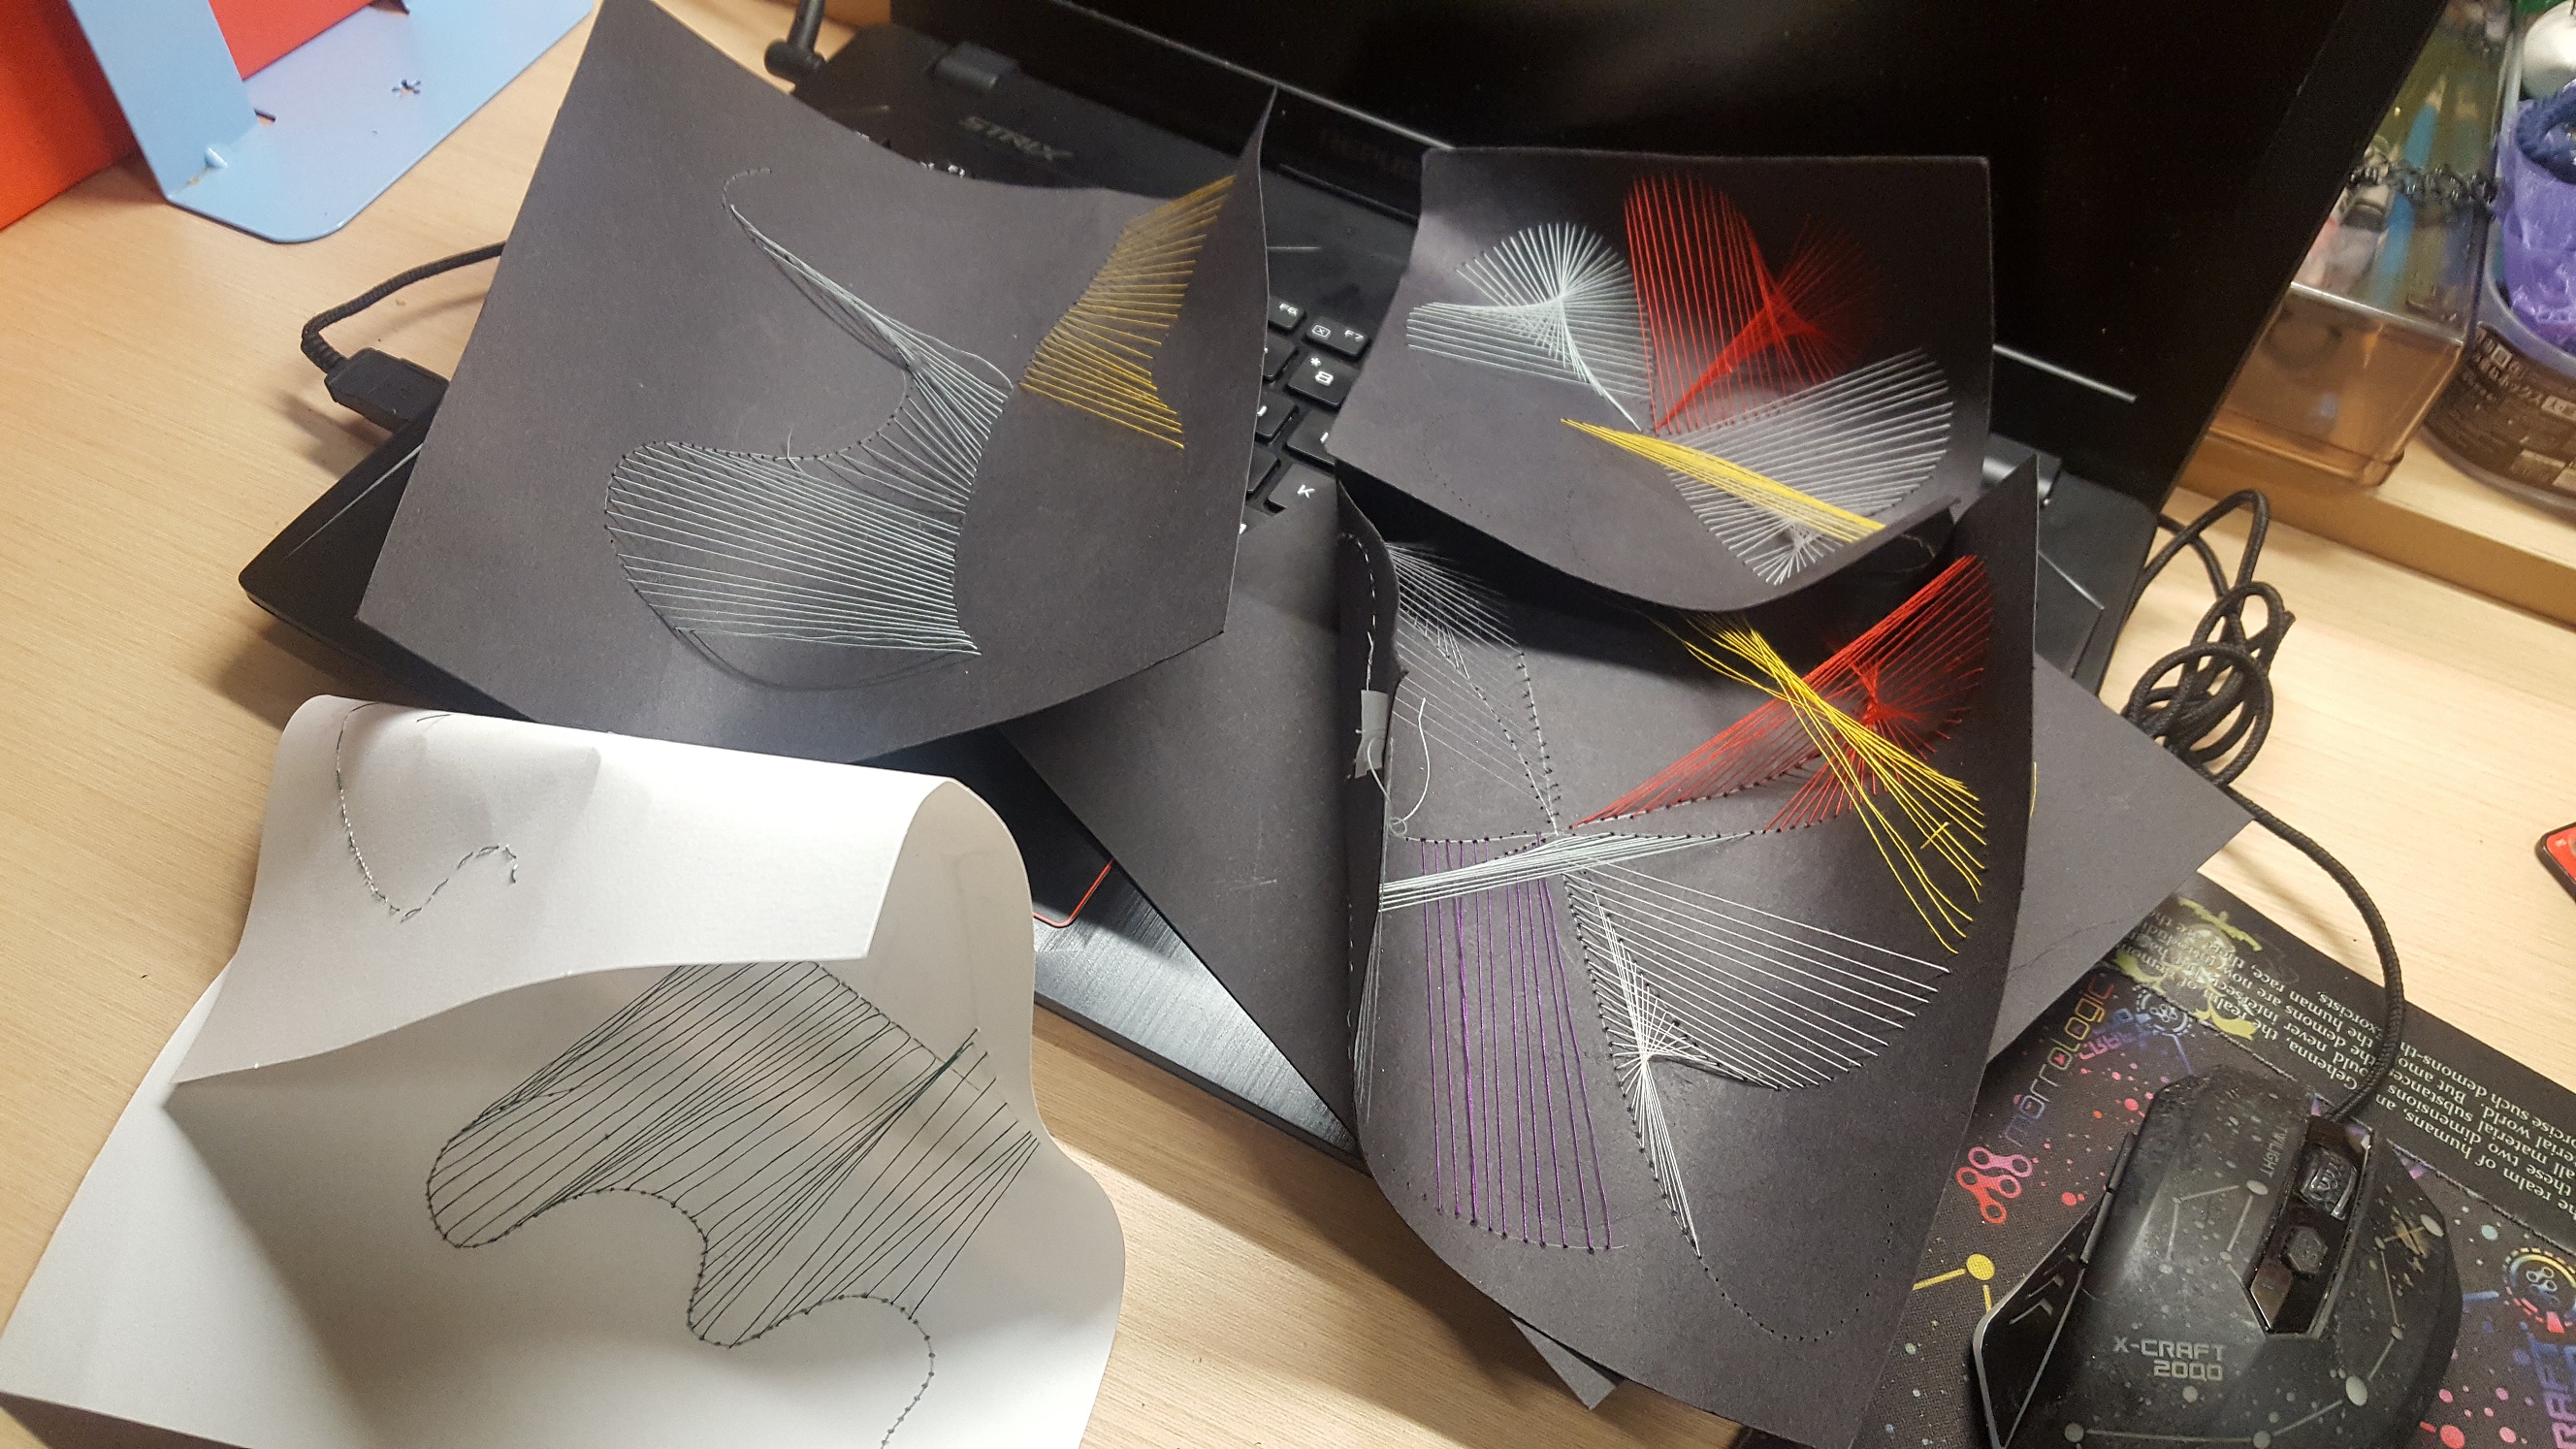
For this project, we were required to make a Rube Goldberg system based off the most significant scene in a narrative that we picked. I selected The Picture of Dorian Gray, a classic by Oscar Wilde.

The Story of Dorian Gray:

It is a story where a painter painted a portrait of the beautiful Dorian Gray, who later meets an aristocrat with a hedonistic worldview. He declares that beauty is everything in this world, yet is not immortal. Dorian Gray truly admired this perspective, and sought to sell his soul to the devil. In exchange, he would be able to commit any sin for eons without his appearance changing at all. Instead, the portrait which he keeps locked up in his own privacy will age and fade in his stead. After committing a lot of sins, Dorian Gray decided to repent and do charity in an effort to make the portrait revert some of its ugliness. However, the portrait only becomes uglier and it is at this where Dorian realizes that wanting to make up for his sins was another way of his vanity and curiosity. In order to end things, he decided to stab the portrait once and for all. In the end, the portrait transfers its age and ugliness onto the real Dorian Gray, while reverting back to its previous, flawless beauty. Dorian Gray then dies on the spot.

Rube Goldberg System Video:

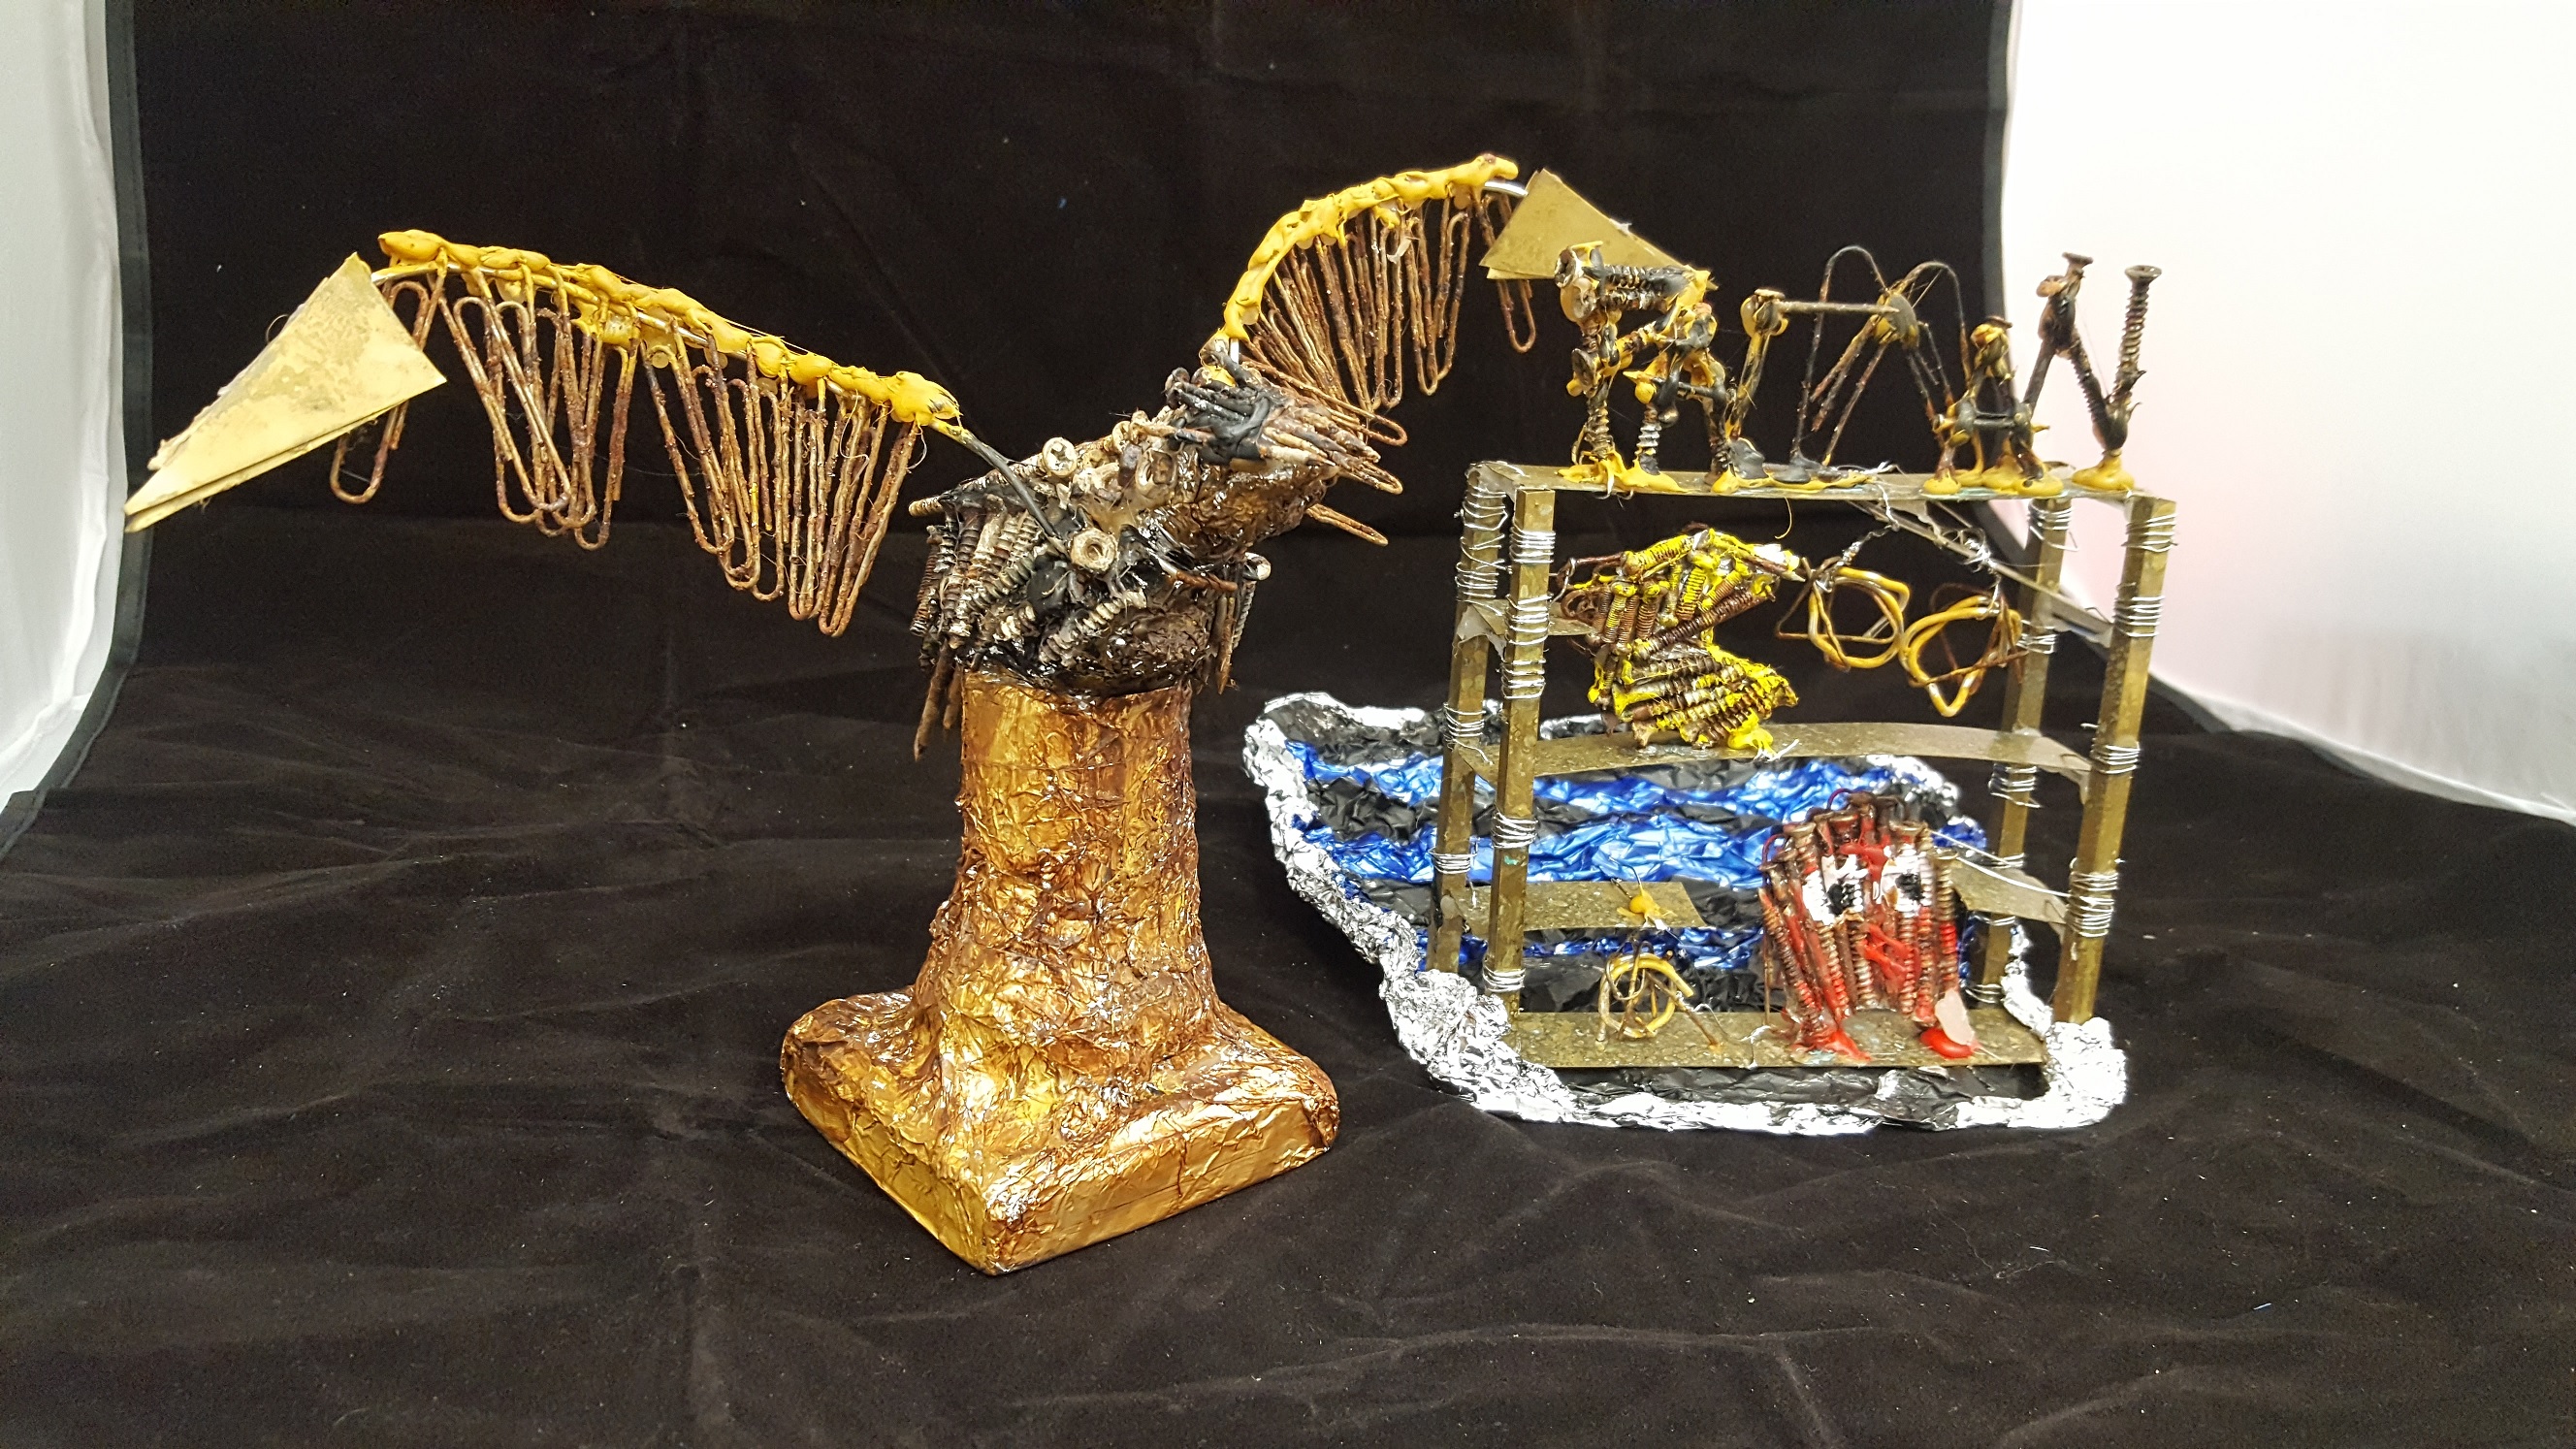
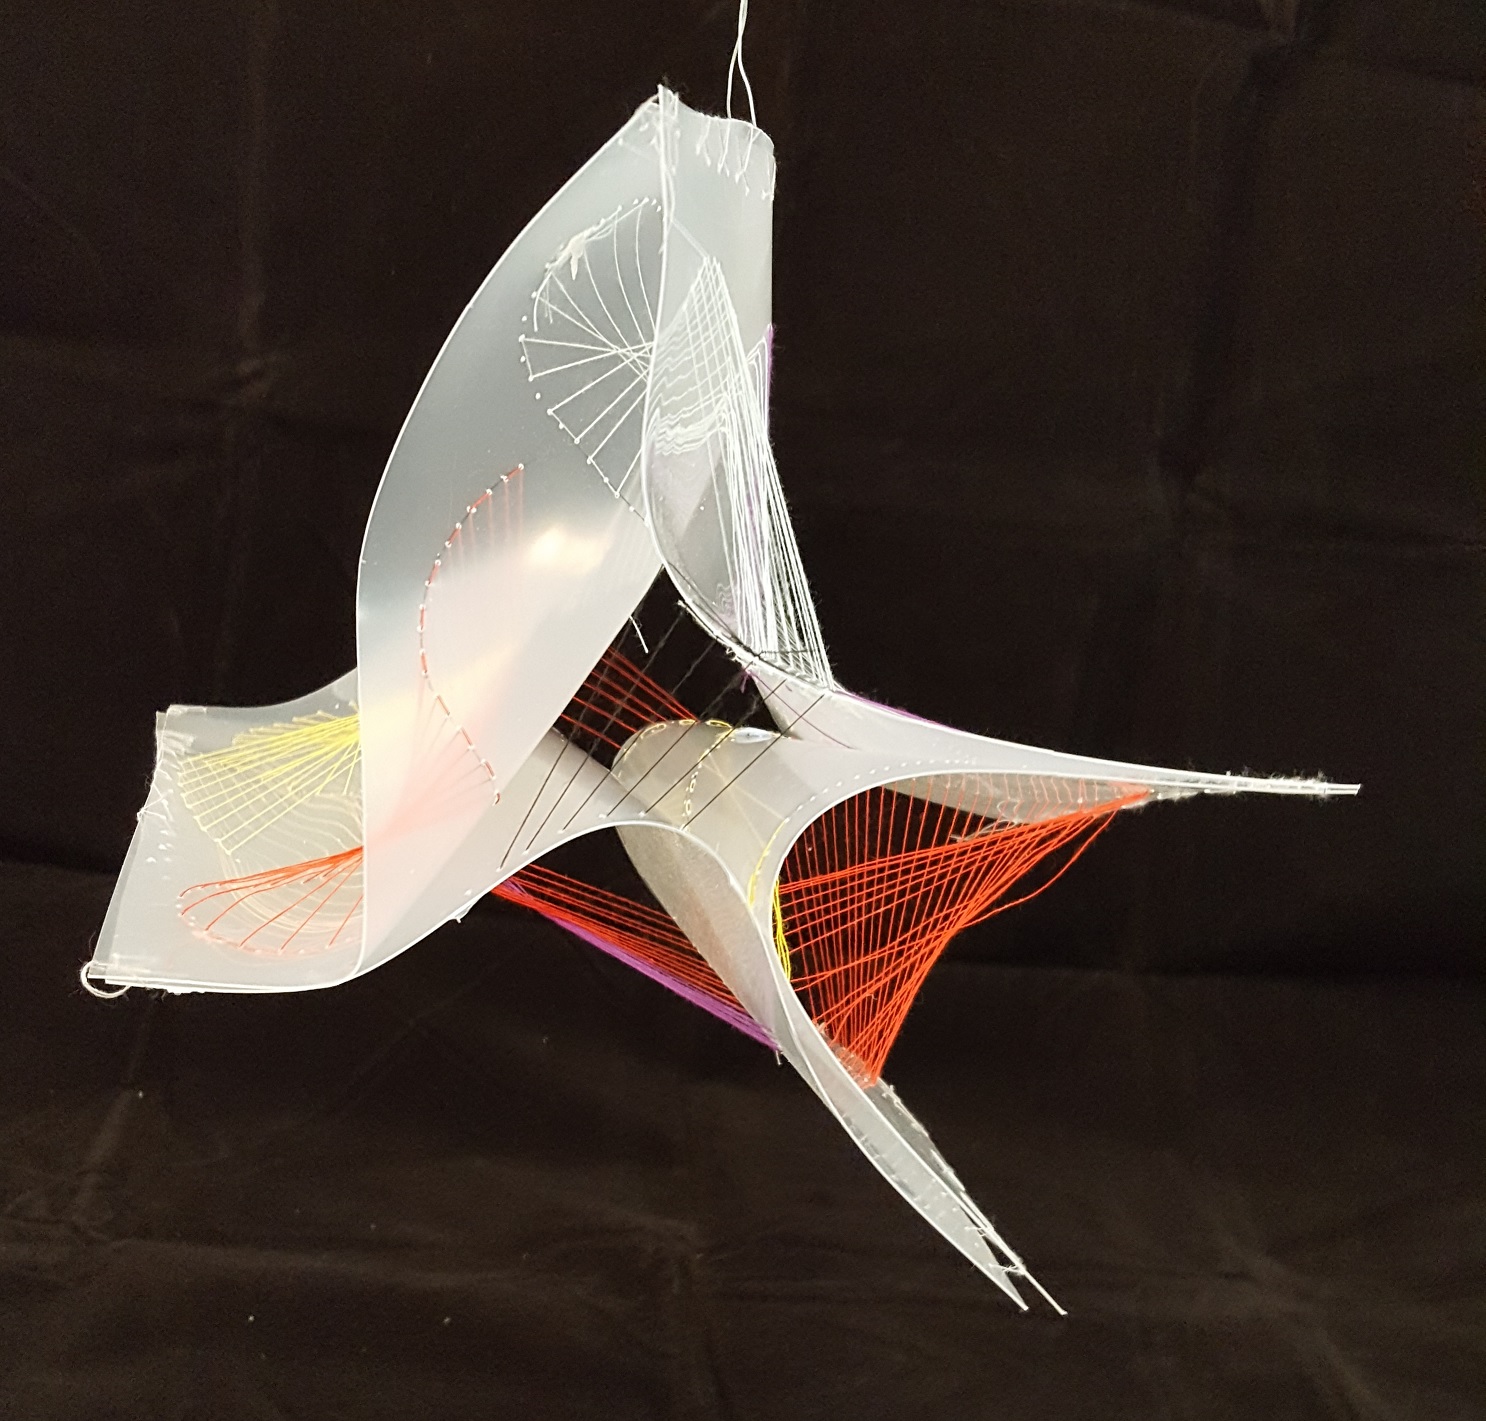
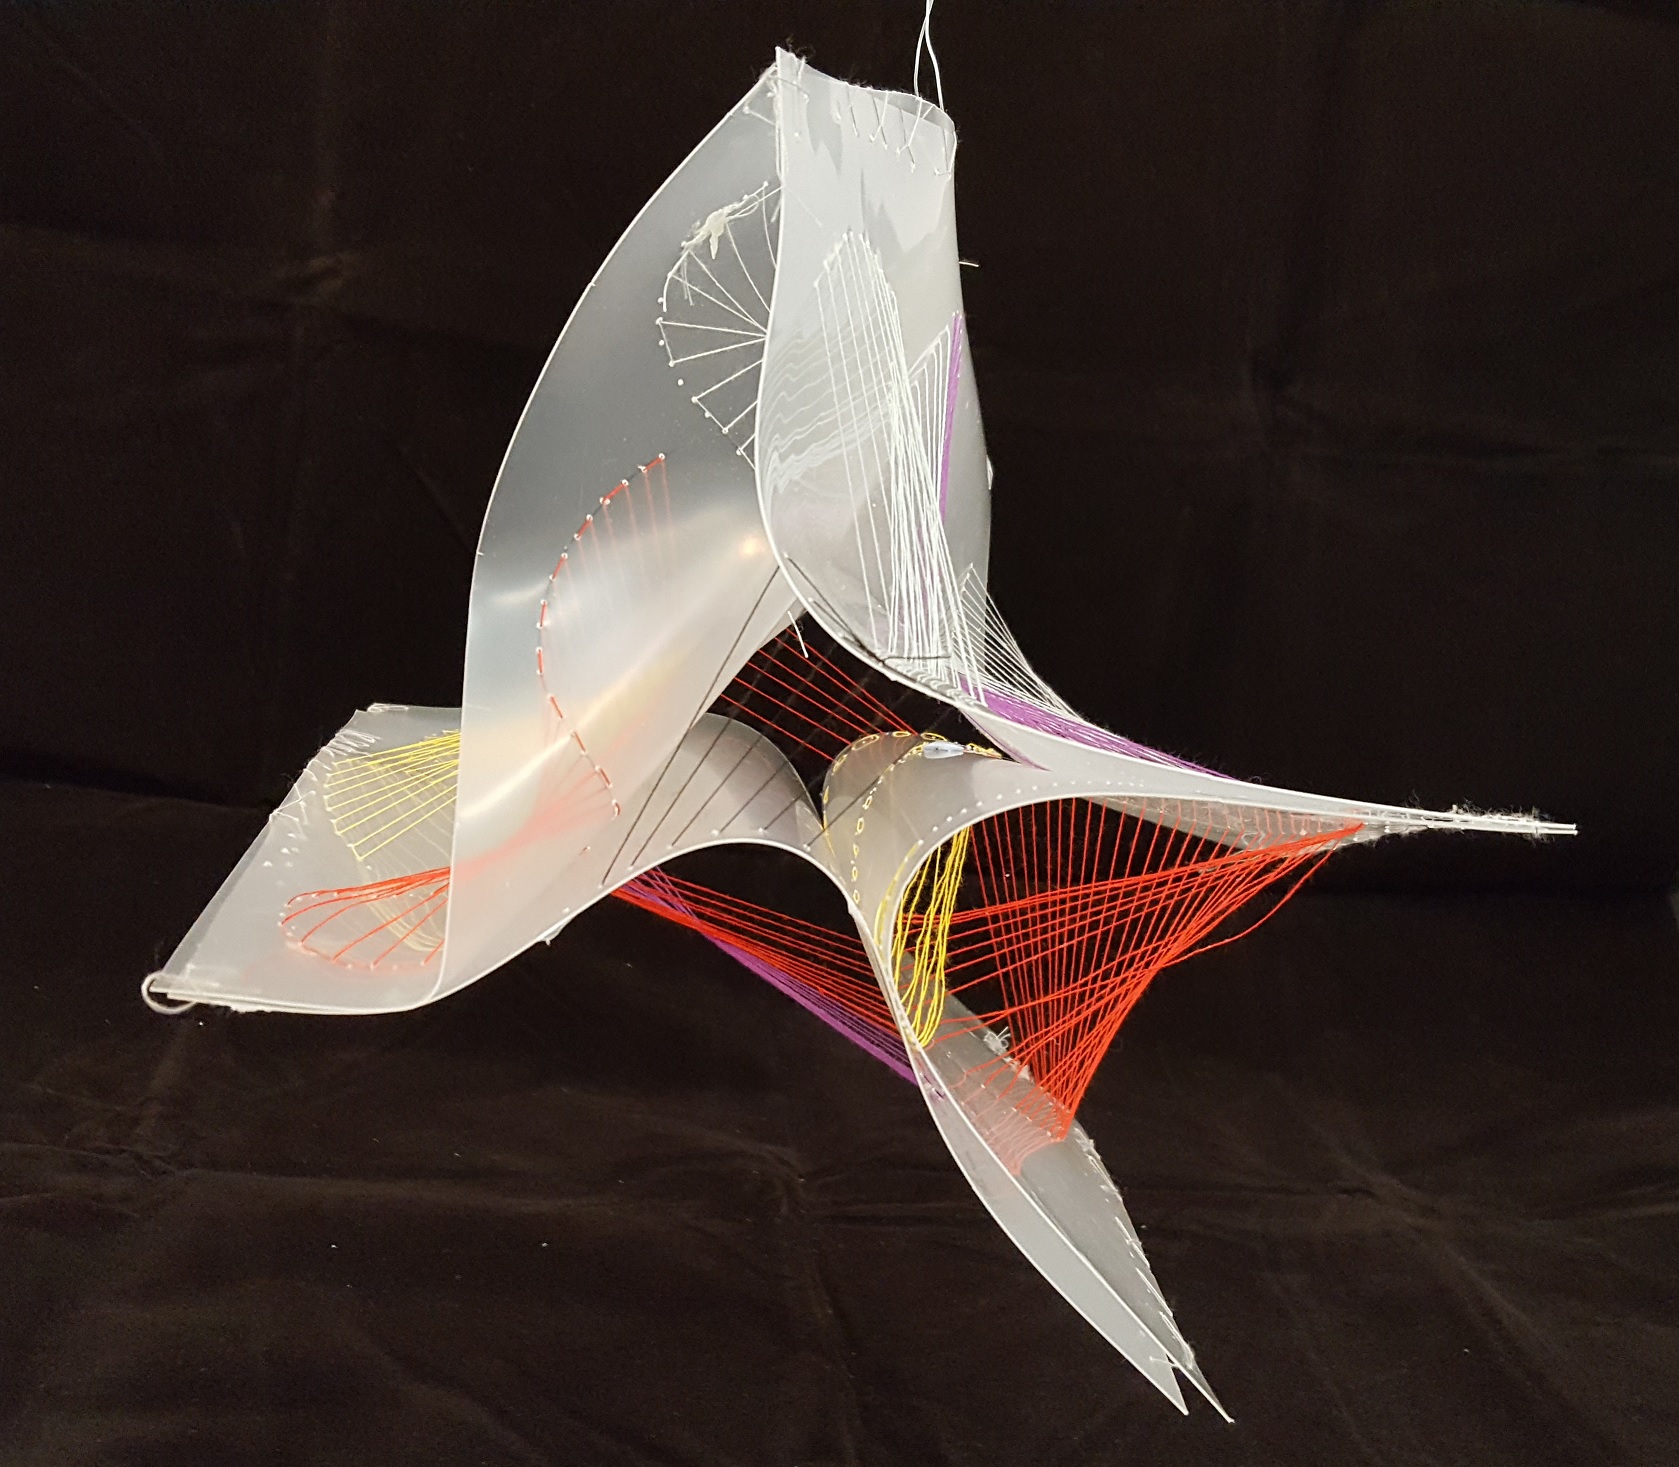
There are two sides of this project, separated by the Acrylic piece. The first side represents the Portrait, while the second side represents Dorian Gray.

The Portrait Side:

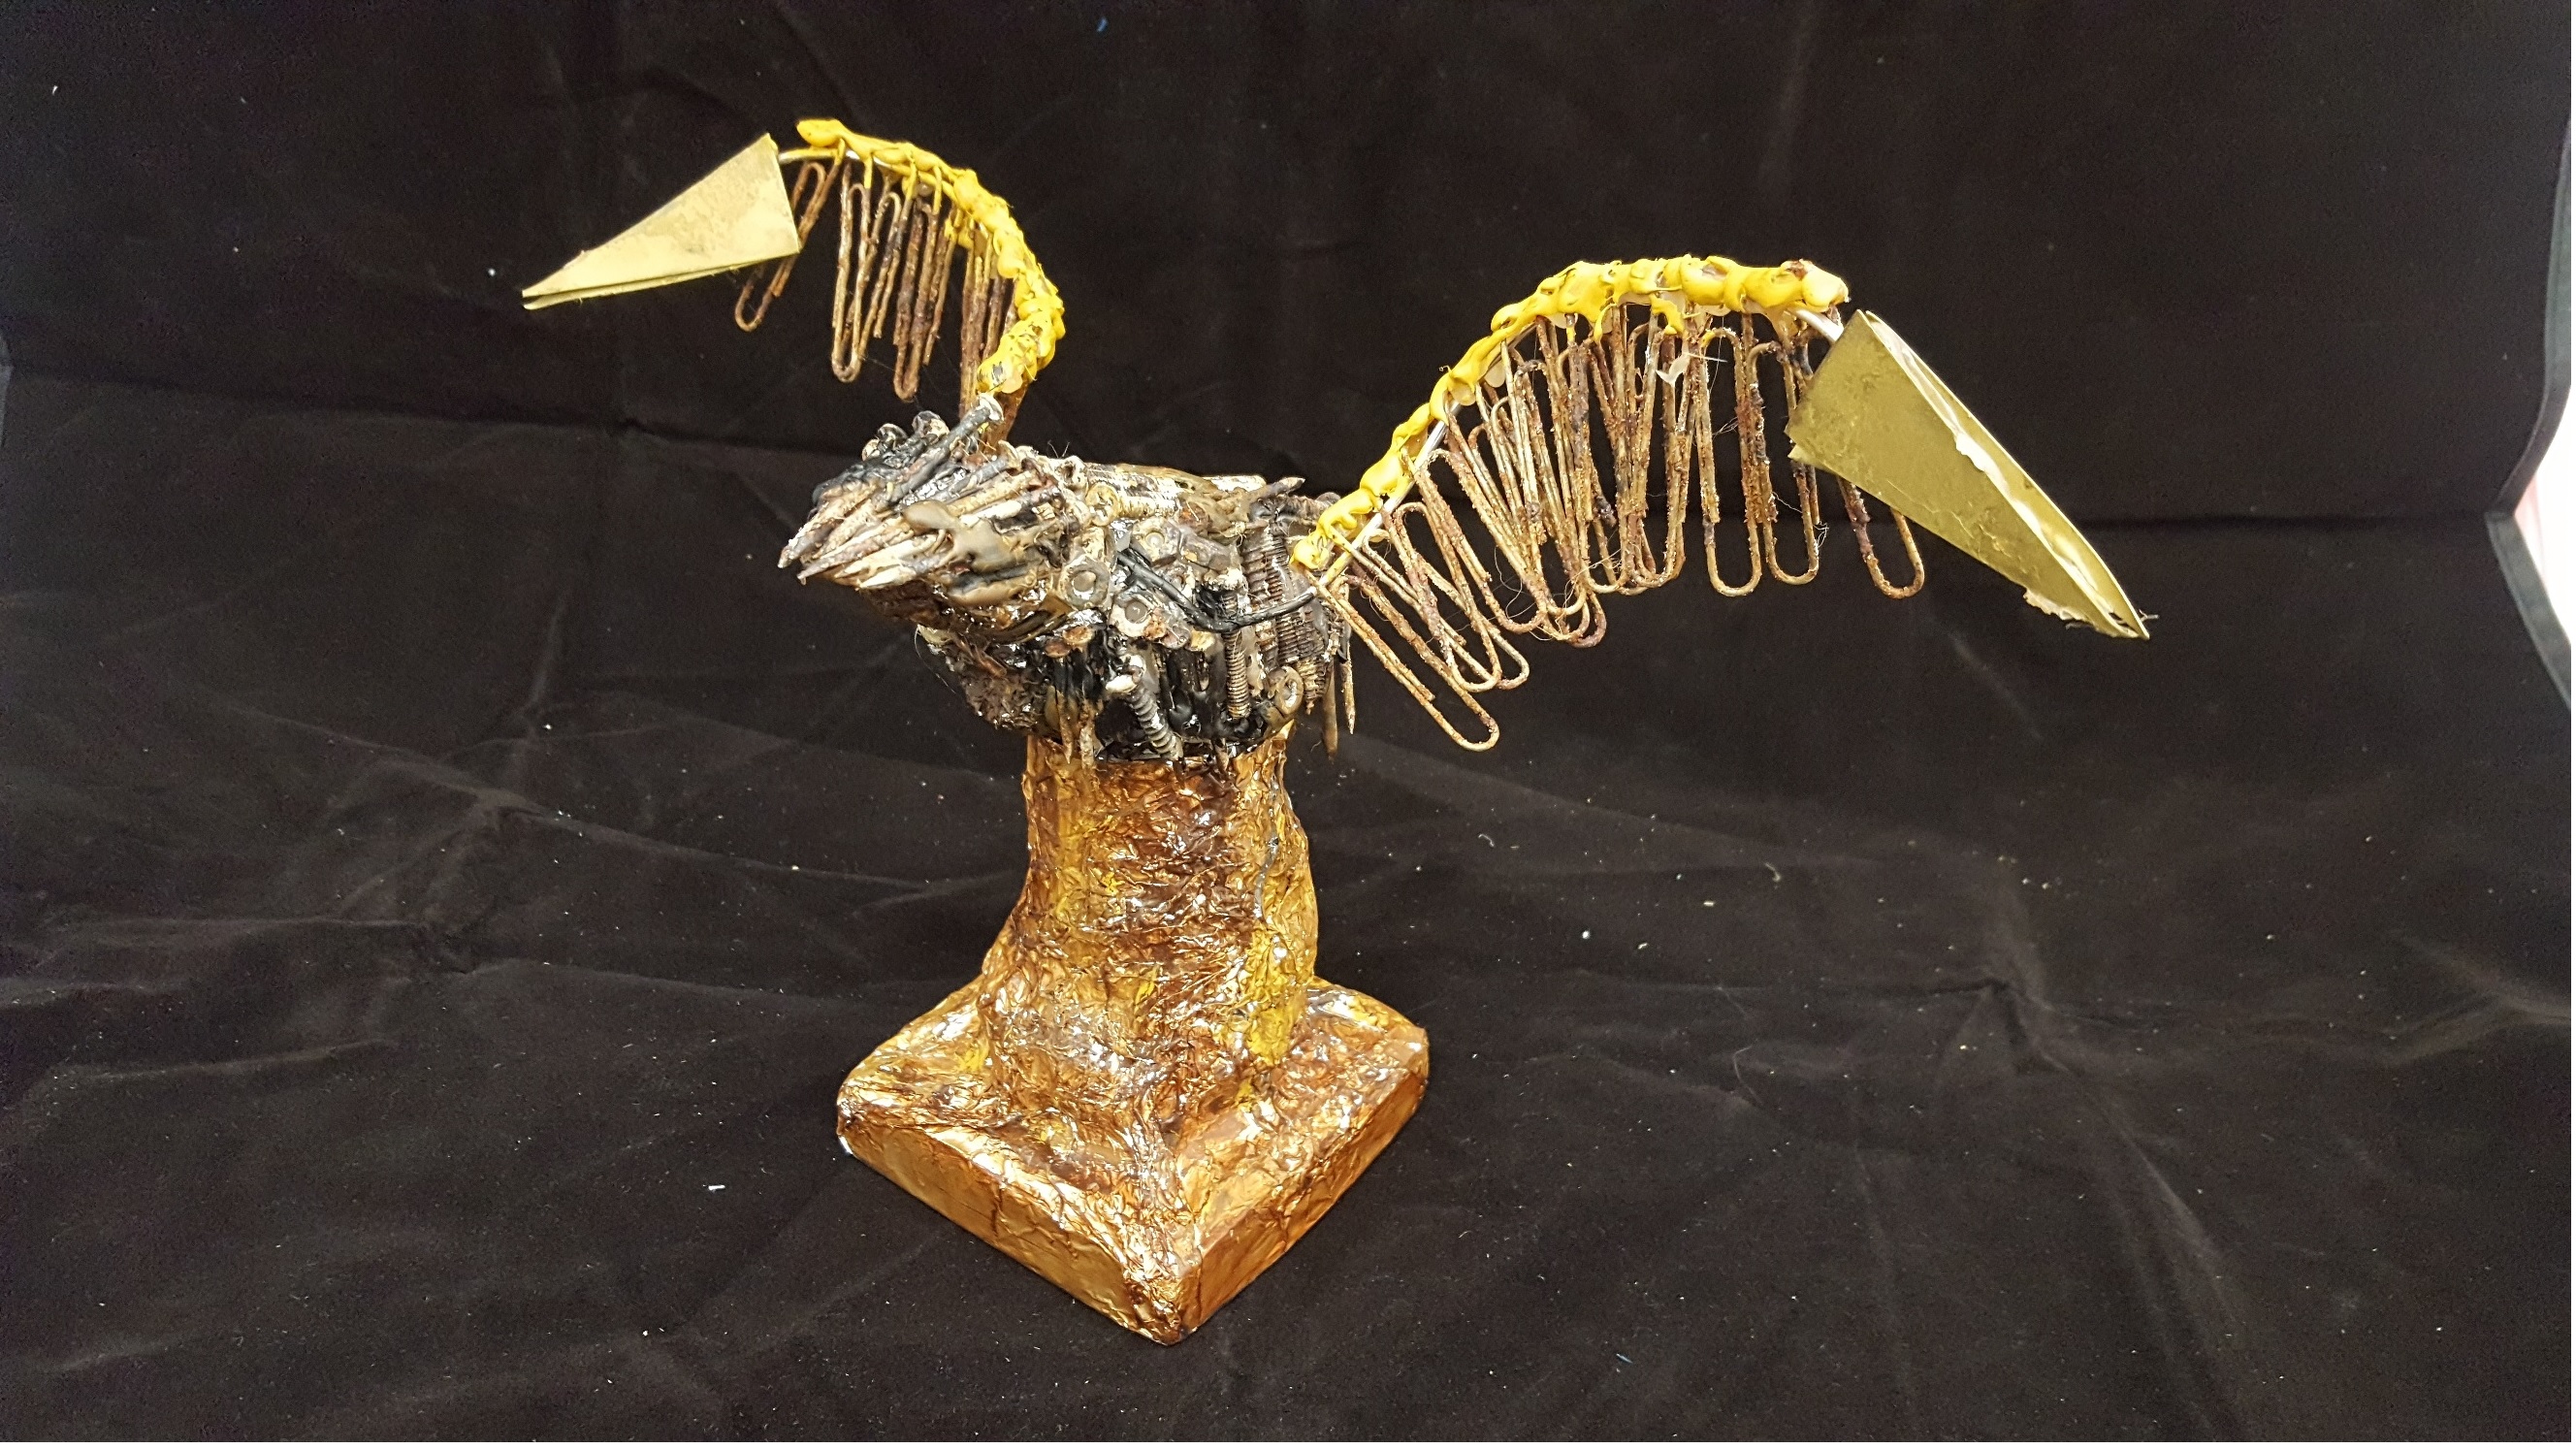
The Portrait is represented by the white marble. It is white because it was still pure and beautiful until tainted by Dorian Gray.

First, the structure starts off with books. Leather-bound, but faded. Books portraying good qualities too (Diligence). This represents the aristocrat Dorian once was, which was also expressed in the painting. It is faded and tattered, because it is already beginning to be tainted by Dorian’s sins (reflected on the portrait as a result).

Next, the foam stairs. It is the descending of the portrait into ugliness and sin, based on what Dorian has done. The material Foam in a sense is tough yet malleable at the same time, which shows that it can be molded and shifted based on the amount of force exerted, in this case Dorian’s sins. Hence, it ‘melts’ or ‘sinks’ lower and lower. Each “step” is a representation of each major sin committed by Dorian; selling his soul to the devil, hurting people and finally, committing and triggering multiple murders and deaths.

The cup represents how the portrait is overloading with sin and ugliness. It spills over, unable to withstand the quantity of the sins. This is also when Dorian Gray wants to end everything soon.

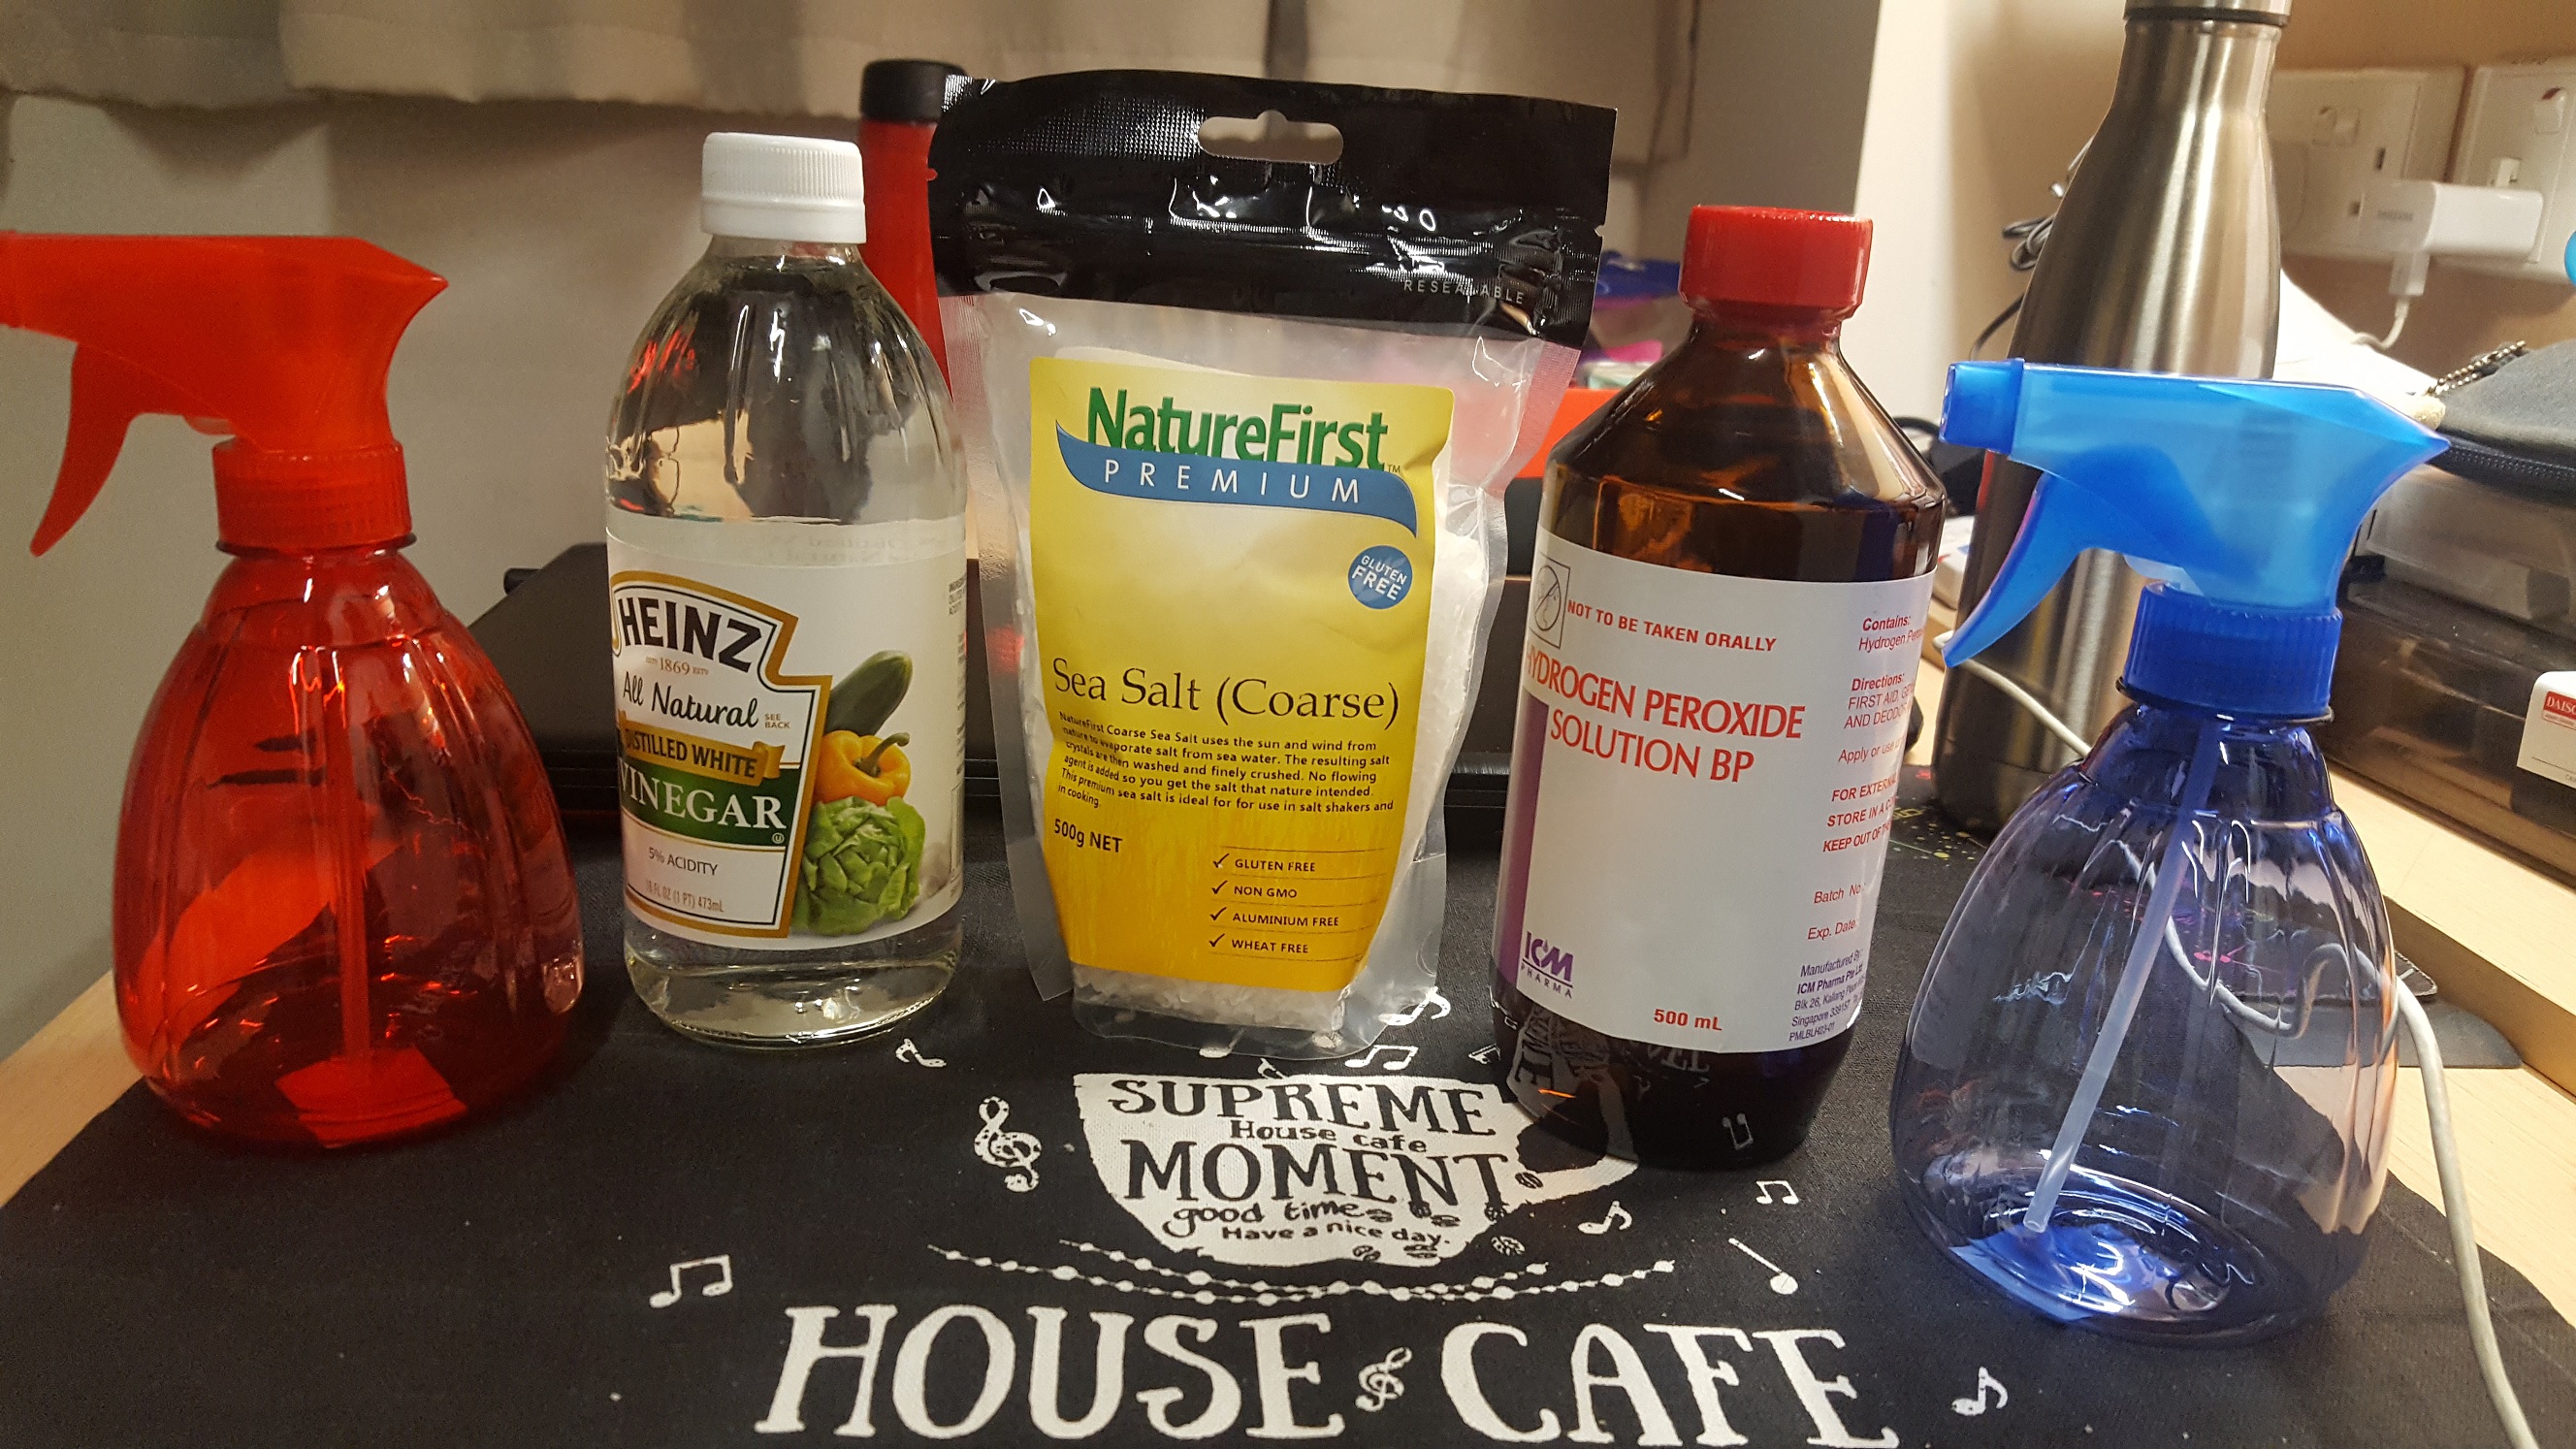
Then, the Wood Trial. Wood has multiple meanings to it. According to the Bible, one of the first times we see wood is when man is committing sin and making all people born sinners. Then, we see wood being used to save man in the Great Flood. The Ark of the Covenant was also made in the desert as Moses was instructed. In it was the law. The Law brought death, serving and acting as the Ministry of Death.

The Ark of the Covenant contained the Law and Jesus contained the effects of the law when he was crucified as us for our sins.

On other words, wood represents salvation, and the humanity of Jesus. God in His infinite wisdom and use of irony has turned bad into good.

In other words, the wood represents Law, Justice and Karma crashing down on Dorian Gray. It is the “Gates of Justice”, where the portrait, acting as the punisher, reforms Dorian and punishes him for the sins he has committed. This setup ends in a black test-tube, representing that it has now turned ugly in a sense because it punished Dorian.

The Dorian Gray Side:

Dorian Gray is represented by the black marble. He may have stayed beautiful, but innately, he is ugly and warped.

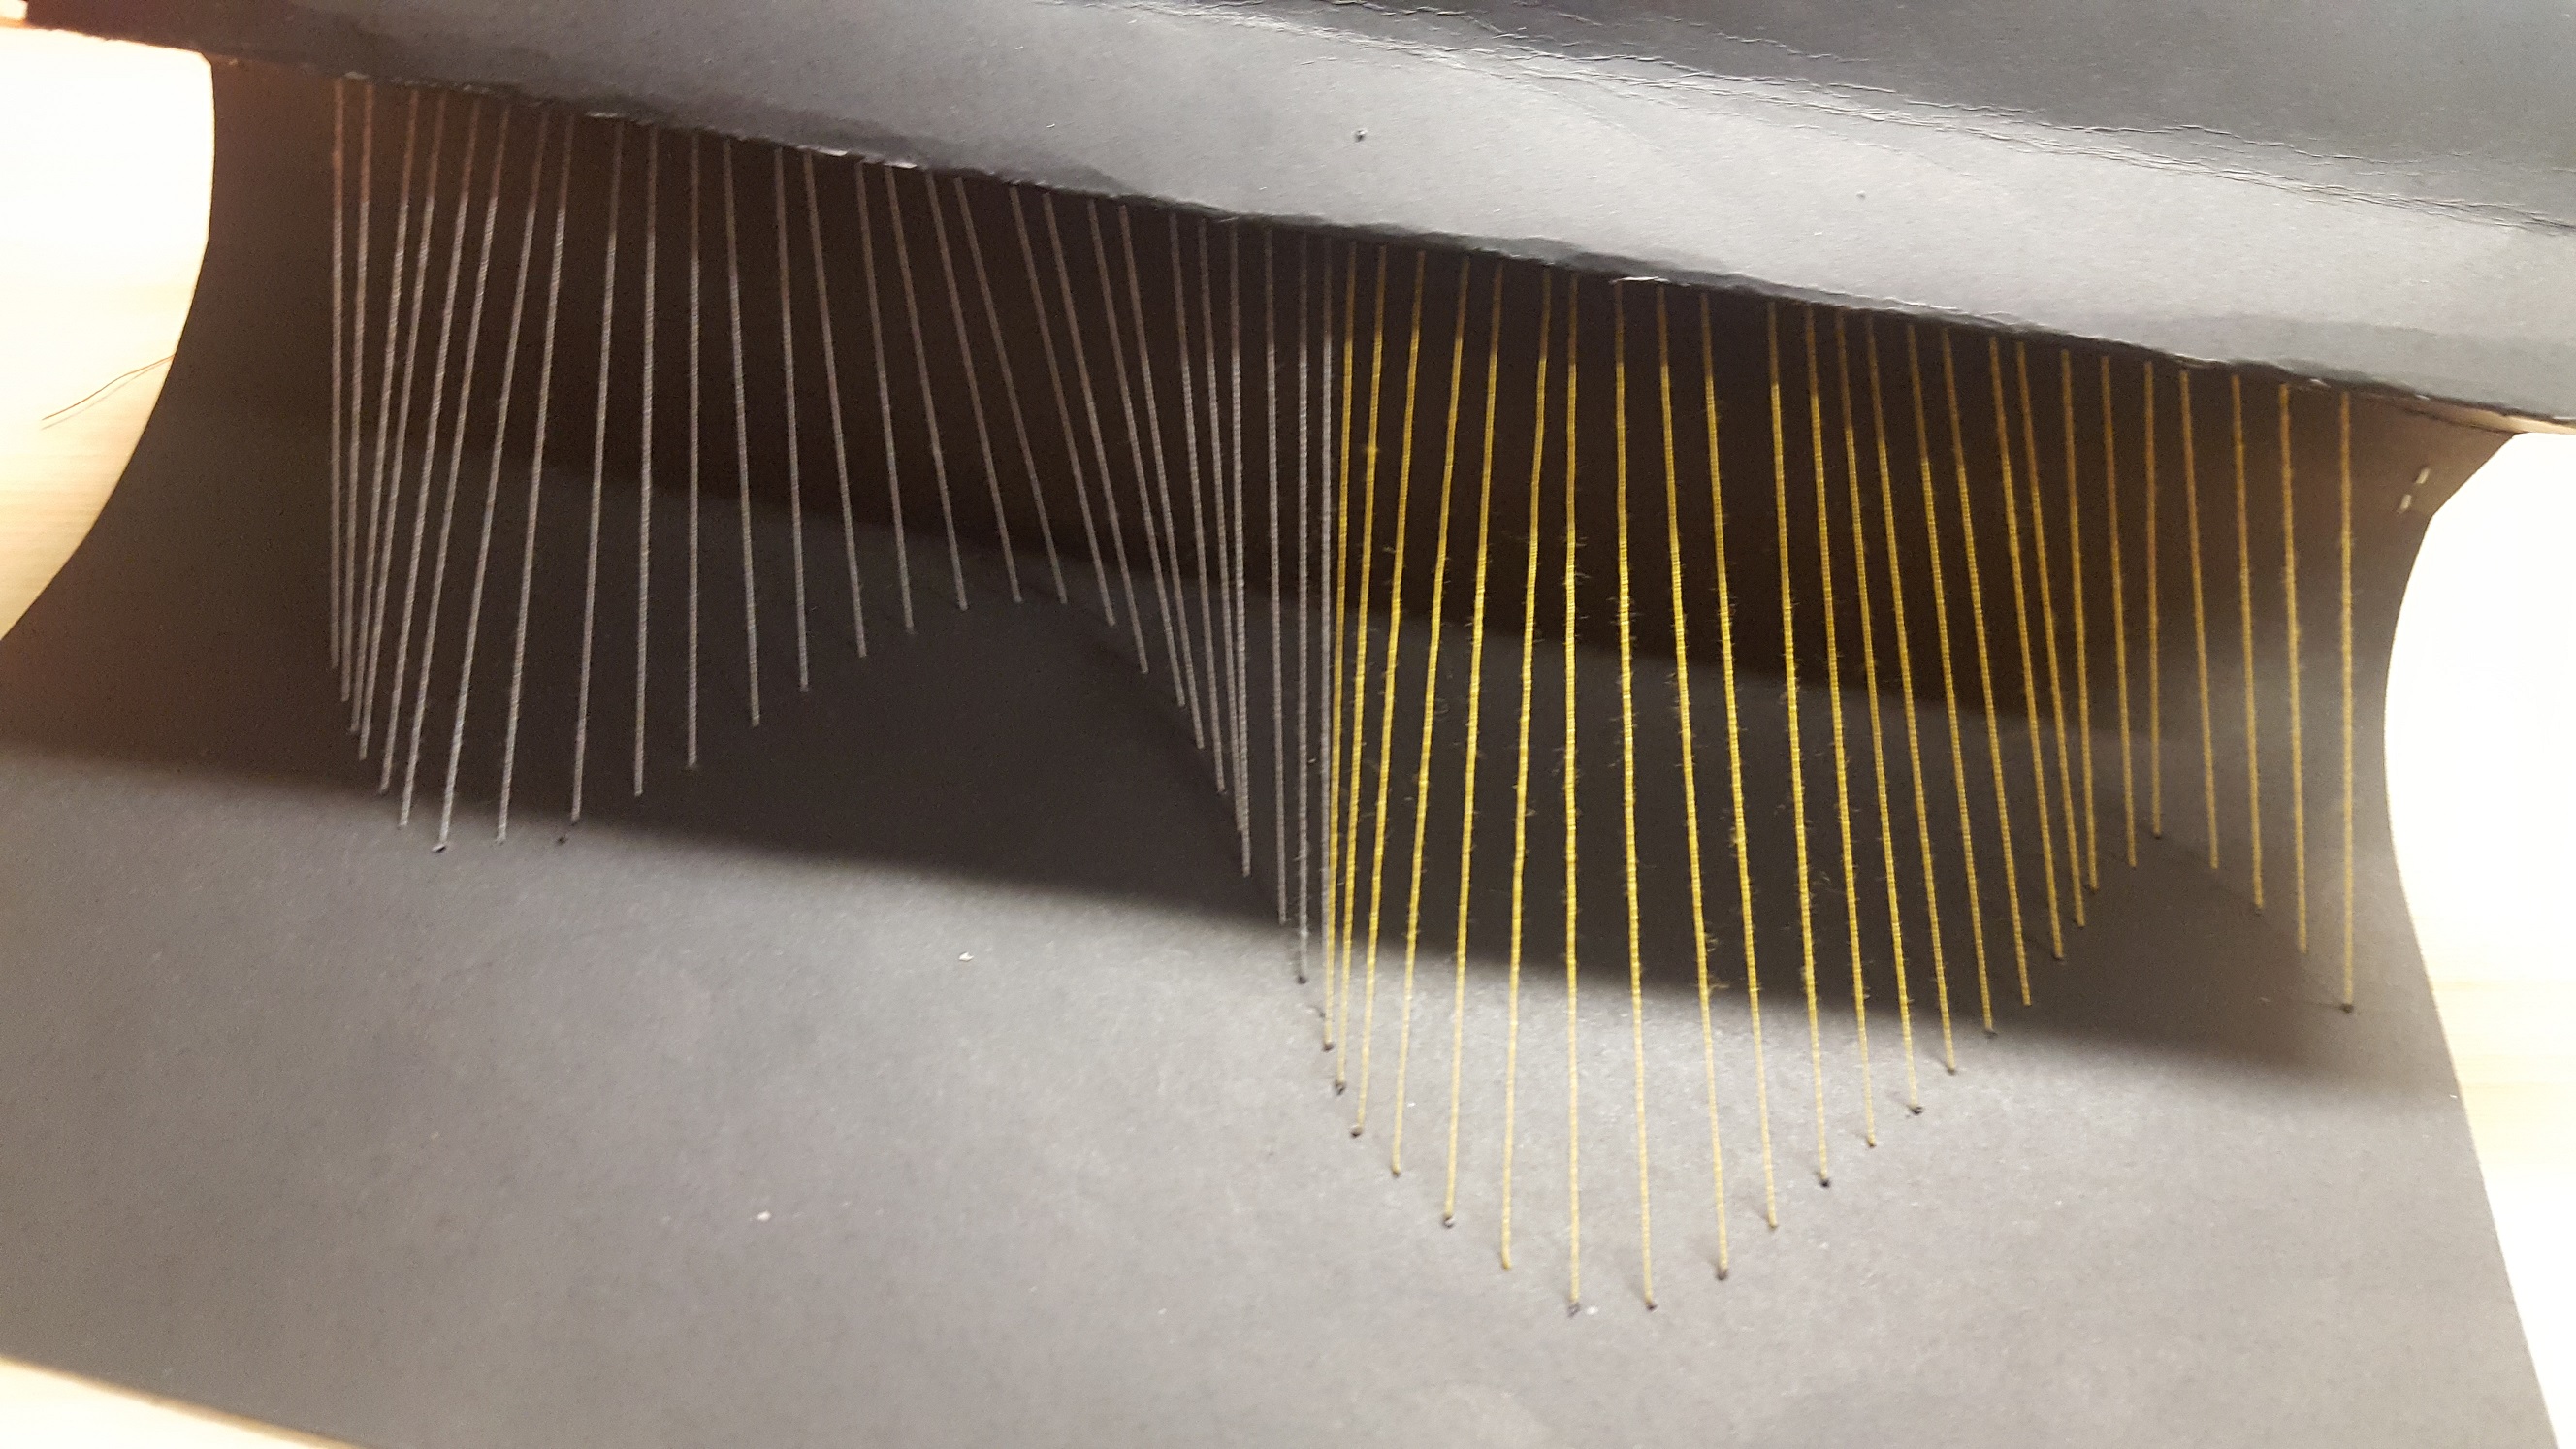
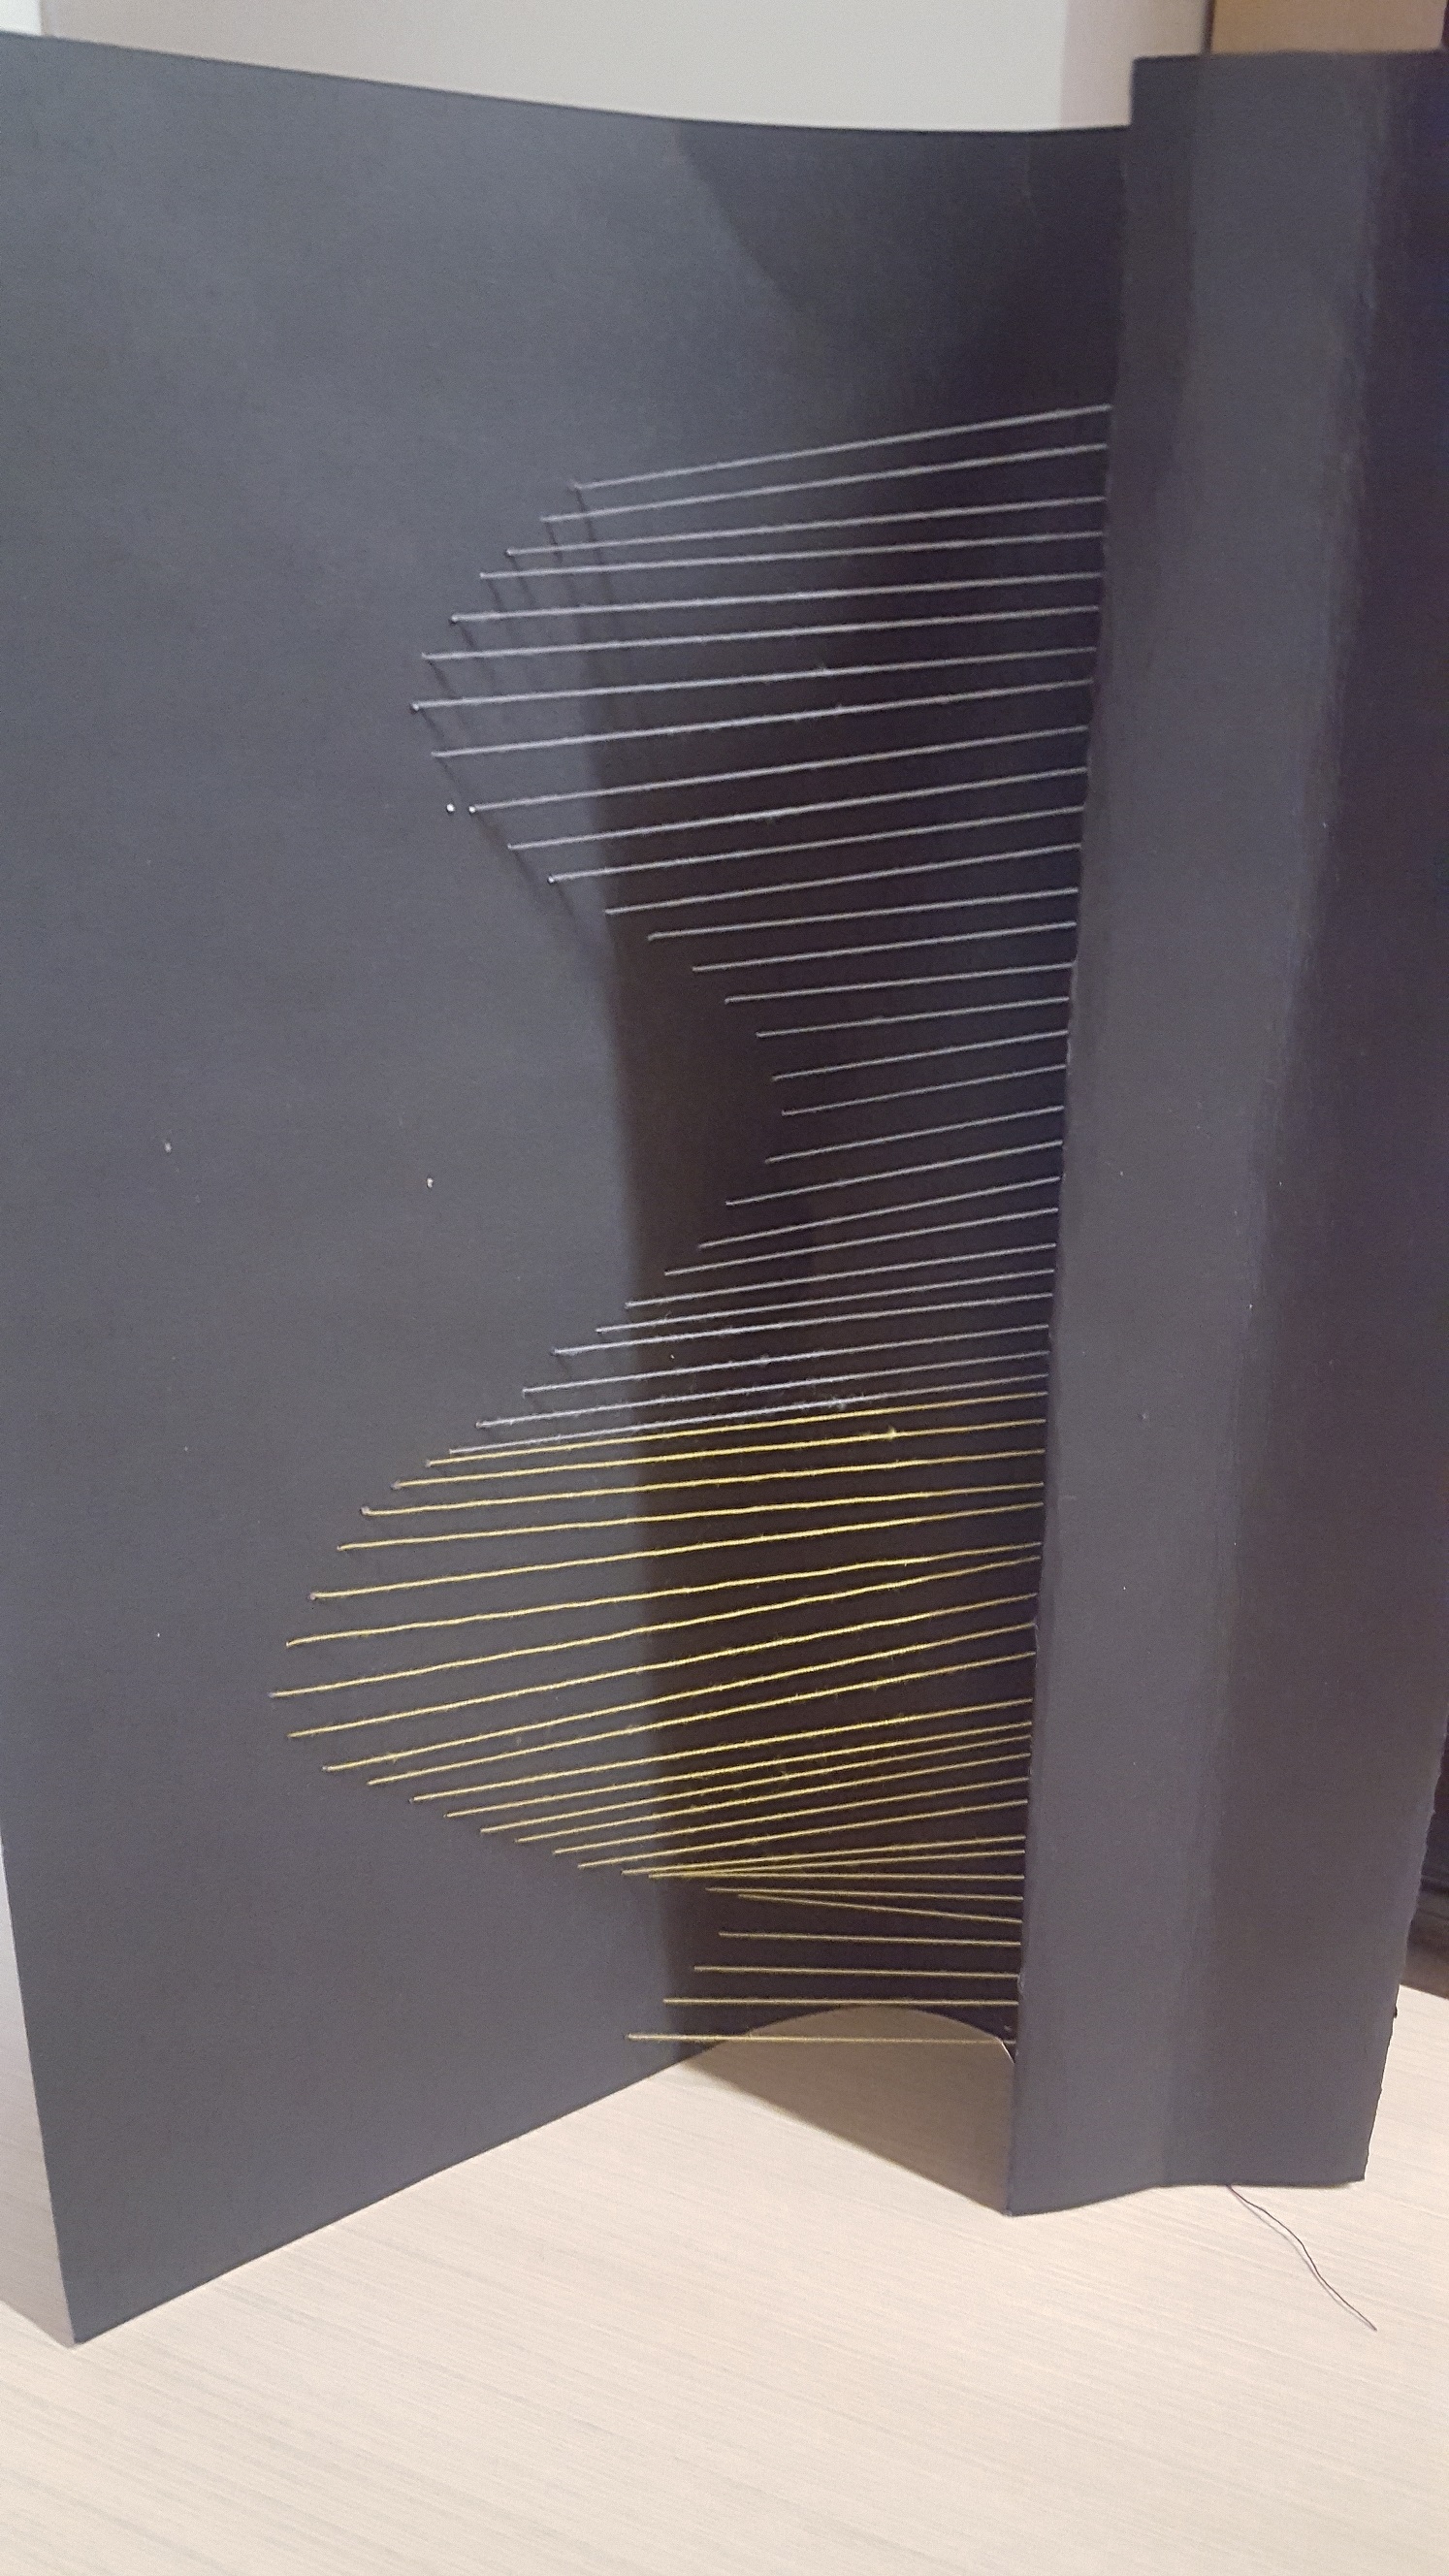
This starts off with a long winding trail of aluminium path. The path is unobstructed because Dorian Gray never suffered the consequences of his actions. It is all reflected on the portrait instead. hence, it is shiny and silver-clean. However, it is crumpled. The wrinkles represent the stains on Dorian’s personality. Even though his outer appearance remains beautiful (credit to the portrait), his personality gets more and more warped, something the portrait cannot salvage. Hence, the wrinkles represents Dorian’s innate ugliness while the clean silver represents his beautiful outer appearance.

The comb is representative of Dorian’s Seduction. He uses this Charisma to get away with all his crimes by seducing people to believe in him.

Then, we have a toilet roll. Toilets are usually associated with uncleanliness i.e. you would not go there to eat if you could choose to. A toilet roll is also something that is usually discarded, hence being a waste material. This represents how dirty Dorian becomes due to his sins.

Finally, Dorian wants to end it all. He stabs the portrait, signified by the knife being plunged into the picture of the portrait. It is to be noted that this happens at the same level as the Portrait’s Judgement i.e. Judgement by Wood (on the other side). Judgement is delivered as Dorian stabs the portrait. Same as the portrait’s marble, this marble undergoes the same twirling effect down into a test-tube. However, this time, the test-tube is white, signifying that he is now the victim.

By both the portrait and Dorian gray’s marbles undergoing the same twirling effect in the end, it is representative of how they have exchanged places. The opposite colours of black and white interchanging (marbles into test-tubes) also reinforces how the portrait and Dorian gray have now traded places.

It is also to note that both marbles end up in a test-tube each. This is to sum up the entire experiment, highlighting how in the end, Dorian’s life was simply an experiment he has orchestrated himself in order to explore how far human limits can go (inspired by the decadent French novel À rebours, by utilizing the portrait.

HOW TO RUST METAL 101

Standard

WARNING: Please ensure that the room you are rusting the metal in has GOOD VENTILATION. Just like fixation, the process stinks like hell so if you don’t want your room to stink like a gas chamber, PLEASE OPEN YOUR WINDOWS OR SOMETHING. Get some air in.

Don’t regret it the hard way like me.

Step 1: Get White Vinegar, Sea Salt and Hydrogen Peroxide.

Woah, sounds like dangerous shit but trust me, it’s not. You can obtain Hydrogen Peroxide from any pharmacy but I chose to get mine at Unity because it’s way cheaper than any Watson or Guardian. They use Hydrogen Peroxide as an antiseptic for injuries, so don’t go thinking it’s something potentially dangerous like Hydrochloric Acid.

I used a random brand of Sea Salt (really, it’s just for oxidizing and absorbing the moisture, so the brand does not matter).

For the White Vinegar, I used Heinz’s because it’s the easiest to find at any supermarket.

GET TWO SPRAY BOTTLES READY TOO.

Spray Bottle, White Vinegar, Sea Salt, Hydrogen Peroxide, Spray Bottle.

STEP 2: Fill ’em up!

Fill some Hydrogen Peroxide into one of the Spray Bottles. Same goes for the White Vinegar. It would be wise to get two different coloured spray bottles to ensure you don’t mix it up.

I used Red for White Vinegar.

I used Blue for Hydrogen Peroxide.

STEP 3: Get a tray.

For me, I used an aluminium tray and some aluminium foil. This is to hold your metals while they rot to hell.

A sparkly metal tray wrapped with a ravishing metallic foil.

Please don’t follow this step. I mean, do get a tray, but NOT ALUMINIUM.

It rotted through my tray. I don’t know how, but there was no hole or anything. If you really want to use an aluminium tray like mine, do put a newspaper or something underneath to protect your table/floor/shelf. You can throw everything away after you are finished with the rusting.

STEP 4: Get all your metals ready.

Depending on your project, it would be good to get a variety of metals.

For me, I worked with various sizes of nails, bolts and screws. I even used paper clips because I wanted that copper sheen.

STEP 5: Lay ’em out.

Do it neatly, please.

This is to ensure the spray and whatever gets to everything. We don’t like halfassed rusting- that is not convincing at all.

STEP 6: Spray and garnish it with salt.

Spray the HYDROGEN PEROXIDE first. Make sure that all metals are well-covered.

Immediately after, spray the WHITE VINEGAR. Again, make sure that everything is covered.

Afterwards, cover the whole thing with the sea salt you have been wondering about. I guess you can choose to omit the salt, but it will take longer to rust.

STEP 7: Leave it there.

Let it rust! It will make fizzling noises like you just opened a can of coke, and it will definitely stink because of the rust and white vinegar. However, it is perfectly okay. Just leave it there. The longer you leave it, the better the rusted effect. I left mine alone for 2 weeks to obtain the state it was in the project. It rusted even more after I built my structures, and it was quite prettily rusted by the day of presentation.

Rusting in process.

Rust.

Rust.

More Rust.

The rusting process will end up dyeing your salt another colour. This is because the metal rubs off onto the salt as the salt absorbs the moisture mixed with metallic elements.

It will tend to look pretty, but you are advised not to keep those dyed salt bits as a souvenir. For one, they really stink. For two, I don’t know if it will start spreading its joy of rusting to your other materials.

So friends! This is how you rust metal.

P.S This is my first attempt. I ripped the method off from Google so if you have better methods then by all means!

Project 2: Memorabilia

Standard

This project was about picking an object which was either extremely important to us, or of no use to us anymore; yet we still keep it. We had to make an abstract structure out of it.

My two objects were the hamster keychain I treasured because it reminded me of my first (but dead now) hamster Hammy, while the other object was my first arcade card from my teen years, but has expired eons ago.

I picked the arcade card.

The arcade card was worth a ton of memories for me. It was my first “key” to the gateway of adventures- the arcade world. I was not allowed to visit arcades to play as a child because my parents said it was a waste of time and money. I grew rebellious as a teenager and decided ‘hey I really want to try playing at the arcade’ and so I went to get my first card on my birthday when I was 14. To me, it was like a whole new world, where a gateway into a wonderland opened for me. I imagined extremely high-tech flying thingies everywhere, and electricity fizzling in the air. Neon lights flashed, and the sound of speeding vehicles resounded throughout the air.

Damn.

I wanted to establish a concept whereby arcade times were the golden era in my life, where I could enjoy and have real fun. However, as times go by, I grow older, and I slowly lose time and interest in arcades. I could probably easily access arcades when I go to shopping malls now, but I choose to go eat or walk around rather than play at arcades. Yet, I remember the fun times I had at the arcade.

I chose my medium for this project to be Rusted metal.

The metal symbolizes the strength, tenacity and power it has, helping me to win my games and plow through any difficulties (stress, sadness, etc). However, as I stop playing at the arcade, the things left untouched (my arcade gaming experience) start to rust and melt. Nevertheless, I retained a gold-ish tint because despite not being in contact with gaming much anymore, I still remember the fun times I had- and miss it.

HOW TO RUST METAL 101:

I will post it on another post under research. Otherwise it will become way too long.

MY FIRST DRAFT:

I tried to make an arcade box. Y’know those old arcade boxes with Donkey Kong or Pacman? I was trying to re-establish that.

My first idea was to create a ‘shelf’ which represents the levels you have in games. The physical levels where you can jump up and down on. I used brass strips for that.

Then, I wanted to put a different arcade character on each floor to represent all the games I’ve played, including Space-Invader and Mario.

But it was too difficult and practically impossible with the materials I had on hand to make the characters out of nails and in small scale.

No one did it before online either. So research was basically for naught.

Hence, I decided to settle on establishing PACMAN.

PACMAN SHELF, by Joey Chan

As you can see, it didn’t really turn out well. It practically failed. Boo.

So I re-explored my ideas and tried to remember what I usually thought about as a kid.

Then, I remembered how I always had flavour with flying animals; about how I could ride on them and fly everywhere and rescue civilians from burning buildings, or something.

So, I decided to go with the idea of a flying bird; a Golden Bird. It would be the main transport to bring me everywhere in the arcade world.

I made it into a trophy too, to represent my victories in arcade gaming which inspired me to love Arcades more. A golden trophy! A GOLDEN BIRD TROPHY!

Hakuna Matata.

I used my remaining materials to make a Golden Bird out of rusted nails, establishing it’s wings with rusted paperclips and hot glue for a melting effect (and it sticks the metal together).

My colours were black, gold and brown, which is the idea of rust and decay, yet retaining its significance in my life.

The Golden Bird, by Joey Chan (Right Profile)

The Golden Bird, by Joey Chan (Left Profile)

PRESENTATION DAY!

Peter could not see what the bird meant. He was unimpressed. Boohoo. It was too unrepresentative in his opinion. Then, I fished out my Pacman structure and showed it to him. Then he became mild impressed.

He said that the Pacman structure represented how I try so hard to be perfect, yet I failed and that’s the success of it- it symbolized the decay of my work. The arcade box tries so hard to stay relevant and perfect, yet it rots and is ugly instead. Yet, it is more representative of the idea I was trying to put forth.

On the other hand, I restarted my project, and came out with something that was supposedly perfectly made- yet it was a failure because it was unrepresentative. It is also symbolism of the decay and failure of arcade gaming in staying in my life.

The Golden Bird and the Pacman: A Symbolism of Decay, by Joey Chan (Front Profile)

The Golden Bird and the Pacman: A Symbolism of Decay, by Joey Chan (Side Profile)

I didn’t understand until a few days later what he was trying to say.

But here you go! My Project of Decay.

Project 1: Threads and Planes; Process and Final

Standard

The first project was about creating planes by sewing threads onto paper (draft)/ Acrylic plastic (final). The final structure had to look presentable 360 degrees, and minimal support for sticking threads in place could be used.

I aimed to create a wave-light structure at first, because not only is it elegant, but it is also smooth.

However, I realized that it became a problem because while one panel may appear smooth, the other side is neglected. If I tried to apply the same waves on the other side of the panel, the threads would come loose on the first side.

It was annoying, but I had to prioritize the criteria set for the project over the beauty of smooth curves.

First Draft

Afterwards, I experimented with more colour combinations and perspectives. I made use of bright and light coloured threads with black paper, because I was unaware that the final material was going to be a transparent Acrylic. Oh well, when life throws you lemonade you have to throw lemonades back.

So more experiments underway… I had a terrible time securing the back ends of the thread.

Draft 2; smooth gradient plane (Horizontal POV)

Tried to make another perspective…

2nd Perspective Frontal POV

First perspective Vertical POV

I tried to combine different patterns, but apparently it was not 3D-esque. It looked more like embroidery. I had to try again…

I’m crying

At last I explored different options and decided that I did not want to do a spiral curve structure like other people mainly do. I wanted to go for something special. In the end, I decided that I wanted to sew planes together- so that they ended up like a cube. It was going to difficult because each plane had different angles when the thread gets pulled together to form a 3D plane, but I was going to try or die trying.

The final product, to me, was quite improvised. Acrylic plastic and paper worked really differently; acrylic was harder and less flexible, hence creating higher tension when I pulled at the thread. In the end, I had to force-fit the four planes together to form a cube because the Acrylic was too hard to be bent in other ways. I secured the planes together with more thread. I would really employ darker threads against such a light background in future, but my fingers would commit suicide should I have decided to redo my structure. Bless my tiny soul.

FRONTAL POV

EASTWAY FRONTAL POV

FRONTAL POV 2


I am so glad this project is done.

I should have tightened the threads better though.

Dammit.