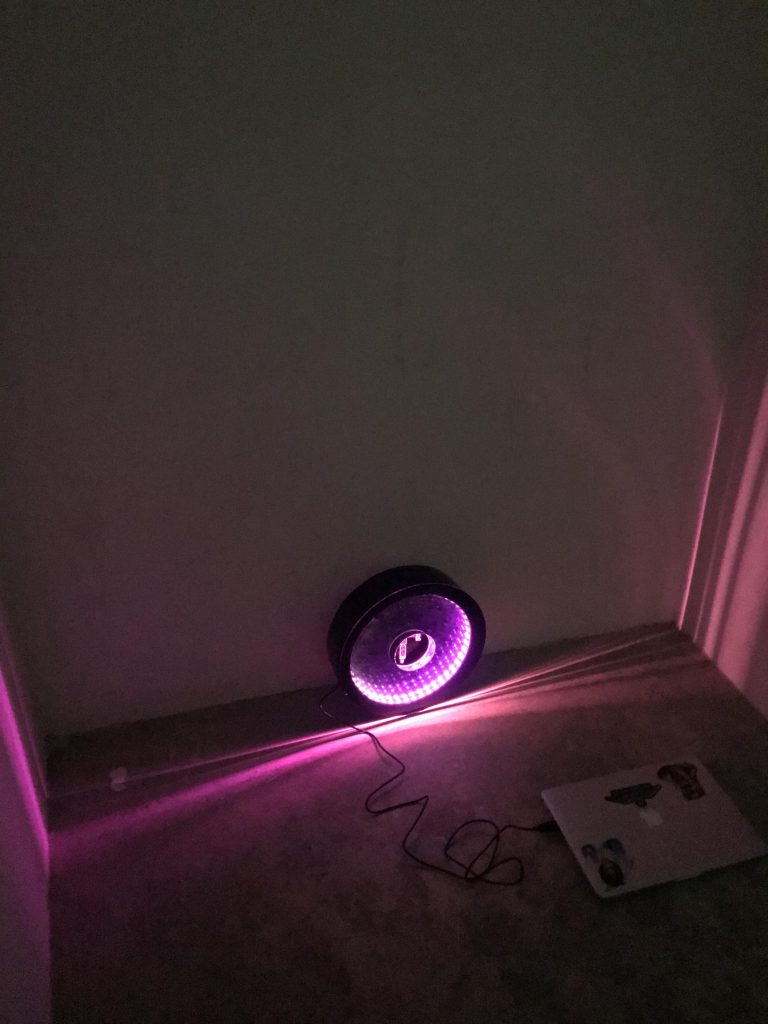
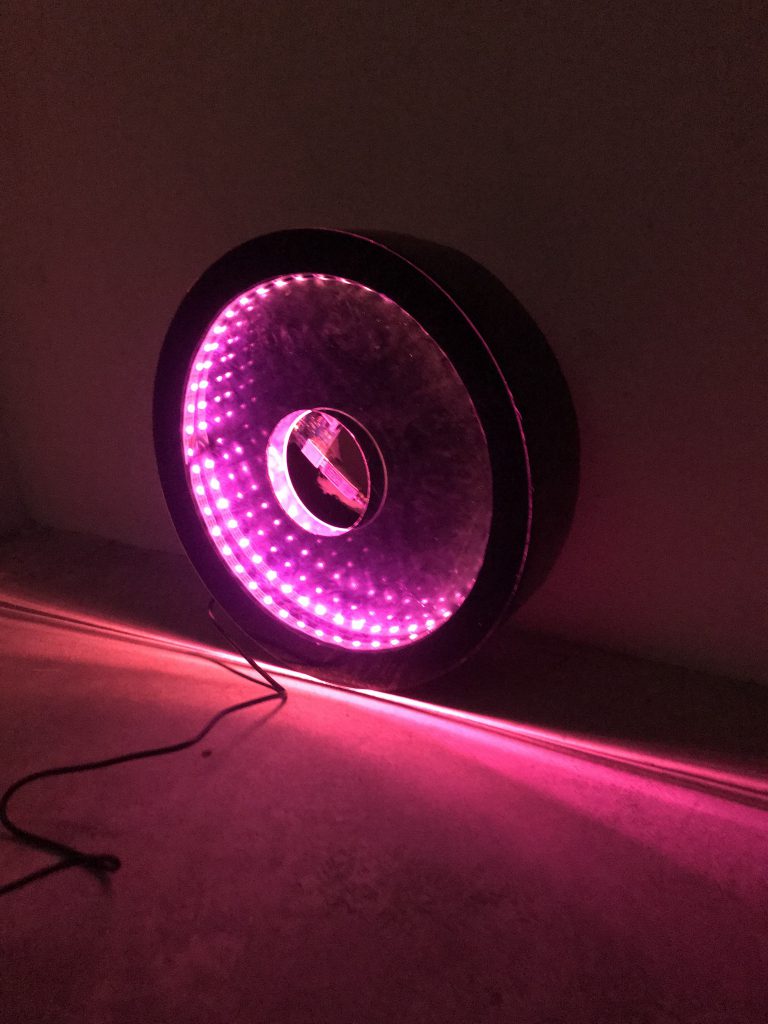
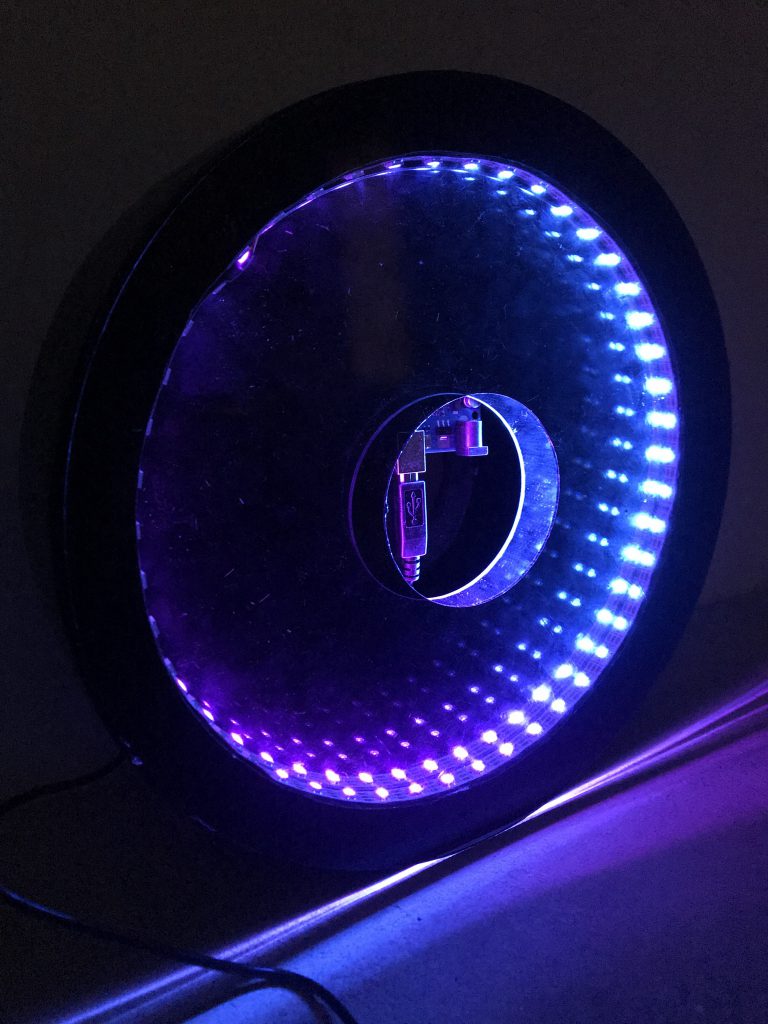
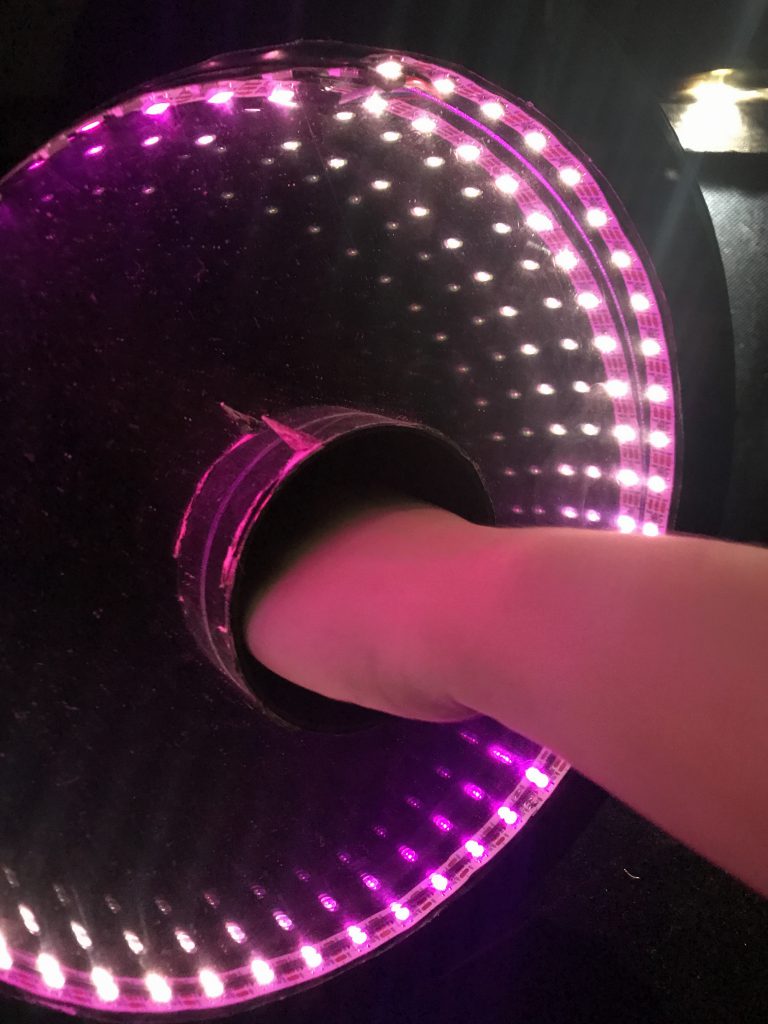
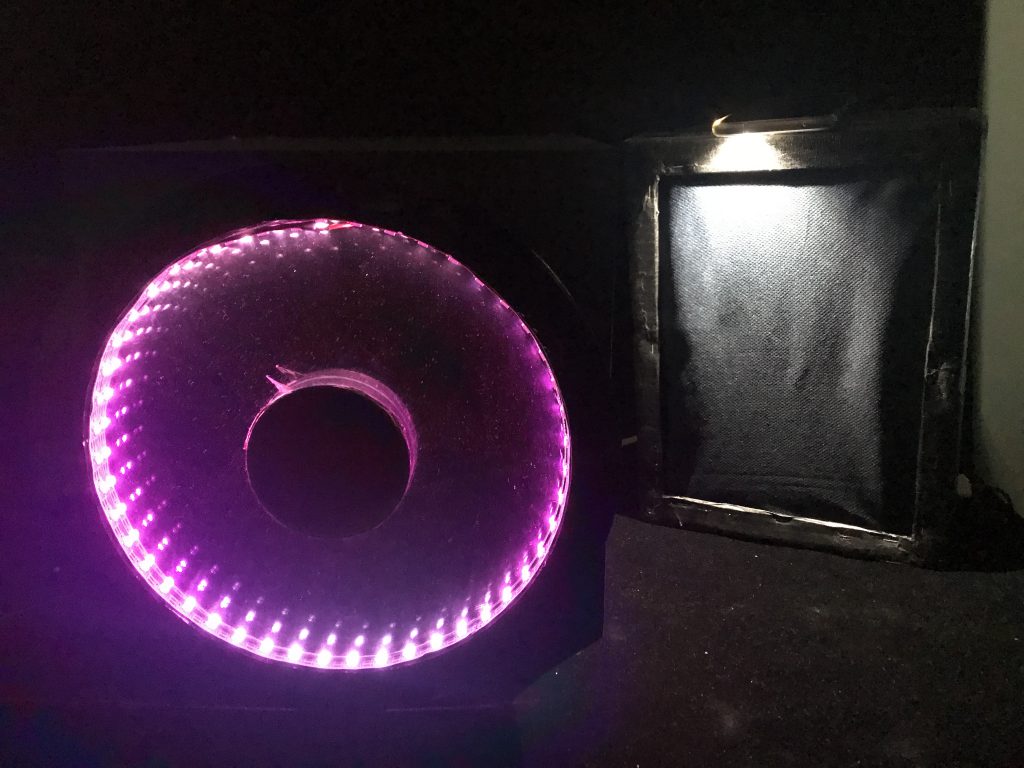
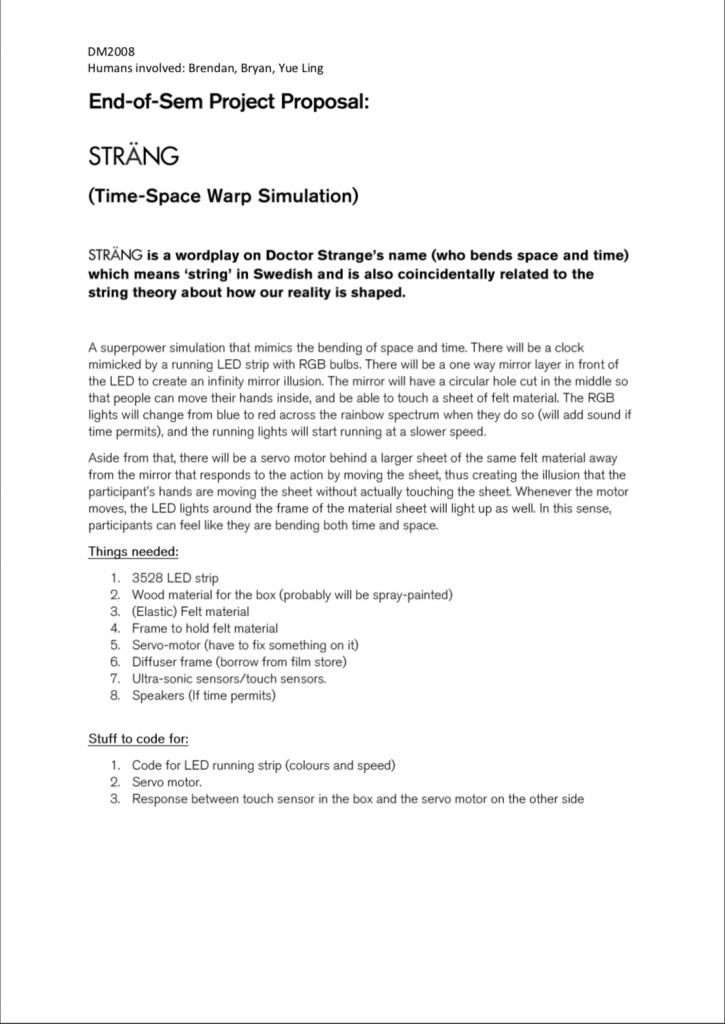
So we wanted to work on something like a clock. After Yue Ling and I looking at some online examples and ideas, we decided to settle on an infinity mirror with LED lights that changes as the user interacts with the clock.
As clock measures time, we wanted to play with the idea of a clock not measuring what it’s supposed to measure. So by changing the speed and colour of the clock through interaction, it will create an inaccurate idea of time, and as such, becomes an interesting observation of our relationship with interaction and time.
Yue Ling and I went to Sim Lim and Art Friend to purchase the items, and after getting some help from Charissa, Jia Yi, Nok Wan, Mark, and Vienna, we managed to get the items we need!
With this example, we were able to use a timer to change the LED states, and as we are unable to find an elegant way of coding the colours to change smoothly, we have to create different set of colours and code different timings to different set of colours:
#include <FastLED.h>
#define LED_PIN 13
#define NUM_LEDS 51
#define BRIGHTNESS 200
#define LED_TYPE WS2811
#define COLOR_ORDER GRB
CRGB leds[NUM_LEDS];
#define UPDATES_PER_SECOND 100
CRGBPalette16 currentPalette;
TBlendType currentBlending;
extern CRGBPalette16 myRedWhiteBluePalette;
extern const TProgmemPalette16 myRedW4hiteBluePalette_p PROGMEM;
int x = 1000;
int xspeed = 100;
int p1, p2, p3;
int o1, o2, o3;
void setup() {
delay( 3000 ); // power-up safety delay
FastLED.addLeds<LED_TYPE, LED_PIN, COLOR_ORDER>(leds, NUM_LEDS).setCorrection( TypicalLEDStrip );
FastLED.setBrightness( BRIGHTNESS );
// currentPalette = RainbowColors_p;
currentBlending = LINEARBLEND;
}
void loop()
{
ChangePalettePeriodically();
static uint8_t startIndex = 0;
startIndex = startIndex + 1;
FillLEDsFromPaletteColors( startIndex);
FastLED.show();
FastLED.delay(x / UPDATES_PER_SECOND);
}
void FillLEDsFromPaletteColors( uint8_t colorIndex)
{
uint8_t brightness = 255;
for ( int i = 0; i < NUM_LEDS; i++) {
leds[i] = ColorFromPalette( currentPalette, colorIndex, brightness, currentBlending);
colorIndex += 3;
}
}
void ChangePalettePeriodically()
{
uint8_t secondHand = (millis() / 1000) % 21;
static uint8_t lastSecond = 99;
if ( lastSecond != secondHand) {
lastSecond = secondHand;
if ( secondHand == 0) {
SetupPurpleAndGreenPalette();
currentBlending = LINEARBLEND;
}
if ( secondHand == 1) {
SetupPurpleAndGreenPalette();
currentBlending = LINEARBLEND;
}
if ( secondHand == 2) {
SetupPurpleAndGreenPalette2();
currentBlending = LINEARBLEND;
}
if ( secondHand == 3) {
SetupPurpleAndGreenPalette3();
currentBlending = LINEARBLEND;
}
if ( secondHand == 4) {
SetupPurpleAndGreenPalette4();
currentBlending = LINEARBLEND;
}
if ( secondHand == 5) {
SetupPurpleAndGreenPalette5();
currentBlending = LINEARBLEND;
}
if ( secondHand == 6) {
SetupPurpleAndGreenPalette6();
currentBlending = LINEARBLEND;
}
if ( secondHand == 7) {
SetupPurpleAndGreenPalette7();
currentBlending = LINEARBLEND;
}
if ( secondHand == 8) {
SetupPurpleAndGreenPalette8();
currentBlending = LINEARBLEND;
}
if ( secondHand == 9) {
SetupPurpleAndGreenPalette9();
currentBlending = LINEARBLEND;
}
if ( secondHand == 10) {
SetupPurpleAndGreenPalette10();
currentBlending = LINEARBLEND;
}
if ( secondHand == 11) {
SetupPurpleAndGreenPalette11();
currentBlending = LINEARBLEND;
}
if ( secondHand == 12) {
SetupPurpleAndGreenPalette10();
currentBlending = LINEARBLEND;
}
if ( secondHand == 13) {
SetupPurpleAndGreenPalette9();
currentBlending = LINEARBLEND;
}
if ( secondHand == 14) {
SetupPurpleAndGreenPalette8();
currentBlending = LINEARBLEND;
}
if ( secondHand == 15) {
SetupPurpleAndGreenPalette7();
currentBlending = LINEARBLEND;
}
if ( secondHand == 16) {
SetupPurpleAndGreenPalette6();
currentBlending = LINEARBLEND;
}
if ( secondHand == 17) {
SetupPurpleAndGreenPalette5();
currentBlending = LINEARBLEND;
}
if ( secondHand == 18) {
SetupPurpleAndGreenPalette4();
currentBlending = LINEARBLEND;
}
if ( secondHand == 19) {
SetupPurpleAndGreenPalette3();
currentBlending = LINEARBLEND;
}
if ( secondHand == 20) {
SetupPurpleAndGreenPalette2();
currentBlending = LINEARBLEND;
}
if ( secondHand == 21) {
SetupPurpleAndGreenPalette();
currentBlending = LINEARBLEND;
}
}
}
void SetupPurpleAndGreenPalette()
{
CRGB pink = CRGB( 250, 0, 100);
CRGB pink2 = CRGB( 225, 0, 100);
CRGB pink3 = CRGB( 200, 0, 100);
CRGB pink4 = CRGB( 175, 0, 100);
CRGB purple1 = CRGB( 150, 0, 100);
CRGB purple2 = CRGB( 125, 0, 100);
CRGB purple3 = CRGB( 75, 0, 100);
CRGB purple4 = CRGB( 75, 0, 125);
CRGB purple5 = CRGB( 75, 0, 150);
CRGB purple6 = CRGB( 75, 25, 150);
CRGB purple7 = CRGB( 75, 50, 150);
CRGB orange = CRGB( 250, 100, 50);
CRGB orange2 = CRGB(200, 100, 50);
CRGB orange3 = CRGB(150, 100, 50);
CRGB orange4 = CRGB(100, 100, 50);
CRGB orange5 = CRGB(50, 100, 50);
CRGB orange6 = CRGB(0, 100, 50);
CRGB orange7 = CRGB(0, 100, 100);
CRGB orange8 = CRGB(0, 100, 150);
CRGB orange9 = CRGB(0, 100, 175);
CRGB orange10 = CRGB(0, 100, 200);
CRGB orange11 = CRGB(0, 100, 250);
CRGB yellow = CRGB(255, 255, 0);
CRGB green = CRGB(100, 255, 0);
CRGB turquoise = CRGB(0, 255, 100);
CRGB grue = CRGB( 0, 100, 255);
CRGB purple = CRGB( 255, 100, 255);
CRGB black = CRGB::Black;
currentPalette = CRGBPalette16(
pink, pink, orange, orange,
orange, orange, pink, pink,
pink, pink, orange, orange,
orange, orange, pink, pink );
}
void SetupPurpleAndGreenPalette2()
{
CRGB pink = CRGB( 250, 0, 100);
CRGB pink2 = CRGB( 225, 0, 100);
CRGB pink3 = CRGB( 200, 0, 100);
CRGB pink4 = CRGB( 175, 0, 100);
CRGB purple1 = CRGB( 150, 0, 100);
CRGB purple2 = CRGB( 125, 0, 100);
CRGB purple3 = CRGB( 75, 0, 100);
CRGB purple4 = CRGB( 75, 0, 125);
CRGB purple5 = CRGB( 75, 0, 150);
CRGB purple6 = CRGB( 75, 25, 150);
CRGB purple7 = CRGB( 75, 50, 150);
CRGB orange = CRGB( 250, 100, 50);
CRGB orange2 = CRGB(200, 100, 50);
CRGB orange3 = CRGB(150, 100, 50);
CRGB orange4 = CRGB(100, 100, 50);
CRGB orange5 = CRGB(50, 100, 50);
CRGB orange6 = CRGB(0, 100, 50);
CRGB orange7 = CRGB(0, 100, 100);
CRGB orange8 = CRGB(0, 100, 150);
CRGB orange9 = CRGB(0, 100, 175);
CRGB orange10 = CRGB(0, 100, 200);
CRGB orange11 = CRGB(0, 100, 250);
CRGB yellow = CRGB(255, 255, 0);
CRGB green = CRGB(100, 255, 0);
CRGB turquoise = CRGB(0, 255, 100);
CRGB grue = CRGB( 0, 100, 255);
CRGB purple = CRGB( 255, 100, 255);
CRGB black = CRGB::Black;
currentPalette = CRGBPalette16(
pink2, pink2, orange2, orange2,
orange2, orange2, pink2, pink2,
pink2, pink2, orange2, orange2,
orange2, orange2, pink2, pink2 );
}
void SetupPurpleAndGreenPalette3()
{
CRGB pink = CRGB( 250, 0, 100);
CRGB pink2 = CRGB( 225, 0, 100);
CRGB pink3 = CRGB( 200, 0, 100);
CRGB pink4 = CRGB( 175, 0, 100);
CRGB purple1 = CRGB( 150, 0, 100);
CRGB purple2 = CRGB( 125, 0, 100);
CRGB purple3 = CRGB( 75, 0, 100);
CRGB purple4 = CRGB( 75, 0, 125);
CRGB purple5 = CRGB( 75, 0, 150);
CRGB purple6 = CRGB( 75, 25, 150);
CRGB purple7 = CRGB( 75, 50, 150);
CRGB orange = CRGB( 250, 100, 50);
CRGB orange2 = CRGB(200, 100, 50);
CRGB orange3 = CRGB(150, 100, 50);
CRGB orange4 = CRGB(100, 100, 50);
CRGB orange5 = CRGB(50, 100, 50);
CRGB orange6 = CRGB(0, 100, 50);
CRGB orange7 = CRGB(0, 100, 100);
CRGB orange8 = CRGB(0, 100, 150);
CRGB orange9 = CRGB(0, 100, 175);
CRGB orange10 = CRGB(0, 100, 200);
CRGB orange11 = CRGB(0, 100, 250);
CRGB yellow = CRGB(255, 255, 0);
CRGB green = CRGB(100, 255, 0);
CRGB turquoise = CRGB(0, 255, 100);
CRGB grue = CRGB( 0, 100, 255);
CRGB purple = CRGB( 255, 100, 255);
CRGB black = CRGB::Black;
currentPalette = CRGBPalette16(
pink3, pink3, orange3, orange3,
orange3, orange3, pink3, pink3,
pink3, pink3, orange3, orange3,
orange3, orange3, pink3, pink3 );
}
void SetupPurpleAndGreenPalette4()
{
CRGB pink = CRGB( 250, 0, 100);
CRGB pink2 = CRGB( 225, 0, 100);
CRGB pink3 = CRGB( 200, 0, 100);
CRGB pink4 = CRGB( 175, 0, 100);
CRGB purple1 = CRGB( 150, 0, 100);
CRGB purple2 = CRGB( 125, 0, 100);
CRGB purple3 = CRGB( 75, 0, 100);
CRGB purple4 = CRGB( 75, 0, 125);
CRGB purple5 = CRGB( 75, 0, 150);
CRGB purple6 = CRGB( 75, 25, 150);
CRGB purple7 = CRGB( 75, 50, 150);
CRGB orange = CRGB( 250, 100, 50);
CRGB orange2 = CRGB(200, 100, 50);
CRGB orange3 = CRGB(150, 100, 50);
CRGB orange4 = CRGB(100, 100, 50);
CRGB orange5 = CRGB(50, 100, 50);
CRGB orange6 = CRGB(0, 100, 50);
CRGB orange7 = CRGB(0, 100, 100);
CRGB orange8 = CRGB(0, 100, 150);
CRGB orange9 = CRGB(0, 100, 175);
CRGB orange10 = CRGB(0, 100, 200);
CRGB orange11 = CRGB(0, 100, 250);
CRGB yellow = CRGB(255, 255, 0);
CRGB green = CRGB(100, 255, 0);
CRGB turquoise = CRGB(0, 255, 100);
CRGB grue = CRGB( 0, 100, 255);
CRGB purple = CRGB( 255, 100, 255);
CRGB black = CRGB::Black;
currentPalette = CRGBPalette16(
pink4, pink4, orange4, orange4,
orange4, orange4, pink4, pink4,
pink4, pink4, orange4, orange4,
orange4, orange4, pink4, pink4 );
}
void SetupPurpleAndGreenPalette5()
{
CRGB pink = CRGB( 250, 0, 100);
CRGB pink2 = CRGB( 225, 0, 100);
CRGB pink3 = CRGB( 200, 0, 100);
CRGB pink4 = CRGB( 175, 0, 100);
CRGB purple1 = CRGB( 150, 0, 100);
CRGB purple2 = CRGB( 125, 0, 100);
CRGB purple3 = CRGB( 75, 0, 100);
CRGB purple4 = CRGB( 75, 0, 125);
CRGB purple5 = CRGB( 75, 0, 150);
CRGB purple6 = CRGB( 75, 25, 150);
CRGB purple7 = CRGB( 75, 50, 150);
CRGB orange = CRGB( 250, 100, 50);
CRGB orange2 = CRGB(200, 100, 50);
CRGB orange3 = CRGB(150, 100, 50);
CRGB orange4 = CRGB(100, 100, 50);
CRGB orange5 = CRGB(50, 100, 50);
CRGB orange6 = CRGB(0, 100, 50);
CRGB orange7 = CRGB(0, 100, 100);
CRGB orange8 = CRGB(0, 100, 150);
CRGB orange9 = CRGB(0, 100, 175);
CRGB orange10 = CRGB(0, 100, 200);
CRGB orange11 = CRGB(0, 100, 250);
CRGB yellow = CRGB(255, 255, 0);
CRGB green = CRGB(100, 255, 0);
CRGB turquoise = CRGB(0, 255, 100);
CRGB grue = CRGB( 0, 100, 255);
CRGB purple = CRGB( 255, 100, 255);
CRGB black = CRGB::Black;
currentPalette = CRGBPalette16(
purple1, purple1, orange5, orange5,
orange5, orange5, purple1, purple1,
purple1, purple1, orange5, orange5,
orange5, orange5, purple1, purple1 );
}
void SetupPurpleAndGreenPalette6()
{
CRGB pink = CRGB( 250, 0, 100);
CRGB pink2 = CRGB( 225, 0, 100);
CRGB pink3 = CRGB( 200, 0, 100);
CRGB pink4 = CRGB( 175, 0, 100);
CRGB purple1 = CRGB( 150, 0, 100);
CRGB purple2 = CRGB( 125, 0, 100);
CRGB purple3 = CRGB( 75, 0, 100);
CRGB purple4 = CRGB( 75, 0, 125);
CRGB purple5 = CRGB( 75, 0, 150);
CRGB purple6 = CRGB( 75, 25, 150);
CRGB purple7 = CRGB( 75, 50, 150);
CRGB orange = CRGB( 250, 100, 50);
CRGB orange2 = CRGB(200, 100, 50);
CRGB orange3 = CRGB(150, 100, 50);
CRGB orange4 = CRGB(100, 100, 50);
CRGB orange5 = CRGB(50, 100, 50);
CRGB orange6 = CRGB(0, 100, 50);
CRGB orange7 = CRGB(0, 100, 100);
CRGB orange8 = CRGB(0, 100, 150);
CRGB orange9 = CRGB(0, 100, 175);
CRGB orange10 = CRGB(0, 100, 200);
CRGB orange11 = CRGB(0, 100, 250);
CRGB yellow = CRGB(255, 255, 0);
CRGB green = CRGB(100, 255, 0);
CRGB turquoise = CRGB(0, 255, 100);
CRGB grue = CRGB( 0, 100, 255);
CRGB purple = CRGB( 255, 100, 255);
CRGB black = CRGB::Black;
currentPalette = CRGBPalette16(
purple2, purple2, orange6, orange6,
orange6, orange6, purple2, purple2,
purple2, purple2, orange6, orange6,
orange6, orange6, purple2, purple2 );
}
void SetupPurpleAndGreenPalette7()
{
CRGB pink = CRGB( 250, 0, 100);
CRGB pink2 = CRGB( 225, 0, 100);
CRGB pink3 = CRGB( 200, 0, 100);
CRGB pink4 = CRGB( 175, 0, 100);
CRGB purple1 = CRGB( 150, 0, 100);
CRGB purple2 = CRGB( 125, 0, 100);
CRGB purple3 = CRGB( 75, 0, 100);
CRGB purple4 = CRGB( 75, 0, 125);
CRGB purple5 = CRGB( 75, 0, 150);
CRGB purple6 = CRGB( 75, 25, 150);
CRGB purple7 = CRGB( 75, 50, 150);
CRGB orange = CRGB( 250, 100, 50);
CRGB orange2 = CRGB(200, 100, 50);
CRGB orange3 = CRGB(150, 100, 50);
CRGB orange4 = CRGB(100, 100, 50);
CRGB orange5 = CRGB(50, 100, 50);
CRGB orange6 = CRGB(0, 100, 50);
CRGB orange7 = CRGB(0, 100, 100);
CRGB orange8 = CRGB(0, 100, 150);
CRGB orange9 = CRGB(0, 100, 175);
CRGB orange10 = CRGB(0, 100, 200);
CRGB orange11 = CRGB(0, 100, 250);
CRGB yellow = CRGB(255, 255, 0);
CRGB green = CRGB(100, 255, 0);
CRGB turquoise = CRGB(0, 255, 100);
CRGB grue = CRGB( 0, 100, 255);
CRGB purple = CRGB( 255, 100, 255);
CRGB black = CRGB::Black;
currentPalette = CRGBPalette16(
purple3, purple3, orange7, orange7,
orange7, orange7, purple3, purple3,
purple3, purple3, orange7, orange7,
orange7, orange7, purple3, purple3 );
}
void SetupPurpleAndGreenPalette8()
{
CRGB pink = CRGB( 250, 0, 100);
CRGB pink2 = CRGB( 225, 0, 100);
CRGB pink3 = CRGB( 200, 0, 100);
CRGB pink4 = CRGB( 175, 0, 100);
CRGB purple1 = CRGB( 150, 0, 100);
CRGB purple2 = CRGB( 125, 0, 100);
CRGB purple3 = CRGB( 75, 0, 100);
CRGB purple4 = CRGB( 75, 0, 125);
CRGB purple5 = CRGB( 75, 0, 150);
CRGB purple6 = CRGB( 75, 25, 150);
CRGB purple7 = CRGB( 75, 50, 150);
CRGB orange = CRGB( 250, 100, 50);
CRGB orange2 = CRGB(200, 100, 50);
CRGB orange3 = CRGB(150, 100, 50);
CRGB orange4 = CRGB(100, 100, 50);
CRGB orange5 = CRGB(50, 100, 50);
CRGB orange6 = CRGB(0, 100, 50);
CRGB orange7 = CRGB(0, 100, 100);
CRGB orange8 = CRGB(0, 100, 150);
CRGB orange9 = CRGB(0, 100, 175);
CRGB orange10 = CRGB(0, 100, 200);
CRGB orange11 = CRGB(0, 100, 250);
CRGB yellow = CRGB(255, 255, 0);
CRGB green = CRGB(100, 255, 0);
CRGB turquoise = CRGB(0, 255, 100);
CRGB grue = CRGB( 0, 100, 255);
CRGB purple = CRGB( 255, 100, 255);
CRGB black = CRGB::Black;
currentPalette = CRGBPalette16(
purple4, purple4, orange8, orange8,
orange8, orange8, purple4, purple4,
purple4, purple4, orange8, orange8,
orange8, orange8, purple4, purple4 );
}
void SetupPurpleAndGreenPalette9()
{
CRGB pink = CRGB( 250, 0, 100);
CRGB pink2 = CRGB( 225, 0, 100);
CRGB pink3 = CRGB( 200, 0, 100);
CRGB pink4 = CRGB( 175, 0, 100);
CRGB purple1 = CRGB( 150, 0, 100);
CRGB purple2 = CRGB( 125, 0, 100);
CRGB purple3 = CRGB( 75, 0, 100);
CRGB purple4 = CRGB( 75, 0, 125);
CRGB purple5 = CRGB( 75, 0, 150);
CRGB purple6 = CRGB( 75, 25, 150);
CRGB purple7 = CRGB( 75, 50, 150);
CRGB orange = CRGB( 250, 100, 50);
CRGB orange2 = CRGB(200, 100, 50);
CRGB orange3 = CRGB(150, 100, 50);
CRGB orange4 = CRGB(100, 100, 50);
CRGB orange5 = CRGB(50, 100, 50);
CRGB orange6 = CRGB(0, 100, 50);
CRGB orange7 = CRGB(0, 100, 100);
CRGB orange8 = CRGB(0, 100, 150);
CRGB orange9 = CRGB(0, 100, 175);
CRGB orange10 = CRGB(0, 100, 200);
CRGB orange11 = CRGB(0, 100, 250);
CRGB yellow = CRGB(255, 255, 0);
CRGB green = CRGB(100, 255, 0);
CRGB turquoise = CRGB(0, 255, 100);
CRGB grue = CRGB( 0, 100, 255);
CRGB purple = CRGB( 255, 100, 255);
CRGB black = CRGB::Black;
currentPalette = CRGBPalette16(
purple5, purple5, orange9, orange9,
orange9, orange9, purple5, purple5,
purple5, purple5, orange9, orange9,
orange9, orange9, purple5, purple5);
}
void SetupPurpleAndGreenPalette10()
{
CRGB pink = CRGB( 250, 0, 100);
CRGB pink2 = CRGB( 225, 0, 100);
CRGB pink3 = CRGB( 200, 0, 100);
CRGB pink4 = CRGB( 175, 0, 100);
CRGB purple1 = CRGB( 150, 0, 100);
CRGB purple2 = CRGB( 125, 0, 100);
CRGB purple3 = CRGB( 75, 0, 100);
CRGB purple4 = CRGB( 75, 0, 125);
CRGB purple5 = CRGB( 75, 0, 150);
CRGB purple6 = CRGB( 75, 25, 150);
CRGB purple7 = CRGB( 75, 50, 150);
CRGB orange = CRGB( 250, 100, 50);
CRGB orange2 = CRGB(200, 100, 50);
CRGB orange3 = CRGB(150, 100, 50);
CRGB orange4 = CRGB(100, 100, 50);
CRGB orange5 = CRGB(50, 100, 50);
CRGB orange6 = CRGB(0, 100, 50);
CRGB orange7 = CRGB(0, 100, 100);
CRGB orange8 = CRGB(0, 100, 150);
CRGB orange9 = CRGB(0, 100, 175);
CRGB orange10 = CRGB(0, 100, 200);
CRGB orange11 = CRGB(0, 100, 250);
CRGB yellow = CRGB(255, 255, 0);
CRGB green = CRGB(100, 255, 0);
CRGB turquoise = CRGB(0, 255, 100);
CRGB grue = CRGB( 0, 100, 255);
CRGB purple = CRGB( 255, 100, 255);
CRGB black = CRGB::Black;
currentPalette = CRGBPalette16(
purple6, purple6, orange10, orange10,
orange10, orange10, purple6, purple6,
purple6, purple6, orange10, orange10,
orange10, orange10, purple6, purple6);
}
void SetupPurpleAndGreenPalette11()
{
CRGB pink = CRGB( 250, 0, 100);
CRGB pink2 = CRGB( 225, 0, 100);
CRGB pink3 = CRGB( 200, 0, 100);
CRGB pink4 = CRGB( 175, 0, 100);
CRGB purple1 = CRGB( 150, 0, 100);
CRGB purple2 = CRGB( 125, 0, 100);
CRGB purple3 = CRGB( 75, 0, 100);
CRGB purple4 = CRGB( 75, 0, 125);
CRGB purple5 = CRGB( 75, 0, 150);
CRGB purple6 = CRGB( 75, 25, 150);
CRGB purple7 = CRGB( 75, 50, 150);
CRGB orange = CRGB( 250, 100, 50);
CRGB orange2 = CRGB(200, 100, 50);
CRGB orange3 = CRGB(150, 100, 50);
CRGB orange4 = CRGB(100, 100, 50);
CRGB orange5 = CRGB(50, 100, 50);
CRGB orange6 = CRGB(0, 100, 50);
CRGB orange7 = CRGB(0, 100, 100);
CRGB orange8 = CRGB(0, 100, 150);
CRGB orange9 = CRGB(0, 100, 175);
CRGB orange10 = CRGB(0, 100, 200);
CRGB orange11 = CRGB(0, 100, 250);
CRGB yellow = CRGB(255, 255, 0);
CRGB green = CRGB(100, 255, 0);
CRGB turquoise = CRGB(0, 255, 100);
CRGB grue = CRGB( 0, 100, 255);
CRGB purple = CRGB( 255, 100, 255);
CRGB black = CRGB::Black;
currentPalette = CRGBPalette16(
purple7, purple7, orange11, orange11,
orange11, orange11, purple7, purple7,
purple7, purple7, orange11, orange11,
orange11, orange11, purple7, purple7);
}
As you can see, we created combinations of different colours manually, which is not practical. We hope to improve on this.
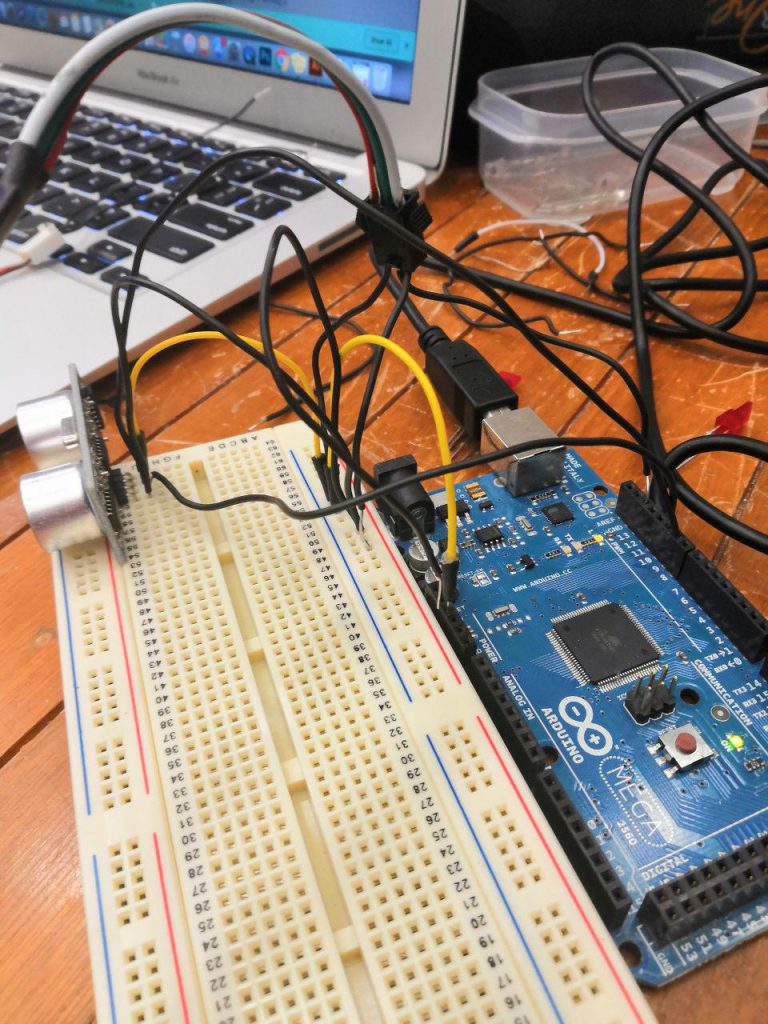
So Brendan worked on the ultrasonic sensors after looking through some codes online:
https://create.arduino.cc/projecthub/unexpectedmaker/ultrasoniceyes-b9fd38?ref=tag&ref_id=ultrasonic&offset=2
https://www.hackster.io/gowrisomanath/the-positronic-brain-my-techno-heart-9084be
With this code, we merged the lights code with the ultrasonic sensor code and simplified it to be slightly more elegant:
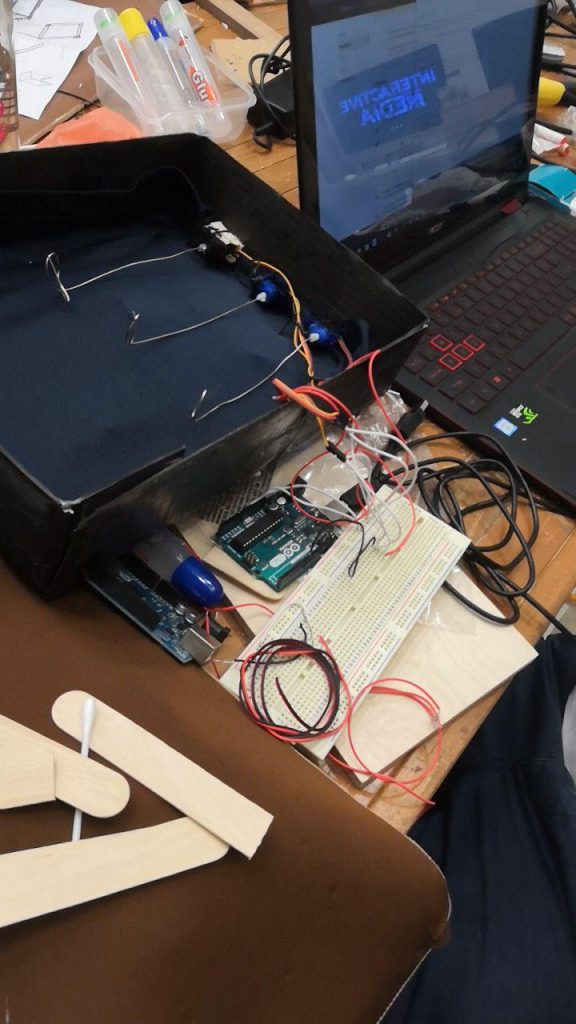
Brendan went back to fix the motors up with the second part of our project which is to make the screen move. We also went to the film store to borrow some flex sensors.
It was really difficult to connect everything as we have so many wires that are too loose. Eventually, we managed to put everything up and taped the wires down.
Yue Ling found a code for the motors and we merged it with a flex sensor code such that the motor will move directly proportionate to the flex’s bend.
So with both parts complete, we fixed up the box. The wiring was a major headache for us as we do not have the correct kit and enough wires. We managed to fix everything after much troubles. Yue Ling also borrowed female-to-male wires from Vienna which is a great help! Without that, we would not be able to connect our flex sensors and our ultrasonic sensors.
Unfortunately we don’t have an image of our final wirings.
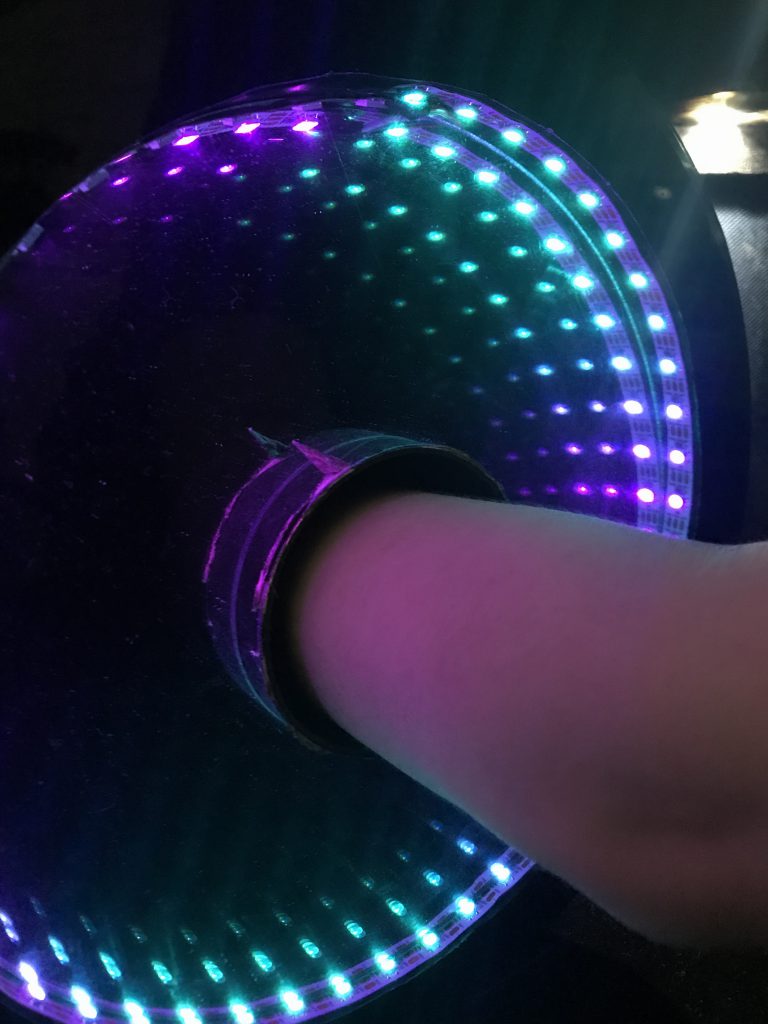
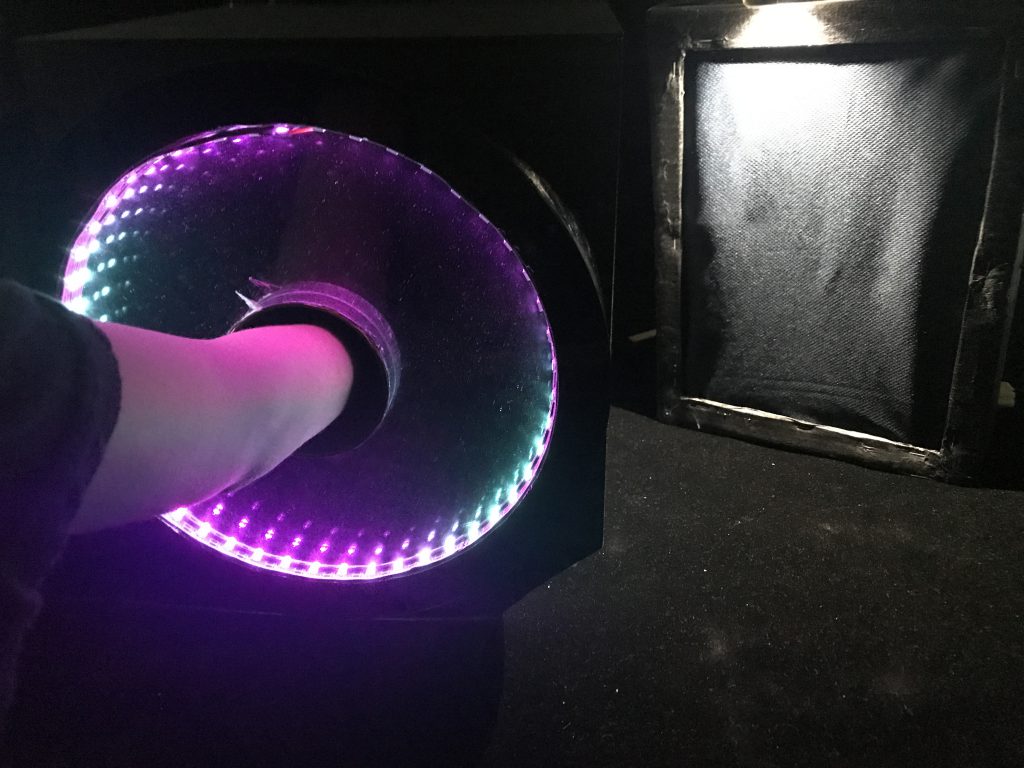
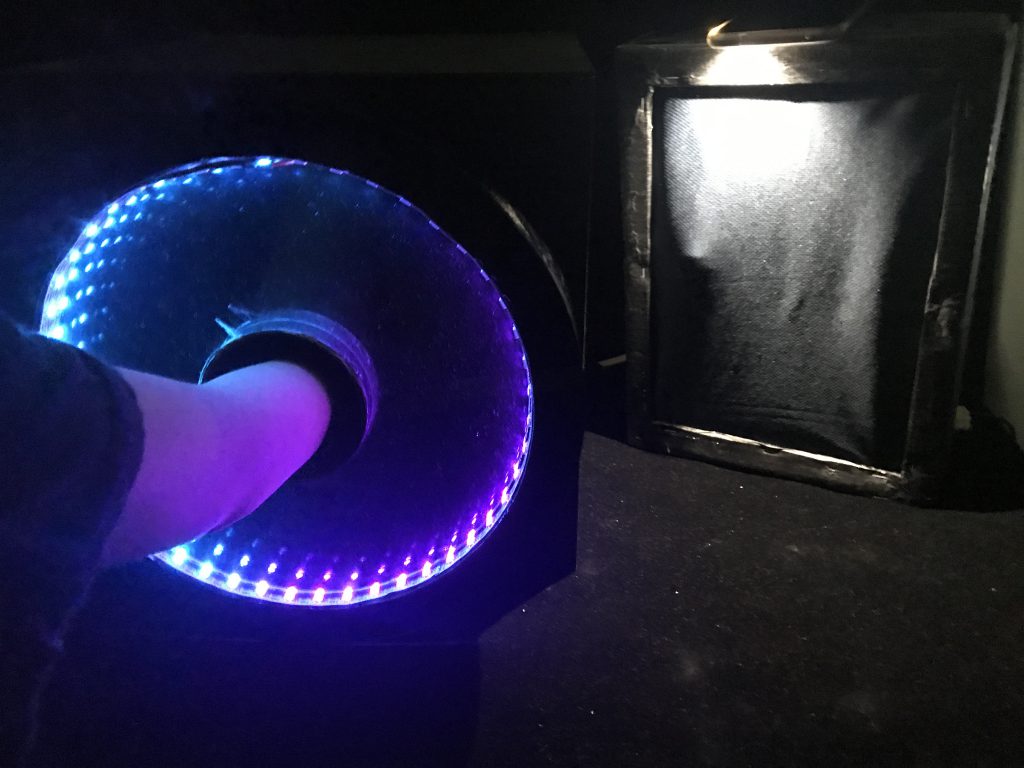
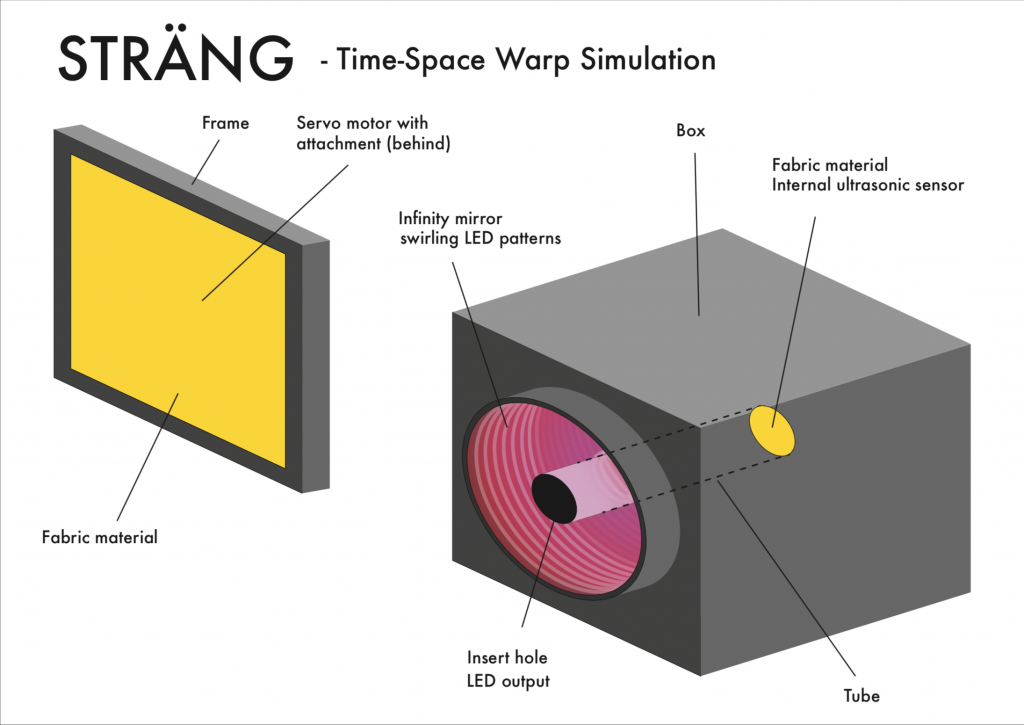
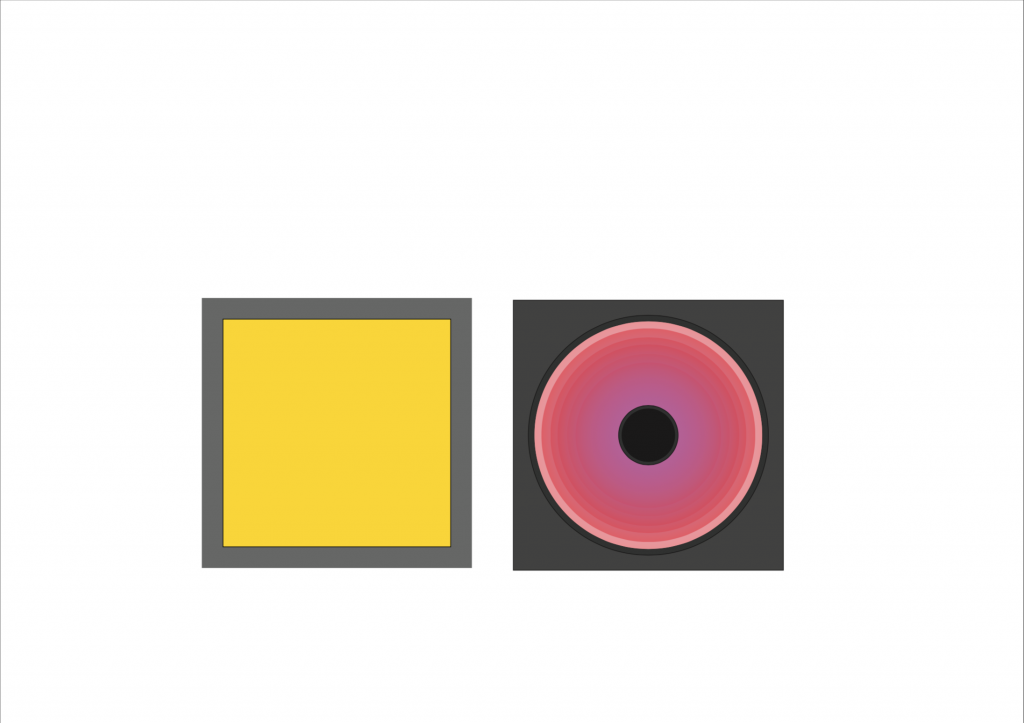
Concept is that by putting your hand through the hole, we bend space and time. Bending time is through slowing down of the rotation of the ‘clock’ as well as turning the colours from pink/orange to purple/blue, which began from the idea of ‘blue shifting’ like how light will look like if time slows down.
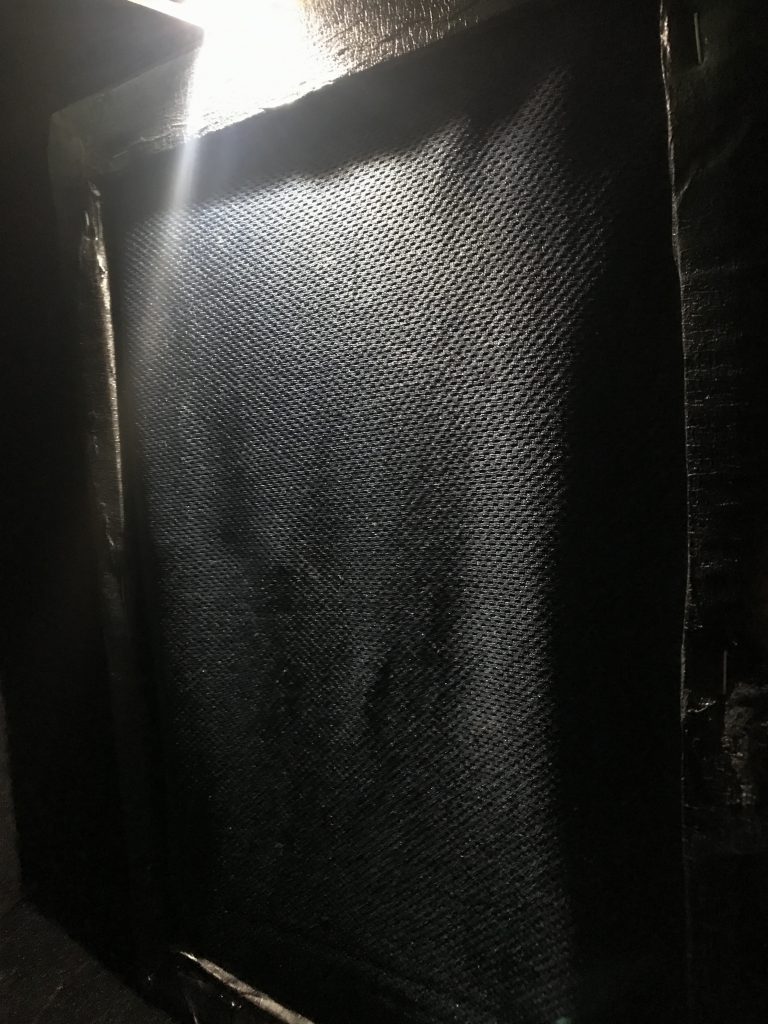
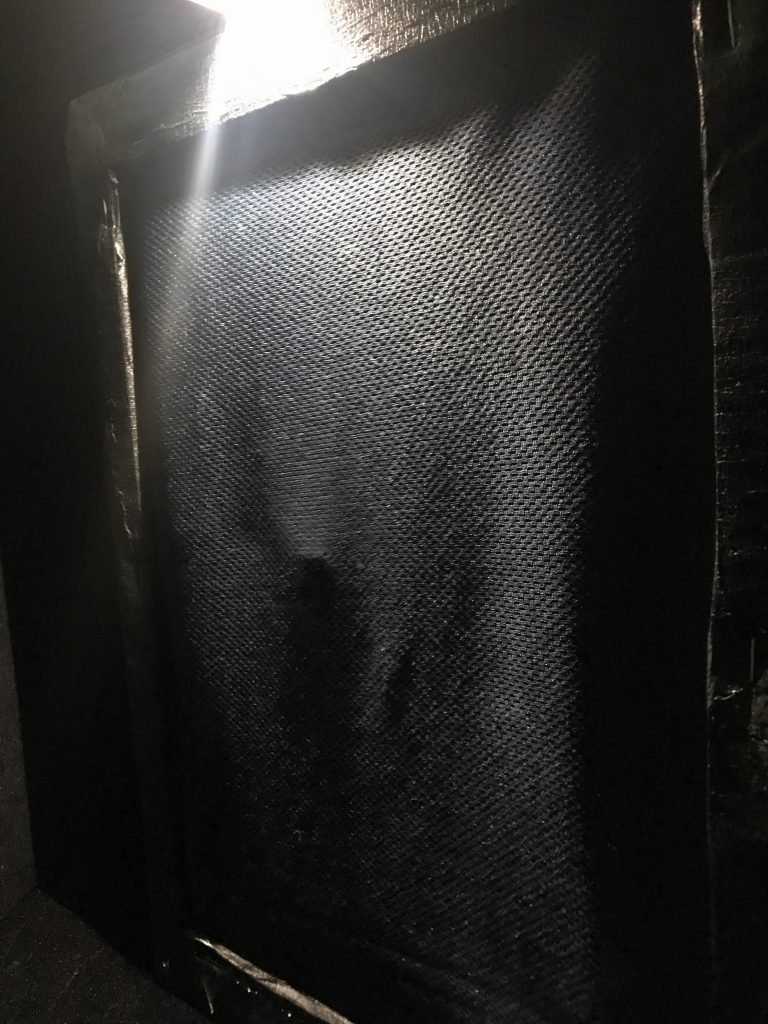
By pushing the fabric at the end of the installation, the motors move, emulating fingers that seems like as if the user’s hands have traversed through a wormhole into another location.
The overall feeling we aimed to get is the sense of amazement from the shifting in colours and also being able to teleport their hands through space.
https://docs.google.com/presentation/d/1QqwL3OJHkvuKO2NJf1szHjSbgNvObOalTWKNzutuSV4/edit?usp=sharing
I learnt to control the motor using the flex sensor values, as well as how to work around a problem (the LED one) by manually writing individual code for individual colours. I’ve also learnt to use 4 different components and making them work together.
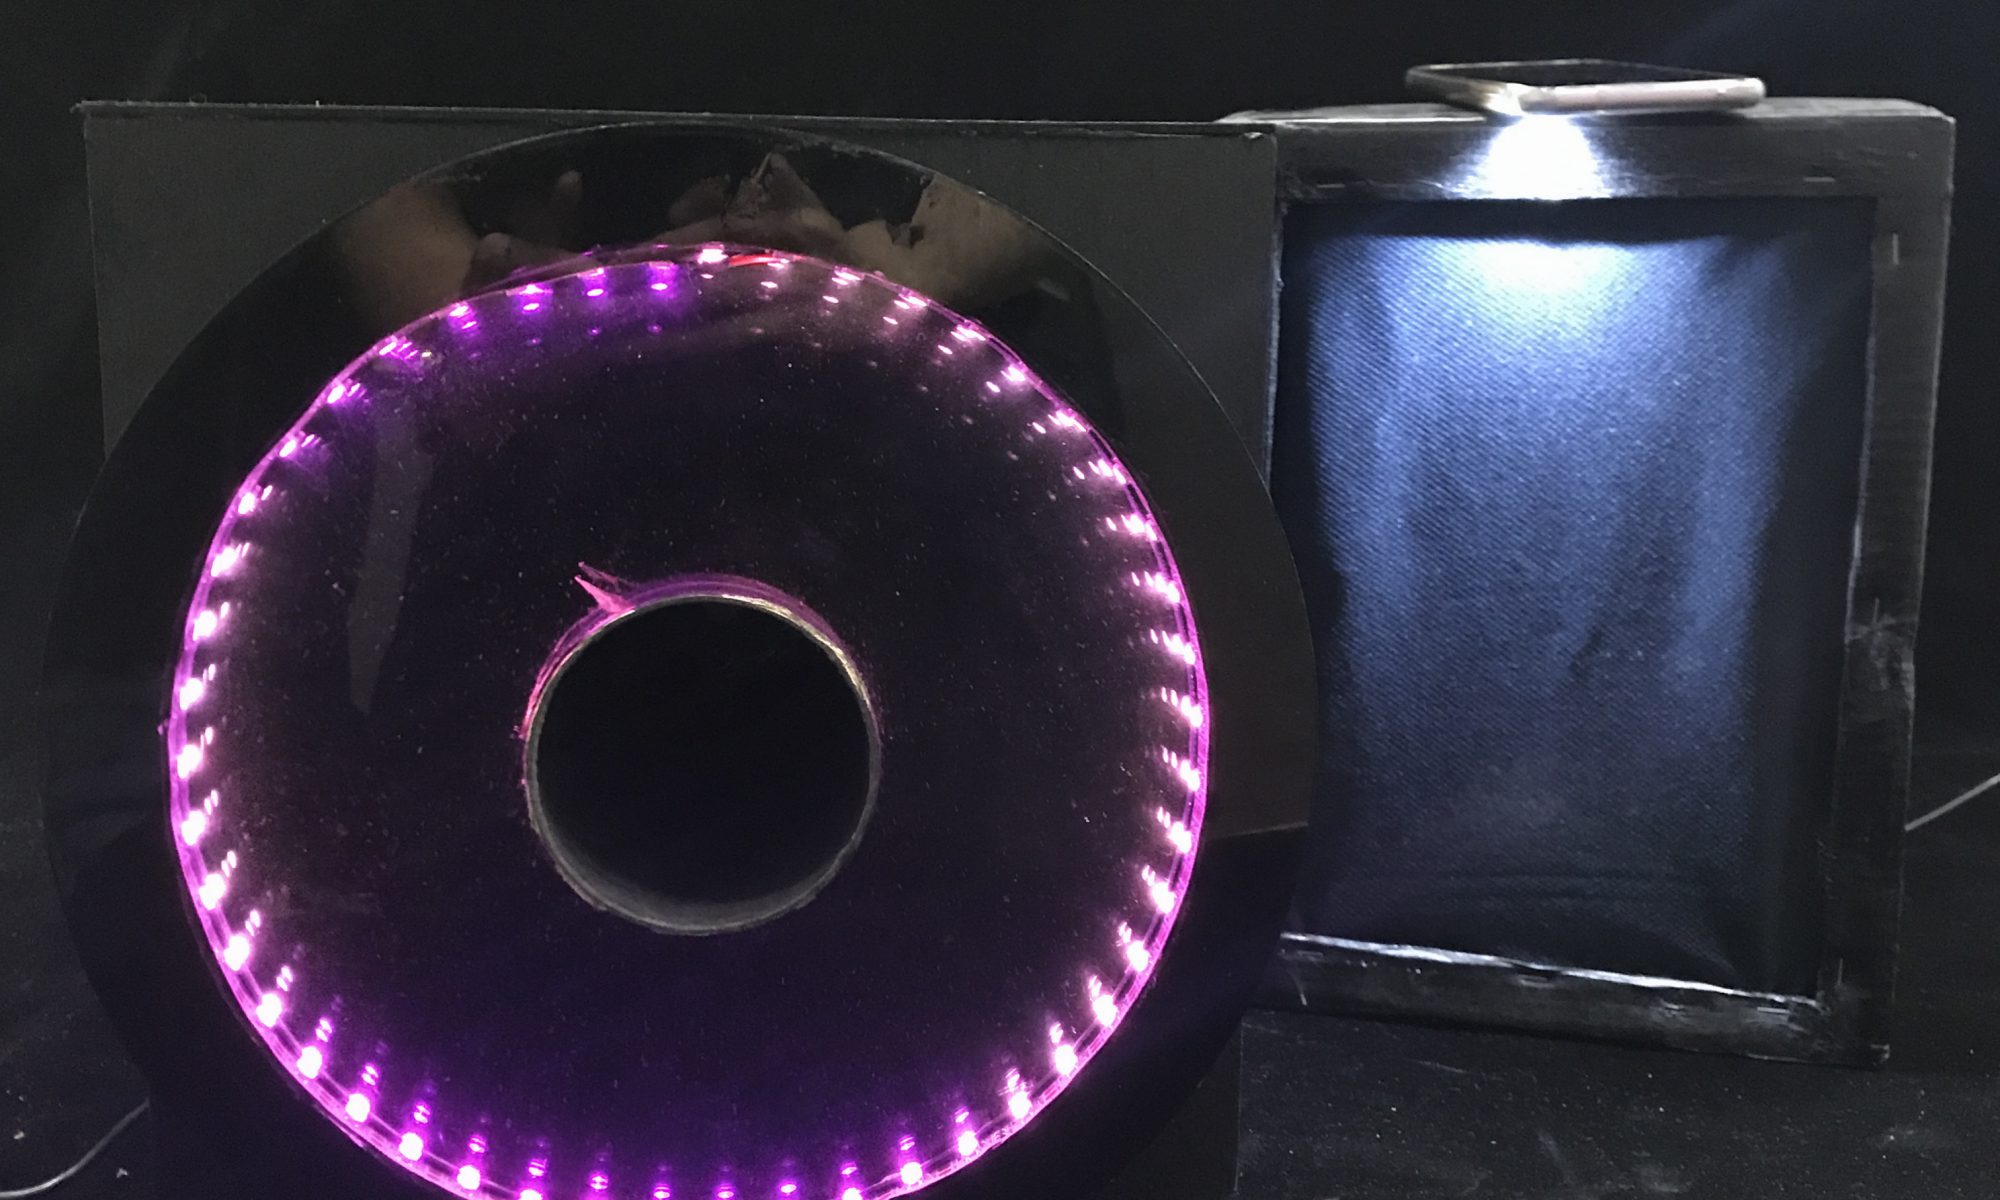
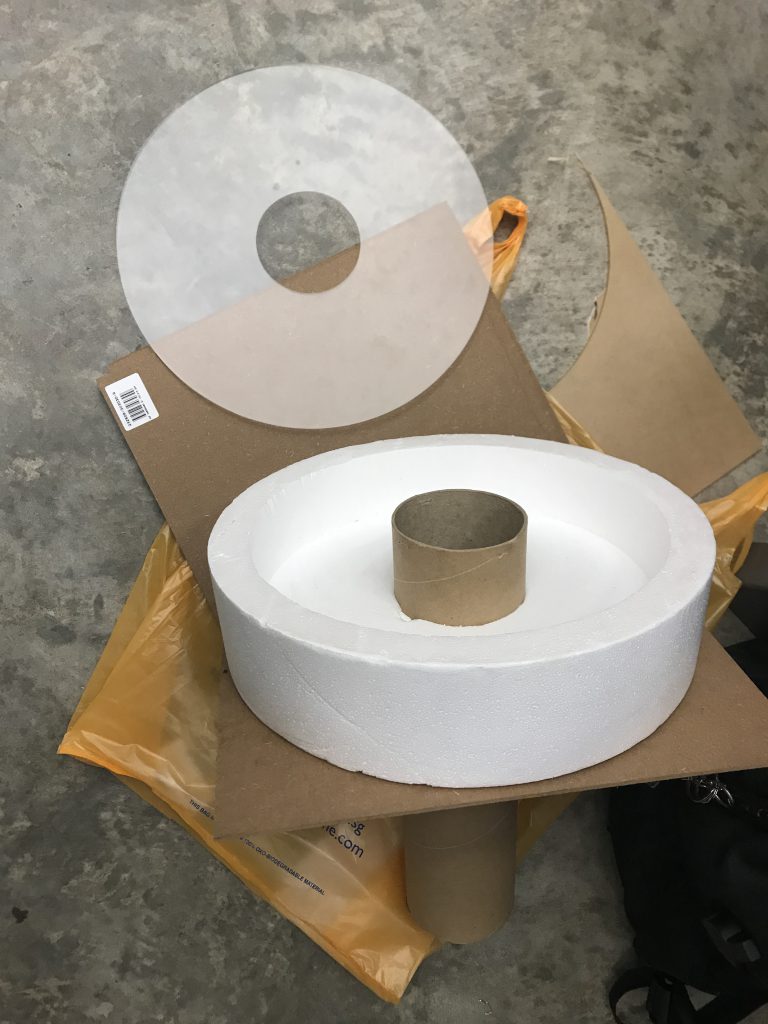 Fixing up the main structure of the clock
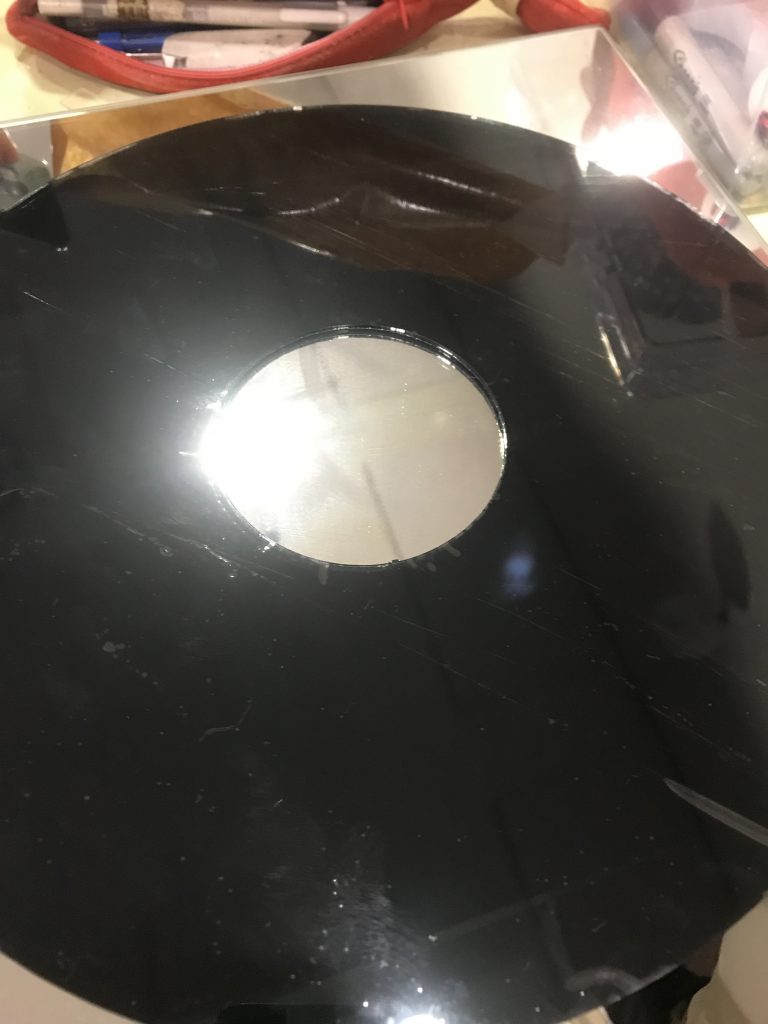 Applying of black one-way mirror film