Metropollutan

Metropollutan

Metropollutan is a wordplay on two words “Metropolitan” and “pollutant”, signifying the idea of a citizen in a city surrounded by pollution.

In the distant future, global warming have desertified Earth. Temperatures are always high and dust storms frequently hit urban cities, forcing its population to adapt. The garment is an imaginative reflection of the clothings that people in this dystopian future wear, referencing elements from desert wear and the clothings from Cyberpunk genre in Science Fiction.

The jumpsuit is the innermost layer of the garment, and is made of a comfortable and breathable fabric which helps the wearer feel cool. The sleeves are made broader to make it more cooling, which can also be buttoned off when a dust storm hits.

The poncho is the next layer, covering half the wearer’s body. This is inspired by the garments worn by desert dwellers. The poncho can be further extended to cover the wearer more if needed.

The outermost layer is the armour, which is used to protect the wearer and to perform functions such as detecting environmental changes, and responding using lights and motion. The armour pieces are also inspired by beetles in the way they are designed and the way they are segmented. For example, the arm pieces look like beetle legs while the shoulder pieces look like antennas. The armour also has an iridescent shine like beetles, which also coincides with cyberpunk aesthetics.

The garment is thus able to allow wearers, the Metropollutans, to adapt to the dusty yet urban environment.

The different parts and their functions:

The hood and the mask helps the wearer to protect their face against dust. When high pollution is detected, the motor moves and the mask comes up to cover the face.

The shoulder pieces are called the “Illumunators” which lights up into bright green light when there is high pollution so as to increase visibility.

The chest and neck piece houses the electronics and helps keep every other armour piece together.

The arm pieces help the wearer to visualise the environmental information in the form of light. The left arm piece responds to pollution changes, where in low pollution, it glows in blue and green, while in high pollution, it glows in pink and purple. The right arm piece responds to temperature changes, where in average temperature, it glows in blue and green, while in higher temperature, it glows in orange and red. These changes notify the wearer of the changes in environment, while also preparing them for the change in the garment pieces’ movements.

Finally, the belt allows the wearer to hold more things as it acts like a utility belt.

How it works

The garment uses Internet of Things (IoT) services to collect, send, and receive data to alter the state of the garment. Data is collected from Air Visuals, a weather data API. The data is sent to Adafruit.io, which stores all the data. The stored data is then sent to microcontrollers, NodeMCU Amica, inside different parts of the garment, controlling different LED strips and servo motors.

As IoT data do not reflect the imagined world’s environment very well, the garment is also controlled by a switch on Adafruit.io which changes the state of the garment. There are two states that works on my garment currently: high pollution and low pollution. On high pollution, the mask will move up to cover the wearer’s mouth, the Illuminator will switch on, and the arm piece colour will turn from blue/green to red/orange; vice versa for low pollution.

Photos of final state:

As I didn’t have the tools (and drive 🙁 ) to continue working on the garment, this is the final state of my work.

Current state: With a piece of armour

Additionally, I’ve worked on the mask and the electronics at home.

Mockups, Sketches:

To make up for the lack of finalised project, I used sketching and mockups to imagine the way the armour pieces look.

Video of Electronics / Interaction:


Role and Future Aspiration in Fashion Show

I would remain in the role I was assigned, doing the stage. I wish to do projection for the show, and had discussed with Shah before about it and we think it’s a good idea. I think we can project the quirks of the different garments, like for example, mine could be a desert world, while Fizah’s can be snakes.

The stage design will also include logistics like smoke machine placement, decorations, etc. This should tie in with the theme, but that’s undecided yet.
Circuit Breaker Process Updates

Not much happened. Here are some small scale mockups I made to visualise the pattern to cut on the actual piece:

I used Illustrator to create some patterns. Yet to really test them out properly but I’m planning to trace these out on drafting paper (which I forgot to bring home 🙁 ) and test them instead of testing them on the actual PVC leather first because its EXPENSIVE.

Chest piece
Shoulder piece and mask
belt
Hood and eyepiece
Neckpiece

Here are some progress with the shiny PVC leather:

Hi yes I’m wearing the Mcdonald’s pyjamas

I only managed to make a mask. Put all the electronics on it and it works! Video is on my final post.

Electronics

I documented before but I’ll reiterate.

I used a code that brings info from AirVisuals, an open source API that lets you collect info from the internet.
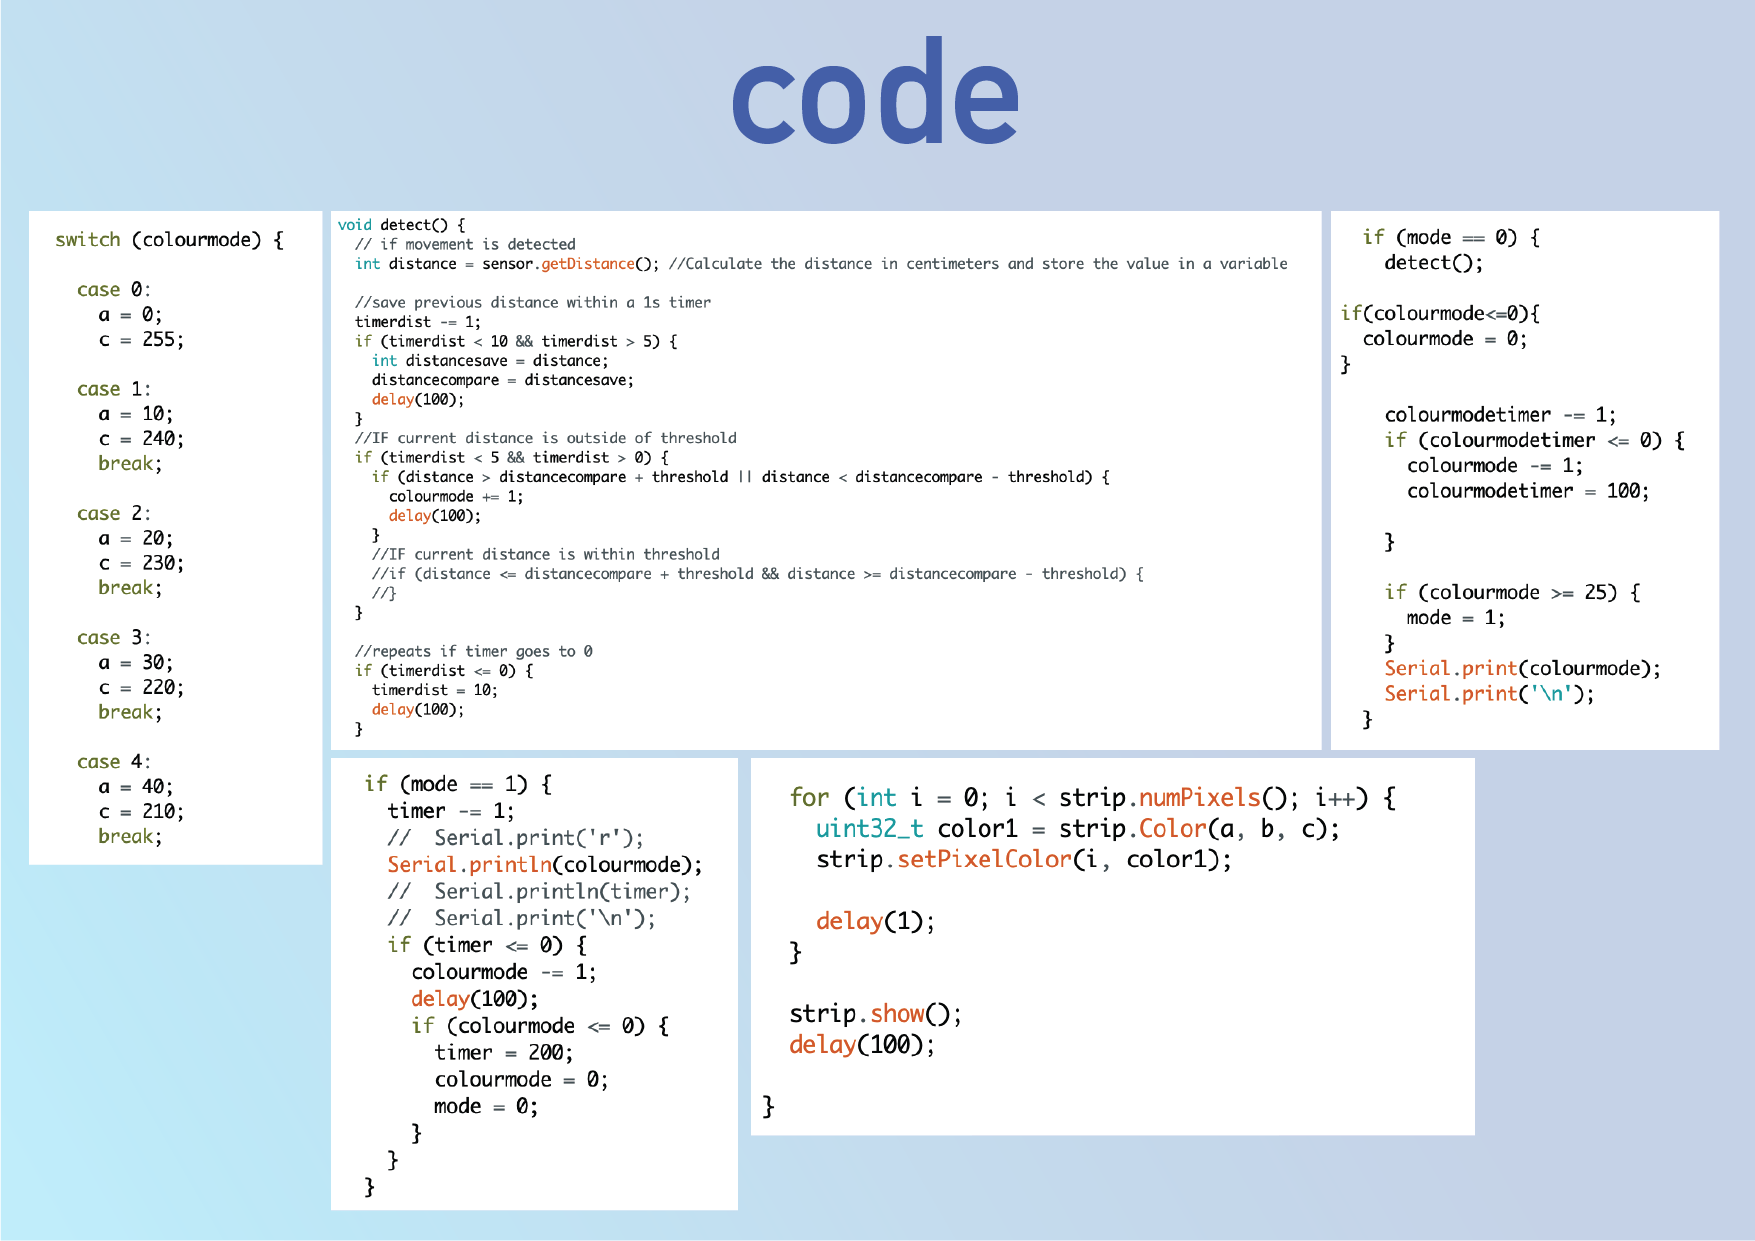
This code collects the data
This code prints the data out for me to see its values

It works, but as weather is always consistent, the results may not be the most exciting for a fashion show. As such, I created a virtual button on Adafruit.io to toggle the effect from “green” to “red”. Green represents healthier air quality, while red represents dangerous air quality.

Servo motor code
Code for virtual switch to work on my device

Final setup:

More to be done… This is only the main part. The motors will be on the chest piece, and I need 2 more pieces of LED strip for the shoulders.
The LED light here is for the arms, and I also need 1 more piece for the arm.

I already have the materials so I’ll continue working on it over the sem break or even, if I need to continue after sem starts.

Adafruit.io interface showing the values of pollution, temperature, and the switch position

For concept updates and all, see final post.

~muse Final Presentation

Side note! During presentation I mentioned that the name was meaningless, but I actually meant that it was quite insignificant that I don’t think I should explain it and skipped it over! I basically wanted a name that isn’t too generic and the “~” represents the idea of feelings / mood.

Final Video:


Early Prototypes:


Images:

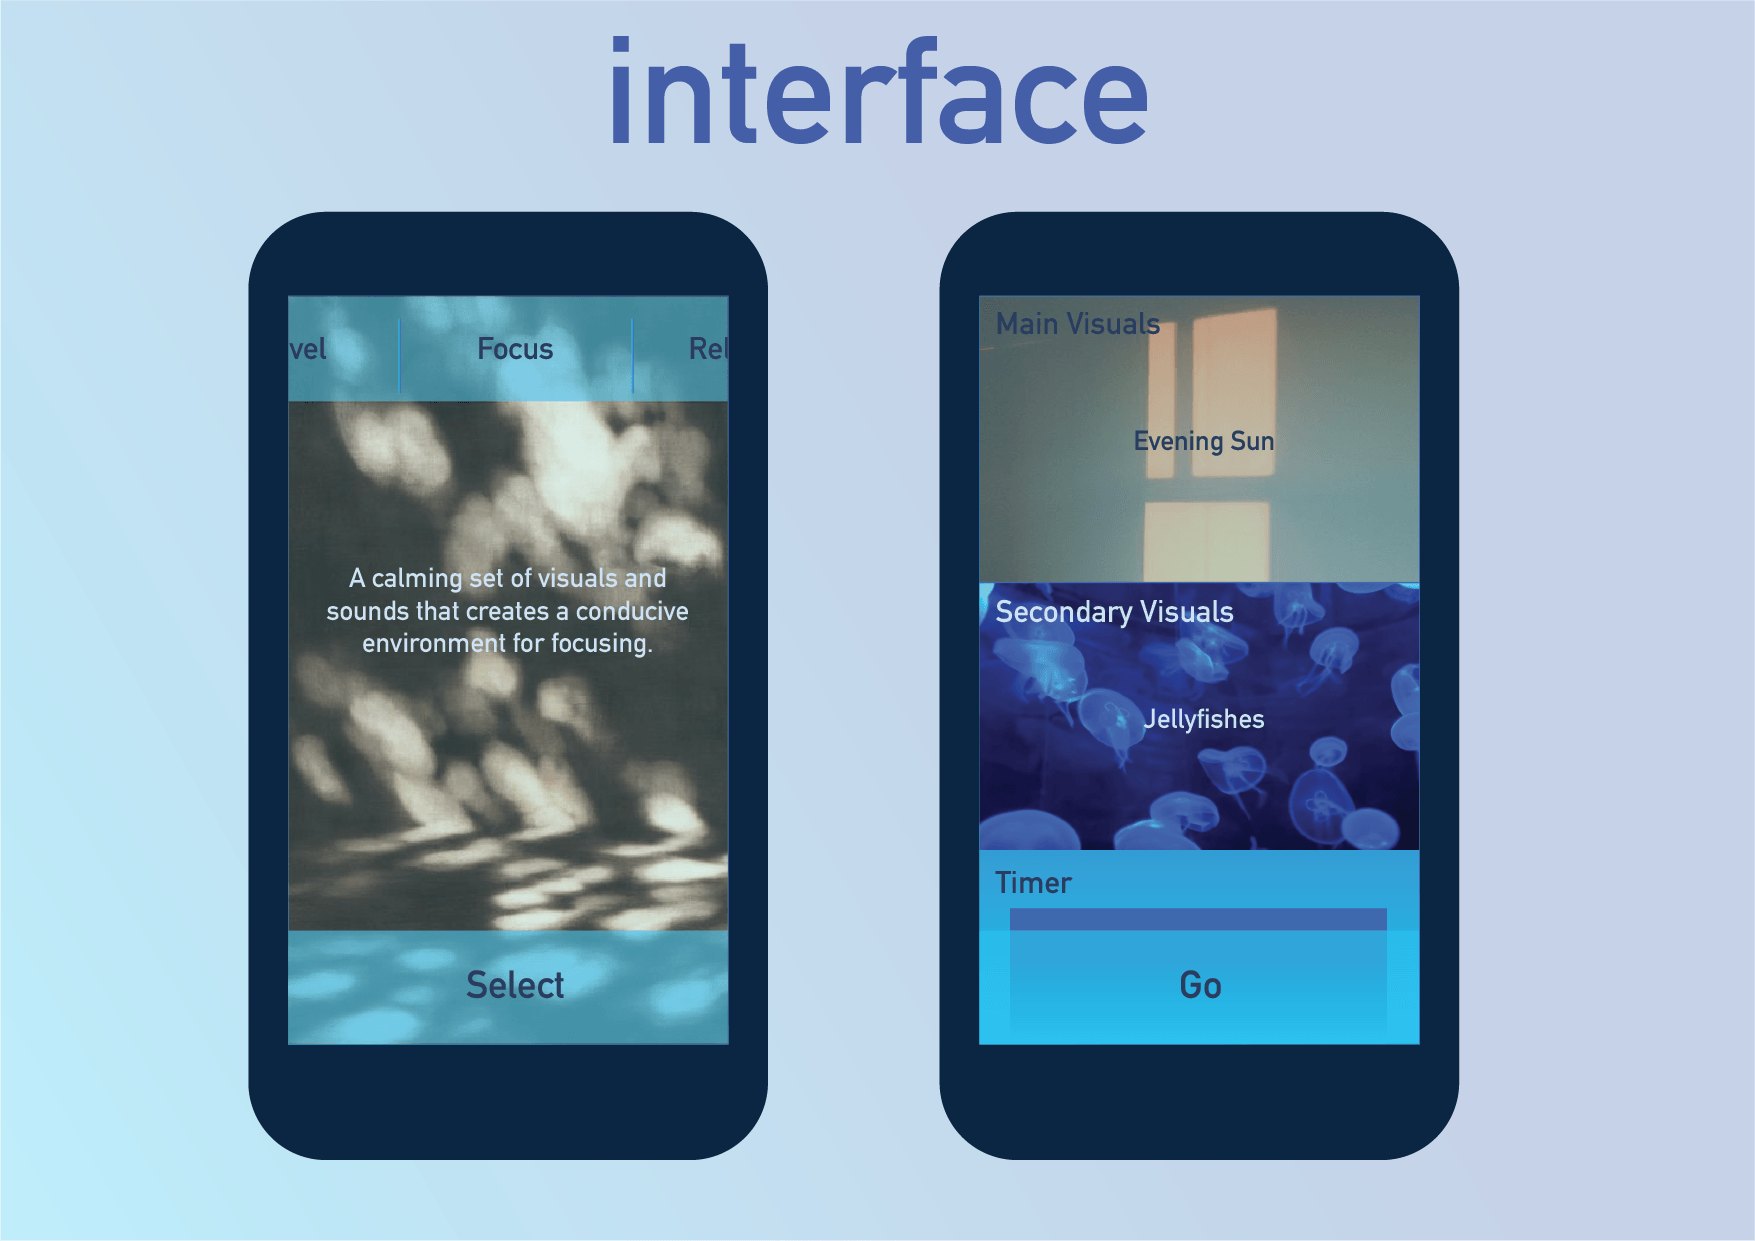
During normal focus session, the visual looks like this. Background moving visuals to create a mood.
When distracted / fidgeting too much, the small visual pops out to full screen, with a change of audio to calm the user down

Party in the Quantum Realm – Media Art Nexus Final Submission

By Bryan Leow & Vanessa Wong

Abstract:
You’re cordially invited to our quantum house party! Inspired by the idea of the superposition principle, party guests and objects here do not adhere to physics as we know it. In this house party, while the rooms are entangled to one another, the guests exist in different states at the same time – however when finally being observed, only one state will remain.

Issuu link:

Video:

Party In The Quantum Realm – Media Art Nexus

Valuable Resources:

Animation Looping tutorial by Pixel & Bracket: https://www.youtube.com/watch?v=NAwZr4L56p0

Glitch Effects tutorial by SonduckFilm: https://www.youtube.com/watch?v=RMF_a1d4fwQ

Music: Party on Xenox 5 by Lobo Loco on Free Music Archives: https://freemusicarchive.org/music/Lobo_Loco/Candy_Nights/Party_On_Xanox_5_ID_487

Free TV distort effect by Rocket Stock: https://www.rocketstock.com/free-after-effects-templates/digital-distortion/


~muse Smol Updates (Not final)

I just want to collect my thoughts in a post. OSS is really a great way for me to not just update on my project but to just think as I write.

CONCEPT UPDATES

FORM

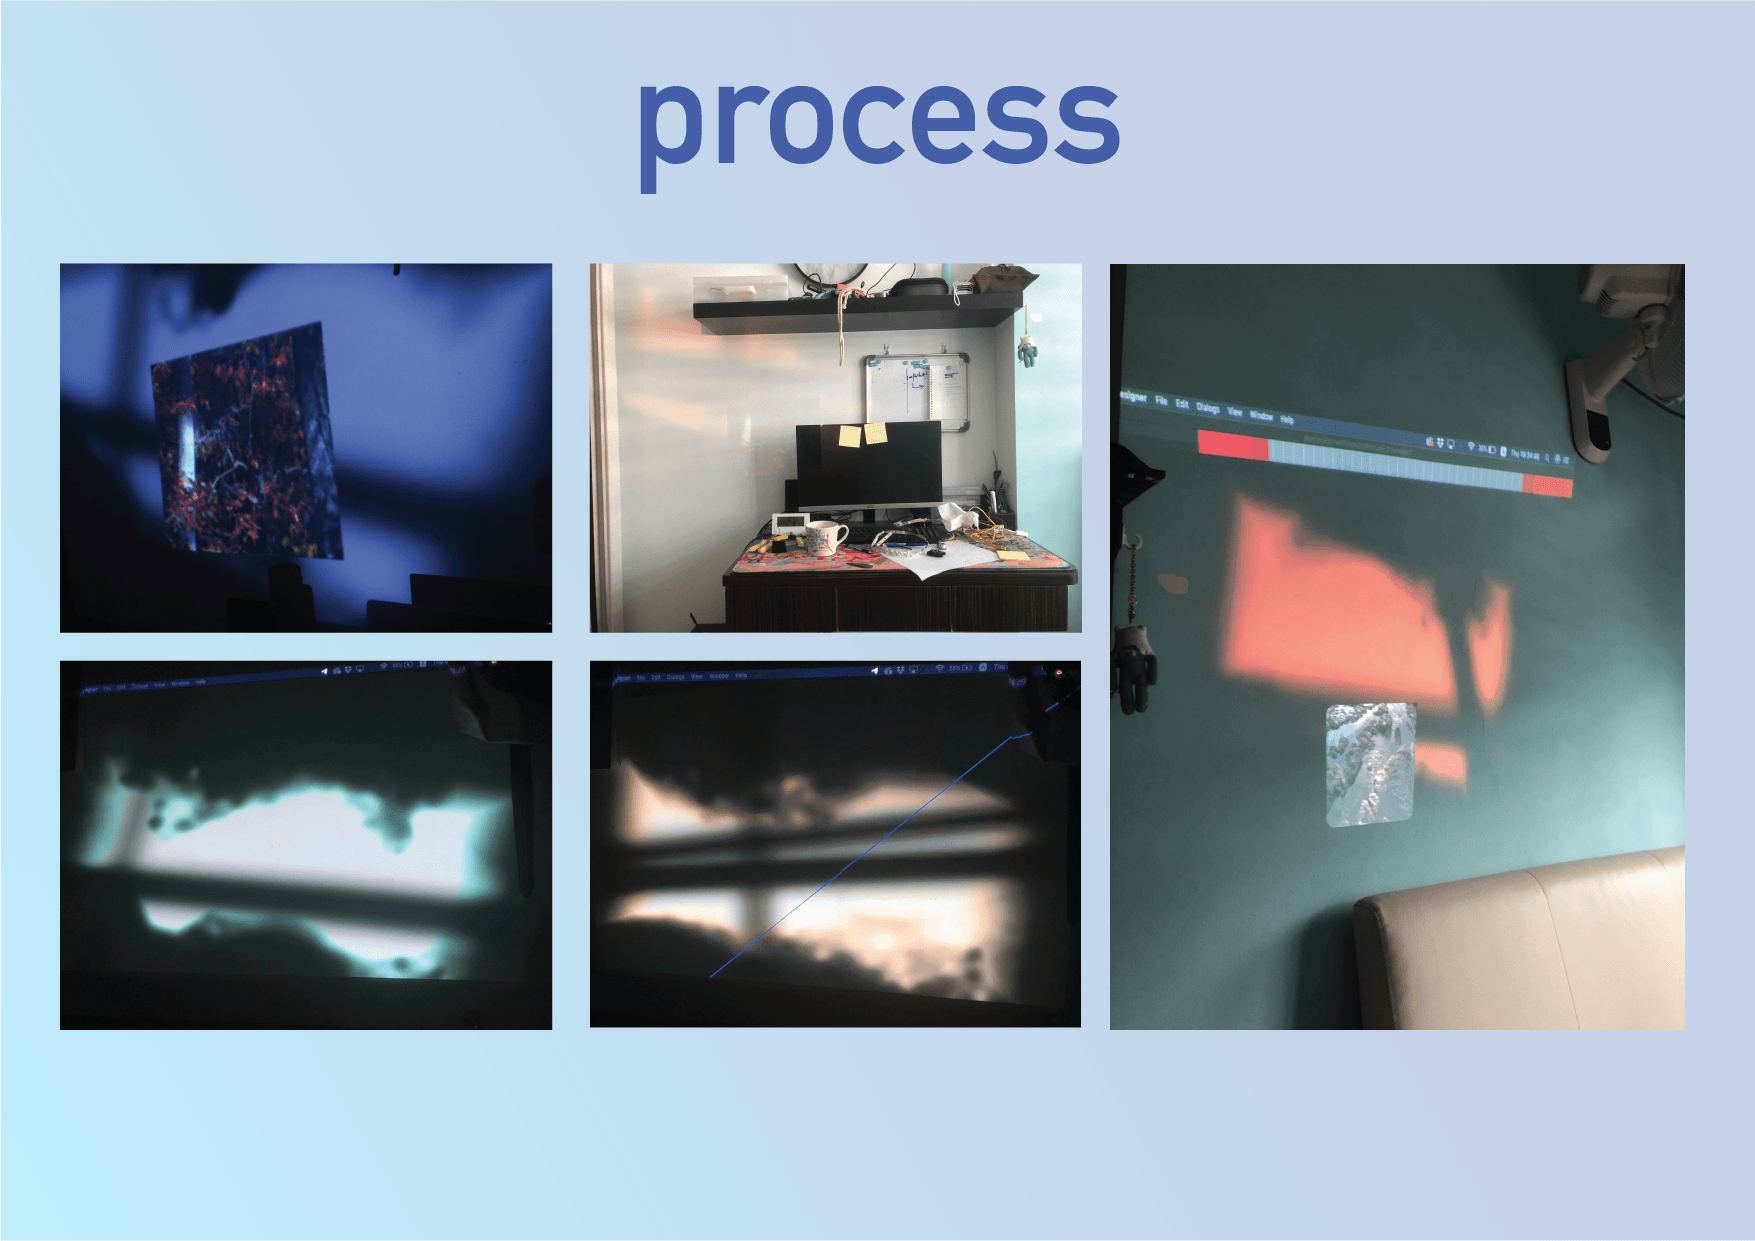
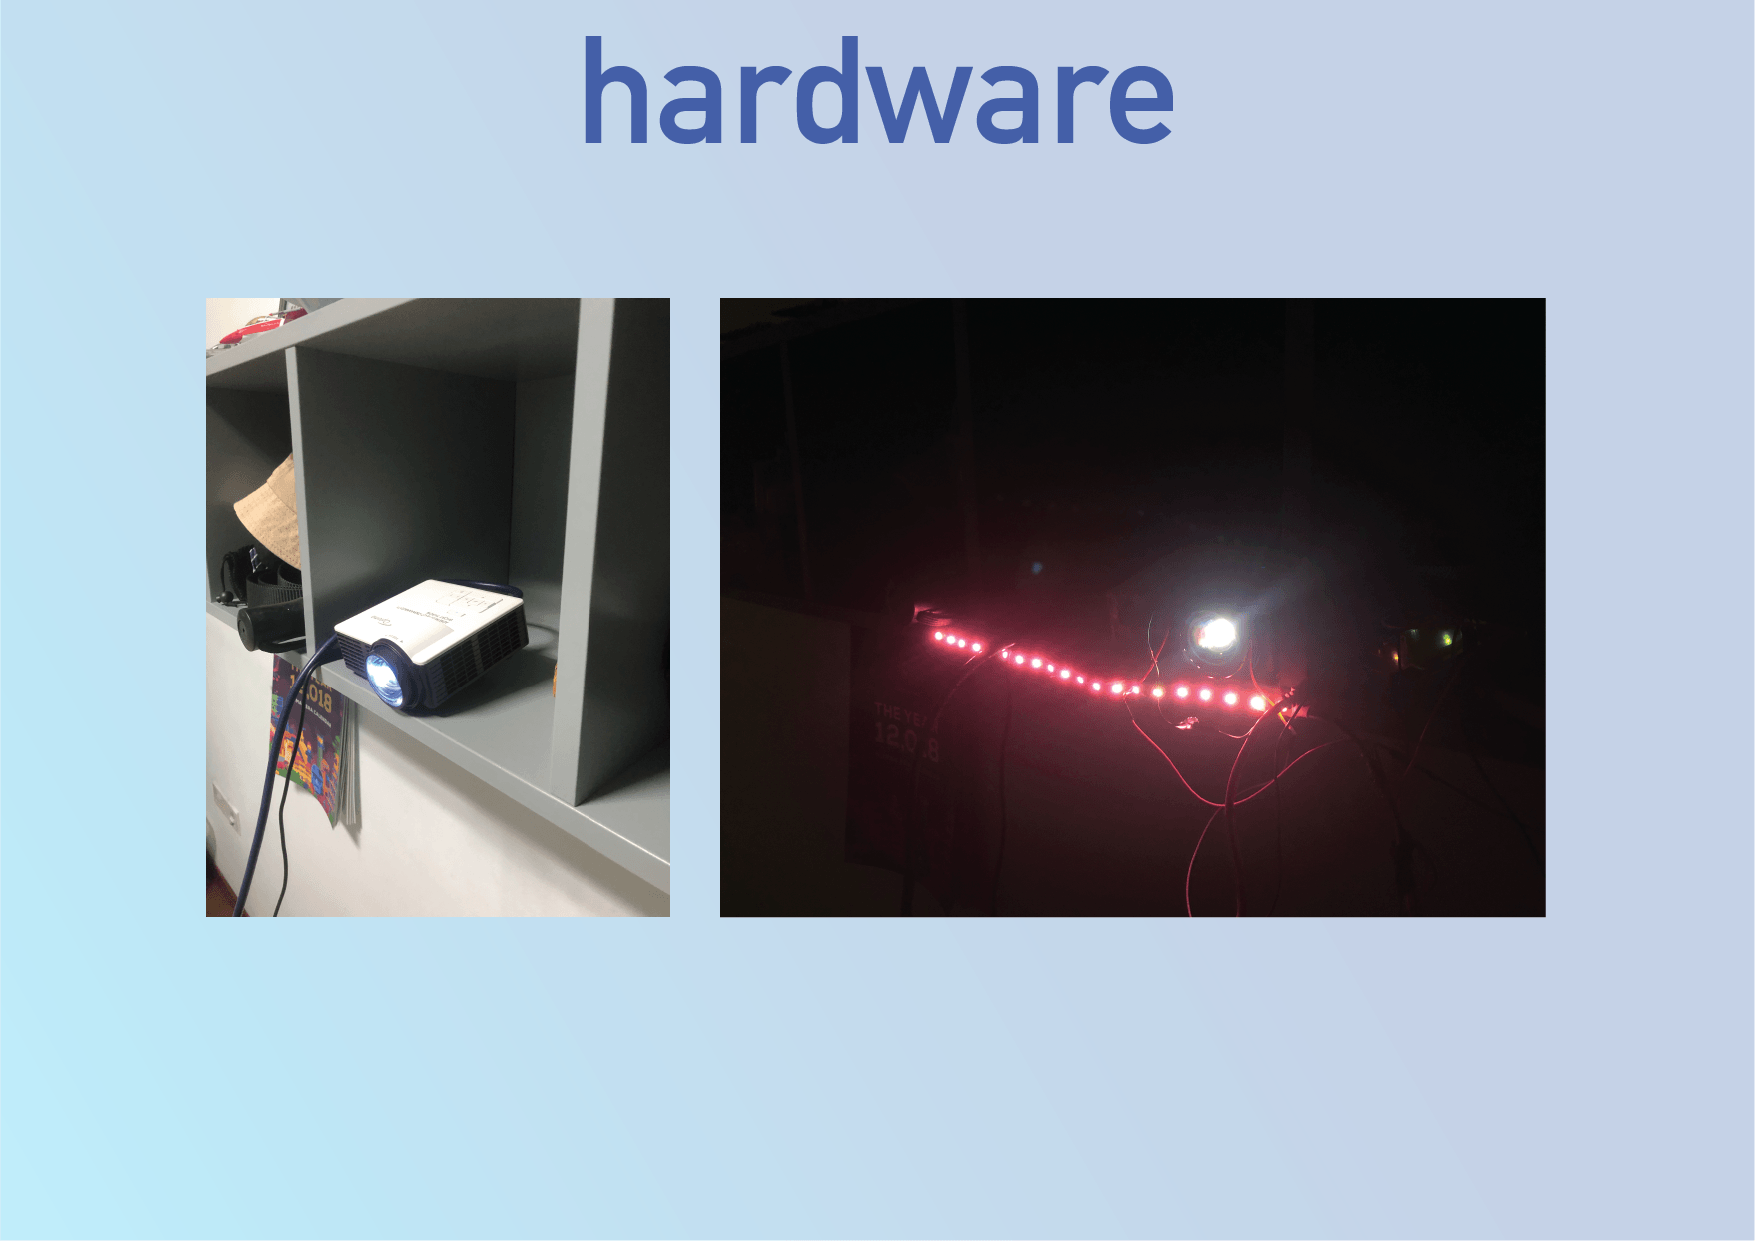
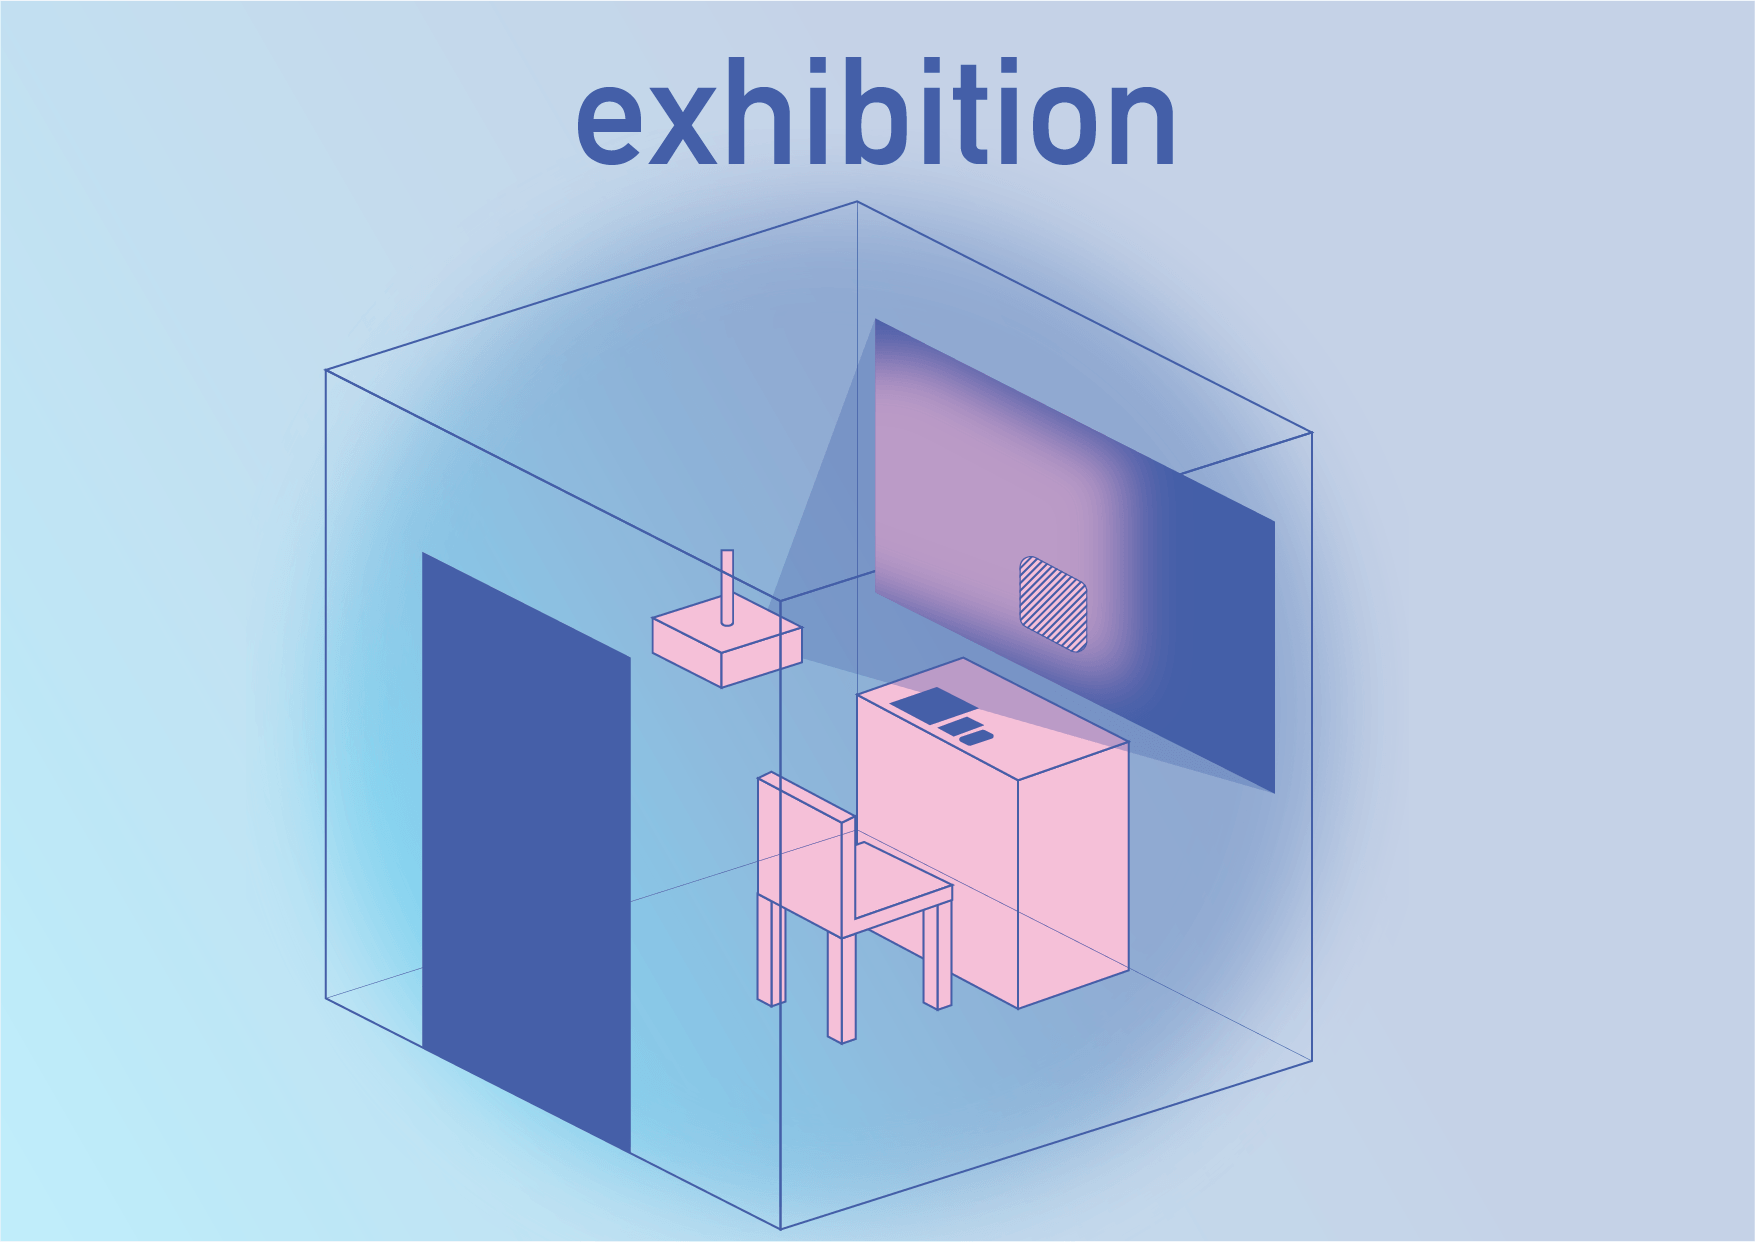
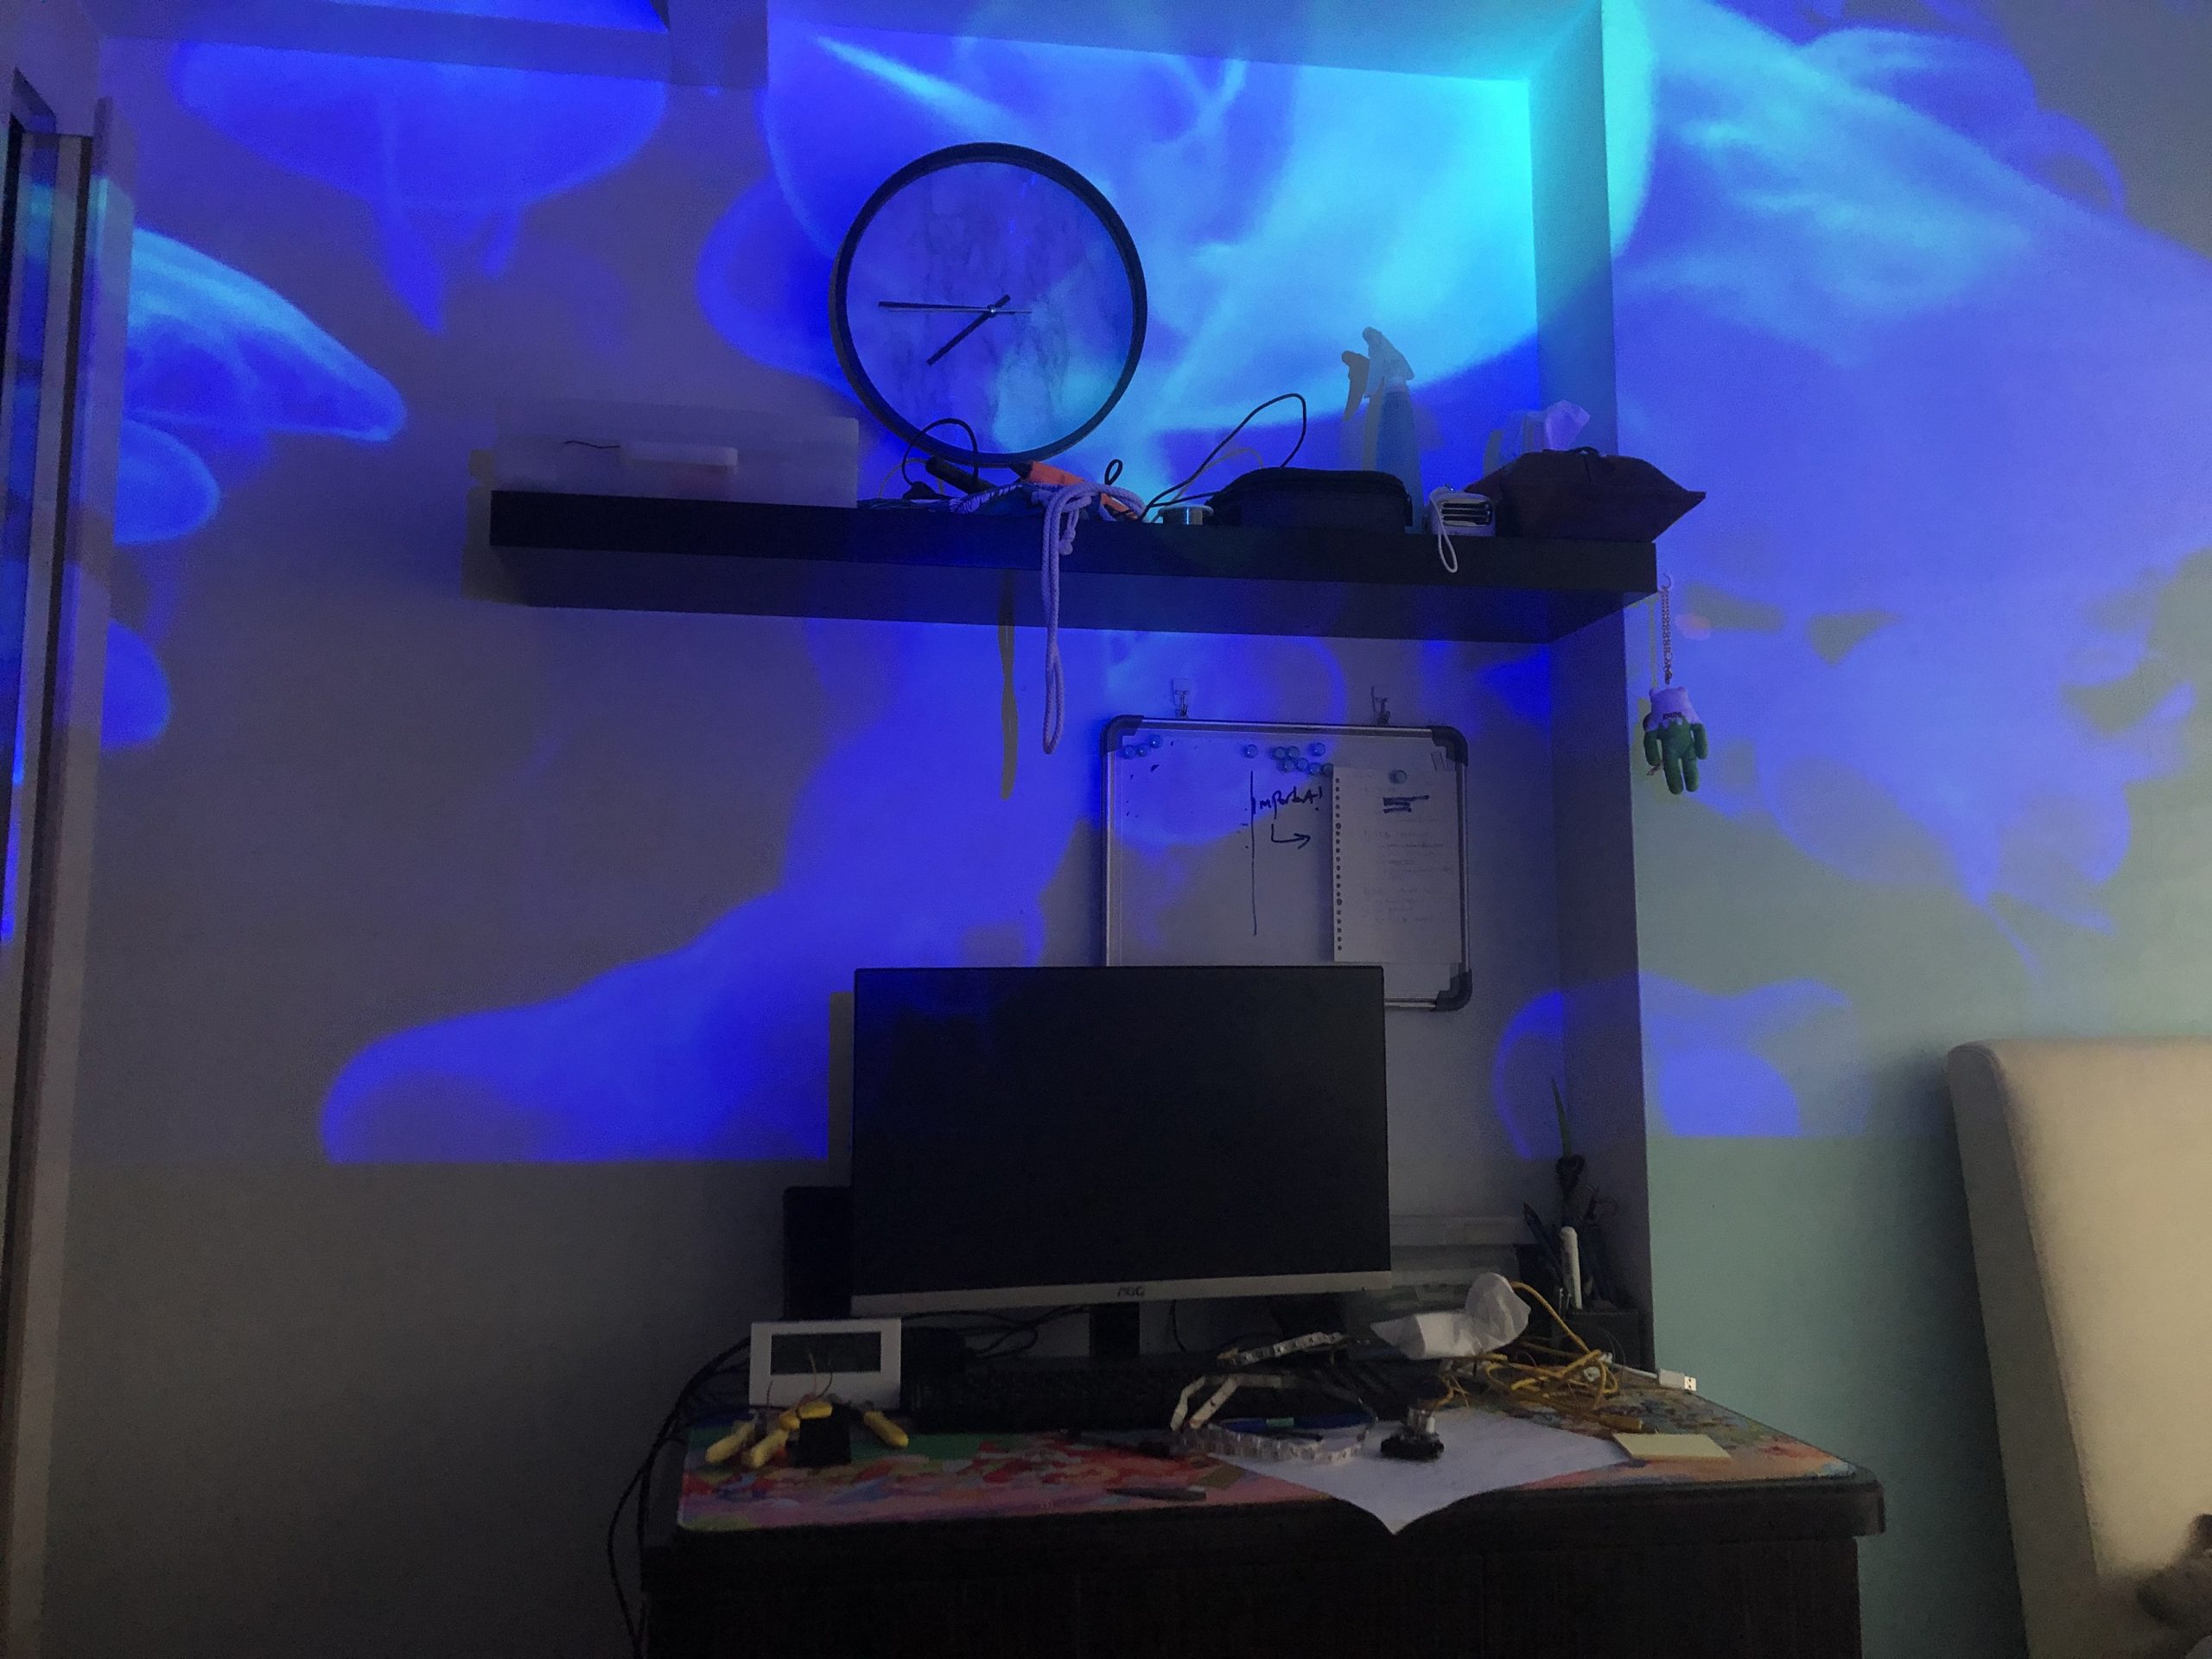
I’ve decided that the projector should be a ceiling lamp that projects the effect onto walls. After testing, I realised that the projector cannot be too close to the wall even though its short-medium throw. The projection is too small to create a decent effect.

I’ve tried to put the projector on the shelf at the back of my room and found it effective, although it still casts my head shadow. I offset the projection to the left of my desk and it works well.

This made me think that hanging it up will work better. And if it’s going to be a ceiling lamp, it should have some additional light for mood as well. I was thinking, in the best case scenario, the lamp can also drown the room into a specific coloured light based on creating the right mood also. For example, blue for calming down, red for active activities, etc.

SENSOR

For the sensor, I wish for it to be a motion detector, but I don’t have it with me so I’ll make do with infrared distance sensor to sense change in distance which suggests fidgeting (not ideal, I know).

OVERALL

For this project, I can’t make it as well as I wish it can, as there isn’t enough time and materials. As mentioned previously, I’ll only work on the visuals for “focus” mode, which is just window light effect, relaxing TV visuals, relaxing sounds. In addition to that, I’ll work on a using the sensor to alter LED colour (to indicate change in mood), TV visuals change, sound cue change (if possible).

For presentation, I’ll also create an interface and graphics to show how the controls and the lamp will look like.

PROGRESS WITH THE PROJECT

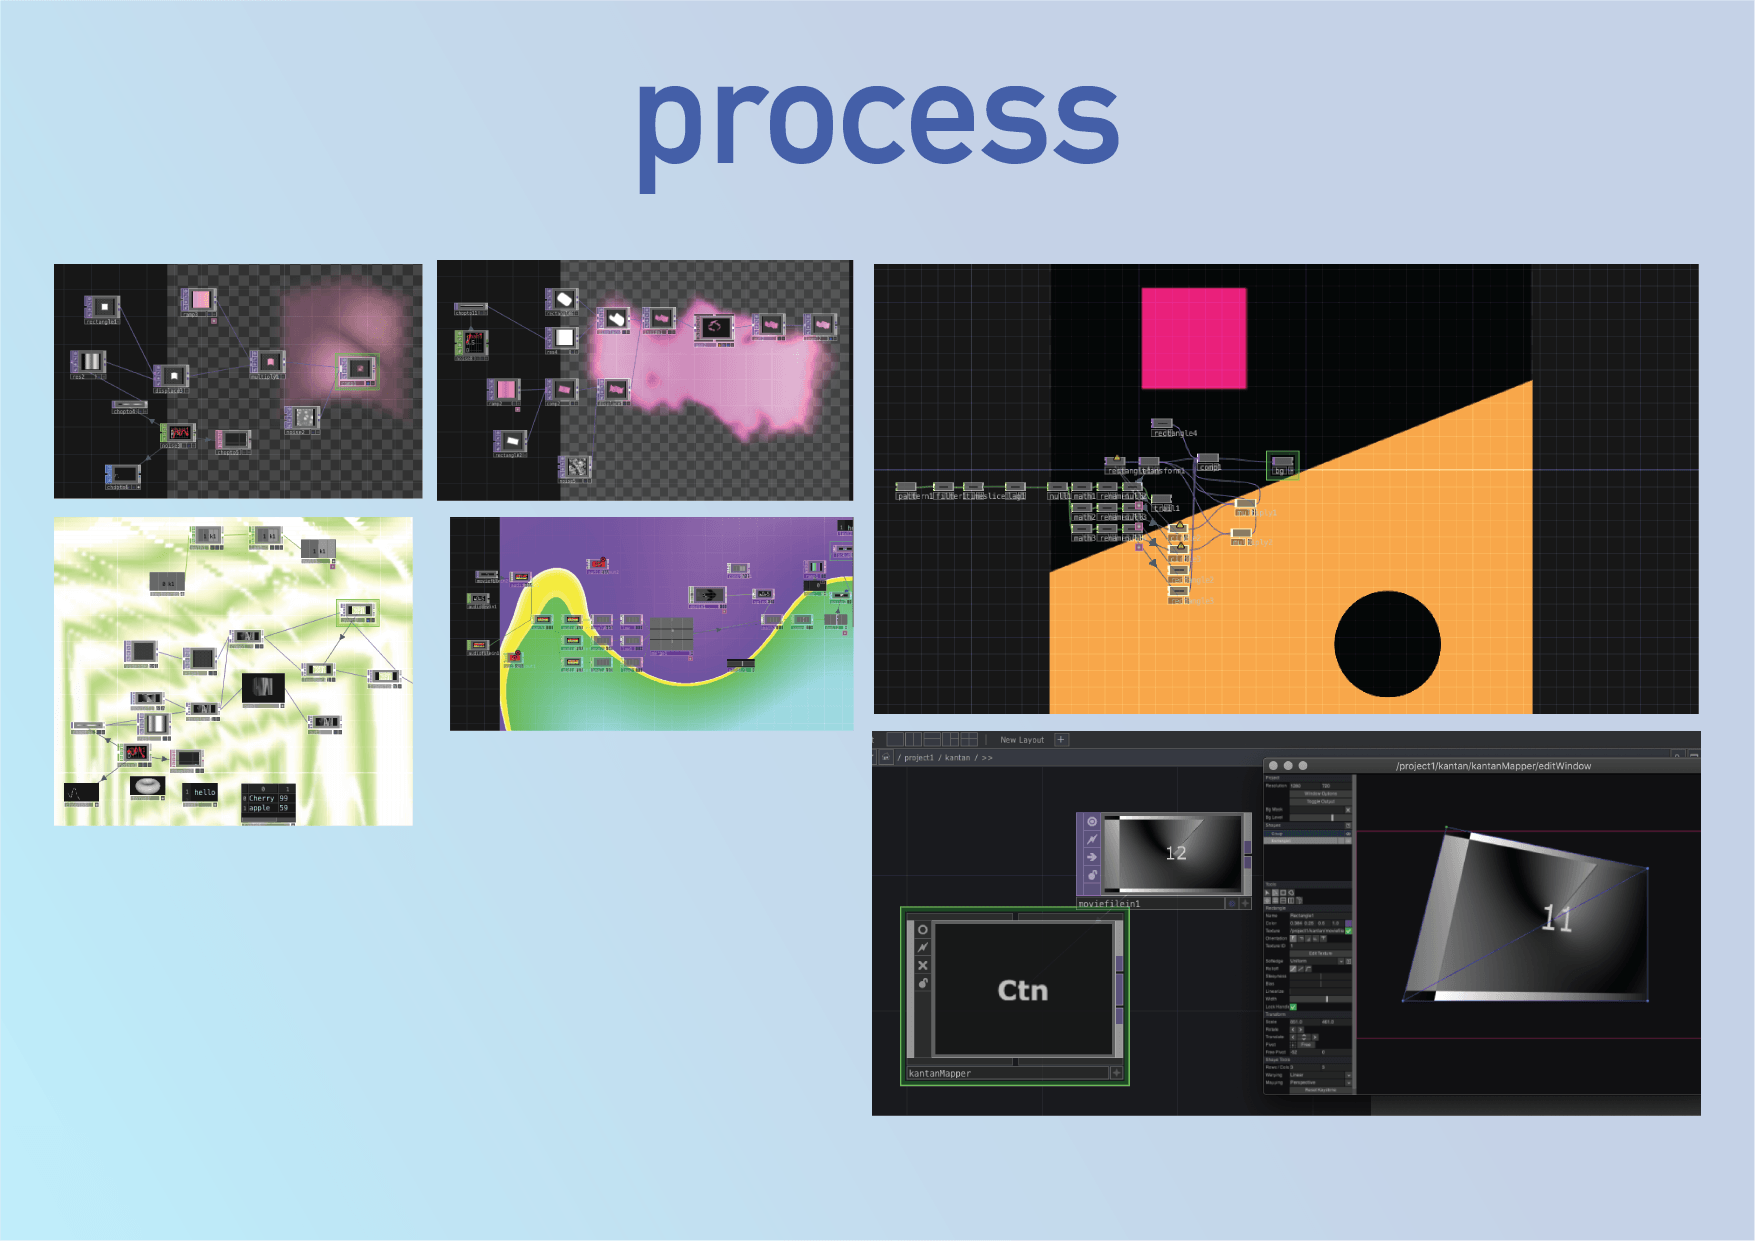
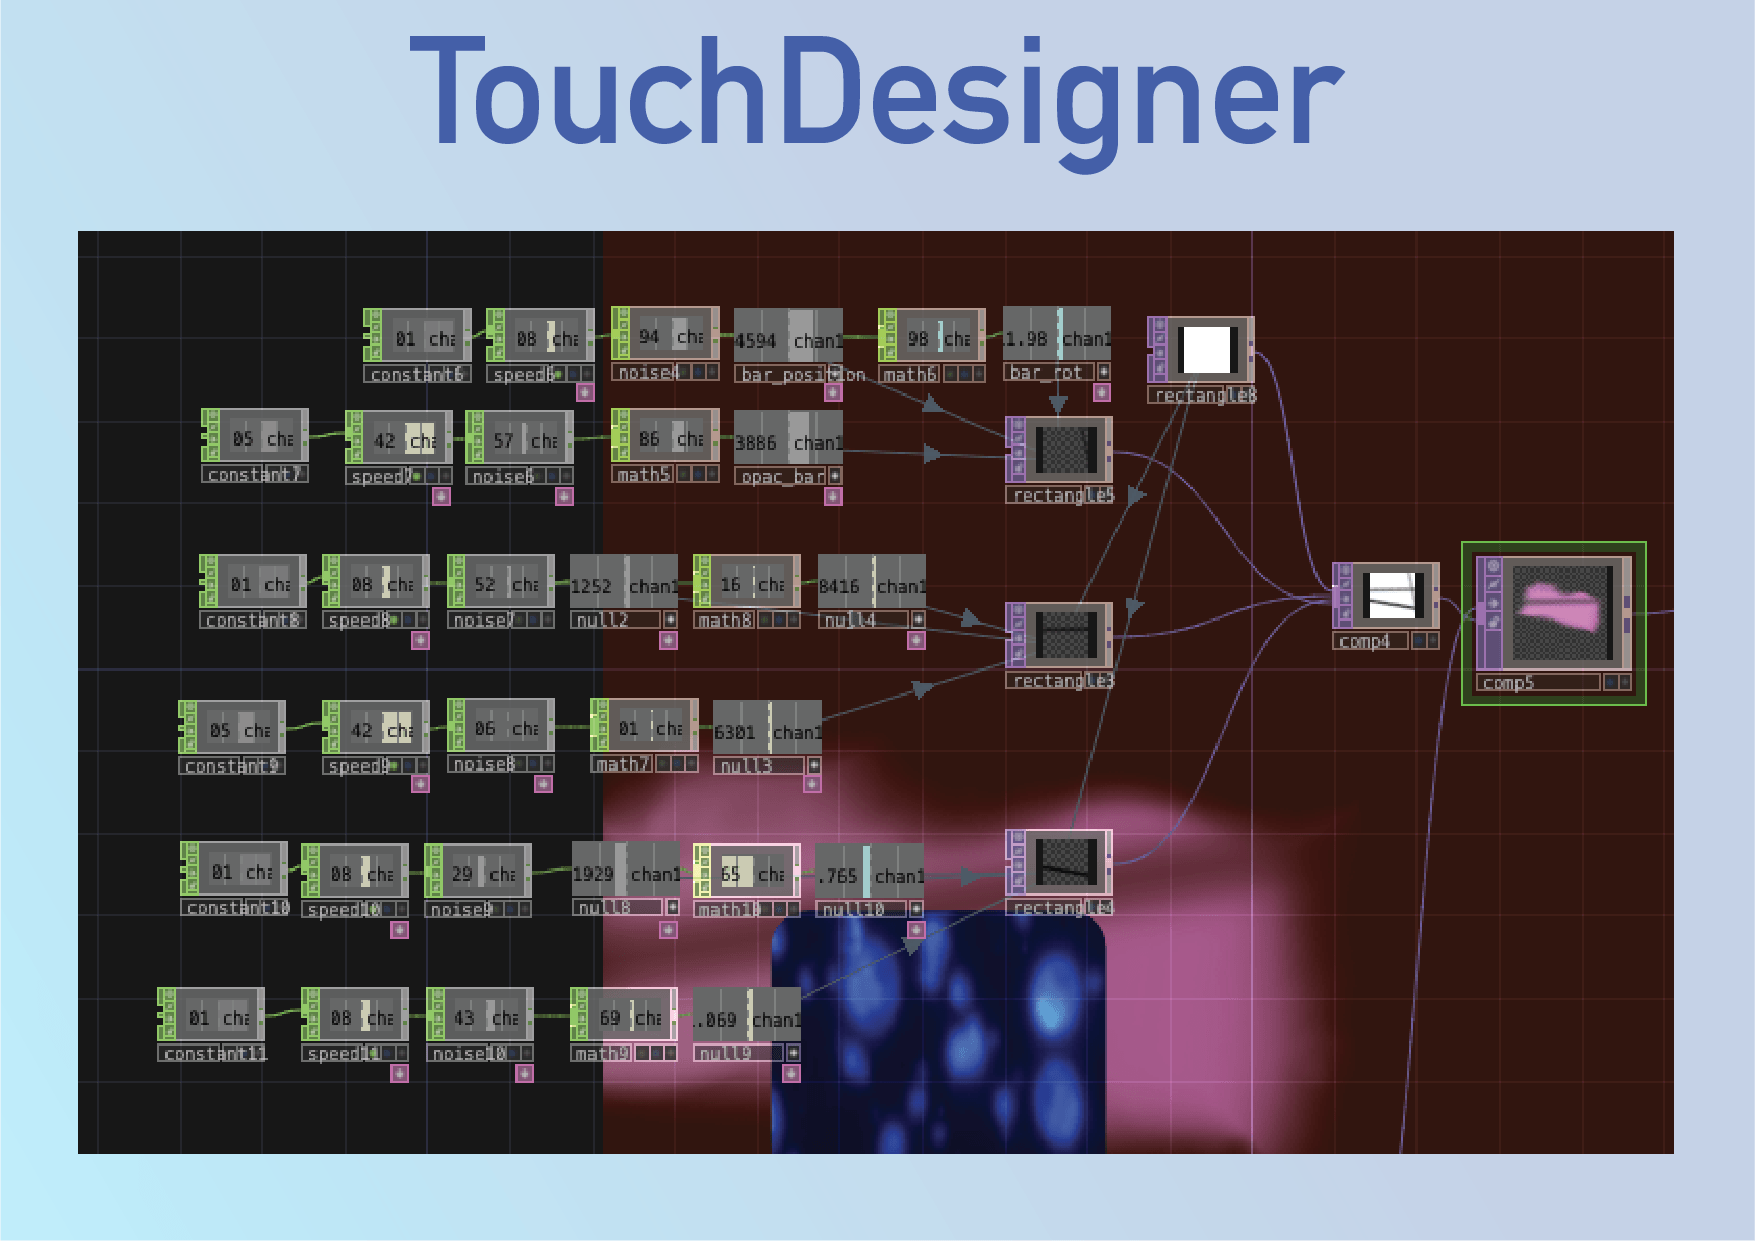
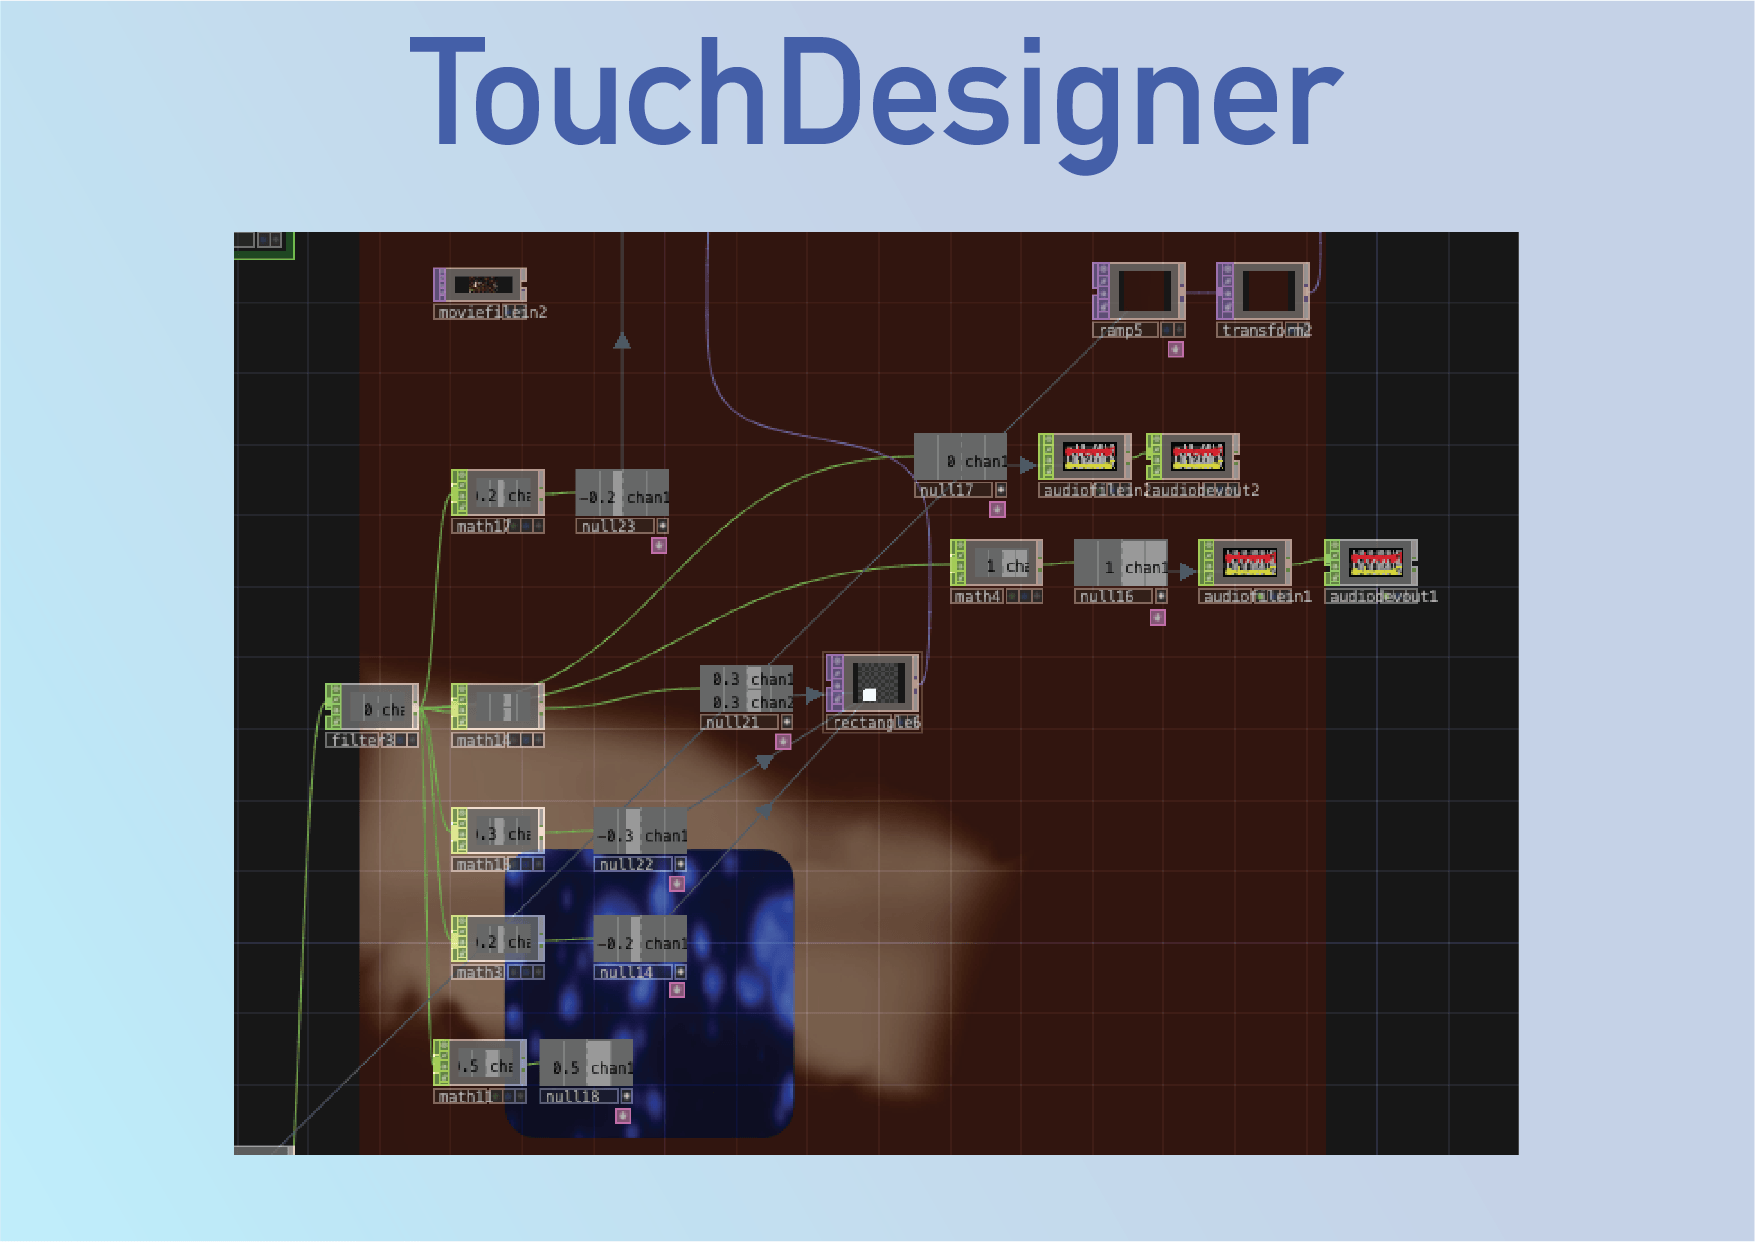
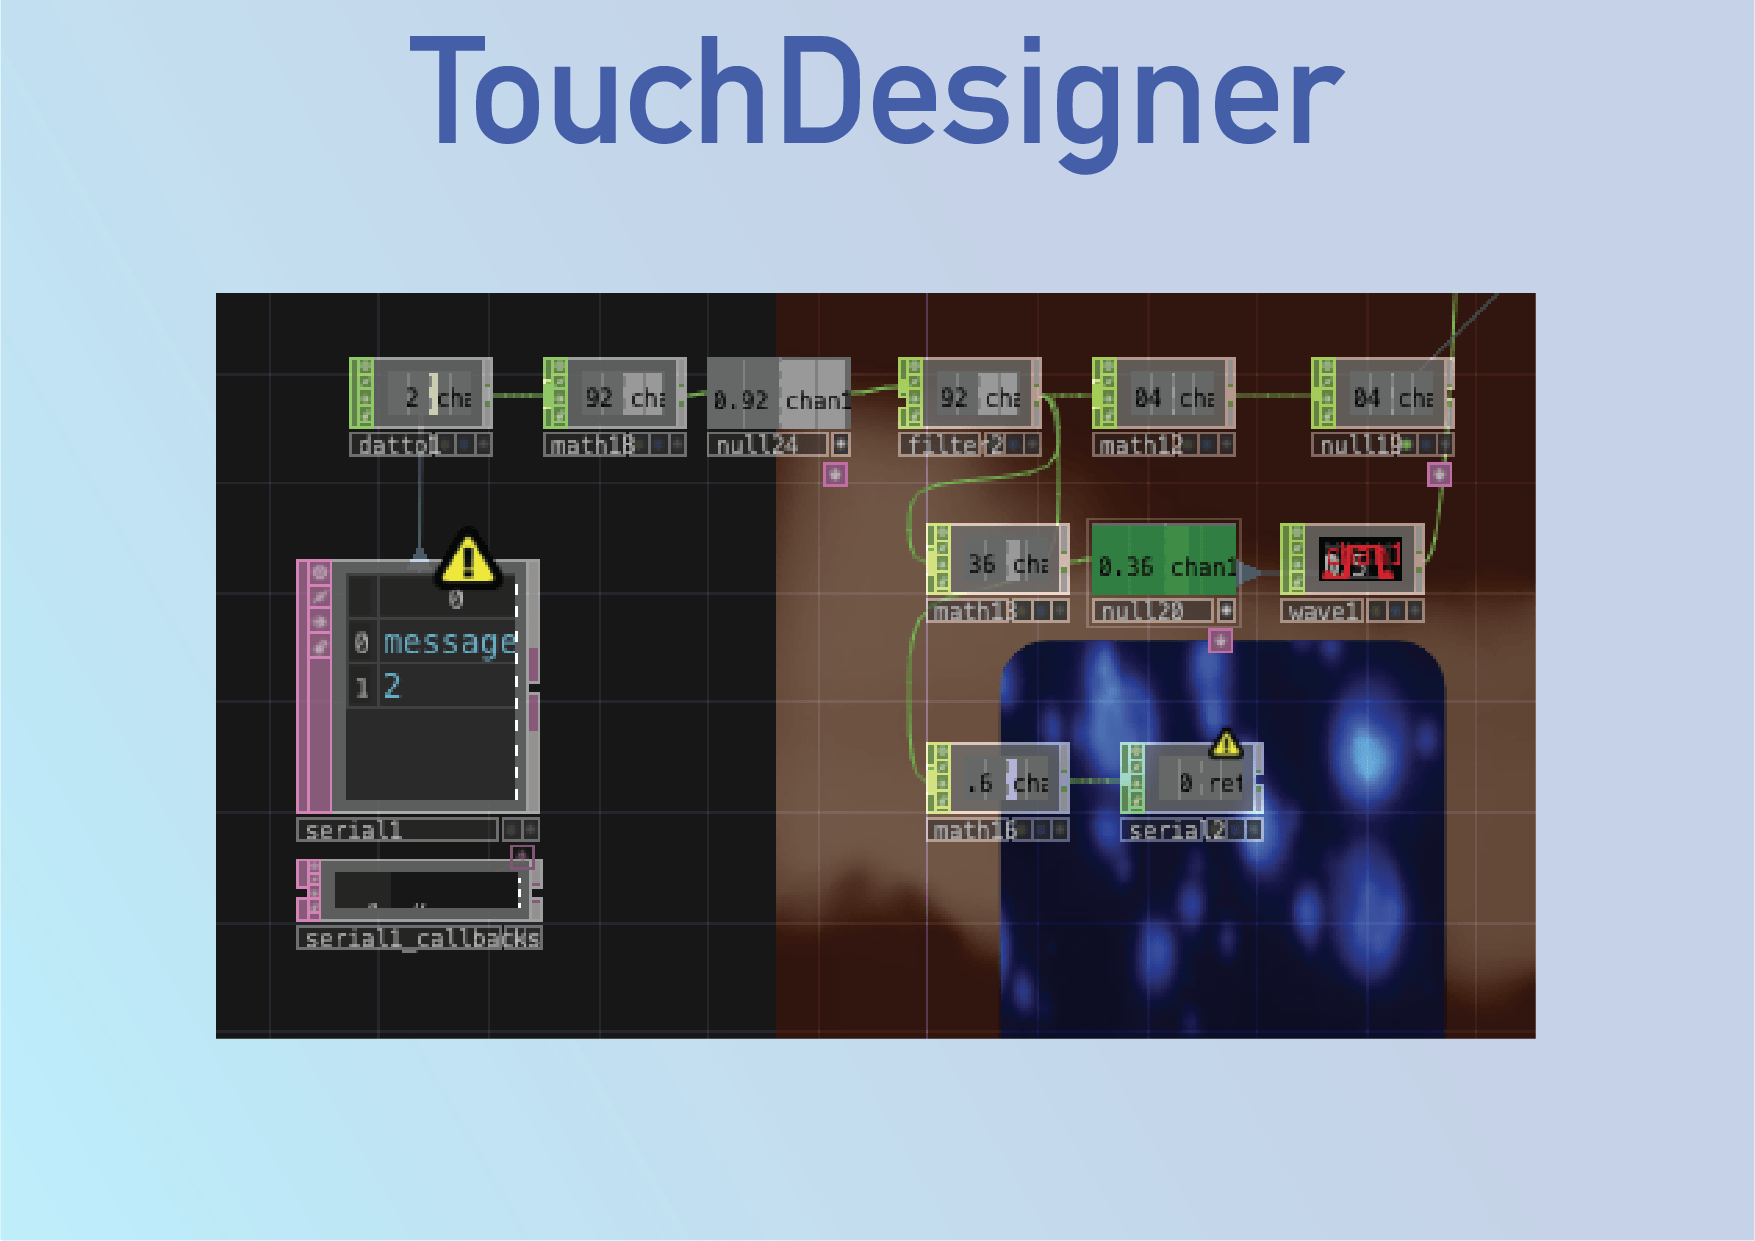
So far I’ve been playing with TouchDesigner and learnt quite a bit.

For this project, there are a few parts:

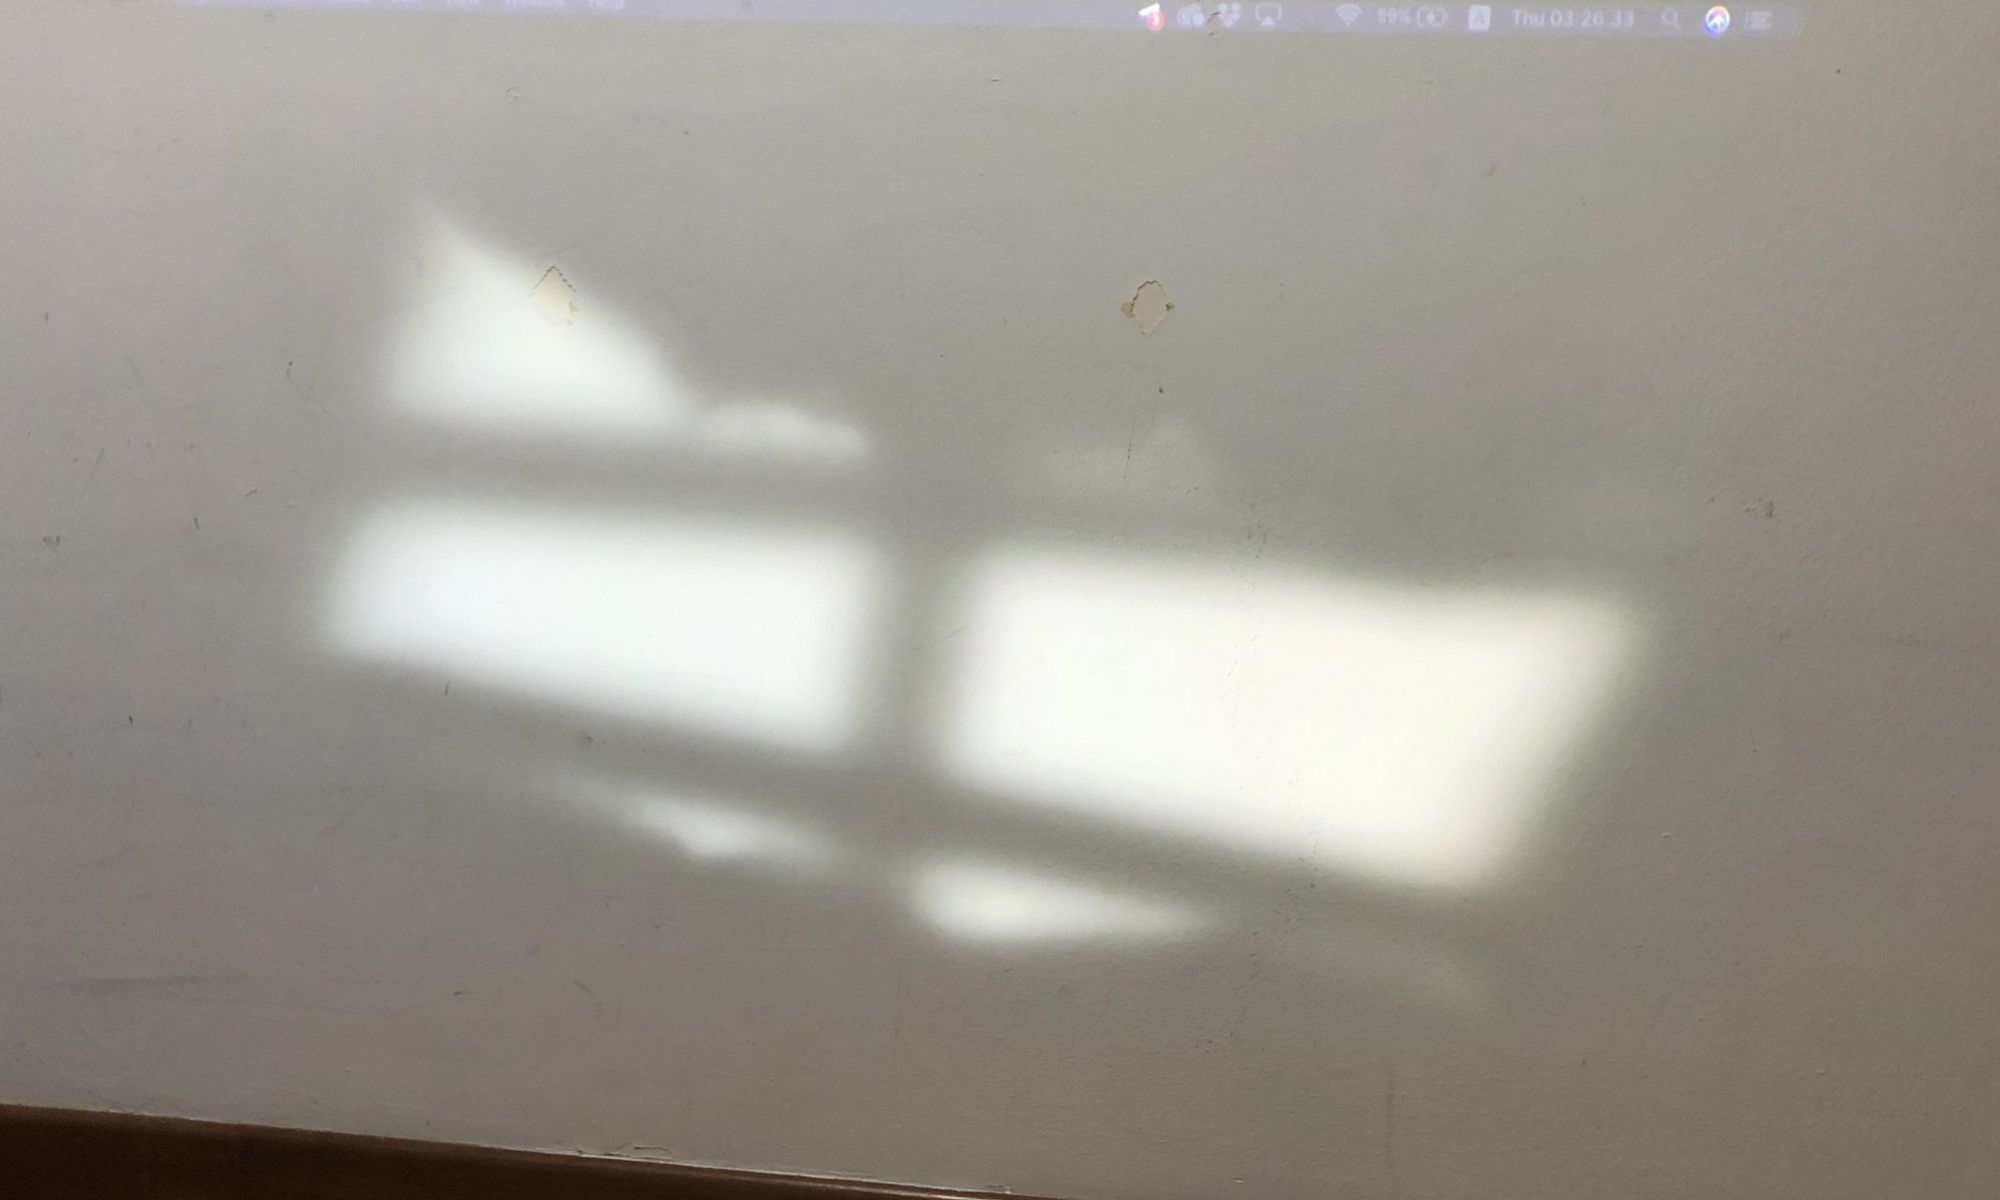
  1. Window: the window light effect
    1. random opacity change
    2. random window effect (multiplied noise)
  2. Window colour: The time of day light colour
    1. controlled by time of day (for this project, I’ll let it run)
  3. LED mood lighting: To change the mood of the room, but I’ll only use a strip of LED to indicate for now.
  4. TV: Visuals to help stimulate the brain
  5. Distance sensor: To detect fidgeting (temporary solution)
    1. Once fidgeting is detected, a counter goes up. If fidgeting stop, counter goes down
    2. When counter reaches max, all activities within TouchDesigner will activate
    3. This includes: change of TV size, change of TV visuals*
  6. Projection case / Lamp case*: Won’t be having this as I don’t have the materials and workshop accessibility
  7. Selector*: Within TouchDesigner, I’ll create different assets and will allow for selection of different assets (in real life, adjusted through interface)
  8. Interface: This will be a graphic just to show how it will look like.

* Not feasible / will only be done when theres enough time!

Also, Pin Yi is working on something similar to mine in terms of the window light visuals, and he shared this reference which I think is very similar to mine. Although its quite the same, I wanna point out that my concept involves interactivity with the visuals which brings about immersion.

leslie nooteboom’s ‘komorebi’ lamp projector plays video looped light-patterns


So this OSS post ends here abruptly because I’ve moved on and continued (and finished!) the work instead of typing away. Kinda figured it out…? so I’ll just post this as post for my own thought I guess. You can see everything else in my presentation!

Tutorials (may be helpful to people reading this in the future!)

1. TD for projection mapping: This is useful if you want to know how to do projection mapping with TouchDesigner. The tutorial goes through Kantan Mapper in TD which IMO is quite buggy for Macs but useful nonetheless.

https://www.you- tube.com/watch?v=1Qy- Fy6aJM4U&t=179s

2. TD for different animation effects: This tutorial goes through different animation effects that can help you in learning how different nodes work and how they work together.

https://www.you- tube.com/watch?v=WS4iZxoQT5s

3. Intro to TD: Super long video but worth watching! Recommended by Amanda Lee! The video goes through the different basics of TD. It’s kinda like a crashcourse so after a while you may forget how certain parts work so it goes very well with more tutorials.

https://www.youtube.com/watch?v=w- mM1lCWtn6o&t=2915s

Comments about my project after presentation (reflection…?)

I realised there isn’t much to add as I’ve posted the process in the slides which is in the final project post. So I’ll just write my reflections.

I think it’s fruitful that I learnt a new software that I know I will continue using through the years. Kind of an excuse but I think the pandemic affected my productivity as I settle into the work from home environment. Halfway, I lost sight of the project’s meaning and just went with what I had at that moment and build it from there. But overall I’m quite content with the project.

I wish I can test it more because I think the feeling you get from the projection isn’t very strong. Best if I’m able to test if it can actually help in making you feel focused. I’m honestly more interested in the “reading” mode for this project which I’ll use an effect similar to window light inside a vehicle and a window into the outside of a moving train. That sounds like a nice environment for reading for me haha.

Anyways, yeah if we get to really exhibit it that’ll really be nice. If I’m able to create a cubicle for it. Sadly we can’t so I guess this project will never be fully realised unless I have the discipline to continue it after the pandemic. Will I? I don’t know. But that’s that. It’s been nice working on this and learning new things. Really thankful for Prof. Elke and Merlin for all the useful resources and lessons through the class! Especially the intro to VR which I never experience before, and Unreal Engine which may help in the future.

Ok bye!


Week 11 Wearable Tech Updates

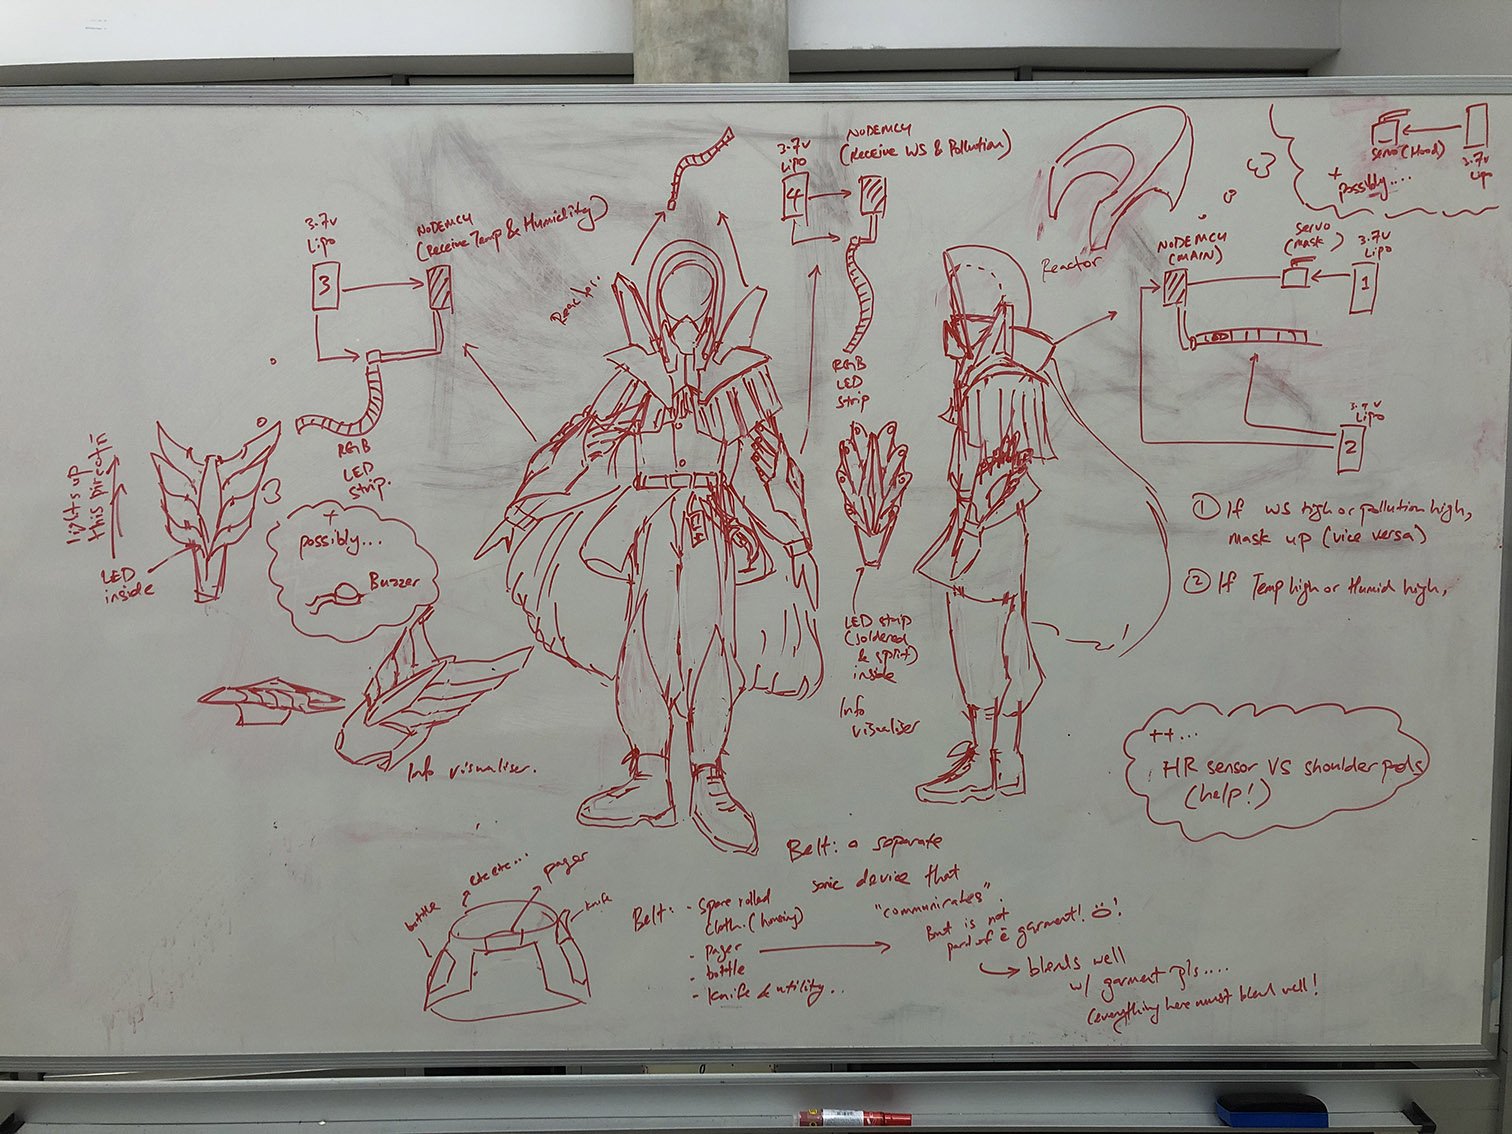
Last week, I was drawing this to collect my thoughts and it helped me figure out the logistics of my tech

Last week’s electronics setup:

LED + wifi
Servo + wifi

Last week’s progress:

I managed to complete the jumpsuit with help from Galina for the zippers and connecting the 2 pieces together!

Galina also taught me how to sew button holes which was very fun!!

What’s left for the jump suit is for me to hand sew the buttons, to create button holes for the sleeves, to add front pockets, and belt holding thing. But that’s not my priority now.

This week, I’m working on the cape and armour pieces.

This Week’s Progress: (incomplete as theres more days this week to work on this!)

I was playing with the materials to create the look of desert beetles, but it failed so I will just stick to the pvc without material alterations.

putting pins before heating it to create round bumps but it ended up folding
only heating the PVC creates this effect

Cutting and putting things together: I was experimenting with the materials and turns out its more flimsy than I previously thought. It’s also much thinner than I thought so it doesn’t look as good if it’s single layered. Sewing 2 pieces together makes it look better, which means now I need 2x the amount of PVC ($$$$$$$!!!!!!) but at least I have 1m left of the pink piece which I’m not gonna use as pink contrasts too much with my garment. I’m switching to green instead.

What was previously the neck piece was tested on the shoulder to see how it looks like as a shoulder piece.

I was having a hard time trying to figure out which cloth to use. Using both cloth together with the armour will make the whole look very weird. Too much is going on. Using only 1 cloth and the armour works, but I need to decide which to remove. In the end, I removed the metallic mesh cloth.

The final decision (except the pink parts will now be green)\

I also started sewing the cape piece to make it more frilly / have pleats. So yeah. (no pics tho)

So in conclusion, this week was more of a start of the next phase, and I am more or less confirmed for the entire design and I’m happy with it. I’m gonna continue the cape till I’m happy with it then I’ll start with the armour which is gonna be a pain 🙁 and I need to go buy the PVC also. Hopefully finish this by week 12 end so I can finish the electronics and have time to finish up the small details. And also work with Shah with the fashion runway!!! AHHHH!!!

Oh and also Mayle was working on a PVC vest and I took a pic of the pattern so I can tweak it (thanks Mayle!!!)

it’s actually just a pants pattern but if you drape it over the shoulder it becomes some kind of vest which looks like my chest armour!

My sketch of how I think it will look like:

The perfect vision of my garment

Ok out of topic but I think what helped me a lot was to imagine my concept as an Overwatch character. Anyway, here’s an updated concept:

Concept: nomad from a future dystopia city which is covered in dust from sandstorm due to desertification and global warming. Cyberpunk elements (iridescent armour + tech) to create a sense of urban-ness (because he’s still from a city) and sandy garment to blend with the desert city. A bit of inspiration from beetles also (in terms of their colour and appearance)

ALSO… I’m thinking what if the controller on my belt can control which city to look at. And because different cities have different temperatures and pollution levels, the values will cause the garment to react to it. Hmmm…

Media Art Nexus Progress (so far)

Wall test last week:

We found that low vibrance / slight desaturation works well, but not too much. The colours (now when I think about it) works good, just that there needs to be some kind of texture to even out the solidness of the colour.

UPDATE:

The final look of the backdrops looks something like this: (note these are screenshots so its low res)

There are some additional textures which are not updated on these images but it’s okay, will show them next time.

The past weeks, Van was working on animating the characters while I’m finishing up the backdrops. Now that the backdrop is more or less done, I’m working on animating the objects.

Using tutorials, we learnt how to loop the animations which will complete everything. So for now, everything is going well and we just need to mass produce the animations and test it. Good thing is that we can still tweak the colours after we are done animating so if there’s any problems we can always fix it!

Animation test: (with van’s character animation + some of my bg animations)

So for now, we’ll continue animating.


Week 11 Interactive Environment Updates

For the final, I wish to do a smaller version, which only includes the environment for studying, and if possible, reading.

For this week, I’ve watched Touch Designer tutorials and this one taught me a lot:

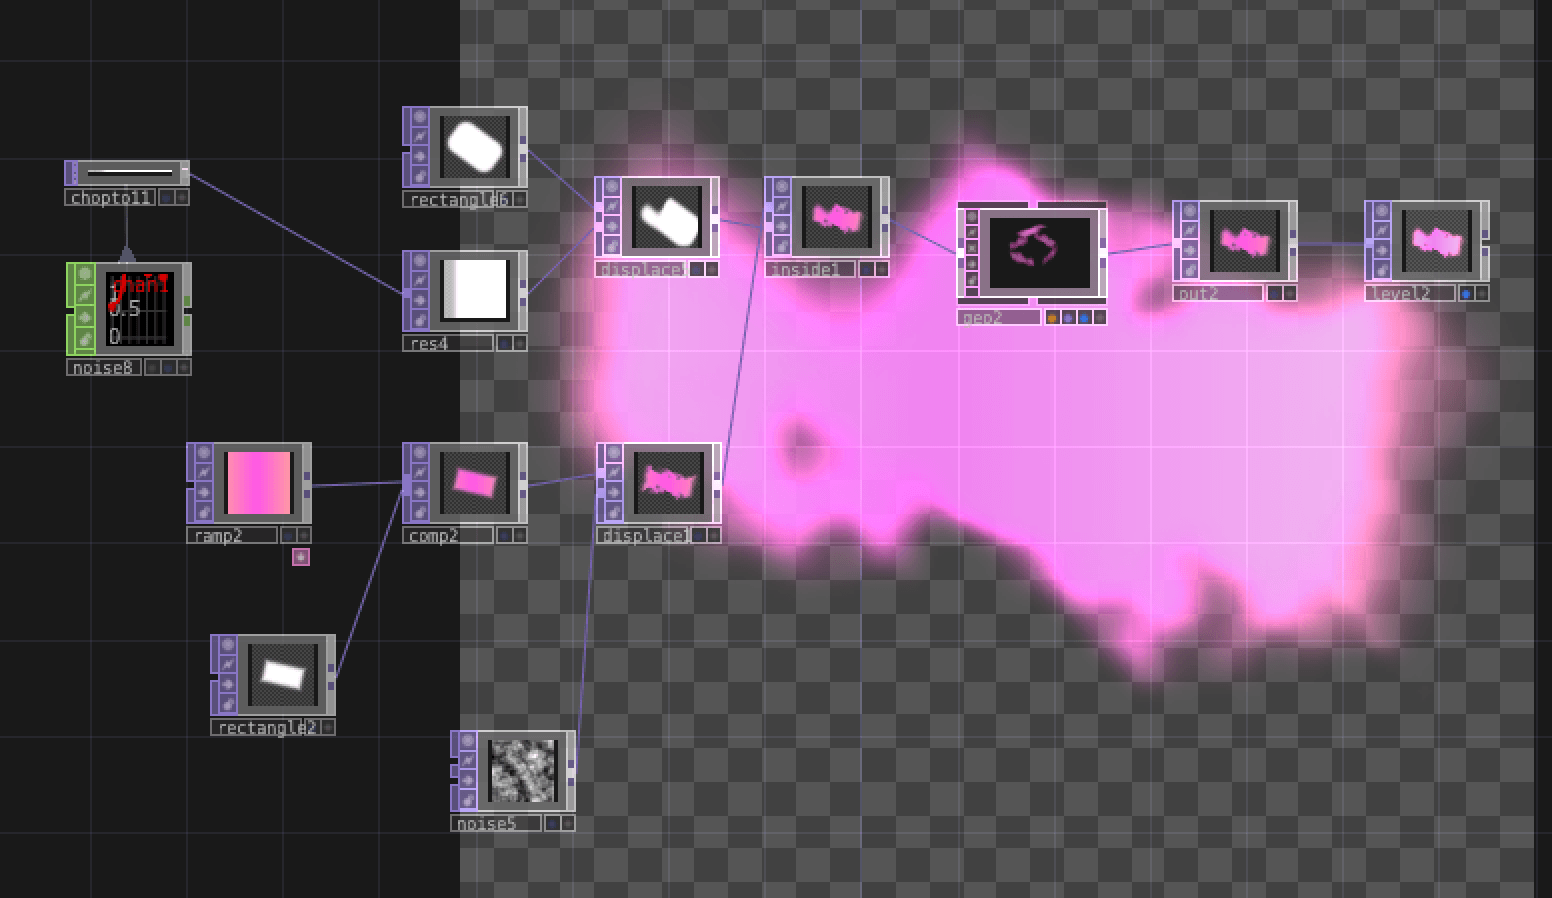
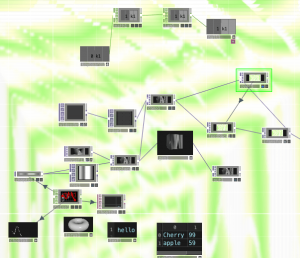
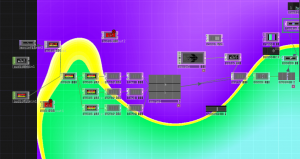
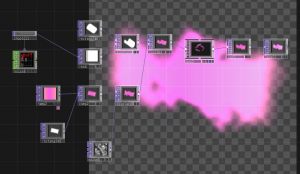
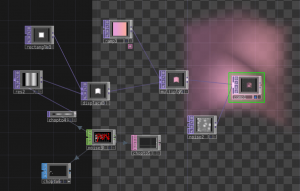
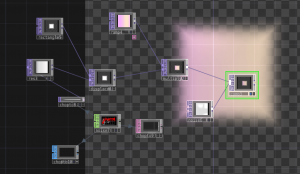
Here’s some of the bunch of stuffs I made along with the tutorial that I think is helpful in my project:

Visualiser-like effect
Oil in water effect

I was using noise a lot to randomly generate effects.

Best results: noise bg + moving gradient + distortion on frame
another version which is not as great but can work out

In conclusion, I’ll continue working on this and refine it to look good.

Today’s consultation notes:

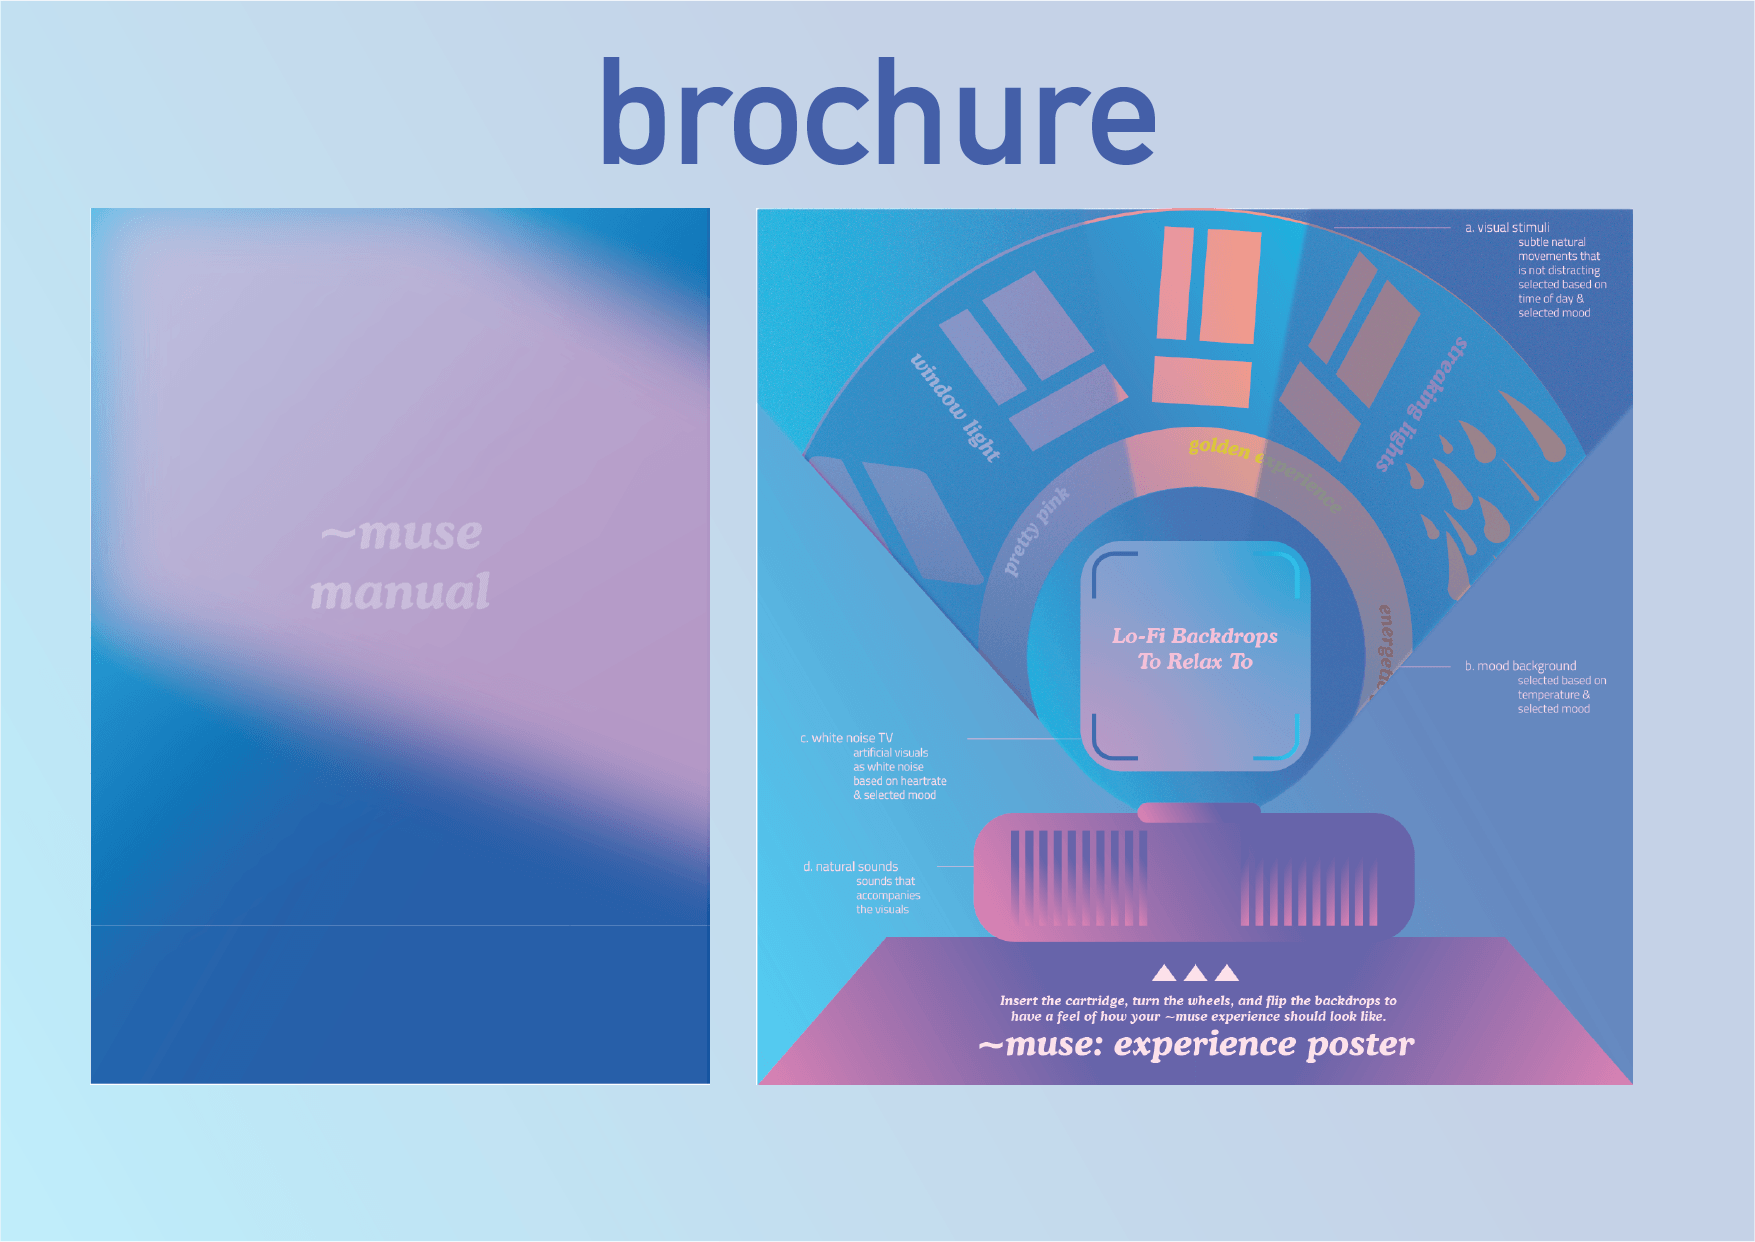
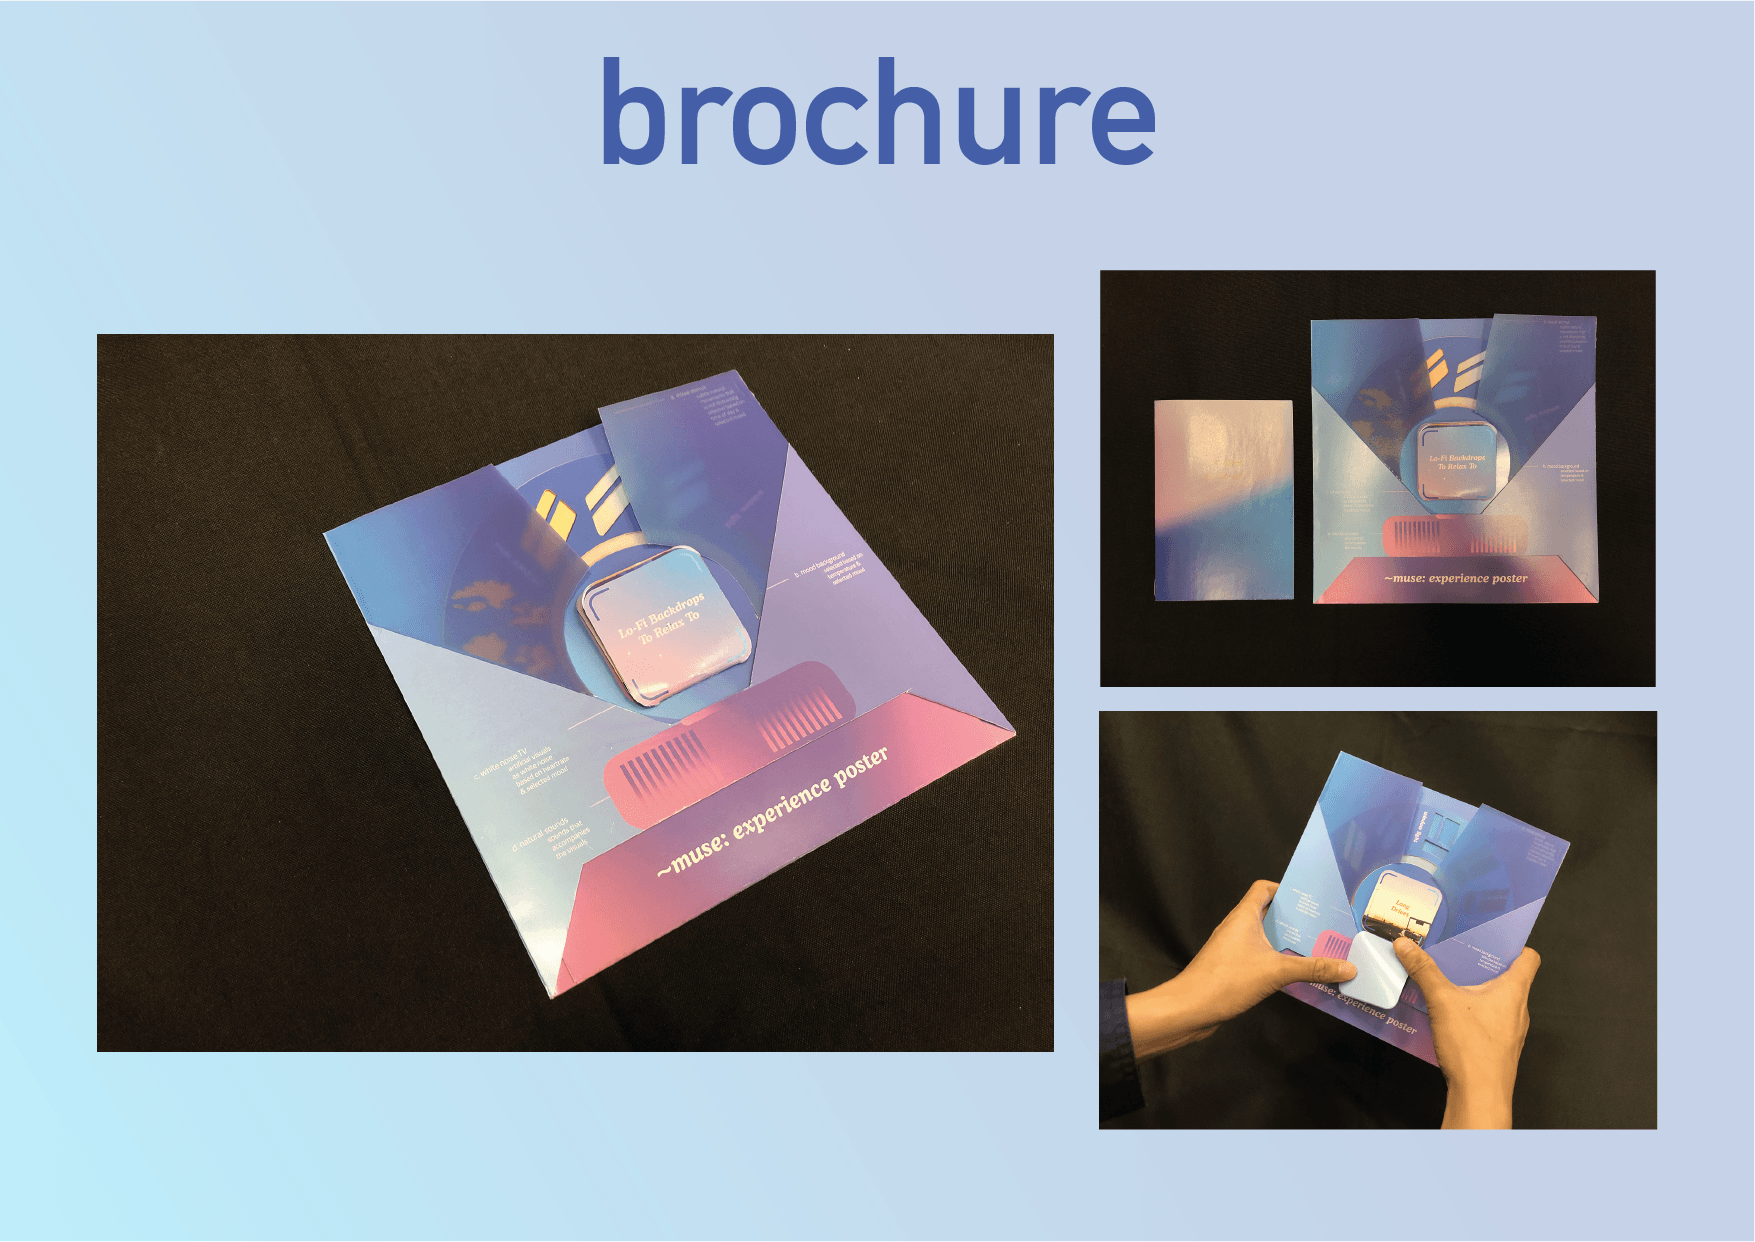
– brochure is useful in showcasing the work before people see it so it should be showcased during presentation / exhibition and can even be used as a brochure for selling my device if its a real product 😀

– like an app or something that can connect to the device, or link to heartrate, etc. However personally, I feel like I should have everything to be attached to the device directly to make it as simple as possible. I think an IR distance sensor (to detect restlessness / movement) and a gesture sensor will work well with the interface, together with IoT to detect time and temperature.

– studying colours and colour theory psychology and colour in mood lighting can be helpful