
Month: March 2020
thermochromic ink // surface design
One of my classmates used thermochromic ink for her interactive project before, so I have seen the magic happened before and it was cool to try on my own!
We first began by mixing a clear base with a thermochromic powder (colour of your choice) together. (Careful not to inhale too much of the powder)
We tried transferring the mixture using two techniques: silkscreen and block printing.
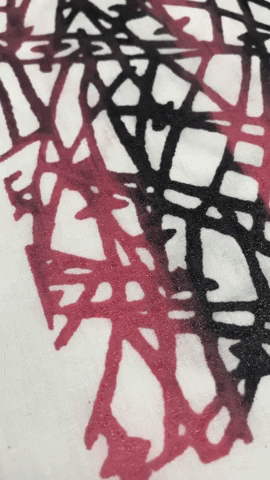
Silkscreen
- Layer some of the mixture at the bottom or the top of the silkscreen.
- Using a squeegee, evenly drag the mixture in 1 swift direction. If need to, go over a couple of times to make sure everything has been covered by the mixture.
- Remove the silkscreen and voila.

Thoughts?
I placed too little mixture on the silkscreen, so halfway through my striped pattern design, it ran out of mixture to coat the rest of the design. This was primarily because there wasn’t much mixture left. So I salvaged some mixture that was left on the silkscreen by the others and created a gradient effect for the other half which actually came out pretty neat!
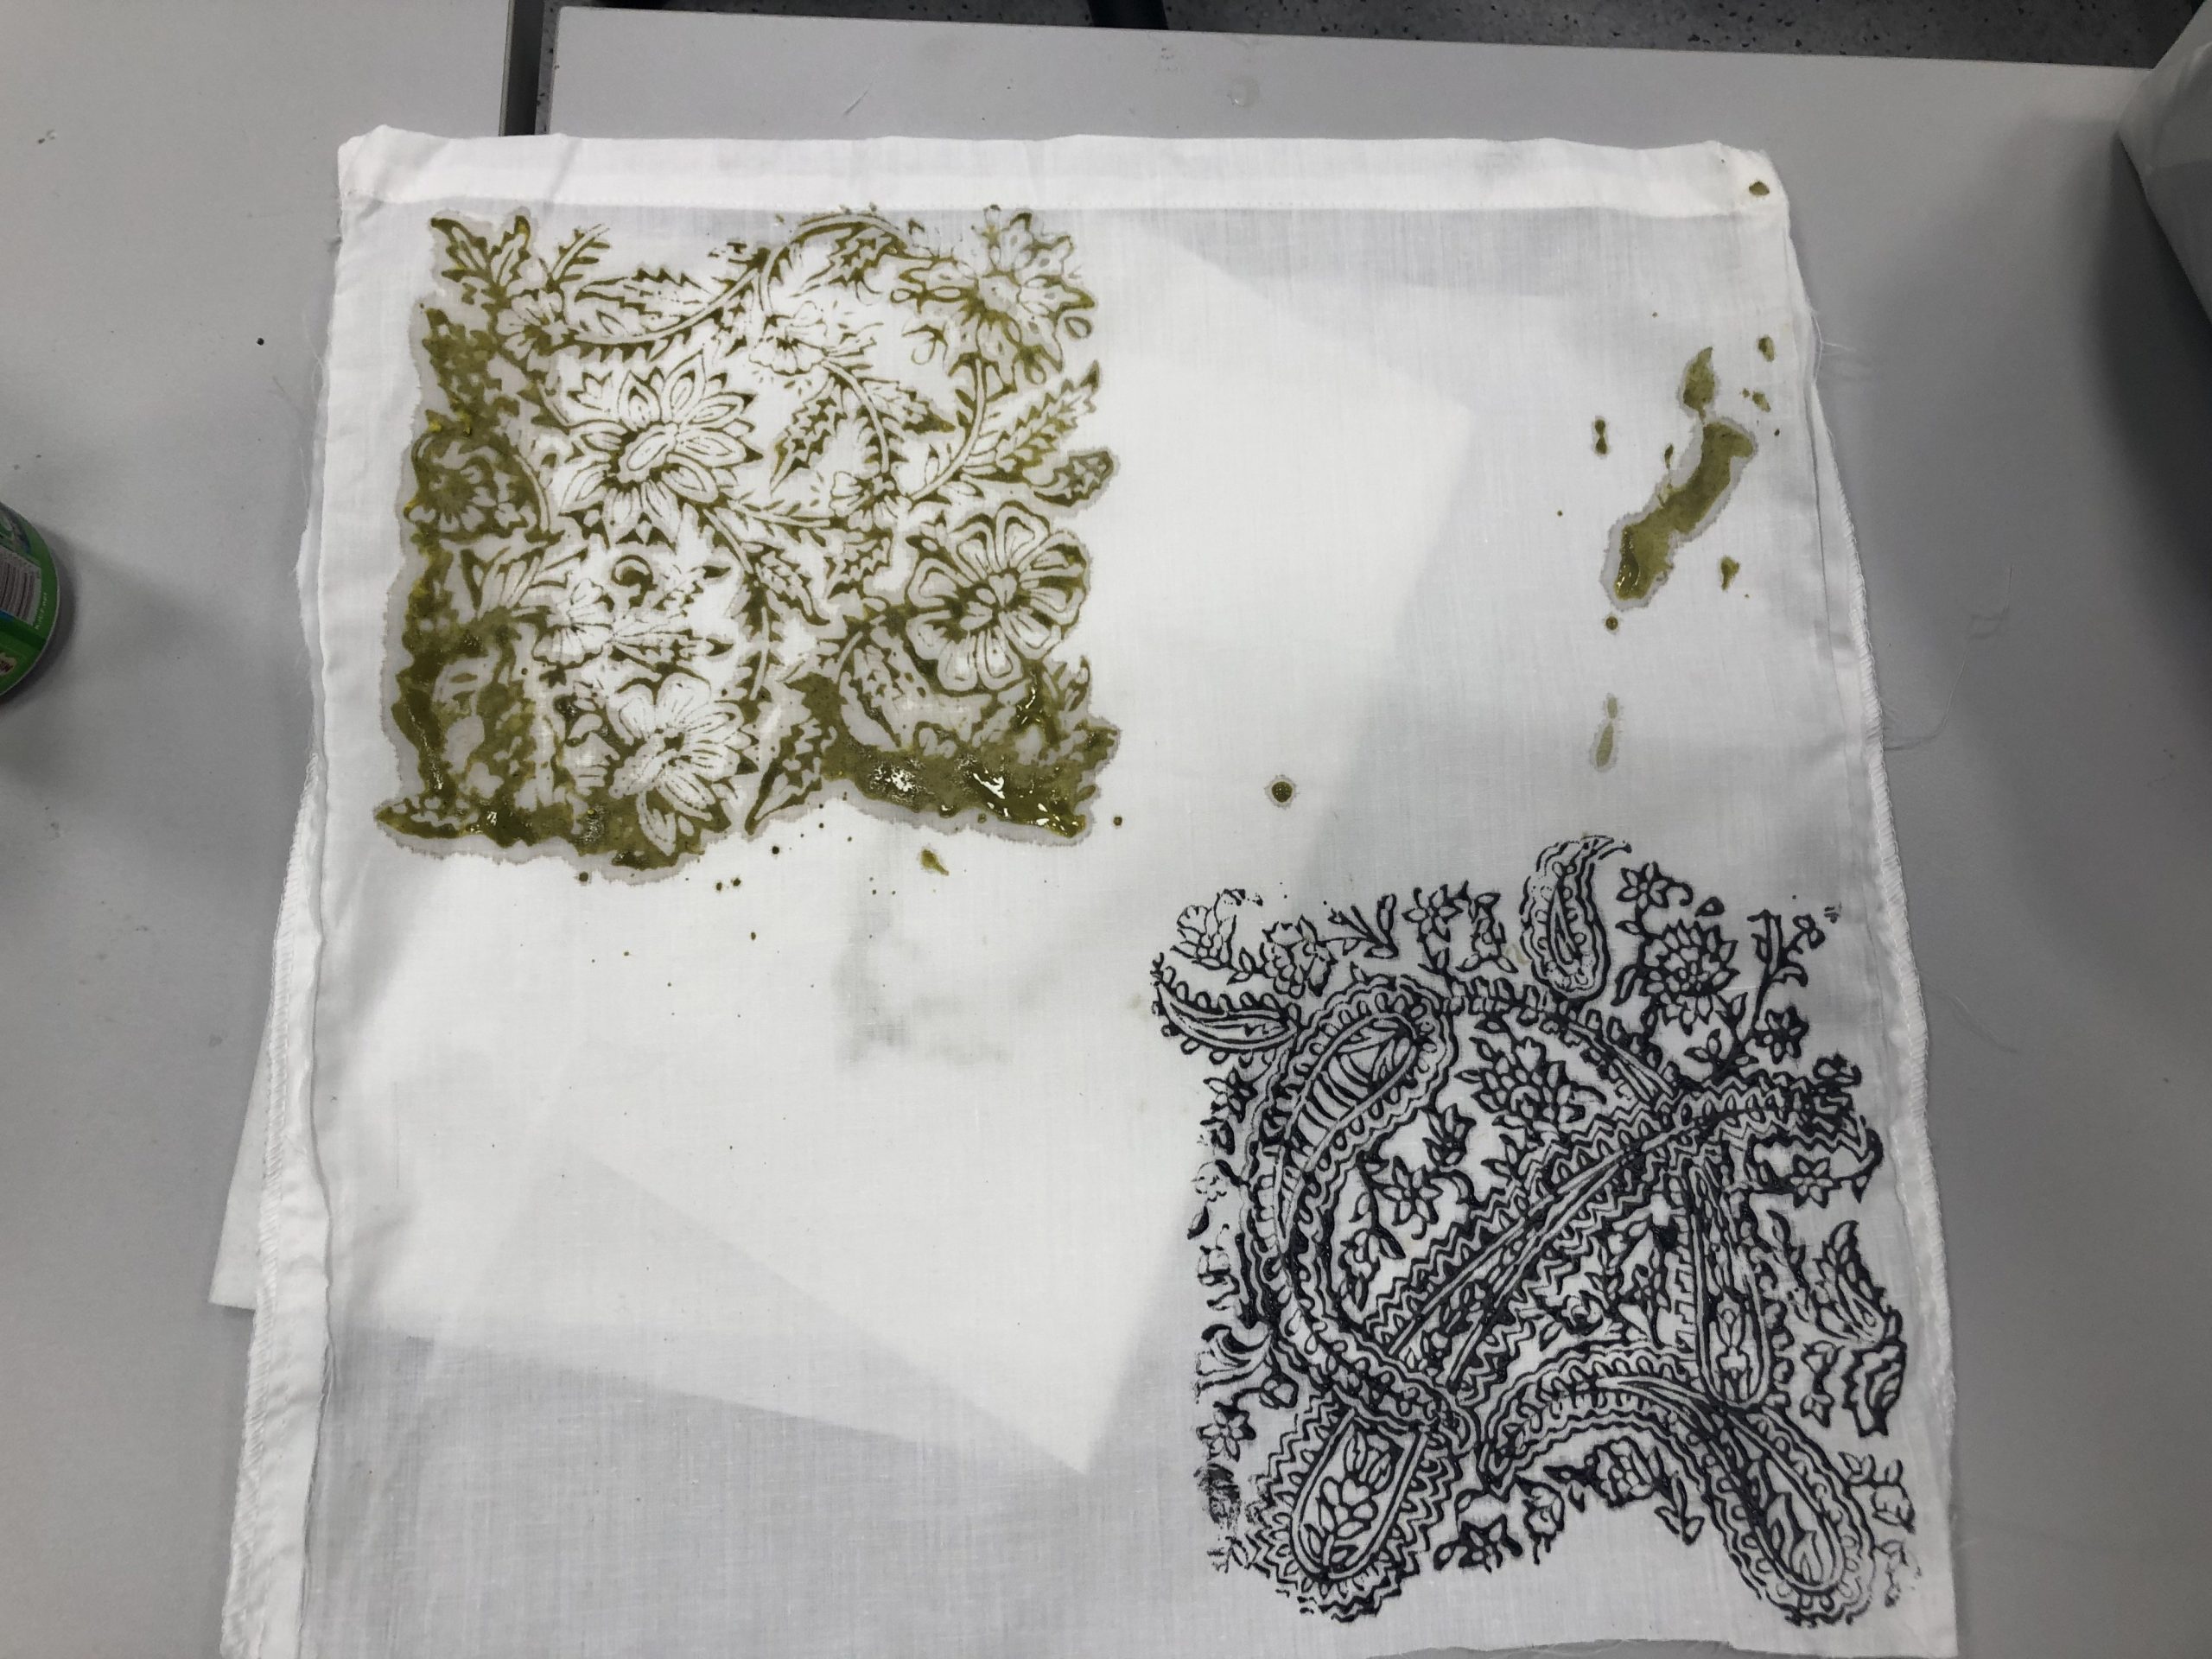
Block Printing
In my first attempt, I was the first person to use the mixture and the block. I wanted to try the yellow mixture. However, I didn’t think that the colour of the block could fuse into the mixture, so my print turned out more green than yellow.
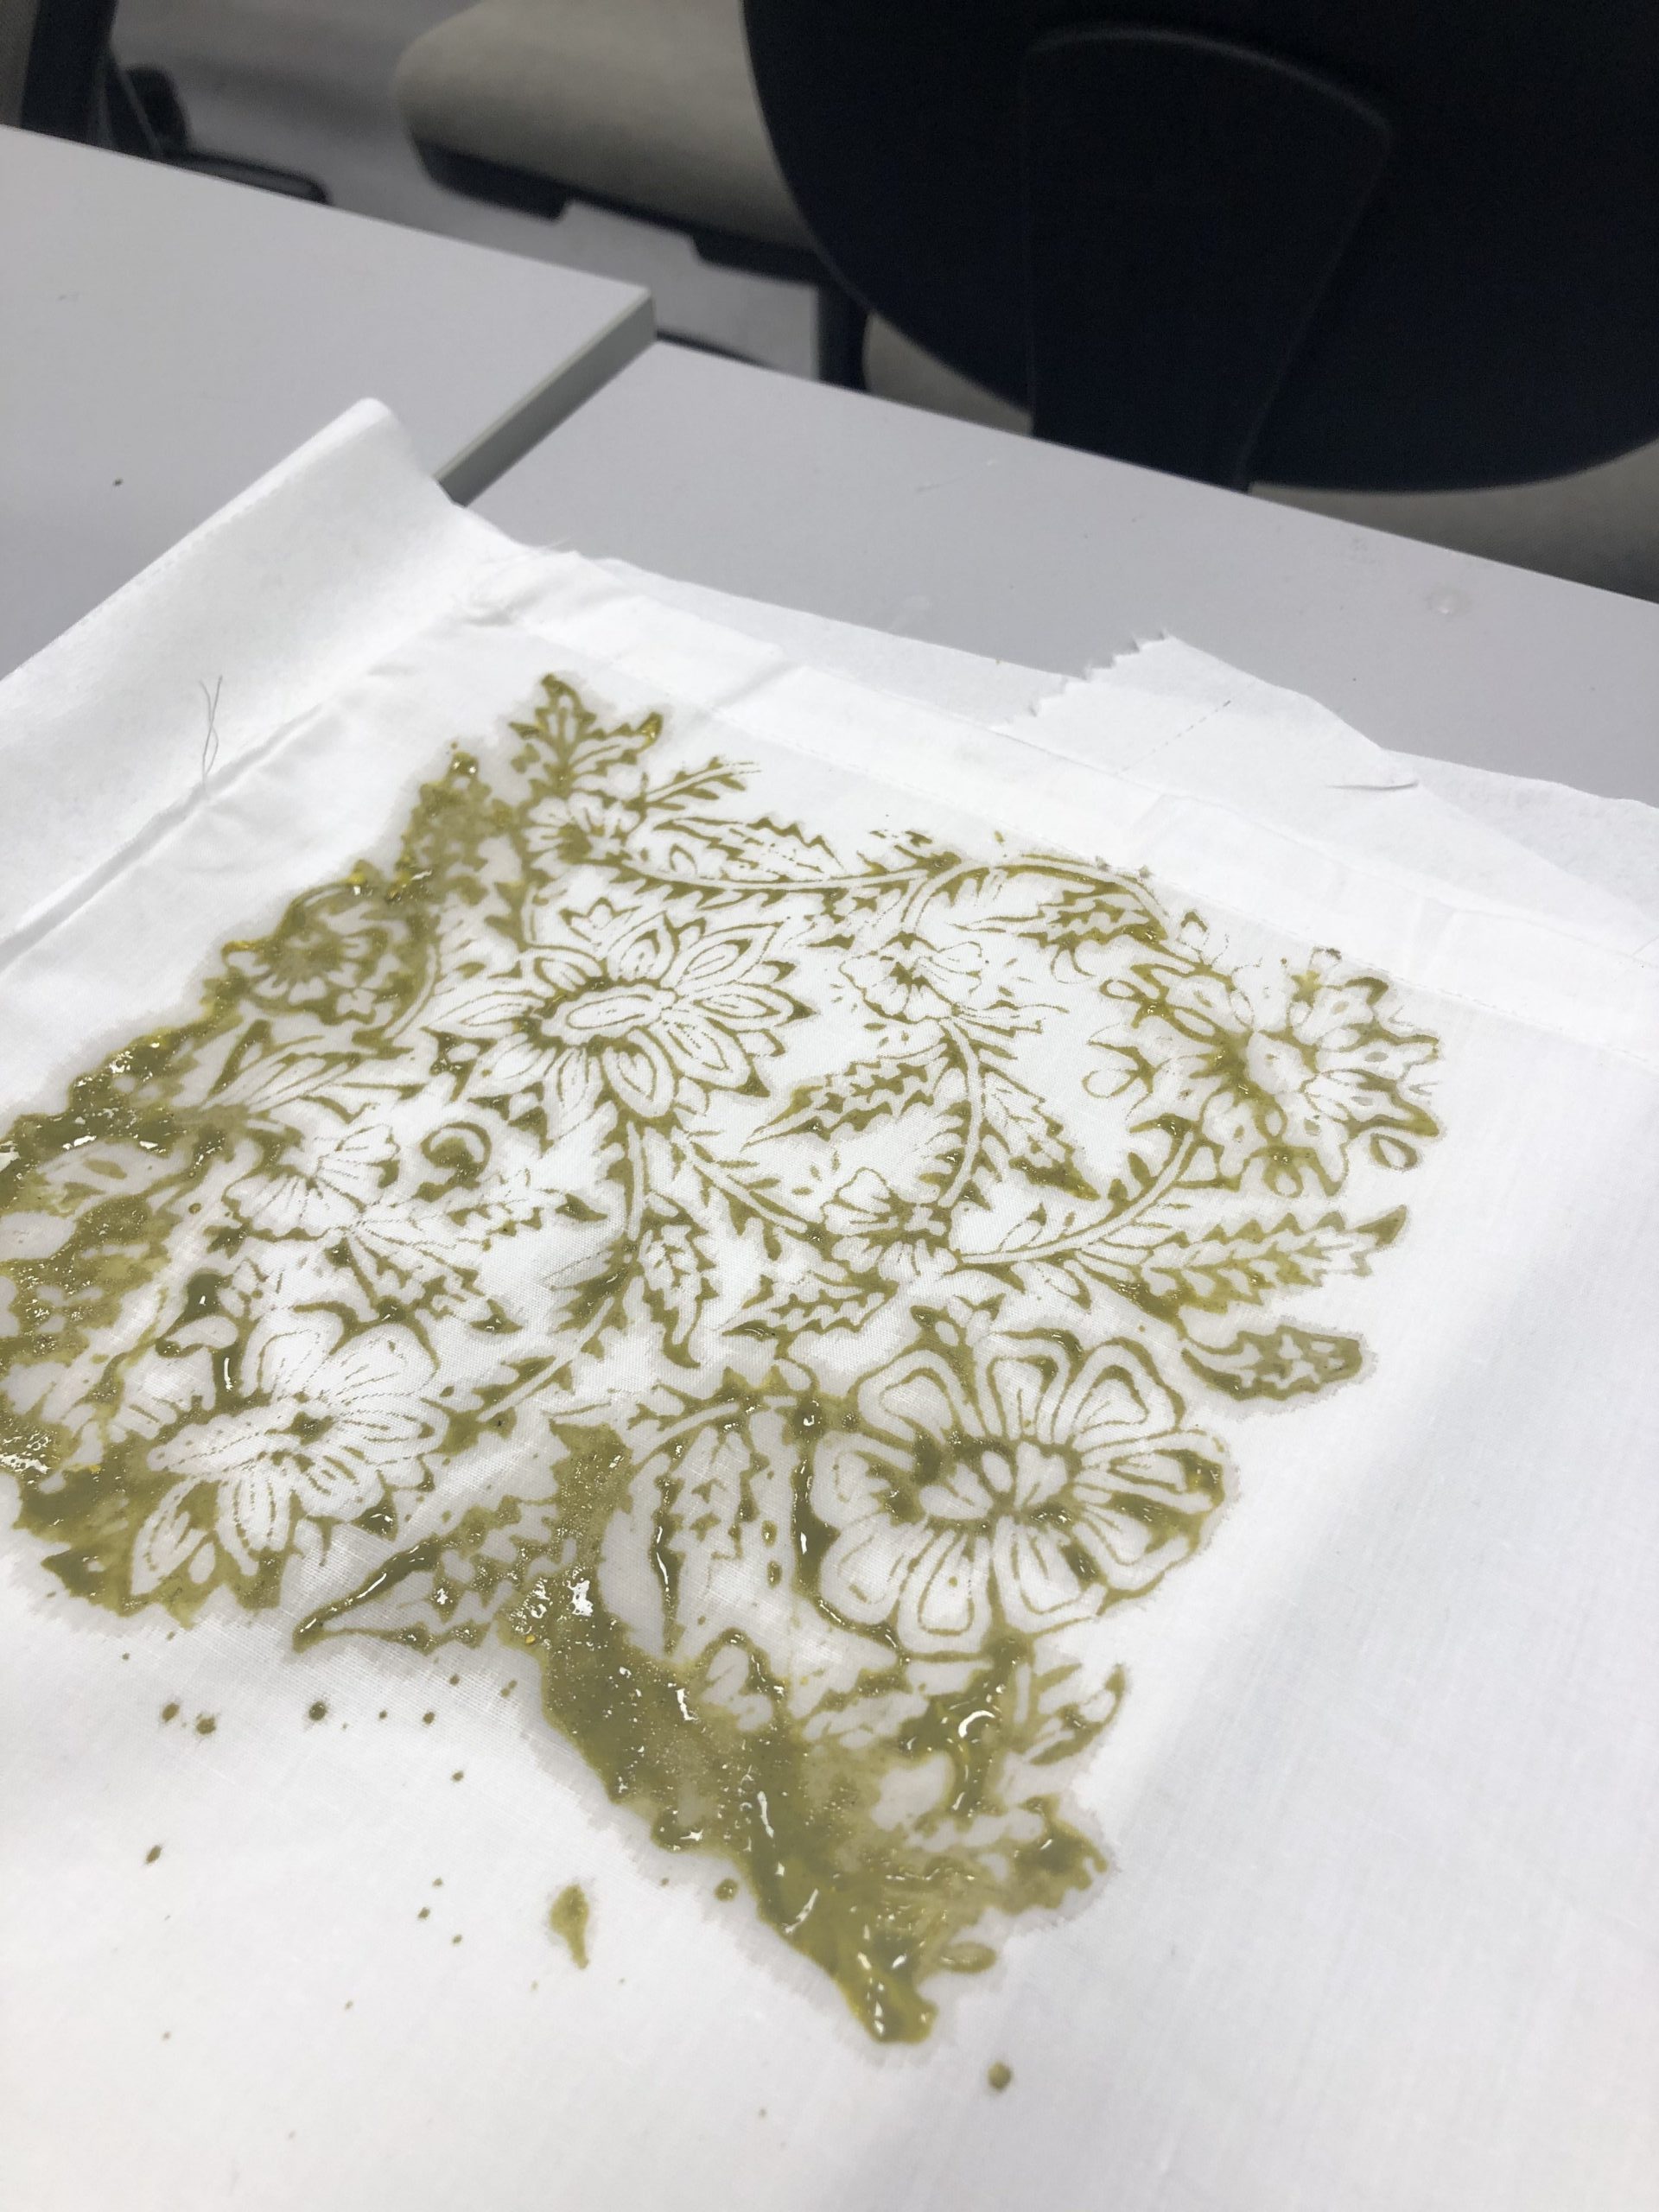
From my observation of Mus and Minjee’s prints, Minjee and I took more time to press the block down as compared to Mus. However, Mus’s print came out more yellow, so I guess less time would allow less colour of the block from running down.
Also, the print came out quite watery for the yellow print, but you don’t see the same for the black one.
So thats all I have for this week!
knitting // surface design
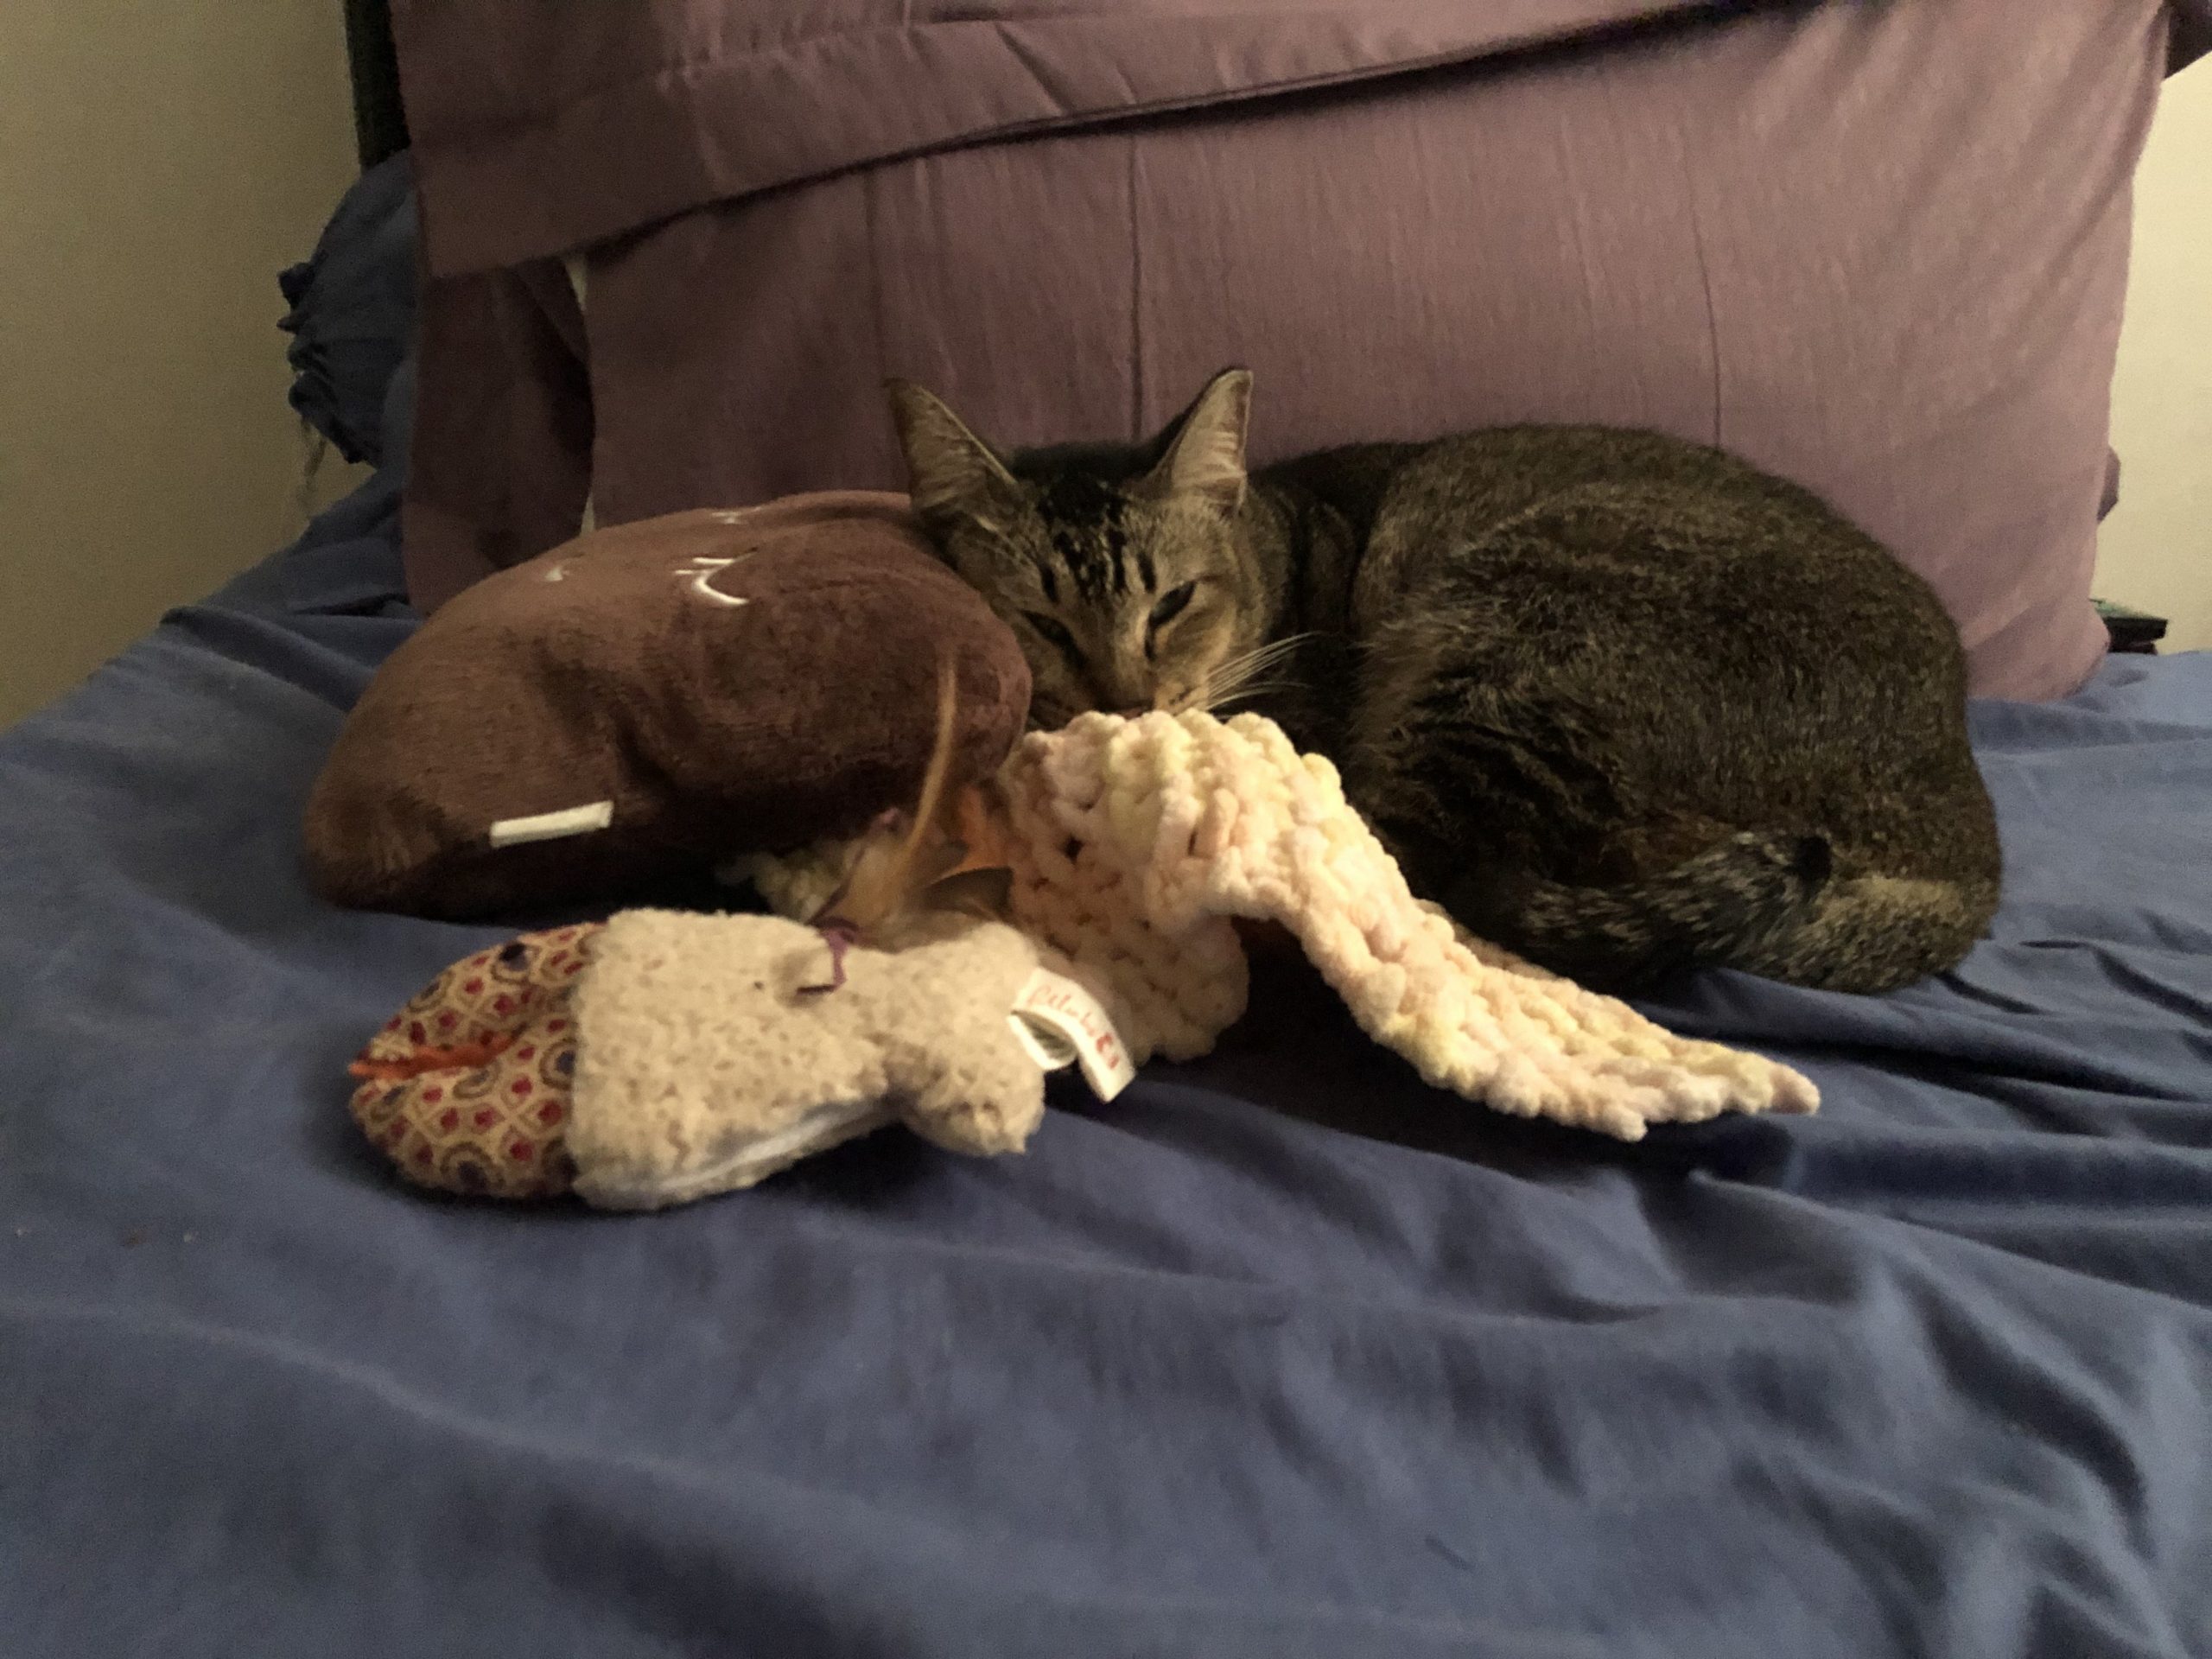
A couple of years back when I had a lot of time to spare, I tried knitting for fun and this was the only outcome I achieved. Now, I use it as a blanket for my pet cat, Socks.
So, it was really fun trying knitting again. Initially, I wasn’t aware that how you move the needles (forward or backwards) would affect the knitting outcome. However, it was very tricky trying to do 2 different knits in one (right and wrong side) because I got confused by the direction. Eventually, I stuck to one technique of knitting.
I failed many times during my first few knits, which required me to start all over again. But once I got the hang of it, I couldn’t stop.
Other than the knitting needles, I bought a circle knitting device from Daiso which helped to create a circular knit like this.
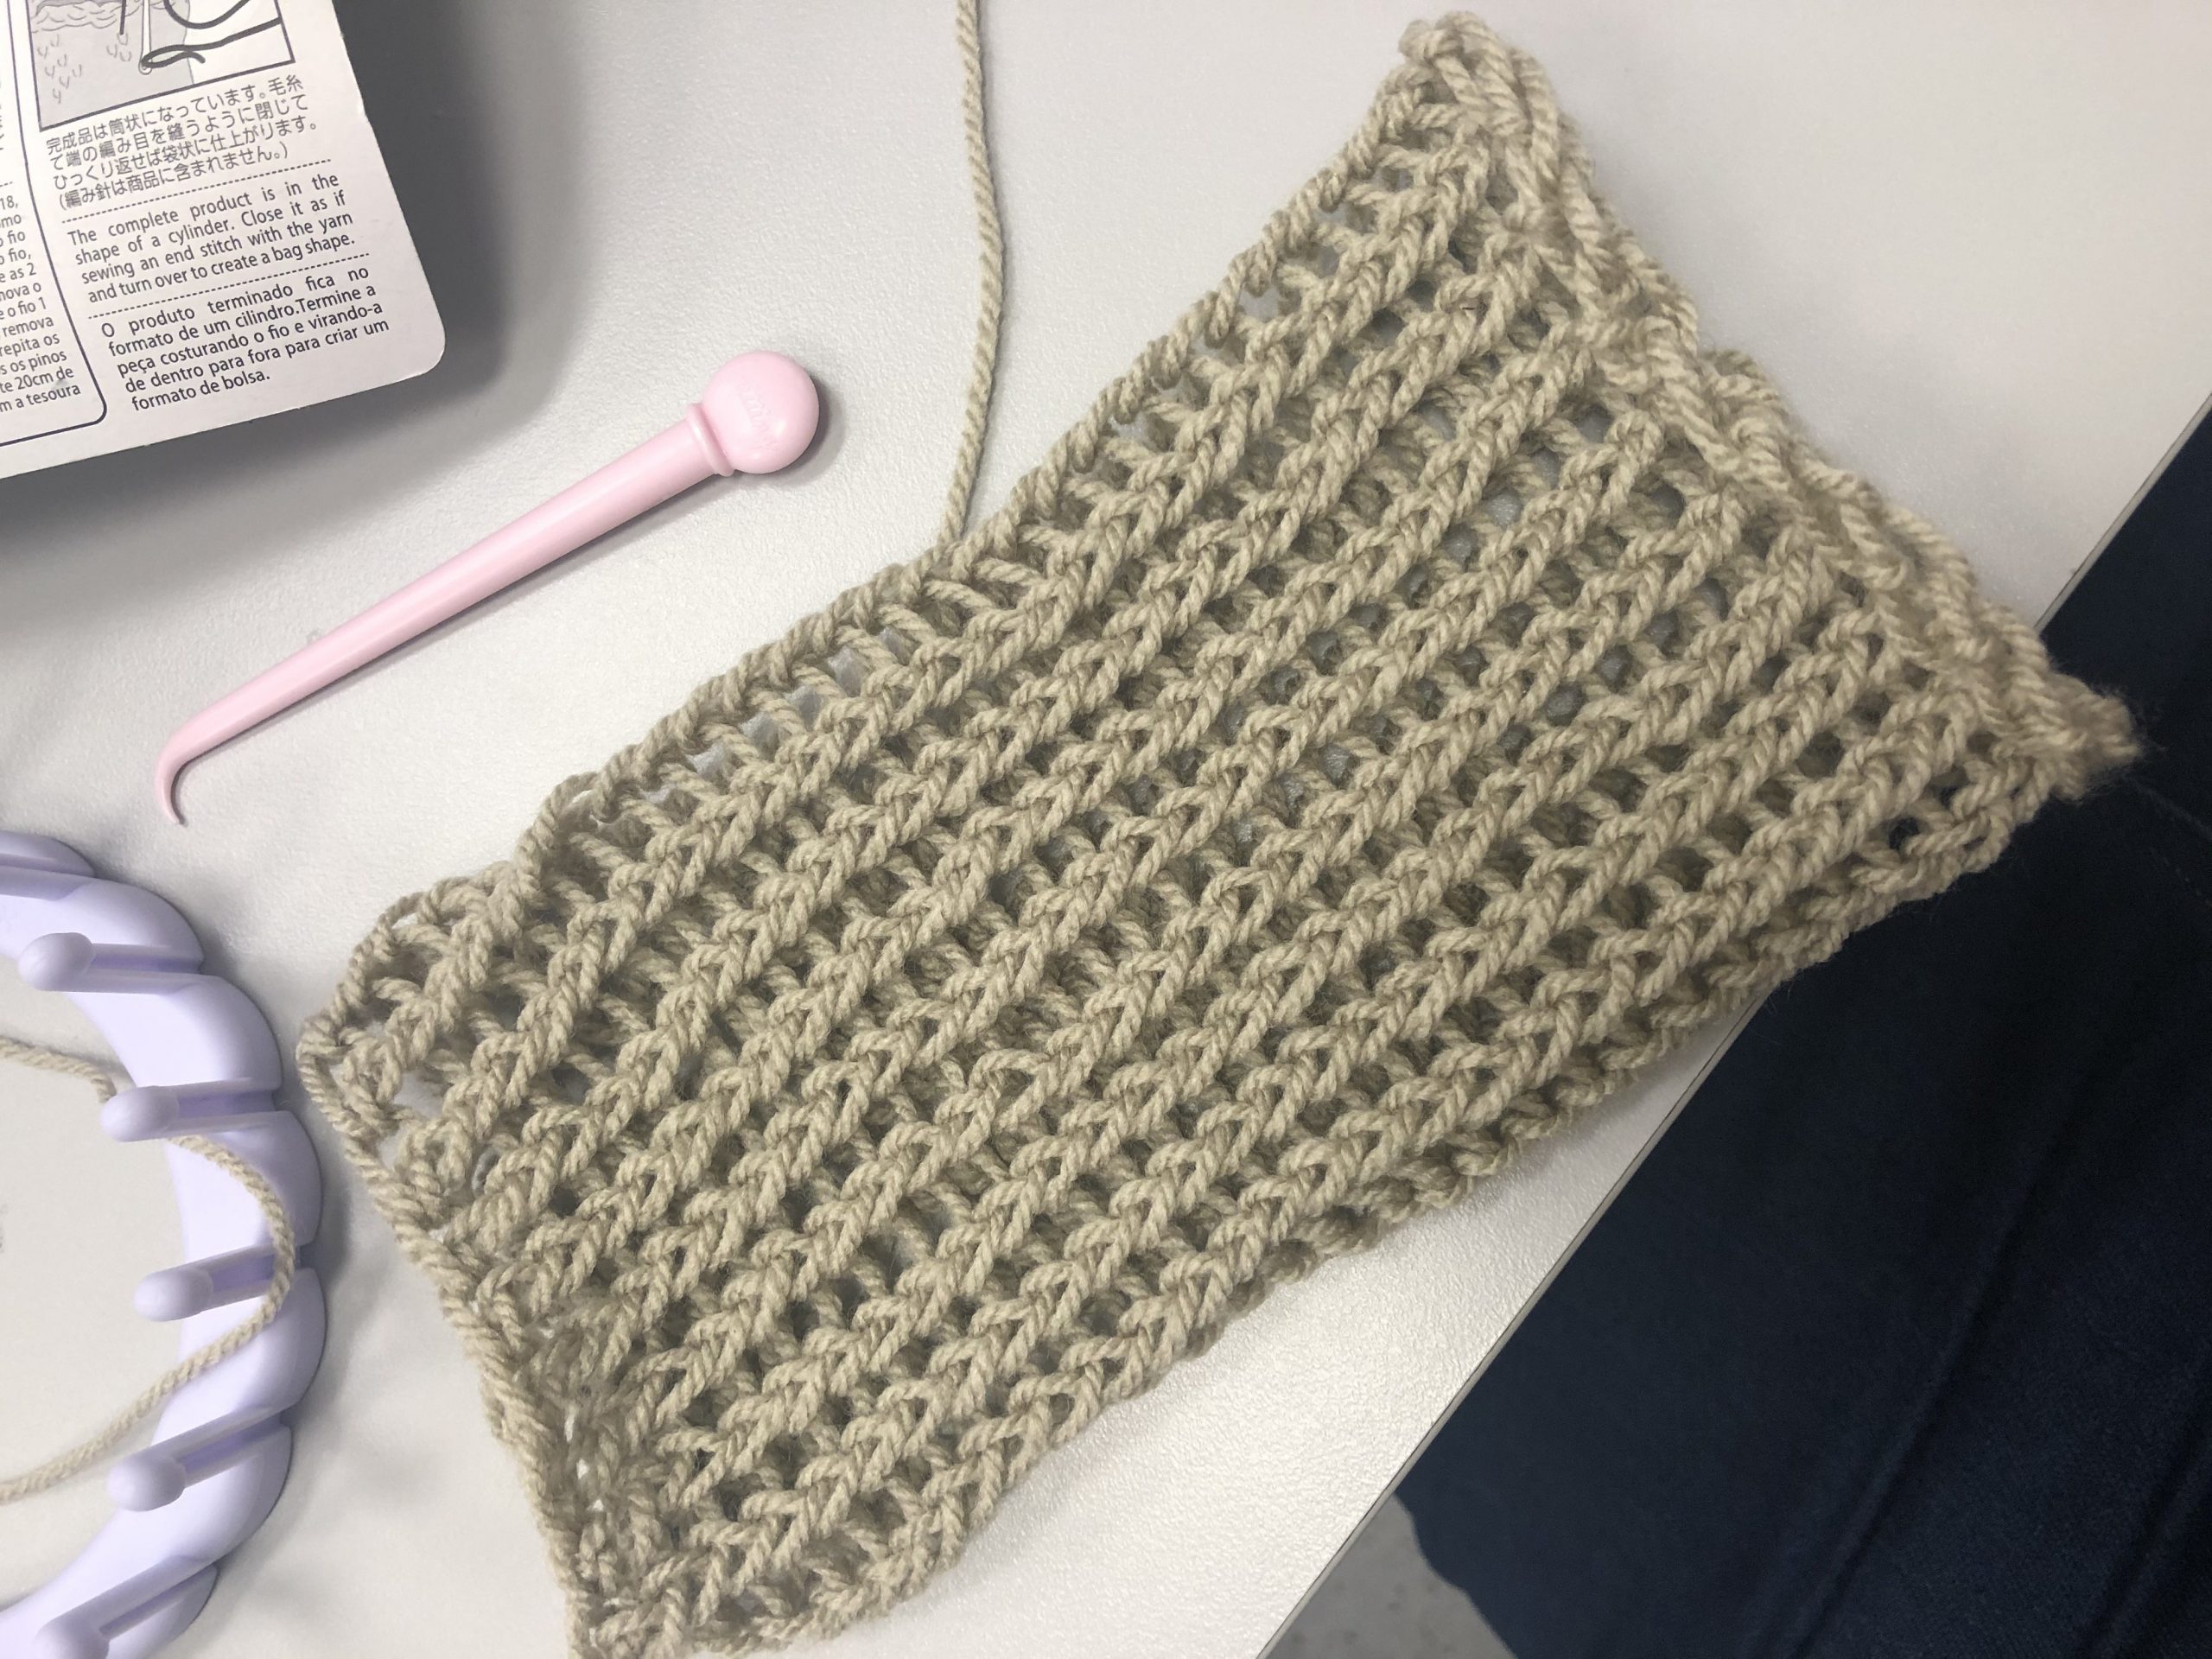
This was a lot easier to manage but requires some getting used to at the start.
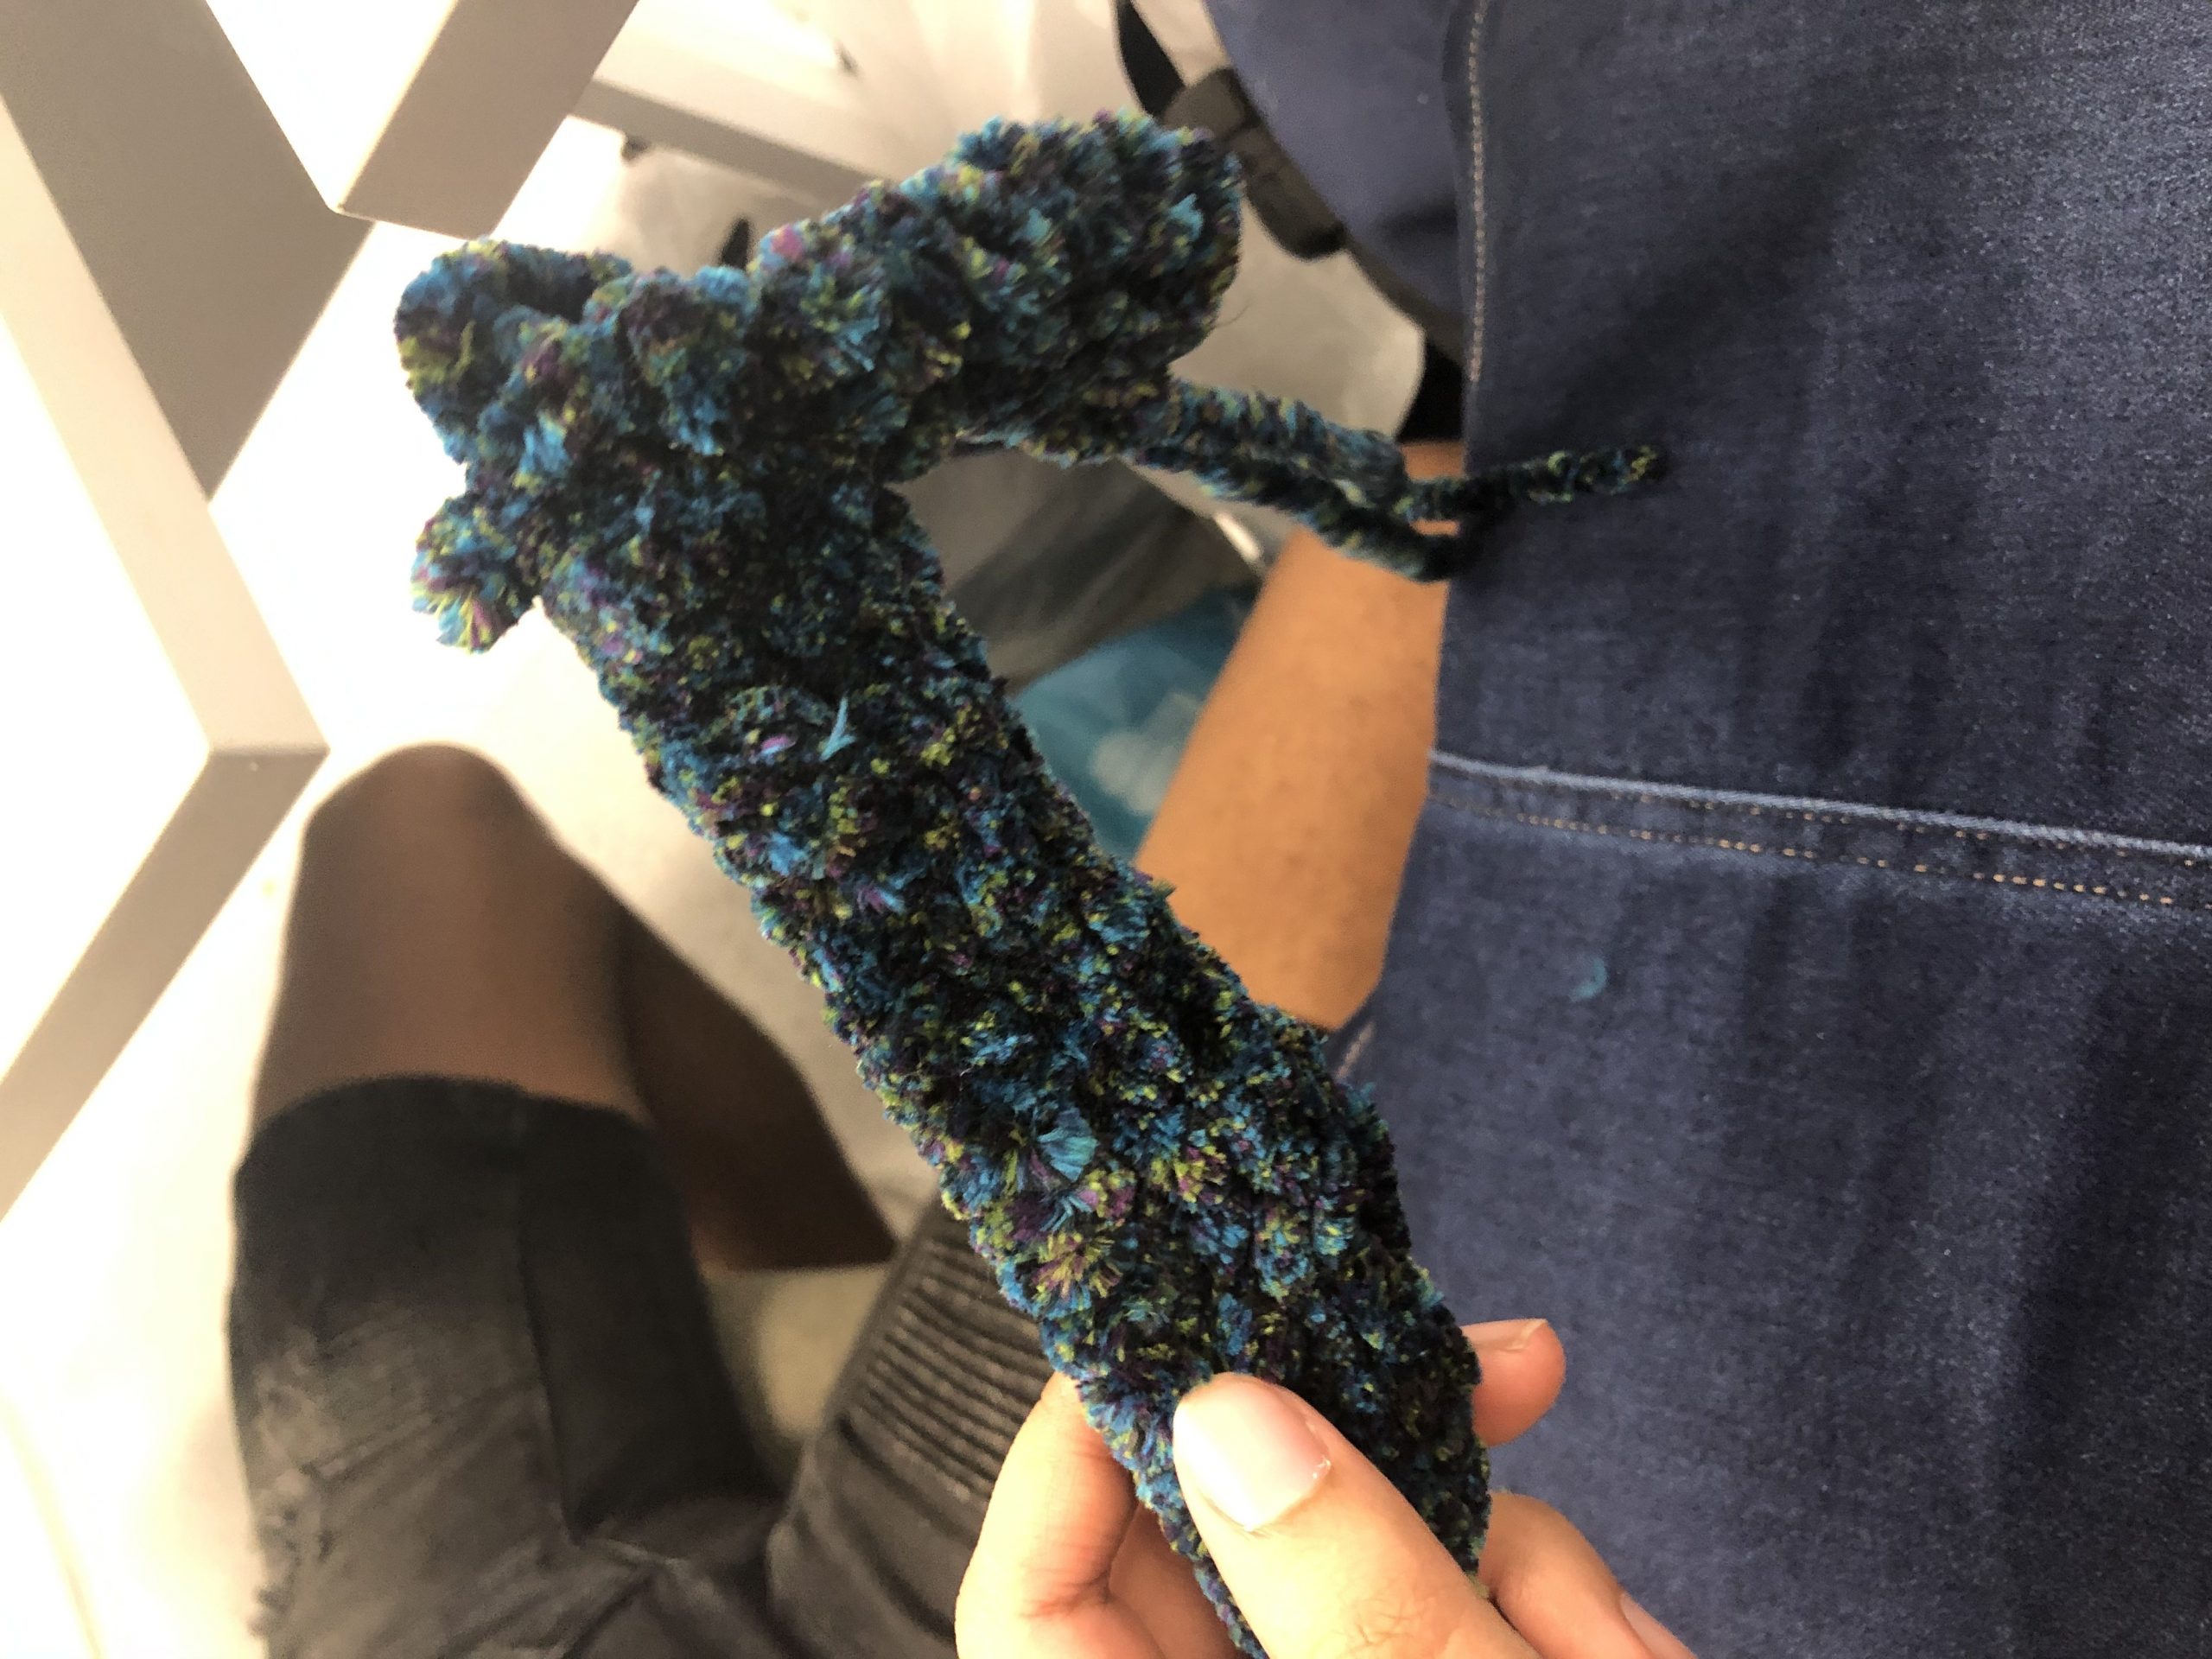
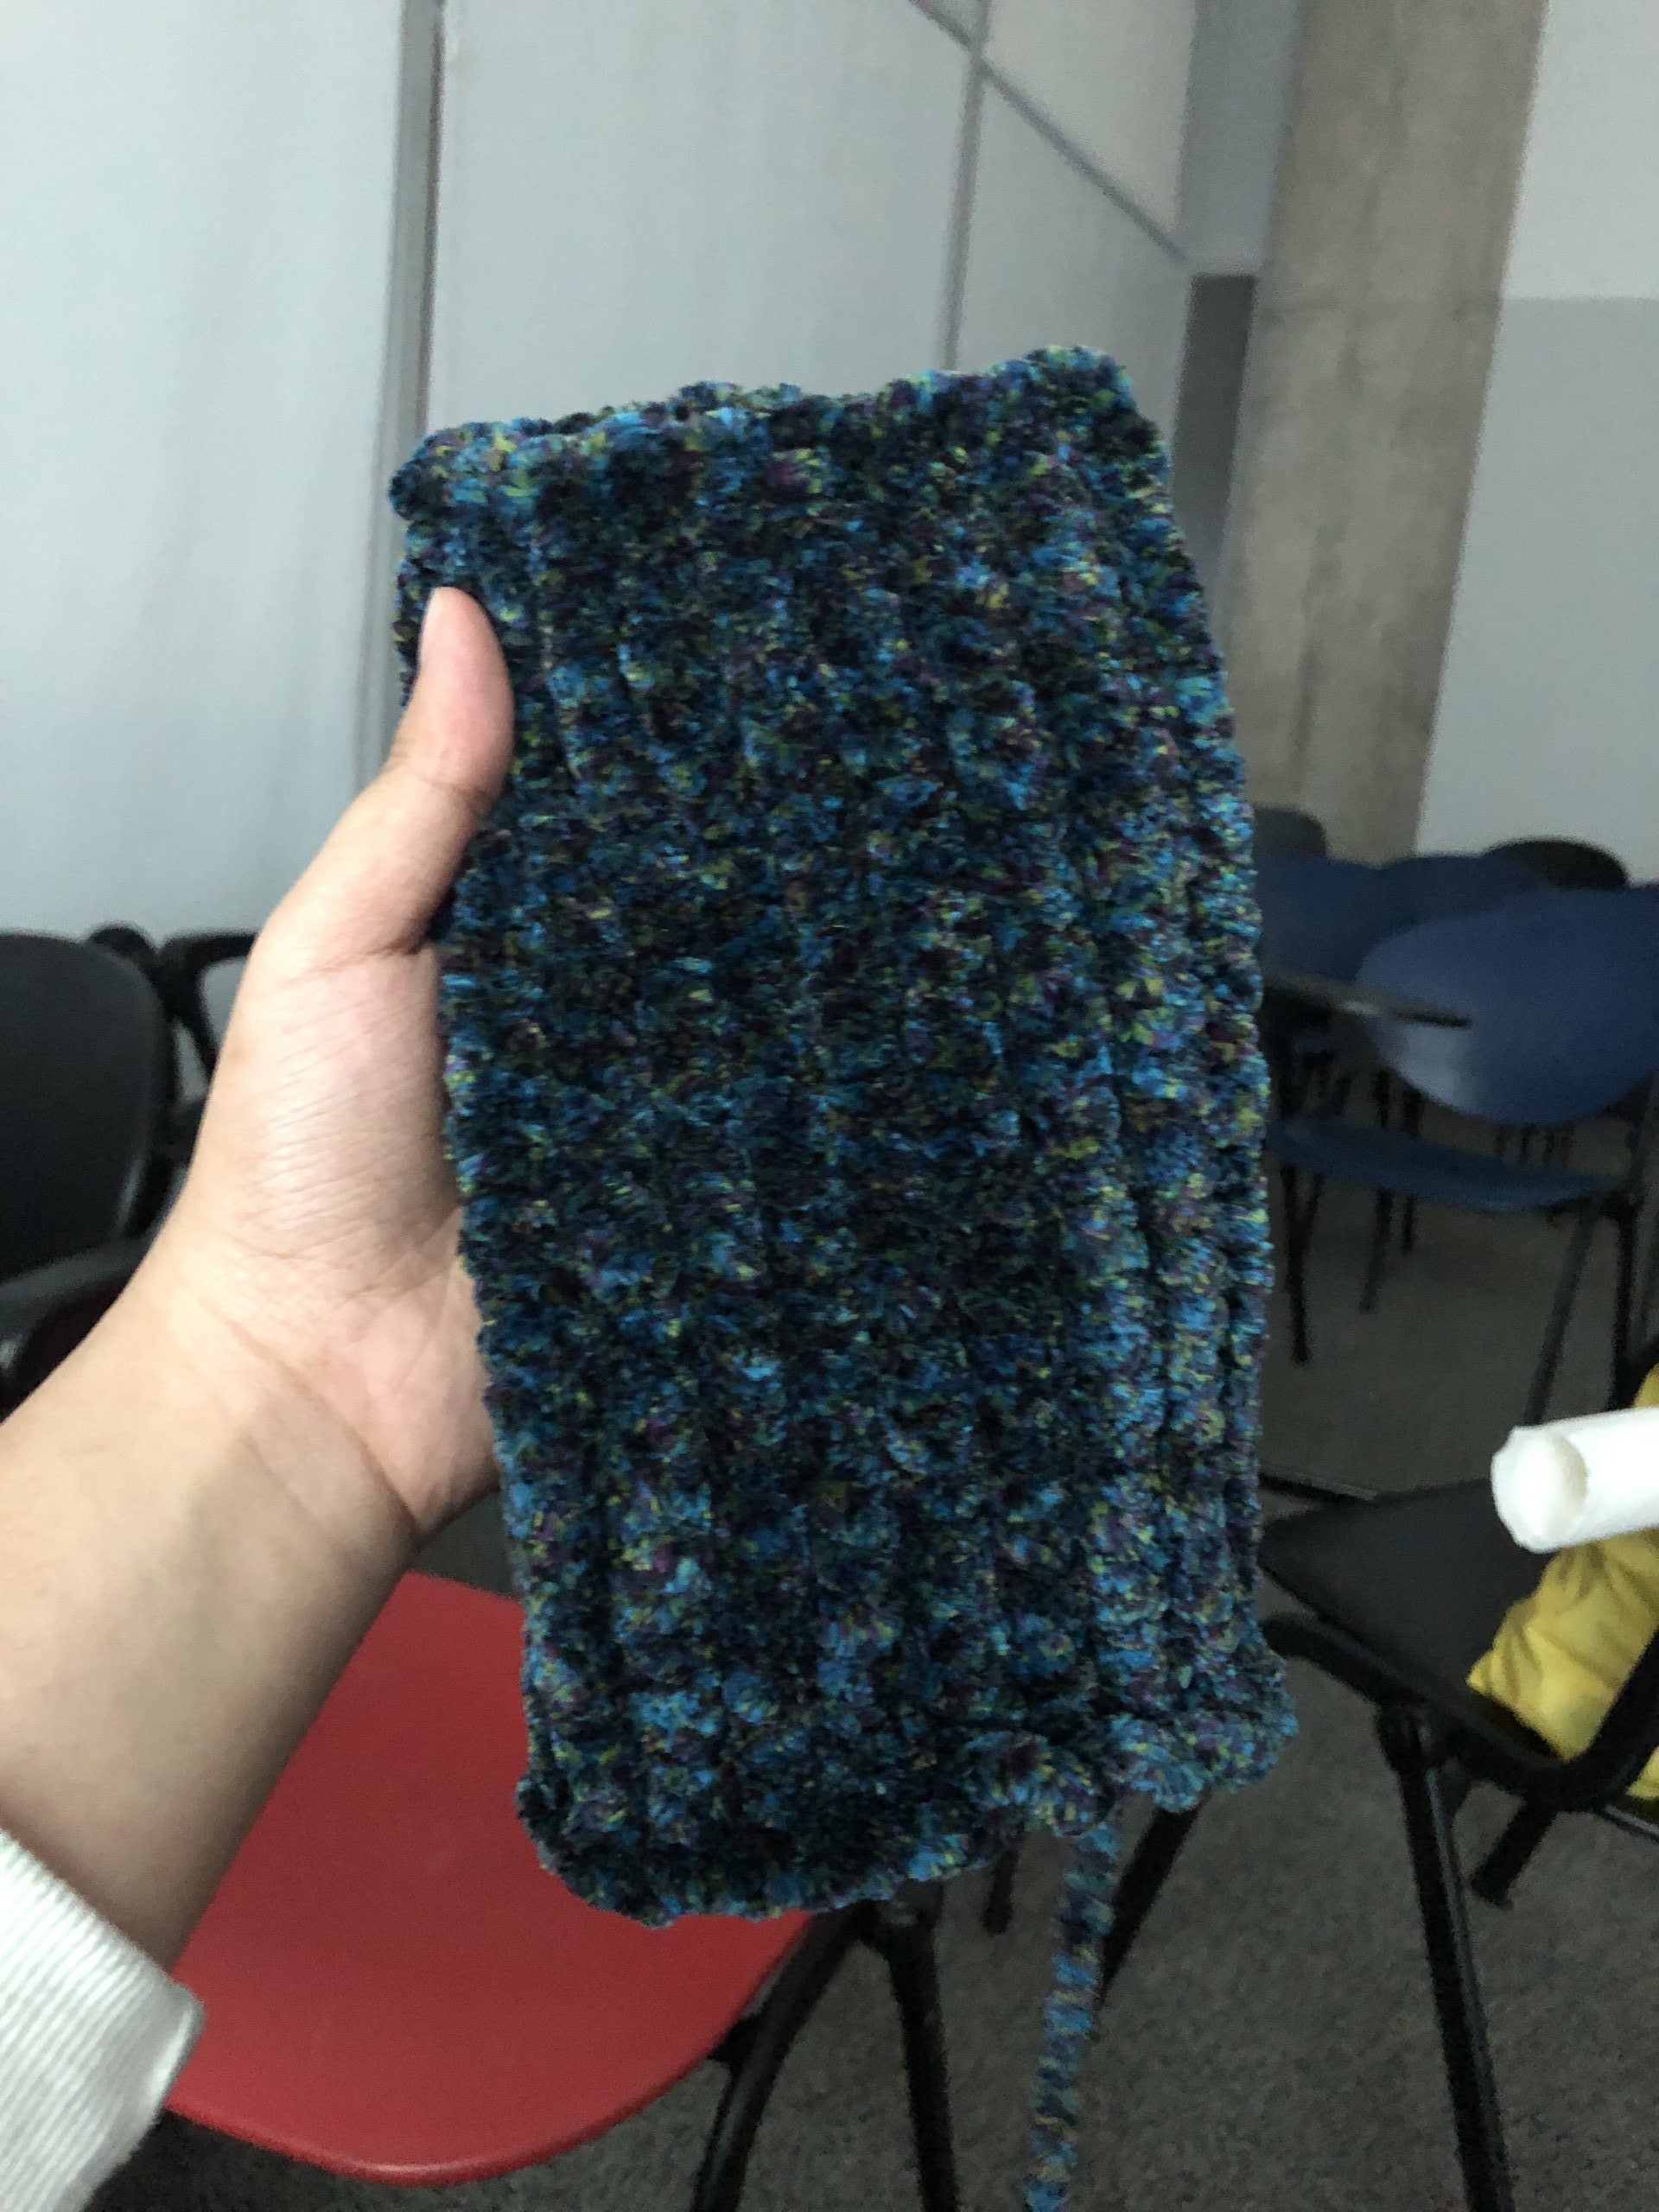
Here are all my knitting experimentations.
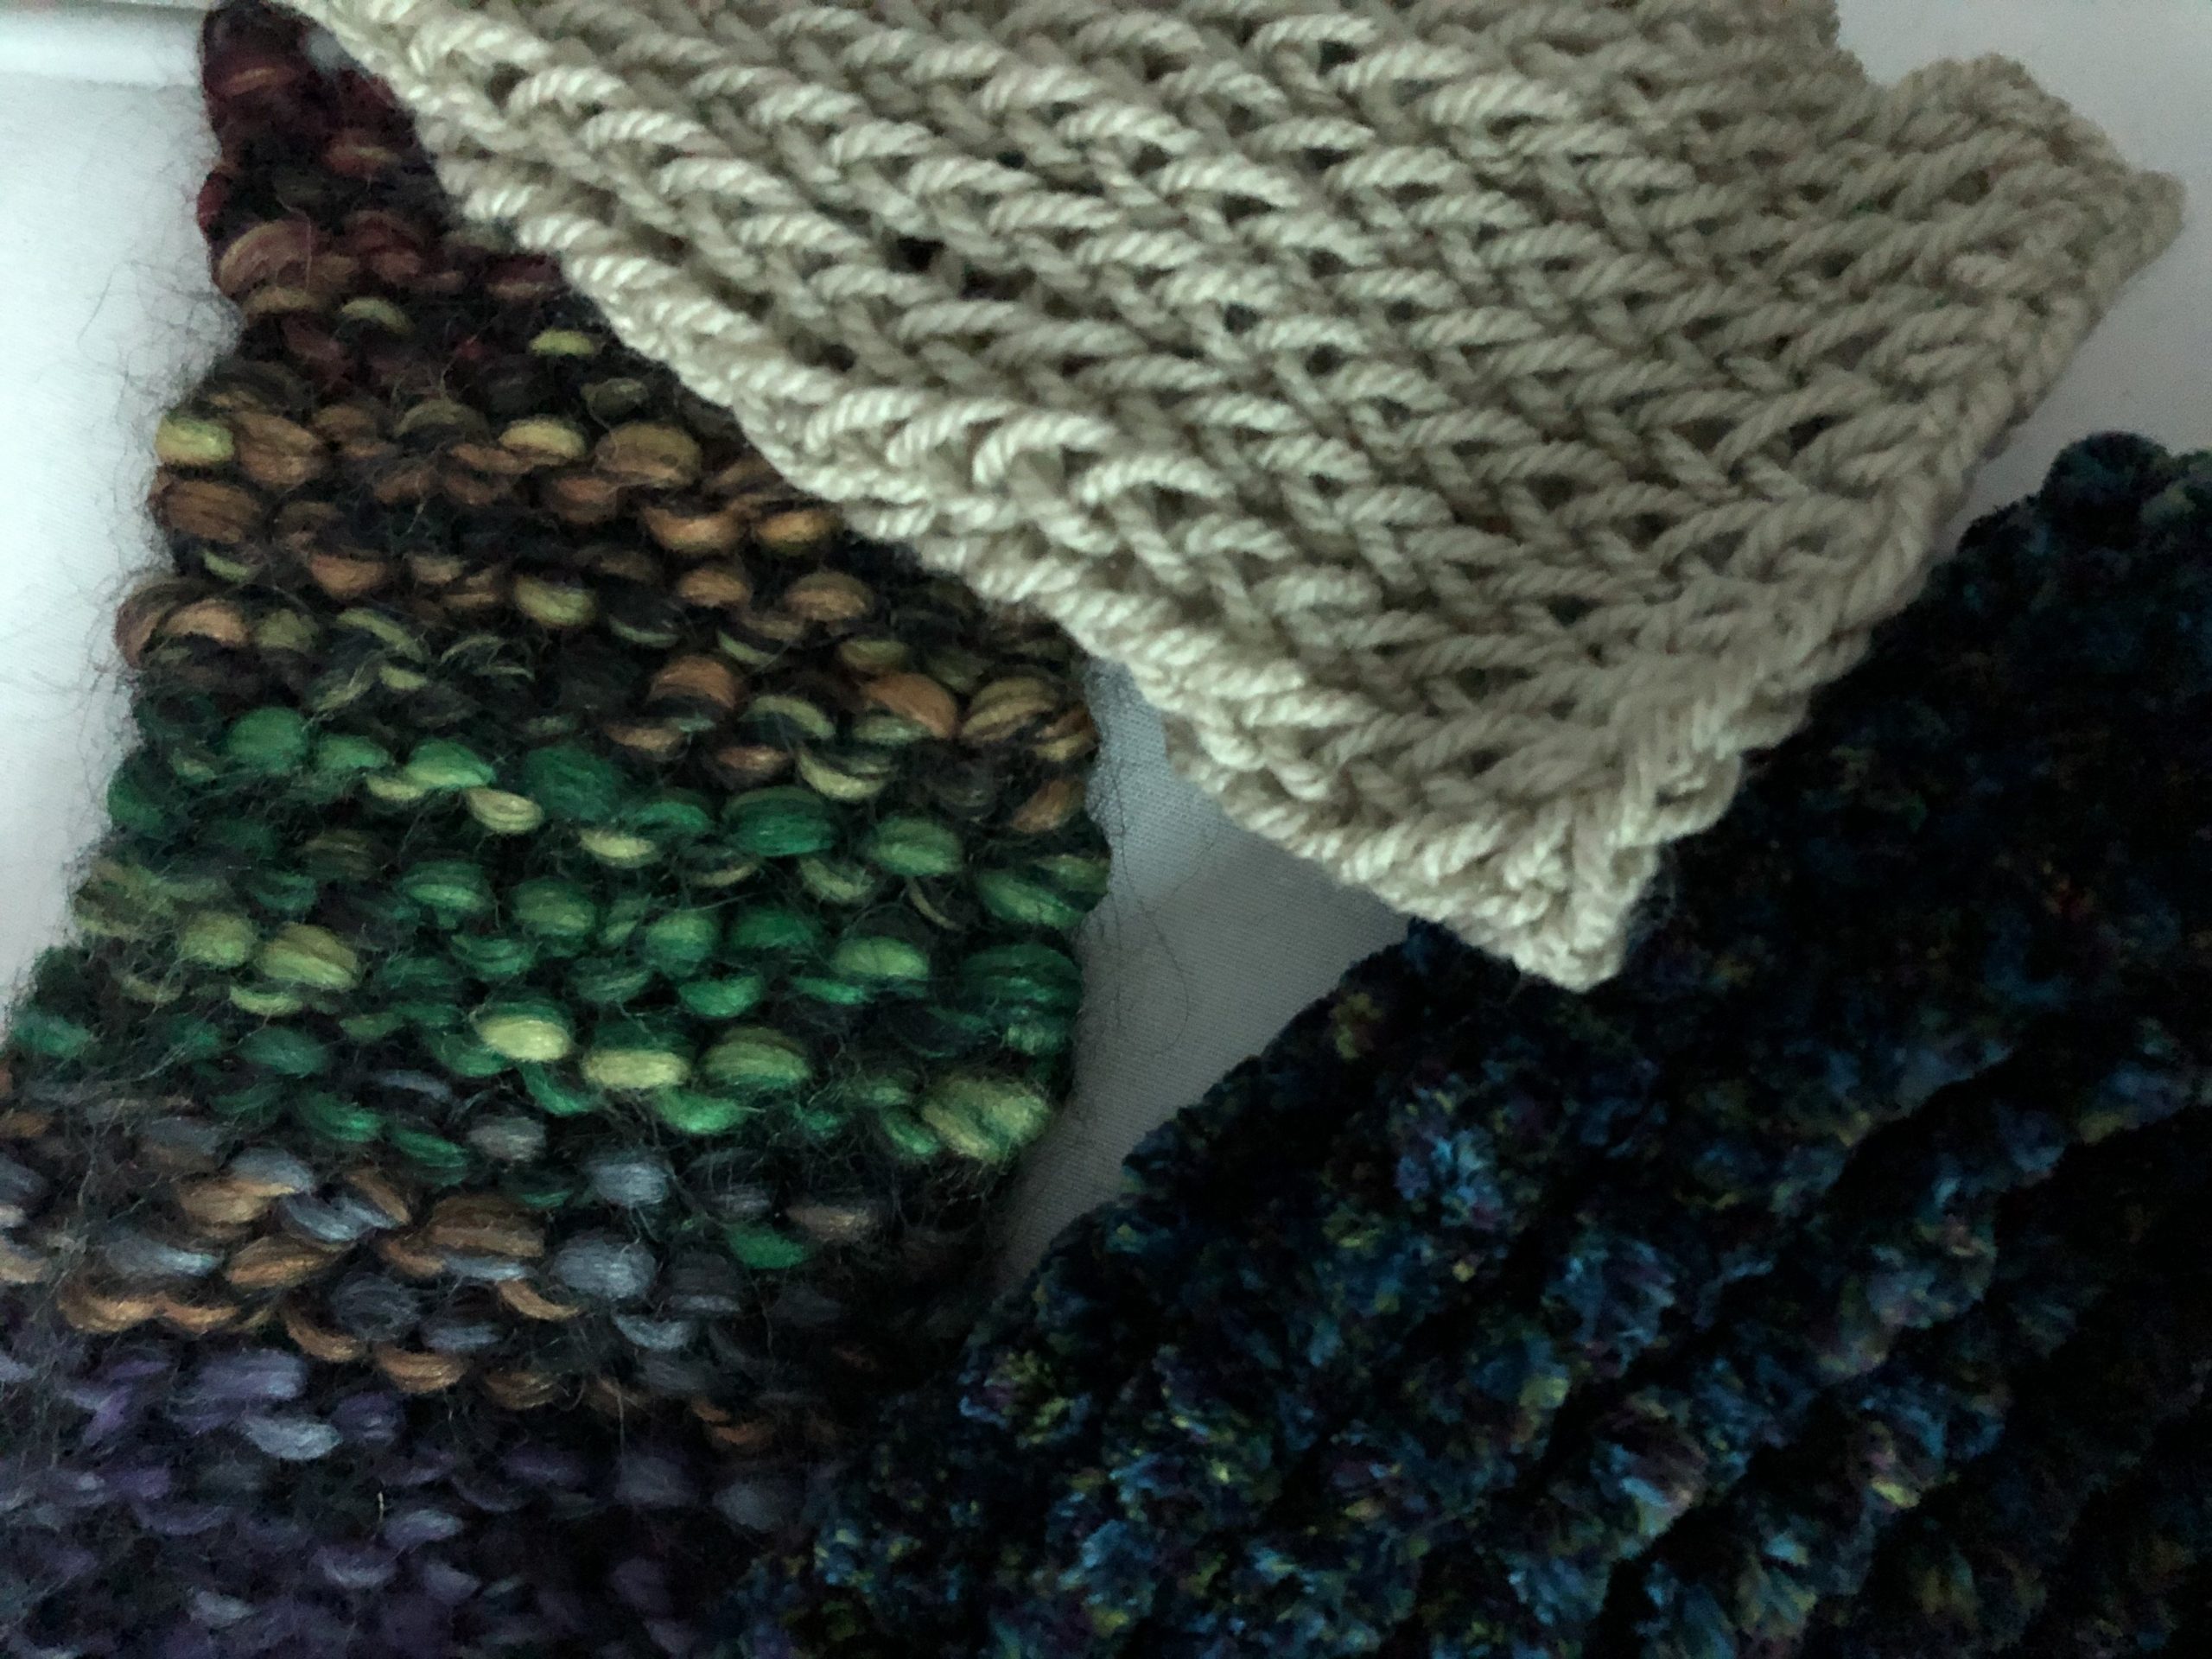
All 3 knits make use of different types of yarns, thus achieving 3 different outcomes.
I don’t exactly have much to say about knitting. So that’s it for now. I’m currently experimenting knitting with other kinds of material. One material I’m using is twine and it is pretty painful to knit 🙁 Nonetheless, I’ll update soon with the outcome!

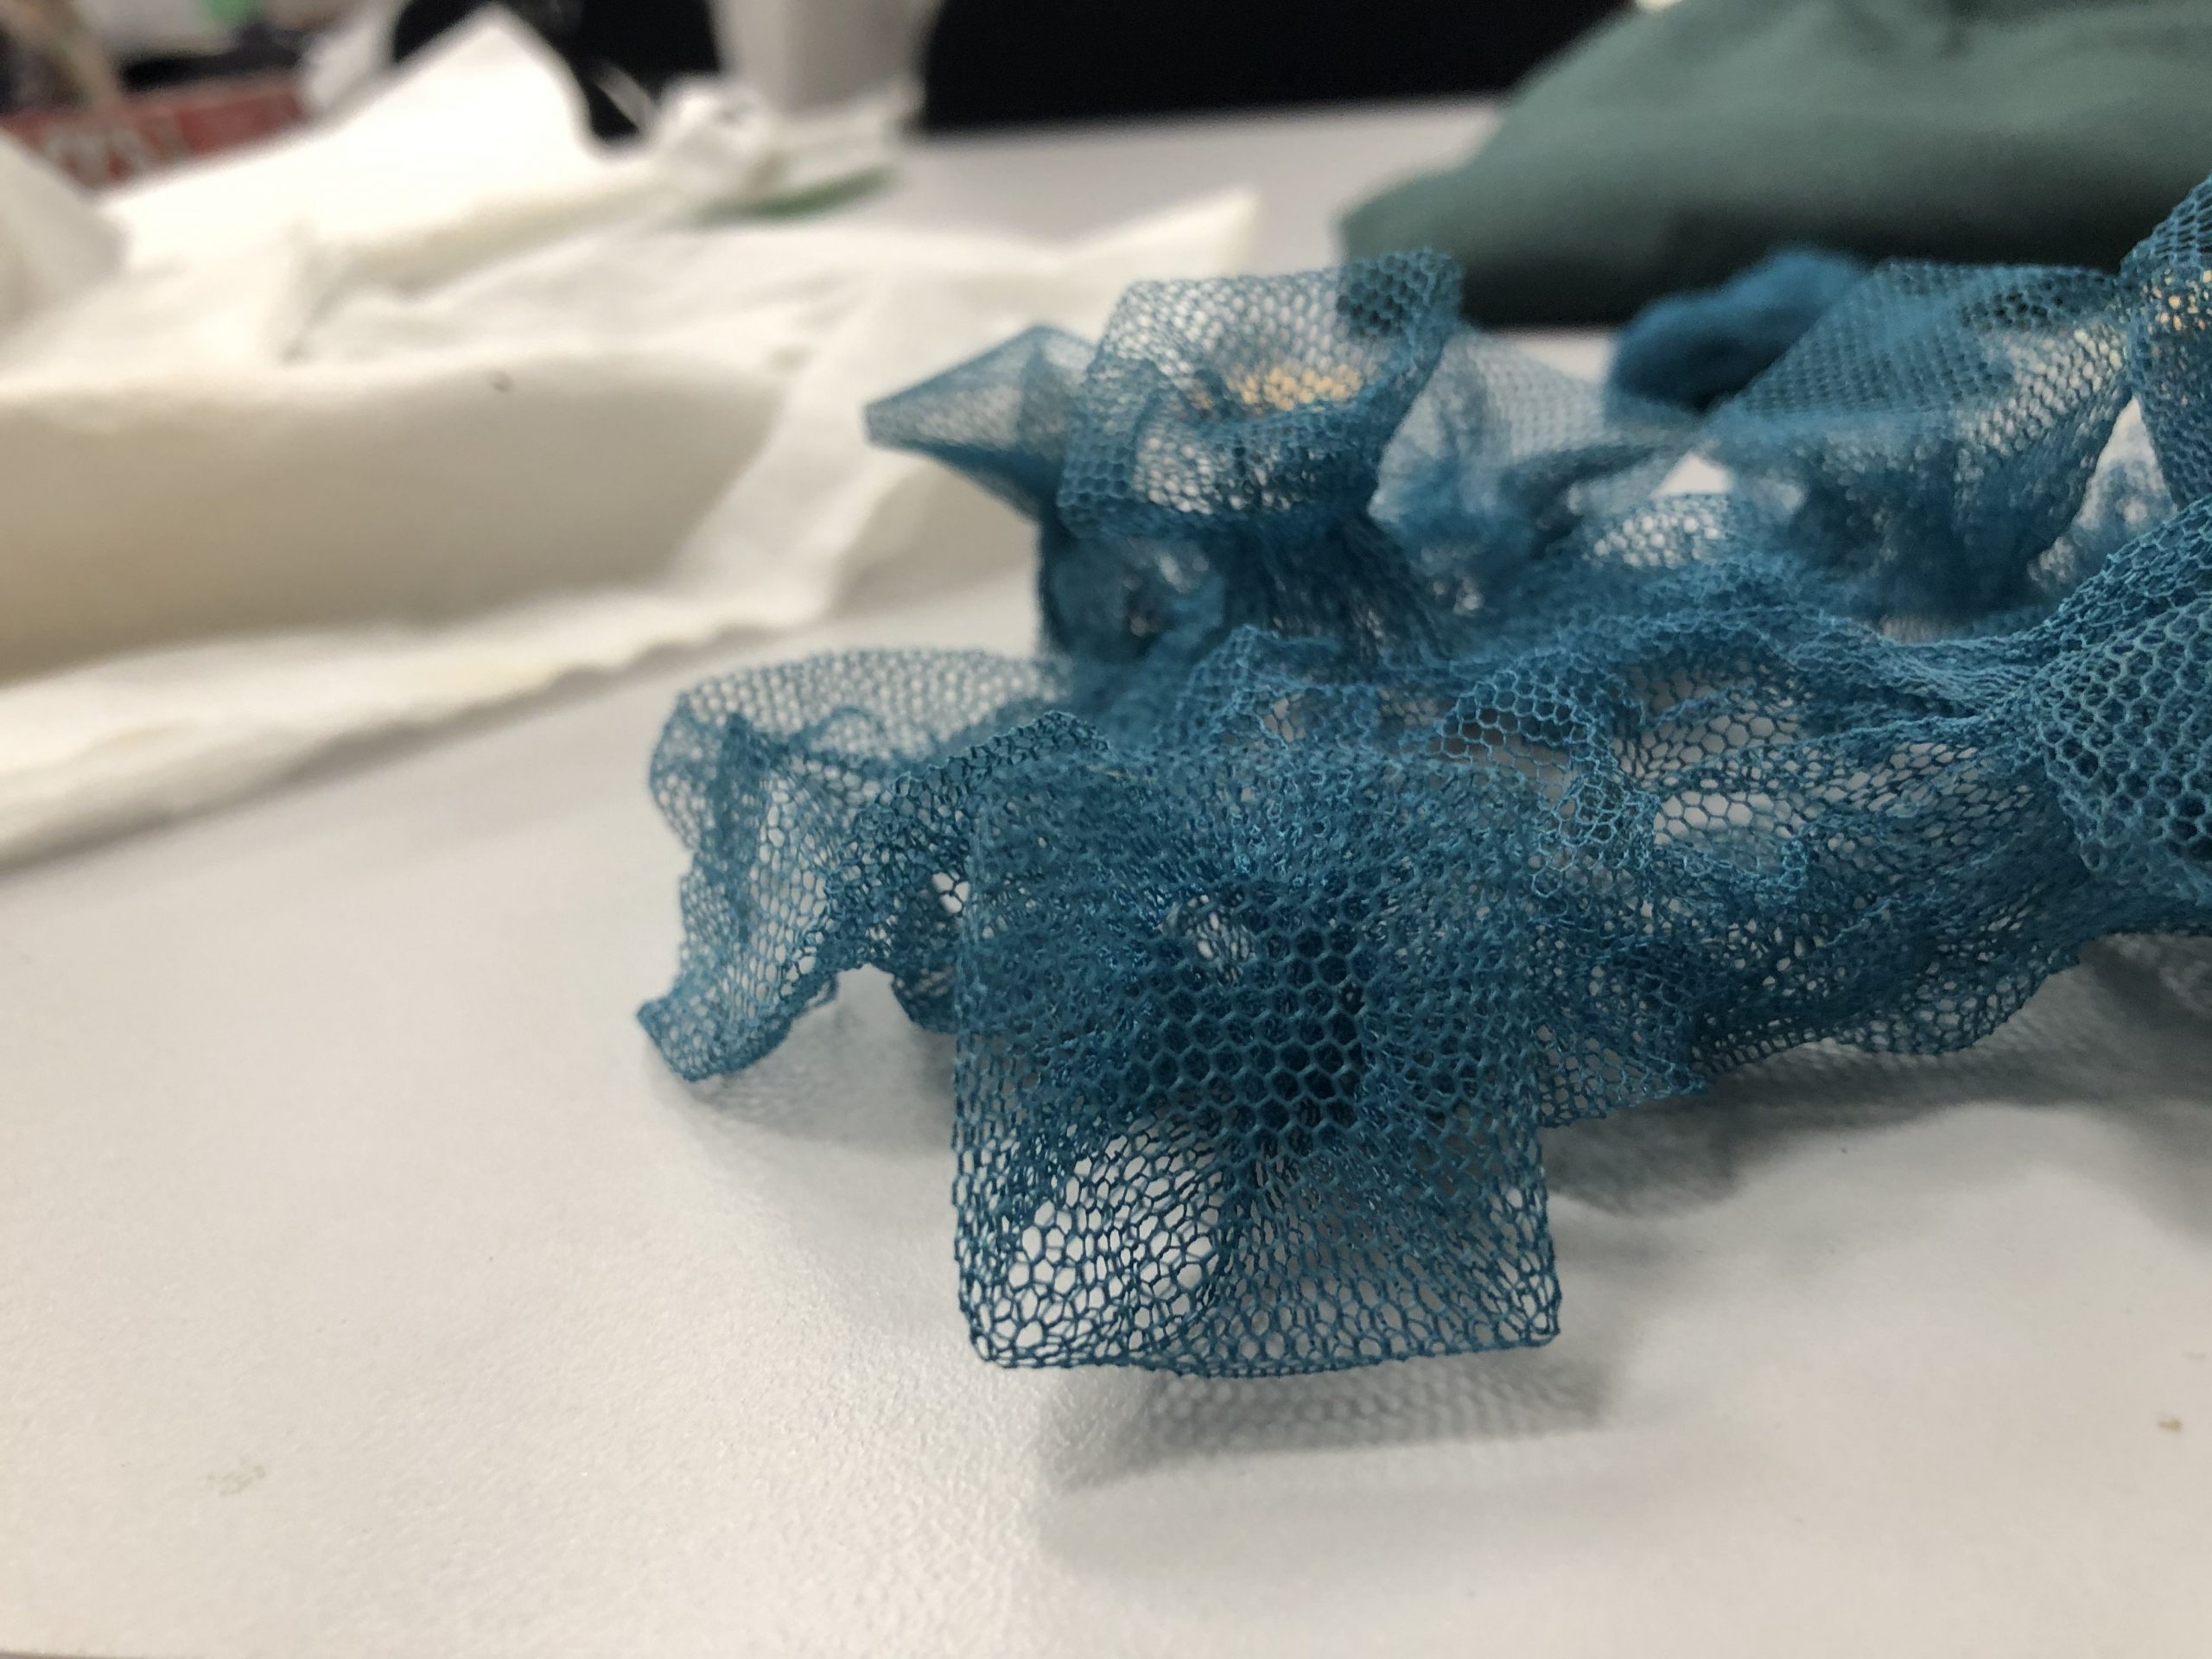
manipulating polyester // surface design
When I bought my polyester, I thought I had just needed to get 100% polyester. I didn’t take into account of stitching of the material. Unfortunately, the stitching on the material I purchased was a little too loose so initially, my thoughts were that it probably can’t hold the shape very well.
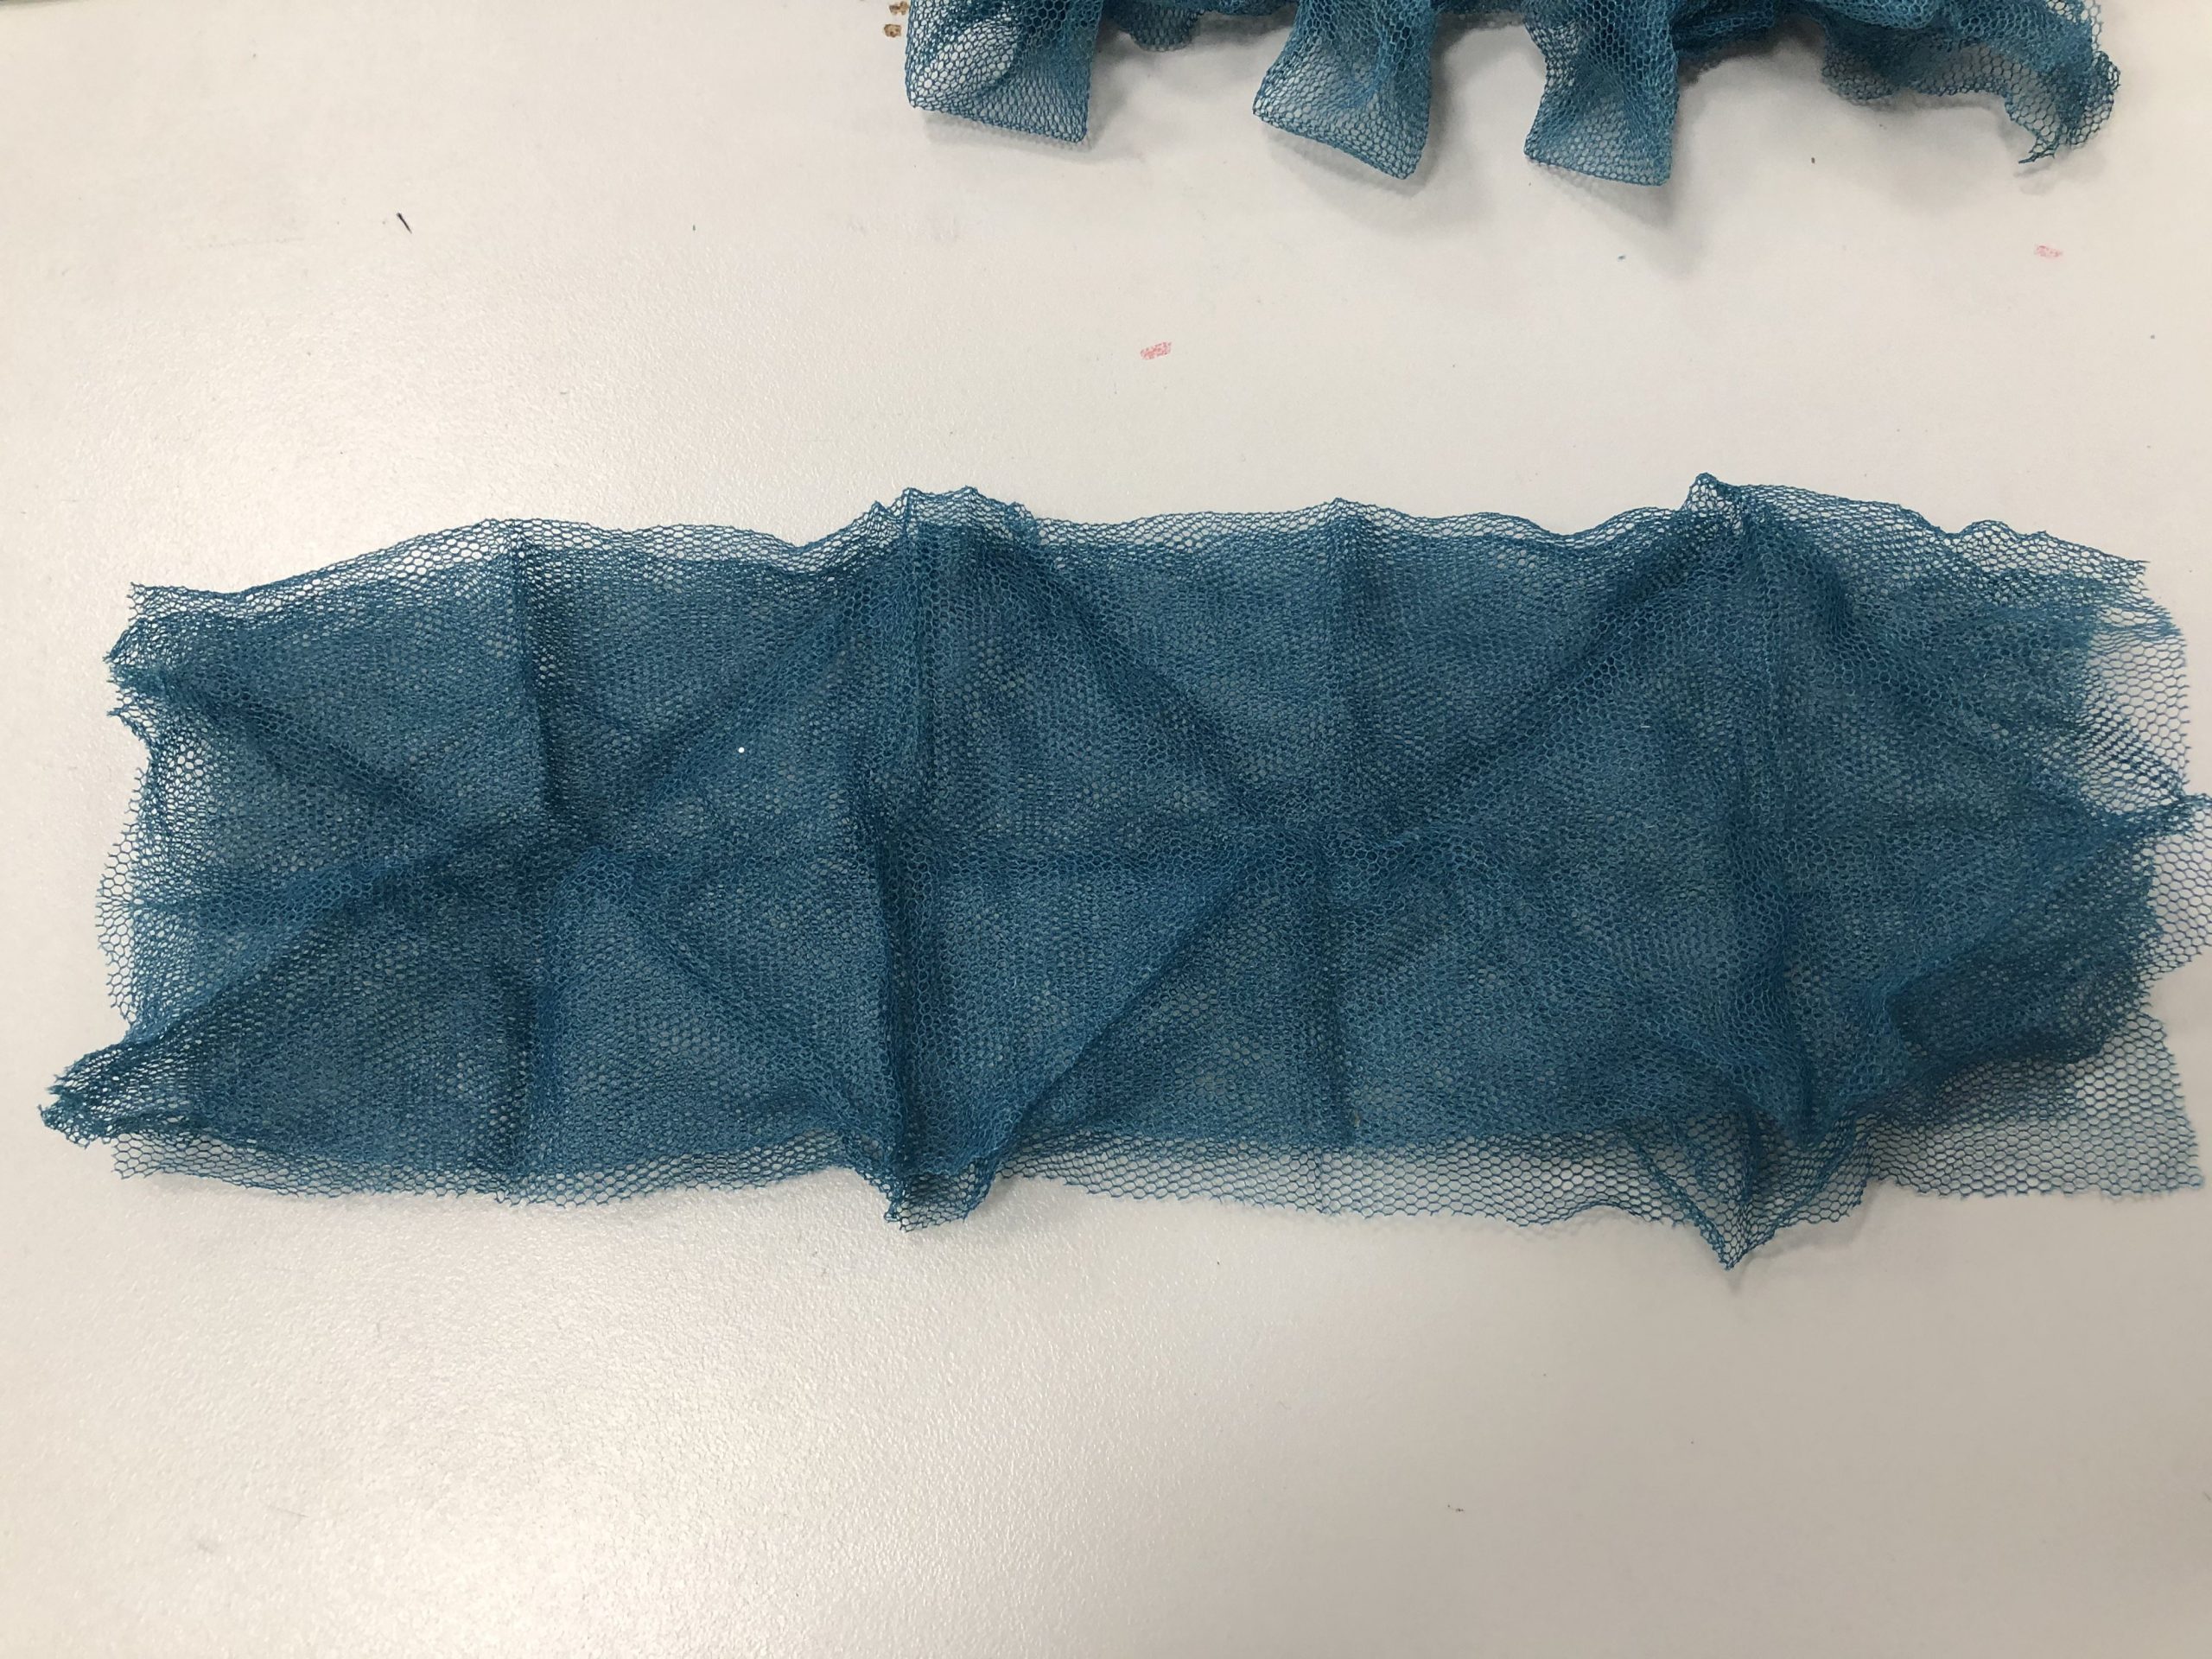
STEPS:
- Use whatever materials you can find to act as a mould.
- Wrap the polyester around each object with a rubber band or rope in your desired design.
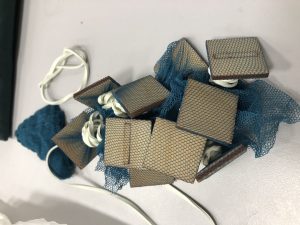
- Wrap it with aluminium foil.
- Boil it for 45mins to an hour depending on your object and material.
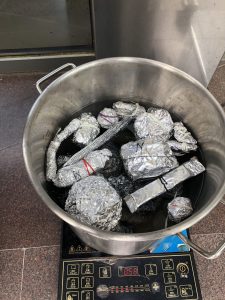
- Unwrap aluminium foil.
- Let it to dry.

For my experimentation, I used square wooden chips as my mould and tried a simple origami.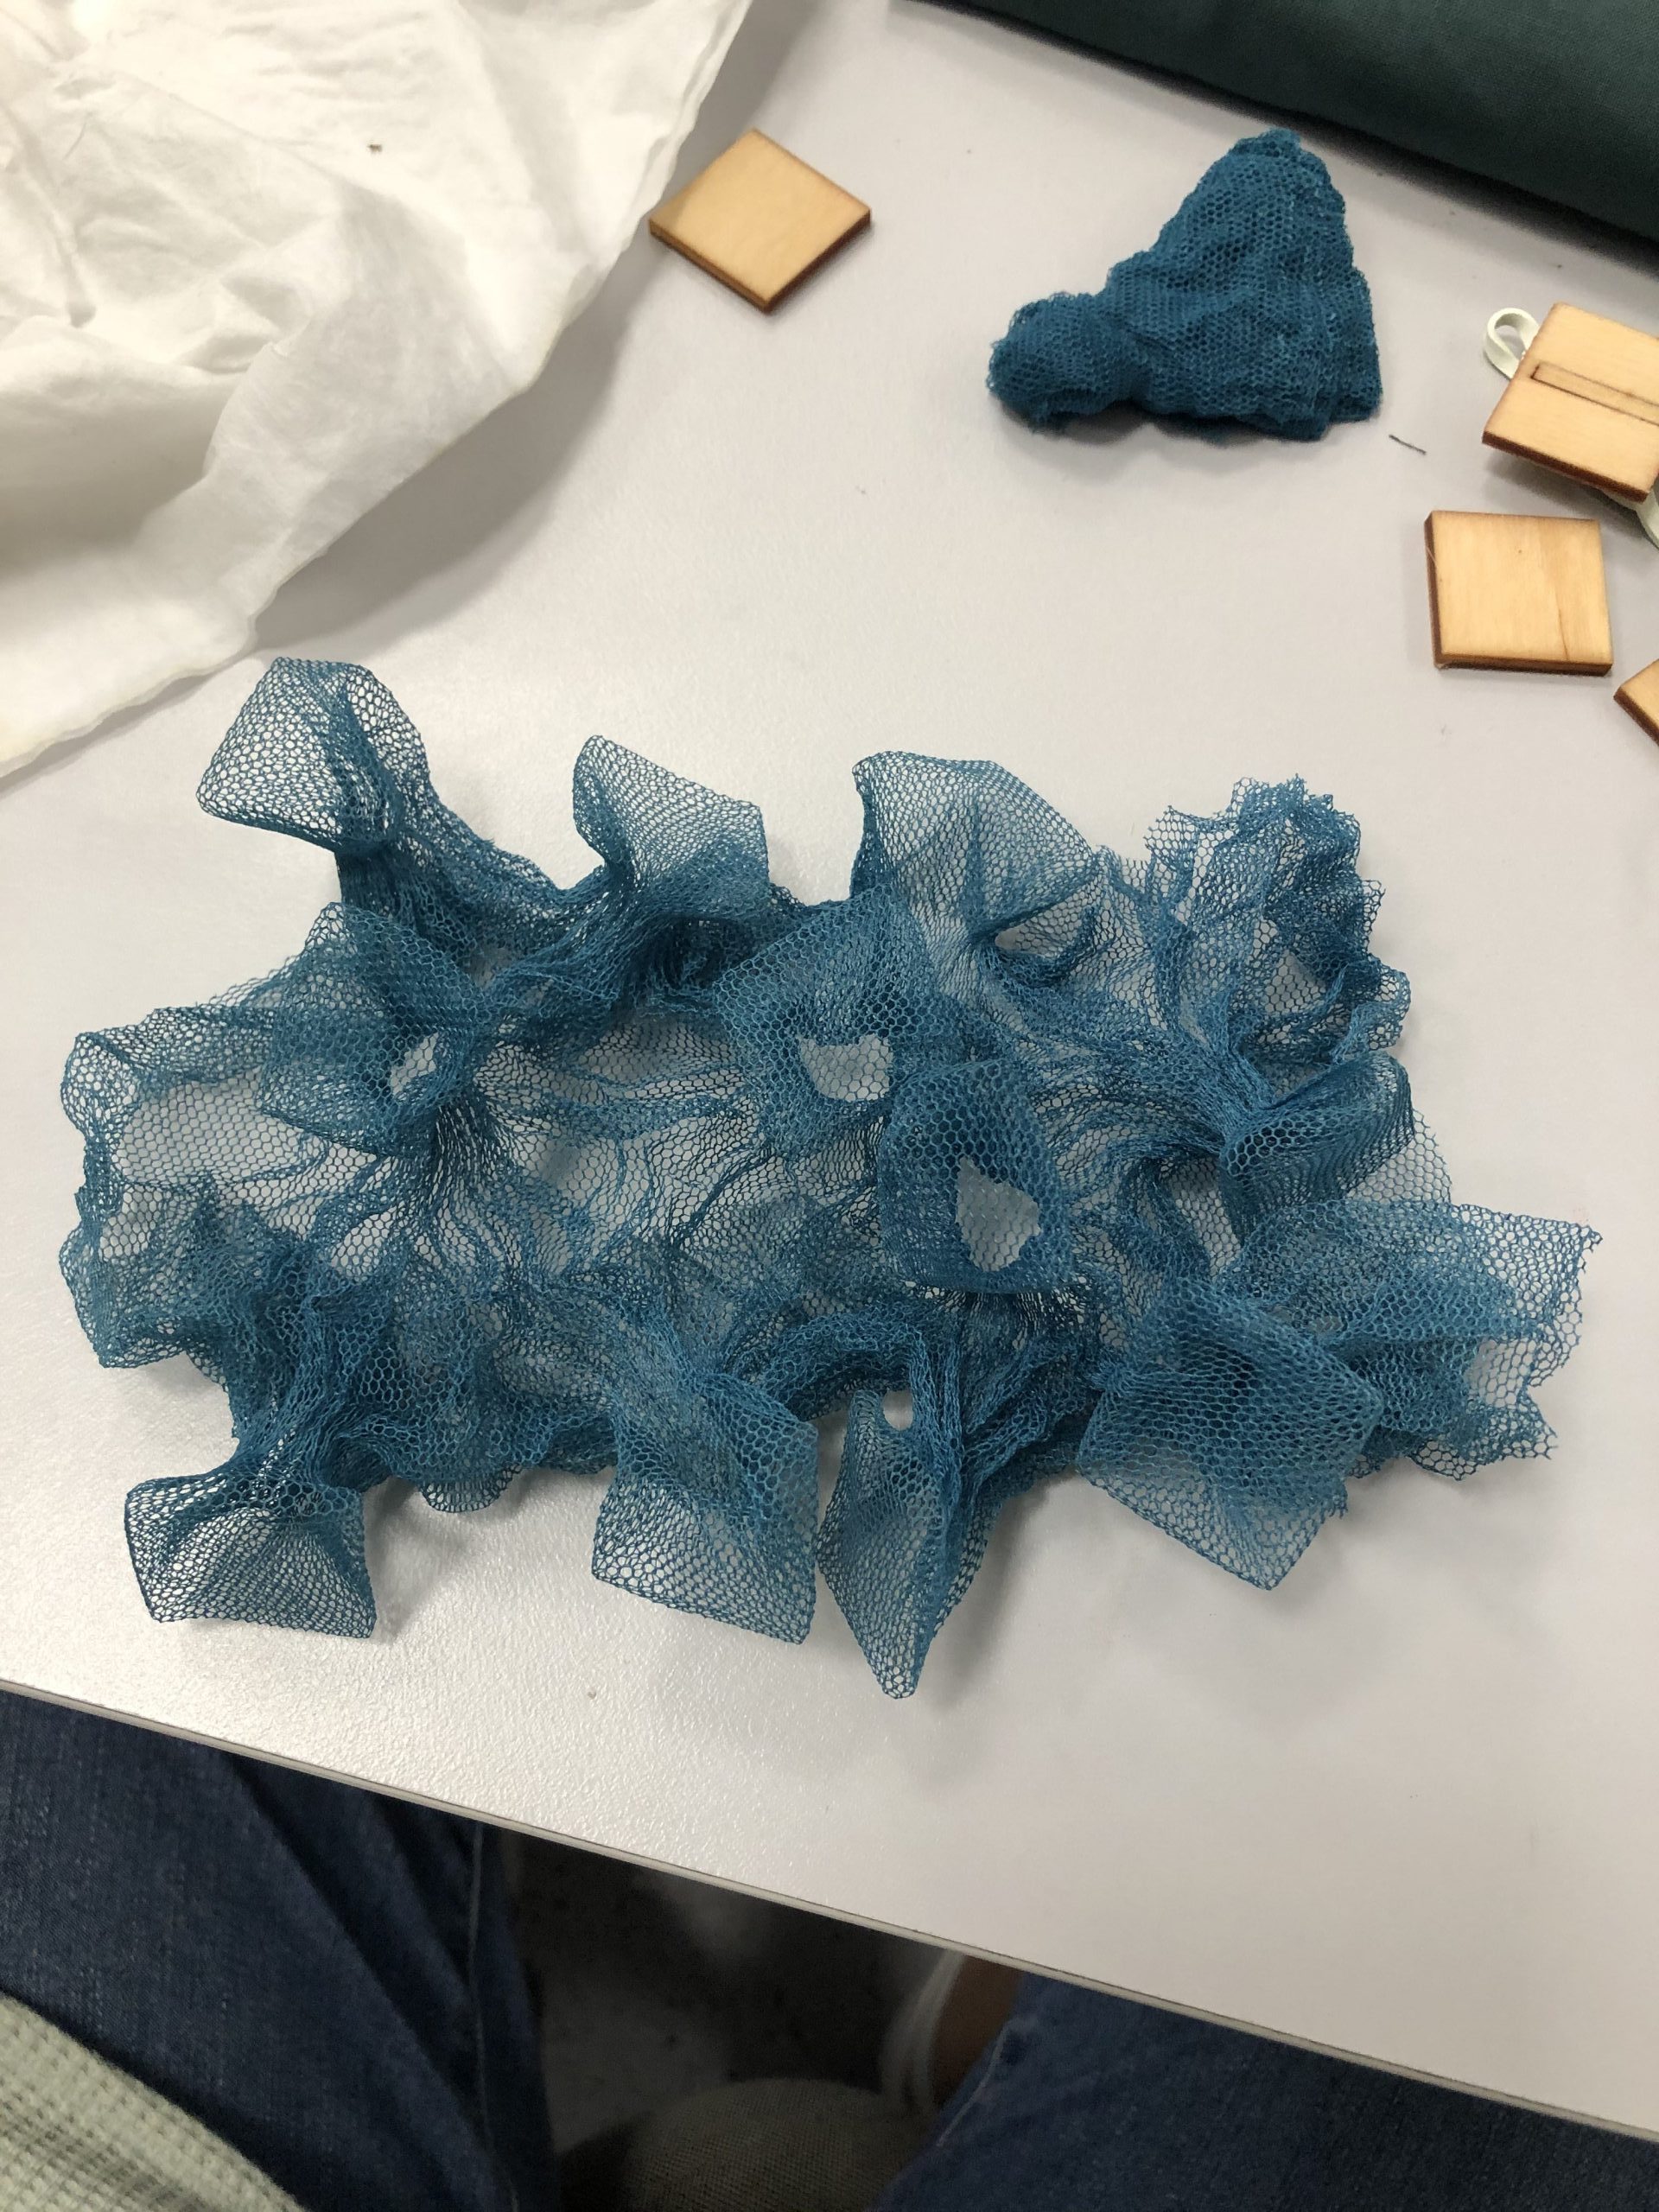
For the wooden chips, the outcome came out pretty nicely considering the loose material and the fact that it was only 1 layer of material. However, the rubber band I used to tie it down was too thick and long so there is a big gap between the chip and the base. So it is important to consider what you use to tie your material.
The origami was a failure, probably because the material was too loose. and there wasn’t a stiff material to create the folds.
Audrey mentioned that to do origami folds, she used YUPO paper and placed the polyester between 2 papers. I’ll try experimenting with that technique in the future!
memory box // poster
field trip // national museum
Before I talk about one installation, I shall give my general opinion on the field trip.
I have visited the National Museum a number of times and I had always enjoyed the Glass Rotunda exhibit. However, after today’s field trip, I have a deeper appreciation of the entire exhibit.
Maybe because I was too lazy to read the long chunk of text previously, I wasn’t aware that the Glass Rotunda exhibit was linked to Magic and Menace. To be very honest, even though I went to NMS many times, I never once visited Magic and Menace. So before today, I thought there was a disconnection between the Glass Rotunda exhibit and the rest of the museum, given that the rest of the museum was more historic while the Glass Rotunda was more, for the lack of a better word, “aesthetic”.
So I had a thought.
Is my inability to associate the Glass Rotunda exhibit to the history of Singapore caused by my laziness to read chunks of text or by the design and structure of the exhibit?
One thing I thought could help with the association would have been to place the Magic and Menace exhibition adjacent to the Glass Rotunda exhibit so the relationship between the two becomes clearer.
Or
Imagine walking through Magic and Menace and having a magical door that leads you into the Glass Rotunda exhibit from there.
Nonetheless, the Glass Rotunda exhibit doesn’t cease to amaze me every time I step into the space and now knowing more details, I’m in greater awe.
I guess the only “complain” I have is the proximity sensor at the last section of the exhibit that wasn’t reactive enough. The issue I felt was that the trees didn’t appear fast enough. From what I’ve gathered from taking Interactive modules so far, a comment that is often received is that feedback or reaction should happen instantaneously as to when an action is done. When there is a delay in feedback, people can’t associate their actions to that feedback so the outcome seems to appear random rather than on purpose.
I might have pointed out way too many bad points so I shall end it off more positively by saying that the exhibition was definitely an immersive experience which I believe is credited to the beautiful art as well as the sensory experience of using smells.
Now I shall move on to talk about one installation in the “An Old New World”.
The installation I have chosen is the one below.
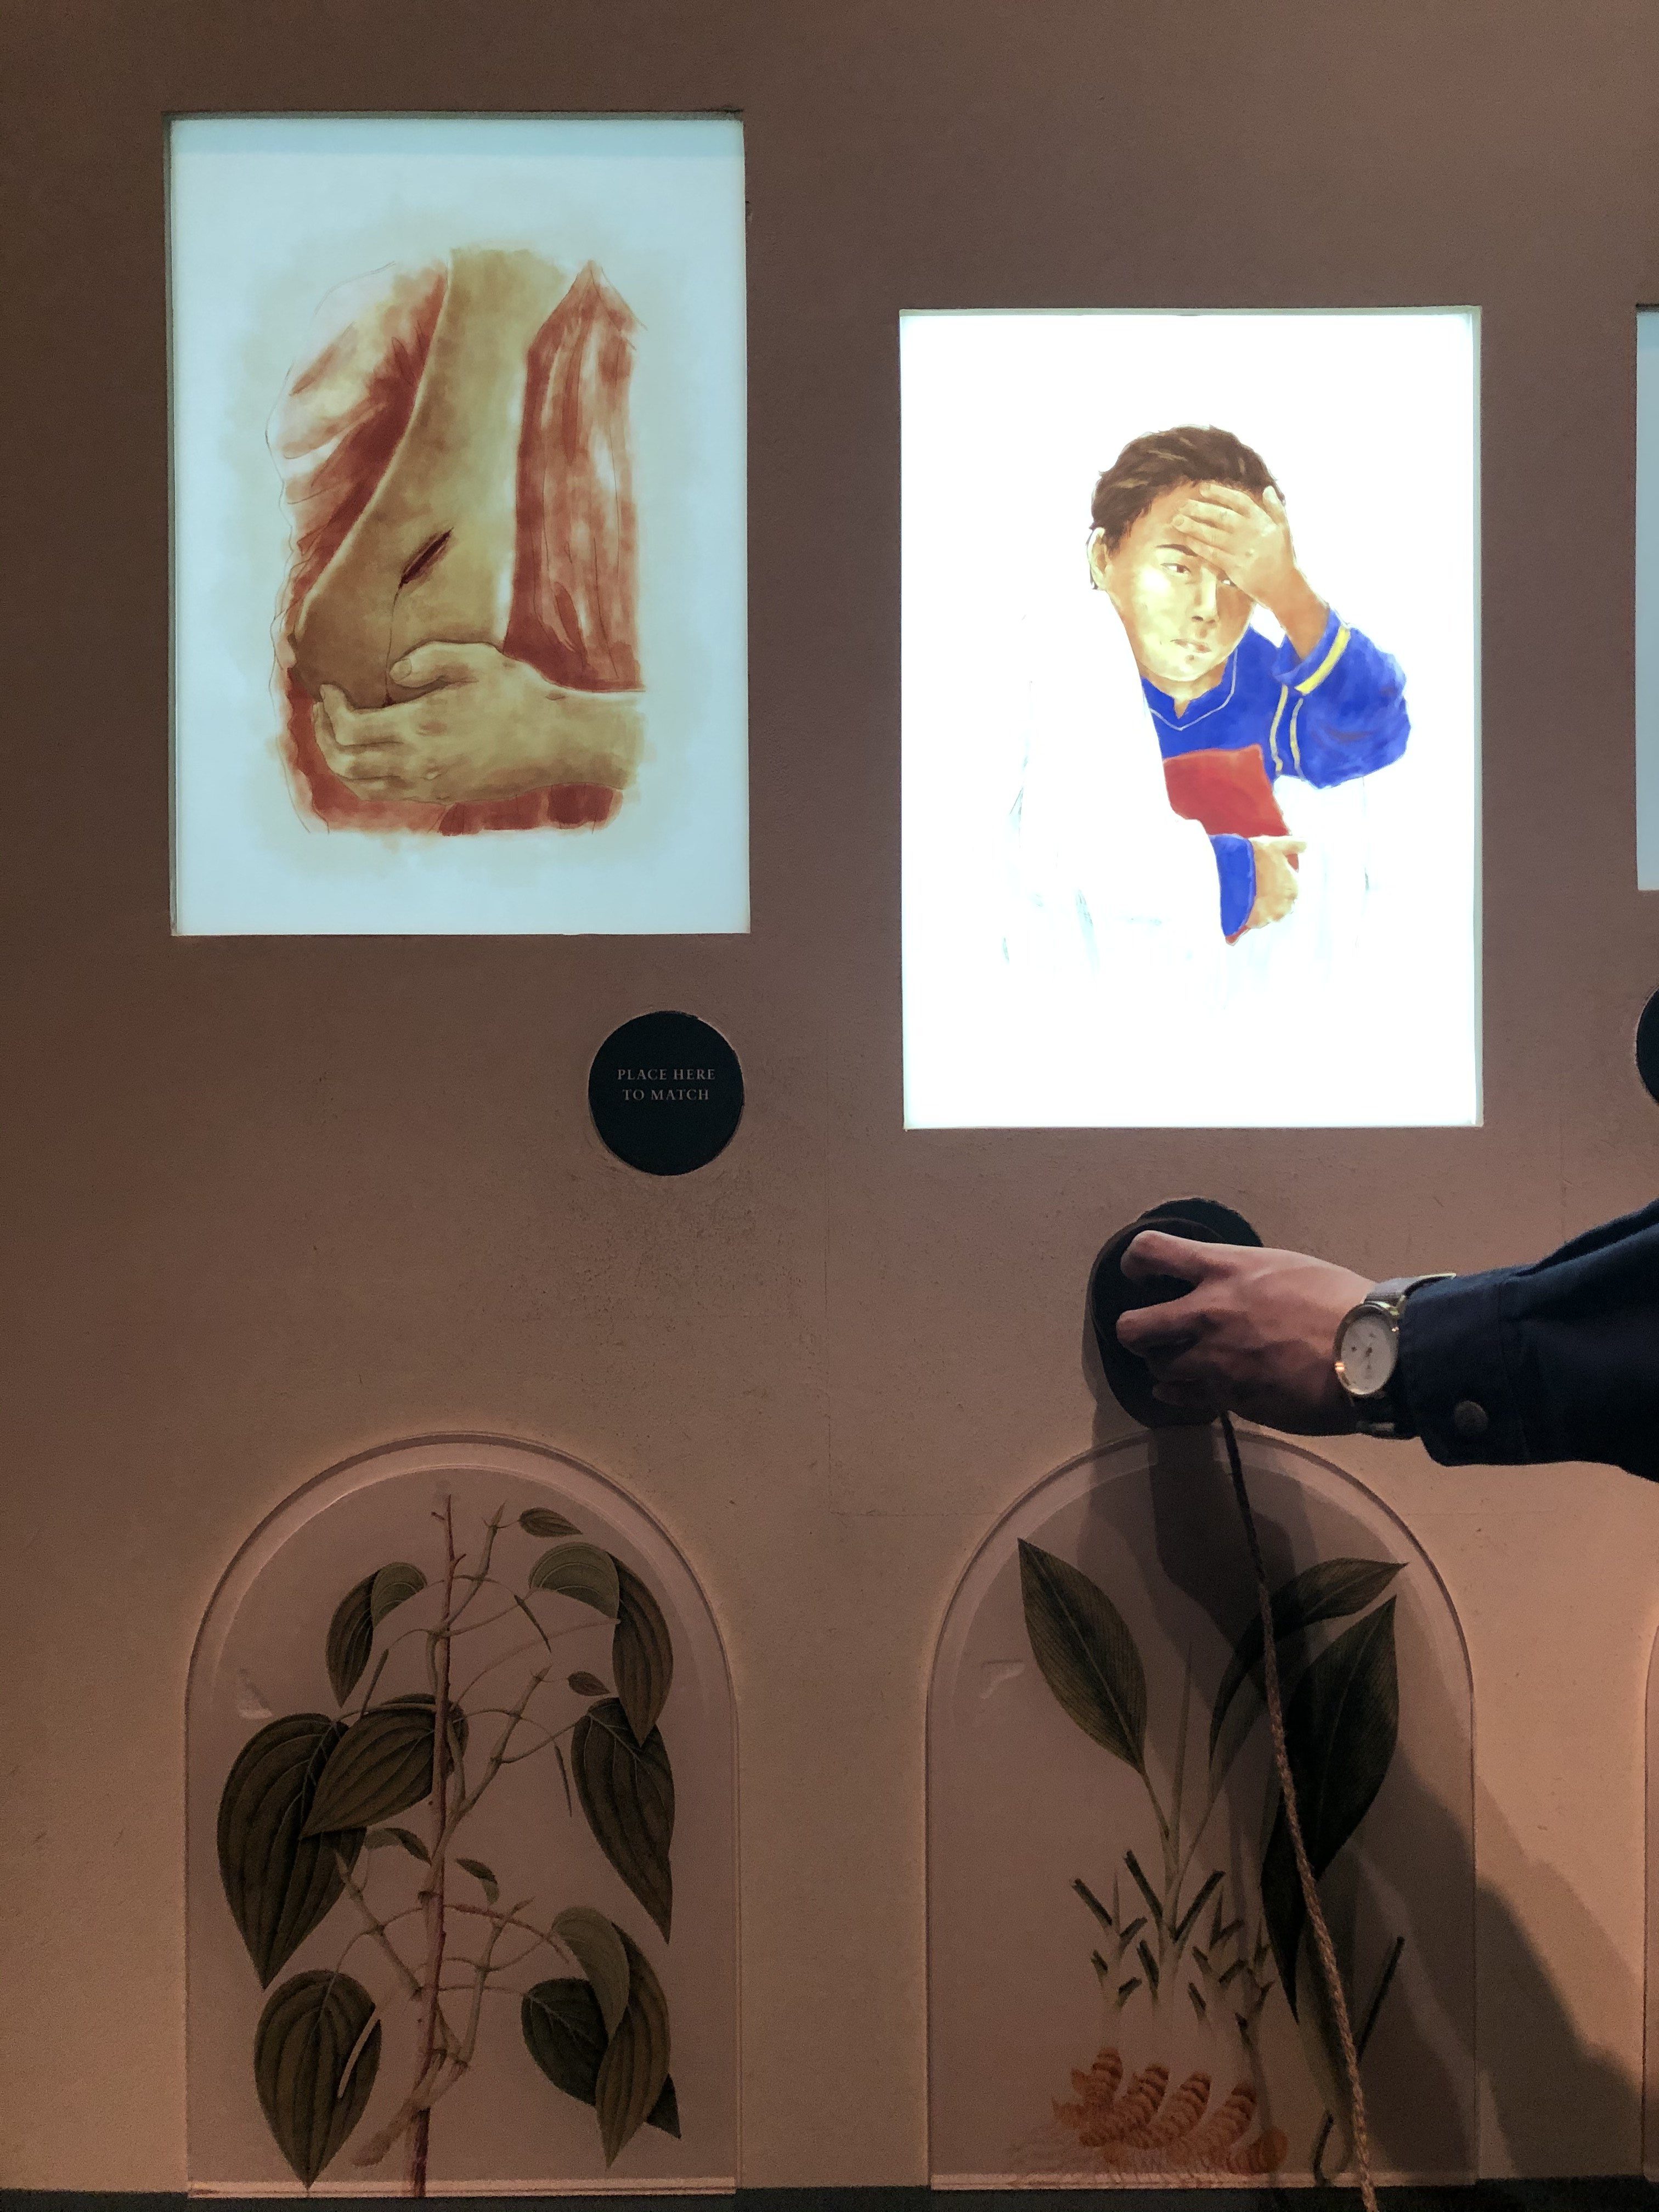
Using this wooden, circle object, we are supposed to match the herb to its remedy. The audience is invited to pick up the circle object and match it to the correct image. When it is correctly matched, the image lights up.
I didn’t actually have time to read this station properly, but my guess it is to show how people in the past use traditional medicine instead of western medicine to treat ailments. So in terms of the association to the rest of the exhibition, I think it is pretty relevant.
Honestly, I thought the interaction and technology behind it were impressive. When I first touch the circle object, it didn’t feel “technological” so, in a way, they hid the technology well.
However…
I’m sorry to say, the feedback from the interaction was fairly disappointing. What do I mean by feedback? Basically how it communicates to the audience when you get it right or wrong.
Firstly, there was no indication if you got it wrong. Would have been more intuitive if there was red or green light behind the “Place here to match” marker.
Secondly, what was the association between the circle object and the herb? I think it lacks the visual element to contain the subject matter. For example, maybe in the circle object, the actual herb is contained inside it, then people can see the relation.
Thirdly, as mentioned by Shah, an animation might have served the purpose better. So when you correctly match it, the animation changes to when the person is healed. For example, for the cut on the arm, when accurately matched, the image of the arm changes to a healed wound. I believe this will help people better understand that the herbs are used as a healing technique.
Enough of the negatives.
So what can I learn from this?
It is important to take note of how your audience perceives the feedback. Every object in an installation should have an association with your subject matter to help the audience better understand your message.
In the context of my project, I guess what I should take note of the objects placed in my space, and figure out the user experience of it. How do you manipulate the space, objects and the artwork so that the audience interact with it the way you want them to?