Click here for the final PDF: Snake Scale


Well, hello!
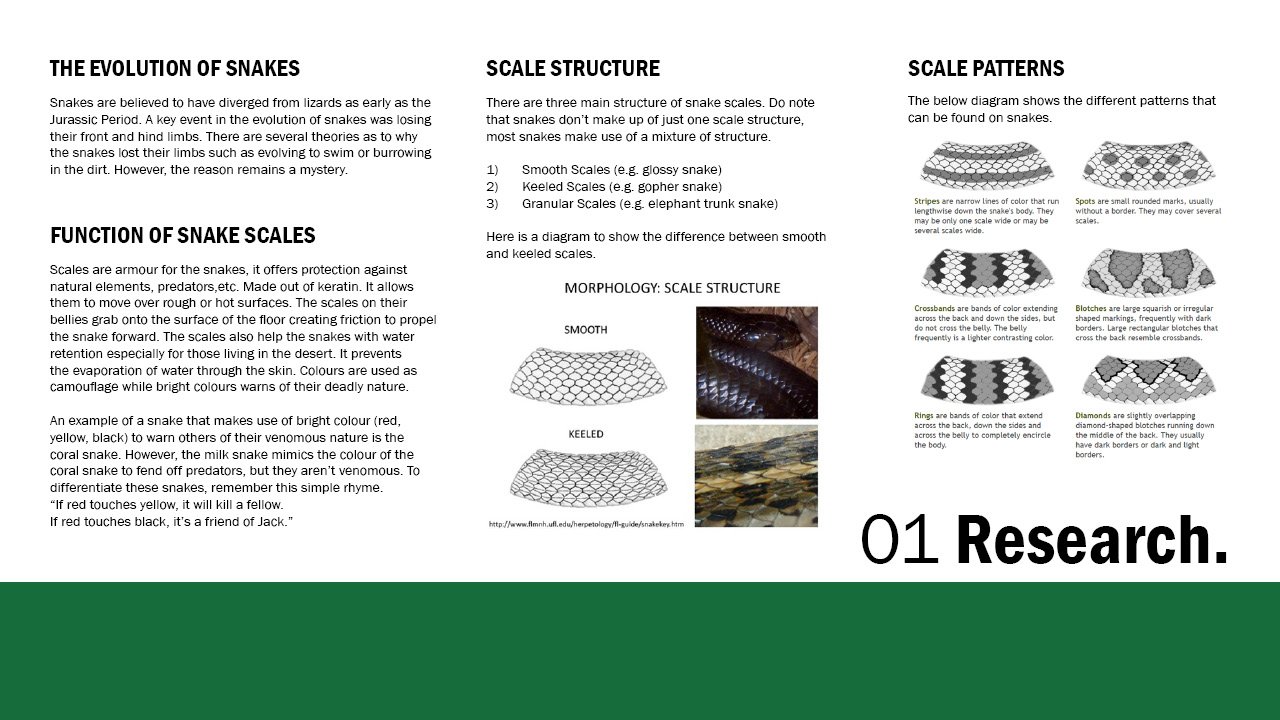
This post is divided into three parts to show the three different technique
Using a fibre remover on silk viscose velvet to create patterns on the material.
STEPS:

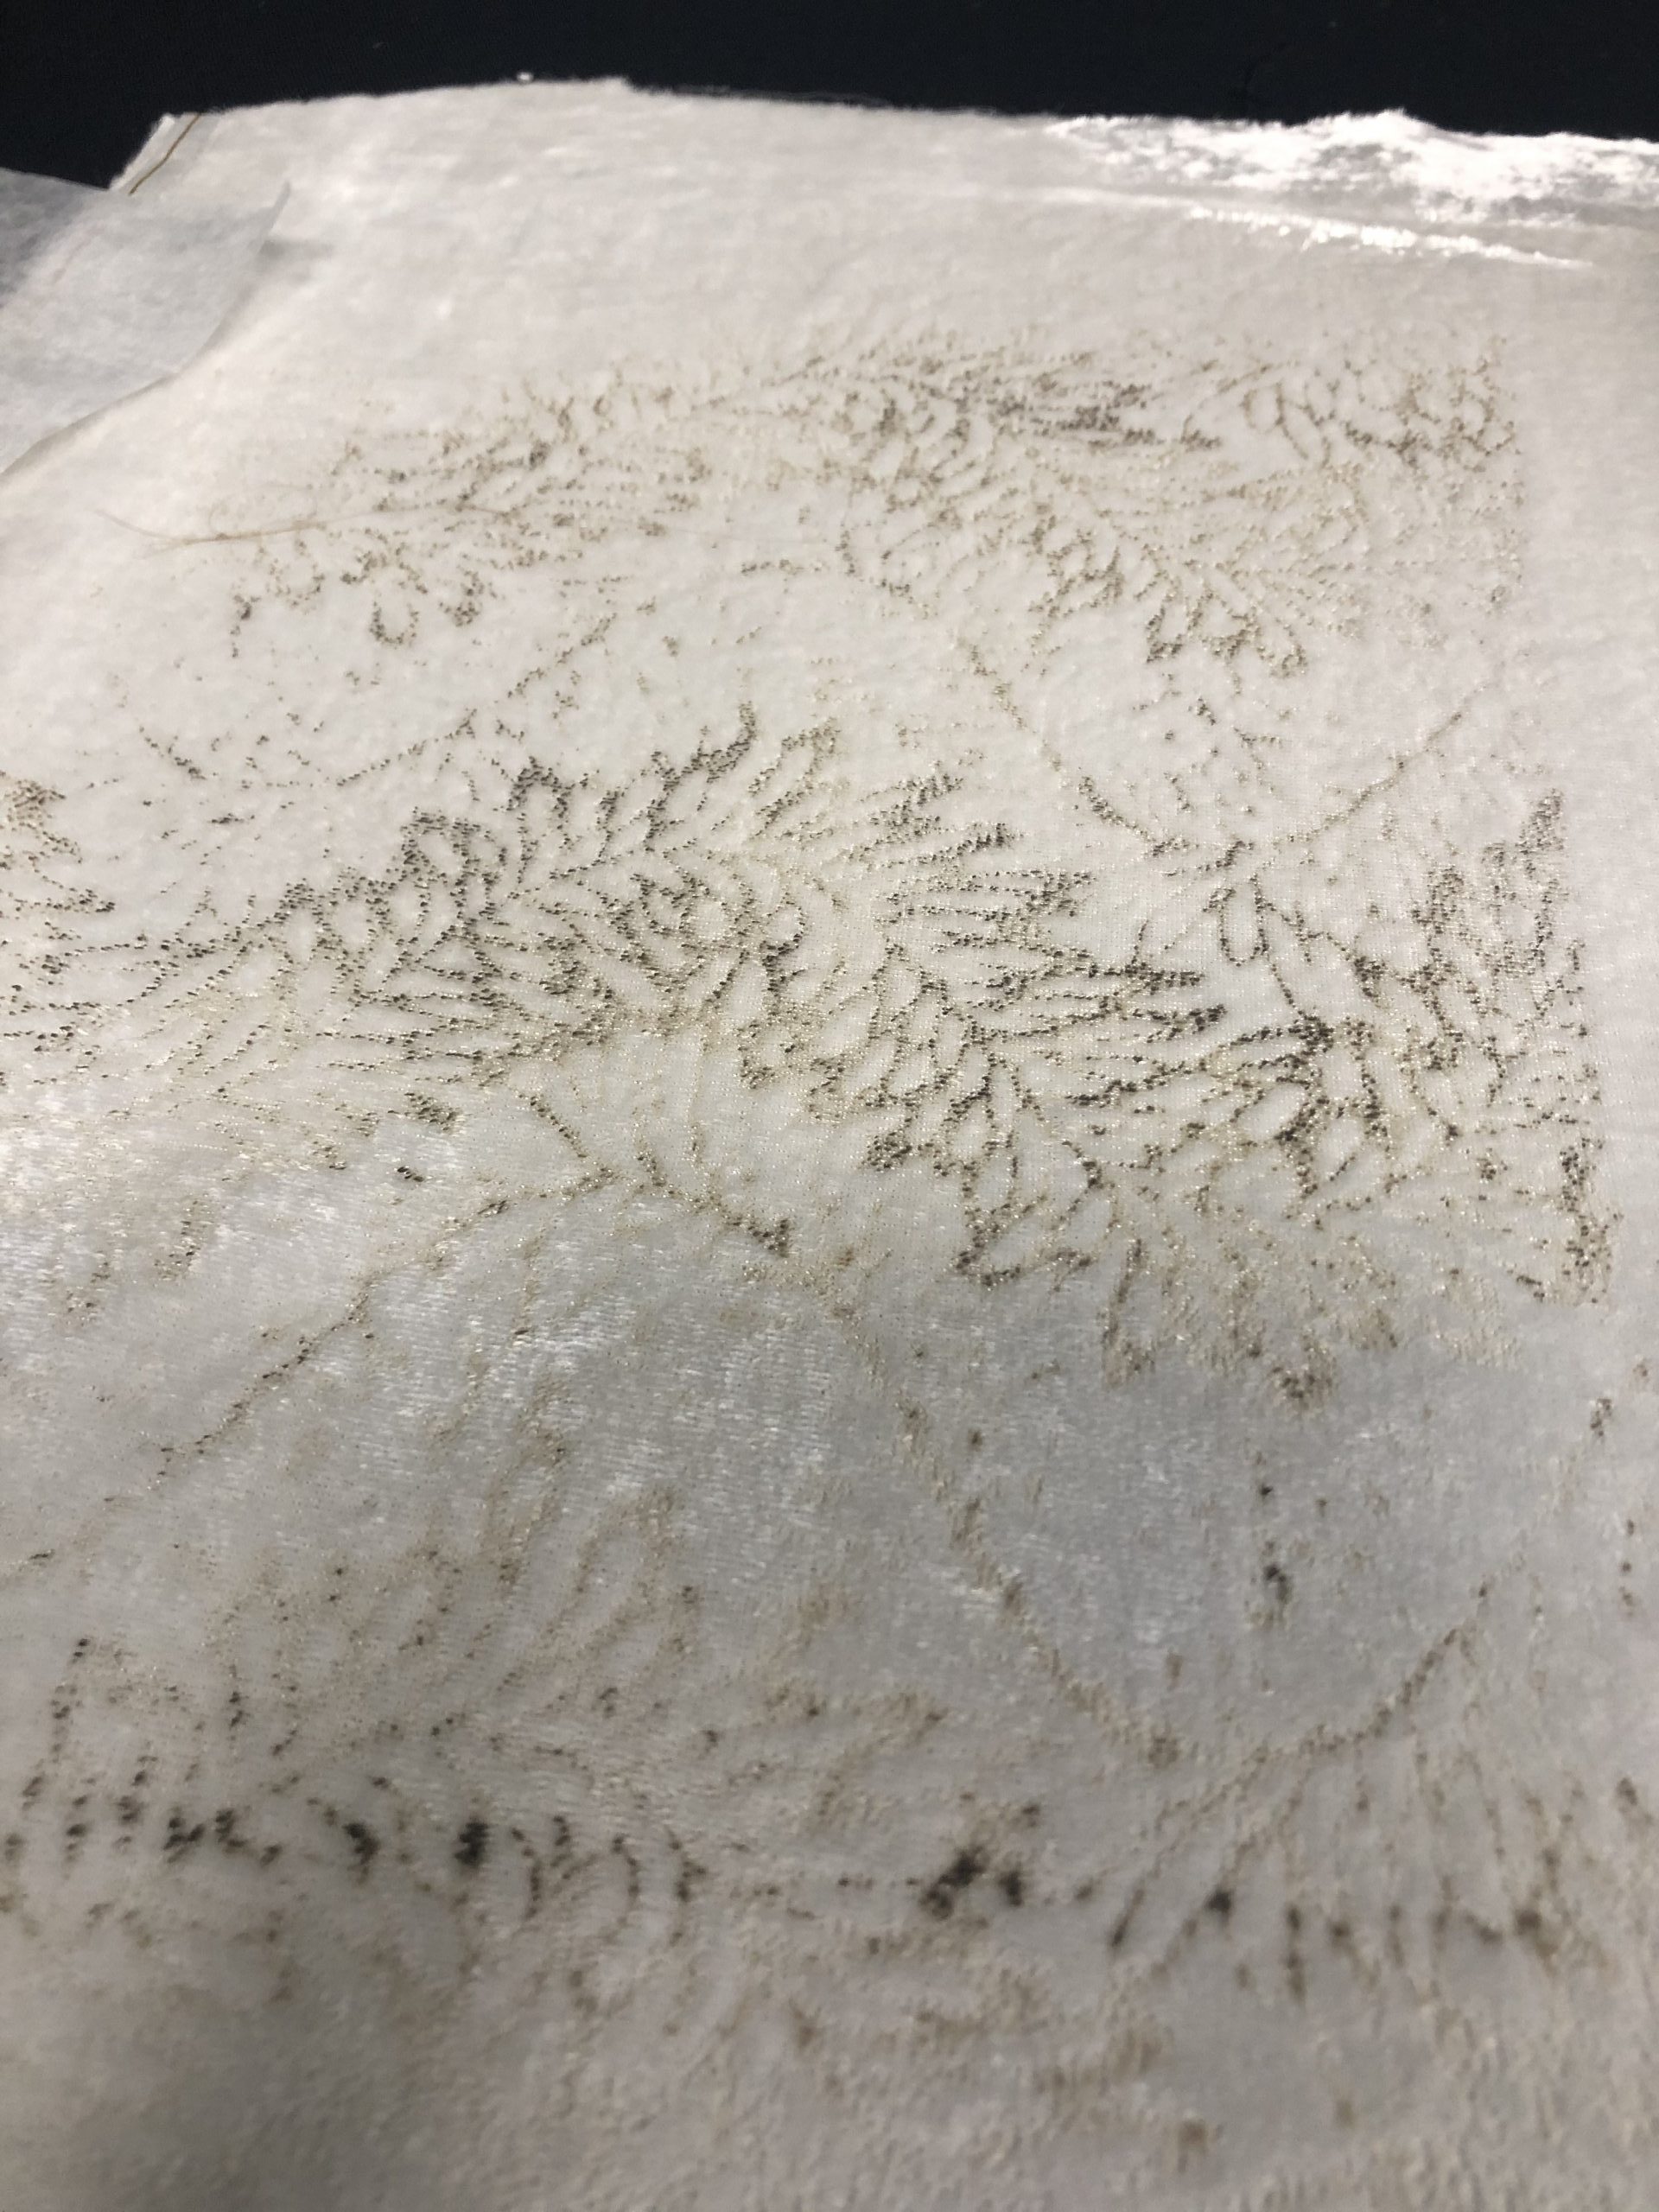

To be very honest, I didn’t exactly understand what I was doing, I was merely following the steps given. Ironing also took very long because I was ironing for some time but didn’t see any outcome and when it finally started turning brown, I was panicking thinking that I burned the velvet. However, it was fulfilling to scrape all those remnants of to see the final outcome and I must say it is very pretty.
Some things to take note:
It is a shame that we were using white velvet, it would be fun to experiment with other colours and a thicker velvet so you get to see the depth better. I would have wanted to experiment one more time with this technique, but with the Covid-19 situation, I can’t get the materials to do it 🙁
![]()
STEPS:
Here are some that I made.
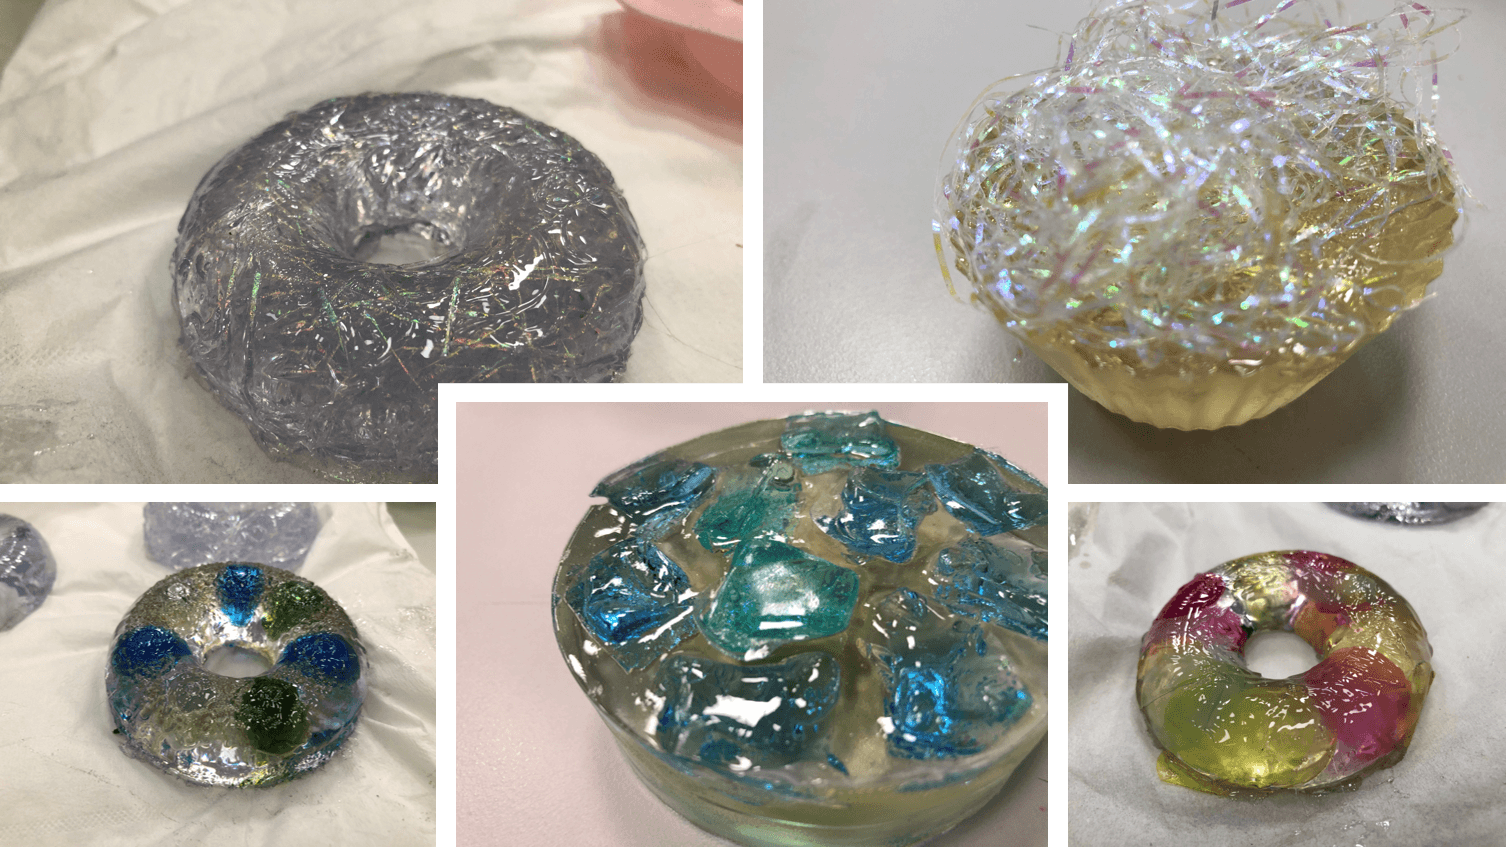
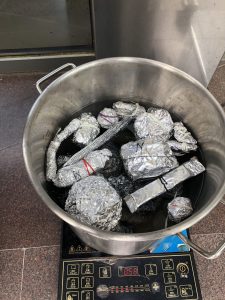
Mus, Minjee and I tried 2 different rounds of resin.
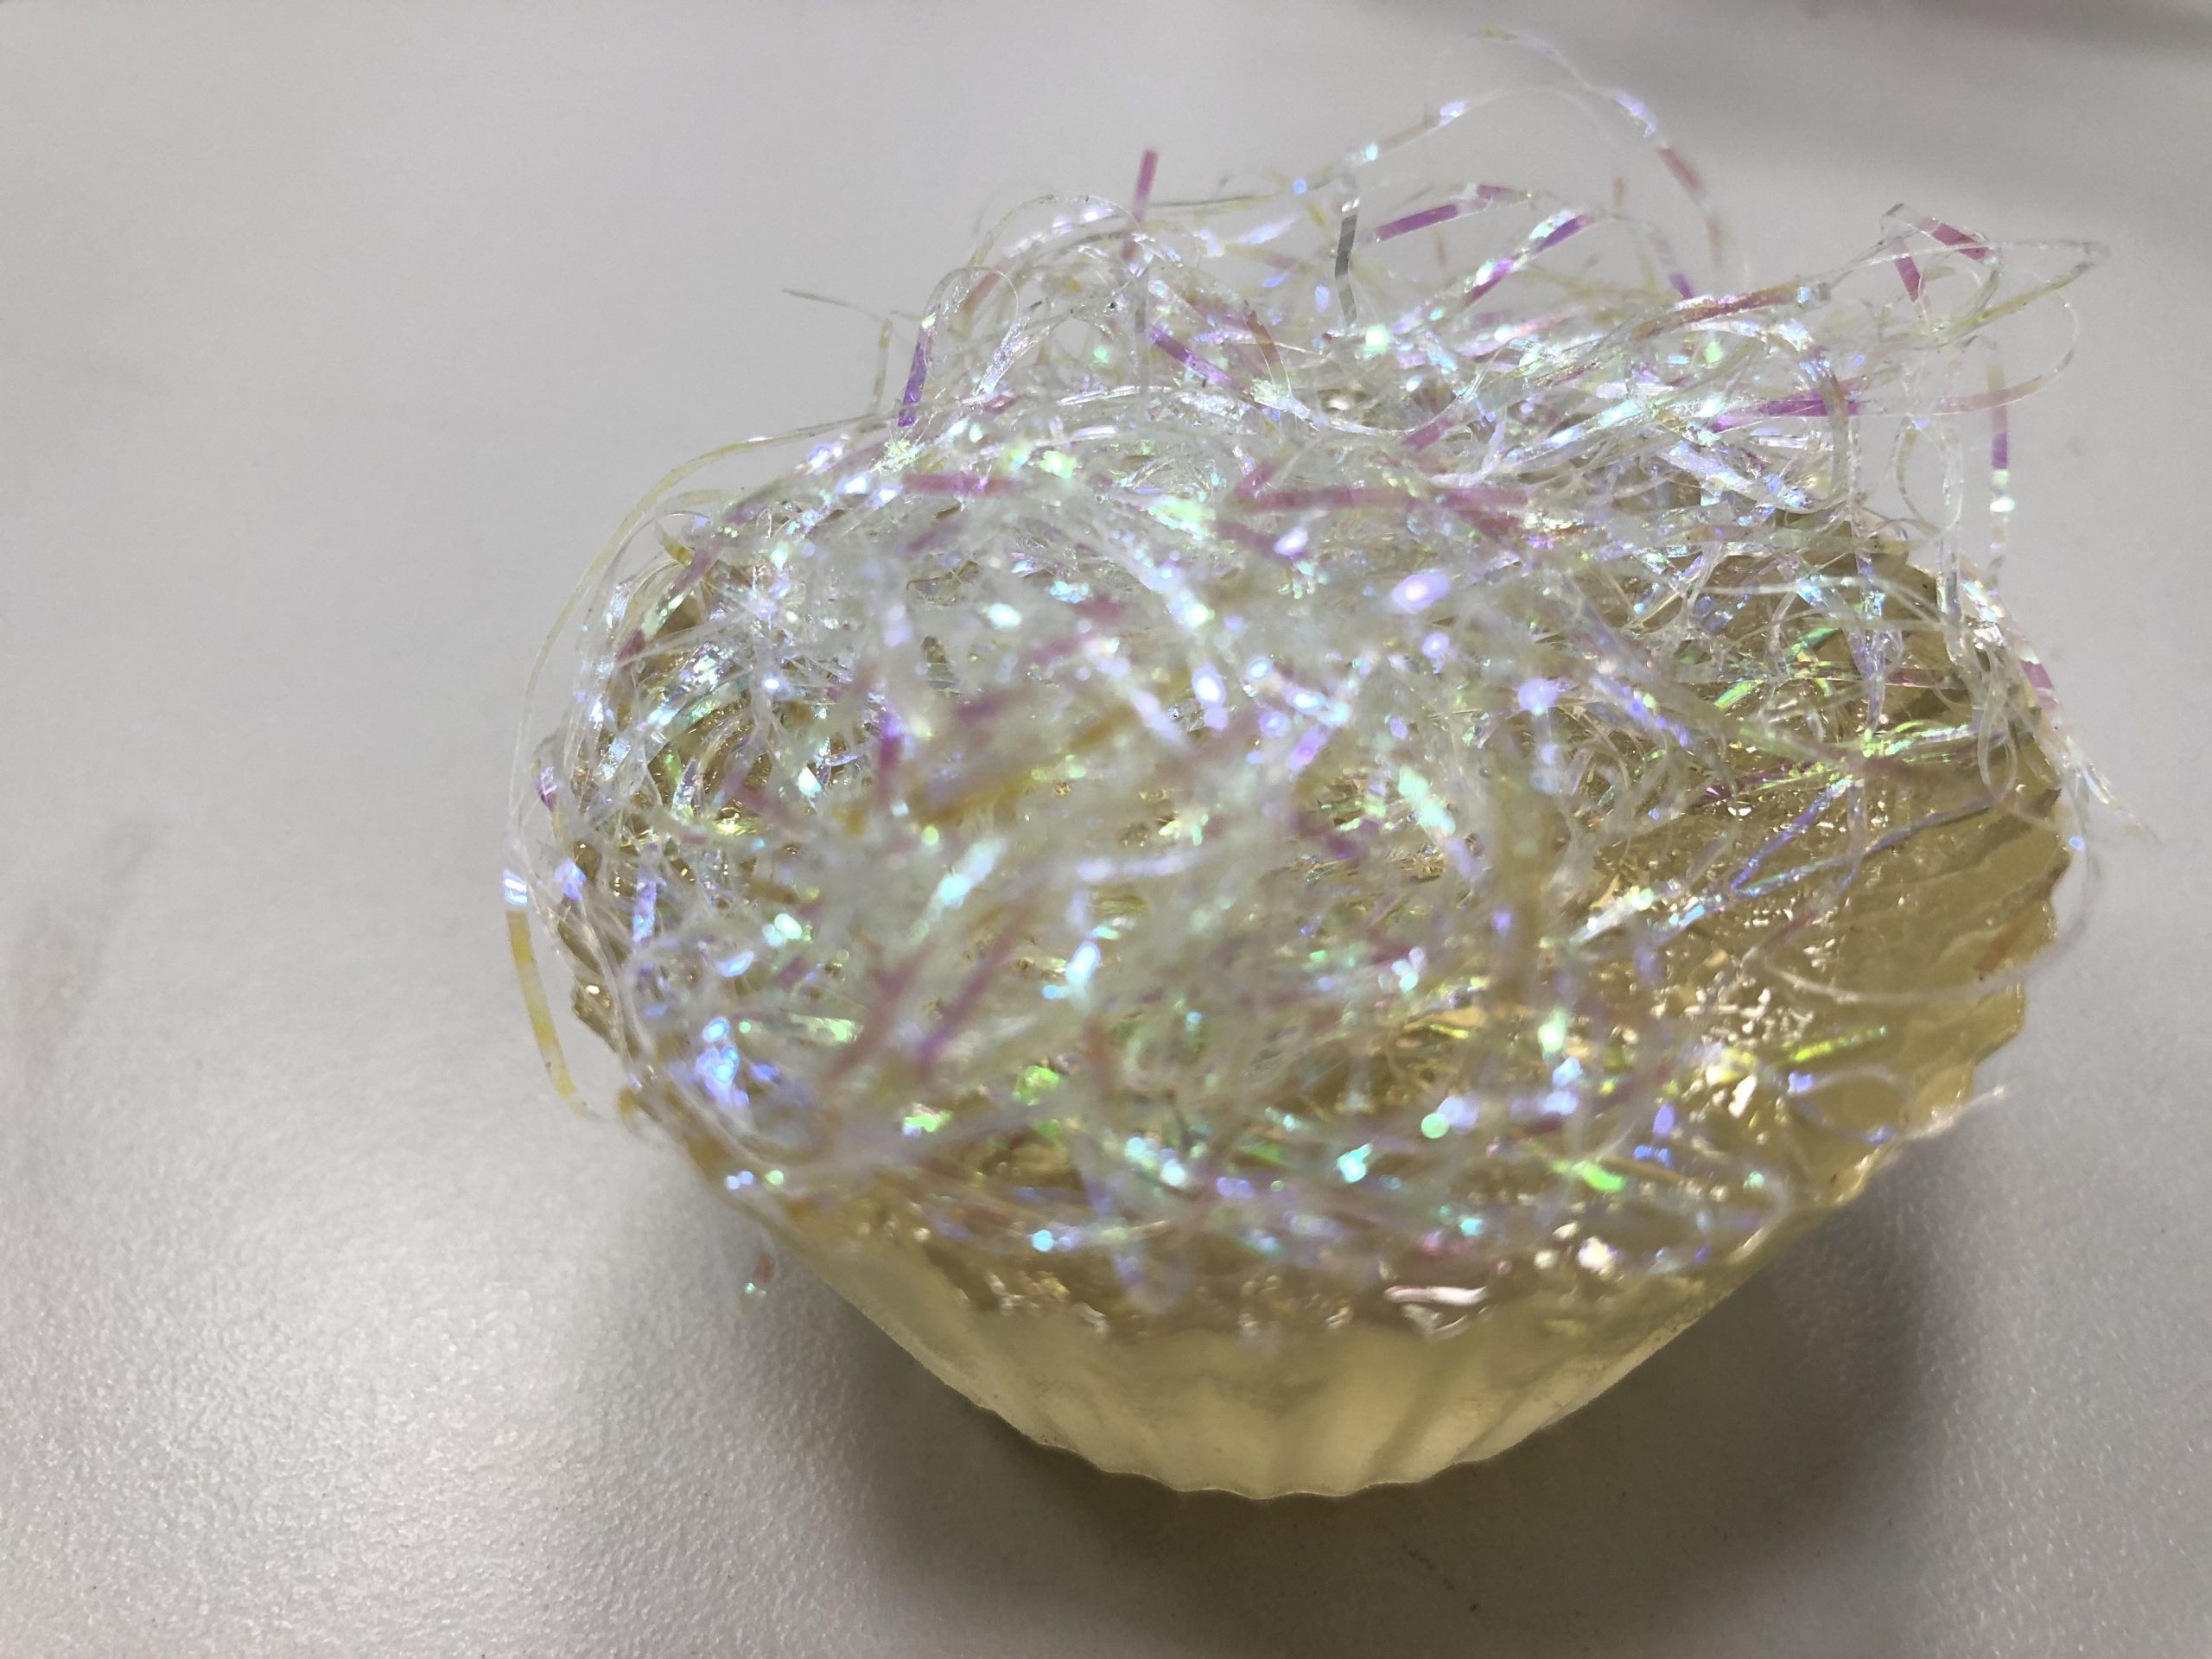
For my first round, I used translucent rocks and iridescent confetti strips.
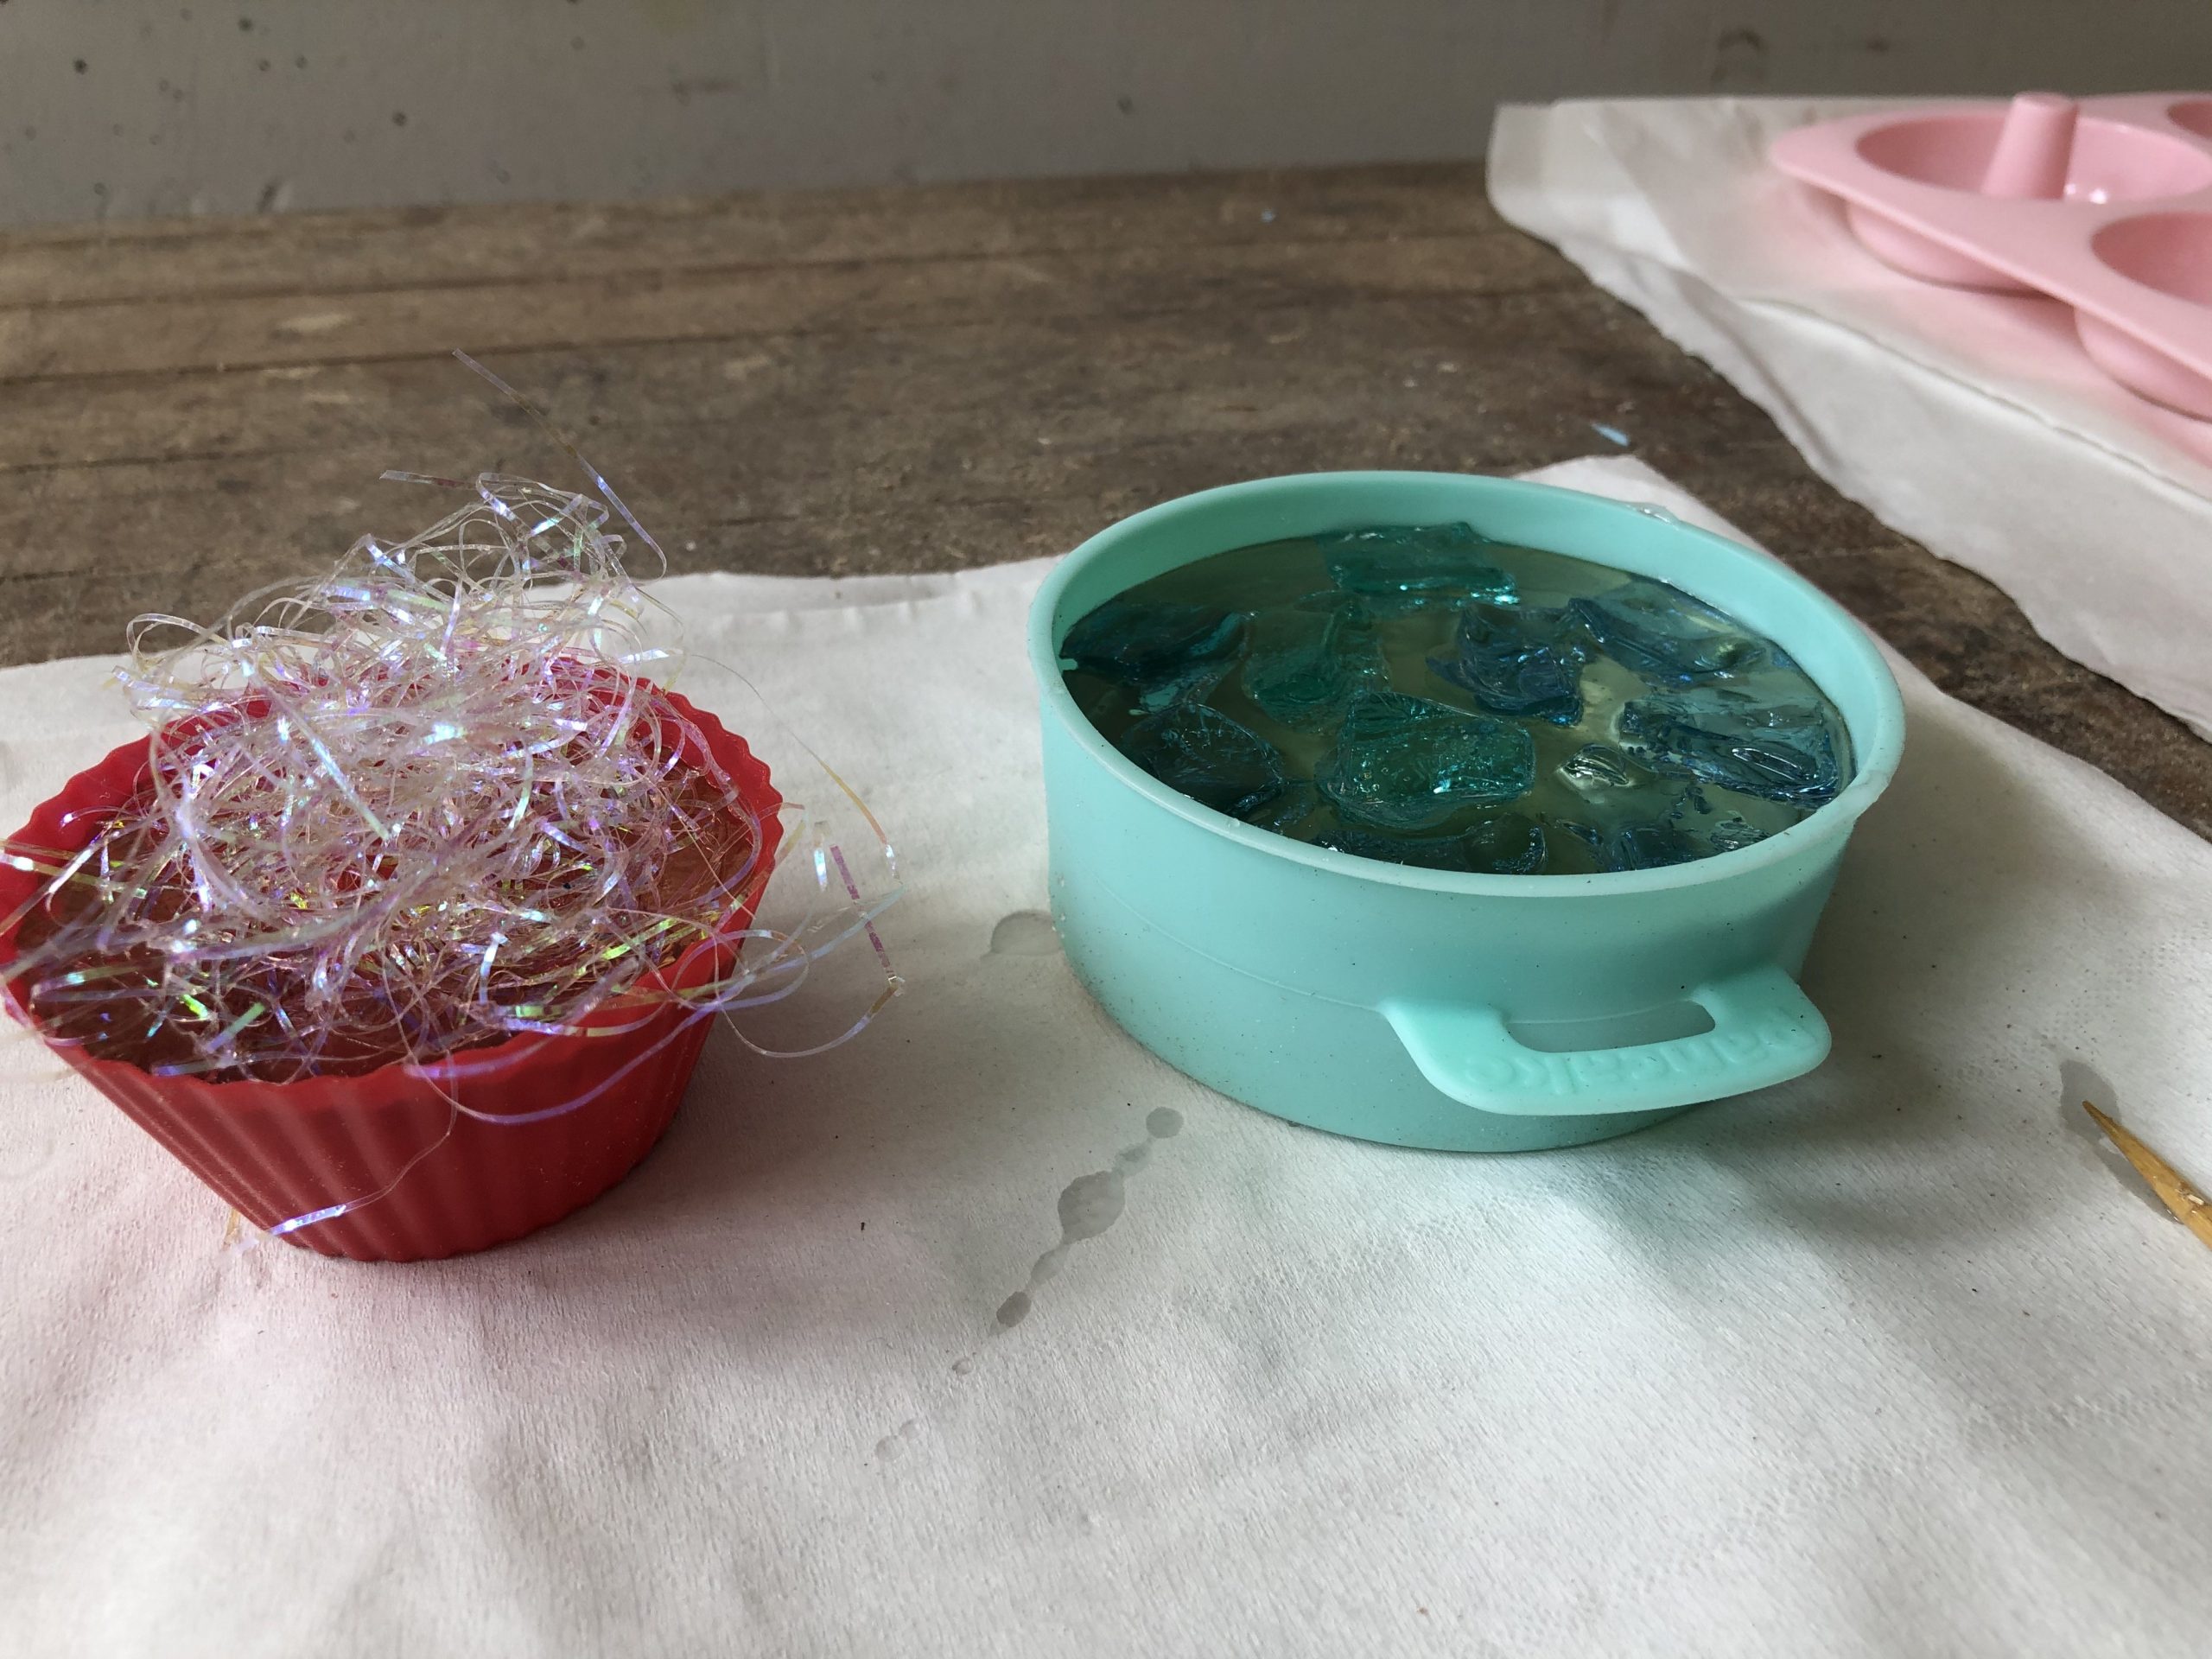
For the confetti strips, I wanted everything in there, but the mixture already hardened by the time I tried putting it in.
For the second round, I used donut moulds and filled it with marbles, circle paper confetti and translucent confetti strips (same as the first round). However, for this round, we tried a mixture without hardener (BAD DECISION). We wanted to leave enough hardener for the rest of the class so we tried without it. Even after 3 days, it still hadn’t dry and unfortunately, the school was going to be closed so we had to leave it in school to dry. Well at least, it should probably be dry by the time we get to go back to ADM.
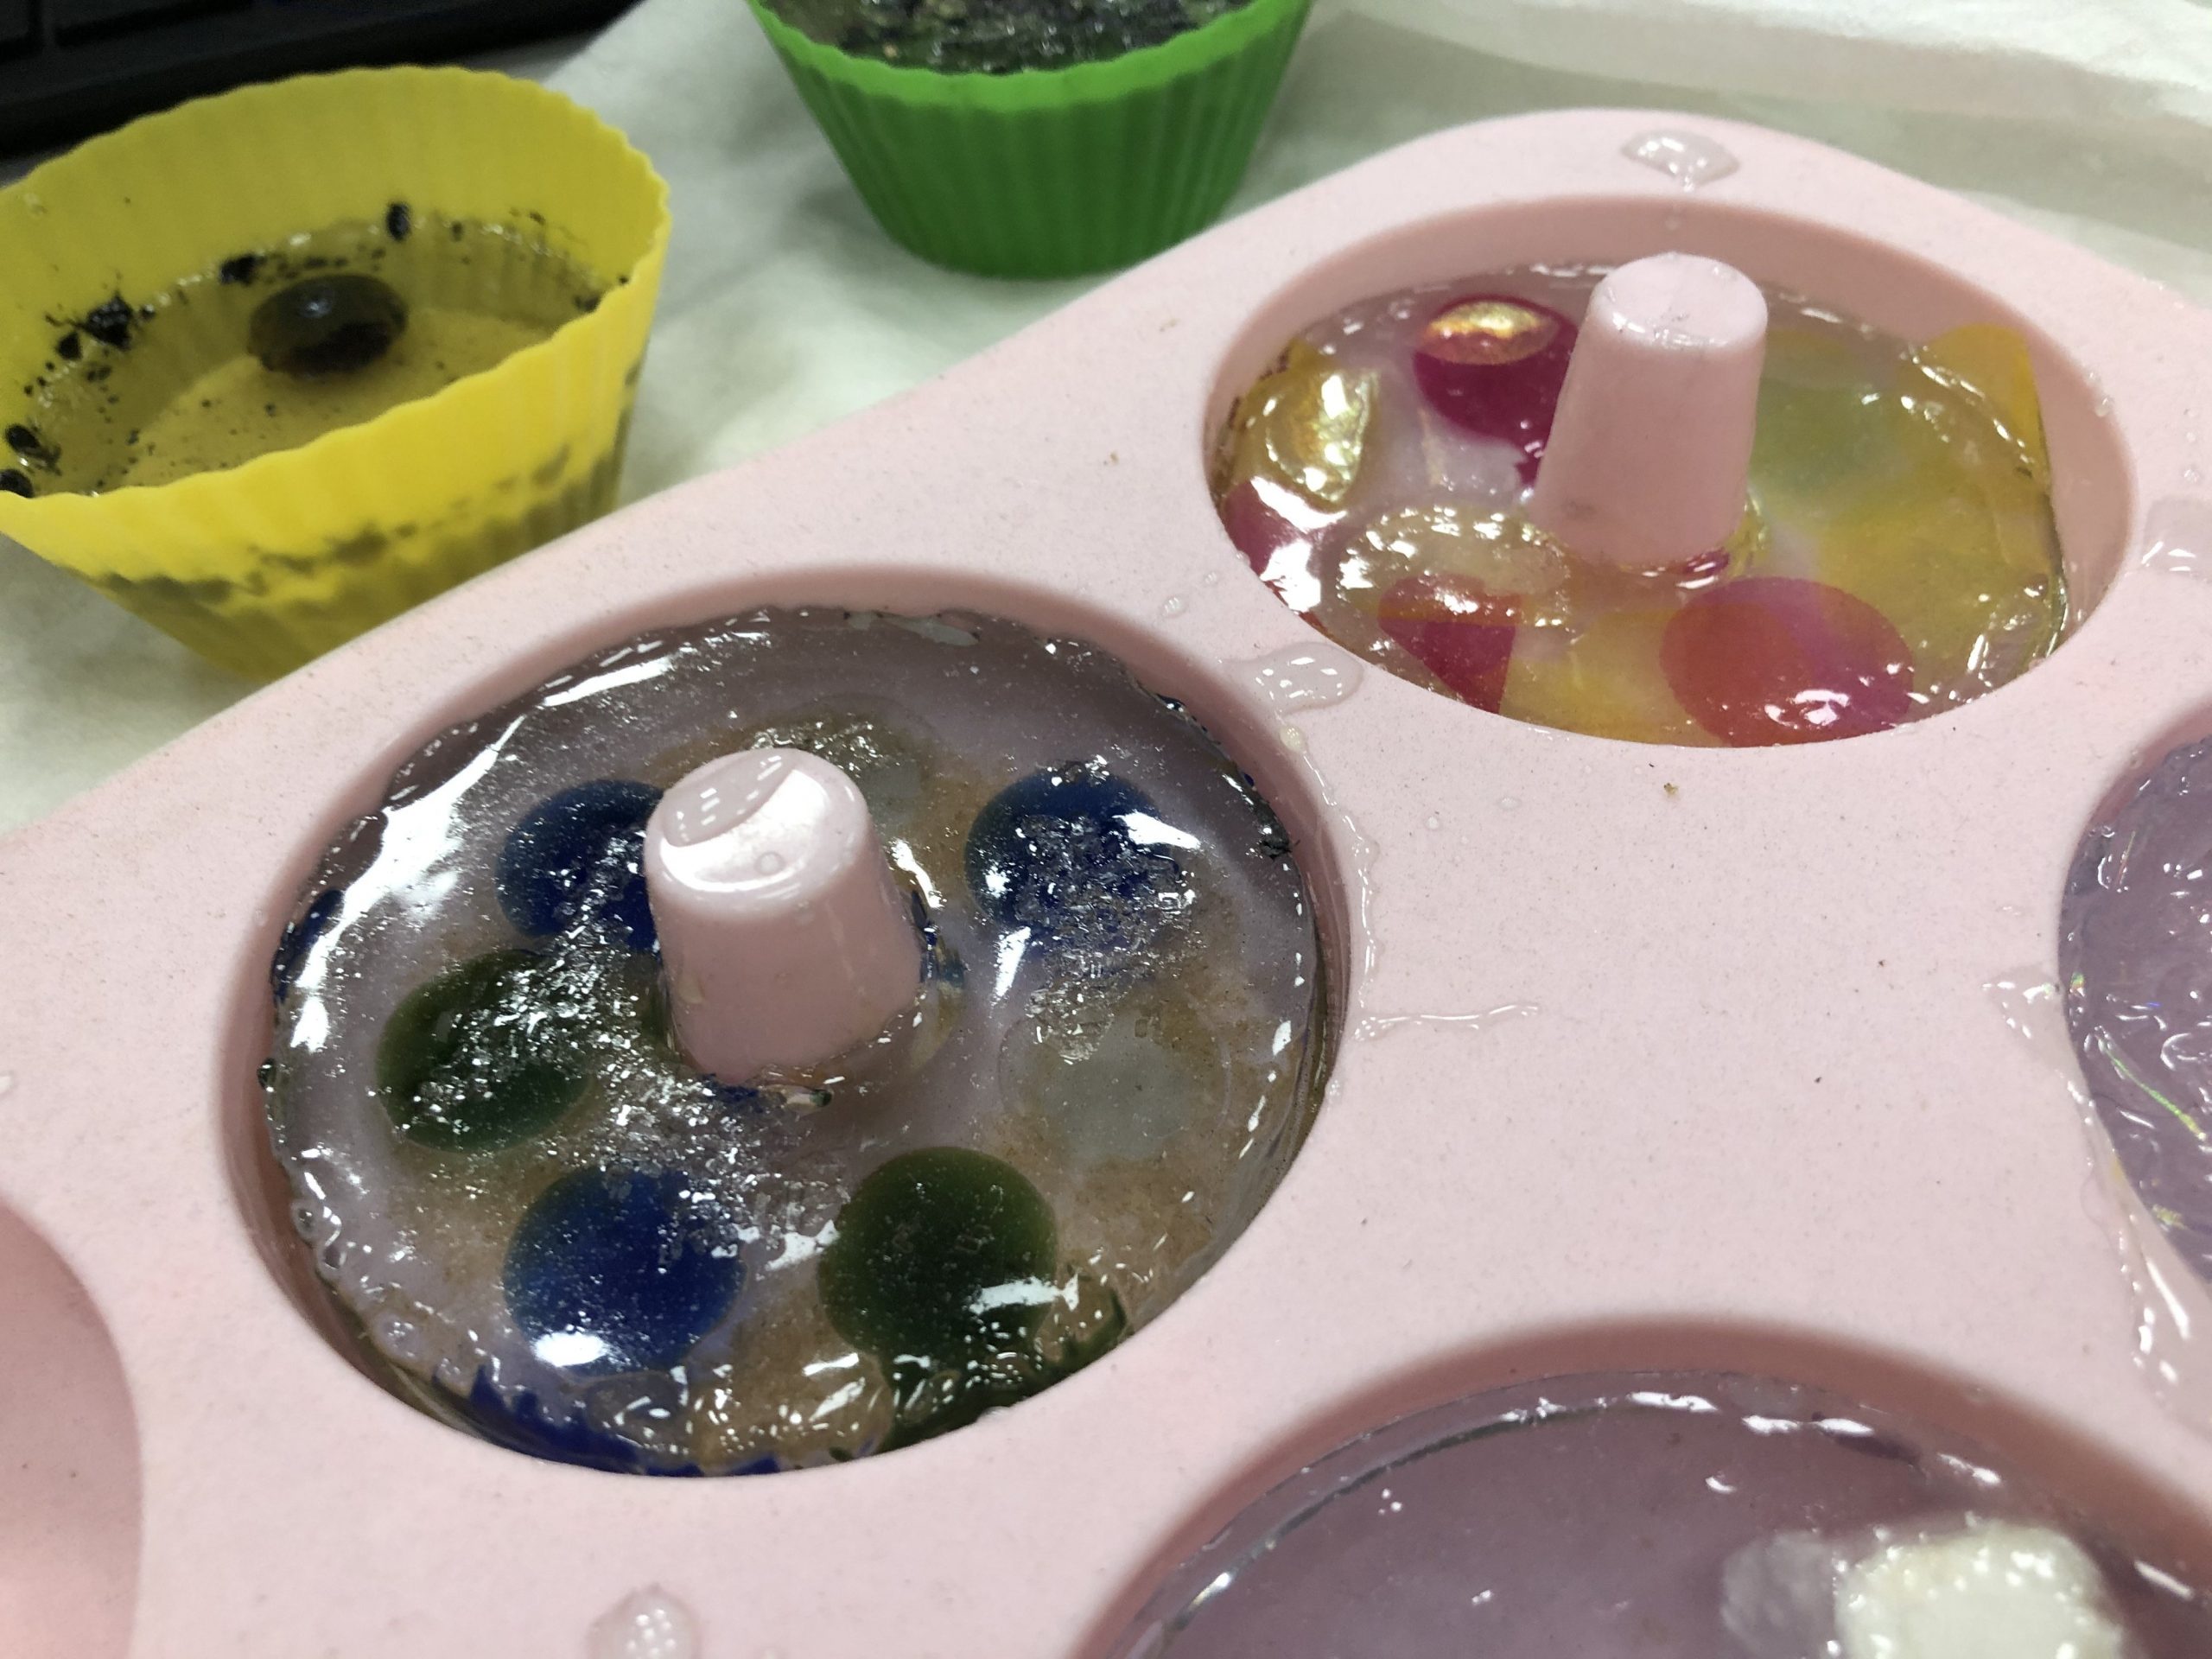
But here are the final outcome!

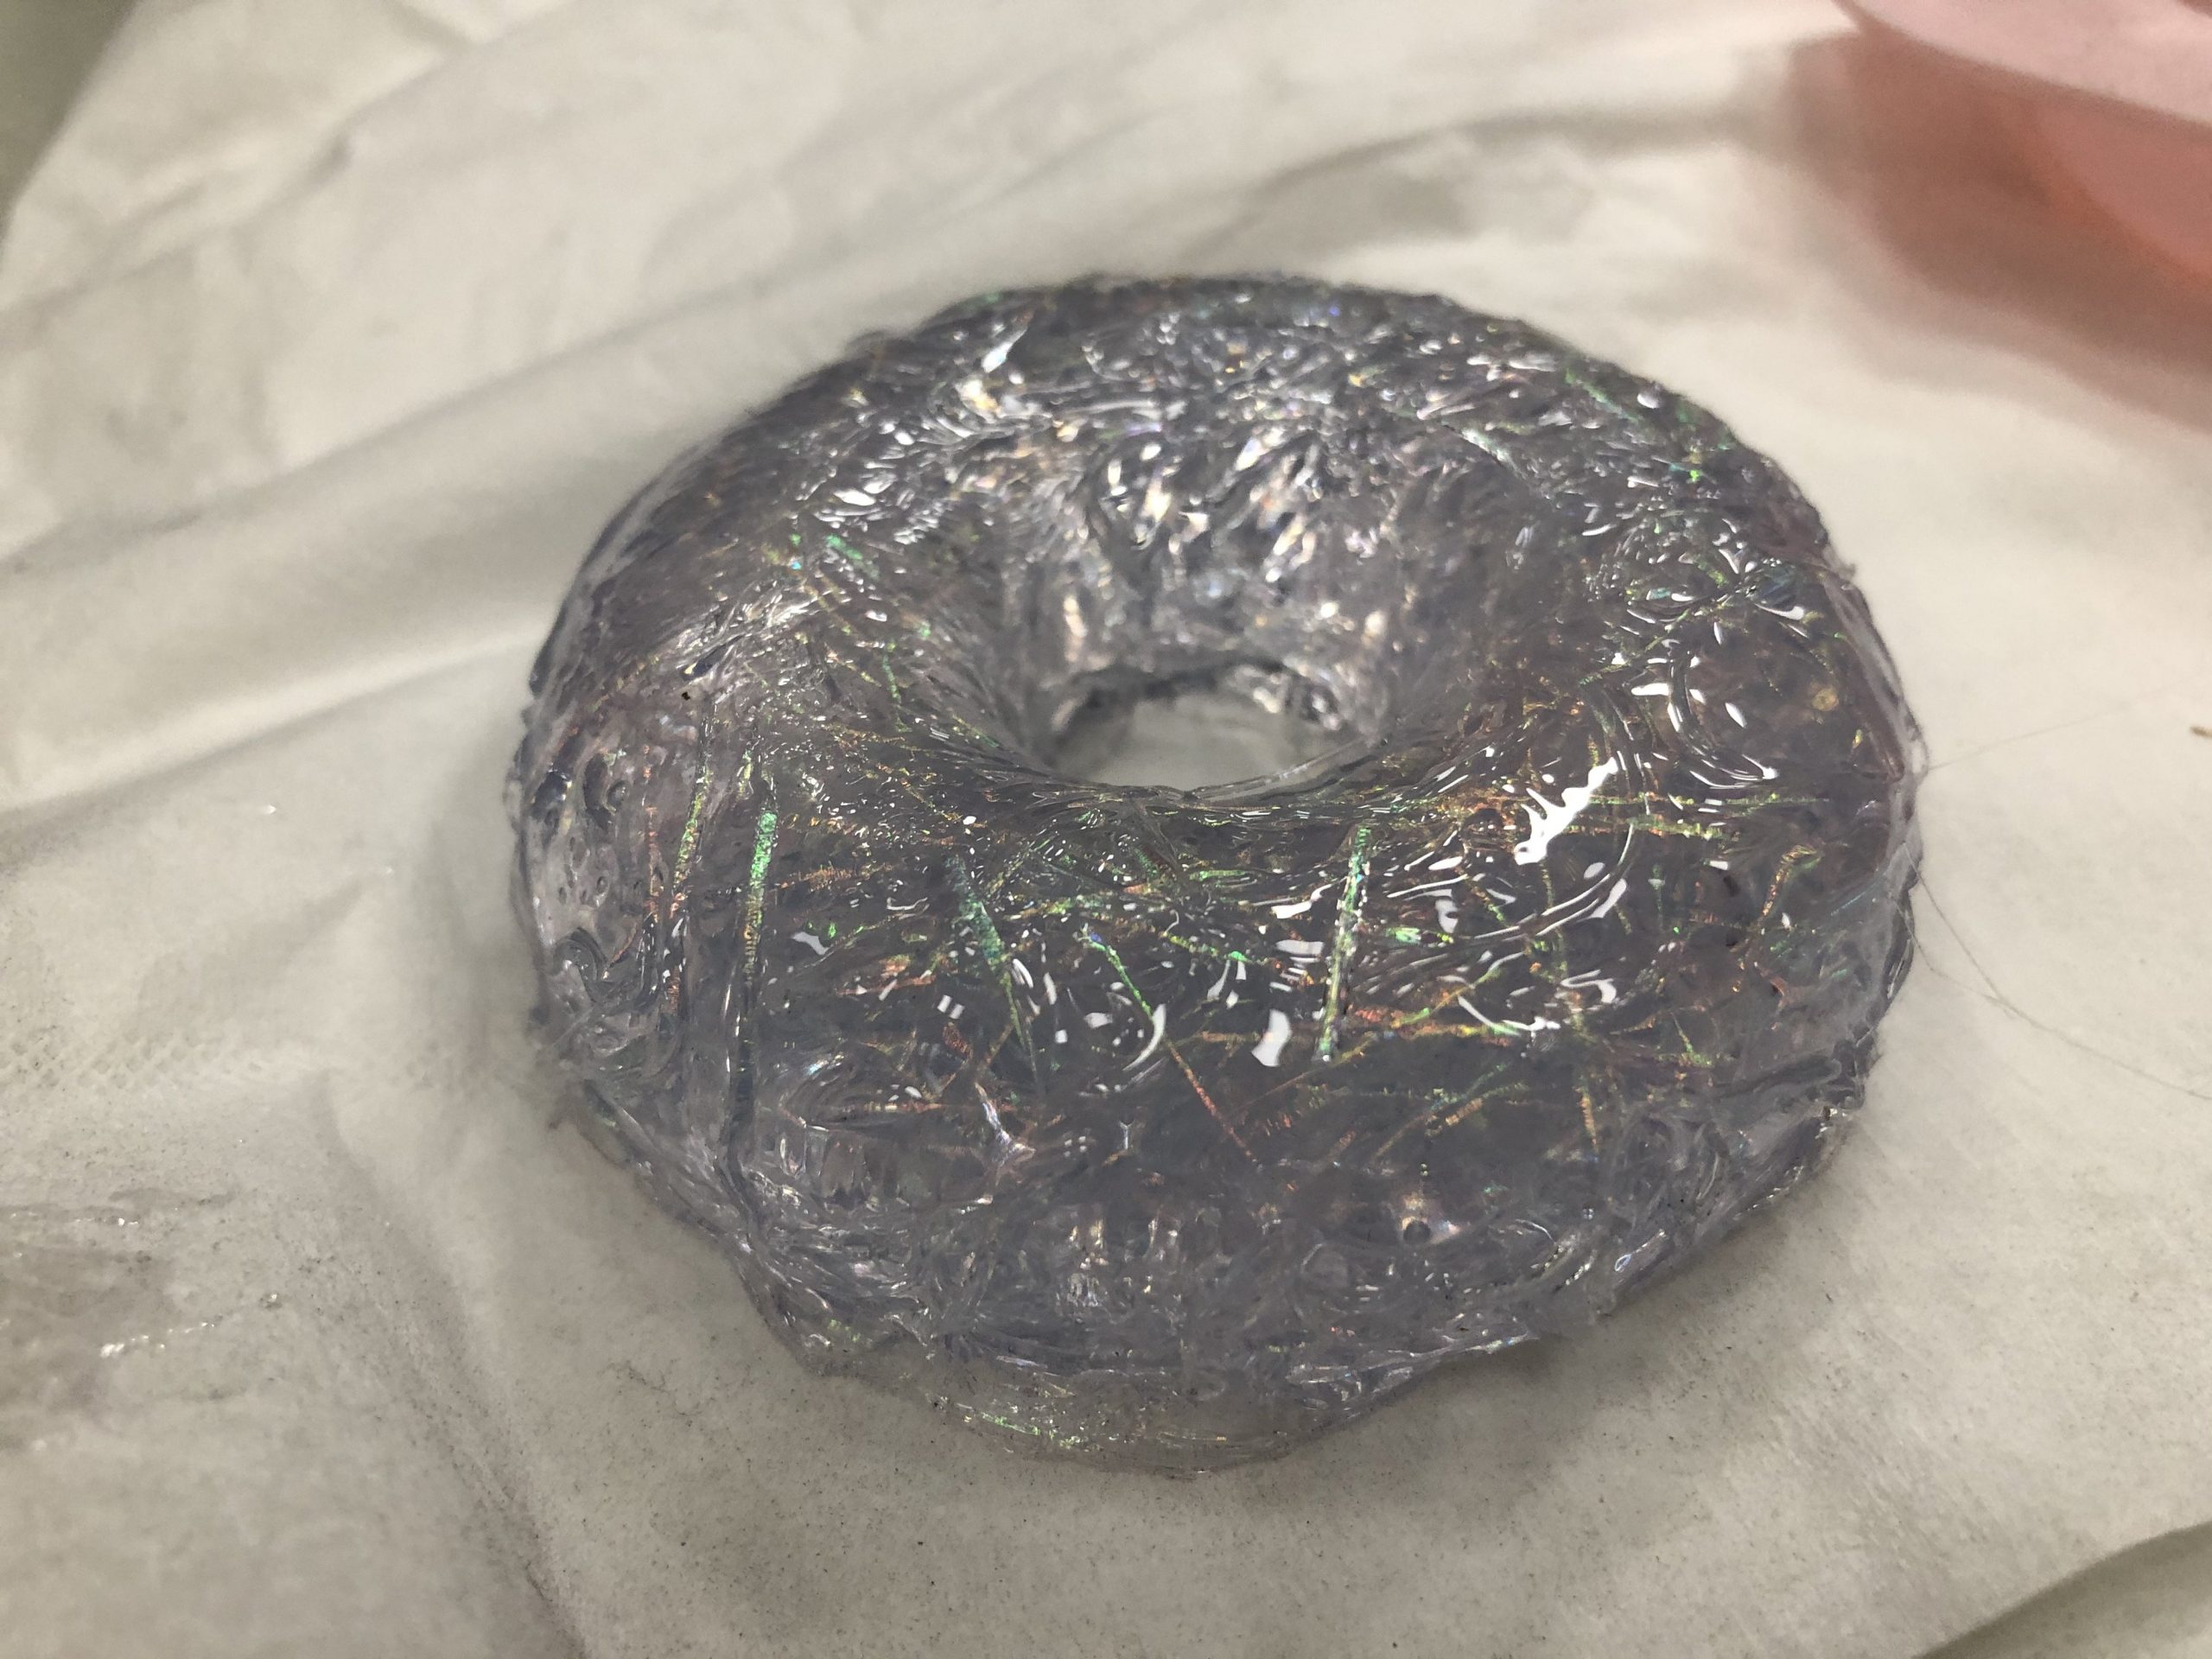
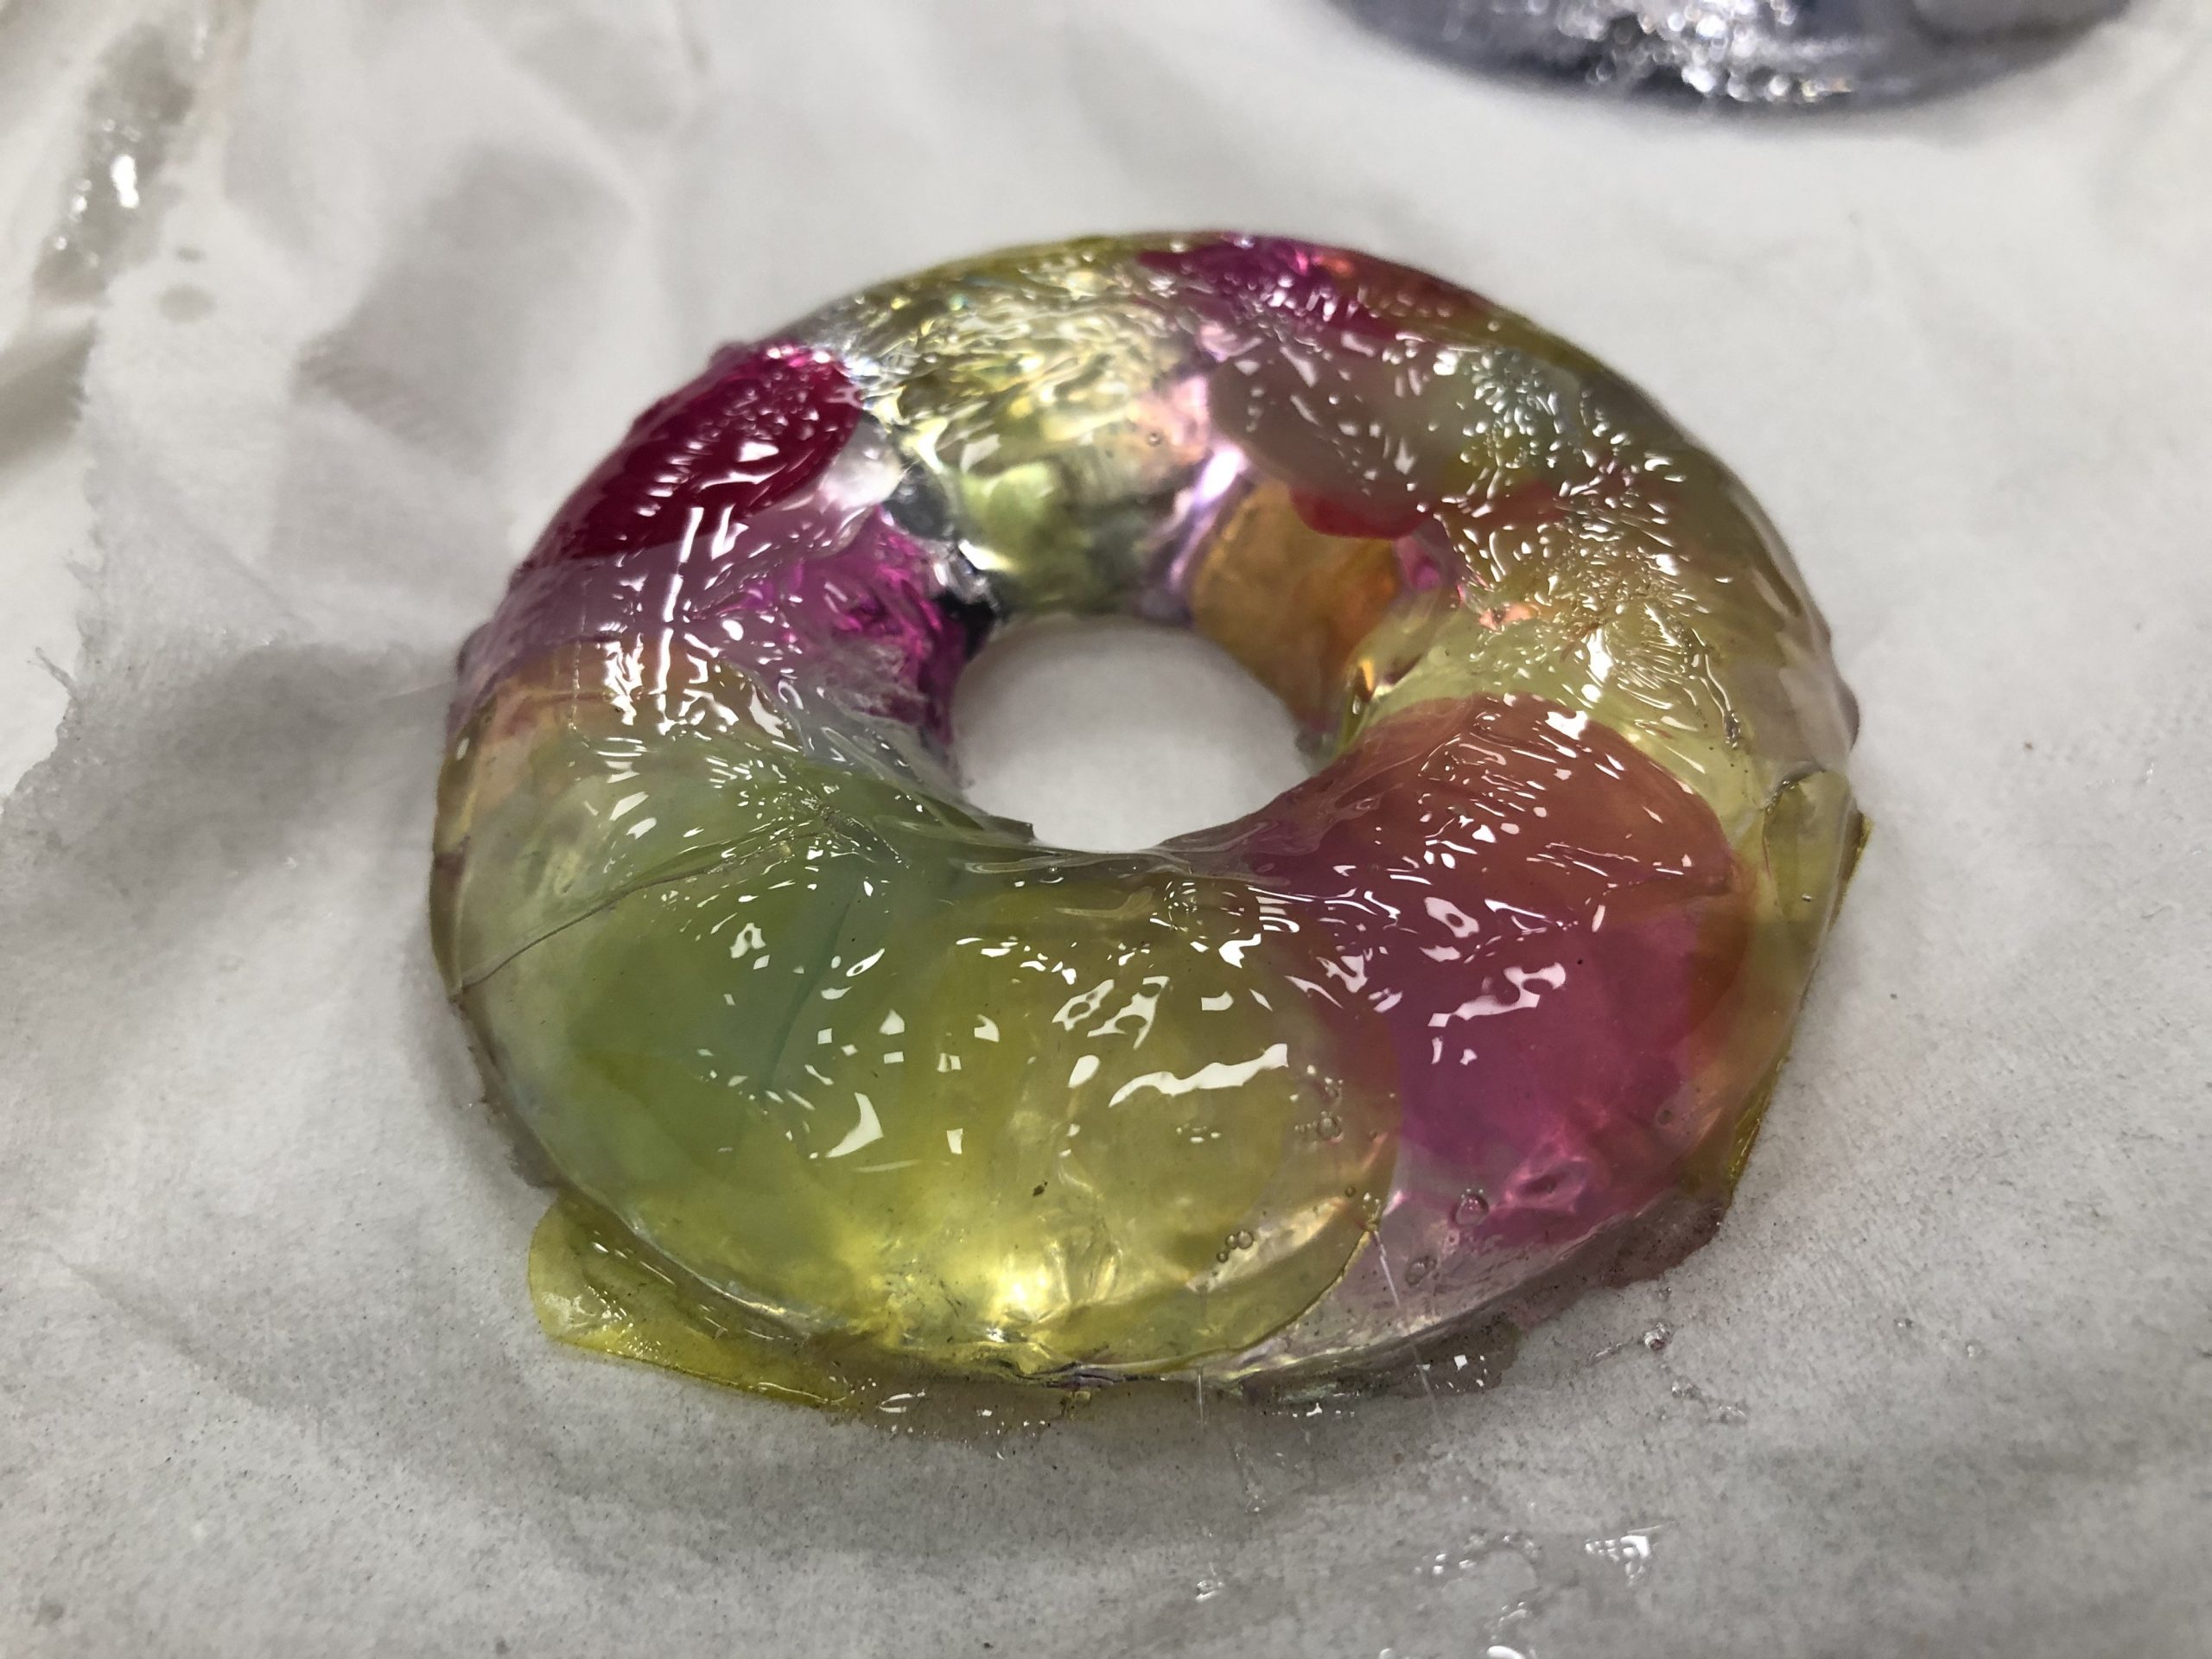
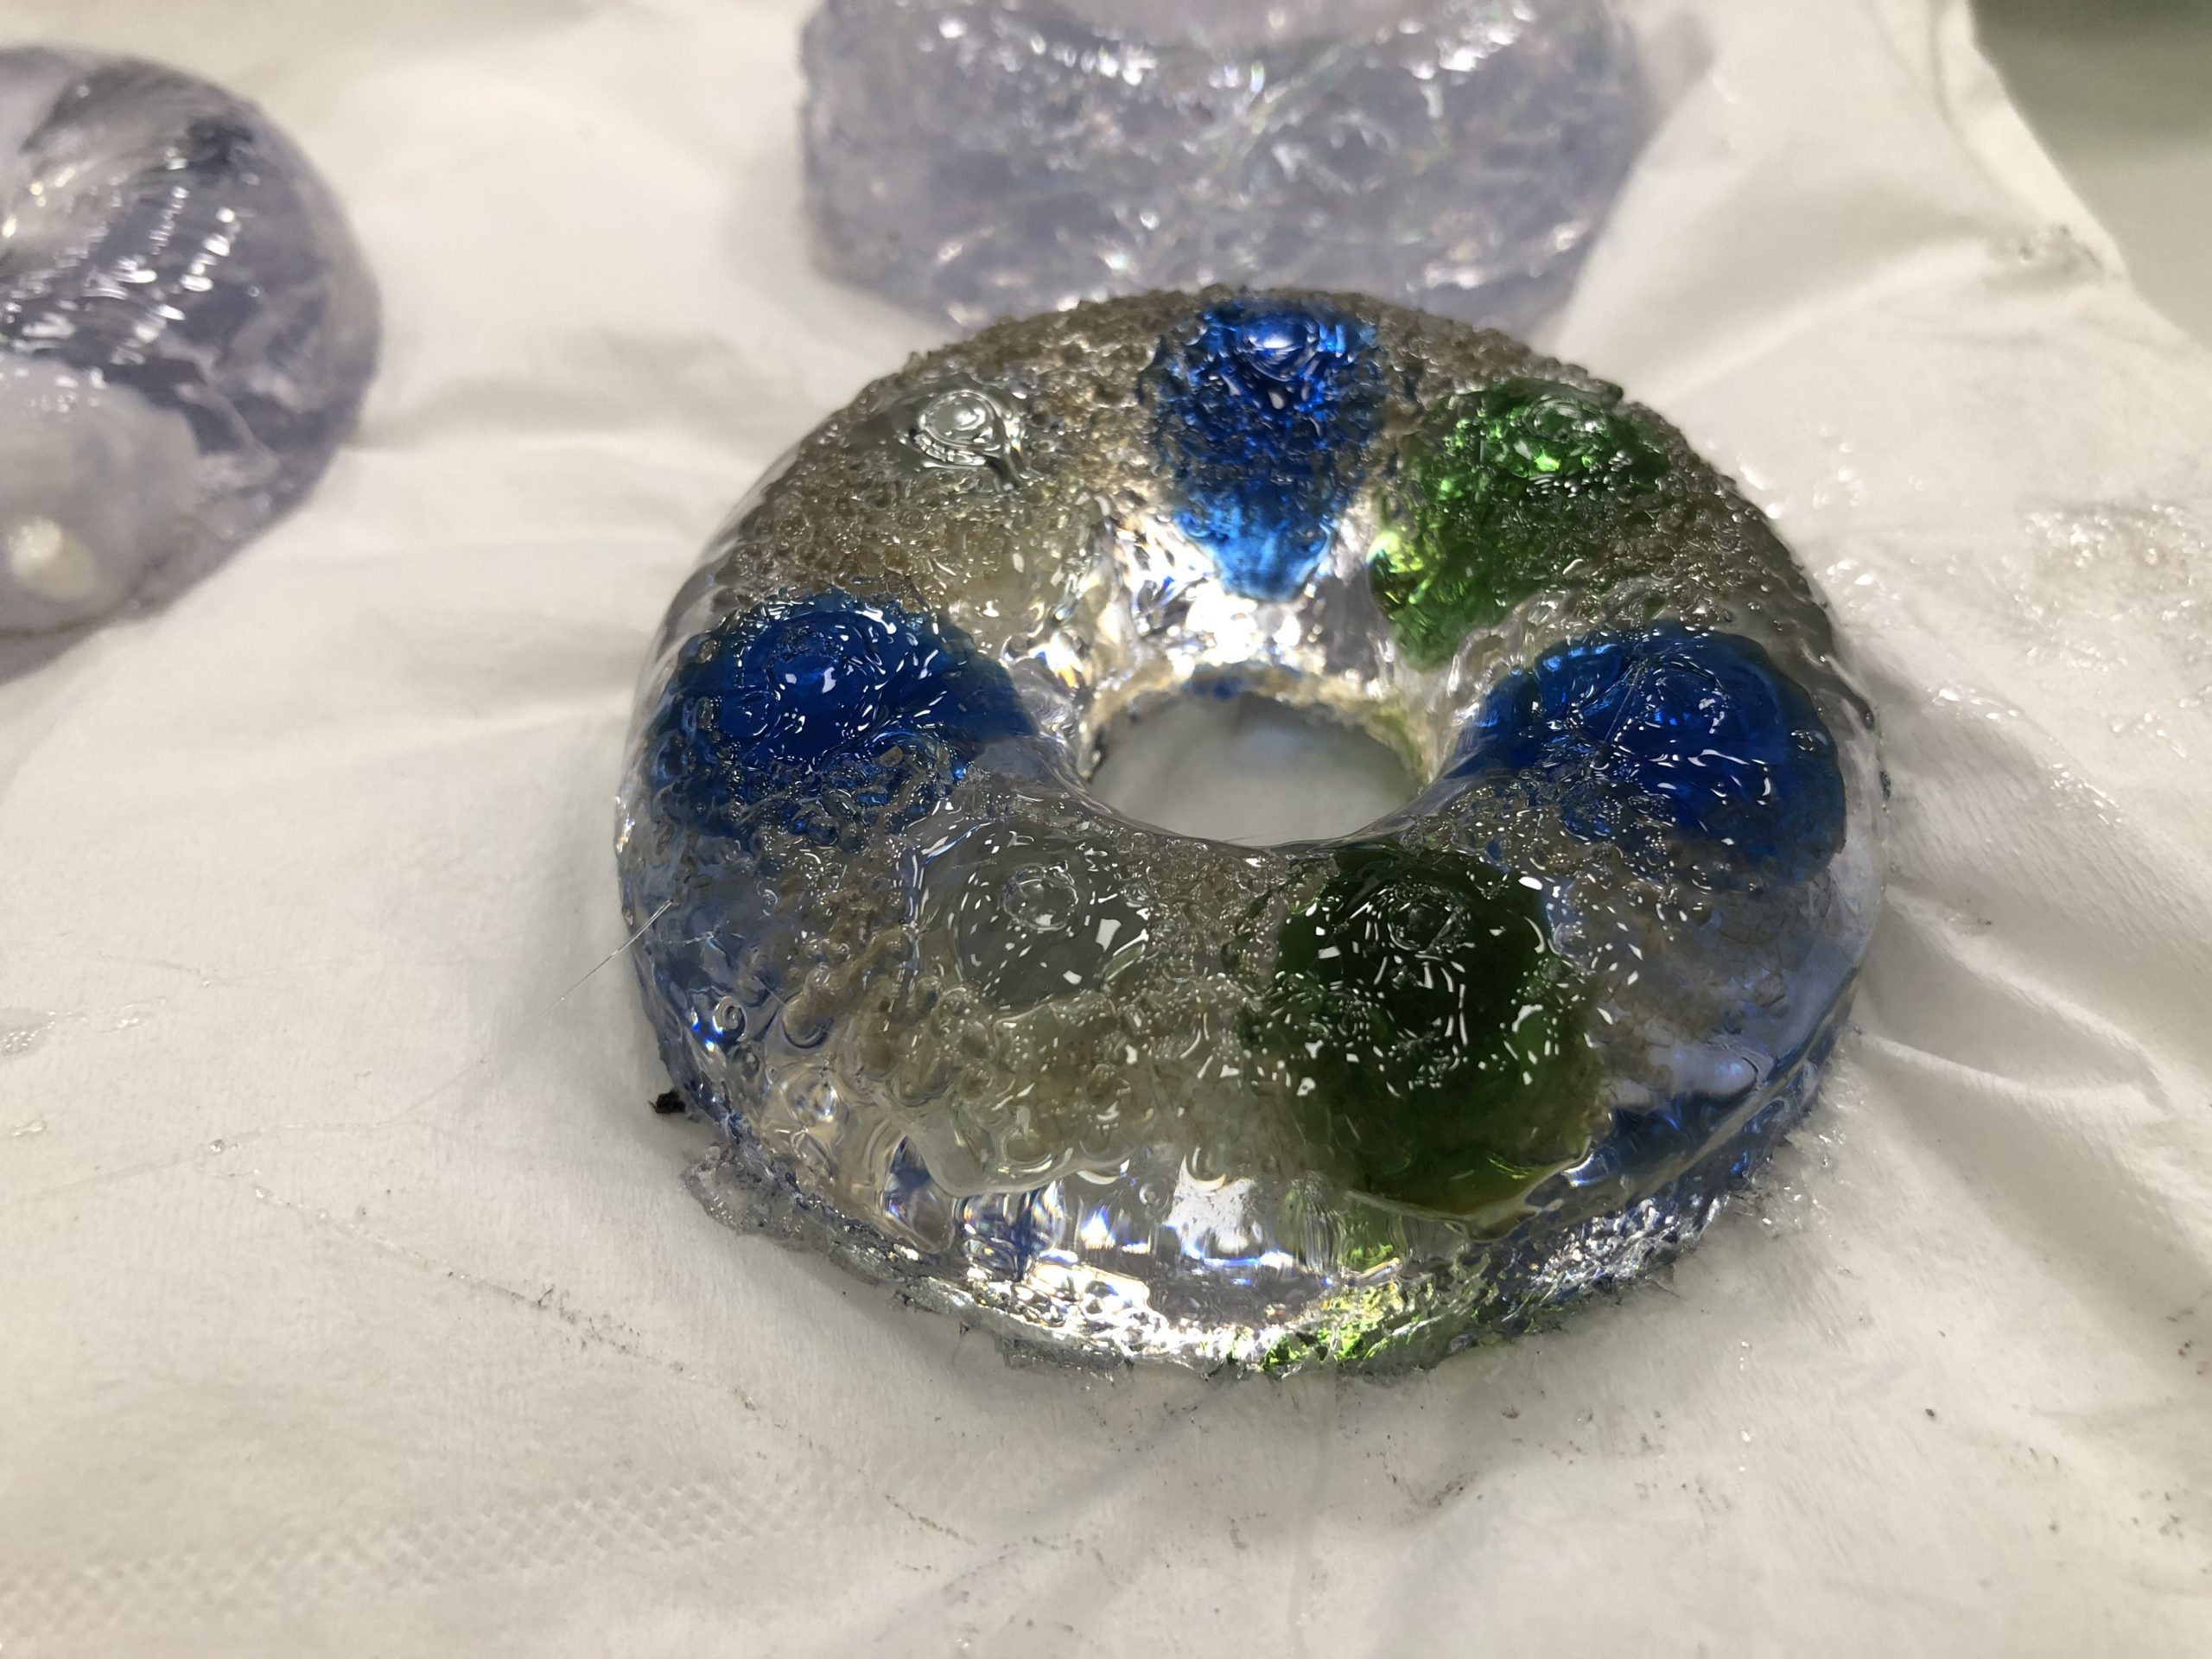
Some observations I made were:
Again with the Covid-19 situation, I won’t be able to continue exploring with resin 🙁 It would have been cool to make resin with a snake scale pattern.
![]()
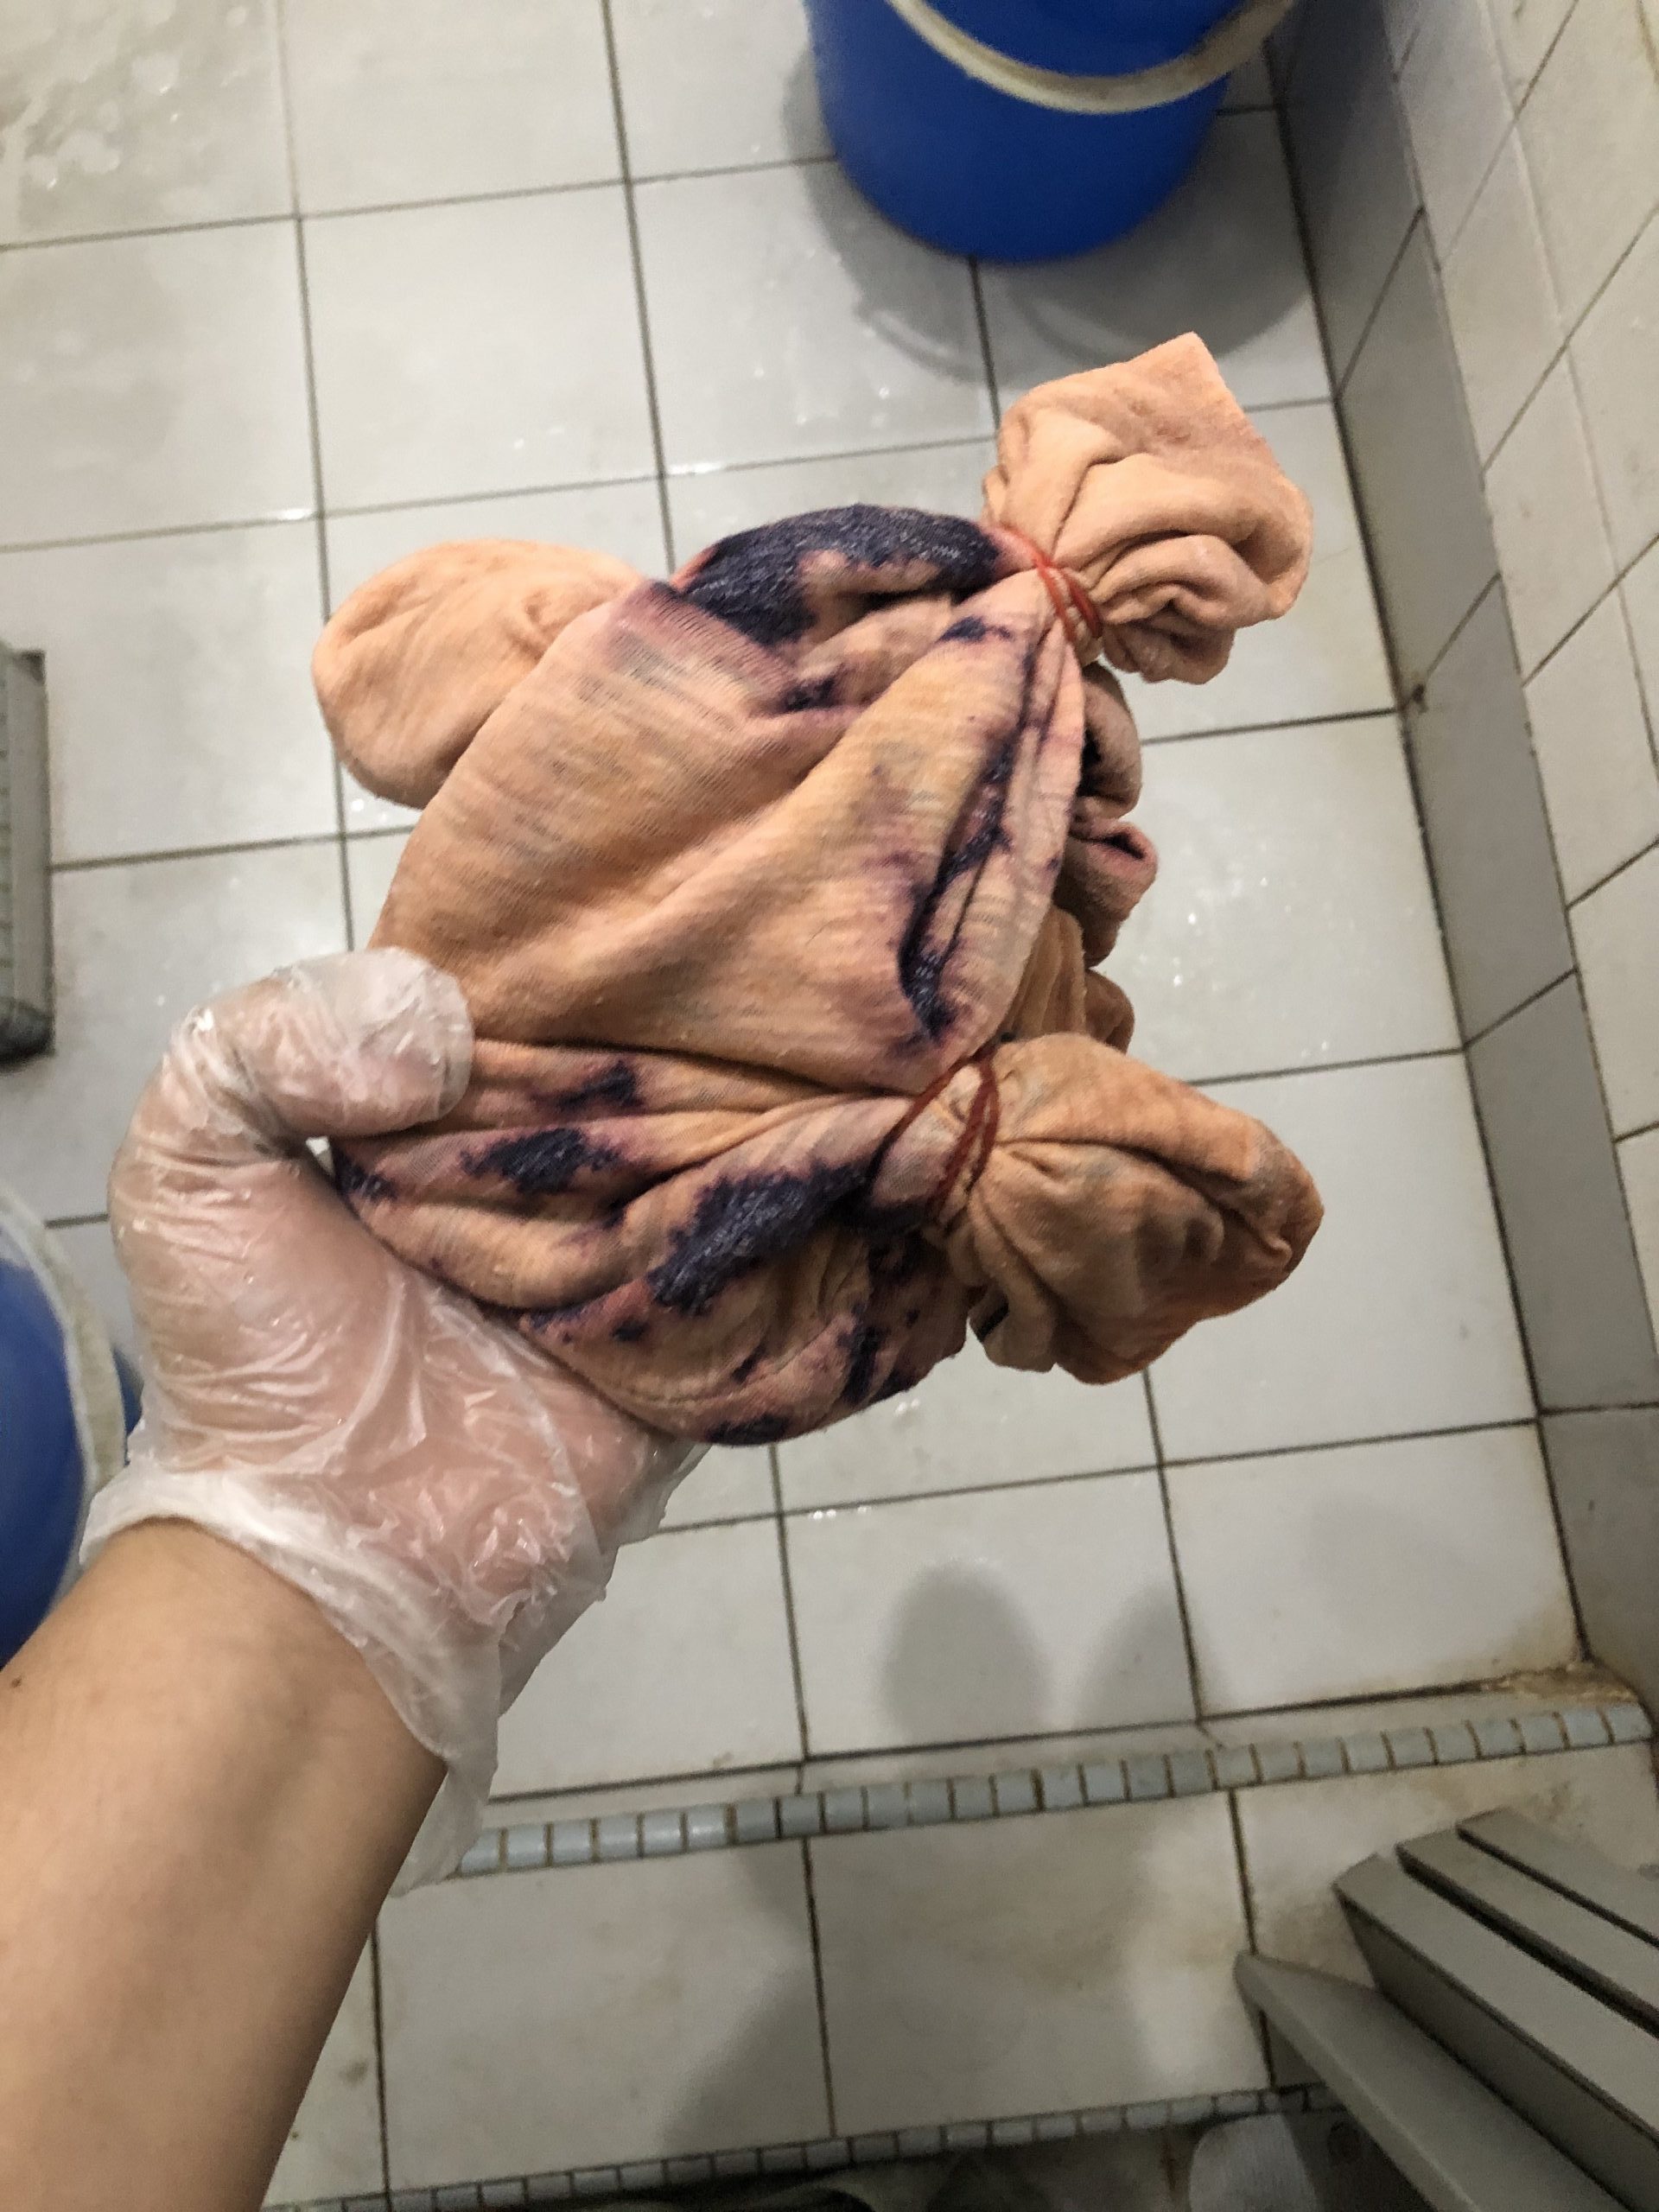
I tried the bleaching technique at home with my old shirt. As you can see, there is a stain on the shirt (it was one of my favourite shirts *sad face*).
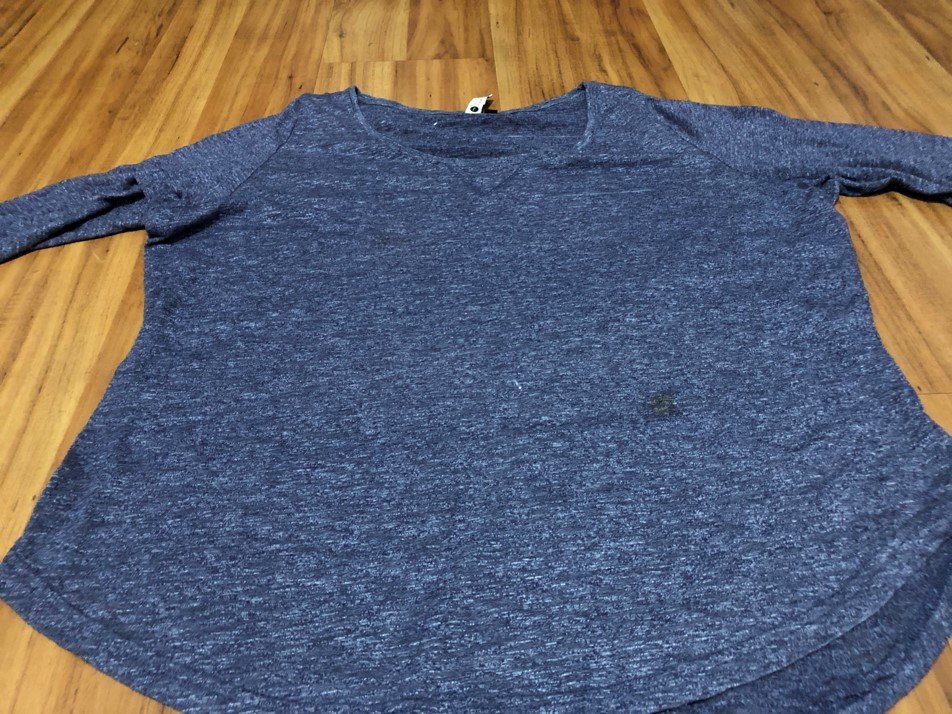
When I did some research on bleaching, what I noticed was it works the same way as tiedye. So the patterns used to make tiedye can be used for bleaching too! I tied the shirt into different segments and bleach the knotted parts.
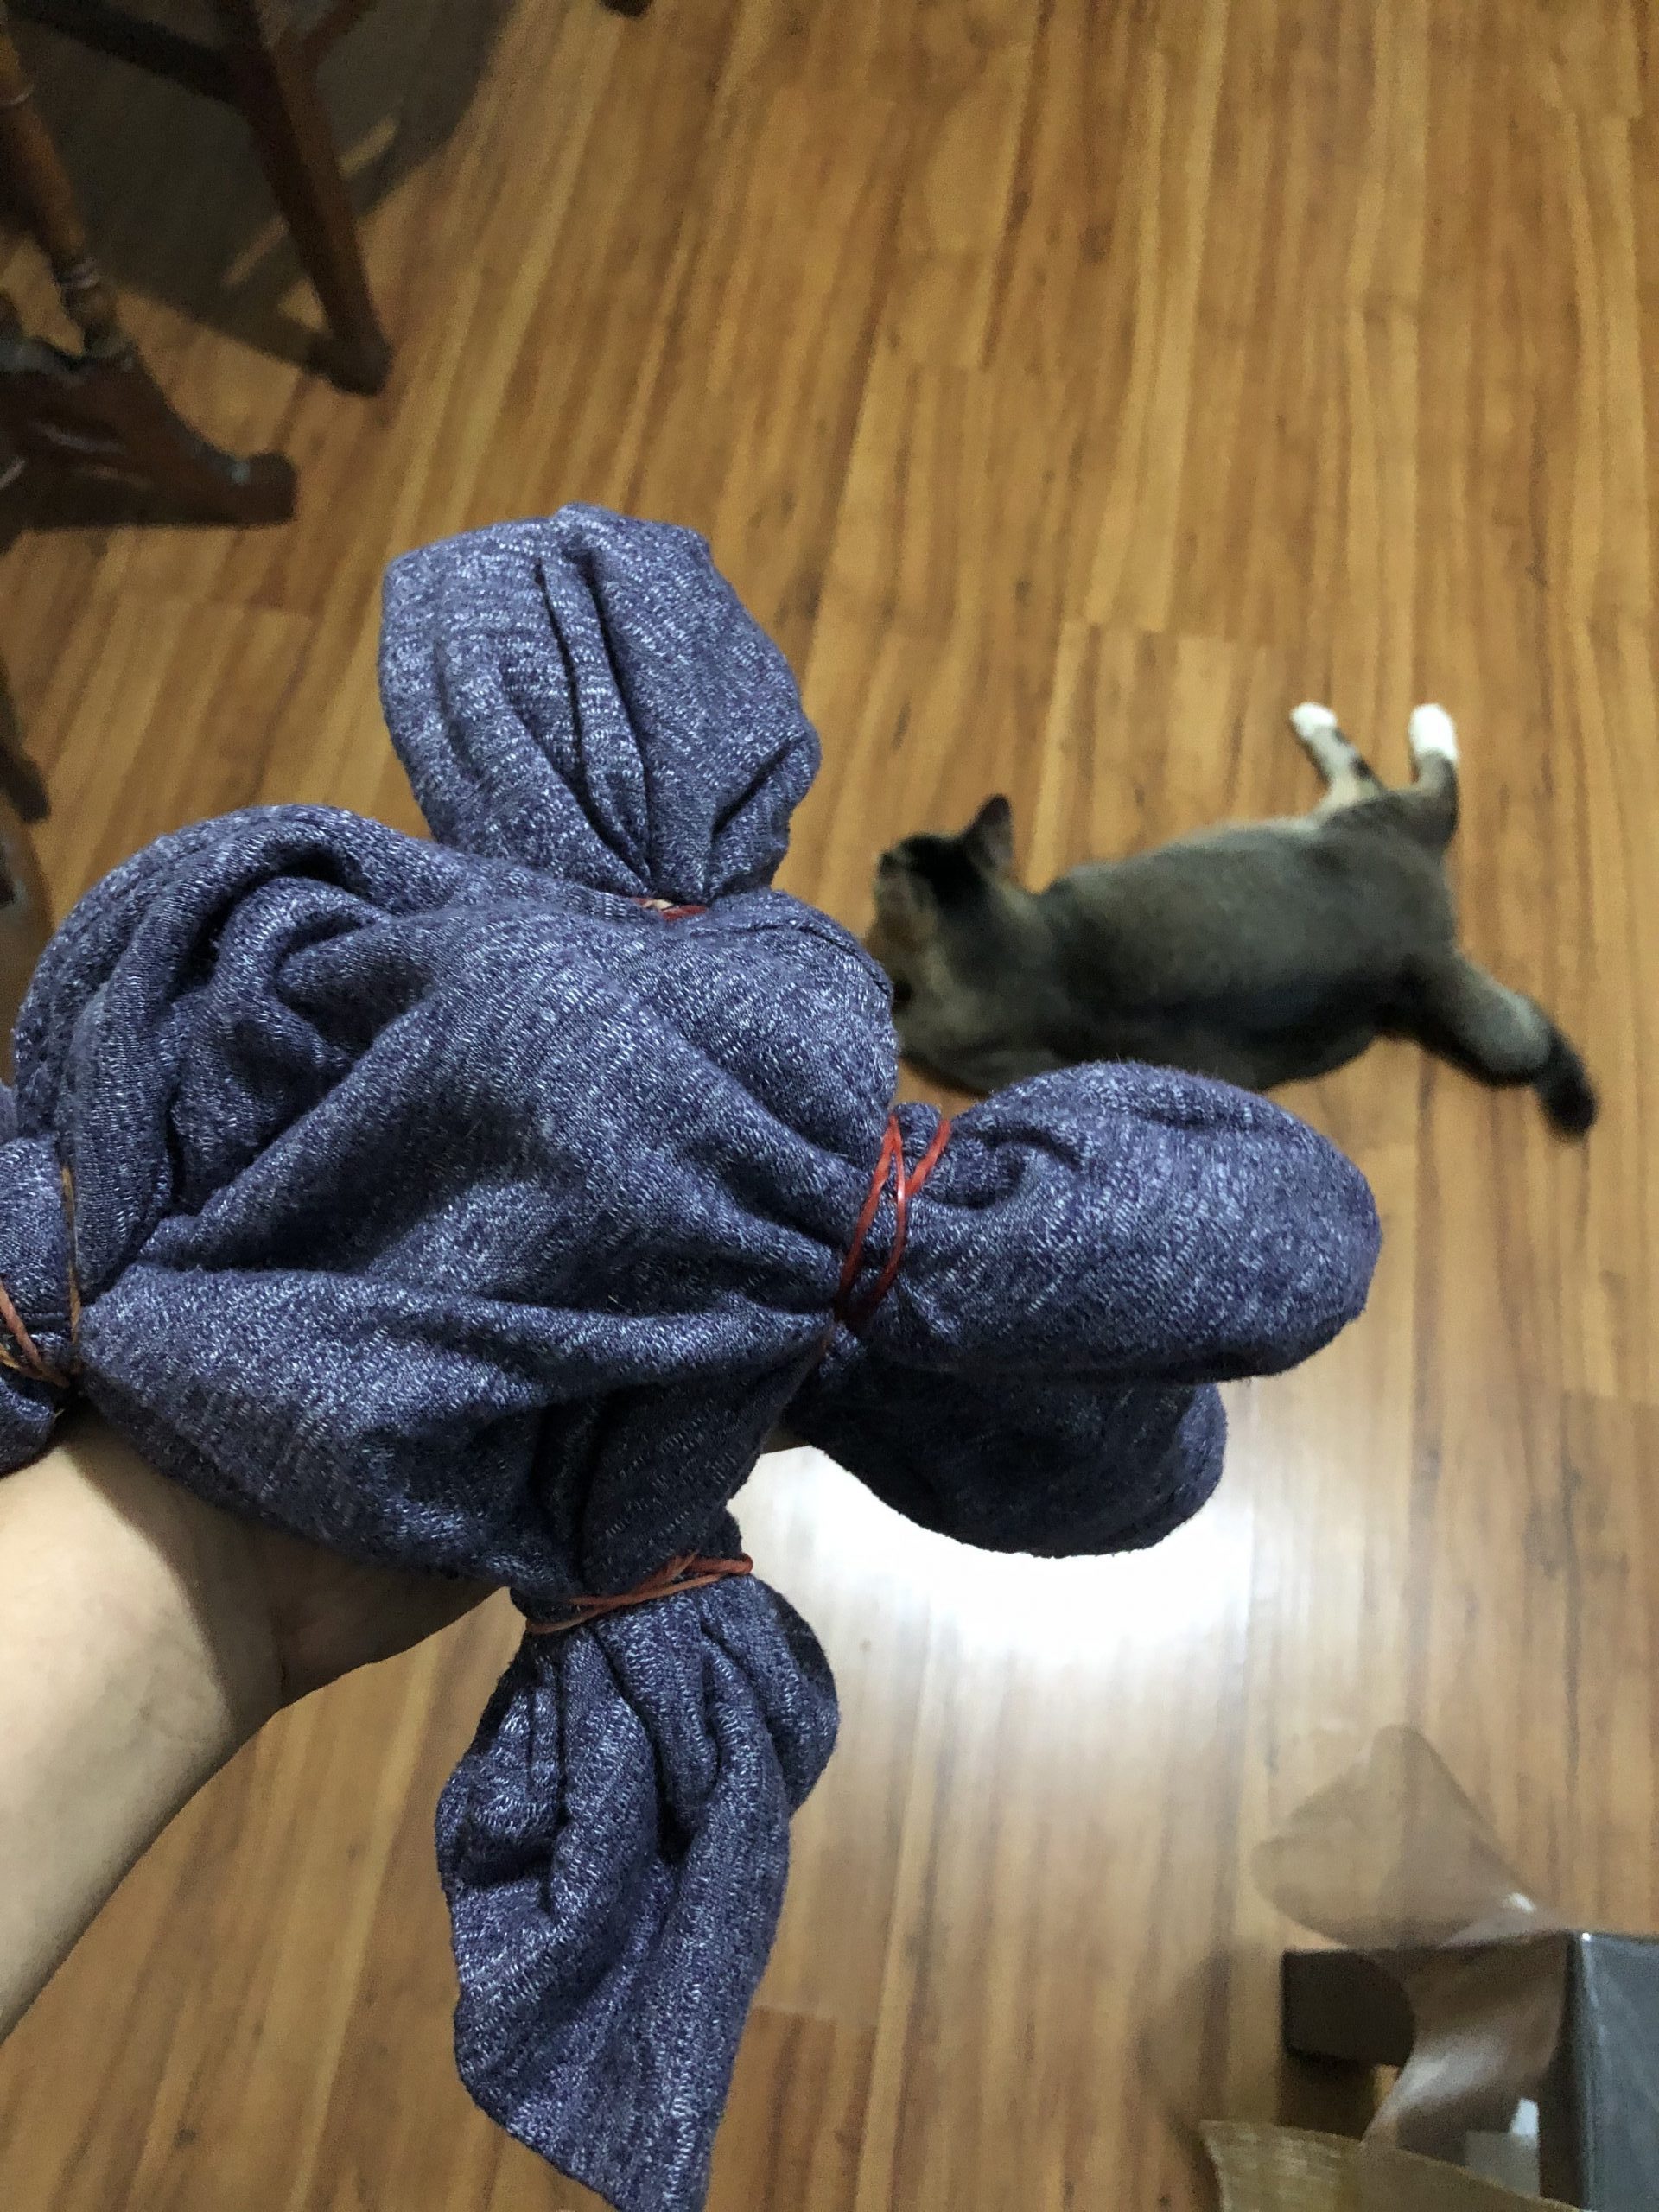
Something unexpected happened.
While working with bleach, my cat, Socks, started reacting to the smell of it. Don’t worry, she wasn’t negatively affected but rather she started getting high. I googled it and turns out, cats react to bleach the same way they would react to catnip. Well long story short, she tried sneaking into the bathroom to get high on bleach. So do take note for those that have cats at home!
While panicking about my cat, I didn’t observe the shirt. When I came back to it, I was shocked by how much colour was gone.
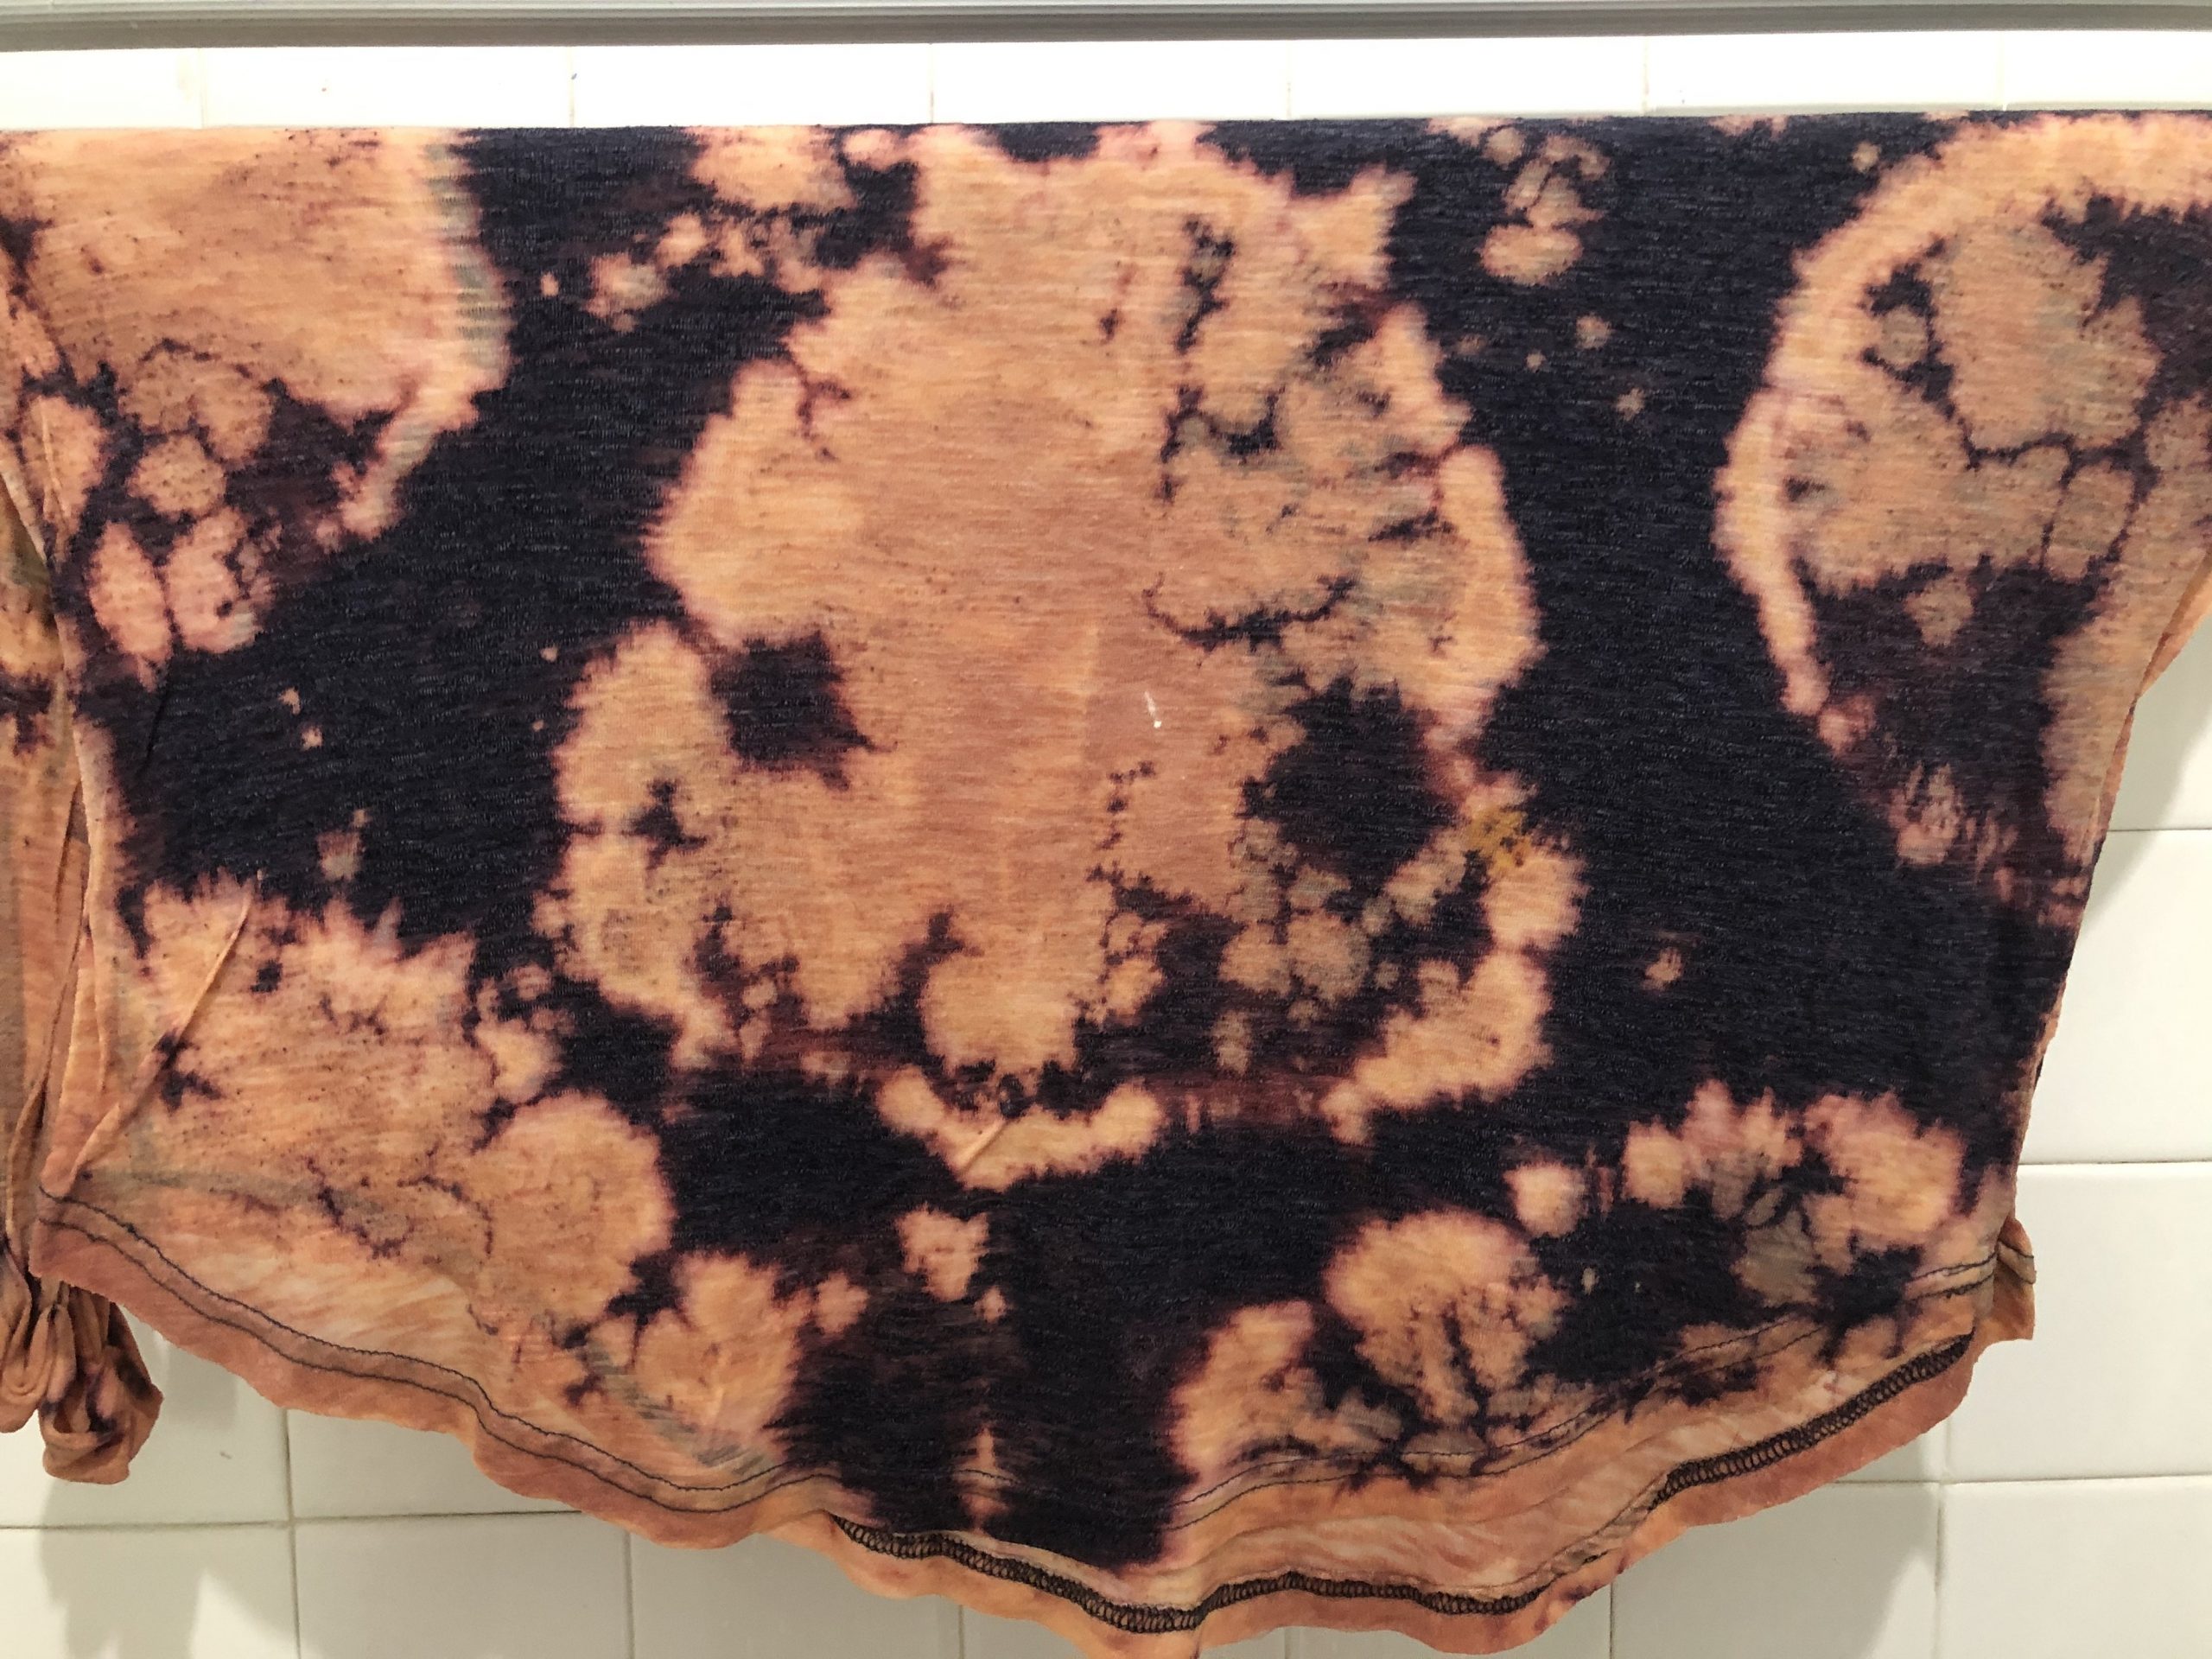
However, after opening it up and washing it, the bleaching came out better than I expected.
I really like the pattern and I believe with the right pattern, the bleaching can turn out like the snake scale pattern, thus I’ll be trying out bleach for one of my techniques for the final project. But I’ll make sure to keep my cat away from the bathroom. Stay tuned!
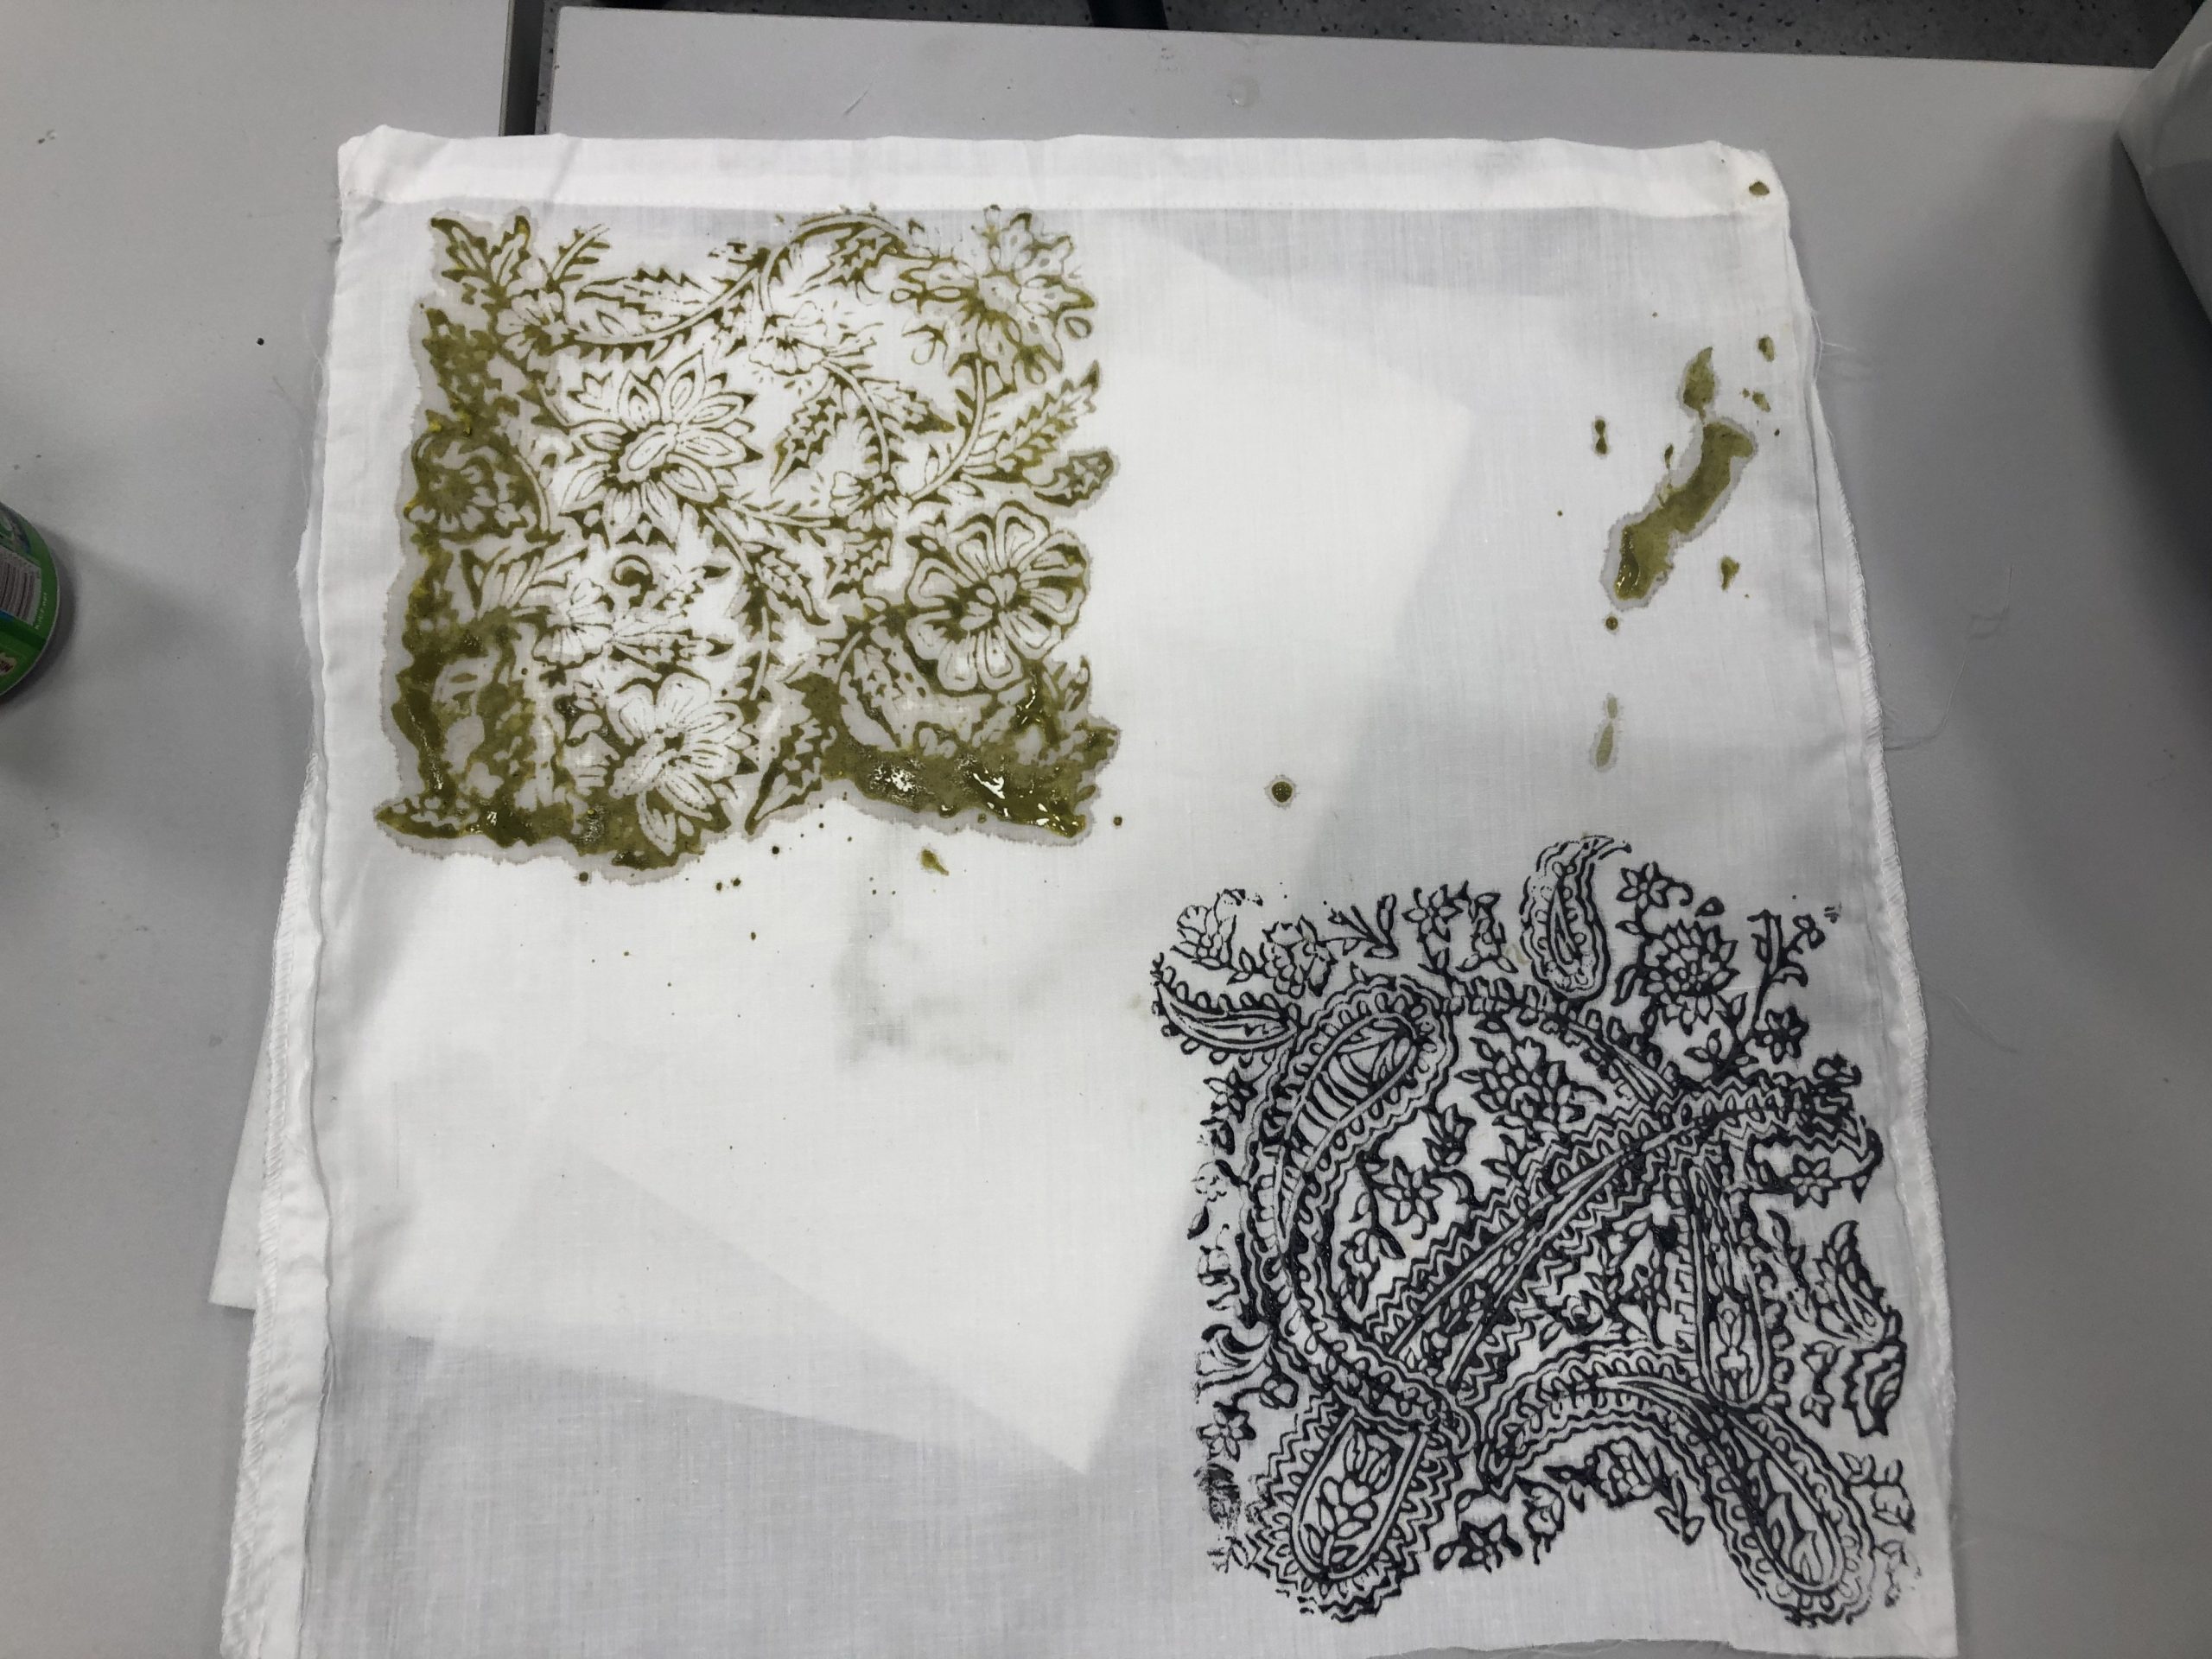
One of my classmates used thermochromic ink for her interactive project before, so I have seen the magic happened before and it was cool to try on my own!
We first began by mixing a clear base with a thermochromic powder (colour of your choice) together. (Careful not to inhale too much of the powder)
We tried transferring the mixture using two techniques: silkscreen and block printing.

Thoughts?
I placed too little mixture on the silkscreen, so halfway through my striped pattern design, it ran out of mixture to coat the rest of the design. This was primarily because there wasn’t much mixture left. So I salvaged some mixture that was left on the silkscreen by the others and created a gradient effect for the other half which actually came out pretty neat!
In my first attempt, I was the first person to use the mixture and the block. I wanted to try the yellow mixture. However, I didn’t think that the colour of the block could fuse into the mixture, so my print turned out more green than yellow.
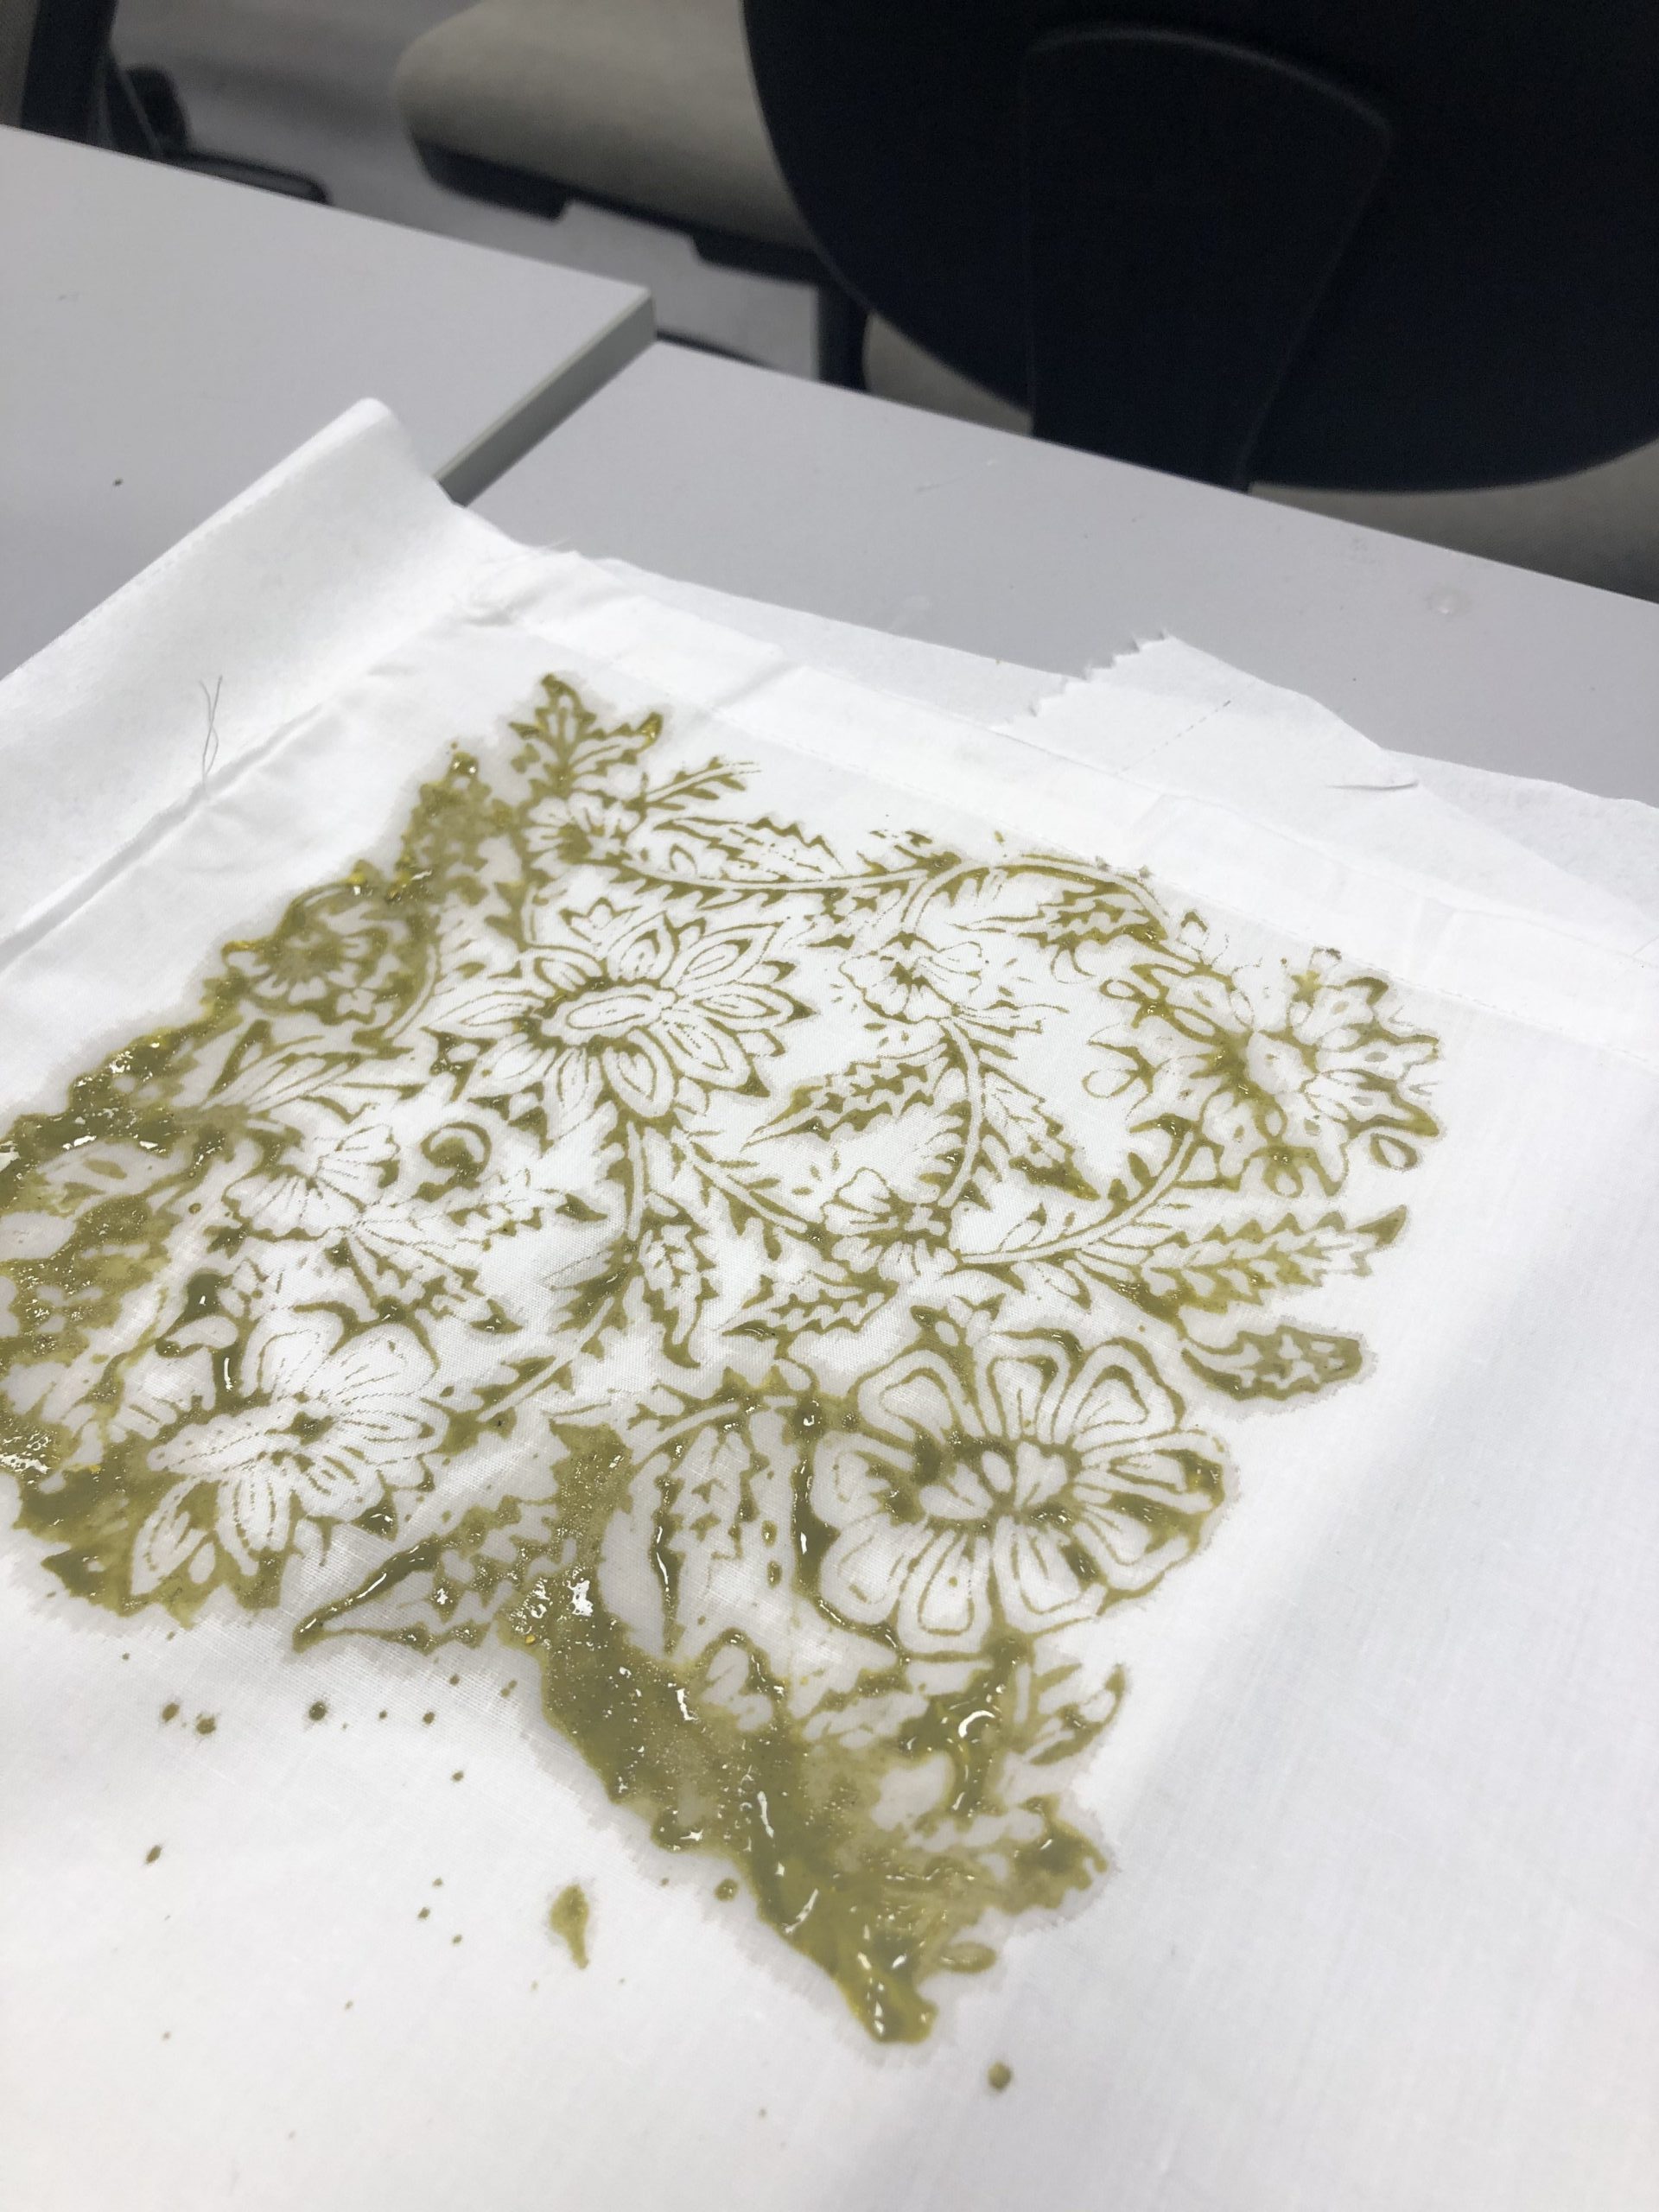
From my observation of Mus and Minjee’s prints, Minjee and I took more time to press the block down as compared to Mus. However, Mus’s print came out more yellow, so I guess less time would allow less colour of the block from running down.
Also, the print came out quite watery for the yellow print, but you don’t see the same for the black one.
So thats all I have for this week!
A couple of years back when I had a lot of time to spare, I tried knitting for fun and this was the only outcome I achieved. Now, I use it as a blanket for my pet cat, Socks.
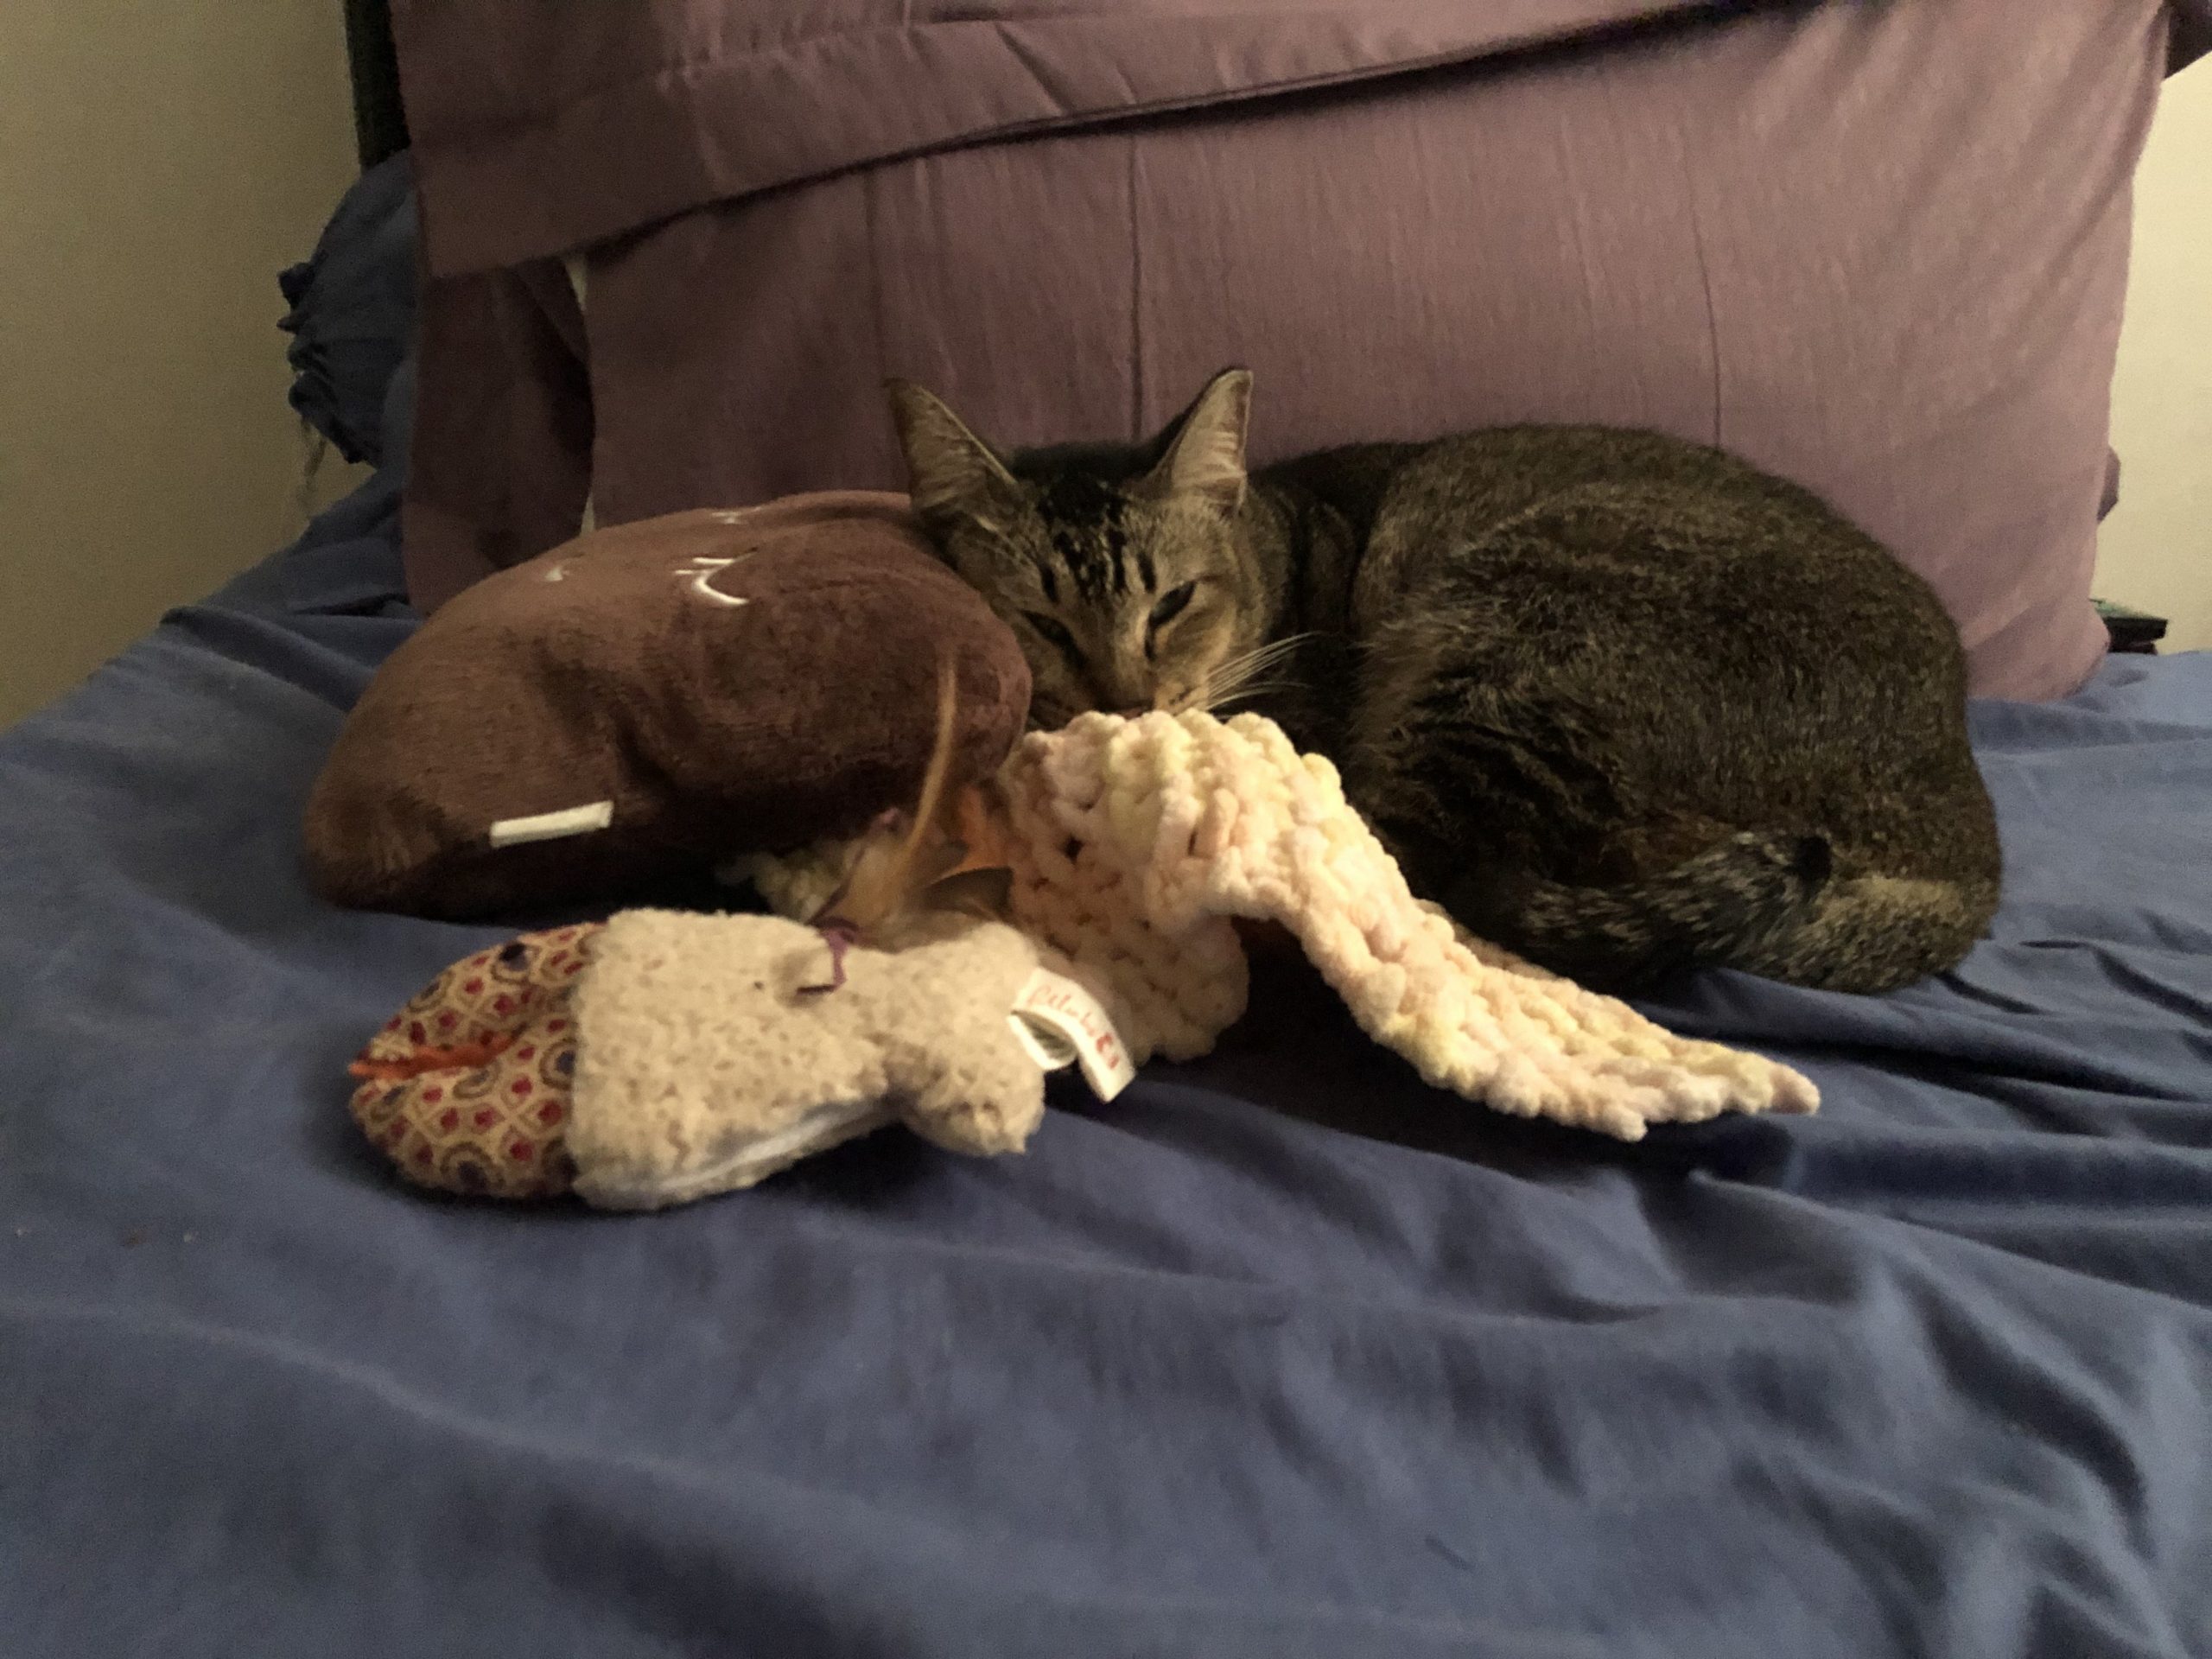
So, it was really fun trying knitting again. Initially, I wasn’t aware that how you move the needles (forward or backwards) would affect the knitting outcome. However, it was very tricky trying to do 2 different knits in one (right and wrong side) because I got confused by the direction. Eventually, I stuck to one technique of knitting.
I failed many times during my first few knits, which required me to start all over again. But once I got the hang of it, I couldn’t stop.
Other than the knitting needles, I bought a circle knitting device from Daiso which helped to create a circular knit like this.
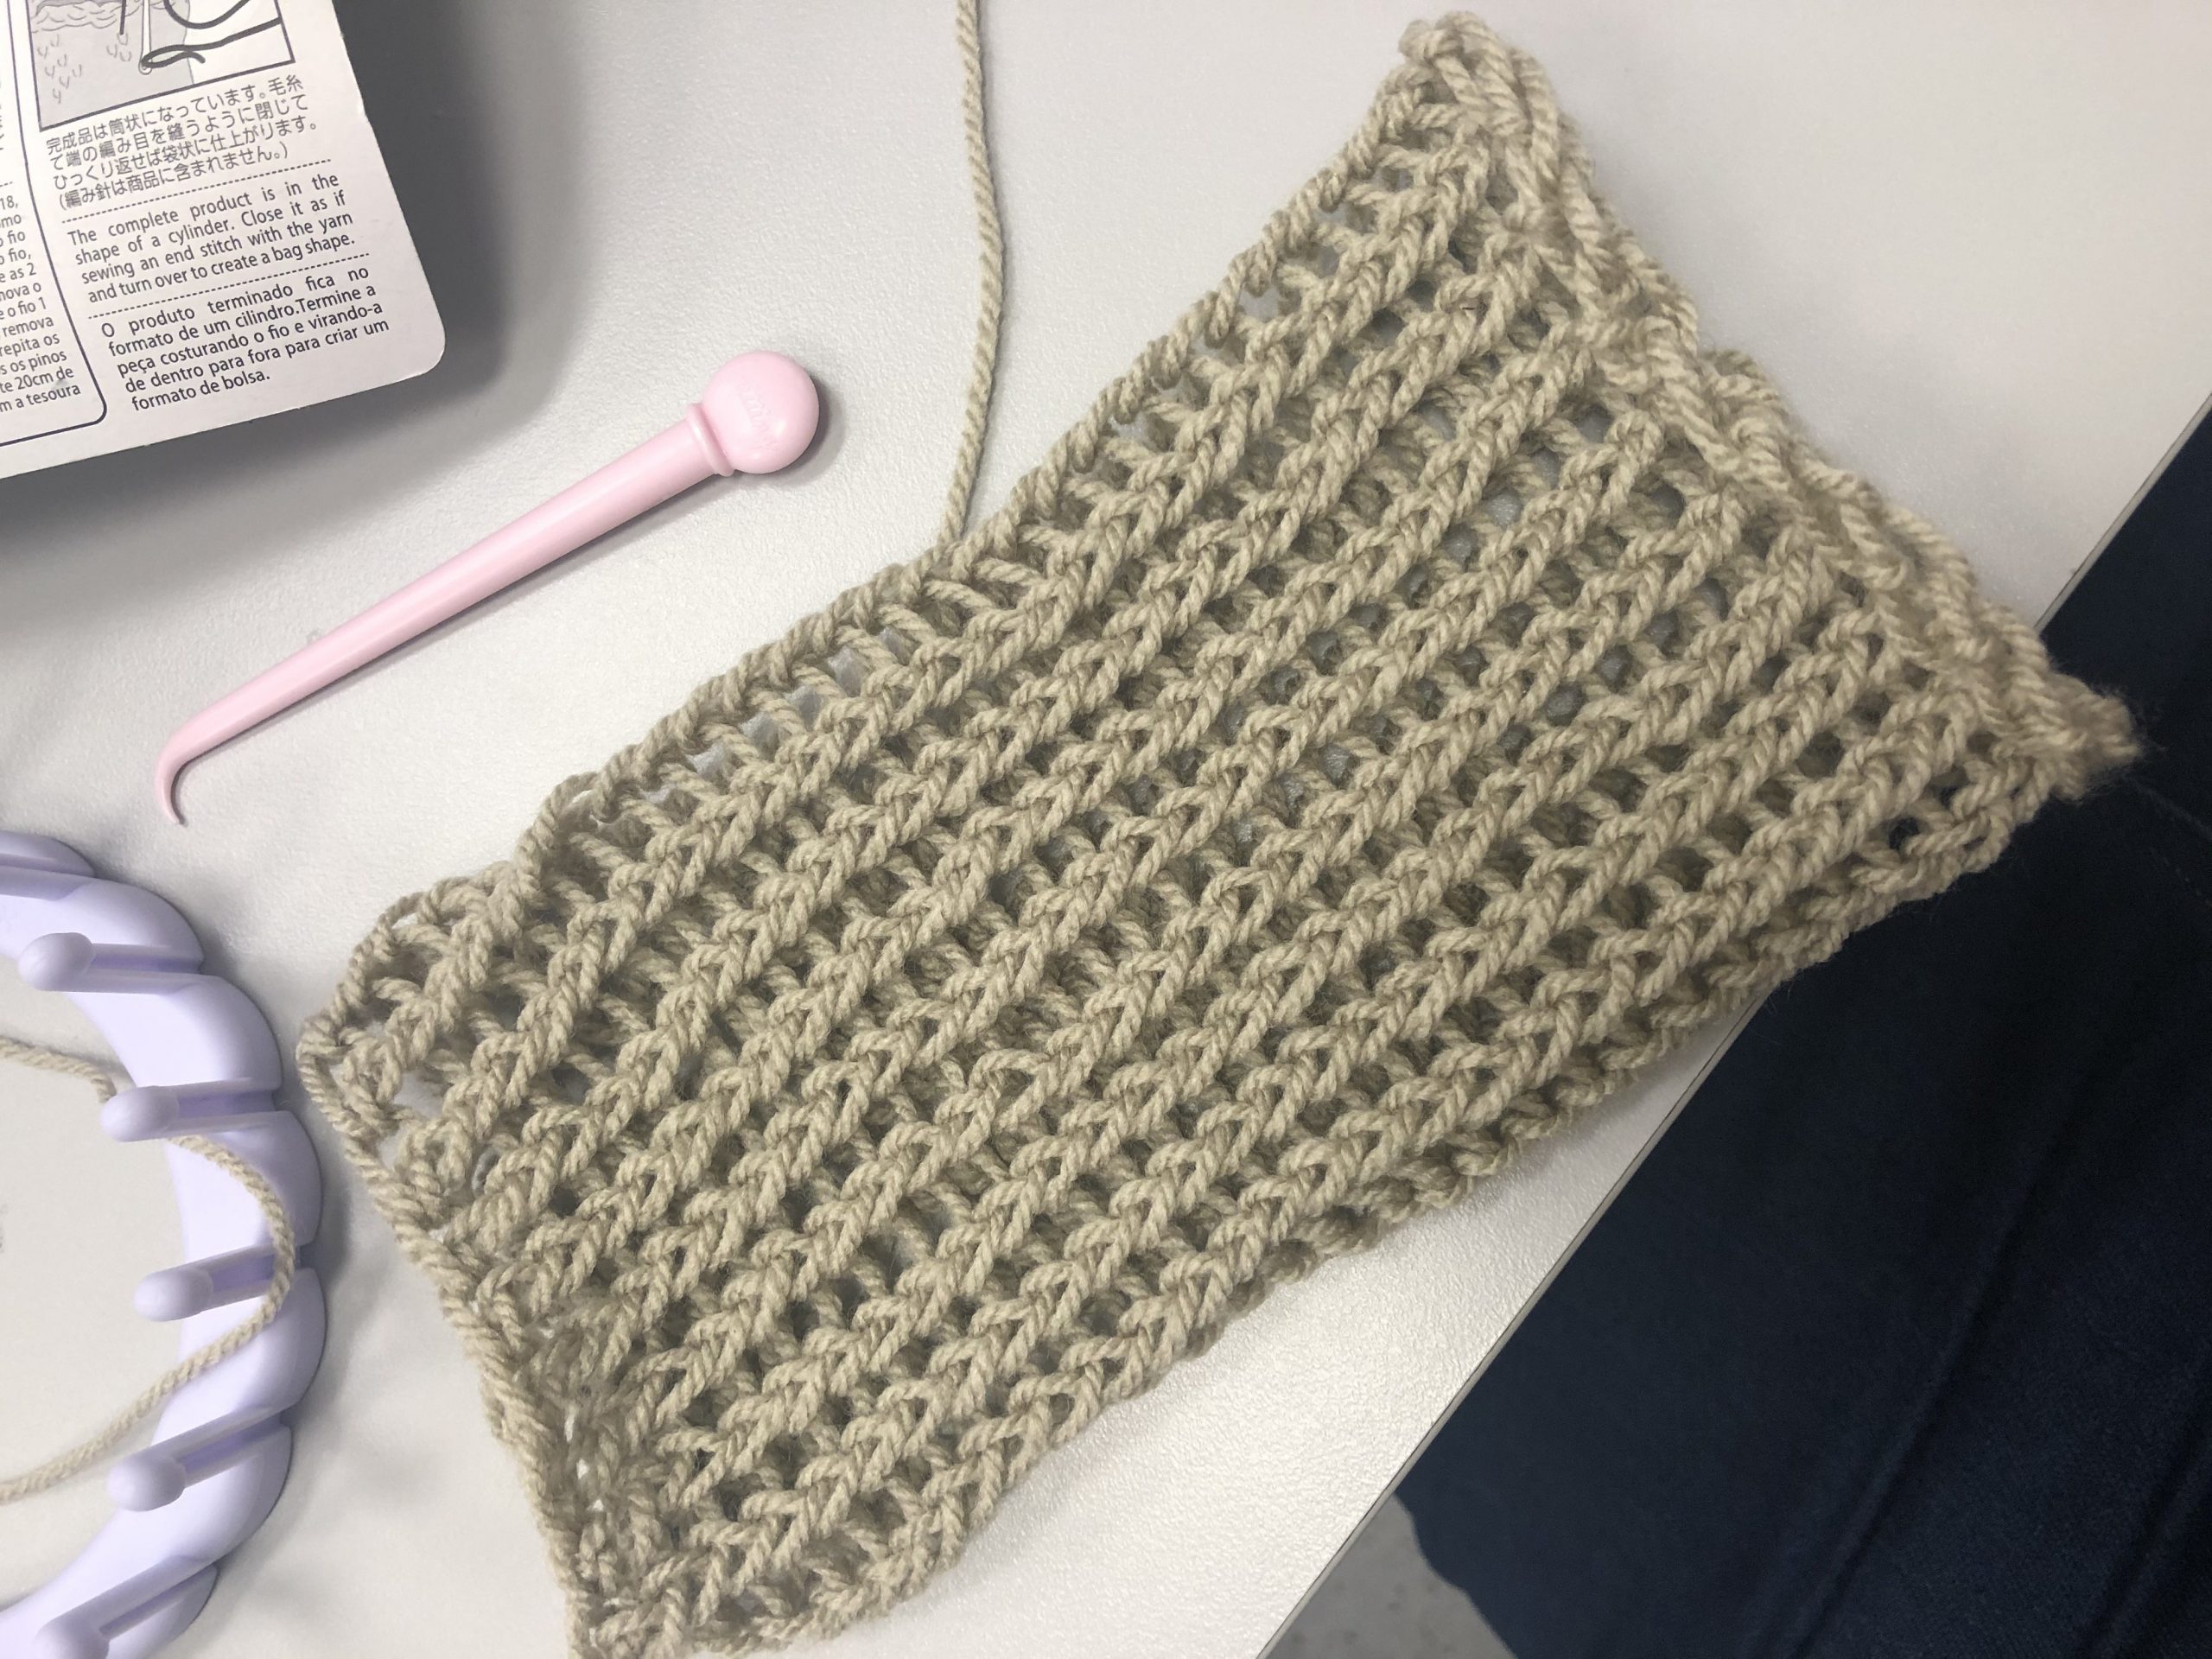
This was a lot easier to manage but requires some getting used to at the start.
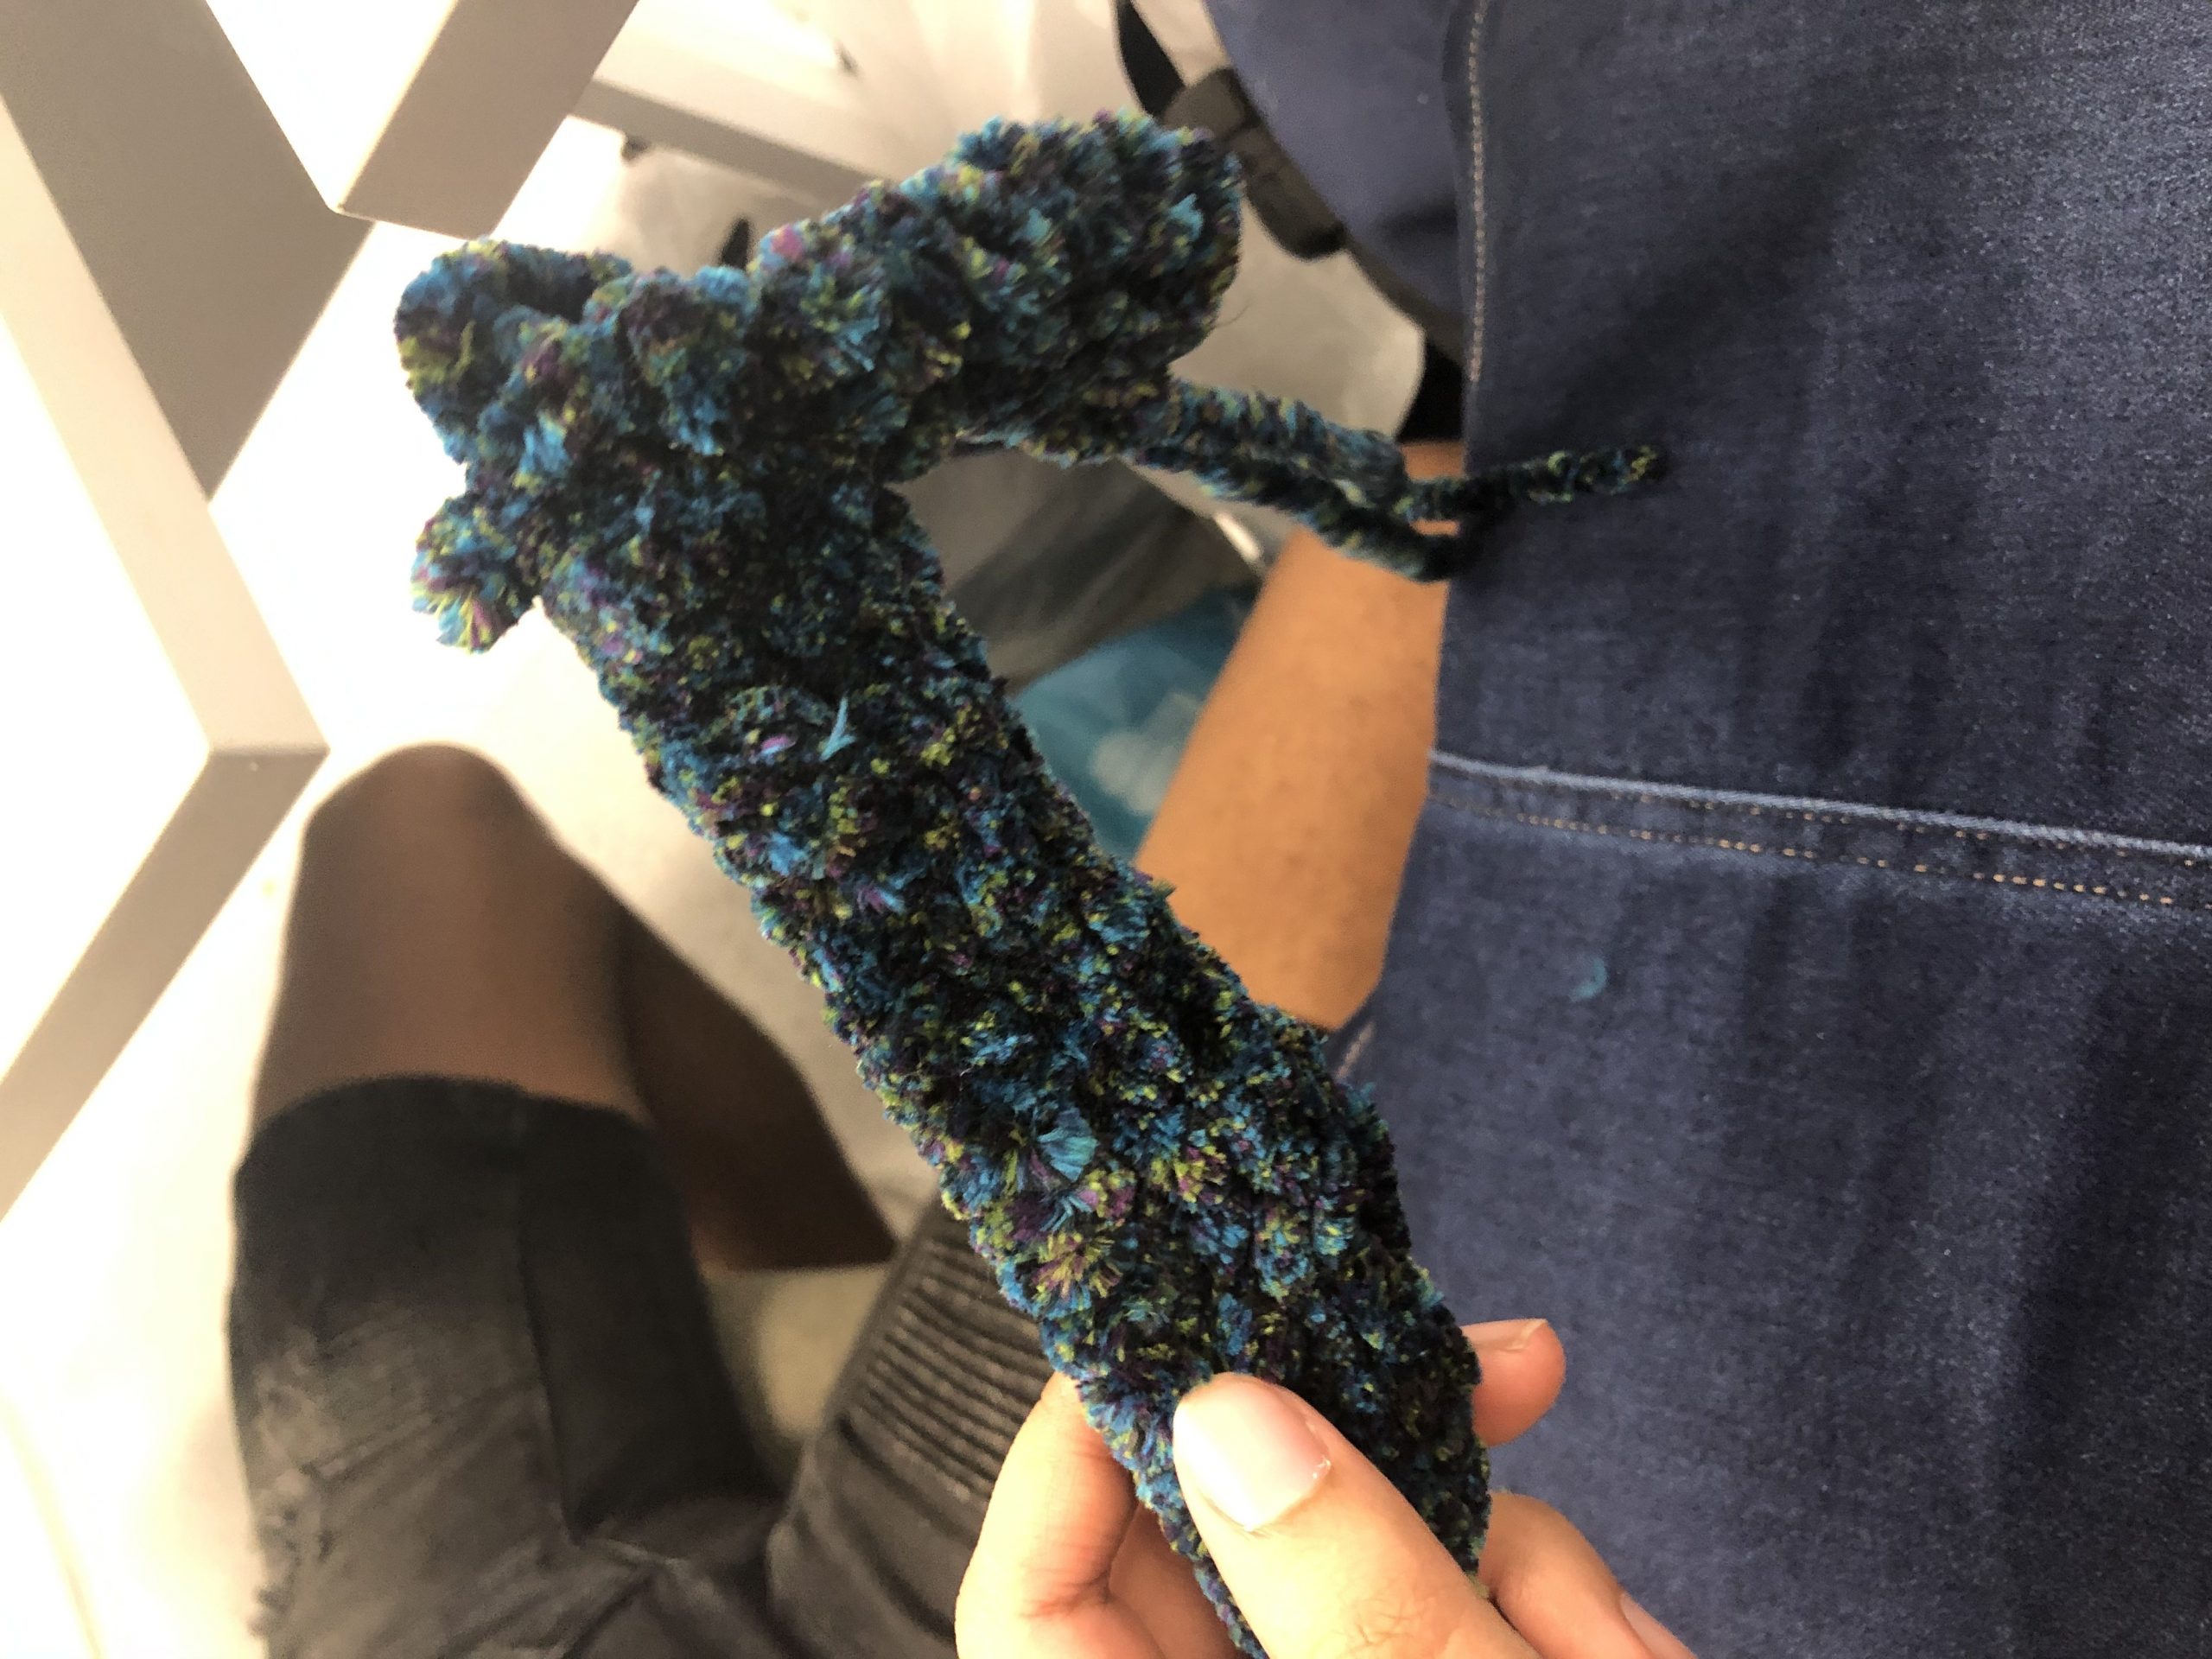
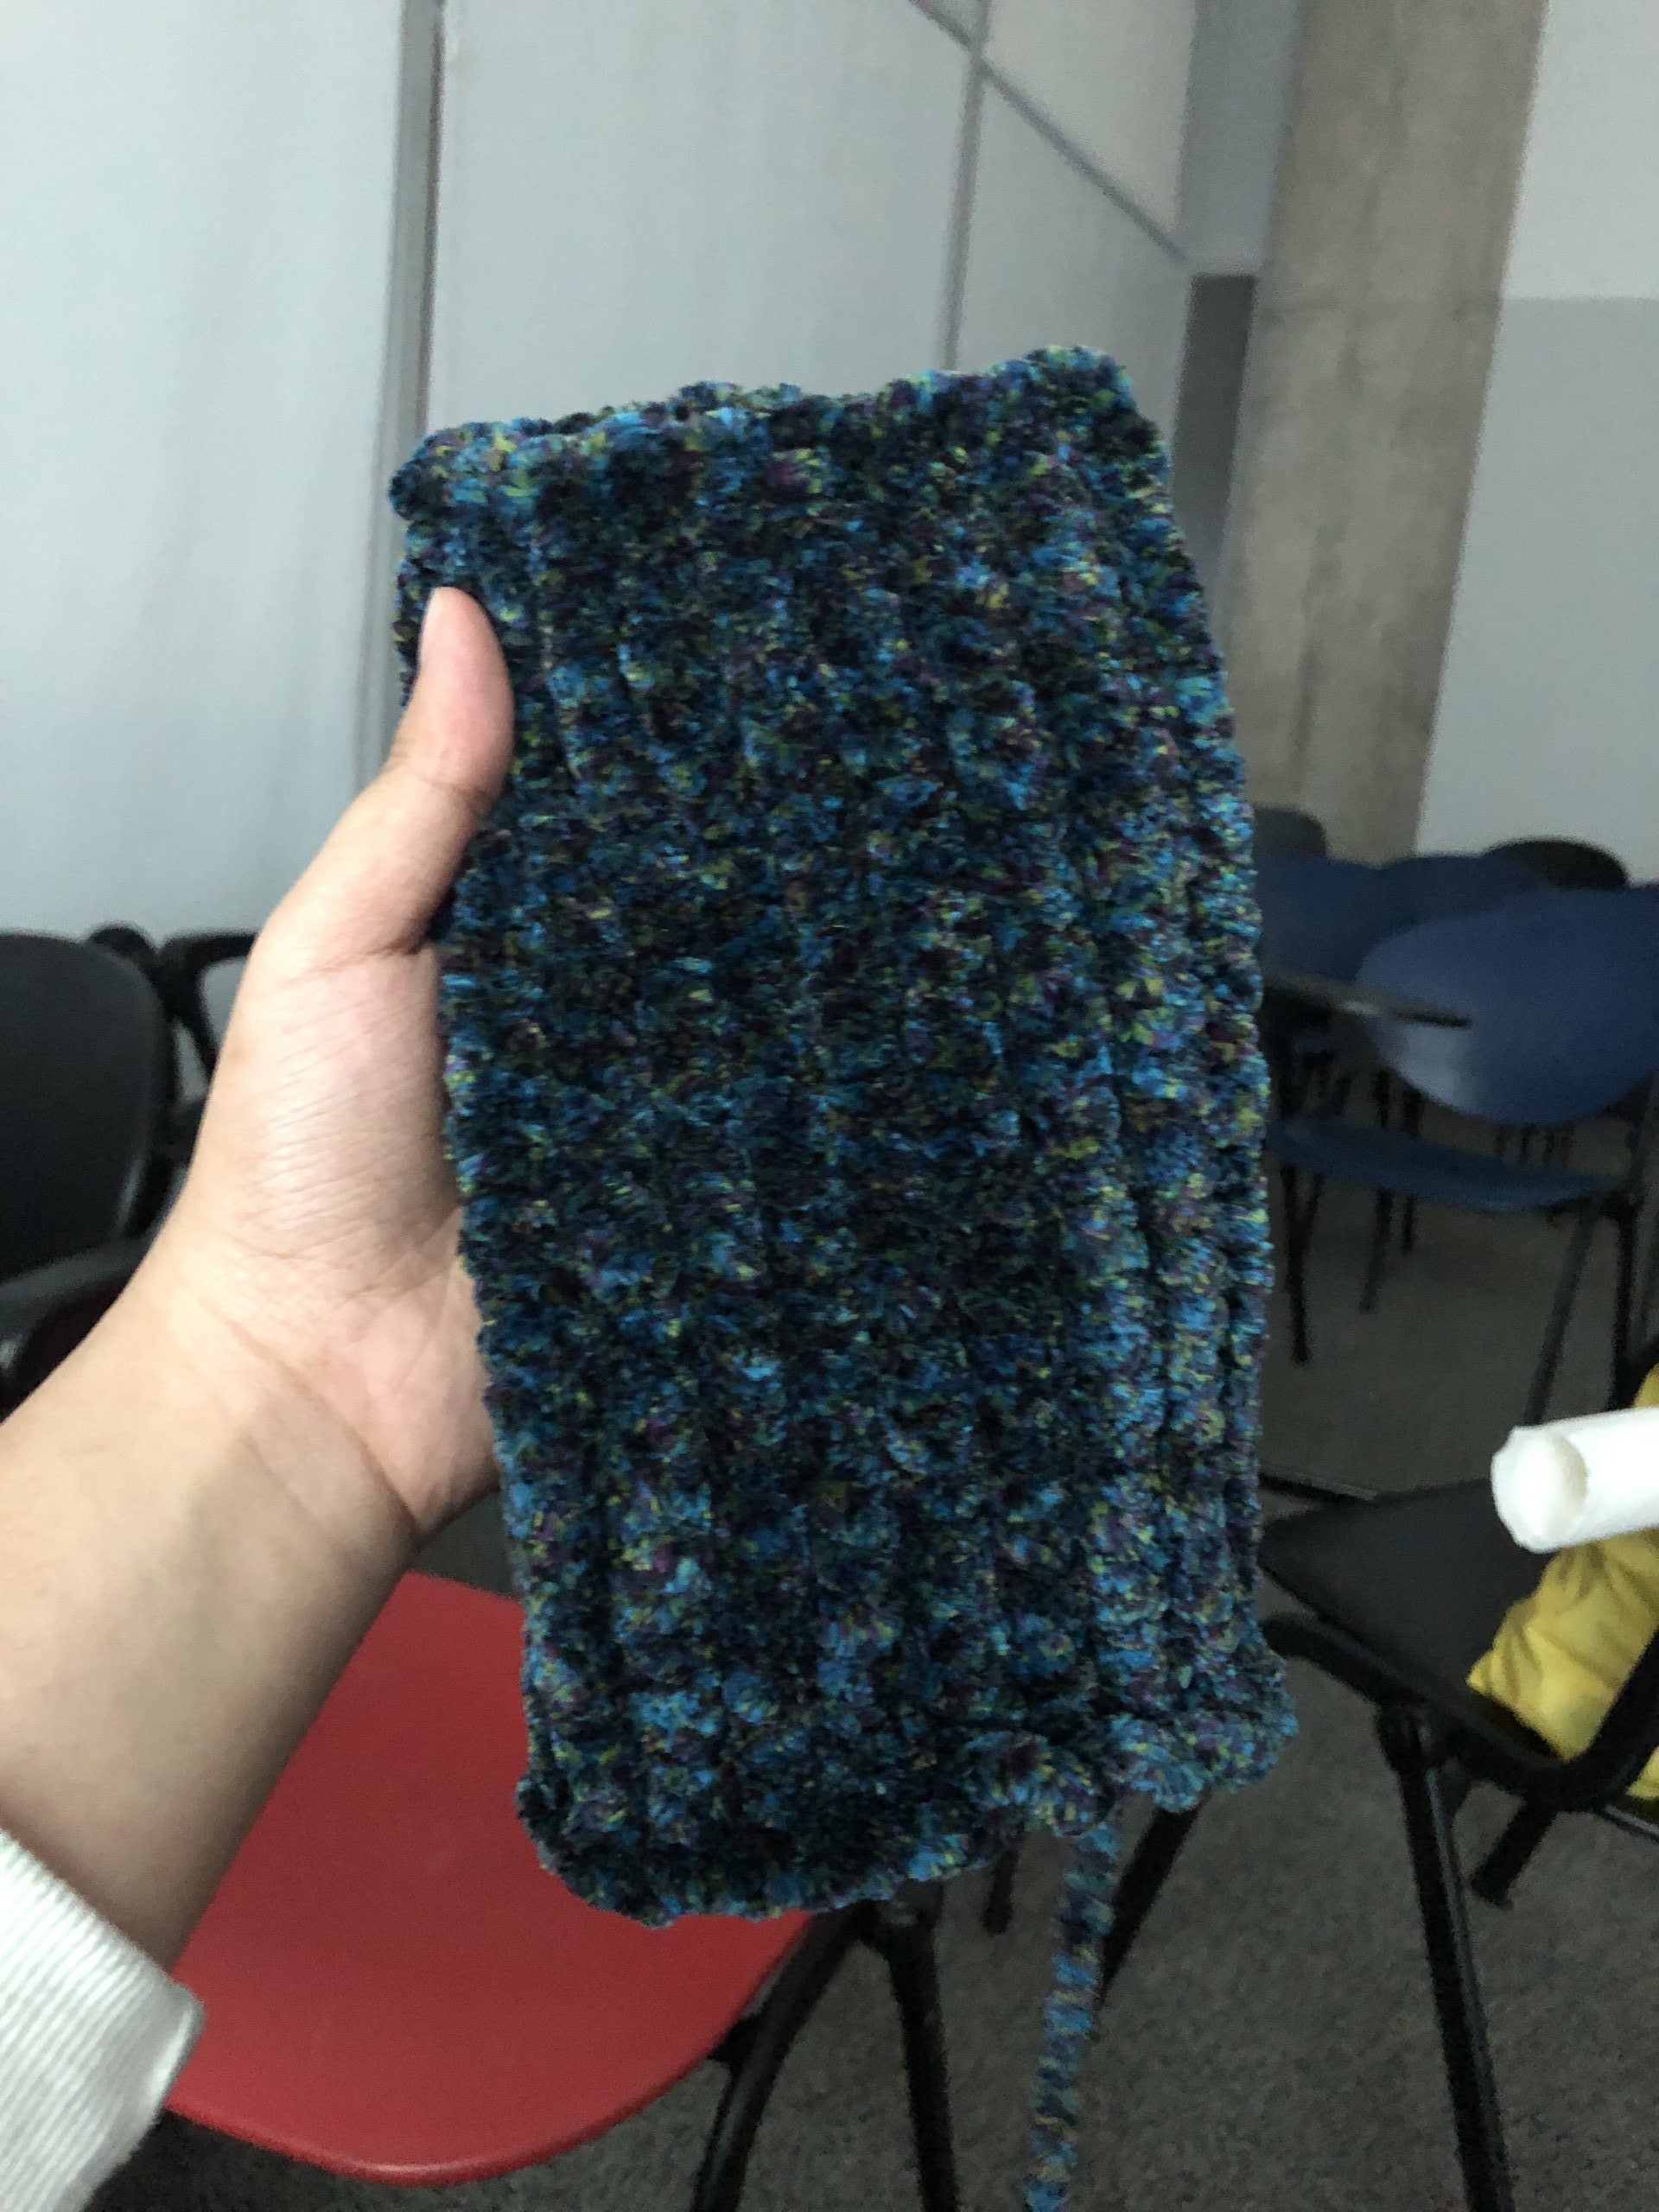
Here are all my knitting experimentations.
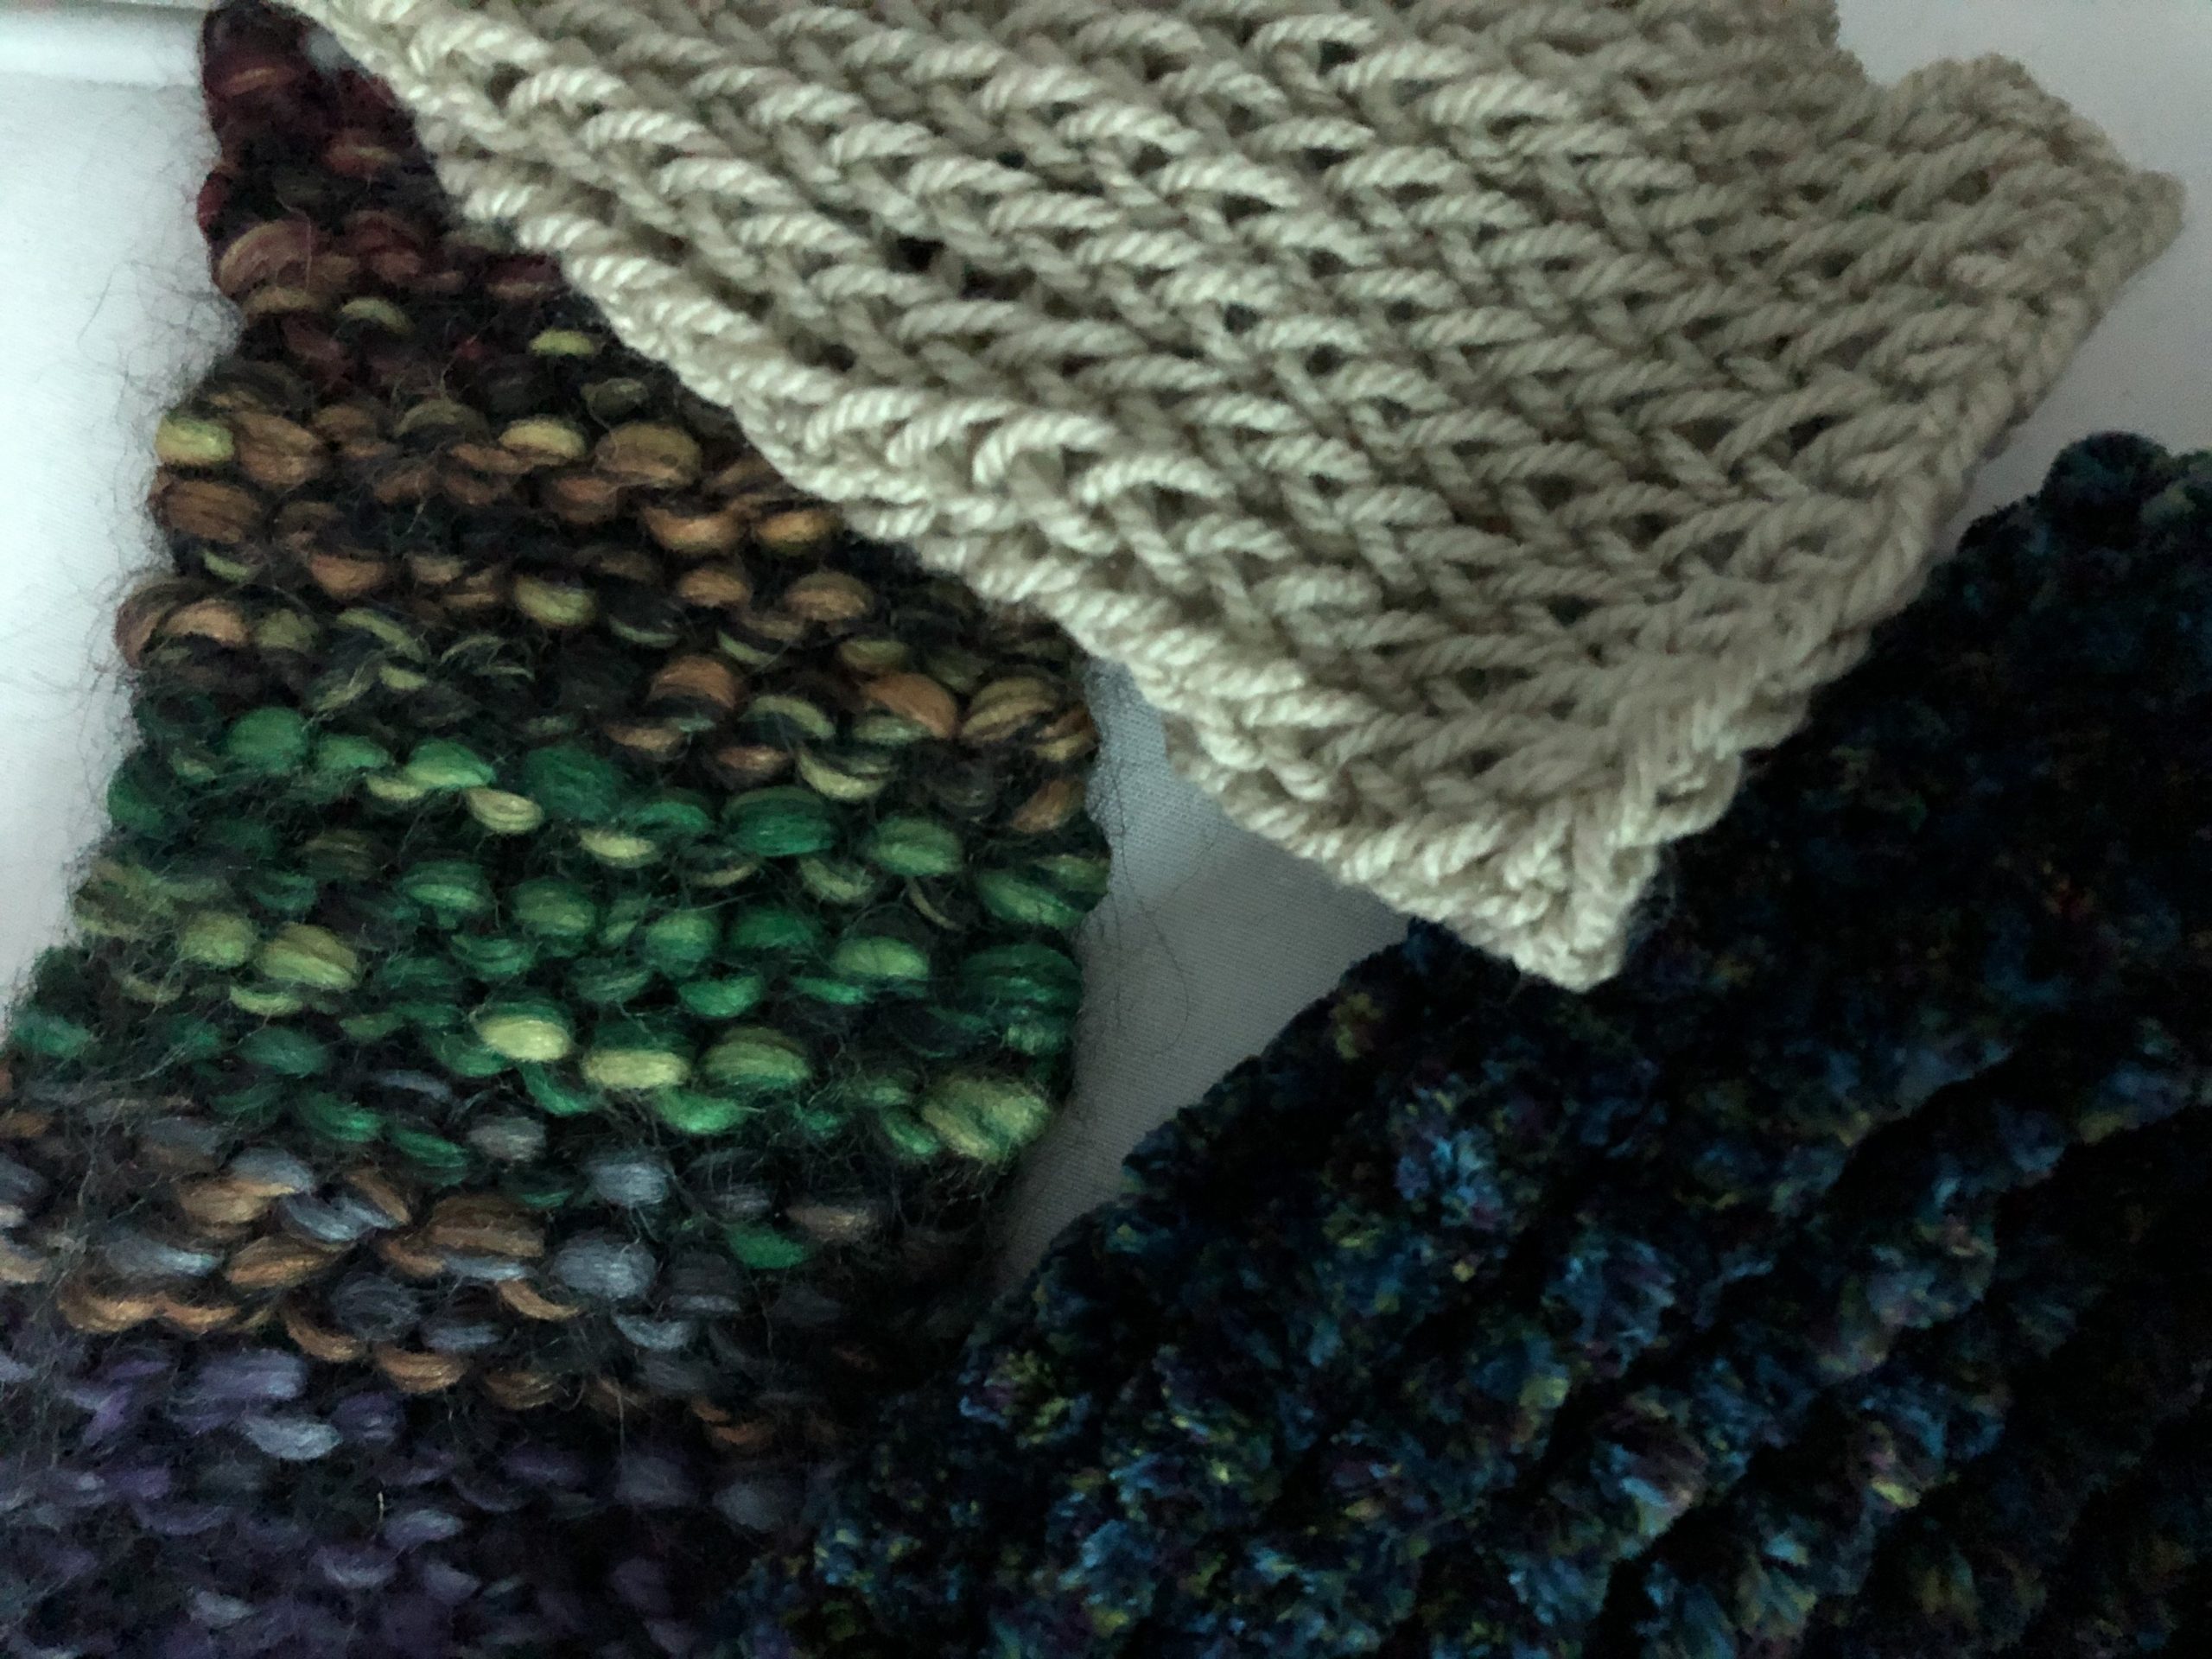
All 3 knits make use of different types of yarns, thus achieving 3 different outcomes.
I don’t exactly have much to say about knitting. So that’s it for now. I’m currently experimenting knitting with other kinds of material. One material I’m using is twine and it is pretty painful to knit 🙁 Nonetheless, I’ll update soon with the outcome!

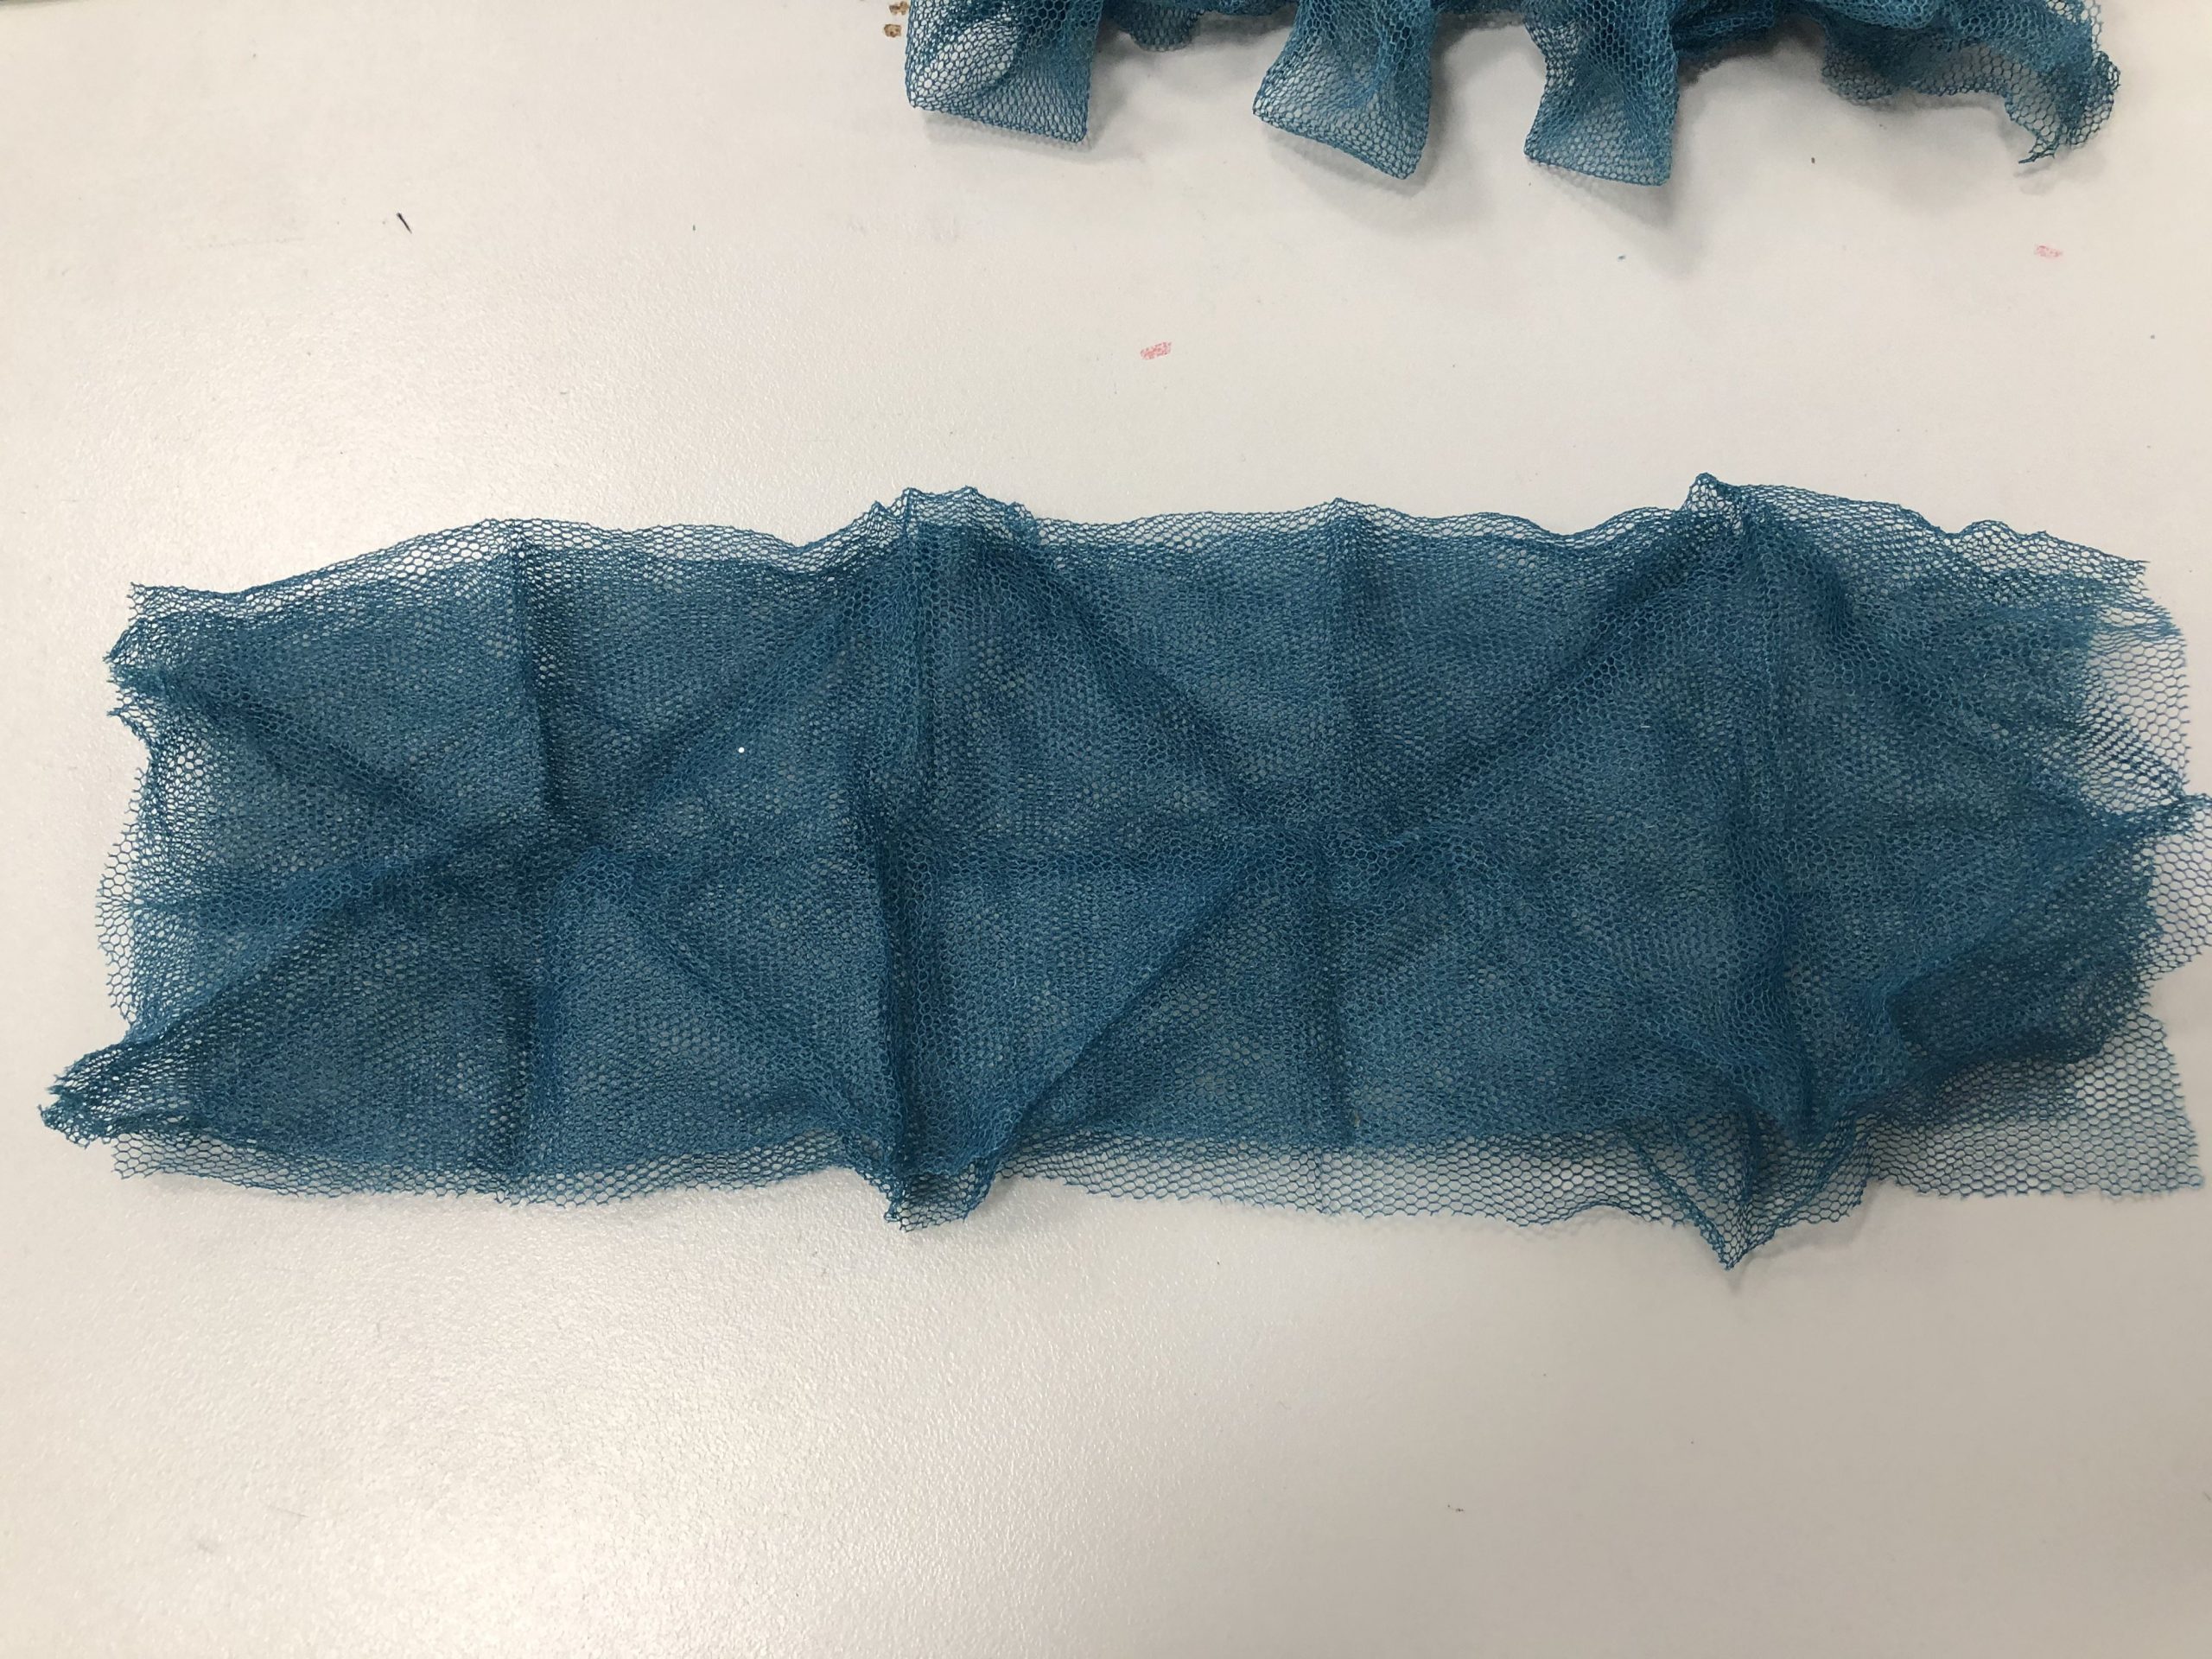
When I bought my polyester, I thought I had just needed to get 100% polyester. I didn’t take into account of stitching of the material. Unfortunately, the stitching on the material I purchased was a little too loose so initially, my thoughts were that it probably can’t hold the shape very well.
STEPS:

For my experimentation, I used square wooden chips as my mould and tried a simple origami.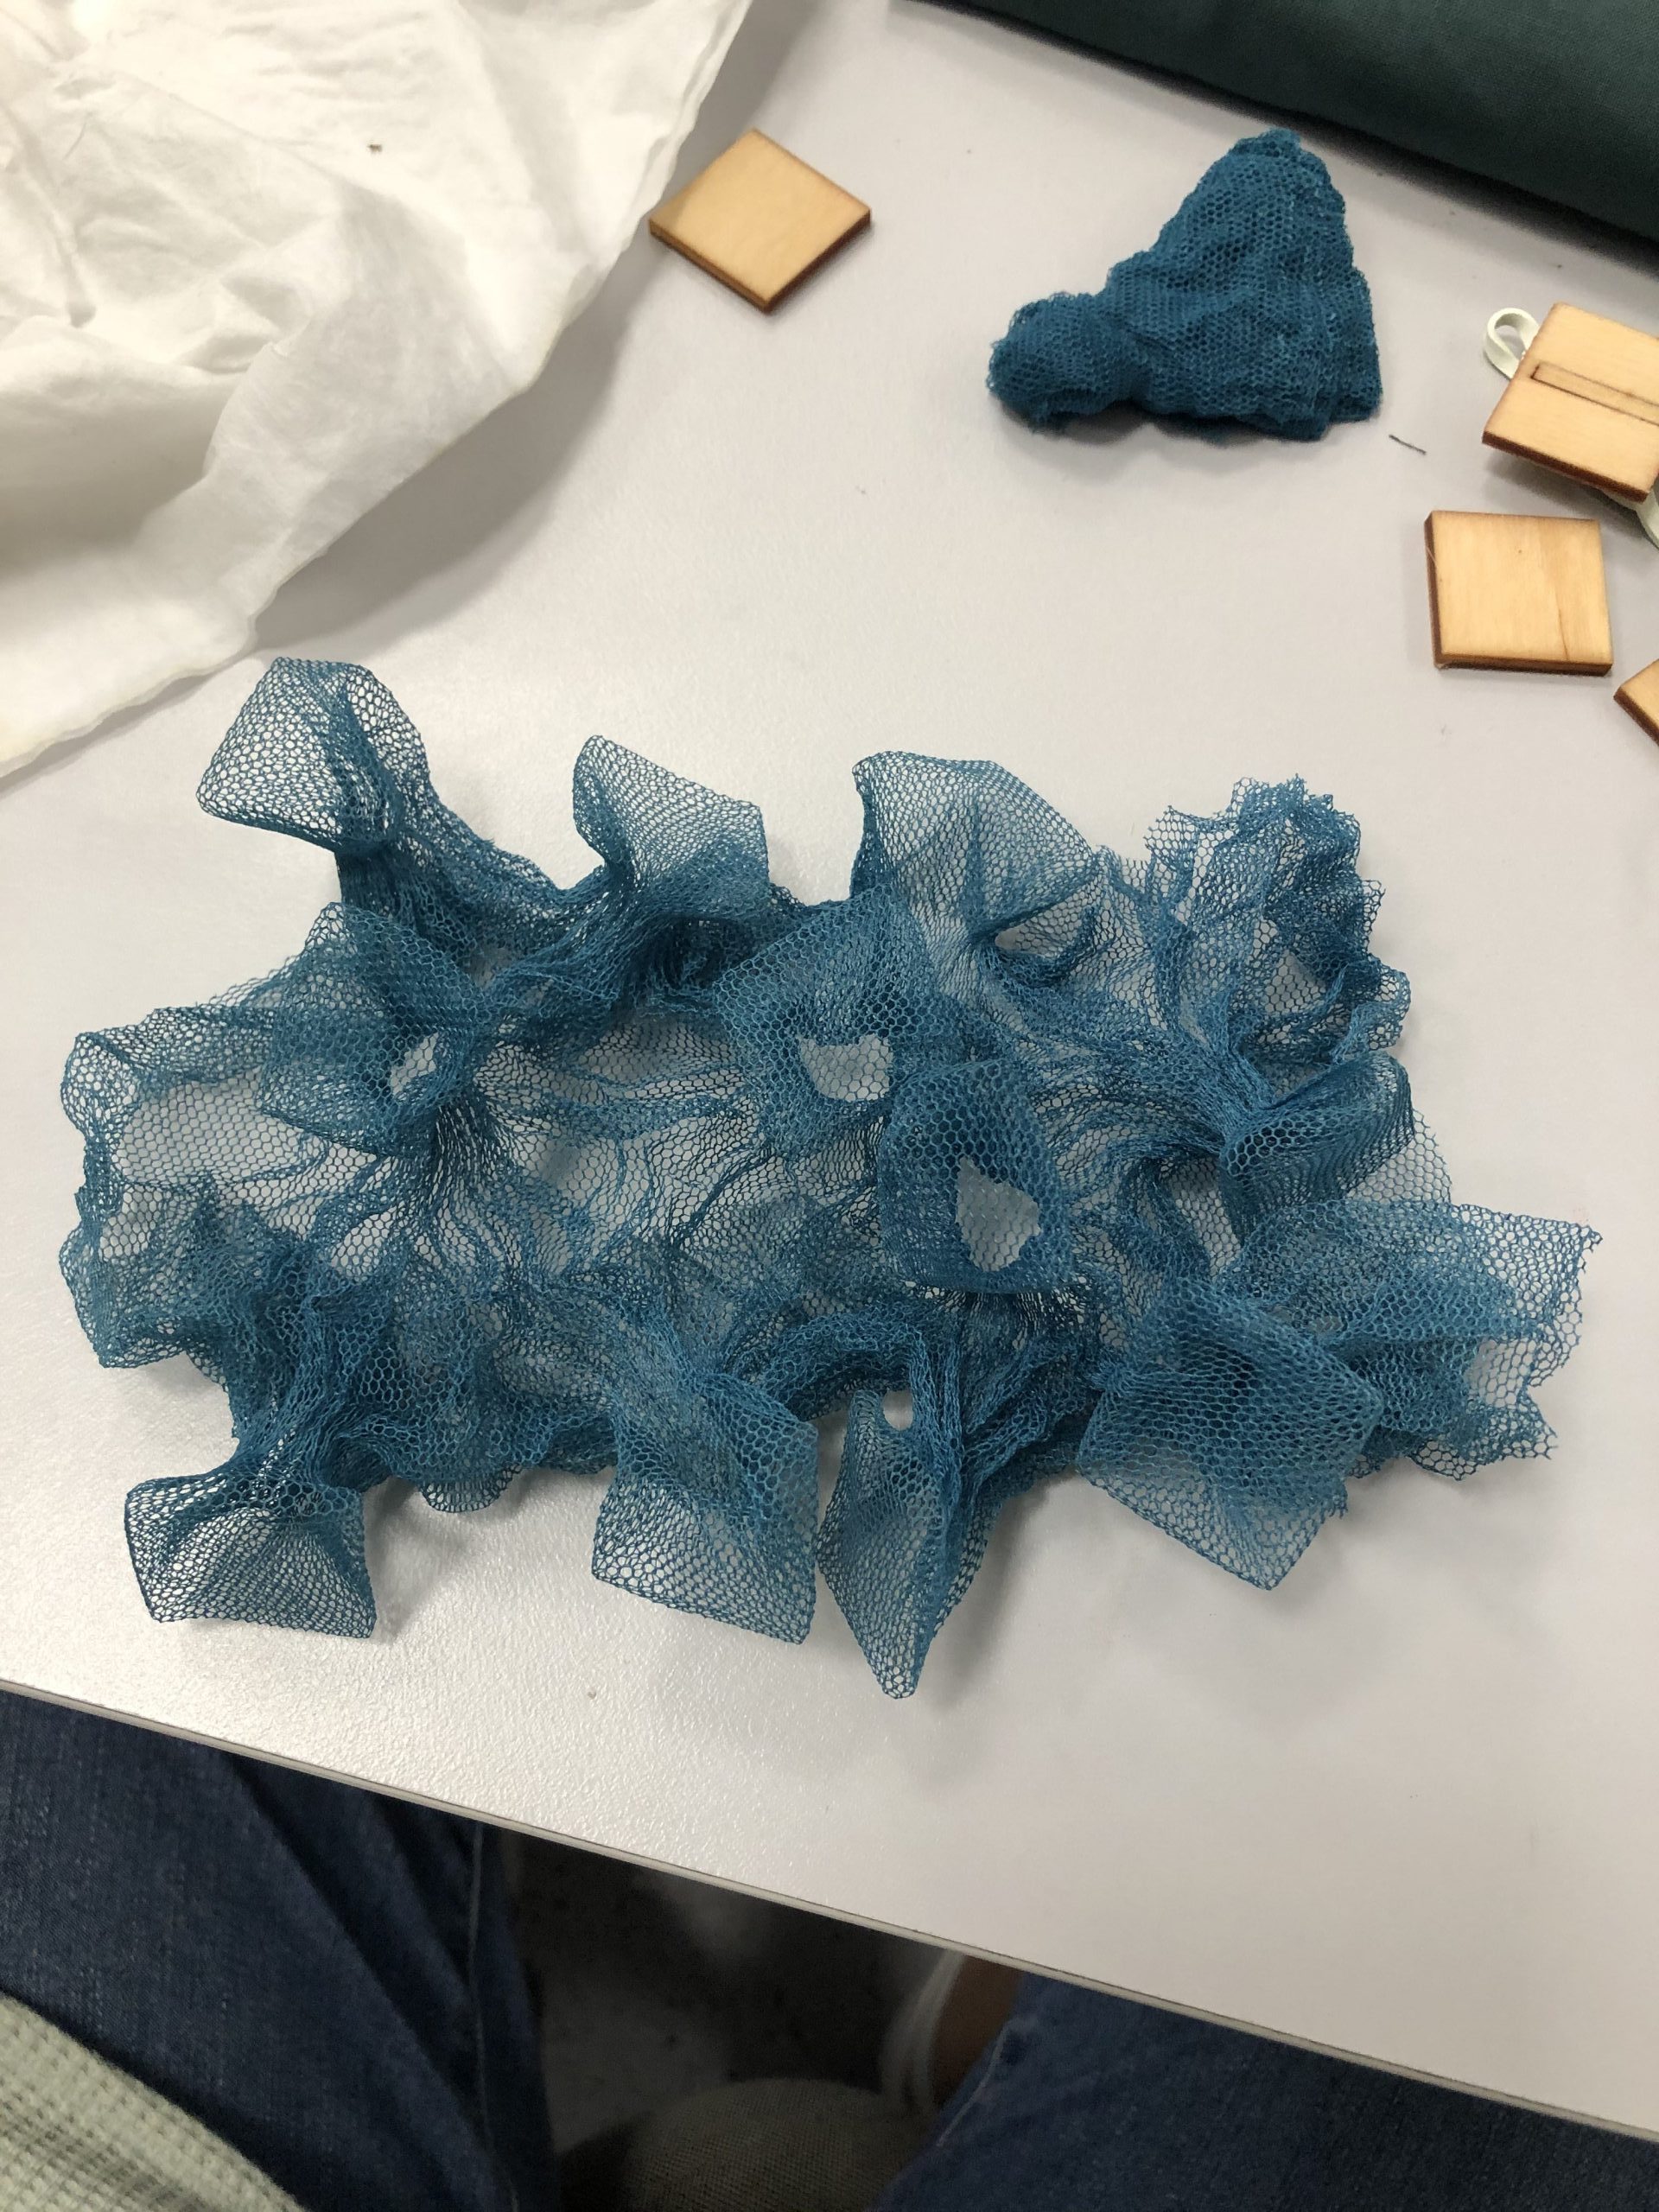
For the wooden chips, the outcome came out pretty nicely considering the loose material and the fact that it was only 1 layer of material. However, the rubber band I used to tie it down was too thick and long so there is a big gap between the chip and the base. So it is important to consider what you use to tie your material.
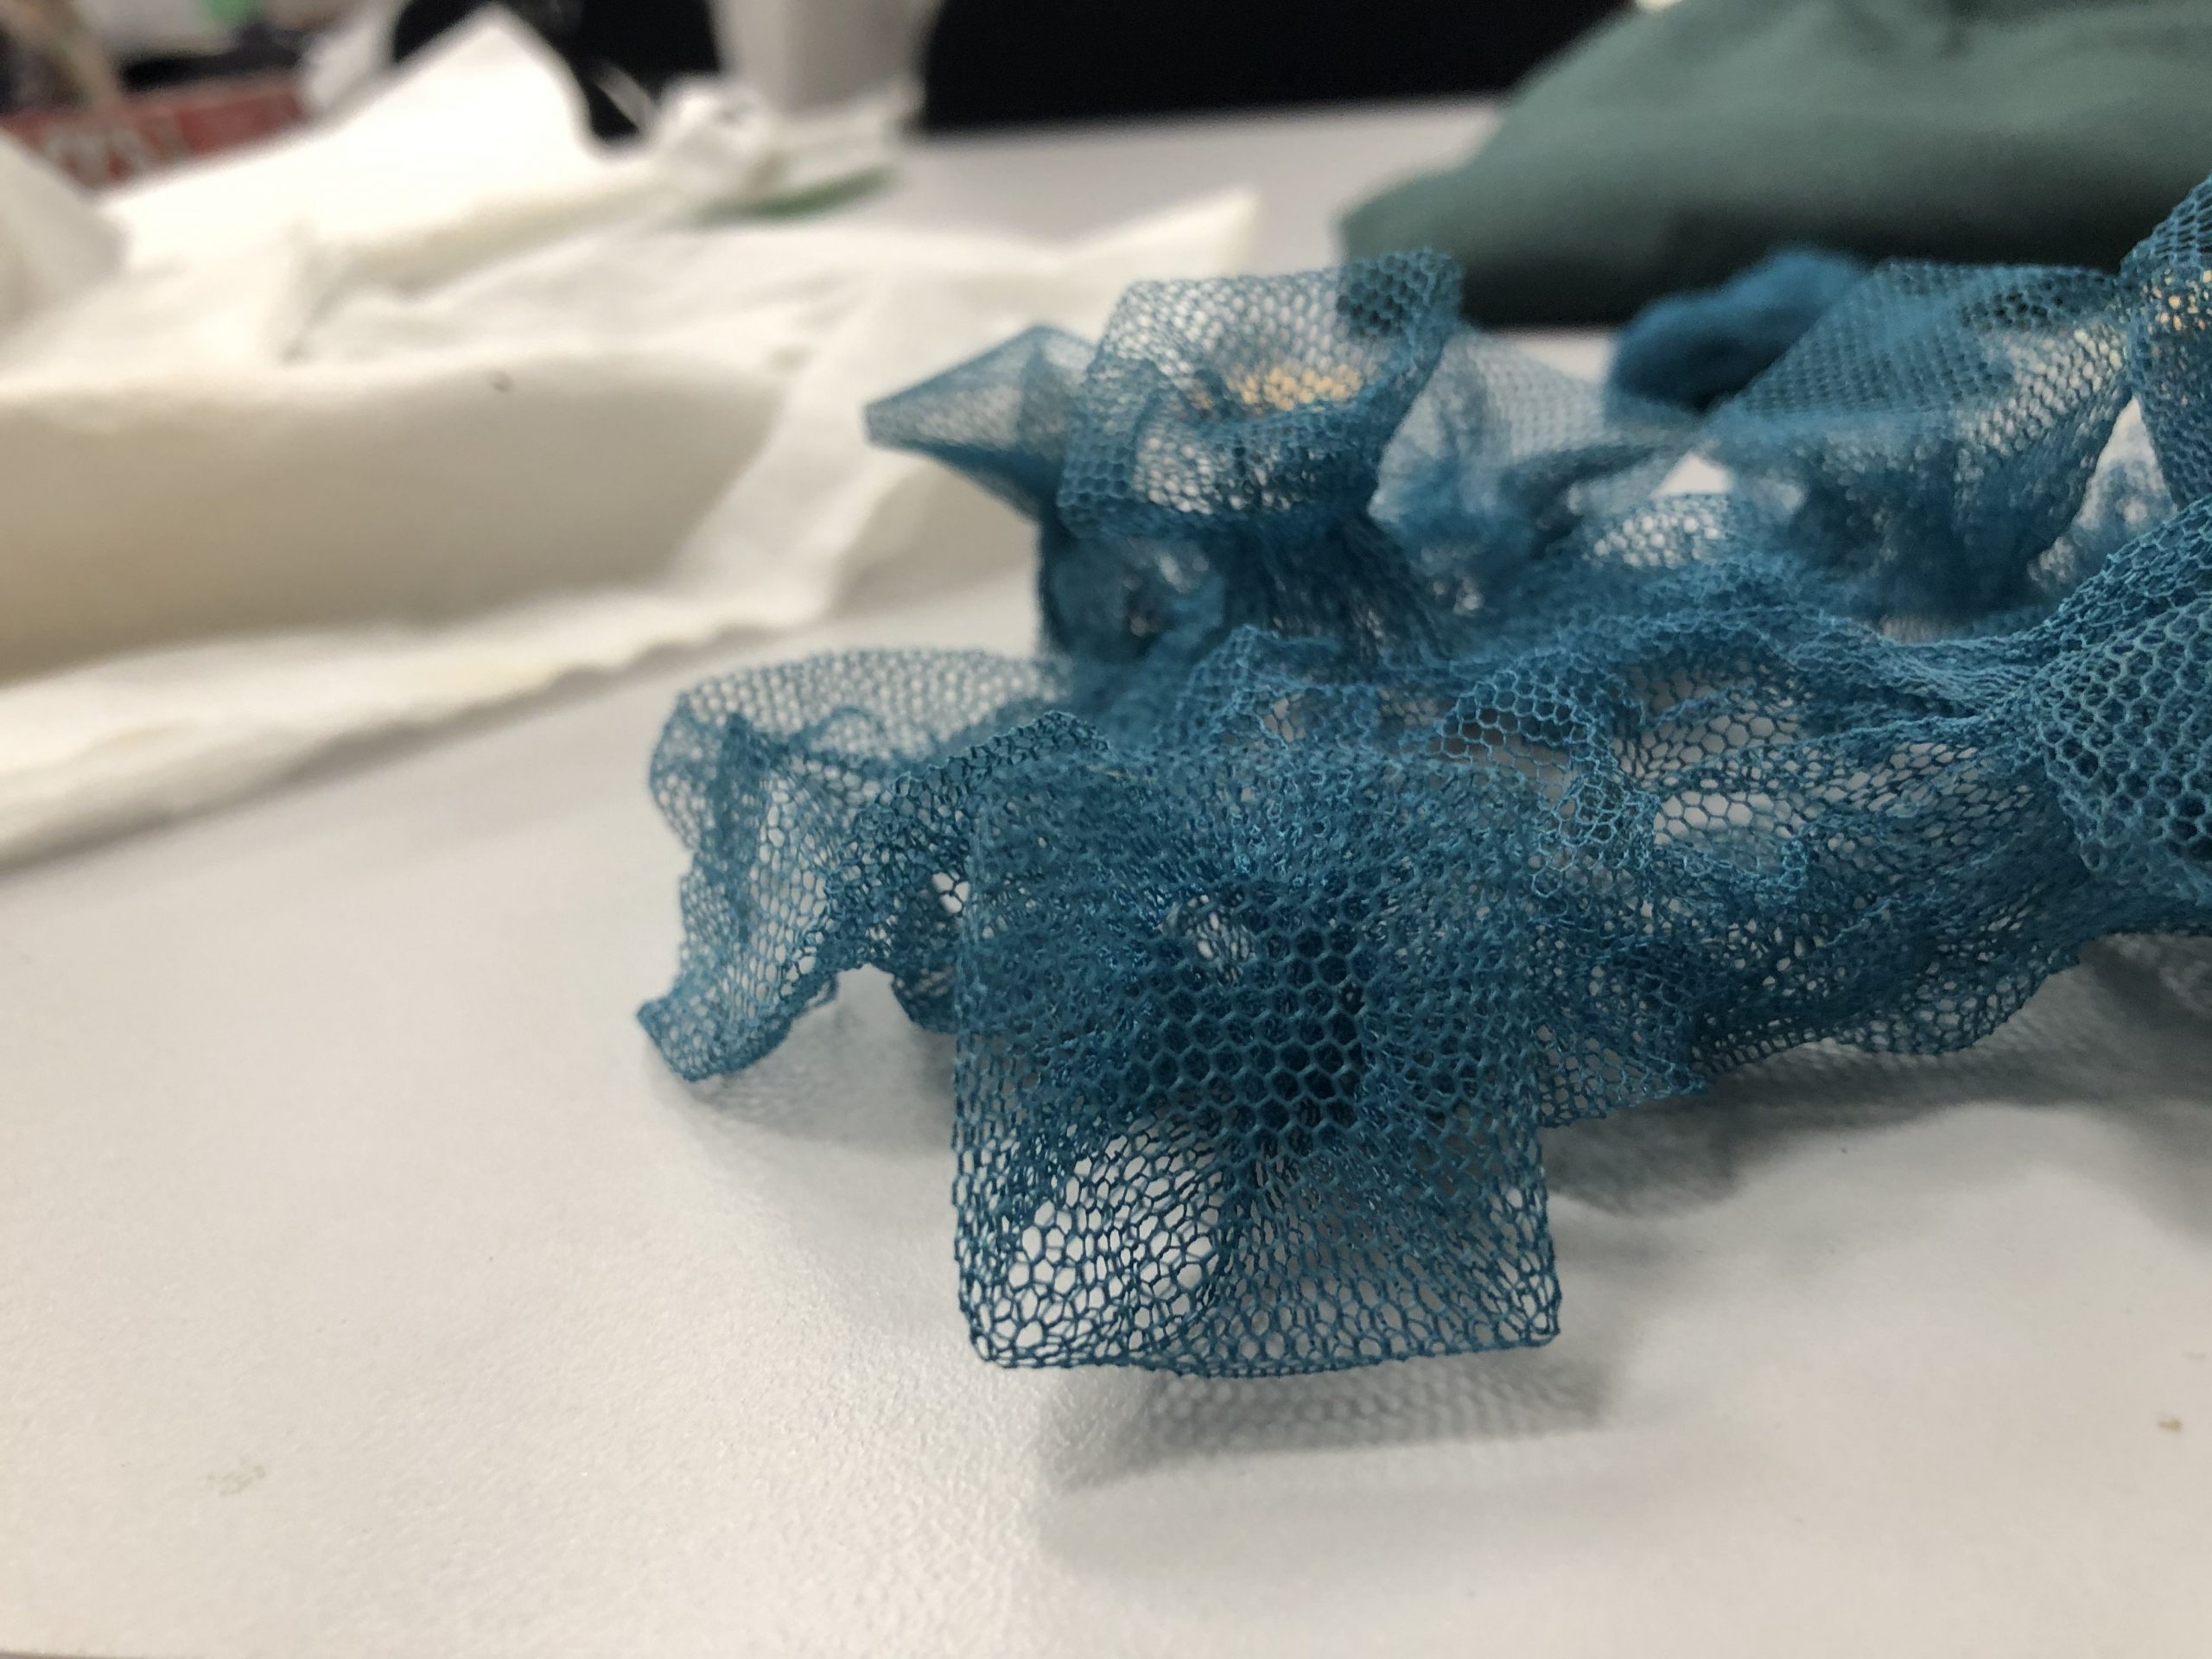
The origami was a failure, probably because the material was too loose. and there wasn’t a stiff material to create the folds.
Audrey mentioned that to do origami folds, she used YUPO paper and placed the polyester between 2 papers. I’ll try experimenting with that technique in the future!
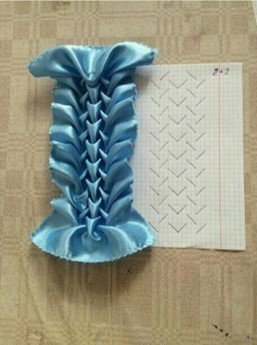
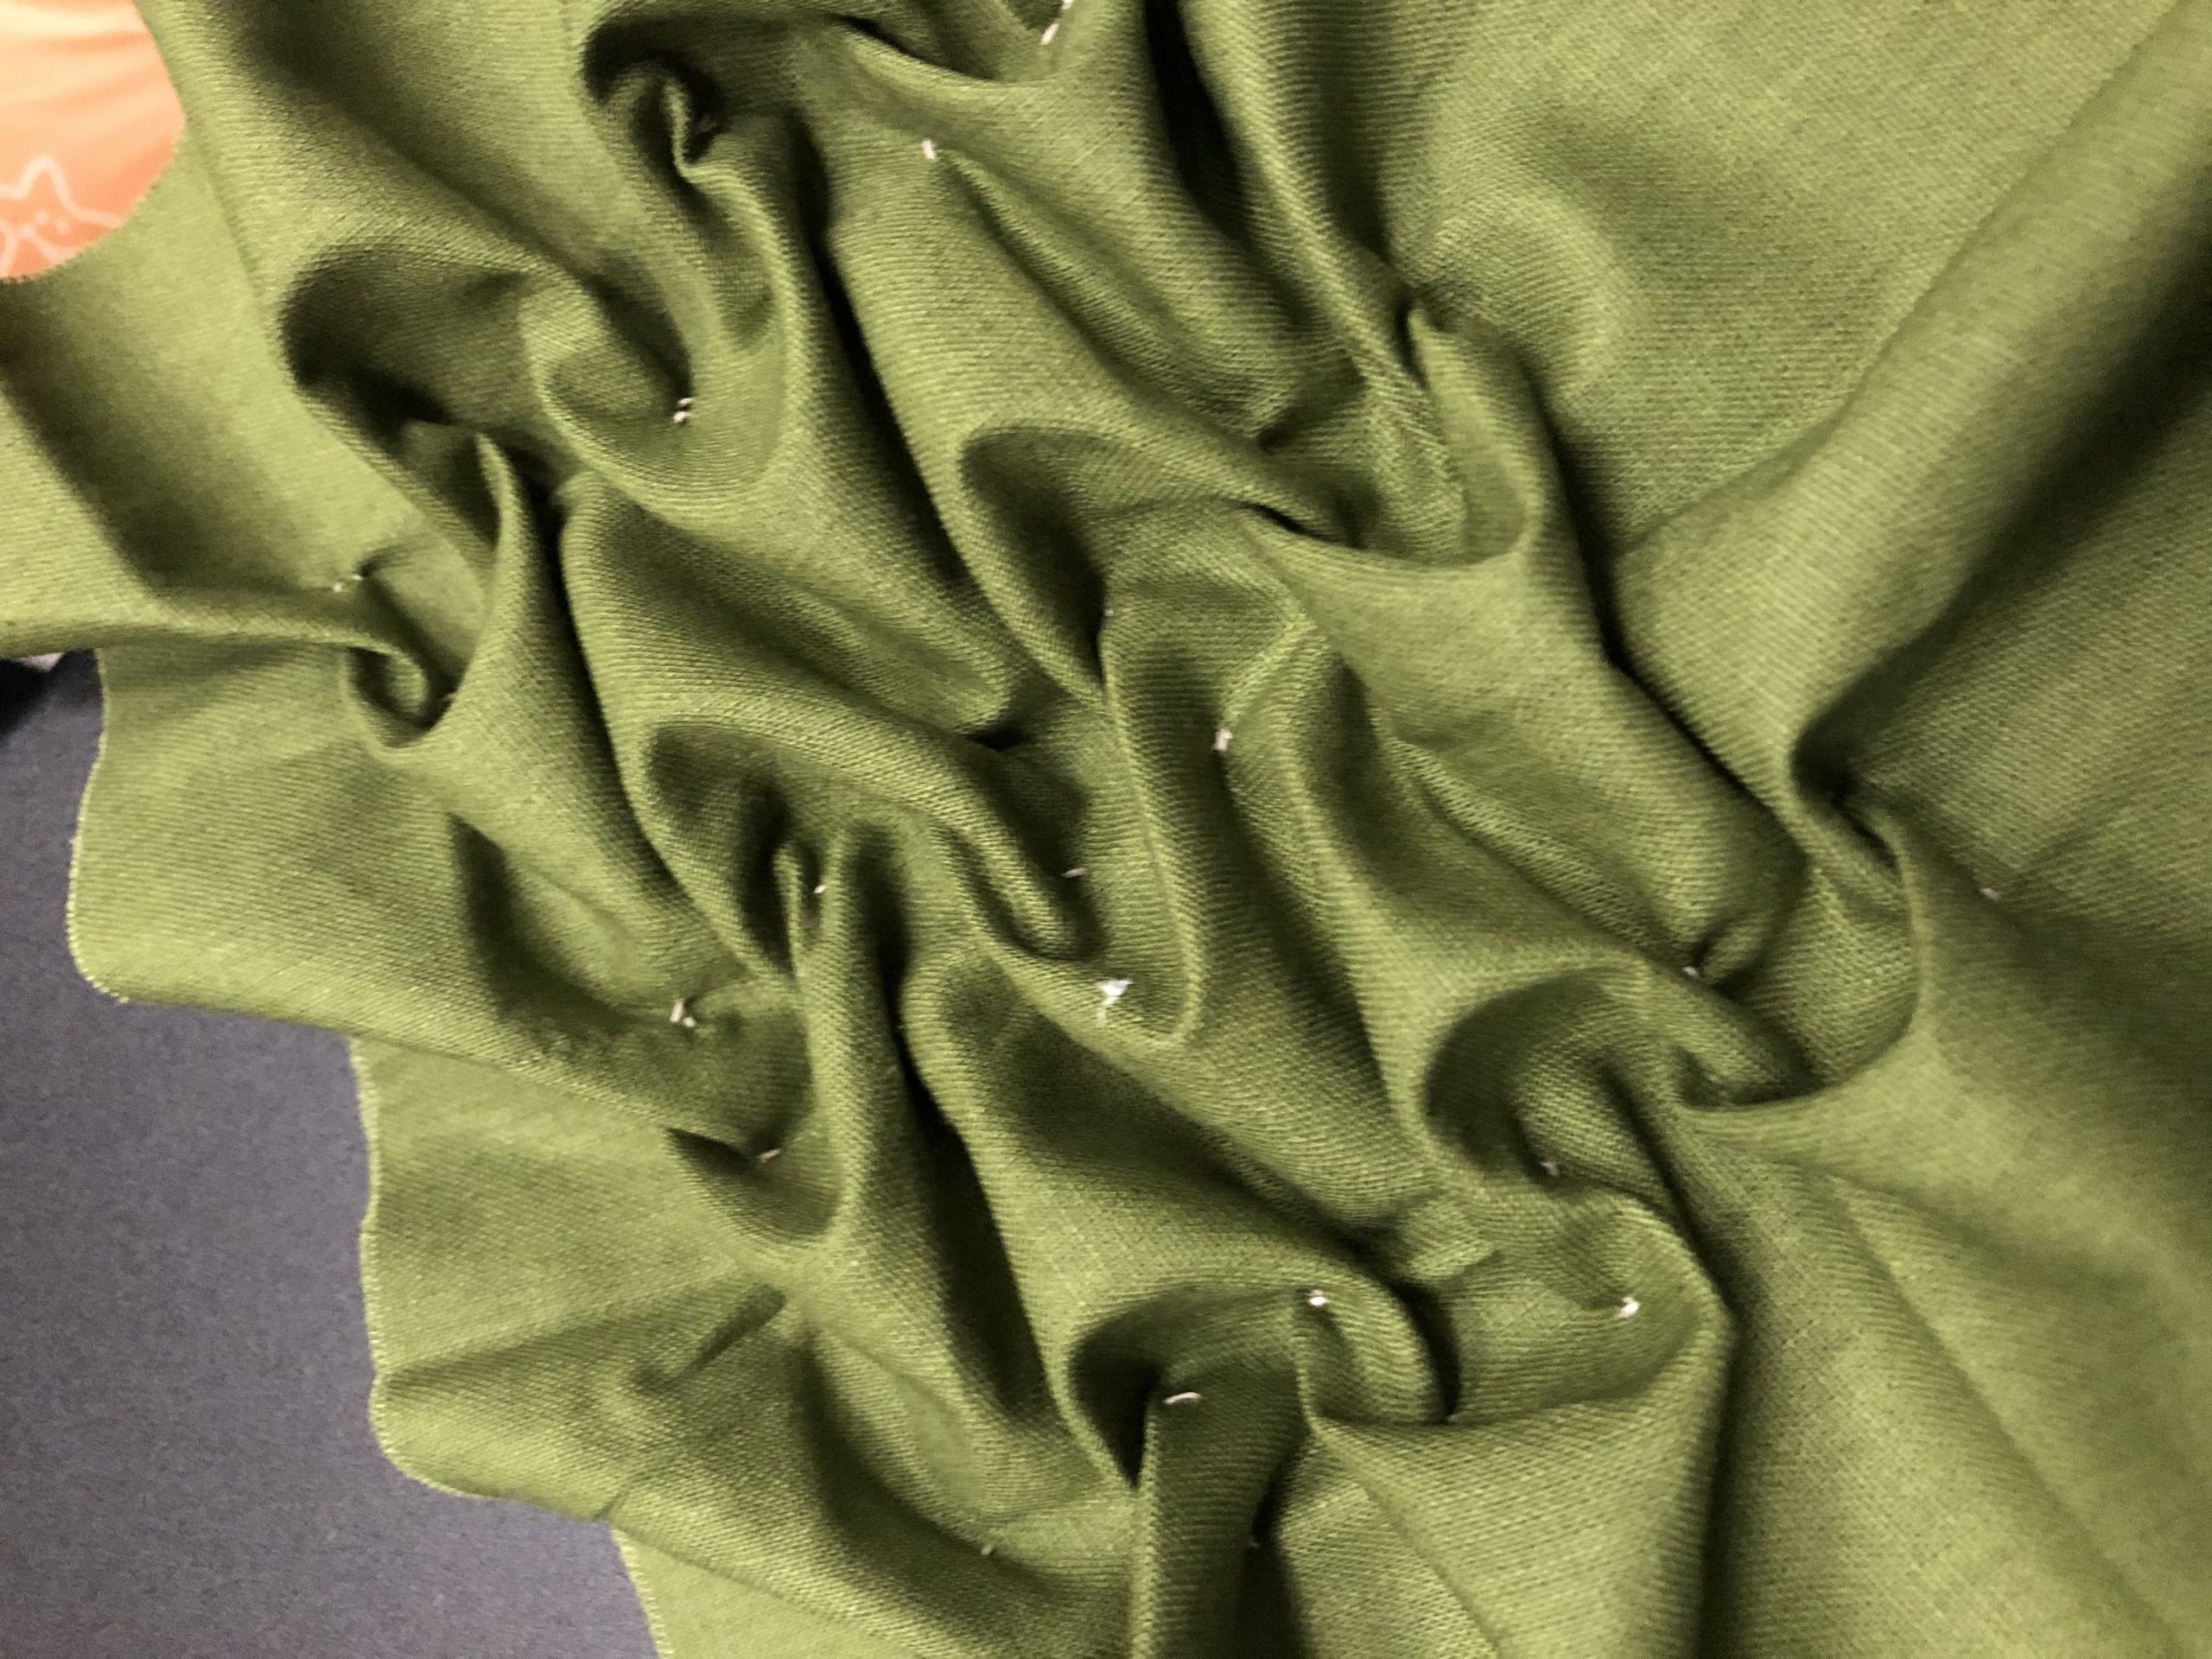
When I first came to class, I wanted to try to smock this pattern below.

I honestly tried, but it was too tedious for a first-timer.
And so, I switched to this one:
Since it was my first time, I wanted to test things out first, so I didn’t want to use the cloth I bought, so instead I used felt.
First things first, we had to draw the grids onto whatever cloth you are using. For me, I created a 2cm by 2cm grid, which might have been a bit too big since my felt was small.
Afterwhich, its time to draw your chosen pattern. When I looked at my pattern, I didn’t know where or how I should follow the lines, so I just followed the path that seemed logical to me.
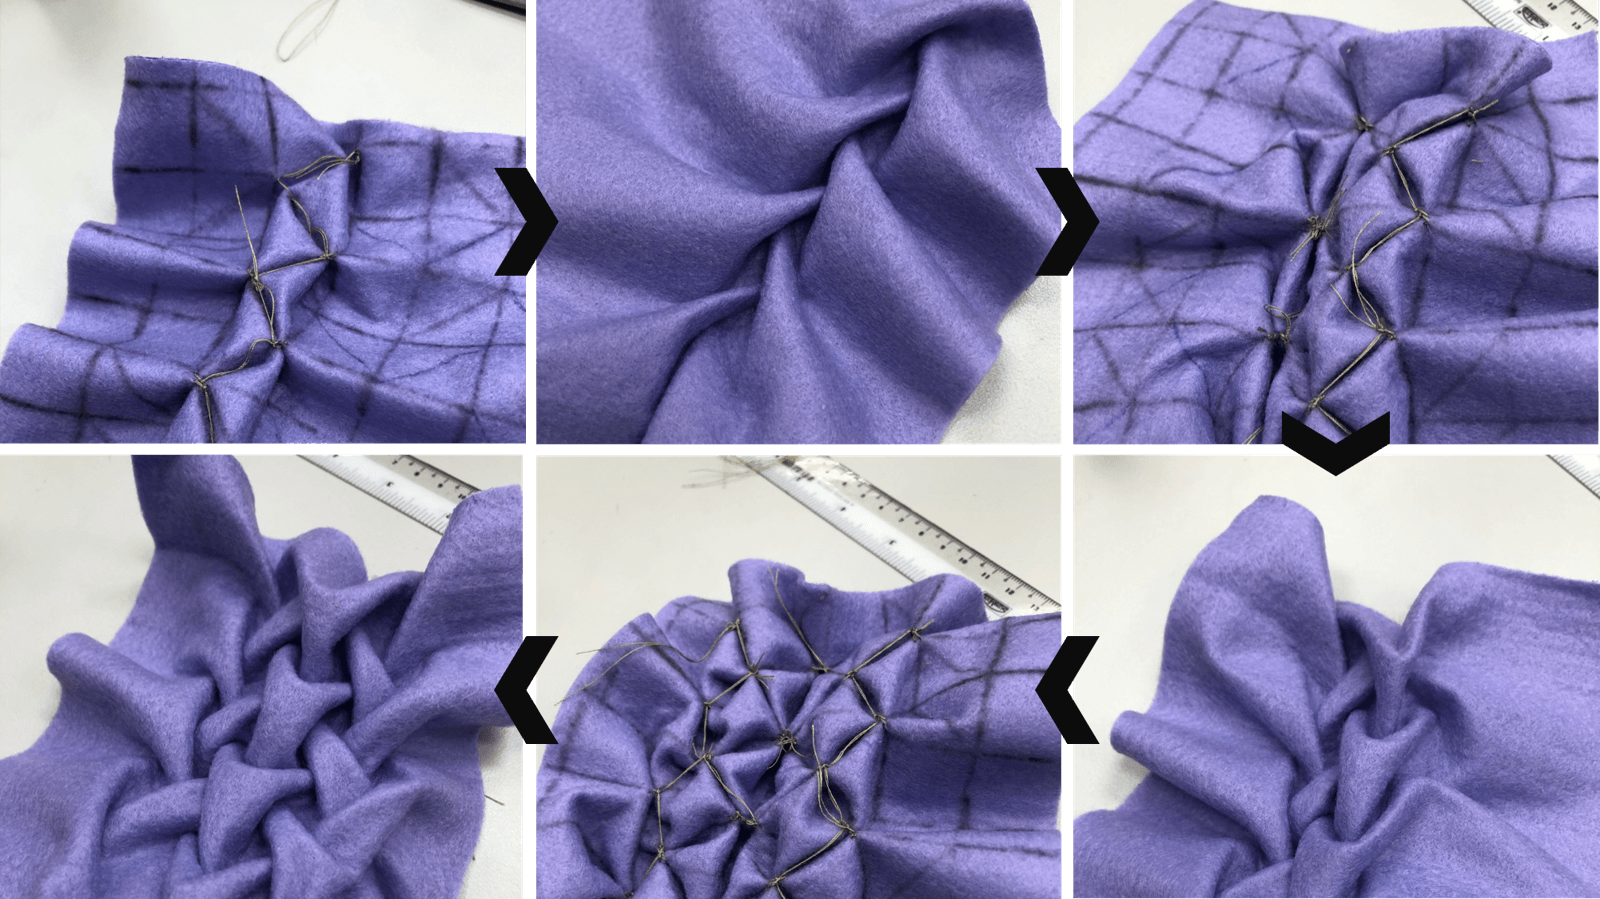
Something that I noticed was that it is important to take into consideration the thickness of the material that you are using. Thinner material requires more precision but produces neater and nicer folds. The folds in the thicker material don’t appear as clearly but its a lot easier to work with.
All in all, I enjoyed the process of smocking a lot and definitely stay tuned for an upgraded version over the recess week!
(I was completely into smocking that I didn’t manage to try stitching with elastics, hehe. So I’ll be creating a separate post with my experimentation into elastics.)
We experimented with felting techniques using 2 methods; wet felting and needle felting.
Step 1: Fluff up the wool
Step 2: Combine different wools together and scrunch it up
Step 3: Add soap all over the wool in considerable amounts.
Step 4: Add hot water onto the wool
Step 5: Rub the wool together
Step 6: Let it dry
Voila, you have an unwoven material!
My mistake, when I heard that we were working with felting this week, I had assumed we were working with felt, so I bought felt instead of wool. Lo and behold, when I arrived in class and saw everyone holding onto balls of wool, I realised how stupid I was.
Luckily I had a yarn made of a small percentage of wool. And so, I used it to make my felt.
Honestly, I wasn’t too sure how much hot water and soap I had to apply to it, so I just went with whatever I felt was right. I may or may not have used too much soap.
So when I was rubbing the wool together, I wasn’t exactly sure whether it was working. I only noticed the outcome when the felt was dried.


However, I realised that the layer was too thin, and there were still many holes that needed to be covered up. Thus, I repeated the wet felting process again and folded it into half, here was the result.
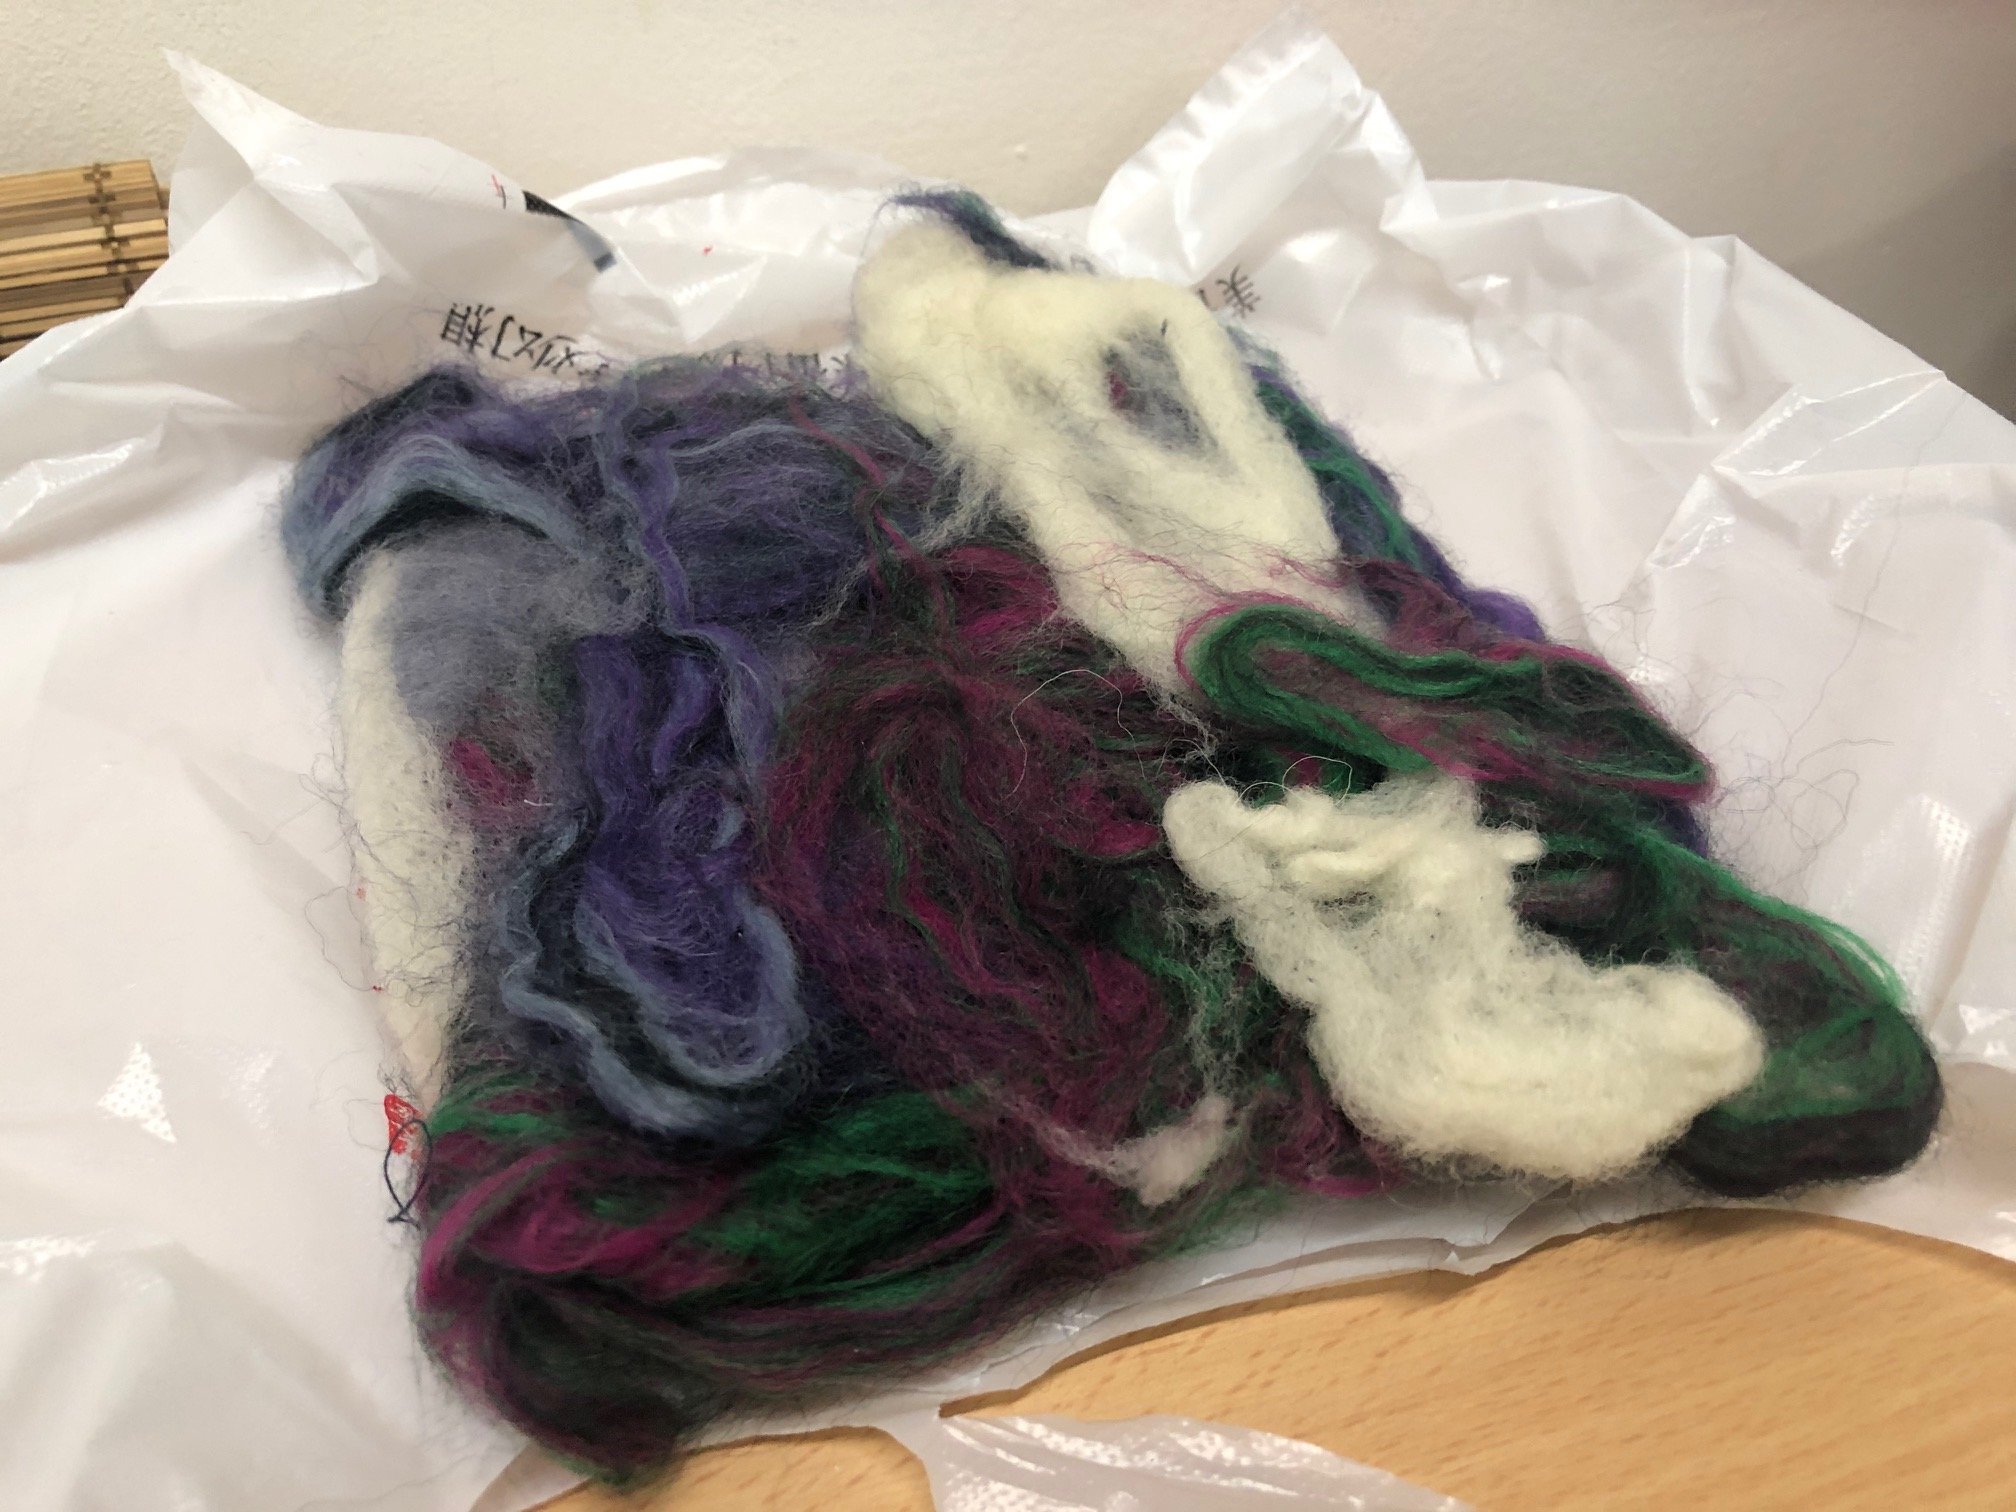
It did came out stiffer but it didn’t exactly turn out the way I wanted, I believe the primary reason could be because the yarn that I used wasn’t 100% wool and also I think I should have rubbed the wool harder the first time.
Nonetheless, I’ve learned the process, and hopefully, I’ll be able to create an improved version during the recess week.
When I first started poking the wool, I was bewildered because I didn’t think I was doing anything. But I soon realise, needle felting is a long process that requires time and patience.
So the technique is pretty simple. Gather some yarns together and poke it with the needle. Essentially, the needle fuses the fibres together to make it stiff, hence why it takes so long.
I kept it simple and just made a ball since I have never done needle felting before. It was actually pretty therapeutic, just with the occasional accidental stabbing of my hand with the needle.
But to be very honest, needle felting has been my least favourite so far. Primarily because the technique involves knowing what you want to make. Just a simple scroll through Pinterest, you’ll see people enjoy making animal figurines with needle felting and that isn’t really my style. So it would be interesting to try and create something abstract or experimental with needle felting.
(My needle felted ball went missing before I could take a photo 🙁 )

Mind you, I am no good in any form of art that requires handcrafting. However, I figured instead of running away from it, I should try and build my handcrafting skills by taking Surface Design.
Learning the very first technique: Transfer Printing.
When I first began, I was bewildered by how a crayon drawing on an ordinary paper could possibly be transferred onto a piece of cloth. Boy, was I stunned by the outcome?
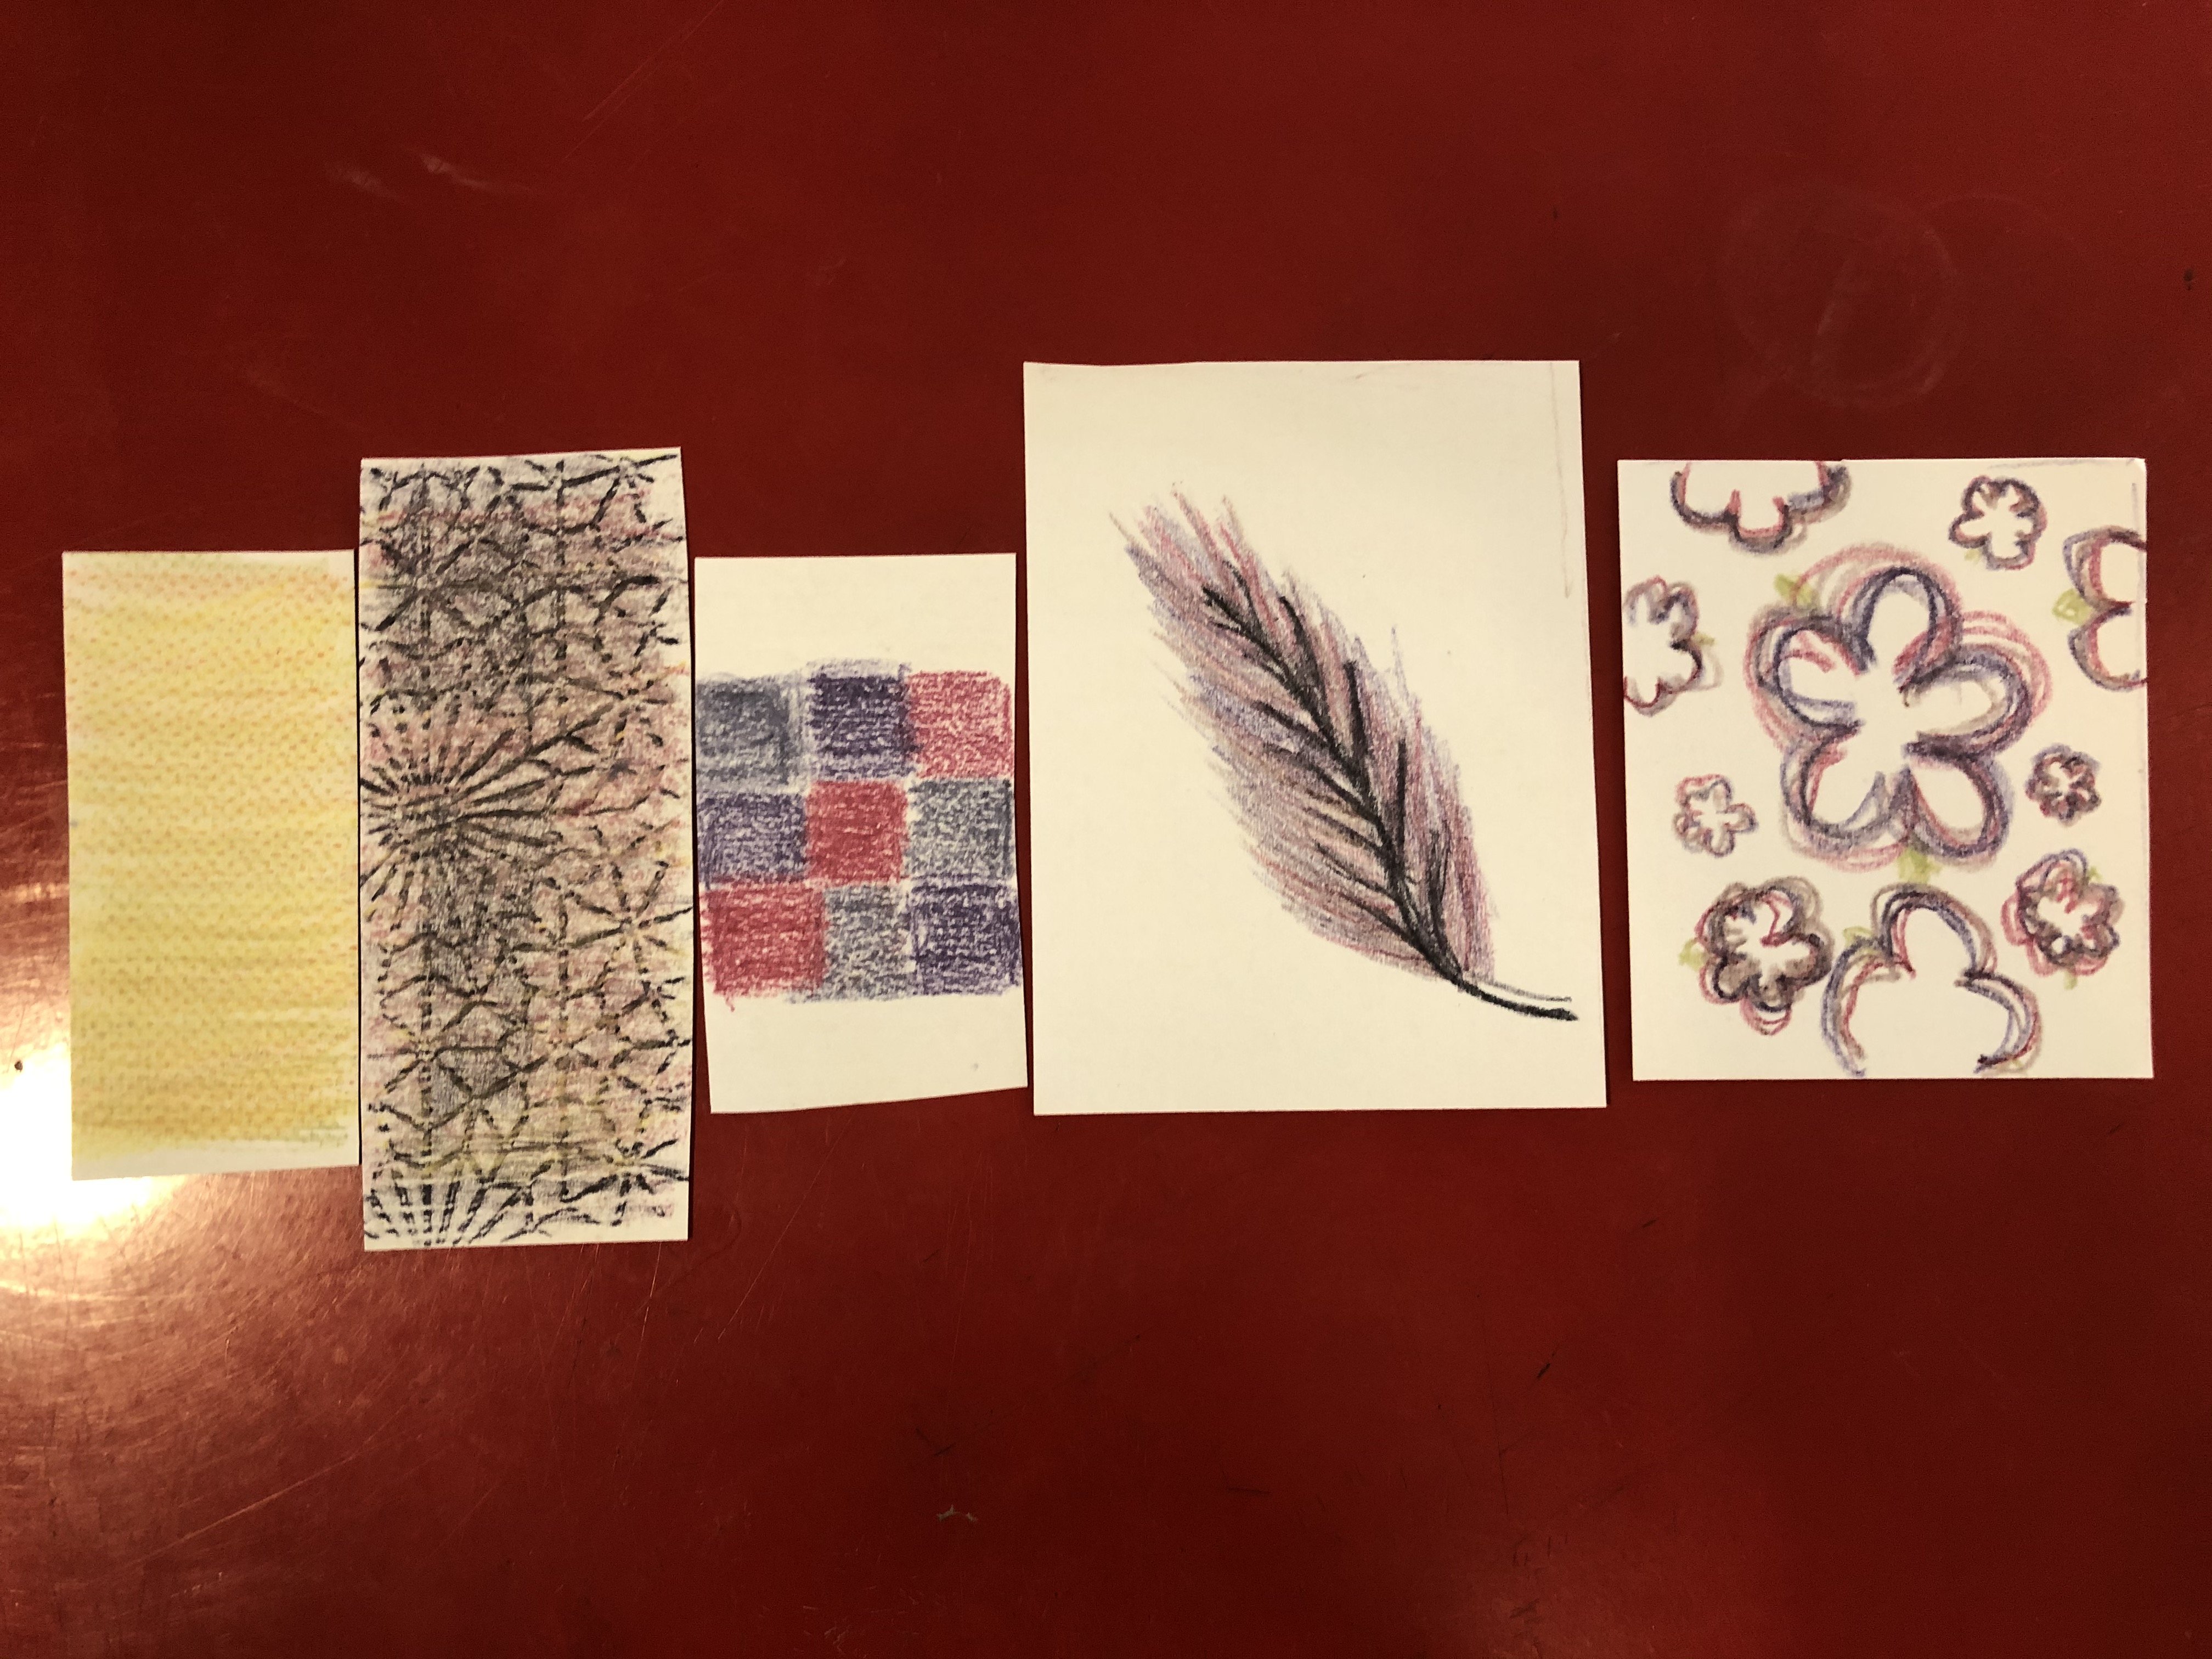
With the demonstration by Prof Galina, the transfer of a crayon drawing is easily done by using an iron you can find at home. By layering baking sheets between the iron and the cloth, it protects the iron from getting stained as well as preventing too much direct heat transfer between the crayon drawing and the cloth.
![]()
Of course, there are many different ways of layering the pieces. I also tried reversing the sequence where the crayon drawing and cloth position were switched. However, I found that having the crayon drawing above gave a brighter outcome since the heat is applied directly to the crayon.
During the class, we experimented with using a satin material. Since the material wasn’t really stretchable, we see that when too much heat is applied, the materials start to crinkle. Would definitely try to experiment with different materials in the future to see how the outcome would differ and which material would be able to capture the crayon drawing the best.
Also, when working with crayon drawings, it is important to note that the direction of colouring becomes apparent after transfer printing. It is good to be mindful when coming up with a design using crayons.
The other method was using the heat press machine.
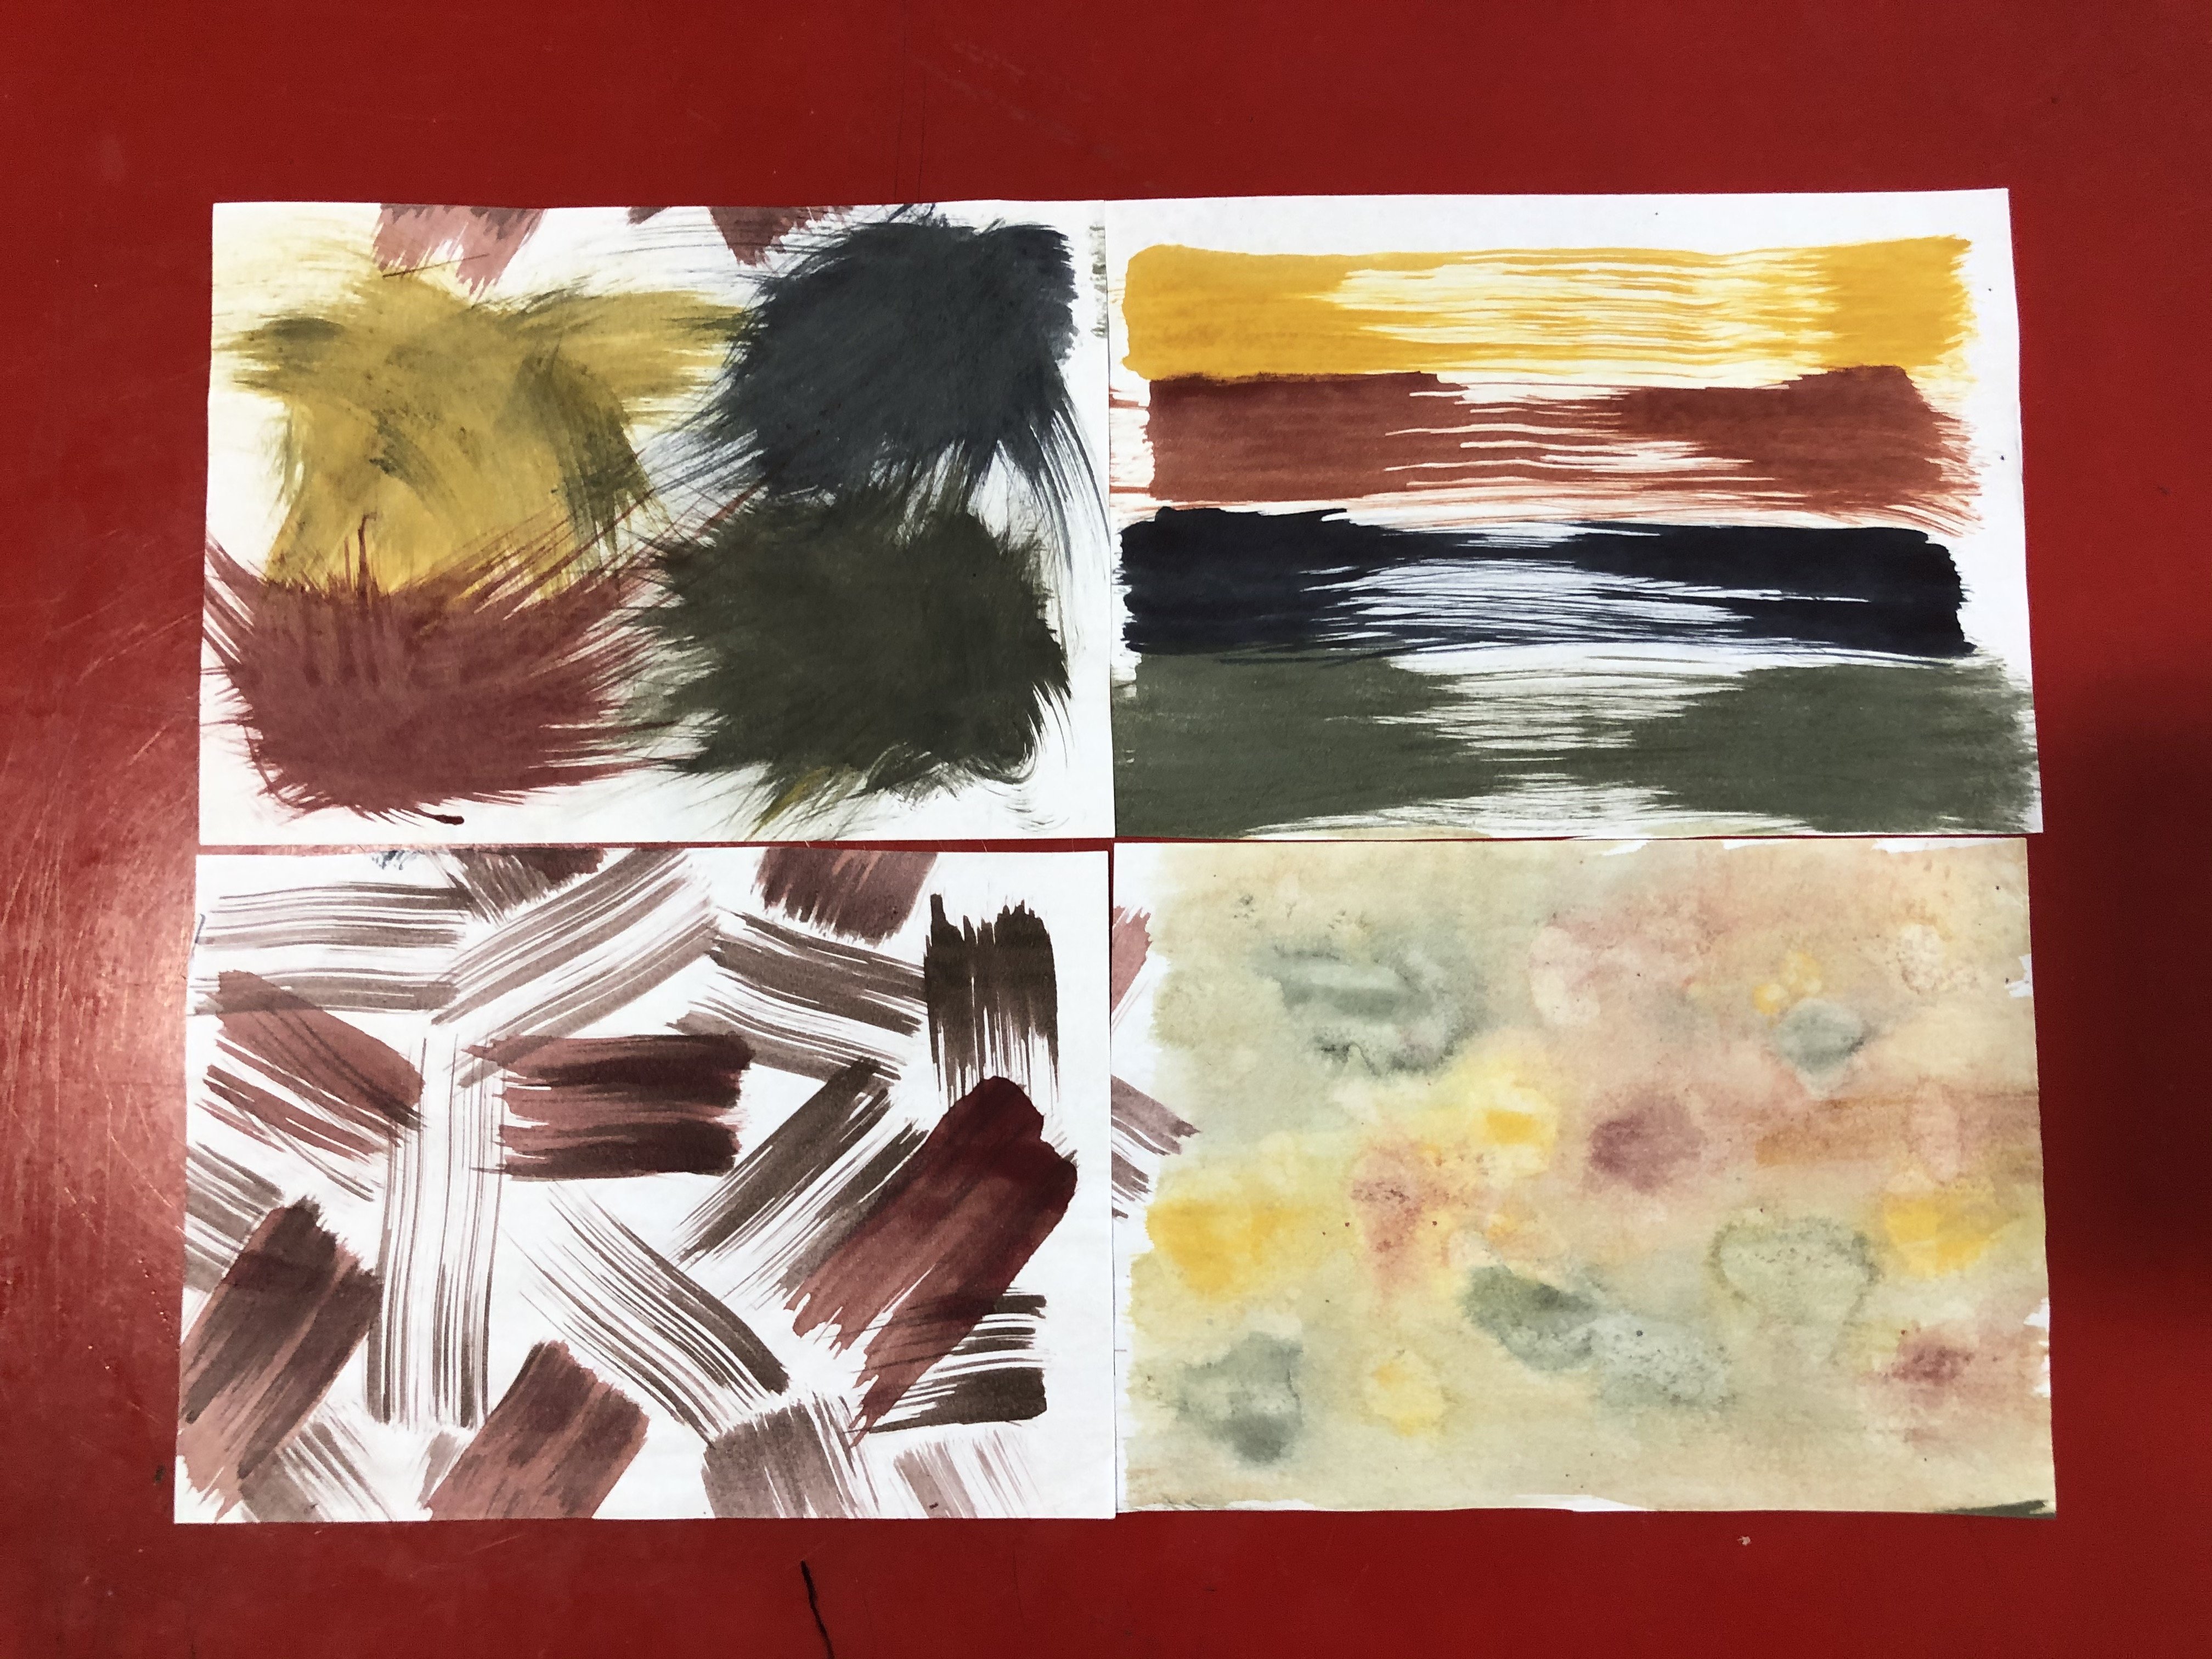
For this method, we used the transprint ink. While painting, the colours turned out very dark on the paper. Prof Galina did preempt us that the colours would turn out a lot brighter but boy, did I not expect that drastic difference. I guess the only way is to continuously experiment with the transprint ink to familiarise ourselves with how the actual colour would turn out after heat press.
I tried using the heat press machine for slightly over 30 seconds. However, the colours didn’t turn out as bright as I wanted it to. So, Minjee and Mus who went after me tried a little longer and their colours came out much better.
Note to Self: Use the machine for 45 seconds instead.
I also attempted using small feathers to experiment with indirect printing. However, the outcome didn’t come out as expected. This was probably due to lack of miniature details on the feather. A larger feather would have probably worked better in defining the delicate details.
All in all, it was an interesting experience working with transfer print. I believe material and colours could be further explored and experimented with to find the right combination.