
Click here for links to other posts: Research | Zine Process

After much deliberation, I decided to stick with “selling” Mount Faber for its views. However, for the zine, I figure to add a personal touch. Hence, each page illustrates what I saw and felt as I enter and leave Mount Faber. The zine follows the narrative of my personal journey through Mount Faber.
Throughout the zine, I wanted to create a connection between the pages in a spread that showcases some parallels.

A full spread that combines together to form one image.
OFC (right): Displays the start of the journey through Mount Faber
OBC(left): Displays the end of the journey through Mount Faber

Page 2 (left): Displays the journey up Mount Faber
Page 7(right): Displays the journey down Mount Faber

The main theme for this spread is juxtaposition.
Page 3(right): Shows the juxtaposition of natural and man-made.
Page 6(left): Shows the juxtaposition of peace and noise.
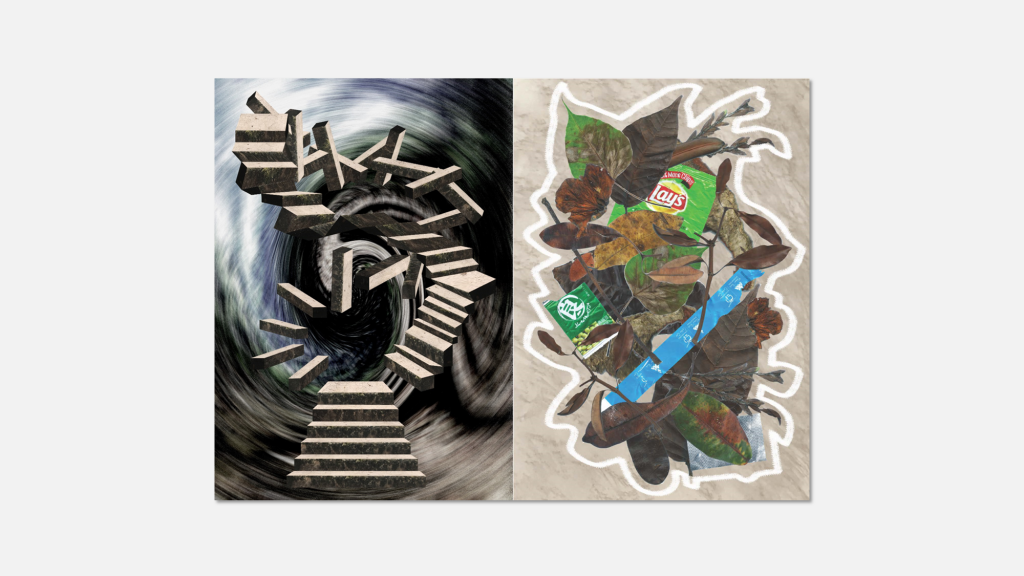
Spread 4

One continuous spread that shows a timelapse of the view manipulated to reflect different emotions felt.

To illustrate the idea of being in a state of confusion because I wanted to show how in the beginning, I had no idea what to expect from Mount Faber.
The first thing you see when you first arrive is the signage seen below:

I tried to replicate the shape of the sign to the best of my ability. The sign features 3 different fonts used that reflects the confused emotion.


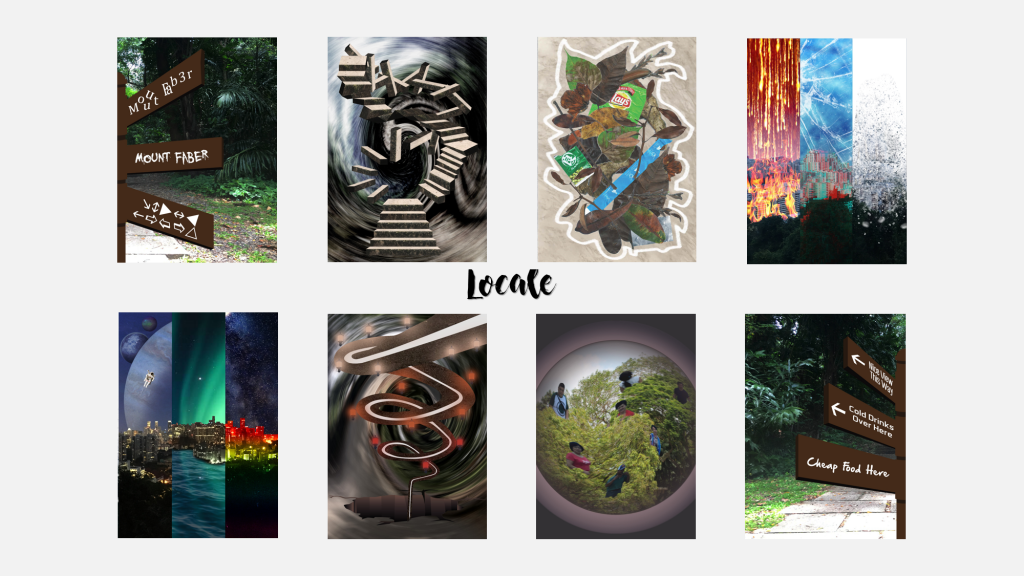
If you enter Mount Faber via the Marang Trail, you will first be greeted by a flight of stairs. In the beginning, climbing was easy. However, as it got higher and higher, the exhaustion starts kicking in. Unfortunately, that was when I started feeling giddy and nauseous (a sign that I would blackout soon).
To illustrate this experience, I decided to keep the stairs as a motif for this page. At the base of the stairs, we see a usual flight of stairs. However, the stairs start to warp into a weird configuration that looks impossible to climb.
The stairs on the left were created to look like steps that are rotated into weird position. Whereas the stairs on the right show how the steps are extremely uneven and going in weird directions. Both stairs illustrate the gradual increase in distortion.
I wanted to use as much of the site as possible, hence I used the texture from the stairs in Mount Faber to form the stairs. Textures were taken from this photo:


Naturally Manmade – that was the theme for this page.
When you reach Faber Peak, you will see the building that holds the cable car station and restaurants. Interestingly, the building is surrounded by lush greenery and is a stark contrast from the climb up. Thus, I wanted to highlight the juxtaposition of the man-made building with nature.
I collected leaves, twigs, flowers, and tree barks to represent the nature aspect. Whereas for the man-made aspect, I collected litter that was left behind my humans such as food wrappers and cable car ticket. (I was contemplating whether to take the cigarette buds on the floor buuuuuuut, that is a little unhygienic)

I scanned all the items onto the computer in high resolution to capture as much details as possible. After which, I created a photo collage of all the images to form a pile of leaves with the wrappers and ticket hidden in between.
The background of this page was created using etching of a man-made rock. I thought that this blended well with the theme of the page because it demonstrated the idea of nature + man-made.


Original image:

The center of my journey in Mount Faber was watching the sunset and the lights in the estates turn on at Faber Point.
In order to show the change in time, I decided to create a timelapse of the scenery. I stood at one spot from 7 pm – 8 pm, capturing the moment the sun goes down. I recorded the emotions I felt at the time the image was captured.
I incorporate the emotions felt into each panel by using photo manipulation and exaggerating the emotions.


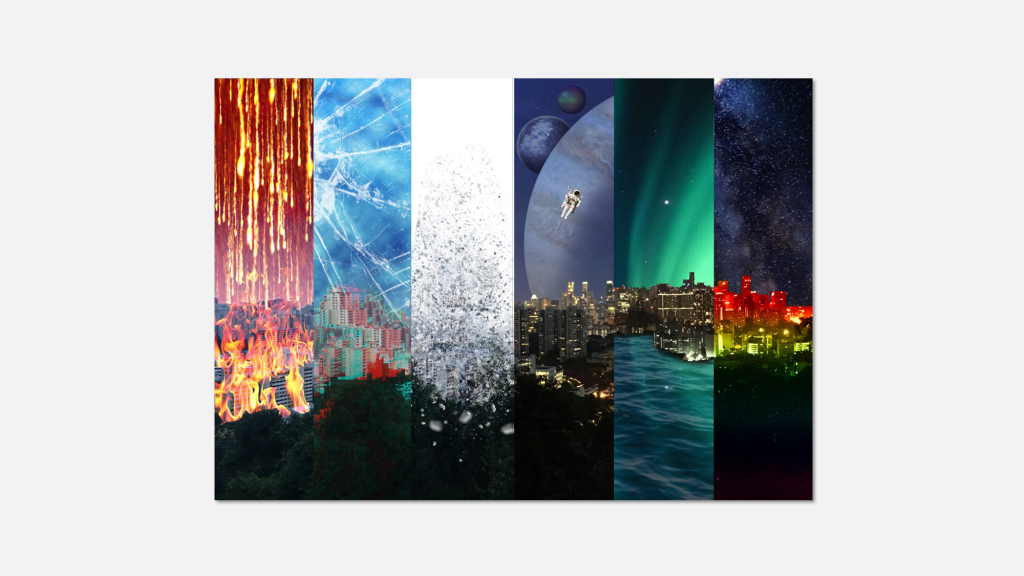
The theme for this page is the juxtaposition of peace with noise.
As I was going down Mount Faber, I was met with many noisy tourists, even though we are in such a peaceful environment.
Thus, I created a photo collage of noisy tourists peeping out of the trees (representing nature). I used photos of tourist that I captured while taking photos of the scenery.
I added the twirl distortion to add a dystopia effect. The image of the tourist and trees are framed through binoculars. I used the photo I took below as reference to create the frame:


In this page, I wanted to highlight the journey leaving Mount Faber. Because I had to take a time-lapse shot of the sunset, by the time we left, it was completely dark and deserted.
At Faber Peak, the lights were still quite bright. However, when we reach the beginning of the Marang Trail, we realized that there were no lights at all, it was in complete darkness.
Instead, we decided to walk along the road. As we went down, it got scarier and scarier. At one point, we almost got lost, the signs lead us to a deserted road that was completely quiet. We were honestly worried about whether we were going to get out of this place.
The road on this page was reflected in a spiral fashion to illustrate the discombobulating emotions felt while going down. It was also designed to be thicker at the top and gradually gets thinner and thinner as it goes down. This is to demonstrate the constricting feeling where we got worried for our safety.
To show how we have no idea whether we will able to find our way, the road ends with a sharp dive and leads to a pit hole. I also added the lamps to represent the gradual decrease in the number of lights. At the top, there are more lights in normal white colour. However, as we go down to the middle, the colour changes to orange and the number of lights also decrease. Then finally, at the bottom, there were barely any lights, and the red light was used to illustrate a sort of sinister feeling.
I made use of a photo I took of the street lamp to create the light.


Finally, to end it off, I used the same signage as the outside front cover page. However, this signage depicts clearer directional signs. This is to show how after leaving Mount Faber, I am now familiar with what Mount Faber has to offer. For example, where to get cold drinks, cheap food (vending machine, unfortunately), and where to find the best view.
Just like how the last page shows the end of my journey through Mount Faber, this marks the end of my journey through Graphic Forms.
This project was quite out of my comfort zone because I usually prefer working with vectors rather than images. This was one of those rare moments where I made use of photo collage and photo manipulation.
A comment from Joy was specifically to Page 3, where she mentioned how I should have added my own personal touch to it. That didn’t occur to me until Joy brought it up.
Throughout consultations, I found that Joy fervently mentions every consultation on how I should exaggerate it even more. That really pushed me out of my comfort zone because I usually like to keep things subtle.
Overall, there are certain things that I wished I could have done better such as the cover page and Page 6. But I did enjoy the entire process of making my zine.
Graphic Form will be greatly missed.
Click here for links to other posts: Research | Zine
Disclaimer: The following showcases the process towards my final artwork, that shows my thought process, all the ideas I thought of which includes rejected ideas, research. So it can get pretty messy. Think of it as my visual journal 🙂
To view my final artwork please click here.
![]()
To create a story of my journey to Mount Faber?
Highlighting the progression of the sight I see as I make my way up?
Showing the changes in scenery as I move up
Background of abstract forms, juxtaposed with an image in the center and a short caption?
Abstract form – showcasing emotions from the 5 senses?
Using an element from the location and interpreting its form with the emotion I feel
Mini booklet inside with a photo book? OR just a picture of the actual scene?
The 2 sides of the book is a continuation but with a different emotion, for example:
Pg 1 and 8
Pg 1 – A confused signage (Directions pointing nowhere)
Pg 8 – A clearer signage (directions pointing to emotions)
Pg 2 and 7
Pg 2 – A climb stairs motif (difficult steps, sharp edges) – black background, white steps
Pg 7 – Downward slope (smooth hill) – white background, black steps
Pg 3 and 6
Pg 3 – Nature juxtapose with infrastructure – a patterned background
Pg 6 – peace and serenity juxtapose with noisy Chinese tourists
Pg 4 and 5
A full length view of the scene from Faber Point recreated in a colour that celebrates the emotions I felt – bottom half shows the scenery, top half shows patterns?
Since I’m dealing with the idea of views, I was thinking about focusing primarily on the sense: sight by creating a progression of the sights I see through my journey at Mount Faber and correlate it to the emotions I felt.
![]()


To view final artworks, click here.
Click here for links to other posts: Zine Process | Zine
Before this, I had never visited Mount Faber before. So I didn’t know what to expect. However, what captured me the first time I was there were the amazing views of Singapore. One of the best views I have seen in Singapore was from 1-Altitude, which had a panoramic 360-degree view of Singapore. But, the view from Mount Faber brought me back home. As compared to the view from 1-Altitude, I felt that the view from Mount Faber was in a sense more relatable because it showed the everyday humble side of Singapore, rather than the high-end luxurious side. It offered the views of HDBs, condominiums that we as Singaporeans usually see.
Hence, for this project, I decided to focus on Mount Faber’s views as its USP and how Mount Faber’s facilities and infrastructures were structured in a way that centralizes and highlights its view.
How did Mount Faber come about?
Originally named Telok Belangah Hill, in July 1845, the hill was renamed Mount Faber in honour of Captain Charles Edward Faber of the Madras Engineers, who built a narrow winding road to the summit for the installation of a signal station.
Sources from: http://eresources.nlb.gov.sg/infopedia/articles/SIP_29_2005-01-25.html
What is Mount Faber?
Sources from: https://www.nparks.gov.sg/gardens-parks-and-nature/parks-and-nature-reserves/mount-faber-park
How to get there?
By car:
The summit is accessible by Mount Faber Road or Mount Faber Loop via Morse Road
By walking/hiking:
The main paths are,
Marang Trail which leads from Marang Road at the Harbourfront MRT station (Exit D)
Southern Ridges Park Connector which connects you from Telok Blangah Hill Park, Kent Ridge Park, and Henderson Waves.
By cable car:


Board the cable car that will bring you to Mount Faber from either Harbourfront Station or Sentosa Station.
Additional Primary Research: The staffs at the Cable Car Counter mentioned that the best time to take the cable car is from 2 pm – 4 pm.
As a poor Uni student, I have not had the chance to take to the cable car to Mount Faber. I have taken the Marang Trail up Mount Faber and personally, for someone who doesn’t mind hiking, I enjoyed the scenery and experience. However, since young, I occasionally experience mild blackouts whenever it gets too hot and when I overexert myself. Unfortunately, I experienced it while hiking up. Even though I enjoyed the hiking experience, for a more comfortable experience, I do prefer the option of taking a car up.
If you take a Grab up from VivoCity, it would only cost you around $7 – $9.

Pavilions

In total, there are 17 pavilions in Mount Faber. From my observations, these pavilions are strategically situated in locations that face the view. Here are some photos of the pavilions:


Restaurants
There are 2 restaurants at Mount Faber:
(1) Spuds & Aprons

Indoor Dining Area

Outdoor Dining Area

Private Dining Area

Sources from: Faber Peak Venue Information
(2) Dusk Restaurant & Bar

The restaurant has been featured on Night Owl Cinematics on their weekly food hunt, called Food King. Interestingly, it was shown in the episode that featured romantic dining places with a view.


After conducting the first survey, the comments given were that the questions may be too broad and that I should highlight a unique selling point. However, as we discussed, I figured that I can use my results from the first survey to figure out what was the pull of Mount Faber. After analysing the results, I concluded that the unique selling point should be the views that Mount Faber has to offer.
Thus, I embarked on my second survey that focuses on the views.


Sight: A lot of trees, nature, walking paths, observation decks, bells, infrastructures, pavilions, CAT
Smell: Fresh air, nature
Sound: Birds chirping, Cicadas, Leaves rustling, Noisy tourists
Taste: After the hike and being under the hot sun, we were really craving for some cold drinks.

Touch: There were so many nice views, that I found myself constantly using my phone to take photos. Here are some nice views I caught.

To view my process, click here.
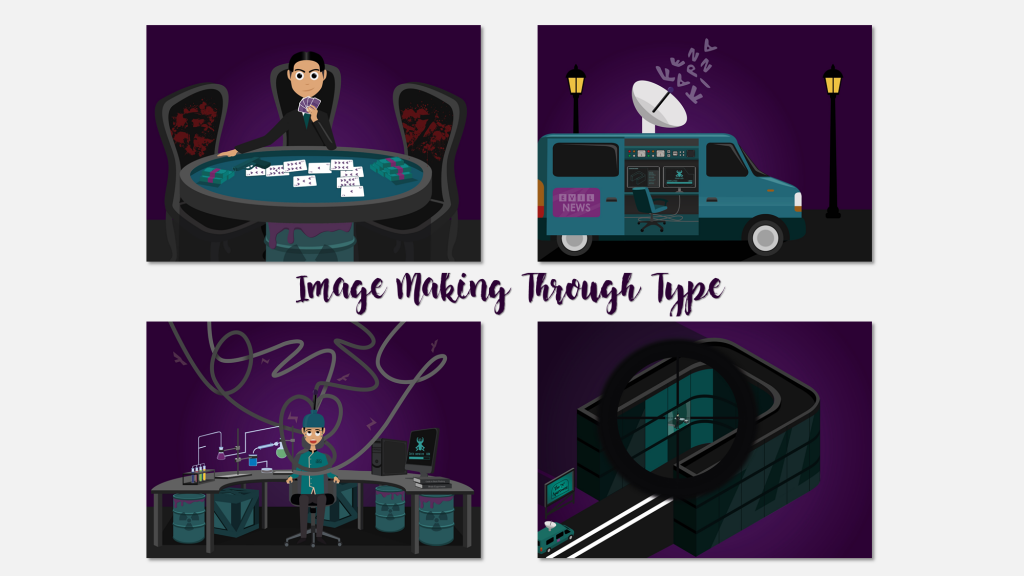
Theme: |
Evil Villains |
Concept: |
A scene from the job (dark colours) |
Story: |
#teamvillian #teamvoldemort #deatheaters
Being an avid fan of villains in movies and books, I decided to use it as the theme. Some of my favourite villains are Voldemort (Harry Potter), Bellatrix Lestrange (Harry Potter), Cruella de Ville (101 Dalmations), Scar (Lion King), Davy Jones (Pirates of the Caribbean).
I began my research into the jobs that are associated with villains and from that research I decided on my 4 evil villain jobs.
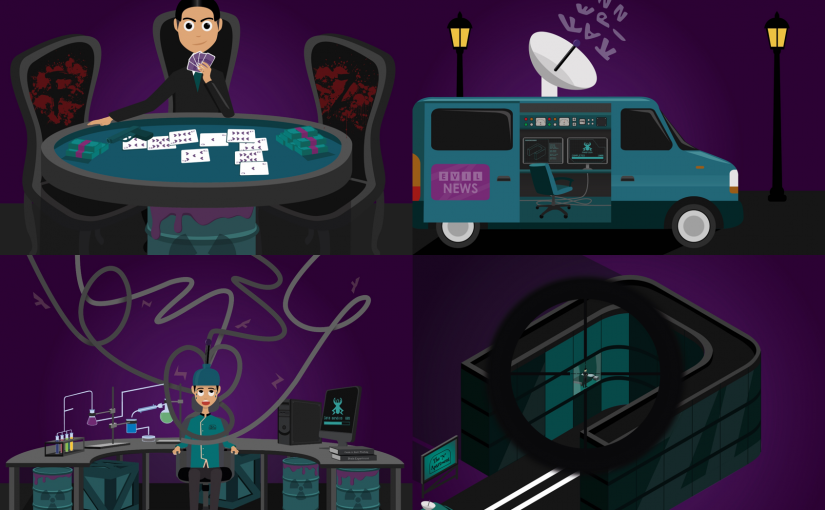
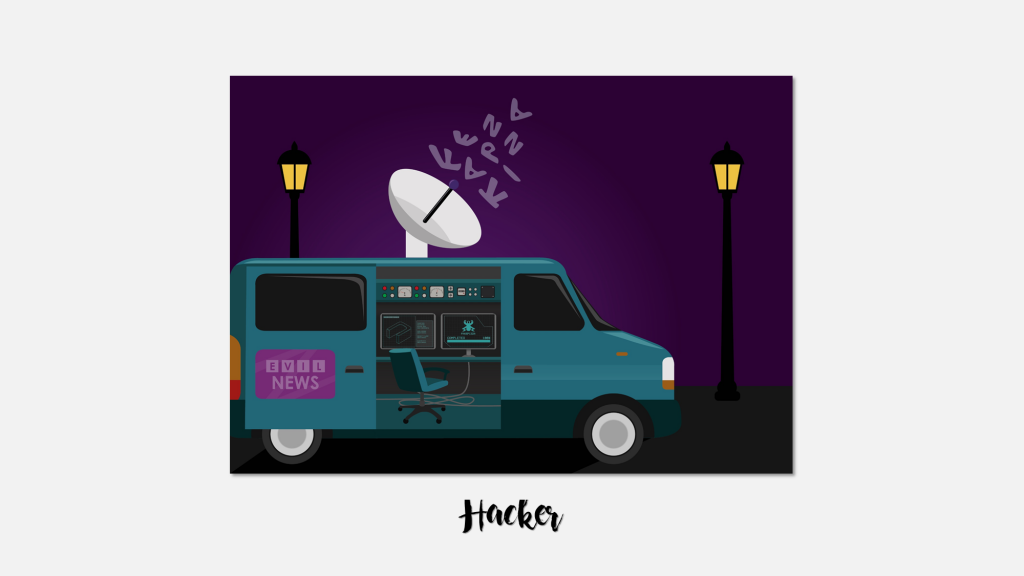
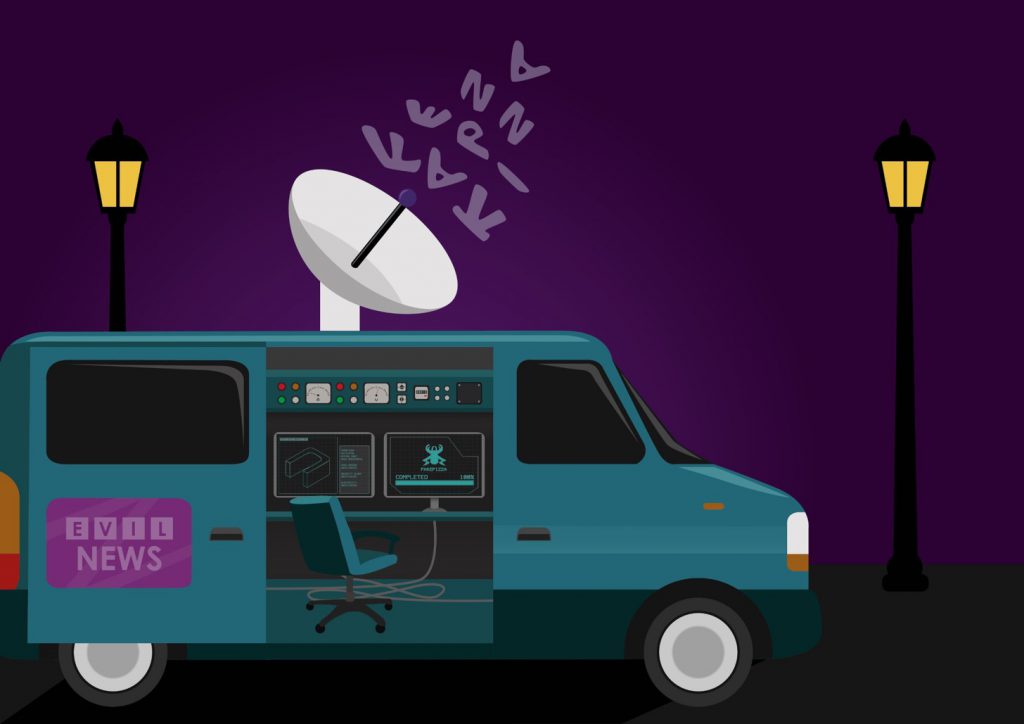
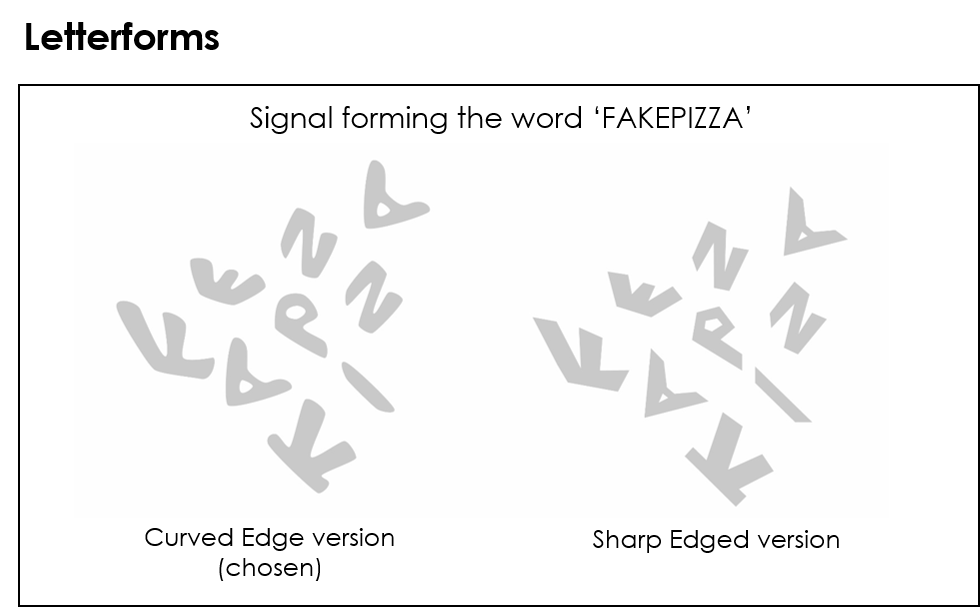
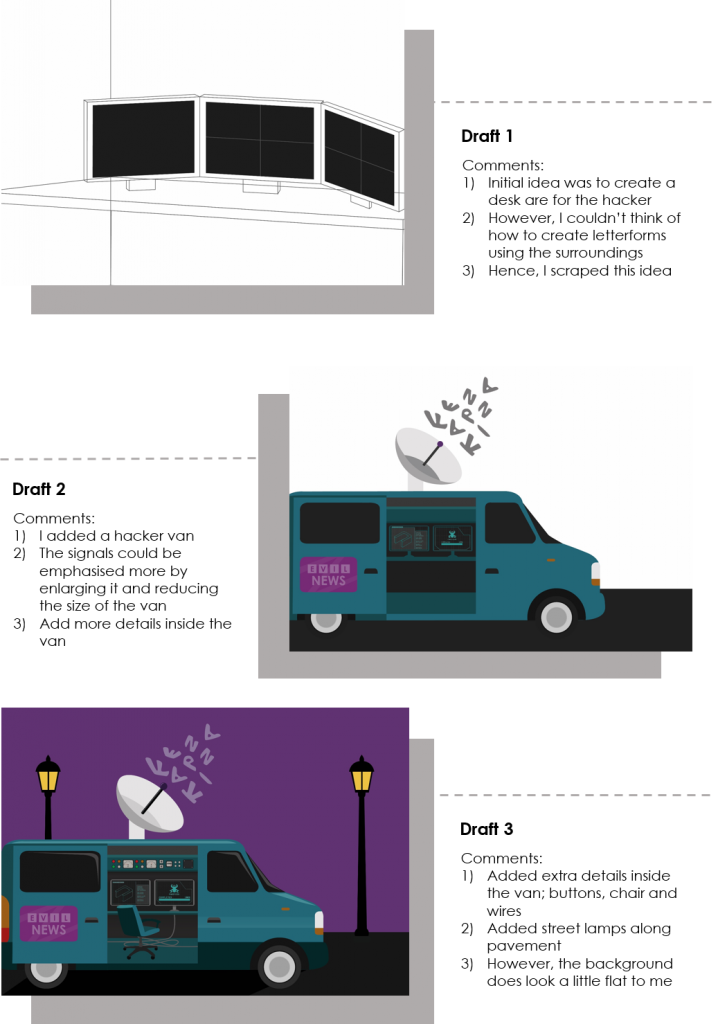
The Hacker: The unnoticed villain. Often known as an evil sidekick. As the name suggests, their primary job is hacking into computer servers to collect information or to unleash computer viruses into systems.
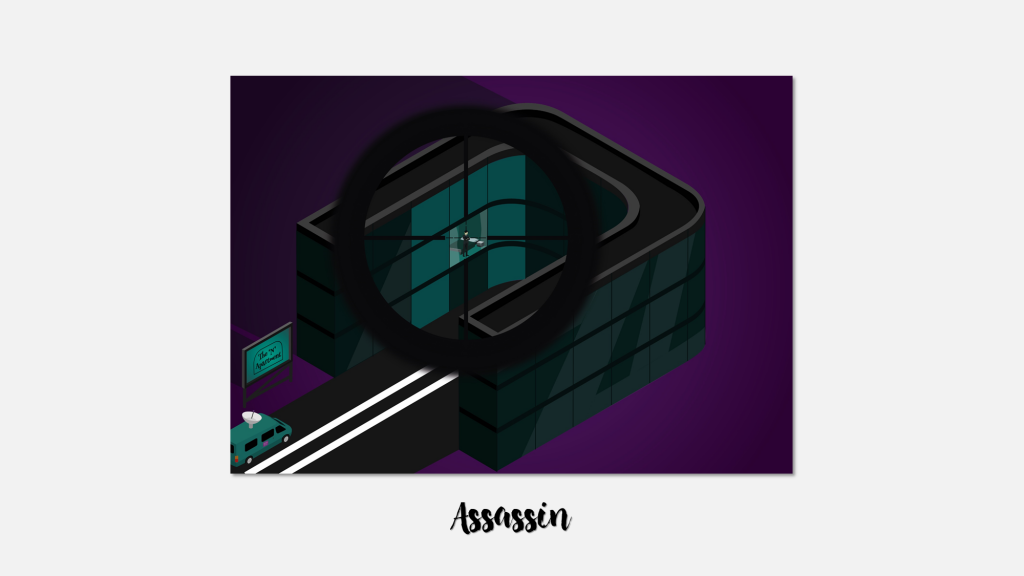
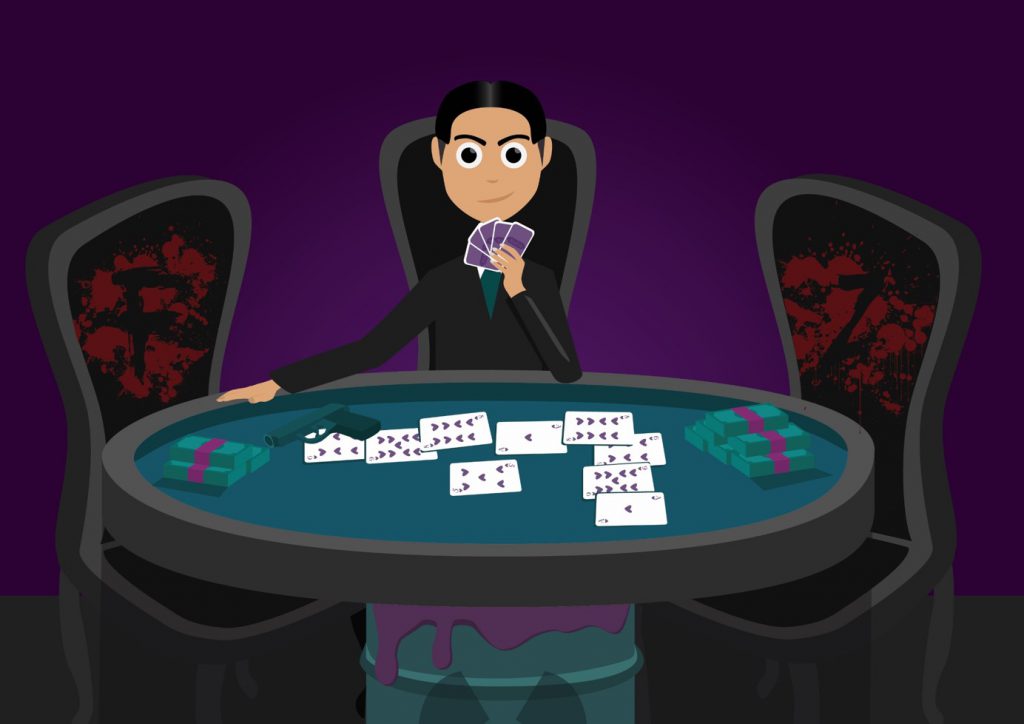
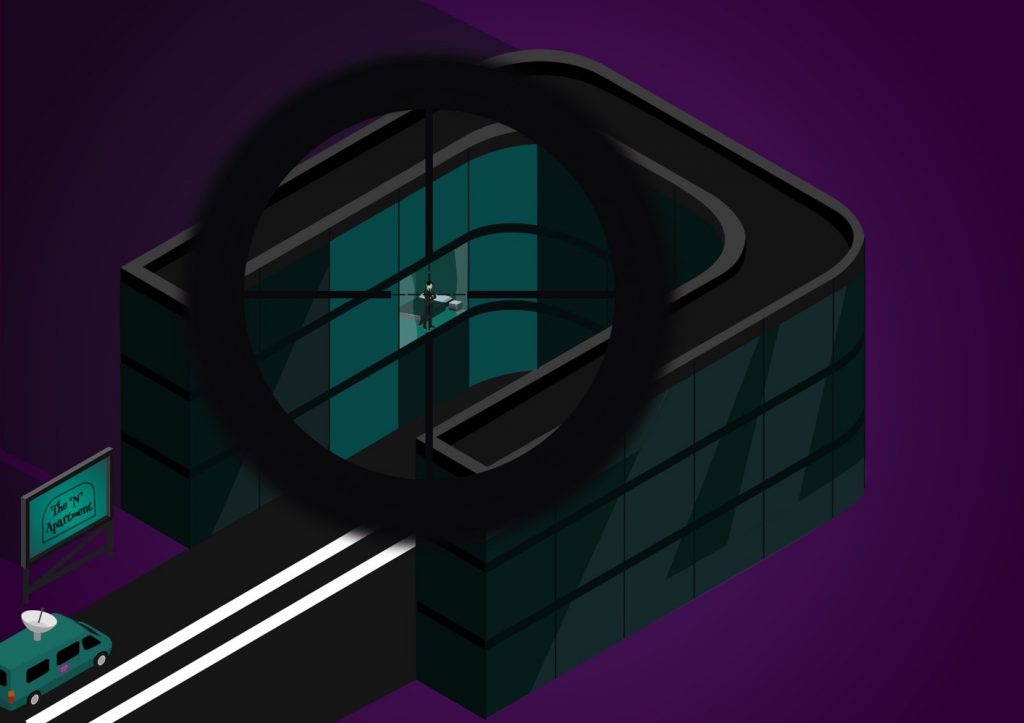
The Assassin: The Main Villain don’t like to get their hands dirty, so they rely on the Assassin when it comes to assassinating their targets. Primary weapons used for assassination includes gun and knife.
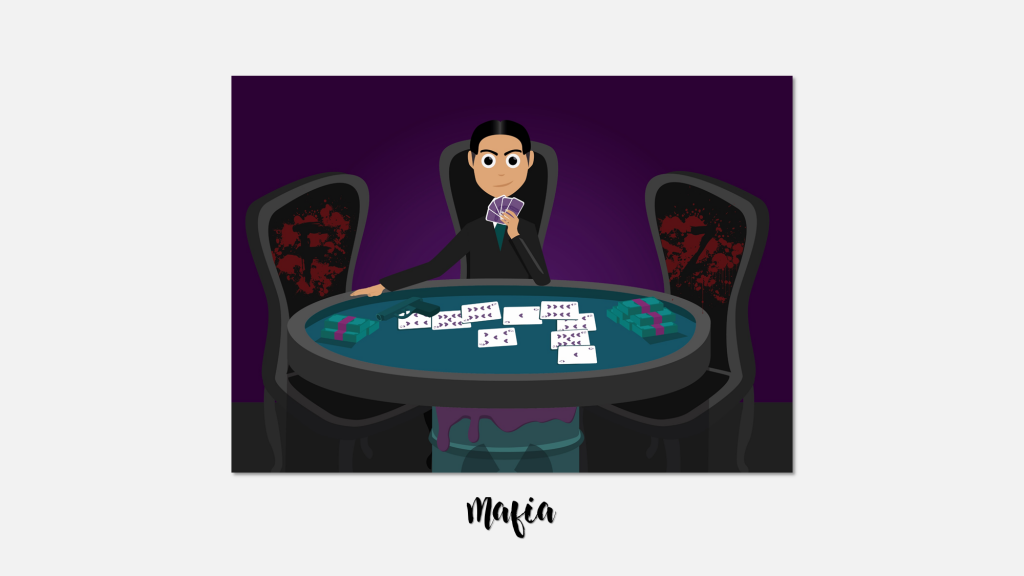
The Mafia: Often working in a group, the Mafias are a crime syndicate managing and controlling the crimes in a certain area. They are usually involved in gambling, drugs, loan sharking, and the black market.
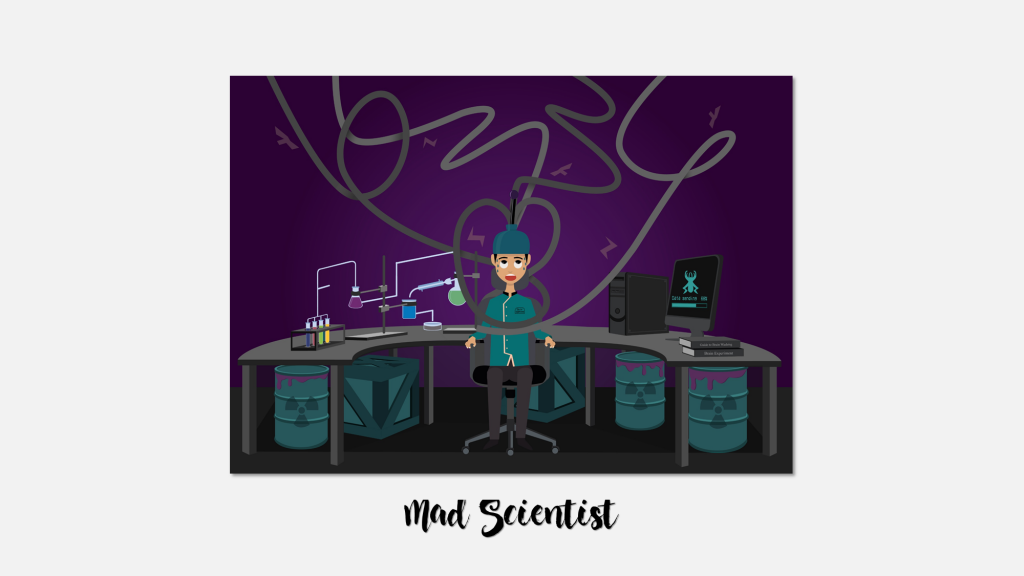
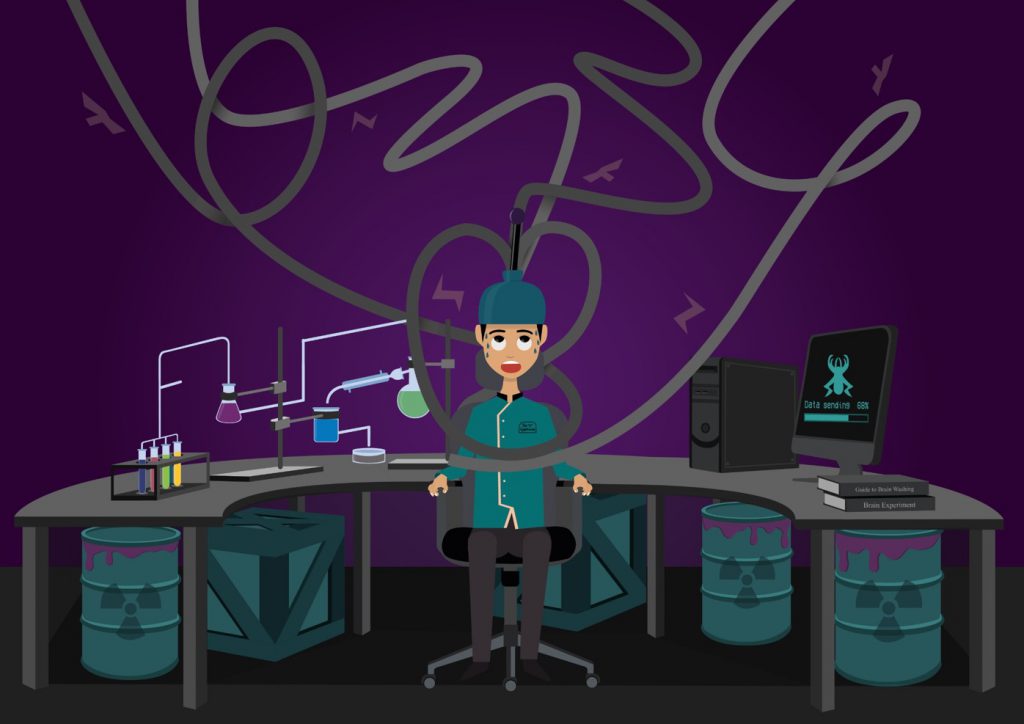
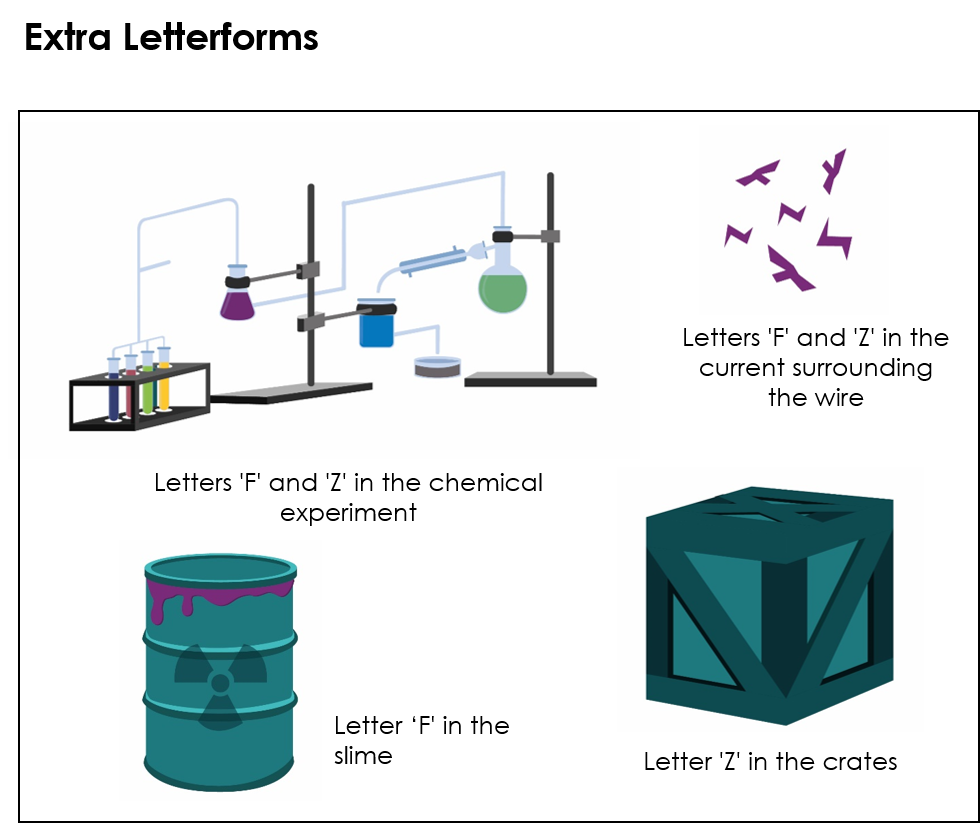
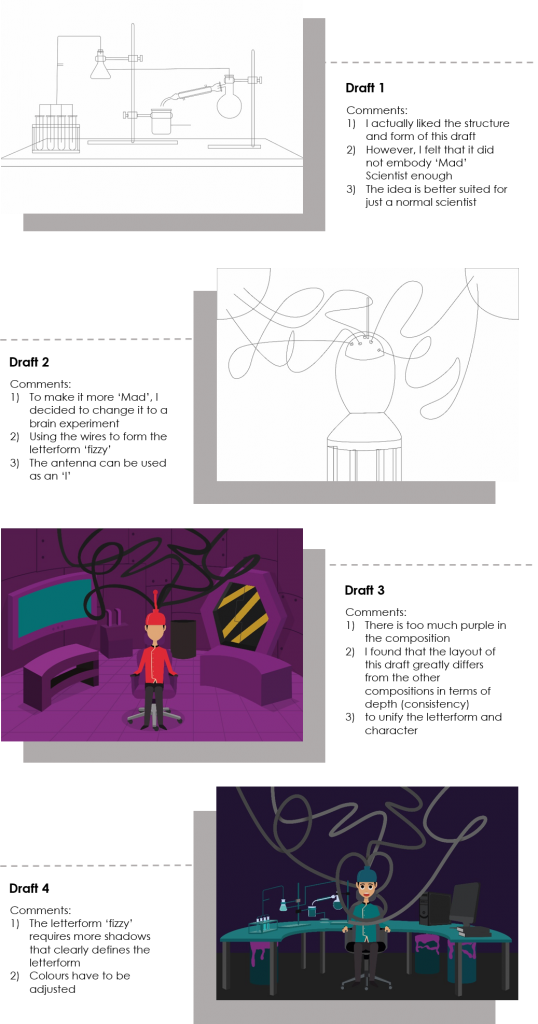
The Mad Scientist: The creator of evil gadgets, chemicals and weapons. The Brainiac of the evil community. Without them, the Main Villain will be nothing. Setting themselves apart from a normal scientist is that the purpose of their creations is used for evil instead of the greater good.
Unfortunately, these jobs are not possible future career options (for obvious reasons), I’ll stash them away in my list of impossible things to do. Nonetheless, it is fun to imagine what it is like to be working in this jobs.
|
Art Style: |
With a villain theme, it only fits to use dark colours in my compositions to display a sinister image. Thus, for the colour scheme, I made use of different shades of purple, teal and black.
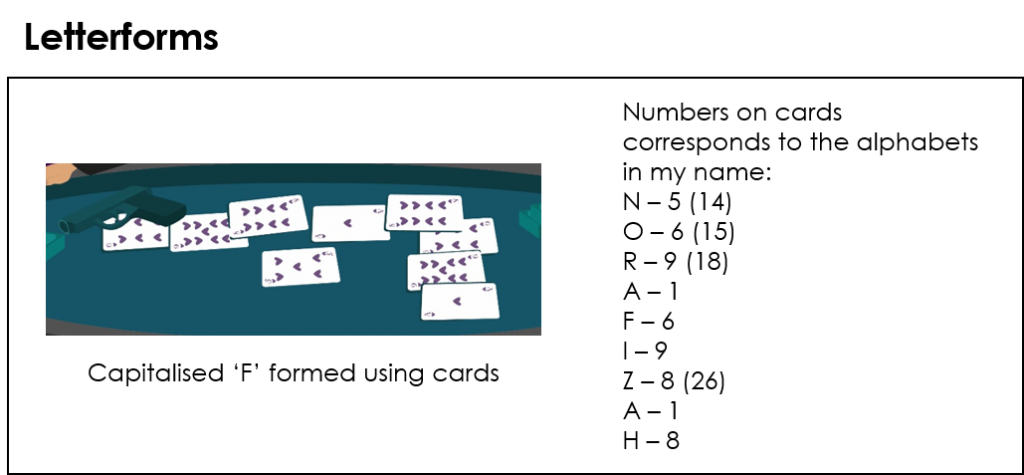
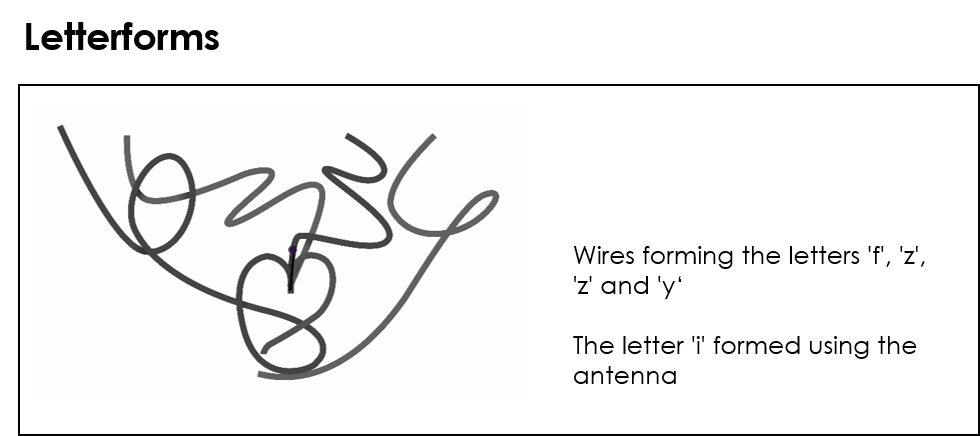
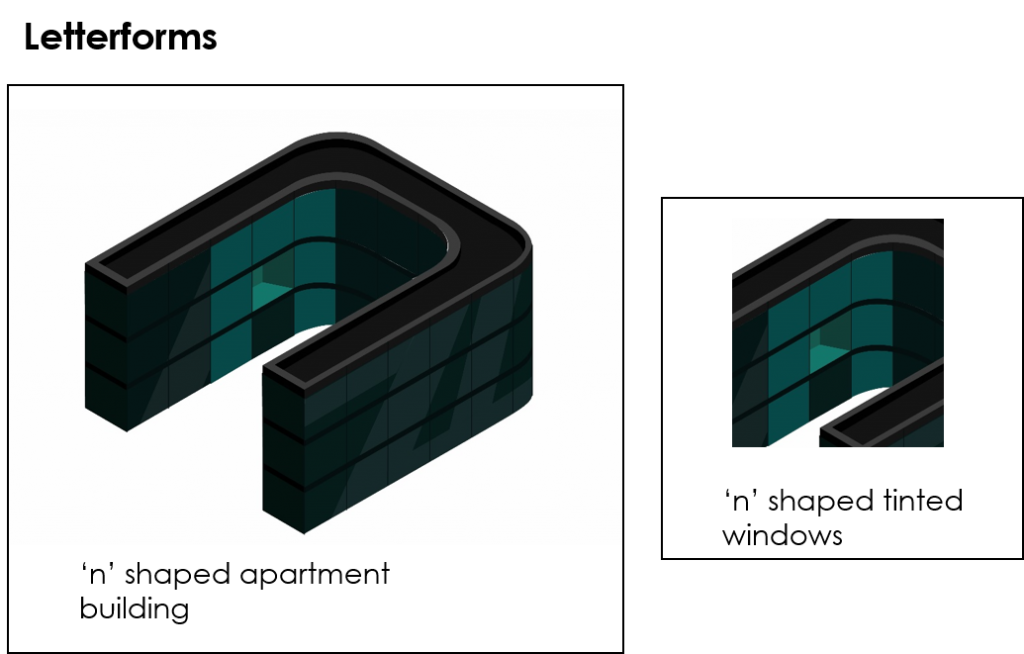
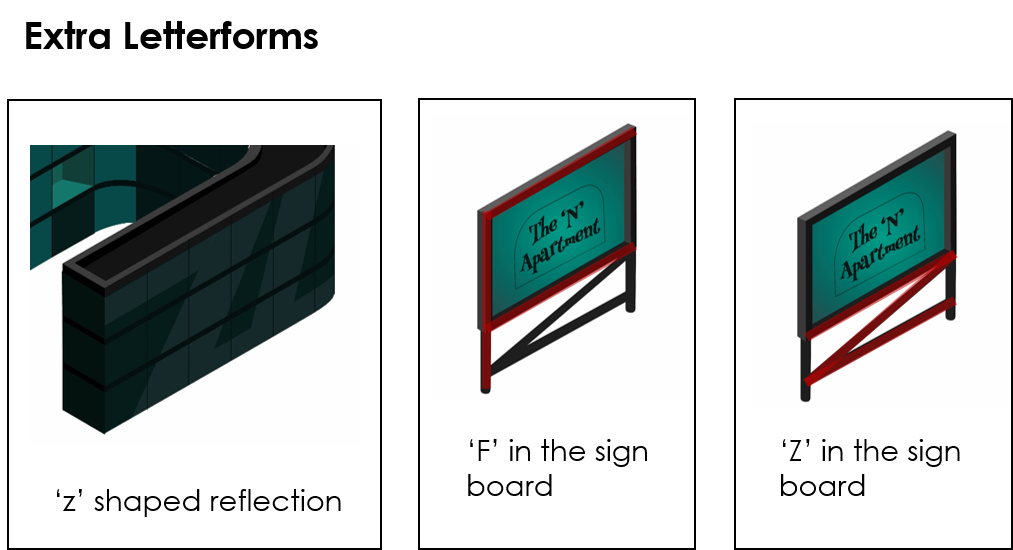
The compositions were crafted from a first-person perspective thus allowing the viewers to look into the composition from the perspective of the villain characters. The letterforms used are meant to blend in with the surroundings as much as possible. To achieve this, I used objects associated with the occupation and made use of the characteristics of this objects to form a letterform. This will be further explained below.
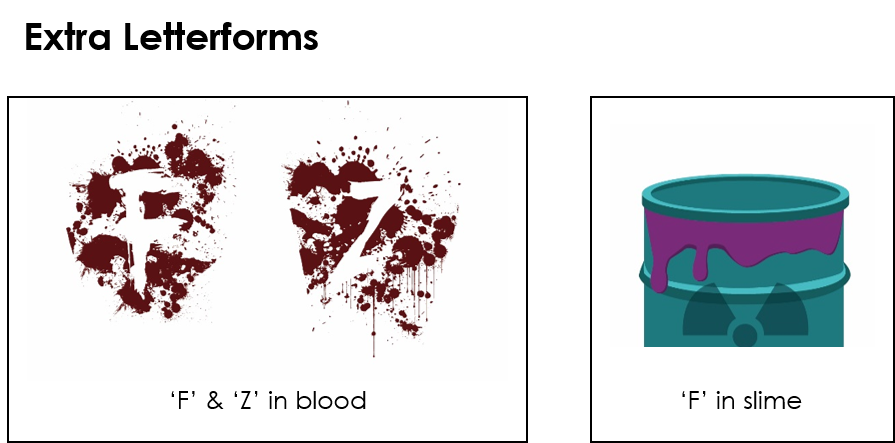
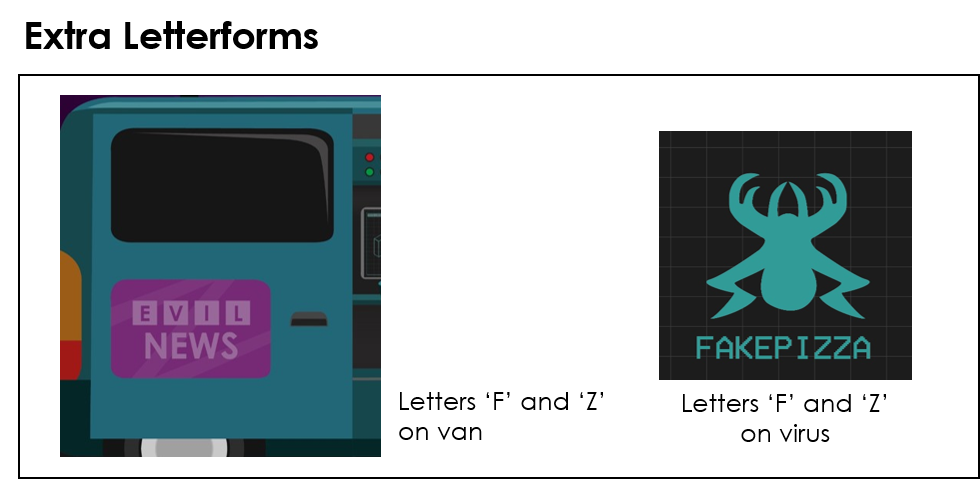
I also intended to include a repetitive motif of the letters F and Z that is consistent throughout the four compositions. These letters are what I feel defines my name.
I connected the four compositions together by creating a narrative.
The Mafia has been gambling with an enemy. In this gambling game, if you lose, you get shot. Unfortunately, the Mafia lost but was spared with the condition that she becomes a slave to the enemy. The Mafia, unhappy, enlisted the help of his fellow Assassin to kill the enemy.
However, to achieve this mission, there are other tasks that needs to be completed.
In order to kill the enemy at the right moment, the Hacker has to hack into the system to shut down the building. To shut down the building, the Hacker requires data about the building, thus enlisting the help of the Mad Scientist who has captured an employee of the apartment building to extract data. In return for the favour, the mafia, dwelling in the black market, attained toxic waste for the Mad Scientist. |
1.1 Process of mafia
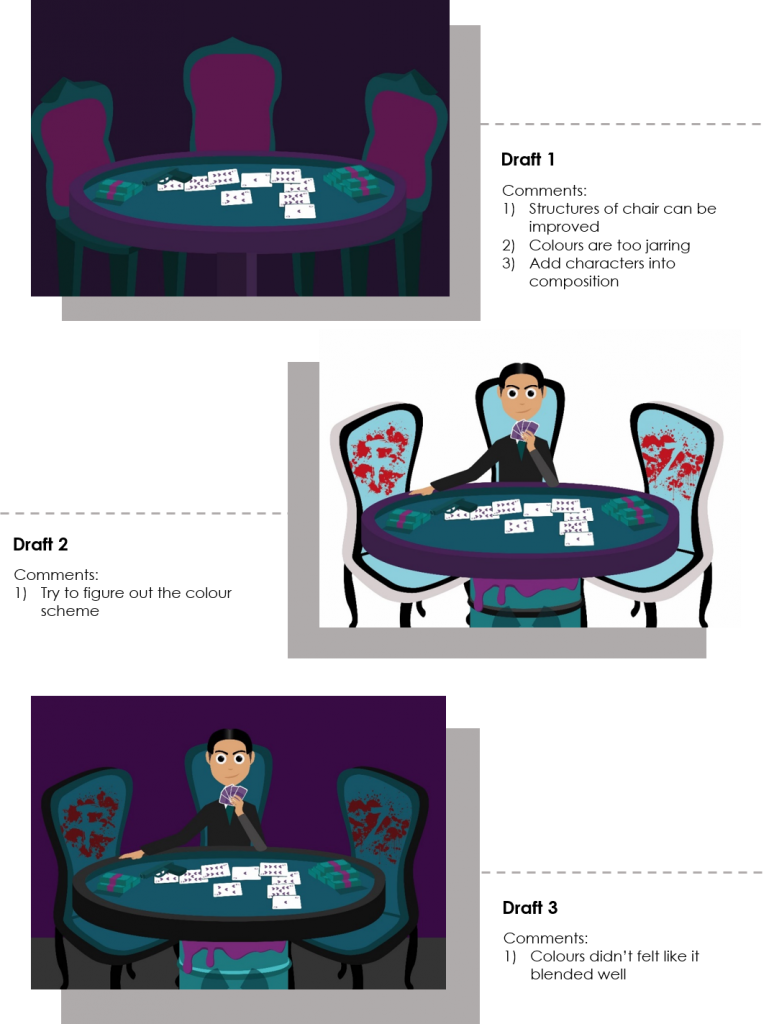
Personally, I felt that I was being overly ambitious for this project in terms of creating details. In my usual artworks, my details were minimal, hence I decided to challenge myself for this project. However, I felt that because I was so focused on creating details that I forgot the primary essence of this project which was the letterforms. I believe that I could have done better if I wasn’t so hung up on creating details.
A comment from Joy was about my letterforms where there was no significance to my letterforms. For example, for my mafia piece, the letter ‘F’ on the table doesn’t need to be an F, it could be any letter. Hence, I should have looked into the significance of the letters and why I chose to represent it in a specific way.
Lastly, because I was going for the dark concept, when it came to printing, it definitely came out a lot darker than I wanted it to be. So note to self: If you want to create dark artworks, make sure to brighten your artworks first. Also, printing on matte paper could make it appear brighter as compared to glossy paper. (Just a theory than I noticed)
To view my process and research, click here.
Disclaimer: The following showcases the process towards my final artwork, that shows my thought process, all the ideas I thought of which includes rejected ideas, research. So it can get pretty messy. Think of it as my visual journal 🙂
To view my final artwork please click here.
![]()
OLD
Theme: Dark Jobs
First person perspective
| Job | Alter ego | Scene | |
| 1 | Private Investigator | NN | Crime Scene
– Dead body – Murder weapon – Broken window |
| 2 | Sniper | 飞走 | Busy Shopping streets
– The target wearing a shirt with the name on it
|
| 3 | Hacker | fakepizza | Computer table
– Codes – Many screens – Board in the background with a target |
| 4 | Mad Scientist | Professor Fizzy | Science lab
– Beakers – Chemicals – Smoke |
Russian Constructivism
Constructivism has its origins from Russia in the year 1913 and was a development from the Russian Futurism after World War I. It was a movement created by the Russian avant-garde.
It involved creating completely abstract work with a blend of modernity. Often times, we see geometric and experimental forms which are rarely emotional. It is meant to convey a universal meaning rather than personal meanings.
Famous artists include Vladimir Tatlin, Kasimir Malevich, Alexandra Exter, Robert Adams, and El Lissitzky.
Vladimir Tatlin was central to the birth of Russian Constructivism.
He was largely influenced by Picasso’s Cubist and Russian Futurism. He wanted to create art with modern purposes. He was trained as an icon painter, but was eventually inclined to the possibilities of materials in his work such as metal, glass and wood. He believed that the materials an artist used should reflect their capacities that explores its uses. His most remembered work was his Monument to the Third International (1919-20) – a design for the Communist International headquarters which unfortunately was realised as a model but never built.

References:
http://www.theartstory.org/artist-tatlin-vladimir.htm
http://www.arthistoryarchive.com/arthistory/constructivism/
http://www.tate.org.uk/art/art-terms/c/constructivism
Unconventional Methods:
Tape Art


String Art


Push Pin Art

Paper Art

Graphics:


I decided that dark jobs just didn’t seem suitable enough. So I changed it to Evil Villains instead. Unfortunately, I have to remove Crime Scene Investigator from the list.
Other Villan Jobs:
| Evil Villain Job | Alter Ego | Location | Items | |
| 1 | Mafia | Mdm F | Hideout | Gambling table, Stacks of drugs, money, jewelleries |
| 2 | Mad Scientist | Professor Fizzy | Science Lab | Beaker, chemicals, thermometer, smoke, pipes |
| 3 | Hacker | fakepizza | Dark Basement | Monitors, Hacking screens, fakepizza virus, world map on screen |
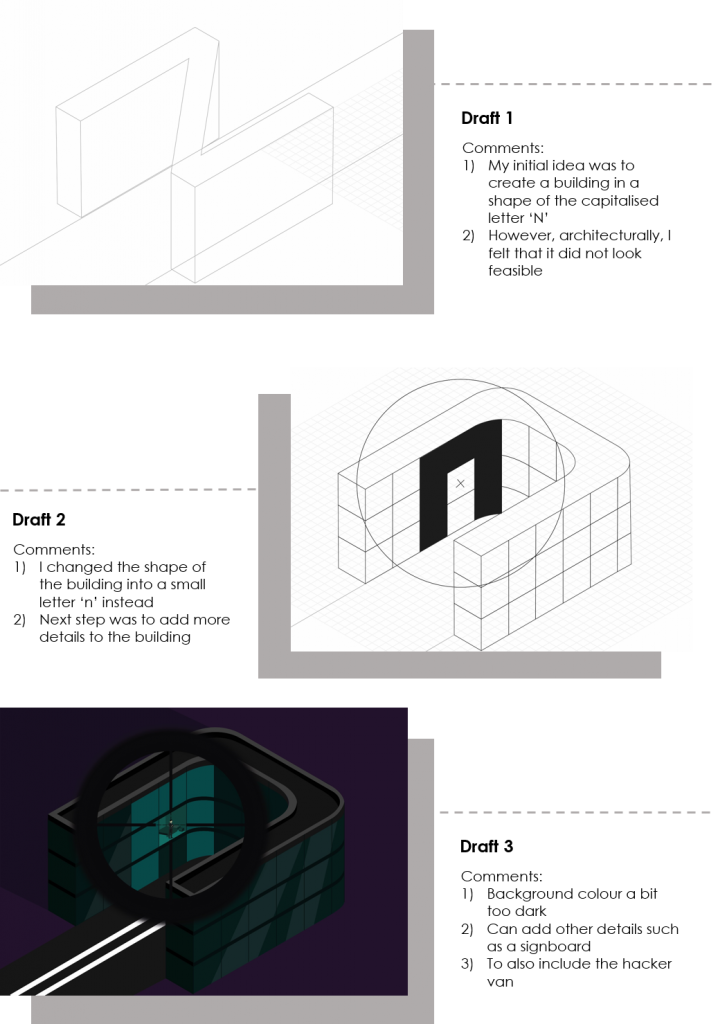
| 4 | Assassin | nn | On top of a high rise building | Apartment, windows, road, cars, |


To see more of how the artwork changed, have a look at my final post here.