

Click here for the PDF File: MemoryBox_Final (Videos not included)


Well, hello!
This post is divided into three parts to show the three different technique
Using a fibre remover on silk viscose velvet to create patterns on the material.
STEPS:

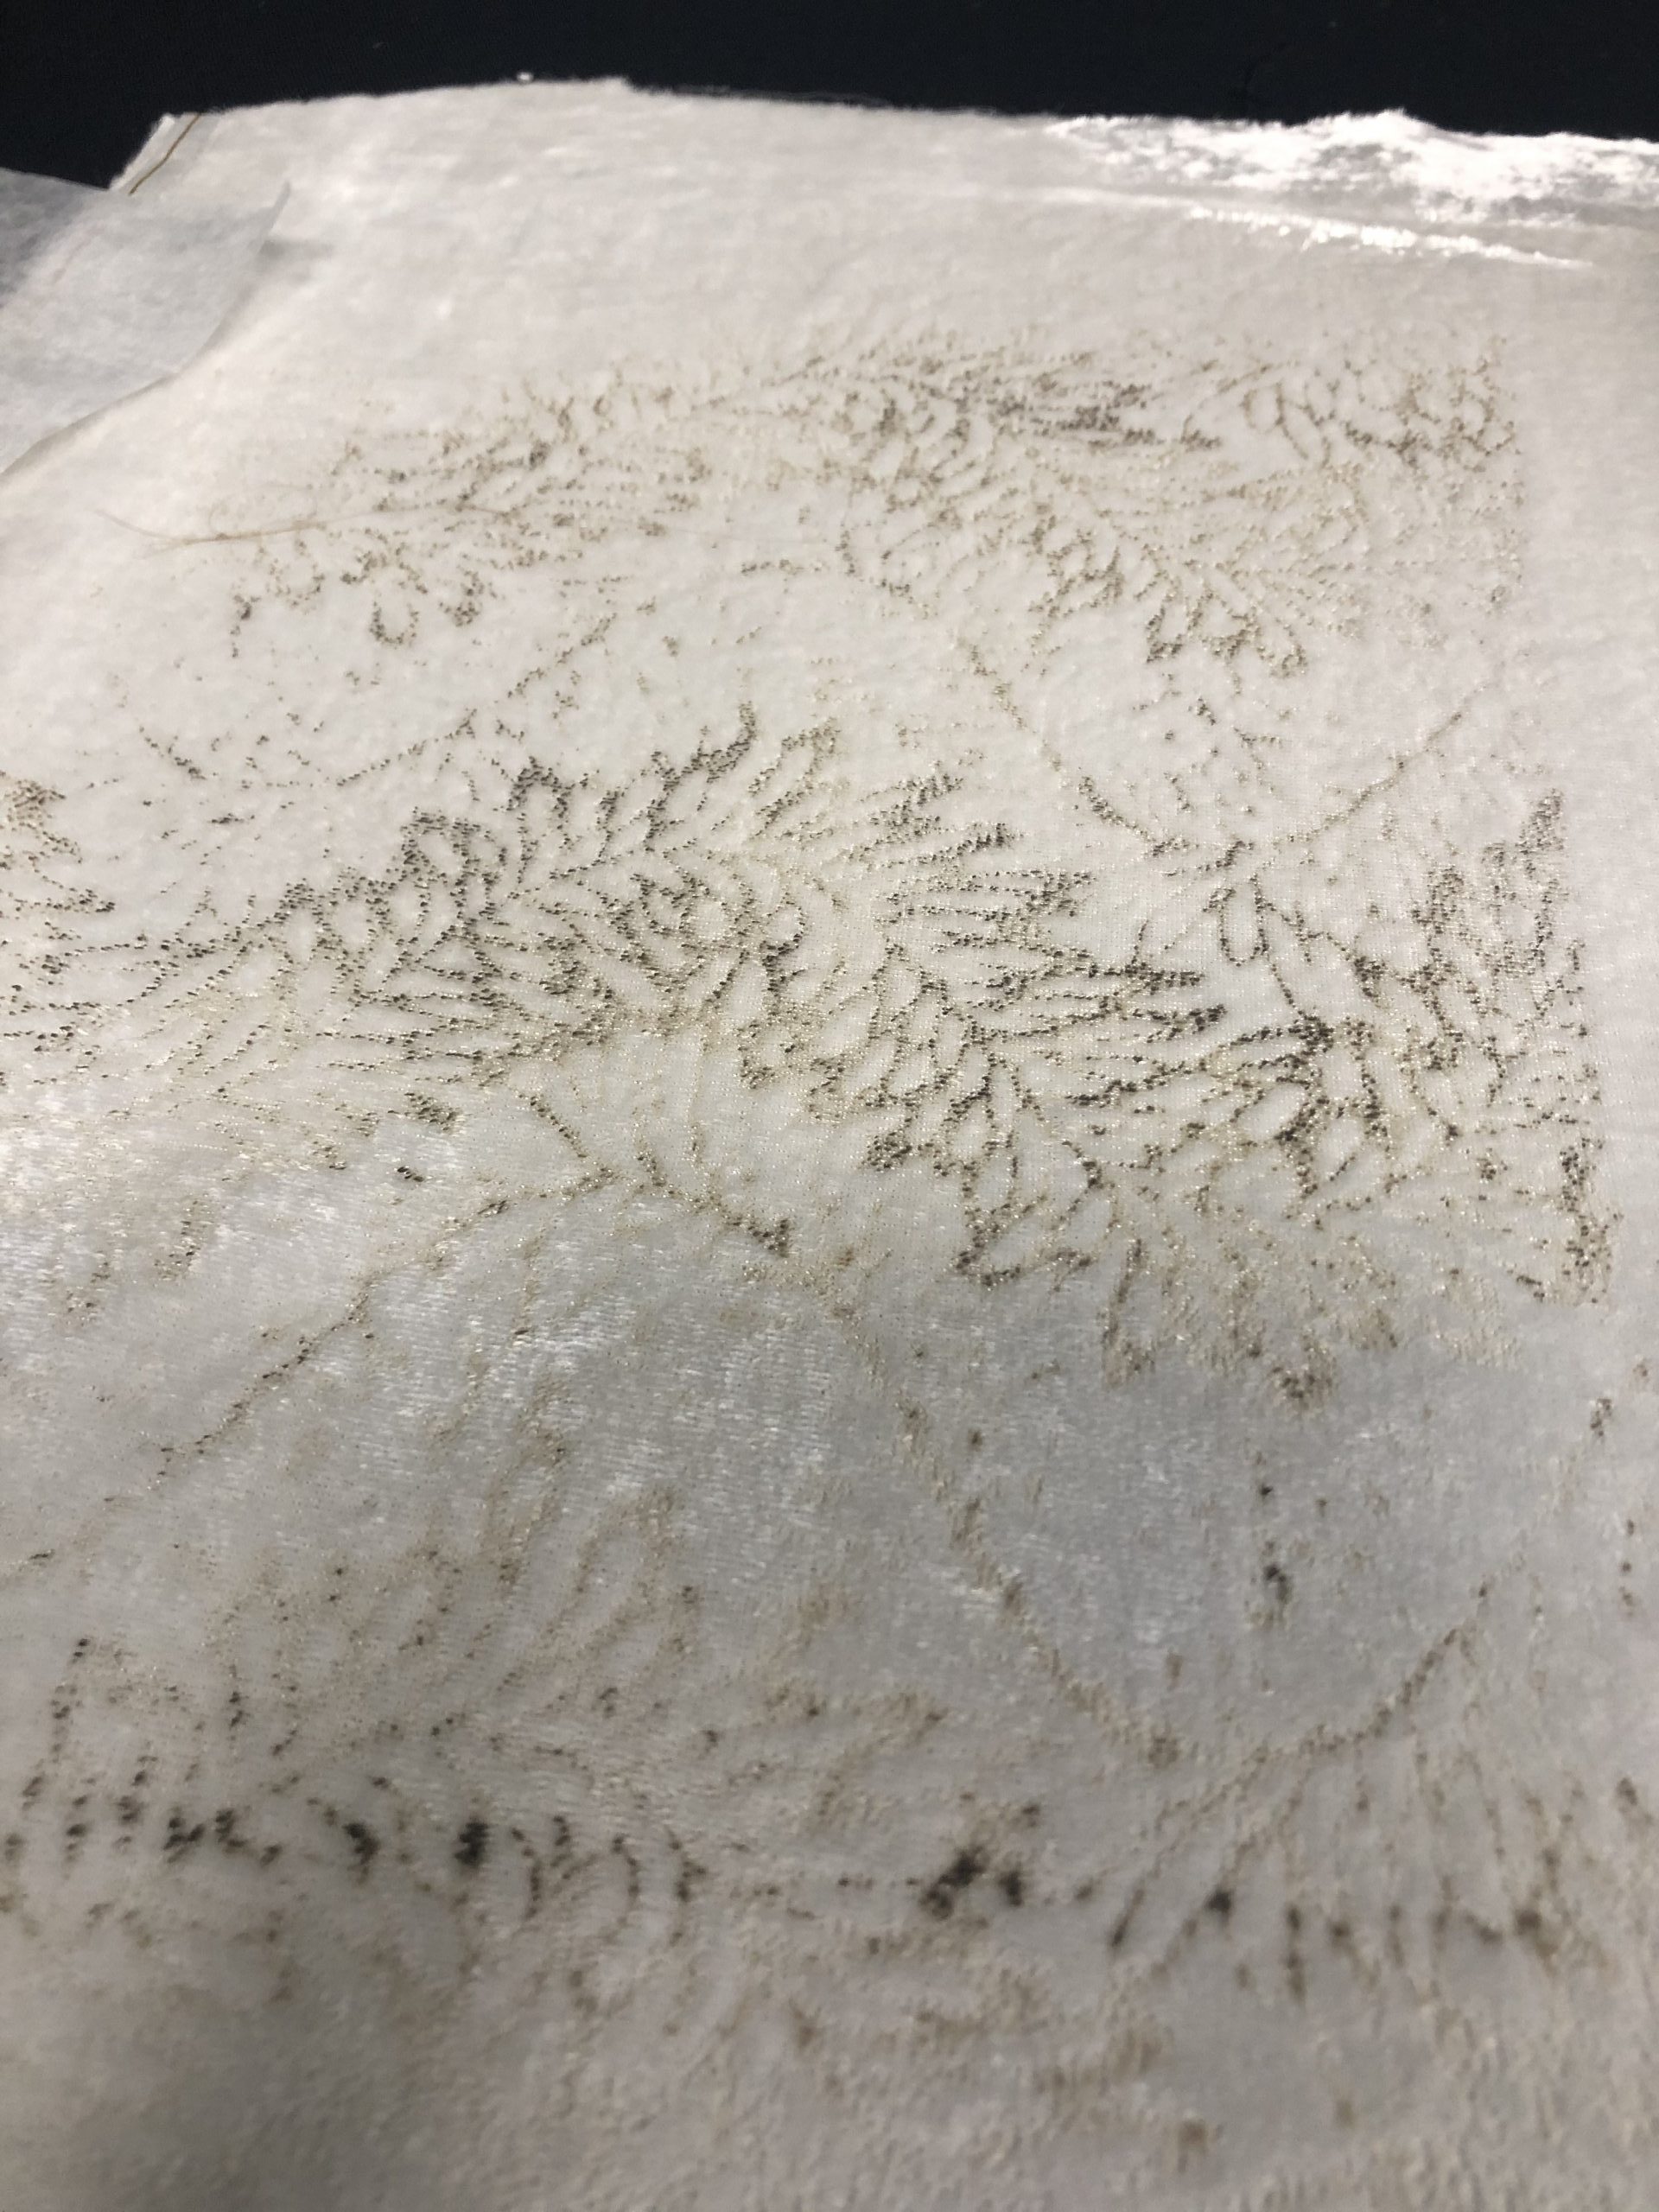

To be very honest, I didn’t exactly understand what I was doing, I was merely following the steps given. Ironing also took very long because I was ironing for some time but didn’t see any outcome and when it finally started turning brown, I was panicking thinking that I burned the velvet. However, it was fulfilling to scrape all those remnants of to see the final outcome and I must say it is very pretty.
Some things to take note:
It is a shame that we were using white velvet, it would be fun to experiment with other colours and a thicker velvet so you get to see the depth better. I would have wanted to experiment one more time with this technique, but with the Covid-19 situation, I can’t get the materials to do it 🙁
![]()
STEPS:
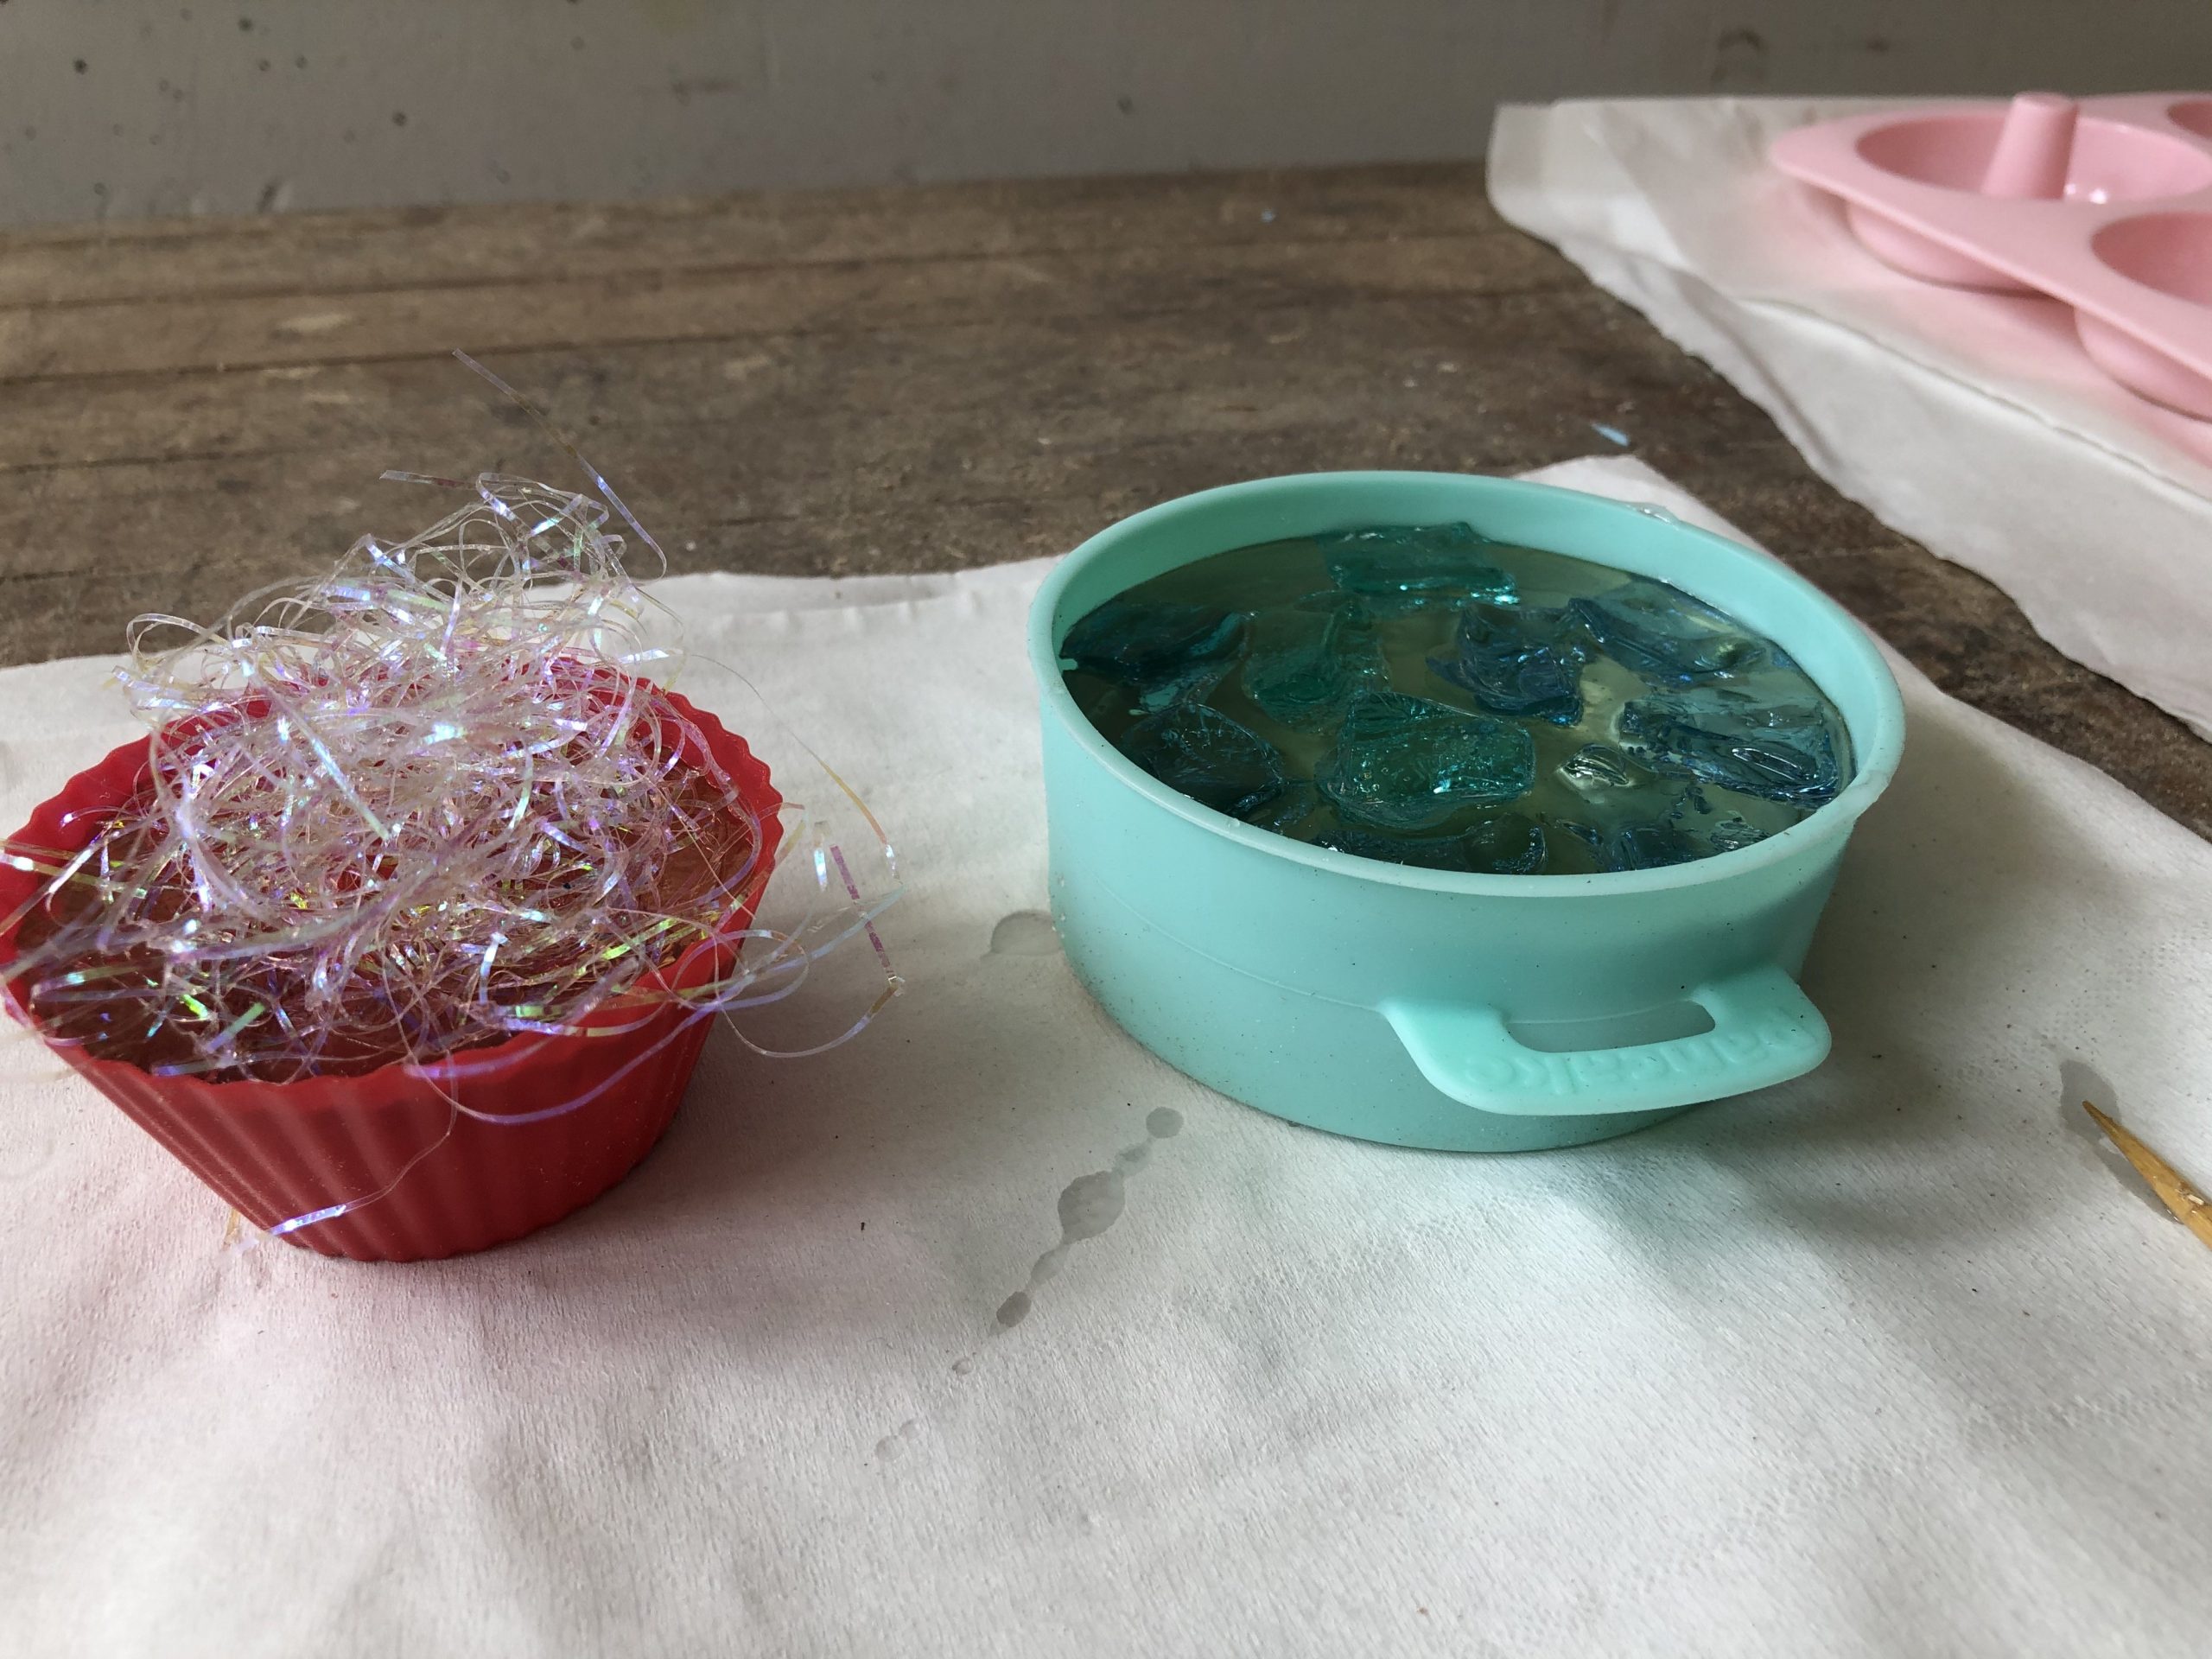
Here are some that I made.
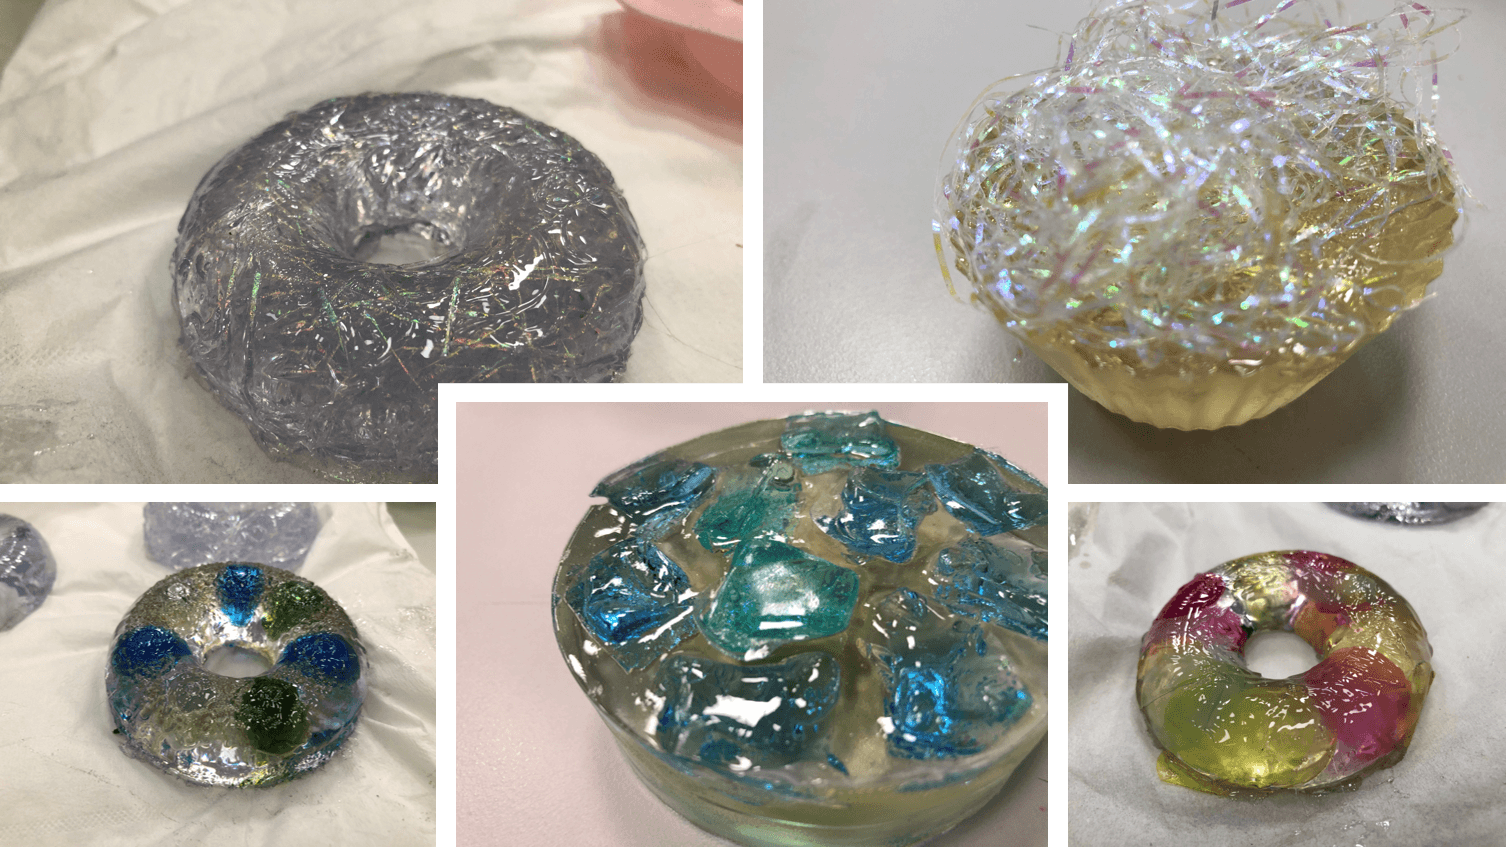
Mus, Minjee and I tried 2 different rounds of resin.
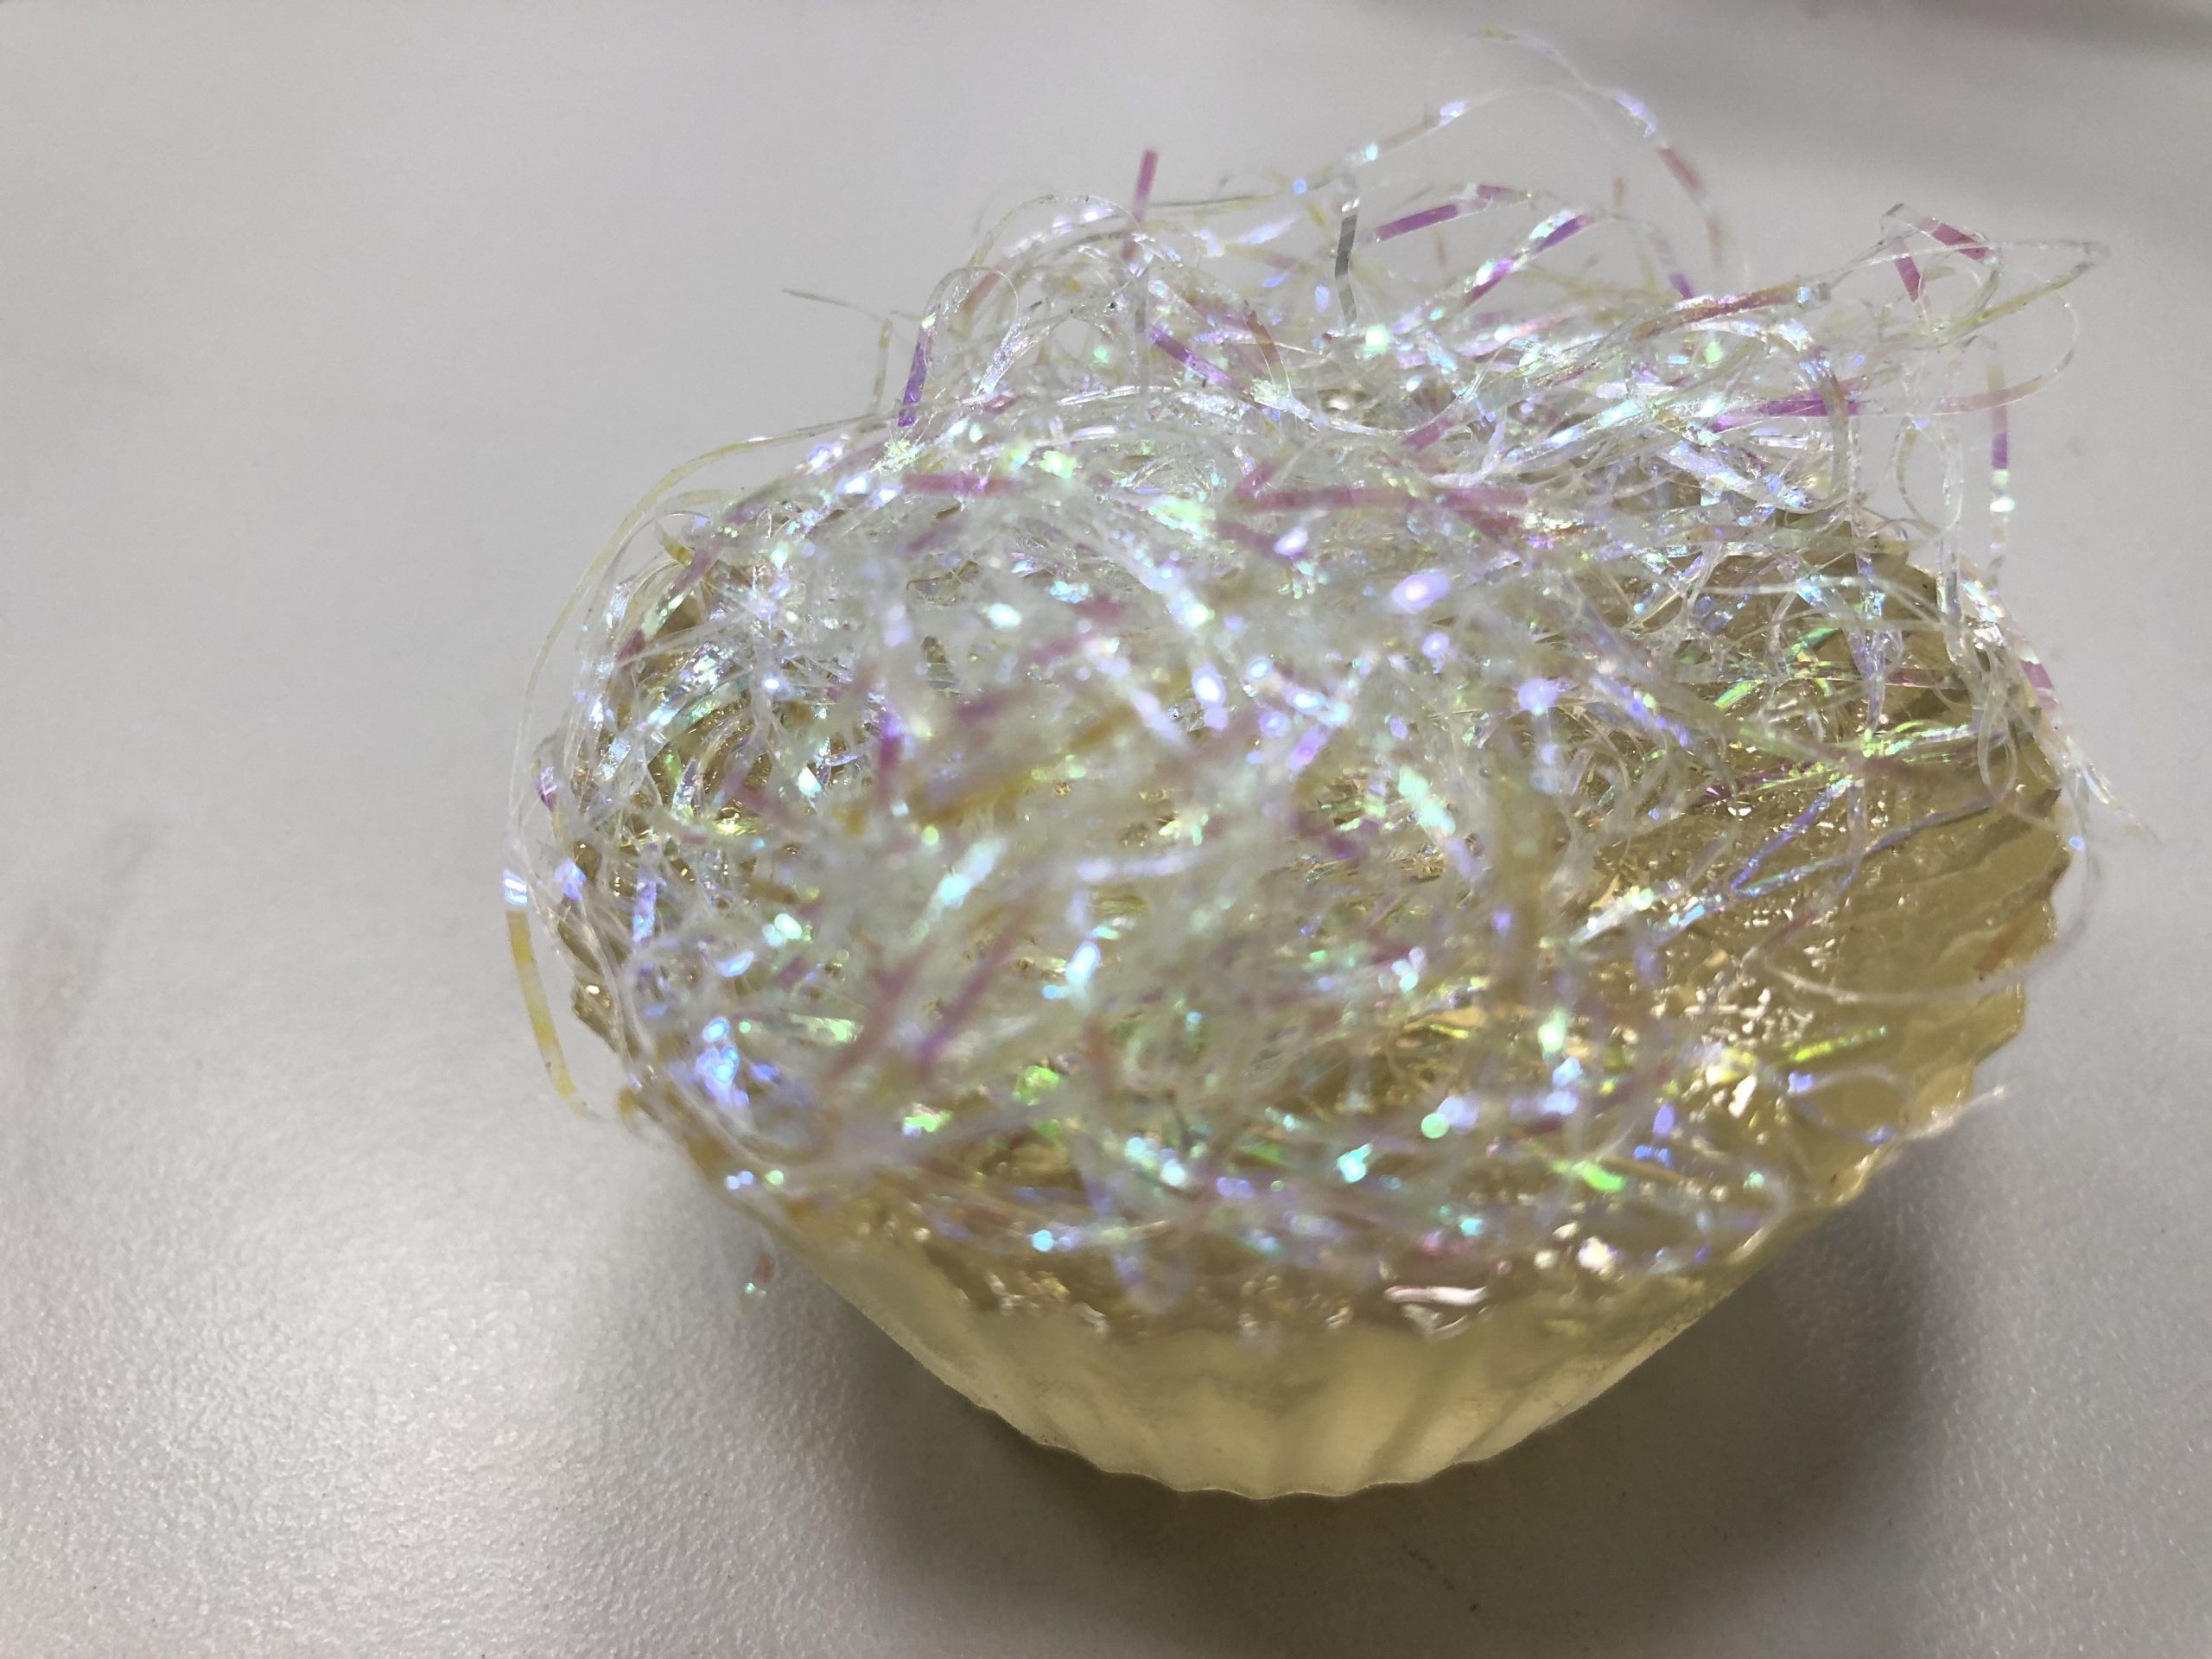
For my first round, I used translucent rocks and iridescent confetti strips.
For the confetti strips, I wanted everything in there, but the mixture already hardened by the time I tried putting it in.
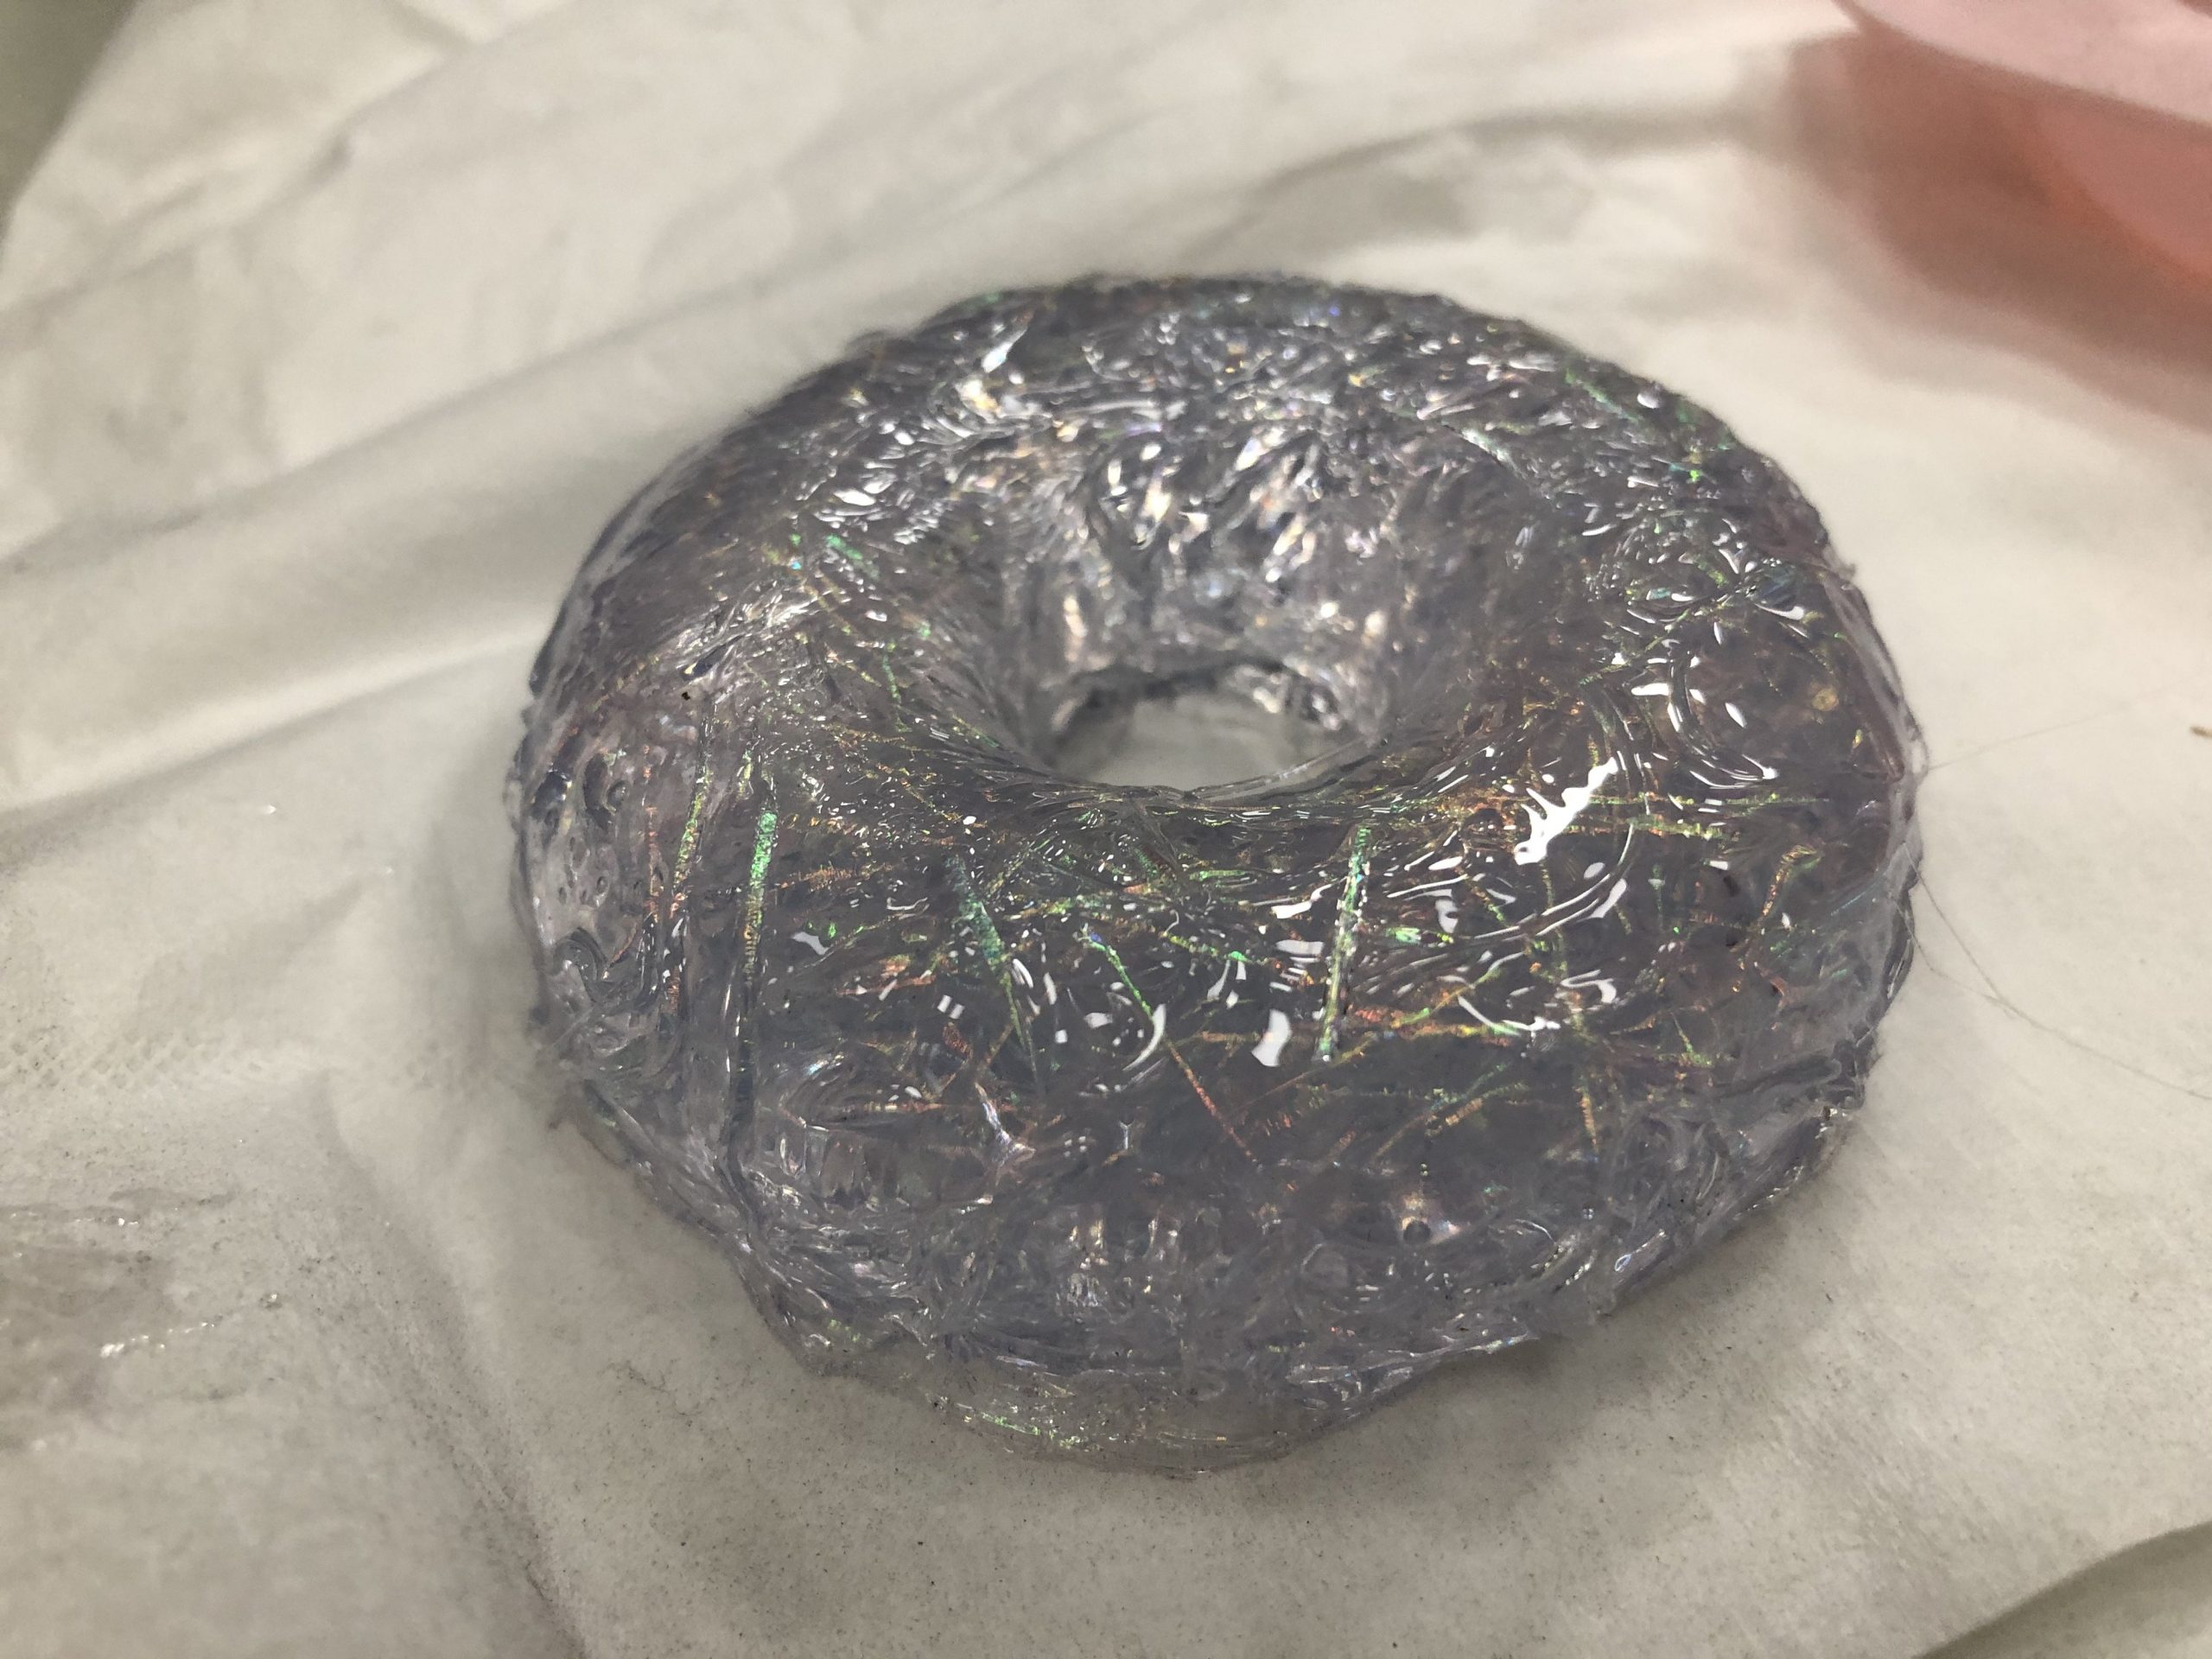
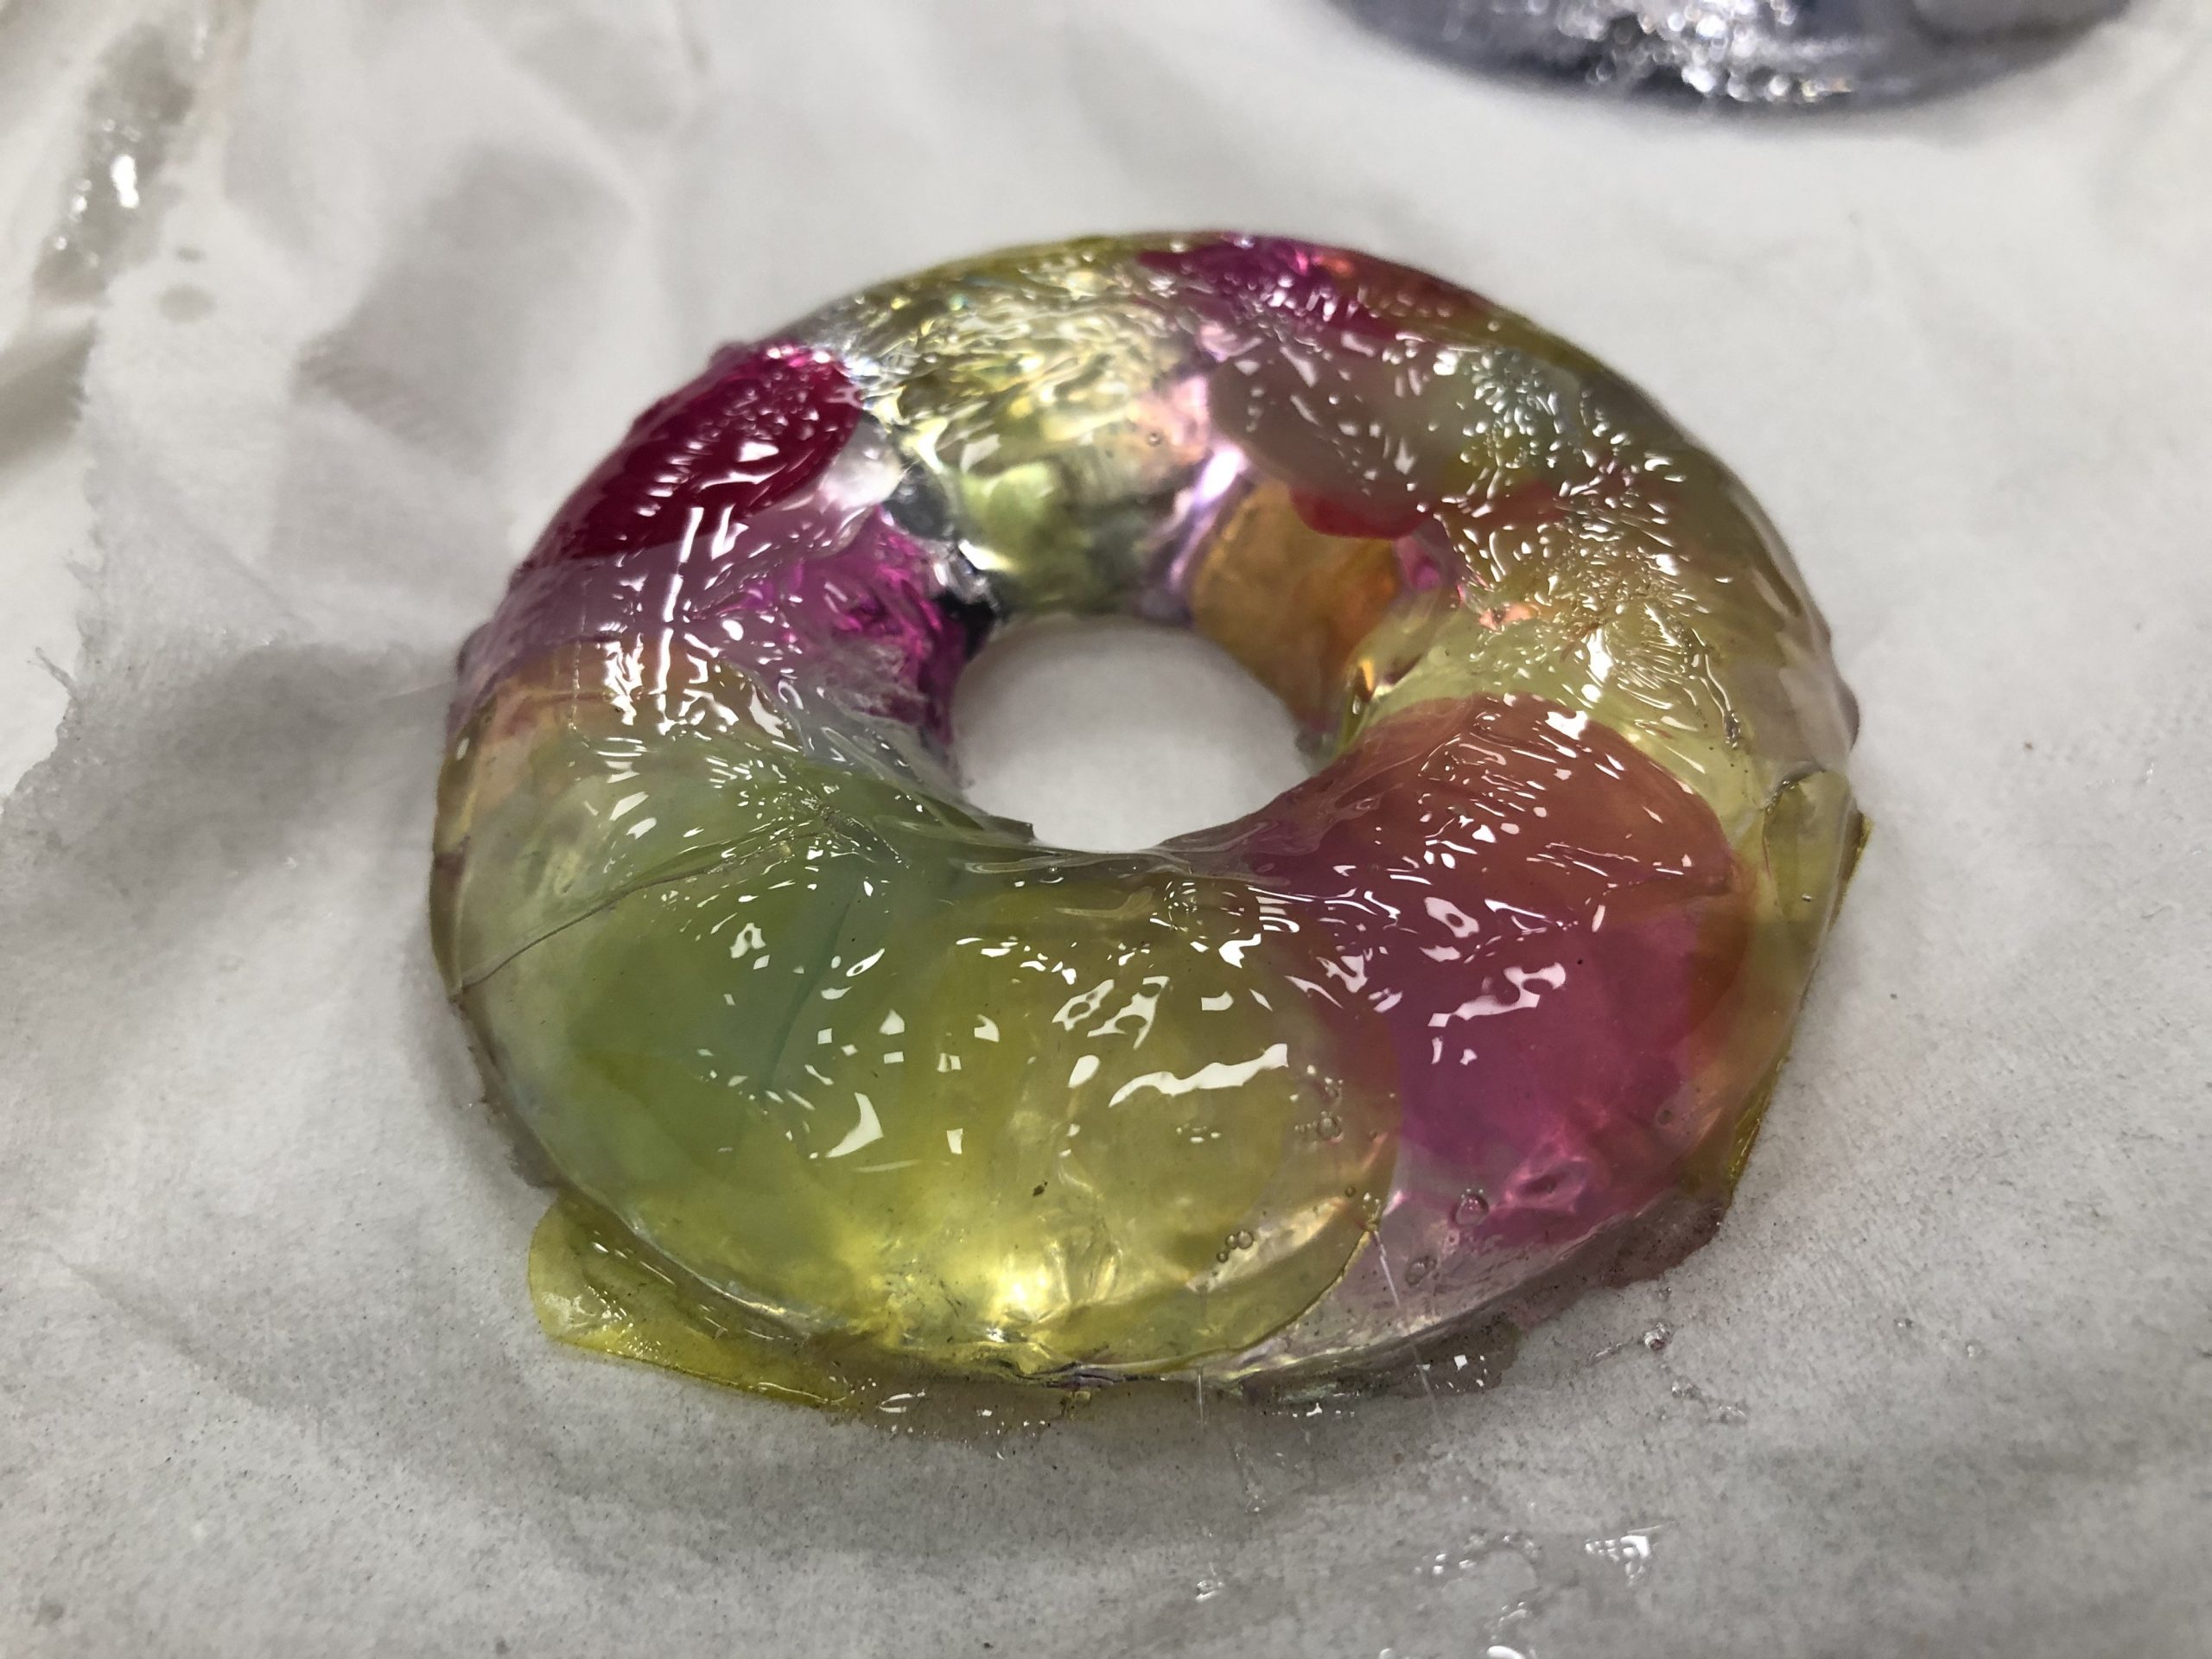
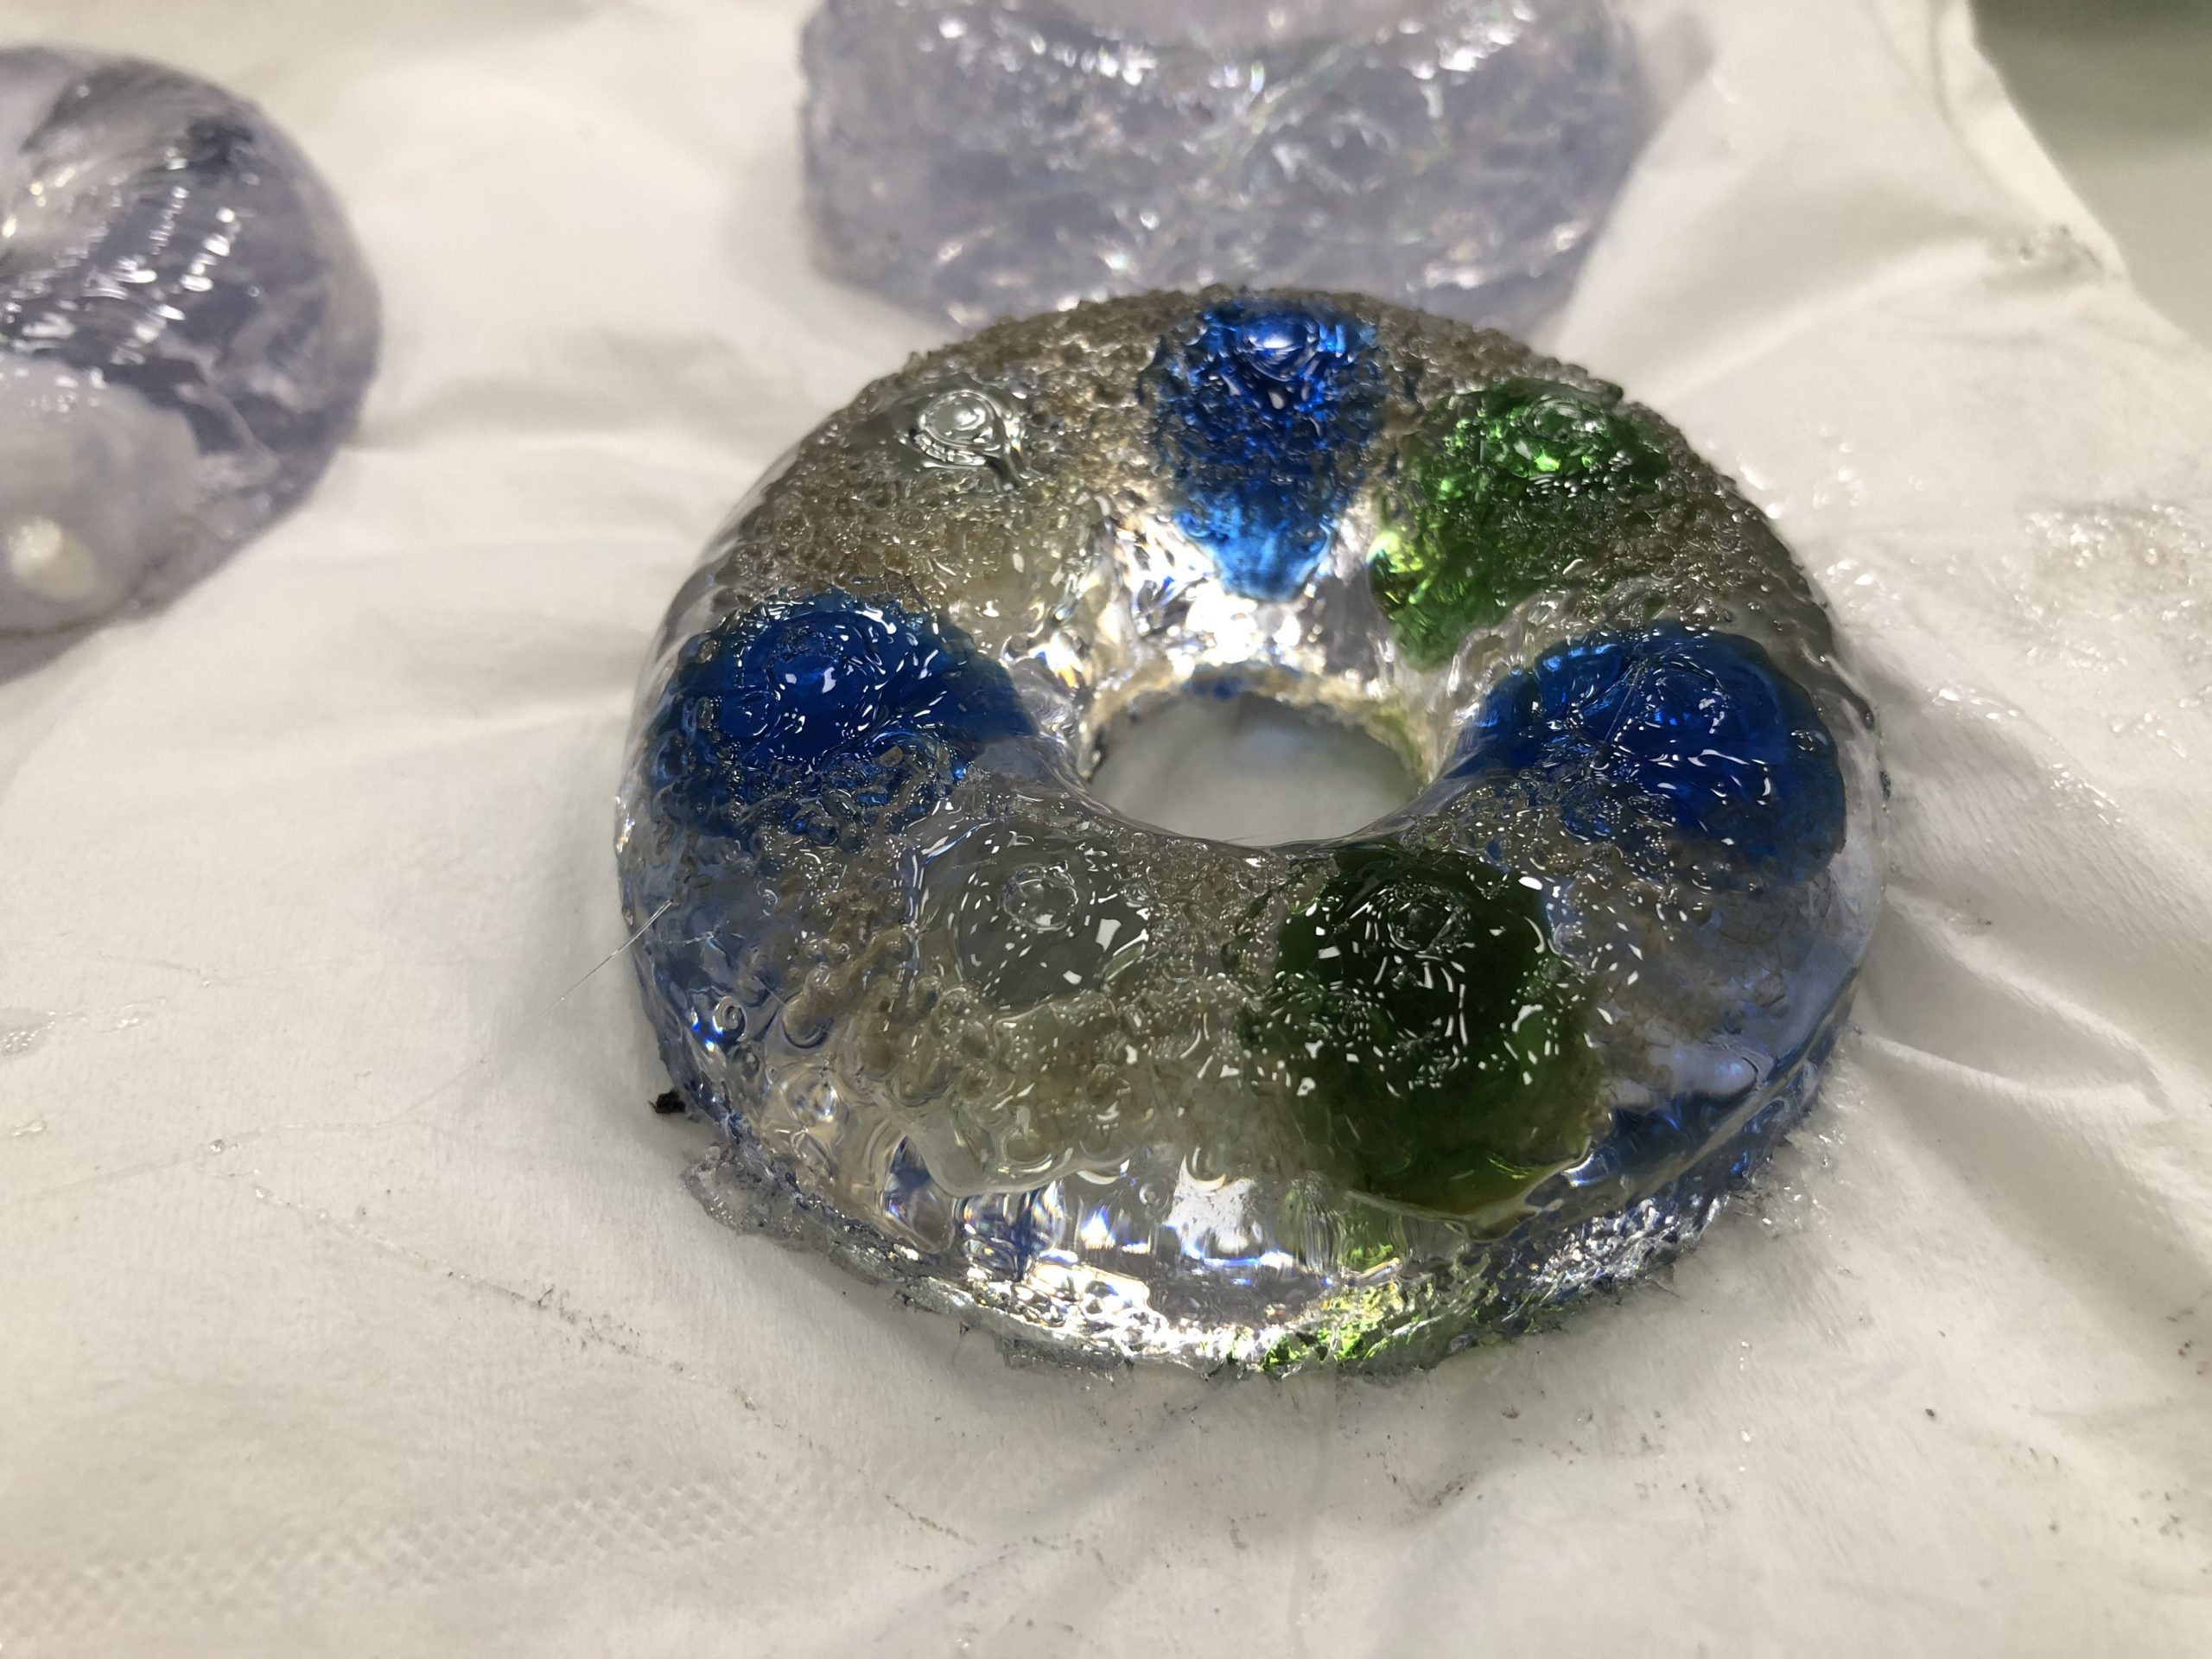
For the second round, I used donut moulds and filled it with marbles, circle paper confetti and translucent confetti strips (same as the first round). However, for this round, we tried a mixture without hardener (BAD DECISION). We wanted to leave enough hardener for the rest of the class so we tried without it. Even after 3 days, it still hadn’t dry and unfortunately, the school was going to be closed so we had to leave it in school to dry. Well at least, it should probably be dry by the time we get to go back to ADM.
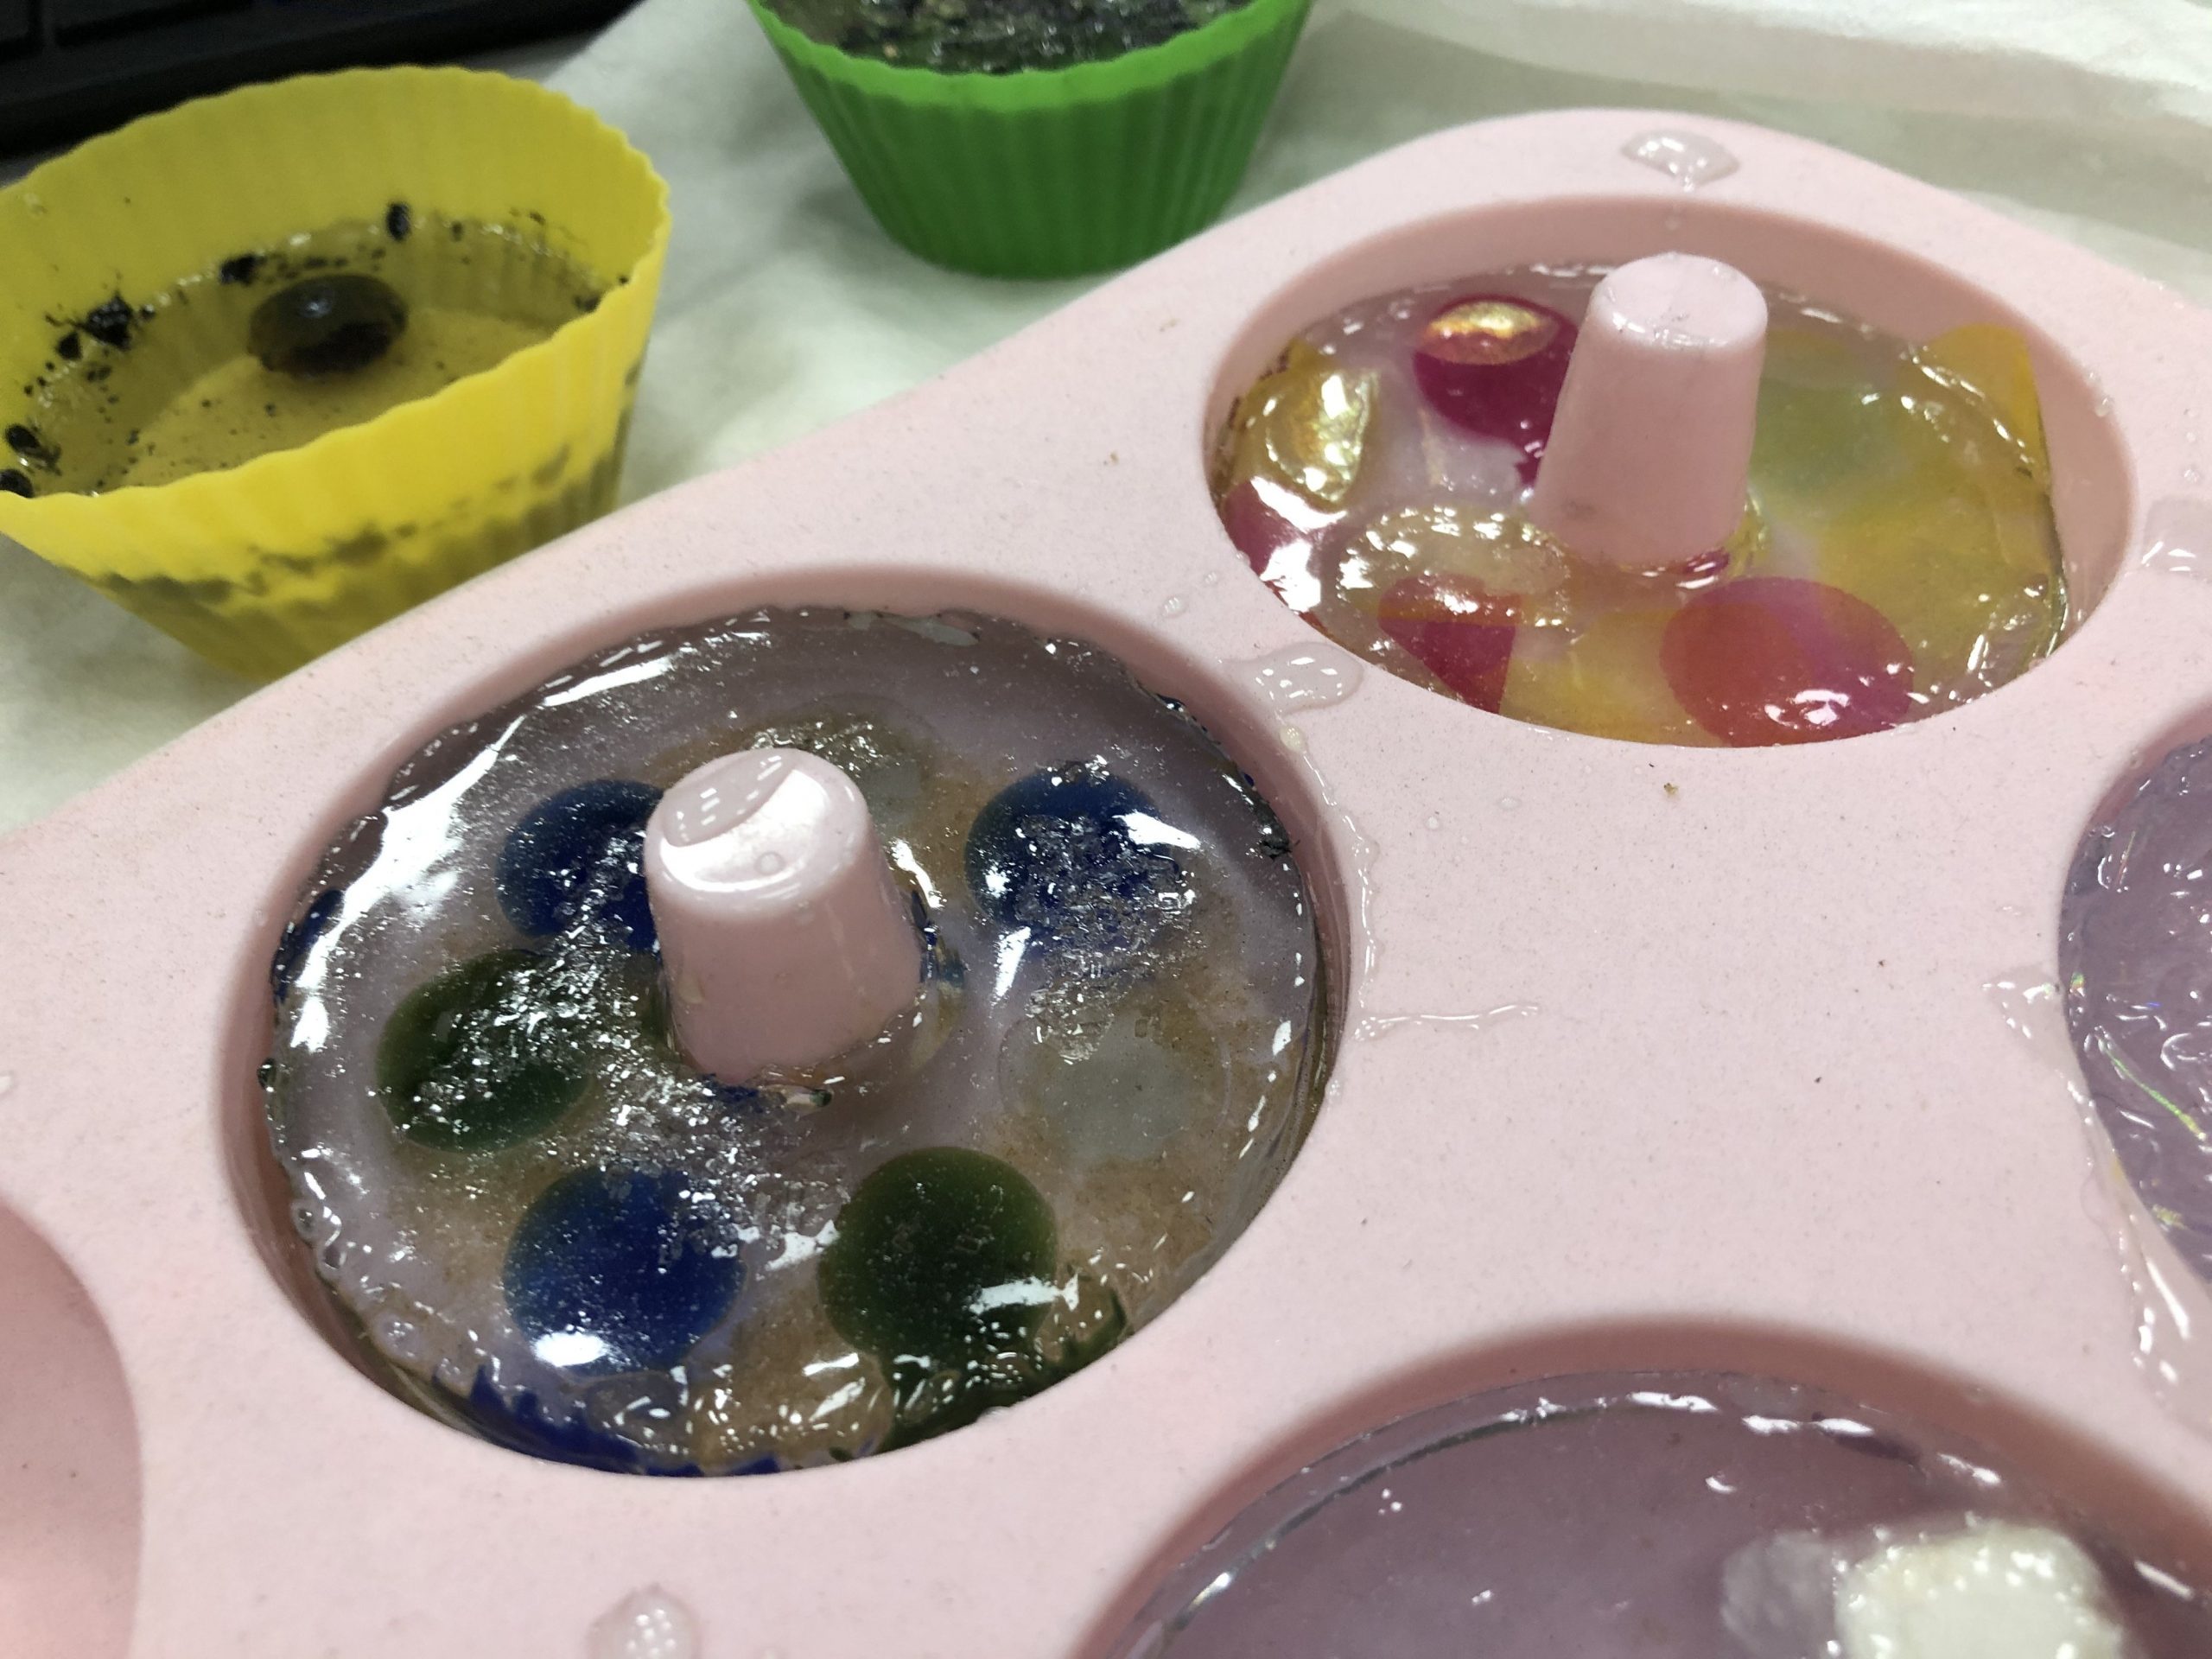
But here are the final outcome!

Some observations I made were:
Again with the Covid-19 situation, I won’t be able to continue exploring with resin 🙁 It would have been cool to make resin with a snake scale pattern.
![]()
I tried the bleaching technique at home with my old shirt. As you can see, there is a stain on the shirt (it was one of my favourite shirts *sad face*).
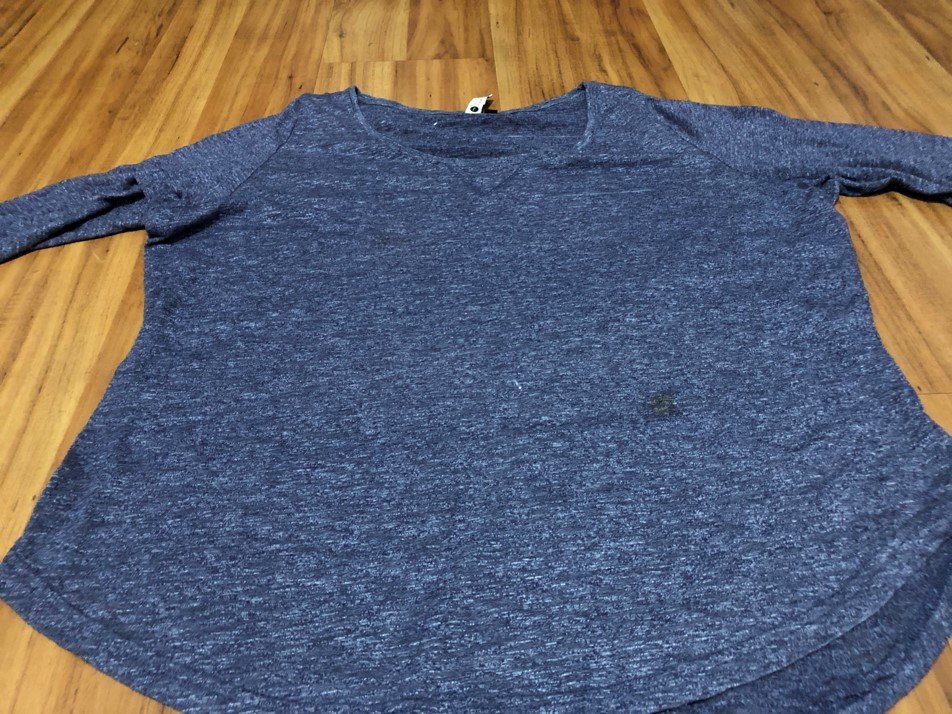
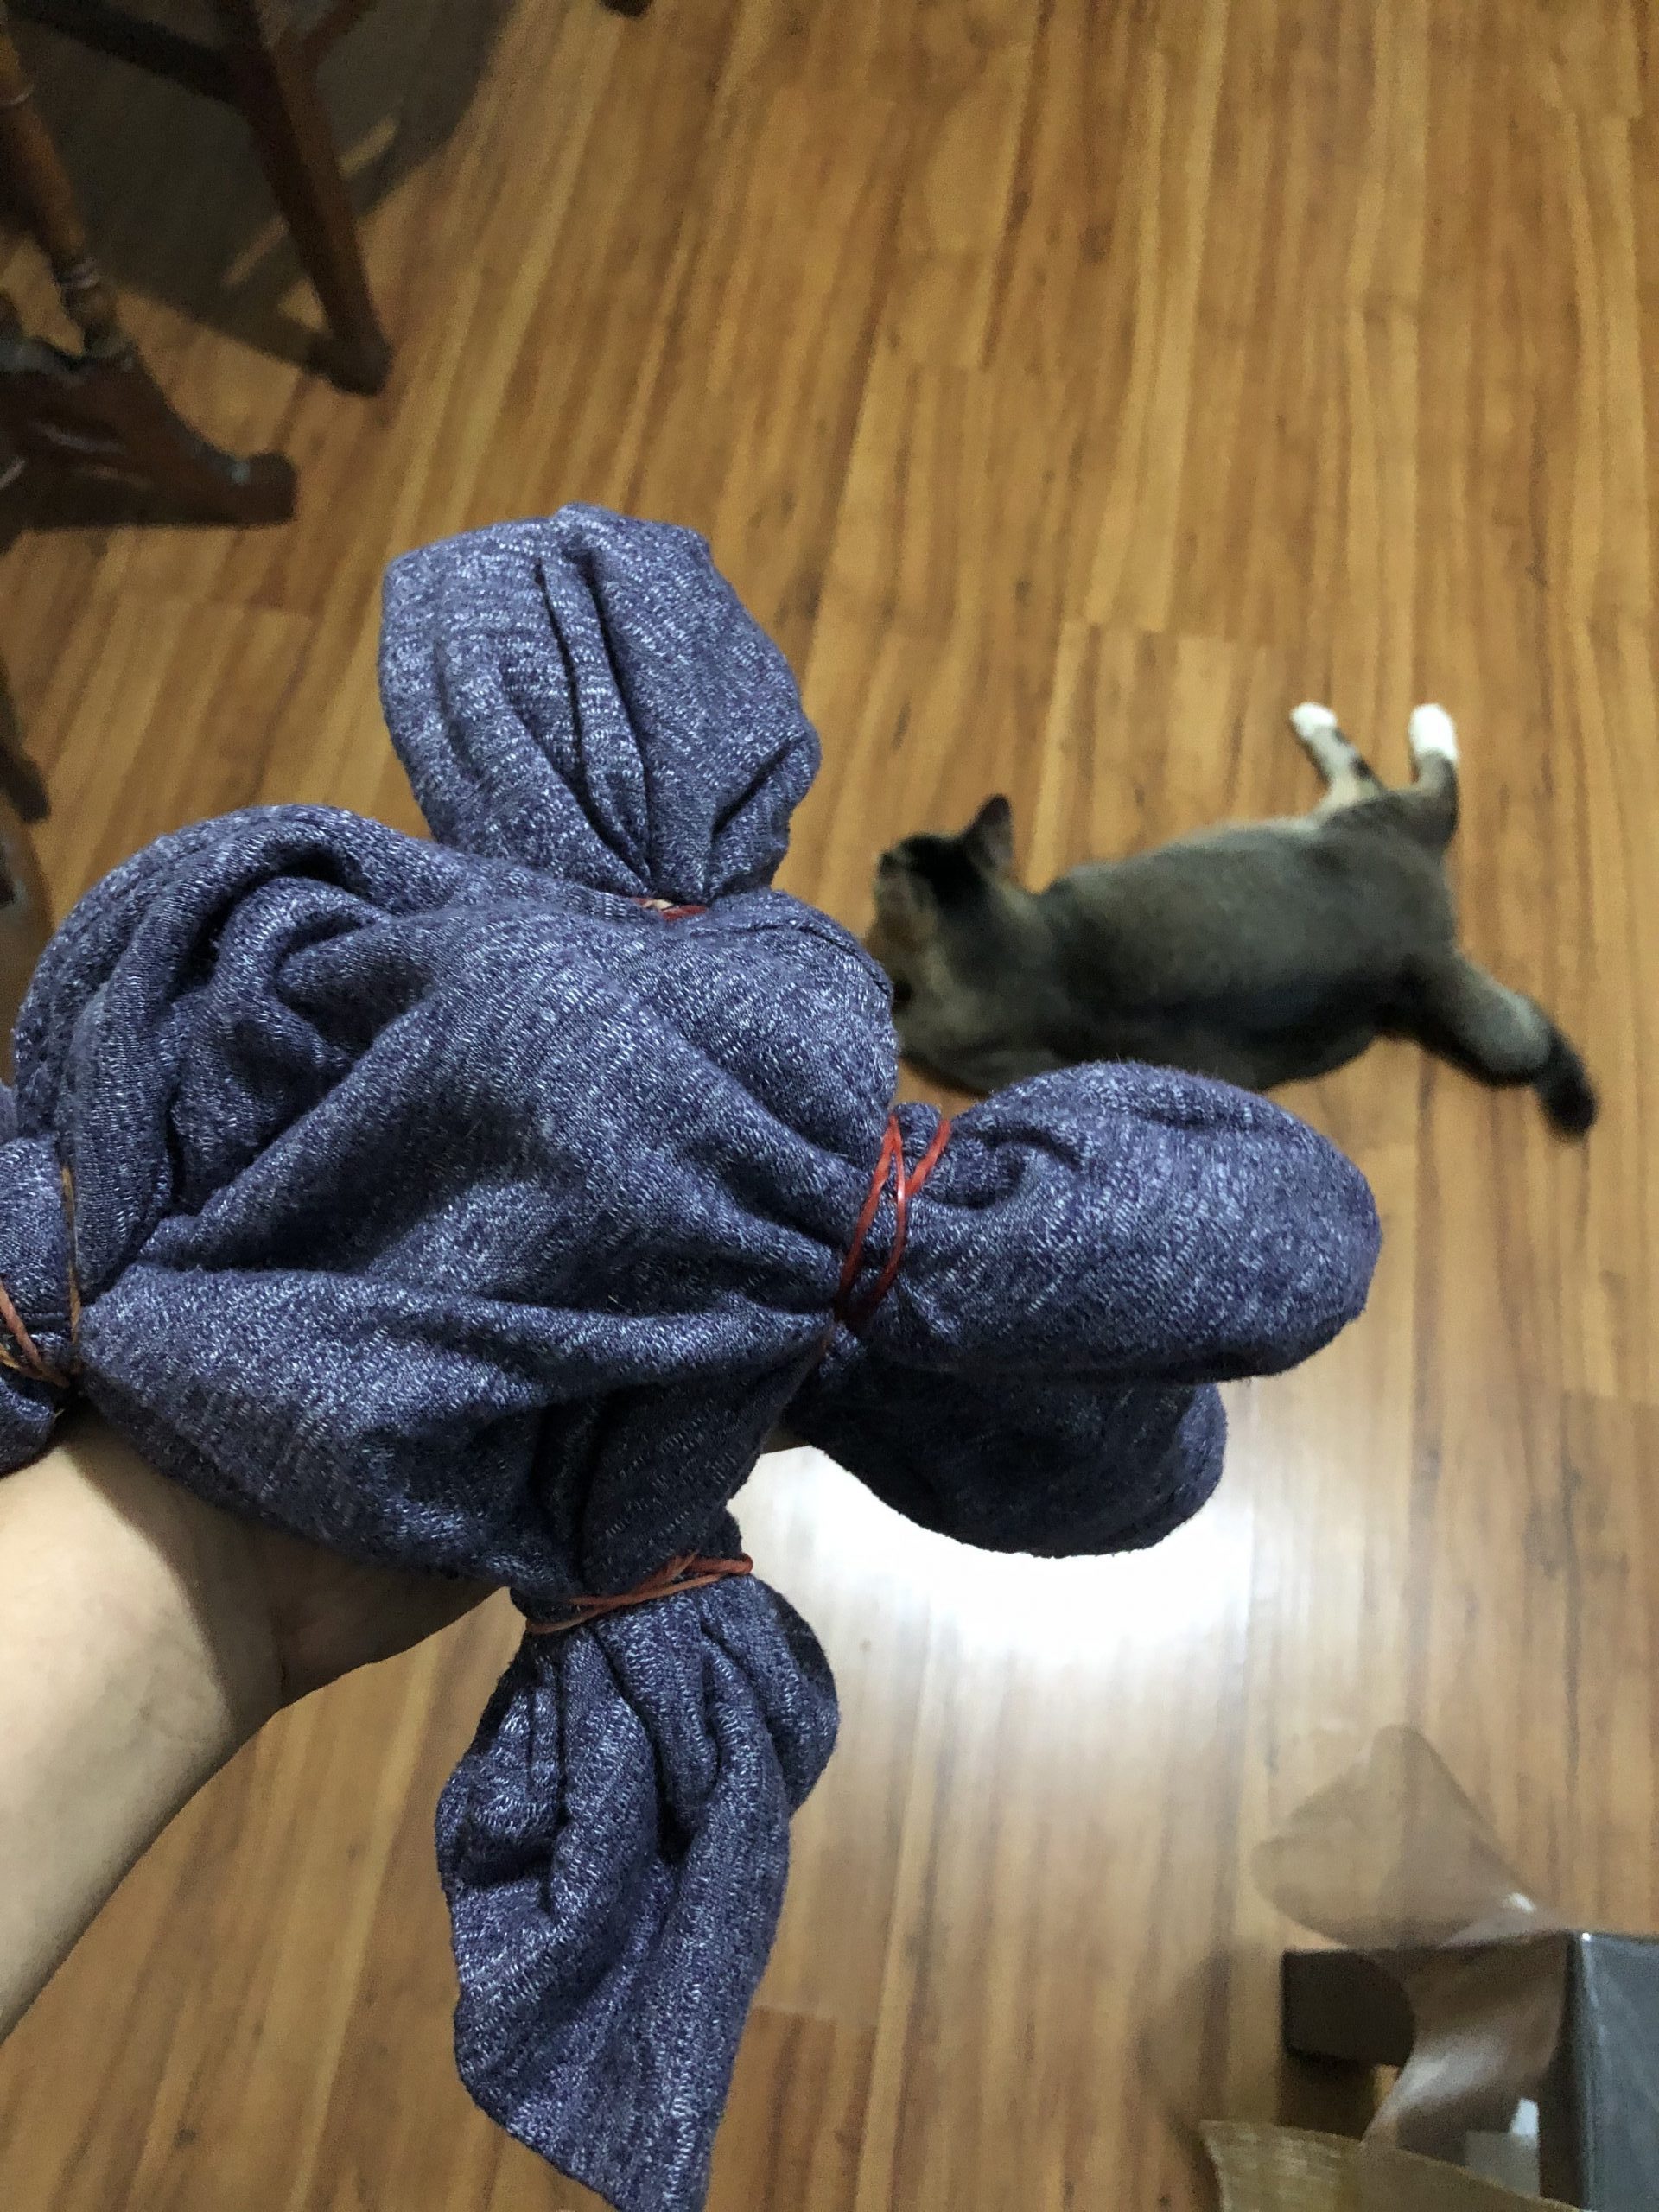
When I did some research on bleaching, what I noticed was it works the same way as tiedye. So the patterns used to make tiedye can be used for bleaching too! I tied the shirt into different segments and bleach the knotted parts.
Something unexpected happened.
While working with bleach, my cat, Socks, started reacting to the smell of it. Don’t worry, she wasn’t negatively affected but rather she started getting high. I googled it and turns out, cats react to bleach the same way they would react to catnip. Well long story short, she tried sneaking into the bathroom to get high on bleach. So do take note for those that have cats at home!
While panicking about my cat, I didn’t observe the shirt. When I came back to it, I was shocked by how much colour was gone.
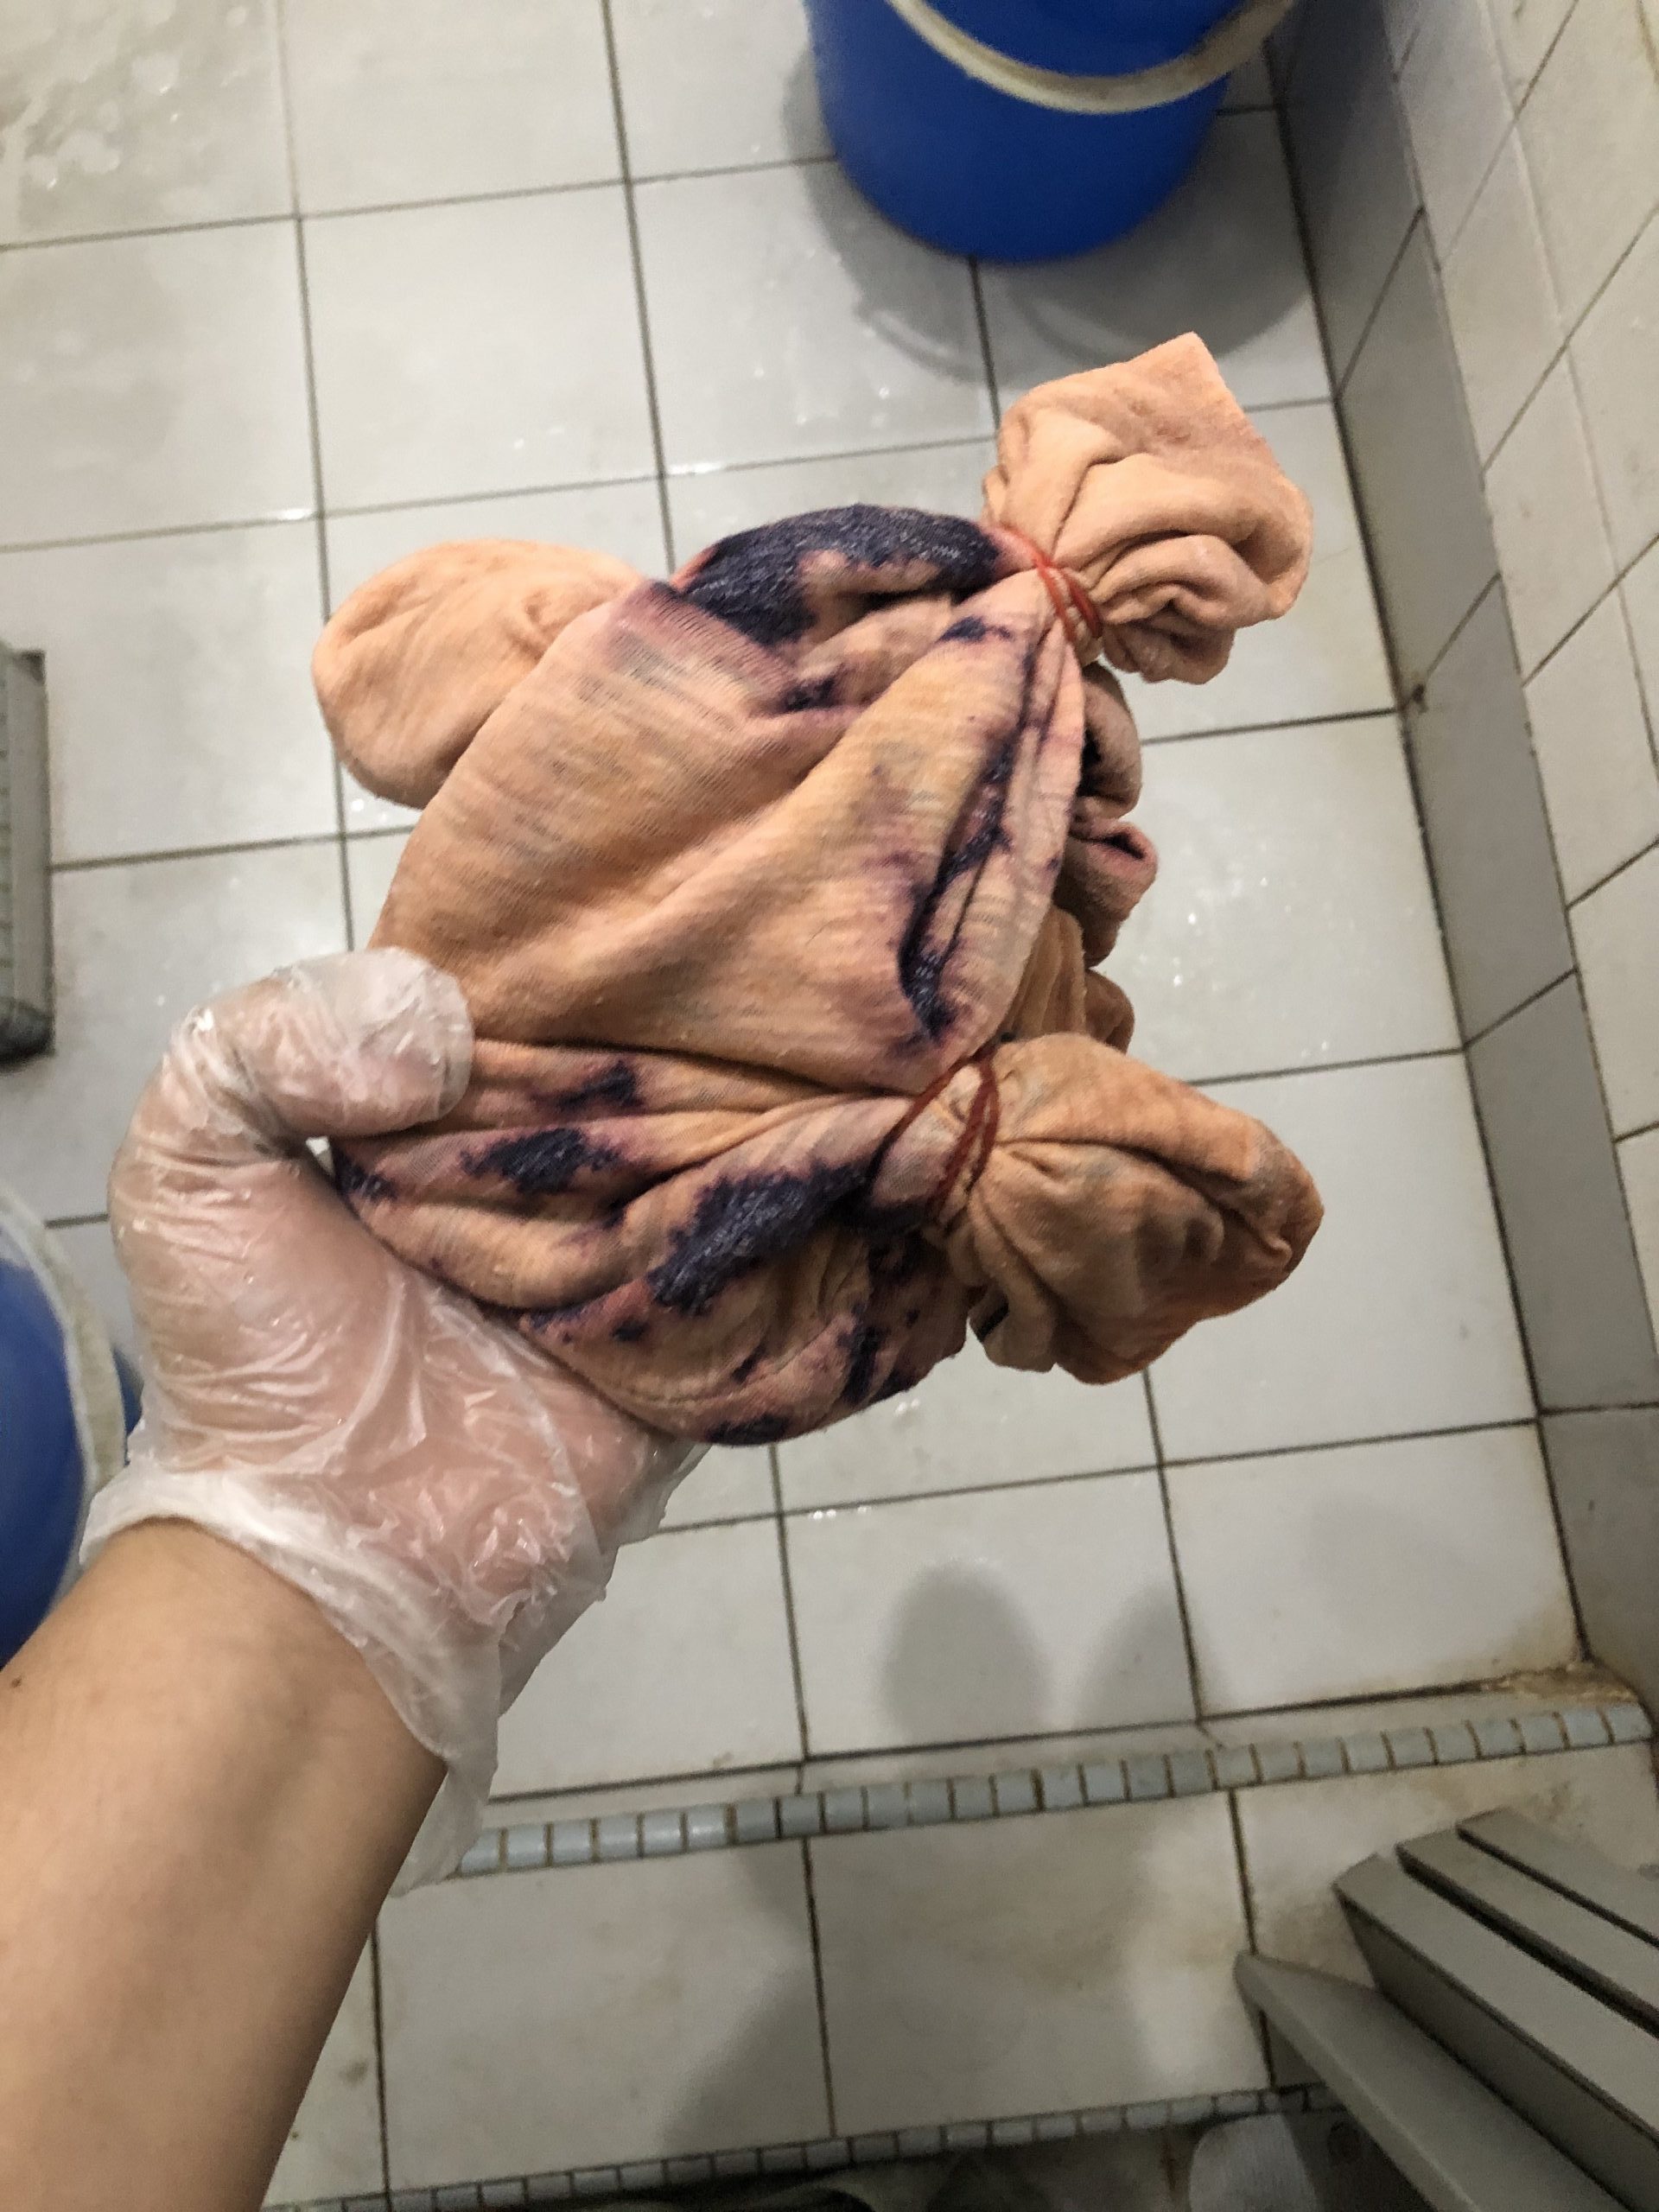
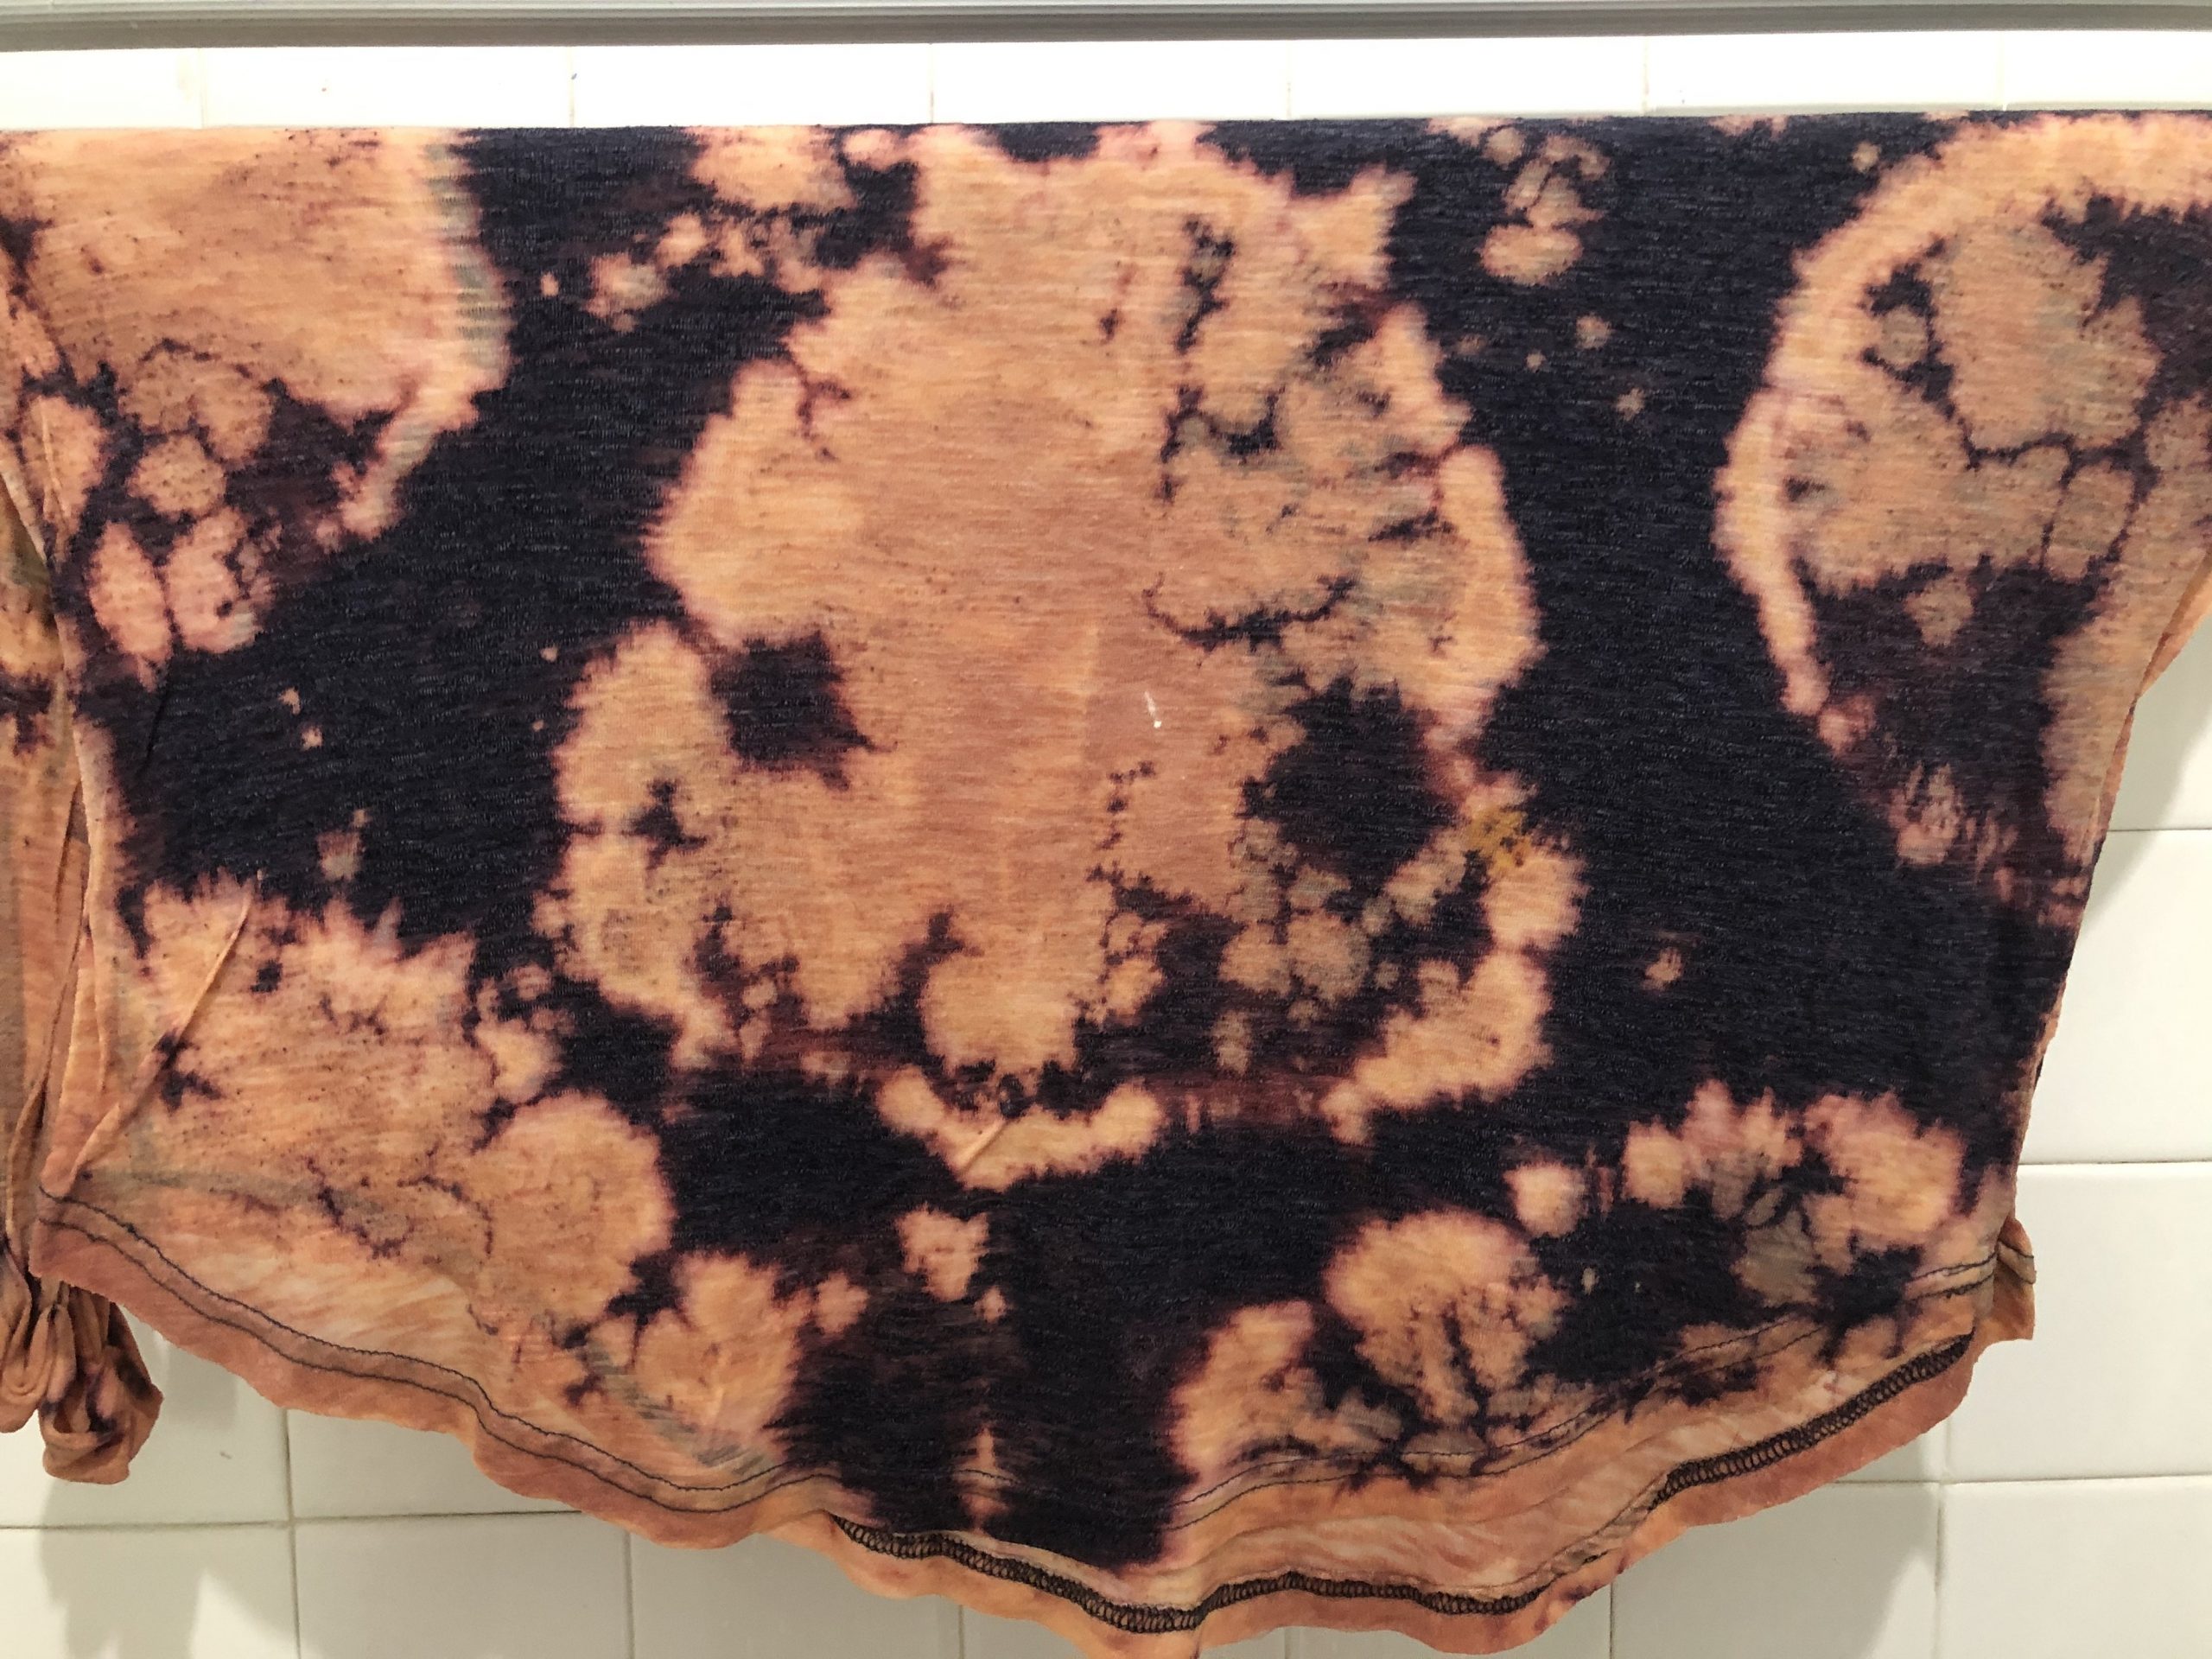
However, after opening it up and washing it, the bleaching came out better than I expected.
I really like the pattern and I believe with the right pattern, the bleaching can turn out like the snake scale pattern, thus I’ll be trying out bleach for one of my techniques for the final project. But I’ll make sure to keep my cat away from the bathroom. Stay tuned!