
Here is the synopsis of what Overkill is about taken from my previous post.
Overkill
A game where you judge each other’s moral and ethical decisions.
Story
In the year 3221, planet Earth has become inhospitable due to overpopulation. The human population exceeds the carrying capacity of the Earth. In order to decrease the population and save the Earth, a new law governs that the dictator has to choose a group of people to cull.
Gameplay
- A dictator is chosen from the four players.
- The counters are placed onto the tiles.
- Players have to decide which they think the dictator has chosen to kill.
- Earn a point if you choose the same as the dictator.
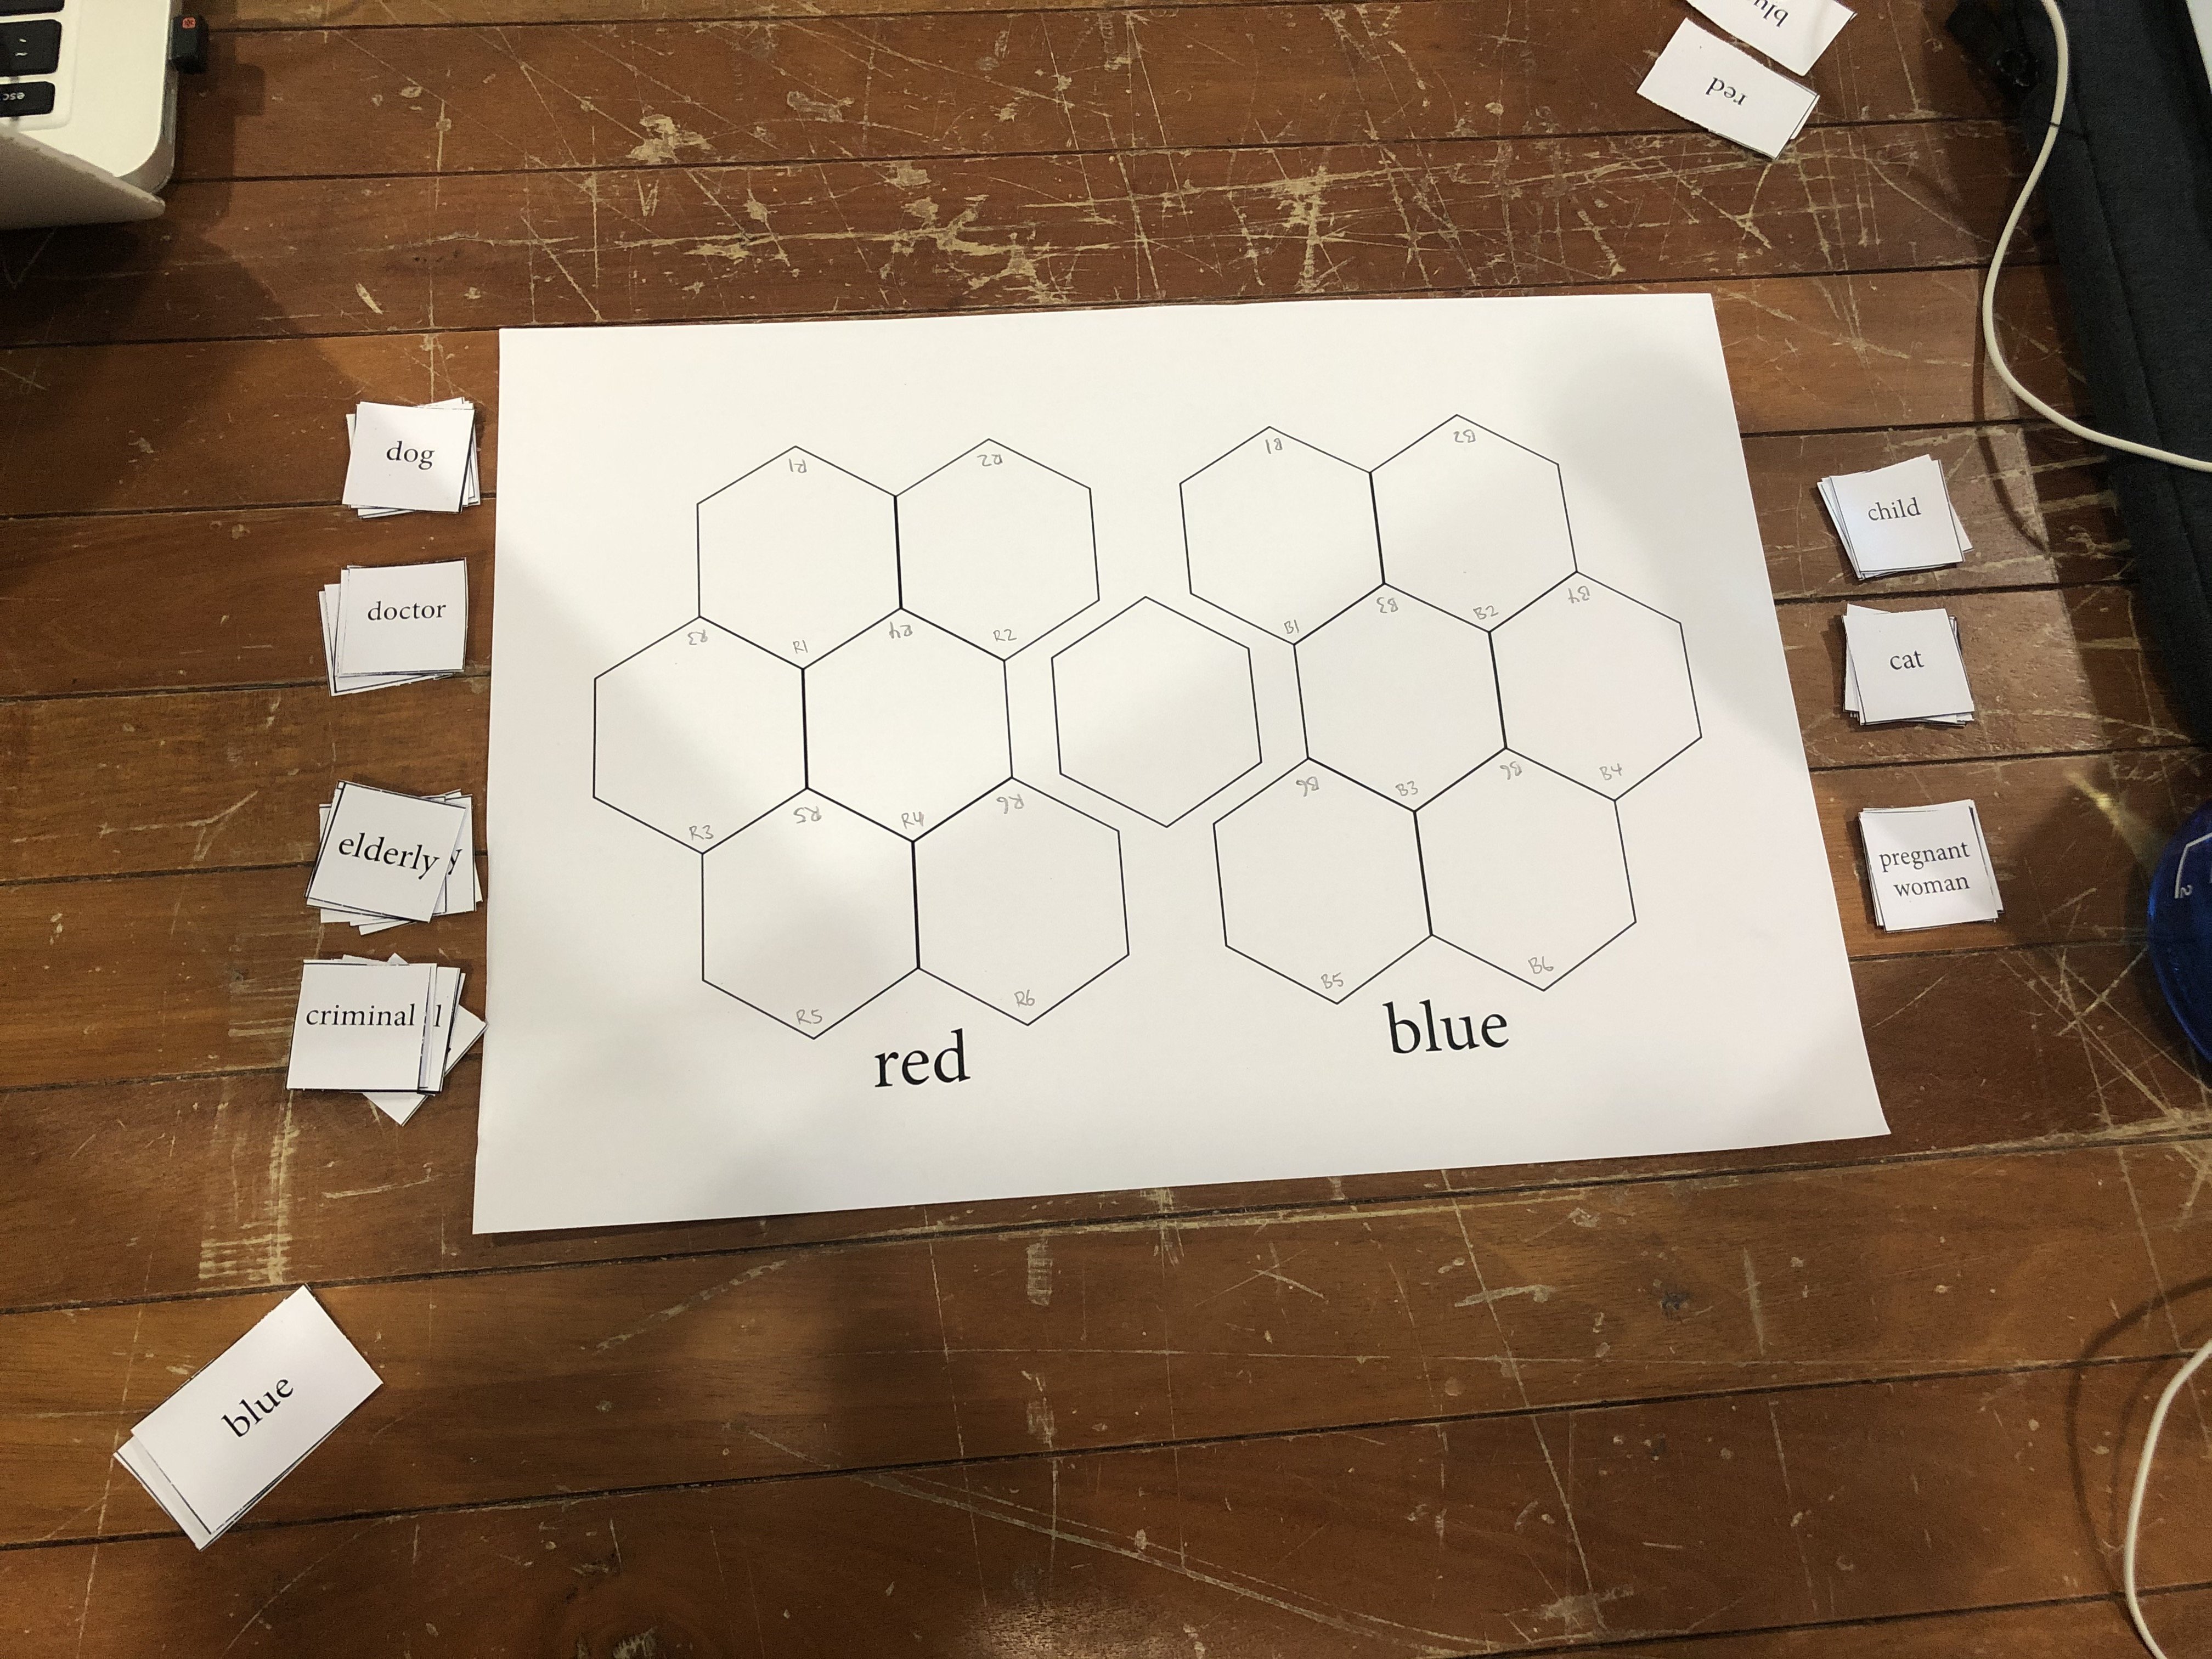
DEMOGRAPHICS: Who are we killing?

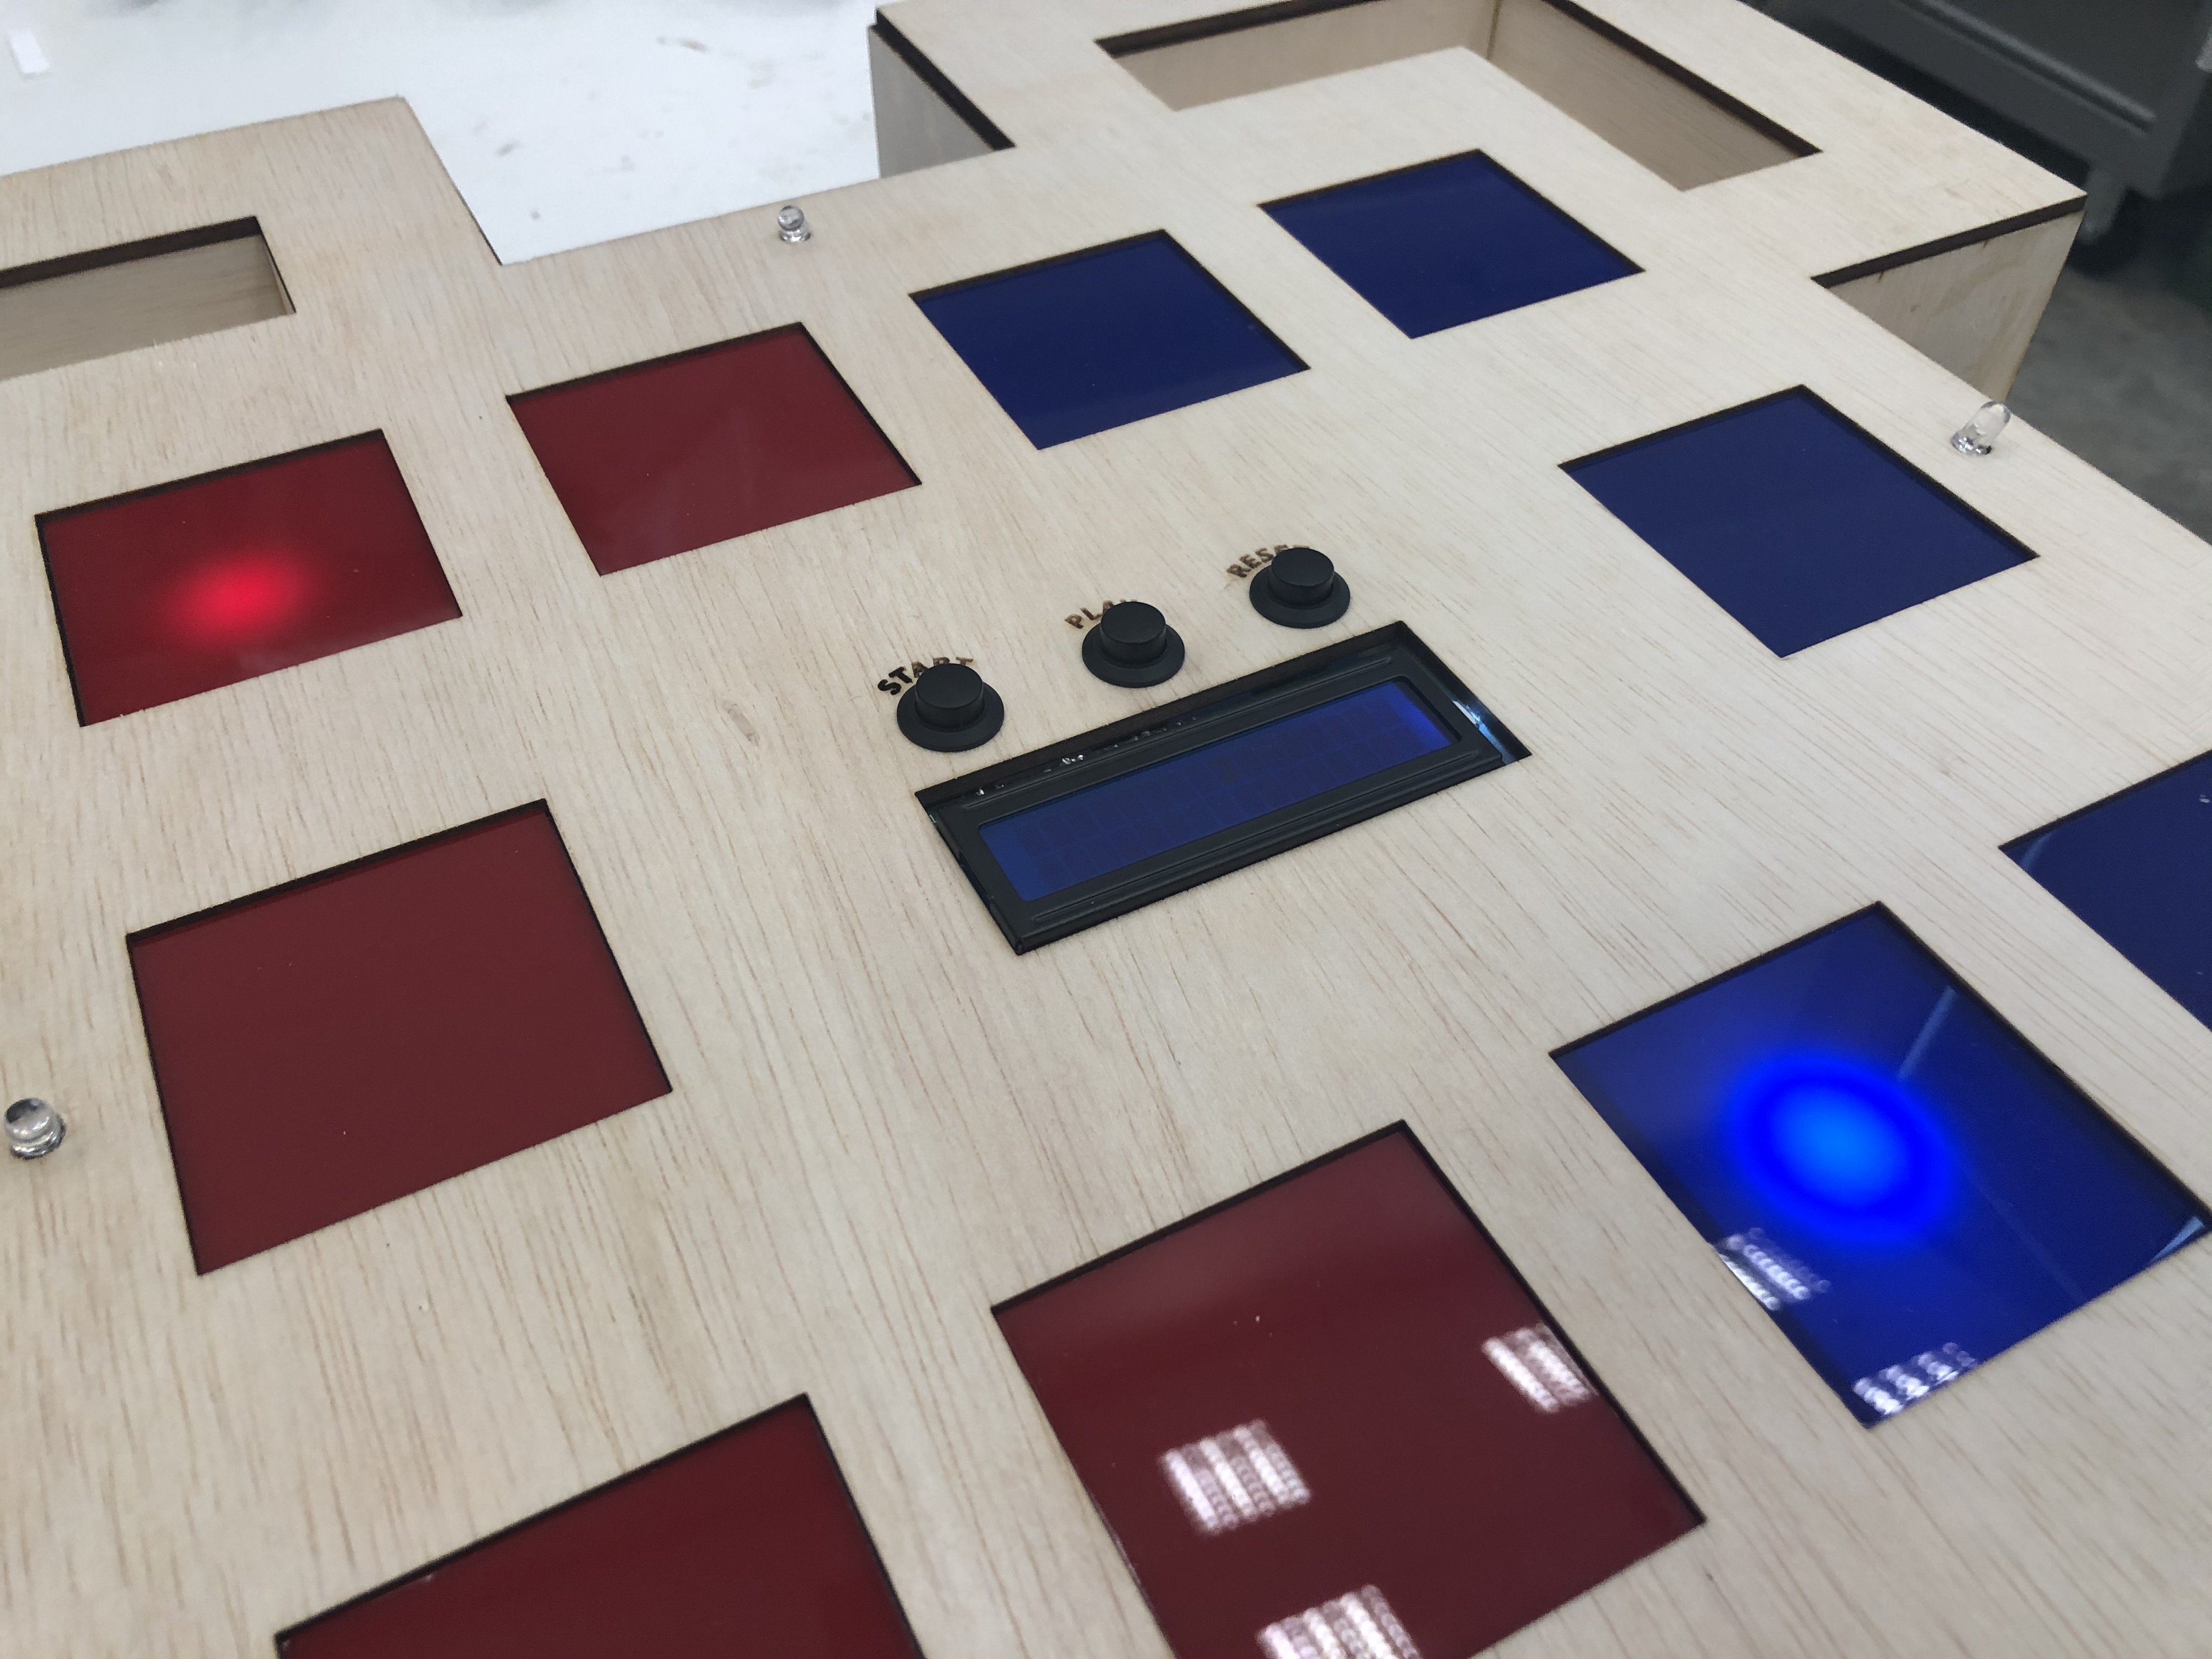
Game Instructions:
- Press the Start Button and a dictator will be chosen at random amongst the 4 players. If your light is lit up, that means you are the dictator for that round.
- Place your counters onto the red and blue tiles, a minimum of 15 counters must be placed.
- After placing the counters, press the play button and one red & one blue tile will be lit up.
- Within 10 seconds, players are to decide which they think the dictator will choose to kill, the red or blue representative by pressing your red or blue buttons.
- Once the time is up, your light will lit up if you have chosen the same as the dictator.
- Press the reset button to start a new round.
Process
Ohmy, this project has been one heck of a ride.
I first began by testing out a trial game with two groups of people. The first group gave me insights into the game that I didn’t take notice of, such as how personalities of players can be taken into consideration. The second group, however, were a little more critical on the conceptual aspect of the game. Basically, they wished the message was a little stronger. Nonetheless, I didn’t want to delve too much into the story of the game because I envision the game to be easily understood and intuitive for the players without having to go into too much detail.
After the trials, I started working on the form of the board game.
Initially, I designed the board in a 300mm by 600mm dimension as seen below.

However, the feedback given by the class was that the dimensions did allow for an equal level of playing field for players. A simple solution was to create a square board game, ensuring equality for all 4 players. Previously, I was constrained by the size because the Print Centre’s laser cutting machine can only take a maximum of 300mm by 600mm. With Jeffrey’s and Minjee’s (work-study for the print centre) feedback, the laser cutting machine from the PD workshop will work better in my case.

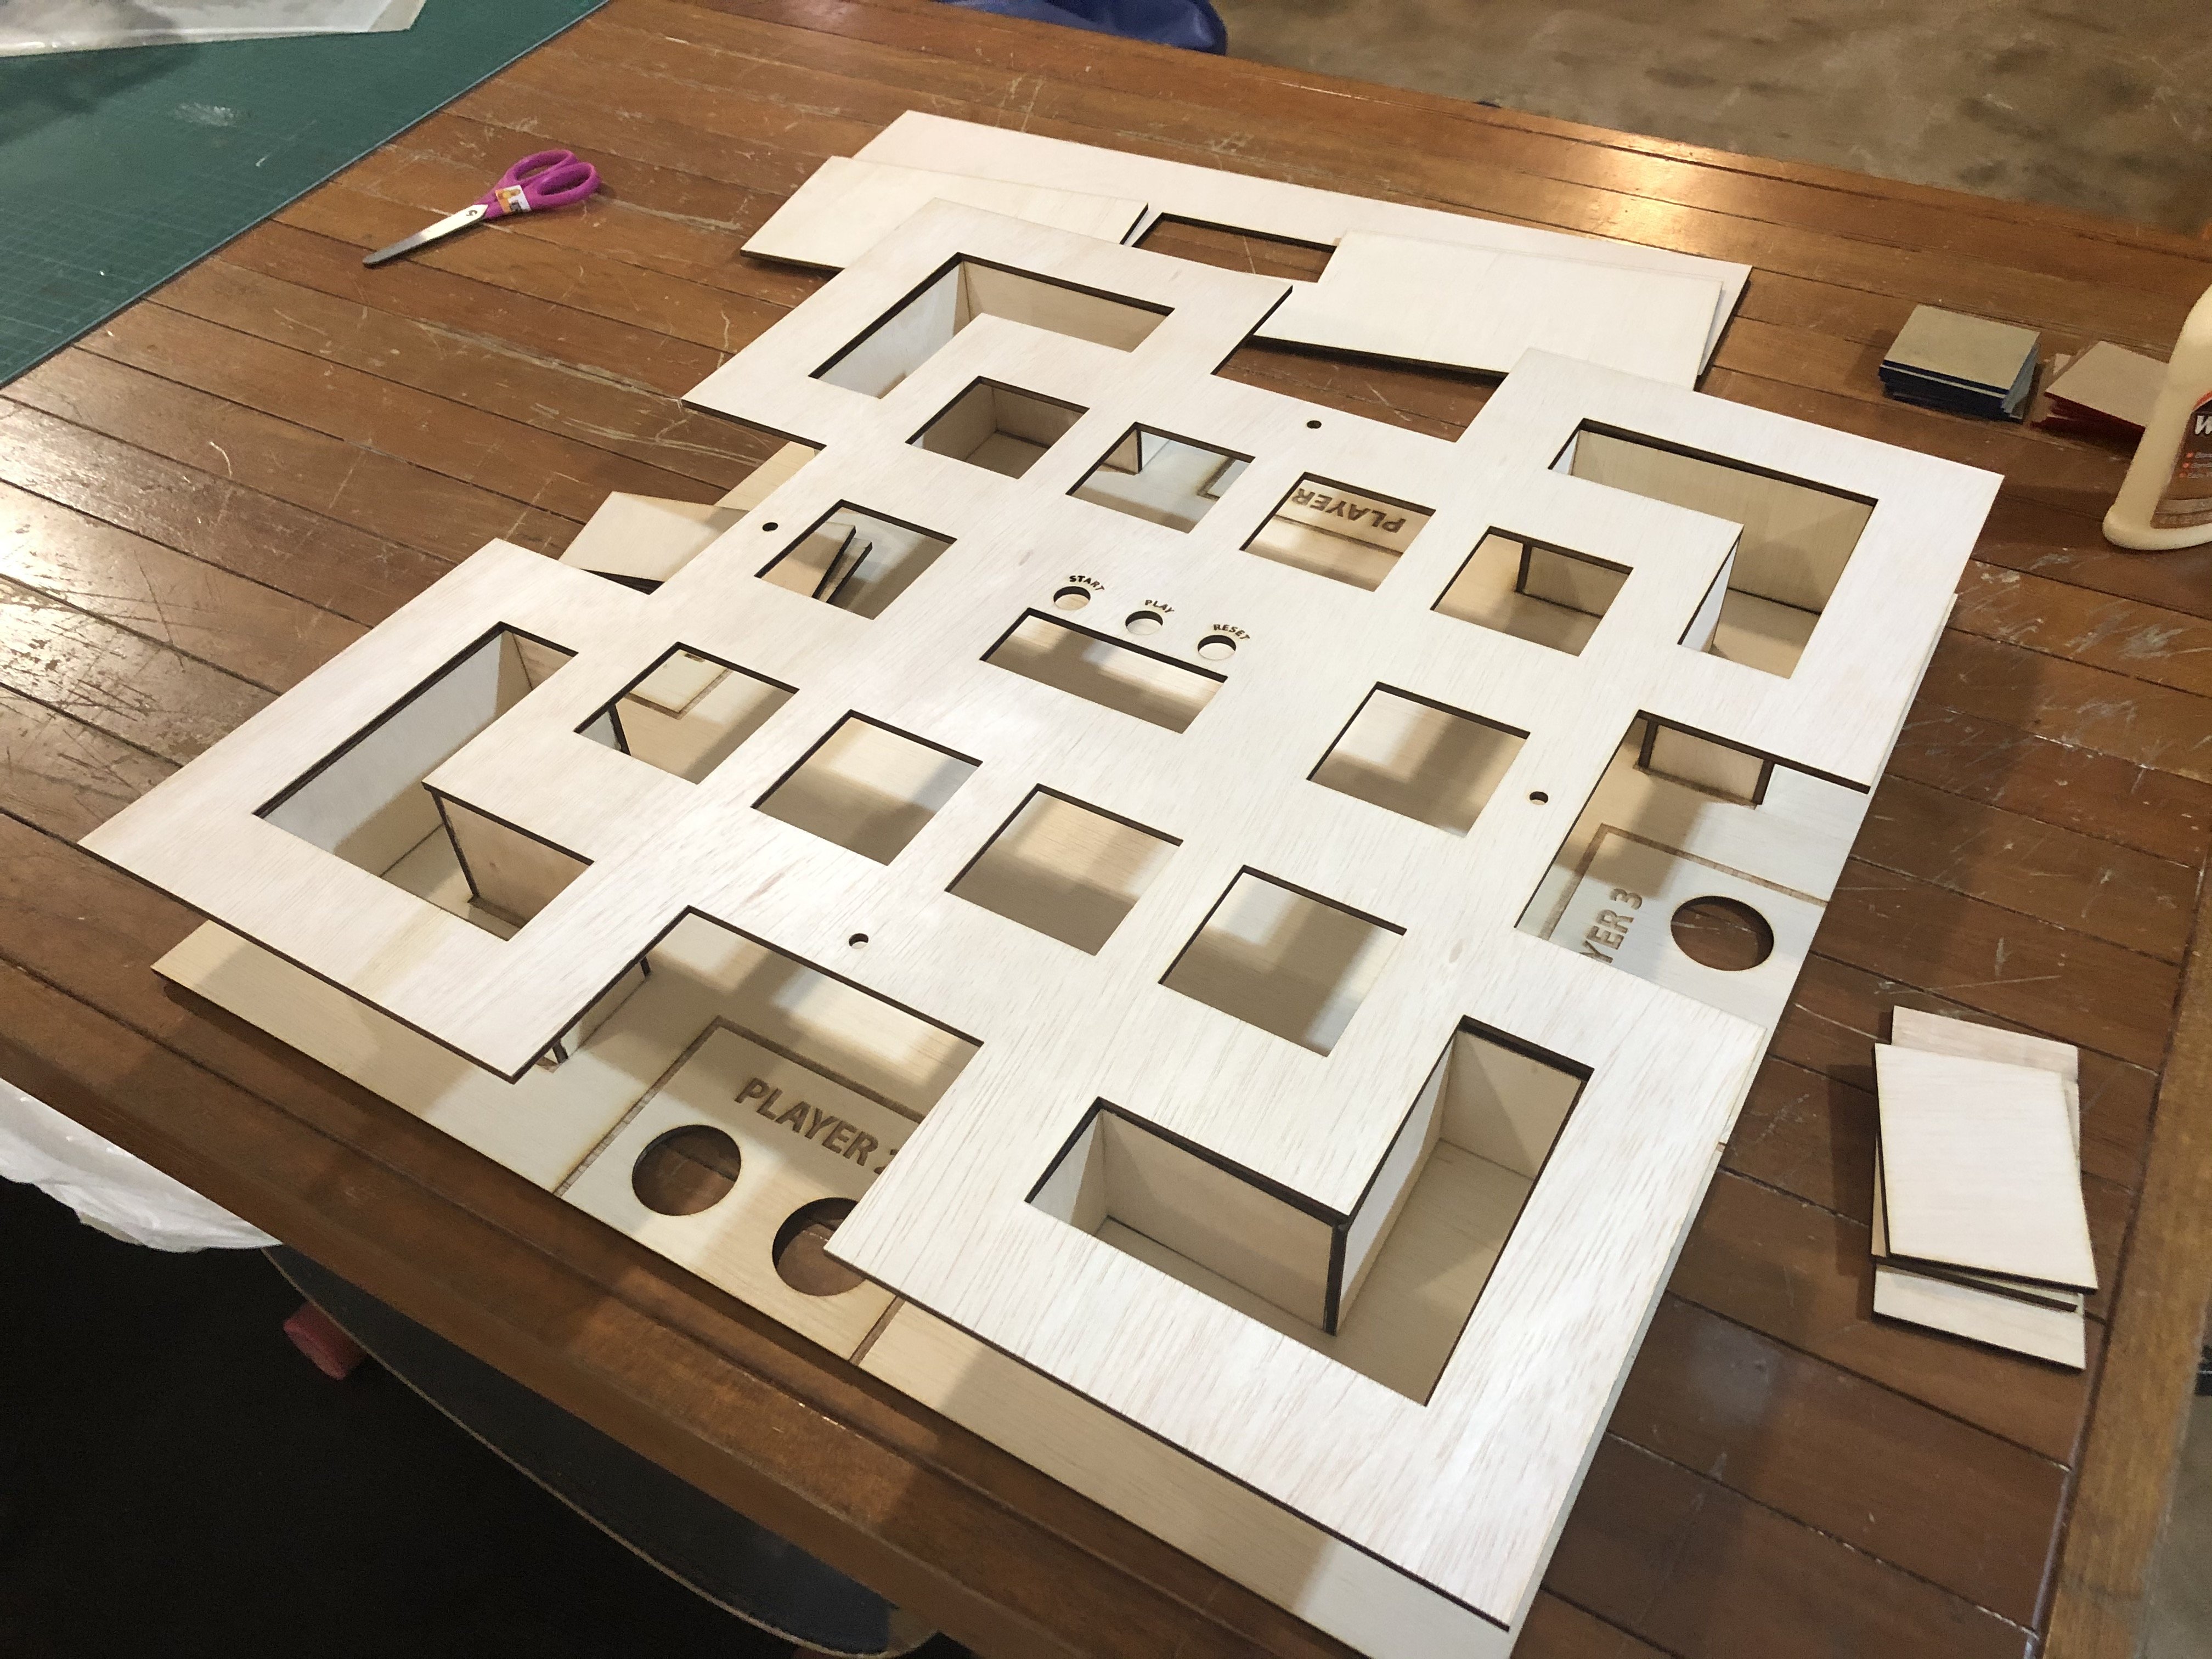
Crafting the model took a lot of trial and error to ensure proper construction. Thus, I spend way too long on Illustrator, working out the dimensions as well as the look and feel.
Once I was ready, it was time to laser cut.


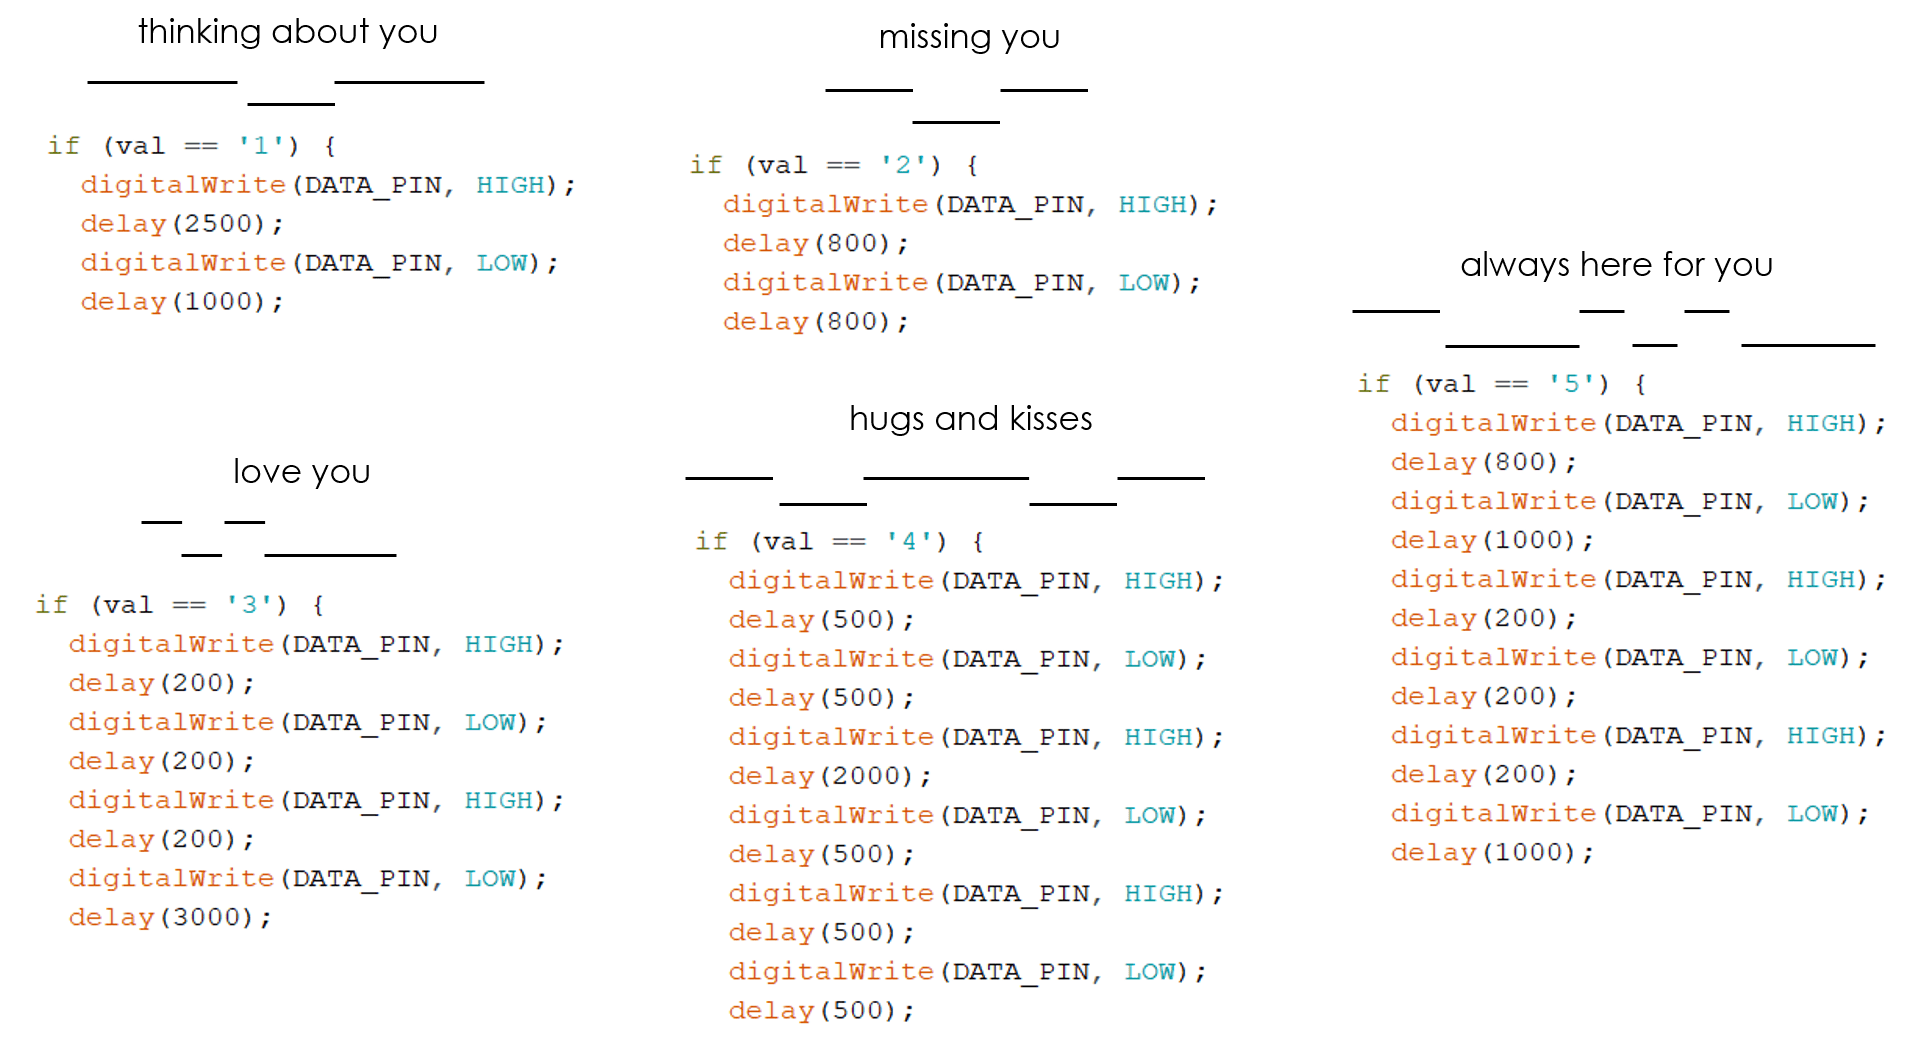
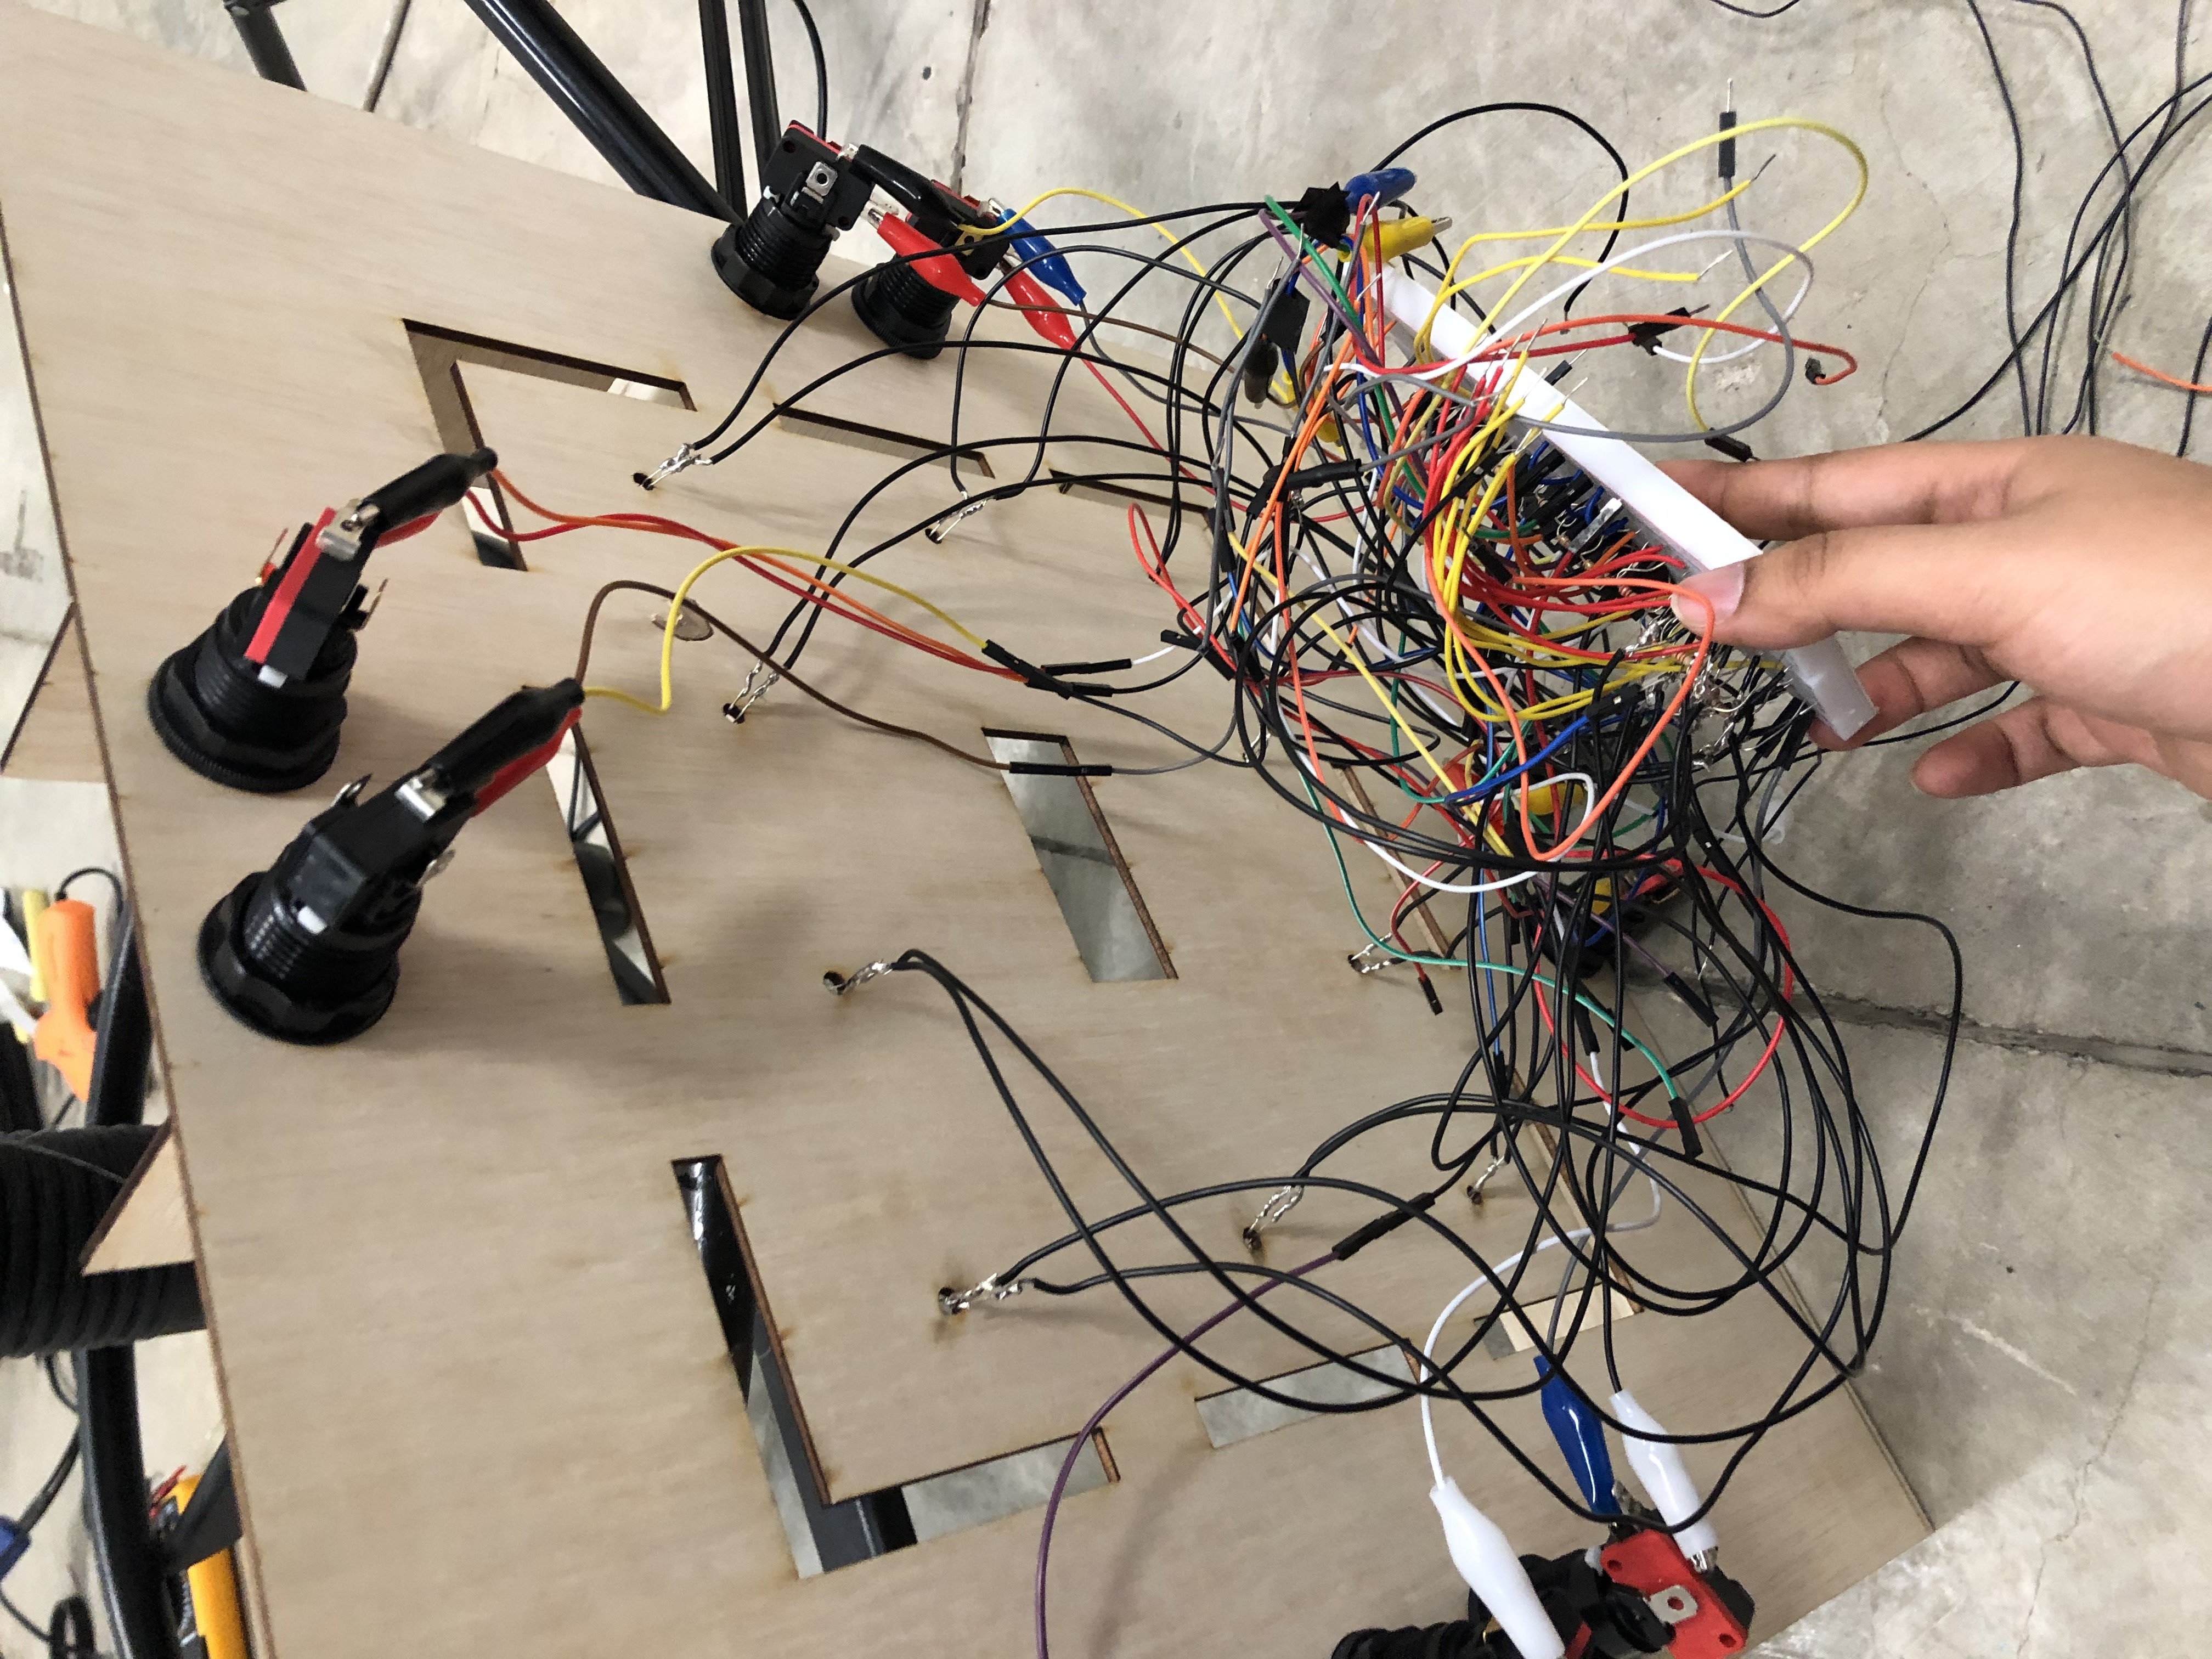
The next part was working on the code and circuit. Realising that I require many pins, I decided to work with Arduino Mega. To be completely honest, the technological aspect of the project is pretty simple; buttons and led diodes. What makes it complicated though, is the number of wires.
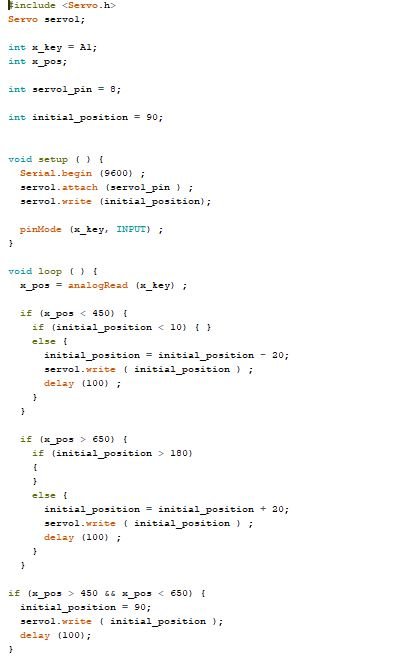
Unfortunately, I wasn’t able to incorporate the trap door idea using servo motors into the board game. The number of wires without the 10 servo motors is already pretty overwhelming.
I struggled for a fair bit with the wires and it soon proved to be my downfall. Before the end of semester show, I was caught up with trying to just plug in all the wires without having proper cable management. Thus, this resulted in the Arduino Mega to shortcircuit in the early morning of the End of Semester Show. I believe this was due to there being many exposed and loose wires.
Some of my classmates also gave me feedback on how to properly manage the wires such as, using different colour wires and taping down the exposed wires. Taking their feedback into consideration, I redid all the wiring.
This is an image of the wires before the end of semester show.
After the end of semester show, (thank you to Jeffrey and Galina for allowing me to continue working on this project!), I tested all the wirings first to ensure that everything is still functioning. I created several test codes to check that the buttons and lights are working.
After checking, I plugged out all the wires again and tried my best to group and tighten the wires down. Here is a before and after.

Once I ensured that all the wires are properly managed, now I can get down to business and modify my code wherever necessary.
And there you have it, that is how Overkill was made.

Reflections
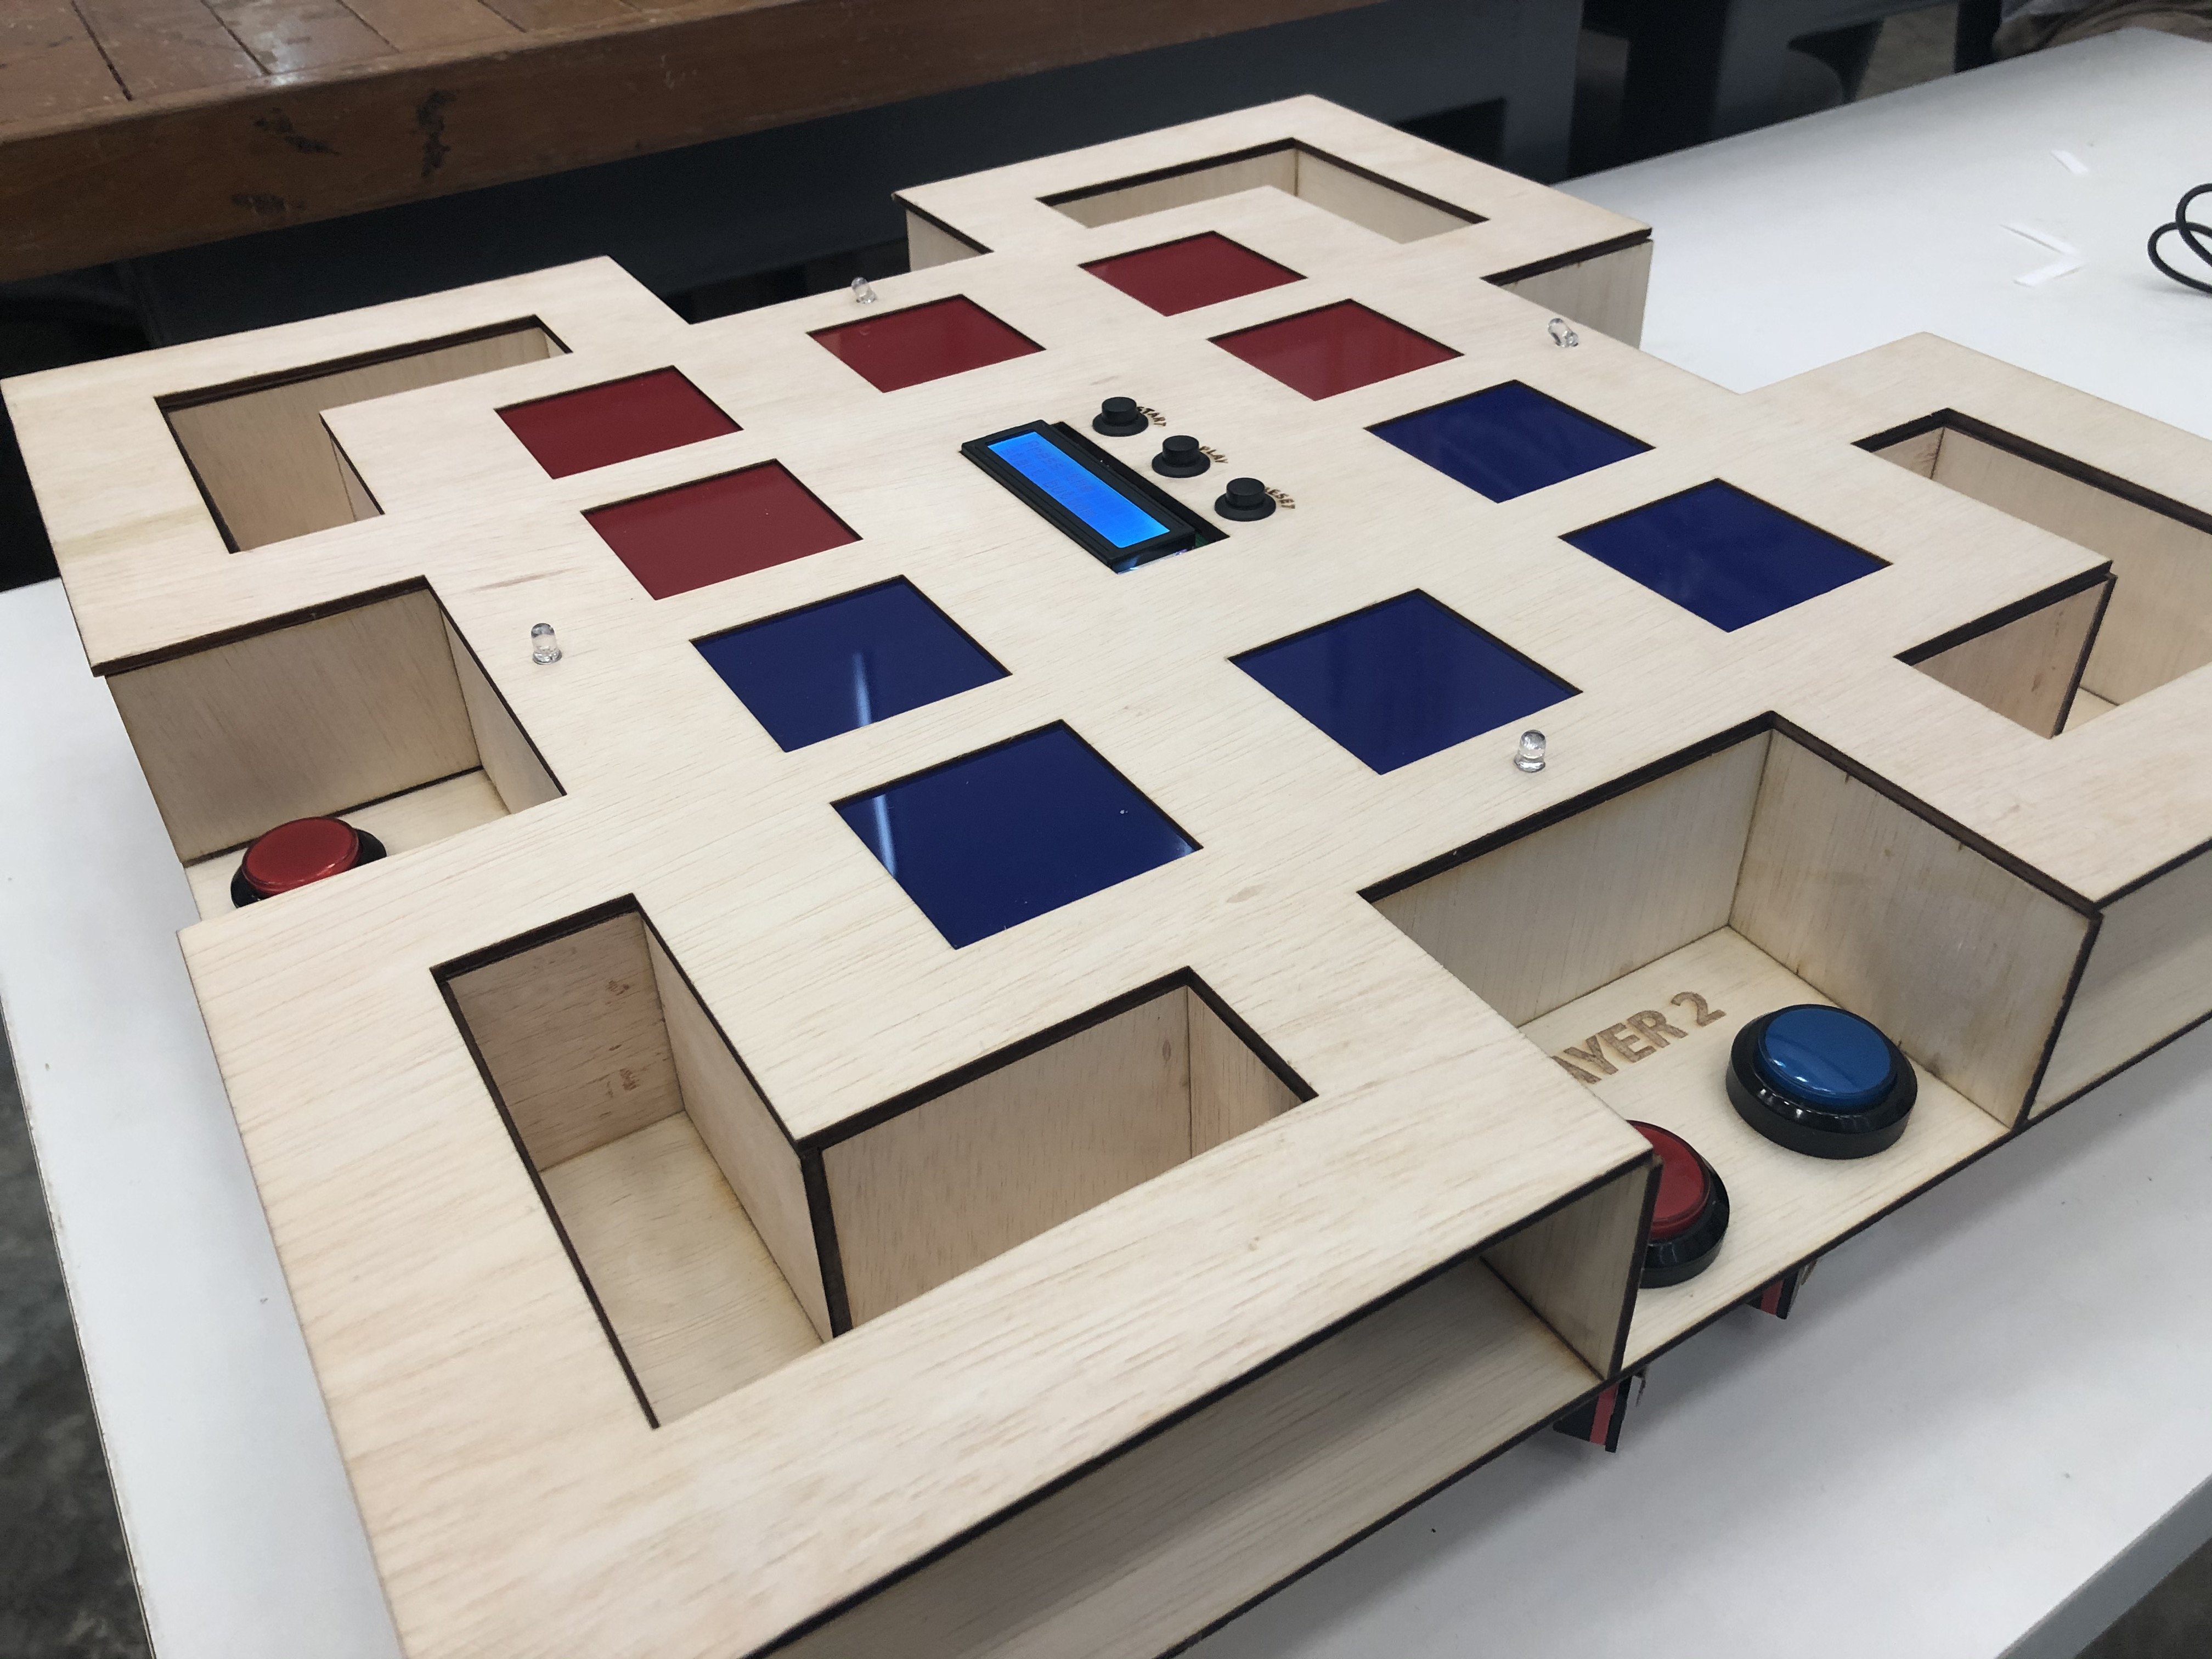
- I believe I paid too much attention to the appearance of the board game that I neglected my wirings and code whereas, for my previous projects, I prioritised the wirings and code. Nonetheless, this time I am pretty proud of the overall aesthetic of the board game, even though it is simple.
- PROPER CABLE MANAGEMENT!
I can’t emphasise this enough. But lesson learnt; when you are working with many wires, always ensure everything is labelled and use coloured wires.
- There are many things I wish I could add or improve to the board game. Nonetheless, I’ll continue developing the project whenever I can. For now, I hope you enjoyed playing Overkill as much as I enjoyed creating and making this project!