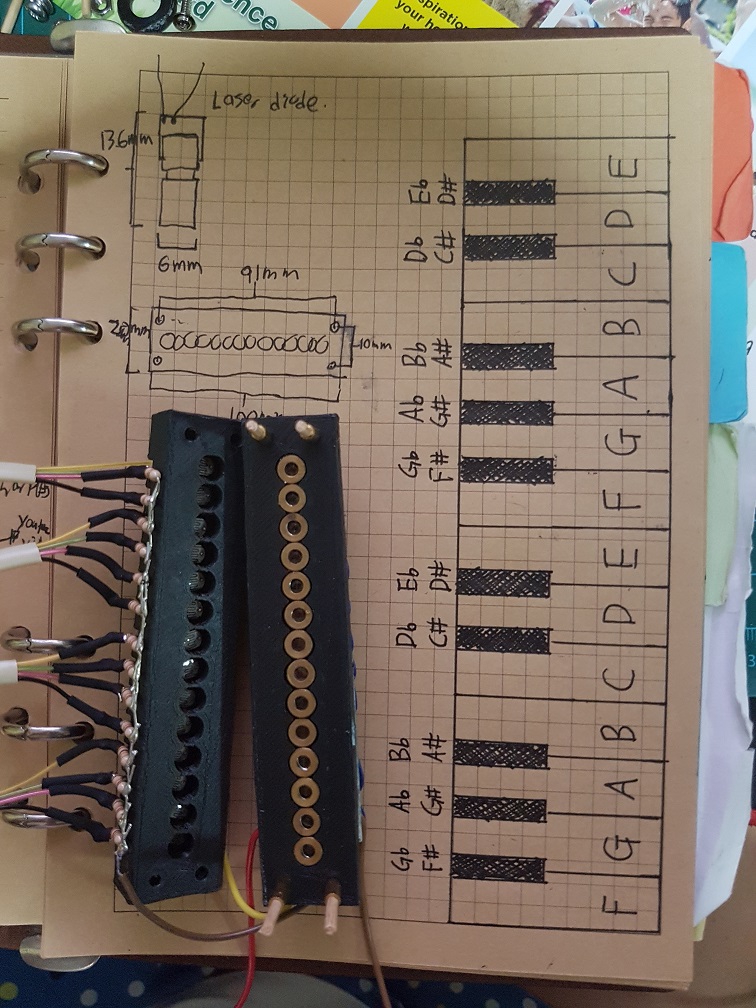
After the Initial concept, I’ve 3D modeled the Laser mount and Photoresistor mount.

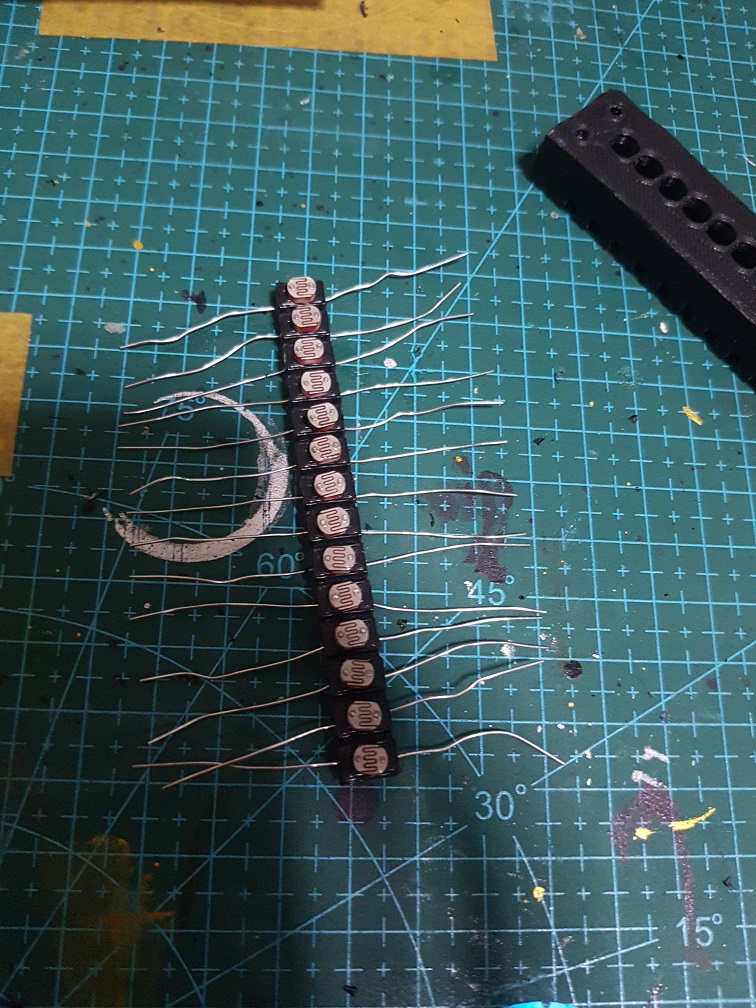
And after the Laser mount was done and working great, I went ahead to print the Photo Resistor mount.
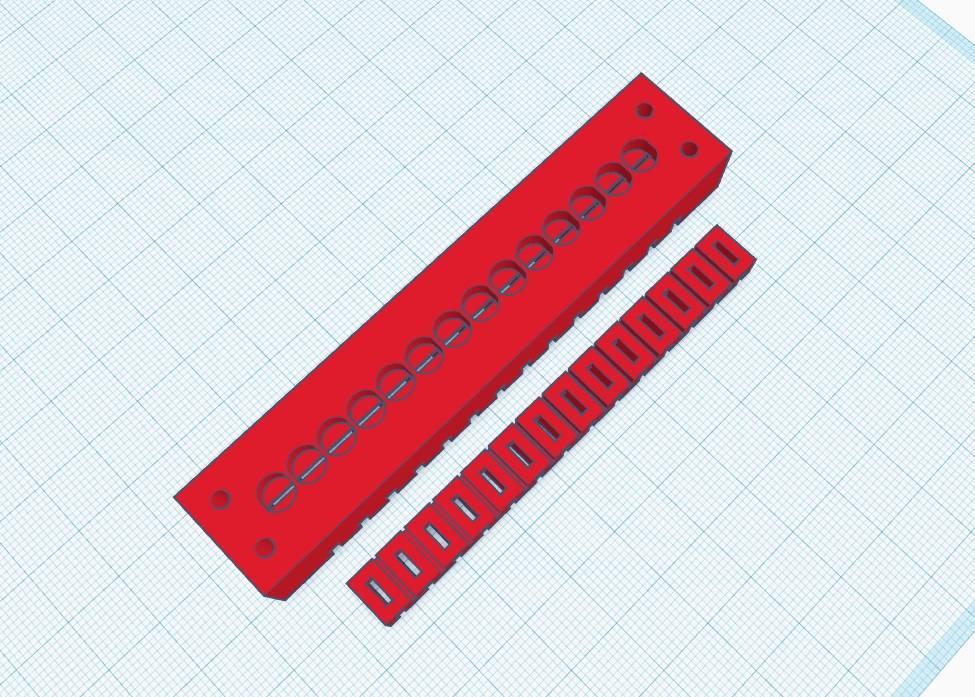
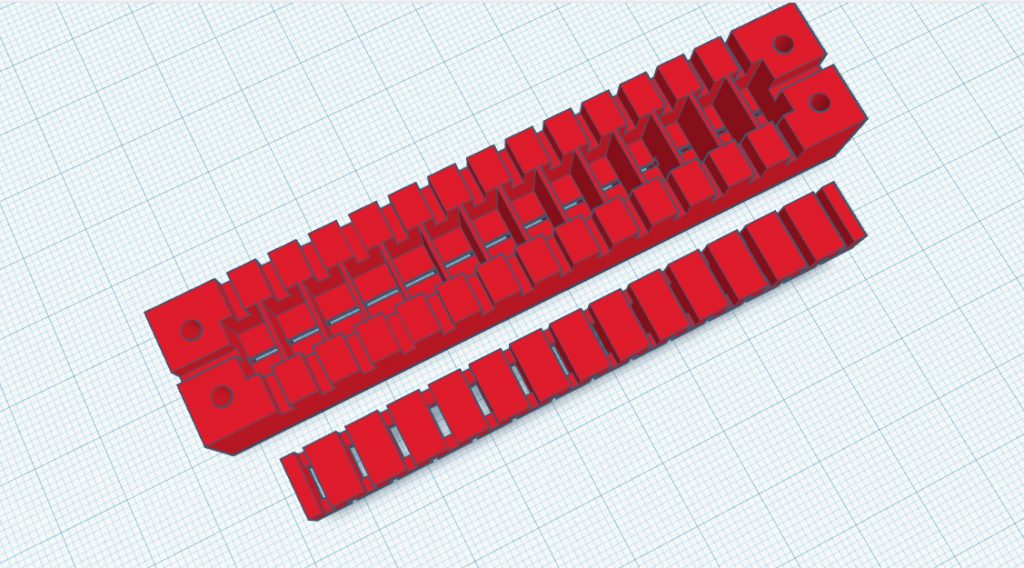
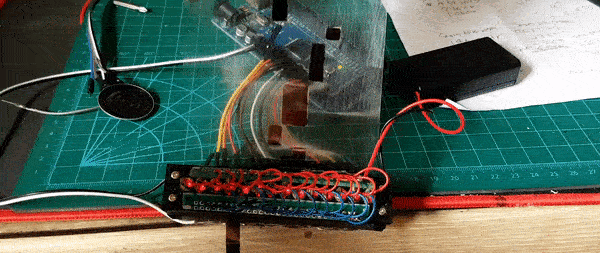
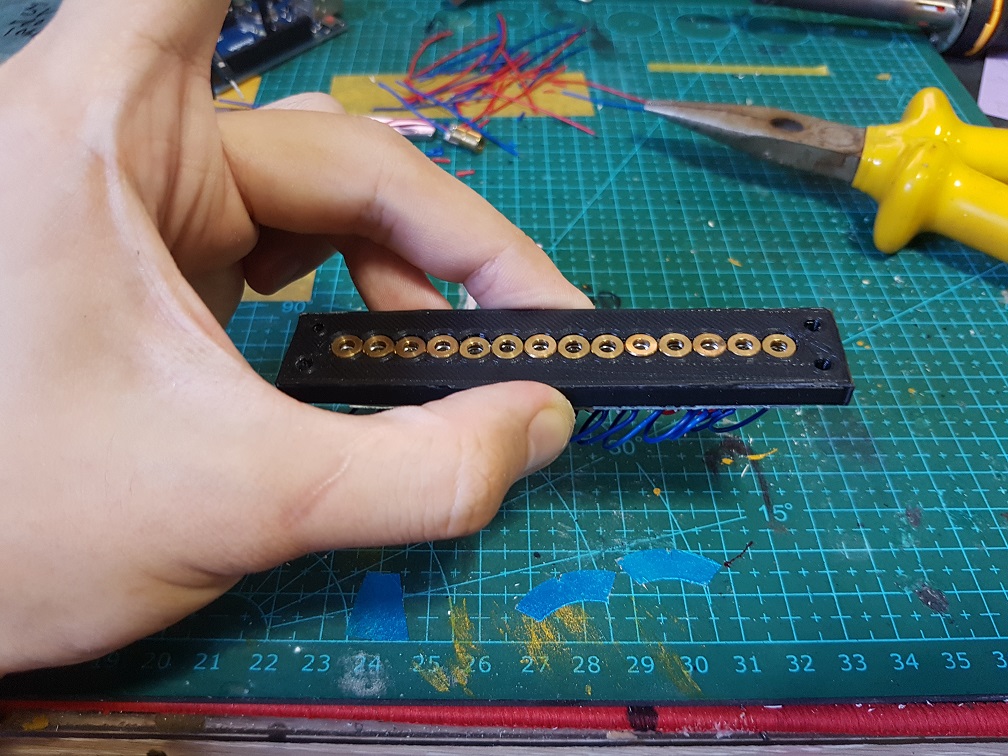
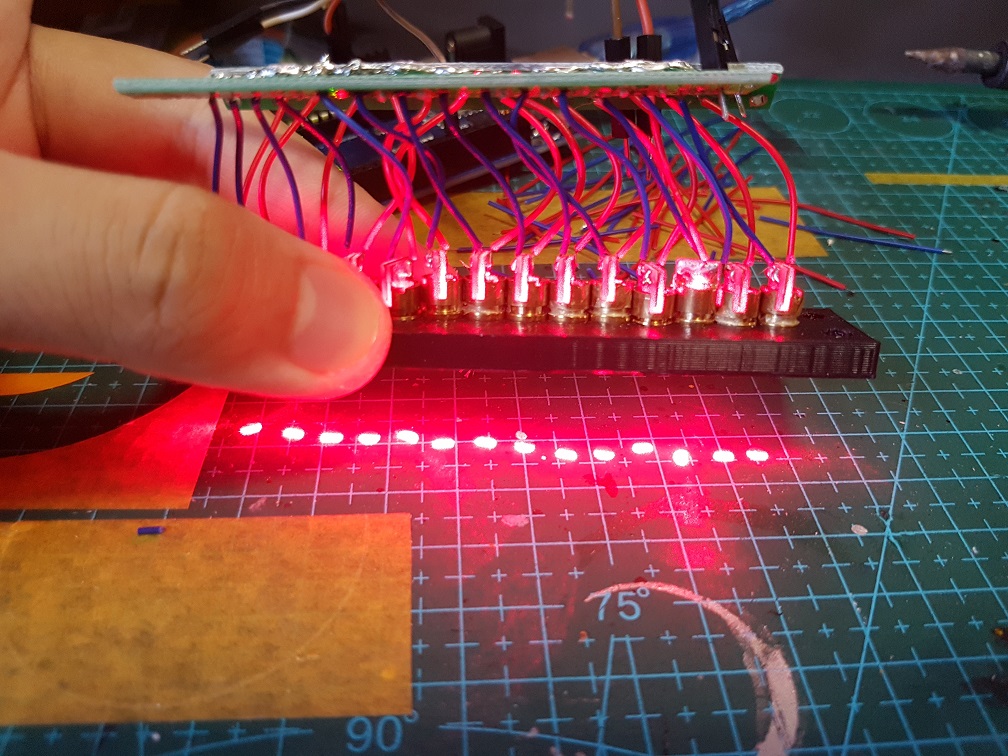
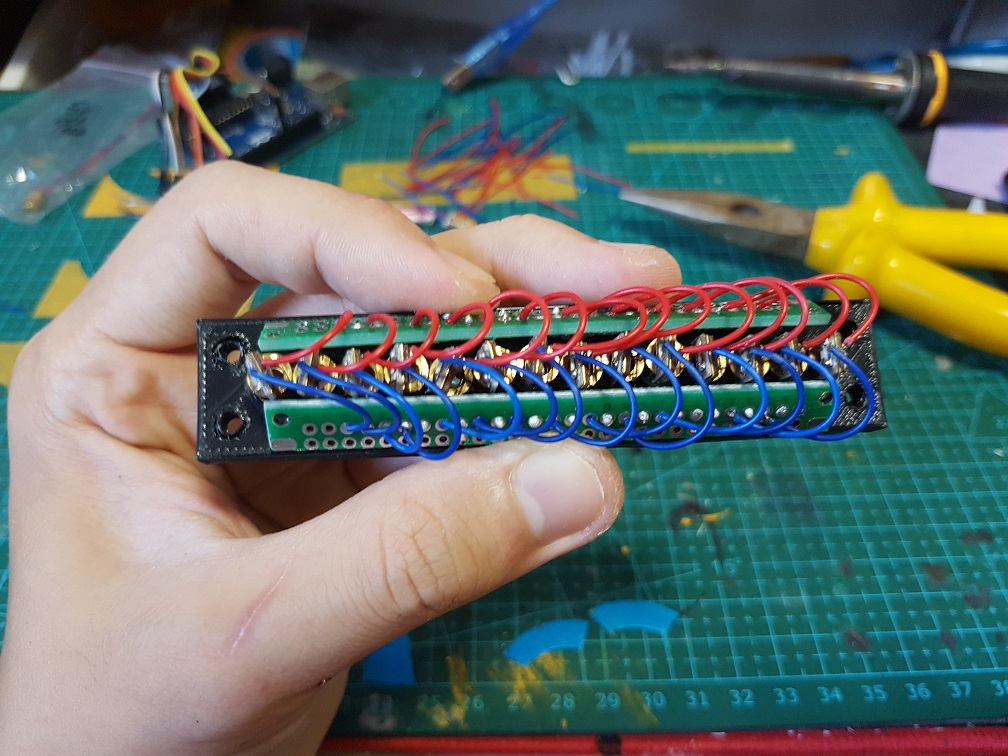
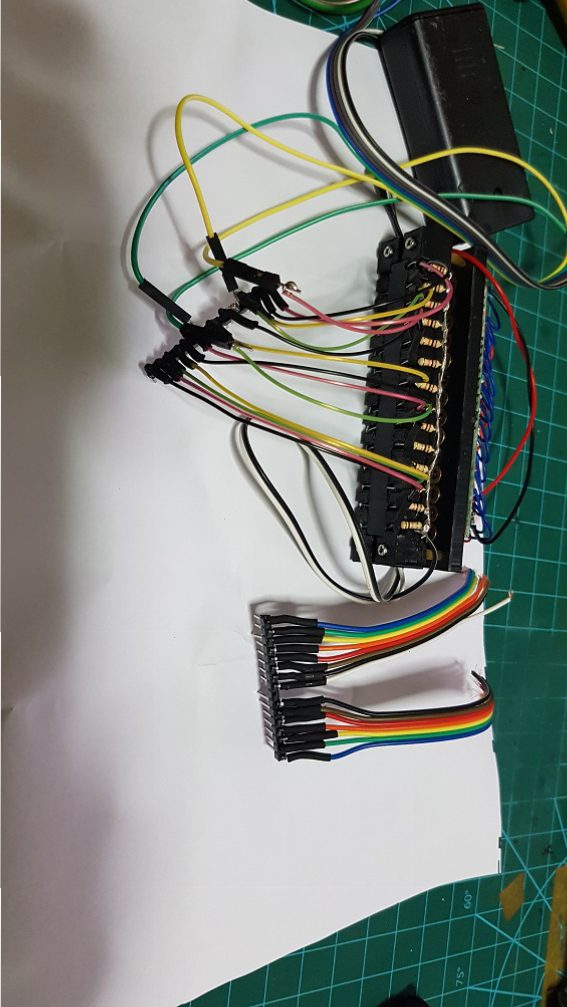
It is designed to hold the photo resistor and allow the connector of each Photoresistor to be protruded out so that I could solder the circuit with the pull down resistor right on the module to remove the need for having a breadboard in the Telephone as the space will be limited in it, and i guess this will be the more efficient way of doing thing while making sure all connections are secured.
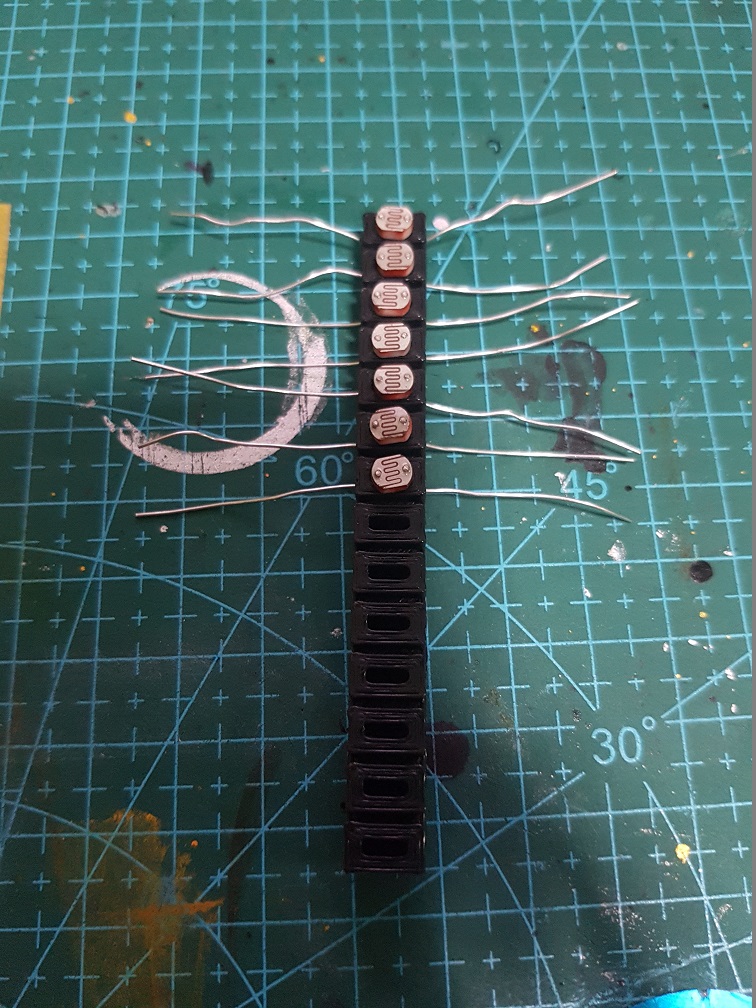
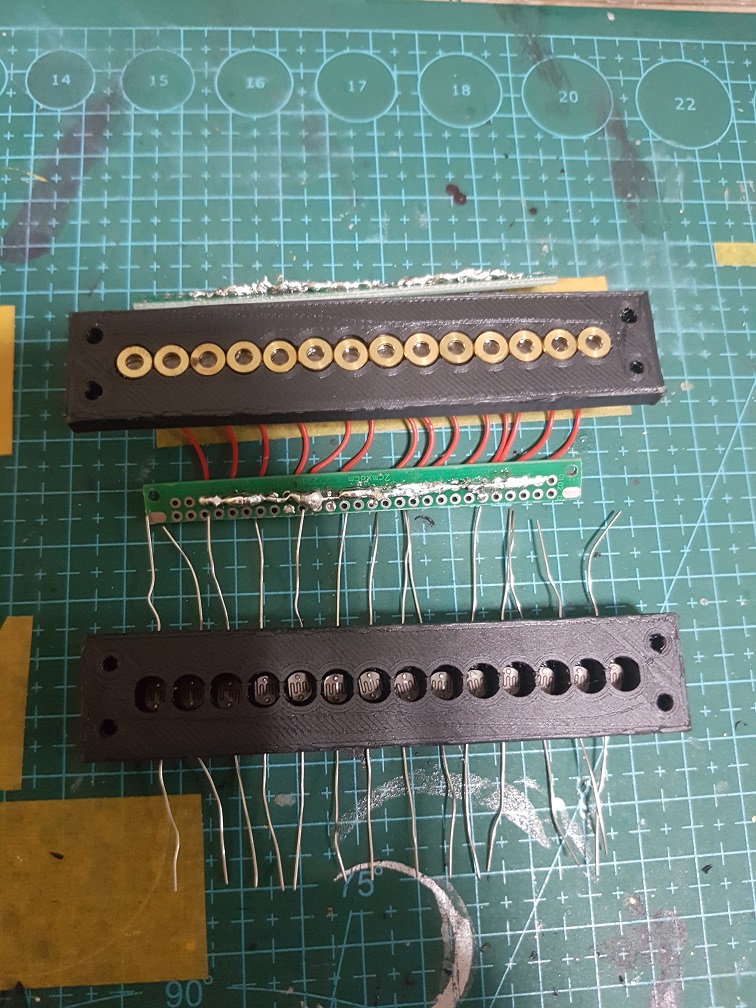
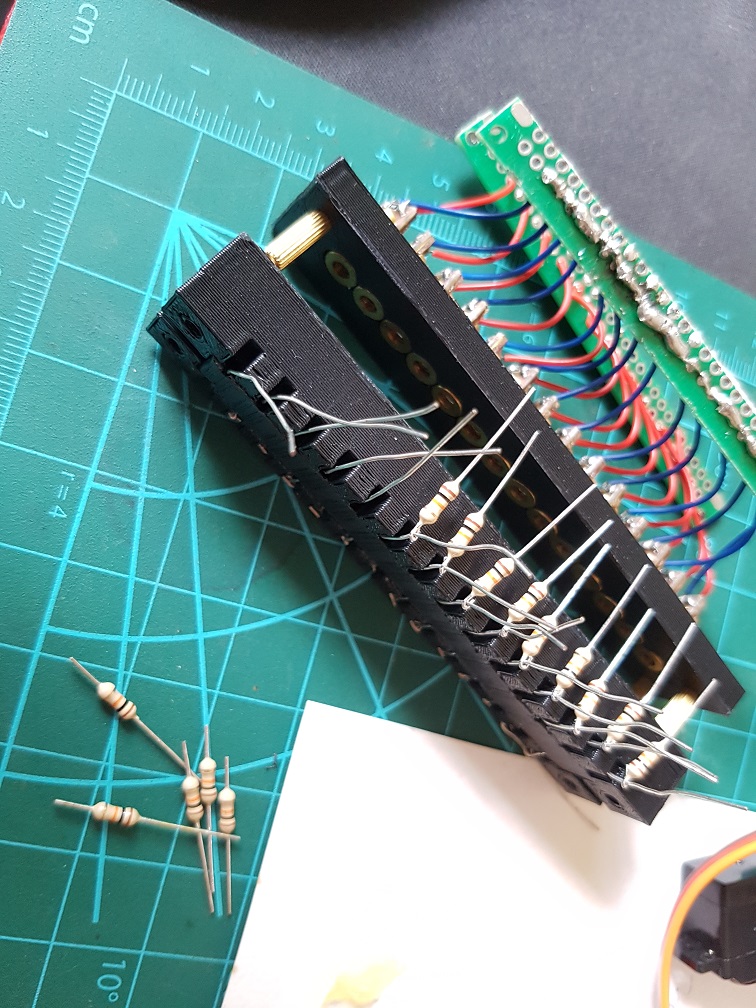
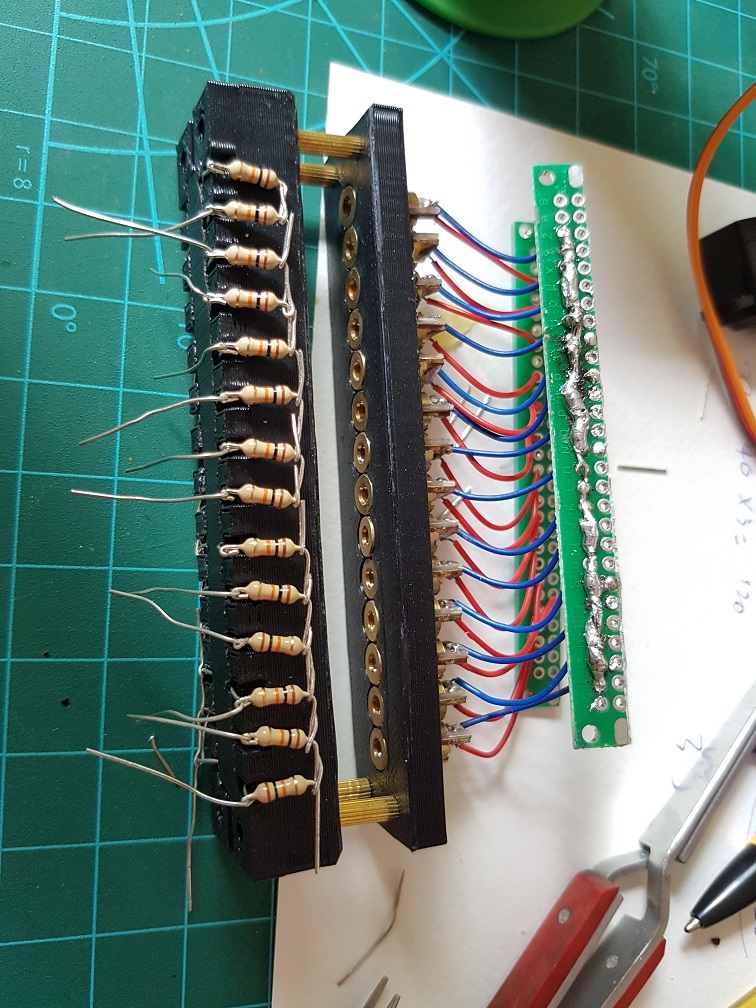
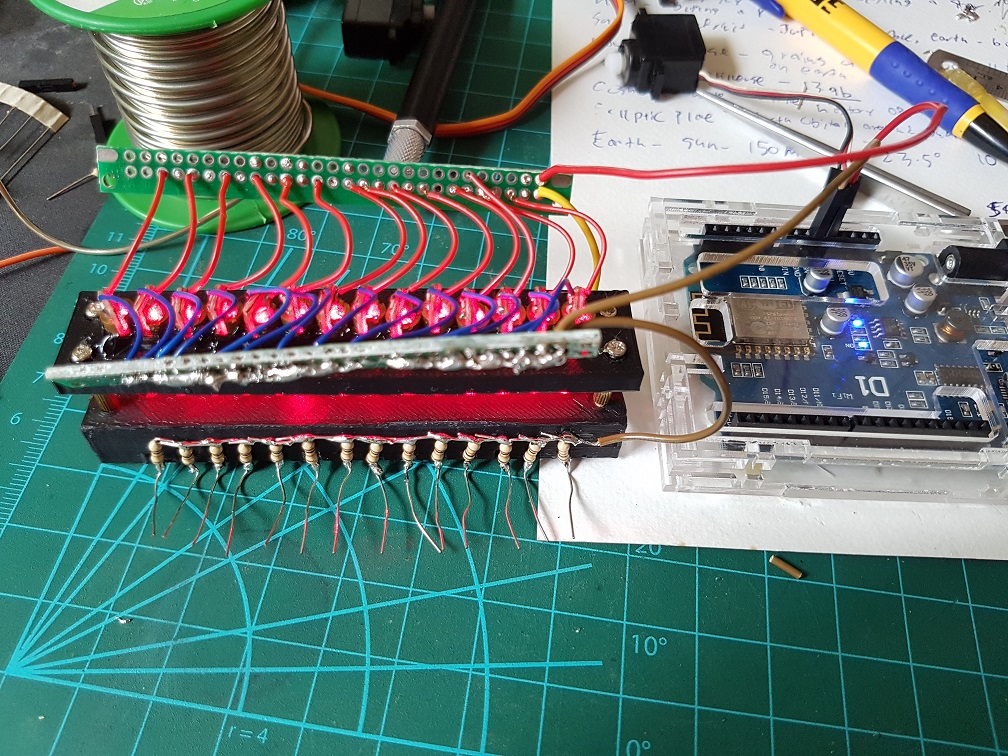

The soldering took some time to complete but luckily for me, I only need to do it once, or so I thought… (some part broke when I bring this to school so I did re-solder it again.)
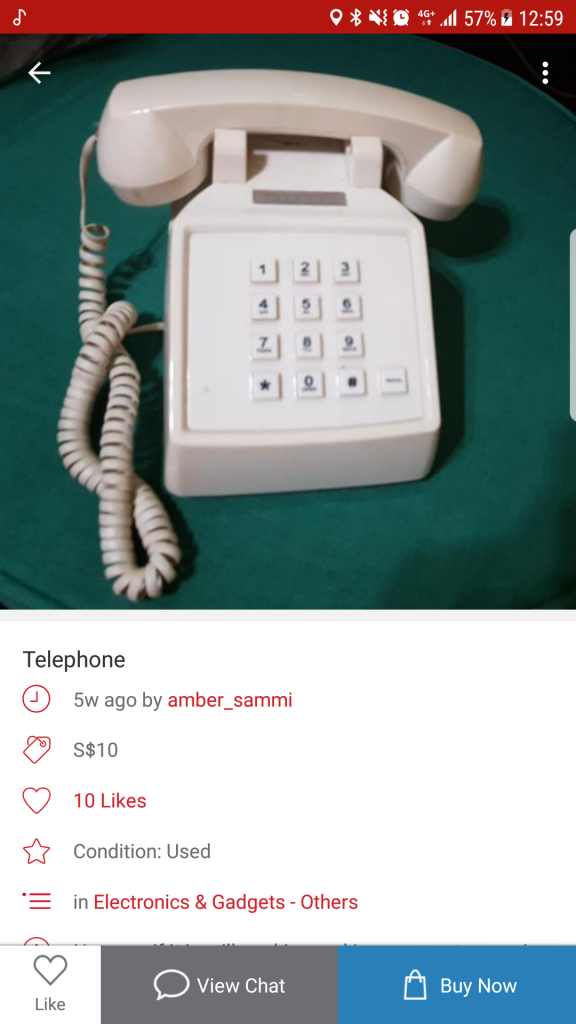
I also purchased an old Landline Telephone on Carousell, I must say that Carousell is a wonderful thing.
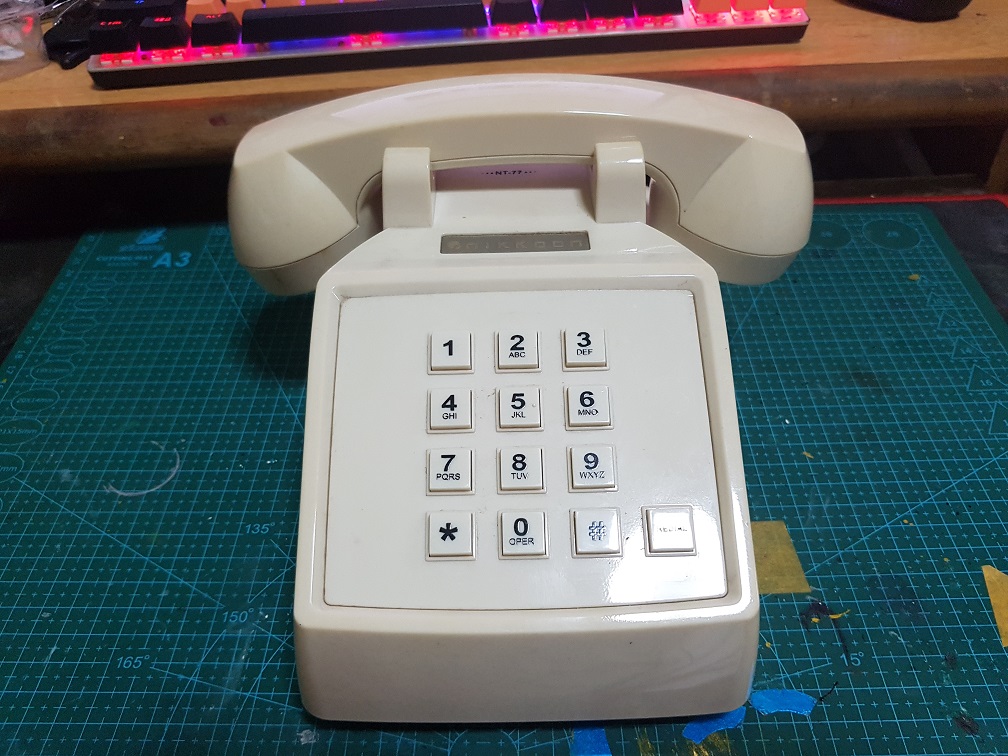

In the end, the only part that could be reused is the phone’s body, the speaker/handle/hearing thing, the buttons and the telephone wire.
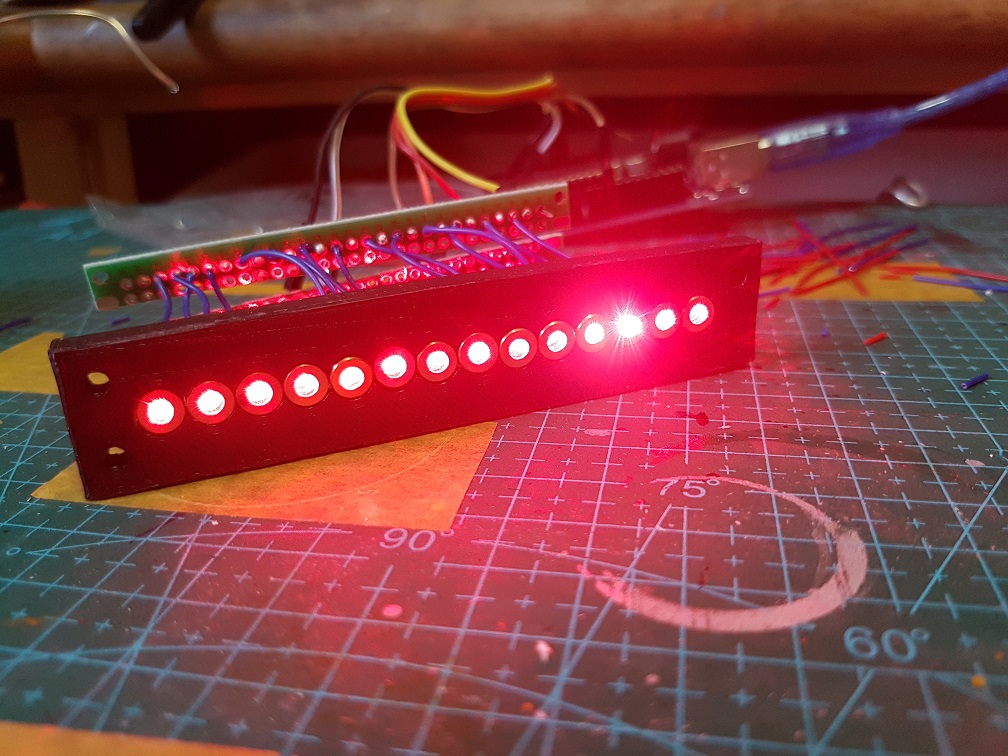
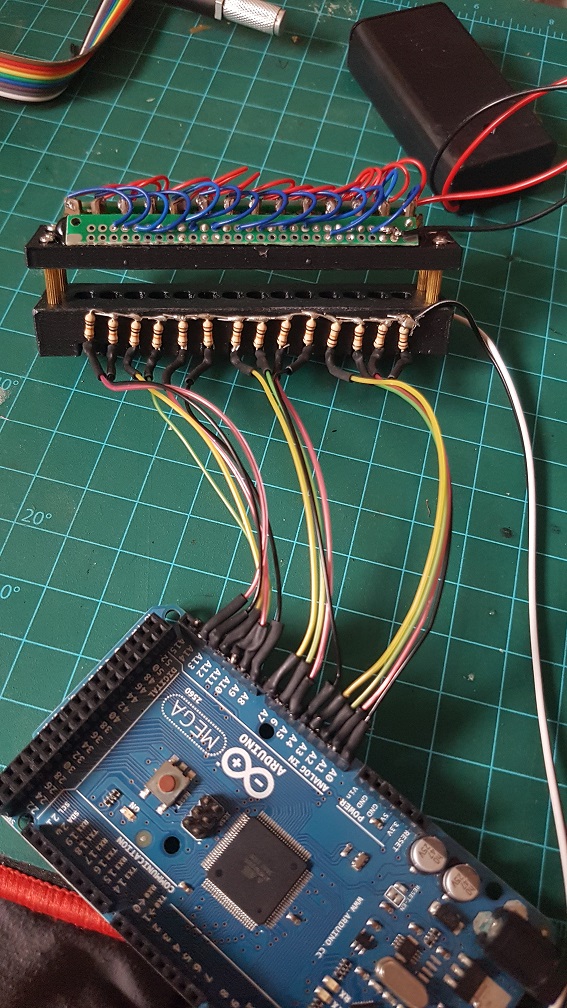
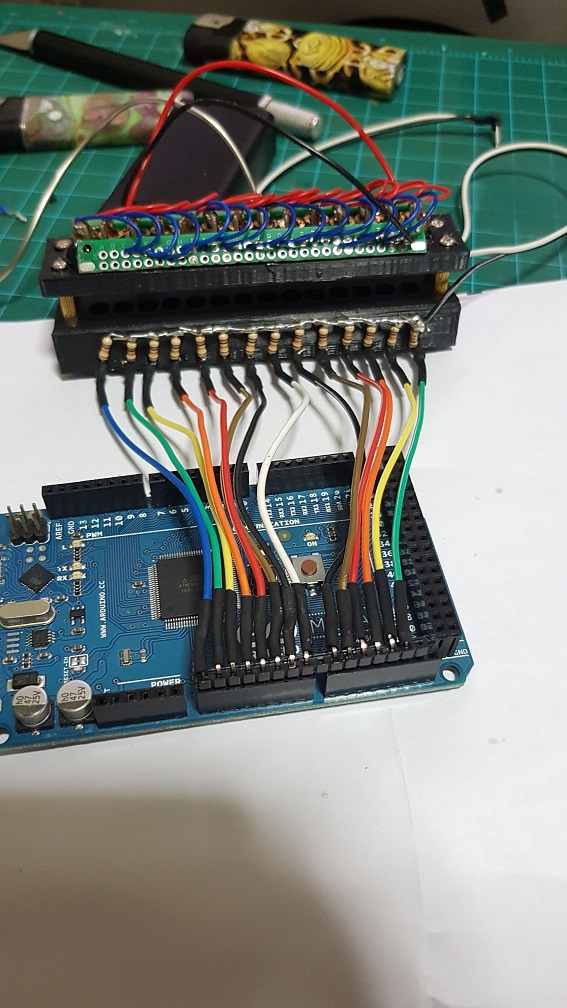
Meanwhile, I started to write the code on Arduino for the Laser and Photoresistor.
 The value will be higher than 800 when the laser shine directly on the Photoresistor and lesser than 100 when blocked, so I can simply write if( value <= 400), play tone 1.
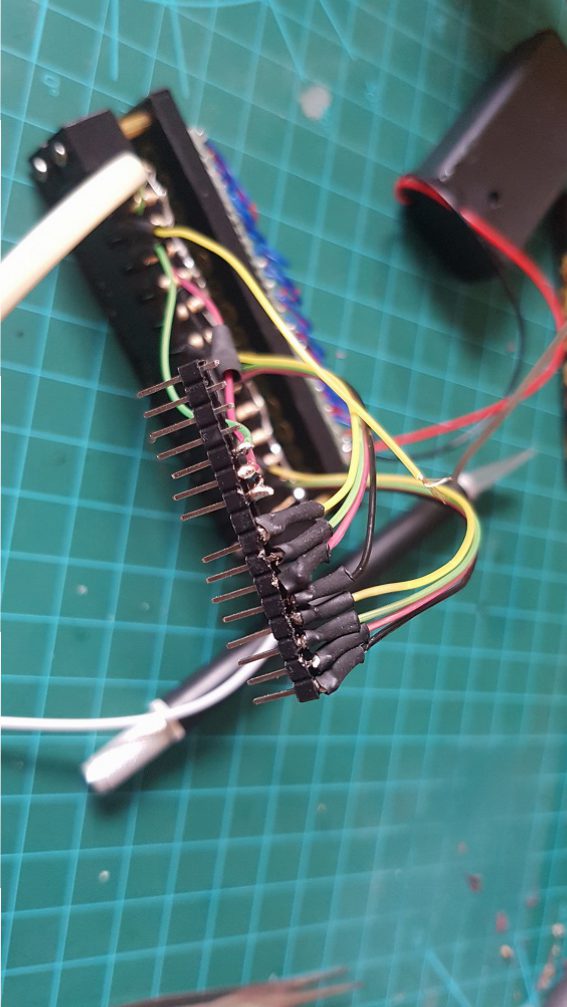
After some coding, this is my prototype for the music player part which is to be installed into the Landline Telephone.