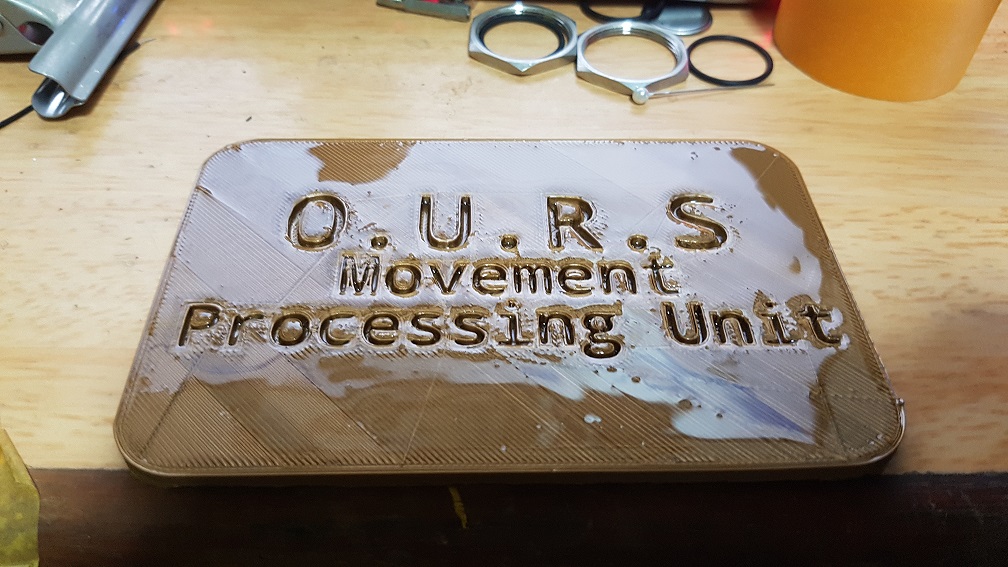
3D Print + Resin treatment as I want to see the effect of applying Resin to 3D printed parts, It was airbrushed with gold paint afterwards to test the paint holding properties of resin, which to my surprise, is good!
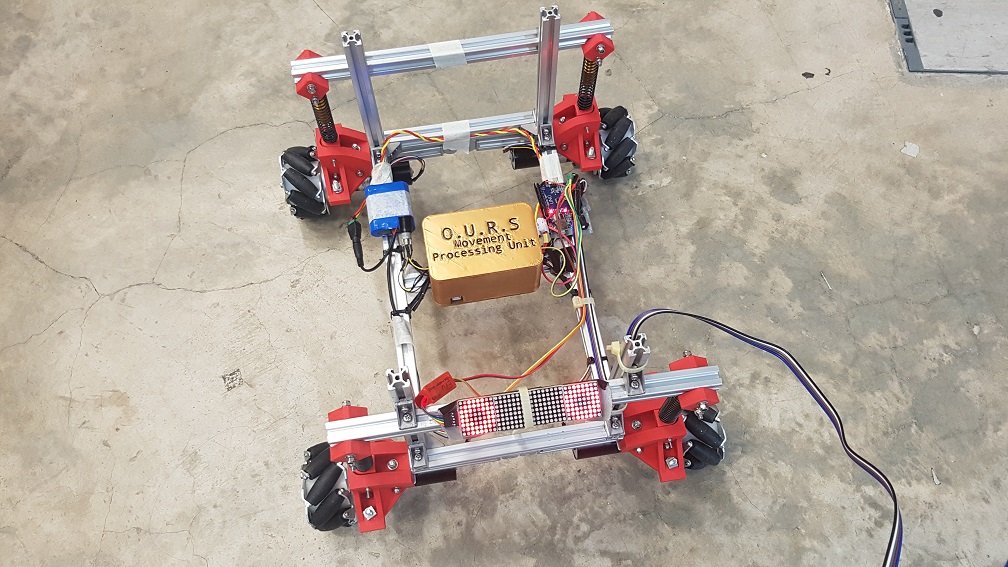
after attaching it onto the base of the Robot, this case serve as a protection of accidental dislodge of the pins (while still maintaining the function to switch out the board) from the arduino as well as adding a slight water resistance to it,(you never know if the visitor will drop a cup of water onto my robot during the show)
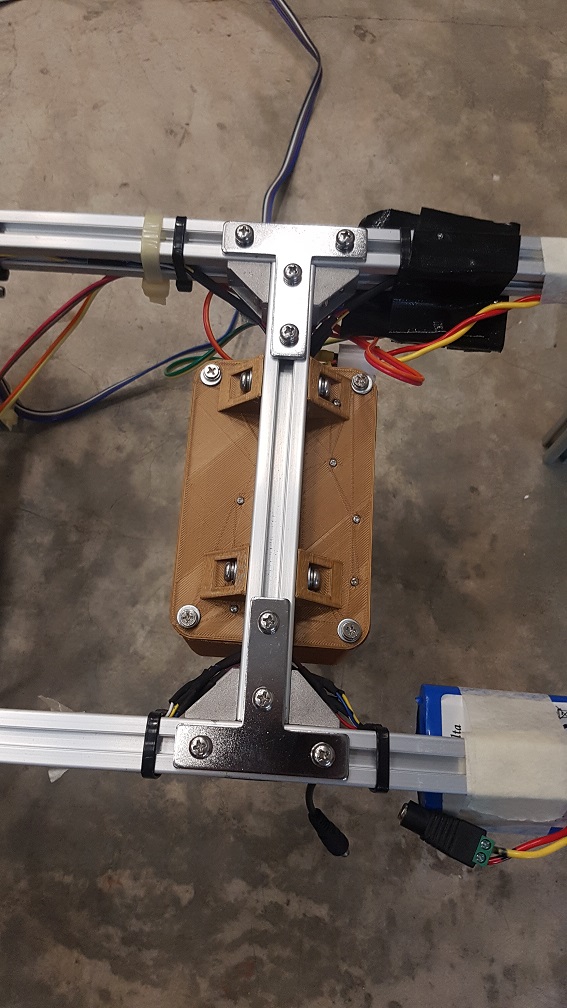
Parts Strengthening to make sure nothing come loose:
original connection of the aluminium profile. 4 screws with spring washer at each connections on the 90 degree joint.
added a T plate to secure the joint, total screws with spring washer = 8, and it is structurally stable (the screws hold all axis of vibrations.)
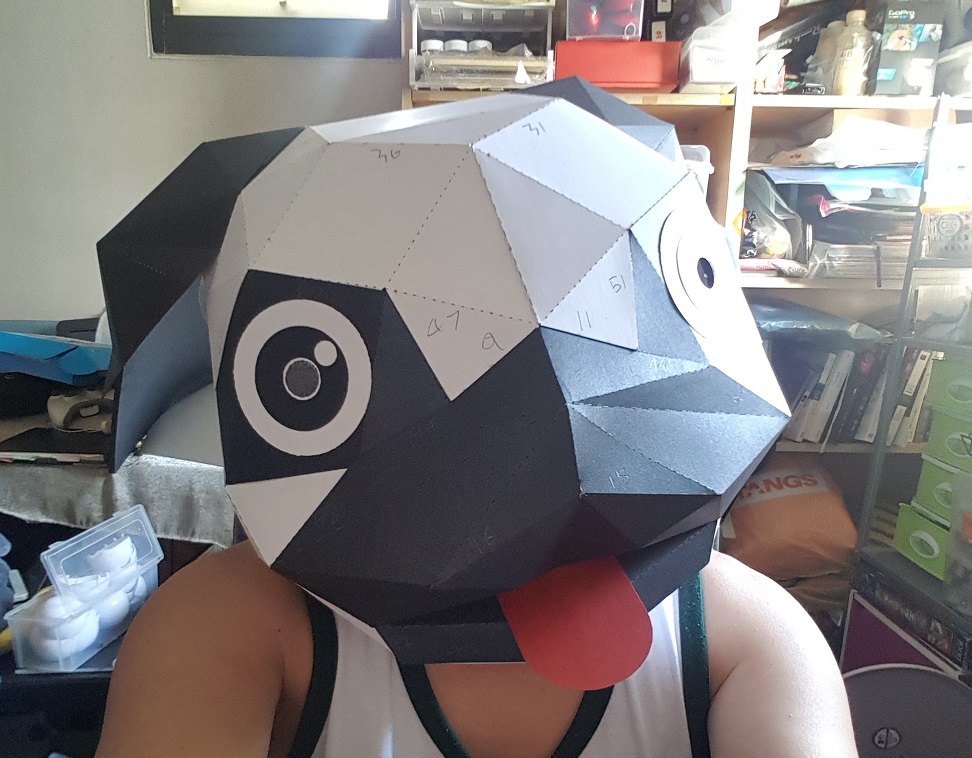
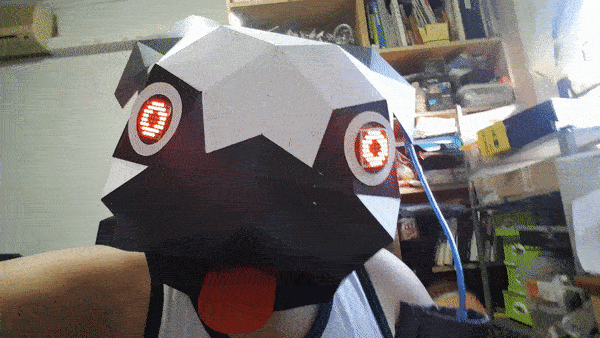
Experimental Head for the robot:
3D Paper Model, cut them and stick it together
Dog head. Why a dog? because dog is human’s best friend and you’ve heard of search dog, guide dog, which is exactly what my robot is about, and it is cute.
after cutting the eye out and replace with the LED matrix with arduino nano. i would say it made it really interesting to look at just with the eye that moves.
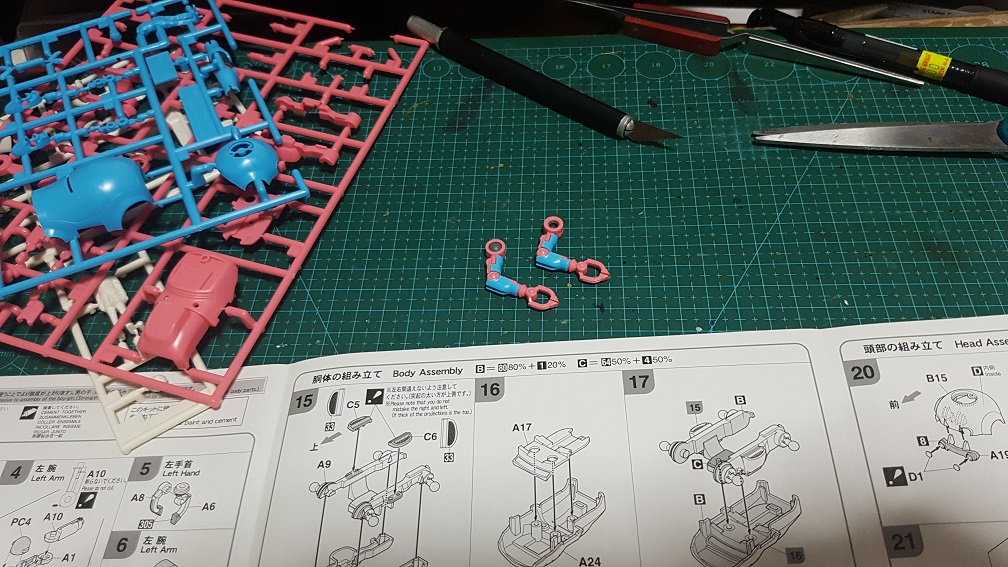
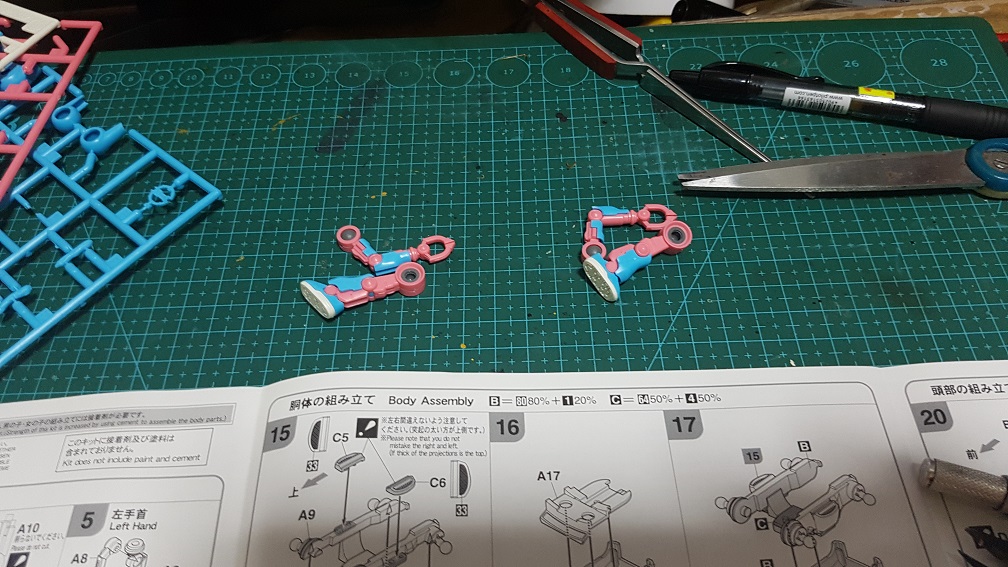
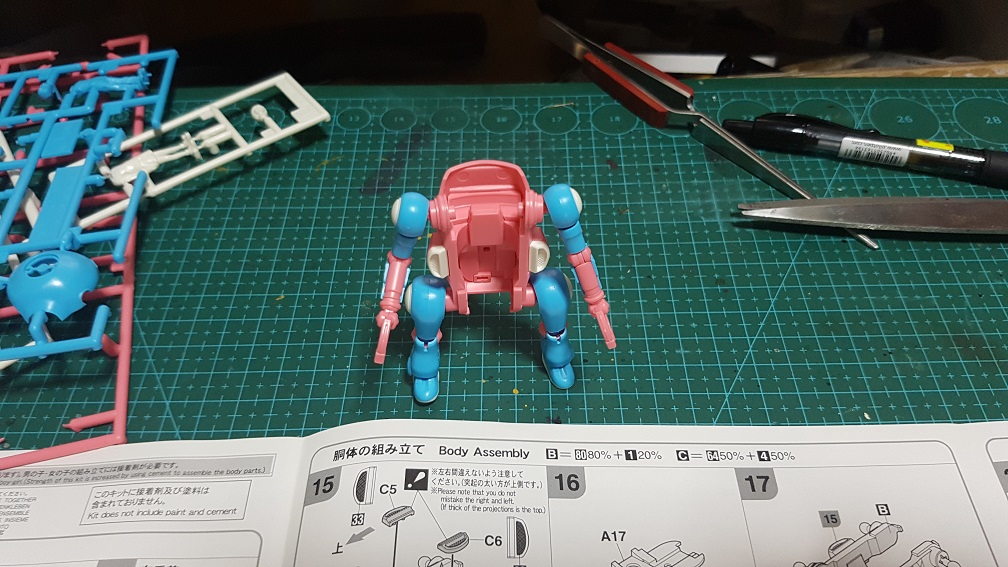
Plastic model building from the Japan Research Trip:
After many different trials and setback, and after going through many online courses for Visual Studio which I initially wanted to use it to create the interface for the robots, Senior Kapi suggested to me to use Unity instead as it will be easier to do a nicer graphical interface(Visual Studio will just be hard to make beautiful UI from all I went through) and is able to do advance AI like path-finder which I might use it in the actual robot for navigation, Also, Unity is better in Particle system which I will use to create animation for the UI and so, I gave up the idea of using Visual Studio for the back-end programming, and while going through the tutorial of Unity, the scripting side within Unity was still in Visual Studio, so my effort in learning Visual Studio wasn’t wasted because it incorporated well into the Unity system.
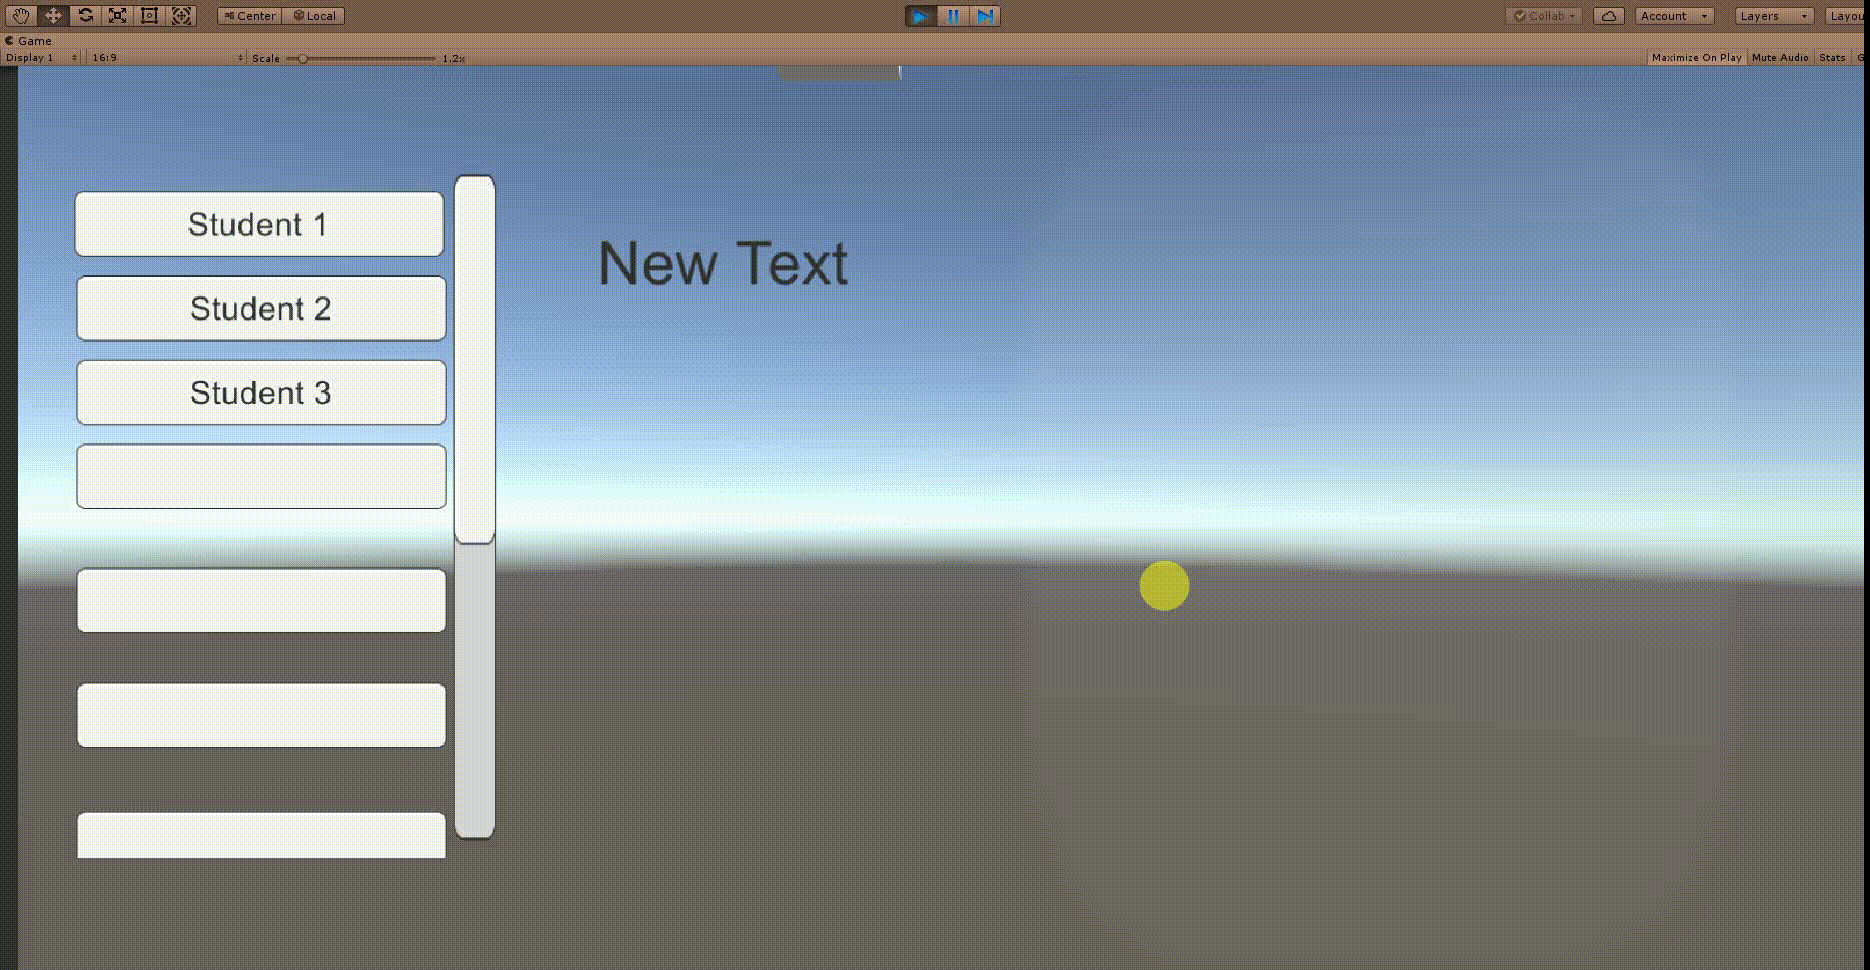
To start off prototyping, my target: To create a page that is able to change the image and text by clicking any of the buttons placed within a scroll-able panel.
This will be required as the final product would enable the user to browse the student’s information and work, there should be a easy to use User Interface that allows them to do so.
After thinking about the problem of the robot’s sensing(i must try not to have the robot to knock people down.) I was considering about Lidar for a long time but the price and the spinning part was the main concern that put me off, it cost around $150 for just one sensor which I am not confident if it will even work in my project, also because it is the Lidar which spins, it meant that it have to be placed on top of the robot and I am sure that it will break somehow due to visitor’s curiosity. After whole lot of research (I will still use ultrasonic/infared sensor like we did in class, but these are not reliable and cannot be the primary sensor) I came across something that seemed really promising… let me introduce to you, the old KINECT.
Why? Why Kinect? because..
1- it does not have moving part yet it is able to detect a wide area with roughly accurate distance.
2- it is easy to be concealed in the design of the robot as it could be place within the shell.
3- it is not expensive and I already have one unused Kinect at home, futhermore if I need more, the school have them.
4- USB operated means I do not need to find additional adapter/converter to use them.
Sounds good, the problem is, I don’t know how to use them and the documentation i found are not for what i need so i need to do further research.
………………………………………….
The following day, I went to school to loan the kinect from school and after some research which says it will not work on windows 10… I finally found some that mentioned that it is possible.
So TADAAAAA!
now I need to find a way to plug the data into Unity for then it will be possible to use it as a distance sensor..
(On the side note, I found that Kinect V2 is much better as it has wider field of view so I might consider that too.)
Just for the record, this thing cost $103.51 with $2.99 for shipping fee from china (used EZ-Prime hence the cheap shipping), i think that the overall value is so much higher than the cost, I will take it apart and use the components within it and discard the BB-8 theme plastic case.
During this week, I tried out NPC chat by colliding with them, the Render Texture Camera of Unity is applied to the NPC chat so that their “Display Picture” is rendered in real time which is showed in the dialogue, through this, Vladimir suggested that I should make it mouse controlled camera as most of the games in the market is mouse controlled, so it will be more user friendly to so to. I’ll try to figure this out soon.
In this, this will be the basic system needed to complete the game, By talking to one NPC, another will be spawned or despawned, if i place the character on places where the spawning of new character cant be seen it will create a sense of exploration as the user will see different things in the same place even though they past by the same area, the things there will be different. i think It would be interesting and user might just want to see different stories in the game. By having this system of character spawn and despawn, i could make a game that is linear and there could be path for different story depending on which npc the user talked to and spawn the path for them while closing all other path by despawning the npc for the other path. I think this will be fun as many user could come to different story line within one game.
Exporting to phone is not an easy process as I need to download many different softwares like JDK (Java Development Kit) to make it work, I am not sure how does it even work when it failed countless of times, I also switched my phone into developer mode and somehow the app appeared in my phone when I’ve export it to my computer. Most of the thing I’ve followed this video, and i just try again after it fail.
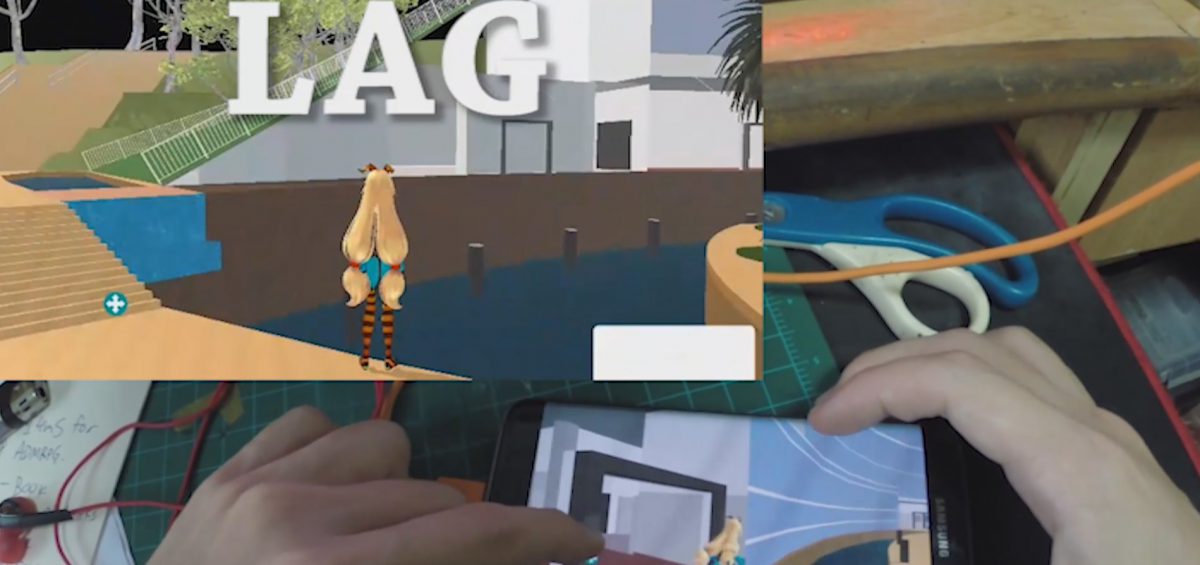
This is what I have after the export, It is basically too lag to be played properly and the experience of the game if it lag is not worth the time playing it and It will be rage inducing if it is at this level of lagness.
After this, i decided to scrape the idea of making a phone game and focus on computer platform as computer have much higher processing and rendering power.
This the final model I’ve built for ADM RPG, it took more than a total of 5 weeks to build it to this scale and the only thing that was not build by me is the railings found on the roof top and level 1 and 2 inside ADM. Although there are still many areas which is not completed like 2nd floor Foundation side(the scale is wrong but everything else works) and 3 and 4th floor, I could not go back to edit it as my Sketchup trail expired, tried many ways to reinstall the sketch up but apparently it doesn’t work once I updated to Sketchup 2017. This is a animation I did within Sketchup animation program. Since adding details is a never ending process(i could add much more detail down to every single object in adm, all table placement and sprinkler on the rooftop and such) but I need to proceed to next step else I will never complete the game, so I will leave the model as it is as it is already playable. IT IS NOT PERFECT BUT ITS WORKING AND COMPLETED!
This is the process in which i added the collision to the fence(it is downloaded and doesnt have a mesh that is usable as a collider within Unity, therefore i need to create my own).
Explanation of what I did in this video:
Create a rectangular box and scale it according to the angle and size of every fence(which tooks alot of time, this is a timelapse video of 30x speed)
Place the rectangular box covering the fence
Add Physic: “Mesh Collider” to the rectangular box
Turn off the “Mesh Renderer” so the box disappear from sight
Collision still work after Renderer is turned off.
Try the collision out and spot for possible bug(stuck and such)
After this process, I’ve got full collision system that all the current object have collision, the walkable areas are walkable while places like outside of ADM area and water at Sunken Plaza are off limits.
Next up I will add NPC and interactable objects to the game, write in narrative for them and refine the game till the end of semester.
This is a (really) late post for week 6 as I had been busy building the Sketchup model throughout the week and over the 1 week school break.
During Week 5 to 6, i build the outer walls of ADM and tried to import it into Unity and figured out how the collision work as the model doesnt have collision and I figured that I need to add the mesh collider to the model by finding the model mesh among 3 thousands of mesh and use it as a collider. after which, this is the first try I did for the game, i would say it is working better than I expected.
After trying out the tutorial in the last post, I found another one which is much better!
I’ve went through this tutorial twice by accident as my save file got overwritten by another file when I tried to explore the asset store. so yeah, this is the most basic of Unity, the way to move something without animation.
ANDDDDD THE MAIN POINT OF THIS POST!
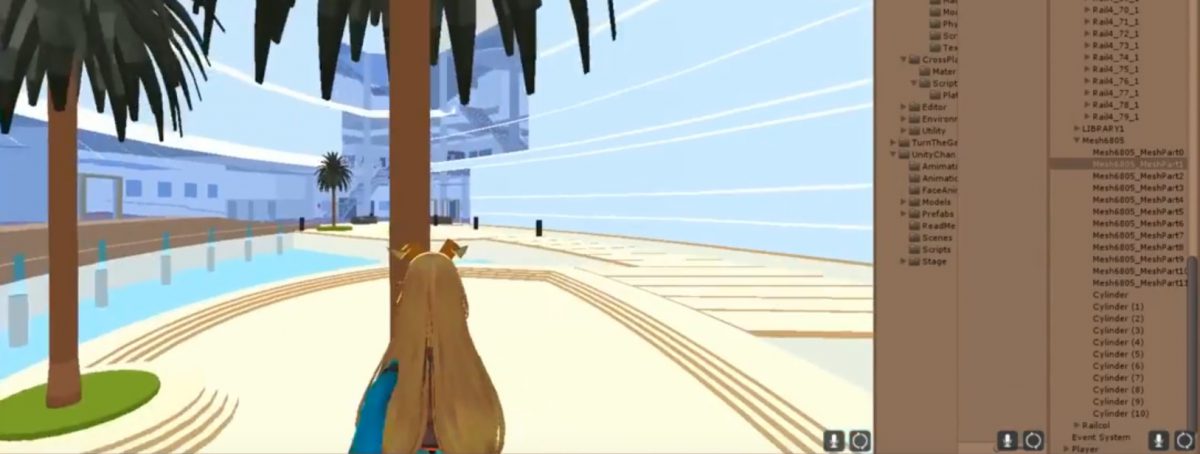
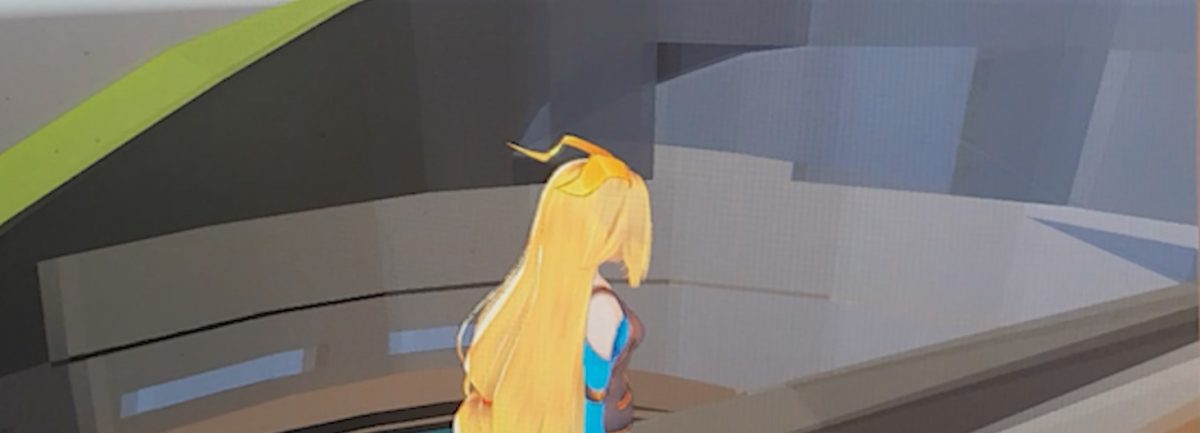
This is Unity Chan!!!
most probably the character I am going to use for my 3D game, Unity Chan is a free to use character model by Unity(I am sure of it as I’ve read all of the licencing, Grant of License, Condition of use, as well as their official page FAQ.*They even allow it for normal commercial use*)
After this Tutorial, this is still insufficient to create the basic control of the game as there are many mechanics lacking (camera panning, the character dont even move well), but I still gain important knowledge from here and trying it out, this is a tutorial focusing on animation than movement.
I’ve also did my scripting and modified it to make it animate and move slightly better than in the tutorial, so yeah, that’s about it, the exploration of unity and learning lots of stuffs in it, maybe one day I could be a game producer 😉
After a few more attempt and followup on the project, i managed to make the camera to follow and pan according to the character movement which i really like it, this should be the base to create the final project.
Unity Capability, Tutorials and Free Assets (YAY!!)
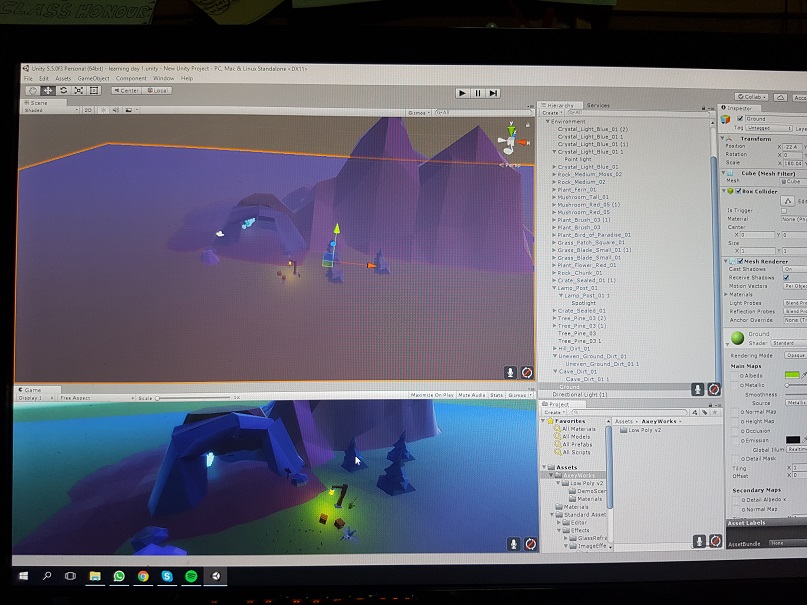
This is the first tutorial which i went through, I really love it as it is a smart point and click RPG system, the collision is all auto and generated by Agent Mesh which is a really smart system that auto calculate the path when it is blocked and it will move by the next shortest path.
Since I know nothing about Unity, this single video took me atleast 6 hours to complete, after I completed this tutorial, I realize that there are only 7 parts currently (most of it is about combat which I don’t need it) and is insufficient for me to create my project. (below is what I did by following through the tutorial, I really love the lighting and effect of those low-poly object works together!)
maybe I will wait for another tutorial to be released by this guy, or I will find another one. Atleast I learn a whole lot in this tutorial!! (and also learnt how to download assets and use them!)


 To experiment with speed and delay of Lattepanda with unity to control arduino, which is not bad!

 this is a gif, click to play
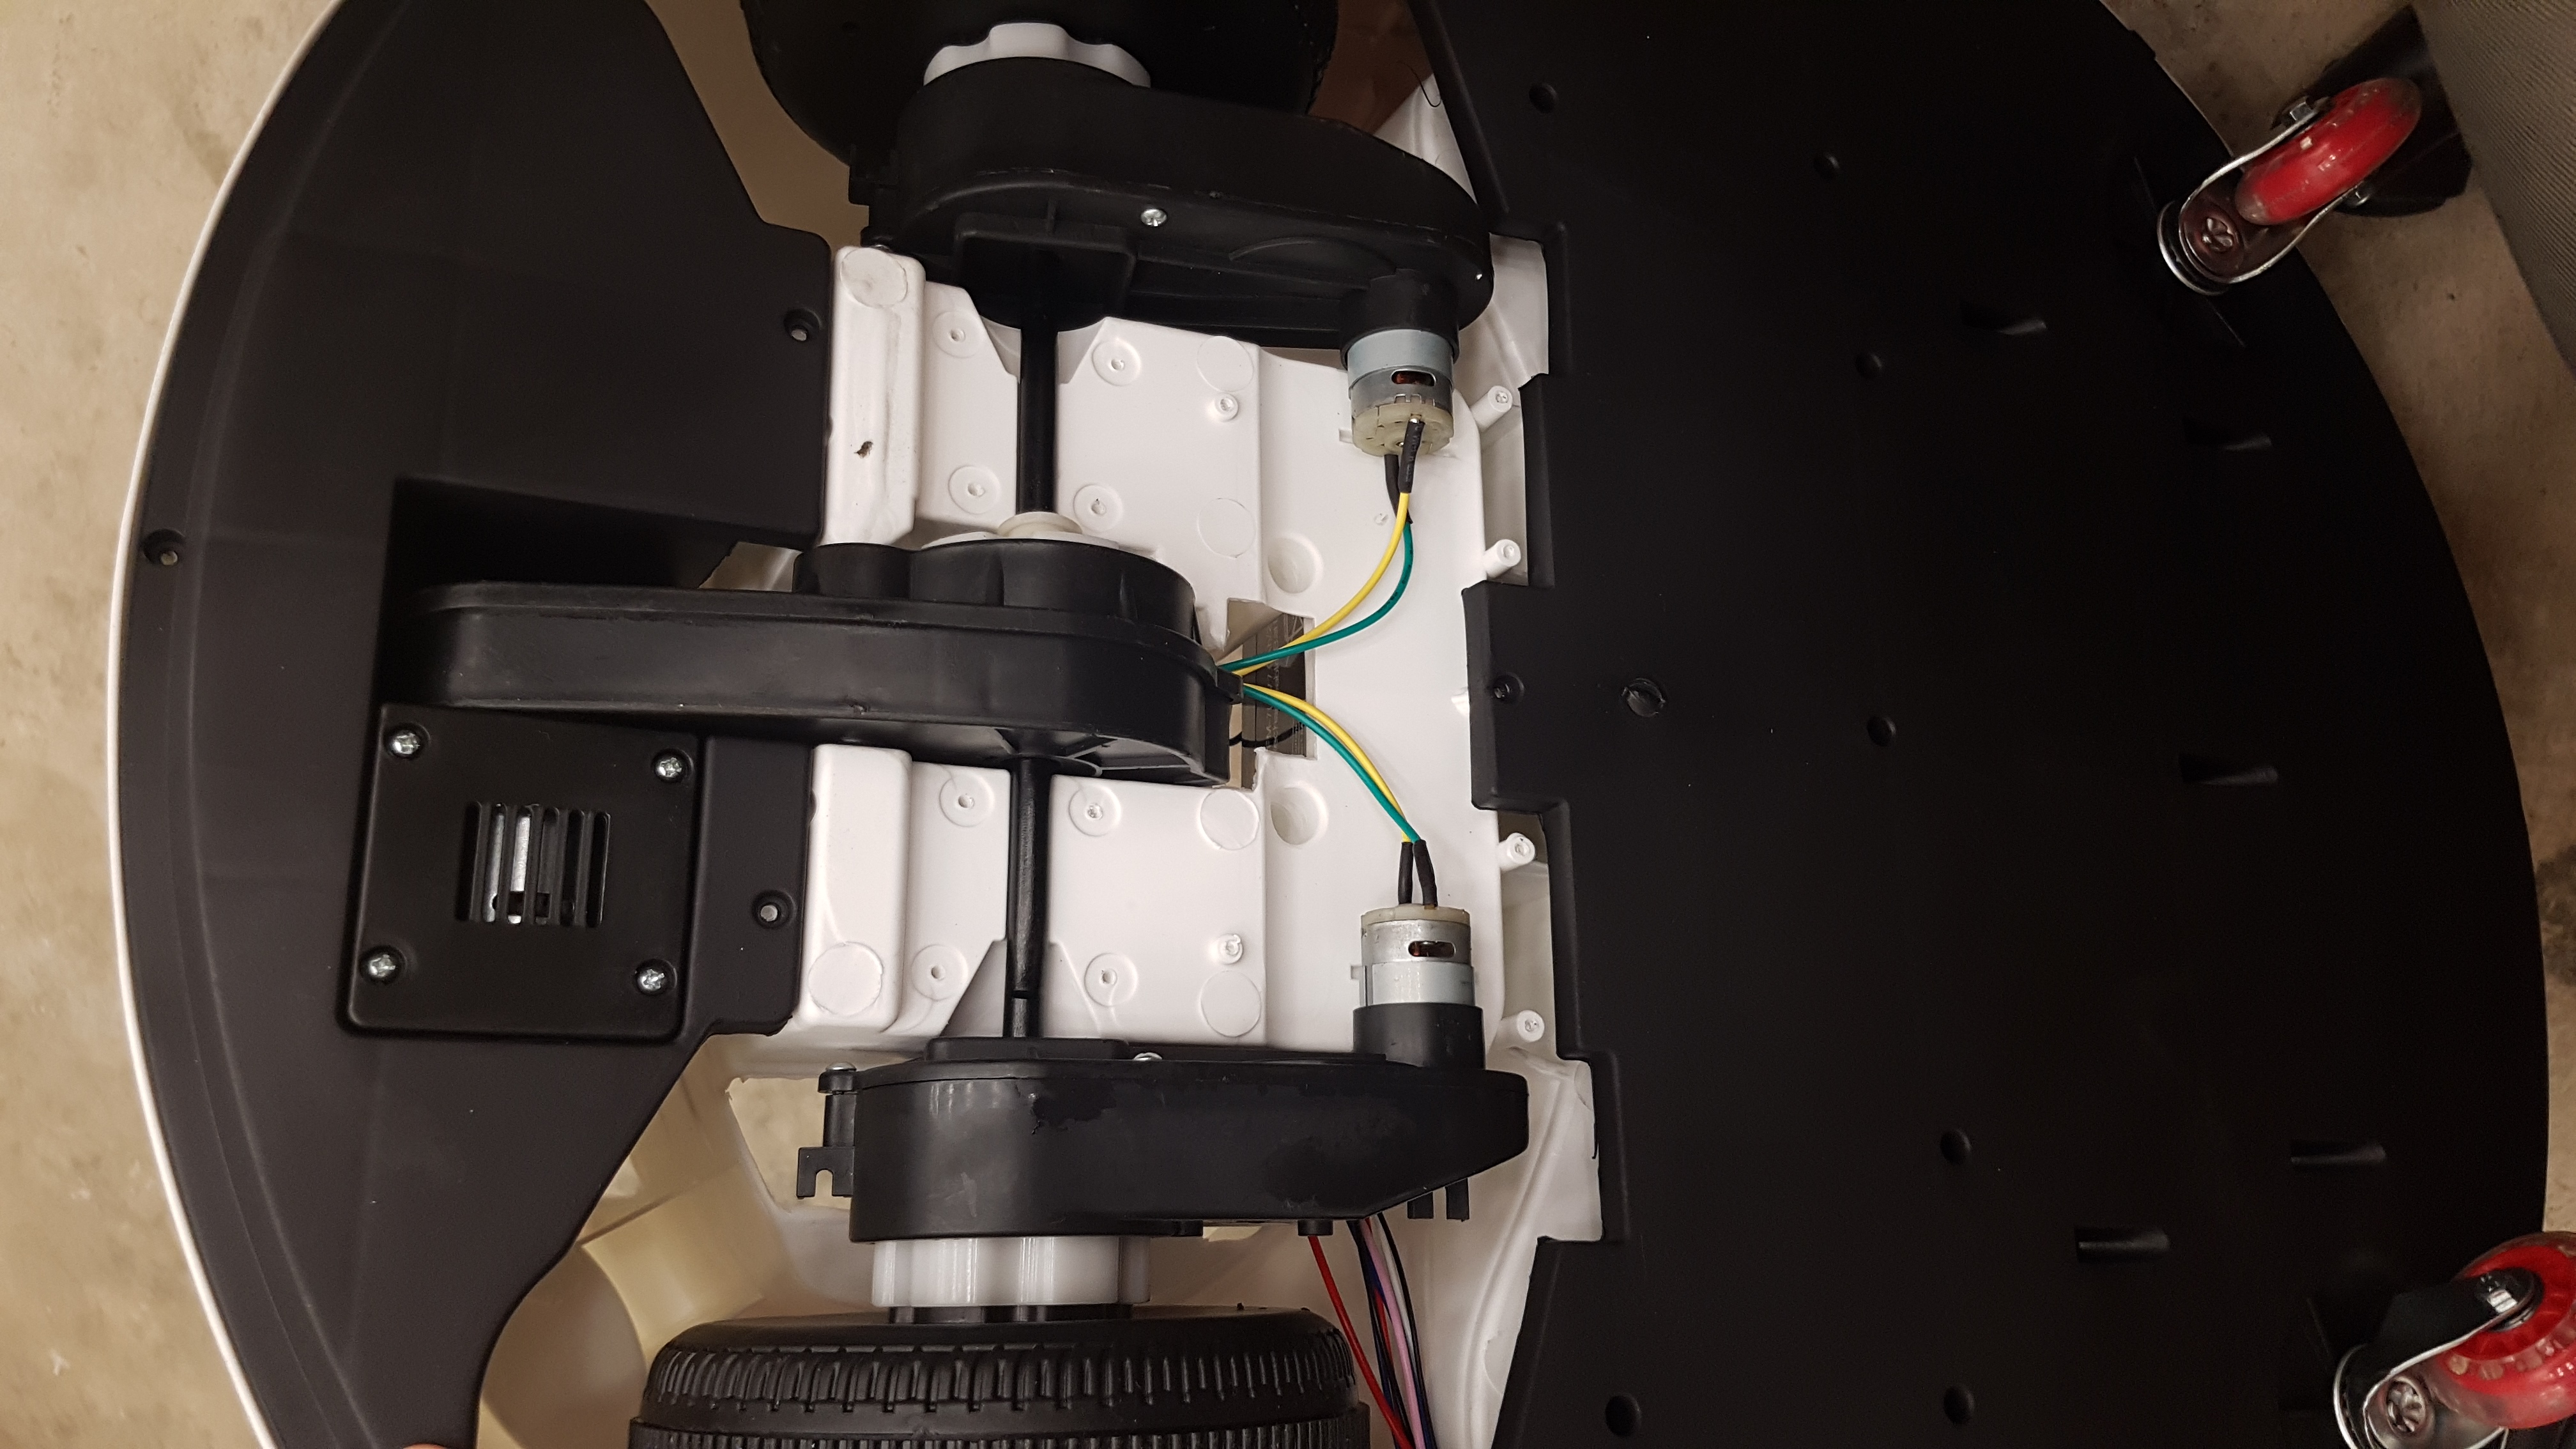
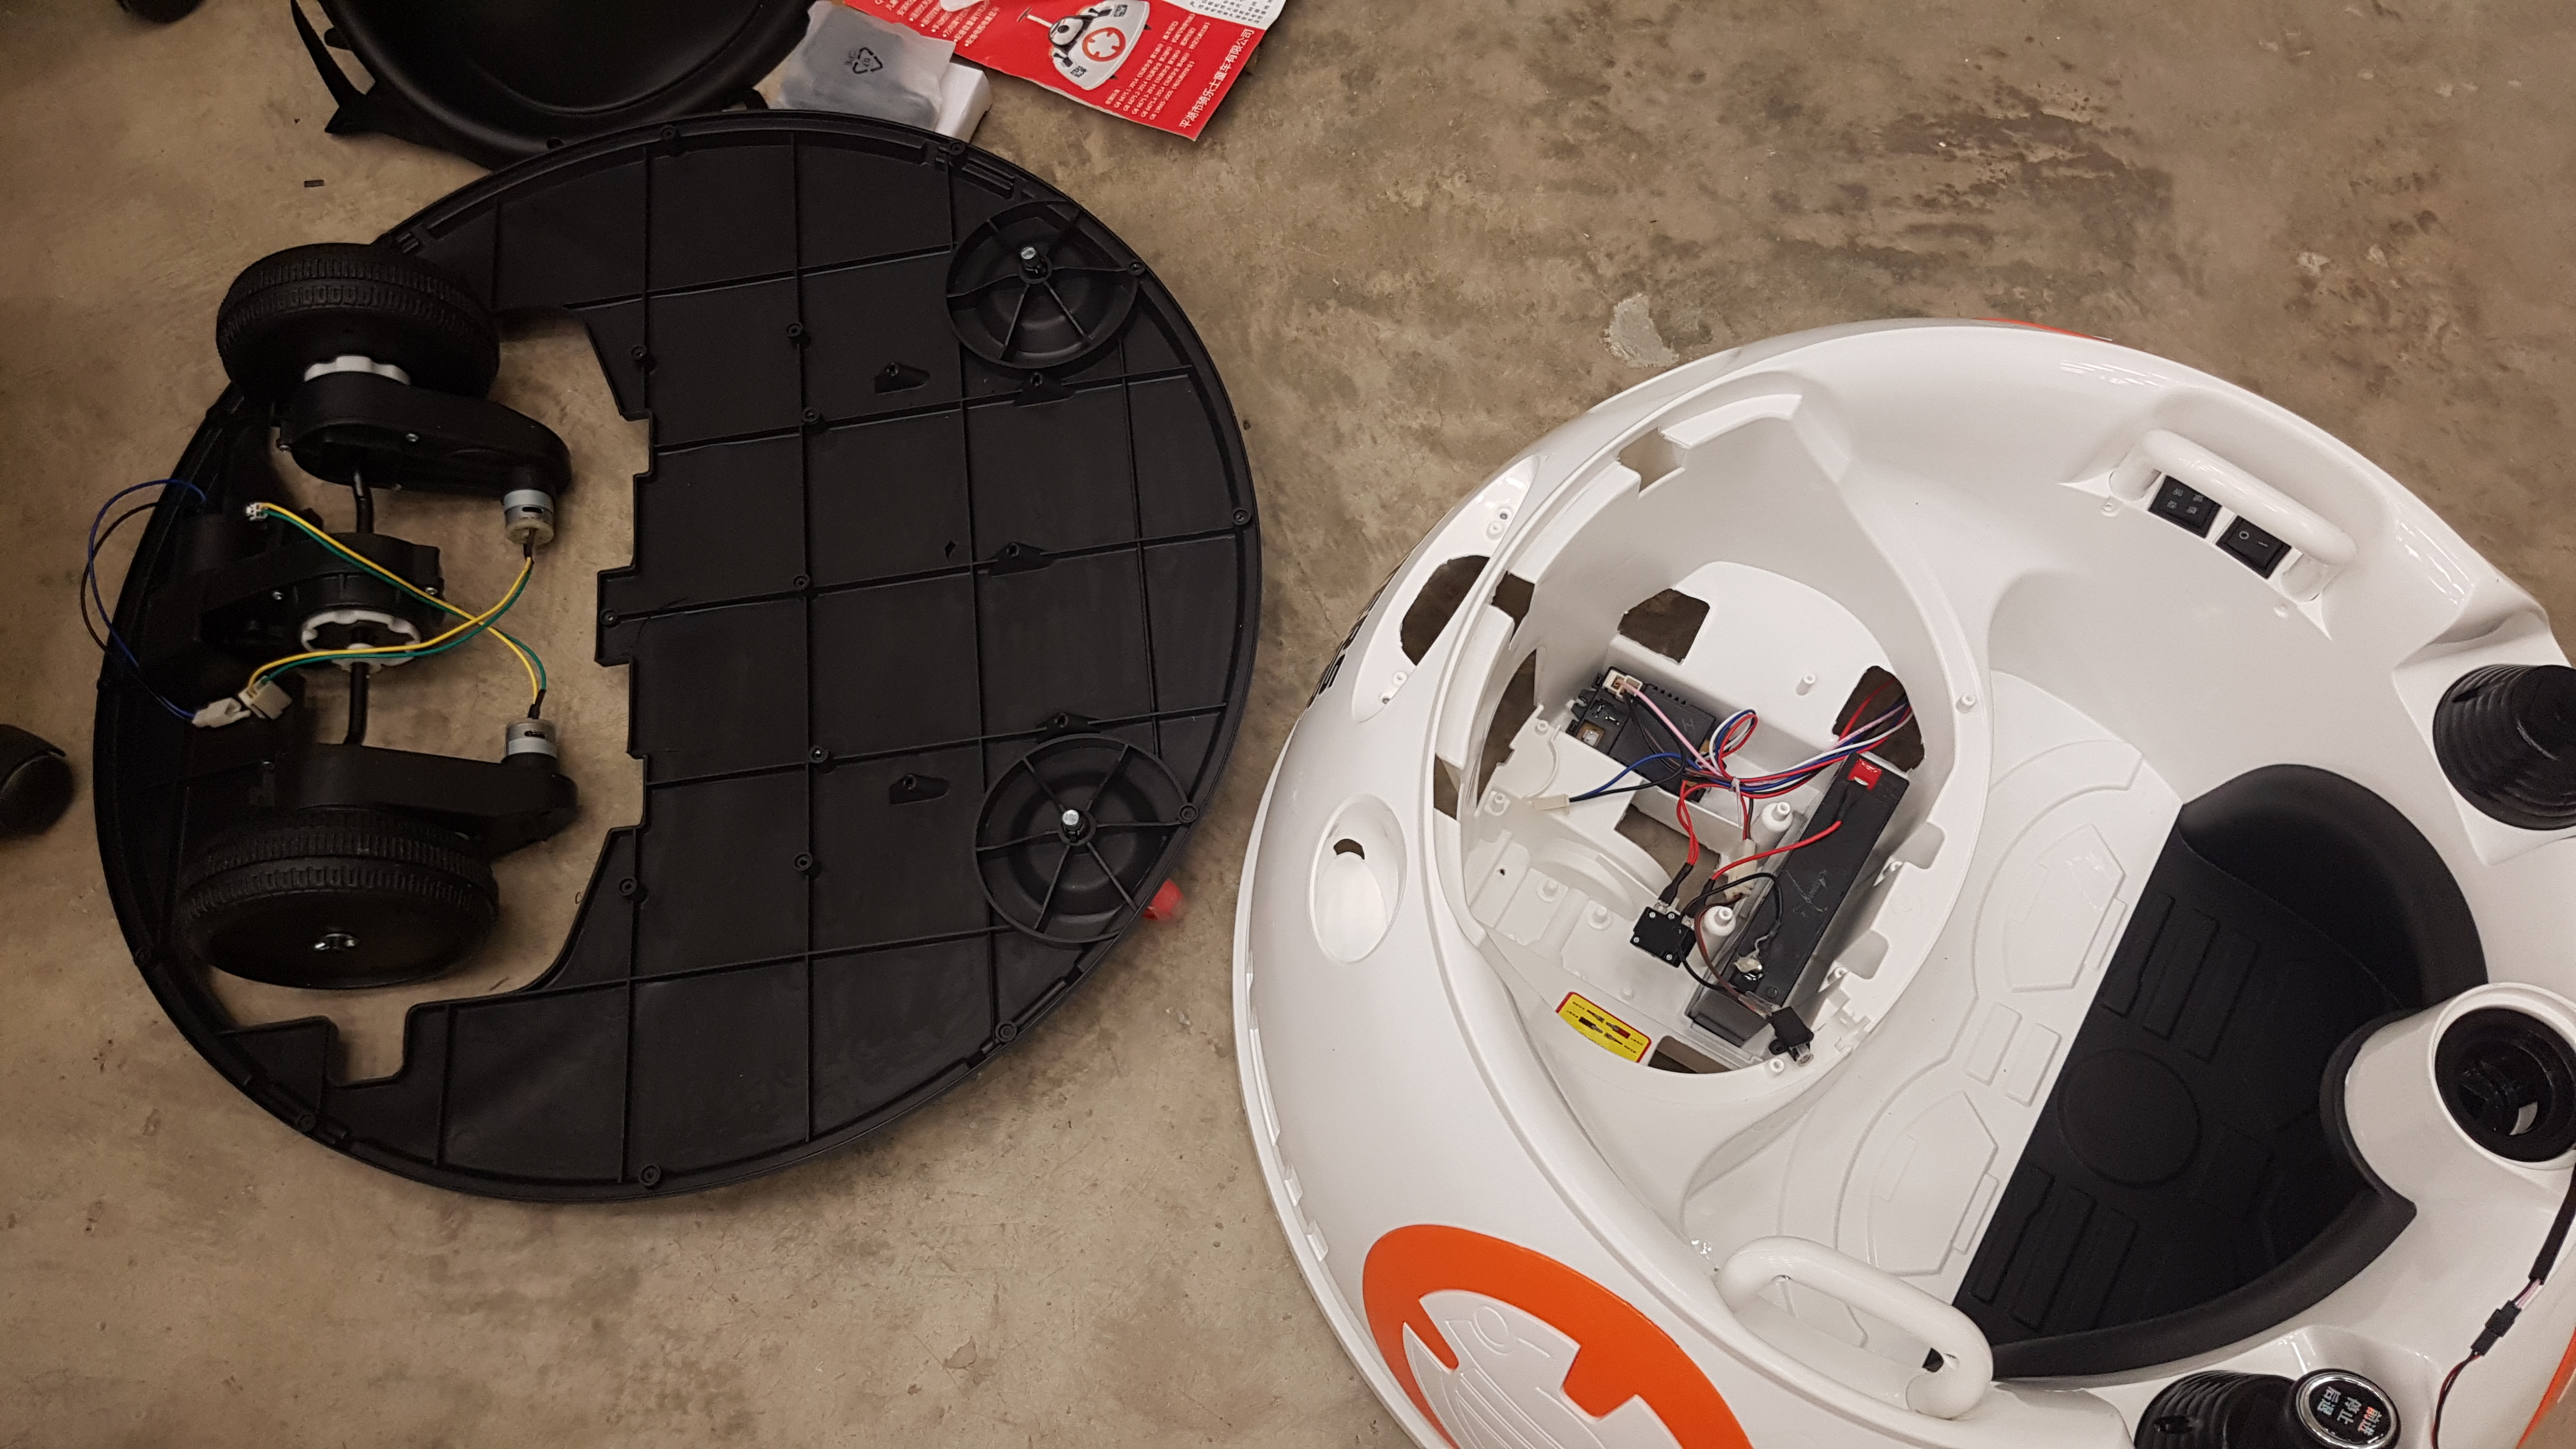
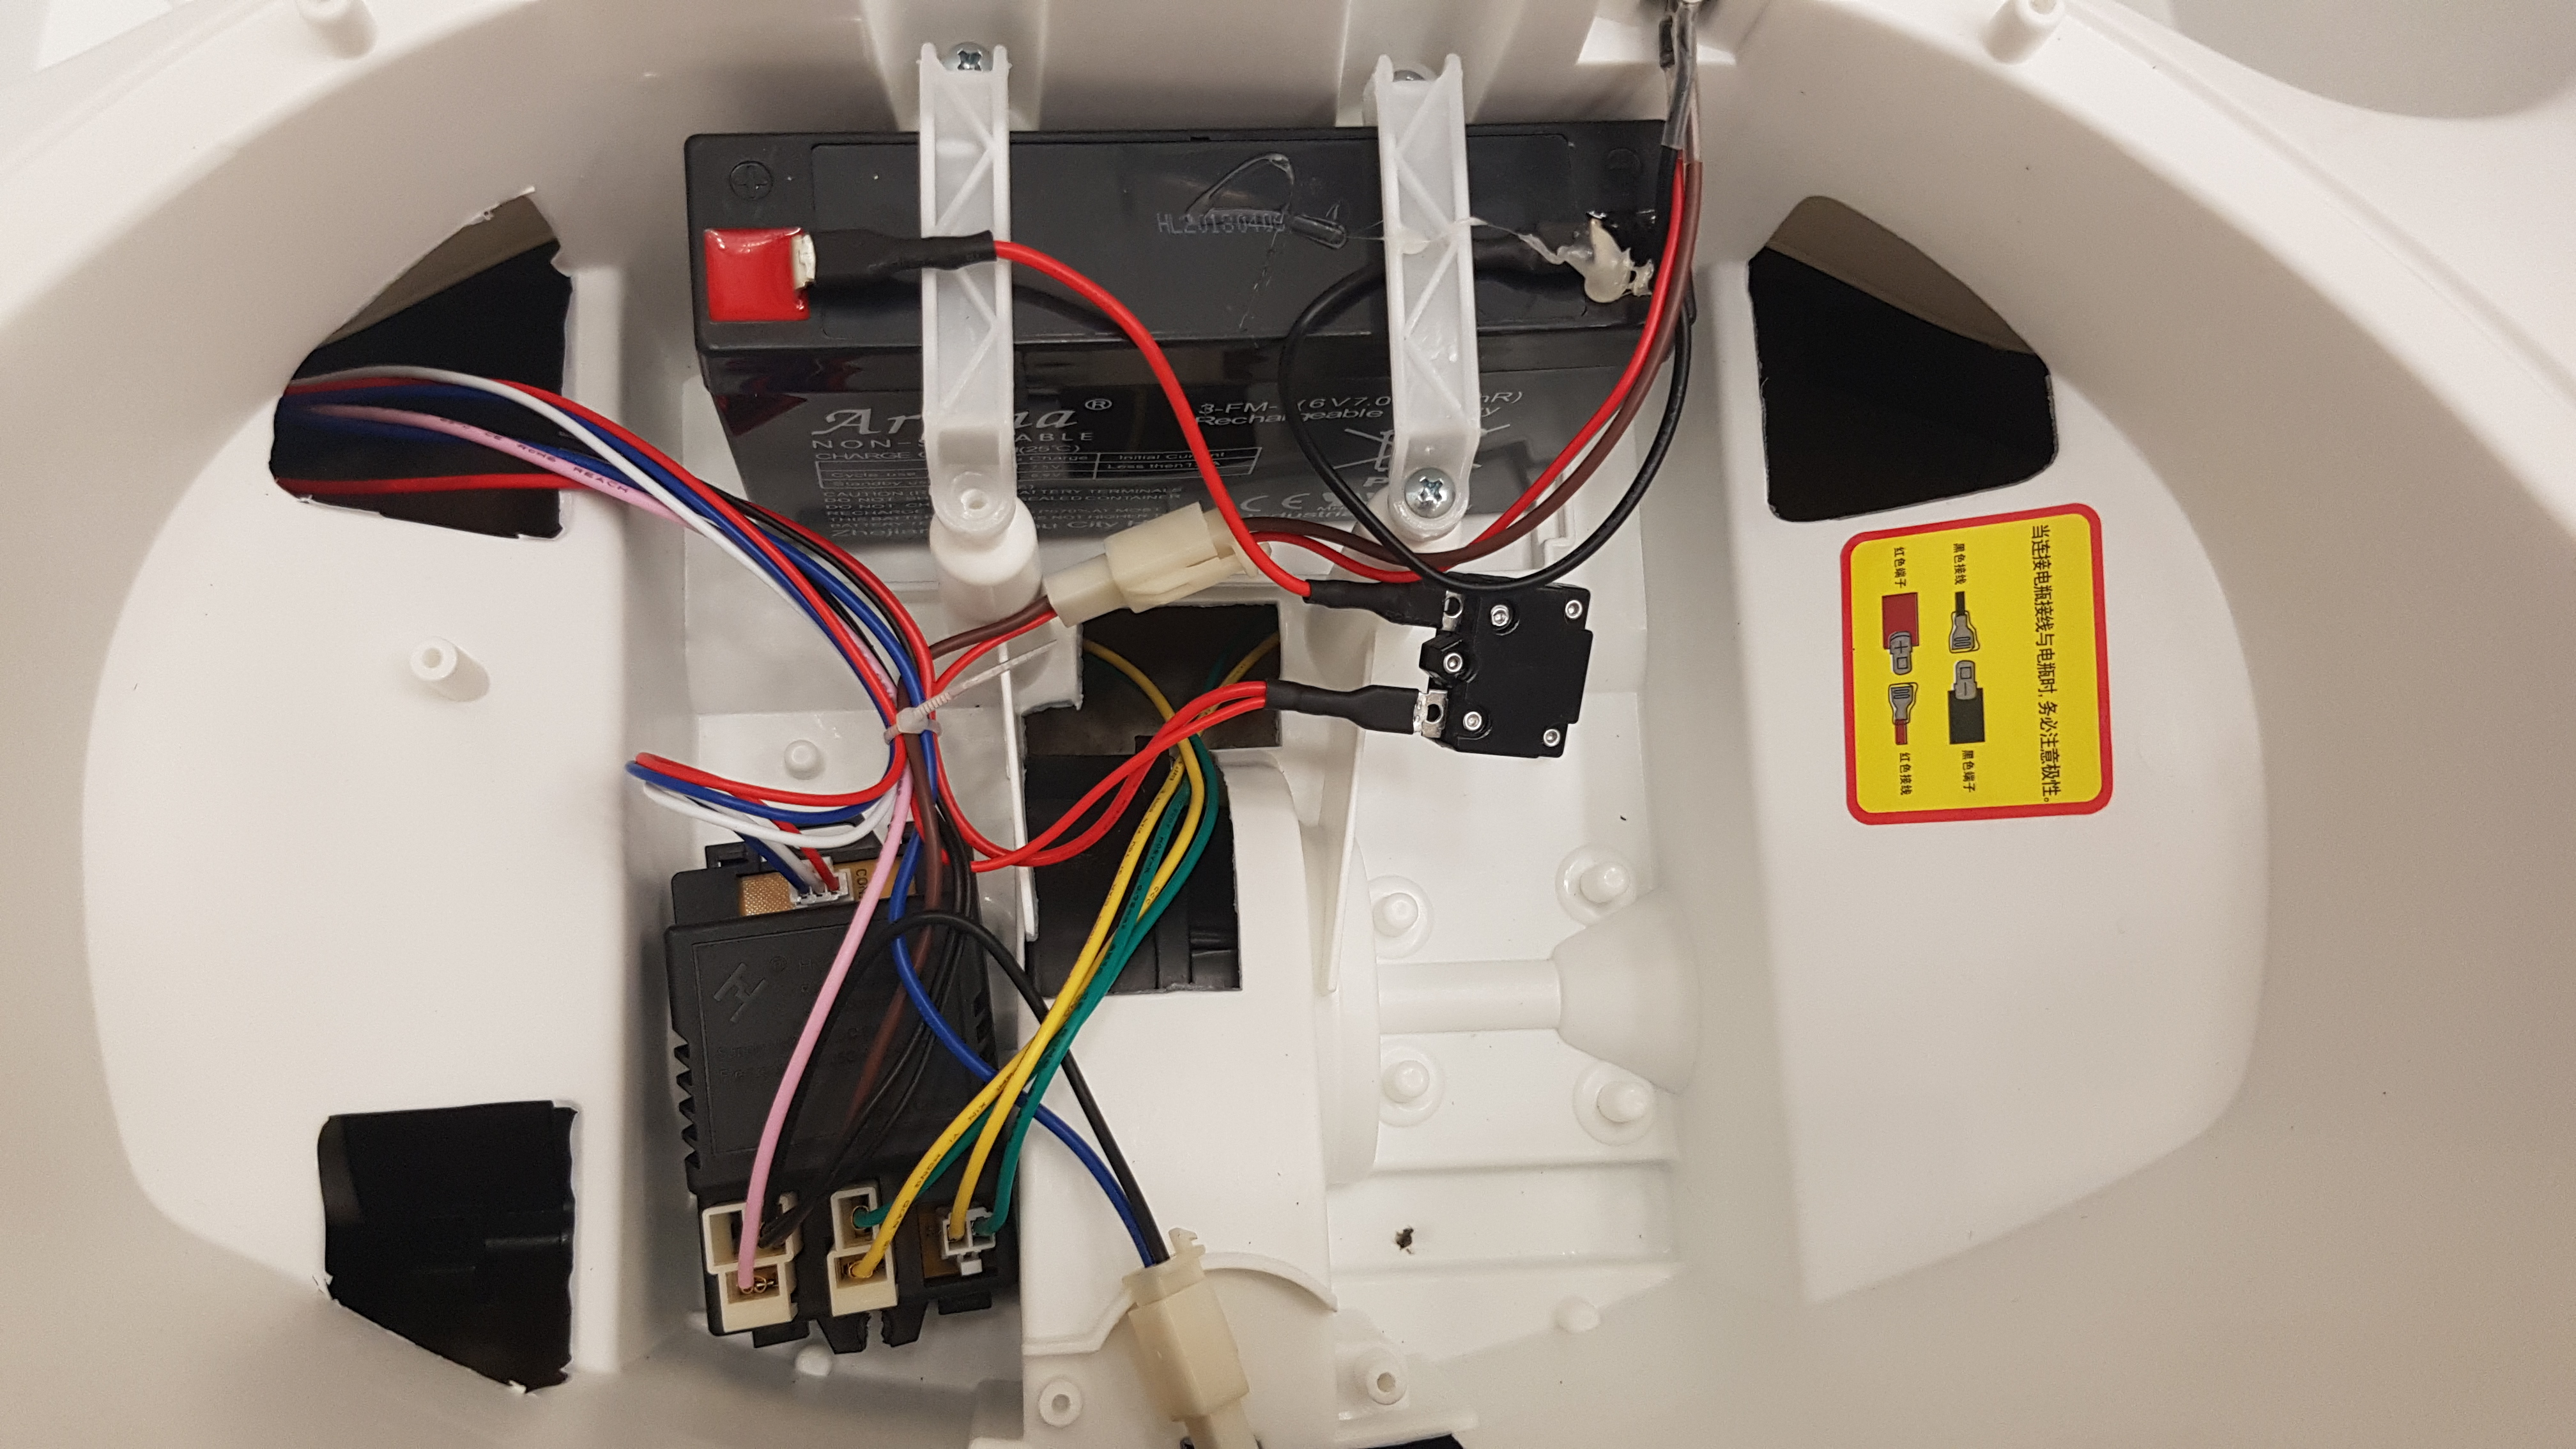
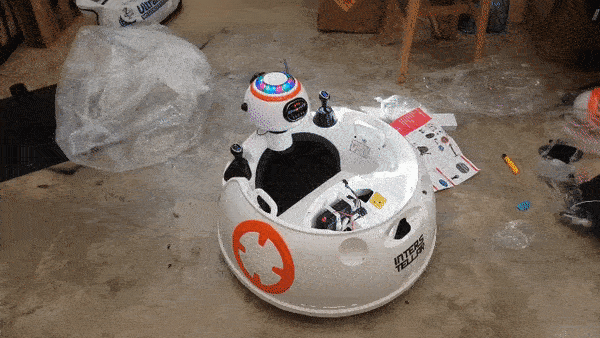 Remote Controlled Children vehicle, it can take up to 30KG hence I bought this to use it as a base since it will be able to carry all the components.