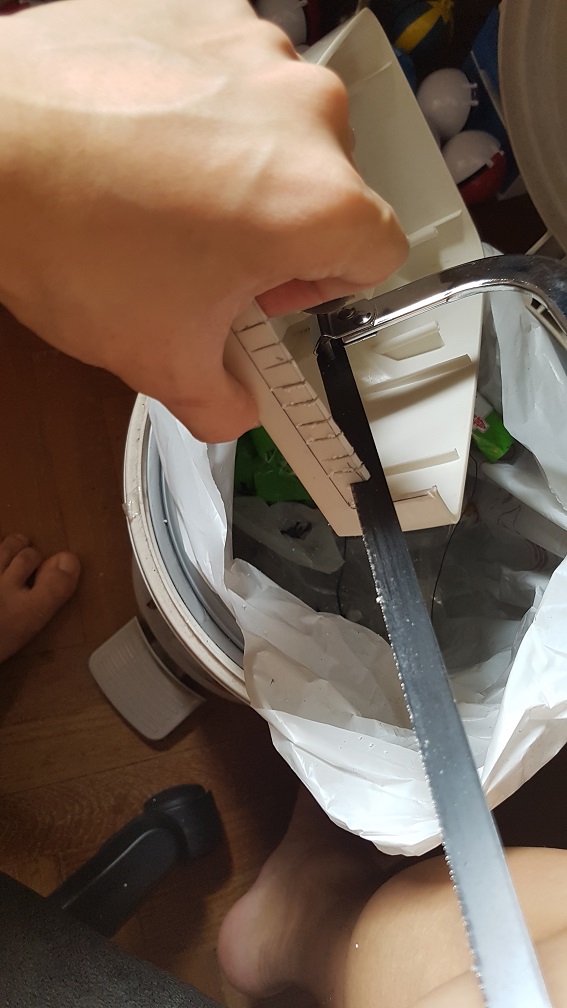
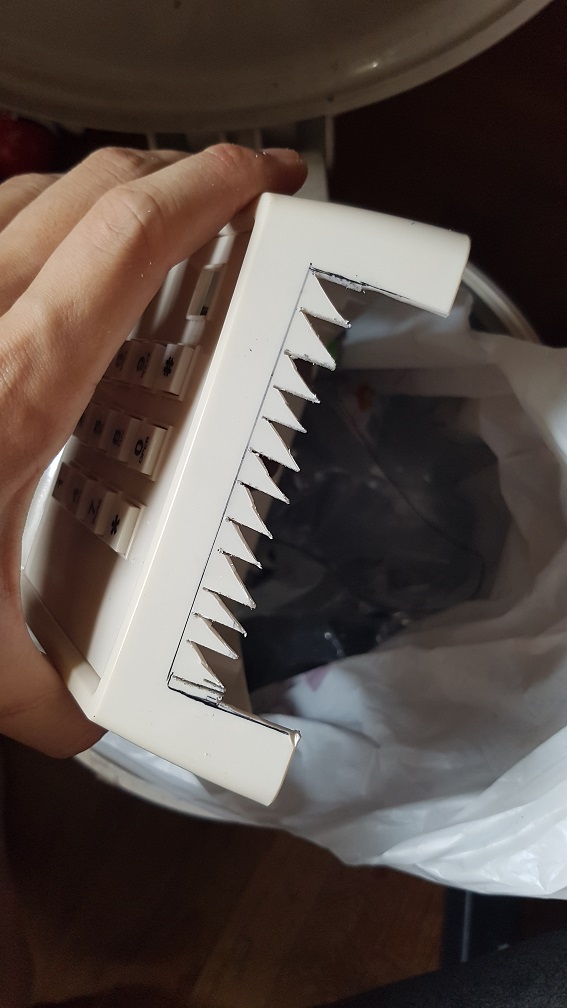
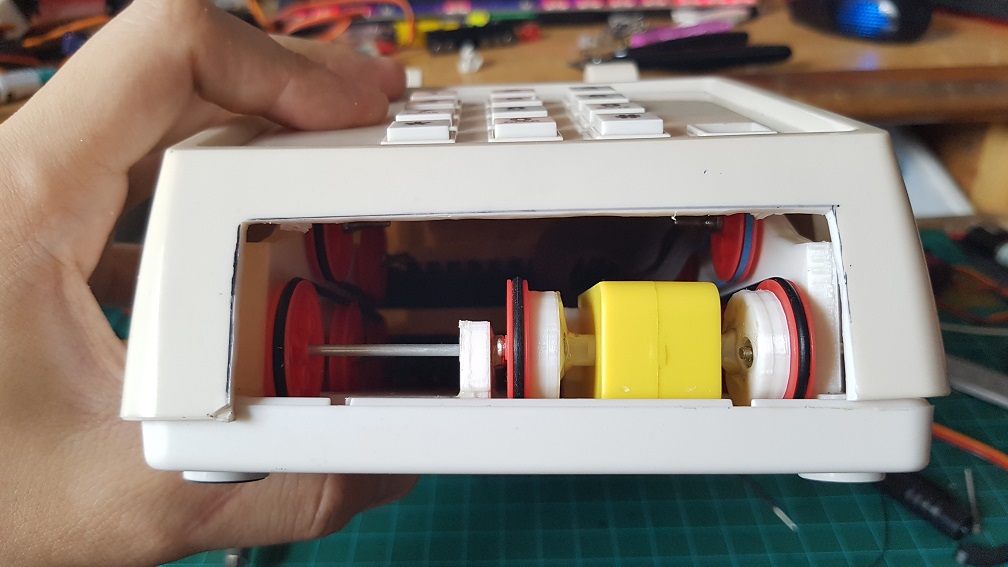
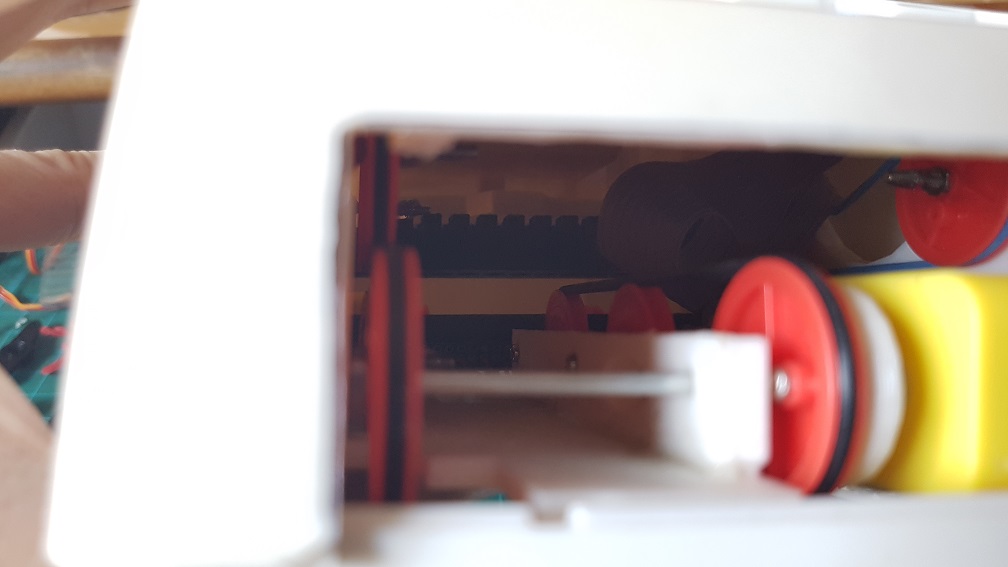
Interactive Devices Final Project: Obsoleting Instruments Process 3(Final).

Continue from my previous Process 2.

again, I had progressed much further since that post, mainly in designing the workable electrical and mechanical system that could fit into the Telephone and to write the Arduino code up.

First, lets start with the Final Video!


Back into the Process

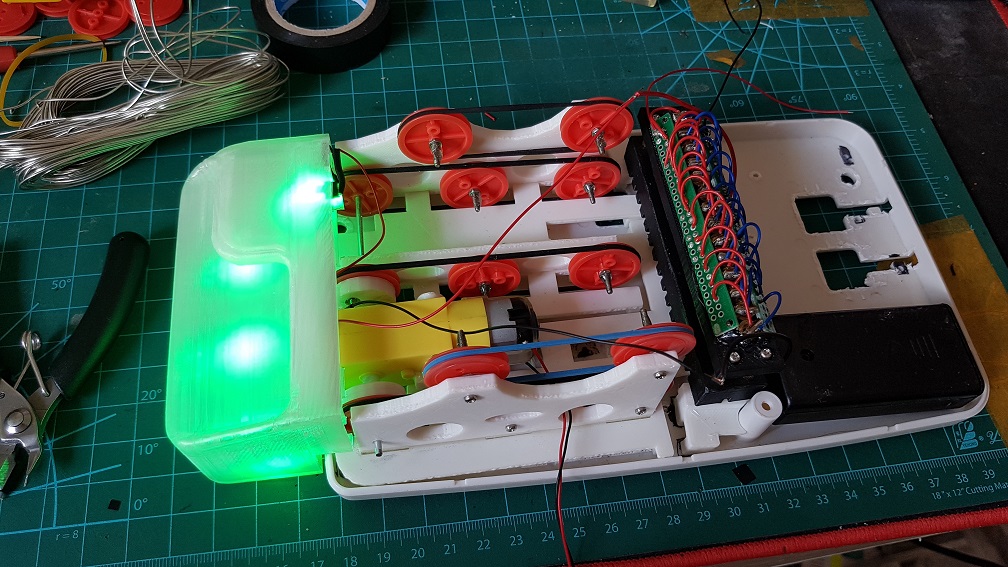
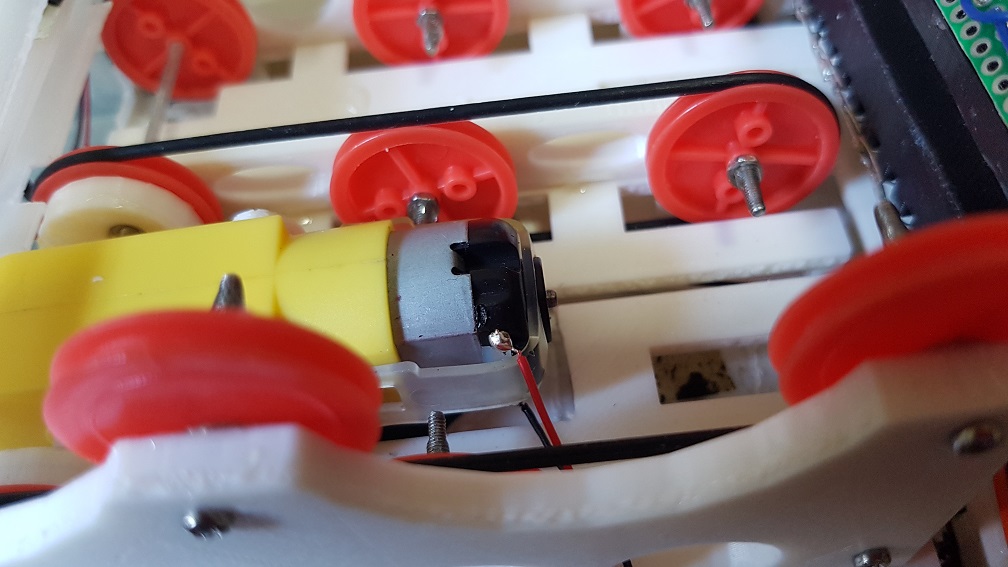
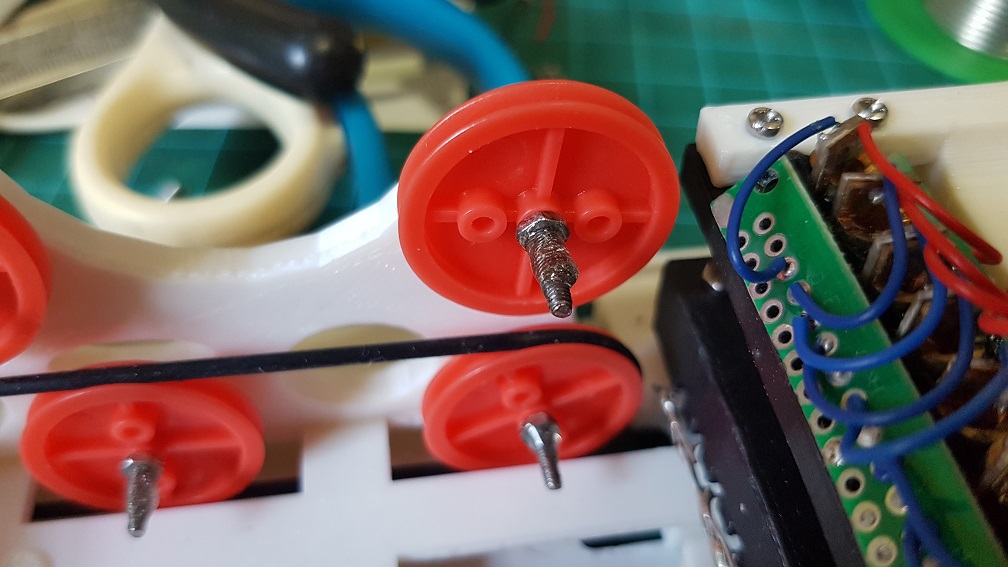
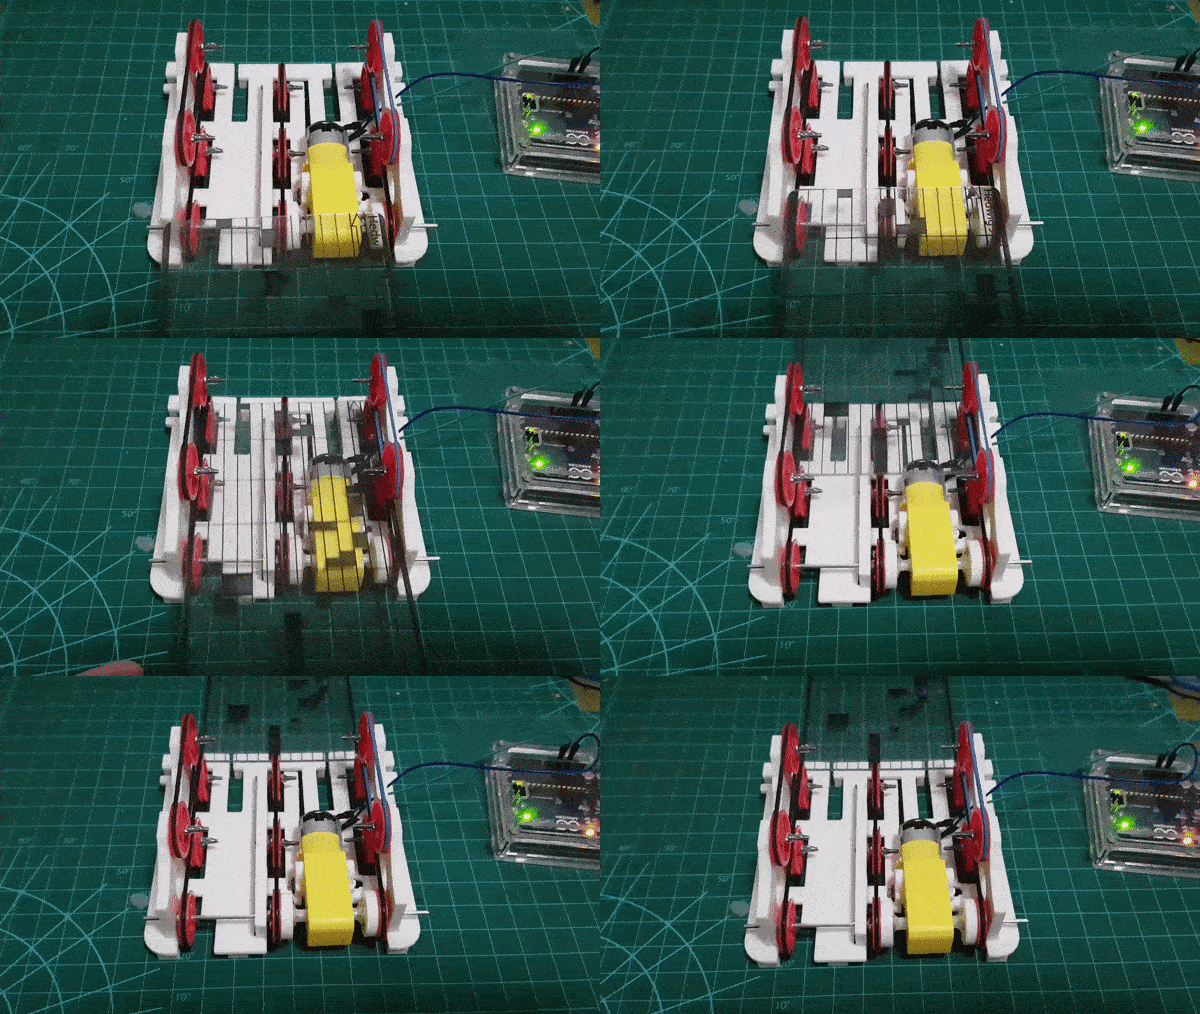
Since the previous post which I’ve roughly did the belt system that drives the music card into the laser reader, I had added the motor to the system and tried it, at this point, it seemed to work as I thought all I need was to slow the motor down and it will be alright.

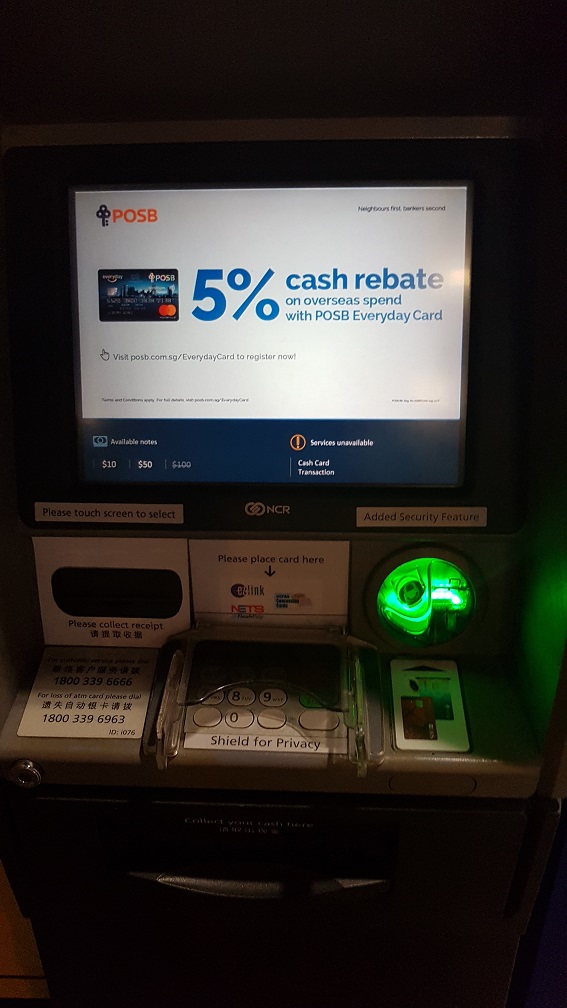
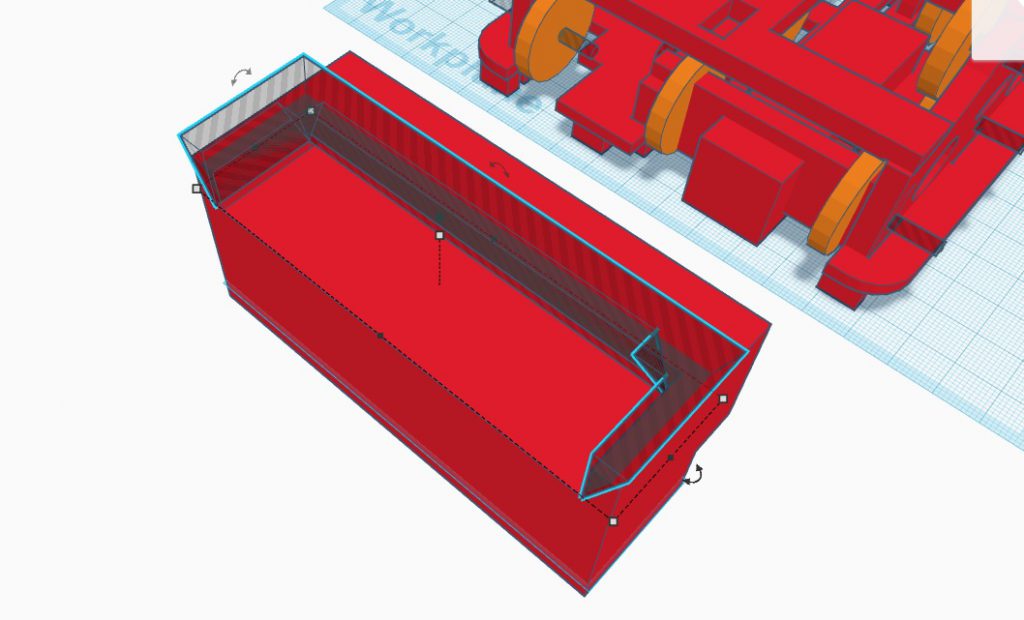
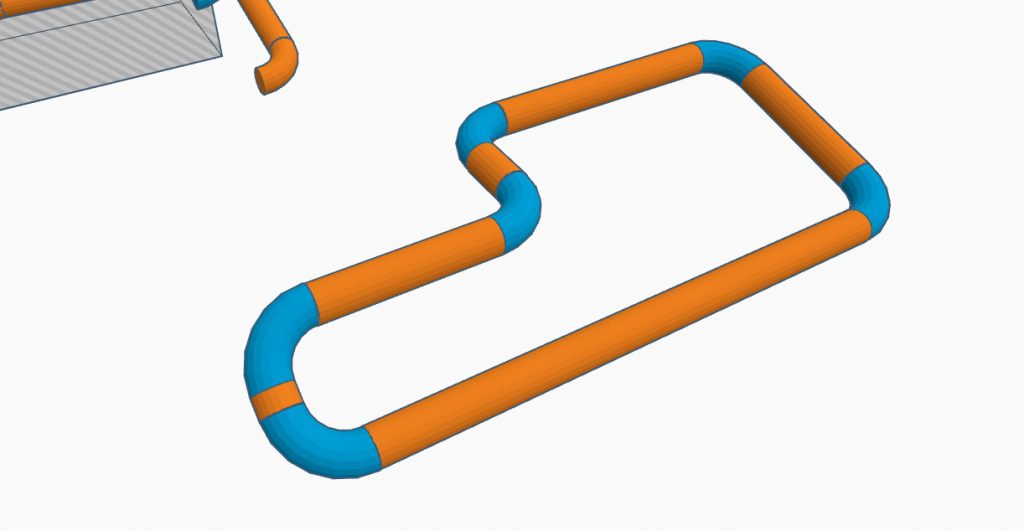
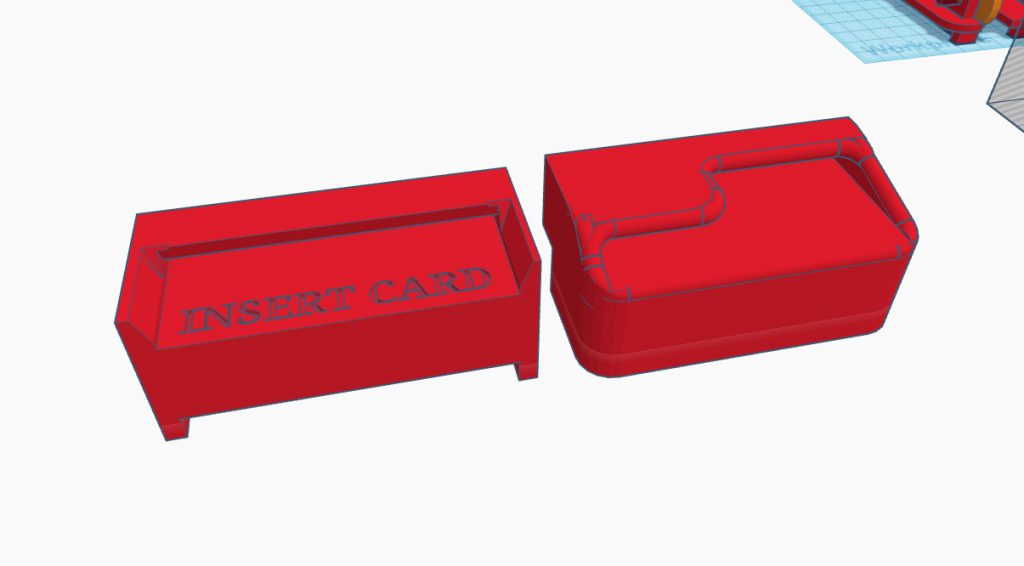
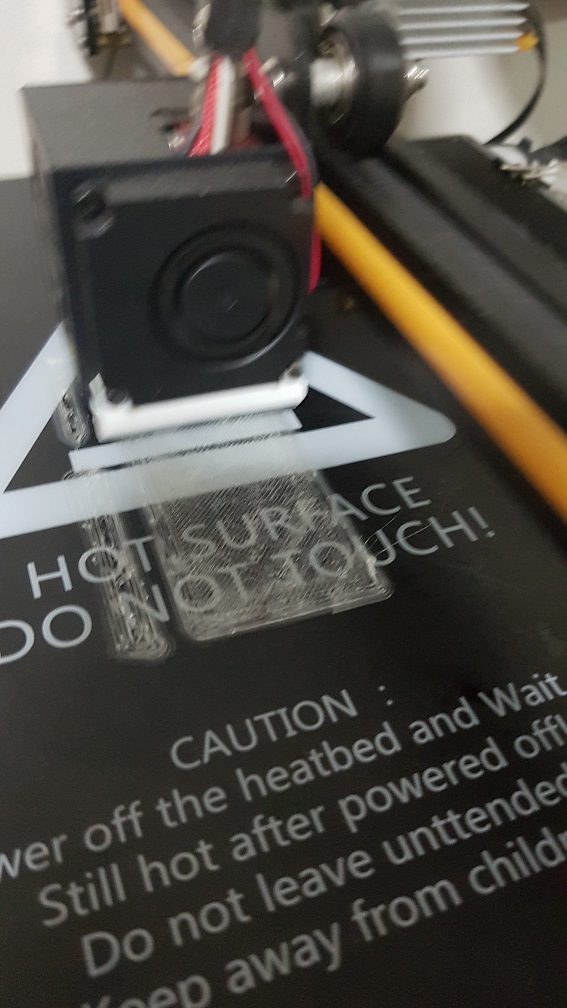
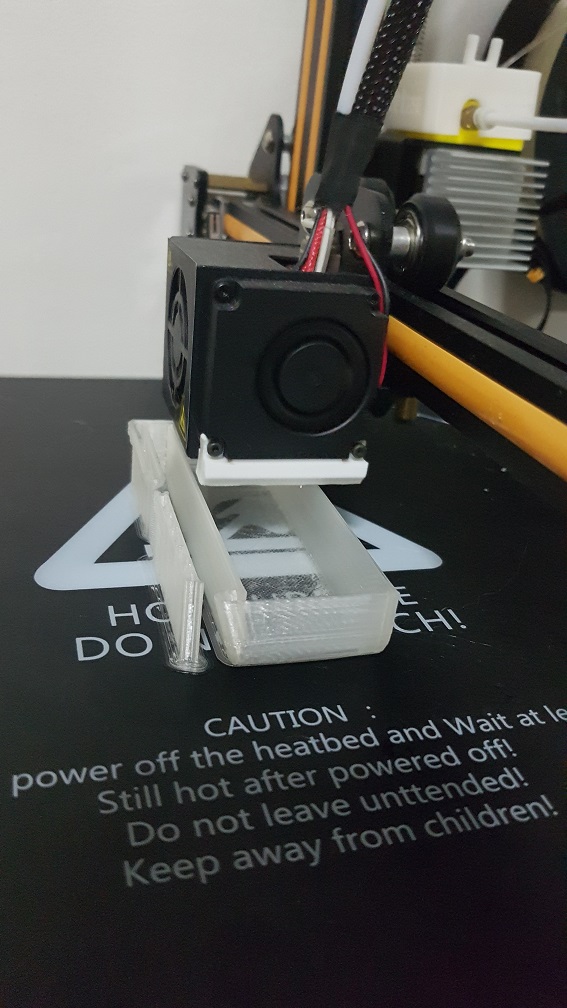
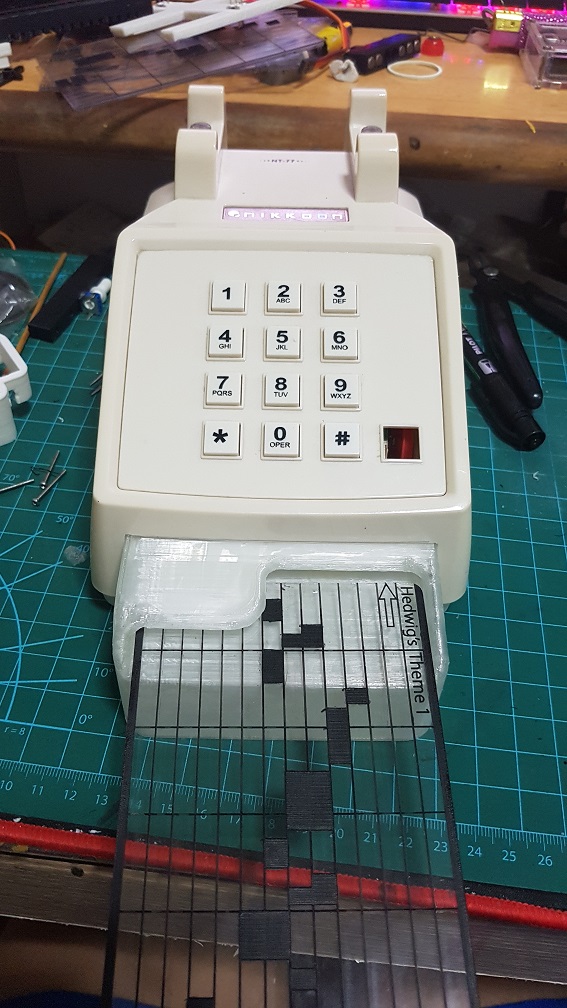
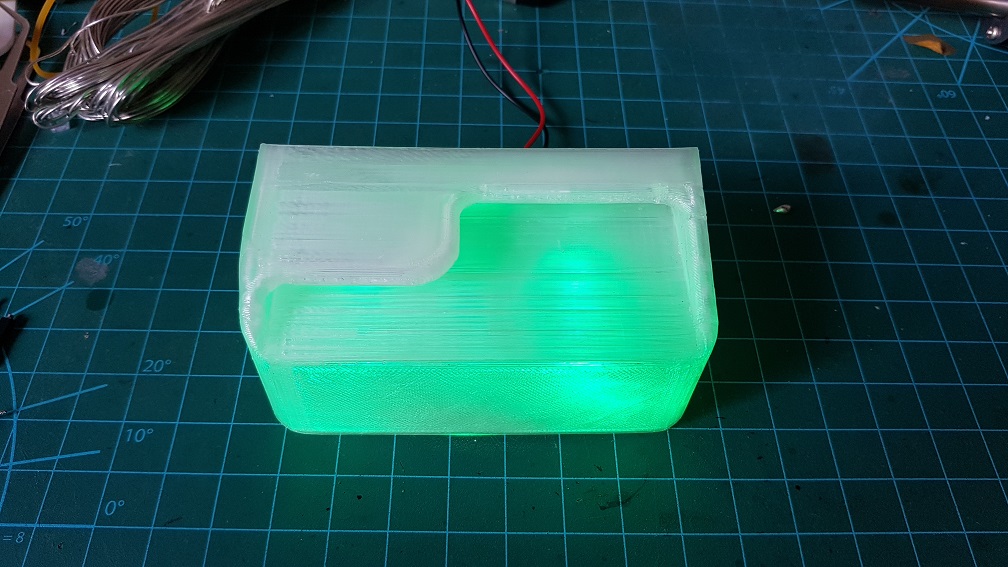
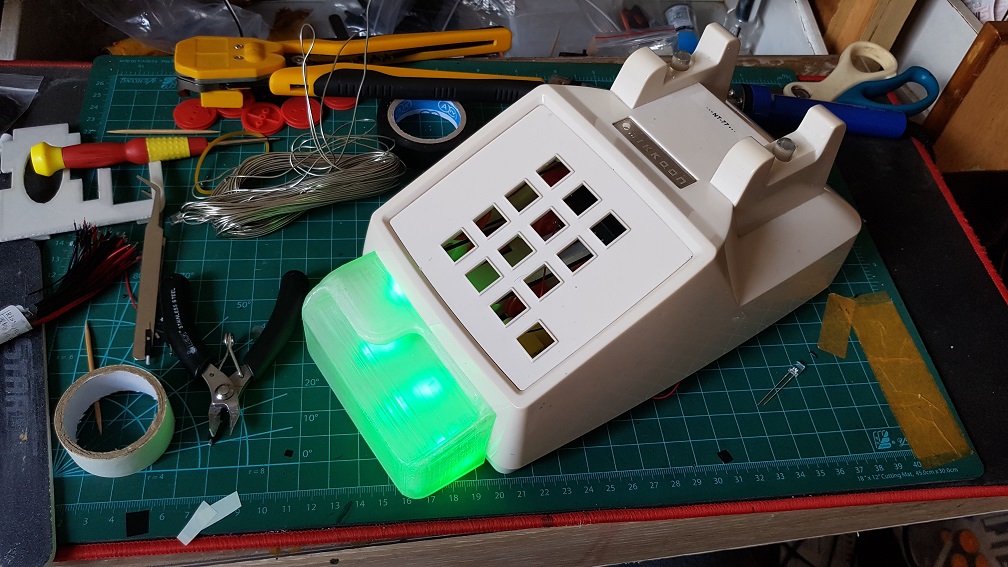
After I cut the hole, I proceed to modelling the card slot and i took inspiration from the ATM just to have the user to have something they’ve experienced and know how to put the Music Card in without instructing them, since subconsciously, I assumed that they interacted with a ATM at some point in their life.

After the modelling which i am really happy with, I proceed to print it.

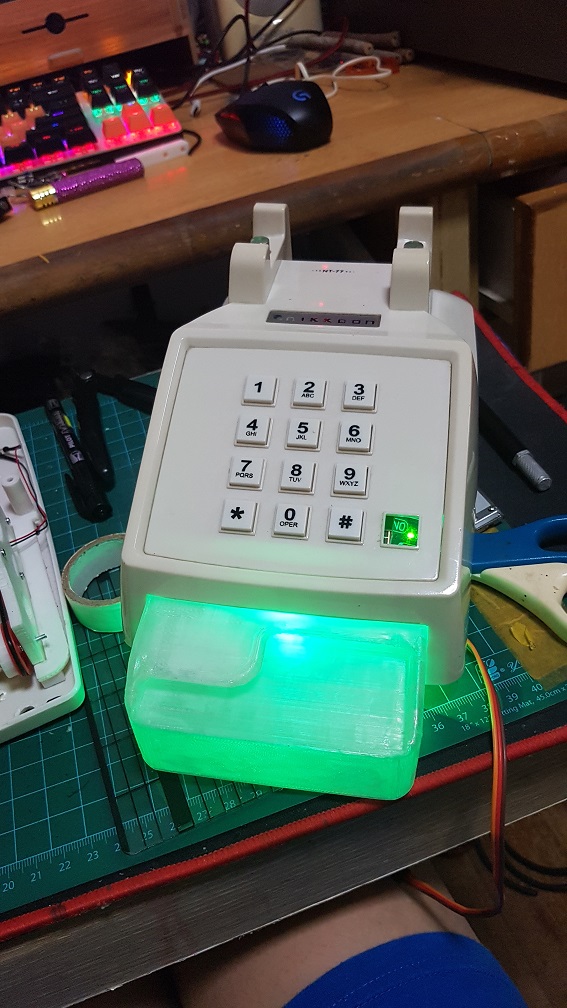
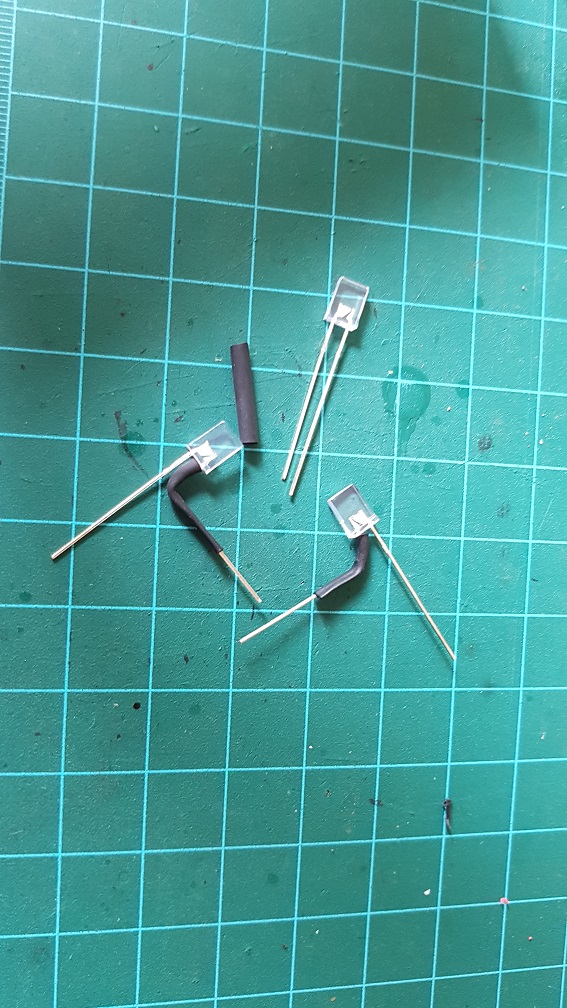
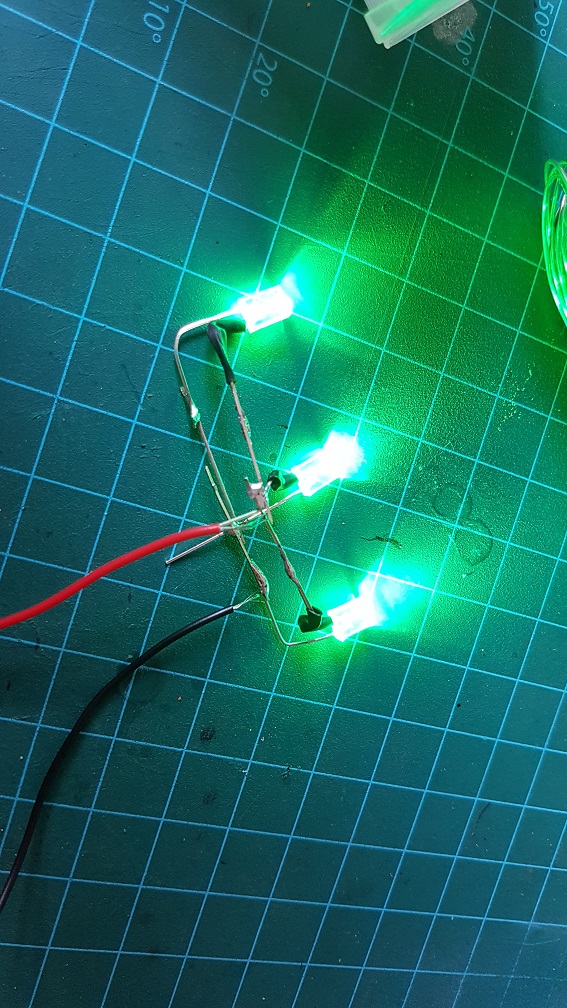
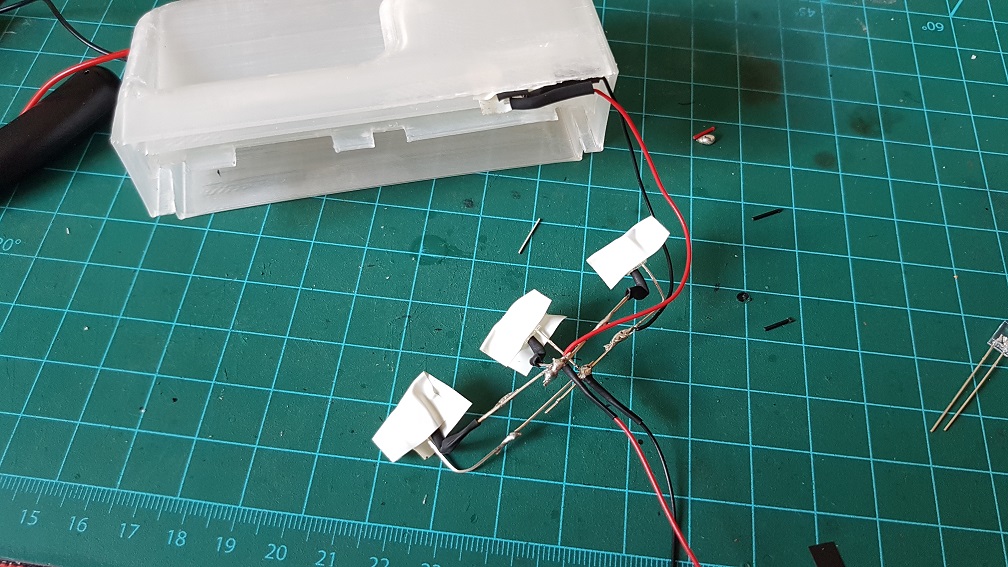
Since it was looking good, I went ahead and make a nicer LED system for it by soldering 4 LED(3 on the bottom and one for the top).

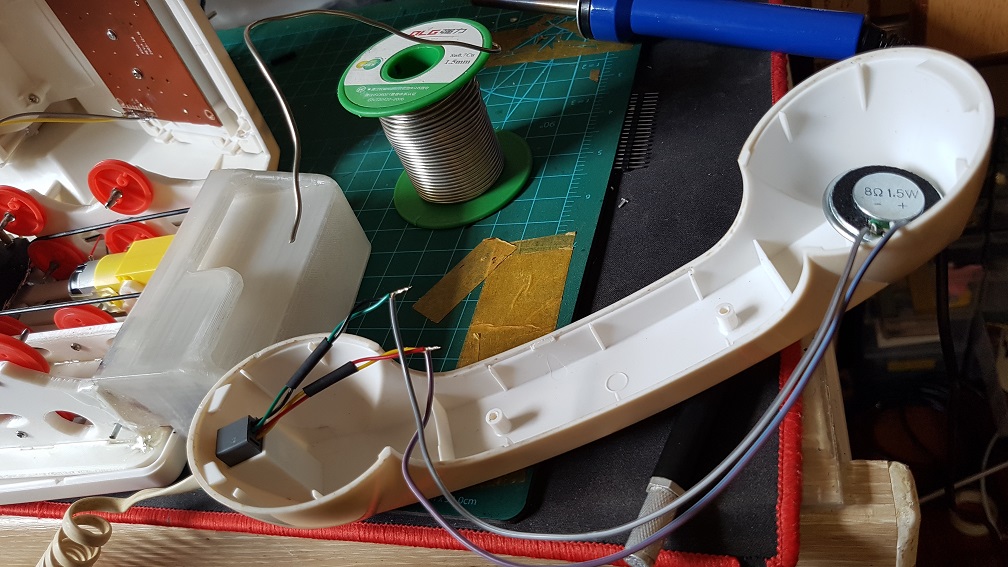
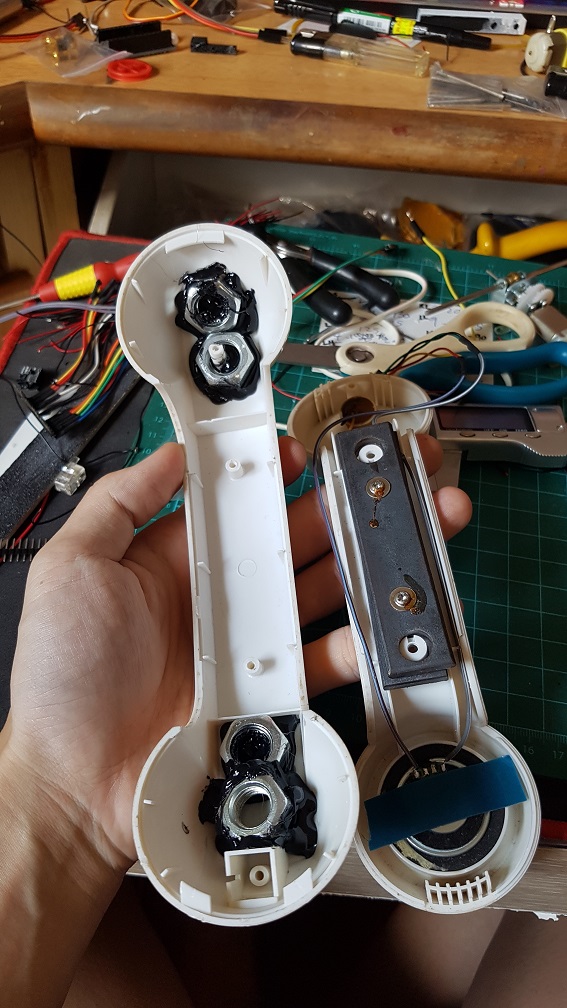
Next, I Epoxyed the speaker onto the bottom of the front belt drive since there is already a hole in the bottom shell for the speaker.

This is a 8 Ohm 0.5watt speaker that will be plugged directly into the Arduino.
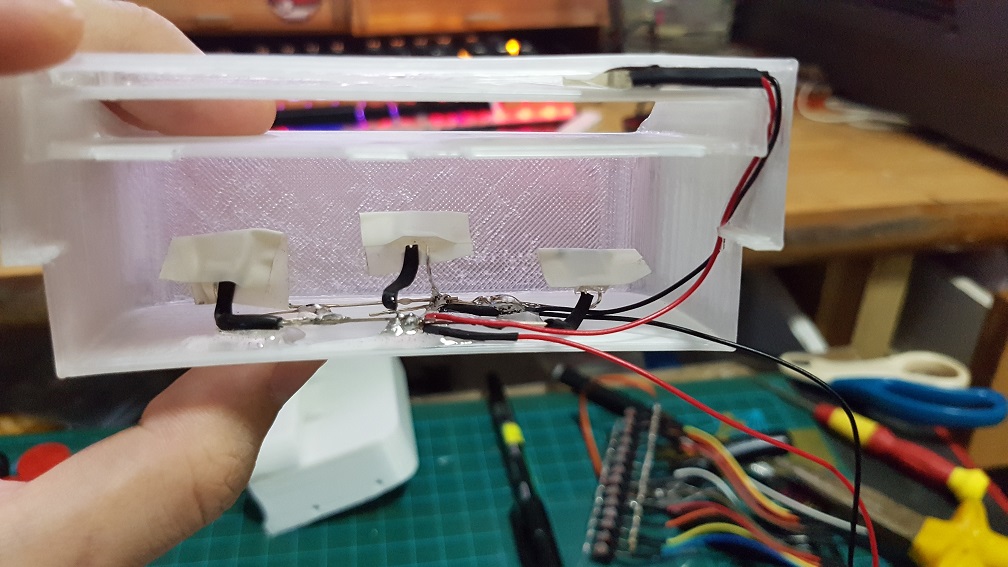

I also Epoxyed the 4 LED into the card slot to prevent them from sliding around.

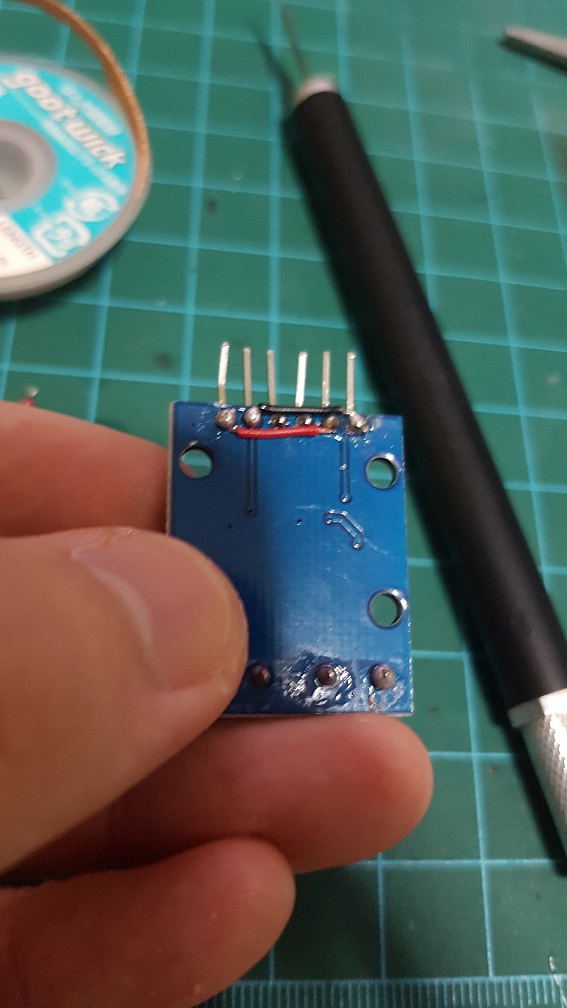
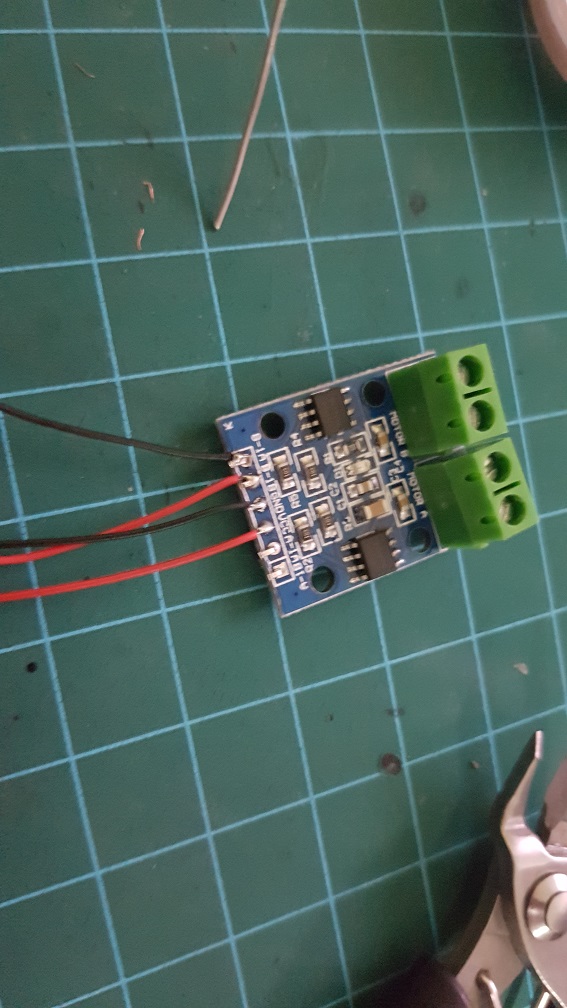
And came the soldering party.

It was at this point then I realized that if i reduce the speed of my DC motor to the speed of the music, I wont have enough torque to pull the card in..


After an afternoon of panicking and finding alternative motor or even thinking to redesigning my whole belt system….

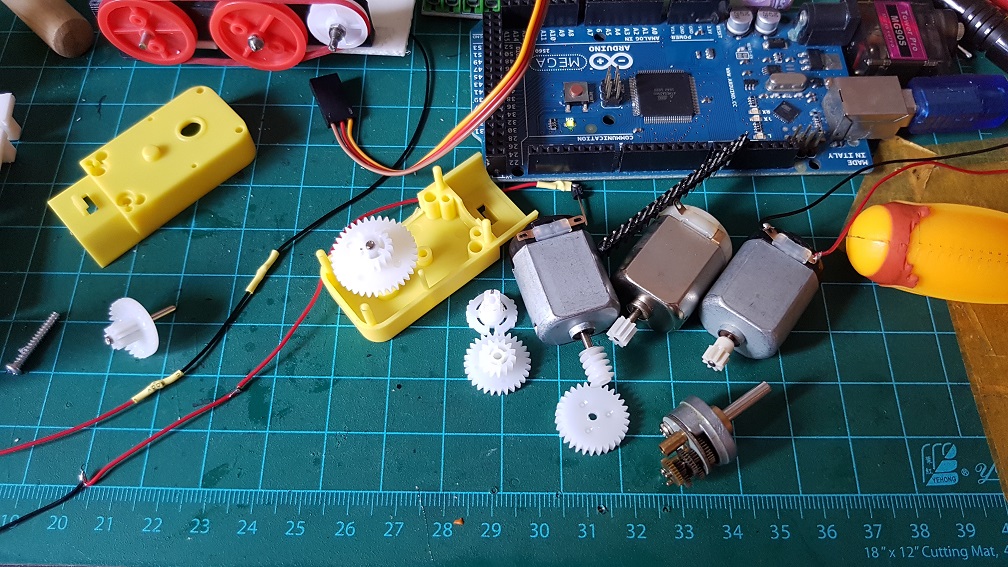
I opened up the current DC motor to see if i could make modification by changing the spur gears to worm gear, which will increase torque and lower speed(after i did some research). but this require me to rebuild the whole gearbox as well as to remodel+reprint the whole of the front and back belt system.

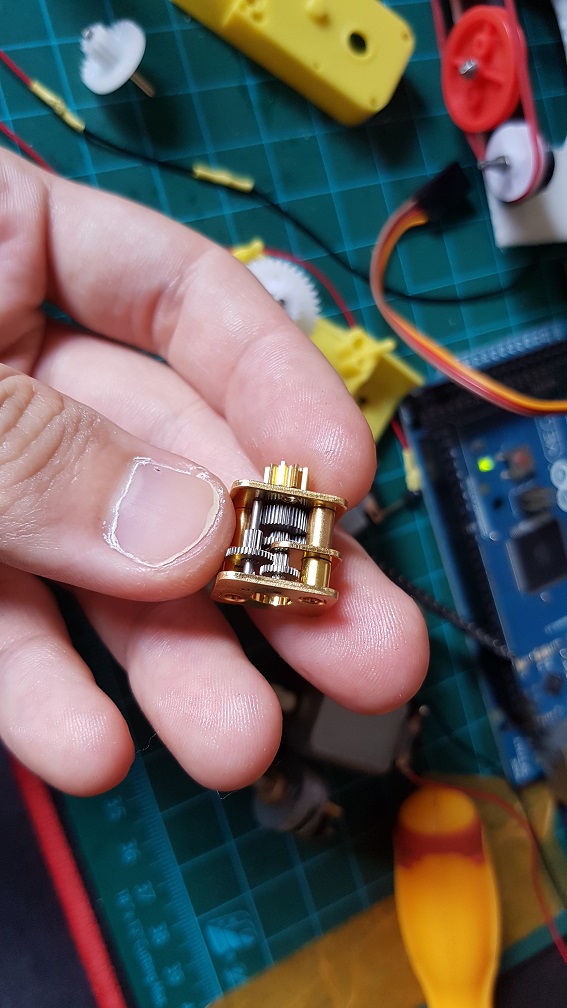
And then I found that I have a longer DC motor with metal gears built into it and i tried to figure our if I can incorporate this gear box into my current system, which is also rather impossible as the ratio for this gear box is about 1:45. when I only need about 1:5 to 1:8. if i use this, I will have the belt driver running too slow. same goes for this, but this is 1:250… even slower.
So to solve this problem, I tried to get the medium speed which is faster than what the song should be and will stuck about 30% of the time and removed the buttons (which detects card when user insert into it that trigger the motor to turn the belt.) that caused more friction. And I also jump start the motor by making it to spin at full speed for half a second to break the initial force required when the motor is starting.

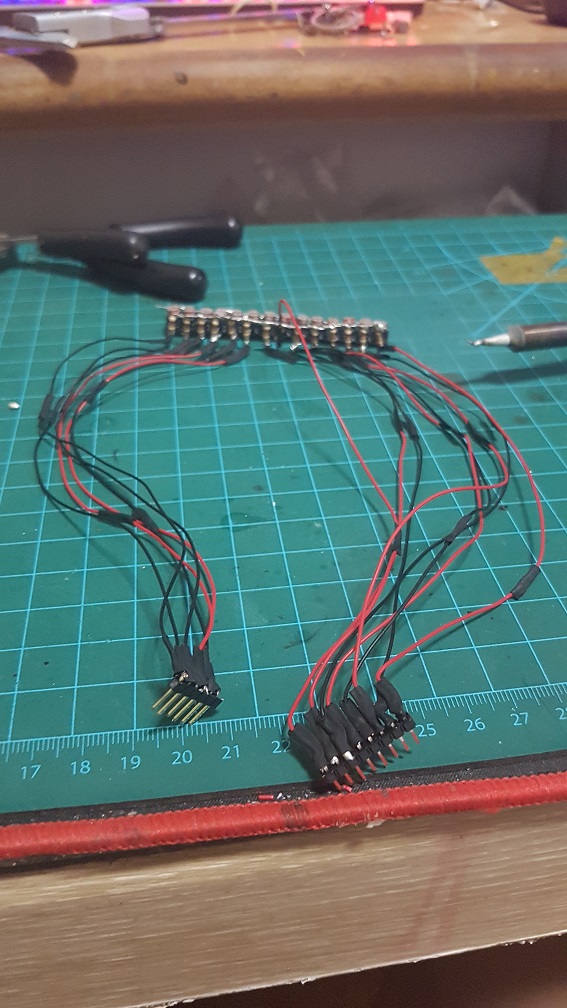
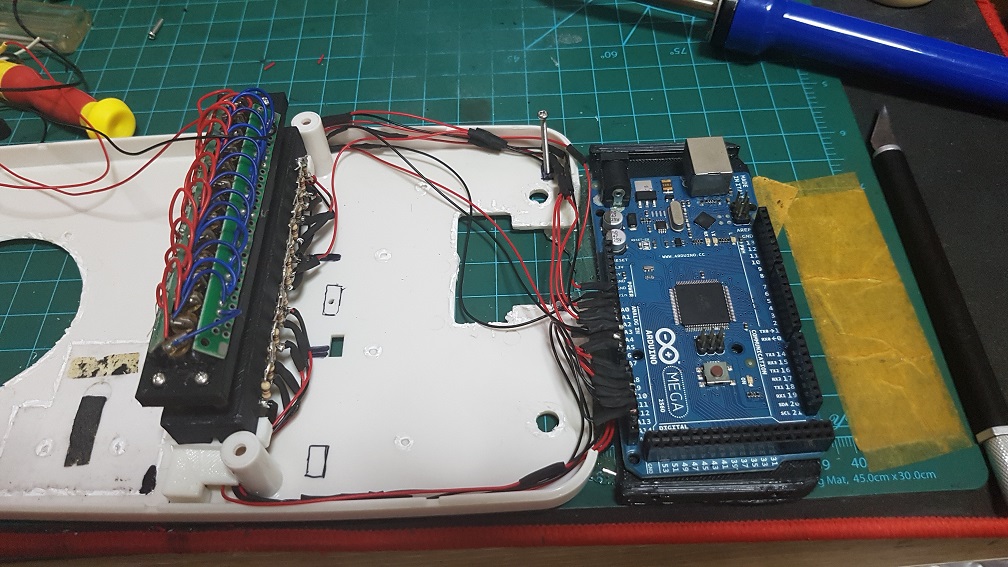
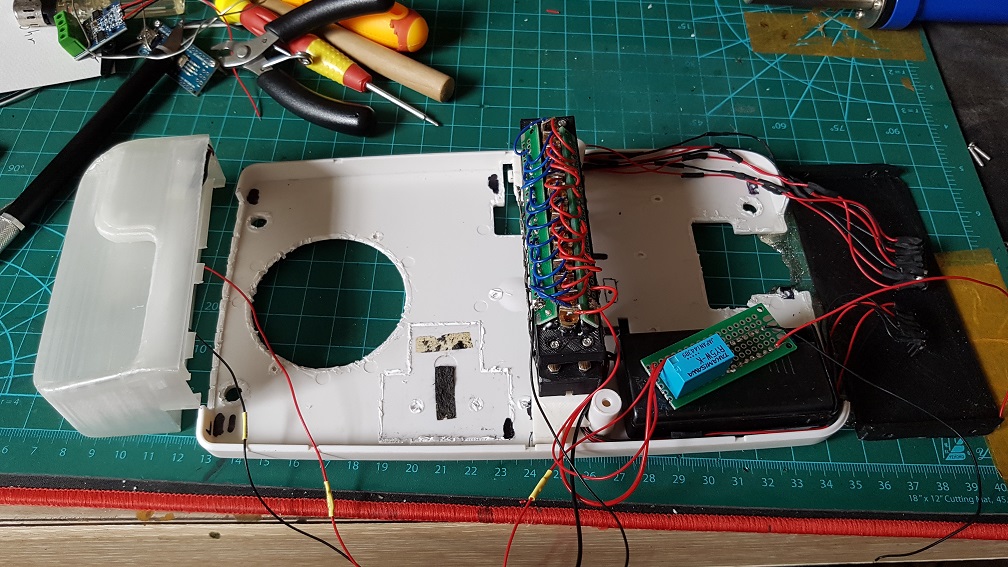
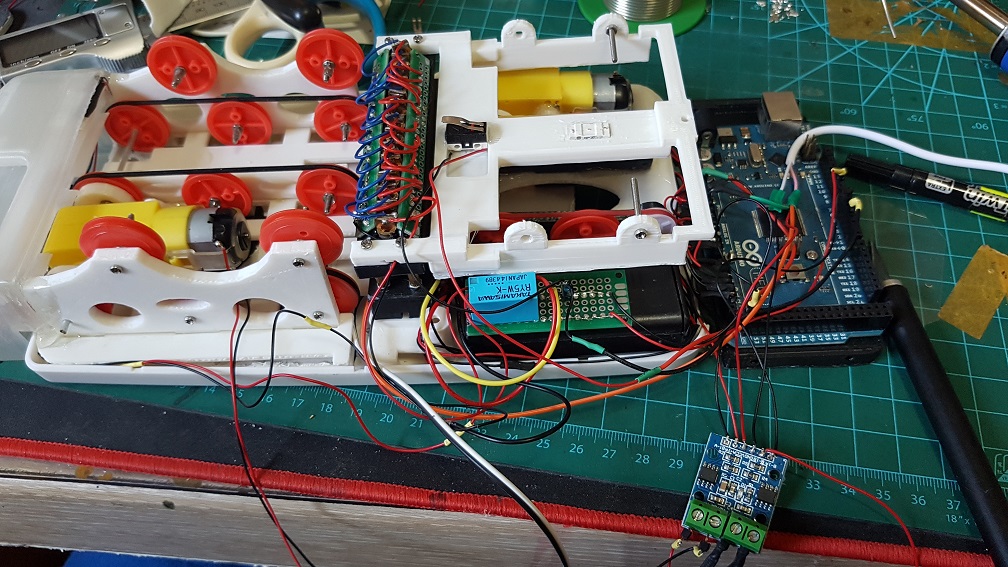
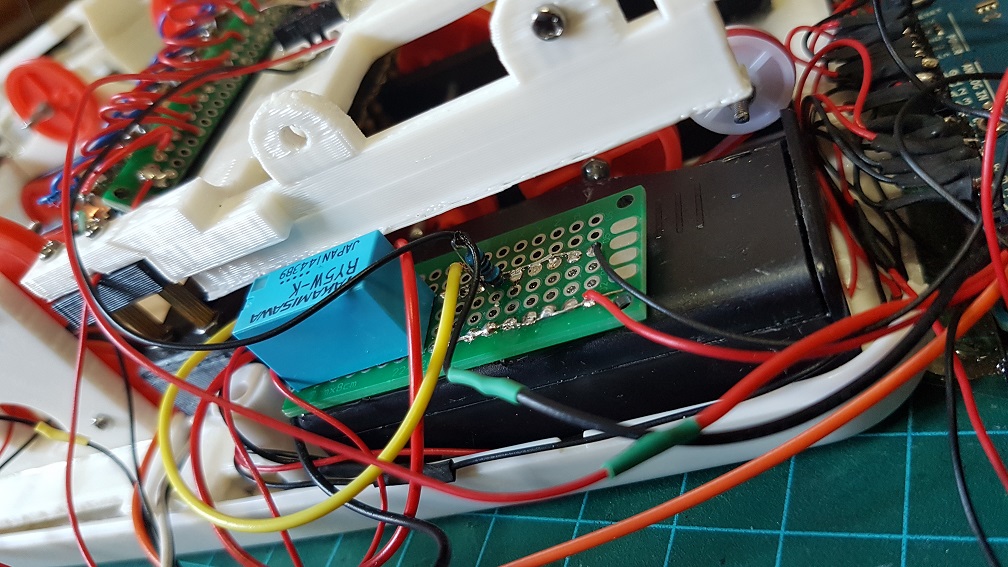
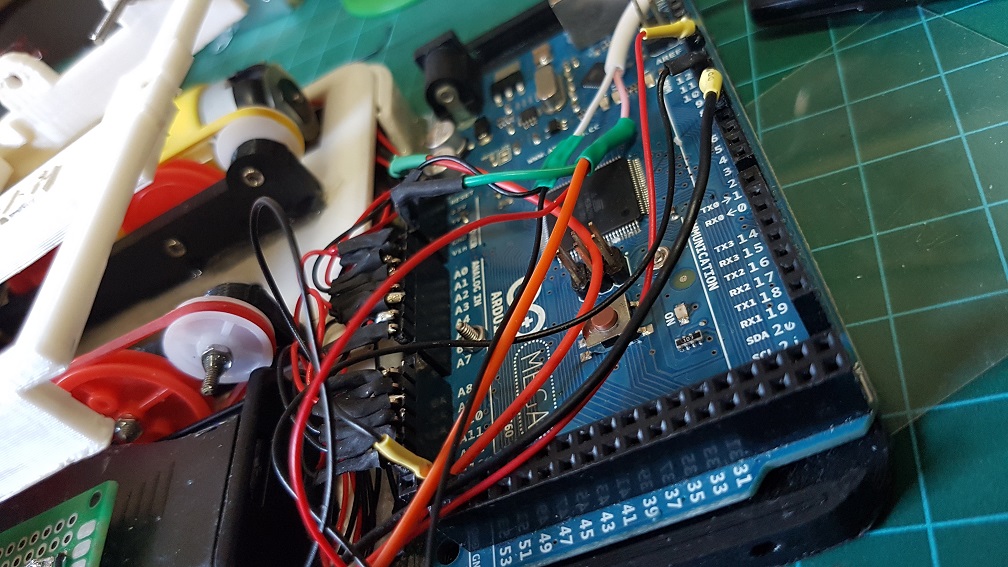
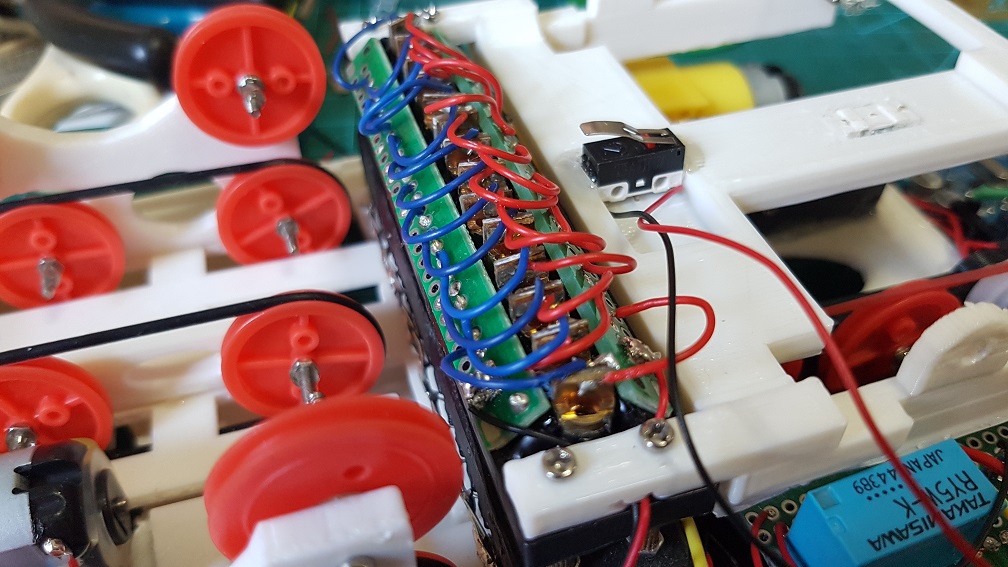
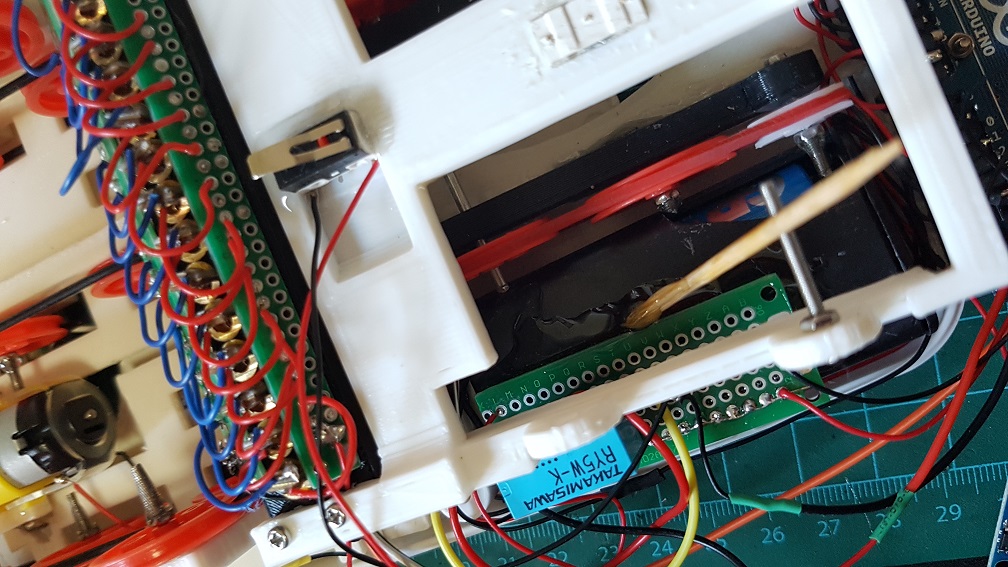
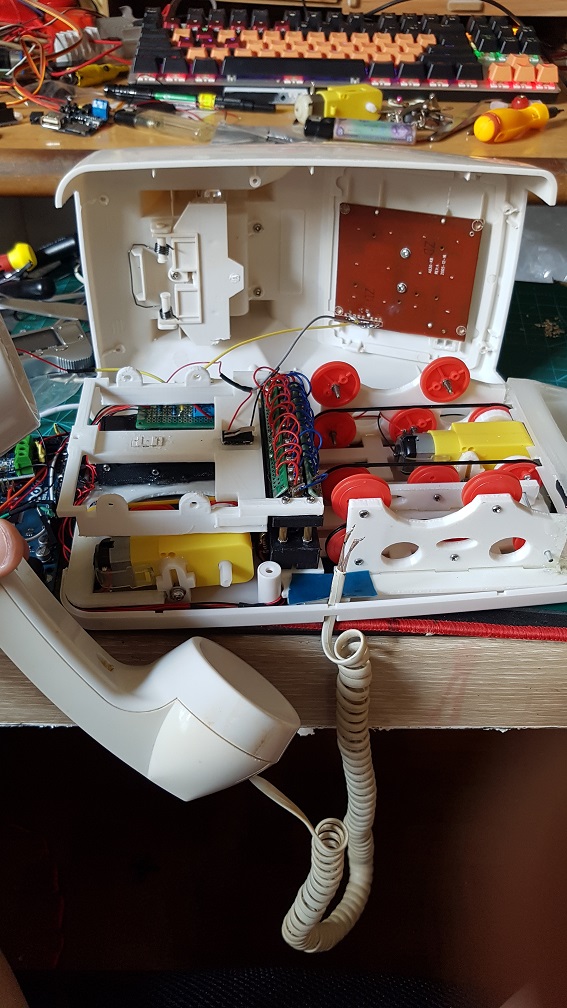
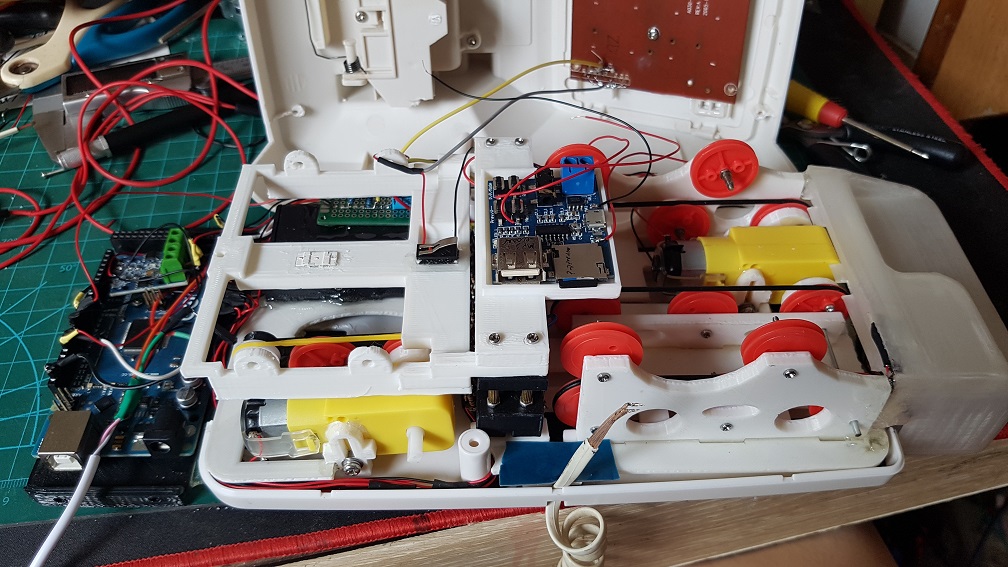
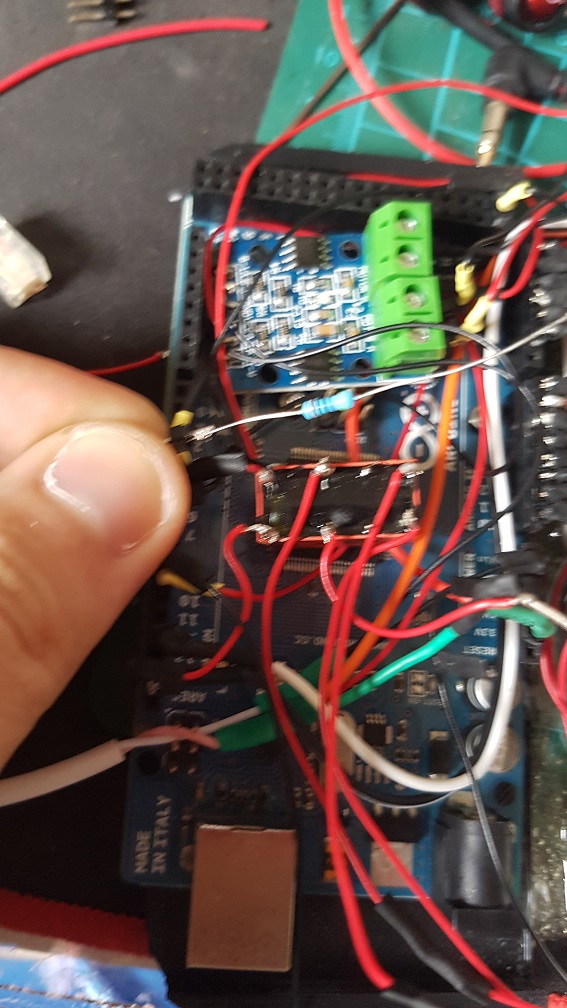
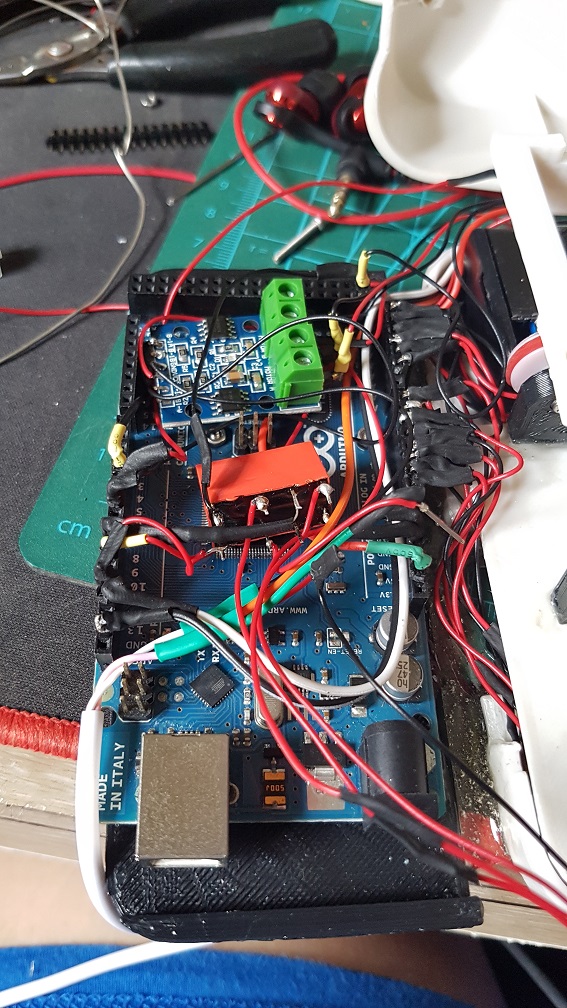
The messy configuration, components and wirings.

It took me some time to sort out these messy wiring and make sure that none of the wires interfere with the track that the Music card is going through.
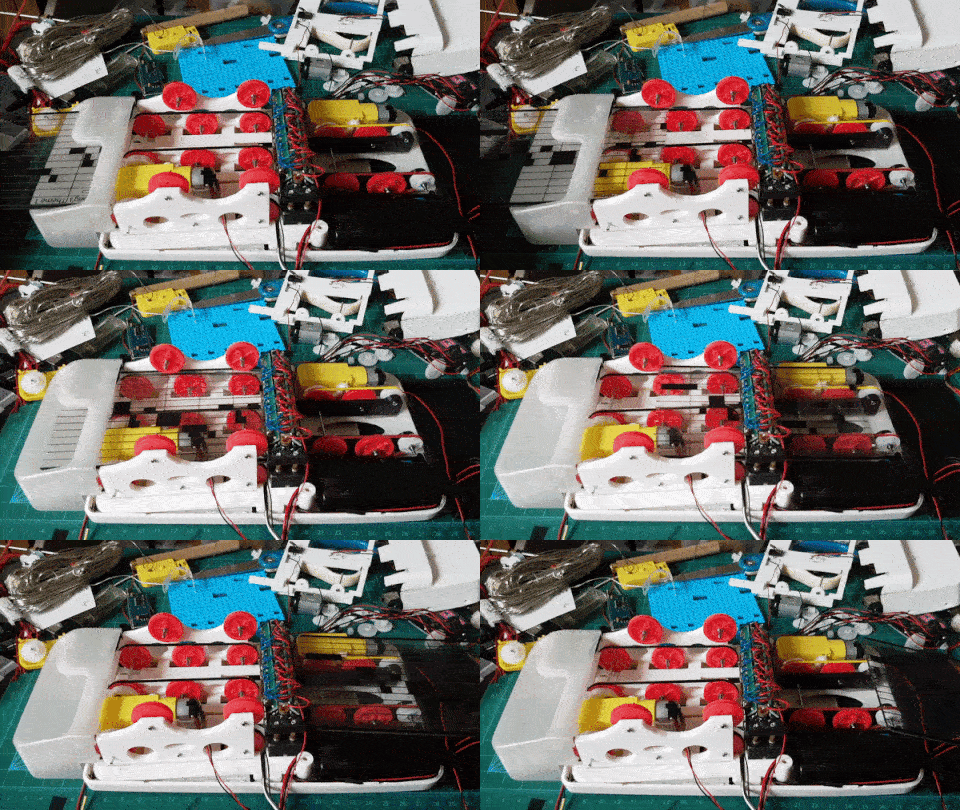
after trying out the workable speed of sound and getting stuck by removing the buttons.

and after this, I tried to code the majority of the code together.

For this, I did not expect to work this well and I am really excited about it!

Towards the end of the project.

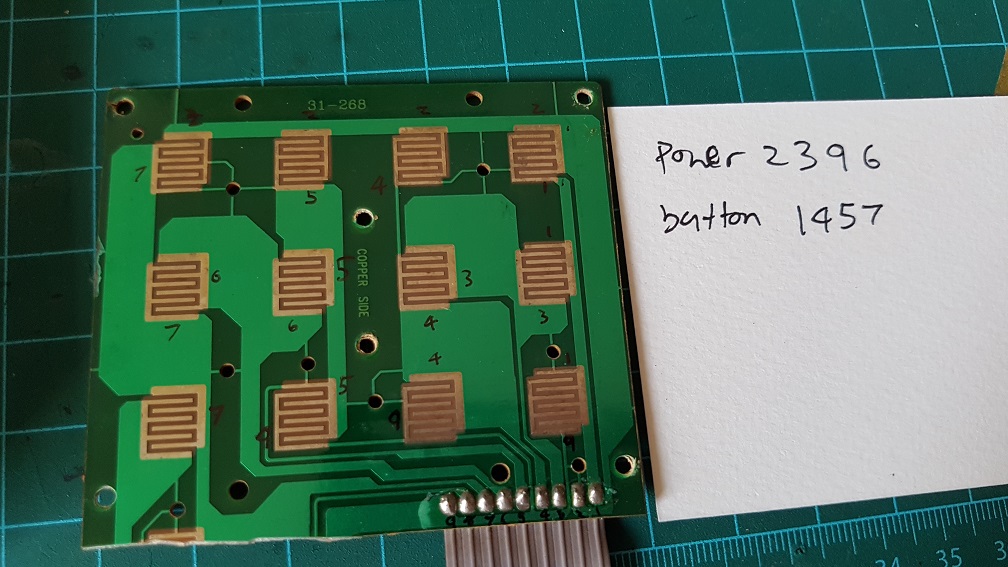
to make use of the original button on the phone, I’ve figured that the 12 buttons runs on 2 different circuit which I could simply solder these number together and make all the 12 buttons into one button, so nomatter which buttons the user pressed, it will be registered as one button pressed.

Because I cut off the Redial button on the phone to make space for my belt driver system, I epoxyed the Redial button back to the case as there are no PCB supporting it.

Some may wonder how did I make the Music Card..

I copied a few from online like Demons by Imagine Dragons, Harrypotter’s Hedwig Theme, and Pokemon Theme song, These were labeled on the card and those that weren’t labeled was What I composed myself. Since I have no music background, I did it by trial and error to give it a tune.

This was screen recorded when I tried to compose my 4th tune for this project:

after this was completed, I screen shot it and import into Illustrator to trace it into the Card layout which I made.
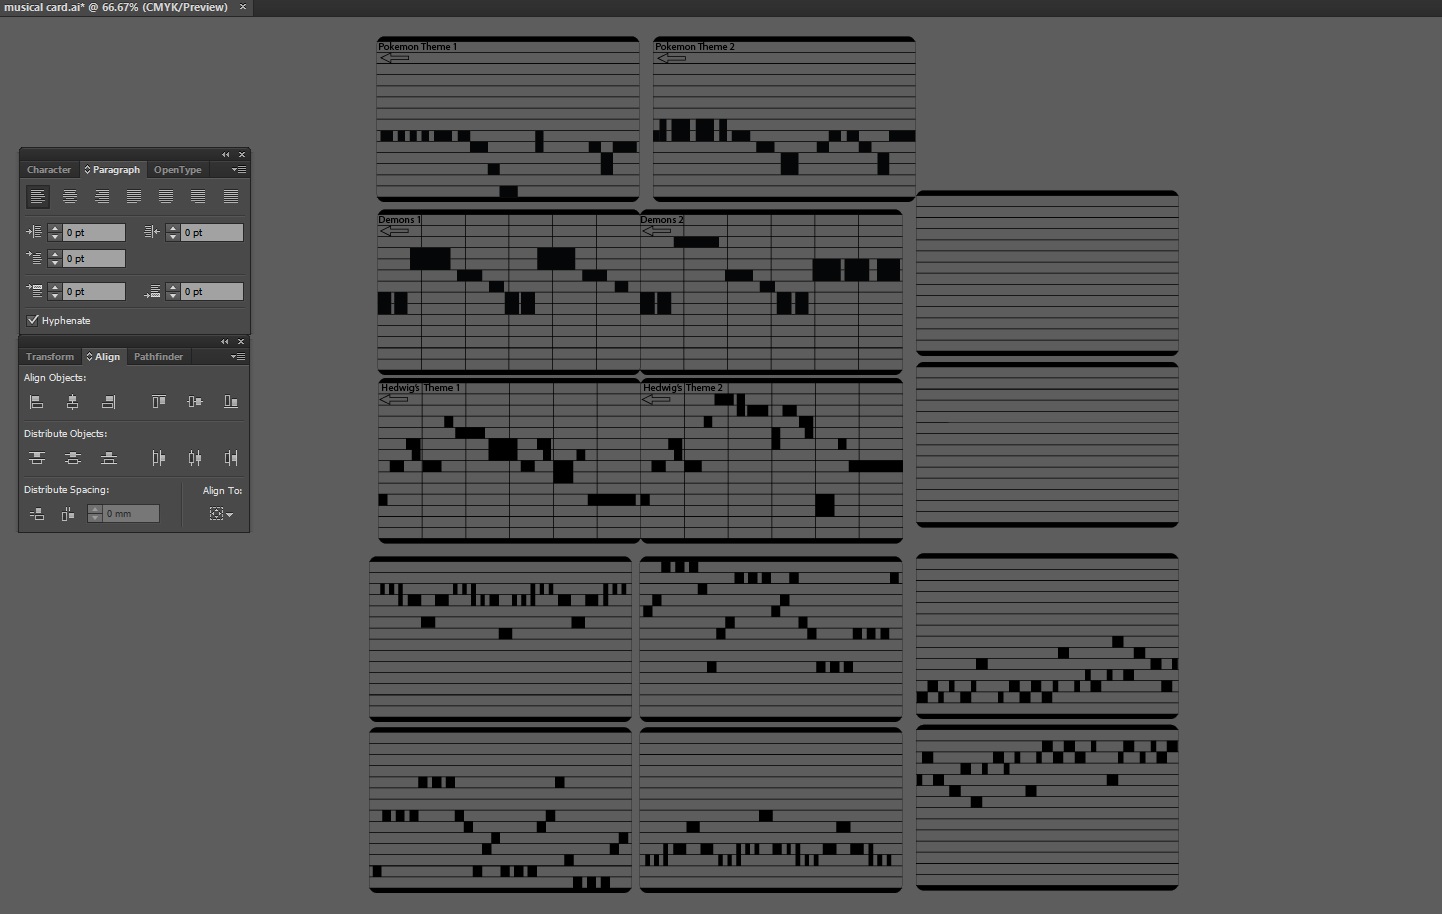
and this was how the cards were made.
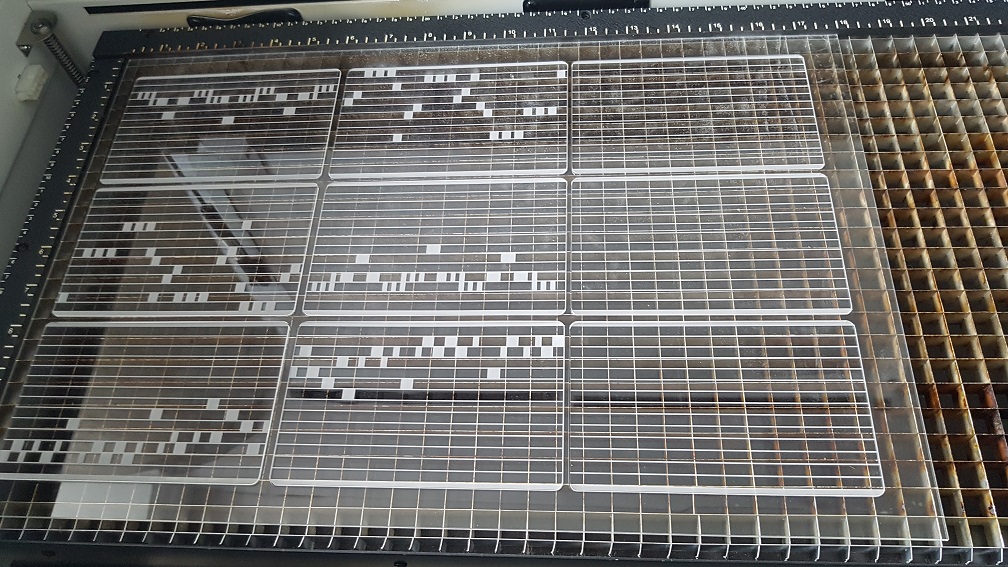
Laser raster and cut in school on 2mm acrylic.

AND how about the voice command in 7 different accent?

well, this is relatively simple, just type whatever I want on Webbased Text to speech reader and have it read it out in different accent and edit them in premiere pro to cut them up to the exact same length(9 seconds) and put them into the SD card within the Obseleting Instrument’s MP3 Decoder.
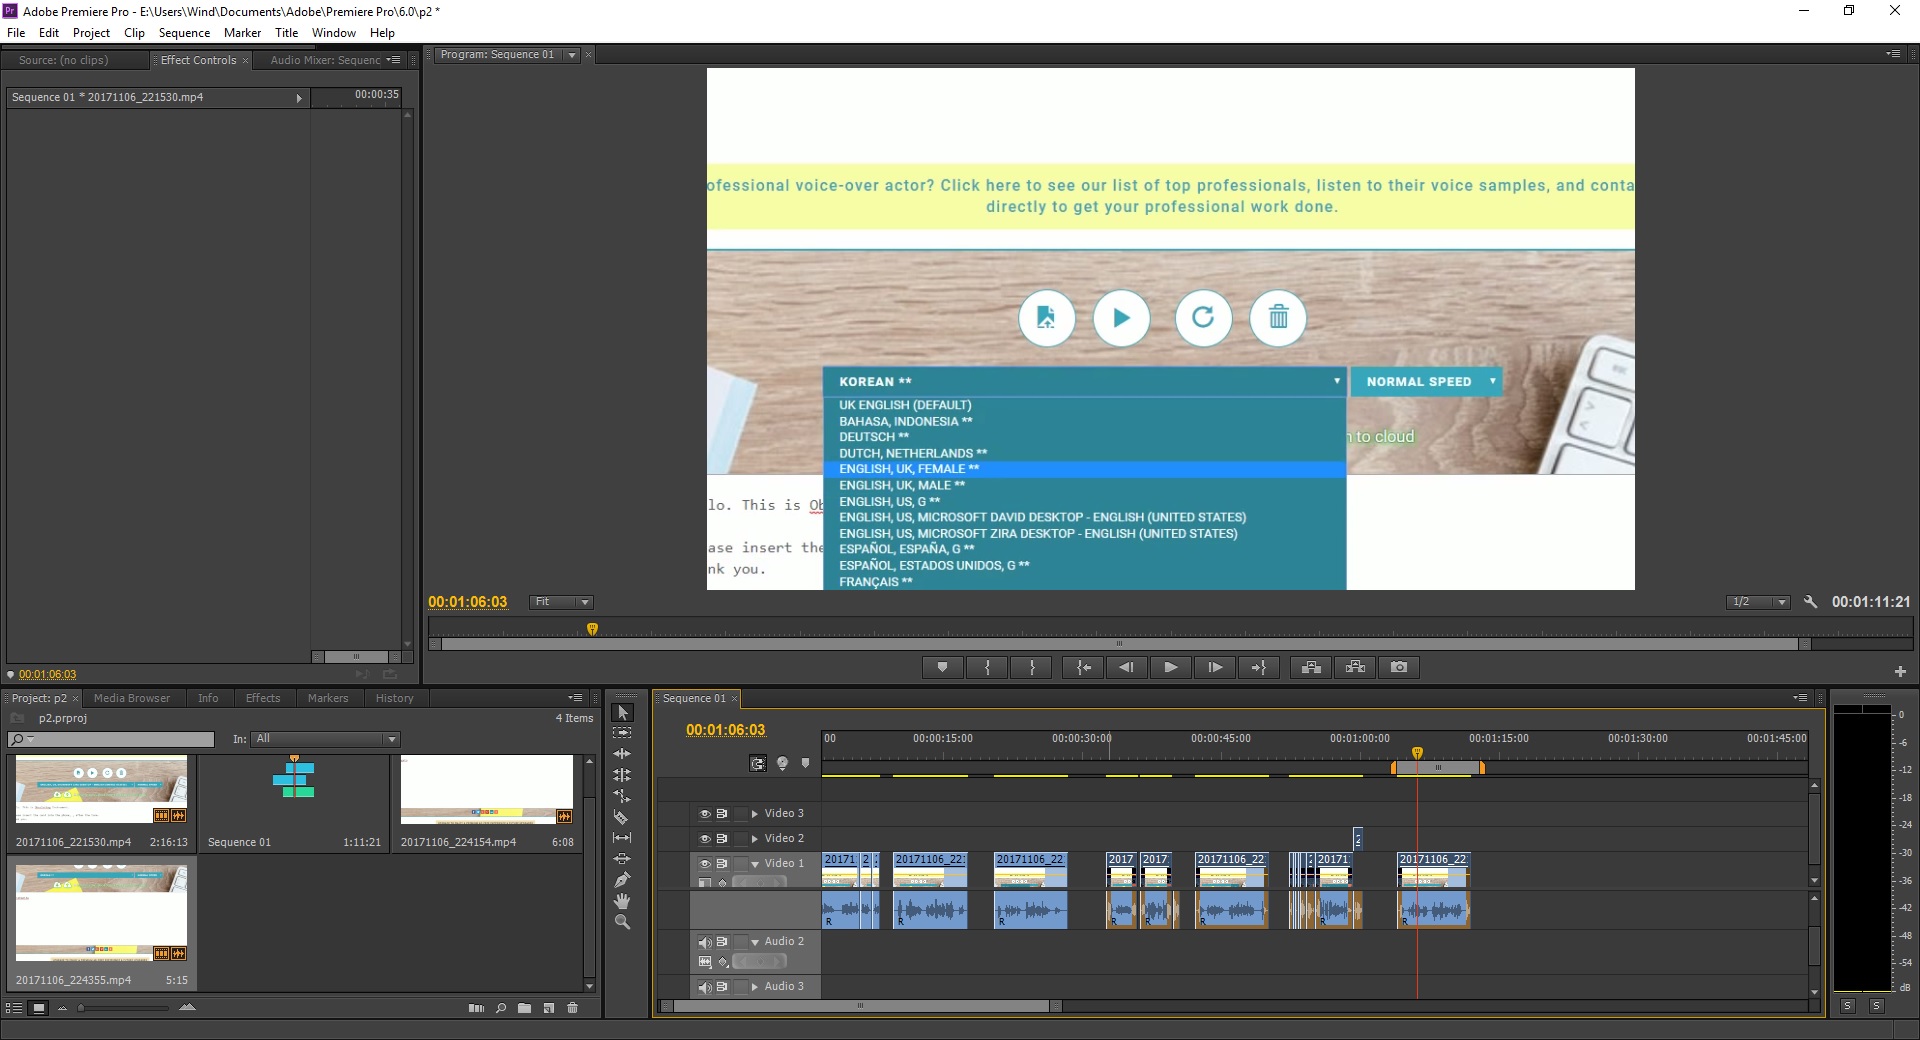
I really like the Japanese and Korean accent, its really funny!

Why did I made it to speak different accent? It was to engage the user and make them feel like there was really life in the system where they called/receive call from a real person, like if they discussed with their friend and their friend said that there was a Indian accent while what they heard was the British accent, they might want to try Obseleting Instrument for a few more time. The accent there is there to add variables in the system.


In Conclusion

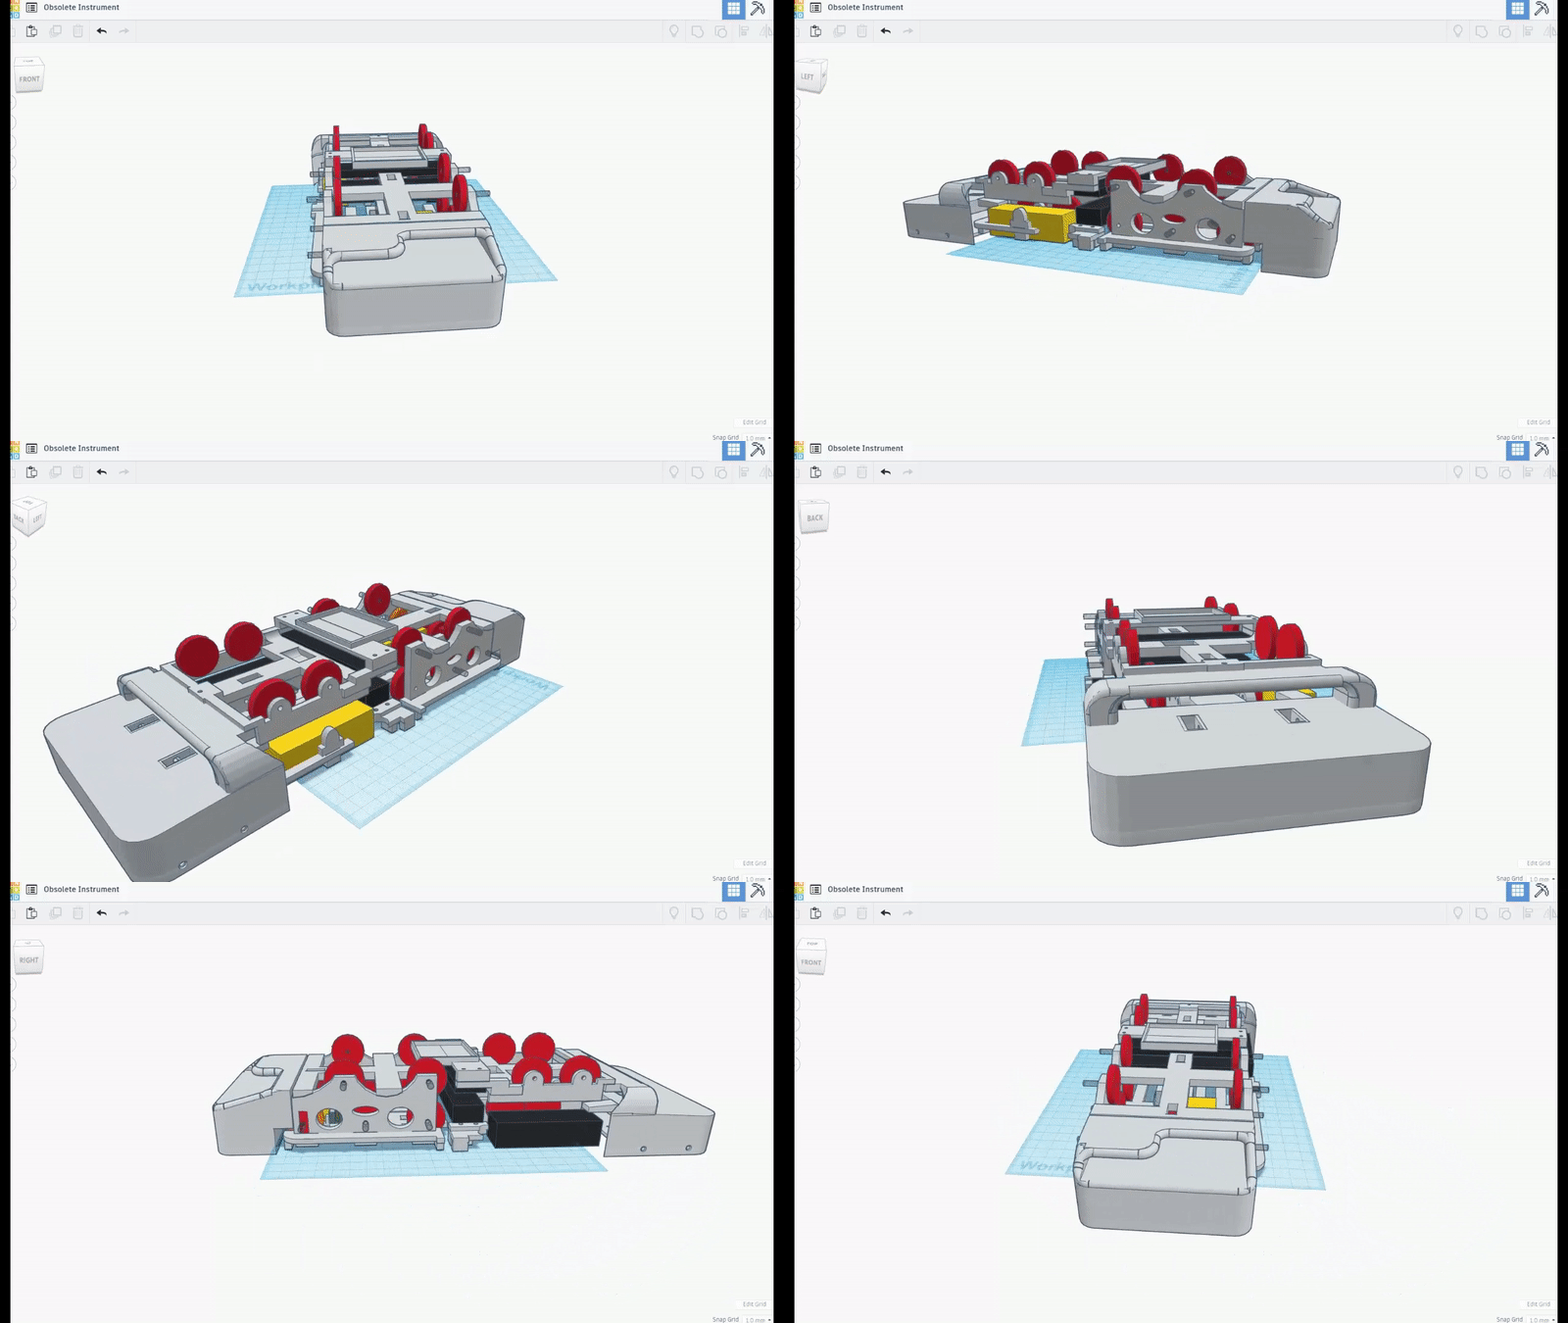
Throughout this Project, I’ve learnt many things like how to model objects in Tinkercad and make measurements properly, there are always failures in everything that I modeled before it works, and this is why 3D printing is a good prototype process where I printed it out and tested it to know if it work or not, if it doesnt, I will shave off some piece to see if it fits, if it does, I will make new measurements for the edited model.

I am really glad that this many piece worked well together and this was the biggest challenge.. since there are so many components working together (electrical and mechanical), even if one of the parts failed, it would not work as well as it is now. So I considered myself really lucky that the parts happened to work well even when there are misalignment everywhere.

Also, to have a Telephone case in the start and scale everything into the Telephone case was really a challenge especially at the start when I could not measure how big the internal was and could only make a guess and print some test print to try it out.

In this project, I realized that if I were to do a project that require multiple fields of knowledge like mechanical and electrical, It was better if I did not know how hard it will be, if I were to know that every part of the project will be something that I don’t know, I will be too afraid to jump into this project. I did something, realized that it doesn’t work and find solution to that single problem and proceed to work on the project and faced another problem, solving and learning one problem at a time lead me to the completion of the project.

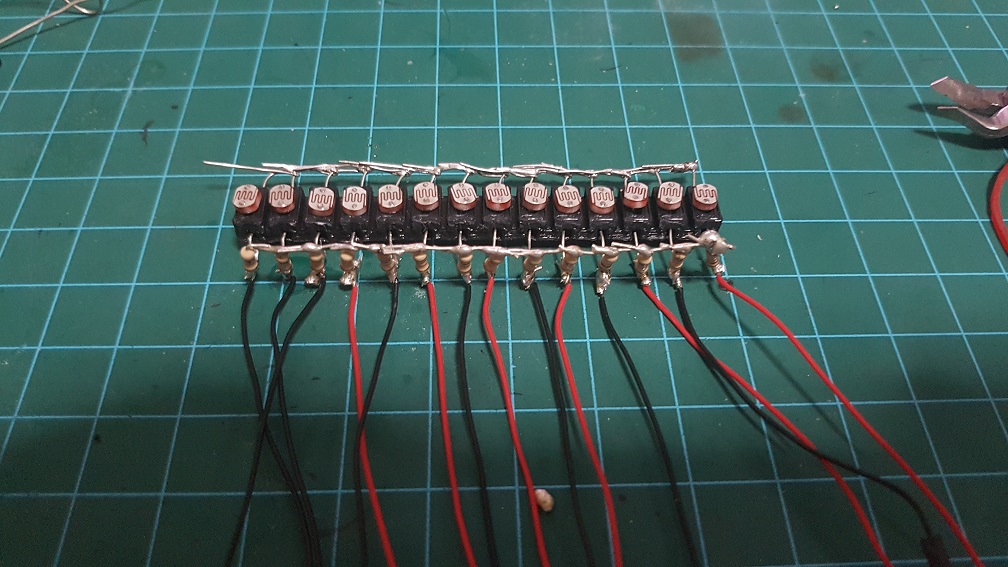
Now that I had completed the project and looking back. Obseleting Instrument is really a complicated project as a whole, but thinking about it, I am just putting many small system into one project- like using one laser diode and a photo resistor as a switch,  playing a tune when triggered, a physical button to sense if the phone was picked up, using a relay to control circuits of different voltage, running two DC motor at the same time and so on… Obseleting Instrument is just a collection of small systems, which I personally thinks was what made my journey of doing this project really interesting because I explored the basics of these components and learnt a whole lot through it.
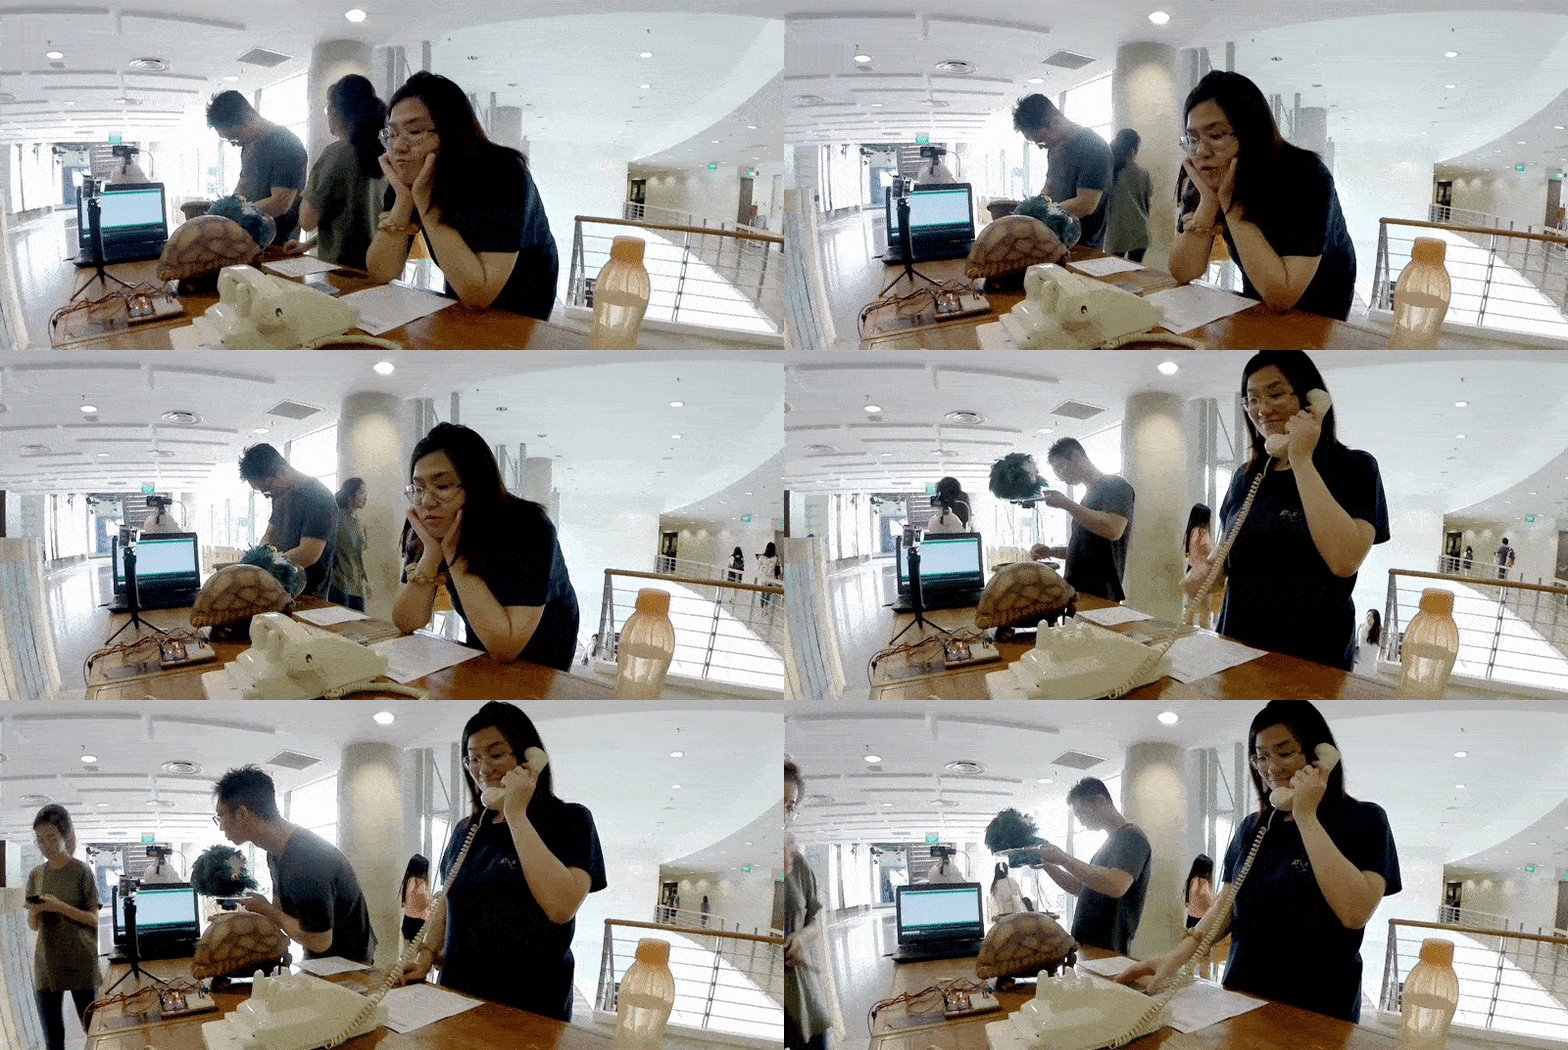
Telepathic Stroll Final Project with SuHwee, Makoto and Bao

I really like the outcome of our Final Project very much.

This is the link for our video wall, Video Wall on Third Space Network

This is a Screen Record of the Video Wall on Third space Network.


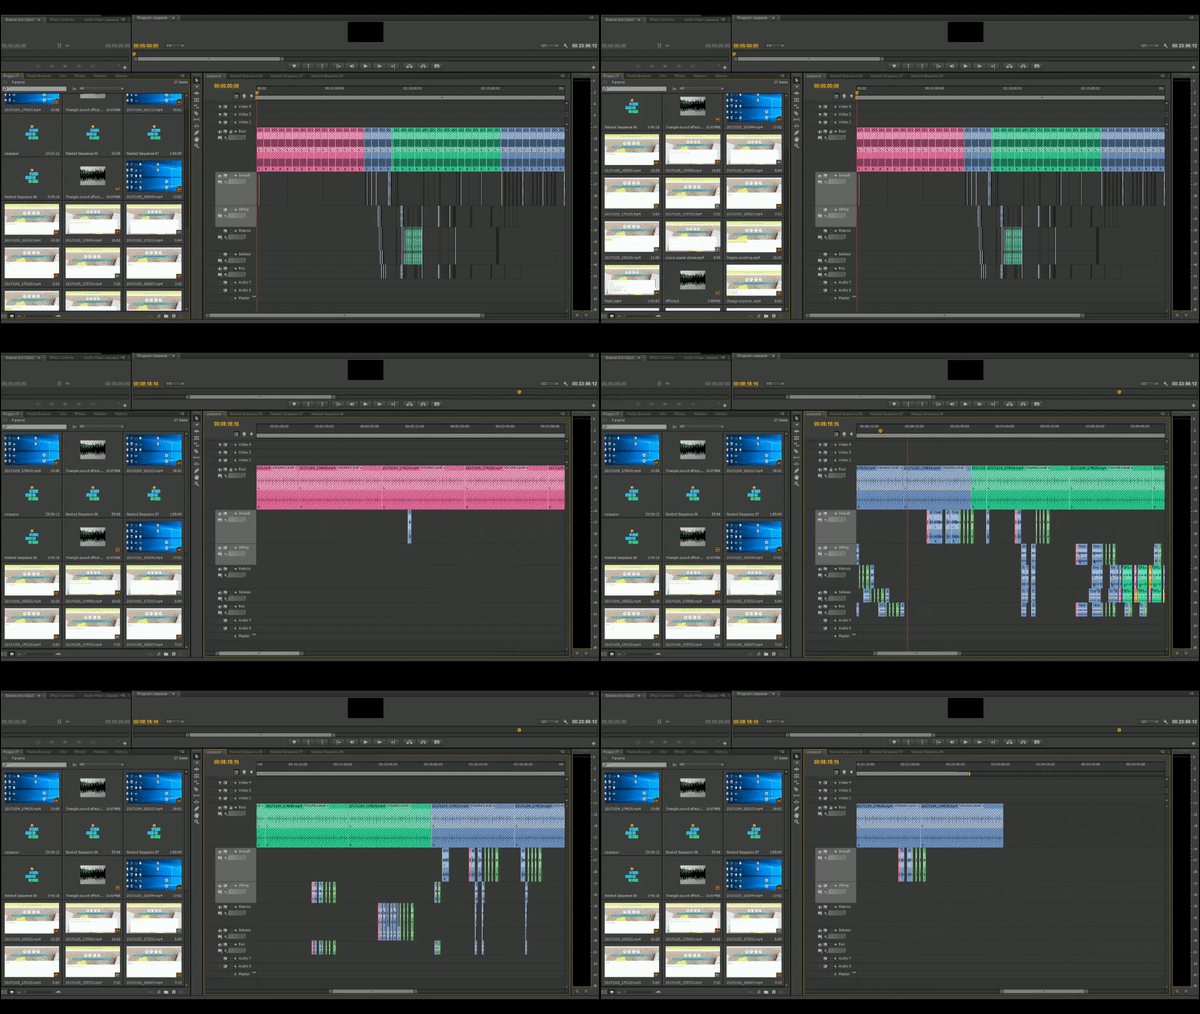
And This is What I did before the wall was made in Premiere Pro to get a general feel of what it will look like and to get the exact timing to start each video in the video wall.


Lastly, this was my Individual Facebook broadcast, Just to re-emphasis on the point, what made our project really interesting was the video wall, every individual Broadcast doesn’t seemed like much, but when we are linked with the rest, we will produce a piece that is much more than itself.

Posted by ZiFeng Ong on Friday, 10 November 2017

we are the third space and first space performers.

The main purpose of our project planning was to begin with the end in mind – To present the four broadcast in a video wall that will be interesting for the viewer to watch, we will be the third space performers by having our broadcasts interact with each other in the third space. Our final presentation in class will be a live performance and I am not taking about the fact that everyone will watch what WAS BROADCASTED LIVE, nor all the audience in class will be watching it in THE PRESENT, but as the timing to click start each of the video must be precise to the miliseconds and will not be replicable when anyone play it again by themselves later as Telepathic Stroll will look vastly different if the time to click play each video are slightly different, so we are making a Live Performance by playing the four video in a way that we think it is for the optimum viewing sensation.

how did we perfected our timing even when not being able to see each other?

This is the reveal of our broadcasting secret! GET READY! CLEAN YOUR EARS(EYES) AND BE PREPARED! We called our system the….*Insert drumroll in your mind*

“THE MASTER CONTROLLER”

so… what is the Master Controller?

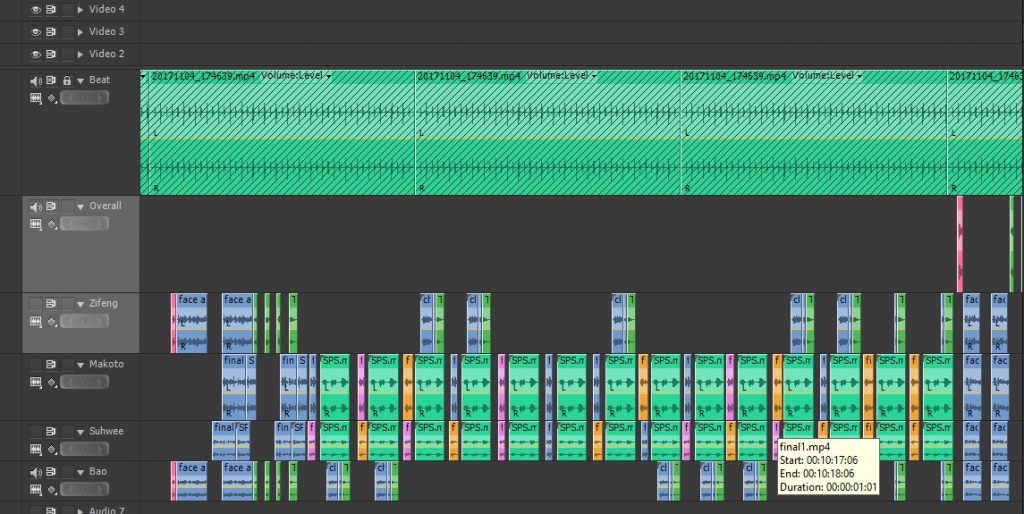
Basically, it is a well crafted sound track that is 23 minutes which consist of drum beats that worked like a metronome for syncing our actions and careful instructions to tell each performer what to do at which exact moment and every performer has a personalized sound track because we are doing different task at the same time.

How was it made?
It was made in Premiere Pro and a web based-Text to Speech reader and I screen recorded when it was reading to extract the sound from it into Premiere pro. The whole process to create the soundtracks took more than 18 hours and I’ve lost count of the time afterwards.


So how does it works exactly?
On the basic Idea, we will have the instructions preparing us and telling us what to do like “Next will be half face on right screen. Half face on right screen in, 3, 2, 1, DING!” and we will have our actions/change of camera view being executed on the “DING!” so that all our action will synchronize.

It started when we were at the meeting point where we started the sound track at the same time, counting down to 7 minute to walk to our respective starting point and wait for broadcasting to start, first, I will start broadcasting and then Makoto, SuHwee and then Bao on a 5 second interval, this was done so to allow us to have control when we play the four broadcast in the class to achieve maximum synchronization, if we started the broadcast at the same exact time, we could not click play on all four video in class which will result in de-synchronization. After started the Broadcast, we filmed the environment which was to remove the difference the timing from 30 seconds to 15 seconds depending on the time we started the broadcast and have everything happening afterwards at the exact same time.

Afterwards, we will have different actions at the same time, like when Bao and me entered the screen, Makoto and Suhwee will be pointing at us, this was done by giving different set of instruction in the Master Command at the same time, since each of us could only hear our own track and there will not be confusions among individual and clear instructions were given although I was confused for countless of times during the production of the Master Command because I have to make every command clear and the timing perfect, and it includes countdown on certain actions but not those repeated actions. The hardest part to produce was the Scissor-Paper-Stone part in the broad cast as everyone was doing different actions at the same time

at the end of the scissor paper stone segment, we all synchronized to the same action of the paper and Bao and I were counting on 5, so we all were showing our palm.

Towards the end of the Broadcasting, many of our soundtrack was specially instructing us to pass the phone to a specific person like Bao will have it saying “Pass the phone to ZiFeng. 3, 2, 1, DING!” and “Swap phone with Makoto. 3, 2, 1, DING!” this was done just to avoid confusion during our broadcasting rather than going “pass phone to the left” which is quite ambiguous.

Overall, there was a lot of planning and every details must be thought out carefully when I was making the tracks because every small mistake will affect our final presentation to not as good as it should be, I am lucky that I only made one mistake in the Master Command which was the direction where SuHwee and Makoto will be playing their Scissor Paper Stone with and we clarify it before our final broadcasting.

On the actual day of our broadcast.

The whole week will be raining according to the weather forecast so we did our final broadcast in the rain, luckily for us, the rain wasn’t too heavy and we could just film it in the drizzle. We started our broadcasting dry, and we ended our broadcasting wet.

We explored Botanical Gardens for a bit and decide the path each of us will walk and we walked it 3 times before the actual broadcast – the first time we walk when deciding where and how it will be like, second when we walked back, third was right before we started the broadcast as we walked 7 minute to our starting location so our first 7 minute into the broadcast will be us walking back the same path in the same timing.

we did a latency test by broadcasting a timer for two minute right before the broadcast and we could make some minor changes in our timing if there are some latency issue by calibrating the individual Master Controller to the latency before hand, but luckily for us, non of us were lagging and we had the best connection possible so there was no need to re-calibrate the Master Controller. Also, just to mention, Since Bao and I were having calibrated connection due to the previous Telematic Stroll (NOT Telepathic Stroll), he doesn’t have to calibrate with us again since I am doing it, so we filmed his phone ‘s timer.

Some recap of Telepathic Stroll:


our project inspirations.

Telepathic Stroll was highly influenced by BOLD3RRR and our lesson on Adobe Connect.

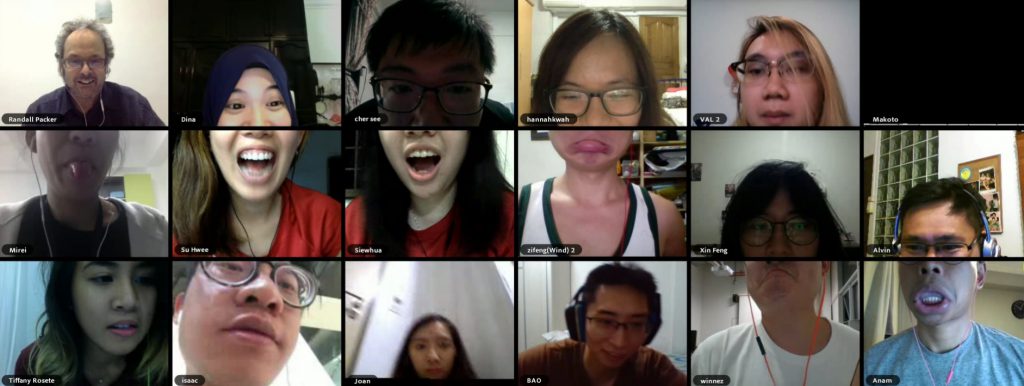
On the First glance, one can see the similarity in the association in Adobe Connect lesson with Telepathic Stroll, we had been pointing to the other broadcast, merging faces and trying to (act) interact with each others in the video wall just like the exercise we did during the Adobe Connect lesson,

This was the seed for our project, to live in the third space and interact with others and have a performance by doing things that is only possible in third space like joining body parts and point at things what seemed to be on the same space when its actually not in the first space.

In our discussion before the final idea, we had many different good ideas that was inspired from music videos like this:

In the end, we only used minimal passing of object (our face) in Telepathic Stroll and we grew our idea from a Magic trick kind of performance to an artistic kind of performance.

I feel really weird to have many of my project in this semester being inspired by BOLD3RRR, not in a sense that the style or the appearance or even the presentation, but in the sense of the preparation and the extensively planning before the Live broadcast as I always liked good planning that leads to good execution which I am really inspired by BOLD3RRR in this, especially in using pre-recorded track and incorporate it into a live broadcast to make it blends into the live aspect of it. This time, instead of using pre-recorded tracks and image over the broadcast like in our drunken piece (which was also highly influenced by BOLD3RRR), we evolved from this idea to using a pre-recorded track in the background for us to sync all of the movement even when not being able to see/hear from each other.

In our multiple occasions of class assignment which we went Live on Facebook, we figured out many limitations of Broadcasting

  1. If you go Live, you can’t watch other’s Live unless you have another device to do so and if you can’t watch others live while broadcasting, two way communication is relatively impossible.
  2. even if we have another device to watch, there will be minimum of 7 seconds delay.
  3. If you co-Broadcast, you can see the others in Live, but if we are doing a performance and yet we discussed through the co-Broadcast, since we can see each other and the viewer could also see it and this is not the effect we want in our final project.
  4. Co-Broadcast will have the quality dropped.
  5. There will be possible lagging in the connection that will cause the “!” during live and skips in the recorded playback. This must be overcome by all means.

This is why, doing individual broadcast with careful planning and our Master Command system will overcome all of the limitation we faced and with the calibration before the final broadcast, most of the problem were solved.

our idea of Social Broadcasting

In Telepathic Stroll, we are trying to present the idea of social broadcasting in a way that is like the real world social – the collective social,

In our individual broadcast, we could not know what the other was doing nor feeling, yet when we are placed together in a location(both the physical and third space), we could interact with each other and do amazing thing that individual can’t do. In Telepathic Stroll, even when just doing our own task without knowing the status of each other, by doing these individual task collaboratively, We united as a group forming as a single unit, every member is as important as all of us and if any of us were removed, the whole structure will collapse into a Problematic Stroll, nothing more than just an individual broadcast

If that wasn’t Social, what is?

Team Telapathic Stroll: Signing out.


OBS Livestream Documentation

I Am Unable to embed the video here as I posted it directly to the NTU OSS Facebook Group, Hence.. >> CLICK HERE FOR THE VIDEO IN NEW TAB<<

Initially I wanted to tackle on the idea of multi-tasking by having doing many task simultaneously while on live, but after watching BOLD3RRR by Jon Cates, It gave me an idea of having multiple prerecorded videos in the live stream and produce a piece that is slightly chaotic due to the amount of events happening on the screen of the viewer and with sounds from the recordings disrupting my live speech. Originally I wanted to have multiple cameras, one filming me from the front, others will film from other angles like from the back of my head, side view and such, however I’m unable to find my additional webcams I had. So I resorted to having a share screen from my phone whereas my phone is usually unlocked and in the “auto play mode” of some sort of game and recently it’s Pokemon Go so I wanted to show it as part of my life.

Before the stream

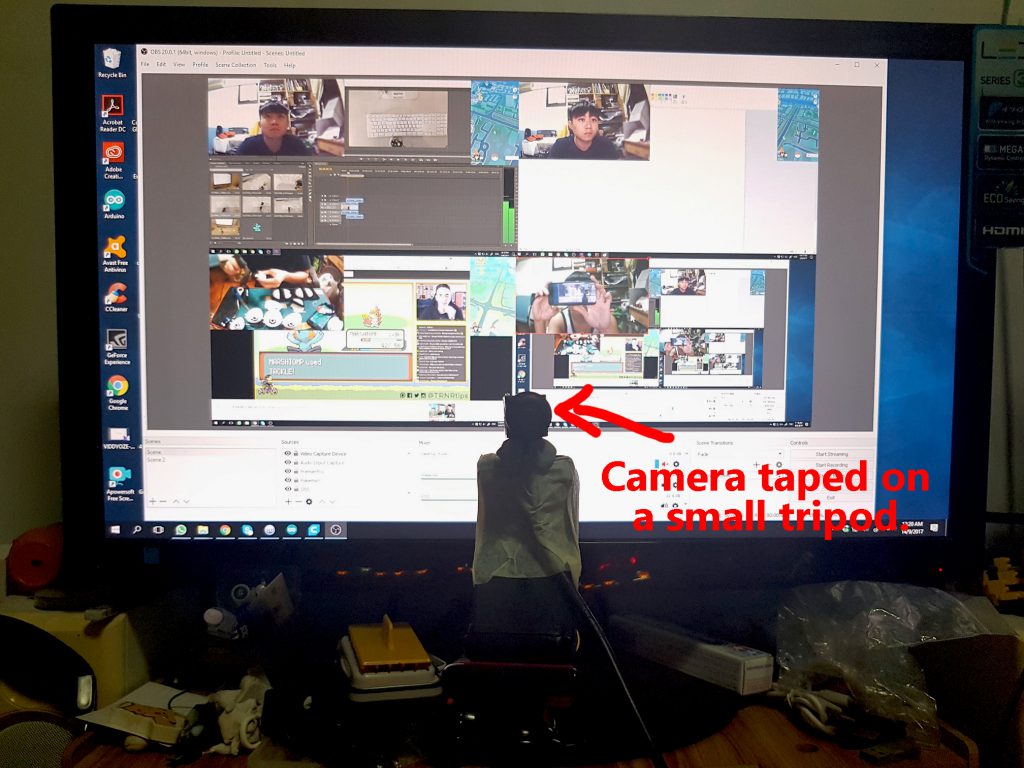
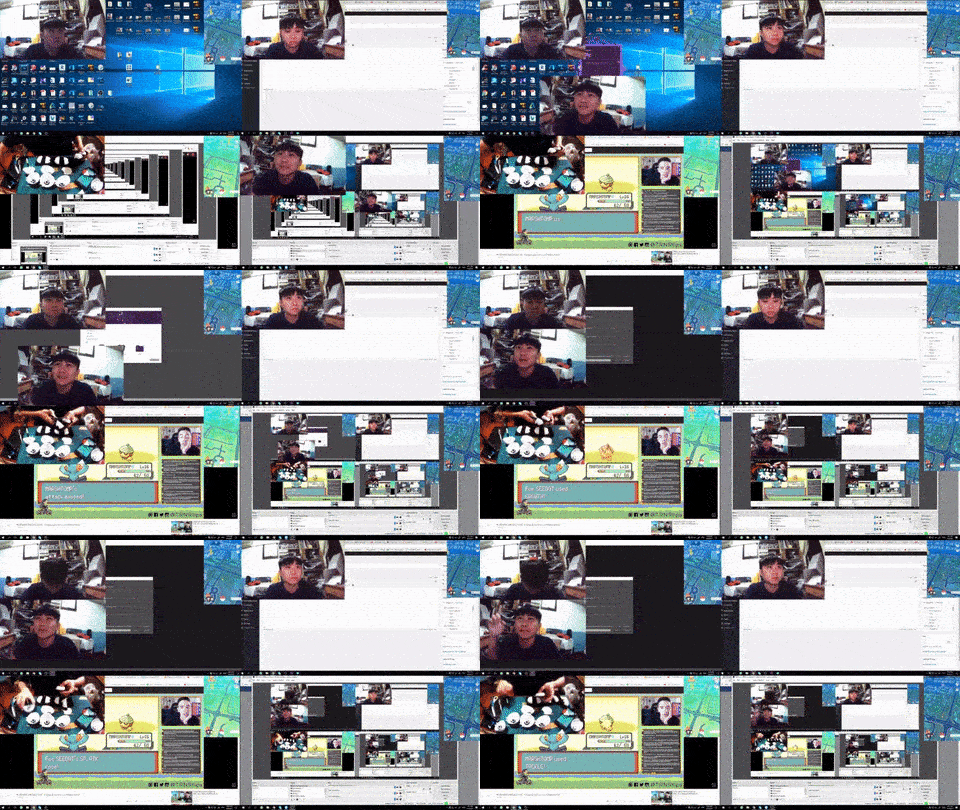
I’ve recorded 3 grid of 15 minutes each on different days but I wore the same shirt to give a illusion that it all happened at the same time. Since I’m using my desktop which does not have a webcam installed(my laptop keep crashing), I stuck the USB camera onto a small tripod and placed it in front of me.

In my 10 minute live stream

As I said, I will talk more after the first class assignment,

Note to self: I should talk more in the live video.
-Zi Feng, 21 Aug 2017.

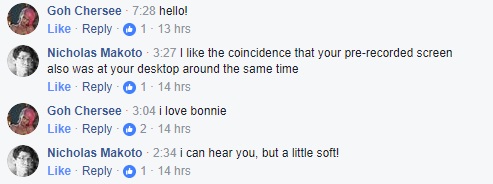
Although I am really bad in English and don’t enunciate words properly, I tried to narrate like living in a third space and interacting with the recordings which I dragged myself in the third space to describe what’s happening on the screen, I remembered that during our Adobe Connect lesson that when the camera is flipped, I had a hard time coordinating my movement so I flipped the live camera(only the live is flipped) to make it a mirror. Also, I am not sure if there audience but went ahead and asked if the audience could hear me, Makoto replied but I only saw the reply about 5 minutes later. (Should check comments more frequently, now I know)
“Live” me flying over to point at “third space” me
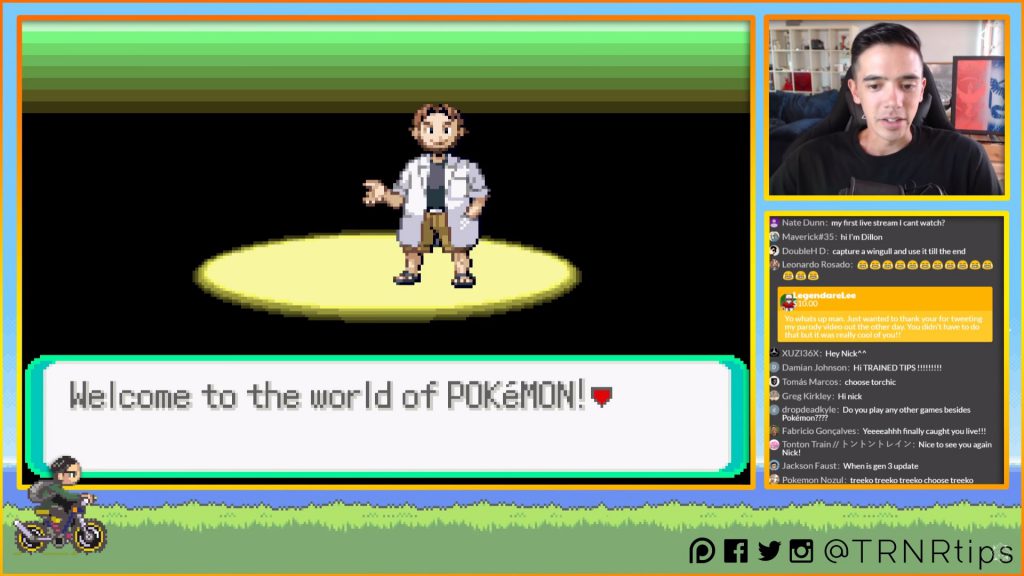
The reason that I used this Youtube video from TrainerTips was because it was his first live stream of the series and I was watching and recording it while he was on live. The basic idea is to use a Live streaming video streaming me doing things Live in my Live stream, its like a Live-Streamception.

And then something happened as mentioned by Makoto when he was an audience during the live stream.The top right(pre-recorded) and bottom right(live) goes to the desktop at around the same time and you can see the changes that happened on my desktop within that few days.
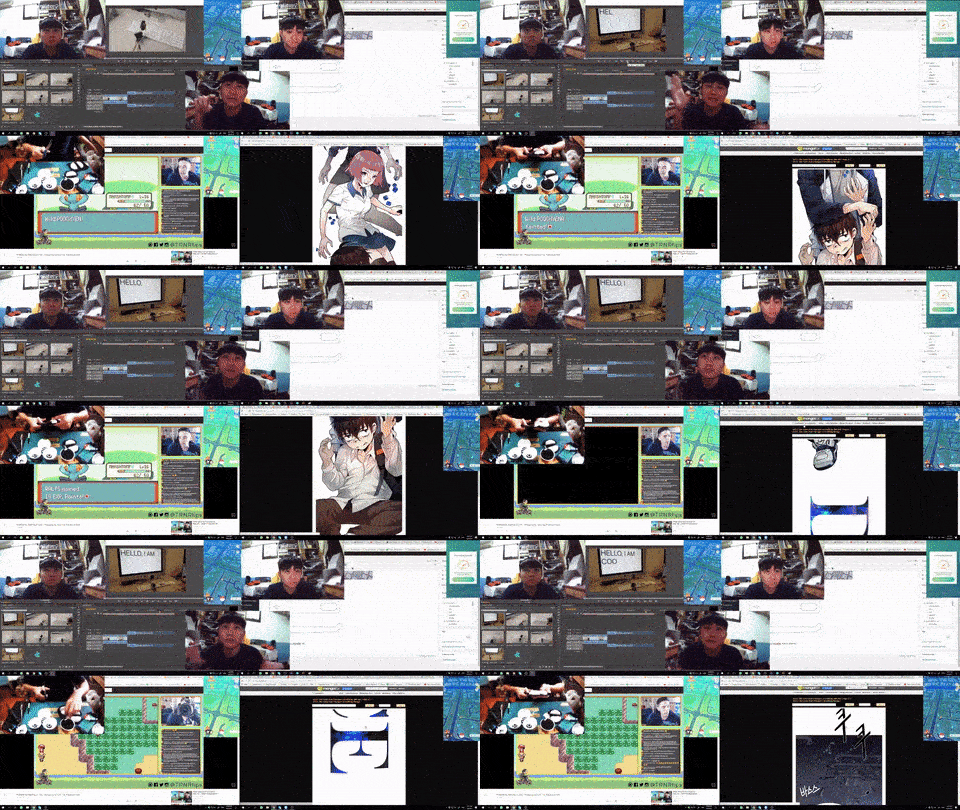
As mentioned by Alvin’s comment in my previous post, Gesture is an important factor in communication so I tried to incorporate hand movements into the live stream when I was explaining about something. I was talking about how Korean manga is usually in a long strip format but the website which I read it(MangaFox) cut it into a page format.
Throughout the 10 minute of live, I am kind of lost and got mind blank multiple times, guess this is the cons of going live but also the beauty of it- the imperfections in realtime, I also asked the audience if there is anything they could recommend me to do and I think there were no audience during that point of time so I ended the stream soon after.

Lastly, I think that the future live streams will be posted to my timeline and then shared to the OSS Facebook group because posting directly to the OSS group prevented me from showing the video in this post as the OSS Facebook group is a closed group.

Special Thanks to Makoto and CherSee as they were my live audience and reacted to me during the live stream.Thank you!!! =D


Year 2 sem 2 – Narrative for interaction Week 9 – Phone export and try

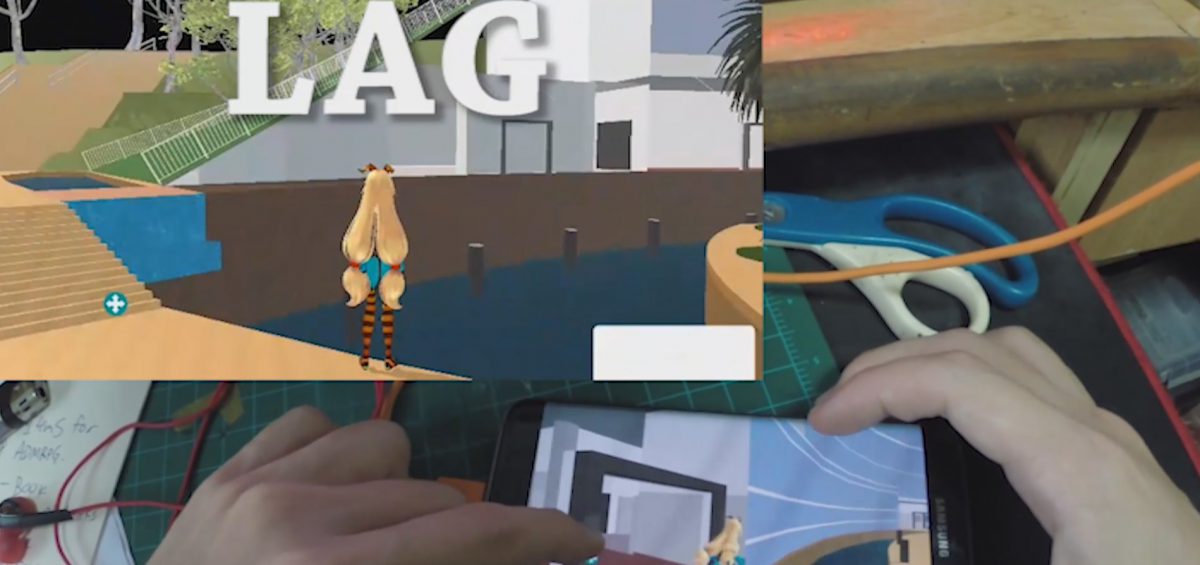
Exporting to phone is not an easy process as I need to download many different softwares like JDK (Java Development Kit) to make it work, I am not sure how does it even work when it failed countless of times, I also switched my phone into developer mode and somehow the app appeared in my phone when I’ve export it to my computer. Most of the thing I’ve followed this video, and i just try again after it fail.

This is what I have after the export, It is basically too lag to be played properly and the experience of the game if it lag is not worth the time playing it and It will be rage inducing if it is at this level of lagness.

After this, i decided to scrape the idea of making a phone game and focus on computer platform as computer have much higher processing and rendering power.

Narrative for interactivity – Sharing 2

There are a few of us are making a game for this project, while I am one of them and this open world game is relative to me as i wanted to make an open world, but on a much much smaller scale. Anyone interested in making a game could watch this, it might be a good idea and h small history lesson to open world game.

Narrative for interactivity – Sharing 1

This might not be directly related to Narrative, but it is good to know, as my current project require me to choose mobile operating system and exporting ADM RPG to either android or iOS. This also give us a broader overview of why OS is limited for now, maybe one day we could write our own OS and challenge the giants.

Year 2 sem 2 – Narrative for interaction Week 7 and 8 – Sketchup model built & manual collision system

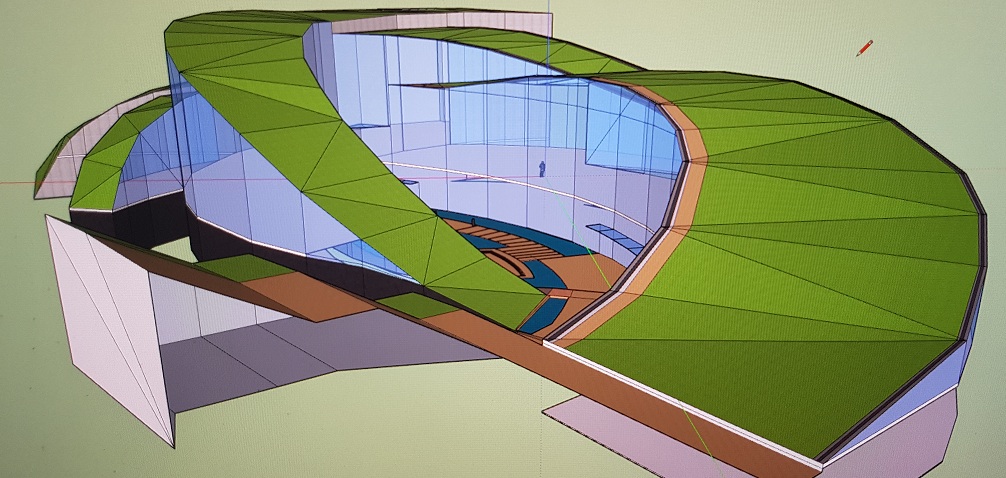
This the final model I’ve built for ADM RPG, it took more than a total of 5 weeks to build it to this scale and the only thing that was not build by me is the railings found on the roof top and level 1 and 2 inside ADM. Although there are still many areas which is not completed like 2nd floor Foundation side(the scale is wrong but everything else works) and 3 and 4th floor, I could not go back to edit it as my Sketchup trail expired, tried many ways to reinstall the sketch up but apparently it doesn’t work once I updated to Sketchup 2017. This is a animation I did within Sketchup animation program. Since adding details is a never ending process(i could add much more detail down to every single object in adm, all table placement and sprinkler on the rooftop and such) but I need to proceed to next step else I will never complete the game, so I will leave the model as it is as it is already playable. IT IS NOT PERFECT BUT ITS WORKING AND COMPLETED!


This is the process in which i added the collision to the fence(it is downloaded and doesnt have a mesh that is usable as a collider within Unity, therefore i need to create my own).

Explanation of what I did in this video:

  • Create a rectangular box and scale it according to the angle and size of every fence(which tooks alot of time, this is a timelapse video of 30x speed)
  • Place the rectangular box covering the fence
  • Add Physic: “Mesh Collider” to the rectangular box
  • Turn off the “Mesh Renderer” so the box disappear from sight
  • Collision still work after Renderer is turned off.
  • Try the collision out and spot for possible bug(stuck and such)

After this process, I’ve got full collision system that all the current object have collision, the walkable areas are walkable while places like outside of ADM area and water at Sunken Plaza are off limits.

Next up I will add NPC and interactable objects to the game, write in narrative for them and refine the game till the end of semester.


Year 2 sem 2 – Narrative for interaction Week 6 – ADM RPG try Sketchup to Unity

This is a (really) late post for week 6 as I had been busy building the Sketchup model throughout the week and over the 1 week school break.

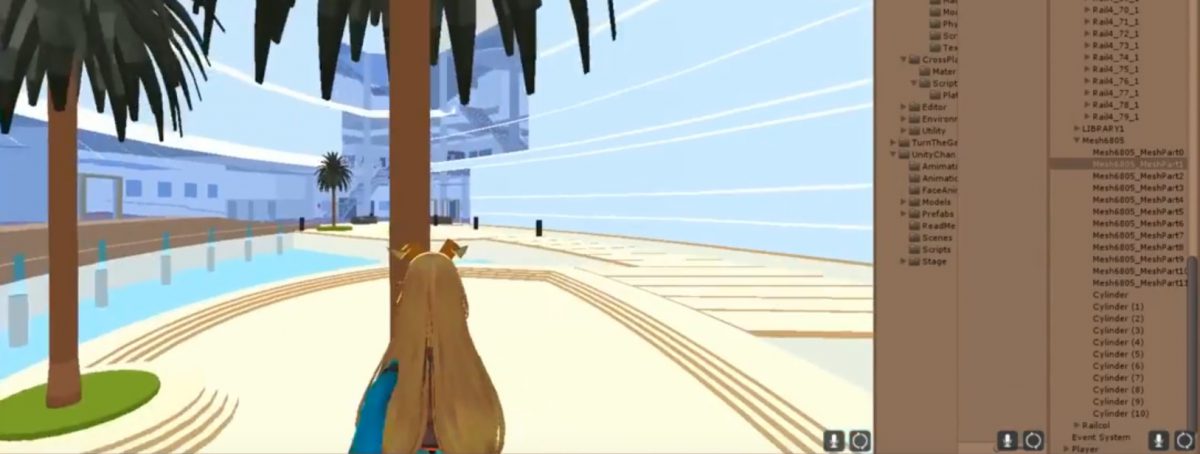
During Week 5 to 6, i build the outer walls of ADM and tried to import it into Unity and figured out how the collision work as the model doesnt have collision and I figured that I need to add the mesh collider to the model by finding the model mesh among 3 thousands of mesh and use it as a collider. after which, this is the first try I did for the game, i would say it is working better than I expected.

Year 2 sem 2 – Narrative for interaction Week 5 – ADM Building part 1

ADM Layout Research: Floor Plan Searching

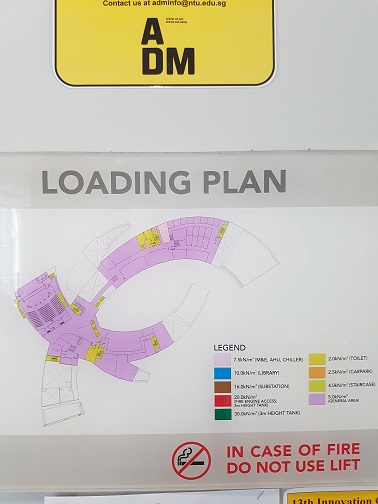
2017-01-18-12-11-53I tried to find floor plan of ADM online and after long period of searching, I could not find any Floor plan that contain any information information I need Therefore I took a photo of ADM floor plan at level one near the lift to use it as the base to build ADM so that my general proportion is correct(hopefully).

First Blender Usage – Gave up.

2017-01-21-02-31-58I’ve tried blender (since its free) and seriously dont like it as I am totally not used to it, all the basic control is different from what I am used to, therefore I’ve decided to stick to Sketchup since it can be exported into FBX and be used as Unity Models.


The Start of BUILDING ADM.


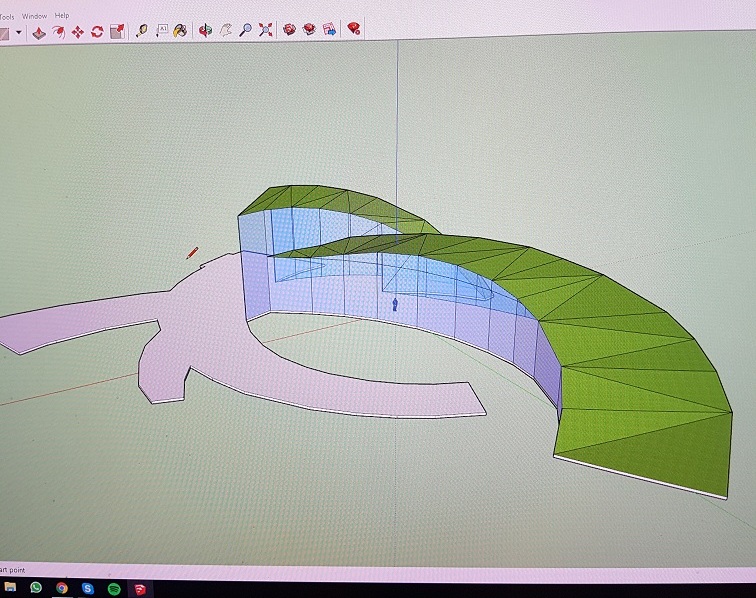
In the end, sketch up is much better since the function is more basic and is able to be used to create a low poly model(note: my game is phone base game therefore highly detailed models might lag game and reduce the overall experience while playing).2017-01-21-13-22-22I have the picture of the Floor plan of level one. But the height and other thing like the slope gradient I’ve used google image search to estimate how tall it should be, how steep each slope is and roughly model ADM out visually(i am sure it is wrong structurally speaking, but at least i tried to make it as visually similar to the real thing as possible.) Every line was actually drawn by me(except the little human figure which is there by default when sketchup is opened, which i used it to gauge the scale of whole ADM and i changed the scale a few times afterwards)

2017-01-21-15-07-09When I tried to build the Sunken plaza, I realized that I’ve modeled ADM wrongly in the previous picture the ending of the two slope (product design room and the animation room side) are on different height and tried to fix it to the correct one below.
2017-01-21-20-12-55
2017-01-21-20-54-48

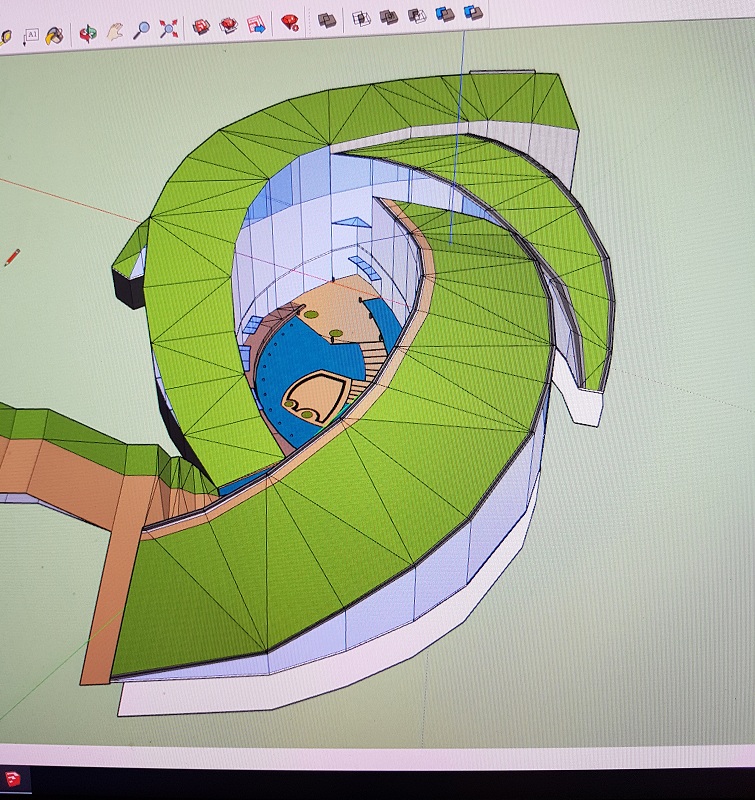
As the top of ADM is a slope and curvy, everything near to the top of ADM was REALLLYYY HARD to align as sketchup is good only in making XYZ alignment but not otherwise so I need to draw many line in XYZ direction just to align the position and delete those lines afterwards, which took me a lot of time.

After that all this modeling, I’ve made the rough exterior of ADM out but I am sure that the bigger problem will be the interior which will take up most of the time, at least I’ve got the easiest part done, FOR NOW.

Year 2 sem 2 – Narrative for interaction – Learning Unity Part2

After trying out the tutorial in the last post, I found another one which is much better!

I’ve went through this tutorial twice by accident as my save file got overwritten by another file when I tried to explore the asset store. so yeah, this is the most basic of Unity, the way to move something without animation.

ANDDDDD THE MAIN POINT OF THIS POST!

This is Unity Chan!!!

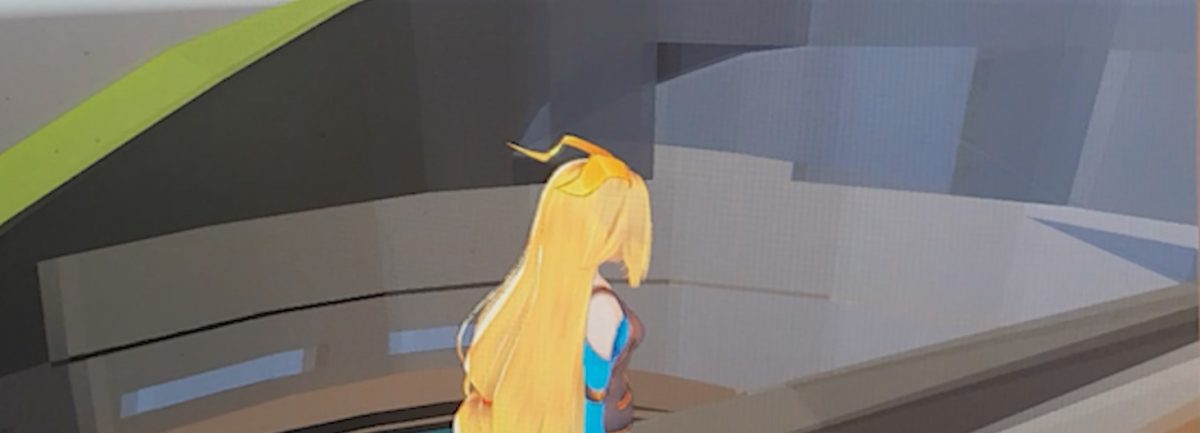
most probably the character I am going to use for my 3D game, Unity Chan is a free to use character model by Unity(I am sure of it as I’ve read all of the licencing, Grant of License, Condition of use, as well as their official page FAQ.*They even allow it for normal commercial use*)

After this Tutorial, this is still insufficient to create the basic control of the game as there are many mechanics lacking (camera panning, the character dont even move well), but I still gain important knowledge from here and trying it out, this is a tutorial focusing on animation than movement. 2017-01-30-18-42-41

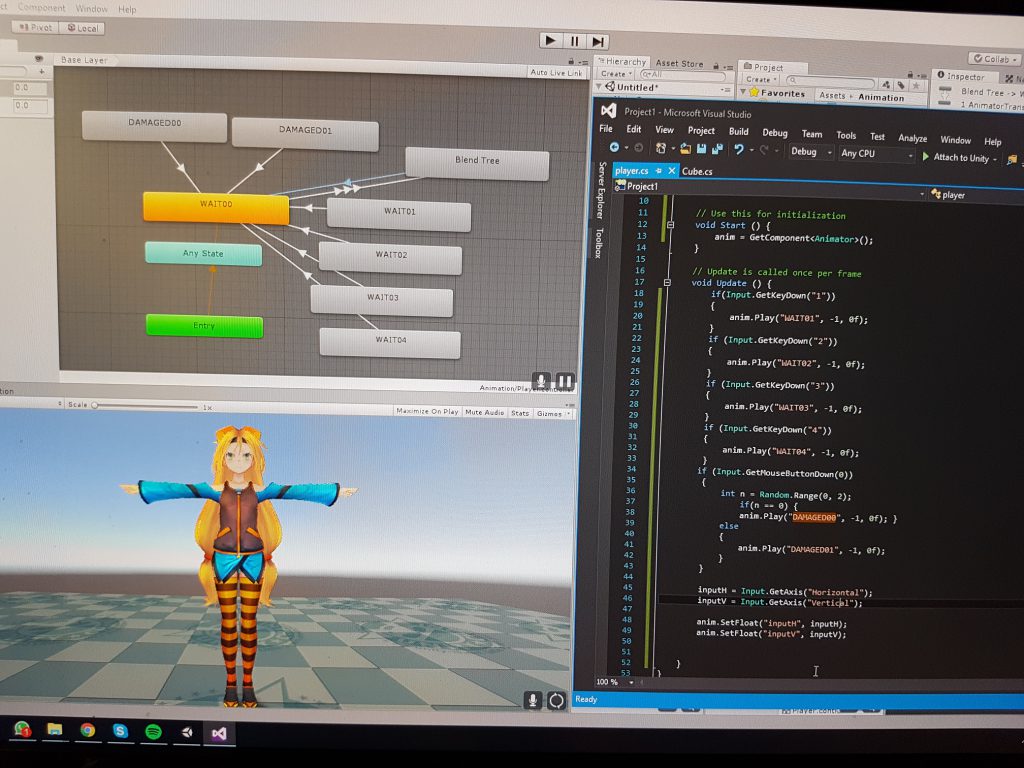
I’ve also did my scripting and modified it to make it animate and move slightly better than in the tutorial, so yeah, that’s about it, the exploration of unity and learning lots of stuffs in it, maybe one day I could be a game producer 😉


After a few more attempt and followup on the project, i managed to make the camera to follow and pan according to the character movement which i really like it, this should be the base to create the final project.