smocking // surface design

When I first came to class, I wanted to try to smock this pattern below.

I honestly tried, but it was too tedious for a first-timer.

And so, I switched to this one:

Since it was my first time, I wanted to test things out first, so I didn’t want to use the cloth I bought, so instead I used felt.

First things first, we had to draw the grids onto whatever cloth you are using. For me, I created a 2cm by 2cm grid, which might have been a bit too big since my felt was small.

Afterwhich, its time to draw your chosen pattern. When I looked at my pattern, I didn’t know where or how I should follow the lines, so I just followed the path that seemed logical to me.

Something that I noticed was that it is important to take into consideration the thickness of the material that you are using. Thinner material requires more precision but produces neater and nicer folds. The folds in the thicker material don’t appear as clearly but its a lot easier to work with.

All in all, I enjoyed the process of smocking a lot and definitely stay tuned for an upgraded version over the recess week!

(I was completely into smocking that I didn’t manage to try stitching with elastics, hehe. So I’ll be creating a separate post with my experimentation into elastics.)


wet and needle felting // surface design

We experimented with felting techniques using 2 methods; wet felting and needle felting.

Wet felting

Step 1: Fluff up the wool

Step 2: Combine different wools together and scrunch it up

Step 3: Add soap all over the wool in considerable amounts.

Step 4: Add hot water onto the wool

Step 5: Rub the wool together

Step 6: Let it dry

Voila, you have an unwoven material!

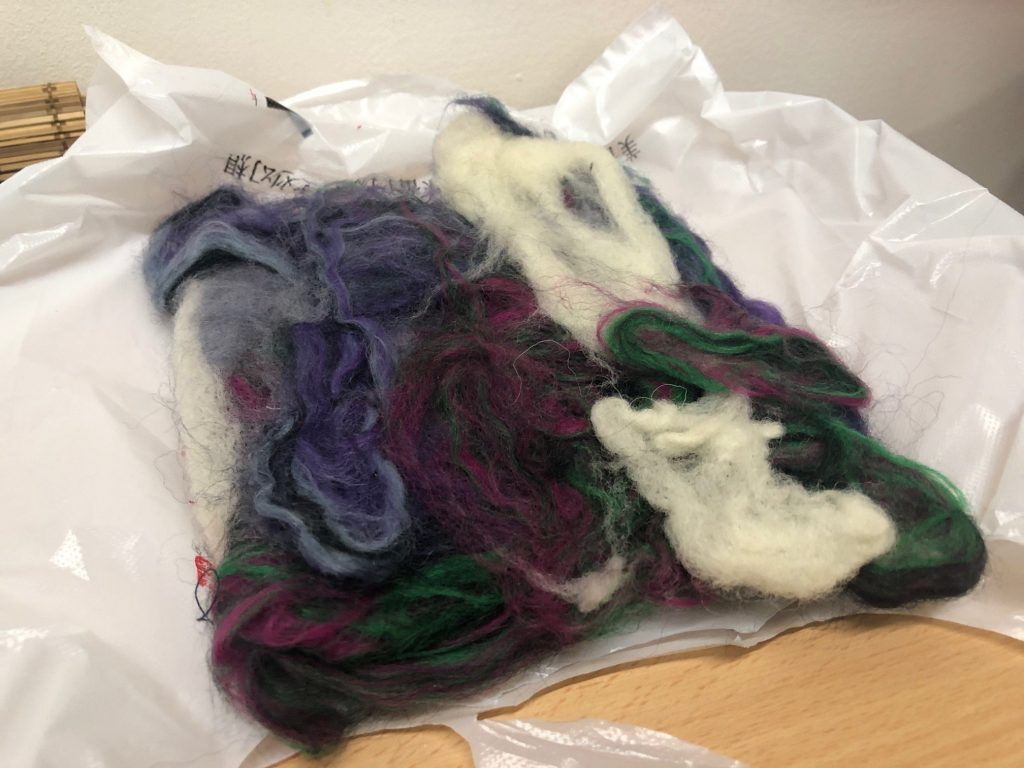
My mistake, when I heard that we were working with felting this week, I had assumed we were working with felt, so I bought felt instead of wool. Lo and behold, when I arrived in class and saw everyone holding onto balls of wool, I realised how stupid I was.

Luckily I had a yarn made of a small percentage of wool. And so, I used it to make my felt.

Honestly, I wasn’t too sure how much hot water and soap I had to apply to it, so I just went with whatever I felt was right. I may or may not have used too much soap.

So when I was rubbing the wool together, I wasn’t exactly sure whether it was working. I only noticed the outcome when the felt was dried.

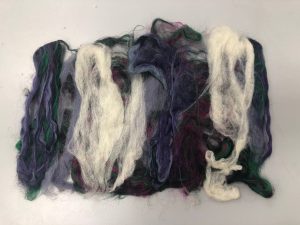
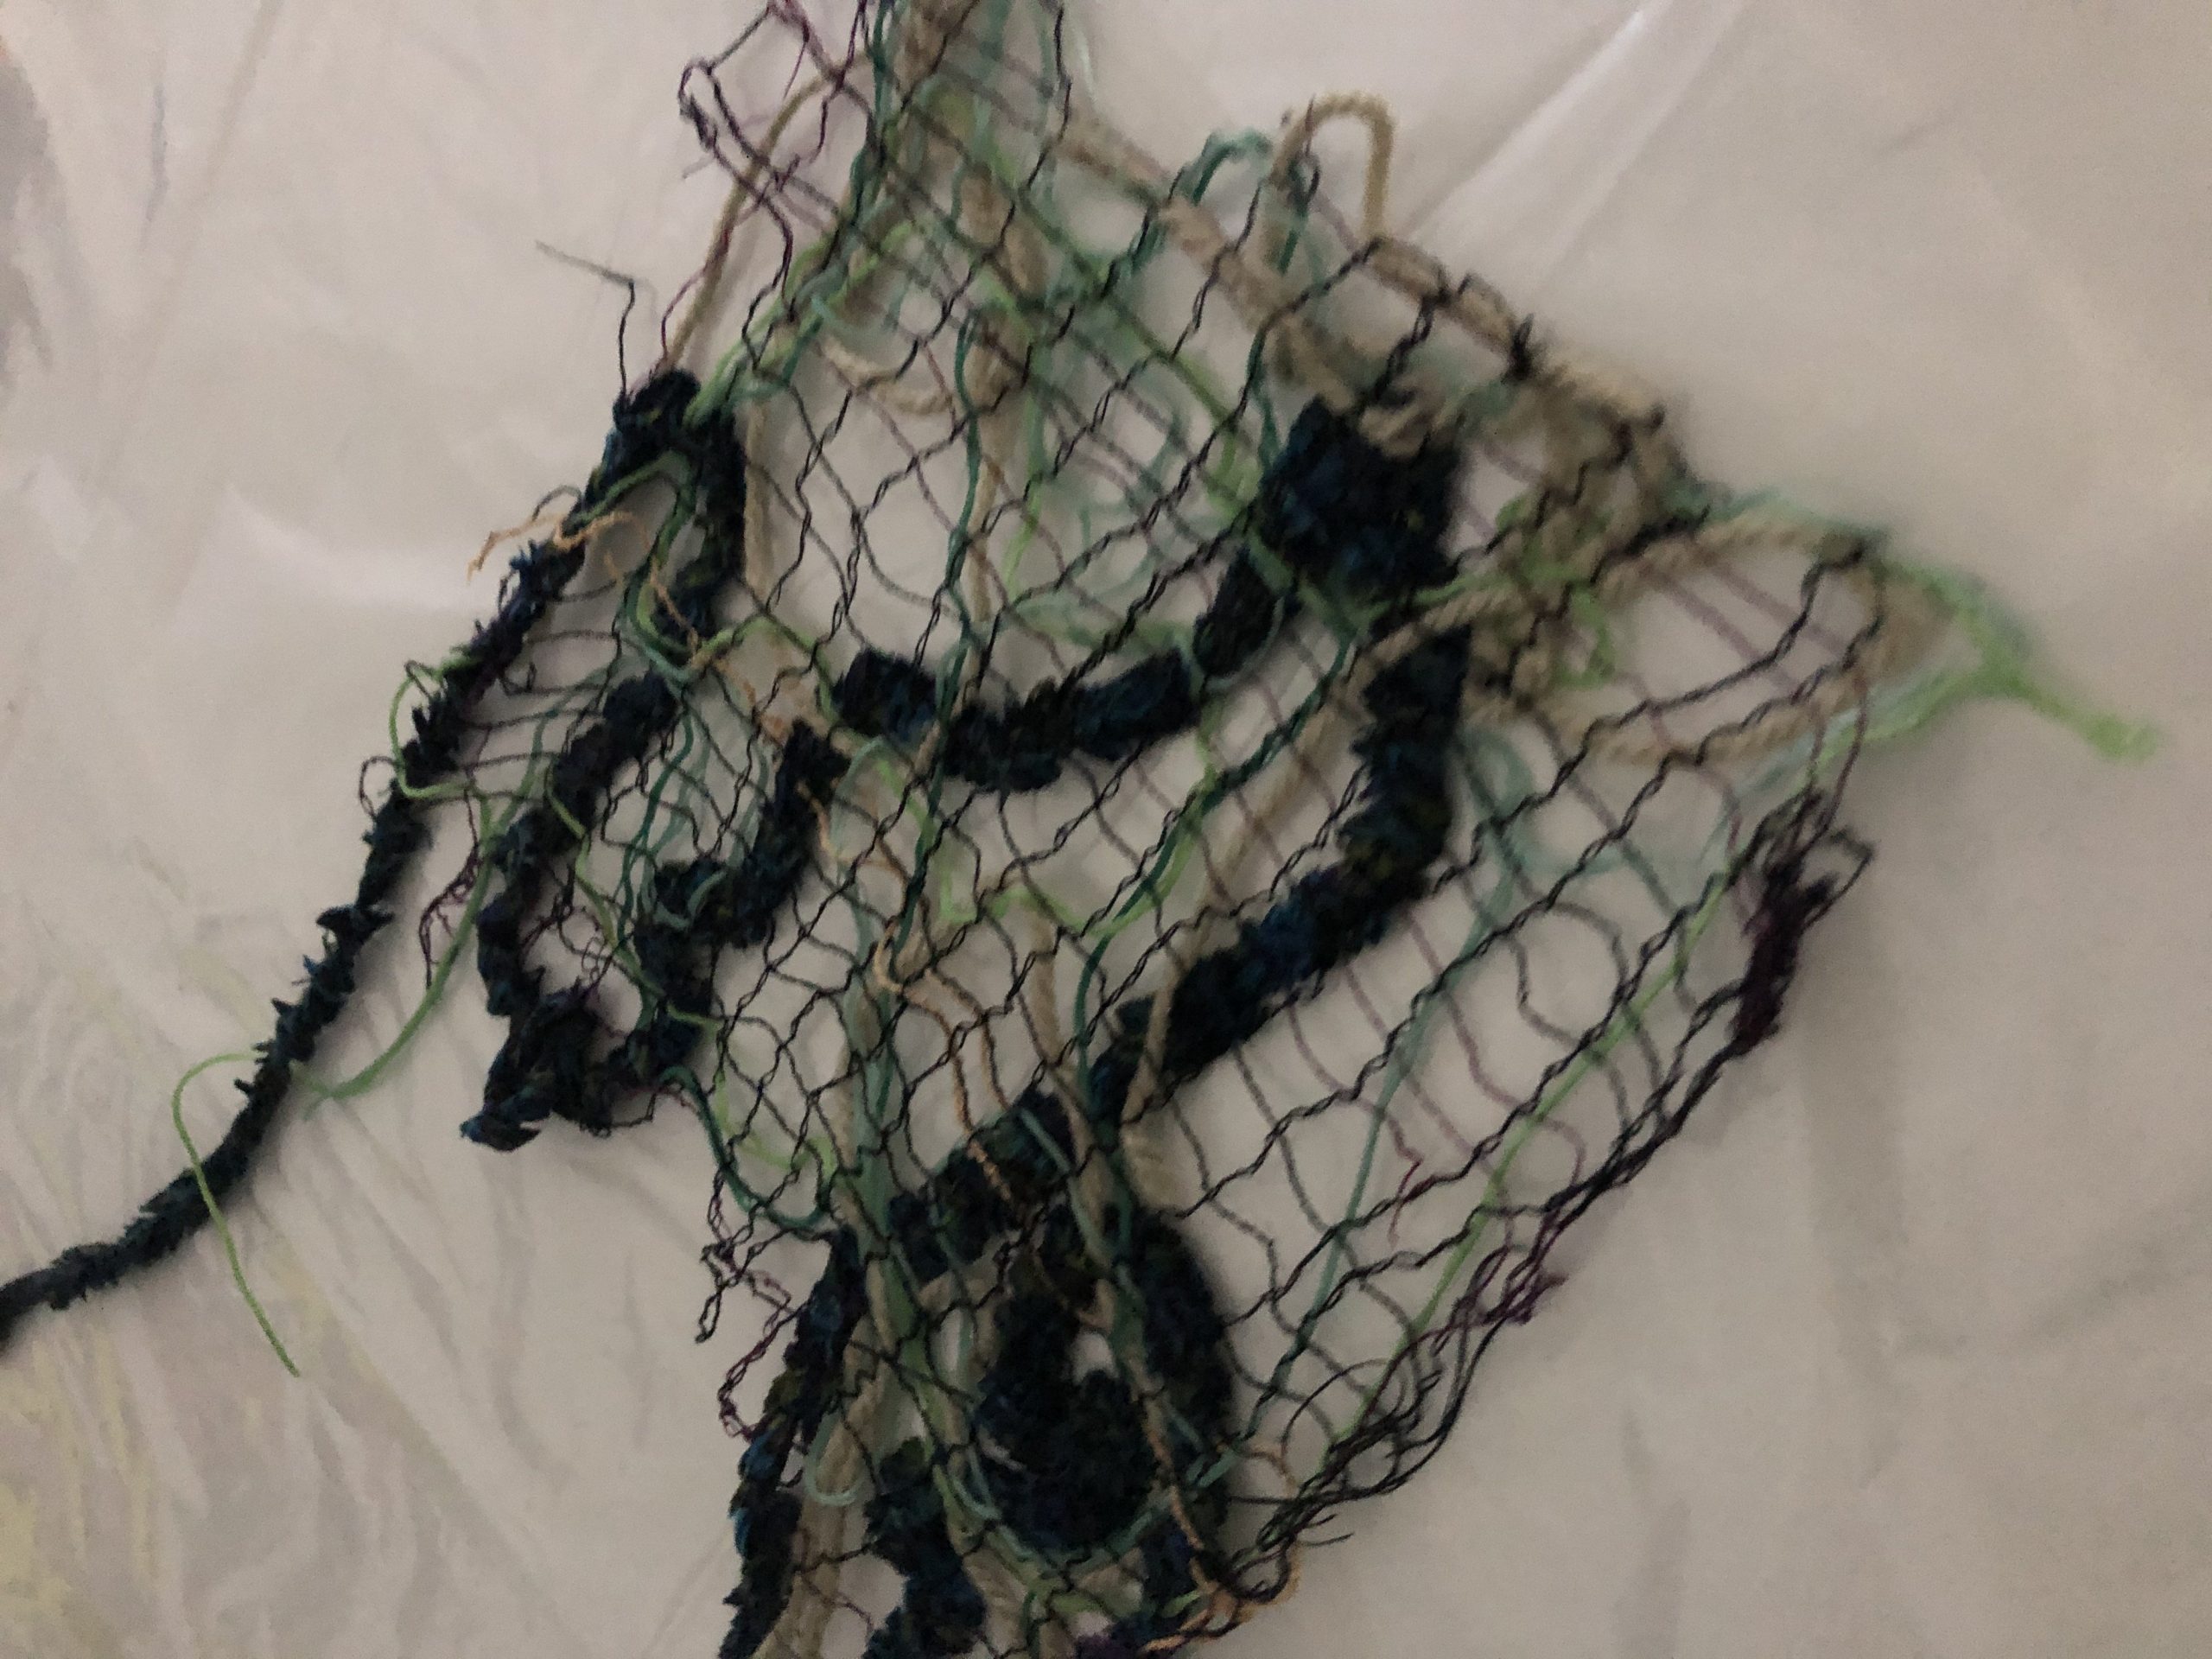
However, I realised that the layer was too thin, and there were still many holes that needed to be covered up. Thus, I repeated the wet felting process again and folded it into half, here was the result.

It did came out stiffer but it didn’t exactly turn out the way I wanted, I believe the primary reason could be because the yarn that I used wasn’t 100% wool and also I think I should have rubbed the wool harder the first time.

Nonetheless, I’ve learned the process, and hopefully, I’ll be able to create an improved version during the recess week.

Needle Felting

When I first started poking the wool, I was bewildered because I didn’t think I was doing anything. But I soon realise, needle felting is a long process that requires time and patience.

So the technique is pretty simple. Gather some yarns together and poke it with the needle. Essentially, the needle fuses the fibres together to make it stiff, hence why it takes so long.

I kept it simple and just made a ball since I have never done needle felting before. It was actually pretty therapeutic, just with the occasional accidental stabbing of my hand with the needle.

But to be very honest, needle felting has been my least favourite so far. Primarily because the technique involves knowing what you want to make. Just a simple scroll through Pinterest, you’ll see people enjoy making animal figurines with needle felting and that isn’t really my style. So it would be interesting to try and create something abstract or experimental with needle felting.

(My needle felted ball went missing before I could take a photo 🙁 )
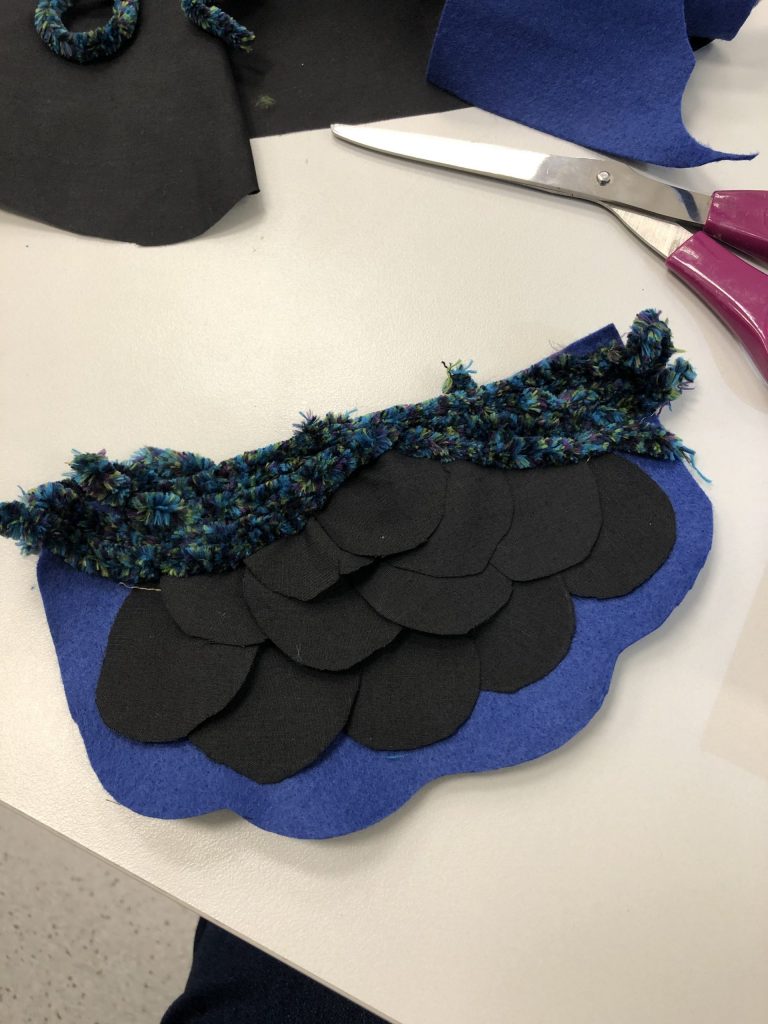
Applique


the mind reader // concept

From the previous class discussion, what I gathered so far is that people are interested in the idea of guessing a person’s emotions or feelings.

That got me thinking of a different type of mind reading. For my previous research, it was heavily centered on psychological “mind-reading”, so I thought this time I would research more on “spiritual” mind-reading.

Methods of “spiritual” mind-reading:

  1. Crystal Ball/Cystallomancy
  2. Chiromastry/Palmistry/Palm reading
  3. Oracles
  4. Tarot/Card reading
  5. Astrology/Reading the stars
  6. Tasseography/Tea leaves reading
  7. Clairvoyance
  8. Cold reading

To be completely honest, I don’t really believe a crystal ball, some cards, or the wrinkles on your hand can read your future. But, no doubt it is fun to listen to sometimes (and the illustrations on the tarot cards are nice to look at).

IDEA??

What if the environment is the one reading your mind? Using biosensors such as heart rate sensor and body temperature, the environment will try and read your emotions and display its guess through atmospheric visuals and sounds.

Imagine a dark room with a shimmering crystal ball in the centre.

What do I do?

Research.

The big issue is that I have to conduct research with people to understand the correlation between people’s heart rate/body temperature with emotions. There are existing studies into these, and I figured that I should conduct my own research to back up those findings.

The next big question is whether I want to have scenarios in the room that will read and analyse their response.

My concern is whether by entering into a space, will the environment of the space or the atmosphere of a space have an effect on the emotions of the participants? Meaning, if I build my space to a certain vibe, then naturally people would come in with the same emotions that I have “created” from the space. Thus, defeating the purpose of my project of reading people’s emotion.


fusing plastic and water soluble thread // surface design

Second technique: Fusing Plastic

The plastics that were gathered from my online shopping can finally be put to good use.

With the idea of creating a serpent texture, I used several white/transparent plastic and fused it together.  Adding some blue plastic straws as an accent colour. Also, to add a little texture on top of the plastic, I fused some bubble wrap.

Observations:

After some experimentation, I realised applying too much heat on bubble wrap will cause it to lose its shape. Also, fusing transparent or similar coloured plastic together, doesn’t have a significant outcome.


Third technique: Water Soluble

This was great fun but also a pain in the ass. I’m still very new to sewing, so I struggled a bit with using the sewing machine.

While stacking the threads on top of each other, the threads tend to stick with each other, causing movements in the bottom layer. While sewing, the original form also changed from its intended idea. (This is probably from my lack of skills in sewing. With a little more practice, I’m sure this wouldn’t be much of a problem.)

I struggled mainly with the sewing machine because the thread kept snapping, which was caused by the lack of threads for the bobbins.

Note: ALWAYS prepare the bobbin before starting to sew.

I’ll be experimenting more with the water-soluble technique soon. Keep a lookout for the update!


biomimicry // research critique

1.0 Introduction to Biomimicry

Biomimicry derives from the Greek words, “bio” which means life and “mimesis” which means to imitate. Biomimicry encourages to look beyond the form or shape of an organism but to look into its “sustainable models constructed from complex natural systems”.

Janine Benyus describes biomimicry in three primary components:

  1. Nature as model – New solutions to human problems.
  2. Nature as measure –  Ecology/evolution as the standard of what works.
  3. Nature as mentor – Learn from nature, not take from nature.

“This human thing is about control, whereas the natural thing is about liberation.” – John Bradford

2.0 Examples of Biomimicry

2.1 Velcro

Burs of a burdock plant

During a walk in the woods, an electrical engineer Georde de Mestral was curious as to why the burdock seeds clung to his coat and his dog. With the burs of a burdock plant as a source of inspiration, he invented the velcro as a fastener in 1941.


2.2 Morpho Butterflies

The structural colouration of insects, such as the Morpho butterflies, is the centre of focus of Researchers in the Advanced Fiber-Based Materials (AFBM) Center of Economic Excellence at Clemson University. They are looking into creating materials that display colour by making use of the interference of white light reflected from several layers within each fibre. This results in an iridescent effect where it changes colour depending on the viewing angle, without the use of harmful dyes.

Image from https://wtvox.com/fashion-innovation/fashion-biomimicry/

2.3 Snakeskin

3.0 Biomimicry in fashion

3.1 Morphotex

https://donnasgro.com/Morphotex-Dress

“A fabric that imitates the microscopic structure of the wing using nanotechnology. This innovation also saves on water and energy used in conventional dyeing.”


3.2 Fastskin Line by Speedo

Photograph: Kathy Willens/Associated Press

Inspired from the shark’s sandpaper-like skin that reduces drag, the Fastskin Line by Speedo is the “world’s fastest swimsuit”. Deemed as “technological doping”, it is banned from use in competitive swimming.

4.0 Conclusion

To end this off, from my research into biomimicry, I believe there are still so much of the natural environment that we can study from. The fashion industry is the second biggest polluters on the planet, and it is about time we look into sustainable fashion for the future.

“Design is not just about product. Design is about responsibility.”

References:

https://animals.howstuffworks.com/insects/butterfly-colors.htm

http://www.osmosis-industries.com/digital/2015/4/21/nature-inspired-fashion-design-through-the-theory-of-biomimicry

transfer printing // surface design

Mind you, I am no good in any form of art that requires handcrafting. However, I figured instead of running away from it, I should try and build my handcrafting skills by taking Surface Design.

Learning the very first technique: Transfer Printing.

When I first began, I was bewildered by how a crayon drawing on an ordinary paper could possibly be transferred onto a piece of cloth. Boy, was I stunned by the outcome?

Crayon Drawings done by Me

With the demonstration by Prof Galina, the transfer of a crayon drawing is easily done by using an iron you can find at home. By layering baking sheets between the iron and the cloth, it protects the iron from getting stained as well as preventing too much direct heat transfer between the crayon drawing and the cloth.

Of course, there are many different ways of layering the pieces. I also tried reversing the sequence where the crayon drawing and cloth position were switched. However, I found that having the crayon drawing above gave a brighter outcome since the heat is applied directly to the crayon.

Crayon Transfer

During the class, we experimented with using a satin material. Since the material wasn’t really stretchable, we see that when too much heat is applied, the materials start to crinkle. Would definitely try to experiment with different materials in the future to see how the outcome would differ and which material would be able to capture the crayon drawing the best.

Also, when working with crayon drawings, it is important to note that the direction of colouring becomes apparent after transfer printing. It is good to be mindful when coming up with a design using crayons.

The other method was using the heat press machine.

Transprint Ink Paintings done by me

For this method, we used the transprint ink. While painting, the colours turned out very dark on the paper. Prof Galina did preempt us that the colours would turn out a lot brighter but boy, did I not expect that drastic difference. I guess the only way is to continuously experiment with the transprint ink to familiarise ourselves with how the actual colour would turn out after heat press.

Transprint Ink Transfer Outcome

I tried using the heat press machine for slightly over 30 seconds. However, the colours didn’t turn out as bright as I wanted it to. So, Minjee and Mus who went after me tried a little longer and their colours came out much better.

Note to Self: Use the machine for 45 seconds instead.

I also attempted using small feathers to experiment with indirect printing. However, the outcome didn’t come out as expected. This was probably due to lack of miniature details on the feather. A larger feather would have probably worked better in defining the delicate details.

All in all, it was an interesting experience working with transfer print. I believe material and colours could be further explored and experimented with to find the right combination.