
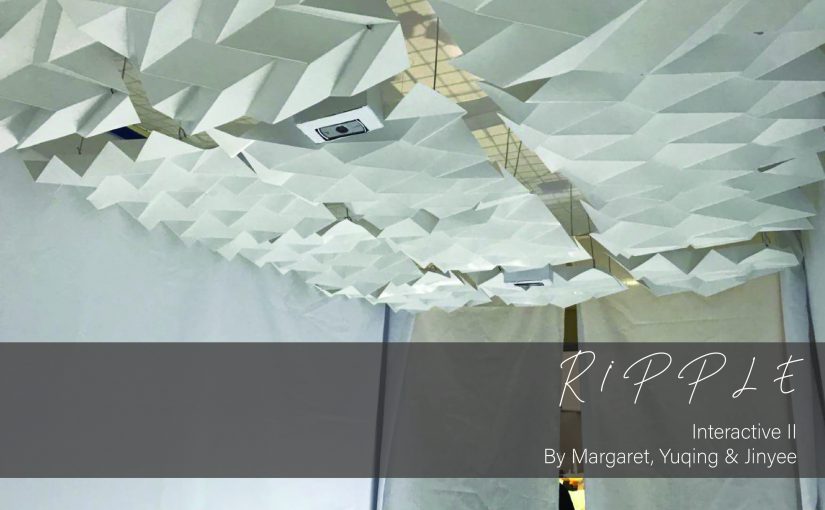
Artist Statement
The profound nature of how humans cannot individually exist exclusively without causing the slightest impact on others and their surroundings led to this installation inspired by ripples. Many a times we forget about or are oblivious to our surroundings and the changes we make to them. This installation aims to make visitors stop and realise the differences they make by transporting the viewer into another space that will make you reflect and think about the coexistence between people, the changes we make and our environment.
Final Video:
What is our installation about?
This installation was triggered by the thought of how each person will constantly cause some change to the surroundings. The profound nature of how humans cannot individually exist exclusively without causing the slightest impact on others and their surroundings.
This thought led us to our installation, that is meant to imply a RIPPLE effect. The reason for a ripple is because of how a drop of water can cause a ripple to pass through water. Water is so fragile that when any object that touches it, will create a ripple. That led us to our installation concept.
Location
About a week before the installation was supposed to be up, we decided to do a location recce to see if there was a suitable place where we could build up our installation. We came to the conclusion that we wanted it constructed up on the second floor near the photography room.
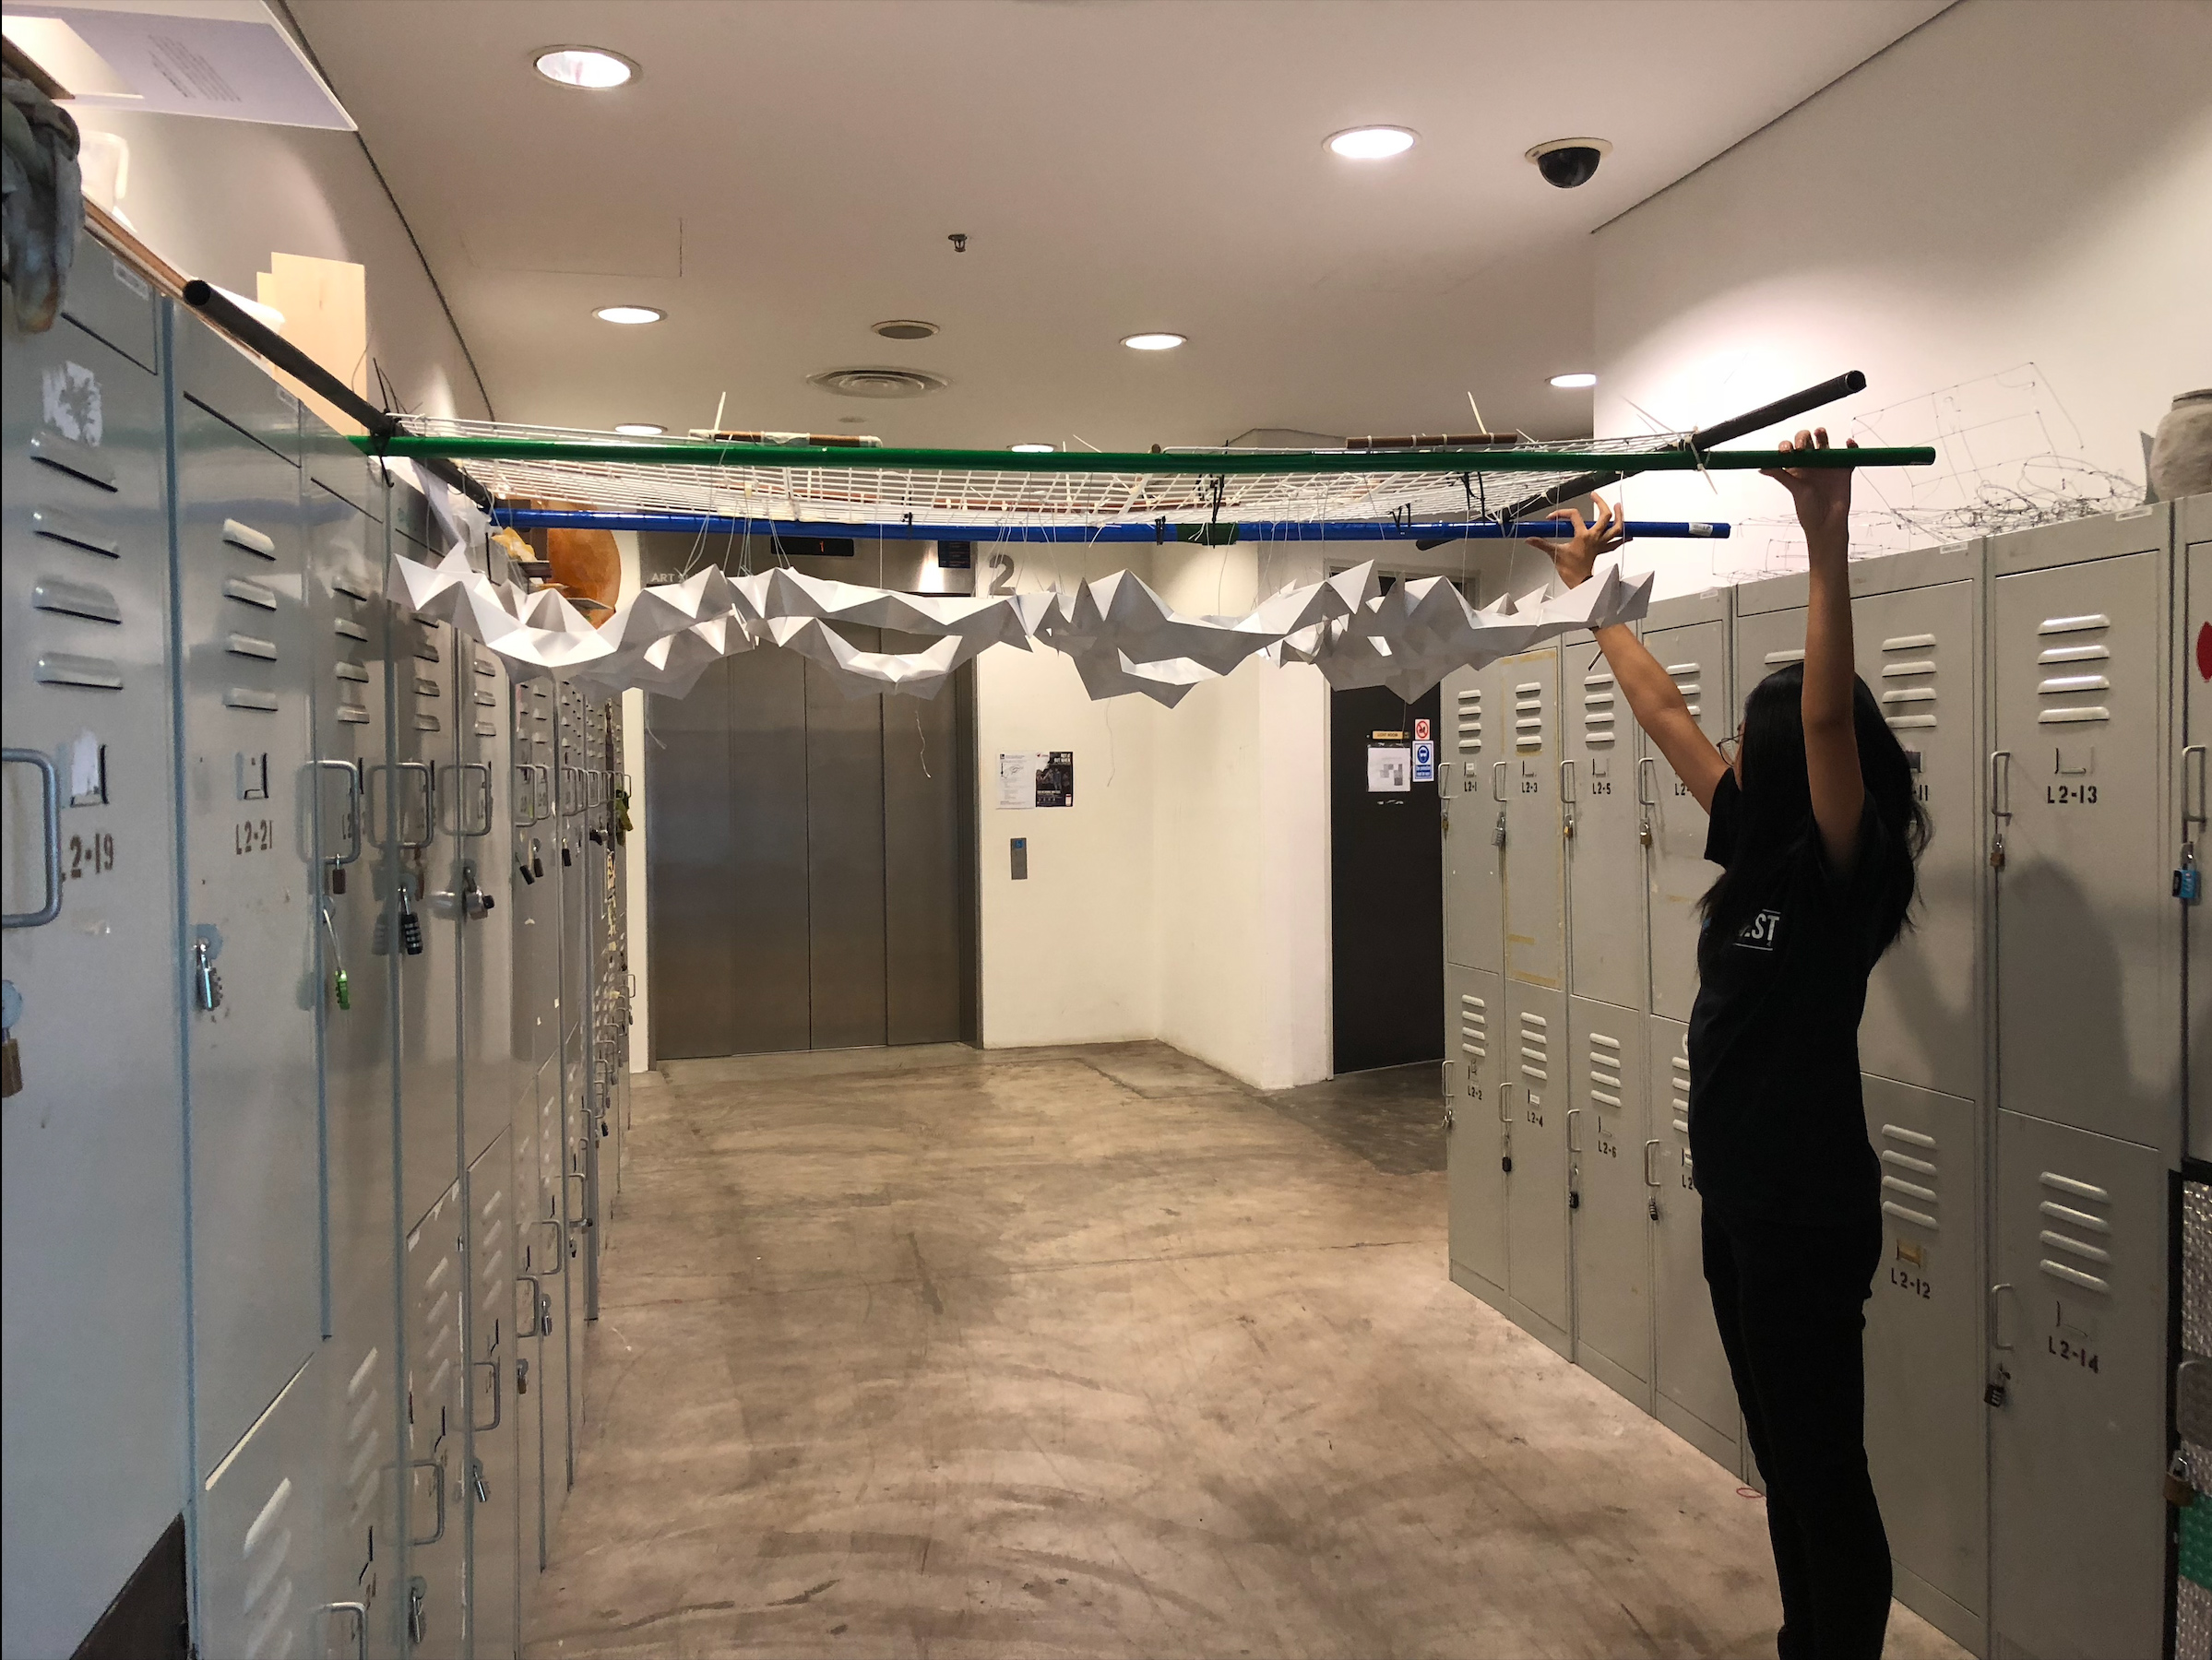
While we were there, we started wondering if the artwork would look better or if it would be more appropriate if it is propped up vertically against the wall. This thought came about as we placed ourselves in the shoes of our audience – What will they feel when they enter the installation and have to continuously look upwards? Looking upwards itself adds a different element to the installation. There is a difference between looking up and looking straight. Looking straight will definitely be easier but looking up creates an even more drastic change to the motion of people as they have to slow down and look up to absorb/enjoy the installation also making them more aware of their immediate surroundings, and hence more likely to spend more time in it.
Therefore, we continued our concept of having it suspended horizontally and building starts.
Max MSP

Yellow box: Where we detect any external devices, for our code we need it to detect the logitech webcam.
Green box: The coordinates is use to box out different areas where we want the region to be detected. Where the coordinates work like Box 1, x1, y1, x2, y2 and etc.
Purple box: Different route is allocated to different box, and it will send out a message to the motors once its detected.
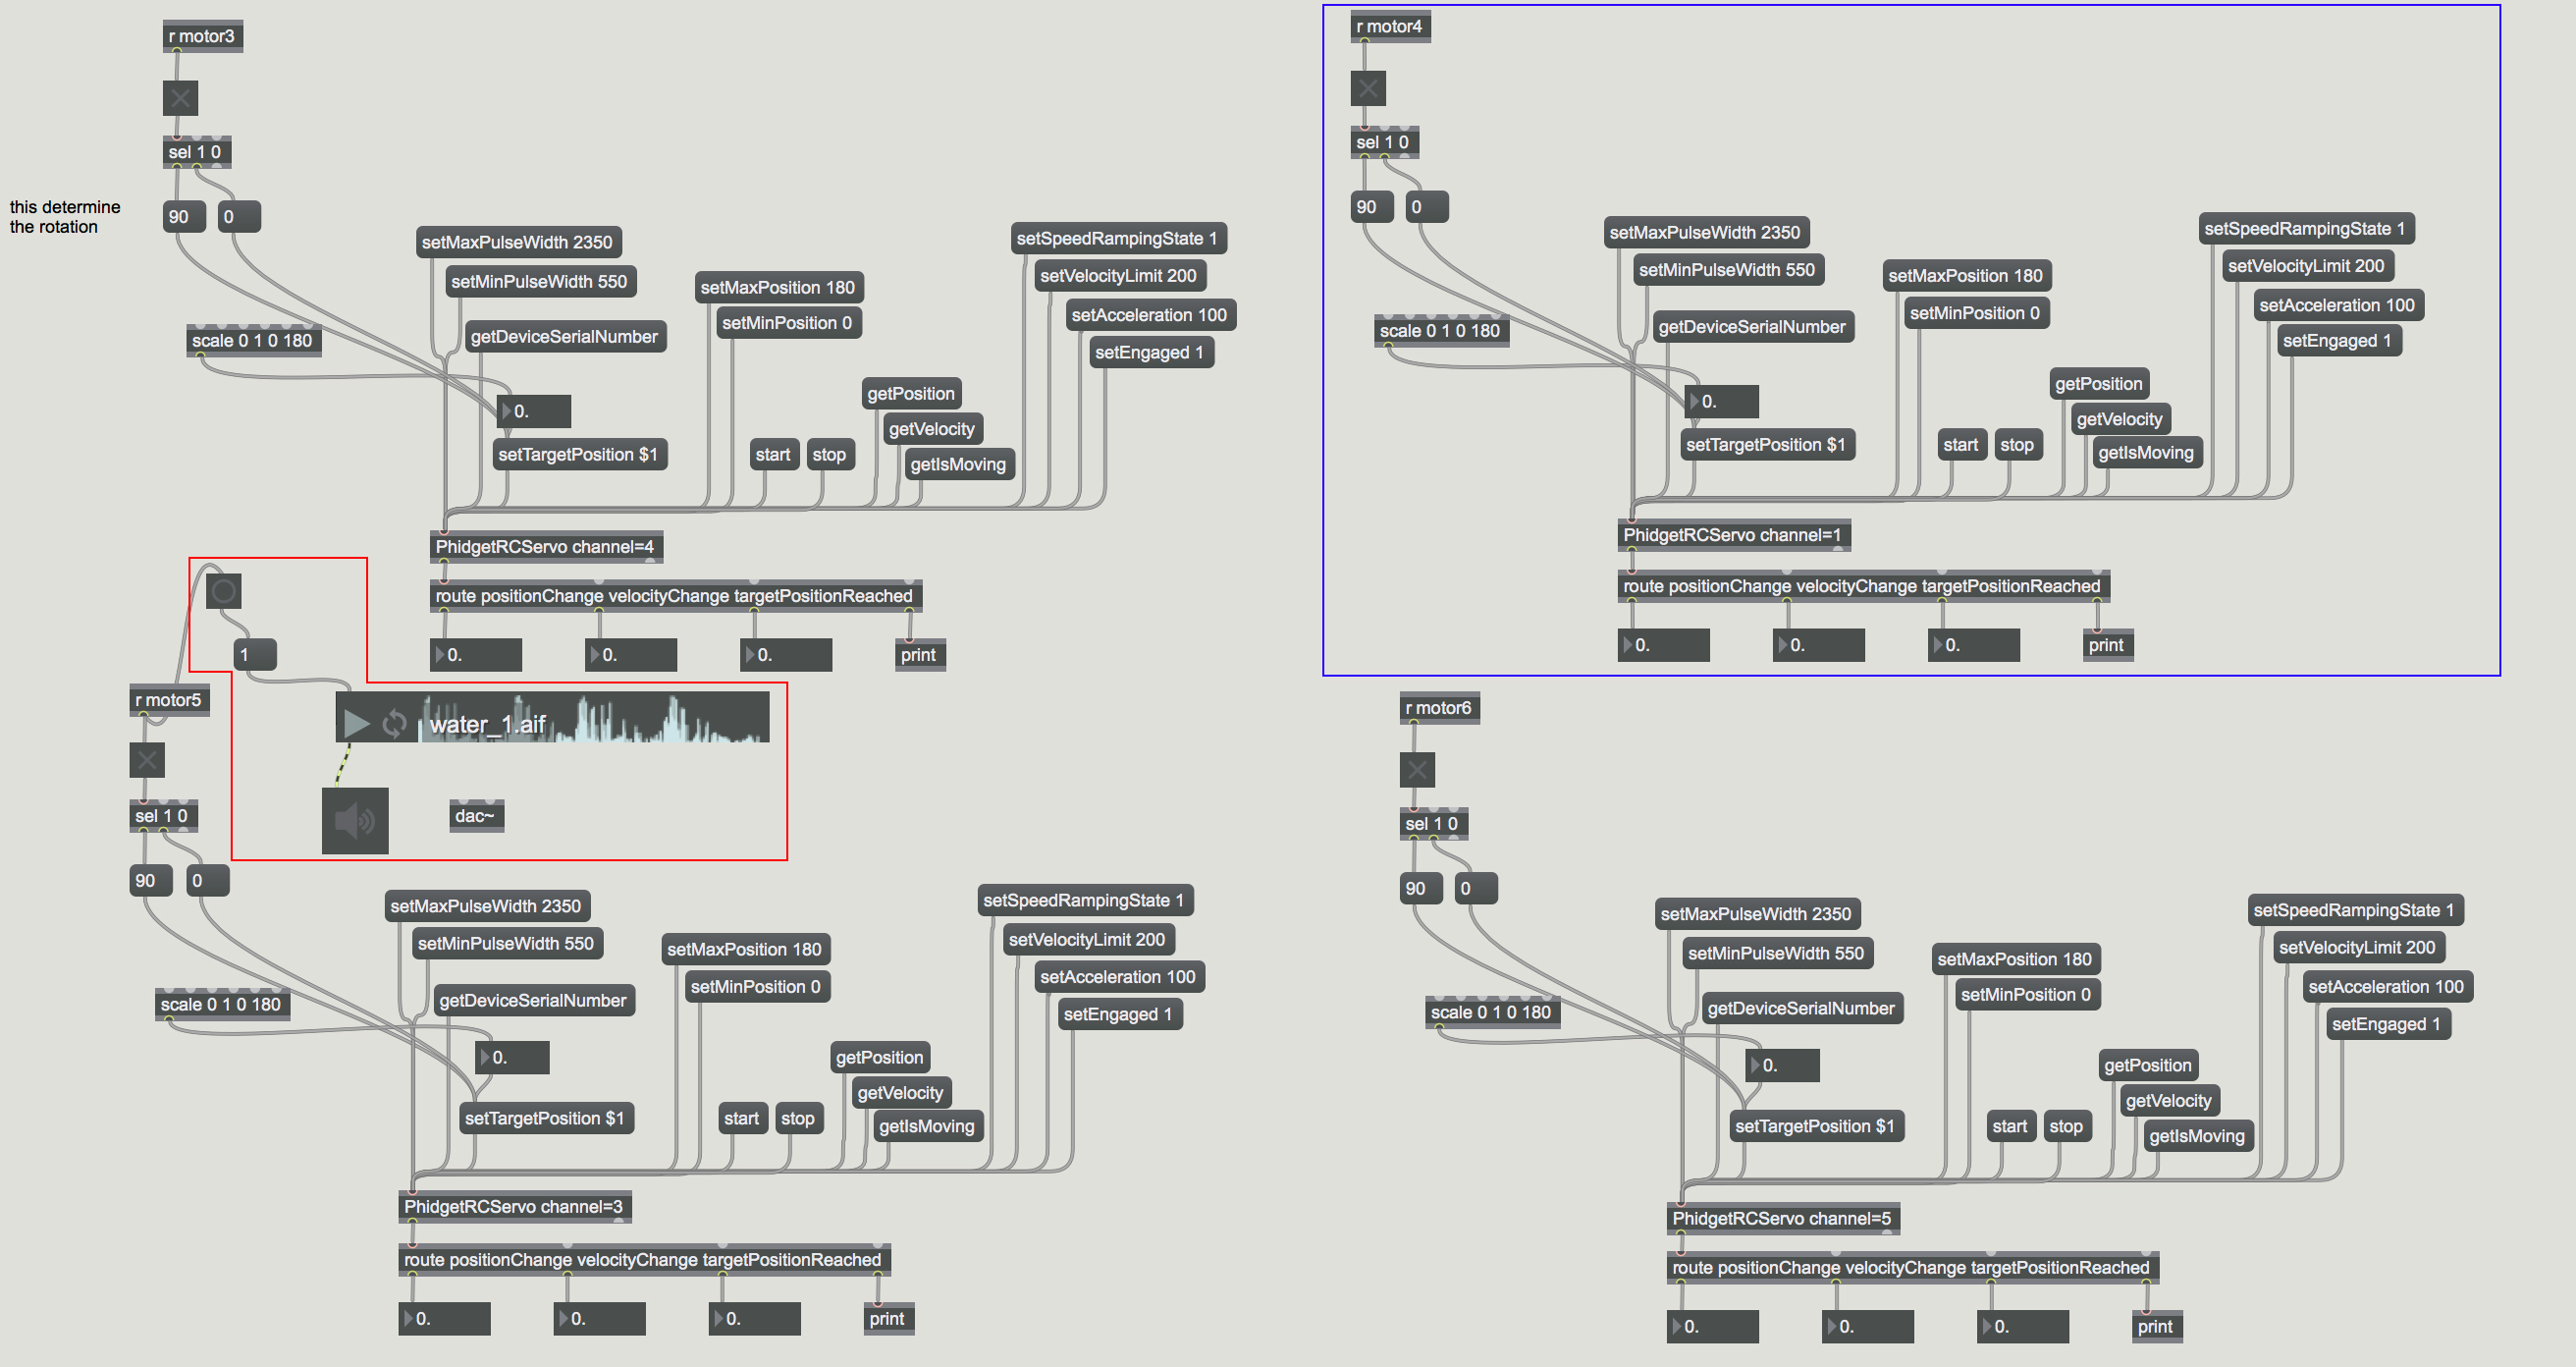
Blue box: It will receive the message sent out from the region detected, and it will trigger the individual motor.
Red box: As the region is being detected, only region 5 triggers a background music.
We use Phidget to control the motors and it can hold up to 8 motors. Thus, we use two laptops with the same code.
Process
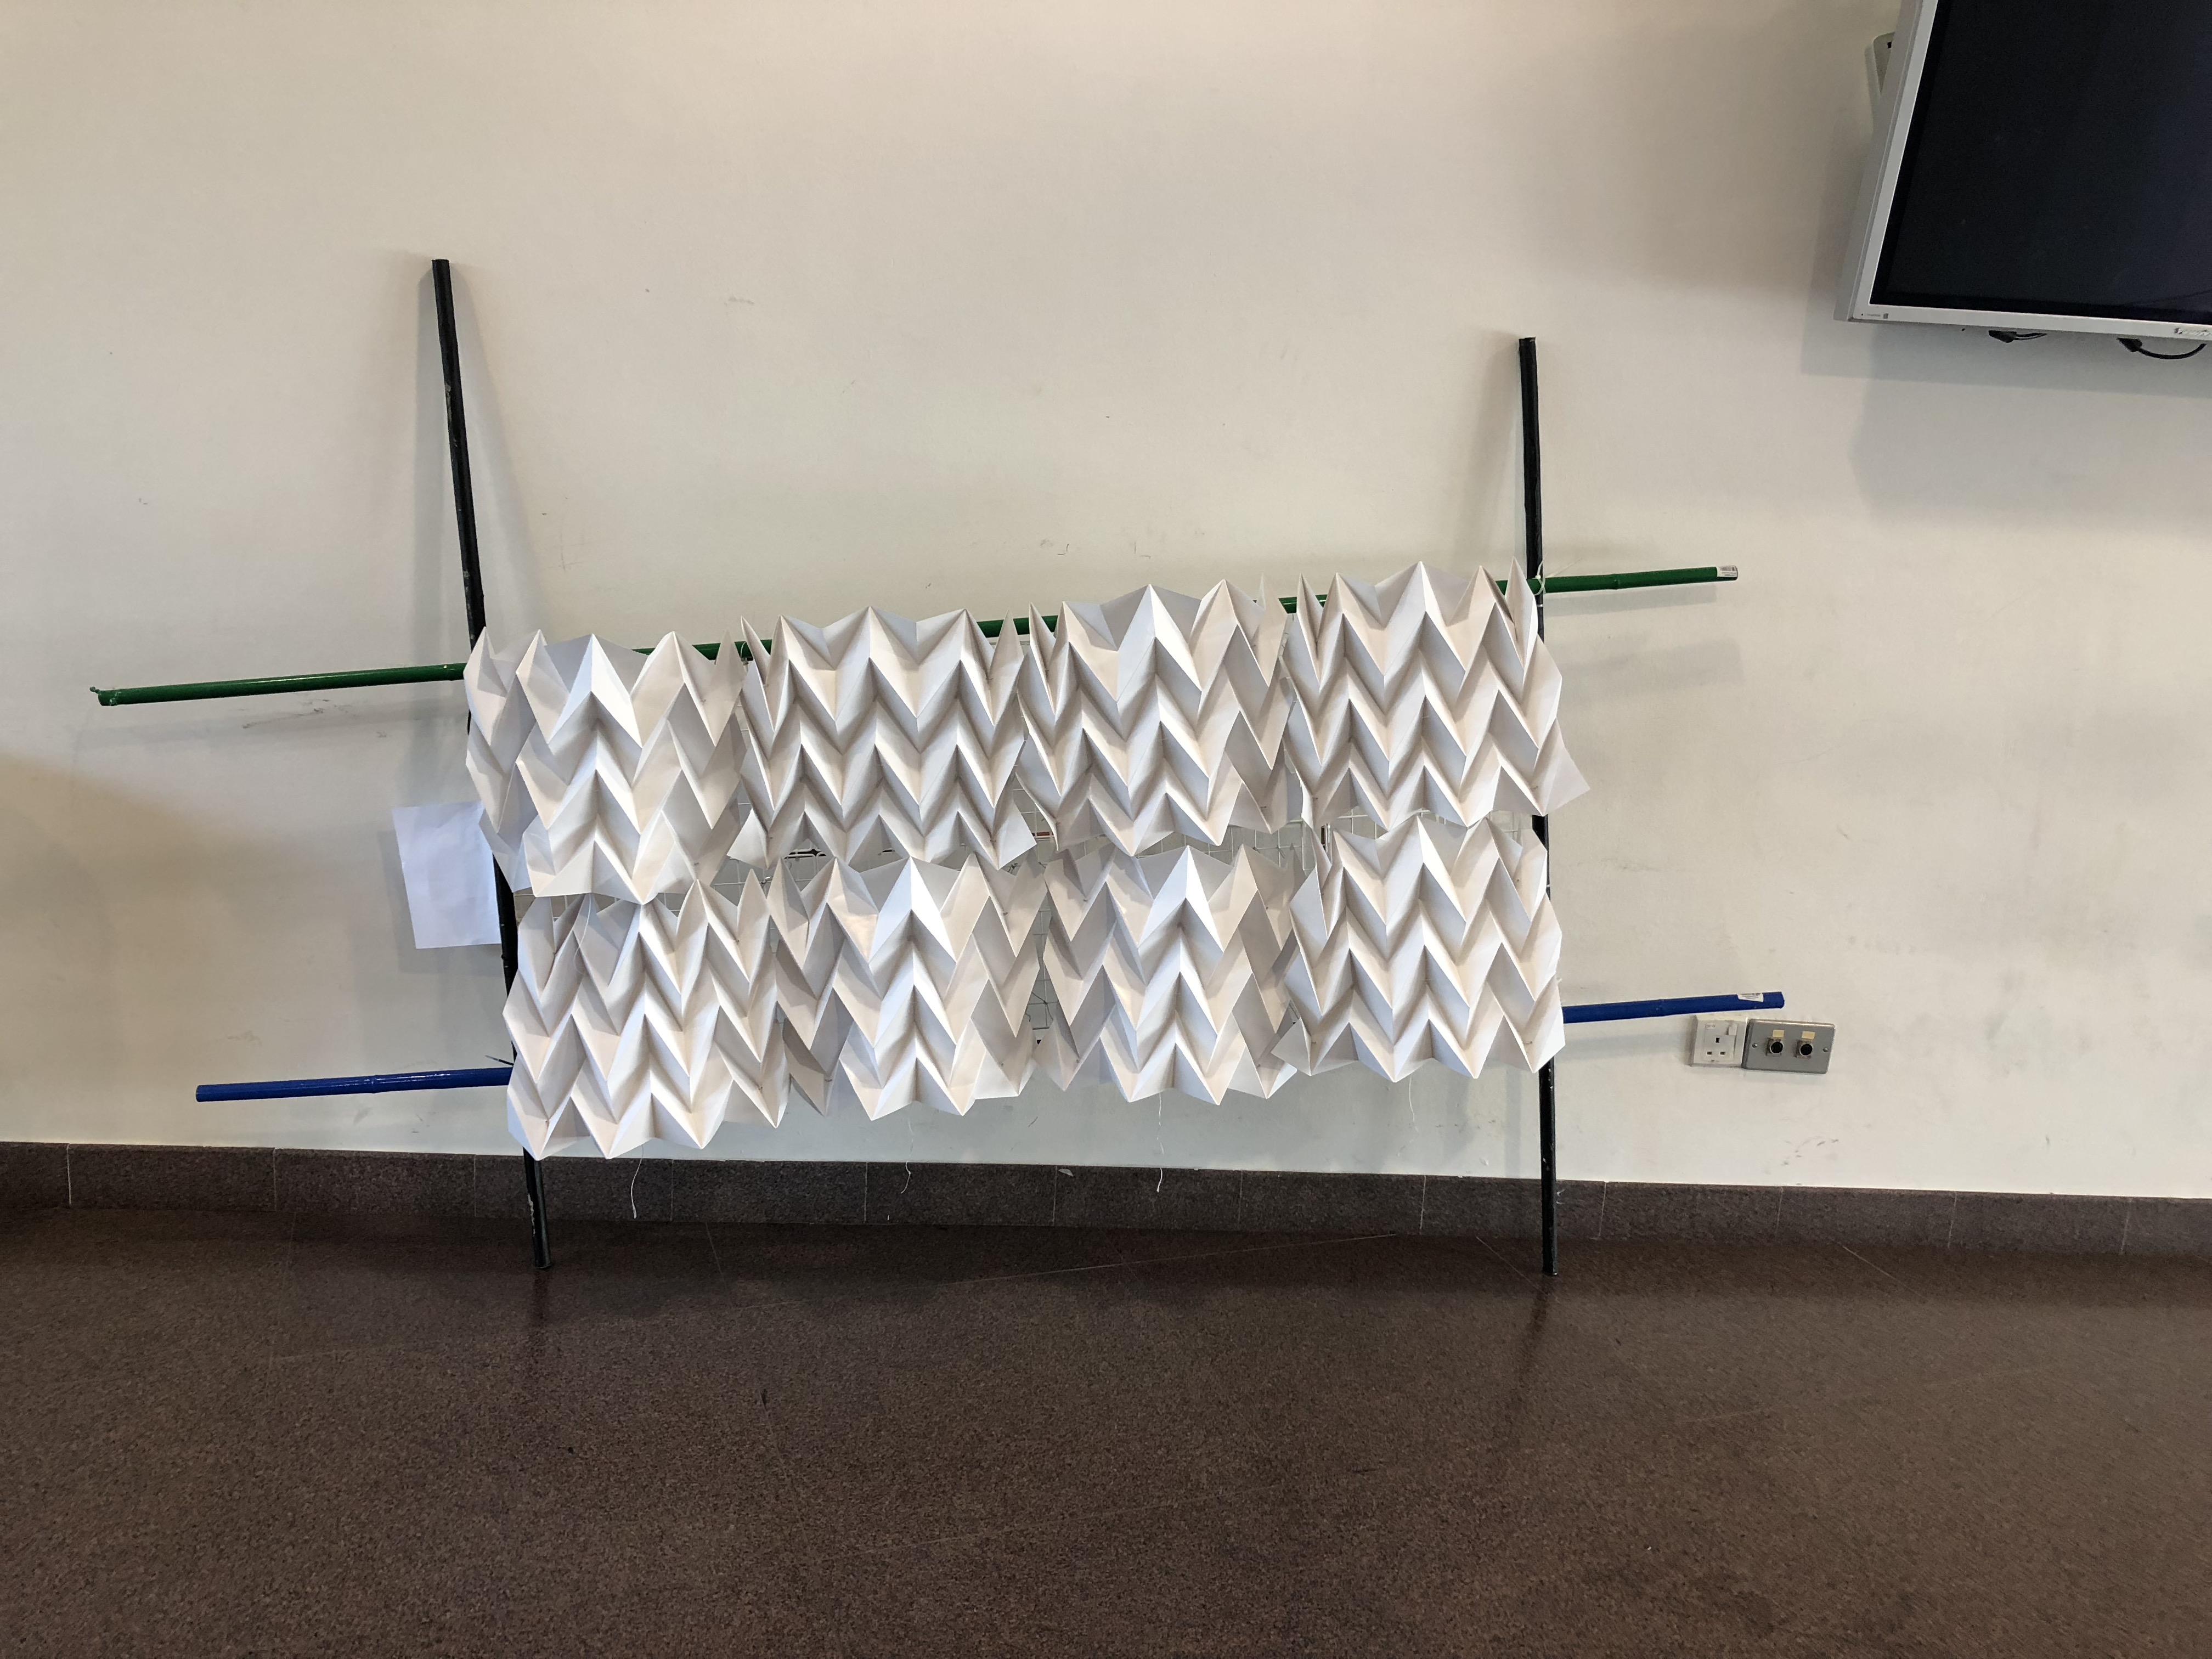
We had everything planned before we started our execution proper. The papers were folded days earlier so that it will be ready on our actual setup day. We had almost 32 A3 size papers folded into an origami tessellation for us to choose the best ones and have more just in case we tear any during the setup process.
Next, we got all the rectangular Daiso racks zip tied into a block of 16 racks (4 by 4). After this, we carefully pierced holes into four corners of the tessellation papers. This was tough as we needed to be gentle with the paper if not it will tear, as well as ensuring that the holes were as small as possible to be aesthetically pleasing. Next, we had to cut down thick curved wires to roughly the same sizes and manually straighten them as much as we can. After which, we placed the wires into each hole and individually twisted the ends into a loop with a plier. During this step a few papers tore as the wires were hard. The wires were hard and we had some issues cutting them but it was all good when done. Thereafter, we lined the Daiso grids with mahjong paper to cover the ugly looking grids so when the papers start folding up, the audience will not see the raw structure holding everything together.
From here, we decided to arrange the paper tessellations on top of the grid first to decide what the best alignments and layouts is so we needn’t pierce unnecessary holes or mistakes. During this step, we realised that we were not able to fit one paper per grid as the papers were a little too big, therefore, we had to use 3 tessellations for every four grids and this led us to have 12 paper tessellations in the final installation.
Next we had to individually put up the paper tessellations by piercing the metal wires into the mahjong paper and hook it onto the Daiso grids. This was also a crucial step as it would tear the mahjong paper and it would affect the aesthetics of the work. We also had to ensure that each piece of paper tessellation was level to the one beside to make it look as seamless as possible a “ceiling”.
After this we had to place the motors and attach the wires to the phidget to start the motion going. In our mock up, we only zip tied the motor onto the grids. However, due to the small surface area of the motor, it would still keep shifting around. For the final, we cut pieces of cardboard to place the motors on top, essentially giving it a bigger surface area and thus would no shift around. To do so, we zip tied the motor to the cardboard and separately zip tied the card board to the grids.
In summary, each step had to be taken calculatedly and gently because we were handling paper (a fragile material) we had to be careful with the pressure we exerted. Therefore, the night before submission we decided to change the location the place to the entrance of our classroom as we did not get permission to put it up the second floor. Luckily there was a power socket point nearby so that we could plug in our tube lights. The night before all was working well and the motion region was beautiful!
The next day came and when it was our turn to present, one of the phidgets powering 6 motors was glitch-ing and we started getting worried. We checked the connection again and again and it wouldn’t work. So Prof suggested we check using the Phidget application to check each port one by one to see what is happening. From the test we realised that amongst the 6 motors we had different motor models and that created a incompatibility in power and therefore, the display feedback on screen always showed overcurrent or undercurrent. So we inserted the motors one by one to see which motors were the problem and realised there was one that was creating a short circuit. We removed it and so we only had 5 motors working on this Phidget. In all we had 11 motors that were working. That gave us a great relief as all the efforts paid off and the installation looked like what we wanted.
Here is our process video:
Concept Development Posts
Concept Development 1
My Life Presentation
Concept Development 2
Concept Development 3
Concept Development 4
Concept Development 5
Project Description
Concept Development 6