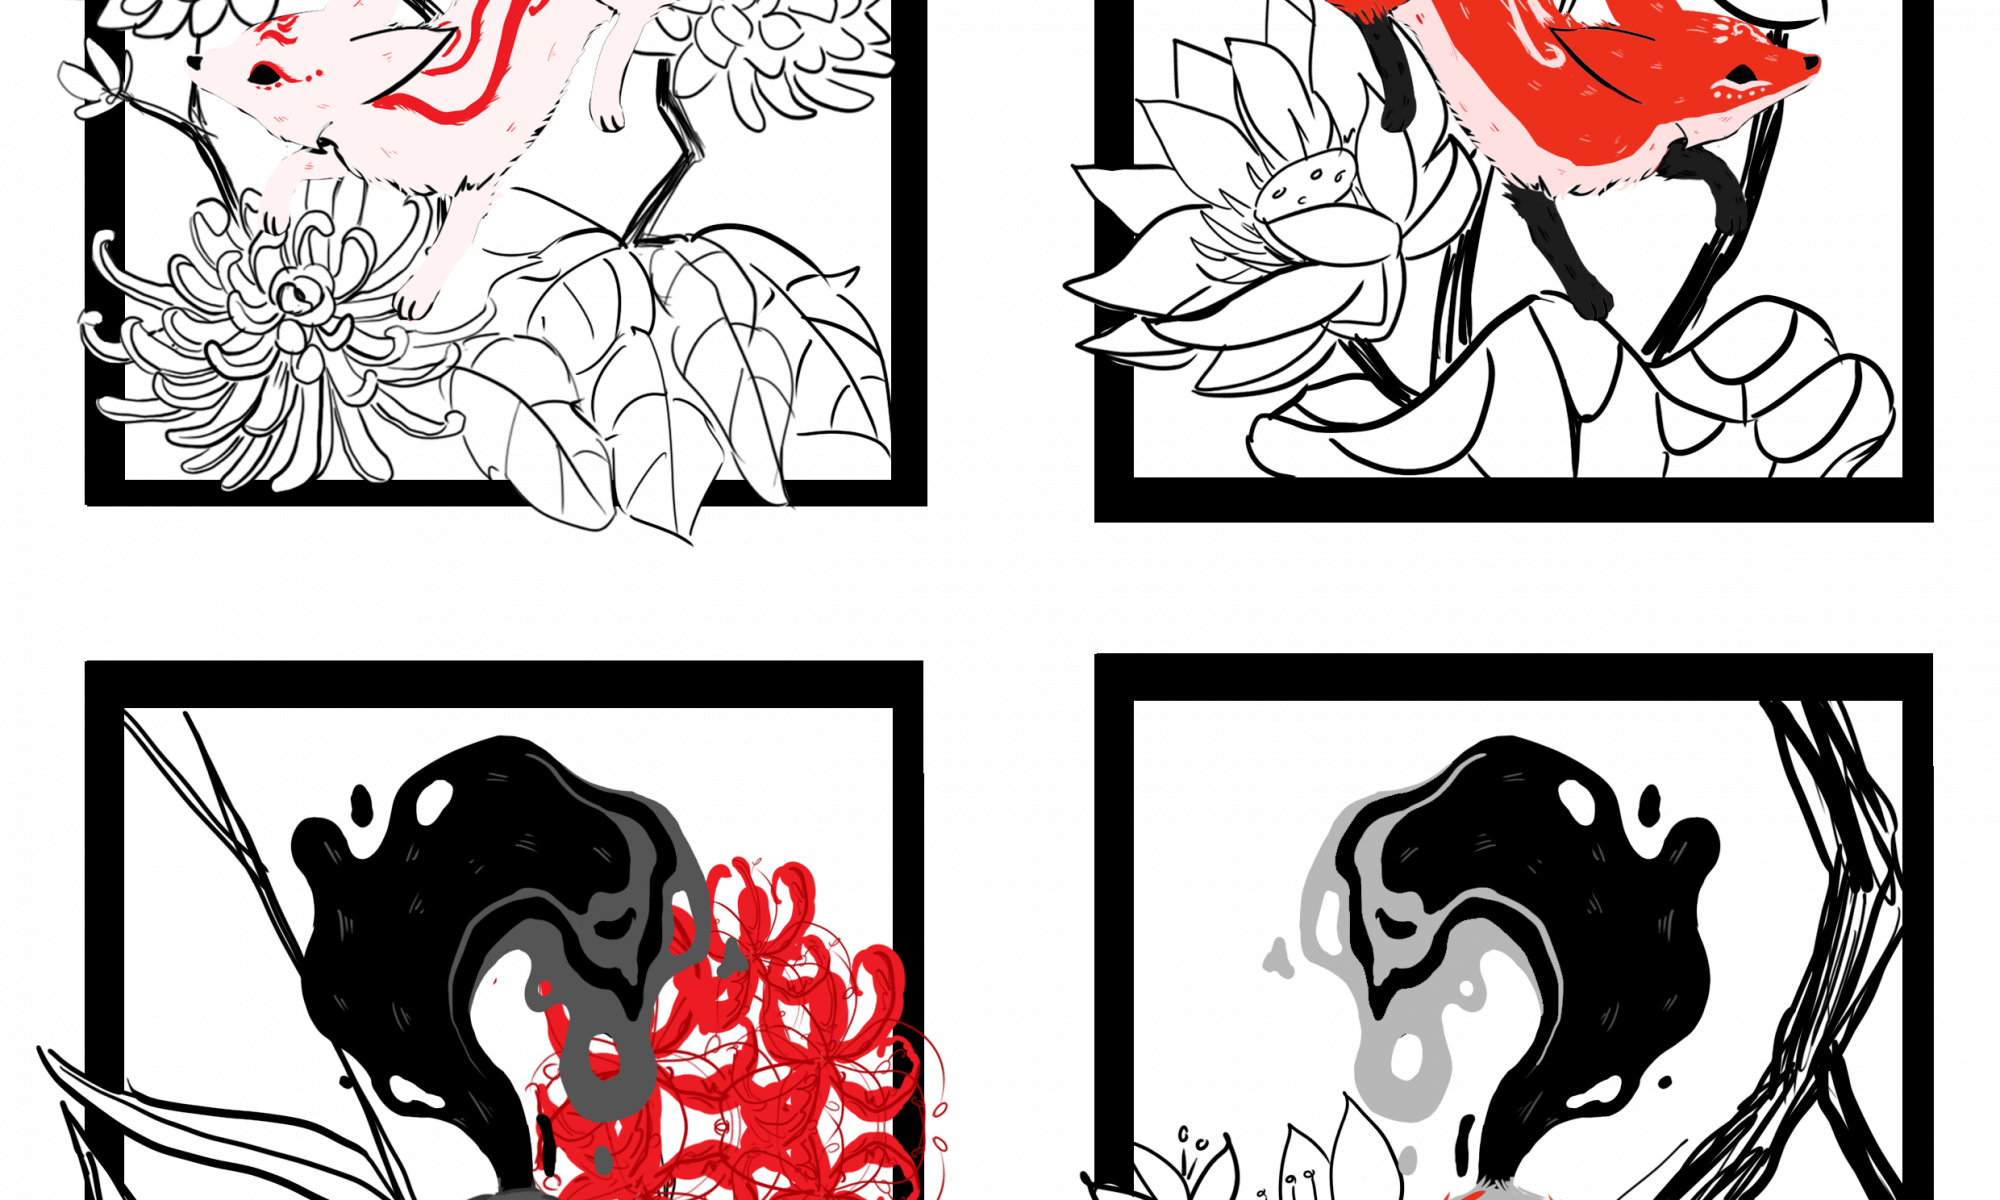
What comes to mind…
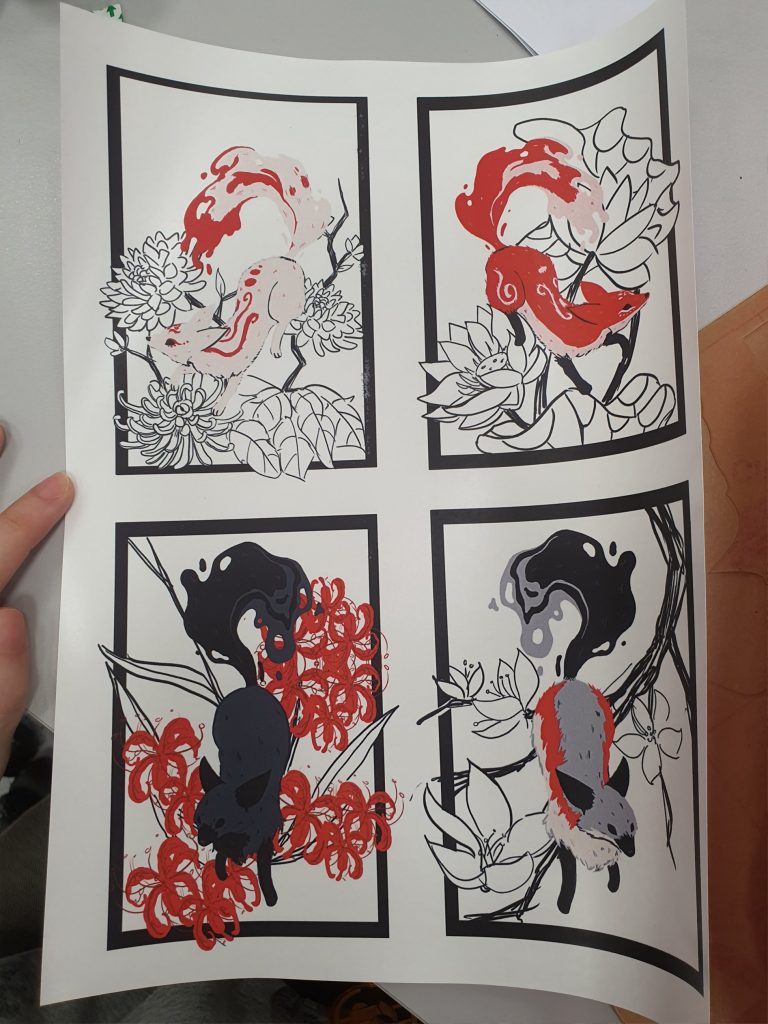
Themes:

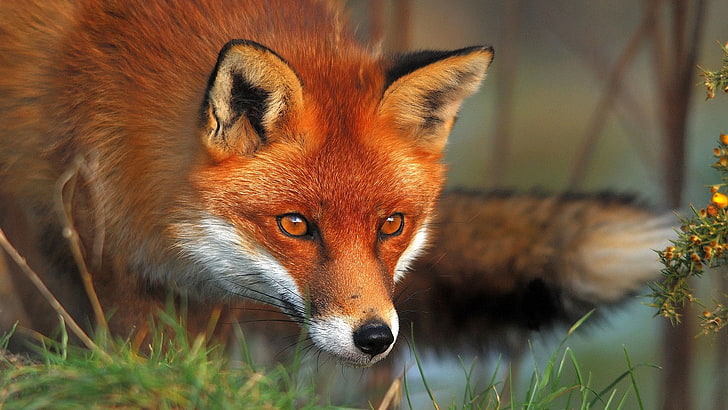
Source Taken From: https://www.1zoom.me/en/wallpaper/468468/z967.8/
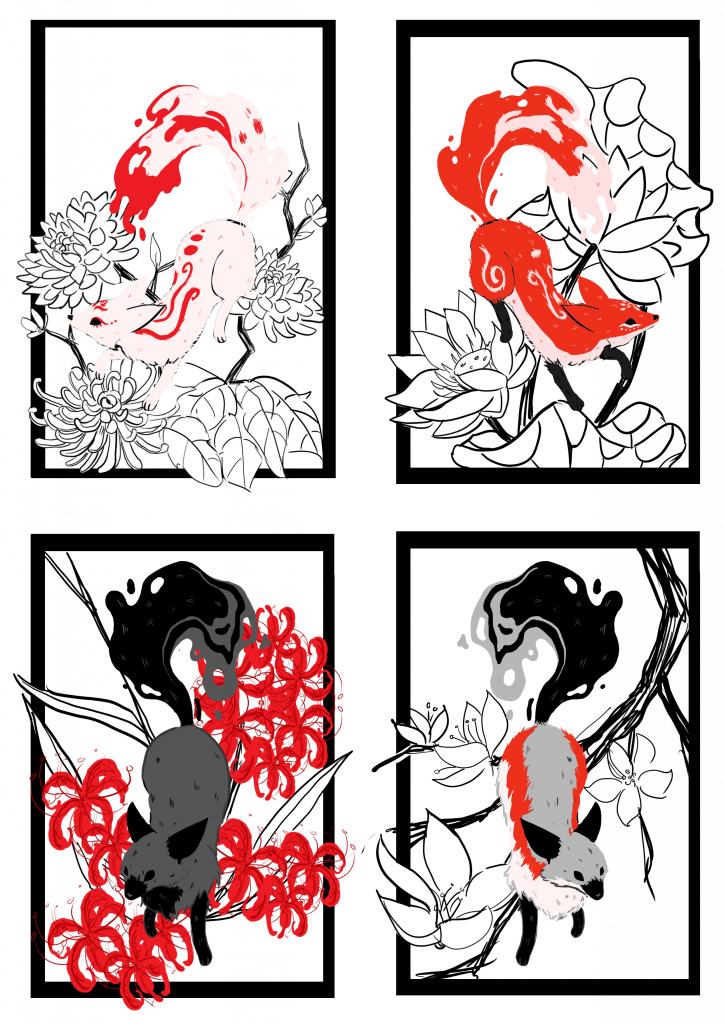
This is mine :D
Source from: https://www.reddit.com/r/FairytaleasFuck/comments/f9dbu3/the_black_fox_looks_like_some_evil_fairytale/
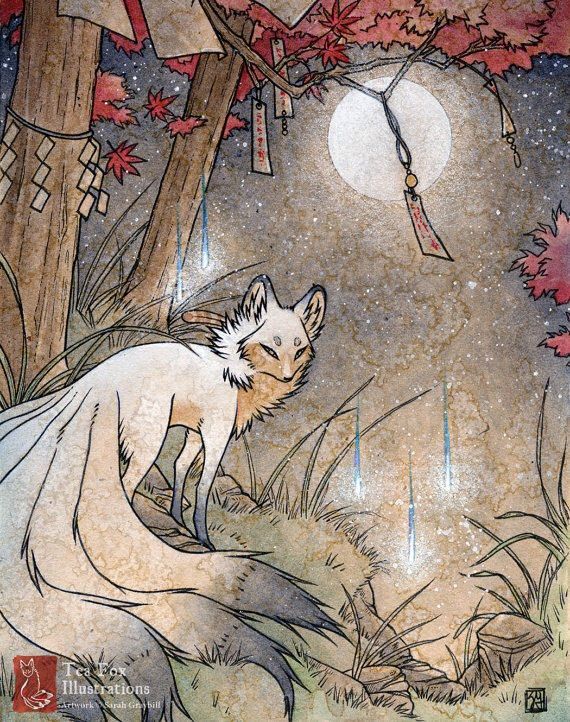
(Source taken from: https://aminoapps.com/c/mythology/page/blog/kitsune/evjQ_vbi3ud833BnMbpQPqrev5KgR5eo1M)
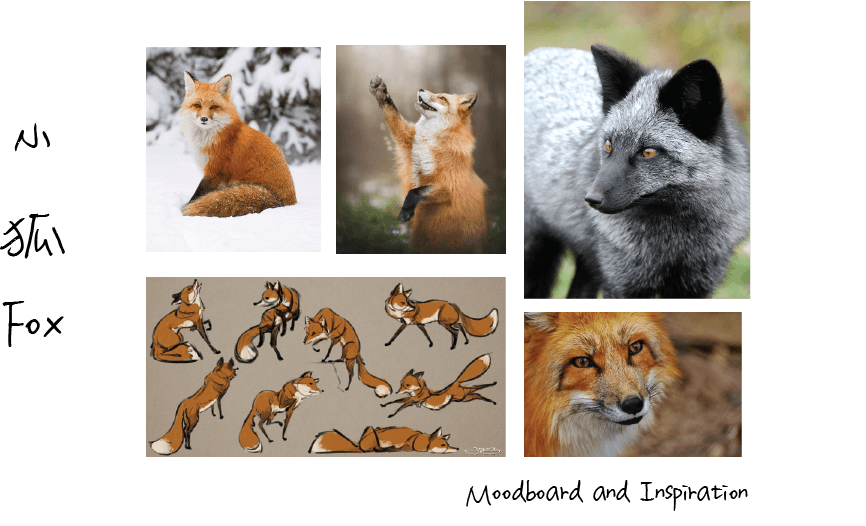
Just thinking considering this entire semester I spent a lot of time drawing foxes for this class, I might as well end off with a fox. I was looking at maybe doing a ‘fox pelt’ clothing, or accessory. However, I am worried about producing a literal fox for the final, or creating a general furred outfit.
Set up:
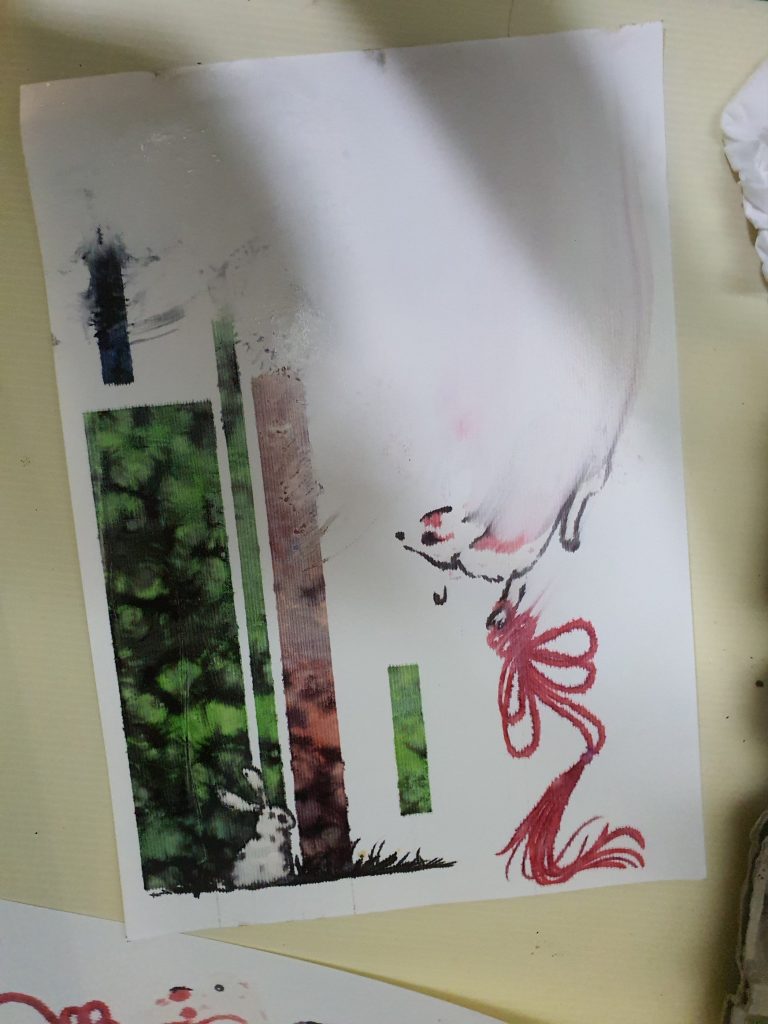
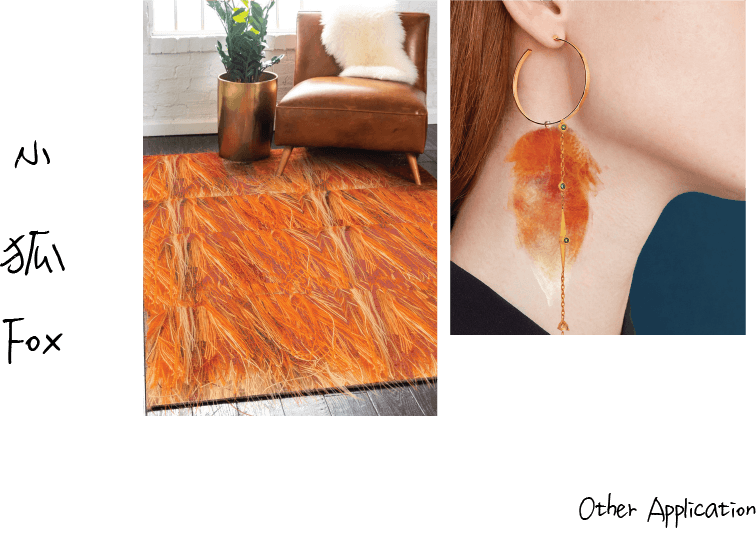
I can consider either a hunters set up, if I am going for a more brutal “I killed a fox” narrative, or I can do a set up from a fox’s point of view. The latter will be a bit more fantastical, like a daily life of a fox and what is on their vanity, the stuff they own, and them reusing their shed fur to make their own things.
Mood board:


Ideas from my Pinterest board:


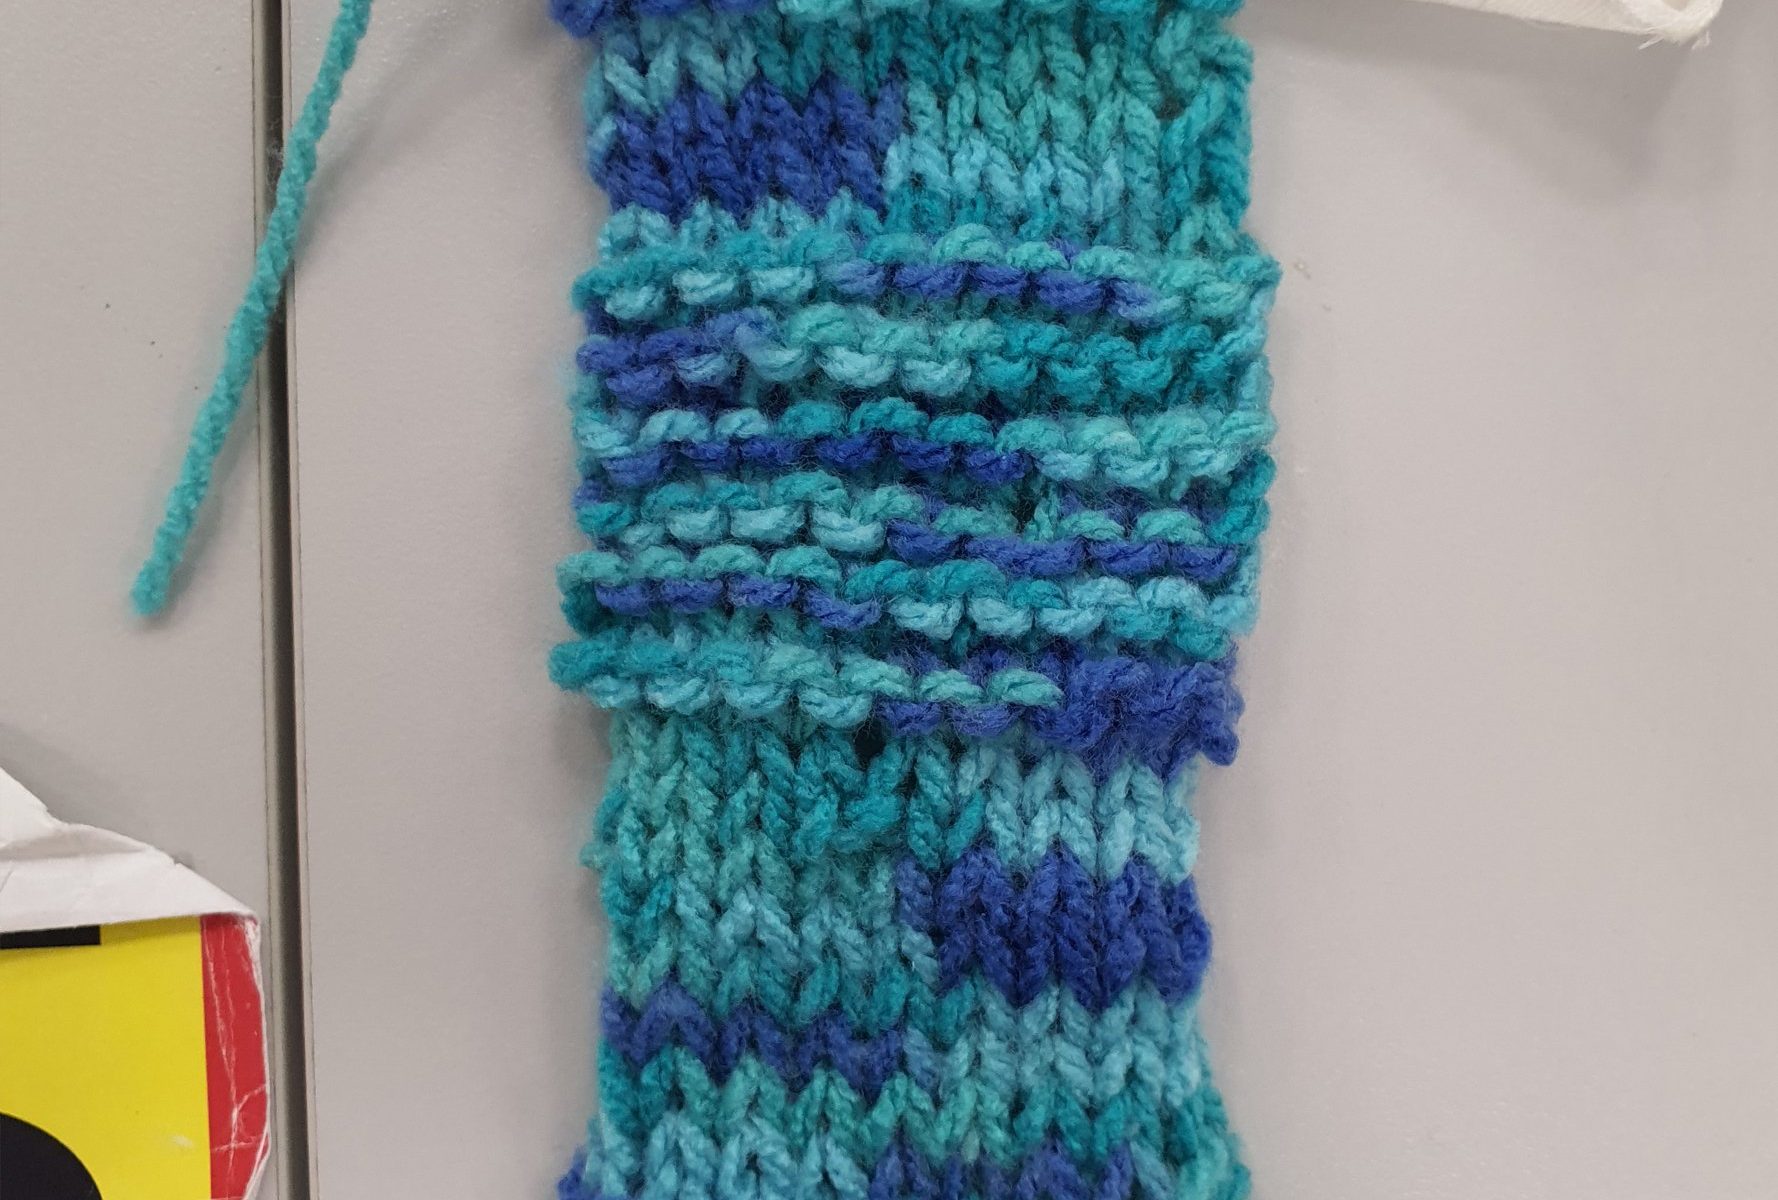
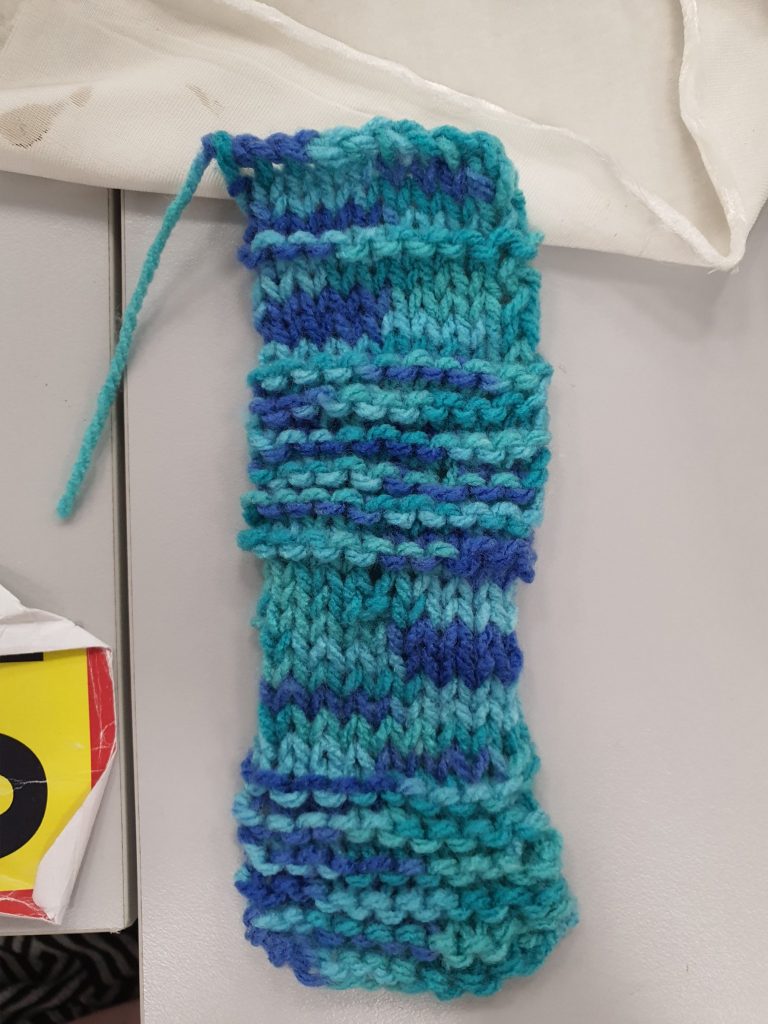
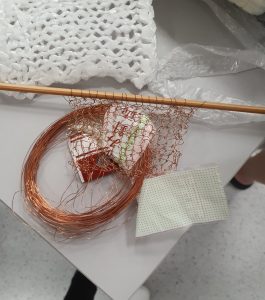
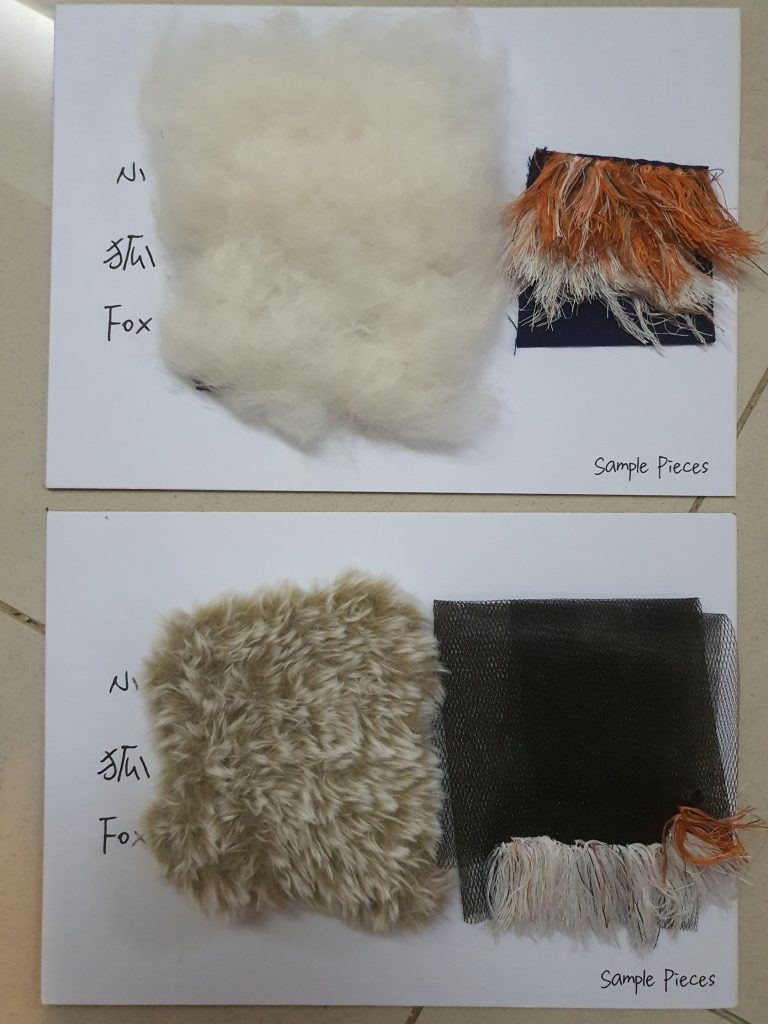
What Techniques am I considering:
- Knitting/Crocheting
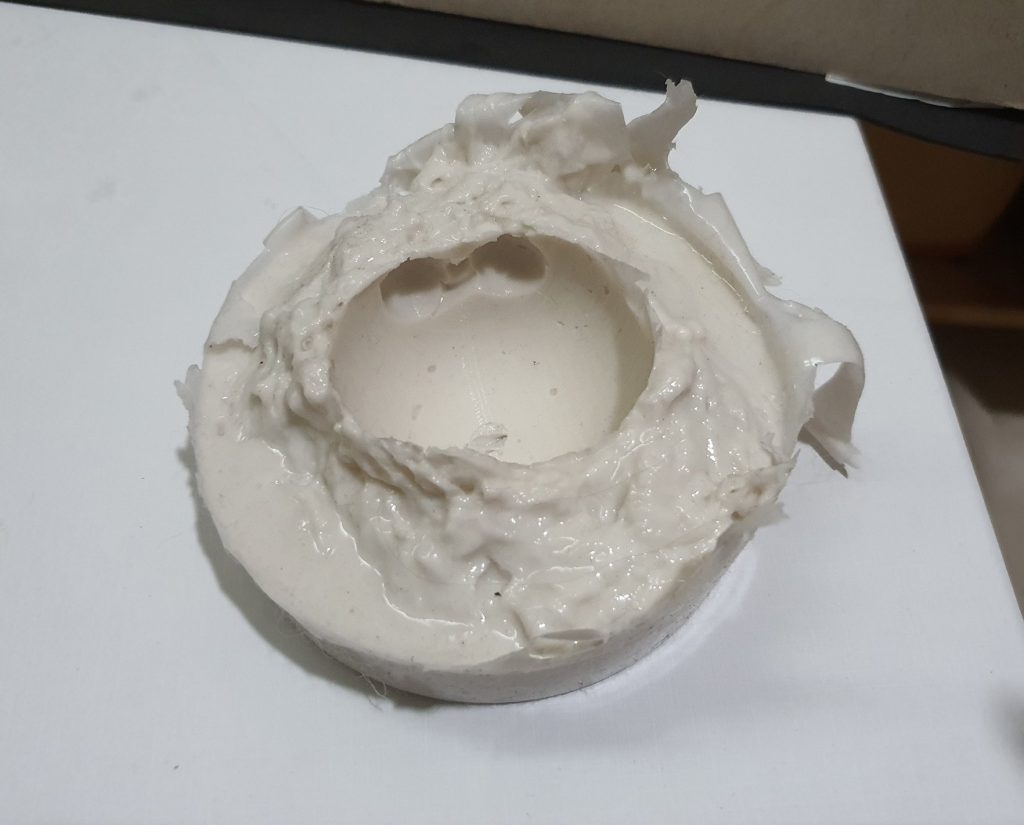
- Felting
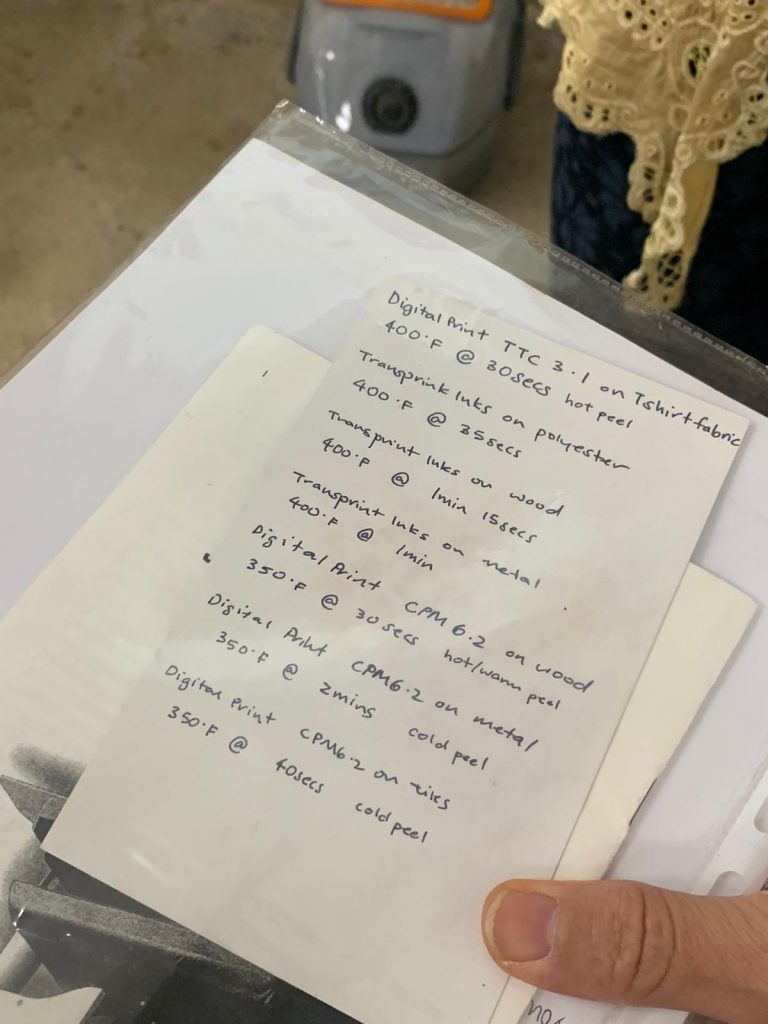
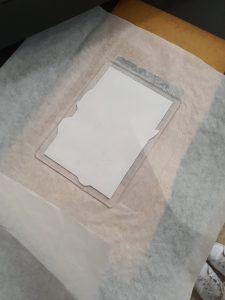
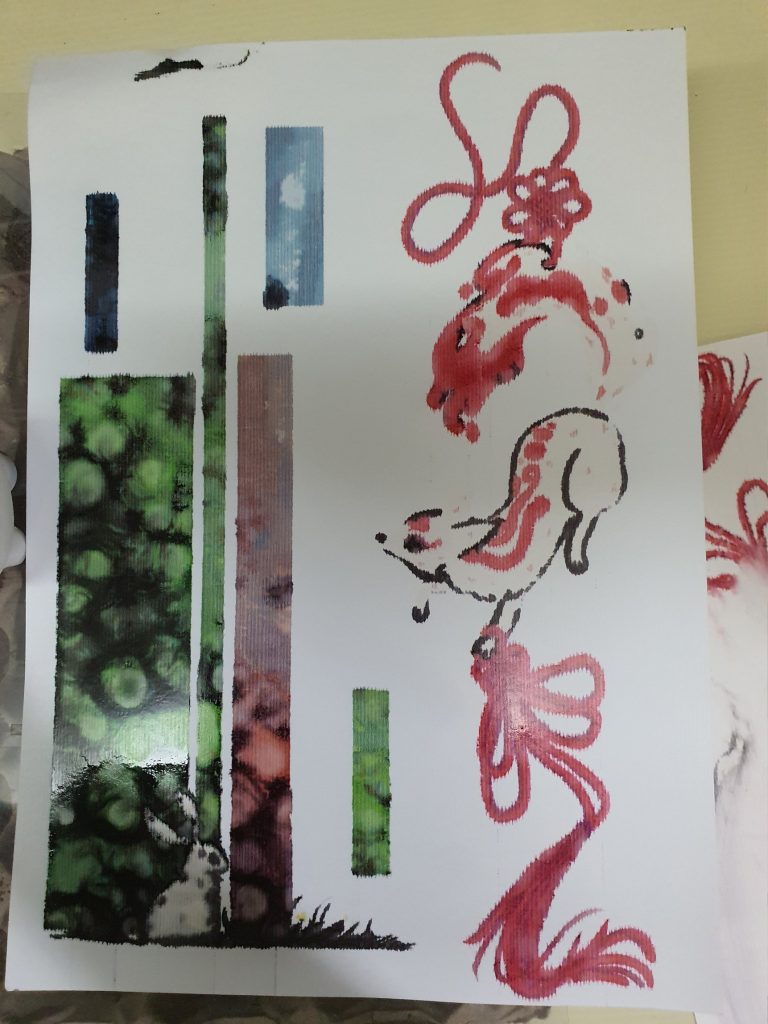
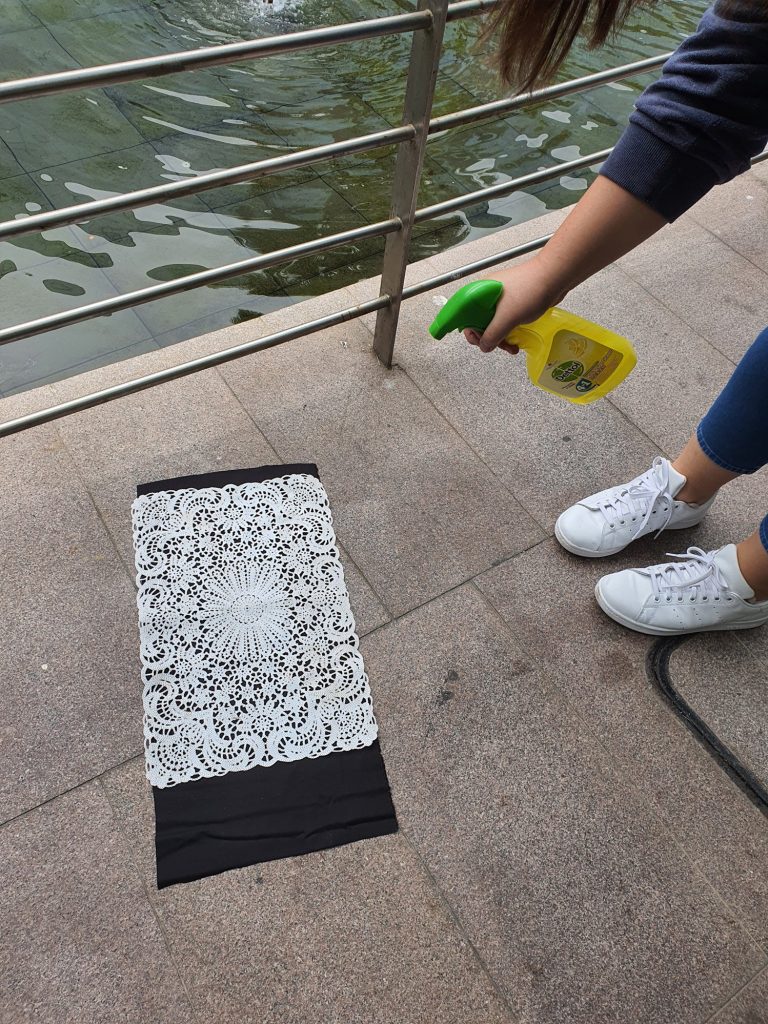
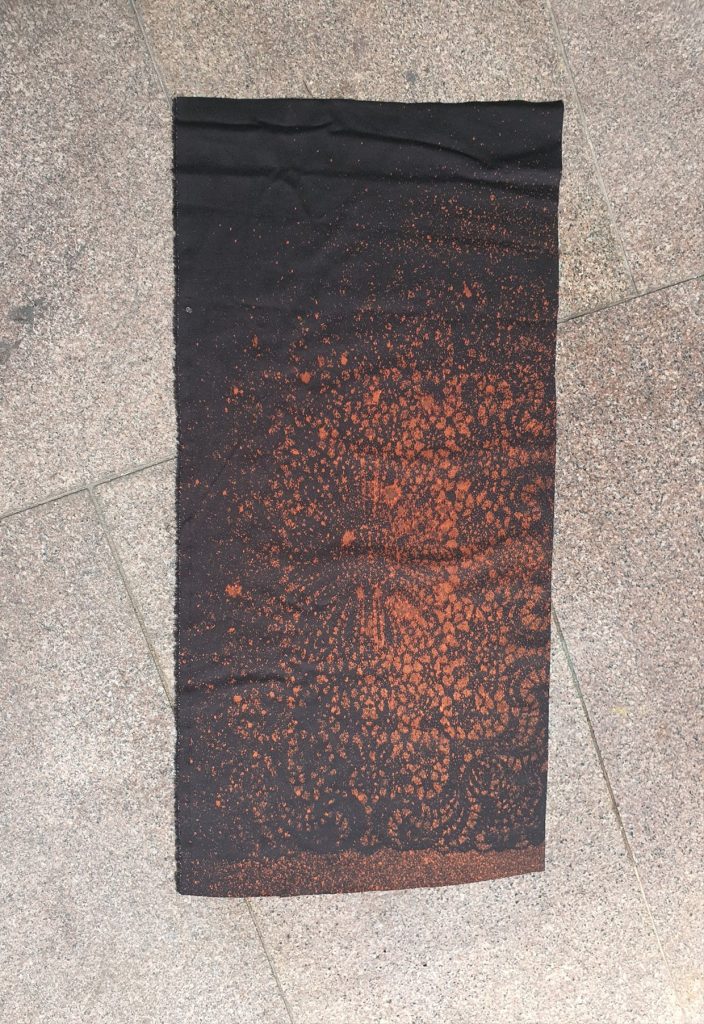
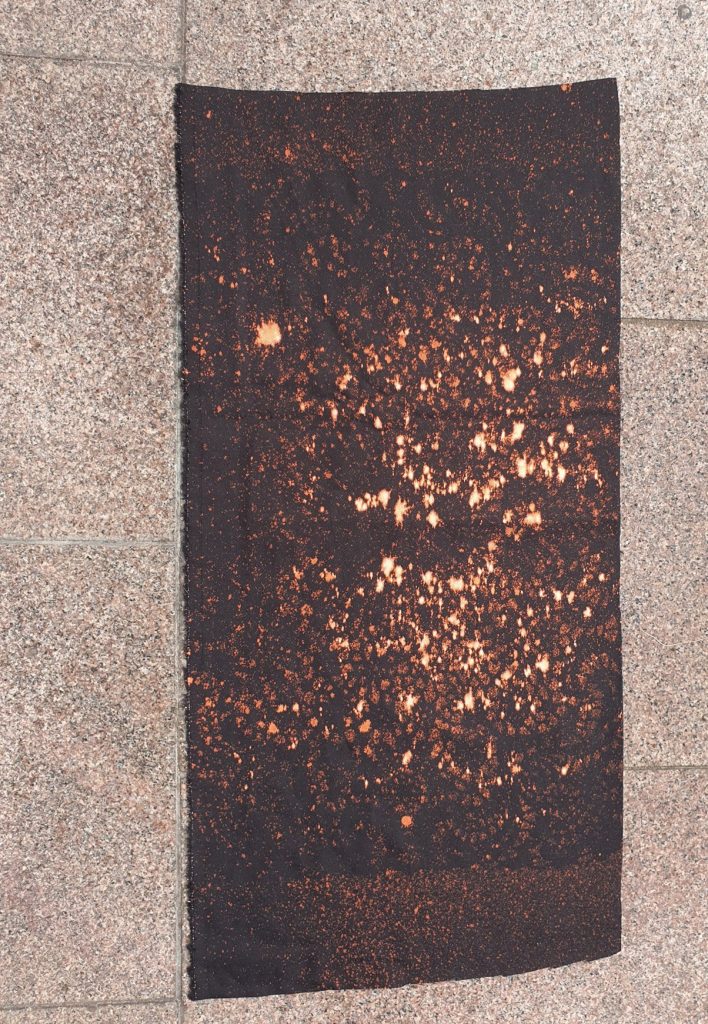
- Thermochromic printing
- Applique
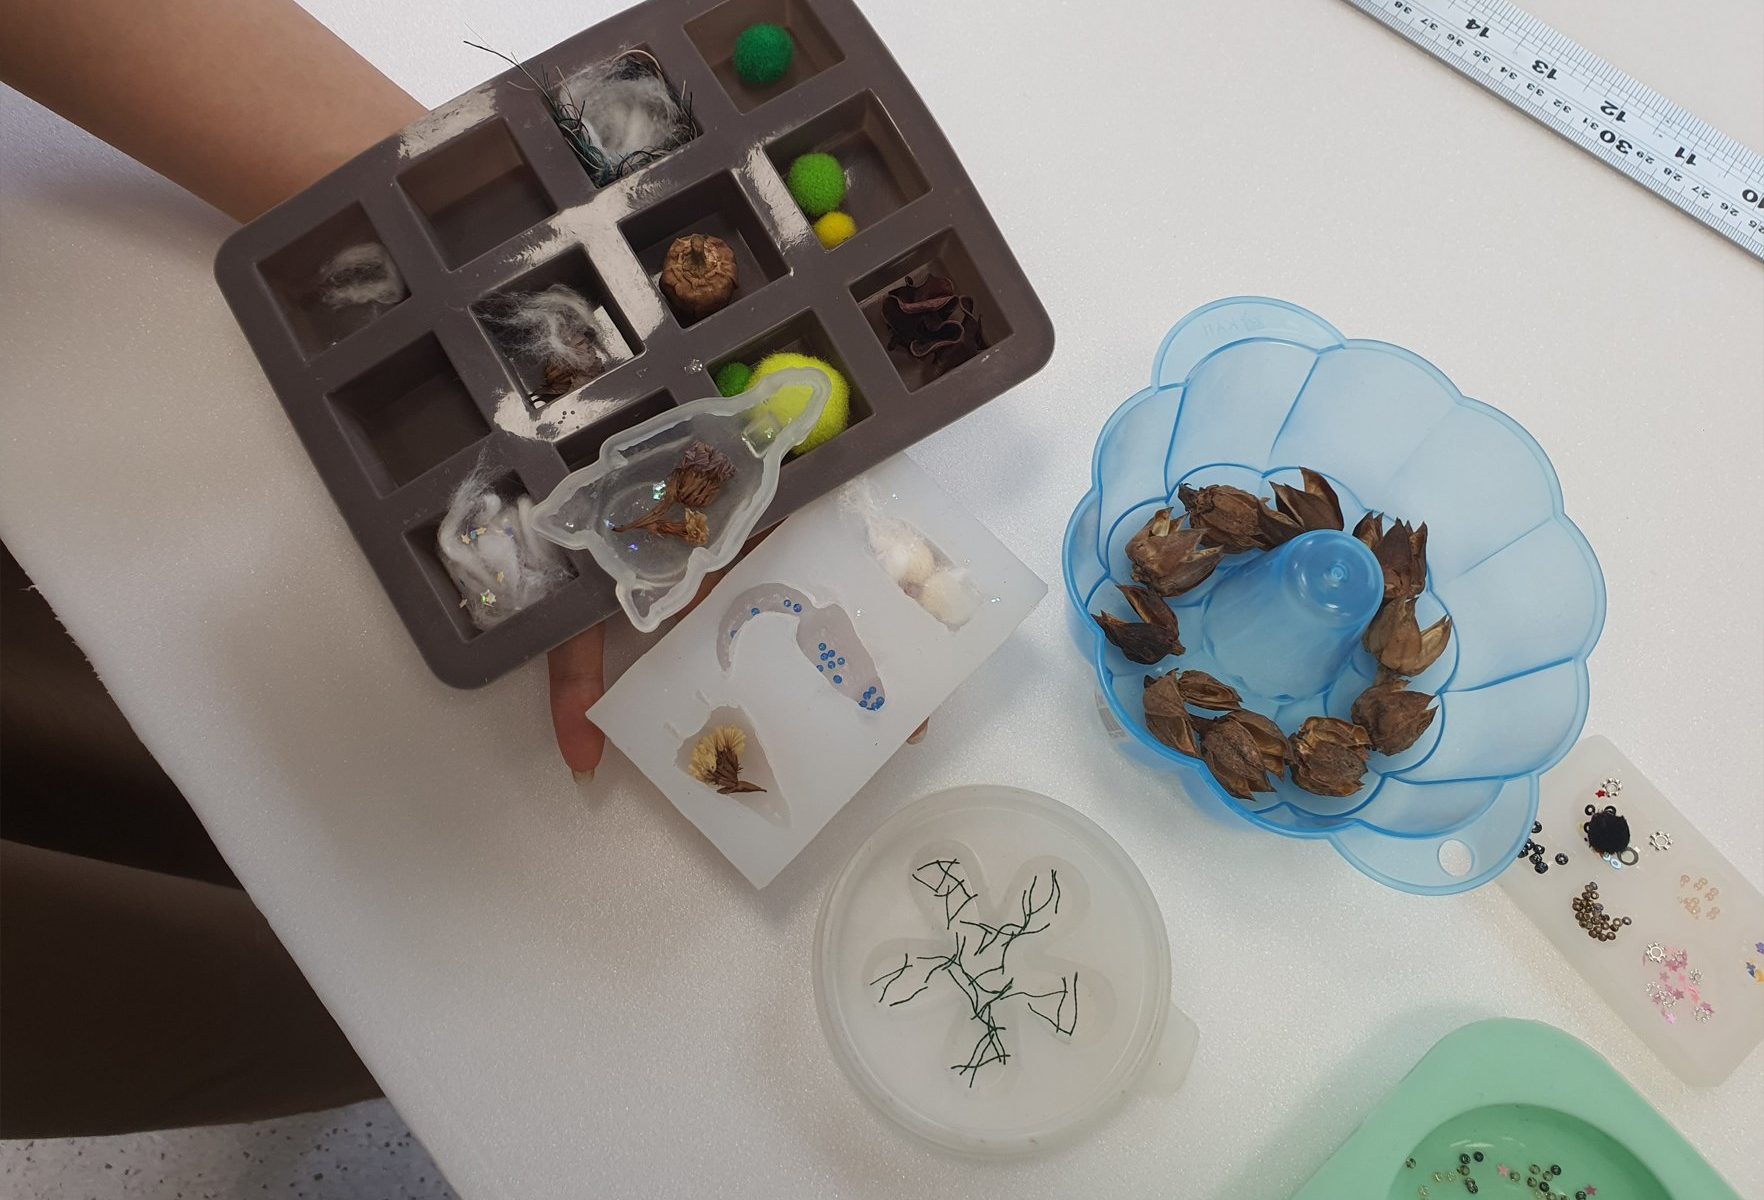
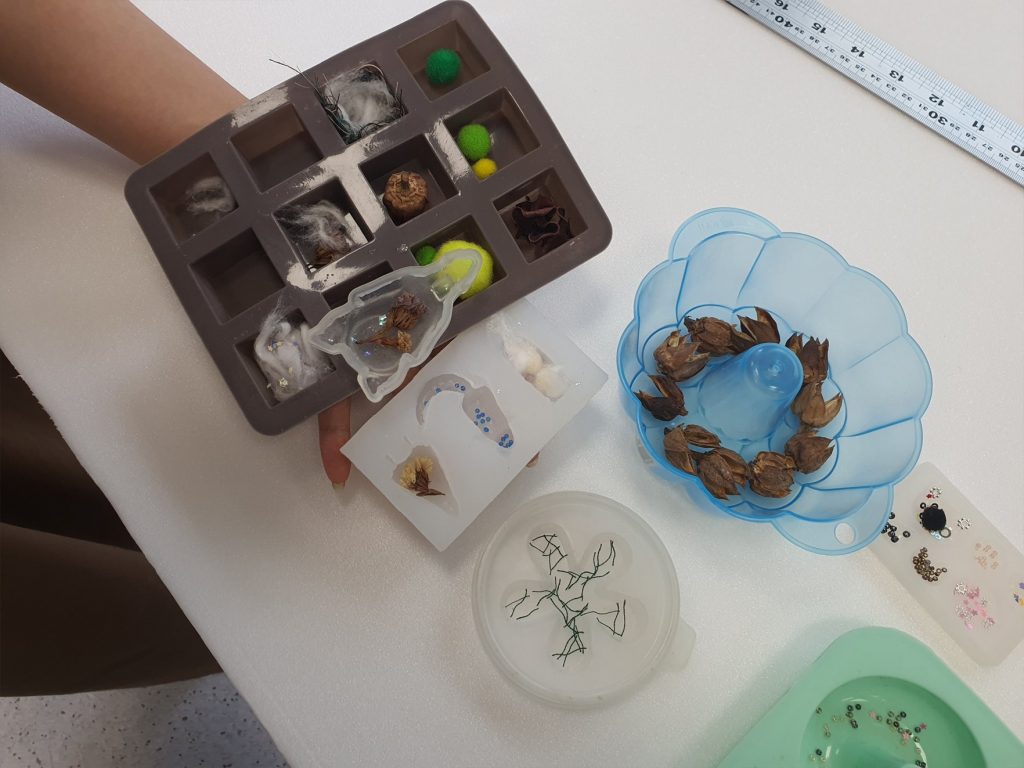
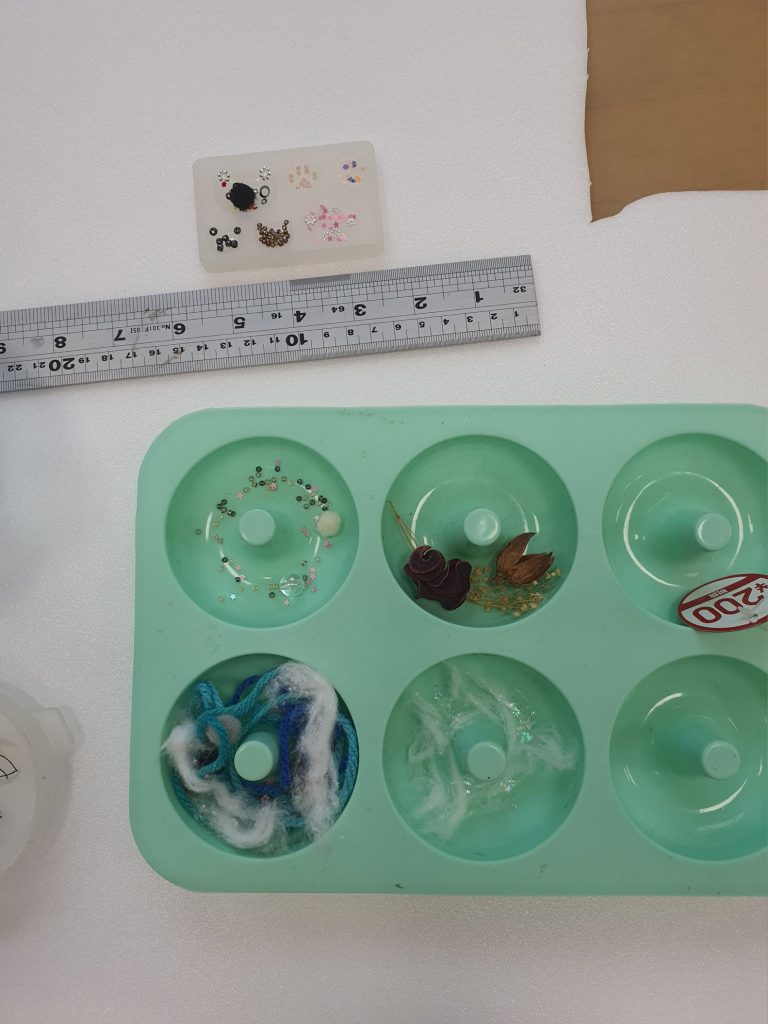
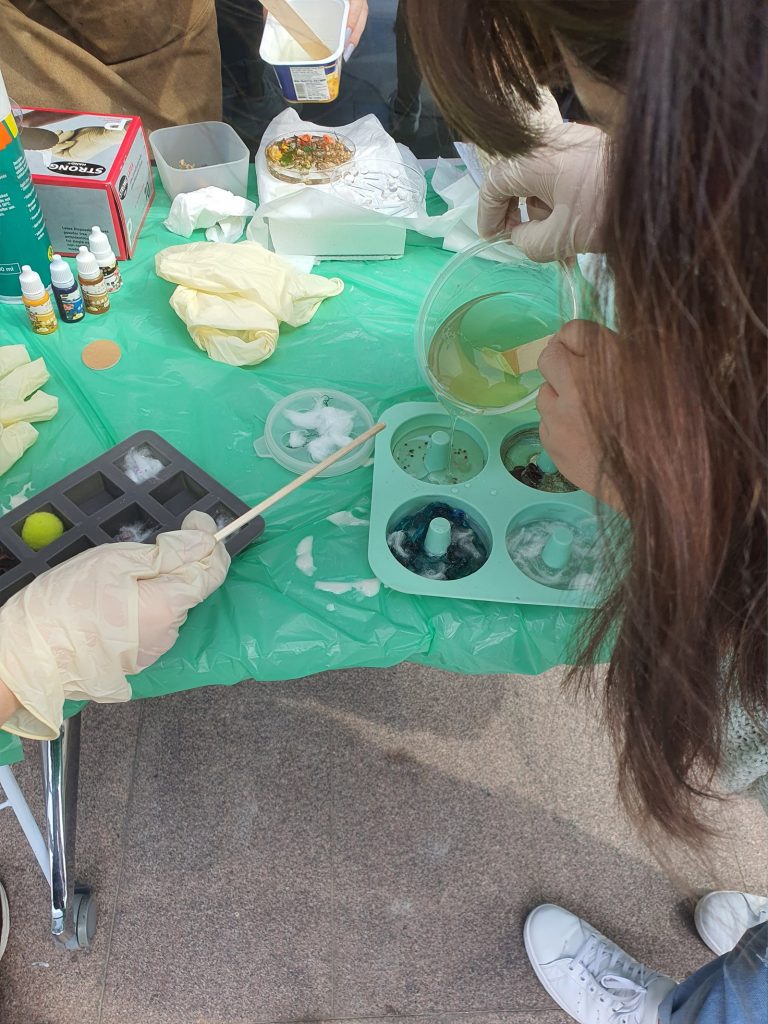
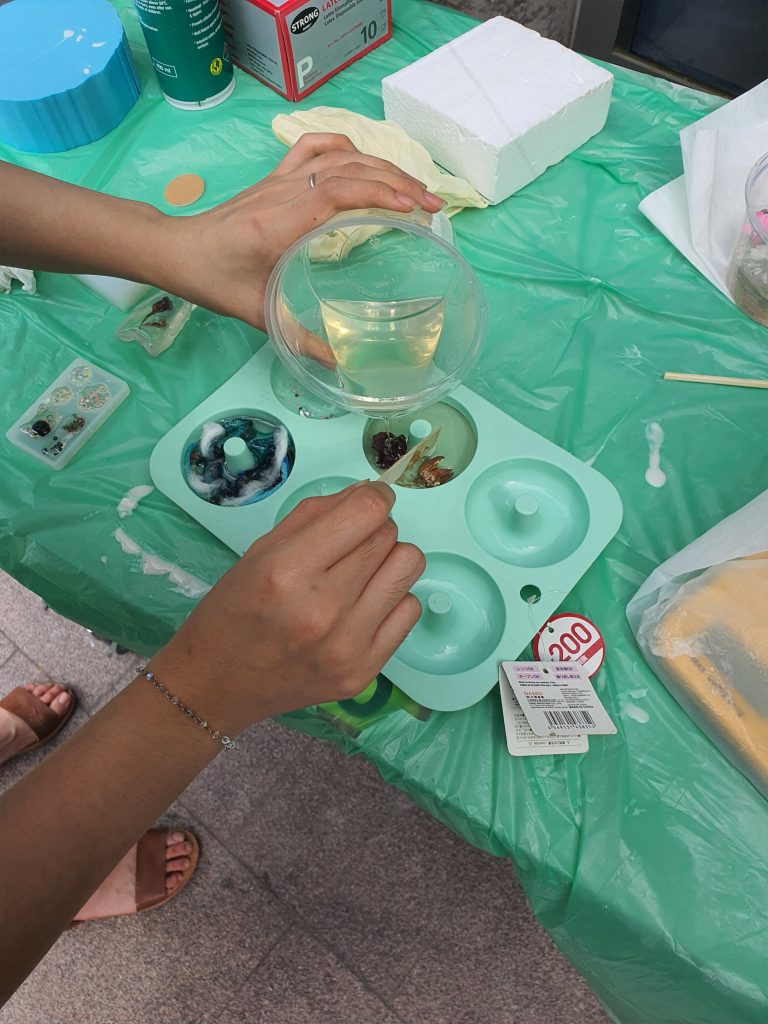
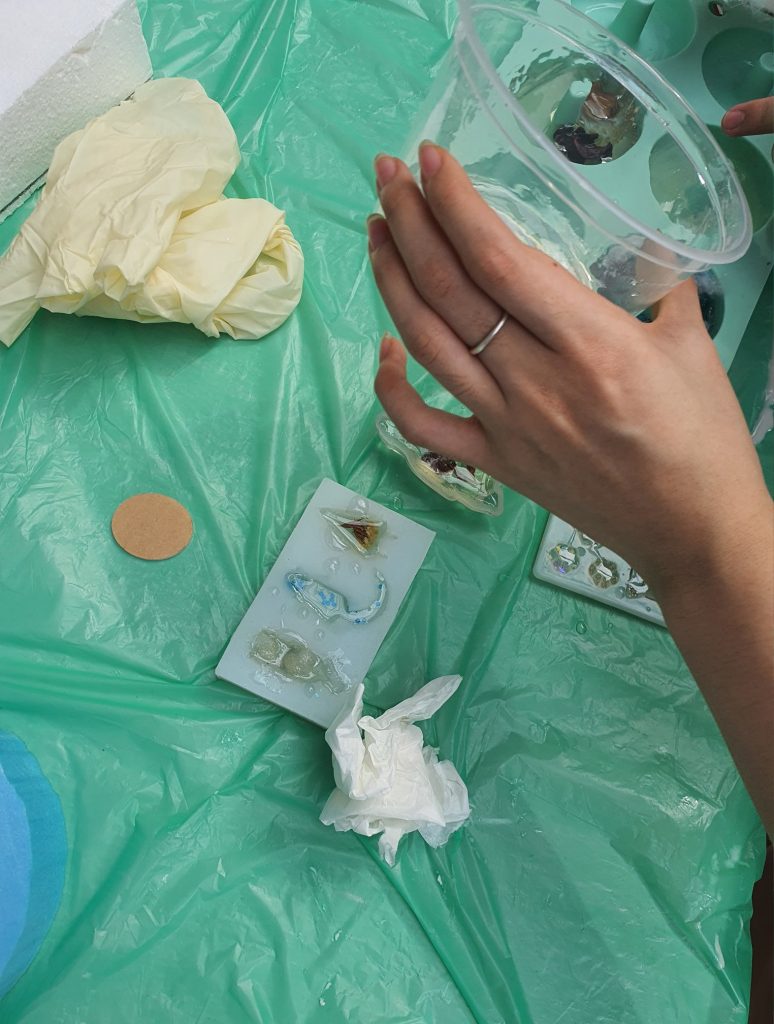
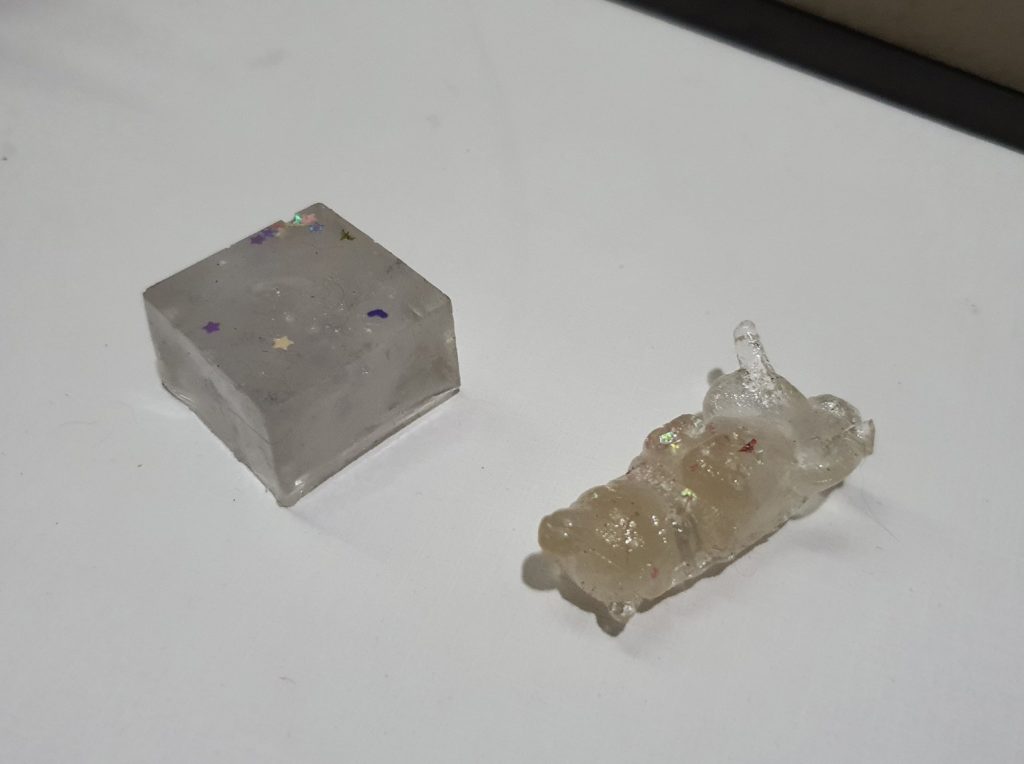
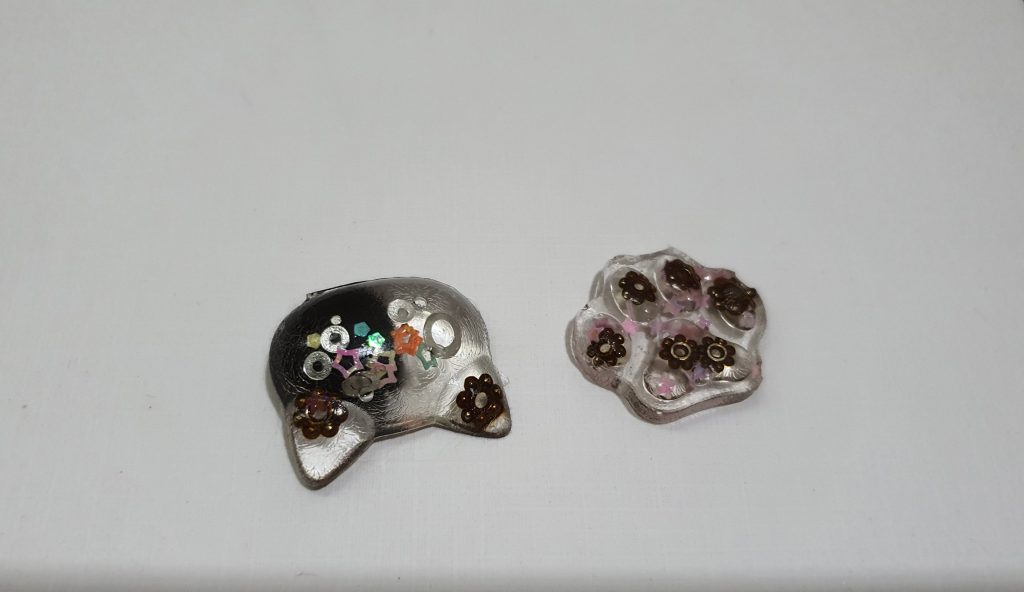
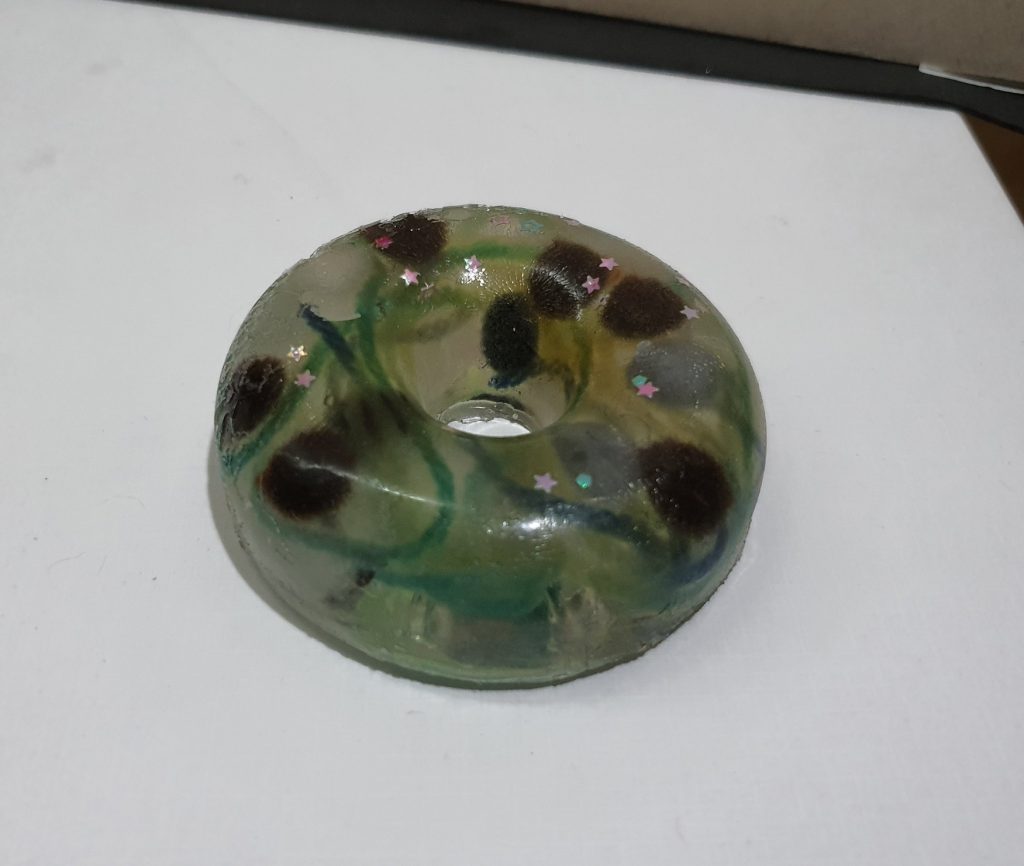
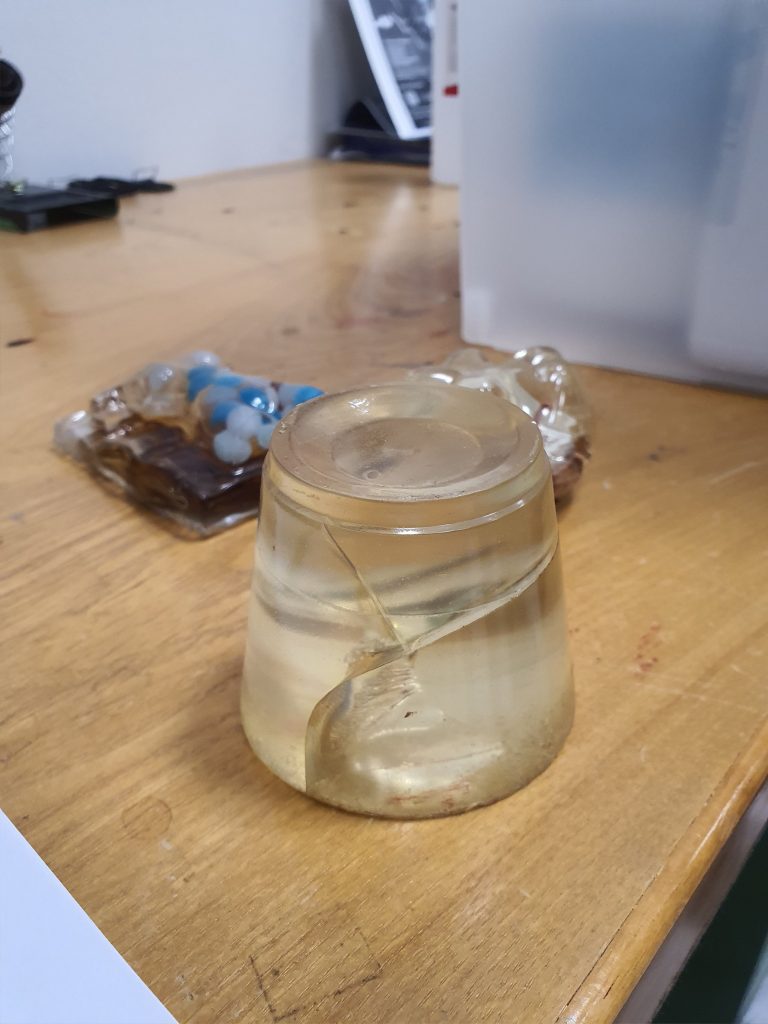
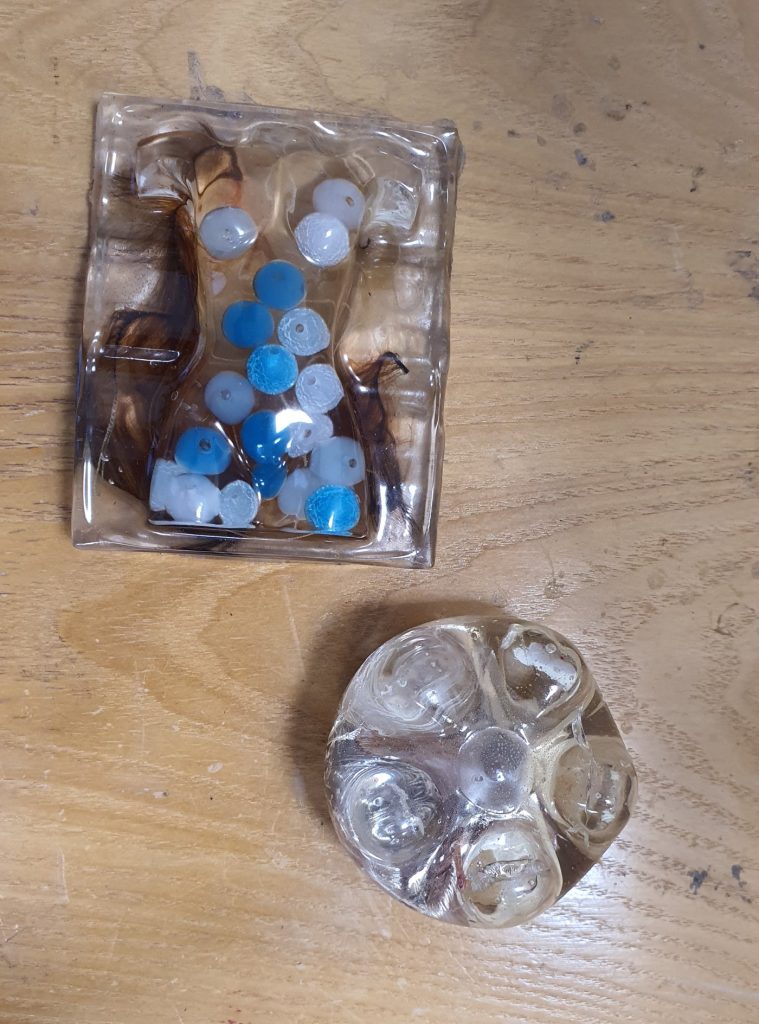
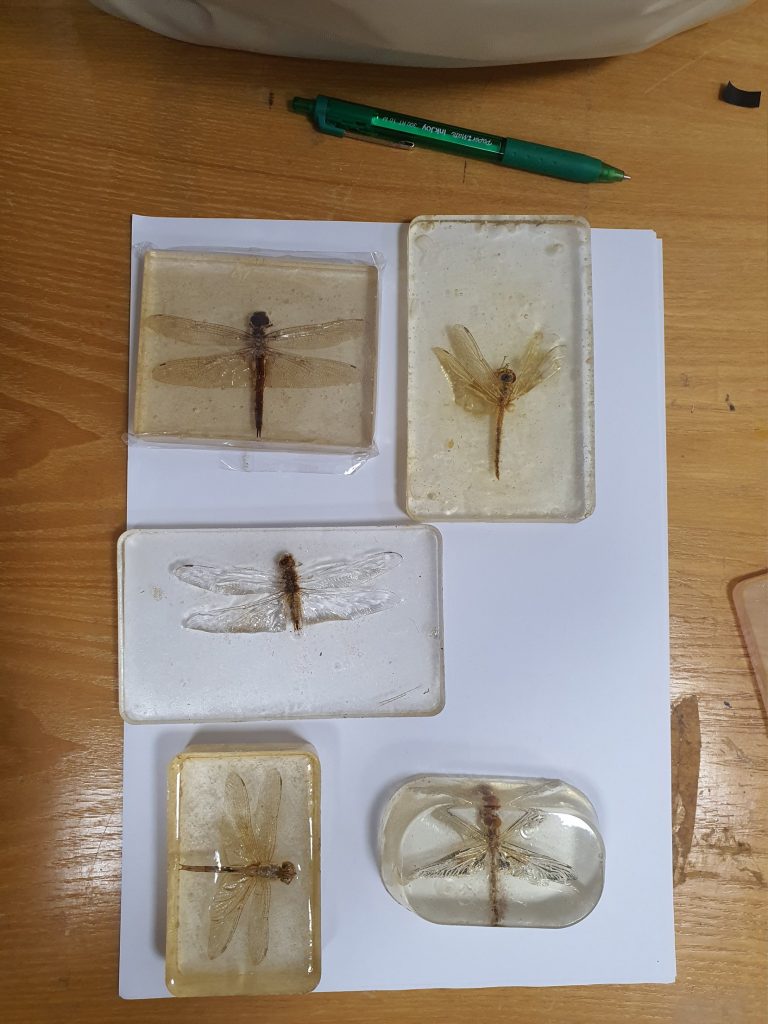
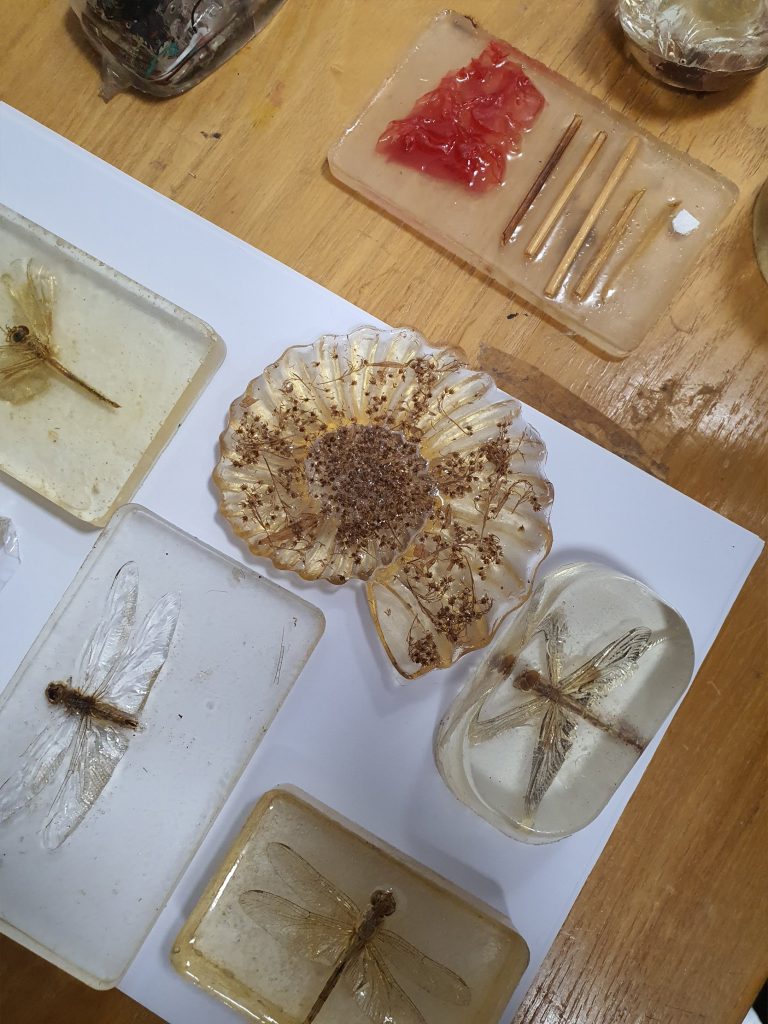
- Resin
- Others
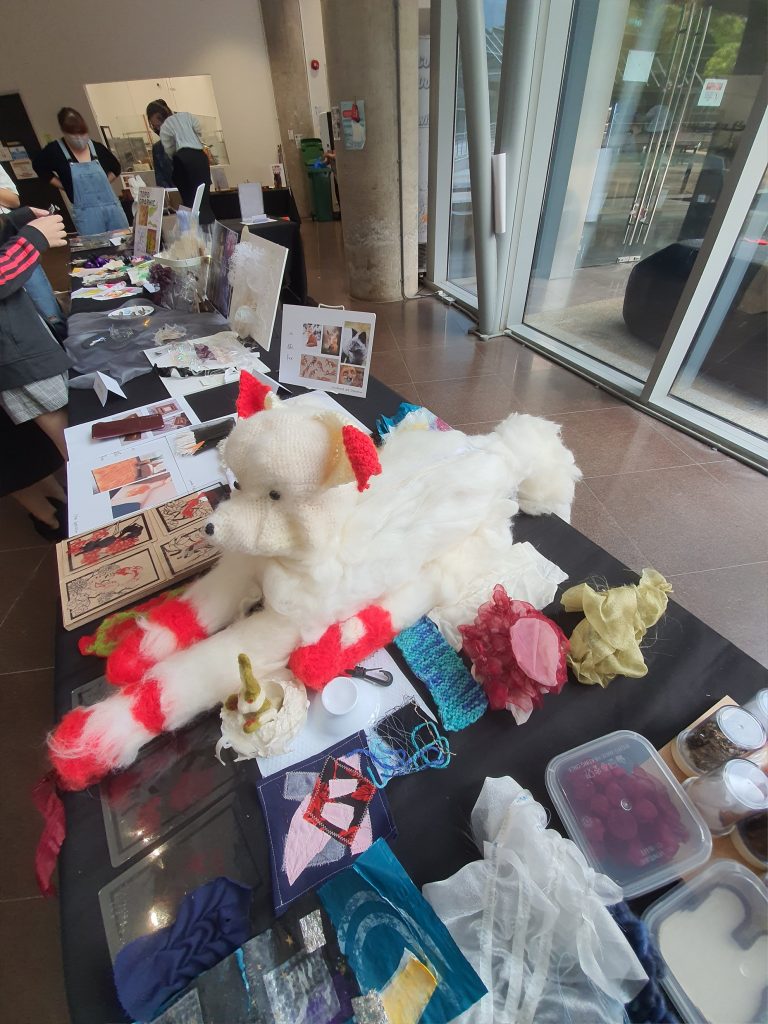
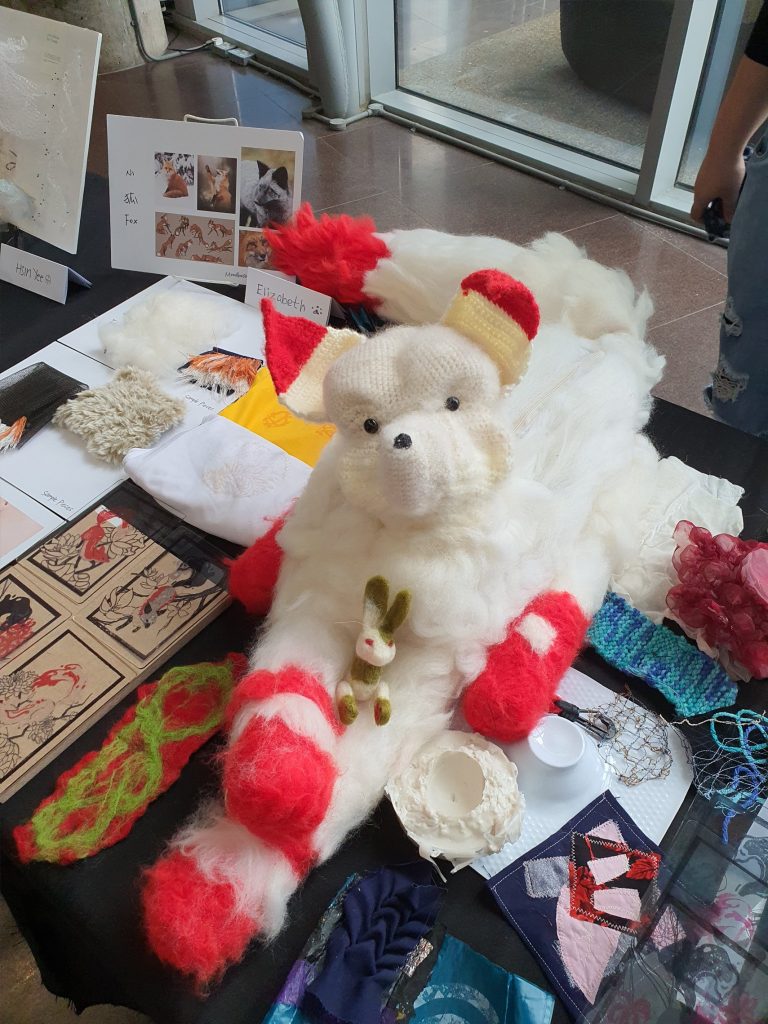
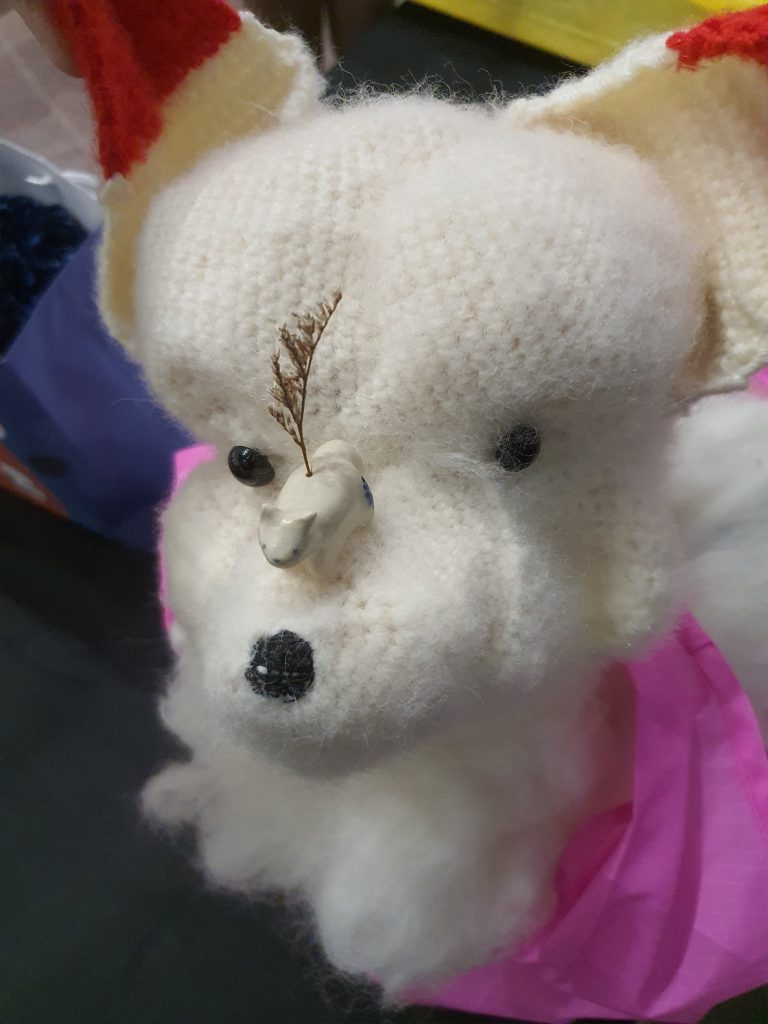
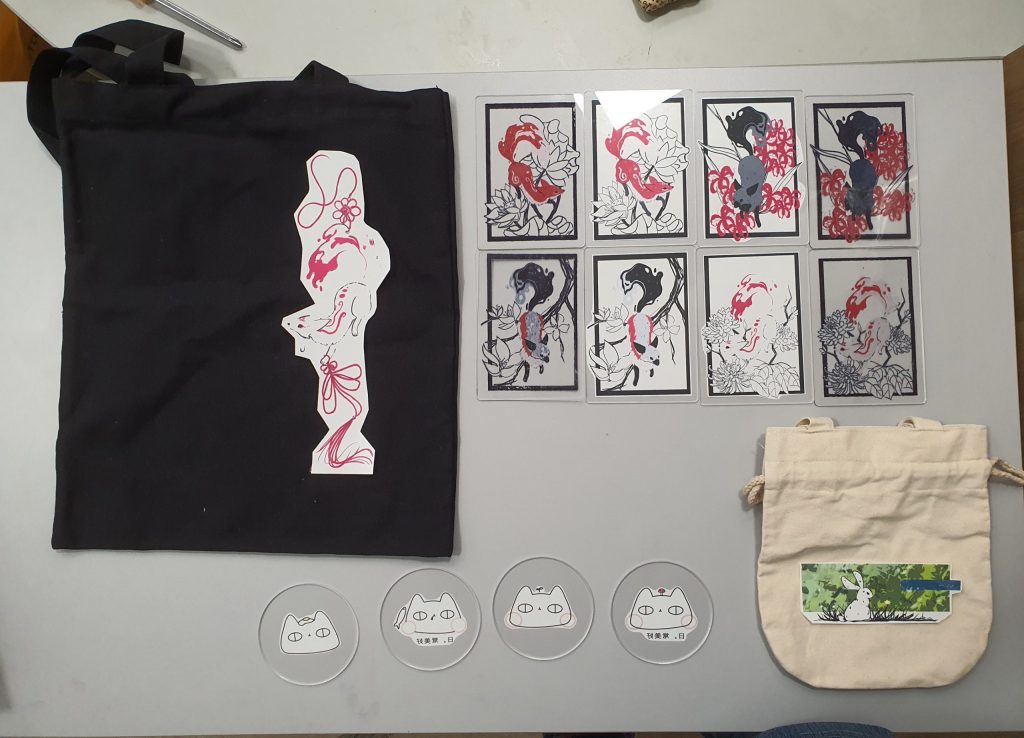
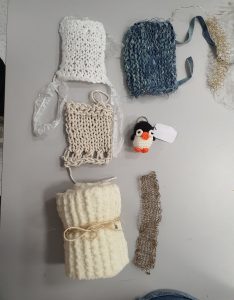
What was presented For Final:
Reflection:
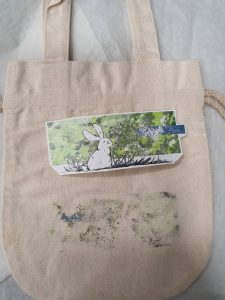
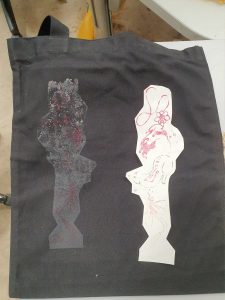
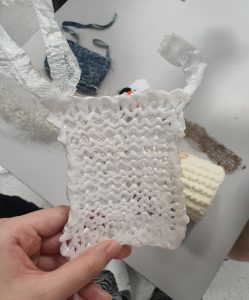
In the end I decided to do a bag, half crocheted, half felted/weft.
I combed out the crochet knitting, but the yarn did not pull as long as I had hoped, hence the knit was still visible. I hope to be able to edit this and make it more cohesive material wise next time.
The knit took too much time, but I felt that it is easier to crochet a head than to sew it as I could not visualise the fox head pattern in terms of cutting cloth.