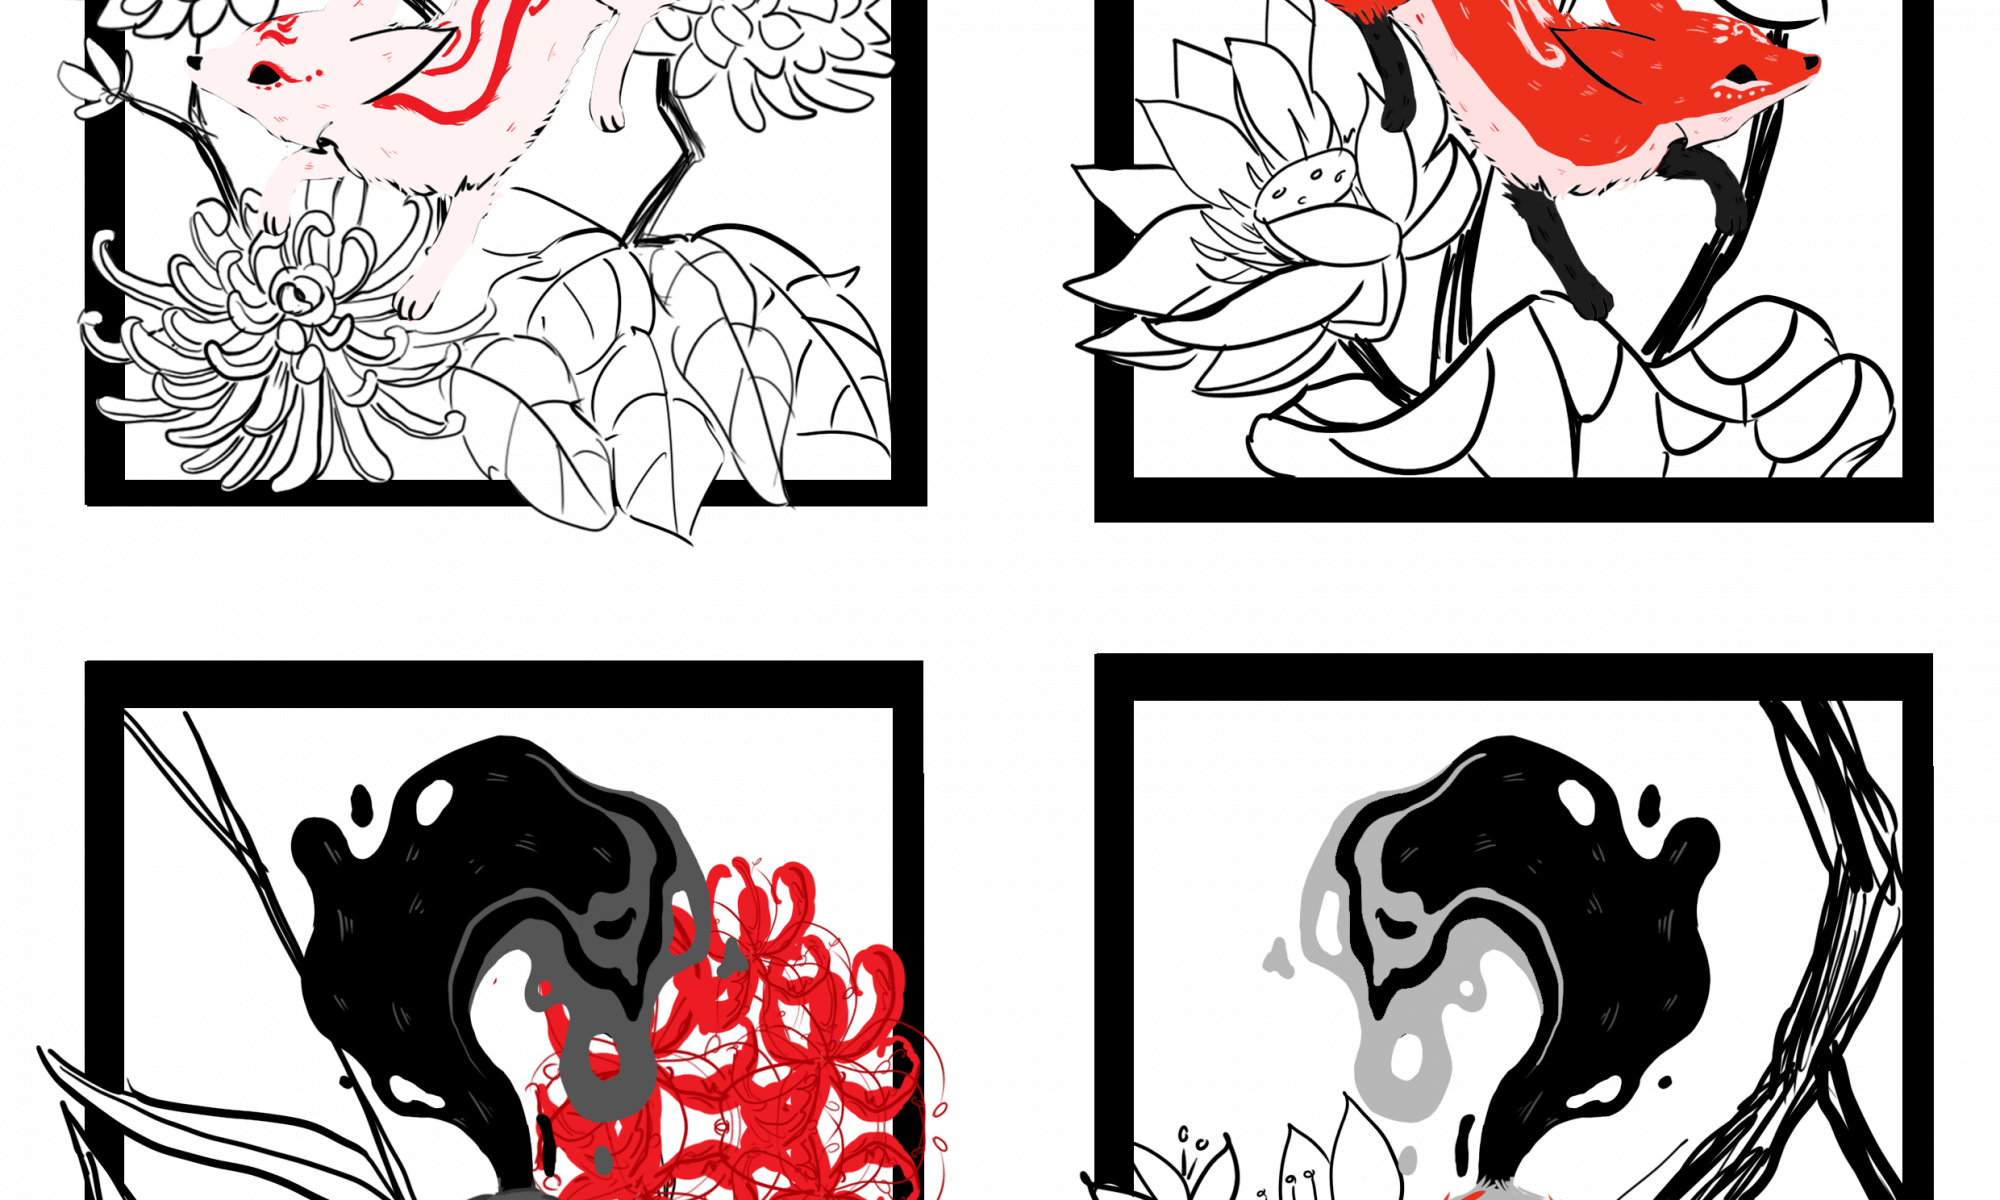
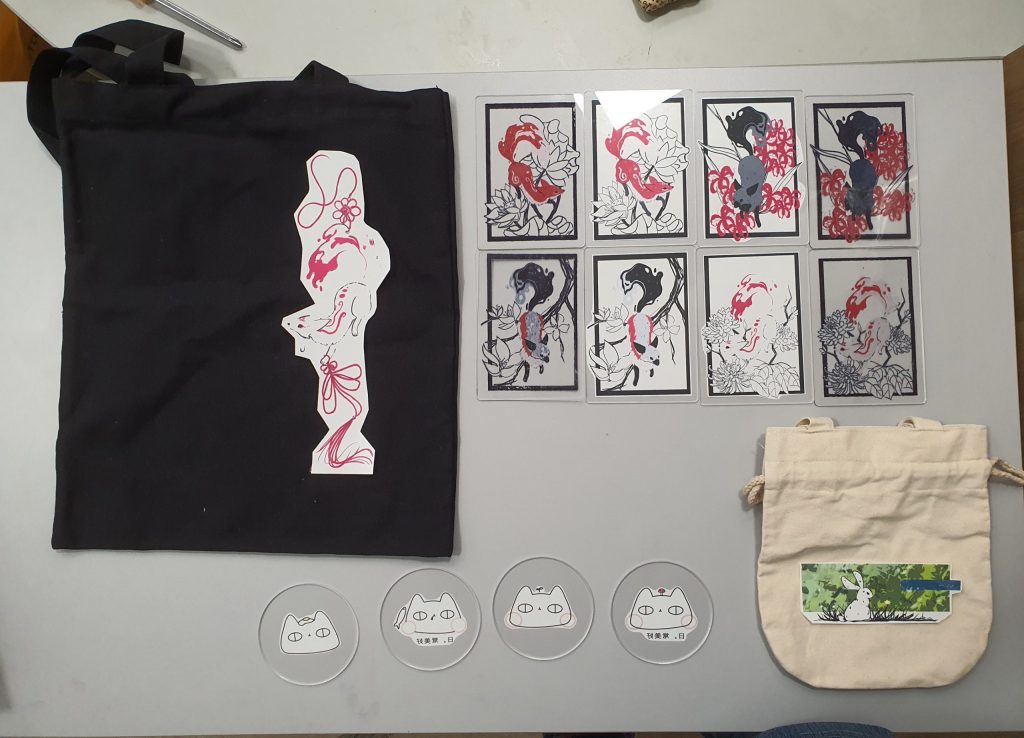
Materials for Heat Print List:
- Heat print transfer Paper
- Wood or Acrylic pieces
- Bags, fabric
- A laser Printer
- Heat transfer print Machine.
Instruction for Knitting:
Step 1: Using a Laser Printer print your designs on the heat transfer paper. Ensure that the designs are printed in so they will be printed right side up. Take note the type of paper you are printing on and match the surface accordingly.

Step 2: Cut the paper designs as close to the edge as possible and align them onto the surfaces accordingly.
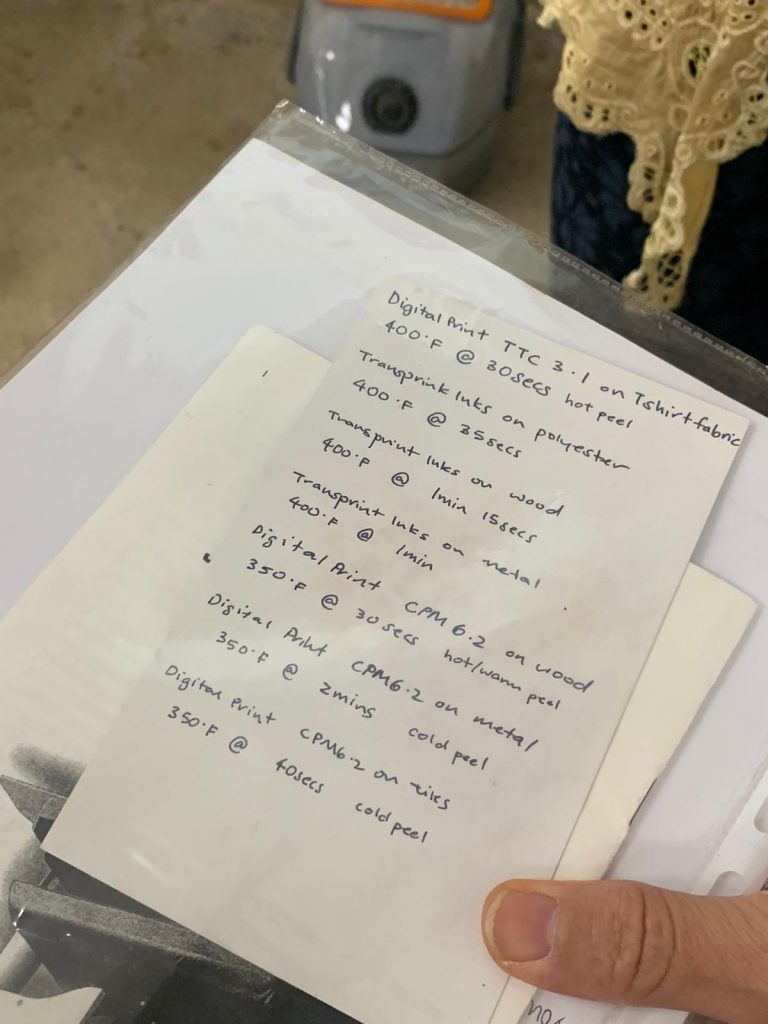
Step 3: Check what kind of material you are working with and set the machine’s temperature accordingly. Our machine is in degree Celsius, so we have to translate accordingly from Fahrenheit.
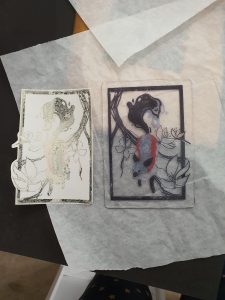
Step 4: Sandwich your print and the surface you want to transfer print on with wax paper and lay them on the Heat transfer machine. Note that the printed side of the design should be facing the surface.
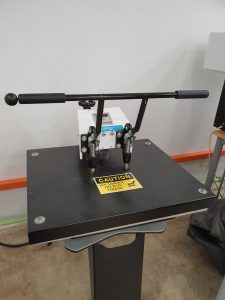
Step 5: Seal the surface and the print inside the machine for the allocated amount of time and then remove it from the machine.
Step 6: Depending on the material, leave it to cool or peel the design off immediately.
Reflection:
We printed on Inkjet printers initially, because most sites said inkjet was the way, and the results were horrifying. The ink never dried, and could be wiped off cleanly even after being left there for a week.
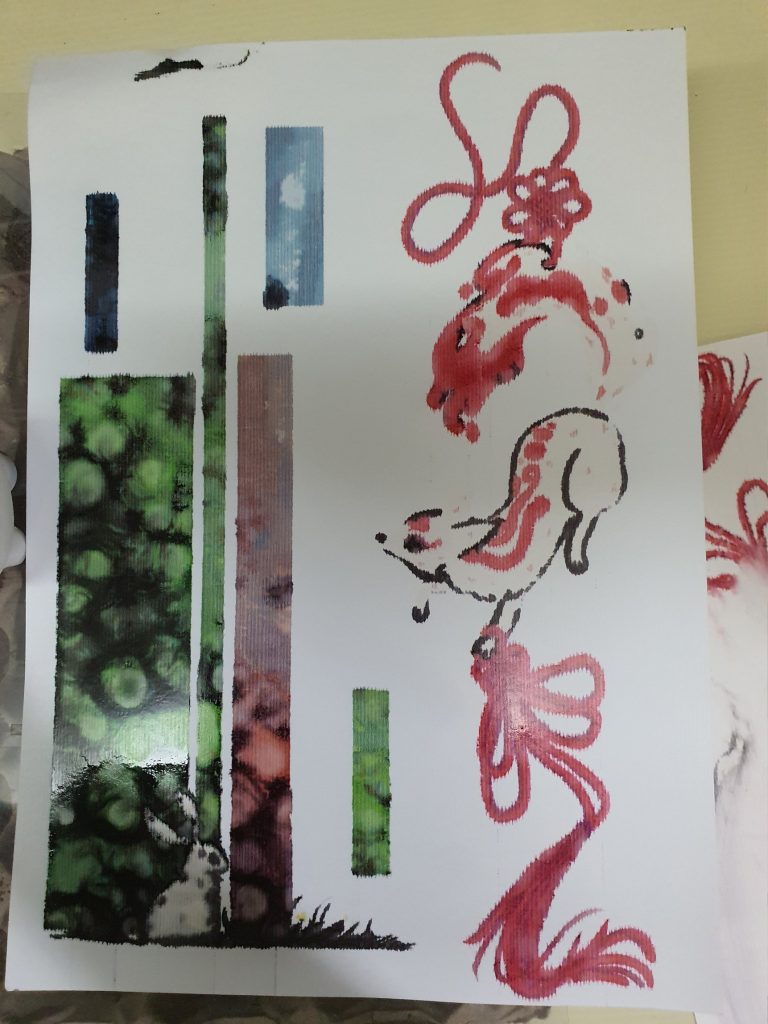
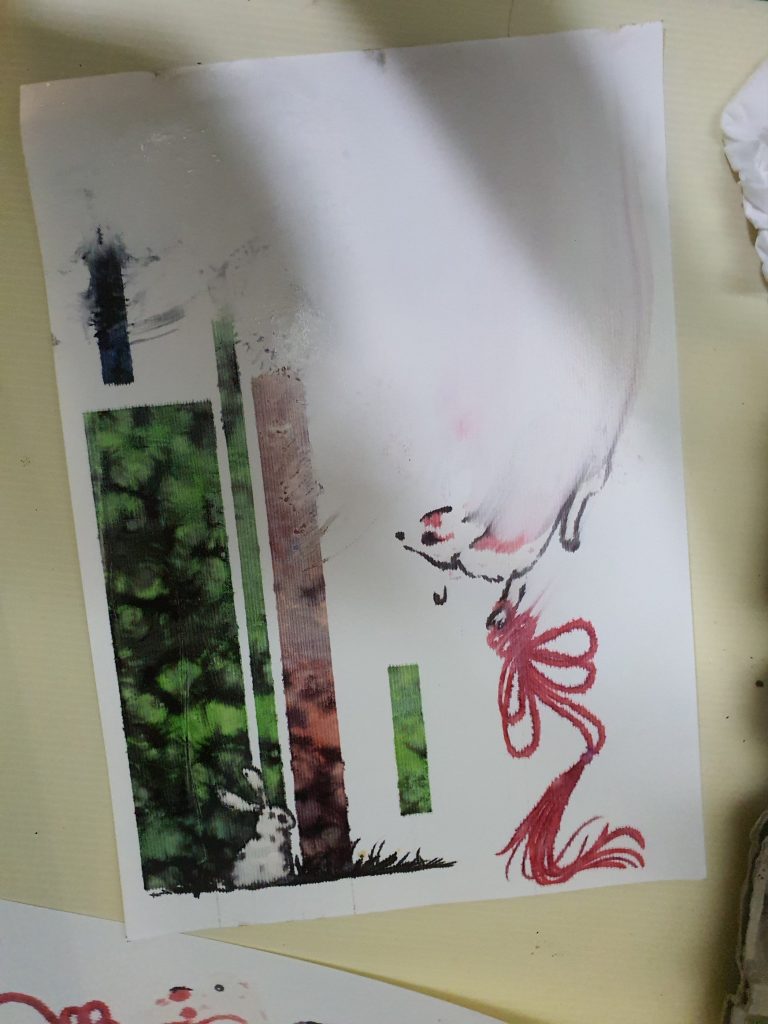
Make sure your Temperature for the heat transfer machine is hot enough, if not the image will not transfer properly.


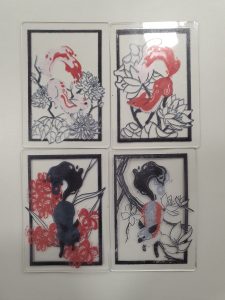
Acrylic warps under high heat. If using Acrylic remeber to flatten them immediately after taking them out from the heating machine so that they will cool flat.
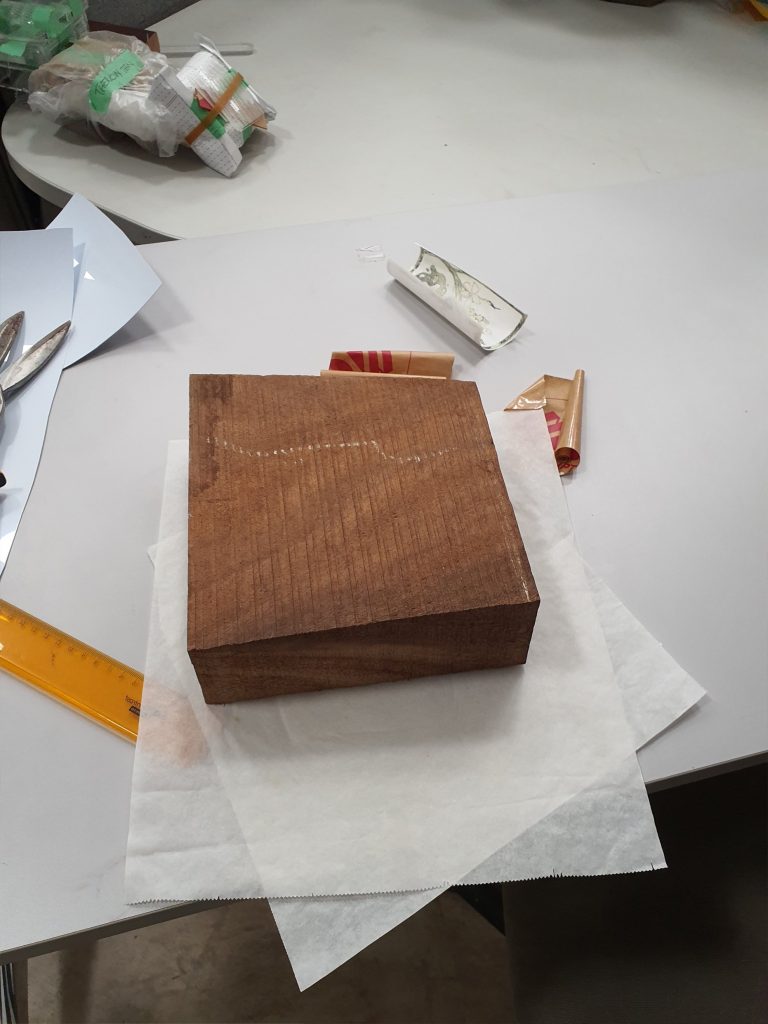
Acrylic also shrinks in the heat for some reason.
For Acrylic, the time used is 45 seconds on 176 degrees Celsius, the machine got stuck at 173 degrees, but that worked fine too.

