Interactive Device Project2: Skitzie the Cat

Skitzie the Cat is just your average black cat that likes to hang out on your shoulder. They are curious and like to people watch while you do your stuff. But Skitzie is very shy, hence pretends to be a scarf when anyone comes too close.

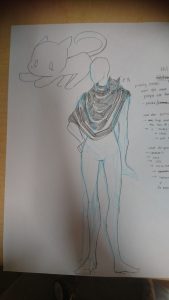
(insert hooman wearable sketch)

About Skitzie the Cat

Skitzie is a guardian for those who are not to aware of their surroundings. In a sense Skitzie’s ‘hasty retreat’ to become a scarf is a warning that there are on coming people approaching.

For this project, I had imagined Skitzie to be able to move their head and their ears to see the world. Skitzie is also envisioned to be able to ‘blink’ through LEDs and hum through a speaker. I wanted there to be sound or light as an indicator to the person who is wearing Skitzie to know very clearly when Skitzie is a cat and when they are pretending to be a scarf. The Warning has to be distinct enough to catch people’s notice.
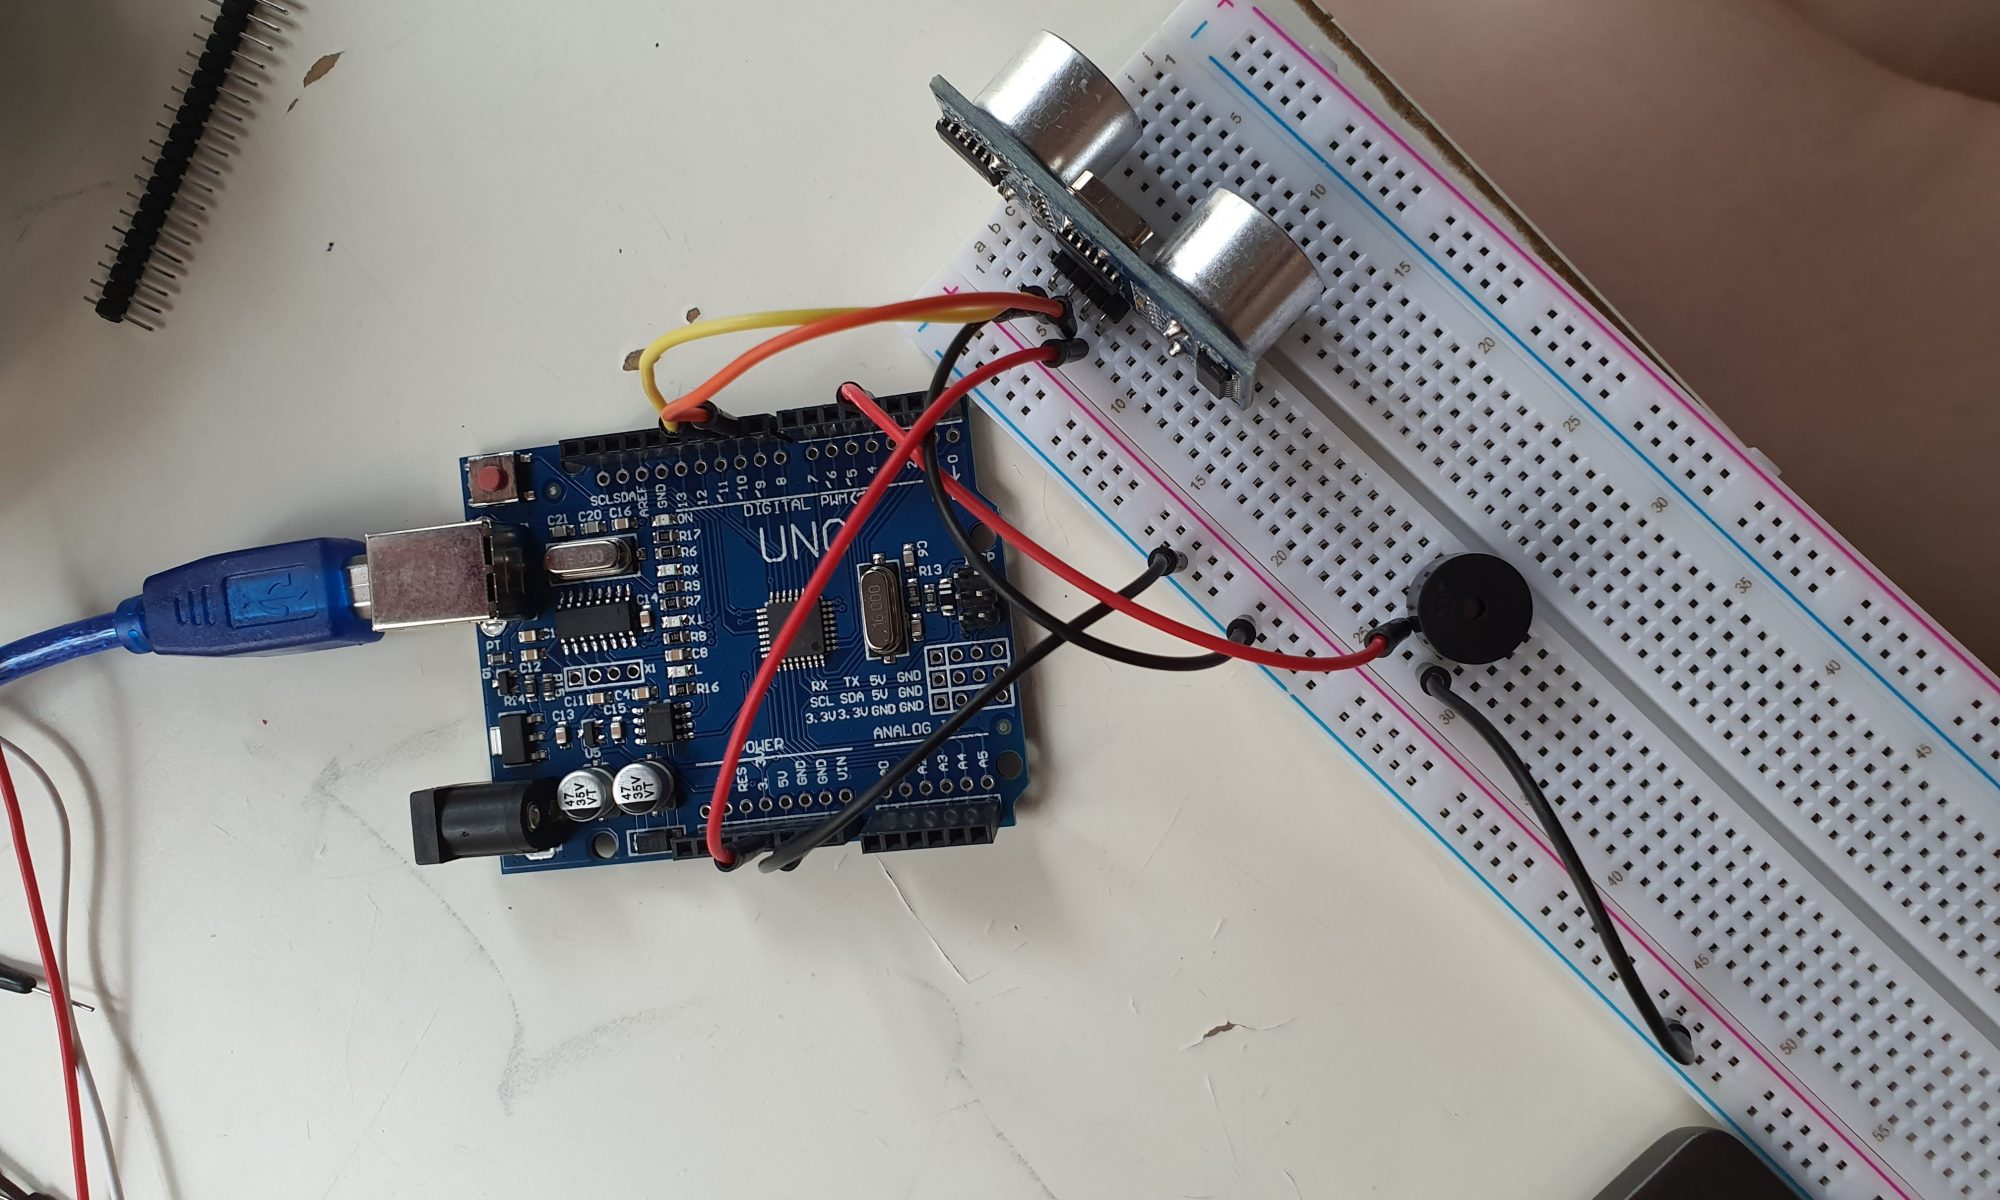
Skitzie’s hardware

Skitzis is a combination of servo motors and a sharp

  1. Testing the Servo Motor:

Website Reference: https://www.instructables.com/id/Arduino-Servo-Motors/

2. Testing the Proximity sensor

Sharp ir arduino 0

Website Reference: https://create.arduino.cc/projecthub/jenniferchen/distance-measuring-sensor-900520

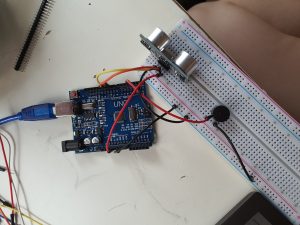
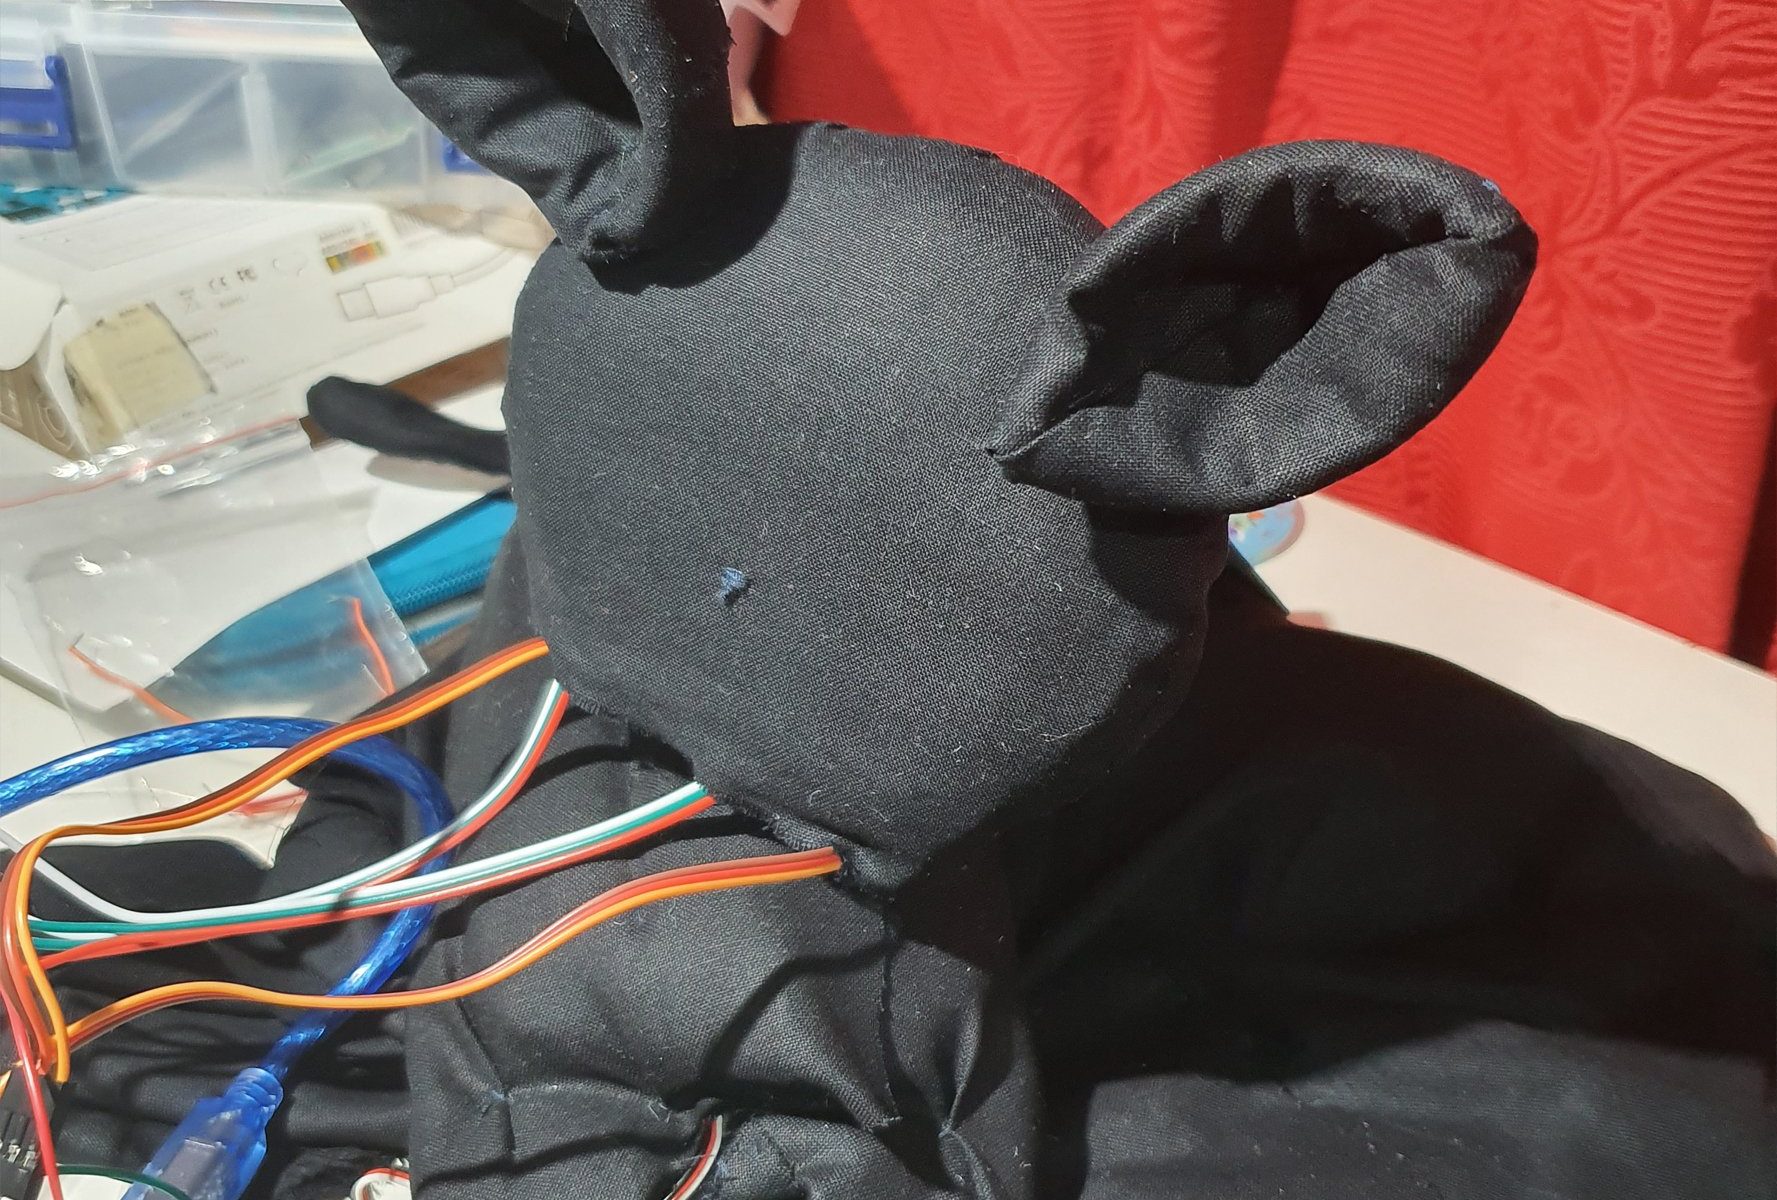
I combine the circuits and then made a head.

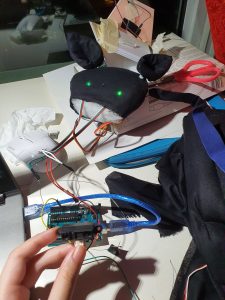
Testing out the Eyes circuit, it works. Turns off and on depending on the closeness.

For Some odd reason though when i add the ears, the eyes disappeared.

Then it got fixed (connections are problematic, check everythingggg).

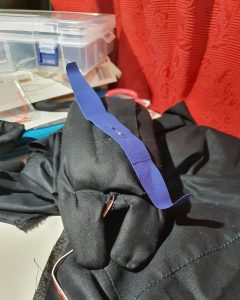
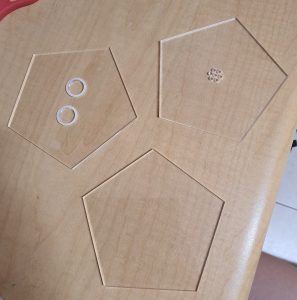
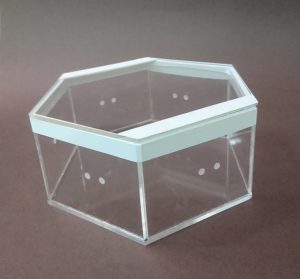
This is the body, that I made around the head servo motor.
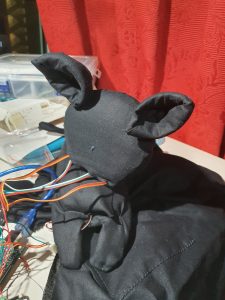
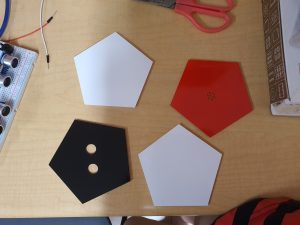
All Assembled.

Reflections:

Honestly the aesthetic of Skitzie didnt come out right, which I am a little bit disappointed by. Subsequently the head keeps falling off if left for too long, so I need to fix that in future. Hopefully we will see the return f a better Skitzie in future.


Refernces:

  • https://www.google.com/search?q=code+servo+motor+with+sensor&oq=code+servo+motor+with+sensor&aqs=chrome..69i57j0.11575j1j4&sourceid=chrome&ie=UTF-8#kpvalbx=_VbKEXdWDPNjc9QPCsoCIBA25

Final Project: I tried to be a Musician

Looking at my final project, I was rather sceptical about what it is i wanted to do, as I was out of ideas.

I spent quite a lot of time thinking about what I wanted to do, and realised looking for ideas just got me more and more distracted from actually finding an idea. Hence I decided to build on that feeling of wasting time and made a product that ‘wastes other people’s time’.

The entire project ‘I tried to be a musician’ is kind of looking at the idea of people doing things for fun, finding ‘useless’ talents that seem entertaining but at the end of the day, there is not much value added to the experience.

I kind of remembered some people making music videos with Calculators and the squeaky chickens (help, I never realised they are made by the same person). The kind of music videos where you look at them and realise ‘wow, you are so talented’ and immediately after ‘where the heck do you get the time to do this sort of things’.

So I decided lets make a musical instrument too, something easy to understand and grasp and make a jumble of sound, but hard to actually make something decent, to prompt others to try harder to make the product work for them, or give up instantly after understanding that it is going to be a waste of time.

I guess this project is really just to emulate that idea of having fun trying to solve a problem, but at the end of the day, you are just wasting time having fun. (Is that considered wasting time? who knows?)

The Making:

So the components of the project are relatively simple. It is a combination of two simple circuits, one for an ultrasonic sensor, and another for a buzzer:

Source: https://howtomechatronics.com/tutorials/arduino/ultrasonic-sensor-hc-sr04/

learn_arduino_fritzing.jpg

Source: https://learn.adafruit.com/adafruit-arduino-lesson-10-making-sounds/playing-a-scale

I found that by using a buzzer I technically can code for the entire keyboard is i find the list of numbers associated with the tone. By allocating a set distance the ultrasonic sensor and my hand, I essentially have a no-touch piano keyboard. Yay.

Taking it a step further, because why not? I duplicated the code by three, splitting them according by octaves. We only have two hands so I wish you luck trying to learn how to play this annoying child >:D

Pictures:

The setup for a single set of buzzer and ultrasonic sensor pair.

The there is the external pieces.

I first laser cut my pattern out:


Then after that i Spray painted the pieces:

Videos:

So Far there is two:

The range of the sound seems to similar i need to increase the range to make it more interesting.

Red Box, Blue Box: a Mini Project

Red Box, Blue Box is just the start of a bunch of interactive acrylic boxes that light at the touch of each other.

The idea of Red Box Blue Box was meant to be of boxes of different shapes and sizes with the ability to connect and influence each other at any side. However due to the time restriction of this project Red Box and Blue Box are the only two to make an appearance.

The humble origins of the boxes

The two boxes begin their humble beginnings as a pair of LED strips attempting to light.

At the beginning I never thought of programming an Arduino per Box due to my lack of knowledge. However eventually, I did manage for two.

The starting stages I have used Aluminium foil switches, as I wanted the circuit to touch and be closed, bringing out the idea of contact instead of a button. However there were some ideas of using a pair of magnets instead of aluminium foil, hence I changed the switch to be made of magnets. Hence I prepped the shell of the box to have two holes for where the magnets will be slotted, not wanting to breech the surface for aesthetic reasons.

I drew out a circuit halfway, only to realize later on that is not how a circuit worked. Subsequently, not only the circuit, I realized I was not using the magnet switches properly. It turns out that magnets despite being able to attract its counter part across two 4mm acrylic pieces, does not actually transmit code through (Sad non-physics student Elizabeth learns the hard way, thank you Dan Ning for the physics lesson).

But alas, the first method of testing Aluminium foil actually prove to be the most efficient method of transmitting code. Hence resulting in the final product.

I Started looking for other circuits to reference, one being connecting two arduinos as such:

Picture of How to Connect Them

But I realised the accompanying code was more reliant on one arduino then the other, which is not what I am looking for.

In the end, I was referencing this circuit.

And creating a simple button circuit

I repeated the circuit for six sides of the hexagon.

Red Box Blue Box in action