Material Cookbook || Chapter 10: Heat Transfer Print

Materials for Heat Print List:

  • Heat print transfer Paper
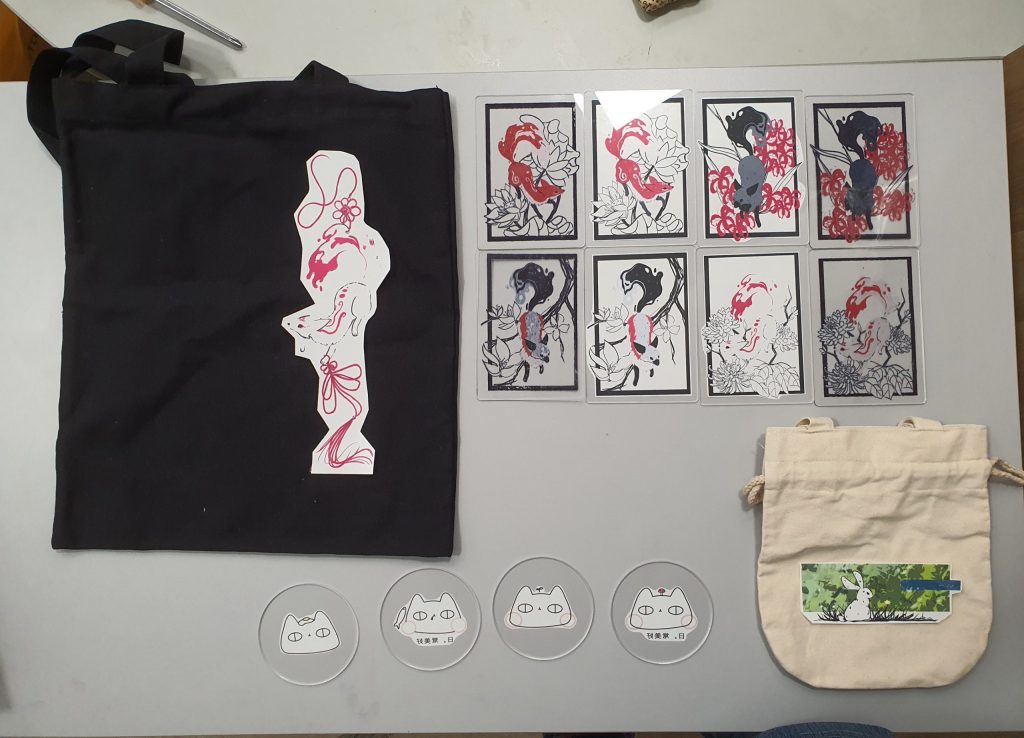
  • Wood or Acrylic pieces
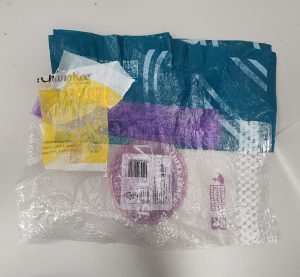
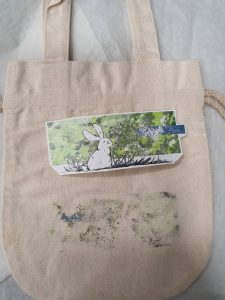
  • Bags, fabric
  • A laser Printer
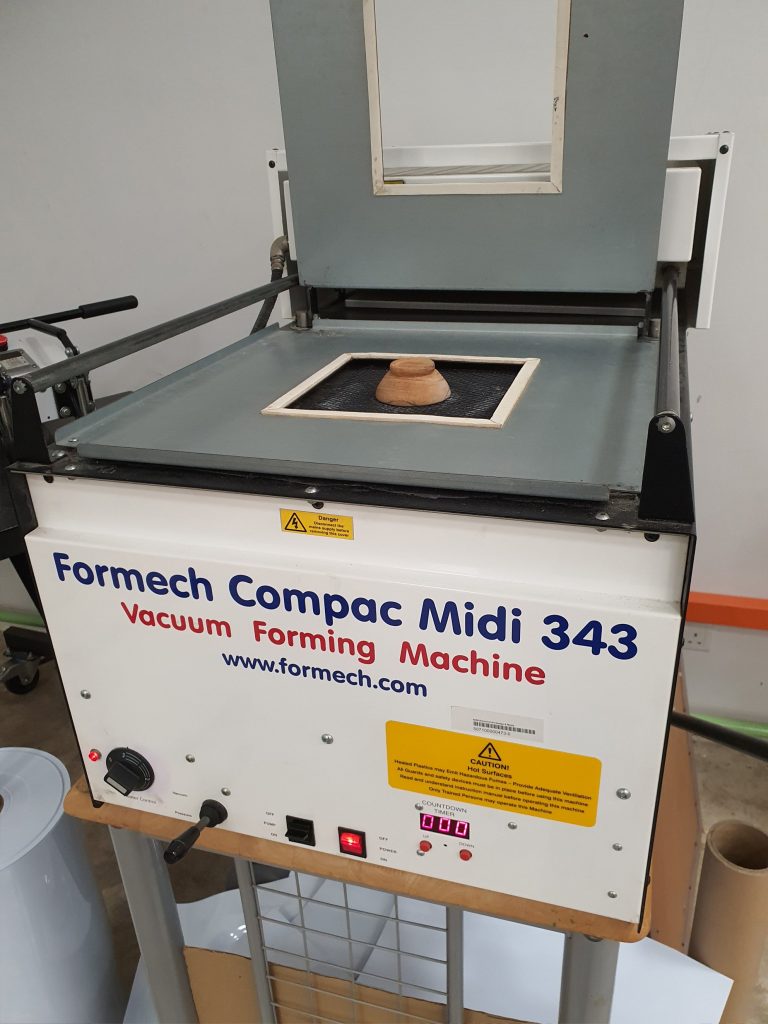
  • Heat transfer print Machine.

Instruction for Knitting:

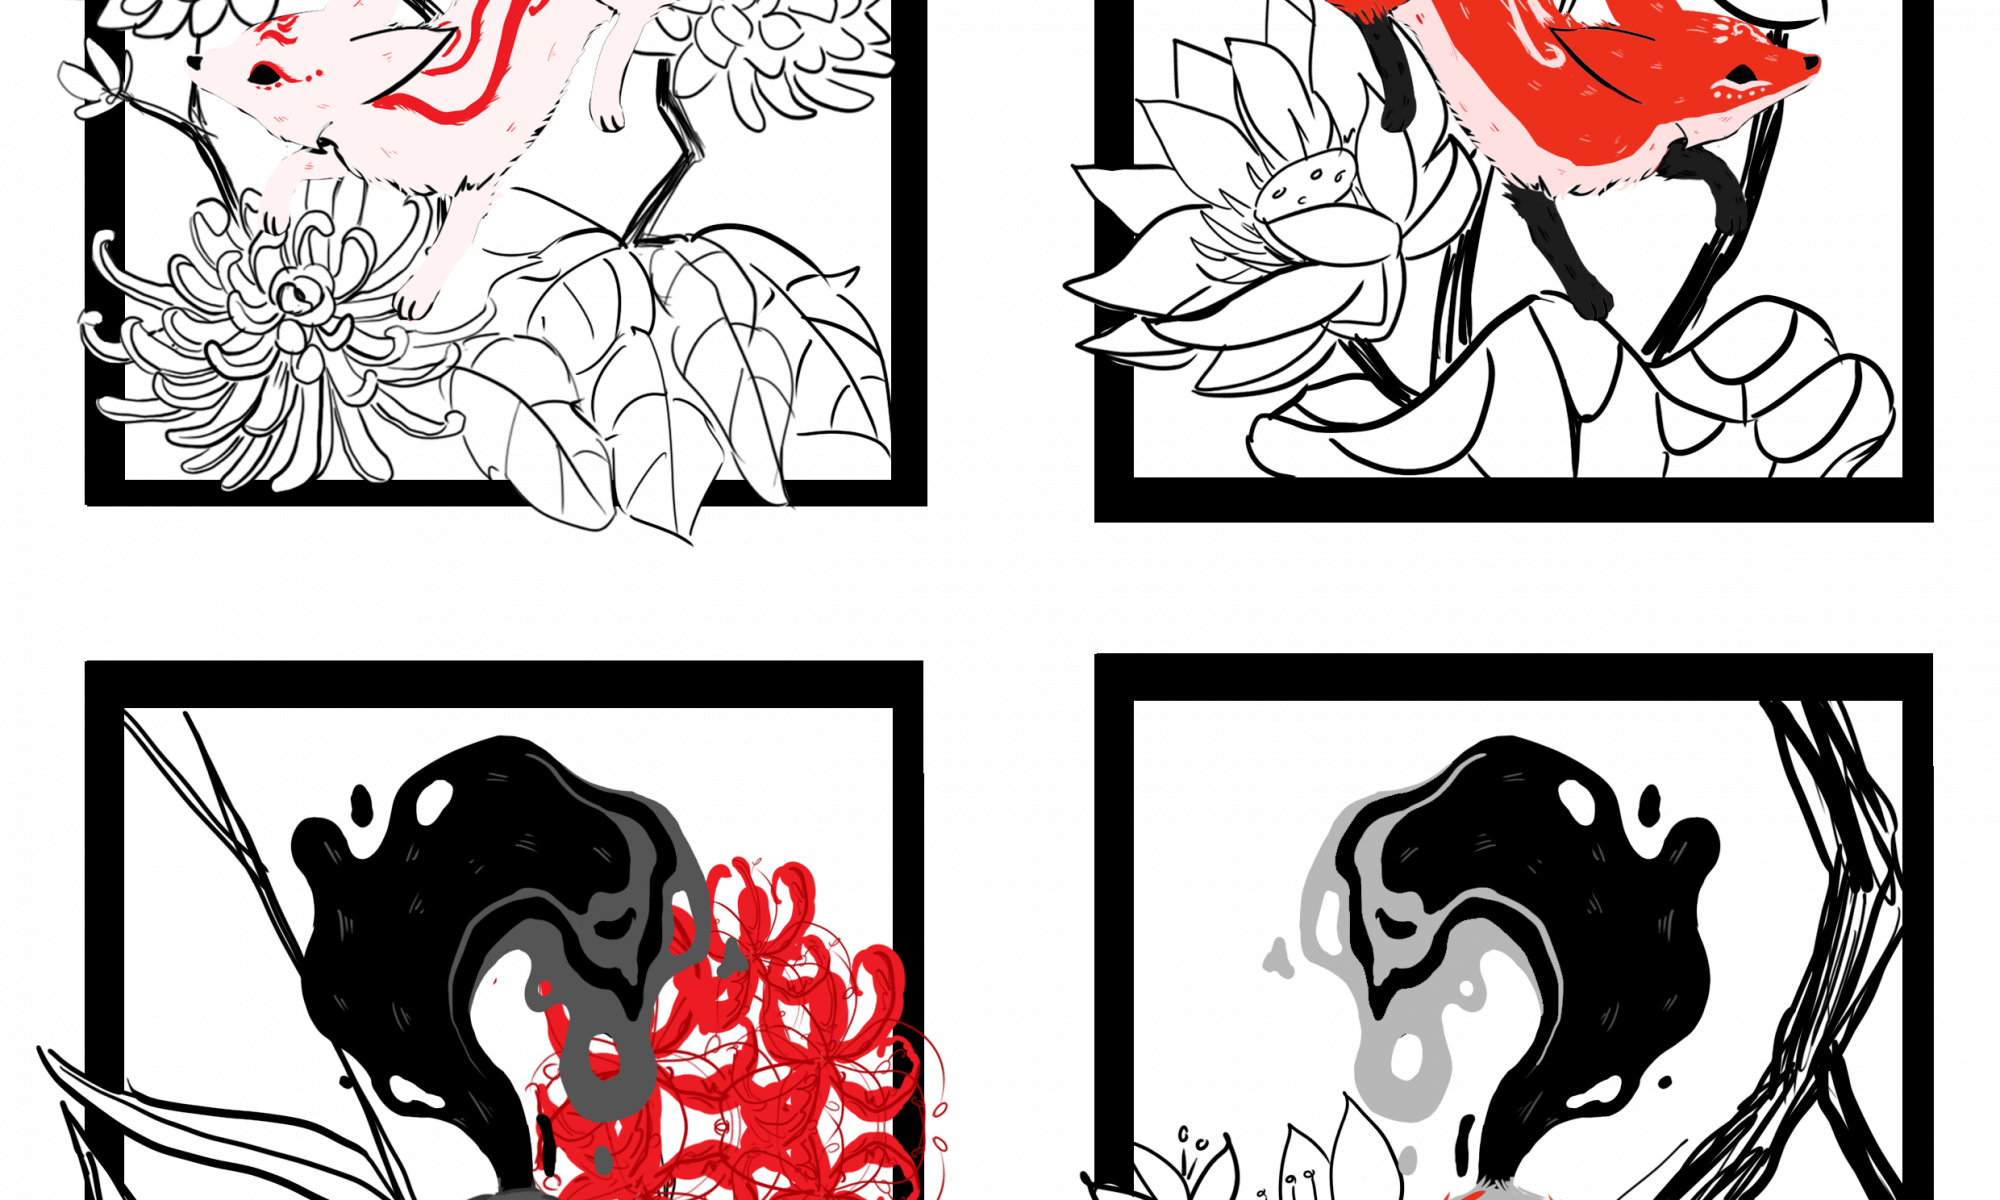
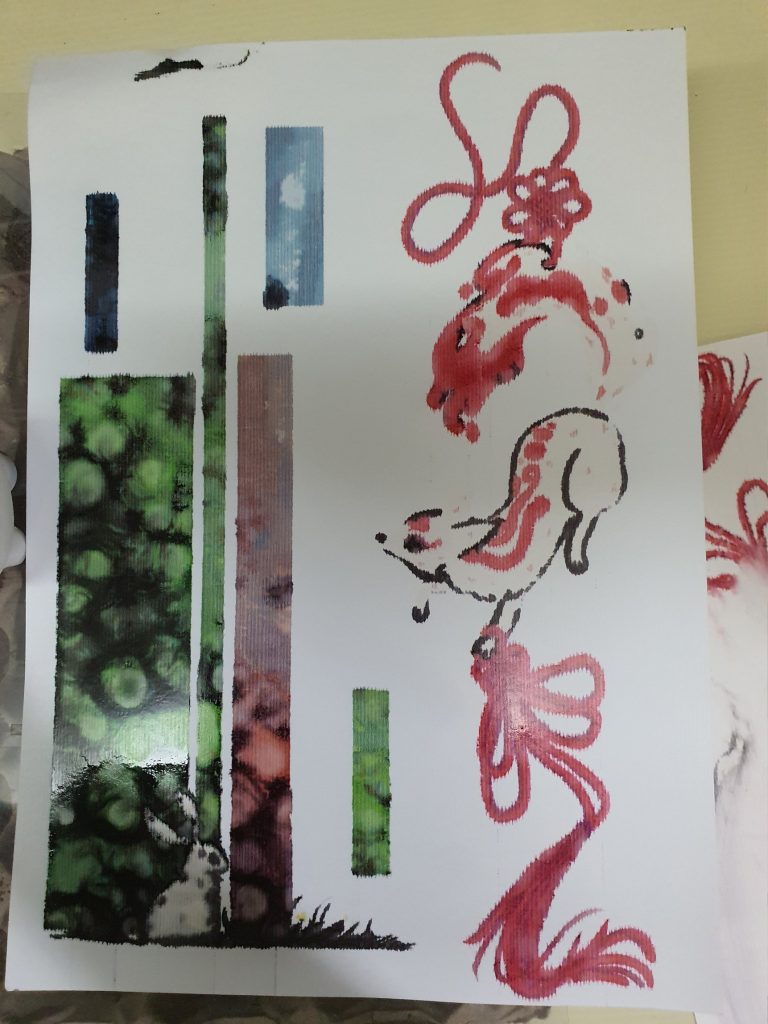
Step 1: Using a Laser Printer print your designs on the heat transfer paper.  Ensure that the designs are printed in  so they will be printed right side up. Take note the type of paper you are printing on and match the surface accordingly.

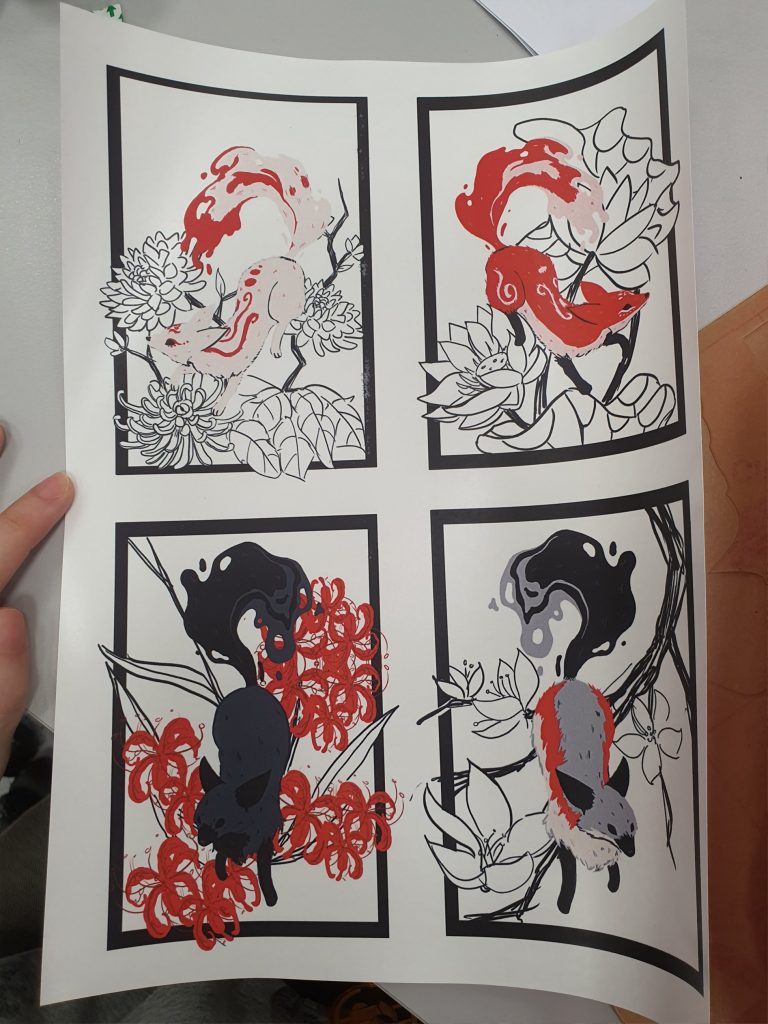
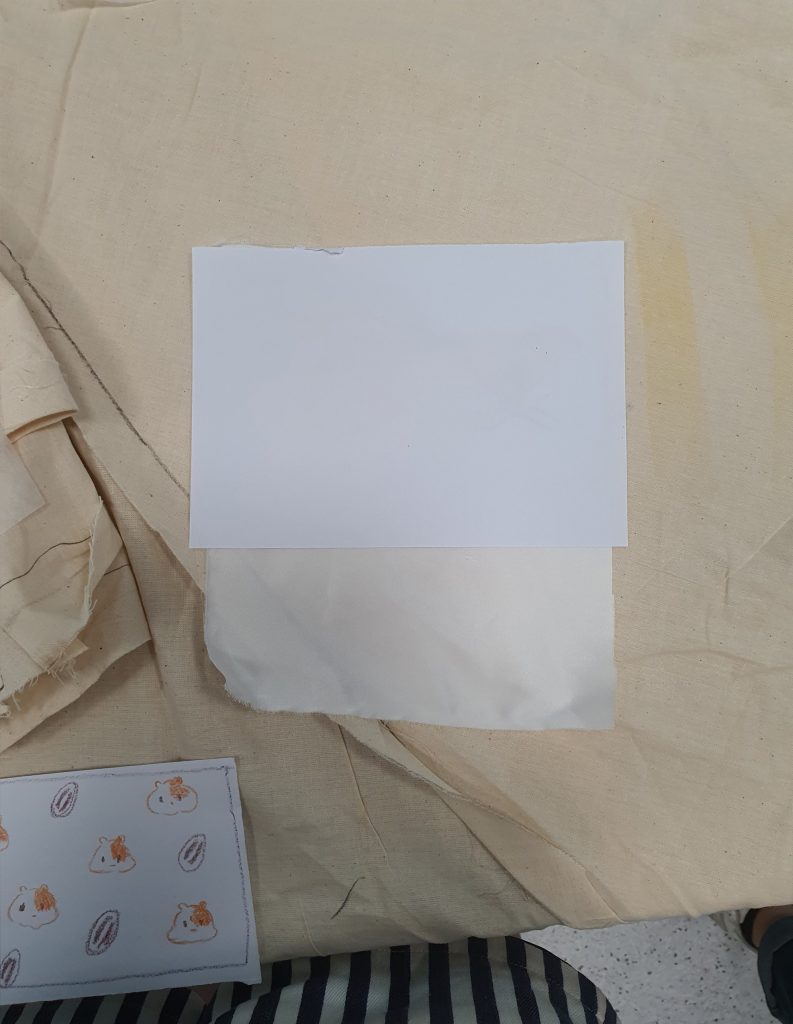
Step 2: Cut the paper designs as close to the edge as possible and align them onto the surfaces accordingly.

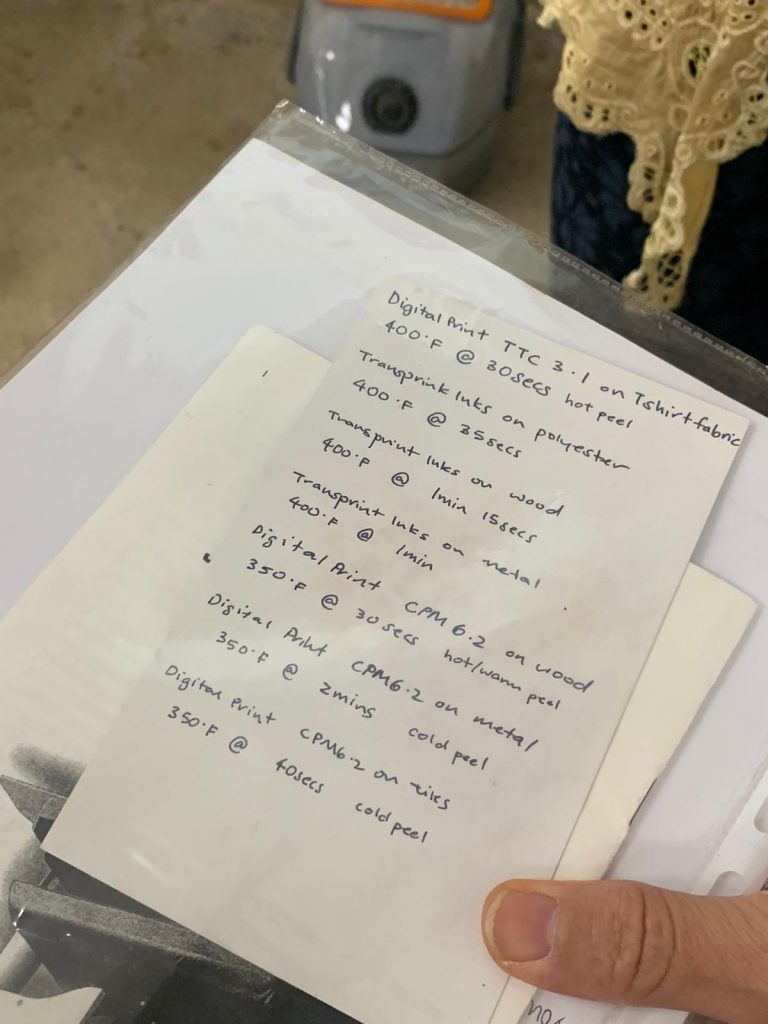
Step 3: Check what kind of material you are working with and set the machine’s temperature accordingly. Our machine is in degree Celsius, so  we have to translate accordingly from Fahrenheit.

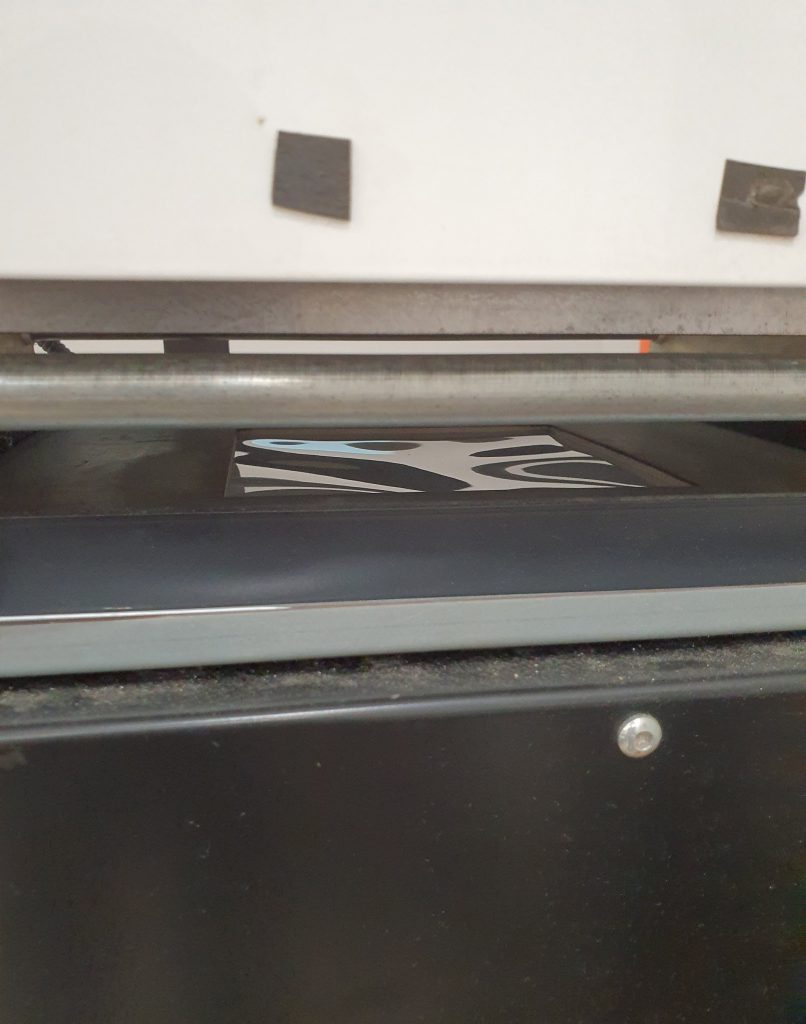
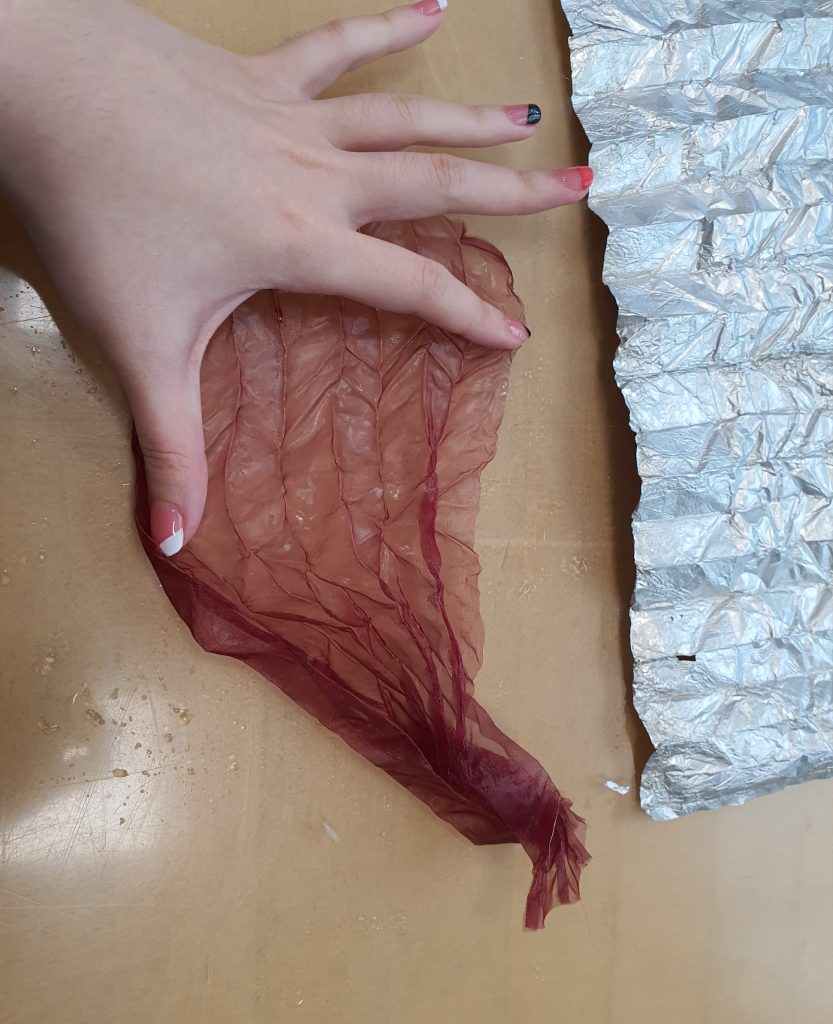
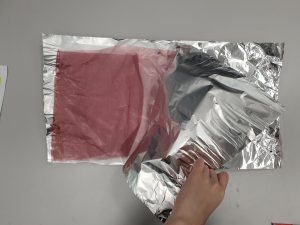
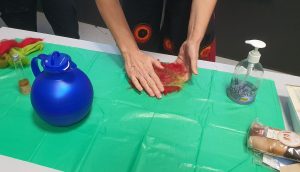
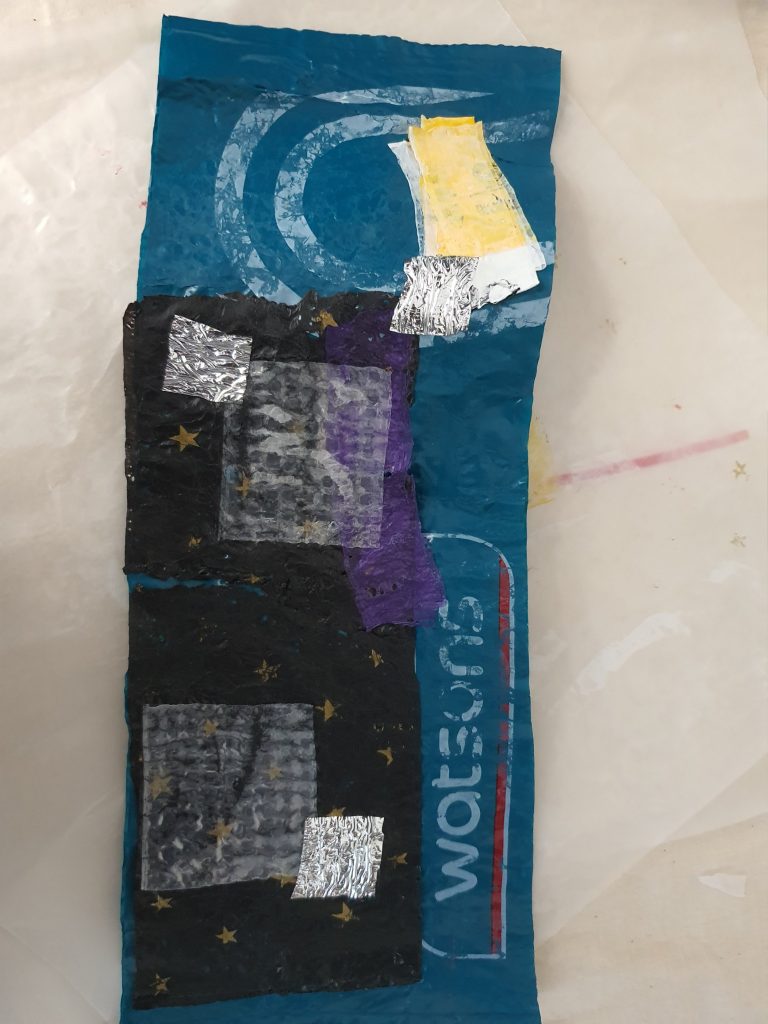
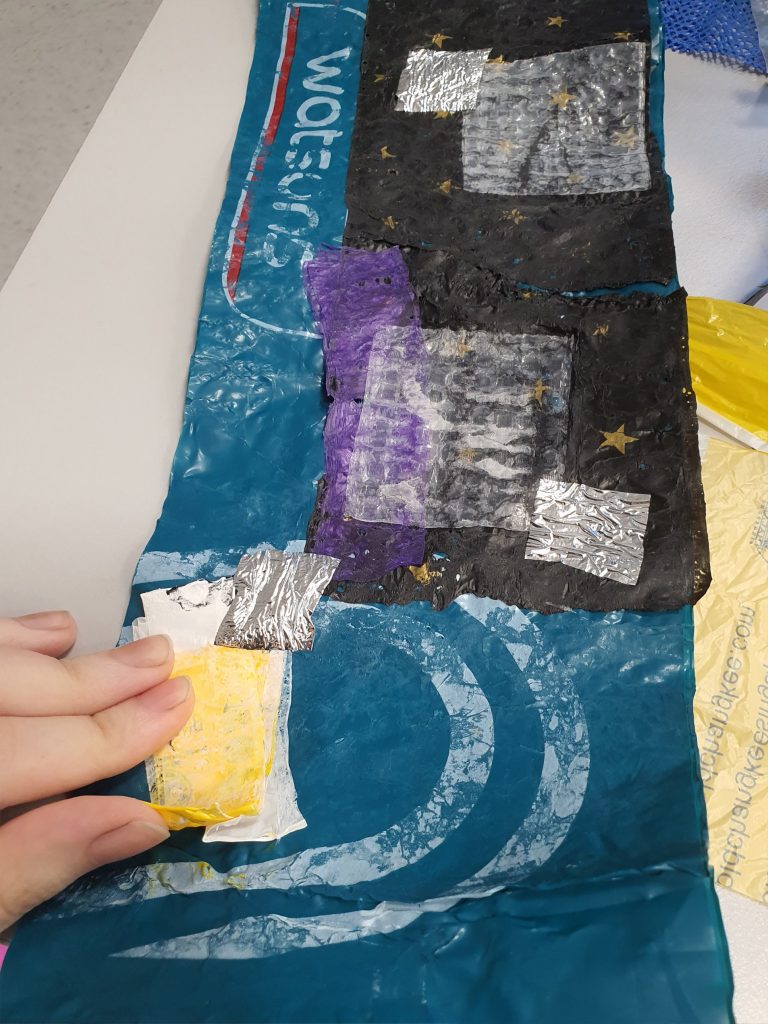
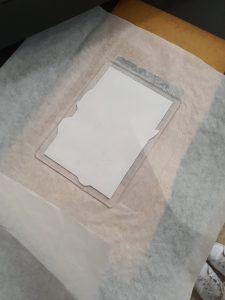
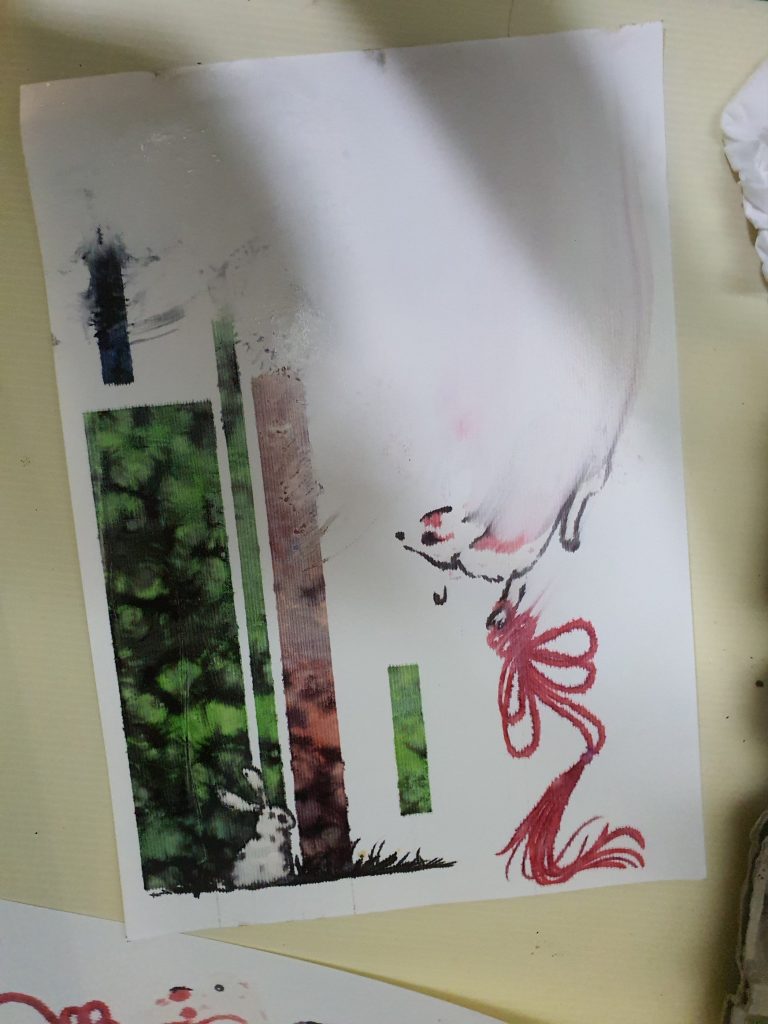
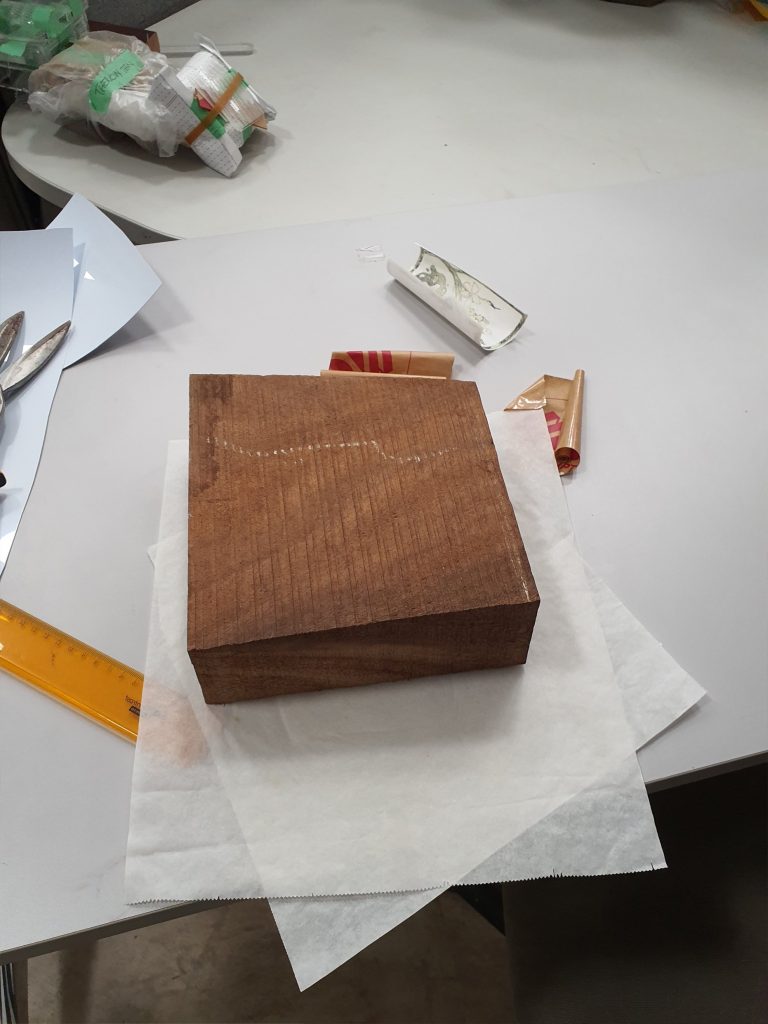
Step 4: Sandwich your print and the surface you want to transfer print on with wax paper and lay them on the Heat transfer machine. Note that the printed side of the design should be facing the surface.

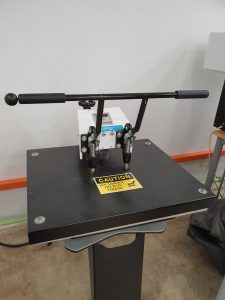
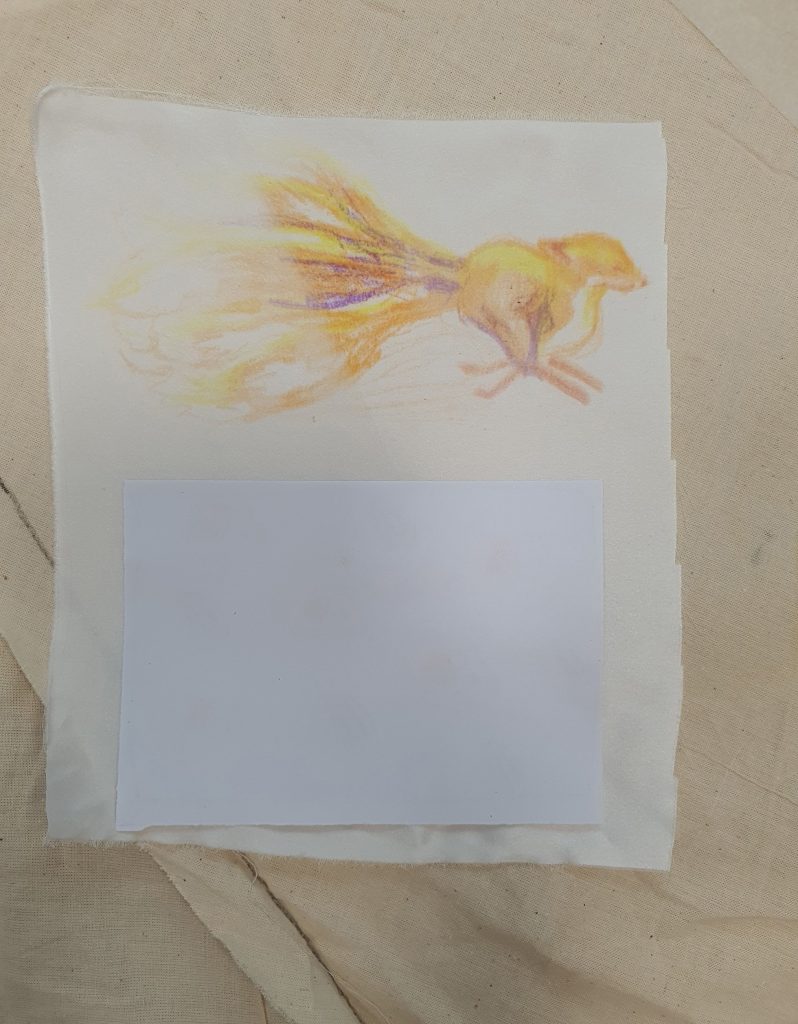
Step 5: Seal the surface and the print inside the machine for the allocated amount of time and then remove it from the machine.

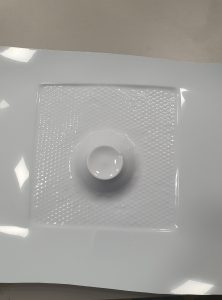
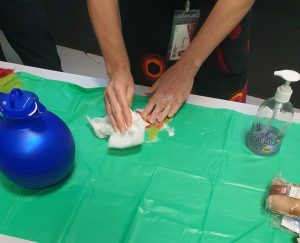
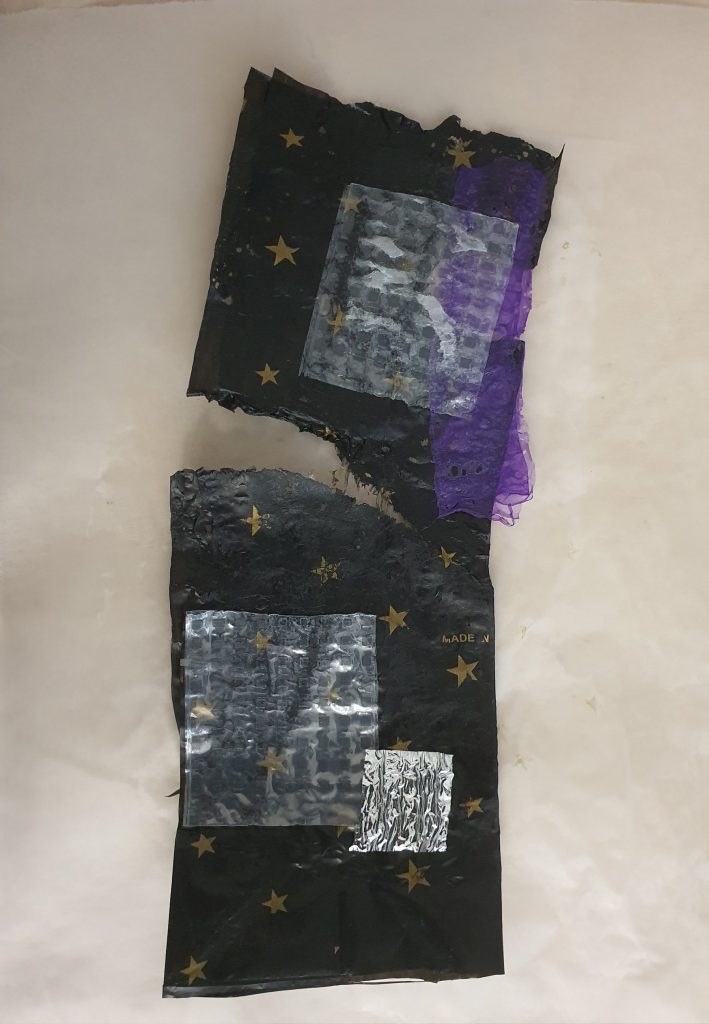
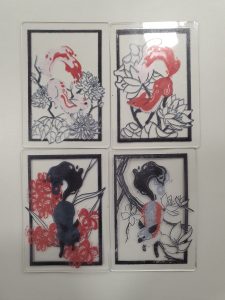
Step 6: Depending on the material, leave it to cool or peel the design off immediately.


Reflection:

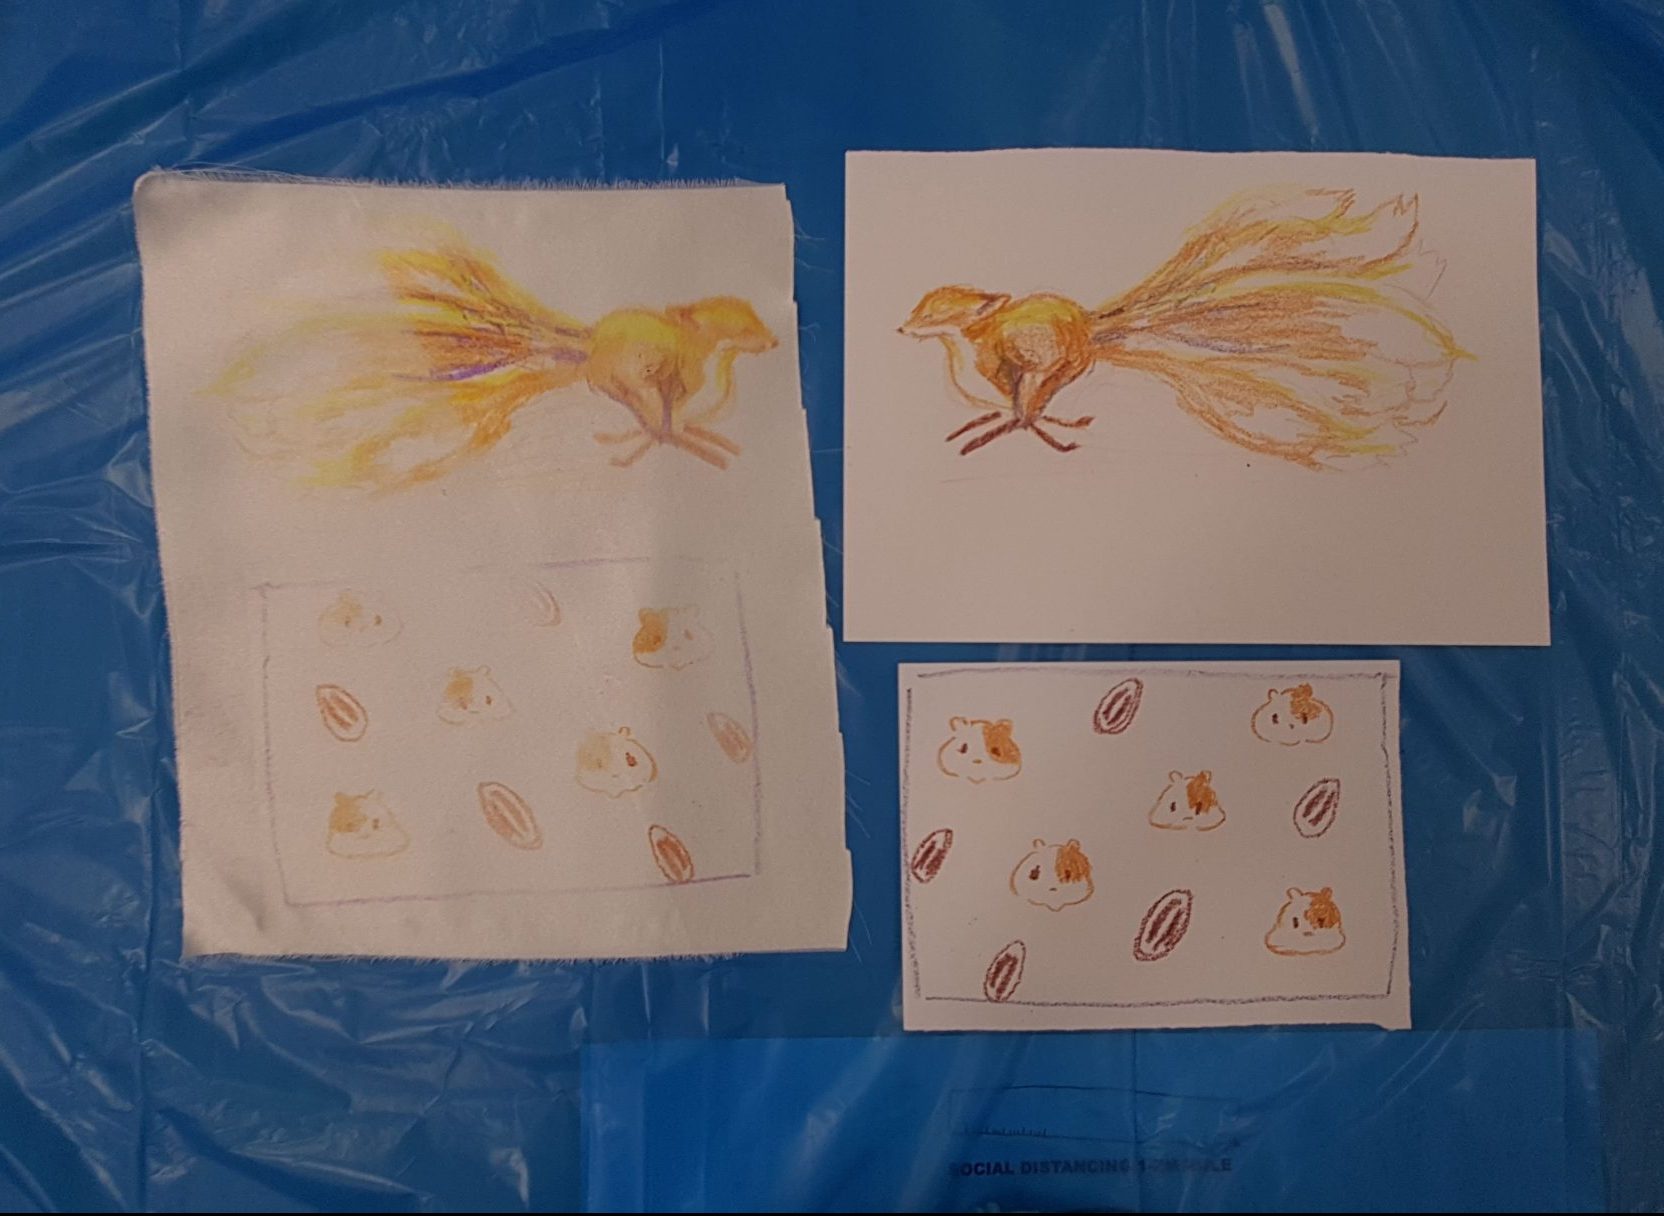
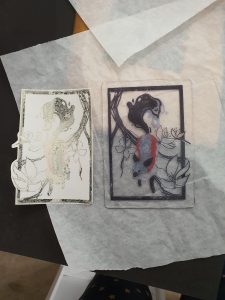
We printed on Inkjet printers initially, because most sites said inkjet was the way, and the results were horrifying. The ink never dried, and could be wiped off cleanly even after being left there for a week.


Make sure your Temperature for the heat transfer machine is hot enough, if not the image will not transfer properly.

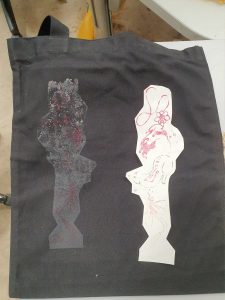
Acrylic warps under high heat. If using Acrylic remeber to flatten them immediately after taking them out from the heating machine so that they will cool flat.

Acrylic also shrinks in the heat for some reason.

For Acrylic, the time used is 45 seconds on 176 degrees Celsius, the machine got stuck at 173 degrees, but that worked fine too.


Material Cookbook || Chapter 9: Knitting

Materials for Knitting List:

  • Yarn/String/thread/Any string like material
  • Knitting/Crocheting needles
  • Counter hooks

Instruction for Knitting:

uh…. pattern wise it is easier to google.

Reflection:

In order to make a ‘Right side’ and a ‘Wrong side’ we have to skip and row, one side loops from the left and the other loops from the right. when the v shaped knit is facing outwards from you when knitting you should be knitting the ‘right side’ technique.

If your project is big, remember to buy hooks to mark your rows.

Knitting is a very time consuming technique despite being very calming and therapeutic.

Also there are a lot of patterns to explore that i have not tried yet, and should look into it soon.


In class Examples:


Material Cookbook || Chapter 8: Liquid Etching

Materials for Liquid Etching List:

  • Fabric etching materia
  • Iron
  • Silk Rayon mix
  • Silk Screen

Instruction for Liquid Etching:

Step 1: Draw or place your silkscreen pattern on the cloth

Step 2: Apply the etching liquid on the fabric

Step 3: Leave to dry, and later Iron off the dried etching liquid.

Step 4: Wash the cloth off.

Reflection:

Drawing with the etching material is not very precise, the lines of the drawing came out more undefined that what I thought.

Finding that specific fabric was problematic.

Material Cookbook || Chapter 7: Latex, Bleaching and Resin

Materials for Liquid Latex List:

  • Liquid Latex
  • Liquid Latex hardener
  • Objects with interesting shapes or interesting moulds ( Note that the mould should not be silicone because they stick to each other)
  • Weighing scale
  • Containers
  • Releasing spray

Instruction for Liquid Latex:

Step 1: Prep all your objects you want to cast or fill by spraying it with a coat of release spray. Ensure that the objects you are casting has walls to contain the liquid latex.

Step 2: Pour the Liquid latex into a separate container, and measure the volume using the weighing scale.

Step 3: Add the hardener into the mixture (note that the Hardener is 0.02 times the volume of the Liquid Latex added)

Step 4: Mix well

Step 5: Add the mixture into the moulds or containers prepared in step 1. Make sure that you pour from one spot to reduce air bubbles created in the mixture.

Step 6: Leave to dry for 24 hours.

Reflection:

I have to find objects that are solid on all sides, my bear head has a gap at the bottom that I taped up and it was okay after that.

Mix enough Latex to fill your mould, my bear’s front was nearly touching the base of the container, so there is a little thin hole there.


Bleaching Material List:

  • Dark coloured linen or cotton fabric
  • 100% concentrated Bleach
  • A stencil (optional)

Instruction for Bleaching:


Step 1: Get a Cotton or Linen cloth

Step 2 (optional):  Lay a stencil over it

Step 3: Spray or apply as much bleach you want.

Step 4: Leave to dry till what ever colour you want

Step 5: when the colour is to your liking wash off all the bleach

Reflection:

Be sure your Cloth is Cotton or Linen, the bleach will not react if it is any other material.


Materials for Resin List:

  • Resin
  • Resin hardener
  • Interesting moulds
  • any glitter or other things you wish to throw into the Resin
  • Weighing scale
  • Containers

Instruction for Resin:

Step 1:  Prepare your silicone moulds by filling it with glitter or beads.

Step 2: Pour the Resin latex into a separate container, and measure the volume using the weighing scale.


Step 3: Add the hardener into the mixture (note that the Hardener is 0.02 times the volume of the Resin added)

Step 4: Mix well

Step 5: Add the mixture into the moulds prepared in step 1. Make sure that you pour from one spot to reduce air bubbles created in the mixture. Do this quick, because the hardener acts fast.

Step 6: Leave to dry for 24 hours.

Reflection:

Warning: It gets super hot!

If you are using plastic moulds, especially the ones that are very rigid, you may hear cracking sounds, and the plastic may crack.

Some of the material like yarn might bleed and influence the colour of the resin. No harm done.

Sometimes the bubbles appear at the bottom of the moulds and create weird surface textures, might want to consider sanding them off.

In Class Examples

Material Cookbook || Chapter 6: Vacuum forming and Thermochromic printing

Vacuum Forming List:

  • PVC Plastic
  • Objects with interesting shapes (note that this must be able to withstand high temperatures if not they will warp when boiling)

Instruction for Vacuum Forming:

Step 1: Turn on the machine and it heat up.

Step 2: We need an object that will not warp when heated. Place that object on the machine stage like so:

Step 3: lower the object into the machine and cut a sheet of PVC to fit over the mouth of the machine.

Step 4: Secure the PVC in place and then pull the heater over the PVC. When the PVC is sufficiently heated it will become smooth.

Step 5: When the plastic is heated, push the heating component back into place, and lift the stage with the object into the the PVC.

Step 6: Quickly turn on the vacuum function so that the PVC will adhere to the object shape. When the shape is to your liking, stop the vacuuming and remove everything.

Reflection:

I left the plastic to cool a bit too long, hence when vacuuming the edge was less defined then it could be.

We want objects that whose head is not wider then the base so that it can be removed later. If not the plastic would vacuum form and seal the object inside of it.

Thermochromic Printing Material List:

  • Thermochromic pigment
  • Silkscreen
  • Paper Templates (optional)
  • Fabric paint of any colour

Instruction for Boiling thermoplastics:

Step 1: Prepare silkscreen patterns, or paper templates for printing.

Step 2: Prepare Cloth for print

Step 3: Mix Thermochromic powder and the Fabric paint for silkscreen. We used 2 spoons of paint and 1 spoon of powder. In this case we used the clear paint so the colours disappear when heated.

Step 4: Lay template and/or silkscreen over the cloth and proceed to print.

Step 5: Leave designs to dry.

Reflection:

The coloured pigment came out dull on every other fabric that is not white. Even on white fabric they showed up faintly. If we want a darker line art there is always black I guess.

Material Cookbook || Chapter 5: Thermoplastics

Thermoplastic Material List:

  • Thermoplastic Fabric (100% polyester)
  • Rubber bands
  • Aluminium Foil
  • Pot for boiling
  • Objects with interesting shapes (note that this must be able to withstand high temperatures if not they will warp when boiling)

Instruction for Boiling thermoplastics:

Step 1: Cut the cloth to the desired length

Step 2: Wrap your objects in the cloth and tie them down with rubber bands

Step 3: Fold them in Aluminium foil when done

Step 4: Drop them in the pot of boiling water and boil for 30mins


Step 5: Remove from wrappings.

Reflection:

Acrylic cannot stand the high temperatures of boiling the thermoplastic, so be prepared for some warping.

Folding the material in Aluminium foil works, but only for simpler patterns. As you can see above the foil just becomes very crumpled and does not hold the folds shape. If we want to attempt the ‘origami’ kind of folds, prepare paper.

In Class Examples:

Material Cookbook || Chapter 4: Smocking Technique

Smocking Material List:

  • Fabric
  • Thread (elastic or not)
  • Sewing Machine

Instruction for hand sewn smocking:

Flower Patterned Smocking:

Step 1: Draw a grid on the cloth.

Step 2: Sew a small section of the points 1, 2, 3 and 4 to form the outline of a square

Step 3: Pull thread to gather the fabric in a cross pattern

Step 4: Sew across the fabric to keep them taut

Step 5: String a bead (Optional)

Images for instructions are taken from: https://mellysews.com/smocking-tutorial/

Reflection:

For this pattern, it is important to leave space along the border, if not the fabric will bunch and not form the petal for the flower.

We need to leave a space between the flowers, if not the petals will overlap and sink each other.

The opposite side works as a cute box pattern as well.


Leaf Patterned Smocking (Canadian Smocking):

This is Leaf design in Canadian smocking.I have used 2cm square graph.I feel if I had used 1.5cm graph the design … | Canadian smocking, Smocking pattern, Smocking

Leaf Smocking pattern found online

Step 1: Draw a square grid on the cloth.

Step 2:  Mark the cloth as such

Step 3: Sew the ends of every diagonal line together.

Reflection:

I like this pattern, it is simple.

Instructions for Sewing Machine Smocking:

Step one: Sew your fabric, bottom thread is elastic, and the top is normal thread. Your stitch line should be straight with large intervals (setting three on the machine in school.)

Step 2: Sew as many rows as you like, and have fun with it.

Reflection:

The tightness of the elastic wound in the bobbin with affect how tightly gathered the cloth is.

Remember to pull a bit more elastic to tie it off, so it would not fly into the fabric.

If the elastic used is thick (meaning if the fabric is thick and needs thicker elastic to hold) use the zig-zag pattern and stretch it while you sew it down. the thread should hold the elastic to the cloth like so.

Material Cookbook || Chapter 3: Felting and Applique Technique

Felting Material List:

  • Felting Wool
  • Felting Needles
  • Hot Water
  • Soap
  • Foam block (backing)

Instructions for Dry Felting

Step 1: Roll the felt wool into a any shape you wish

Step 2: Lay it on the foam block and stab it with the needle until firm.

Step 3: To connect pieces or thicken parts lay more layers of wool and stab the part until the wool has fused.

Reflections:

Be careful of your fingers when you are stabbing, it is very easy to get impatient and start stabbing without thought. While it will not cause massive damage if you are stabbing gently it still hurts.

If the material made is too big you can always cut them off.

Felting is like sculpting with a needle, but you should work with a slightly bigger surface them slowly self it down, because it becomes more tightly compact hence shrinks.

Instructions for Wet Felting

Step 1: Lay the layers of felt wool over each other in different directions


Step 2: Lay it over some plastic and pour hot water over it.

Step 3: Add soap on it and start rubbing the fibres

Step 4: Add a different coloured wool over the wool to create interesting patterns. Can keep building layers till a certain thickness has been created.

Step 5: When the hot water and soap stops helping the material to fuse, switch over to needle.


Reflections:

Be careful it is hot.

Layer the material in various directions or the material will not fuse properly. Mine sprouted various holes, because of the way I snaked the wool

In Class Pictures:

Applique Material List:

  • Beads
  • Threads
  • Fabrics with different patterns
  • Anything you want to add on top
  • Sewing Machine


Instructions for Wet Felting

Step 1: Arrange Fabrics to the way you want

Step 2: Sew them down using different sewing patterns.

Step 3: Hand Sew the beads on


Reflection:

Having fun using different patterns for sewing down the fabric and using different threads for the top and bottom thread to give tiny accents when they peak through. The problem is my threads do not have a lot of contrasts so it is not very obvious.

I would like to try adding beads.

Material Cookbook || Chapter 2: Plastic Fusion and Thread Fabric

Material List for Plastic Fusion:

  • Plastic bags or plastics of any kind
  • An Iron
  • Wax Paper

Instructions for Plastic Fusion:

Step 1: Cut and arrange the plastic bags in the pattern that you want.

Step 2: Sandwich the plastics between wax paper and iron them to fuse. (The starting setting was the one with the highest heat)

Reflection:

Thin plastics burns very easily, the kind from the markets or trash bag material. Layer them sufficiently or turn down the heat from the iron.

The designs on the plastics transferred to the wax paper. It could be because the heat was too high, but certain designs melted faster then the plastics and fused to the wax paper instead. On a side note, some of the plastics fused to the wax paper instead of with the other plastics. (It could be the type of wax paper used, but that is a hunch? )

Transparent plastics are sticky. The take more heat to melt (or at least my transparent package did) but it refuses to fuse. Instead it feels slightly resistant to touch hence I describe it as sticky. It does create very beautiful ‘frosted glass’ texture though.

Sometimes the heat is not enough and it results in the plastics not fusing, hence a cute little hole for your finger to stick through, a very intentional design flaw XD.

Material List for Thread Fabric:

  • Threads
  • A sewing Machine
  • Water Soluble Stabiliser
  • Fabric and trimmings to add into the ‘fabric’.
  • UV resistant acrylic spray

Instructions for Plastic Fusion:

Step 1: cut two identical pieces of water soluble stabiliser

Step 2: Sandwich threads, fabric trimmings or anything you want in between the two pieces of water soluble stabiliser.

Step 3: Pin them in place and start sewing.

Step 4: Wash the water soluble material away.

Step 5: Place the wet material over a surface shape that you want them to hold and leave to dry. (Optional)

Step 6: Spray a coat of UV resistant acrylic spray over it to stiffen the material and allow it to keep its shape. (Optional)


Reflection:

Upper and lower threads can be of different colours to create more interesting visual contrasts.

Make sure that the threads overlap, because that is the only thing holding the ‘fabric’ together when the water soluble stabiliser is washed away.

Sewing can be done with any patterns, lets have fun and explore together.

Be careful when washing the threads only fabric, as they feel a bit fragile, especially if you threads are a bit sparse like our trial. Do not squeeze them into a ball (I thought they were going to stick all together oAo).

Material Cookbook || Chapter 1: Direct and Indirect Pattern Transfer

Materials Needed:

  • Transfer Ink for Fabric
  • polyester material, the silky kind
  • Paper
  • Fabric crayons
  • wax paper
  • Iron/Heat press
  • Flat items (Feathers, string, lace, etc)

Instructions: Dry transfer – Direct


Step 1: Draw a pattern or image on paper using the fabric crayons.

Step 2: Line the paper on top of your chosen material, image side down.

Step 3: Place a sheet of wax paper to protect your cloth from direct heat from the iron. This will prevent the cloth from burning or warping.

Step 4: Iron the stack. Note that the Colour will start to seep into the cloth when it is ironed properly. It also takes awhile for the image to transfer so be patient and check it constantly without moving your image.

 Reflection:

Heating with an iron is uneven and I removed the heat too early on from some parts of the fabric which results in fainter imprints.

Polyester burns and shrinks under high heat. Also the silkier the fabric, the more vibrant the colours.

Yellow on paper is very bright whilst purple on paper is almost black, yet transferring over to the cloth lightens the colours.


Instructions: Wet transfer – Indirect

Step 1: Paint your paper with Transfer Ink and leave it to dry

Step 2: Arrange your flat objects on top of your chosen cloth.

Step 3: Line the dried paper with transfer ink on top of your chosen material, coloured side down.

Step 4: Place a sheet of wax paper to protect your cloth from direct heat from the iron. This will prevent the cloth from burning or warping.

Step 5: Iron the stack. Note that the Colour will start to seep into the cloth when it is ironed properly. It also takes awhile for the image to transfer so be patient and check it constantly without moving your image.

Reflection:

The flat objects like string move around a lot when checking, be careful when lifting the sheets.

the transfer ink also takes longer then the crayons for heat transfer, be patient.

Instructions: Wet transfer – Direct

Step 1: Paint your flat objects with transfer ink.

Step 2: Arrange your flat objects on top of your chosen cloth, painted side down.

Step 3: Place a sheet of wax paper to protect your cloth from direct heat from the iron. This will prevent the cloth from burning or warping.

Step 4: Iron the stack. Note that the Colour will start to seep into the cloth when it is ironed properly. It also takes awhile for the image to transfer so be patient and check it constantly without moving your image.

Reflection:

In class example done by Galina. 
The positive imprint is an example of direct wet printing.

I did not have the opportunity to play with this as my string was too flimsy to make a second imprint. The ink picked up from the first wet transfer print is enough to transfer a detailed enough pattern to the cloth as witnessed in the class example.