Material Cookbook || Chapter 4: Smocking Technique

Smocking Material List:

  • Fabric
  • Thread (elastic or not)
  • Sewing Machine

Instruction for hand sewn smocking:

Flower Patterned Smocking:

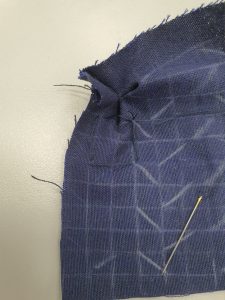
Step 1: Draw a grid on the cloth.

Step 2: Sew a small section of the points 1, 2, 3 and 4 to form the outline of a square

Step 3: Pull thread to gather the fabric in a cross pattern
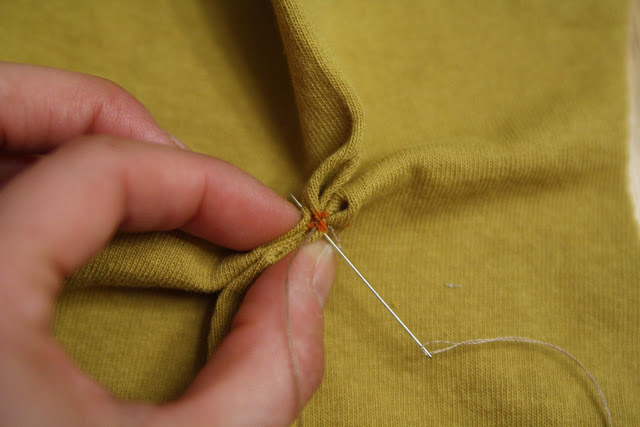
Step 4: Sew across the fabric to keep them taut

Step 5: String a bead (Optional)

Images for instructions are taken from: https://mellysews.com/smocking-tutorial/

Reflection:
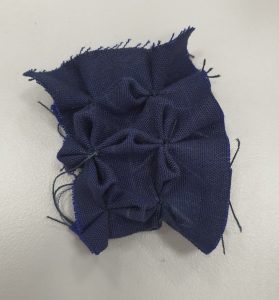
For this pattern, it is important to leave space along the border, if not the fabric will bunch and not form the petal for the flower.

We need to leave a space between the flowers, if not the petals will overlap and sink each other.

The opposite side works as a cute box pattern as well.


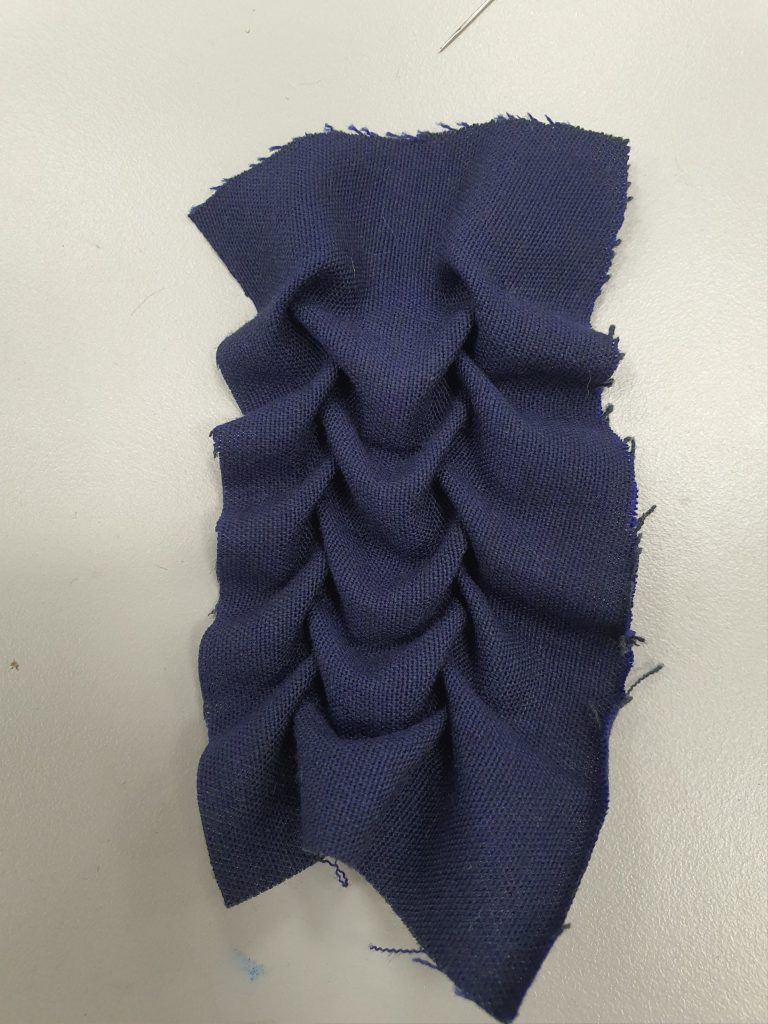
Leaf Patterned Smocking (Canadian Smocking):

This is Leaf design in Canadian smocking.I have used 2cm square graph.I feel if I had used 1.5cm graph the design … | Canadian smocking, Smocking pattern, Smocking

Leaf Smocking pattern found online

Step 1: Draw a square grid on the cloth.

Step 2:  Mark the cloth as such

Step 3: Sew the ends of every diagonal line together.

Reflection:
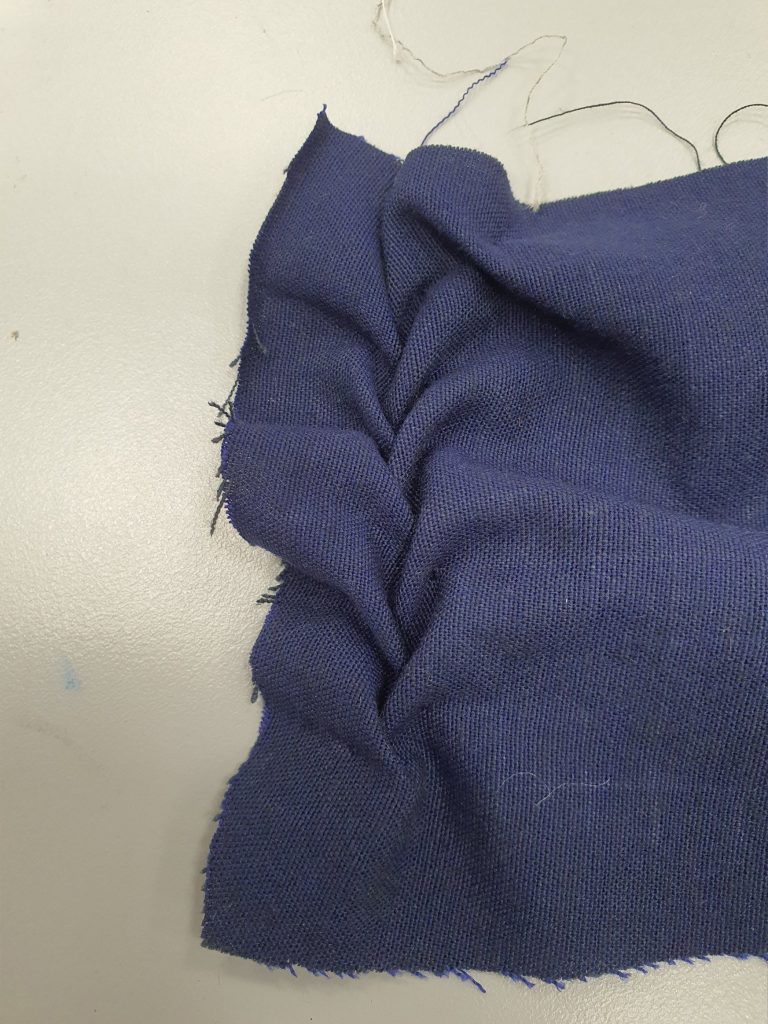
I like this pattern, it is simple.

Instructions for Sewing Machine Smocking:
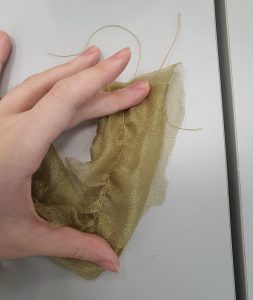
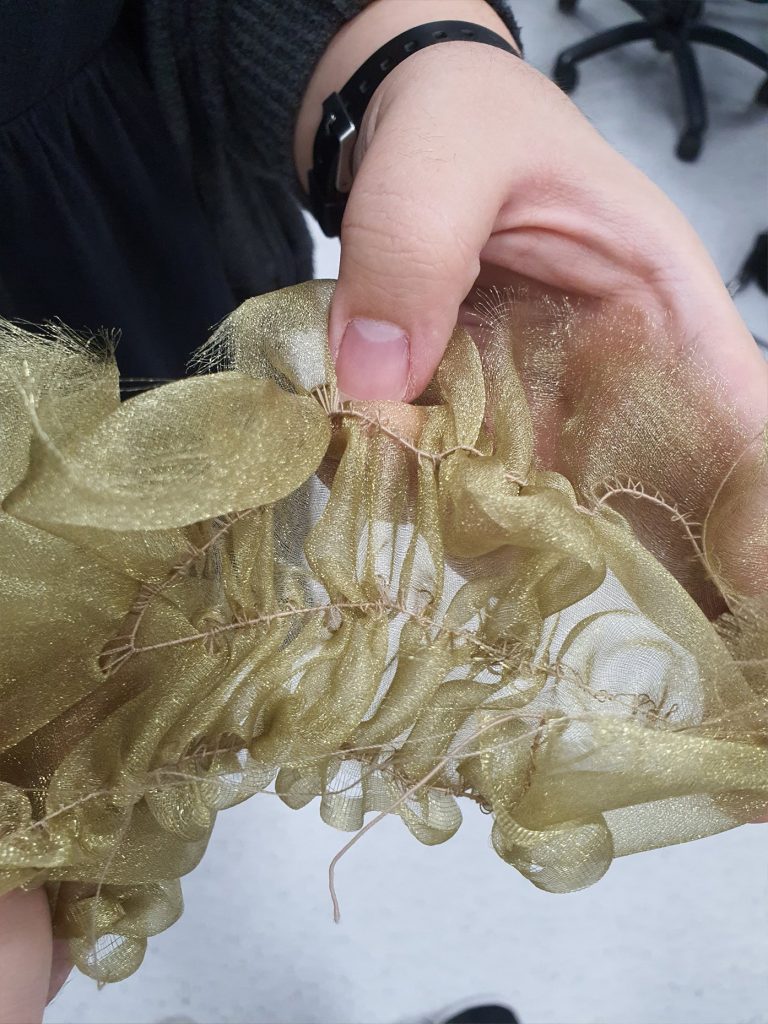
Step one: Sew your fabric, bottom thread is elastic, and the top is normal thread. Your stitch line should be straight with large intervals (setting three on the machine in school.)
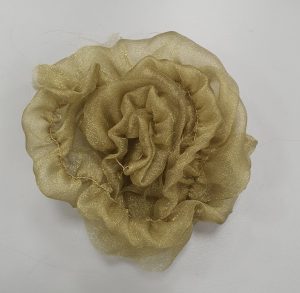
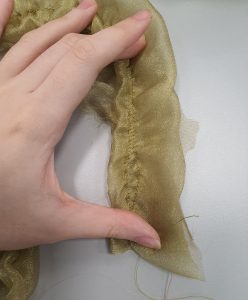
Step 2: Sew as many rows as you like, and have fun with it.

Reflection:
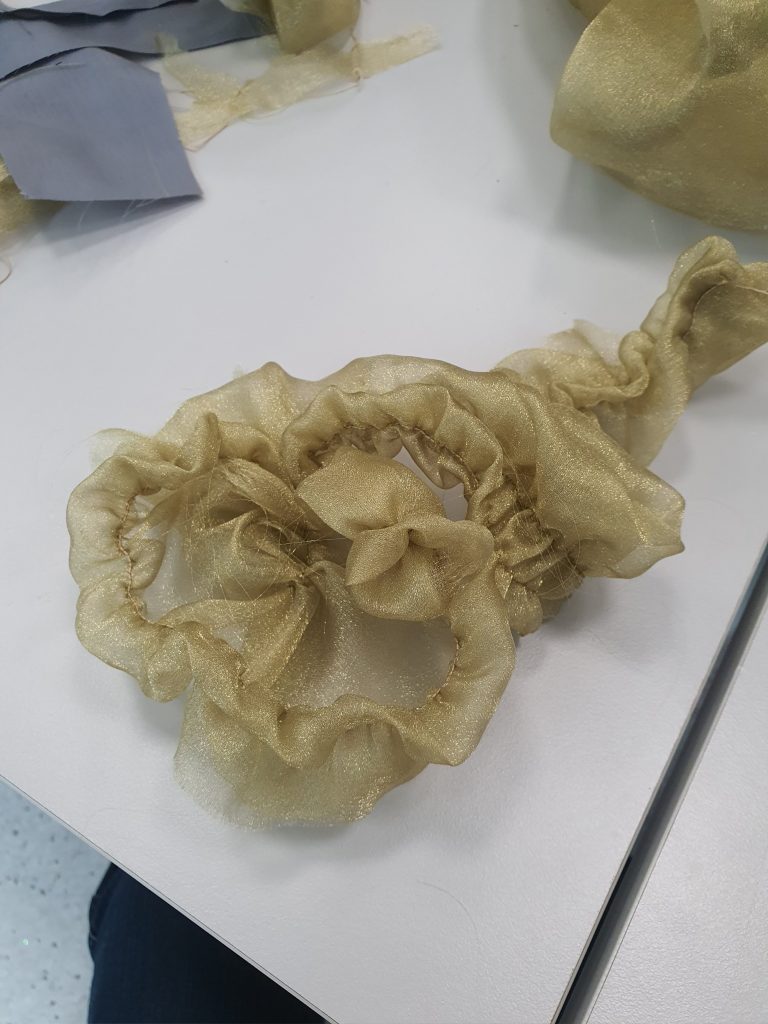
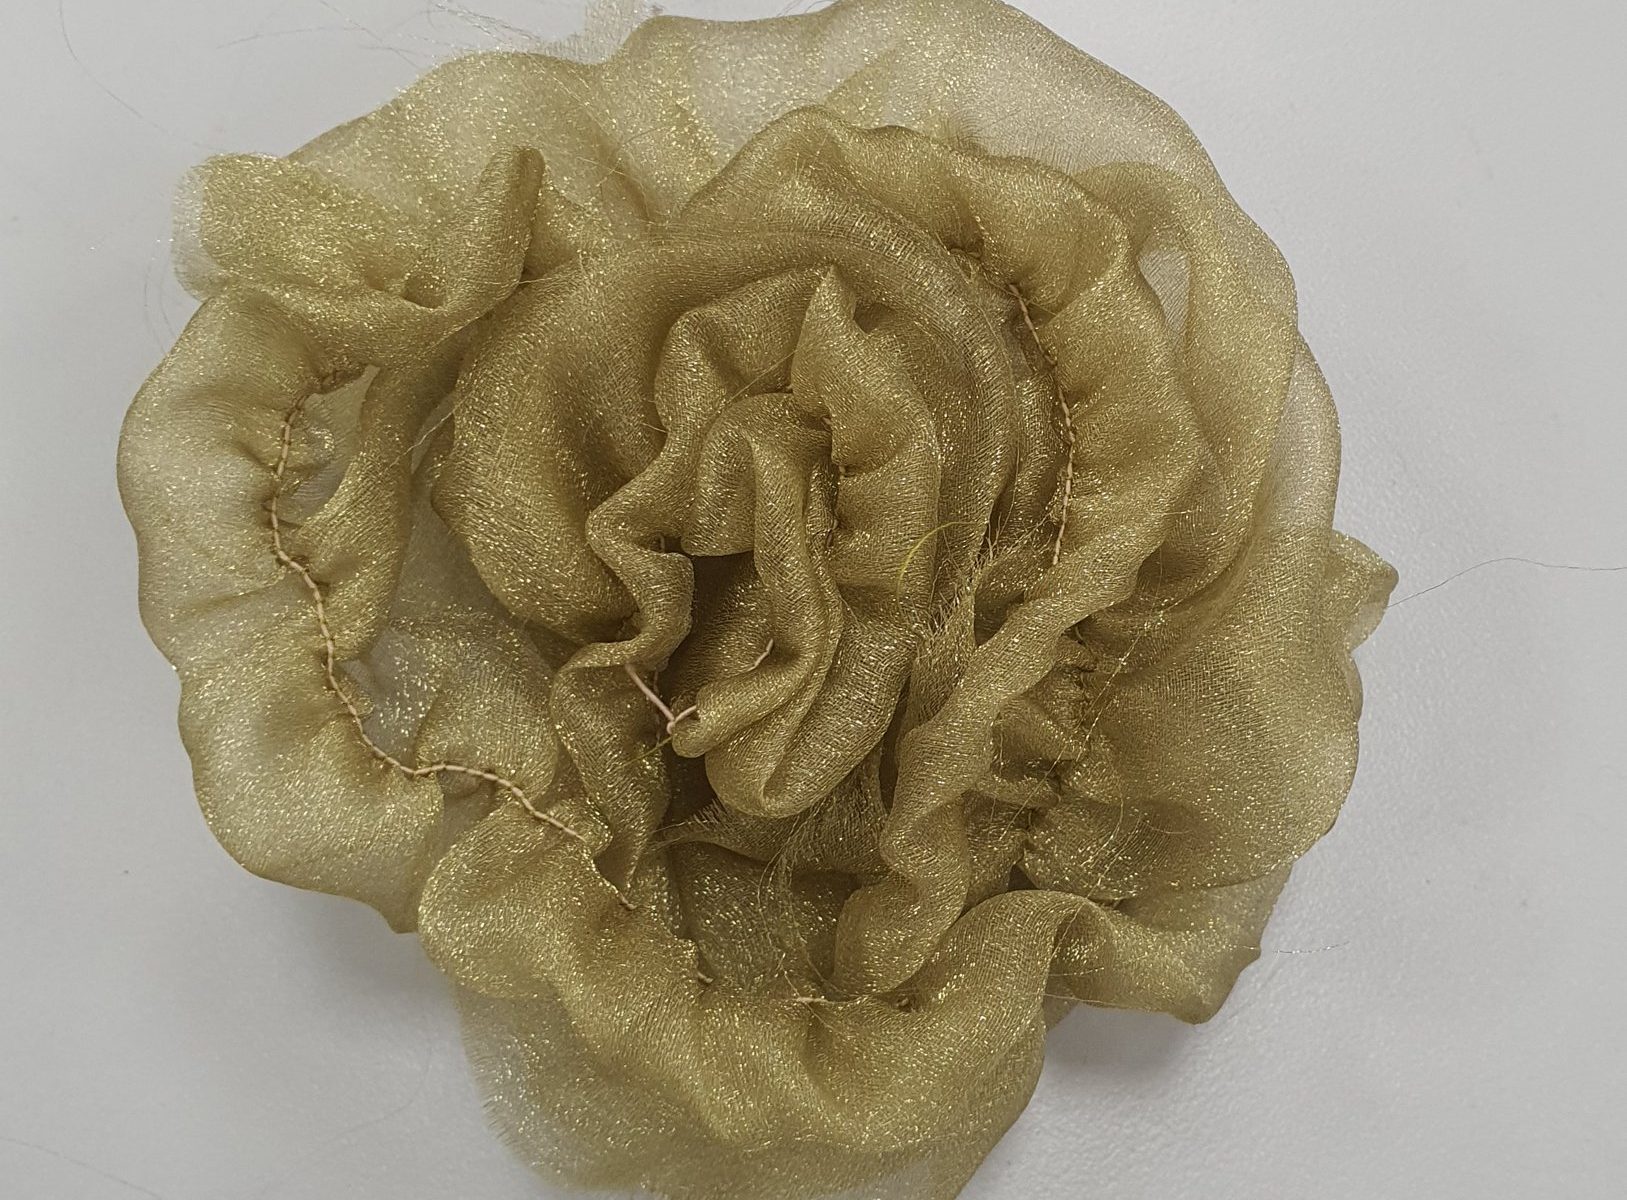
The tightness of the elastic wound in the bobbin with affect how tightly gathered the cloth is.

Remember to pull a bit more elastic to tie it off, so it would not fly into the fabric.
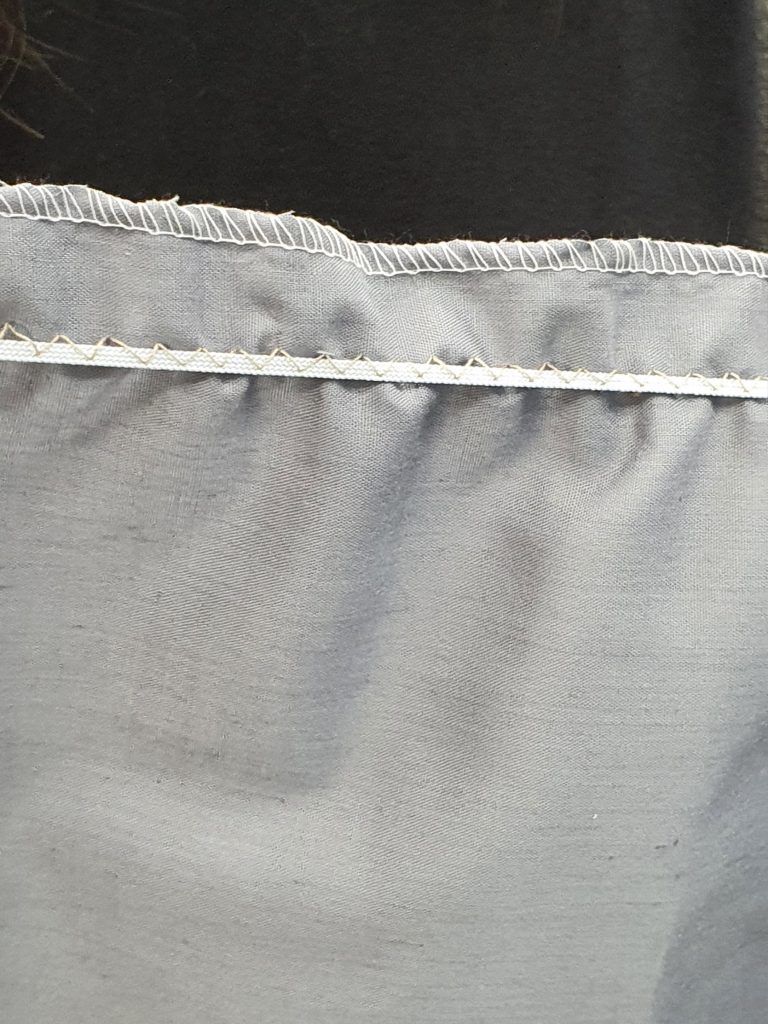
If the elastic used is thick (meaning if the fabric is thick and needs thicker elastic to hold) use the zig-zag pattern and stretch it while you sew it down. the thread should hold the elastic to the cloth like so.

Material Cookbook || Chapter 3: Felting and Applique Technique

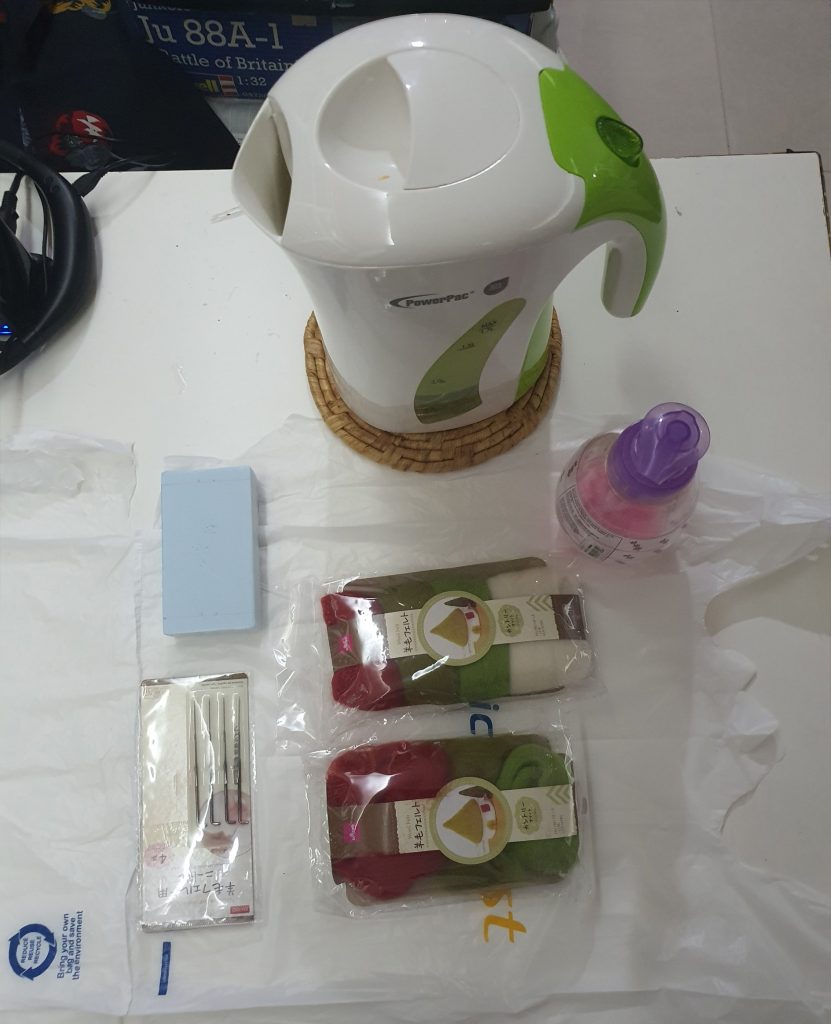
Felting Material List:

  • Felting Wool
  • Felting Needles
  • Hot Water
  • Soap
  • Foam block (backing)

Instructions for Dry Felting

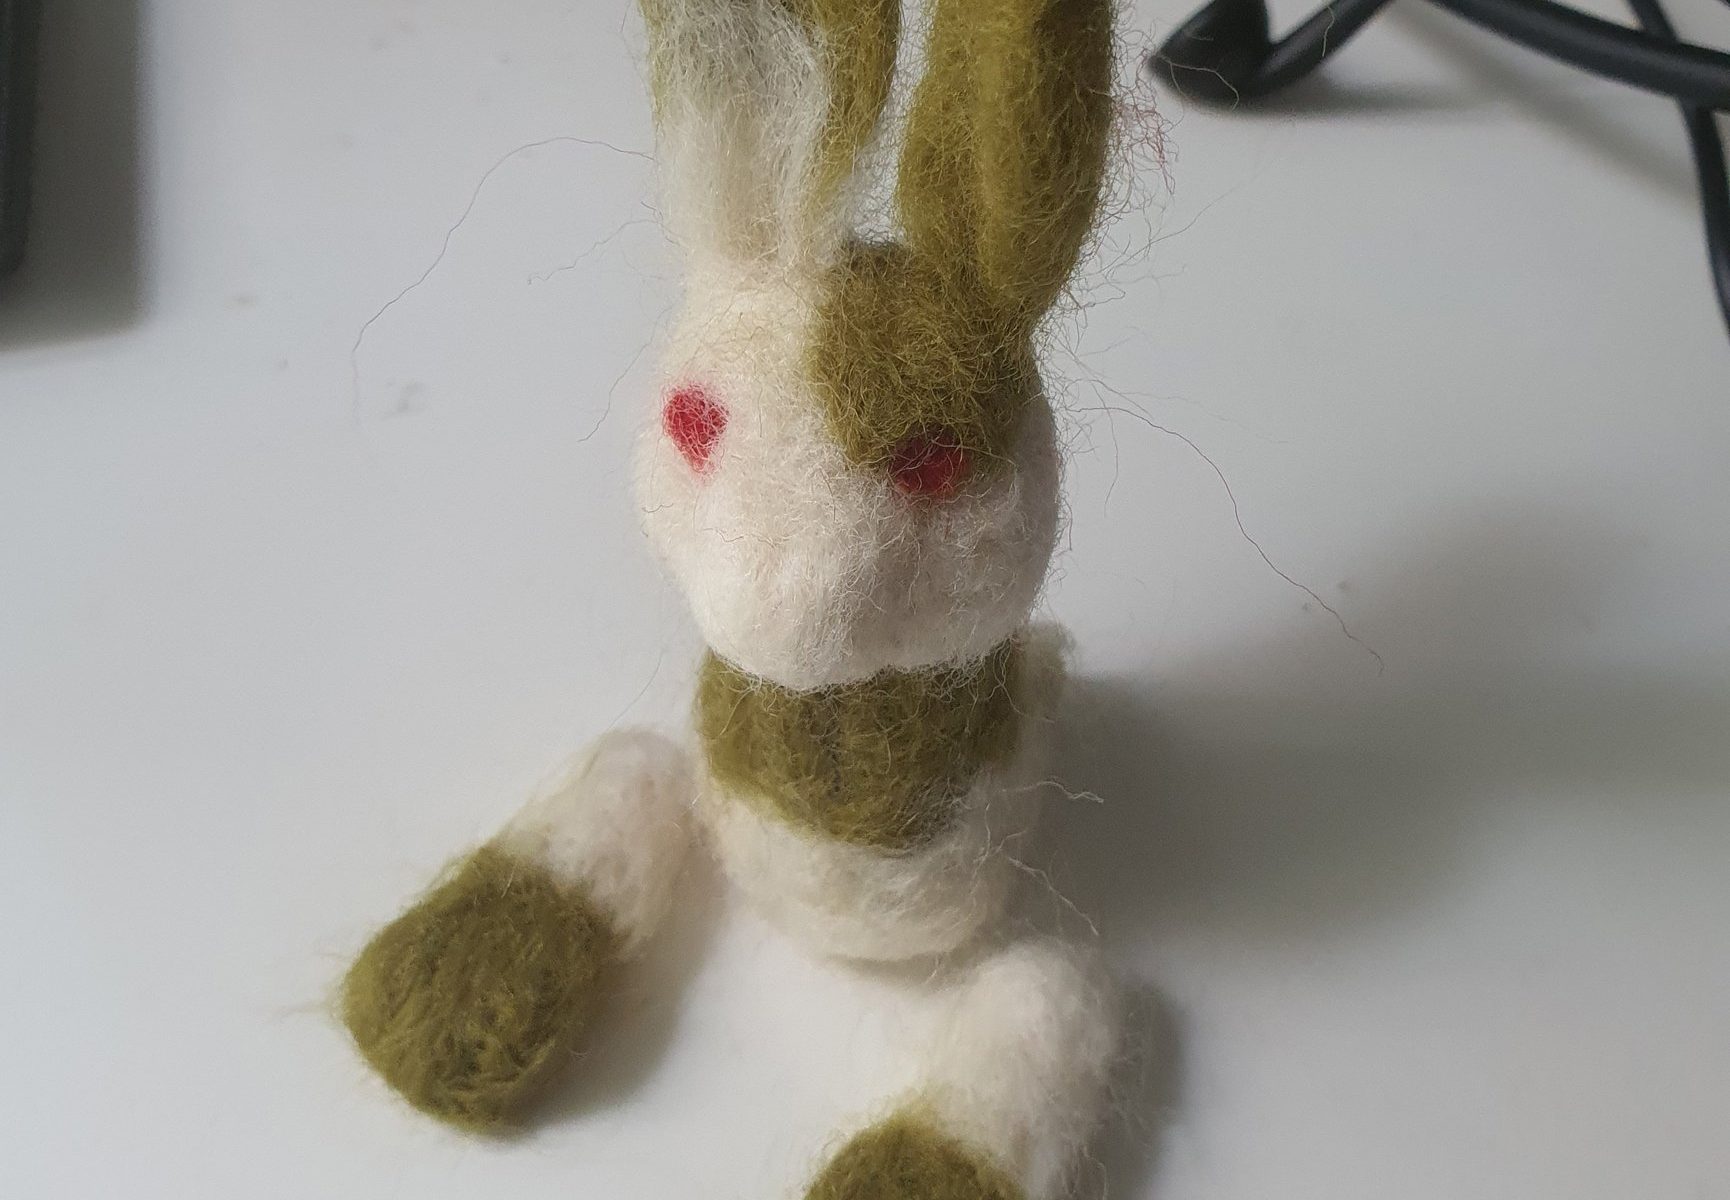
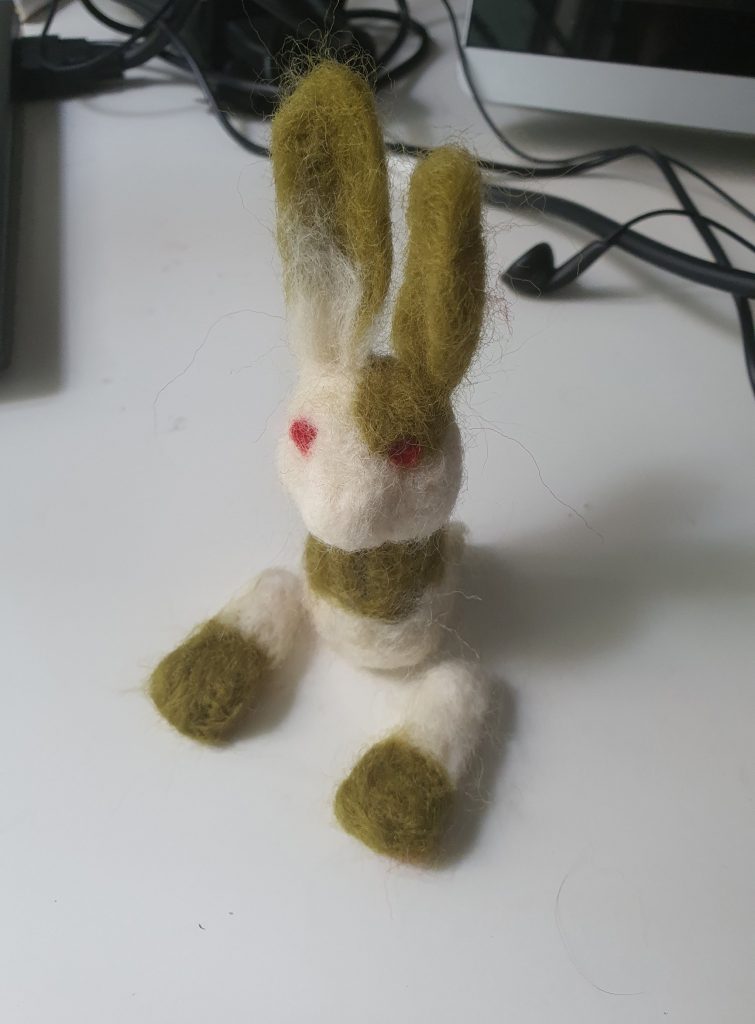
Step 1: Roll the felt wool into a any shape you wish

Step 2: Lay it on the foam block and stab it with the needle until firm.
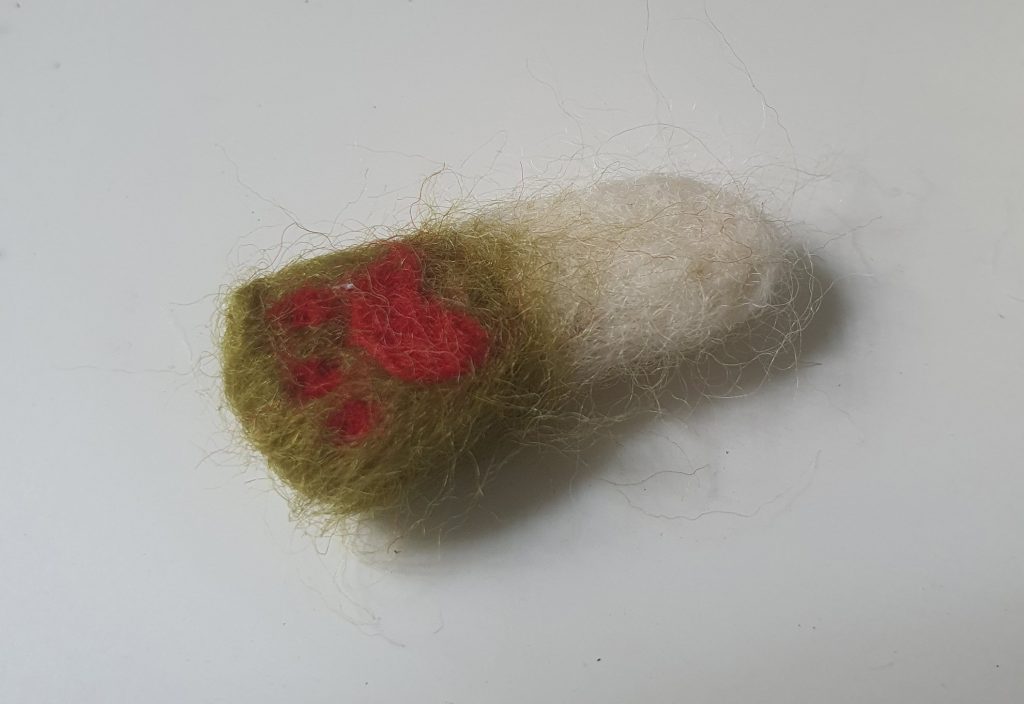
Step 3: To connect pieces or thicken parts lay more layers of wool and stab the part until the wool has fused.

Reflections:

Be careful of your fingers when you are stabbing, it is very easy to get impatient and start stabbing without thought. While it will not cause massive damage if you are stabbing gently it still hurts.

If the material made is too big you can always cut them off.

Felting is like sculpting with a needle, but you should work with a slightly bigger surface them slowly self it down, because it becomes more tightly compact hence shrinks.

Instructions for Wet Felting

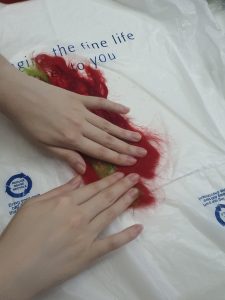
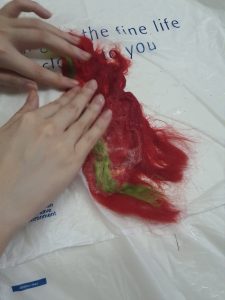
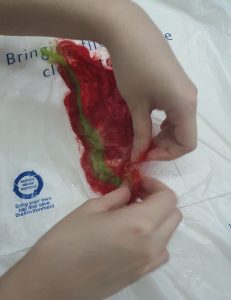
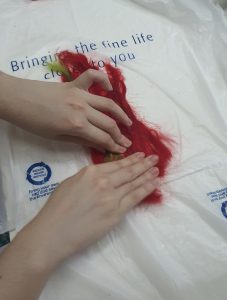
Step 1: Lay the layers of felt wool over each other in different directions


Step 2: Lay it over some plastic and pour hot water over it.

Step 3: Add soap on it and start rubbing the fibres

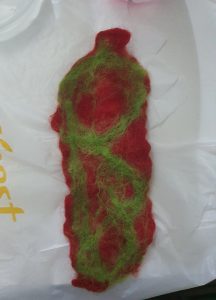
Step 4: Add a different coloured wool over the wool to create interesting patterns. Can keep building layers till a certain thickness has been created.

Step 5: When the hot water and soap stops helping the material to fuse, switch over to needle.


Reflections:

Be careful it is hot.

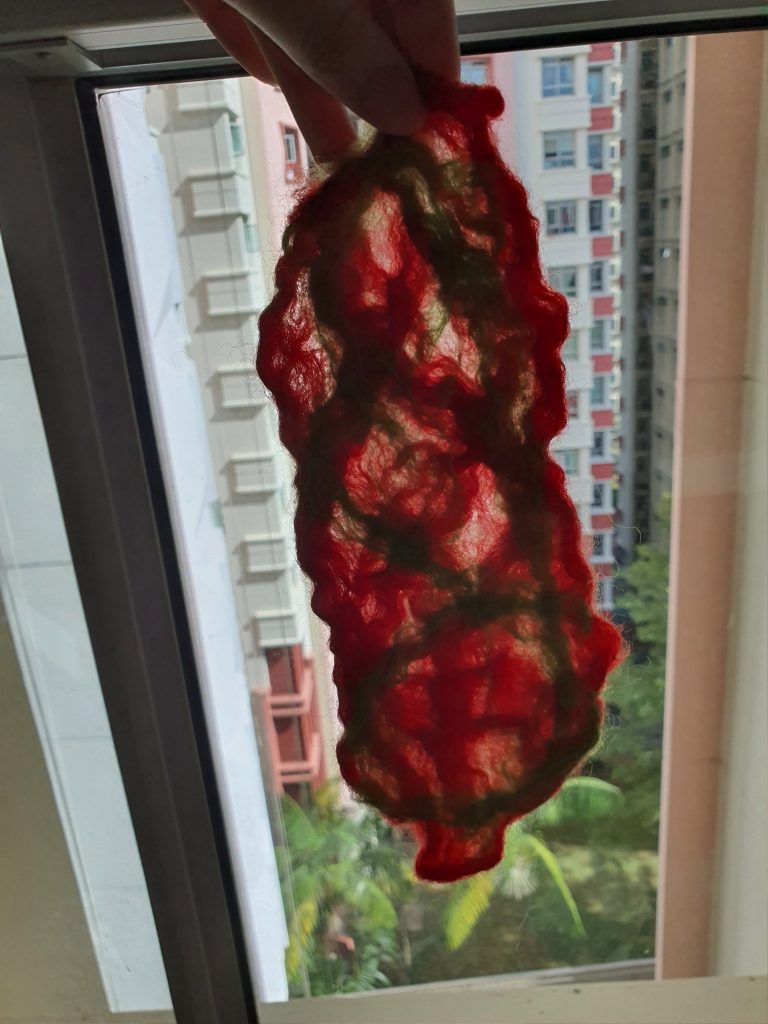
Layer the material in various directions or the material will not fuse properly. Mine sprouted various holes, because of the way I snaked the wool

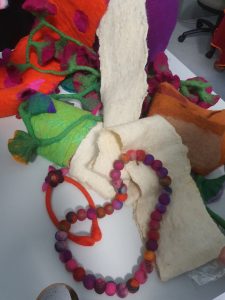
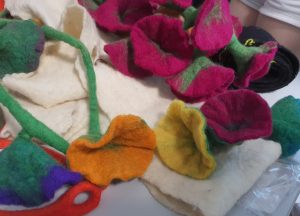
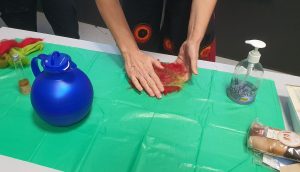
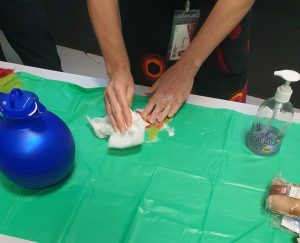
In Class Pictures:

Applique Material List:

  • Beads
  • Threads
  • Fabrics with different patterns
  • Anything you want to add on top
  • Sewing Machine


Instructions for Wet Felting

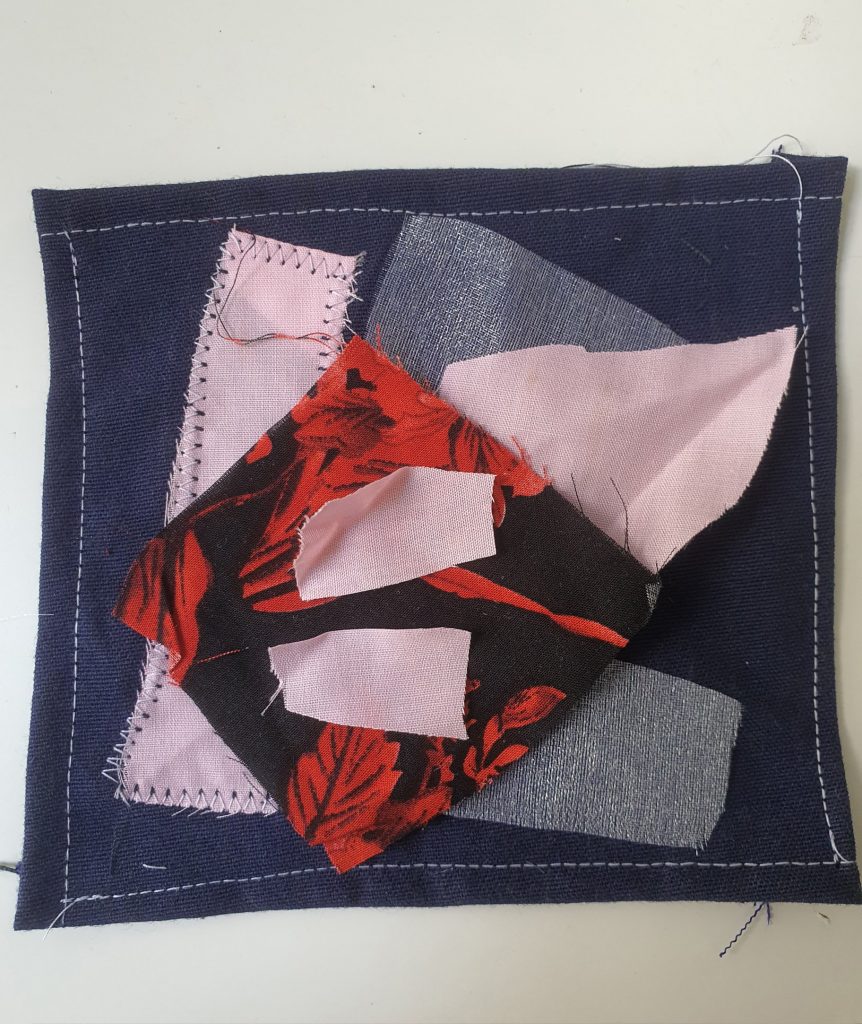
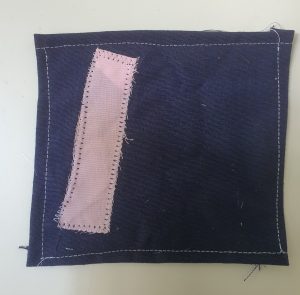
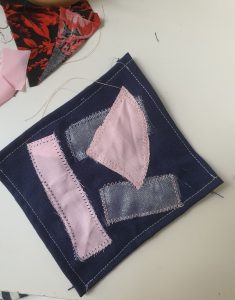
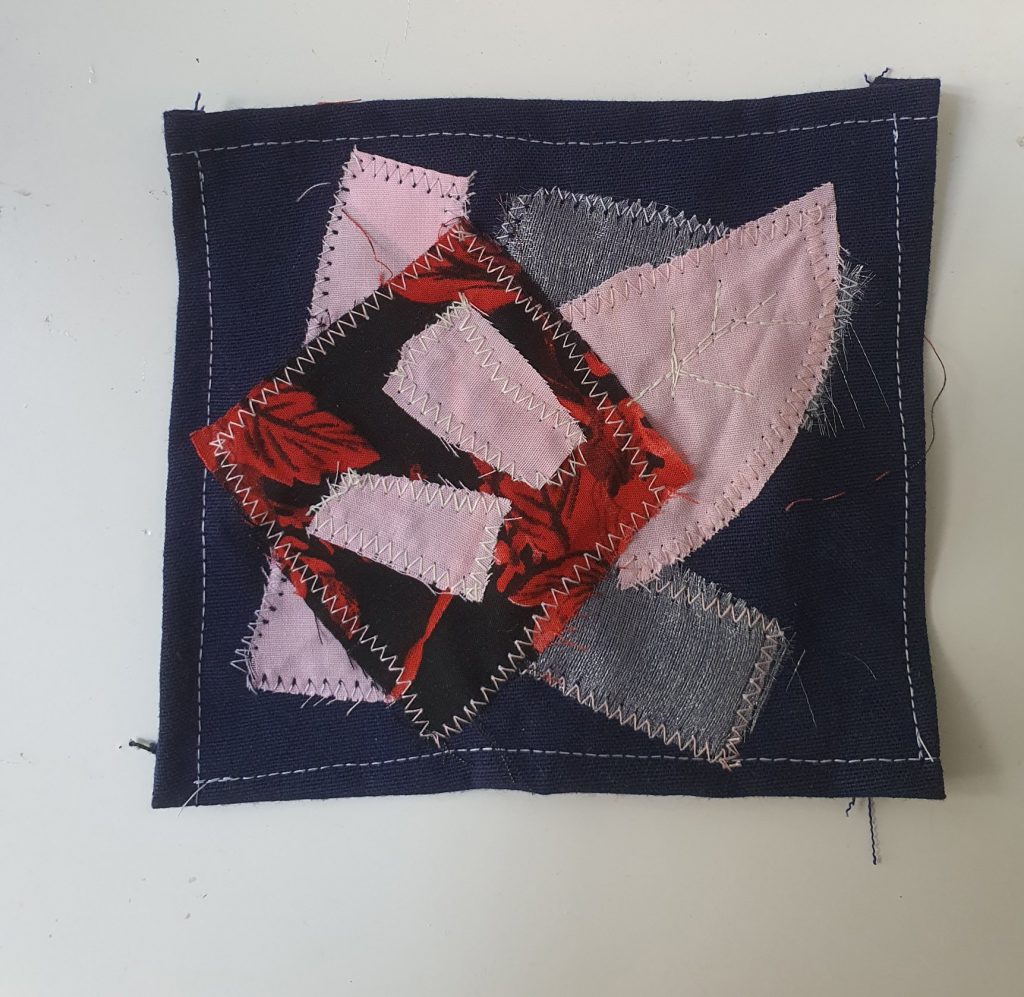
Step 1: Arrange Fabrics to the way you want

Step 2: Sew them down using different sewing patterns.

Step 3: Hand Sew the beads on


Reflection:

Having fun using different patterns for sewing down the fabric and using different threads for the top and bottom thread to give tiny accents when they peak through. The problem is my threads do not have a lot of contrasts so it is not very obvious.

I would like to try adding beads.

Material Cookbook || Chapter 2: Plastic Fusion and Thread Fabric

Material List for Plastic Fusion:

  • Plastic bags or plastics of any kind
  • An Iron
  • Wax Paper

Instructions for Plastic Fusion:

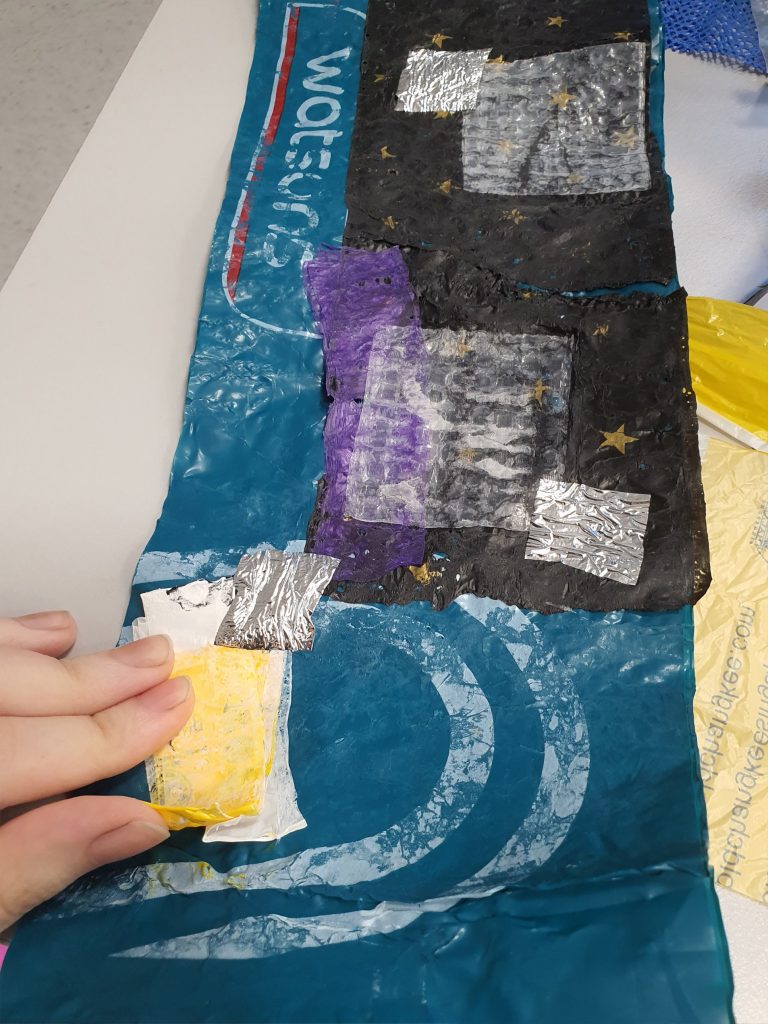
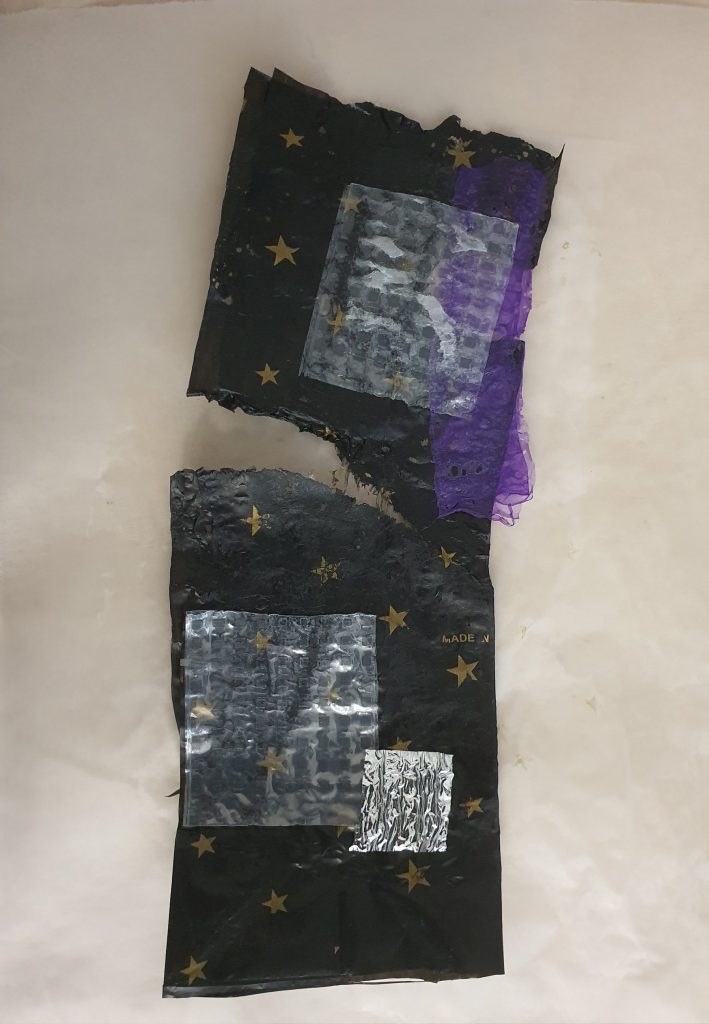
Step 1: Cut and arrange the plastic bags in the pattern that you want.

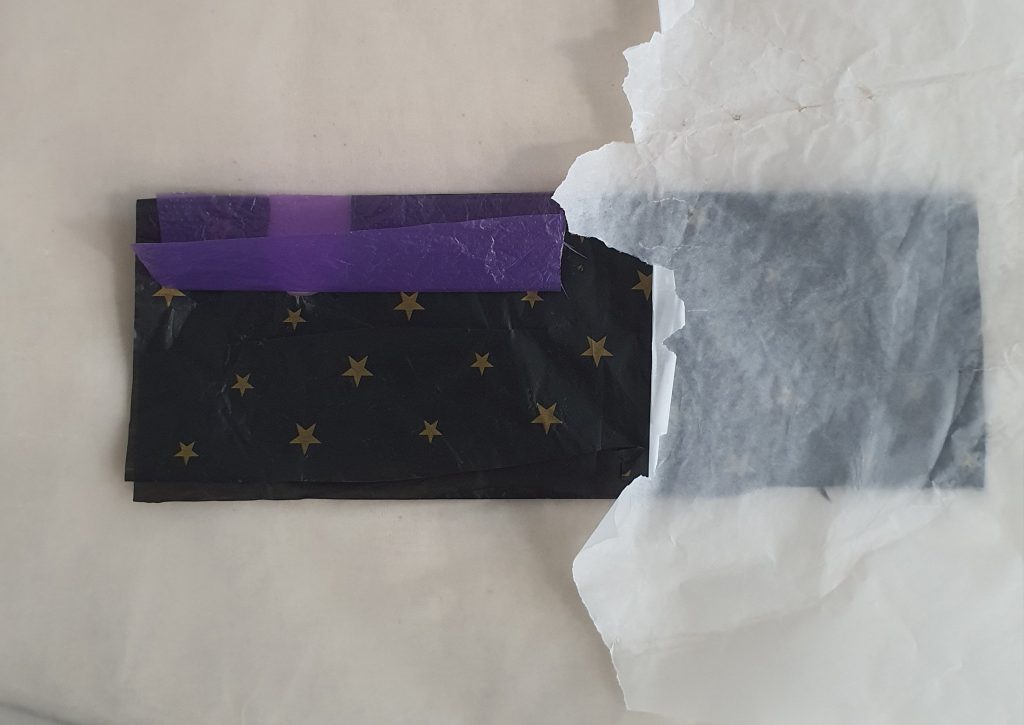
Step 2: Sandwich the plastics between wax paper and iron them to fuse. (The starting setting was the one with the highest heat)

Reflection:

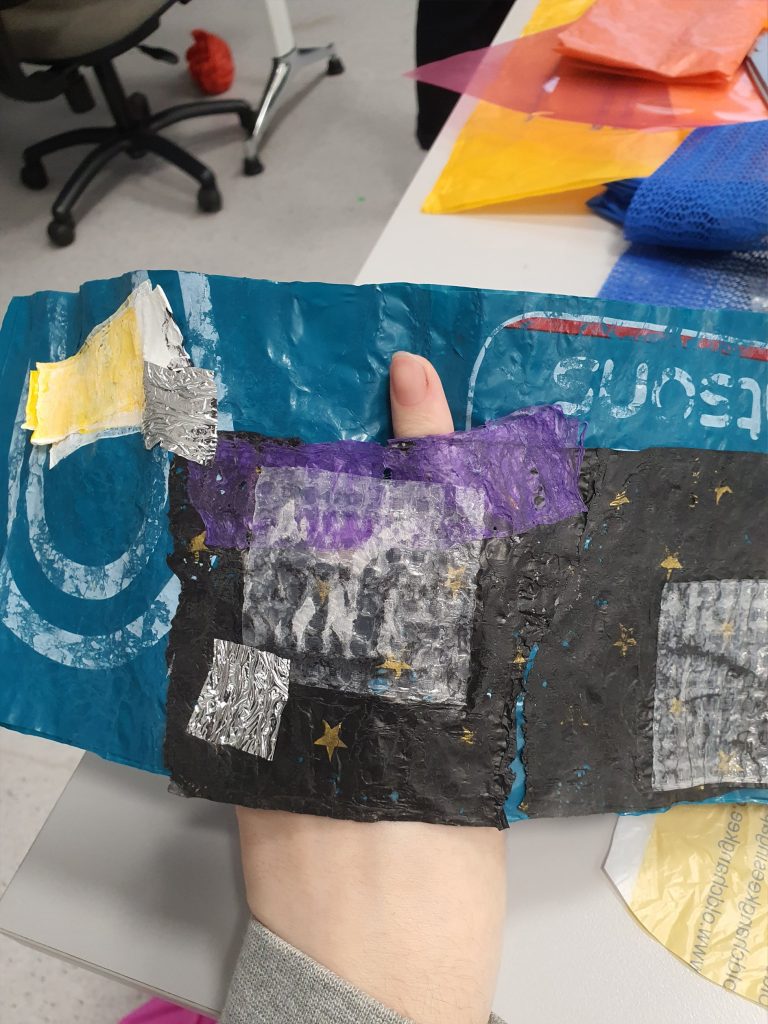
Thin plastics burns very easily, the kind from the markets or trash bag material. Layer them sufficiently or turn down the heat from the iron.

The designs on the plastics transferred to the wax paper. It could be because the heat was too high, but certain designs melted faster then the plastics and fused to the wax paper instead. On a side note, some of the plastics fused to the wax paper instead of with the other plastics. (It could be the type of wax paper used, but that is a hunch? )

Transparent plastics are sticky. The take more heat to melt (or at least my transparent package did) but it refuses to fuse. Instead it feels slightly resistant to touch hence I describe it as sticky. It does create very beautiful ‘frosted glass’ texture though.

Sometimes the heat is not enough and it results in the plastics not fusing, hence a cute little hole for your finger to stick through, a very intentional design flaw XD.

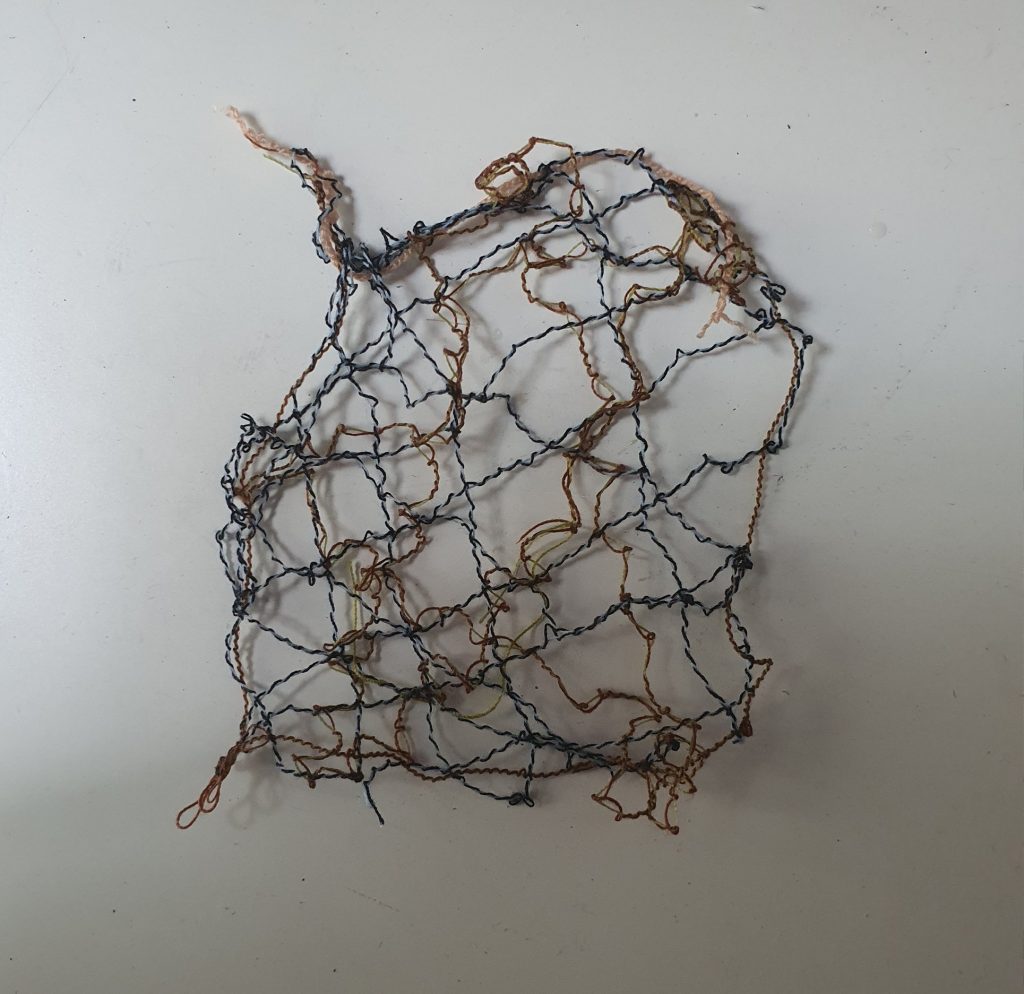
Material List for Thread Fabric:

  • Threads
  • A sewing Machine
  • Water Soluble Stabiliser
  • Fabric and trimmings to add into the ‘fabric’.
  • UV resistant acrylic spray

Instructions for Plastic Fusion:

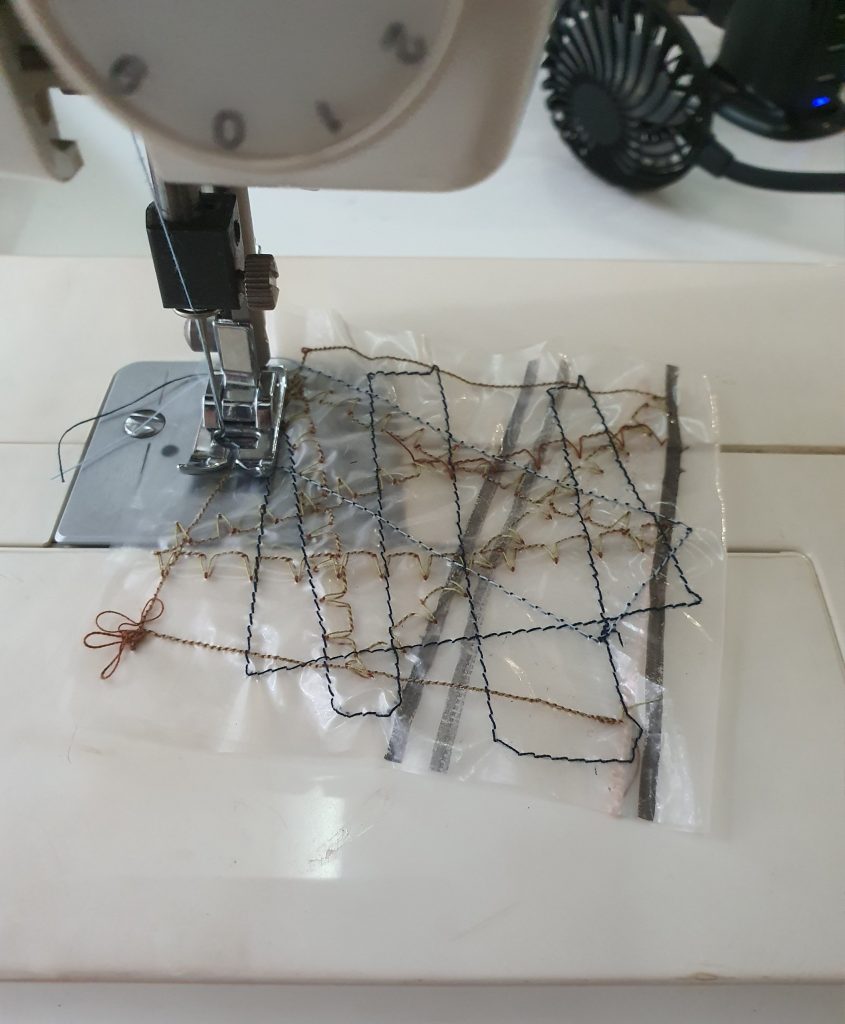
Step 1: cut two identical pieces of water soluble stabiliser

Step 2: Sandwich threads, fabric trimmings or anything you want in between the two pieces of water soluble stabiliser.

Step 3: Pin them in place and start sewing.

Step 4: Wash the water soluble material away.

Step 5: Place the wet material over a surface shape that you want them to hold and leave to dry. (Optional)

Step 6: Spray a coat of UV resistant acrylic spray over it to stiffen the material and allow it to keep its shape. (Optional)


Reflection:

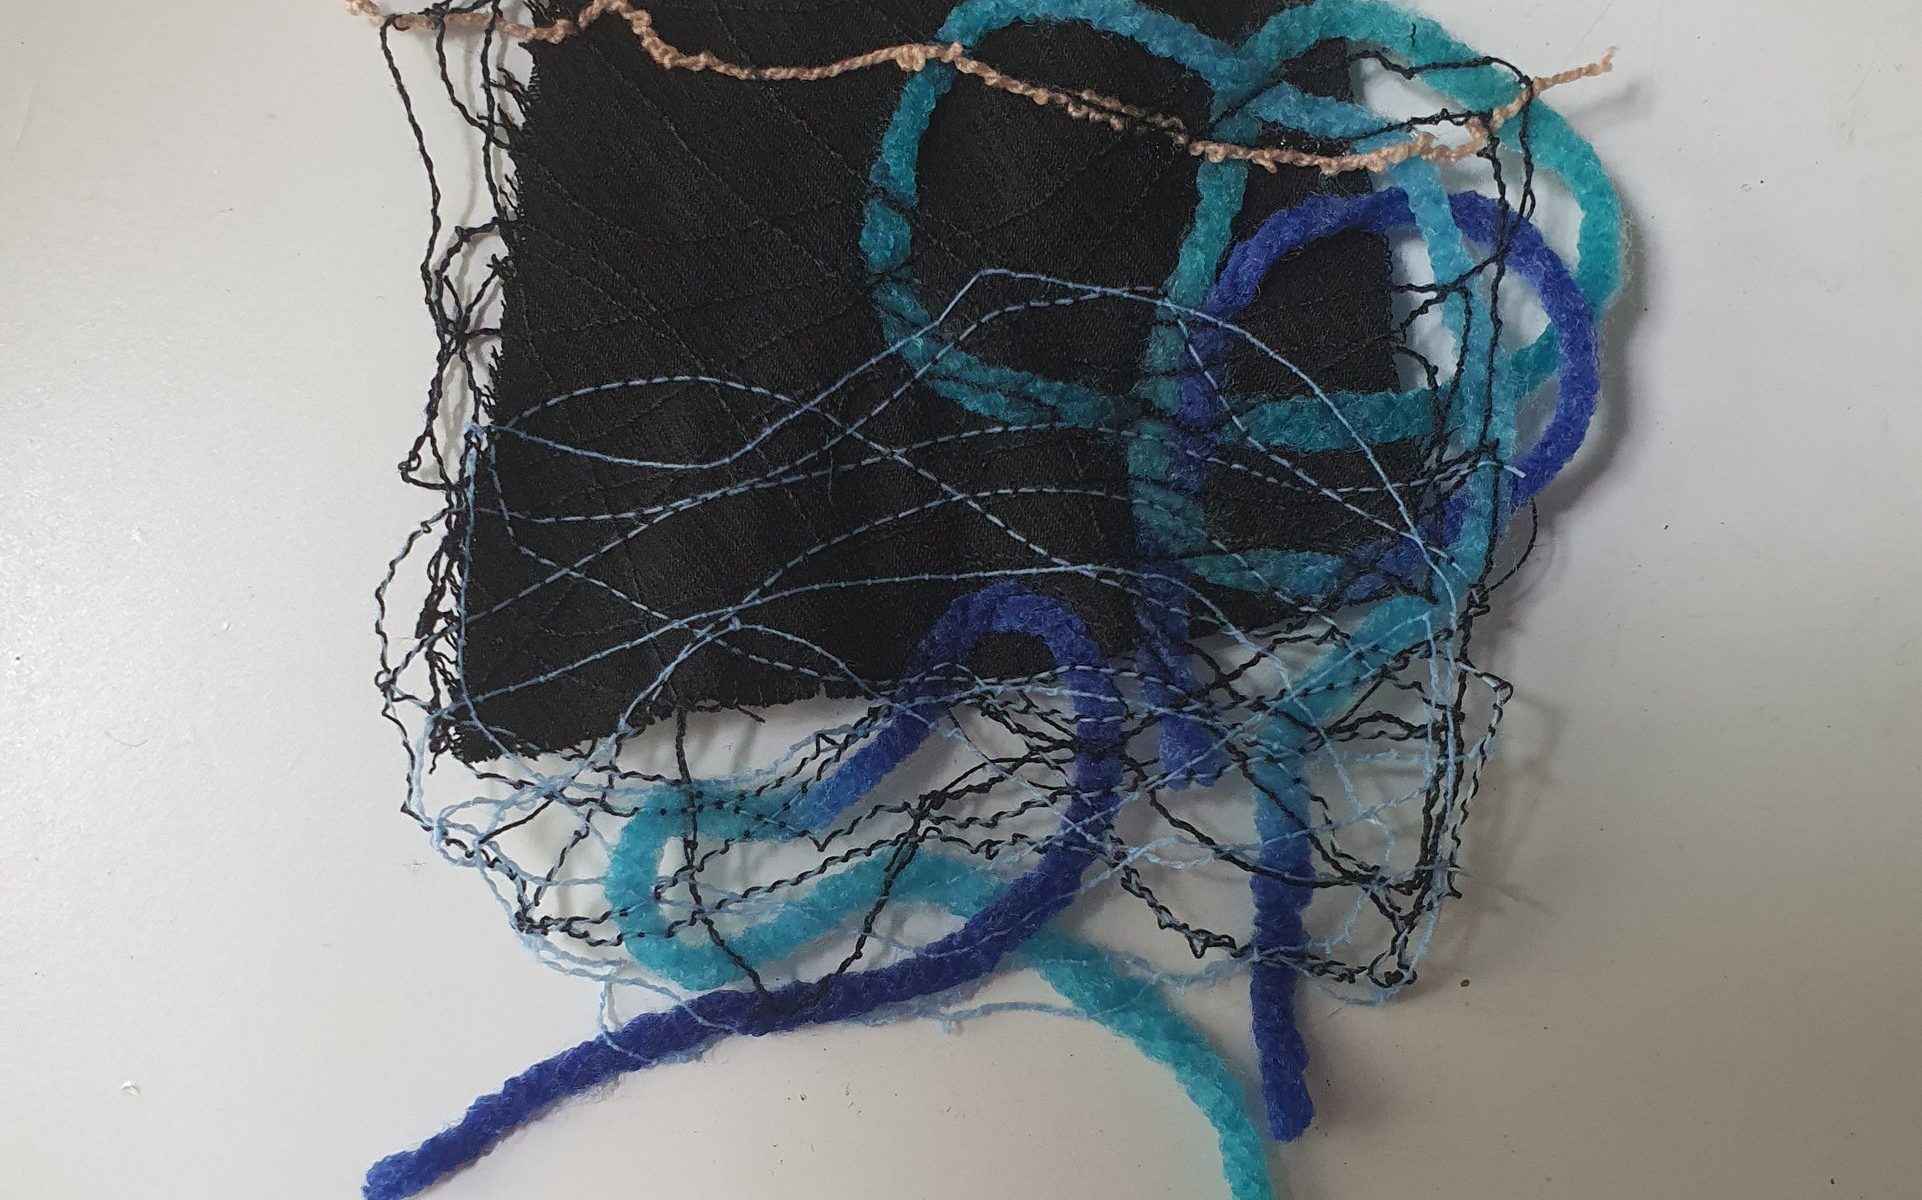
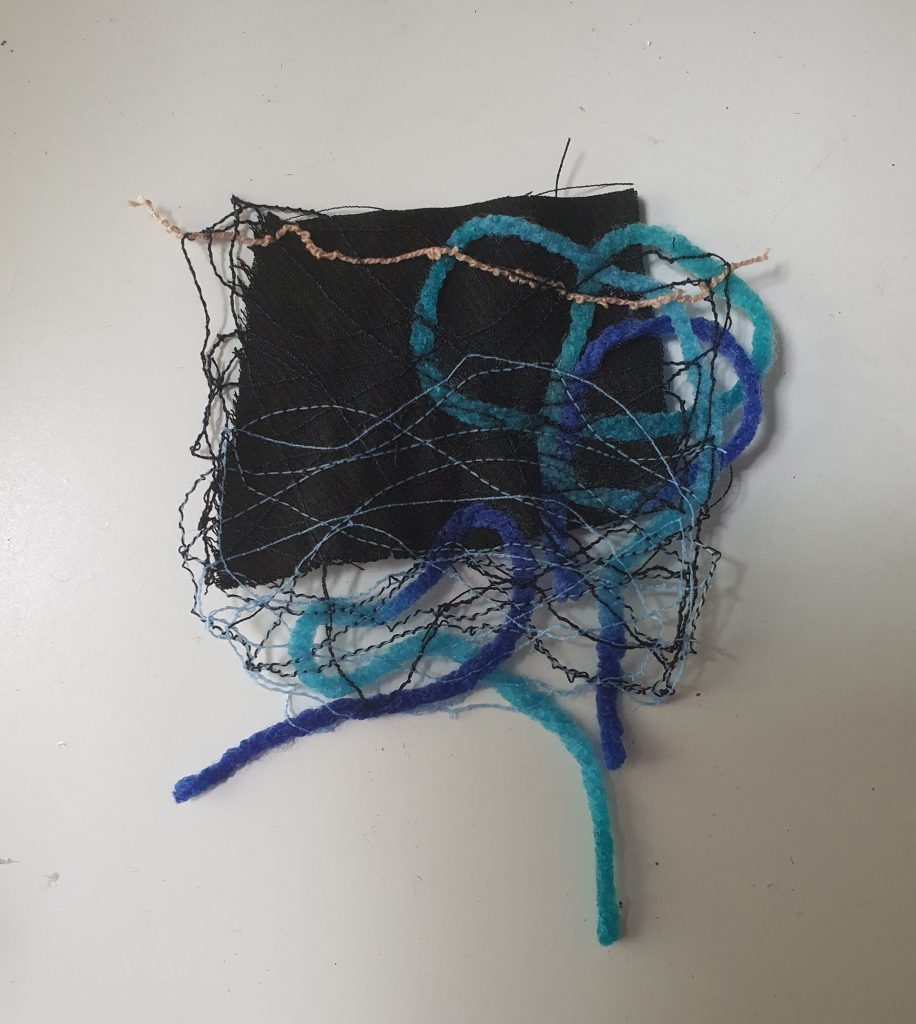
Upper and lower threads can be of different colours to create more interesting visual contrasts.

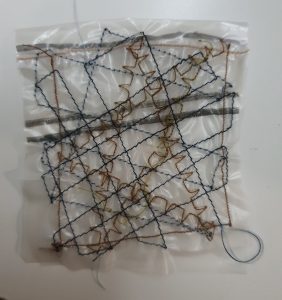
Make sure that the threads overlap, because that is the only thing holding the ‘fabric’ together when the water soluble stabiliser is washed away.

Sewing can be done with any patterns, lets have fun and explore together.

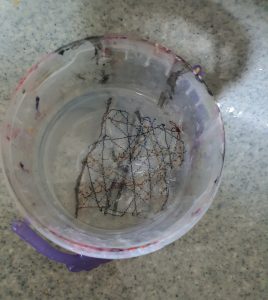
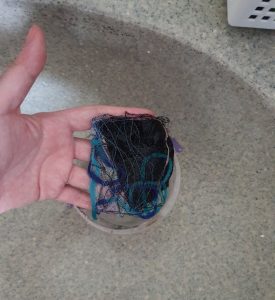
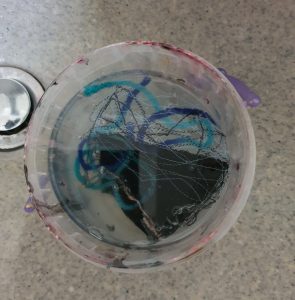
Be careful when washing the threads only fabric, as they feel a bit fragile, especially if you threads are a bit sparse like our trial. Do not squeeze them into a ball (I thought they were going to stick all together oAo).

Material Cookbook || Chapter 1: Direct and Indirect Pattern Transfer

Materials Needed:

  • Transfer Ink for Fabric
  • polyester material, the silky kind
  • Paper
  • Fabric crayons
  • wax paper
  • Iron/Heat press
  • Flat items (Feathers, string, lace, etc)

Instructions: Dry transfer – Direct


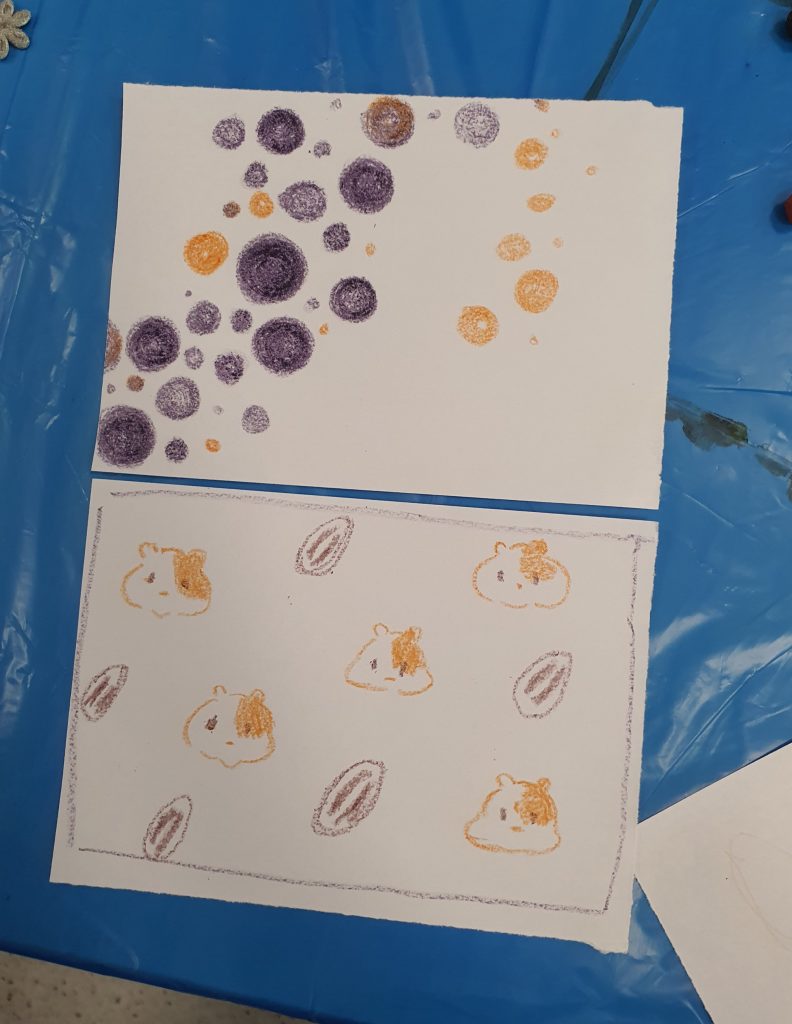
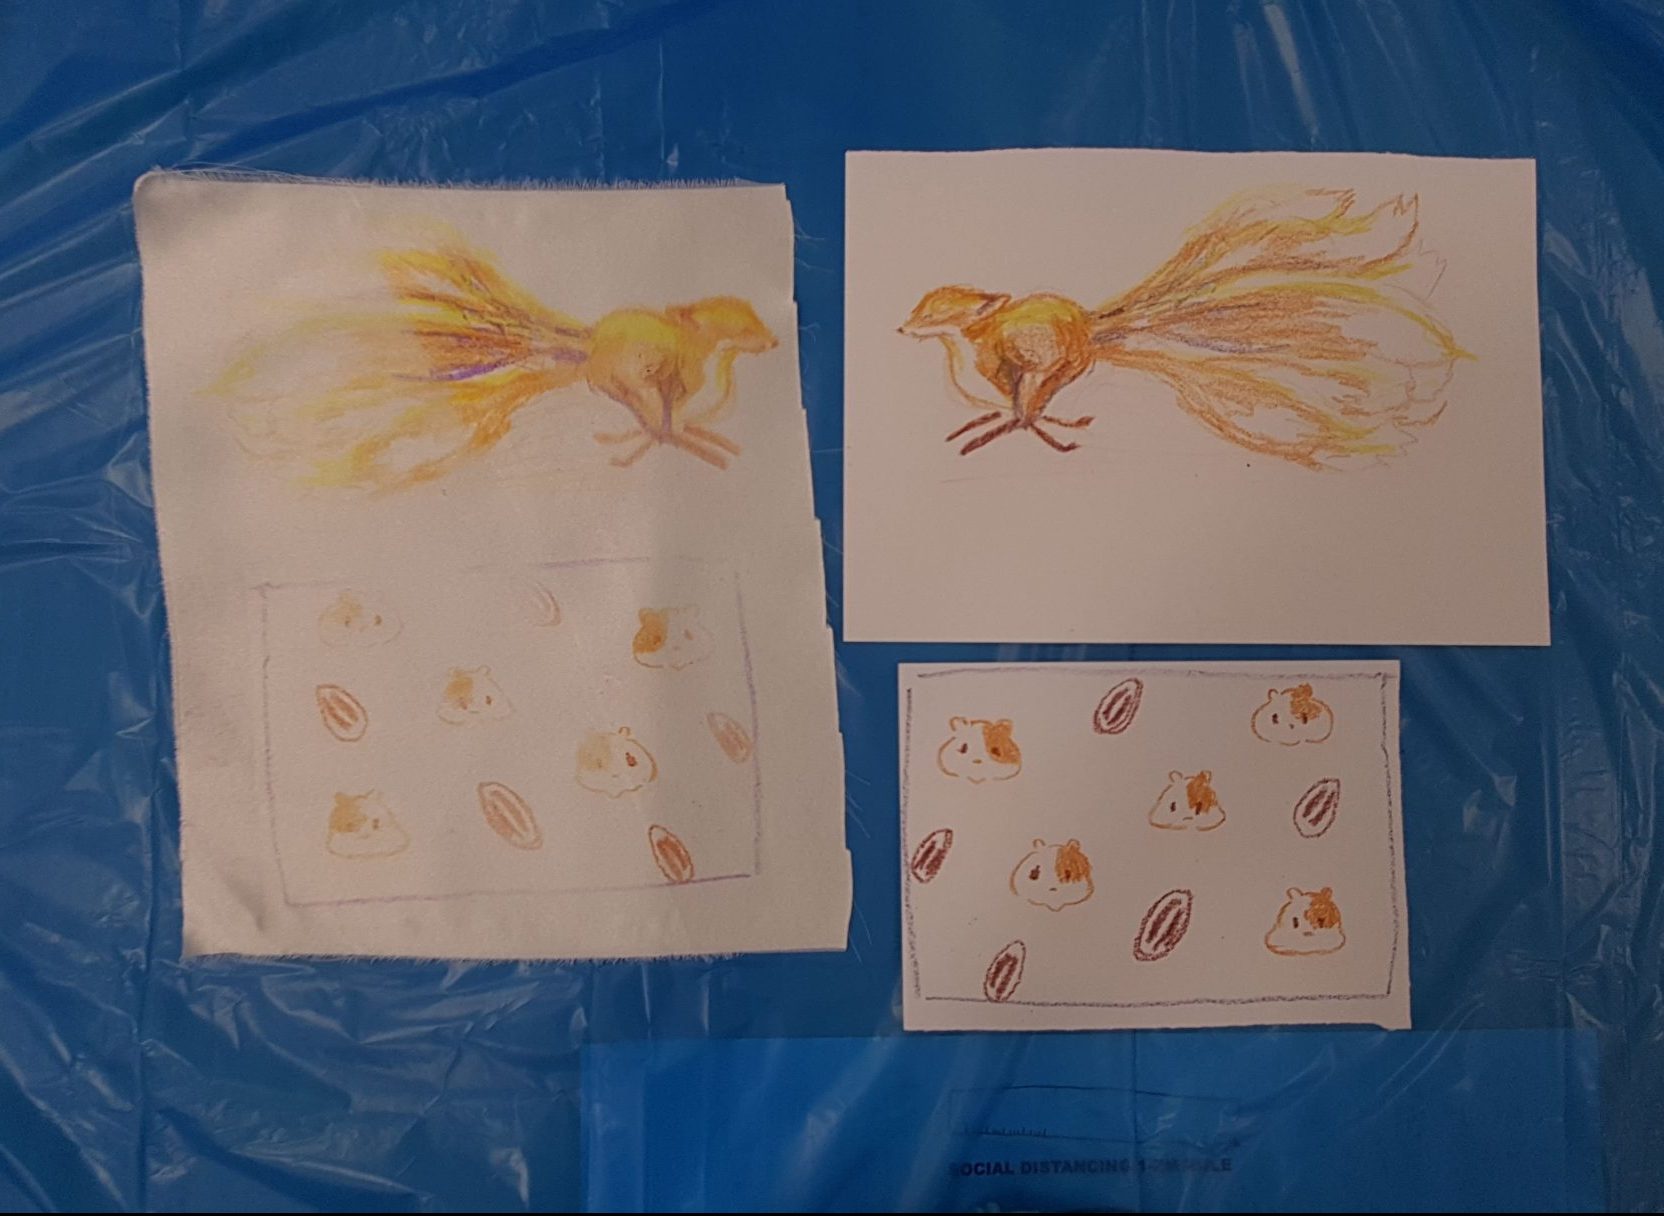
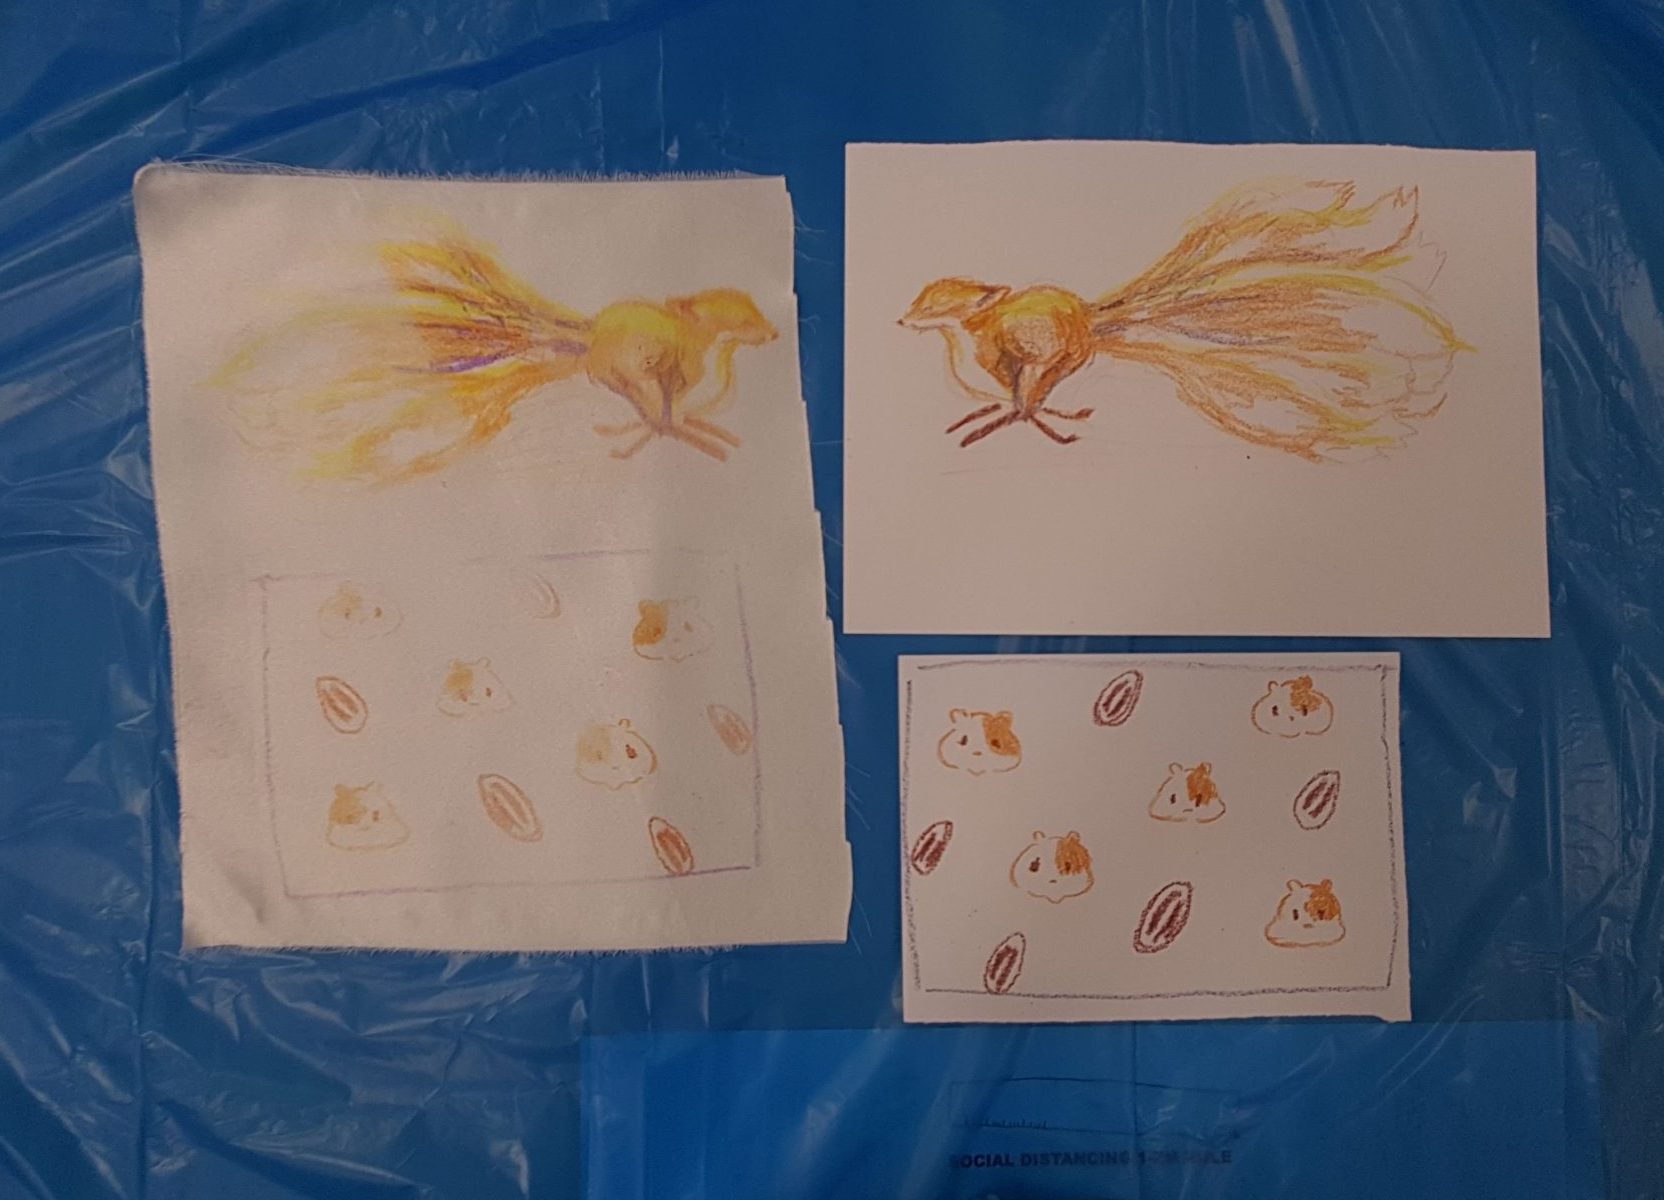
Step 1: Draw a pattern or image on paper using the fabric crayons.

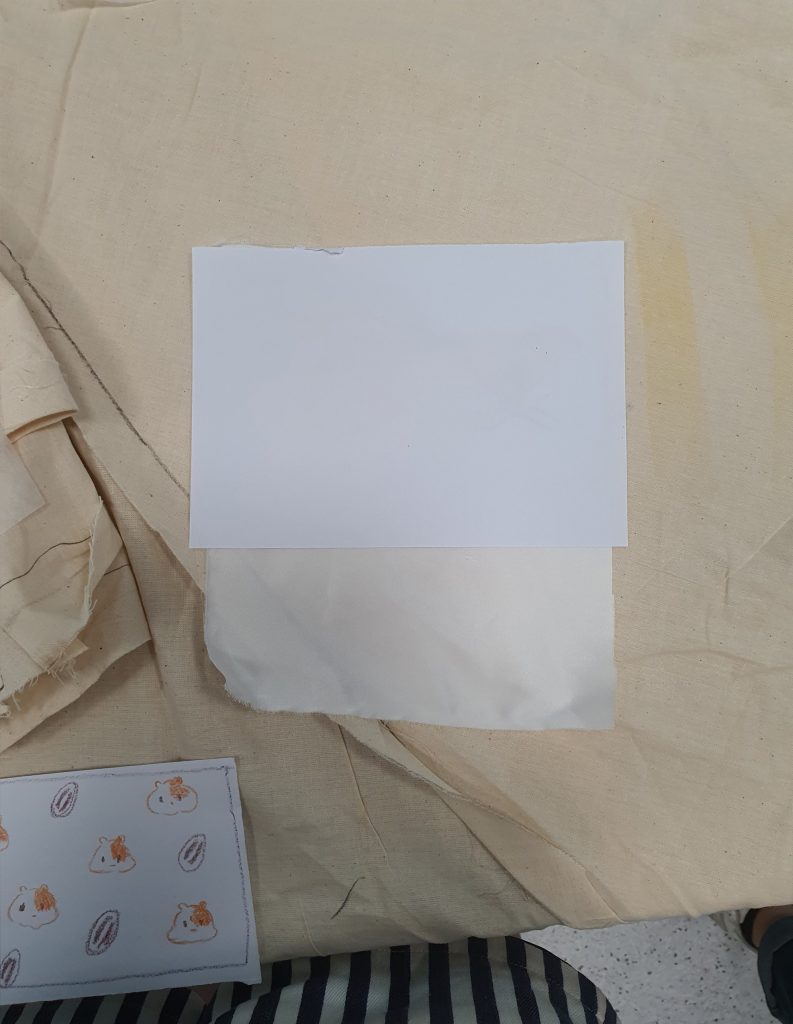
Step 2: Line the paper on top of your chosen material, image side down.

Step 3: Place a sheet of wax paper to protect your cloth from direct heat from the iron. This will prevent the cloth from burning or warping.

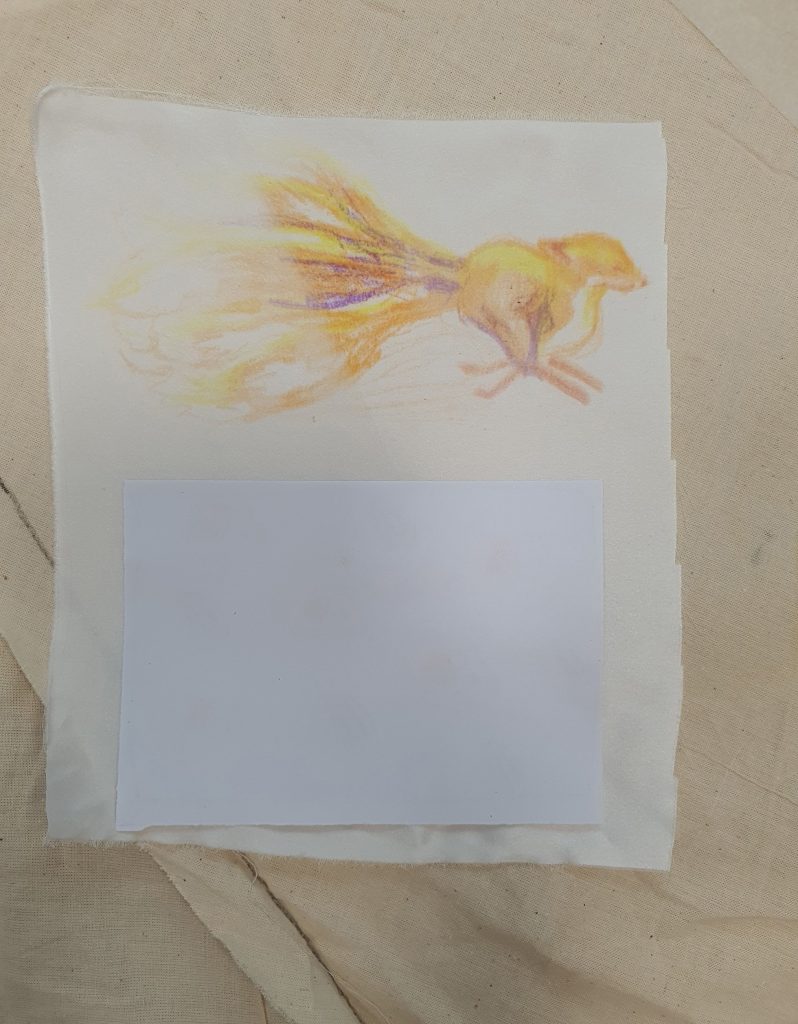
Step 4: Iron the stack. Note that the Colour will start to seep into the cloth when it is ironed properly. It also takes awhile for the image to transfer so be patient and check it constantly without moving your image.

 Reflection:

Heating with an iron is uneven and I removed the heat too early on from some parts of the fabric which results in fainter imprints.

Polyester burns and shrinks under high heat. Also the silkier the fabric, the more vibrant the colours.

Yellow on paper is very bright whilst purple on paper is almost black, yet transferring over to the cloth lightens the colours.


Instructions: Wet transfer – Indirect

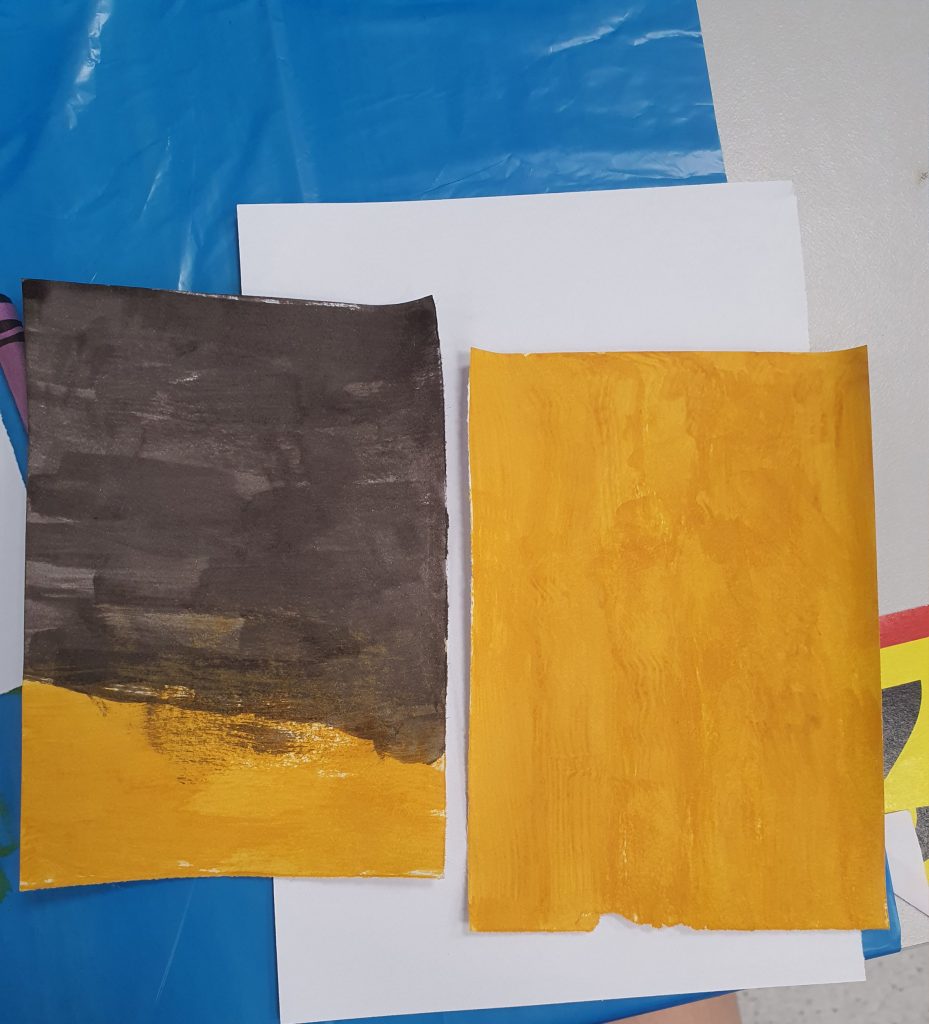
Step 1: Paint your paper with Transfer Ink and leave it to dry

Step 2: Arrange your flat objects on top of your chosen cloth.

Step 3: Line the dried paper with transfer ink on top of your chosen material, coloured side down.

Step 4: Place a sheet of wax paper to protect your cloth from direct heat from the iron. This will prevent the cloth from burning or warping.

Step 5: Iron the stack. Note that the Colour will start to seep into the cloth when it is ironed properly. It also takes awhile for the image to transfer so be patient and check it constantly without moving your image.

Reflection:

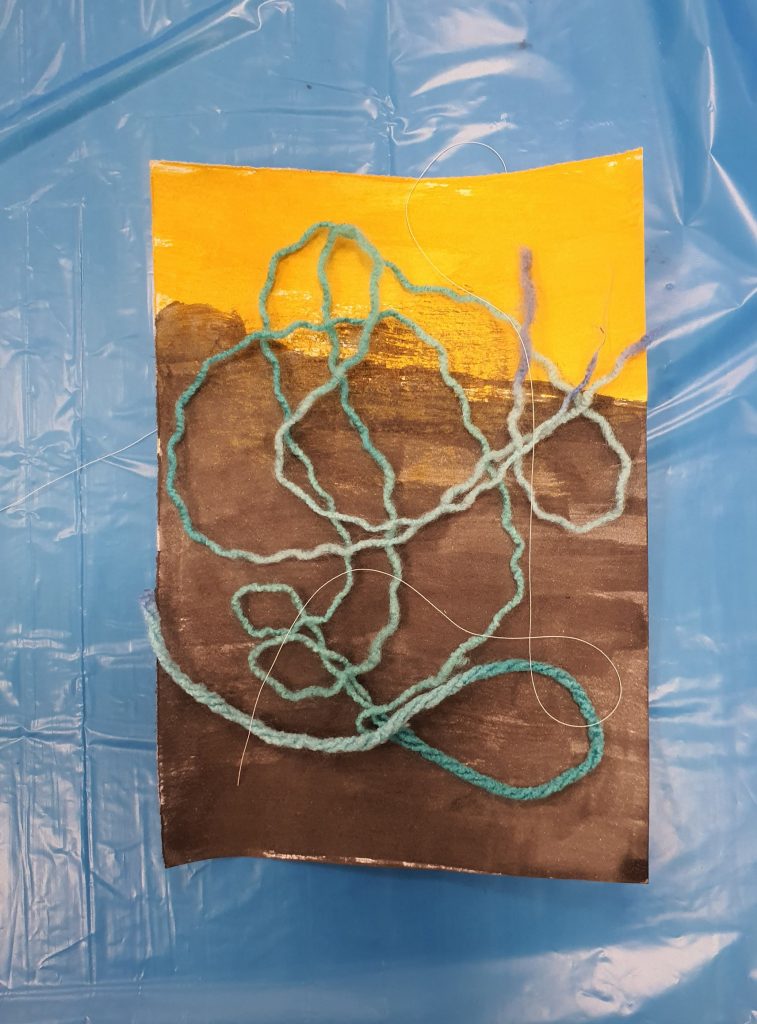
The flat objects like string move around a lot when checking, be careful when lifting the sheets.

the transfer ink also takes longer then the crayons for heat transfer, be patient.

Instructions: Wet transfer – Direct

Step 1: Paint your flat objects with transfer ink.

Step 2: Arrange your flat objects on top of your chosen cloth, painted side down.

Step 3: Place a sheet of wax paper to protect your cloth from direct heat from the iron. This will prevent the cloth from burning or warping.

Step 4: Iron the stack. Note that the Colour will start to seep into the cloth when it is ironed properly. It also takes awhile for the image to transfer so be patient and check it constantly without moving your image.

Reflection:

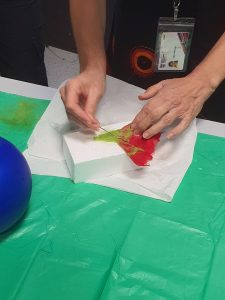
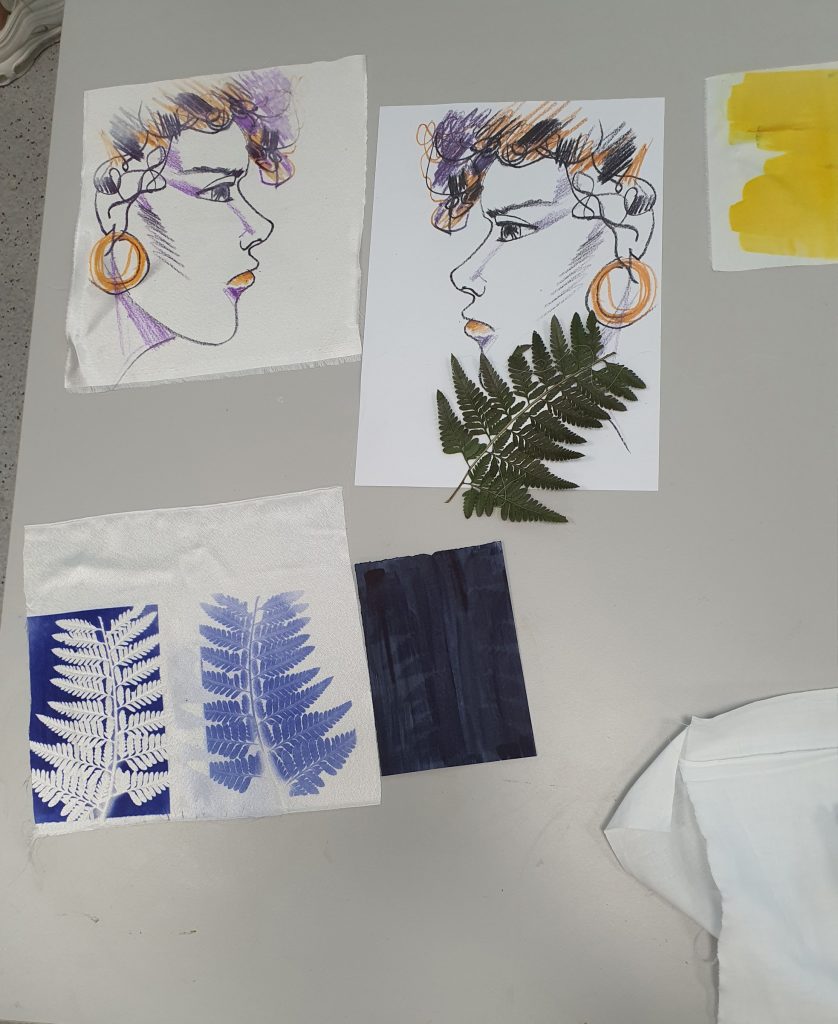
In class example done by Galina. 
The positive imprint is an example of direct wet printing.

I did not have the opportunity to play with this as my string was too flimsy to make a second imprint. The ink picked up from the first wet transfer print is enough to transfer a detailed enough pattern to the cloth as witnessed in the class example.