Surface Design Final

What comes to mind…

Themes:

Photos Foxes Winter Snow Animals

Source Taken From: https://www.1zoom.me/en/wallpaper/468468/z967.8/

This is mine :D

The black fox looks like some evil fairytale. : FairytaleasFuck

Source from: https://www.reddit.com/r/FairytaleasFuck/comments/f9dbu3/the_black_fox_looks_like_some_evil_fairytale/

Kitsune | Mythology & Cultures Amino

(Source taken from: https://aminoapps.com/c/mythology/page/blog/kitsune/evjQ_vbi3ud833BnMbpQPqrev5KgR5eo1M)

Just thinking considering this entire semester I spent a lot of time drawing foxes for this class, I might as well end off with a fox. I was looking at maybe doing a ‘fox pelt’ clothing, or accessory. However, I am worried about producing a literal fox for the final, or creating a general furred outfit.

Set up:

I can consider either a hunters set up, if I am going for a more brutal “I killed a fox” narrative, or I can do a set up from a fox’s point of view. The latter will be a bit more fantastical, like a daily life of a fox and what is on their vanity, the stuff they own, and them reusing their shed fur to make their own things.

Mood board:

Photos Foxes Winter Snow Animals

red fox has brown eyes and a piercing gaze

red fox, face, eyes, grass, animal, wildlife, animals In The Wild, HD wallpaper

Glass eyes fox eyes golden eyes cat eyes animal eyes image 0

The black fox looks like some evil fairytale. : FairytaleasFuck

Arctic fox - Wikipedia

Fennec fox | Smithsonian's National Zoo

Delta the Fox — beautiful-wildlife: Paws Up! by © Alicja...

Their Names Are Sahara And Morocco | Pet fox, Cute animals, Cute baby animals

Ideas from my Pinterest board:

DIY Purse From A Stuffed Animal >> Over The Apple Tree  Felted scarf stole brown grey raw wool curly by galafilc, $167.00 Thimister AW 2011 by viltefelt, via Flickr

Nuno Felted Scarf by @Marina Zlochin Zlochin ShkolnikVilten sjaal - felt collar - Werkelijk prachtig! would make a fantastic addition to a #mothernature costumeOKA blog about eco printed nuno felted reversible garments and accessories, mah jongg jewelry, Studio 907, nuno felting workshops, Beth Marx, So Cal

What Techniques am I considering:

  • Knitting/Crocheting
  • Felting
  • Thermochromic printing
  • Applique
  • Resin
  • Others


What was presented For Final:

Reflection:

In the end I decided to do a bag, half crocheted, half felted/weft.

I combed out the crochet knitting, but the yarn did not pull as long as I had hoped, hence the knit was still visible. I hope to be able to edit this and make it more cohesive material wise next time.

The knit took too much time, but I felt that it is easier to crochet a head than to sew it as I could not visualise the fox head pattern in terms of cutting cloth.

Final Project: I tried to be a Musician

Looking at my final project, I was rather sceptical about what it is i wanted to do, as I was out of ideas.

I spent quite a lot of time thinking about what I wanted to do, and realised looking for ideas just got me more and more distracted from actually finding an idea. Hence I decided to build on that feeling of wasting time and made a product that ‘wastes other people’s time’.

The entire project ‘I tried to be a musician’ is kind of looking at the idea of people doing things for fun, finding ‘useless’ talents that seem entertaining but at the end of the day, there is not much value added to the experience.

I kind of remembered some people making music videos with Calculators and the squeaky chickens (help, I never realised they are made by the same person). The kind of music videos where you look at them and realise ‘wow, you are so talented’ and immediately after ‘where the heck do you get the time to do this sort of things’.

So I decided lets make a musical instrument too, something easy to understand and grasp and make a jumble of sound, but hard to actually make something decent, to prompt others to try harder to make the product work for them, or give up instantly after understanding that it is going to be a waste of time.

I guess this project is really just to emulate that idea of having fun trying to solve a problem, but at the end of the day, you are just wasting time having fun. (Is that considered wasting time? who knows?)

The Making:

So the components of the project are relatively simple. It is a combination of two simple circuits, one for an ultrasonic sensor, and another for a buzzer:

Source: https://howtomechatronics.com/tutorials/arduino/ultrasonic-sensor-hc-sr04/

learn_arduino_fritzing.jpg

Source: https://learn.adafruit.com/adafruit-arduino-lesson-10-making-sounds/playing-a-scale

I found that by using a buzzer I technically can code for the entire keyboard is i find the list of numbers associated with the tone. By allocating a set distance the ultrasonic sensor and my hand, I essentially have a no-touch piano keyboard. Yay.

Taking it a step further, because why not? I duplicated the code by three, splitting them according by octaves. We only have two hands so I wish you luck trying to learn how to play this annoying child >:D

Pictures:

The setup for a single set of buzzer and ultrasonic sensor pair.

The there is the external pieces.

I first laser cut my pattern out:


Then after that i Spray painted the pieces:

Videos:

So Far there is two:

The range of the sound seems to similar i need to increase the range to make it more interesting.

Principles of New Media

In Manovich Lev’s ‘The Language of the New Media’ he identifies new media to fall under five categories: Numerical Representation which is the language used to generate outputs in machinery; Modularity which means it has various components of which a new media work can be separated; Automation which is the removal of human intentionality in the work; Variability which means that the work can have a range of outputs/outcomes/reactions; and finally Transcoding which is the ability to turn ‘physical information’ like sound, text, etc, into a set of code that can be read by the computer.

For mine and En Cui’s project, we make use of four out of five of this categories, namely numerical representation, modularity, variability and transcoding.

When we are oconsider the idea of numerical representation, so long as we are creating things on a digital platform, our written codes for our project to function is a form of numerical representation. Numerical representation is the digital language that machinery use to communicate hence it is present in all projects that make use of technology.

Subsequently, We have the idea of modularity. Modularity is shown in various layers in thir work. It could be seen in the components that make up the body of the project, like the wires, LEDs and microphone.

It could also refer to our project’s ability to capture data at different points in time in the form of different coloured LED lights, and within that collection, create another collective image of the environment at different points in time.

A bit like Rafael Lozano-Hemmer’s work ‘Pulse Index’, we are looking at how the individual components make up a bigger collective, and how that collective changes over time, which changes the outcome of the work at each time.

Moving on to the idea of variability, the entire idea of our work revolves around the idea of different sounds, merging overlapping and melding to the point that you cannot figure out if it is your own voice or an influence of the environment. Hence the variable in our project comes in the form of the sound input and a corresponding unique coloured light output. Each output would depend on the pitch and volume of the sound recorded by the microphone. Since different people have different pitches in tone, and volume of which they speak each led at different points in time will be different.

Finally, there is the idea of Transcoding where physical information is translated into data code that can be read by the computer. In this case it is the idea of sound that has been picked up by the microphone, being converted into code that is later translated into the values of RGB and brightness that is reflected on the LED.


Final Project, life update

From last Week’s flow chart, En Cui and I worked on creating a mock up circuit which follows a segment of the flow chart.

Mock Up model 1

We started with a basic microphone set up.

From here we tested to see if we can get the input reading through the serial monitor of the surrounding sounds, and the changes when we spoke into the microphone.

Problems:

  • Serial Montitor showed that the input was either a ‘high’ at 1022/1023, or a ‘low’ 0.

Conclusion at this segment:

  • We thought our microphone was iffy

Nonetheless we continued, as the microphone was still able to detect sound we decided it will be good enough for now and we will solve this issue later.

Mock Up model 2

Subsequently, we added onto the first model to include the LED output.

From here the code was expanded to include a code to control an RBG LED and to read frequency and Volume of the surrounding environment. Initially, the code was done in  random way where for every 3 digits that the frequency had the digit in the hundred place would be the percentage of red, tens the percentage of blue, and ones for green, that would make up the colour that the light bulb would create.

Watch Video at:

Problems:

  • The colour of the lightblub was coming out abit too randomly

So from there we attempted to group a range of frequencies and match them to a colour. Subsequently we made it such that the volume is matched to the brightness of the LED.

My Line is Emo Process Part 2

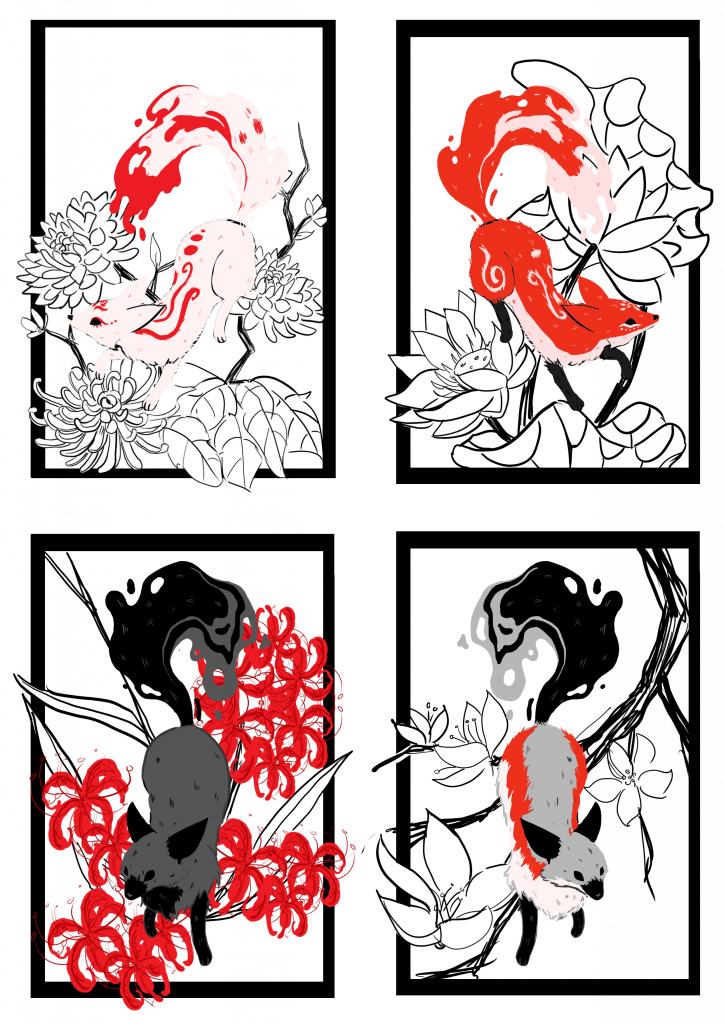
After Consultation, it is quite clear that i have some interpretation error, so its time to relook at my life choices.

Firstly, the definition of ‘Horror’ that i have created would have better suited ‘Paranoia’ now that it think about it. I decided to delve a bit deeper into the idea of texture on my mark making. I wanted a rough texture  on to emphasize on the spikes of ‘Horror’ like a defense, however it turned out very differently.

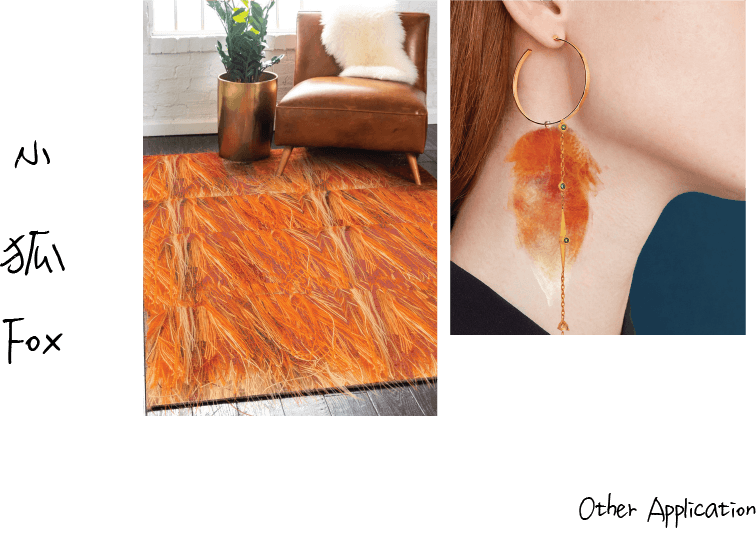
By using paper mache i attempted to recreate the below effect

I first threw the toilet paper i was using into a container with ink in it to let it soak. Then i used my hand to break up the clumps. After that i sieved through the ink and strained some of the water from the paper mache before finally throwing it on the paper.

It did not end favourably as the consistency of the paper mache started clumping together, or disintegrating when I pulled them apart with a palette knife. Hence I piled more on and it gave off a more ‘disgusting’ vibe.

For ‘Sadness’ photo shopped the ripples, adjusting the light and darkness of the image to create contrasting marks.

I liked the way the overlapped each other, but it still felt a bit plain so I searched through the other rippling effects i had and recomposed the image.

The first composition had a very distracting background, hence, it was deemed as not suitable for the project. The second composition was a bit better, but it still felt as thought the elements stood as individuals rather then a single piece. Thus I created the final composition and cropped it tighter.

‘Affection’ had gone through a few stages of evolution in terms of thickness of the paint as i wanted Affection to have a translucent effect. It is like it is an unconscious feeling that we experience, but do not actually take note of it.

Using black water colour on watercolour paper,  i begin drawing the patterns i did with the cotton buds previously.

The initial composition was not very pleasing as it had not point of convergence. it was messy and there were too many things to see. The second one i rather enjoyed, however it was rather inconsistent, with the tinier loops, which grabbed attention. Thus there were again too many things too look at once again. The third composition I wanted to add tiny emphasis on the paper against a sparse back ground. I dotted the canvas with blobs of water and added the paint by poking it with a brush and letting the paint spread. This sort of insinuates the times were small acts of kindness are acknowledged as affection one feels for others. But it turned out pretty ugly as the paint blobs all had the same texture when it appeared. Finally I created the last design, a sort of vortex that swirls around the centre of the sheet. I wanted it to seem as though it encompasses us, it is always there.

Hence i chose to Dilute the ink, to a fainter consistency and repaint the last design on a final sheet.

‘Hysteria’ came about when I was making ‘Surprise’. Due to the nature of ‘Surprise’ i wanted one single element that showed a change in the scenery. An Explosion or a hiccup on the blank canvas.

I wanted a sharper contrast, hence i used white acrylic paint on black cartridge paper. Using a square brush i begin my mark making . I overestimated how many ‘hiccups’ i wanted and was left with to many blobs of paint. Subsequently, The acrylic paint was not able to make that smooth gradient i wanted by brush alone.

In a fit of frustration I started stabbing the blob of paint with tissue.

I had hoped that it would become a smooth gradient like my previous attempts with Chinese ink on Newsprint

The colour imprint was faint, but i believe with thicker paint the build up would be better.

As it turned out i was wrong about the colour built up. But the effect was quite pleasing to look at. Looking back at it now, the white on black made a stronger more negative connotation to me when the white is solid. It reminds me of those jump scare clips that people post, where the image starts flashing in inverse colours. It was also interesting that the tissue stuck to the paper and made a flaky texture on some parts of the paper.

I decided to try white acrylic on black paper again, but this time with more diluted paint.

After consultation i had wanted to remake a similar composition for ‘Zest’ but in a more positive light.

The effect was beautiful, however the piece had mellowed and become more ‘Contented’ then the lively ball of energy that i had perceived to be ‘Zest’.

Finally was ‘Surprise’. After all the botched attempts for surprise, i had wanted to change the aesthetic of ‘Surprise’ into something surprising. I had sketched out a plan for surprise to be made out of geometric shapes and planned to use ink on paper.


However whist inking it out, it started looking more rigid than i had planned for ‘Surprise’, hence i redid using ink and wash on watercolour paper instead.

The effect was far more fluid then the first.