Materials for Liquid Latex List:
- Liquid Latex
- Liquid Latex hardener
- Objects with interesting shapes or interesting moulds ( Note that the mould should not be silicone because they stick to each other)
- Weighing scale
- Containers
- Releasing spray
Instruction for Liquid Latex:
Step 1: Prep all your objects you want to cast or fill by spraying it with a coat of release spray. Ensure that the objects you are casting has walls to contain the liquid latex.
Step 2: Pour the Liquid latex into a separate container, and measure the volume using the weighing scale.
Step 3: Add the hardener into the mixture (note that the Hardener is 0.02 times the volume of the Liquid Latex added)
Step 4: Mix well
Step 5: Add the mixture into the moulds or containers prepared in step 1. Make sure that you pour from one spot to reduce air bubbles created in the mixture.
Step 6: Leave to dry for 24 hours.
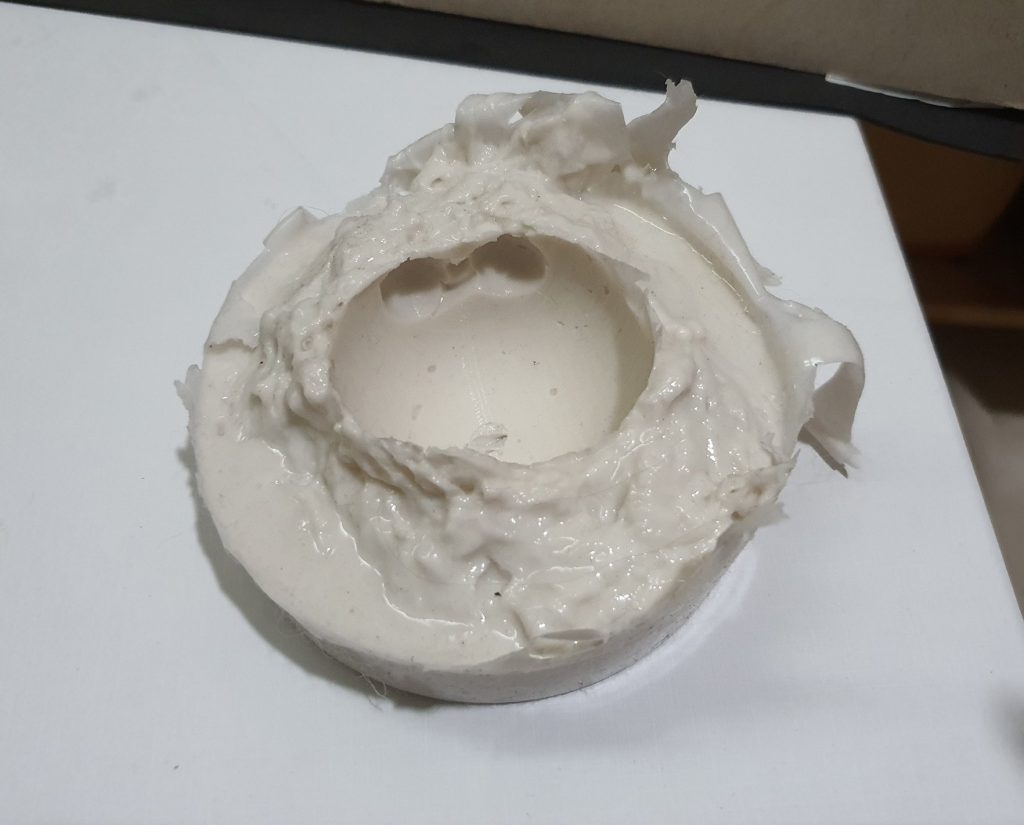
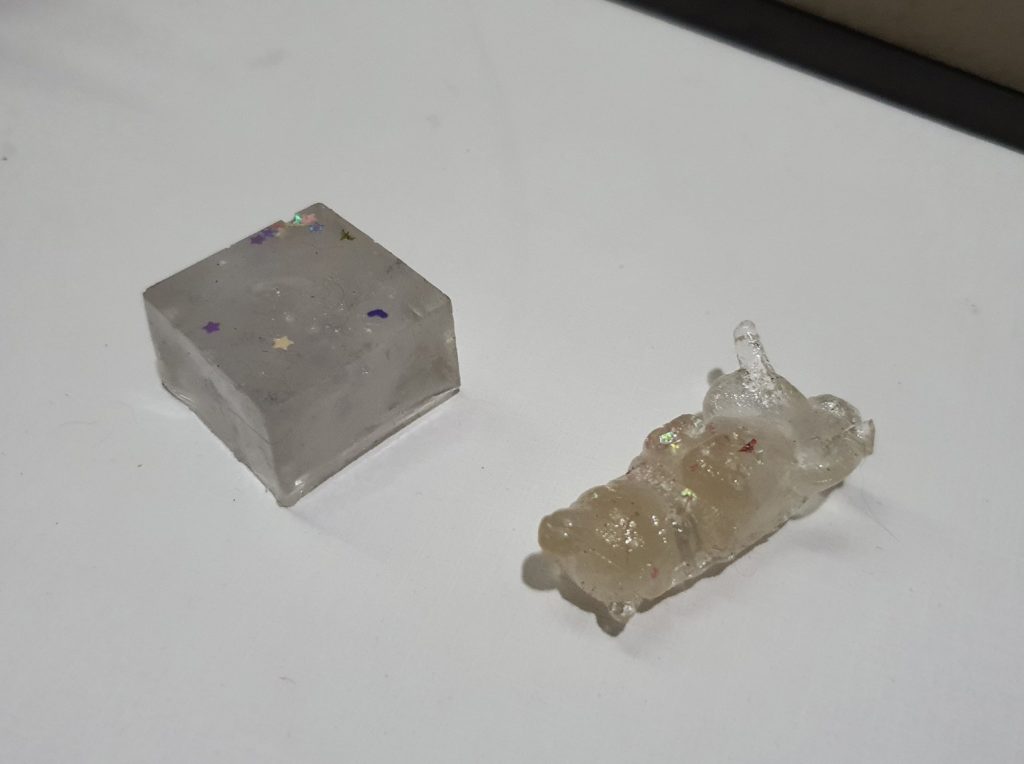
Reflection:
I have to find objects that are solid on all sides, my bear head has a gap at the bottom that I taped up and it was okay after that.
Mix enough Latex to fill your mould, my bear’s front was nearly touching the base of the container, so there is a little thin hole there.
Bleaching Material List:
- Dark coloured linen or cotton fabric
- 100% concentrated Bleach
- A stencil (optional)
Instruction for Bleaching:
Step 1: Get a Cotton or Linen cloth
Step 2 (optional): Lay a stencil over it
Step 3: Spray or apply as much bleach you want.
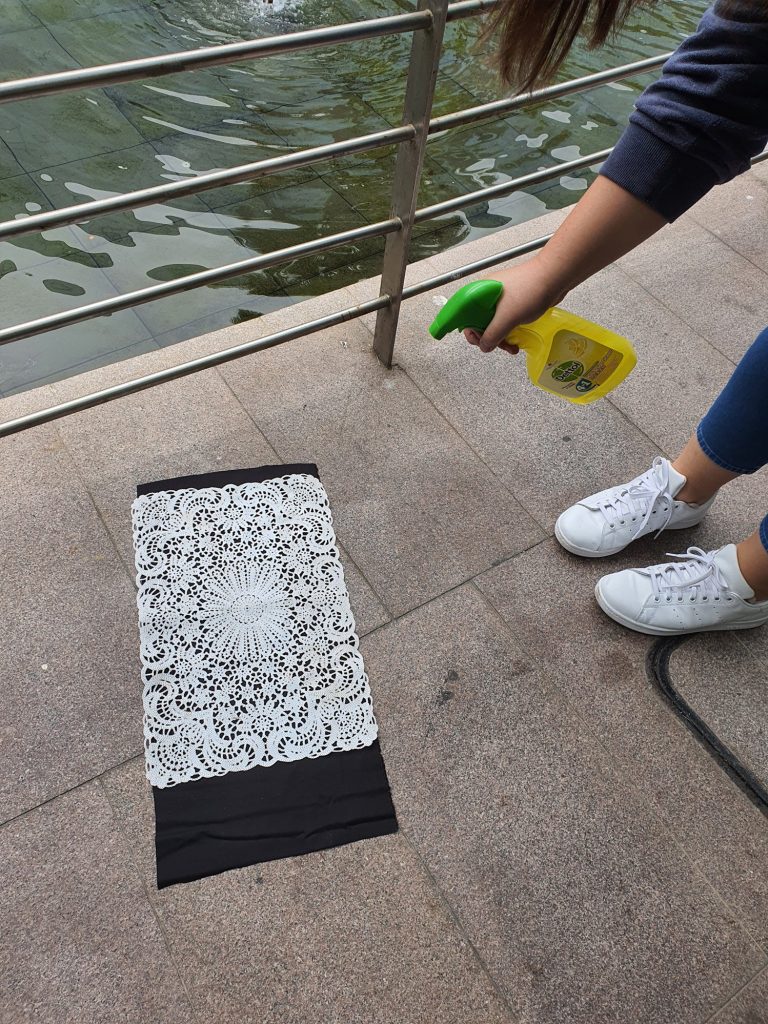
Step 4: Leave to dry till what ever colour you want
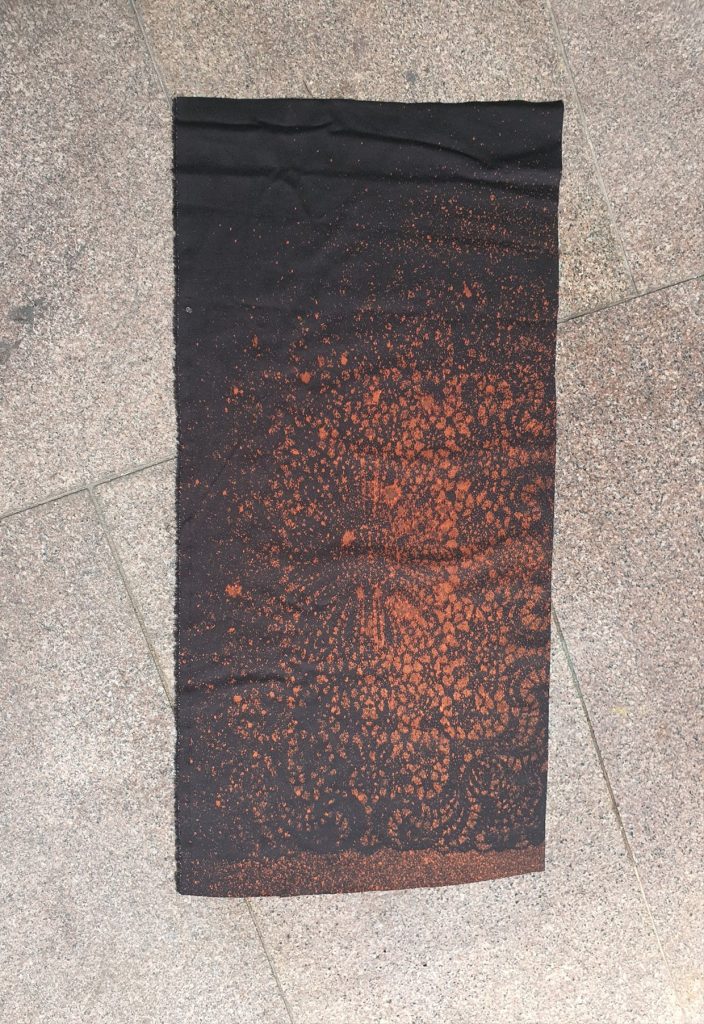
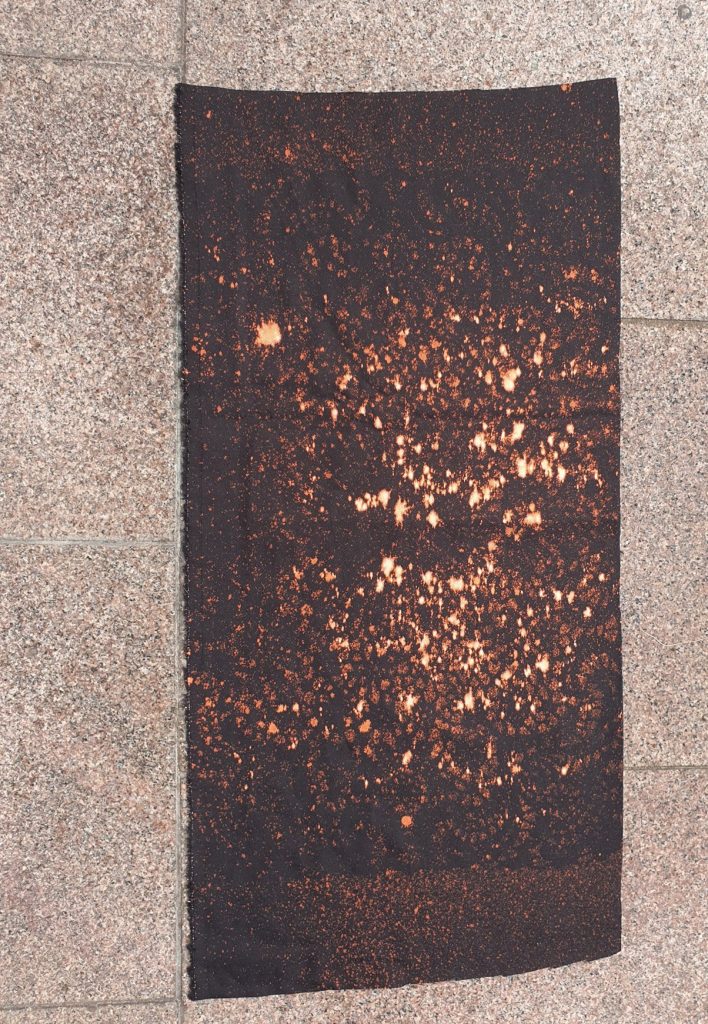
Step 5: when the colour is to your liking wash off all the bleach
Reflection:
Be sure your Cloth is Cotton or Linen, the bleach will not react if it is any other material.
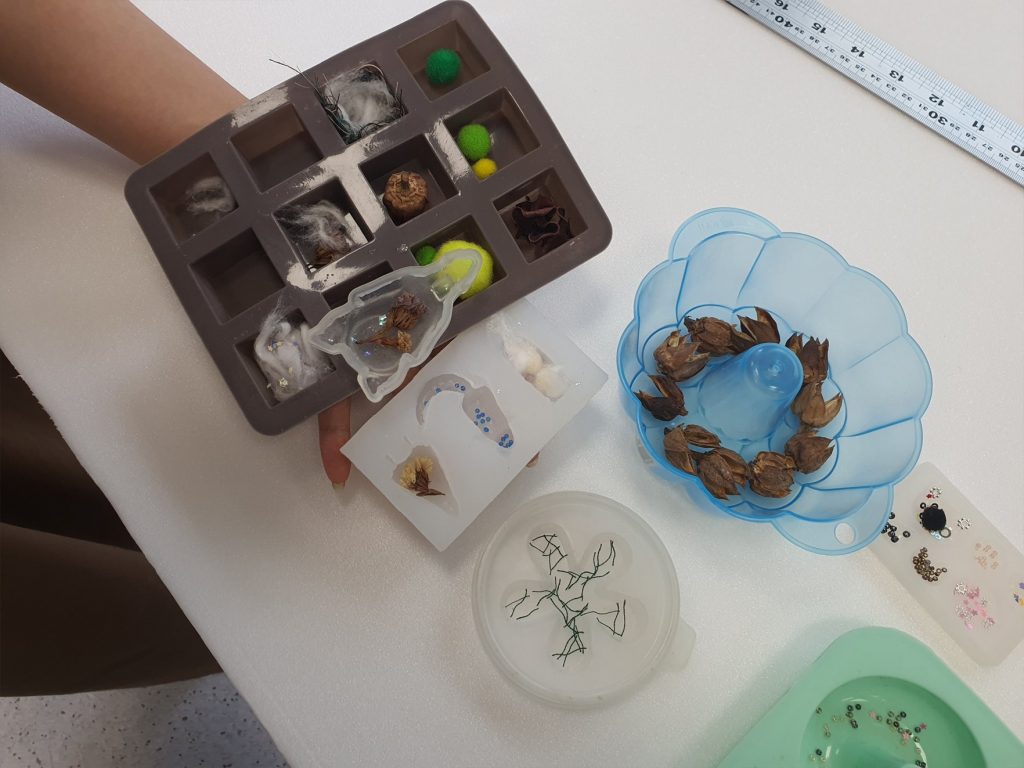
Materials for Resin List:
- Resin
- Resin hardener
- Interesting moulds
- any glitter or other things you wish to throw into the Resin
- Weighing scale
- Containers
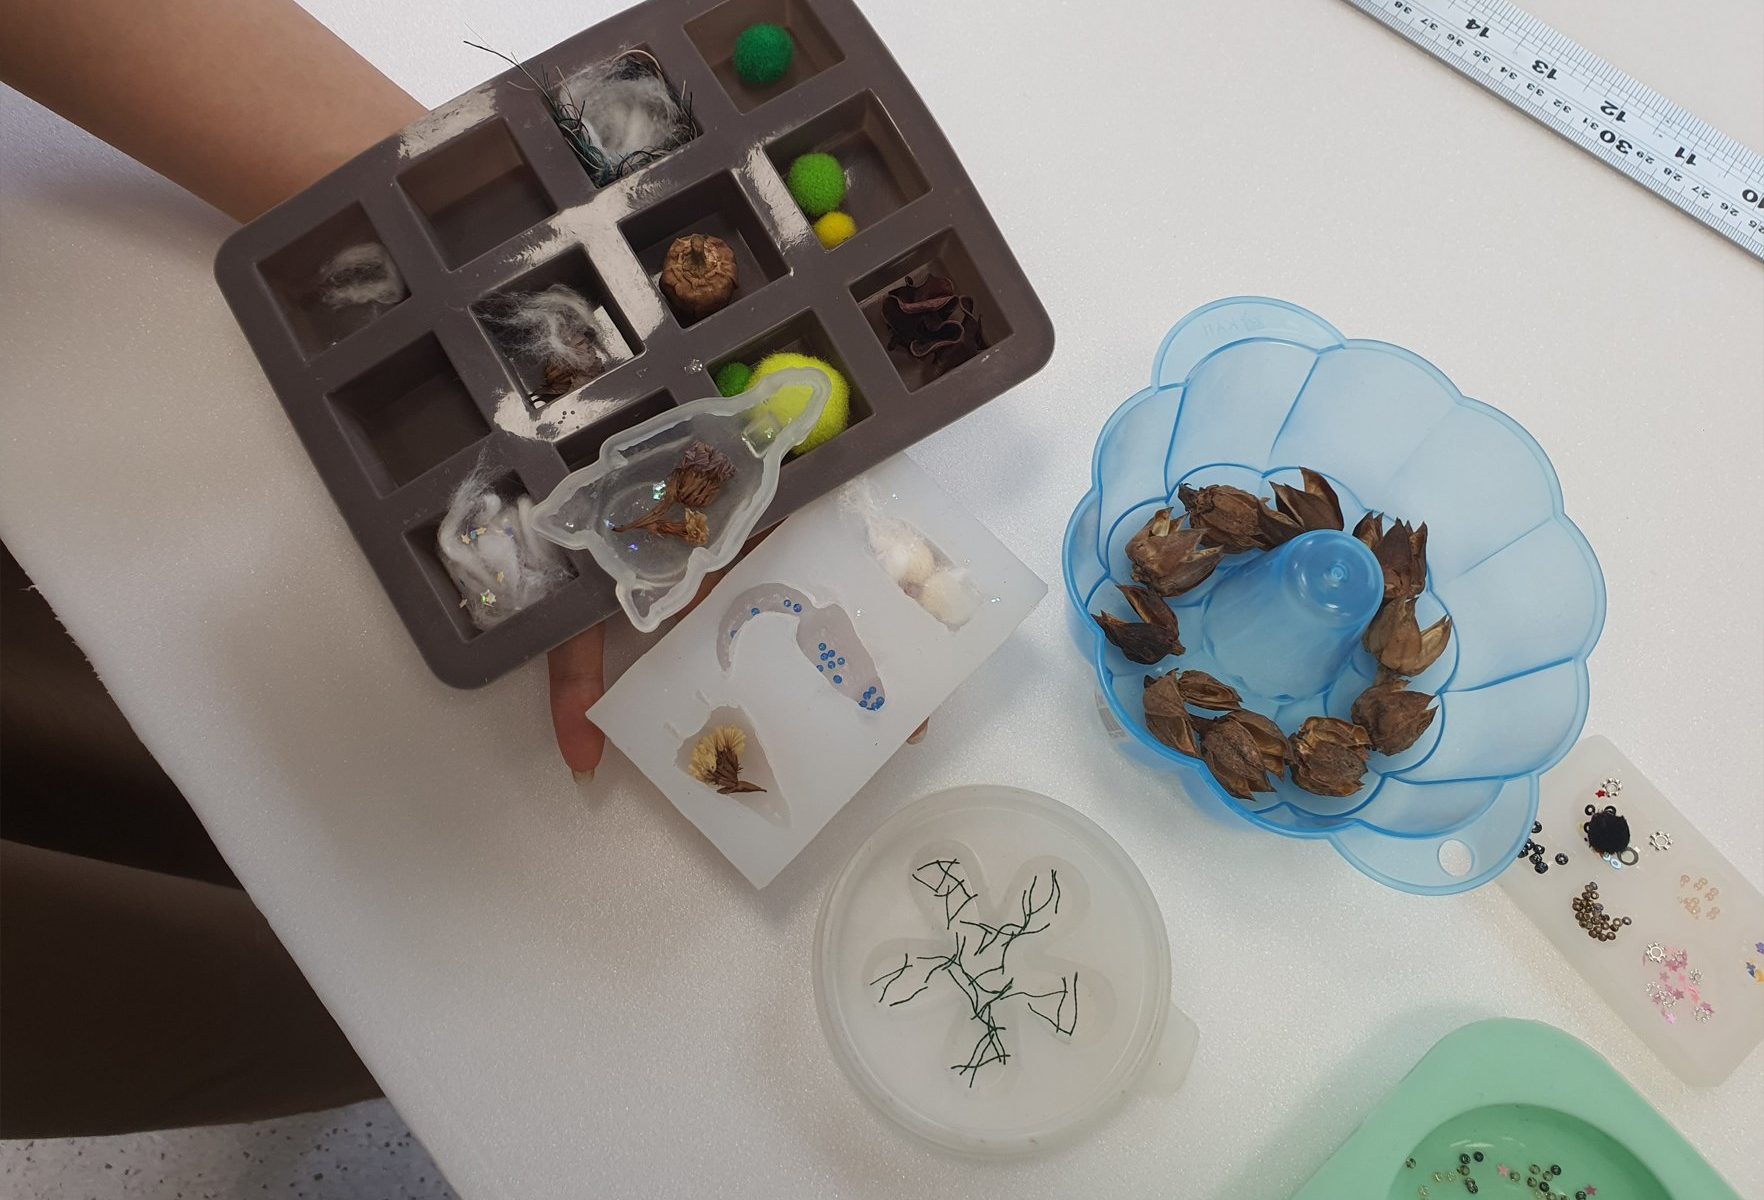
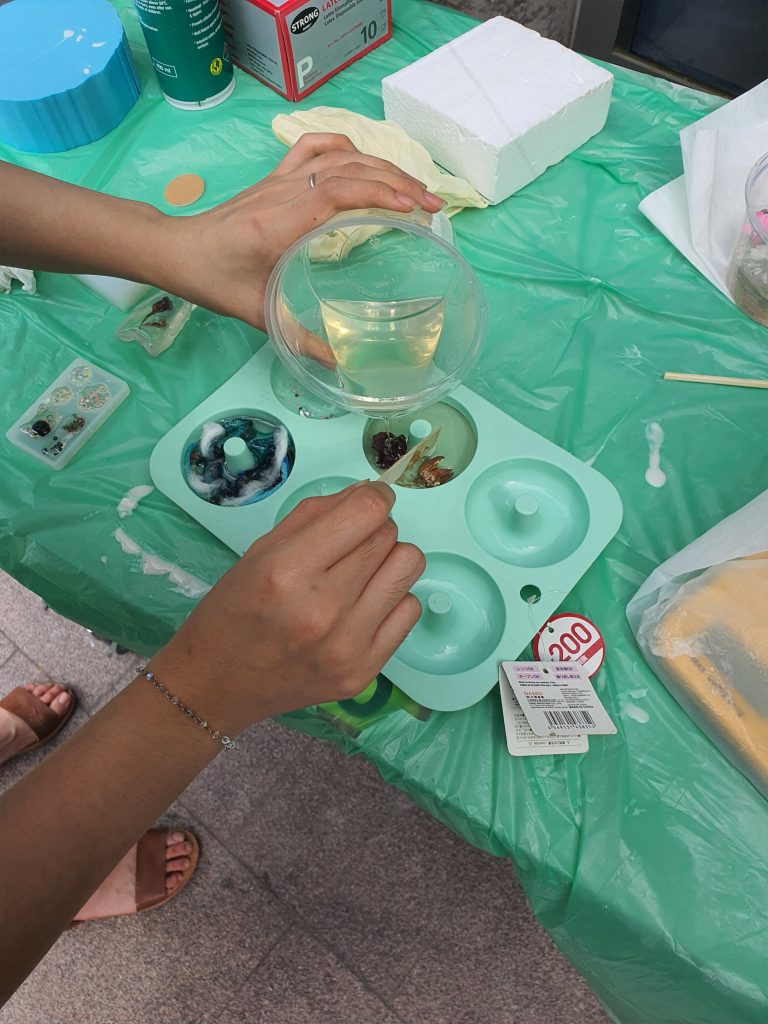
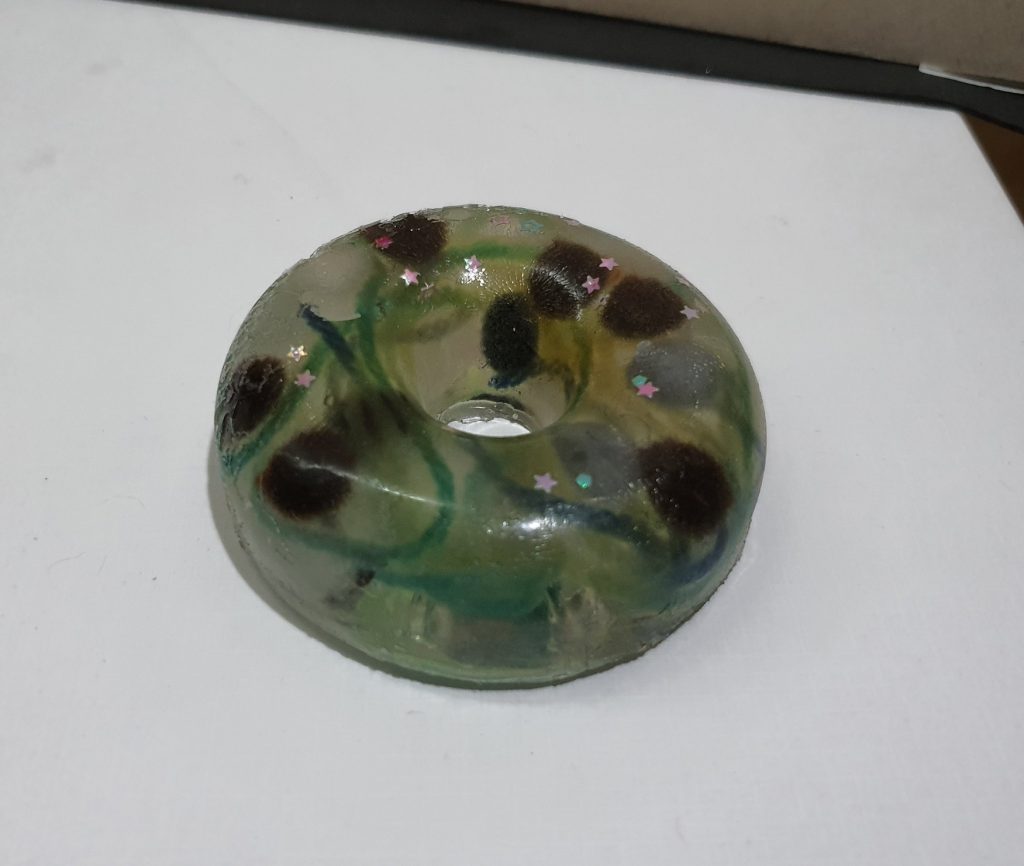
Instruction for Resin:
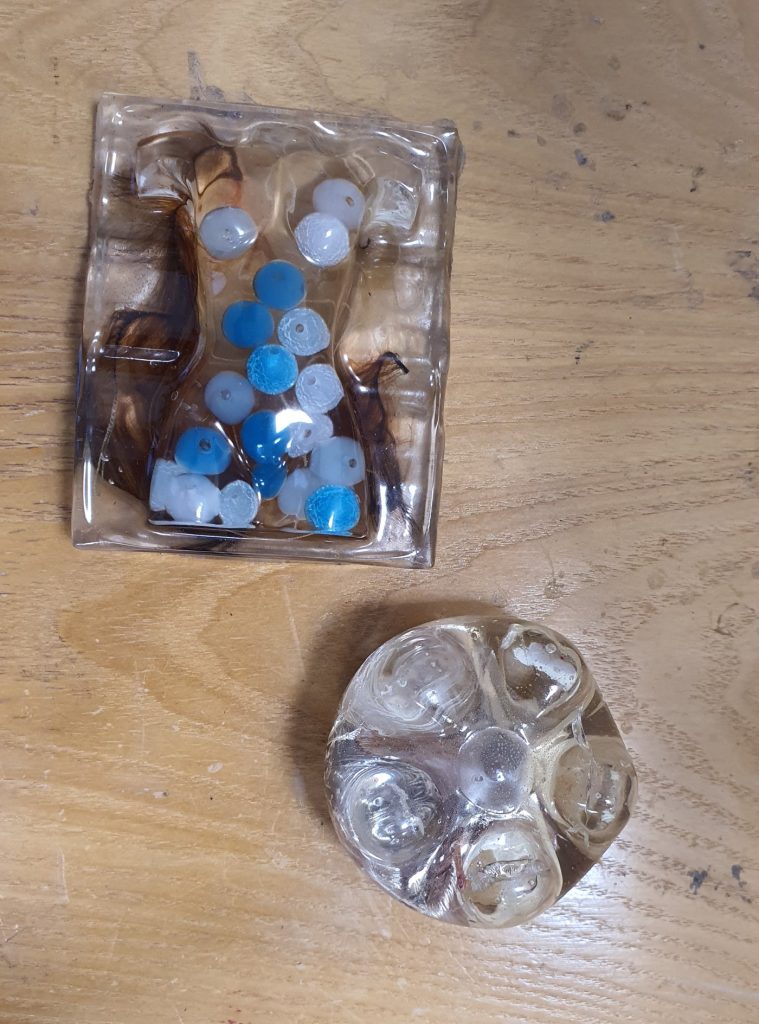
Step 1: Prepare your silicone moulds by filling it with glitter or beads.
Step 2: Pour the Resin latex into a separate container, and measure the volume using the weighing scale.

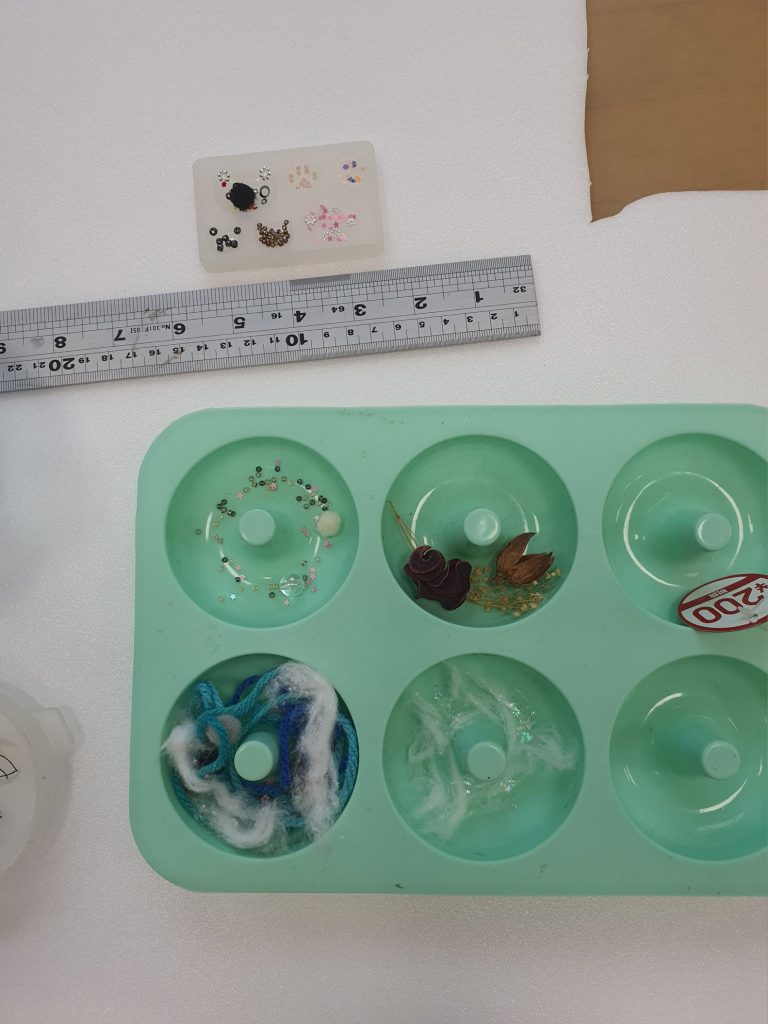
Step 3: Add the hardener into the mixture (note that the Hardener is 0.02 times the volume of the Resin added)
Step 4: Mix well
Step 5: Add the mixture into the moulds prepared in step 1. Make sure that you pour from one spot to reduce air bubbles created in the mixture. Do this quick, because the hardener acts fast.
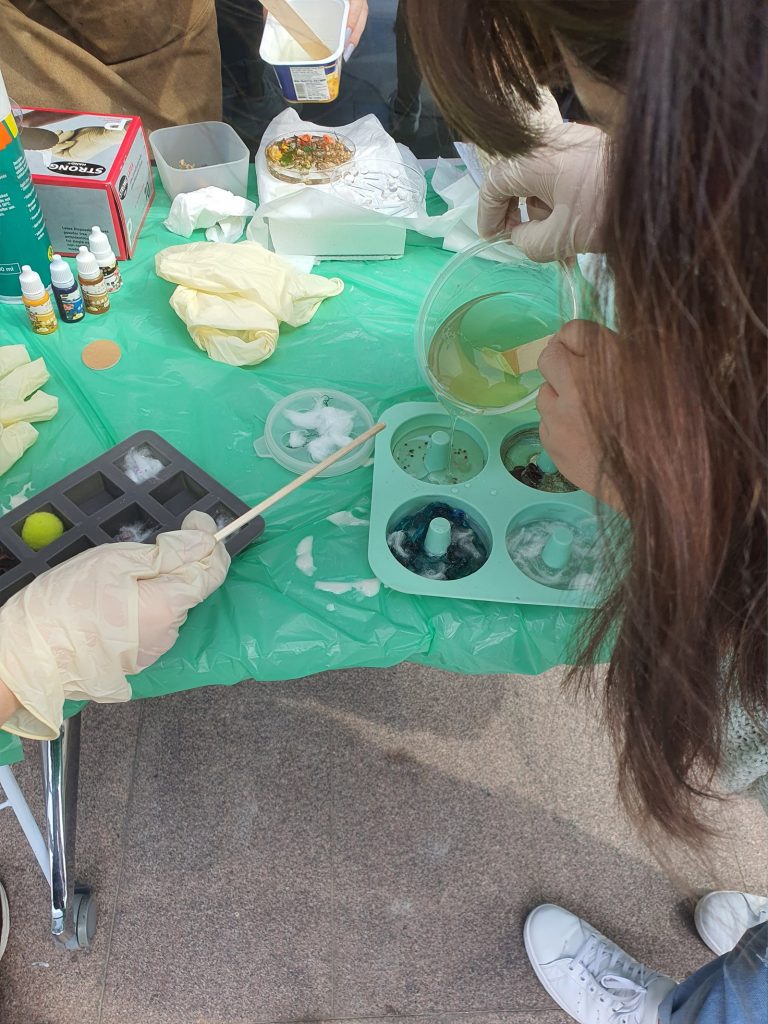
Step 6: Leave to dry for 24 hours.
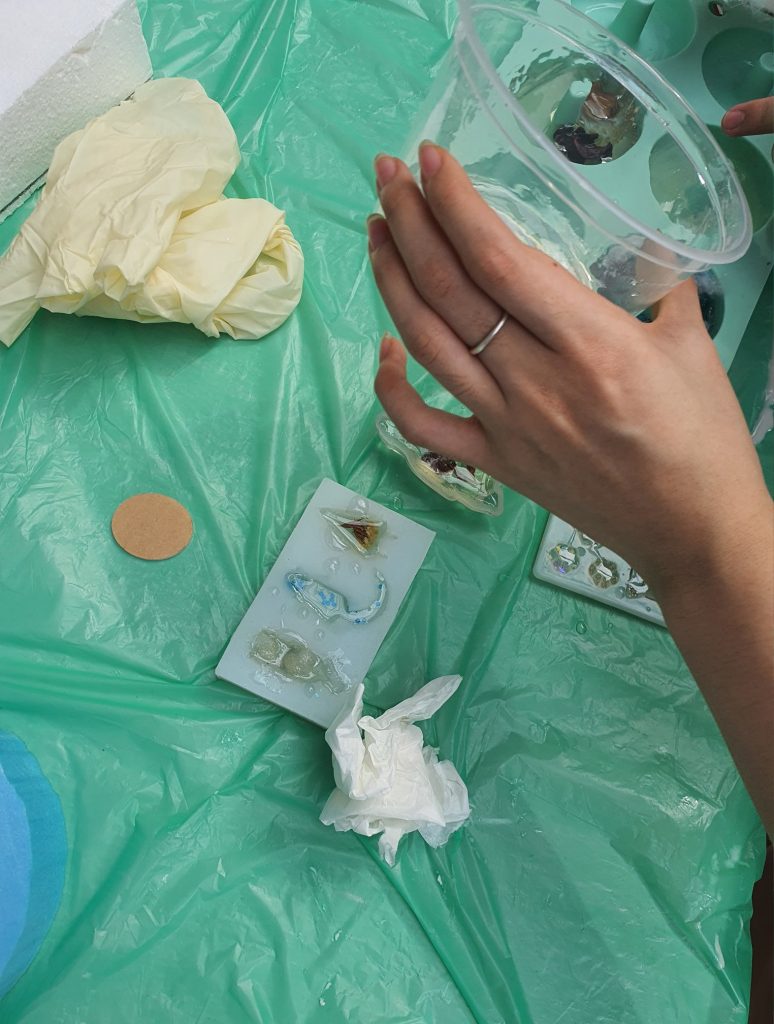
Reflection:
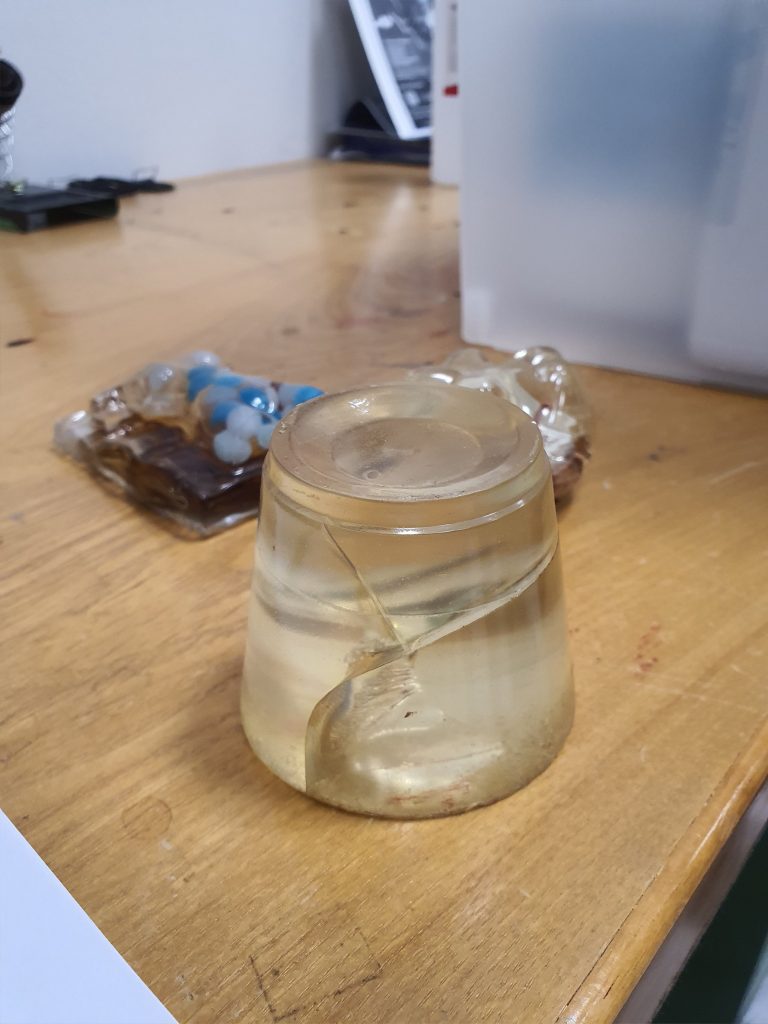
Warning: It gets super hot!
If you are using plastic moulds, especially the ones that are very rigid, you may hear cracking sounds, and the plastic may crack.
Some of the material like yarn might bleed and influence the colour of the resin. No harm done.
Sometimes the bubbles appear at the bottom of the moulds and create weird surface textures, might want to consider sanding them off.
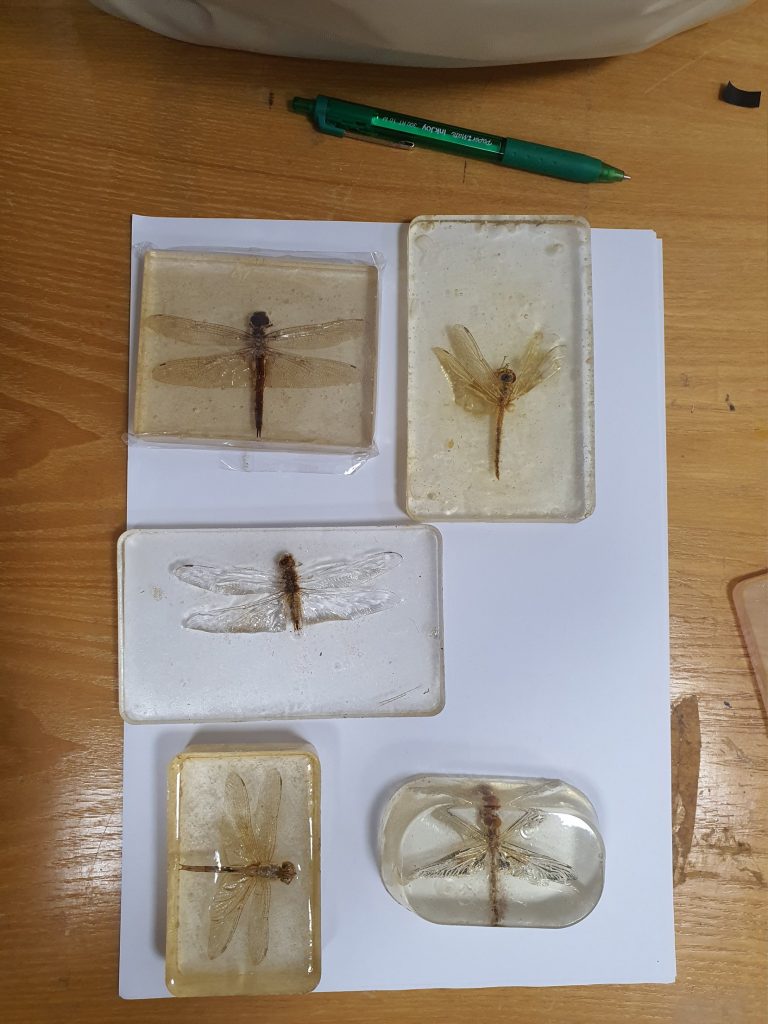
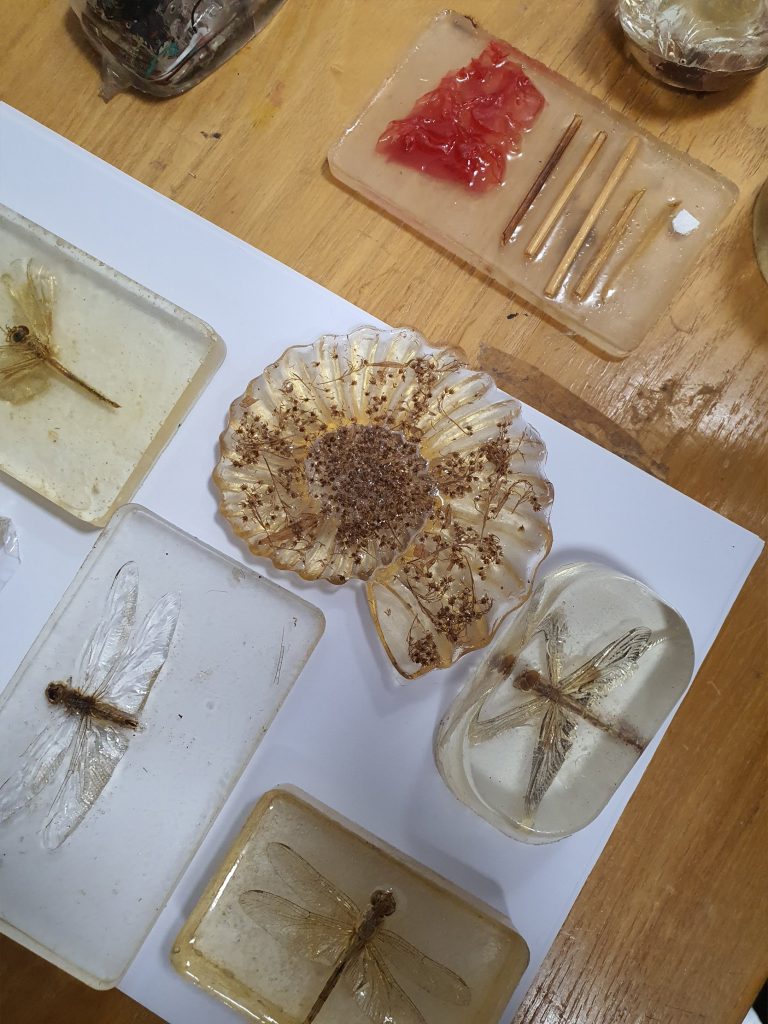
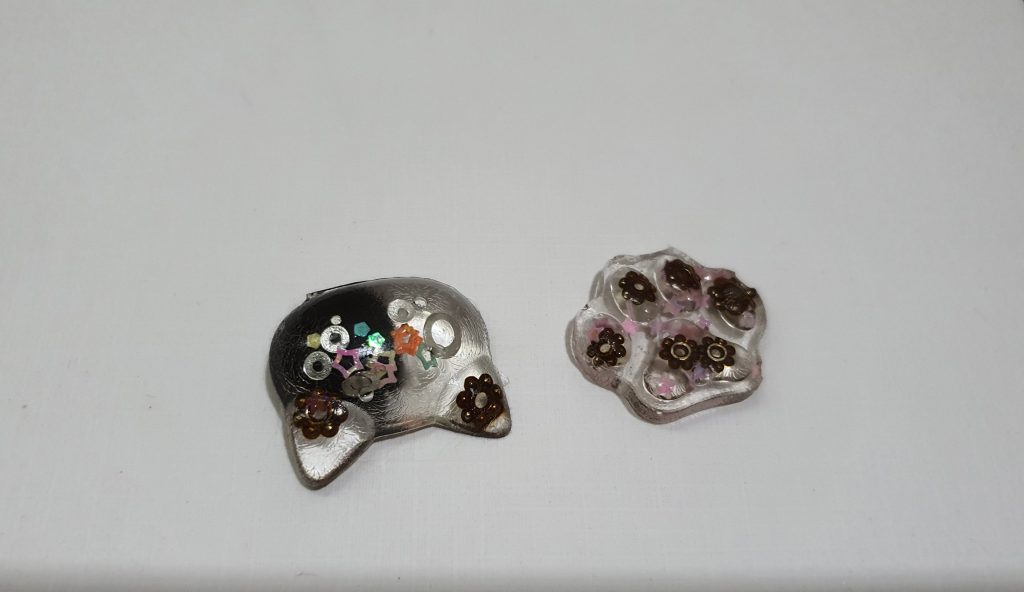
In Class Examples