Surface Design Final

What comes to mind…

Themes:

Photos Foxes Winter Snow Animals

Source Taken From: https://www.1zoom.me/en/wallpaper/468468/z967.8/

This is mine :D

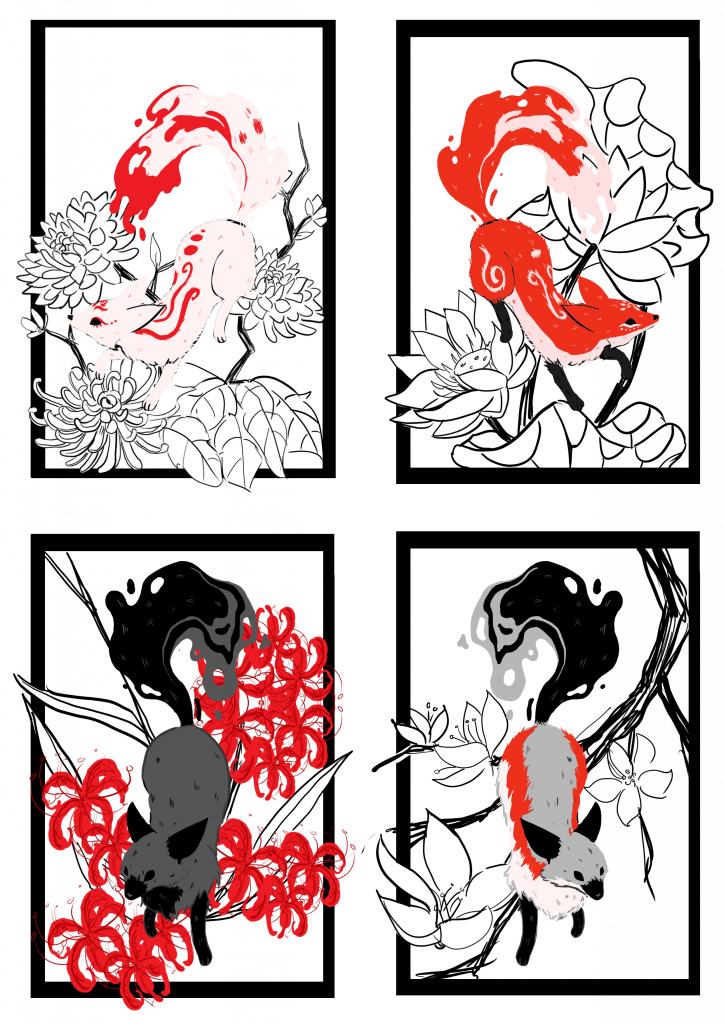
The black fox looks like some evil fairytale. : FairytaleasFuck

Source from: https://www.reddit.com/r/FairytaleasFuck/comments/f9dbu3/the_black_fox_looks_like_some_evil_fairytale/

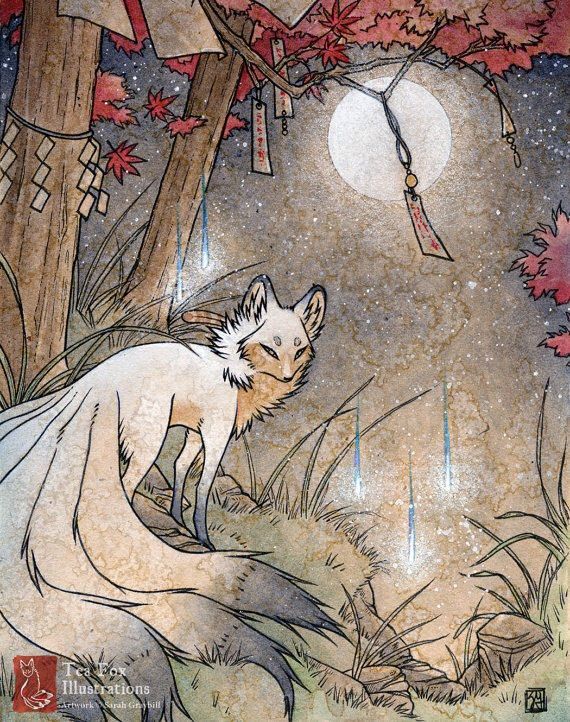
Kitsune | Mythology & Cultures Amino

(Source taken from: https://aminoapps.com/c/mythology/page/blog/kitsune/evjQ_vbi3ud833BnMbpQPqrev5KgR5eo1M)

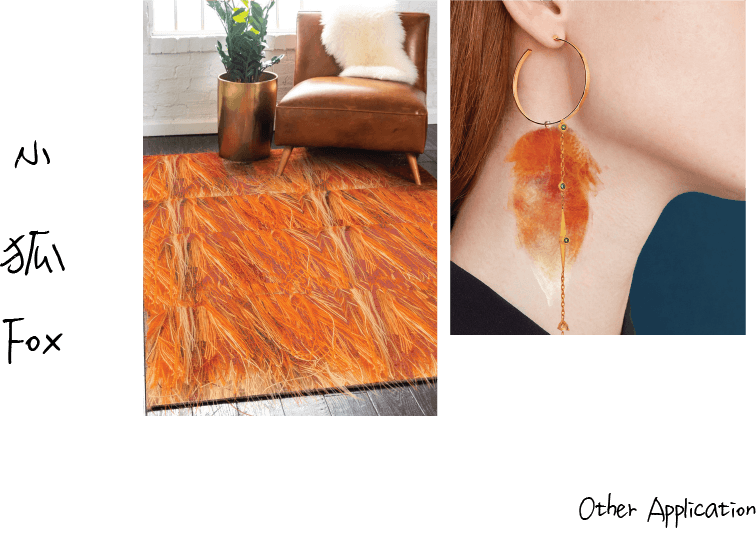
Just thinking considering this entire semester I spent a lot of time drawing foxes for this class, I might as well end off with a fox. I was looking at maybe doing a ‘fox pelt’ clothing, or accessory. However, I am worried about producing a literal fox for the final, or creating a general furred outfit.

Set up:

I can consider either a hunters set up, if I am going for a more brutal “I killed a fox” narrative, or I can do a set up from a fox’s point of view. The latter will be a bit more fantastical, like a daily life of a fox and what is on their vanity, the stuff they own, and them reusing their shed fur to make their own things.

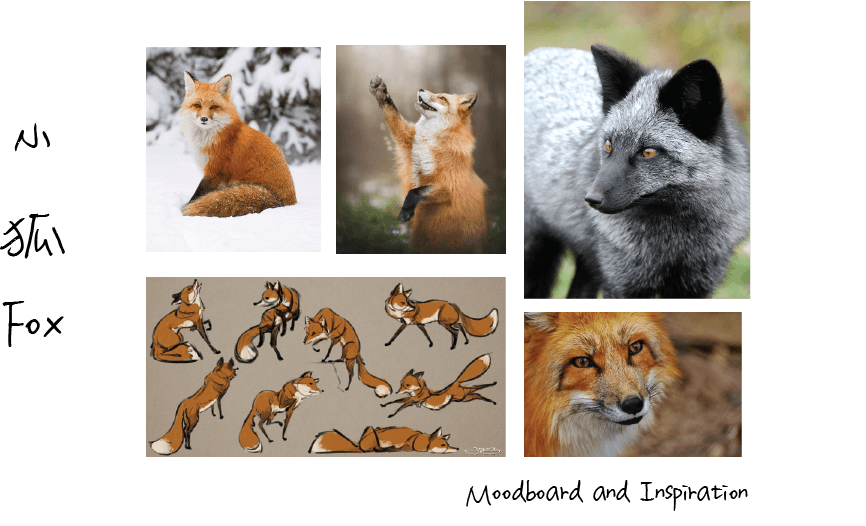
Mood board:

Photos Foxes Winter Snow Animals

red fox has brown eyes and a piercing gaze

red fox, face, eyes, grass, animal, wildlife, animals In The Wild, HD wallpaper

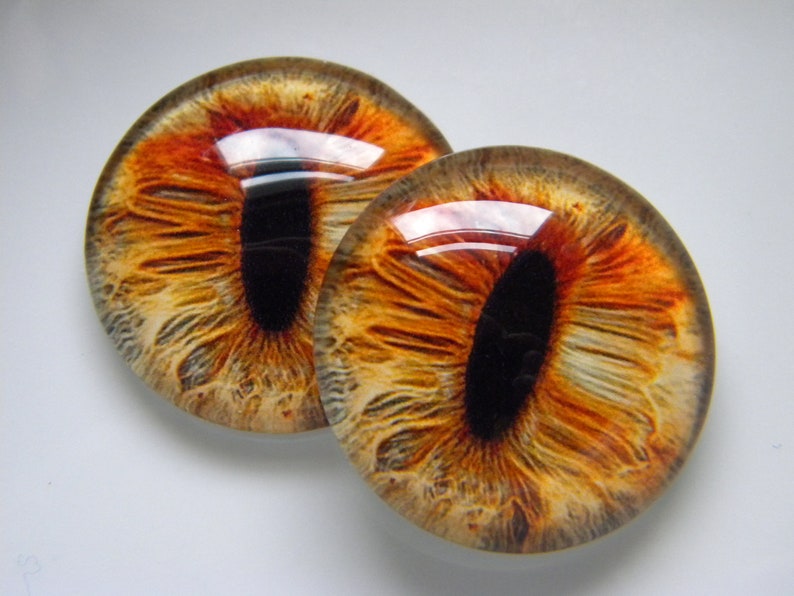
Glass eyes fox eyes golden eyes cat eyes animal eyes image 0

The black fox looks like some evil fairytale. : FairytaleasFuck

Arctic fox - Wikipedia

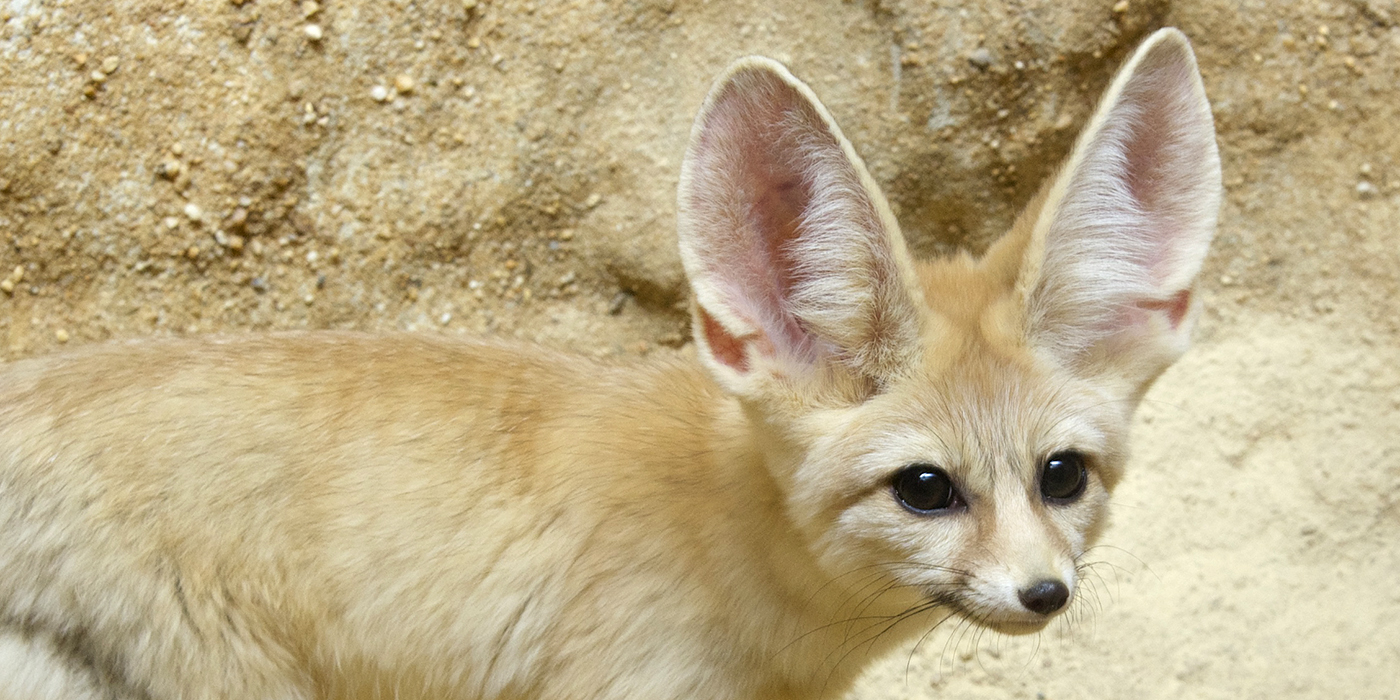
Fennec fox | Smithsonian's National Zoo

Delta the Fox — beautiful-wildlife: Paws Up! by © Alicja...

Their Names Are Sahara And Morocco | Pet fox, Cute animals, Cute baby animals

Ideas from my Pinterest board:

DIY Purse From A Stuffed Animal >> Over The Apple Tree  Felted scarf stole brown grey raw wool curly by galafilc, $167.00 Thimister AW 2011 by viltefelt, via Flickr

Nuno Felted Scarf by @Marina Zlochin Zlochin ShkolnikVilten sjaal - felt collar - Werkelijk prachtig! would make a fantastic addition to a #mothernature costumeOKA blog about eco printed nuno felted reversible garments and accessories, mah jongg jewelry, Studio 907, nuno felting workshops, Beth Marx, So Cal

What Techniques am I considering:

  • Knitting/Crocheting
  • Felting
  • Thermochromic printing
  • Applique
  • Resin
  • Others


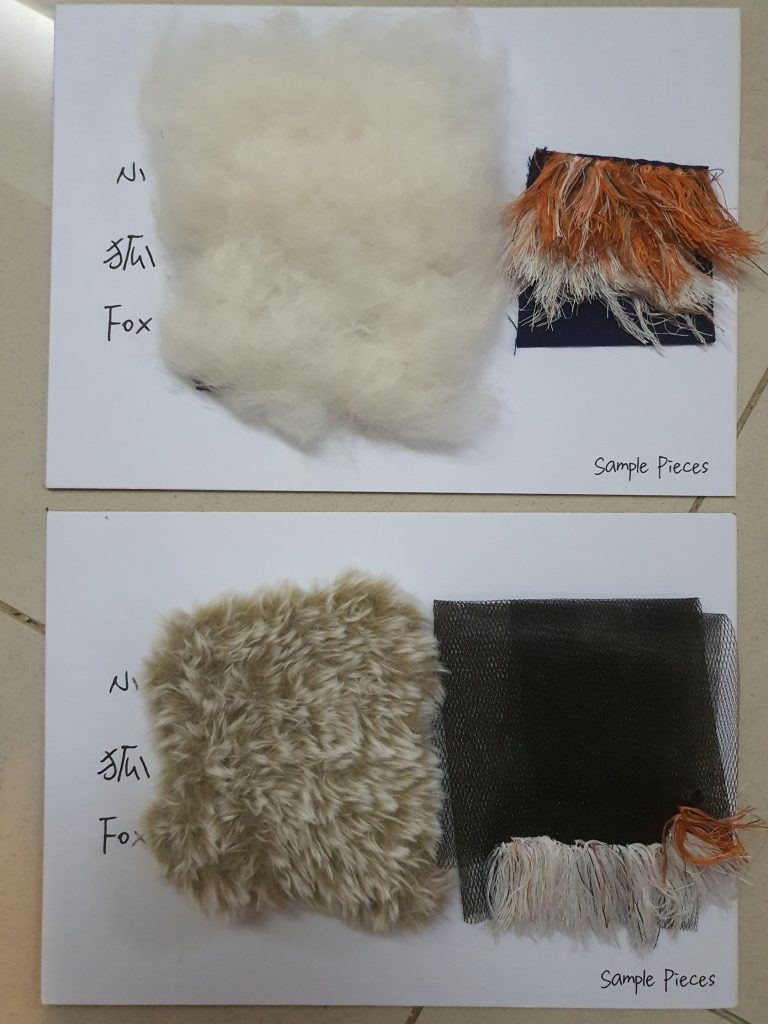
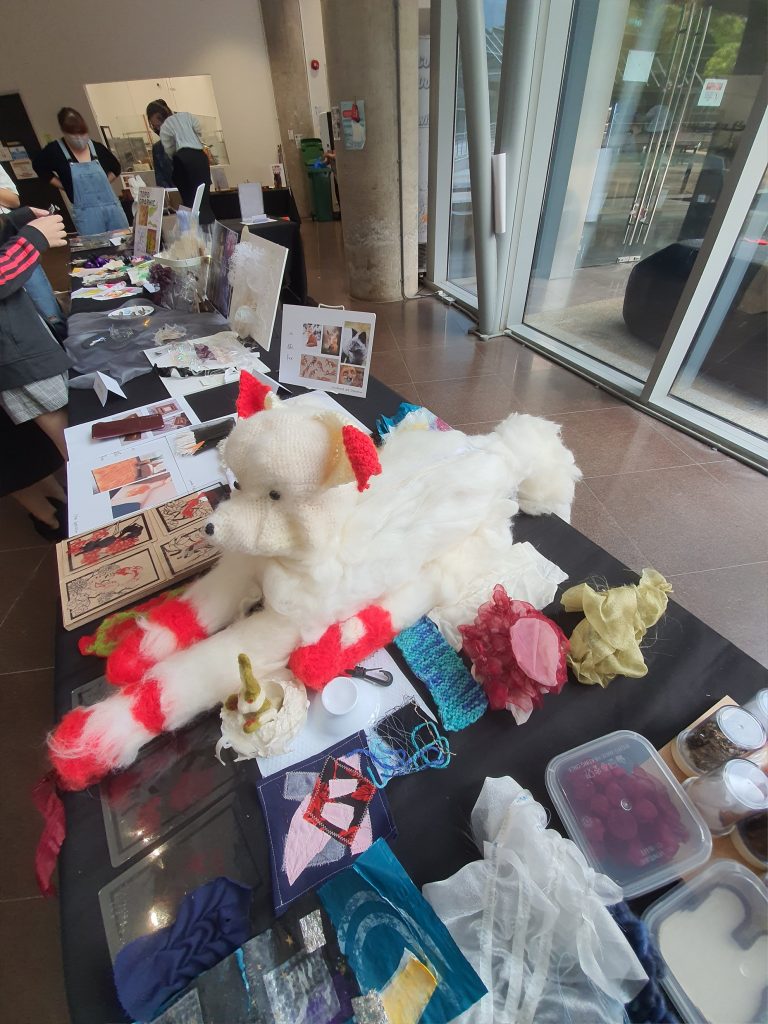
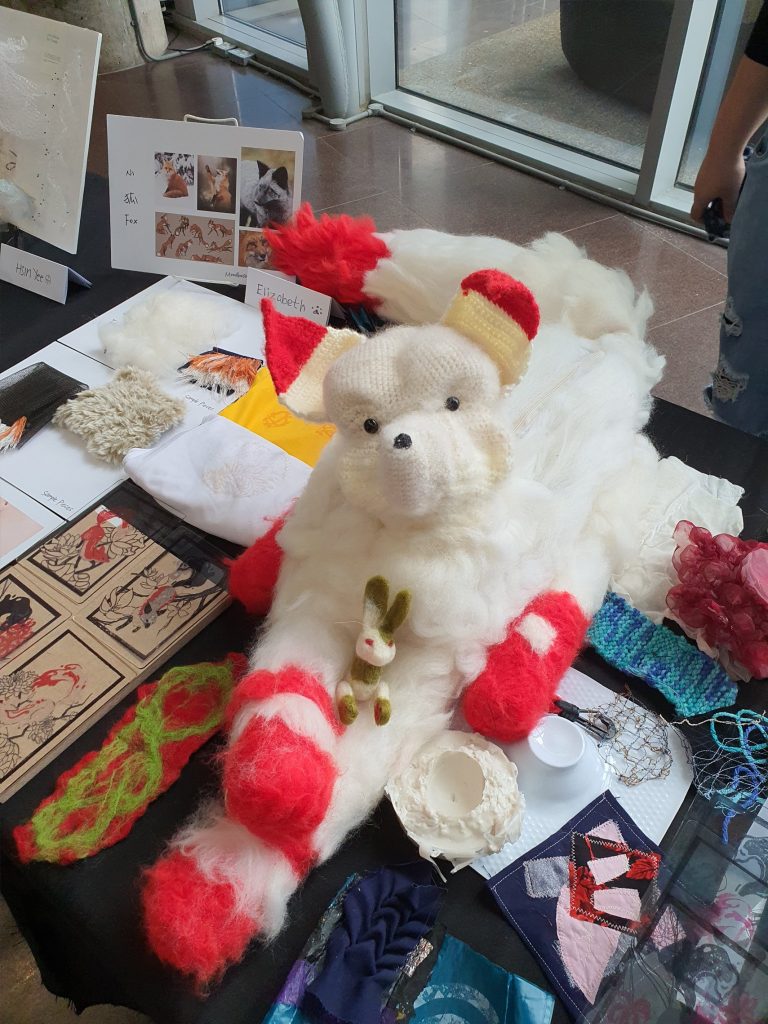
What was presented For Final:

Reflection:

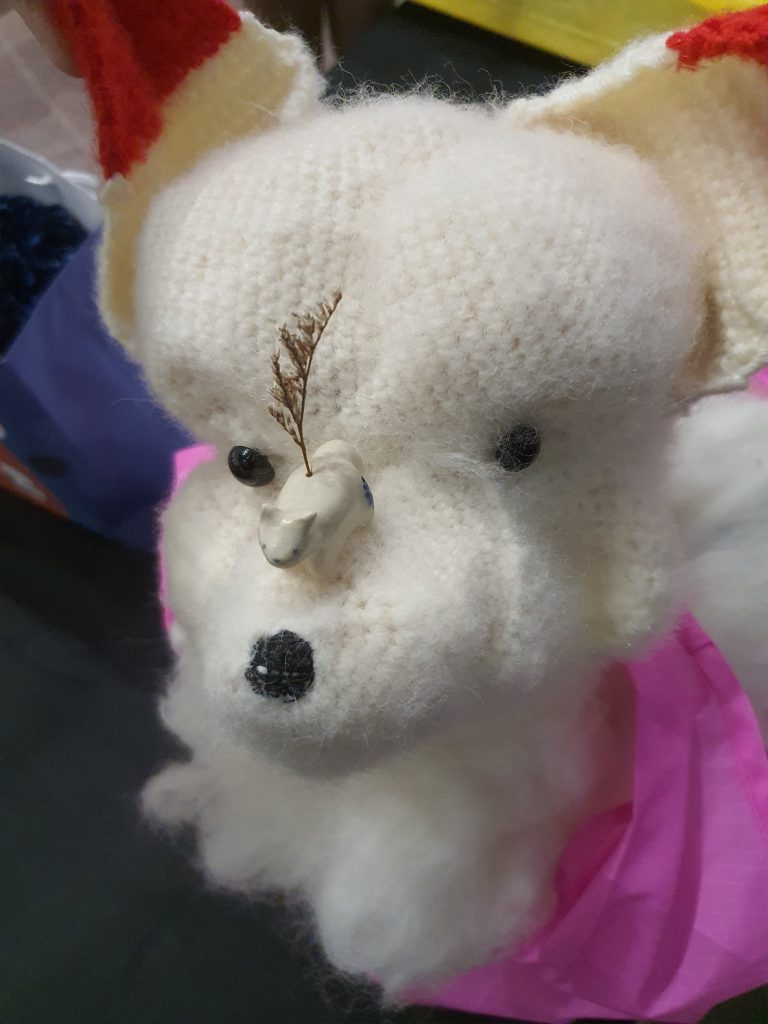
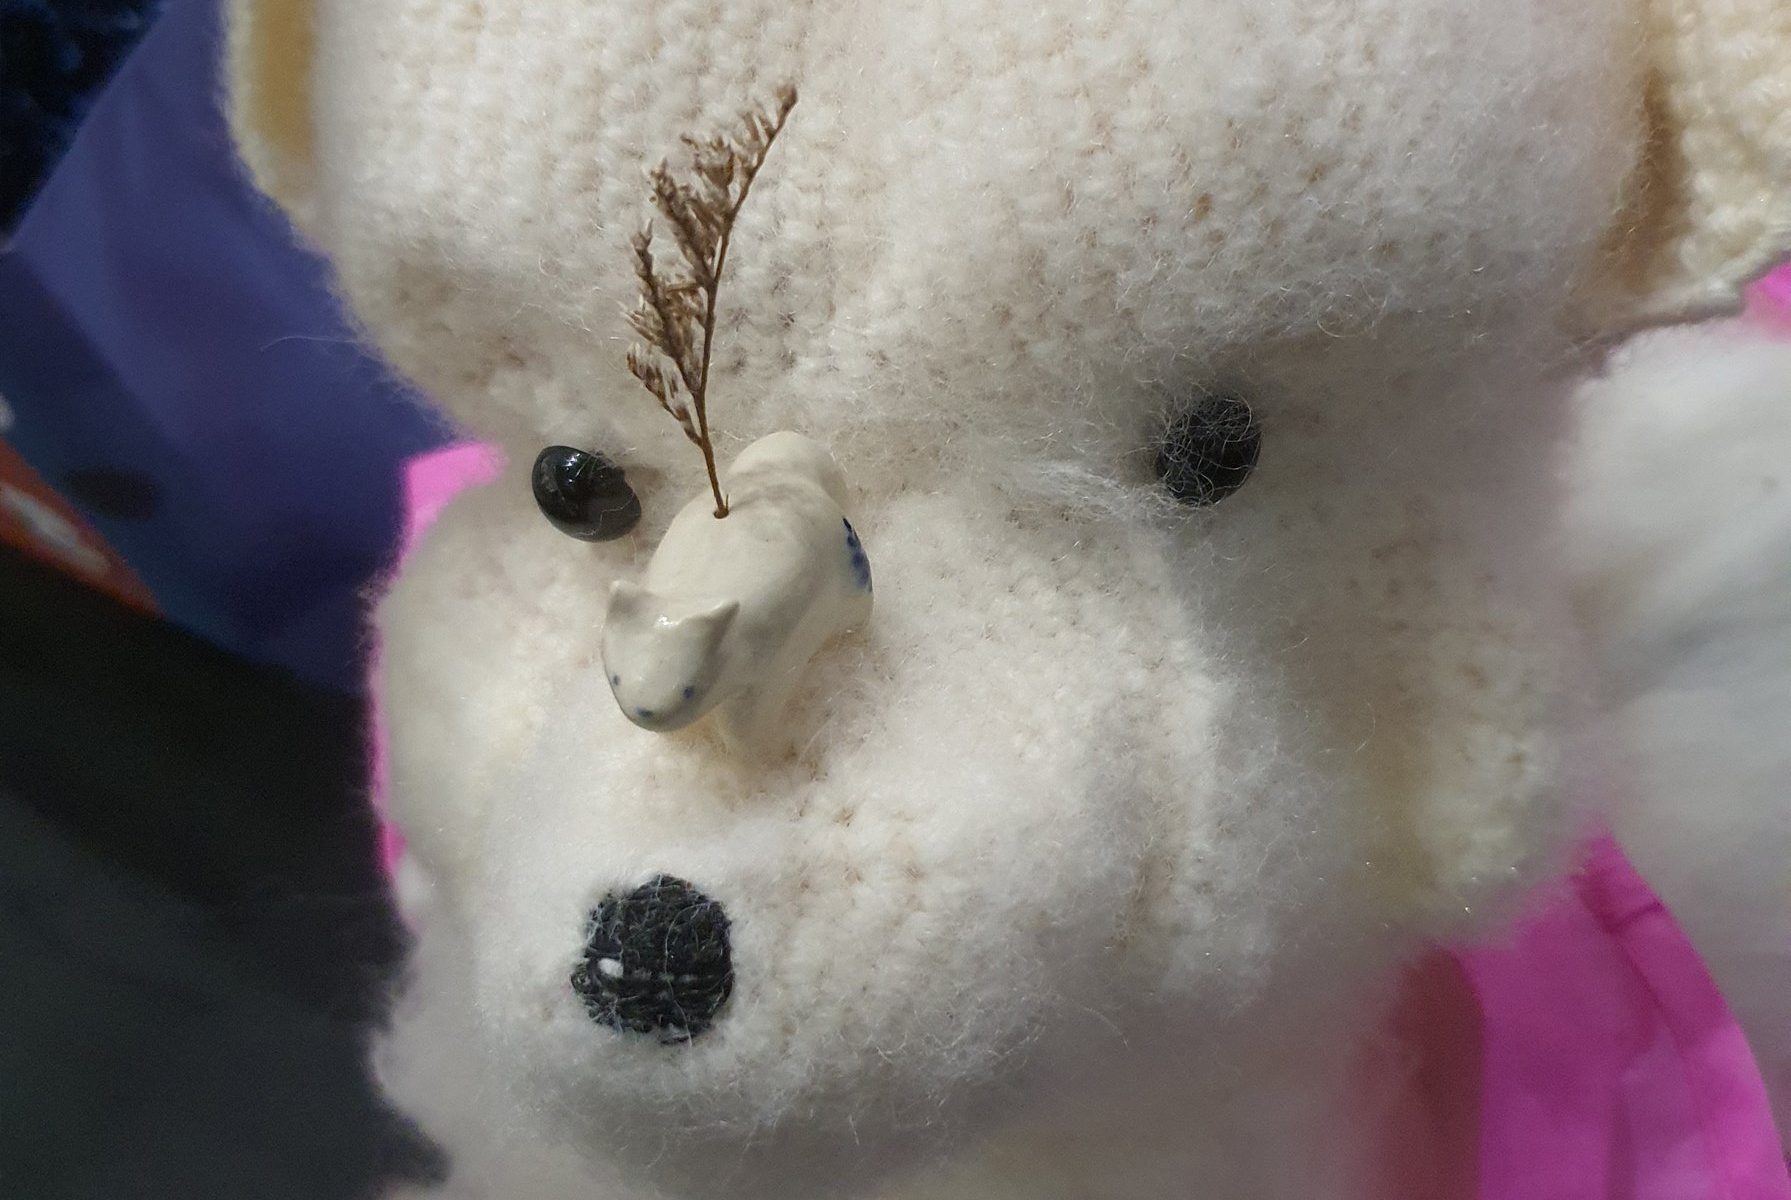
In the end I decided to do a bag, half crocheted, half felted/weft.

I combed out the crochet knitting, but the yarn did not pull as long as I had hoped, hence the knit was still visible. I hope to be able to edit this and make it more cohesive material wise next time.

The knit took too much time, but I felt that it is easier to crochet a head than to sew it as I could not visualise the fox head pattern in terms of cutting cloth.

Material Cookbook || Chapter 7: Latex, Bleaching and Resin

Materials for Liquid Latex List:

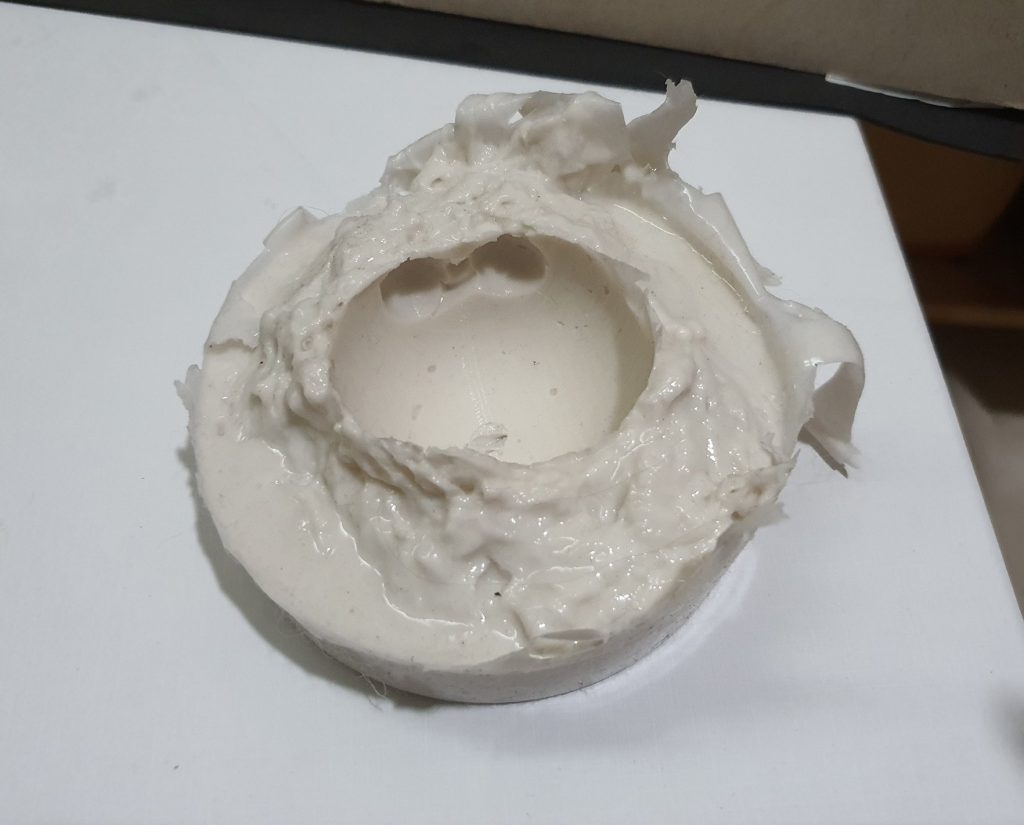
  • Liquid Latex
  • Liquid Latex hardener
  • Objects with interesting shapes or interesting moulds ( Note that the mould should not be silicone because they stick to each other)
  • Weighing scale
  • Containers
  • Releasing spray

Instruction for Liquid Latex:

Step 1: Prep all your objects you want to cast or fill by spraying it with a coat of release spray. Ensure that the objects you are casting has walls to contain the liquid latex.

Step 2: Pour the Liquid latex into a separate container, and measure the volume using the weighing scale.

Step 3: Add the hardener into the mixture (note that the Hardener is 0.02 times the volume of the Liquid Latex added)

Step 4: Mix well

Step 5: Add the mixture into the moulds or containers prepared in step 1. Make sure that you pour from one spot to reduce air bubbles created in the mixture.

Step 6: Leave to dry for 24 hours.

Reflection:

I have to find objects that are solid on all sides, my bear head has a gap at the bottom that I taped up and it was okay after that.

Mix enough Latex to fill your mould, my bear’s front was nearly touching the base of the container, so there is a little thin hole there.


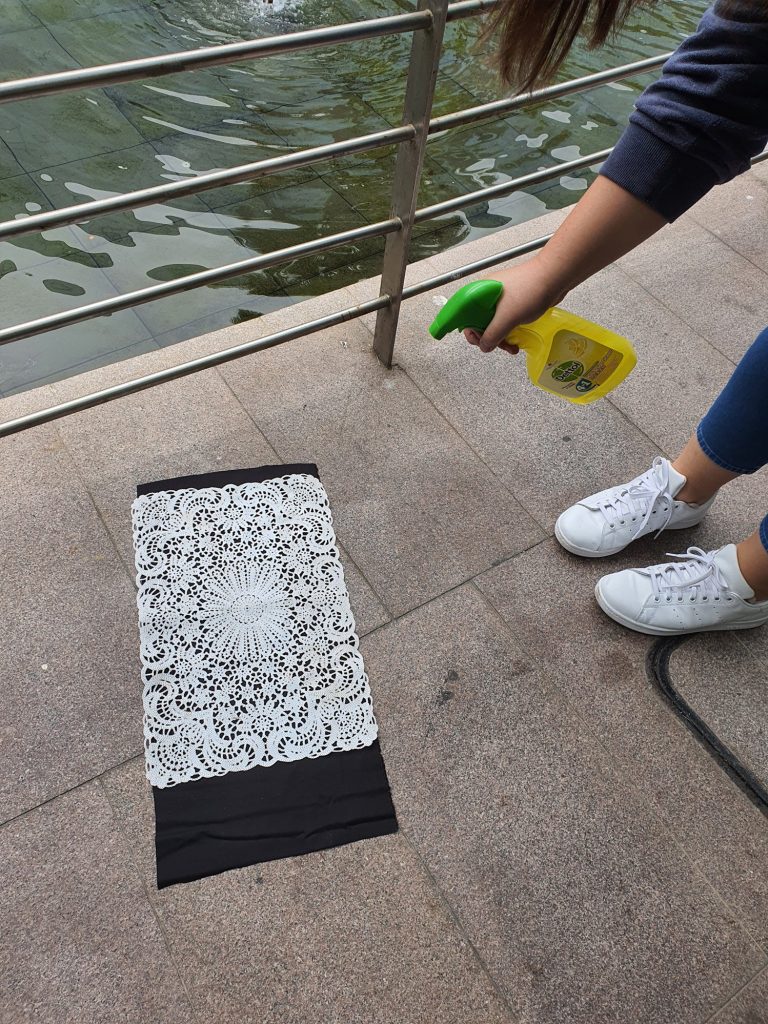
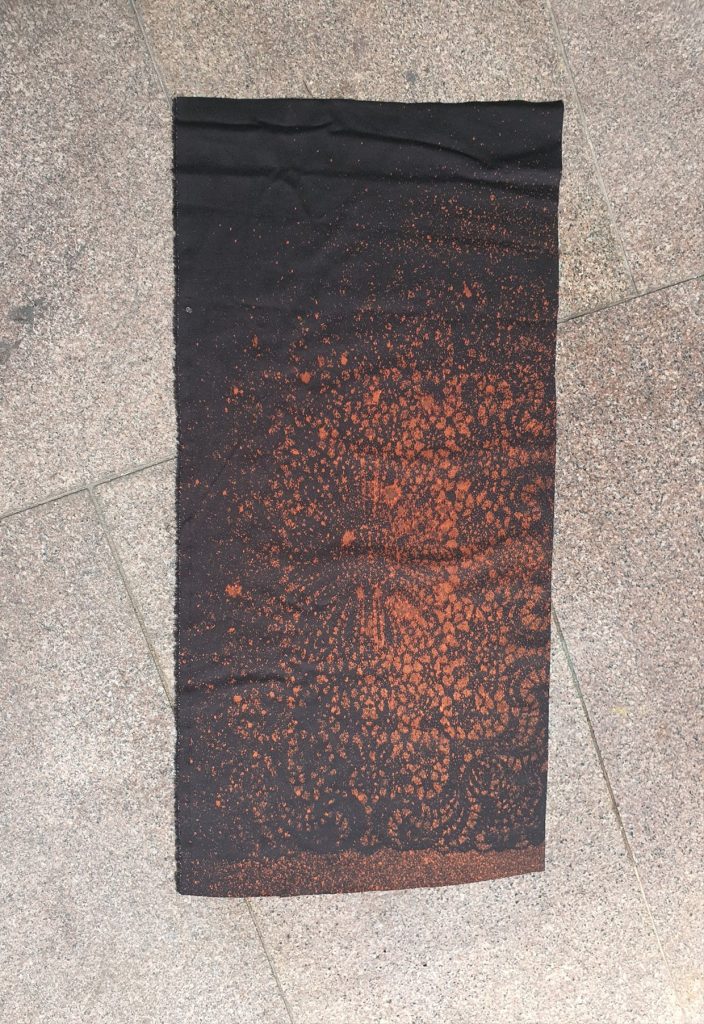
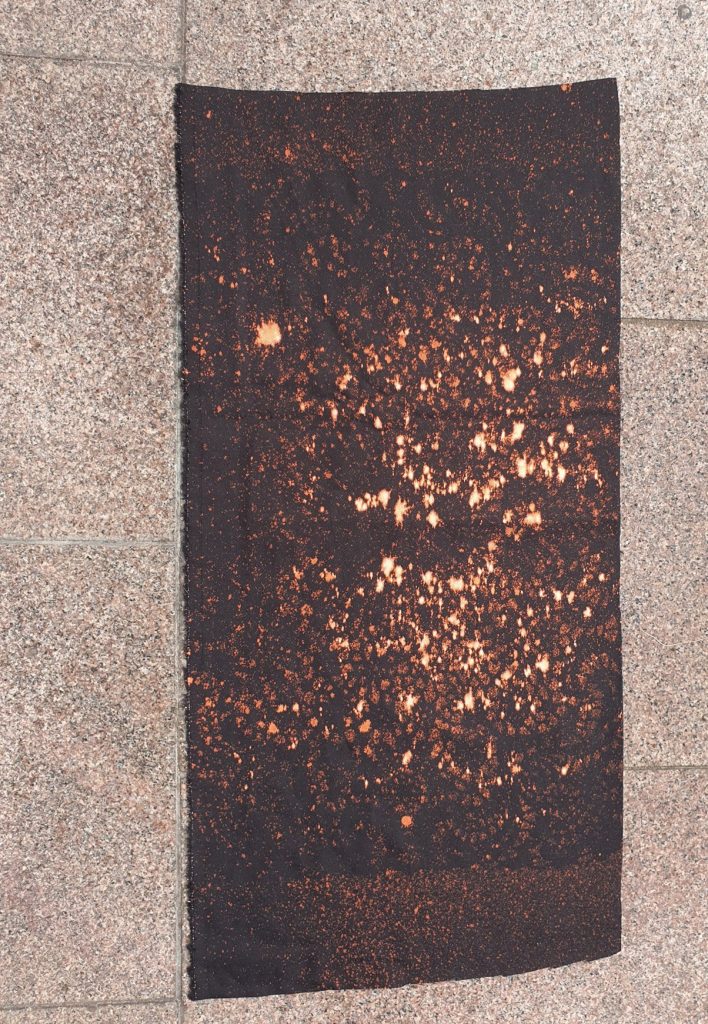
Bleaching Material List:

  • Dark coloured linen or cotton fabric
  • 100% concentrated Bleach
  • A stencil (optional)

Instruction for Bleaching:


Step 1: Get a Cotton or Linen cloth

Step 2 (optional):  Lay a stencil over it

Step 3: Spray or apply as much bleach you want.

Step 4: Leave to dry till what ever colour you want

Step 5: when the colour is to your liking wash off all the bleach

Reflection:

Be sure your Cloth is Cotton or Linen, the bleach will not react if it is any other material.


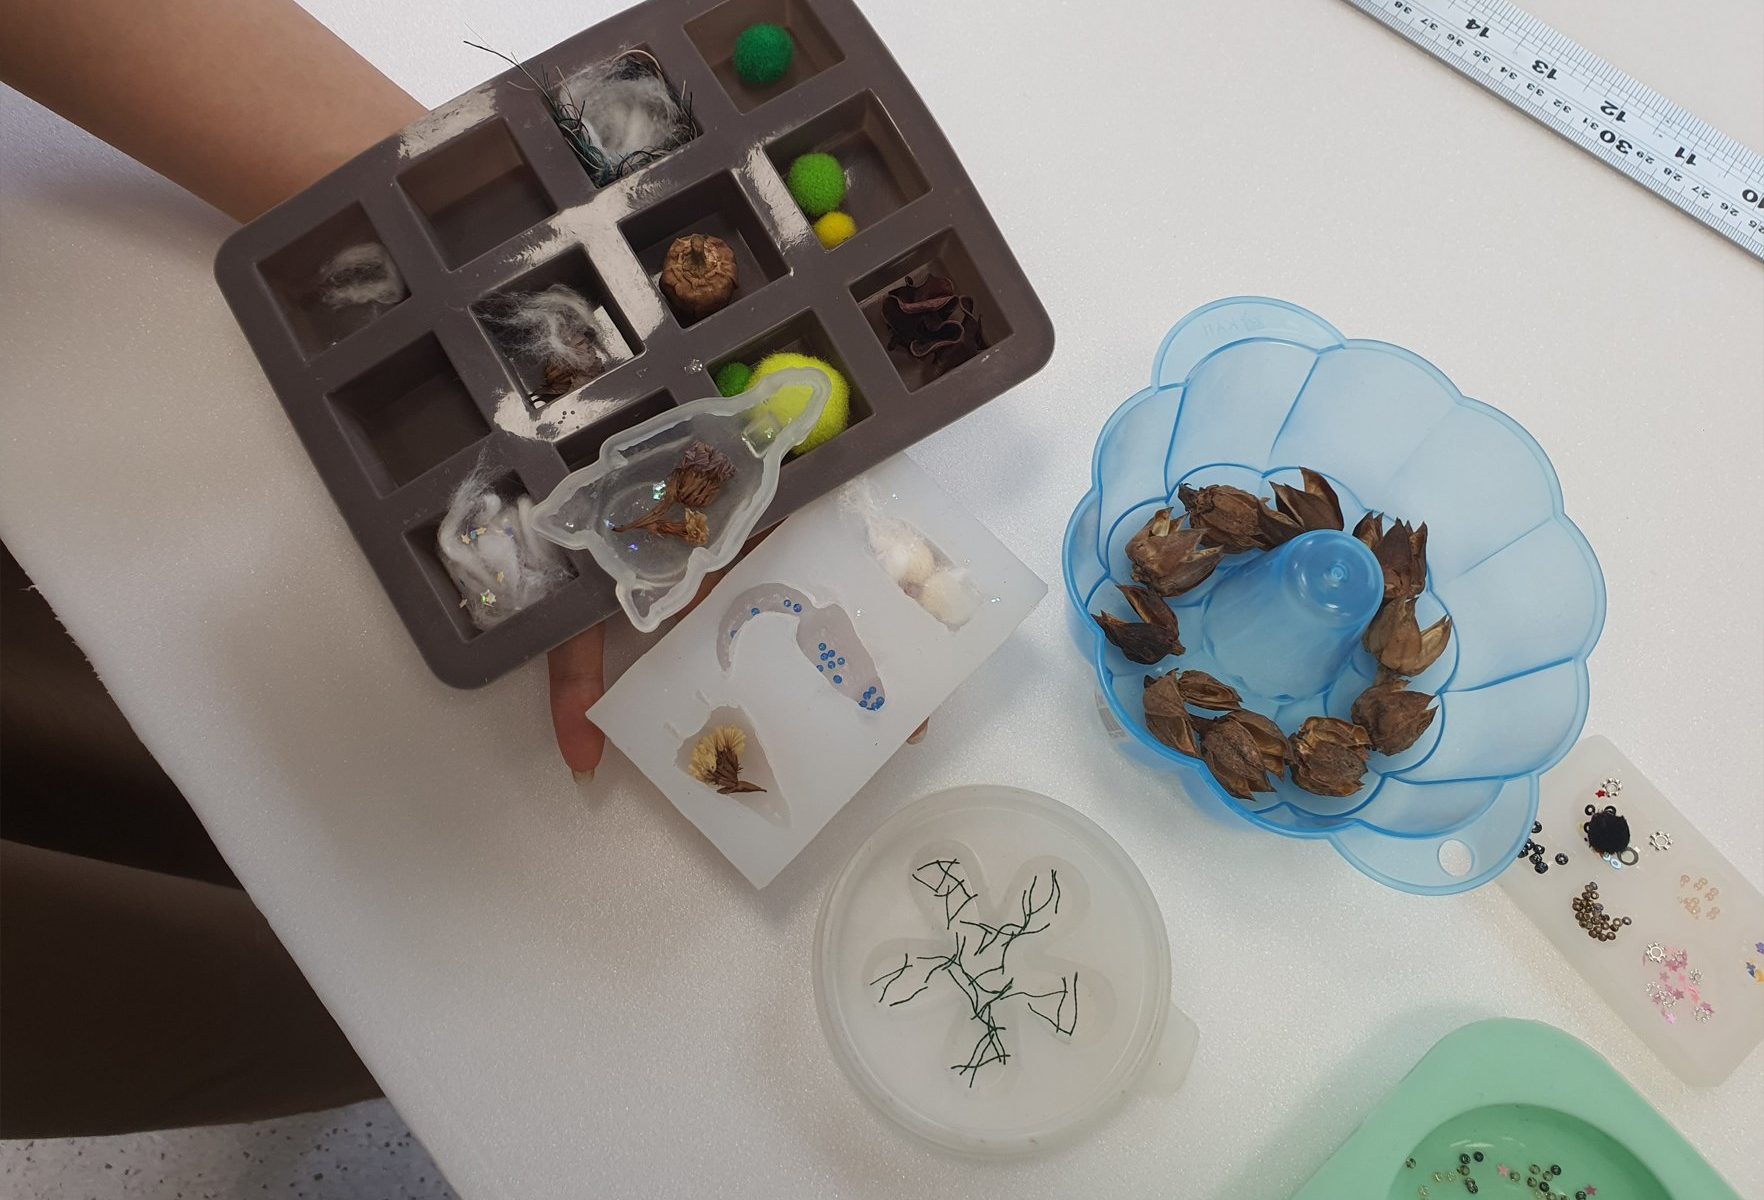
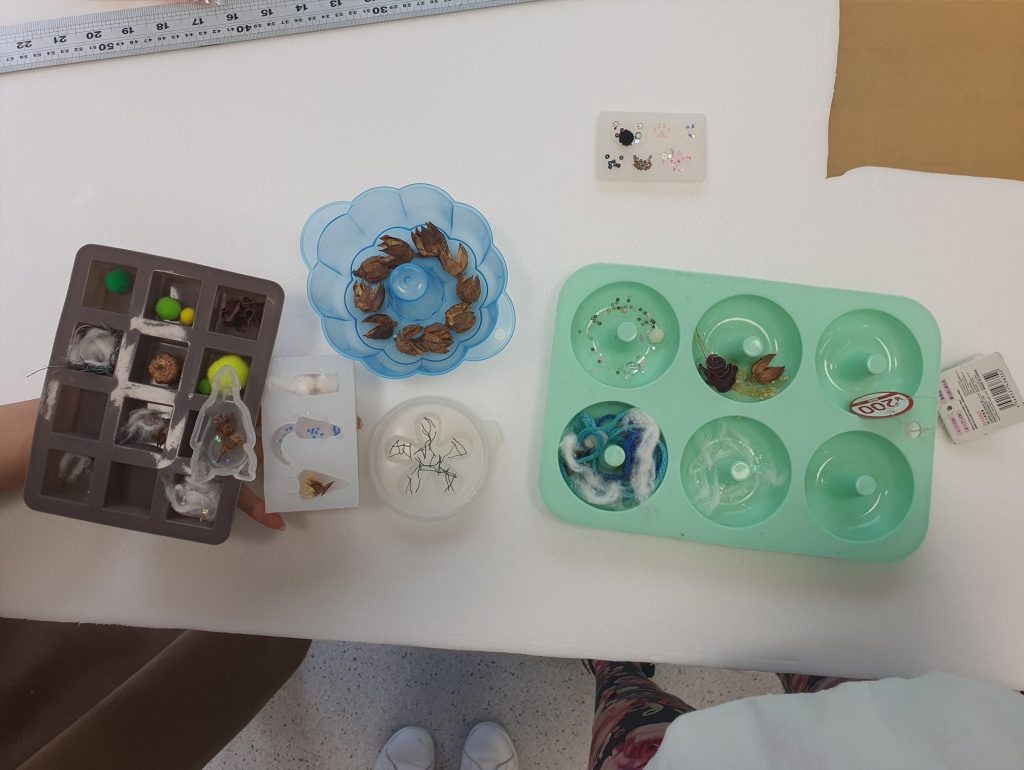
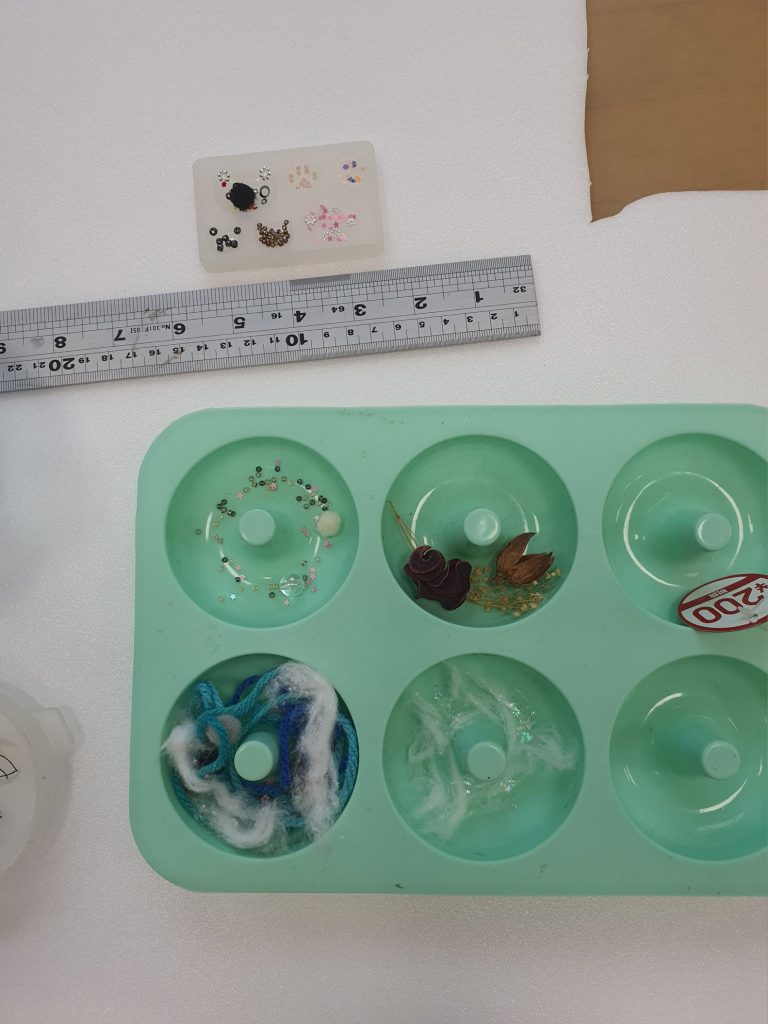
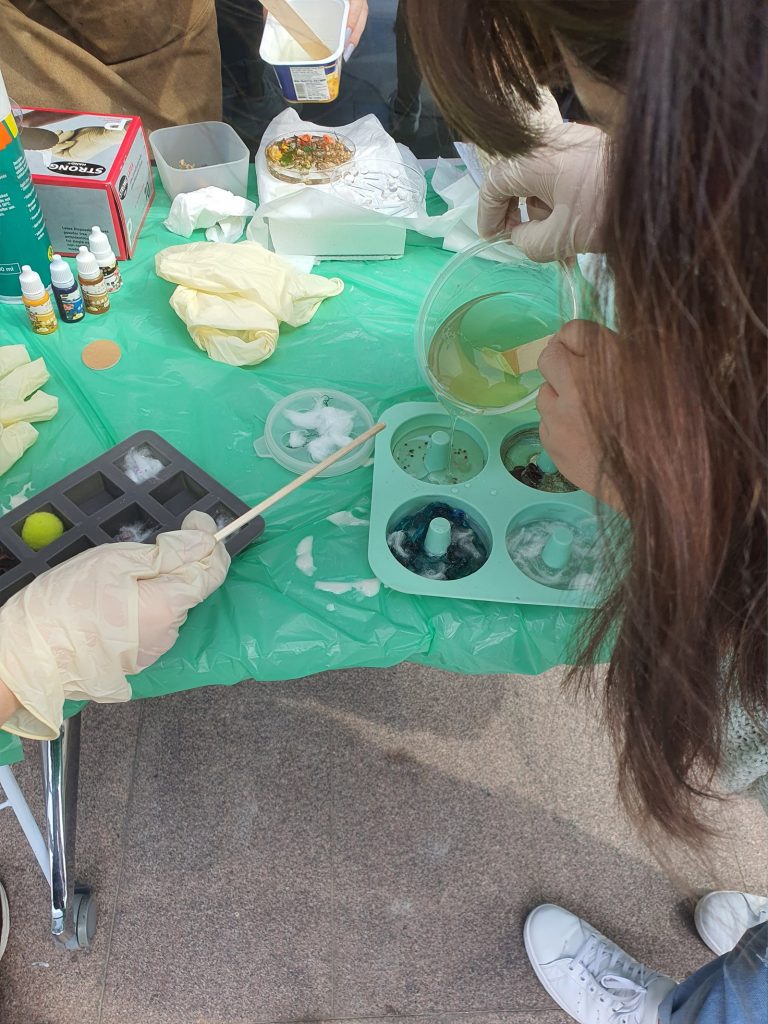
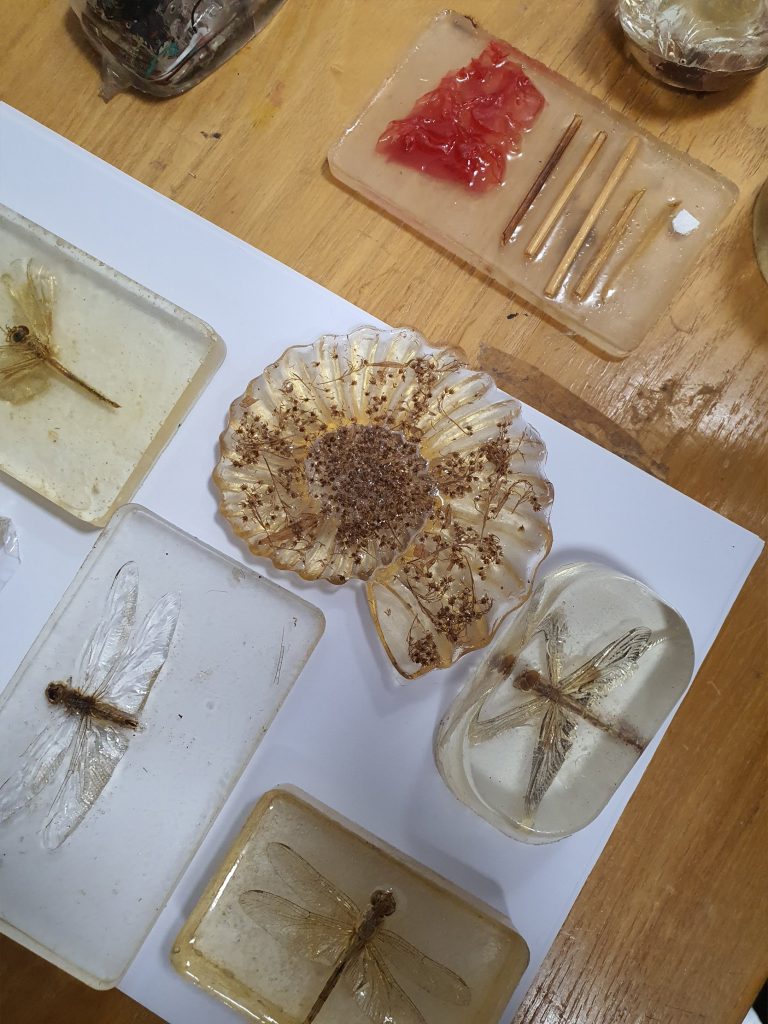
Materials for Resin List:

  • Resin
  • Resin hardener
  • Interesting moulds
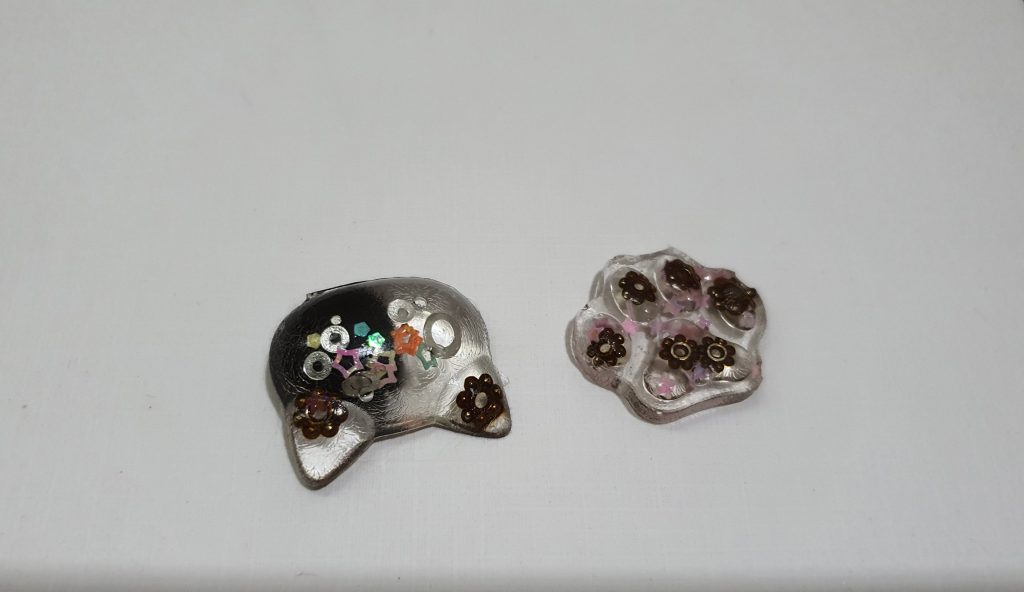
  • any glitter or other things you wish to throw into the Resin
  • Weighing scale
  • Containers

Instruction for Resin:

Step 1:  Prepare your silicone moulds by filling it with glitter or beads.

Step 2: Pour the Resin latex into a separate container, and measure the volume using the weighing scale.


Step 3: Add the hardener into the mixture (note that the Hardener is 0.02 times the volume of the Resin added)

Step 4: Mix well

Step 5: Add the mixture into the moulds prepared in step 1. Make sure that you pour from one spot to reduce air bubbles created in the mixture. Do this quick, because the hardener acts fast.

Step 6: Leave to dry for 24 hours.

Reflection:

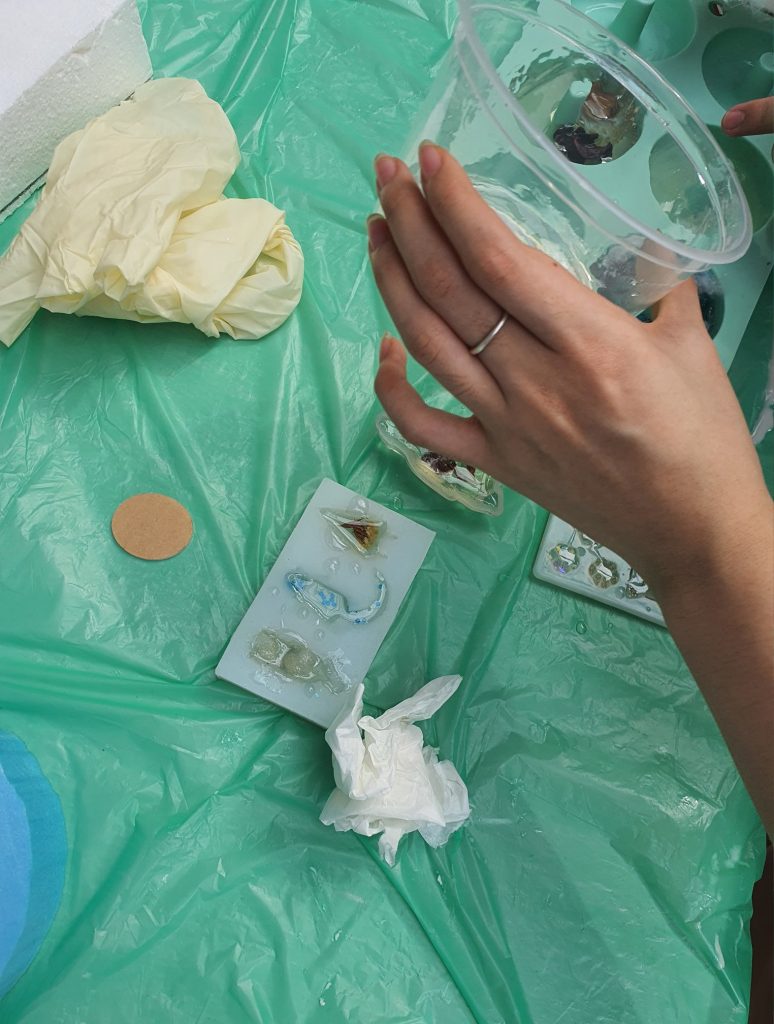
Warning: It gets super hot!

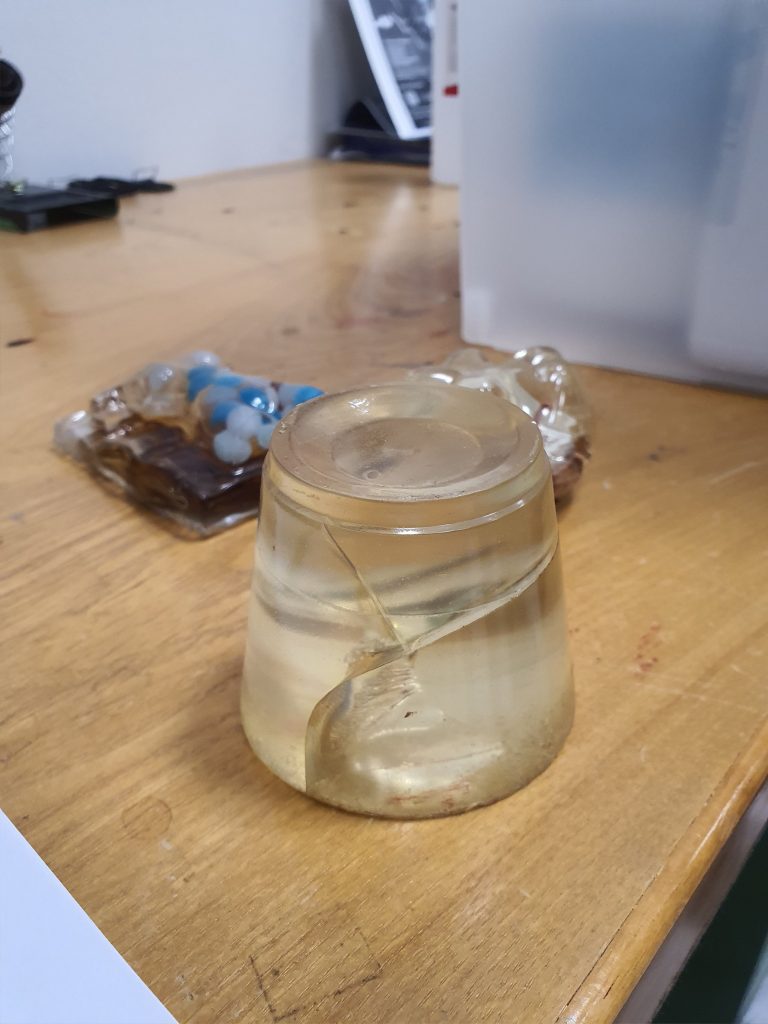
If you are using plastic moulds, especially the ones that are very rigid, you may hear cracking sounds, and the plastic may crack.

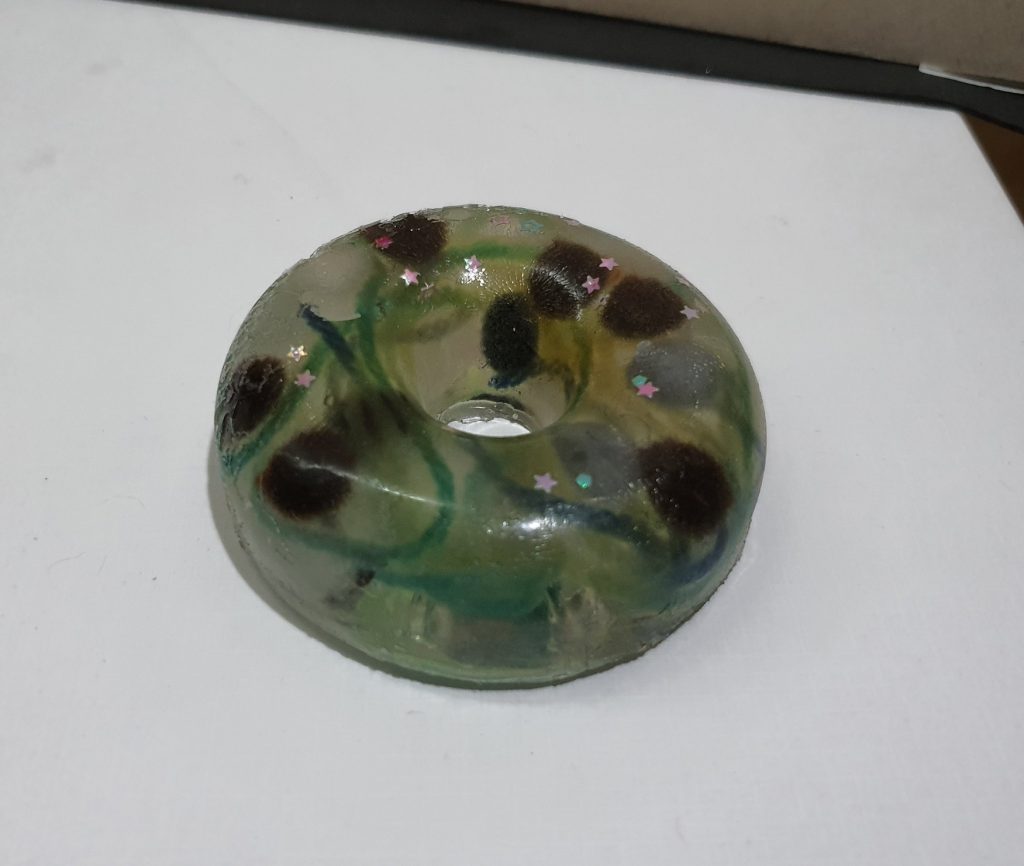
Some of the material like yarn might bleed and influence the colour of the resin. No harm done.

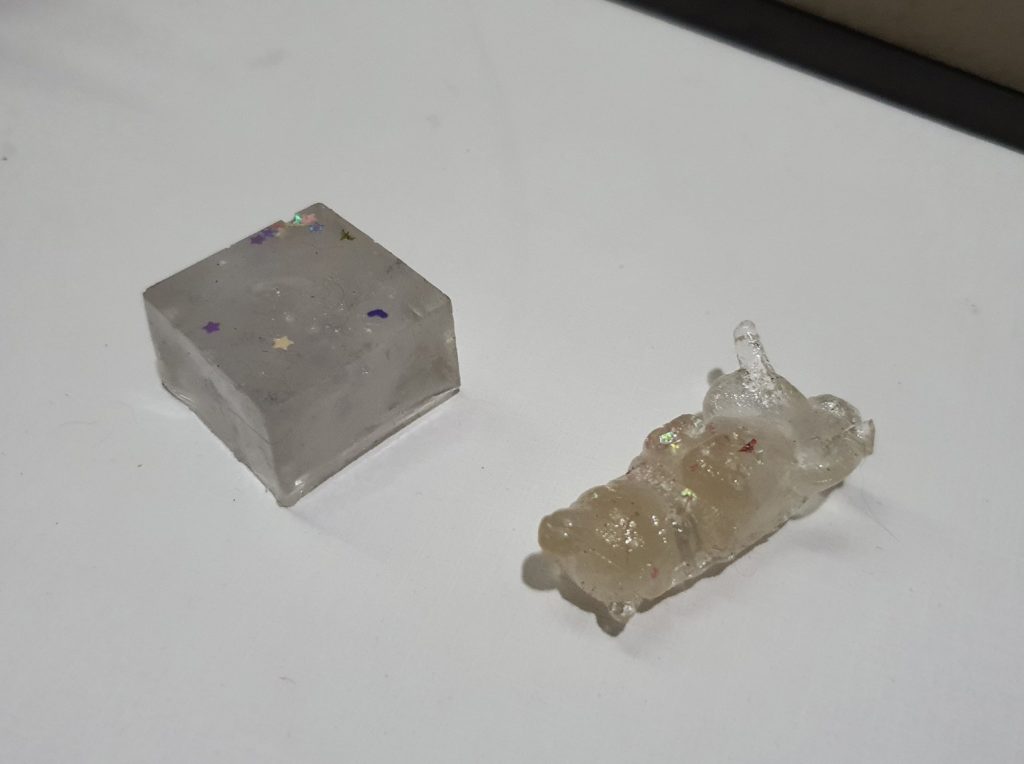
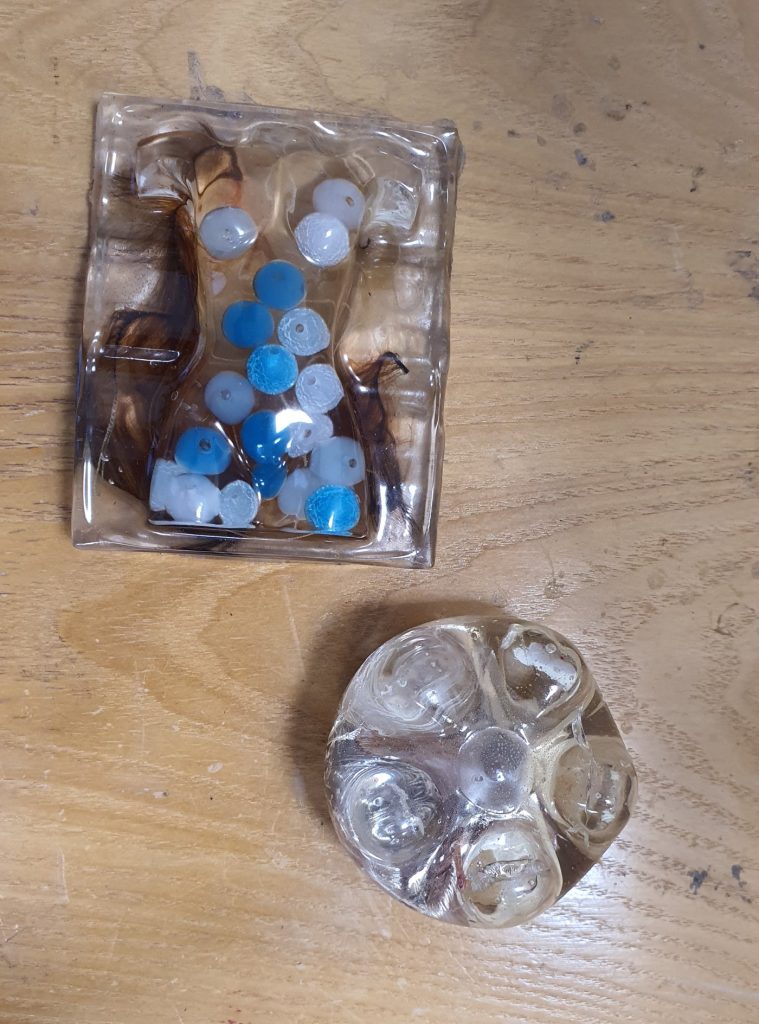
Sometimes the bubbles appear at the bottom of the moulds and create weird surface textures, might want to consider sanding them off.

In Class Examples

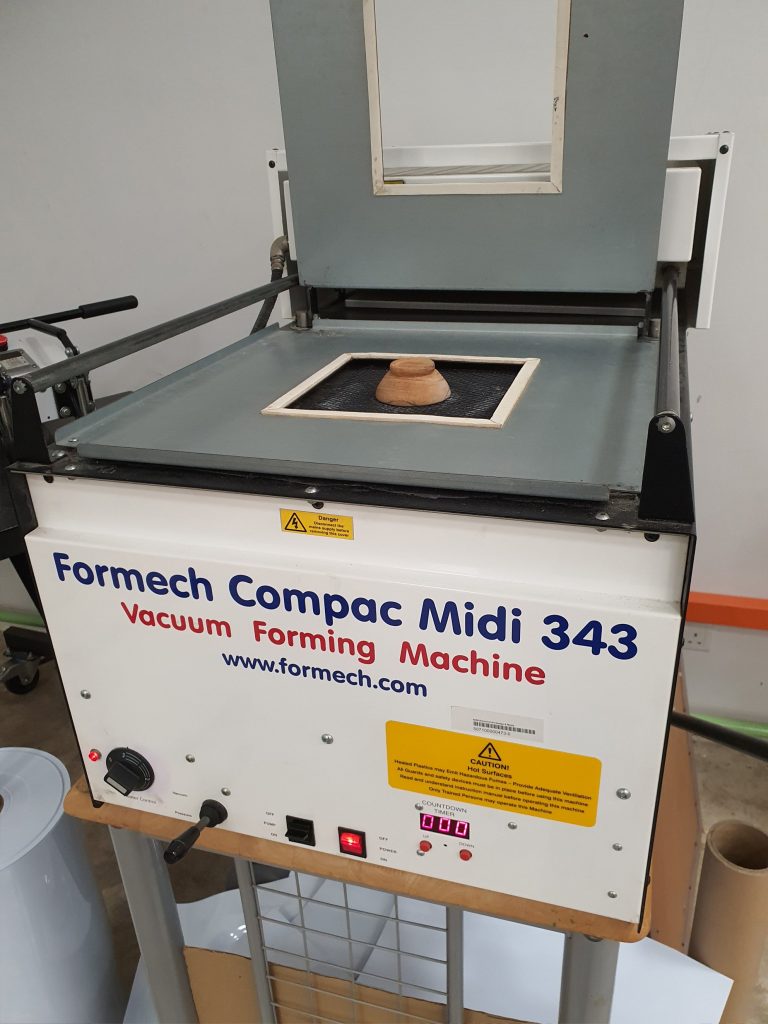
Material Cookbook || Chapter 6: Vacuum forming and Thermochromic printing

Vacuum Forming List:

  • PVC Plastic
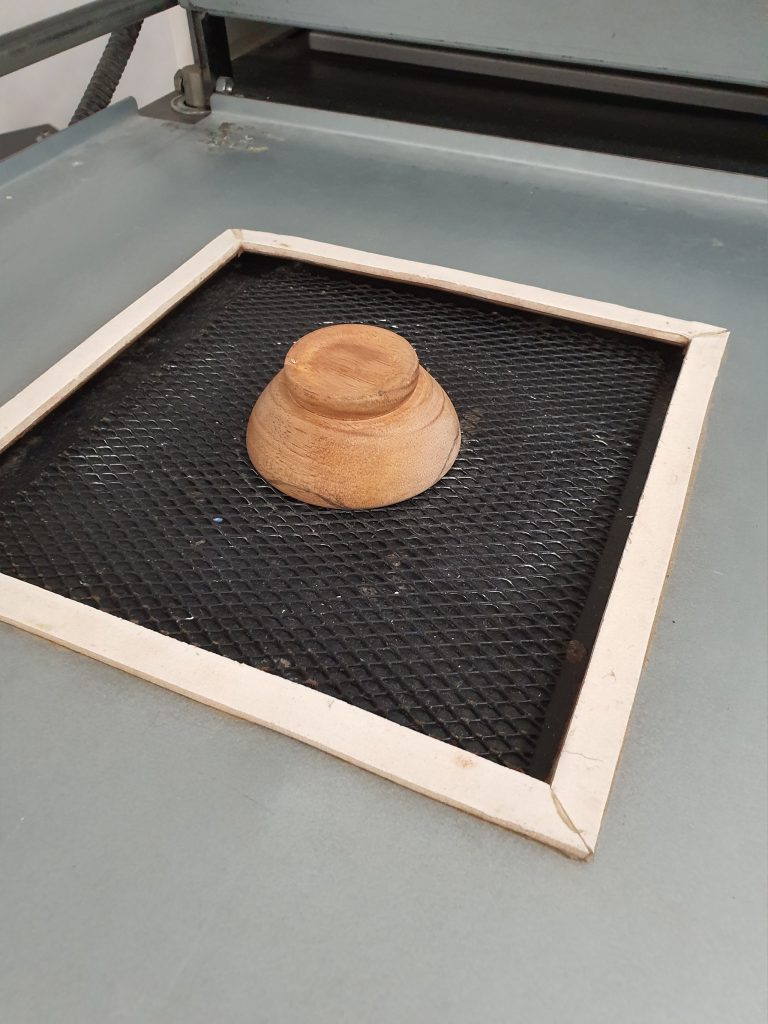
  • Objects with interesting shapes (note that this must be able to withstand high temperatures if not they will warp when boiling)

Instruction for Vacuum Forming:

Step 1: Turn on the machine and it heat up.

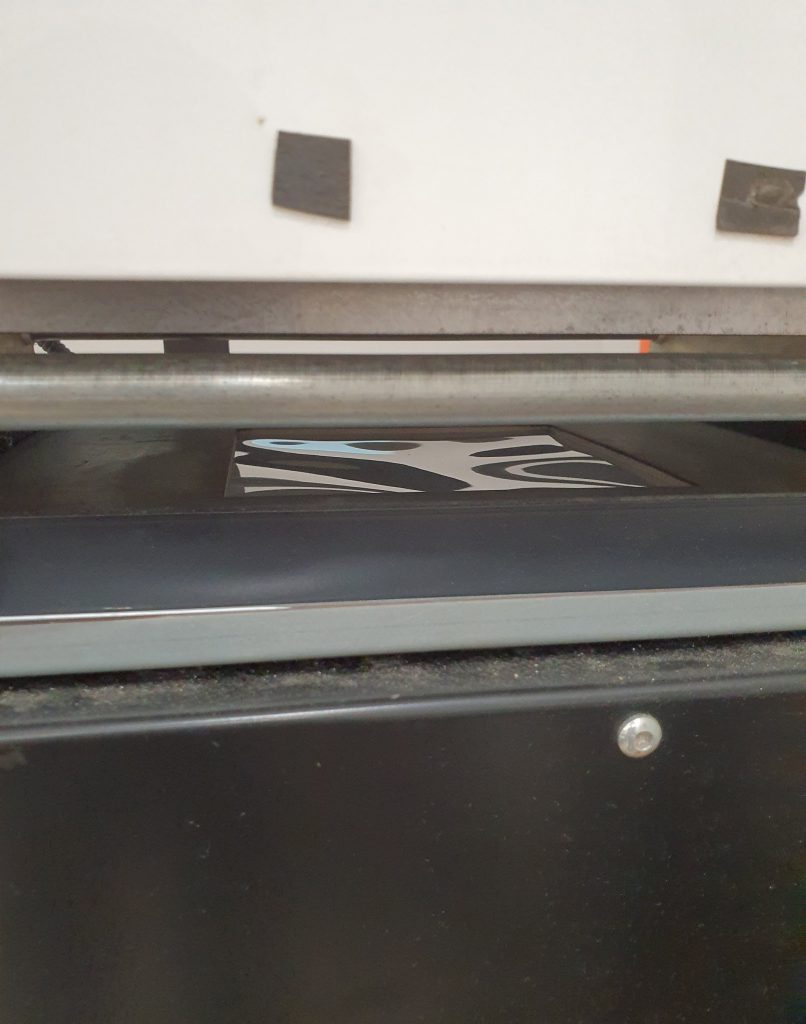
Step 2: We need an object that will not warp when heated. Place that object on the machine stage like so:

Step 3: lower the object into the machine and cut a sheet of PVC to fit over the mouth of the machine.

Step 4: Secure the PVC in place and then pull the heater over the PVC. When the PVC is sufficiently heated it will become smooth.

Step 5: When the plastic is heated, push the heating component back into place, and lift the stage with the object into the the PVC.

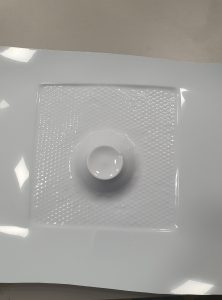
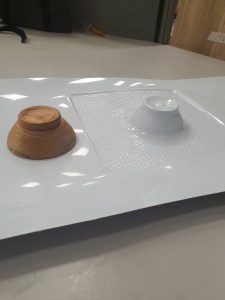
Step 6: Quickly turn on the vacuum function so that the PVC will adhere to the object shape. When the shape is to your liking, stop the vacuuming and remove everything.

Reflection:

I left the plastic to cool a bit too long, hence when vacuuming the edge was less defined then it could be.

We want objects that whose head is not wider then the base so that it can be removed later. If not the plastic would vacuum form and seal the object inside of it.

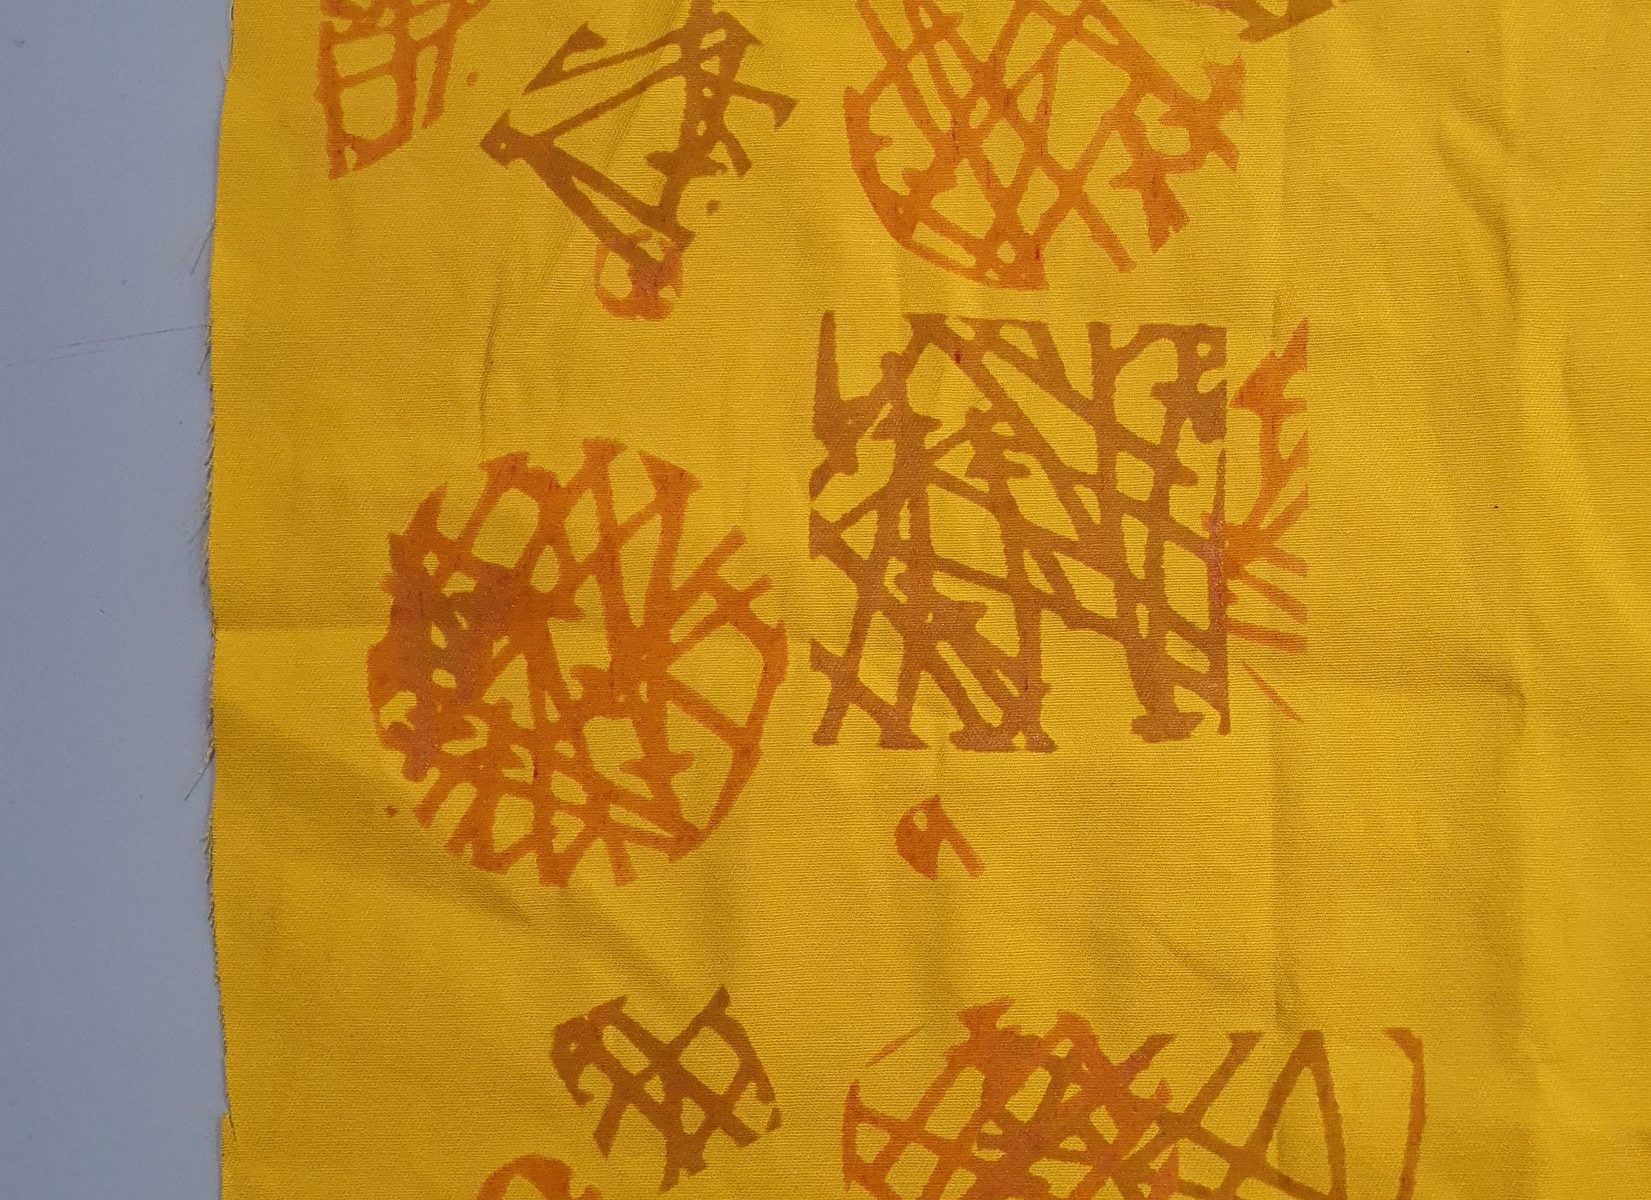
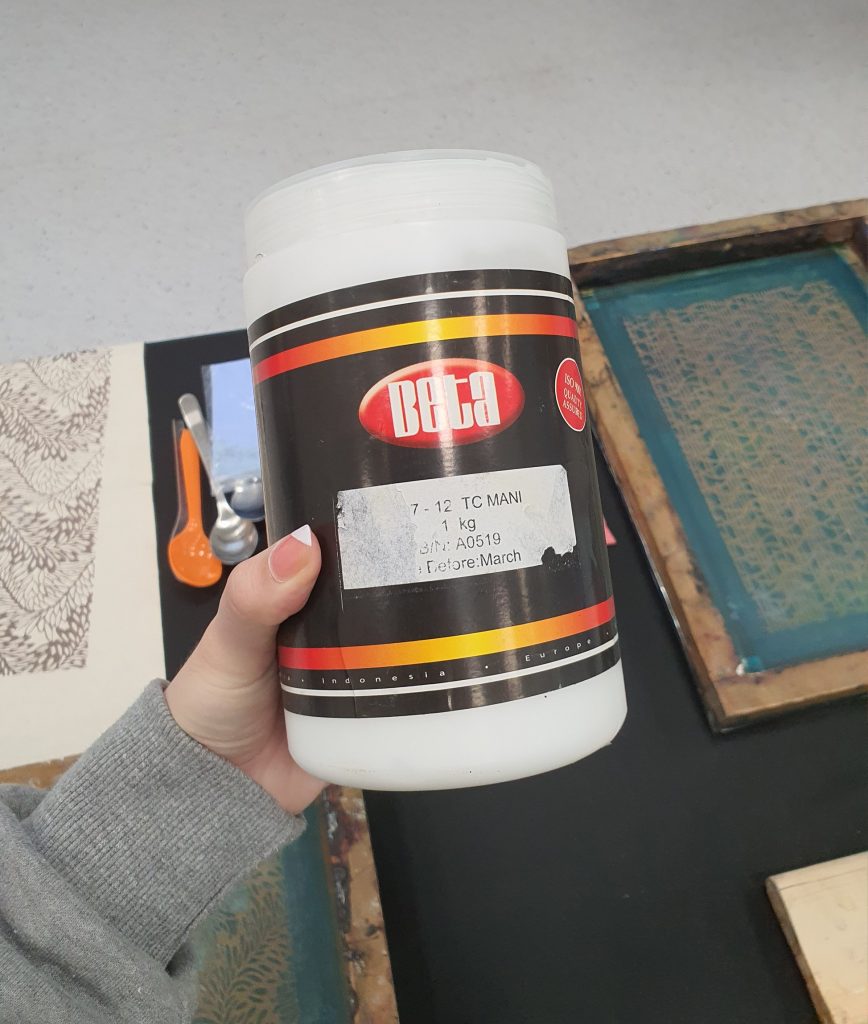
Thermochromic Printing Material List:

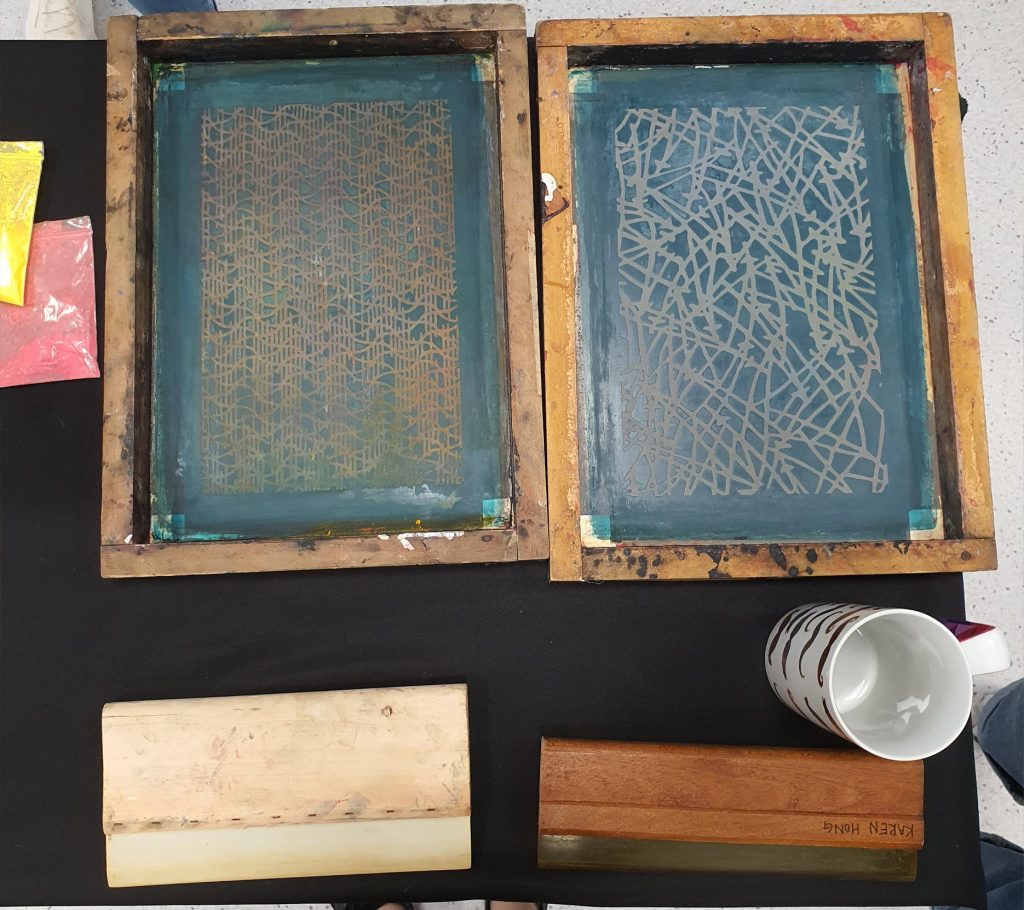
  • Thermochromic pigment
  • Silkscreen
  • Paper Templates (optional)
  • Fabric paint of any colour

Instruction for Boiling thermoplastics:

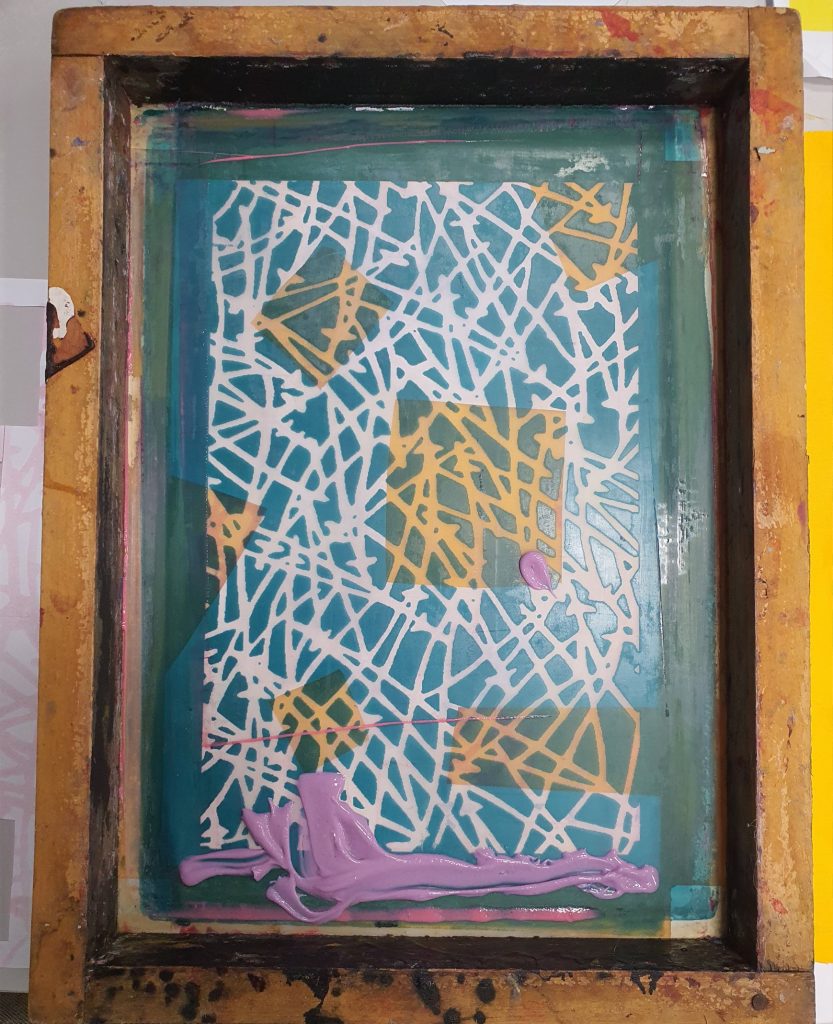
Step 1: Prepare silkscreen patterns, or paper templates for printing.

Step 2: Prepare Cloth for print

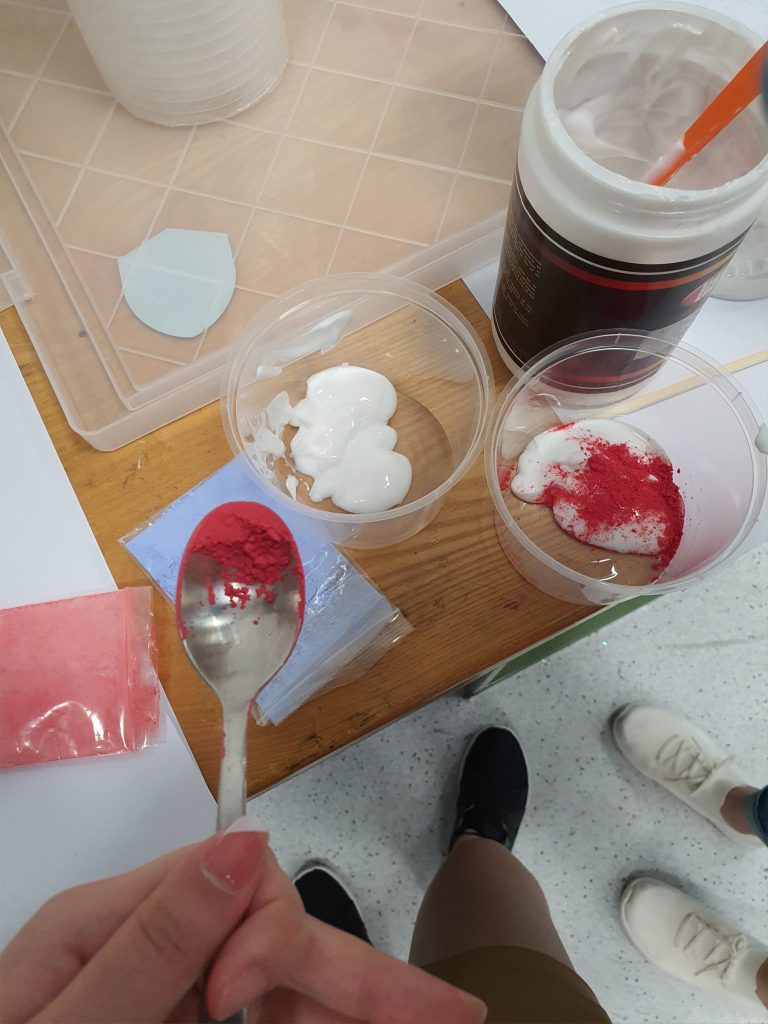
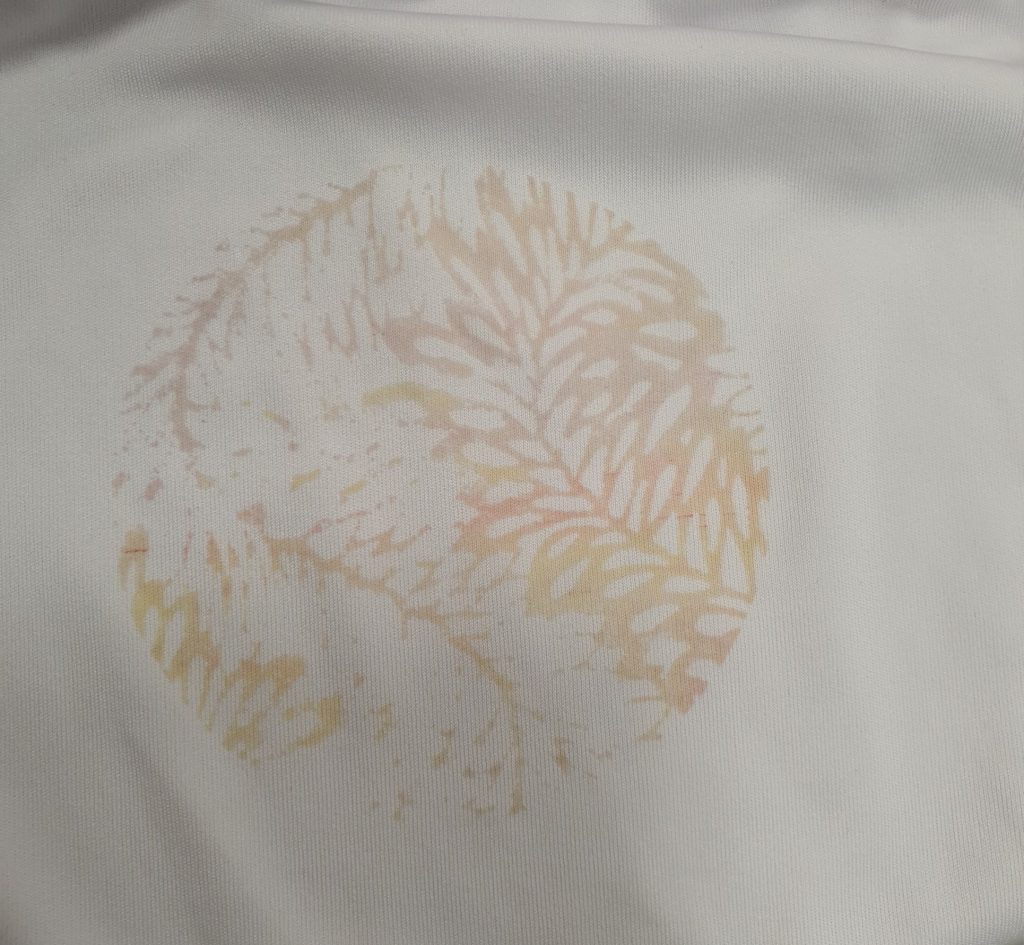
Step 3: Mix Thermochromic powder and the Fabric paint for silkscreen. We used 2 spoons of paint and 1 spoon of powder. In this case we used the clear paint so the colours disappear when heated.

Step 4: Lay template and/or silkscreen over the cloth and proceed to print.

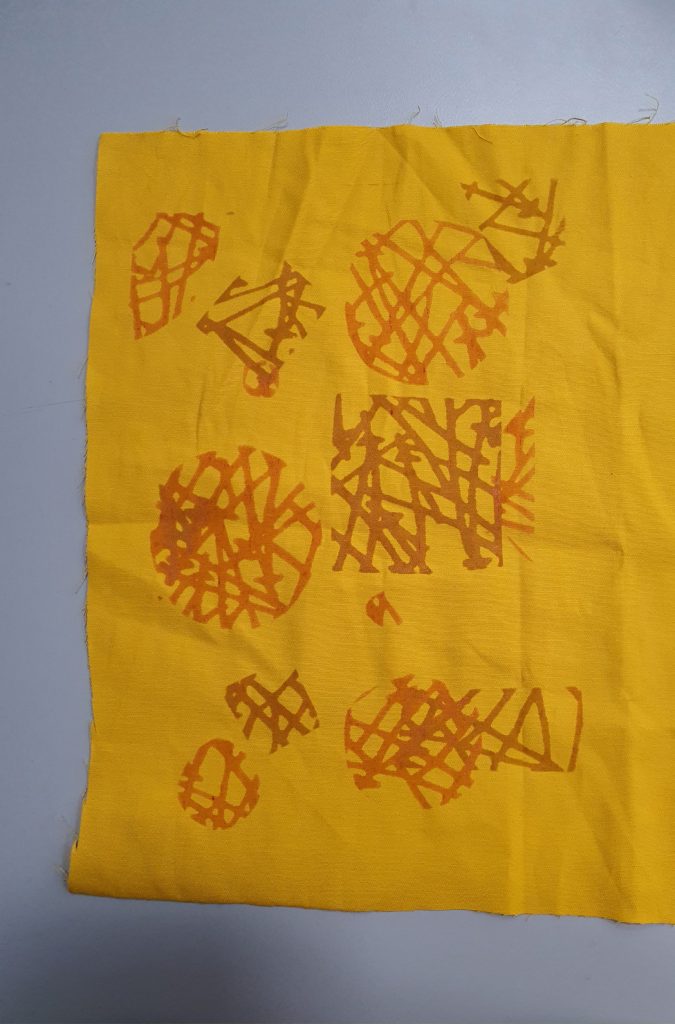
Step 5: Leave designs to dry.

Reflection:

The coloured pigment came out dull on every other fabric that is not white. Even on white fabric they showed up faintly. If we want a darker line art there is always black I guess.

Material Cookbook || Chapter 2: Plastic Fusion and Thread Fabric

Material List for Plastic Fusion:

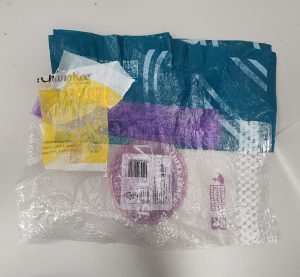
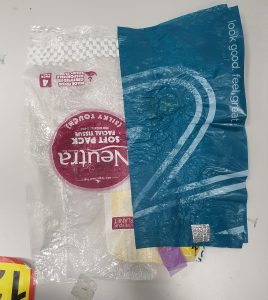
  • Plastic bags or plastics of any kind
  • An Iron
  • Wax Paper

Instructions for Plastic Fusion:

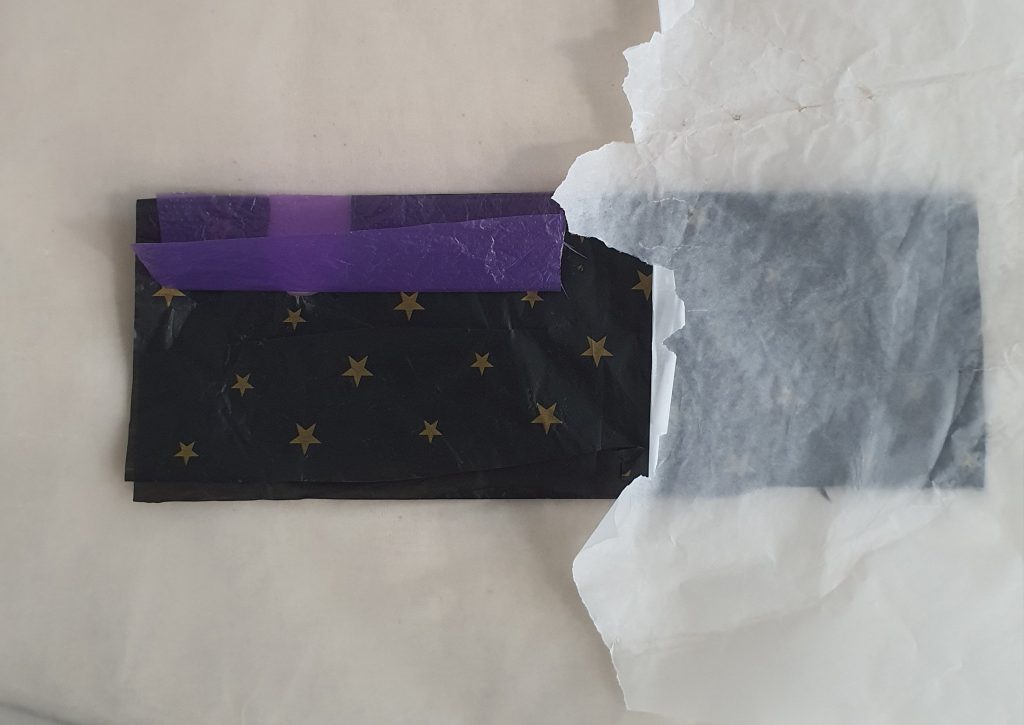
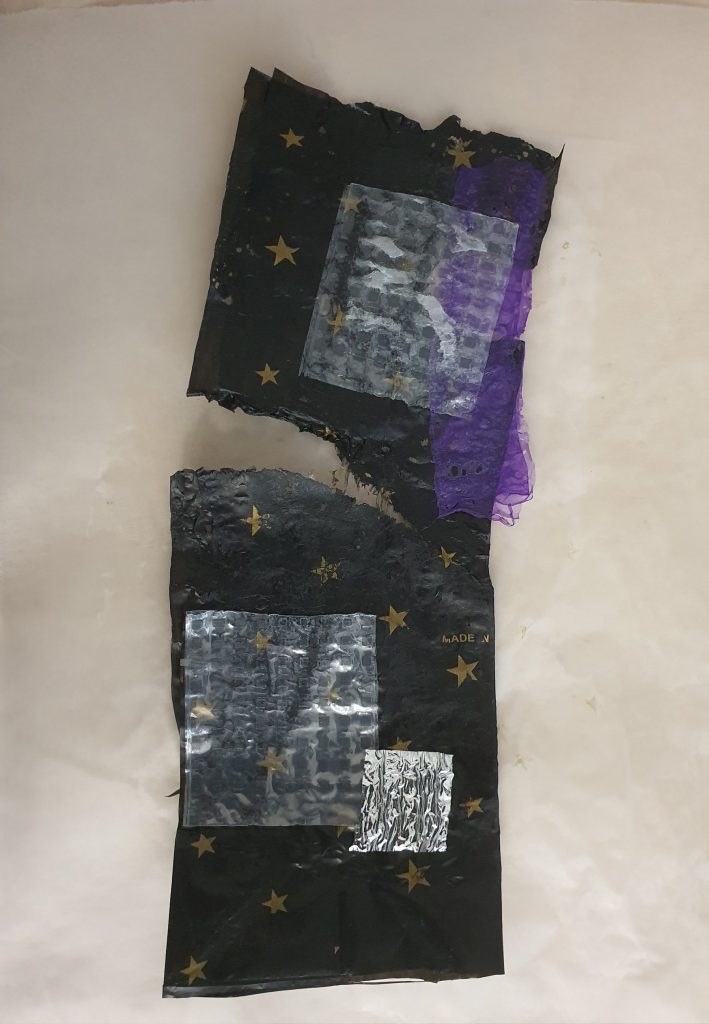
Step 1: Cut and arrange the plastic bags in the pattern that you want.

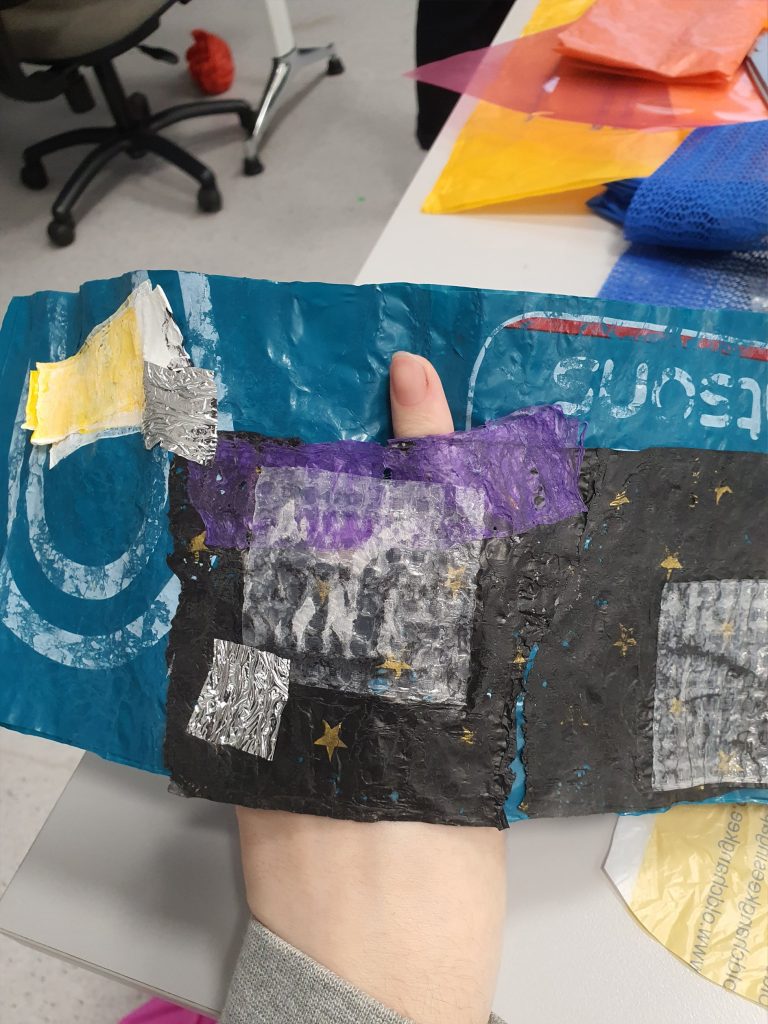
Step 2: Sandwich the plastics between wax paper and iron them to fuse. (The starting setting was the one with the highest heat)

Reflection:

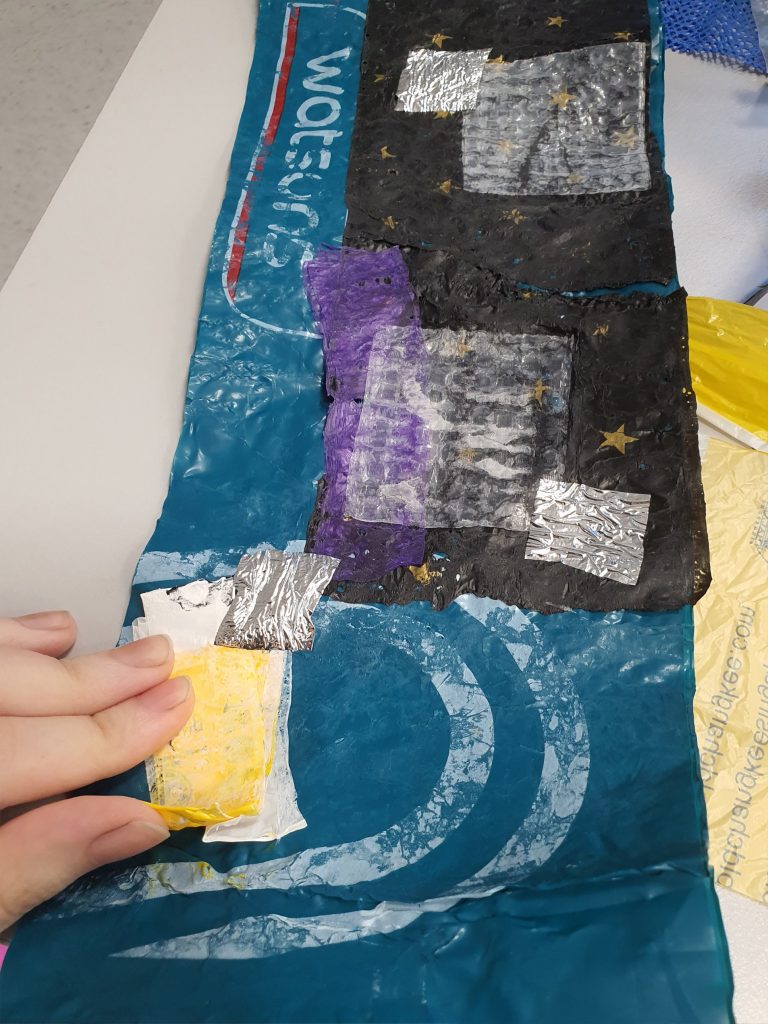
Thin plastics burns very easily, the kind from the markets or trash bag material. Layer them sufficiently or turn down the heat from the iron.

The designs on the plastics transferred to the wax paper. It could be because the heat was too high, but certain designs melted faster then the plastics and fused to the wax paper instead. On a side note, some of the plastics fused to the wax paper instead of with the other plastics. (It could be the type of wax paper used, but that is a hunch? )

Transparent plastics are sticky. The take more heat to melt (or at least my transparent package did) but it refuses to fuse. Instead it feels slightly resistant to touch hence I describe it as sticky. It does create very beautiful ‘frosted glass’ texture though.

Sometimes the heat is not enough and it results in the plastics not fusing, hence a cute little hole for your finger to stick through, a very intentional design flaw XD.

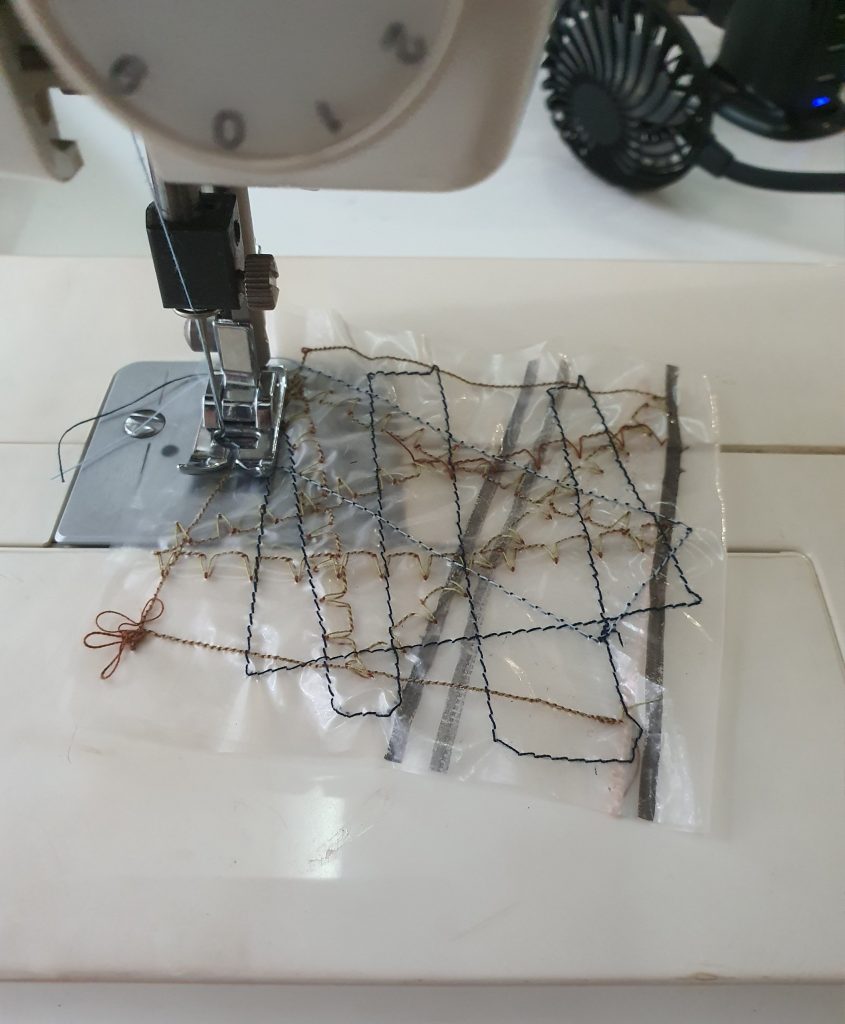
Material List for Thread Fabric:

  • Threads
  • A sewing Machine
  • Water Soluble Stabiliser
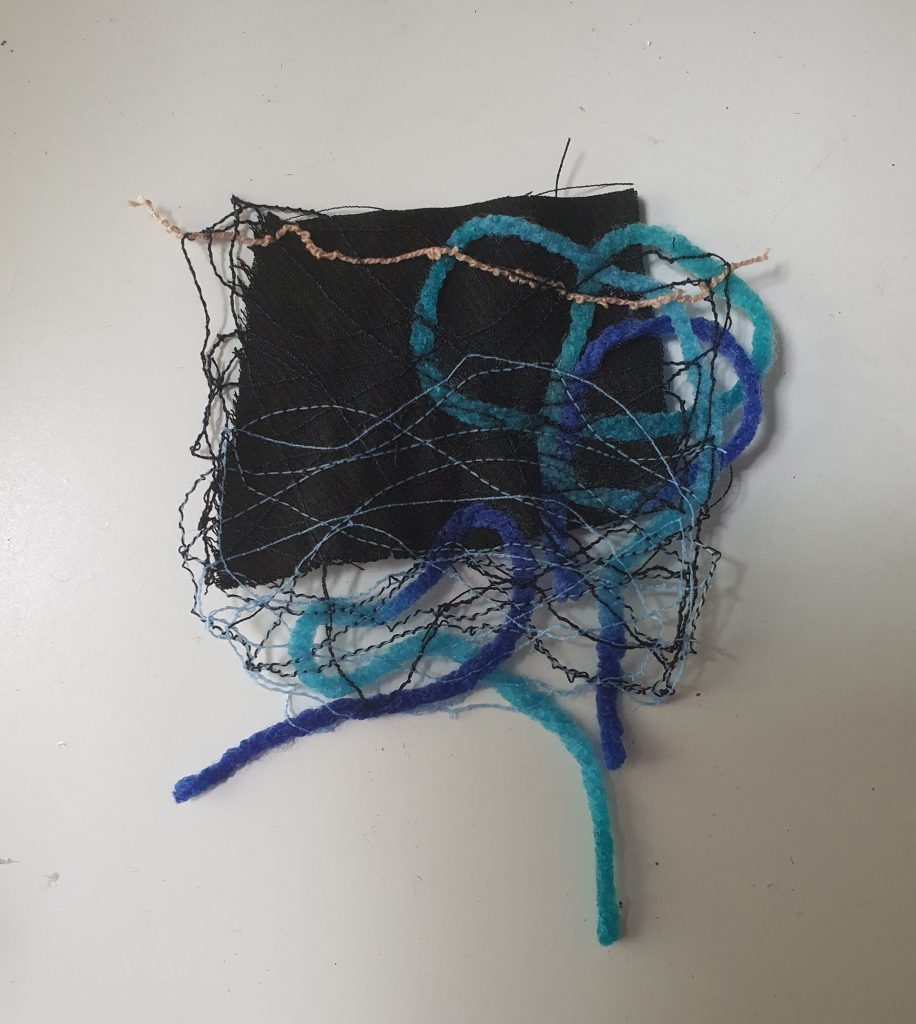
  • Fabric and trimmings to add into the ‘fabric’.
  • UV resistant acrylic spray

Instructions for Plastic Fusion:

Step 1: cut two identical pieces of water soluble stabiliser

Step 2: Sandwich threads, fabric trimmings or anything you want in between the two pieces of water soluble stabiliser.

Step 3: Pin them in place and start sewing.

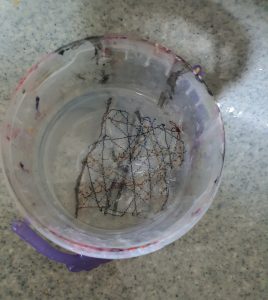
Step 4: Wash the water soluble material away.

Step 5: Place the wet material over a surface shape that you want them to hold and leave to dry. (Optional)

Step 6: Spray a coat of UV resistant acrylic spray over it to stiffen the material and allow it to keep its shape. (Optional)


Reflection:

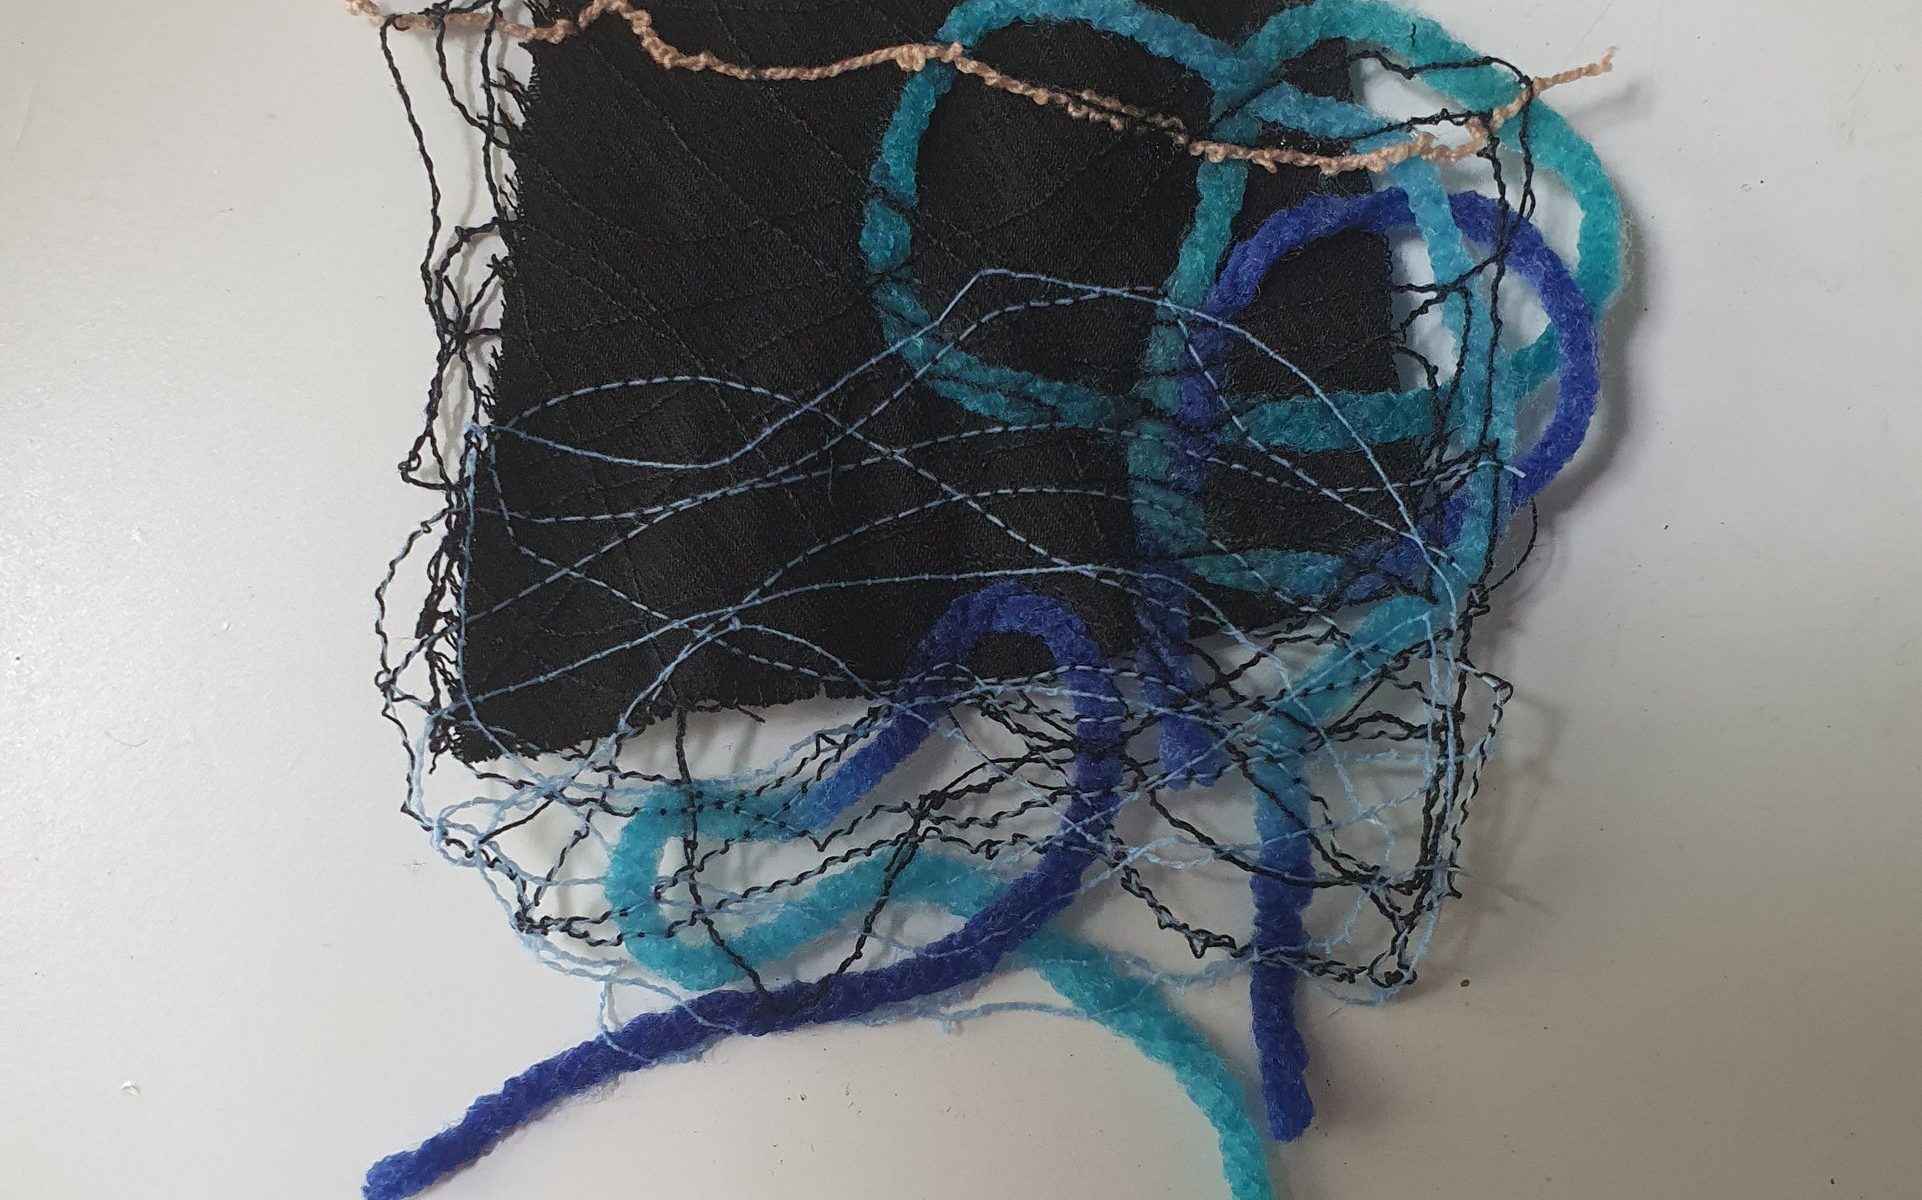
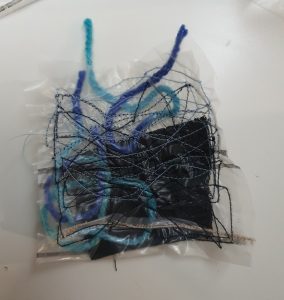
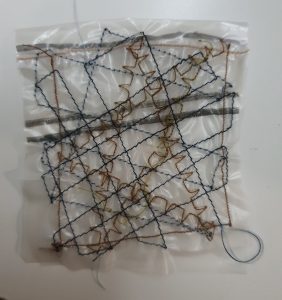
Upper and lower threads can be of different colours to create more interesting visual contrasts.

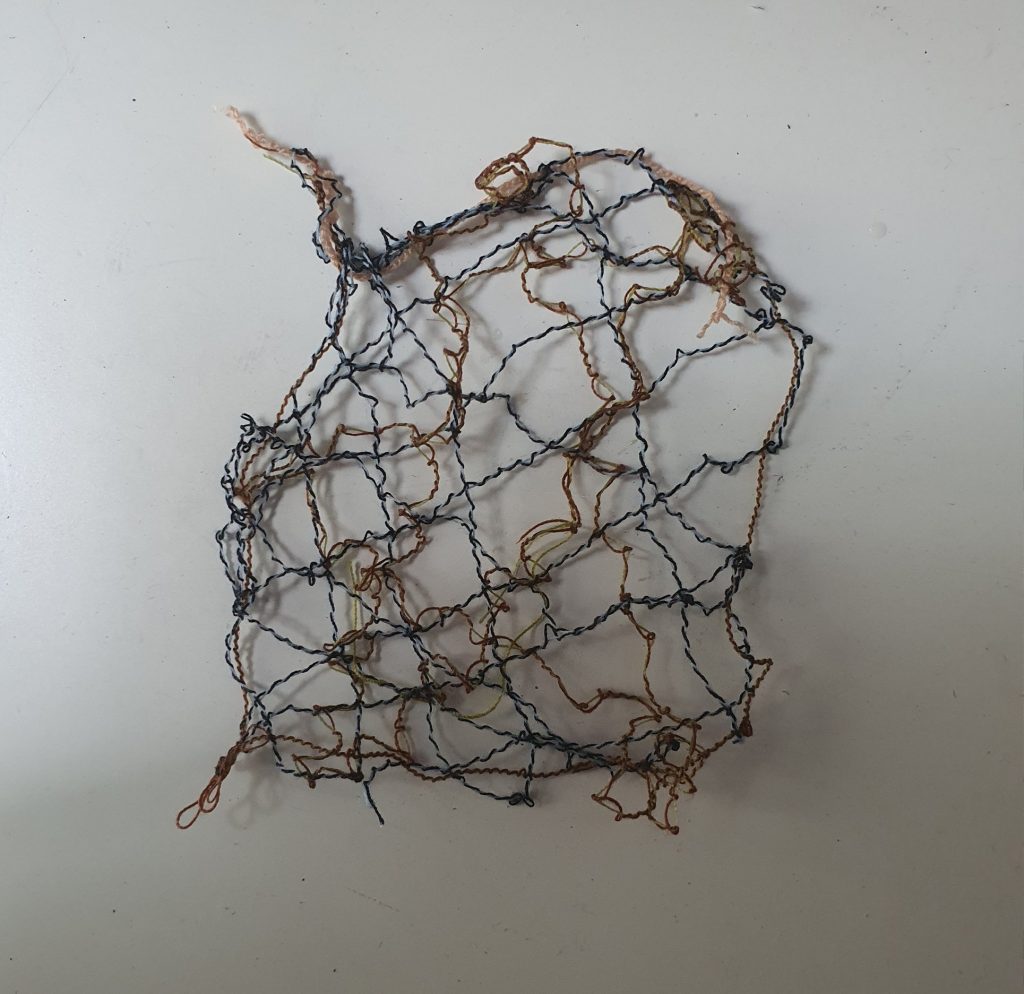
Make sure that the threads overlap, because that is the only thing holding the ‘fabric’ together when the water soluble stabiliser is washed away.

Sewing can be done with any patterns, lets have fun and explore together.

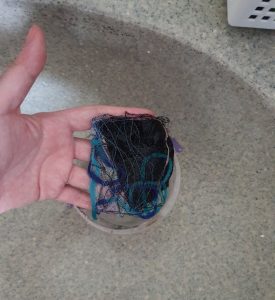
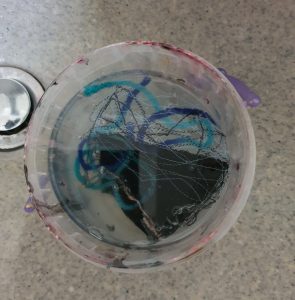
Be careful when washing the threads only fabric, as they feel a bit fragile, especially if you threads are a bit sparse like our trial. Do not squeeze them into a ball (I thought they were going to stick all together oAo).

Creative Industry Report: Enchanted Doll


~Warning this post contains ‘nude’ images and dismembered doll parts that may cause discomfort to some viewers.~


What is Enchanted Doll?

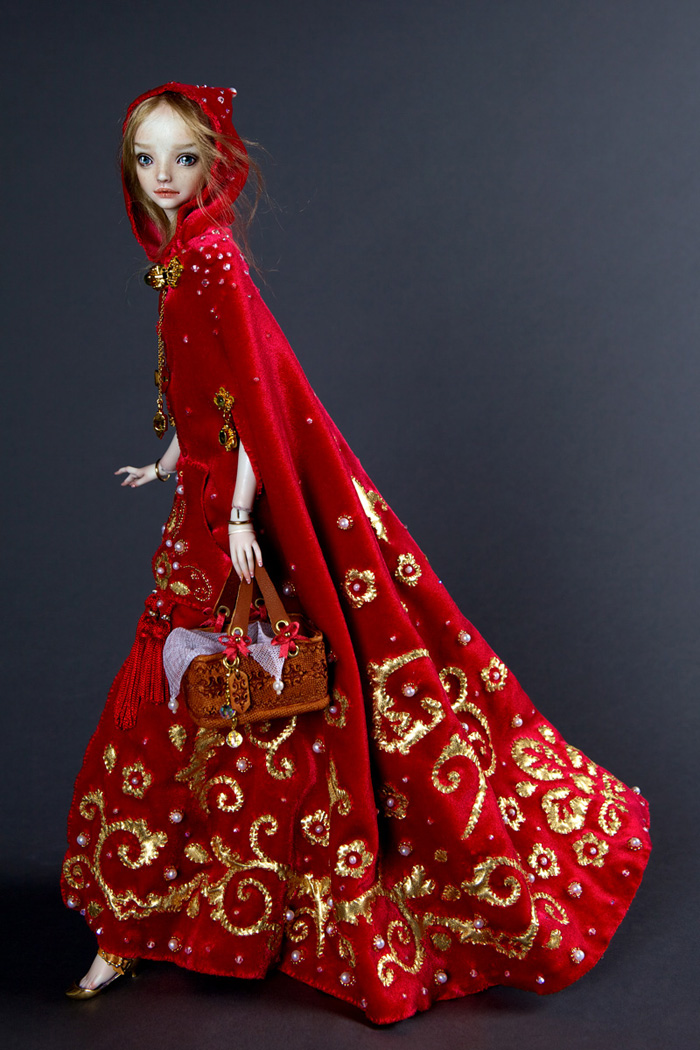
“Enchanted Doll” is a luxury toy label that creates handcrafted porcelain, more recently, resin ball-jointed dolls. The company was founded by Marina Bychkova.

“Enchanted Doll” was named after Paul Gallico’s fictional short story, where a young woman creates dolls with so much love that they enchant people at first sight with their compelling, delicate, life-like beauty, is kind of like what the artist herself is doing her own career. By naming her company after such a story Marina Bychkova hopes to do the same, to create the most beautiful doll.

About the Artist:
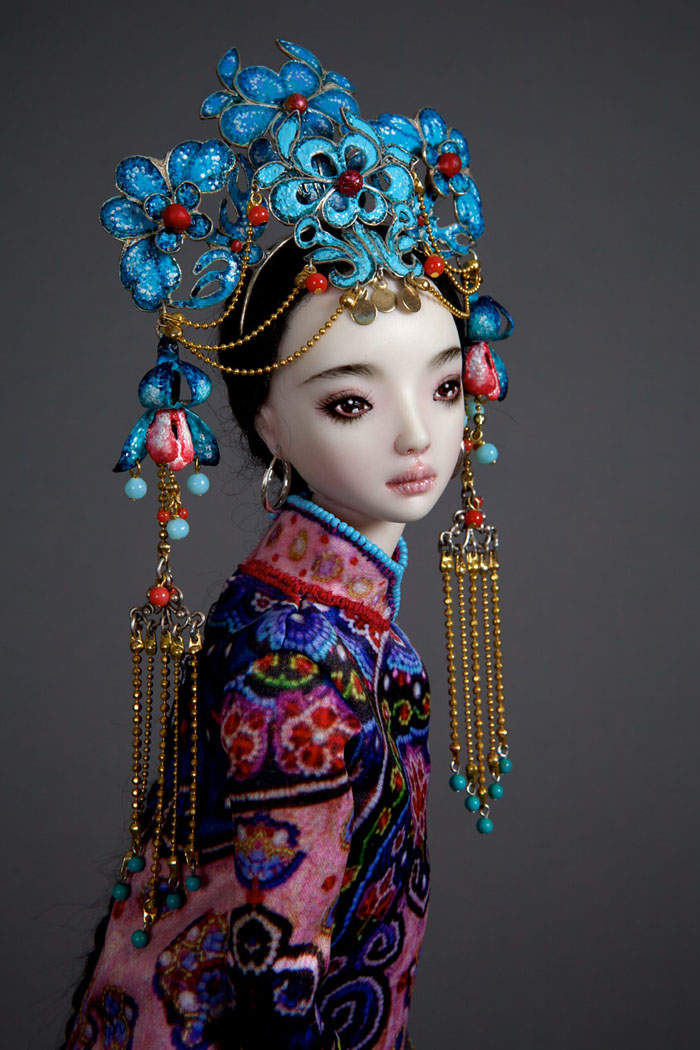
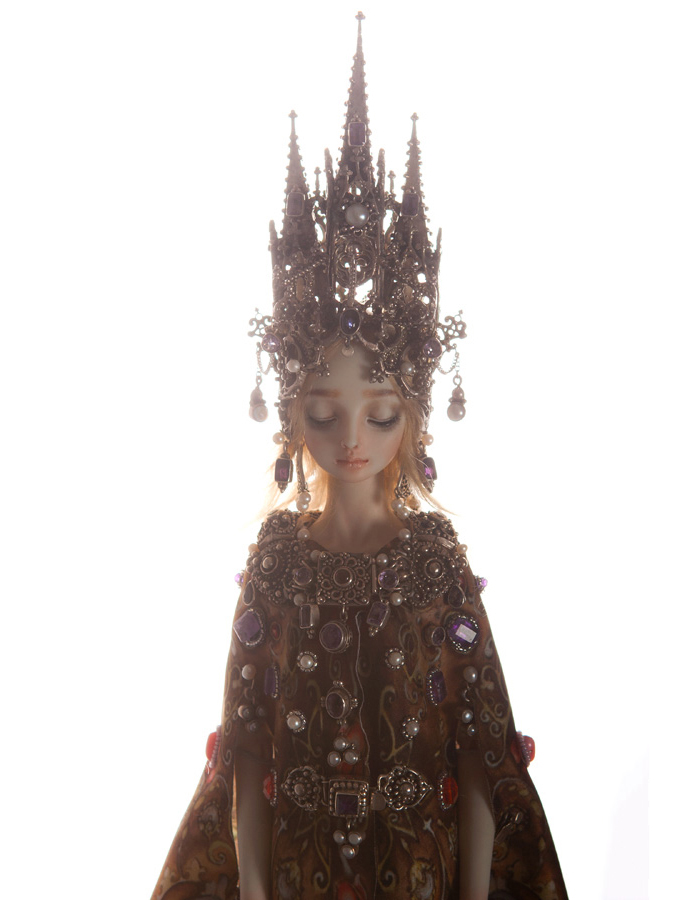
Handmade-adult-porcelain-enchanted-doll-marina-bychkova

Handmade-adult-porcelain-enchanted-doll-marina-bychkova

Marina Bychkova was born in Siberia, close to the borders of China. She states in an interview that it was these cultural influences that could be seen in some of her work. This influences were further bolstered when she moved to Vancouver later in life, where she states also has a very strong Chinese culture. Hence there is a sizeable number of Russian and Chinese themed folk dolls and small traces of their influence in the rest of her works.

Marina Bychkova’s reason for creating her company stems from when she was 6 where she was appalled by the mediocrity of mass produced dolls. She started to make dolls of her own, but it was not until later on in her life, when she enrolled to the Emily Carr Institute of Art and Design, that she truly decided to turn her passion into her career. At that point she was not studying to make dolls, because she was already making them, but she did say that she had honed her own stylistic ability to make her dolls more unique.
enchanted-sad-porcelain-dolls-marina-bychkova-4

The Creation process.

More than mere playthings, Enchanted Dolls are a brand of elegantly sculpted and articulated works of art. Adorned with elaborate costumes and graced with precious gemstones, metals, and rare found objects, each ball-jointed porcelain doll intricately conveys an aspect of our humanity.

According to Marina Bychkova, each doll takes about an average of 500 hours of production time.

She first goes about designing ball joints and the body lines that she wants on her dolls. When the parts are design, she goes about making the 13 body pieces out of polymer clay. When the clay parts are done, she makes them into plaster moulds, and later cast them using porcelain slip. The parts are then fired in a kiln once in low fire and later after sanding and cleaning, it is fired again in high fire.


After they are baked, she sands them to a satin finish and paints them using glass ceramic china paint and fires them again multiple times.

After the body is painted she lines the edges of the ball joints with leather and string up the doll. When the doll is finished, she starts created the clothes and accessories, either out of textiles, found objects or casting them from gold or silver.

My general thoughts after reviewing her work:

What I enjoy greatly from her dolls firstly comes in the form of her technical skills. When I chanced upon her years ago it is the beauty of the doll and their enchanting presentation that drew me to this artist.
enchanted-sad-porcelain-dolls-marina-bychkova-8

enchanted-sad-porcelain-dolls-marina-bychkova-3

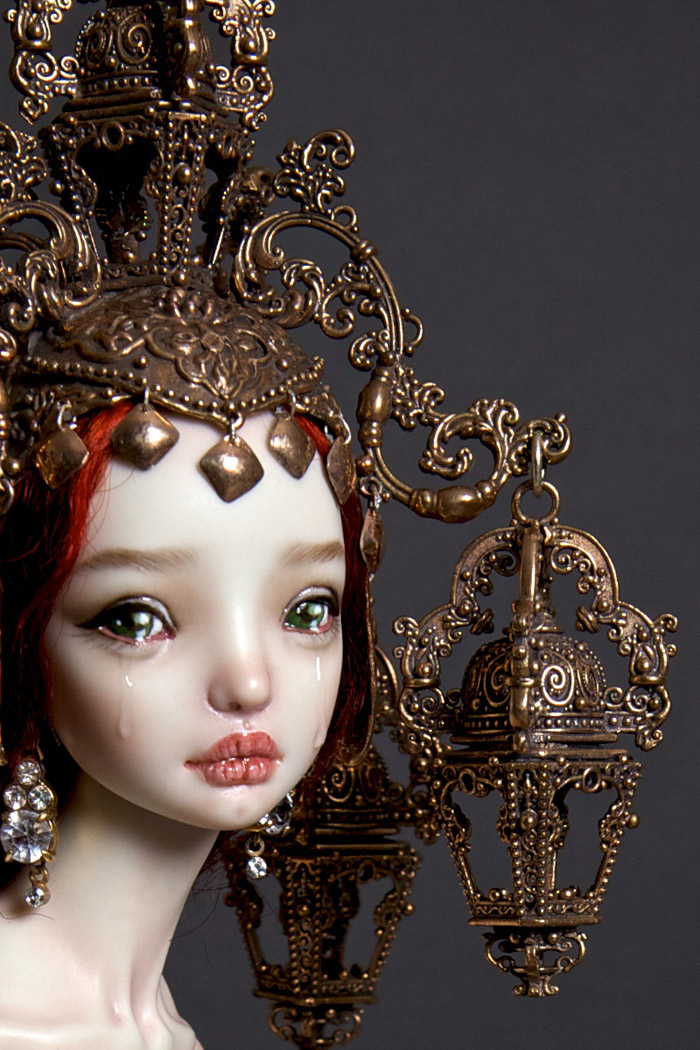
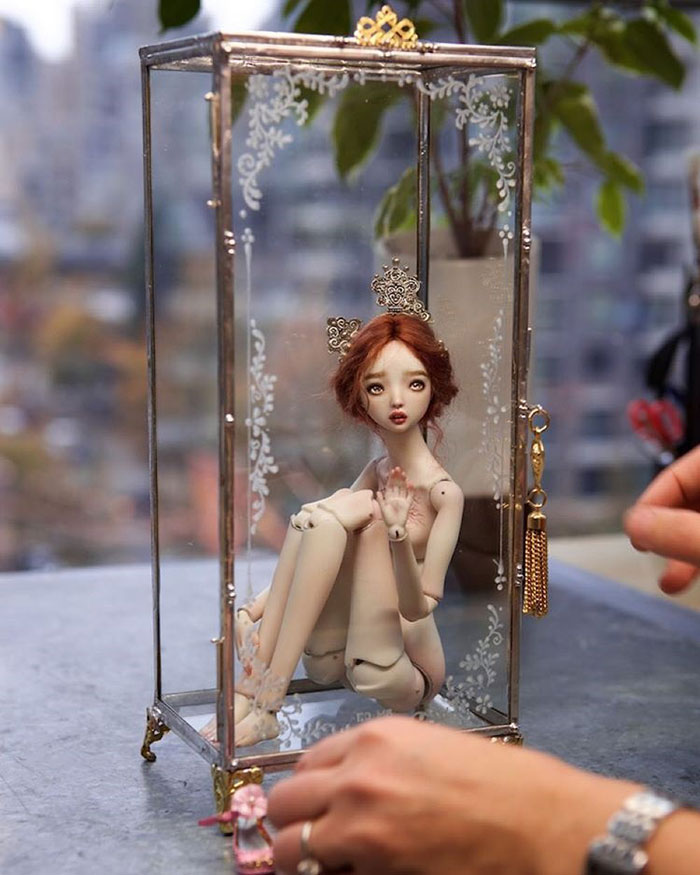
Her dolls are painted realistically, from the way she paints and blushes the porcelain, she gives the dolls life. Staring into their painted glassy eyes there is a keen sense of sadness or fragility to them that makes them feel vulnerable and mysterious. There is more depth to them then the average Barbie which is further presented in  her photoshoots and posts.

After looking deeper into this artist, I find her dolls even more intriguing. She states in her interview that for her dolls to be considered an art form, they need to have something more than just pure aesthetics. Thus the dolls themselves are named in a way that either reflect the artist, her love for mythology, fairy tales, and folklore, her fears, experiences, or world issues that she feels strongly for. She then goes about writing about her short comments or opinions about the topics.

The reason for this stylistic choice of painting is also rather thought provoking. In an interview with Pixelsurgeon she says, “I find this deliberate denial of the essence of life to be ignorant and appalling. I don’t know why there is so much fear and shame associated with human sexuality. Every Barbie needs to have a vagina. Every Ken needs a penis.”

When asked why does she do so, she explains that most dolls though imitate human form are sterilized through a complete removal of sex organs. She continues to describe the process of such to seem like they are being cleansed of their sinful humanity and denying the essence of life. Hence for her dolls, it is important to include even the genitalia.

chair3

chair5

chair9

Finally I also admire her ability to be able to make every part of the doll from scratch. Doll making is multidisciplinary if you are making every part of them from scratch, hence I am amazed by her ability to master all forms of doll making. From sculpting the body and accessories and casting them out of different materials to making their tiny wigs, doll clothes and furniture if there are any, and painting the dolls with such a likeness to realism.

References:

  • https://www.facebook.com/ohmoretv/videos/747943238736741/
  • http://www.enchanteddoll.com/

Wearable Tech Research: Biomimicry

What is Biomimicry:

To copy the functionality of nature to solve our man-made problems.

Examples:

Stefanie Nieuwenhuys

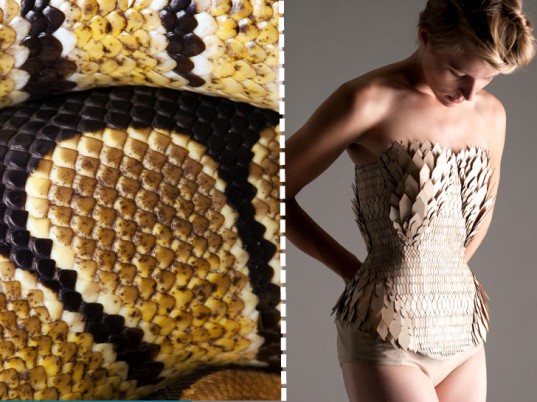
LAYERING SCRAPS LIKE SCALES After spying diamond-shaped wood chips on a workshop floor at London’s  Kingston University —the leftovers of some architecture student, no doubt— Stefanie Nieuwenhuys was reminded of a secondhand snakeskin bag she once purchased. Scooping them up, the fashion student set to work, layering the wooden scraps onto fabric like reptilian scales. To minimize waste, Stefanie Nieuwenhuys layered discarded pieces of wood onto fabric like reptilian scales. Nieuwenhuys’s “aha” moment resulted in her master’s project: a collection of corsets, floor-length evening dresses, trousers, and neckpieces that marries modern laser-cutting techniques with a couturier’s delicate yet exacting touch. Eschewing virgin resources, Nieuwenhuys worked with bio-waste firm  InCrops Enterprise Hub  in Norwich to obtain discarded pieces of plywood, which she honed into efficient forms that left behind little waste. Glued onto unbleached organic cotton, the brown-and-ecru “scales” become a “simulacra of nature, without discarding nature’s inherent harmonies".

scales4

scales7

scales8

(pictures taken from: https://blogs.3ds.com/fashionlab/stefanie-nieuwenhuyse-recycle-le-bois-comme-des-ecailles-serie-biomimetisme/)

After spying diamond-shaped wood chips on a workshop floor at London’s Kingston University—the leftovers of some architecture student, no doubt—Stefanie Nieuwenhuys was reminded of a secondhand snakeskin bag she once purchased. Scooping them up, the fashion student set to work, layering the wooden scraps onto fabric like reptilian scales.

The artist makes use of scrap material to make her outfits. This project of hers emphasises the idea of reusing materials. Laser cutting the pieces to look like scales, and imitating the layering to look like that of a snake.


Diana Eng

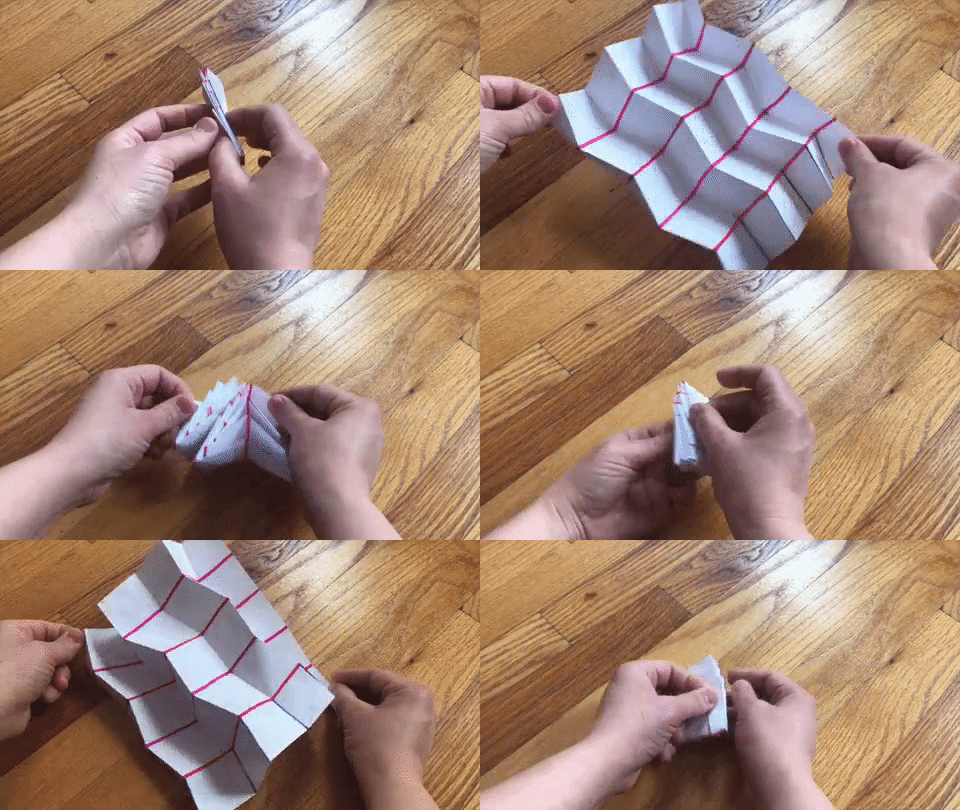
COMPACT STRUCTURES THAT UNFURL LIKE LEAVES Diana Eng based her  “Miura Ori” scarf  on an origami “leaf-fold” pattern invented by Koryo Miura, a Japanese space scientist who was in turn inspired by the unfurling mechanism of the hornbeam and beech leaves. Diana Eng’s scarf folds into a compact package yet “deploys” to create a voluminous wrap for your neck. Hornbeam and beech leaves are distinguished by their corrugated folds, which remain collapsed until they emerge from their buds.

Diana Eng based her “Miura Ori” scarf on an origami “leaf-fold” pattern invented by Koryo Miura, a Japanese space scientist who was in turn inspired by the unfurling mechanism of the hornbeam and beech leaves.

The origami patterns were made by observing nature, and the omission of right angles, like forehead wrinkles or the veins of a dragonfly’s wing. Because of that, the pattern is collapsible.

Monserrat Ciges

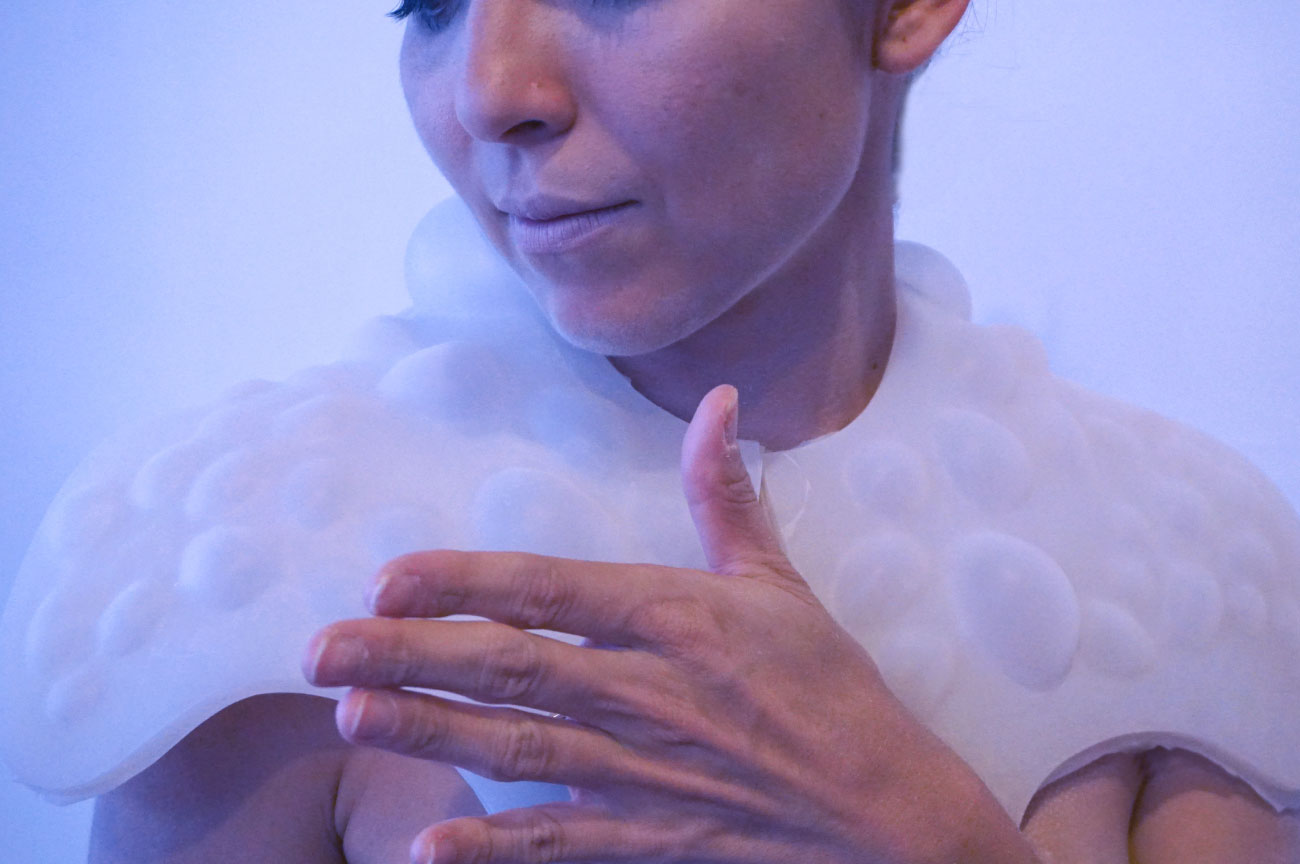
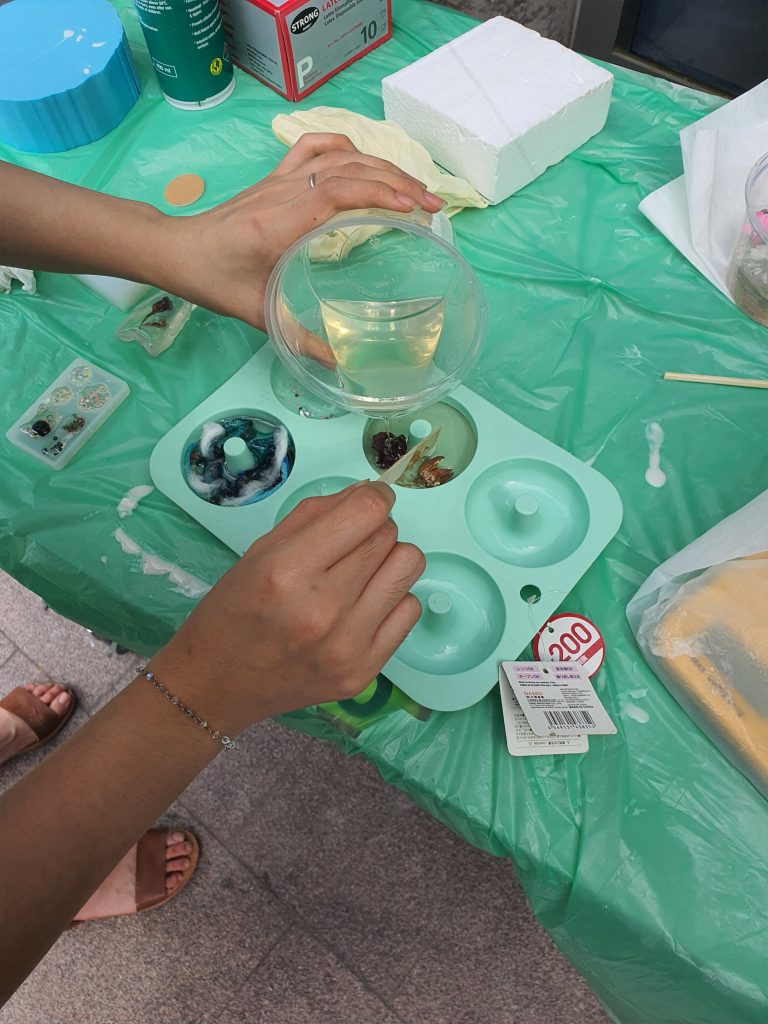
Created to imitate animals that are able to voluntarily self-transform.


References:

Simone Leonelli on the Blurred Boundaries Between Art & Fashion

The influence of 3D printing on fashion design

3D Printed Fashion: Novelty or reality?

How to become an Aussie eco-fashion designer

Fashion Biomimicry Through The Lenses Of Biotechnology, Nanotech And Artificial Intelligence

3D Haute Couture by Iris Van Herpen

http://www.osmosis-industries.com/digital/2015/4/21/nature-inspired-fashion-design-through-the-theory-of-biomimicry

Stefanie Nieuwenhuyse Reuses Scrap Wood as Scales – Biomimicry Series

Tessellation and Miura Folds

http://www.fairytalefashion.org/
https://class.textile-academy.org/2019/Montserrat/project.html?fbclid=IwAR2HGn6Jnj_R55DxHrH0XUJ-Kps8XhIIsjuXEe7a-0vZX_qN_RzgdFmpEQQ


Wearable Tech Research: X.Pose

Designed by Xuedi Chen and Pedro G. C. Oliveira
Photographed By: Roy Rochlin
Model: Heidi Lee
Makeup: Rashad Taylor

Concept:

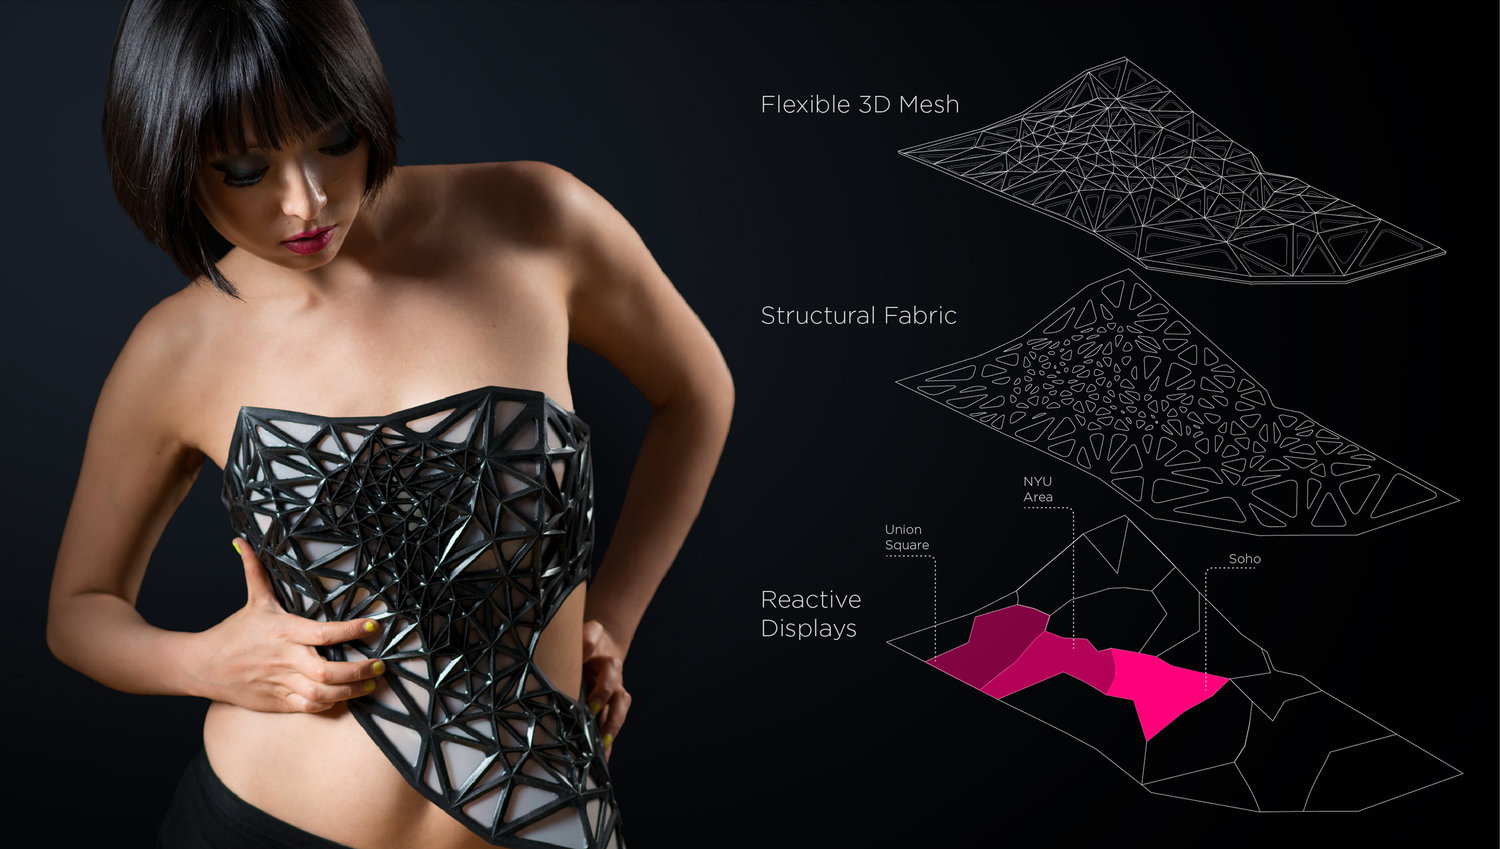
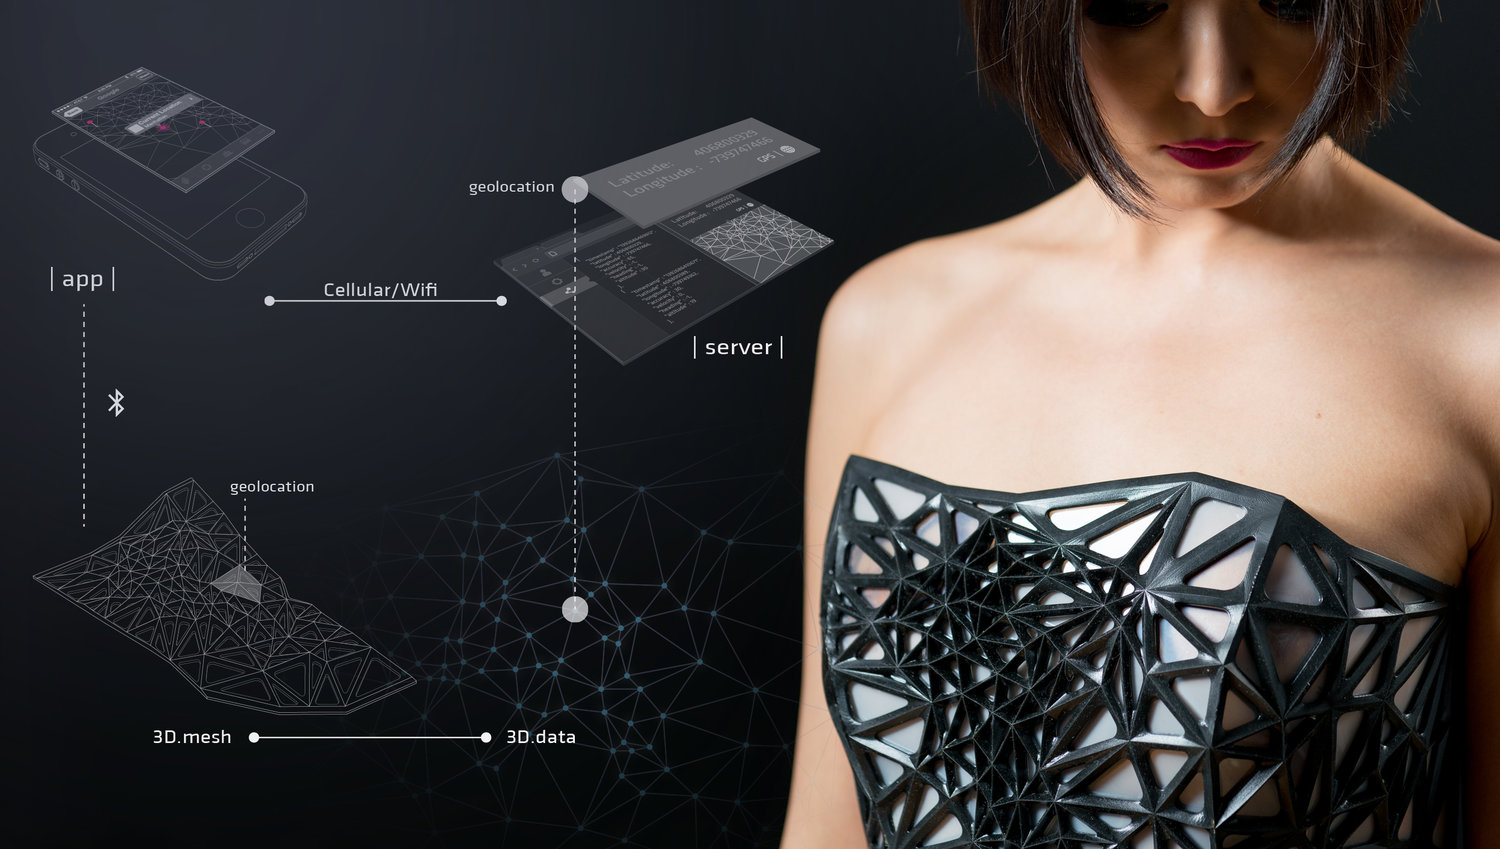
The outfit reflect the amount of data you generate when using the internet. Based on the amount of data generated, it will make parts of the outfit more transparent then the others. It creates a commentary of how transparent one is on the internet despite having things like privacy settings. On Xuedi’s website they states,

By participating in this hyper-connected society while having little to no control of my digital data production, how much of myself do I unknowingly reveal? To what degree does the aggregated metadata collected from me paint an accurate portrait of who I am as a person? What aspects of my individuality are reflected in this portrait?

The work broadcasts the artists’ concern on the wearer, exposing the wearer literally to the public view as contrast to the exposed data we have online.

Process:

  • Creation of app to connect to the outfit
    • The app is used to collect the data generated from their phone at each time at every location. The data generated is sent via Bluetooth from their phone to a Bluetooth Arduino in the outfit.

schem001.jpg

(photo taken from: https://www.pedro.work/#/xpose/)

  • Creation of Flexible mesh armature
    • Designed geometrically to reflect areas that the artists visit often. (like Soho, NYU, Union square.
  • Opacity of the dress
    • Depending on the amount of data generated, the outfit would change opacity accordingly.

Materials:

According to the artists’ website, the material used for the armature of the outfit is a flexible 3D printed mesh

schem002.jpg

(photo taken from: https://www.pedro.work/#/xpose/)

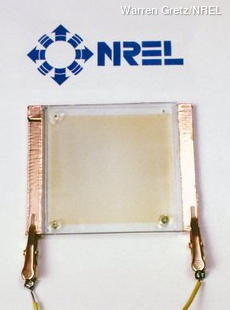
Subsequently, they also mentioned that the opacity changing material is made from electrochromic film, also the materials used to make smart windows.

Photo: Electrochromic glass wired to electric contacts and appearing transparent (clear).Photo: Electrochromic glass wired to electric contacts and appearing opaque (dark).

(Photos taken from: https://www.explainthatstuff.com/electrochromic-windows.html)

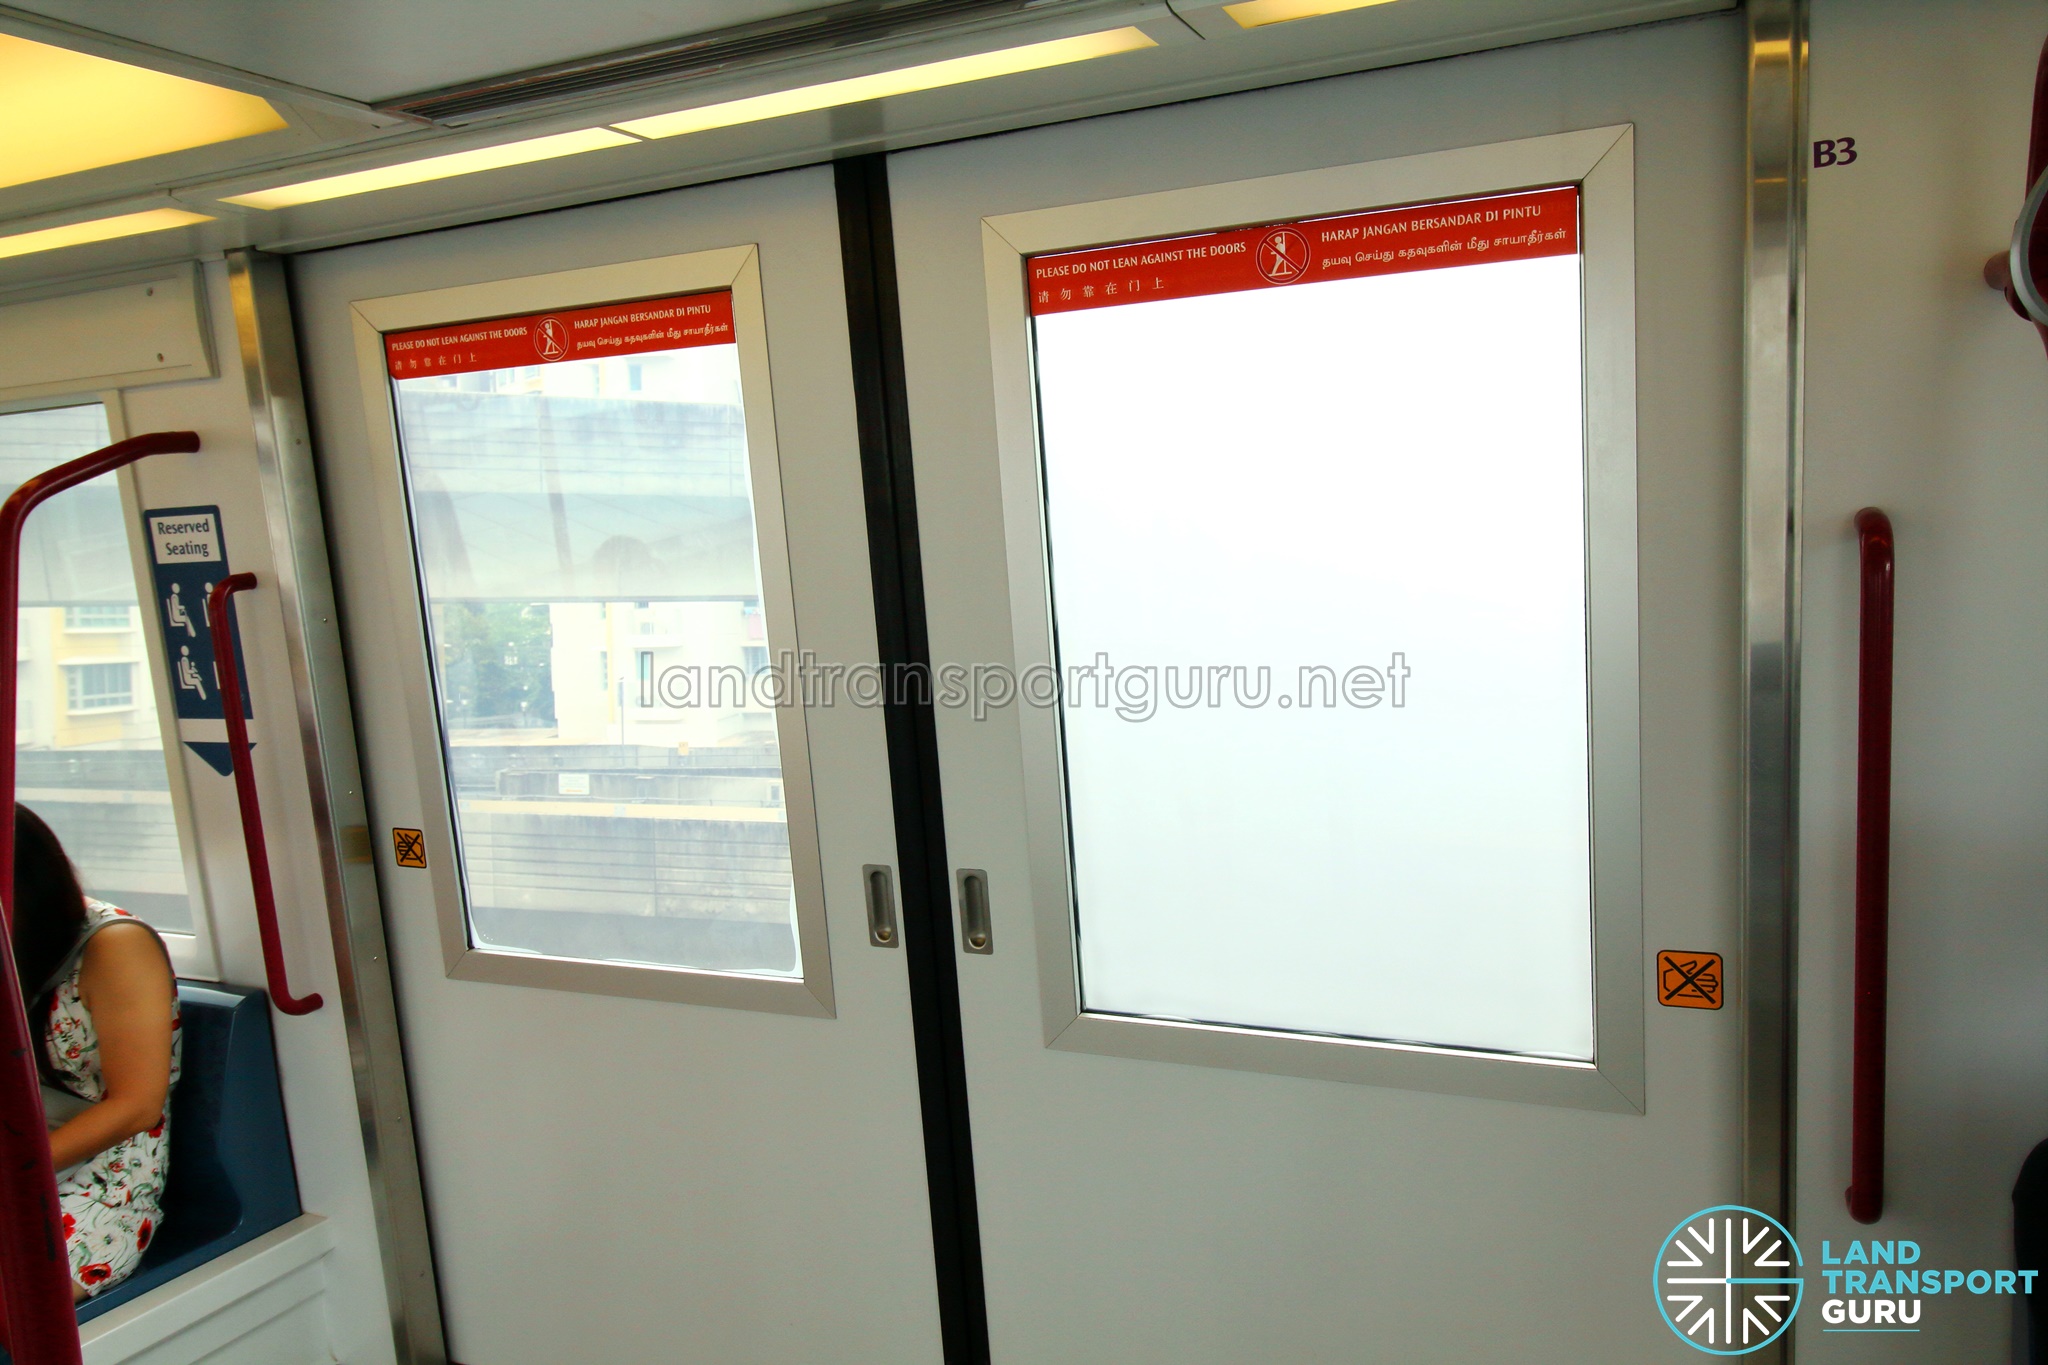
Image result for smart windows lrt

(similar to the material that is used for our LRT windows)

Electrochromic films use technology similar to an LCD display, which uses liquid crystals, under precise electronic control, to change how much light can get through. When the current is switched on, the crystals line up like opening blinds, allowing light to stream straight through; switched off, the crystals orient themselves randomly, scattering any light passing through in random directions, so making the material turn opaque.

How electrochromic smart film works: Animated GIF artwork showing how liquid crystals align to let light pass through

(Photo taken from: https://www.explainthatstuff.com/electrochromic-windows.html)


References:

  • http://xc-xd.com/x-pose
  • https://3dprint.com/5802/x-pose-3d-printed-dress/
  • https://www.explainthatstuff.com/electrochromic-windows.html
  • https://www.pedro.work/#/xpose/

Device of the Week 2: Iot

Image result for kuri mobile robot

Kuri The Mobile Home Security Robot by Mayfield Robotics:

Description

Kuri is an adorable home companion that acts like a ‘living’ robot. At first I assumed the Kuri was going to function like a google home device on wheels, but Kuri is slightly more than that as they make certain ‘expressions’ that make Kuri feel more alive. Krui has the ability to smile at you, follow you around and ‘speak’ to you. The adorable robot has an inbuilt function to track your motion and look up at you, and respond to its name with beeps and chirps. Subsequently as a home security device, Kuri has tiny cameras located in their ‘eyes’ to capture clips of whatever that goes on at home. Kuri also accting like a home device has the ability to answer certain questions that you ask, like ‘is it going to rain today?’ and they will shake their head with an adorable beep.

Kuri is also described to be a good nanny and entertain the kids, but so far, other then following them around and animating expressions, I am not too sure how kids will find Kuri entertaining.

Functions

Microphone: Voice Recognition to answer questions or comply with requests

Speakers: To ‘speak’ in chirps and beeps, to play music and podcasts found on internet.

HD camera: For security footage, and allowing live streaming.

Asynchronous motors: To allow Kuri to move around the house, Kuri also has sensors that will allow them to map the house, and not bump into objects

Capacitive touch sensor: For Kuri to recognise and react to human touch.

Pros

  • A mobile security system that patrols your house
  • Companionship
  • Responds to all commands intelligently
  • Adapt to your environment easily and recognize people’s voices, and differentiate people from pets/other Kuri bots.
  • When in need of recharging they automatically returns to their charging station for a power nap.

Cons

  • Kuri cannot climb stairs, sorry landed property folks
  • Kuri also has no way of helping in the case of an emergency (except inform you through messaging)

Analysis

Kuri really is just a mobile smart home. Since it already has most of the functions of an ordinary smart home device with the added ability to move about. Looking at the funstions that it has other then the surveillance function, the ability to move about is a bit redundant. Subsequently since Kuri is expensive without much additional functions of the usual google home device which is priced at less then $200 roughly it is really not an attractive product, which is the probable reason for the closure of the company last year.

Considering the company was focusing on the ‘animated’ part of Kuri to make them more alive, that is probably where most of their innovation went to. ( I wonder if this is the case, eliminating the animations, if it cheaper, easier and a more viable solution to add a google home device to a roomba. Obviously not as cute, but functionality wise will it sell better? )

References:

  • https://www.jameco.com/Jameco/workshop/ProductNews/life-with-kuri-a-real-live-robot.html