Here is a recap of what how we would like to proceed on our idea:
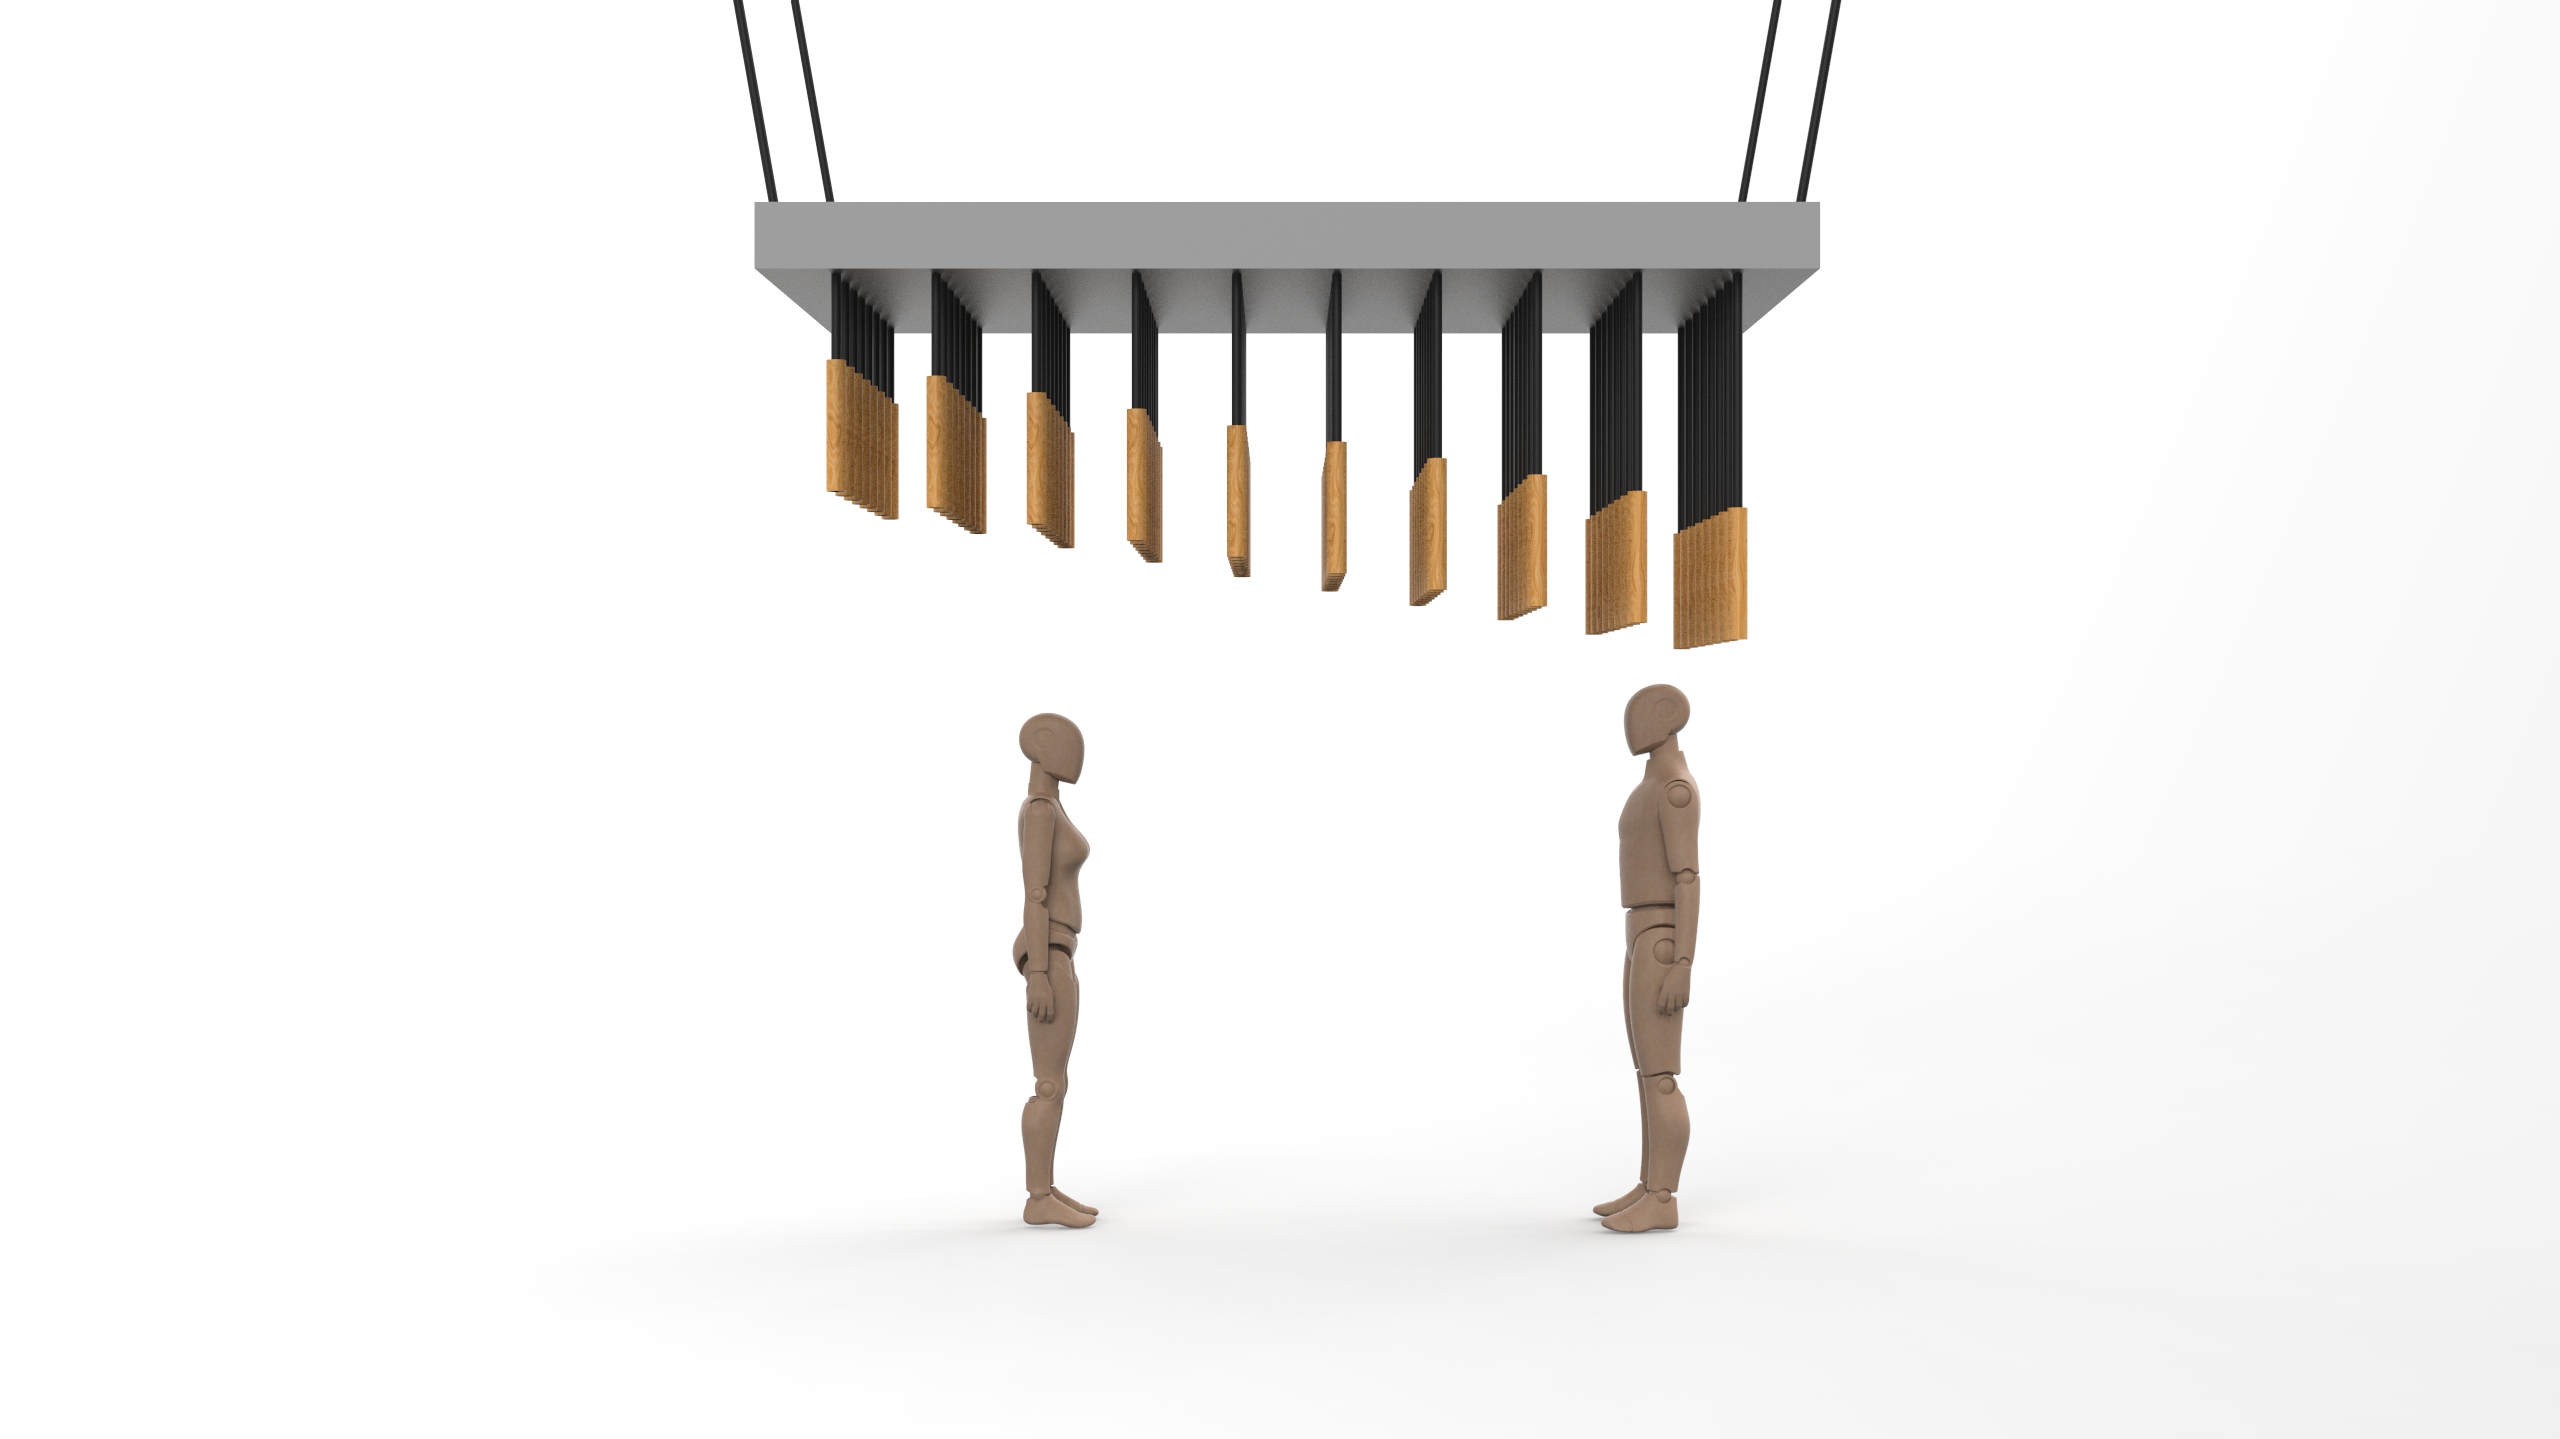
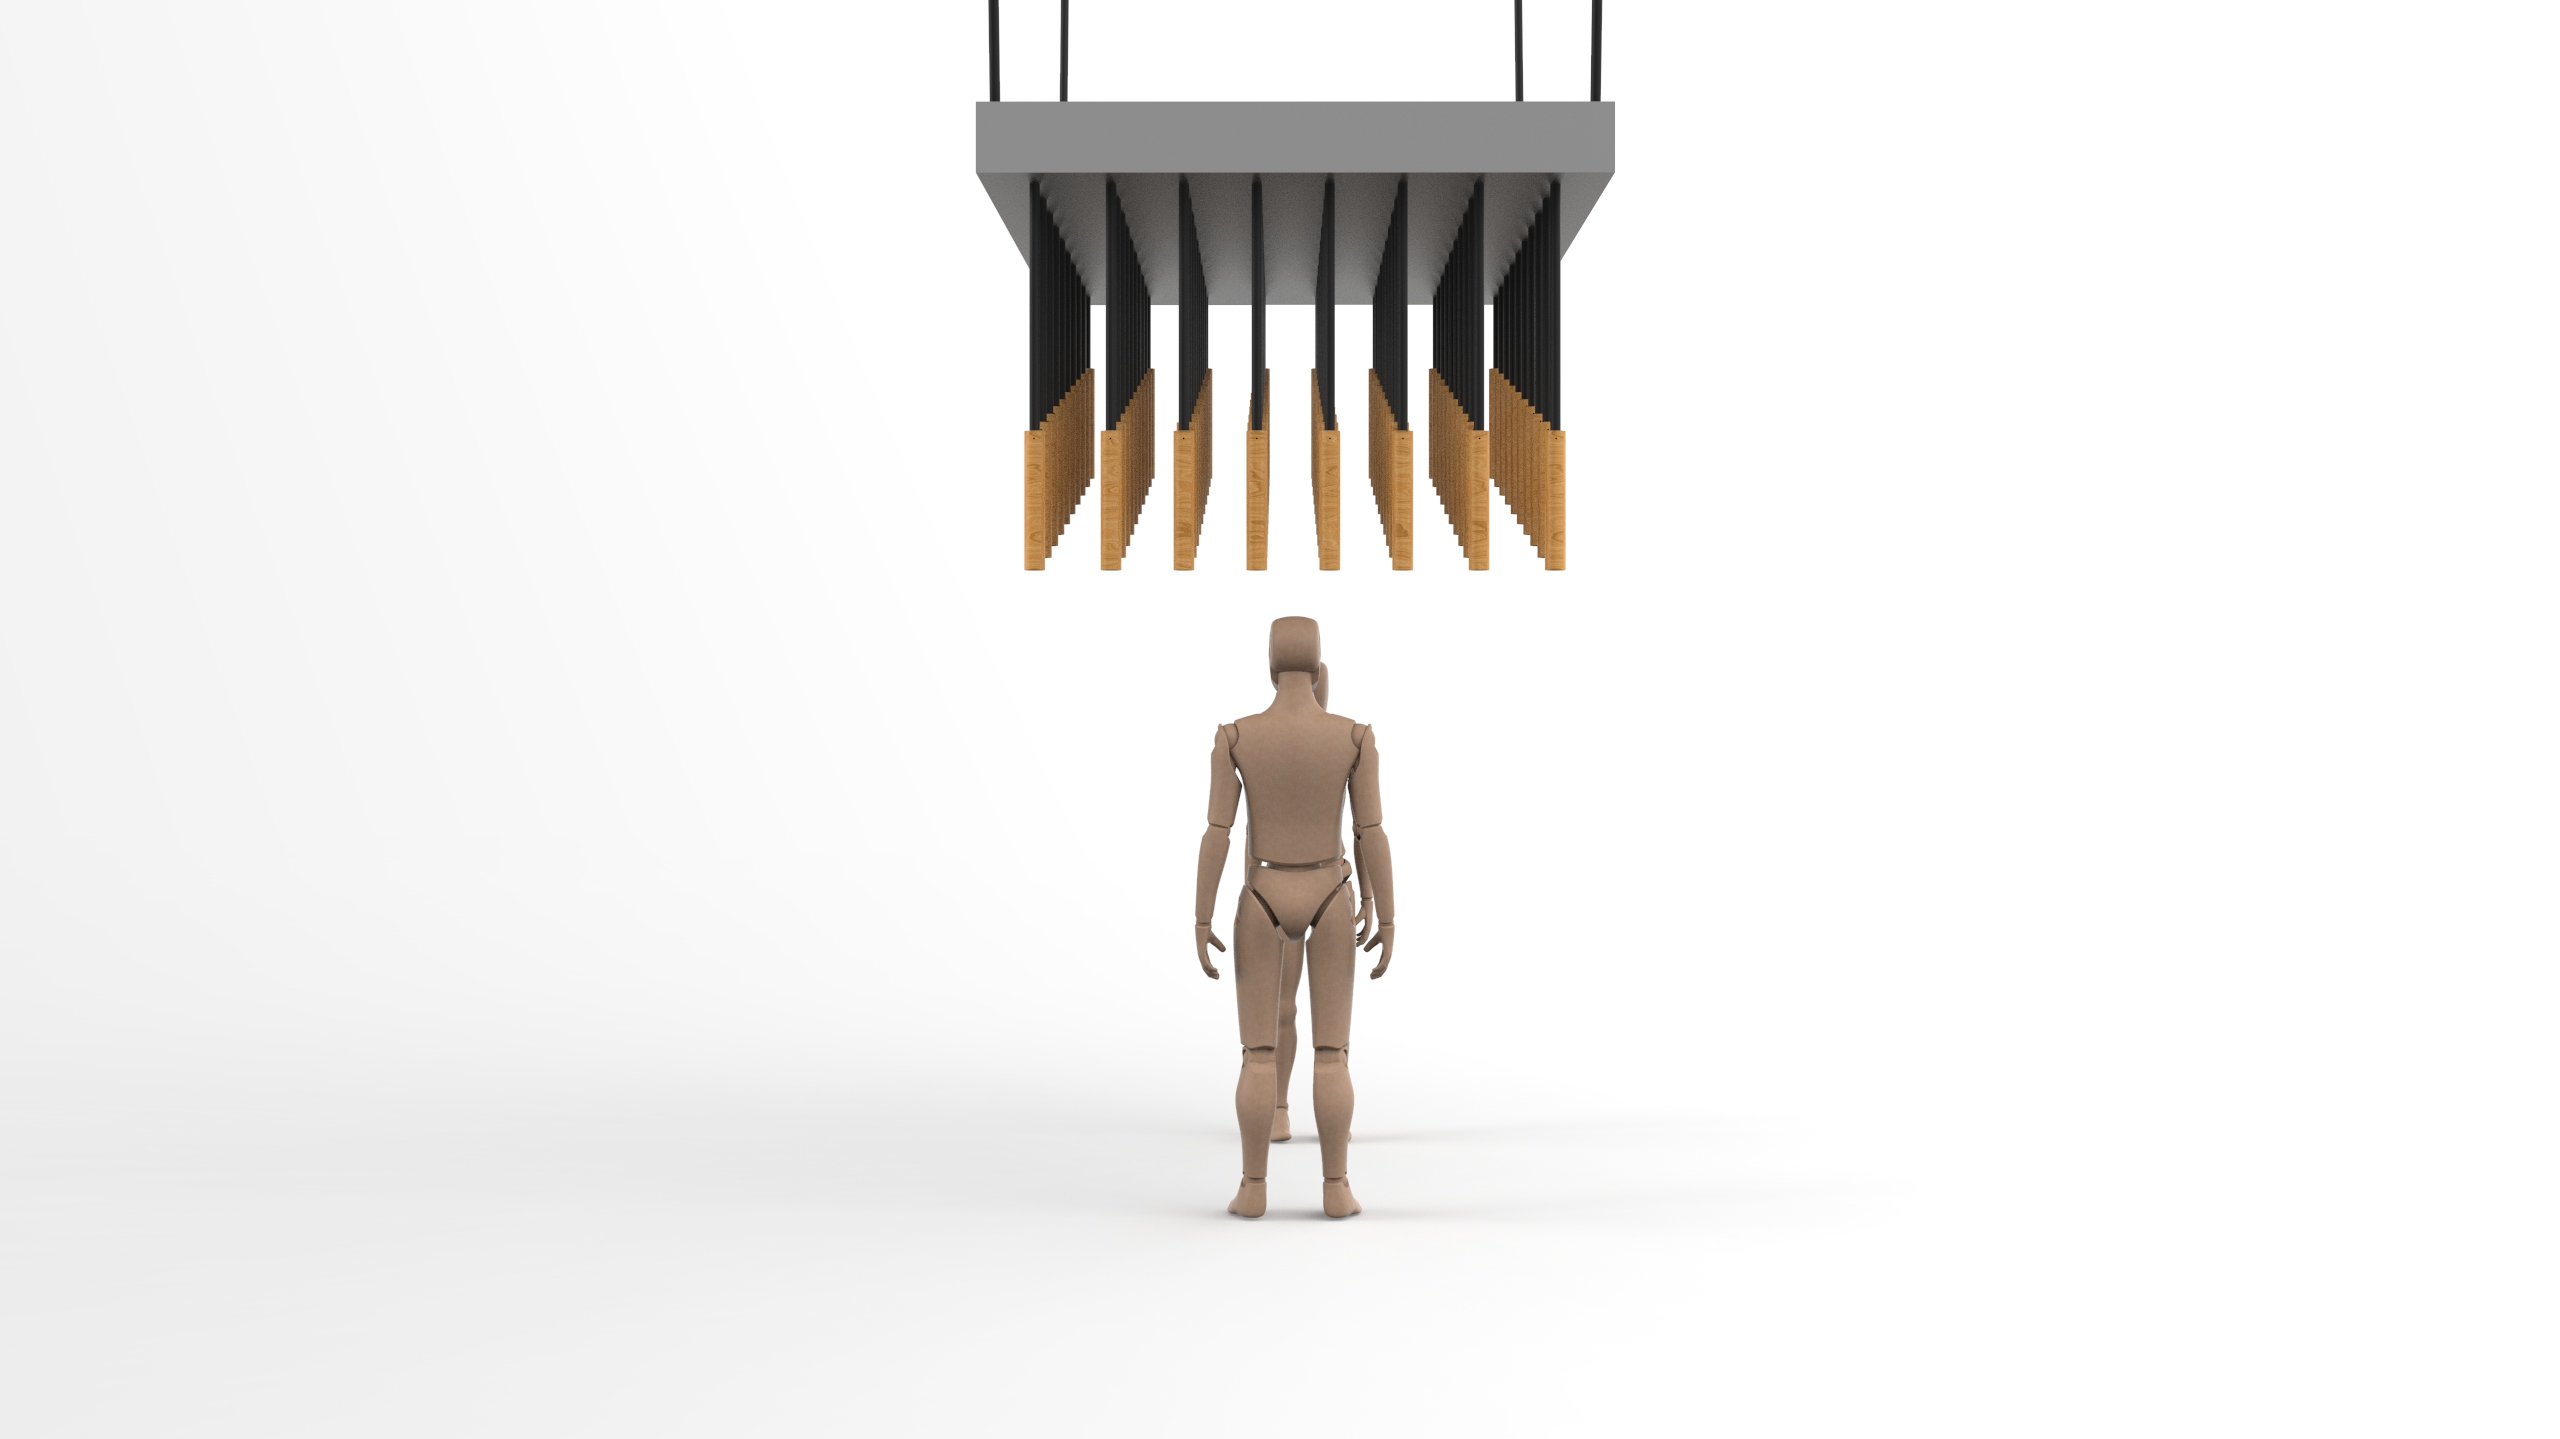
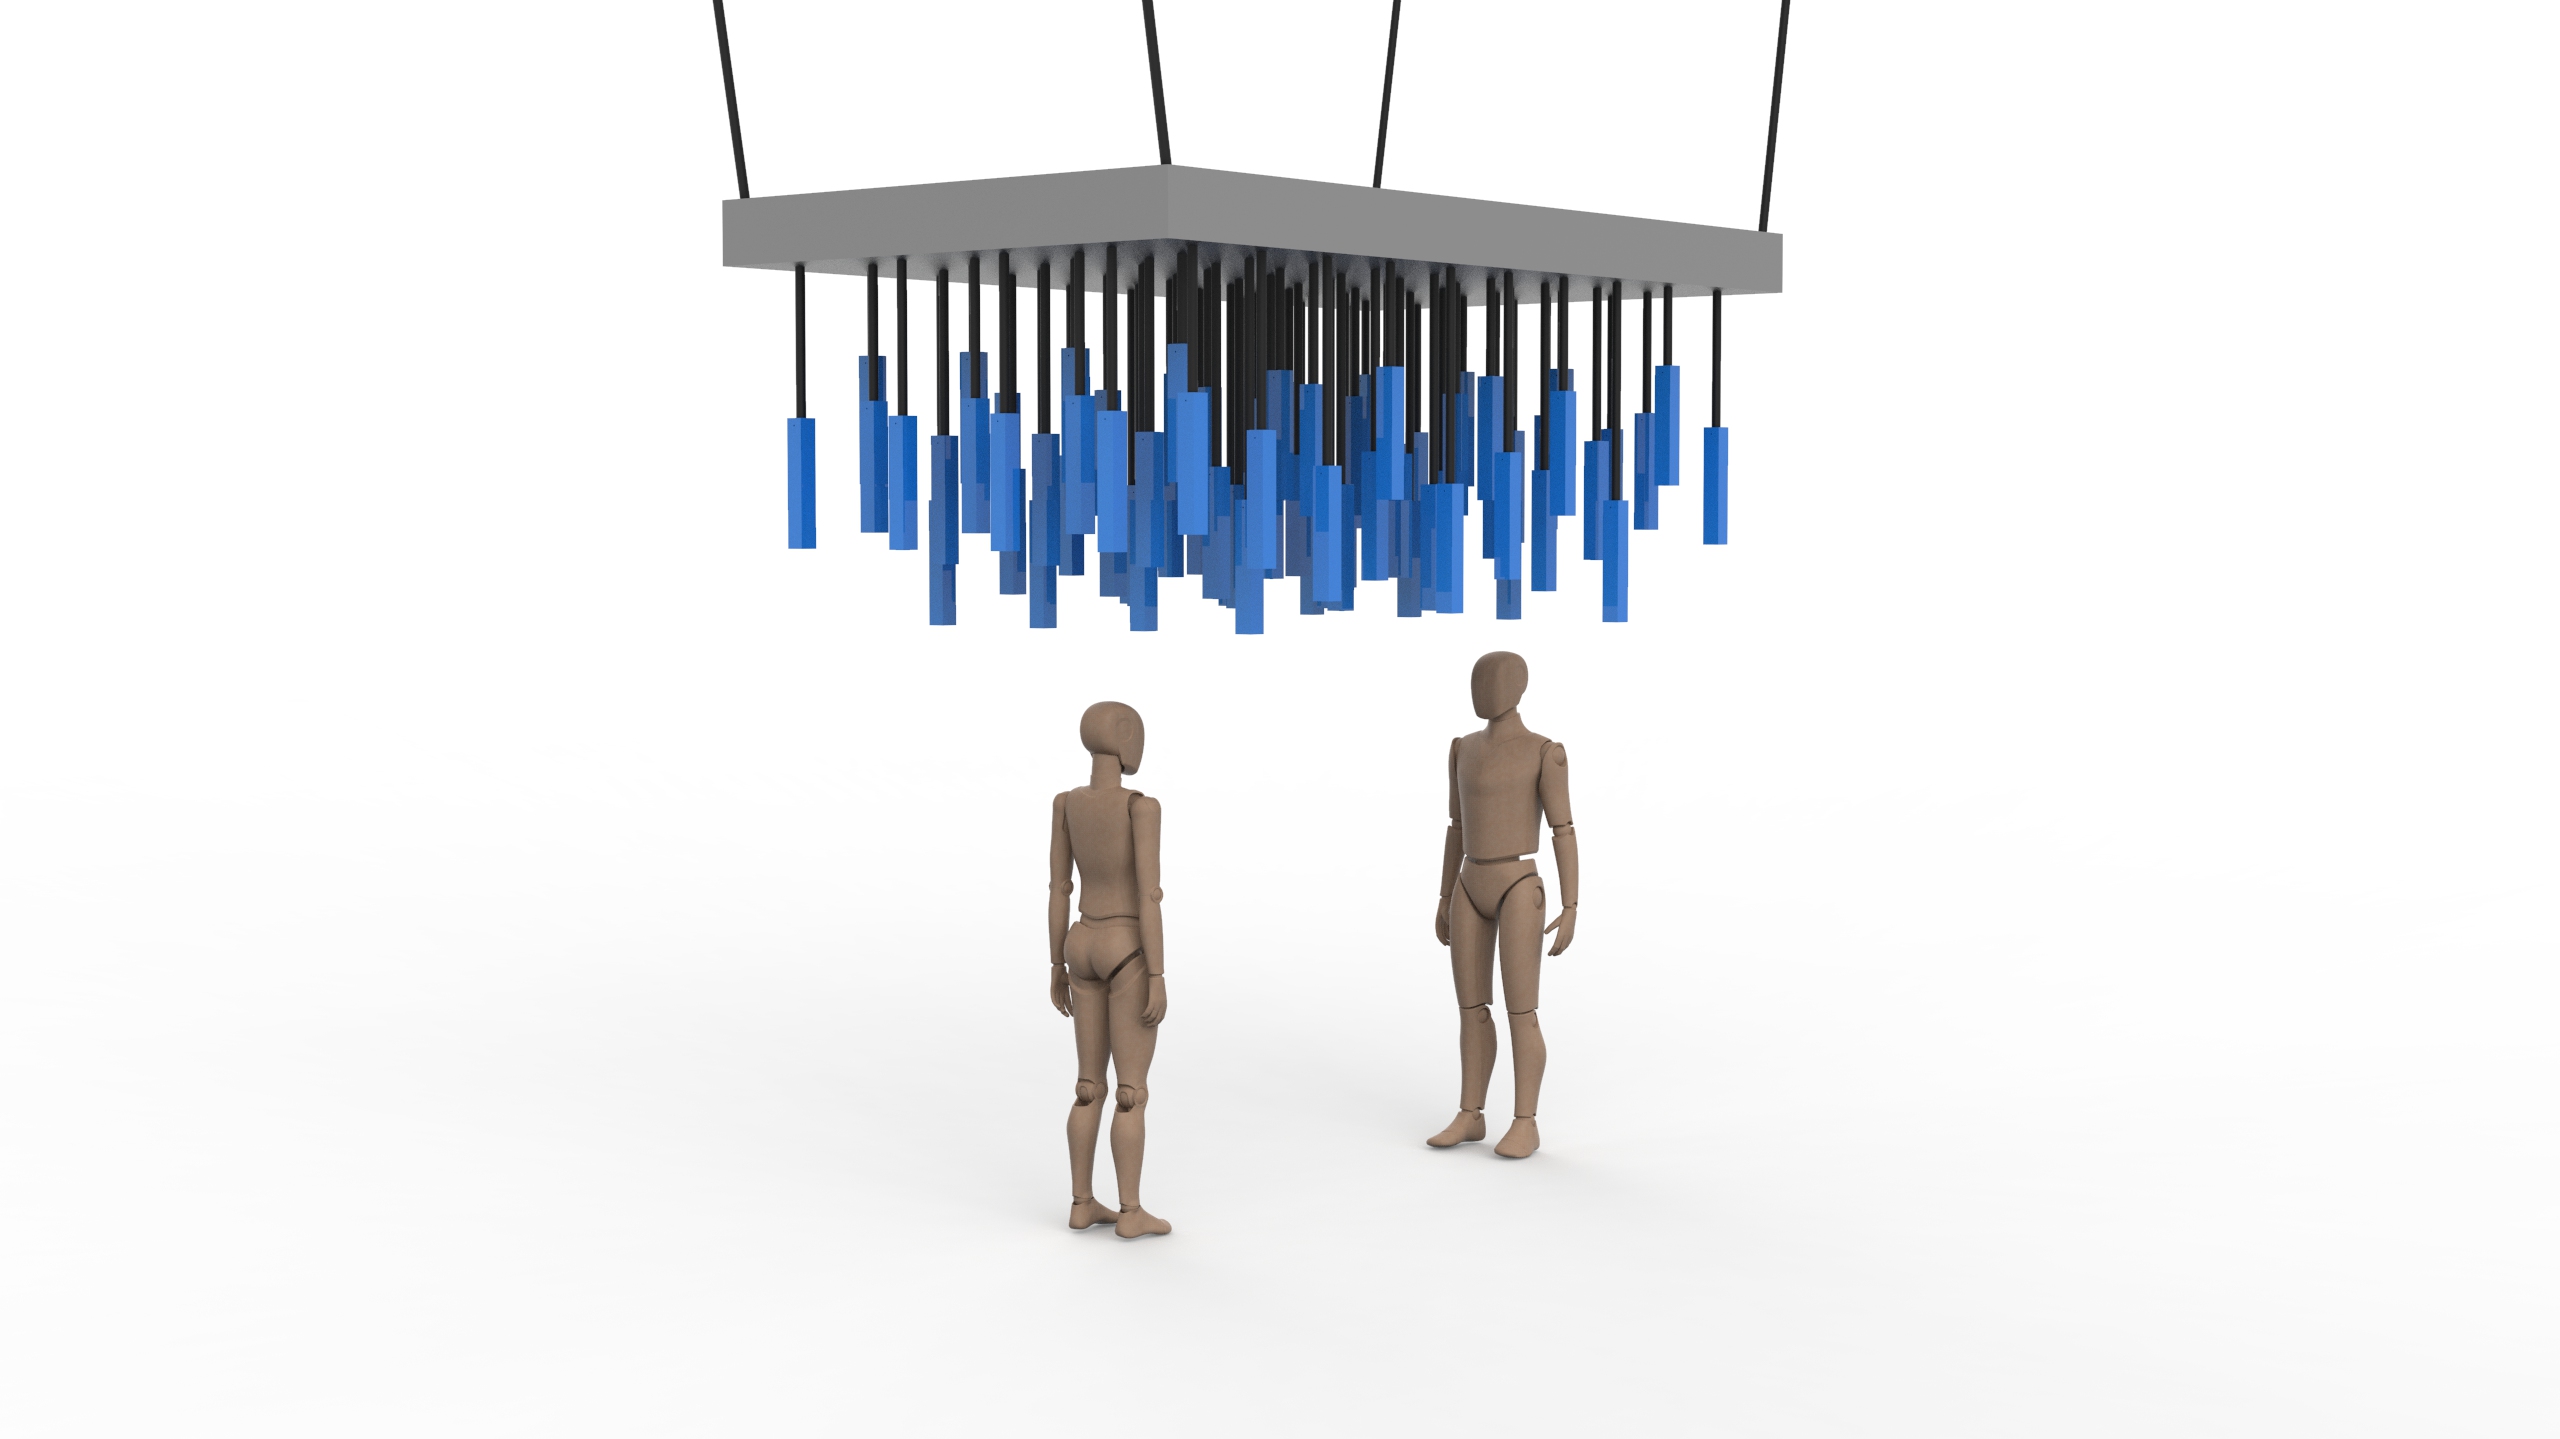
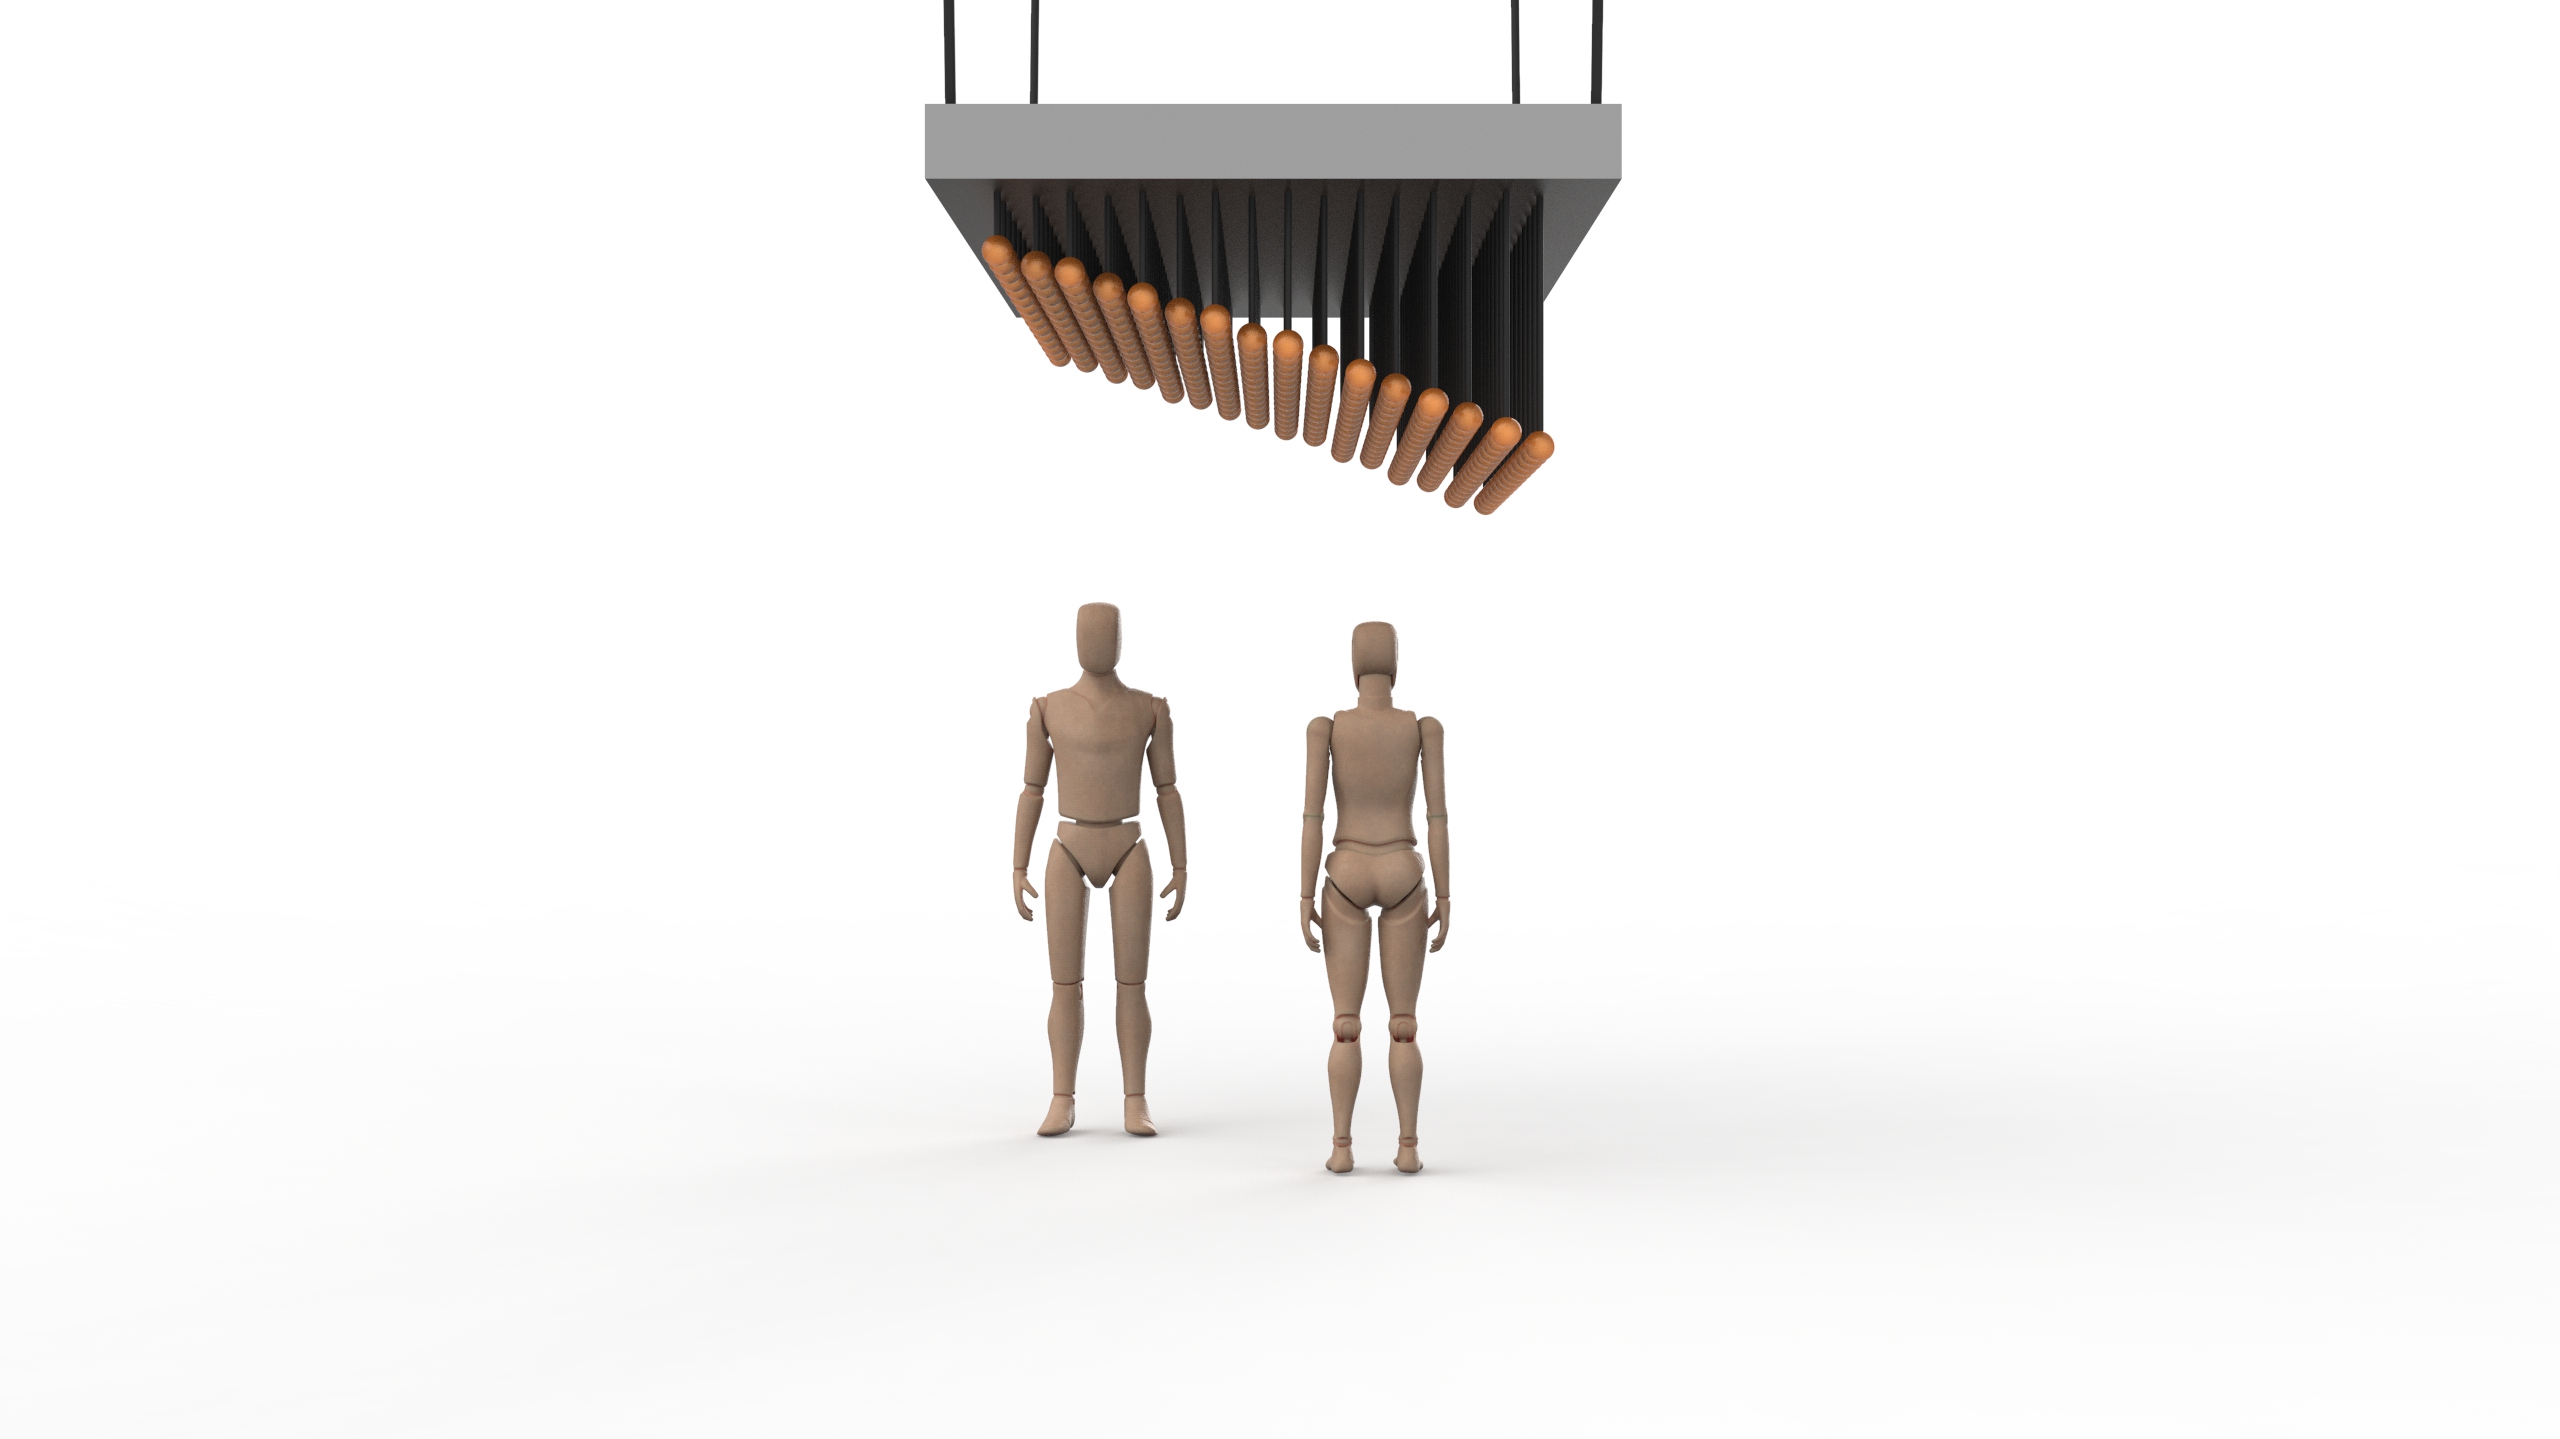
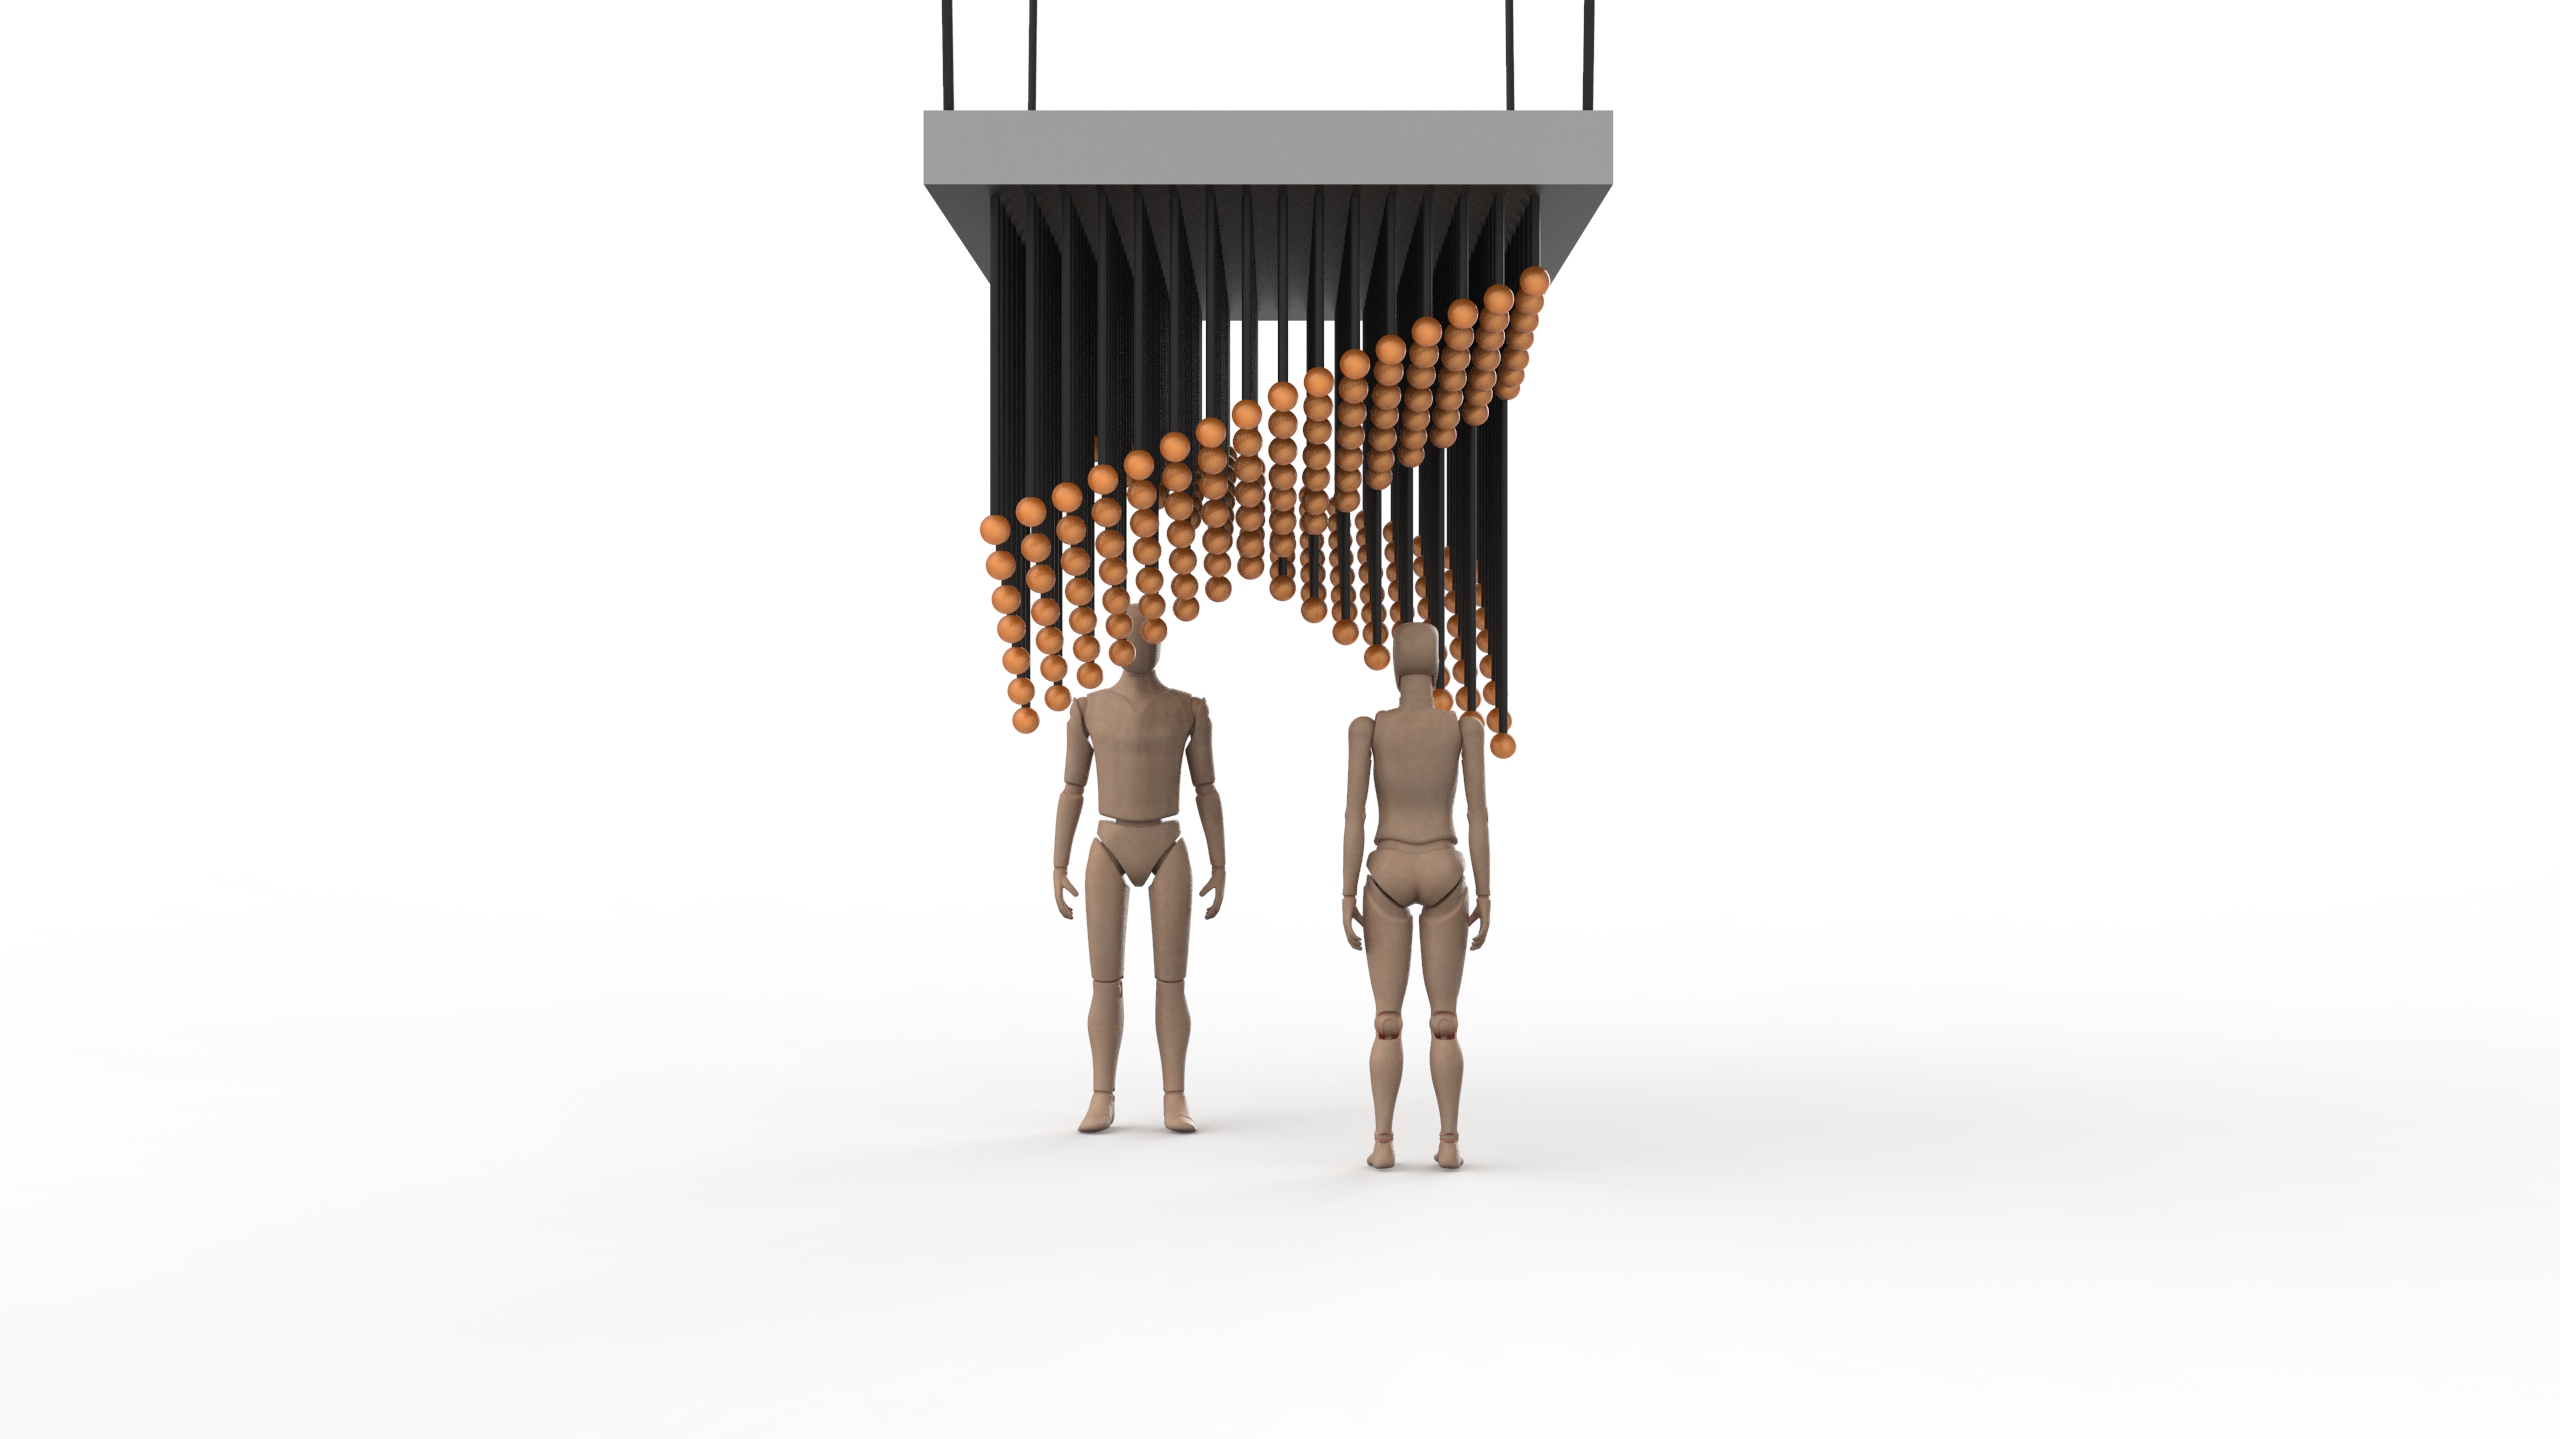
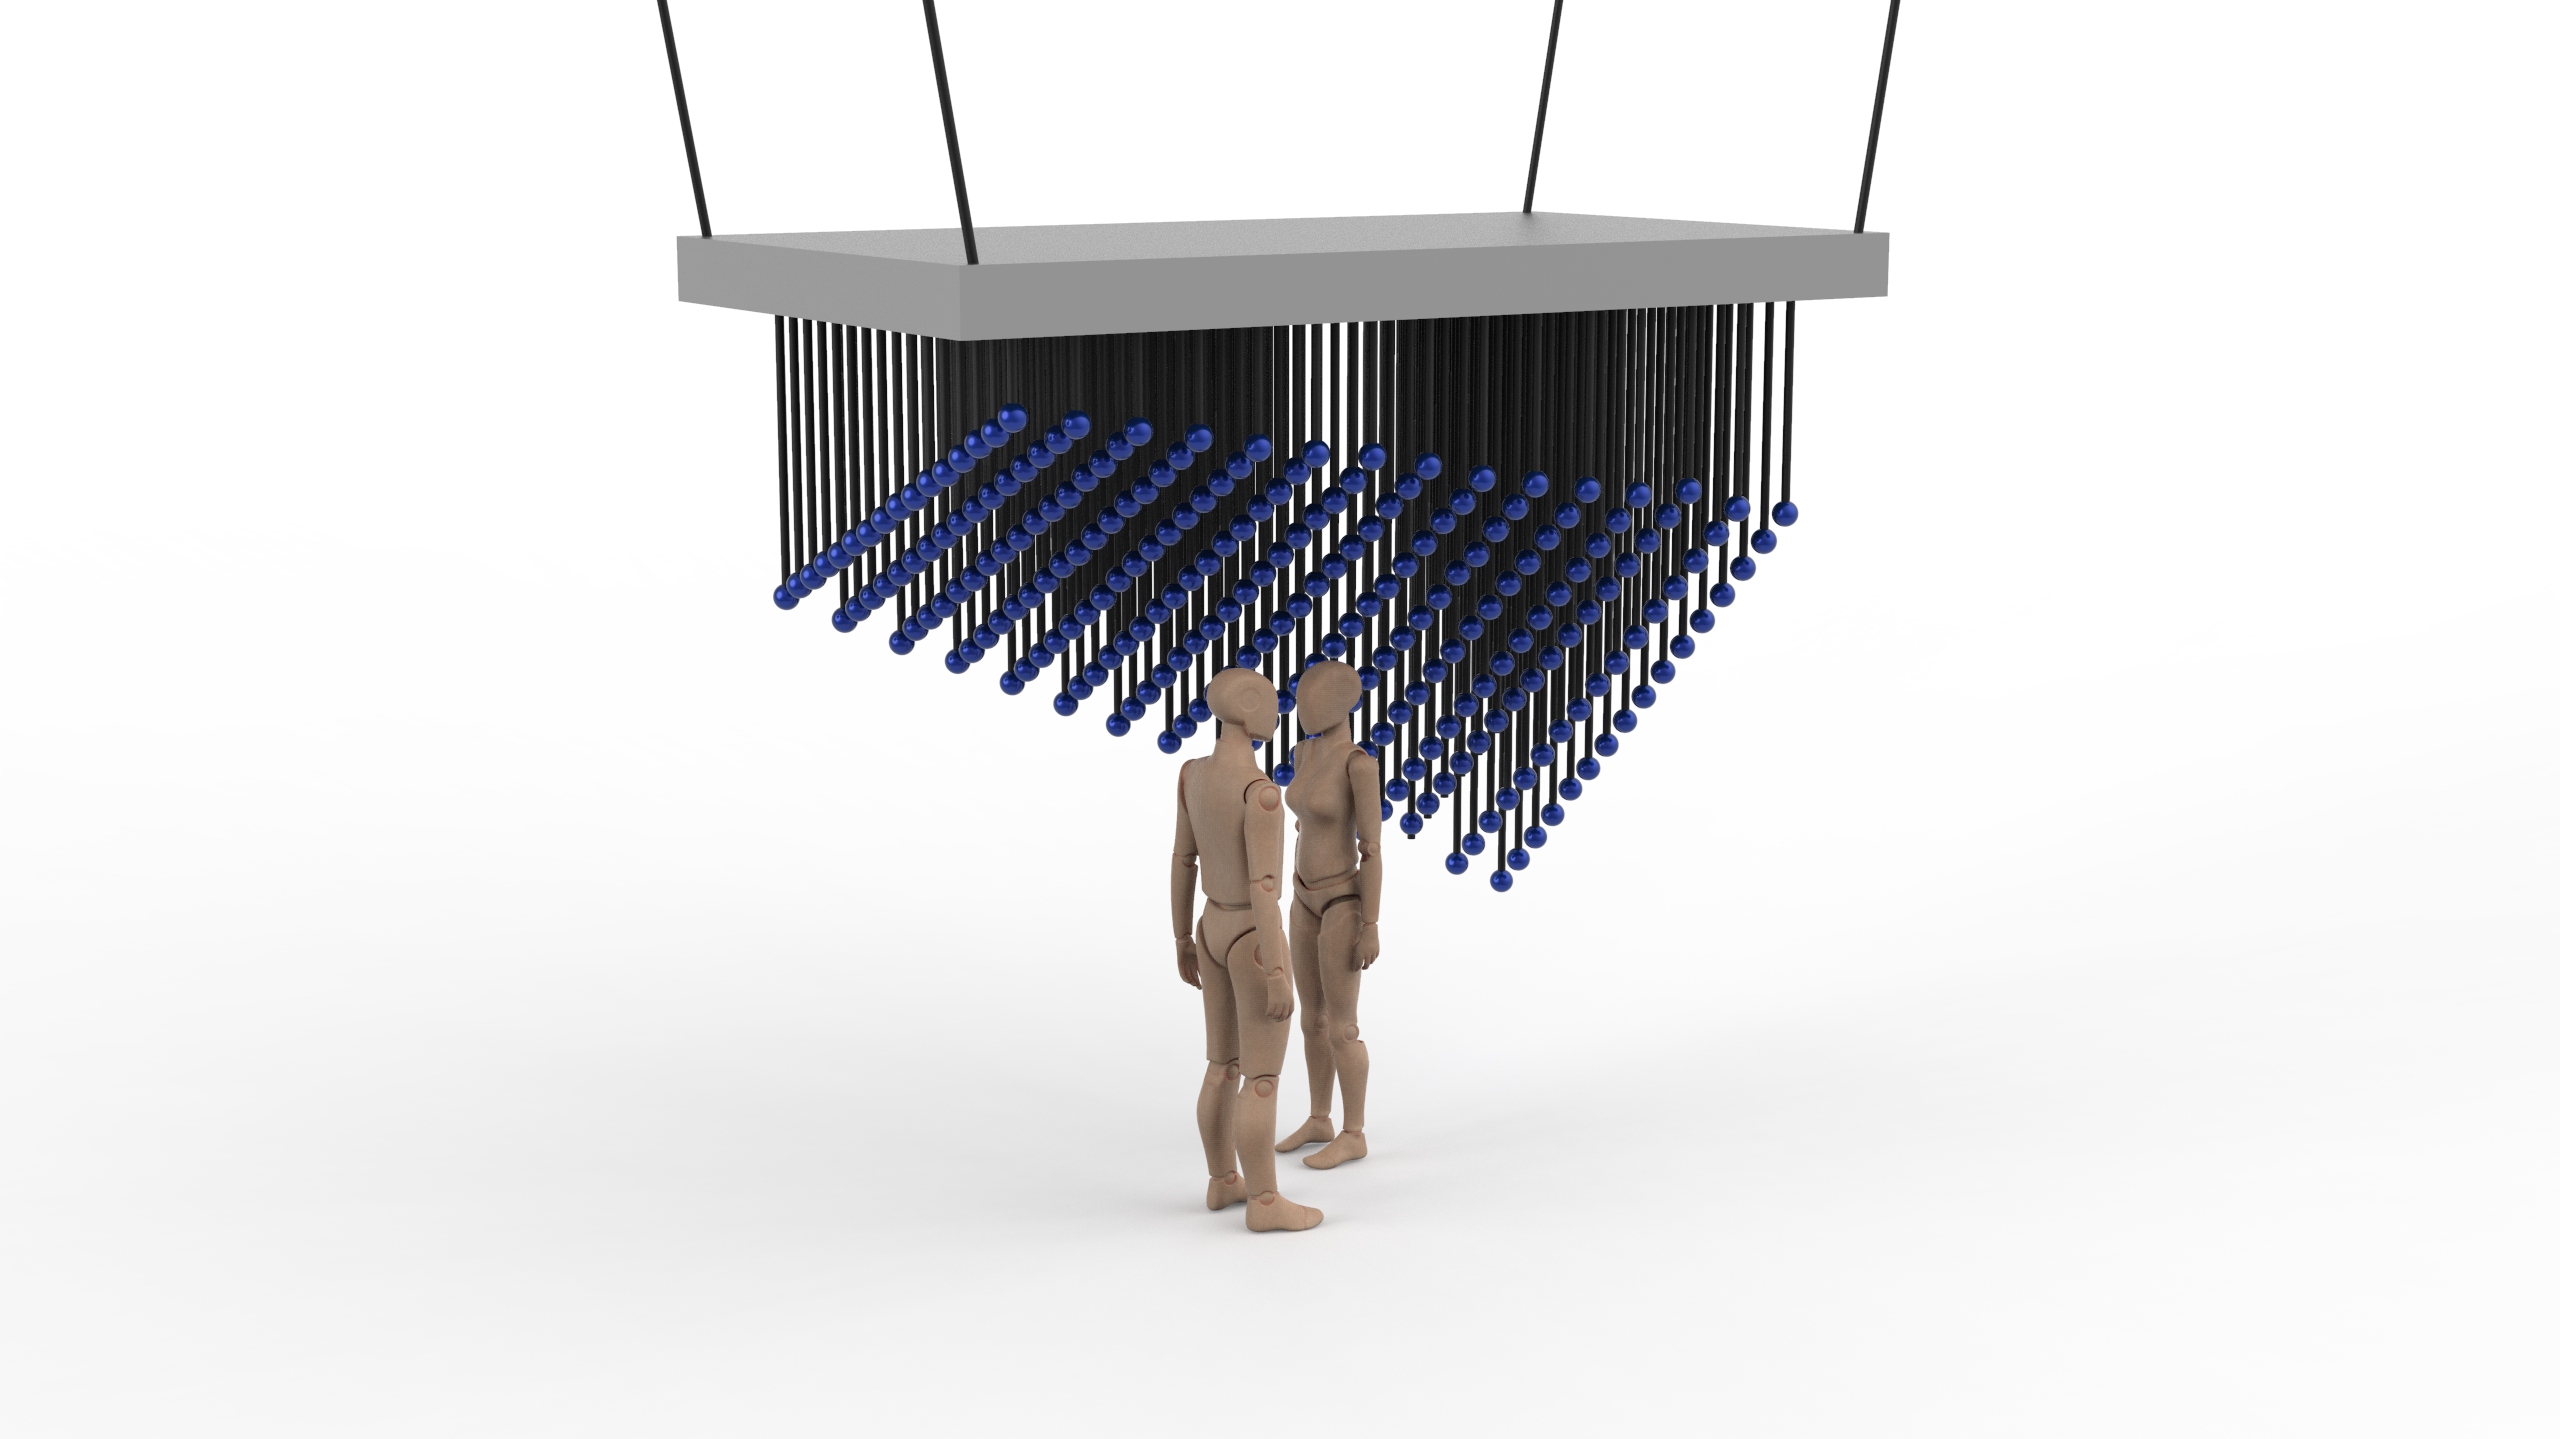
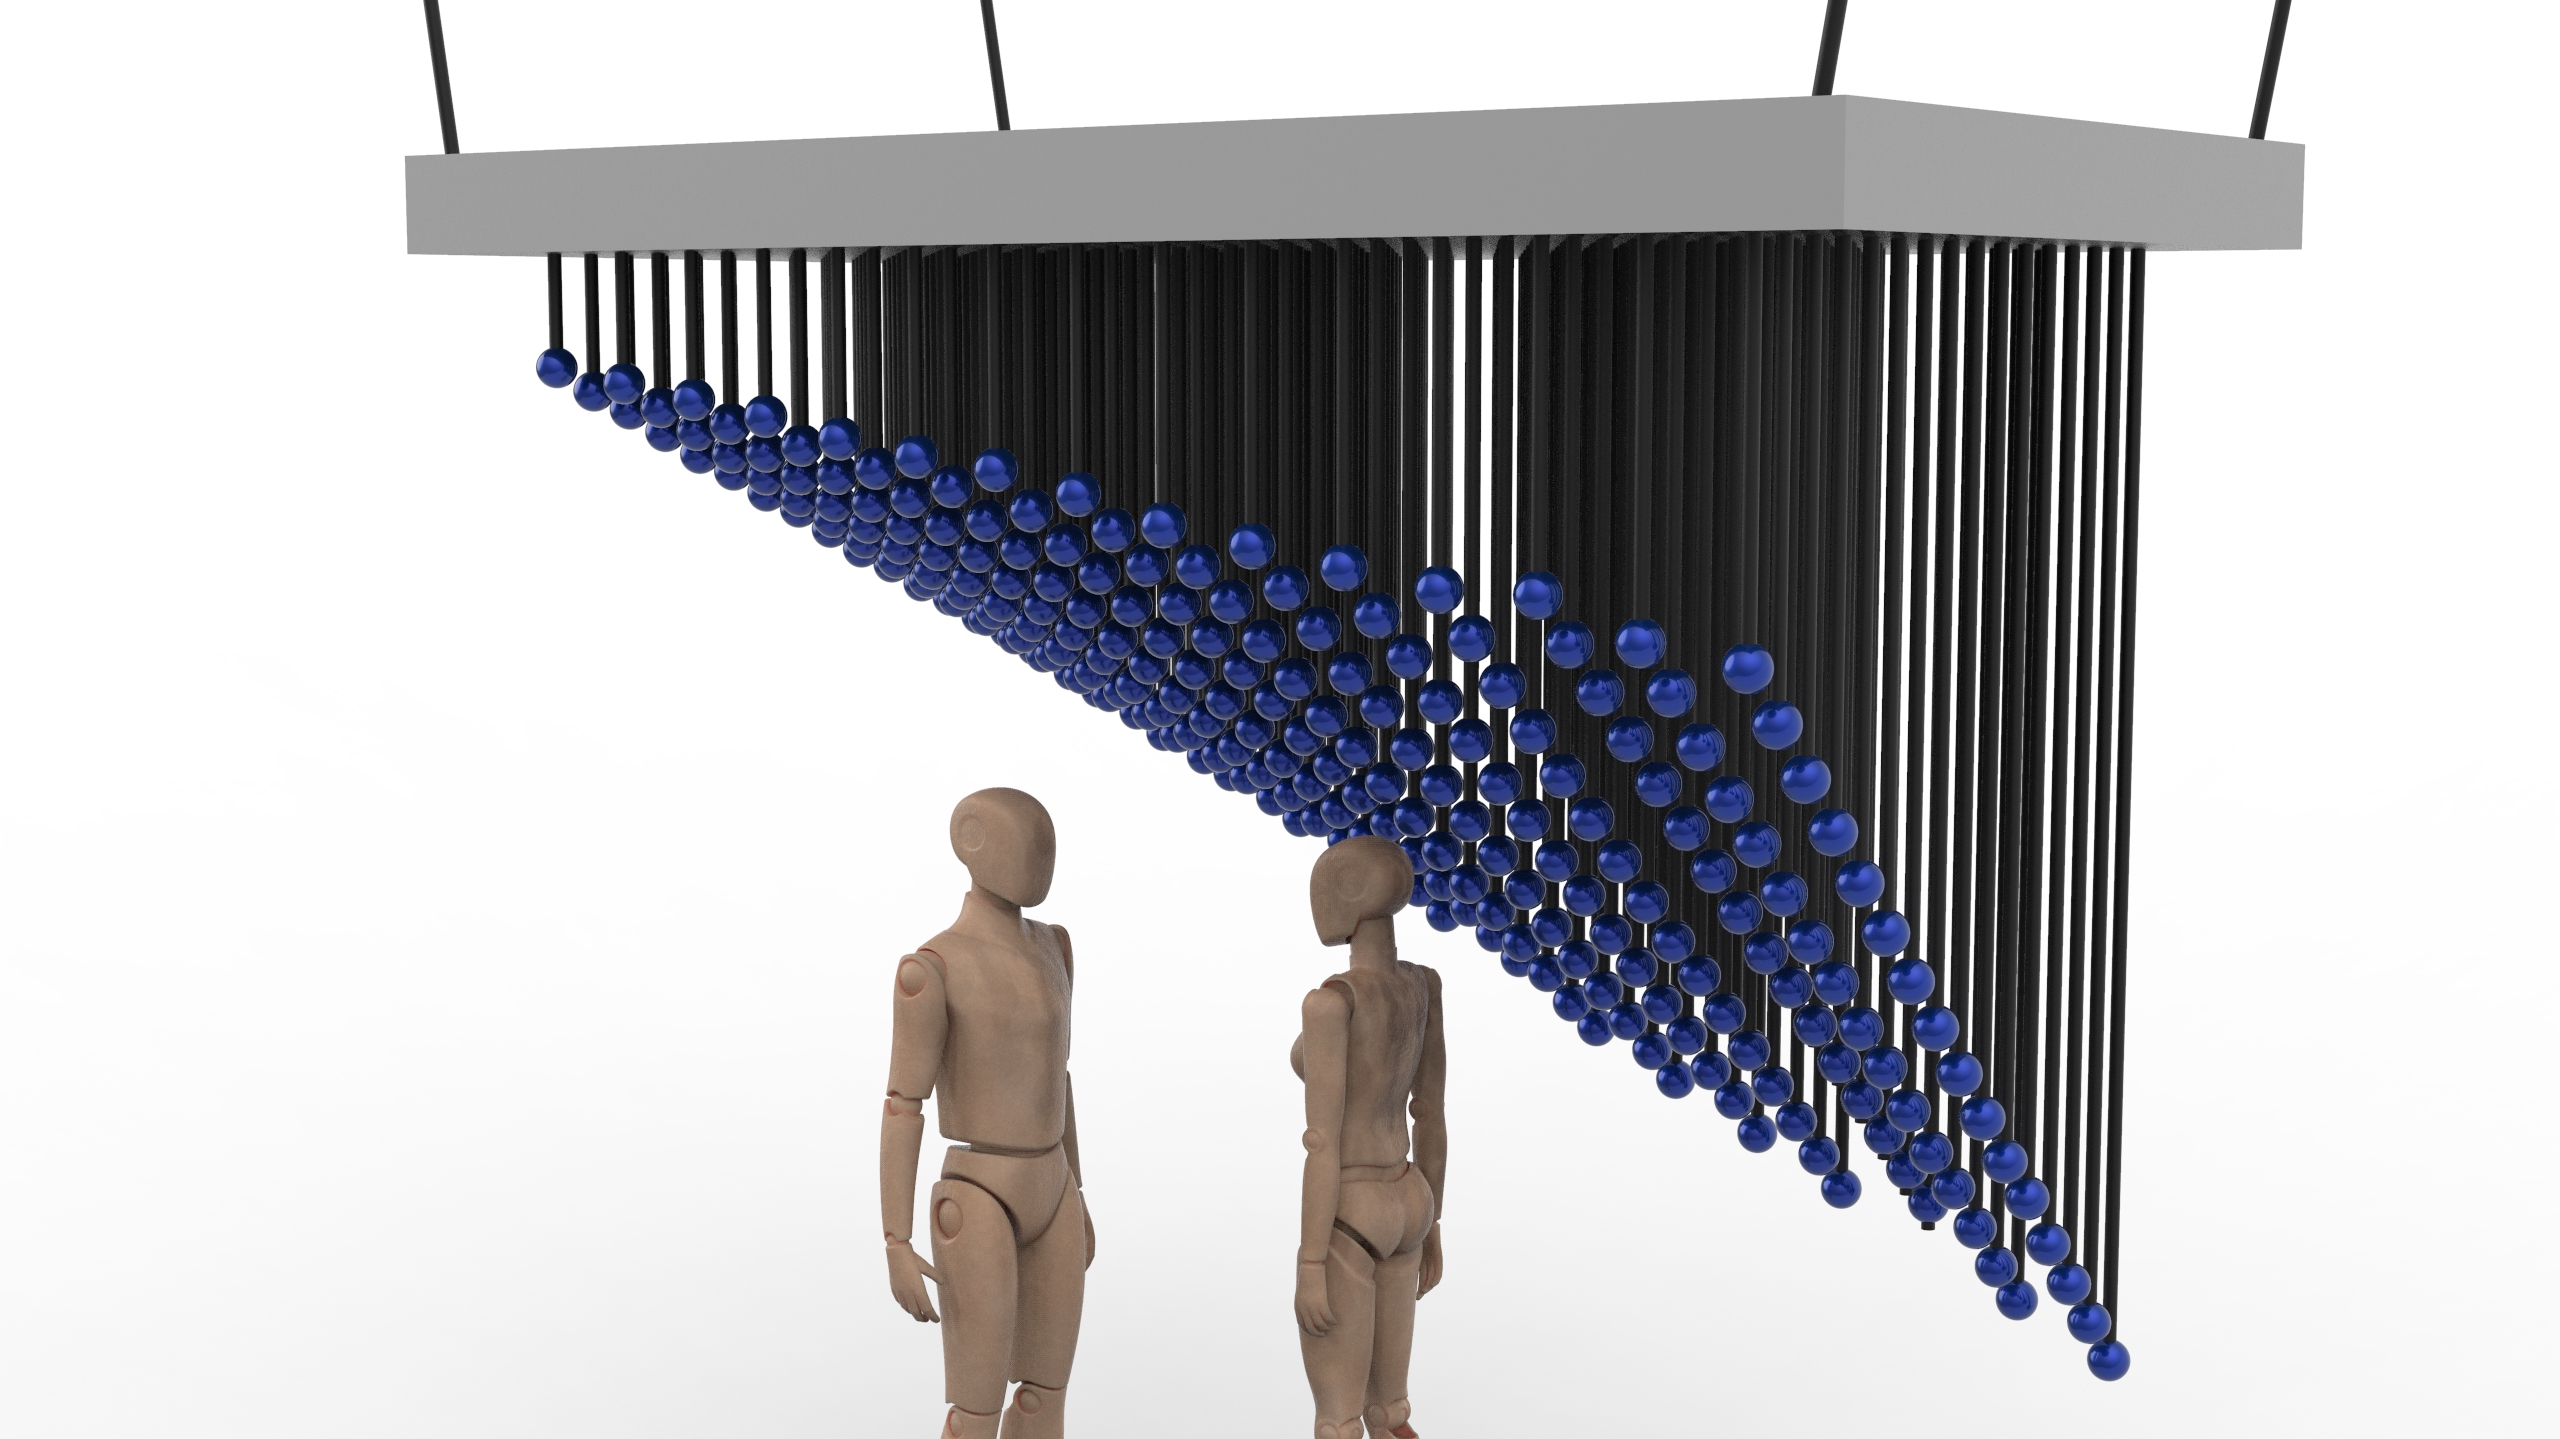
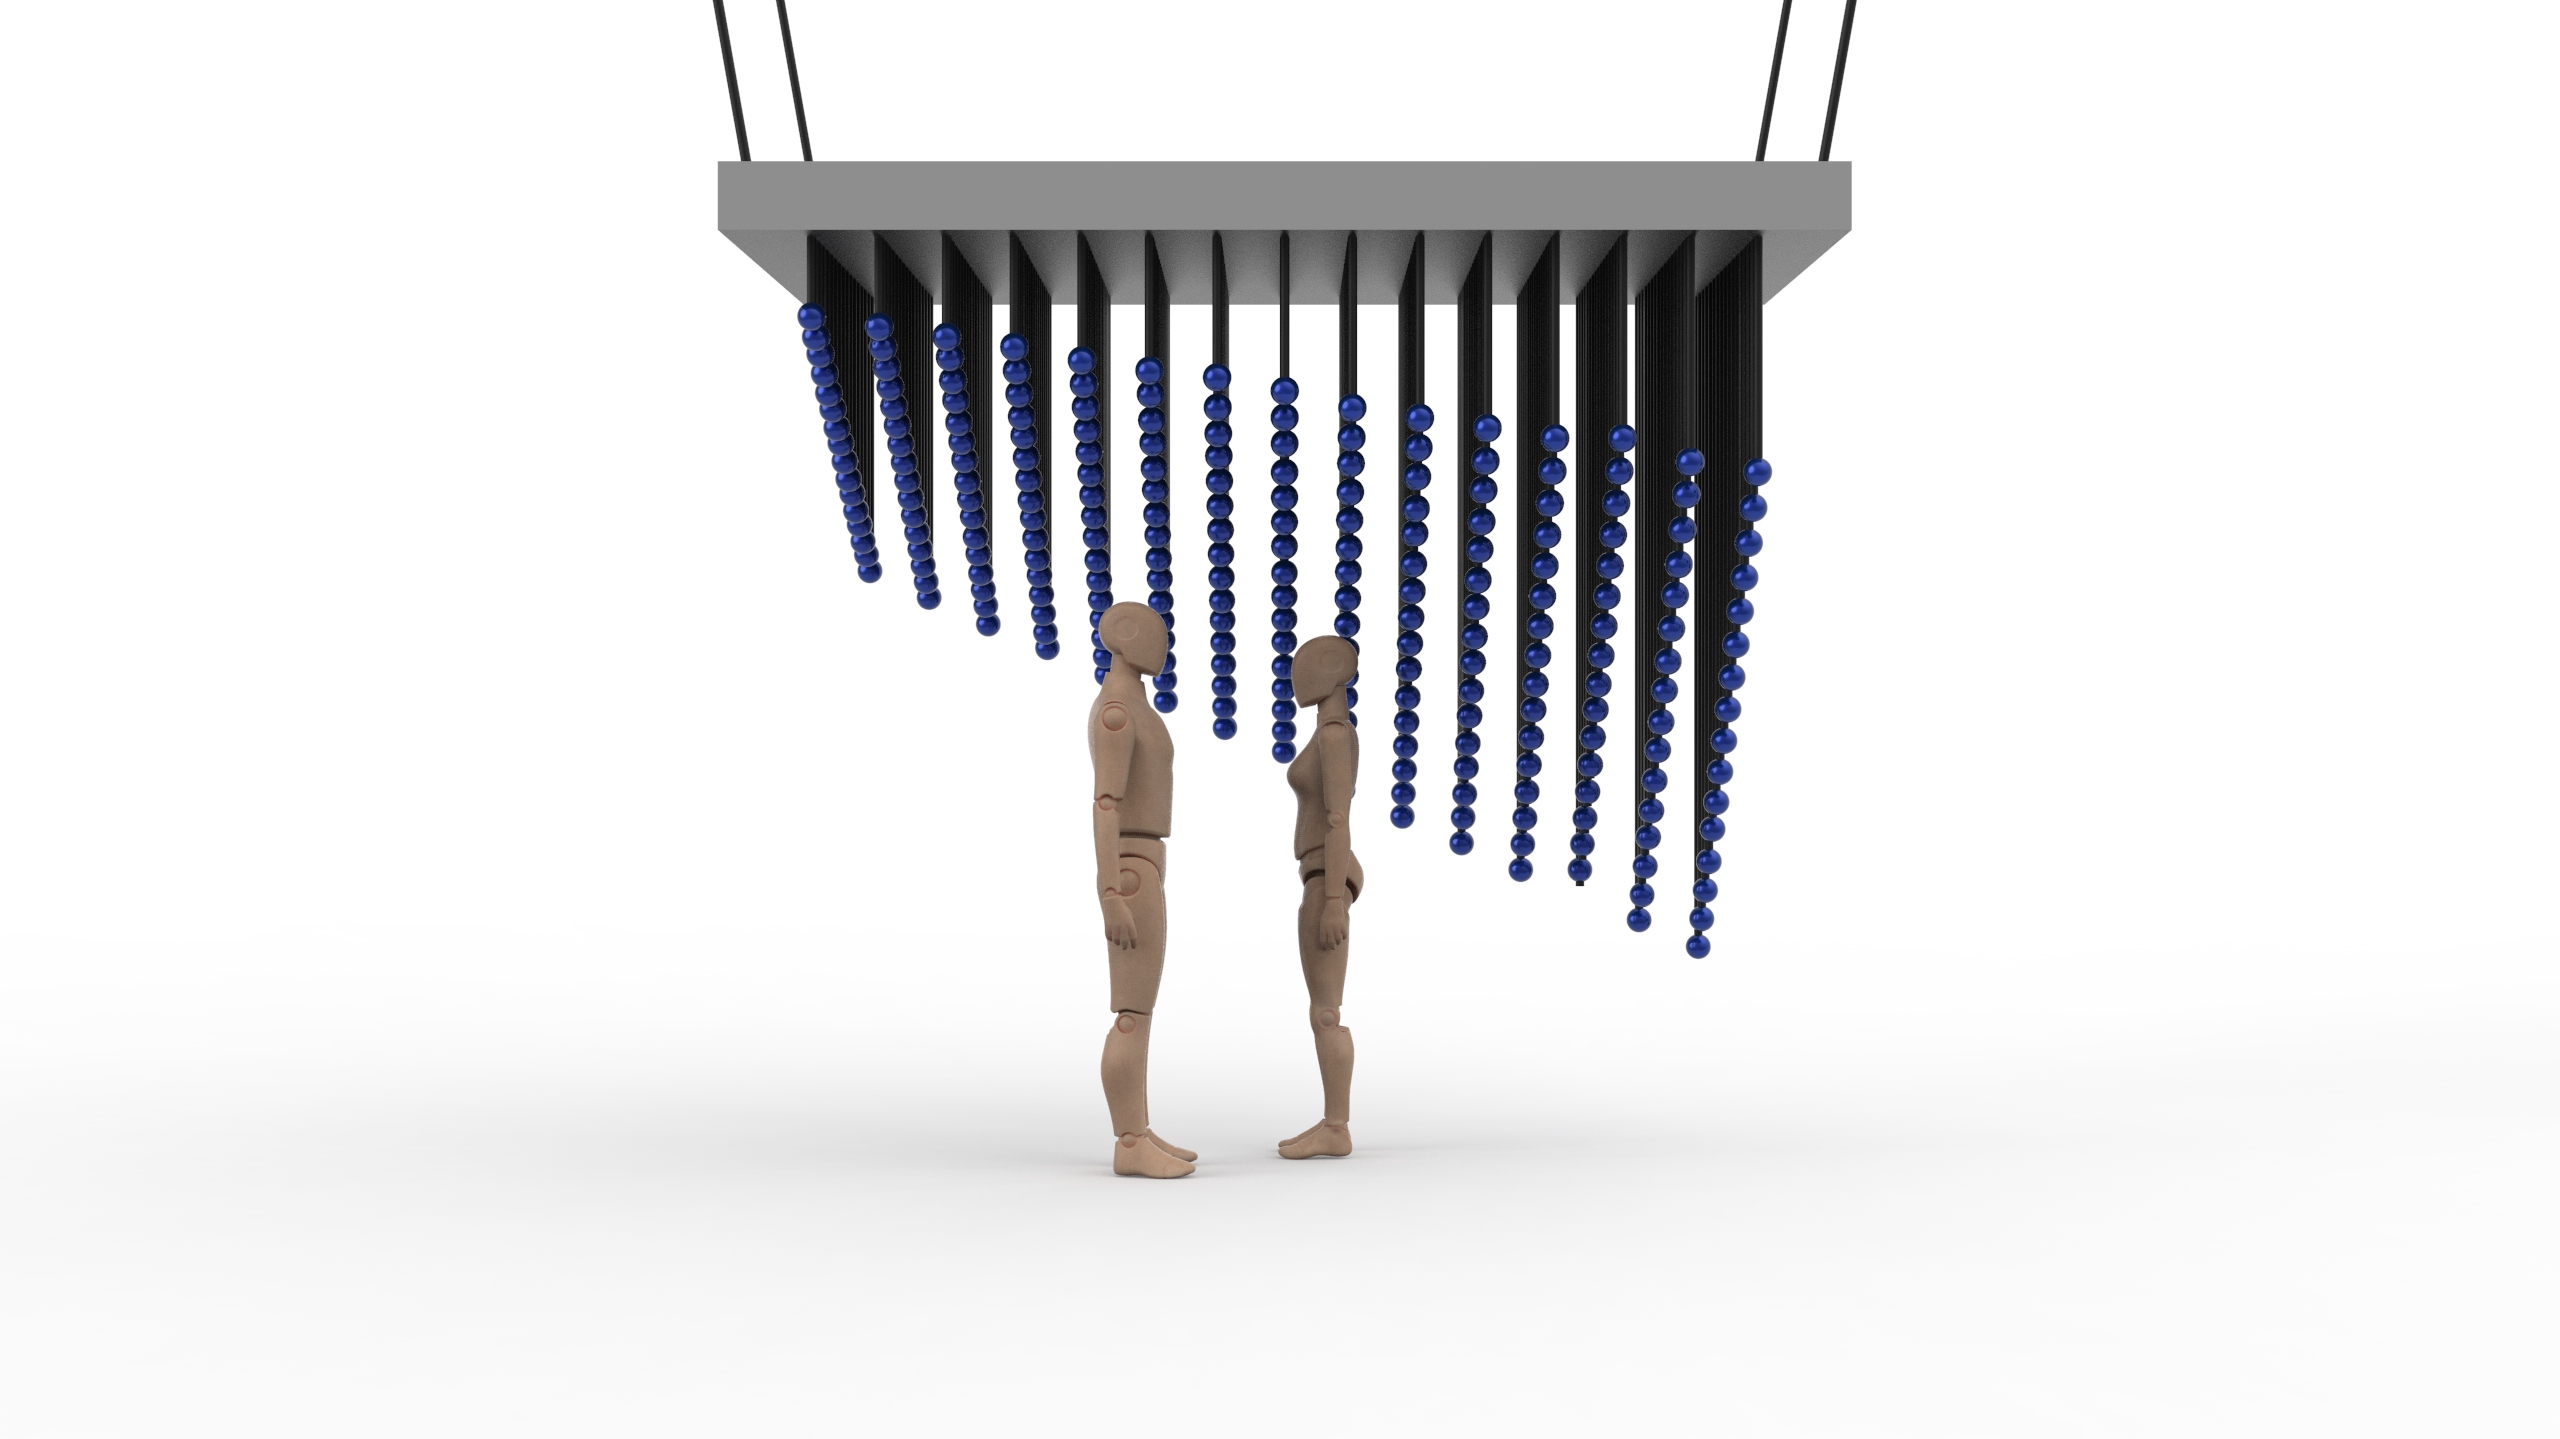
We wanted to see how the arrangements would look like virtually thus our renderings below. We wanted to see the scale of the installation therefore we input human models (man: 1720mm, woman: 1660mm).
#1a
Iso ViewFront viewSide view
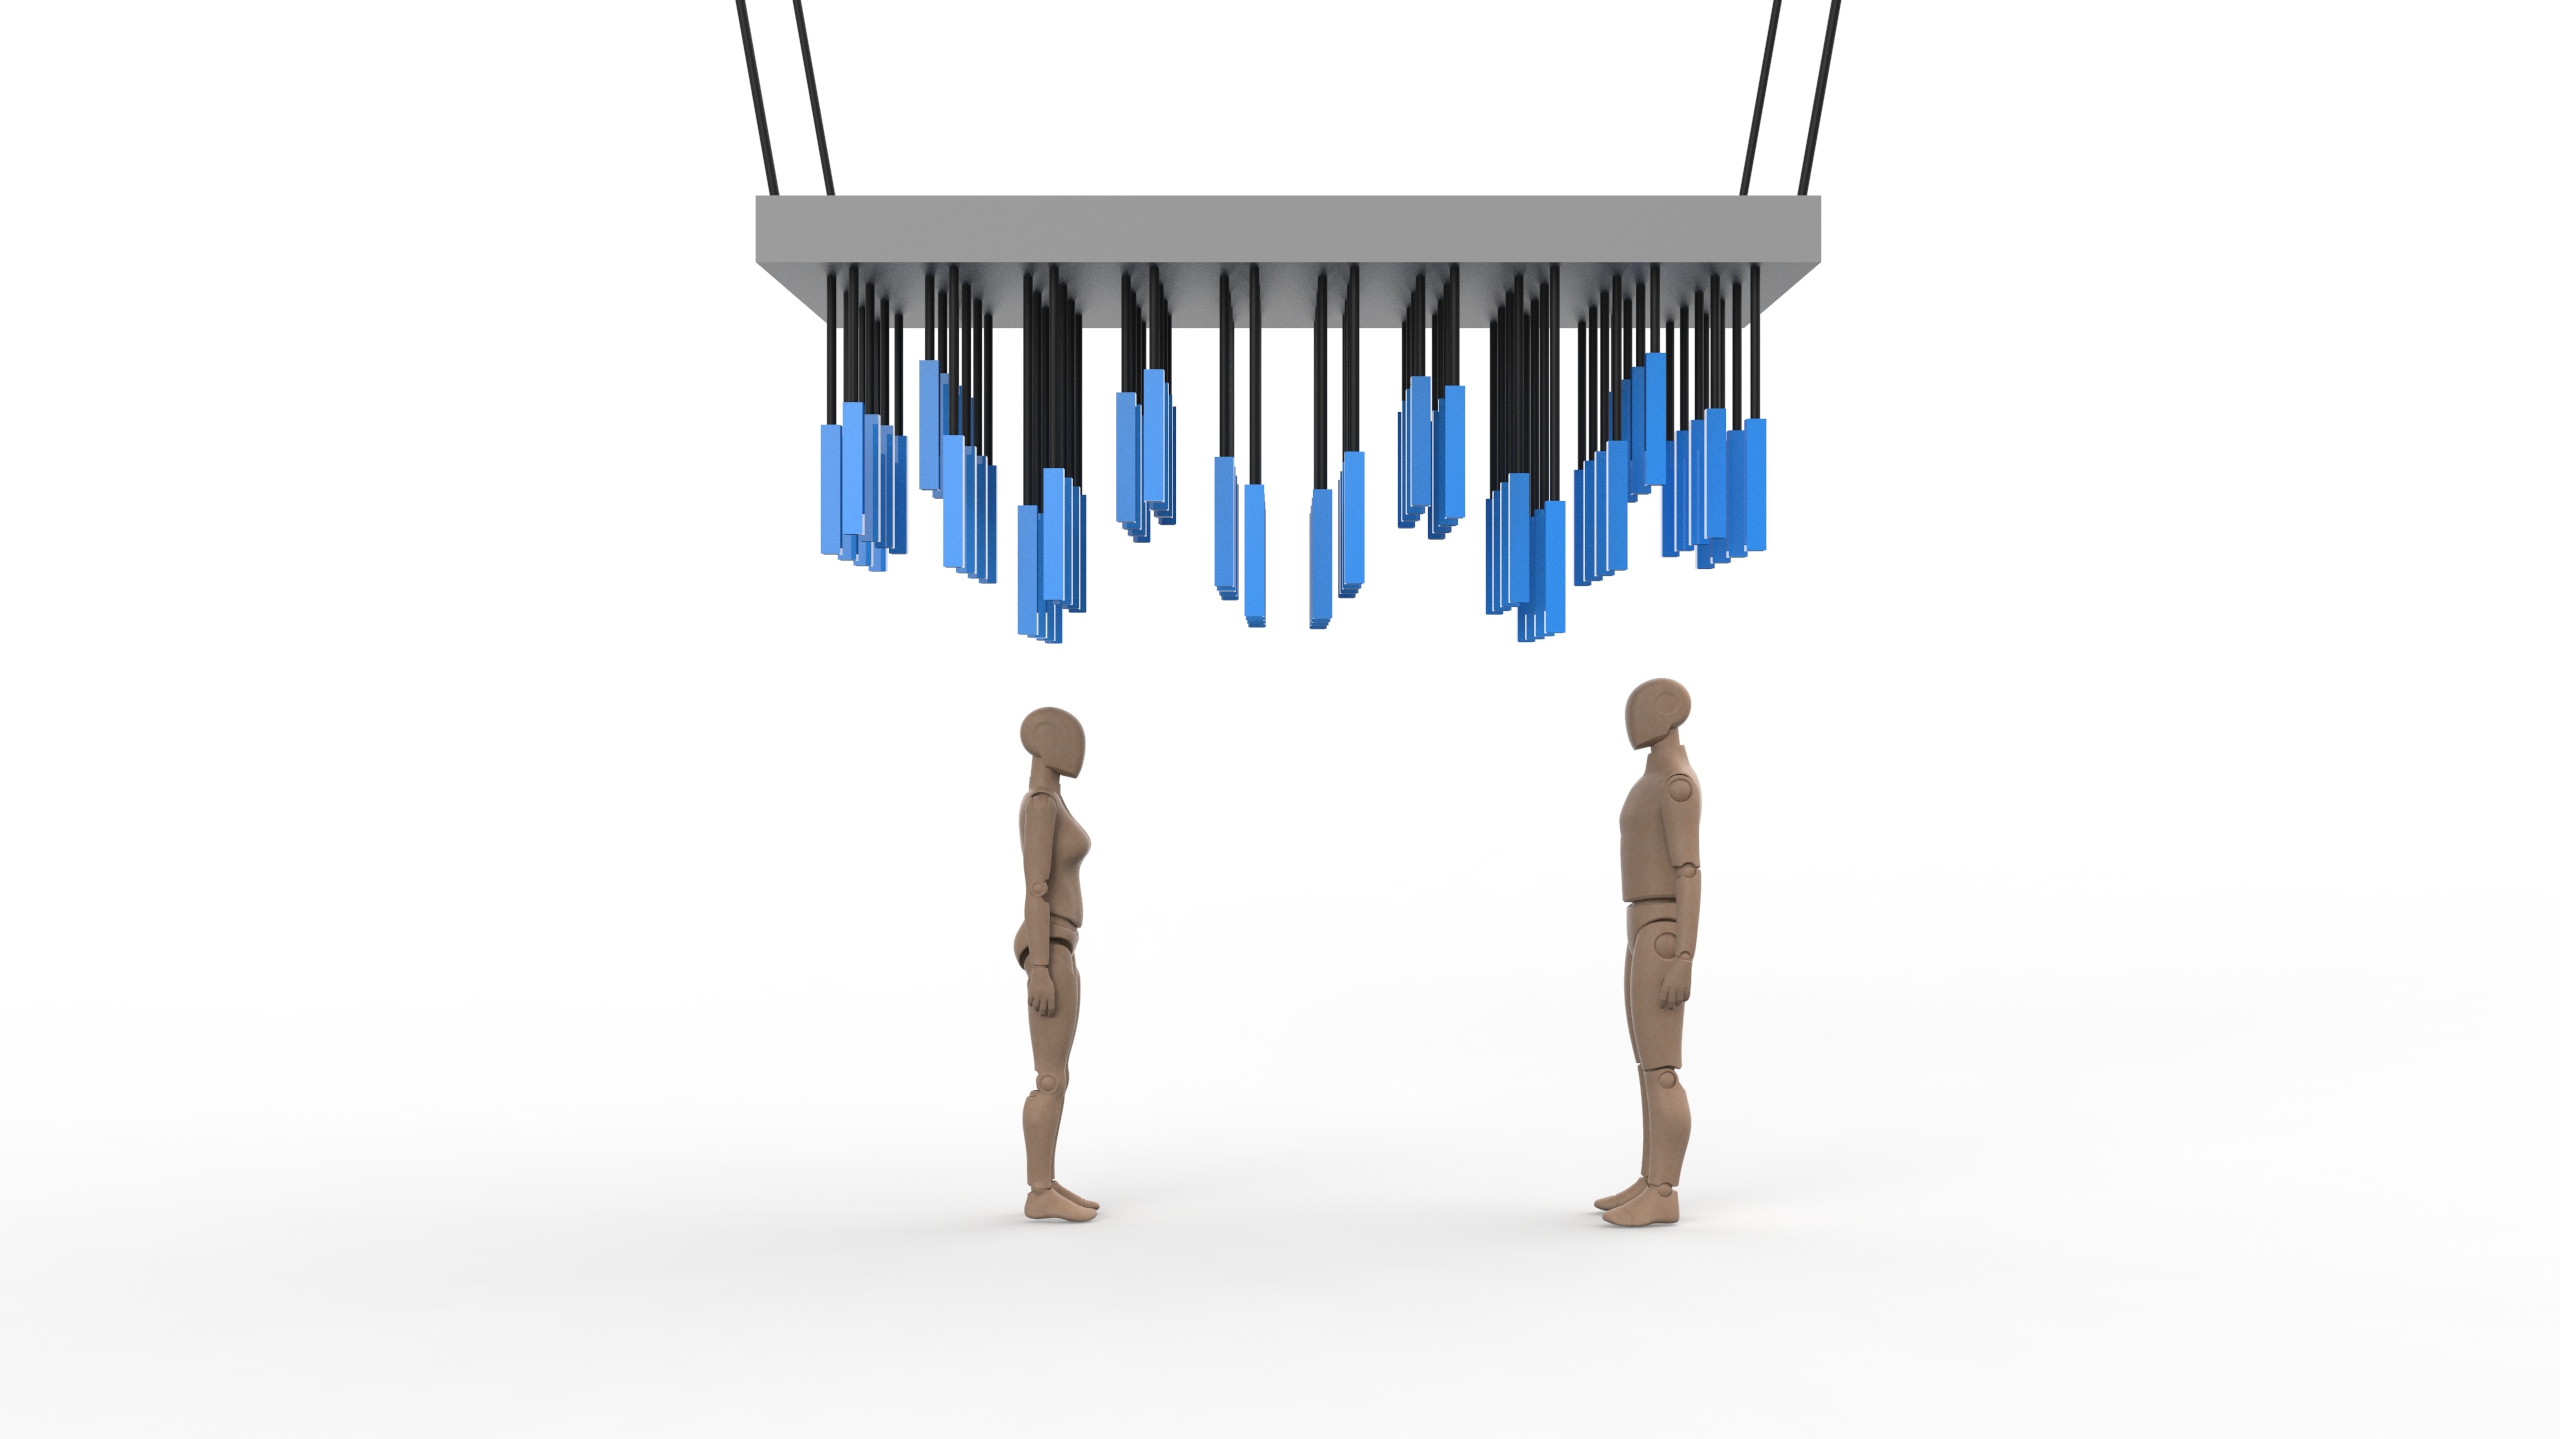
#1b
With the same orientation, how about alternating the layers?
Front ViewSide viewIso View
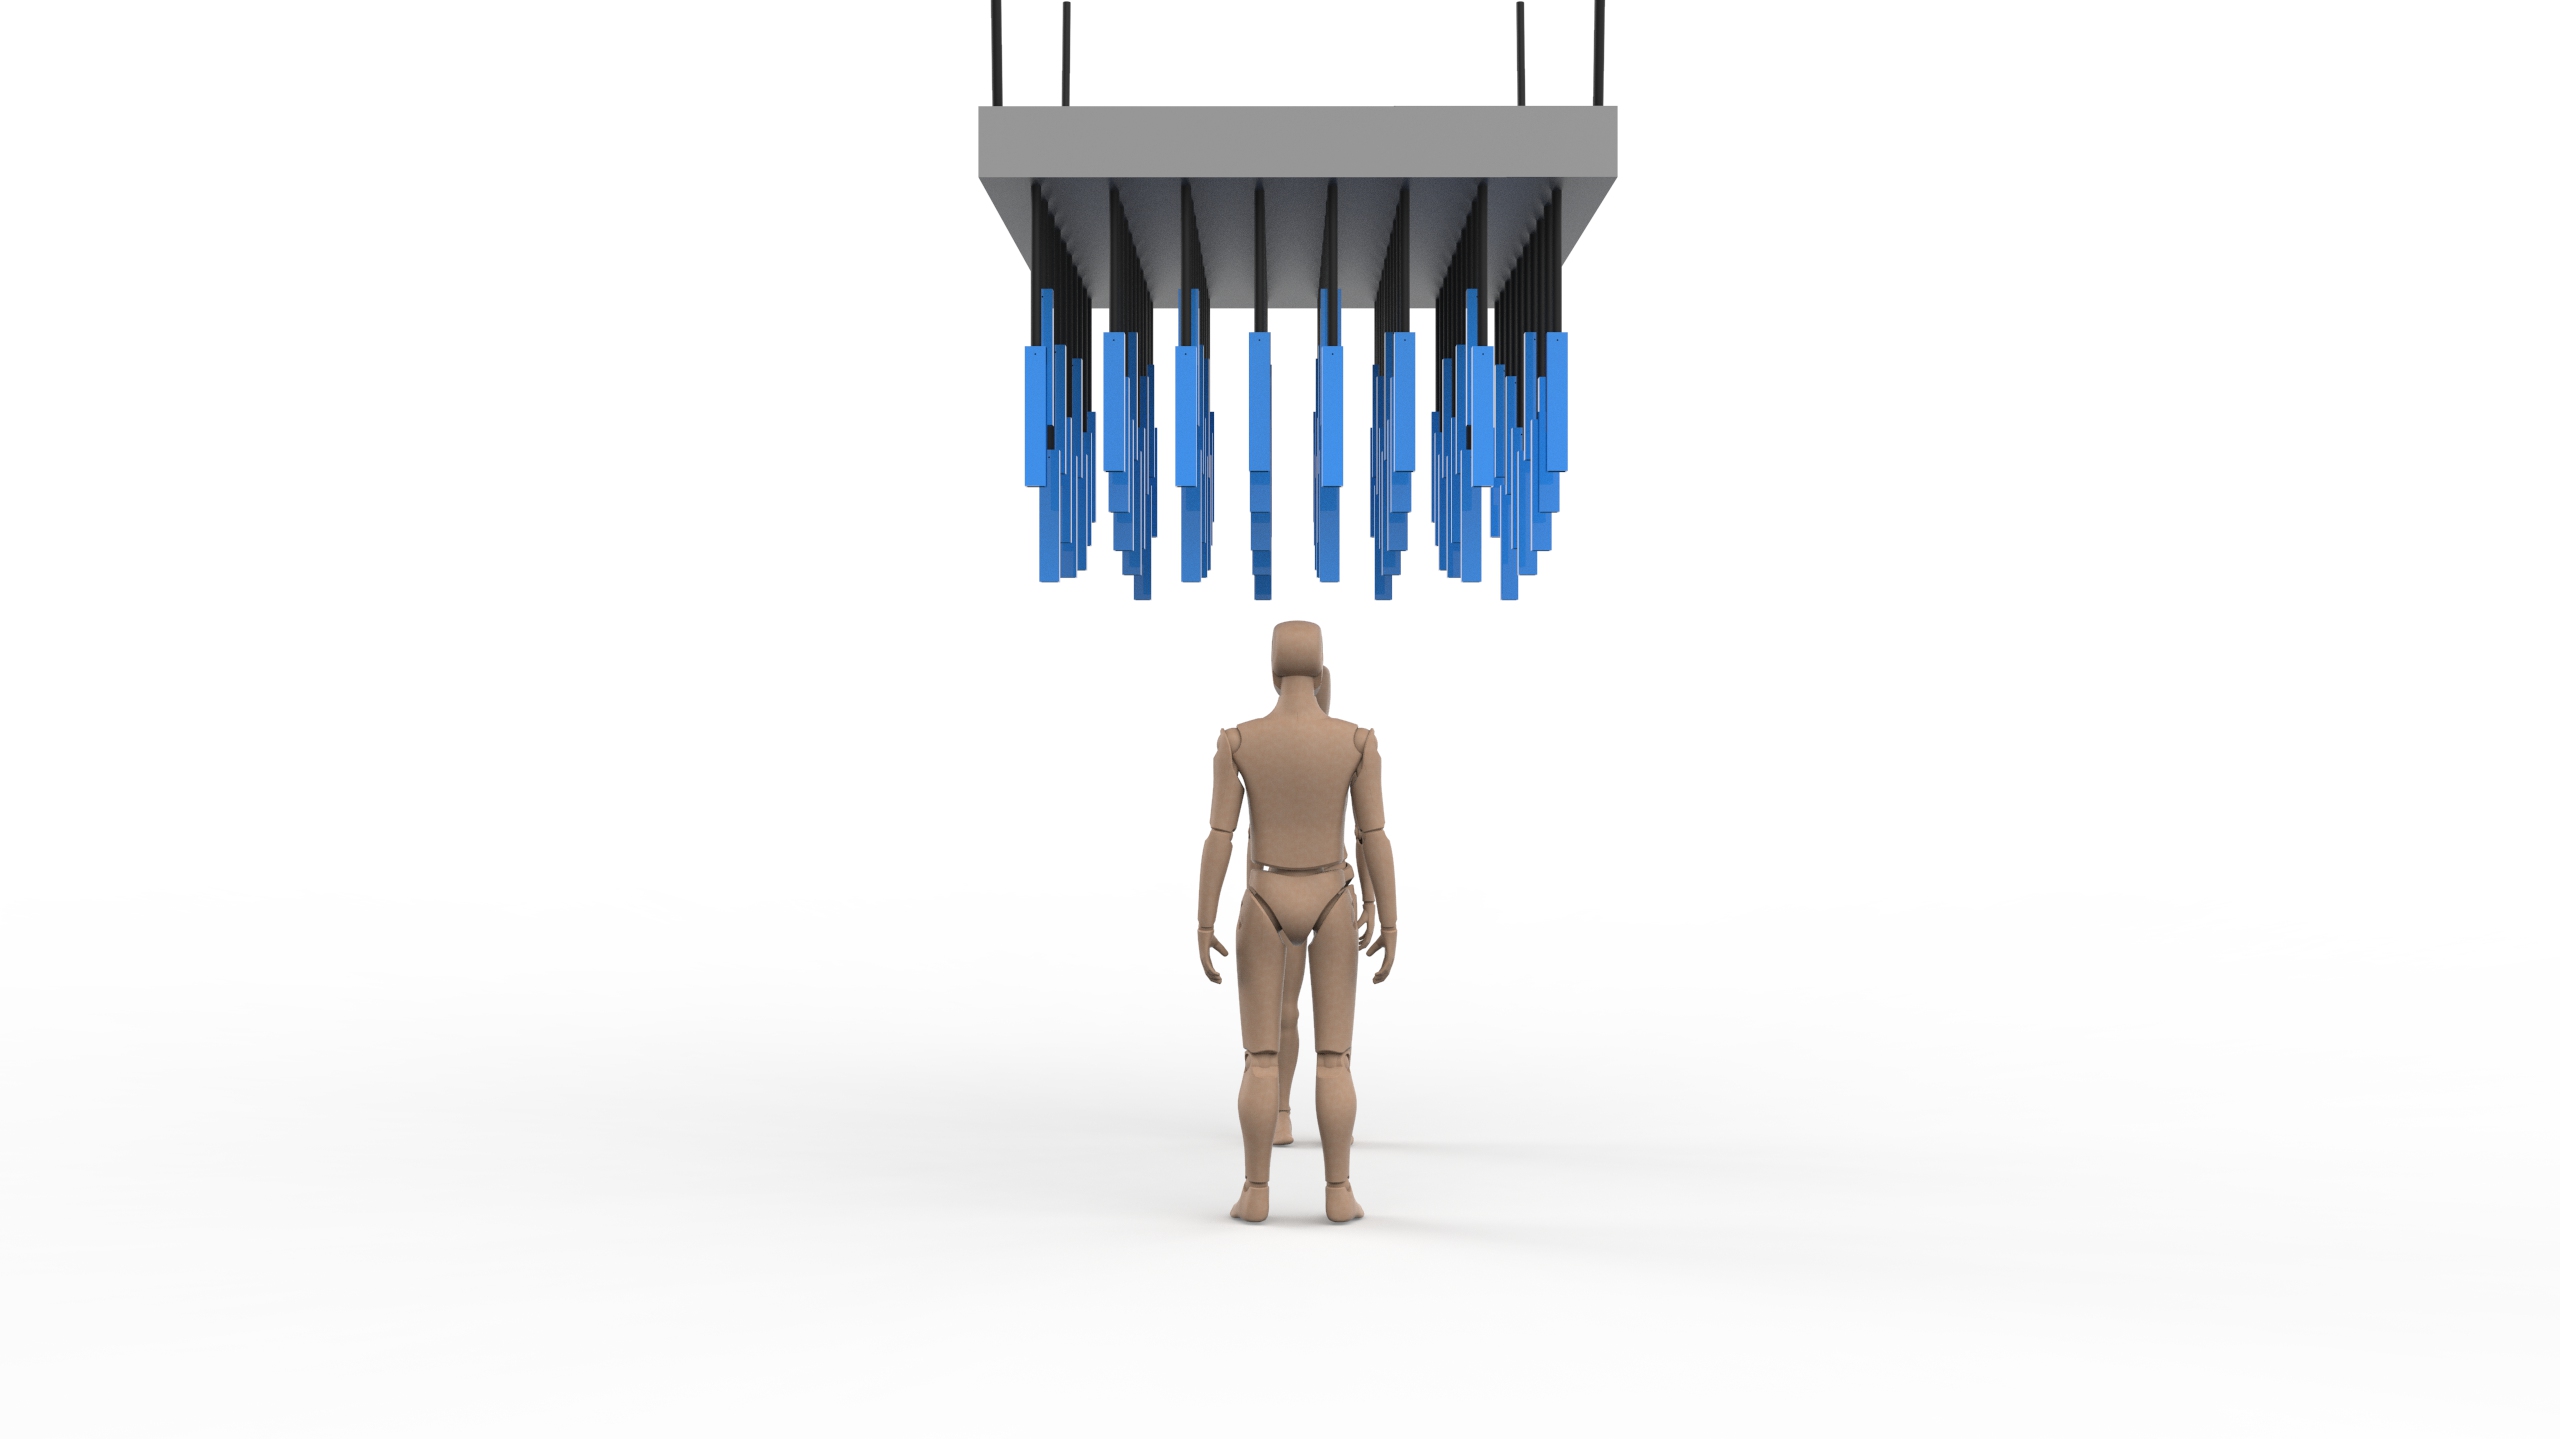
#2
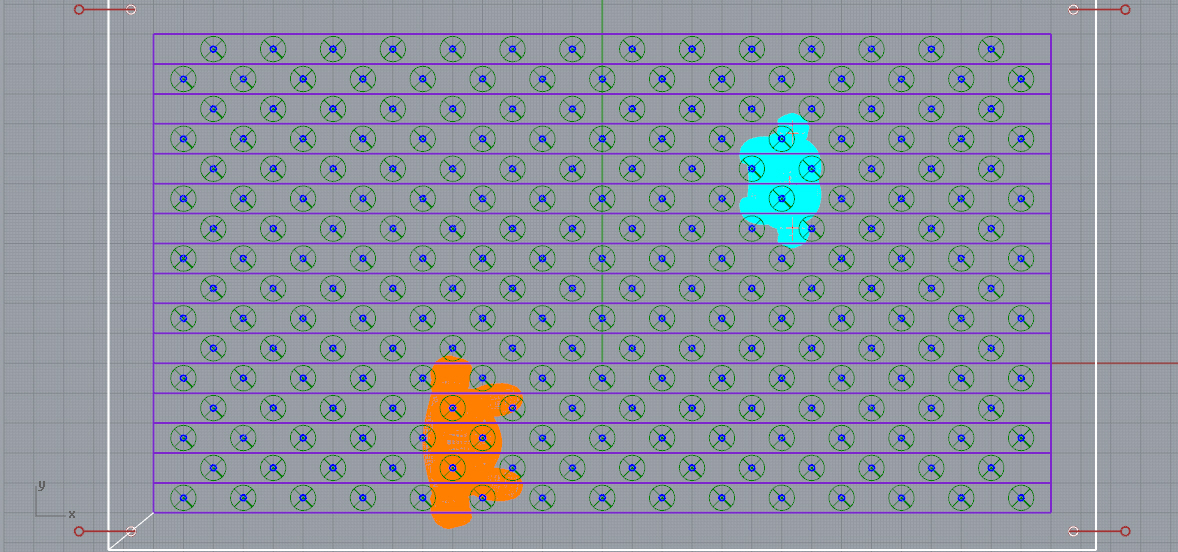
Iso ViewFront ViewSide ViewArrangement of the layers of pendulum
#3
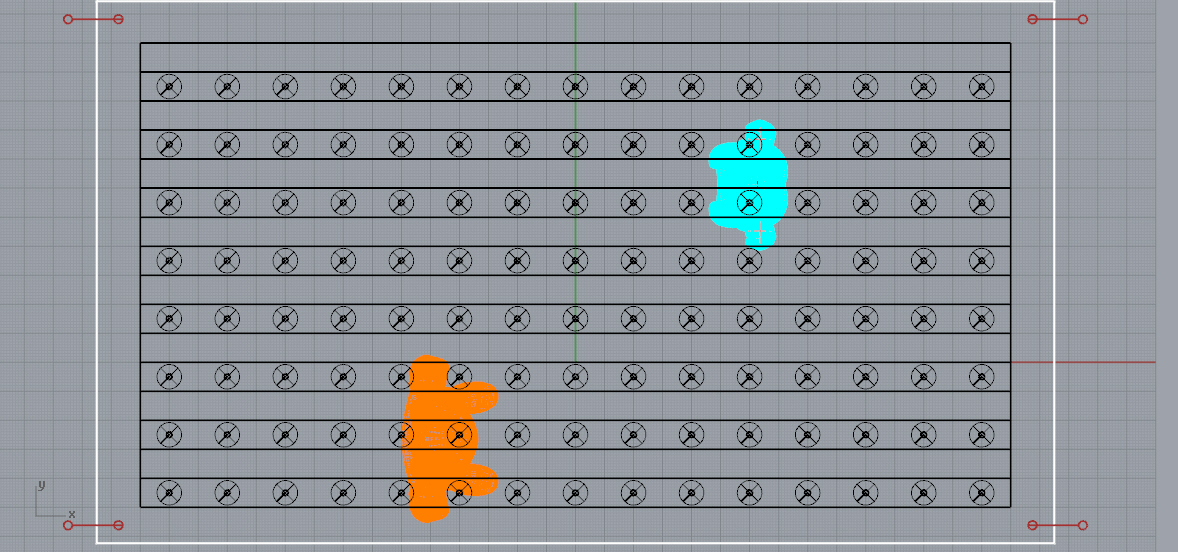
Iso ViewFront ViewSide ViewArrangement of pendulums
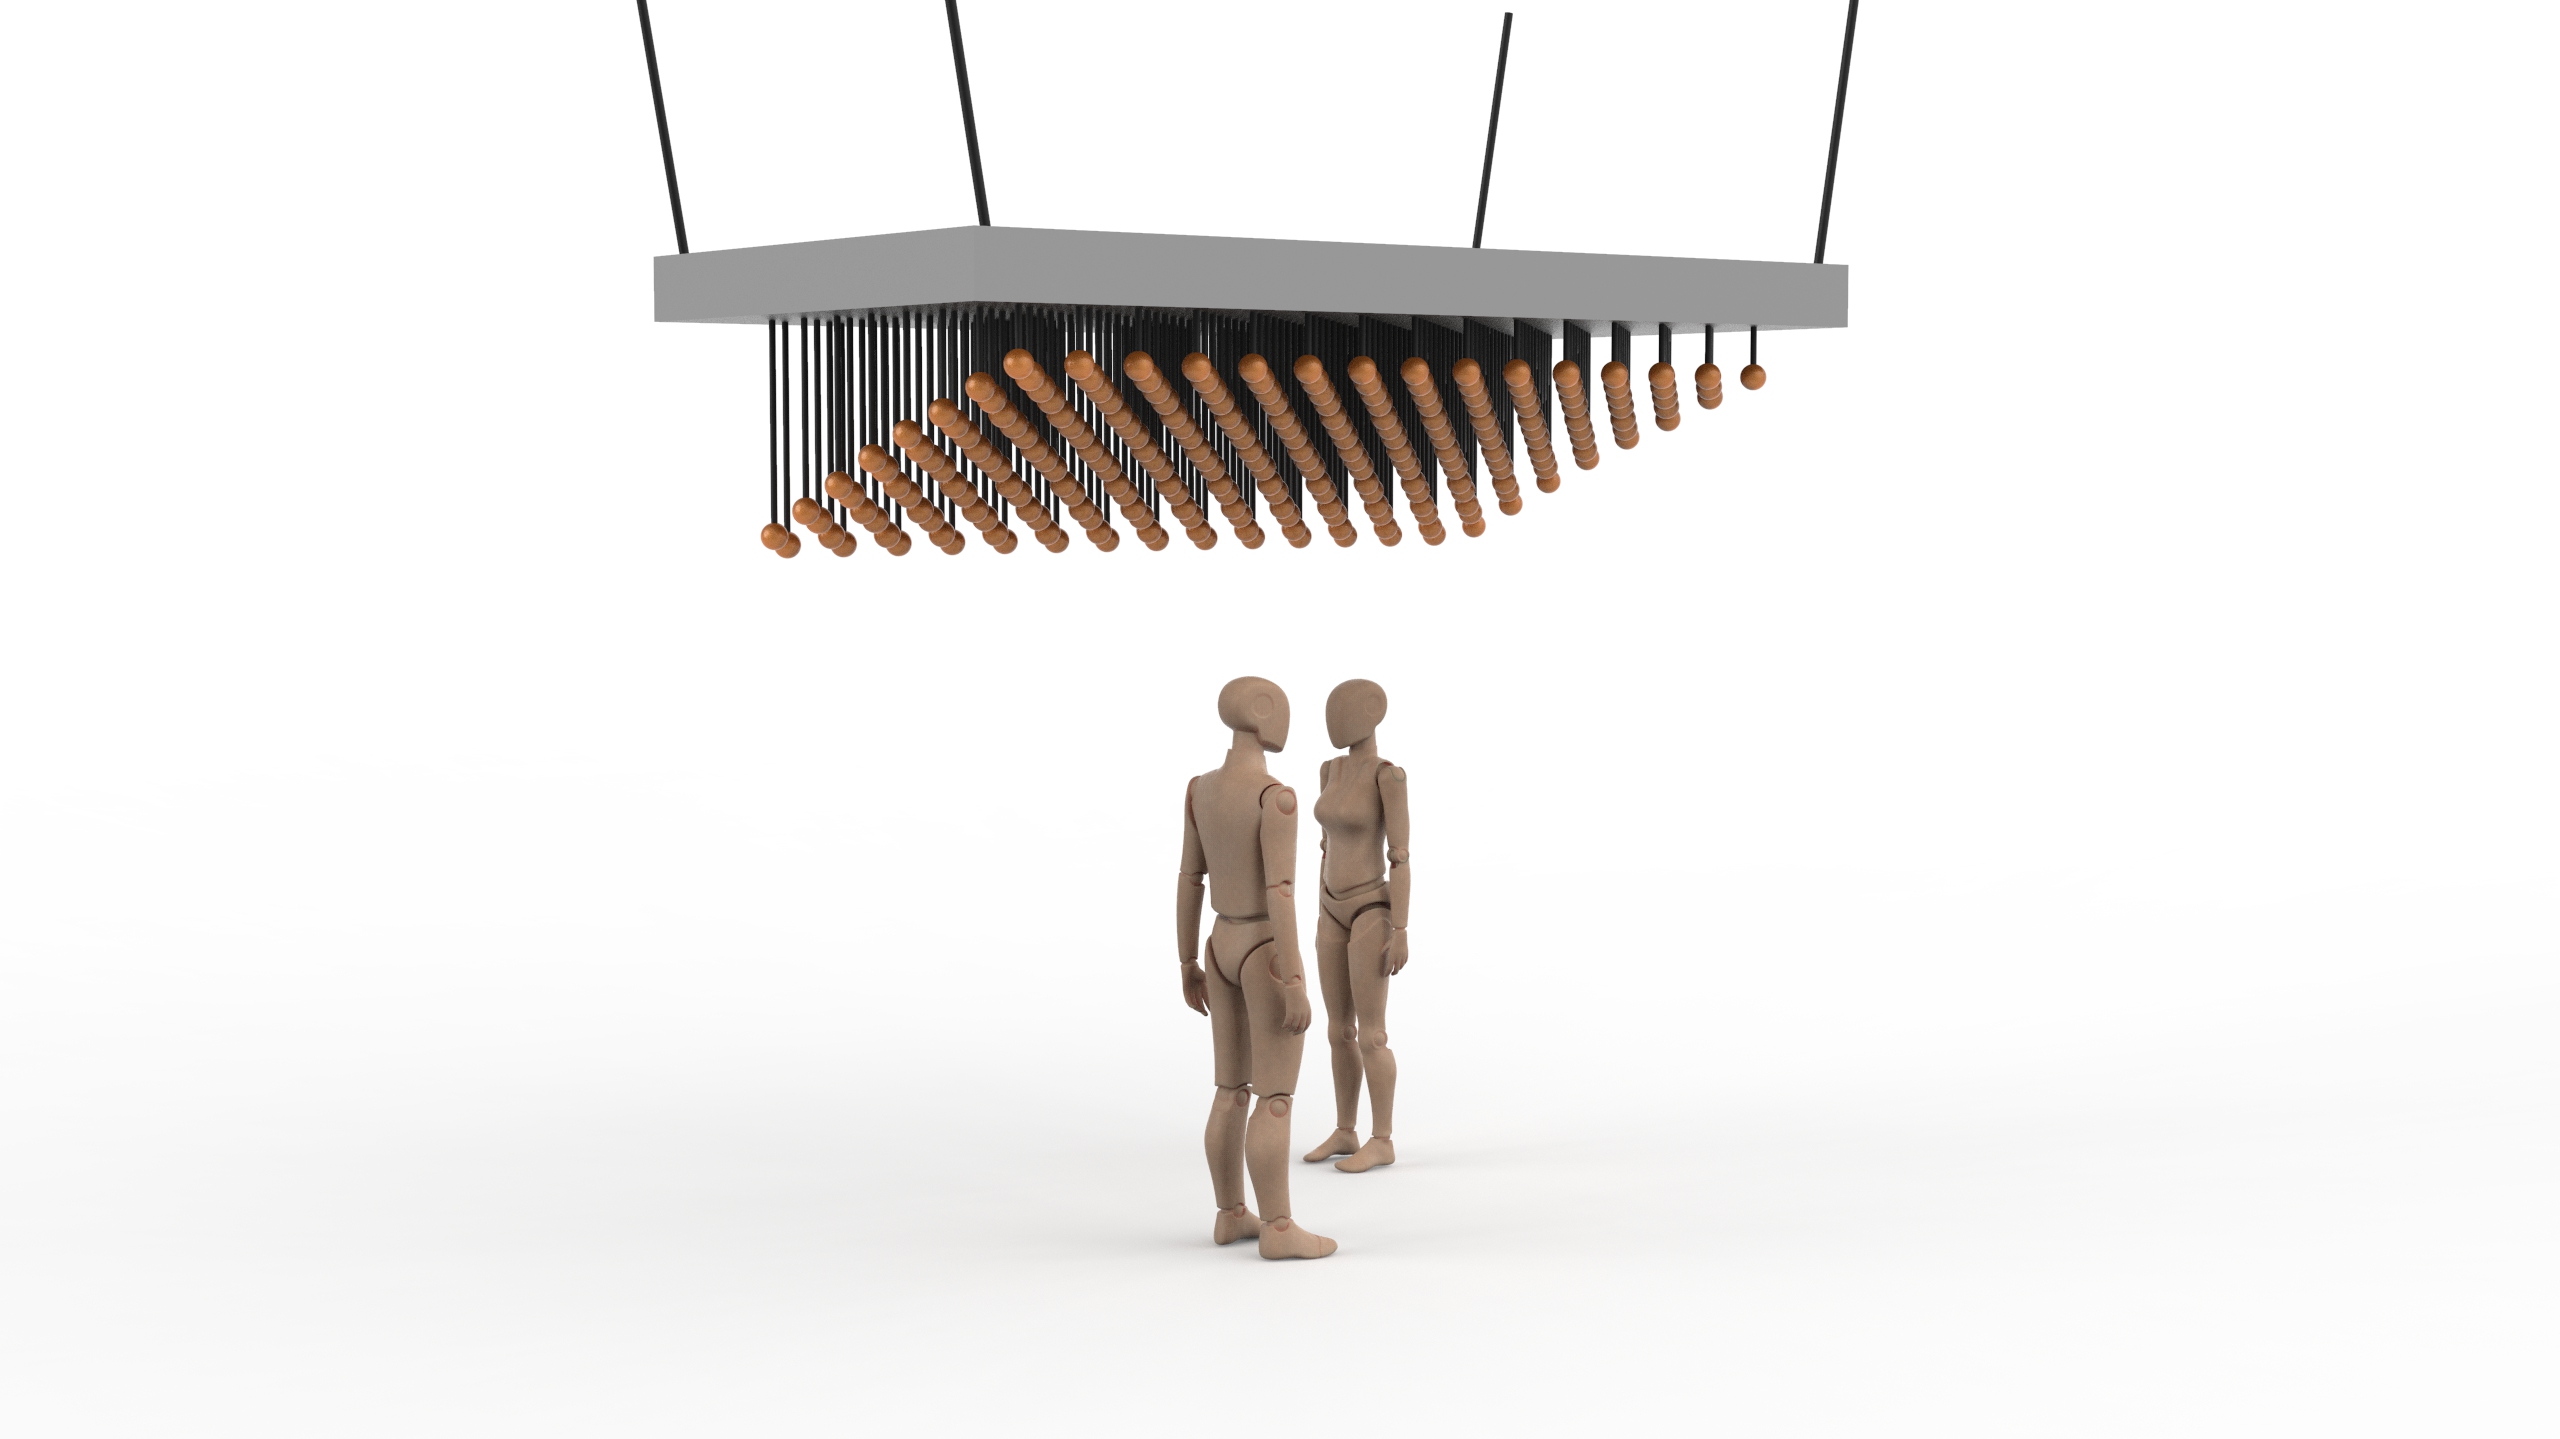
#4a
Iso ViewFront ViewSide ViewArrangements of pendulum
#5
Iso ViewFront ViewSide ViewArrangements of pendulum
#6
Iso ViewCloseup of arrangementsFront ViewSide ViewArrangements of pendulum
#7
Iso View
Front ViewSide ViewArrangements of pendulums
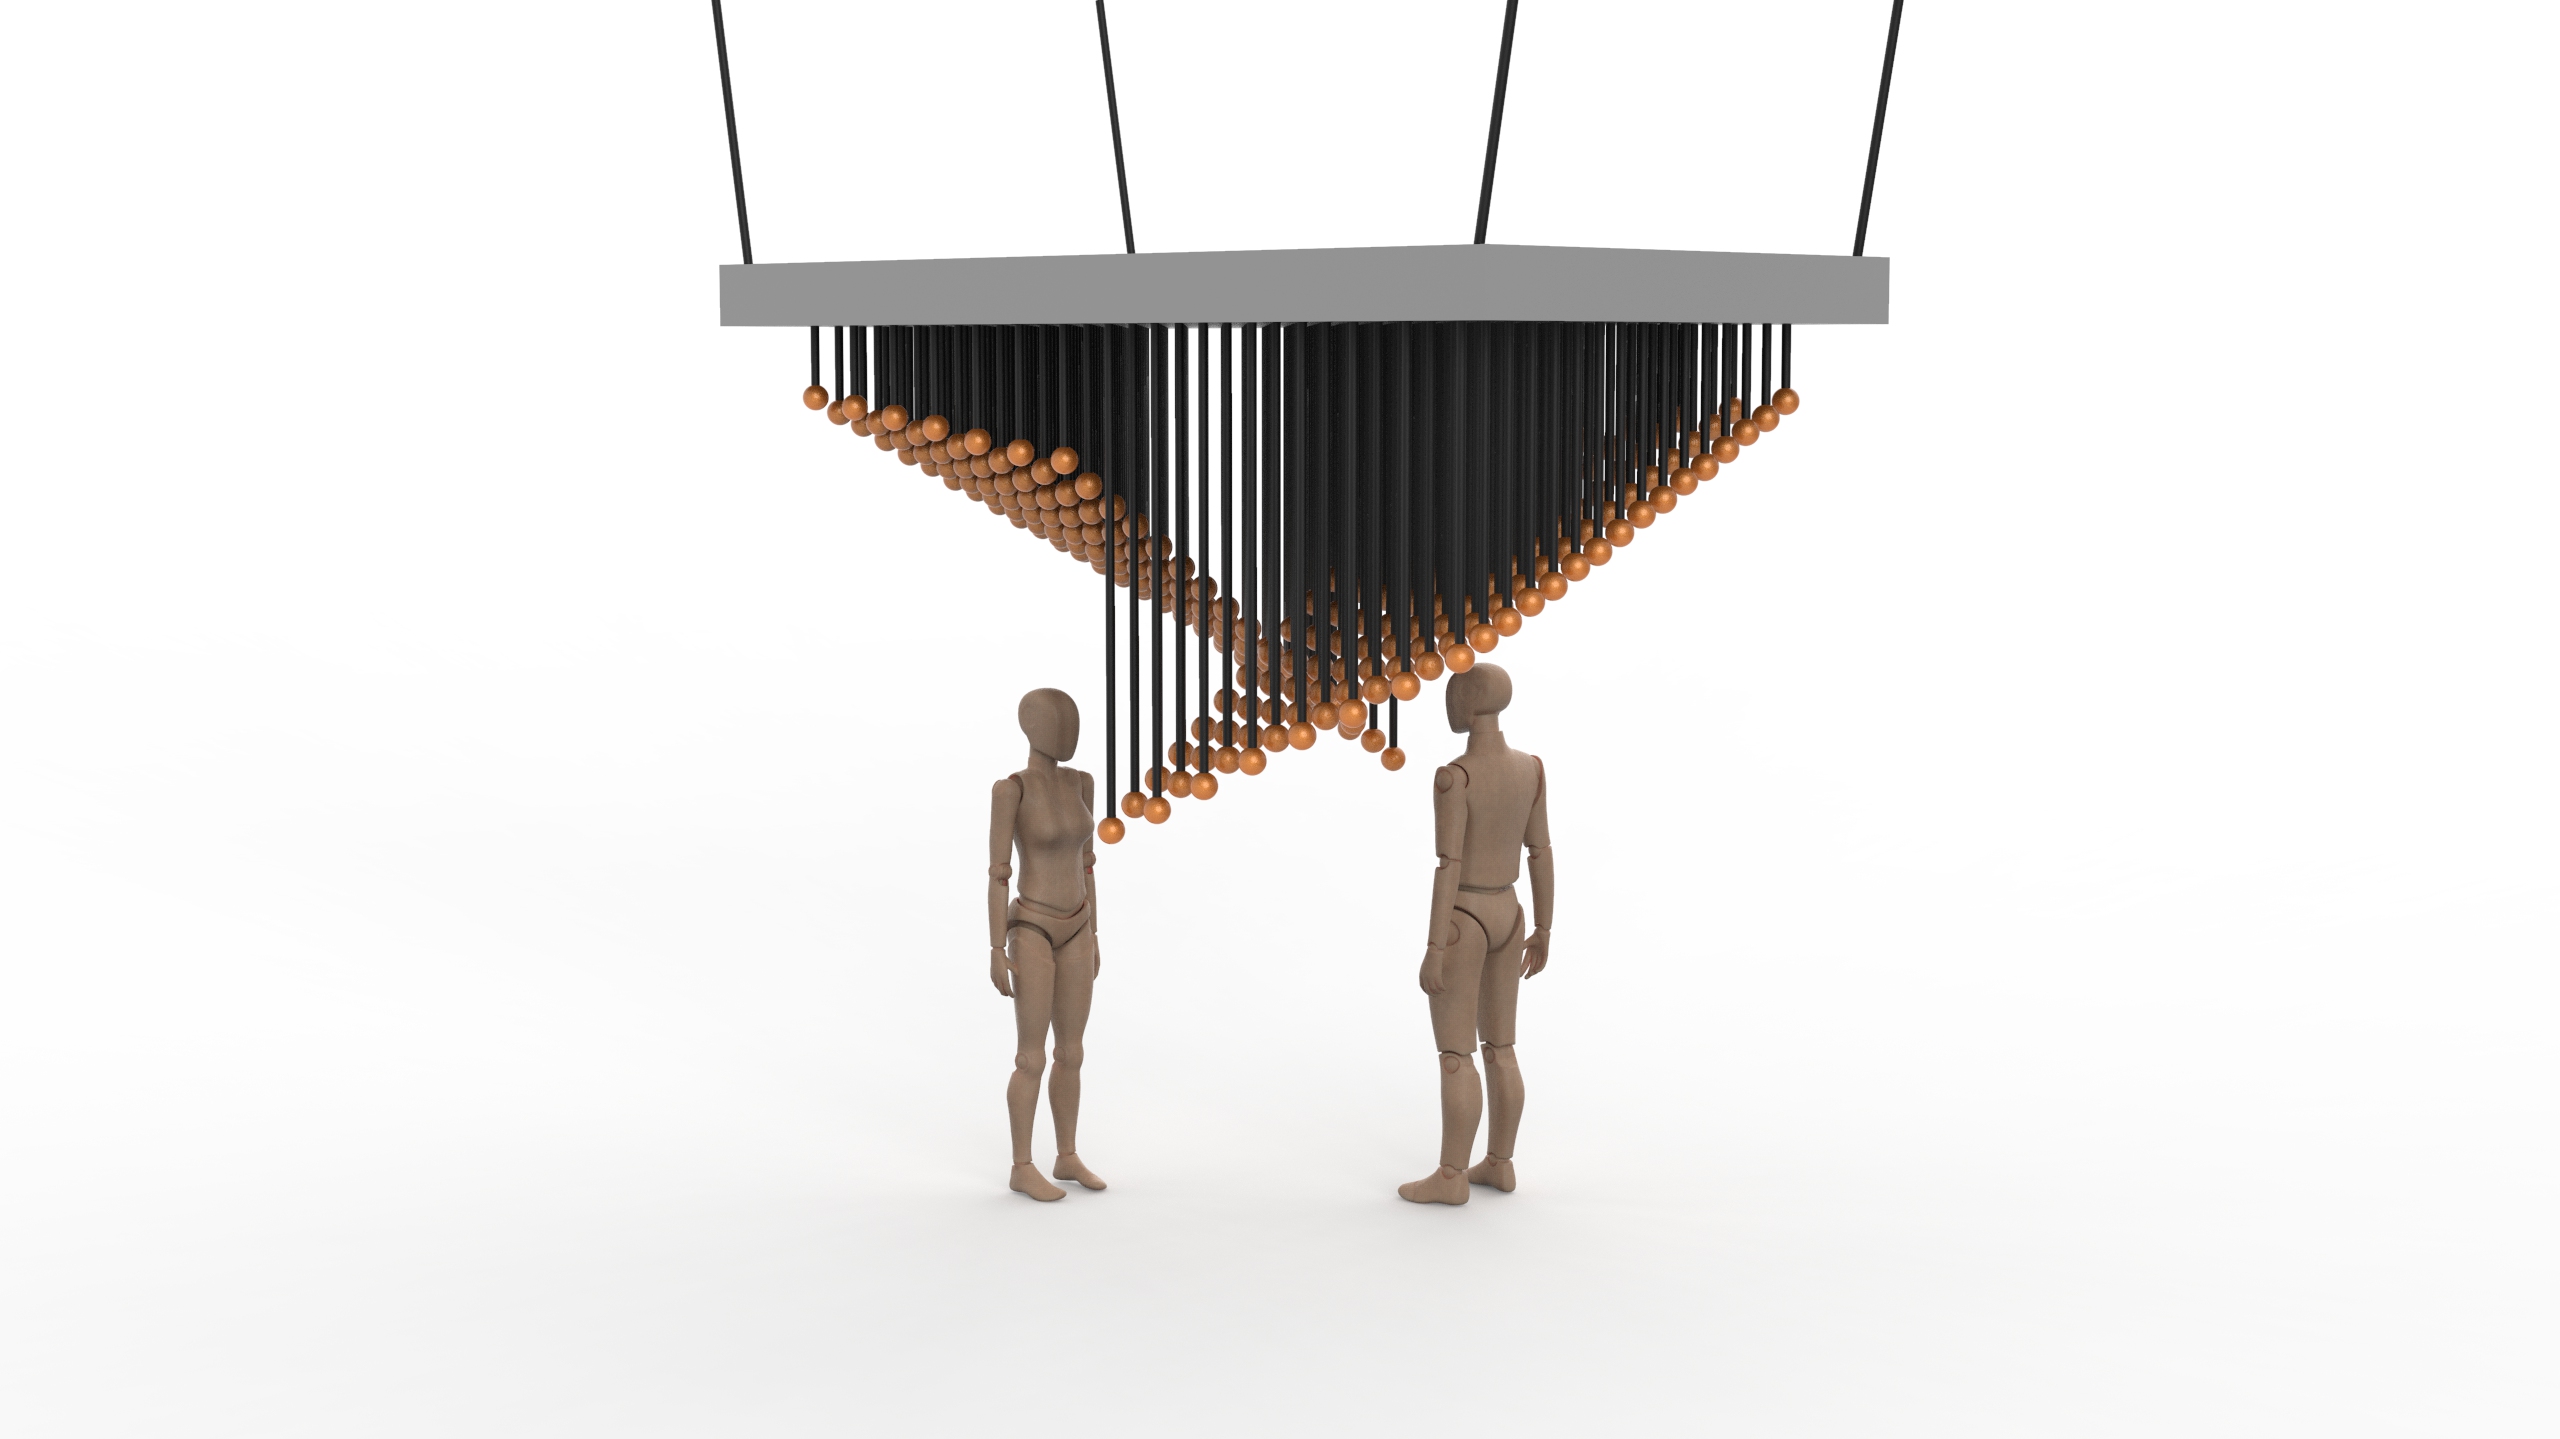
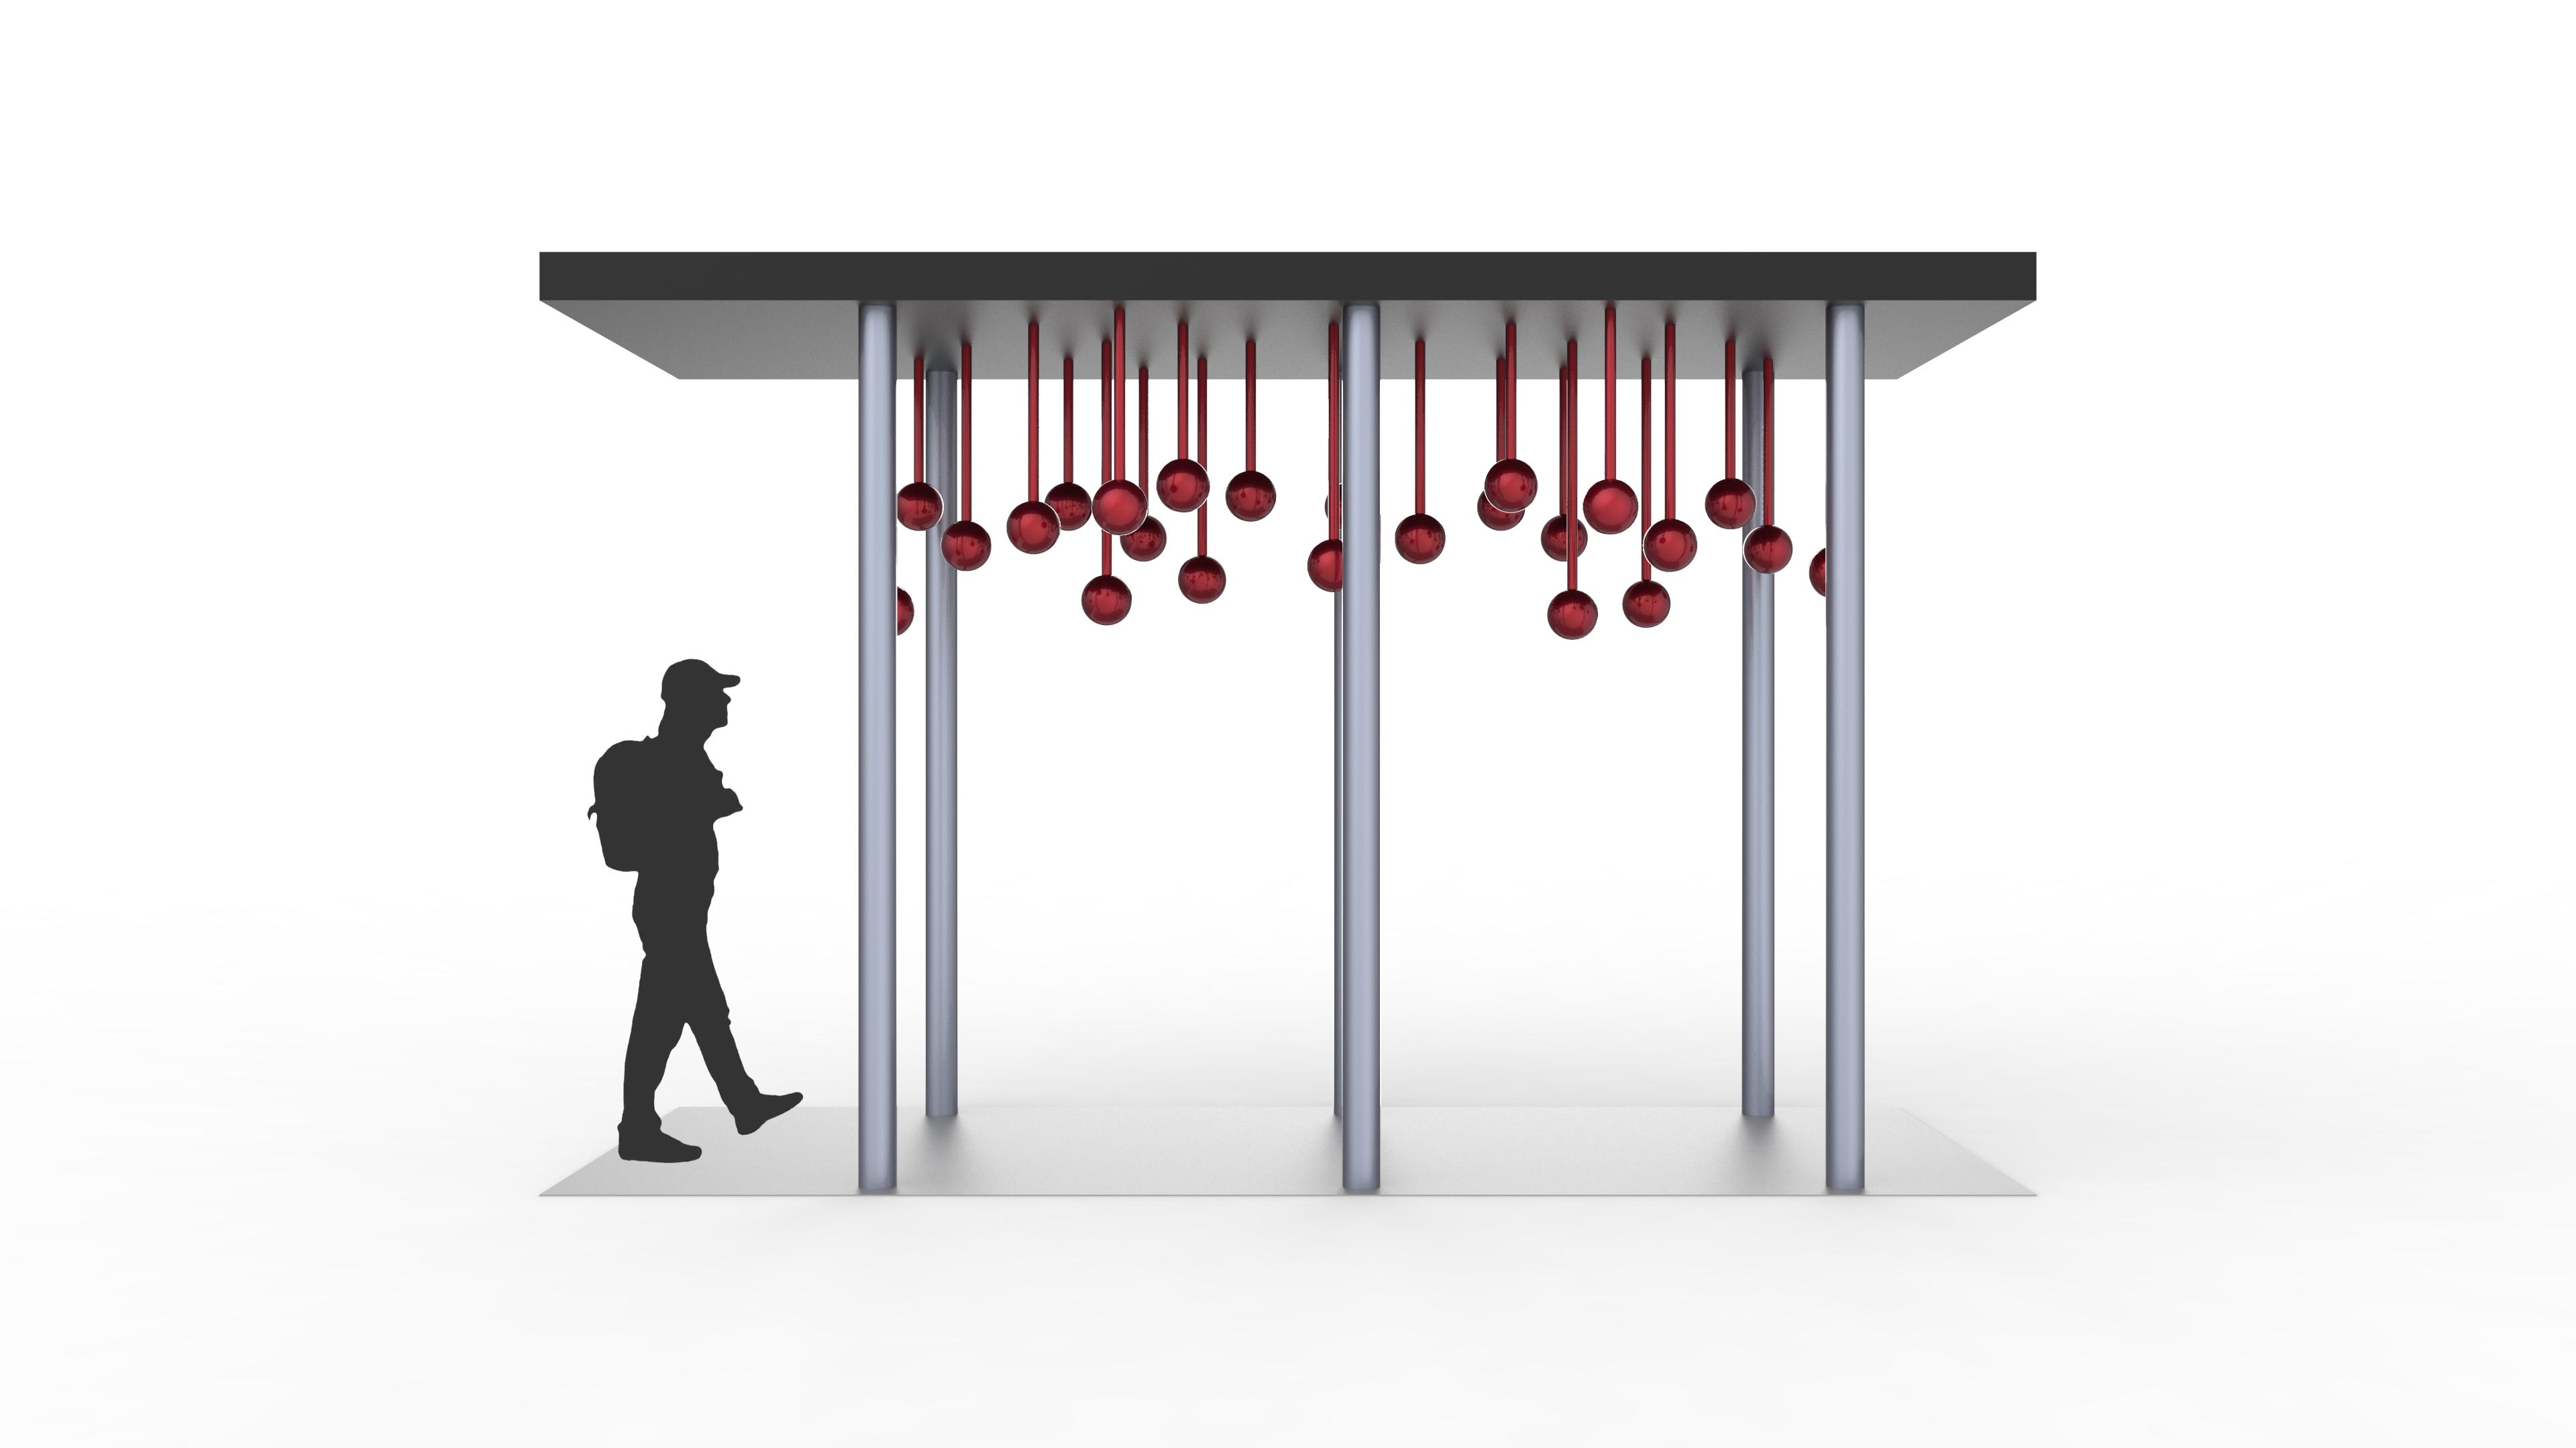
From the renderings #1 to 3, the arrangements are not as dense as the #4 to 7. This is because we were visualizing how different densities affect the installation.
While we were brainstorming of methods to create sound from the previous weeks’ concepts, we had pendulums and wind chimes as an instrument.
However, we decided to look deeper into pendulums and wind chimes because we wanted the user to have the experience of touching and seeing of the entire installation.
So we laid out our ideas as such below:
Idea #1
We envisioned the pendulums to be located under the sheltered walkway within NTU
The scale we’re looking at
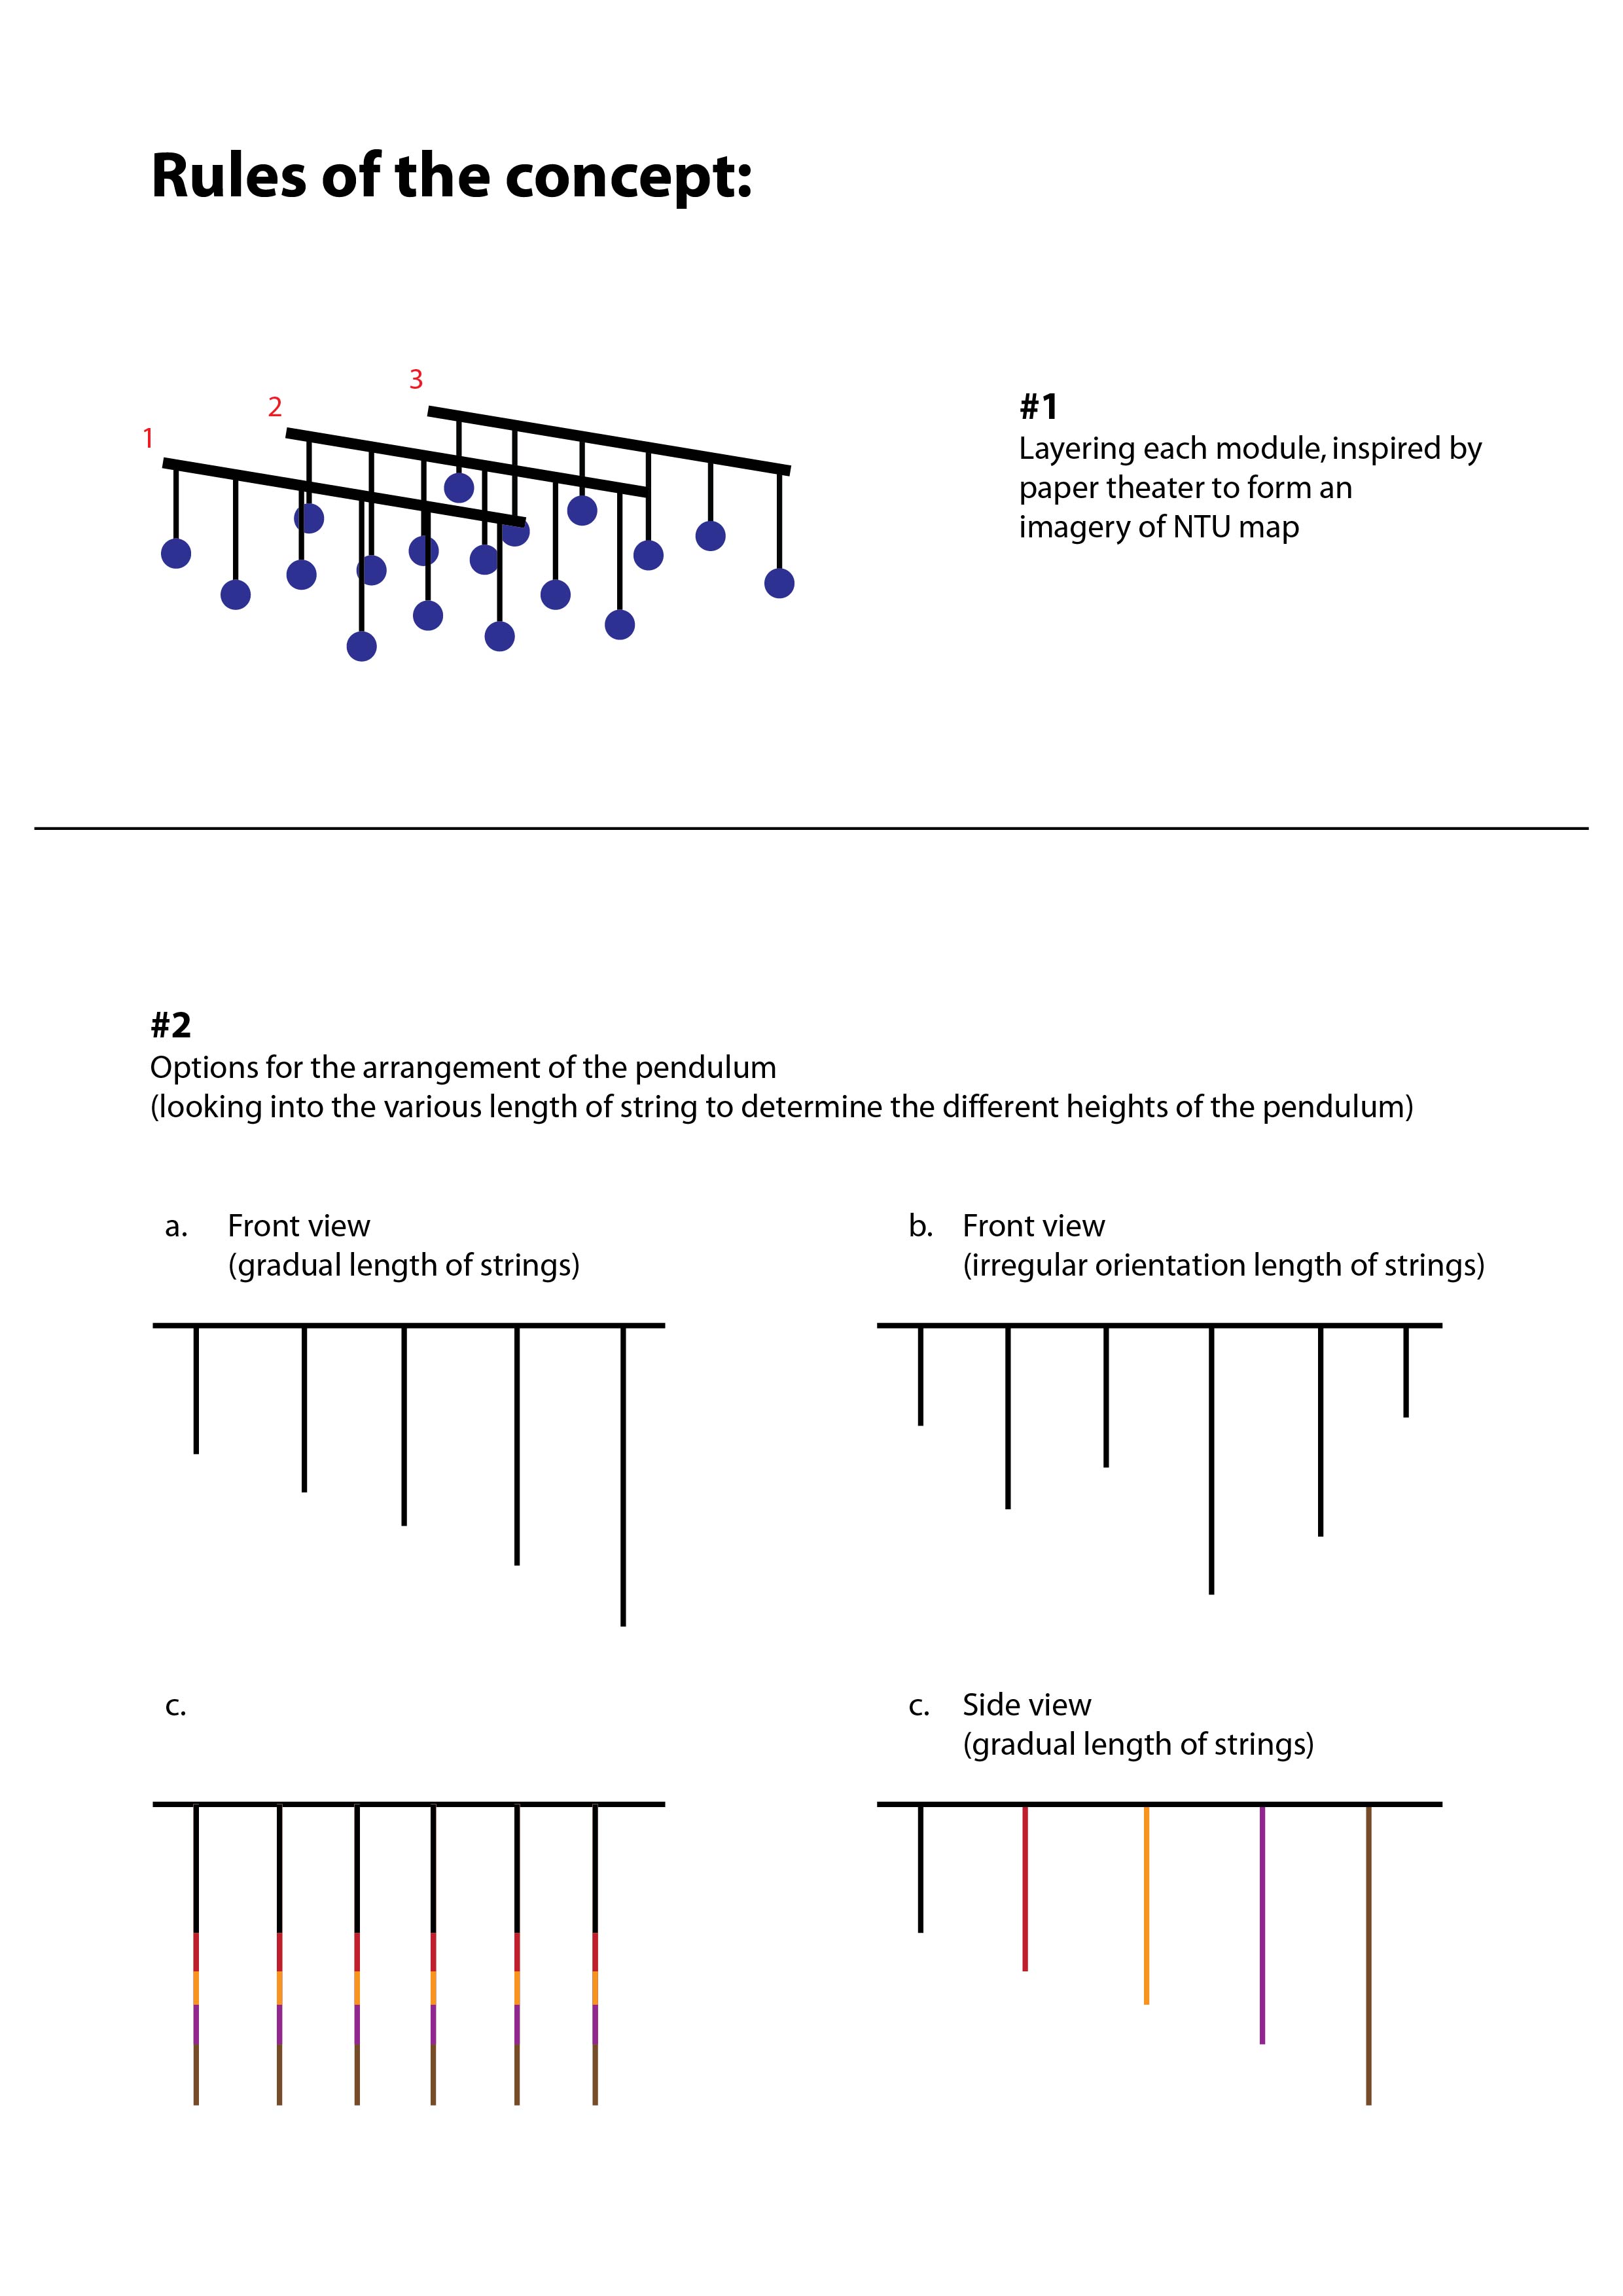
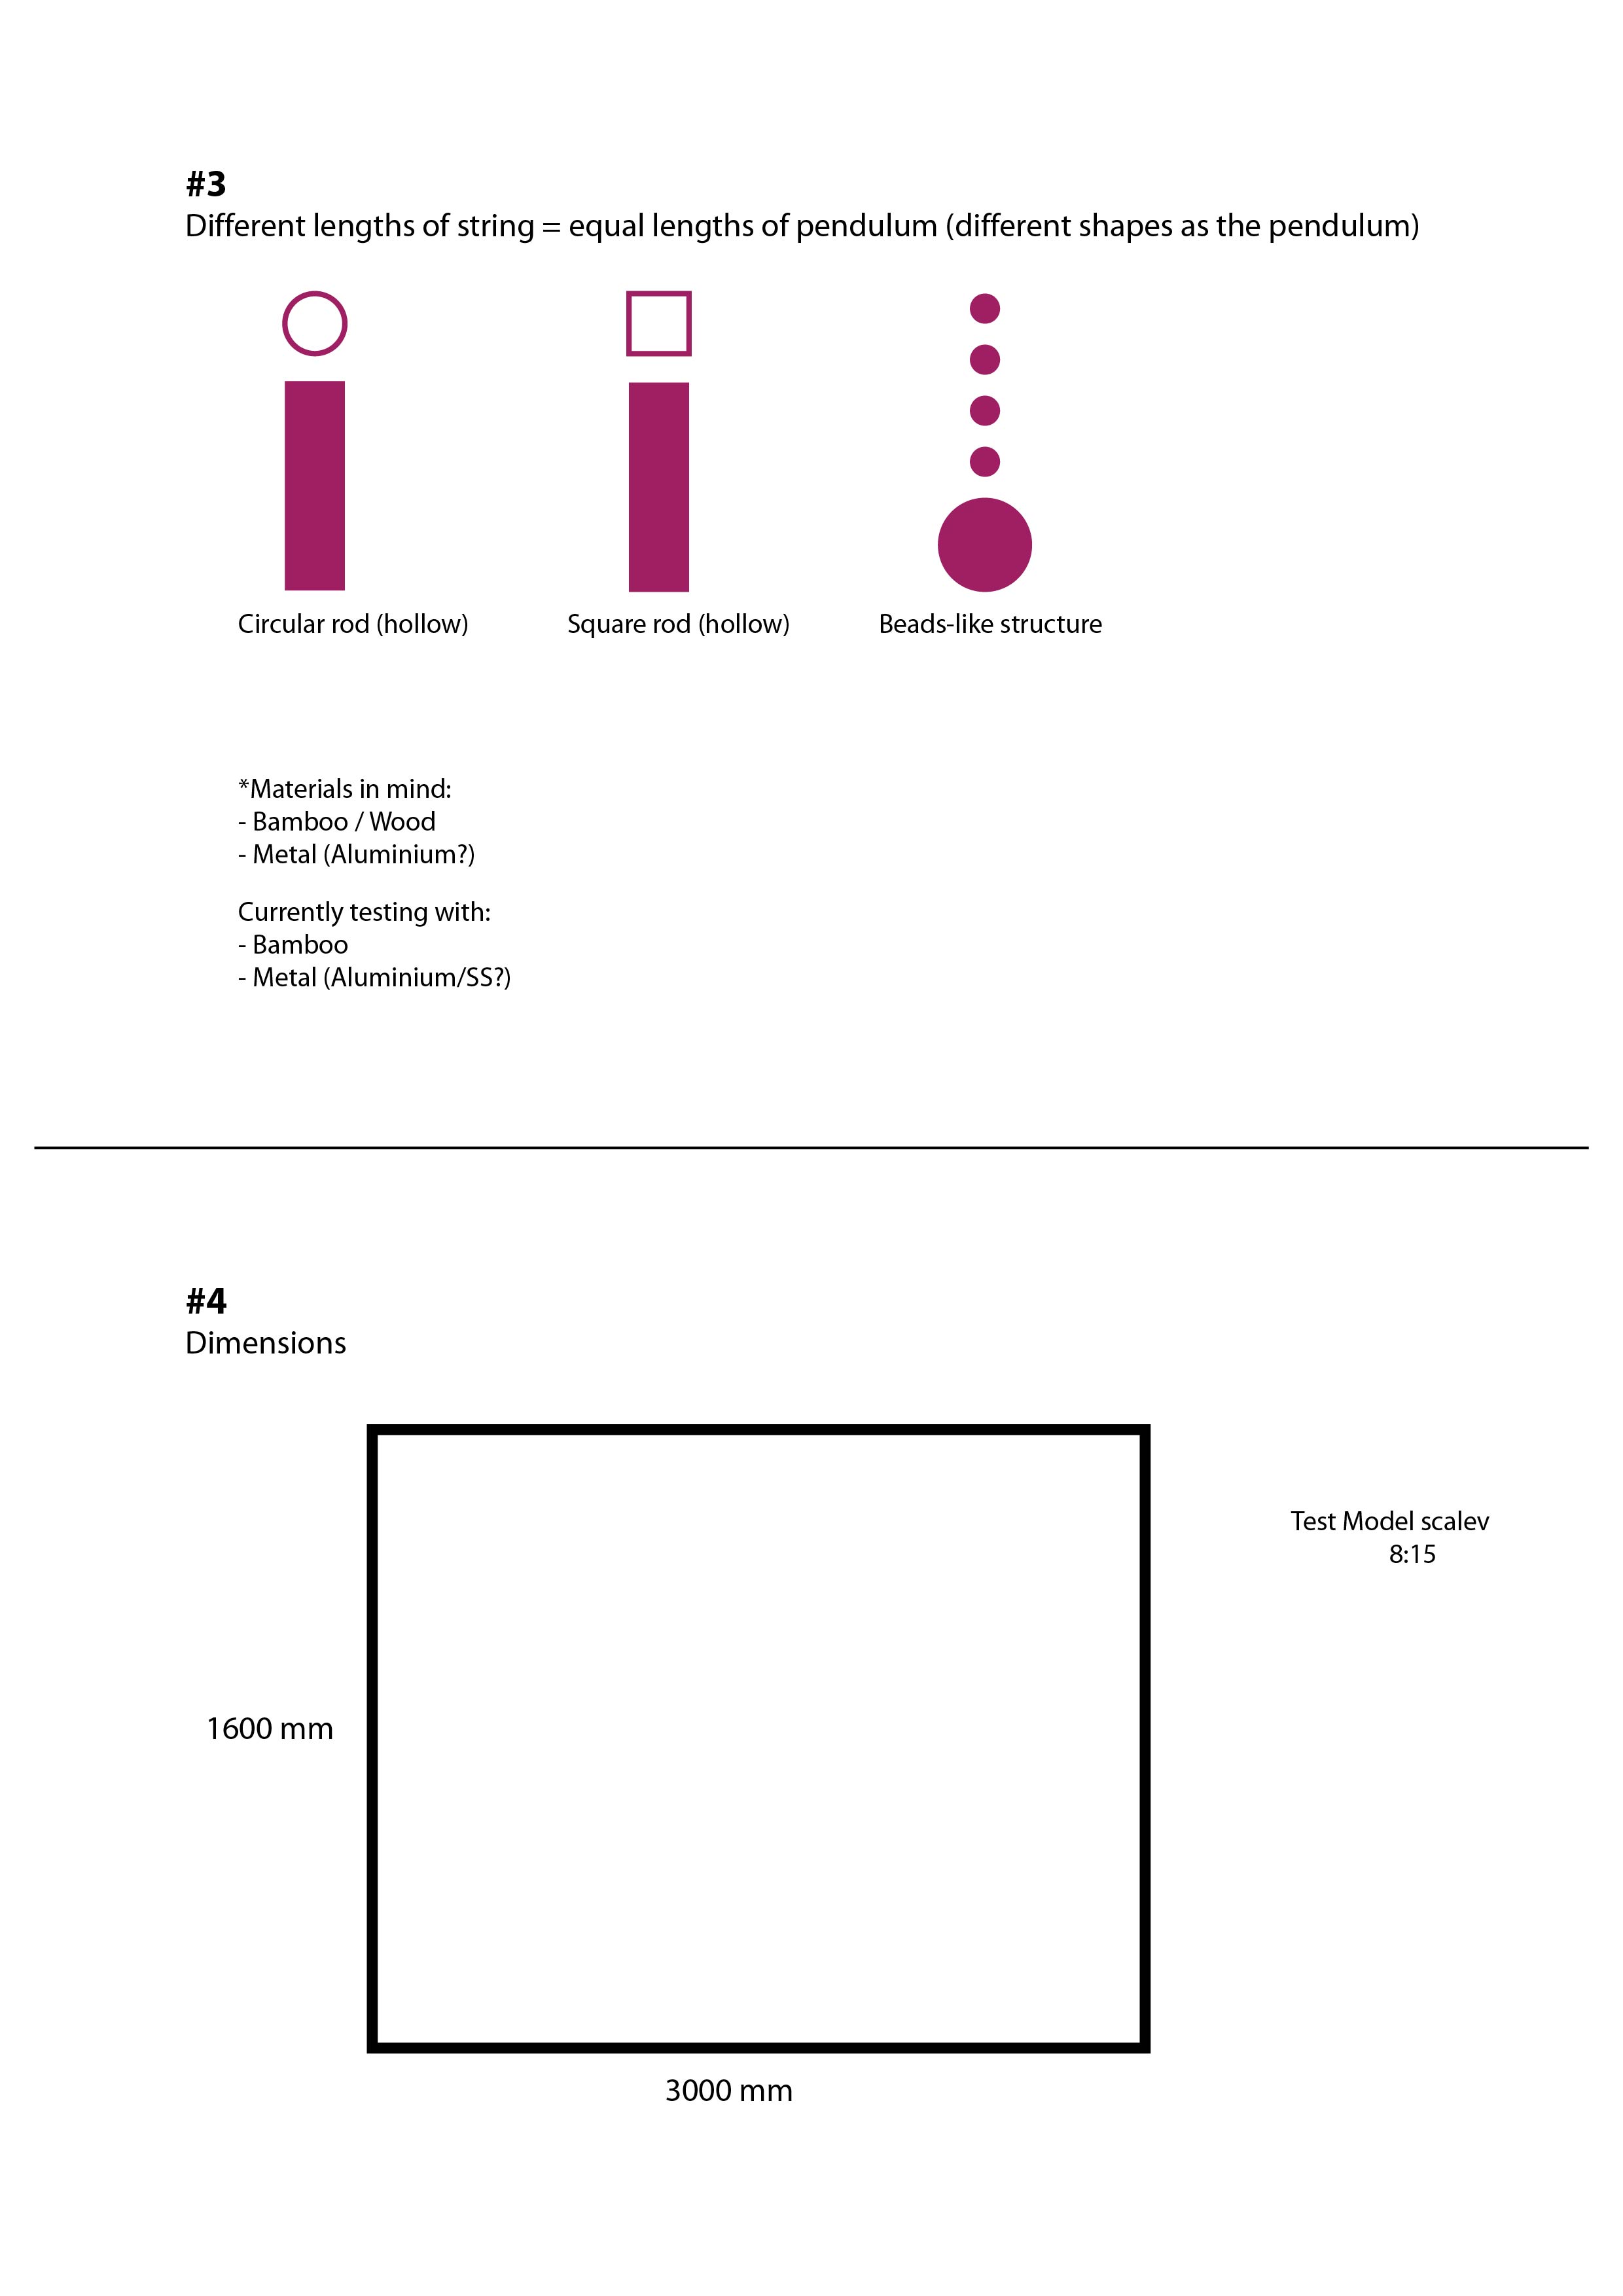
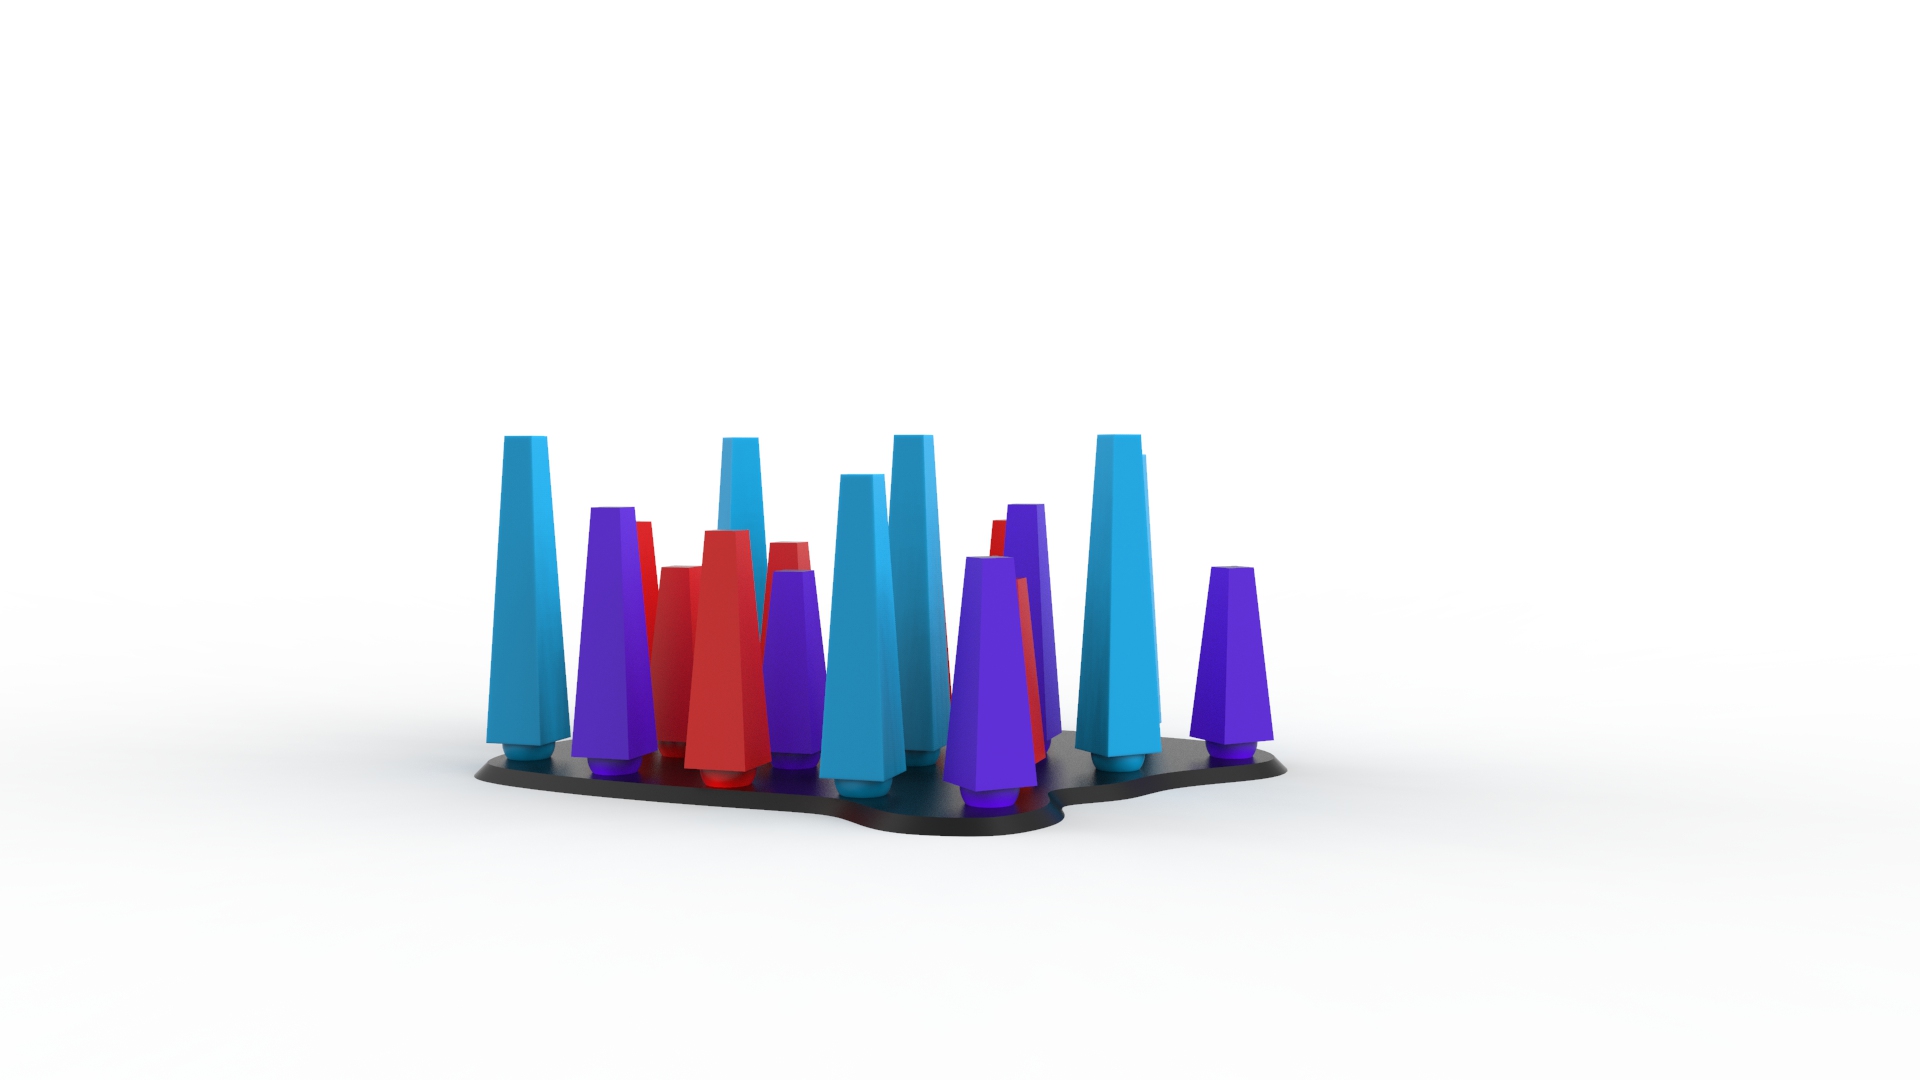
For the first concept we intend to use pendulums suspended from the ceiling. The pendulums are of different length to represent the different individuals (students).
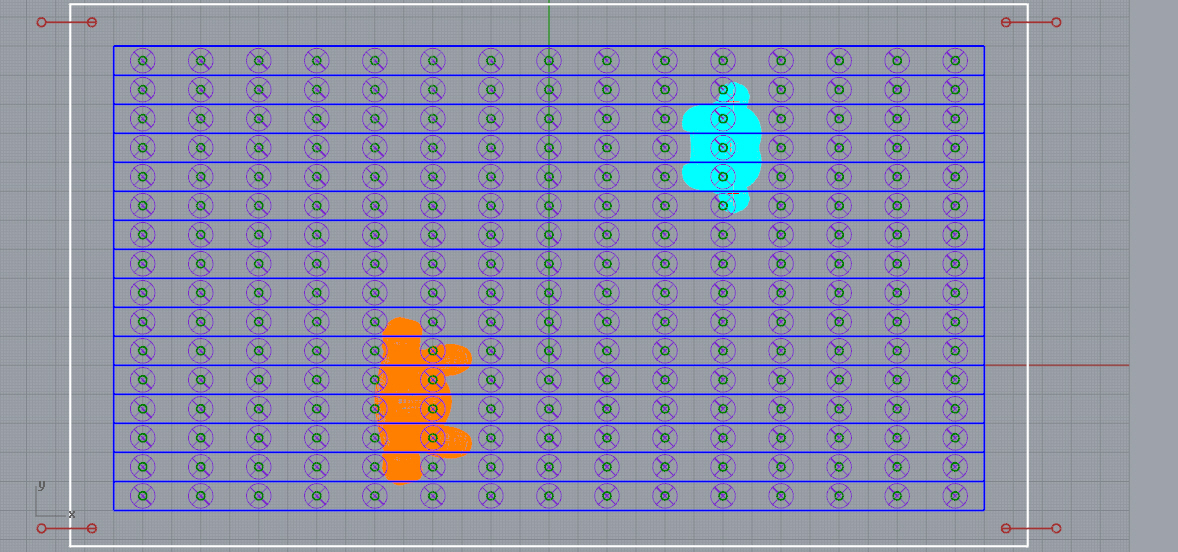
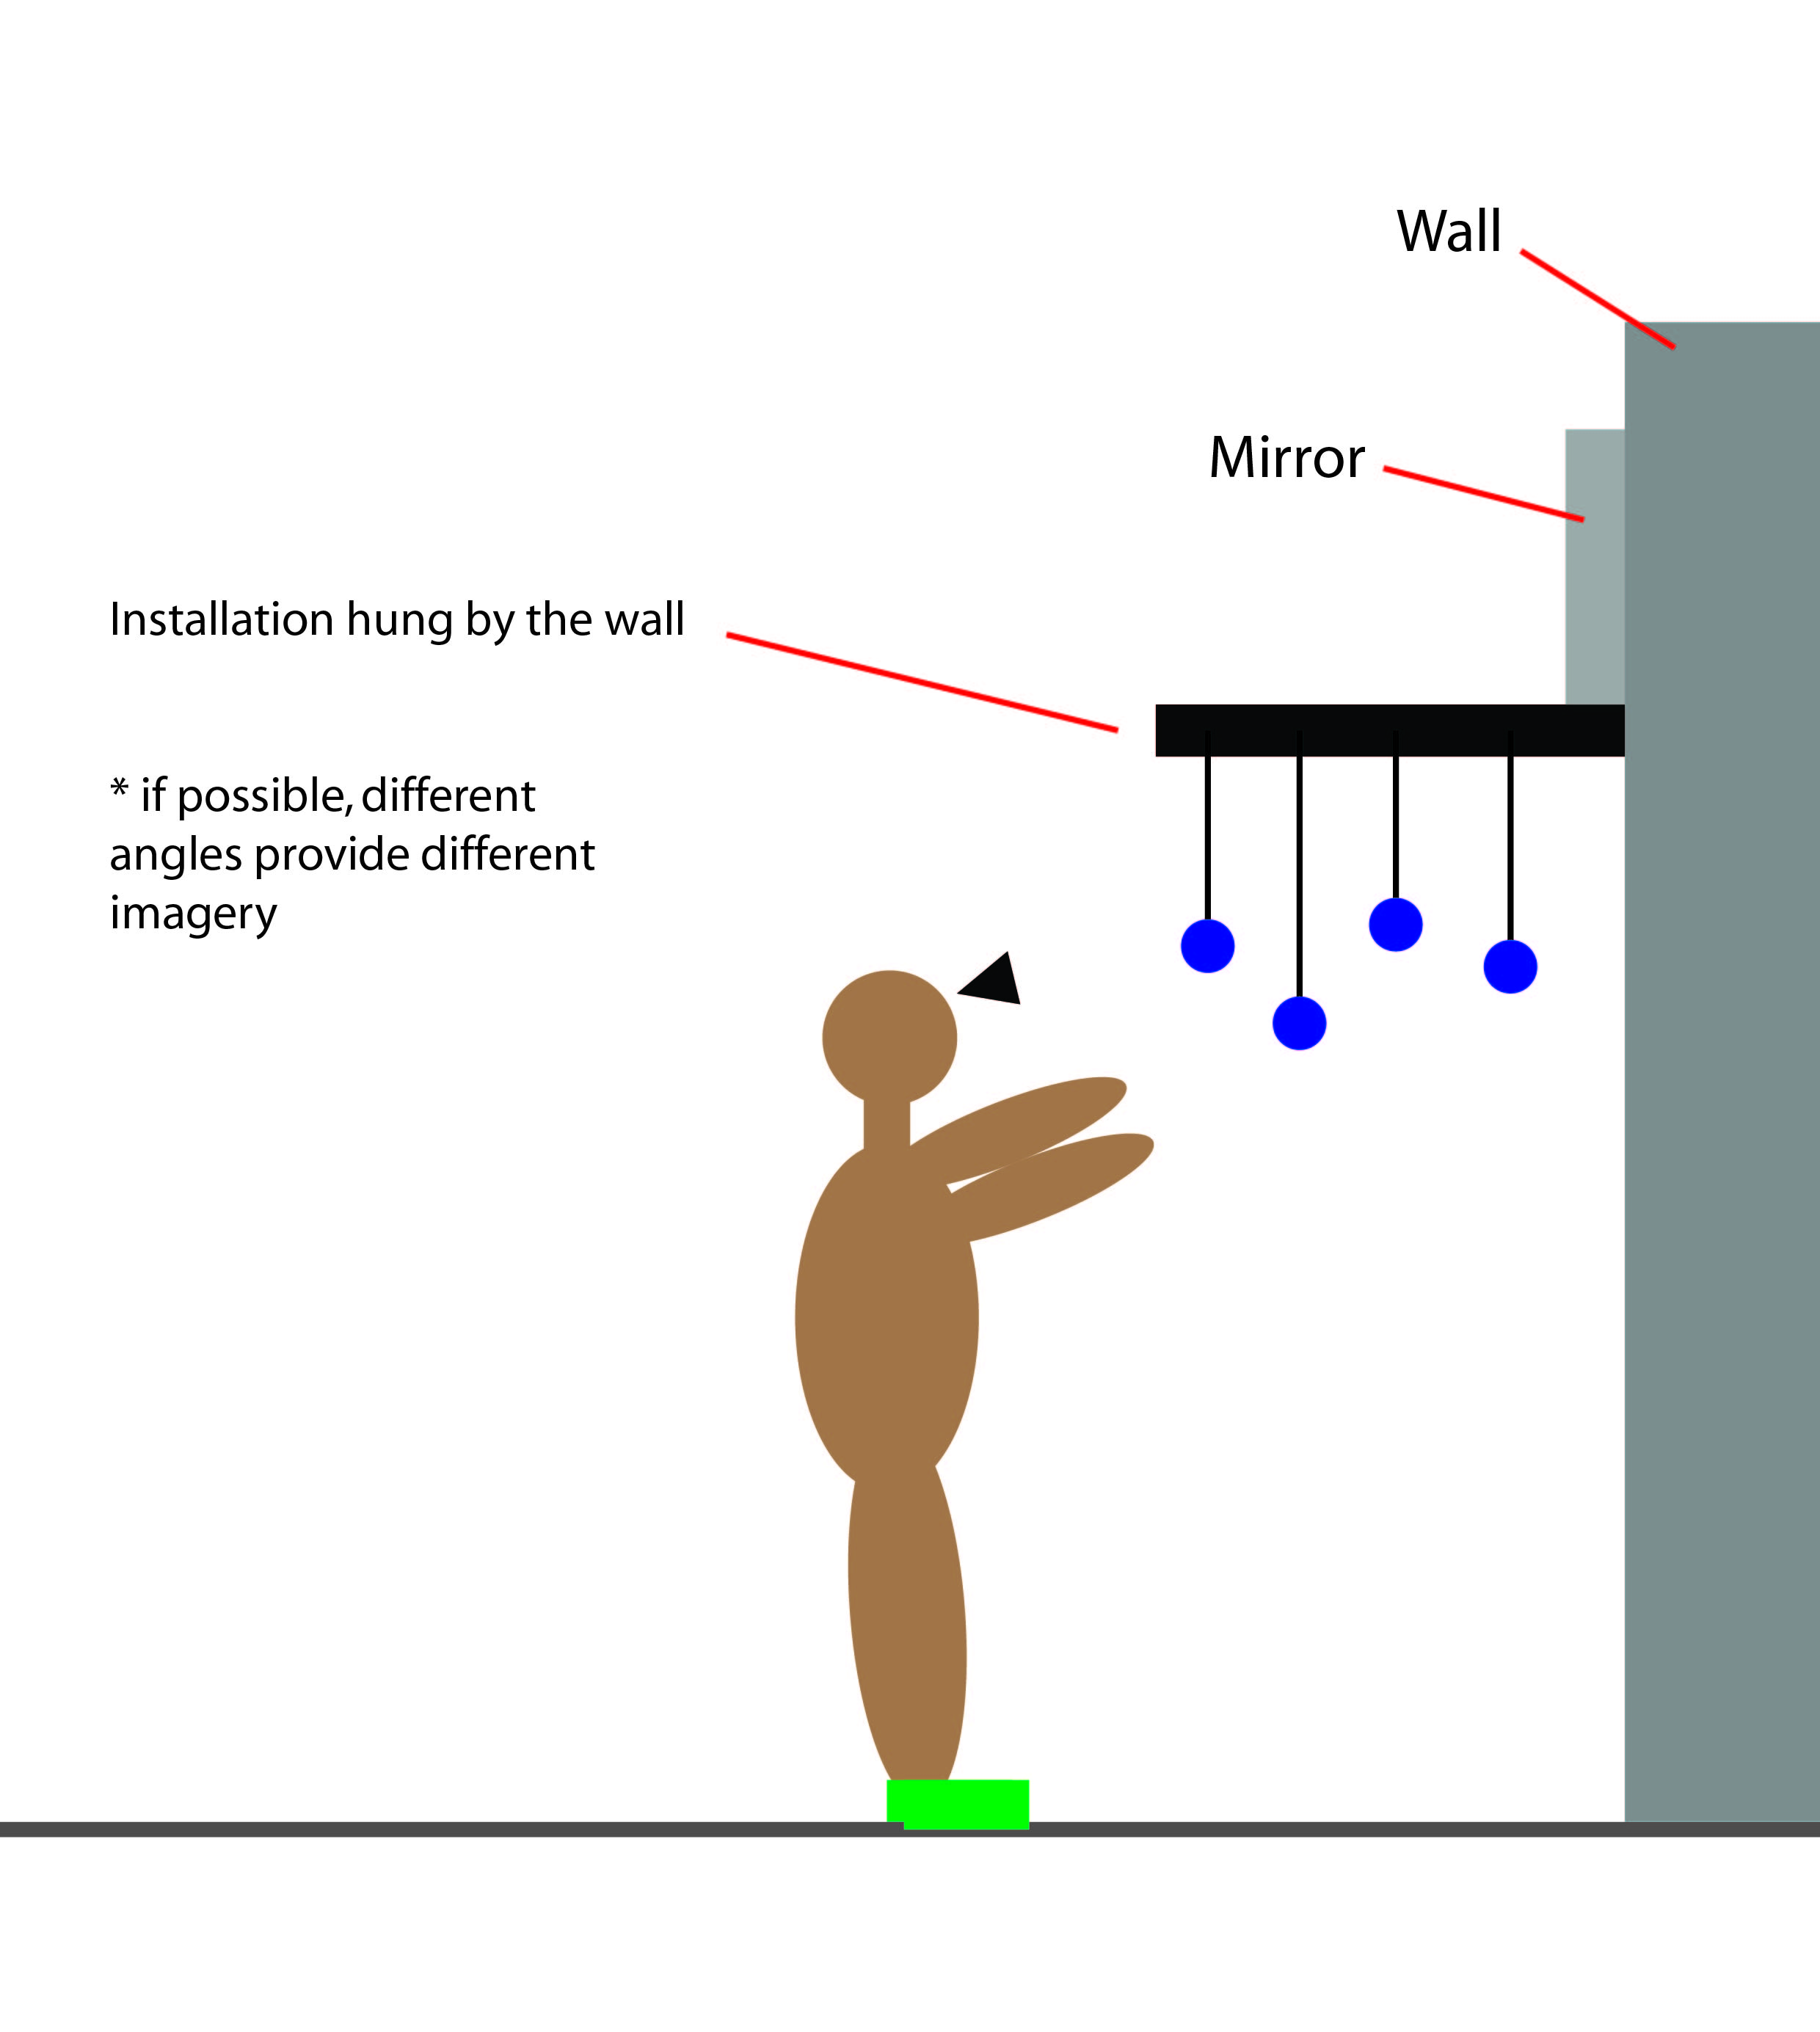
The layering of the pendulum could form an imagery from a certain angle to look like half of the ntu map and the other half would be reflected onto the mirror. (as illustrated below)
The students would swing the pendulums which would cause a chain reaction of the balls moving — creating the randomised movement we envisioned. By allowing the student to be in-charge of the movement of the balls it signifies how the students create their own real life relationships and daily occurrence with other students. The height of the installation would be around the head level of an average Singaporean.
From the illustration above, we thought that we could place the installation under sheltered walkways within NTU (like the first render above) or install it by the wall. But we agreed that a stand-alone installation at a certain location would be better as the users could gather around the installation for a better experience.
At this point, we are looking at placing it at an open space in front of One Stop SAC and Ultra Supplies @ North Spine (nearby the Media Wall).
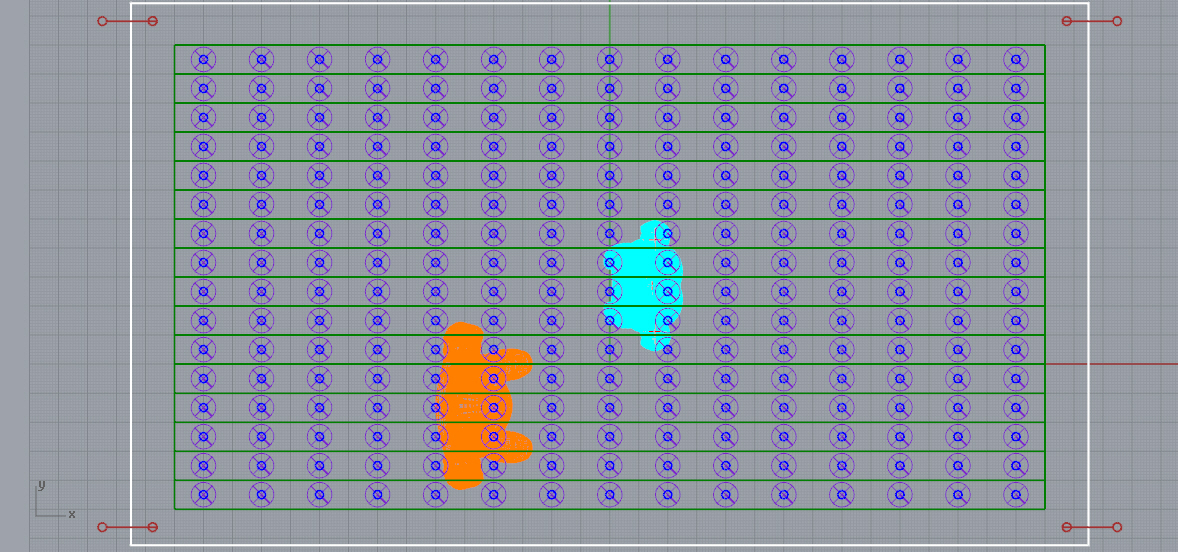
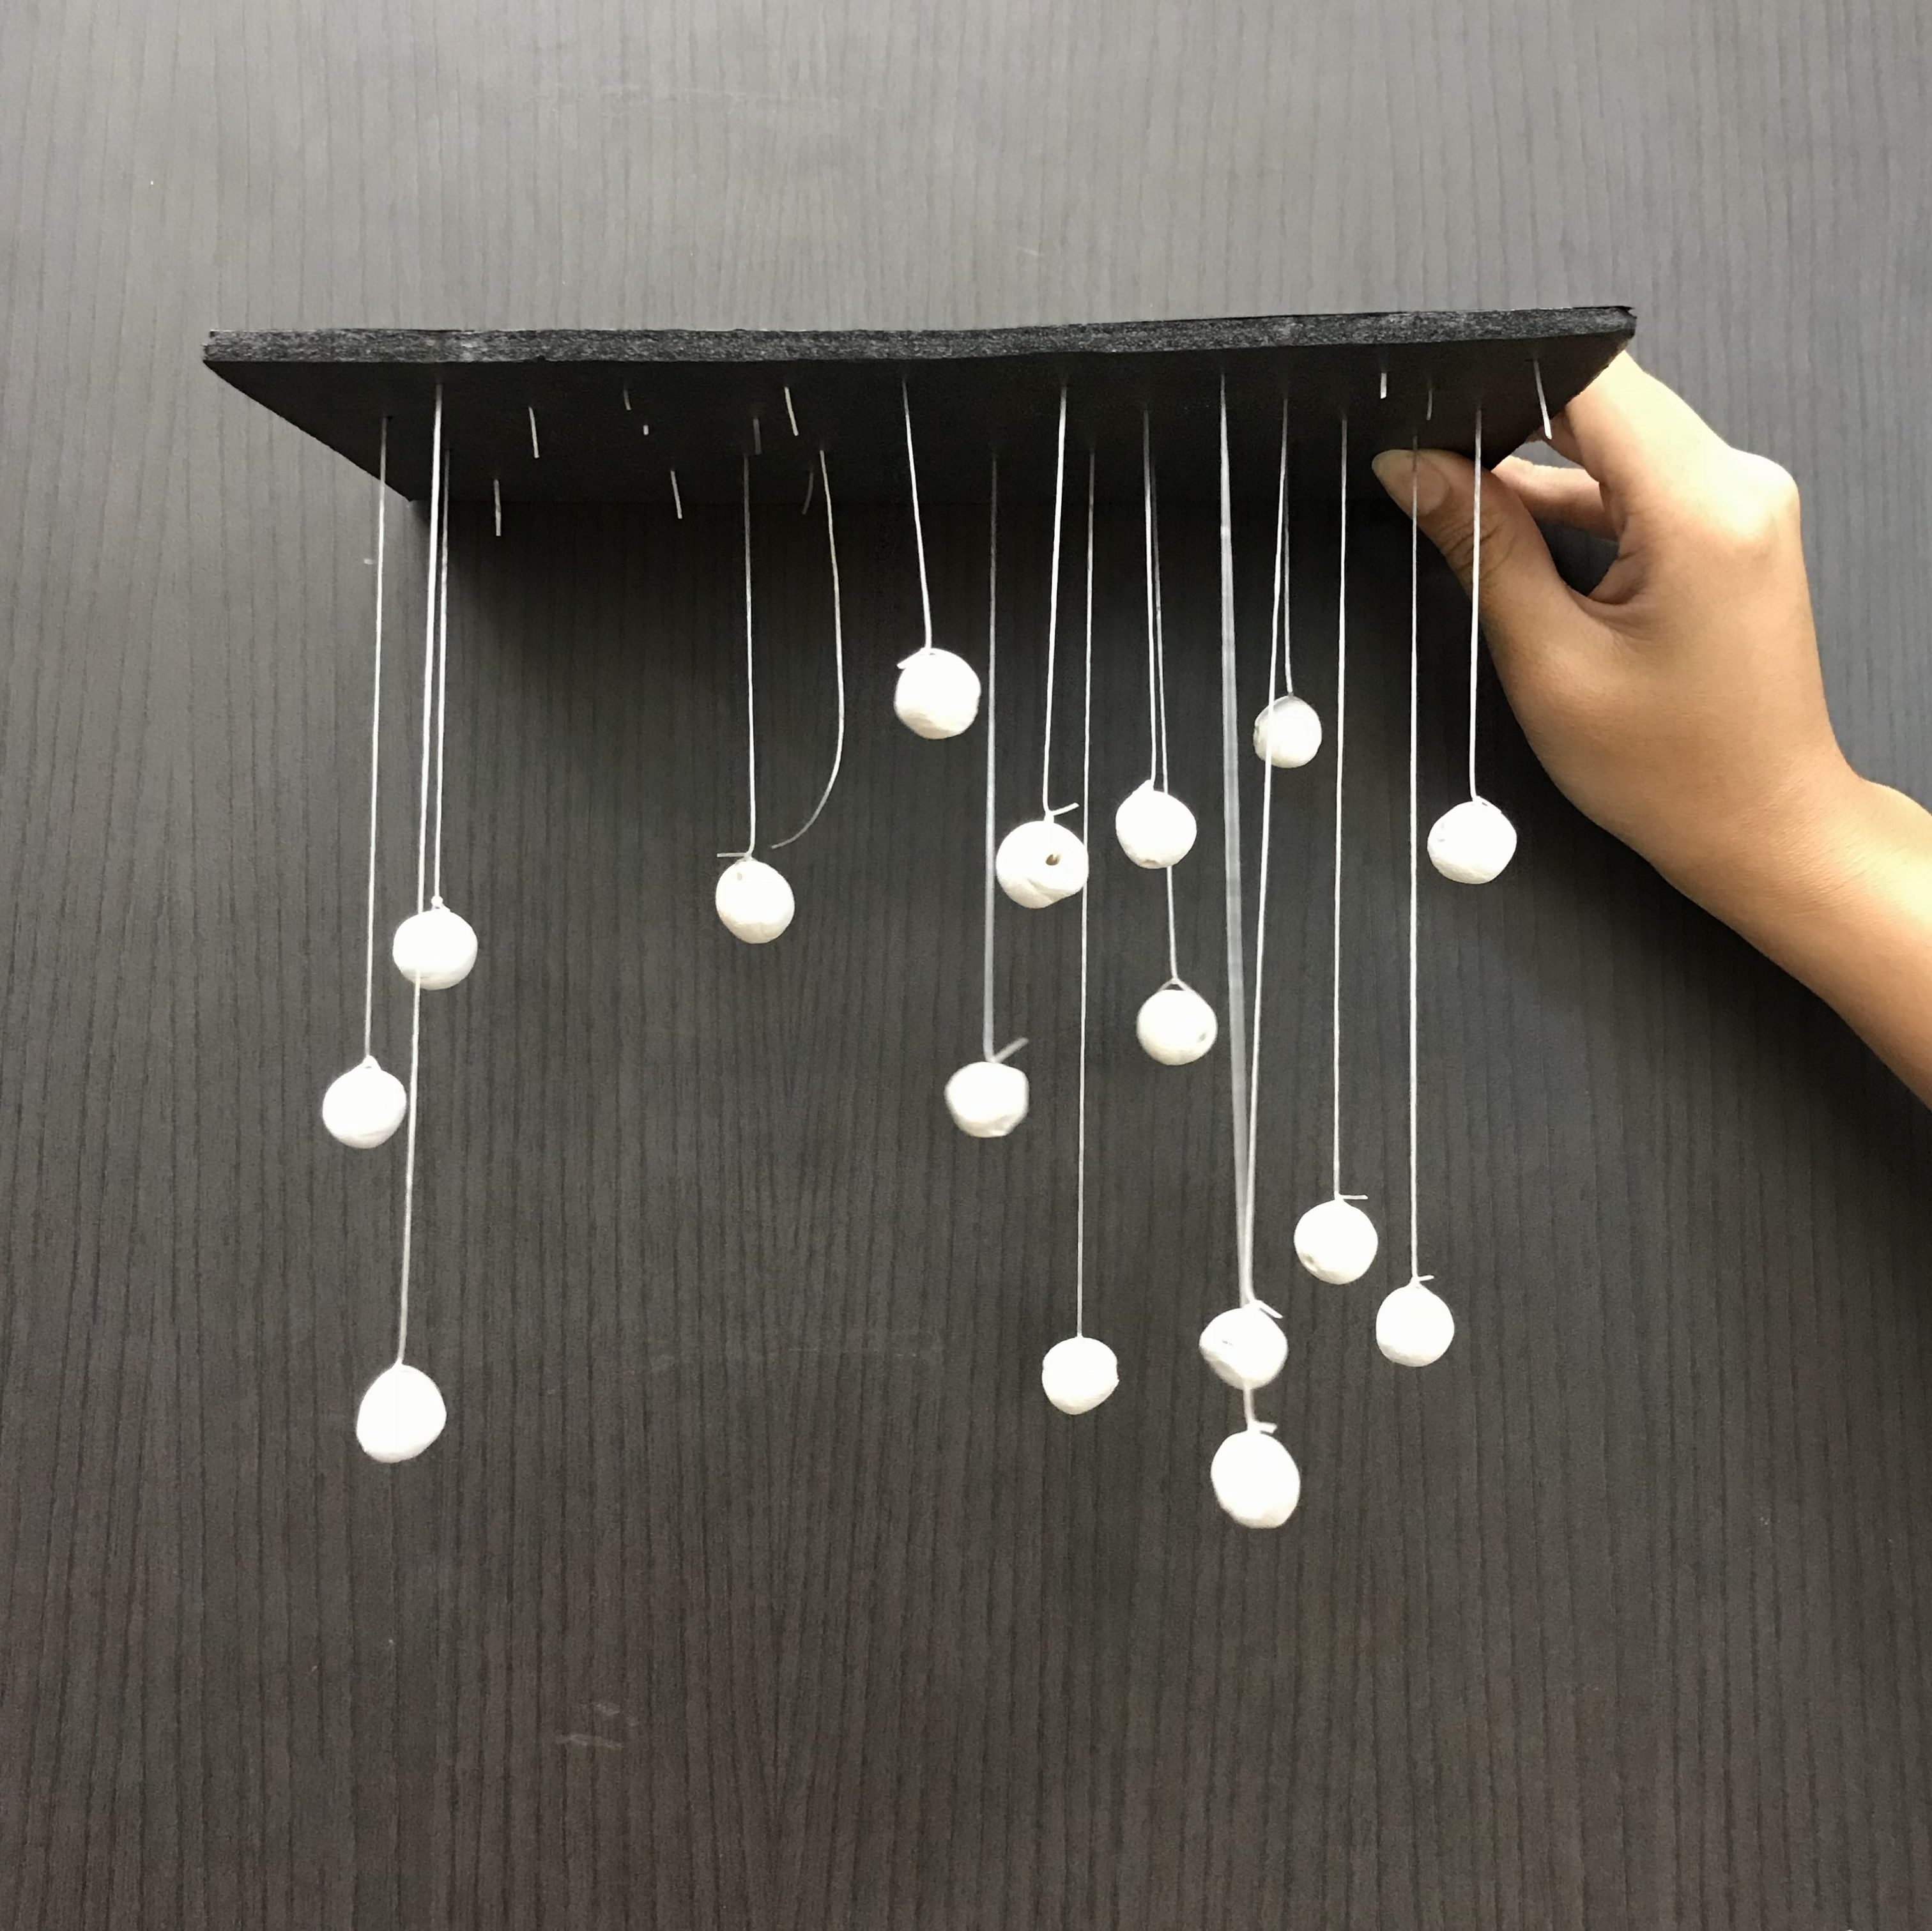
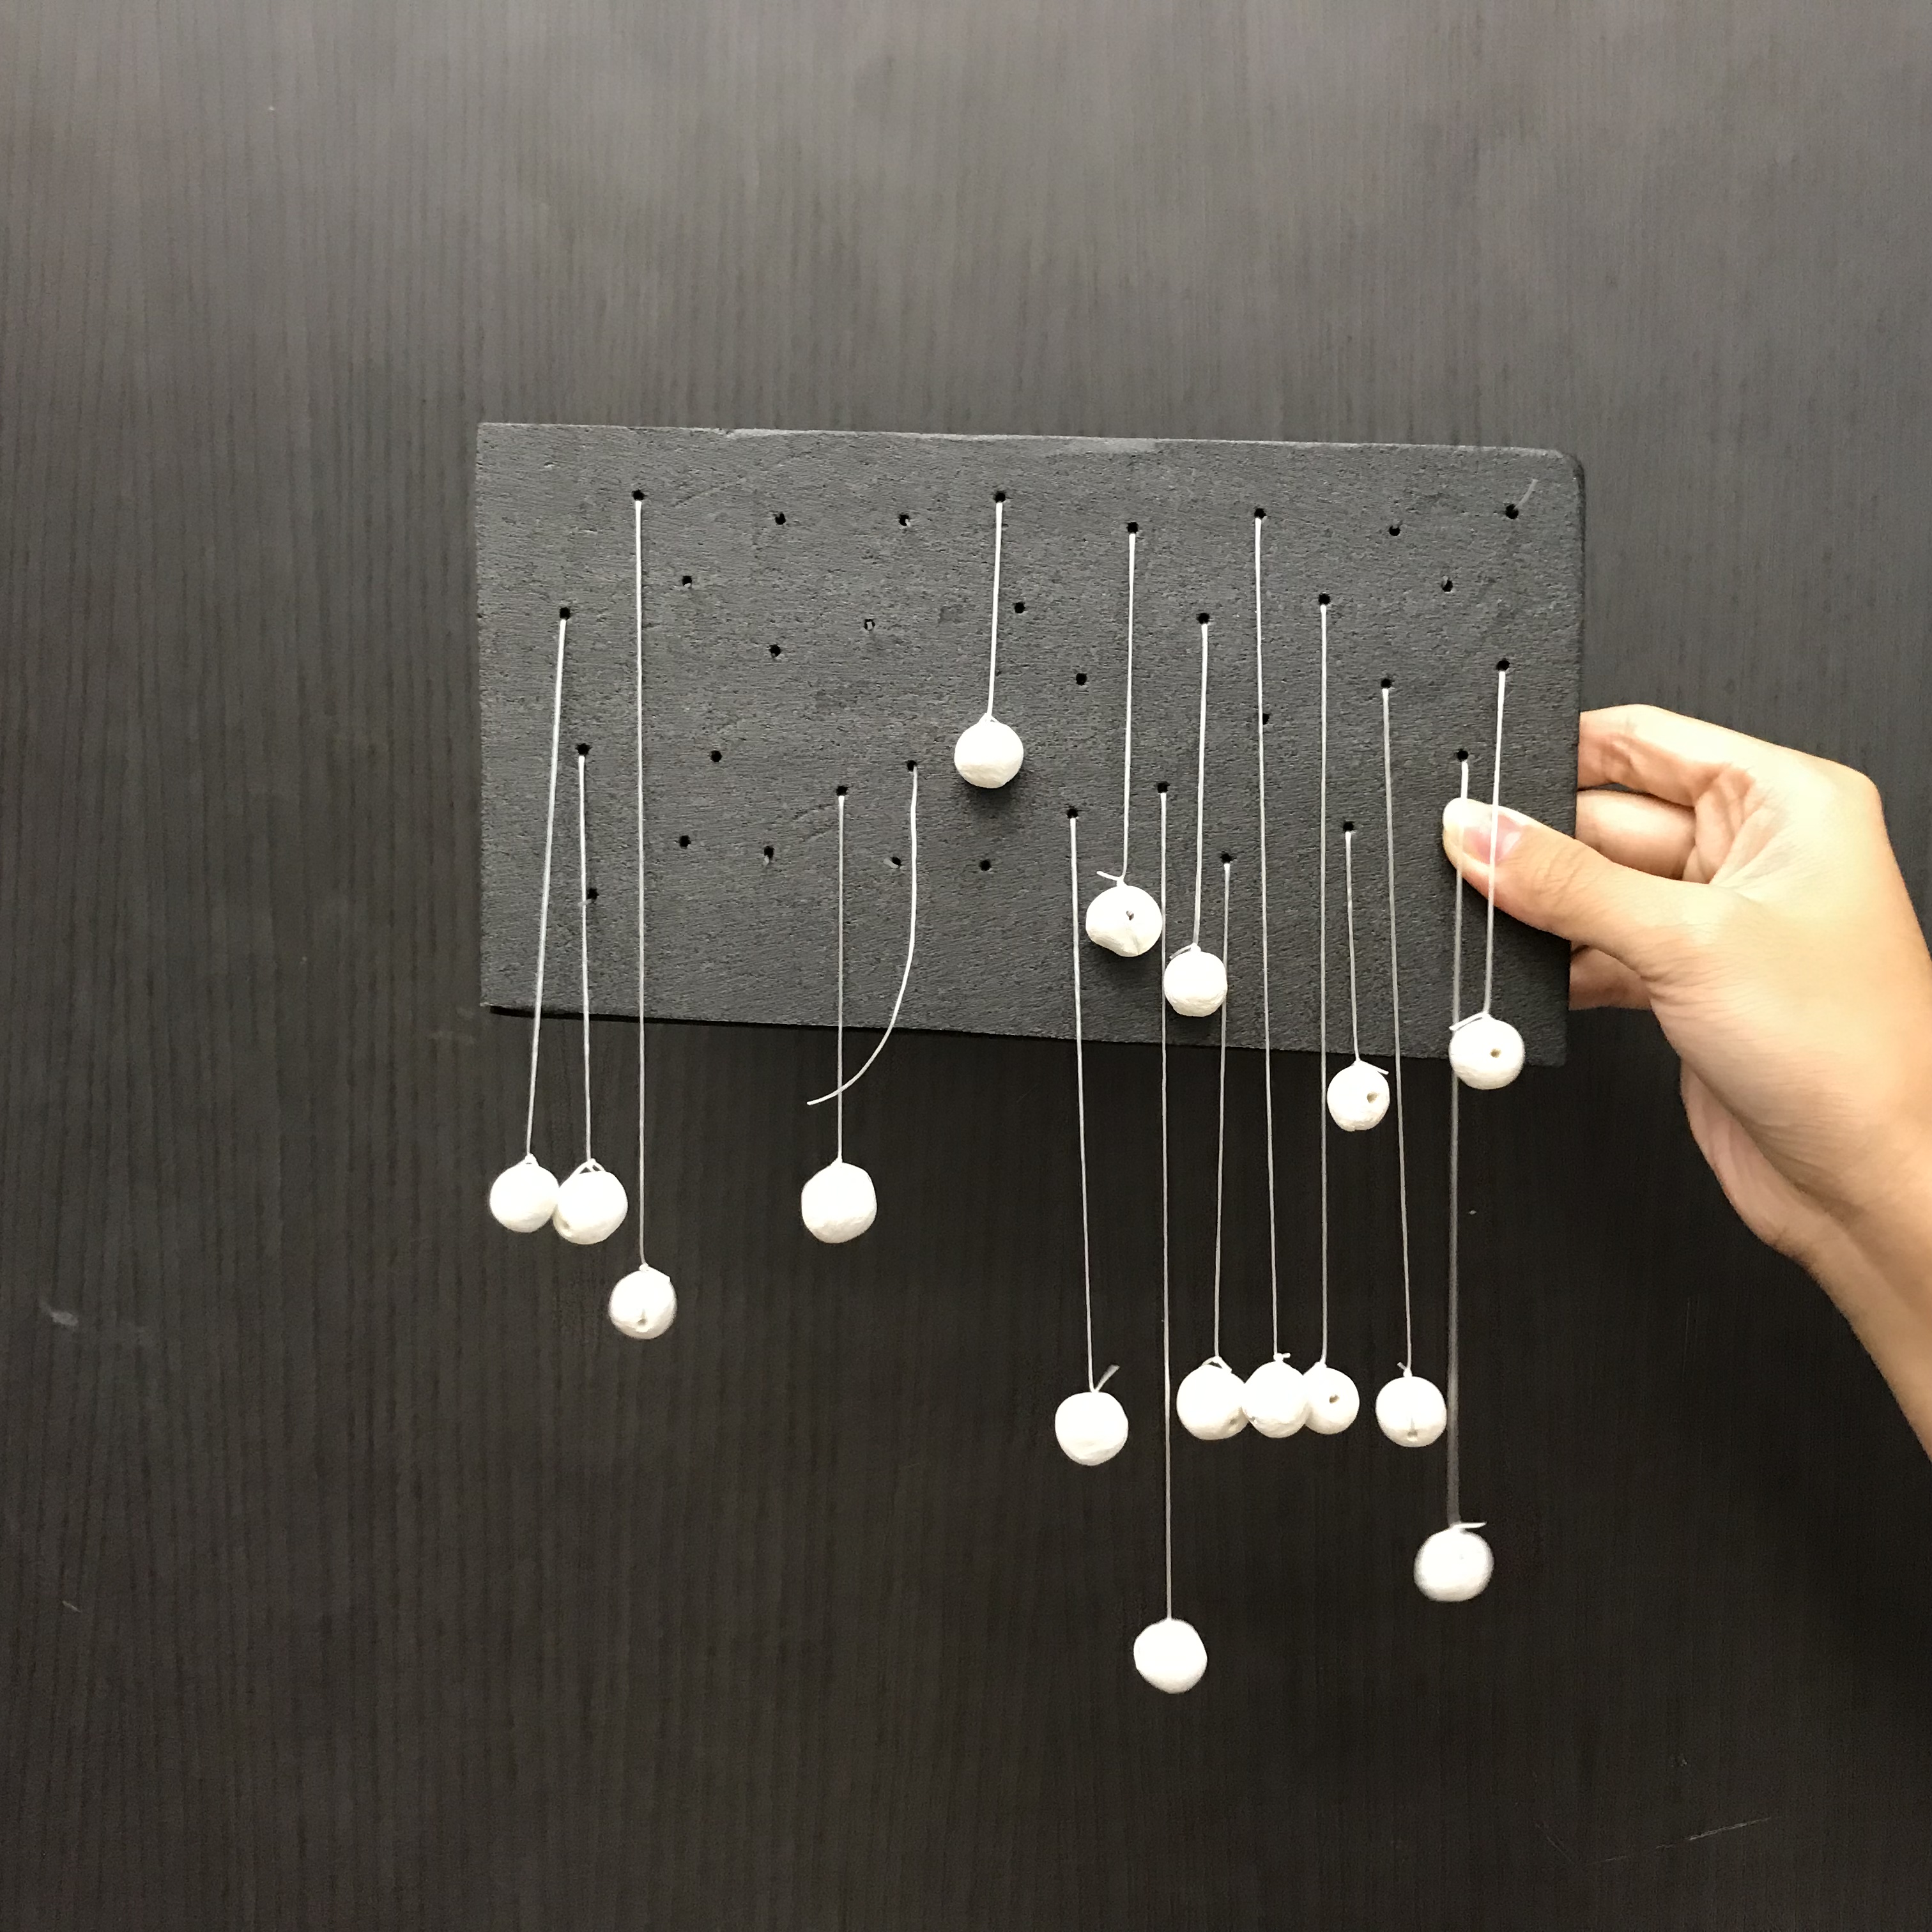
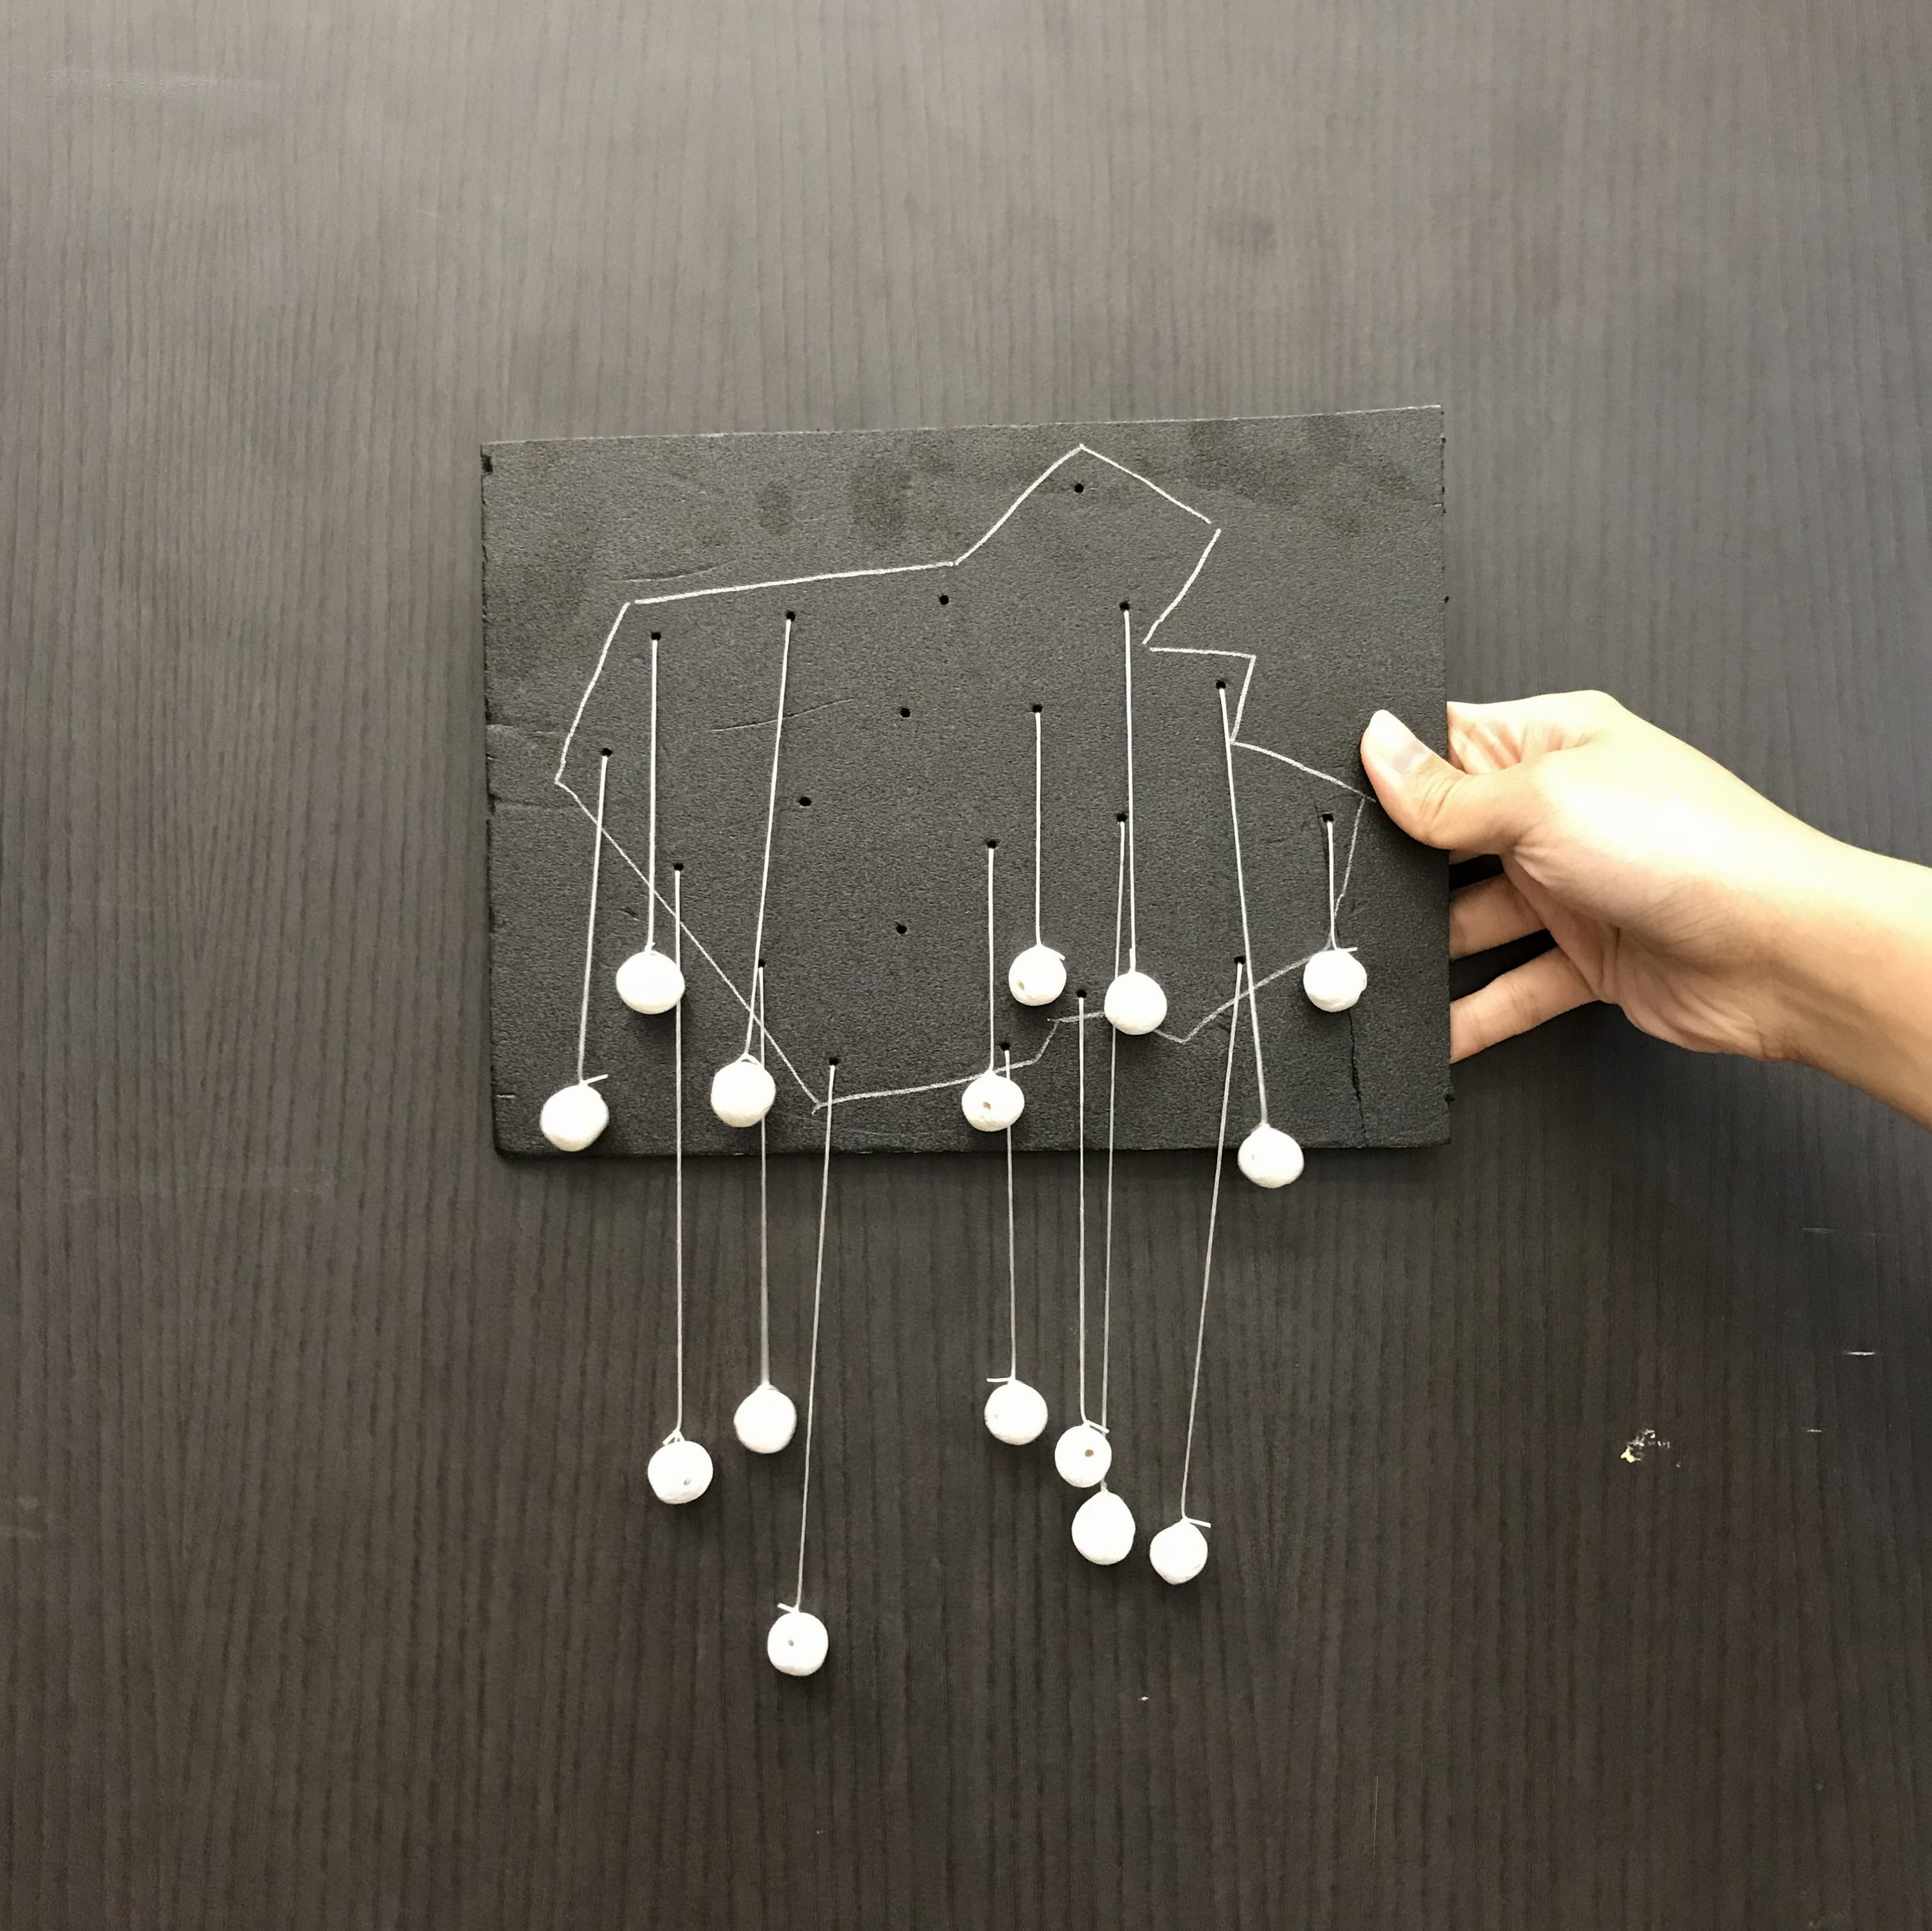
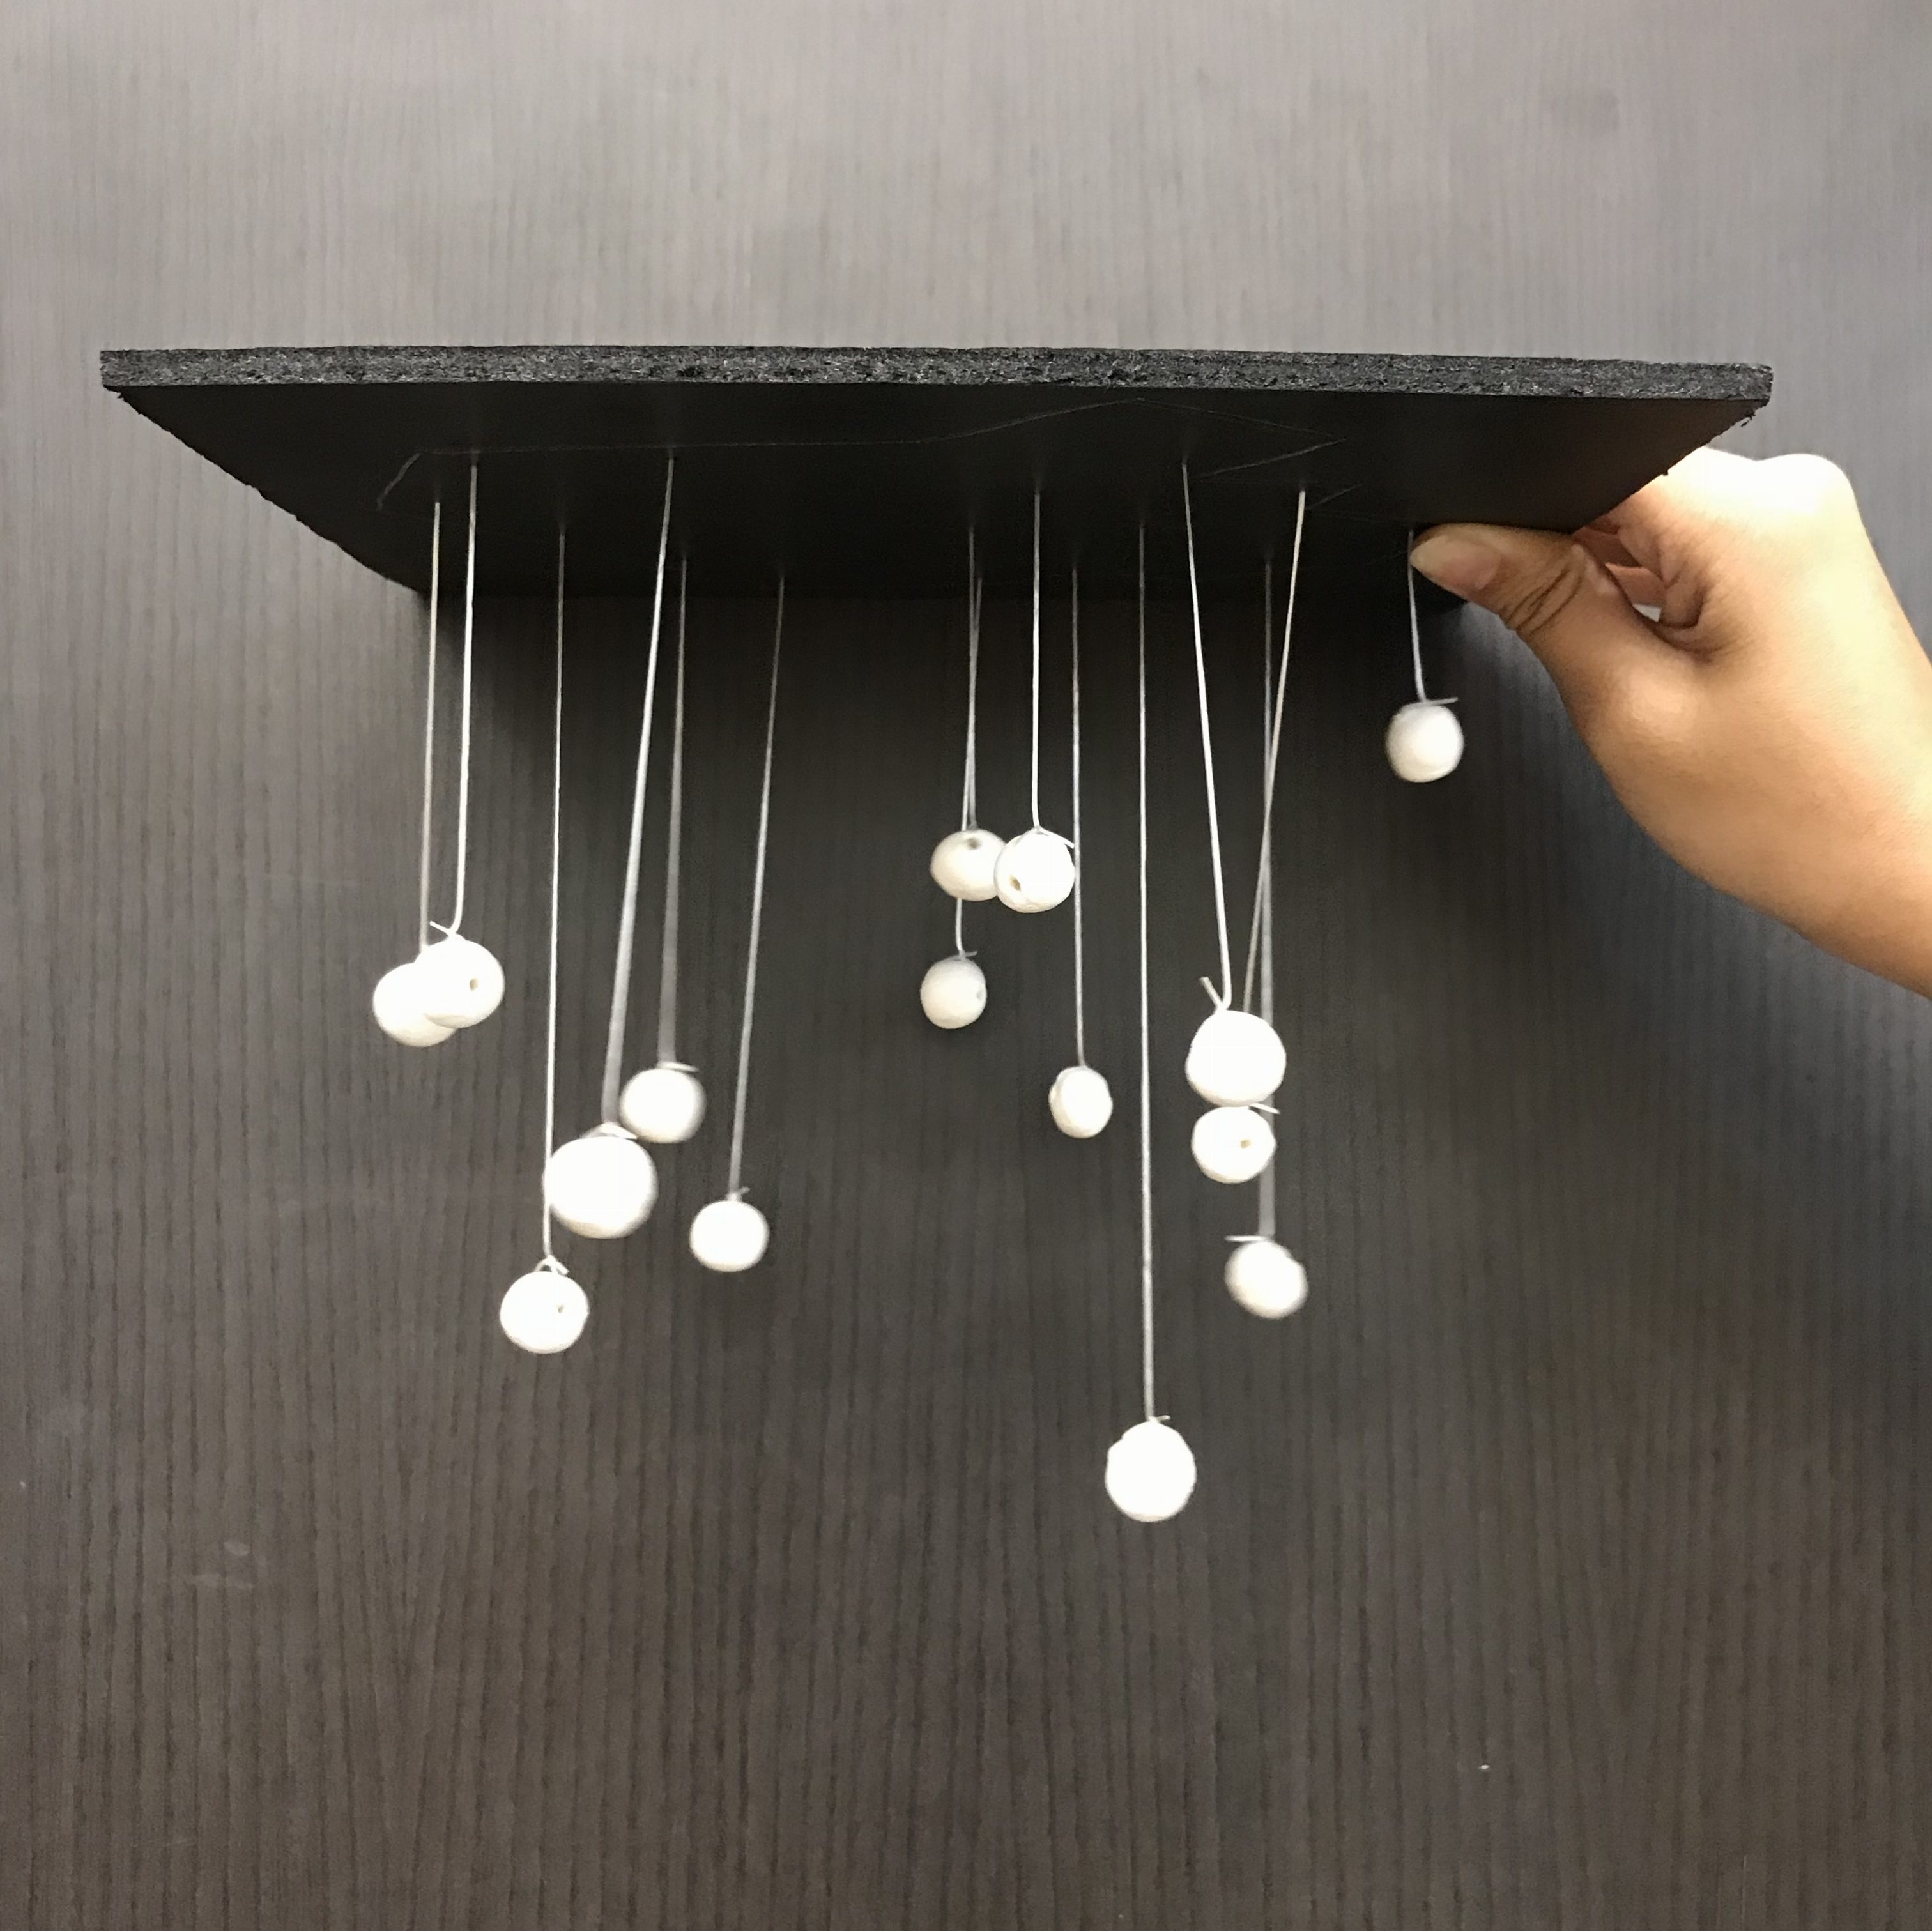
Below are the mock-ups’ documentation:
Pendulum arranged in random(Close up of pendulums’ placements) We realised that with the materials used (string and ball made of clay), the pendulum tend to get tangled. Thus we were thinking of trying with aluminum wire, slightly stiffer to stabilize each pendulum.We tried to arrange the pendulums within the NTU map as an outline/boundary. But we realised that the user may not even be able to see the ntu map within the randomly arranged pendulums.
Idea #2
Front view
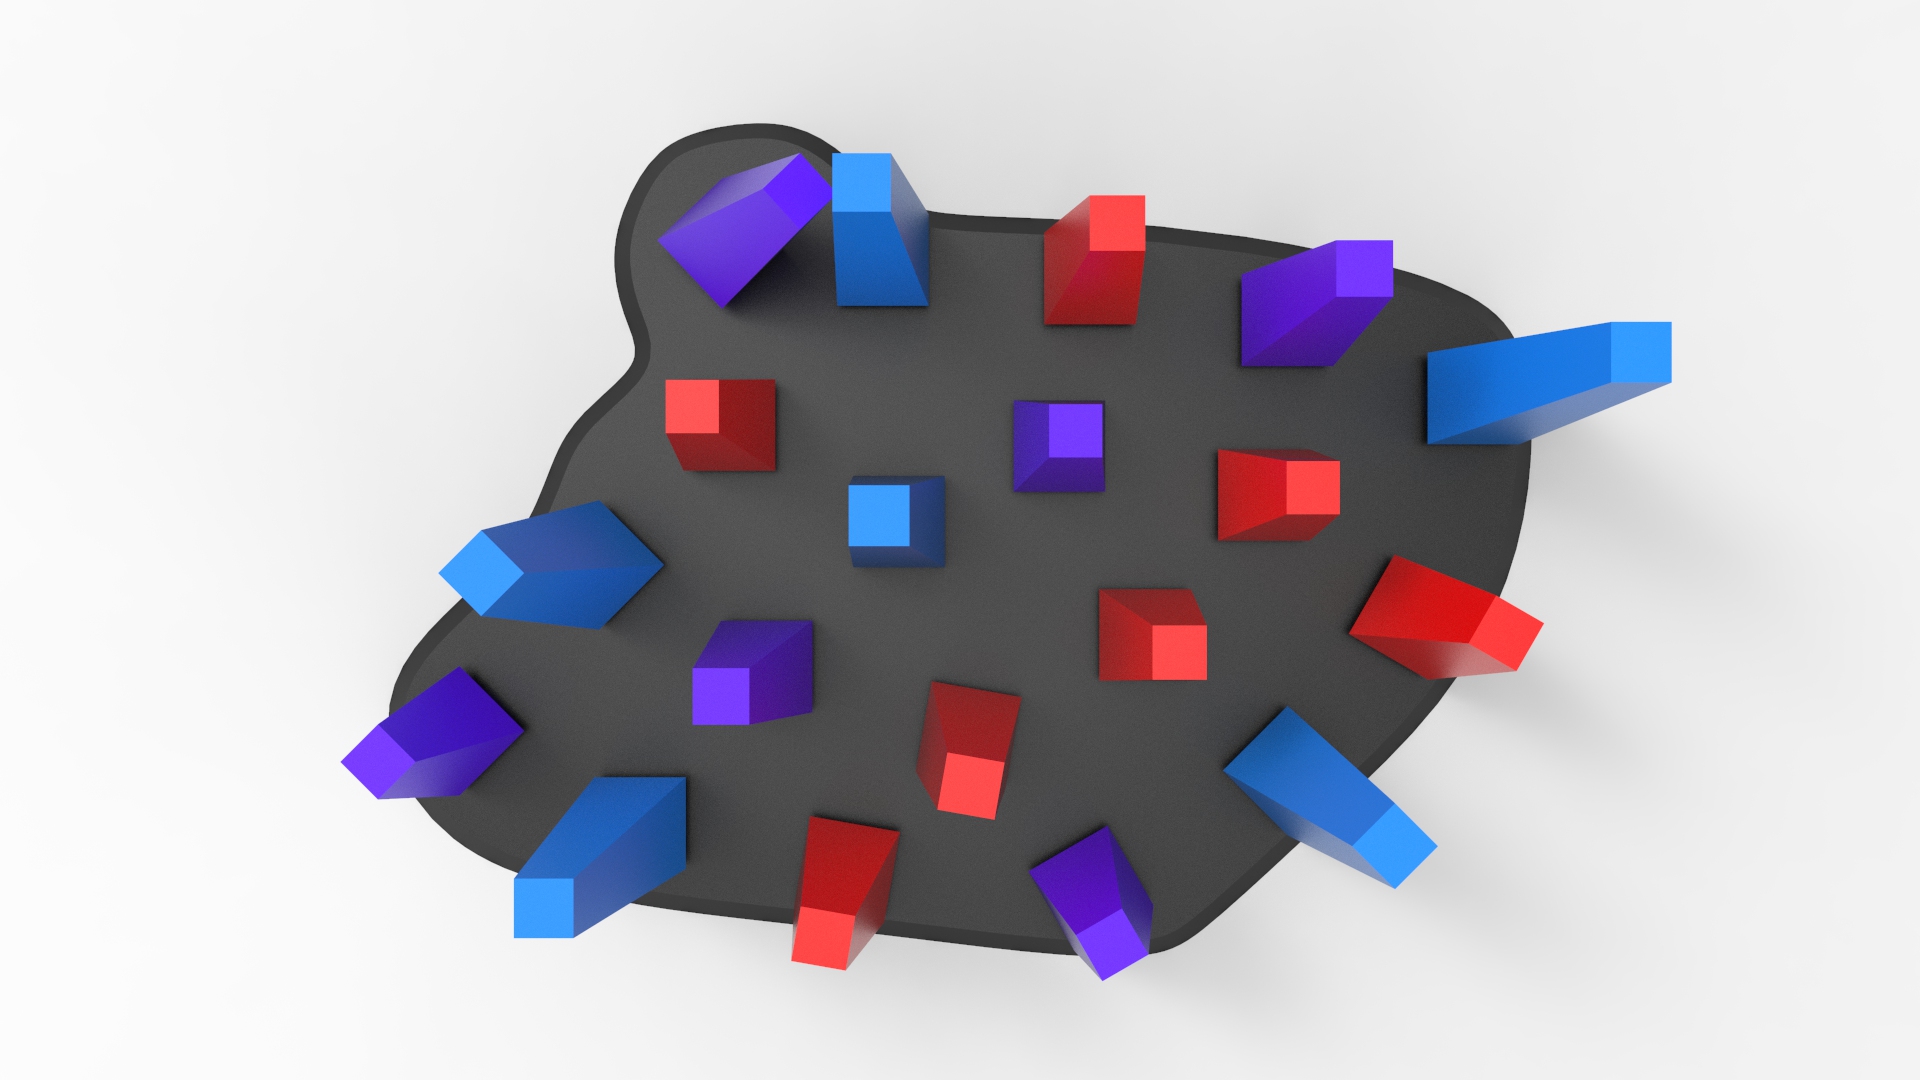
Top view
For the second concept the installation would be placed on the ground. It would be a walk through experience for the students.
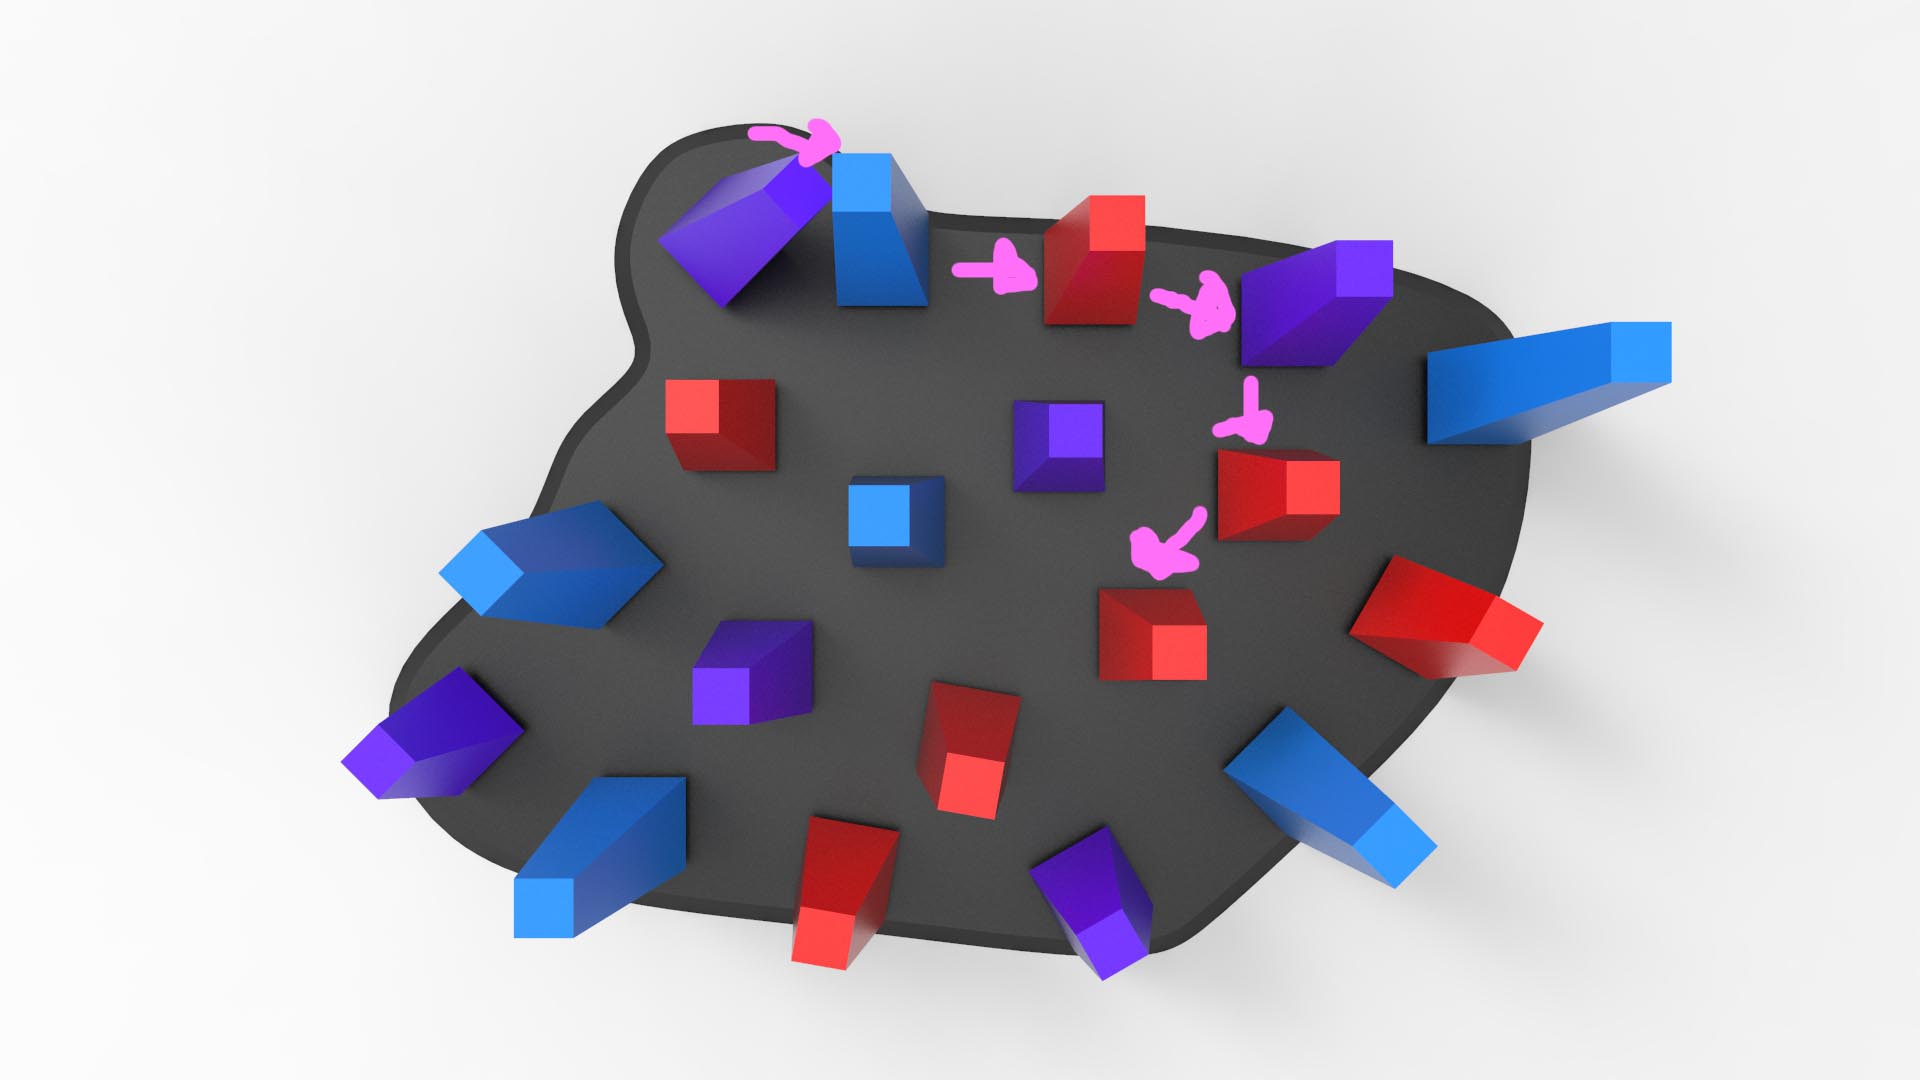
The installation space would have block like shapes with springs scattered across the whole area. The blocks with spring in them works like how the barriers at carparks function. (Or more referred to the roly poly toy, where it will spring back and forth)
The blocks with spring represent students which will be scattered across the whole installation area. With the real life students walking through, the installation would trigger the movement of the ‘students’ creating the randomised pattern we intended to achieve. The ‘students’ are placed near enough to each other to allow the creation of this reaction.
–> But after considering, we have decided to go ahead with Idea #1.
We decided to come up with certain pointers that we would like our installation to have (or try to have..):
So our next step is to work on the CAD version to see the installation as a whole as well as working on the mock up.