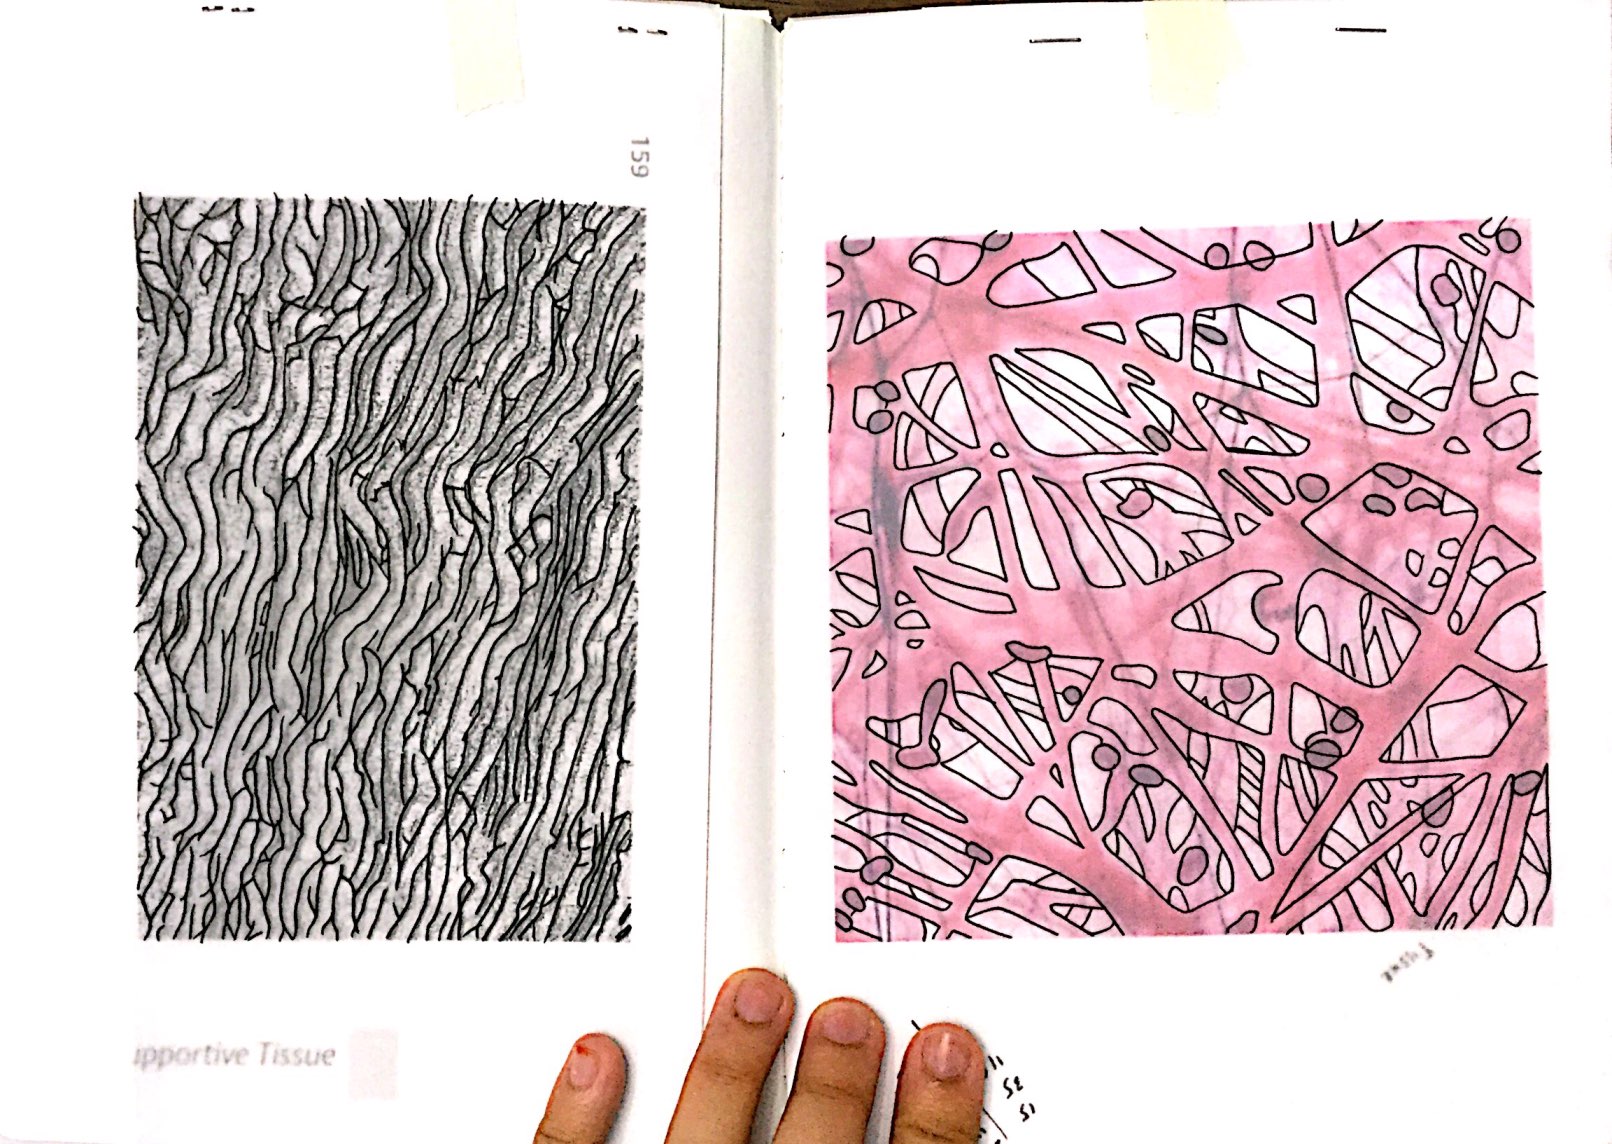
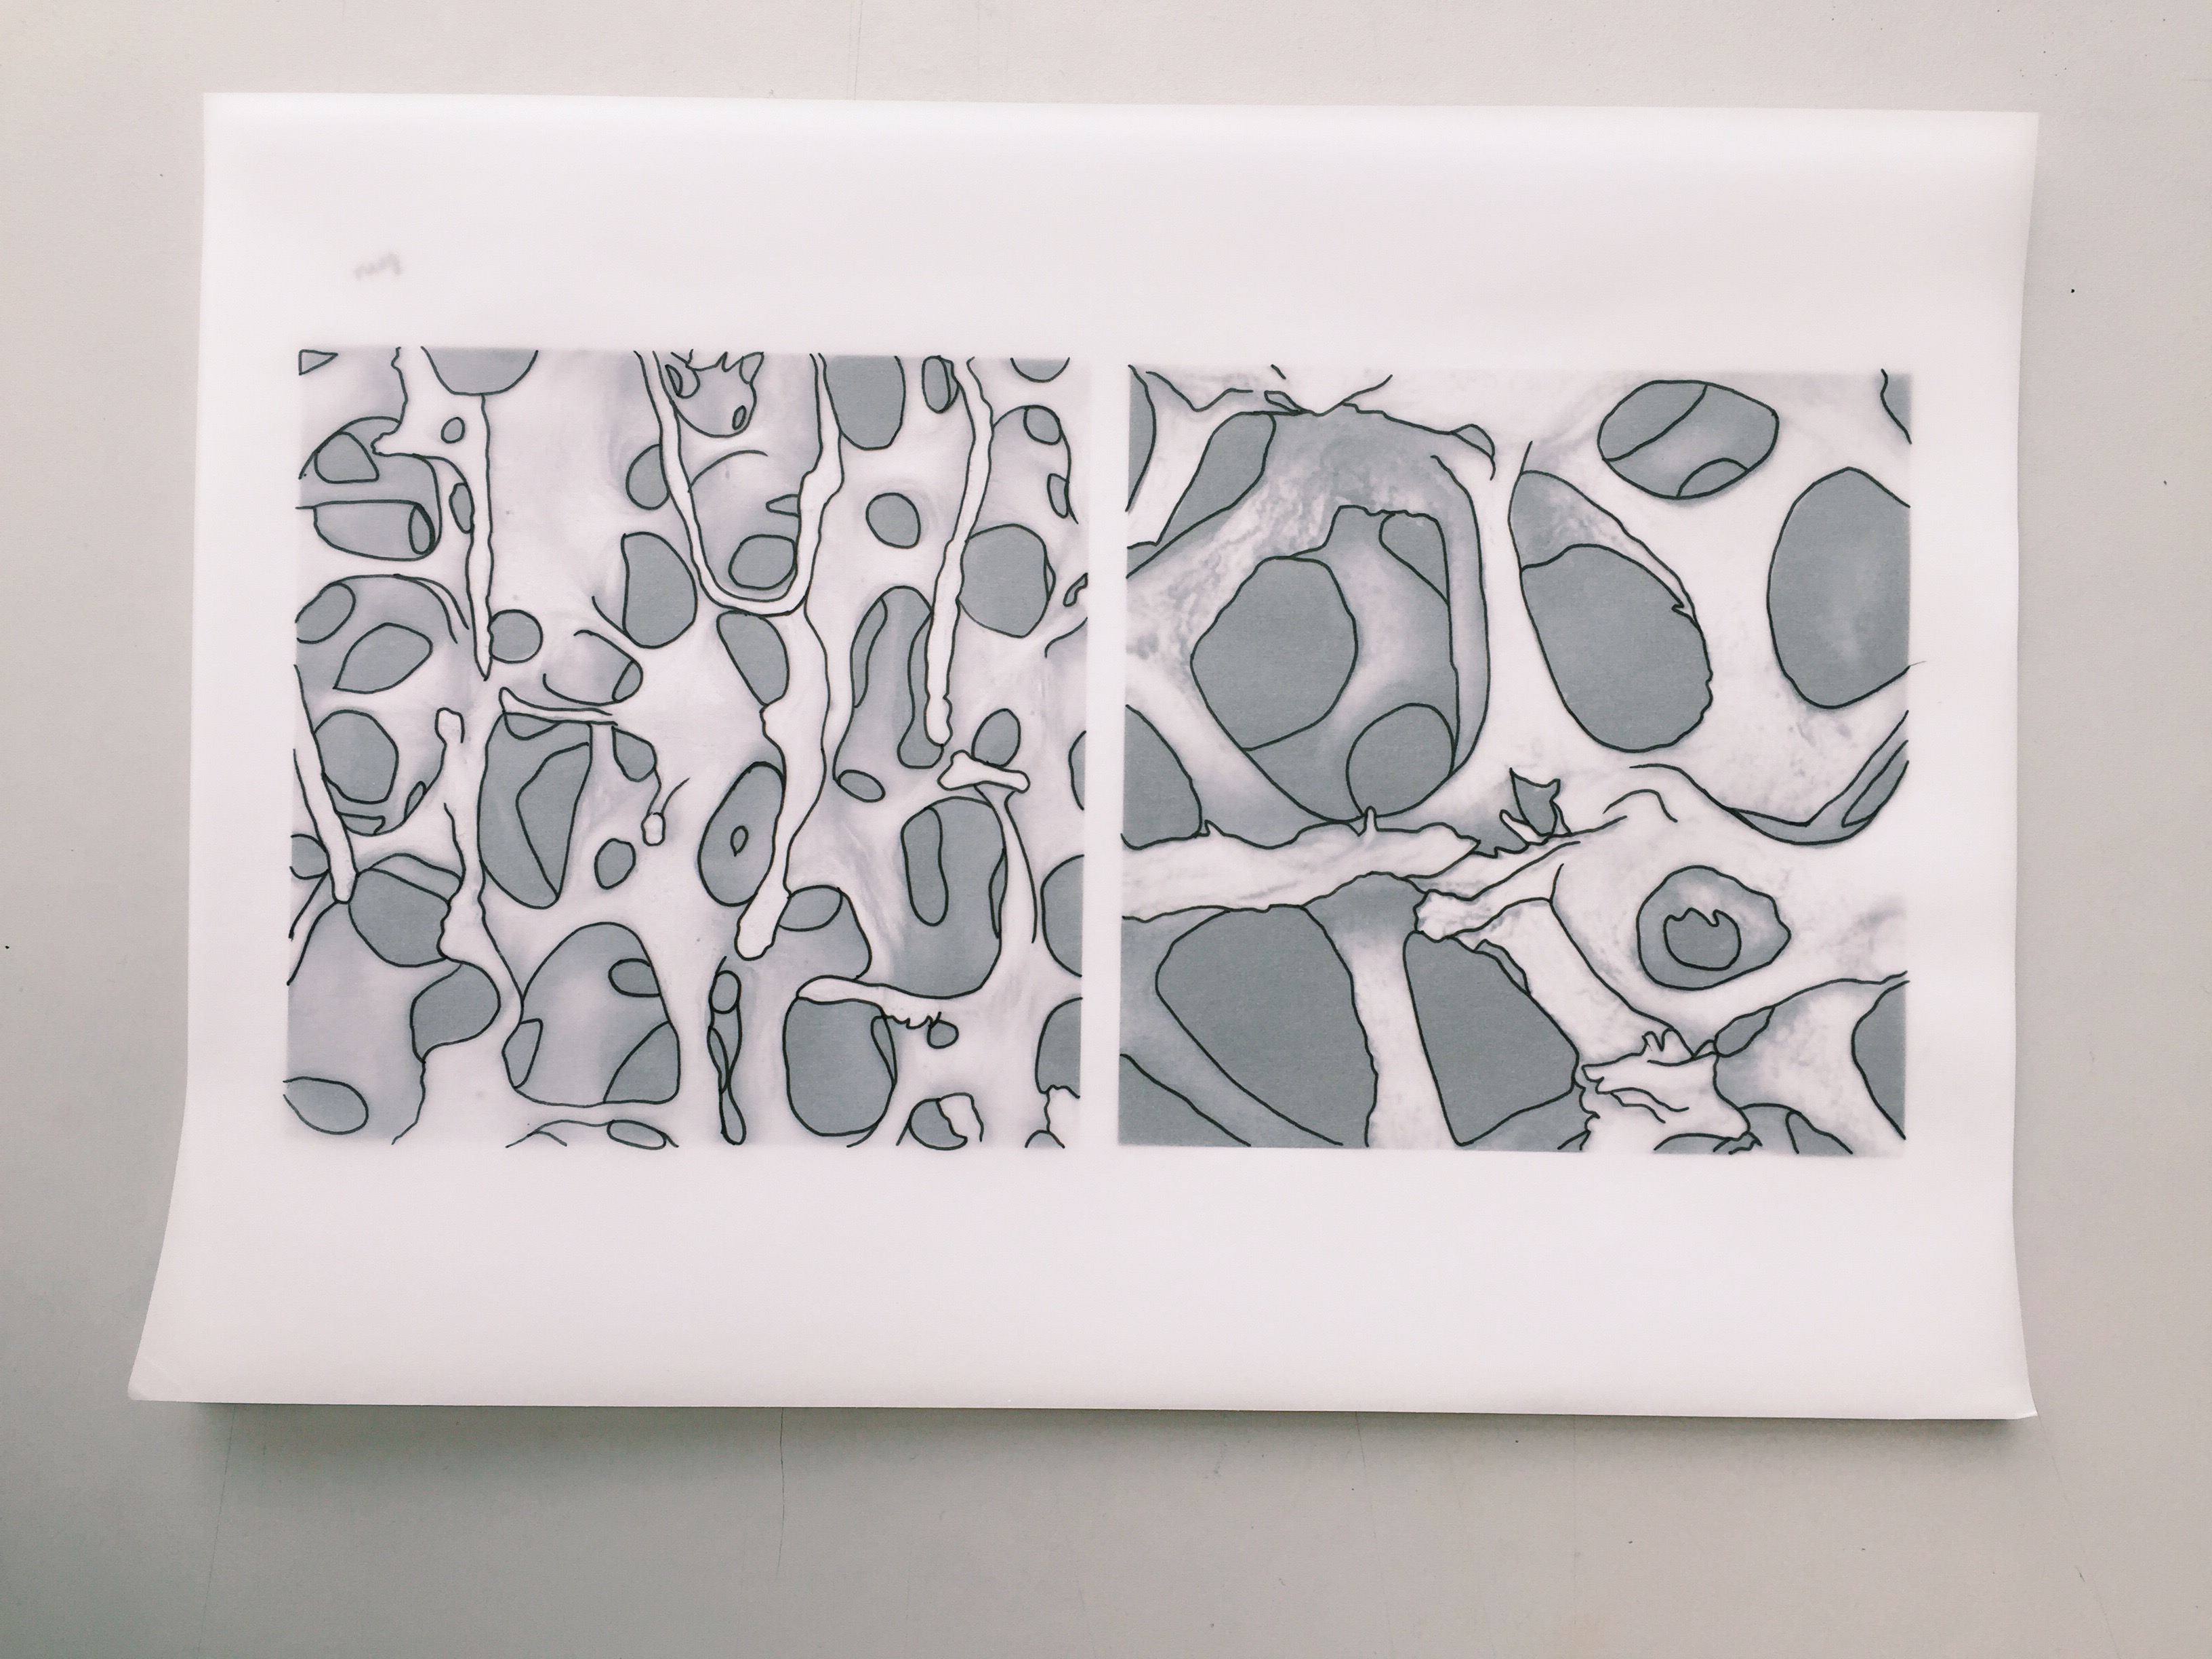
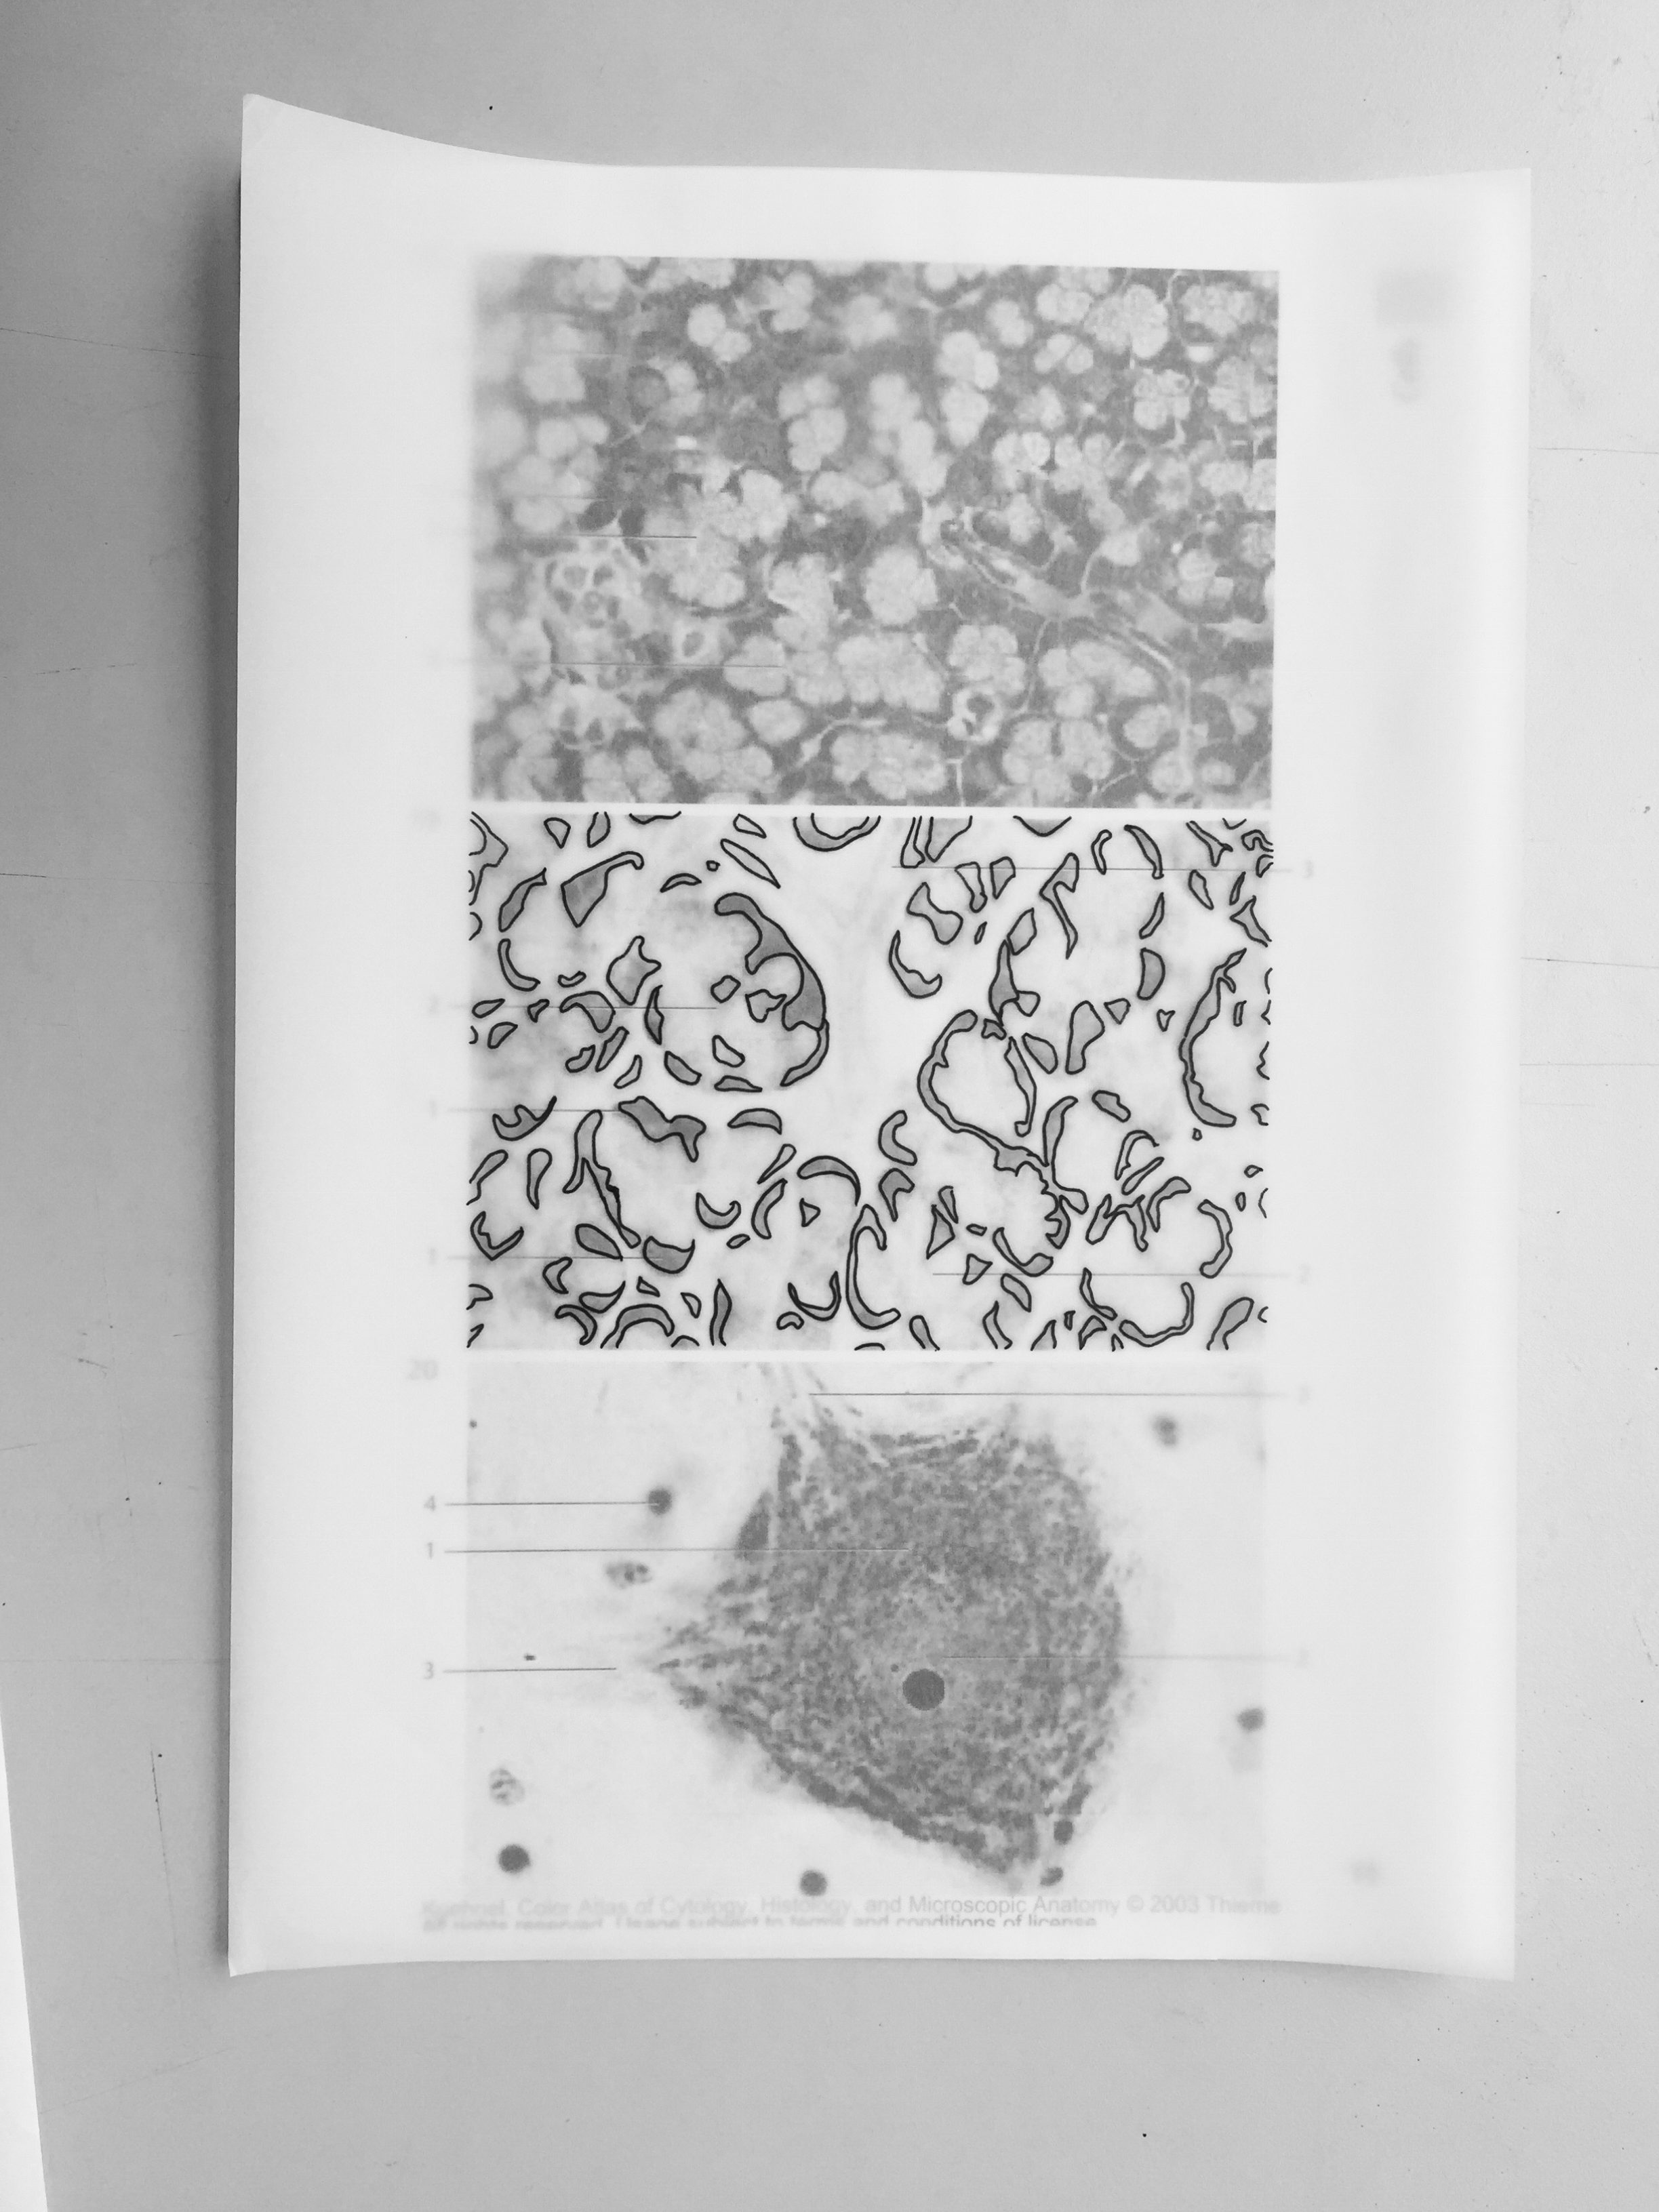
Recently, I head down to the Experimental Medicine Building, to use the resources that they have on human microscopic anatomy/structure.
First foremost, I was taught the fundamentals of using a microscope, and lastly the choosing of whichever samples that I would like to view on.
I was spoilt for choices with the many samples, however the technician was of great help. He sat beside my work desk and assisted me — he even play trial and error to view the different samples to get the pattern that I was looking for in our human anatomy.
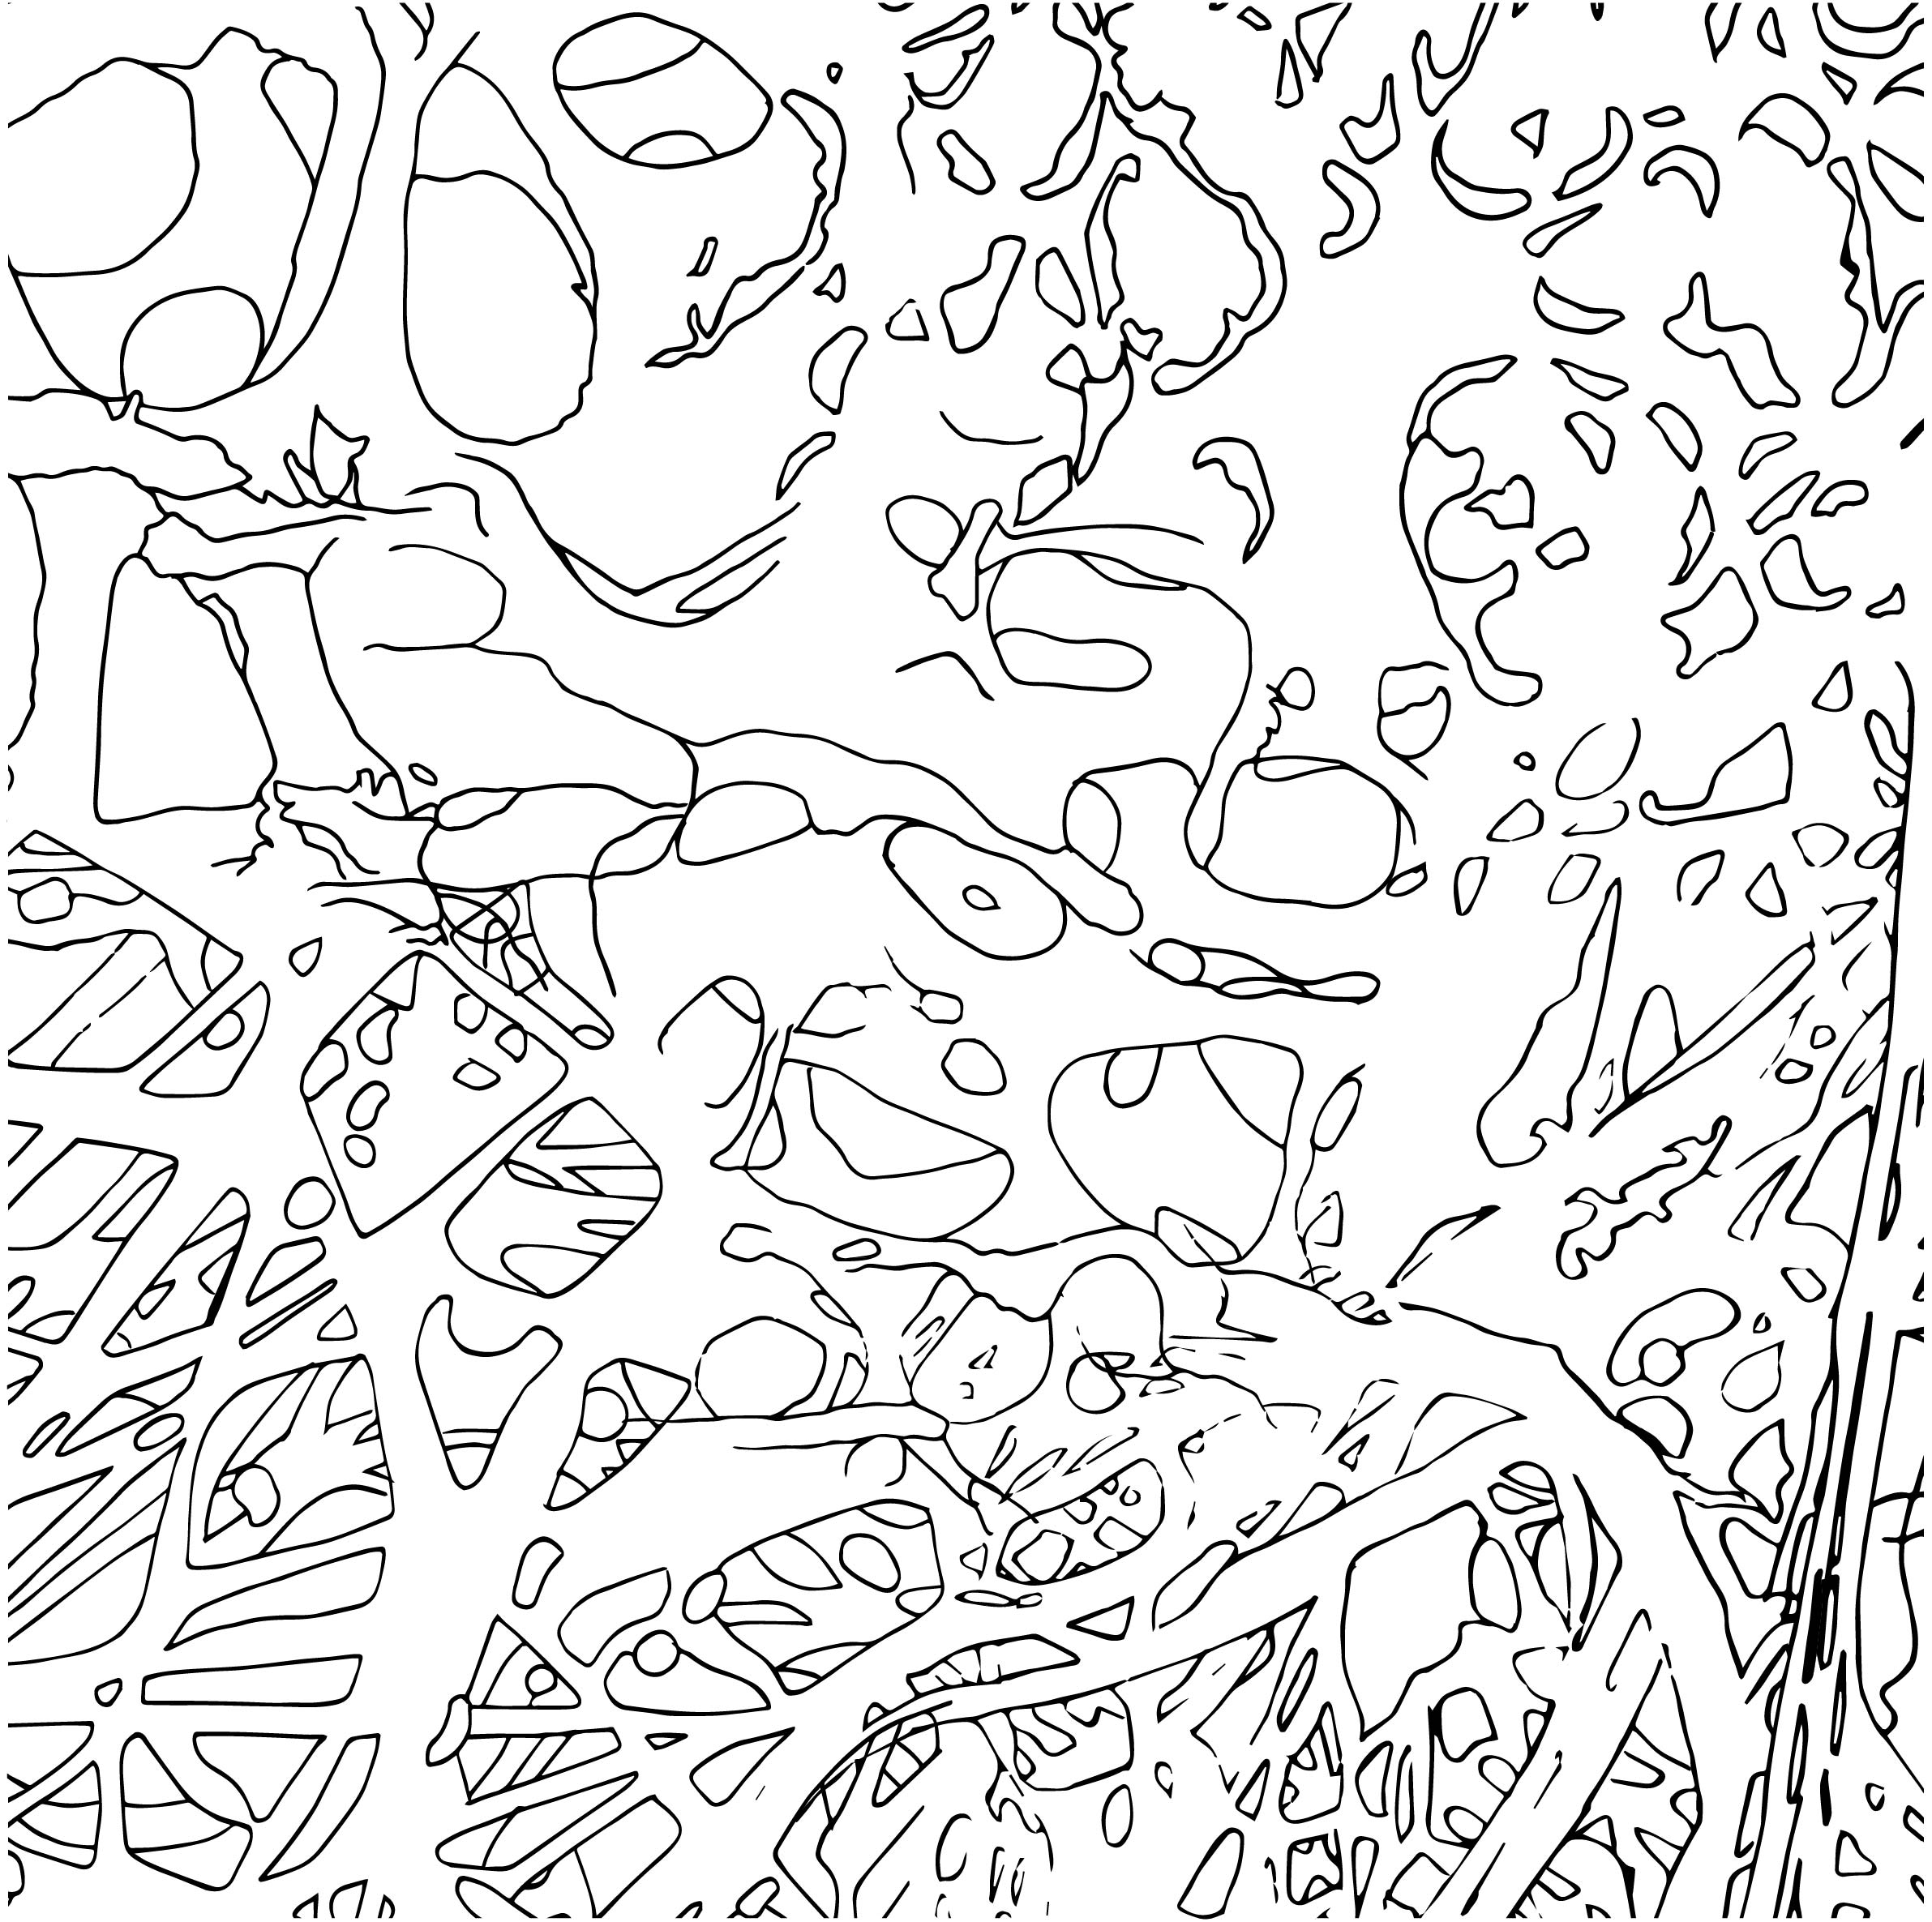
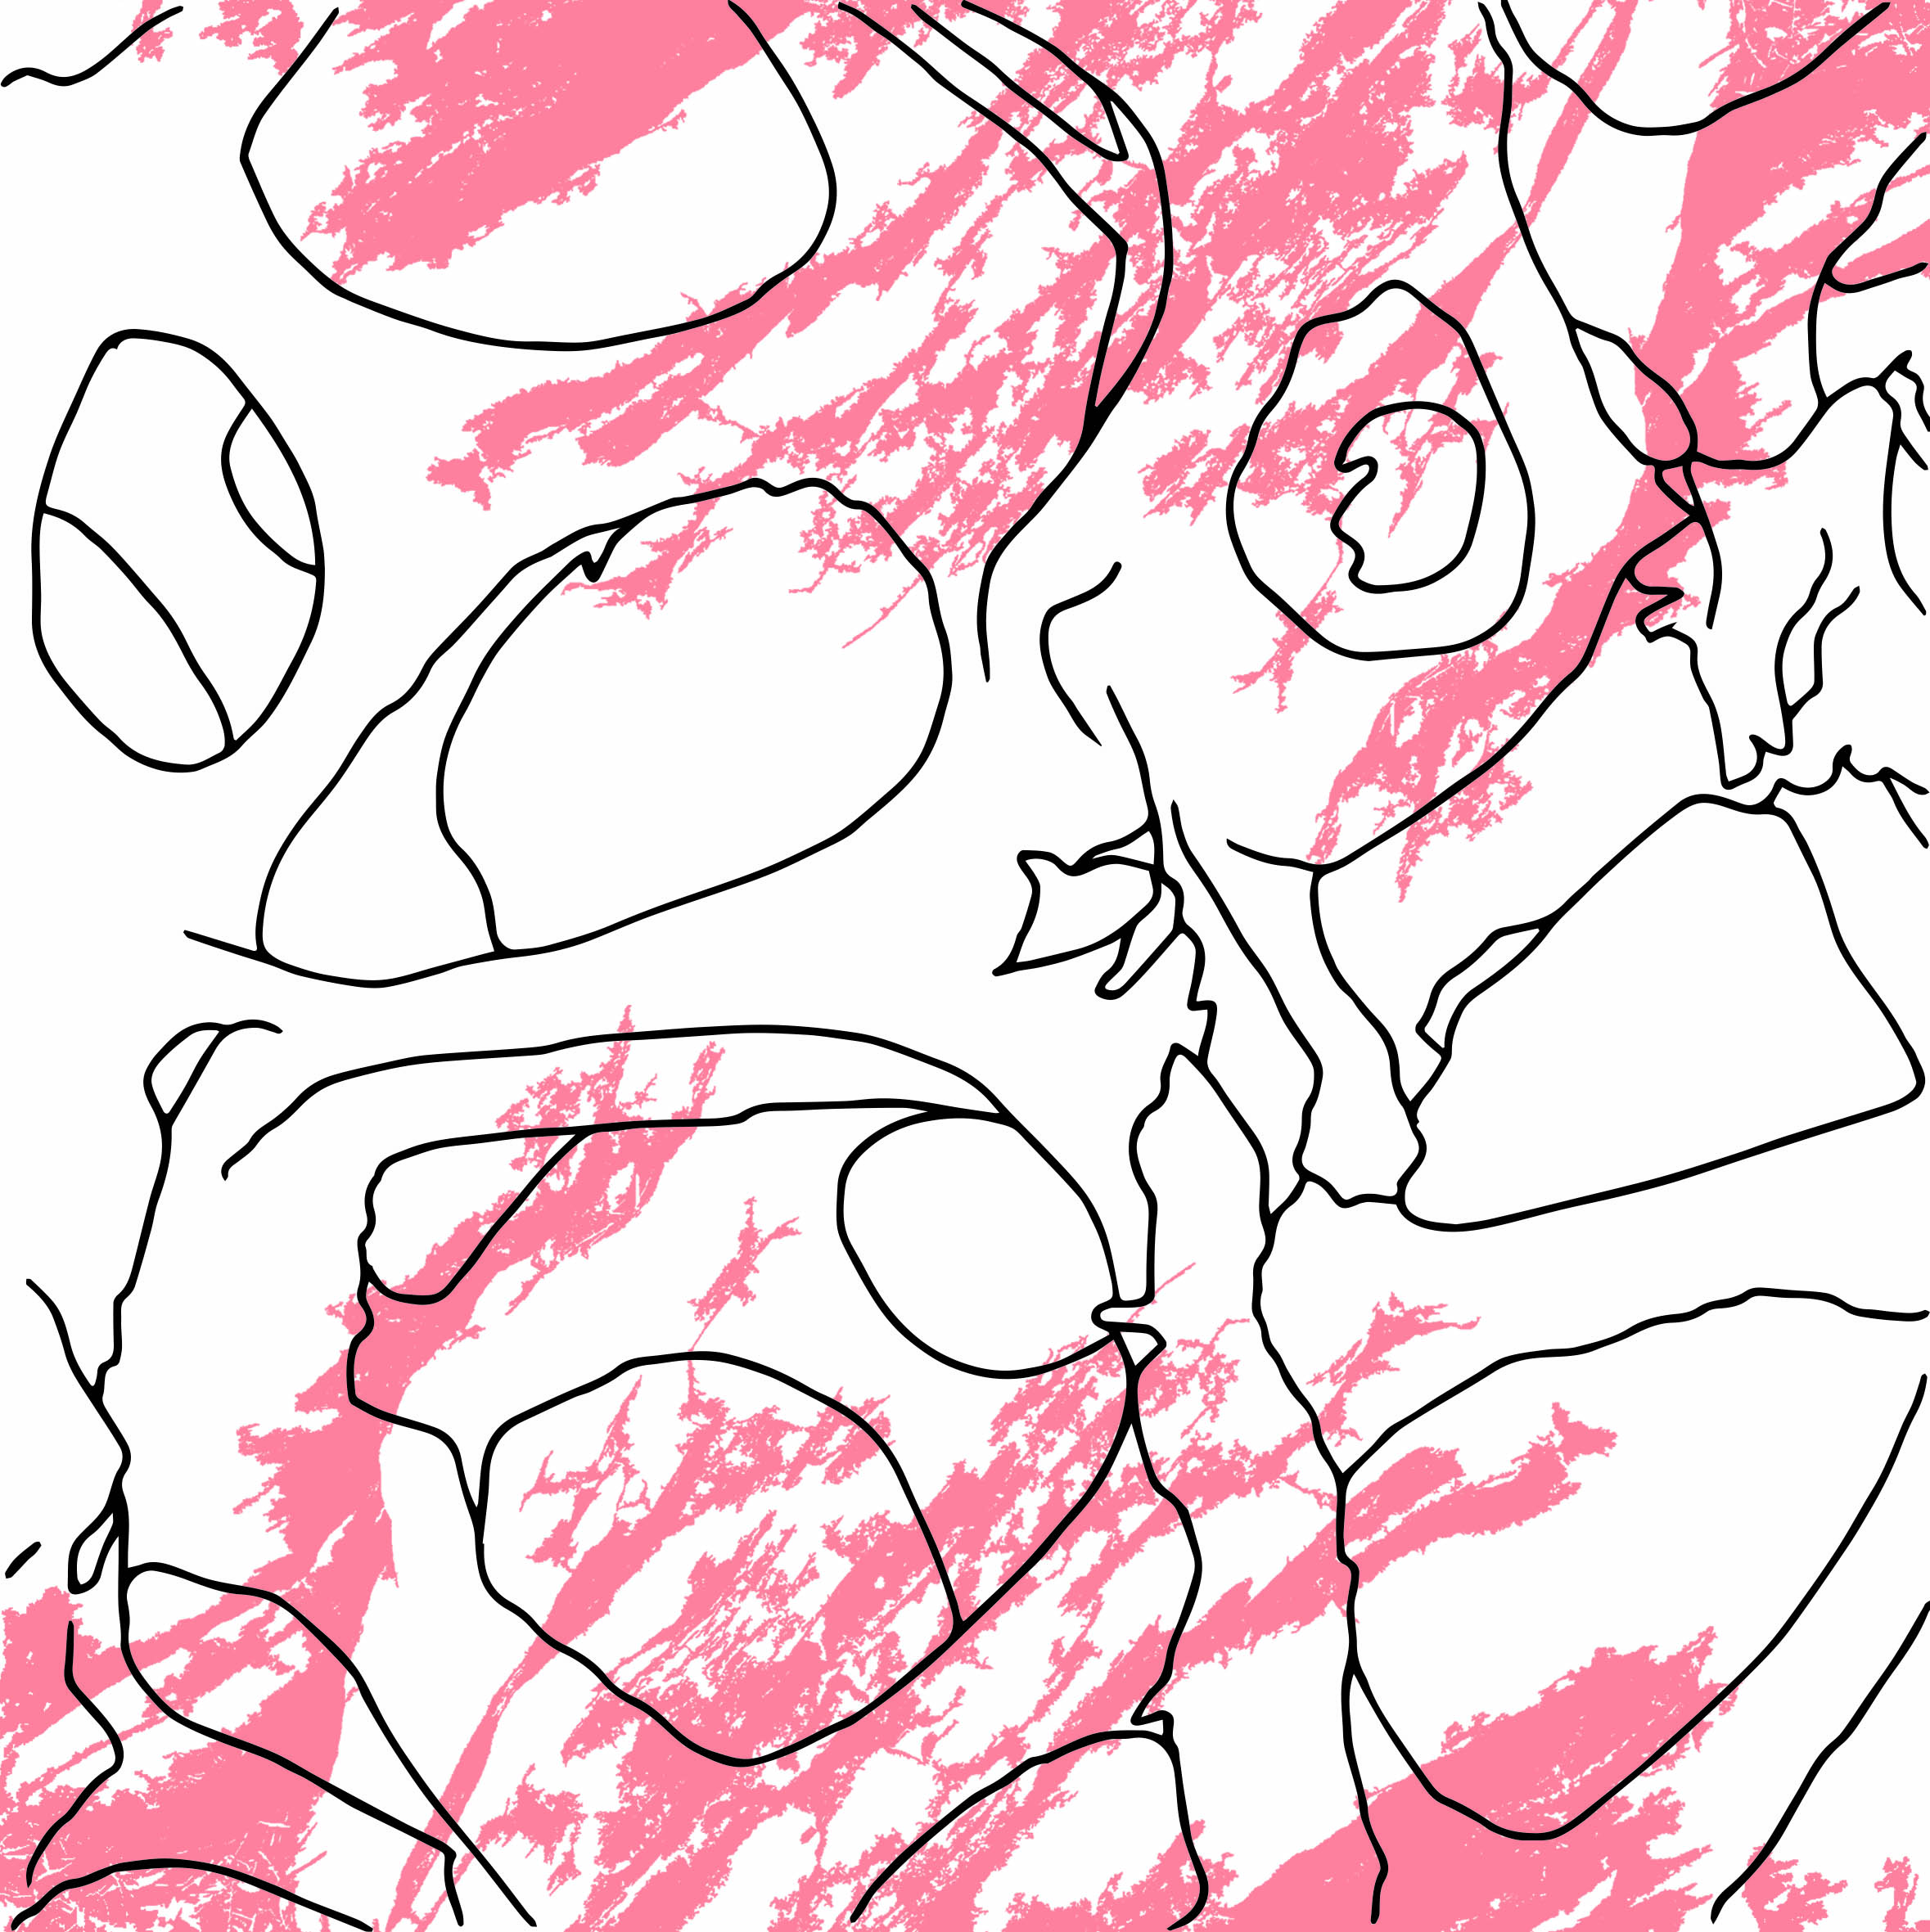
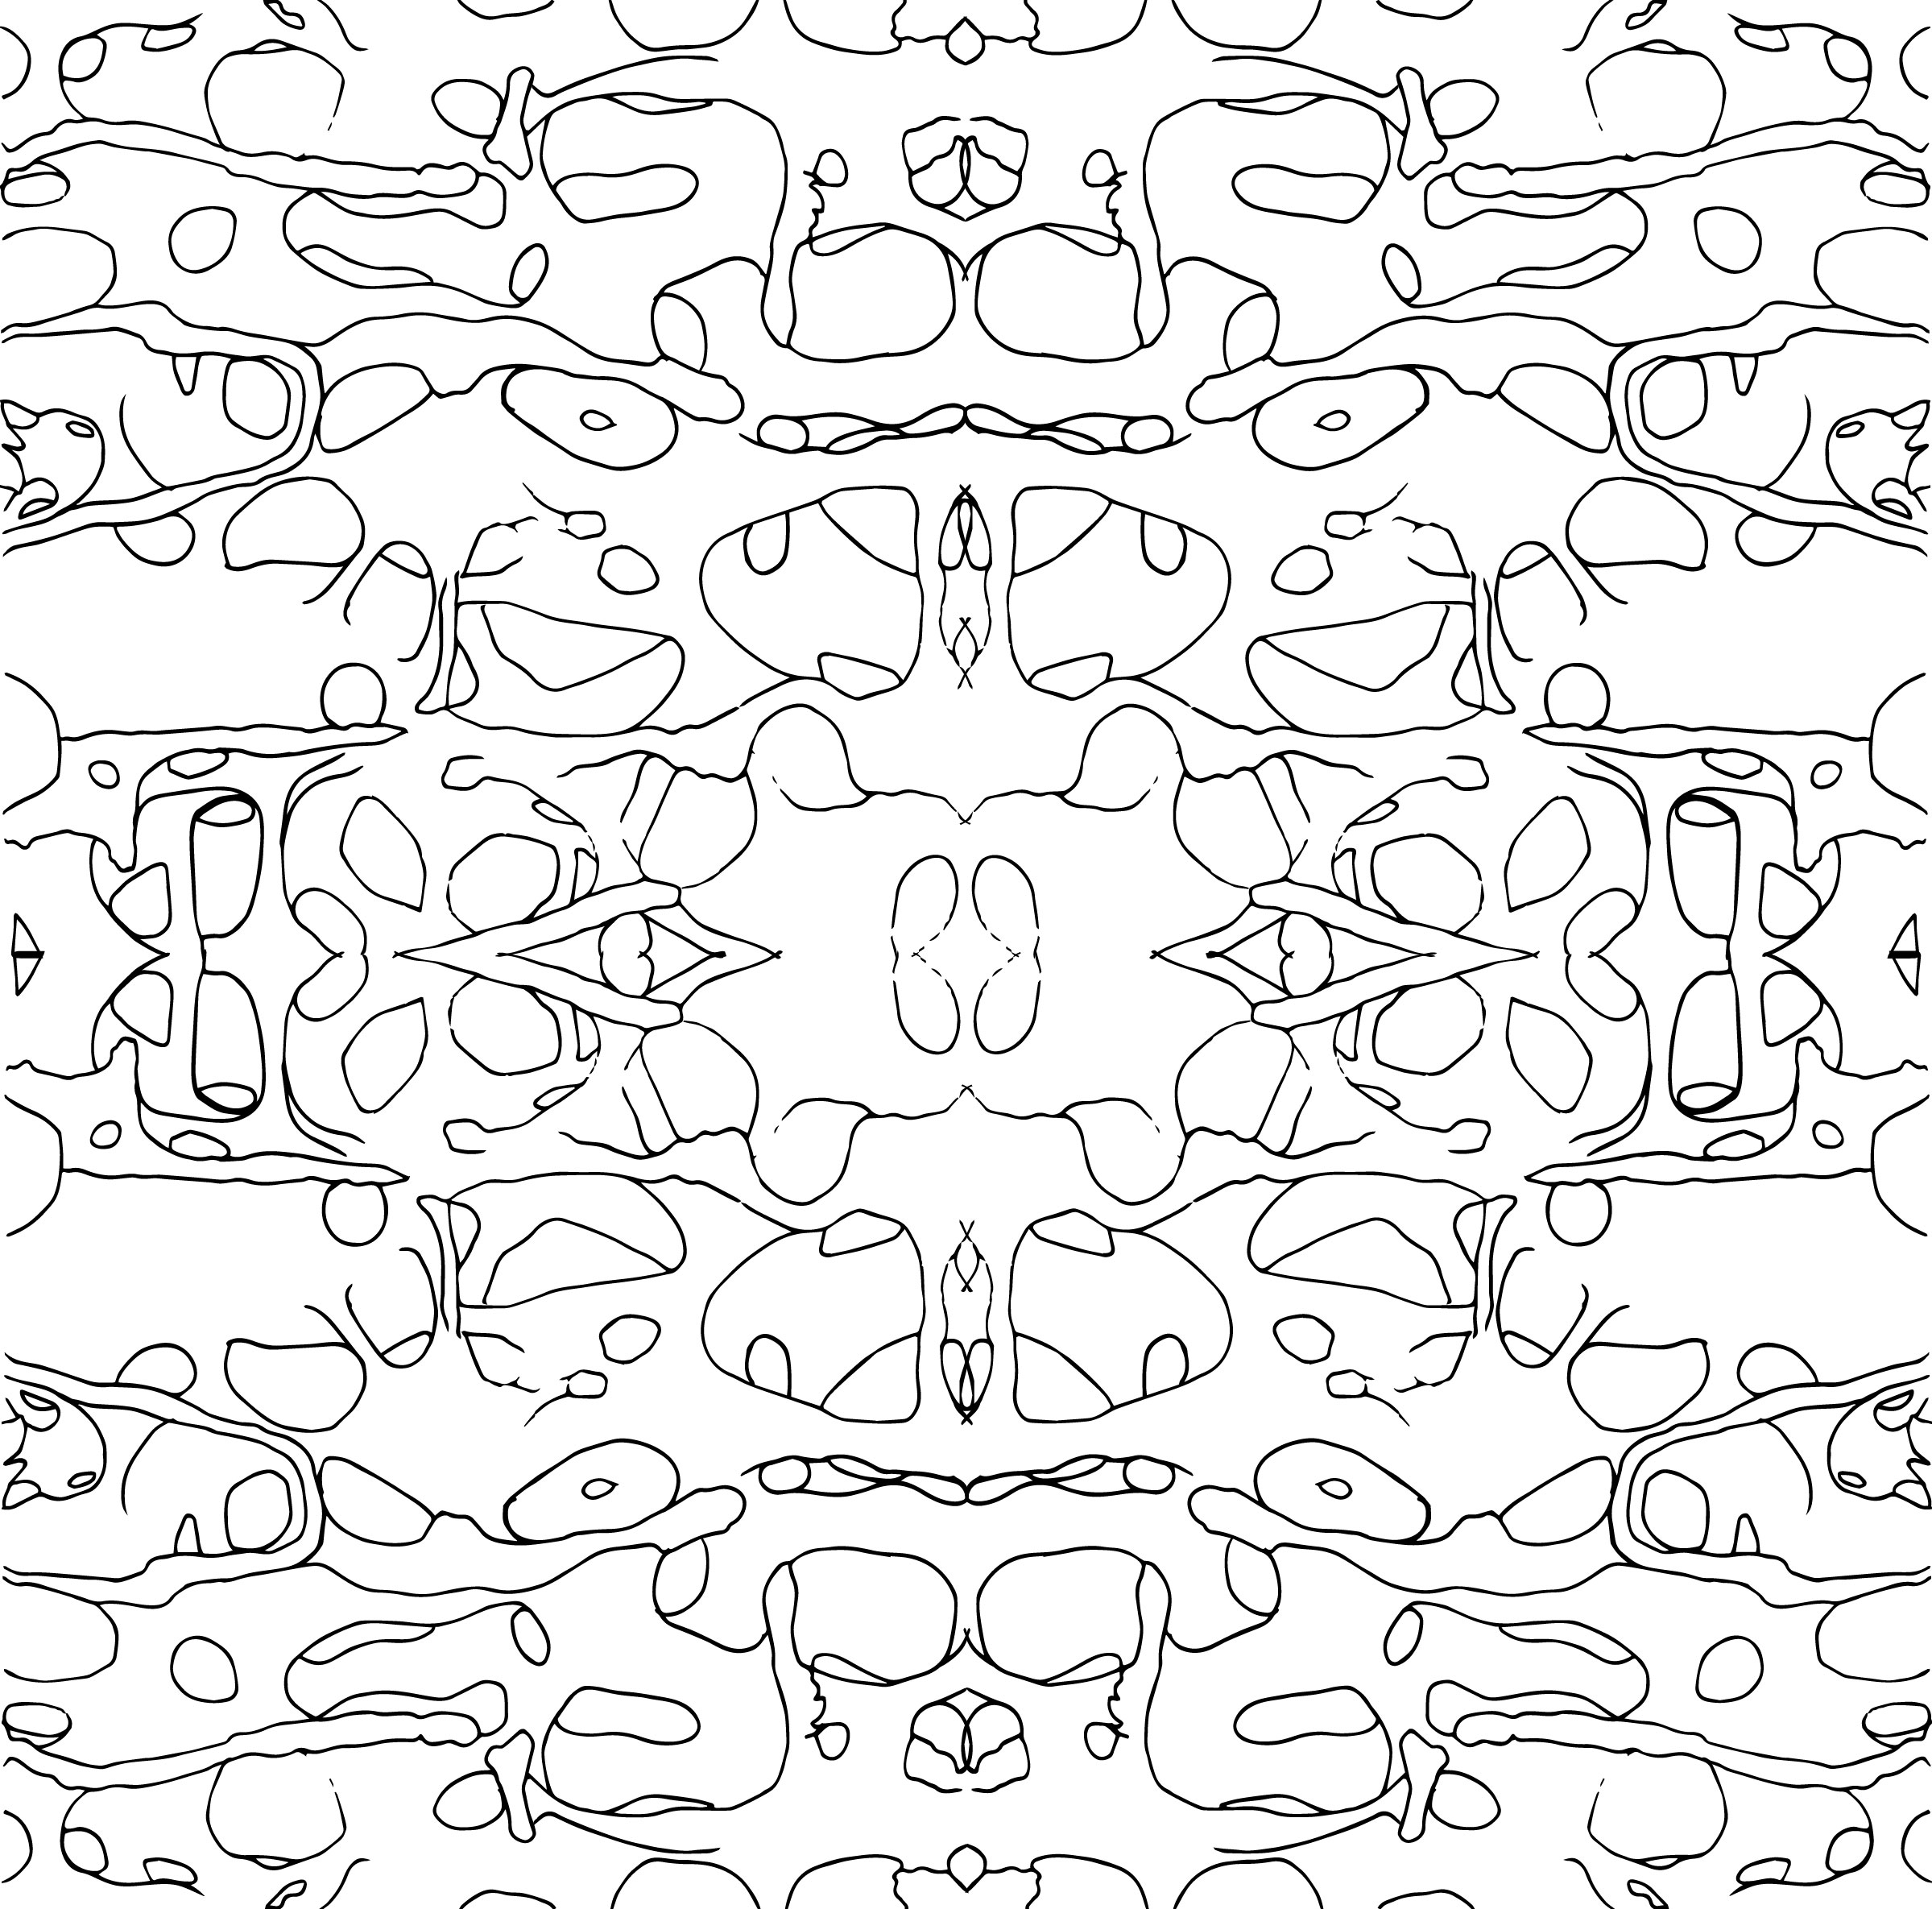
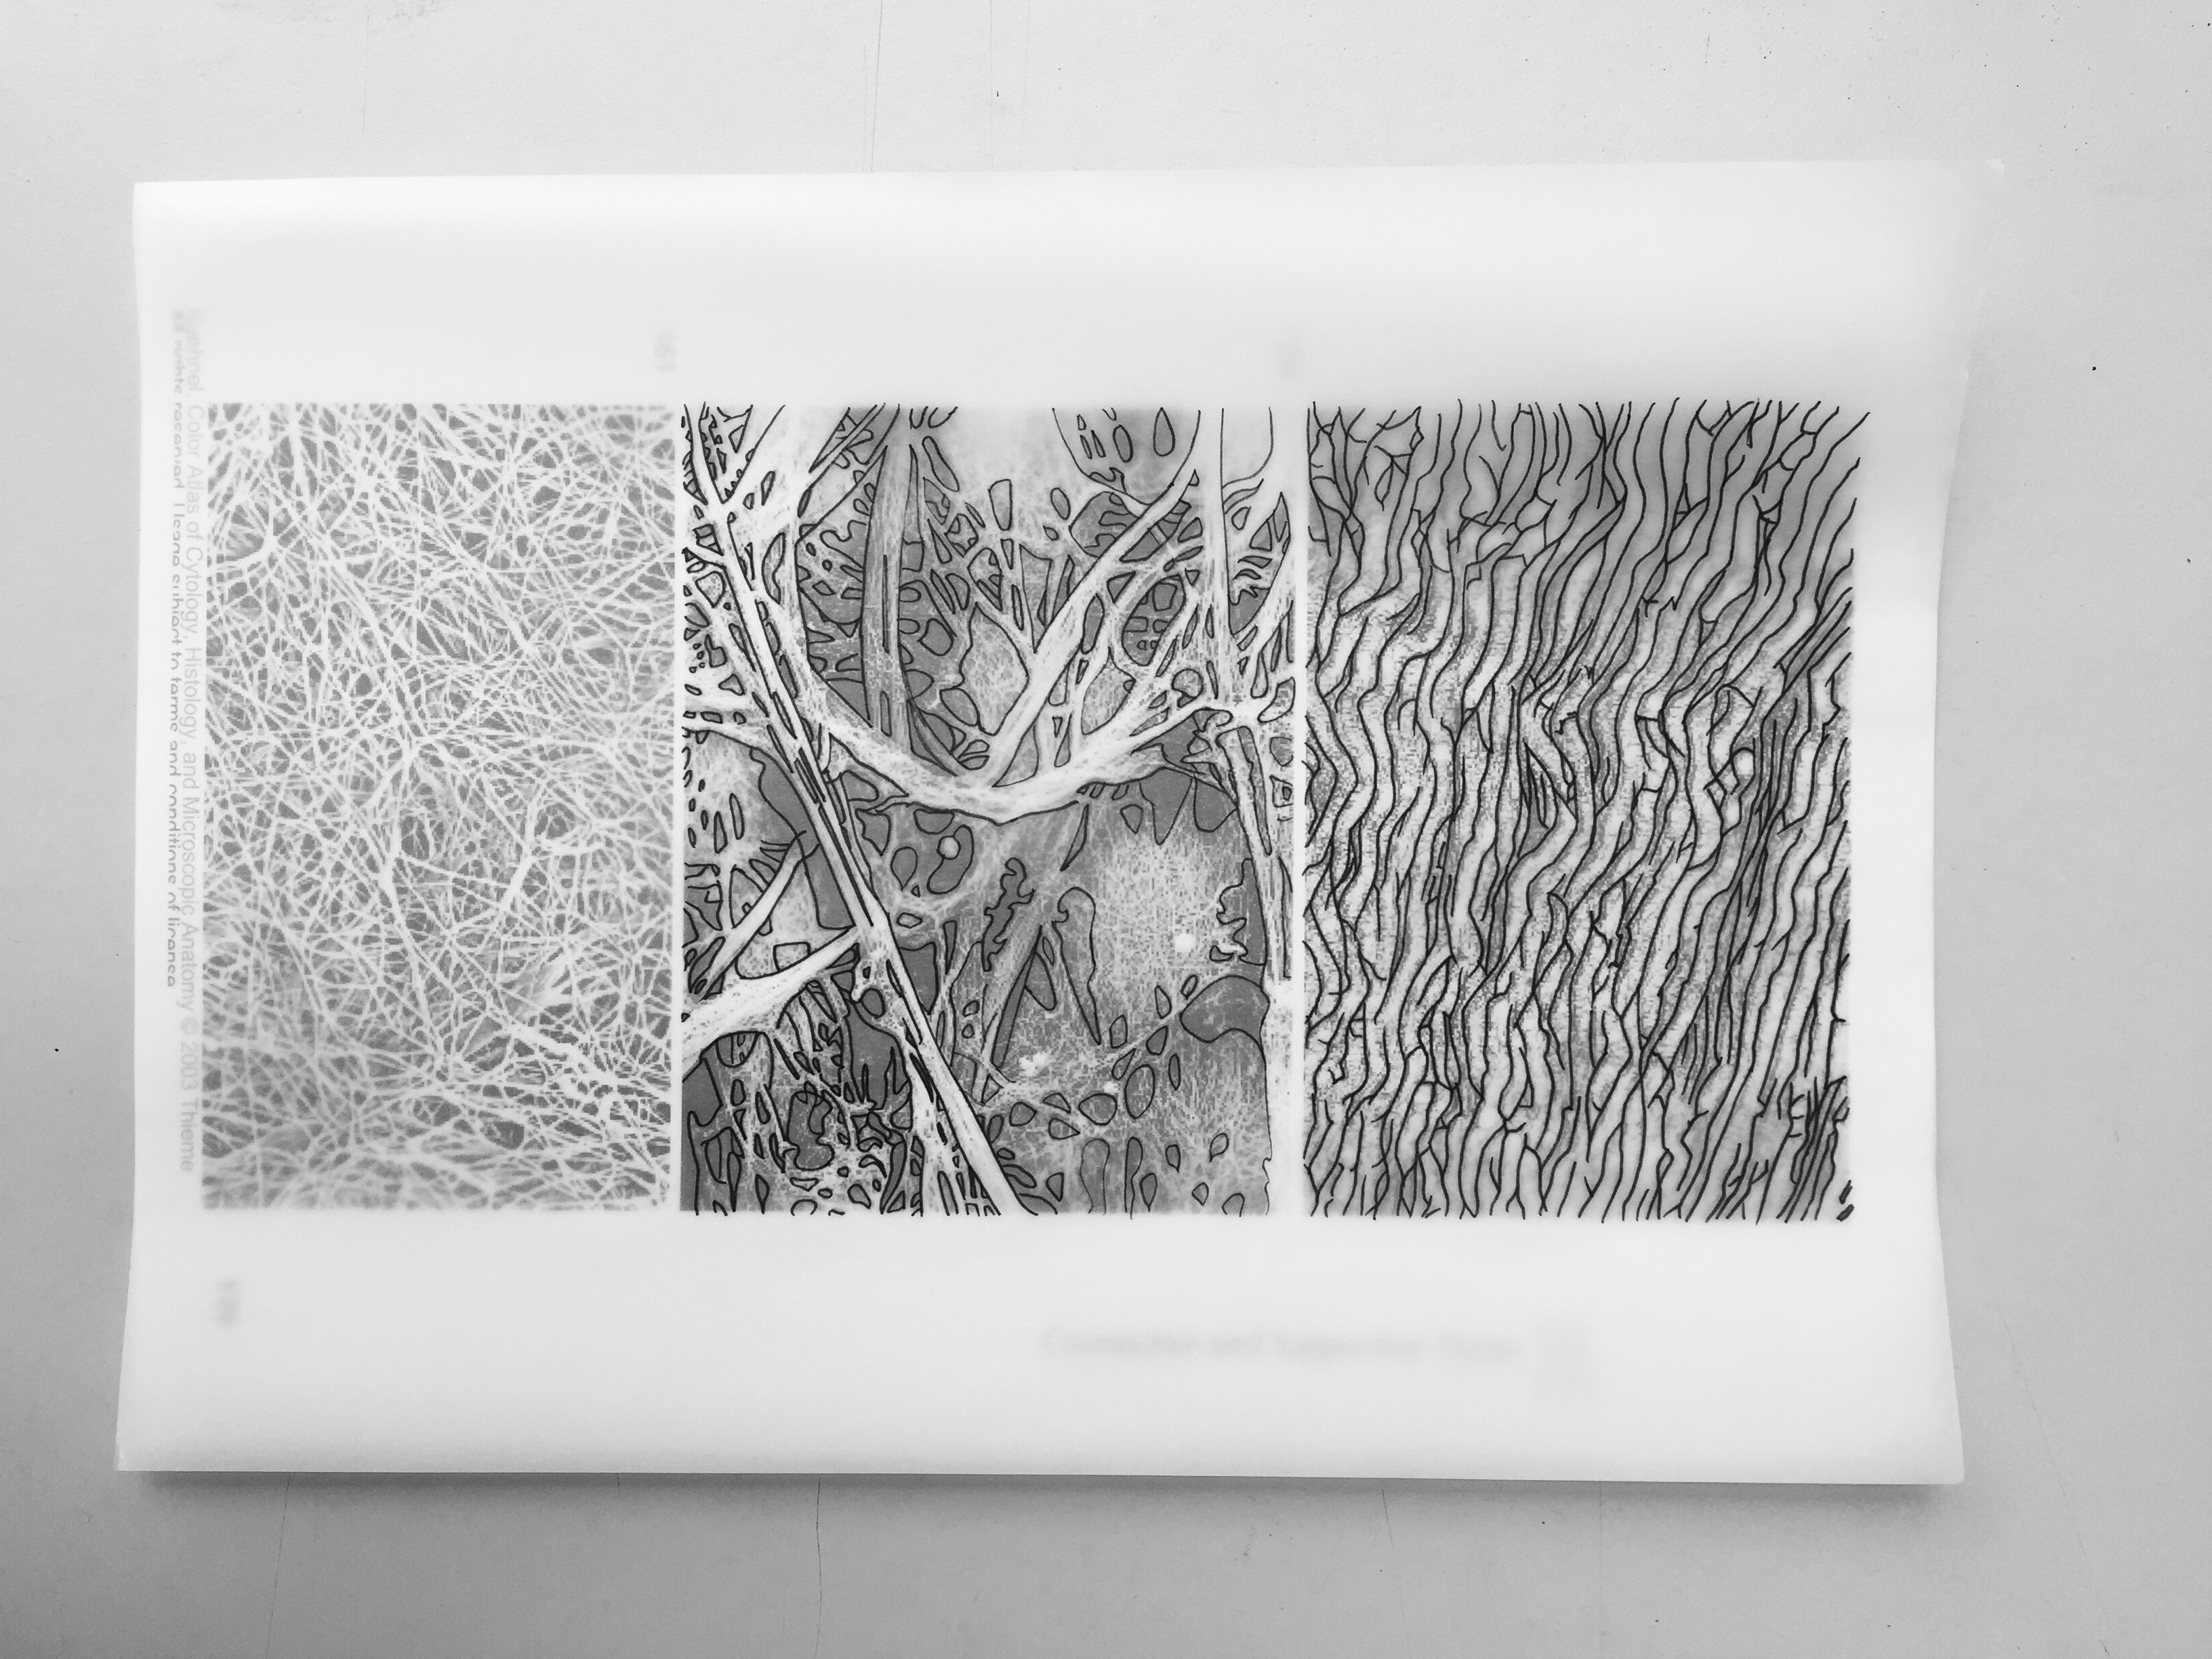
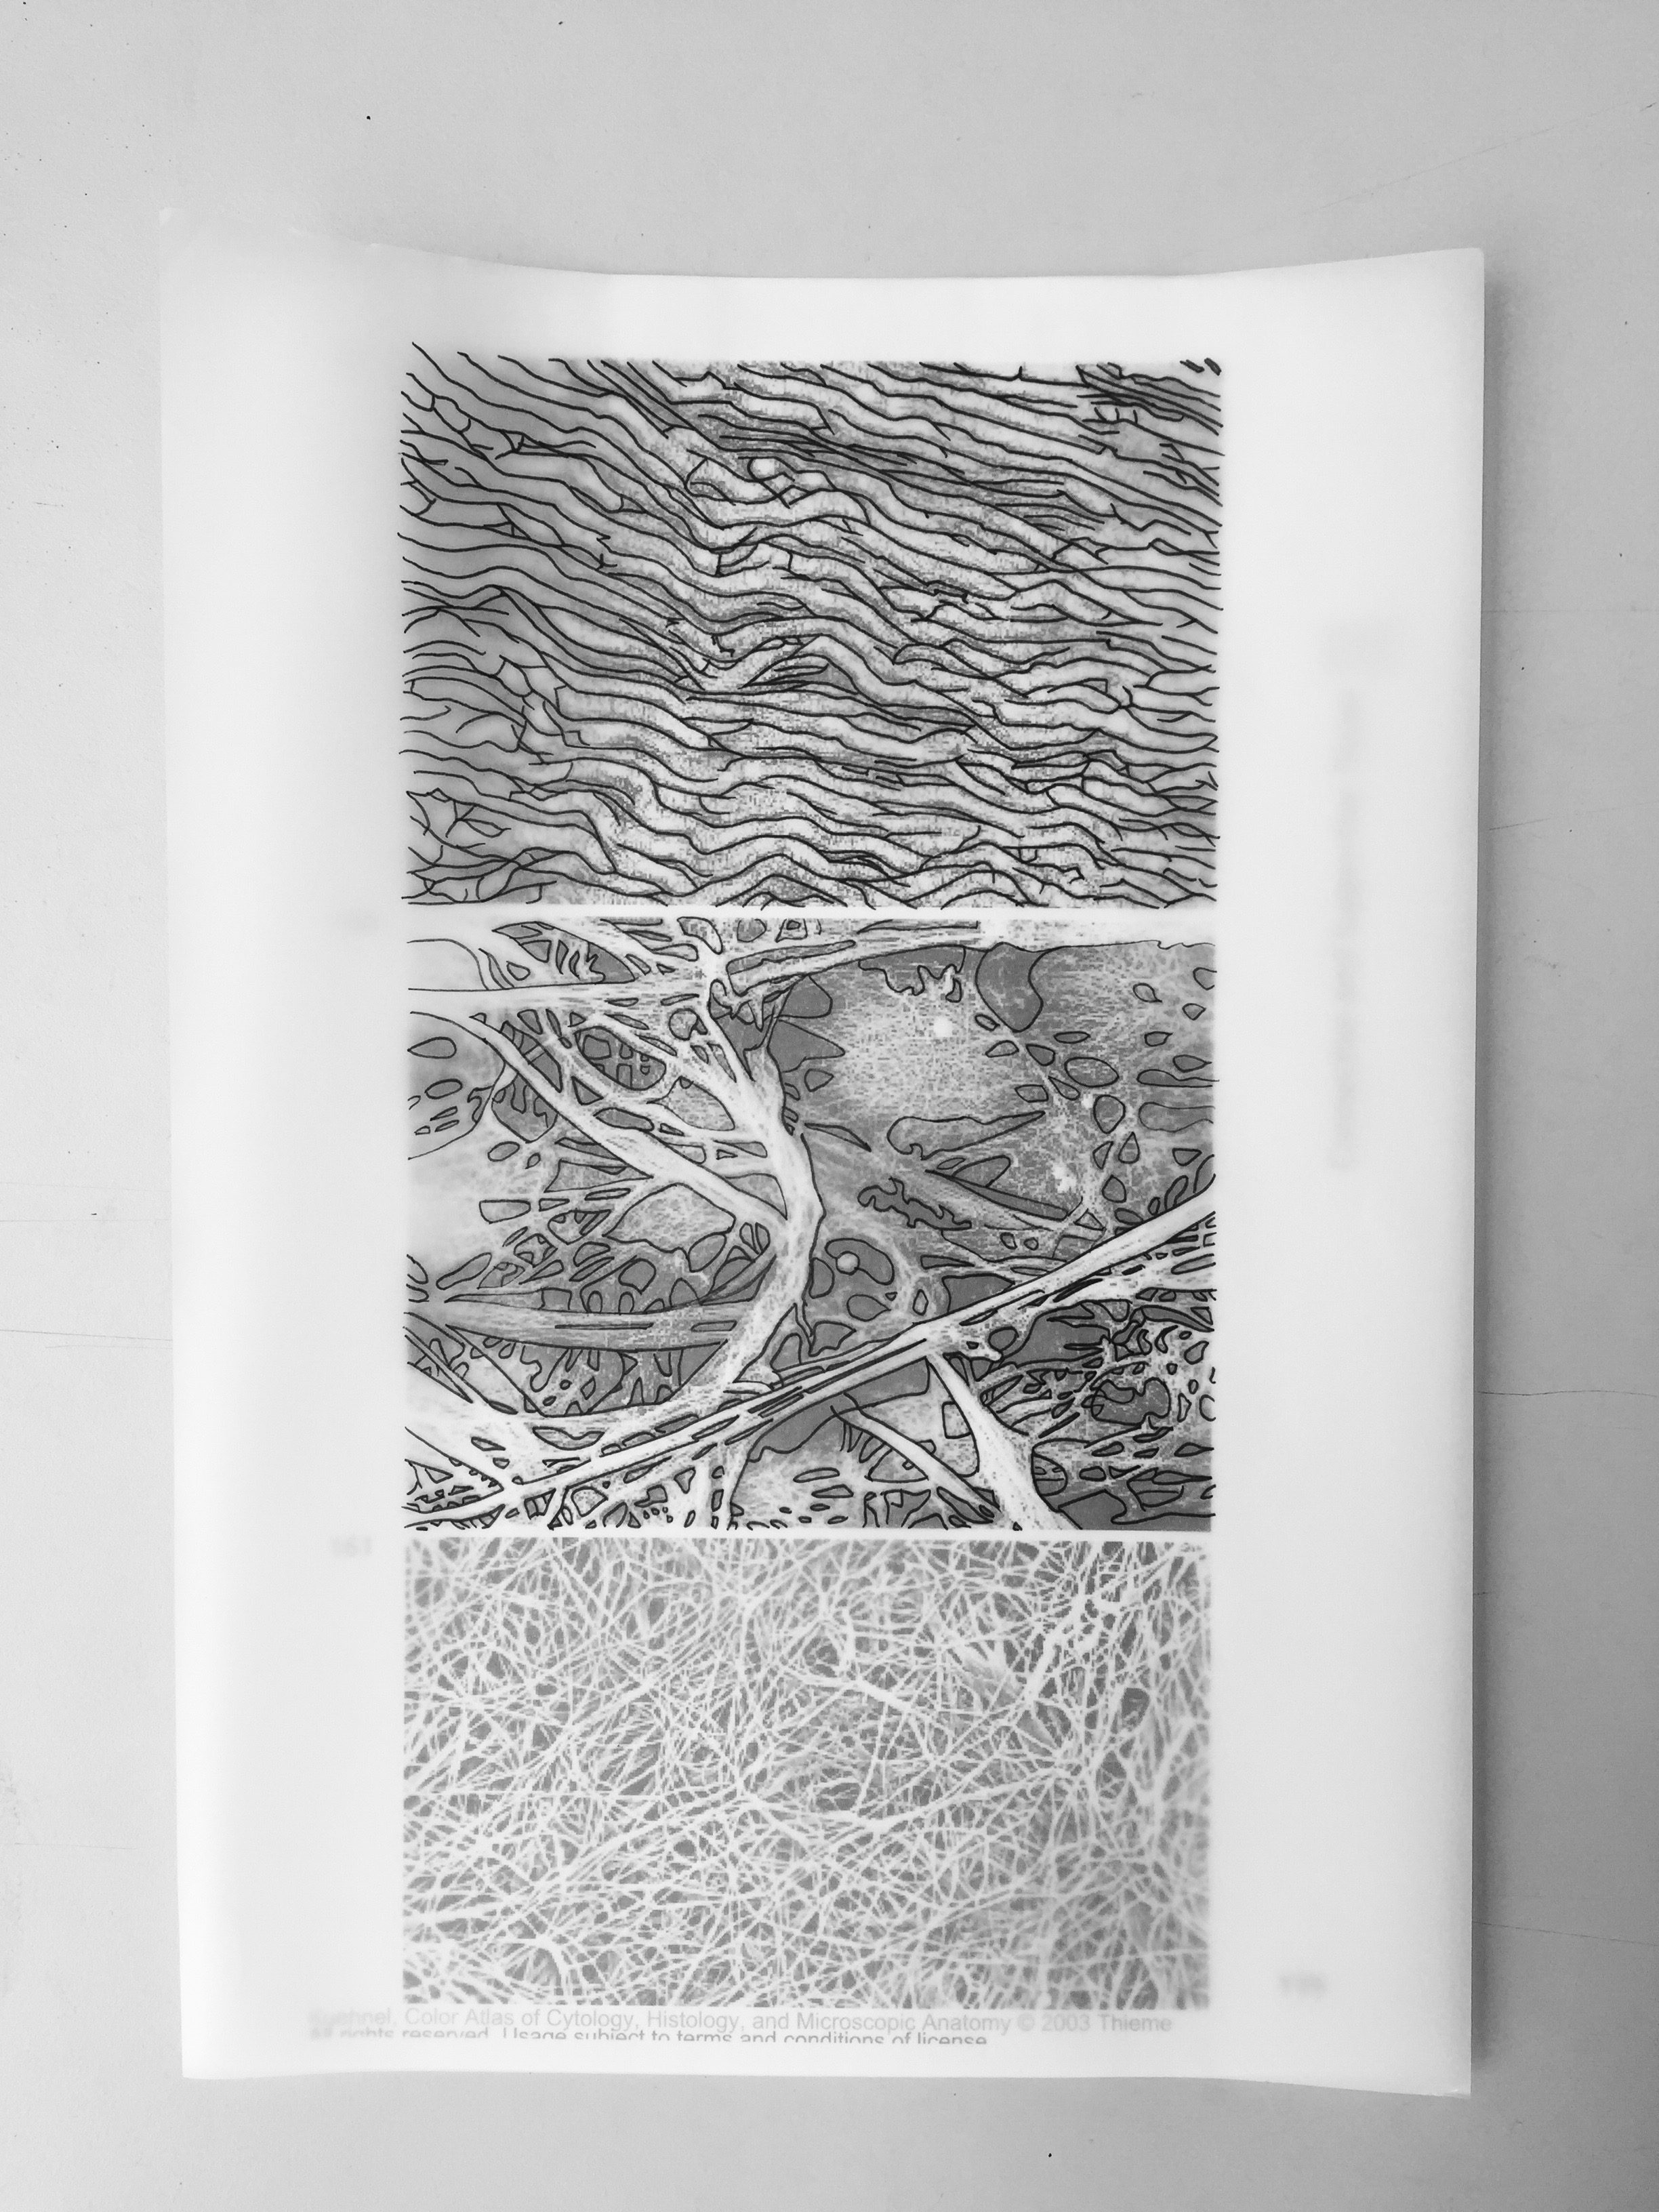
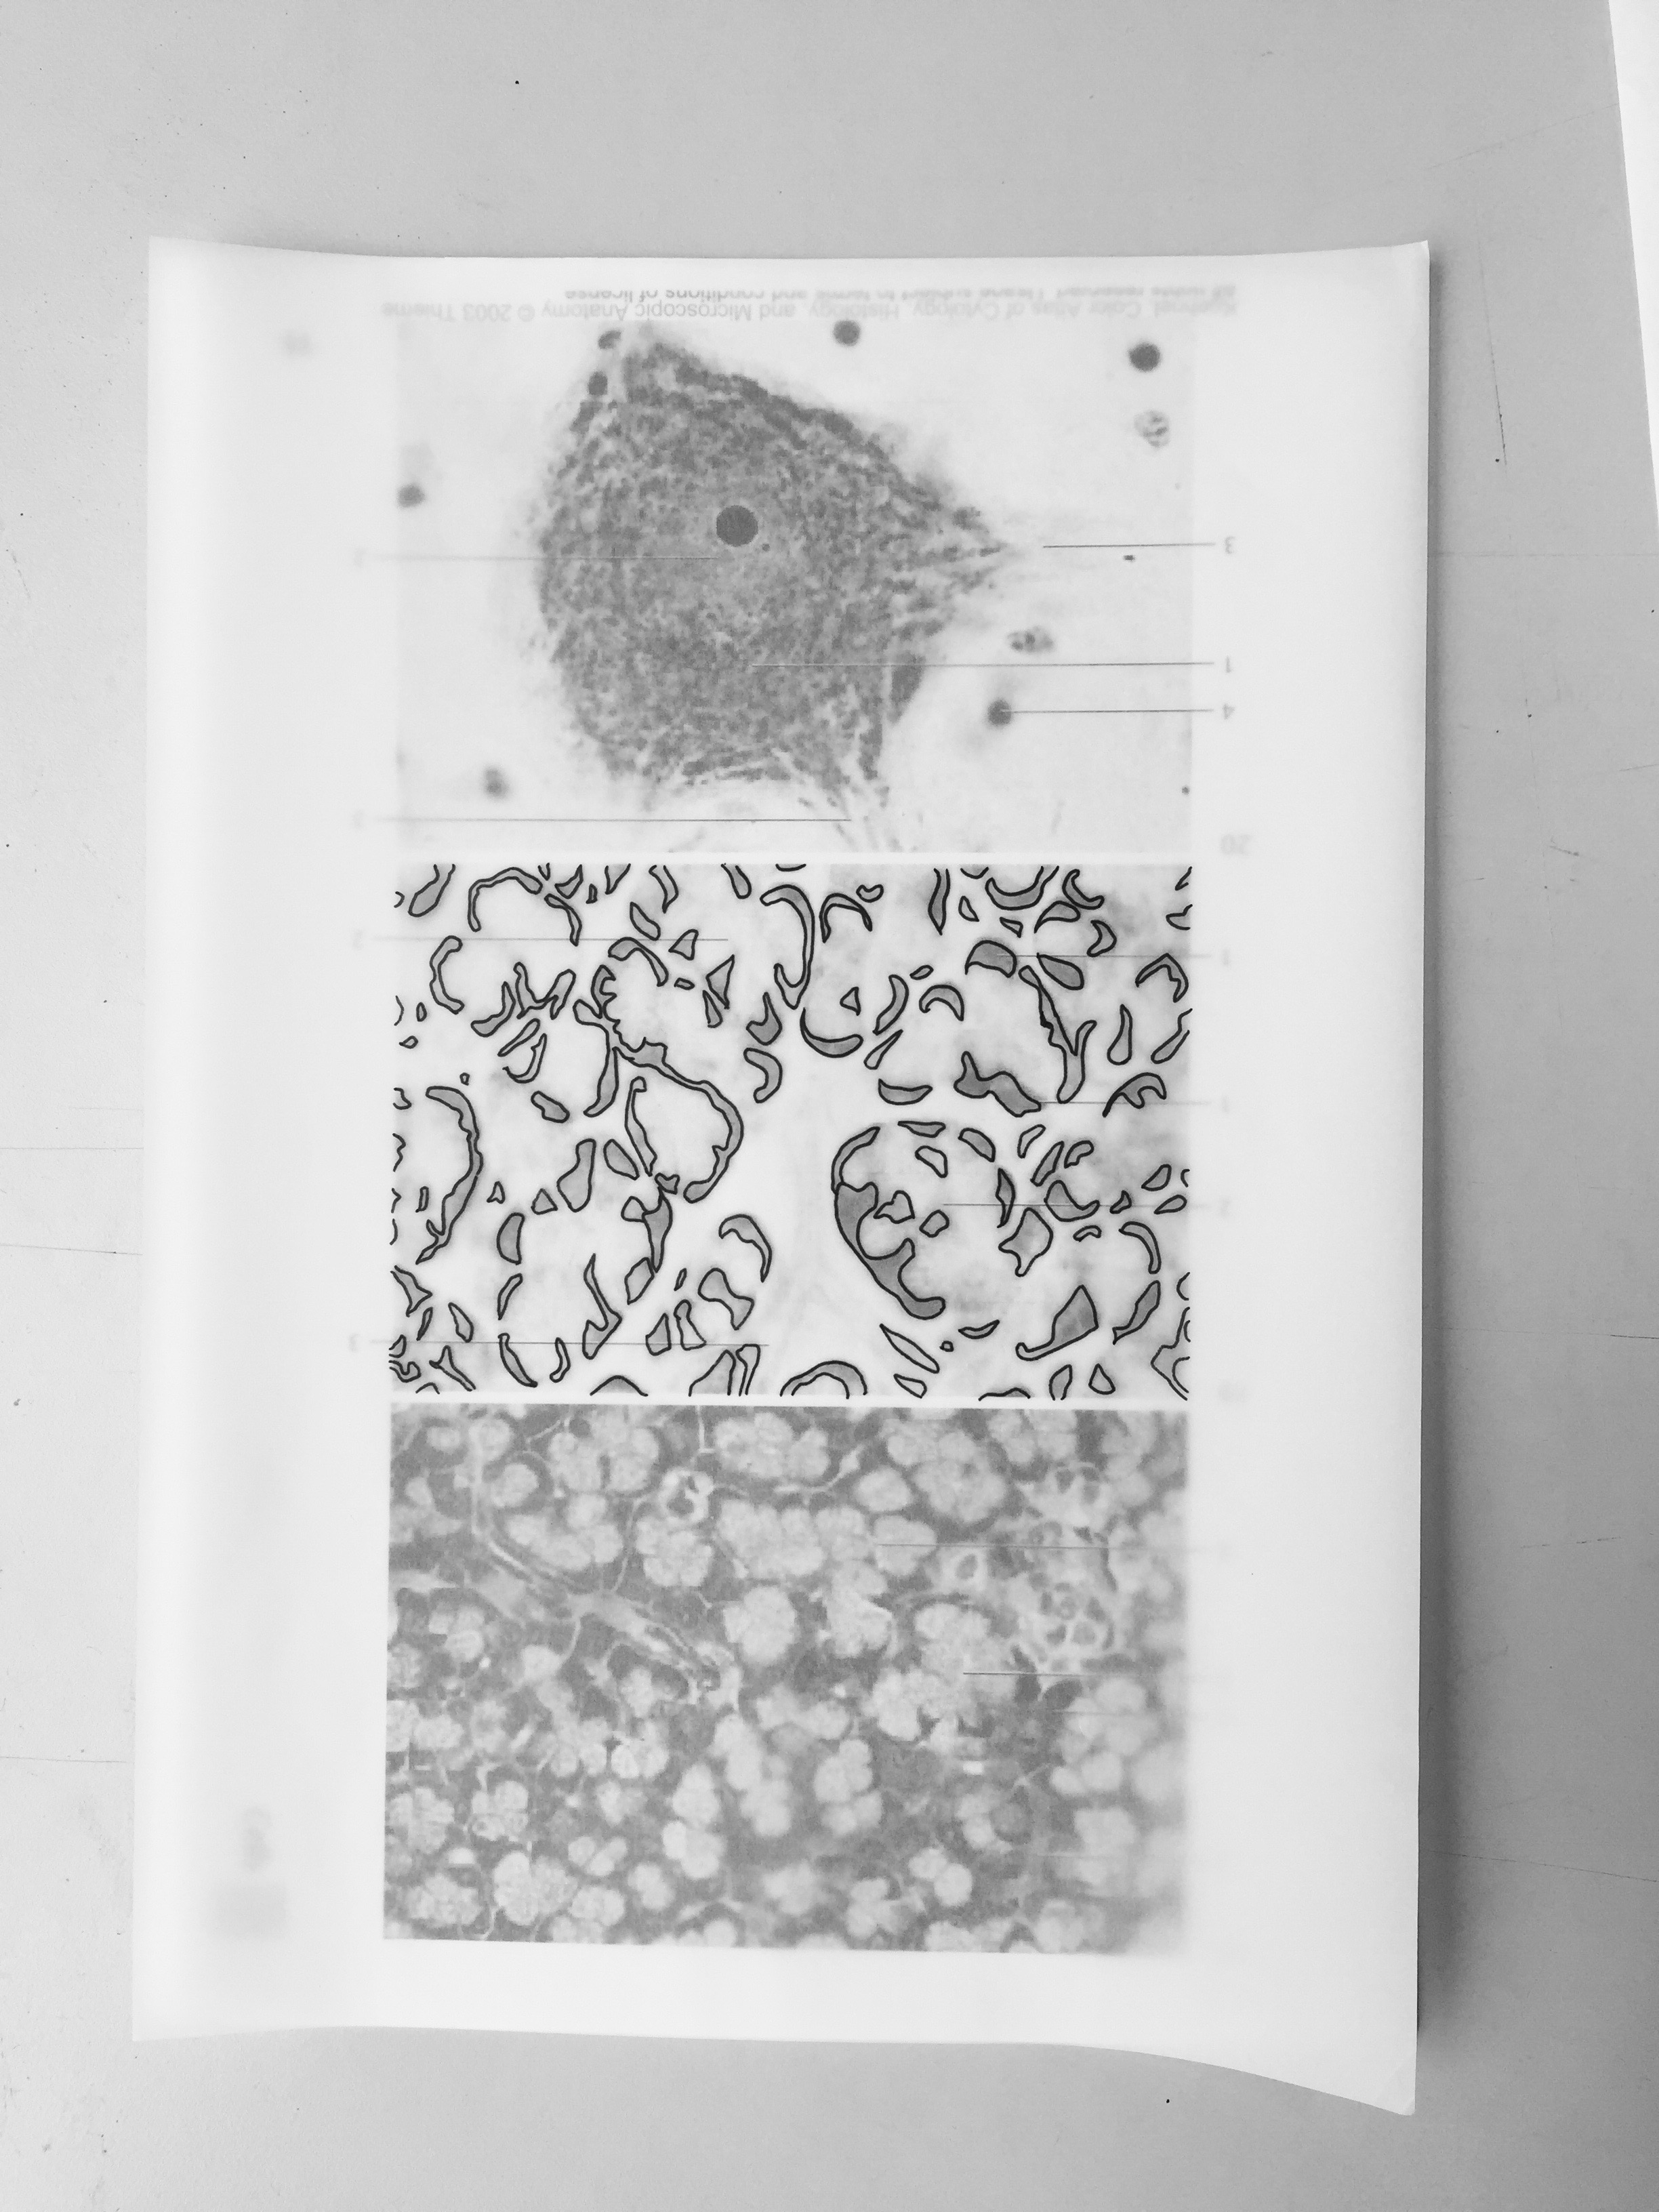
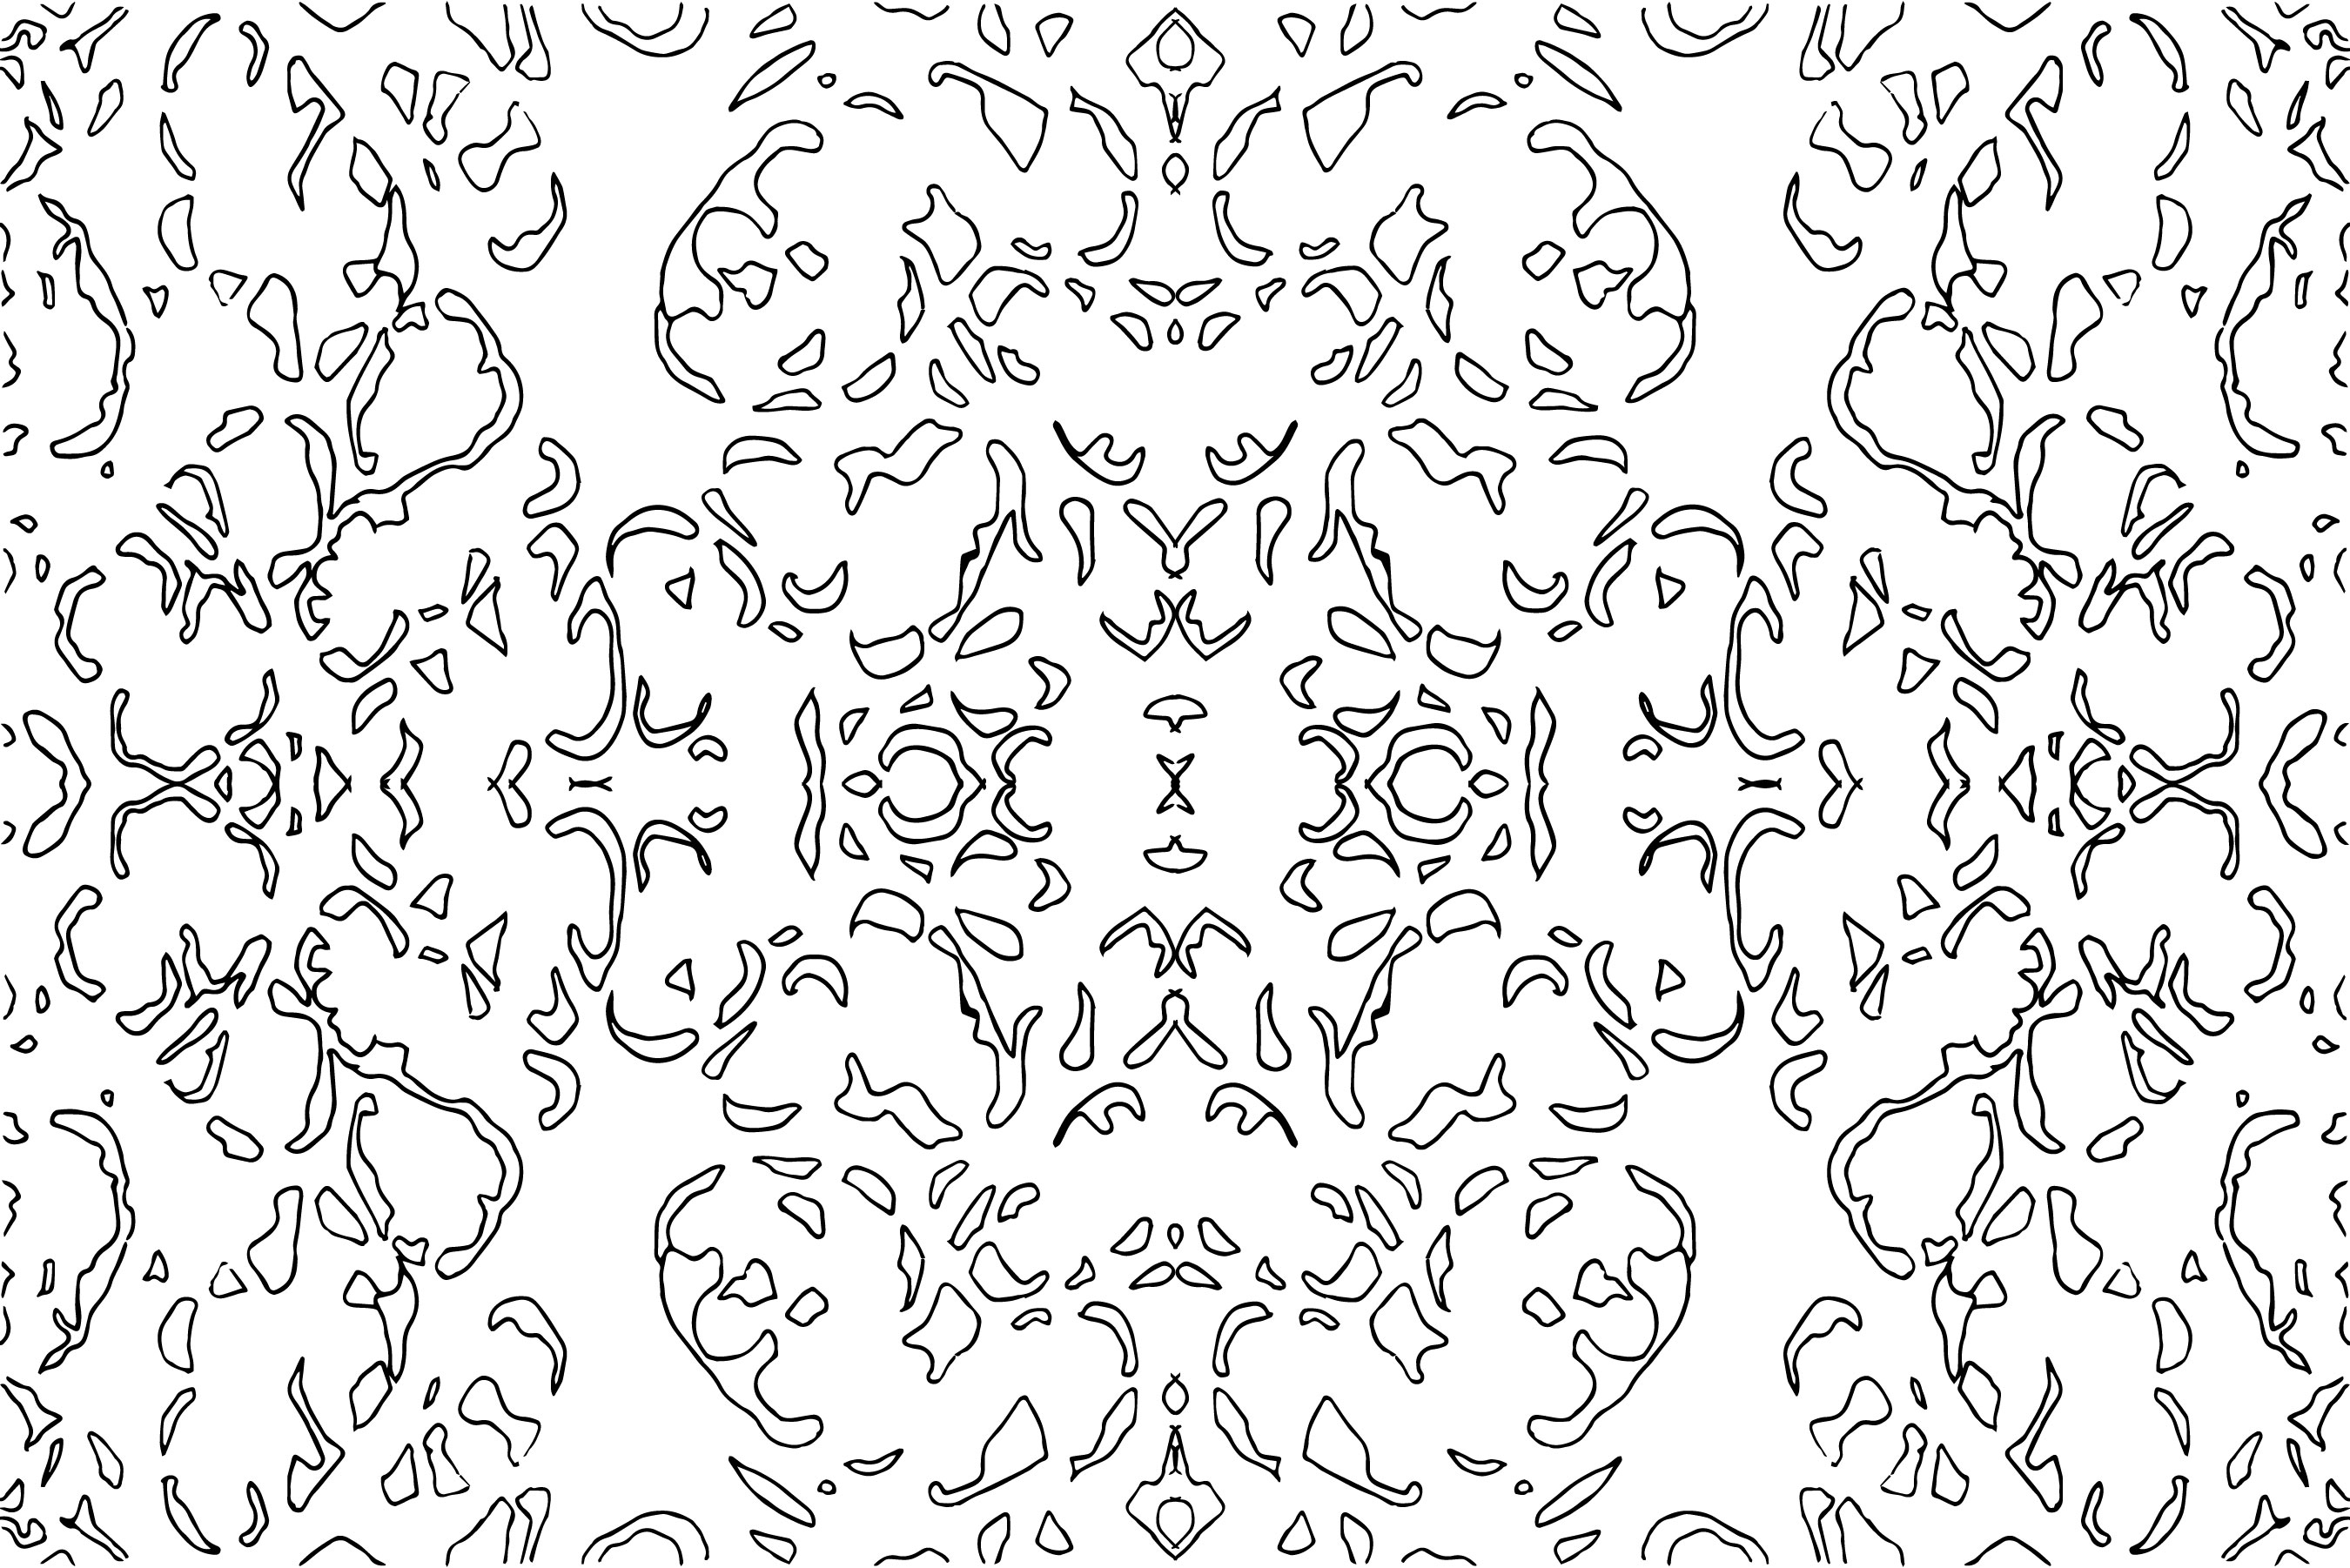
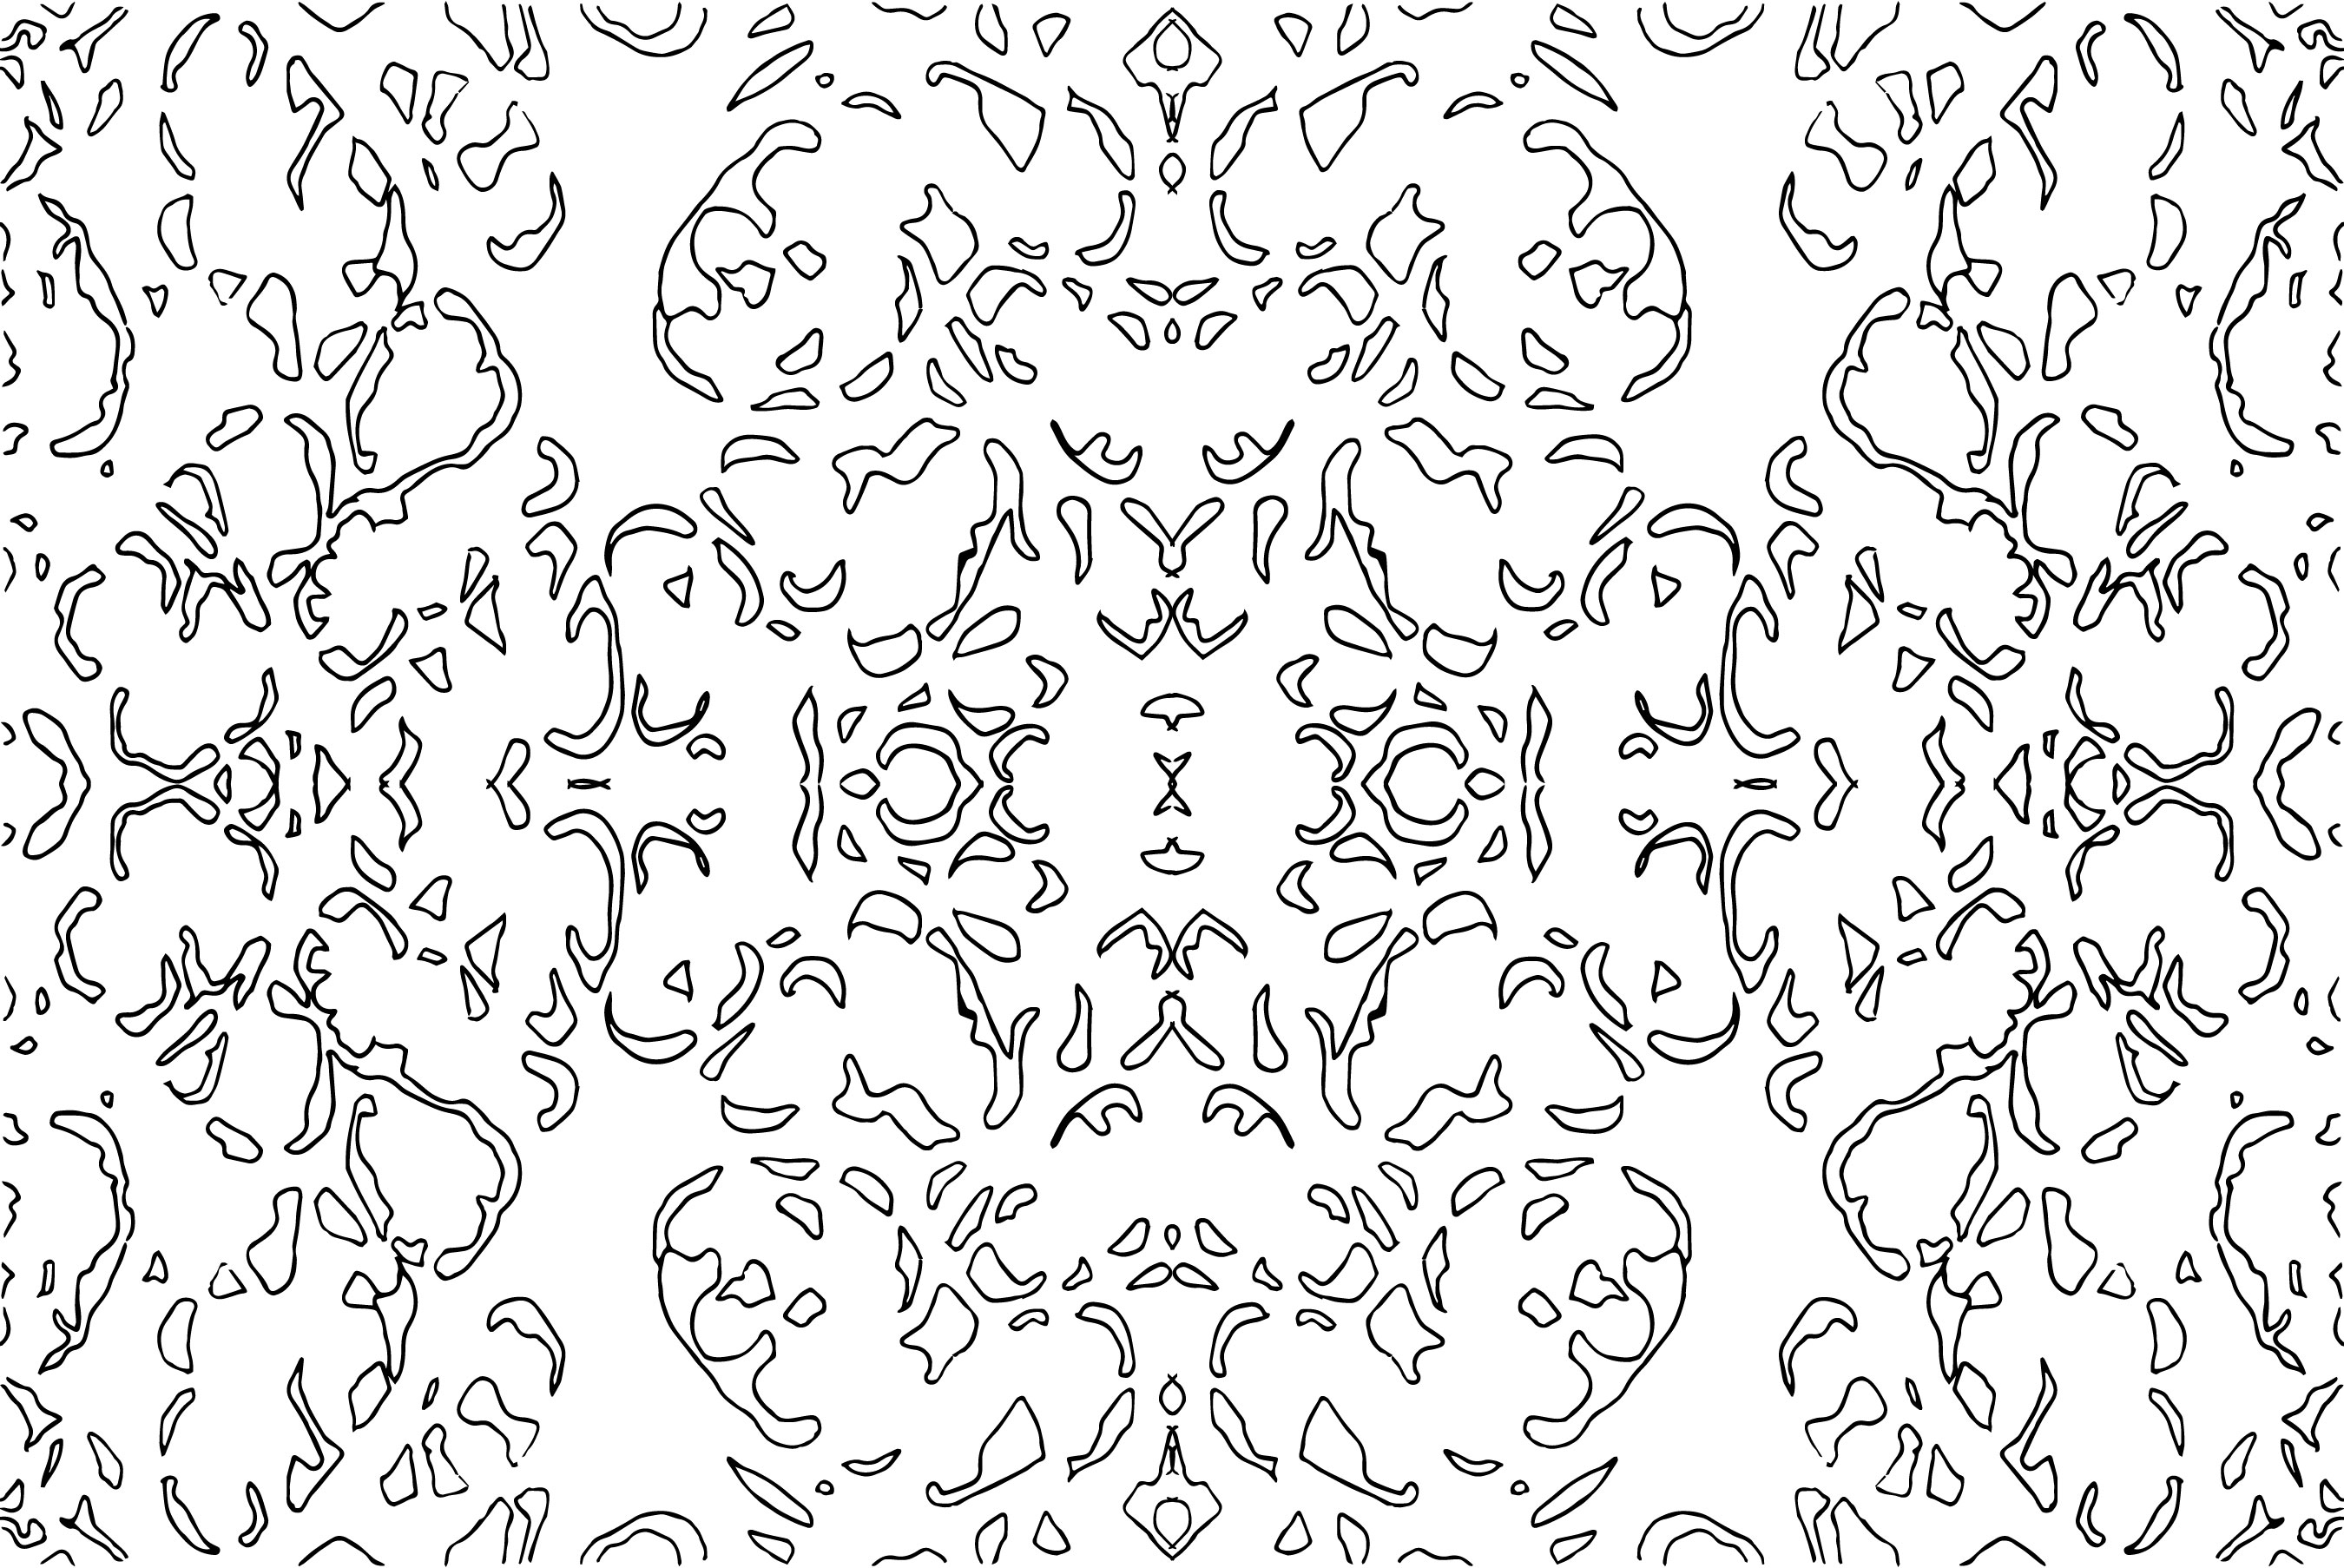
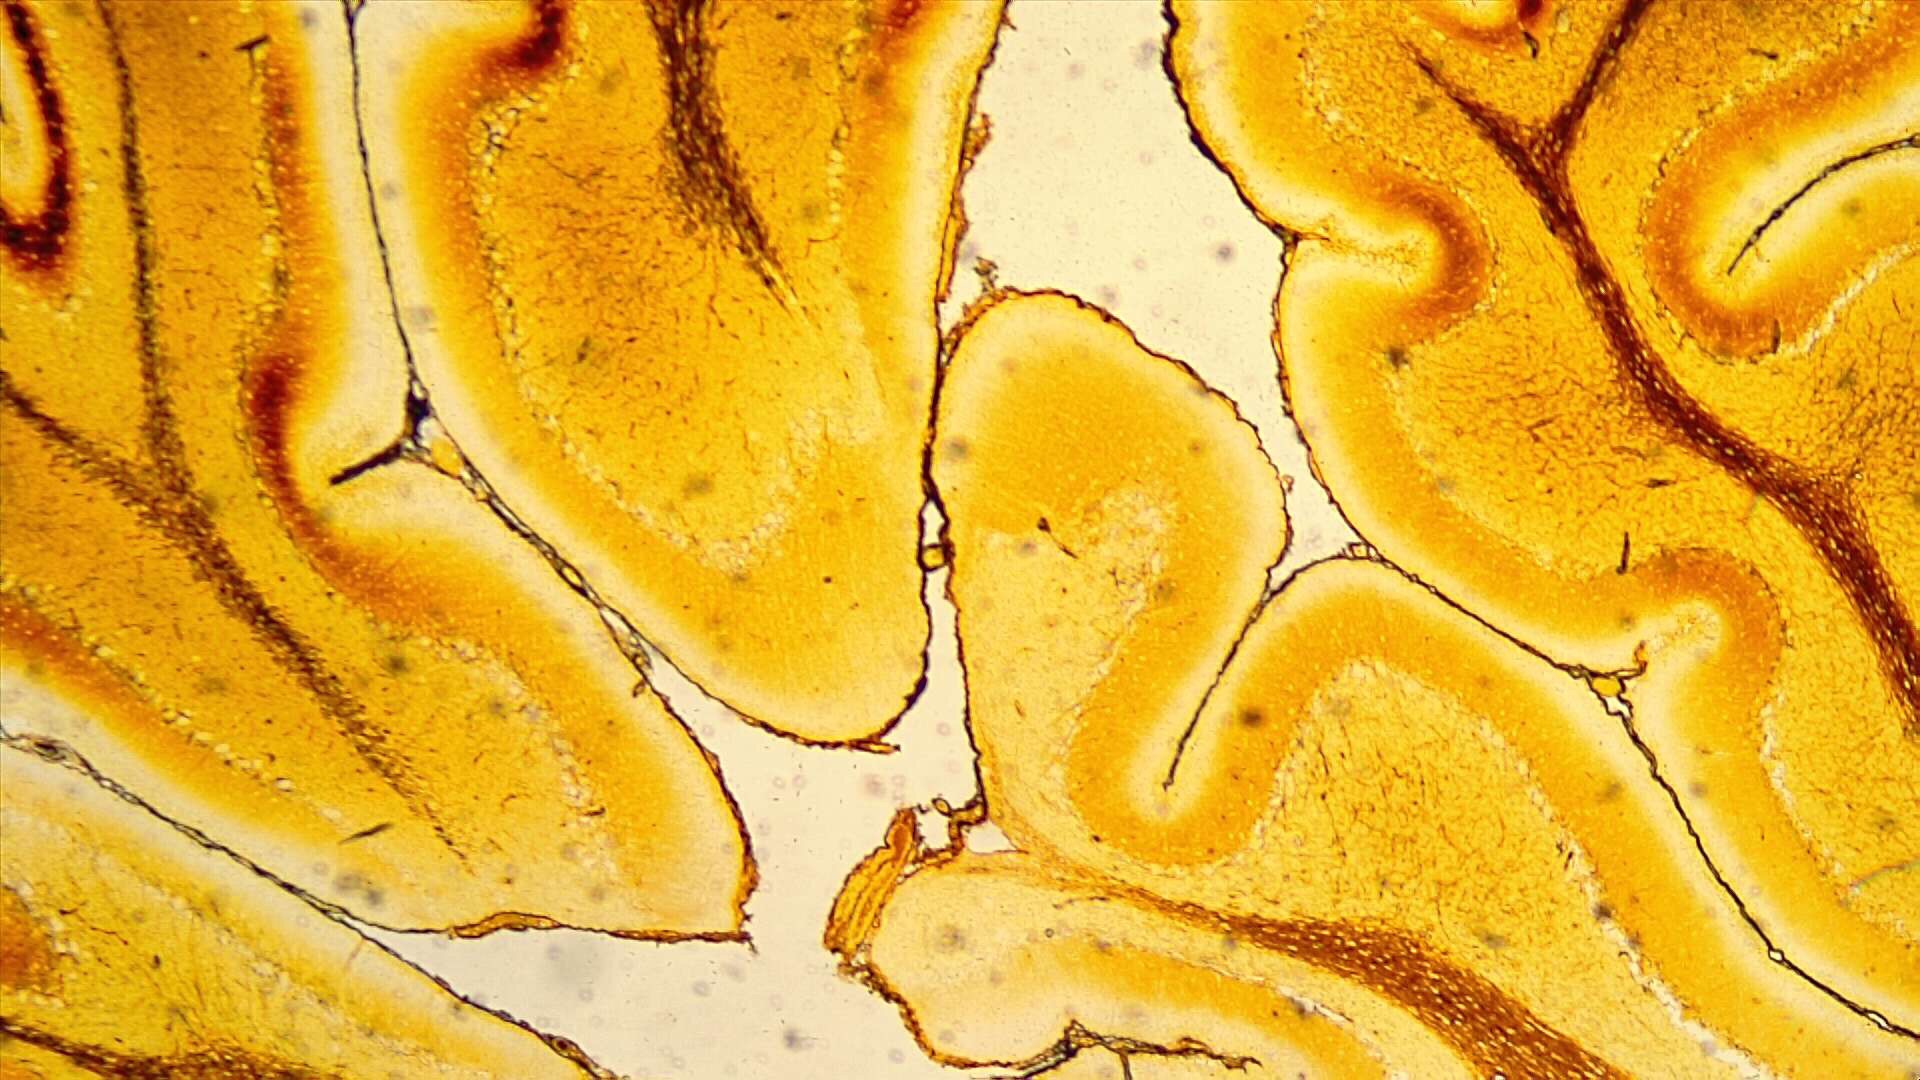
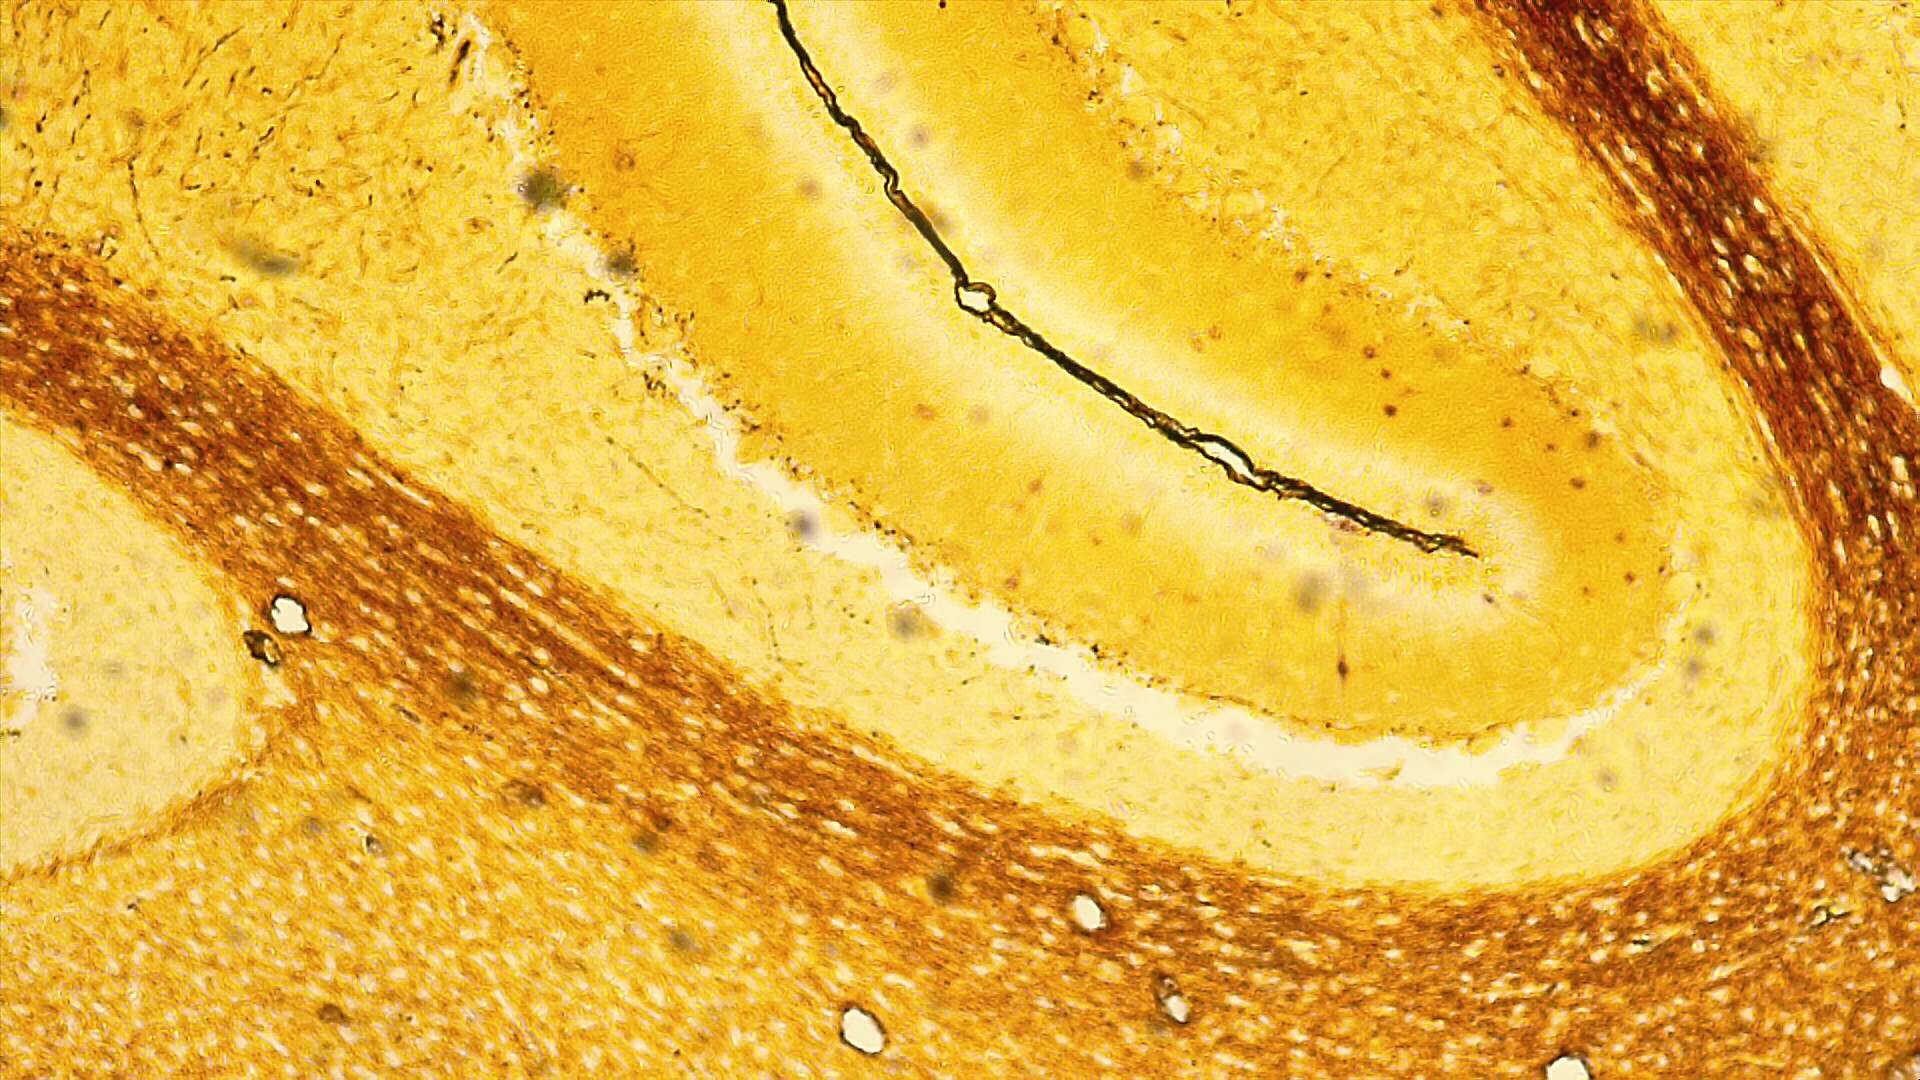
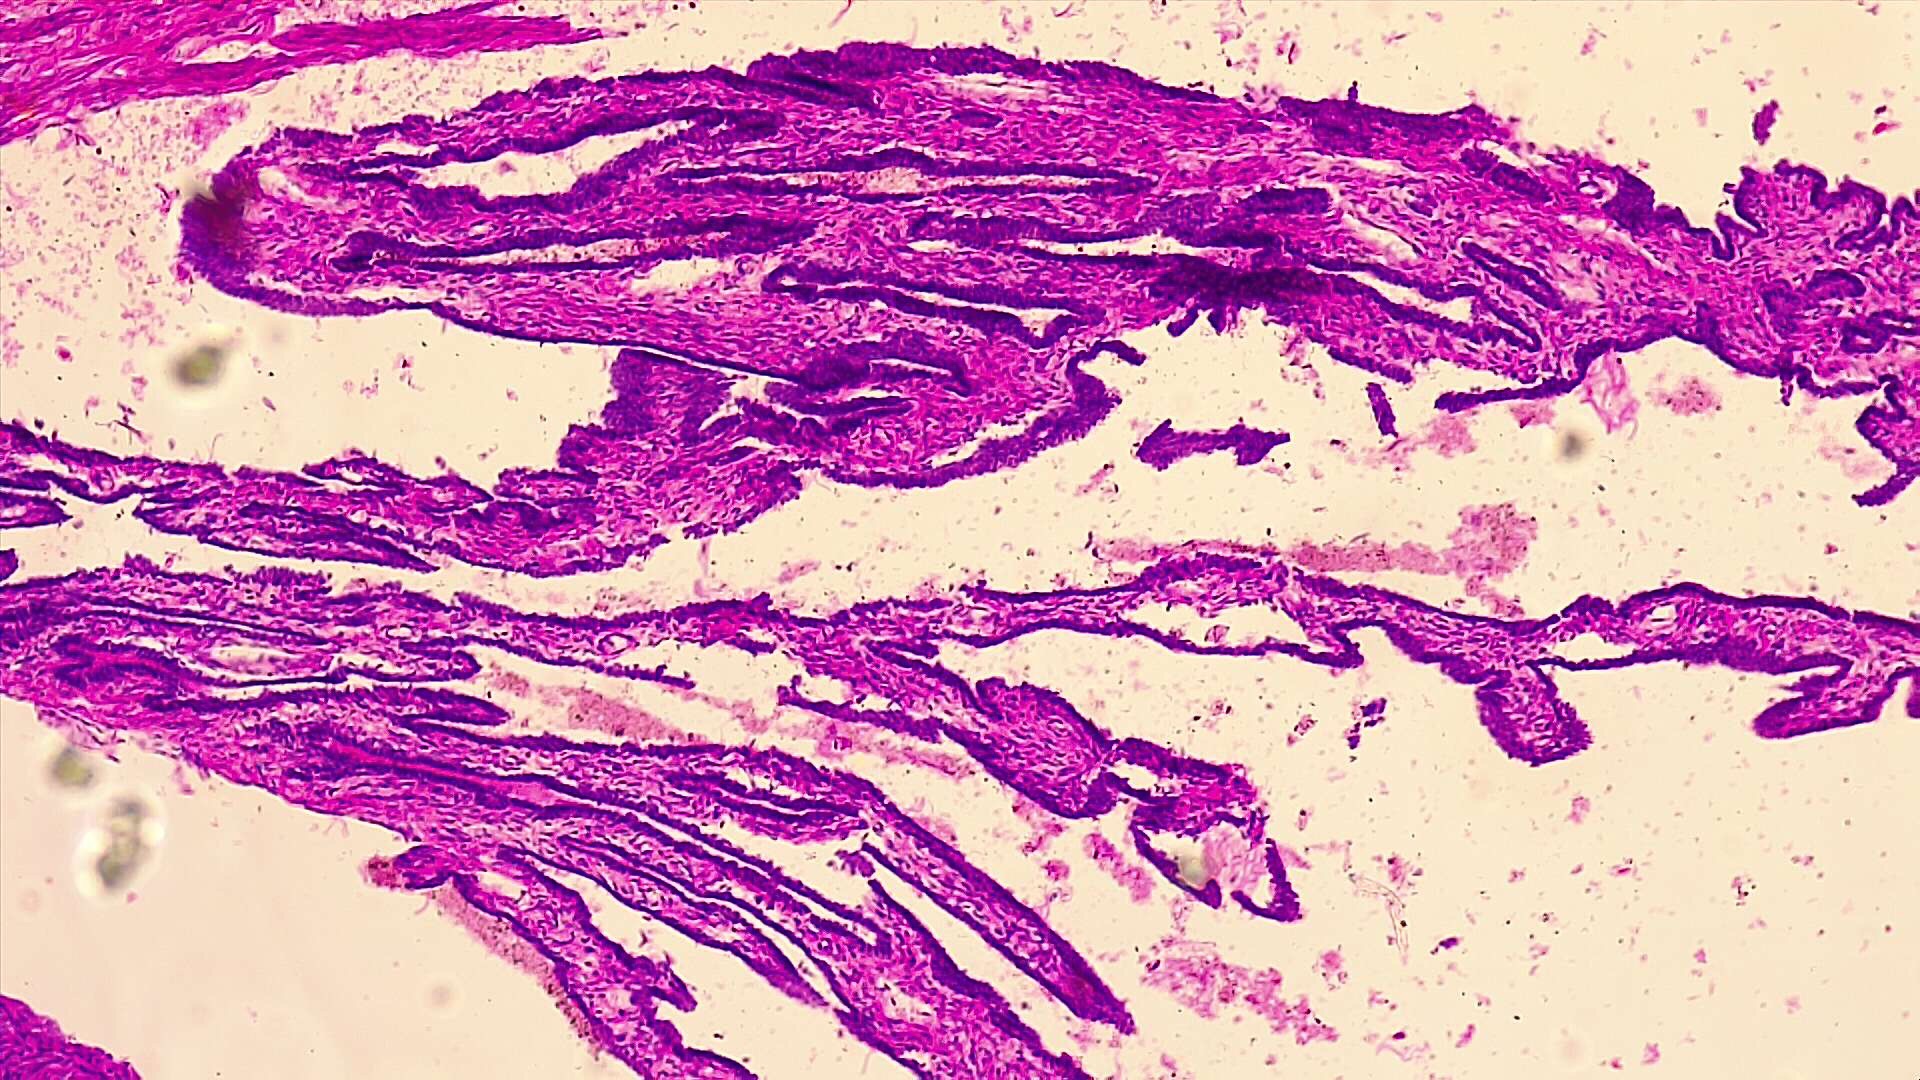
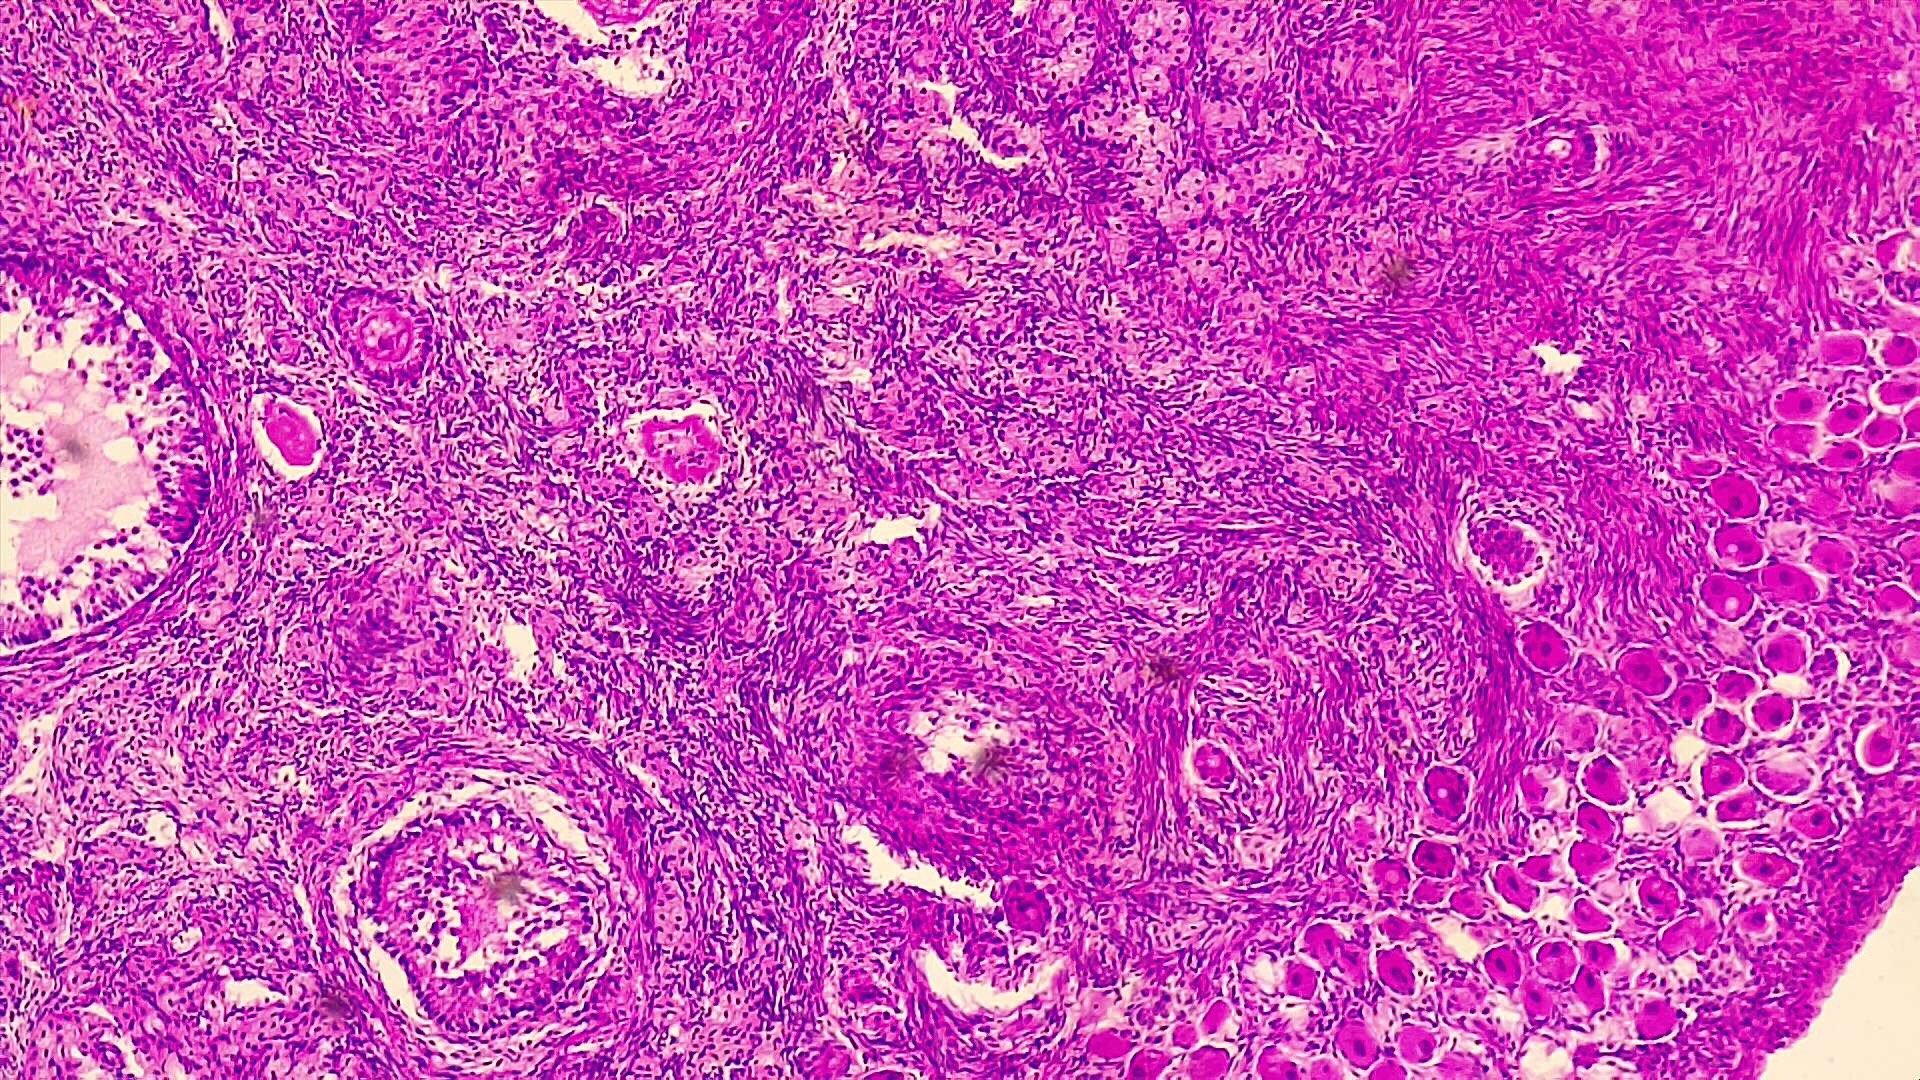
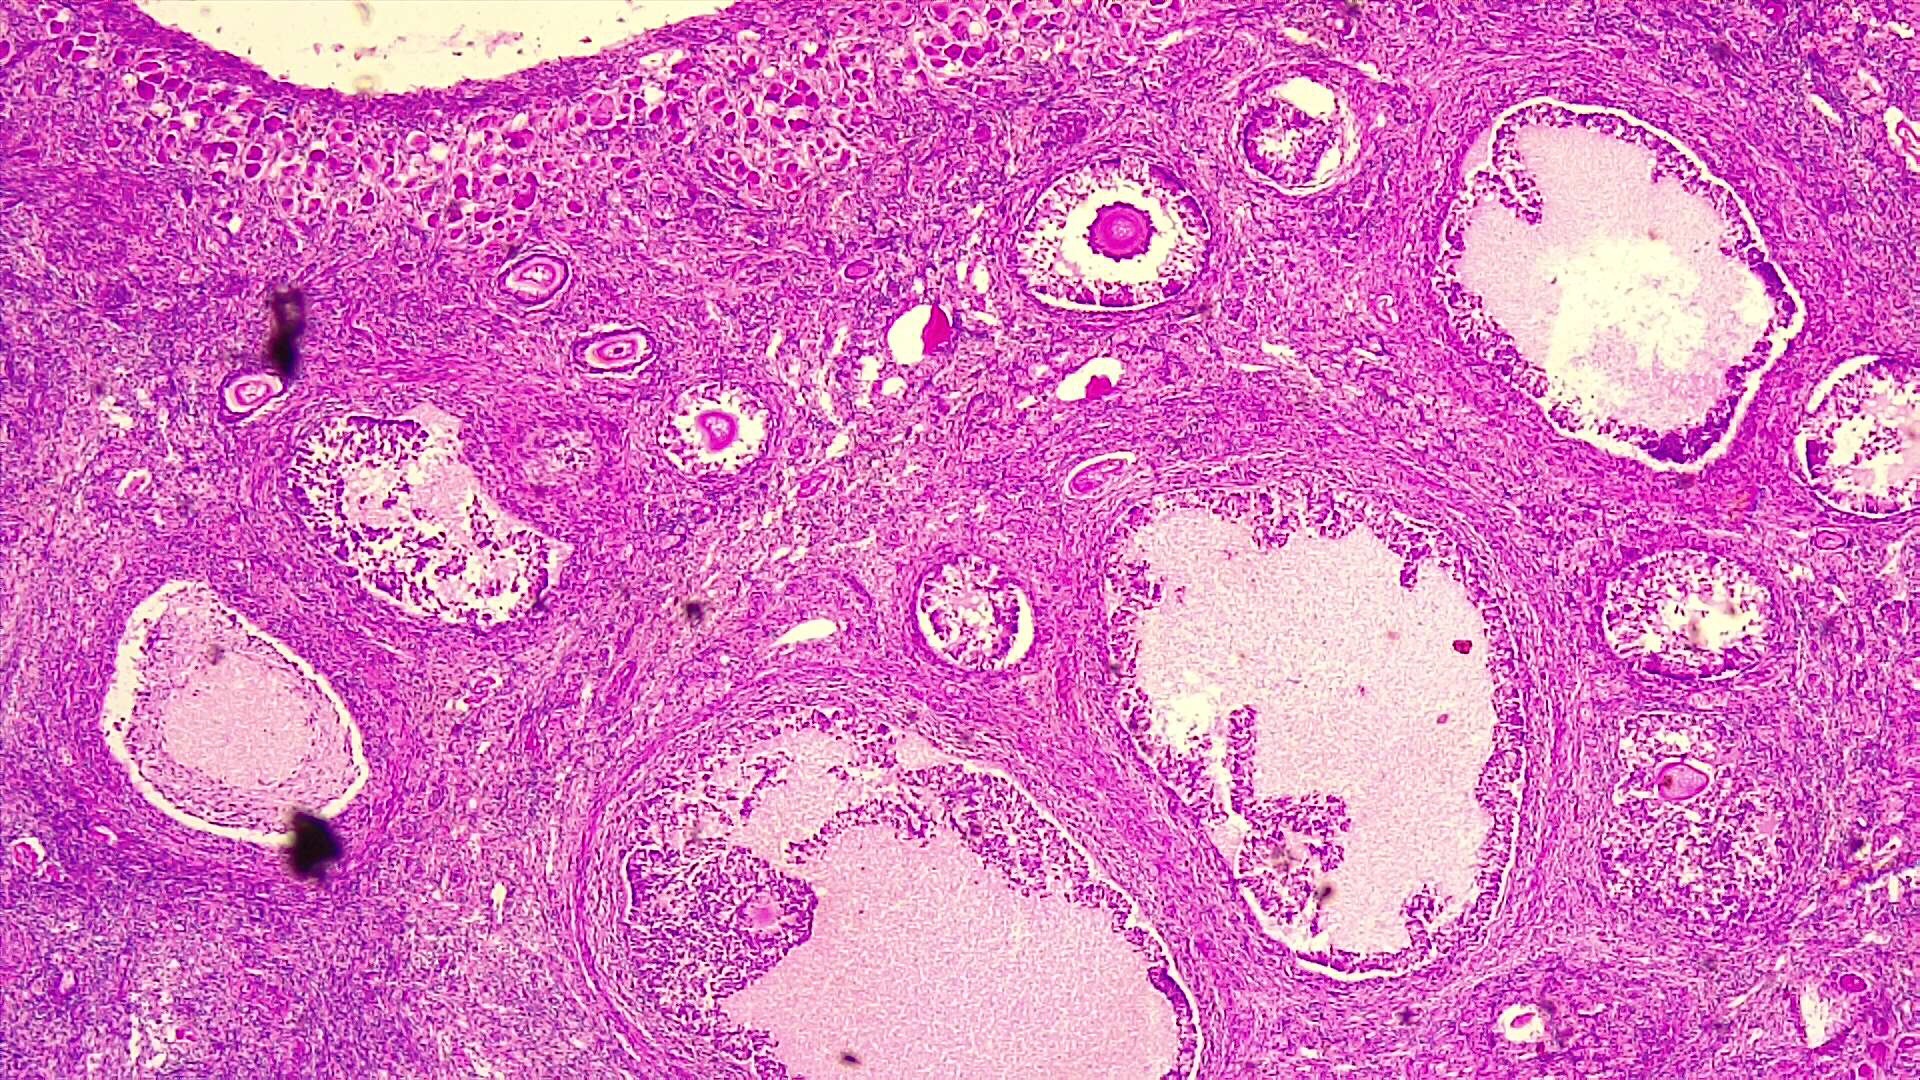
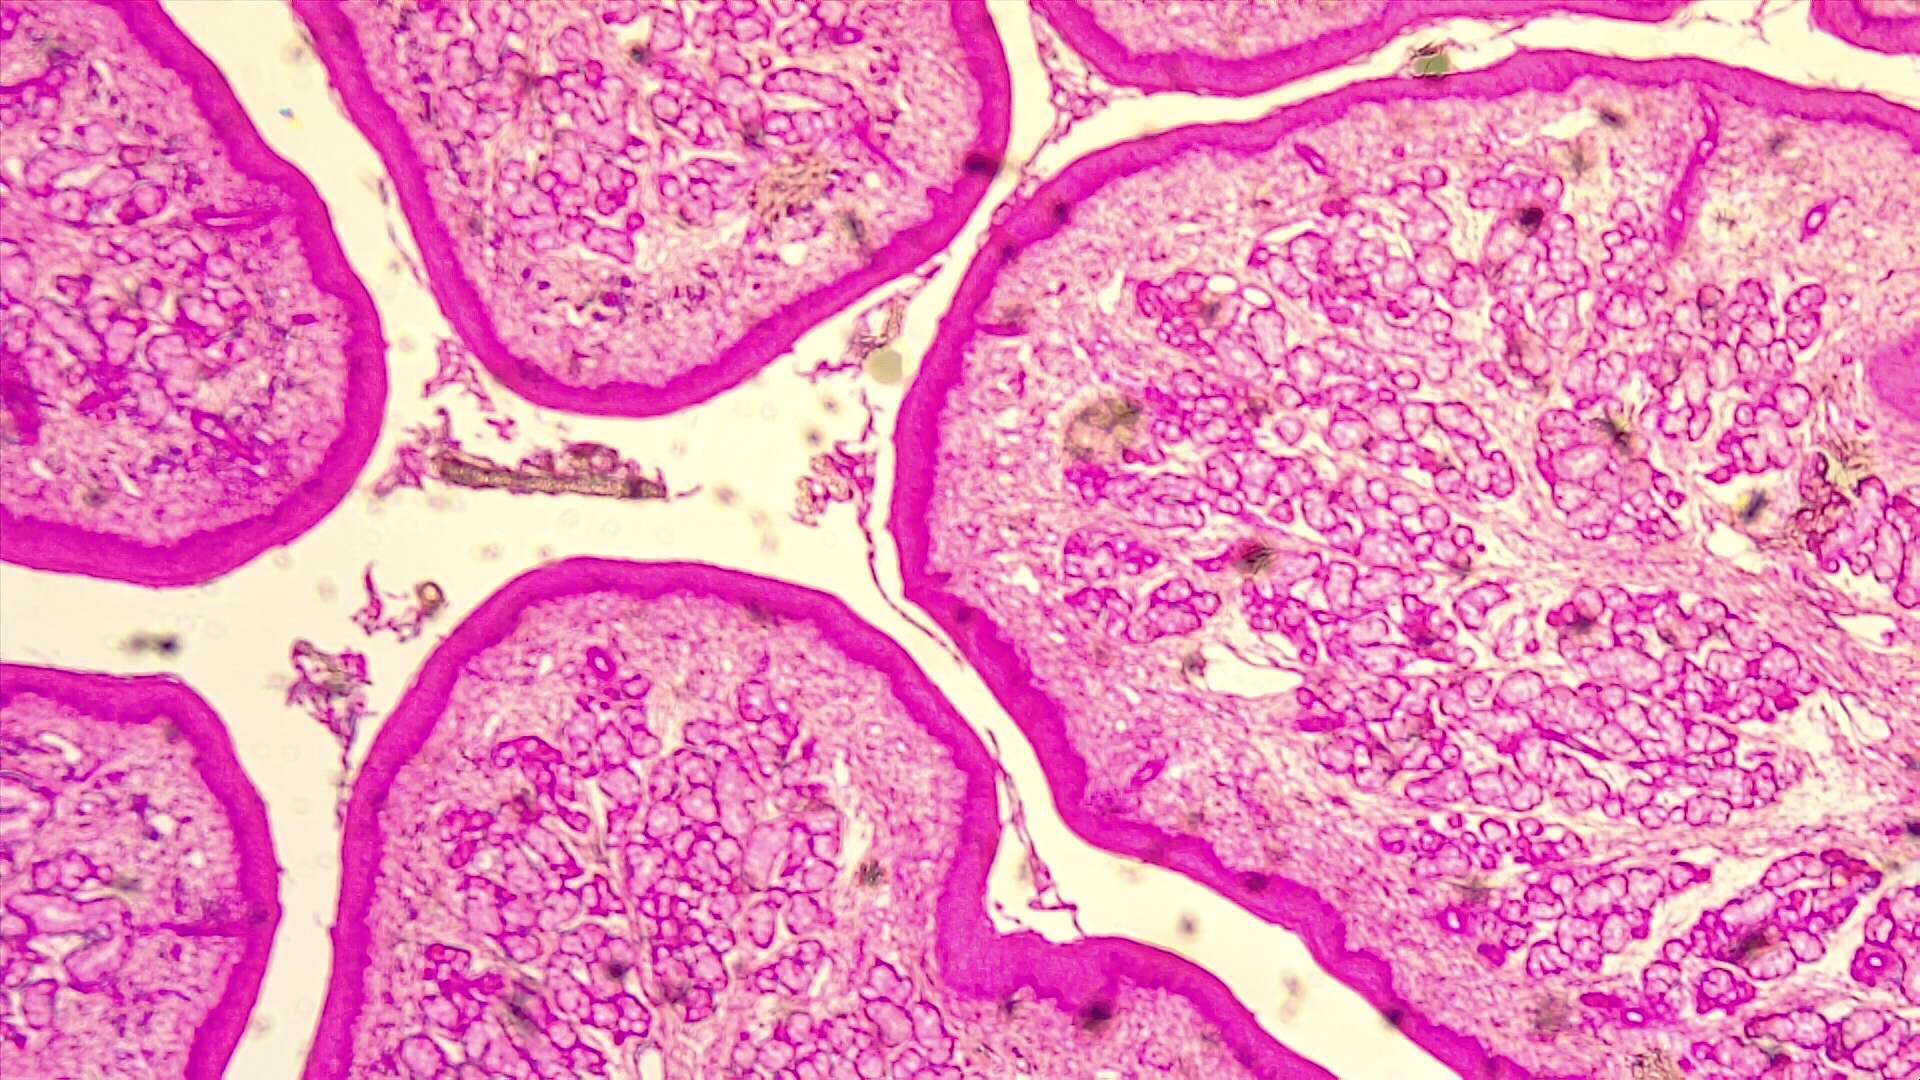
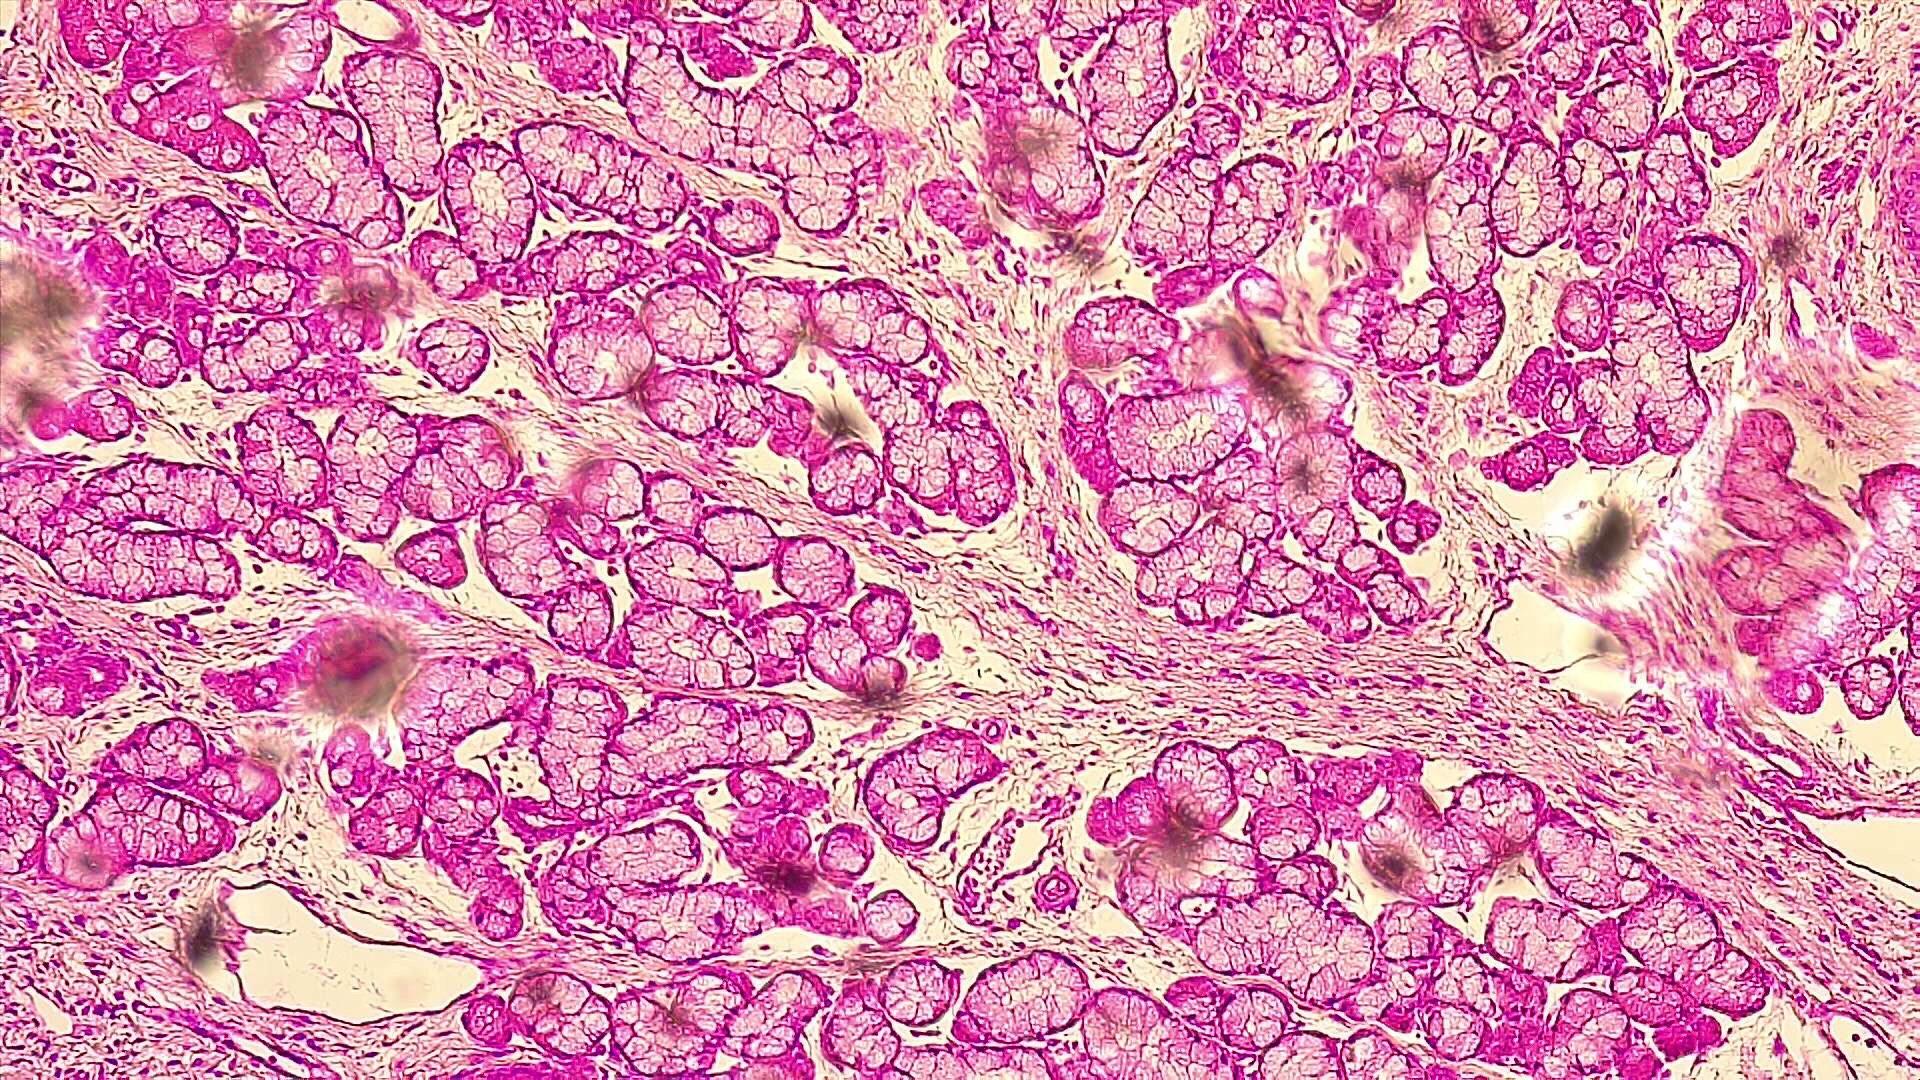
I selected a few of the samples, and did a screenshot of what I studied:
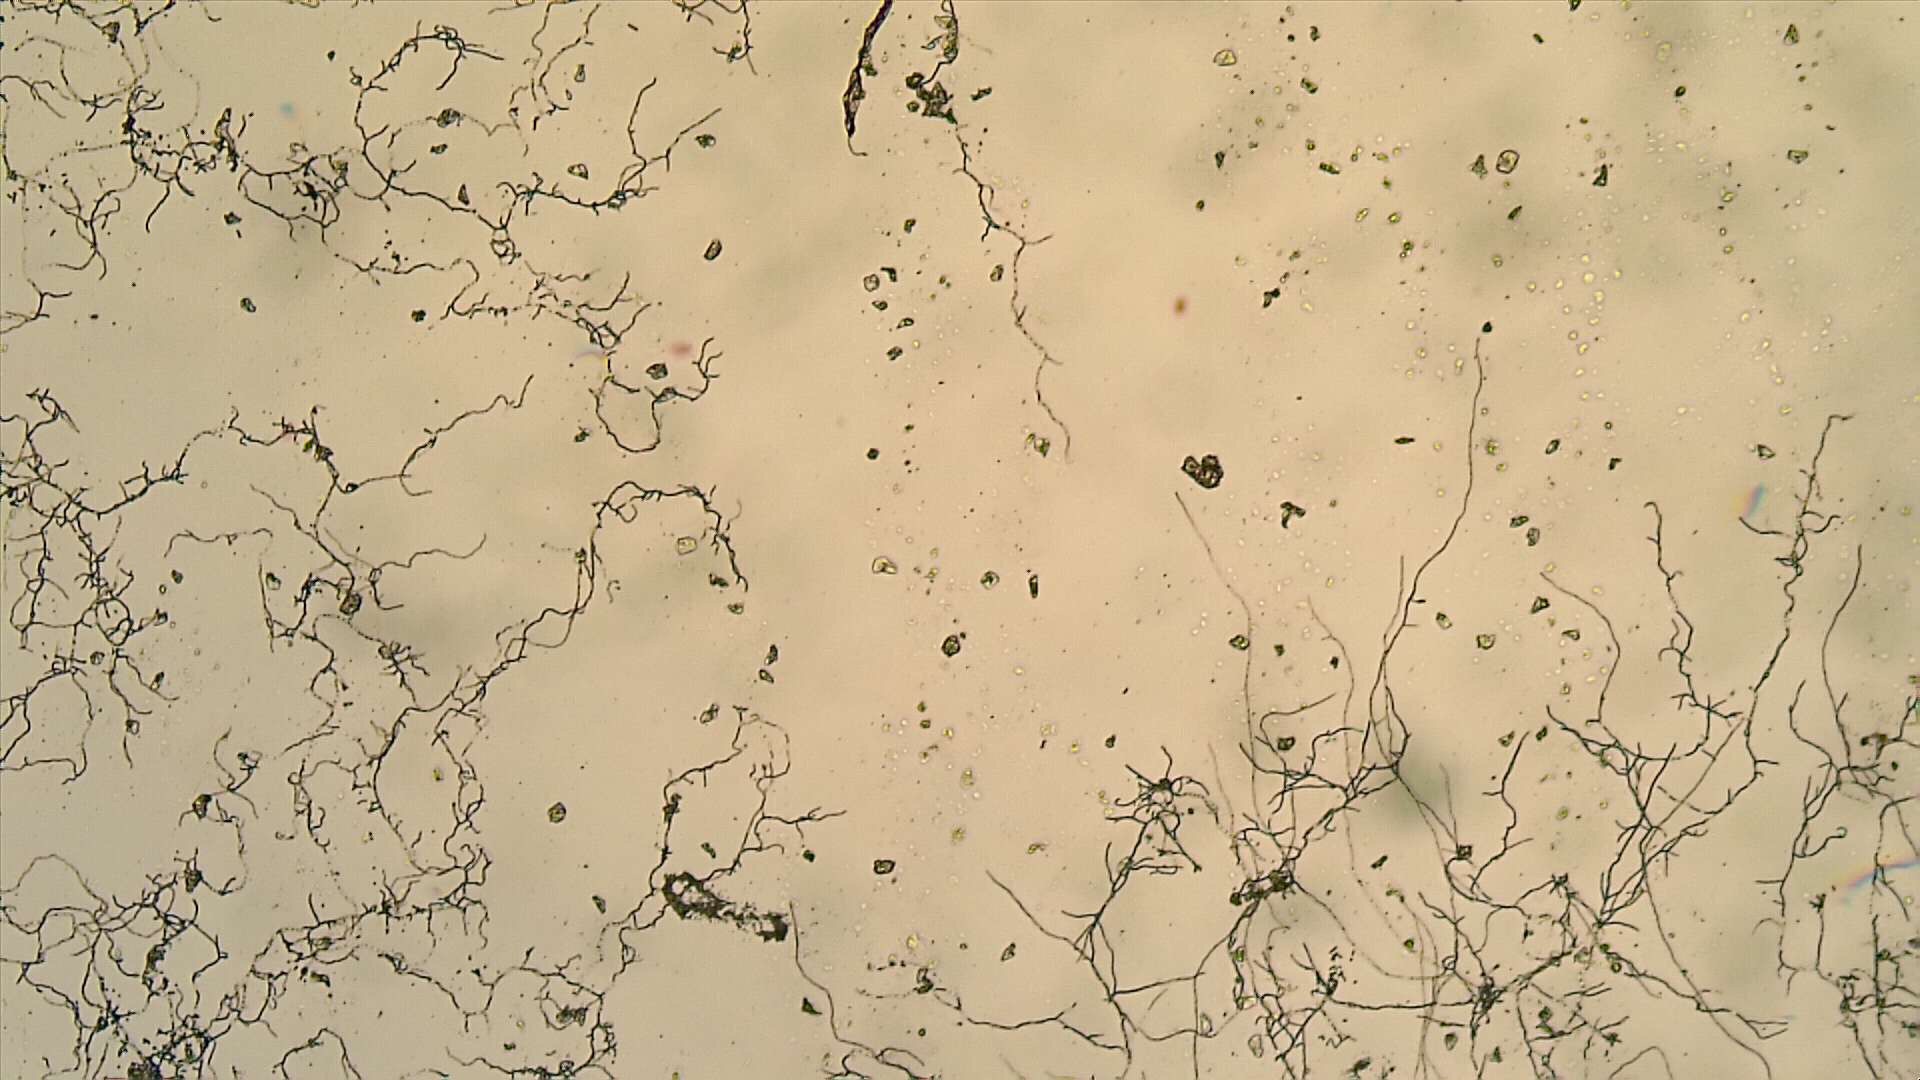
Mammal Cerebellum
Human Spinal Cord

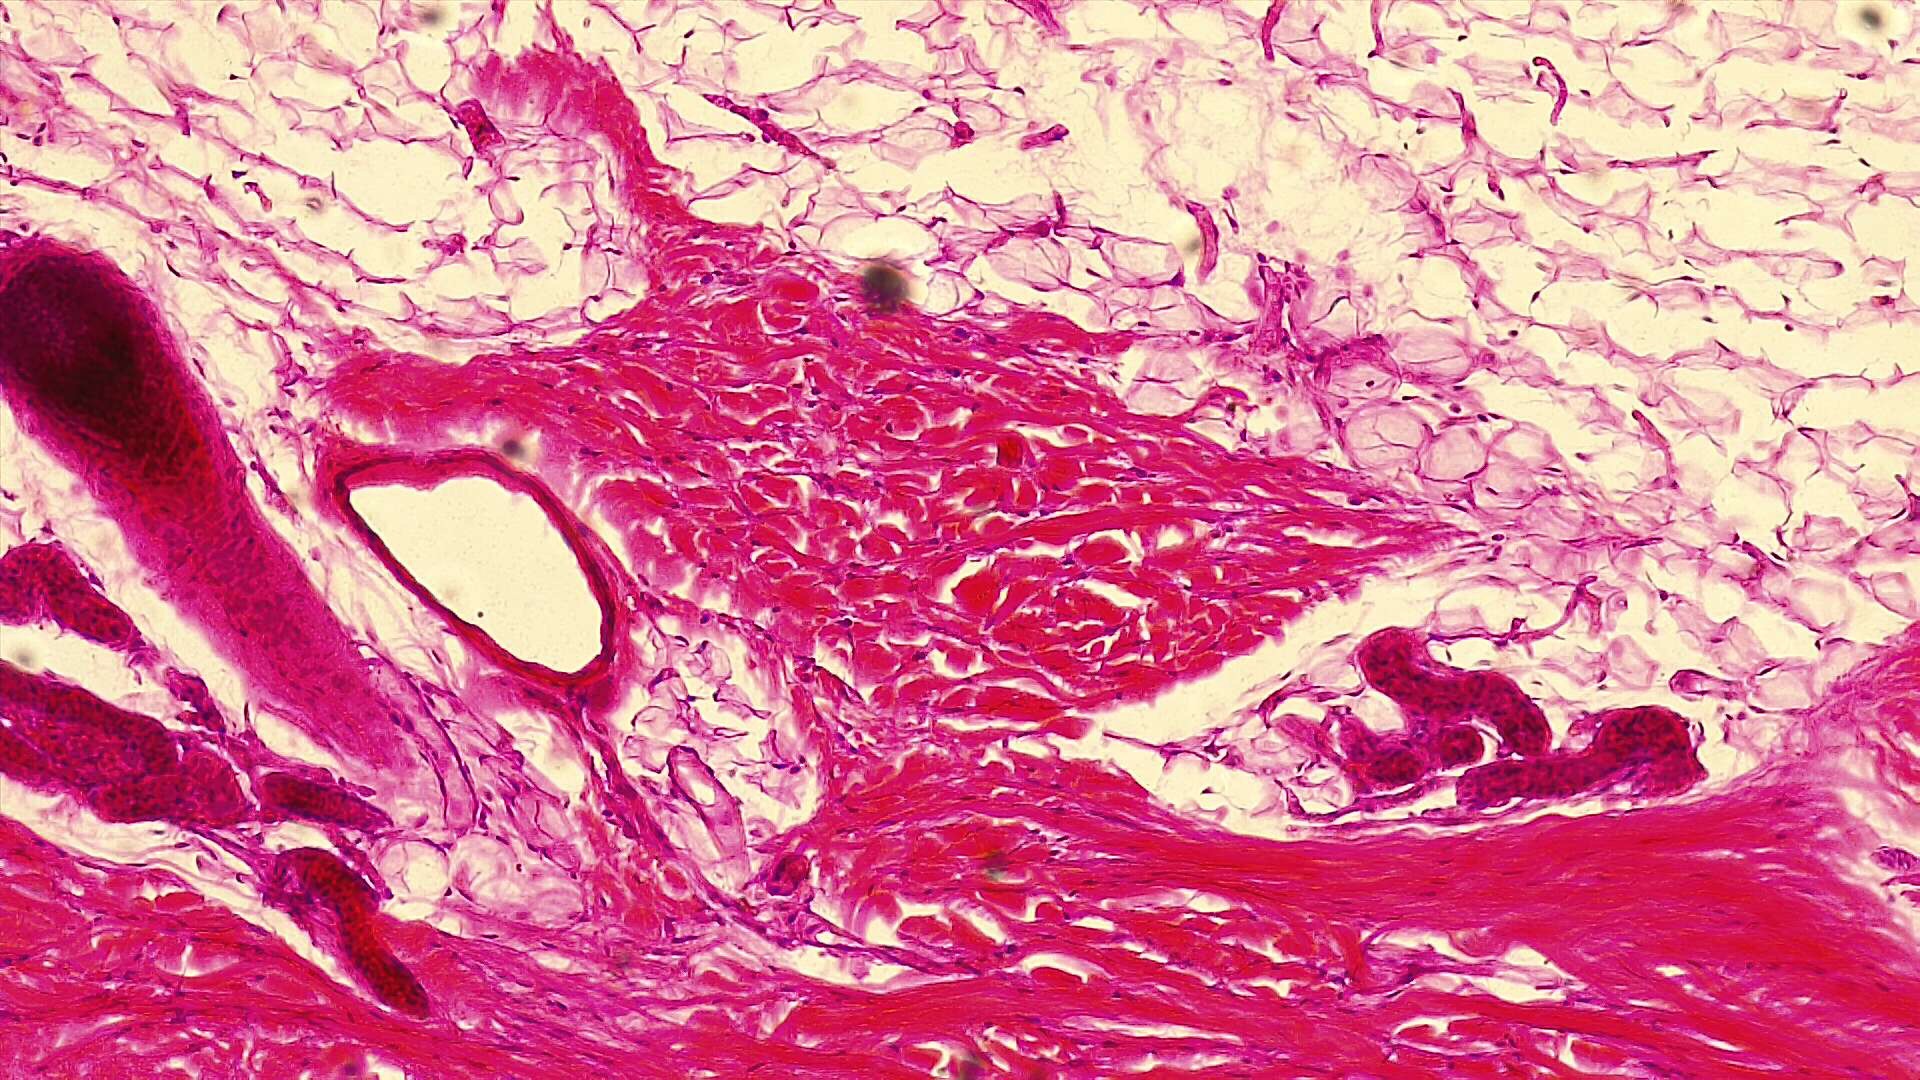
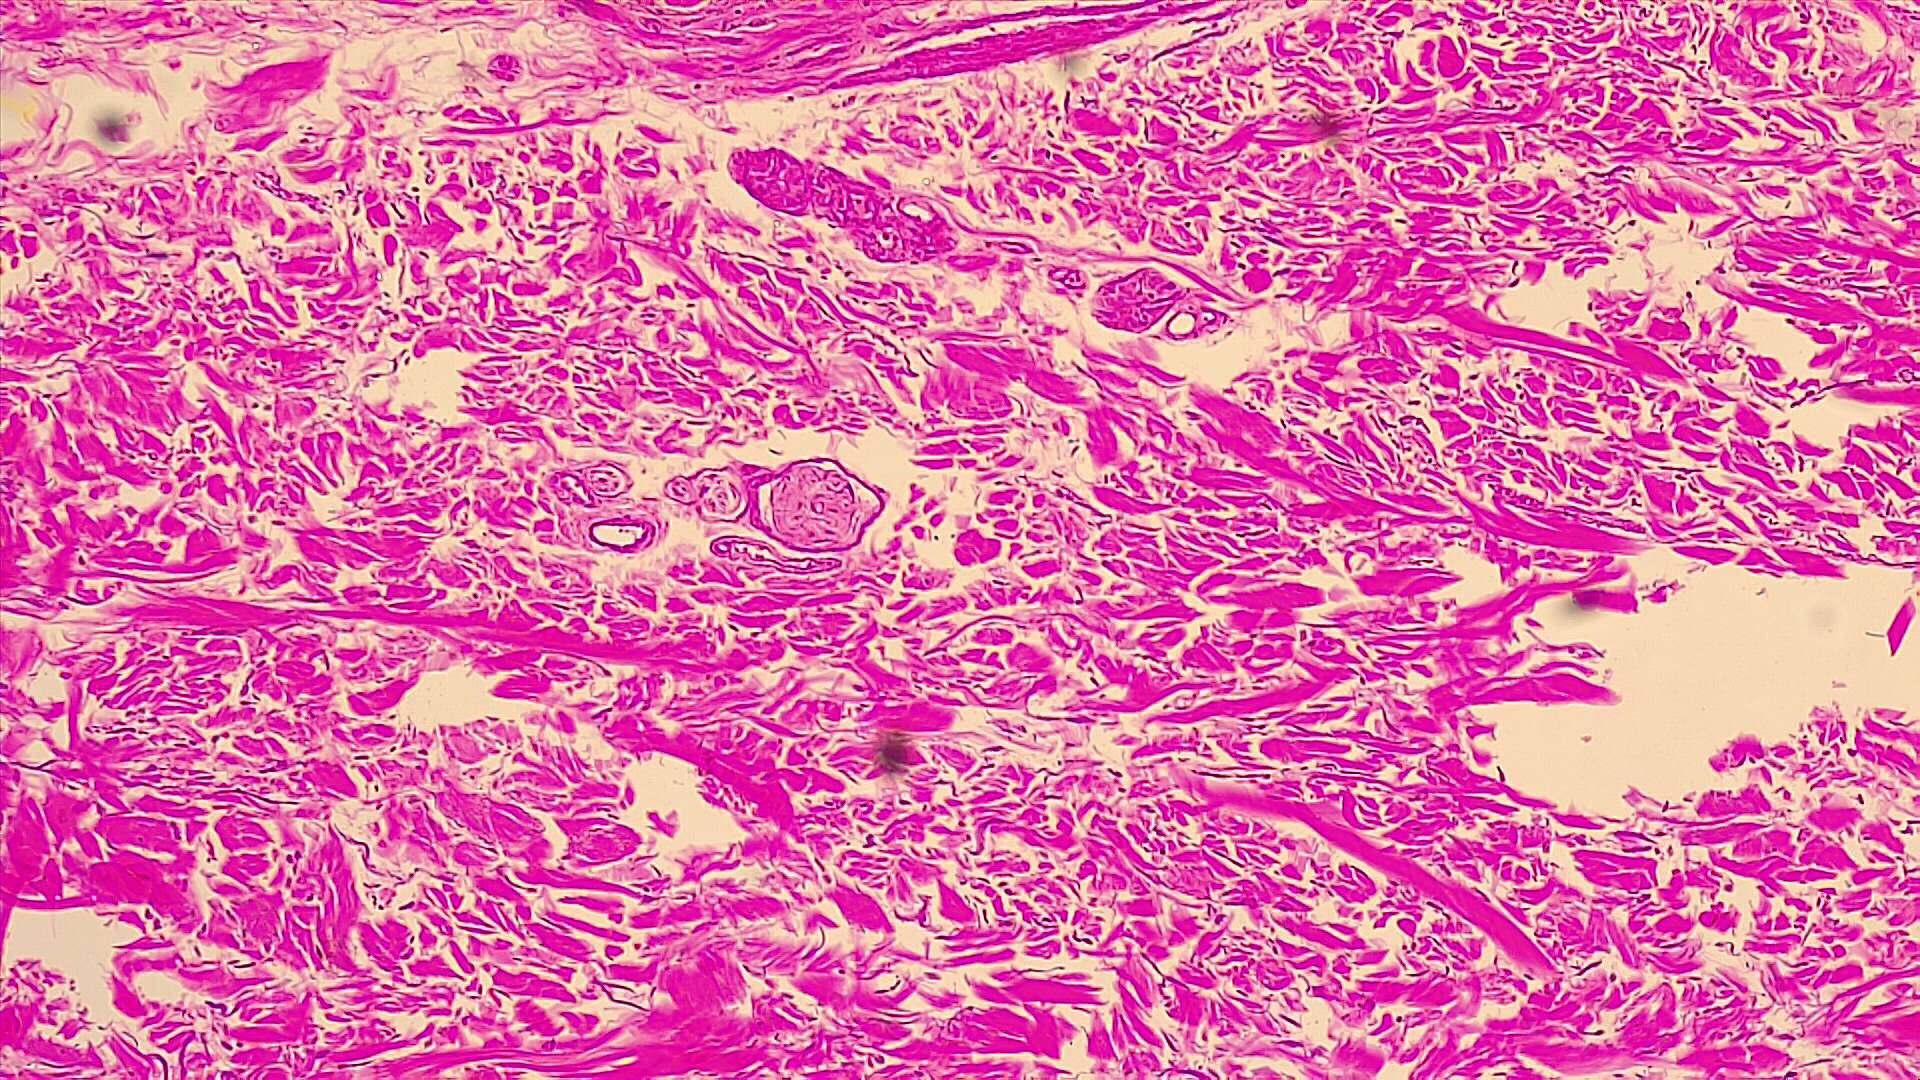
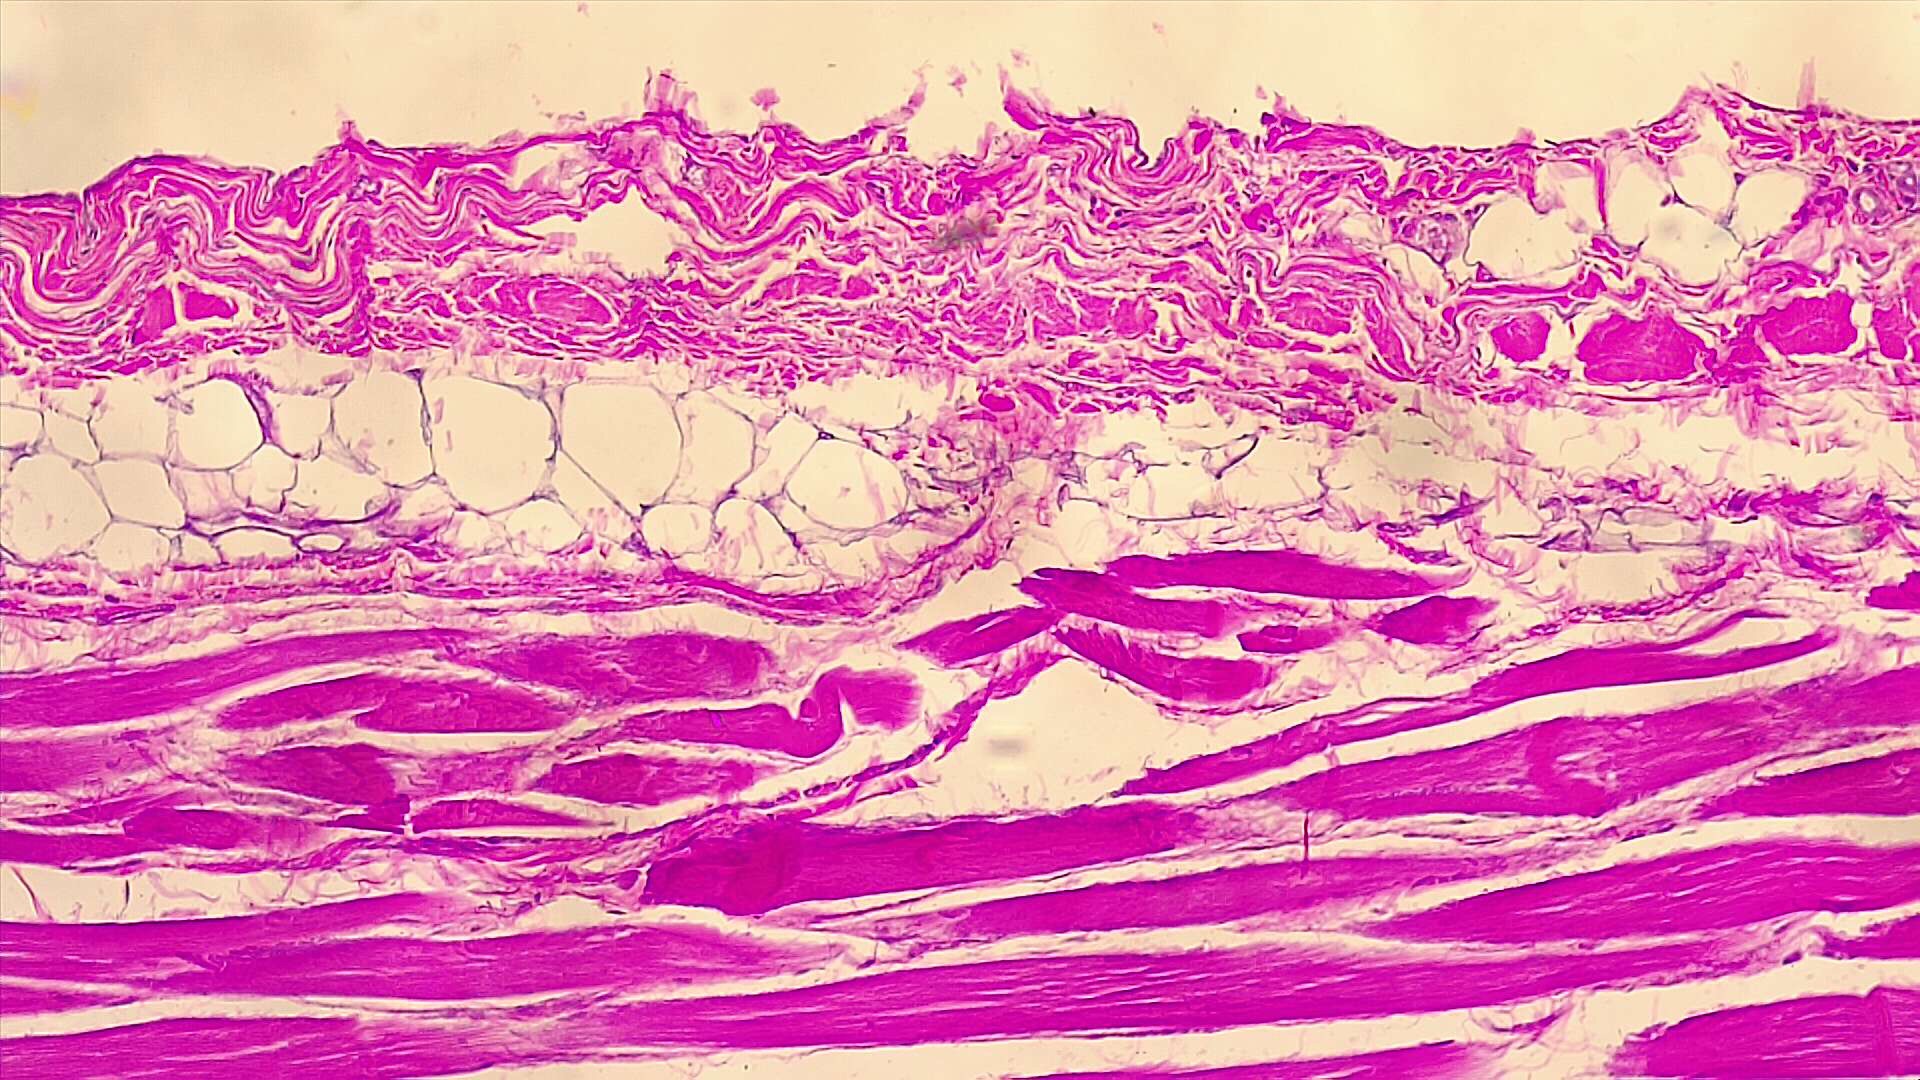
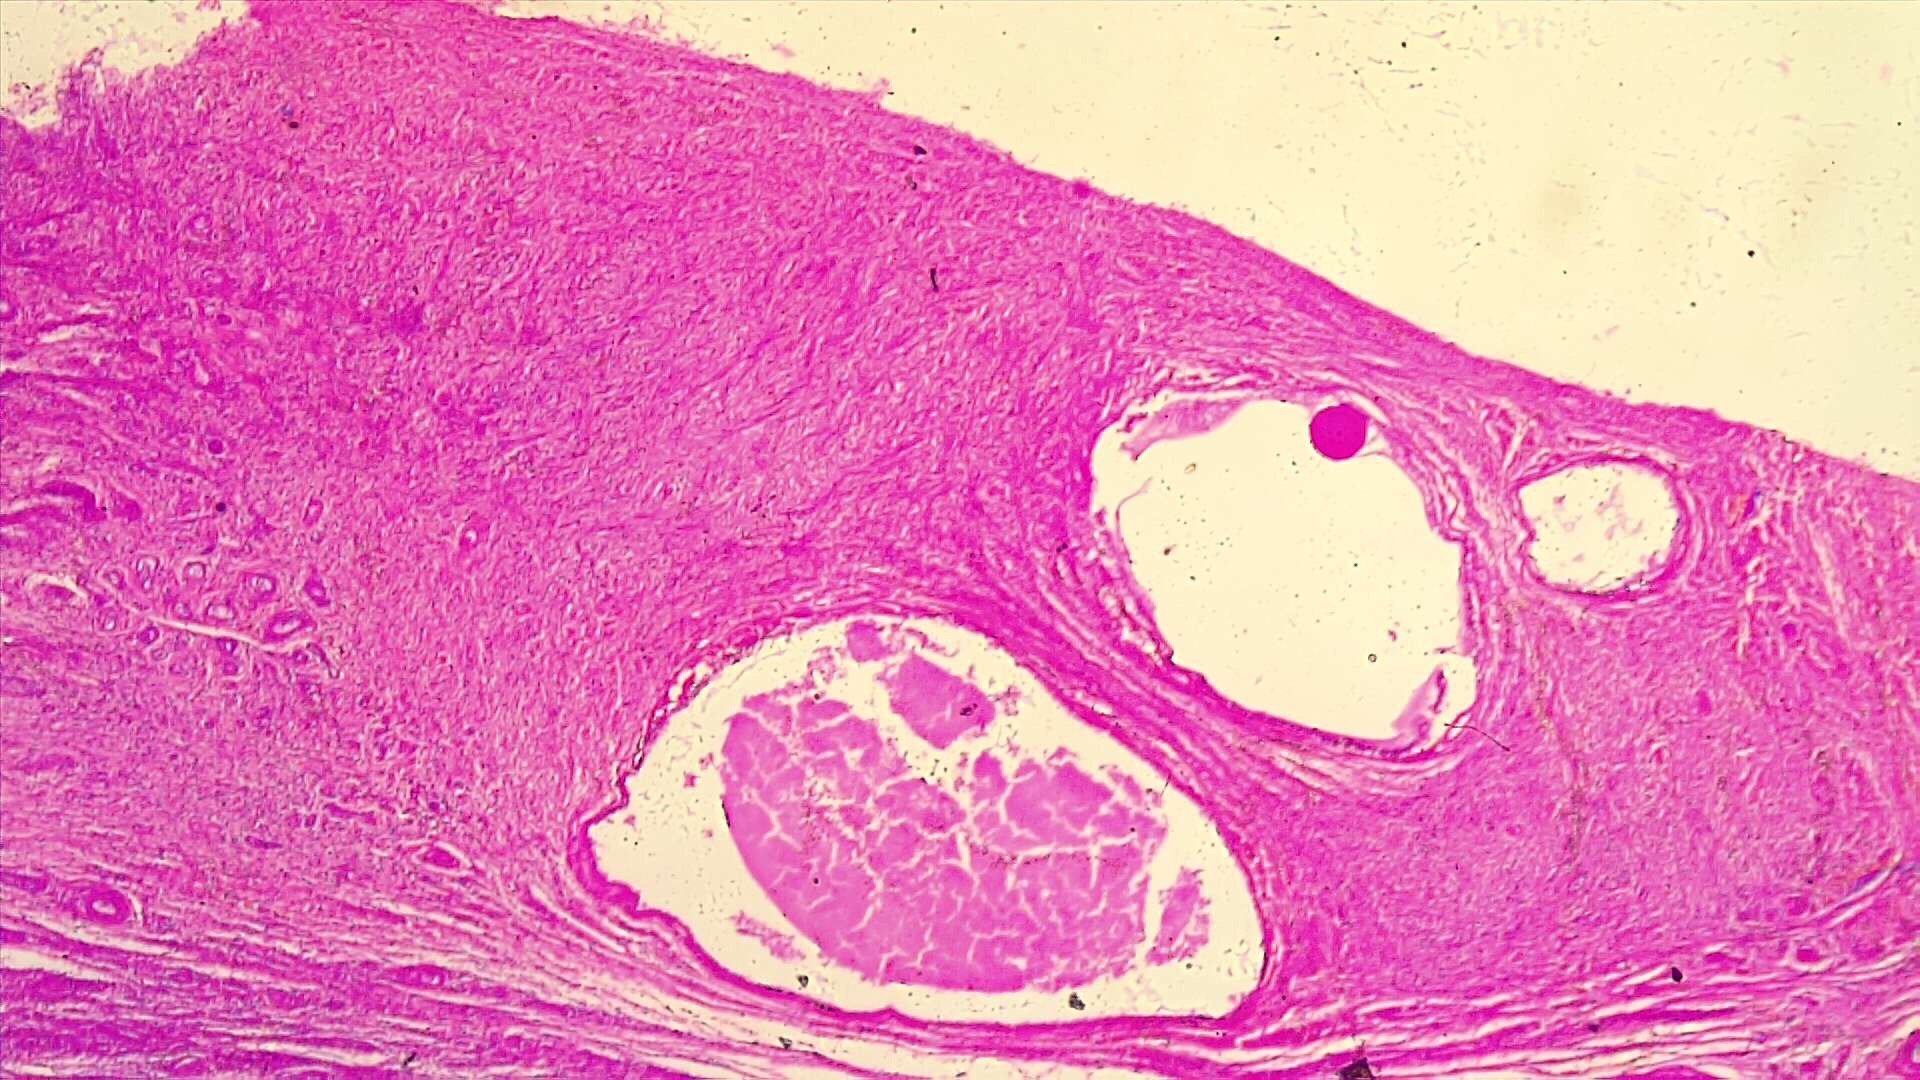
Human Scalp


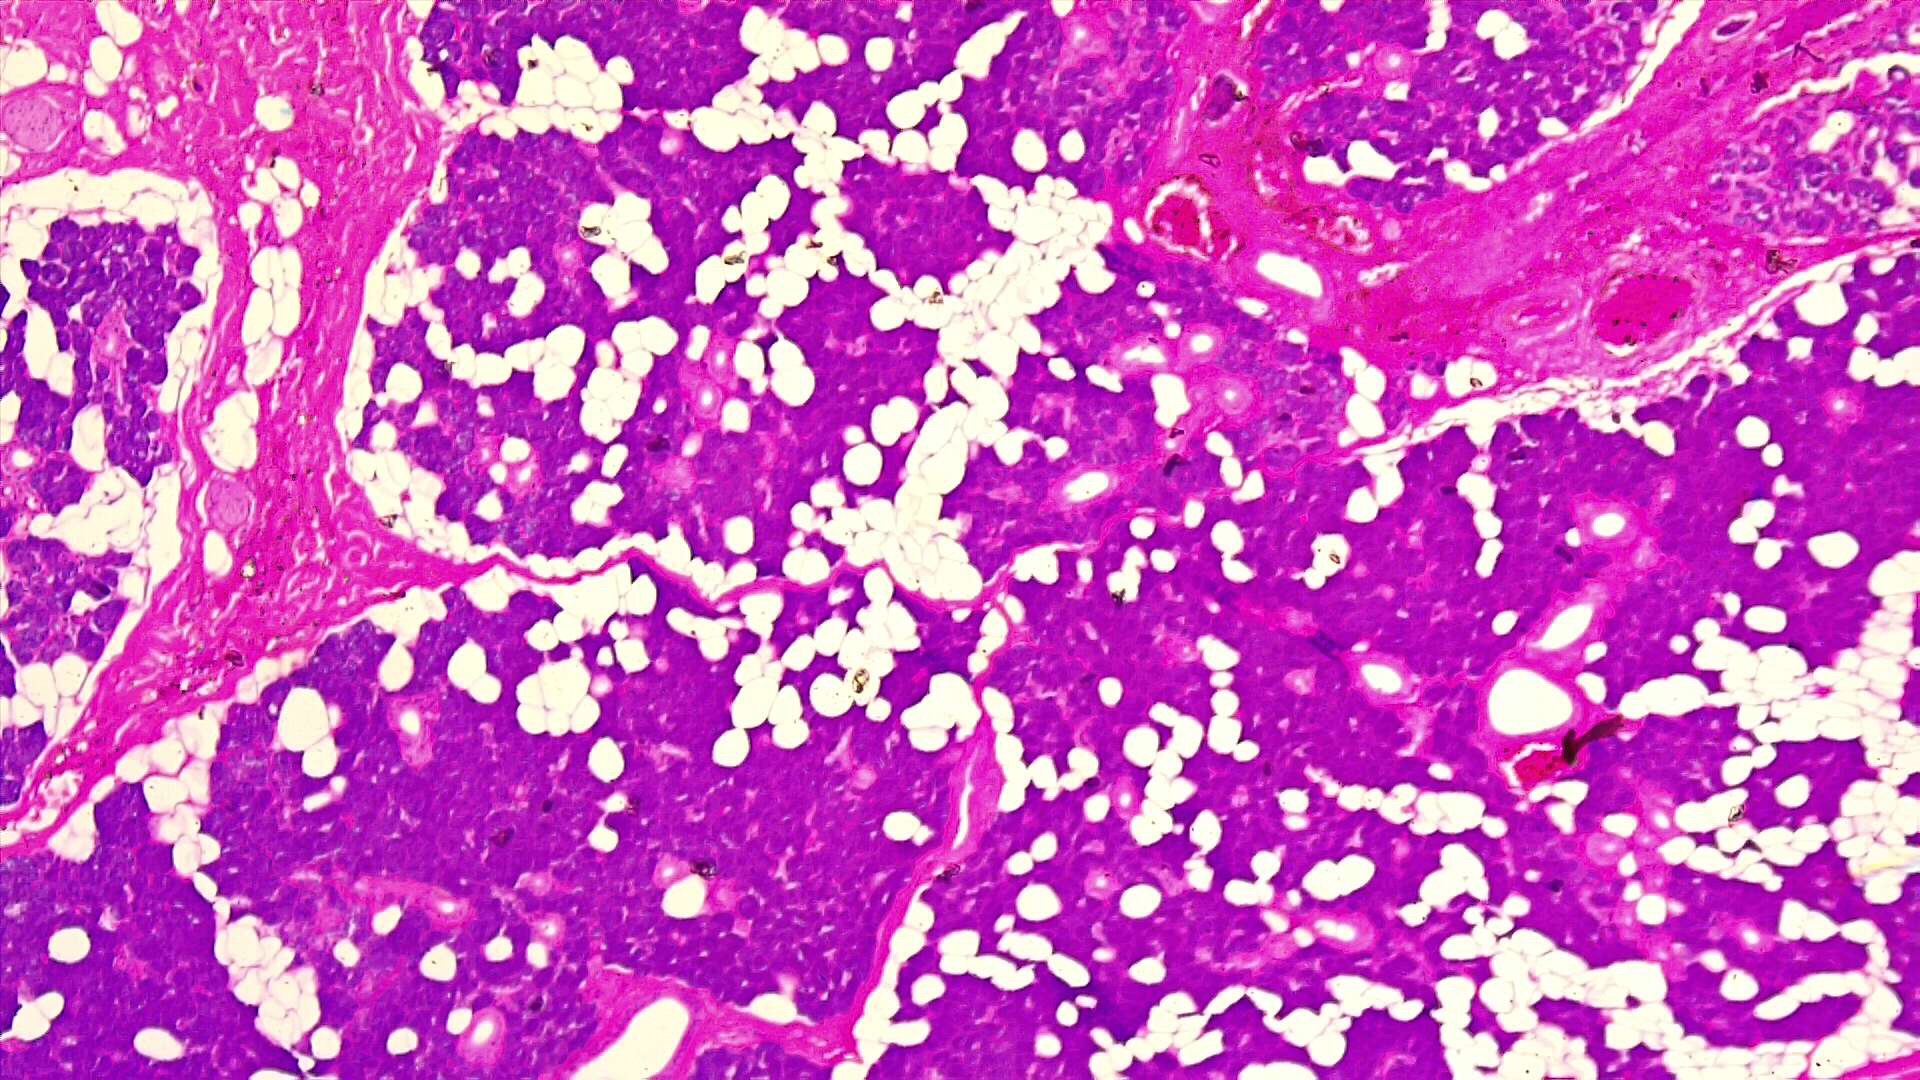
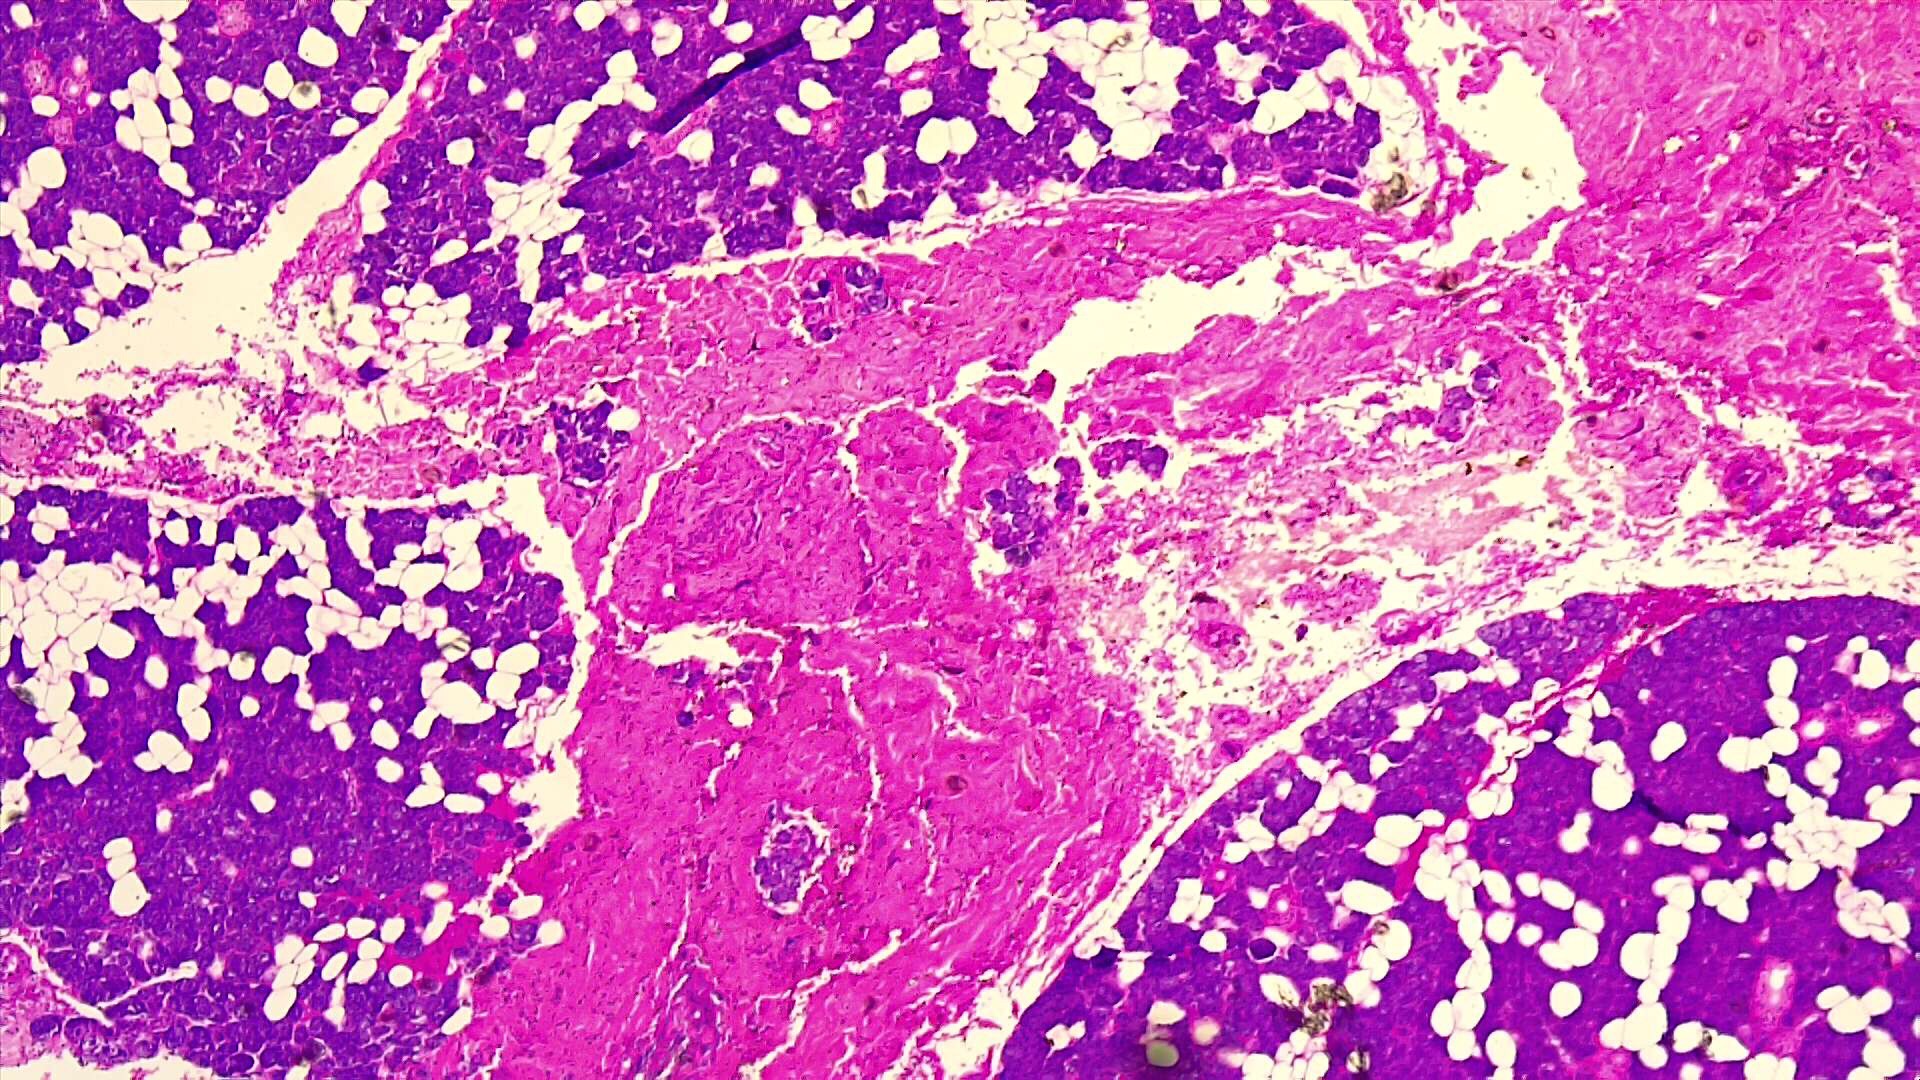
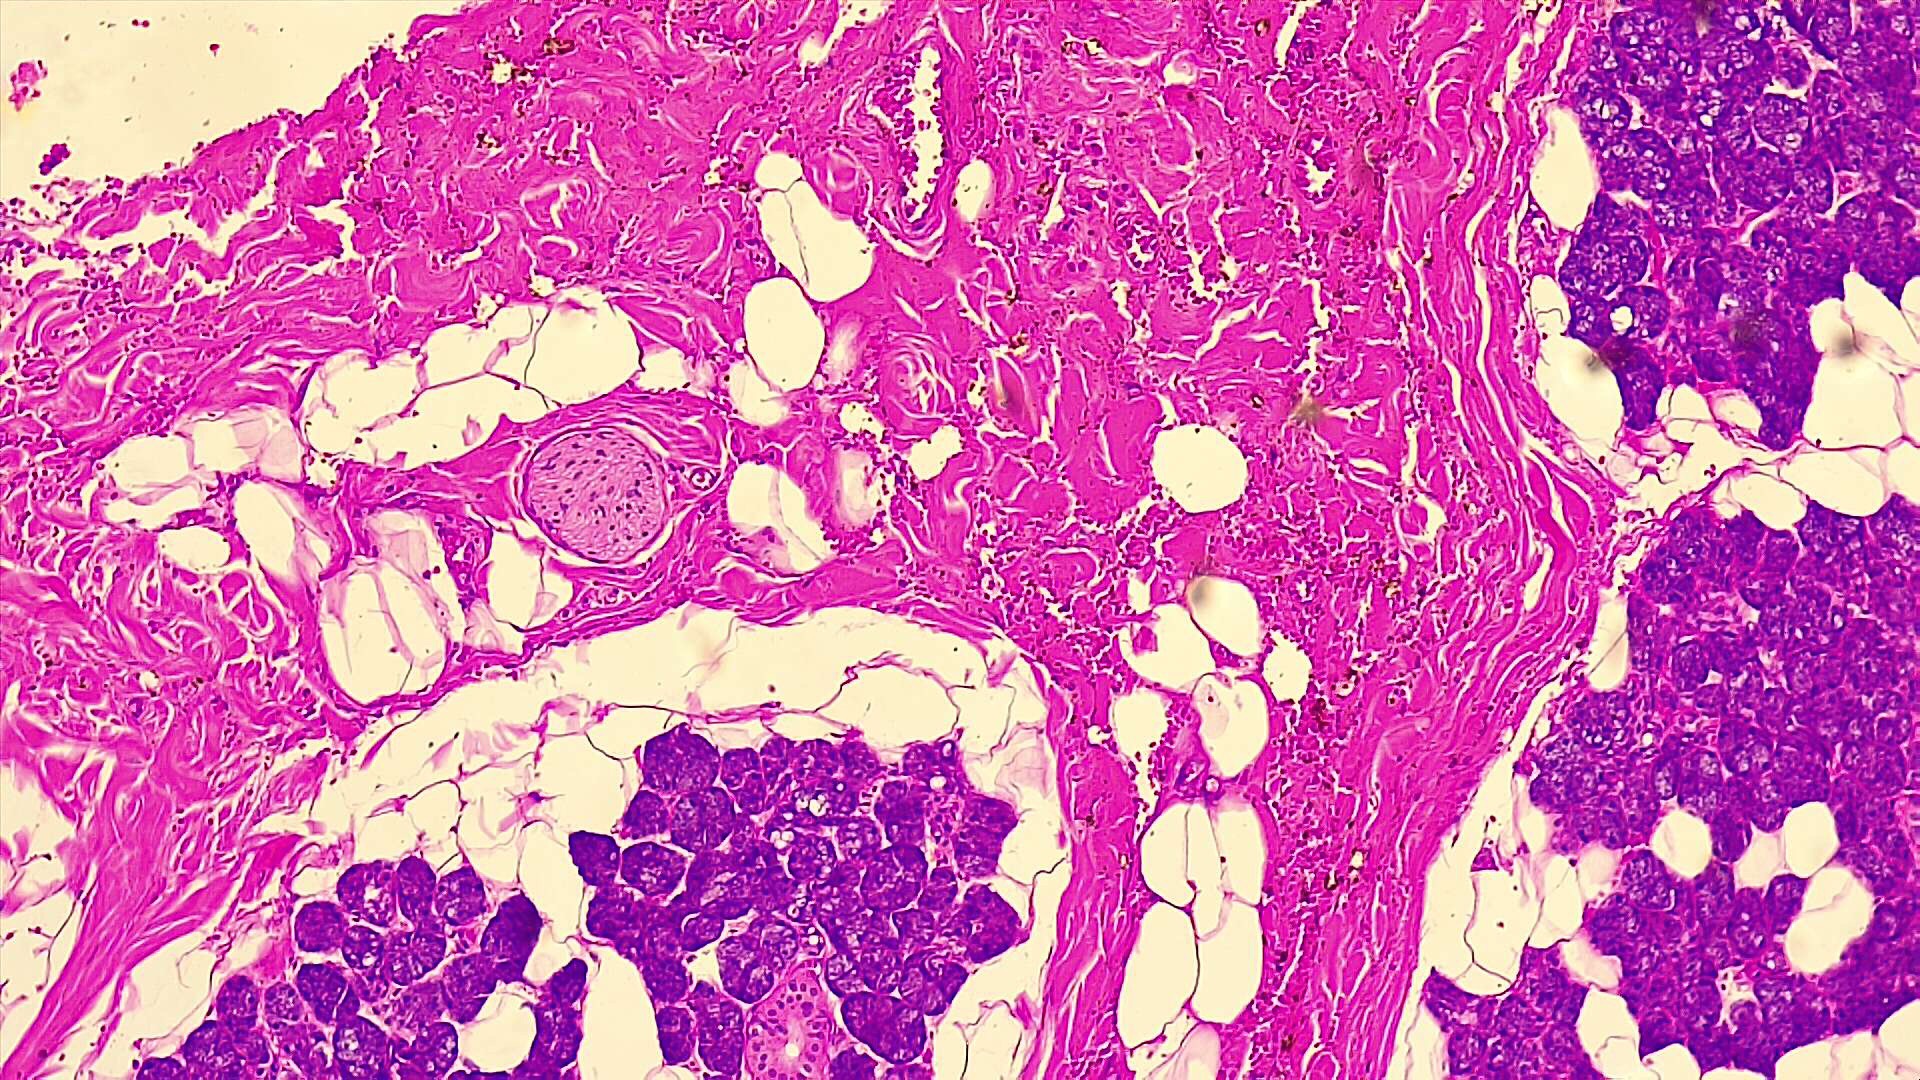
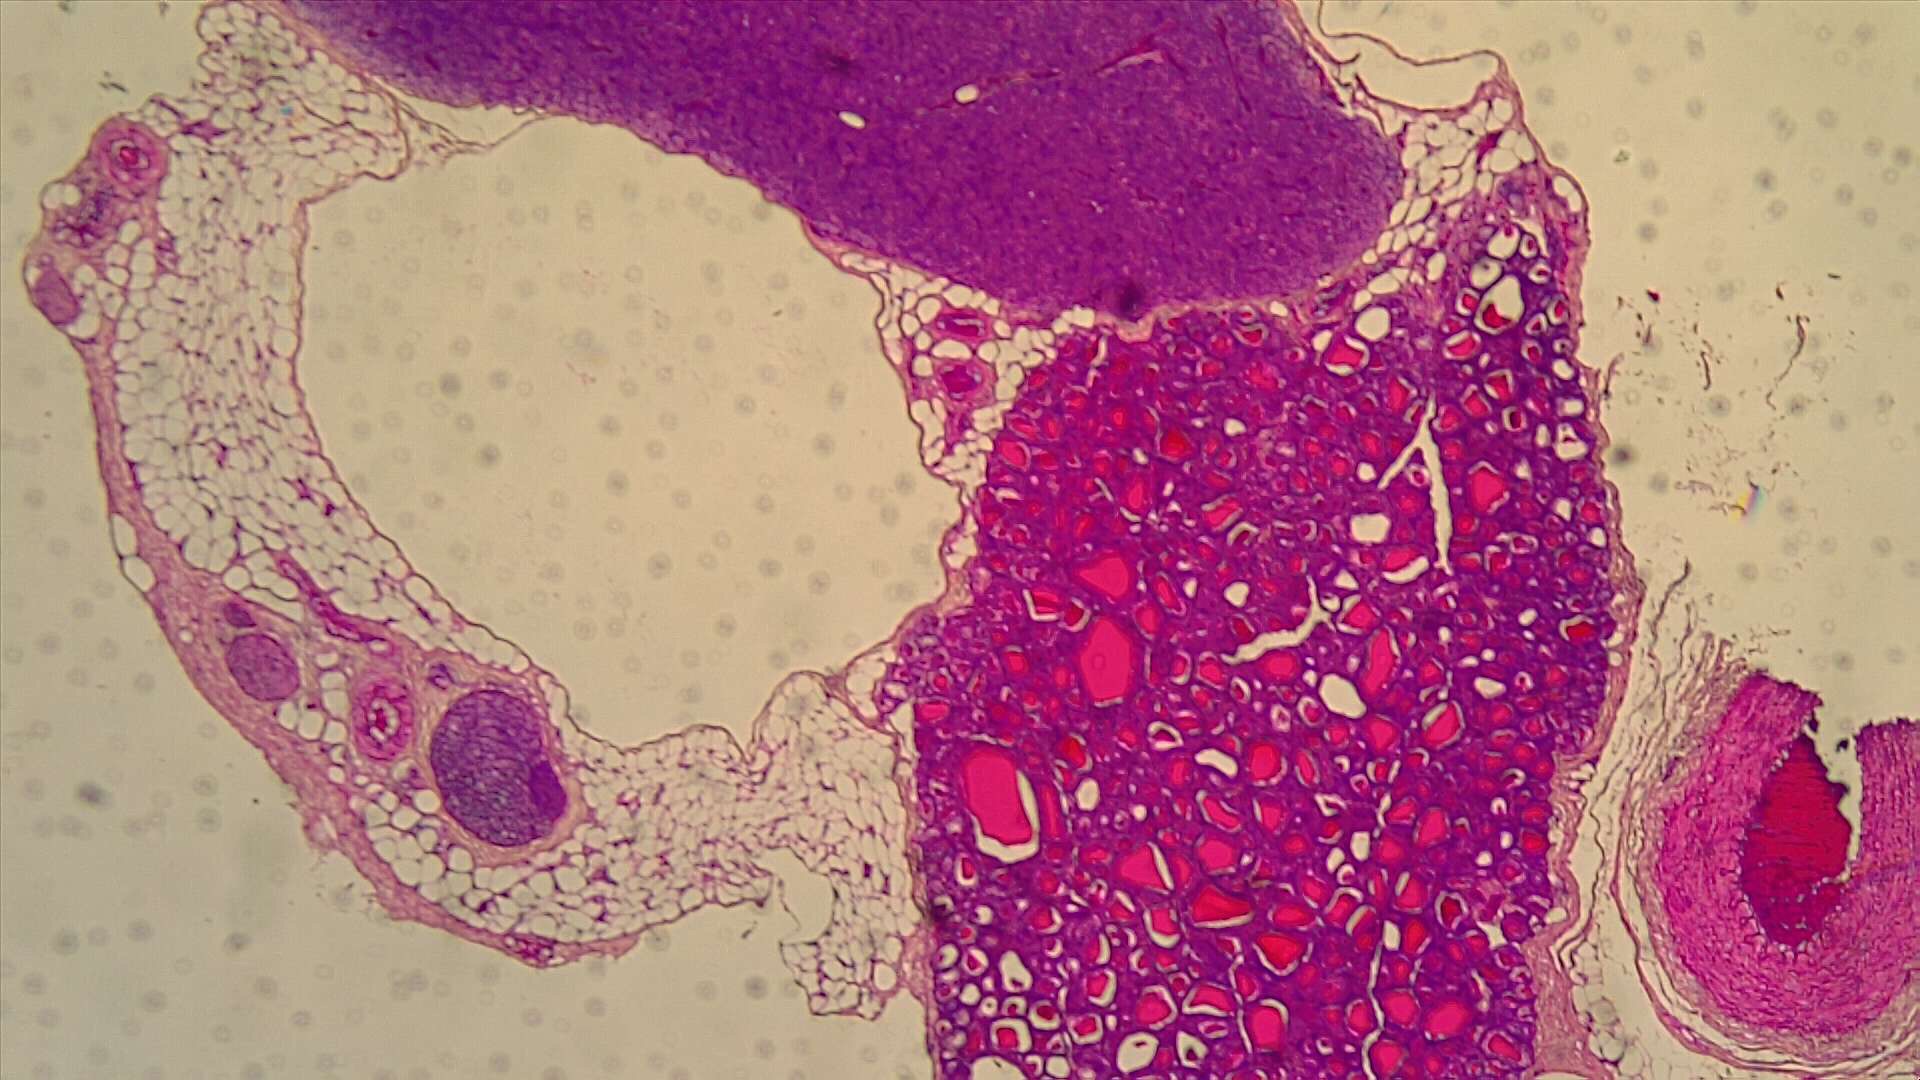
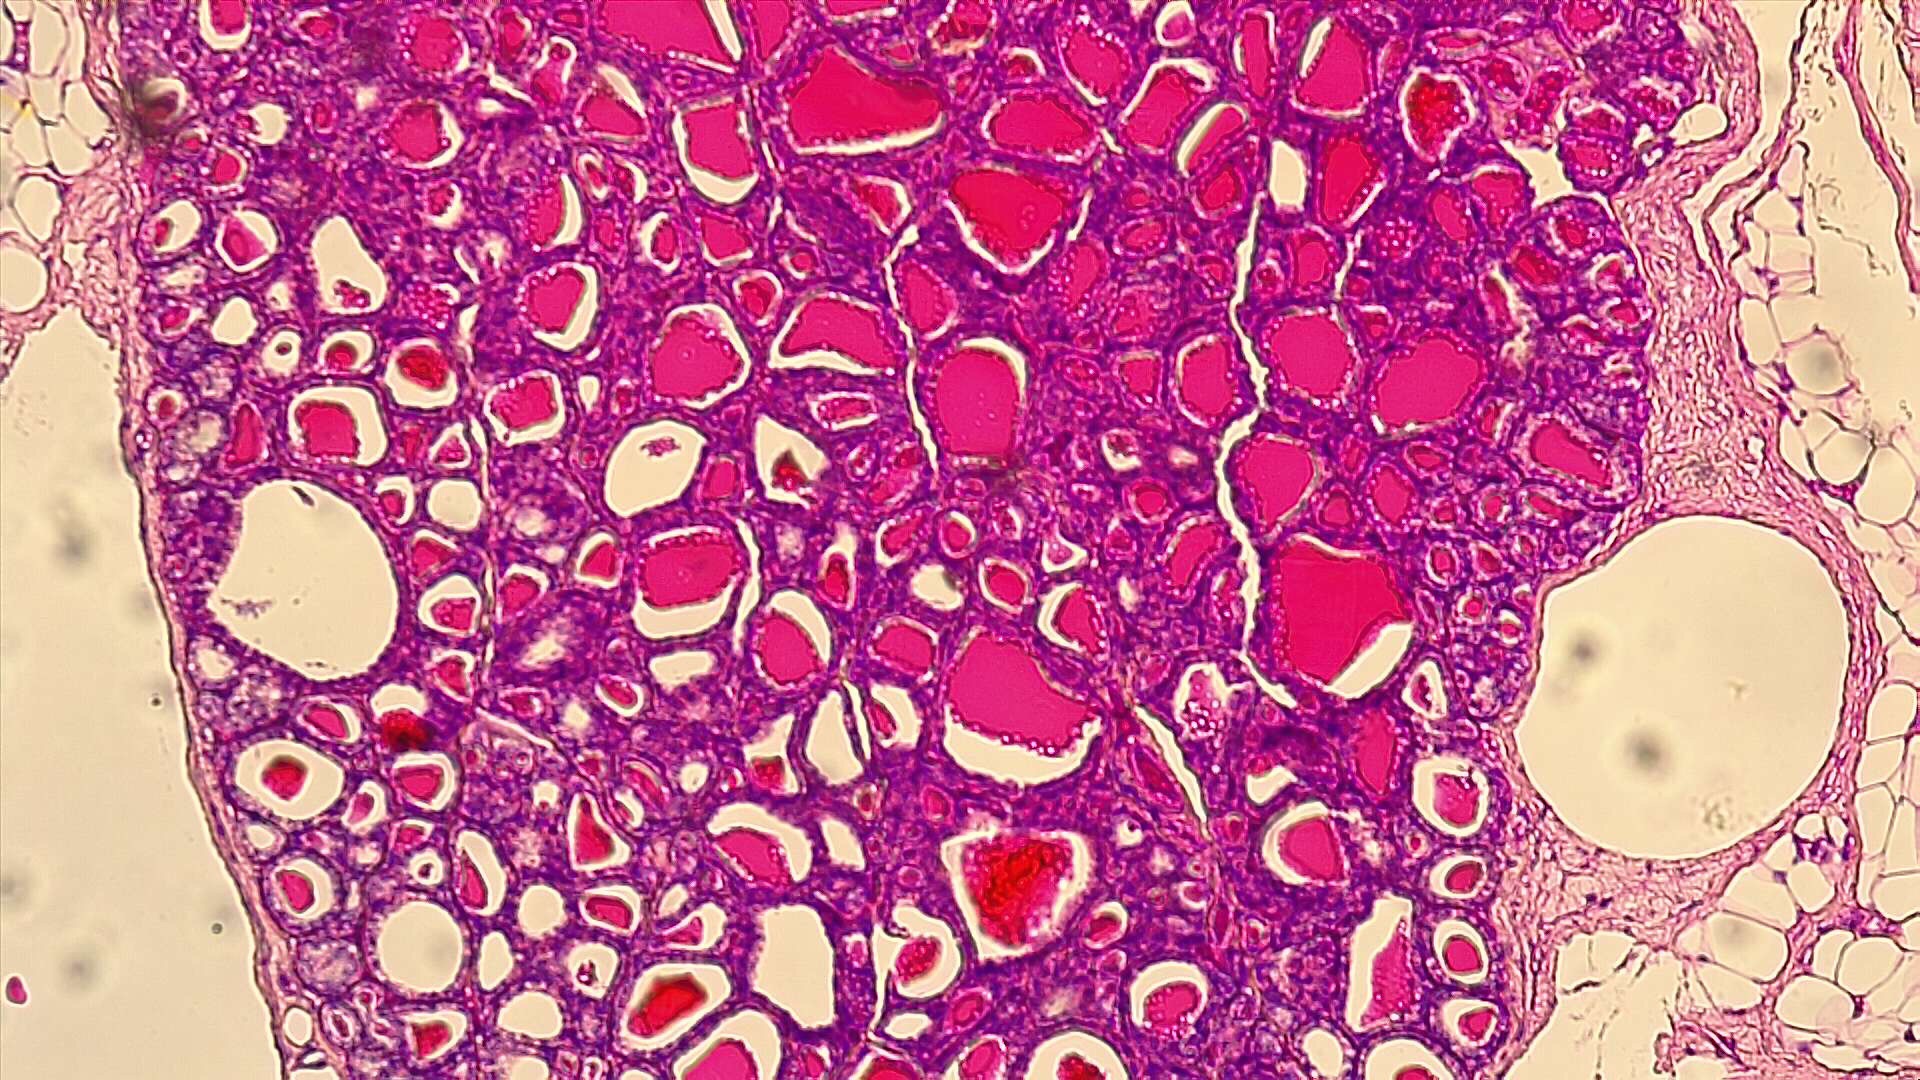
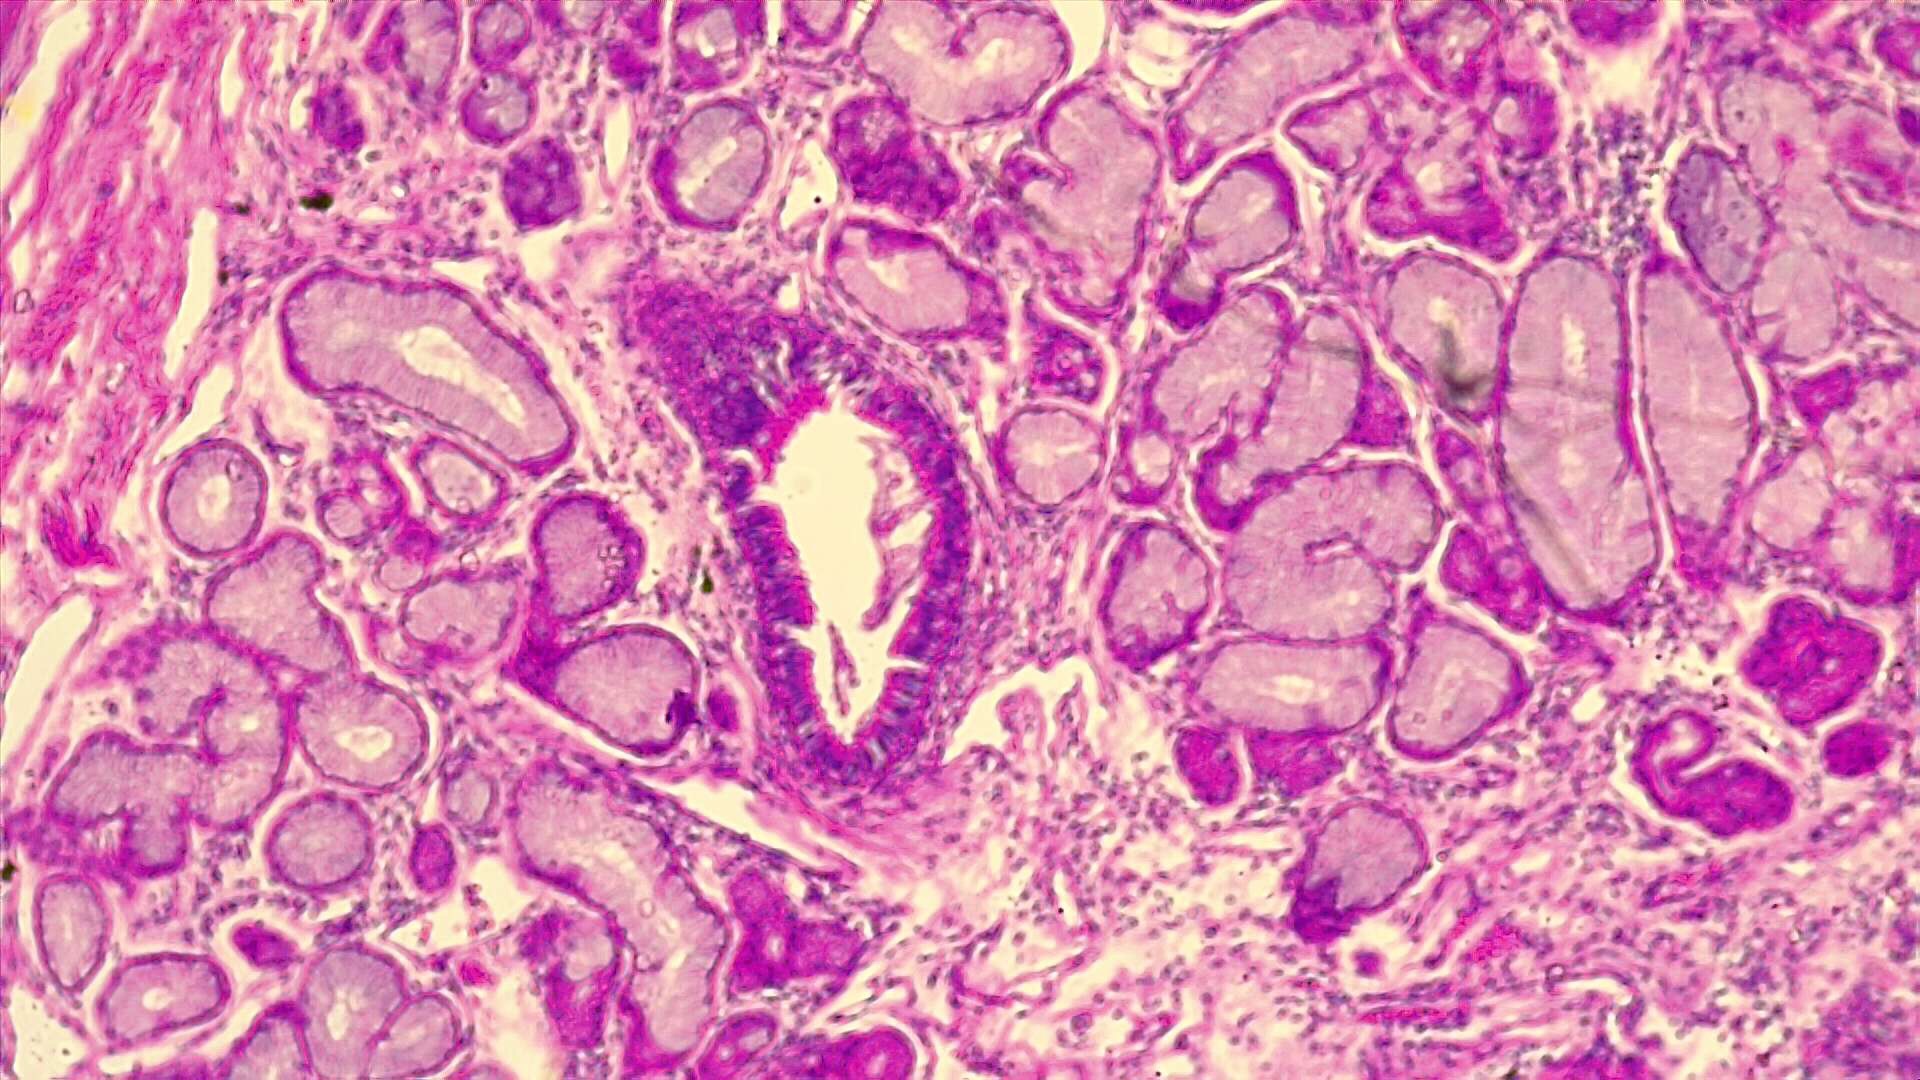
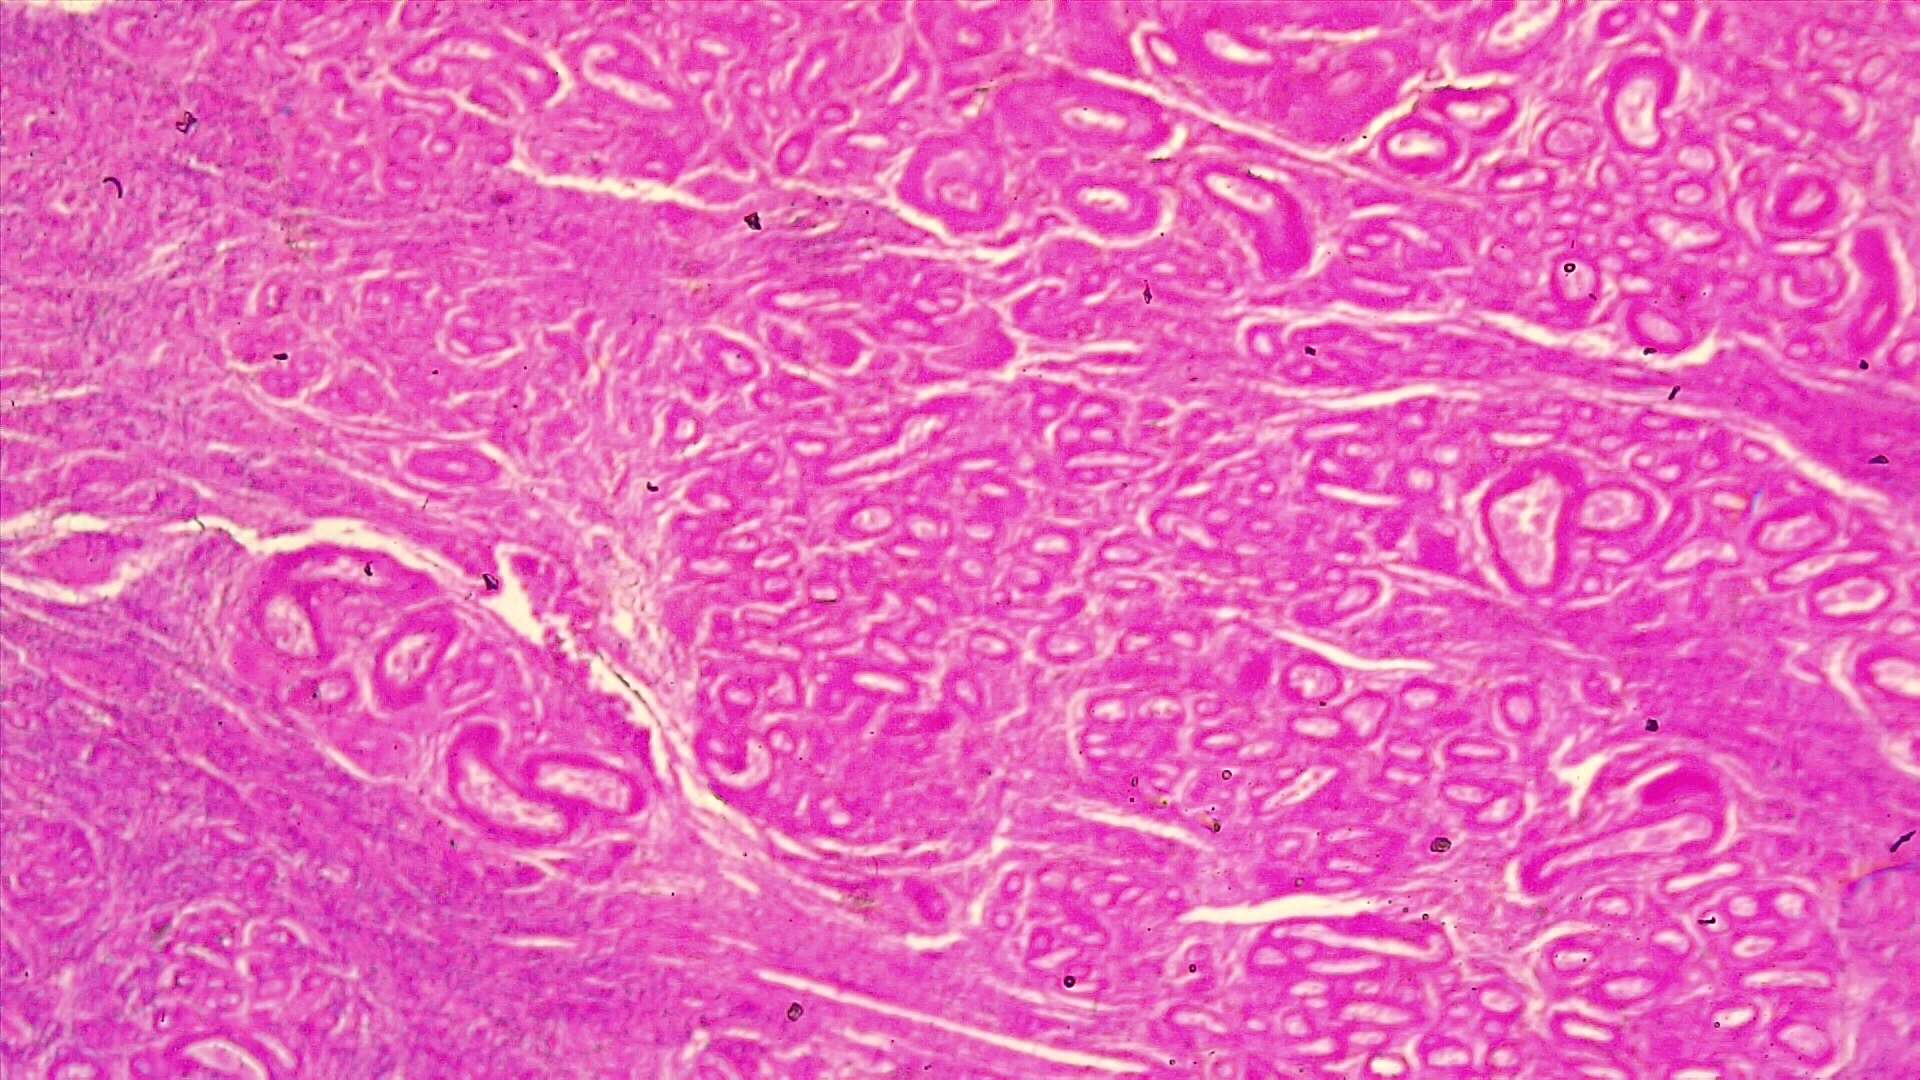
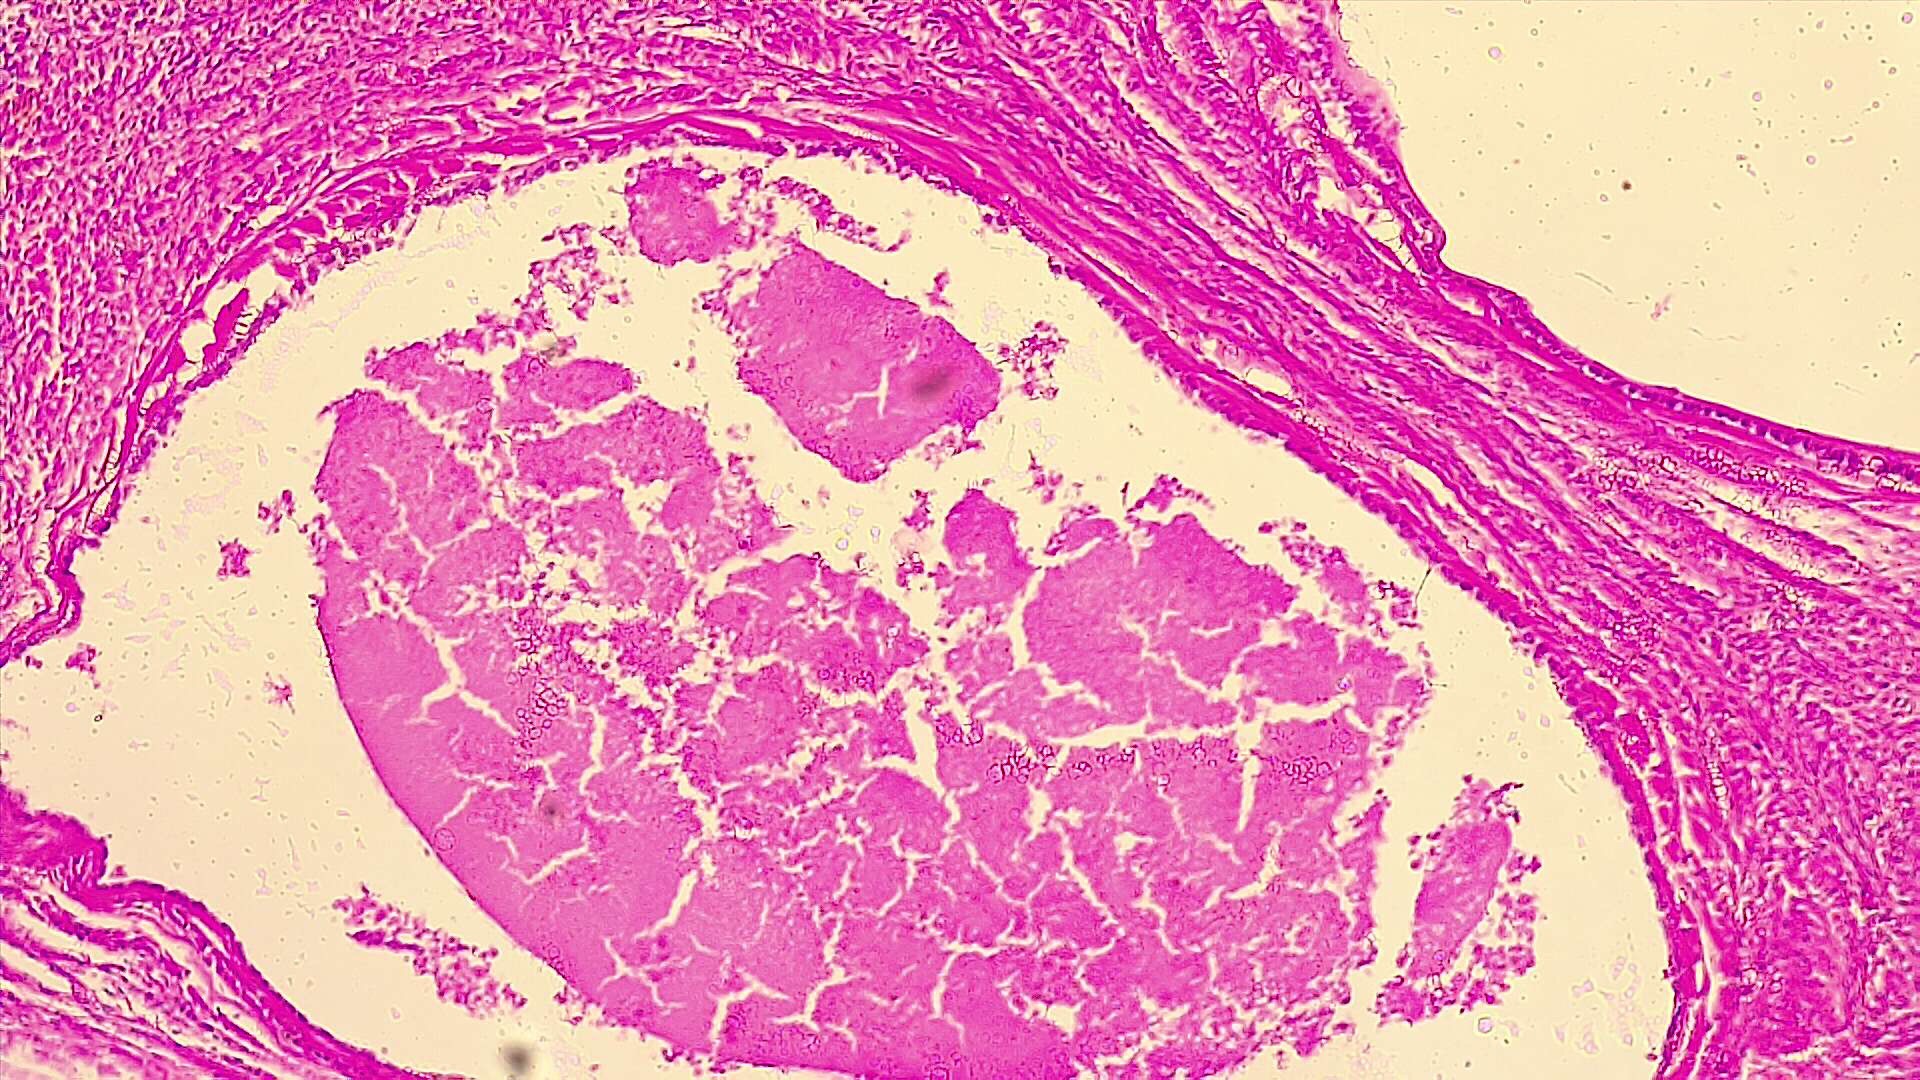
Mammal Thyroid and Parathyroid Glands

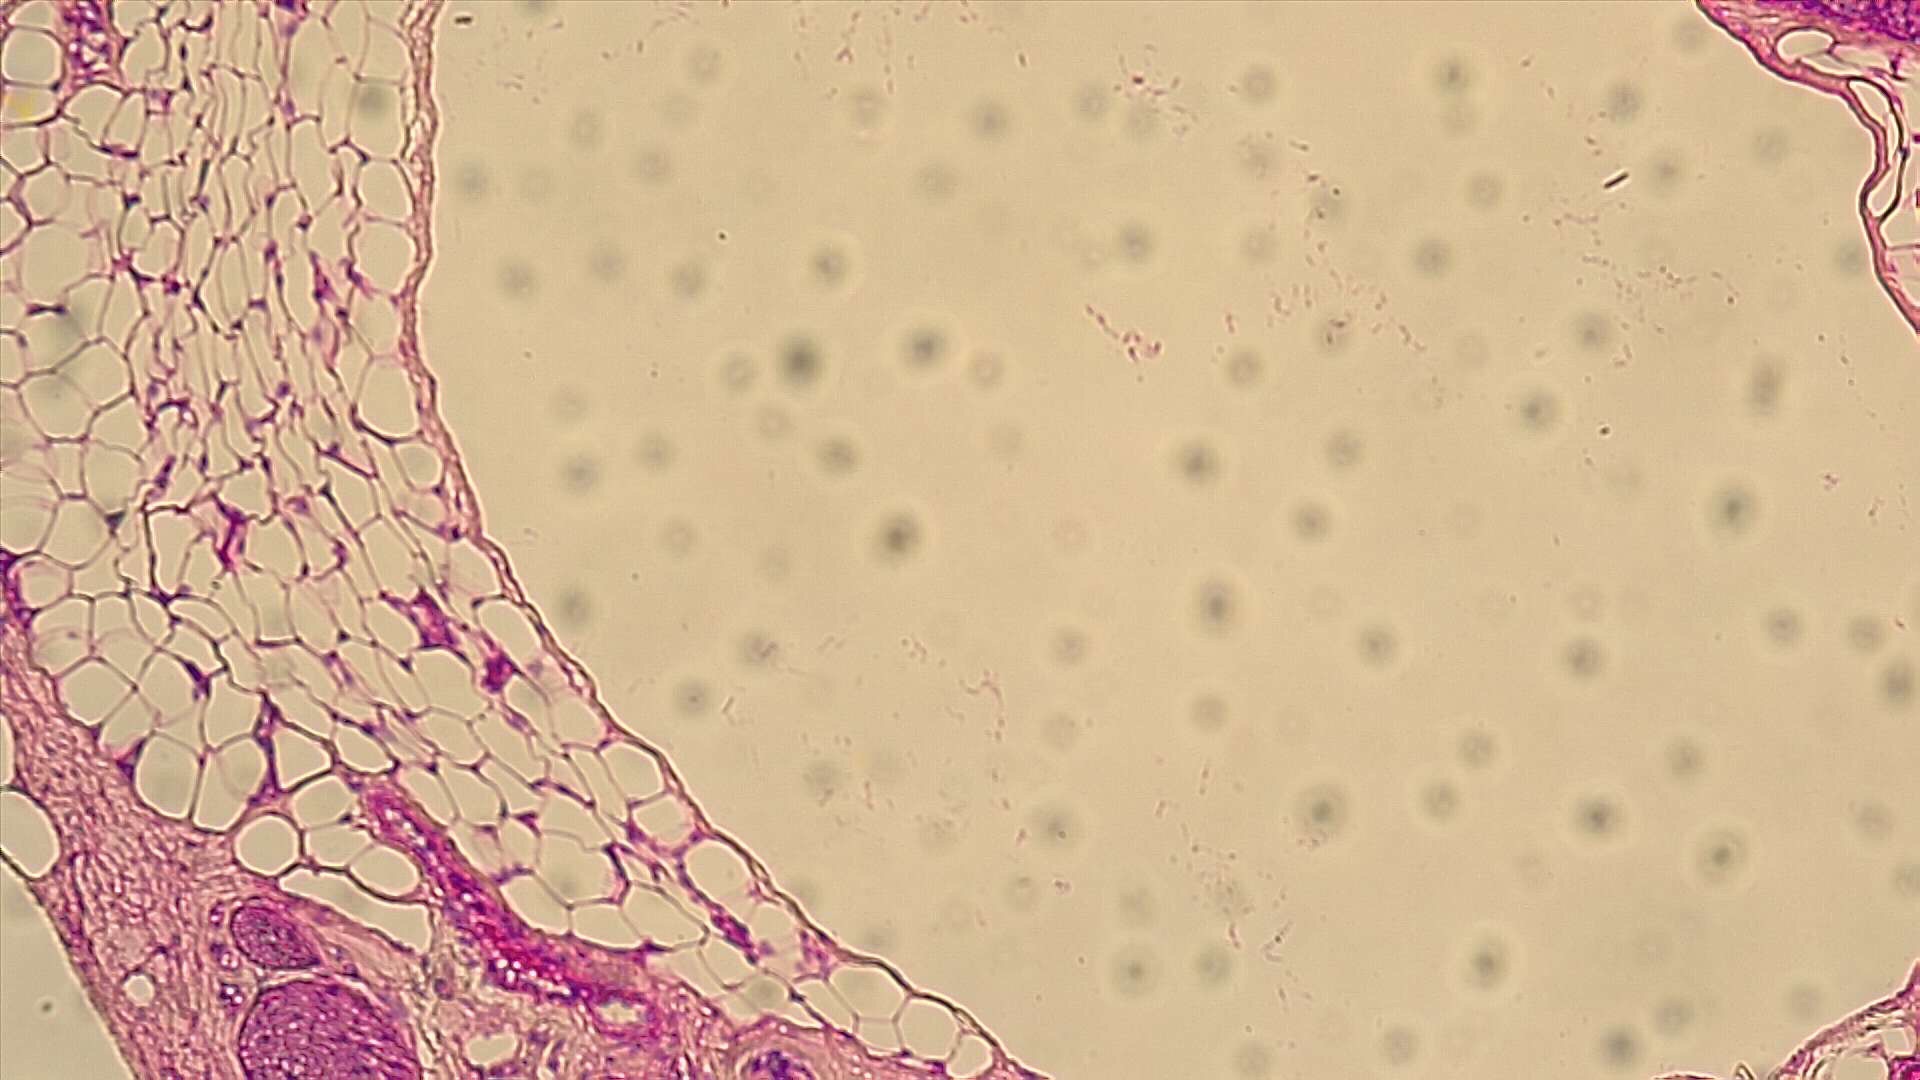
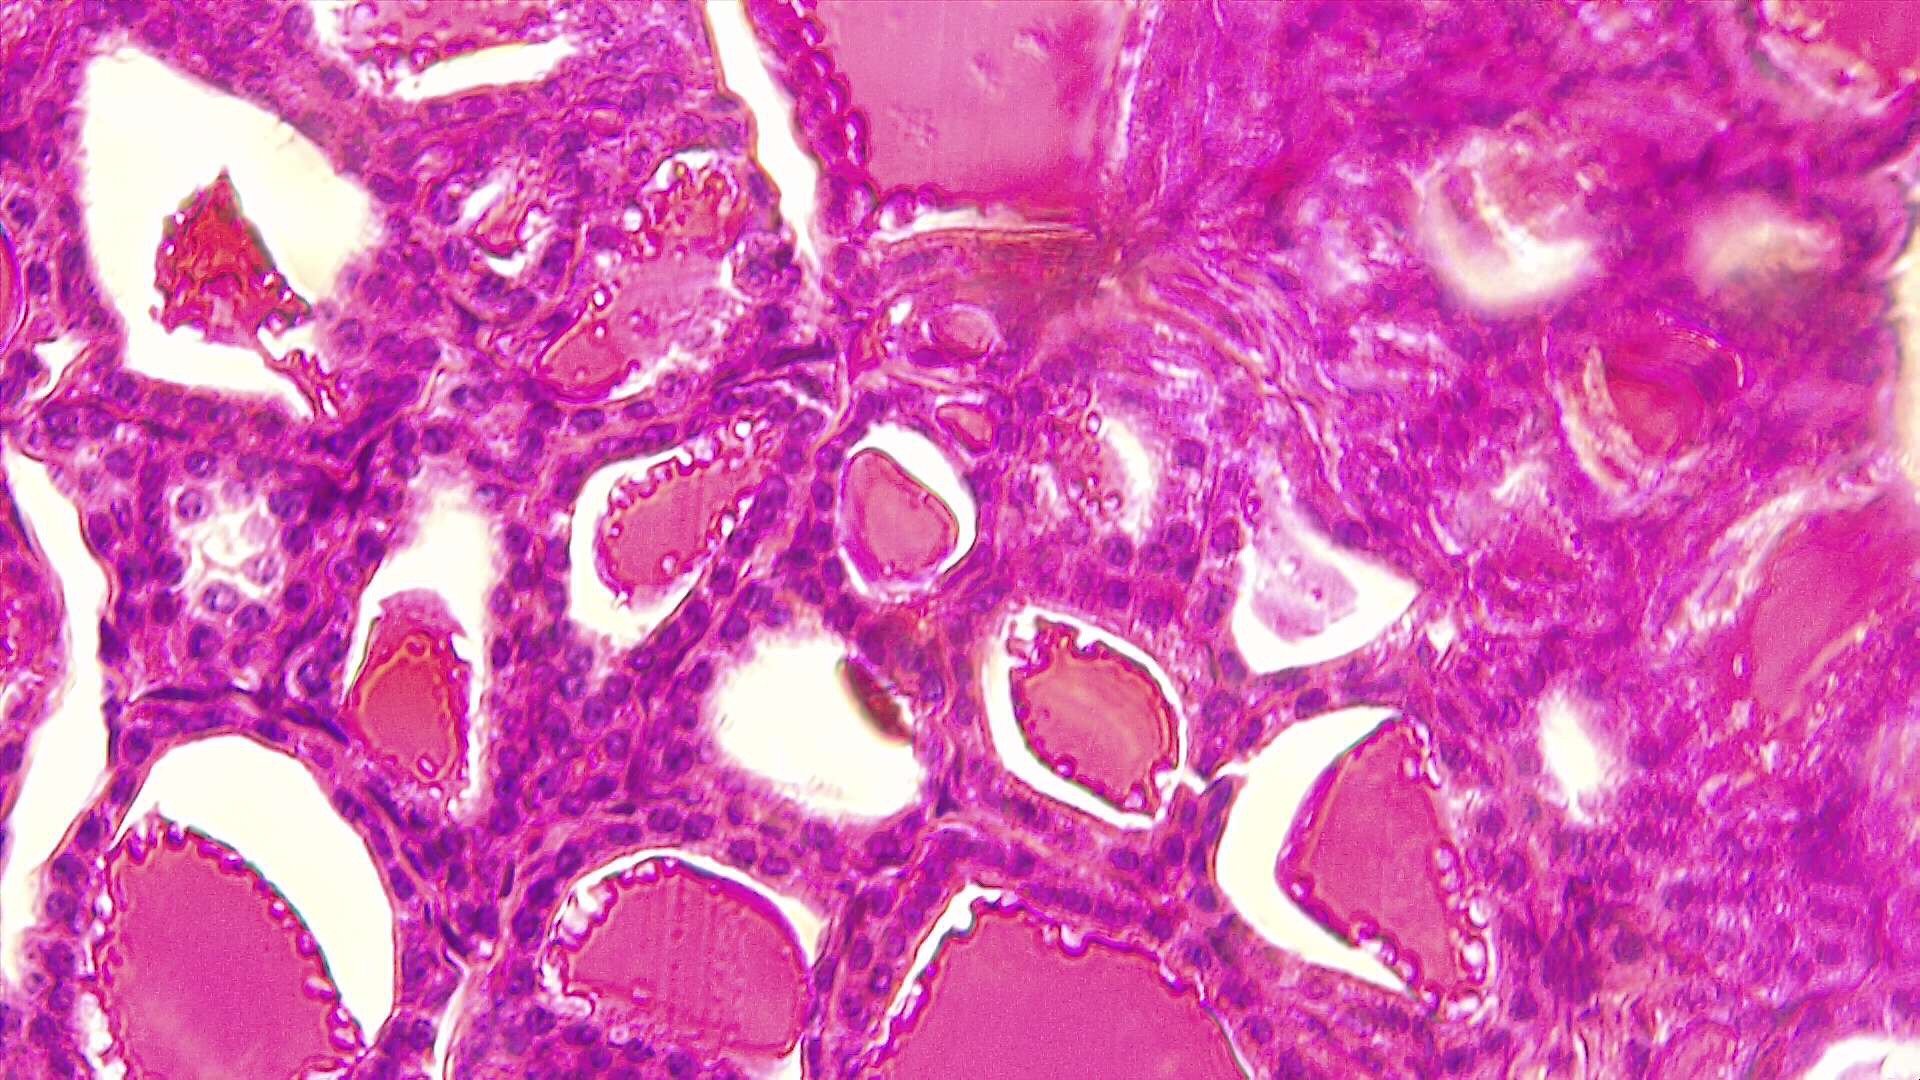

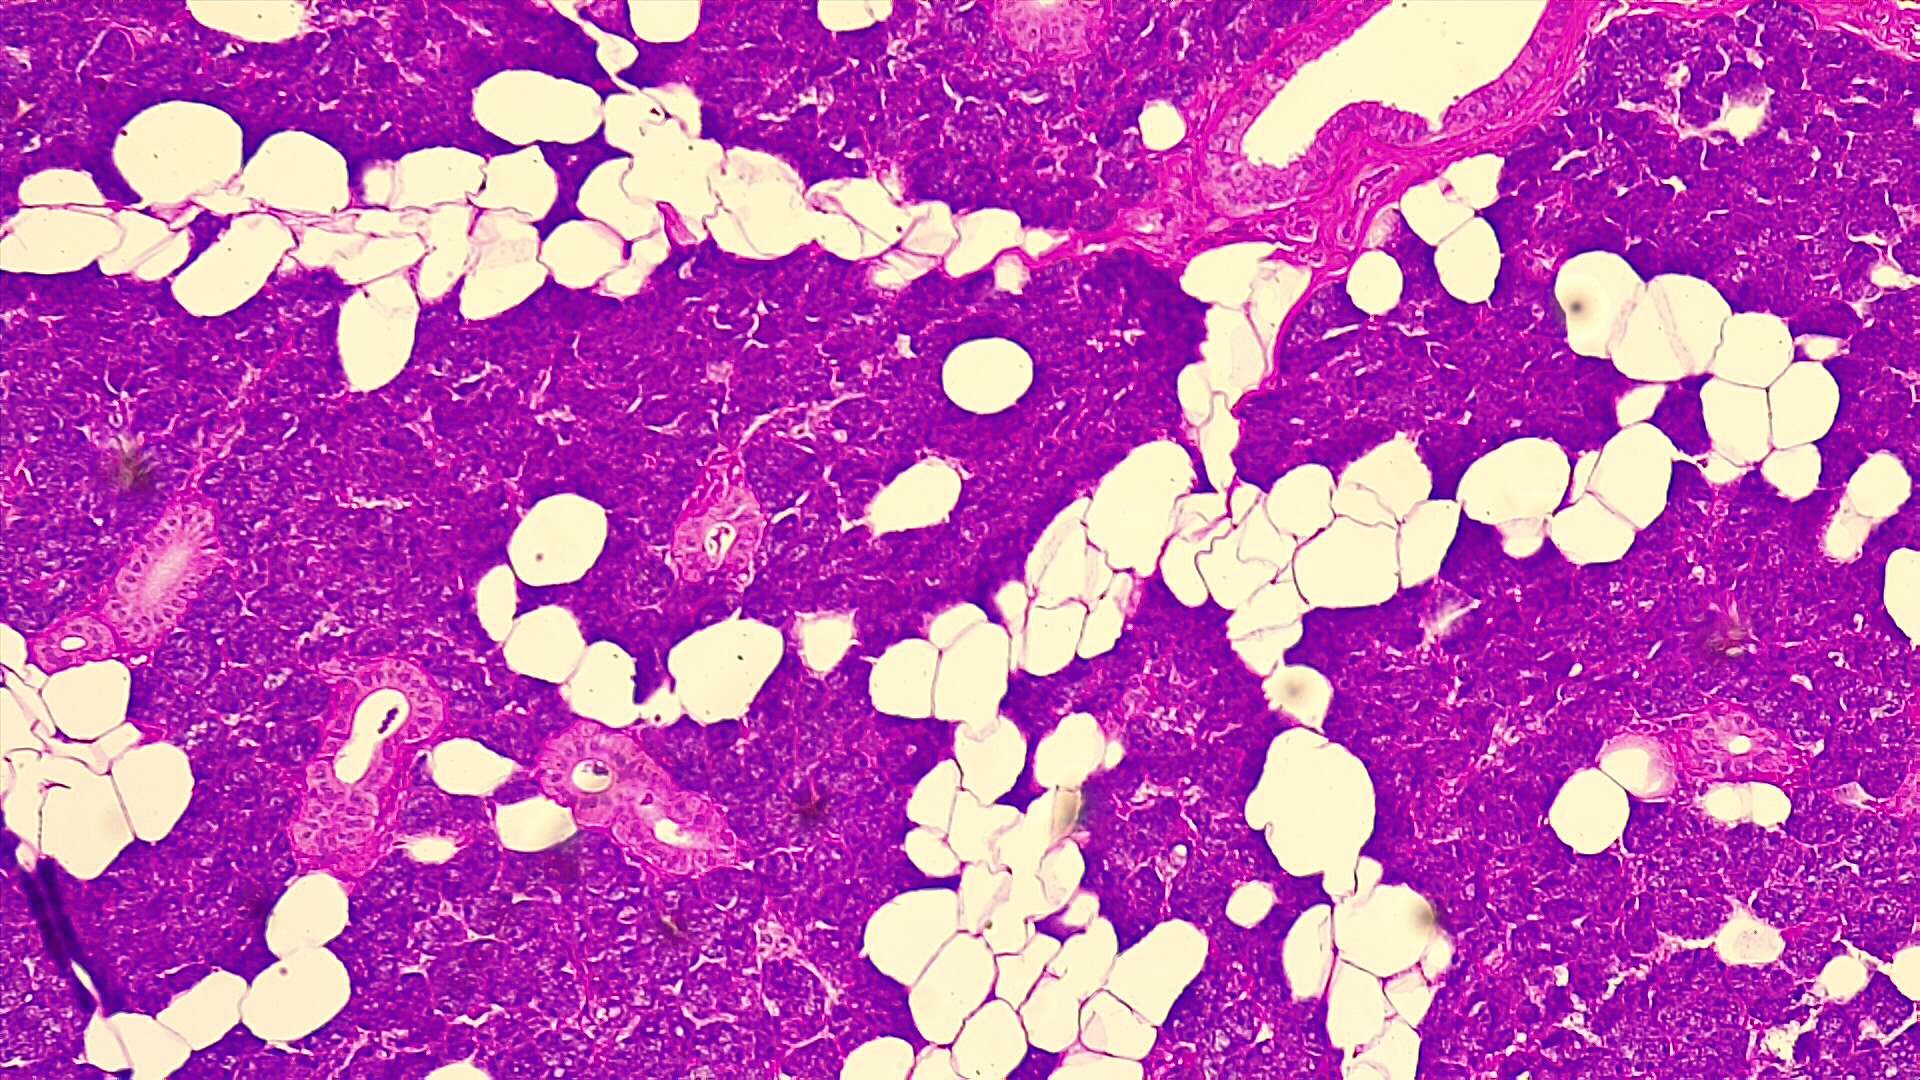
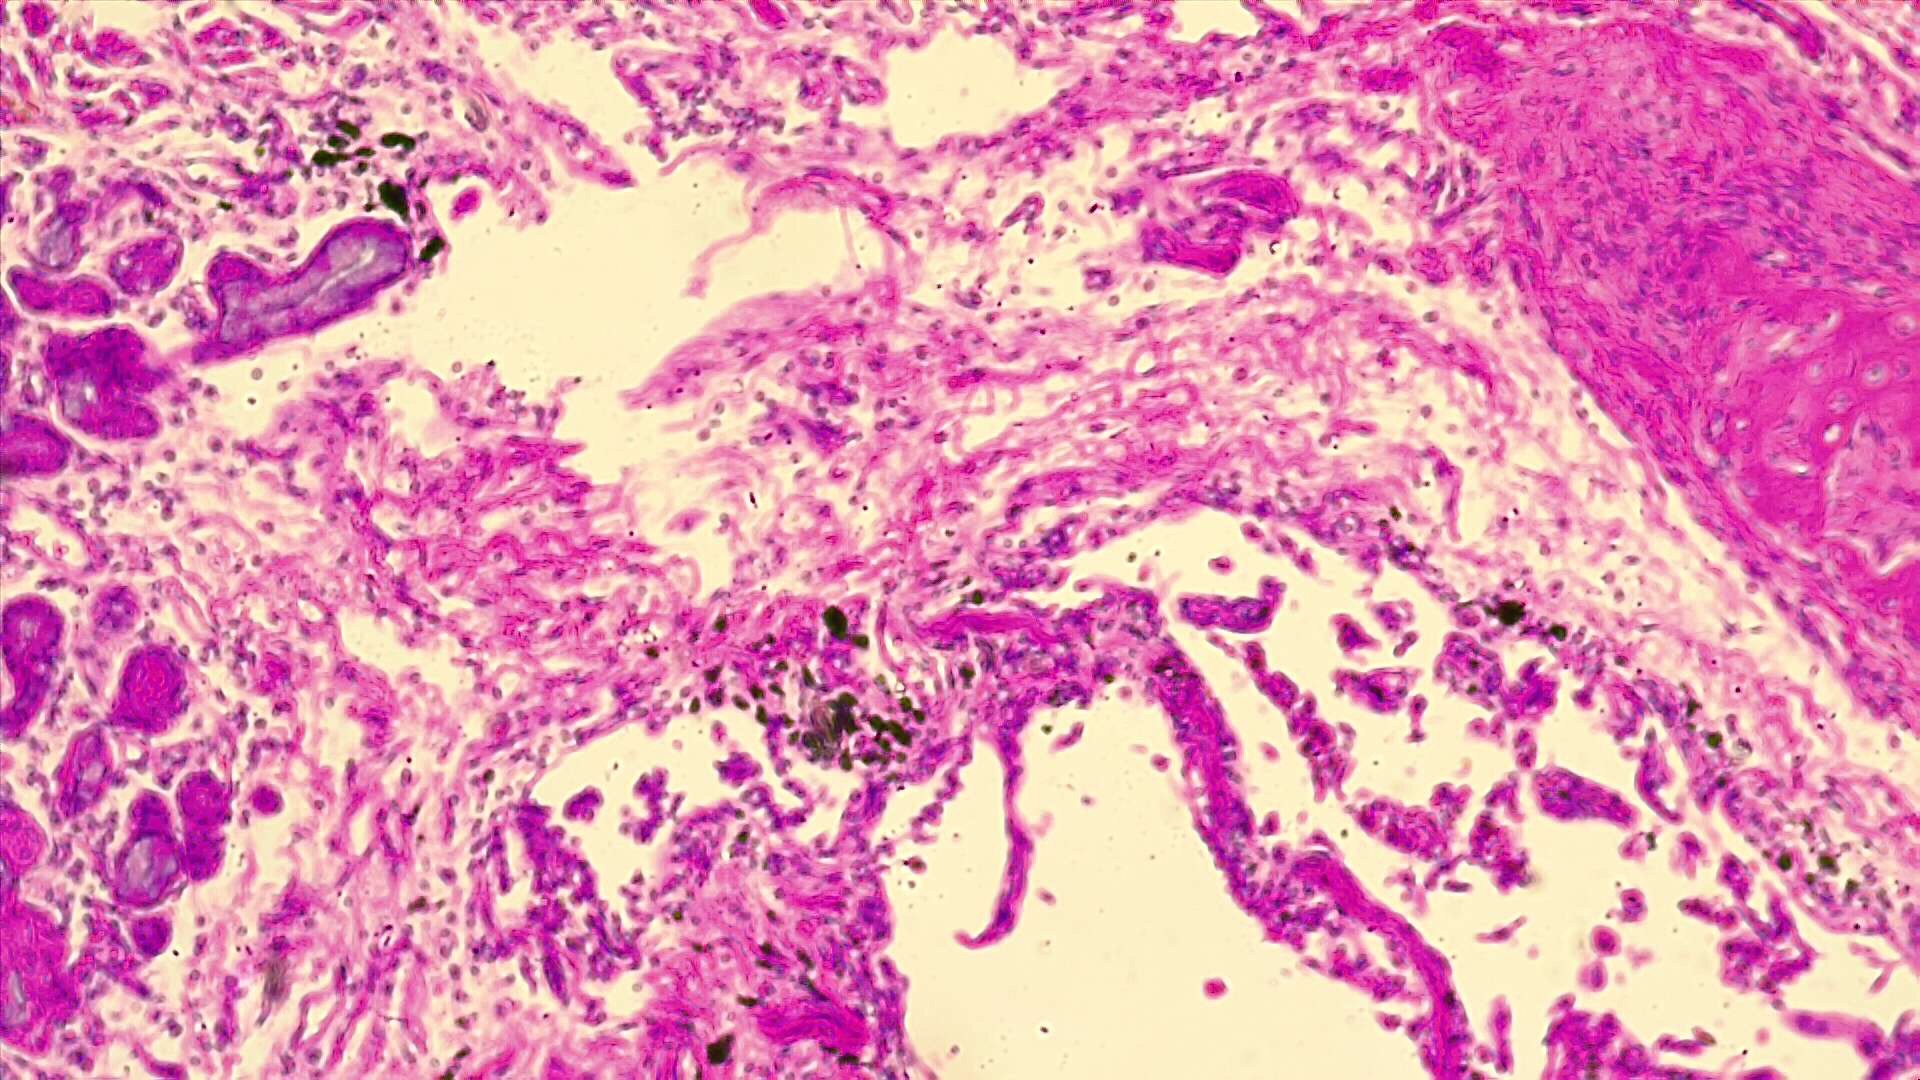
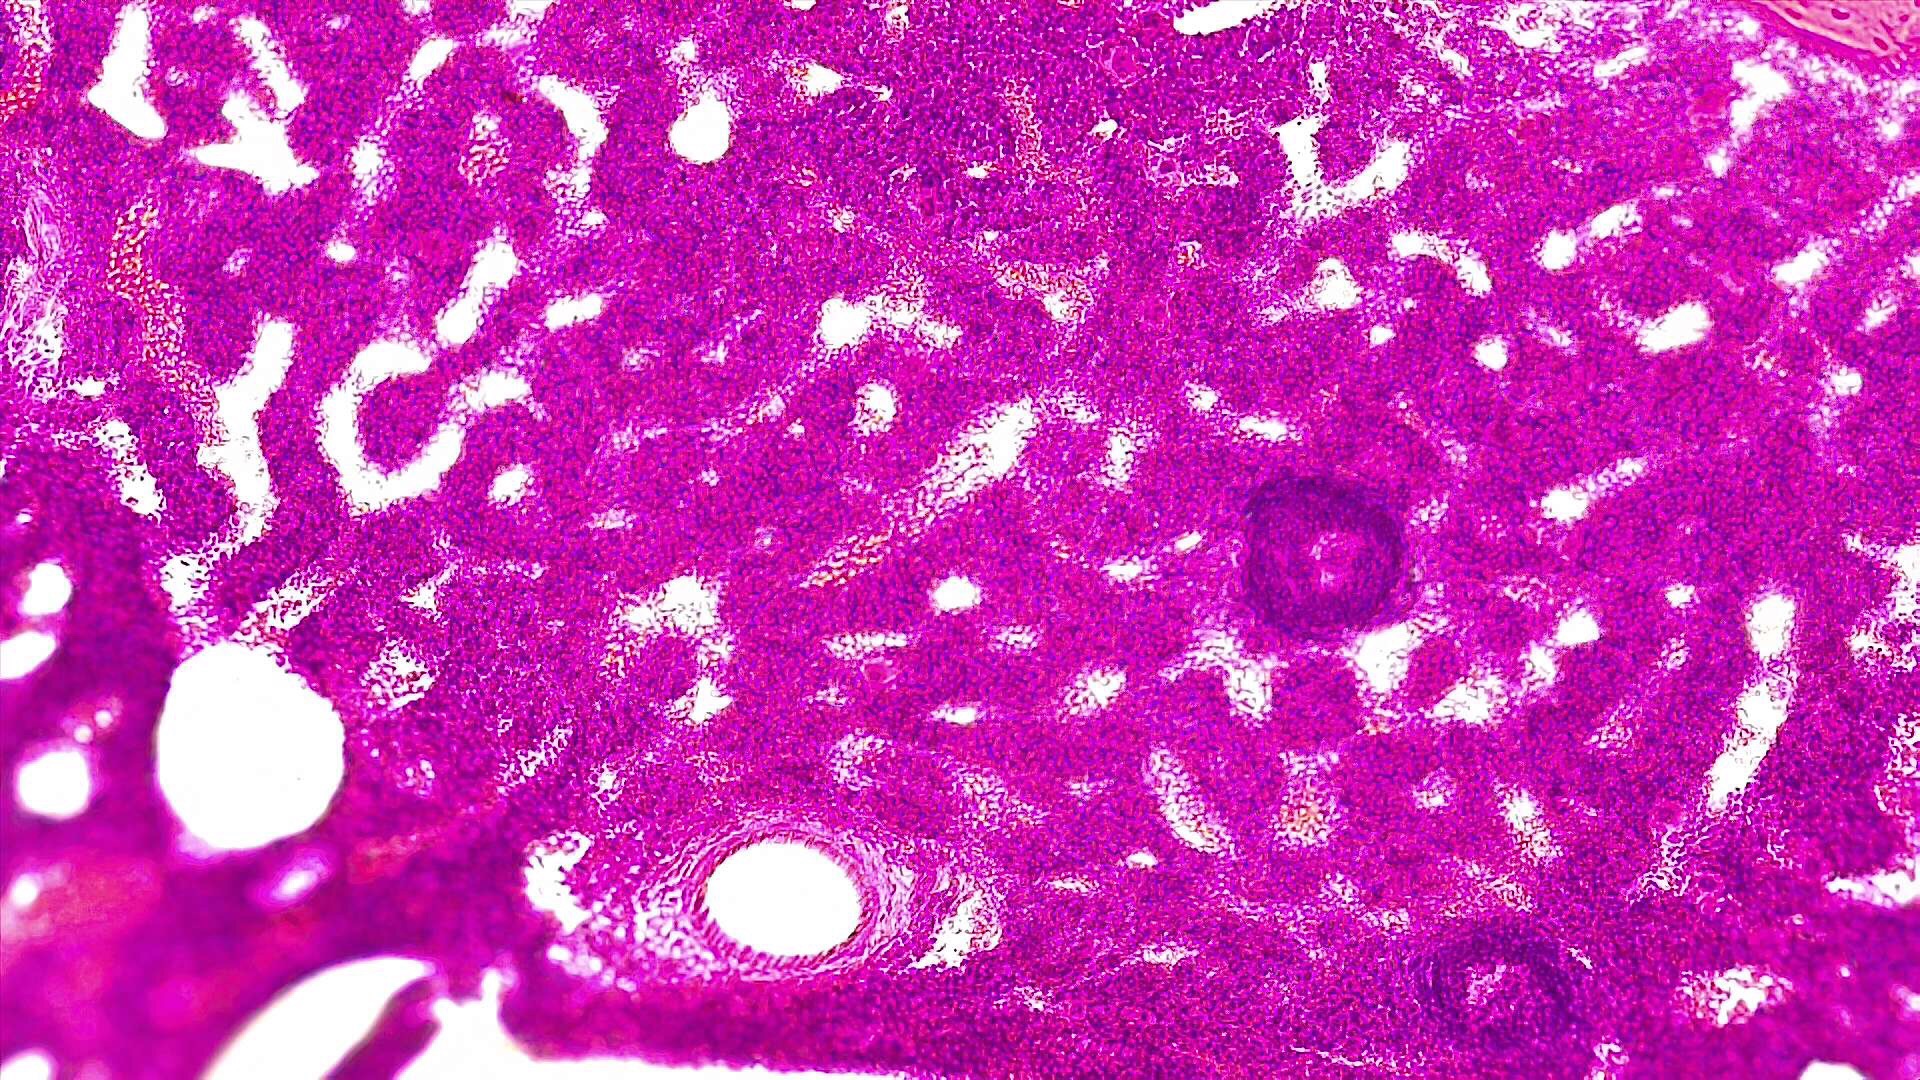
Mammal Kidney

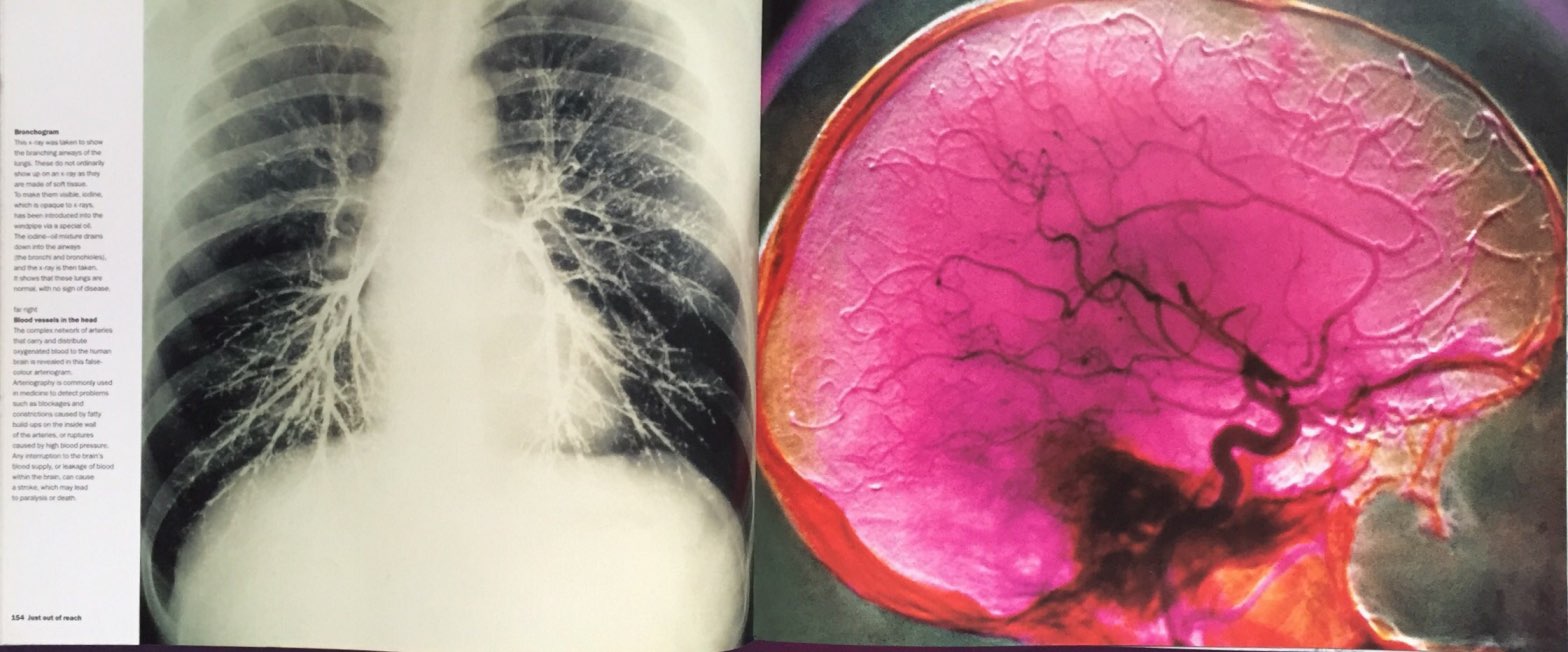
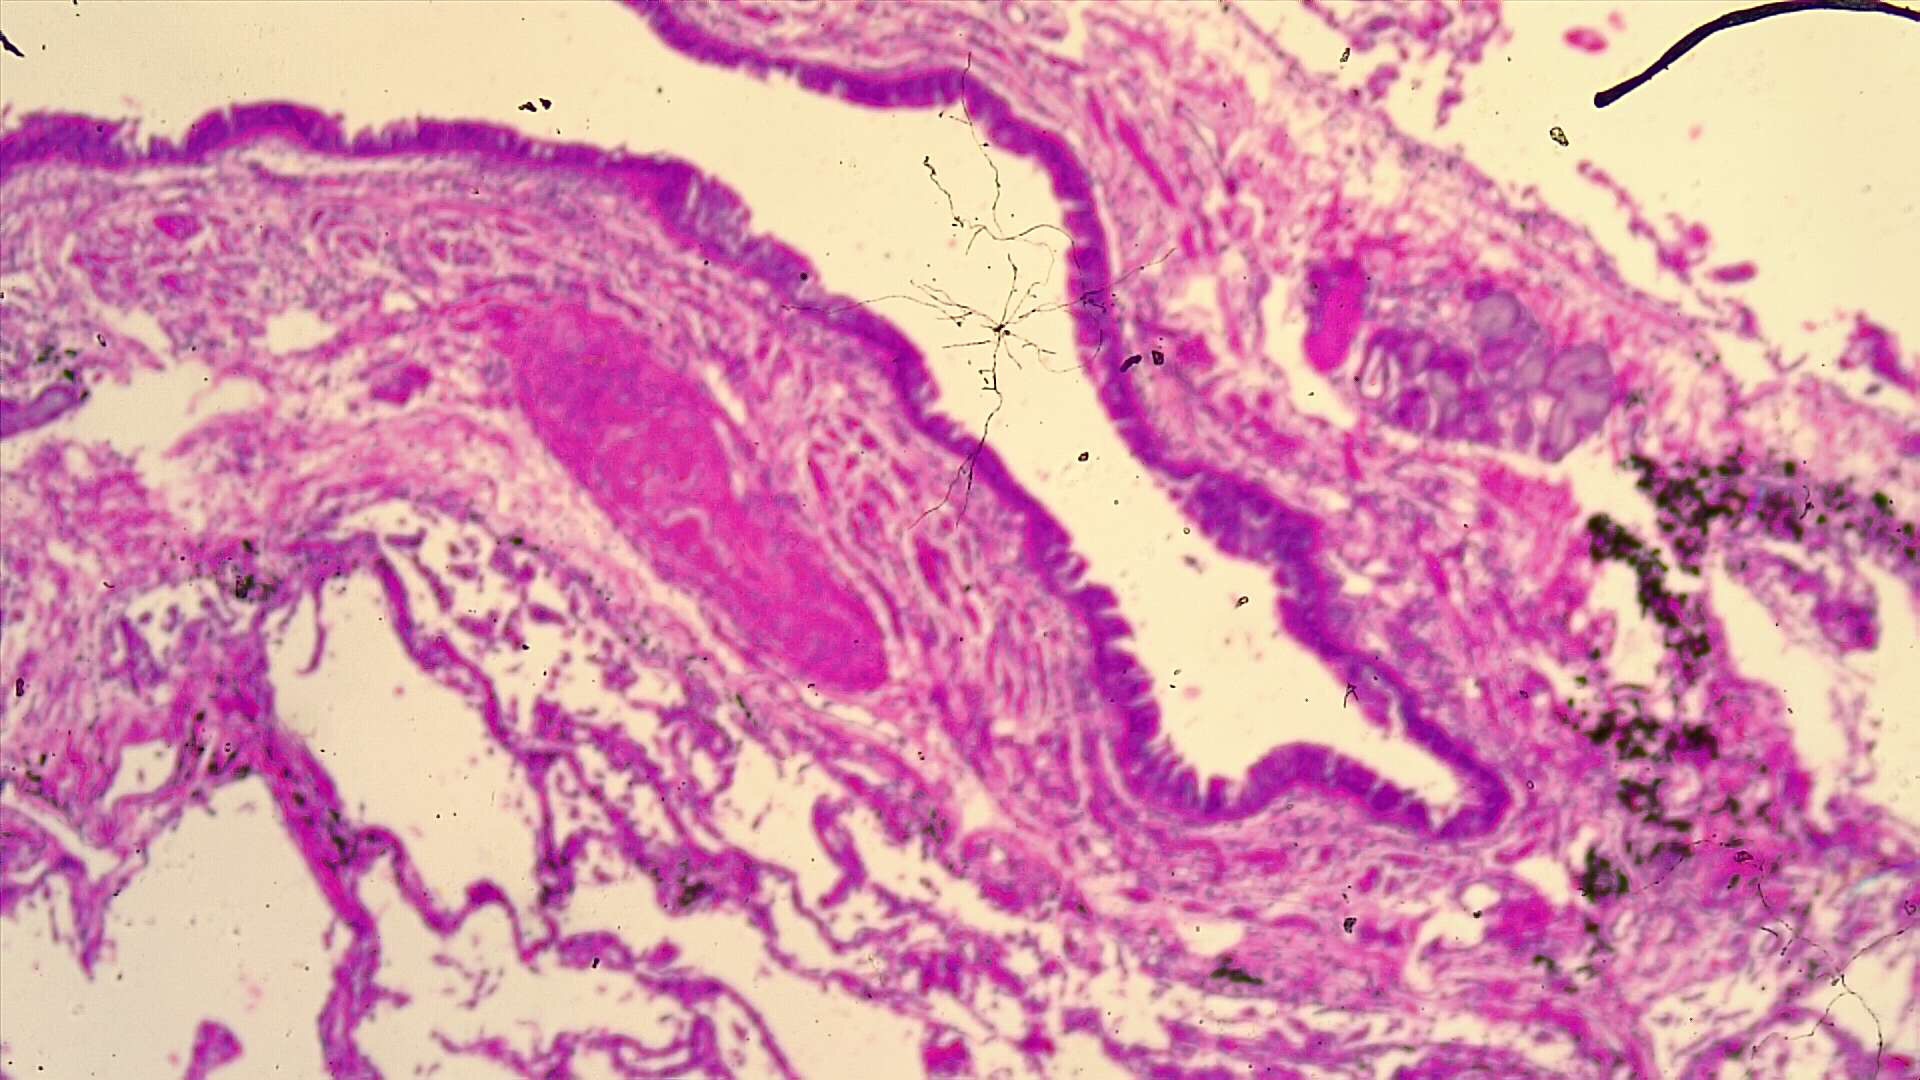
Human Lung


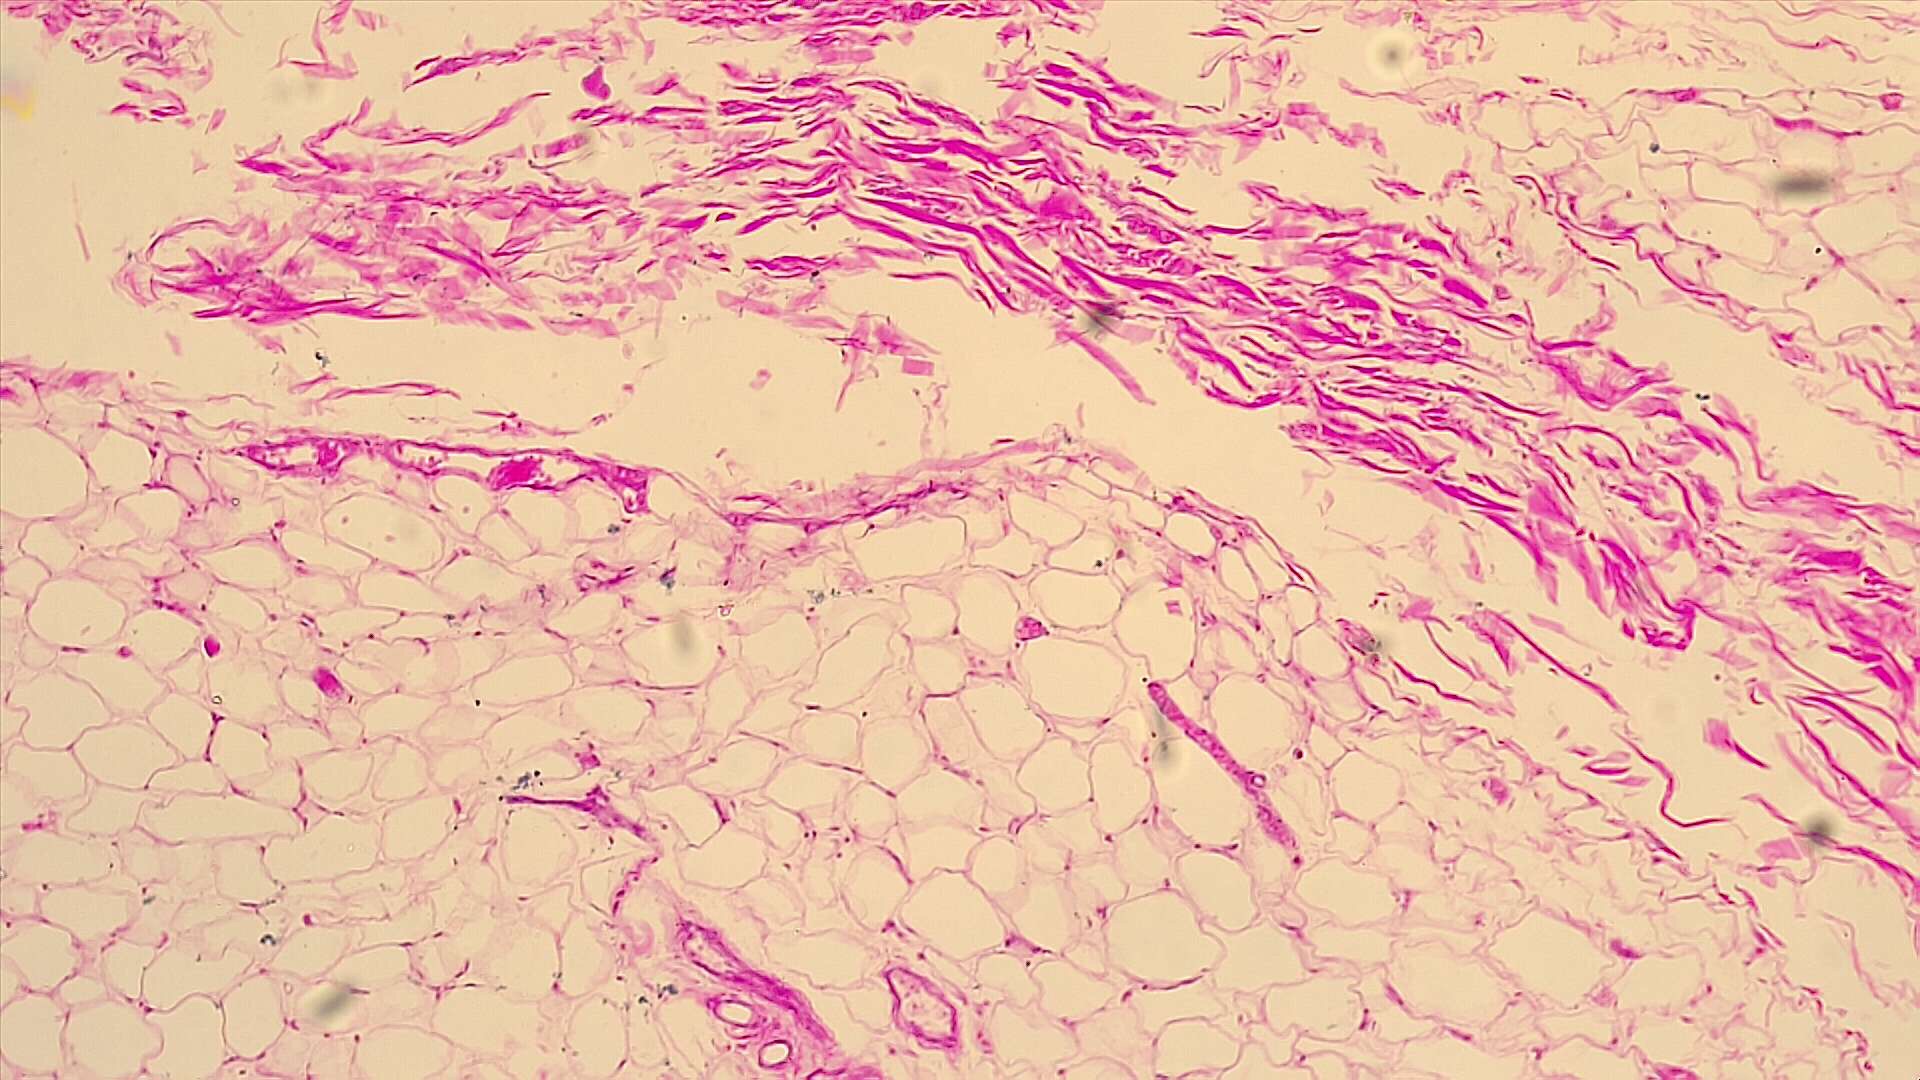
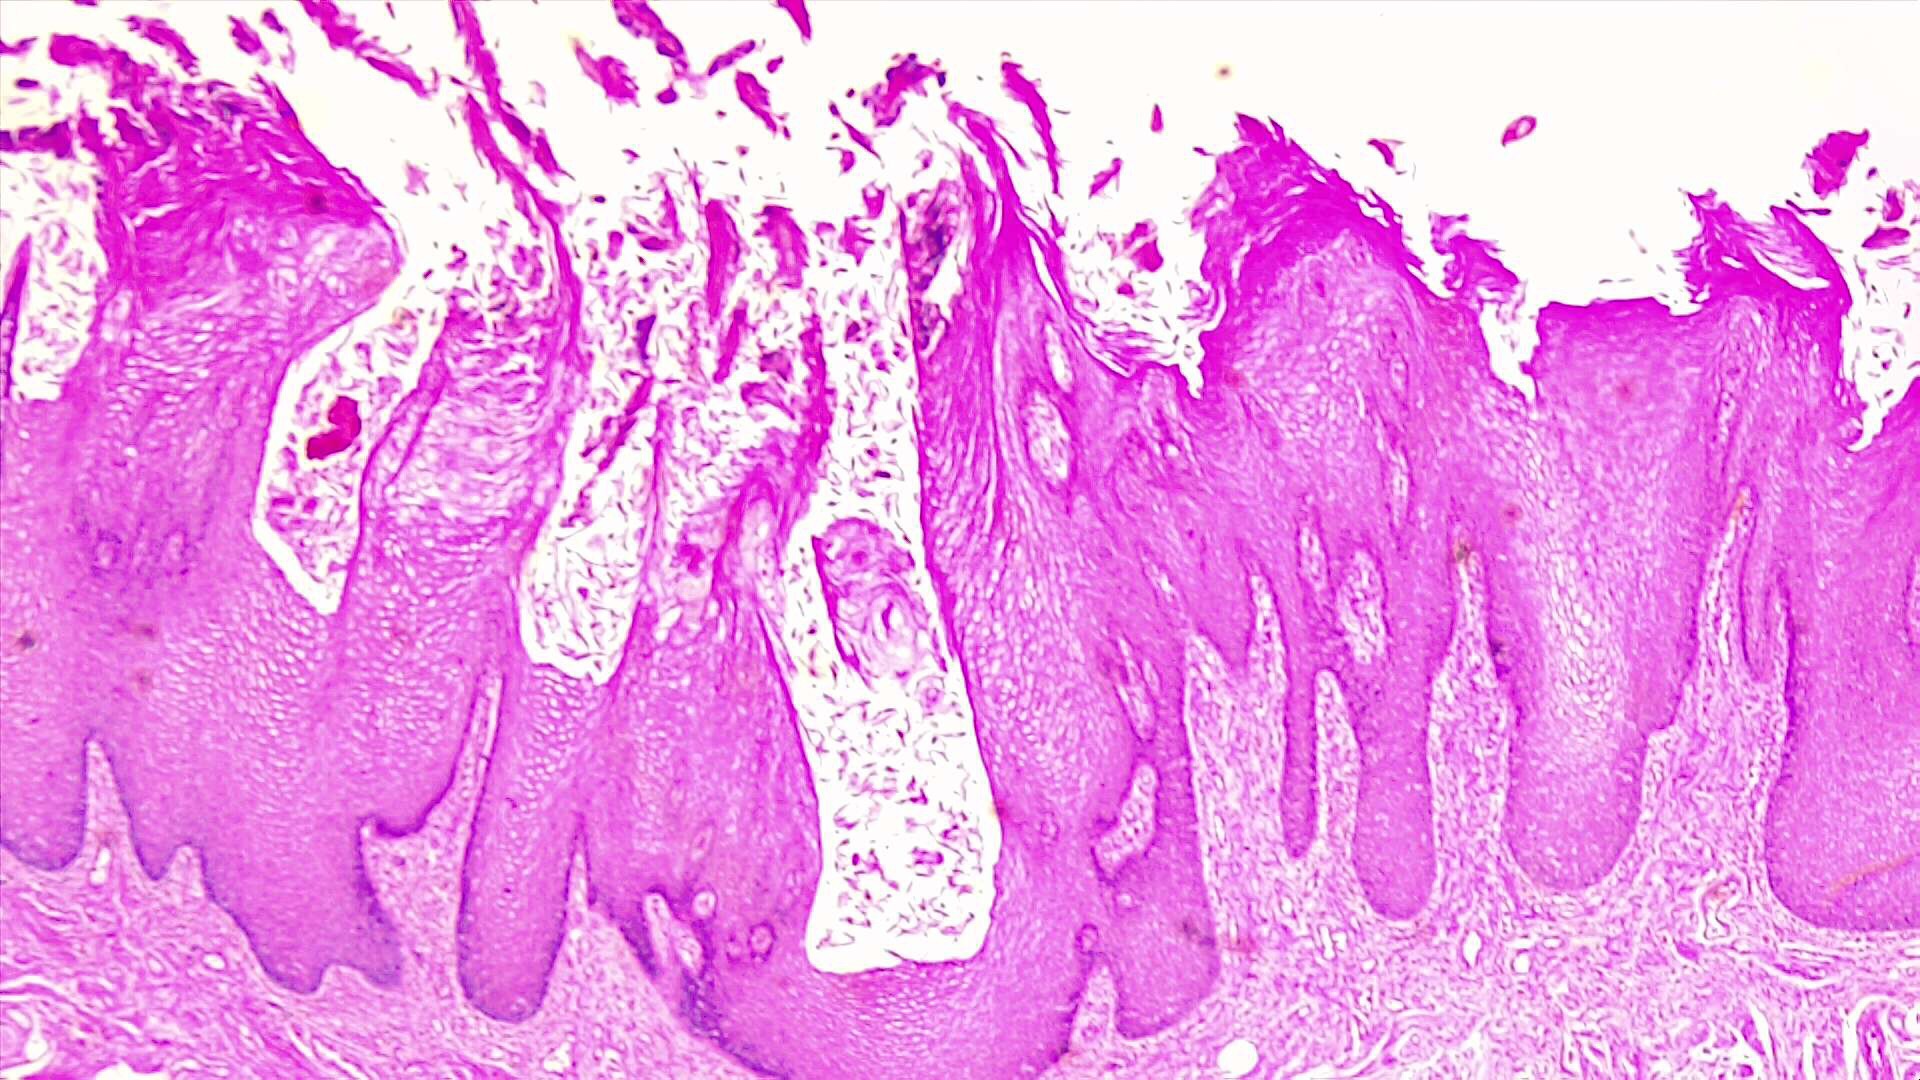
Human Skin, Non-pigmented
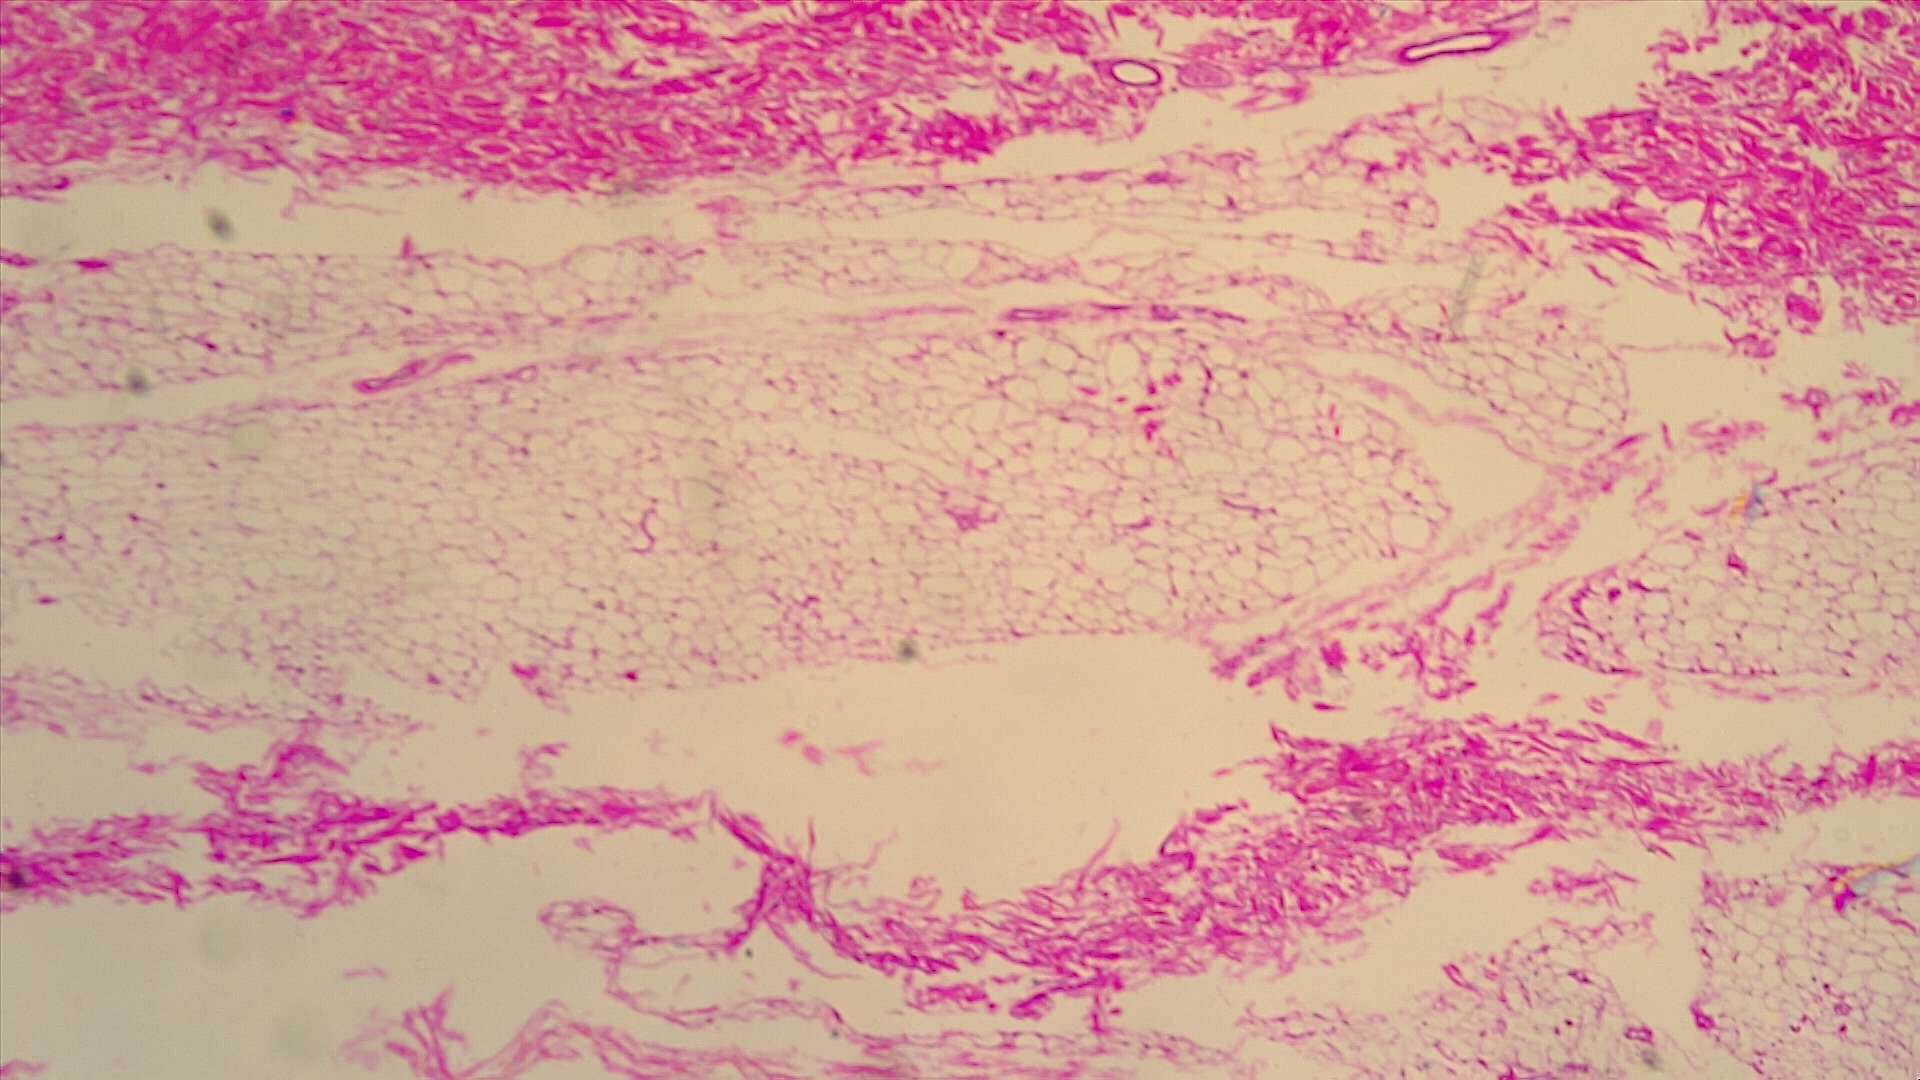

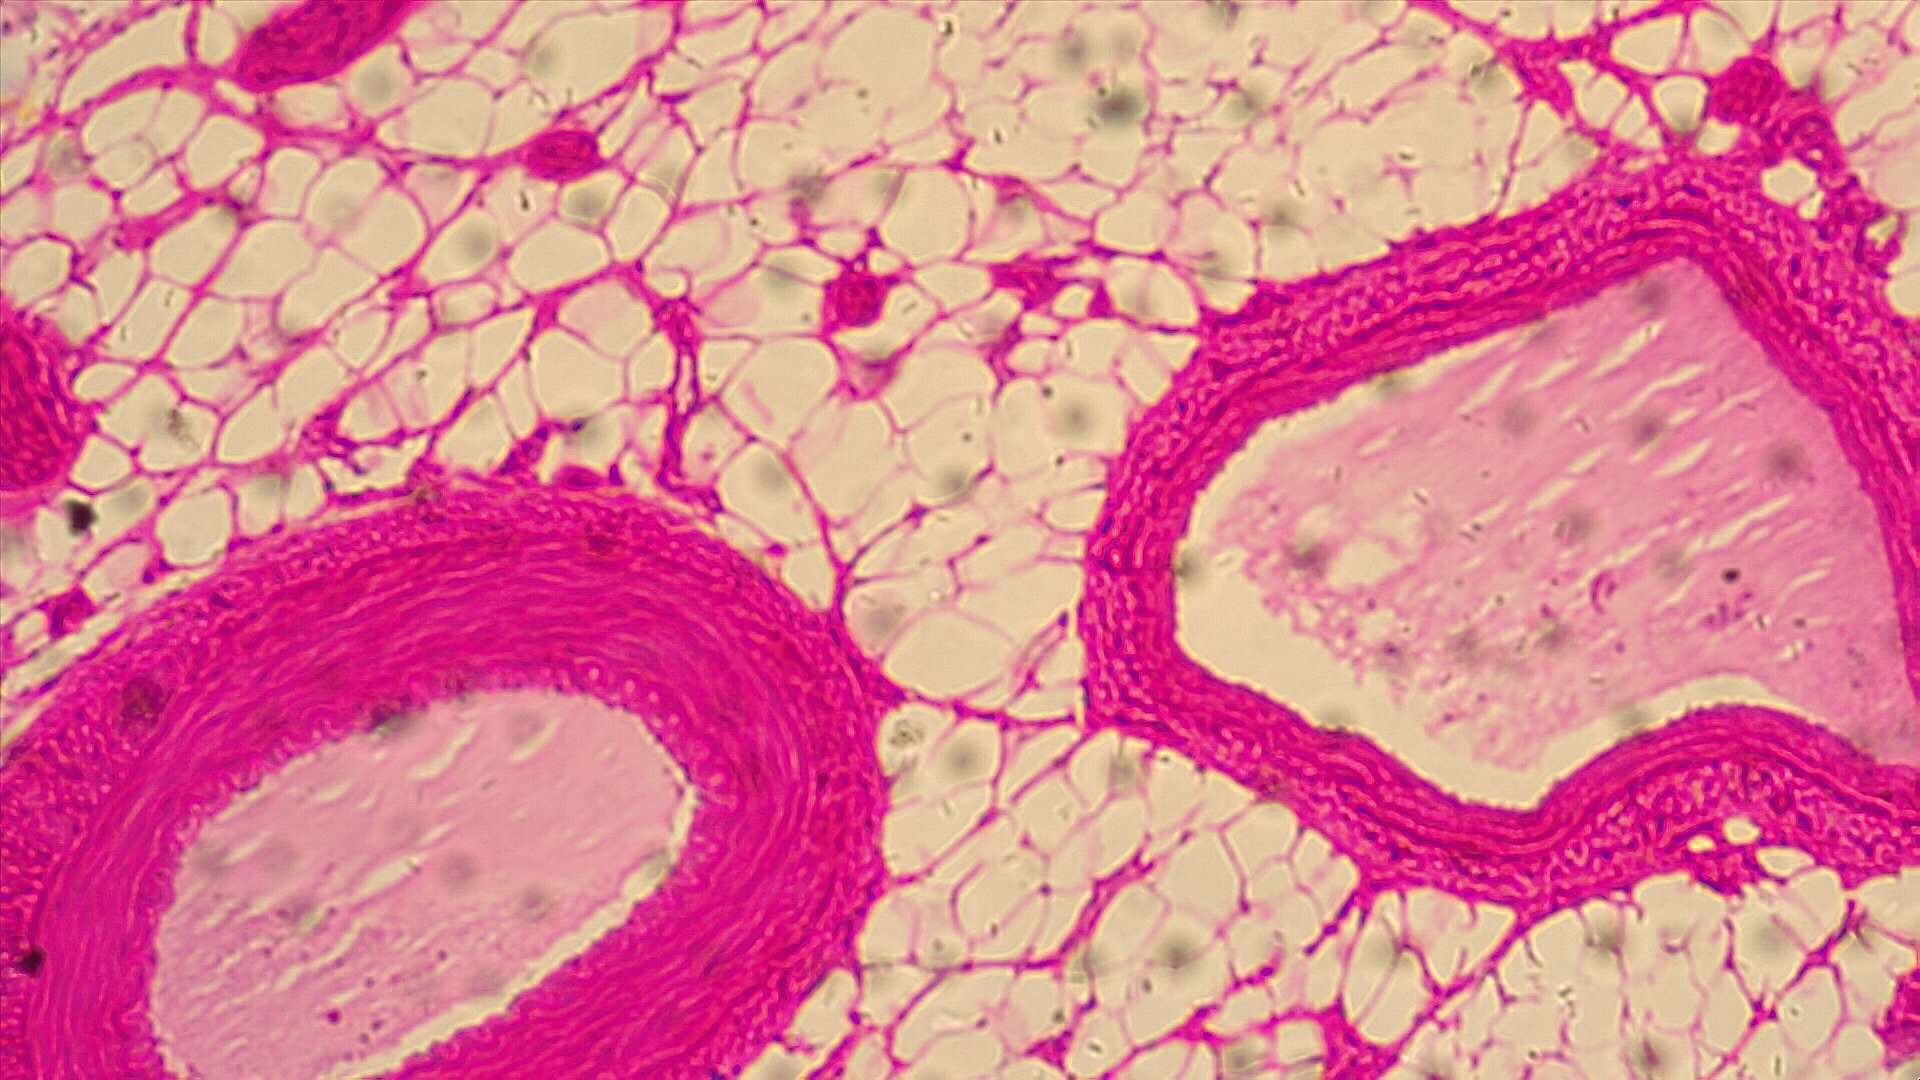
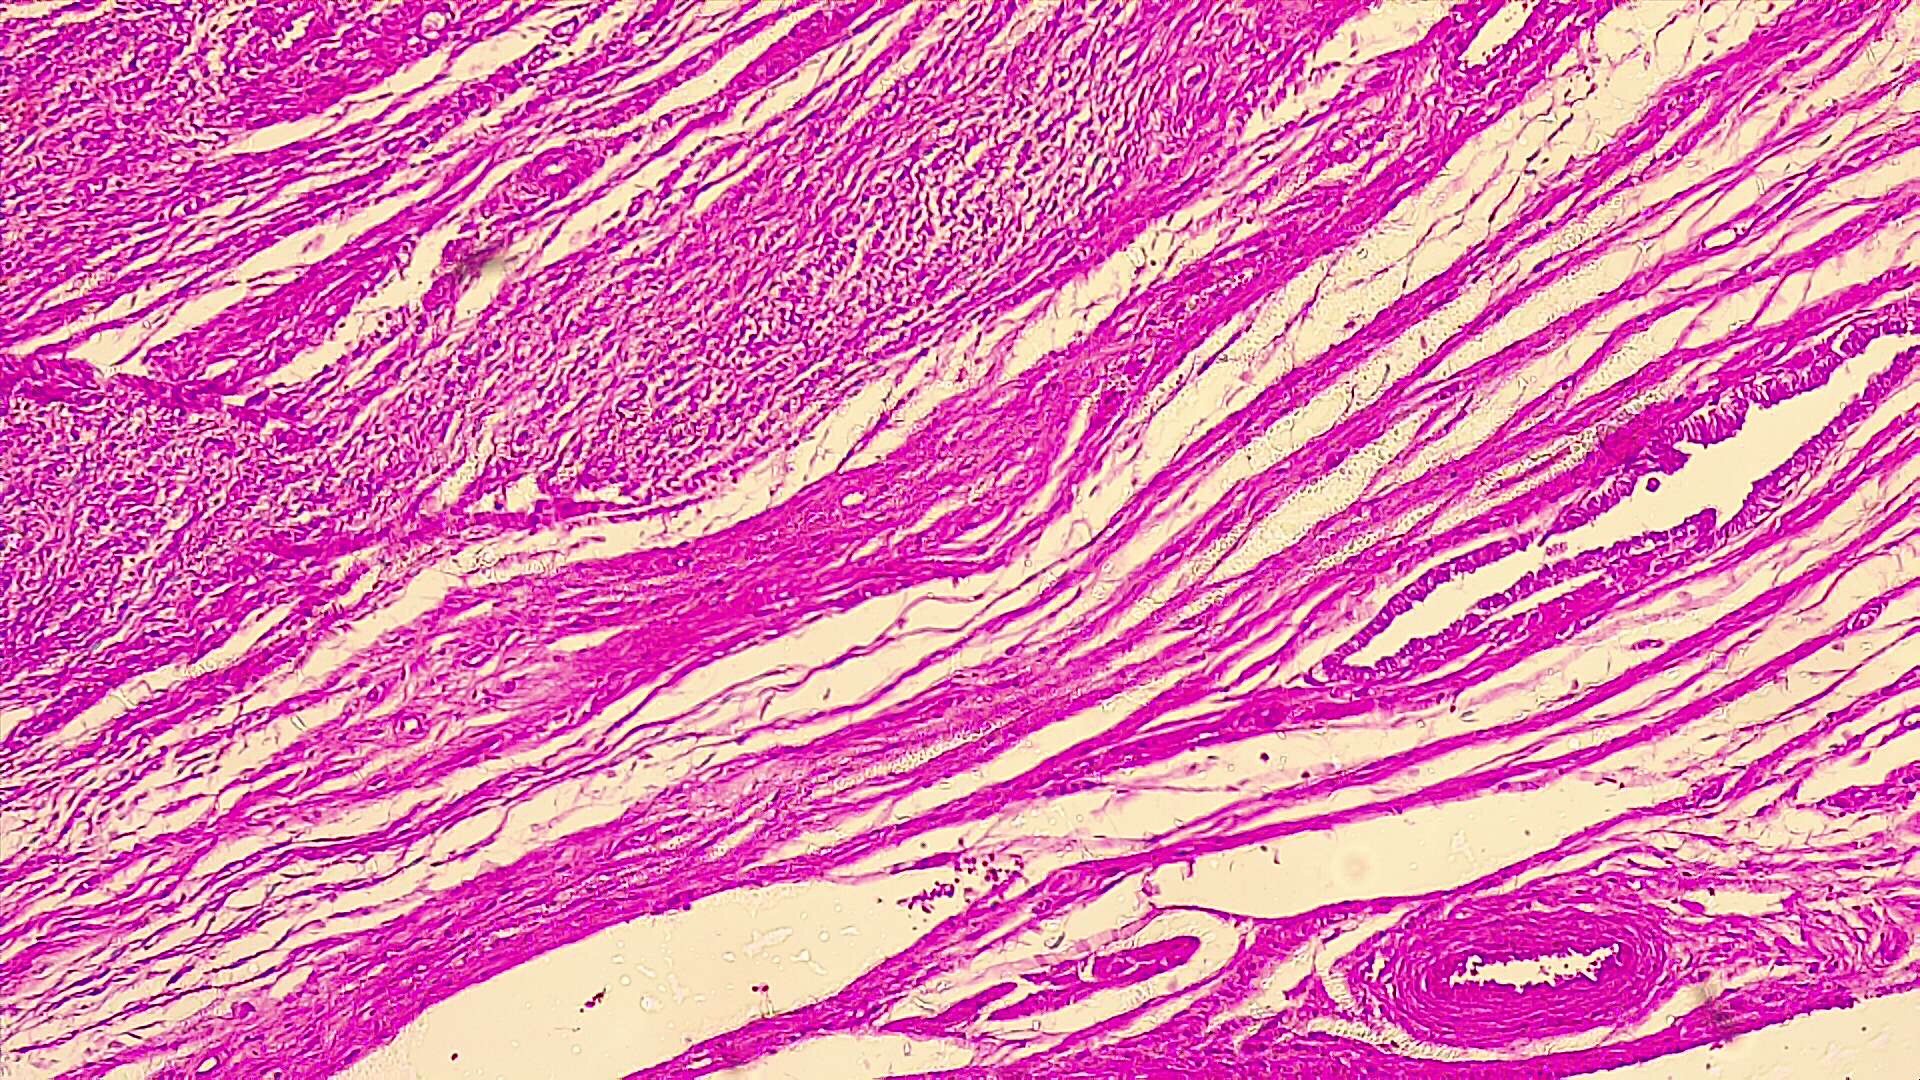
Mammal Artery and Vein


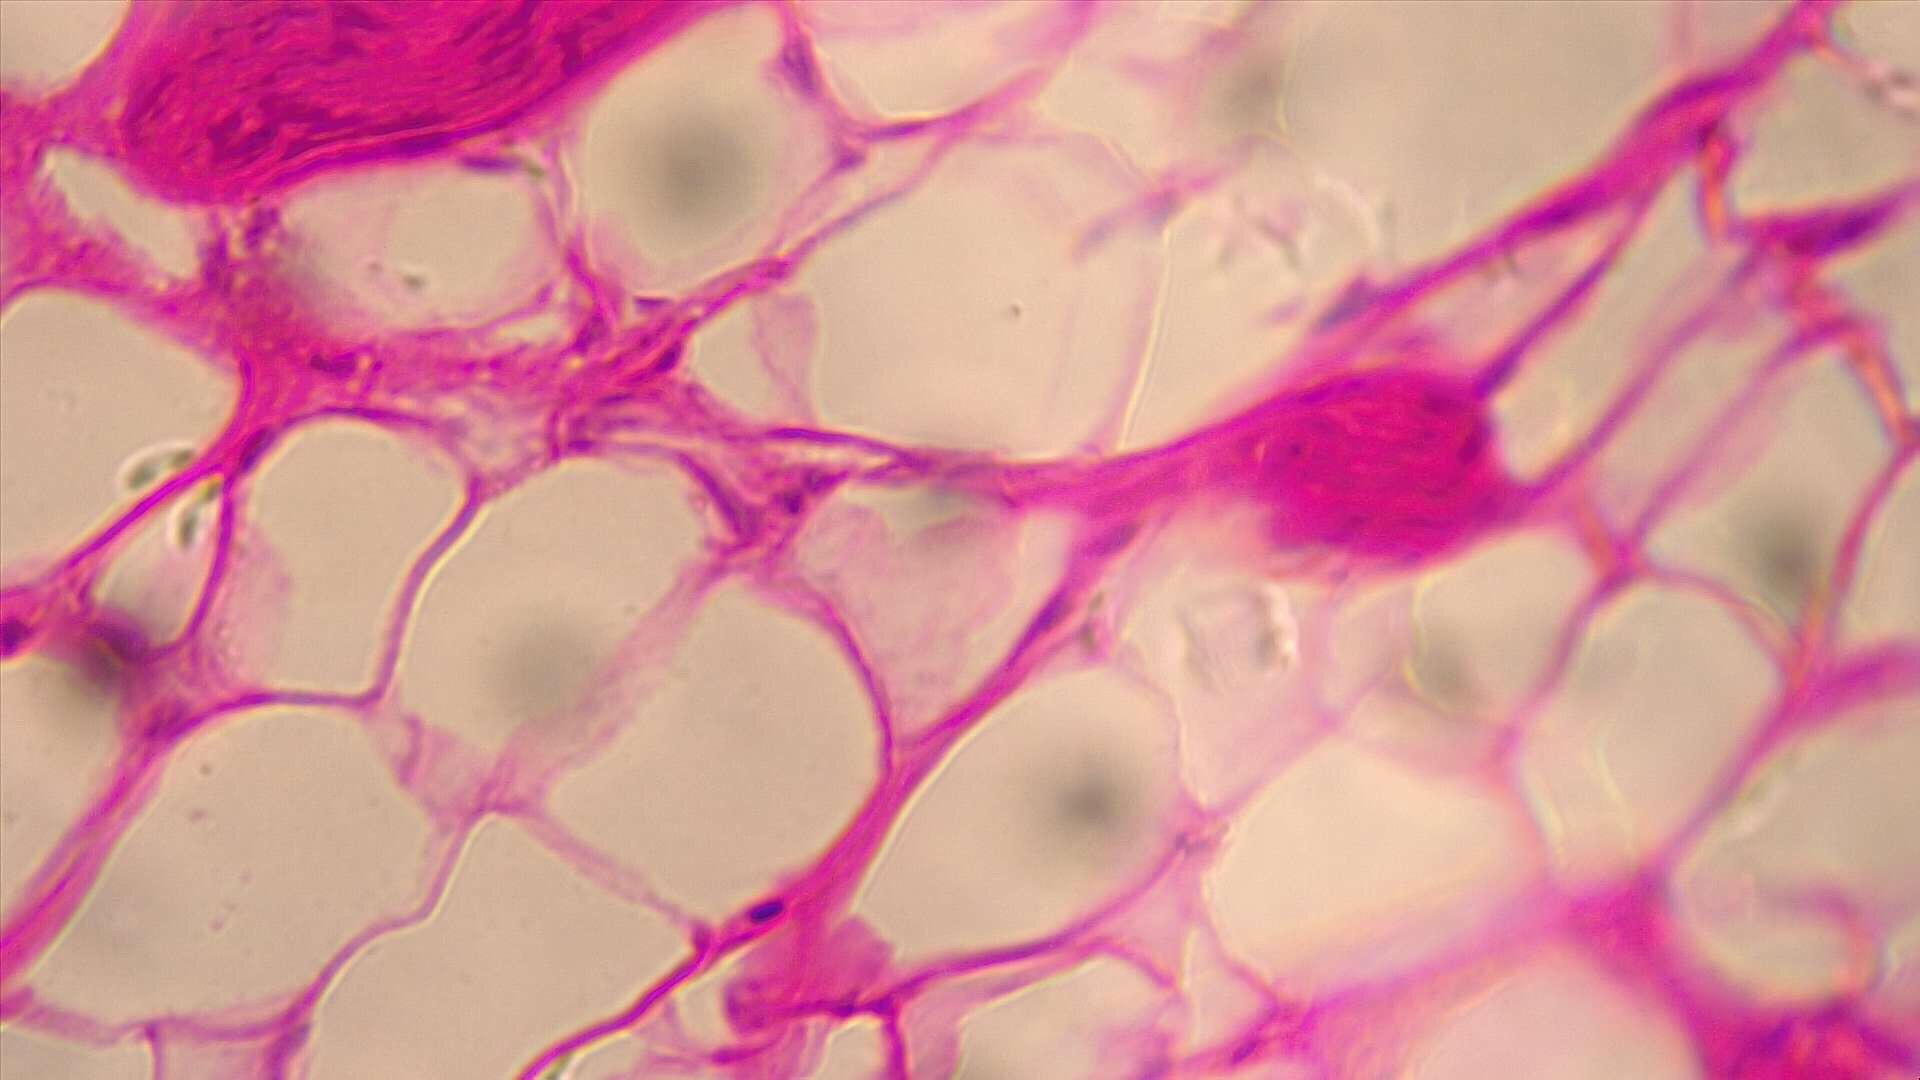

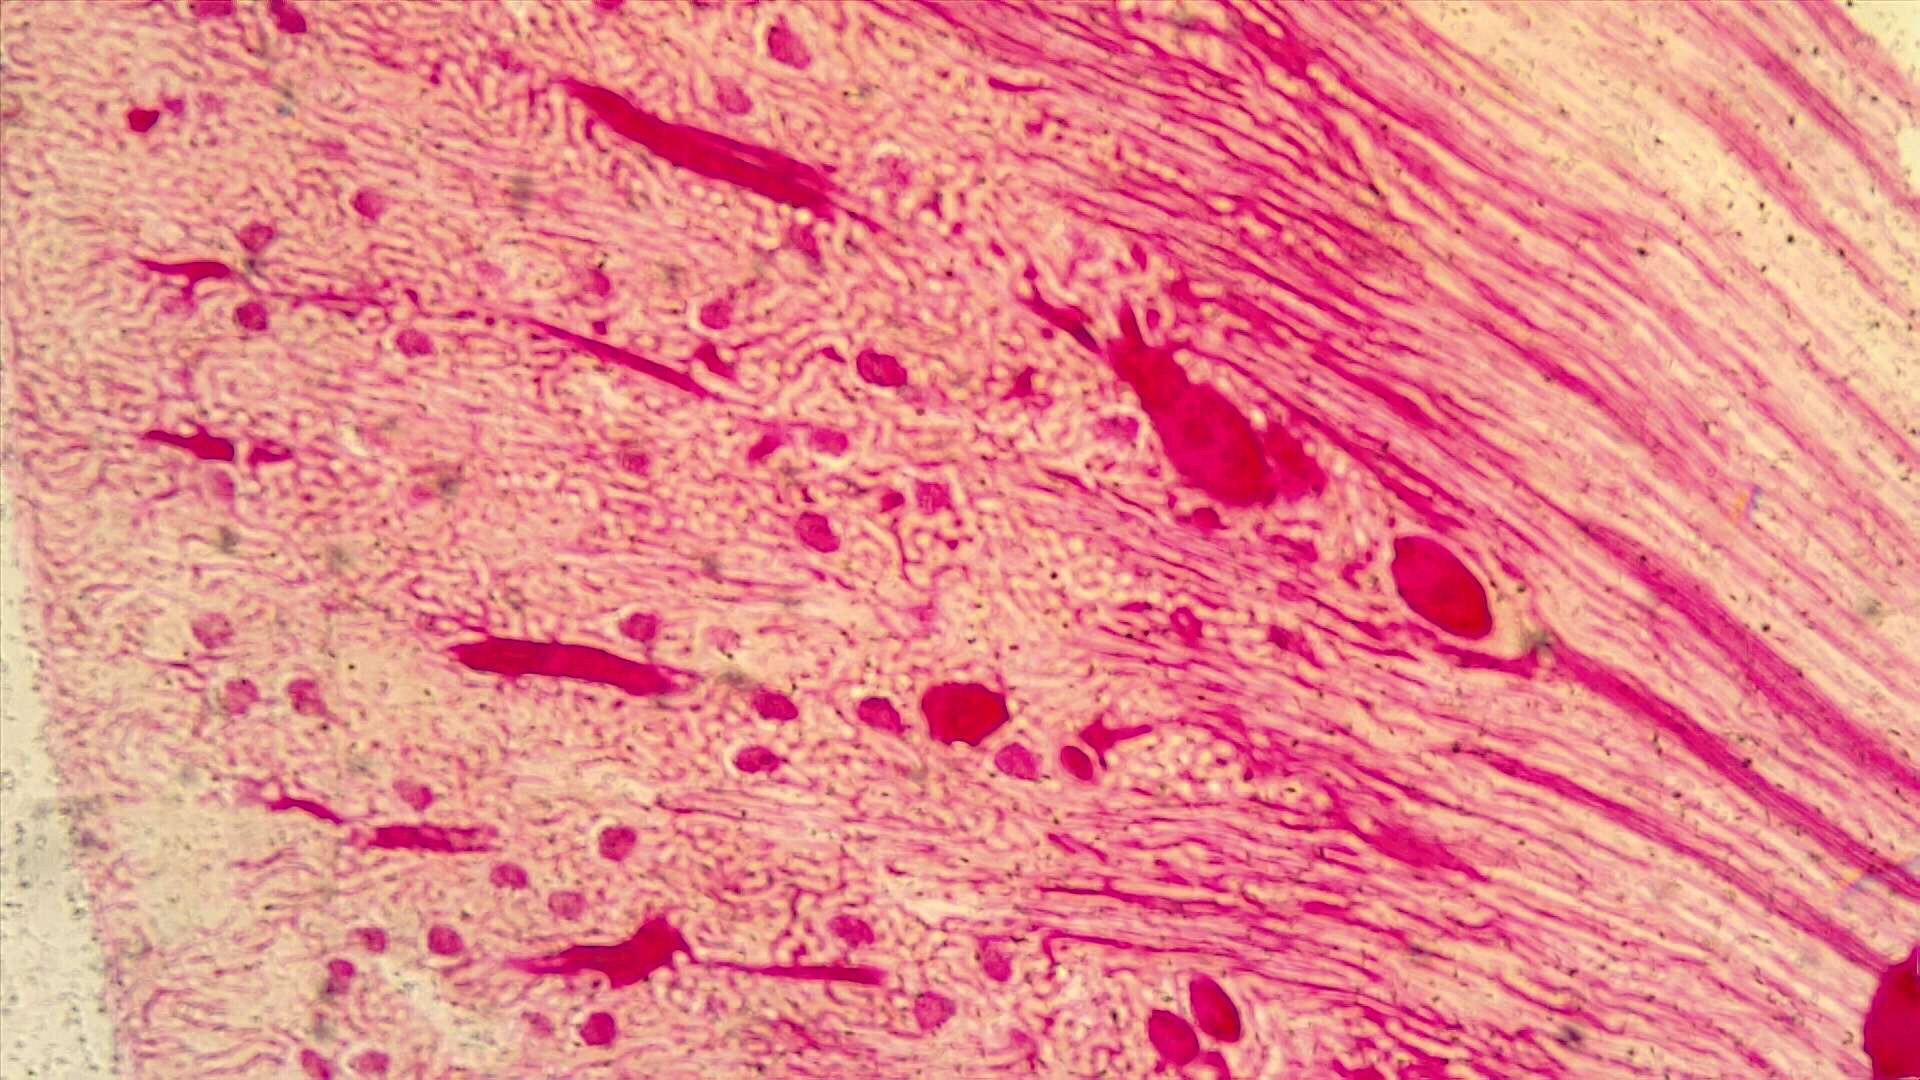
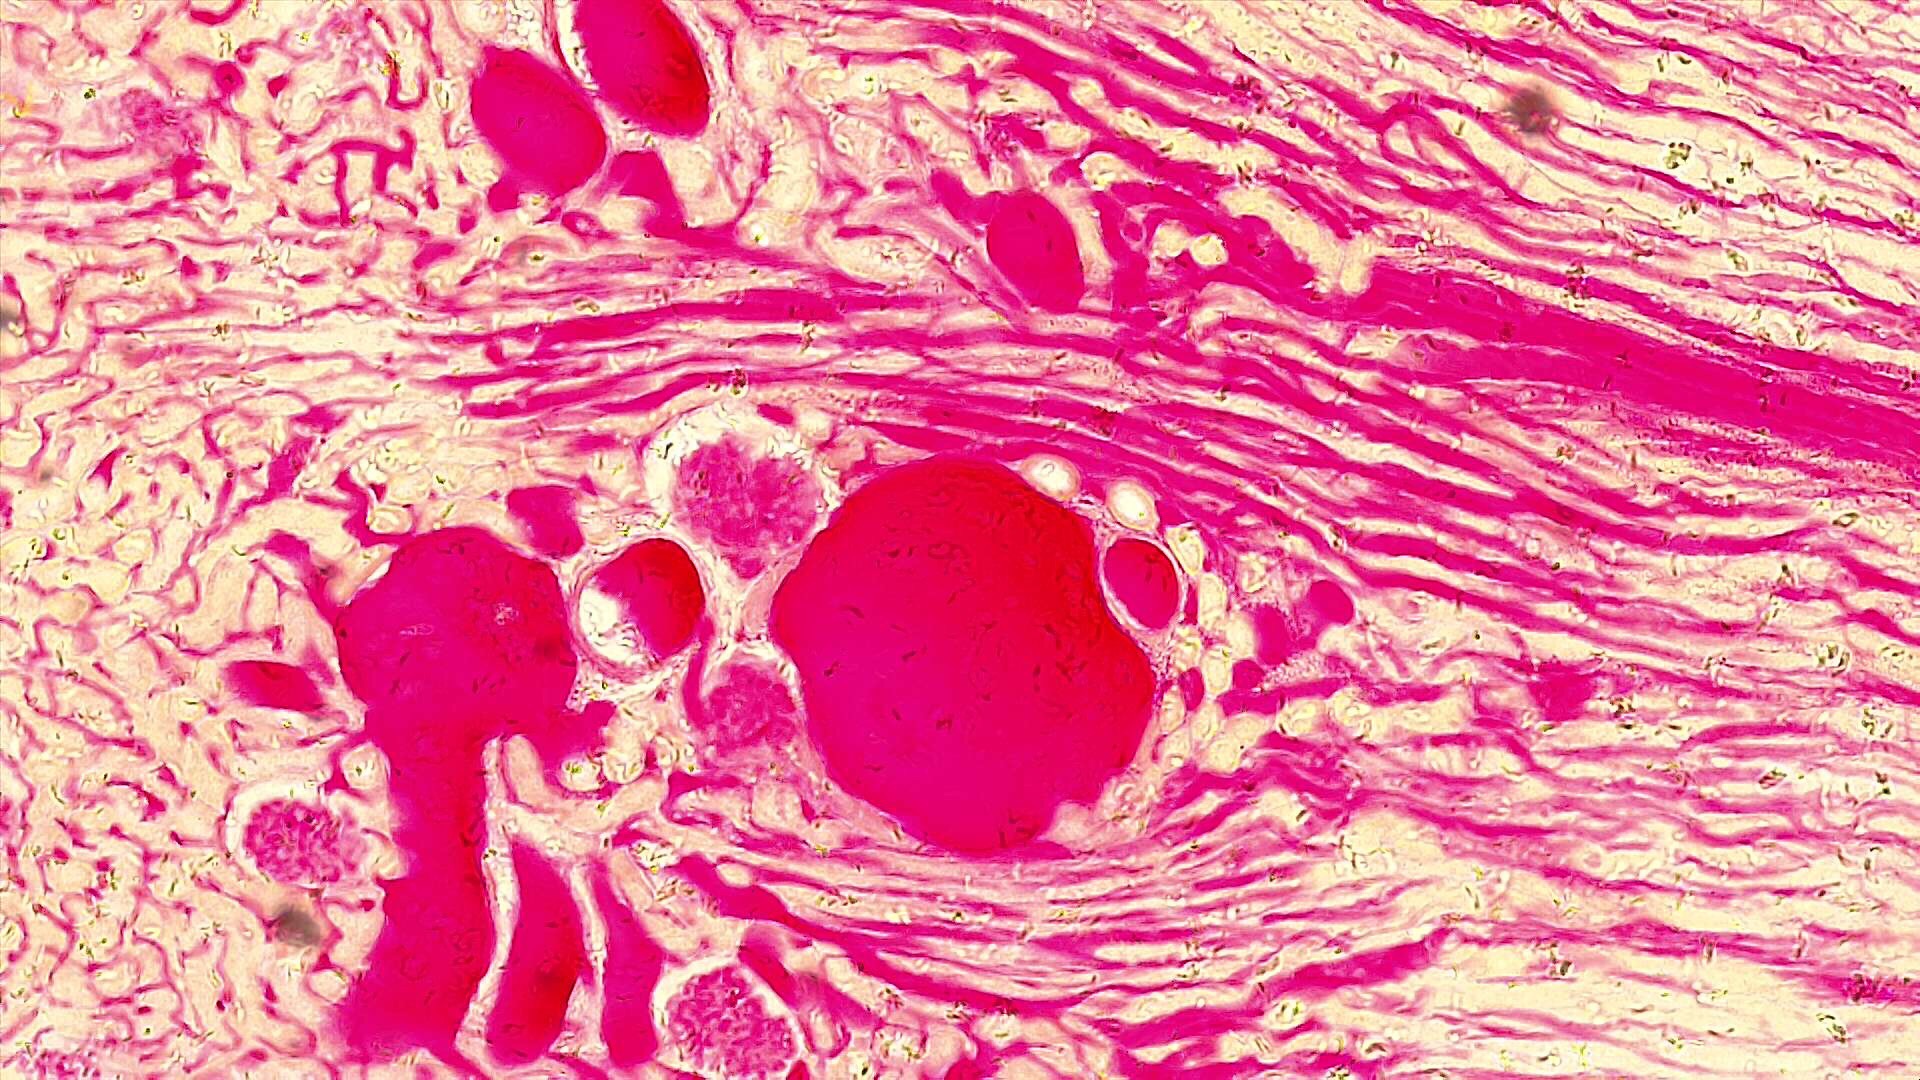
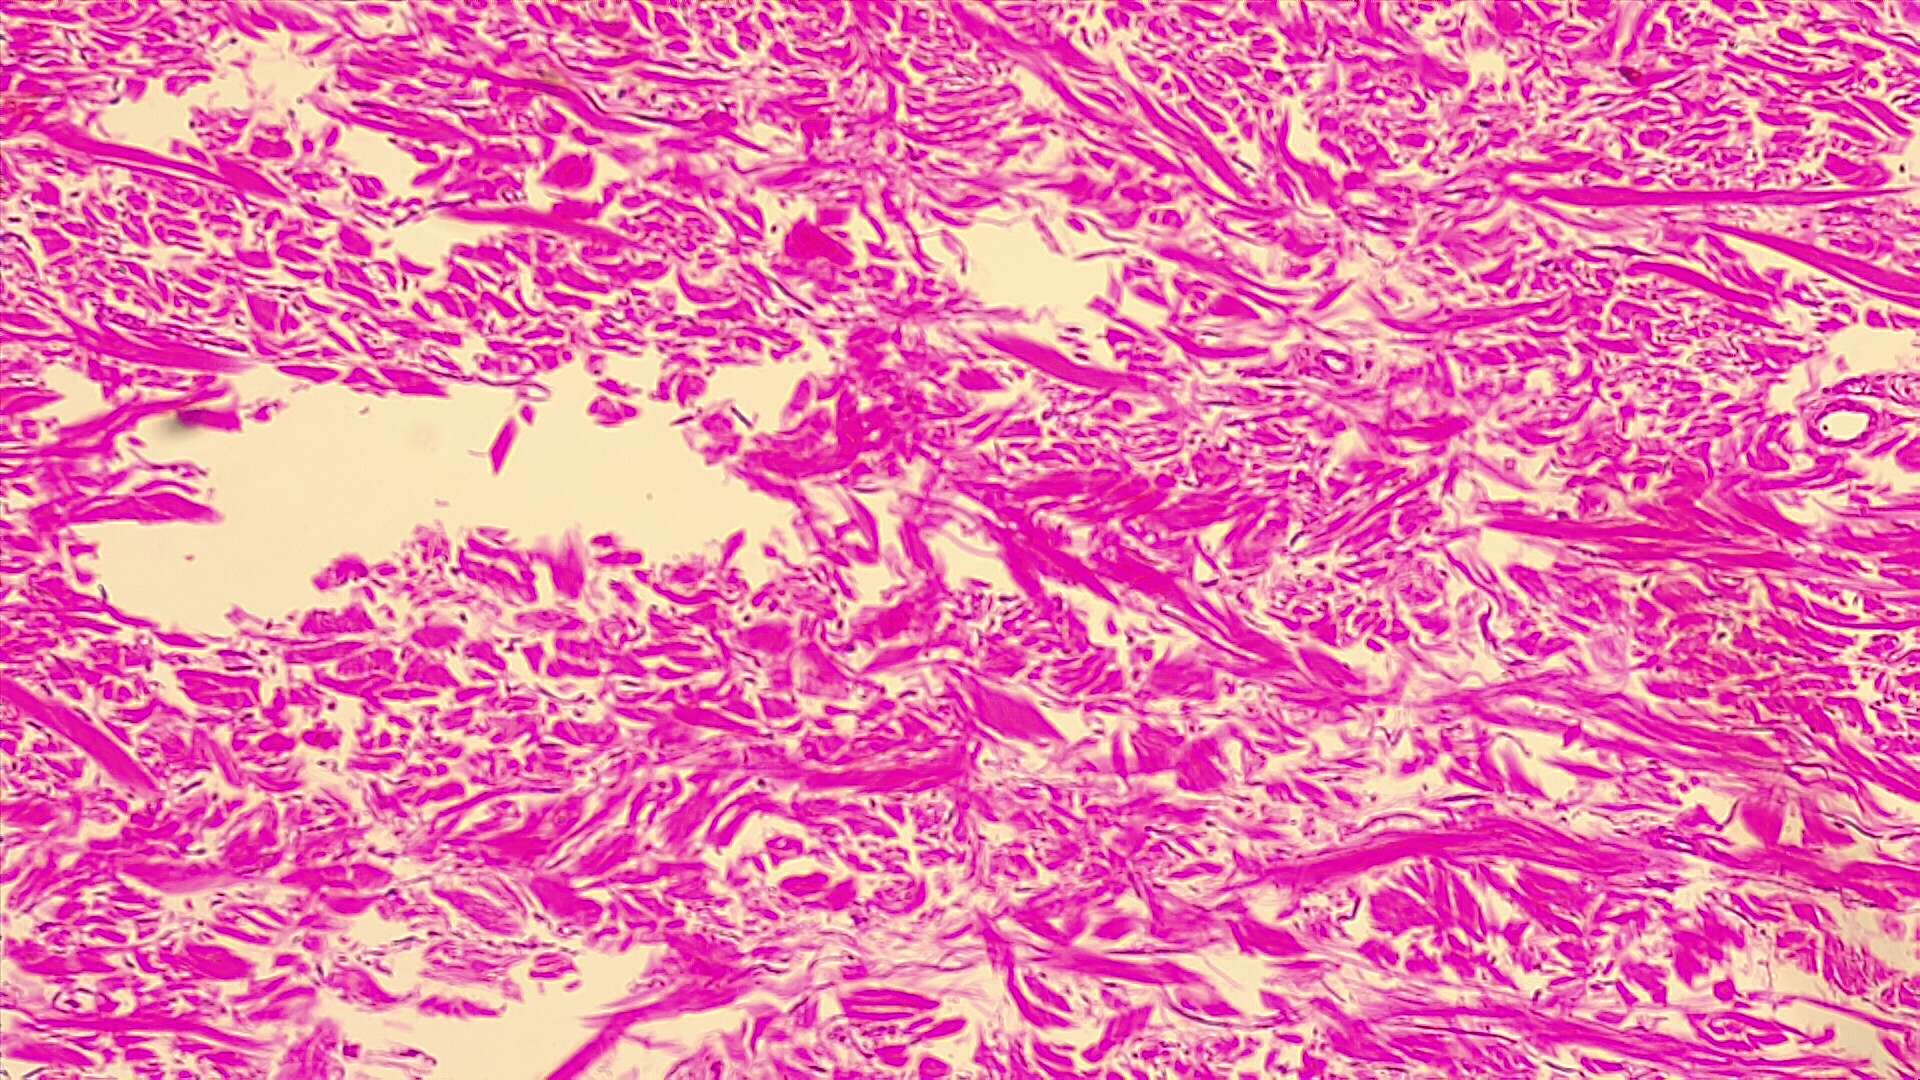
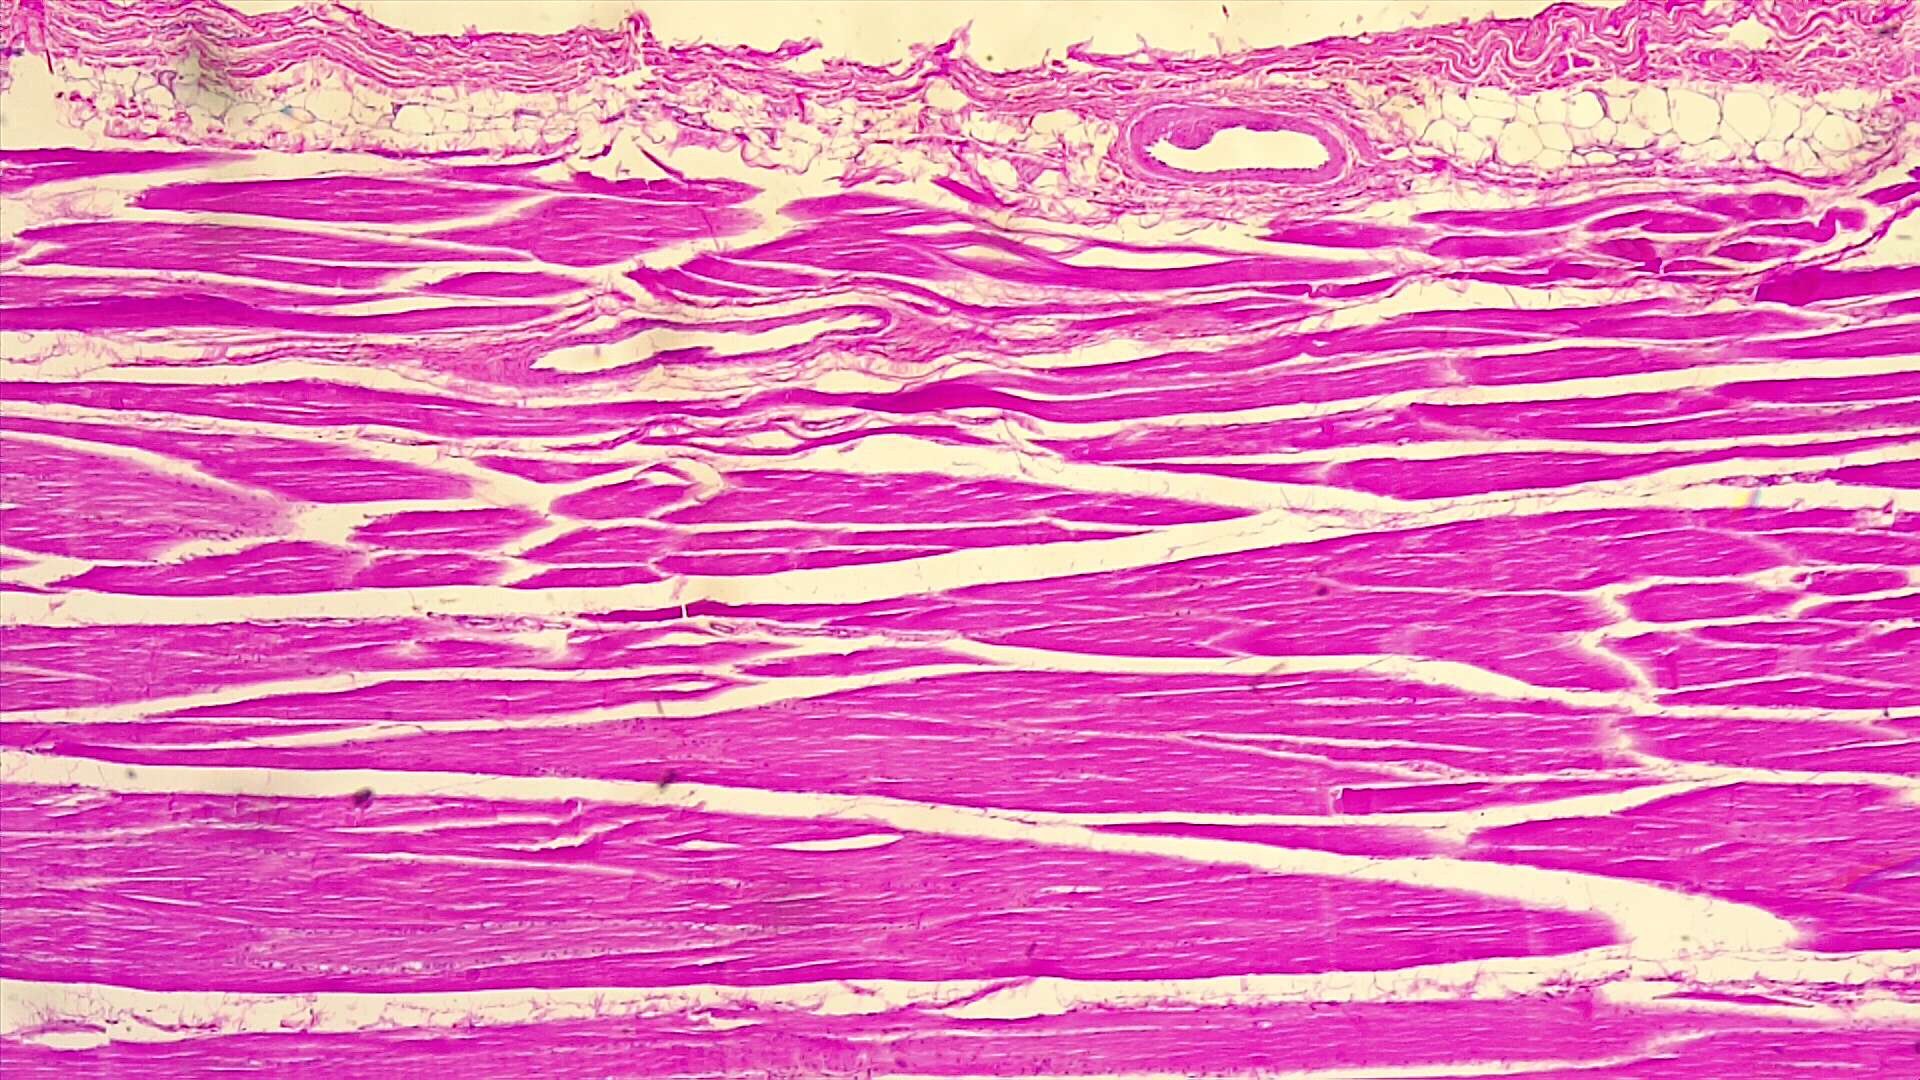
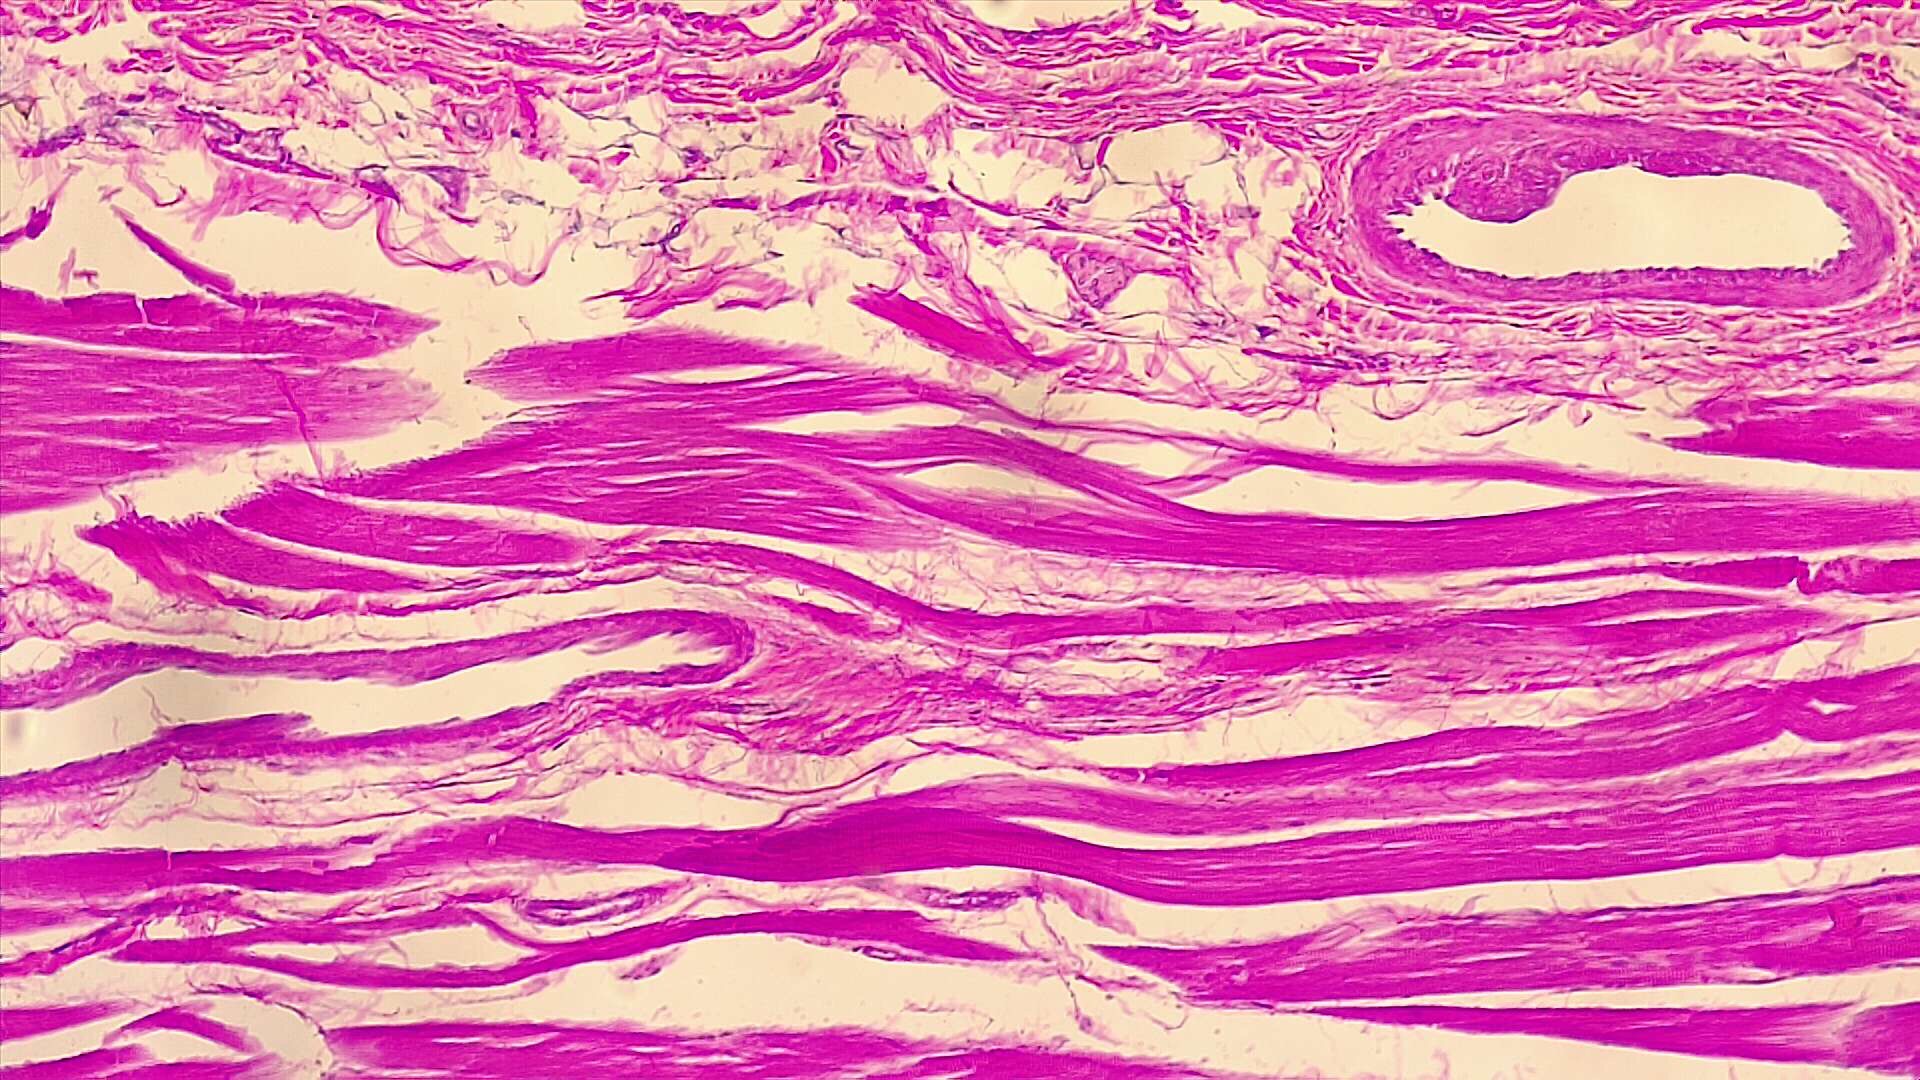
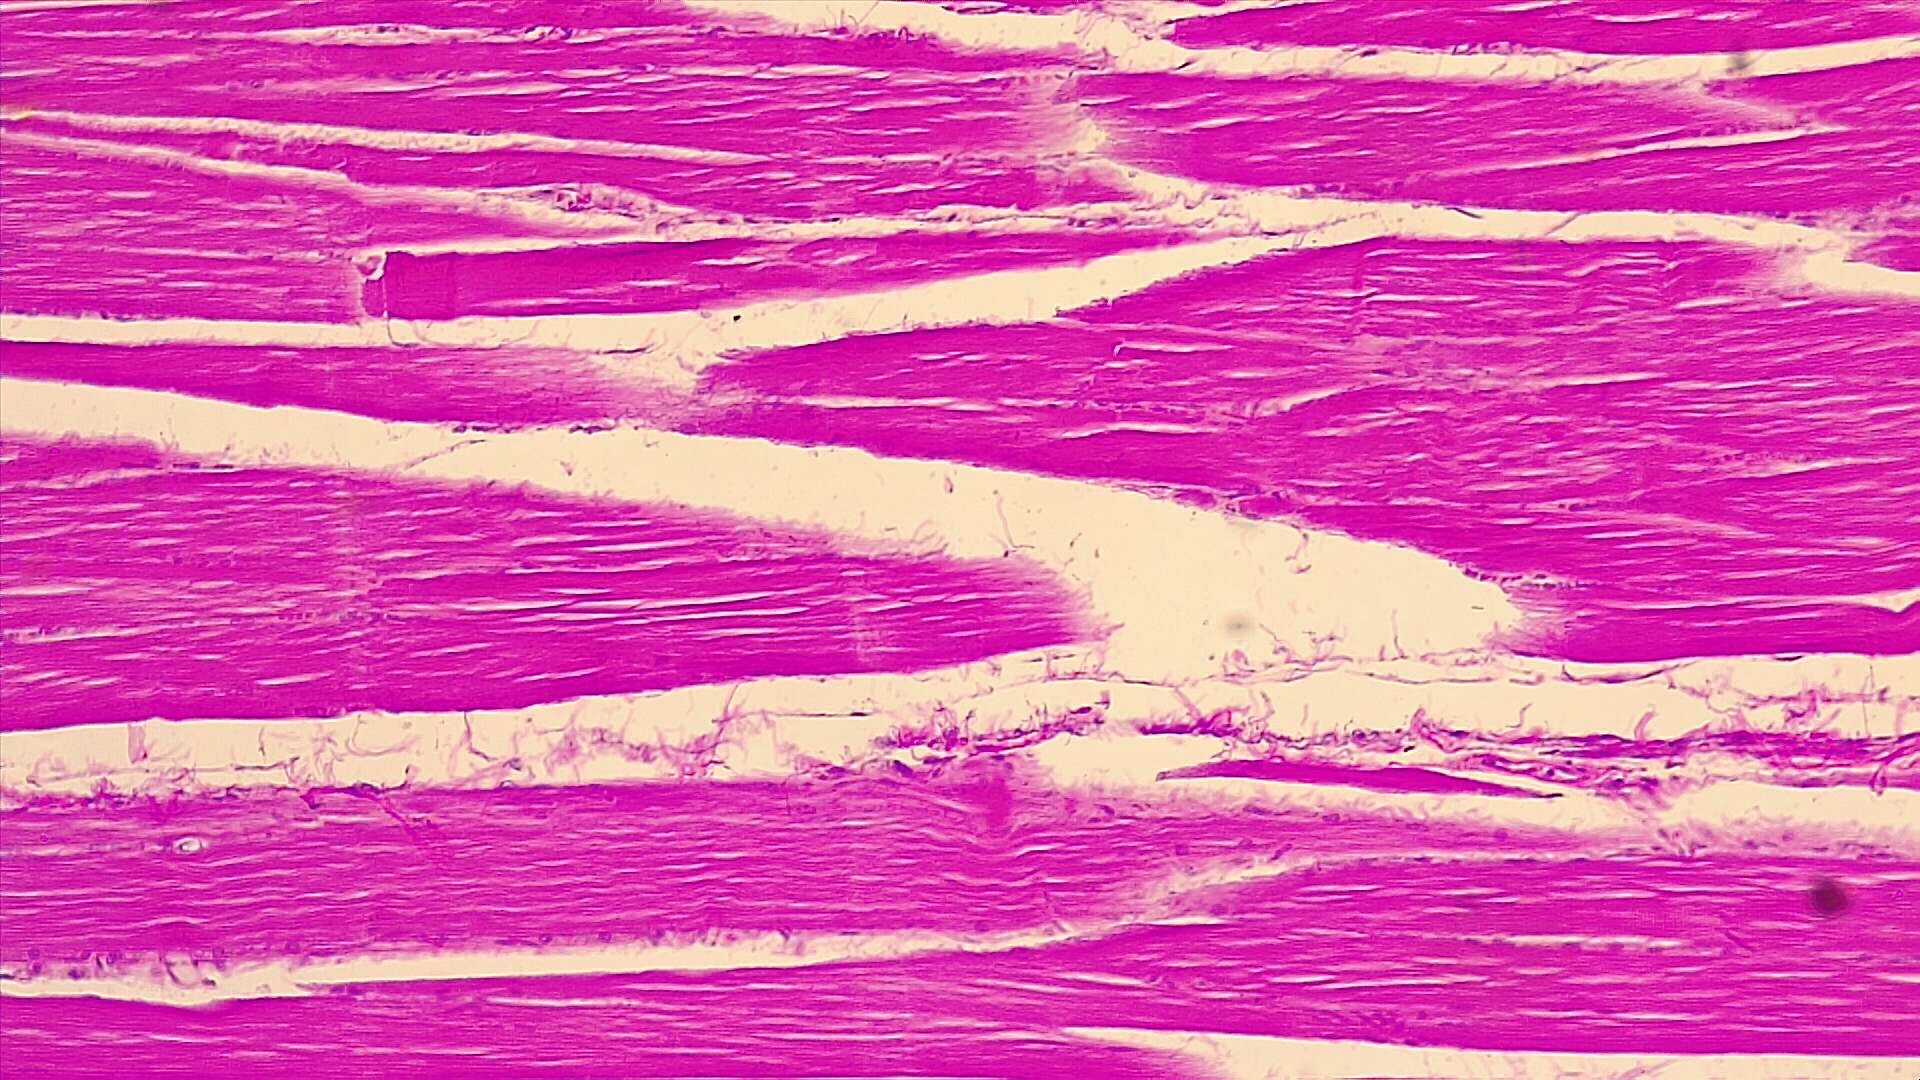
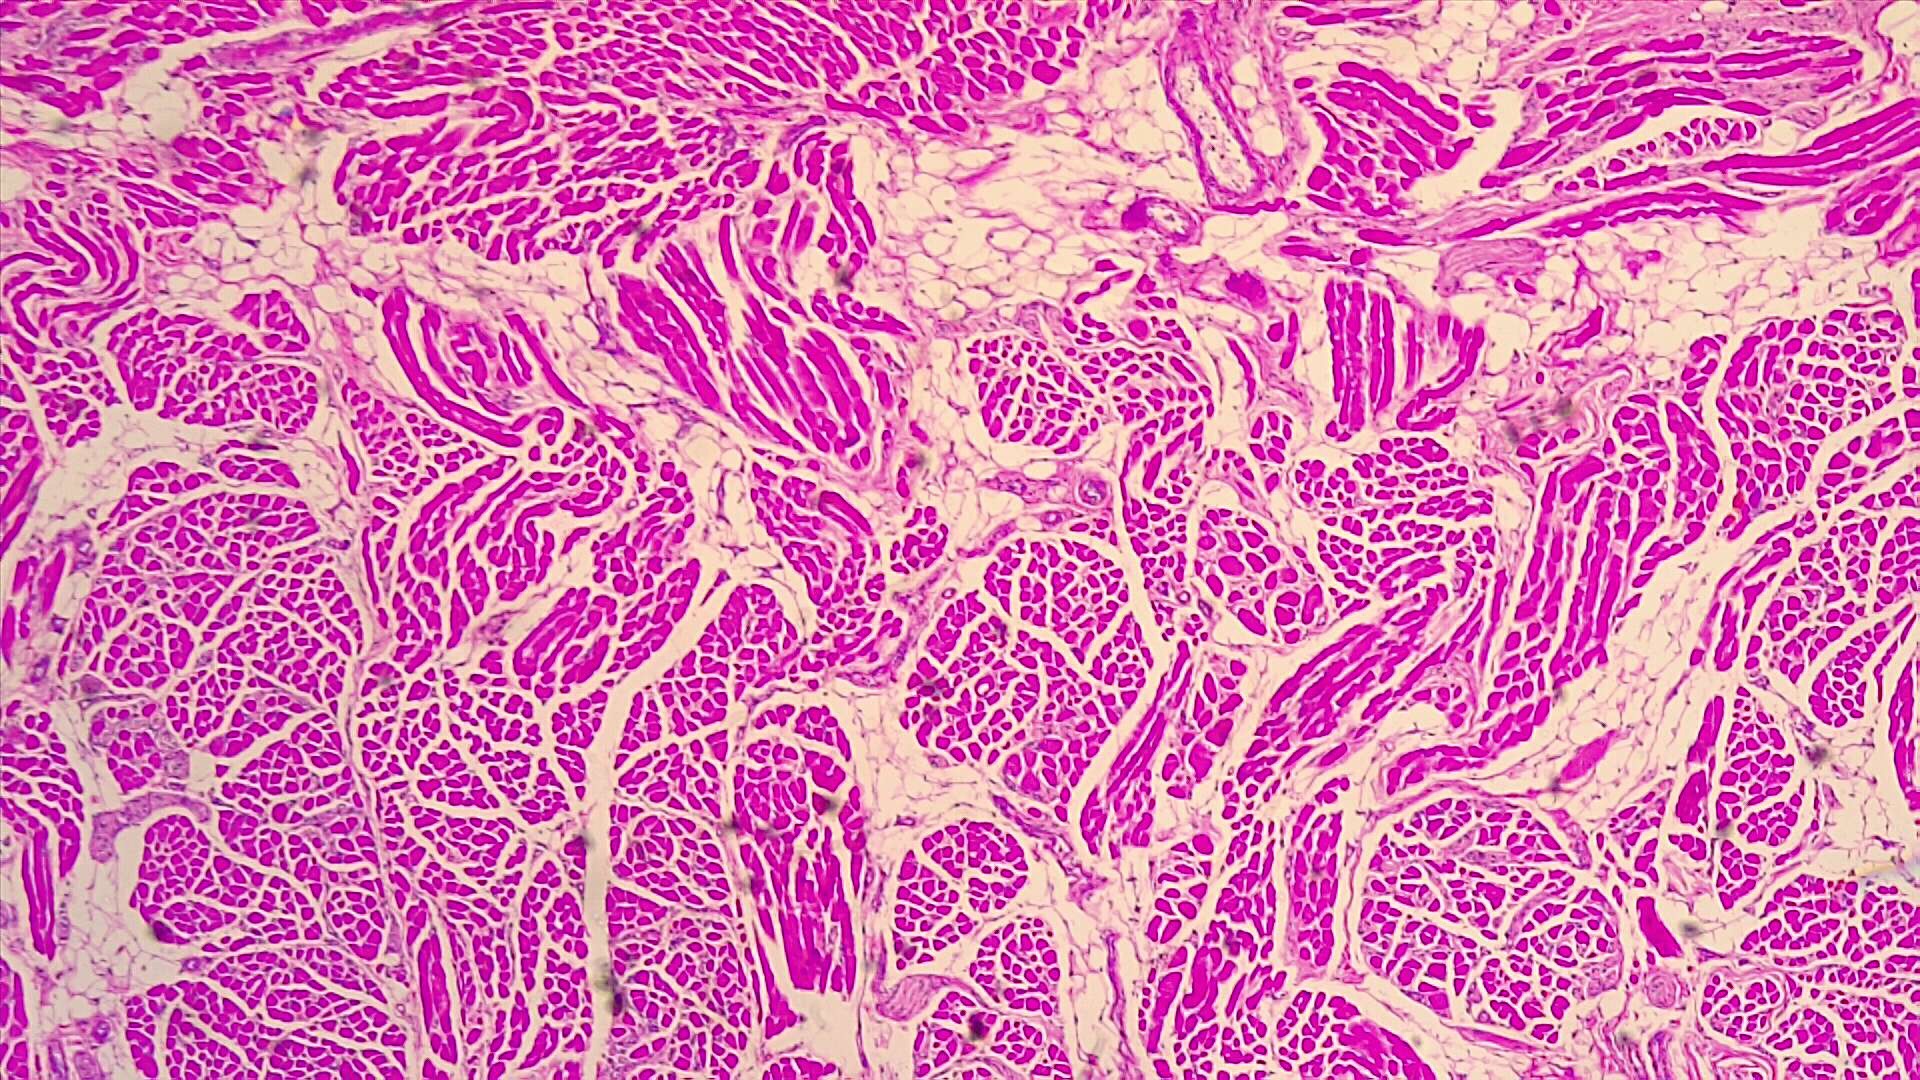
Human Skeletal Muscle

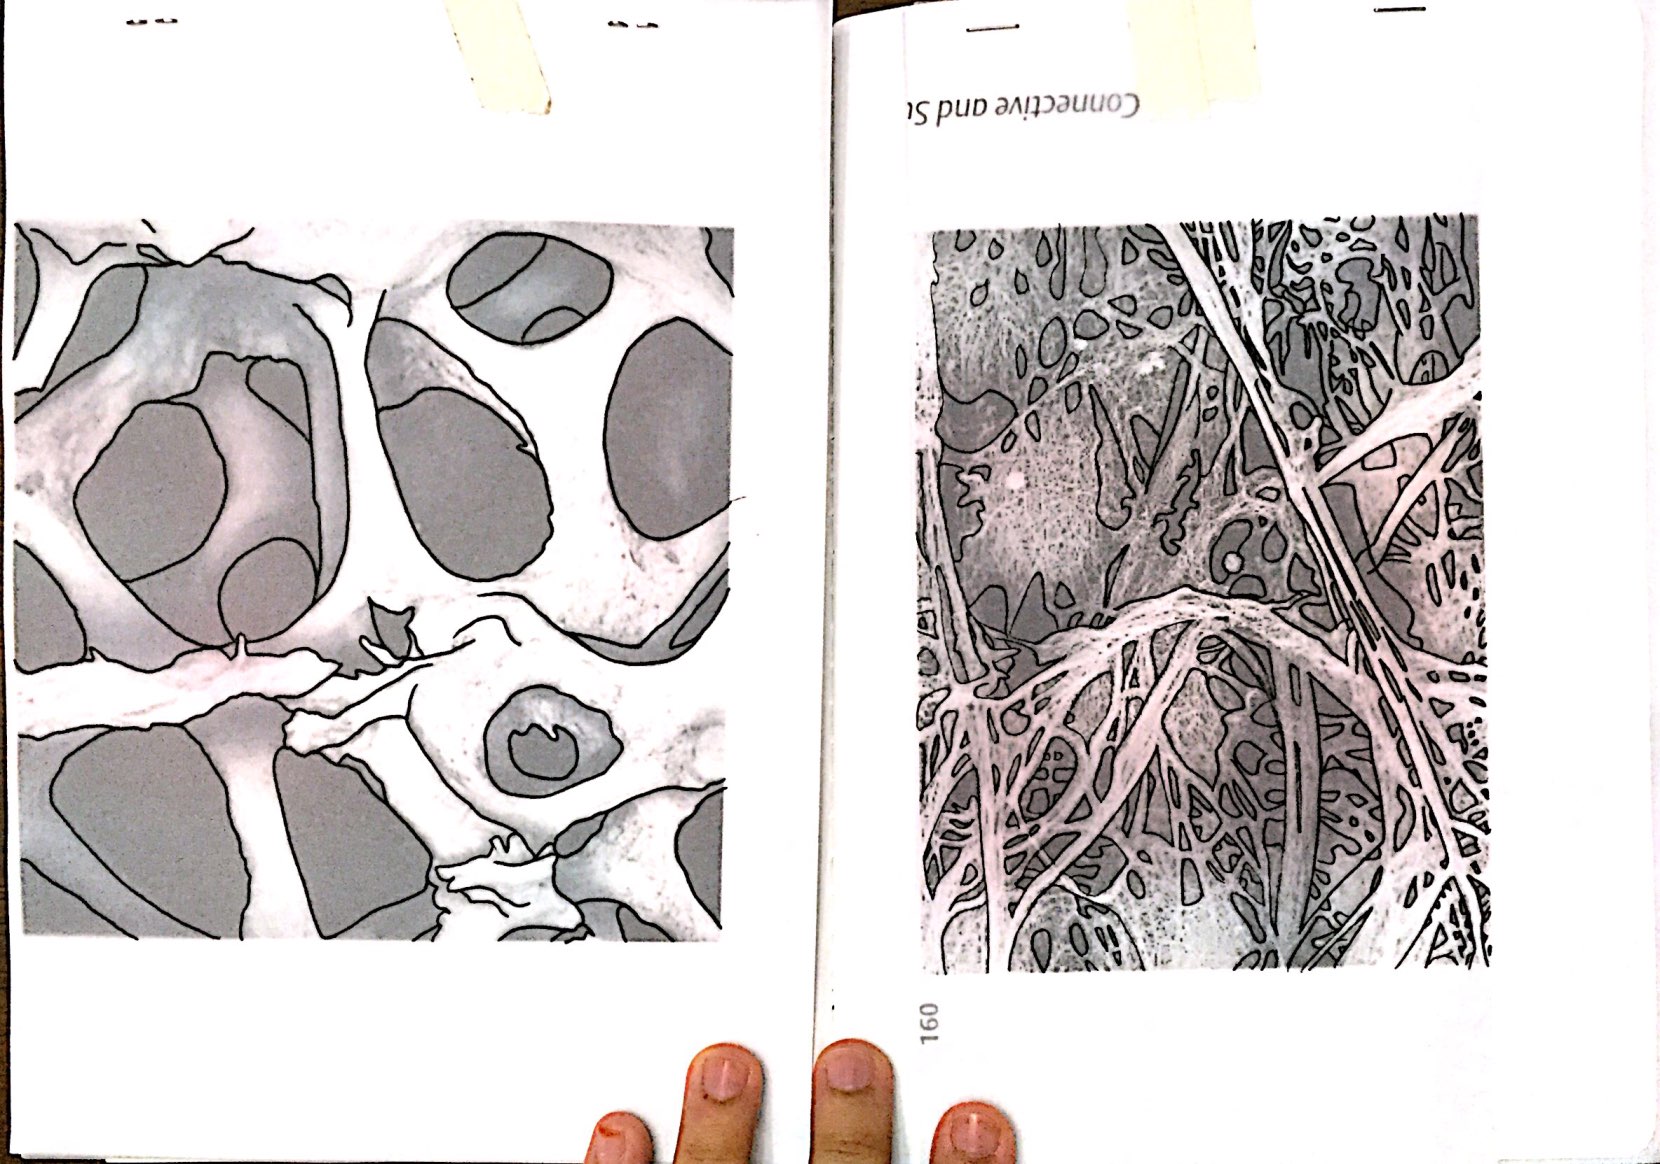
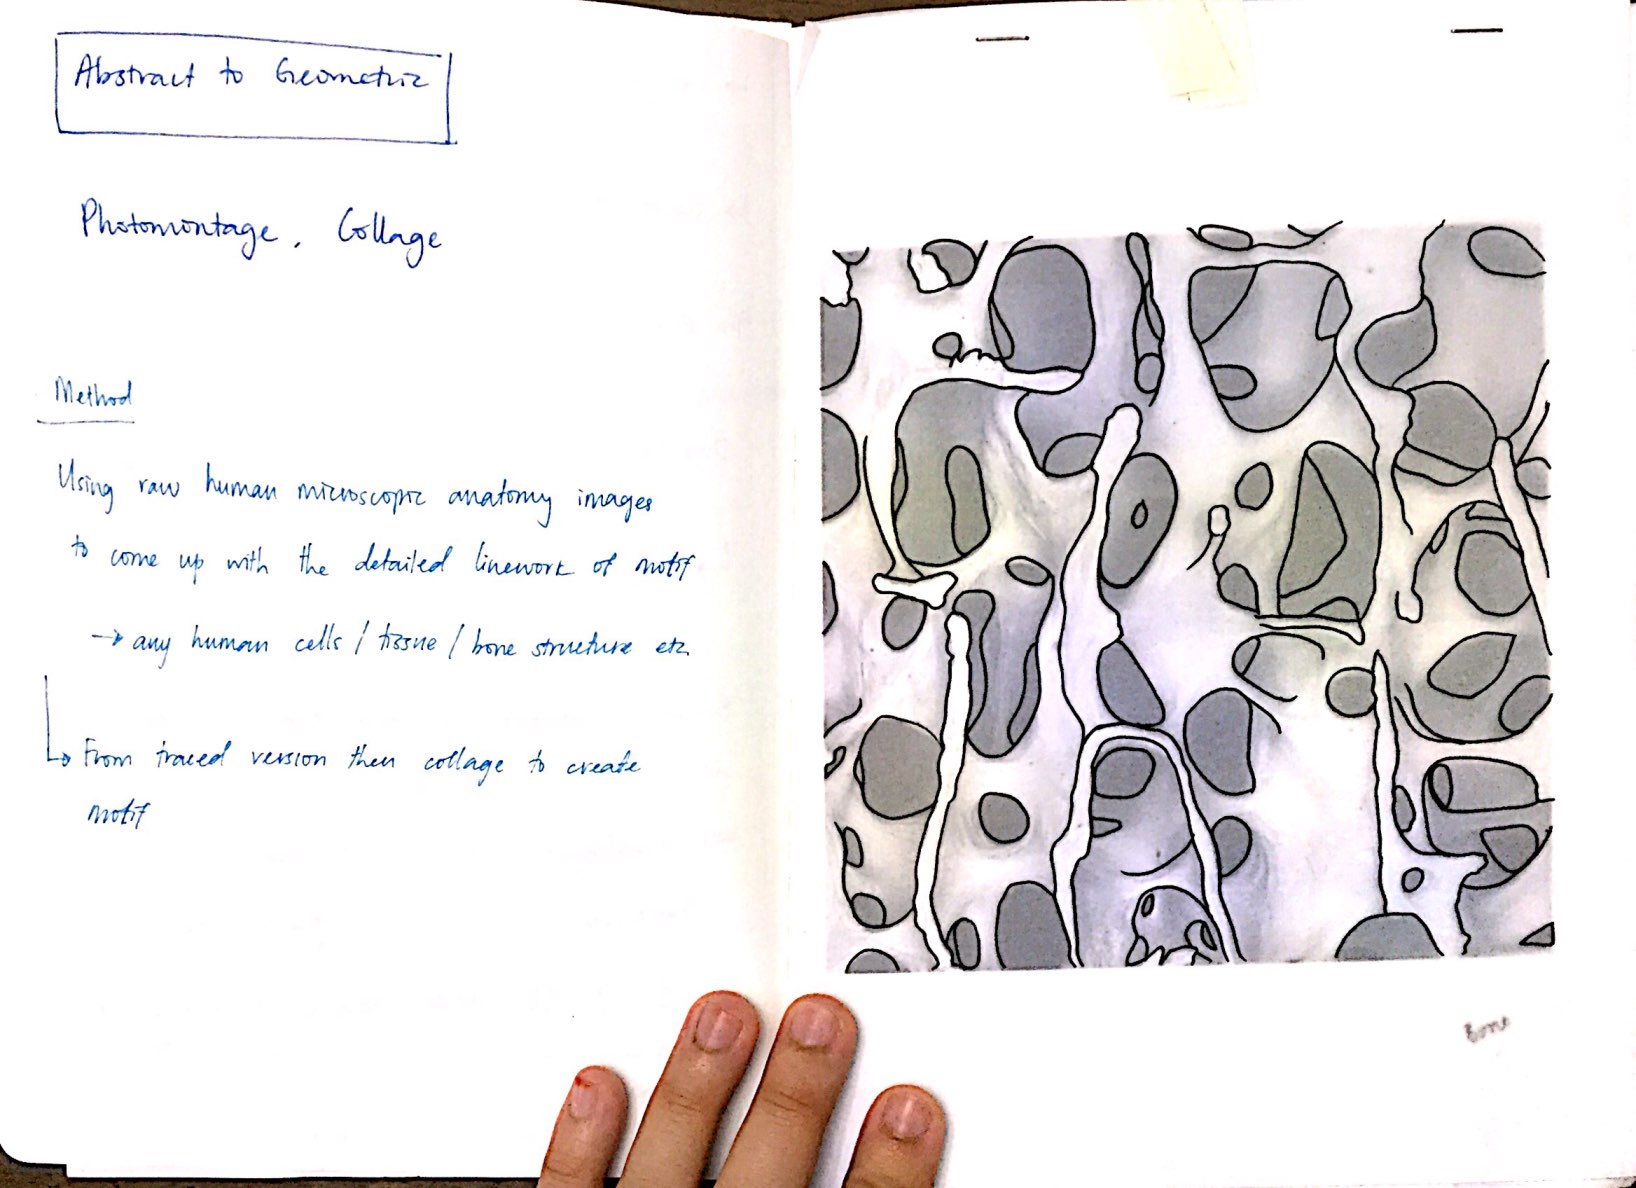
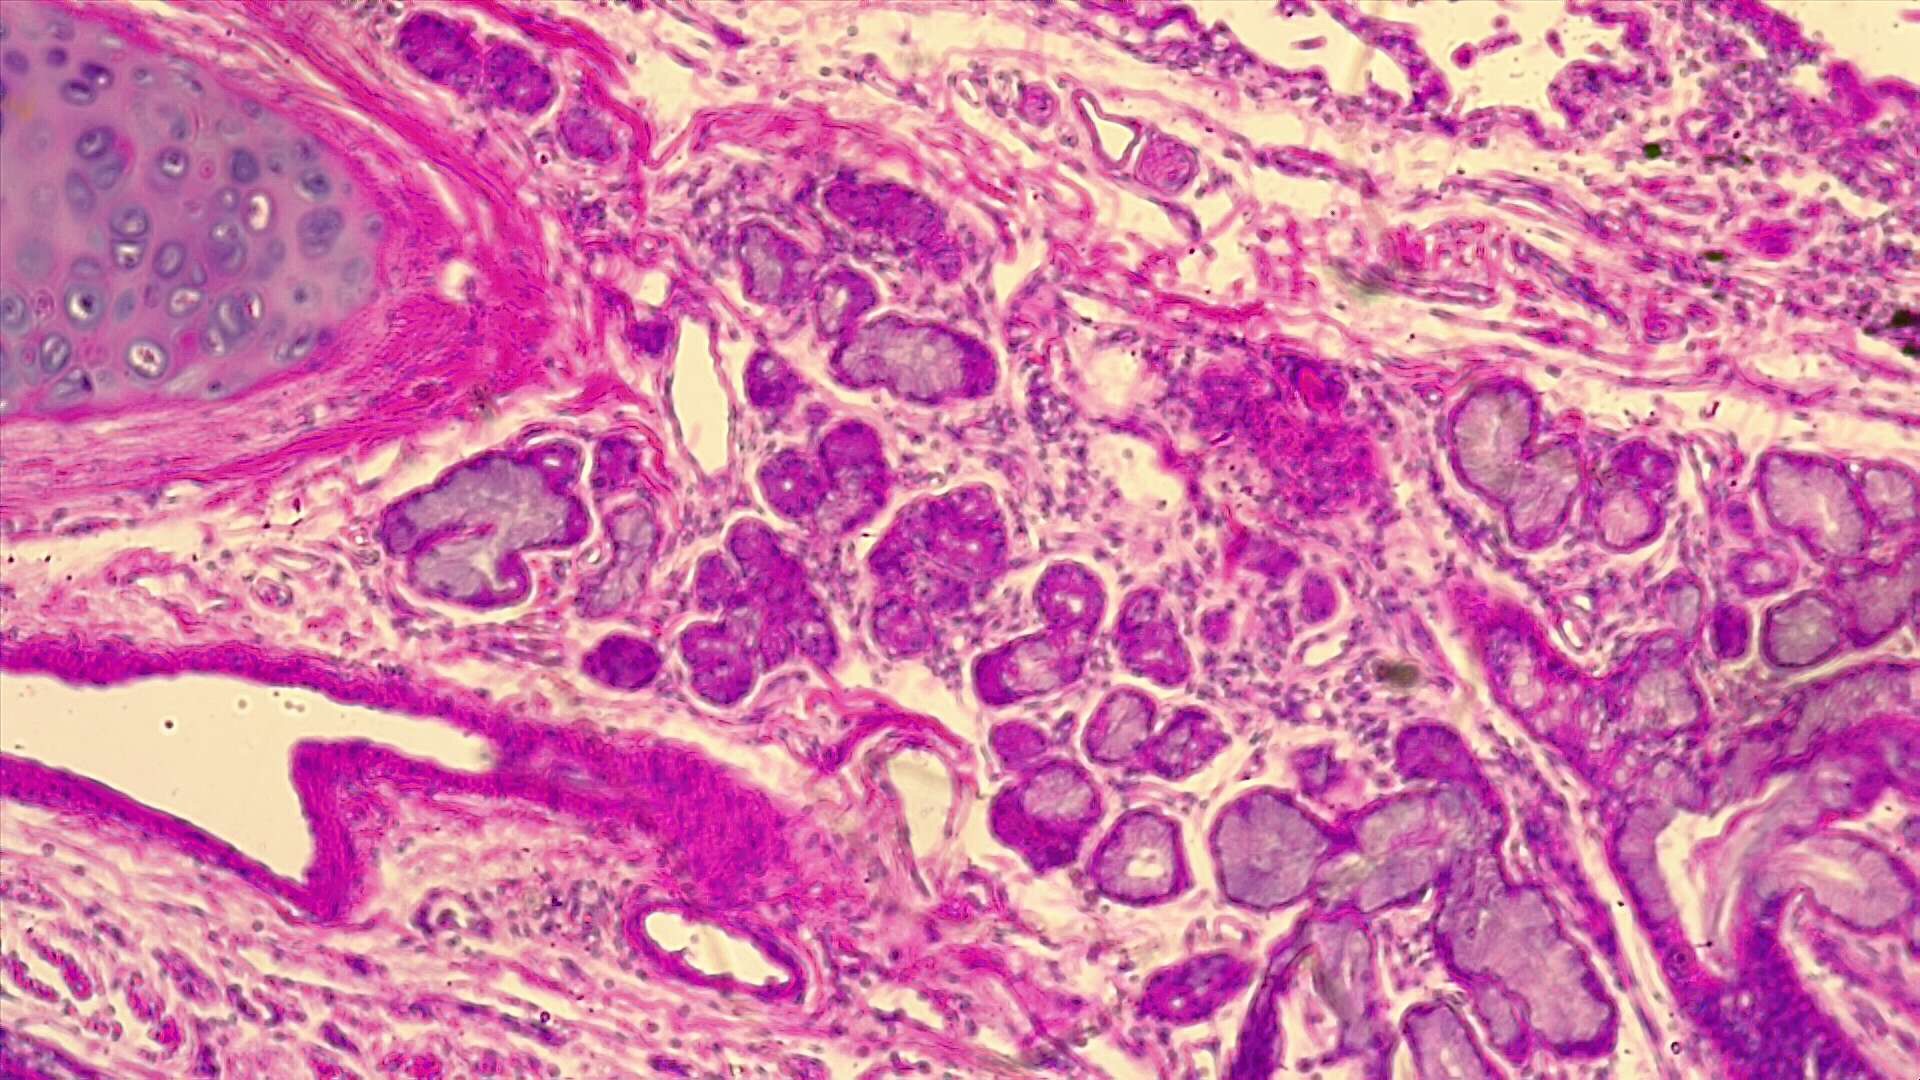
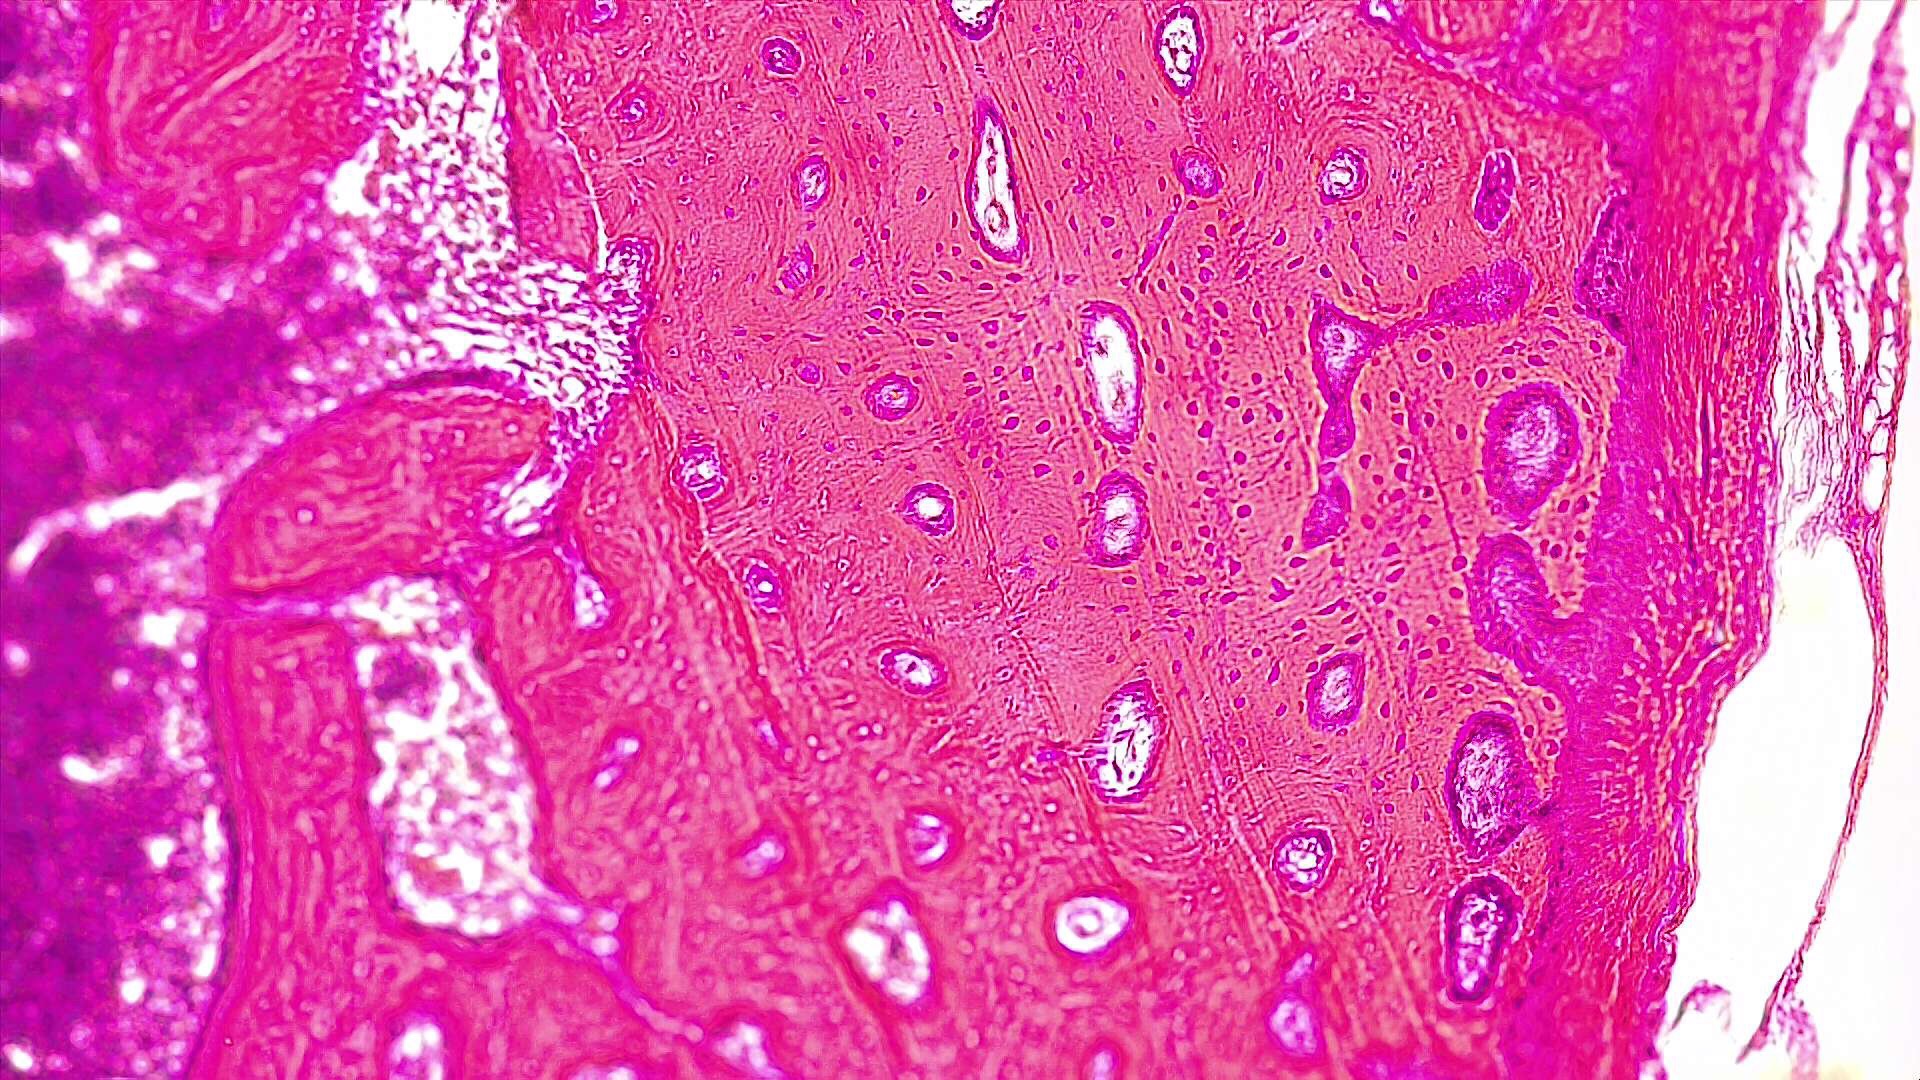
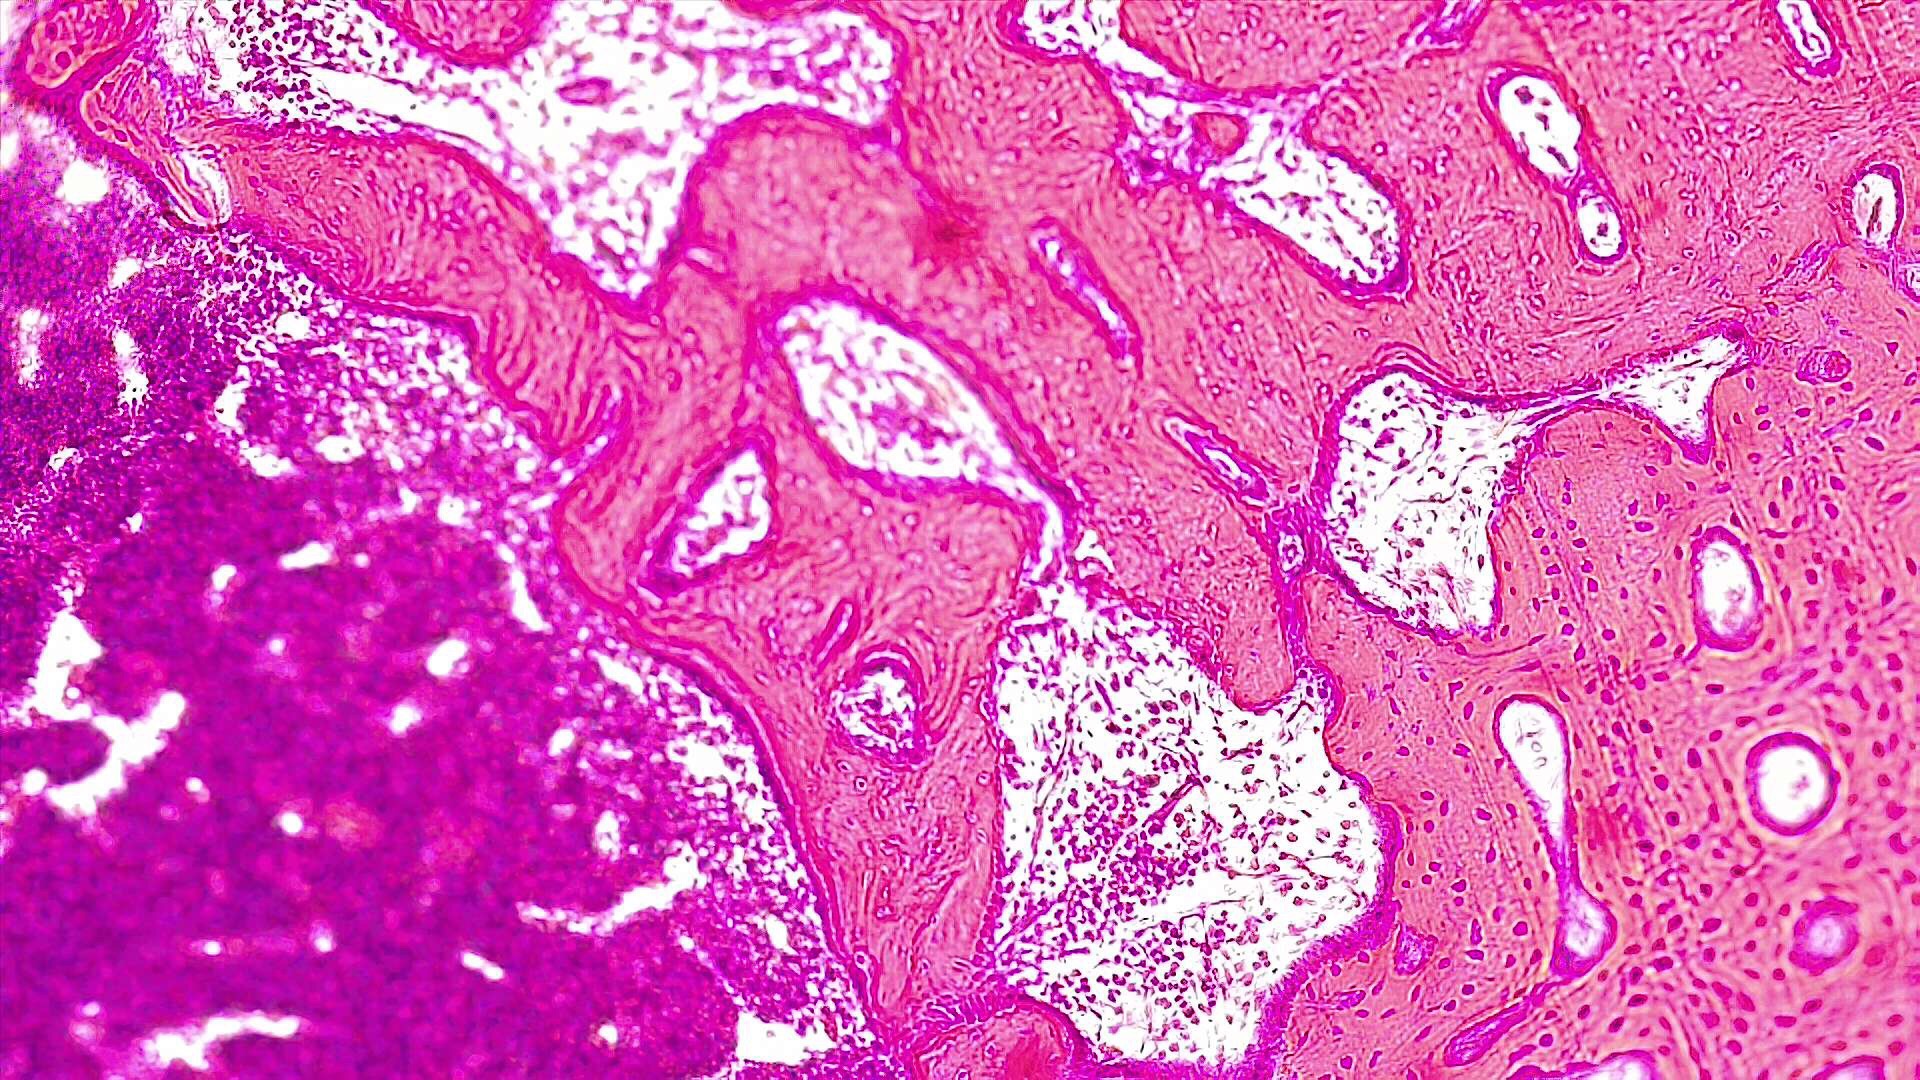
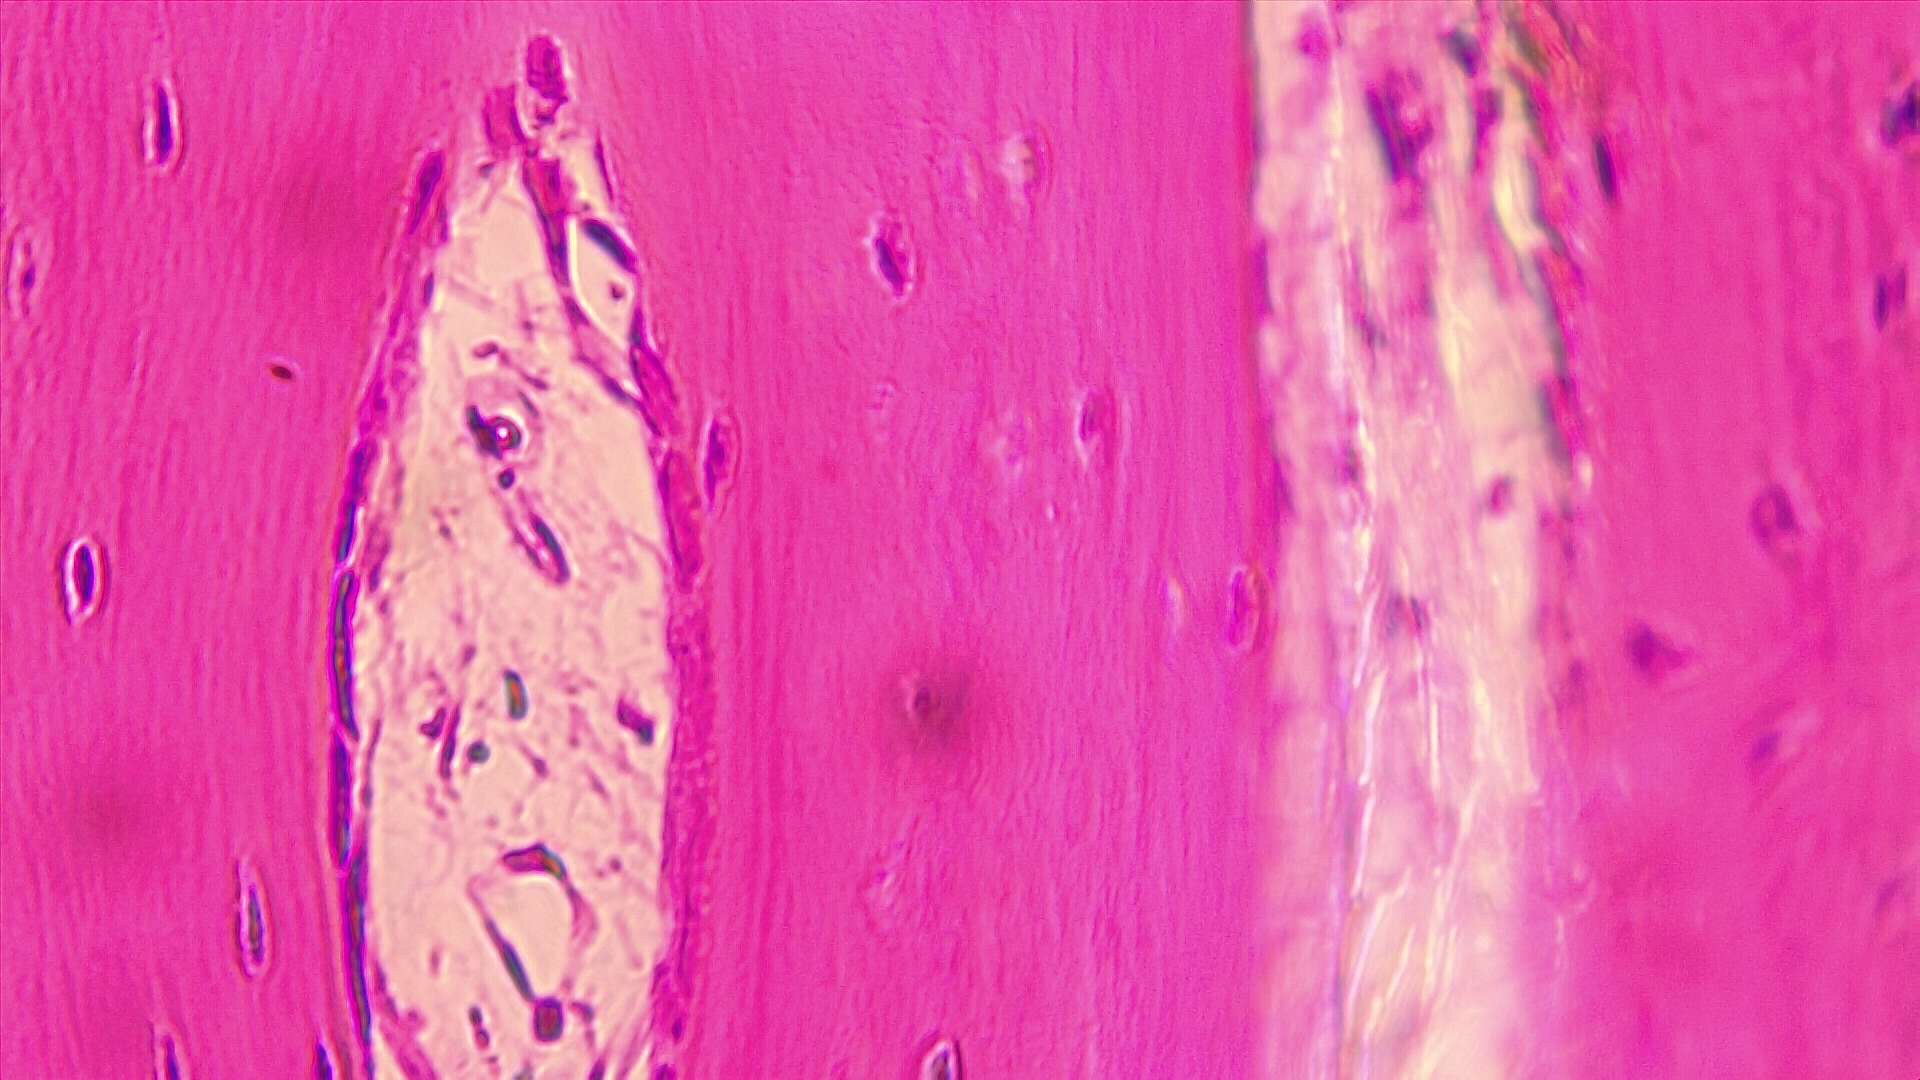
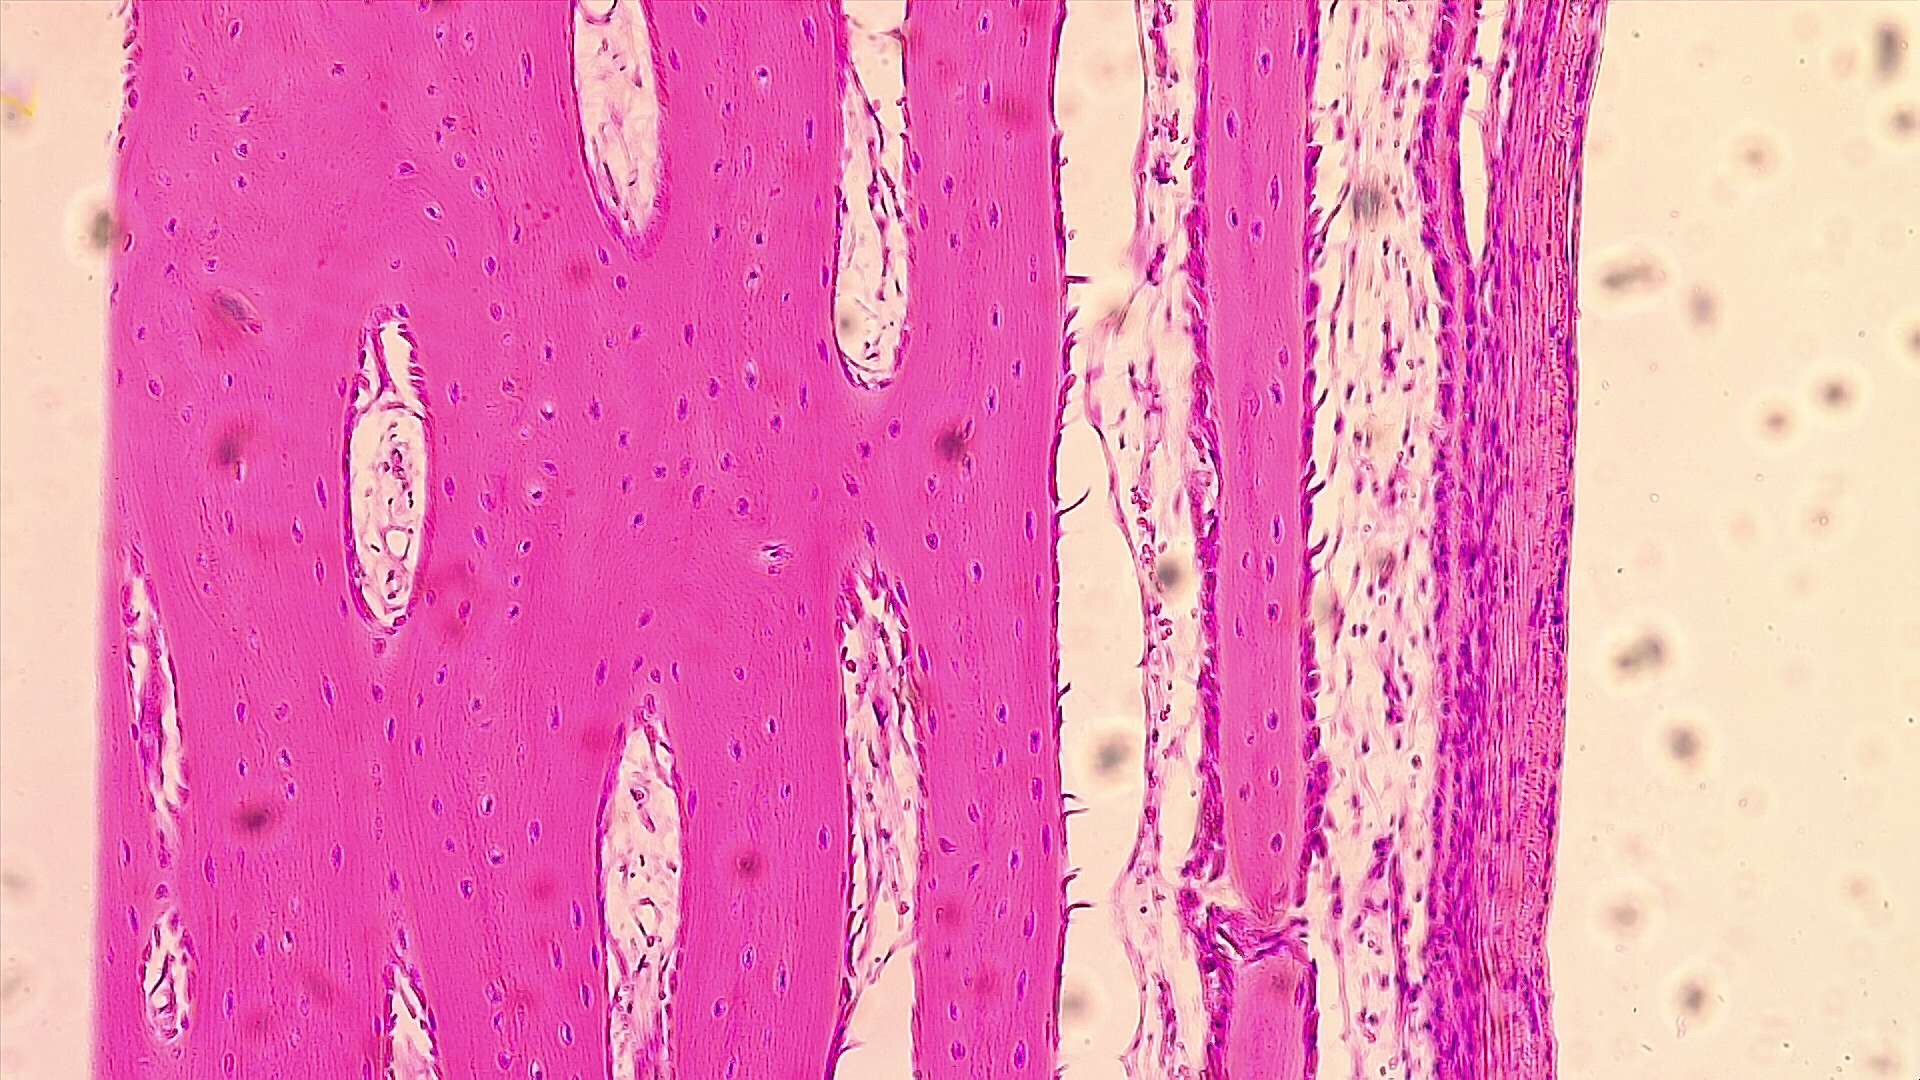
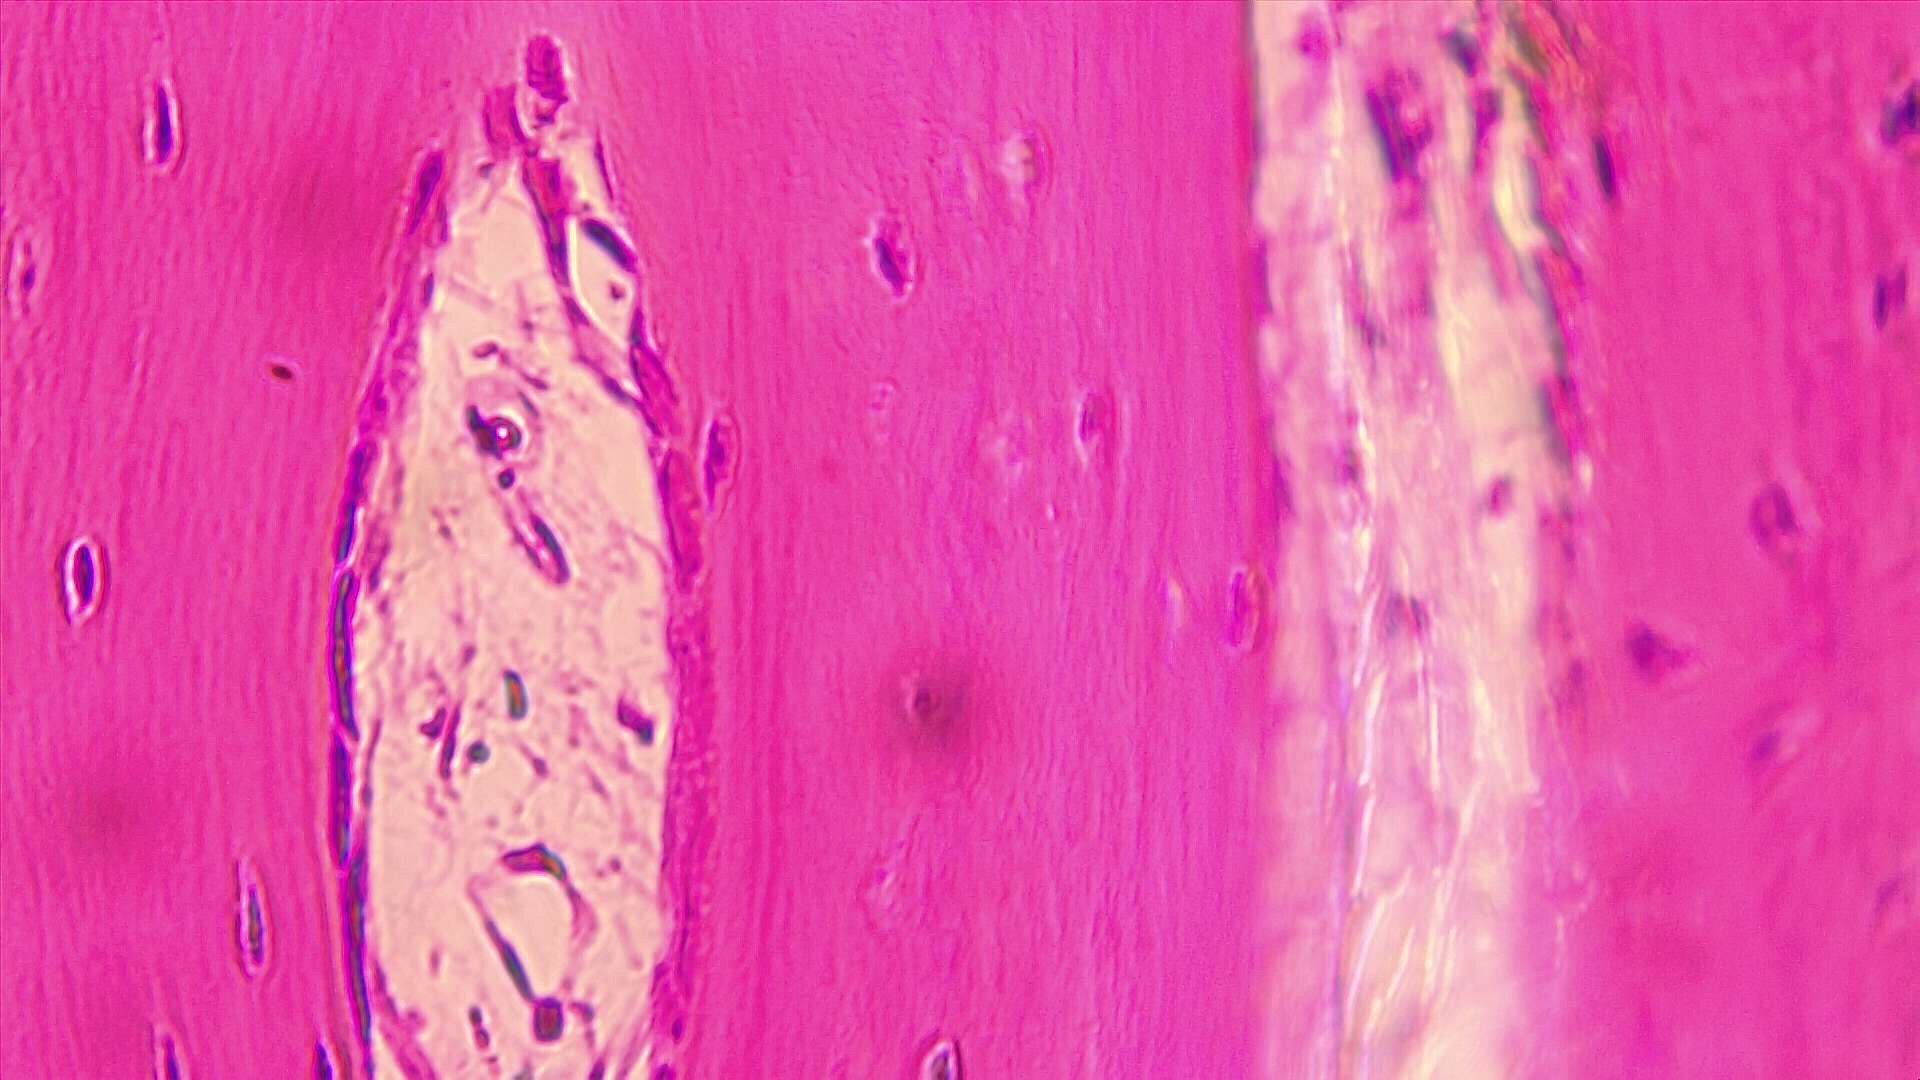
Mammal Compact Bone
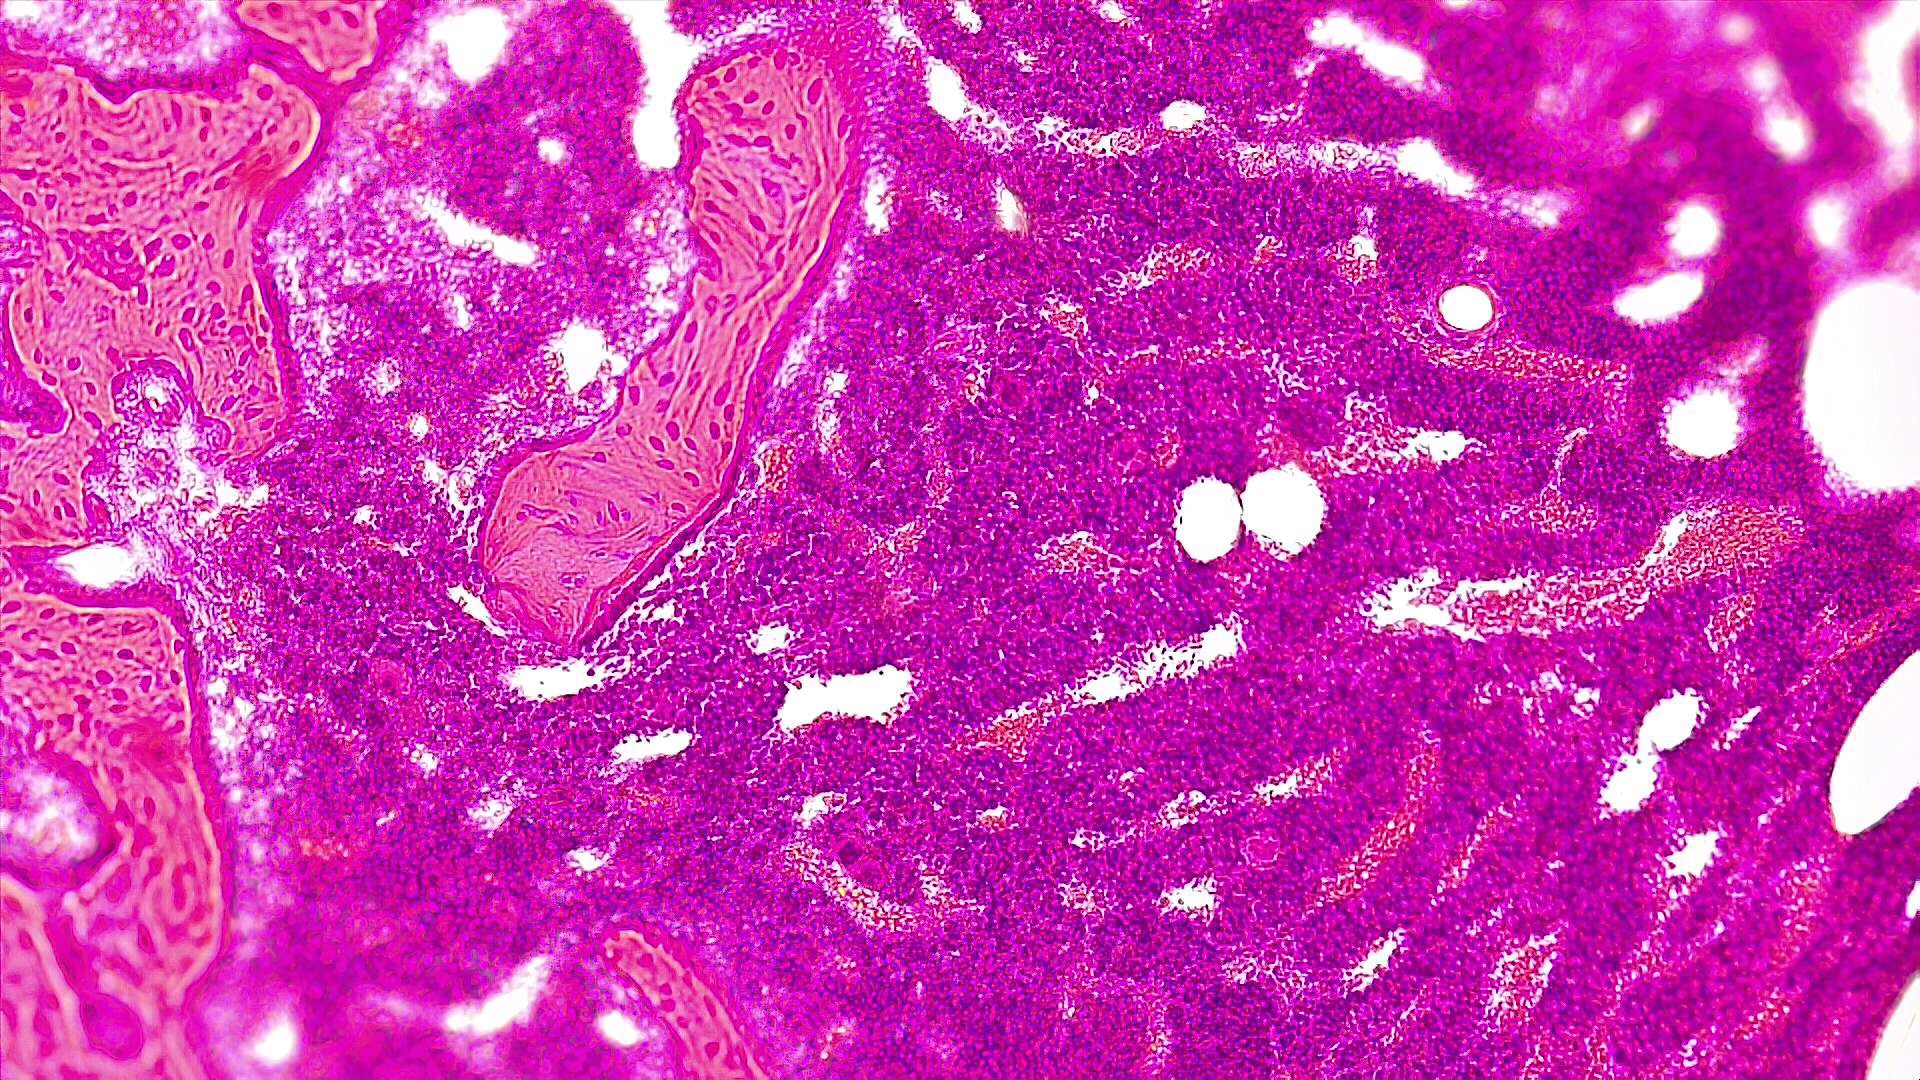
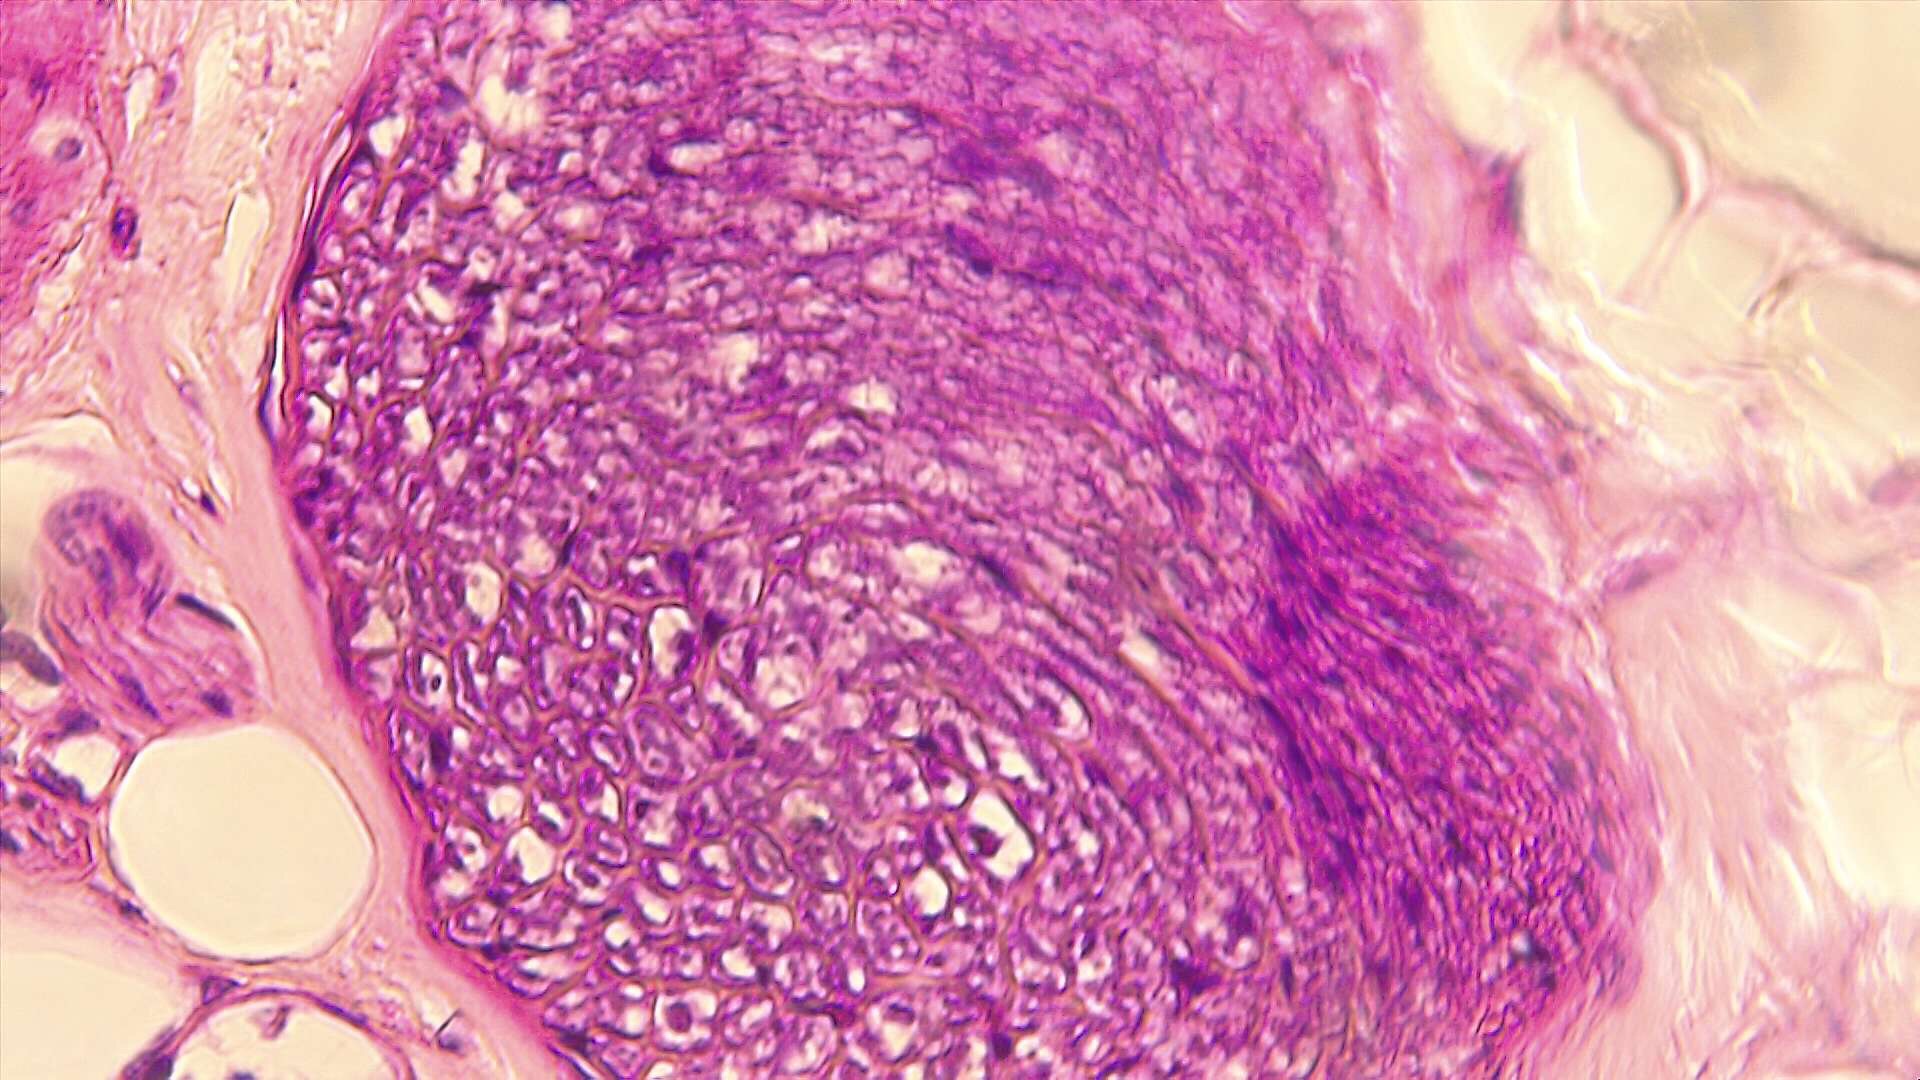
Mammal Ovarian Follicles

Human Ovary, active phase

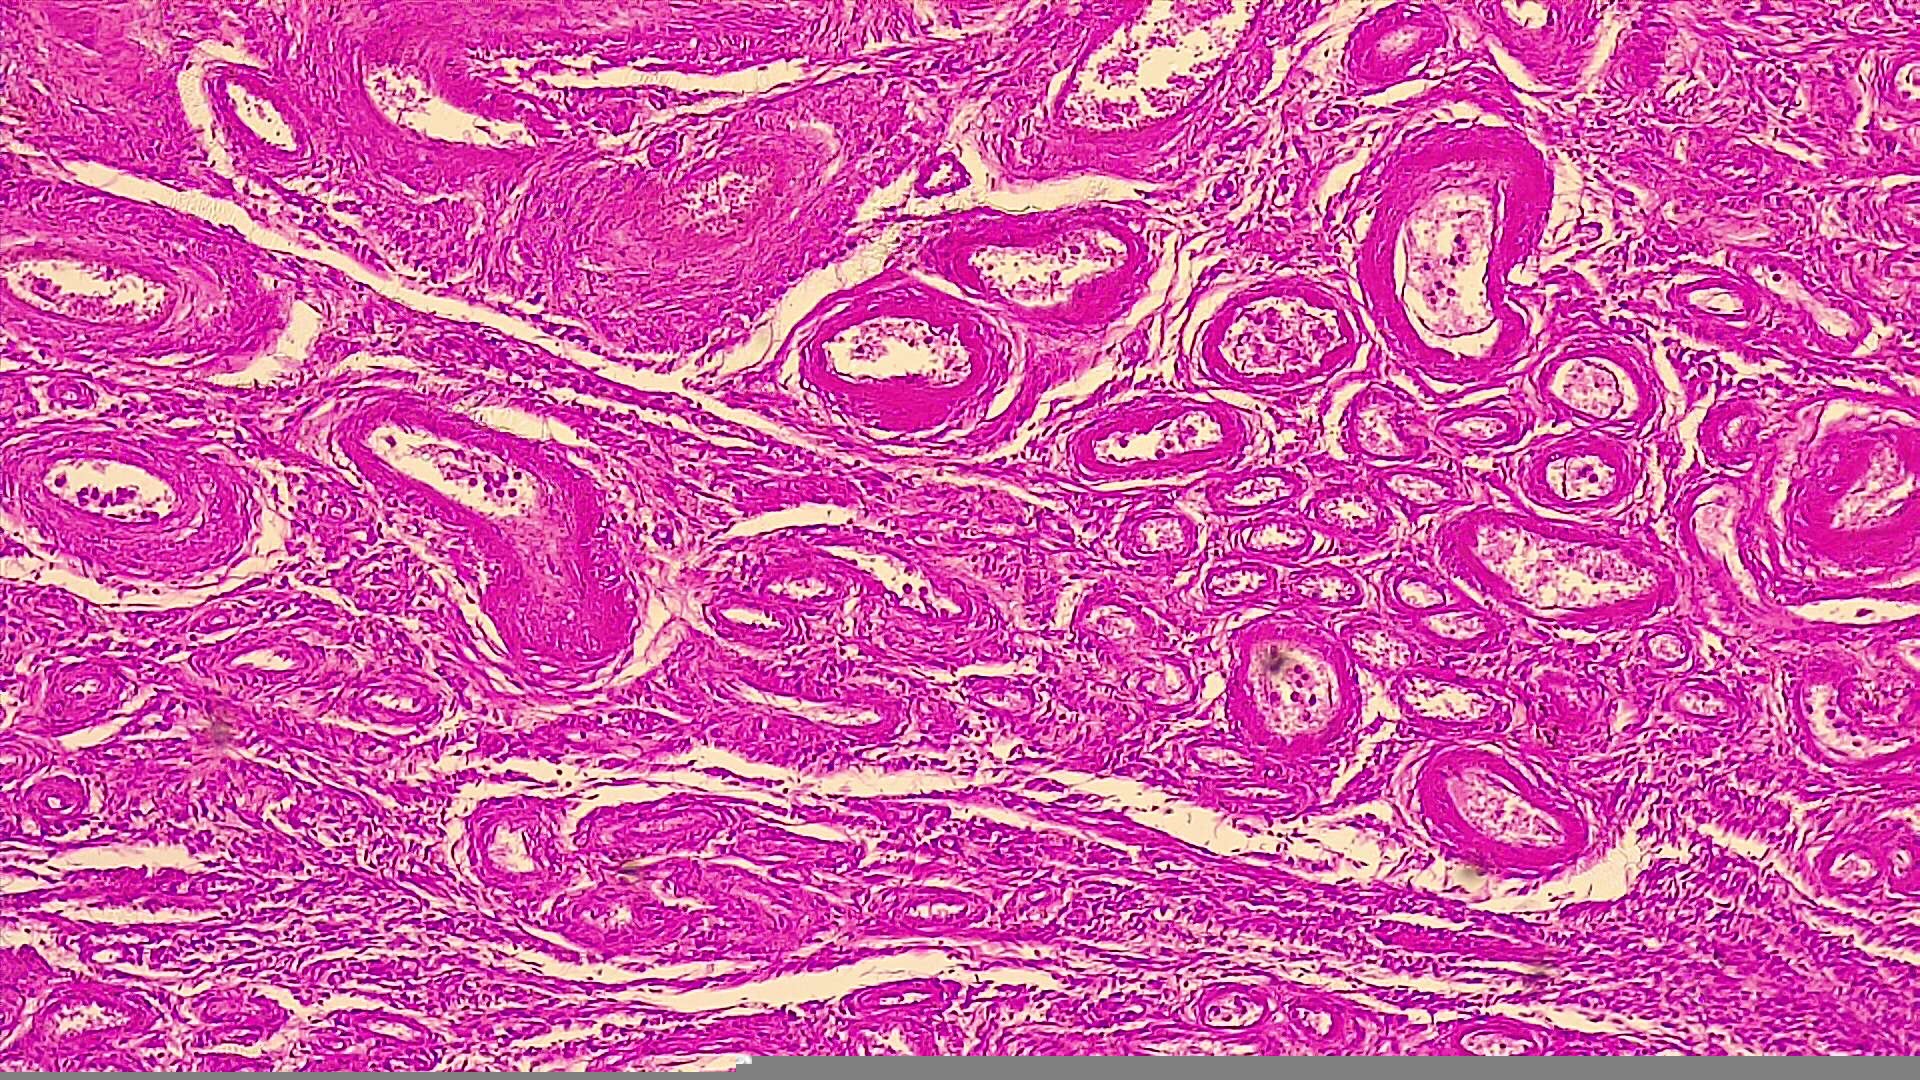

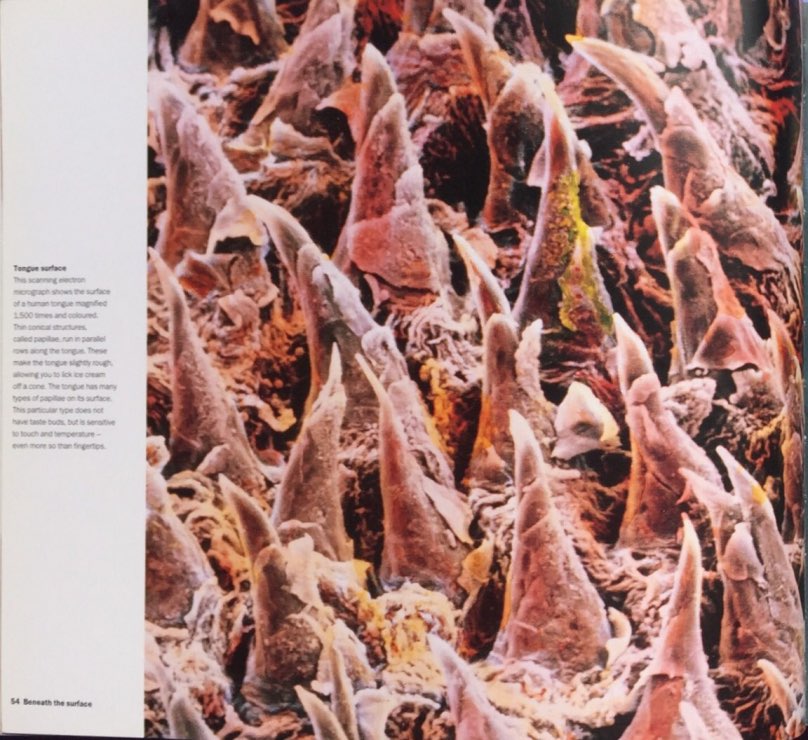
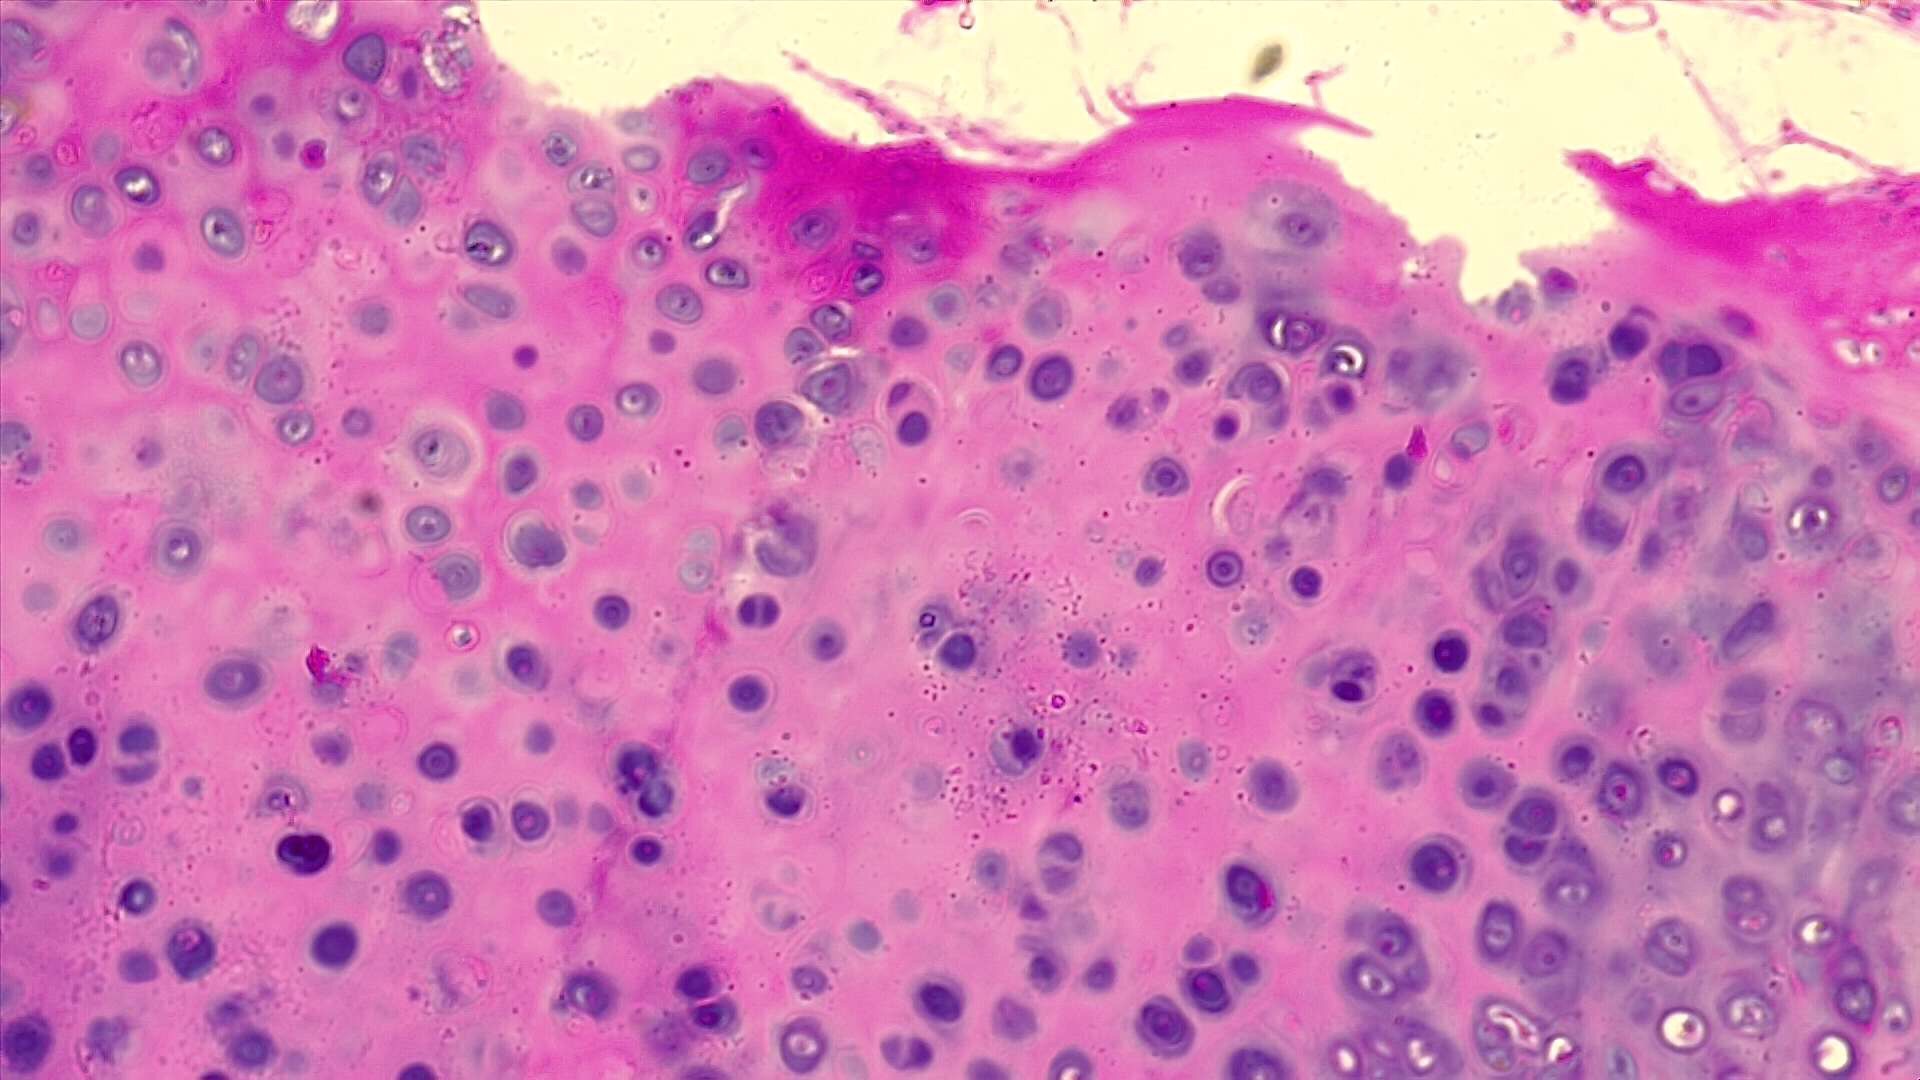
Human Tongue


Mammal Esophagus
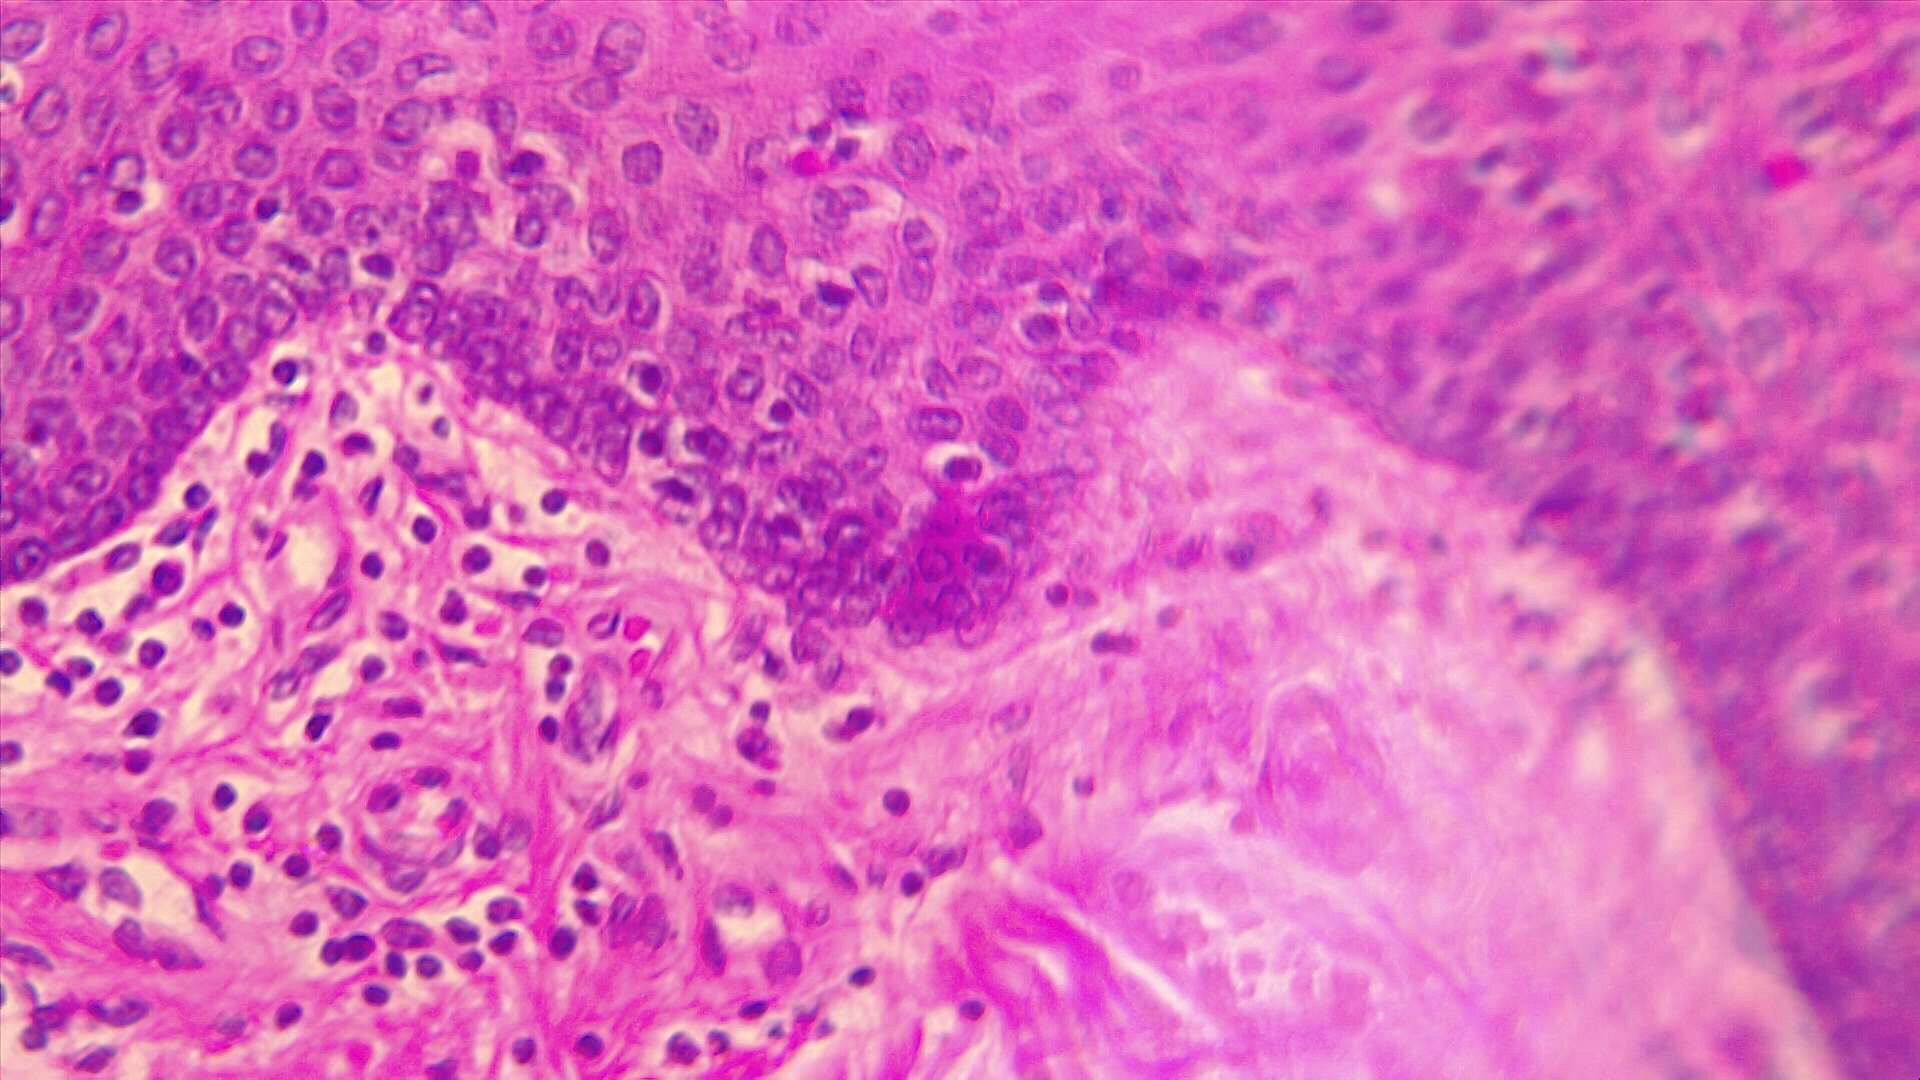
Human Stratified Columnar Epithelium