Category Archives: Pattern Variations

Process: Creating Motifs Part 5

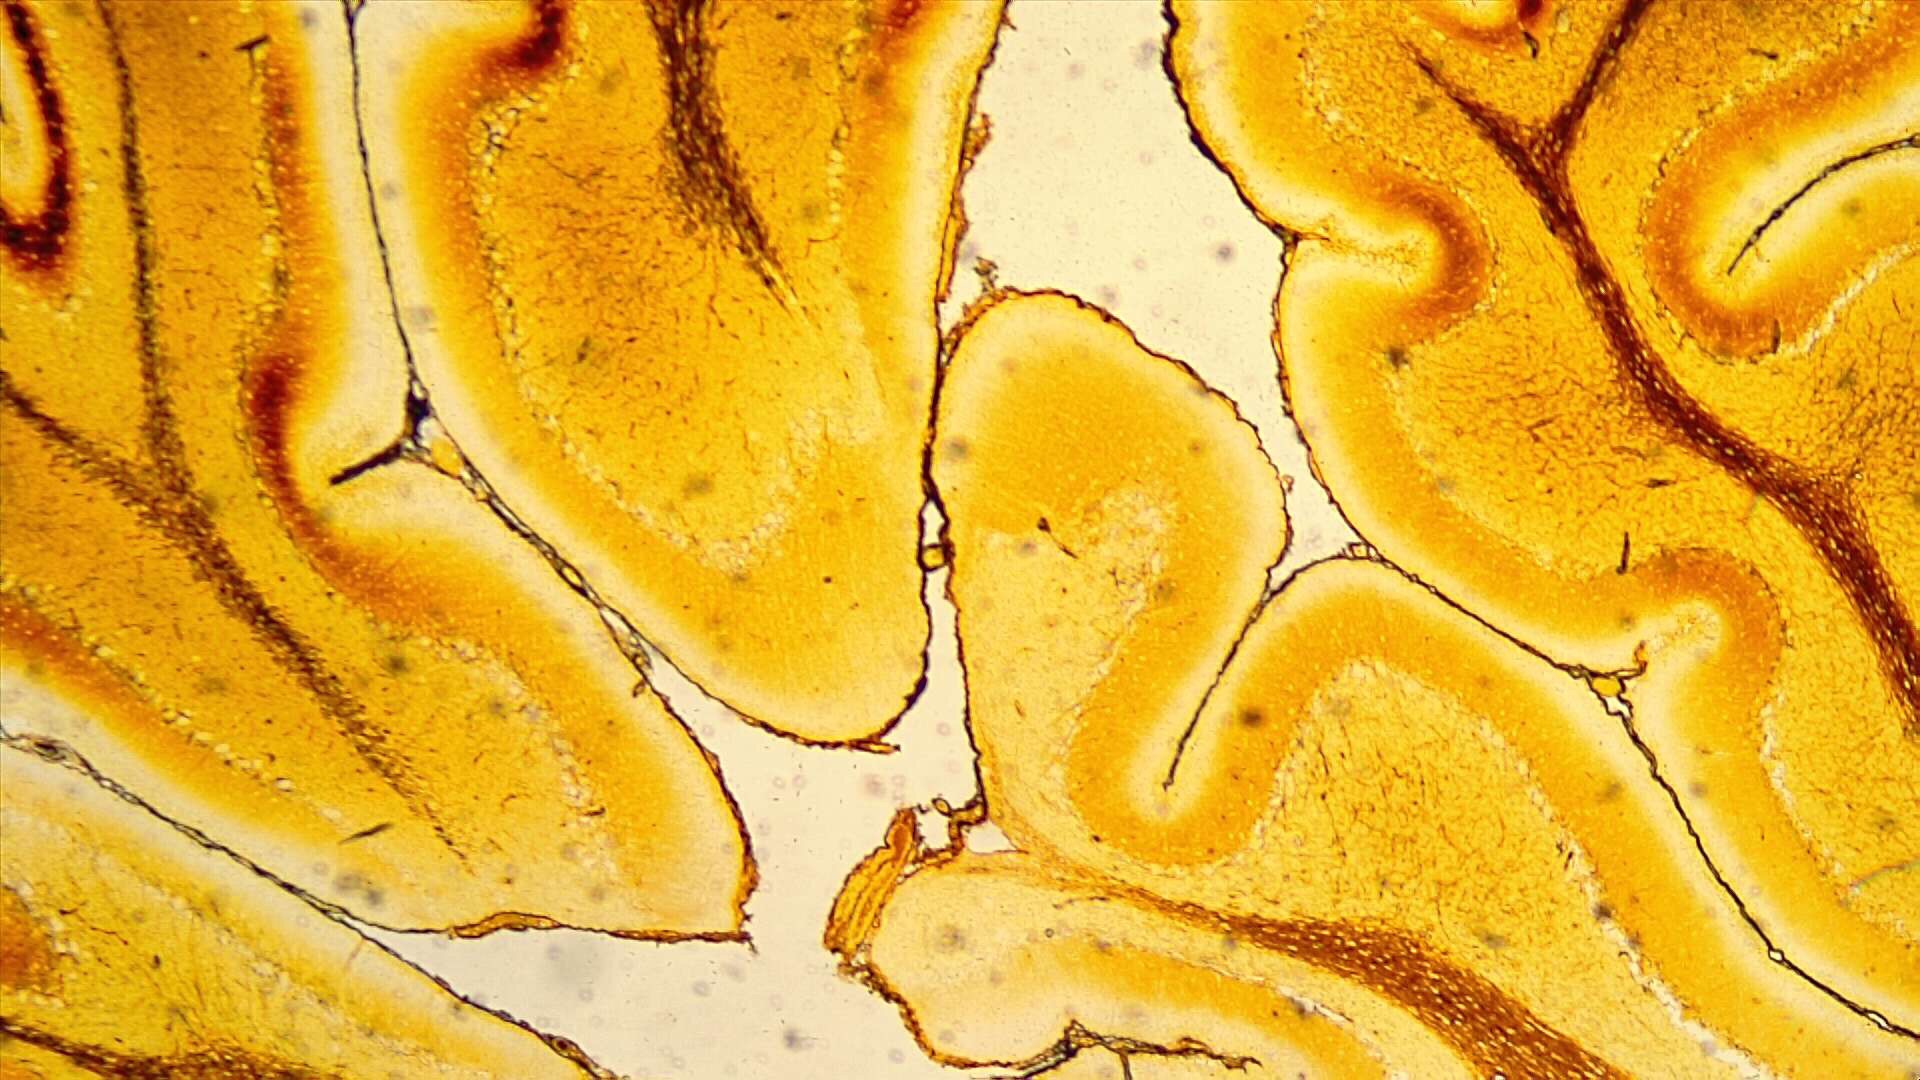
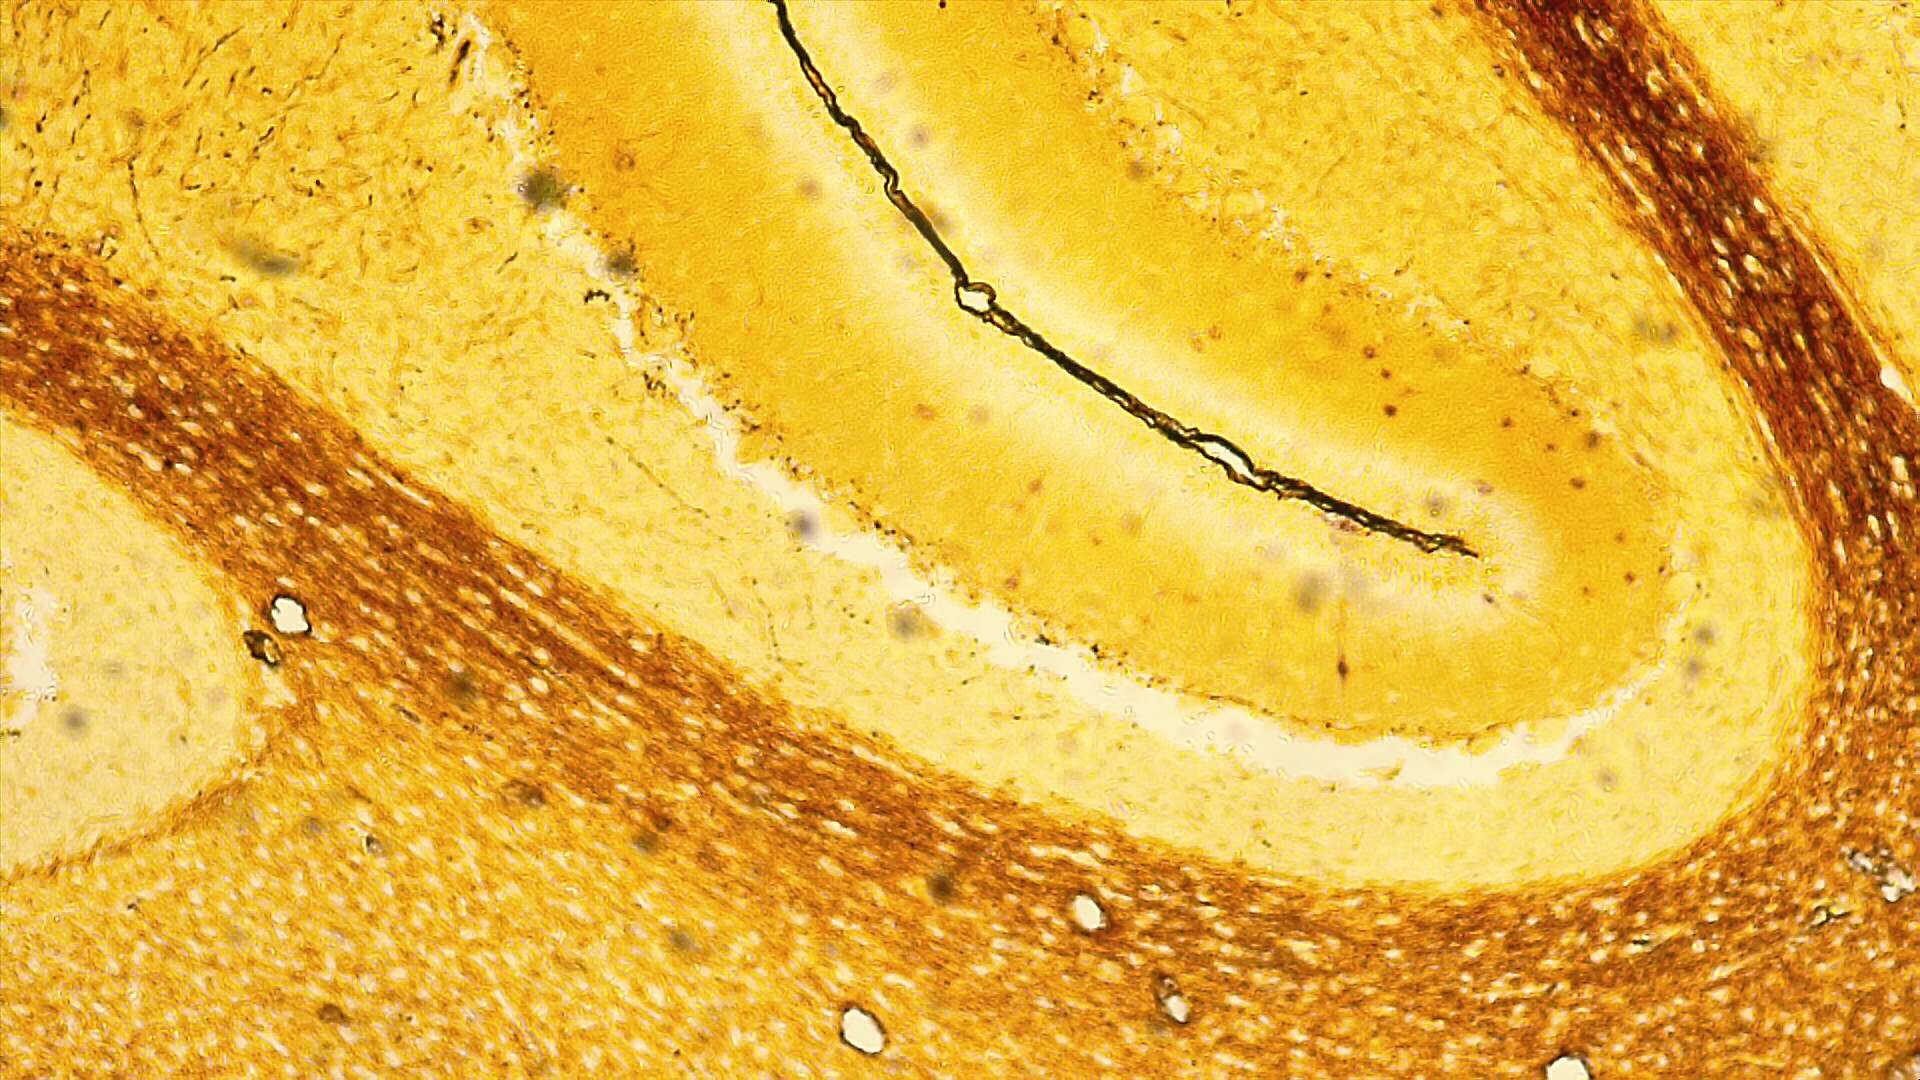
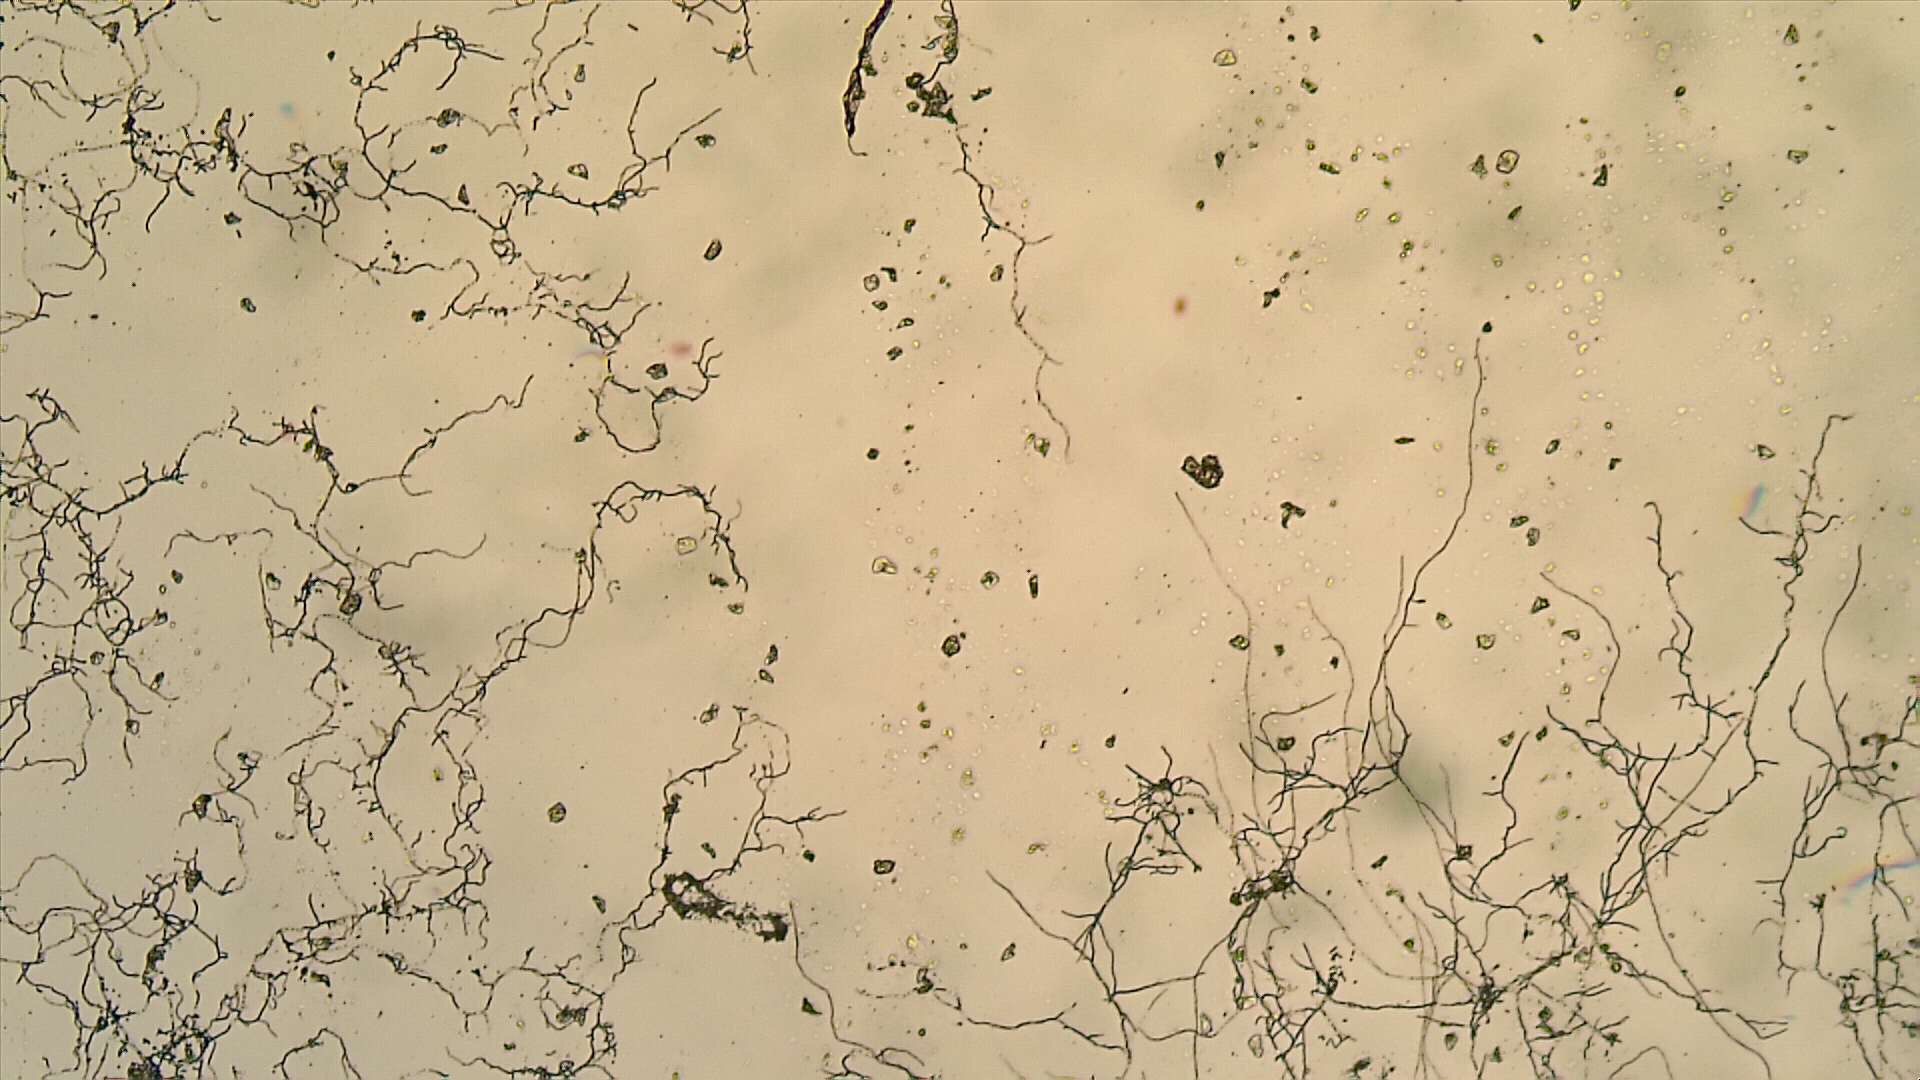
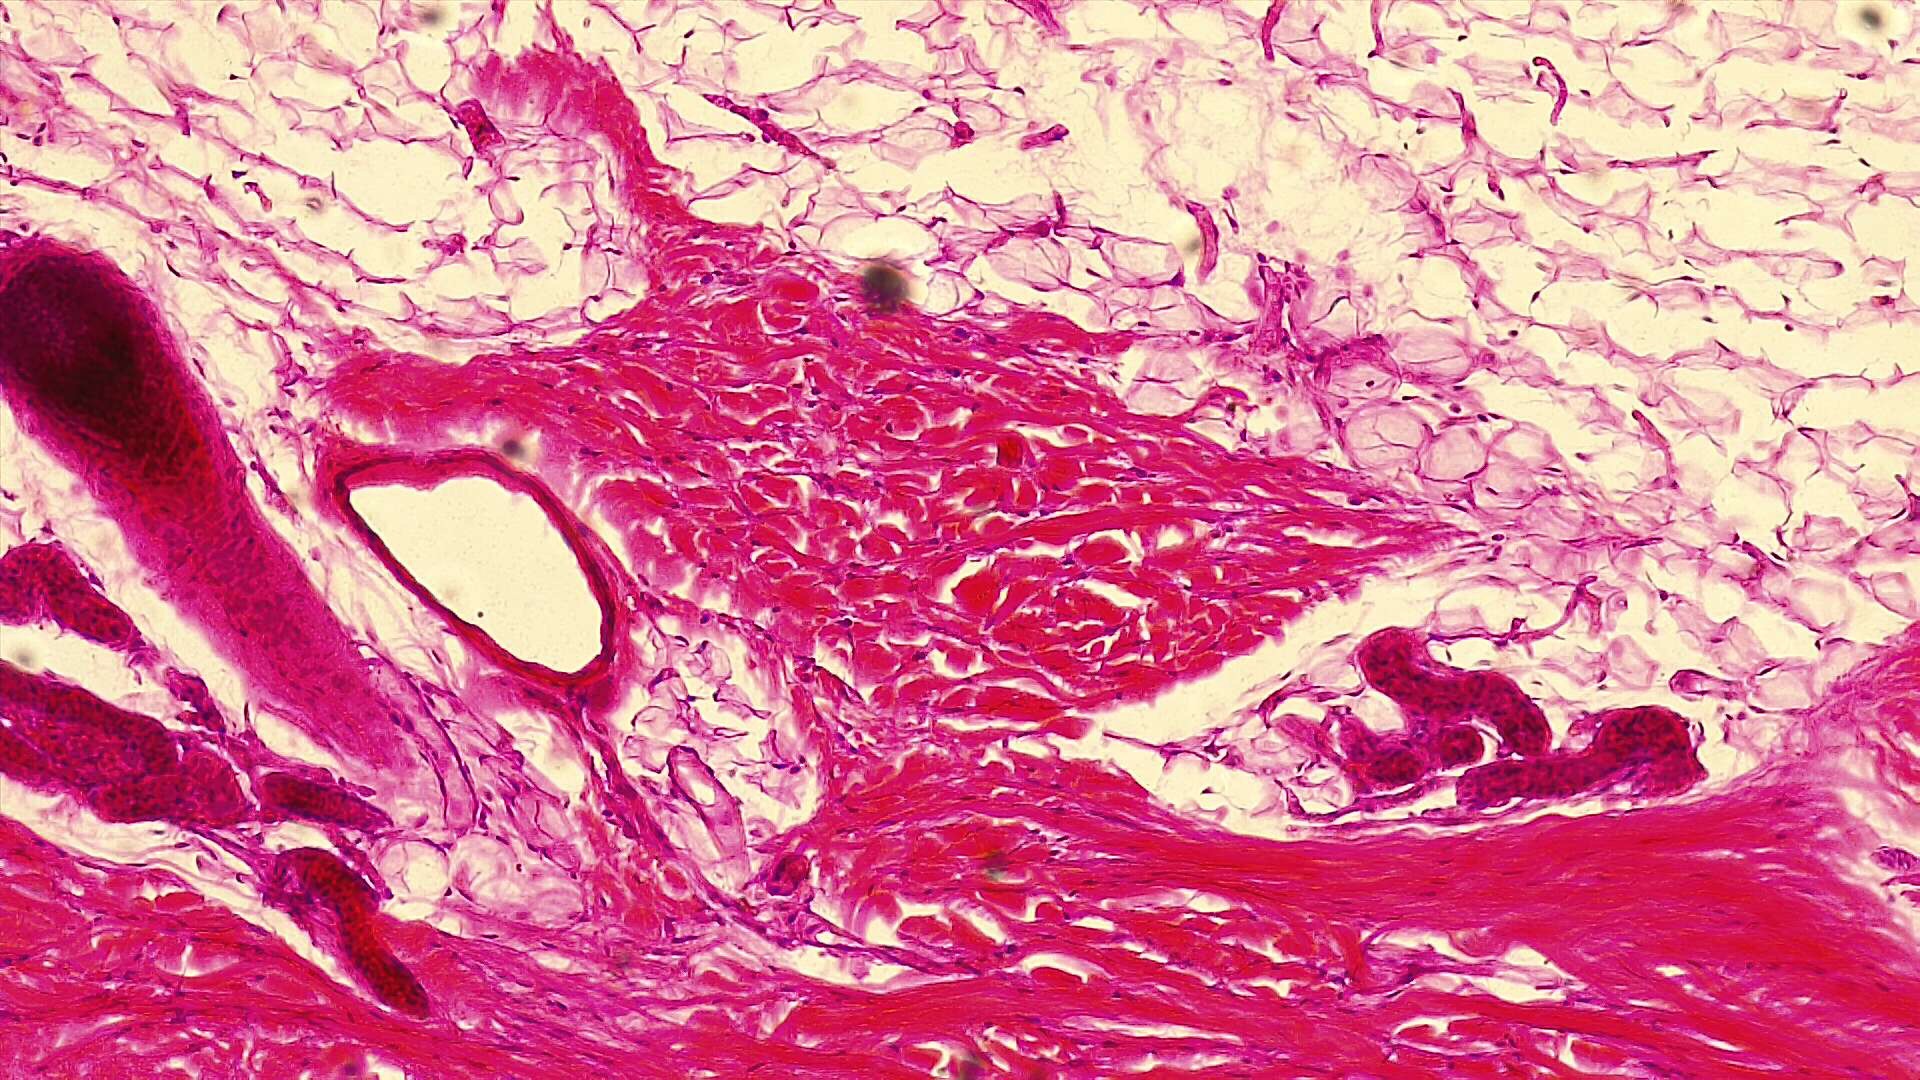
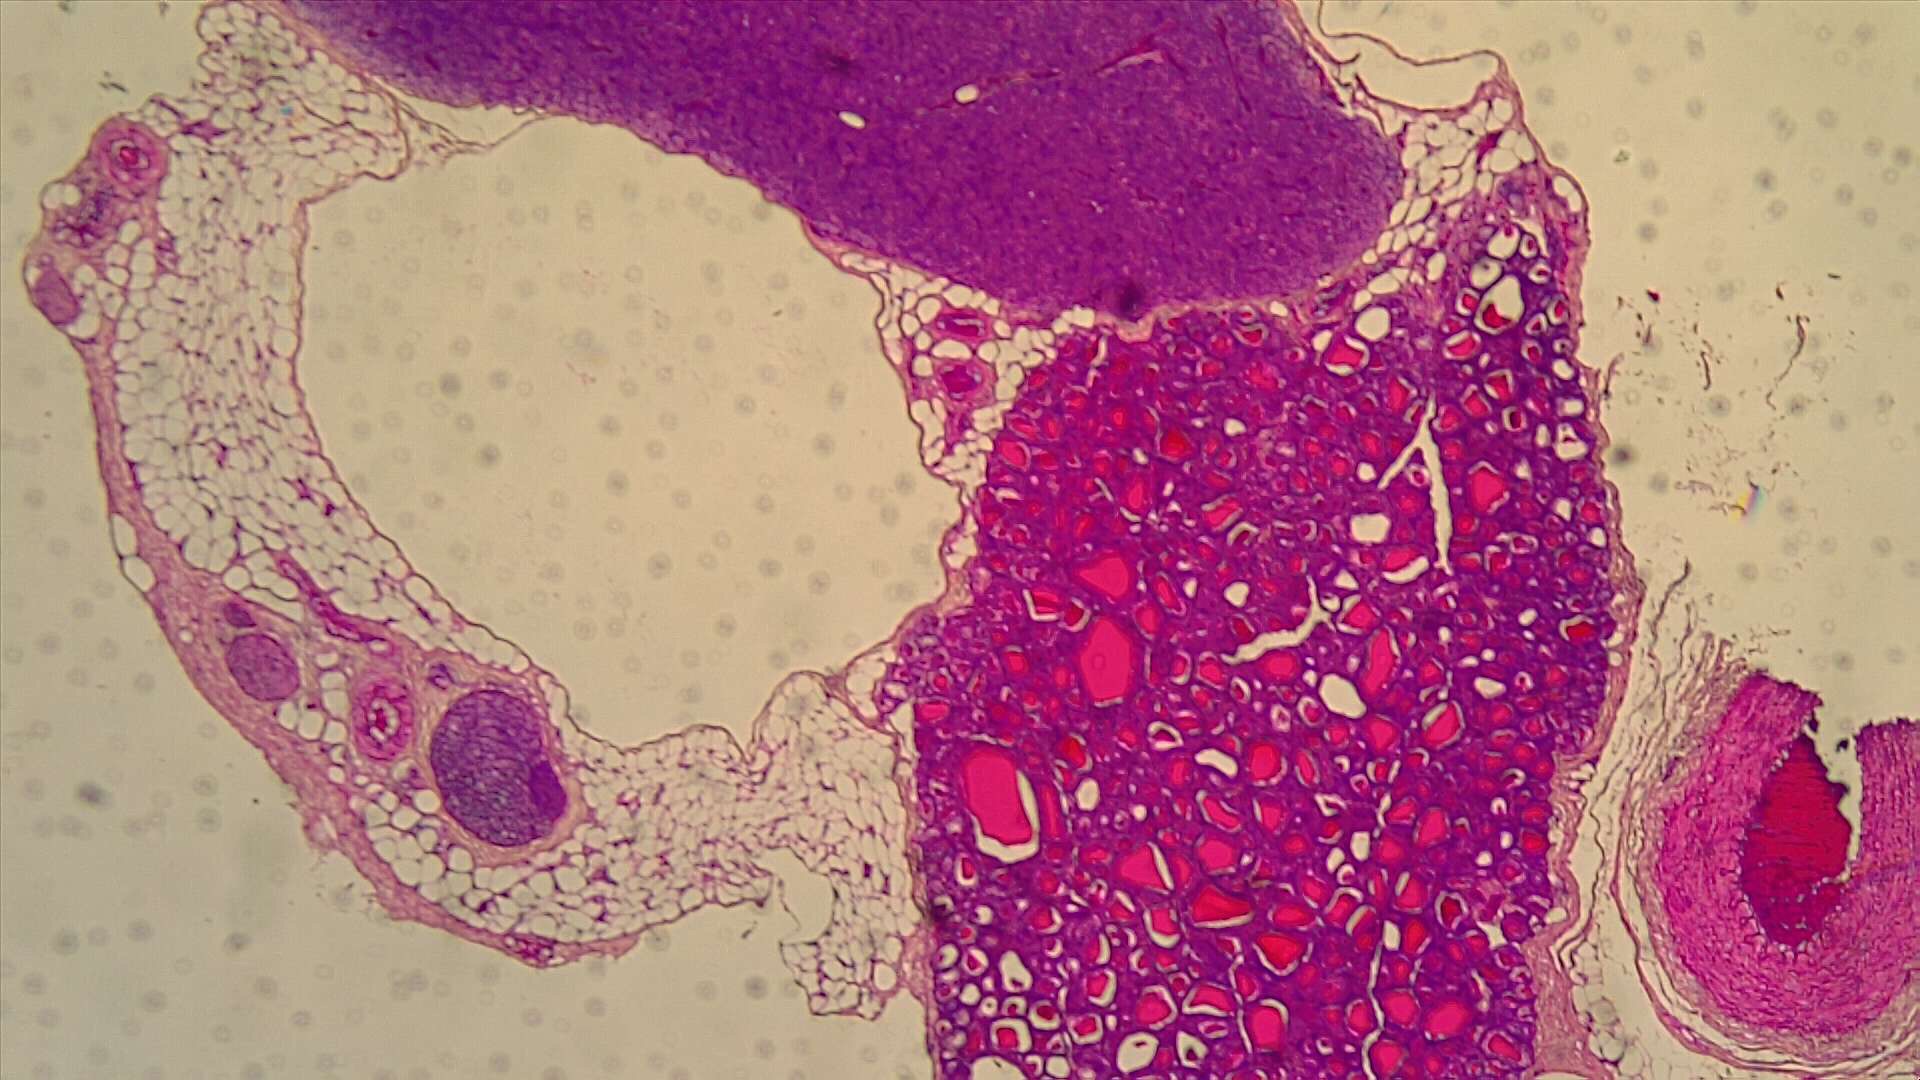
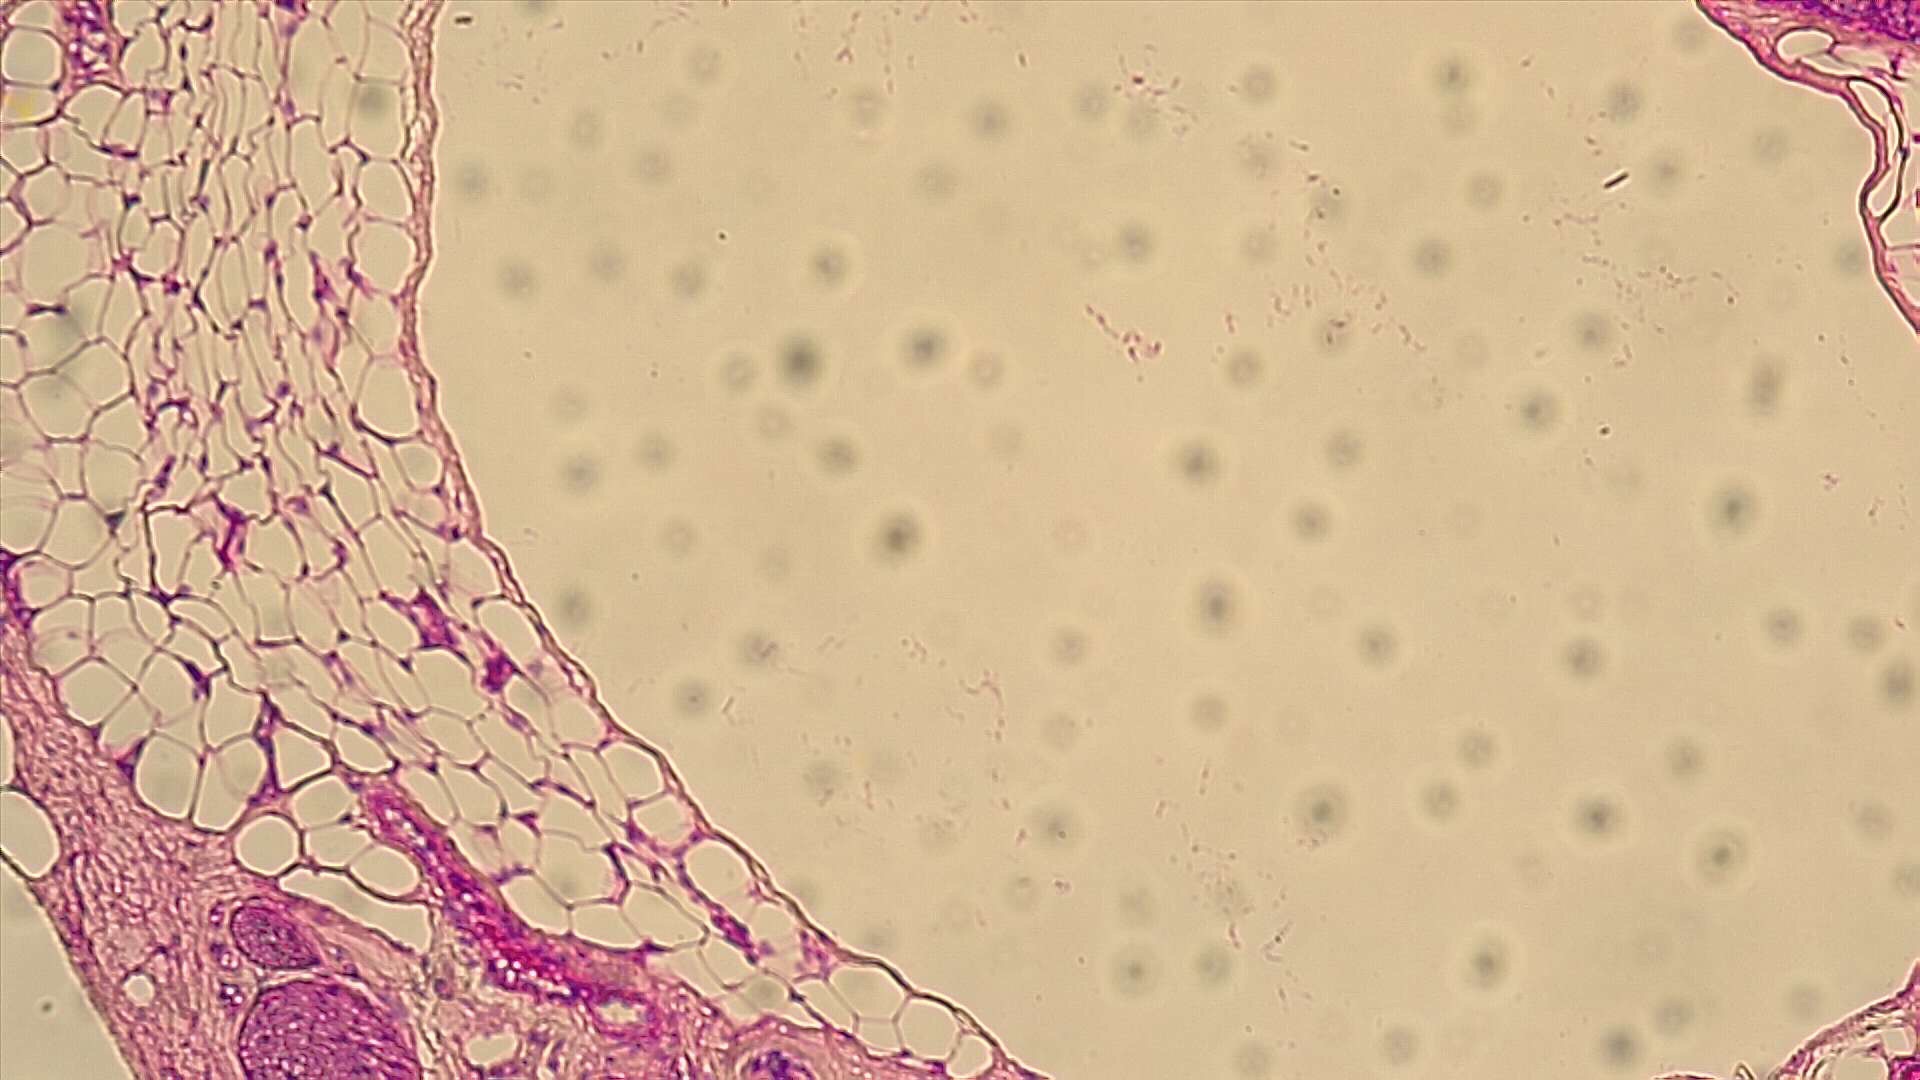
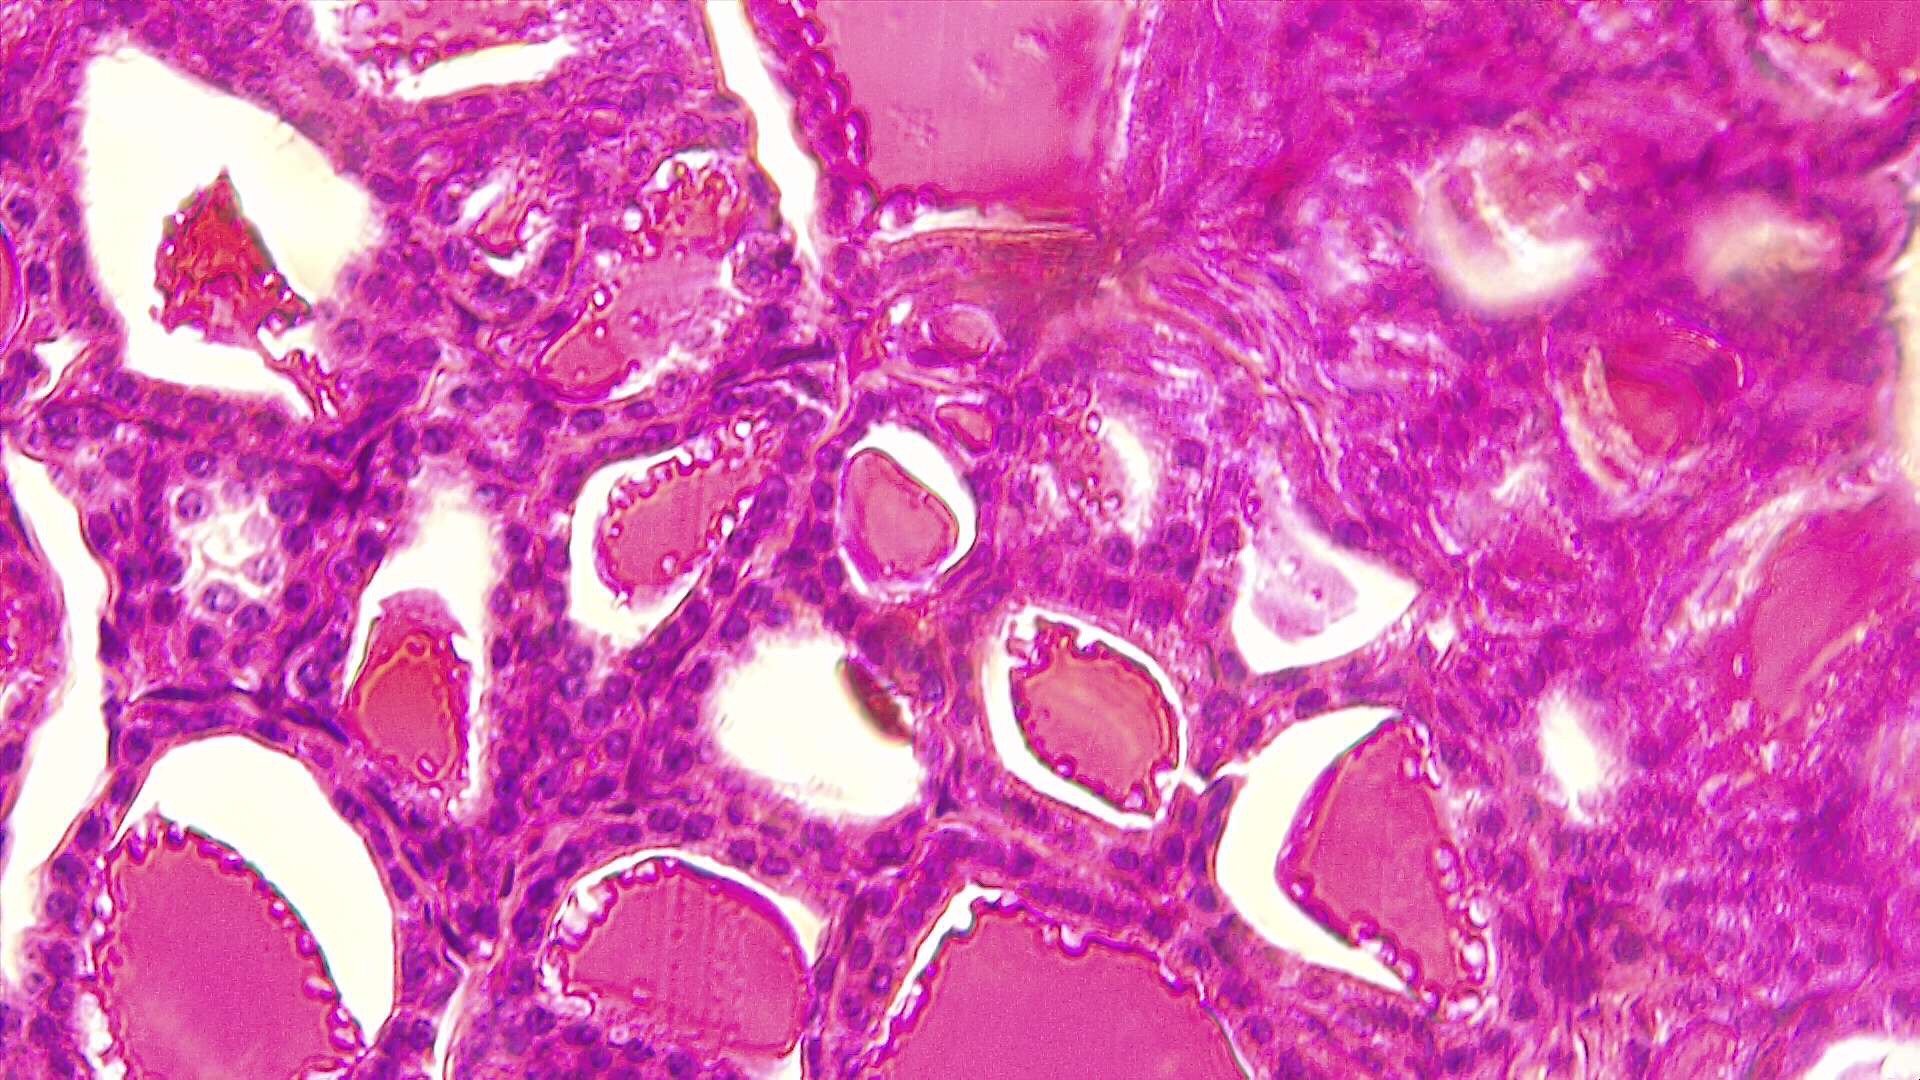
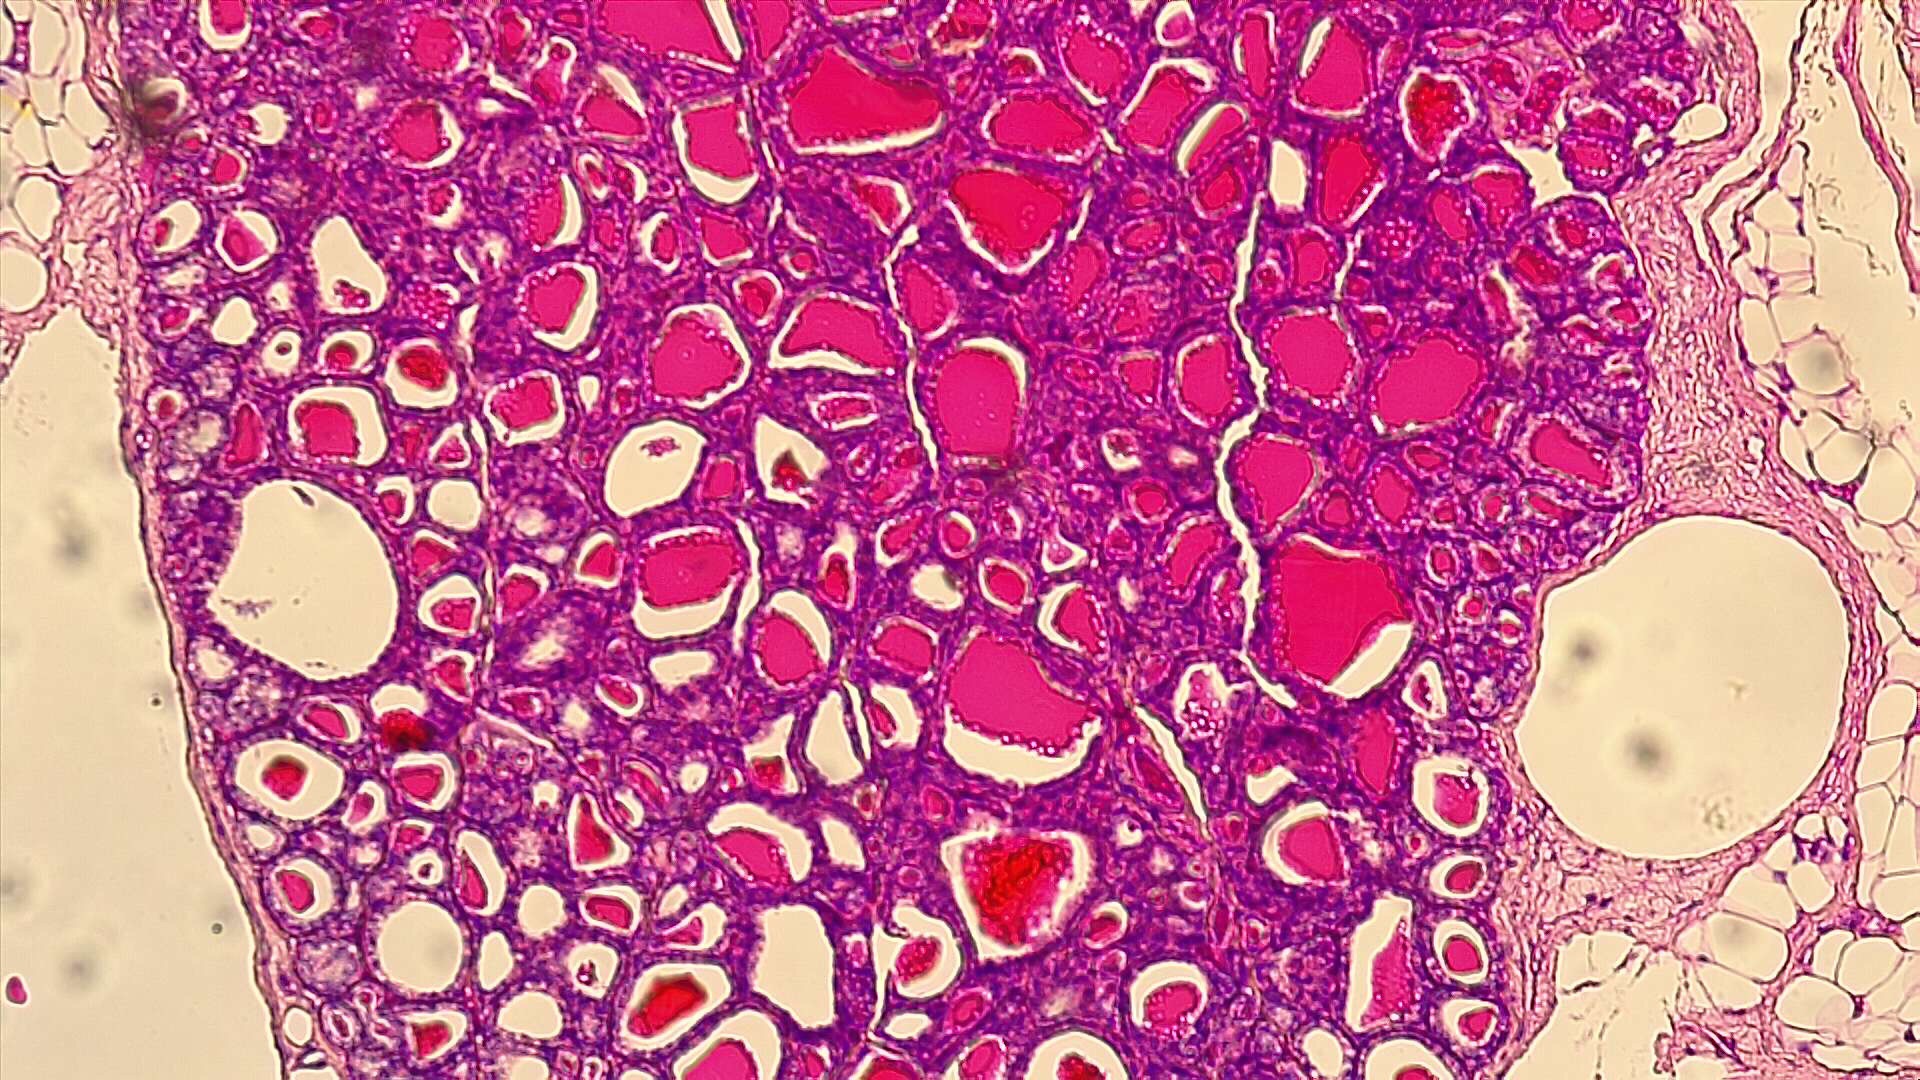
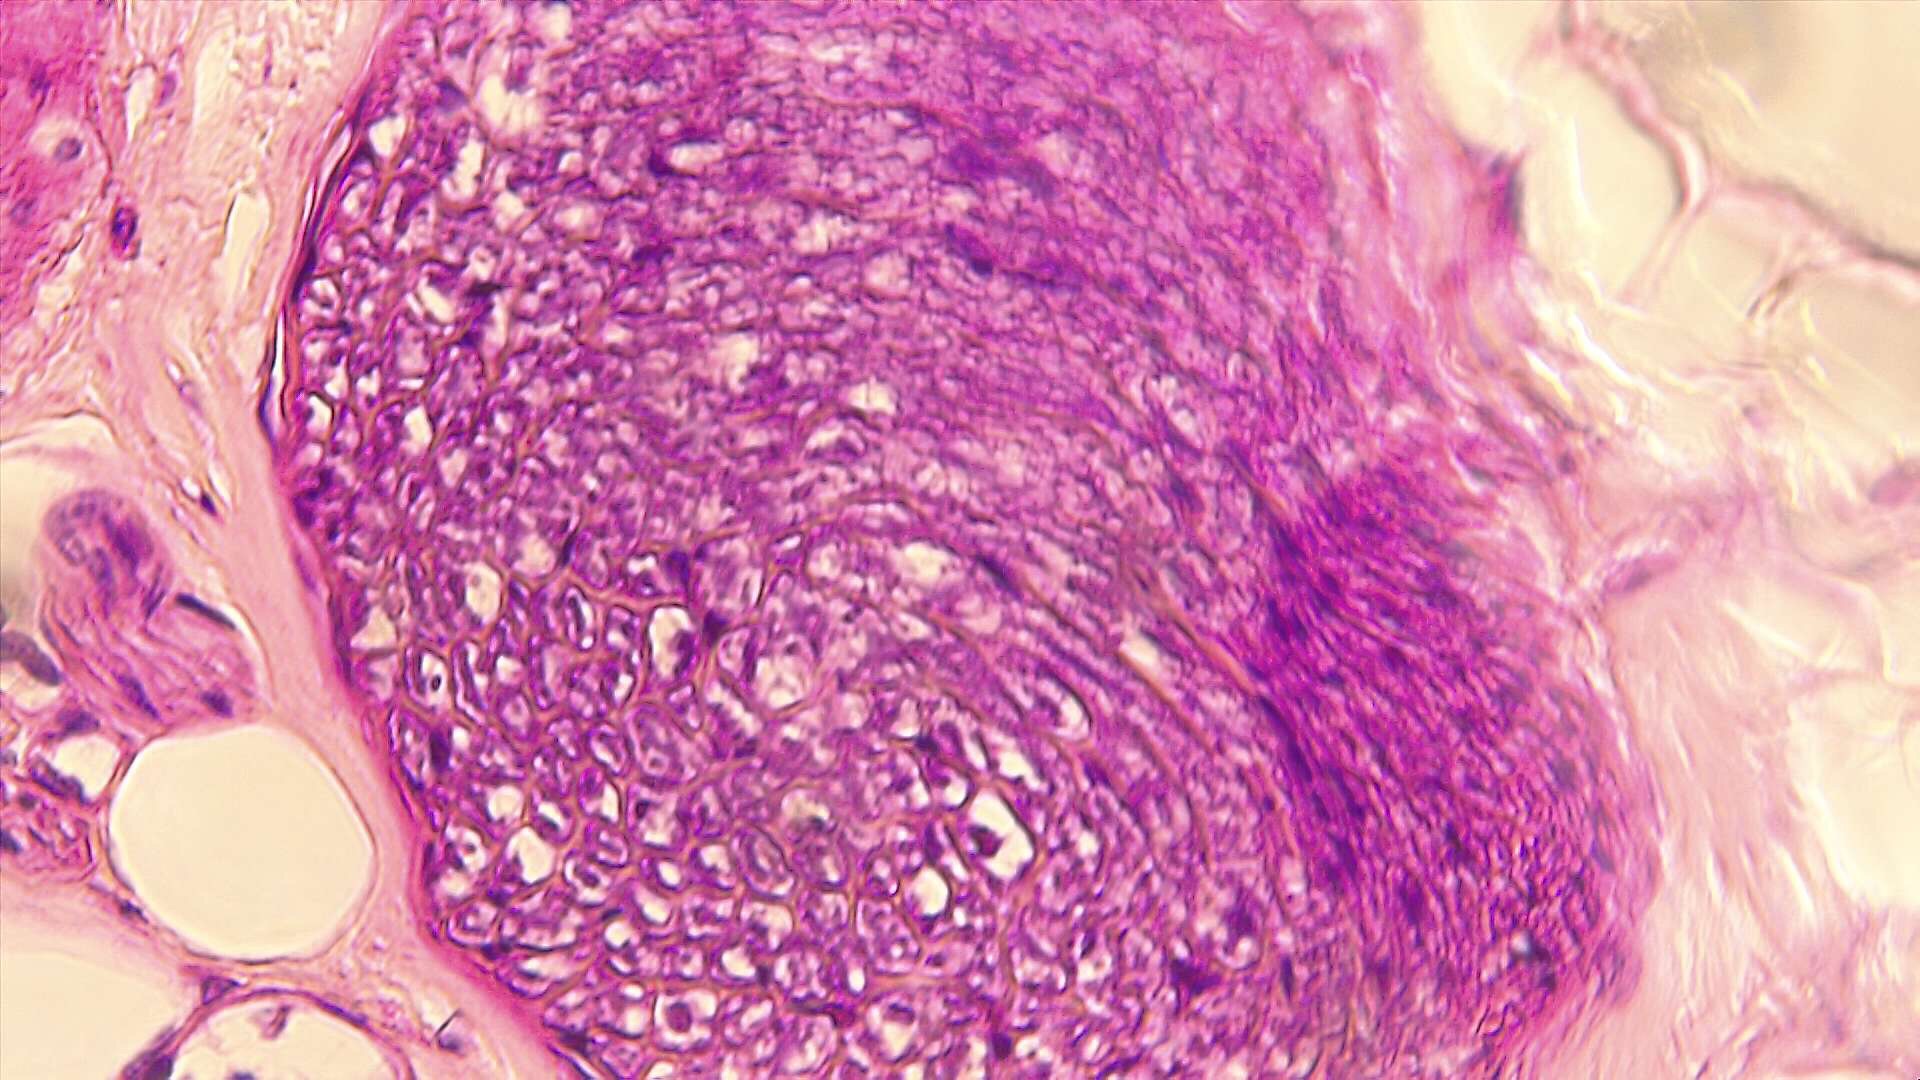
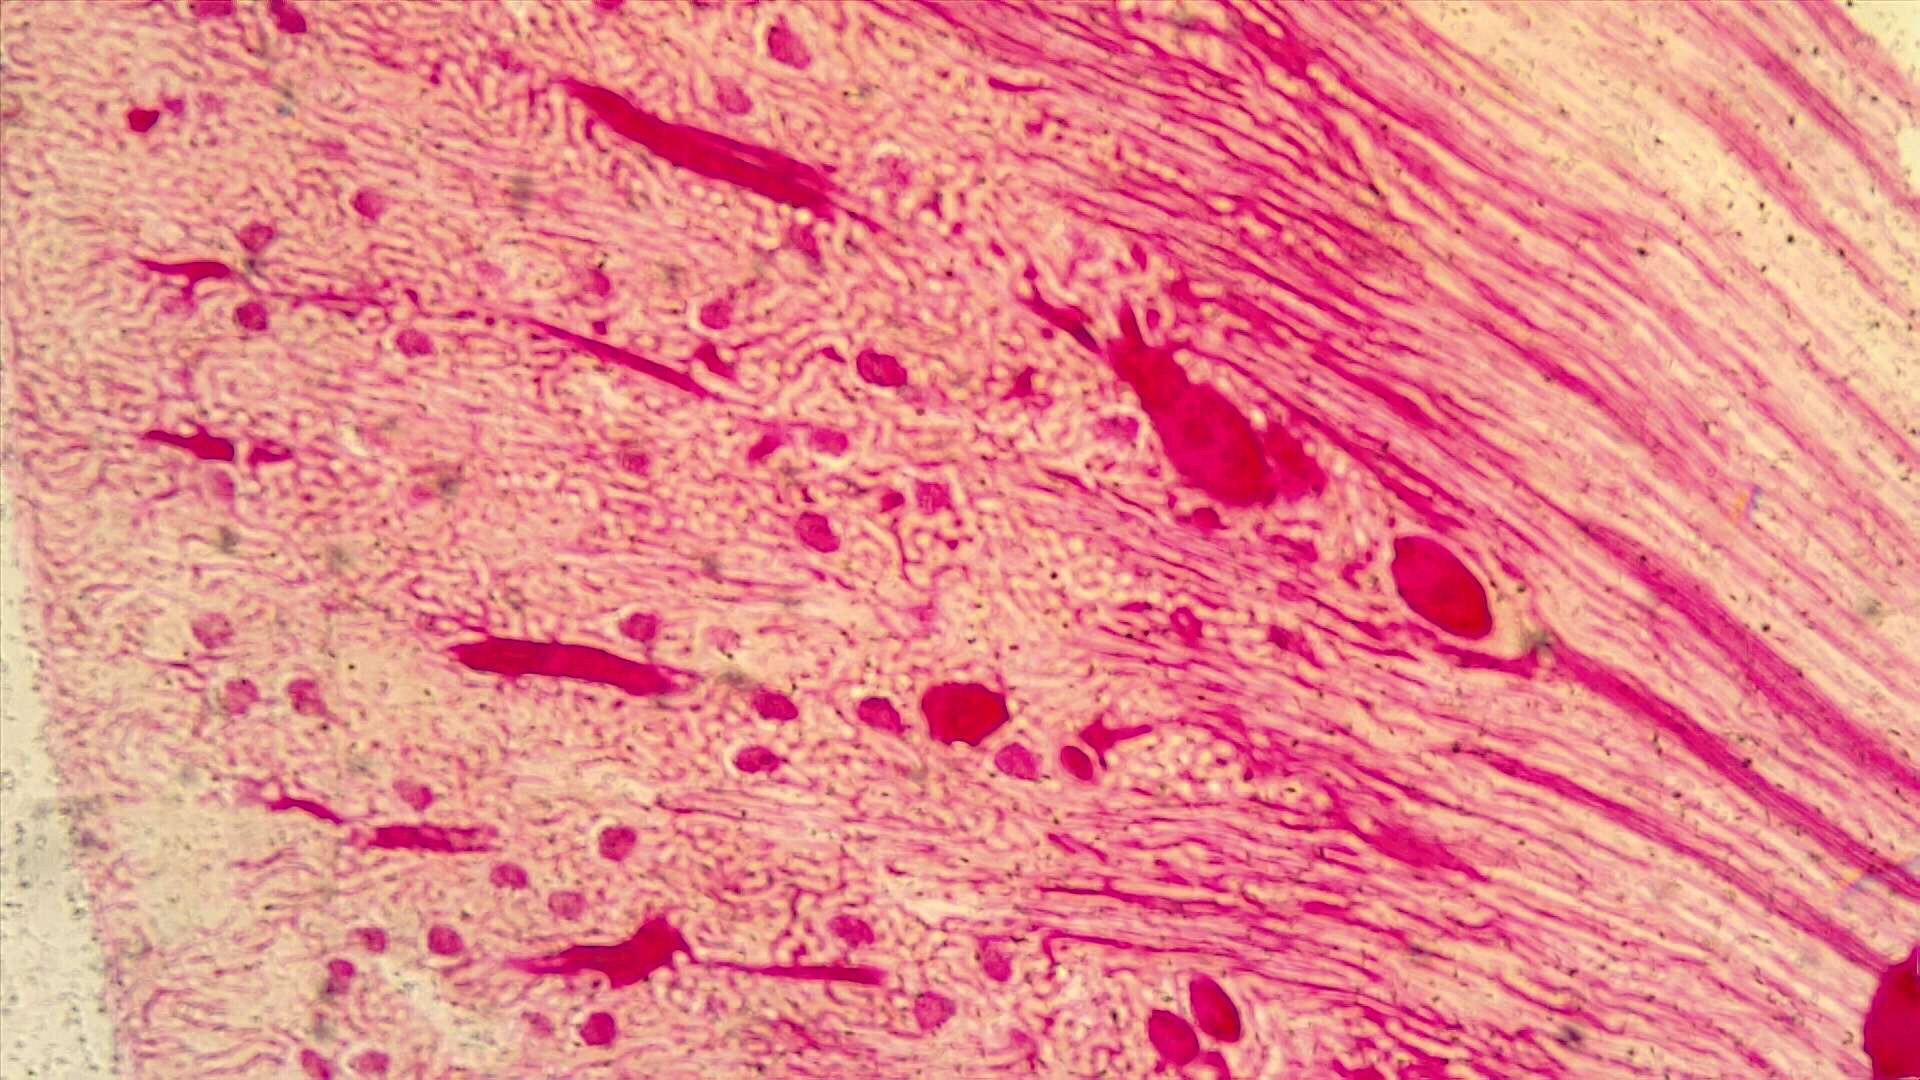
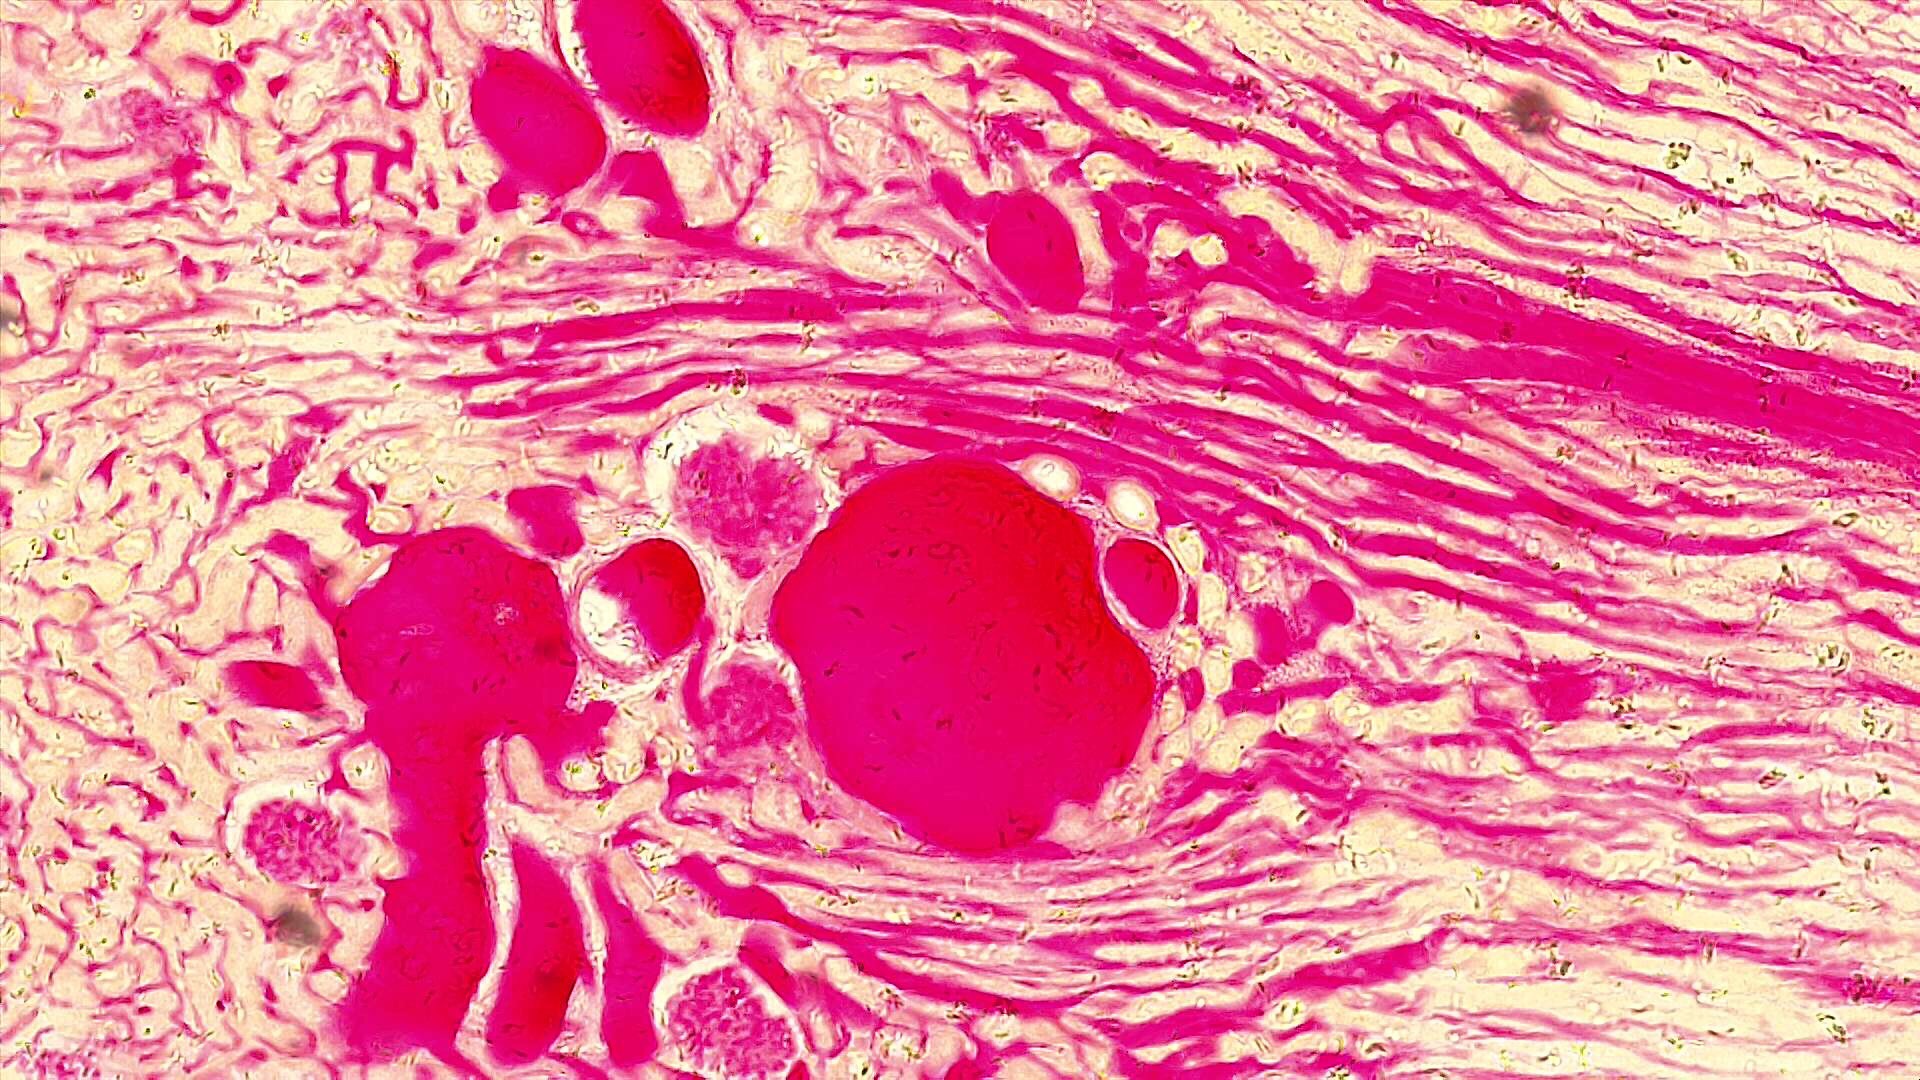
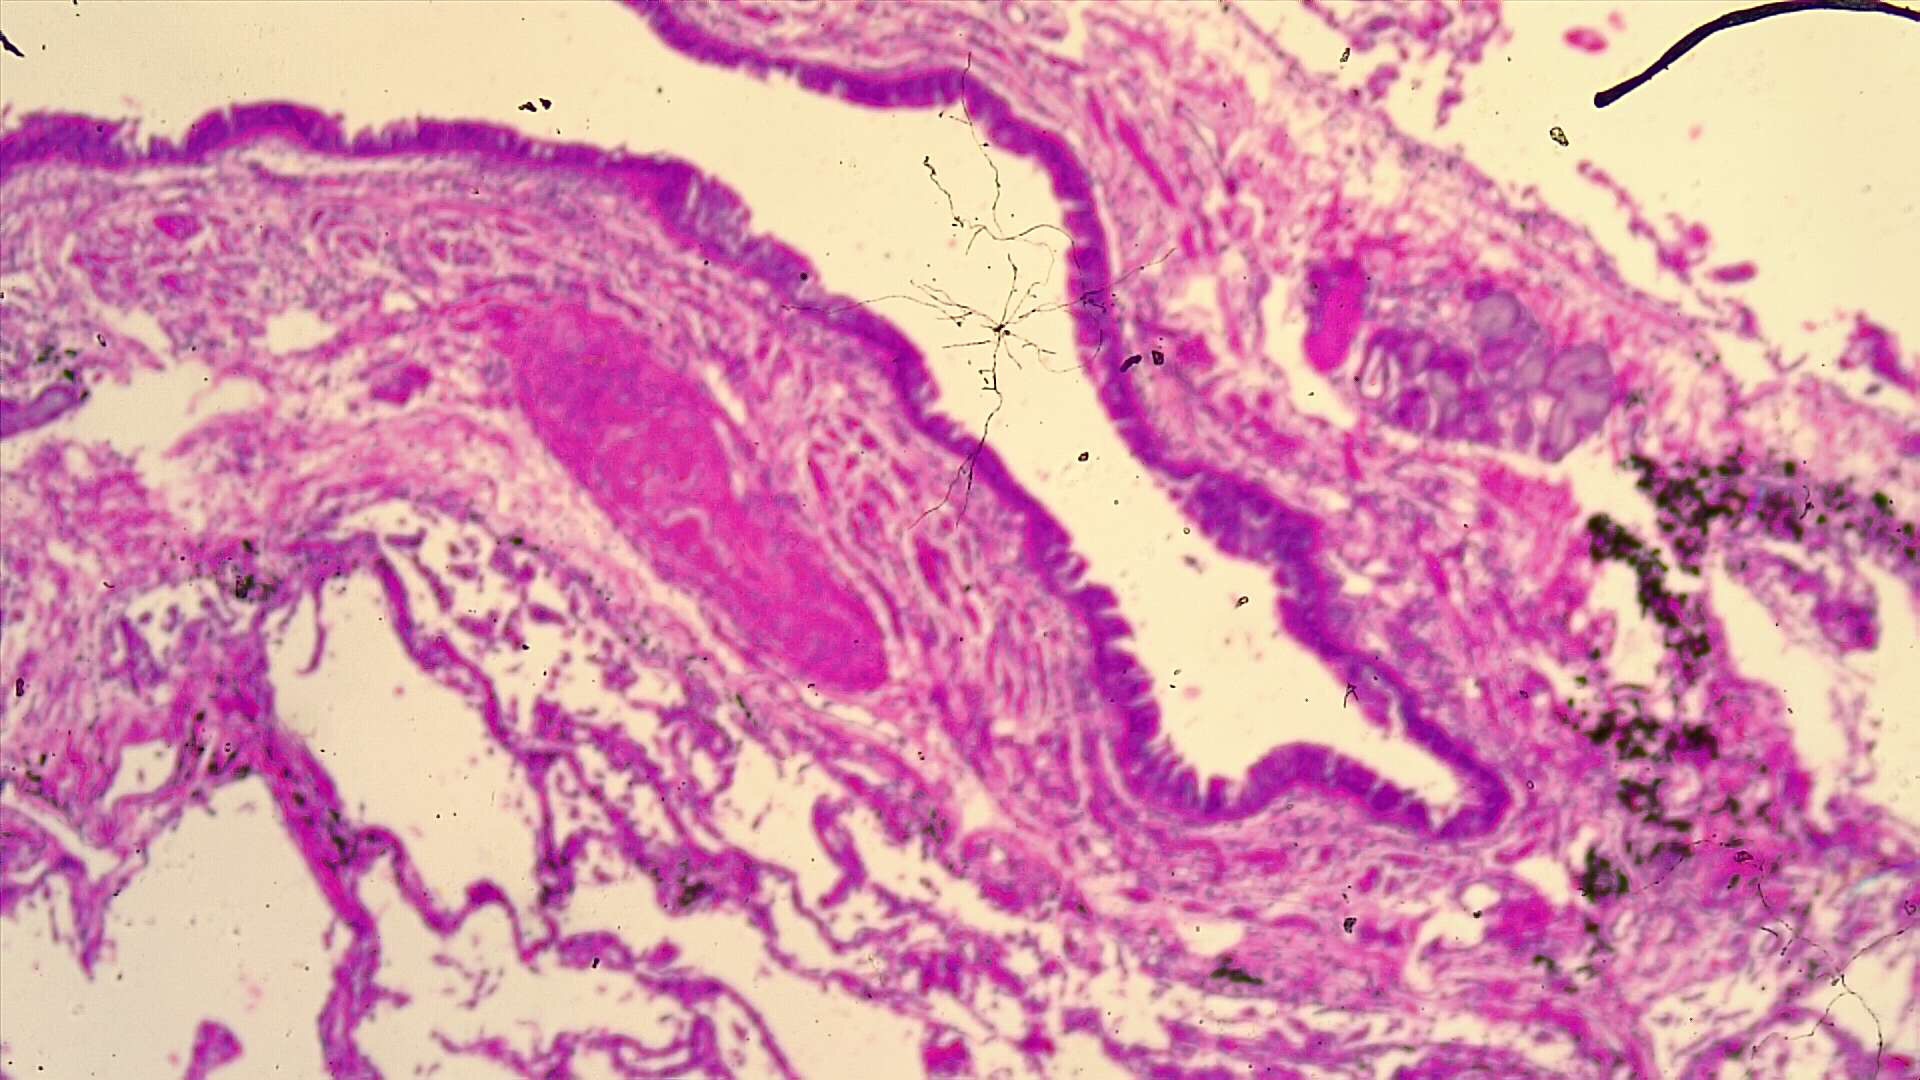
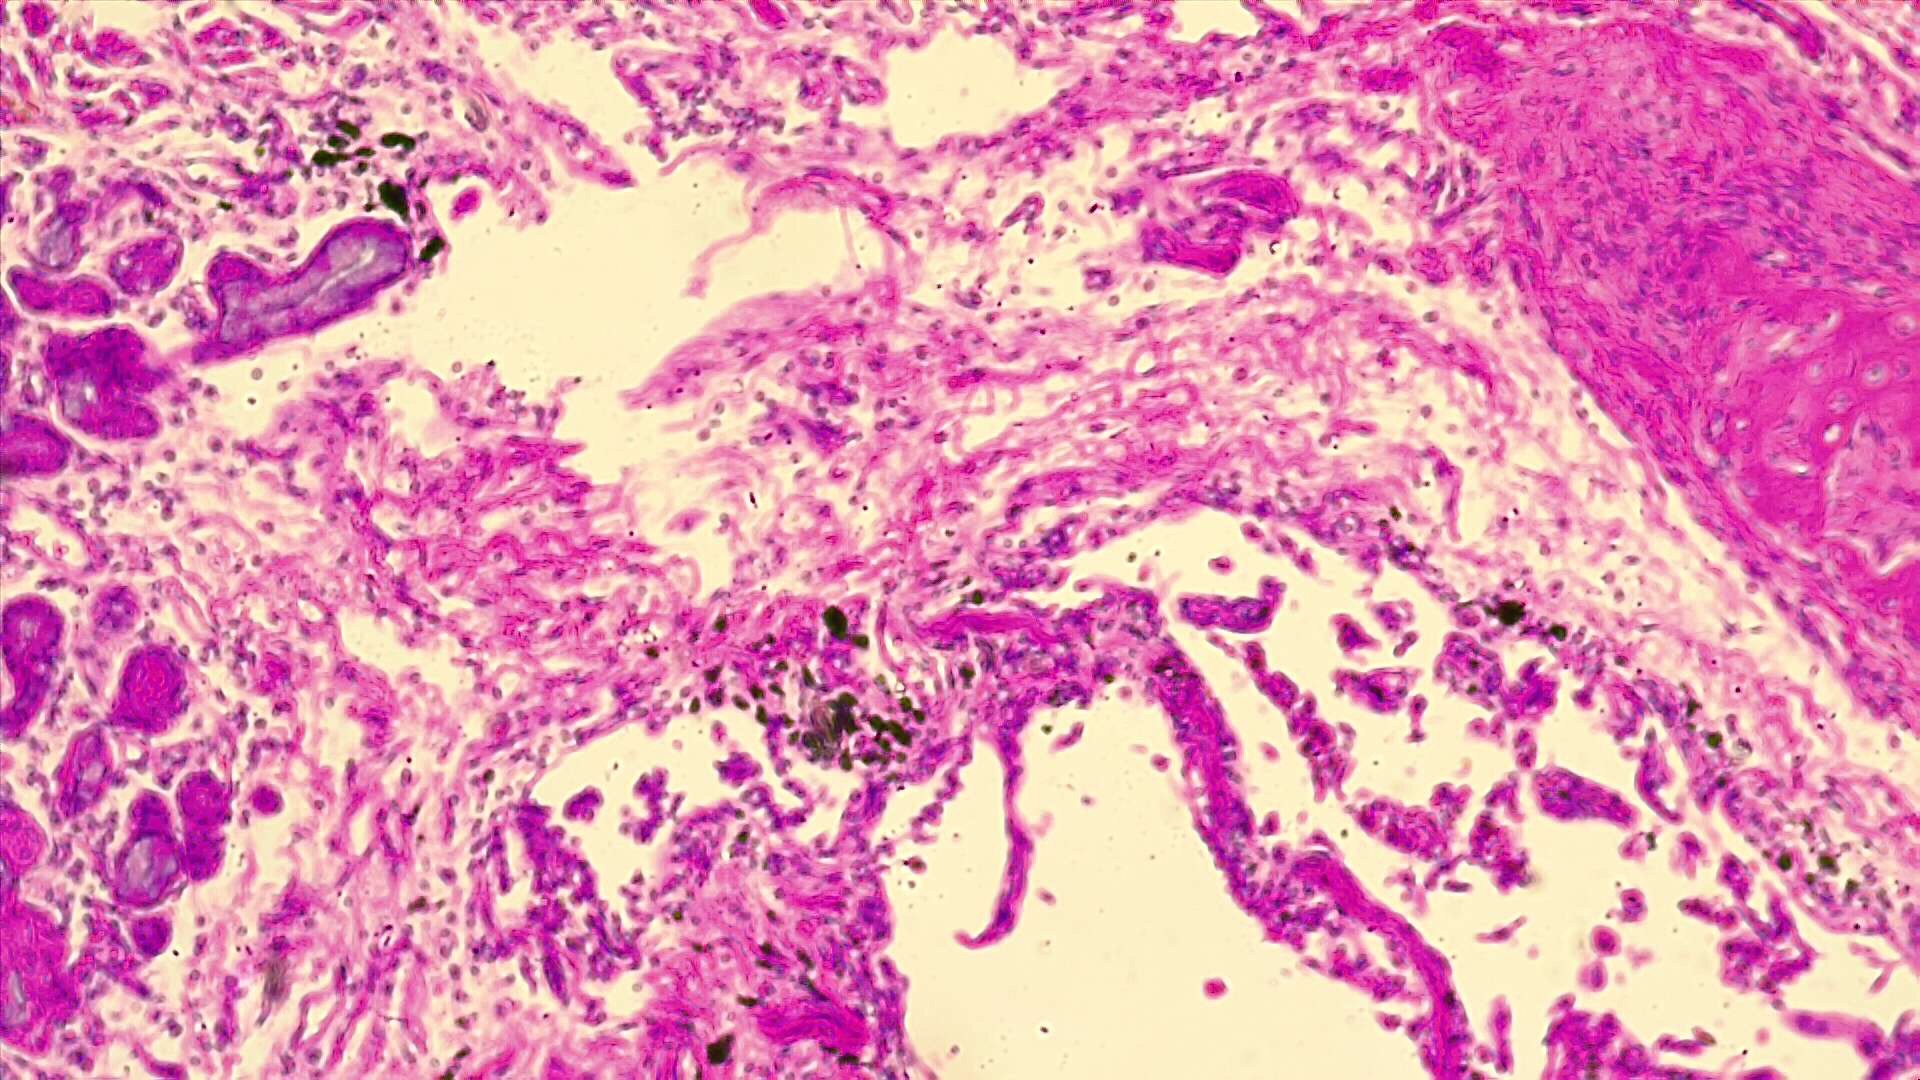
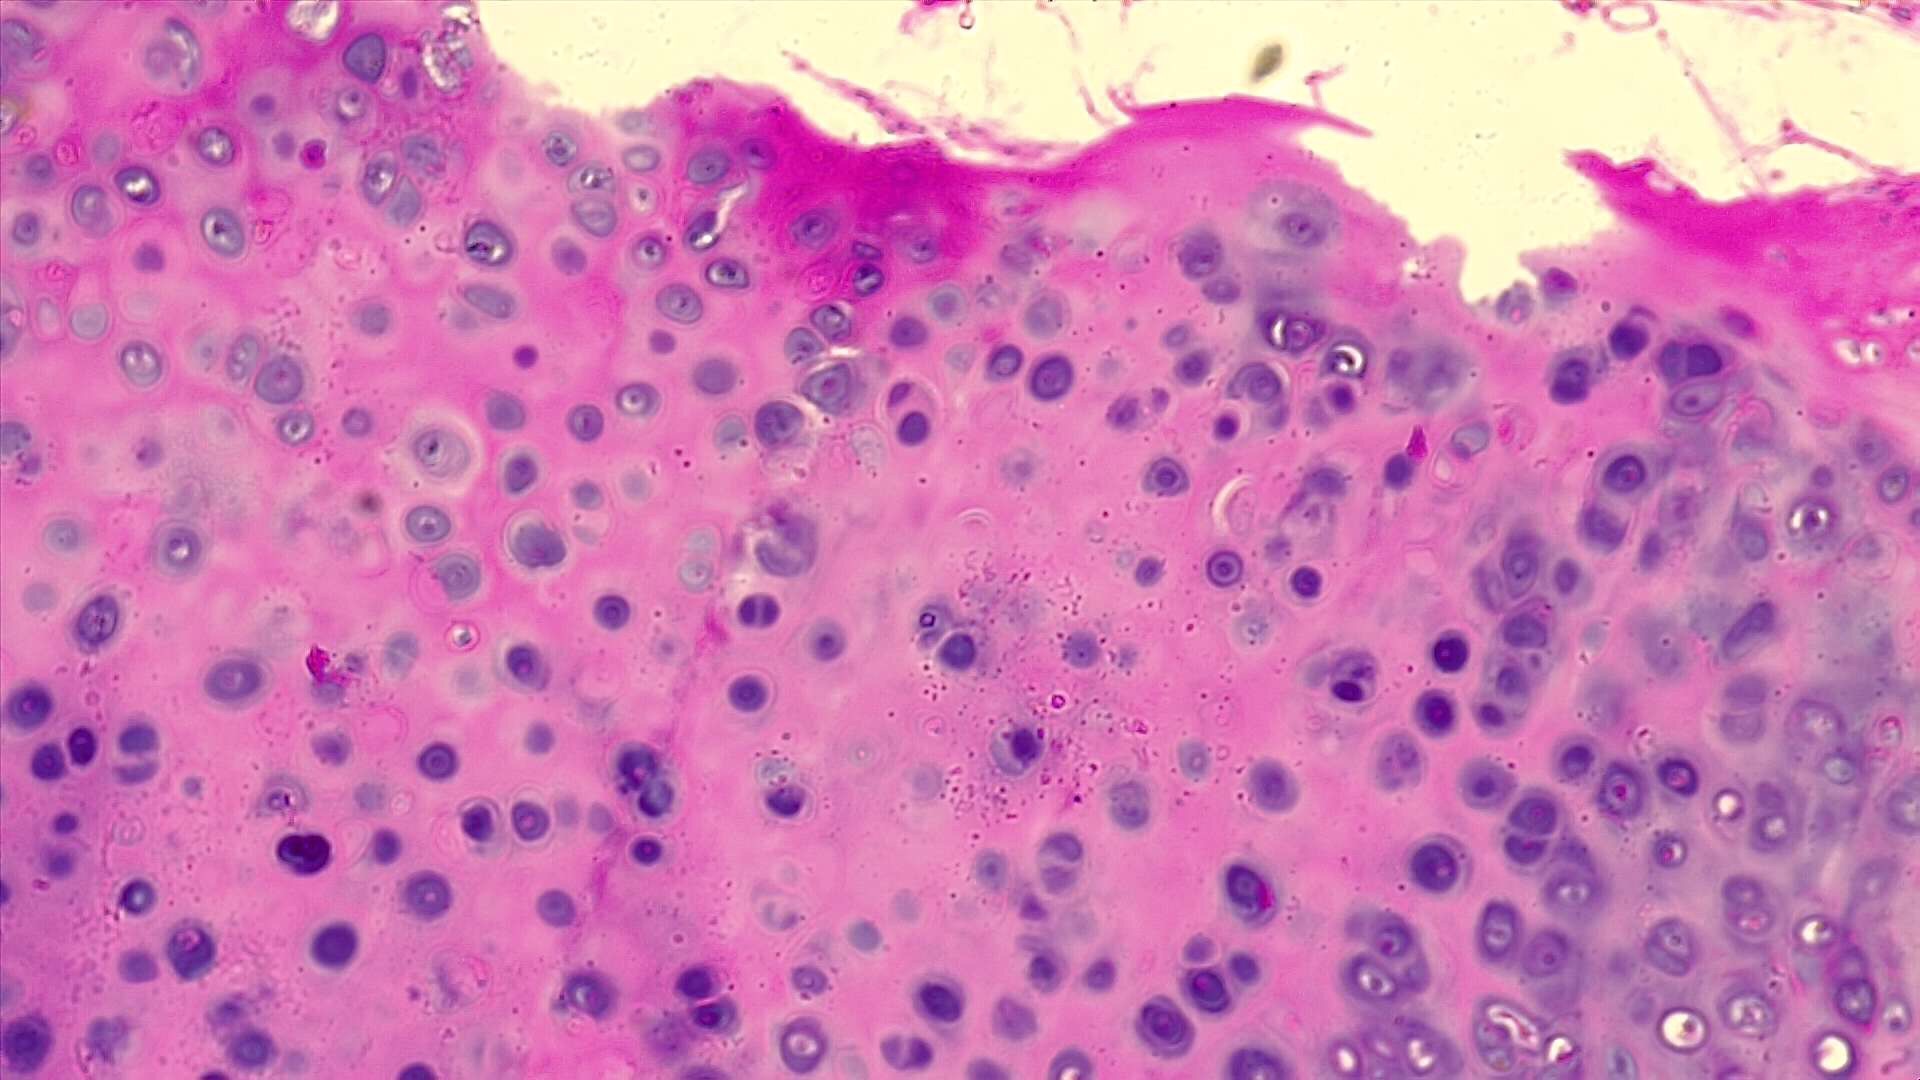
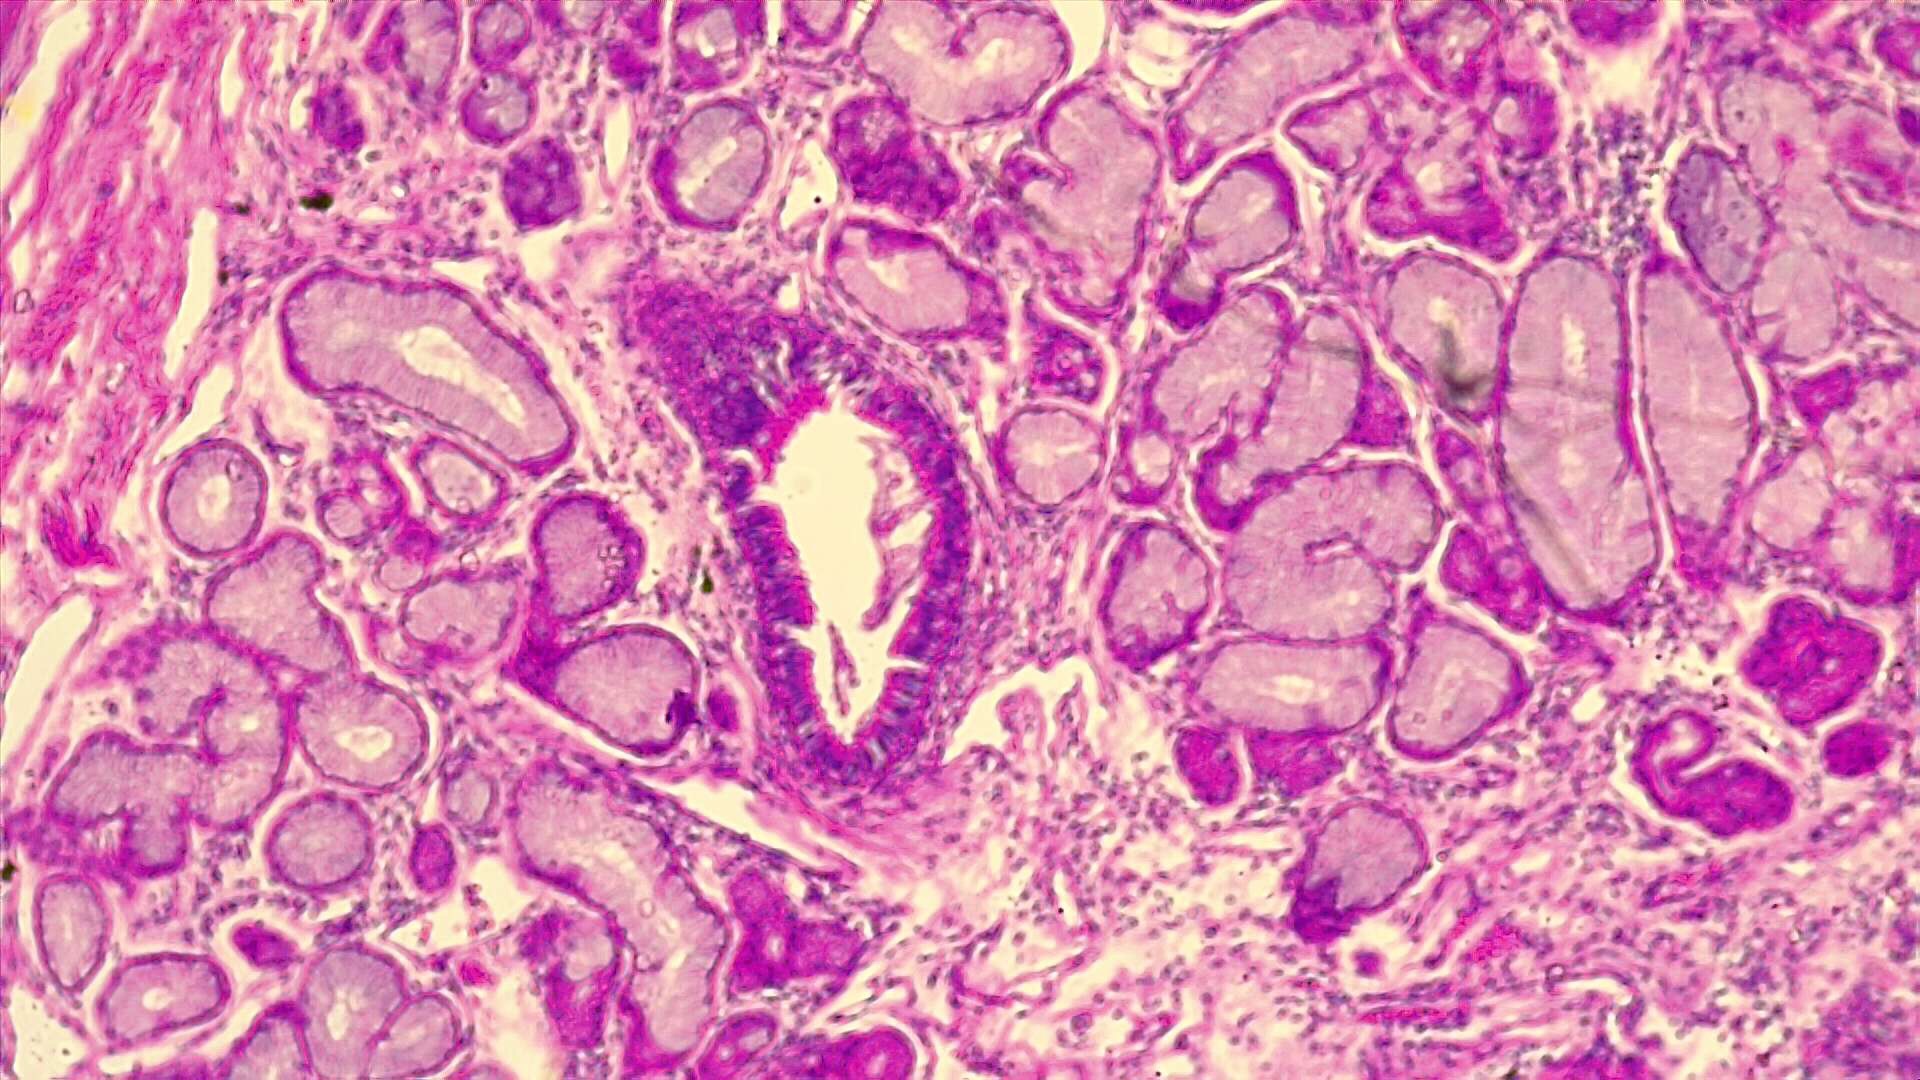
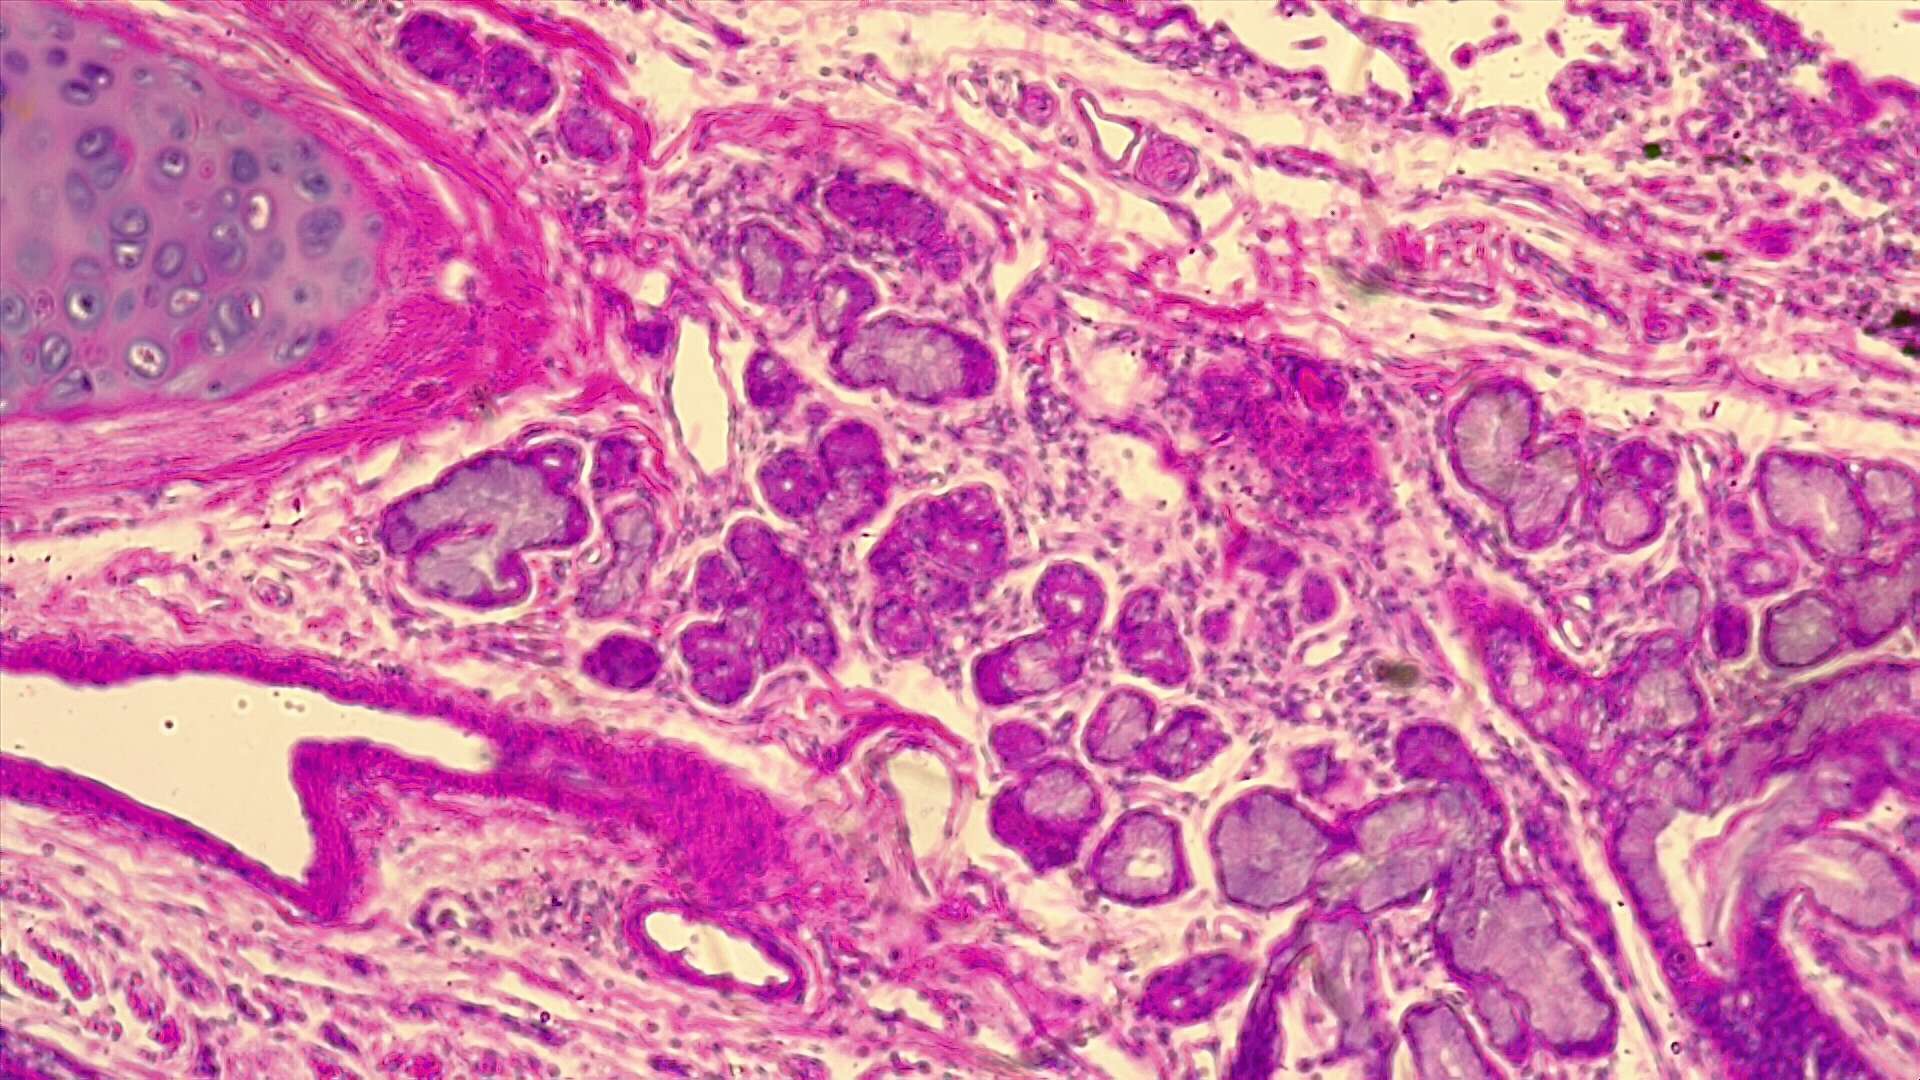
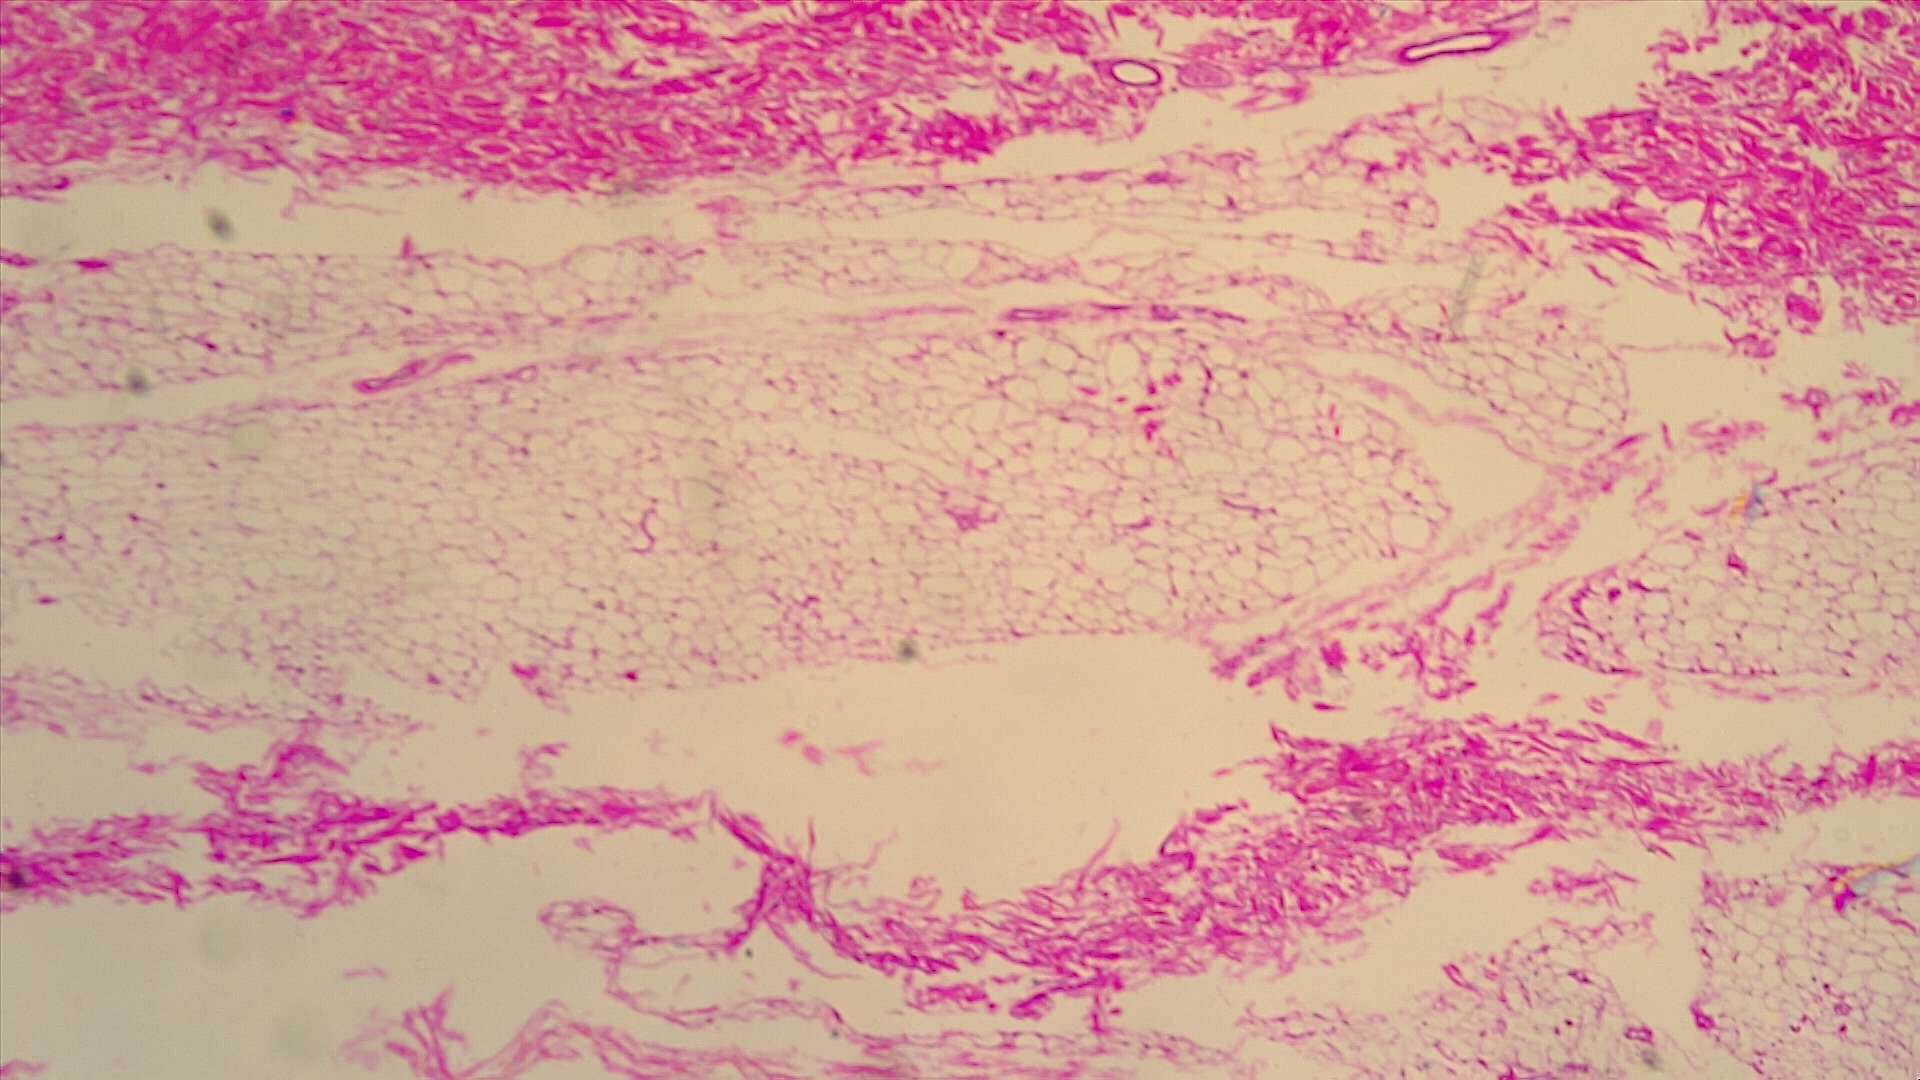
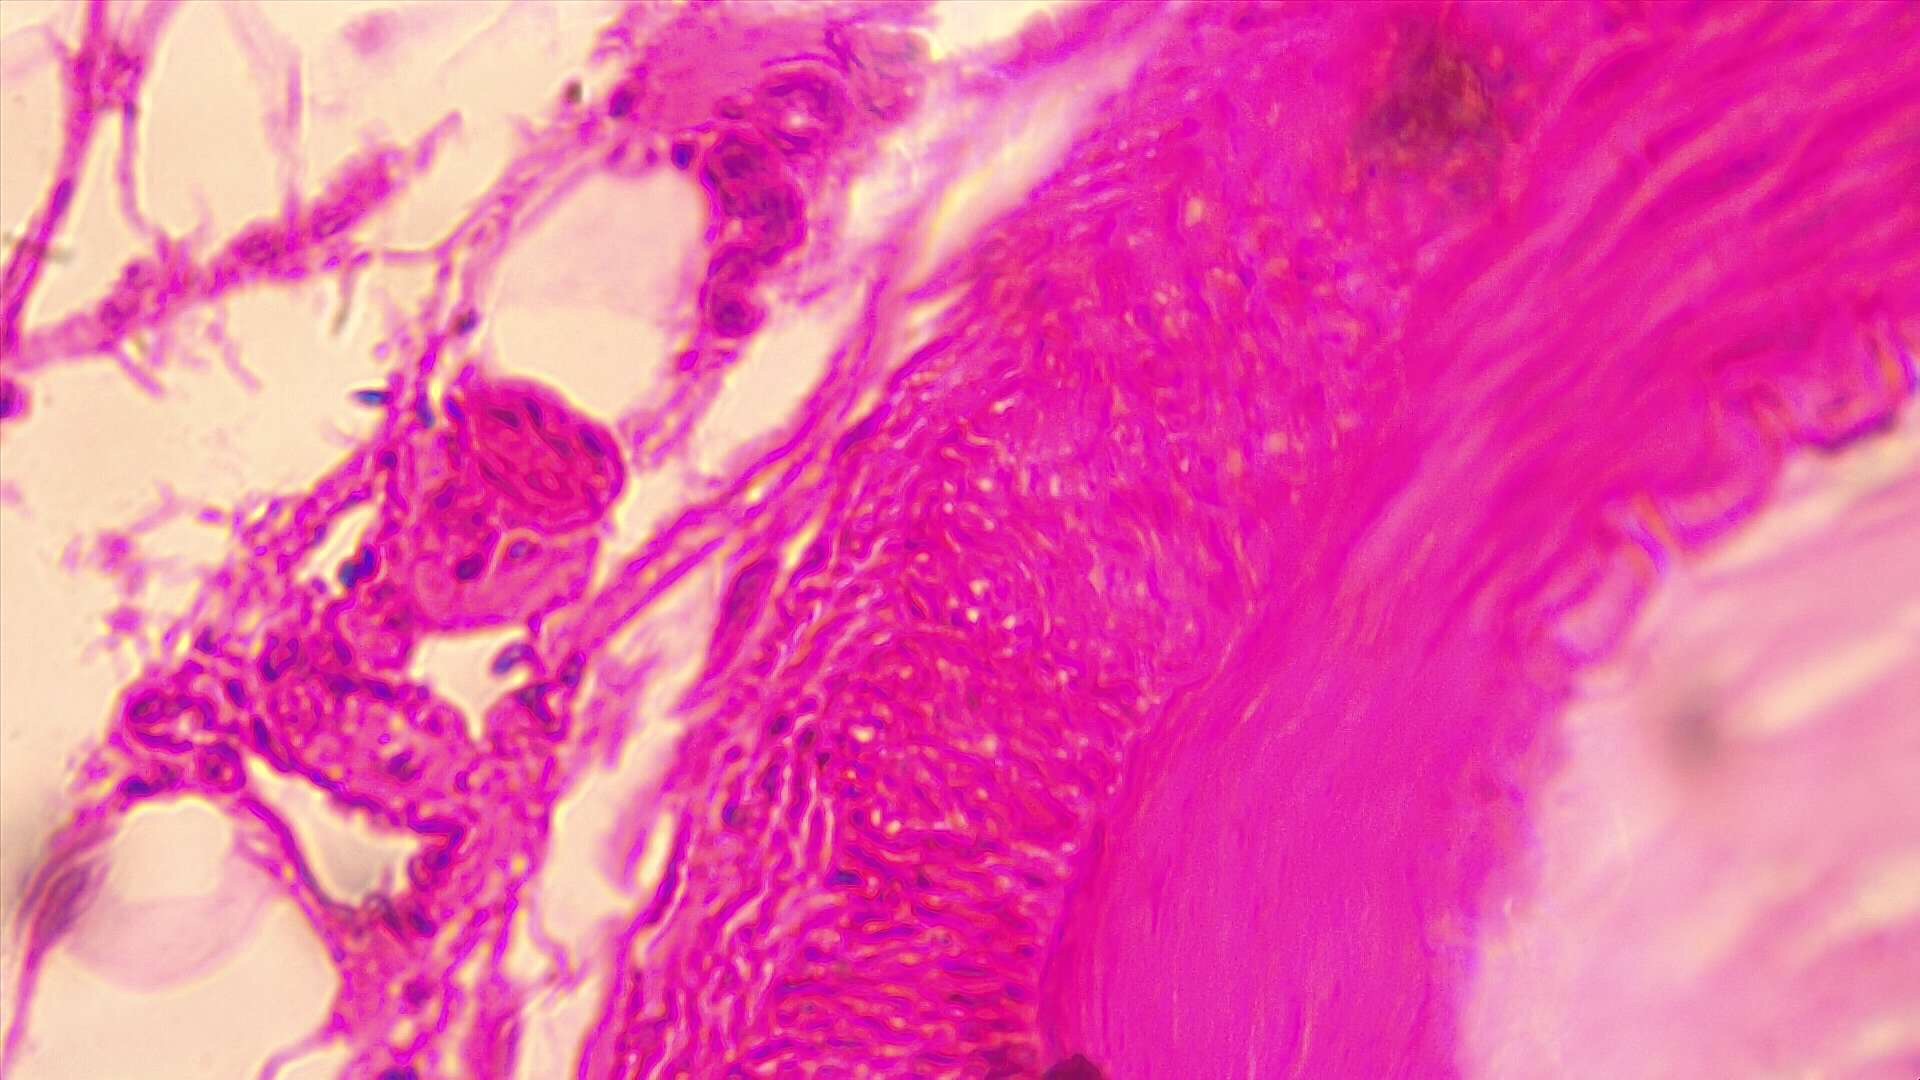
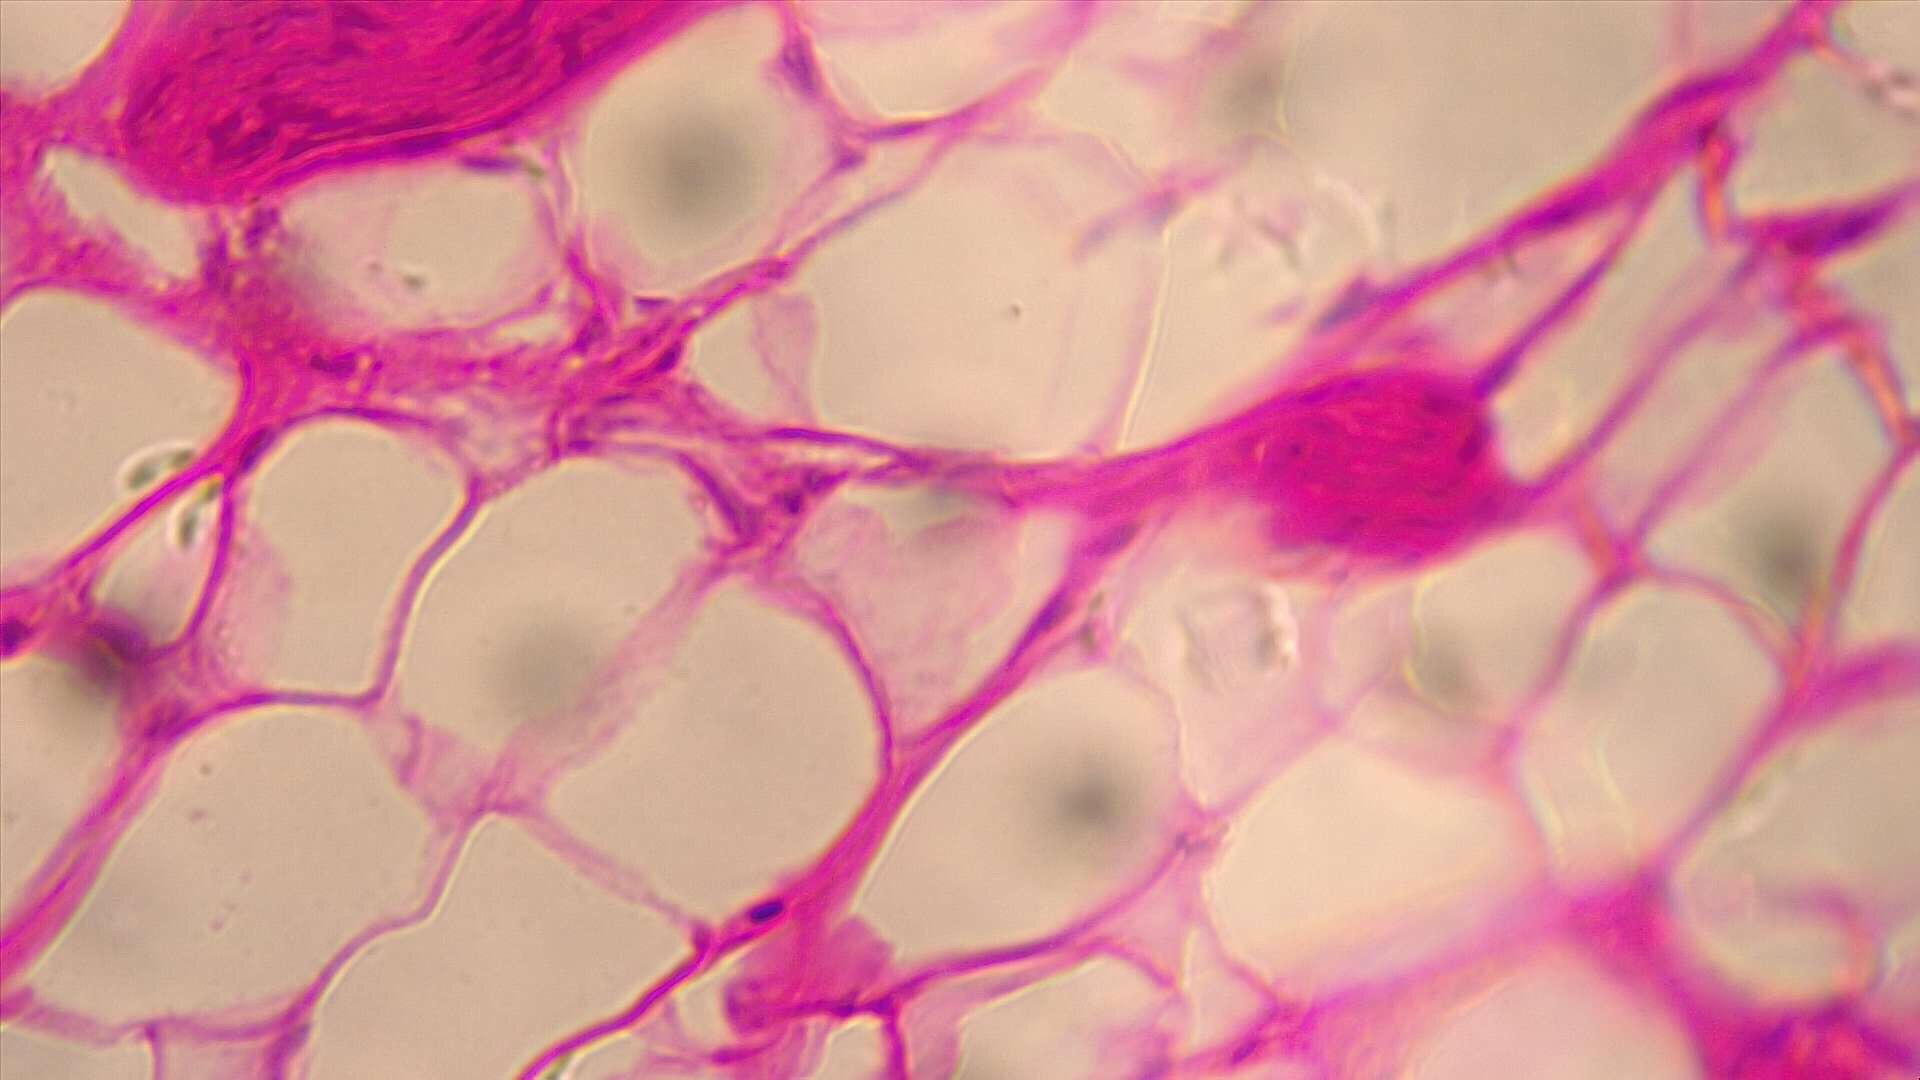
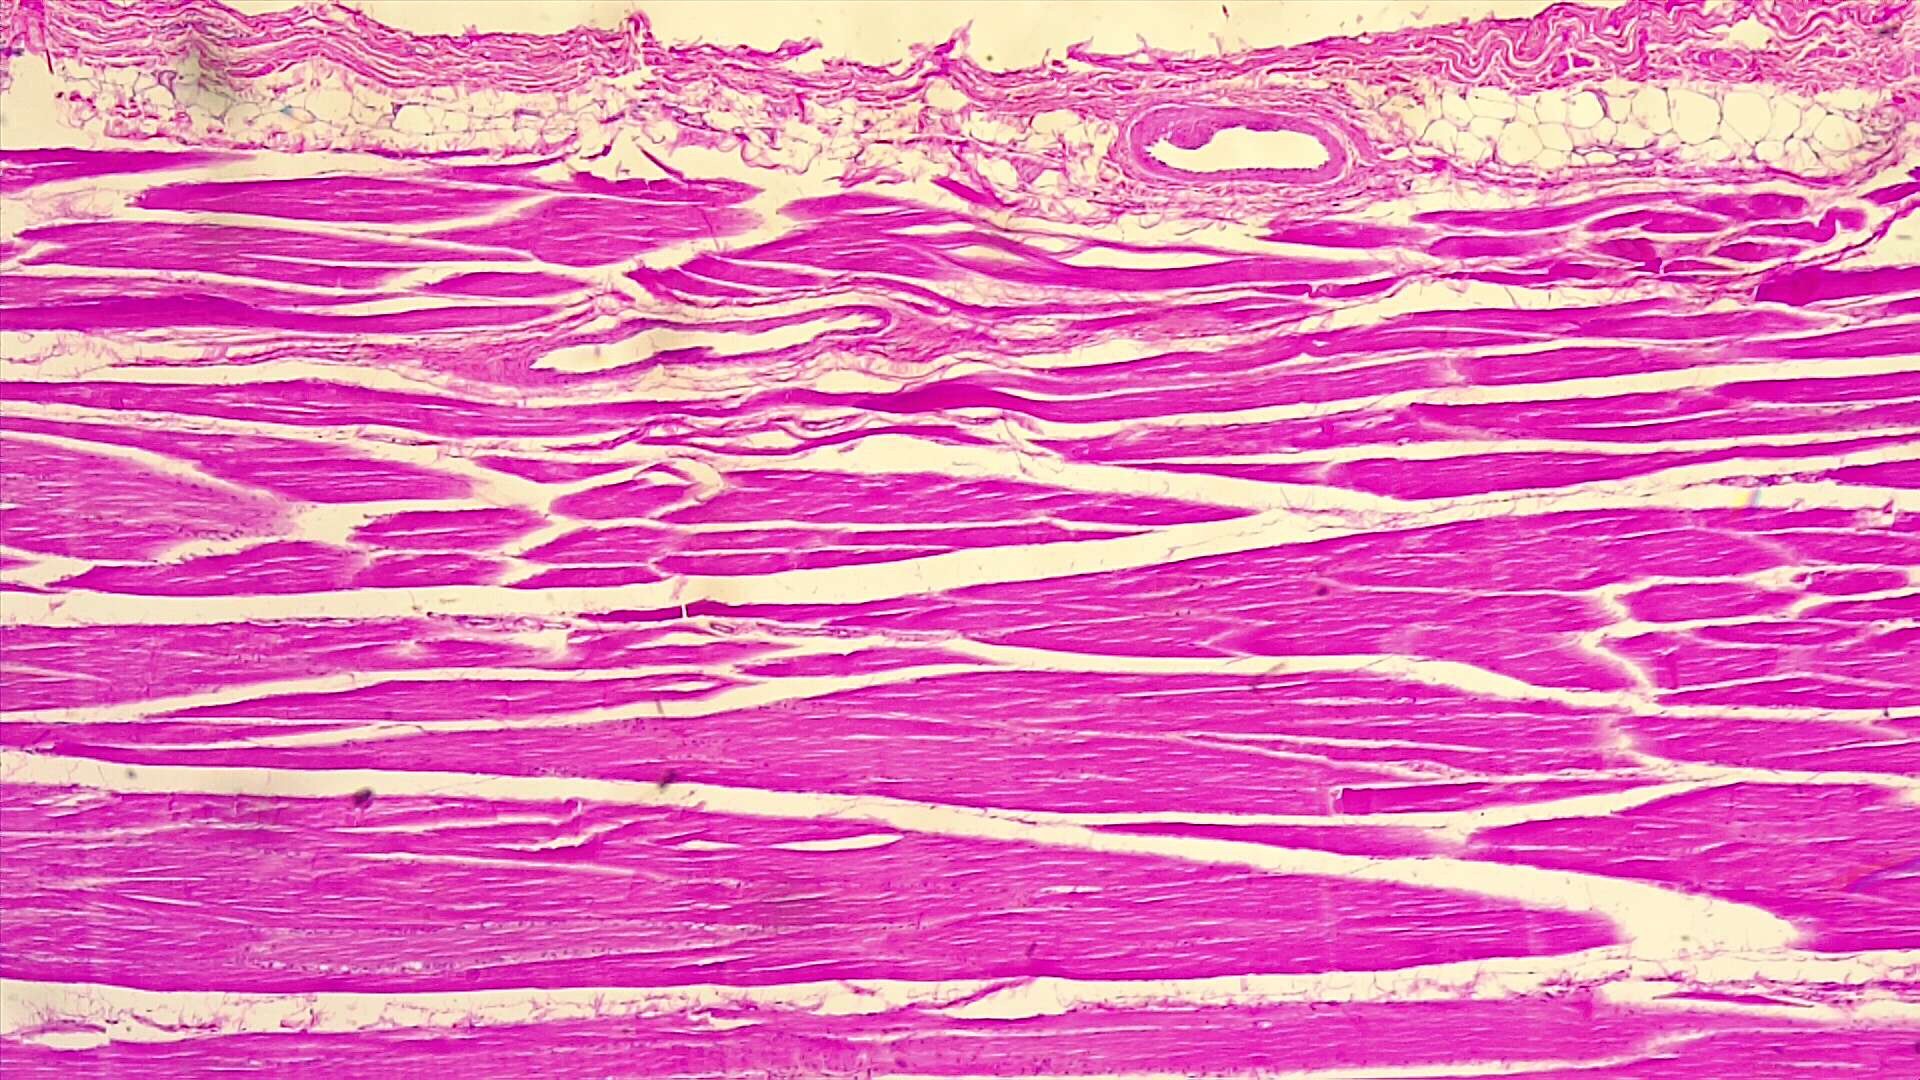
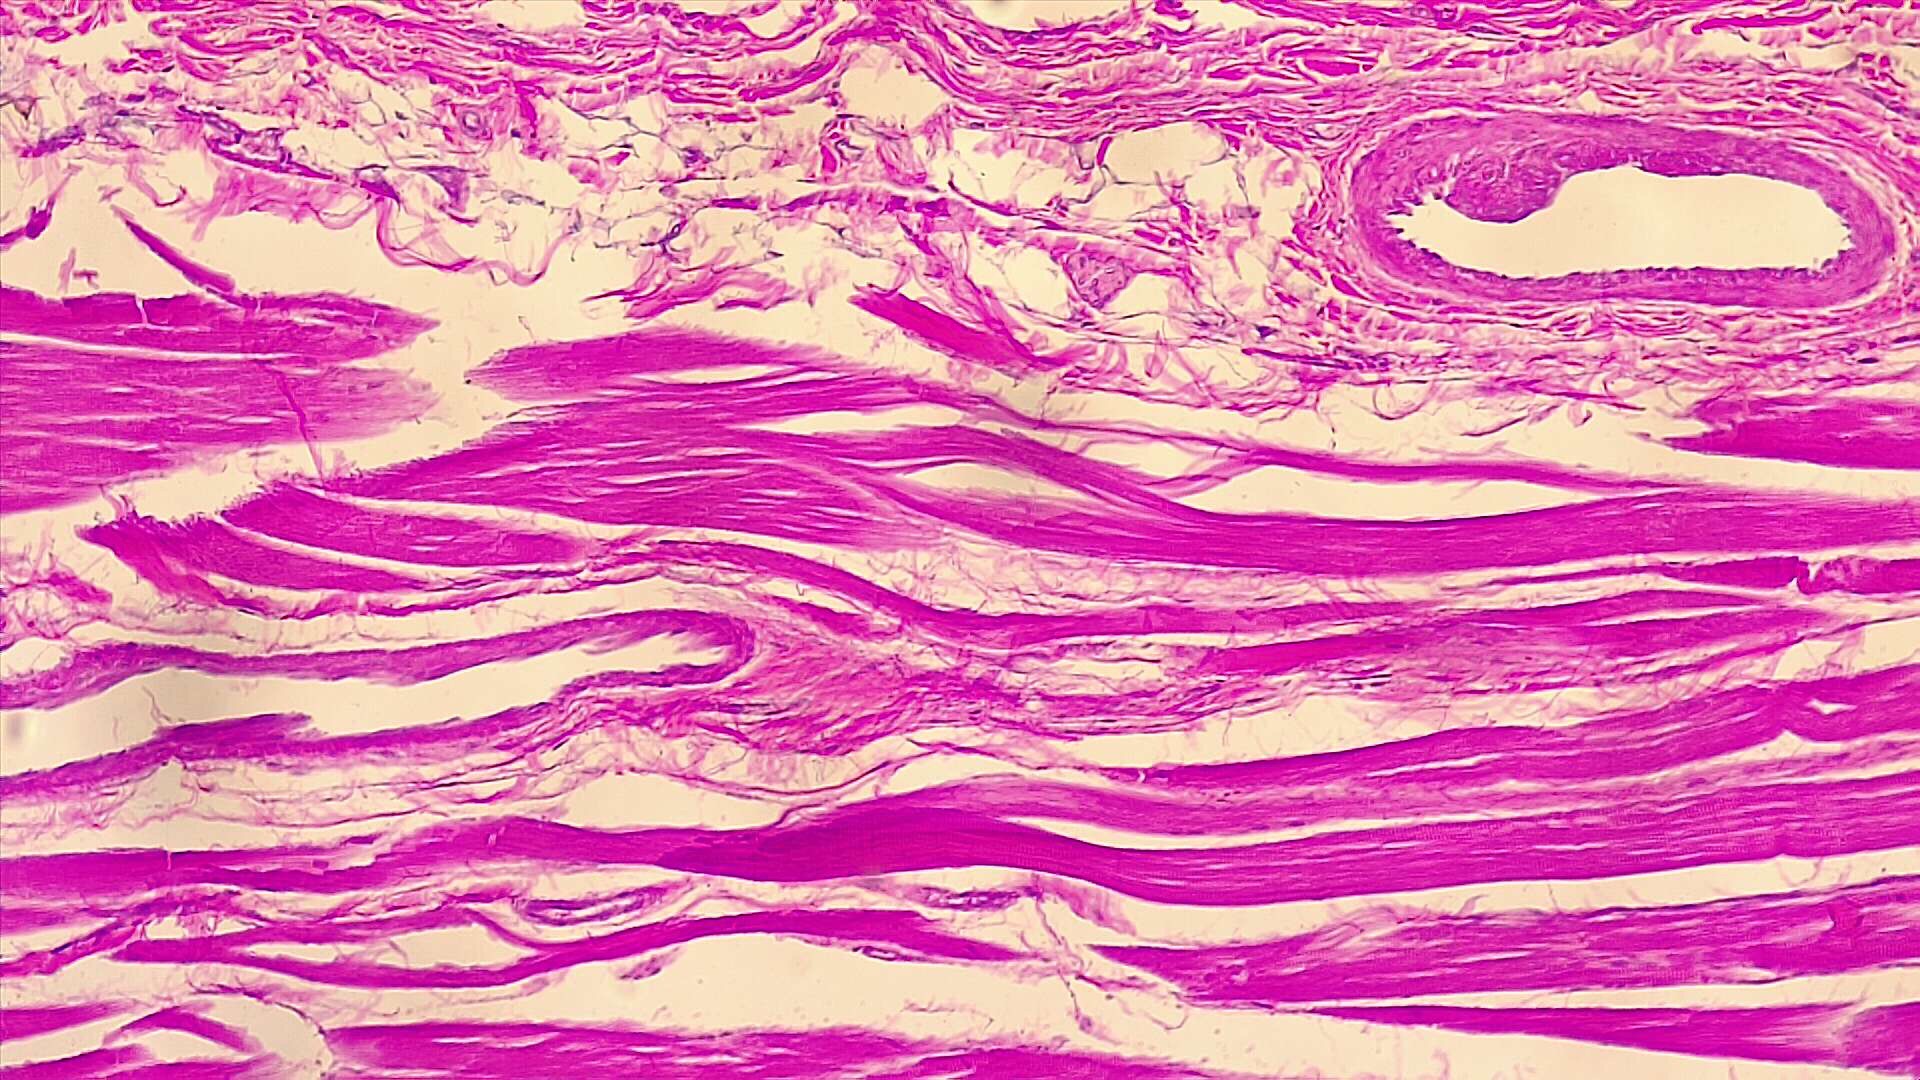
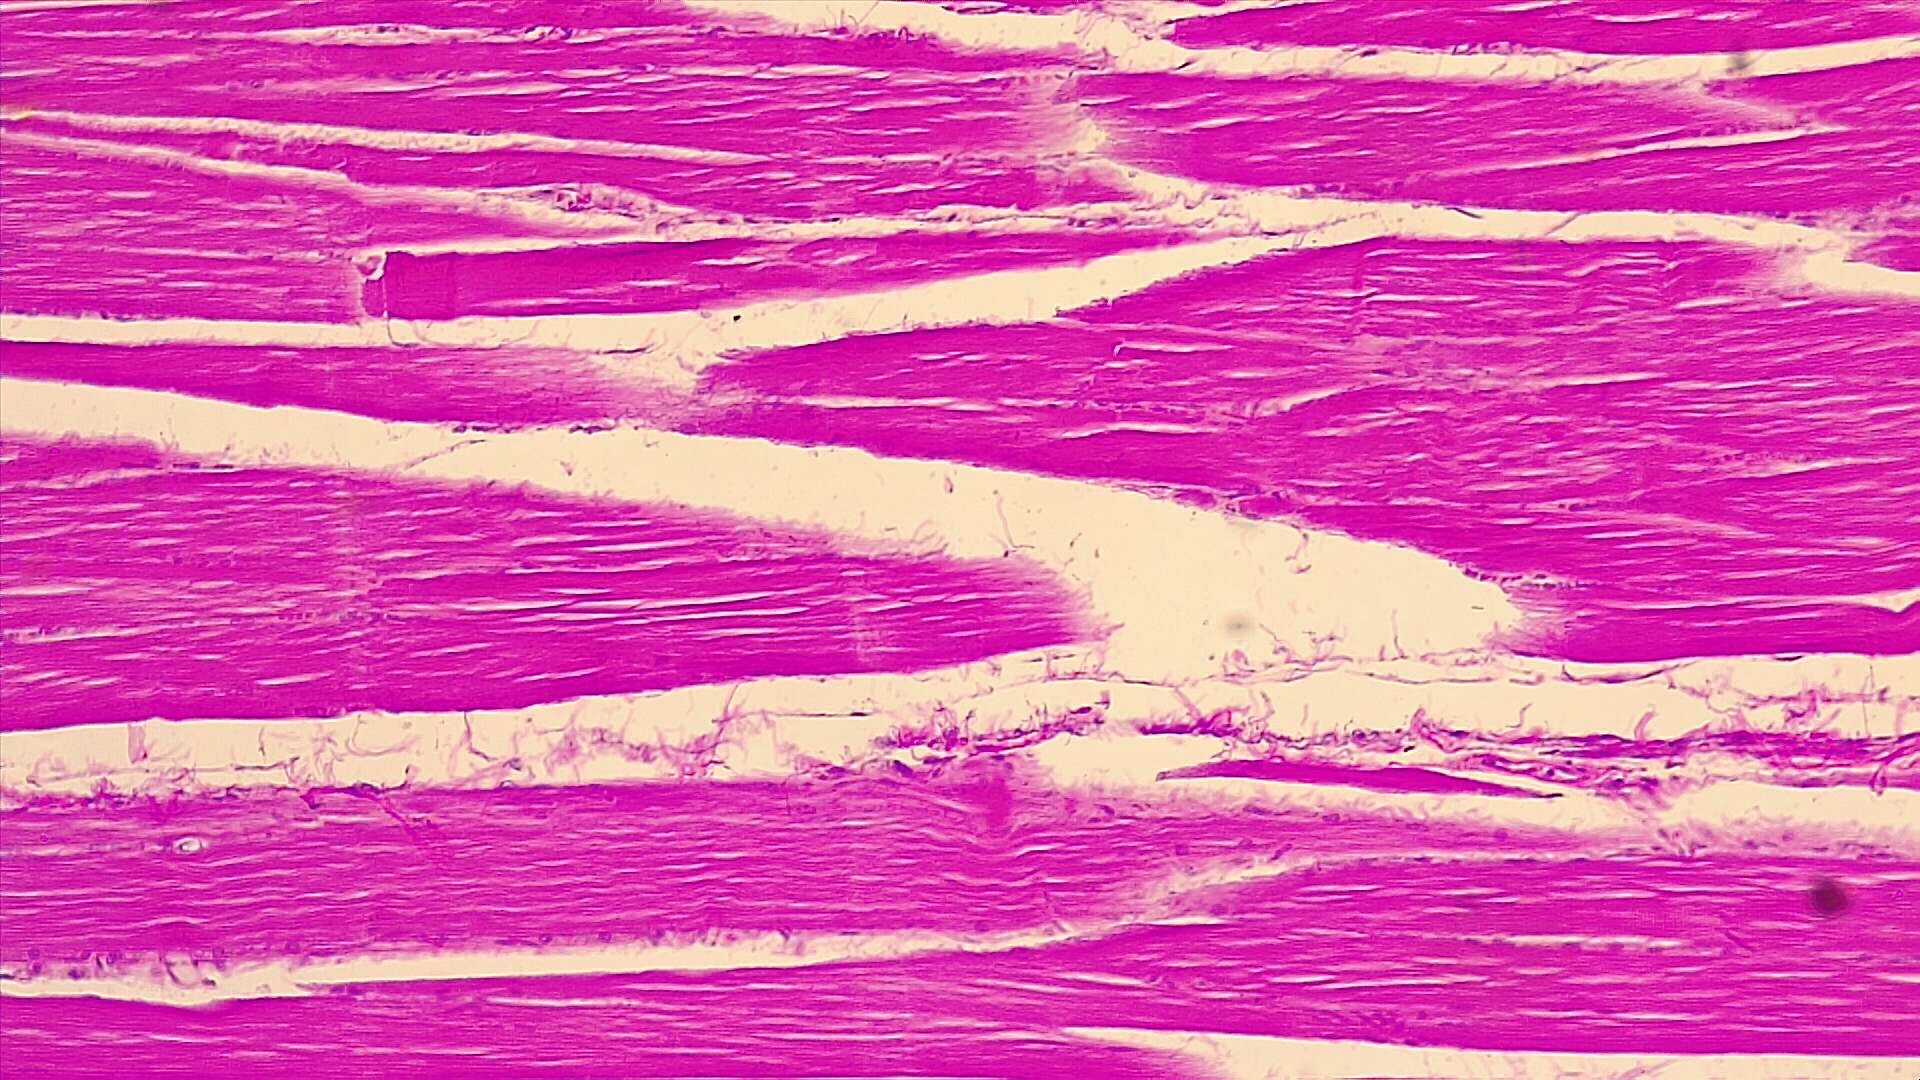
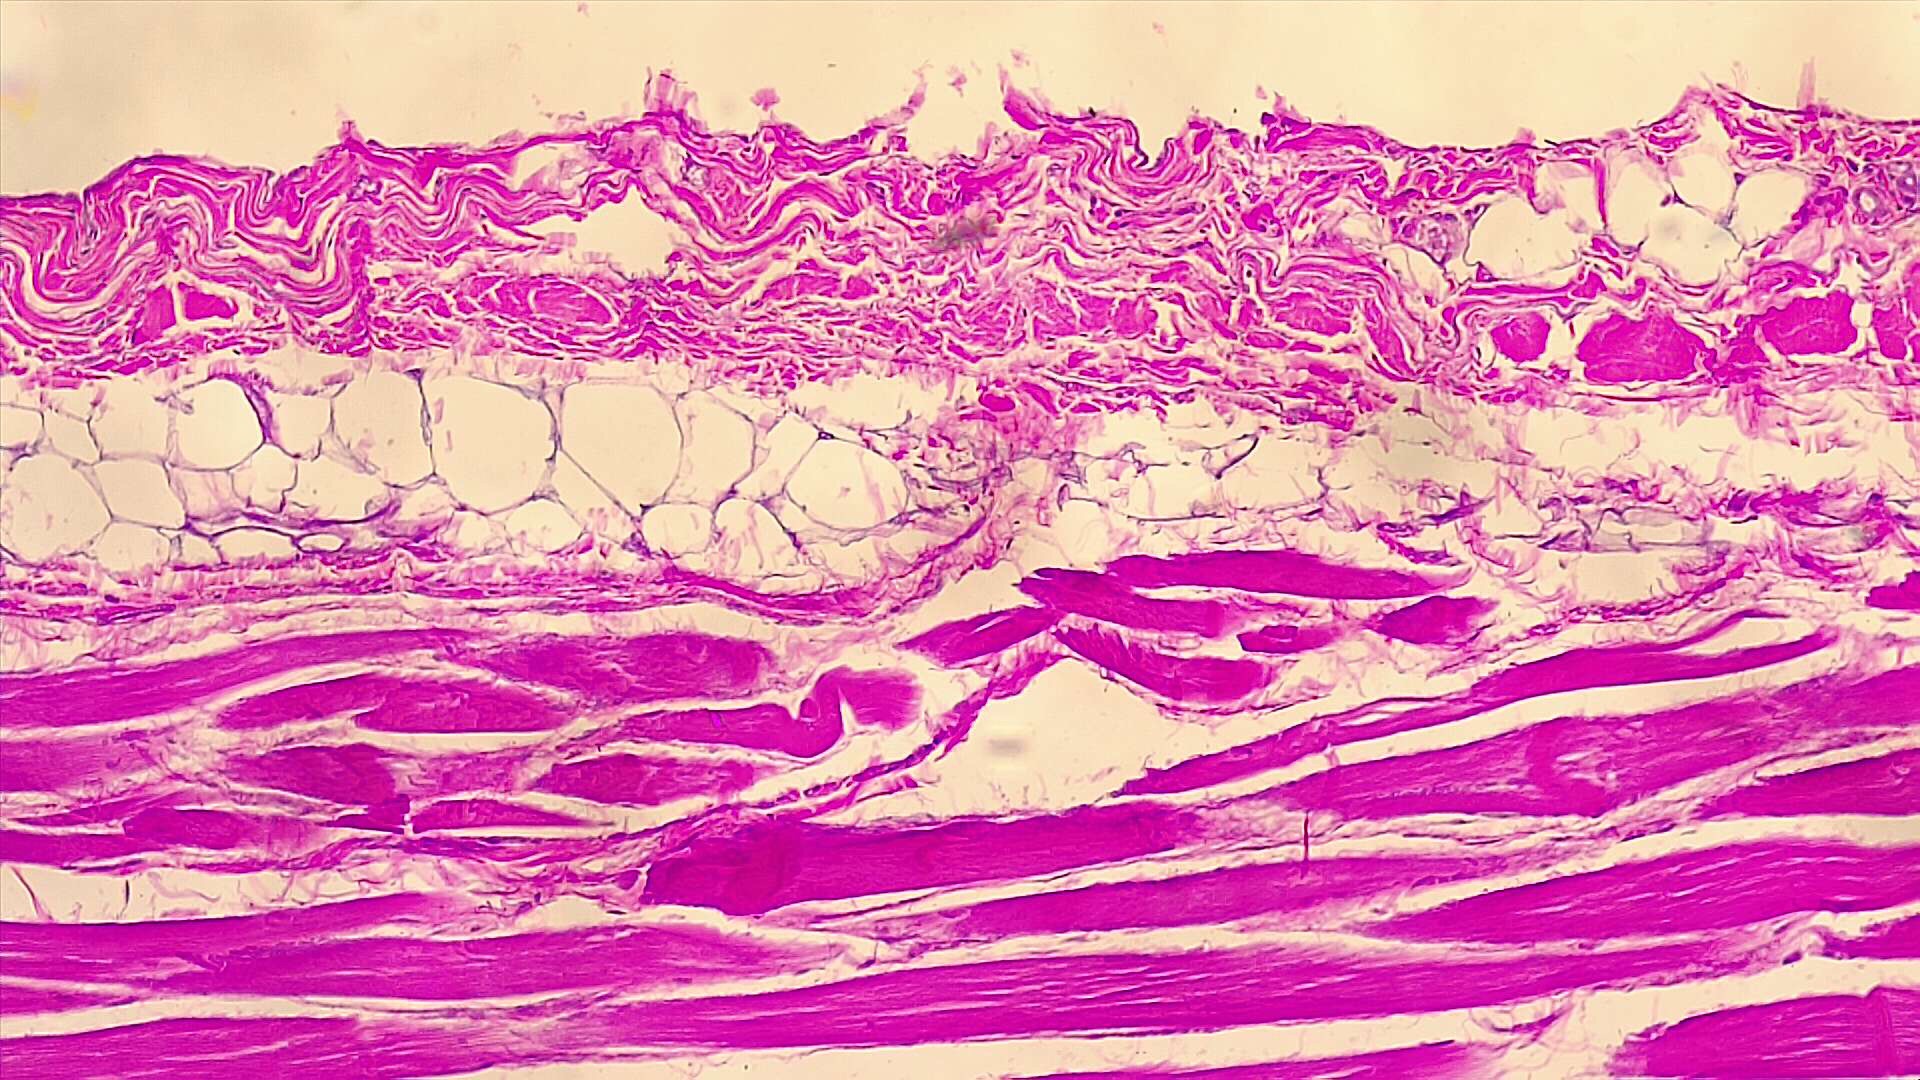
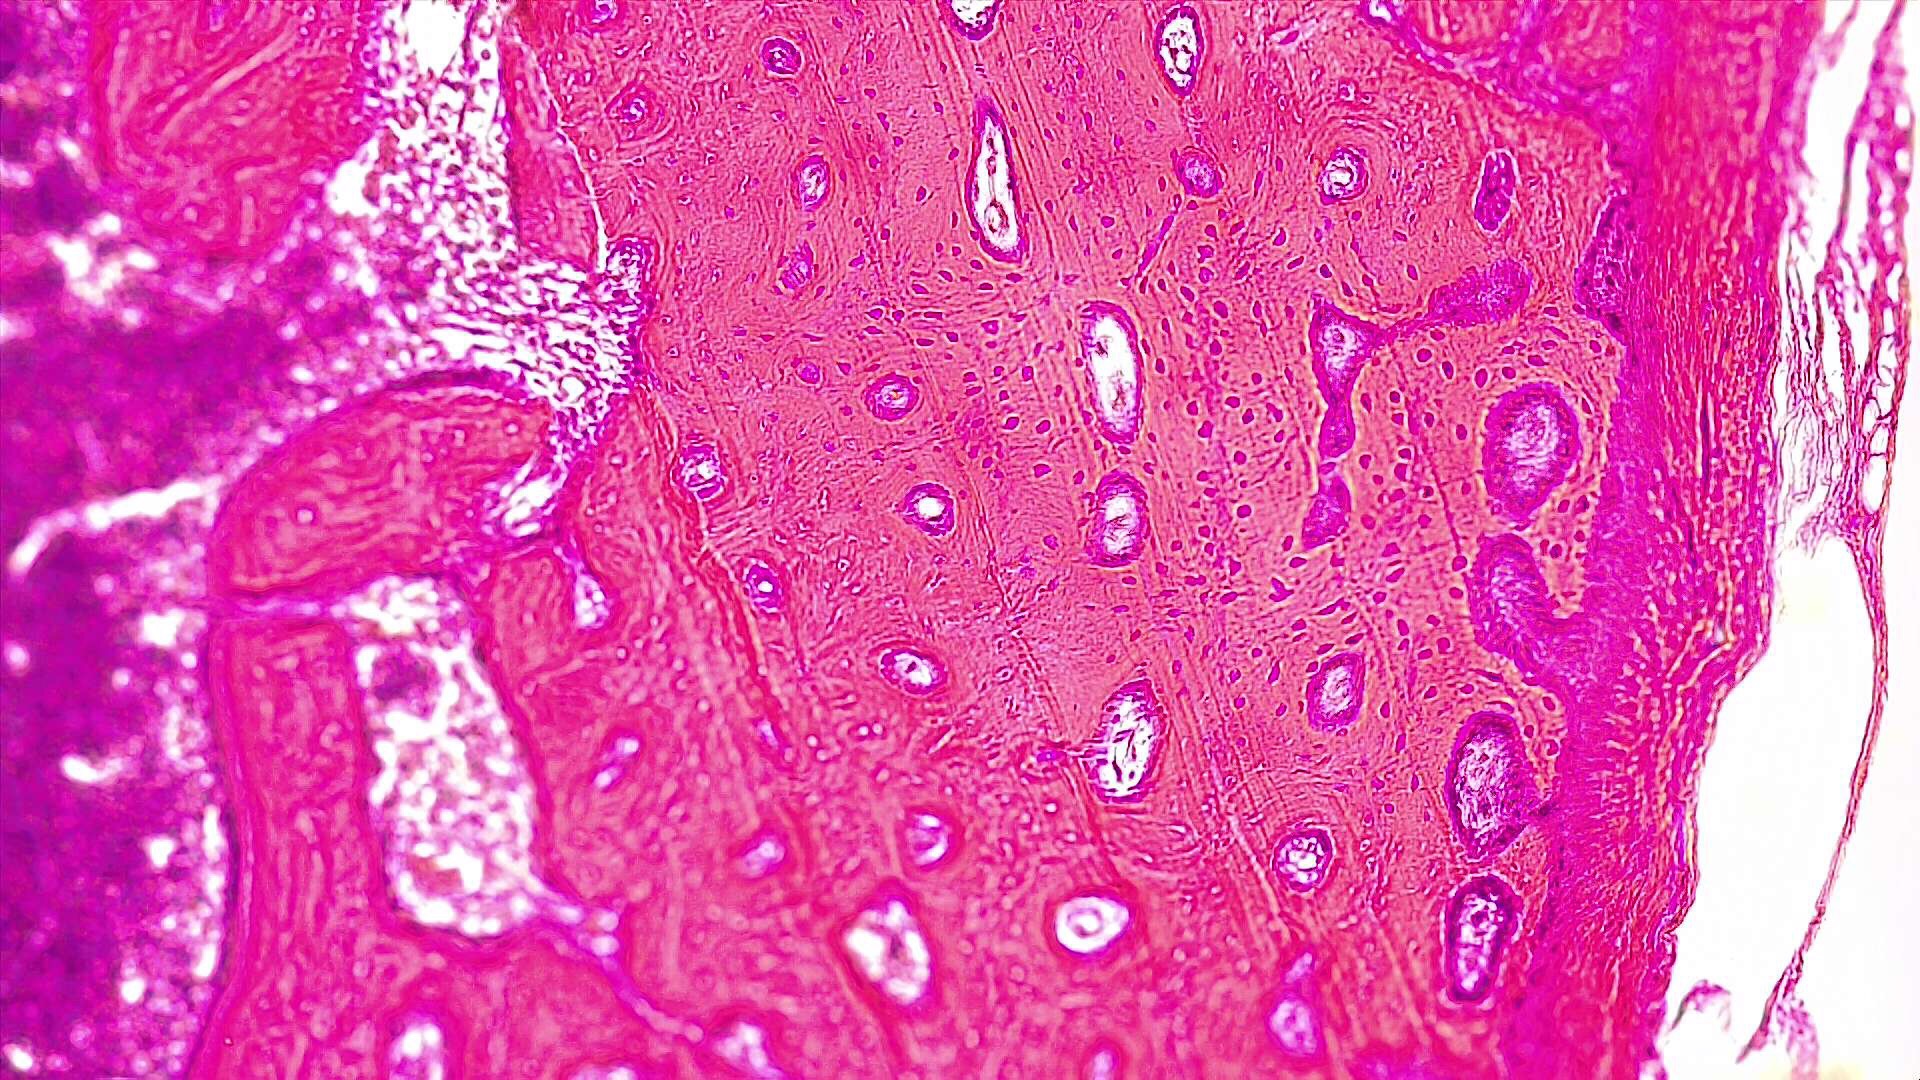
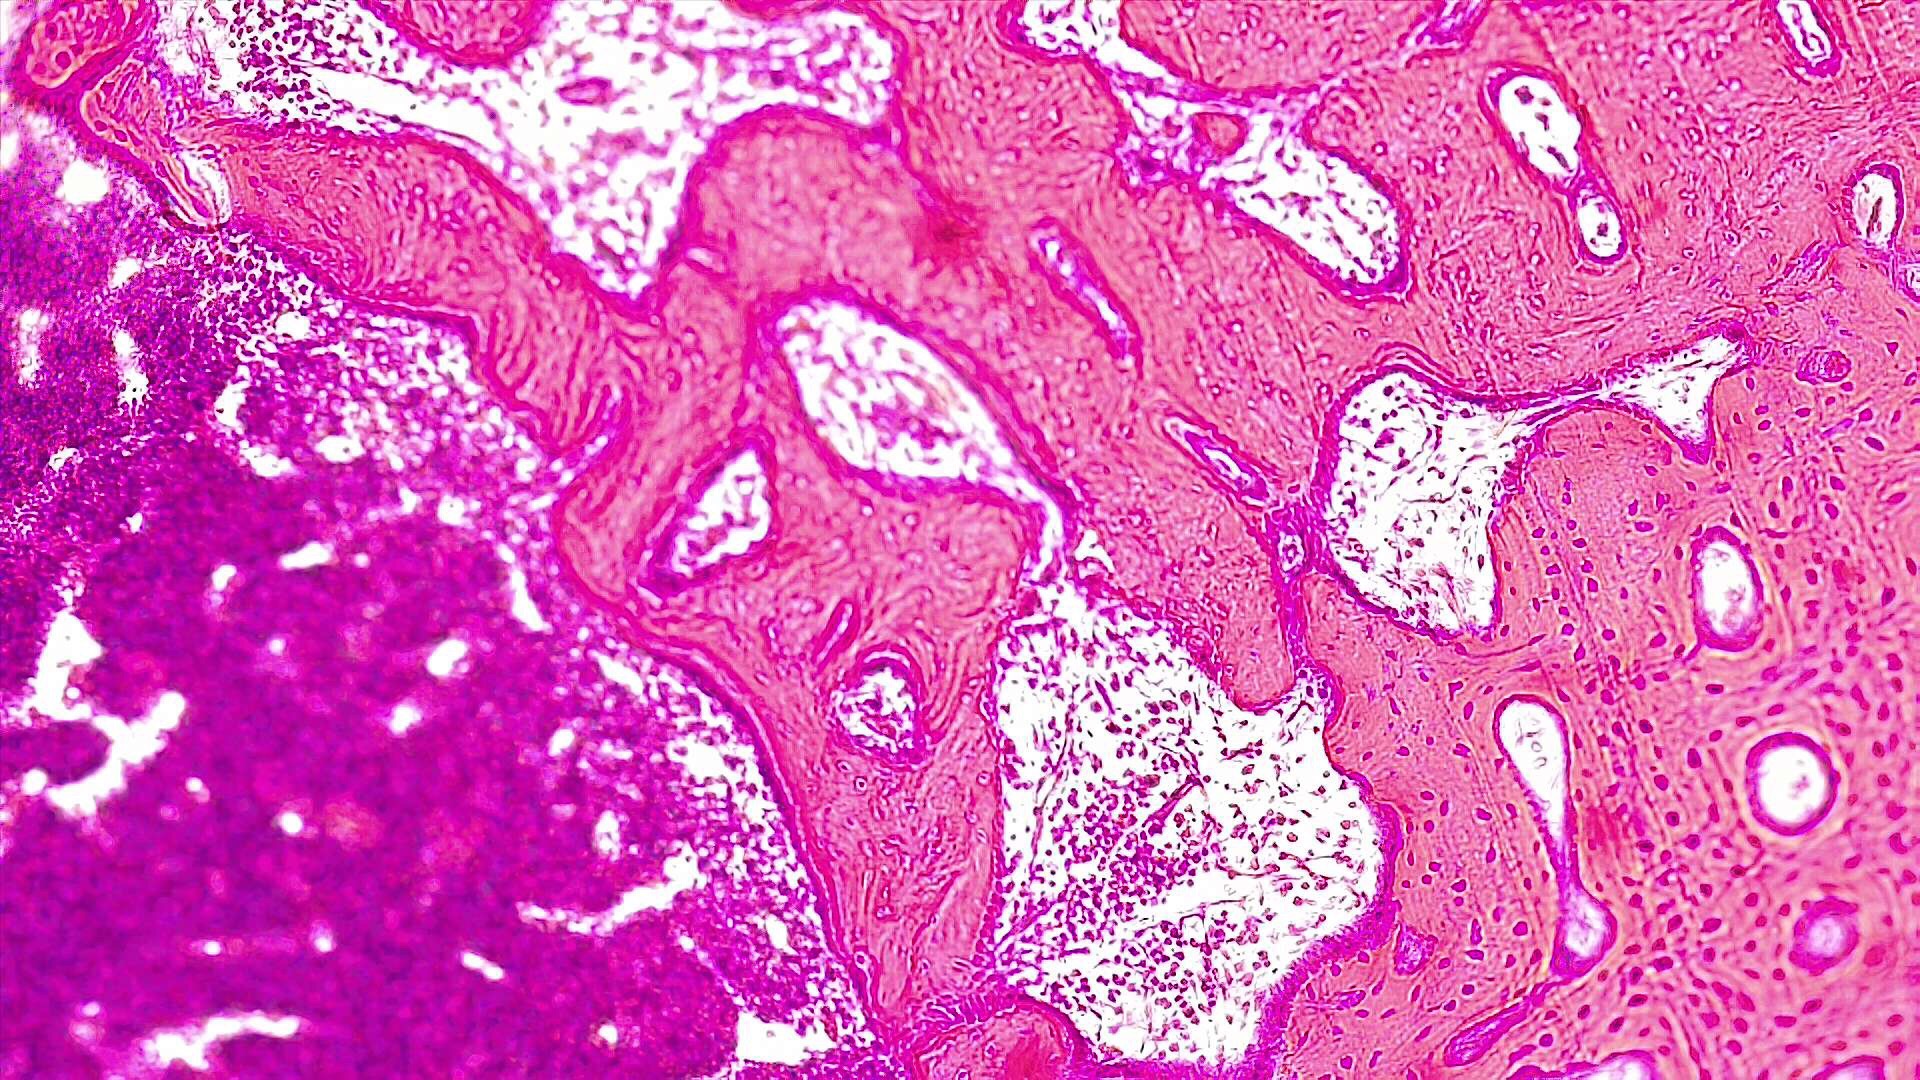
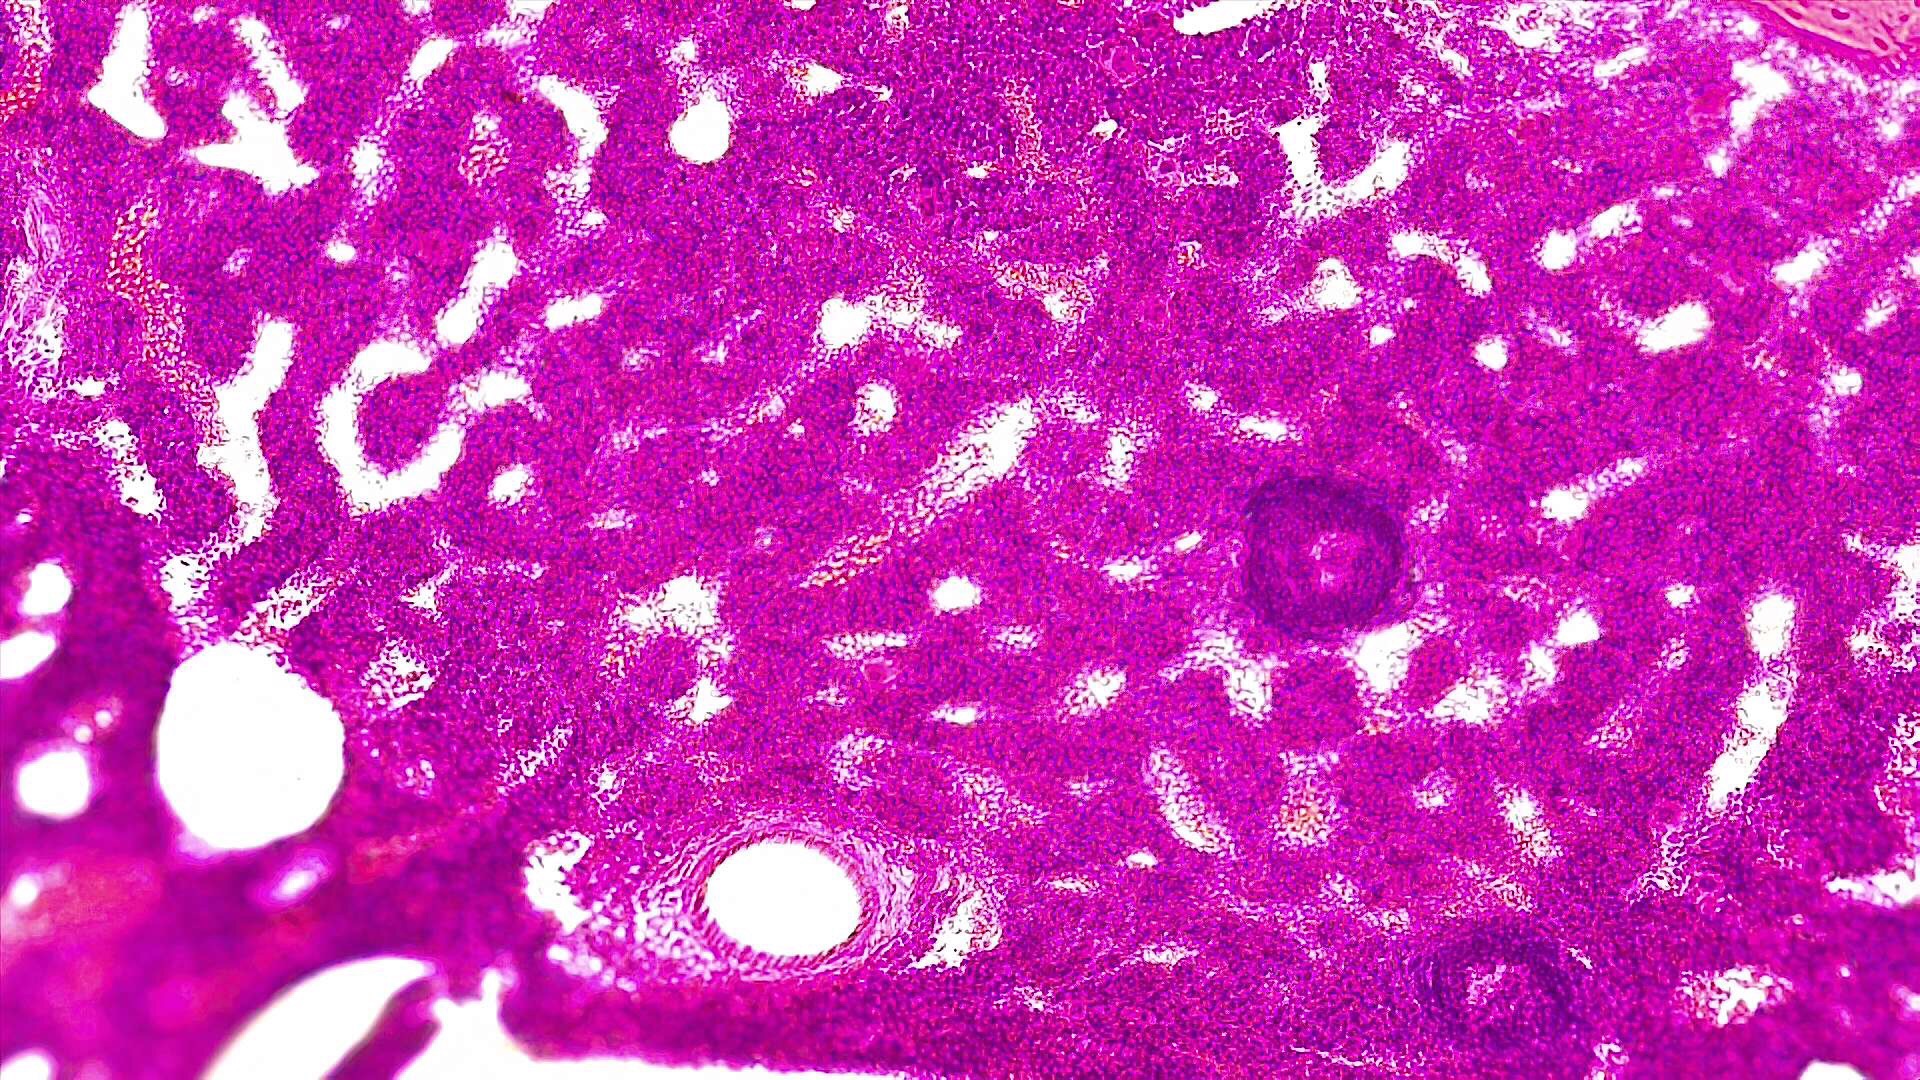
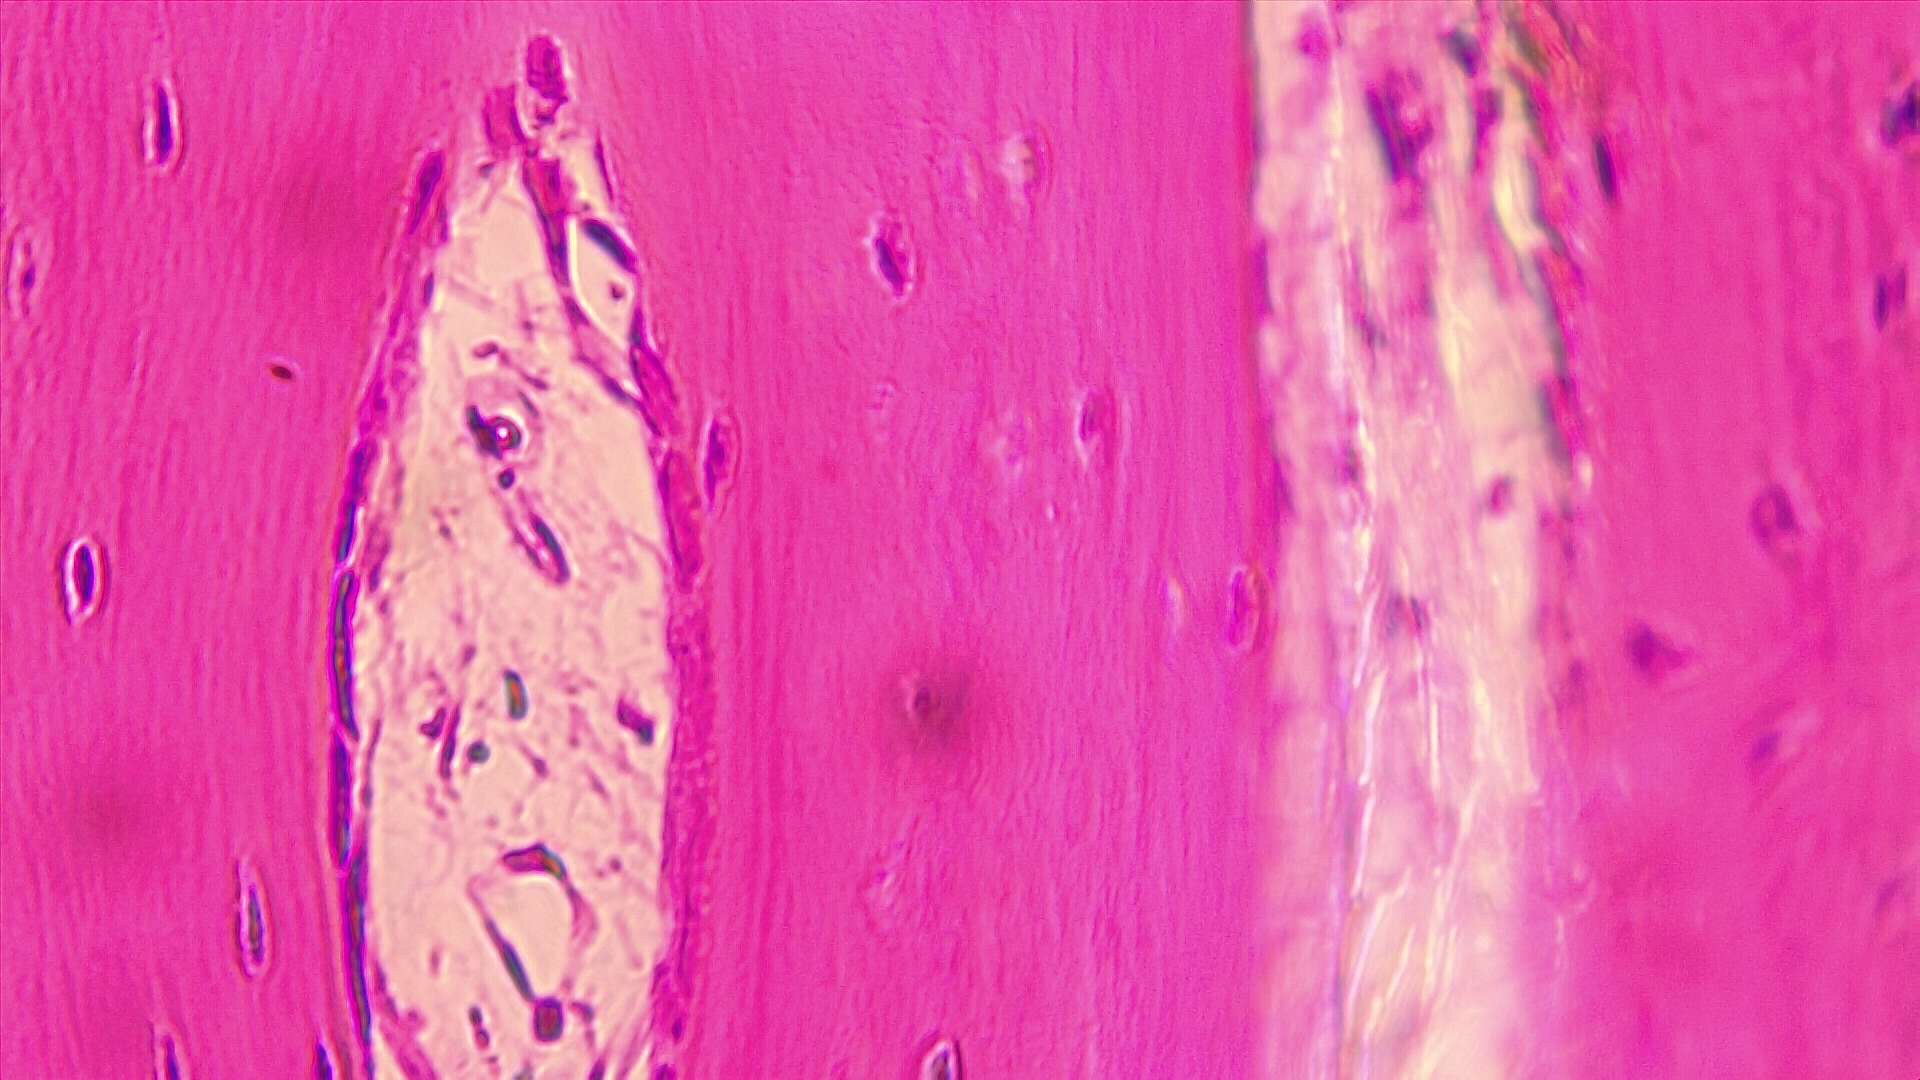
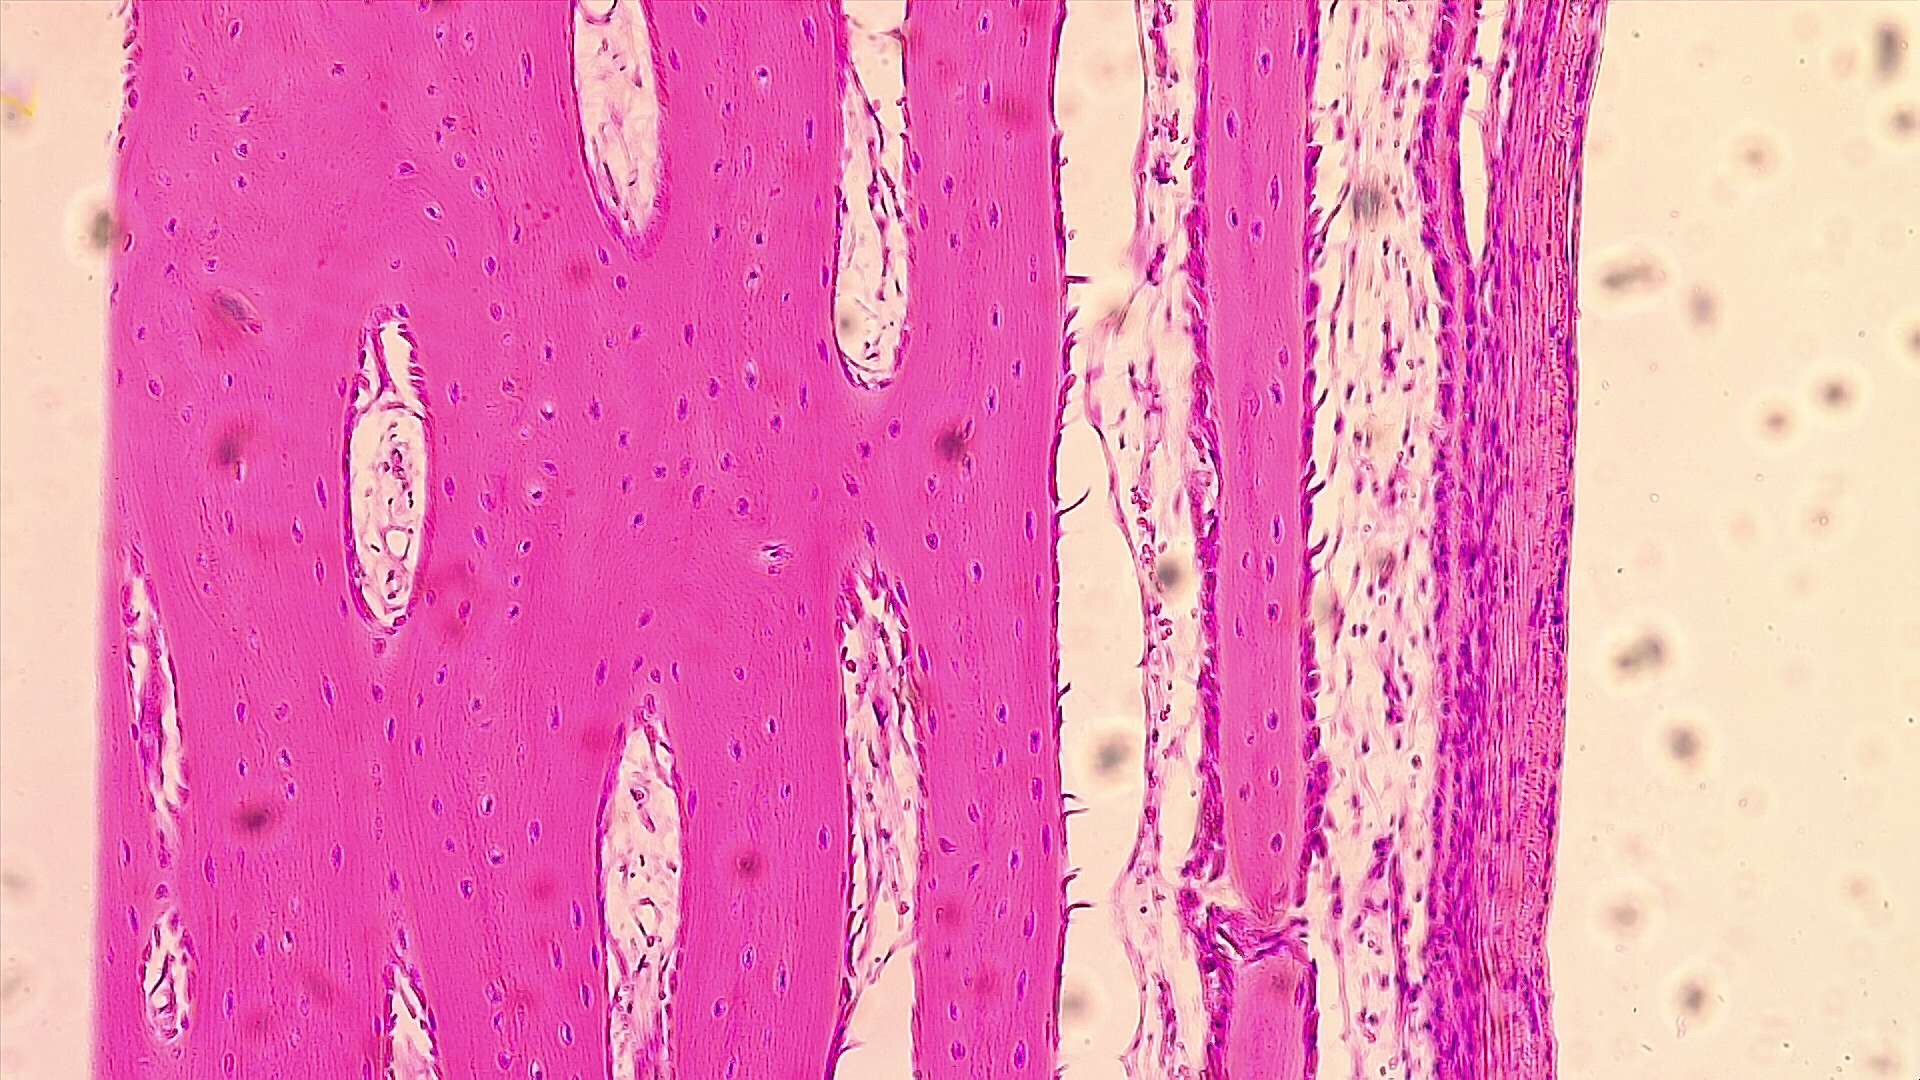
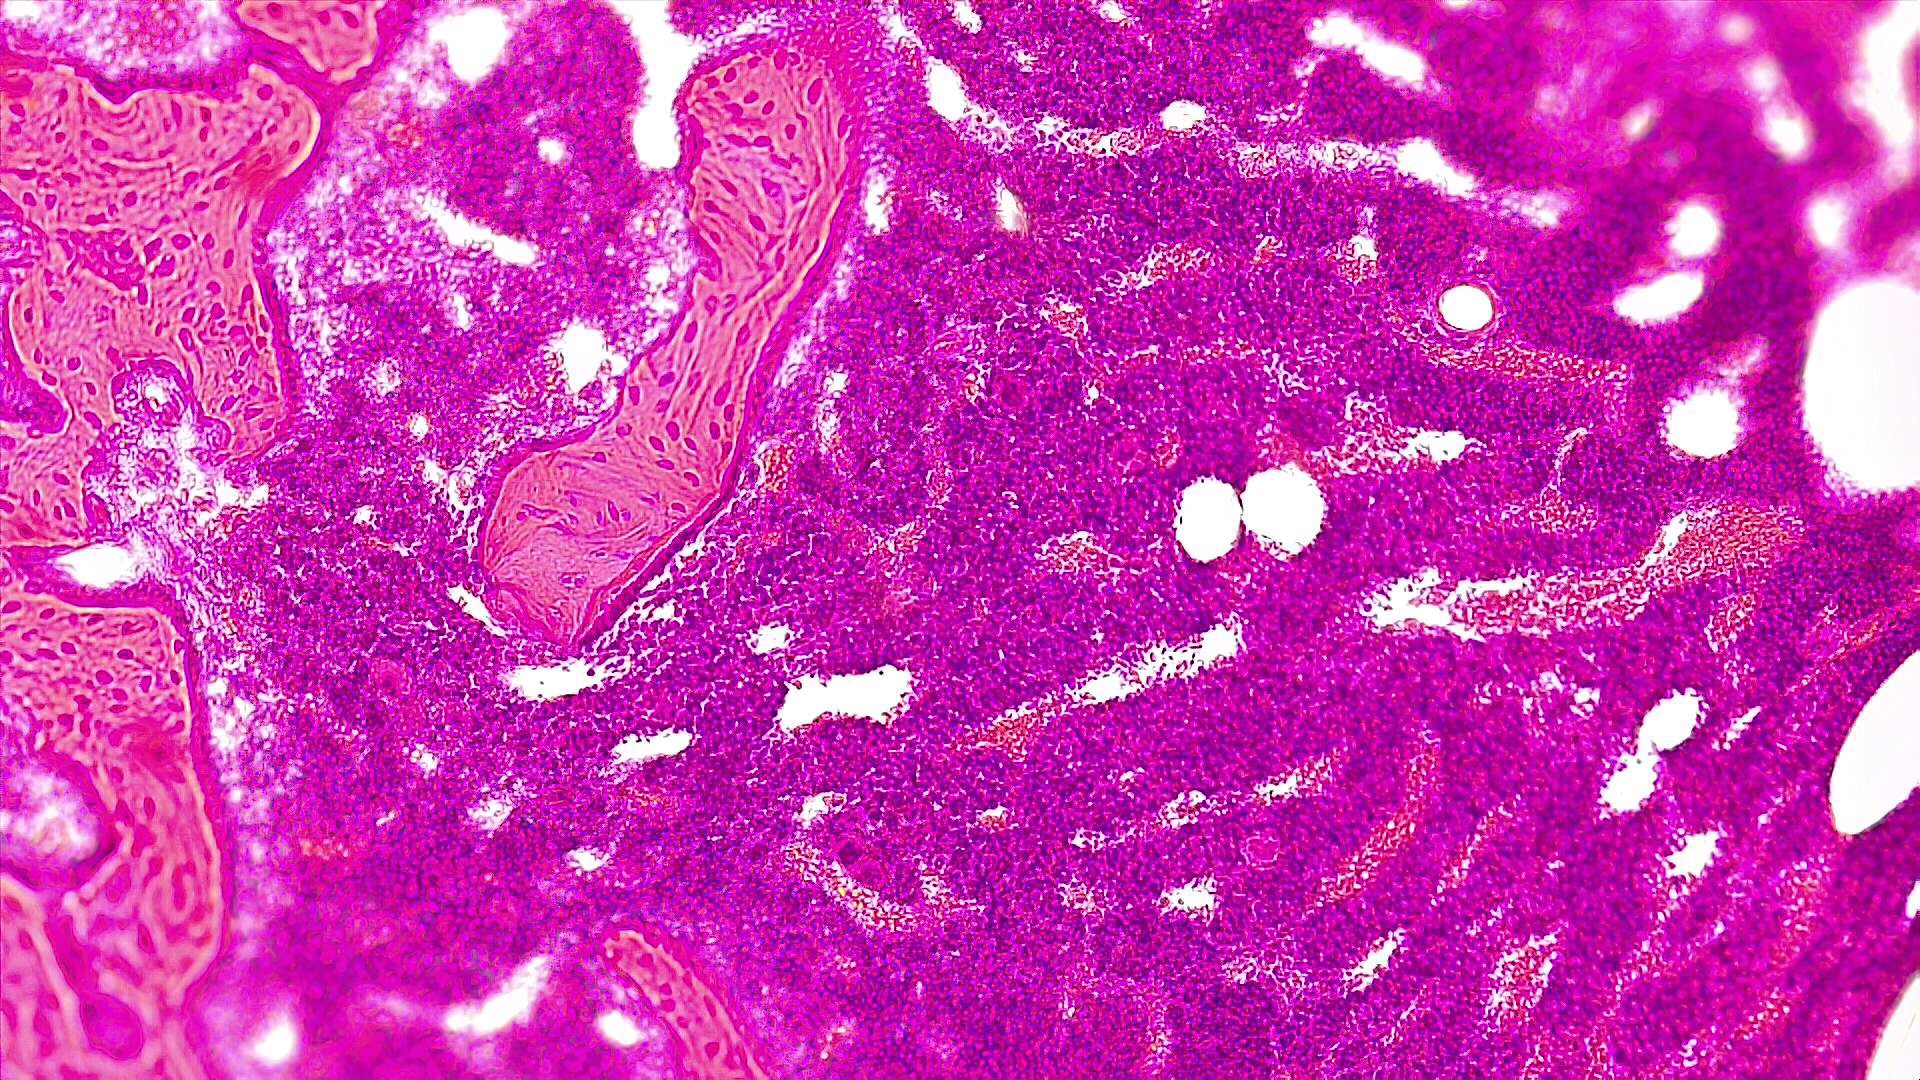
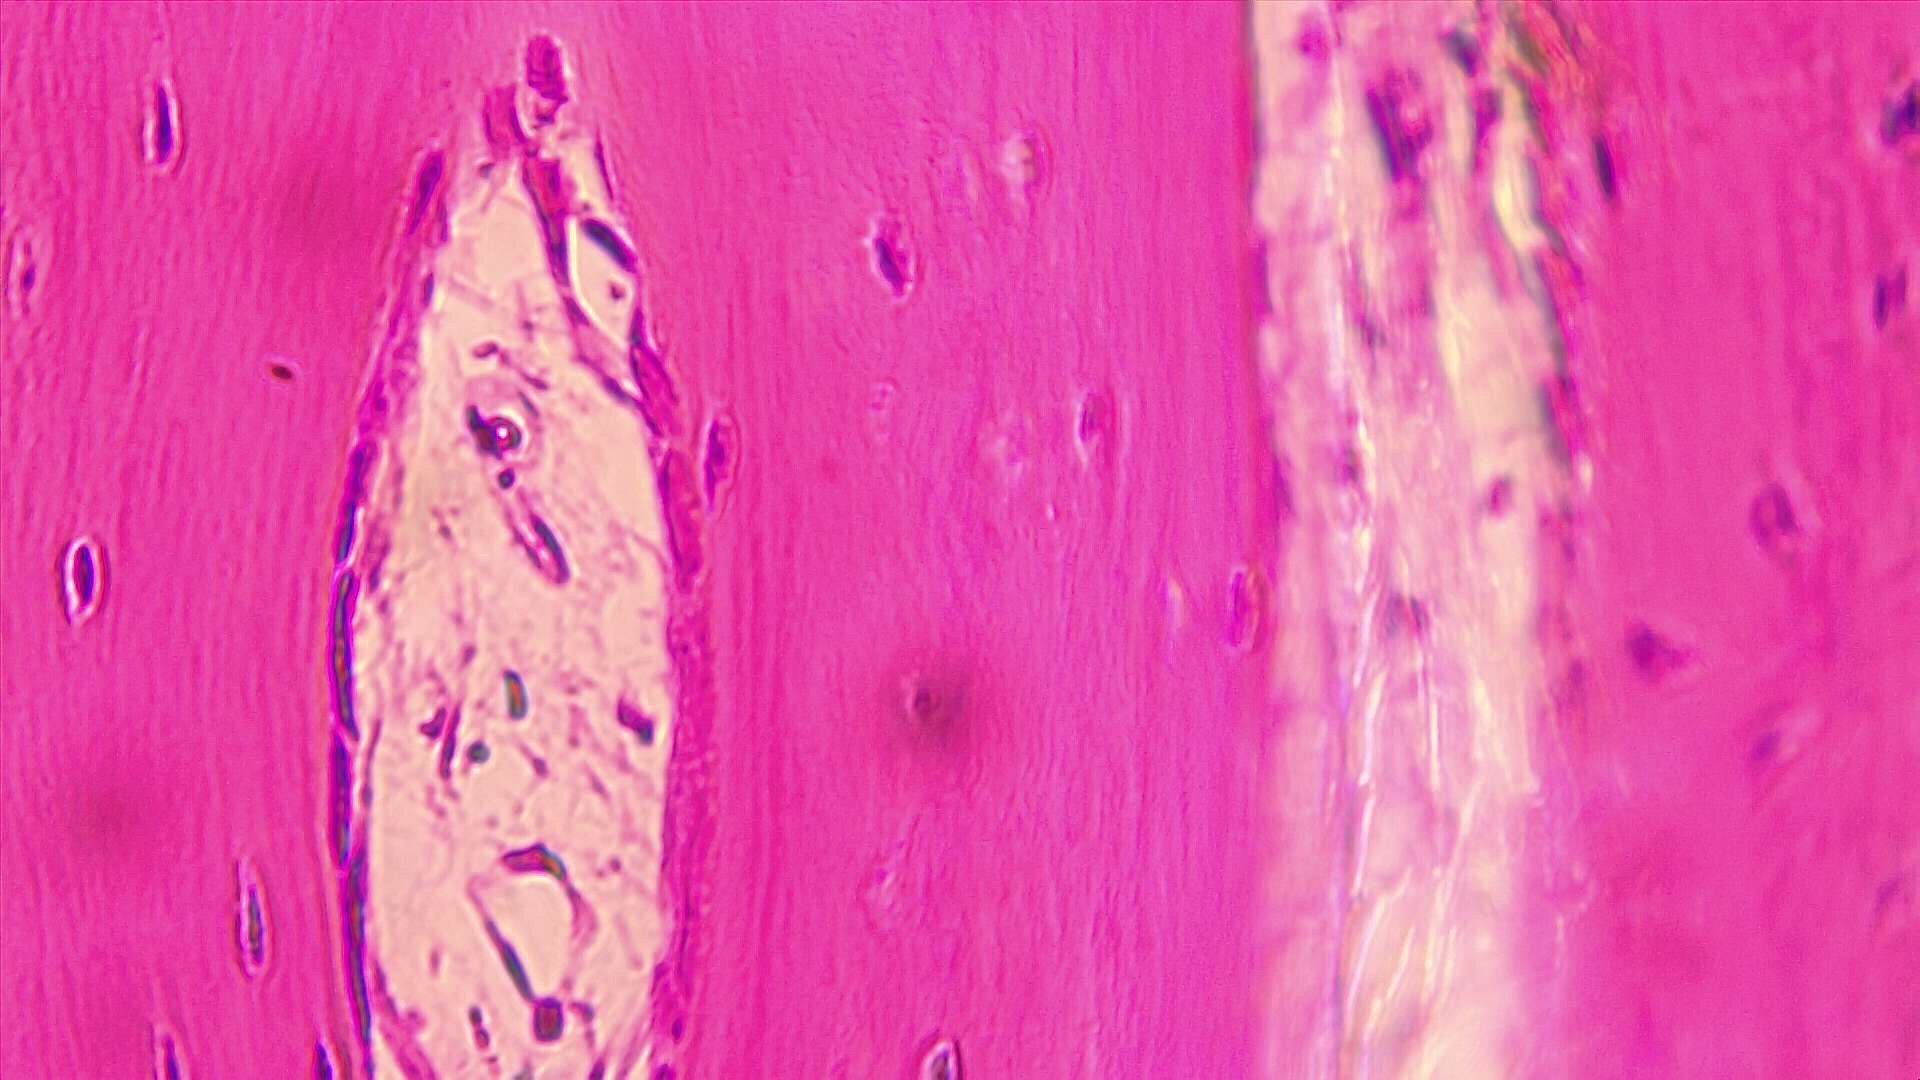
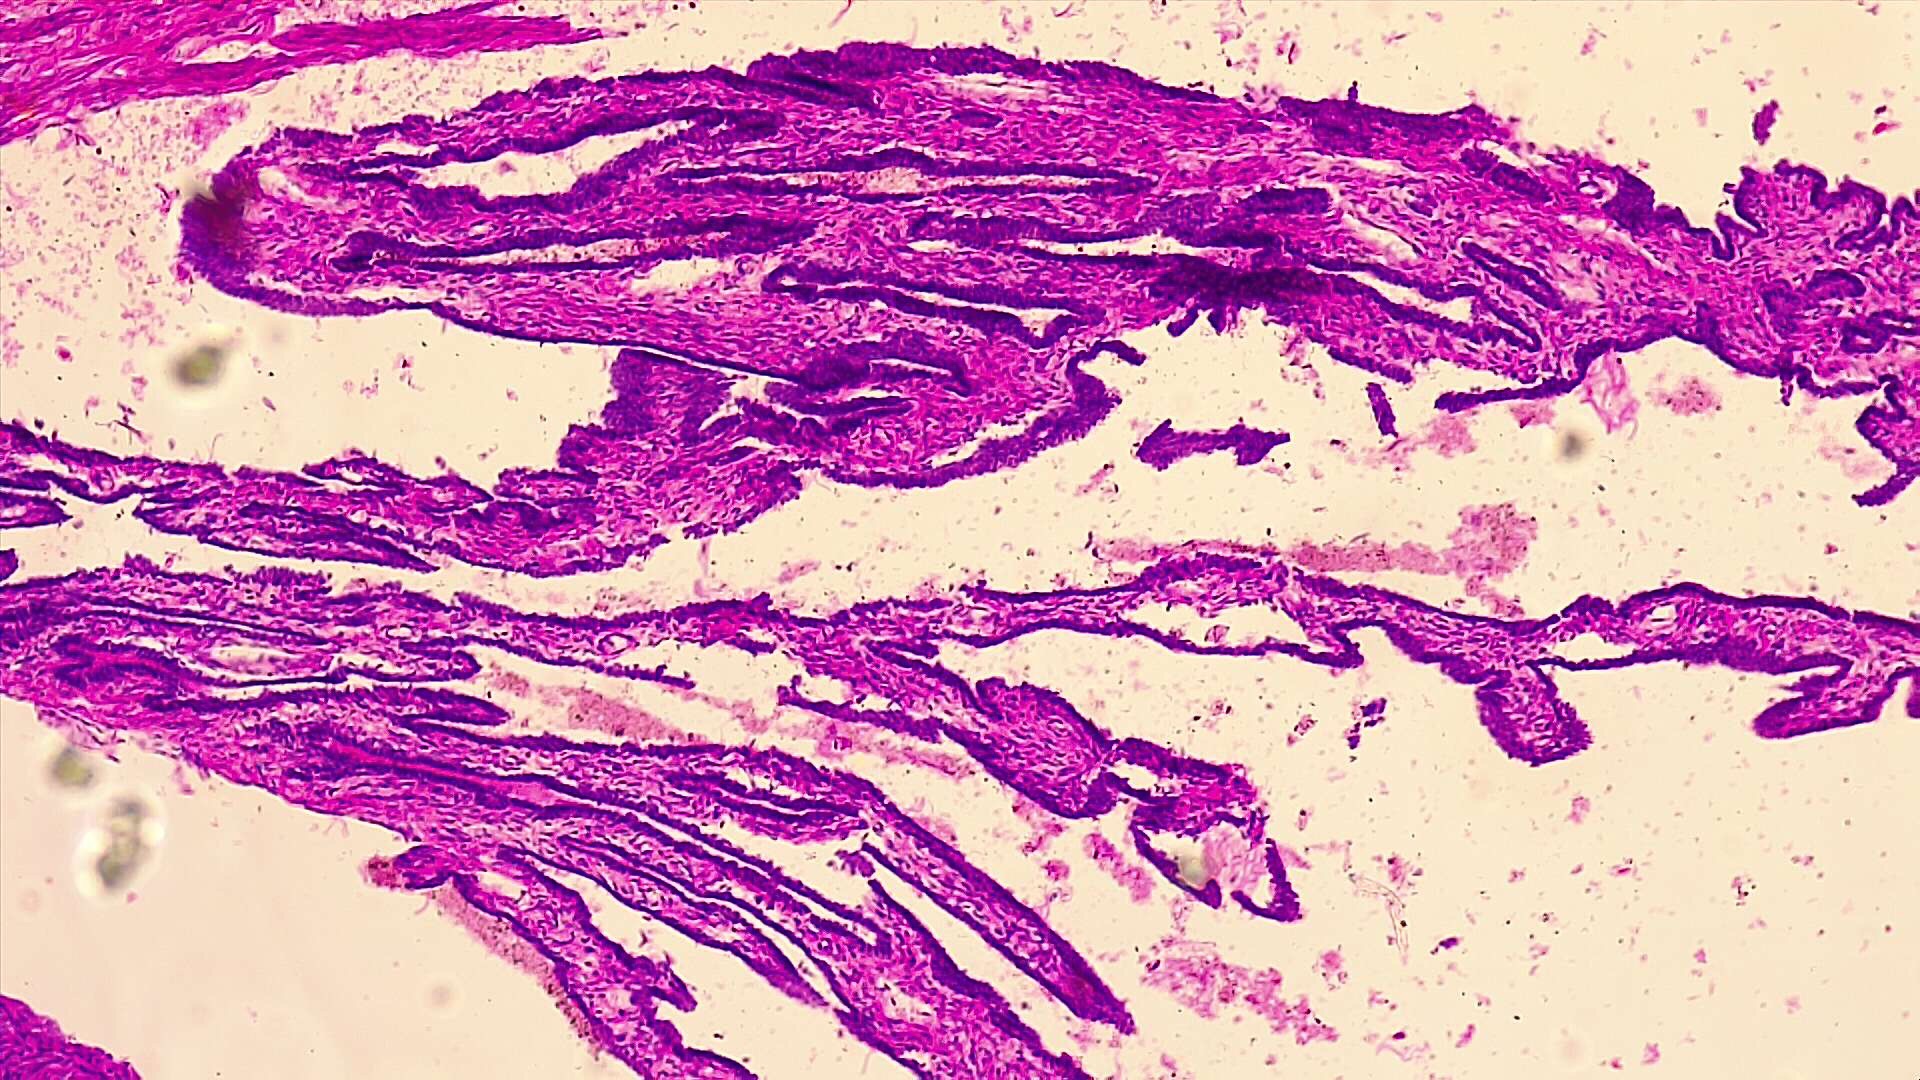
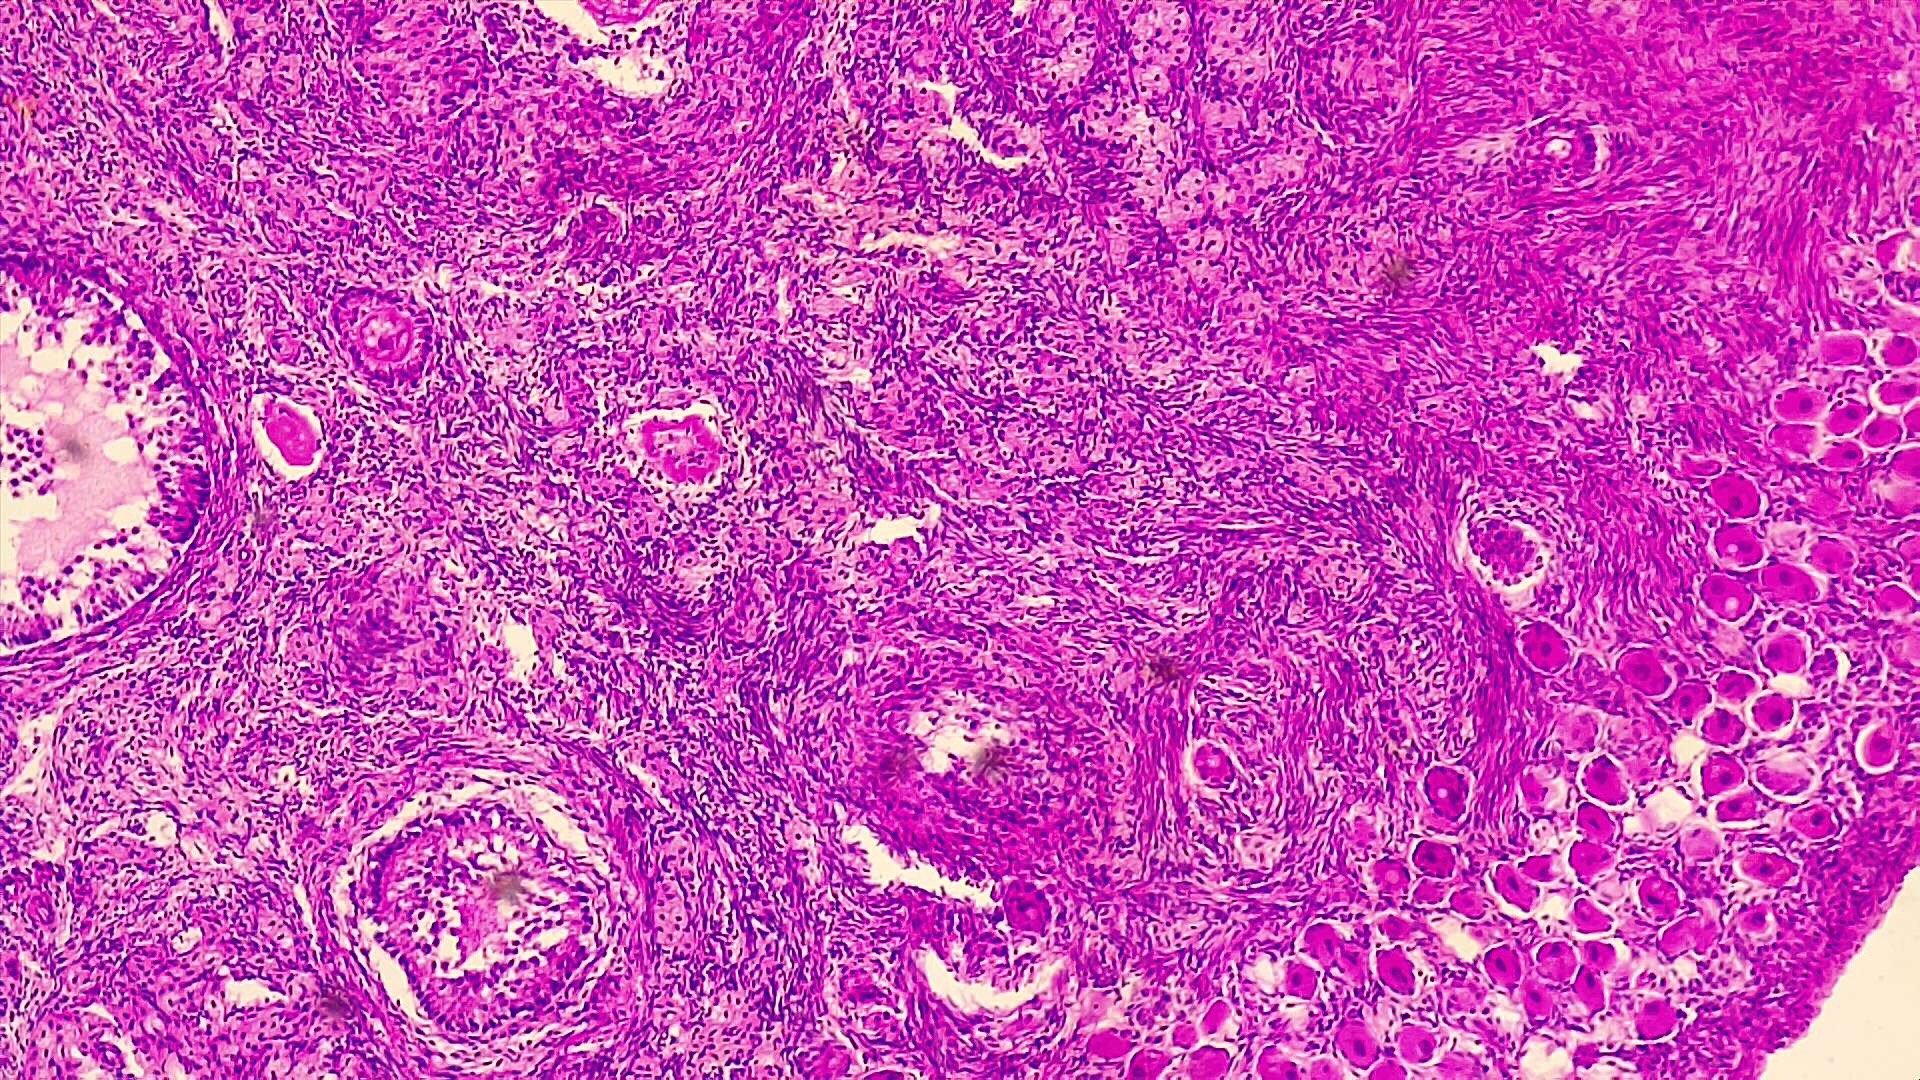
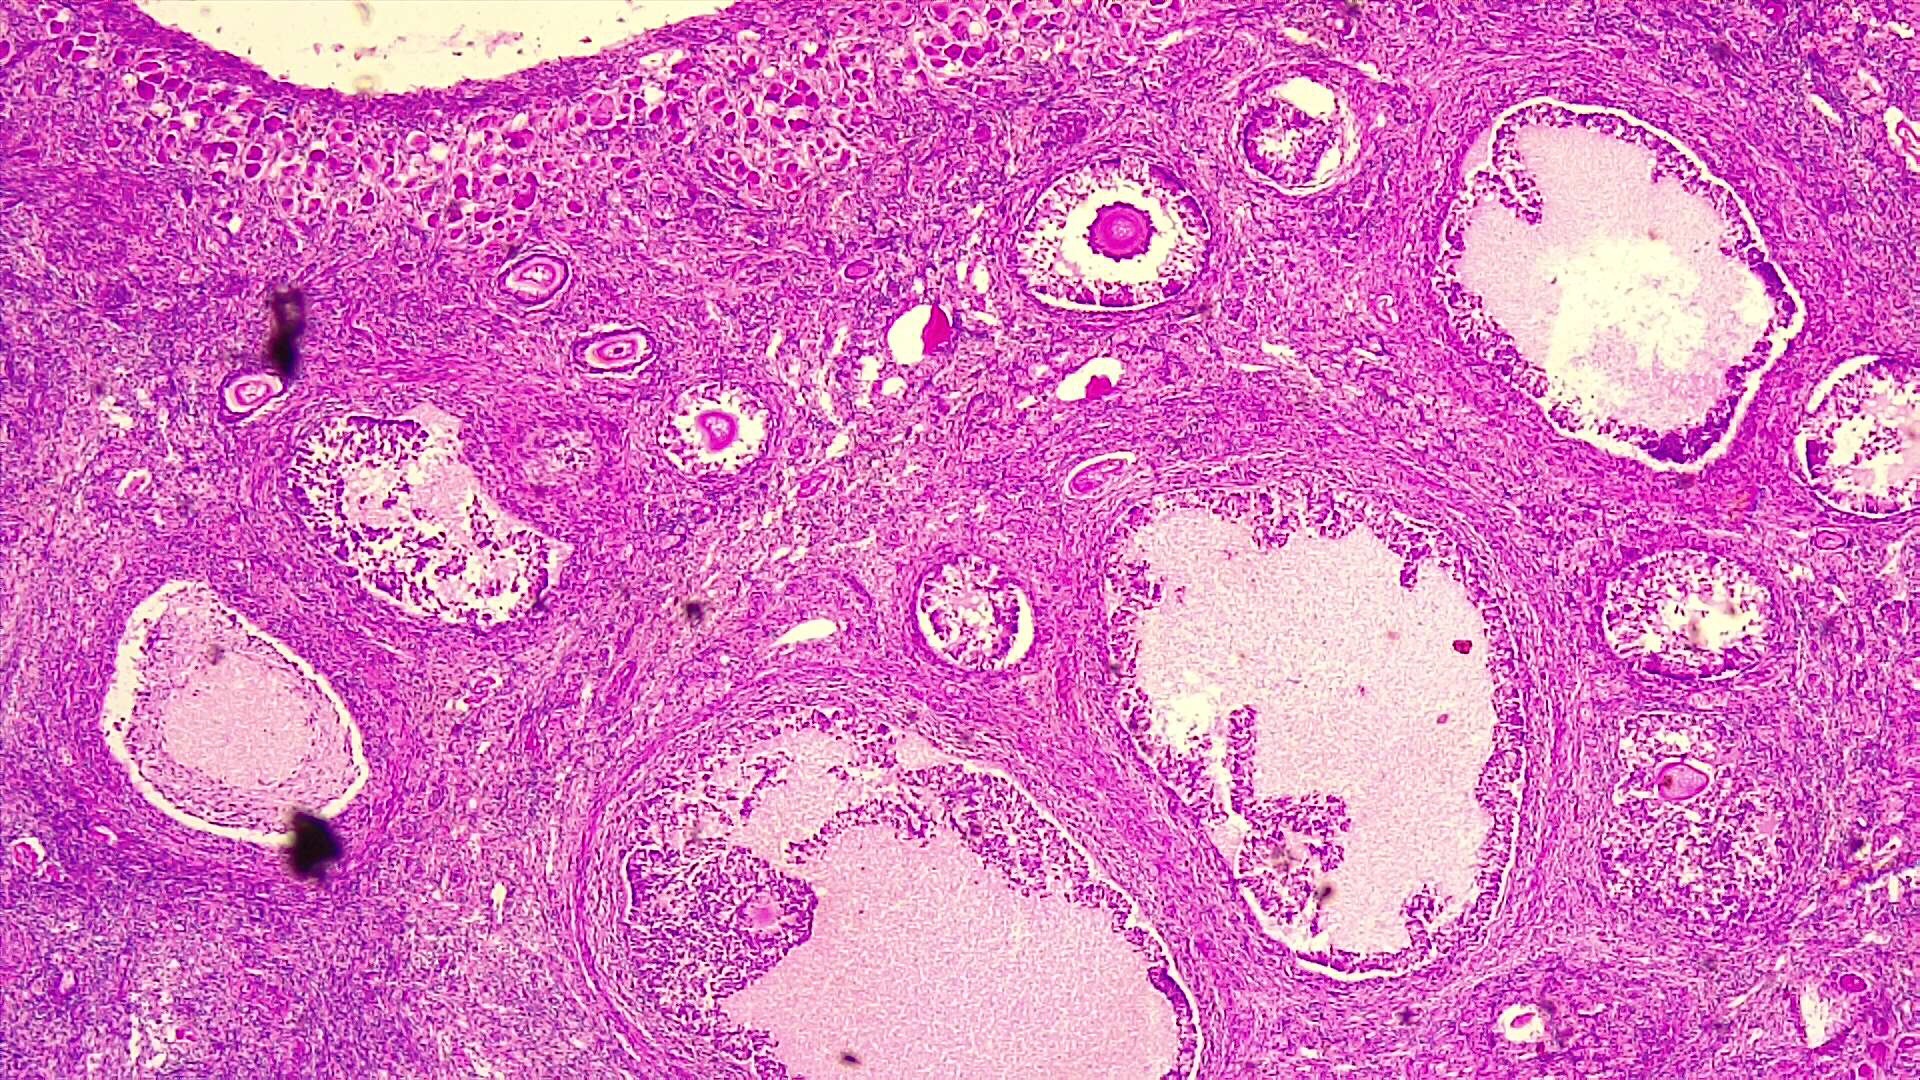
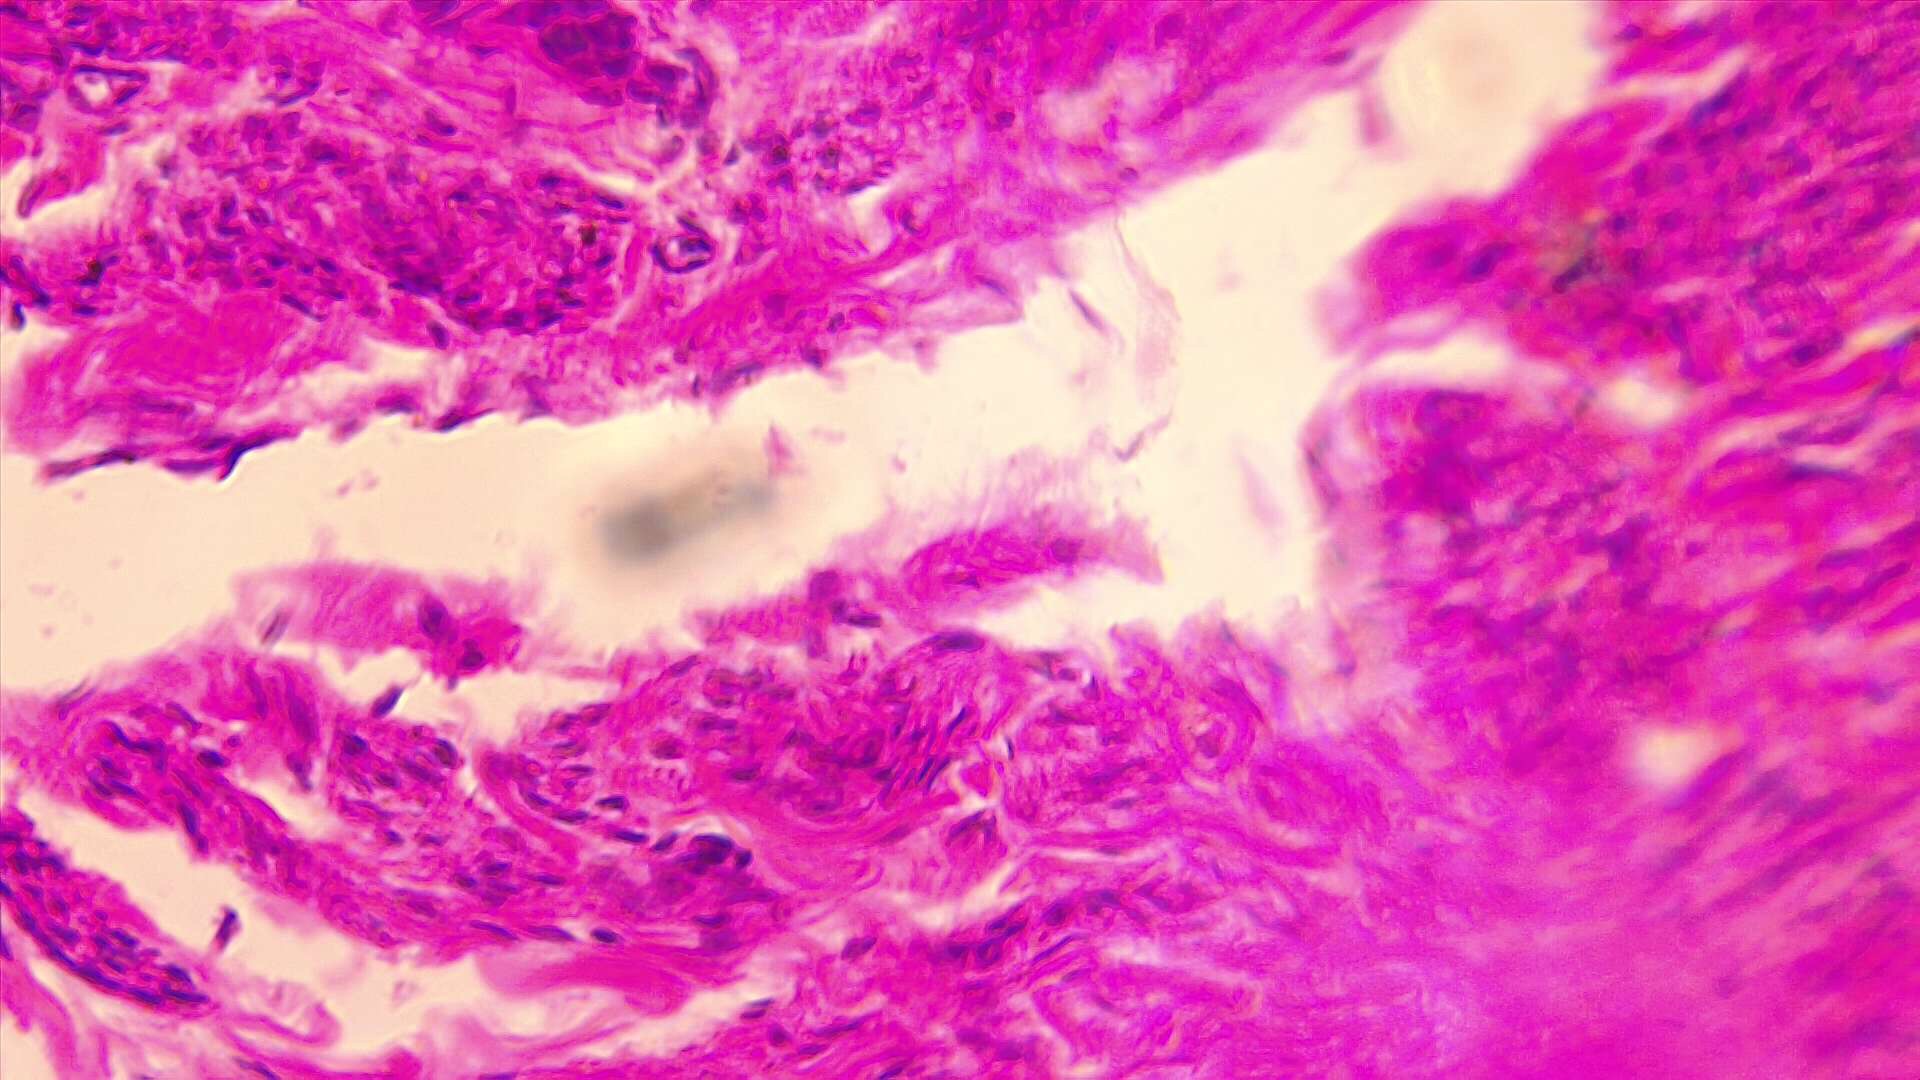
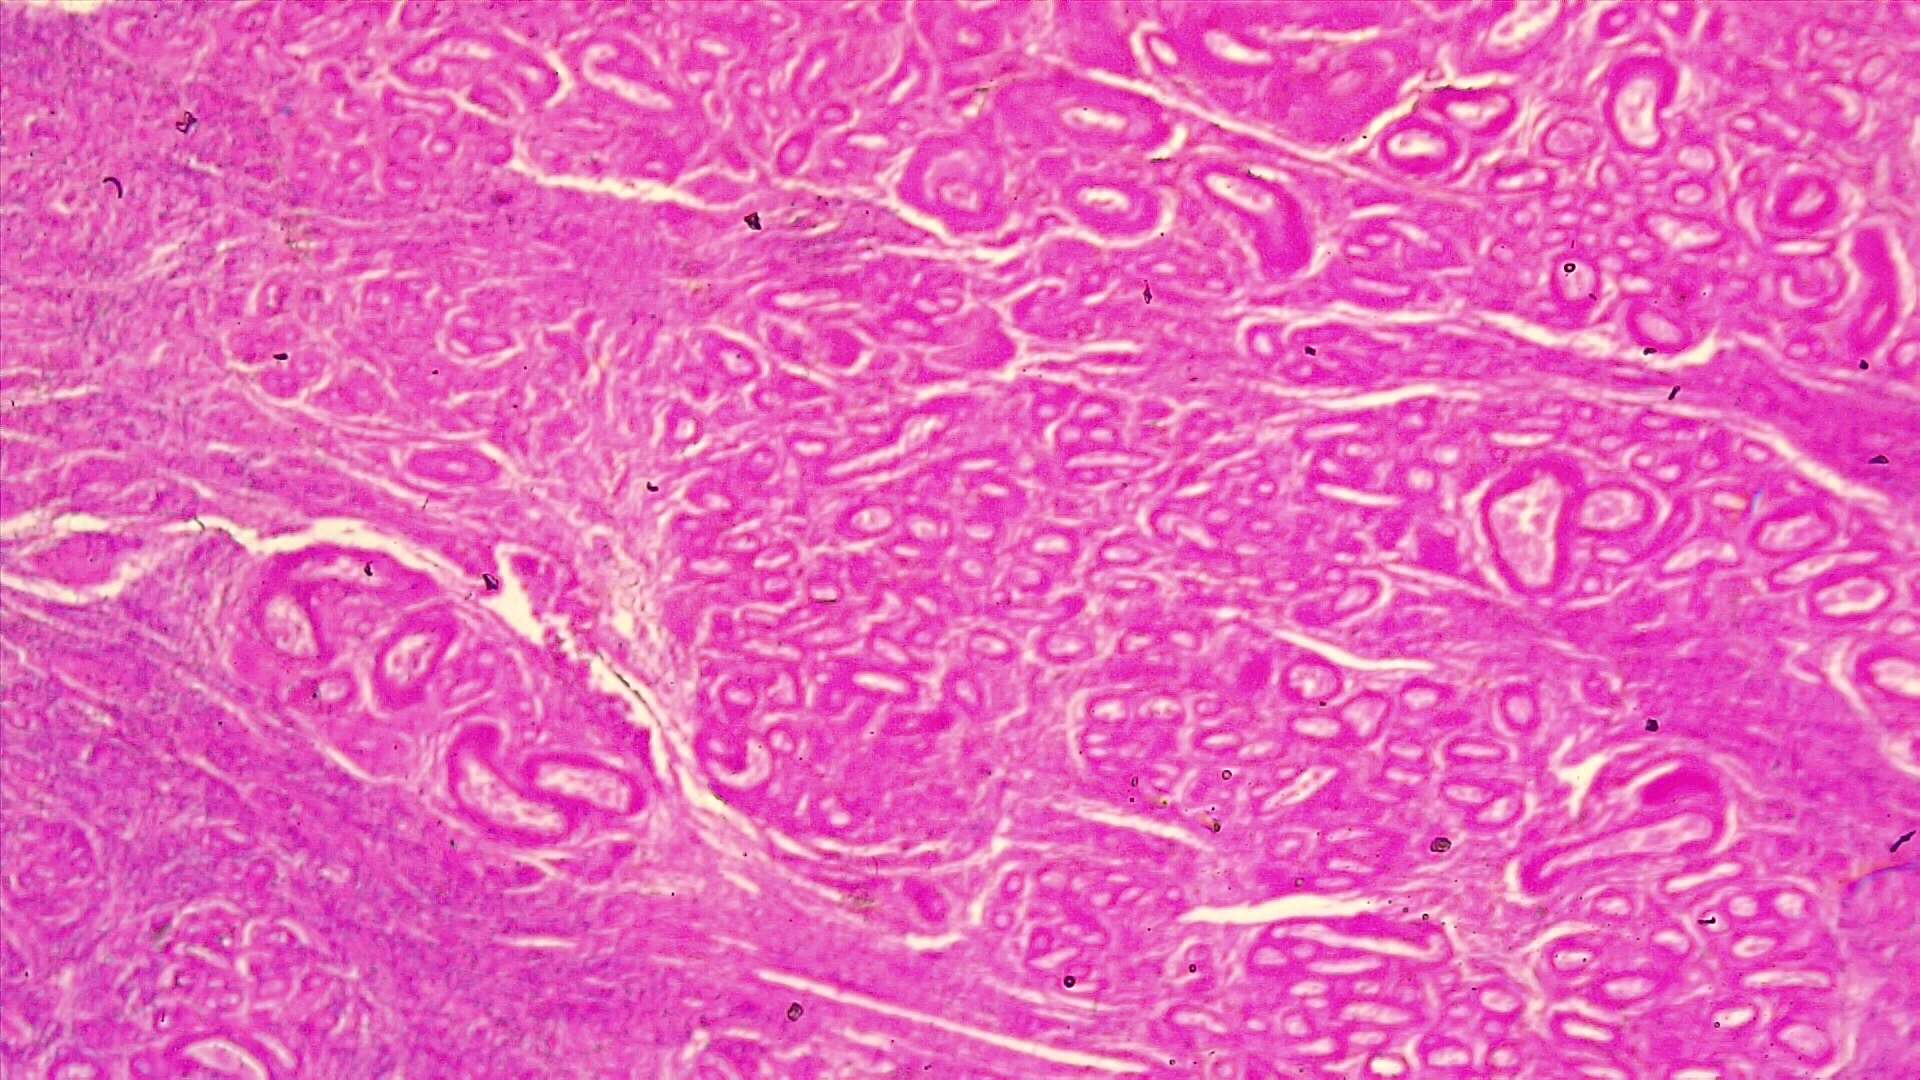
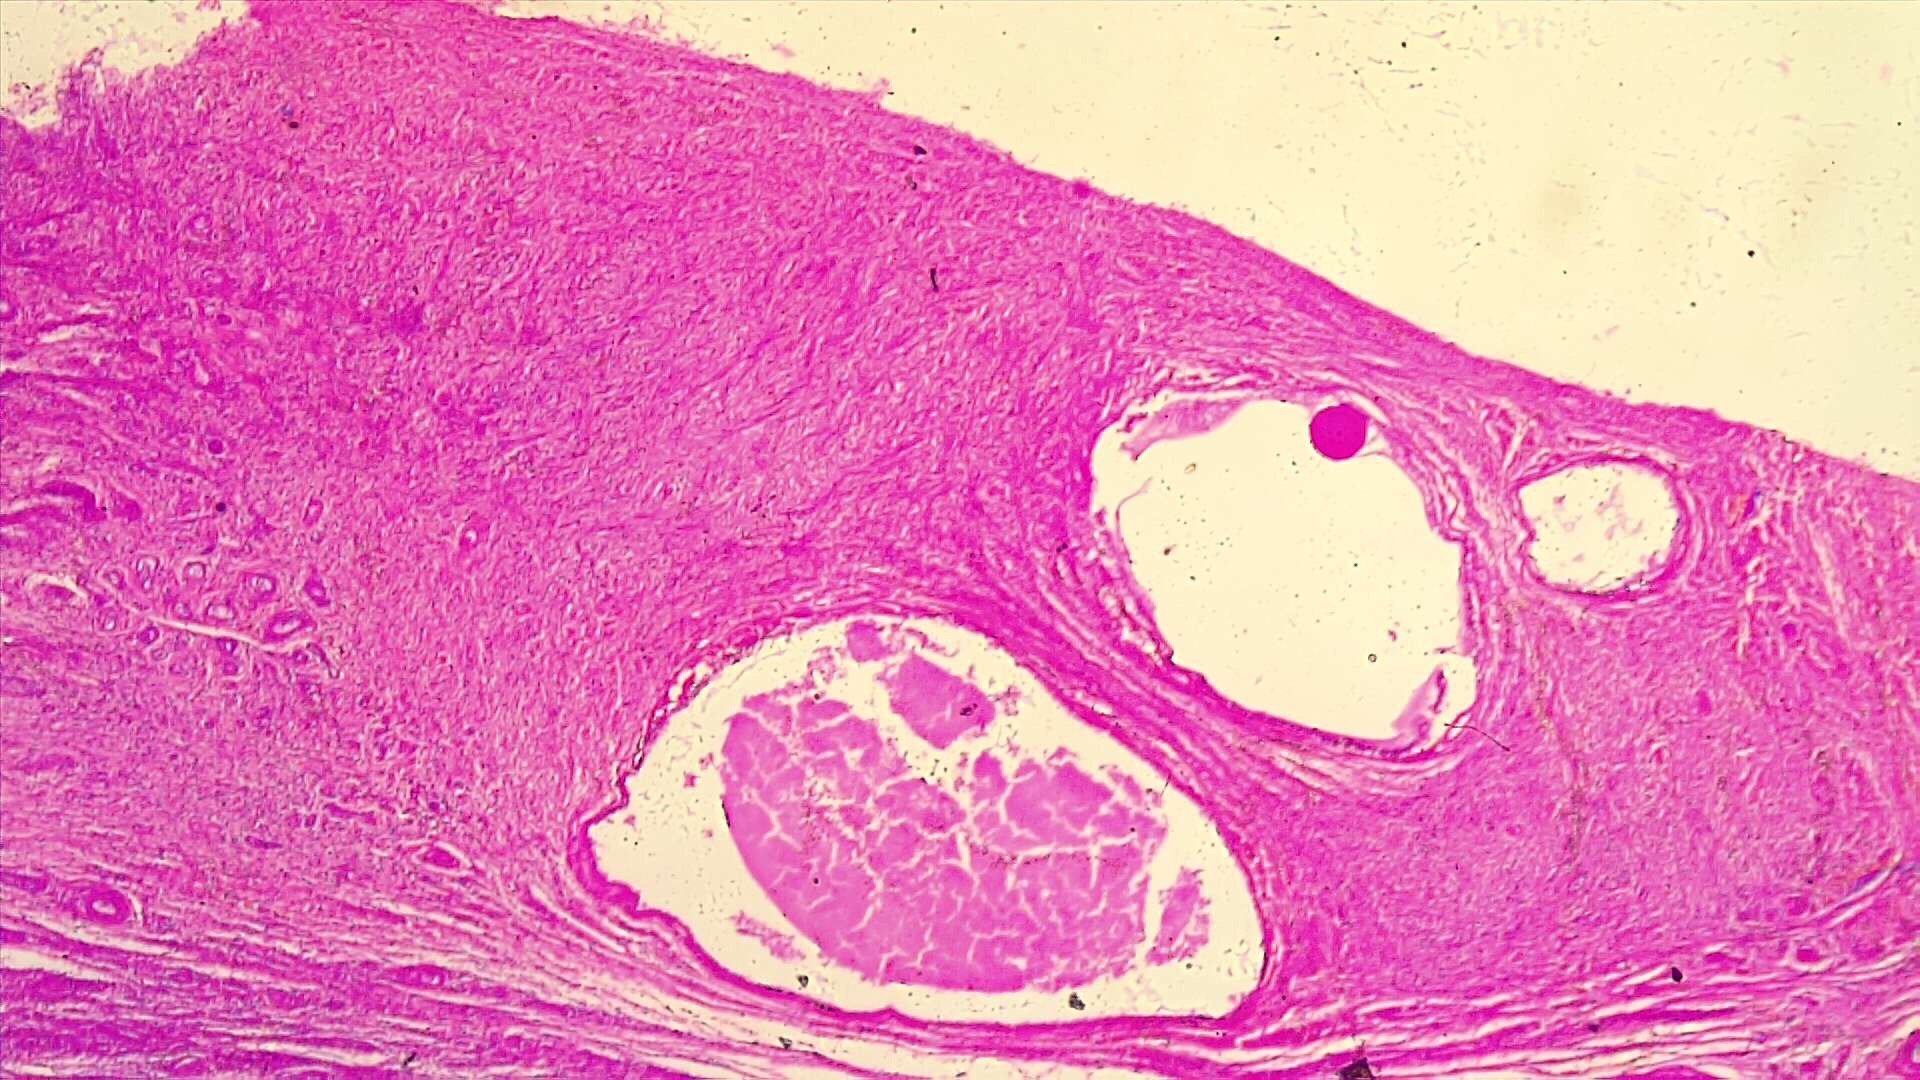
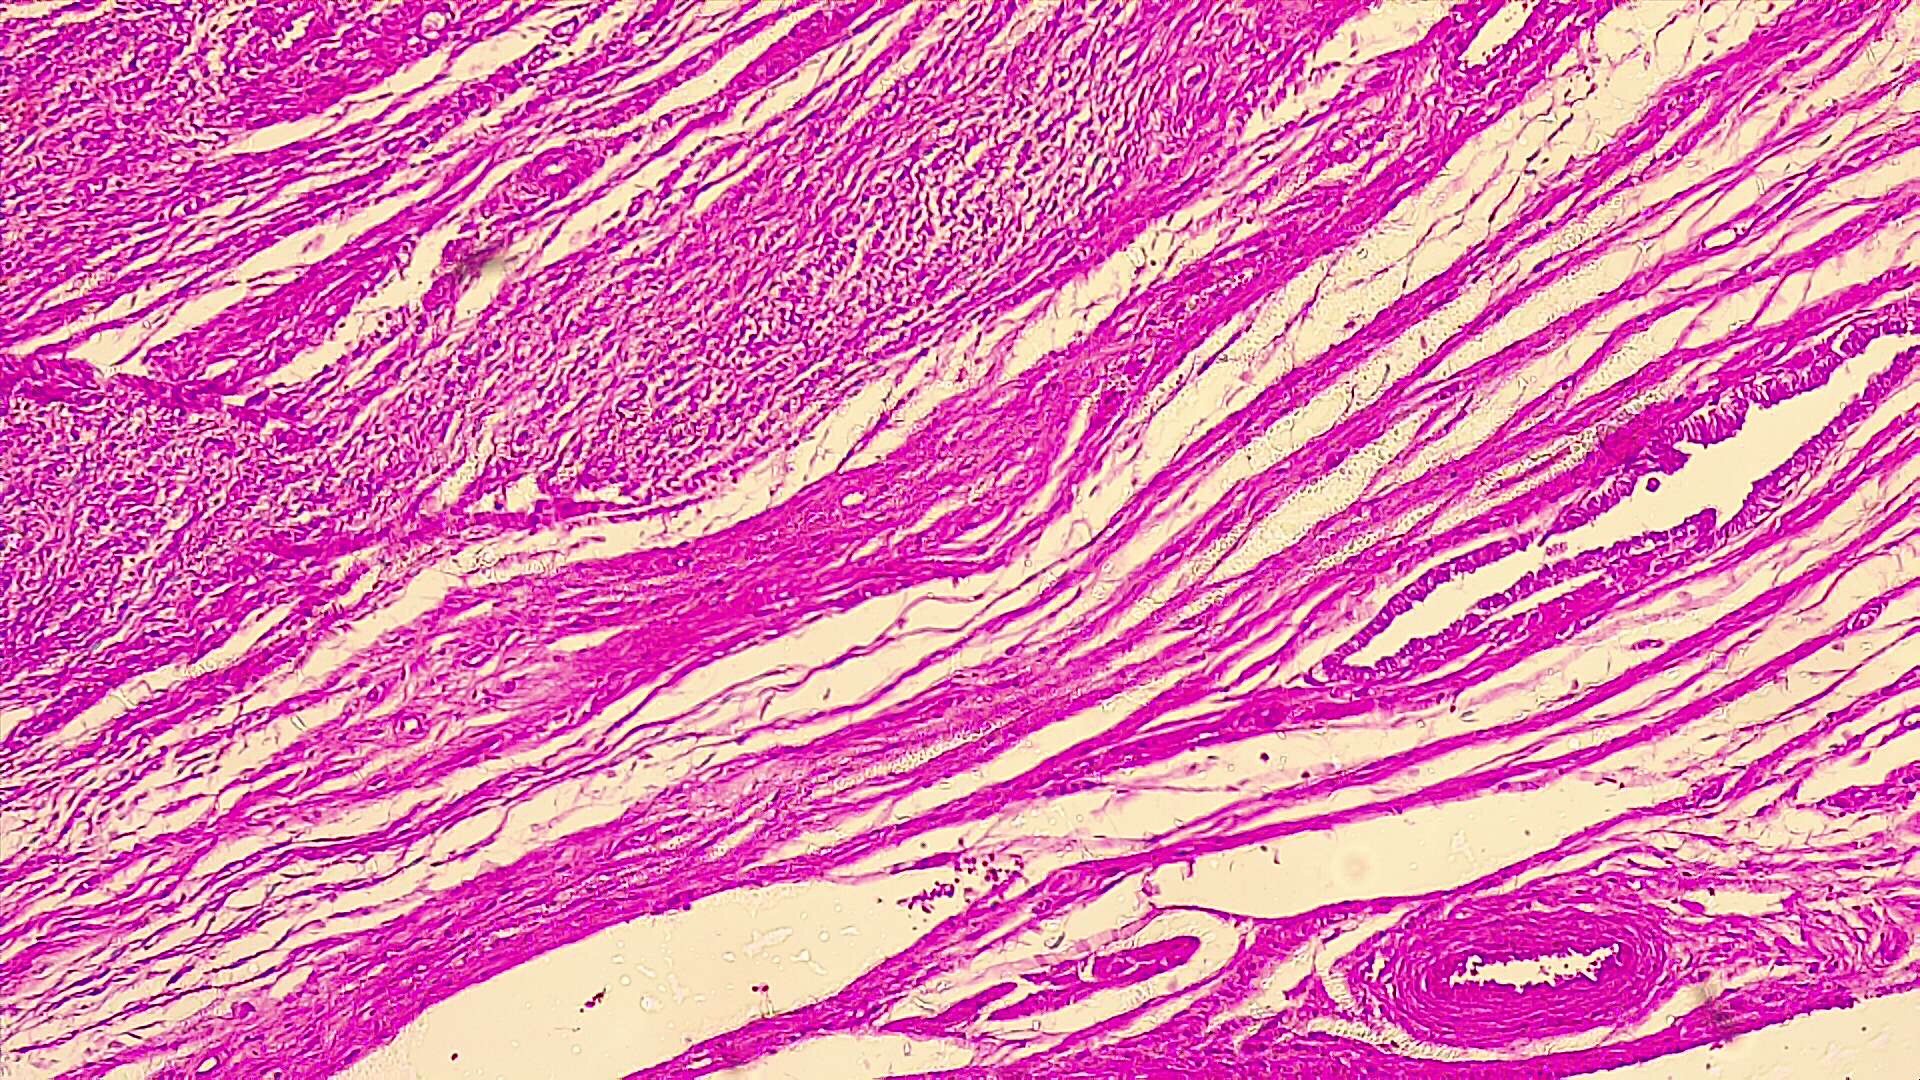
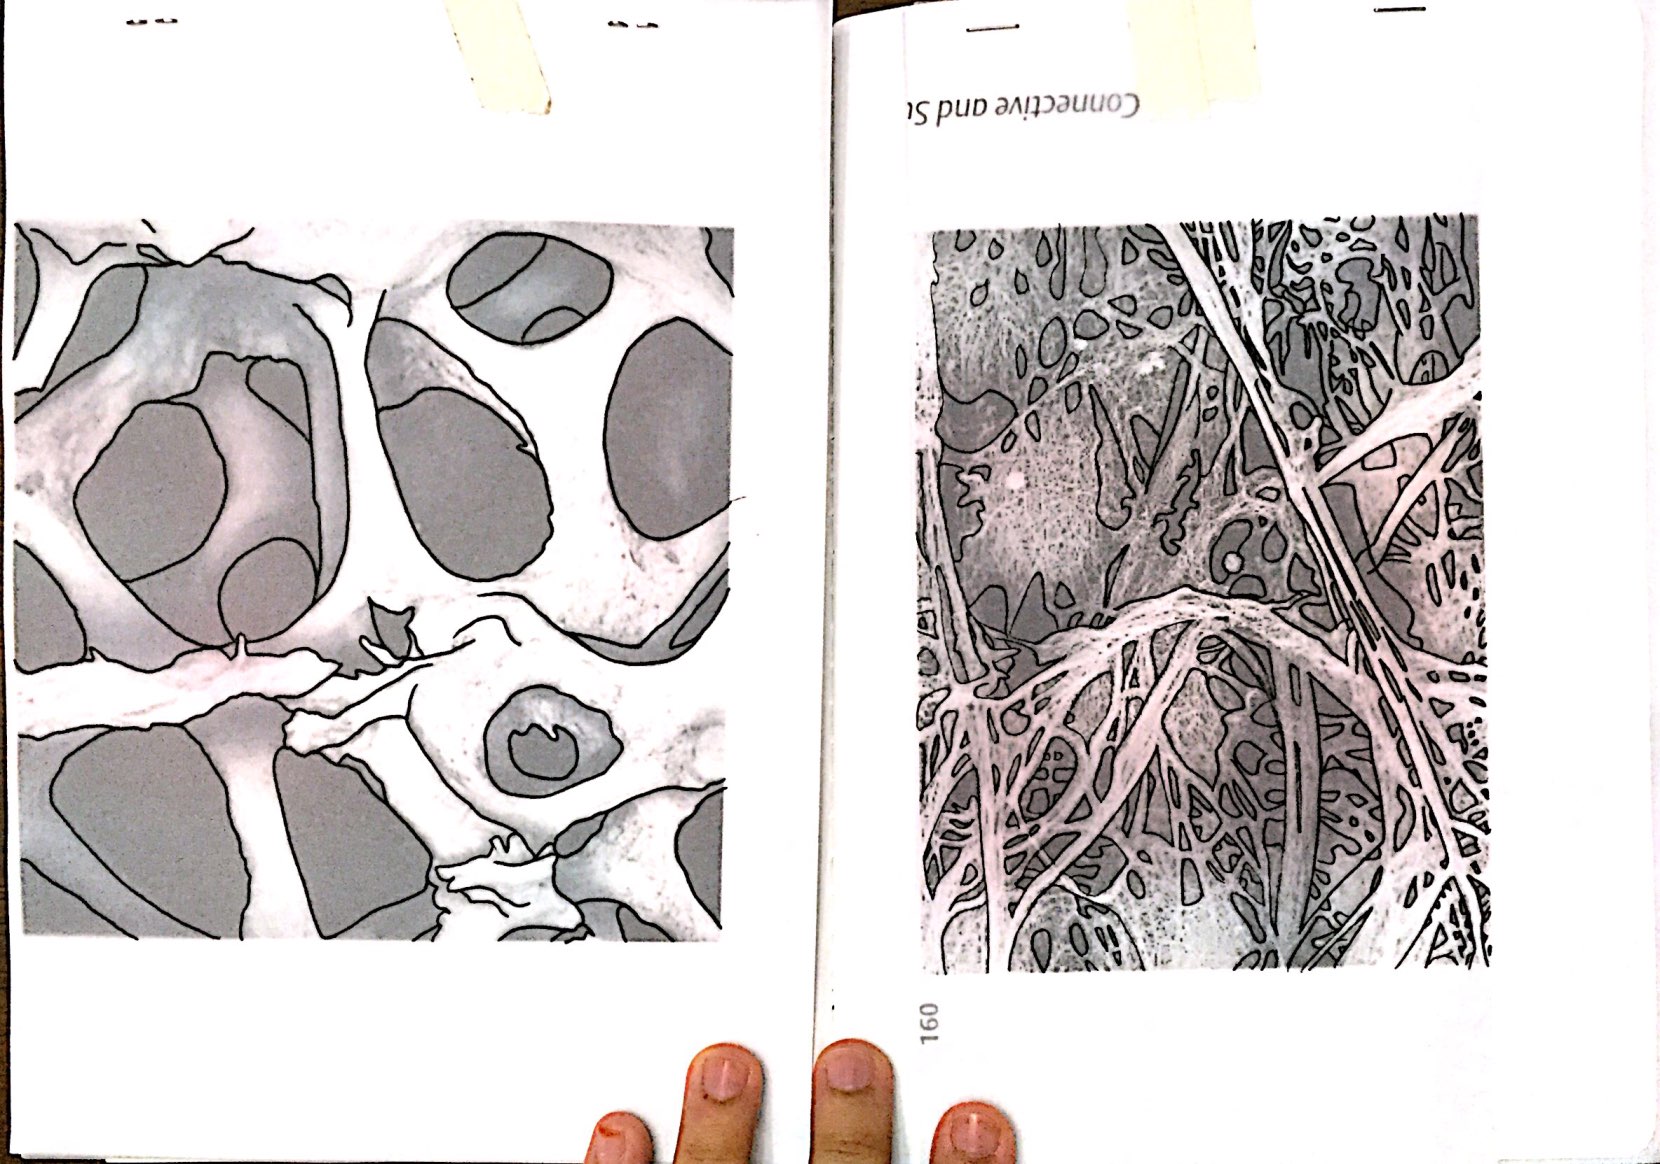
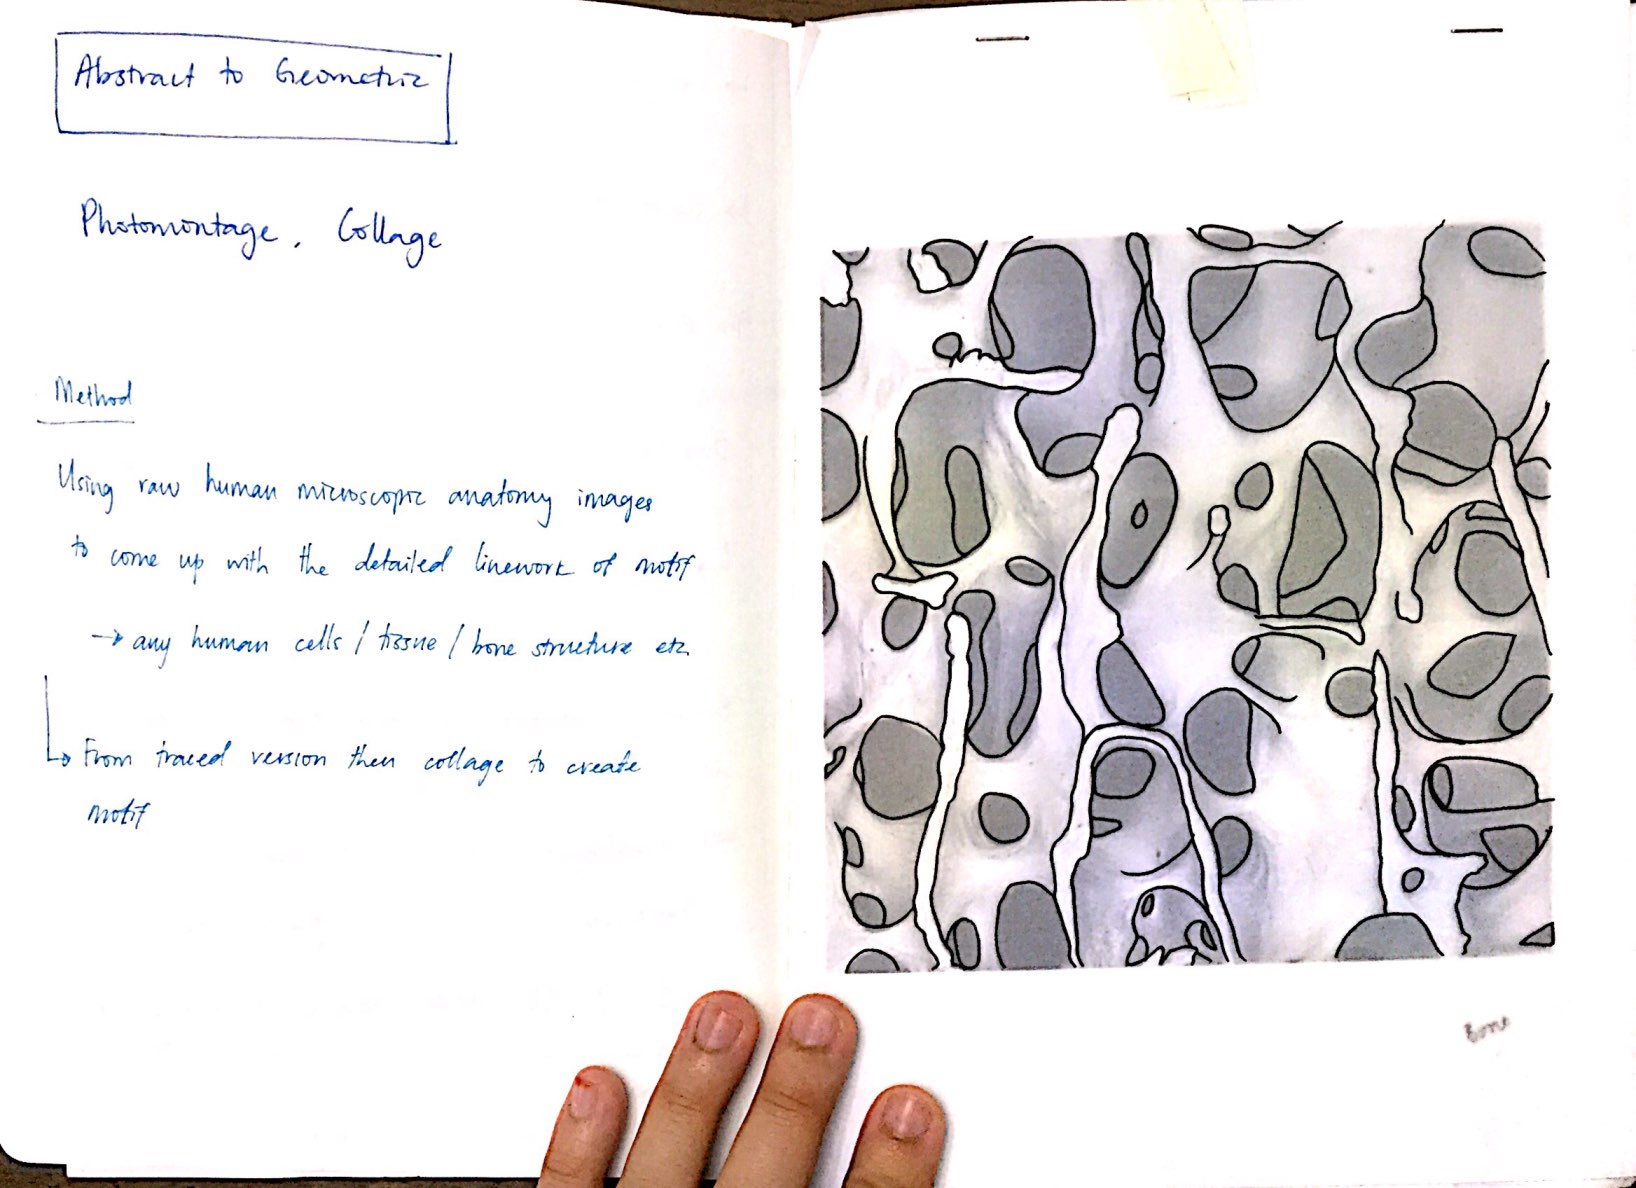
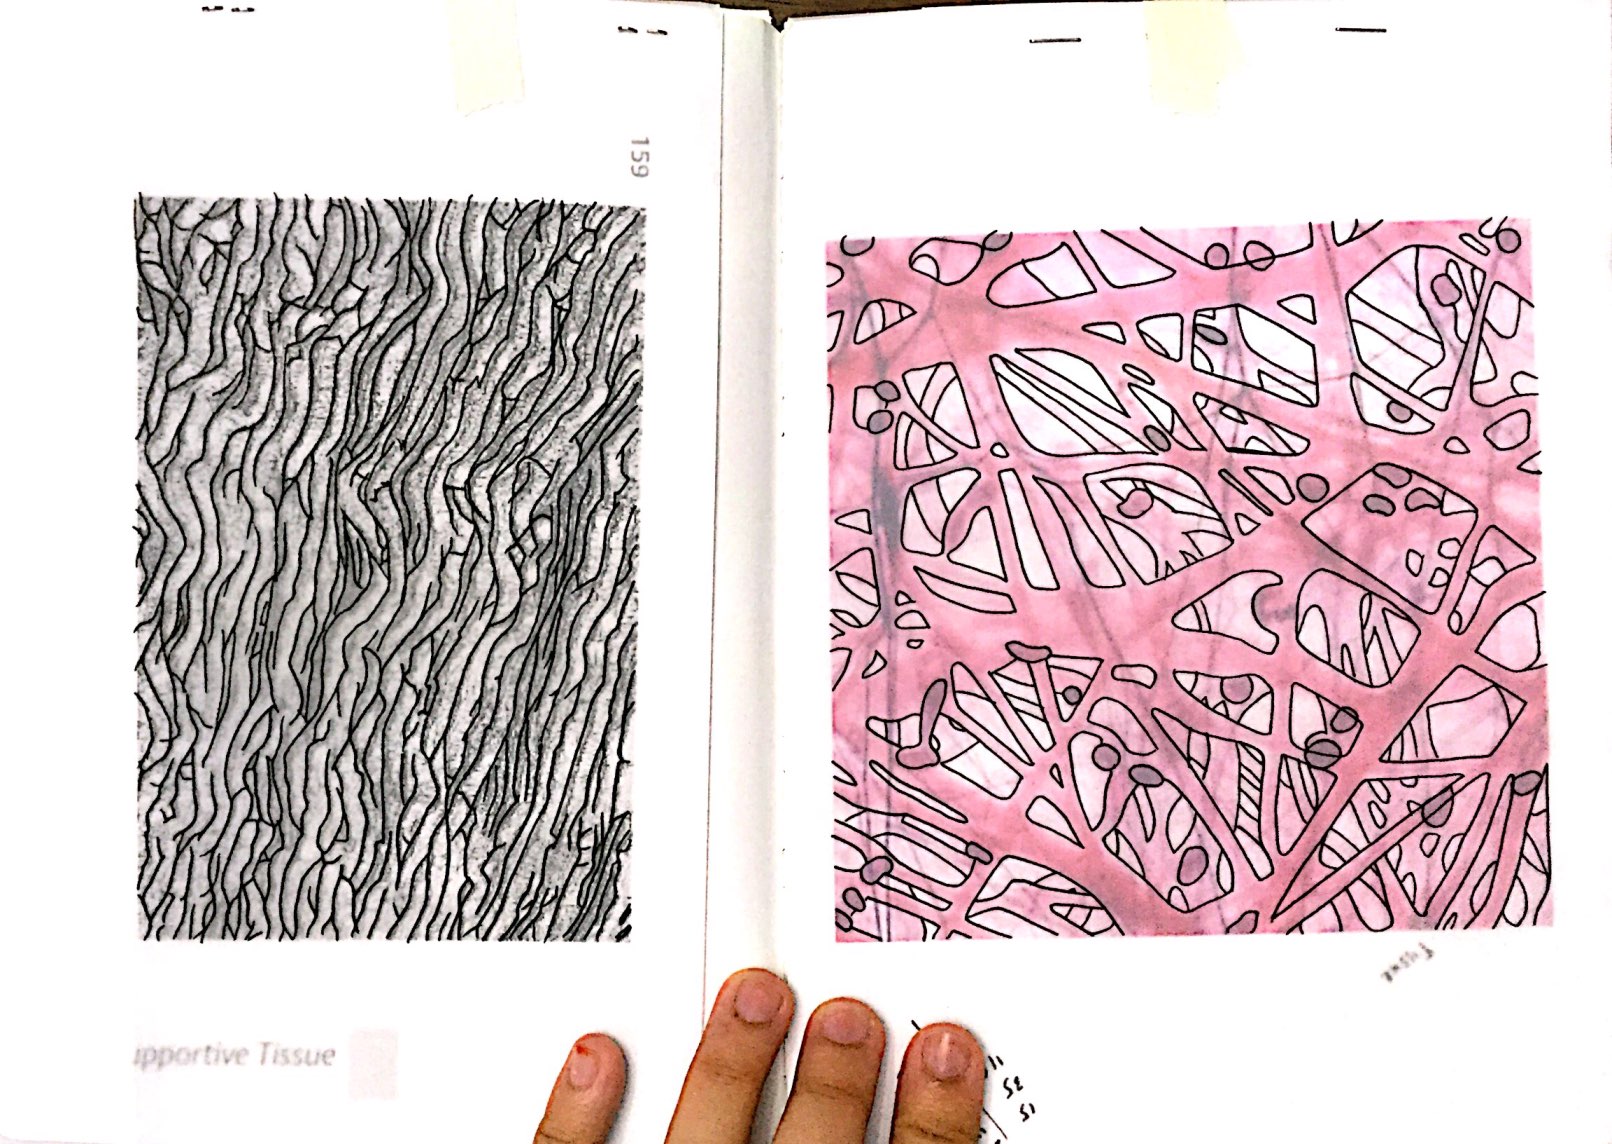
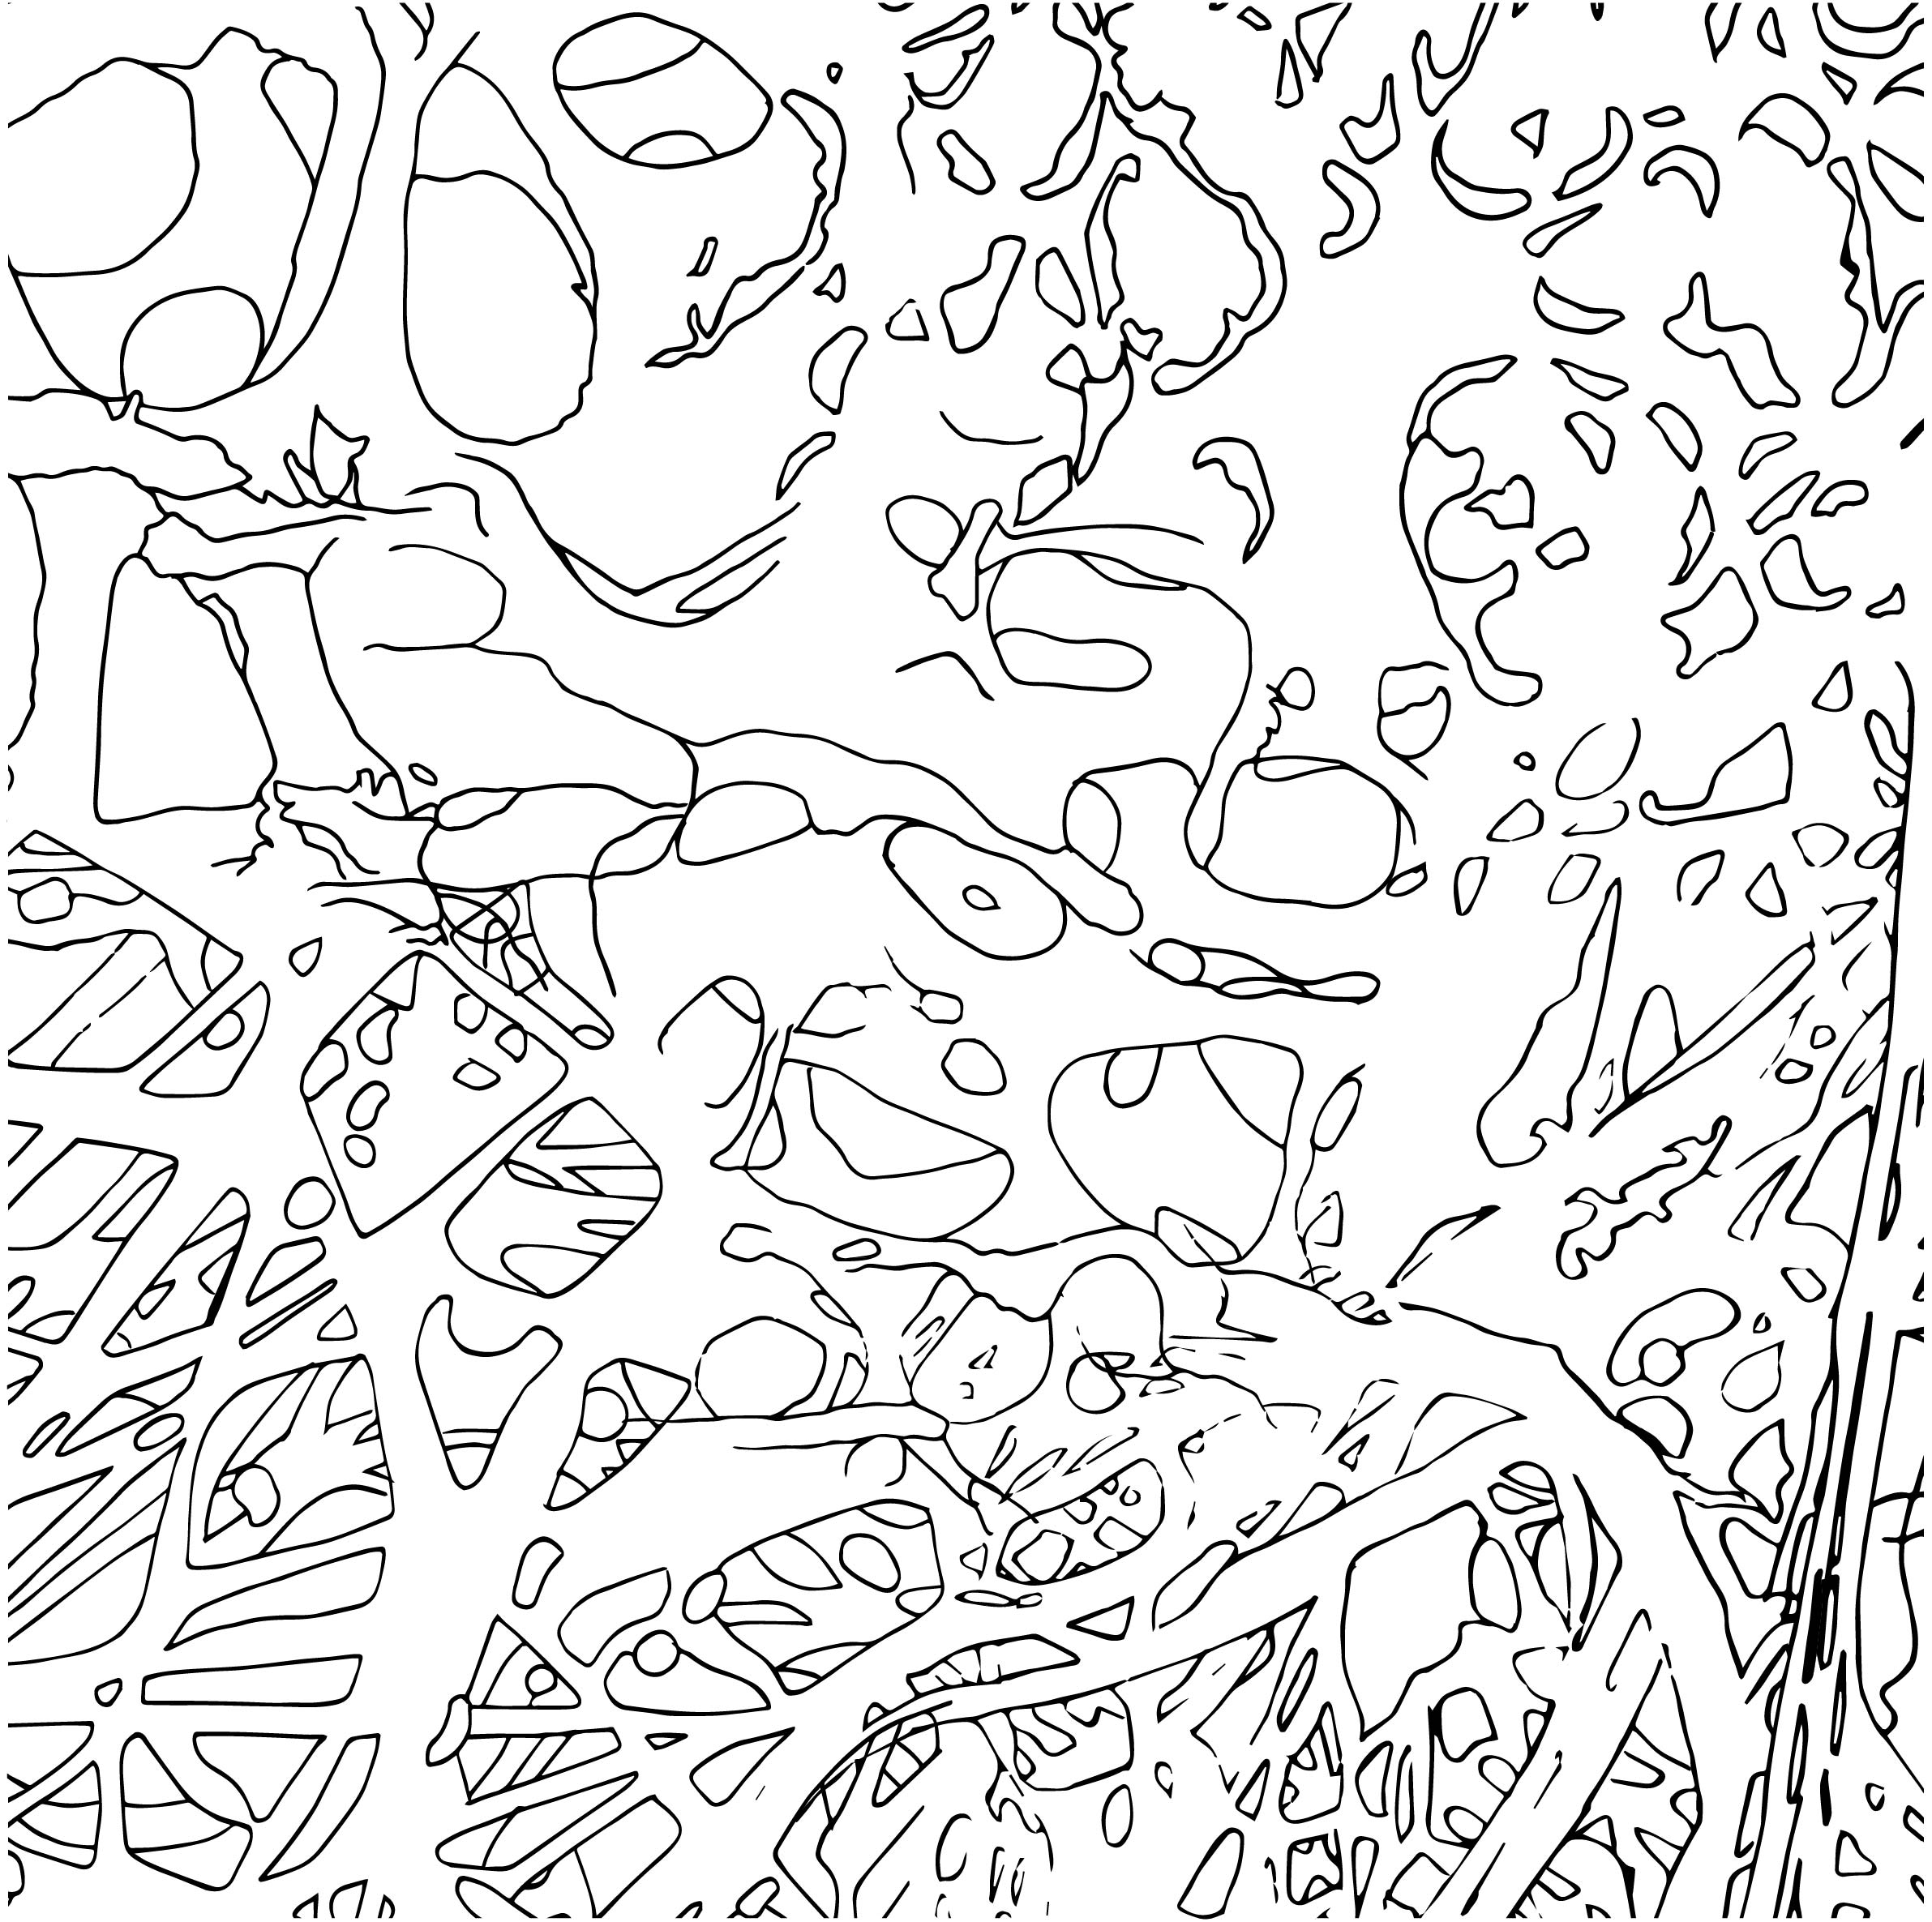
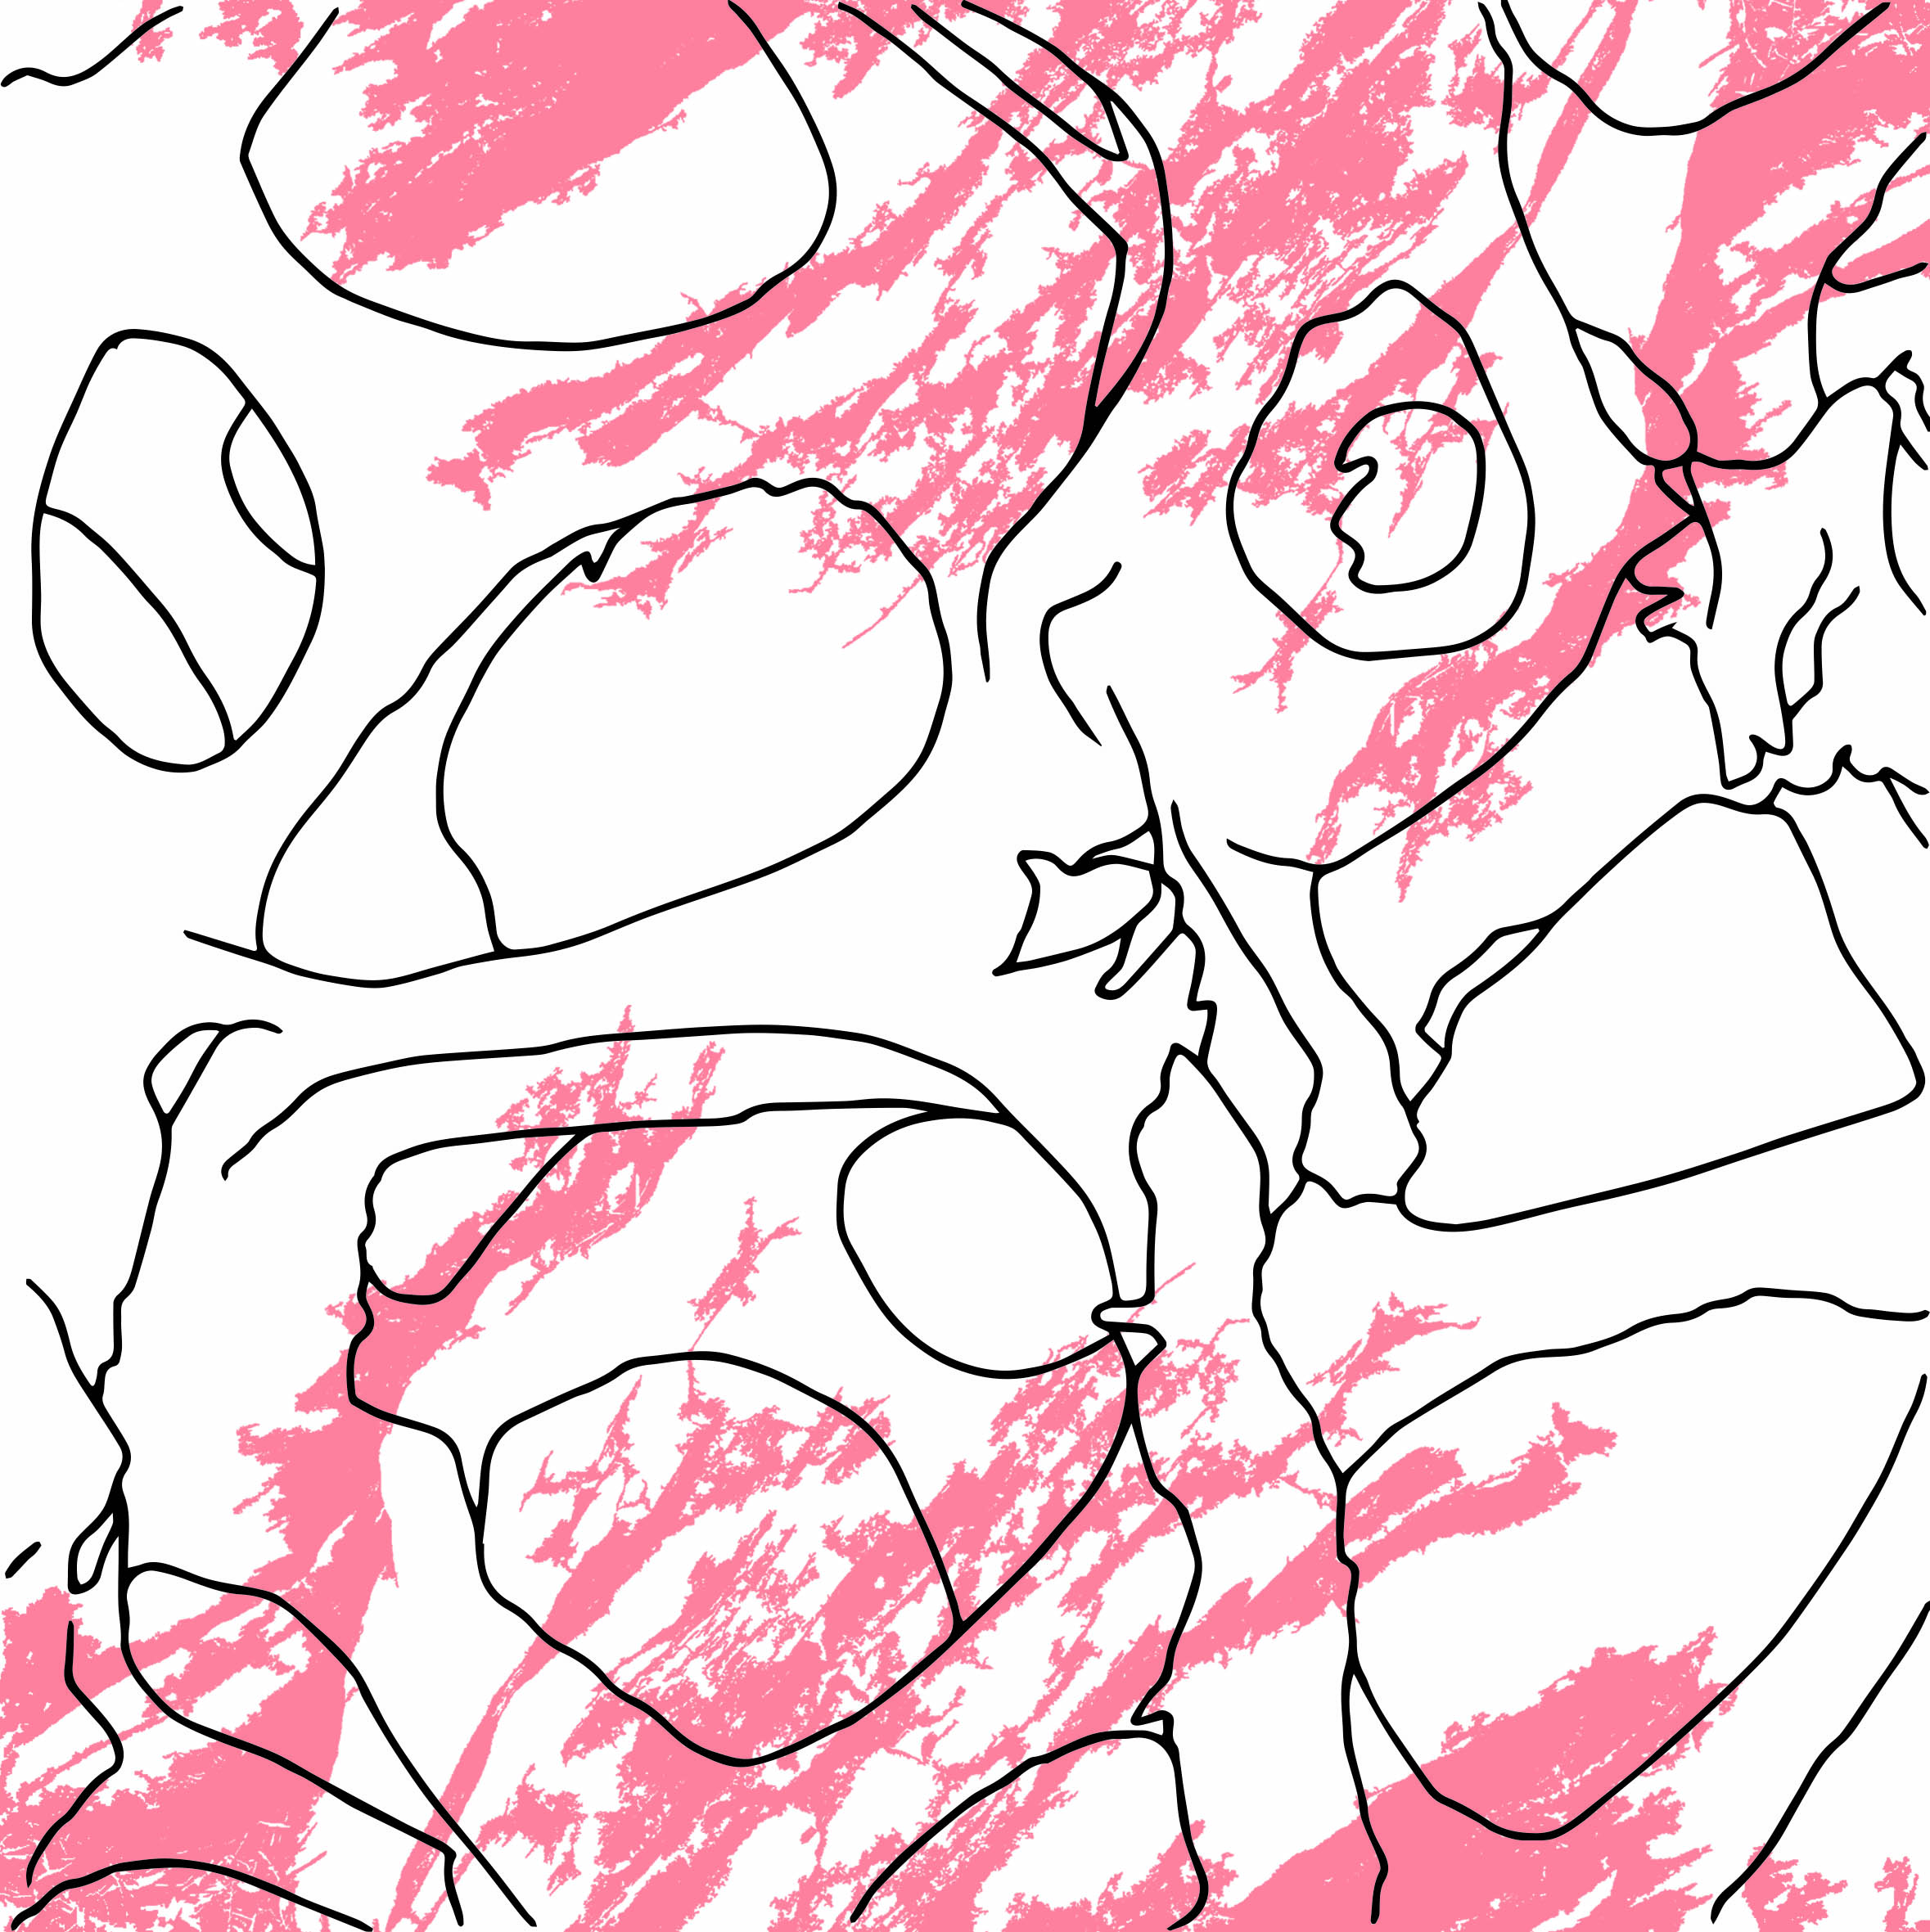
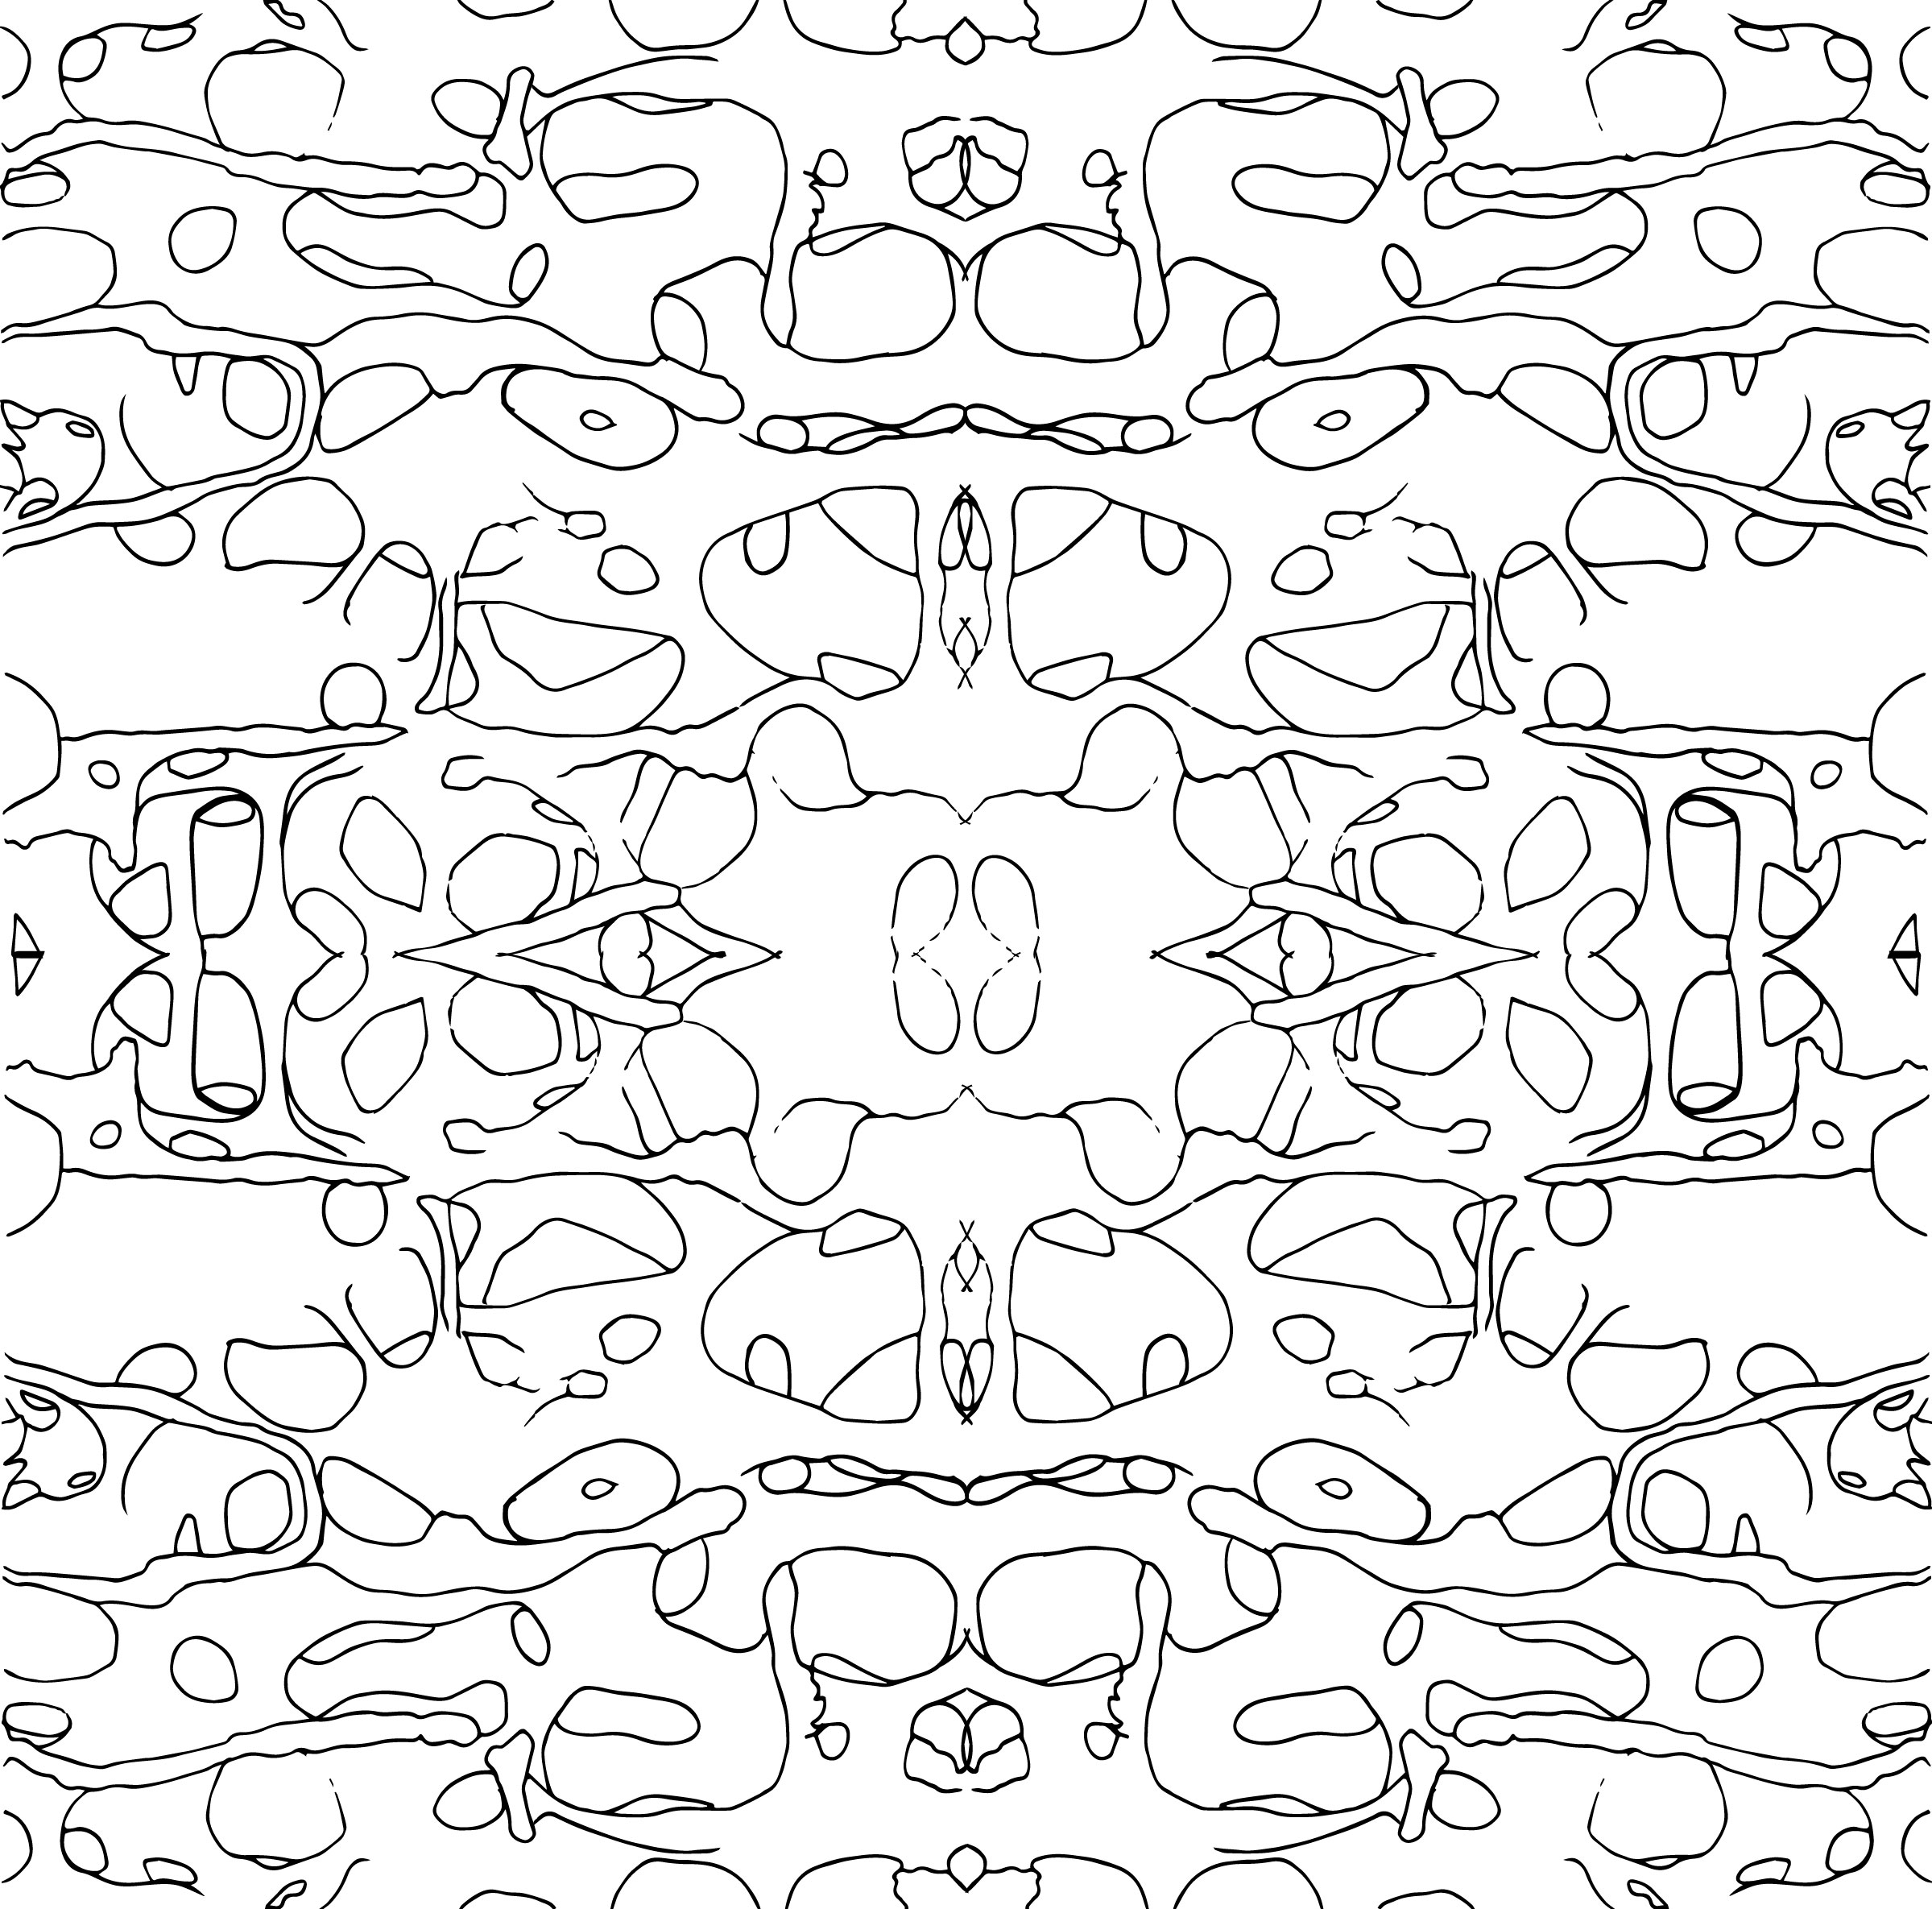
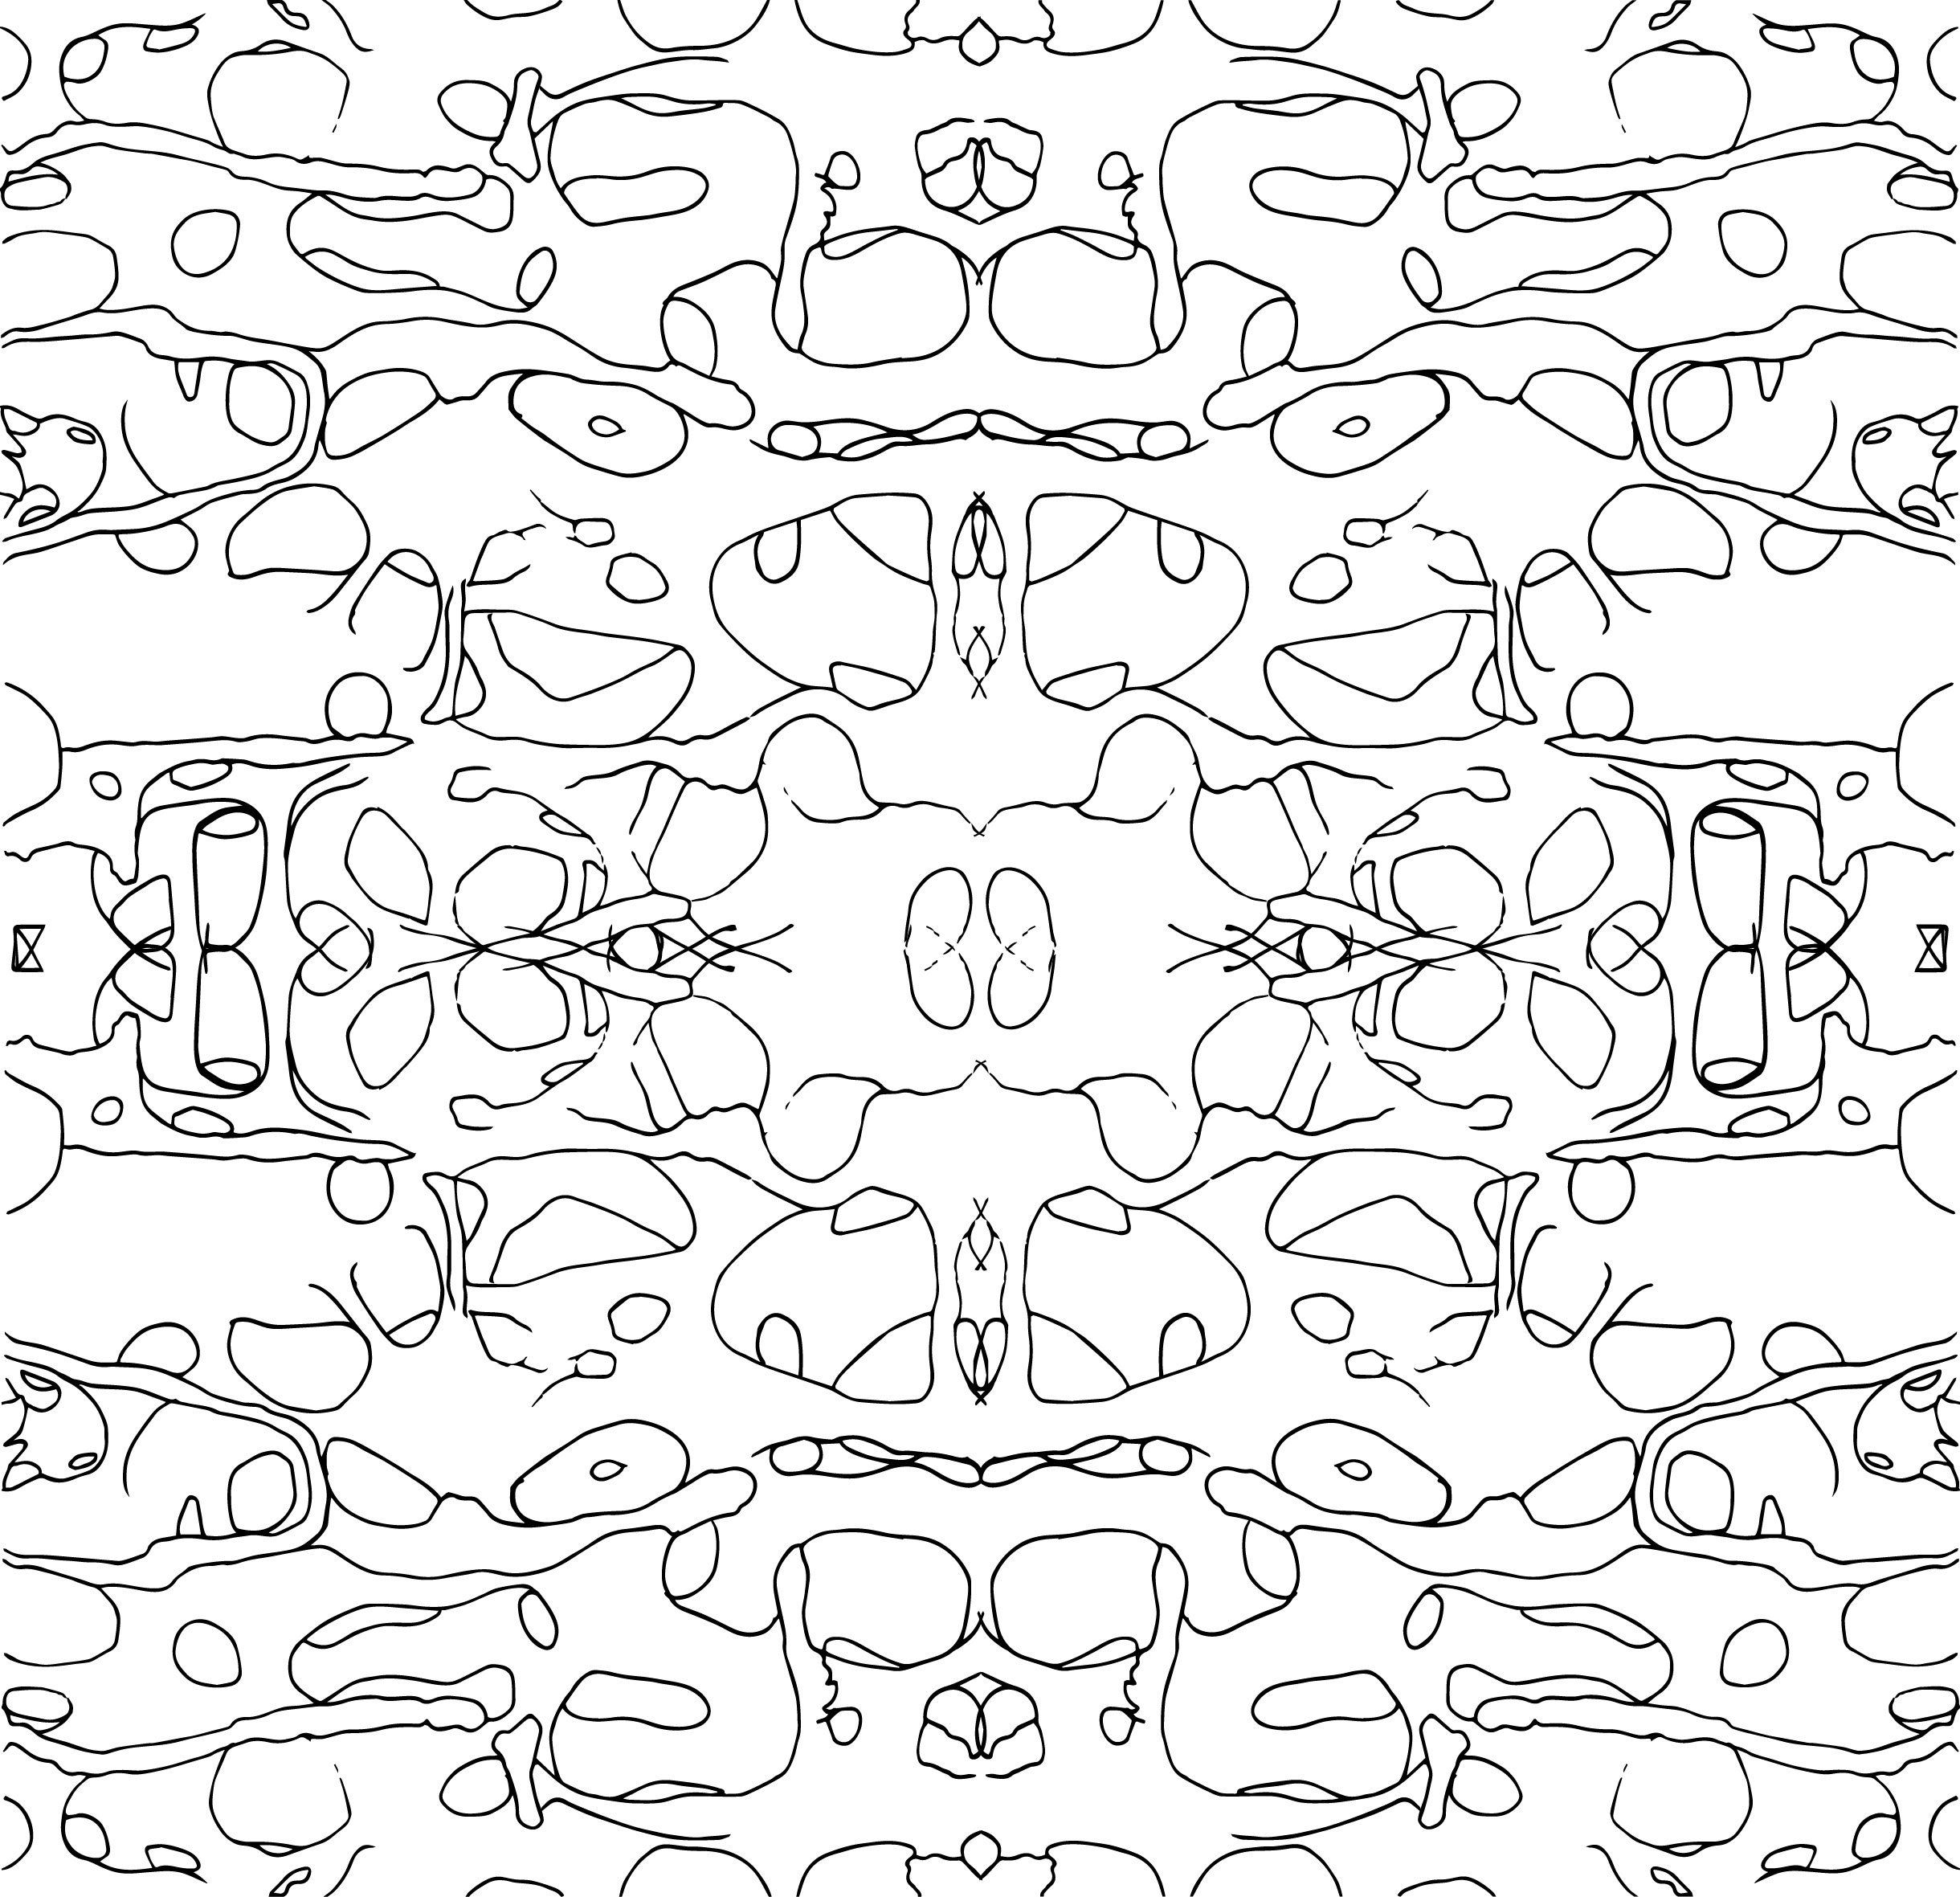
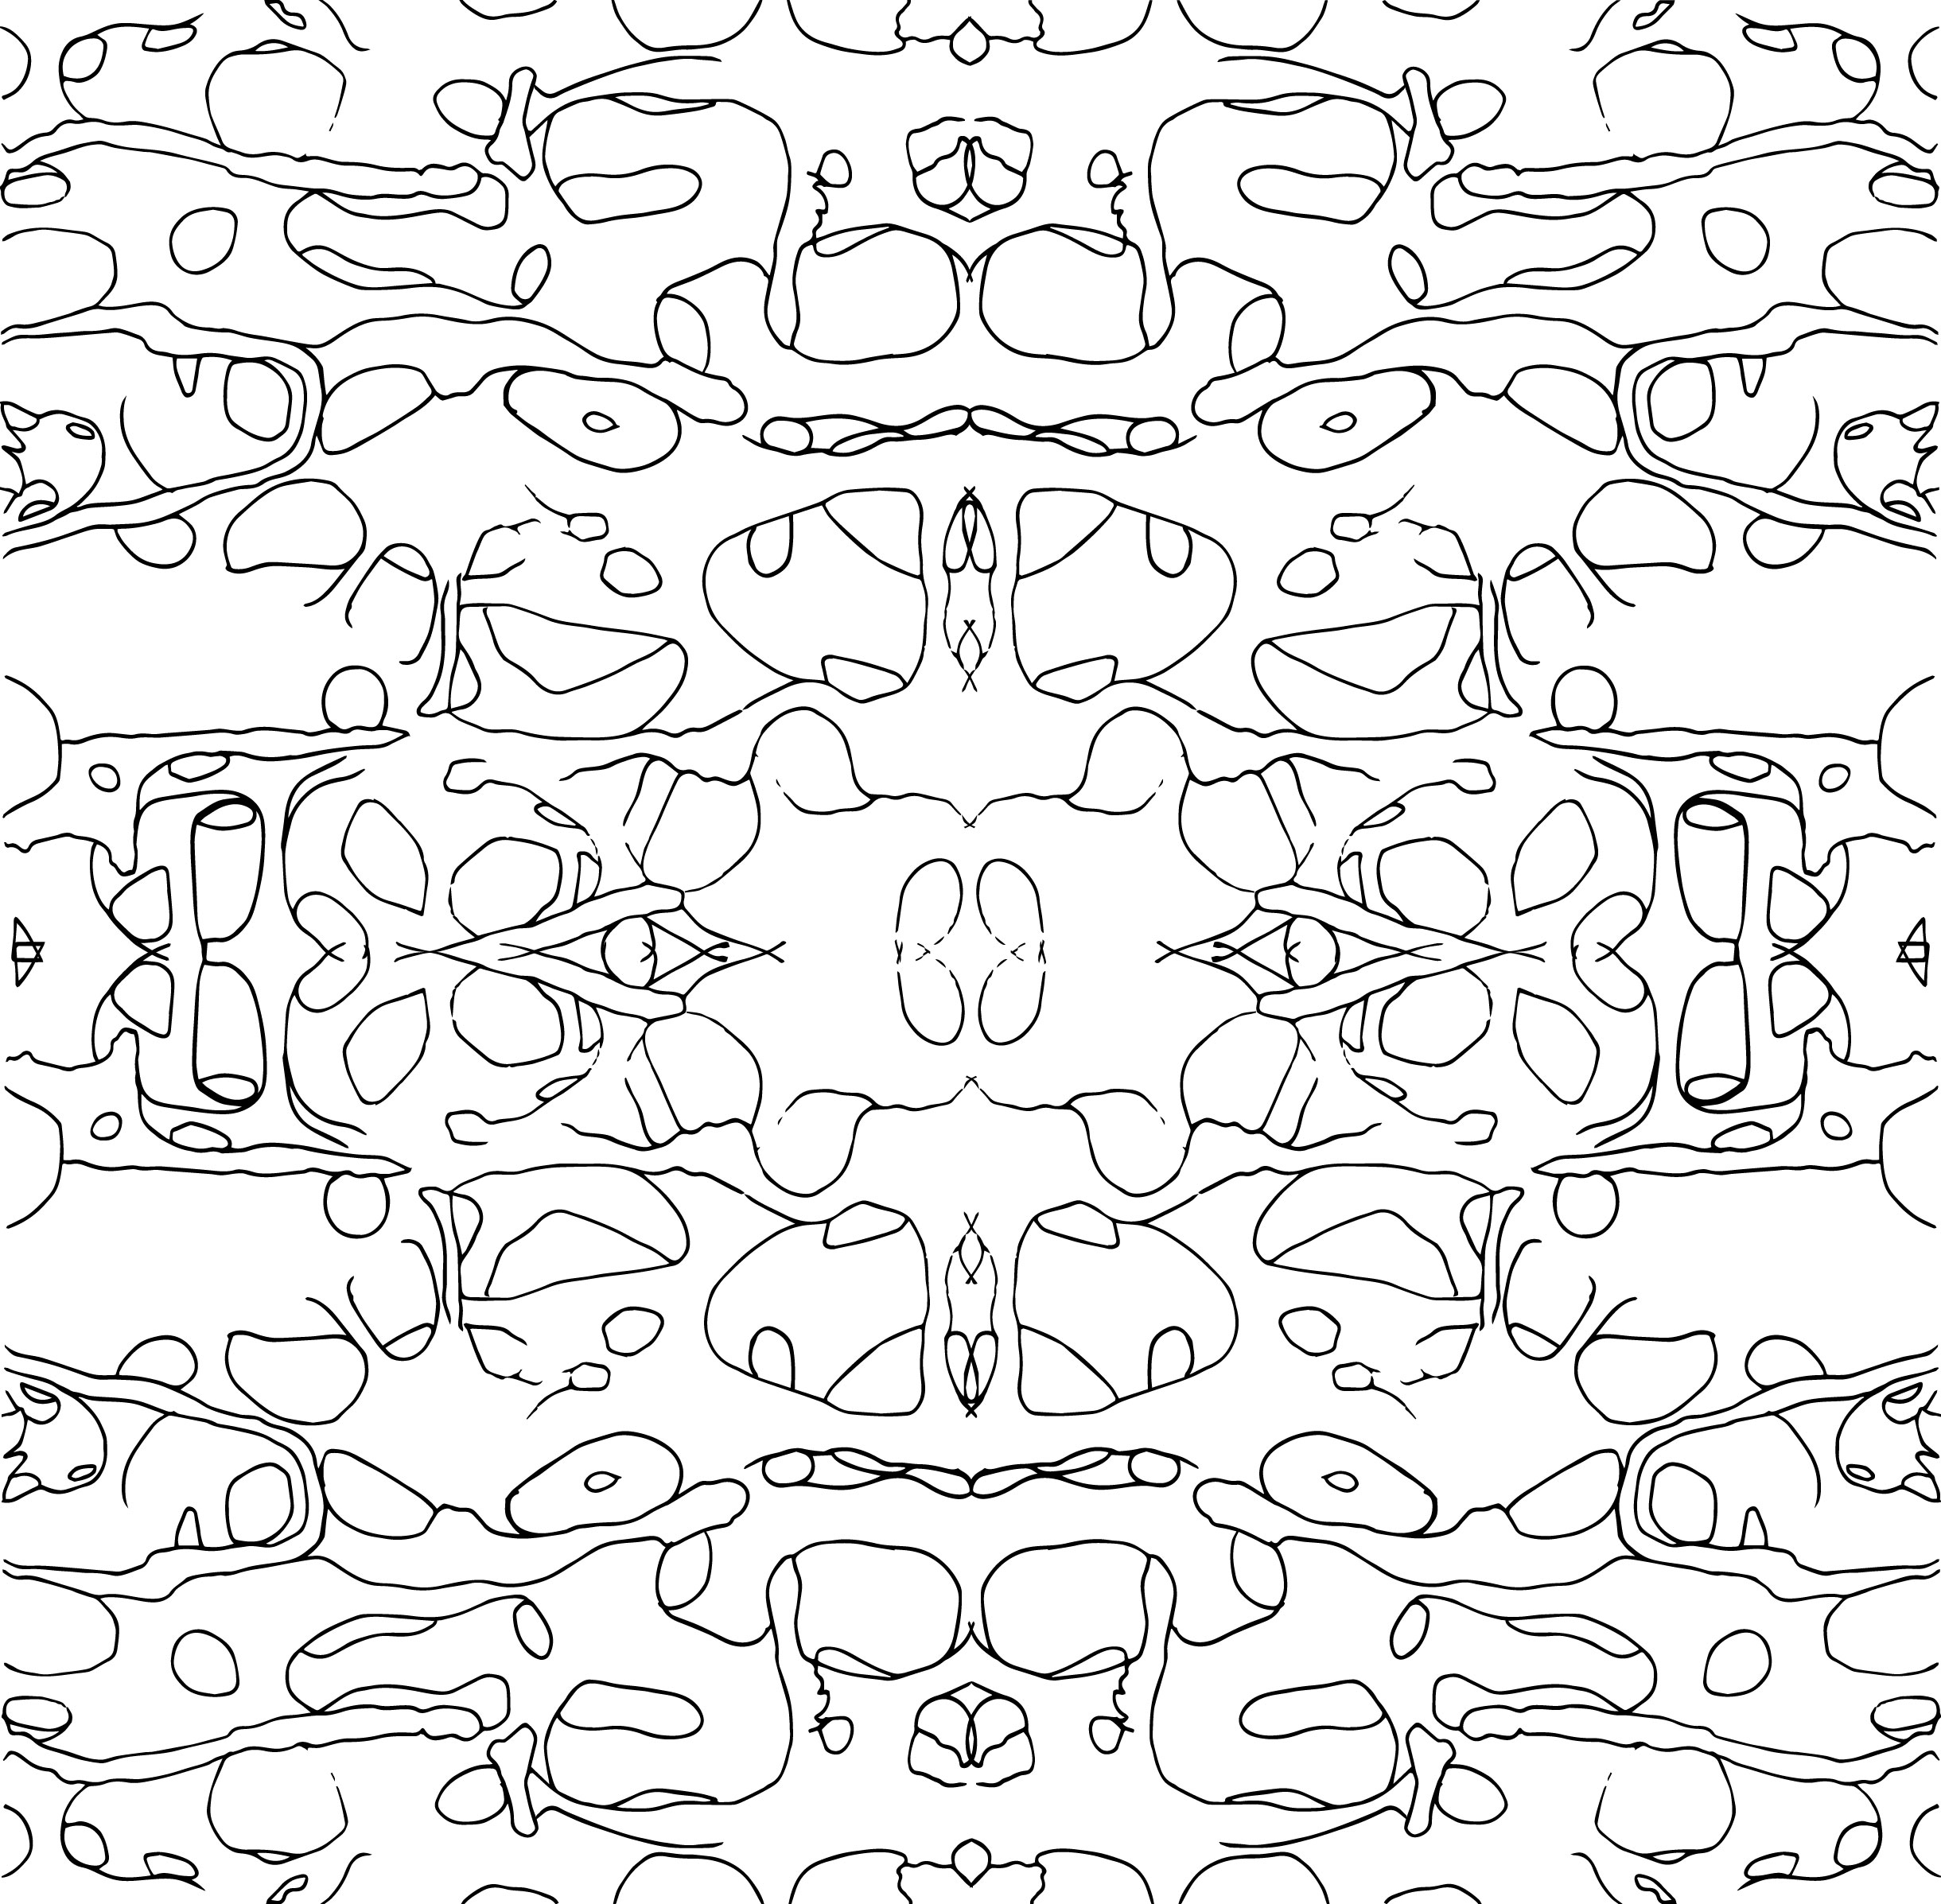
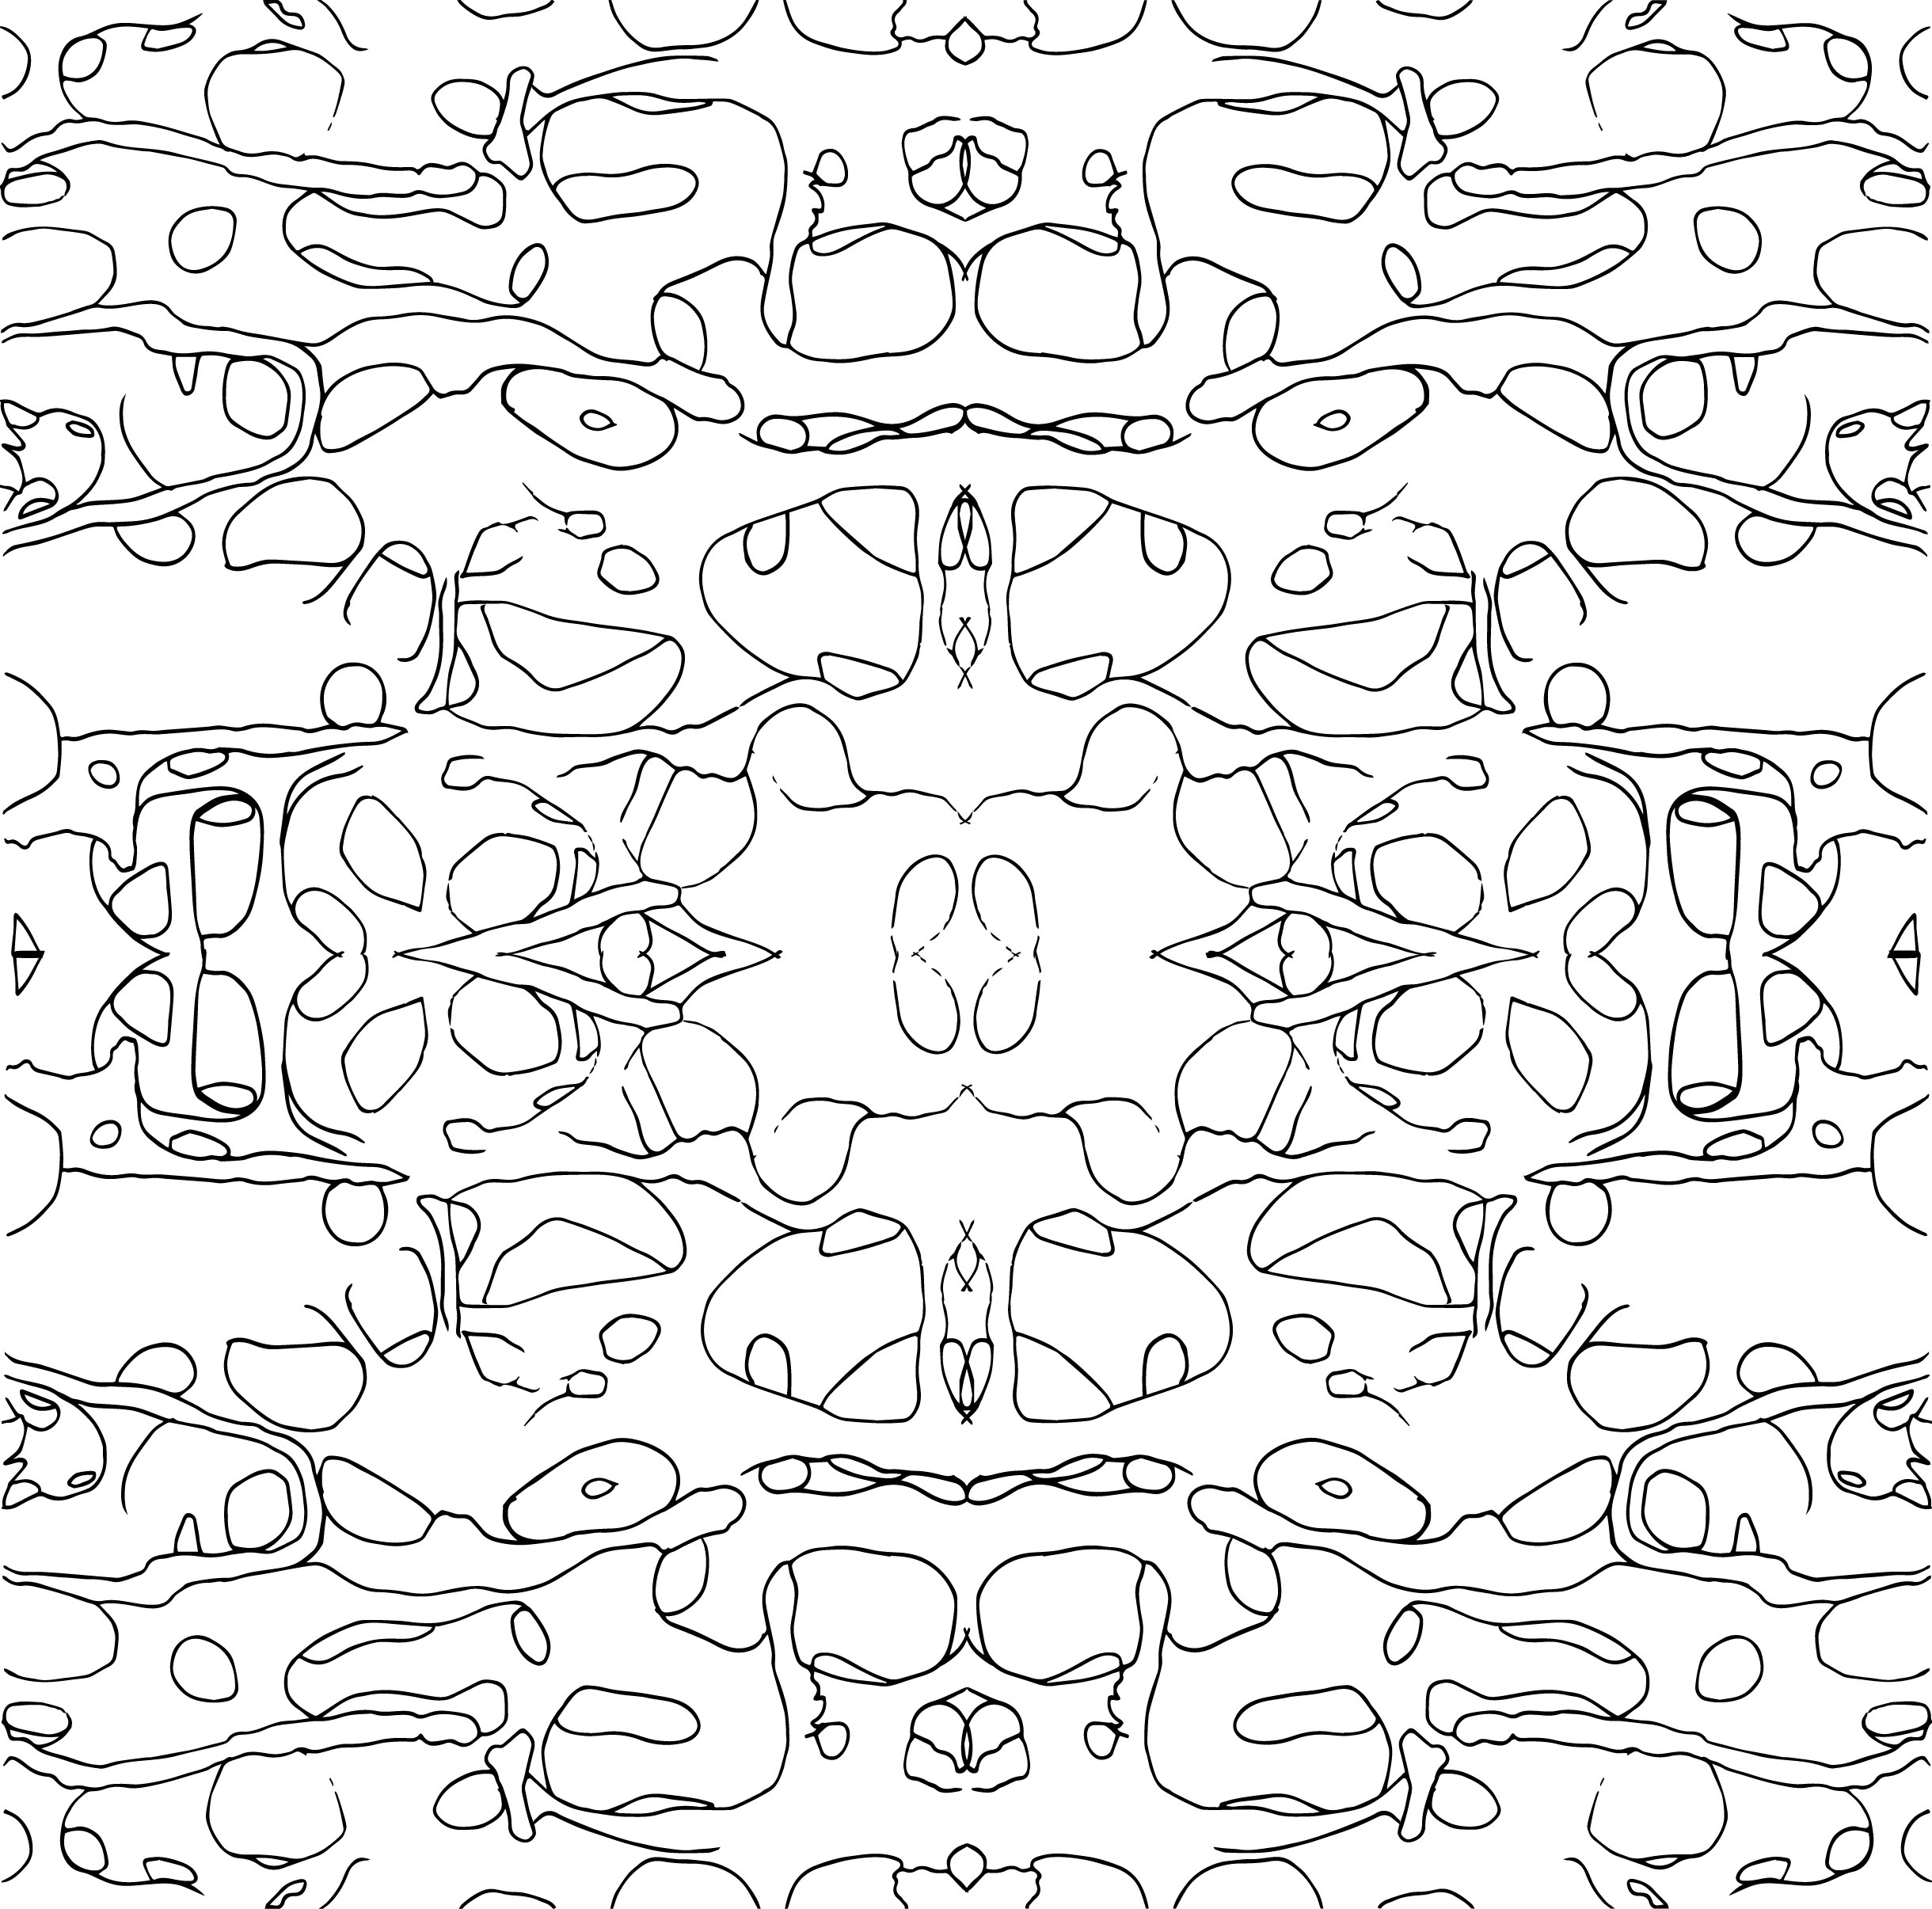
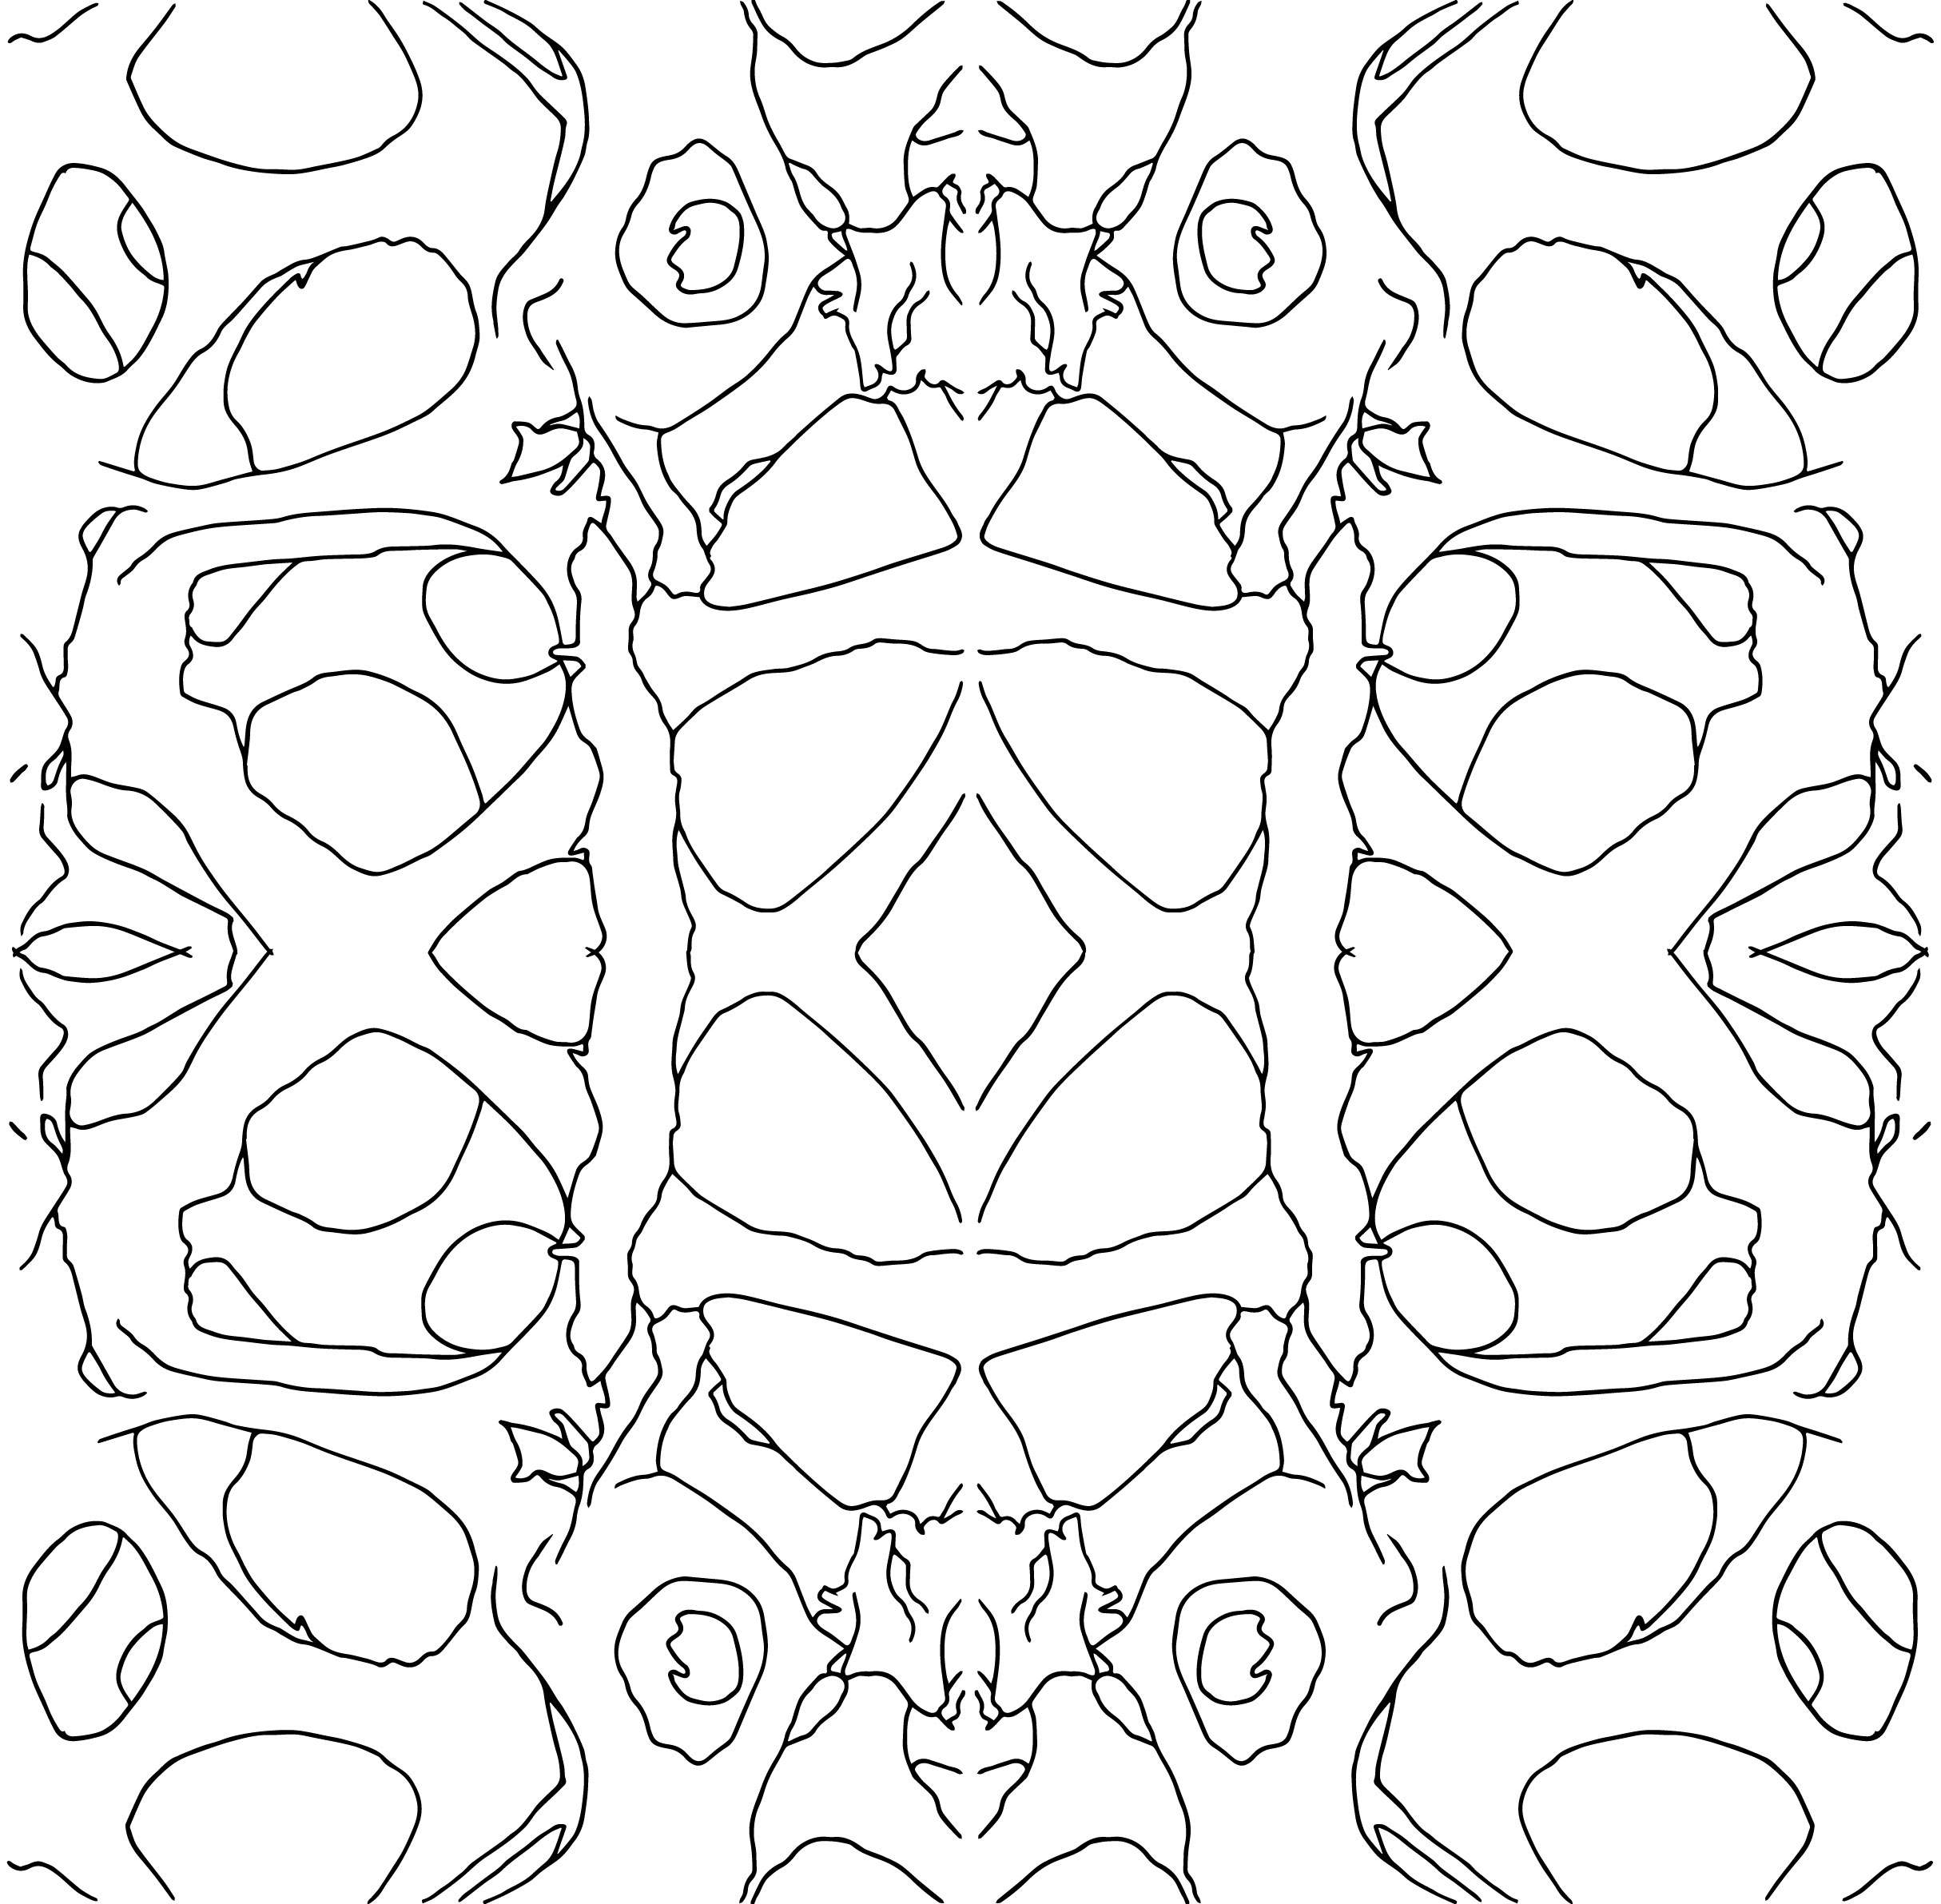
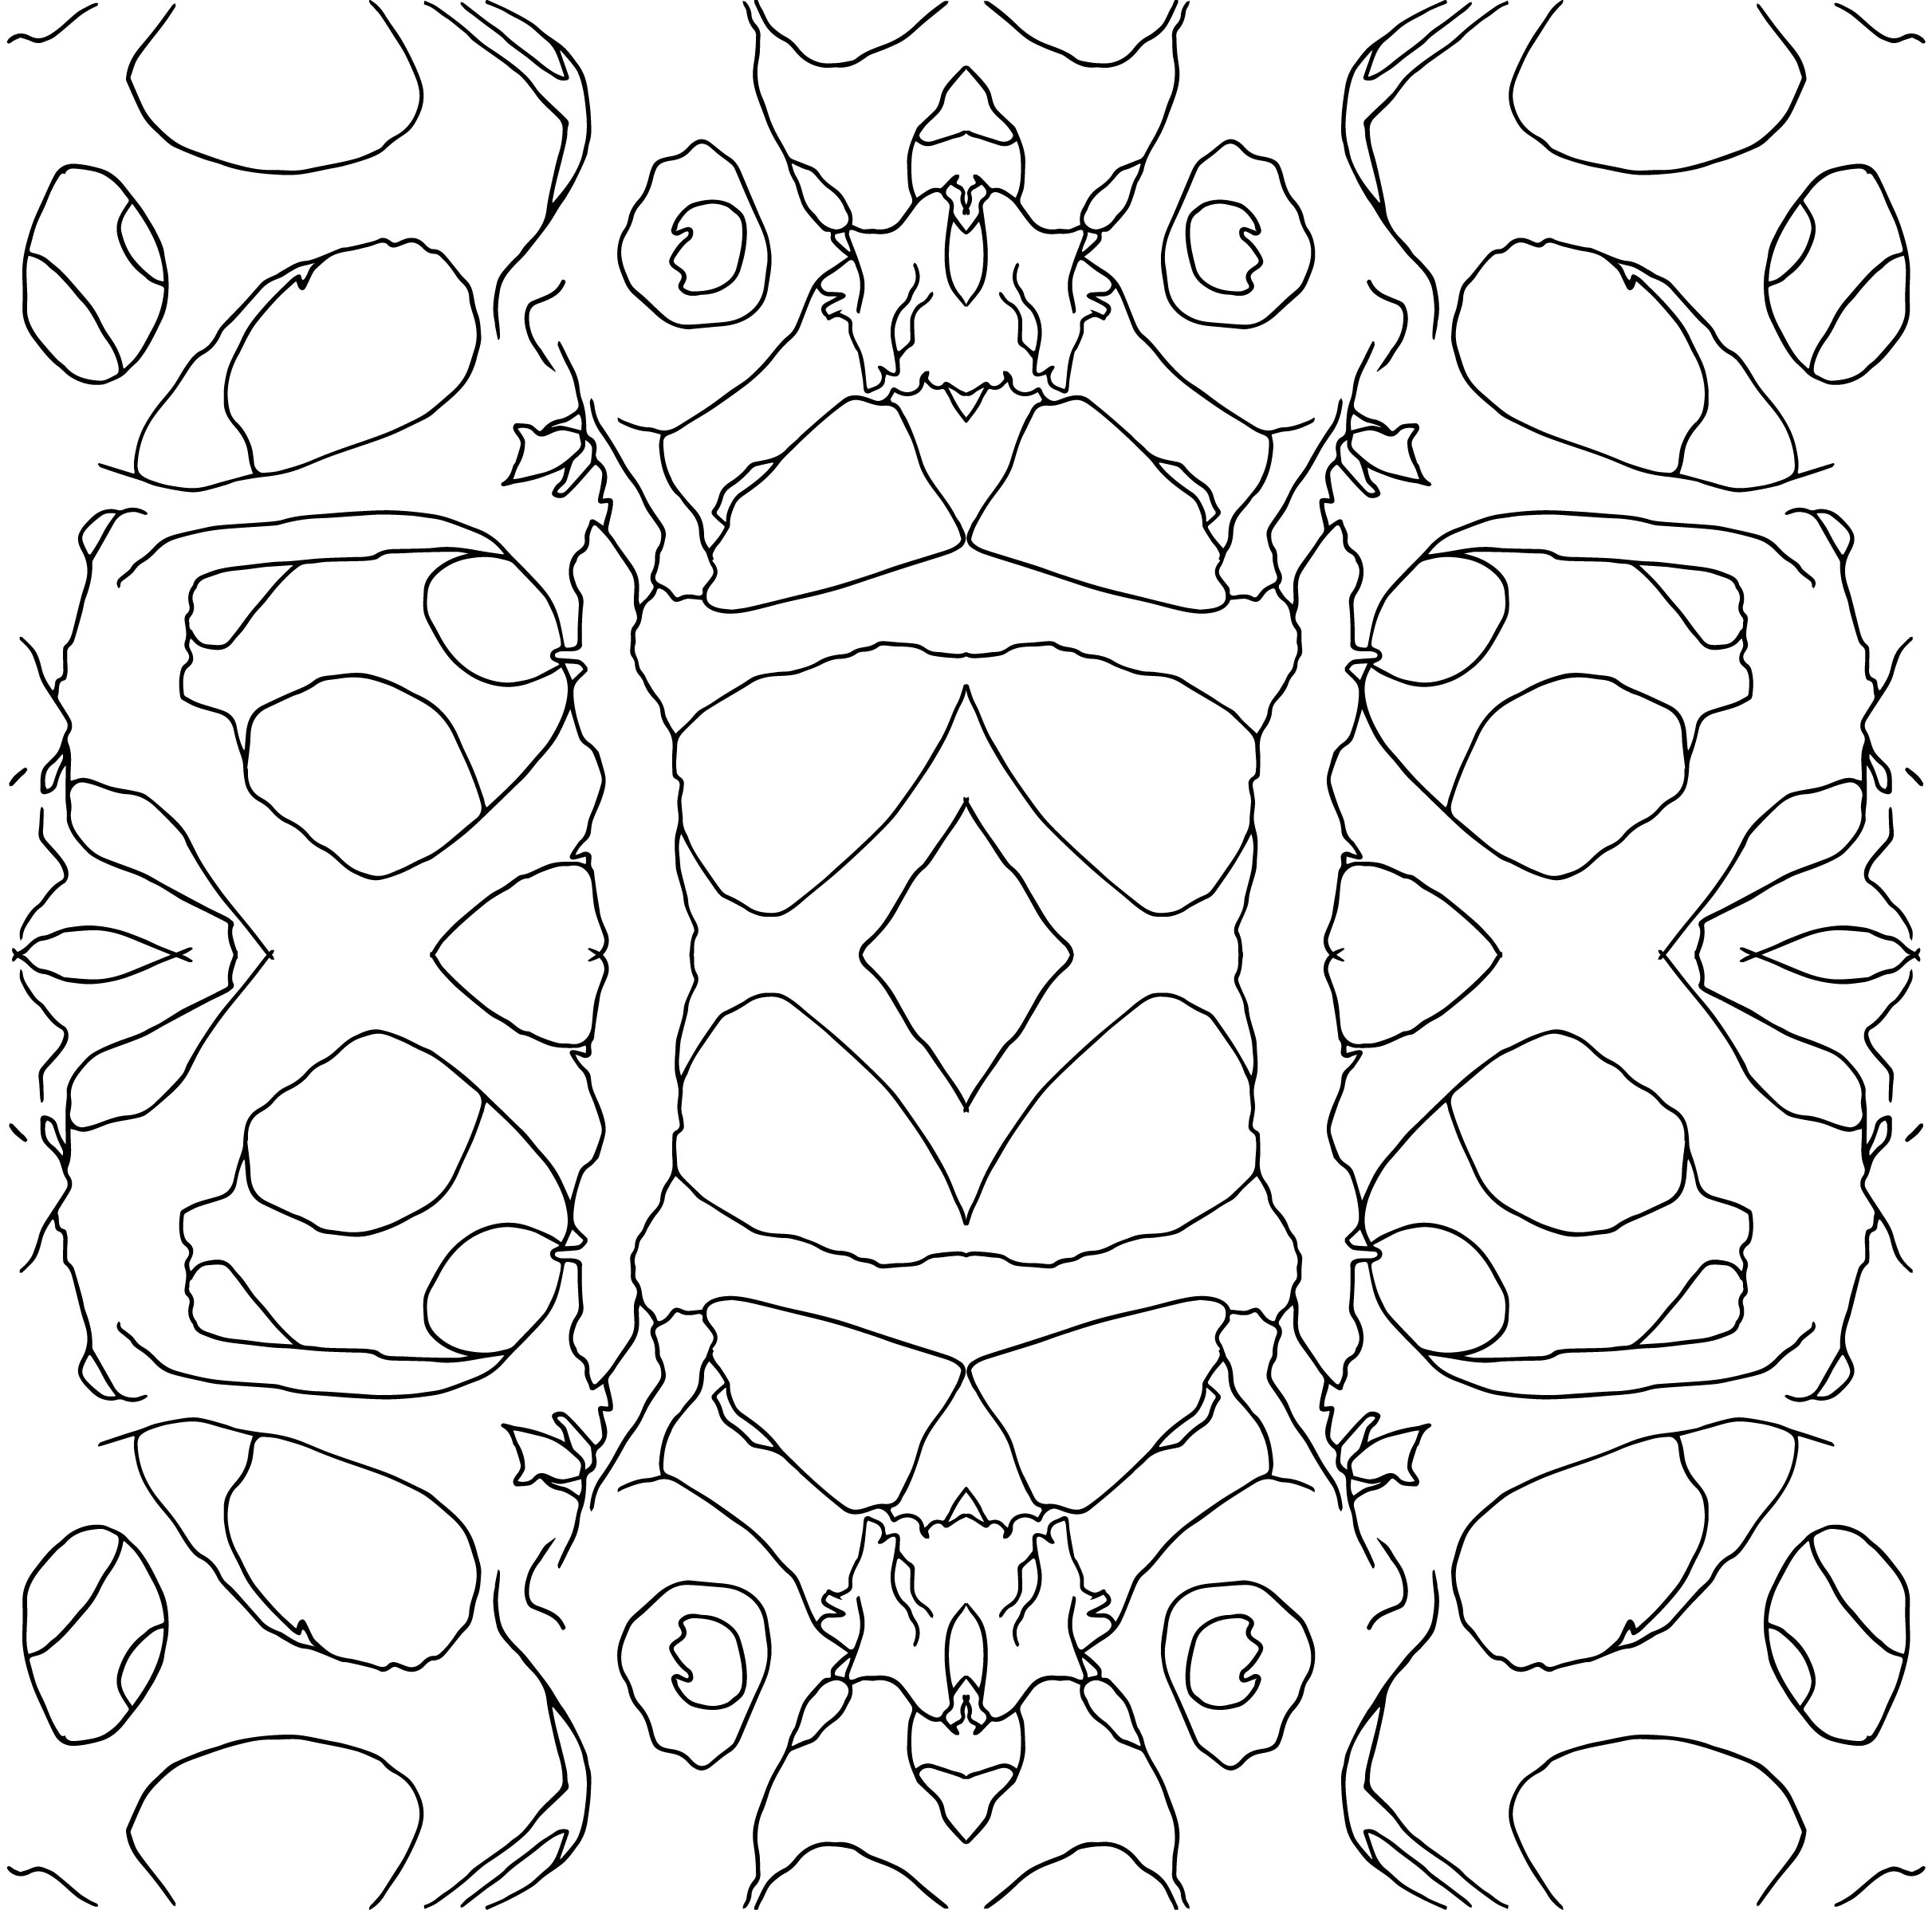
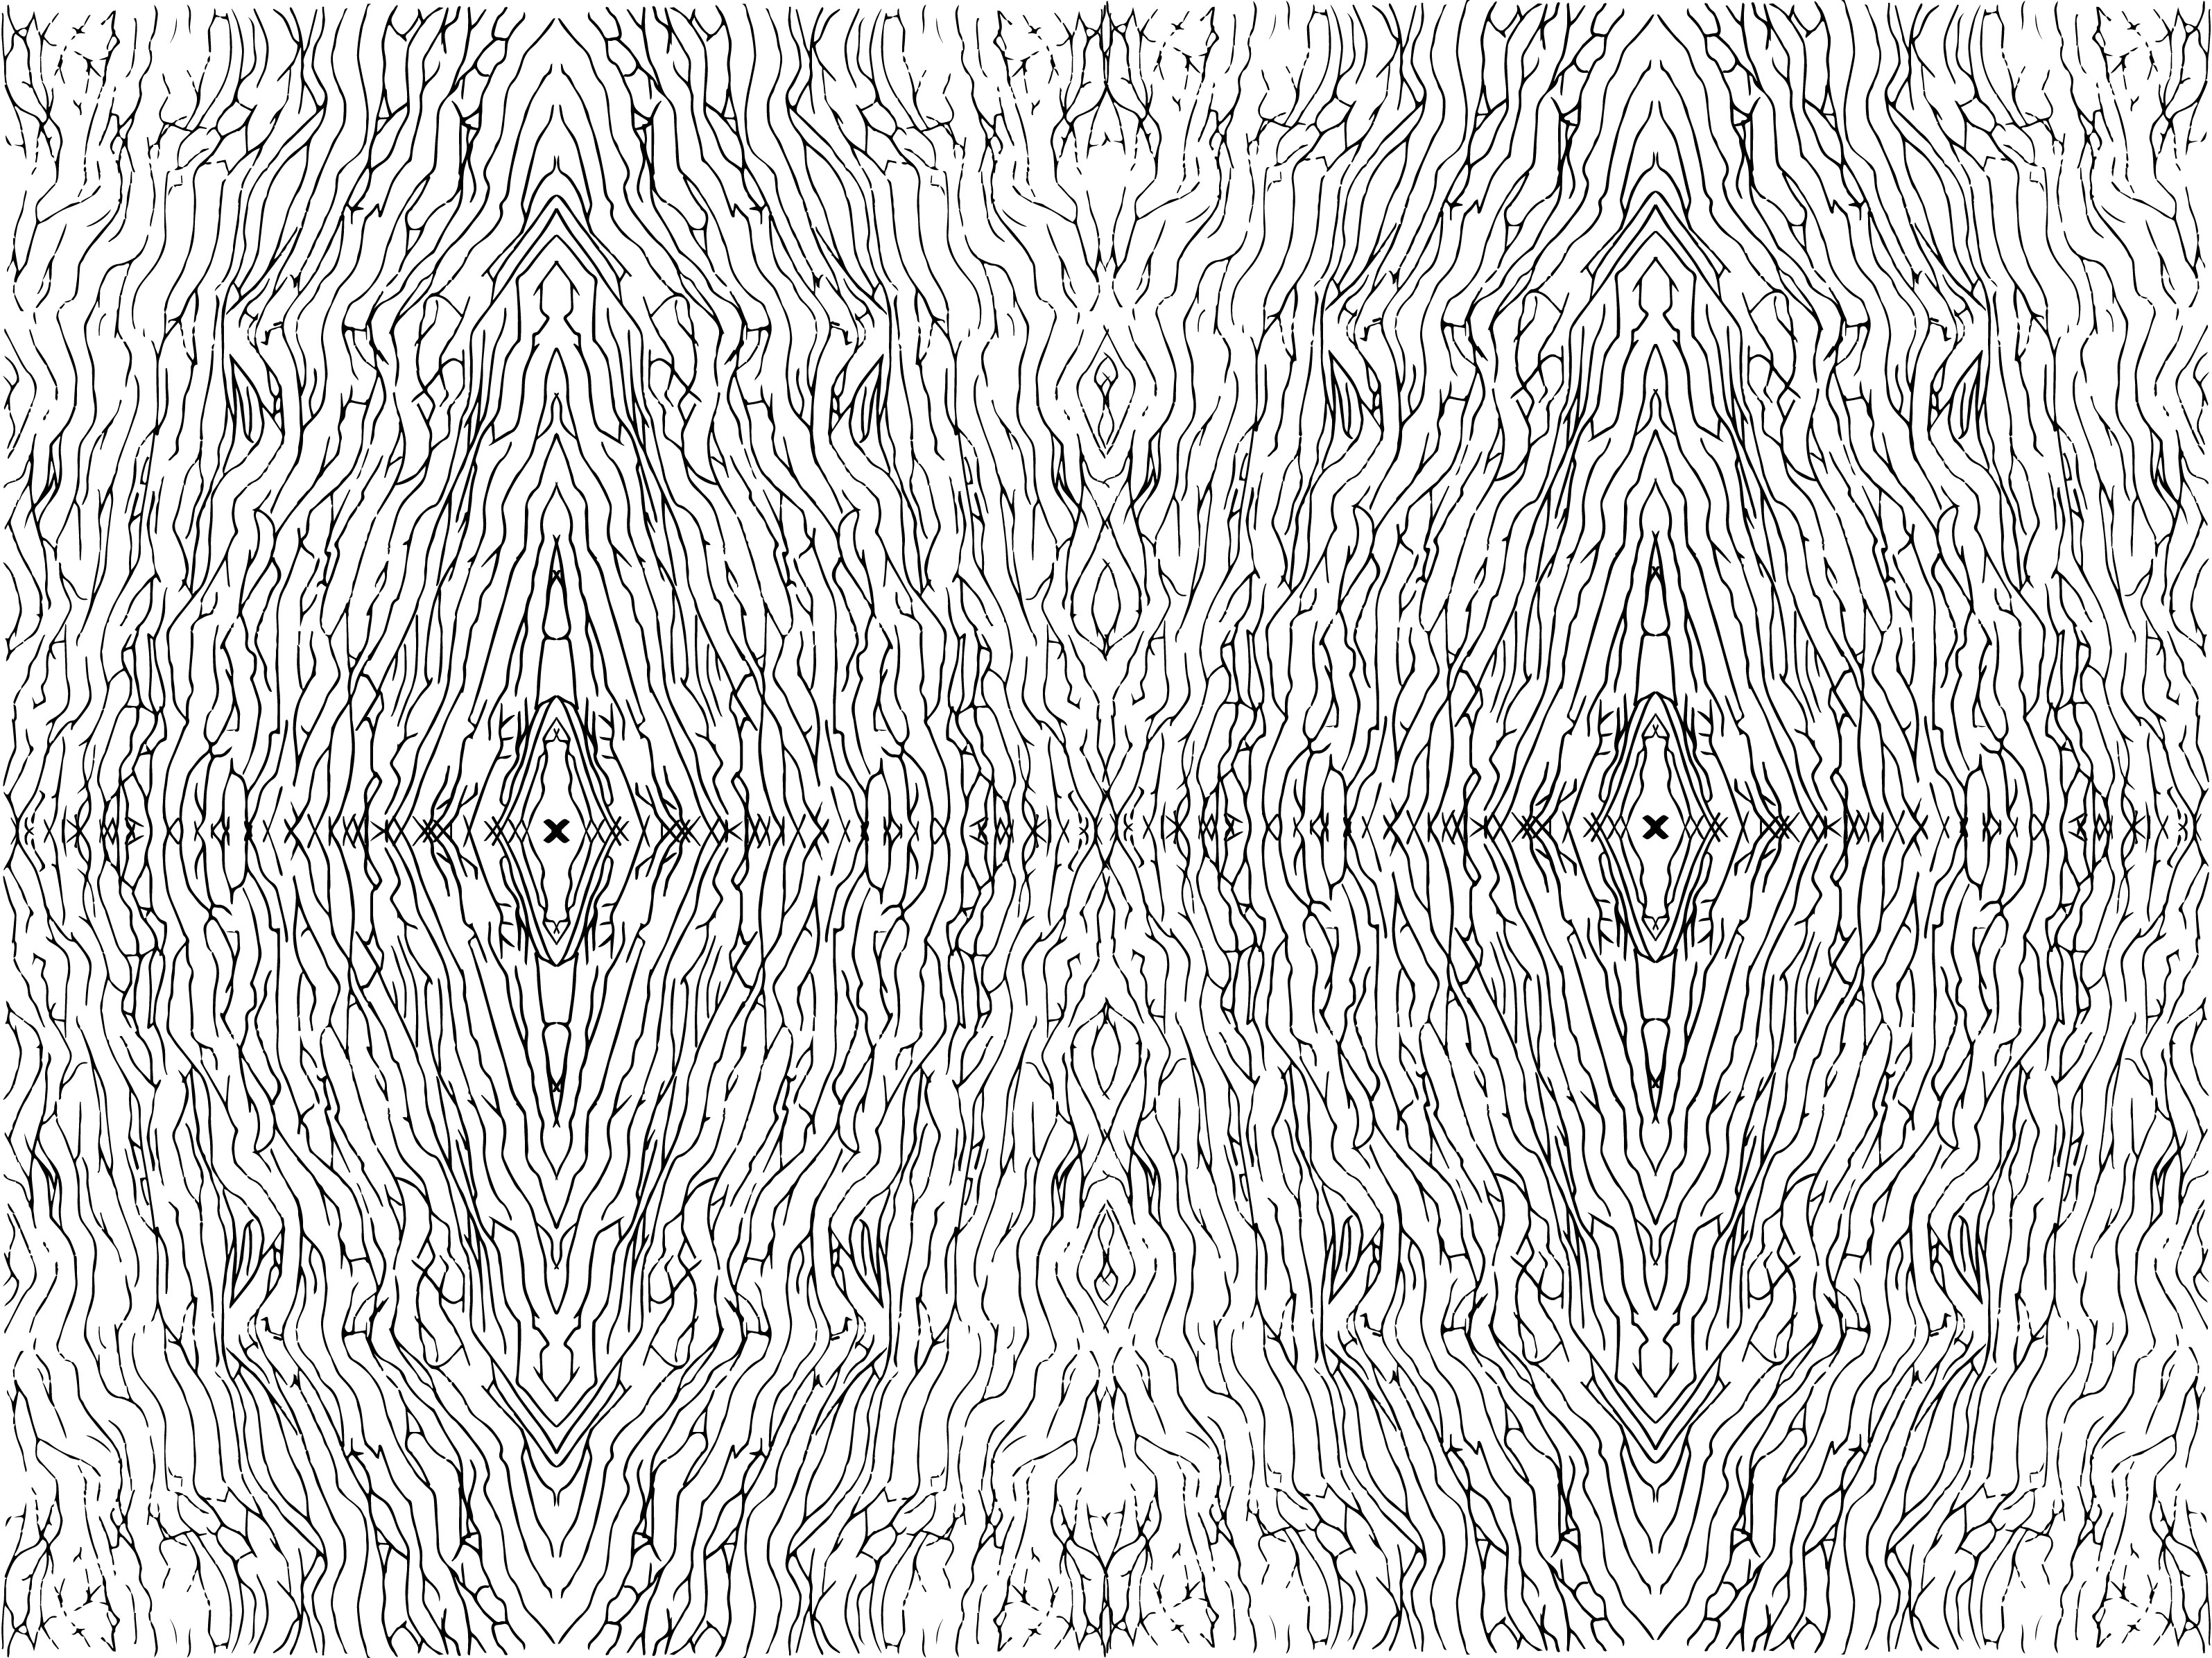
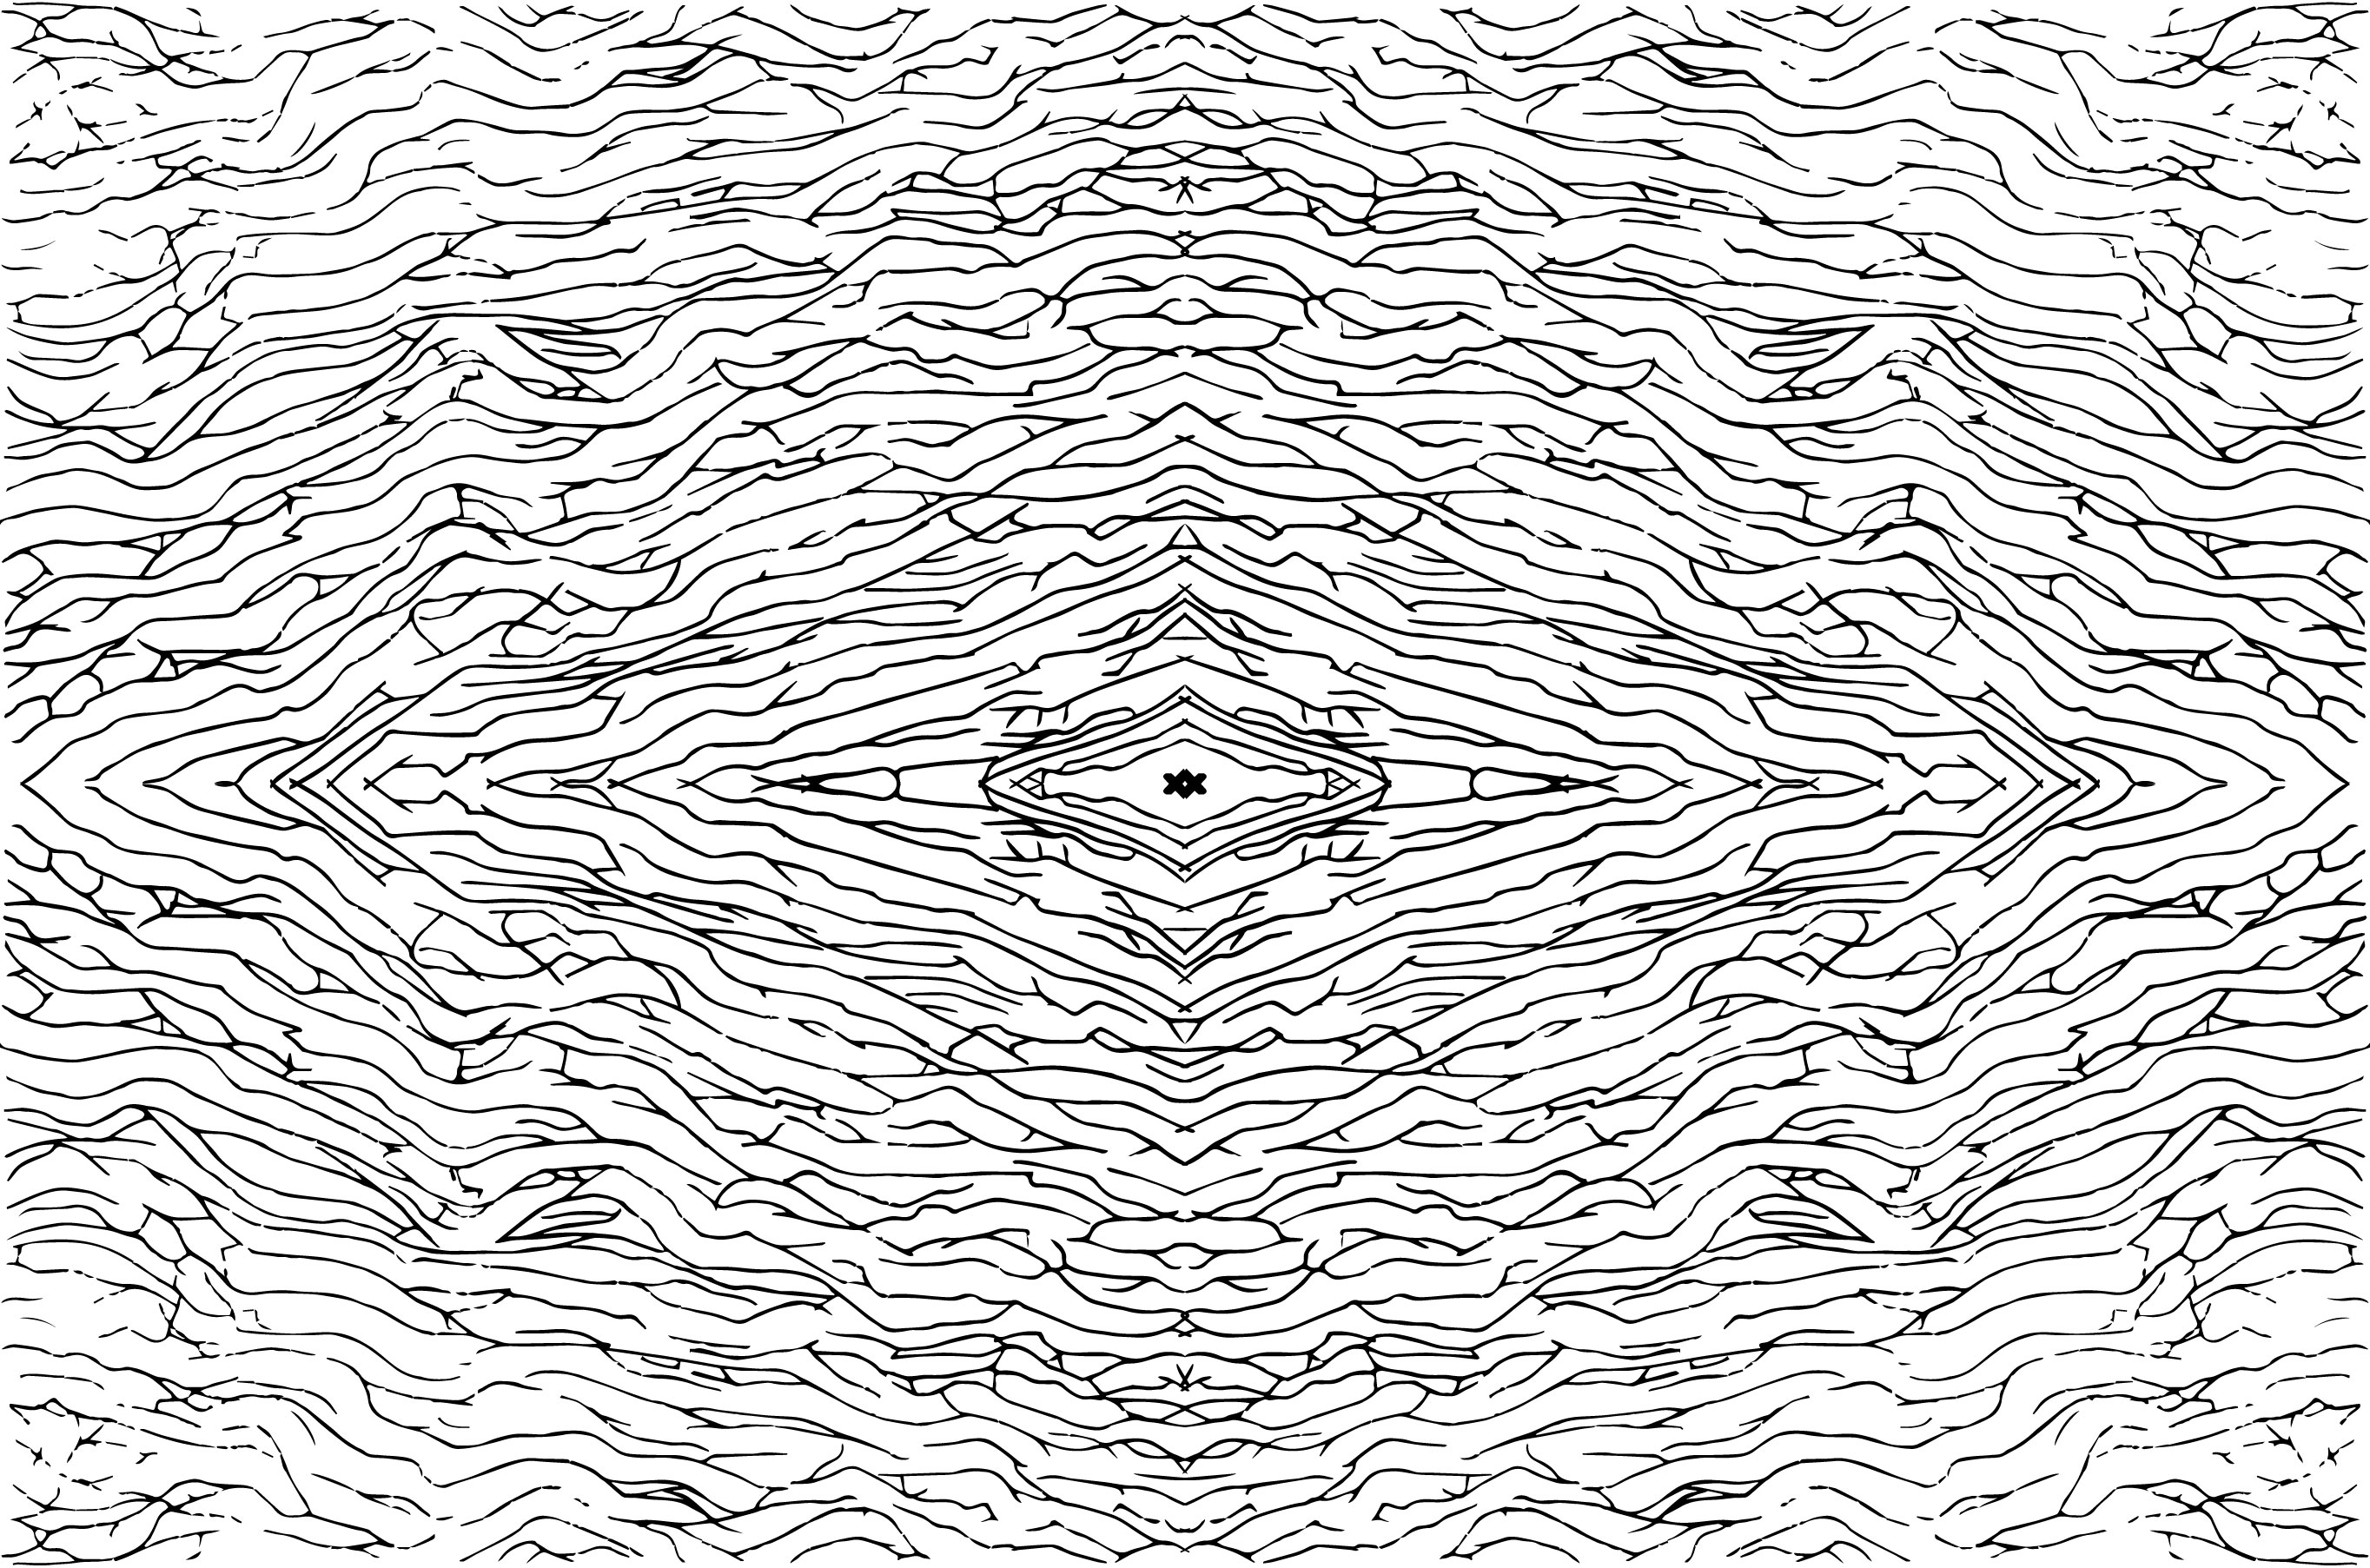
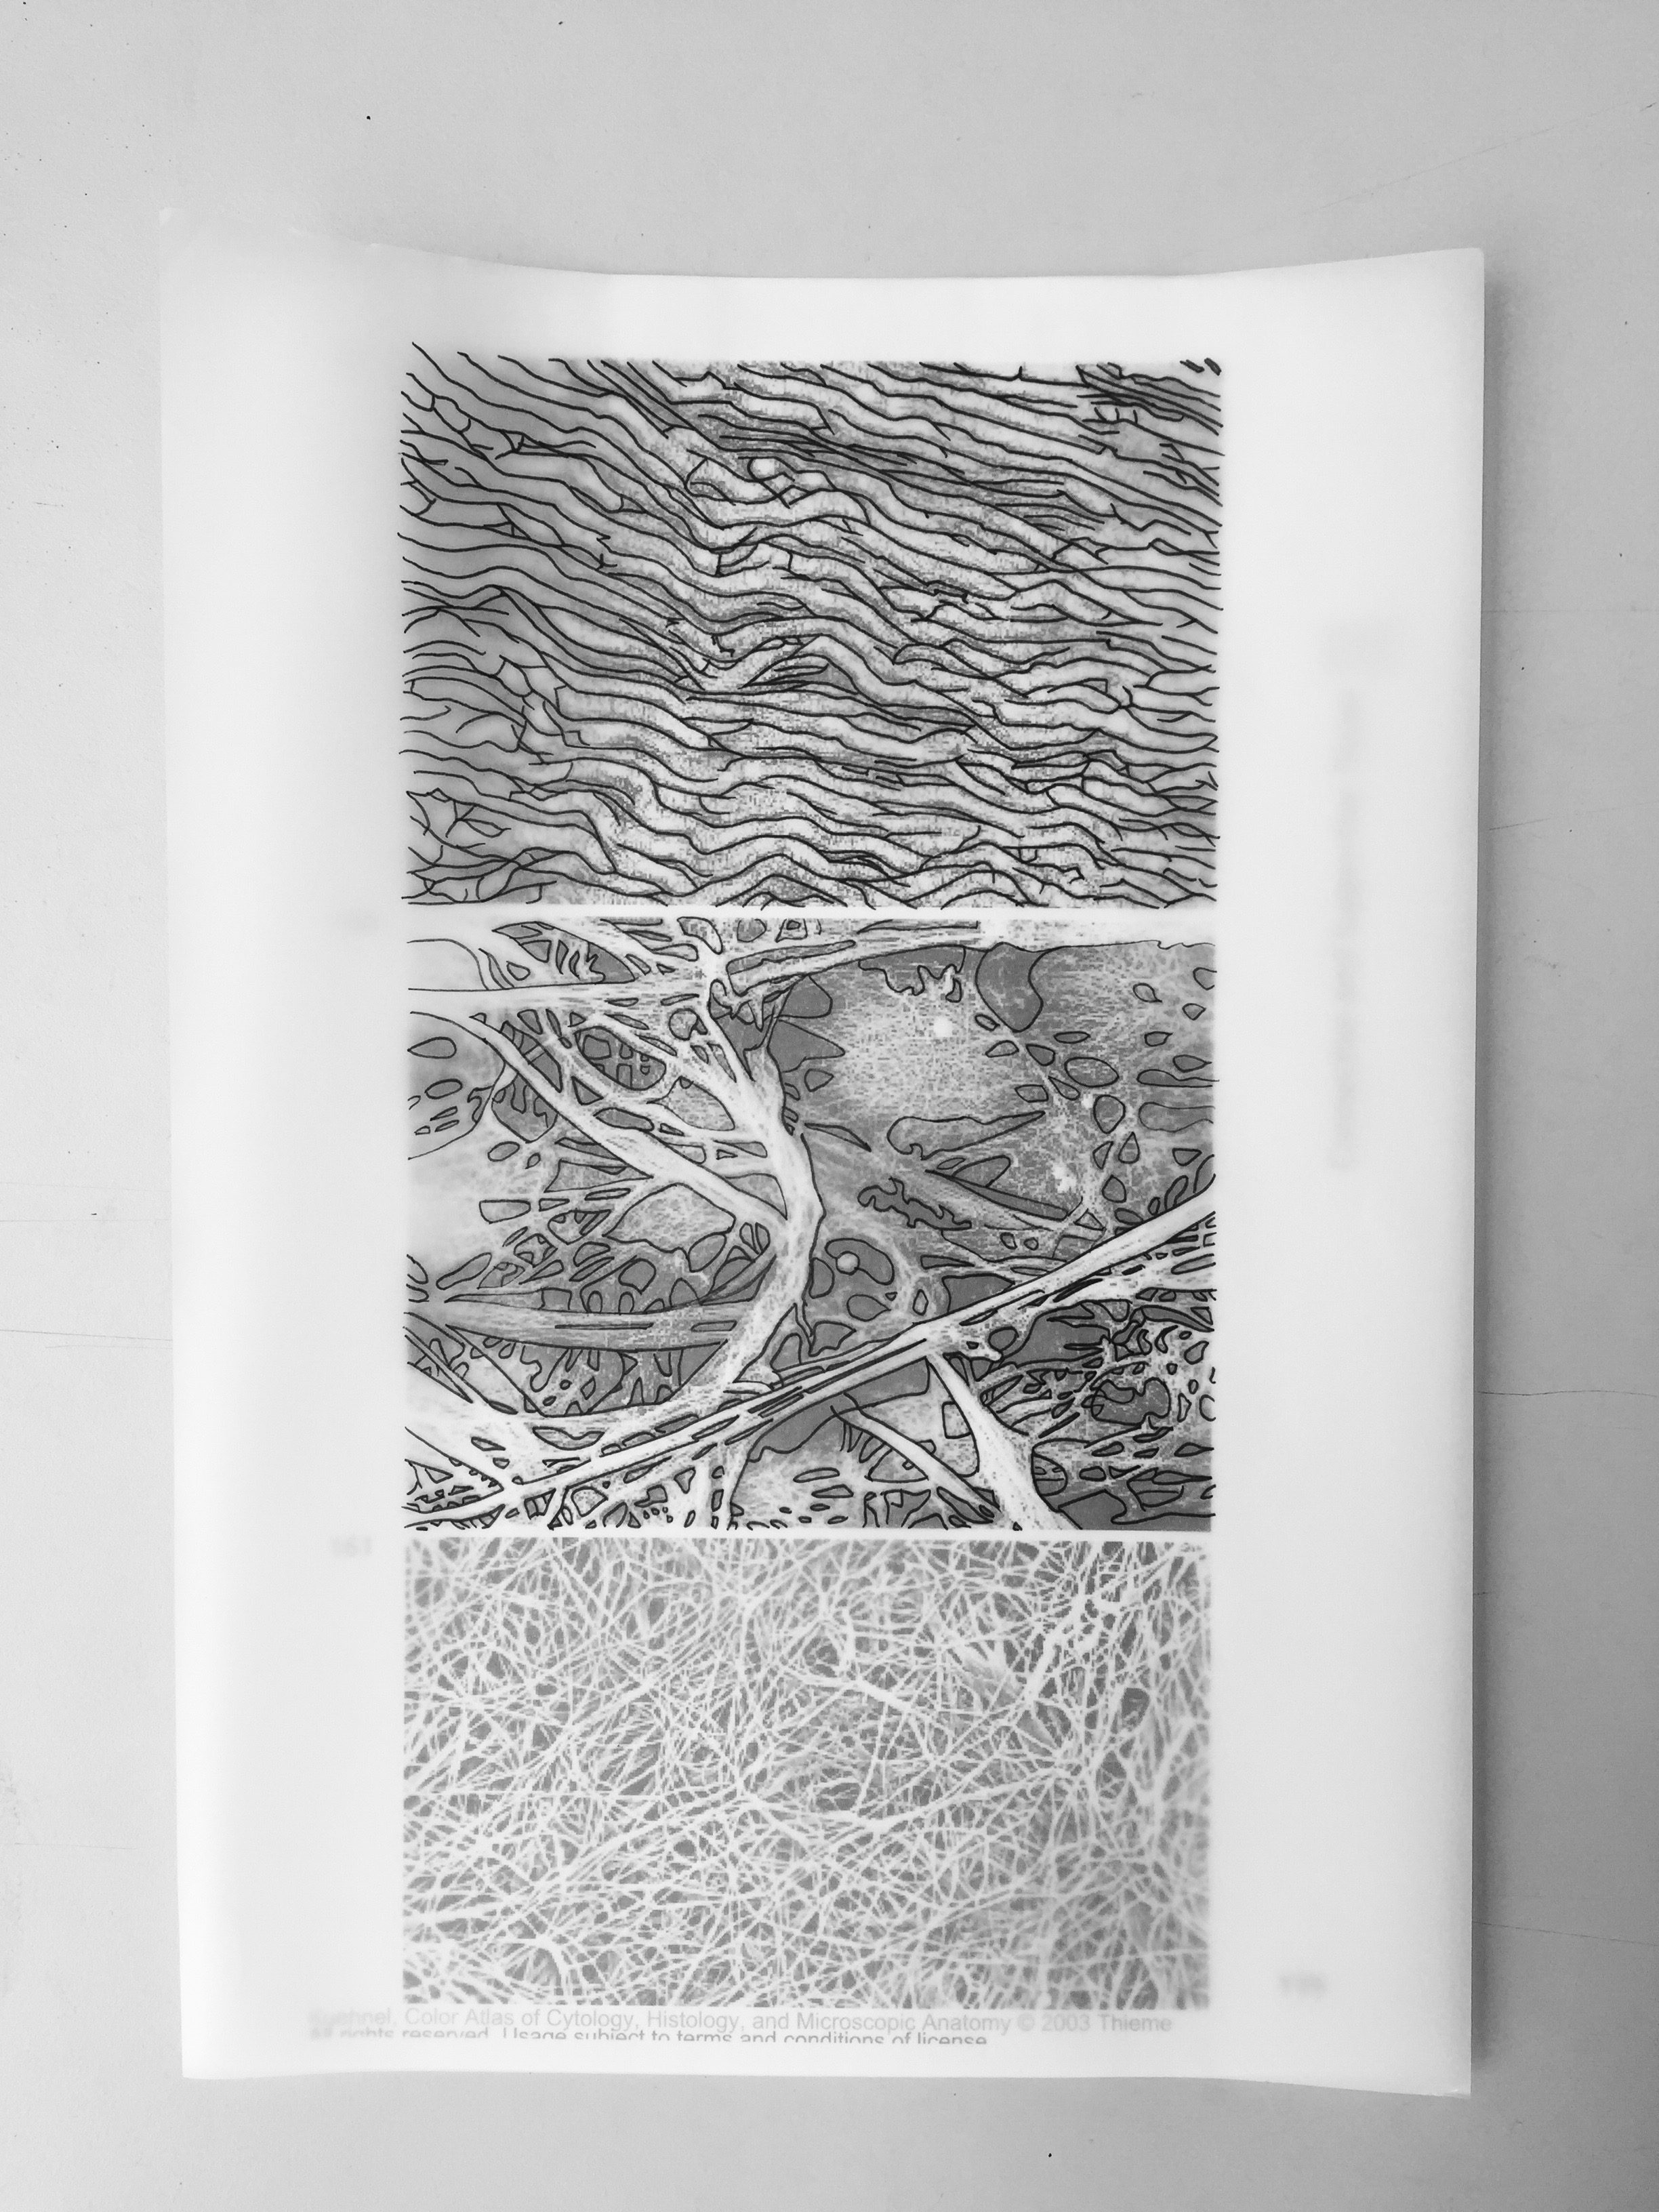
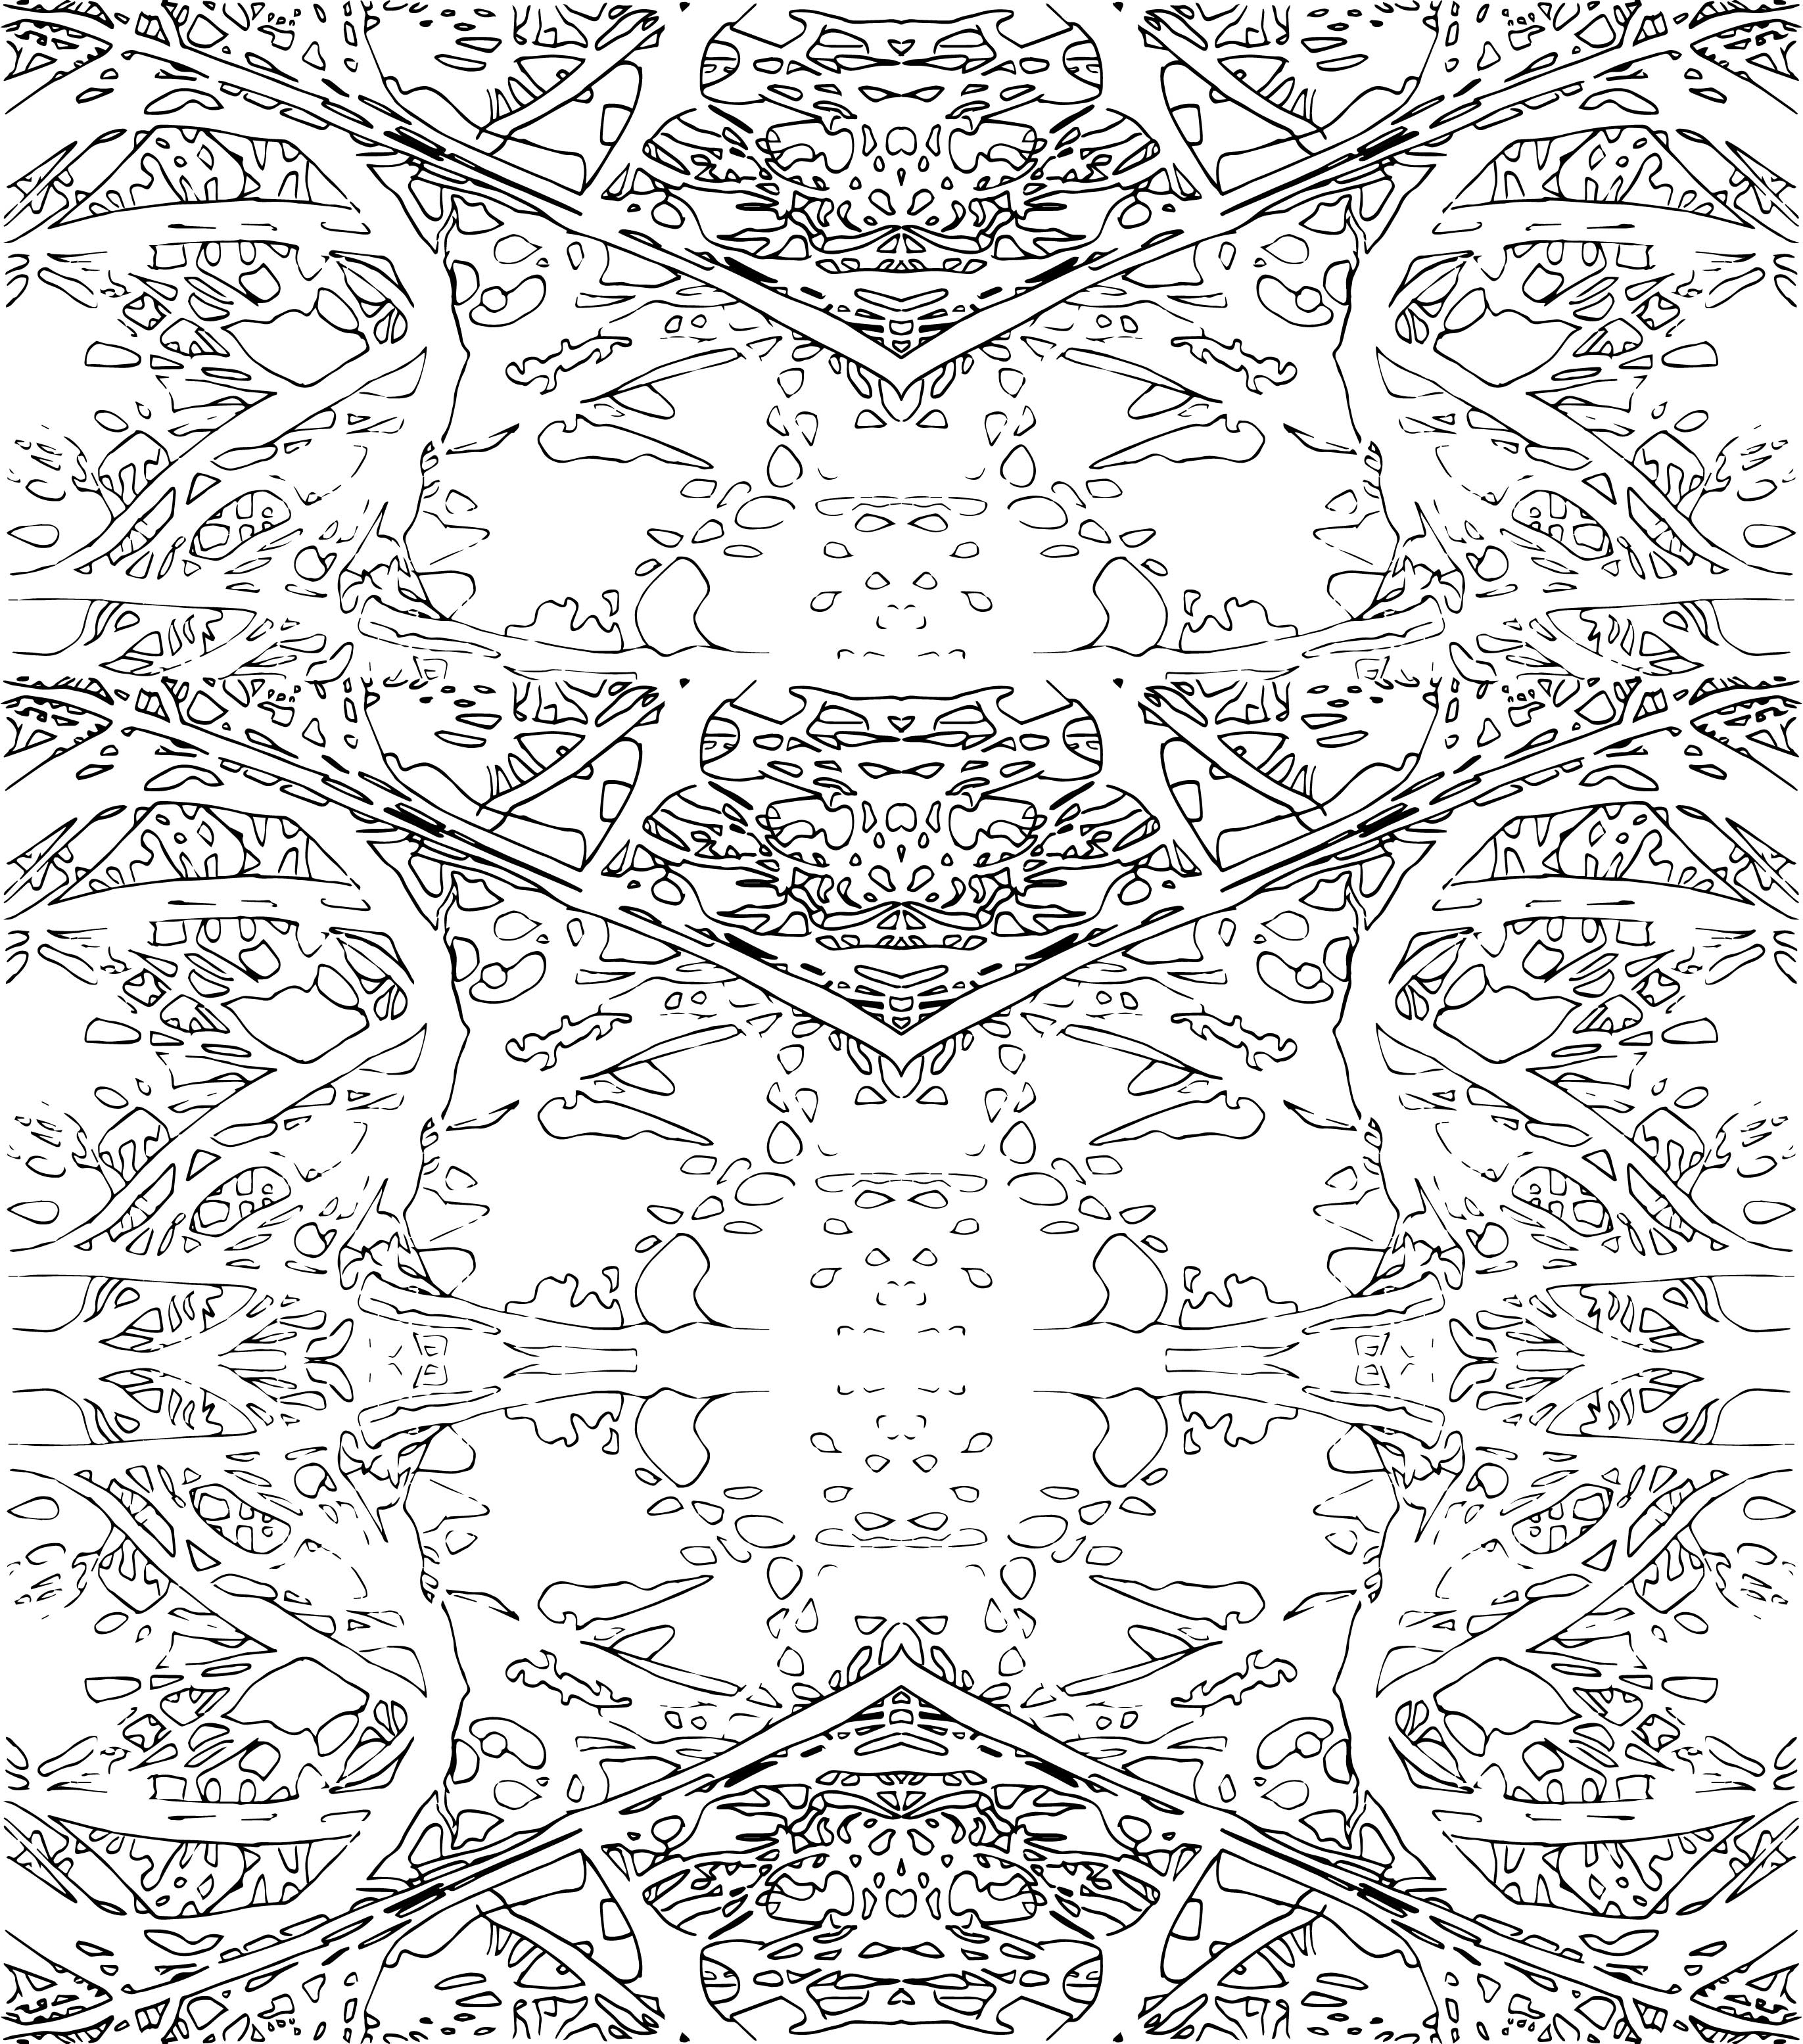
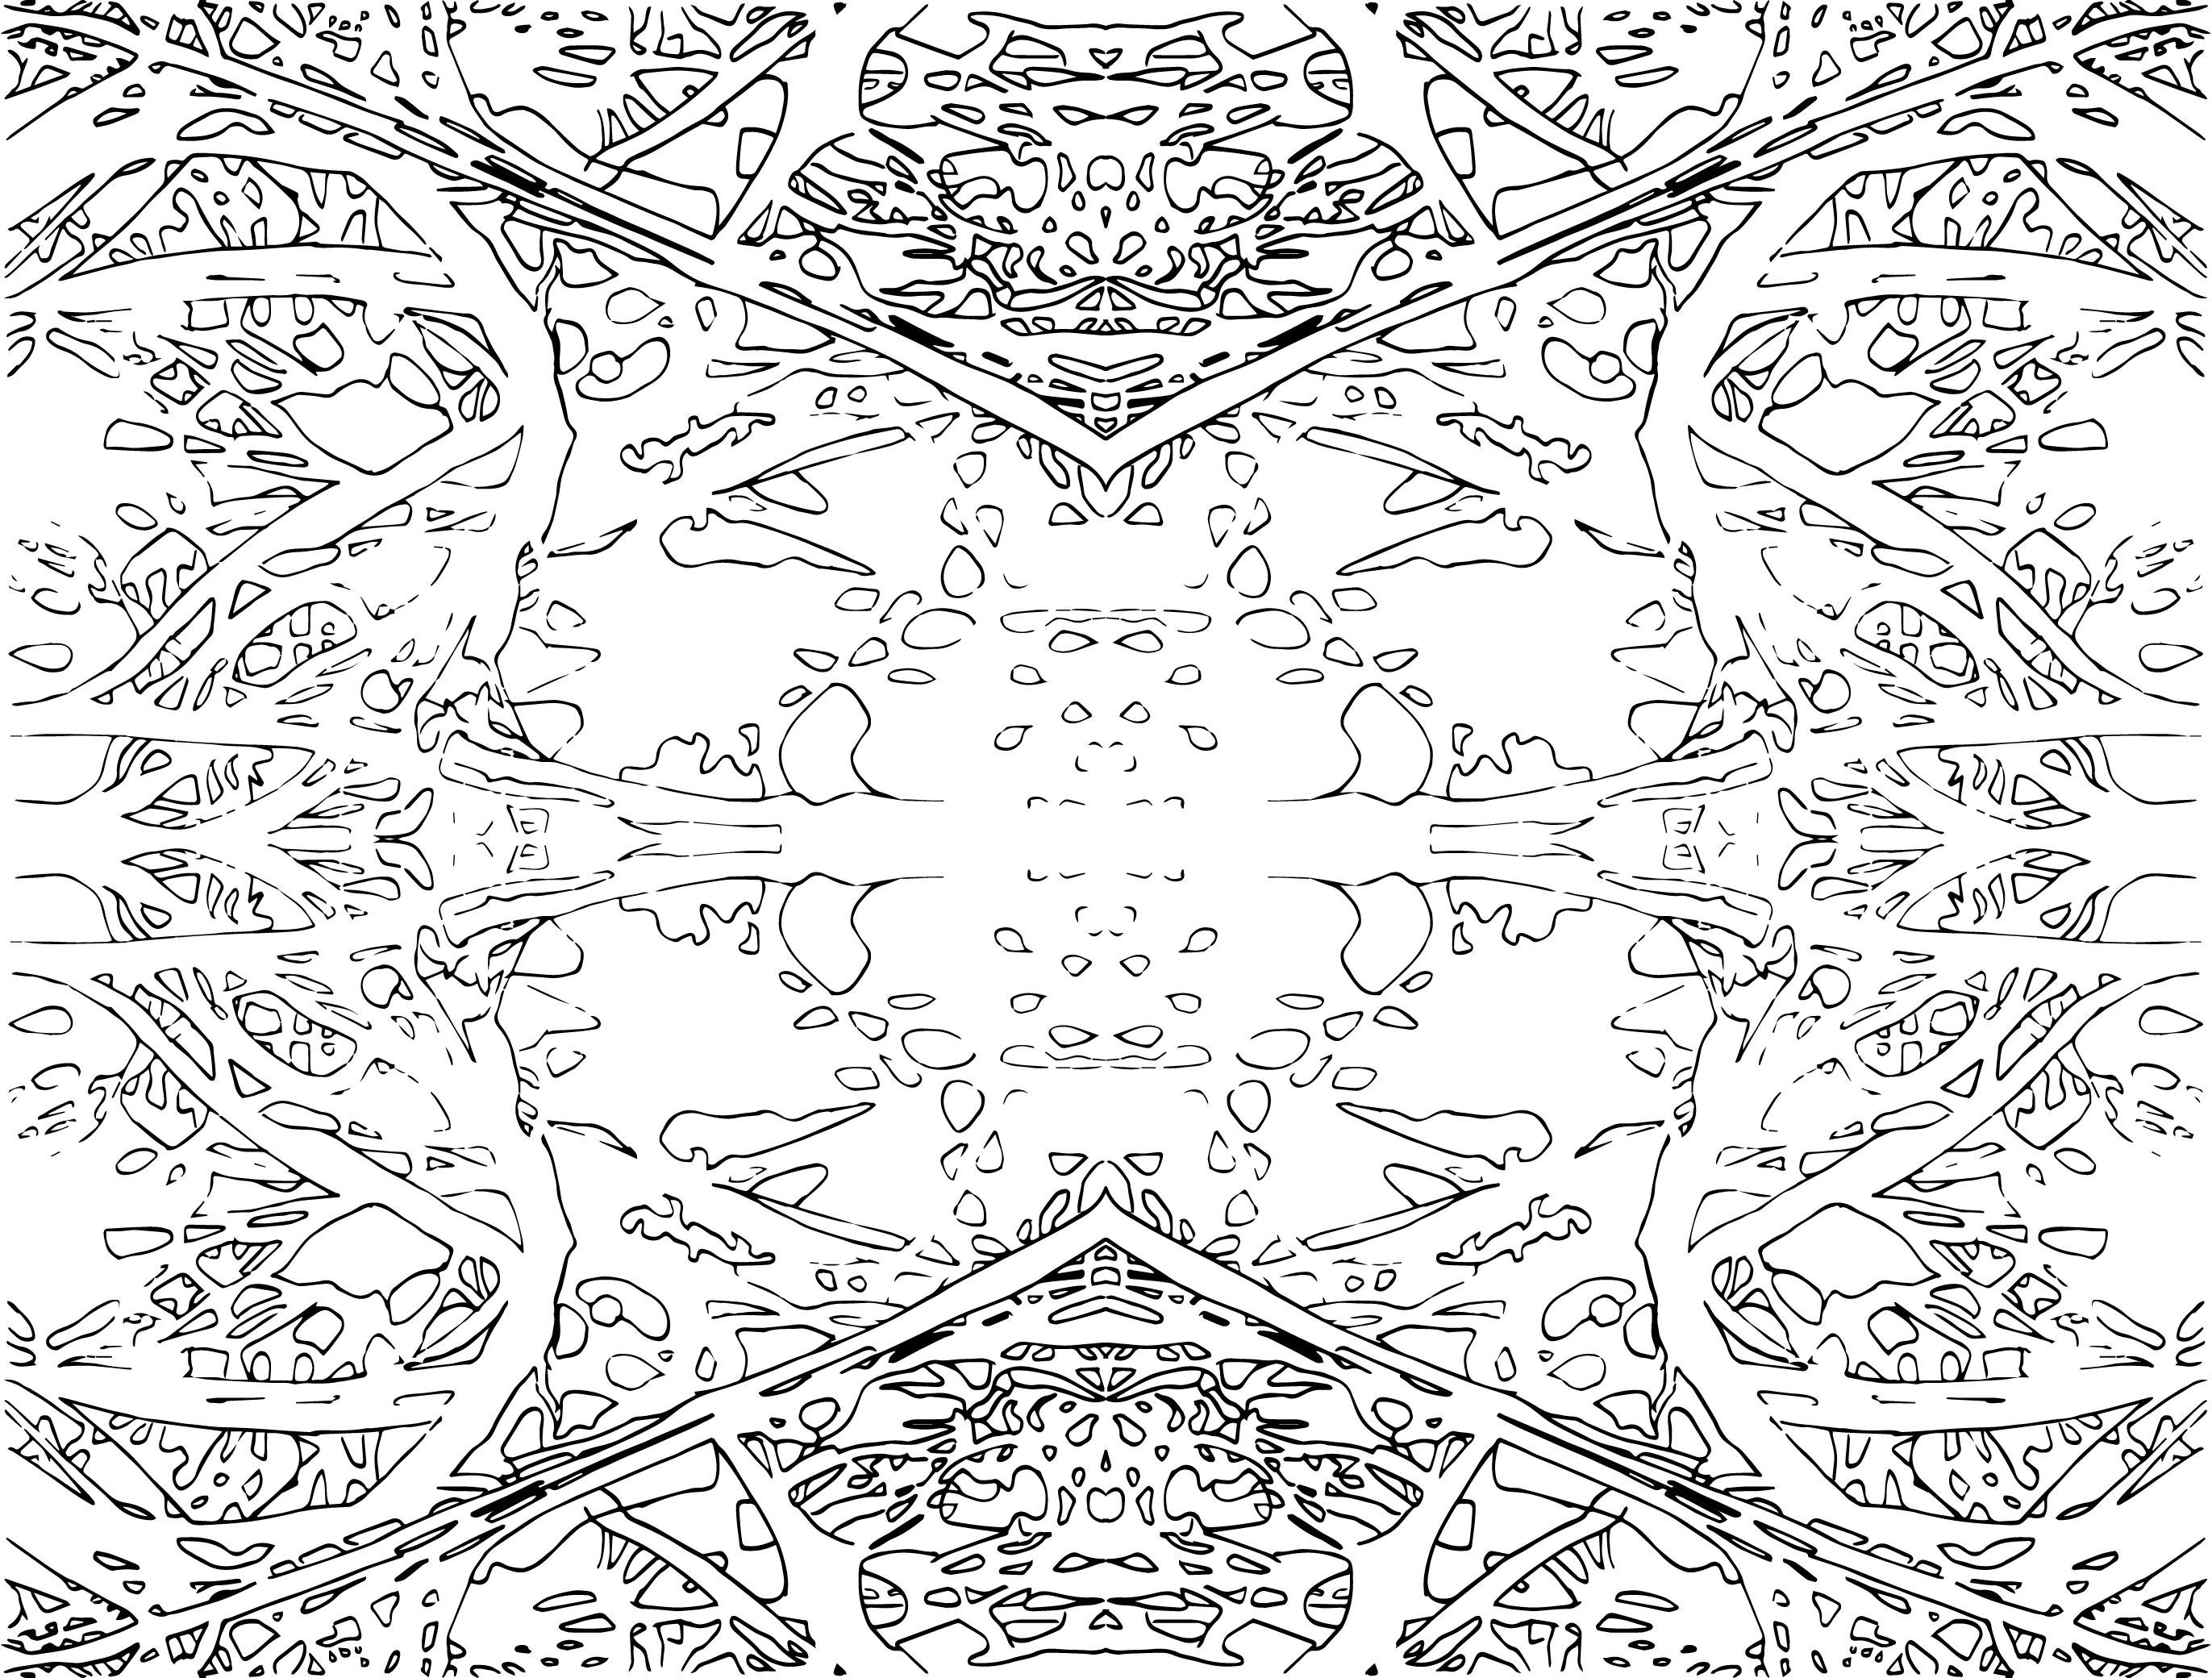
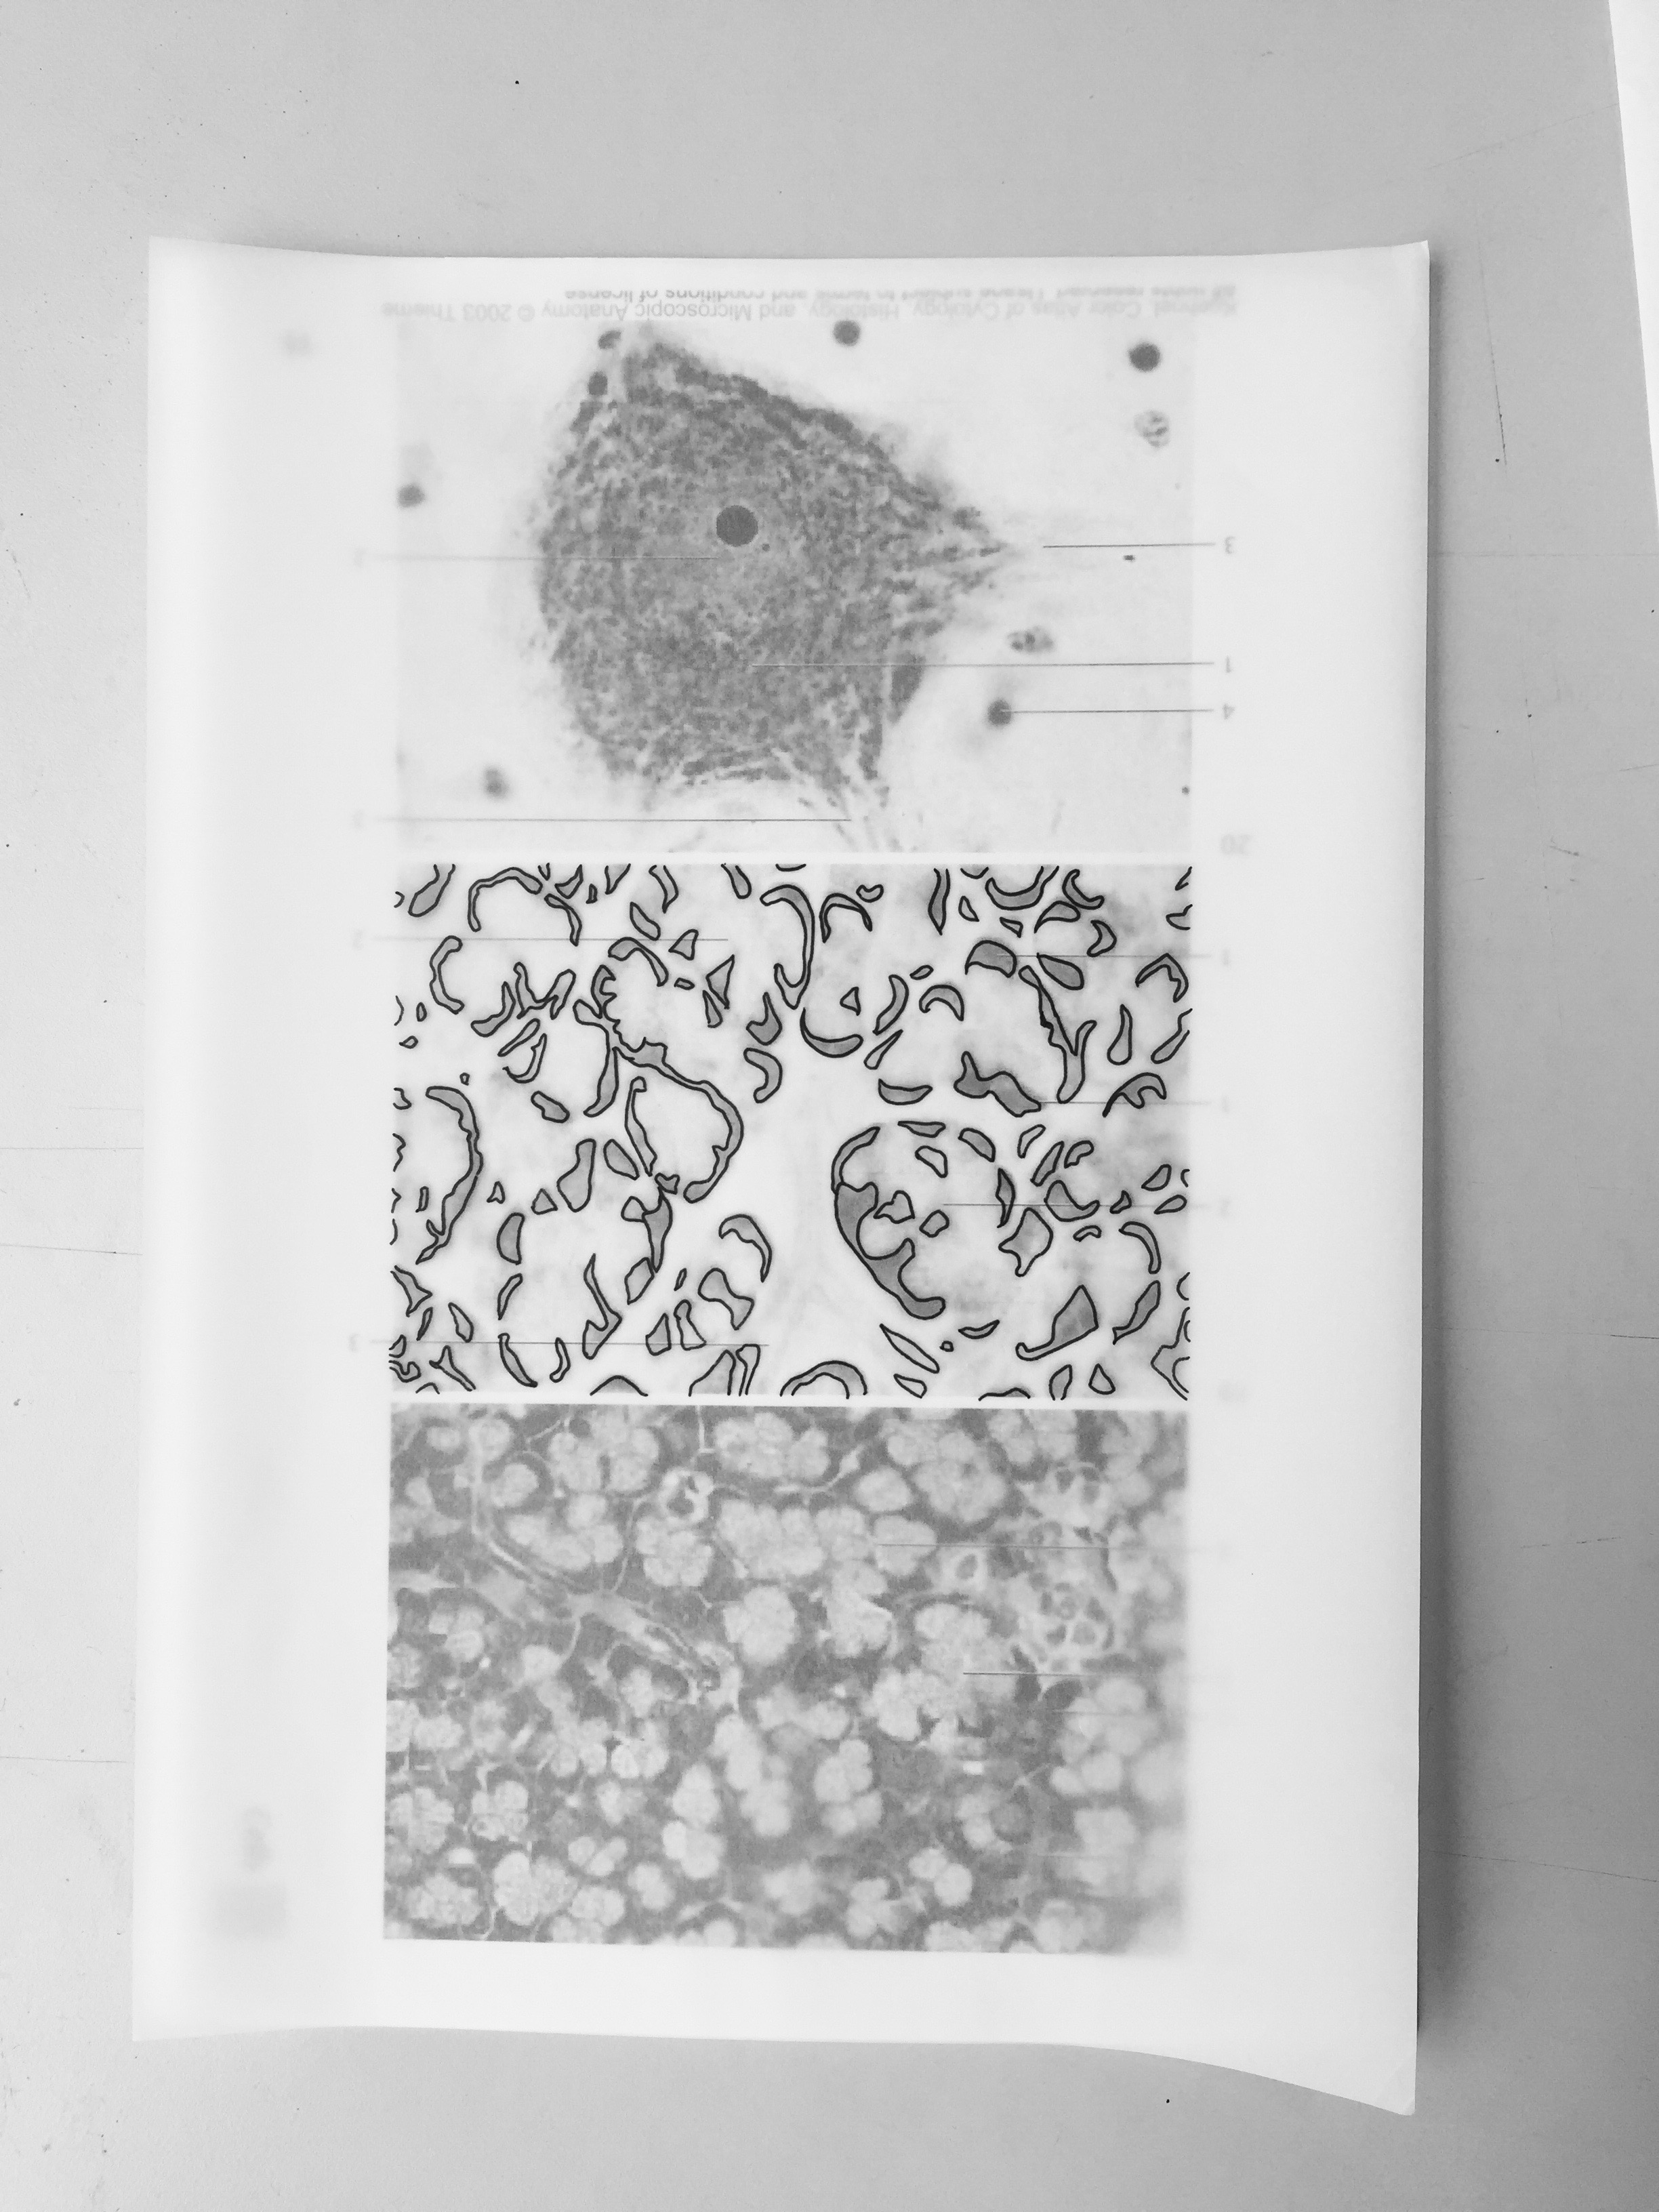
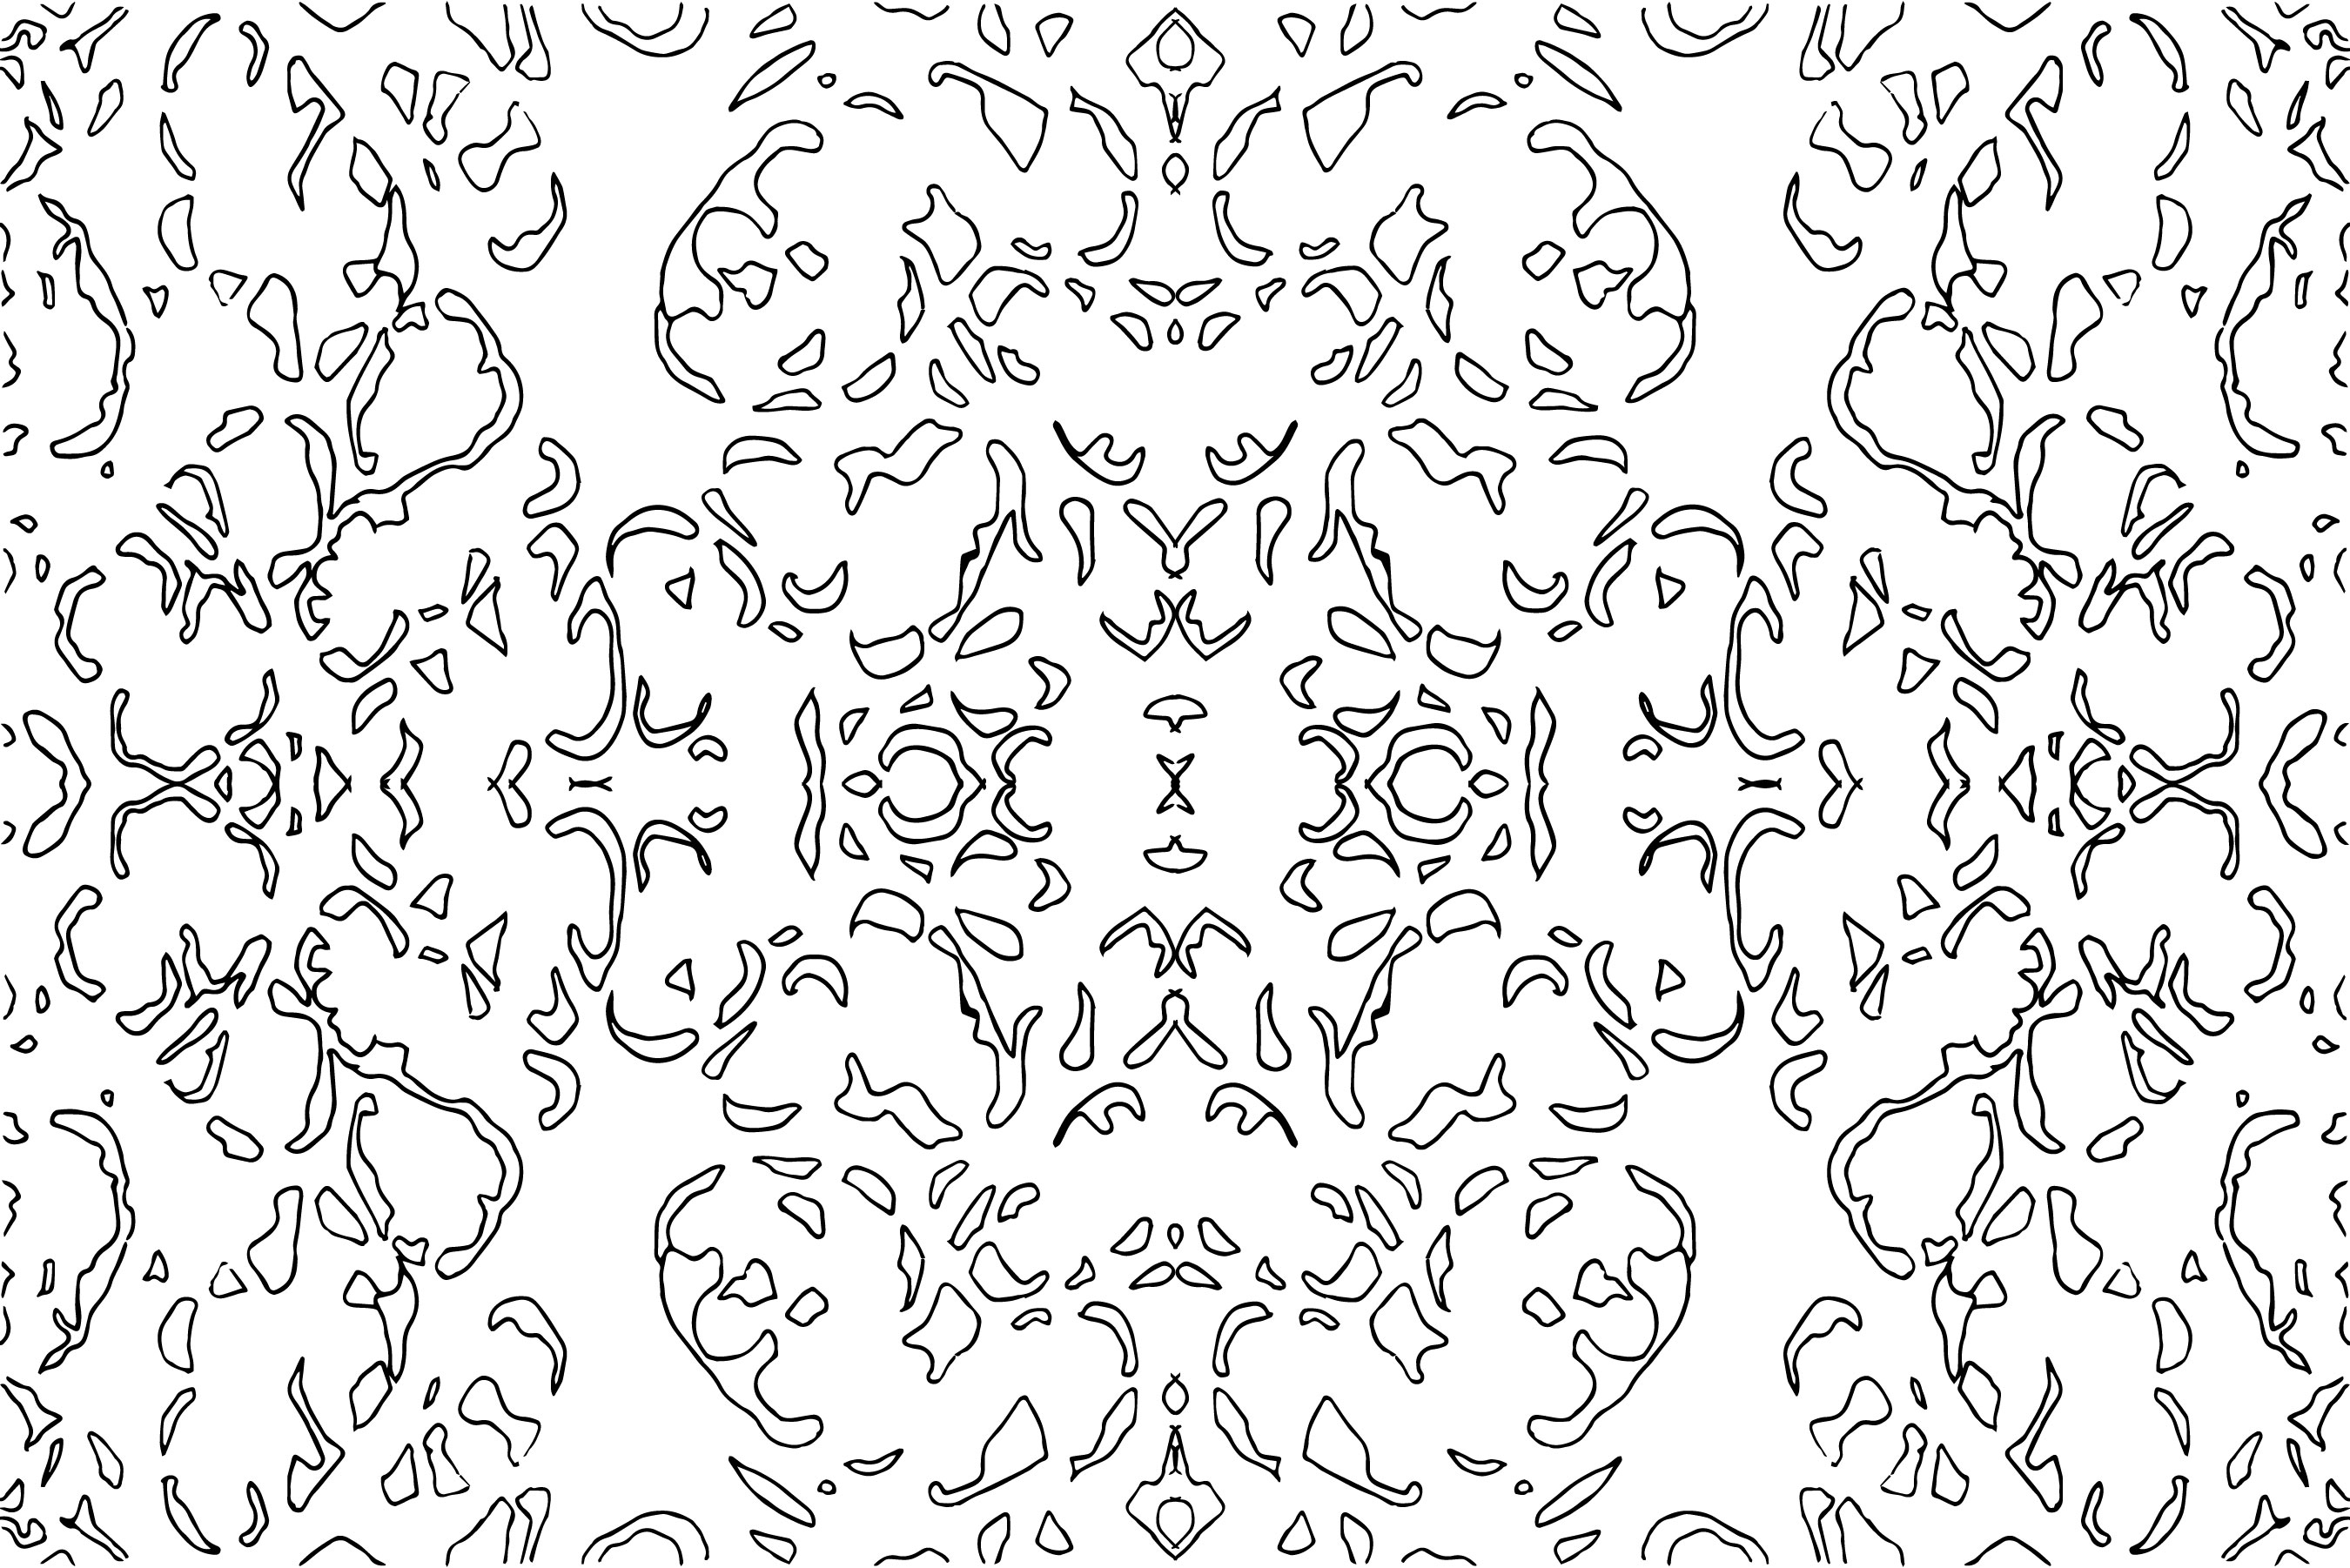
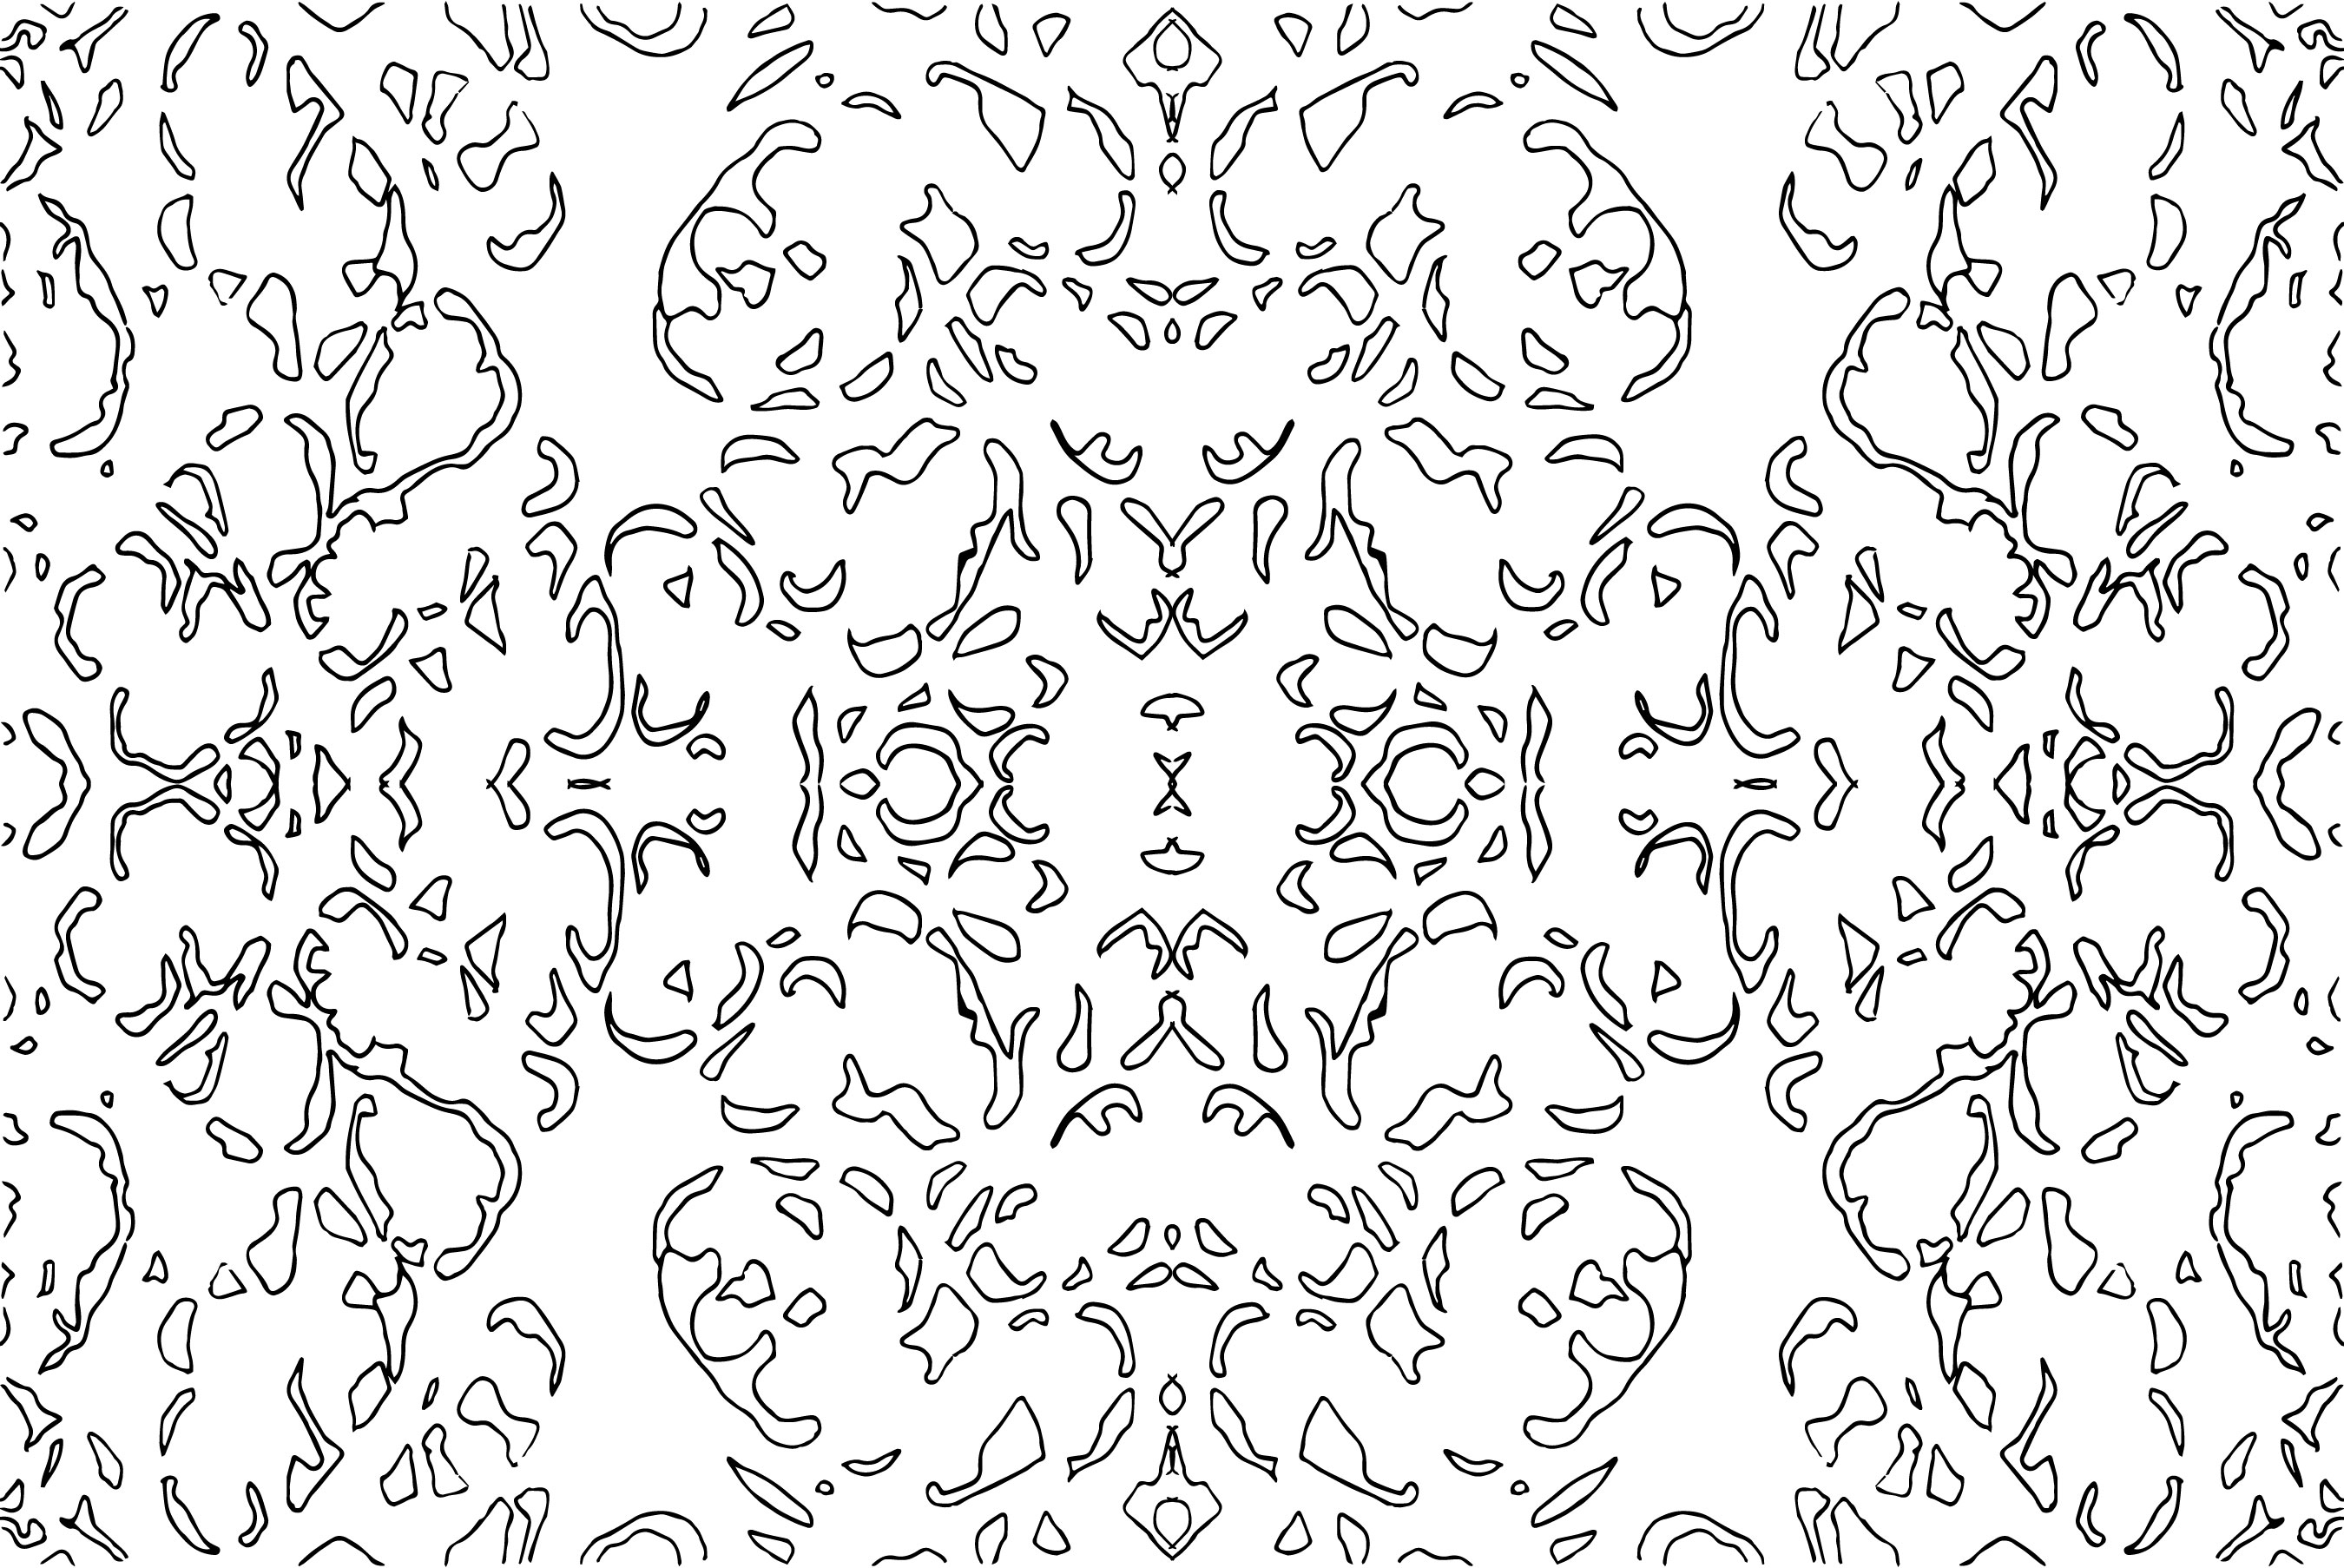
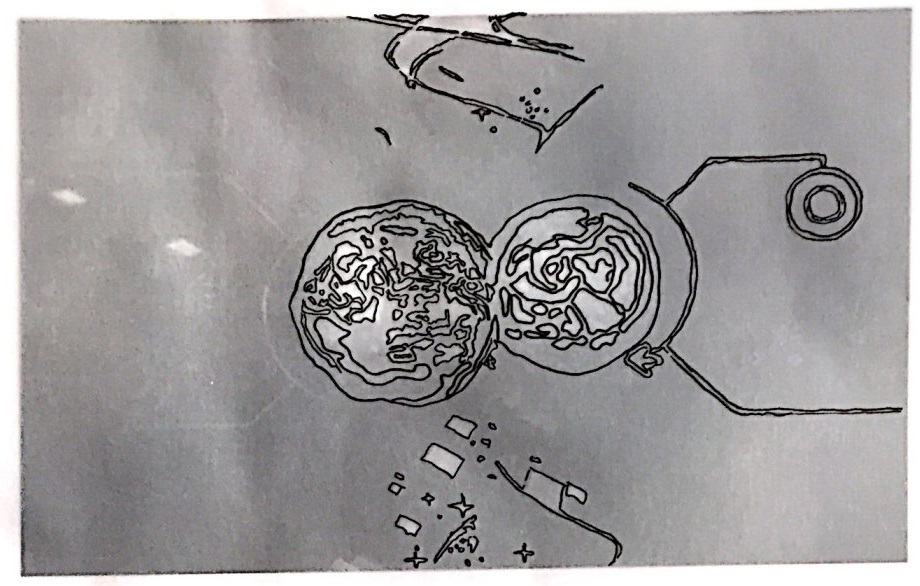
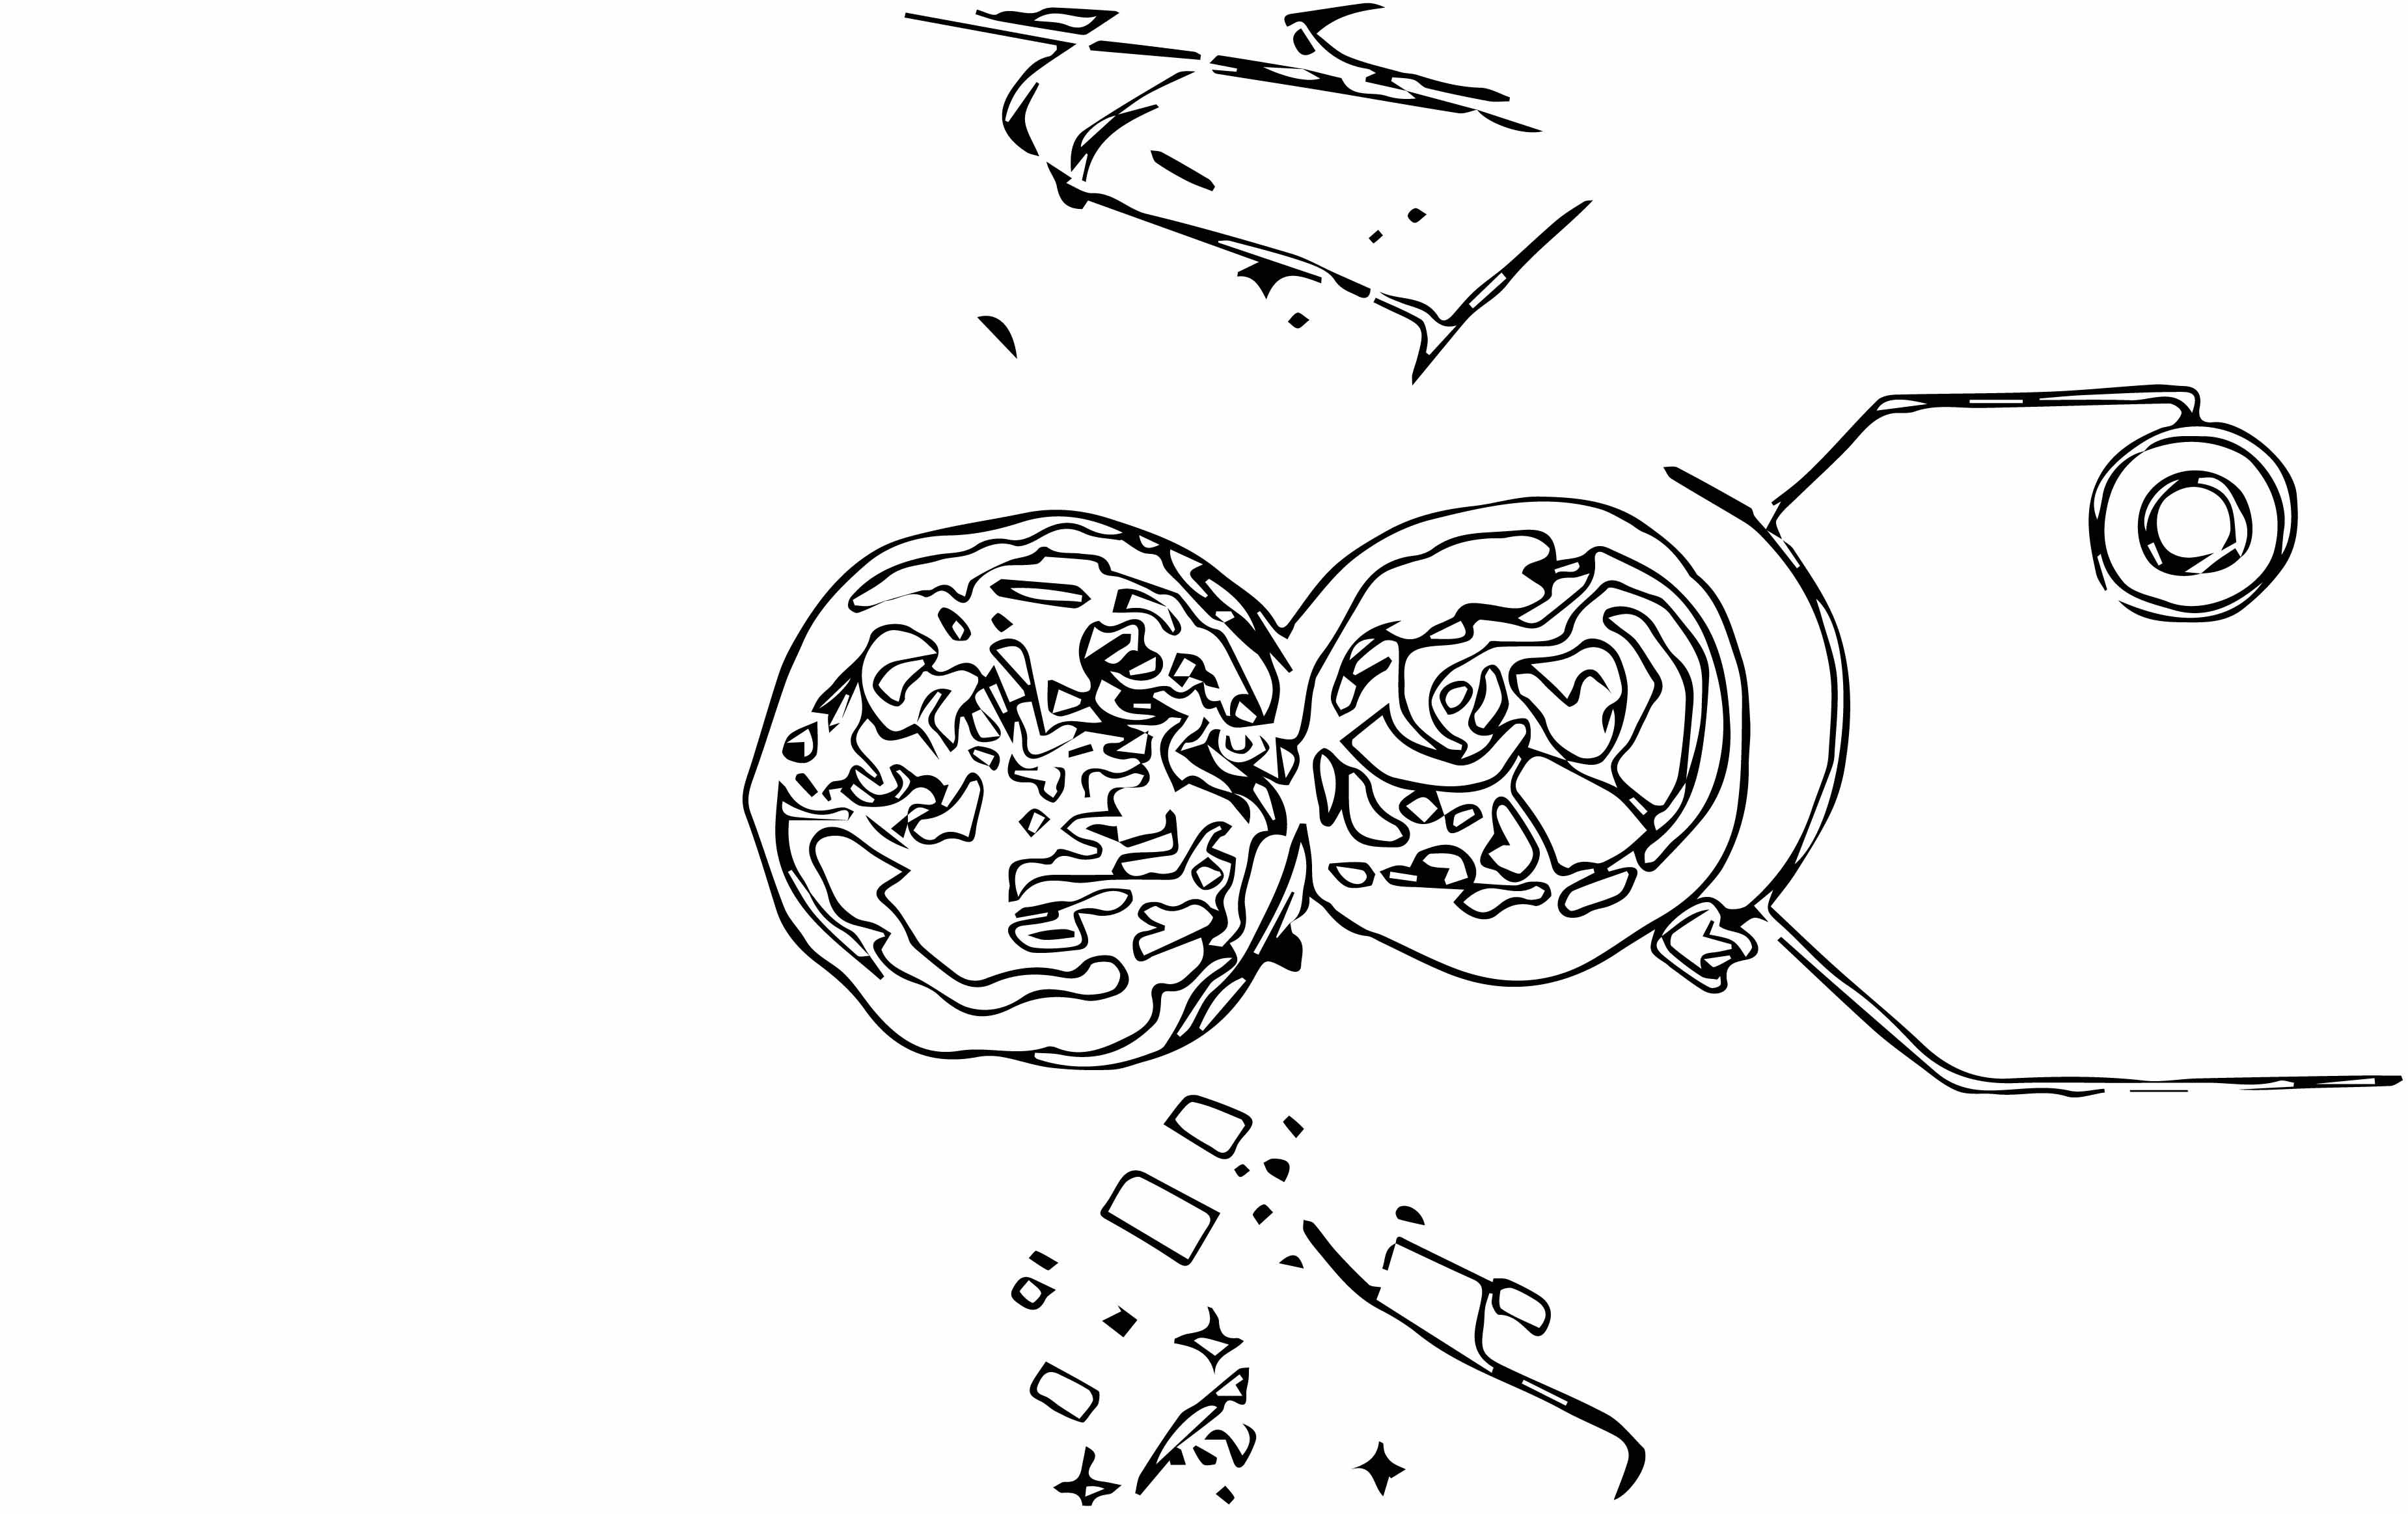
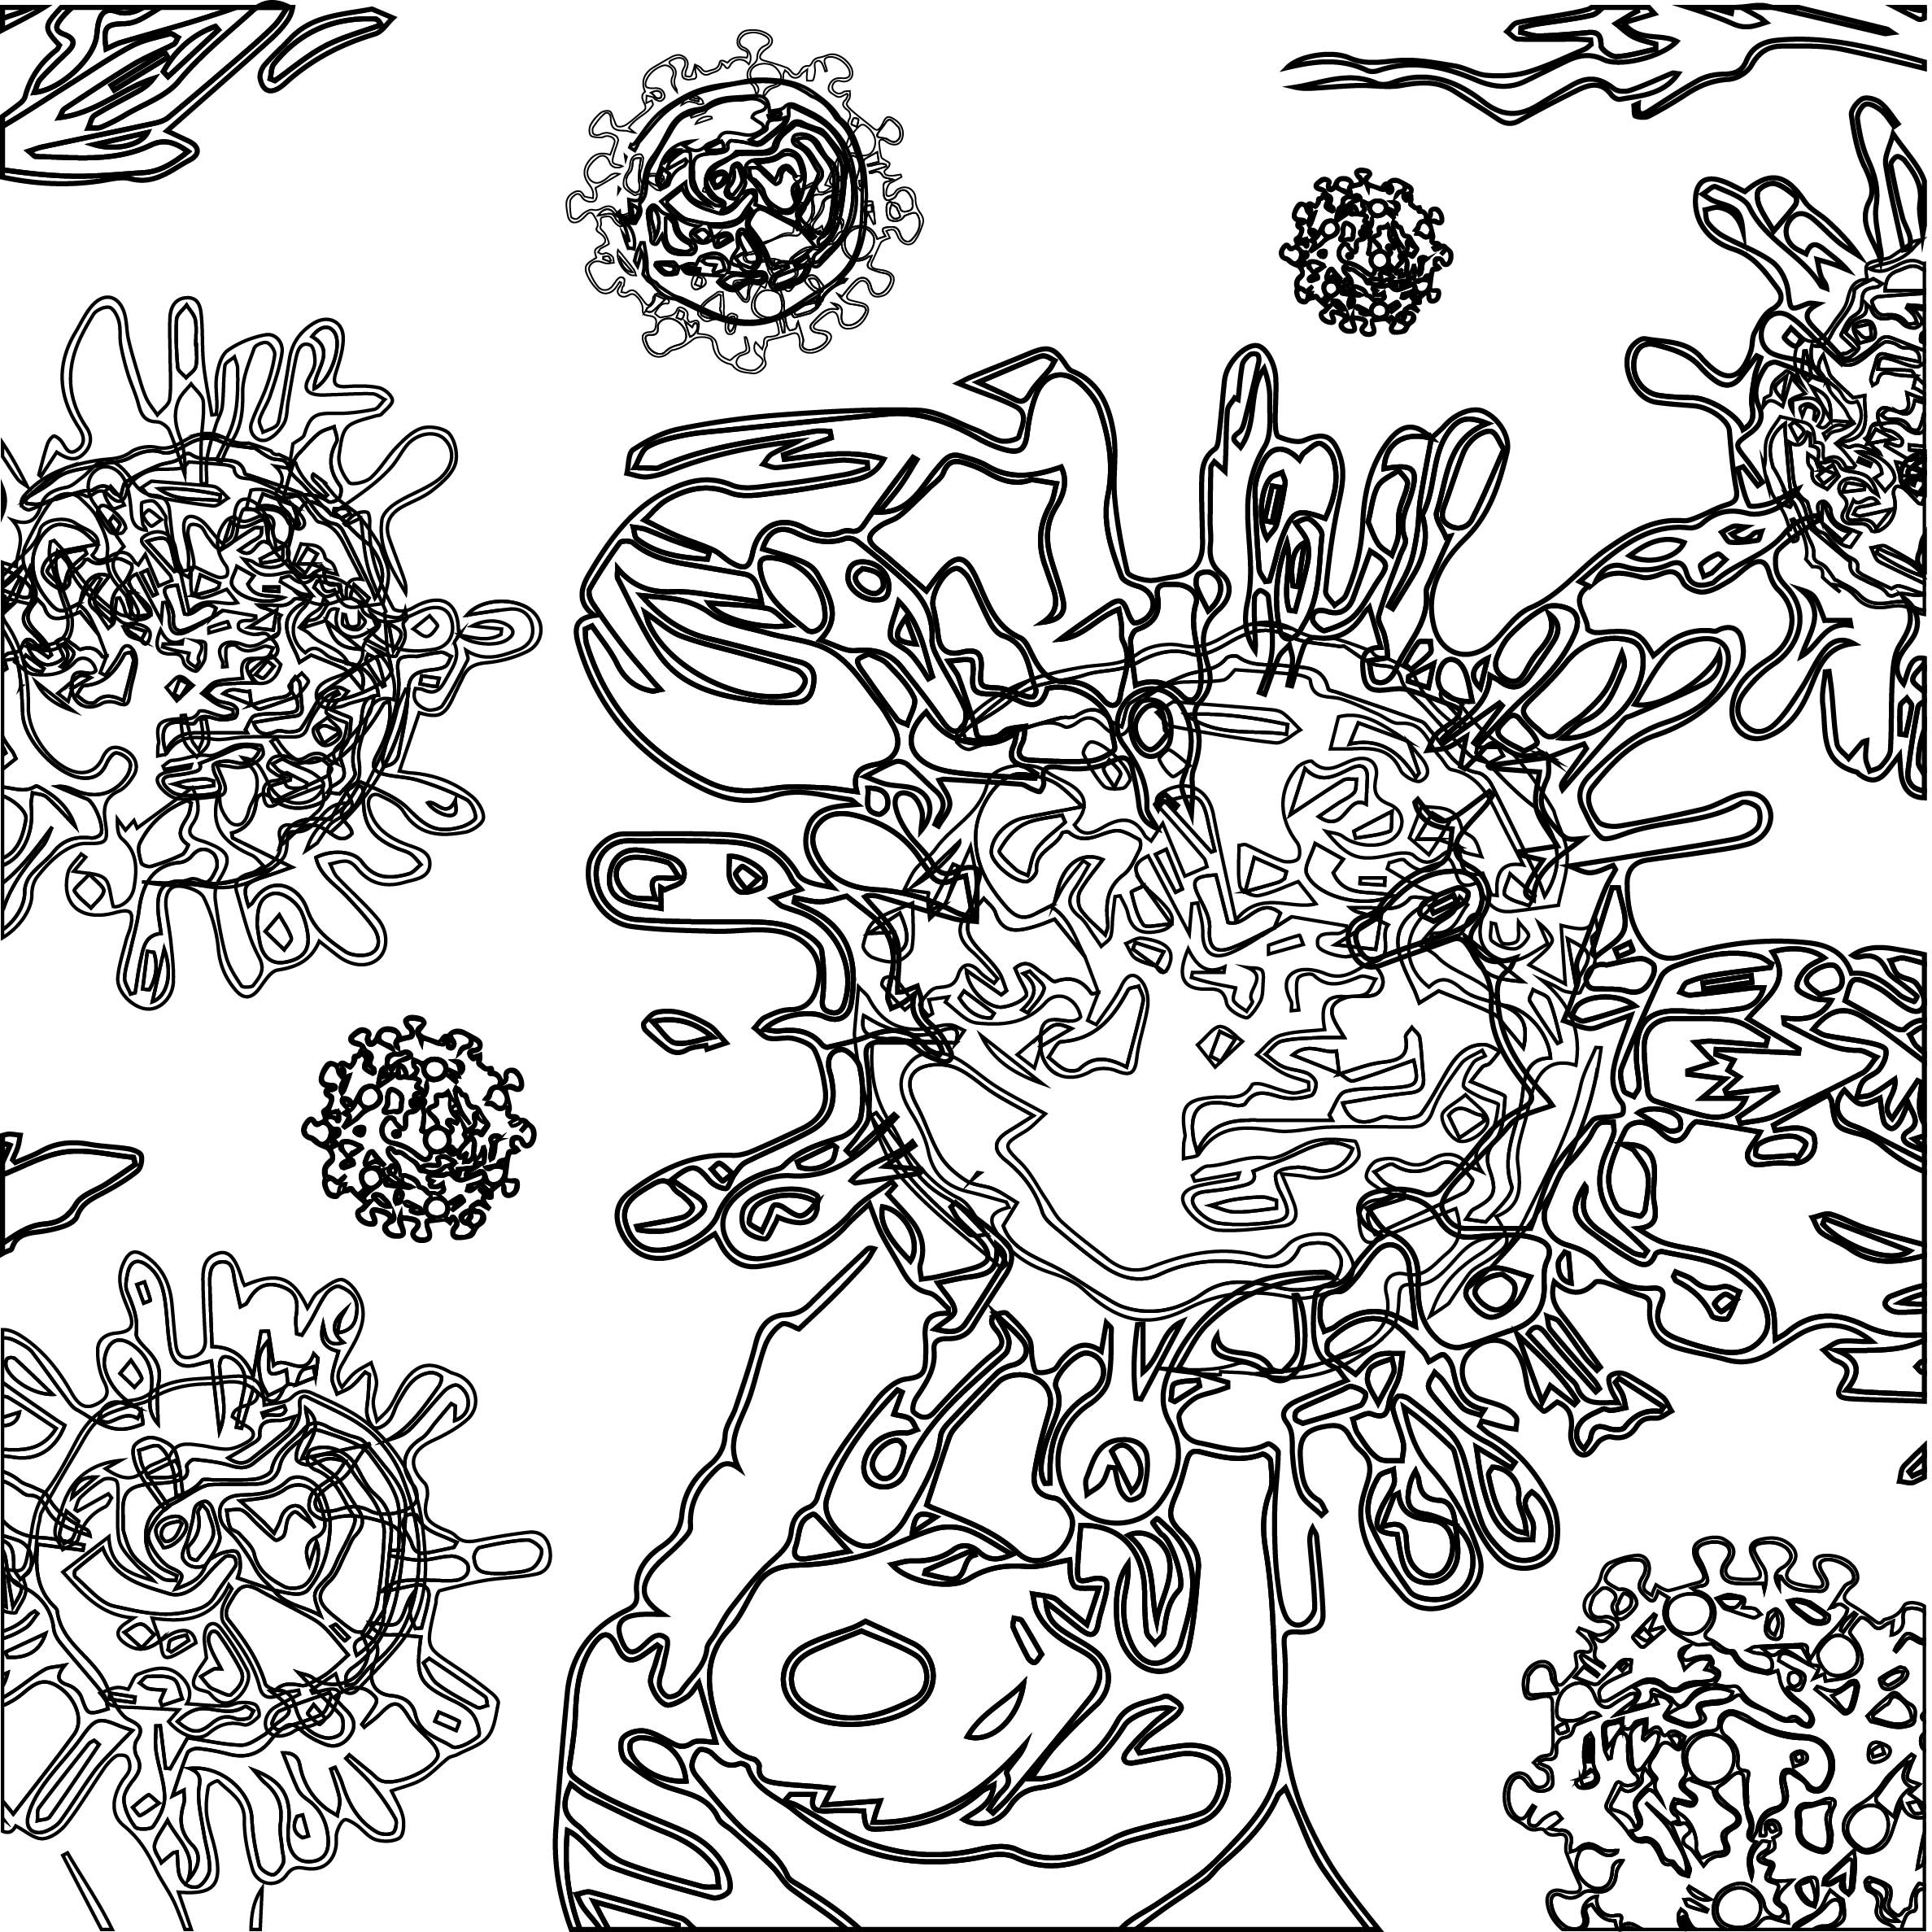
Lately, I started on the motifs for the Virus that will cause the Mutation in the city. The motifs were created and/or designed the same way I did for the previous motifs: find an image of an interesting microscopic anatomy, trace on tracing paper, scan and then digitized and compiled them all together to form ONE virus.

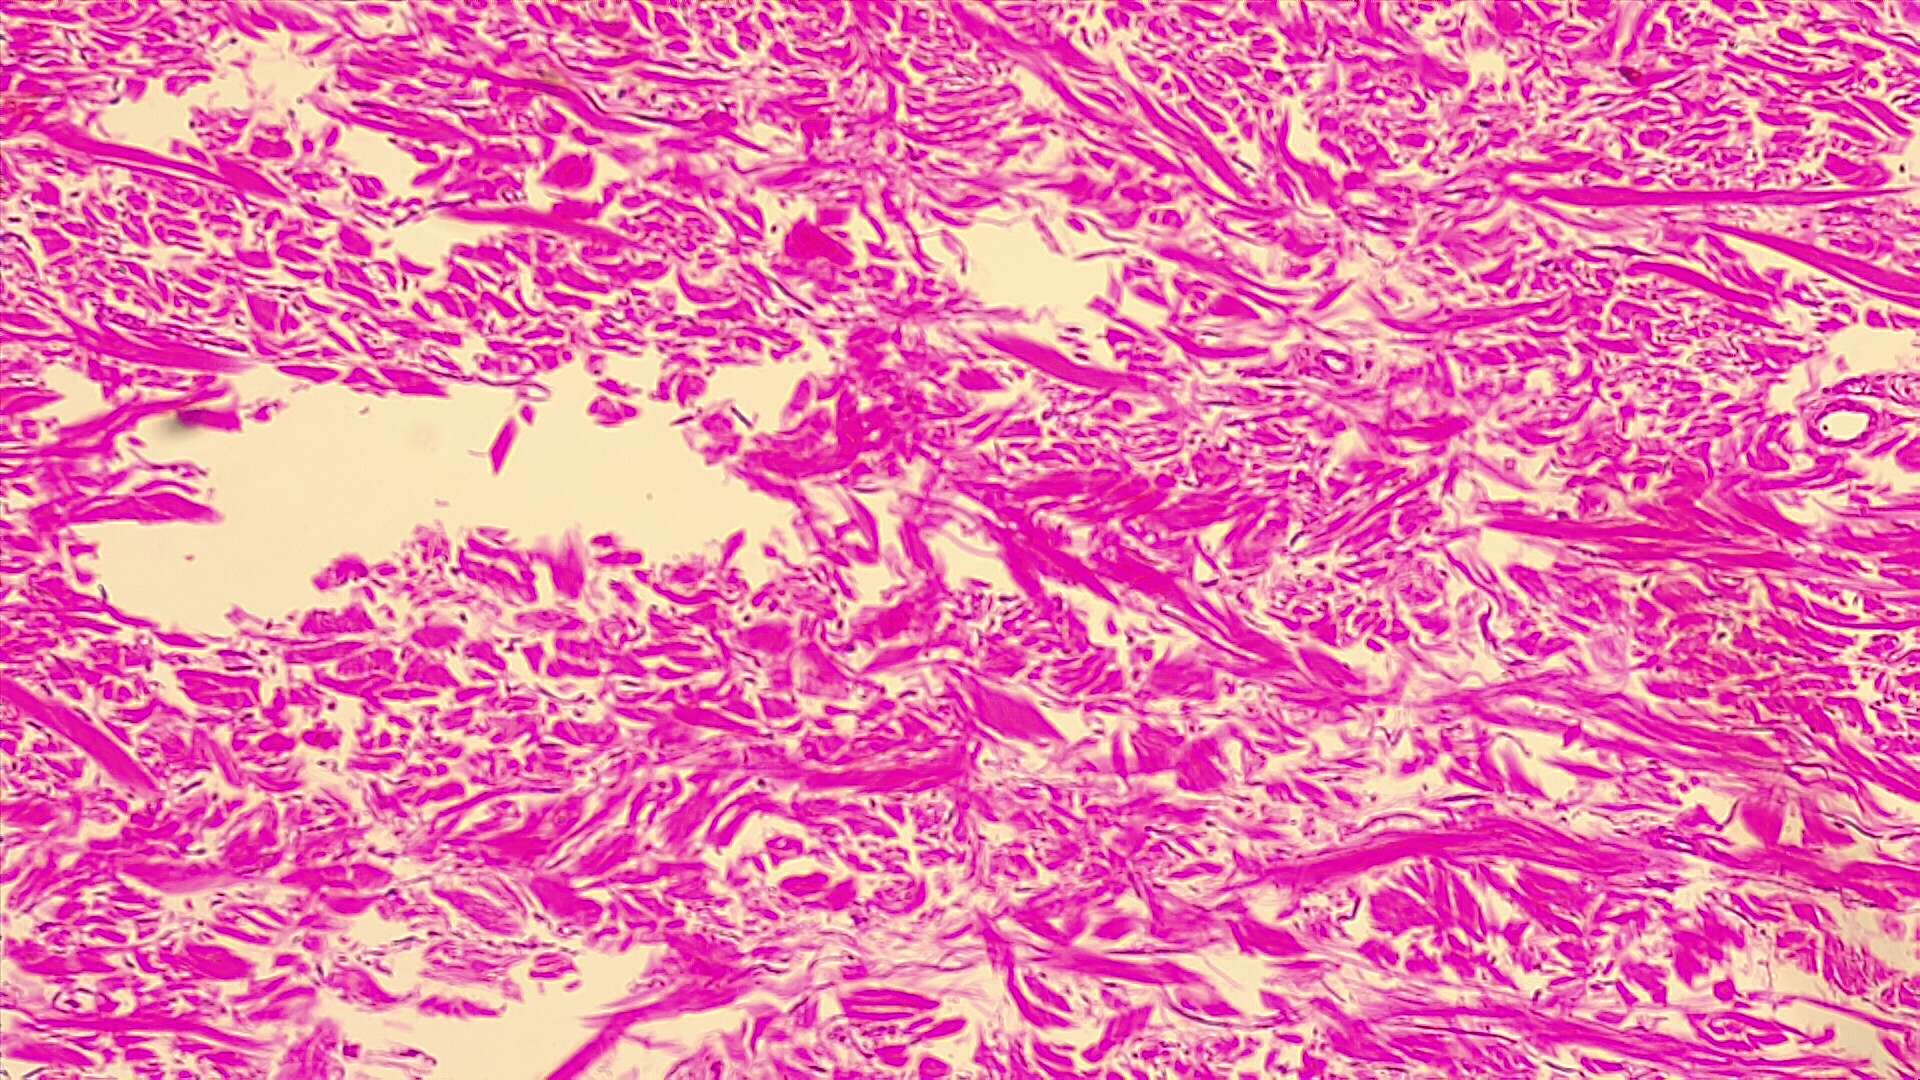
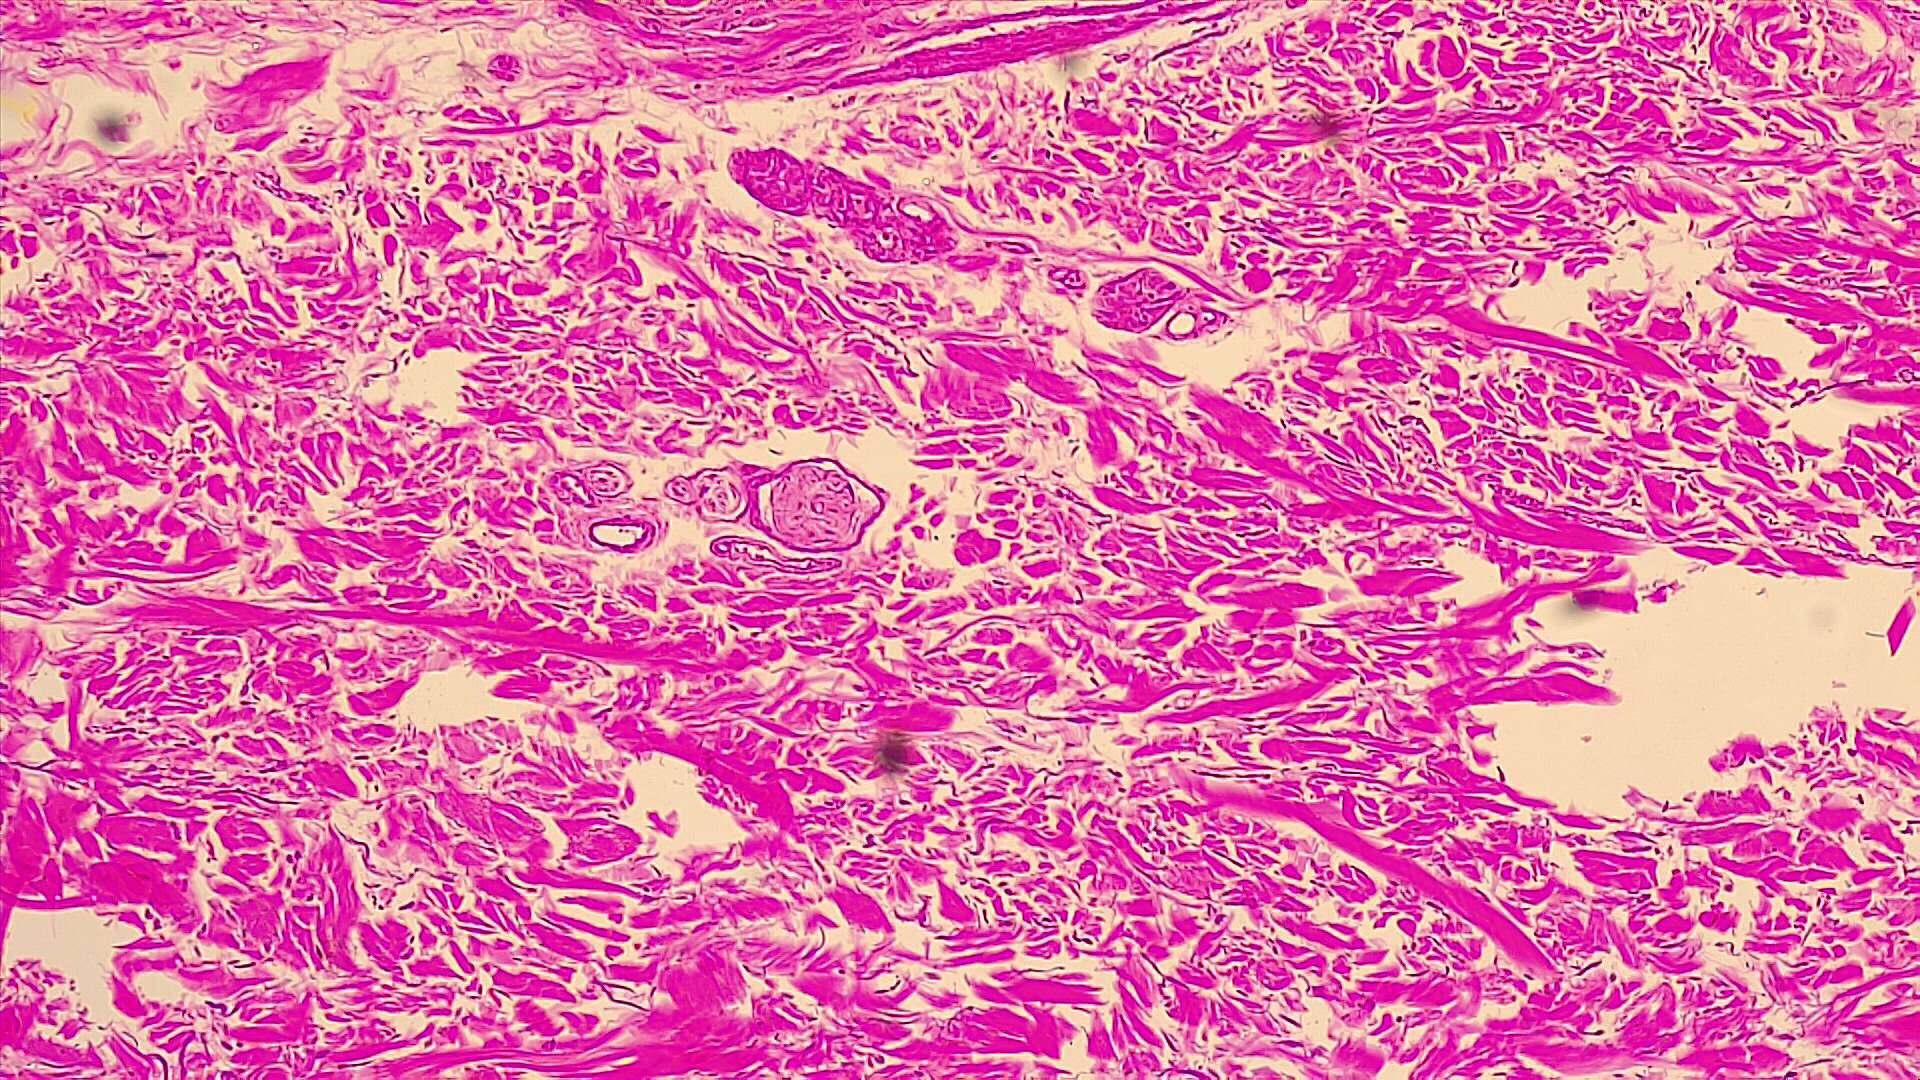
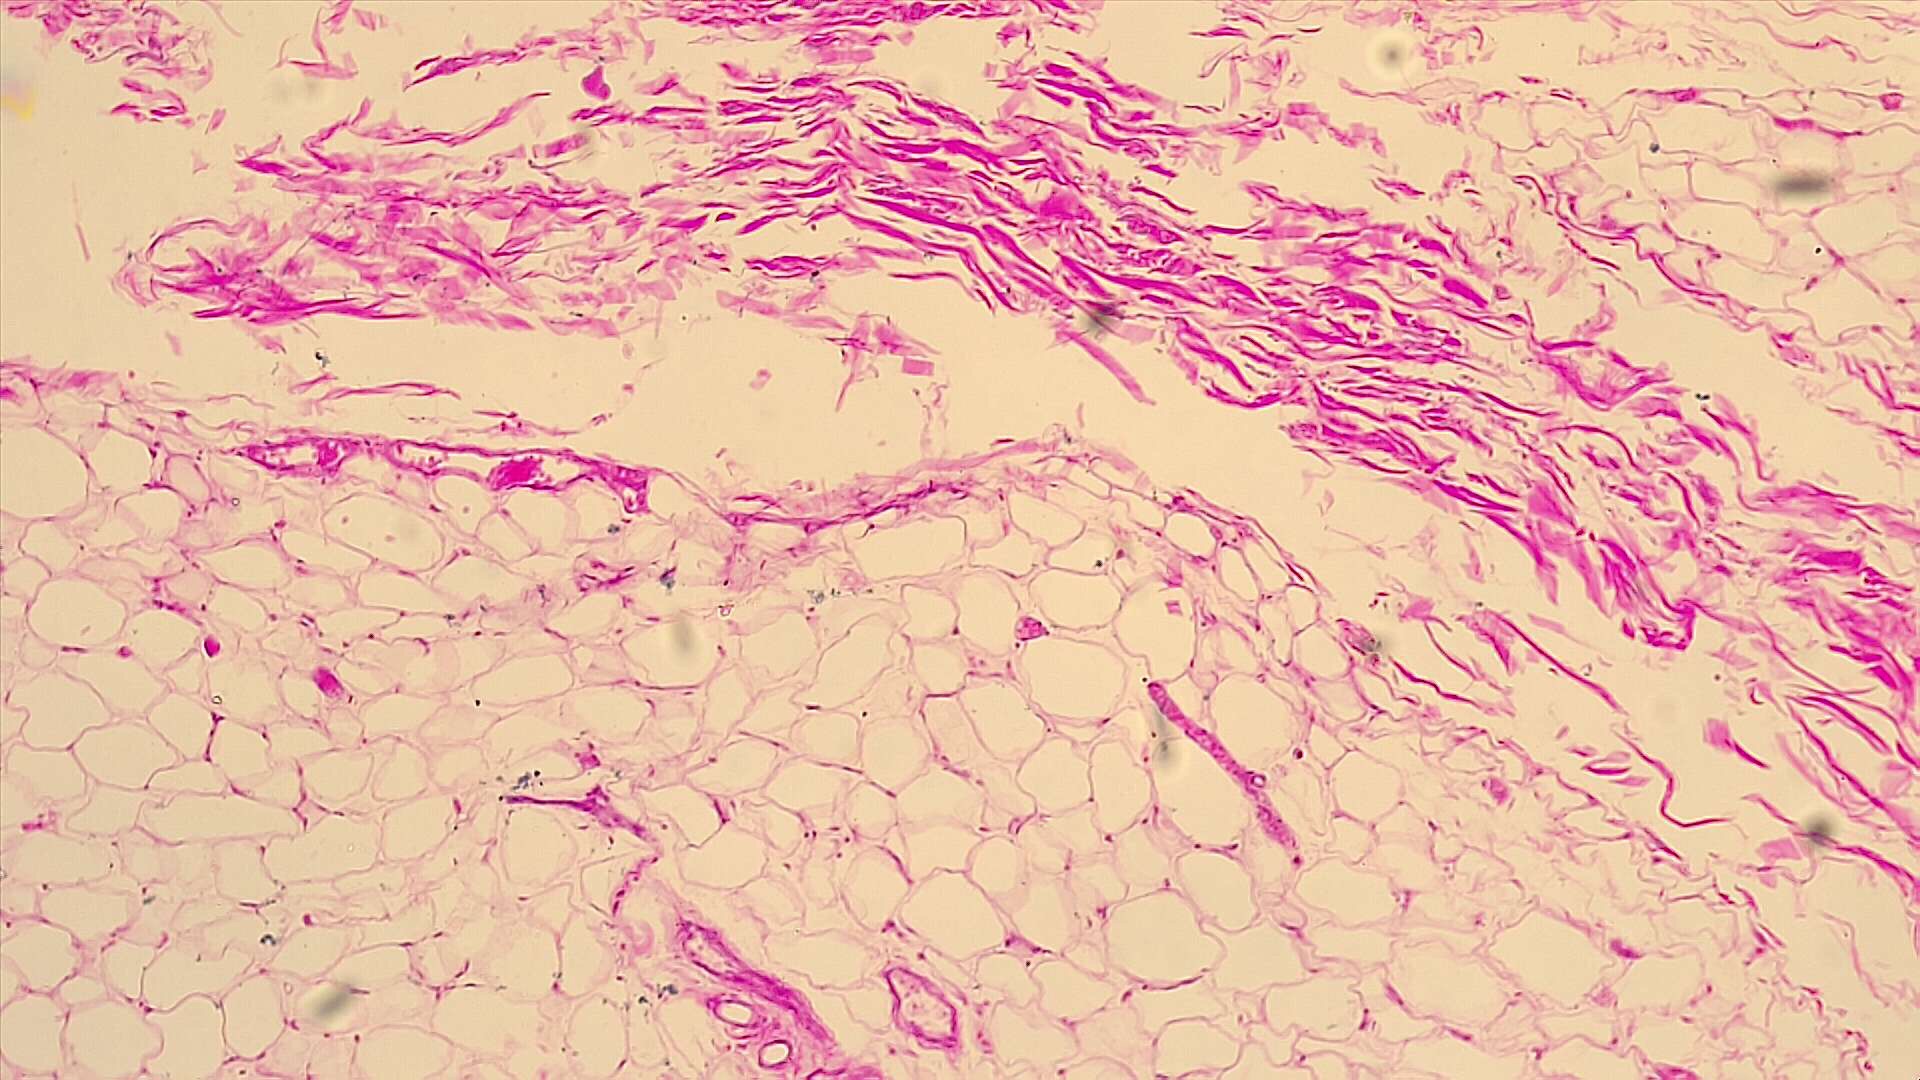
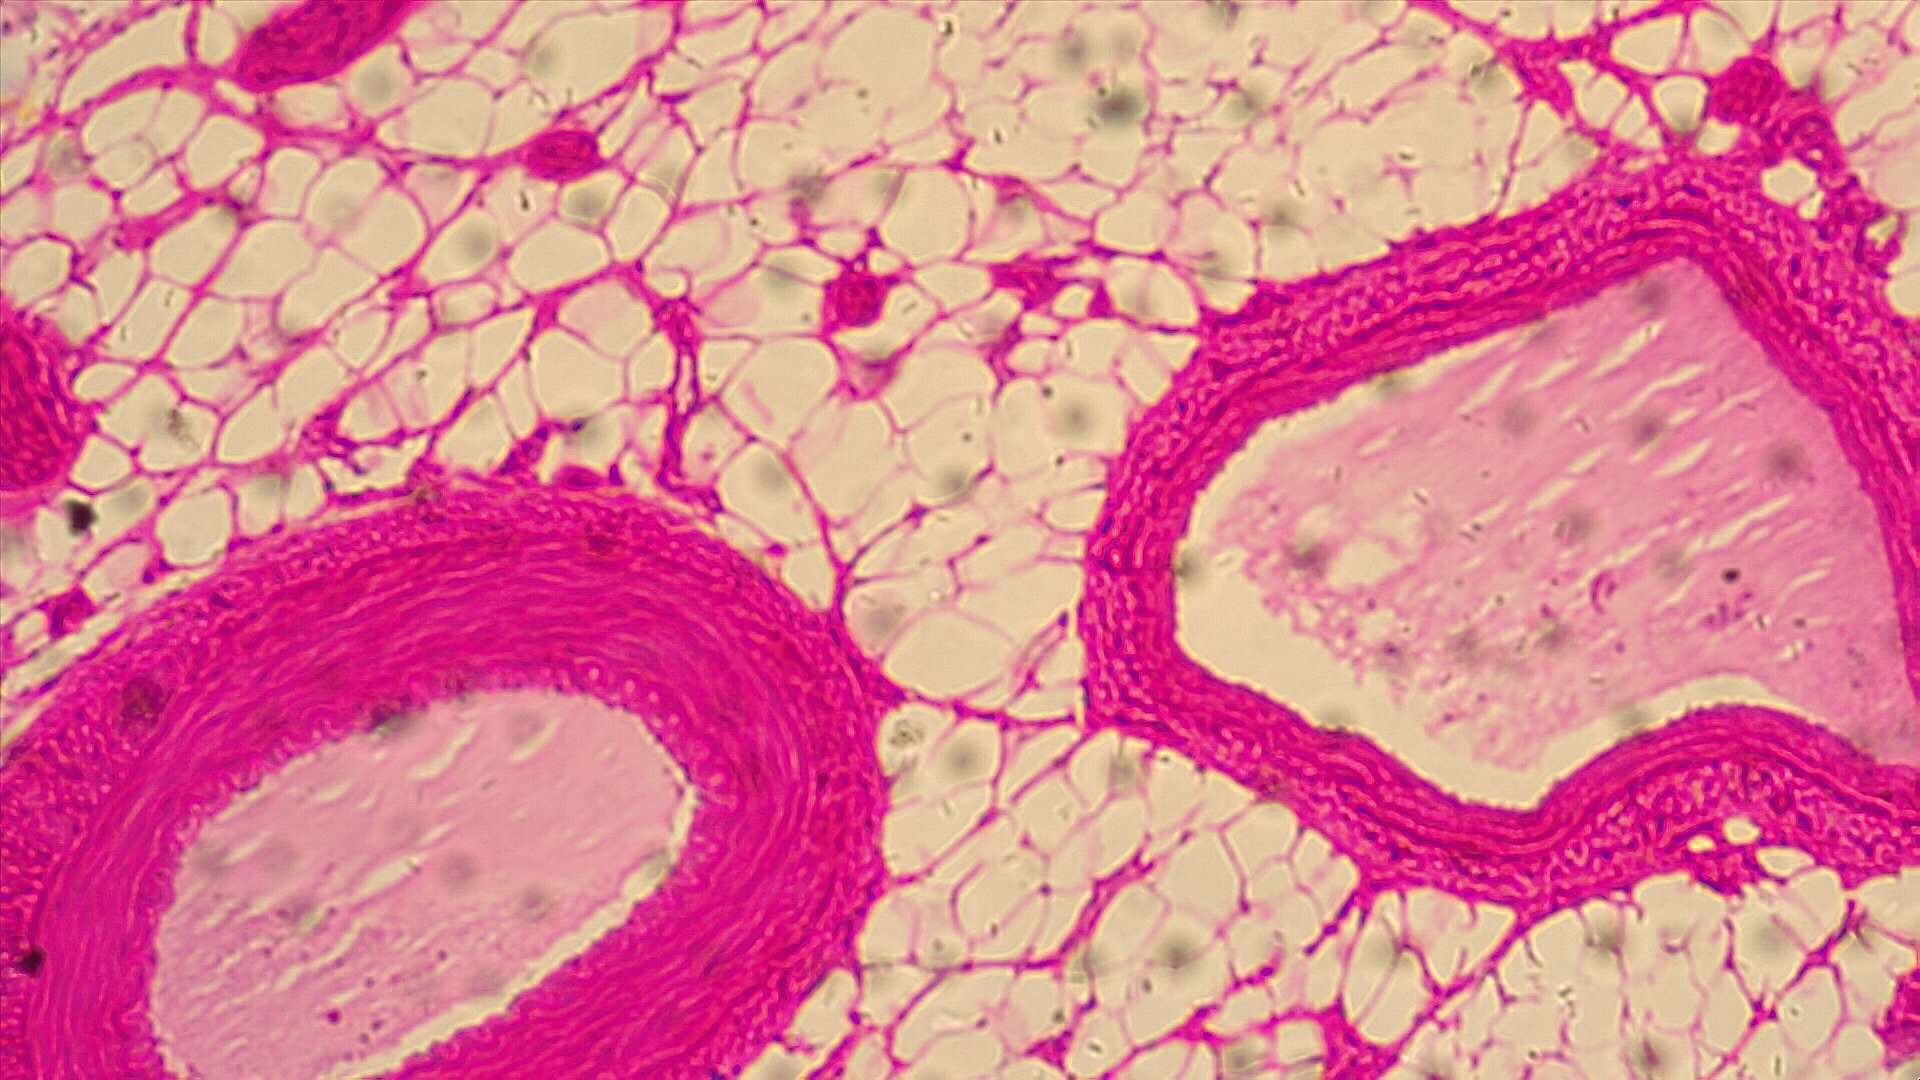
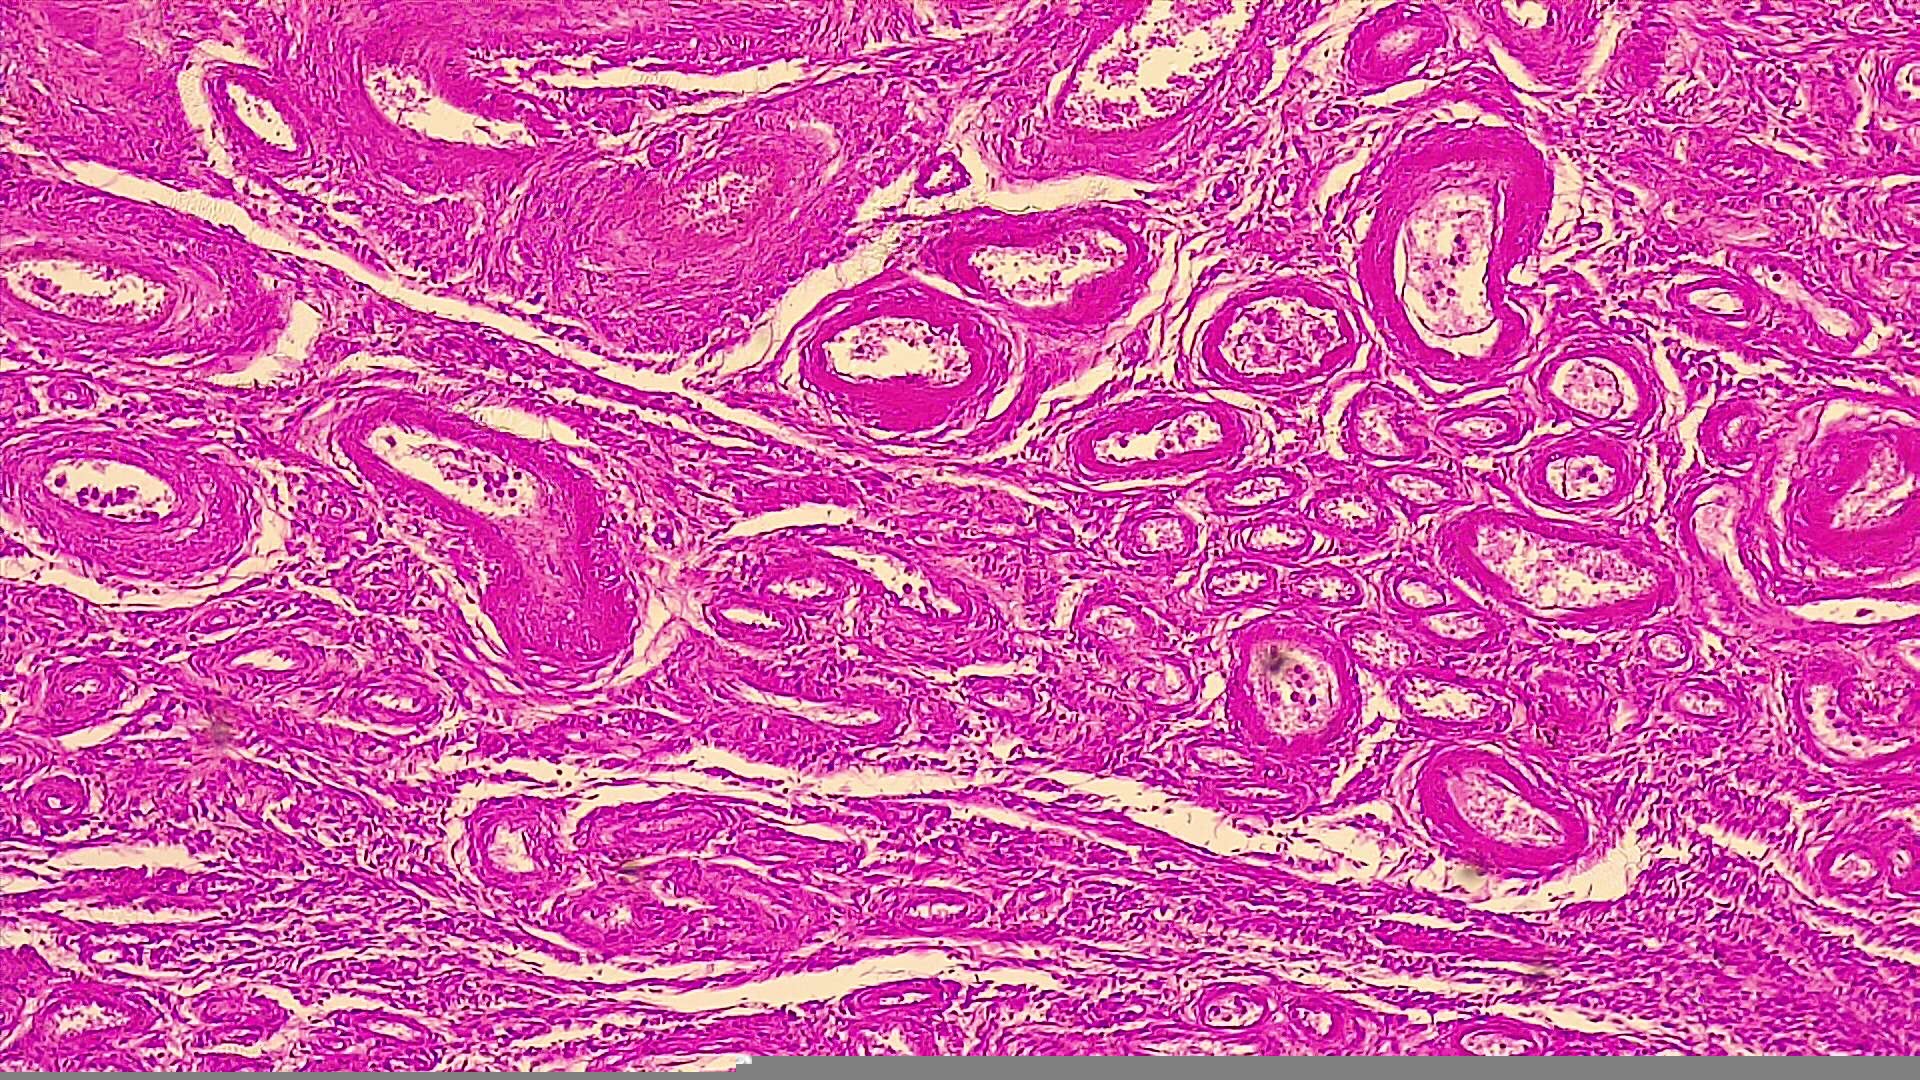
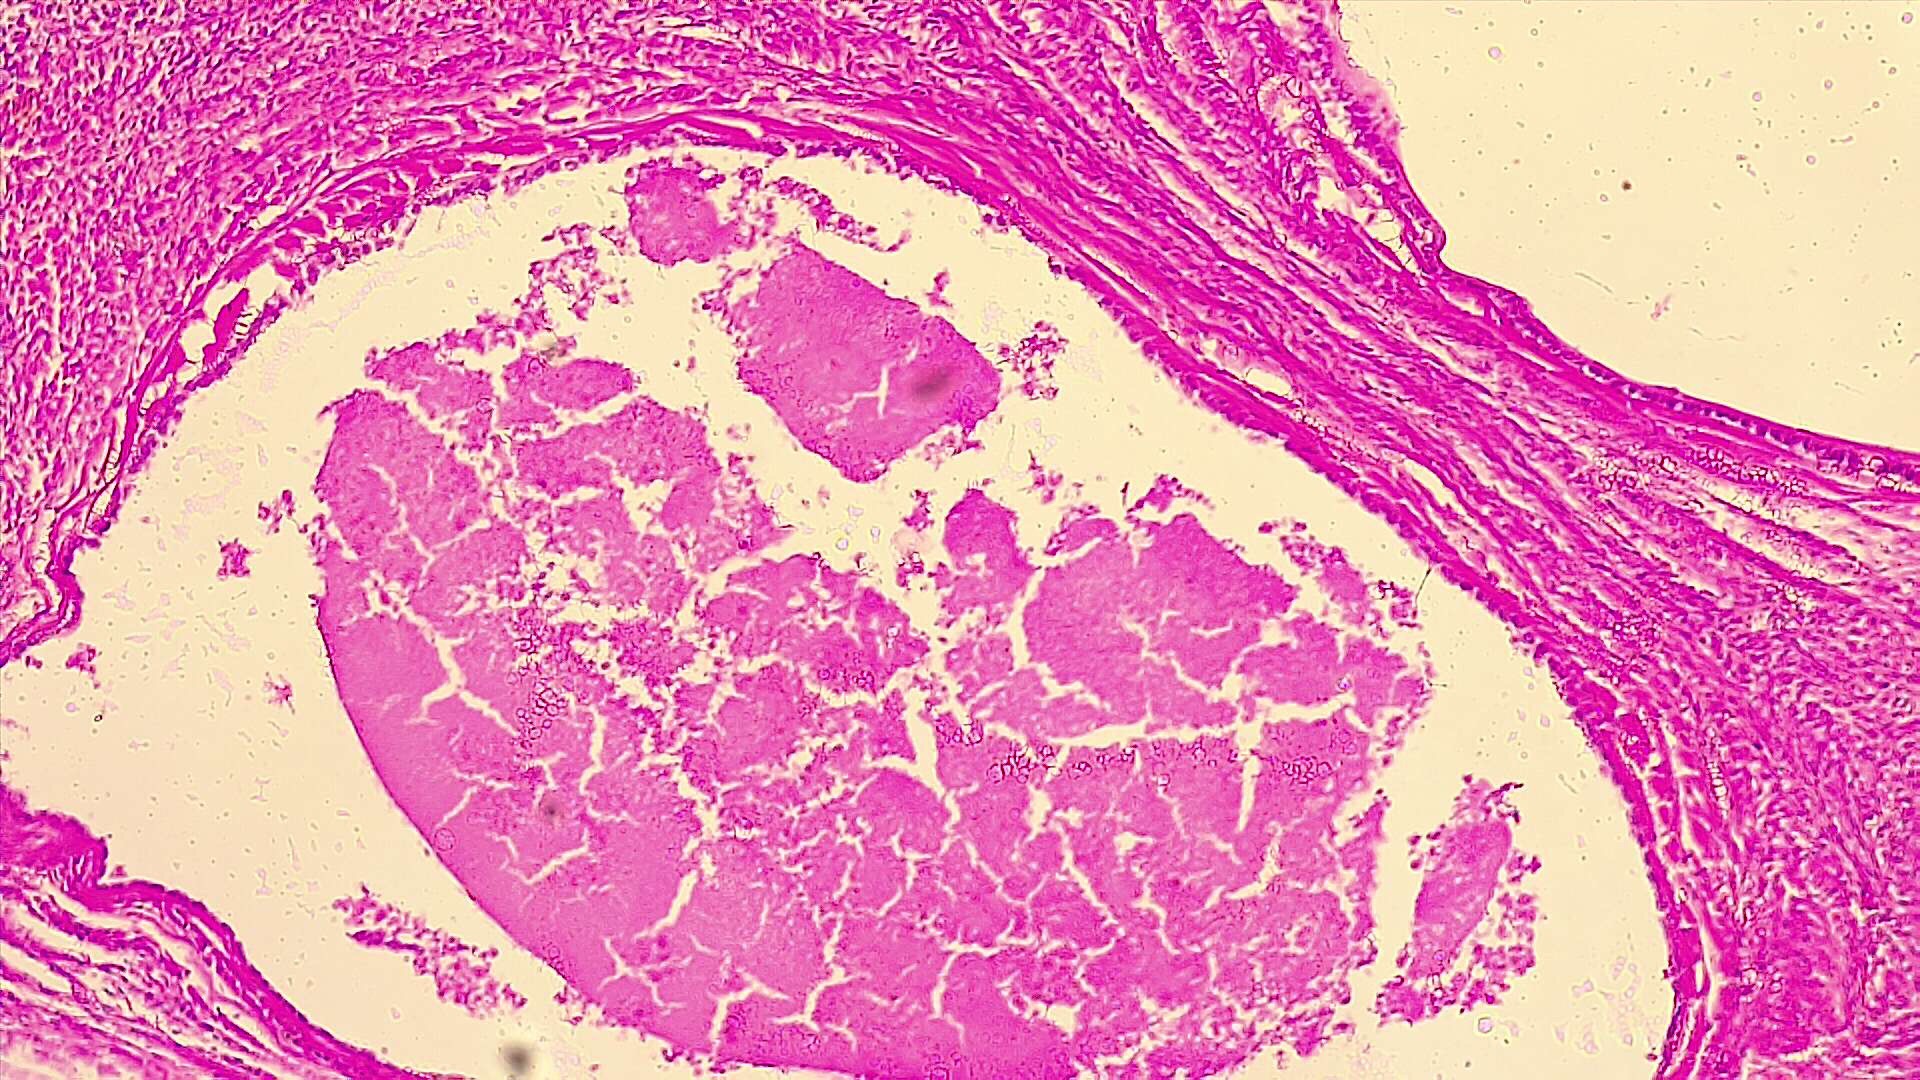
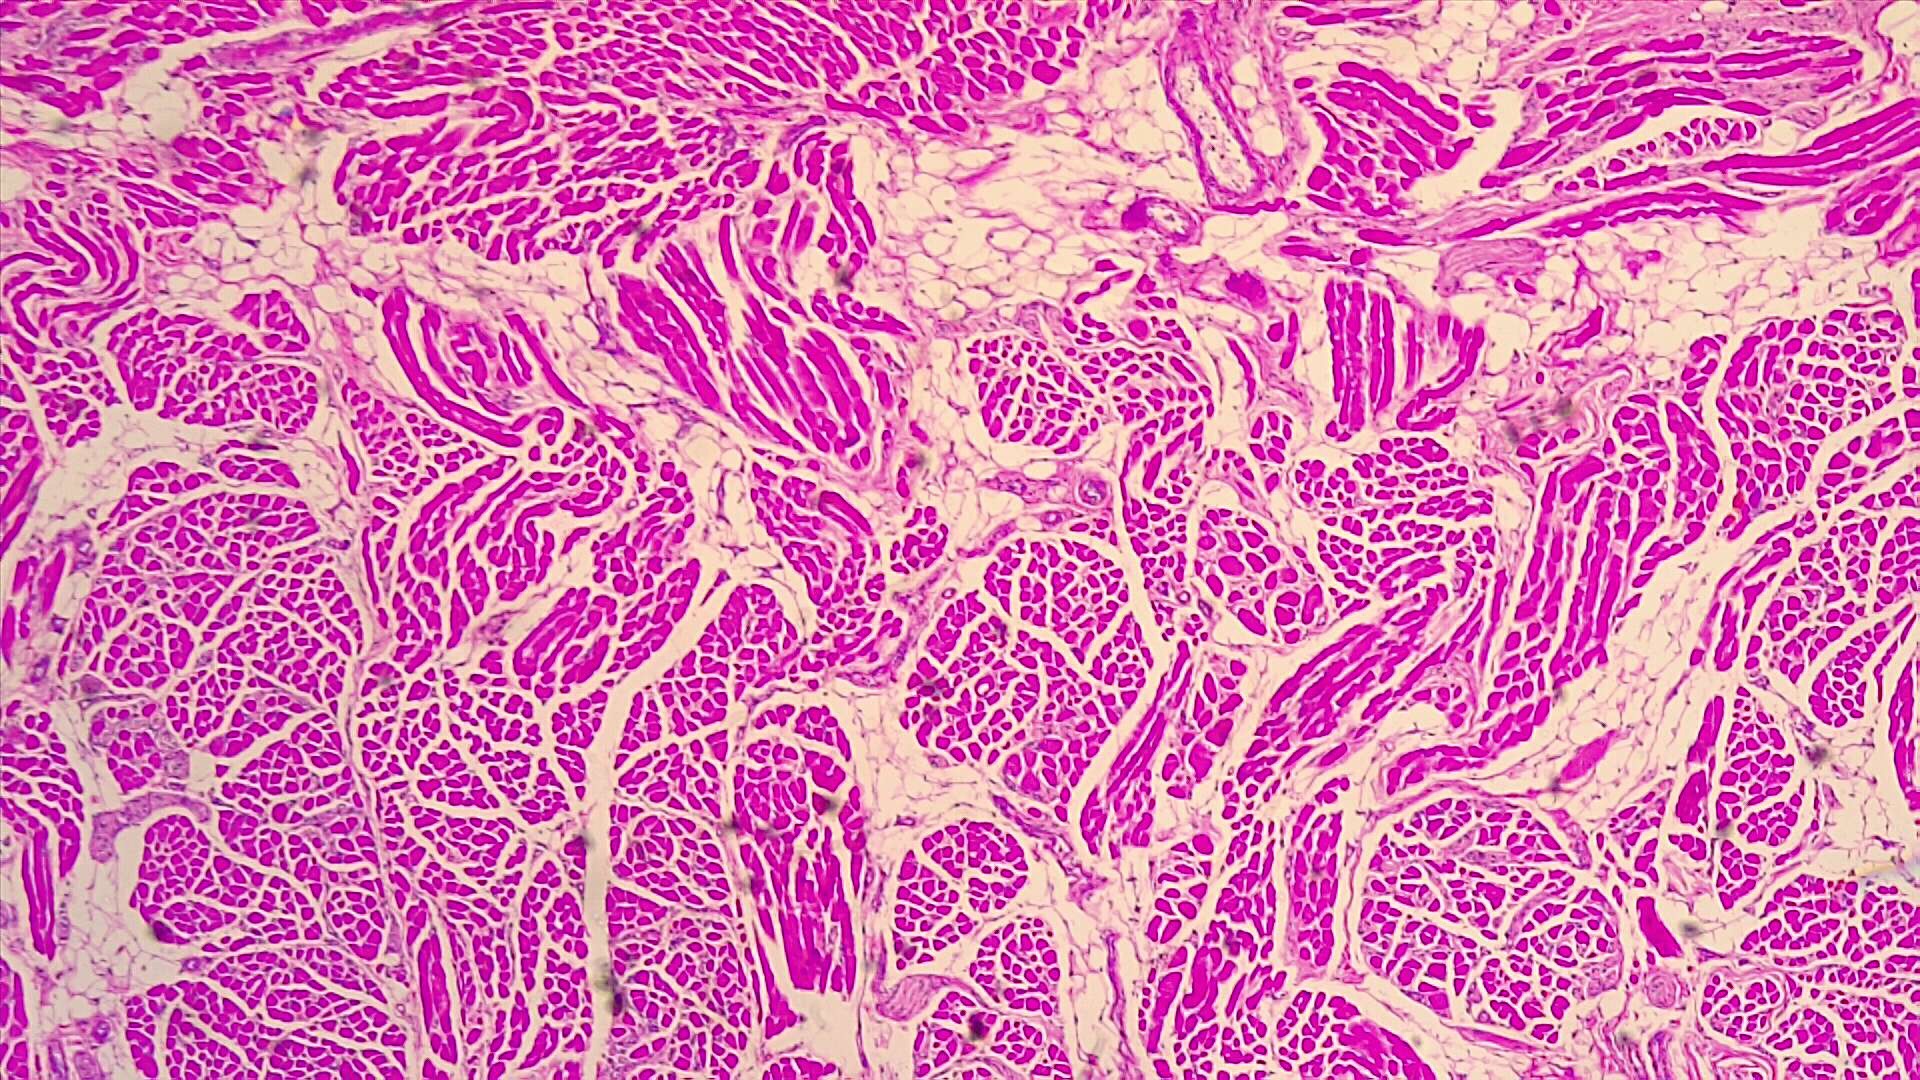
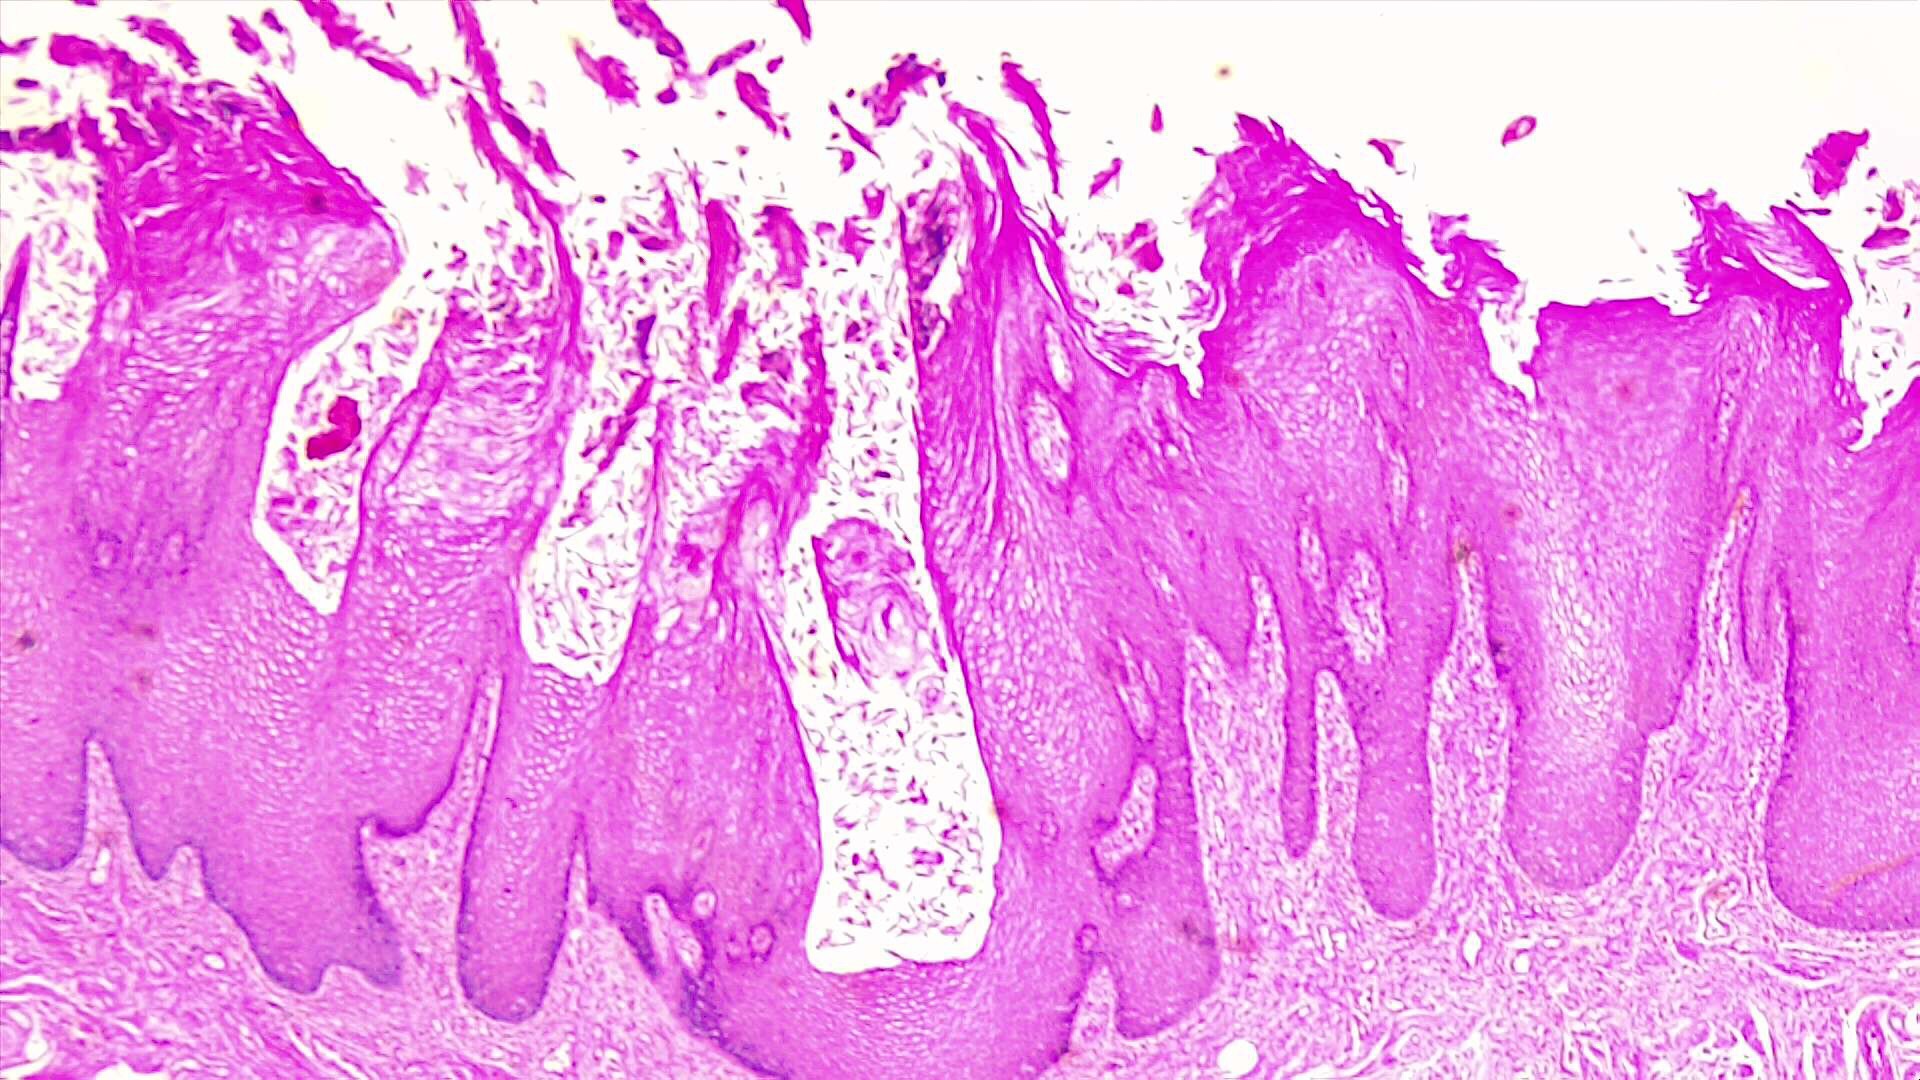
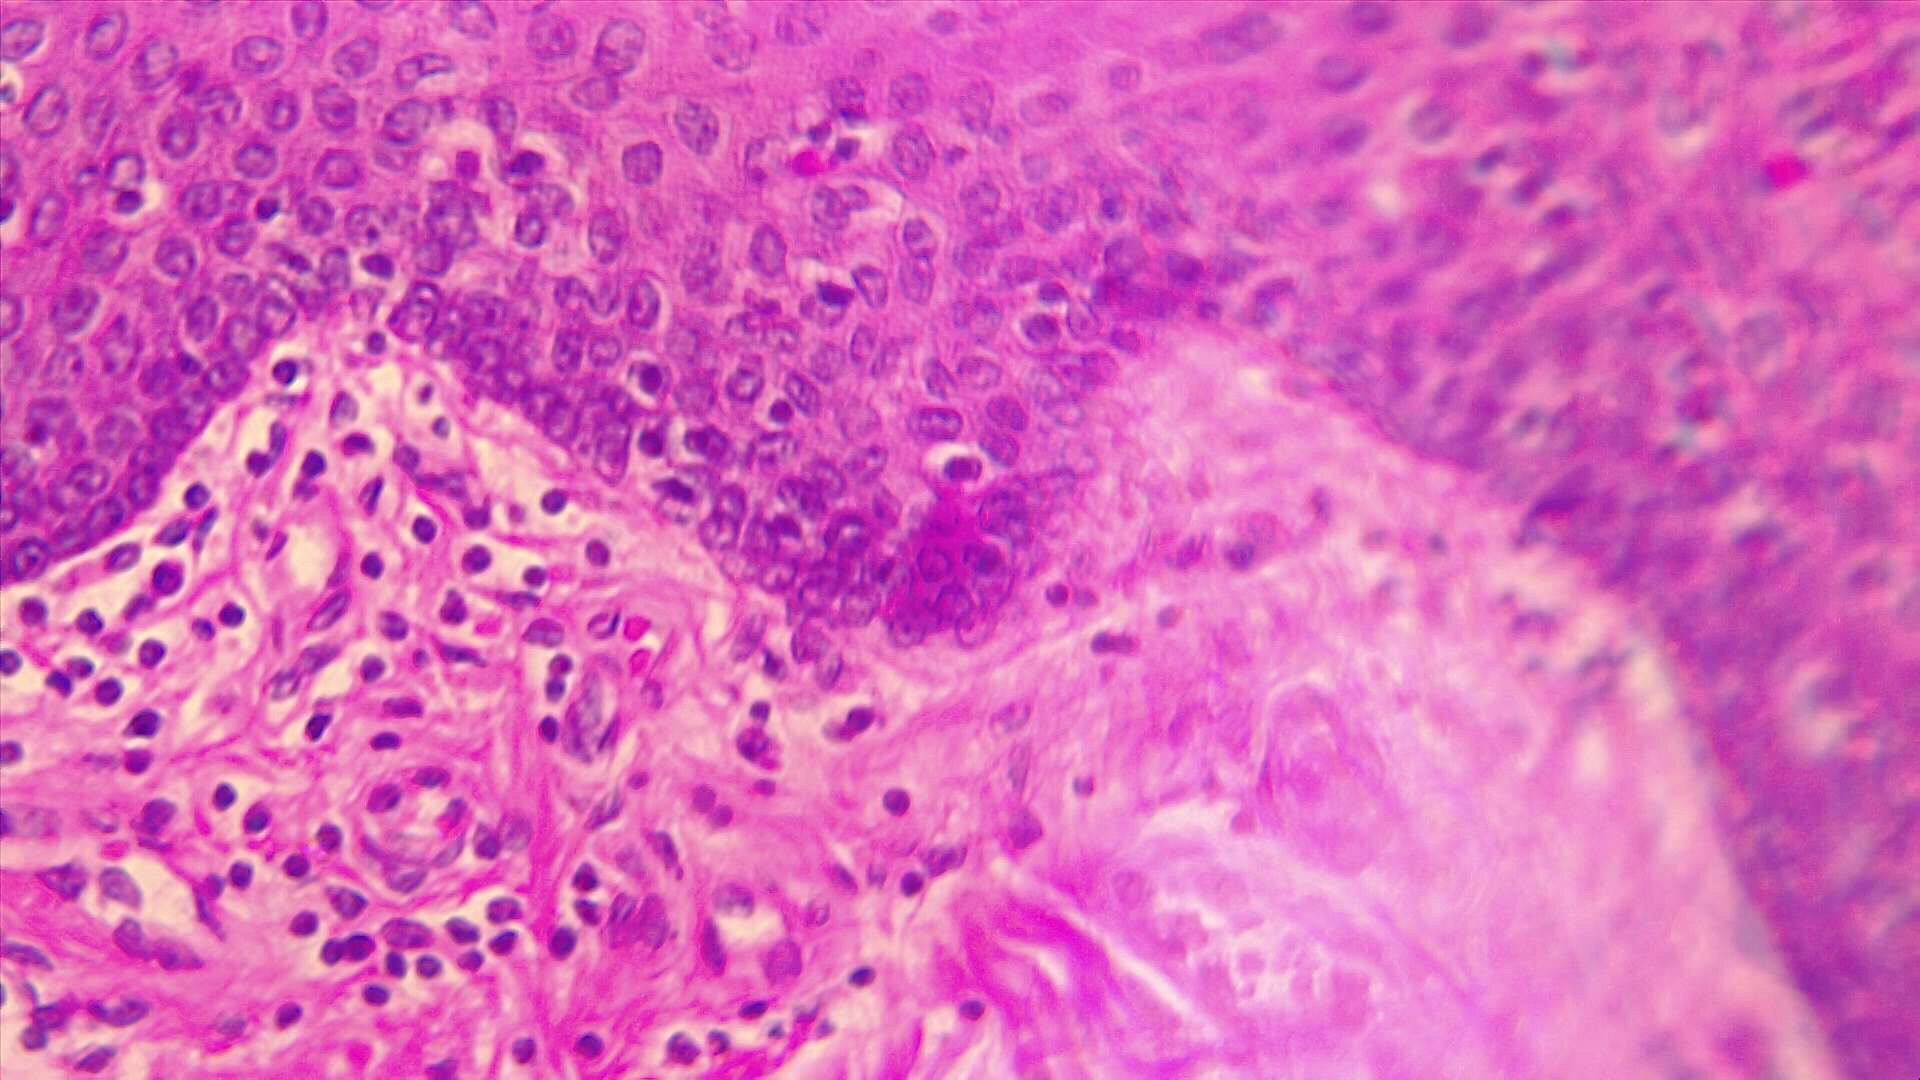
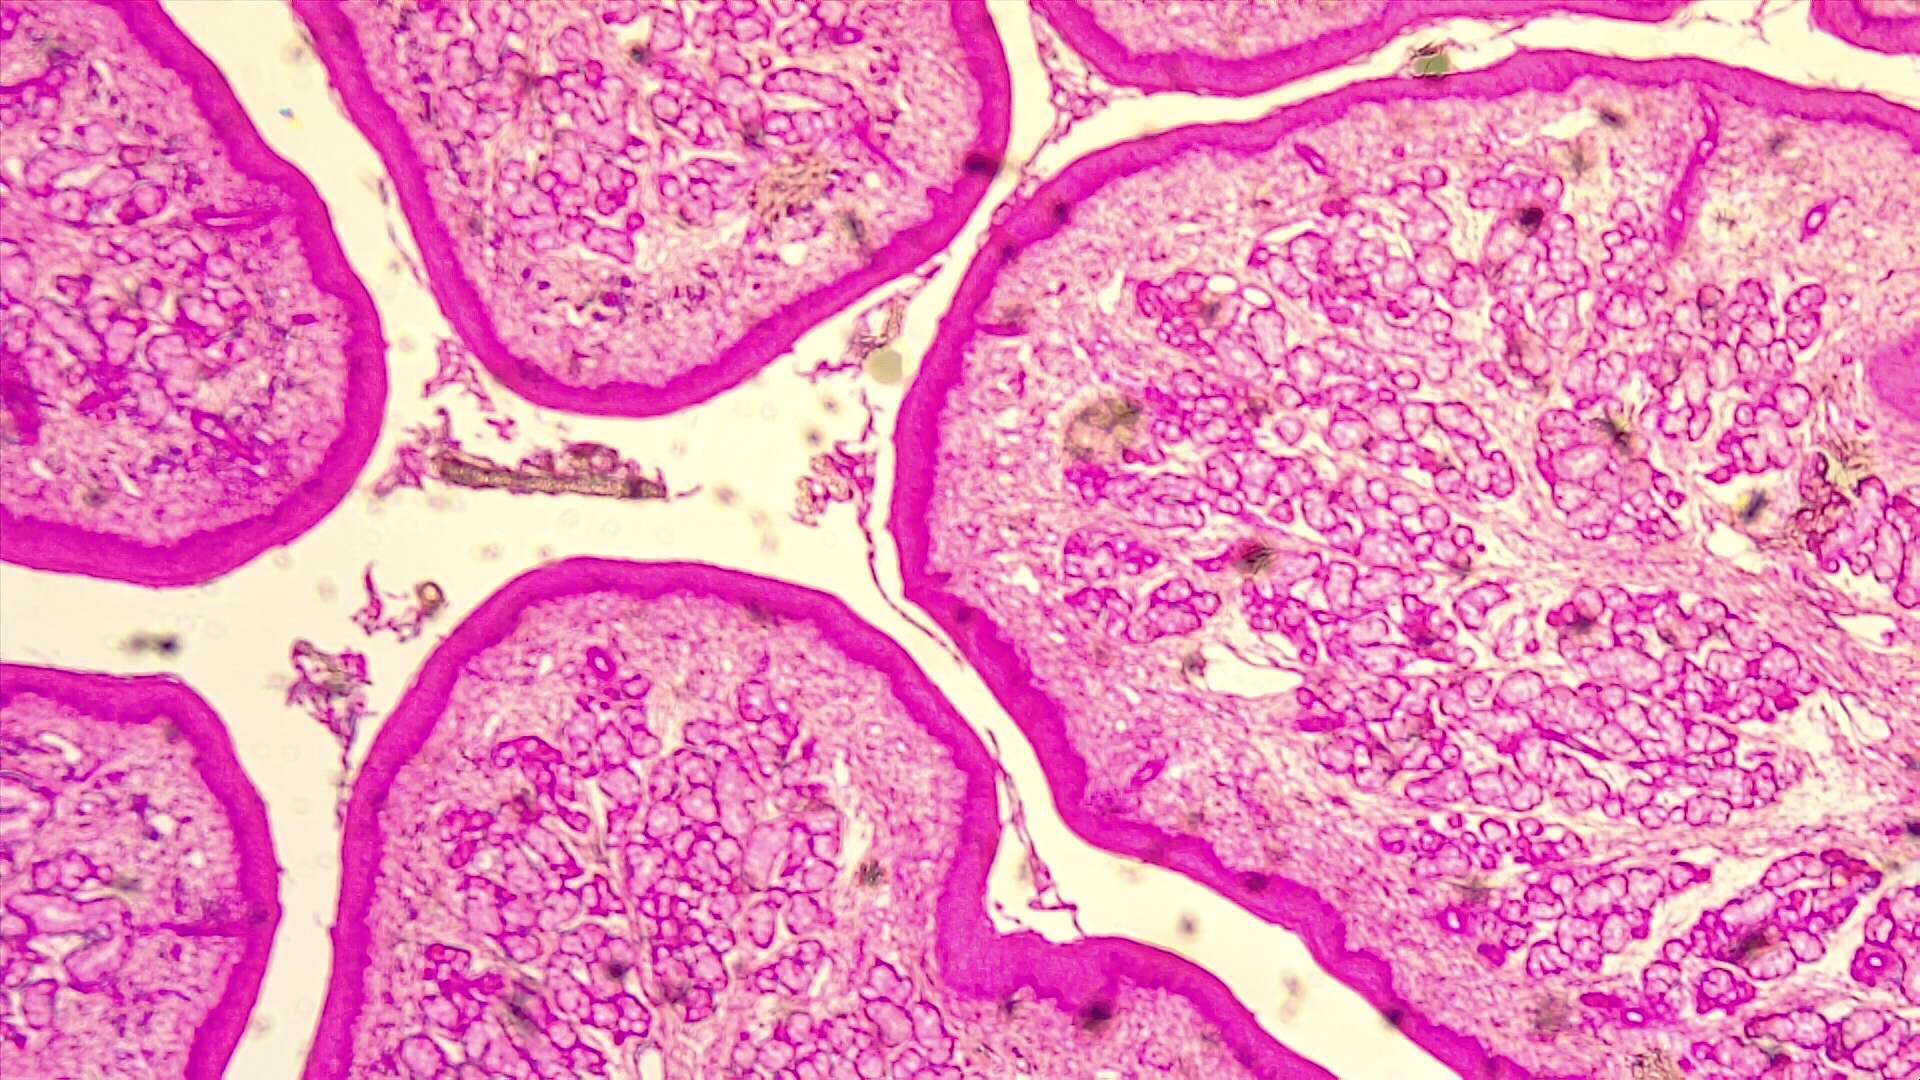
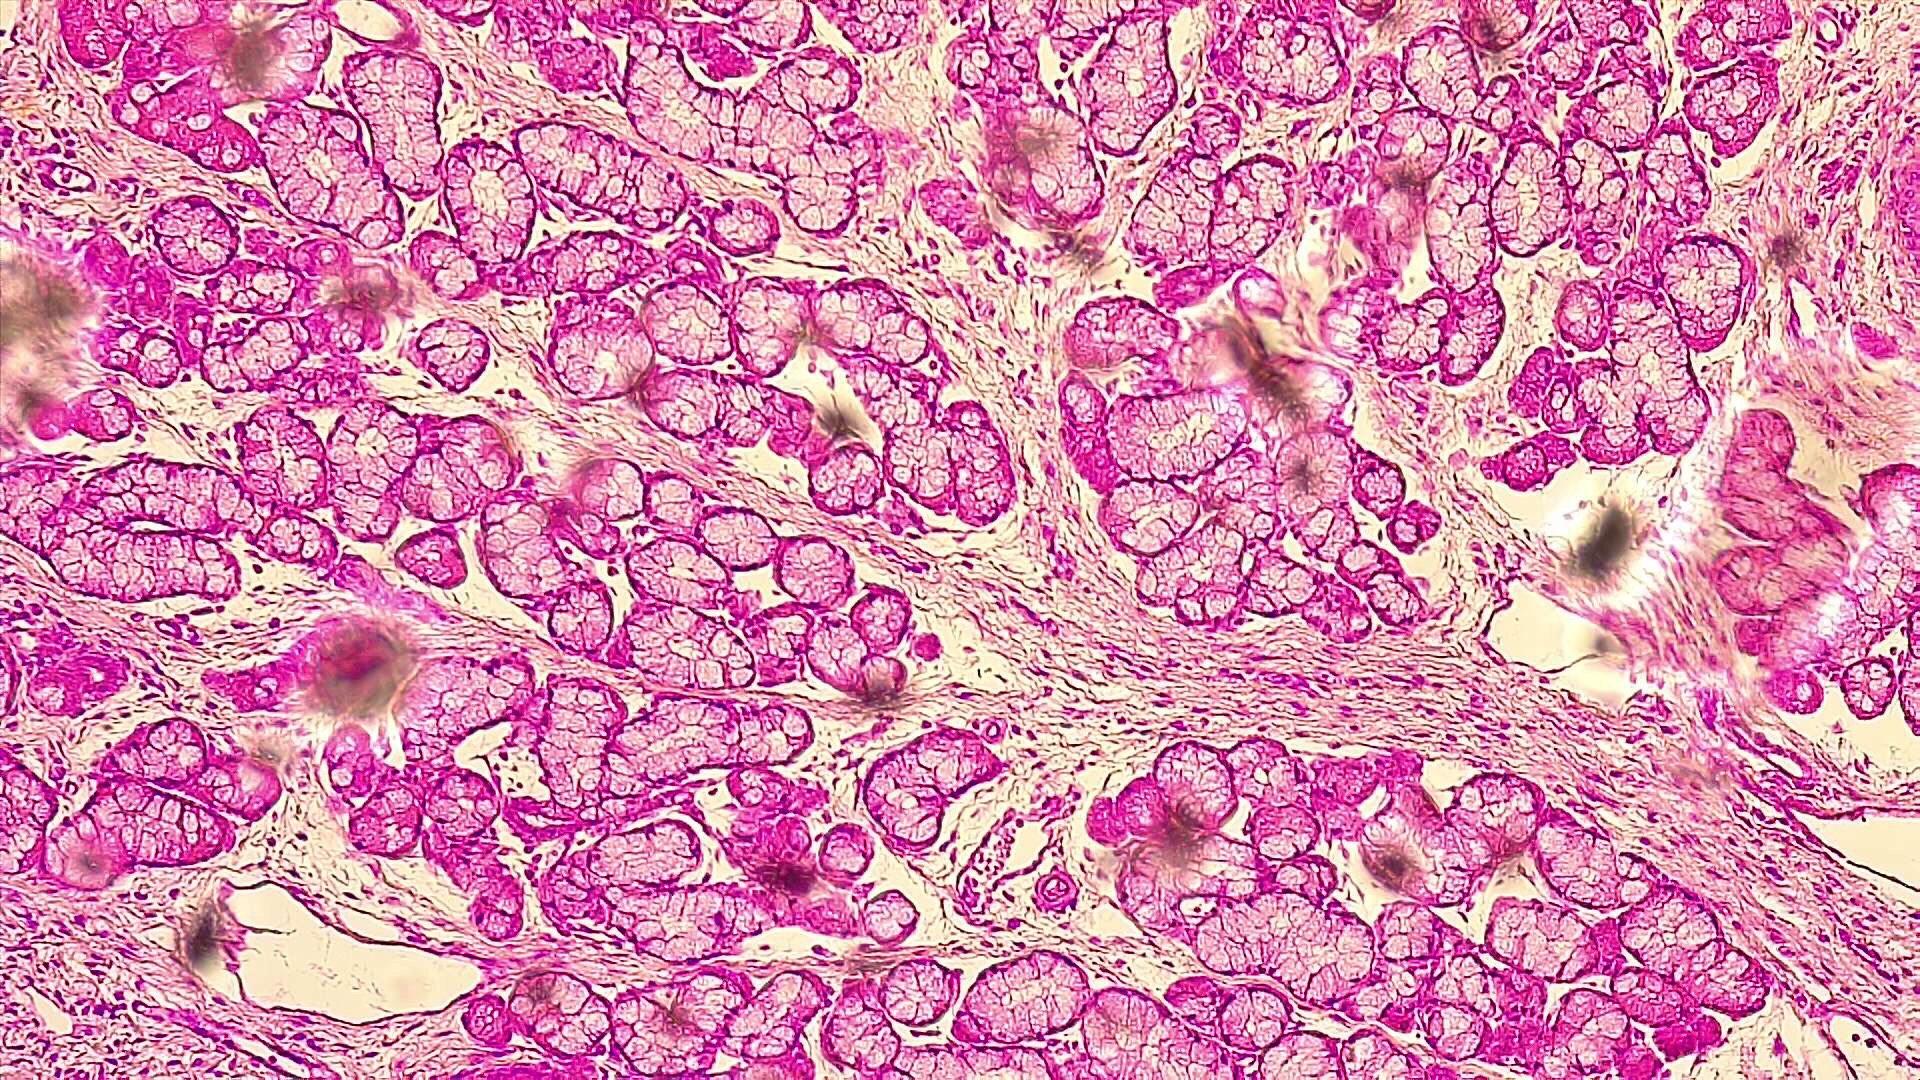
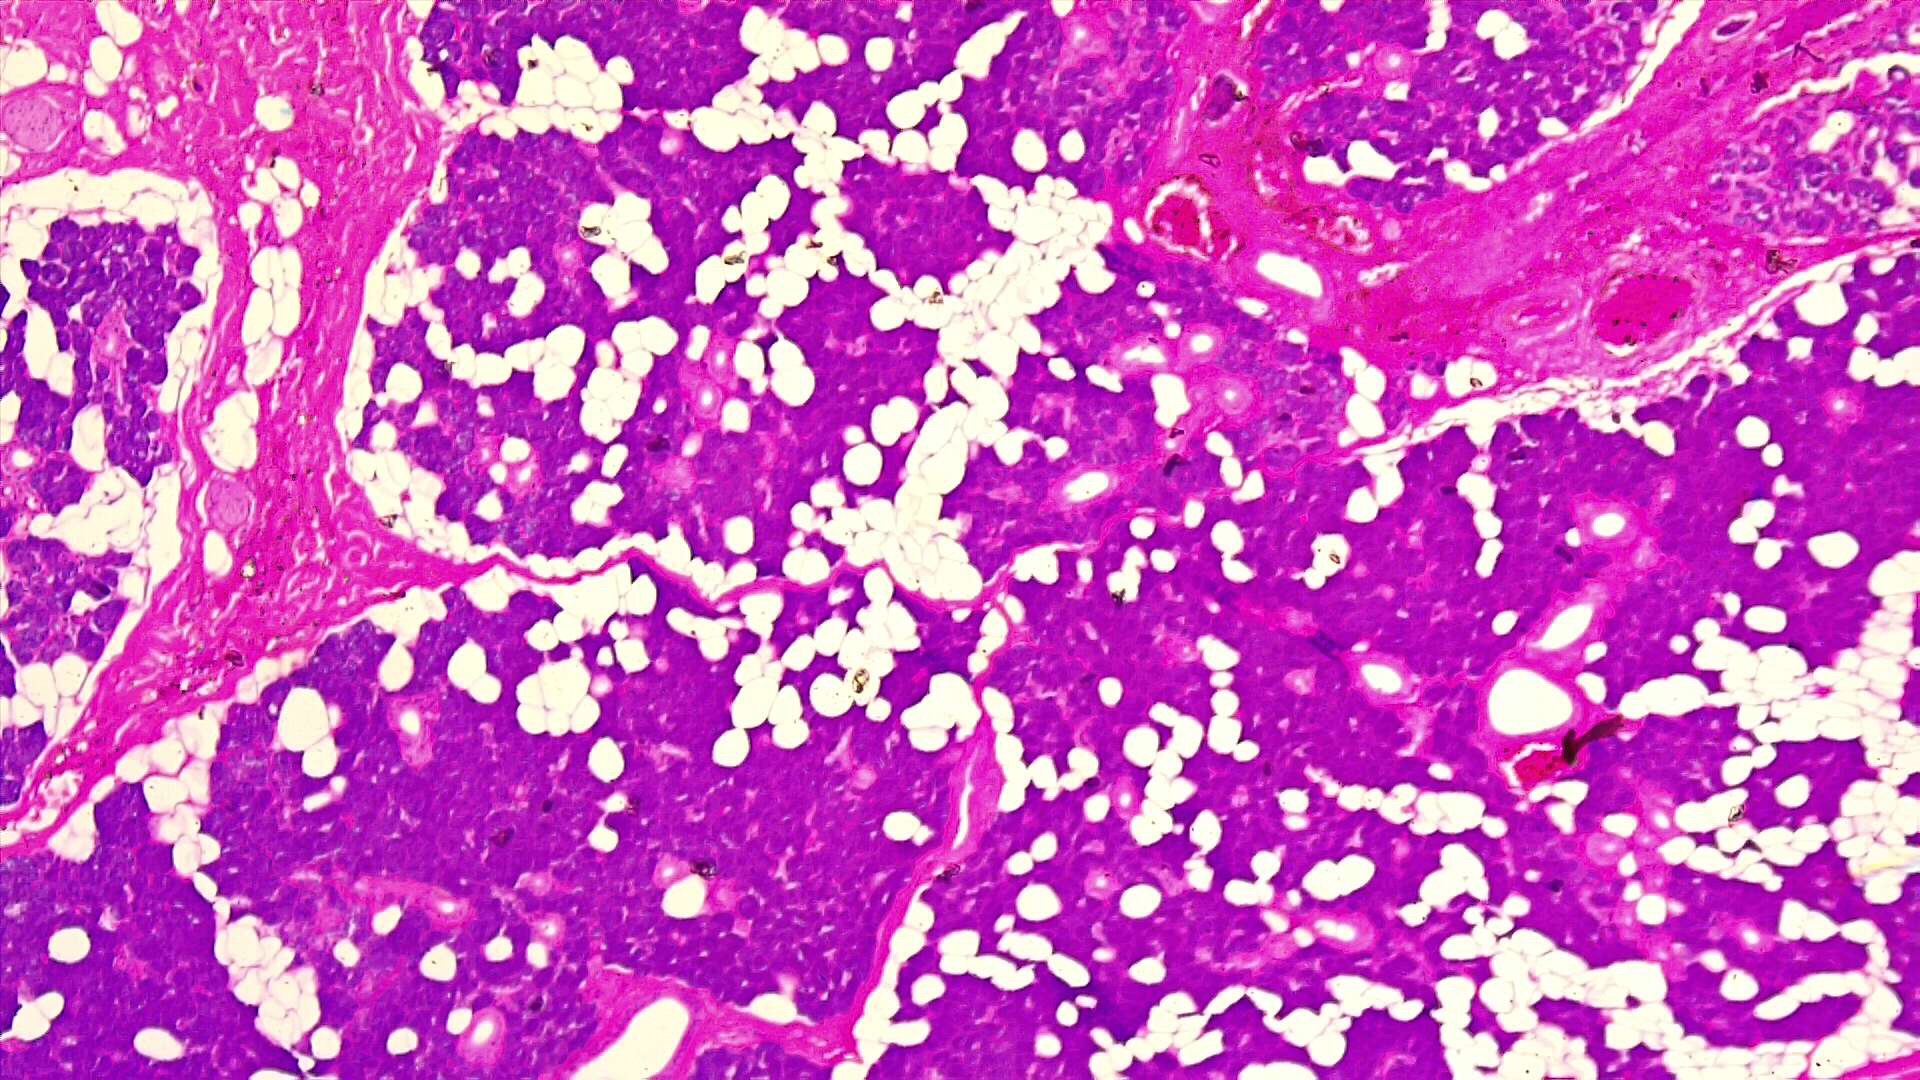
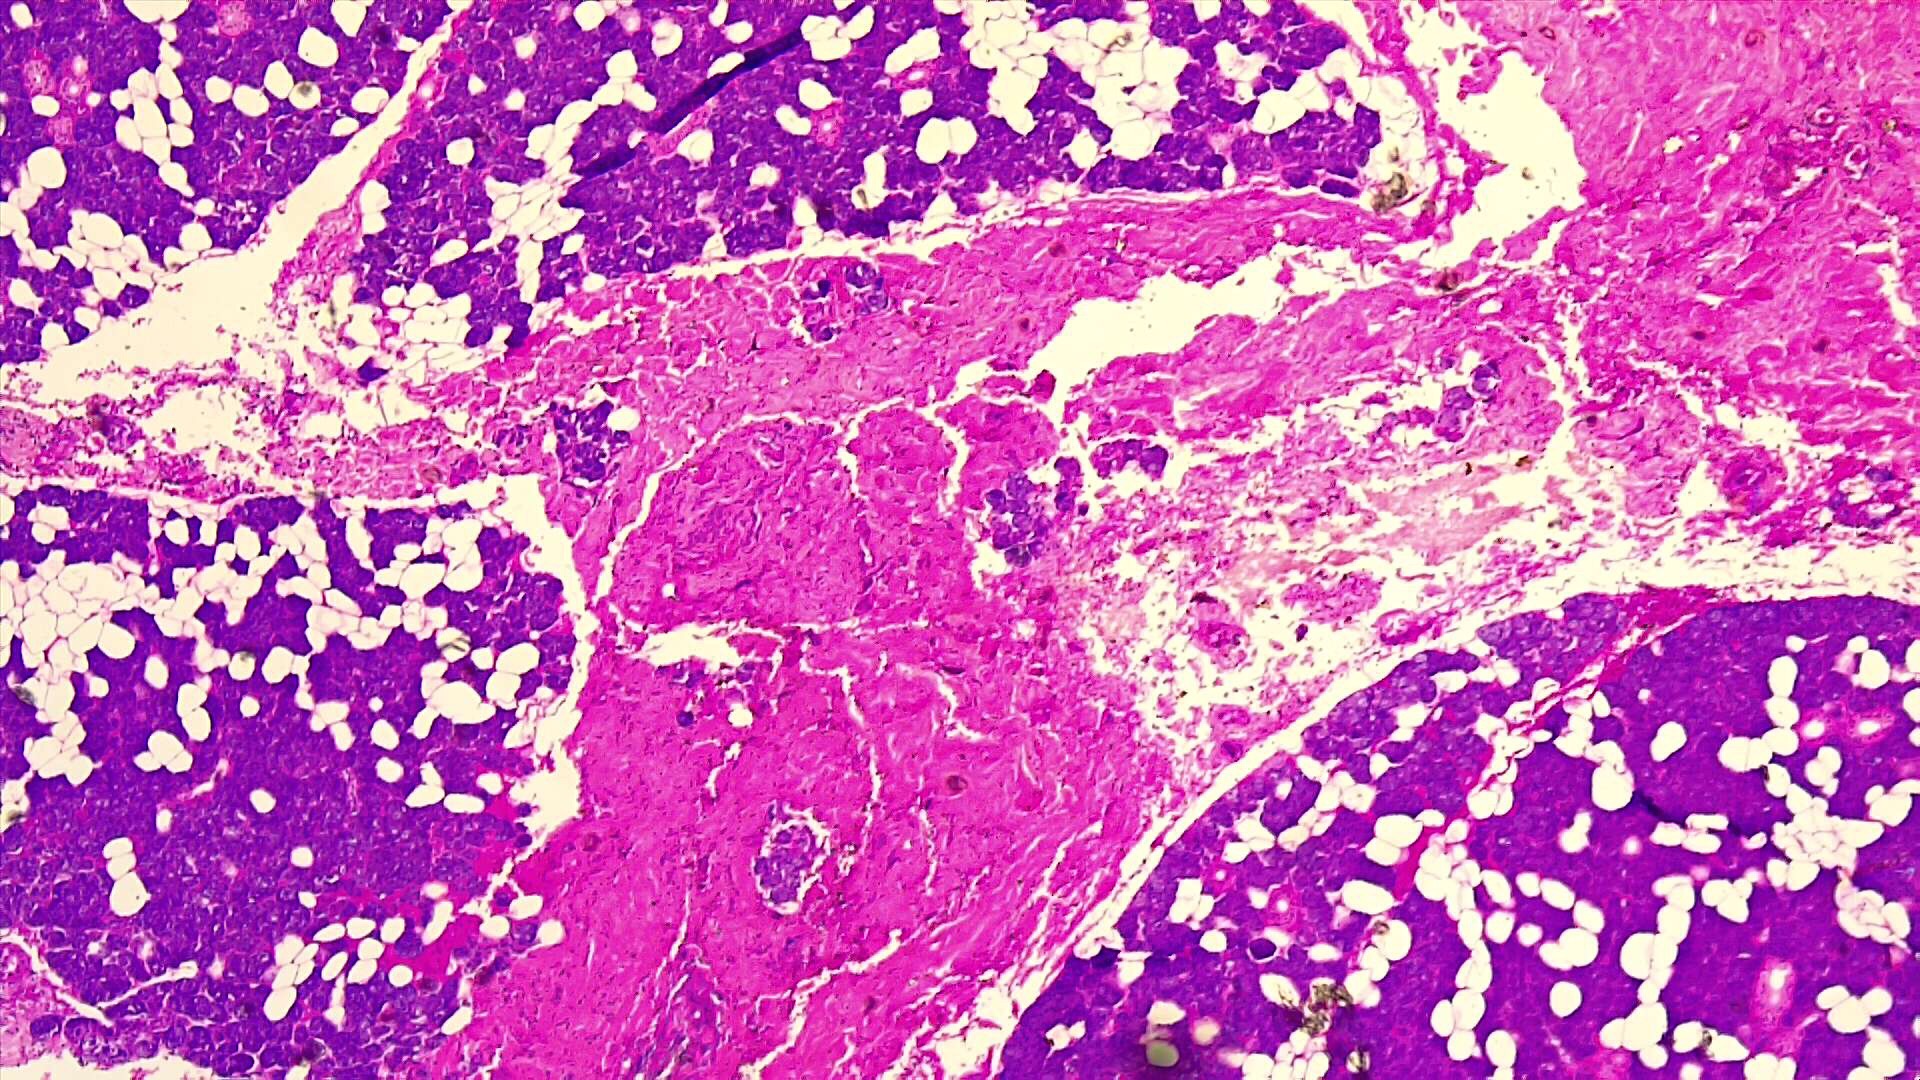
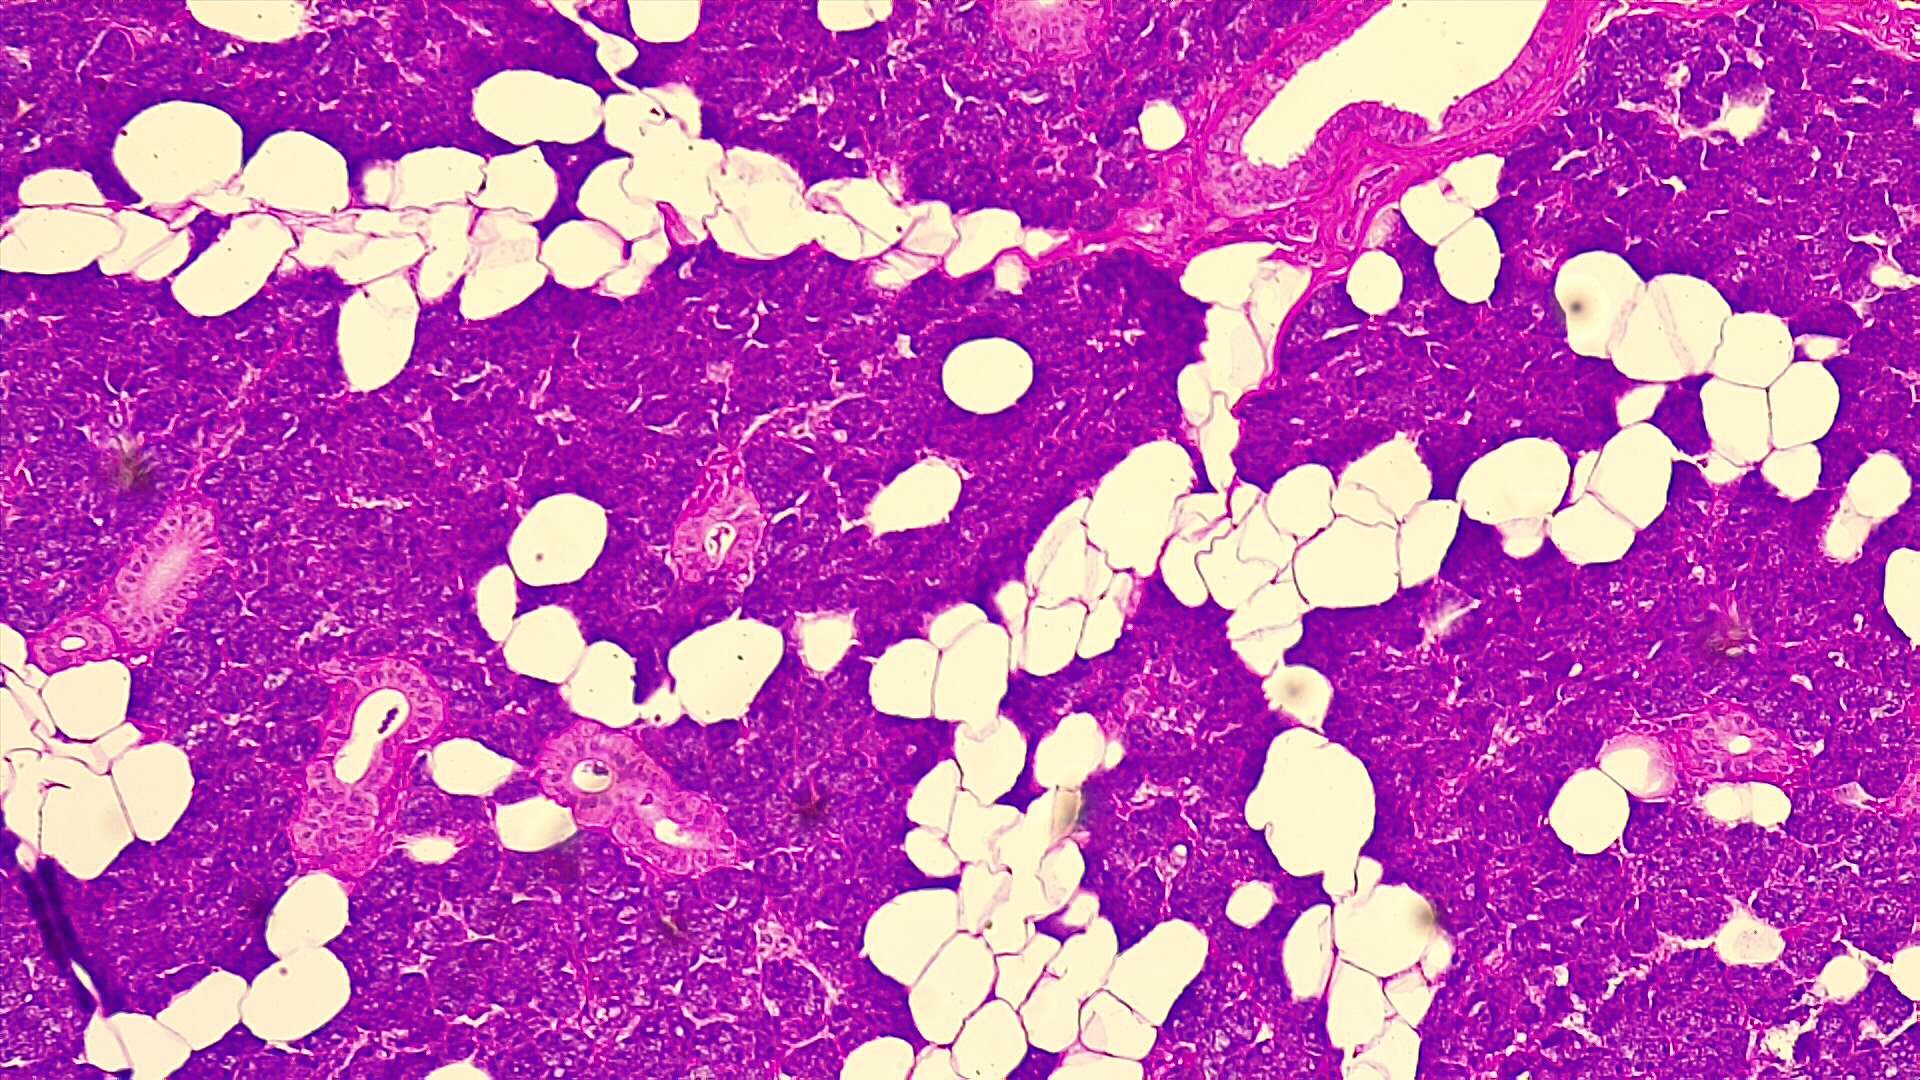
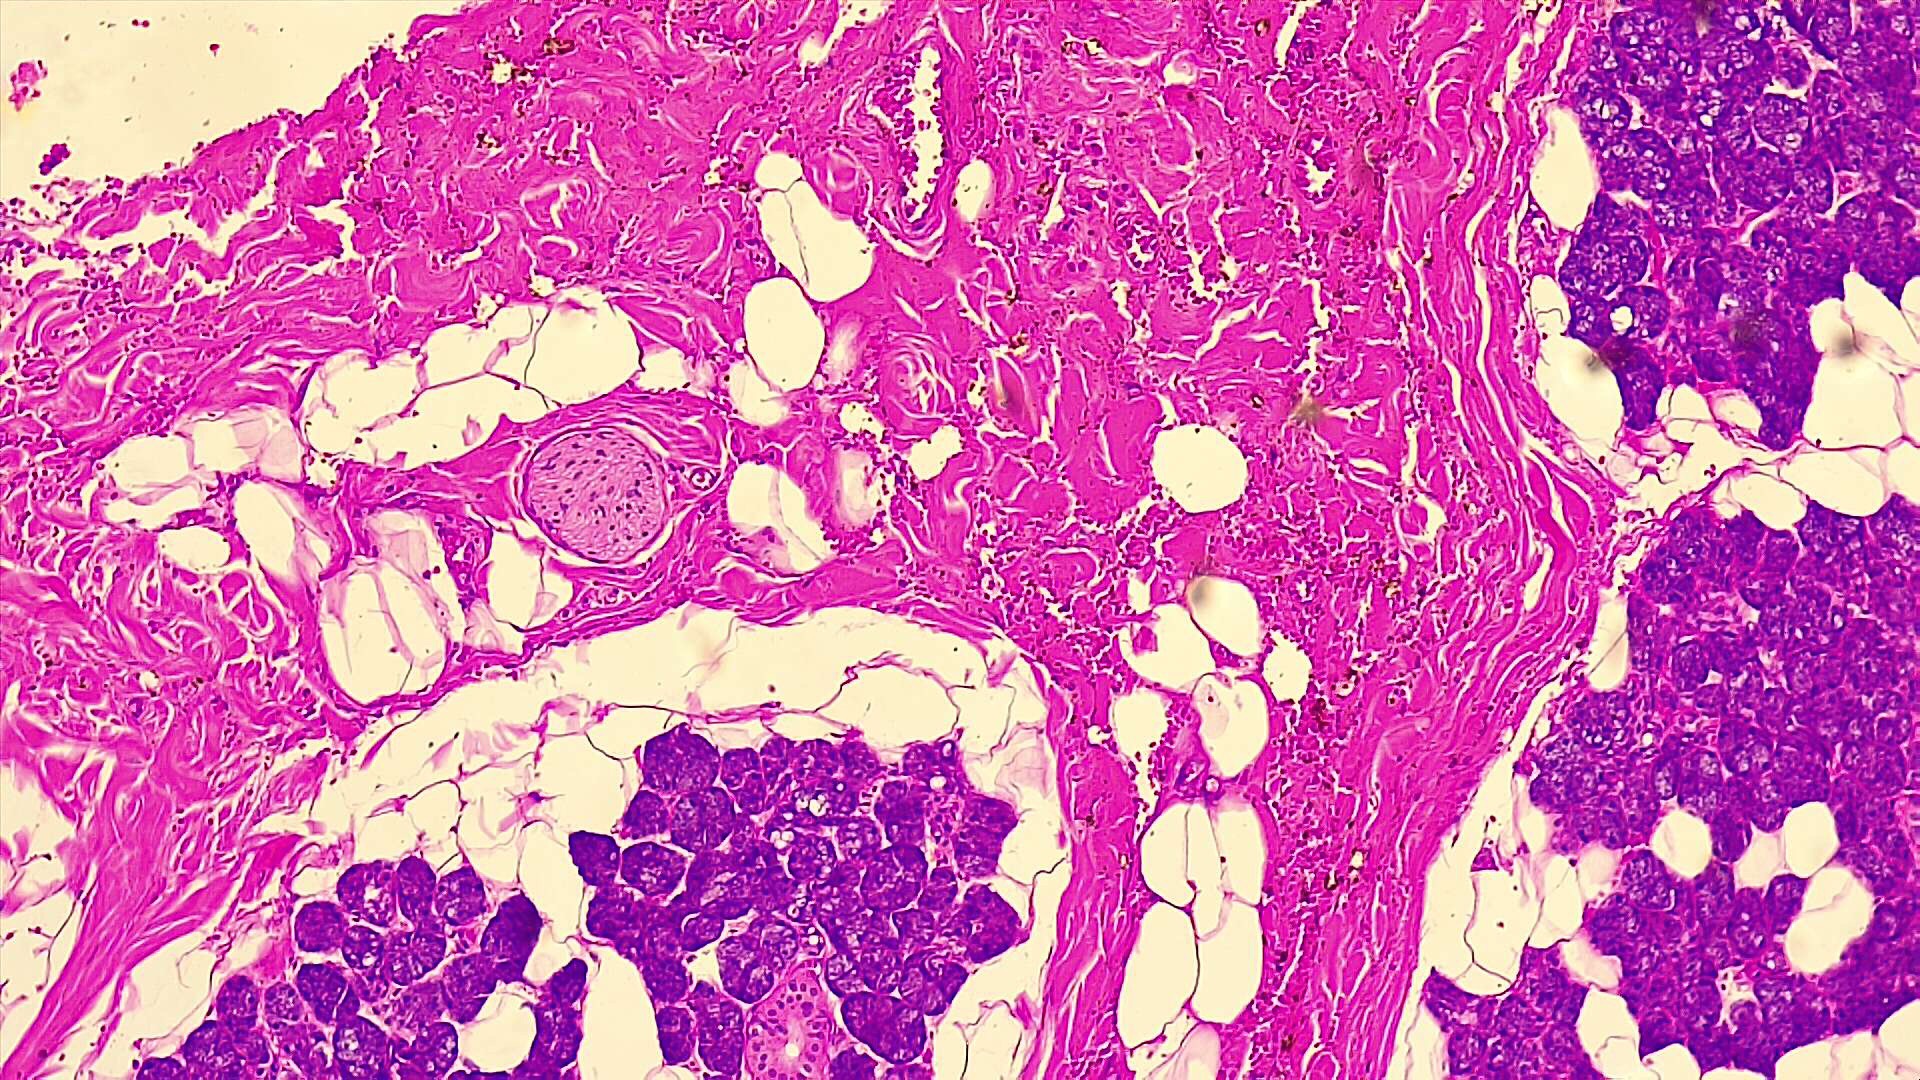
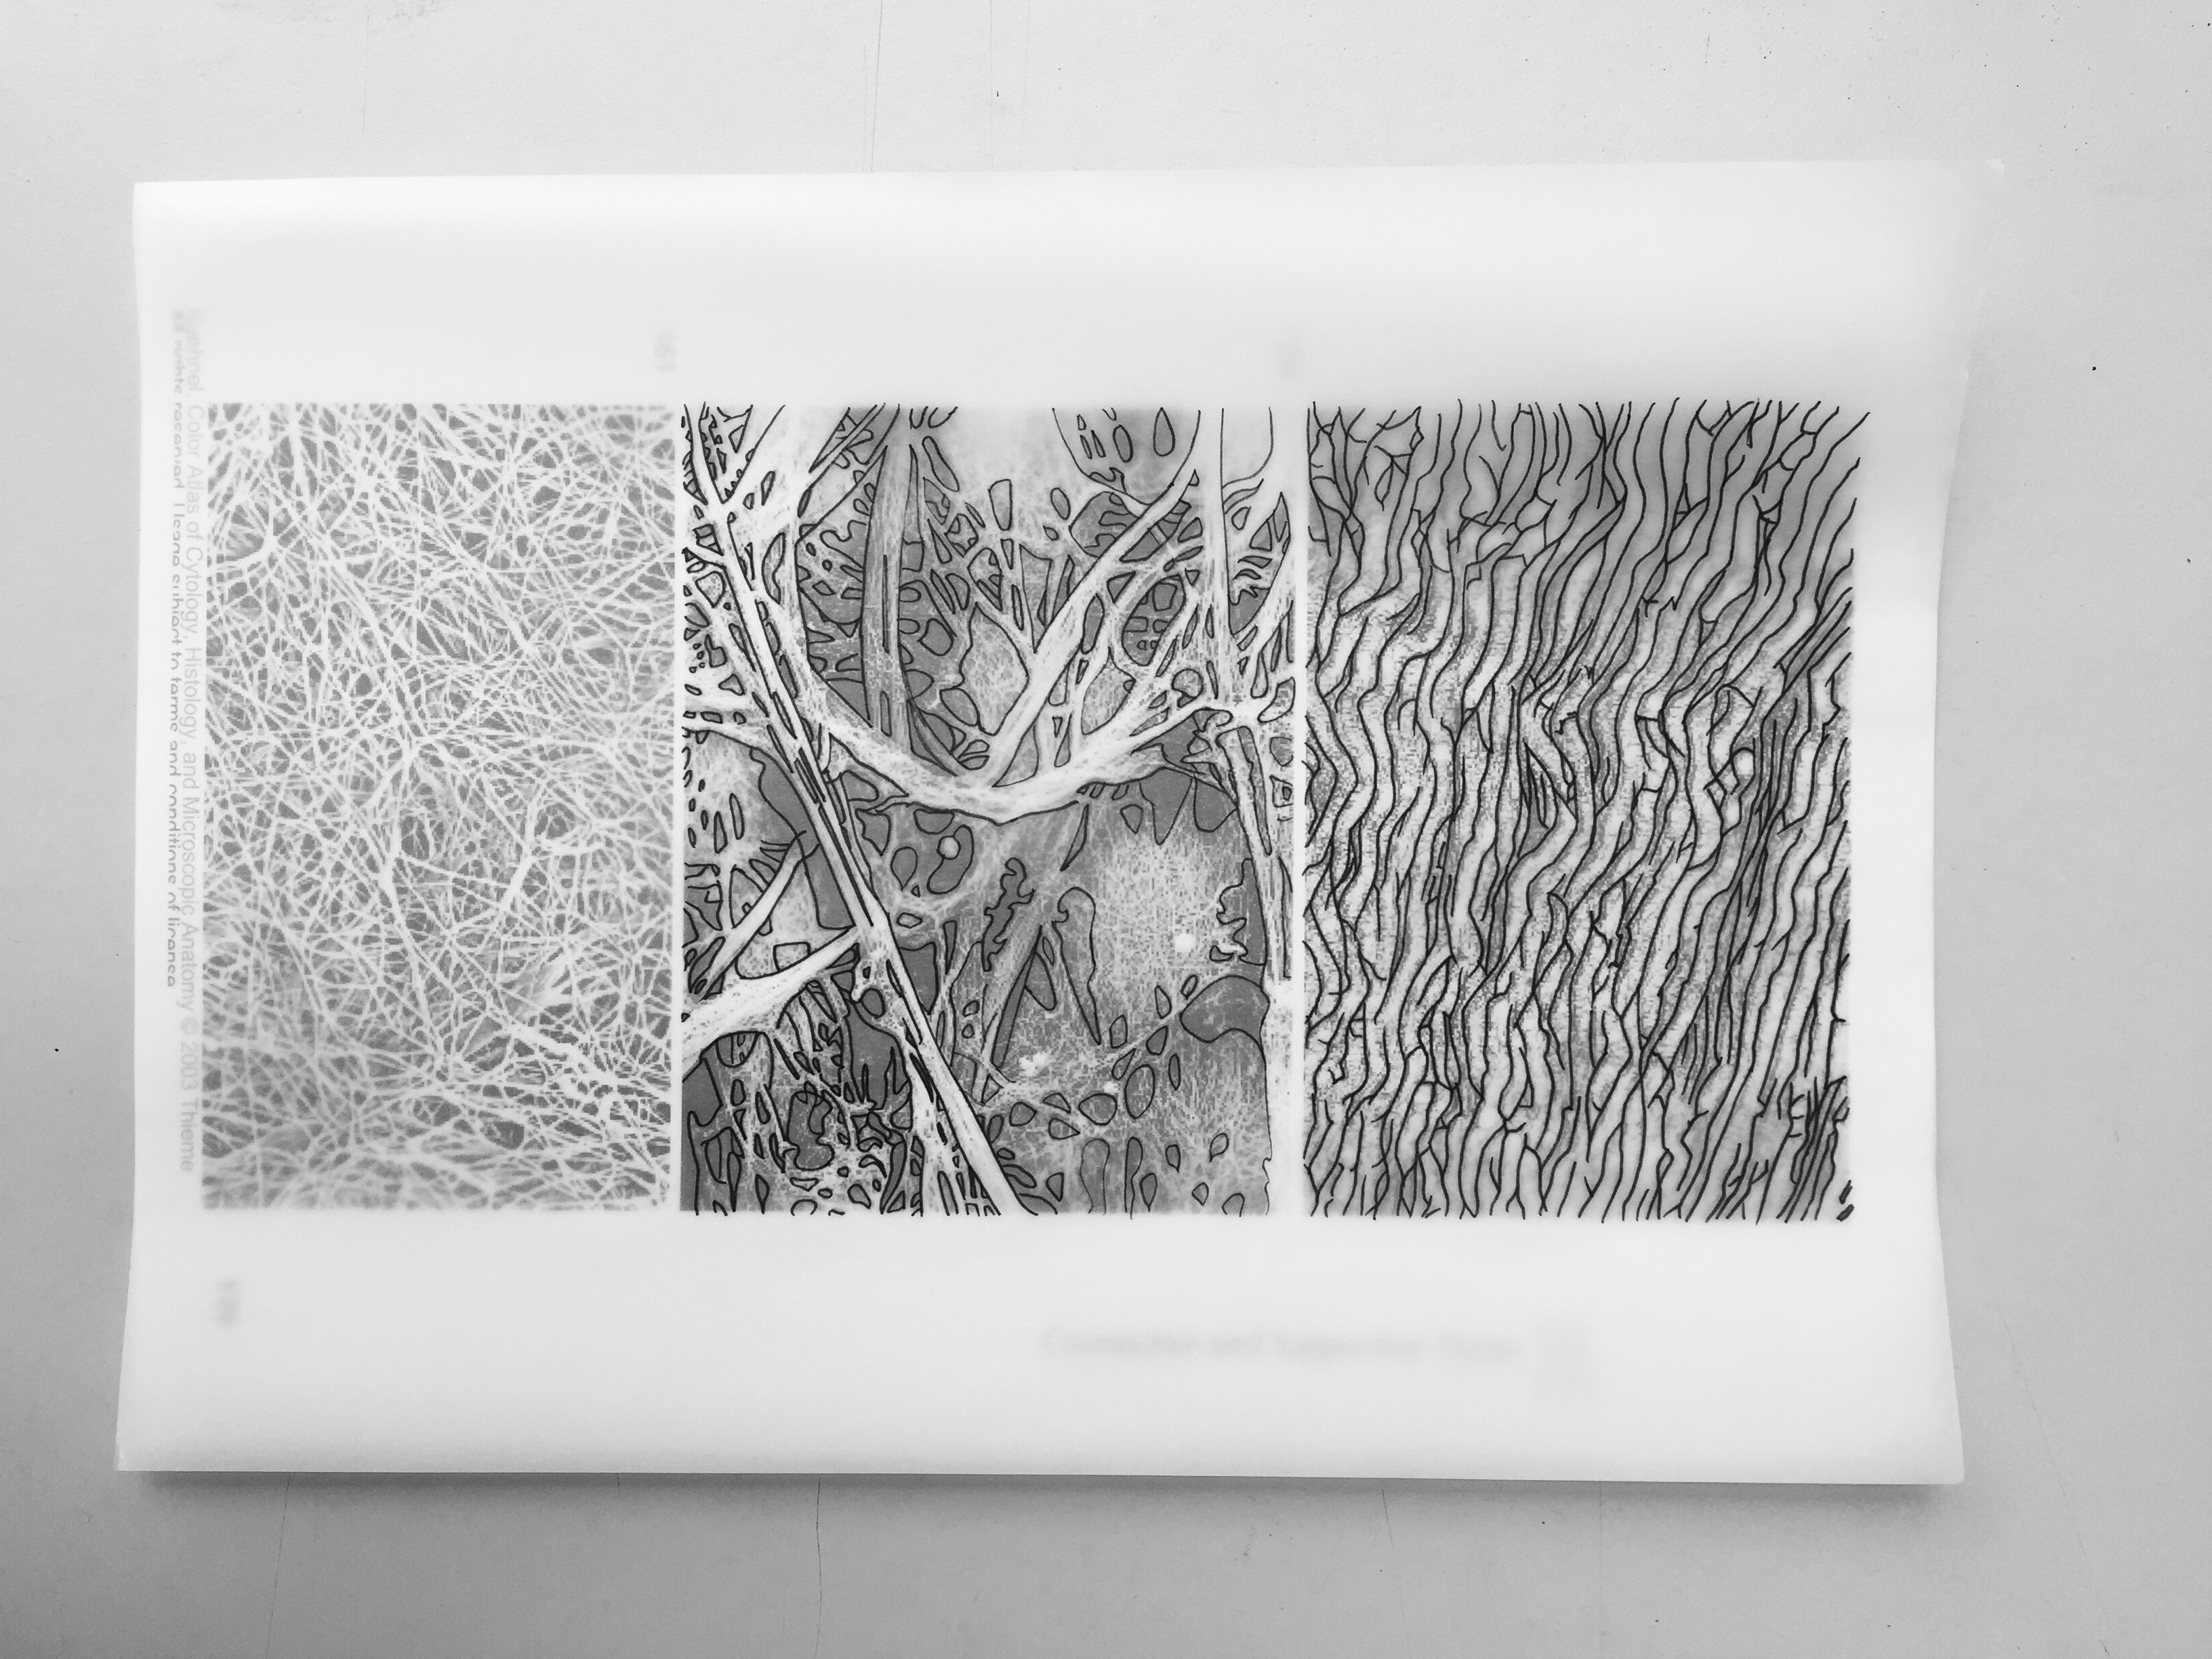
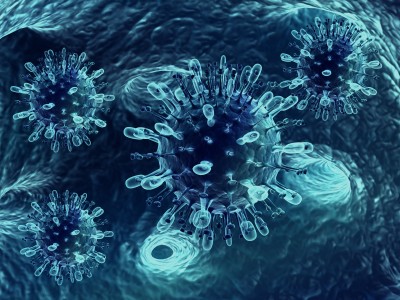
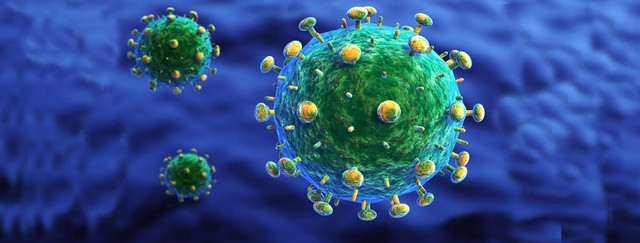
The virus cells that I was inspired by can be seen below.

Virus #1: Structure of Virus

Virus #2: HIV

Virus #3: Structure of Polio Viruses

Virus #4: Ebola Virus

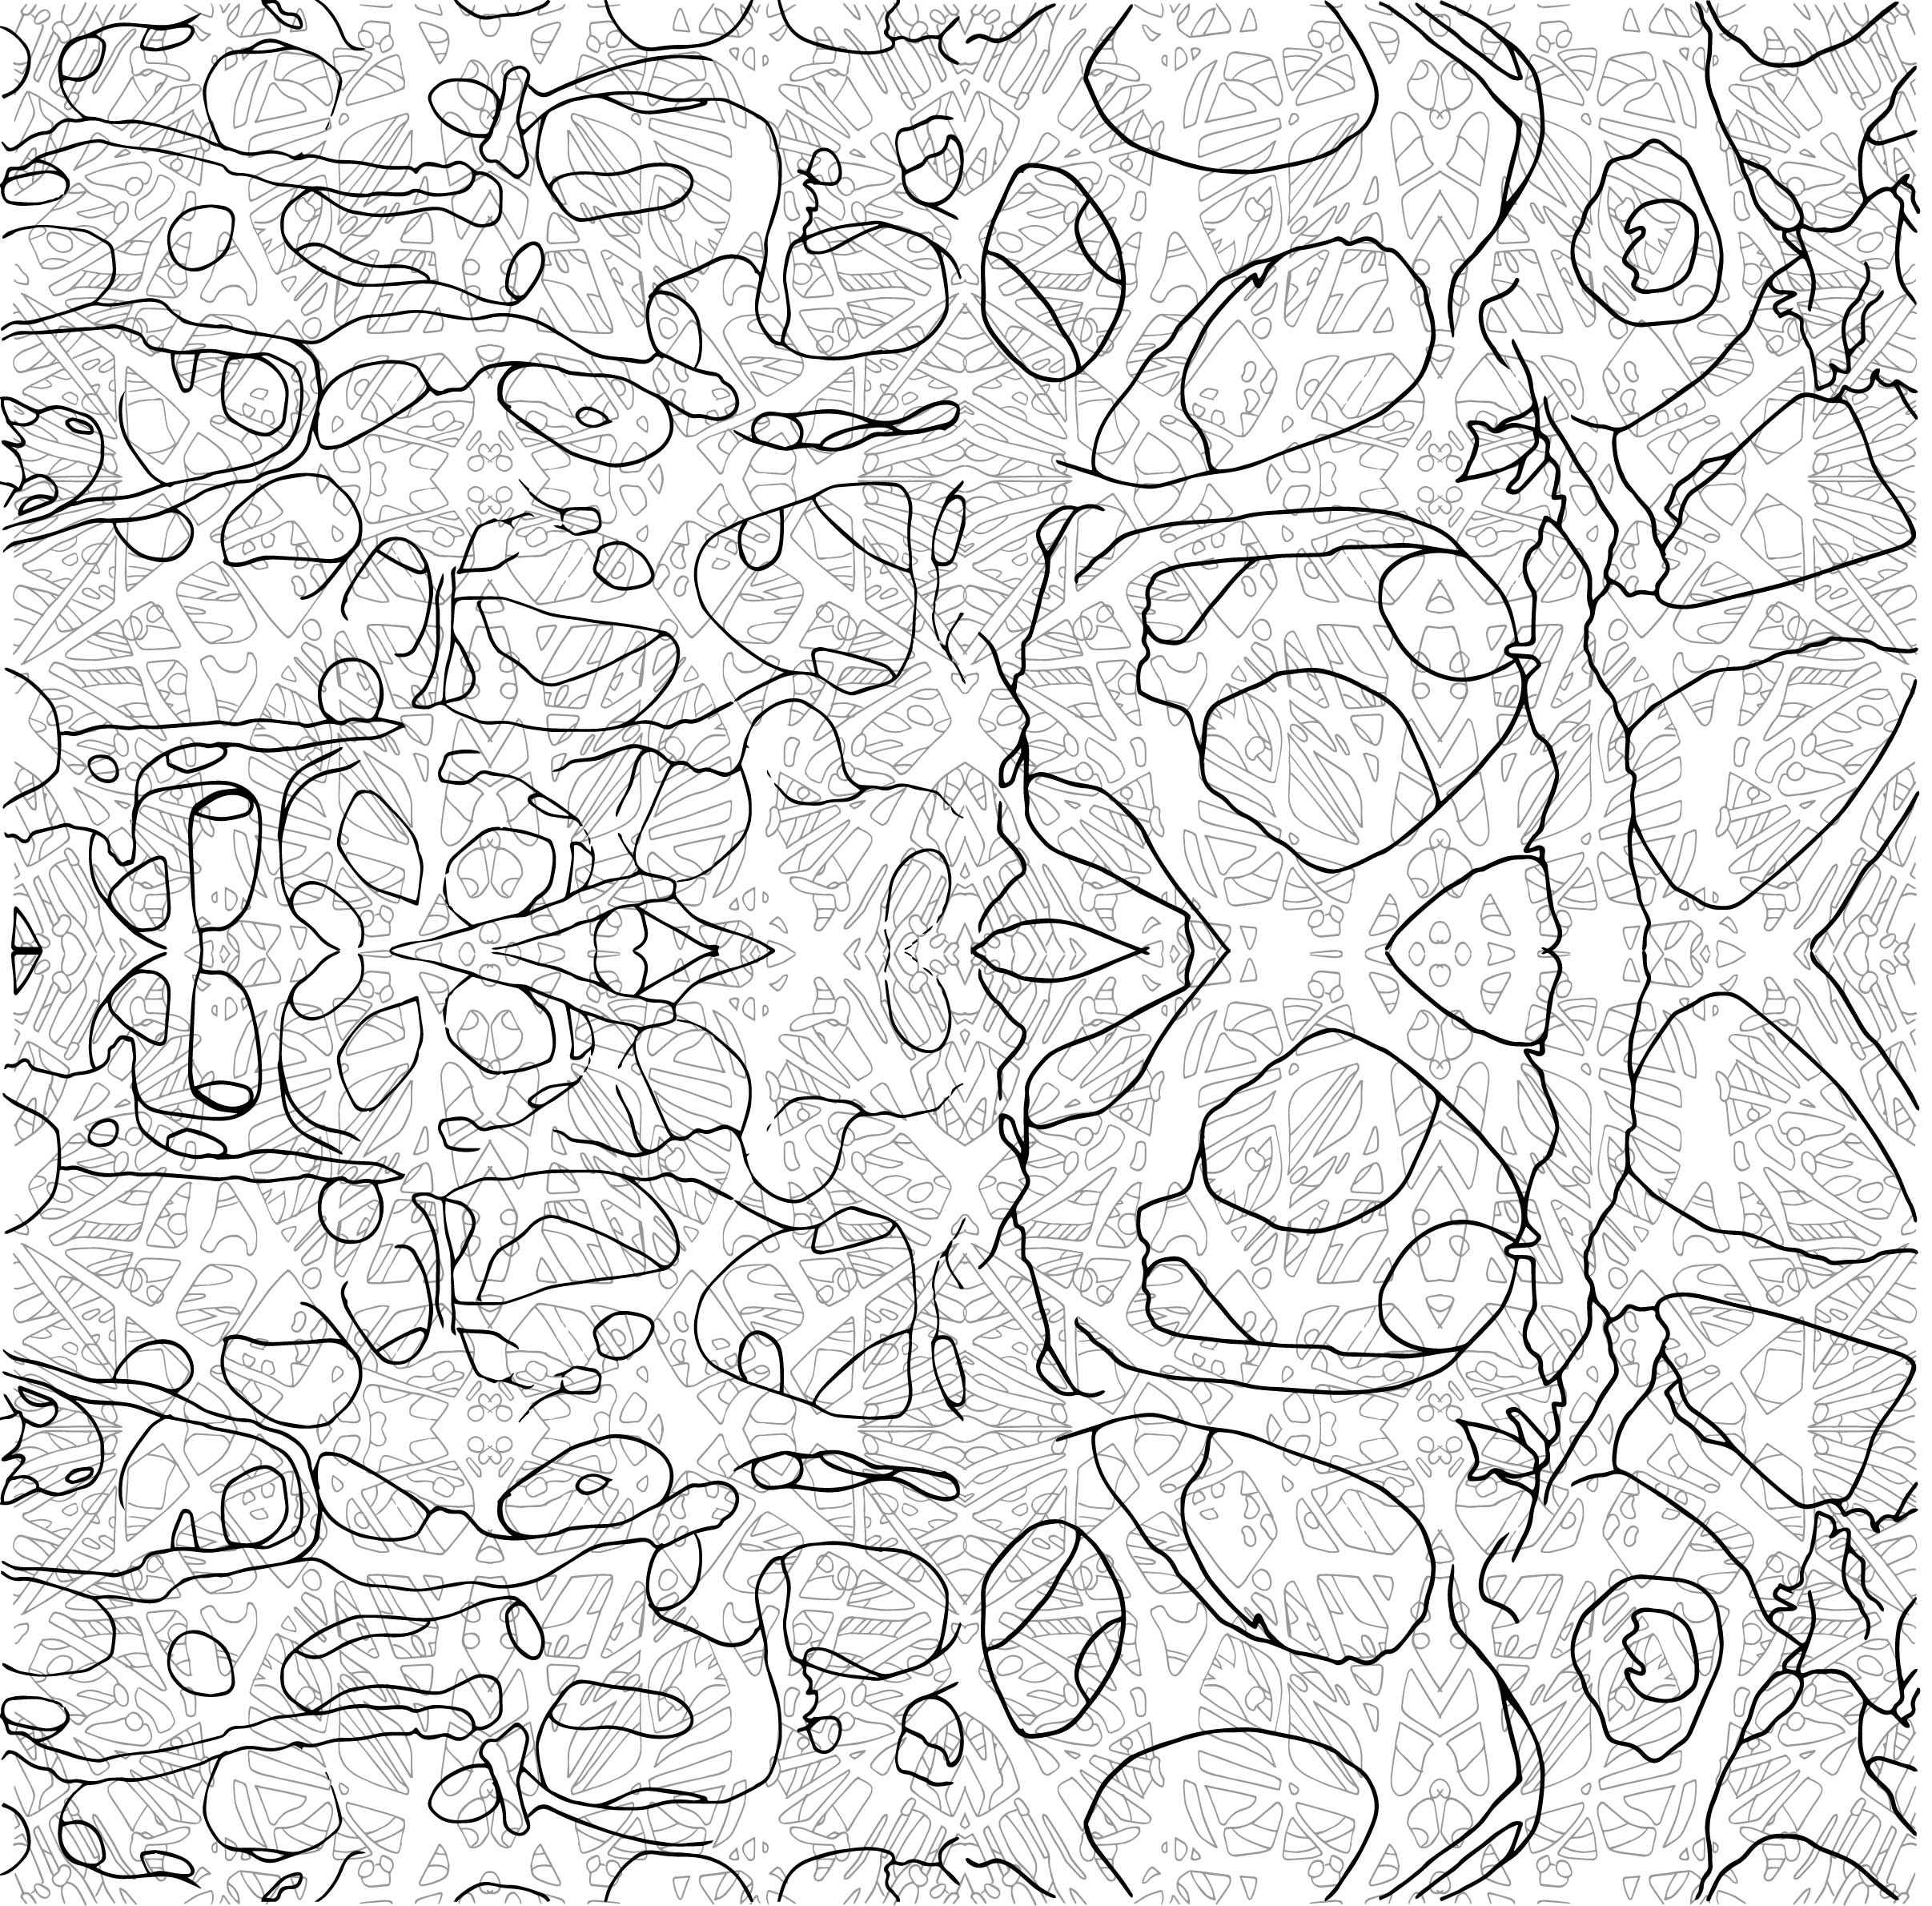
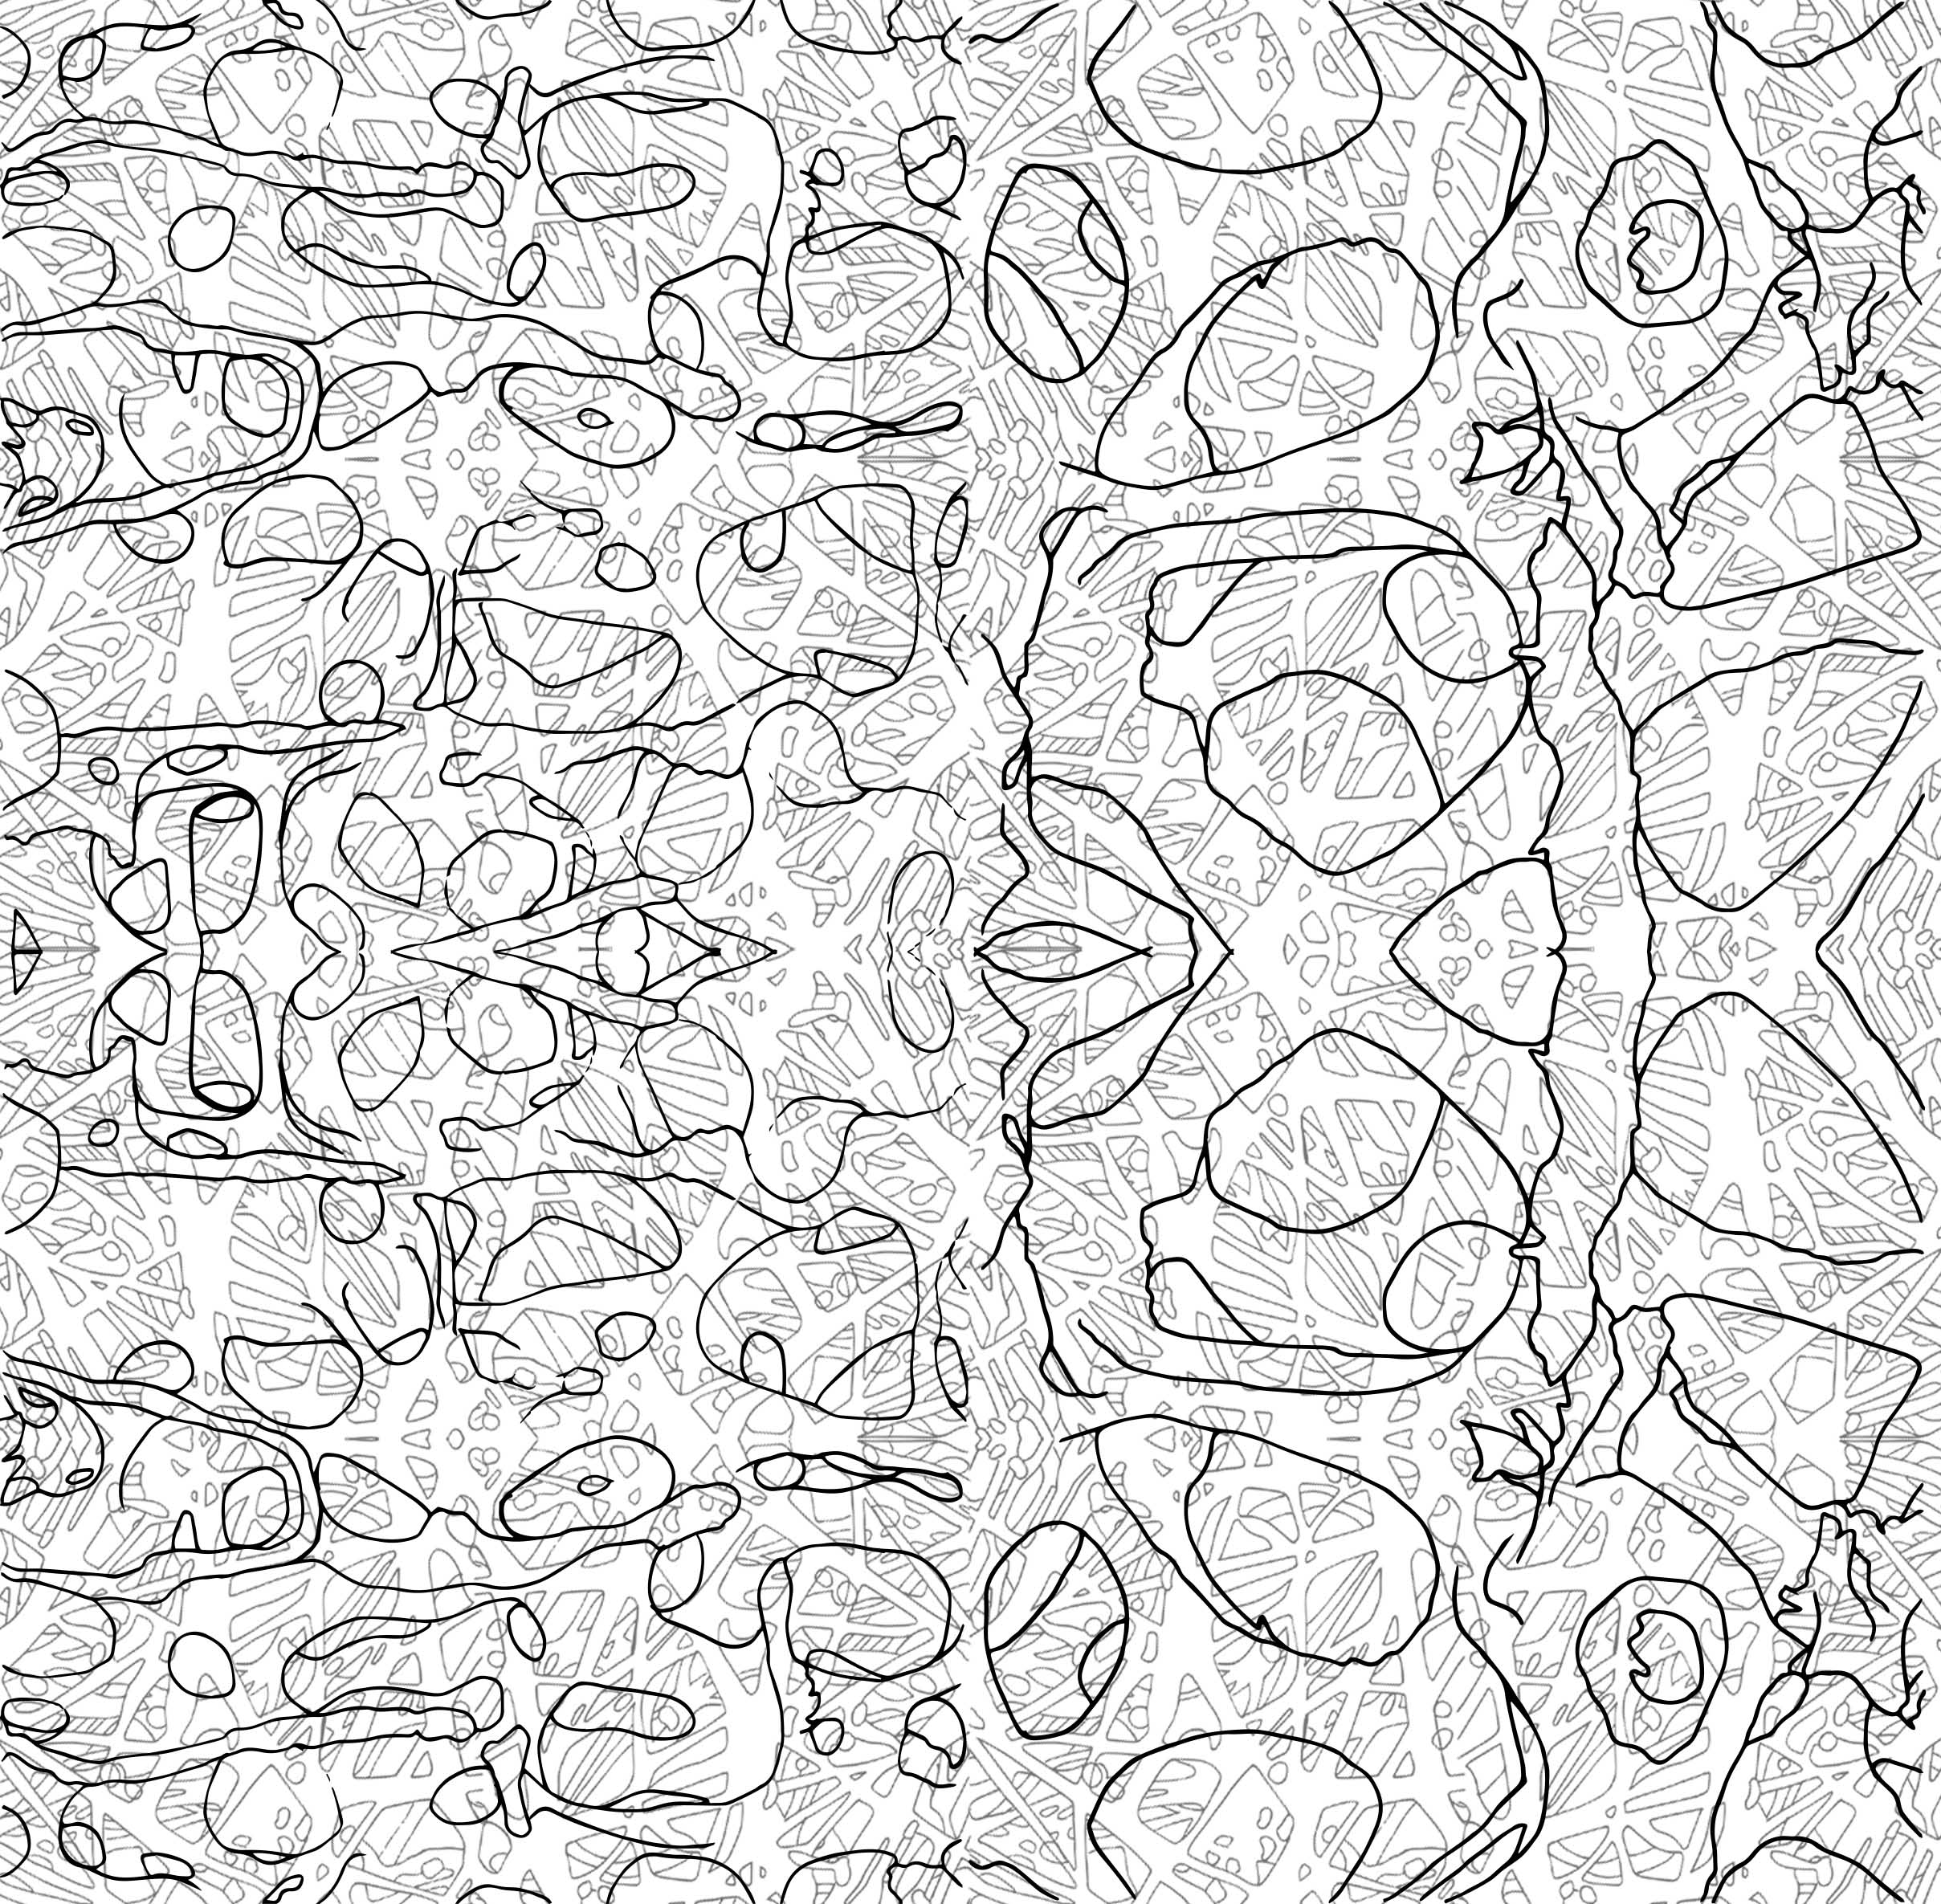
Then, I combined them to form into one motif:

virus-compiled-bw_1
The compiled virus in Black and White
virus-compiled_1
The combined motif in colours.

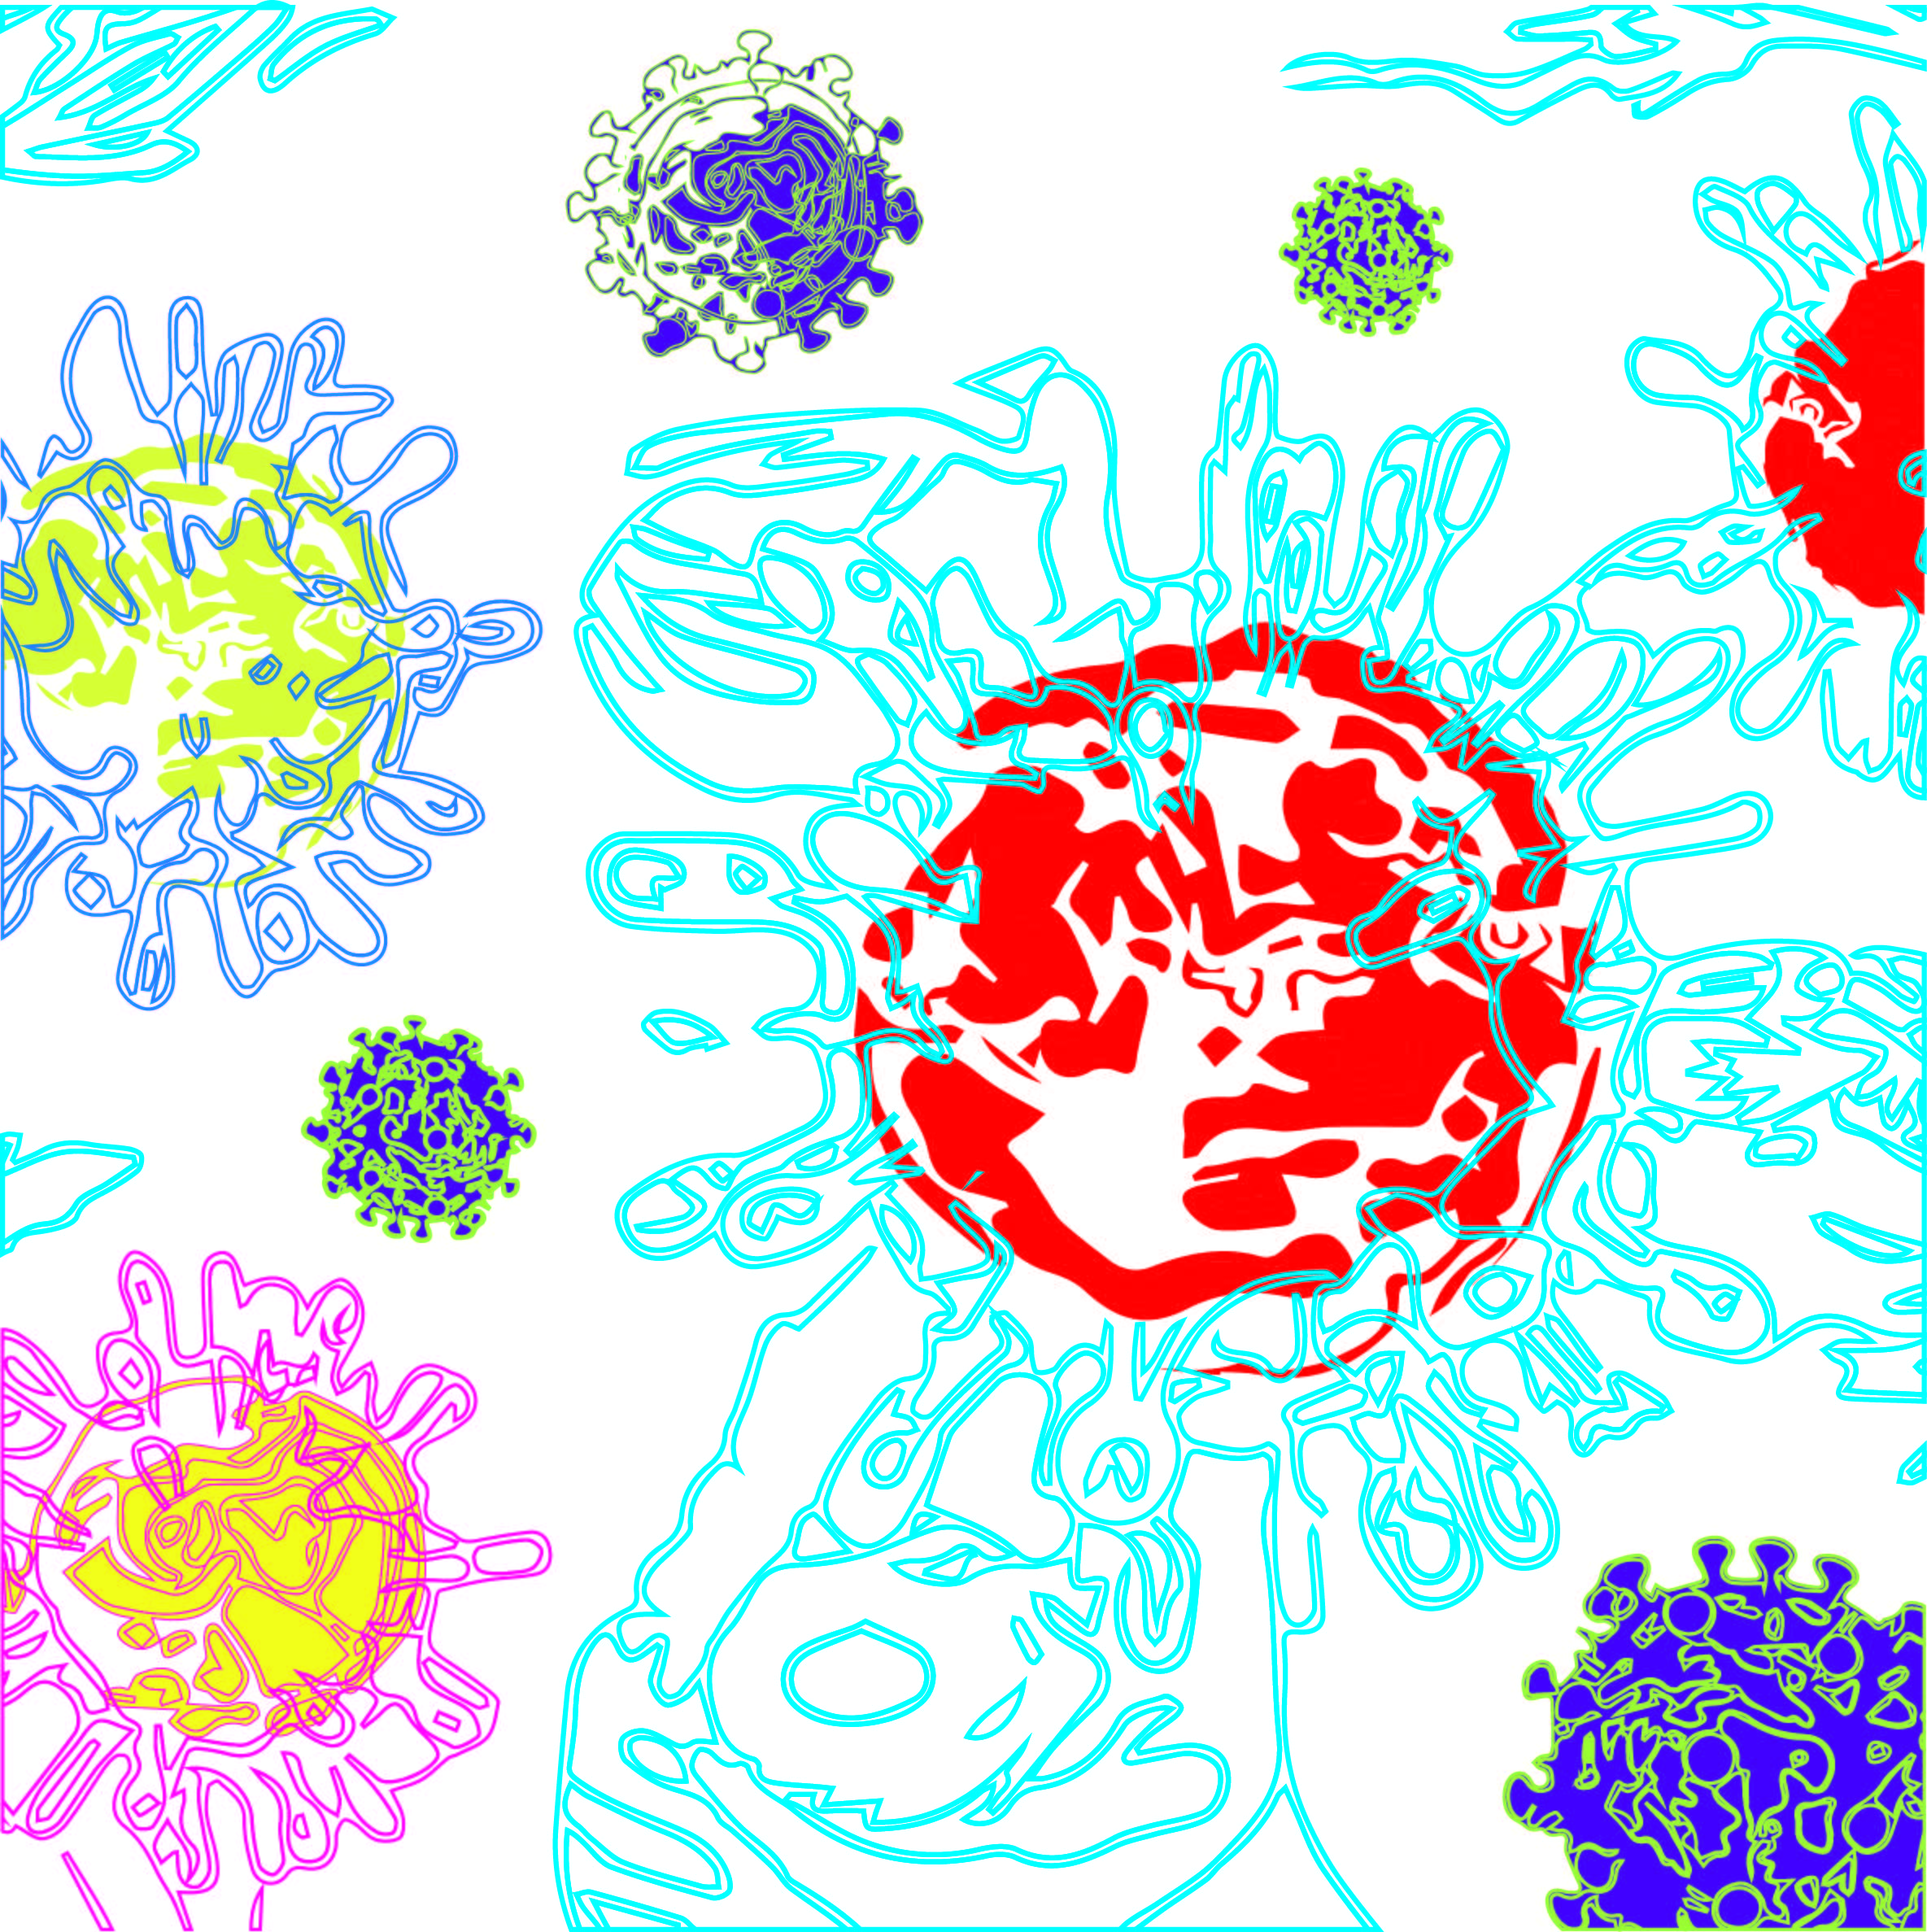
I had 2 versions of the motif in terms of colour to have a general outline vs how I intend for the virus motif to look like — clearly going towards the direction where my “healthy, normal, and non-virus” main motifs will soon change its “pure” colours to the spread of virus.

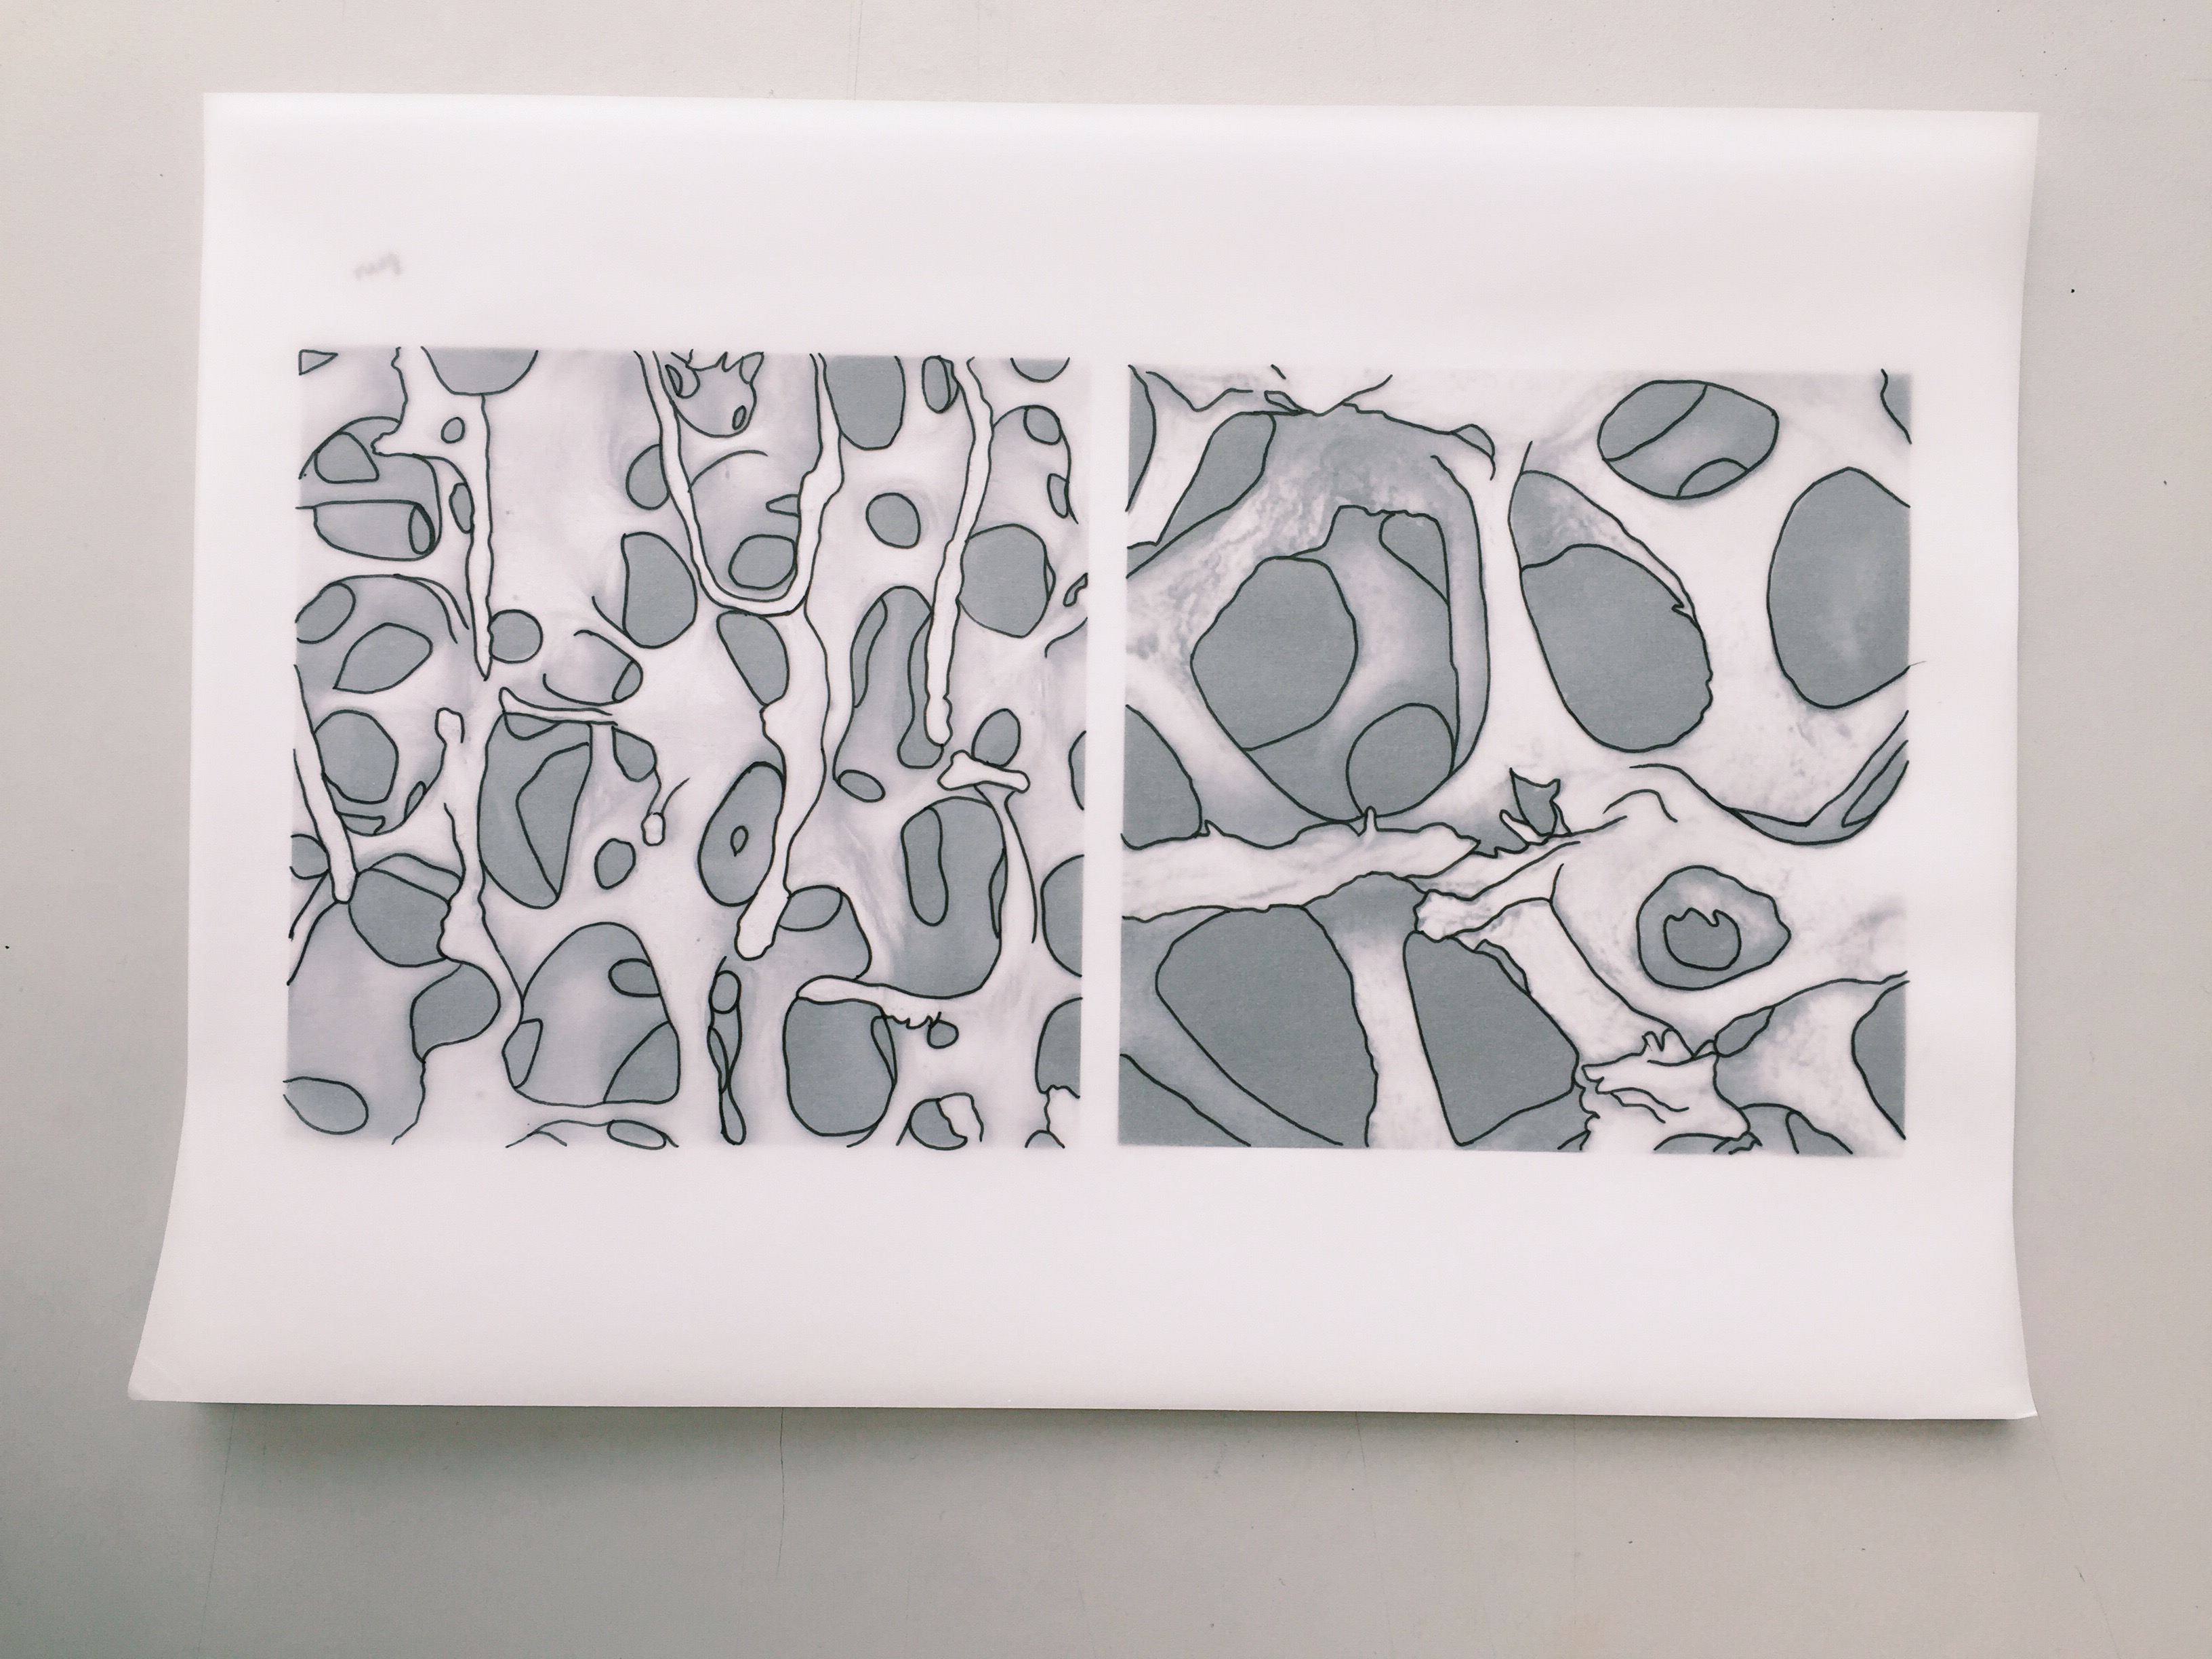
Apart from motifs, since the previous lesson where we were demo-ed on how to animate our banner in After Effects, I had thoughts mingling in my mind and thus decided to write it down:

new-doc-2_1

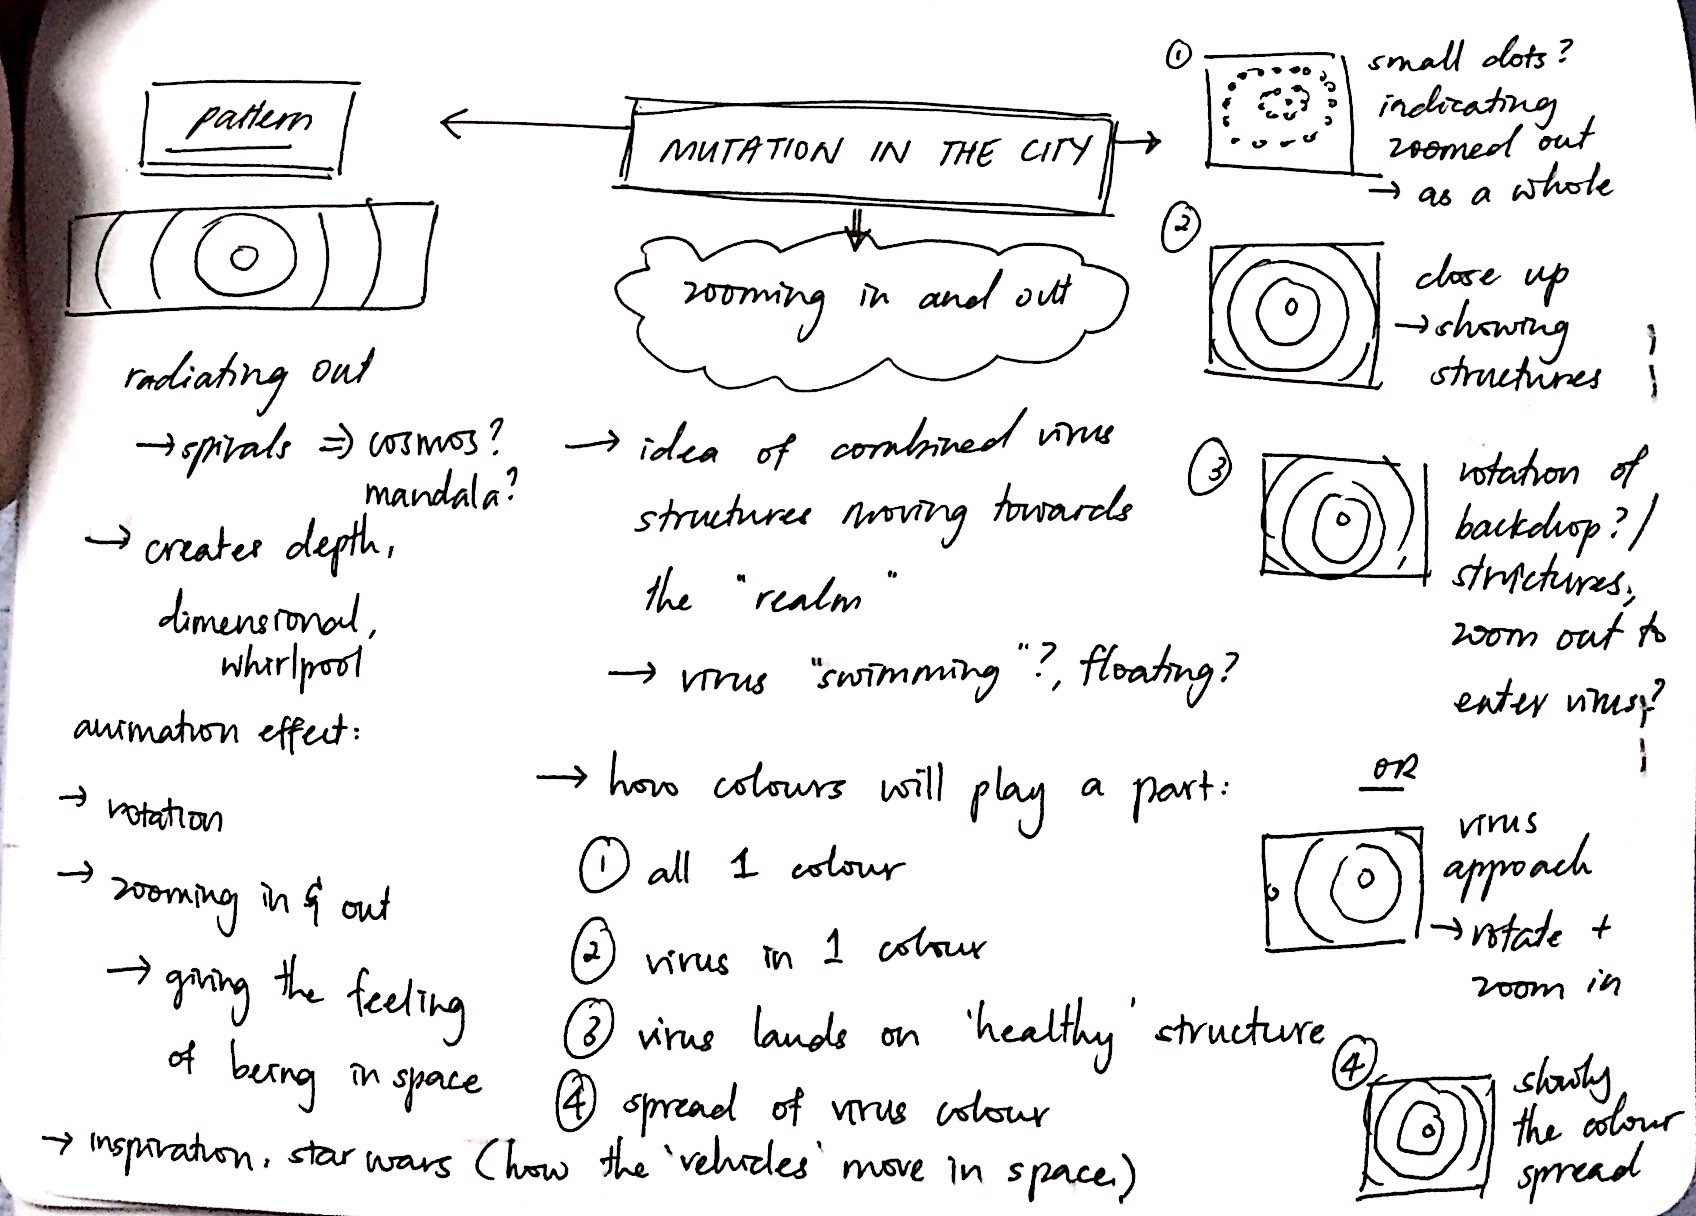
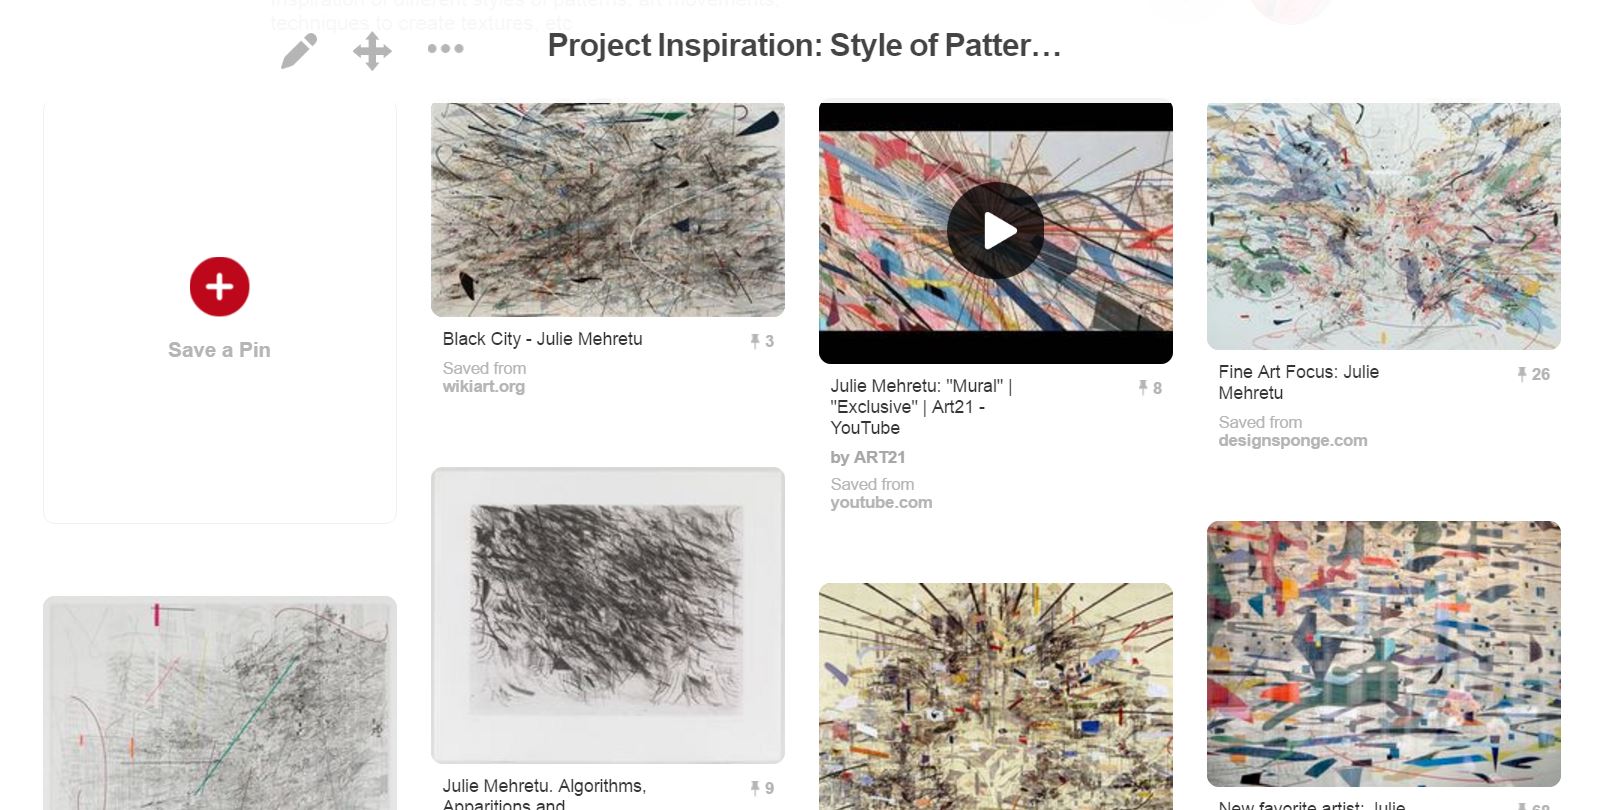
To be brief, I noted down how I think I want my animation to be — main motifs zoomed in or out, virus approaching main motifs, spreading of colour, etc.

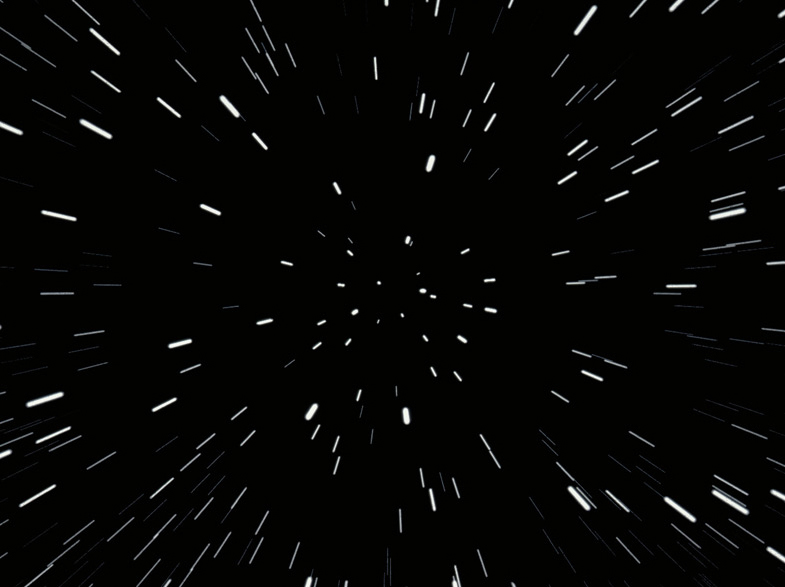
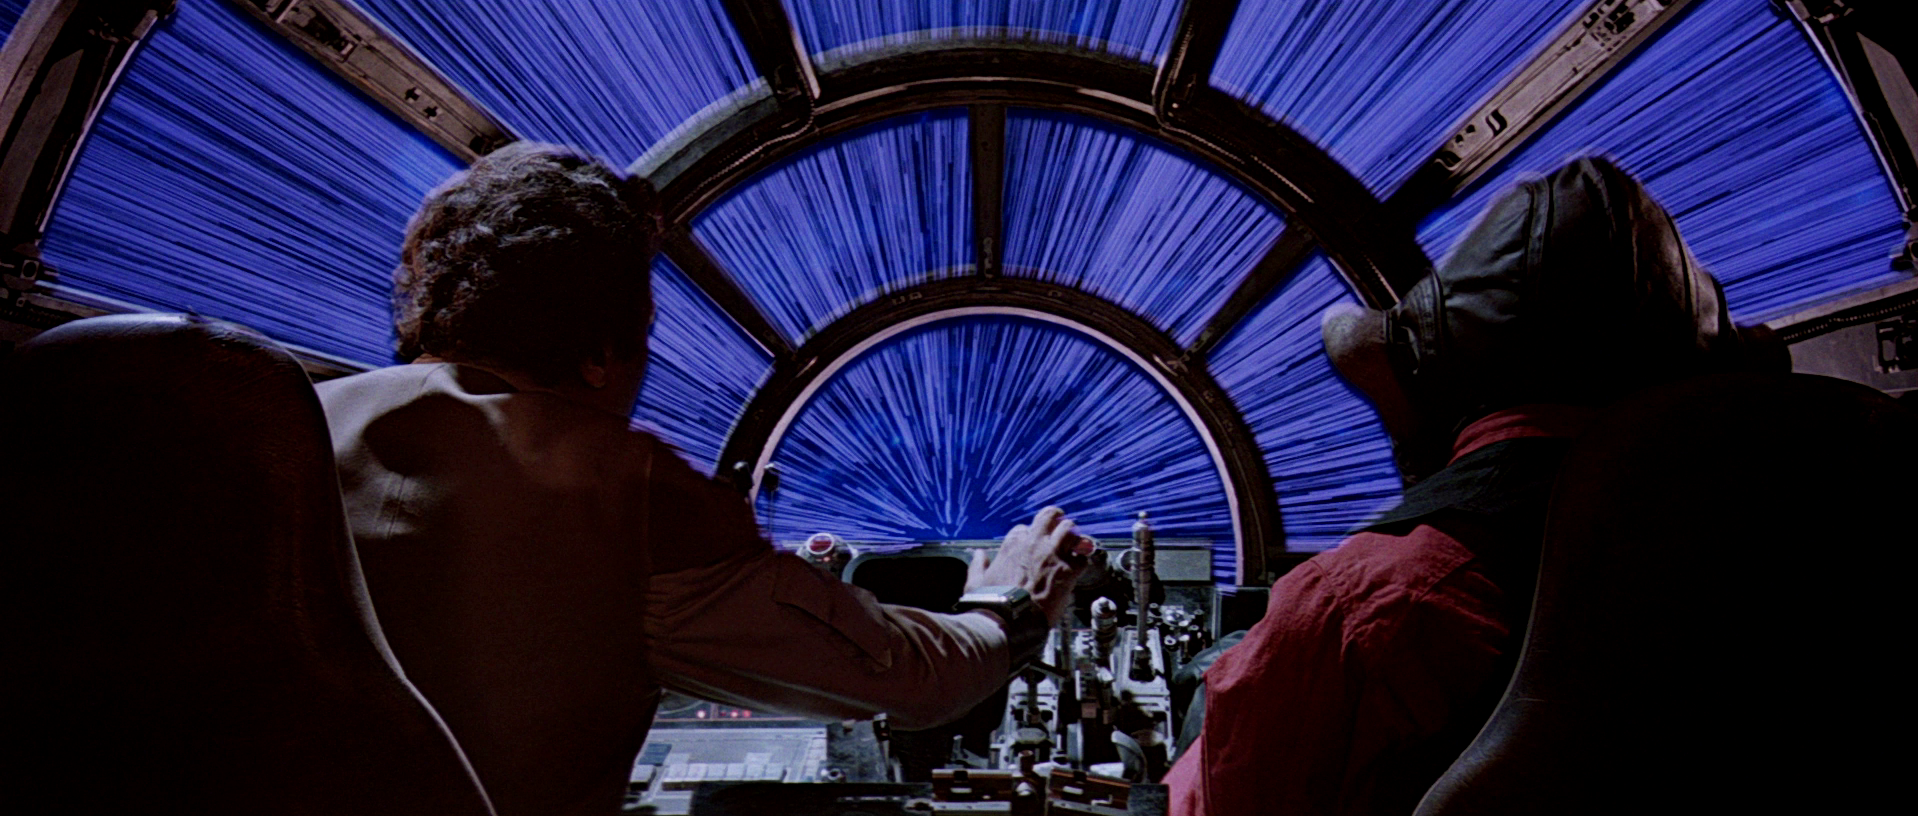
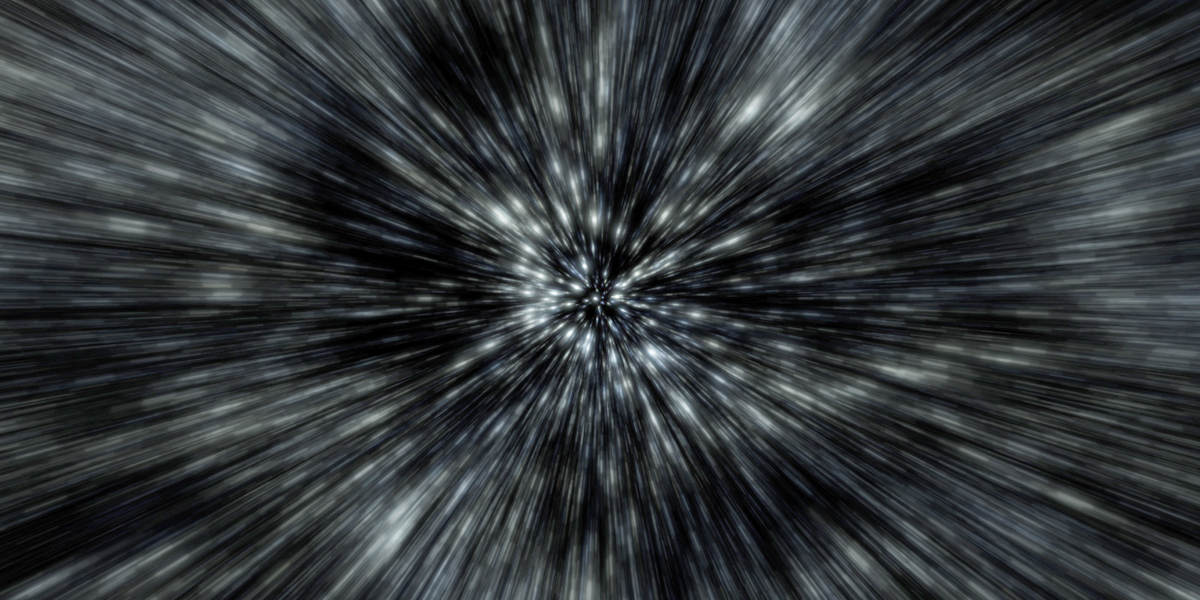
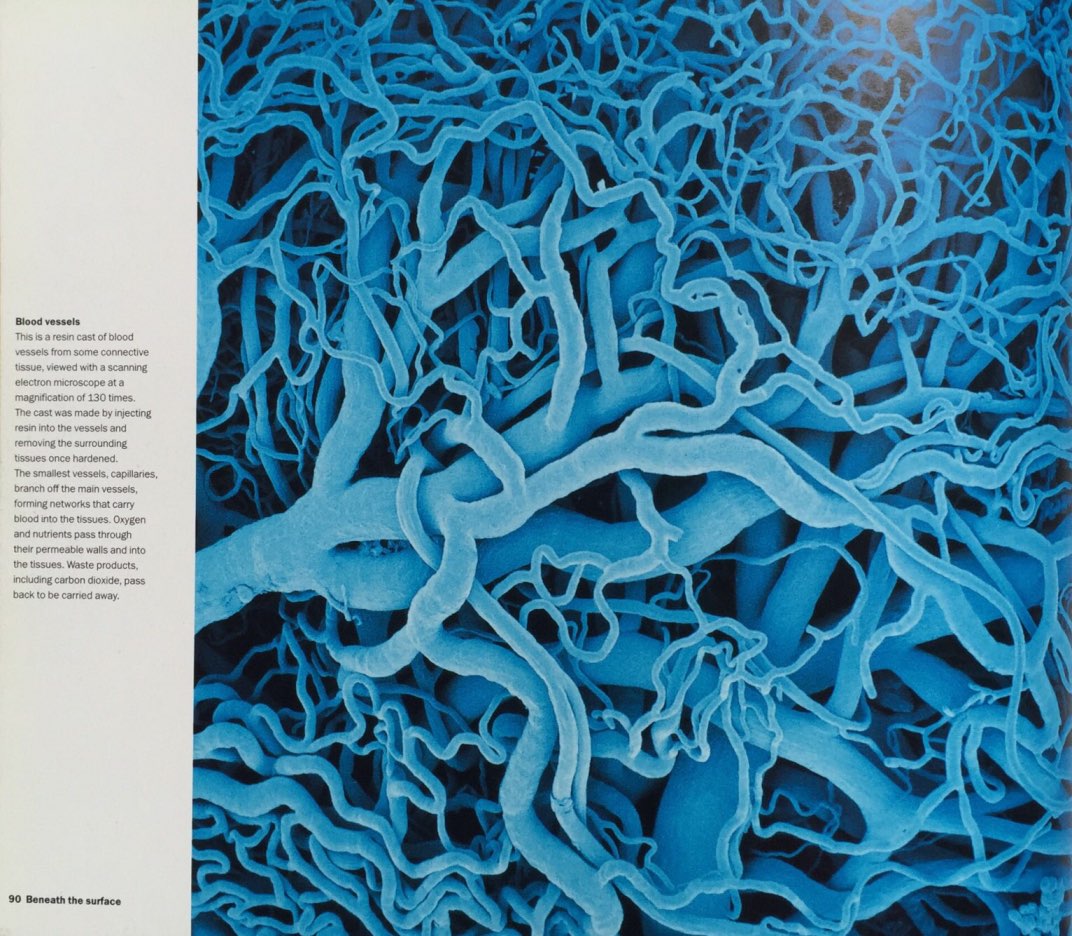
When I had these thoughts, I was thinking of Star Wars — how their spaceships were floating in space, the movement of space when spaceship goes towards whirlpool galaxy(?).

Maybe these images will help to show you how I envisioned the background of my banner to be:

Source: http://www.paperhi.com/Toplist_Best_3061
Source: http://starwars.wikia.com/wiki/Hyperspace/Legends
Source: https://www.wired.com/images_blogs/underwire/2013/02/parallax-hyperspace-stars2.jpg

Process: Experimental Medicine Building

Recently, I head down to the Experimental Medicine Building, to use the resources that they have on human microscopic anatomy/structure.

First foremost, I was taught the fundamentals of using a microscope, and lastly the choosing of whichever samples that I would like to view on.

I was spoilt for choices with the many samples, however the technician was of great help. He sat beside my work desk and assisted me — he even play trial and error to view the different samples to get the pattern that I was looking for in our human anatomy.

I selected a few of the samples, and did a screenshot of what I studied:

Mammal Cerebellum

Human Spinal Cord

Human Scalp

Mammal Thyroid and Parathyroid Glands

Mammal Kidney

Human Lung

Human Skin, Non-pigmented

Mammal Artery and Vein

Human Skeletal Muscle

Mammal Compact Bone

Mammal Ovarian Follicles

Human Ovary, active phase

Human Tongue

Mammal Esophagus

Human Stratified Columnar Epithelium

Process: Creating Motifs Part 3

Previously, it was just exploring of the different structures symmetrically repeated and reflected to form a motif. However, I am moving on to the process of putting together 2 or more different motifs to become one.

The first few examples can be seen below, where 1 human microscopy is repeated, and overlayed with another. The only difference between the two are the opacity.

On a side note, when I see these motifs (above), I realised it looked like the lace material.

And another example below, where I layered 3 different structures into 1. Though it is messy as the lines intersecting were pretty obvious and distracting.

At first glance, I think it is too messy, but it gives a very nice layer.


From the consultation, I was introduced to an artist who does her work in abstract forms with an unorganised, messy and complex backdrop or surroundings.

Her name is Julie Mehretu, and these are some of her works that I find them interesting and are parts of my inspiration:

inspiration-tab-julie-mehteru

To minus off the use of symmetry and reflections, I combined the tracings that I had, following the best fir of positions of the structures, and started to form them into one whole motif.

combination-motifs-2-1

Then, I repeat the image above, and formed design inspired by spirals, cosmos or what looked like mandala due to the radiating in and out. (Mixed in a little knowledge of Art History over here)

panaroma-test-1-1

Next, how do I make it look as messy as Julie Mehretu’s? I decided to try and have textures. At first I thought of manually creating textures using several techniques I found online. But I too, wanted to try the grunge effect. So the images below are the before and after of grunge texture, with colour and monochromatic.

Trying out the texture with colour.
versus the grunge texture with a lower opacity

Process: Creating Motifs Part 2

From hardcopy to softcopy

So from the previous post, I printed out selected images from a source that has data on human microscopic anatomy, traced those images, and lastly scanned them in. Not really at random, but I selected those images based on the type of patterns that I planned to incorporate into the entire motif — bones, cells, and connective and supportive tissues.

Softcopy

I did a few trial and error to vectorize the images that I scanned, and tried on getting a few motifs as a start. First thing first, I started by using each microscopic anatomy into its own motif by repetition within its own elements. I might say these trial motifs were headed towards the direction of symmetrical and geometrical patterns.

(Majority of the motifs are similar to the previous ones. Basically it shows the variations if I’d rather choose those motifs with intersecting lines in the middle or minimal intersection?)

Motif #1: the microscopic structure of our bone #1.

Source to be inserted ASAP

Motif #2: the microscopic structure of our bone #2.

Processed with VSCO with c1 preset

Motif #3: the microscopic structure of Connective and Supportive Tissue #1.

Source to be inserted ASAP
Kuehnel, Wolfgang. Color Atlas of Cytology, Histology, and Microscopic Anatomy. 4th ed. Germany: Thieme, 2003. PDF. Connective and Supportive Tissue, pg 119

Motif #4: the microscopic structure of Connective and Supportive Tissue #2.

Source to be inserted ASAP
Kuehnel, Wolfgang. Color Atlas of Cytology, Histology, and Microscopic Anatomy. 4th ed. Germany: Thieme, 2003. PDF. Connective and Supportive Tissue, pg 119

Motif #5: the microscopic structure of Connective and Supportive Tissue #3.

Source to be inserted ASAP
Kuehnel, Wolfgang. Color Atlas of Cytology, Histology, and Microscopic Anatomy. 4th ed. Germany: Thieme, 2003. PDF. Connective and Supportive Tissue, pg 117

Motif #6: the microscopic structure of cells

 Kuehnel, Wolfgang. Color Atlas of Cytology, Histology, and Microscopic Anatomy. 4th ed. Germany: Thieme, 2003. PDF. Cells, pg 15

Kuehnel, Wolfgang. Color Atlas of Cytology, Histology, and Microscopic Anatomy. 4th ed. Germany: Thieme, 2003. PDF. Cells, pg 15