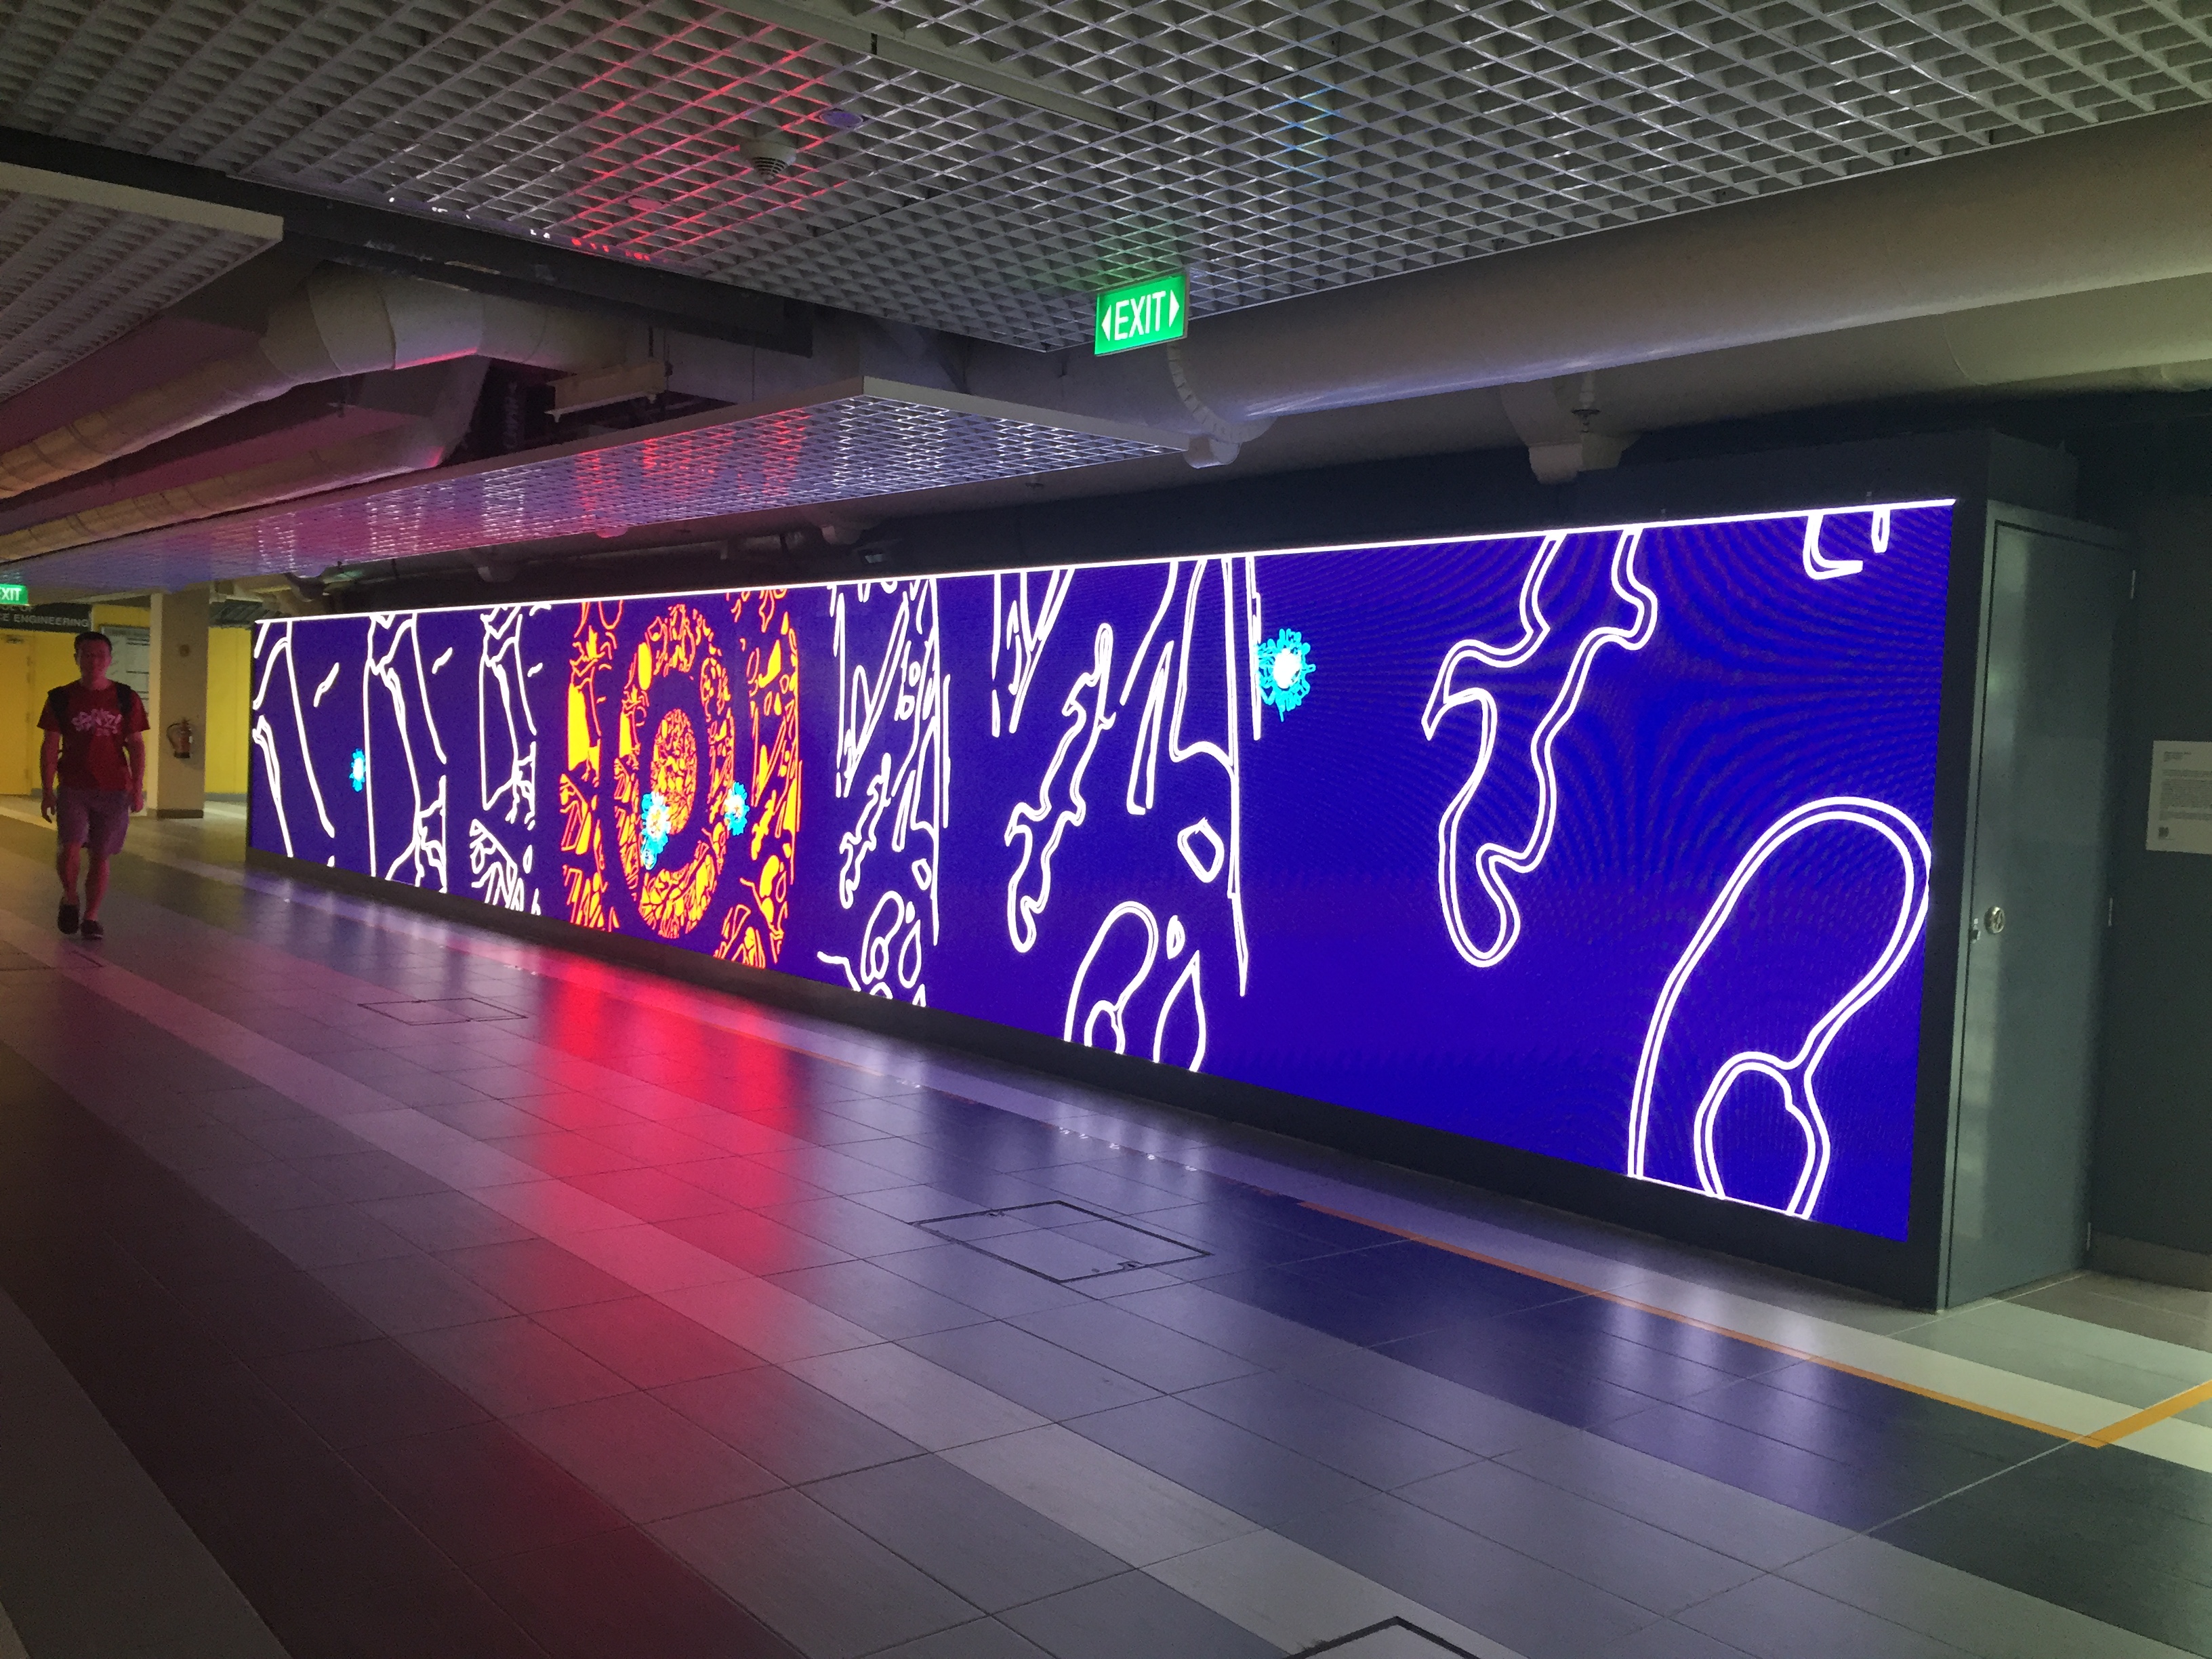
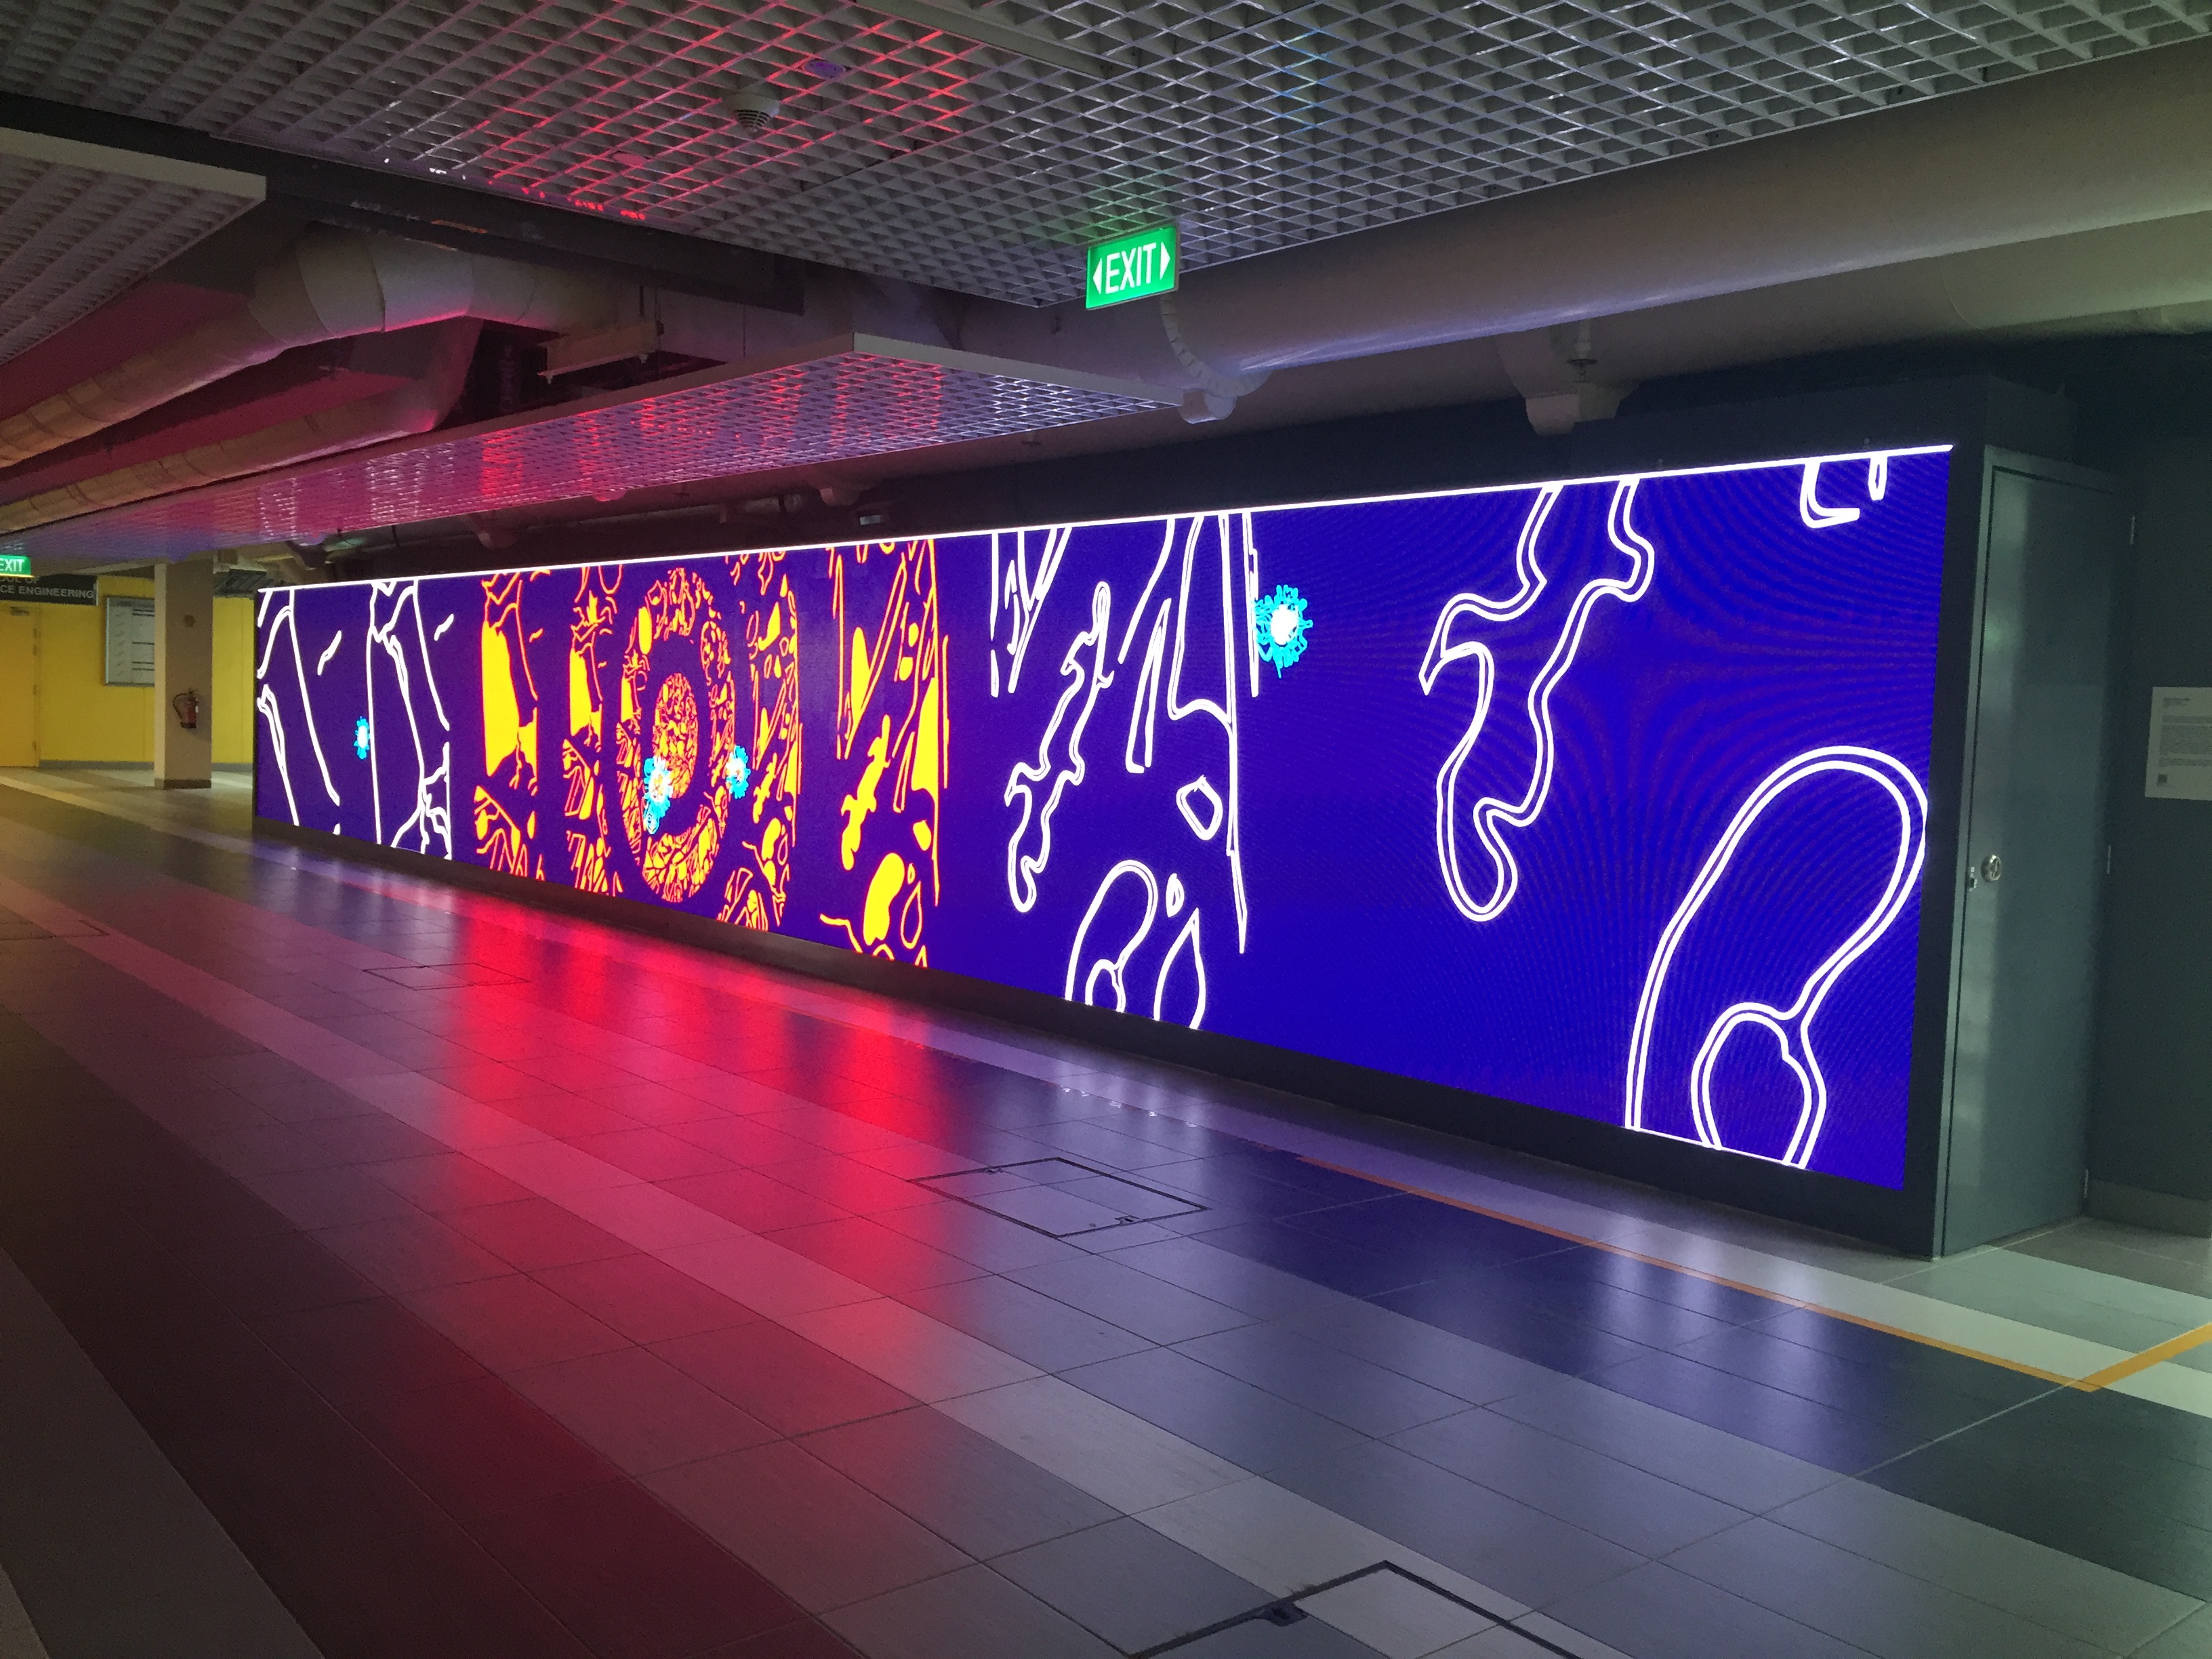
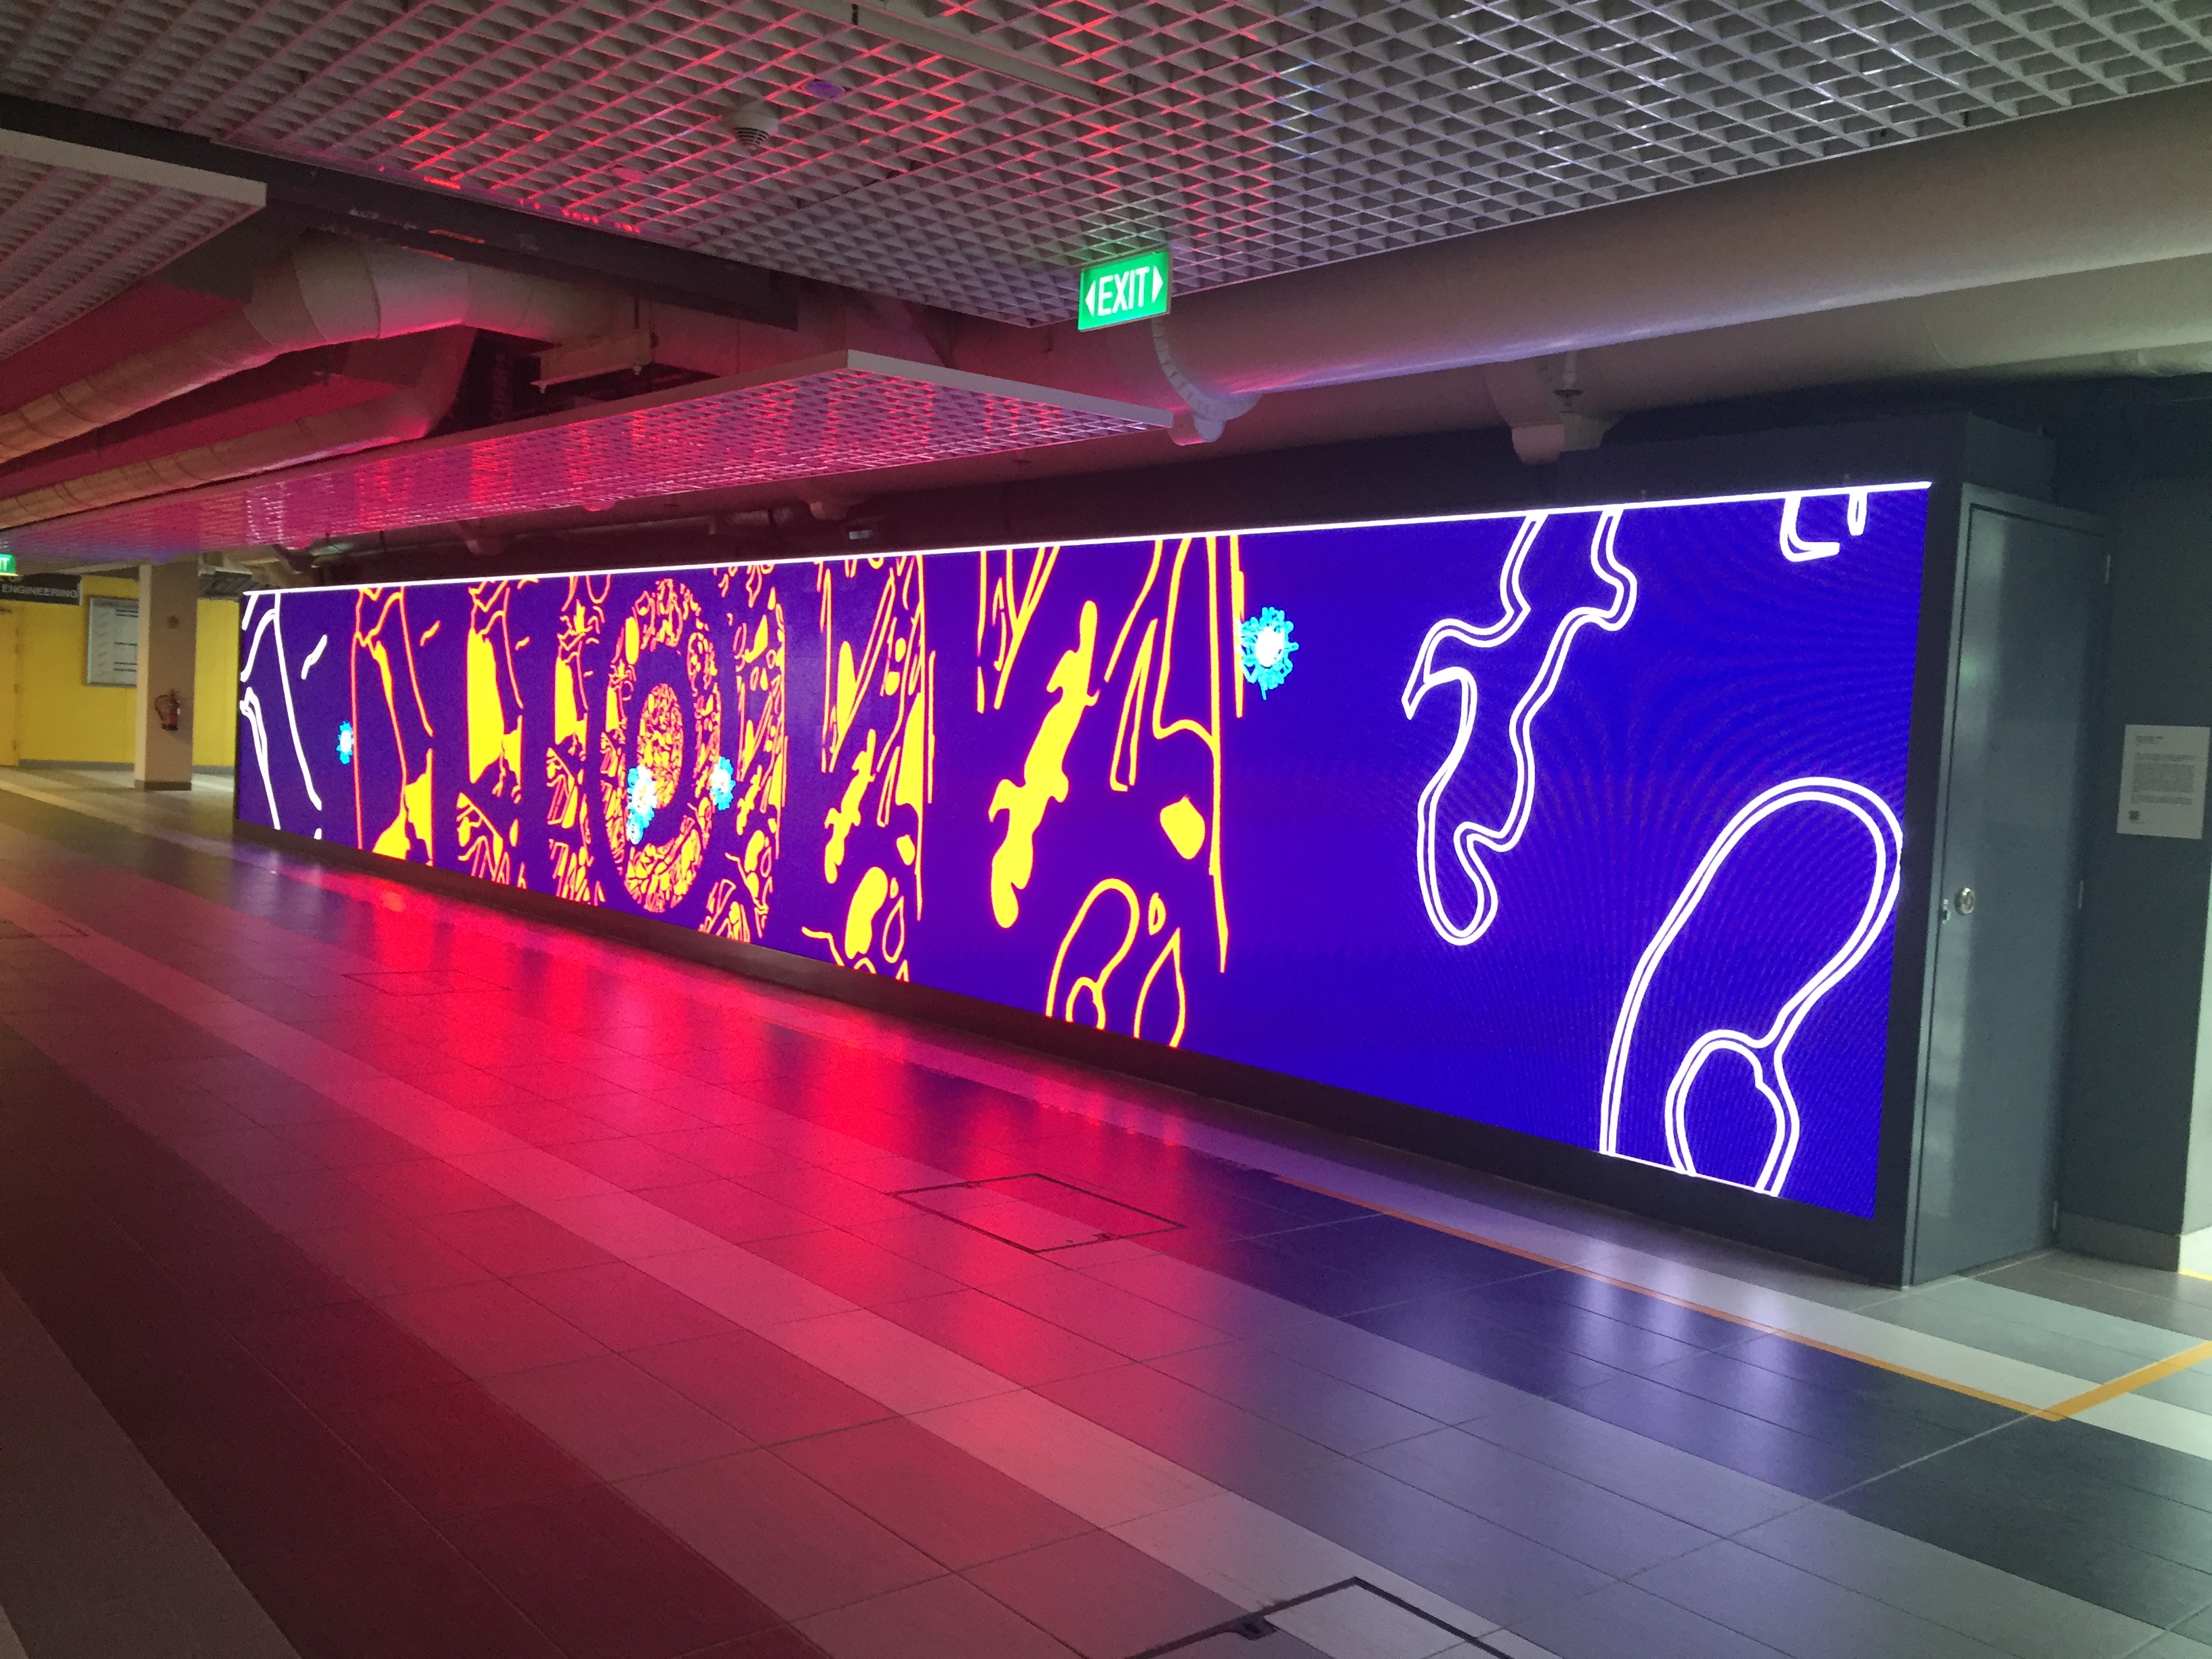
Here are the images captured during the still image test on the media wall:
With the test, I managed to see the scale and proportion of the still images. However, with the white gap between the top panel and the background, there is a need to increase the size slightly more than the size of the panel itself.
Additionally, the background looked rather flat and plain thus I thought of adding texture. Probably will make use of the slideshows I have collected during the visit to the Medicine Lab.
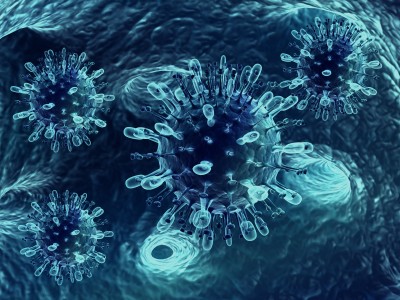
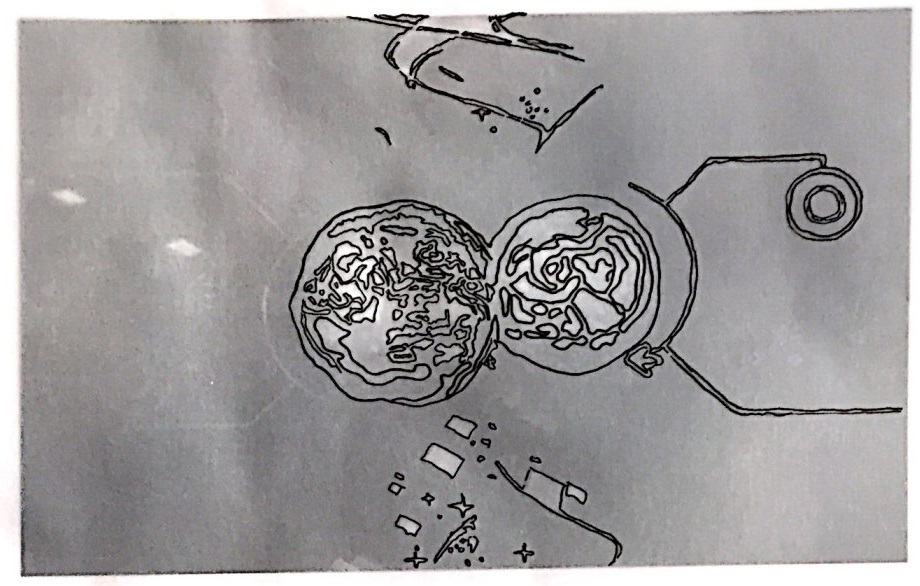
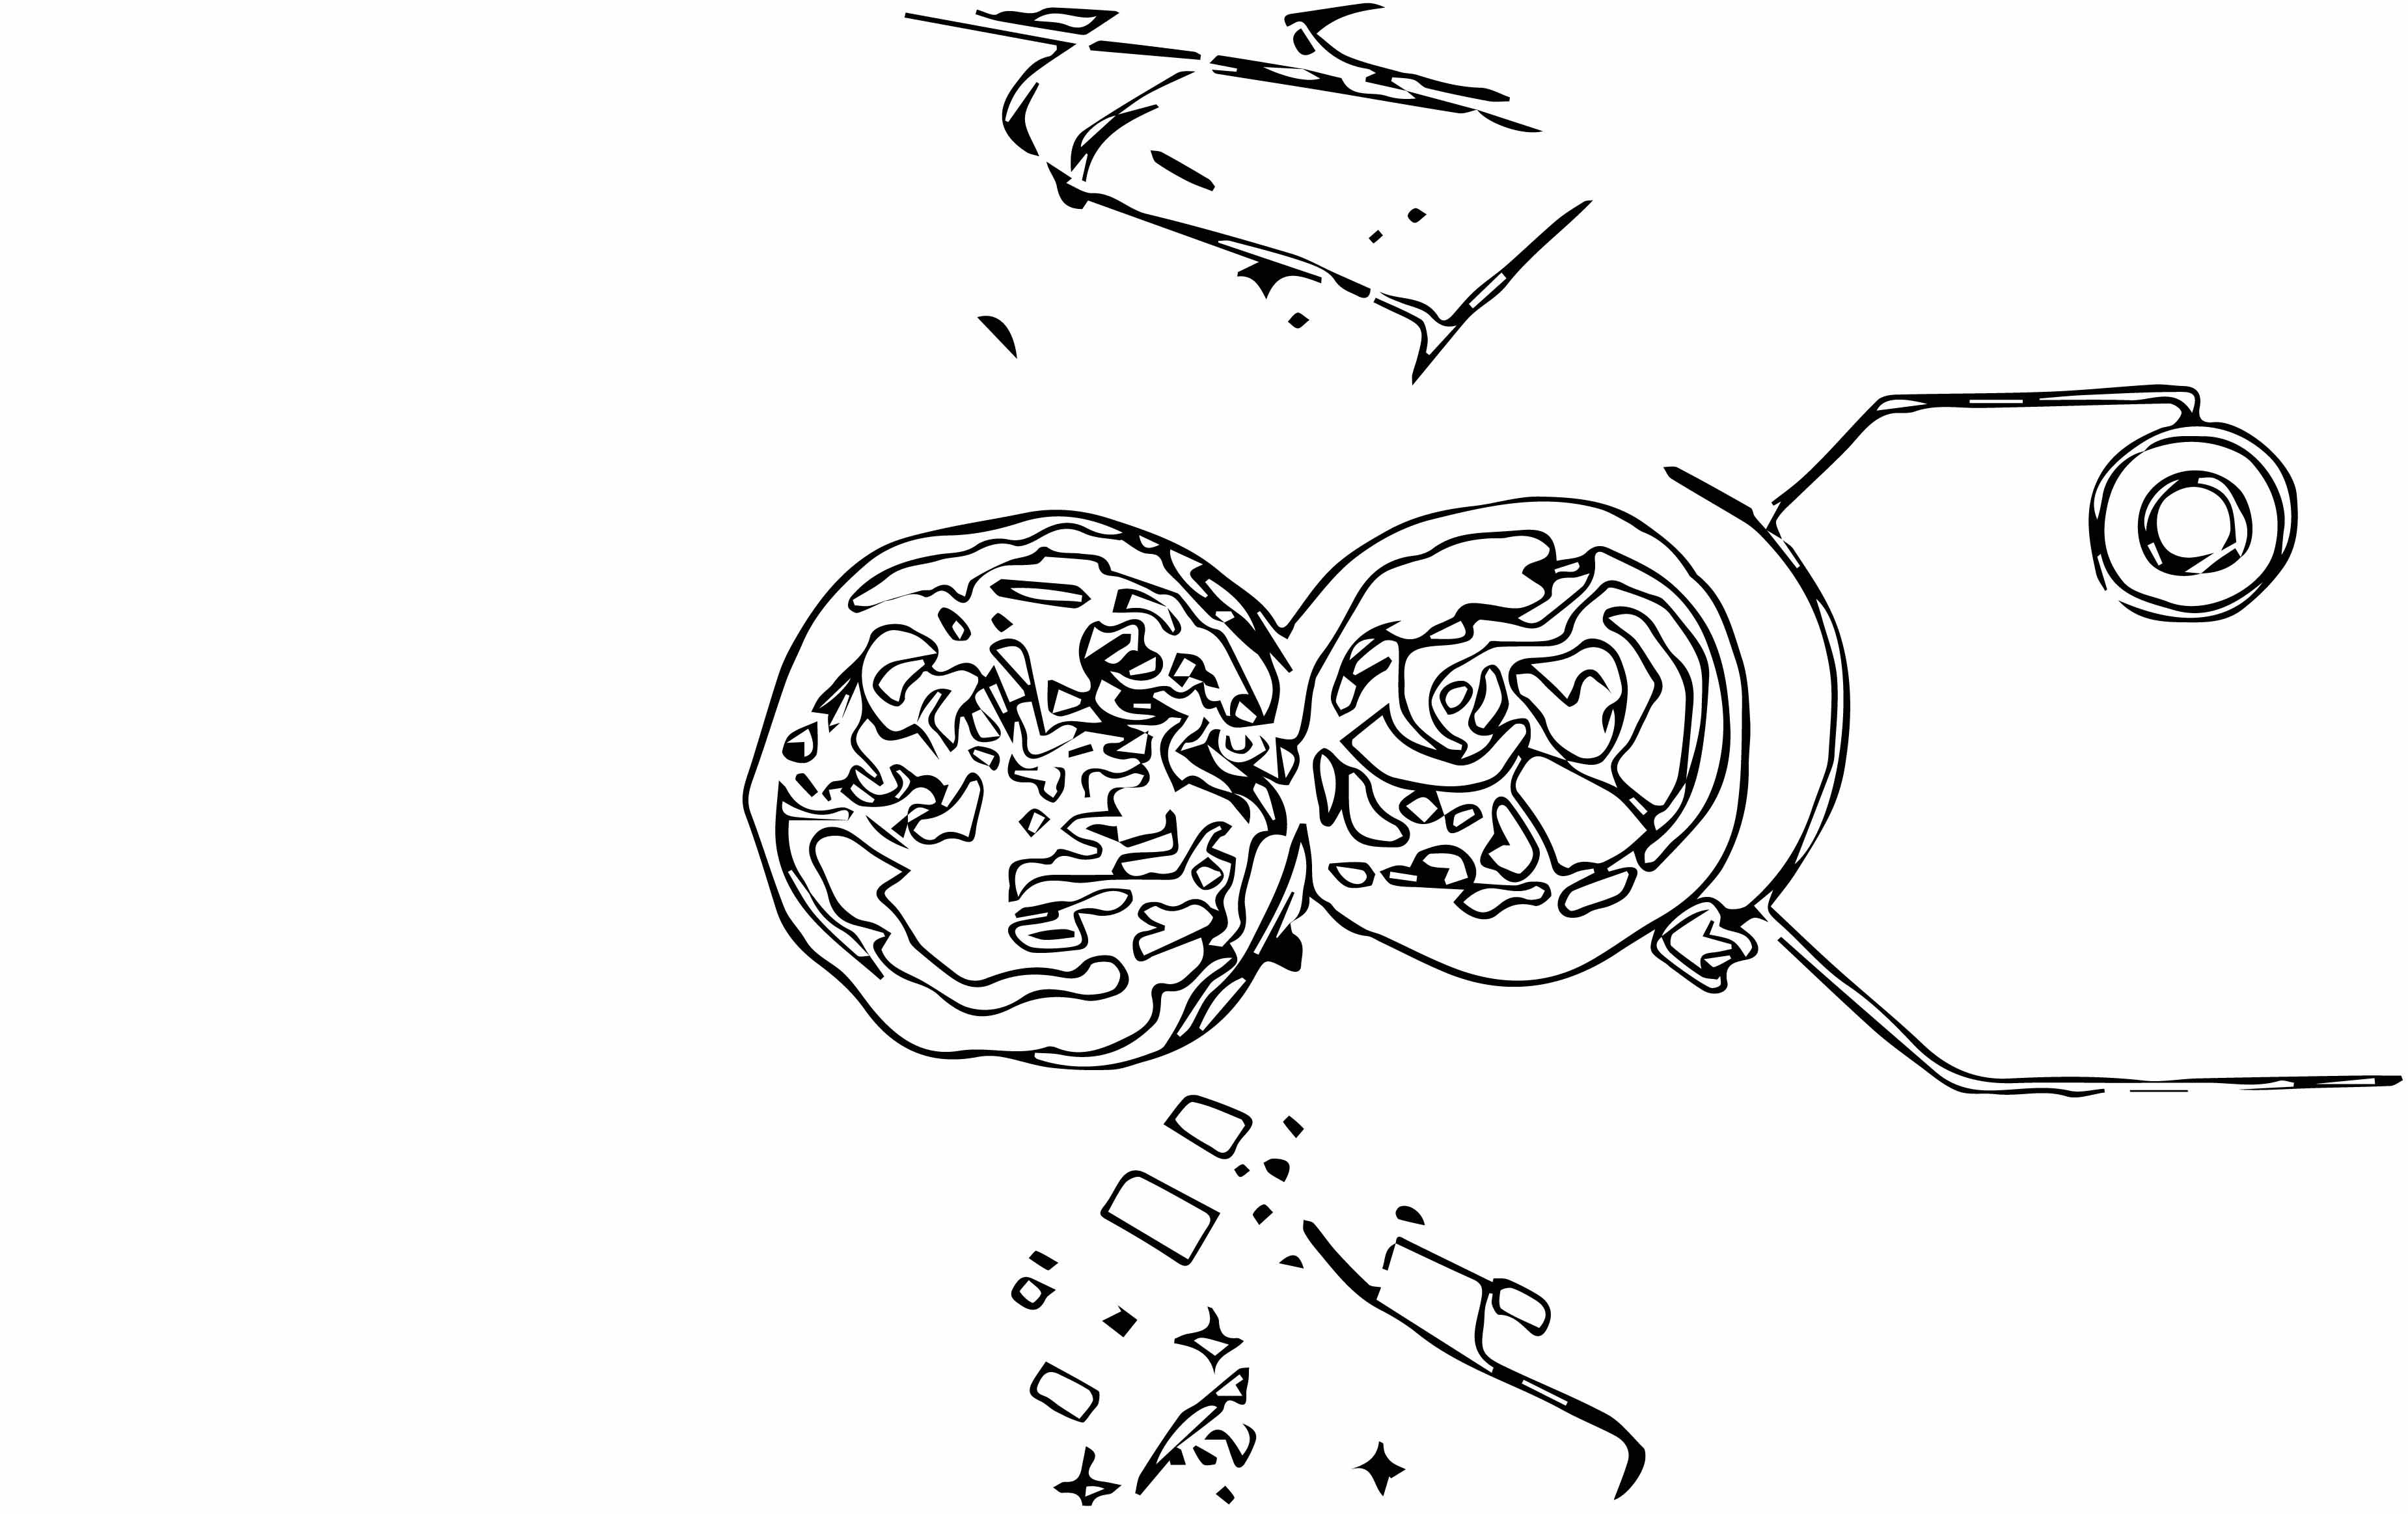
Lately, I started on the motifs for the Virus that will cause the Mutation in the city. The motifs were created and/or designed the same way I did for the previous motifs: find an image of an interesting microscopic anatomy, trace on tracing paper, scan and then digitized and compiled them all together to form ONE virus.
The virus cells that I was inspired by can be seen below.
Virus #1: Structure of Virus
Structure of Virus
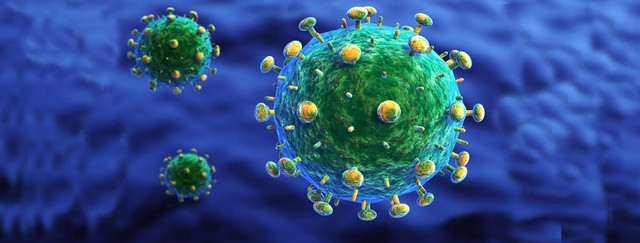
Virus #2: HIV
HIV
Virus #3: Structure of Polio Viruses
Structure of Polio Viruses
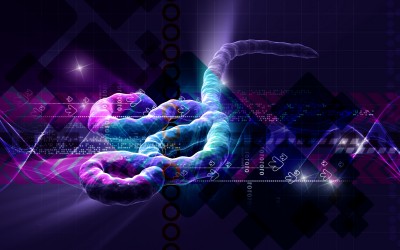
Virus #4: Ebola Virus
Ebola Virus
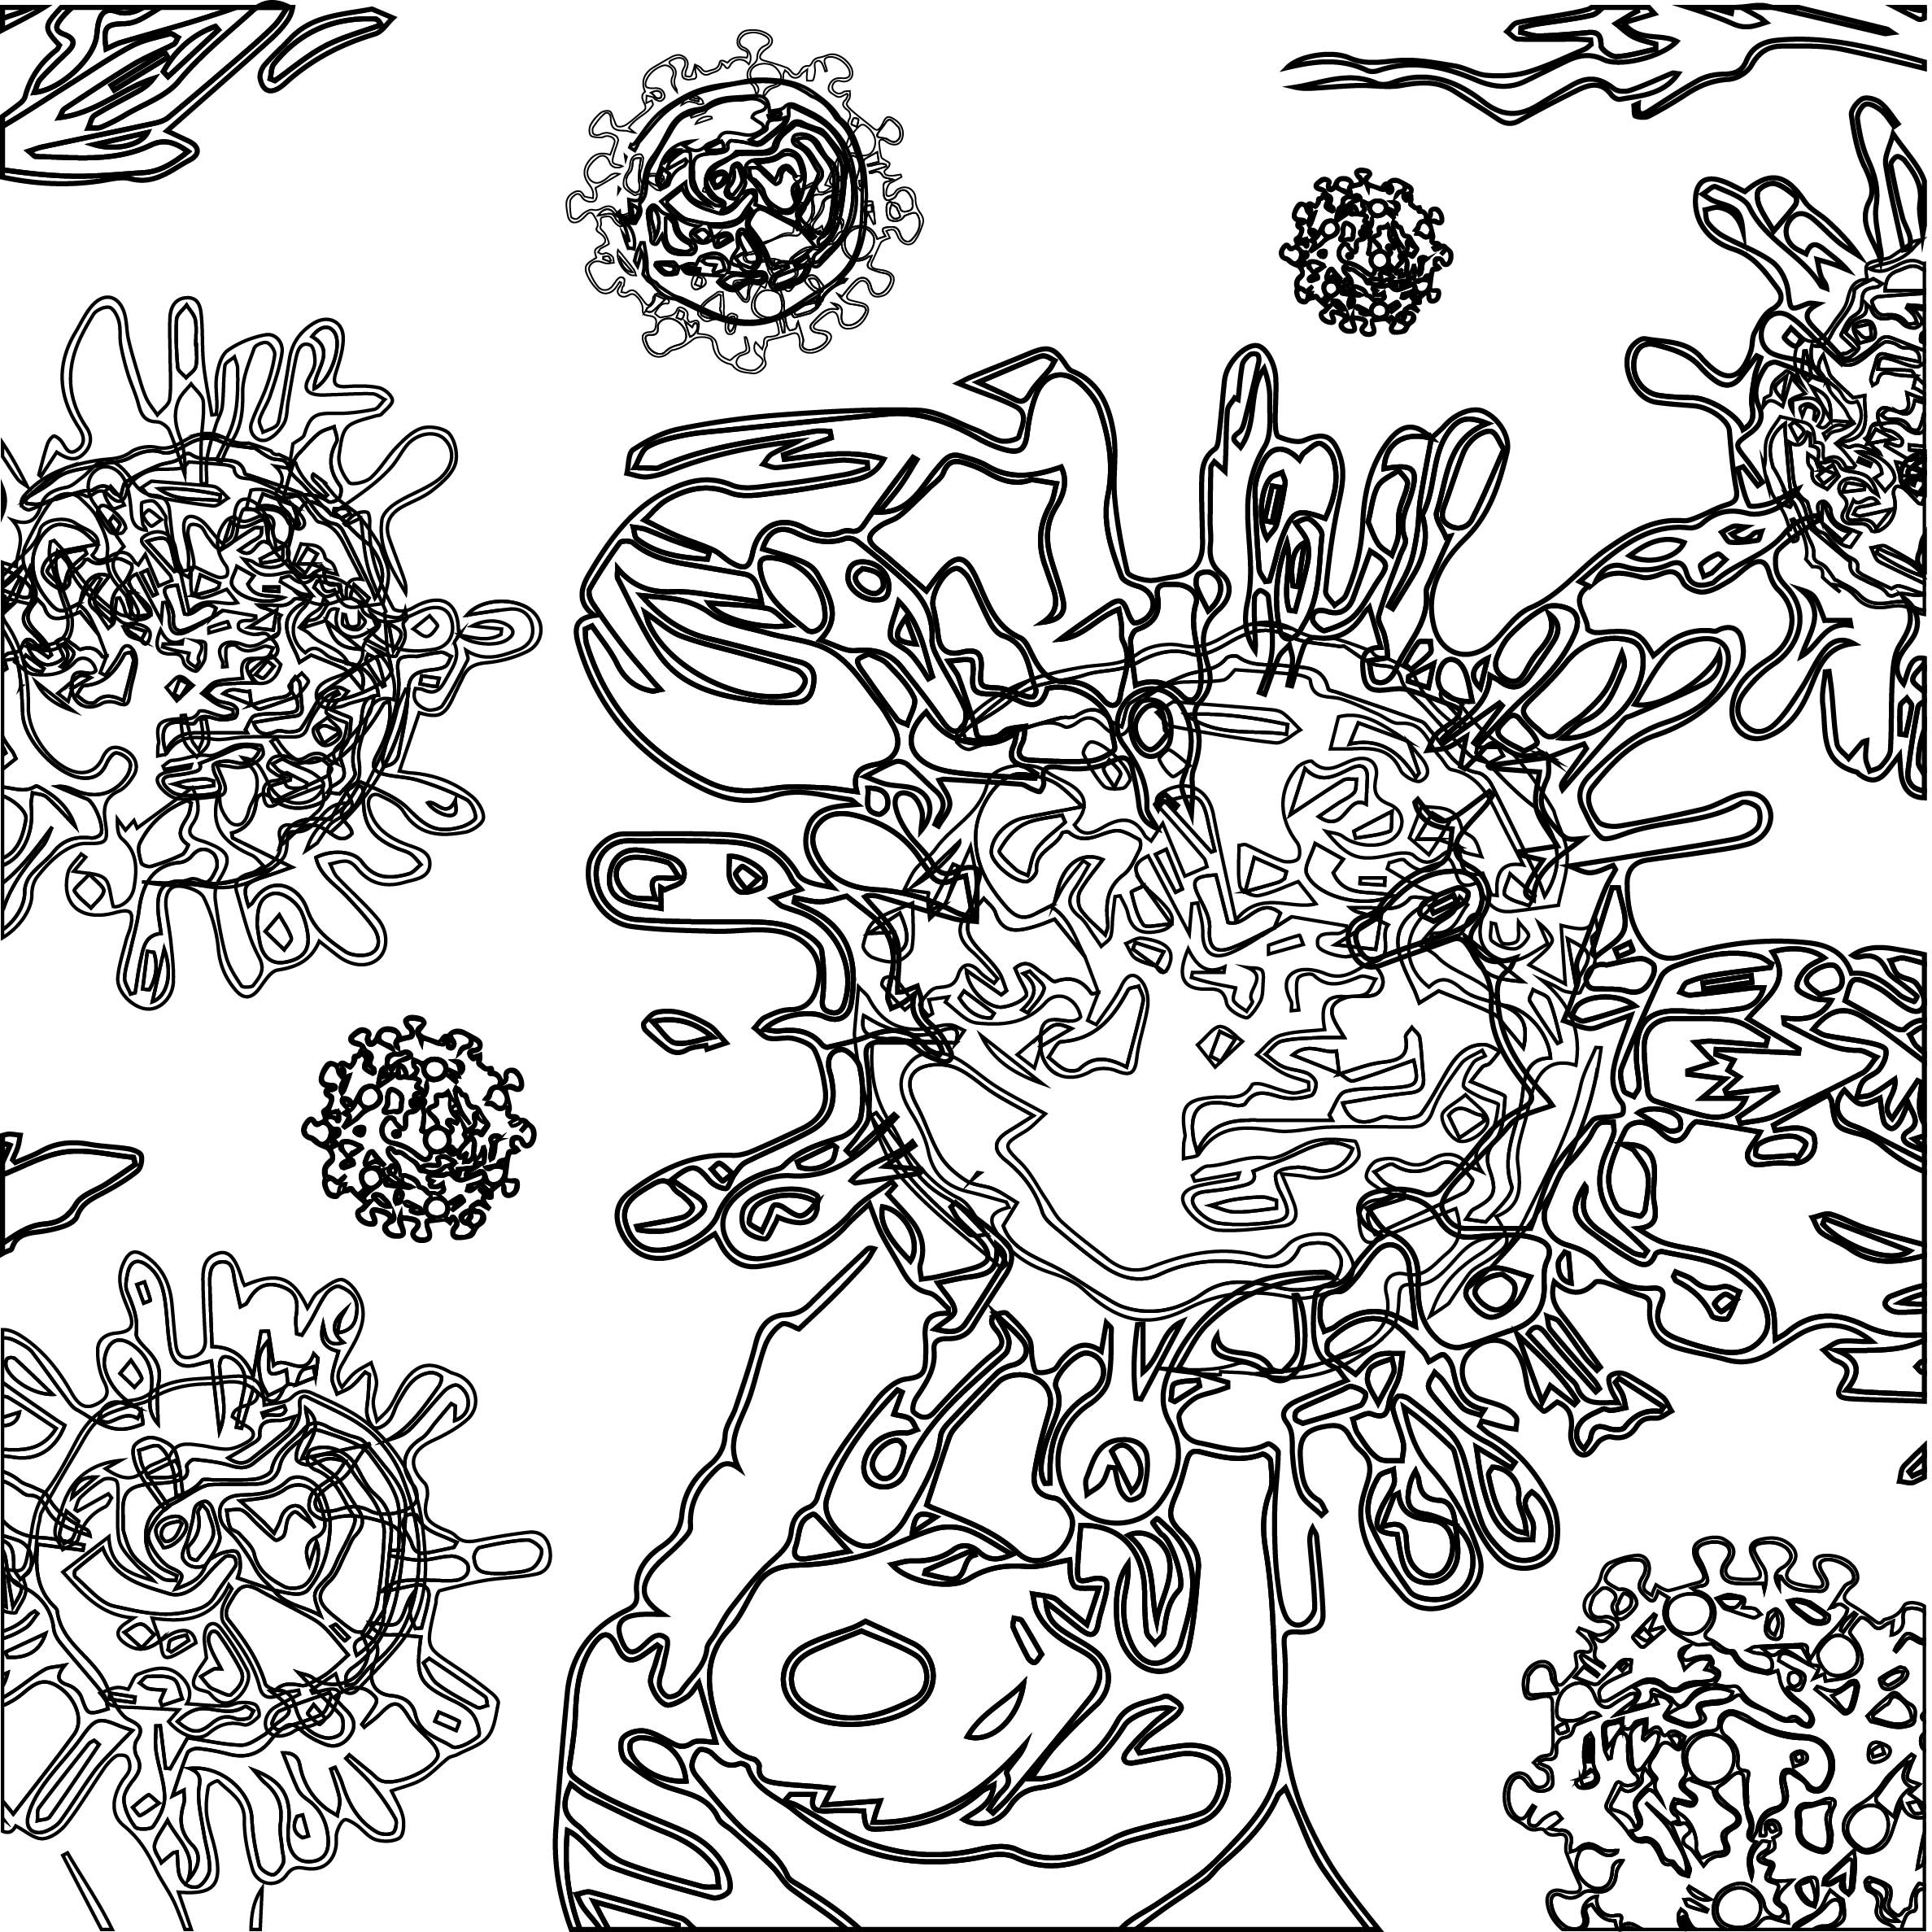
Then, I combined them to form into one motif:
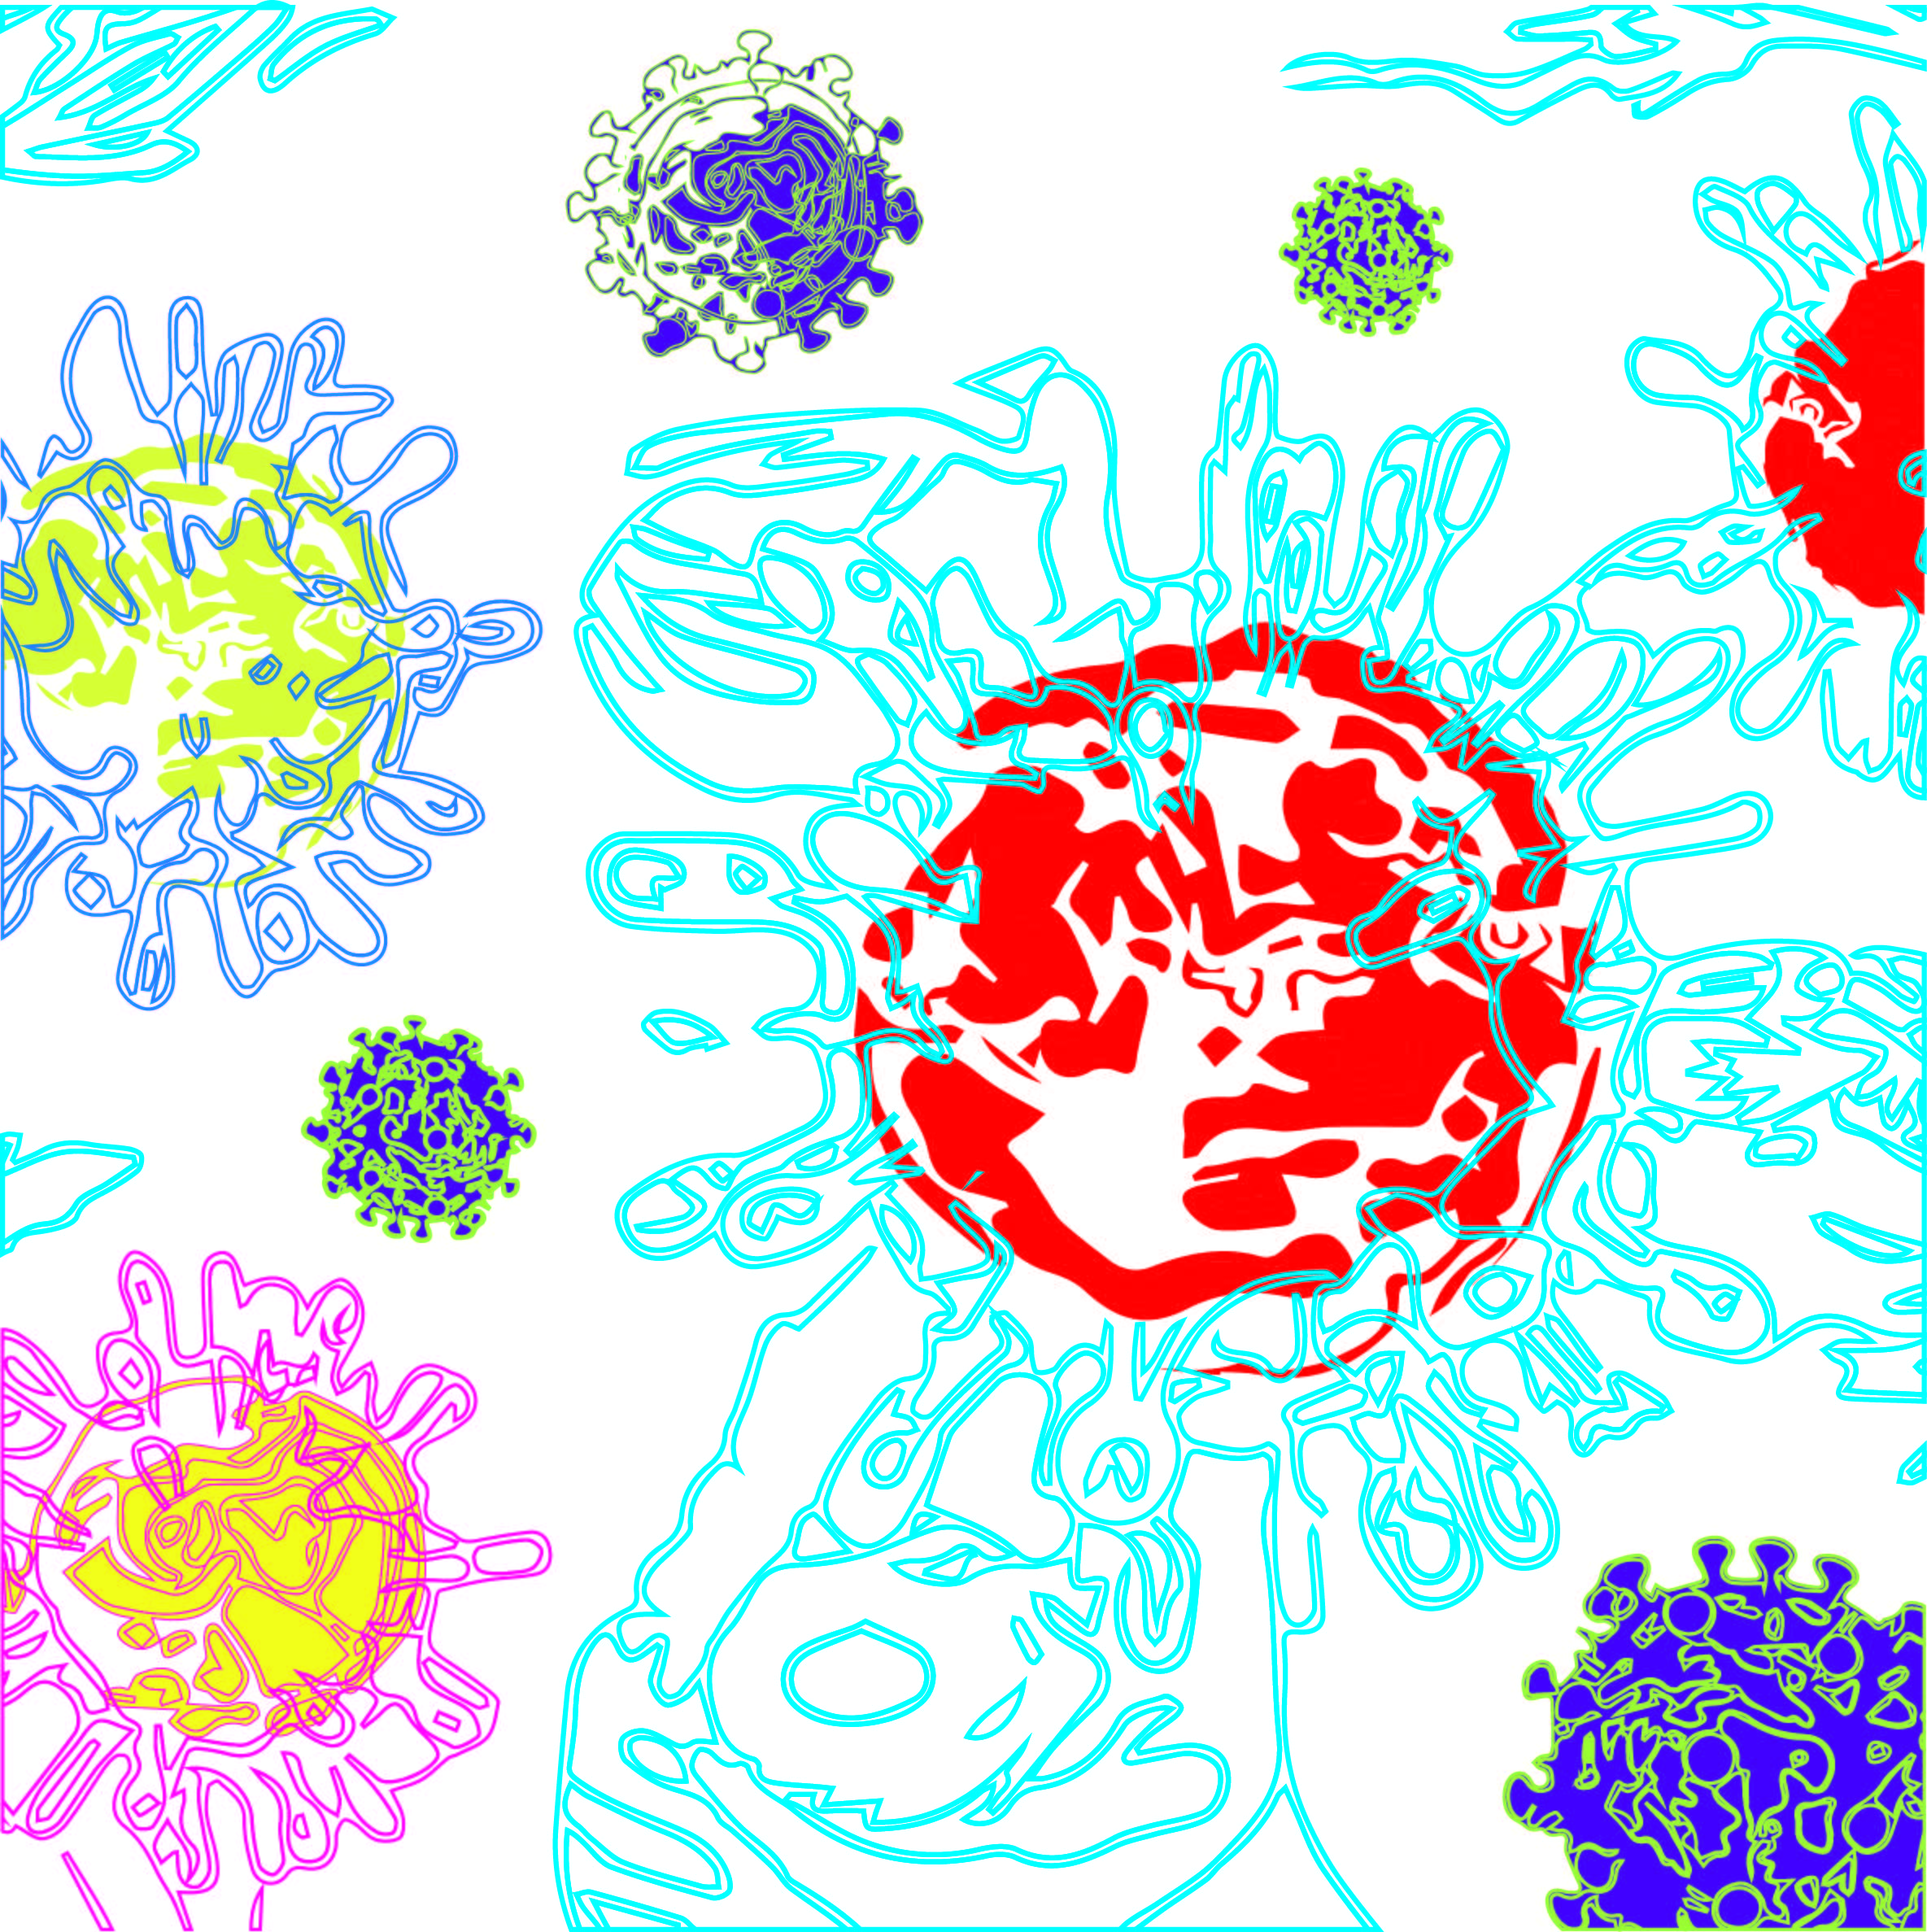
The compiled virus in Black and WhiteThe combined motif in colours.
I had 2 versions of the motif in terms of colour to have a general outline vs how I intend for the virus motif to look like — clearly going towards the direction where my “healthy, normal, and non-virus” main motifs will soon change its “pure” colours to the spread of virus.
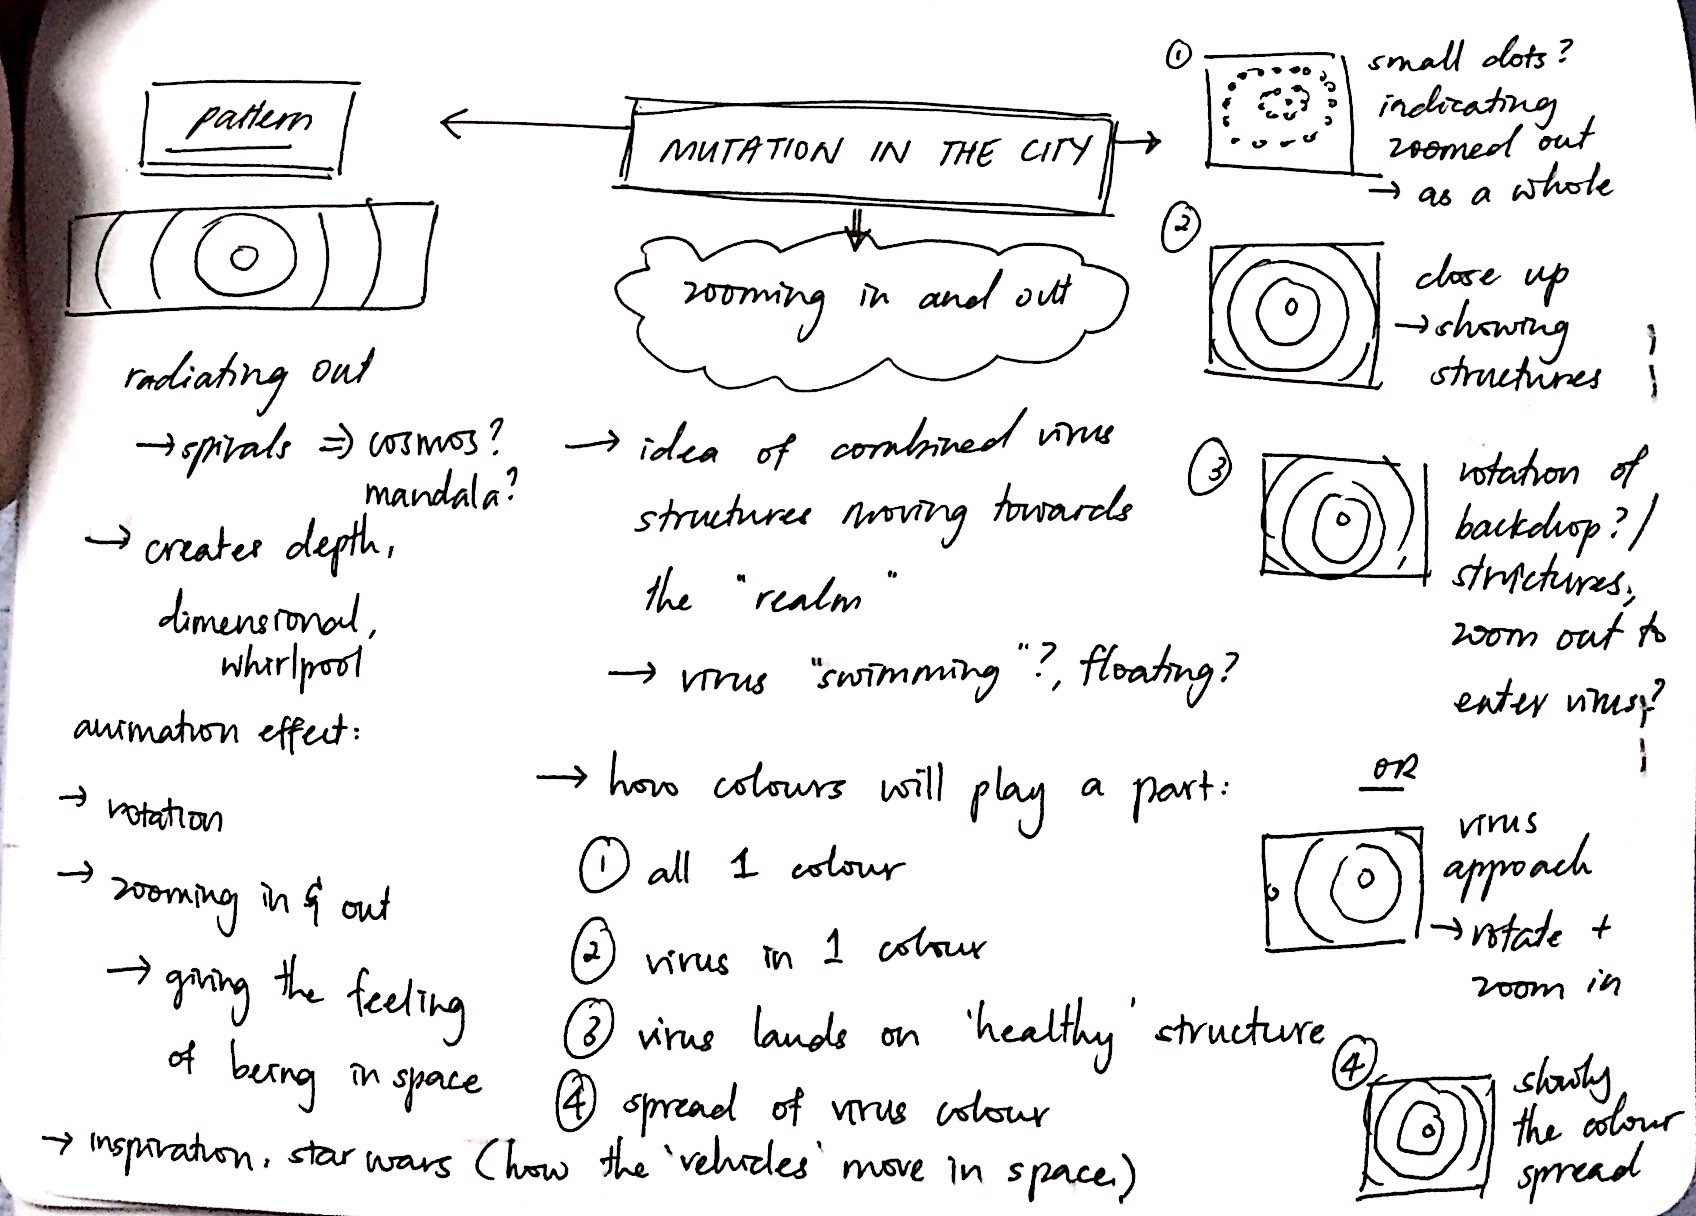
Apart from motifs, since the previous lesson where we were demo-ed on how to animate our banner in After Effects, I had thoughts mingling in my mind and thus decided to write it down:
To be brief, I noted down how I think I want my animation to be — main motifs zoomed in or out, virus approaching main motifs, spreading of colour, etc.
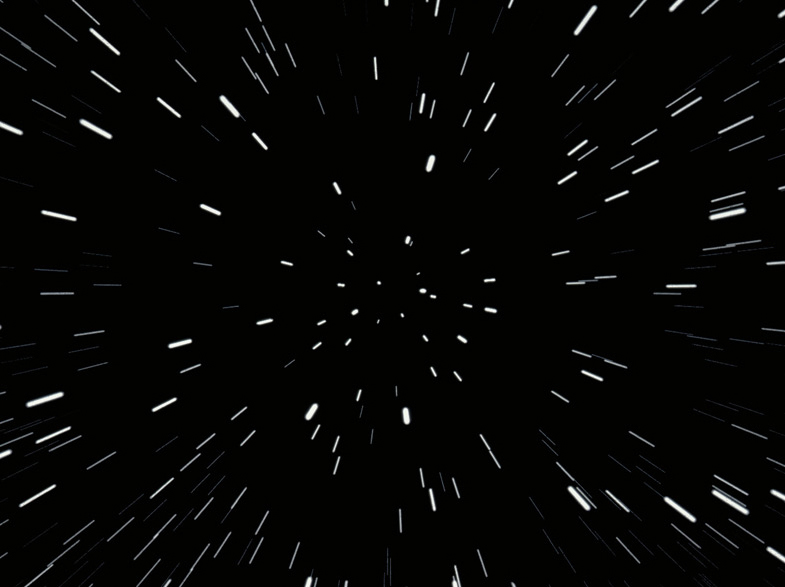
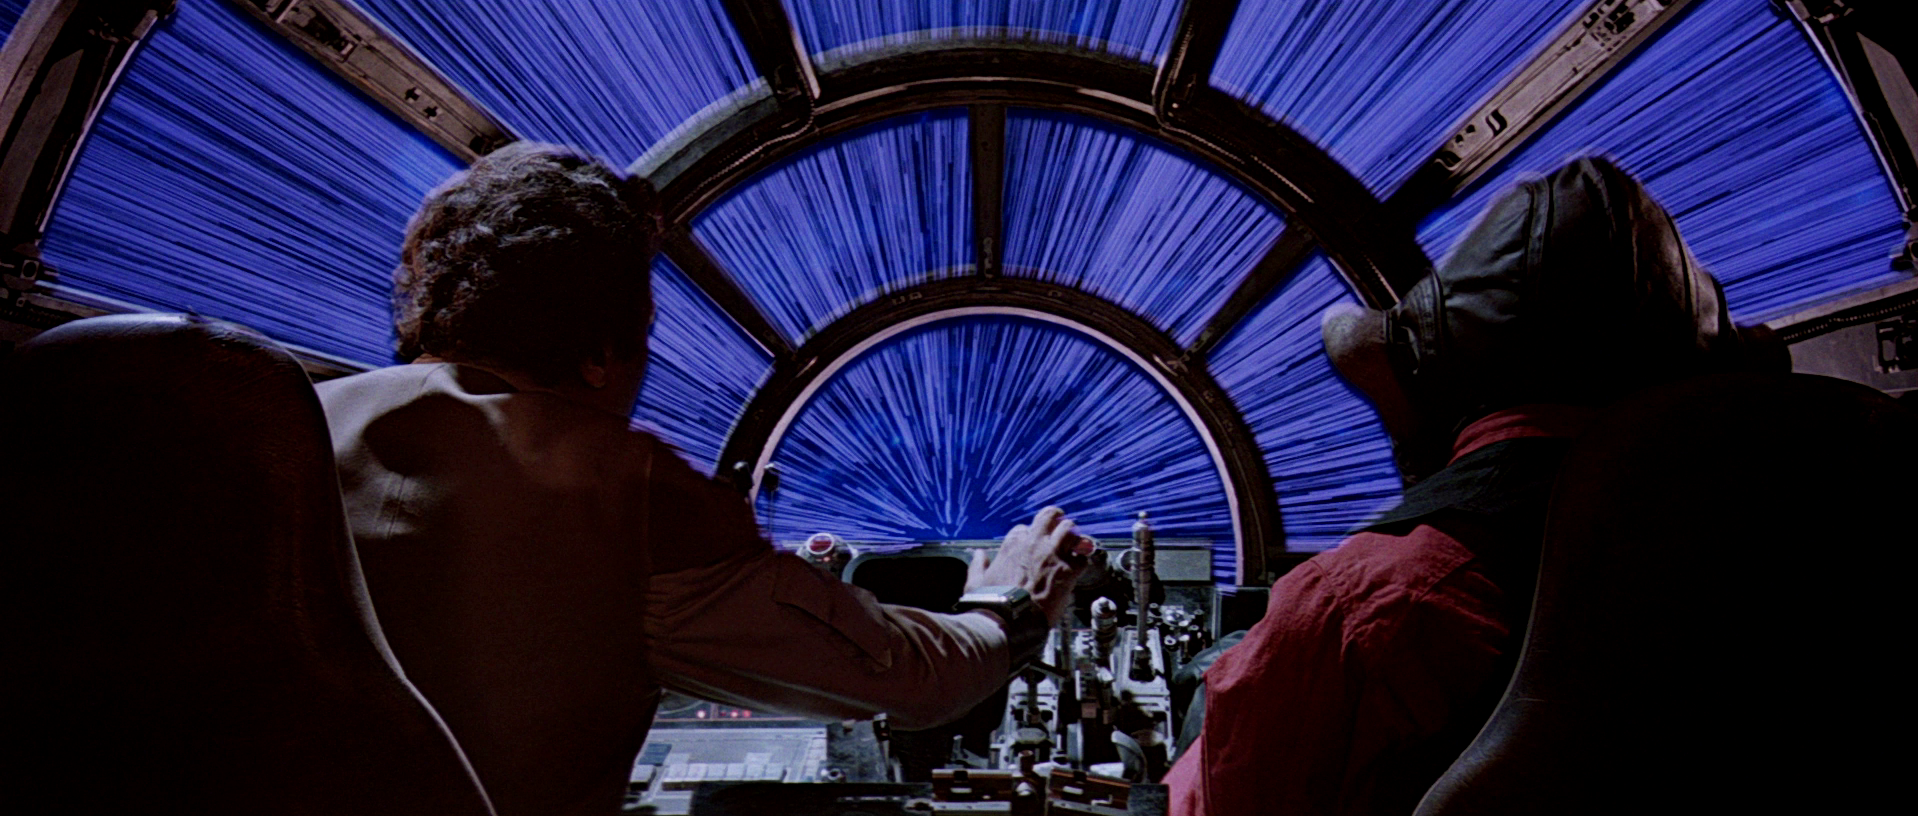
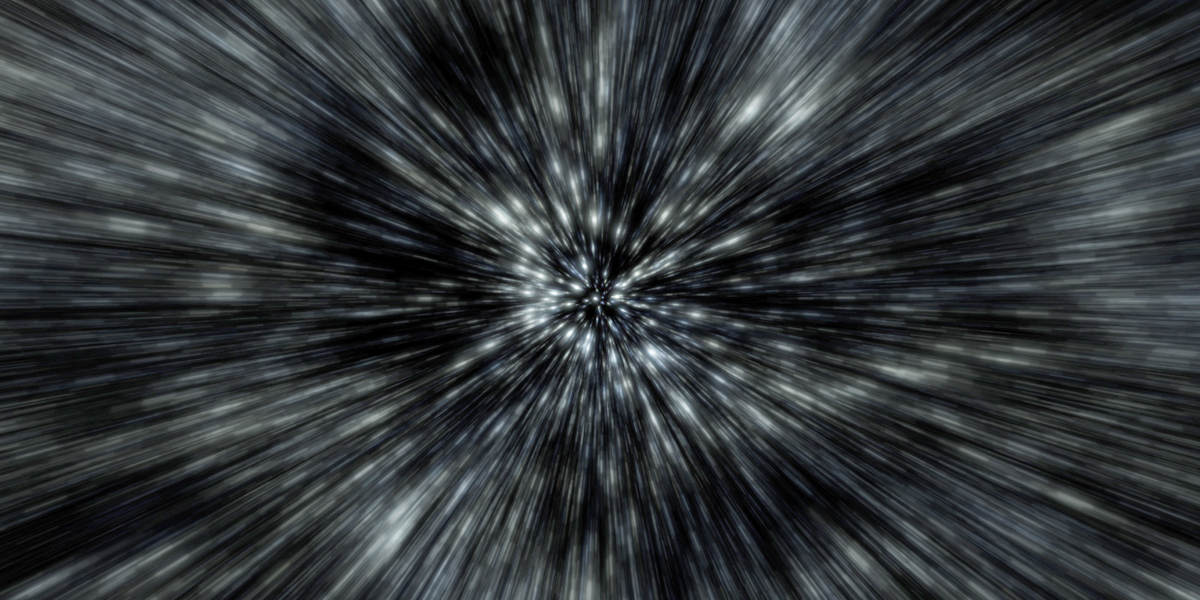
When I had these thoughts, I was thinking of Star Wars — how their spaceships were floating in space, the movement of space when spaceship goes towards whirlpool galaxy(?).
Maybe these images will help to show you how I envisioned the background of my banner to be:
Previously, it was just exploring of the different structures symmetrically repeated and reflected to form a motif. However, I am moving on to the process of putting together 2 or more different motifs to become one.
The first few examples can be seen below, where 1 human microscopy is repeated, and overlayed with another. The only difference between the two are the opacity.
On a side note, when I see these motifs (above), I realised it looked like the lace material.
And another example below, where I layered 3 different structures into 1. Though it is messy as the lines intersecting were pretty obvious and distracting.
At first glance, I think it is too messy, but it gives a very nice layer.
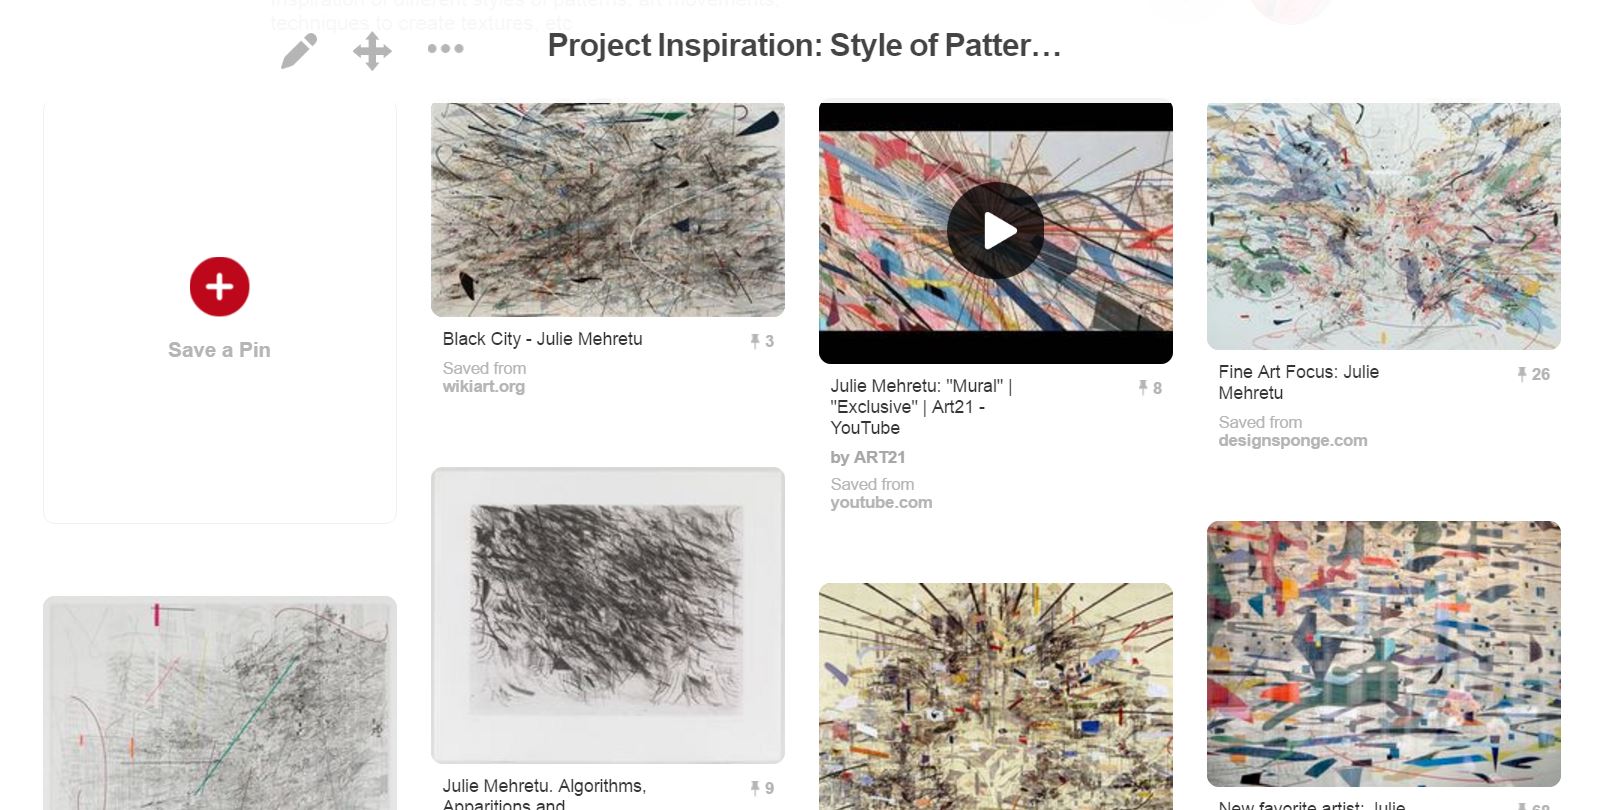
From the consultation, I was introduced to an artist who does her work in abstract forms with an unorganised, messy and complex backdrop or surroundings.
Her name is Julie Mehretu, and these are some of her works that I find them interesting and are parts of my inspiration:
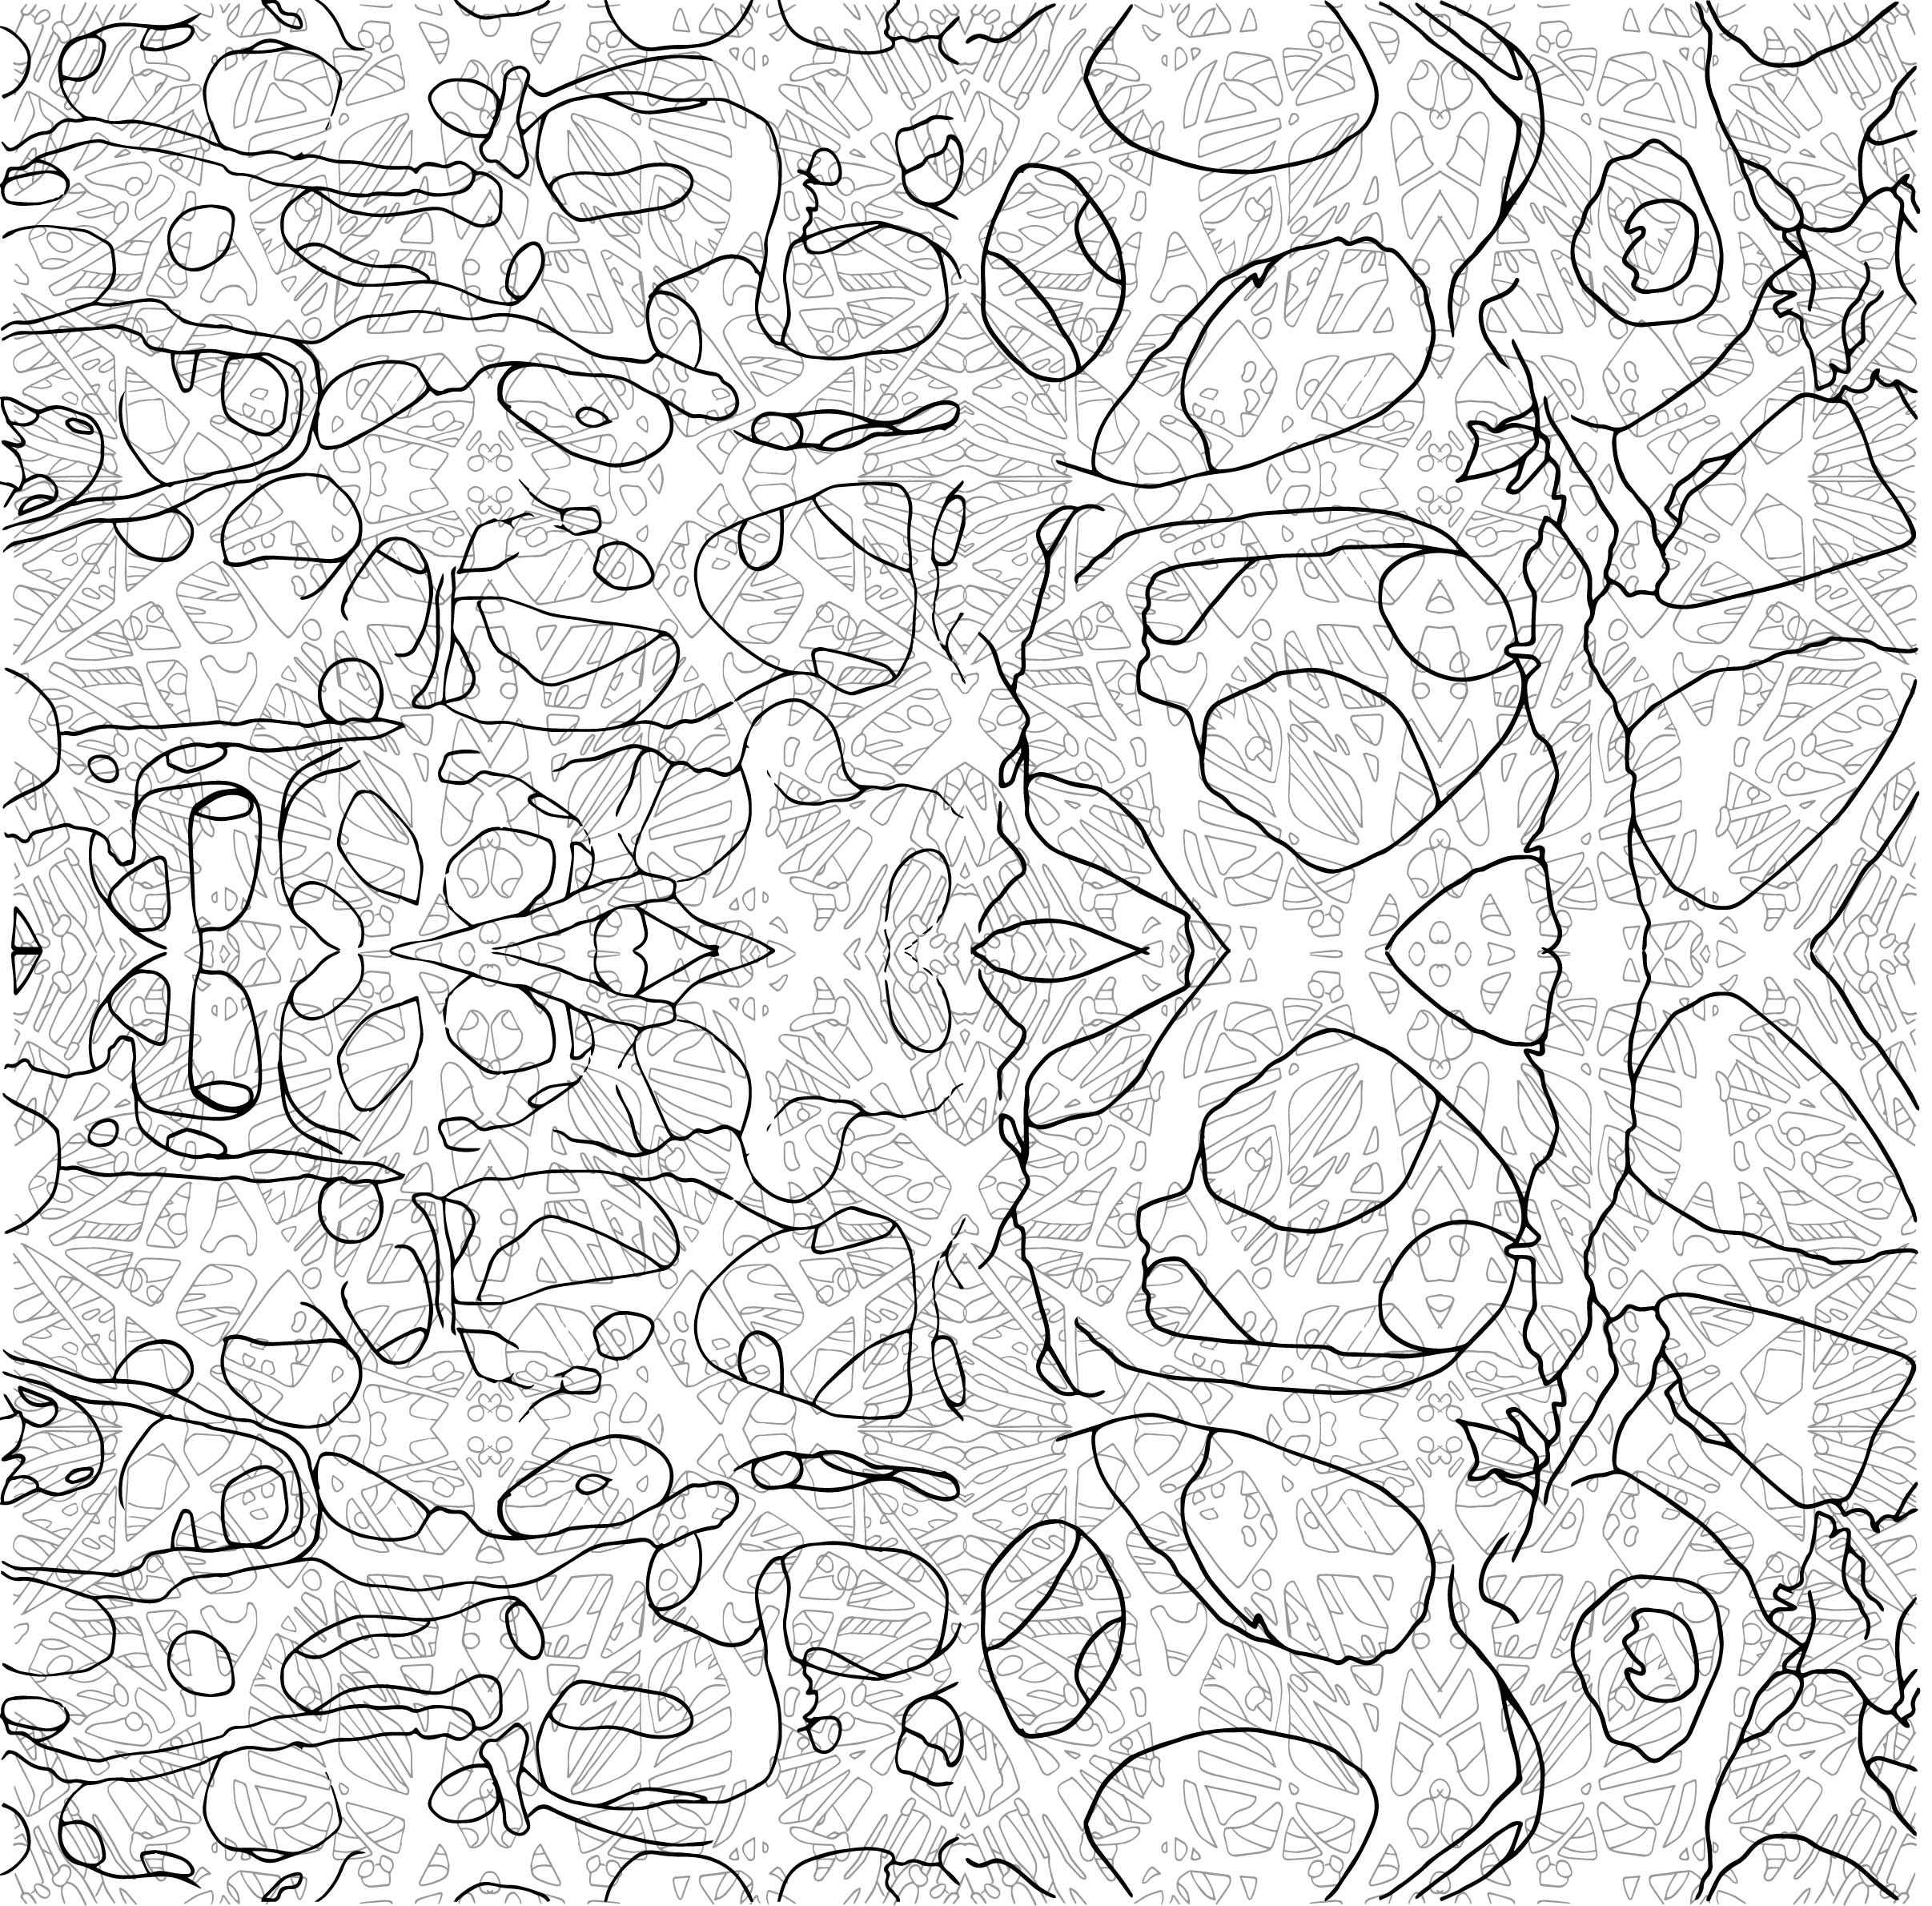
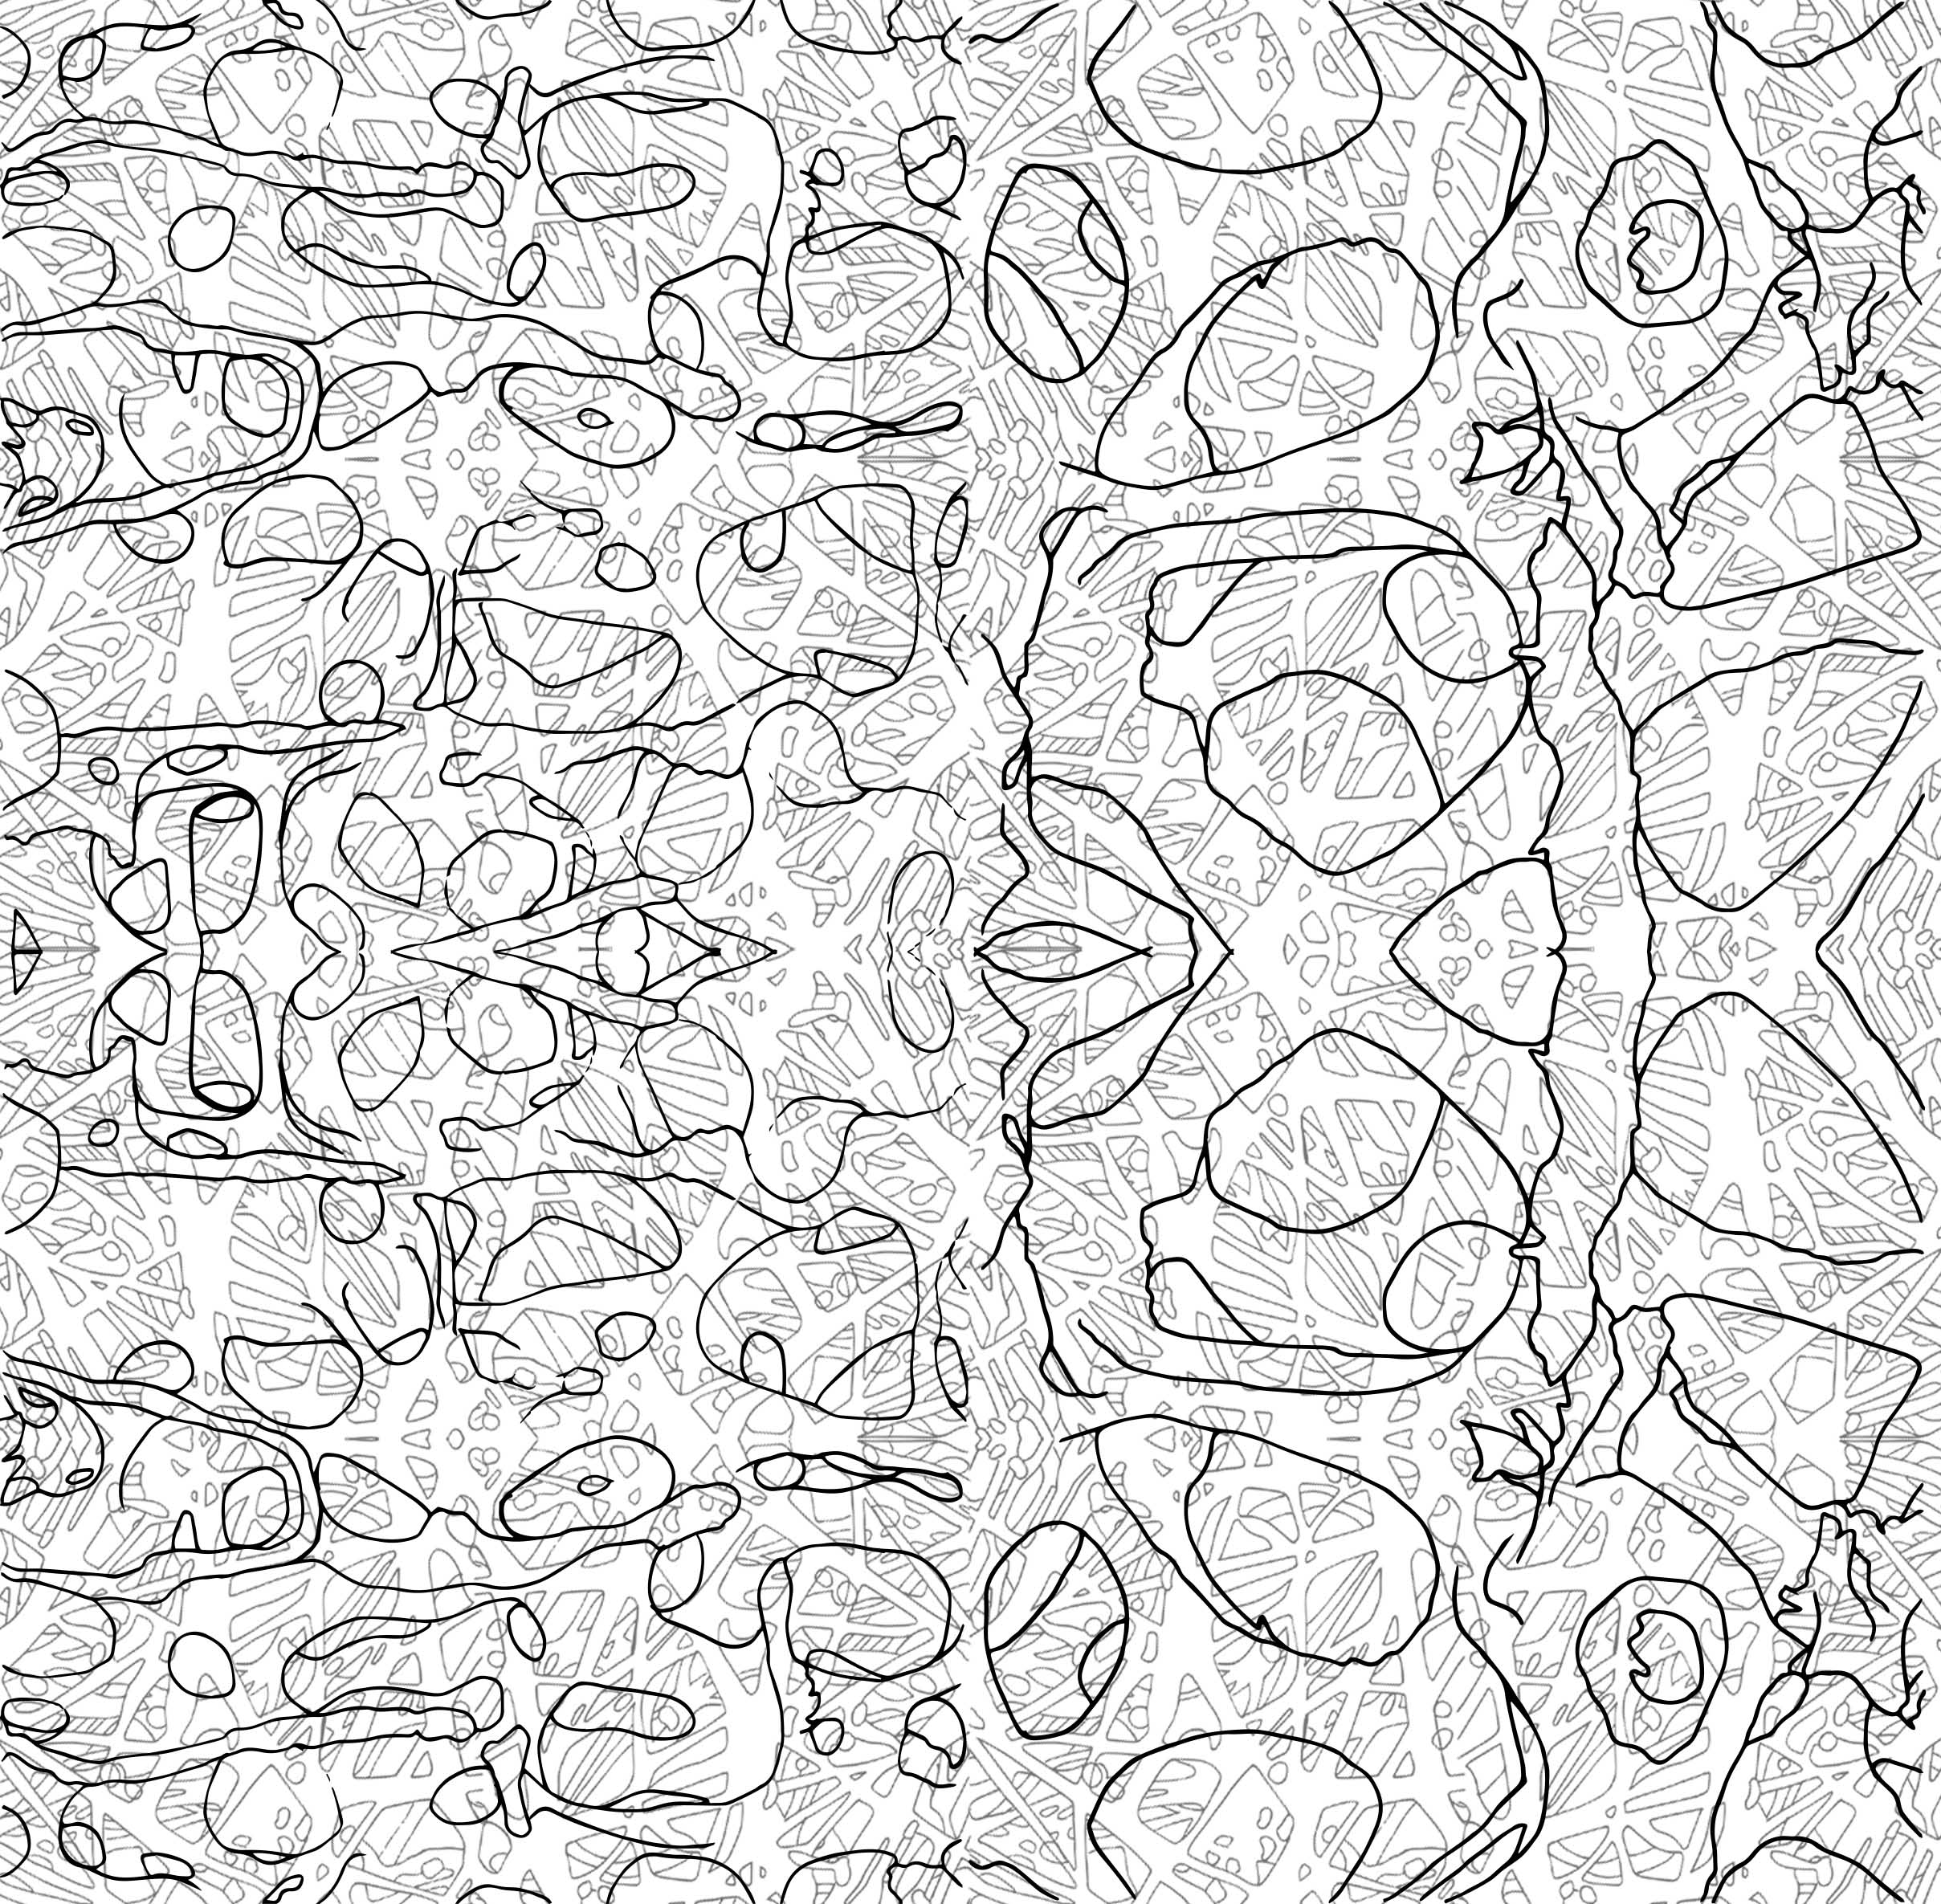
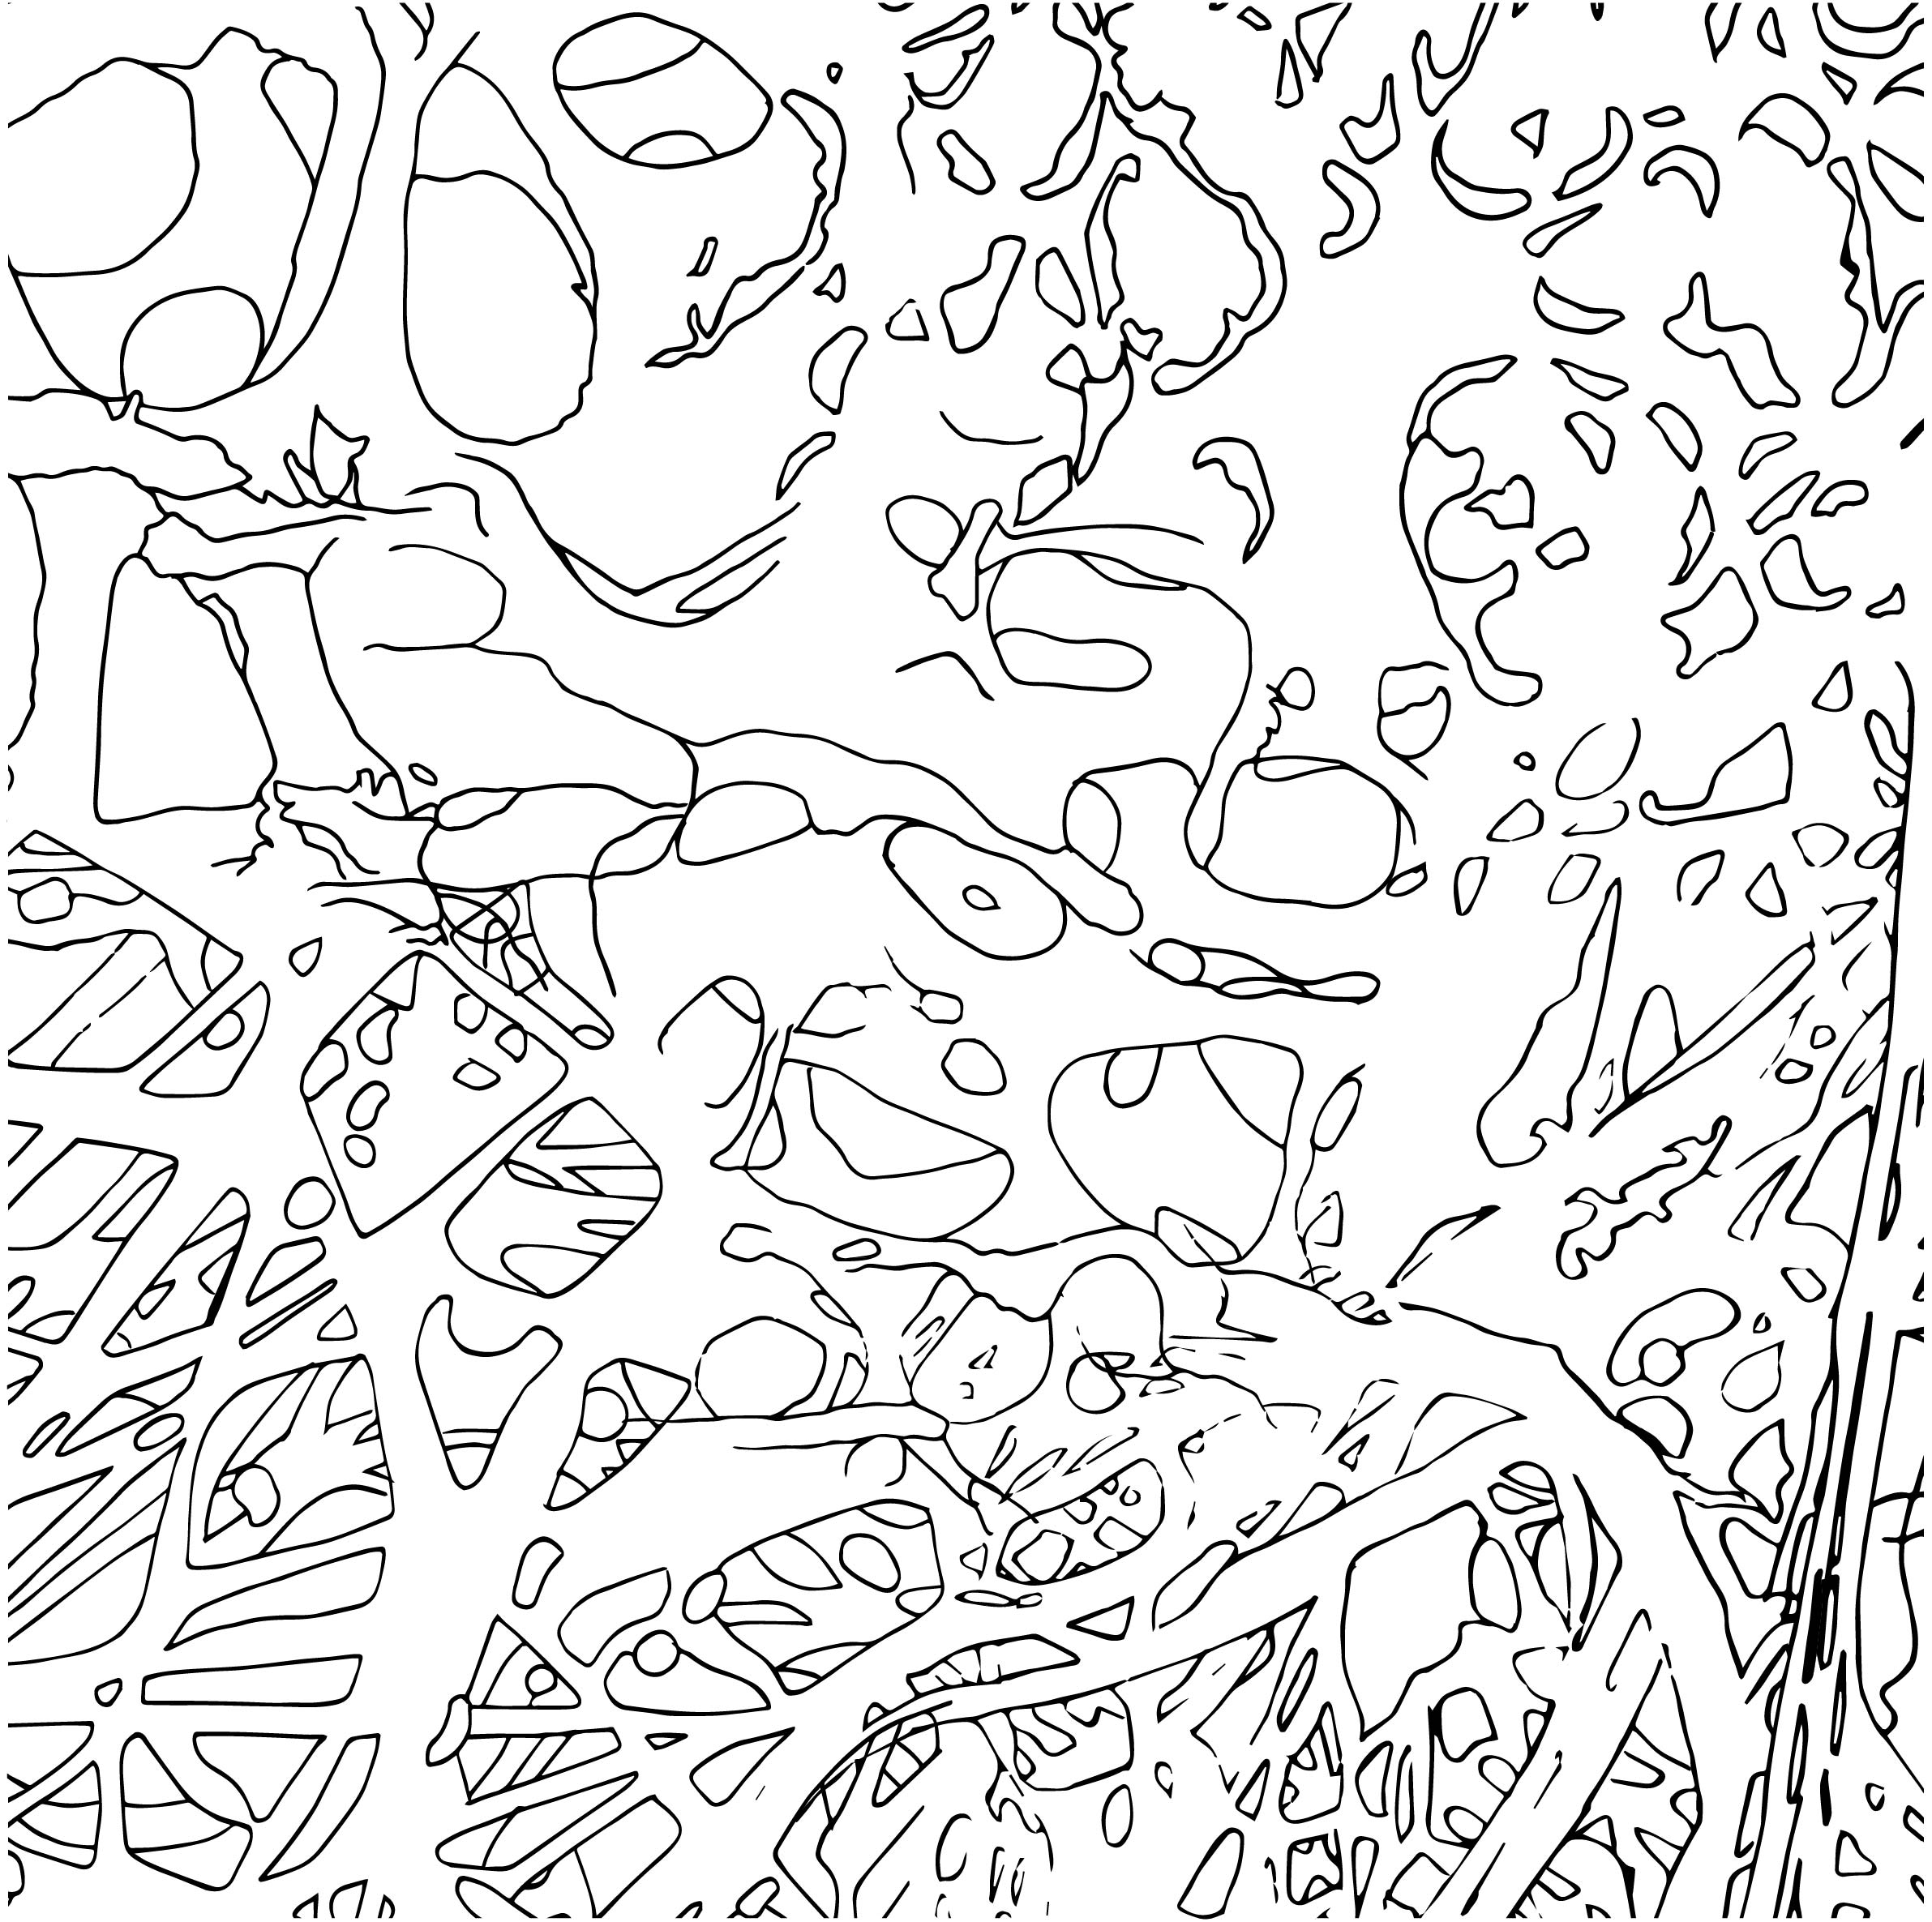
To minus off the use of symmetry and reflections, I combined the tracings that I had, following the best fir of positions of the structures, and started to form them into one whole motif.
Then, I repeat the image above, and formed design inspired by spirals, cosmos or what looked like mandala due to the radiating in and out. (Mixed in a little knowledge of Art History over here)
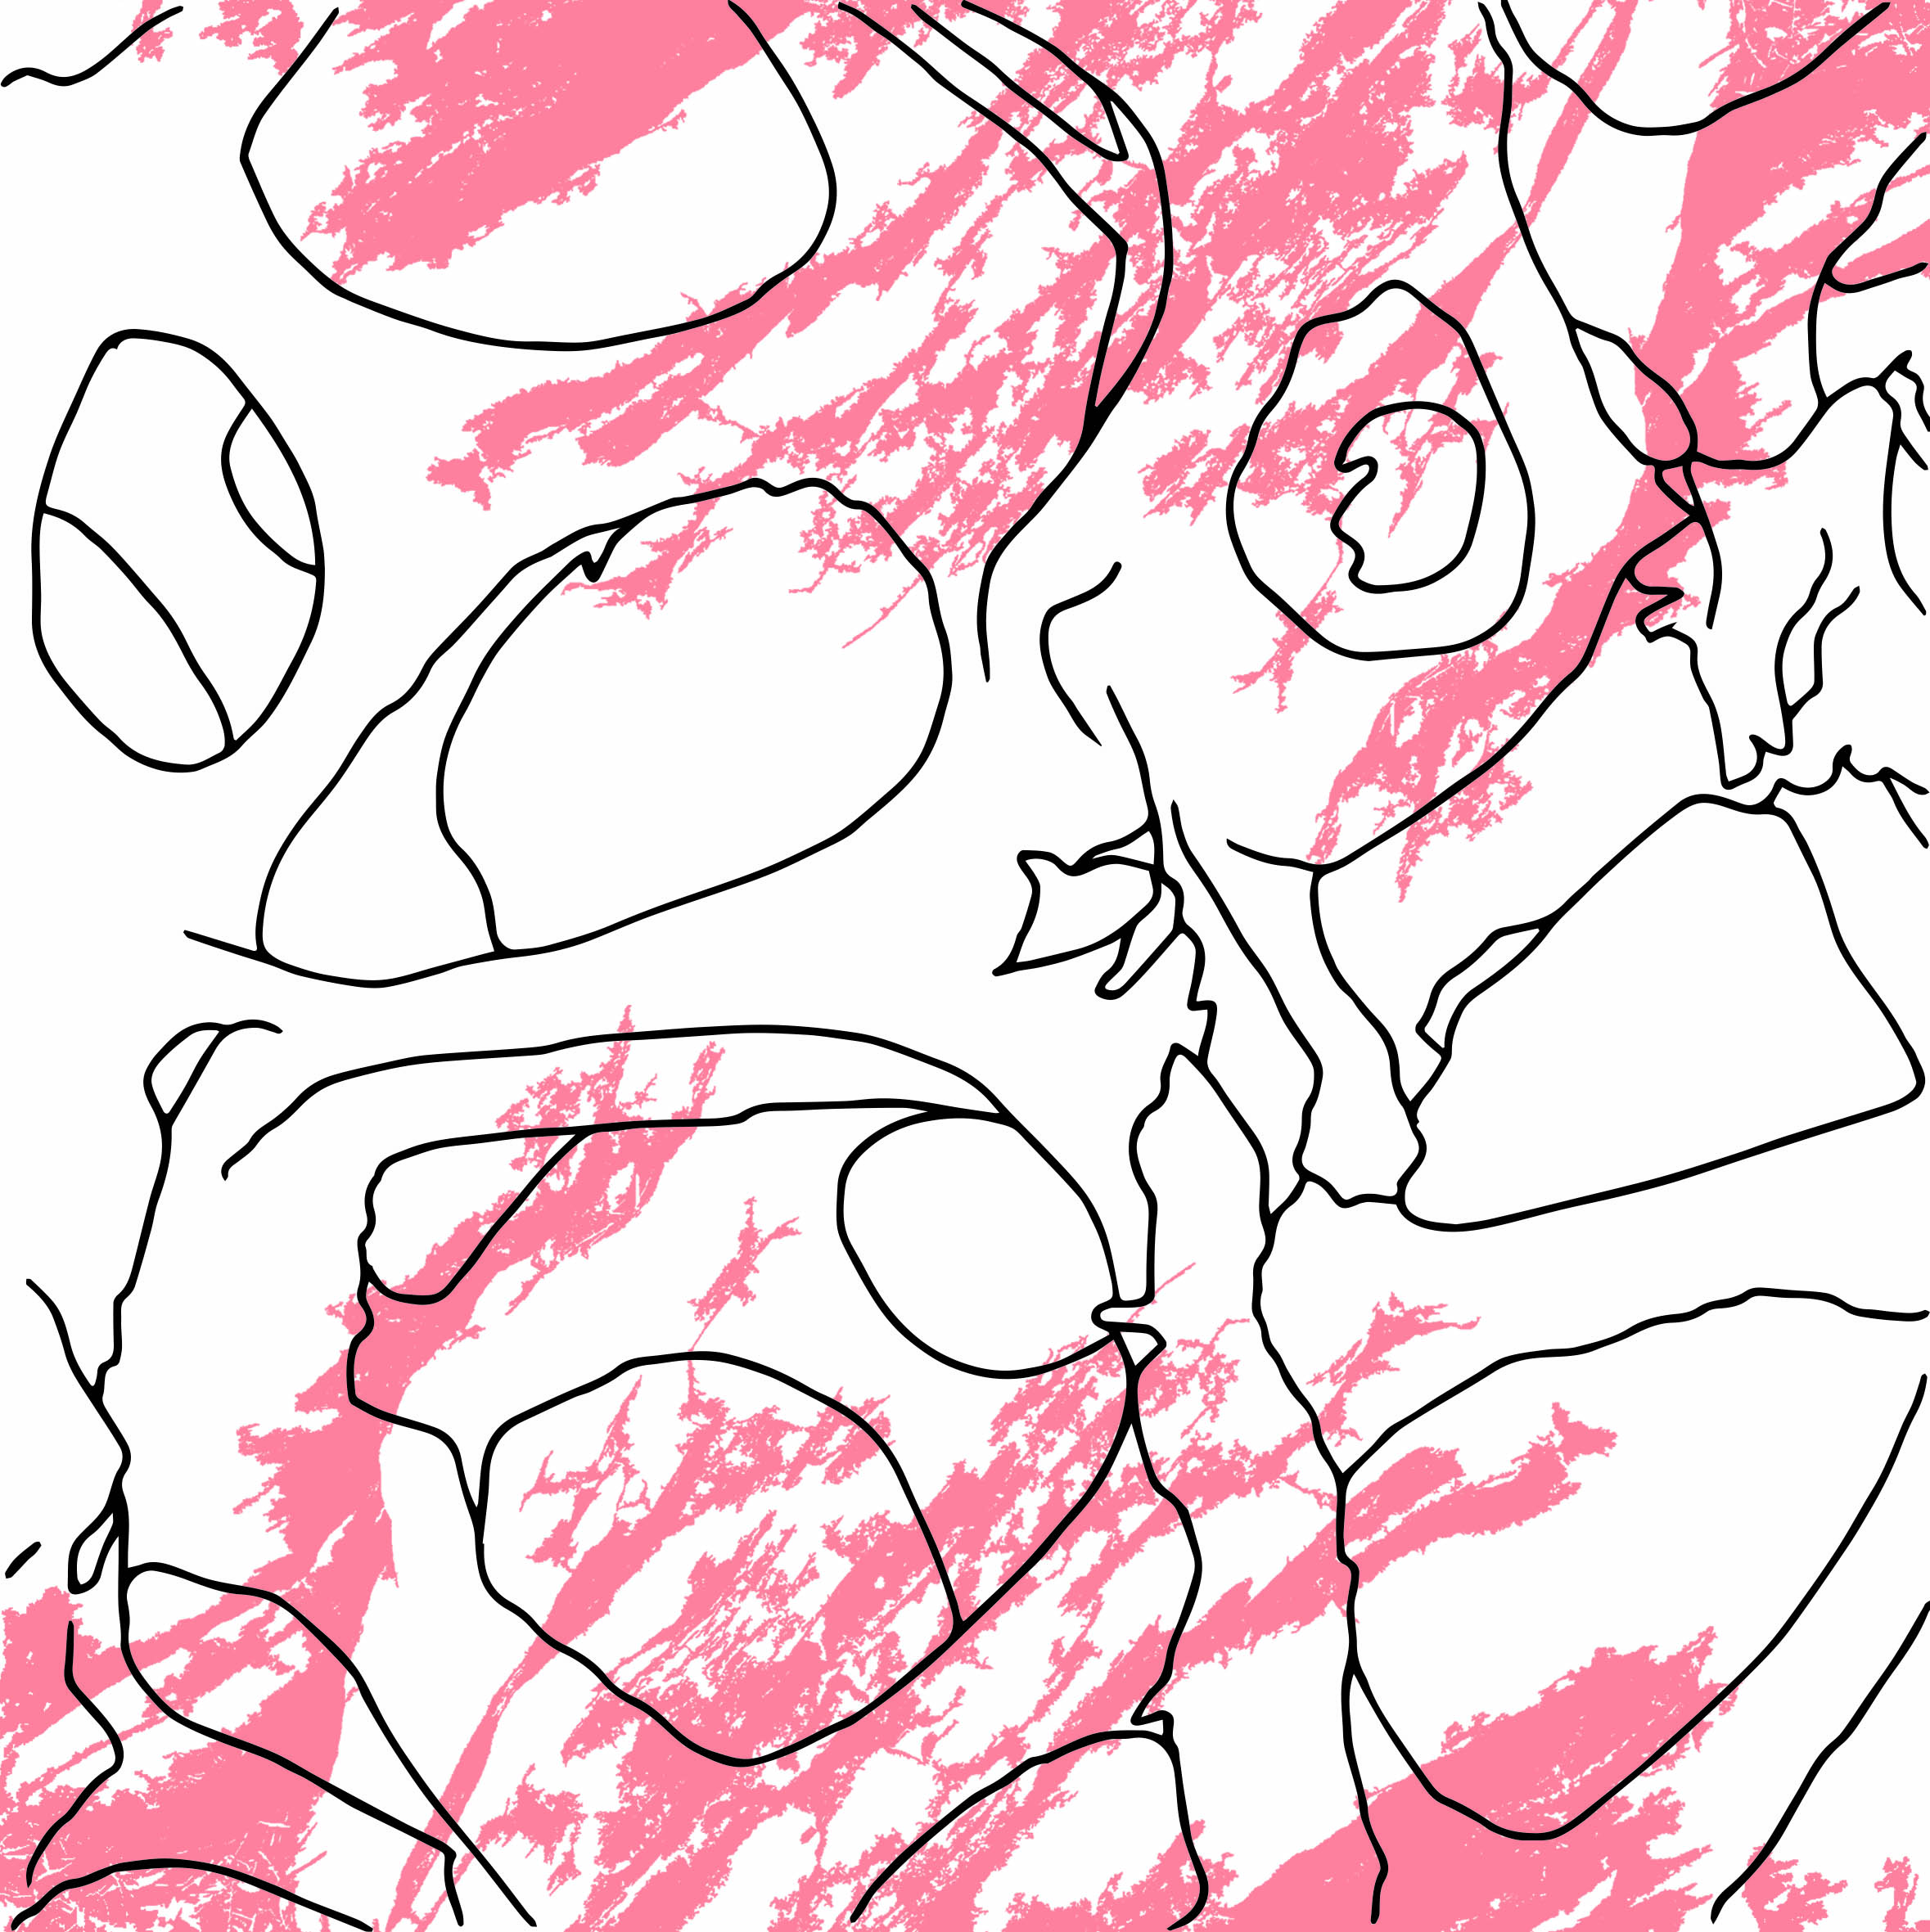
Next, how do I make it look as messy as Julie Mehretu’s? I decided to try and have textures. At first I thought of manually creating textures using several techniques I found online. But I too, wanted to try the grunge effect. So the images below are the before and after of grunge texture, with colour and monochromatic.
Trying out the texture with colour.versus the grunge texture with a lower opacity
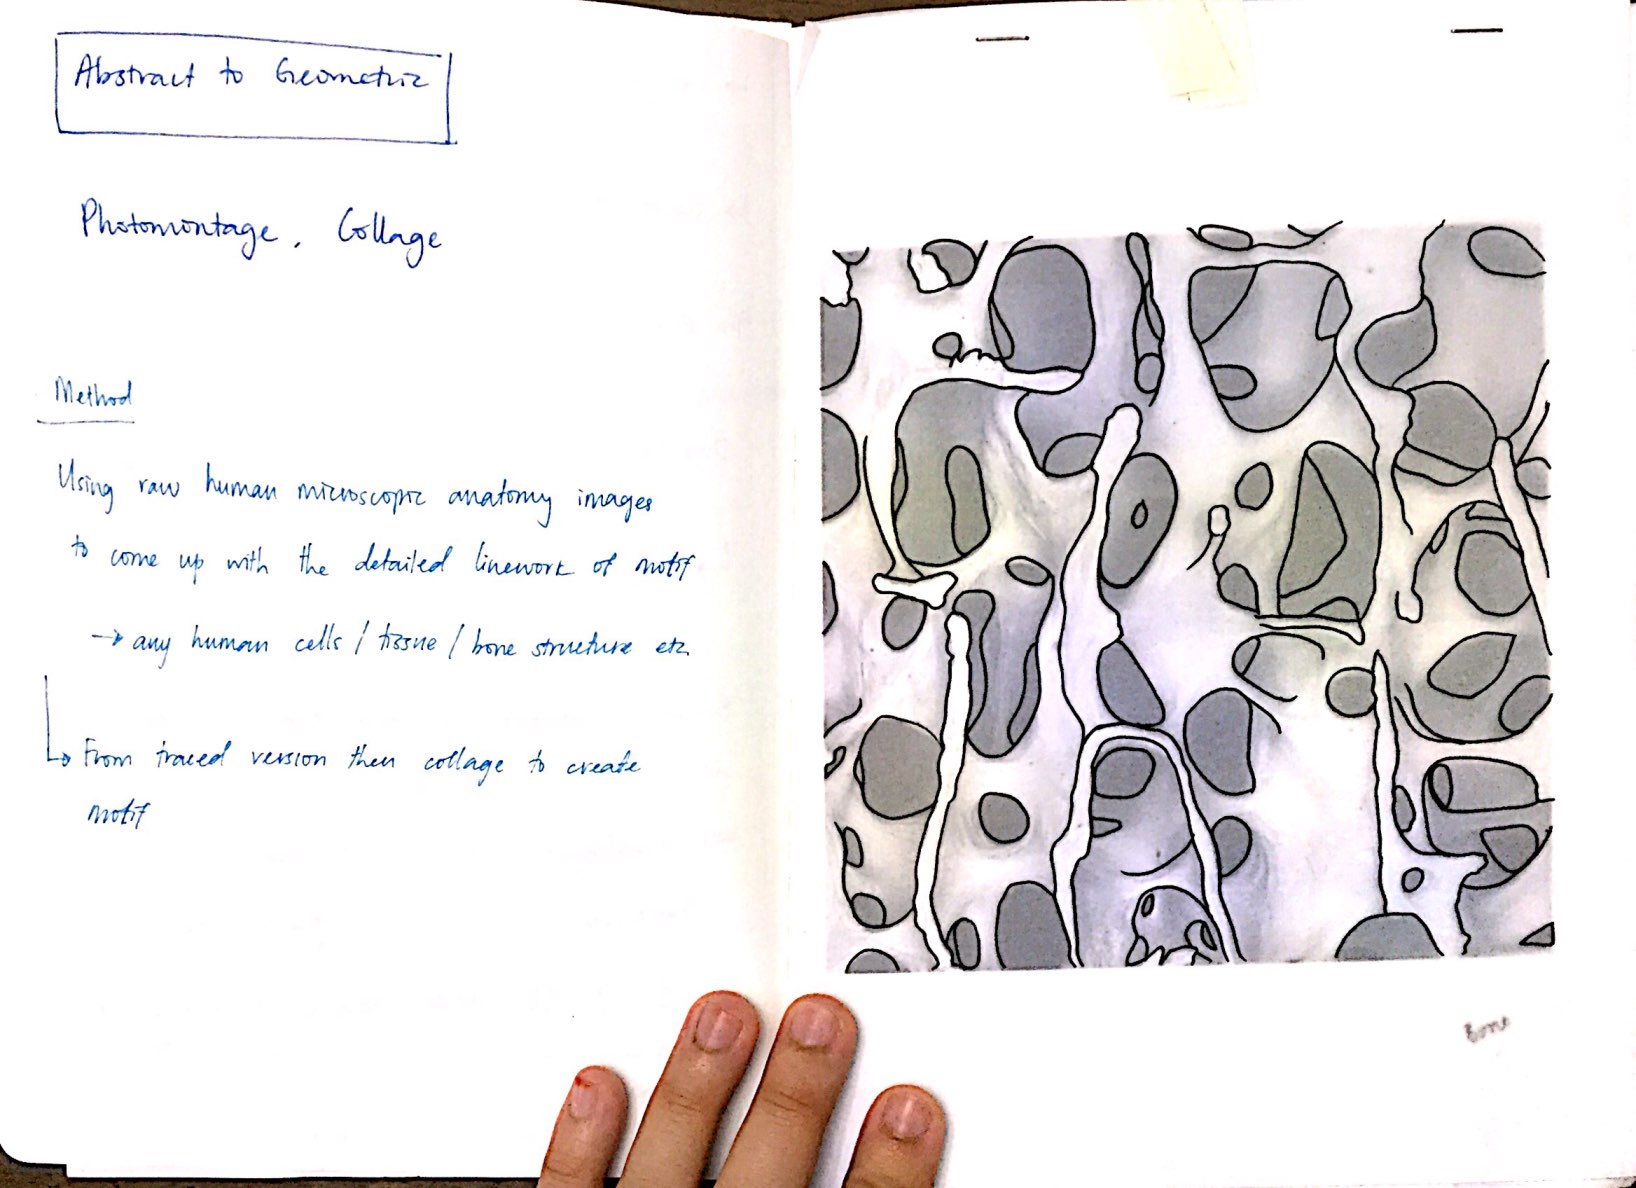
I planned to use the raw imagery of the human microscopic anatomy from the lab, but with tight schedules, I resorted to an alternative: using resources from books and online articles.
I was inspired from watching Bonnie Christine’s method of transferring hand-drawn sketches to digital. Therefore, I gave it a go to create my motifs.
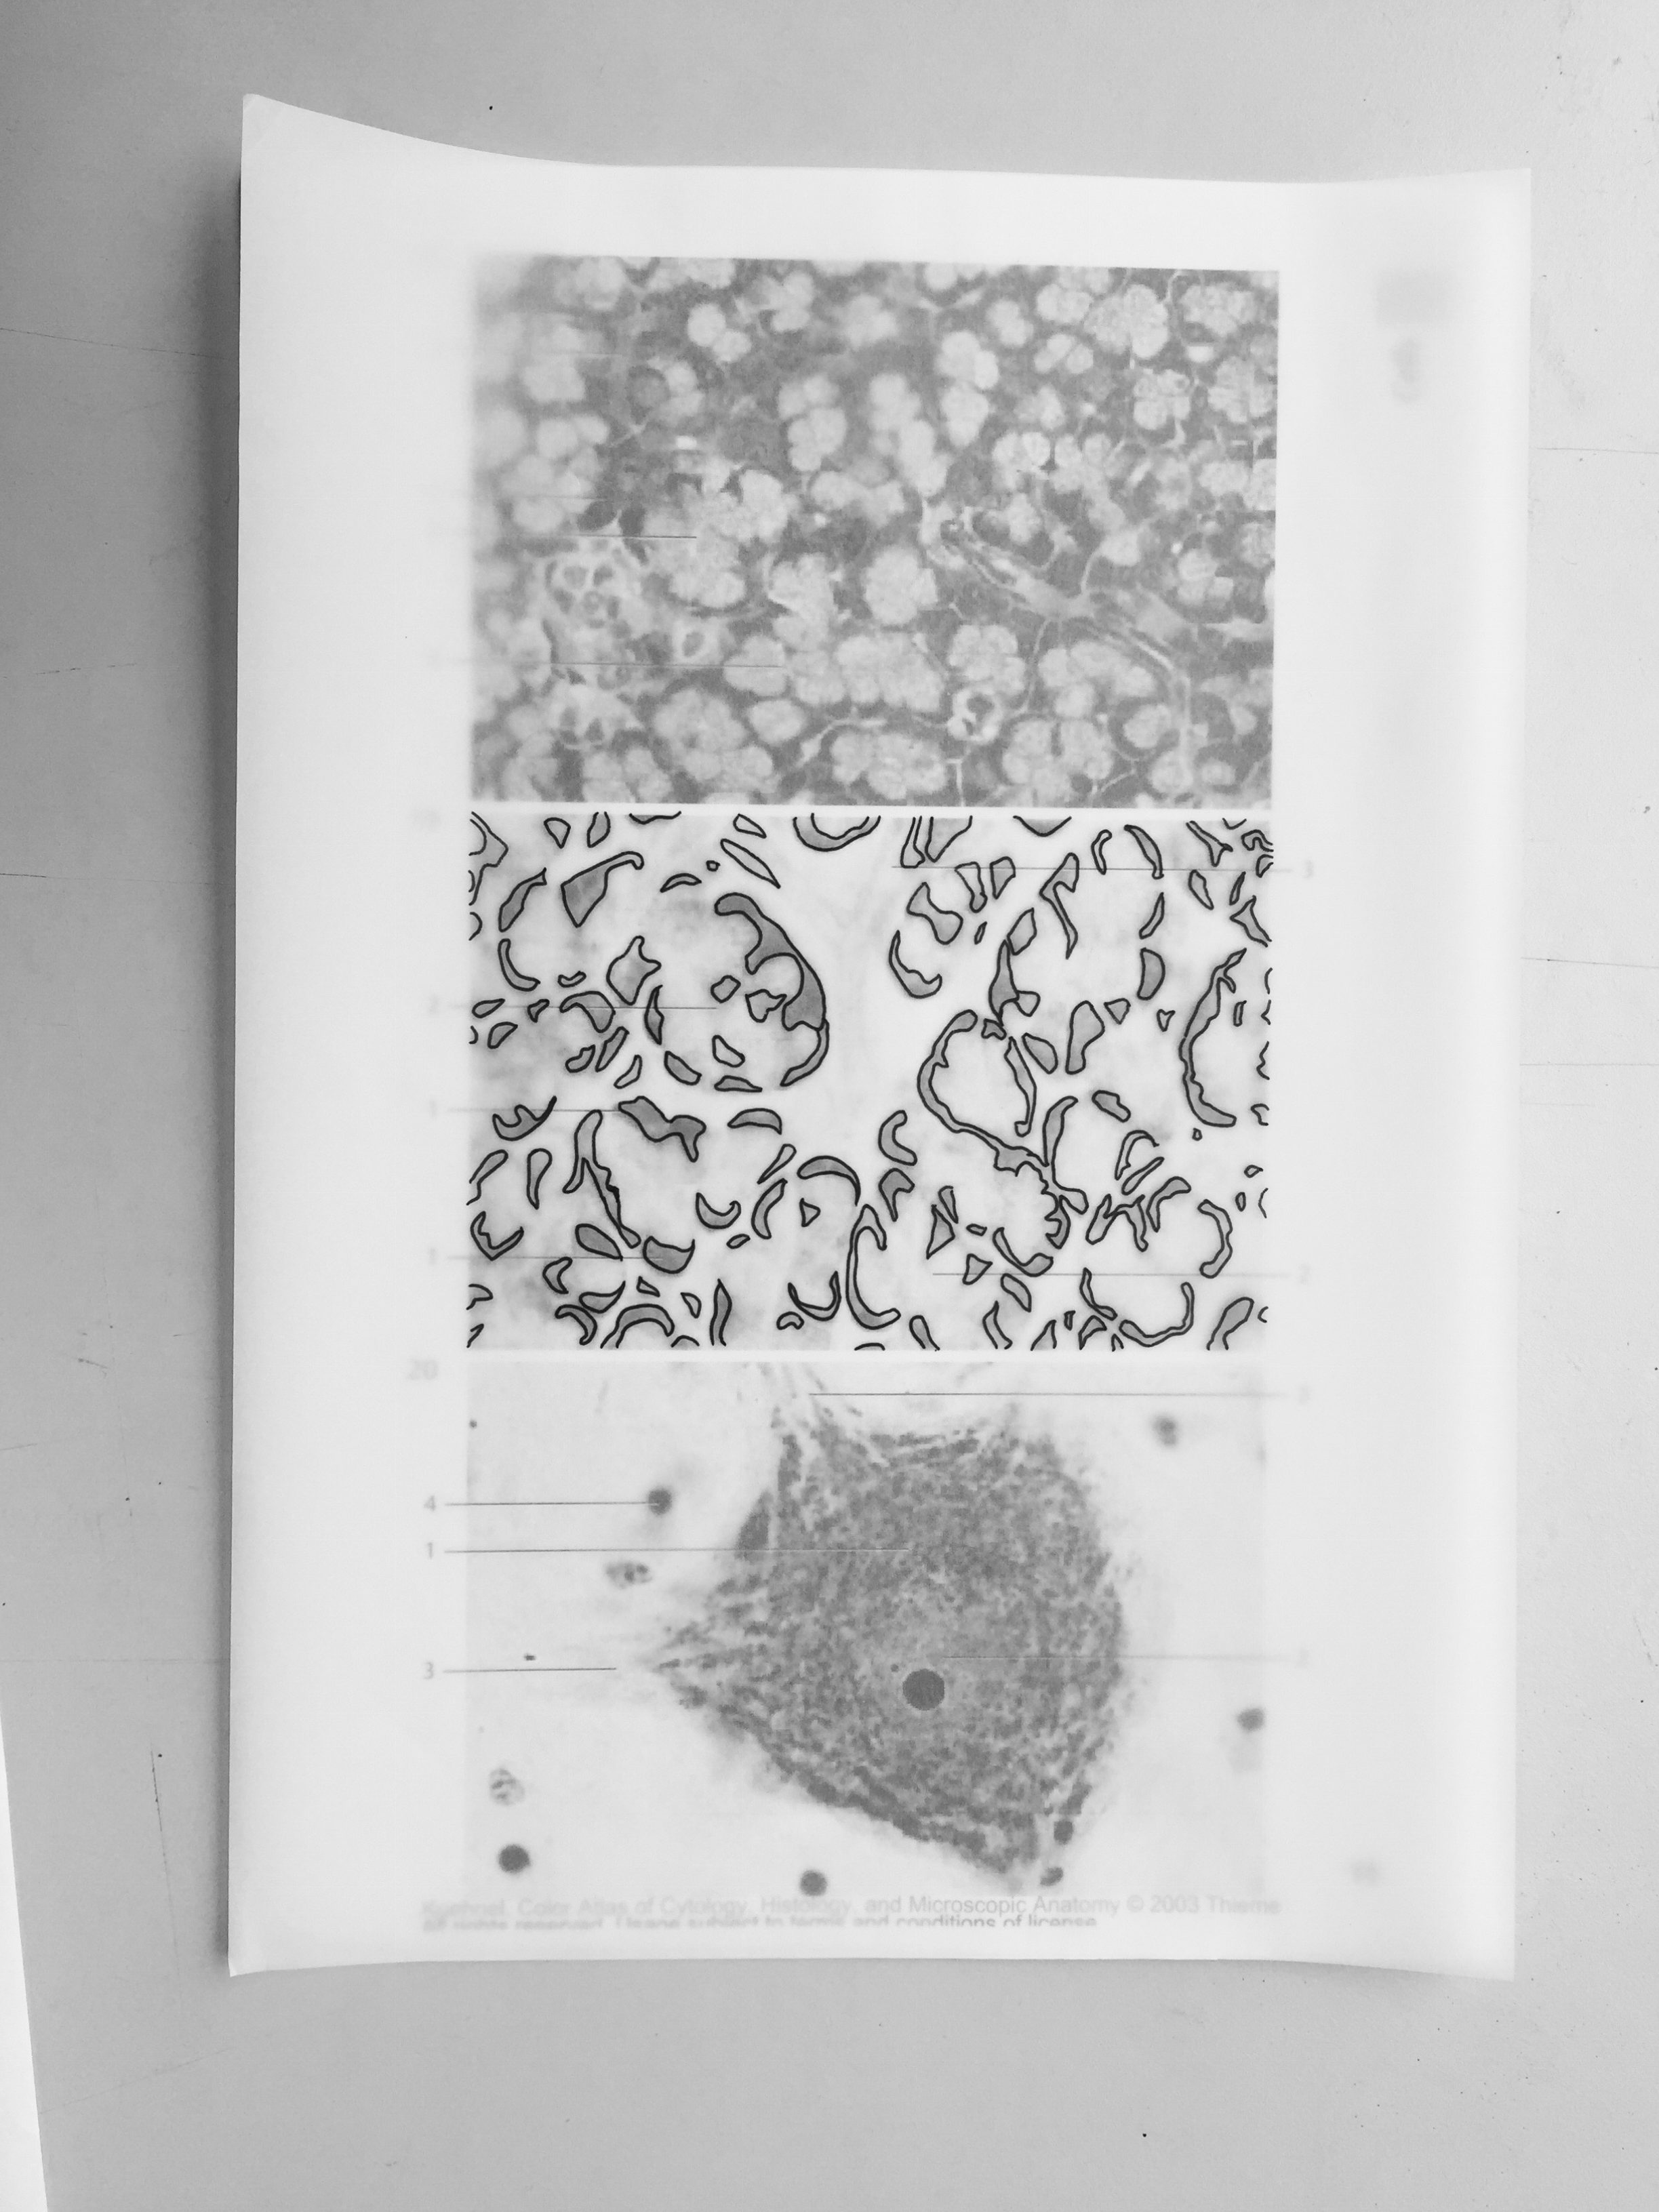
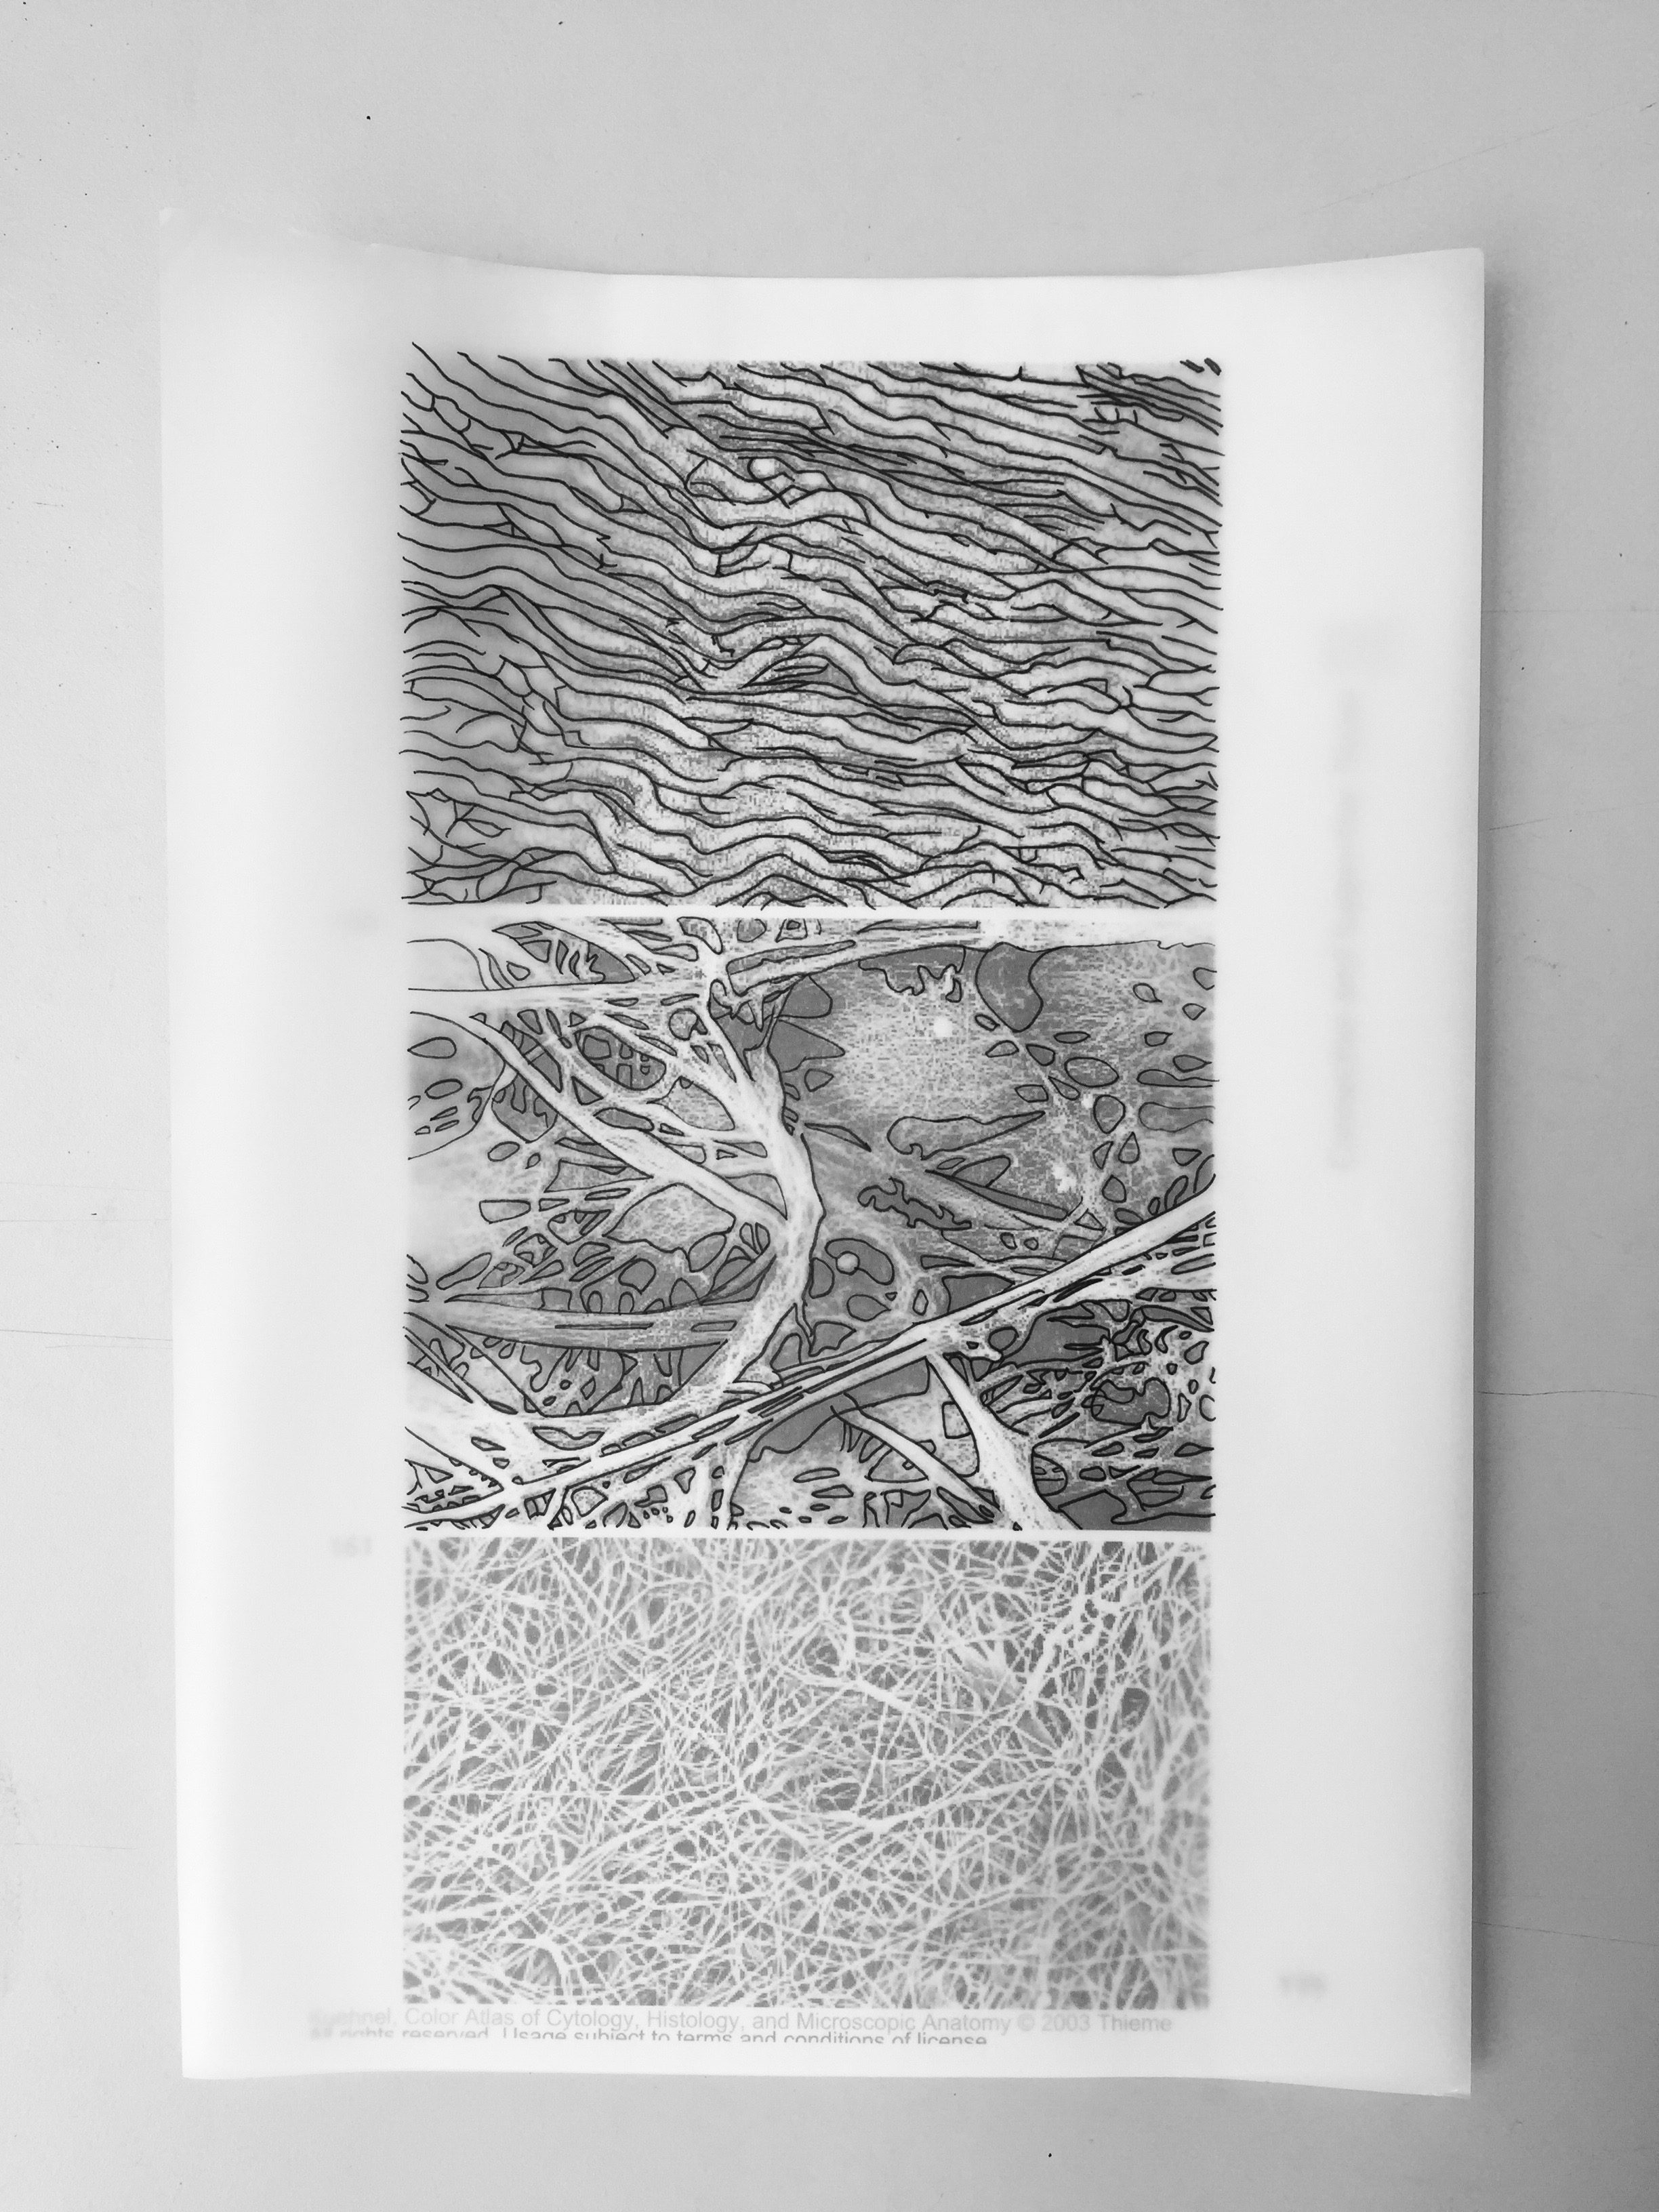
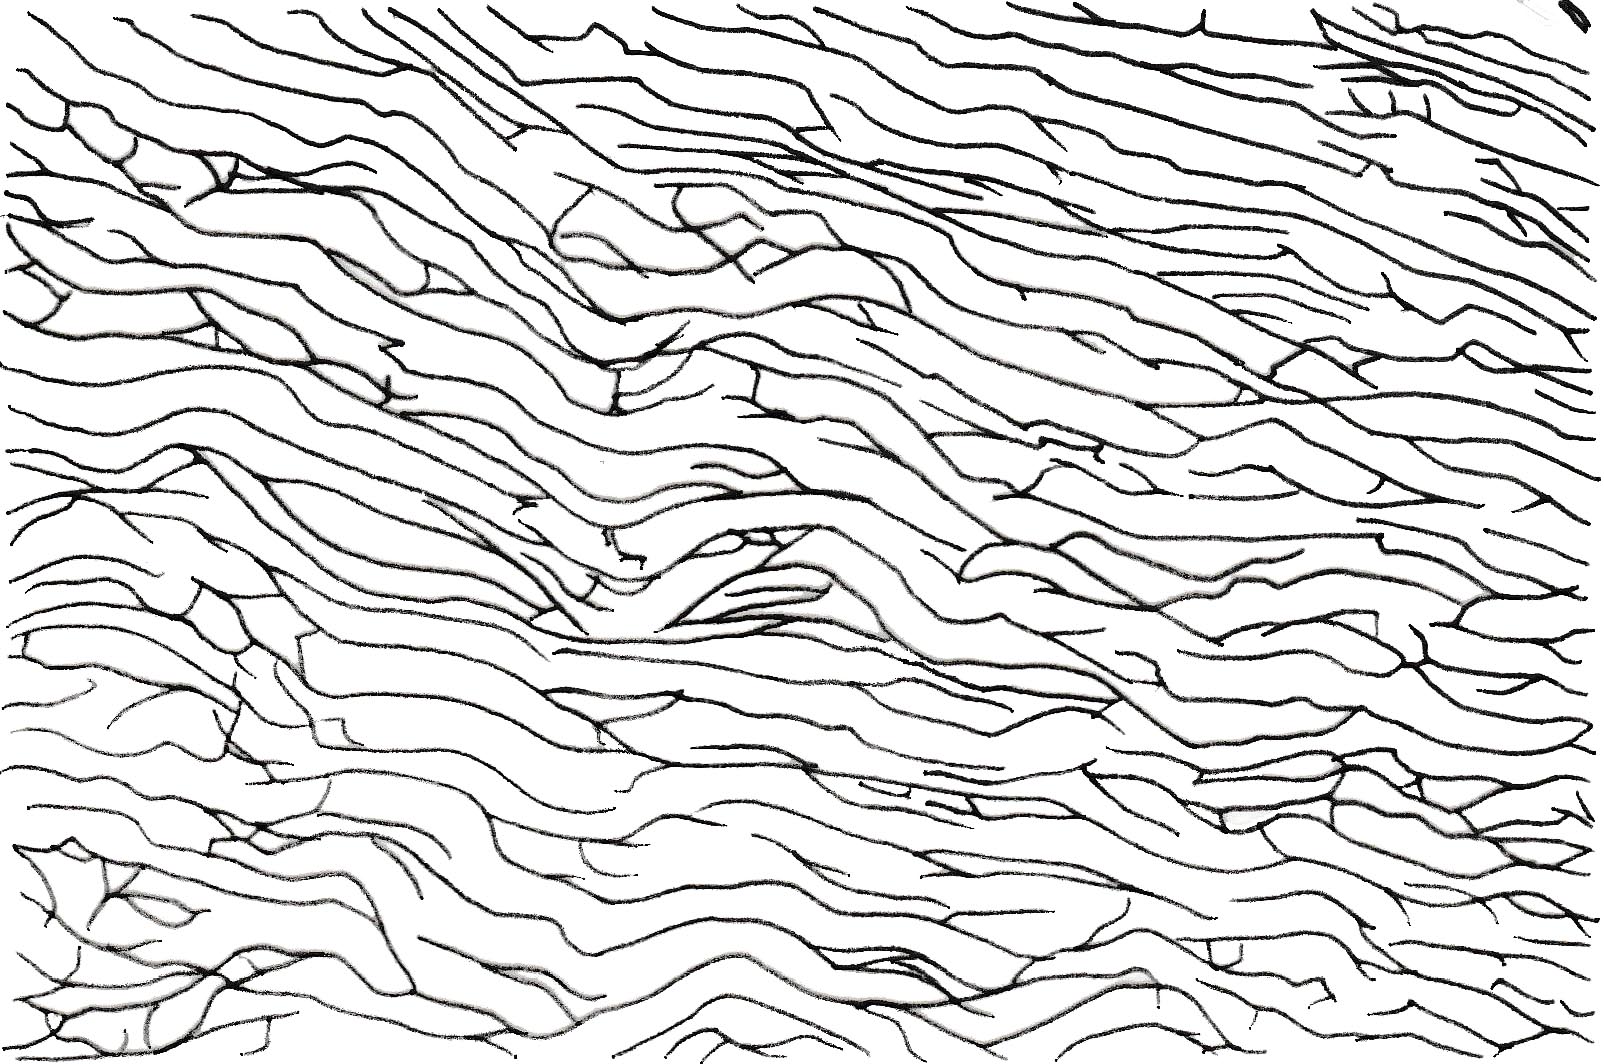
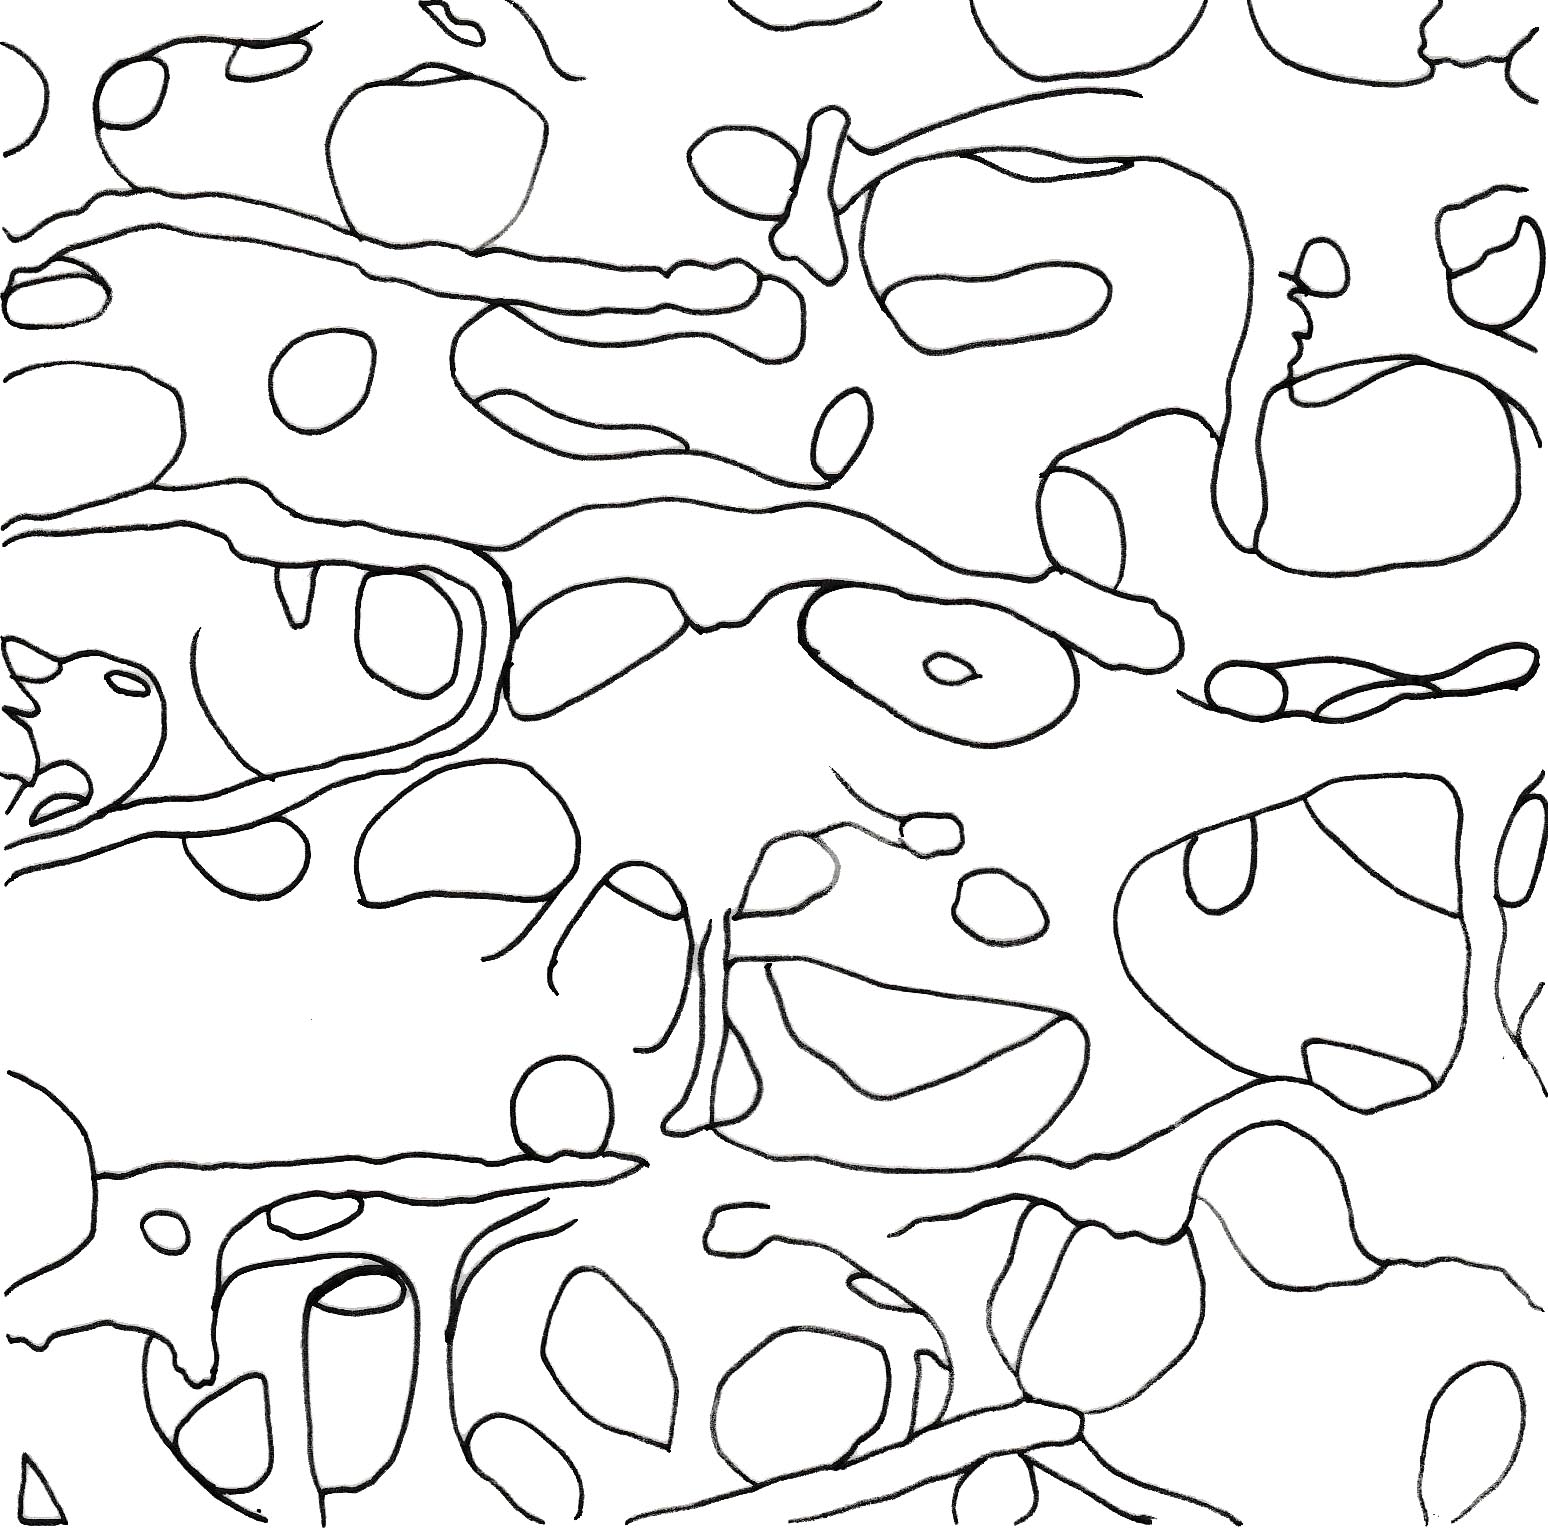
Firstly, I selected a few microscopic images (from the website, book, and article,), printed them out, traced them over and finally scanning them in to digitize them.
You can view the images below:
Human Cells
Kuehnel, Wolfgang. Color Atlas of Cytology, Histology, and Microscopic Anatomy. 4th ed. Germany: Thieme, 2003. PDF. Cells, pg 15
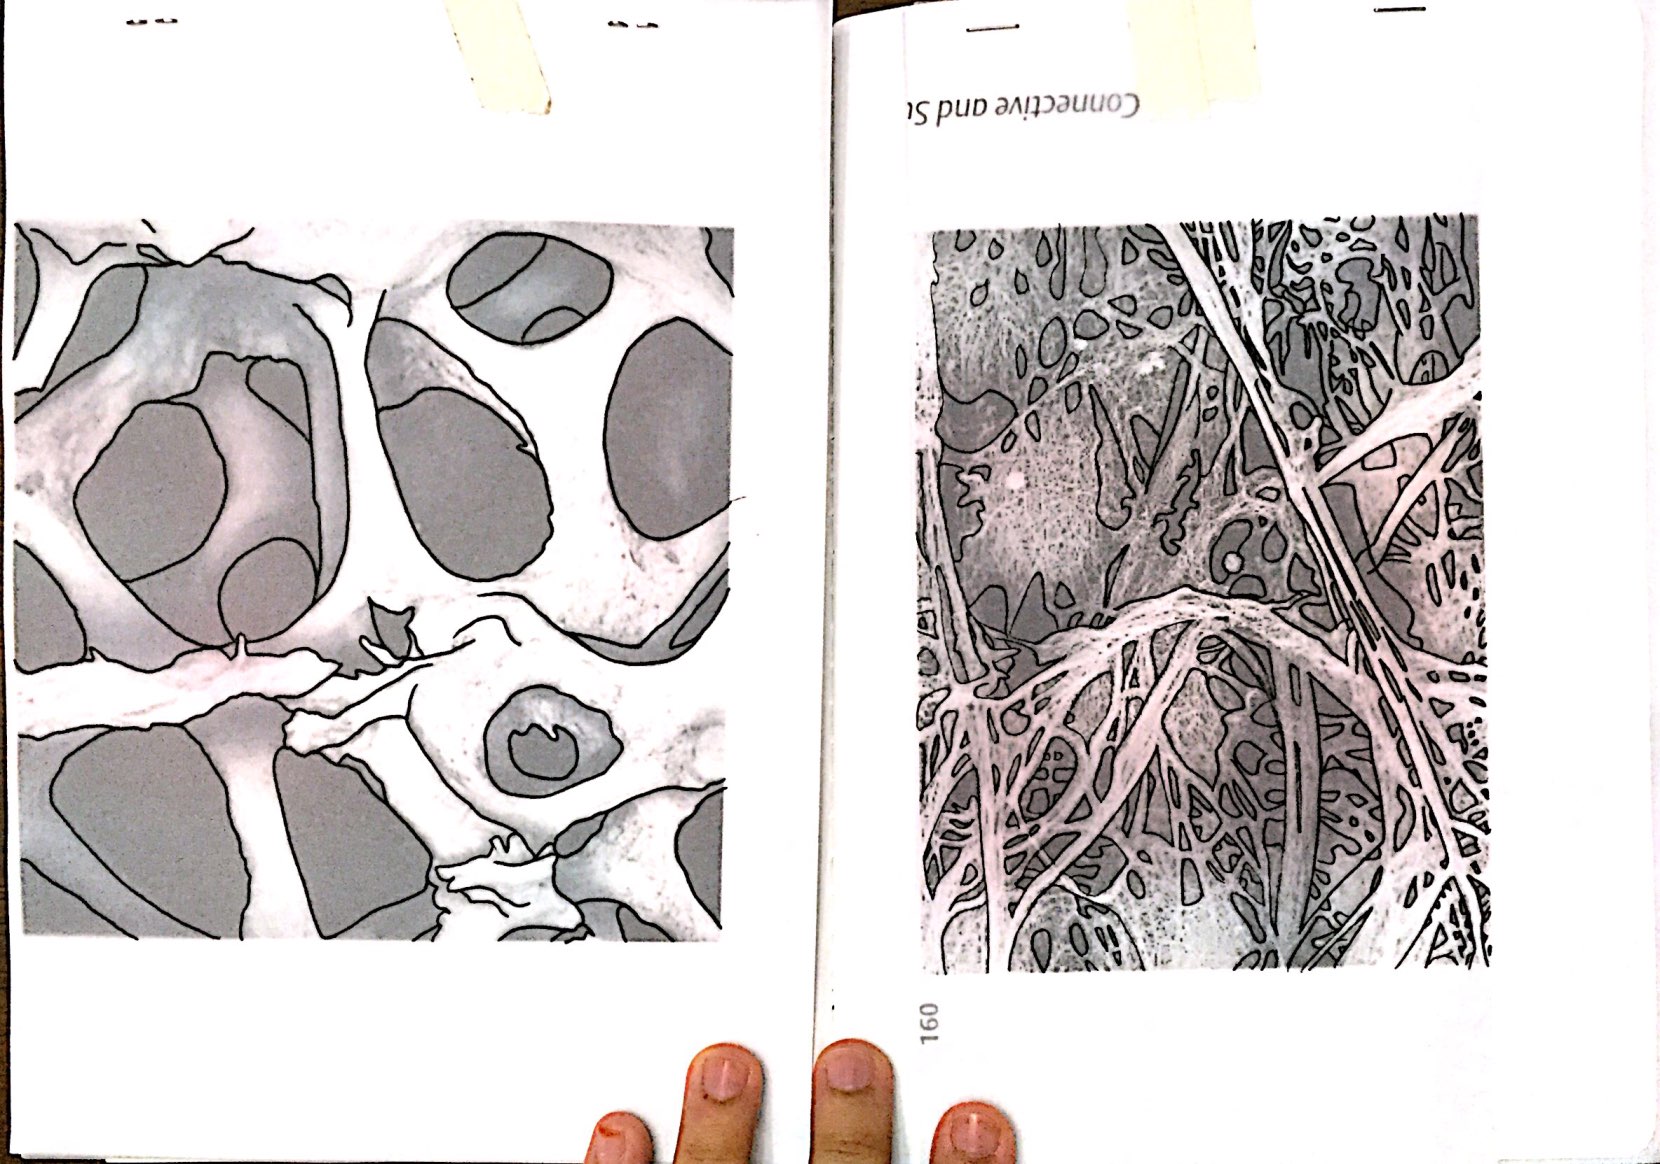
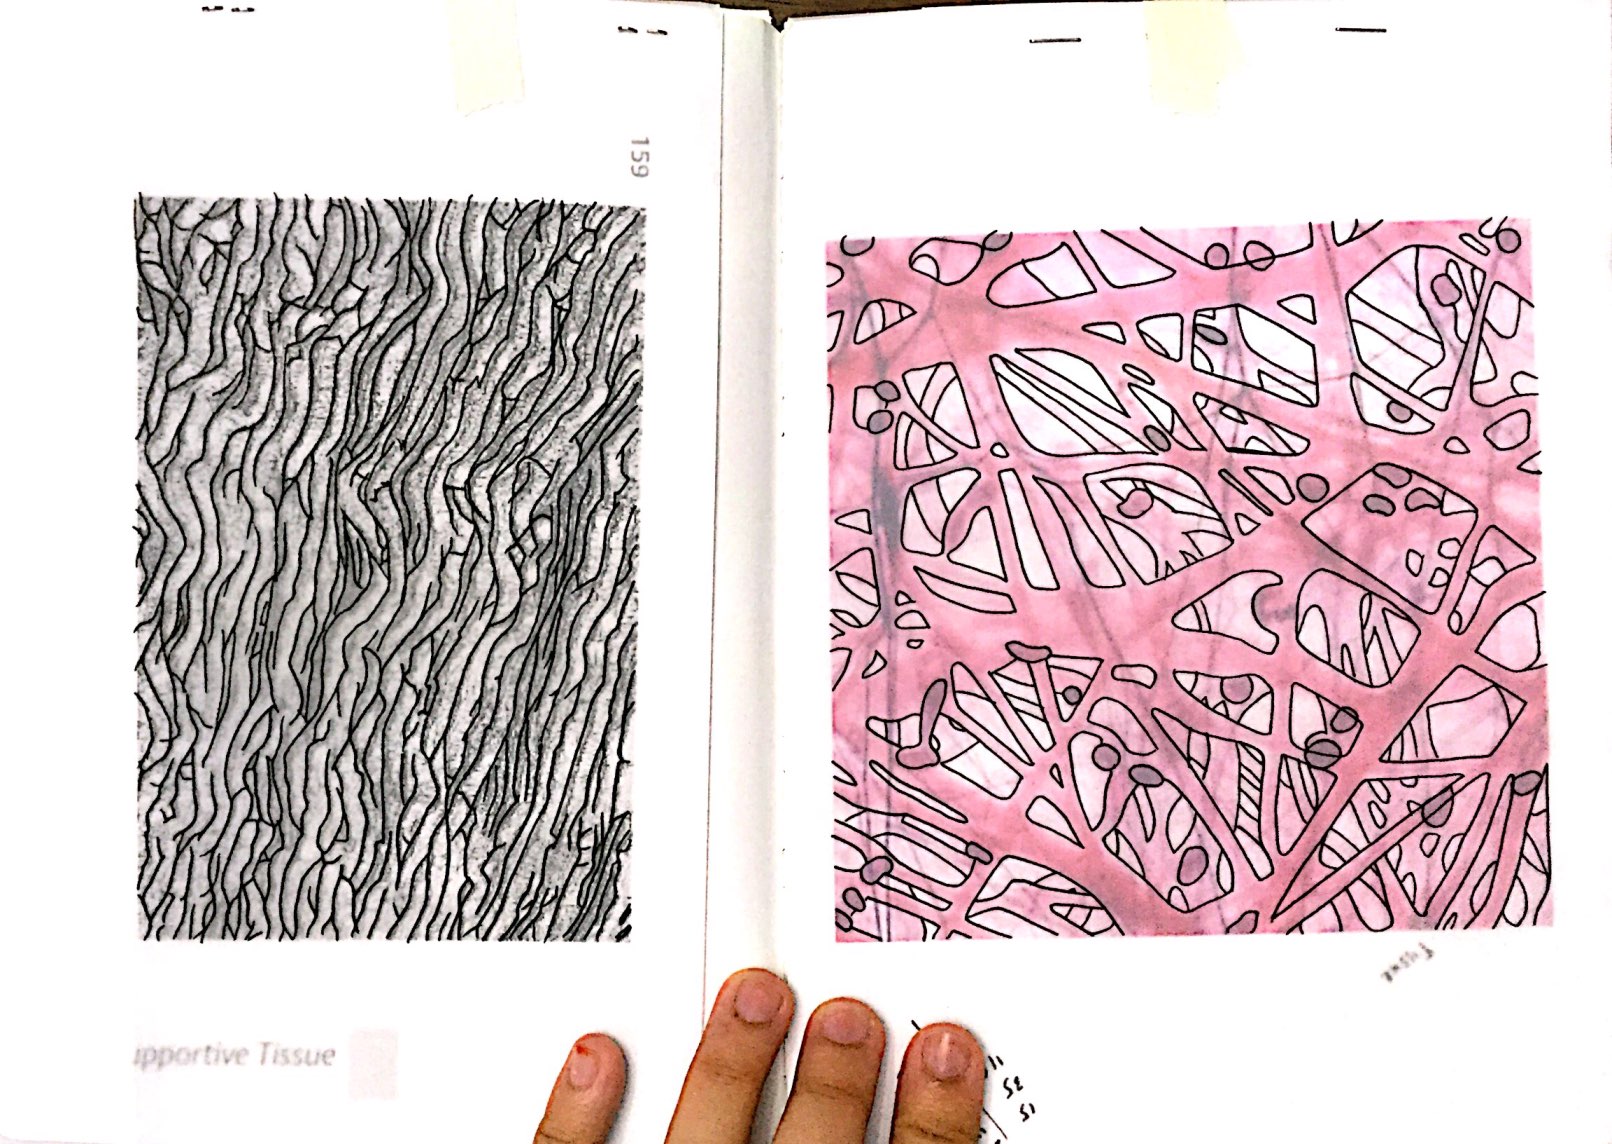
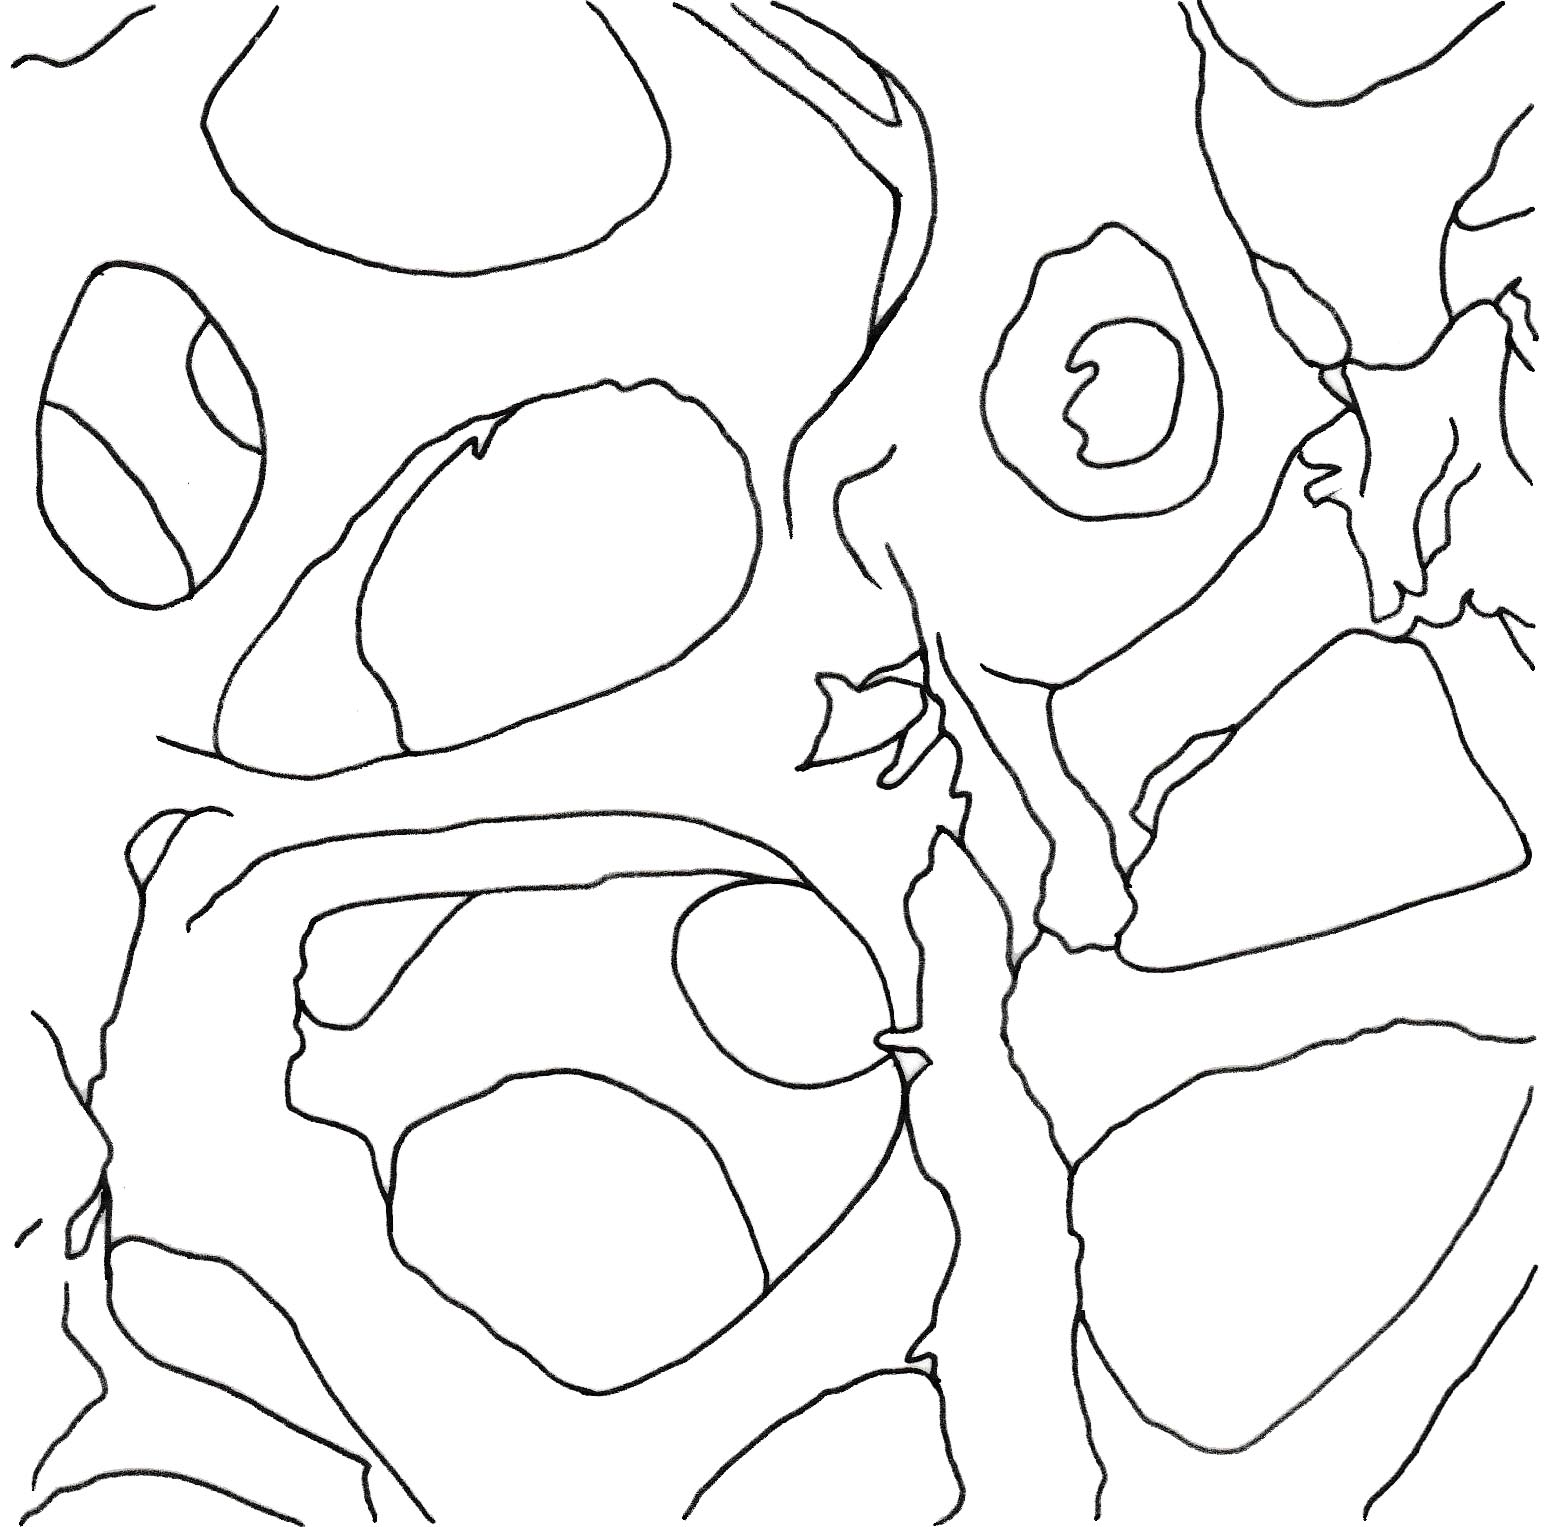
Connective and Supportive Tissue
Kuehnel, Wolfgang. Color Atlas of Cytology, Histology, and Microscopic Anatomy. 4th ed. Germany: Thieme, 2003. PDF. Connective and Supportive Tissue, pg 119#1#2Kuehnel, Wolfgang. Color Atlas of Cytology, Histology, and Microscopic Anatomy. 4th ed. Germany: Thieme, 2003. PDF. Connective and Supportive Tissue, pg 117#3
Bone
Source to be inserted ASAP#1#2
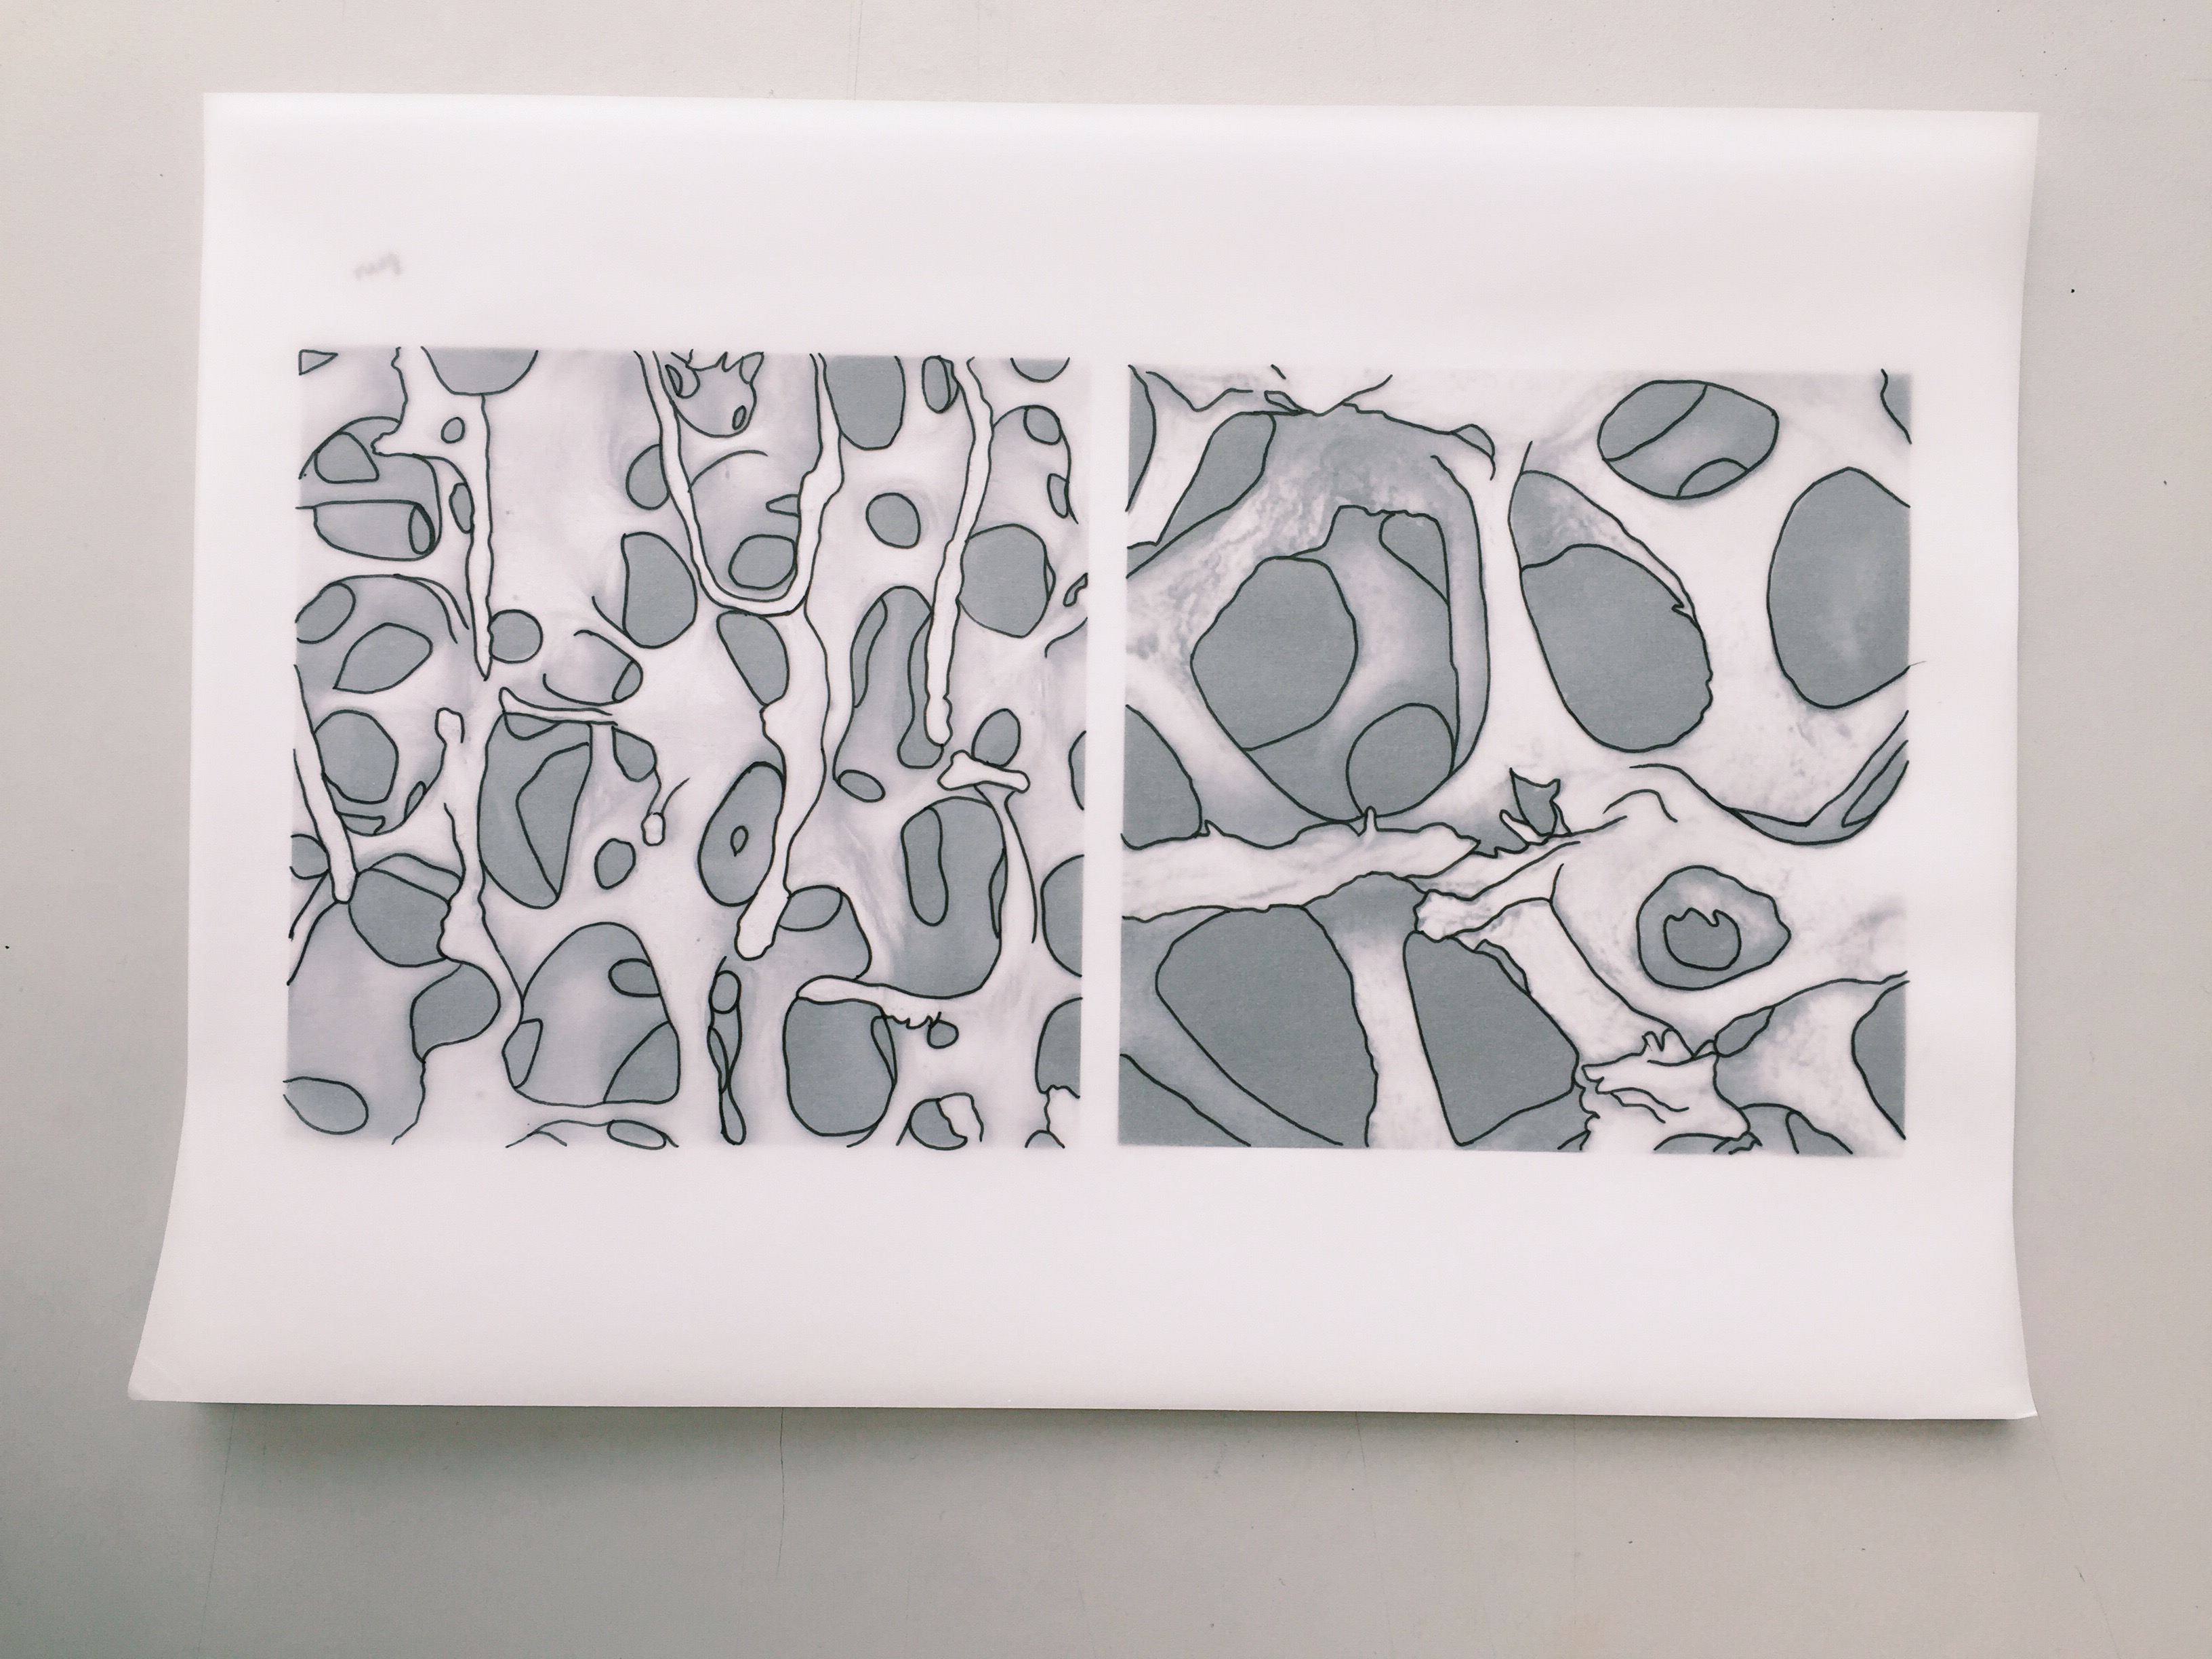
With these bunch of scanned images, I would compose them to form one motif.
(Still progressing…)
On a side note, I find the pattern designs done by William Morris, from the Arts and Crafts Movement, pretty interesting. Arts and crafts movement is well known for its decorative art. From William Morris’ art, I like how the artboard/canvas are all filled up with patterns leaving minimal negative space.
All along I’ve been planning the outlook of how I want my pattern to turn out, how it will look from afar vs when zoomed in. Thus, these gave me more depth to the idea of how I want my motifs will look like.
You can check out the link on my Pinterest: https://www.pinterest.com/youmikaltsum/inspiration-art-craft-movement/